
 |  |  |
| 70-mm magazine JJ - AS14-67-9361 to 9393 | Photography Index | 70-mm magazine P - AS14-69-9493 to 9656 |
No copyright is asserted for NASA photographs. If a recognizable person appears in a photo, use for commercial purposes may infringe a right of privacy or publicity. Photos may not be used to state or imply the endorsement by NASA or by any NASA employee of a commercial product, process or service, or used in any other manner that might mislead. Accordingly, it is requested that if a NASA photograph is used in advertising and other commercial promotion, layout and copy be submitted to NASA prior to release. NASA photos reproduced from this archive should include photo credit to "NASA" or "National Aeronautics and Space Administration" and should include scanning credit to the appropriate individuals or agencies as noted in the captions.
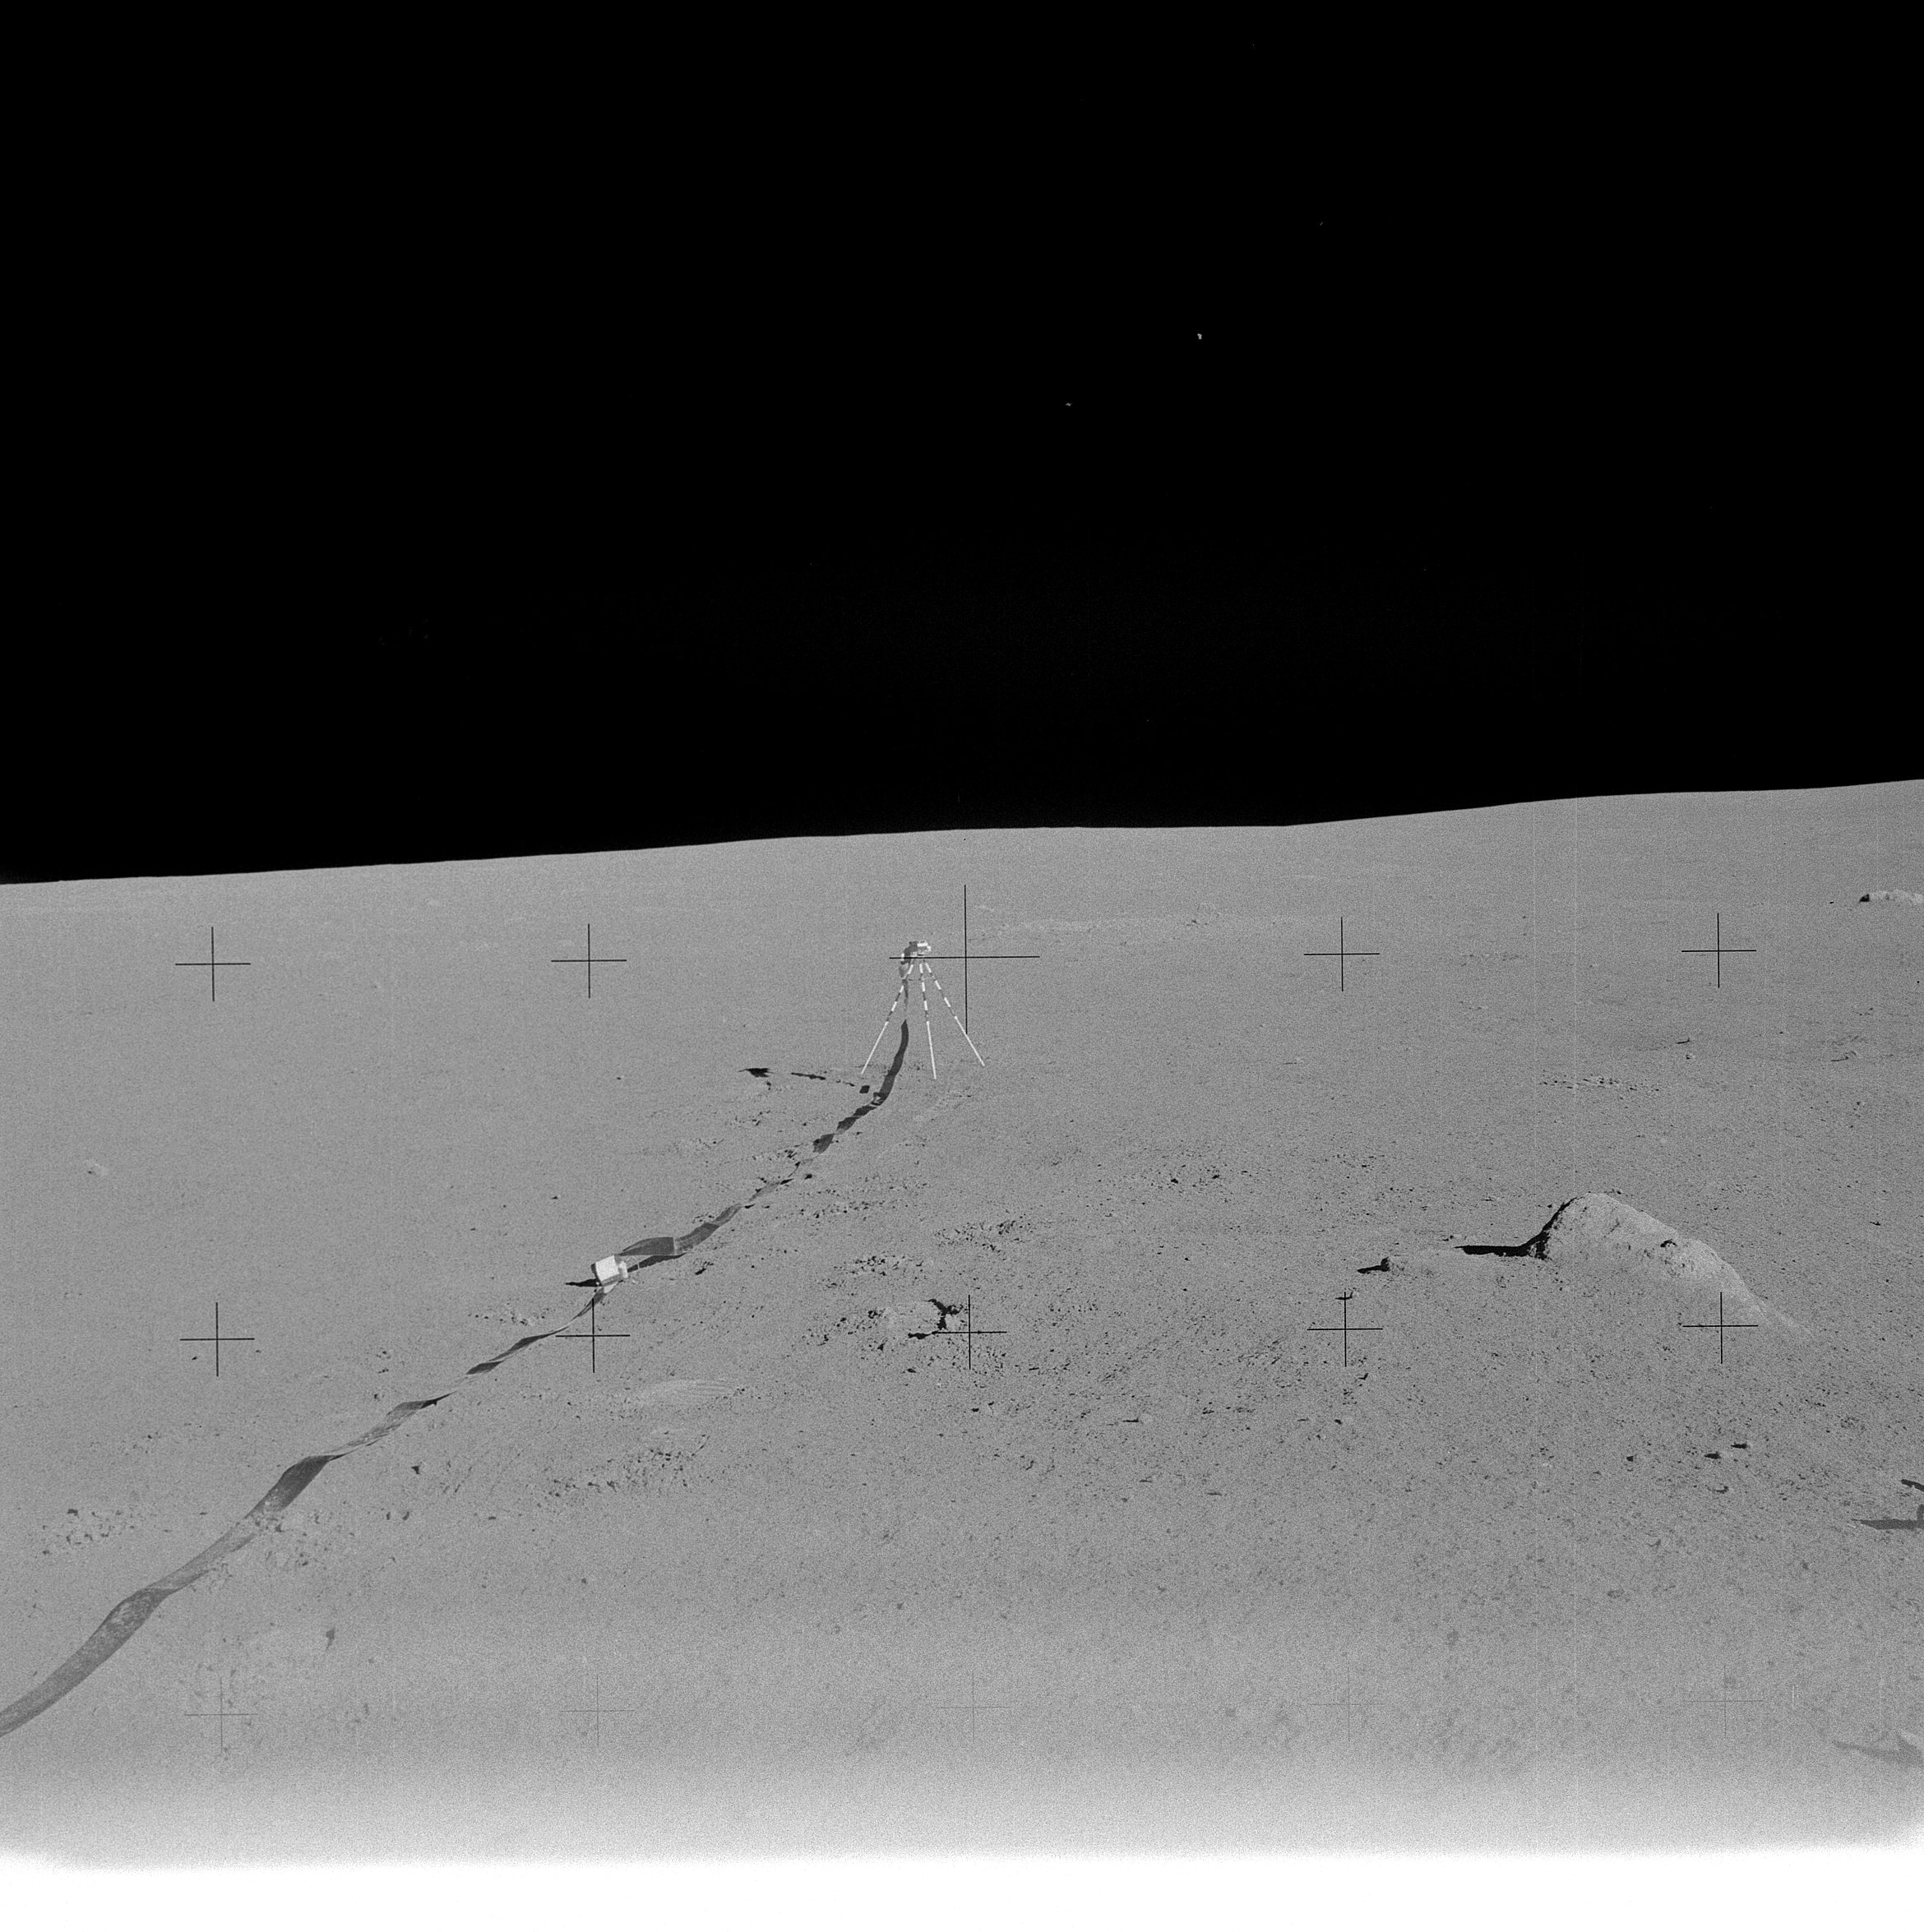 | AS14-68-9393 Lunar Portable Magnetometer deployed on the lunar surface. Image credit: Image Science and Analysis Laboratory, NASA-Johnson Space Center. |
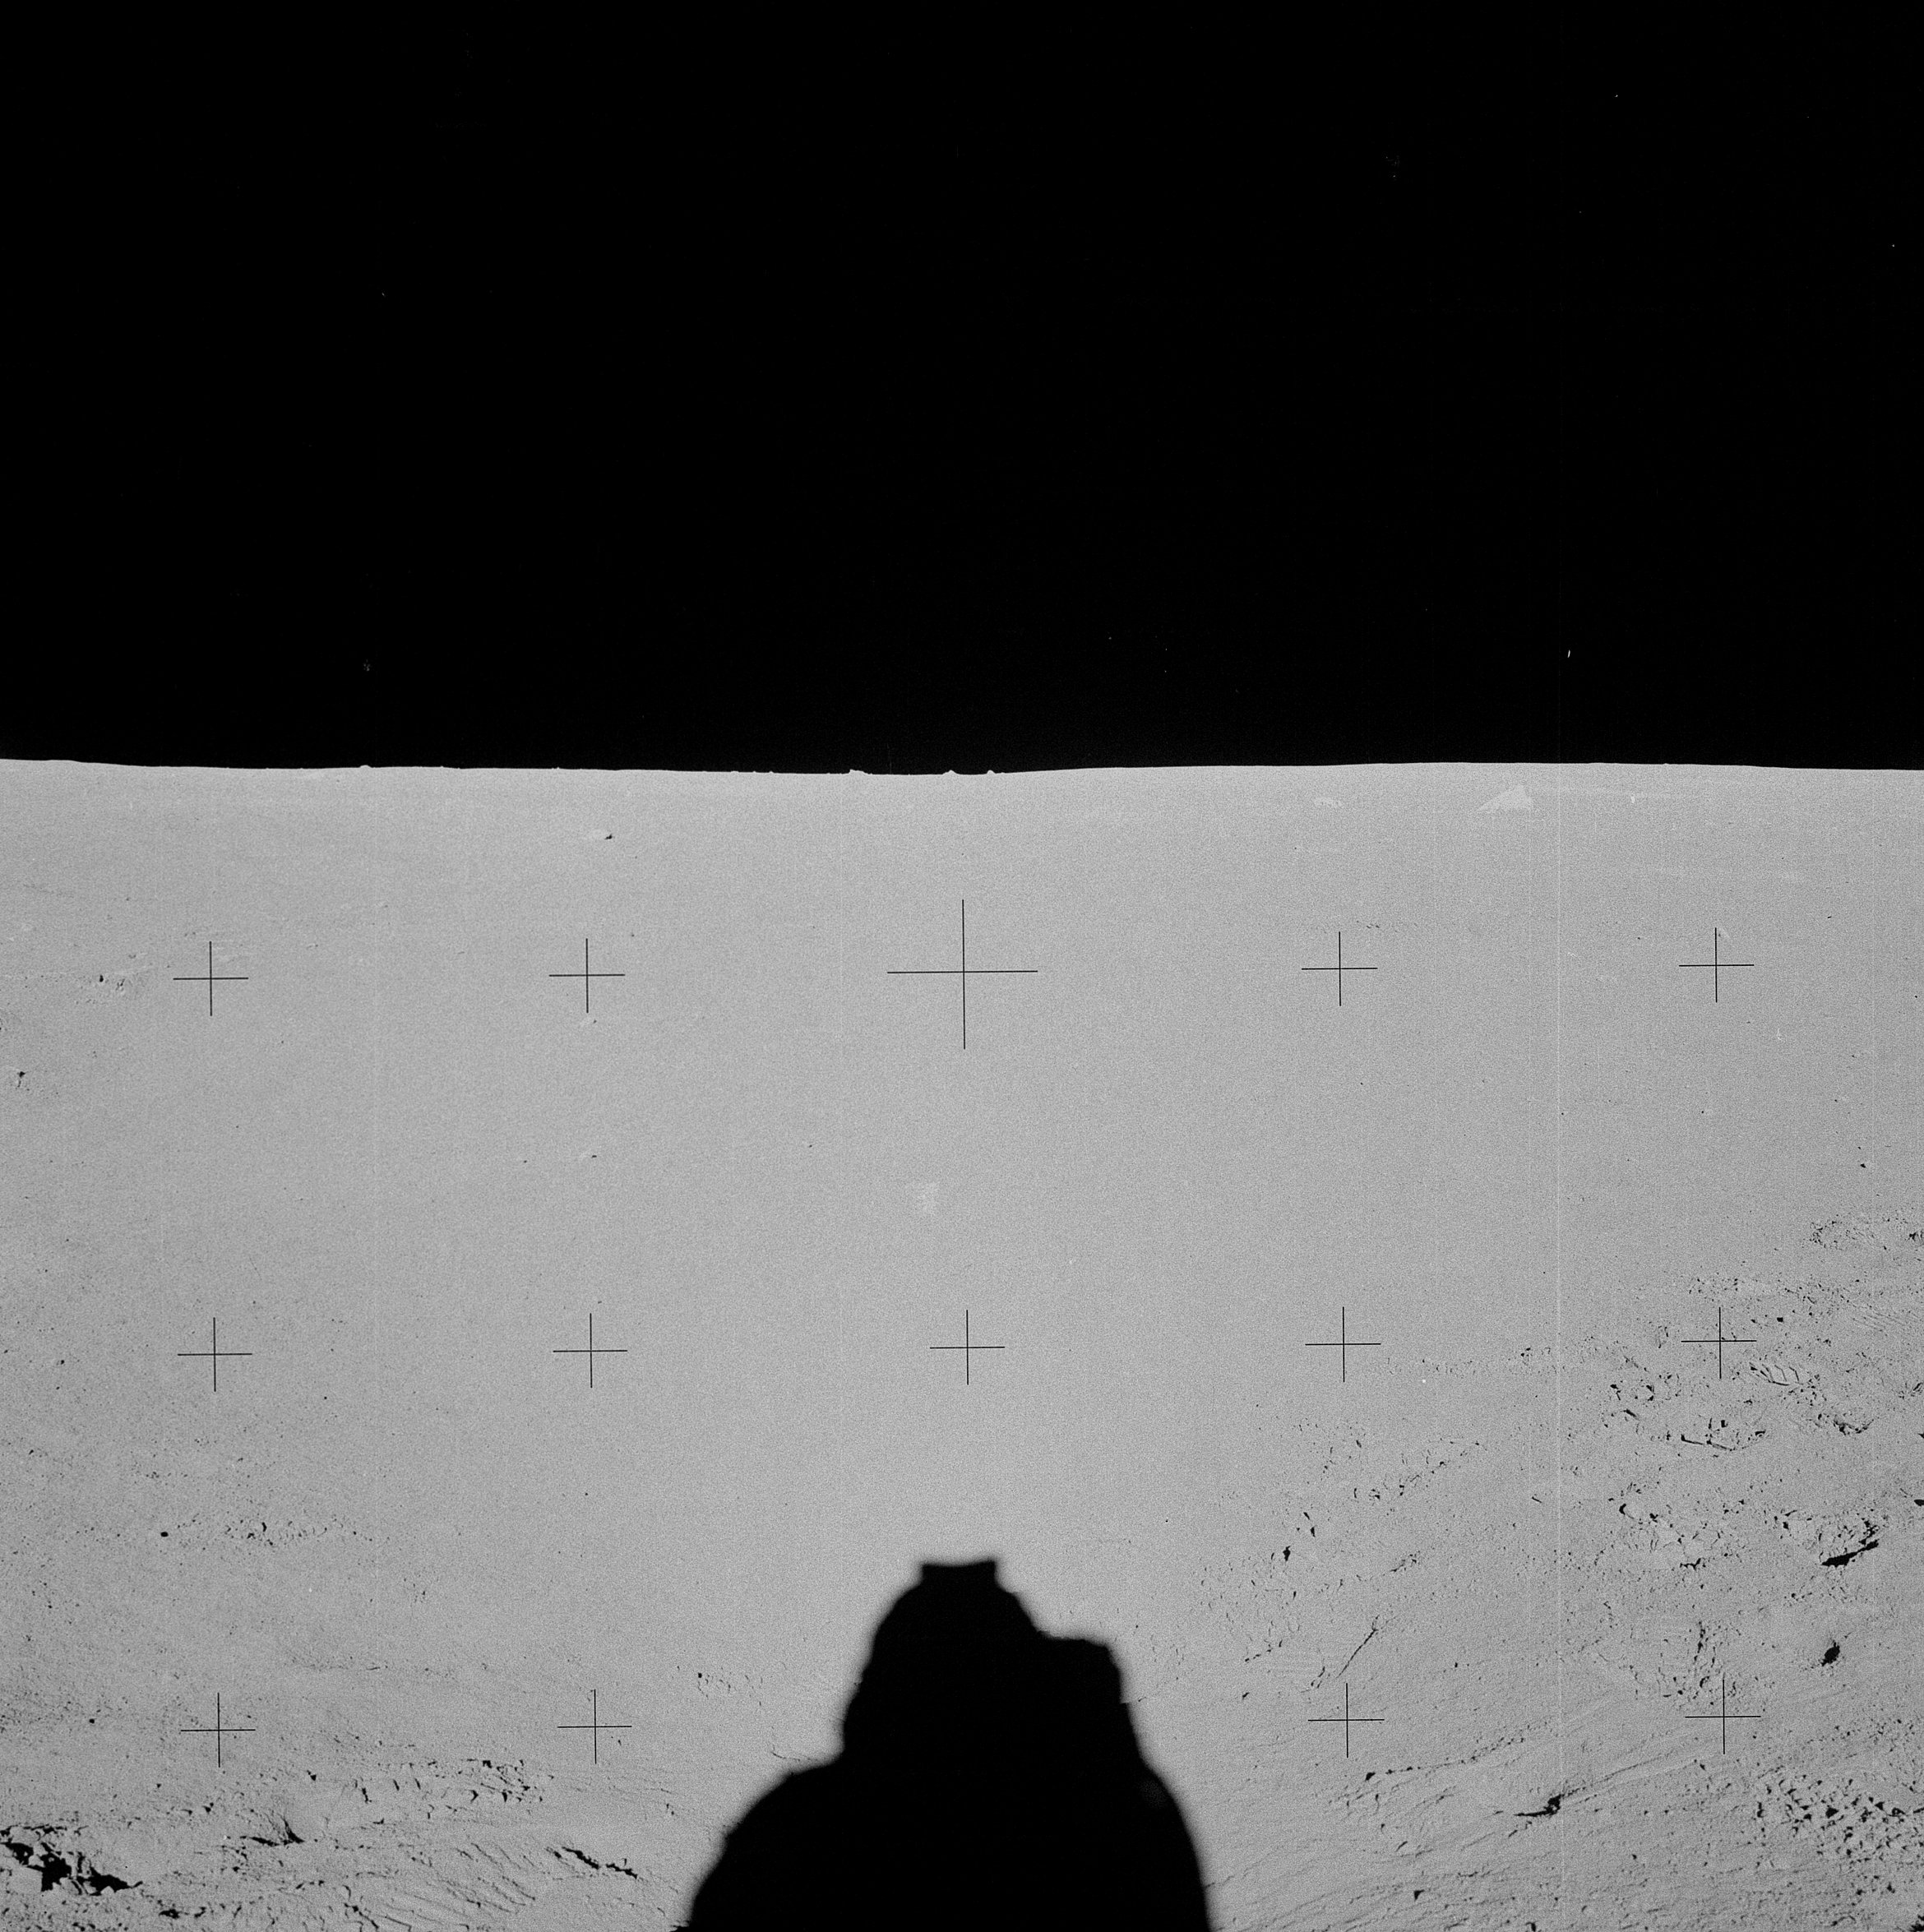 | AS14-68-9394 132:16:29 Down-Sun. Image credit: Image Science and Analysis Laboratory, NASA-Johnson Space Center. |
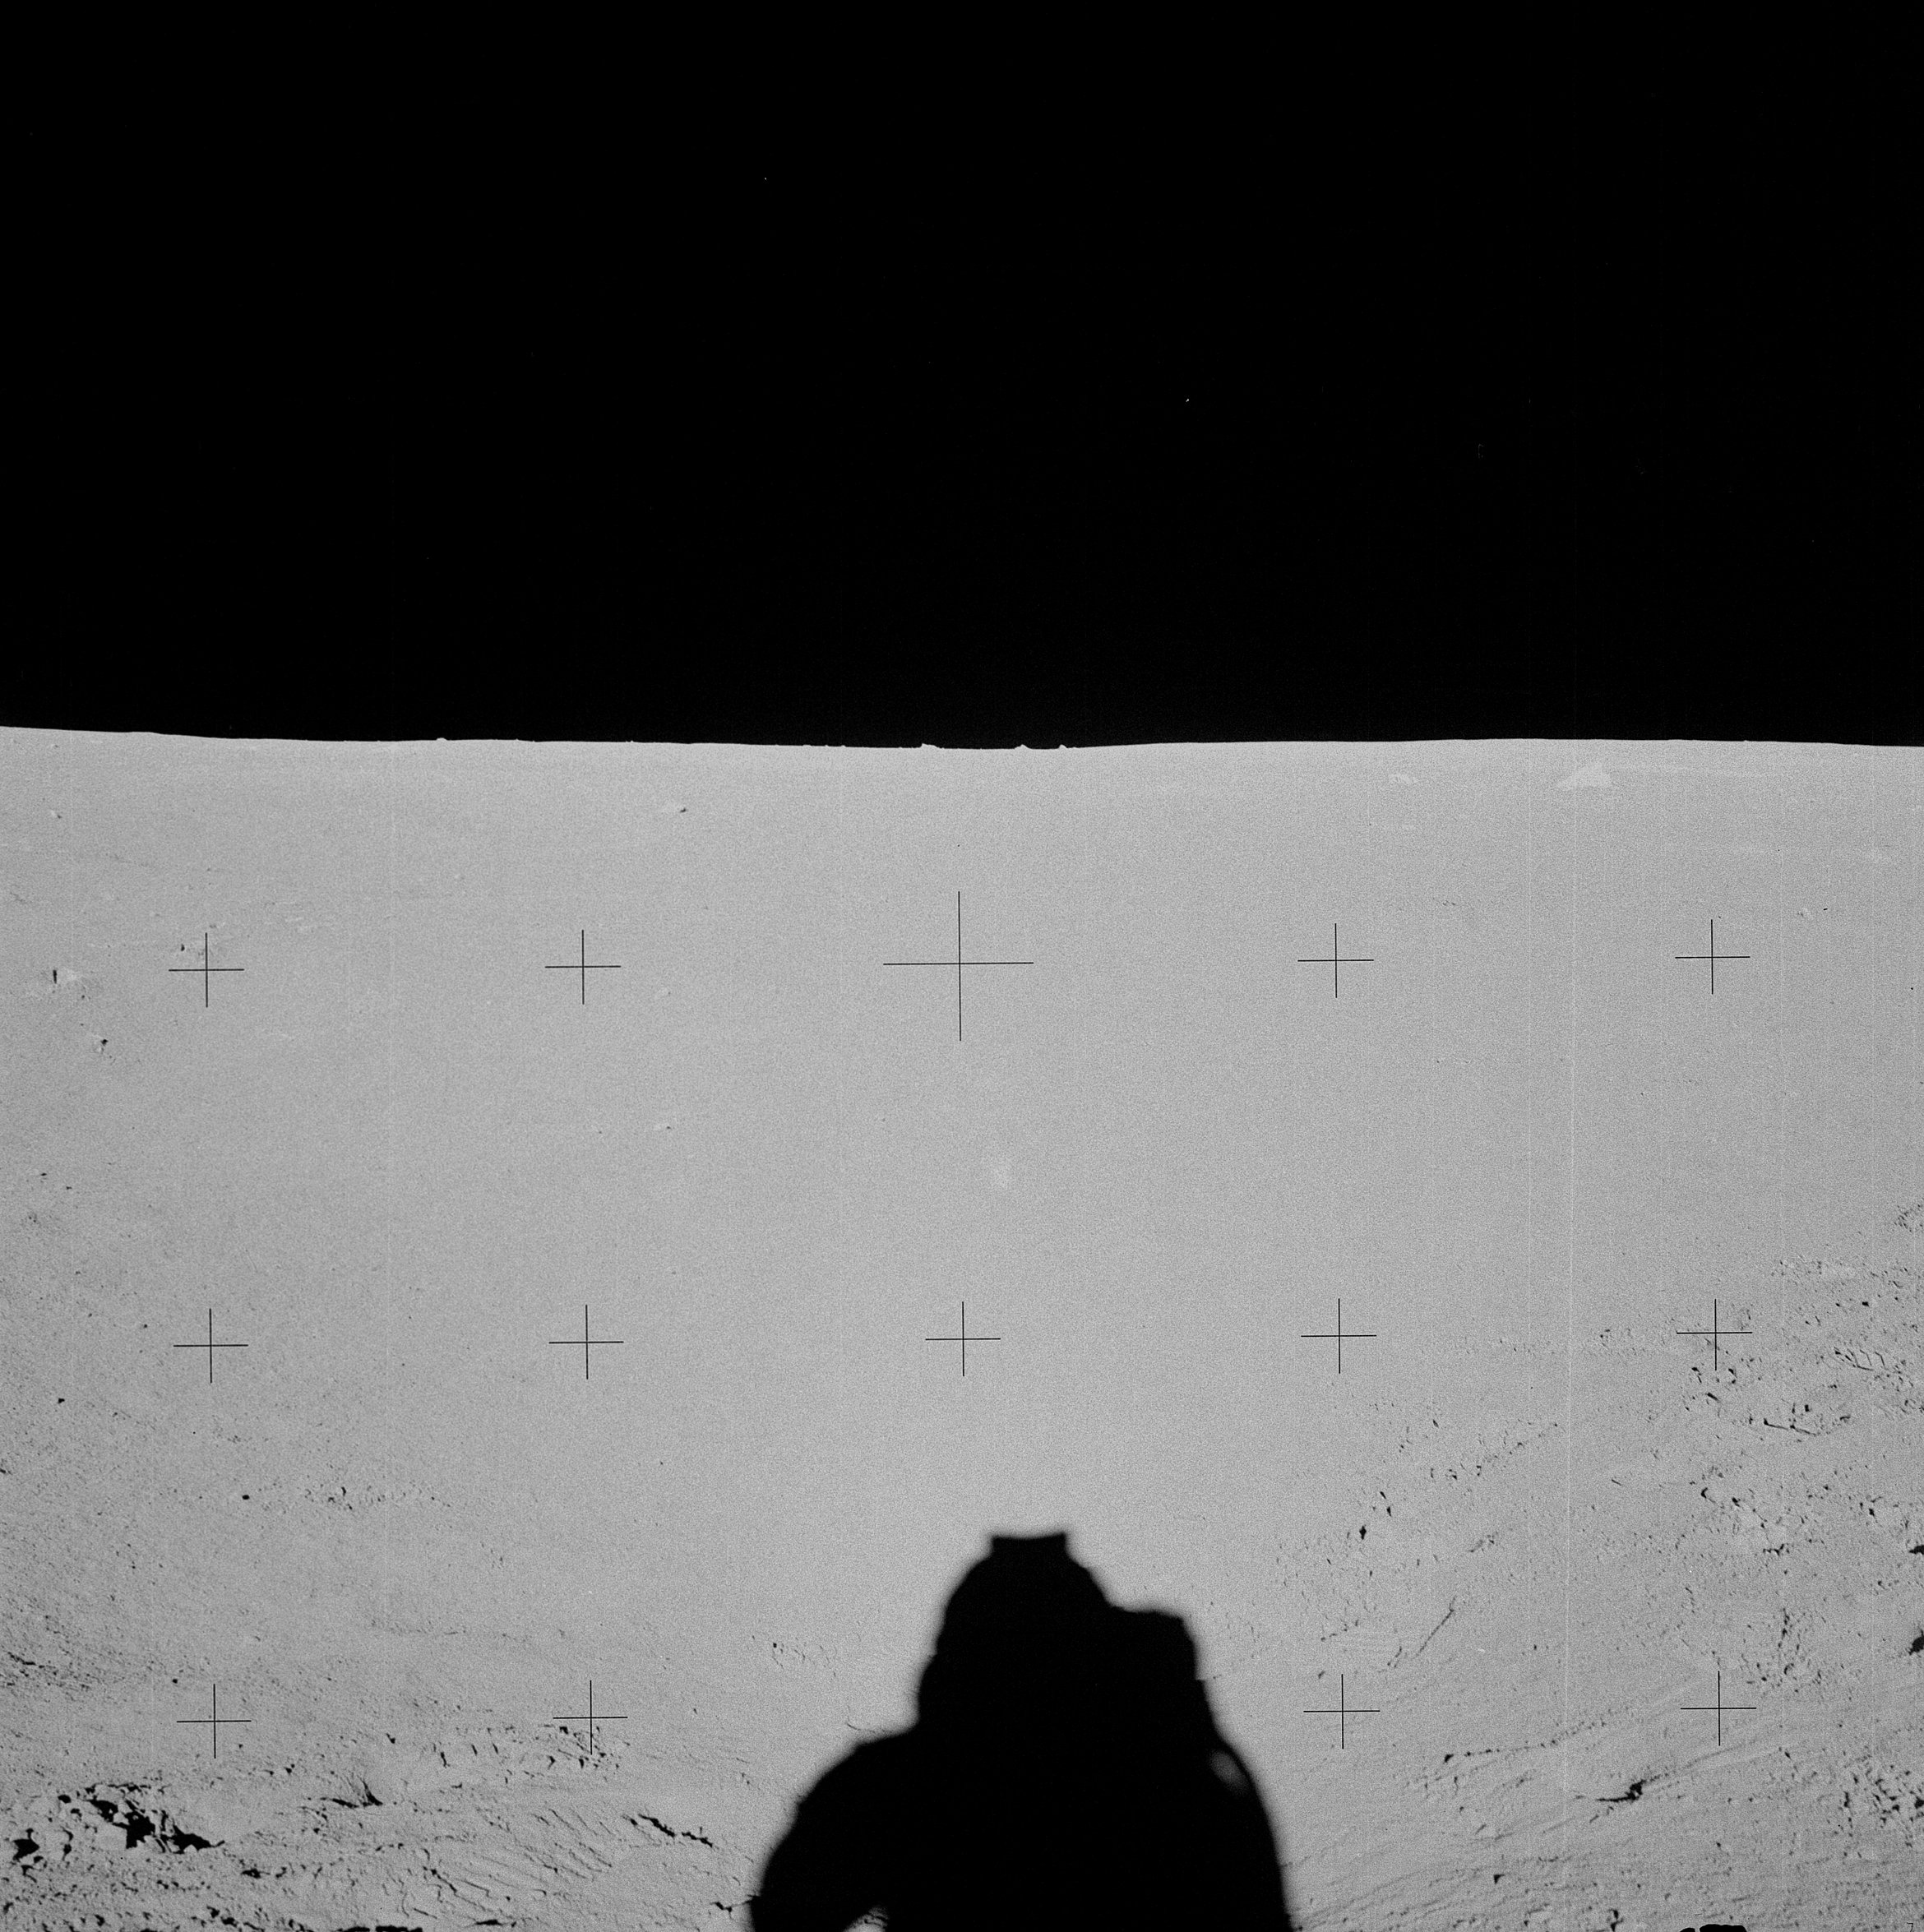 | AS14-68-9395 Down-Sun. Image credit: Image Science and Analysis Laboratory, NASA-Johnson Space Center. |
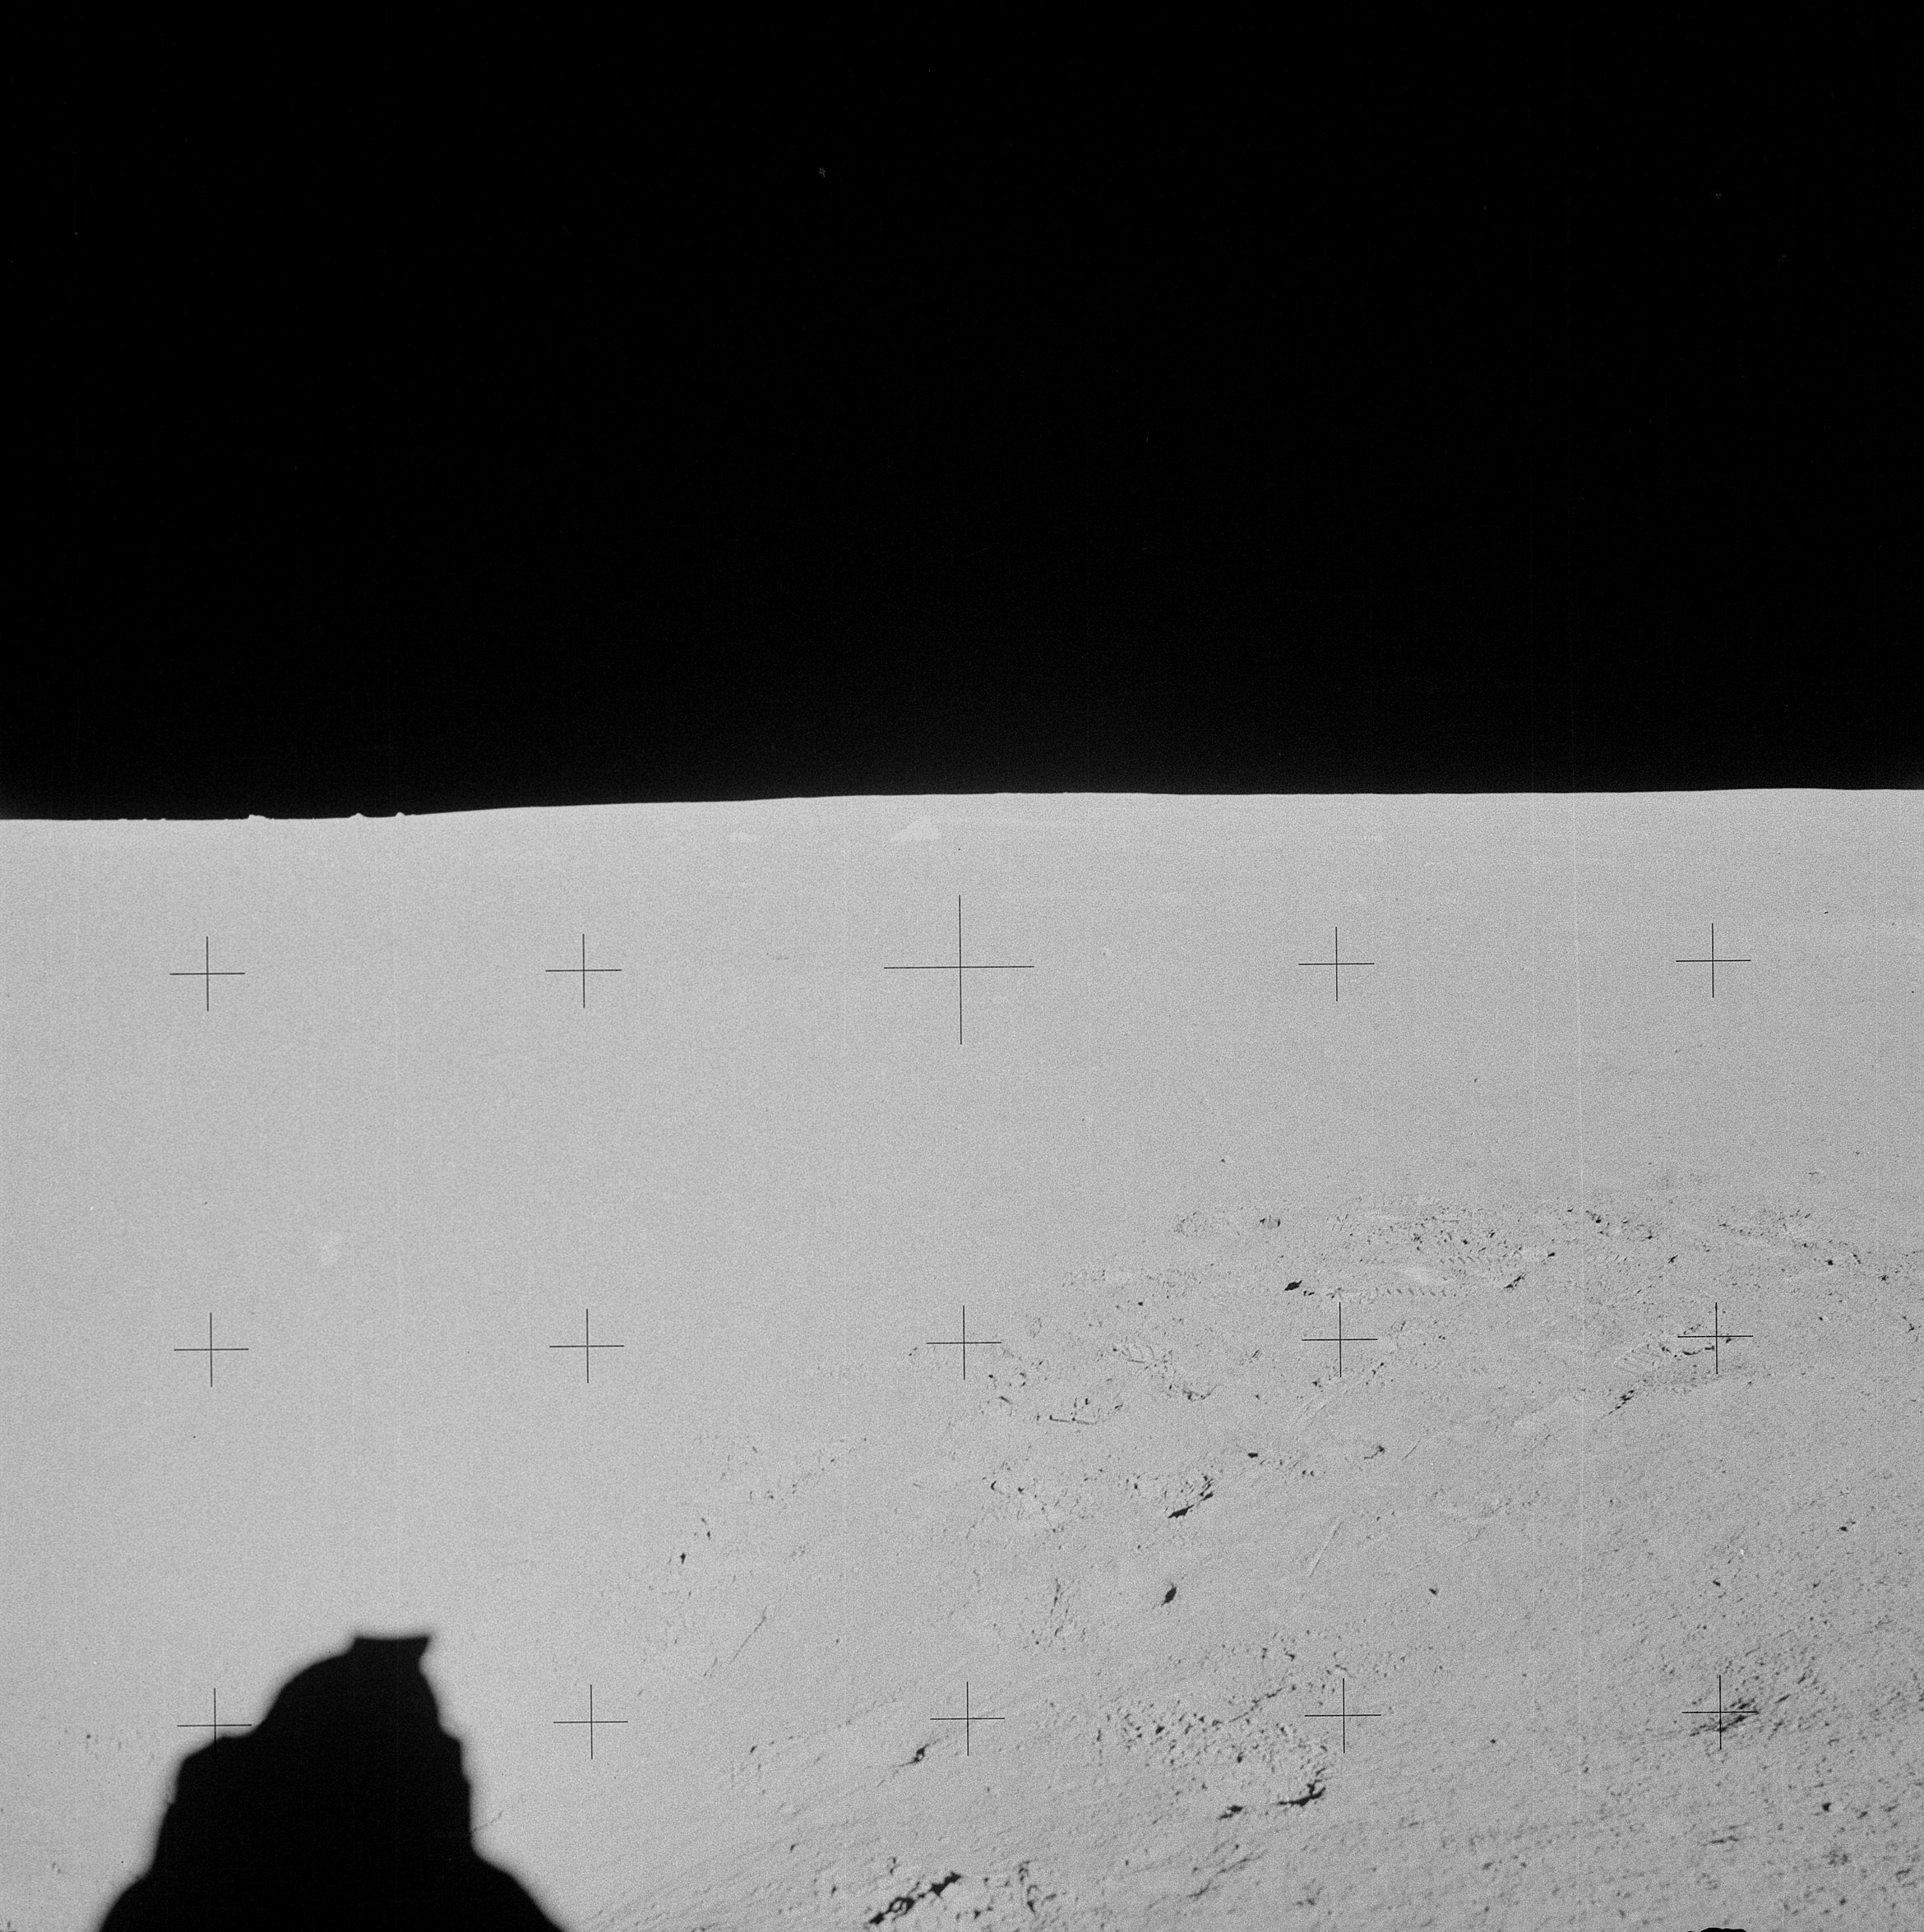 | AS14-68-9396 Rightward of 9395, showing a large boulder. Image credit: Image Science and Analysis Laboratory, NASA-Johnson Space Center. |
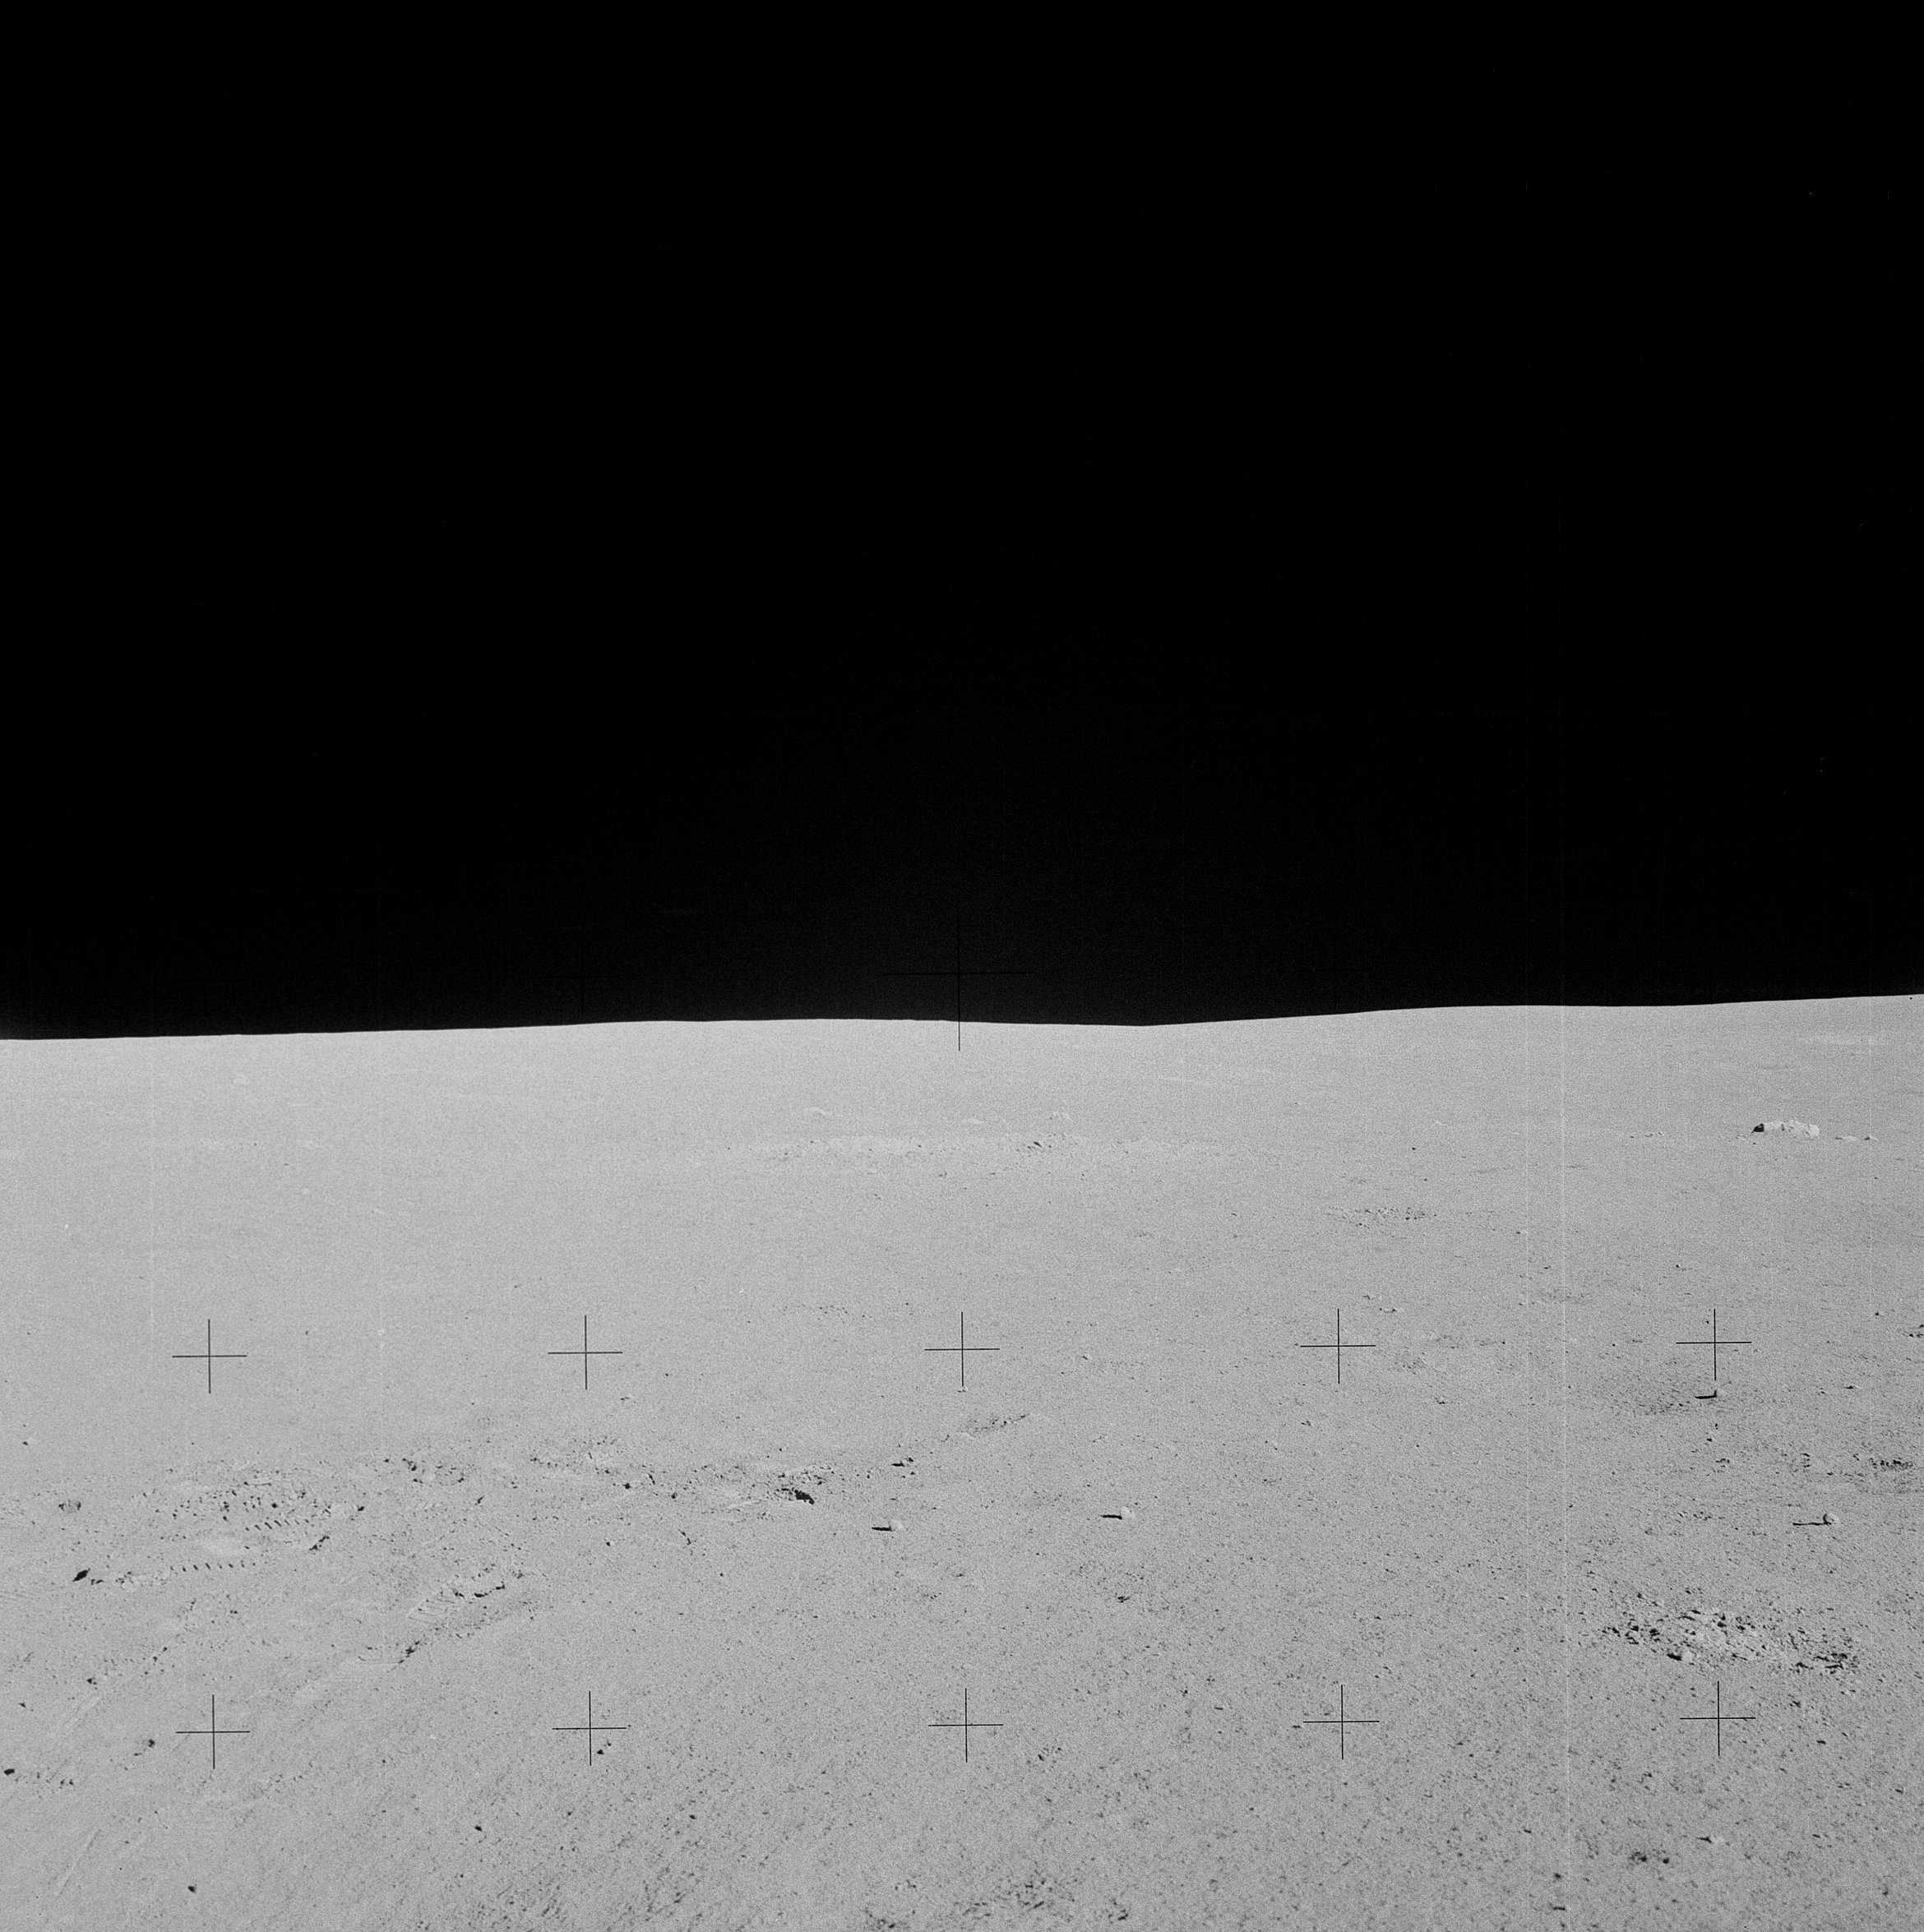 | AS14-68-9397 Rightward of 9396. Image credit: Image Science and Analysis Laboratory, NASA-Johnson Space Center. |
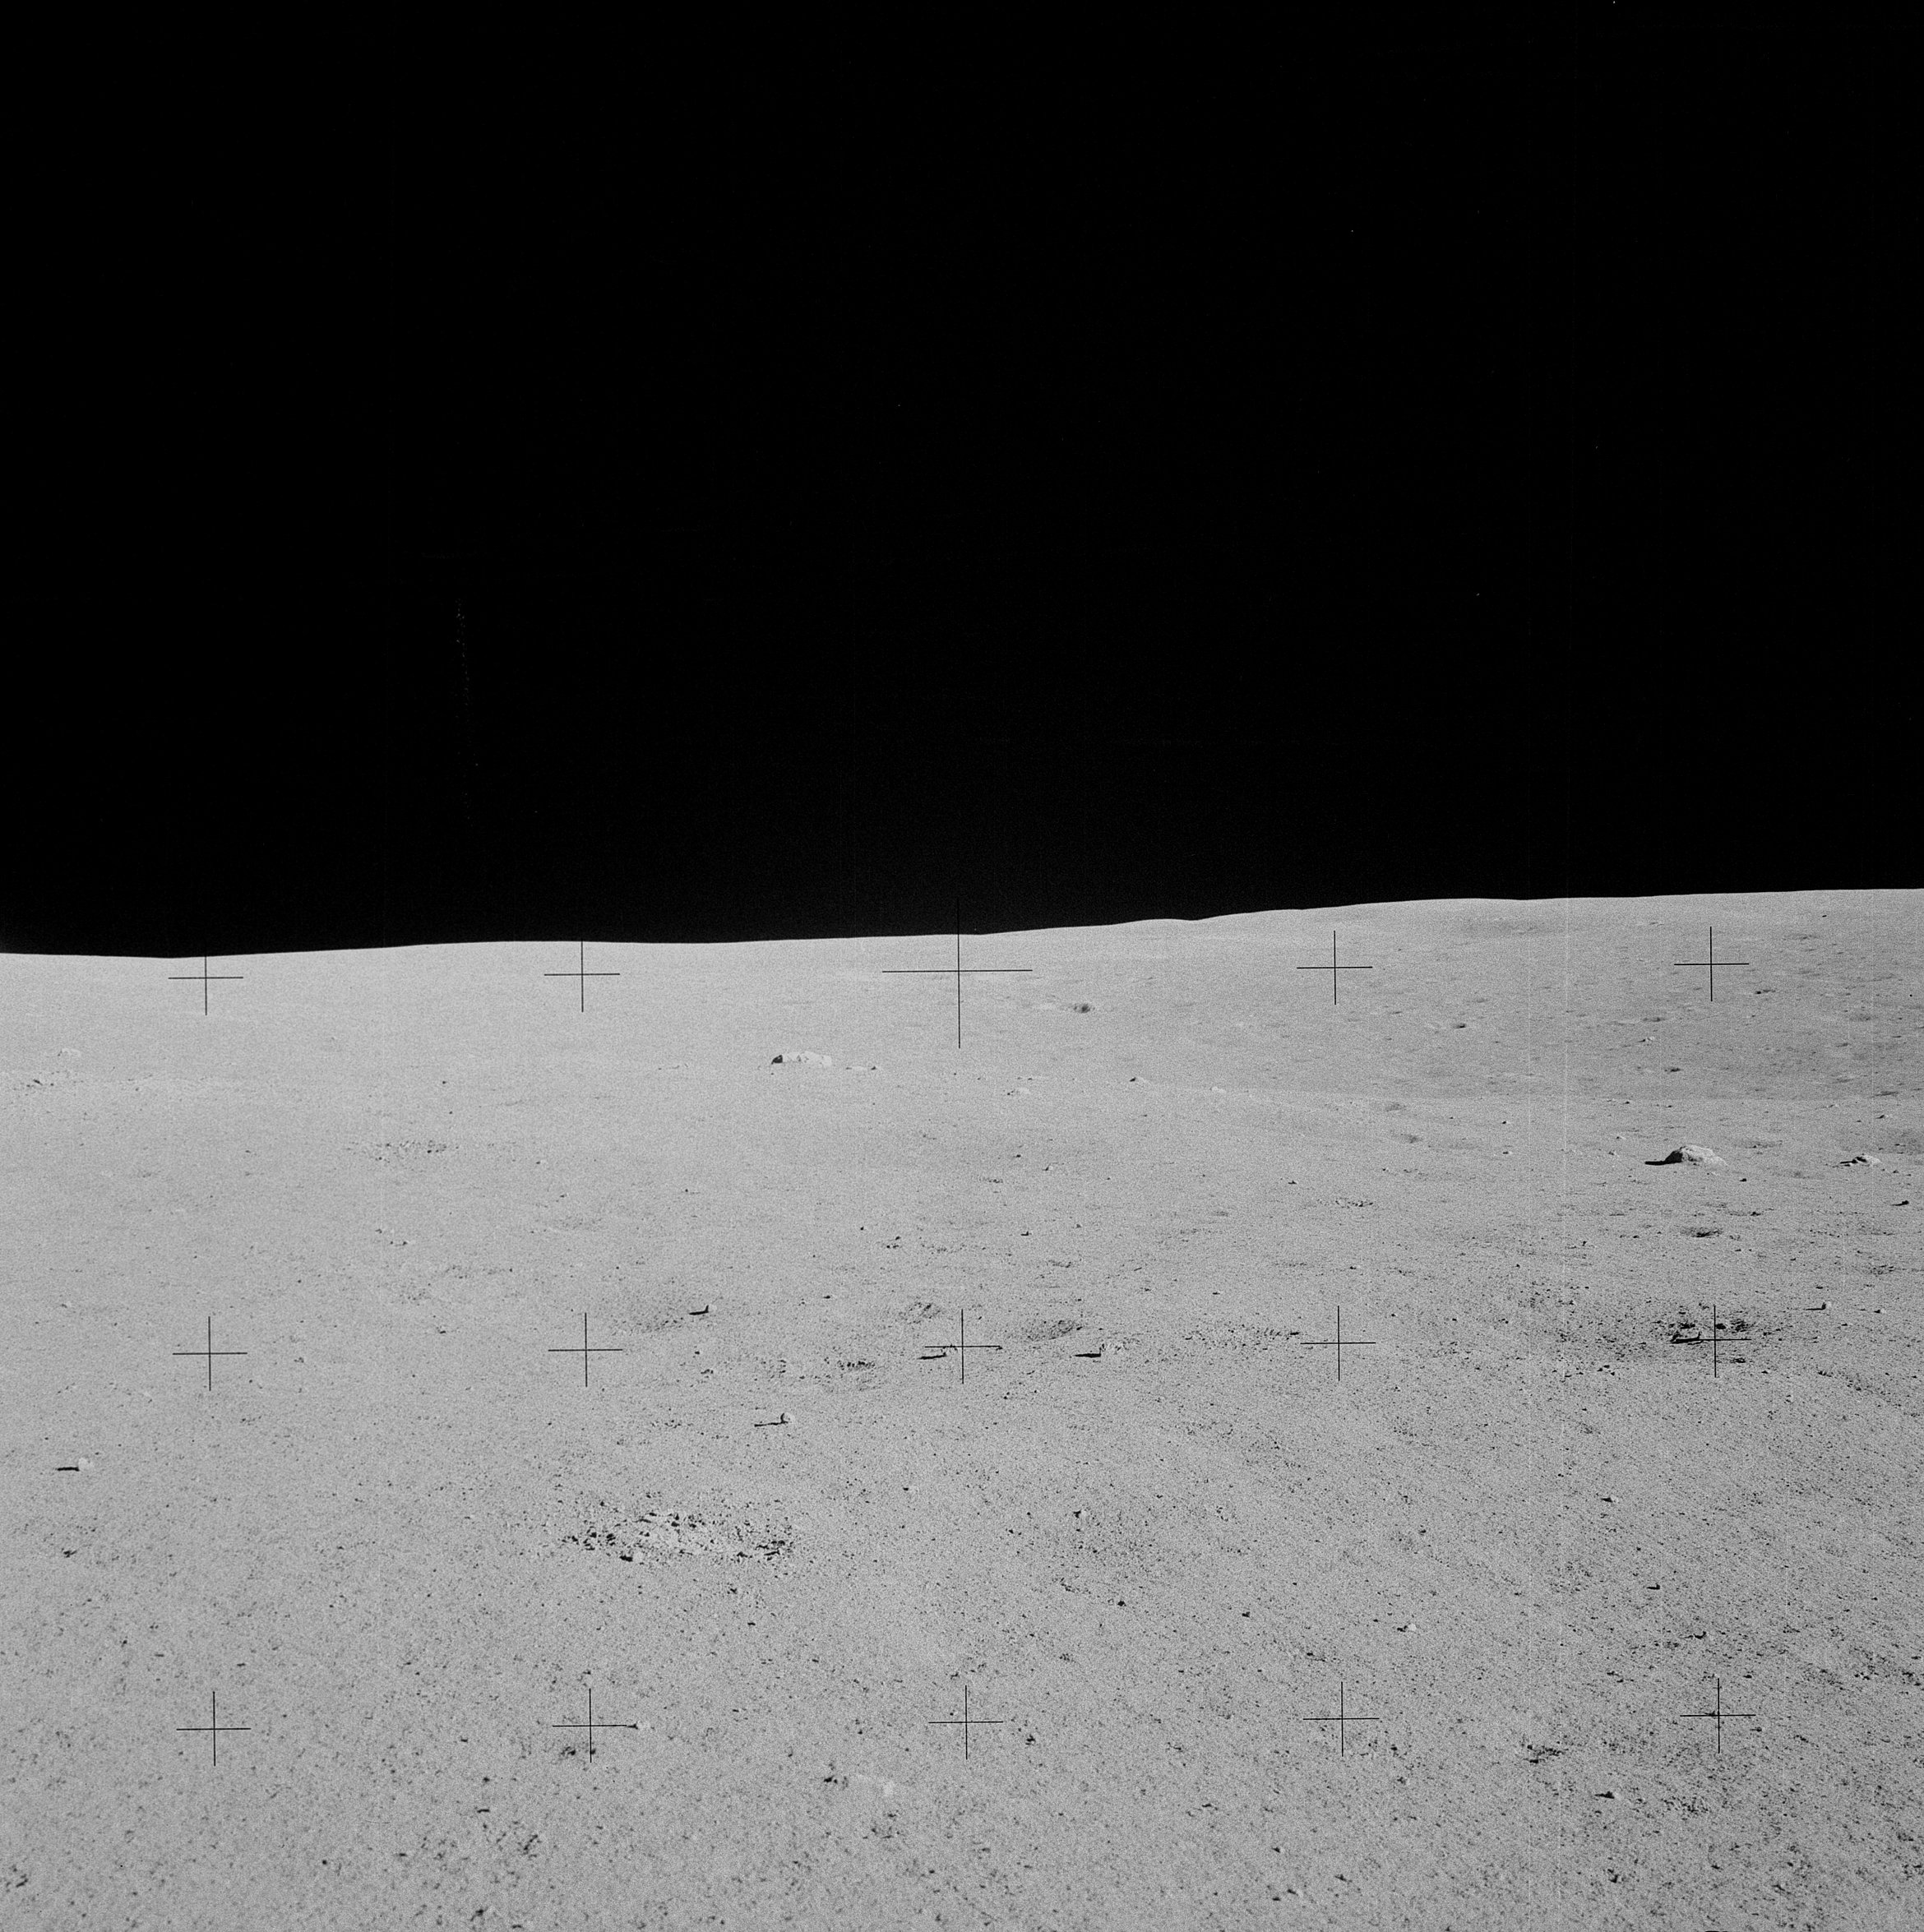 | AS14-68-9398 132:16:29 This frame from Ed's Station A pan gives an impression of the undulation of the local terrain. Image credit: Image Science and Analysis Laboratory, NASA-Johnson Space Center. |
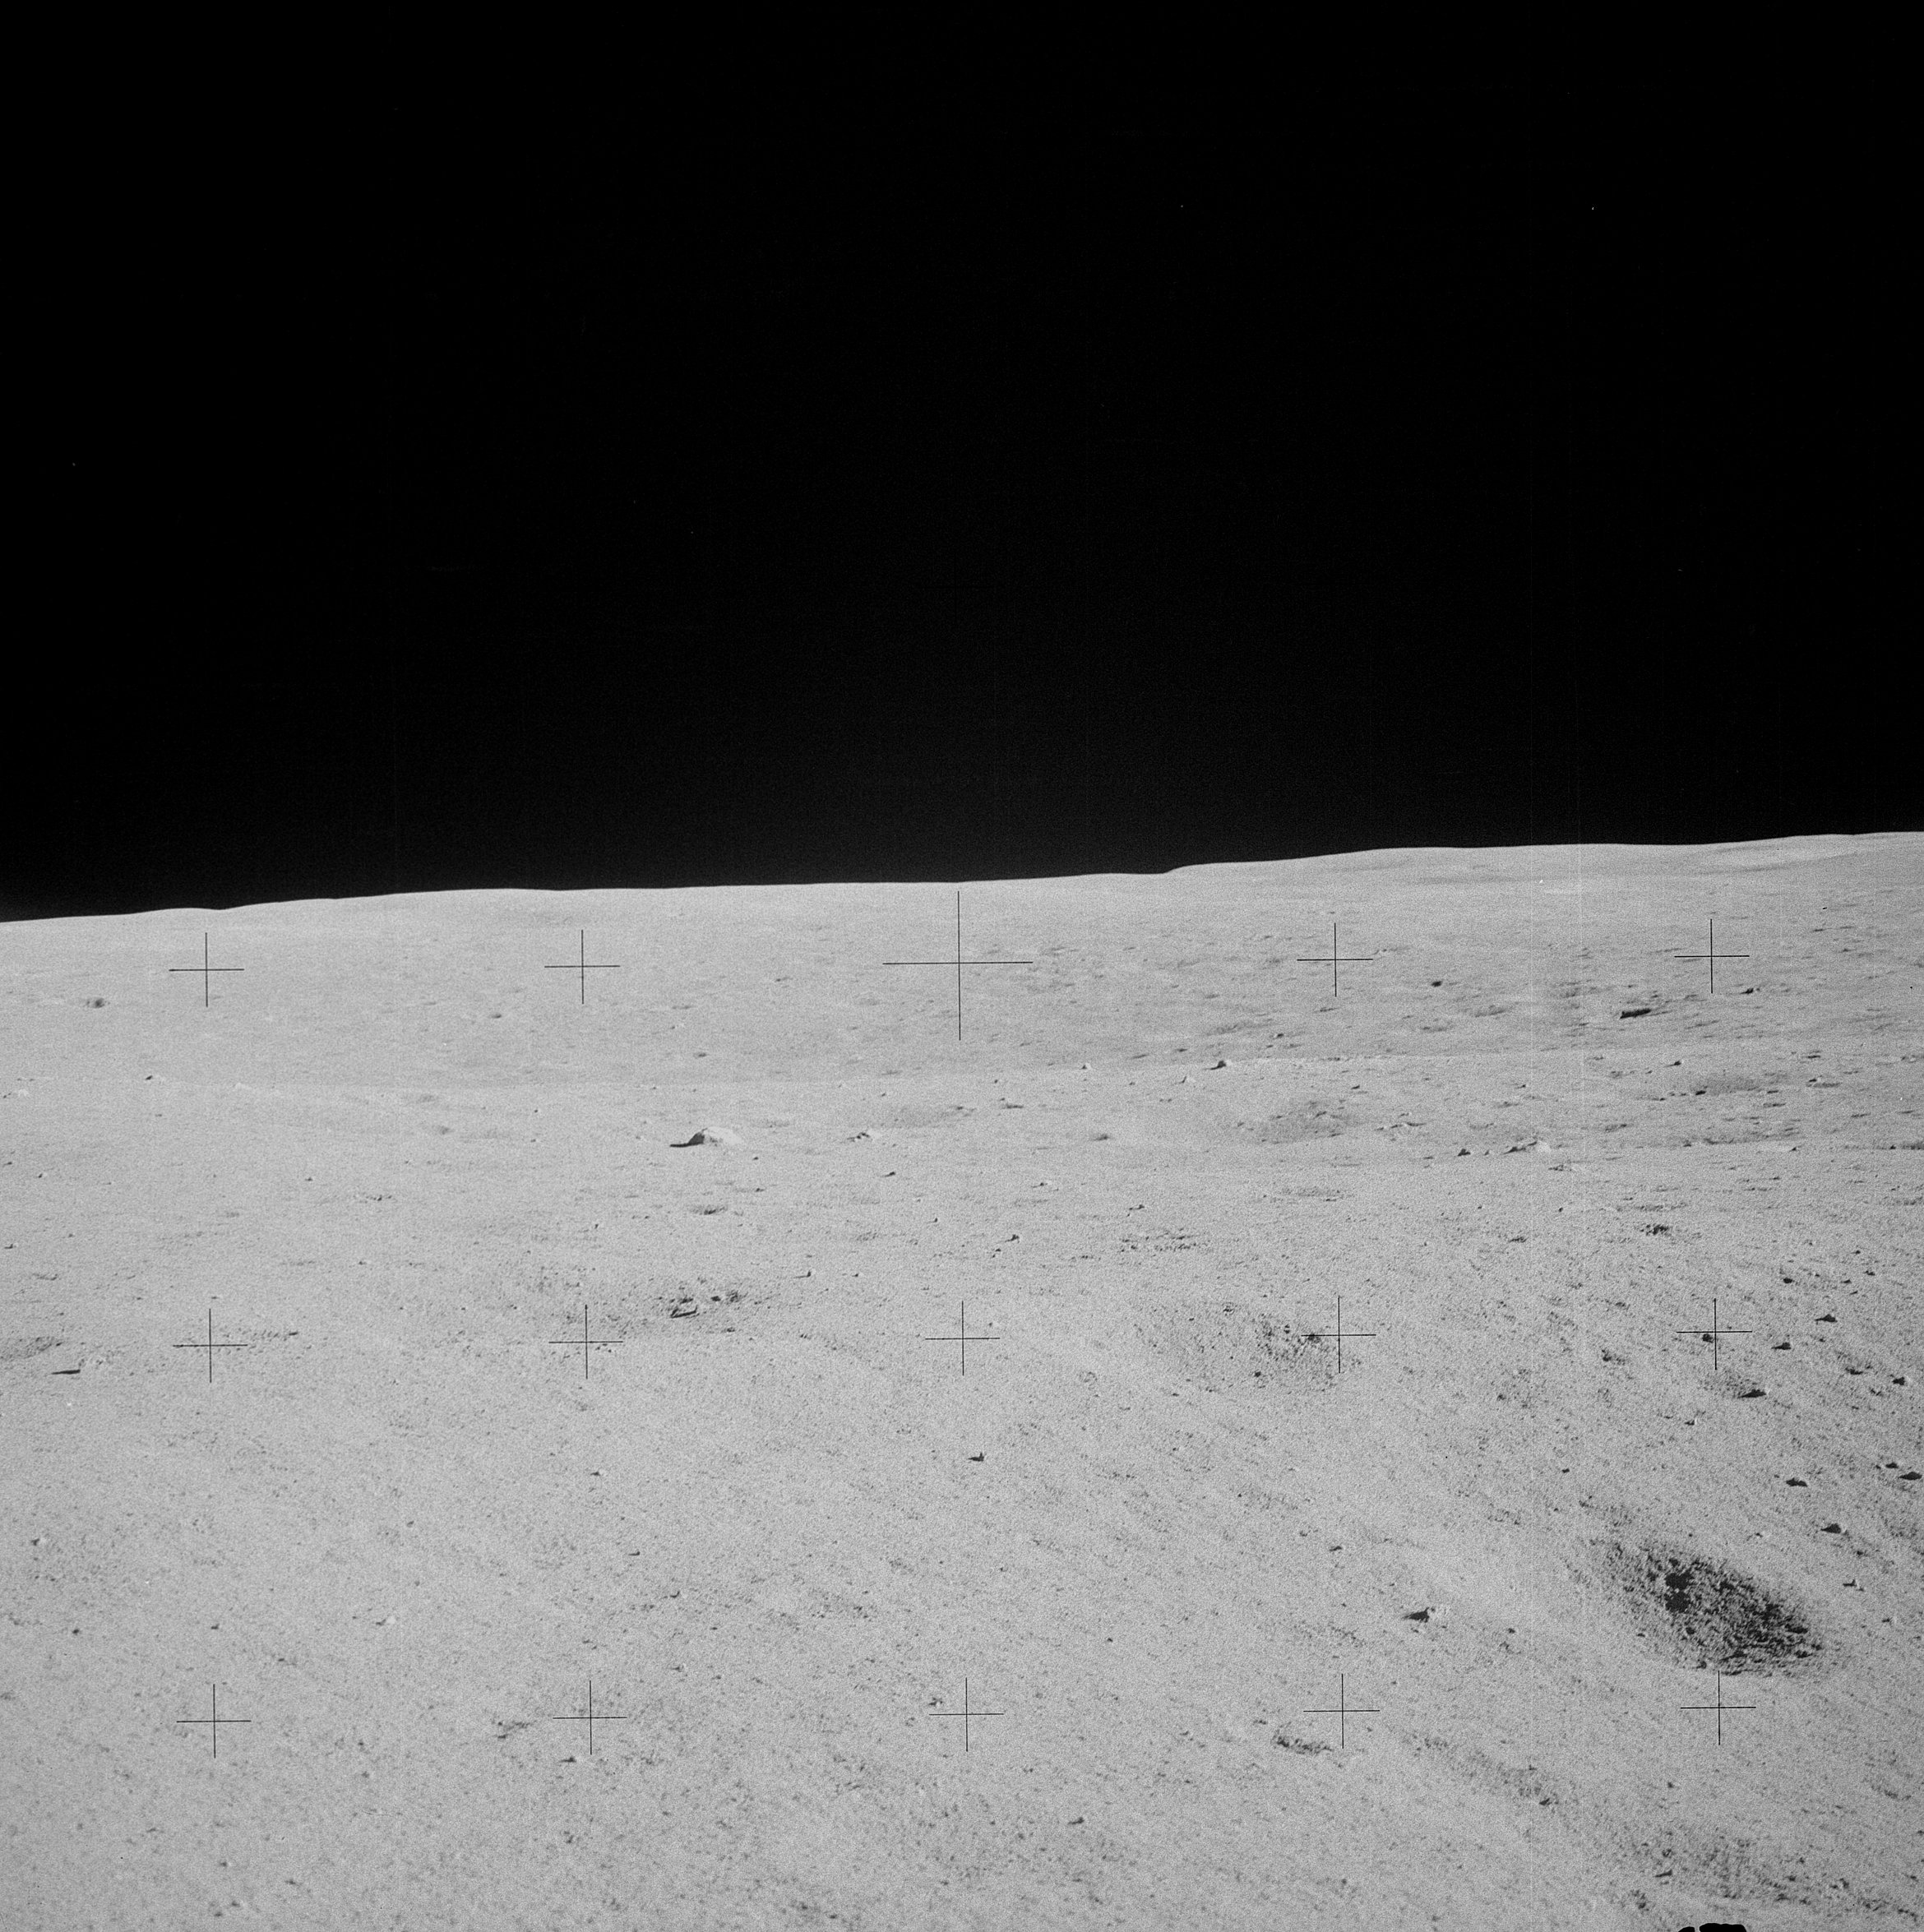 | AS14-68-9399 Rightward of 9398, showing the undulation of the local terrain. Image credit: Image Science and Analysis Laboratory, NASA-Johnson Space Center. |
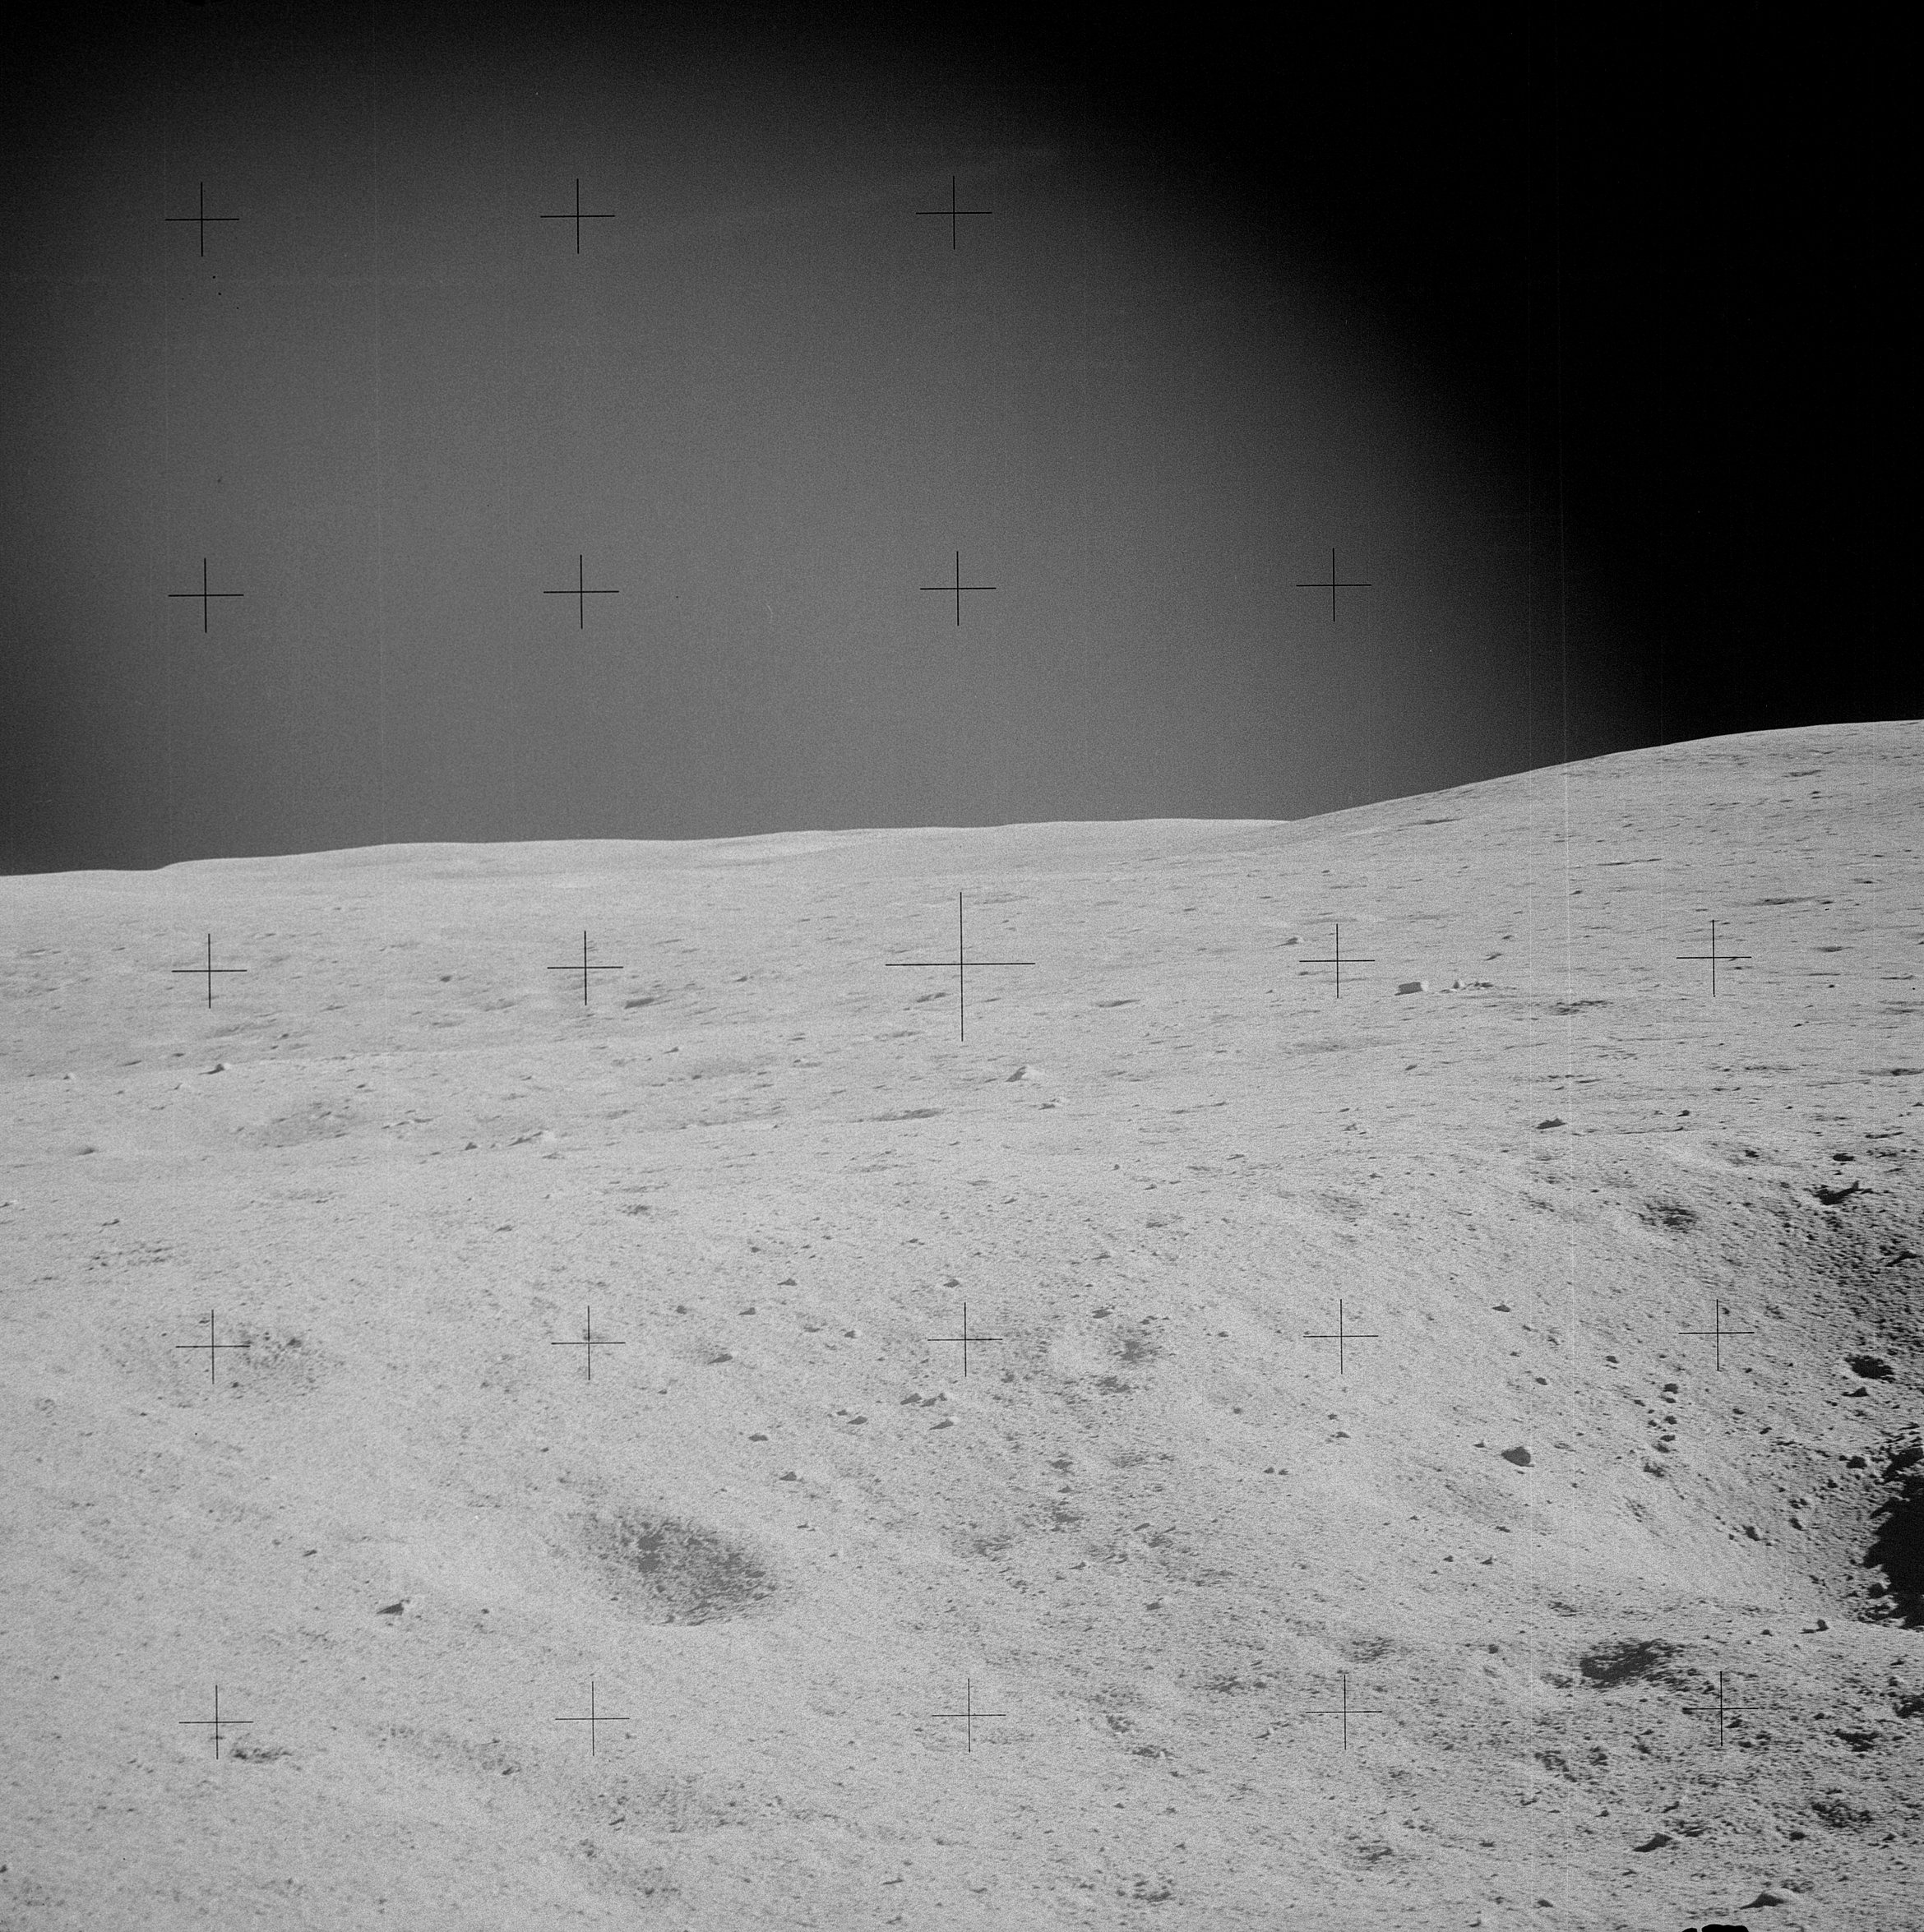 | AS14-68-9400 Rightward of 9399. Image credit: Image Science and Analysis Laboratory, NASA-Johnson Space Center. |
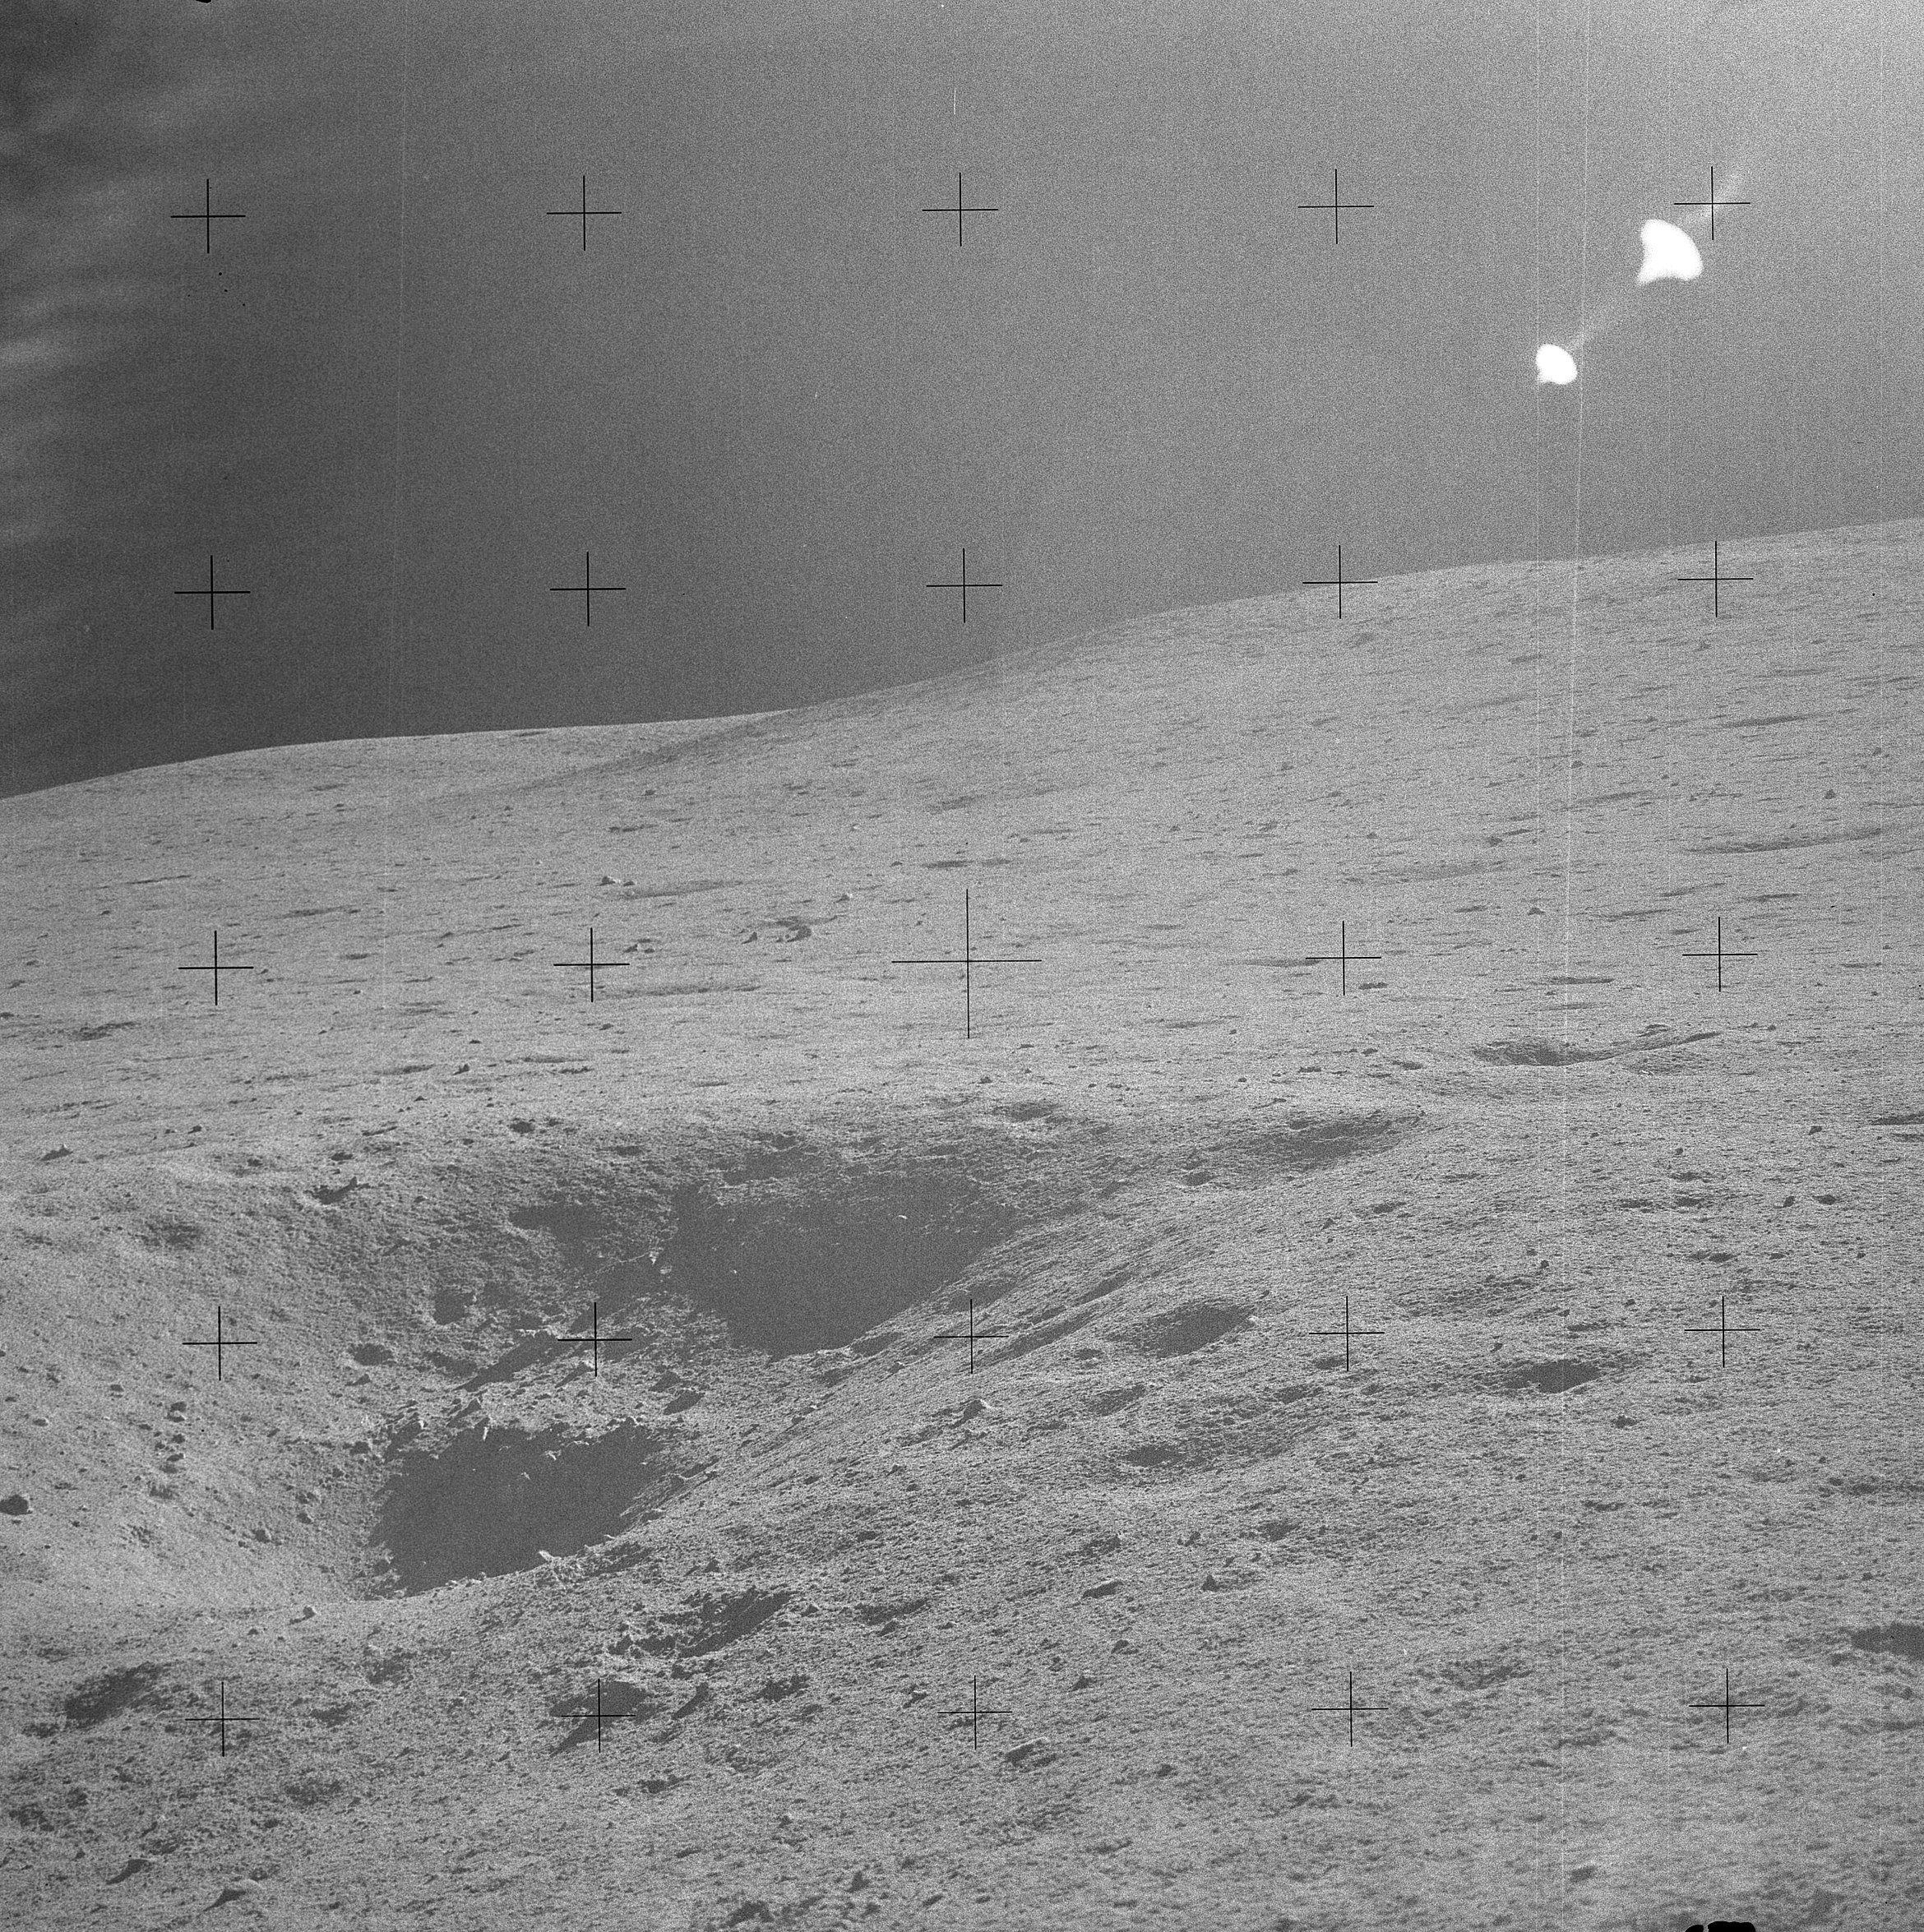 | AS14-68-9401 Rightward of 9400, with the two craters noted previously at the left. Image credit: Image Science and Analysis Laboratory, NASA-Johnson Space Center. |
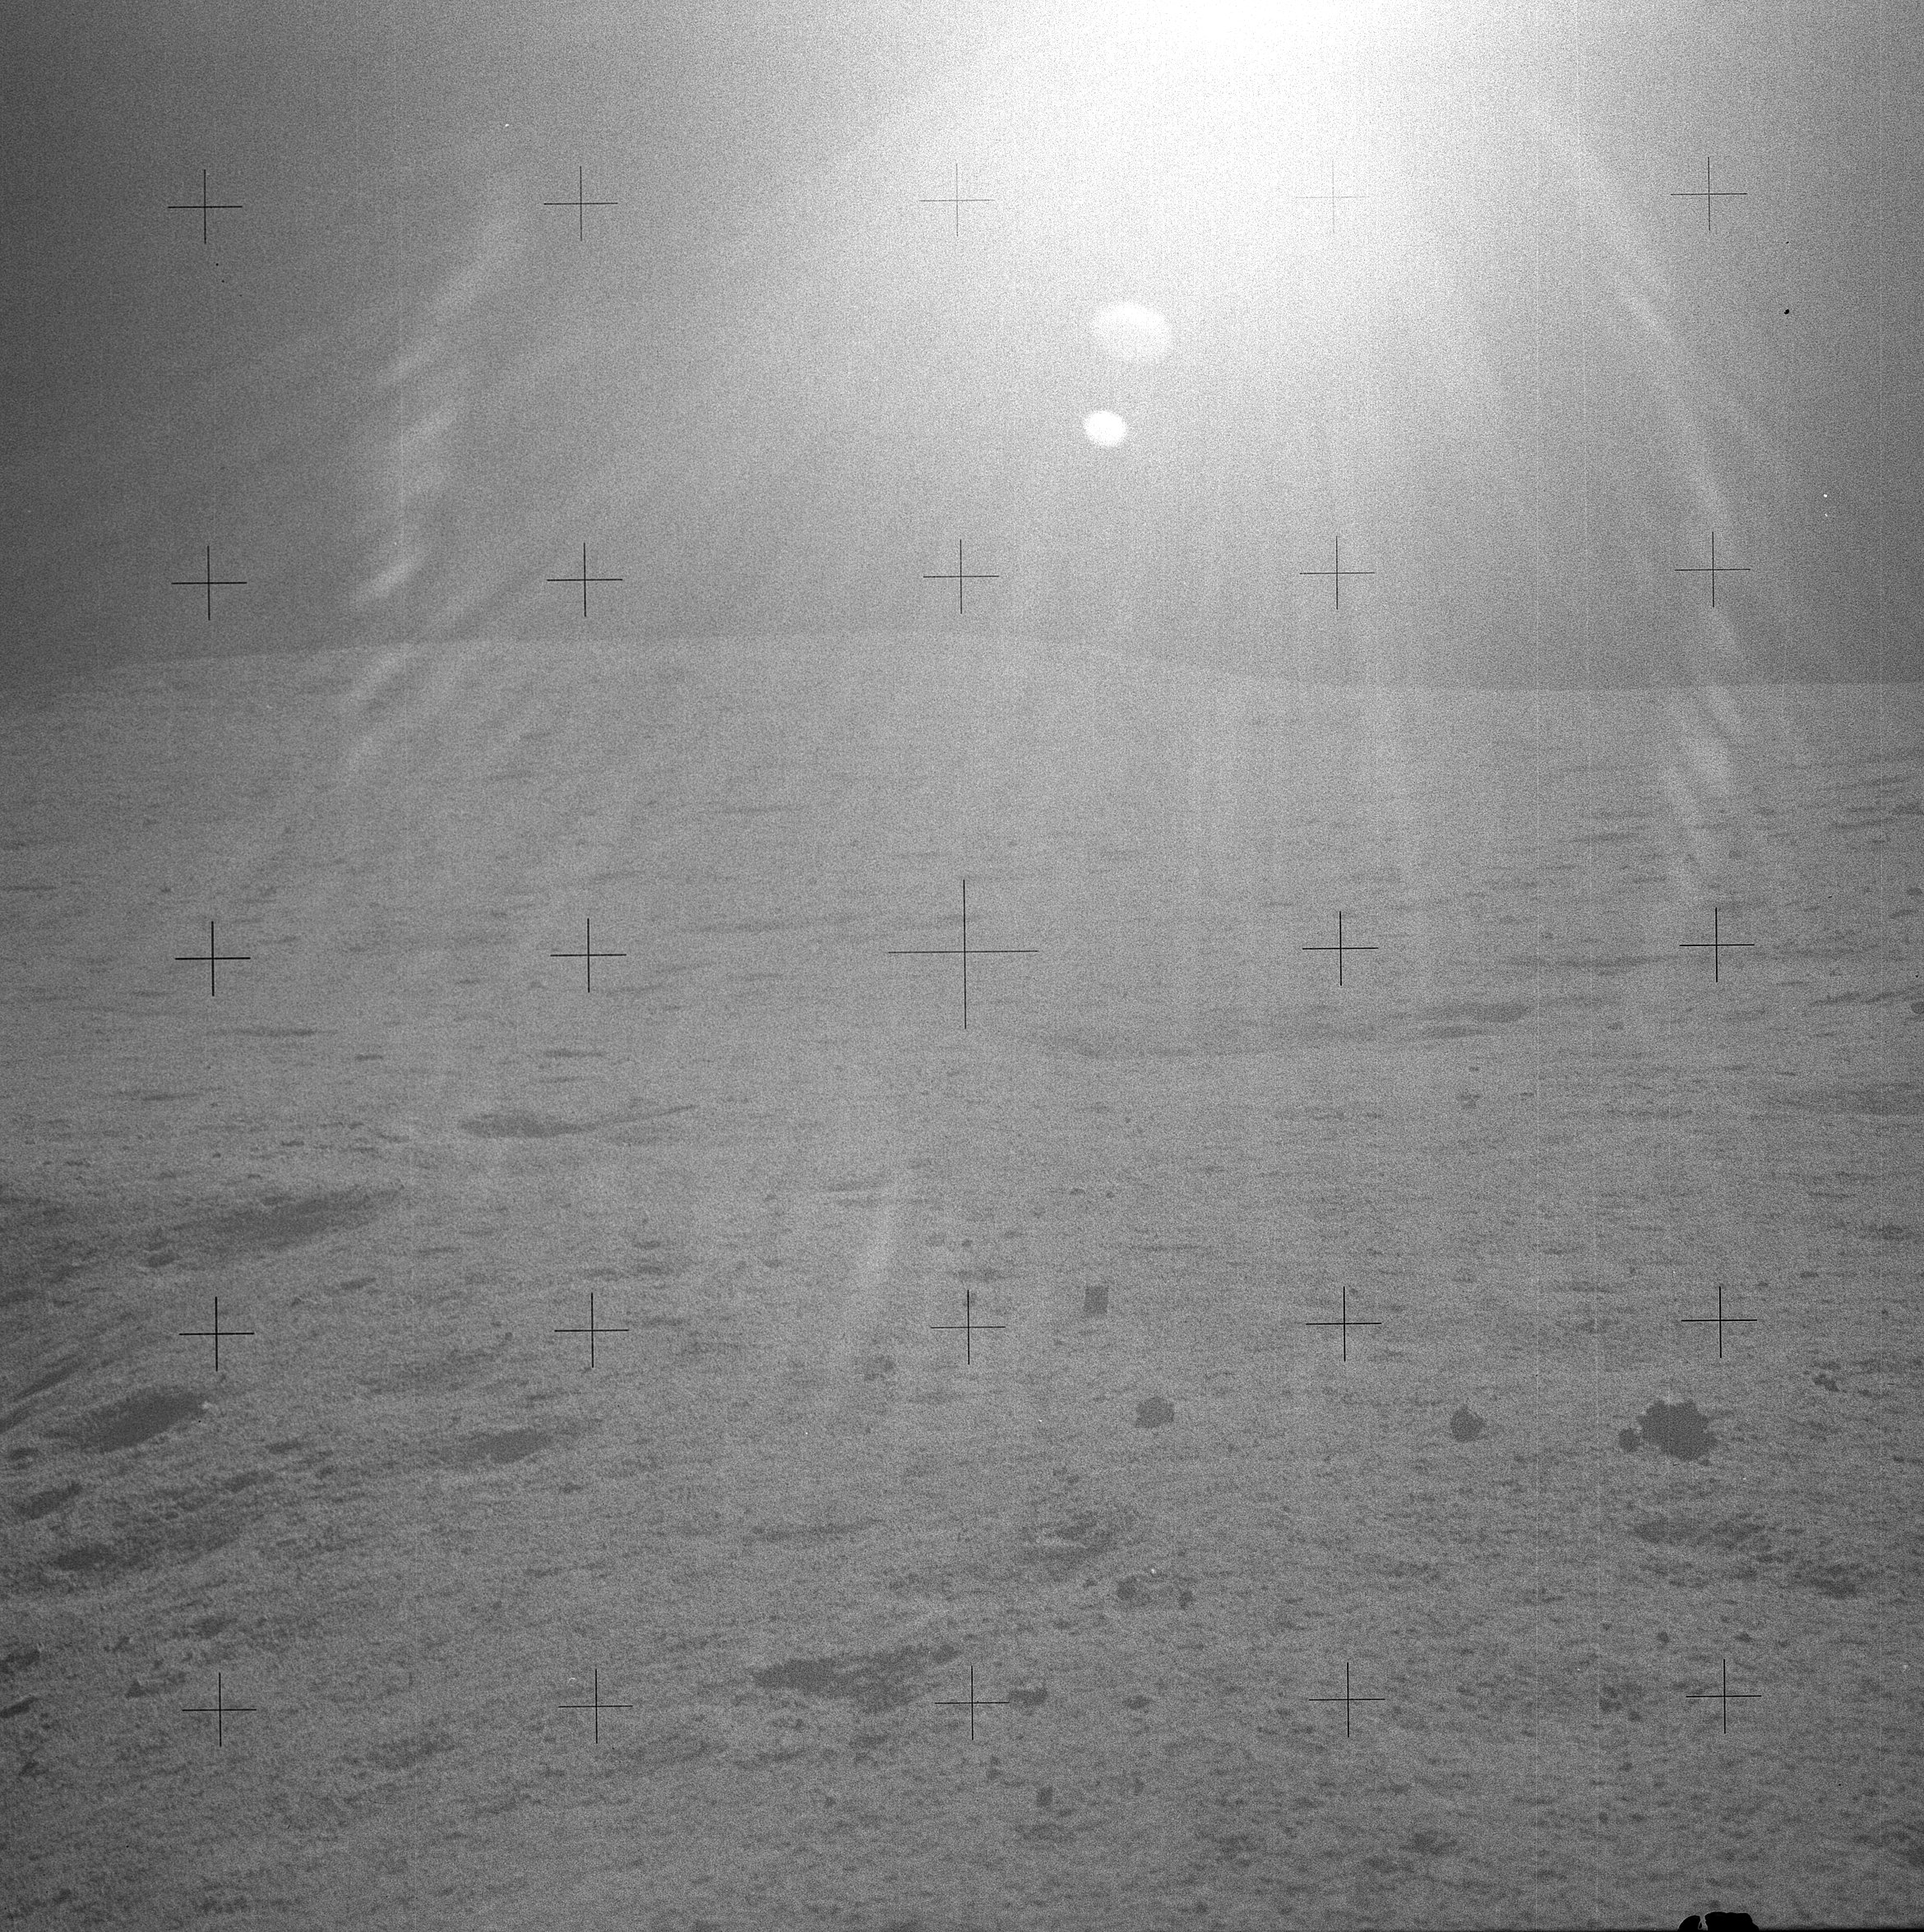 | AS14-68-9402 Rightward of 9401. Image credit: Image Science and Analysis Laboratory, NASA-Johnson Space Center. |
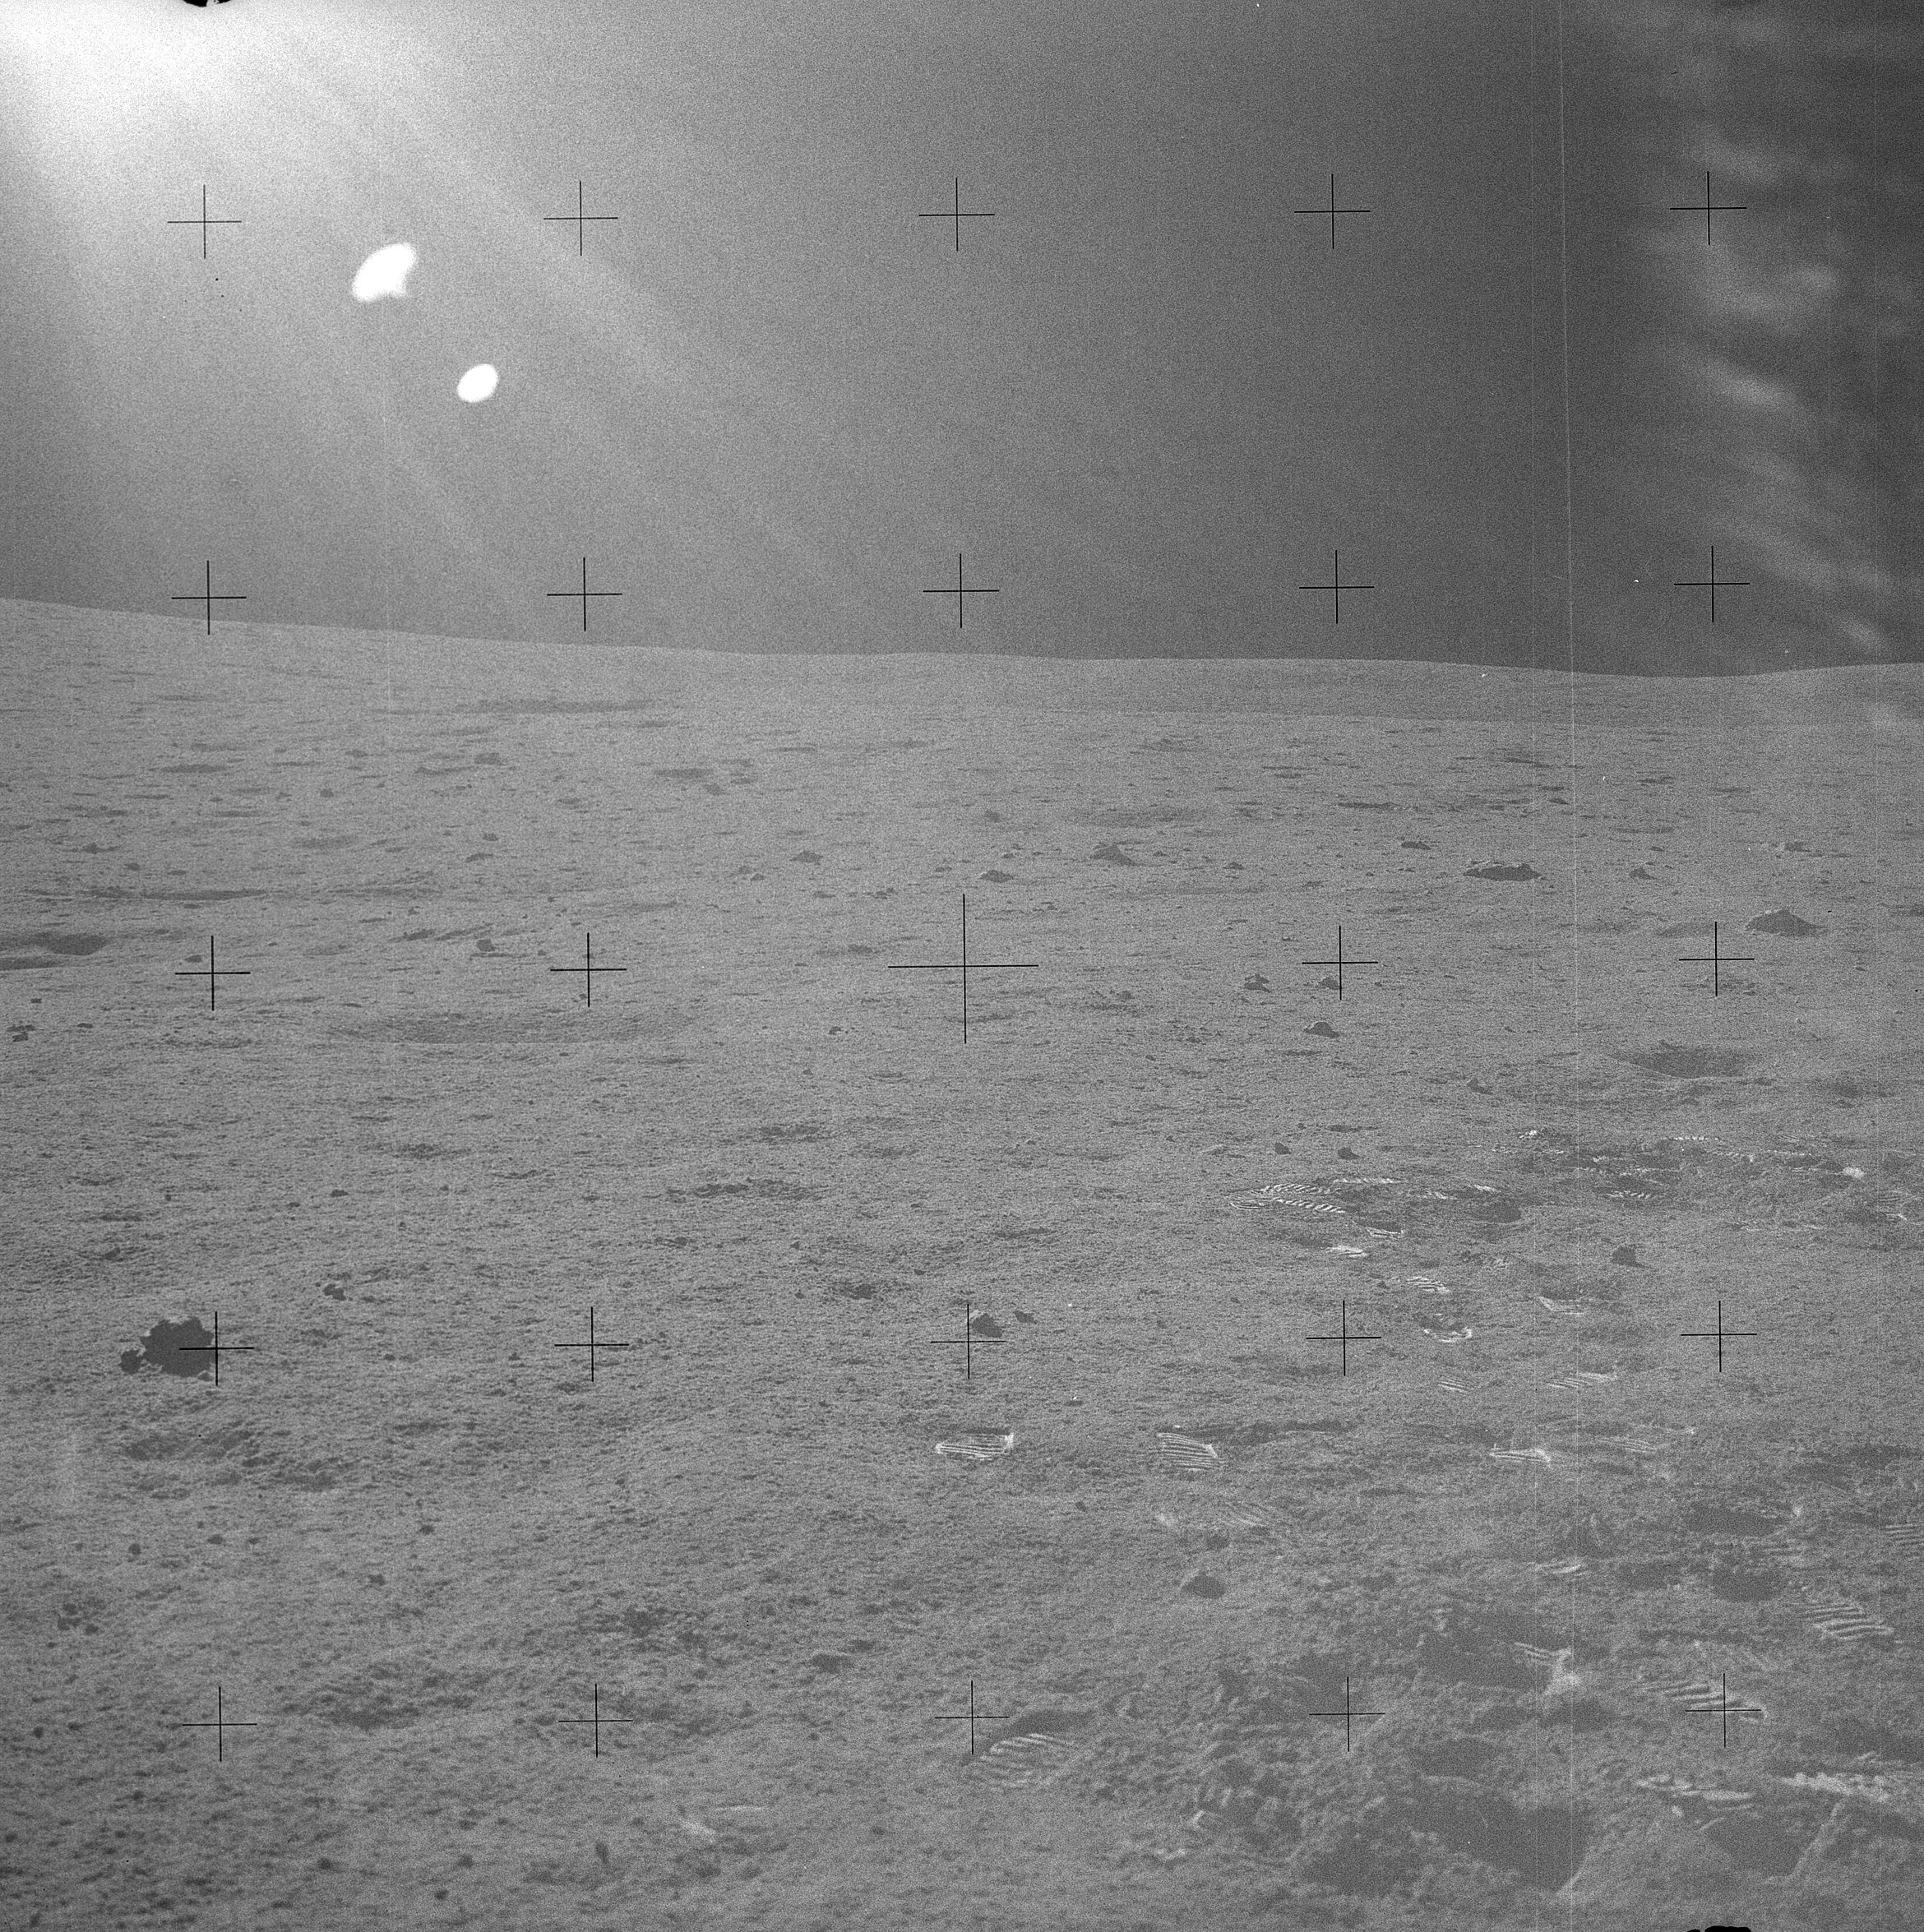 | AS14-68-9403 Rightward of 9402. Image credit: Image Science and Analysis Laboratory, NASA-Johnson Space Center. |
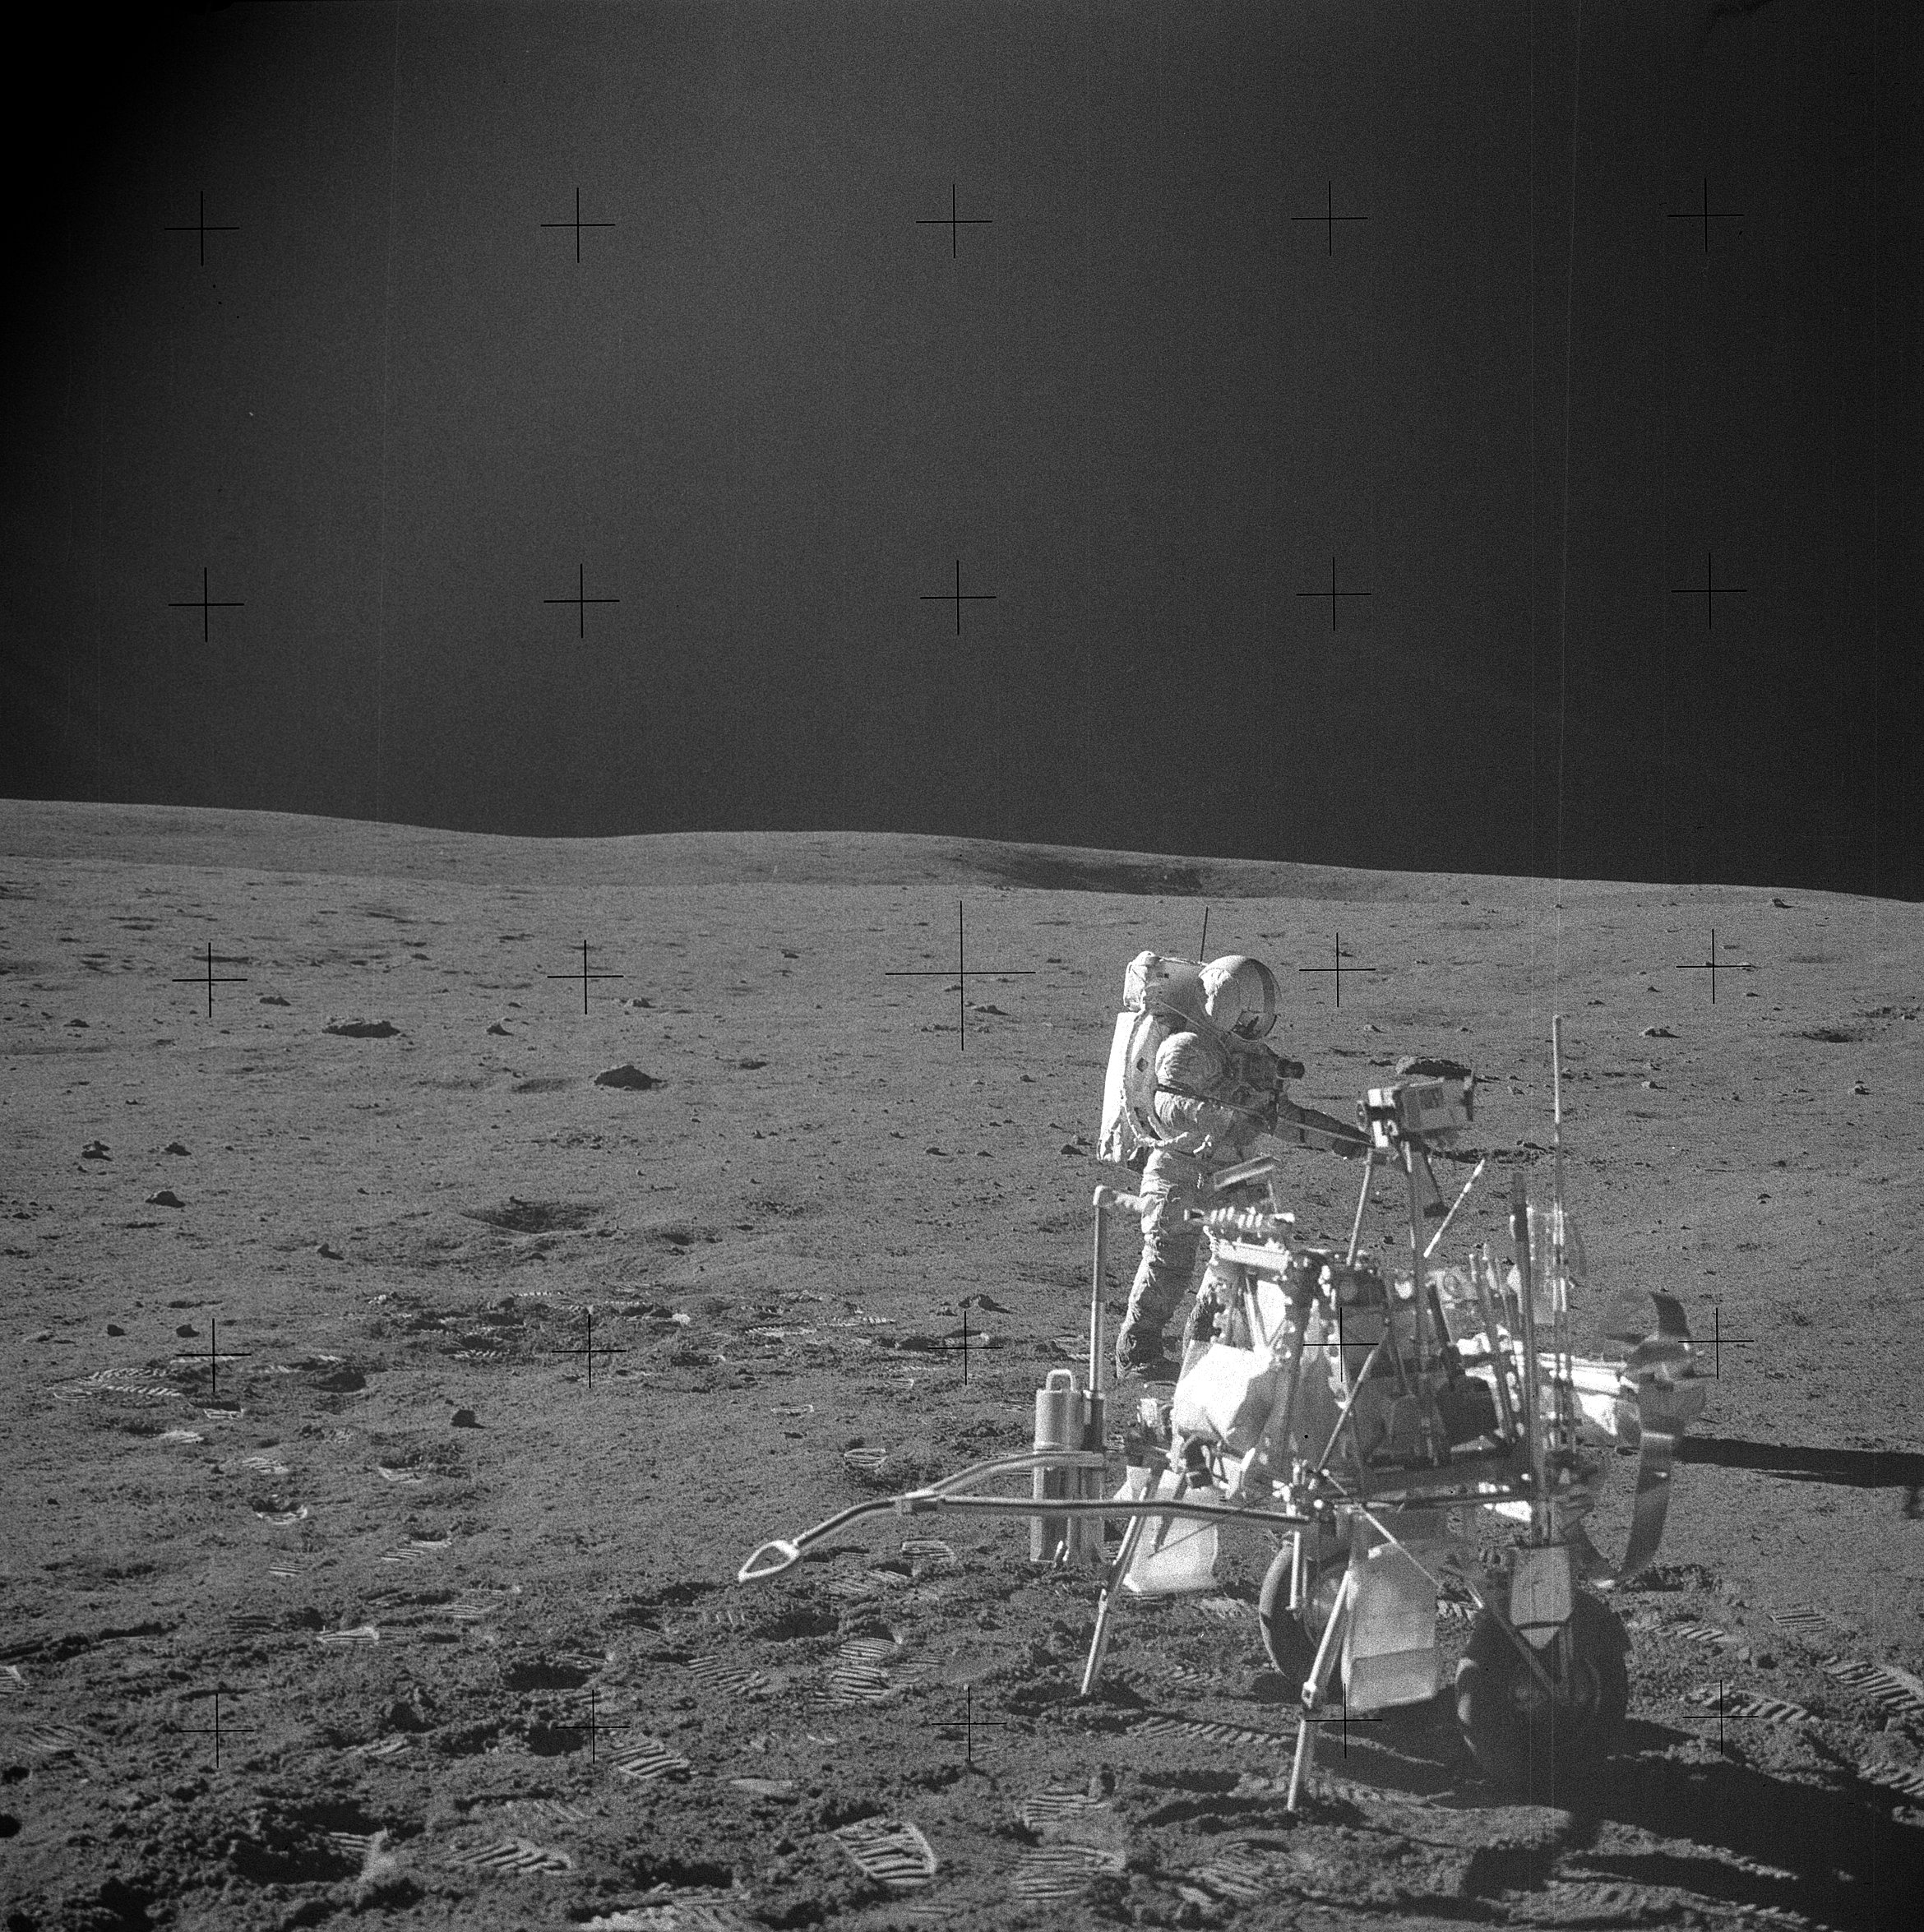 | AS14-68-9404 Although the human eye does a far better job than the camera does of picking out the thin ovals appearance of all but the closest craters, Al's Station B pan gives an idea of the problem involved in trying to figure out where, exactly, they were. Image credit: Image Science and Analysis Laboratory, NASA-Johnson Space Center. |
 | AS14-68-9405 132:16:44 Superb picture of Al with the core tube and extension handle. Image credit: Image Science and Analysis Laboratory, NASA-Johnson Space Center. |
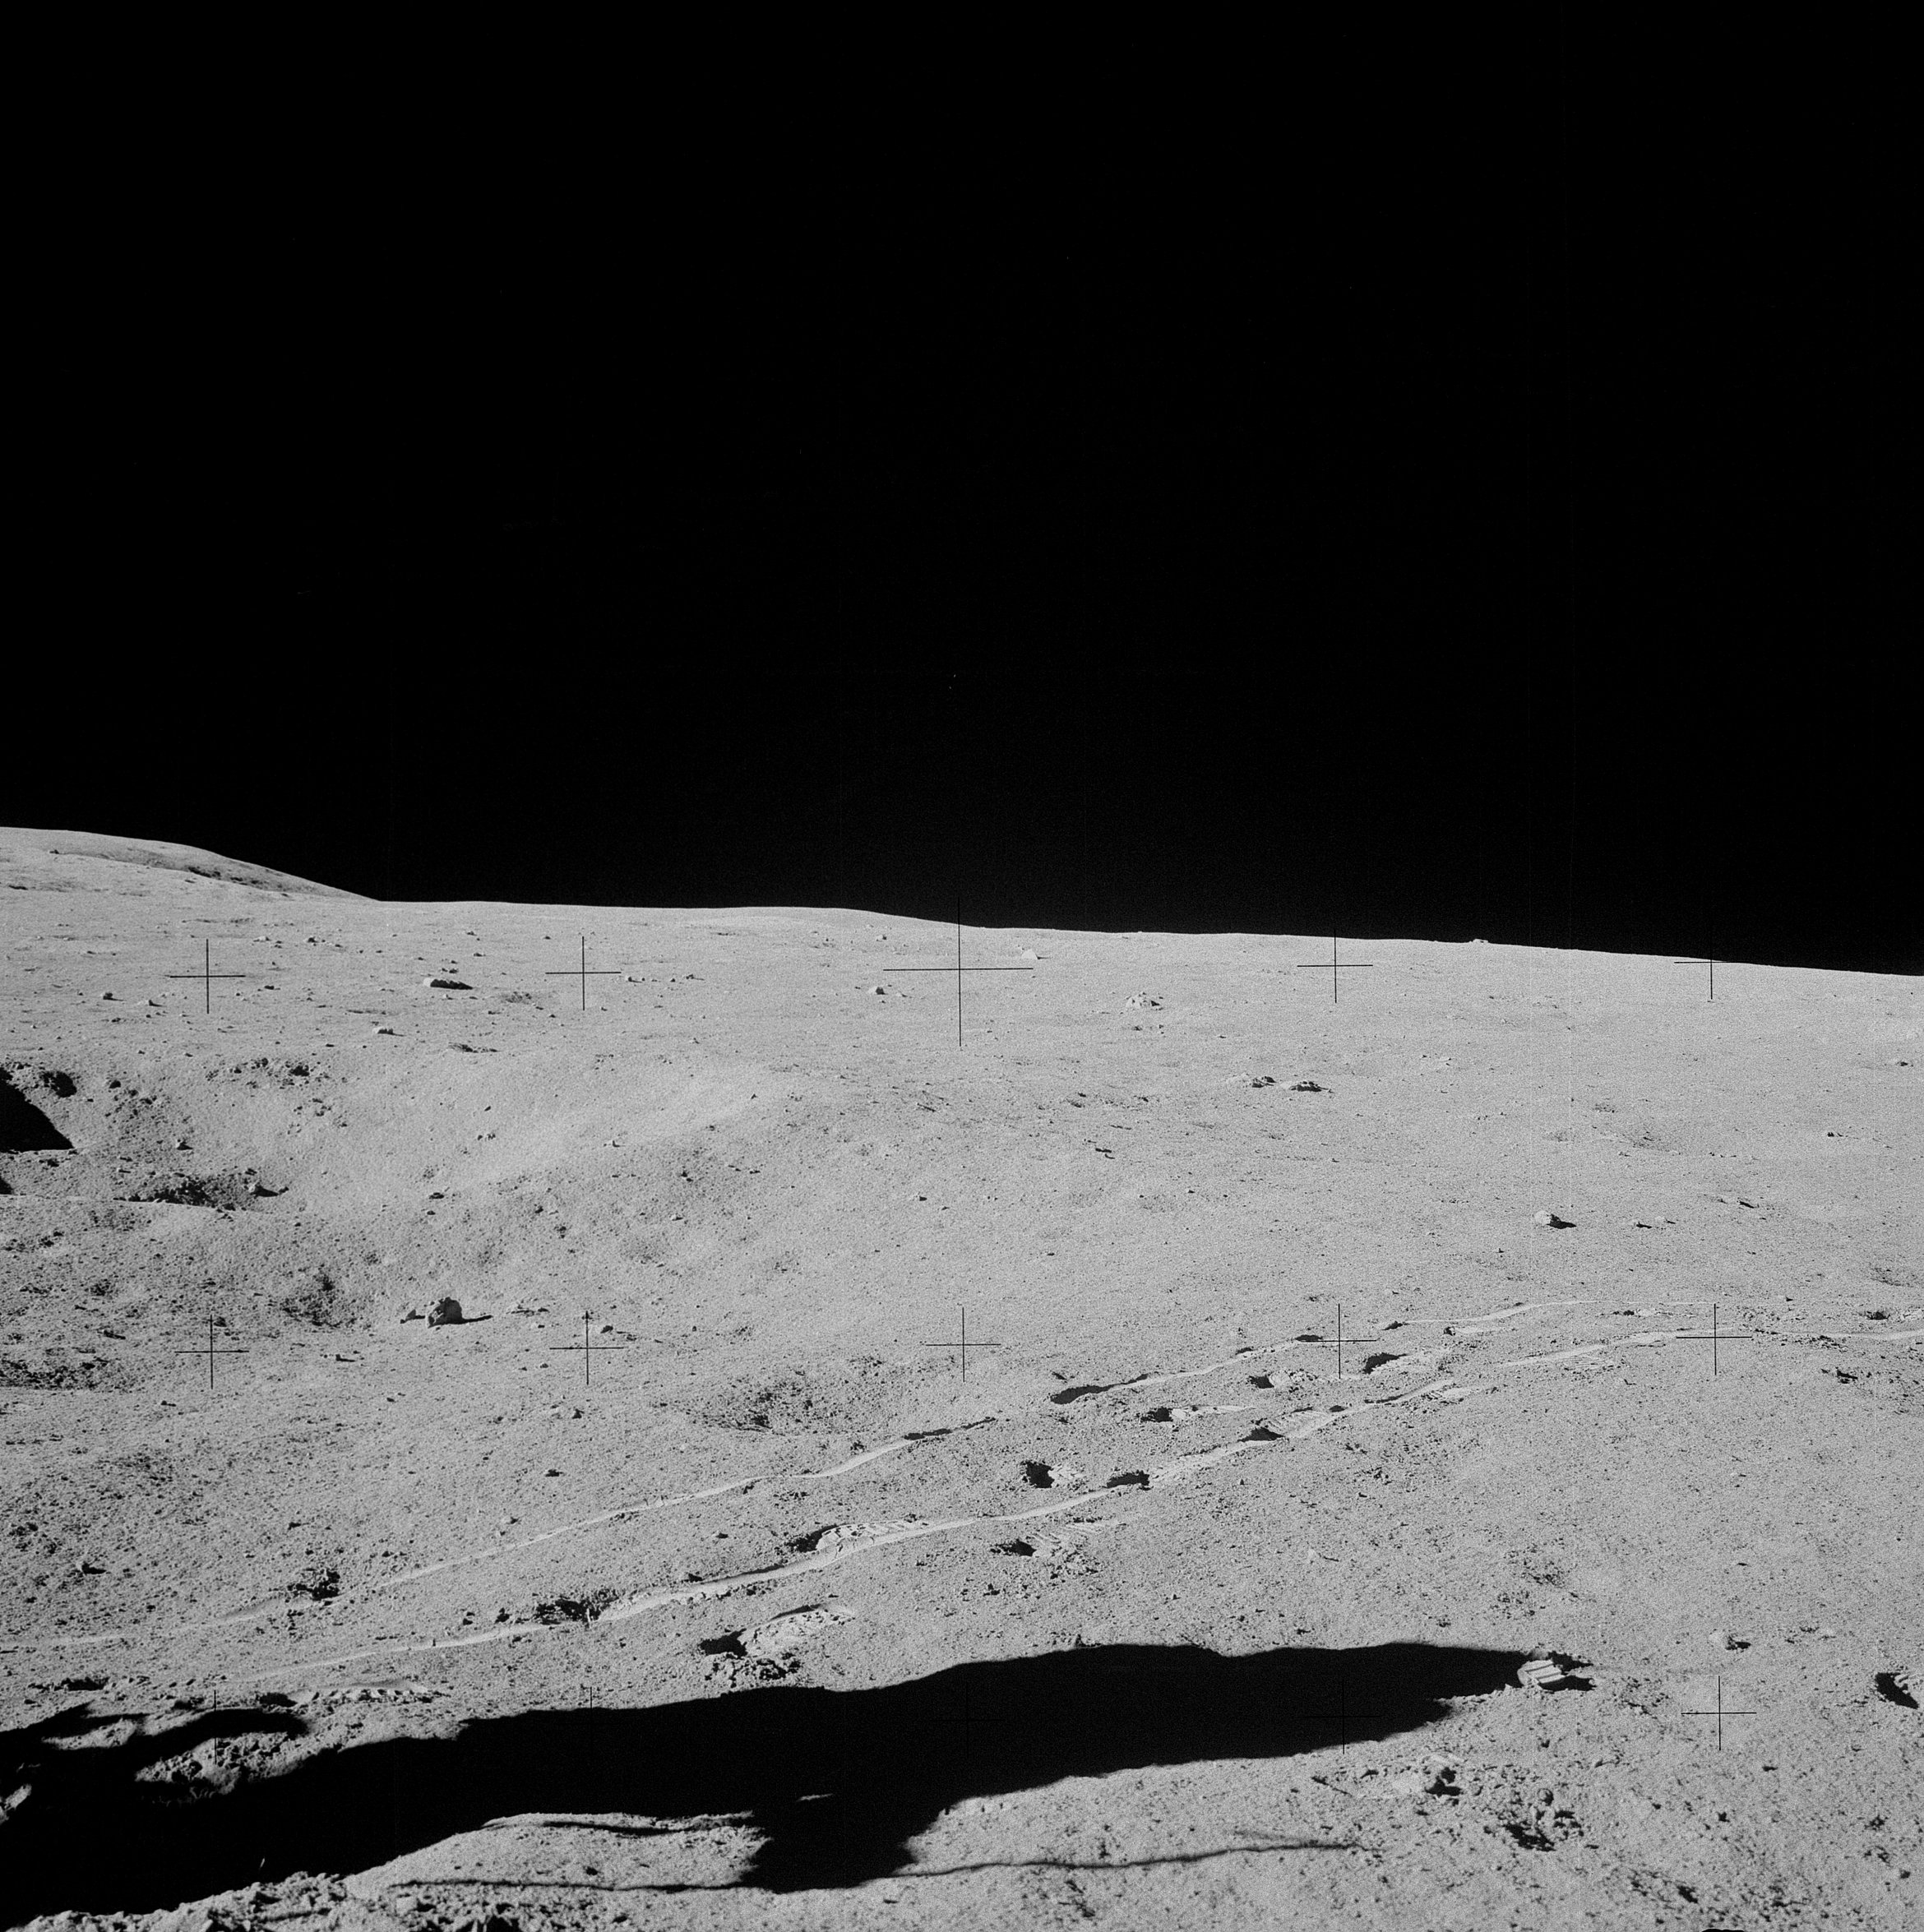 | AS14-68-9406 132:16:44 Rightward of 9405, showing the MET tracks inbound to Station A. Image credit: Image Science and Analysis Laboratory, NASA-Johnson Space Center. |
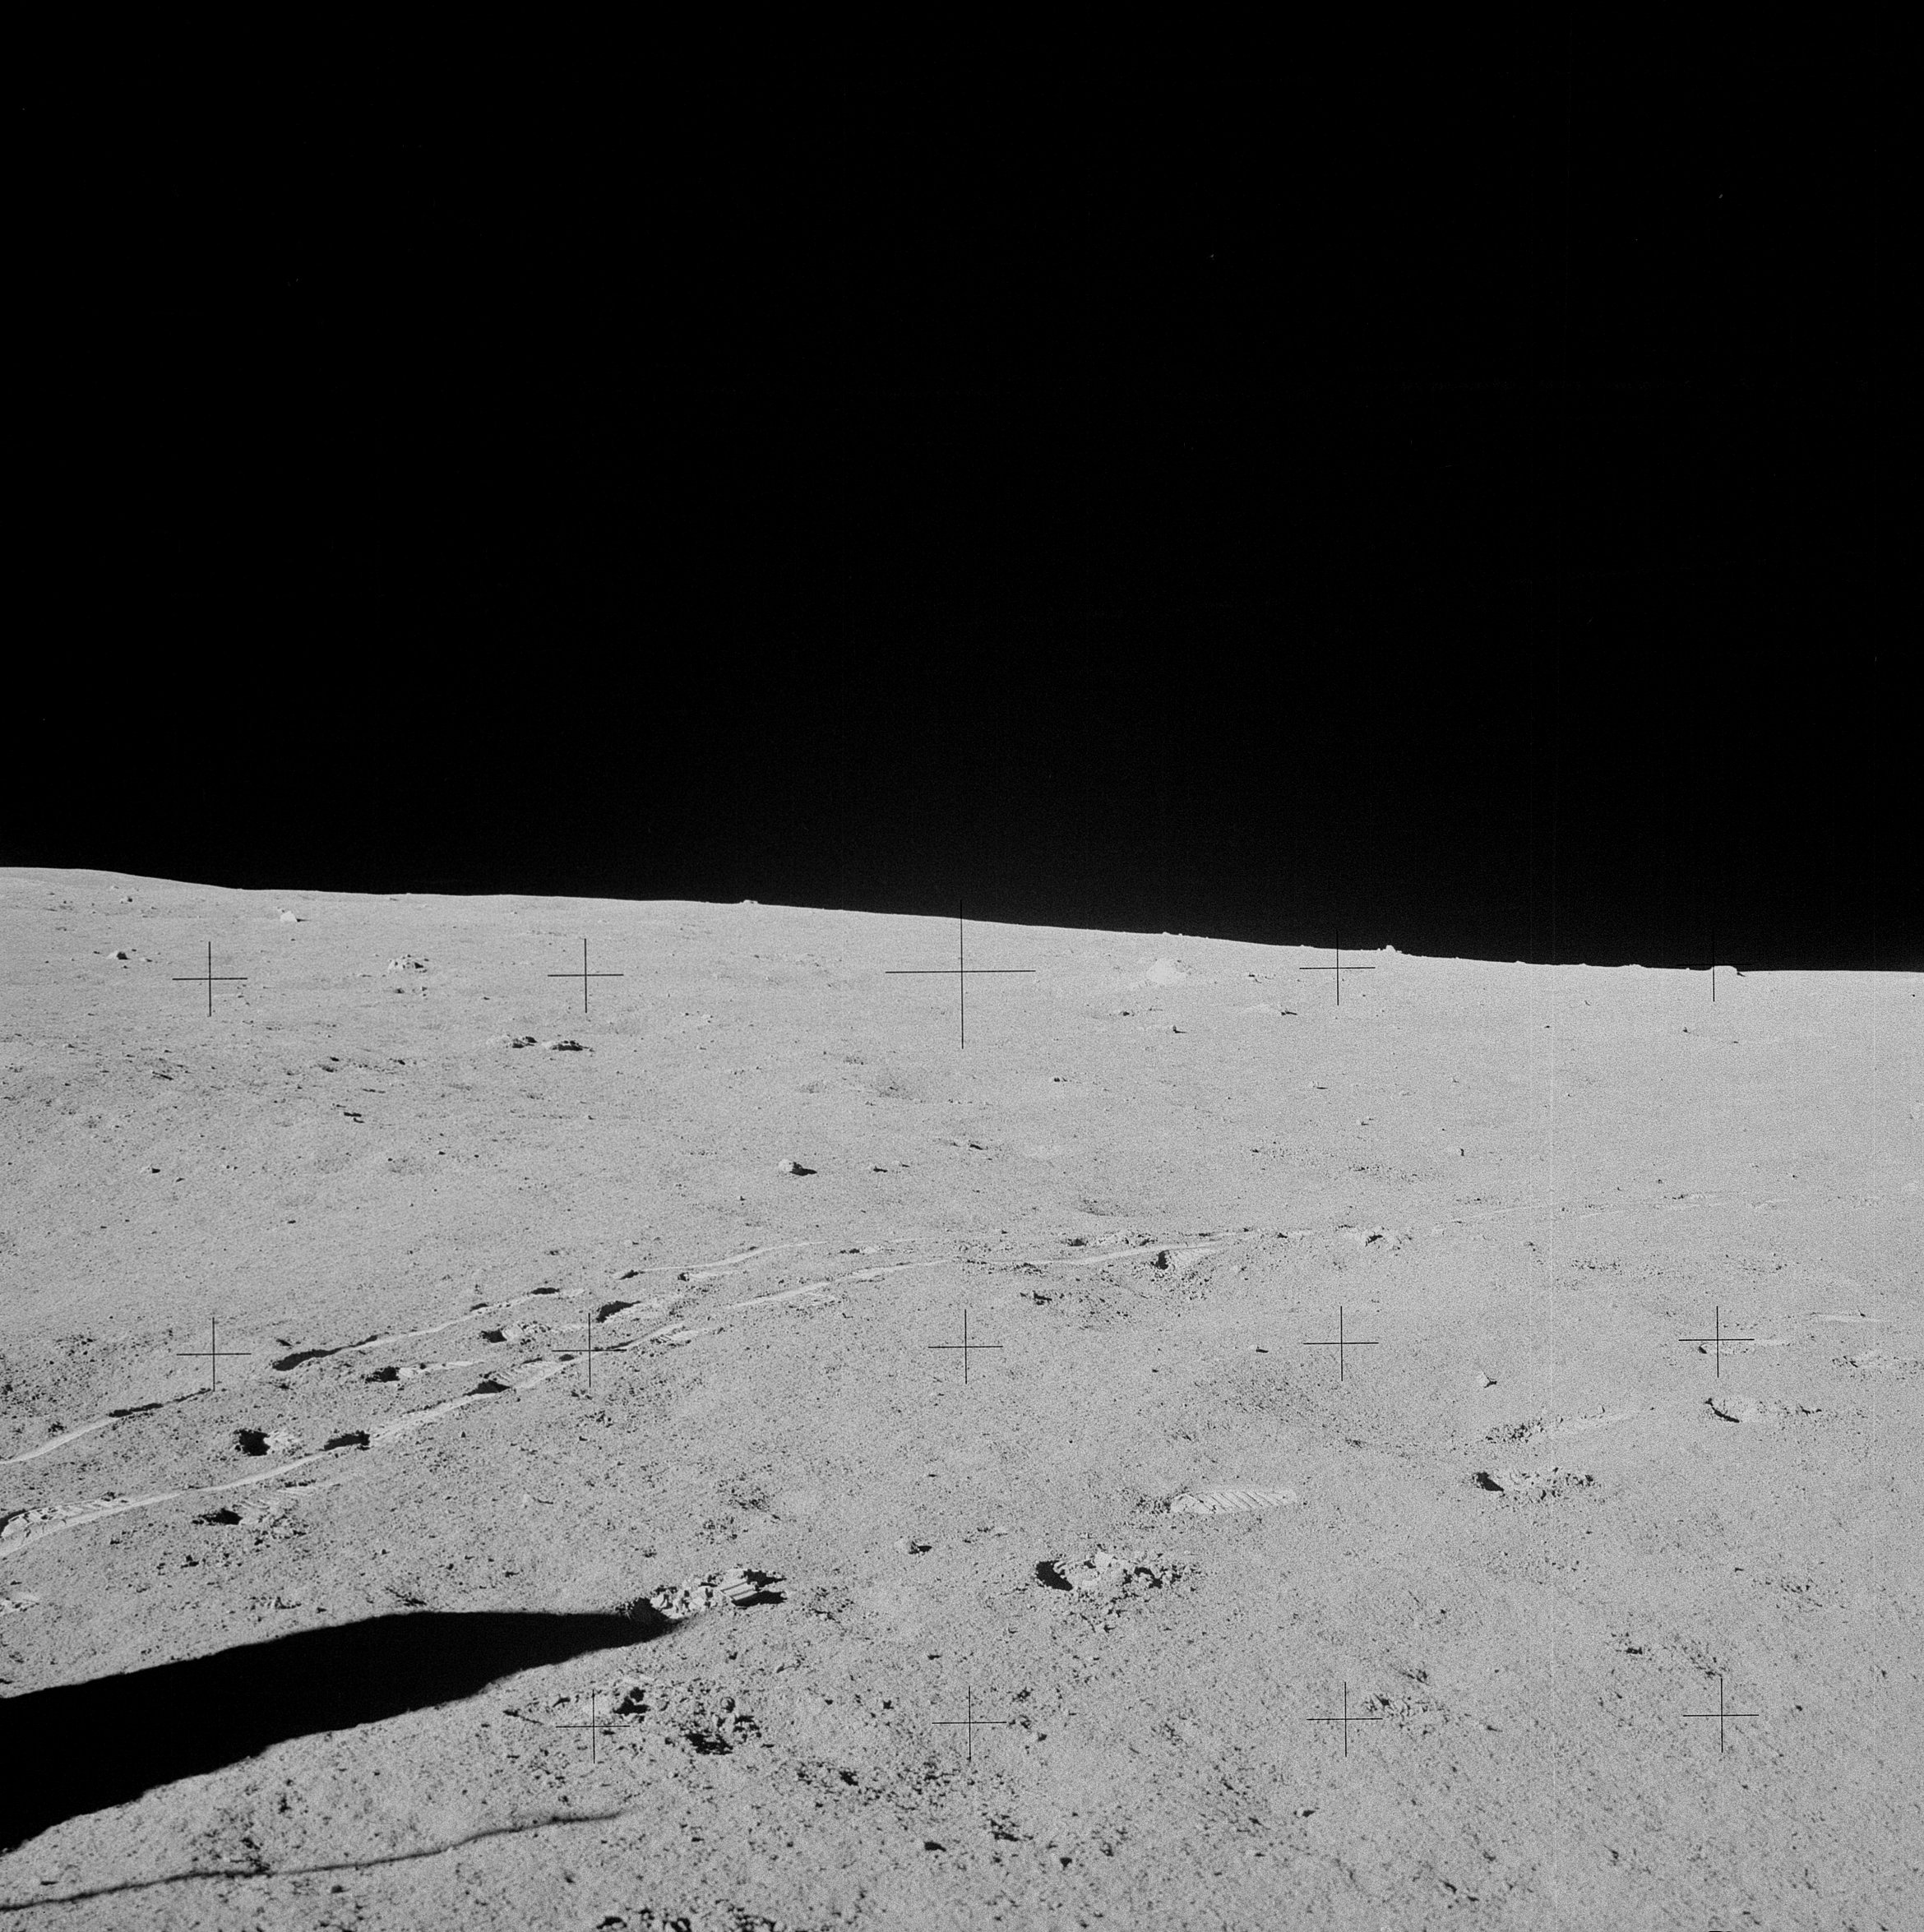 | AS14-68-9407 132:16:44 Rightward of 9406, showing the MET tracks, Al's footprints and, alongside those to our right, Ed's footprints. Image credit: Image Science and Analysis Laboratory, NASA-Johnson Space Center. |
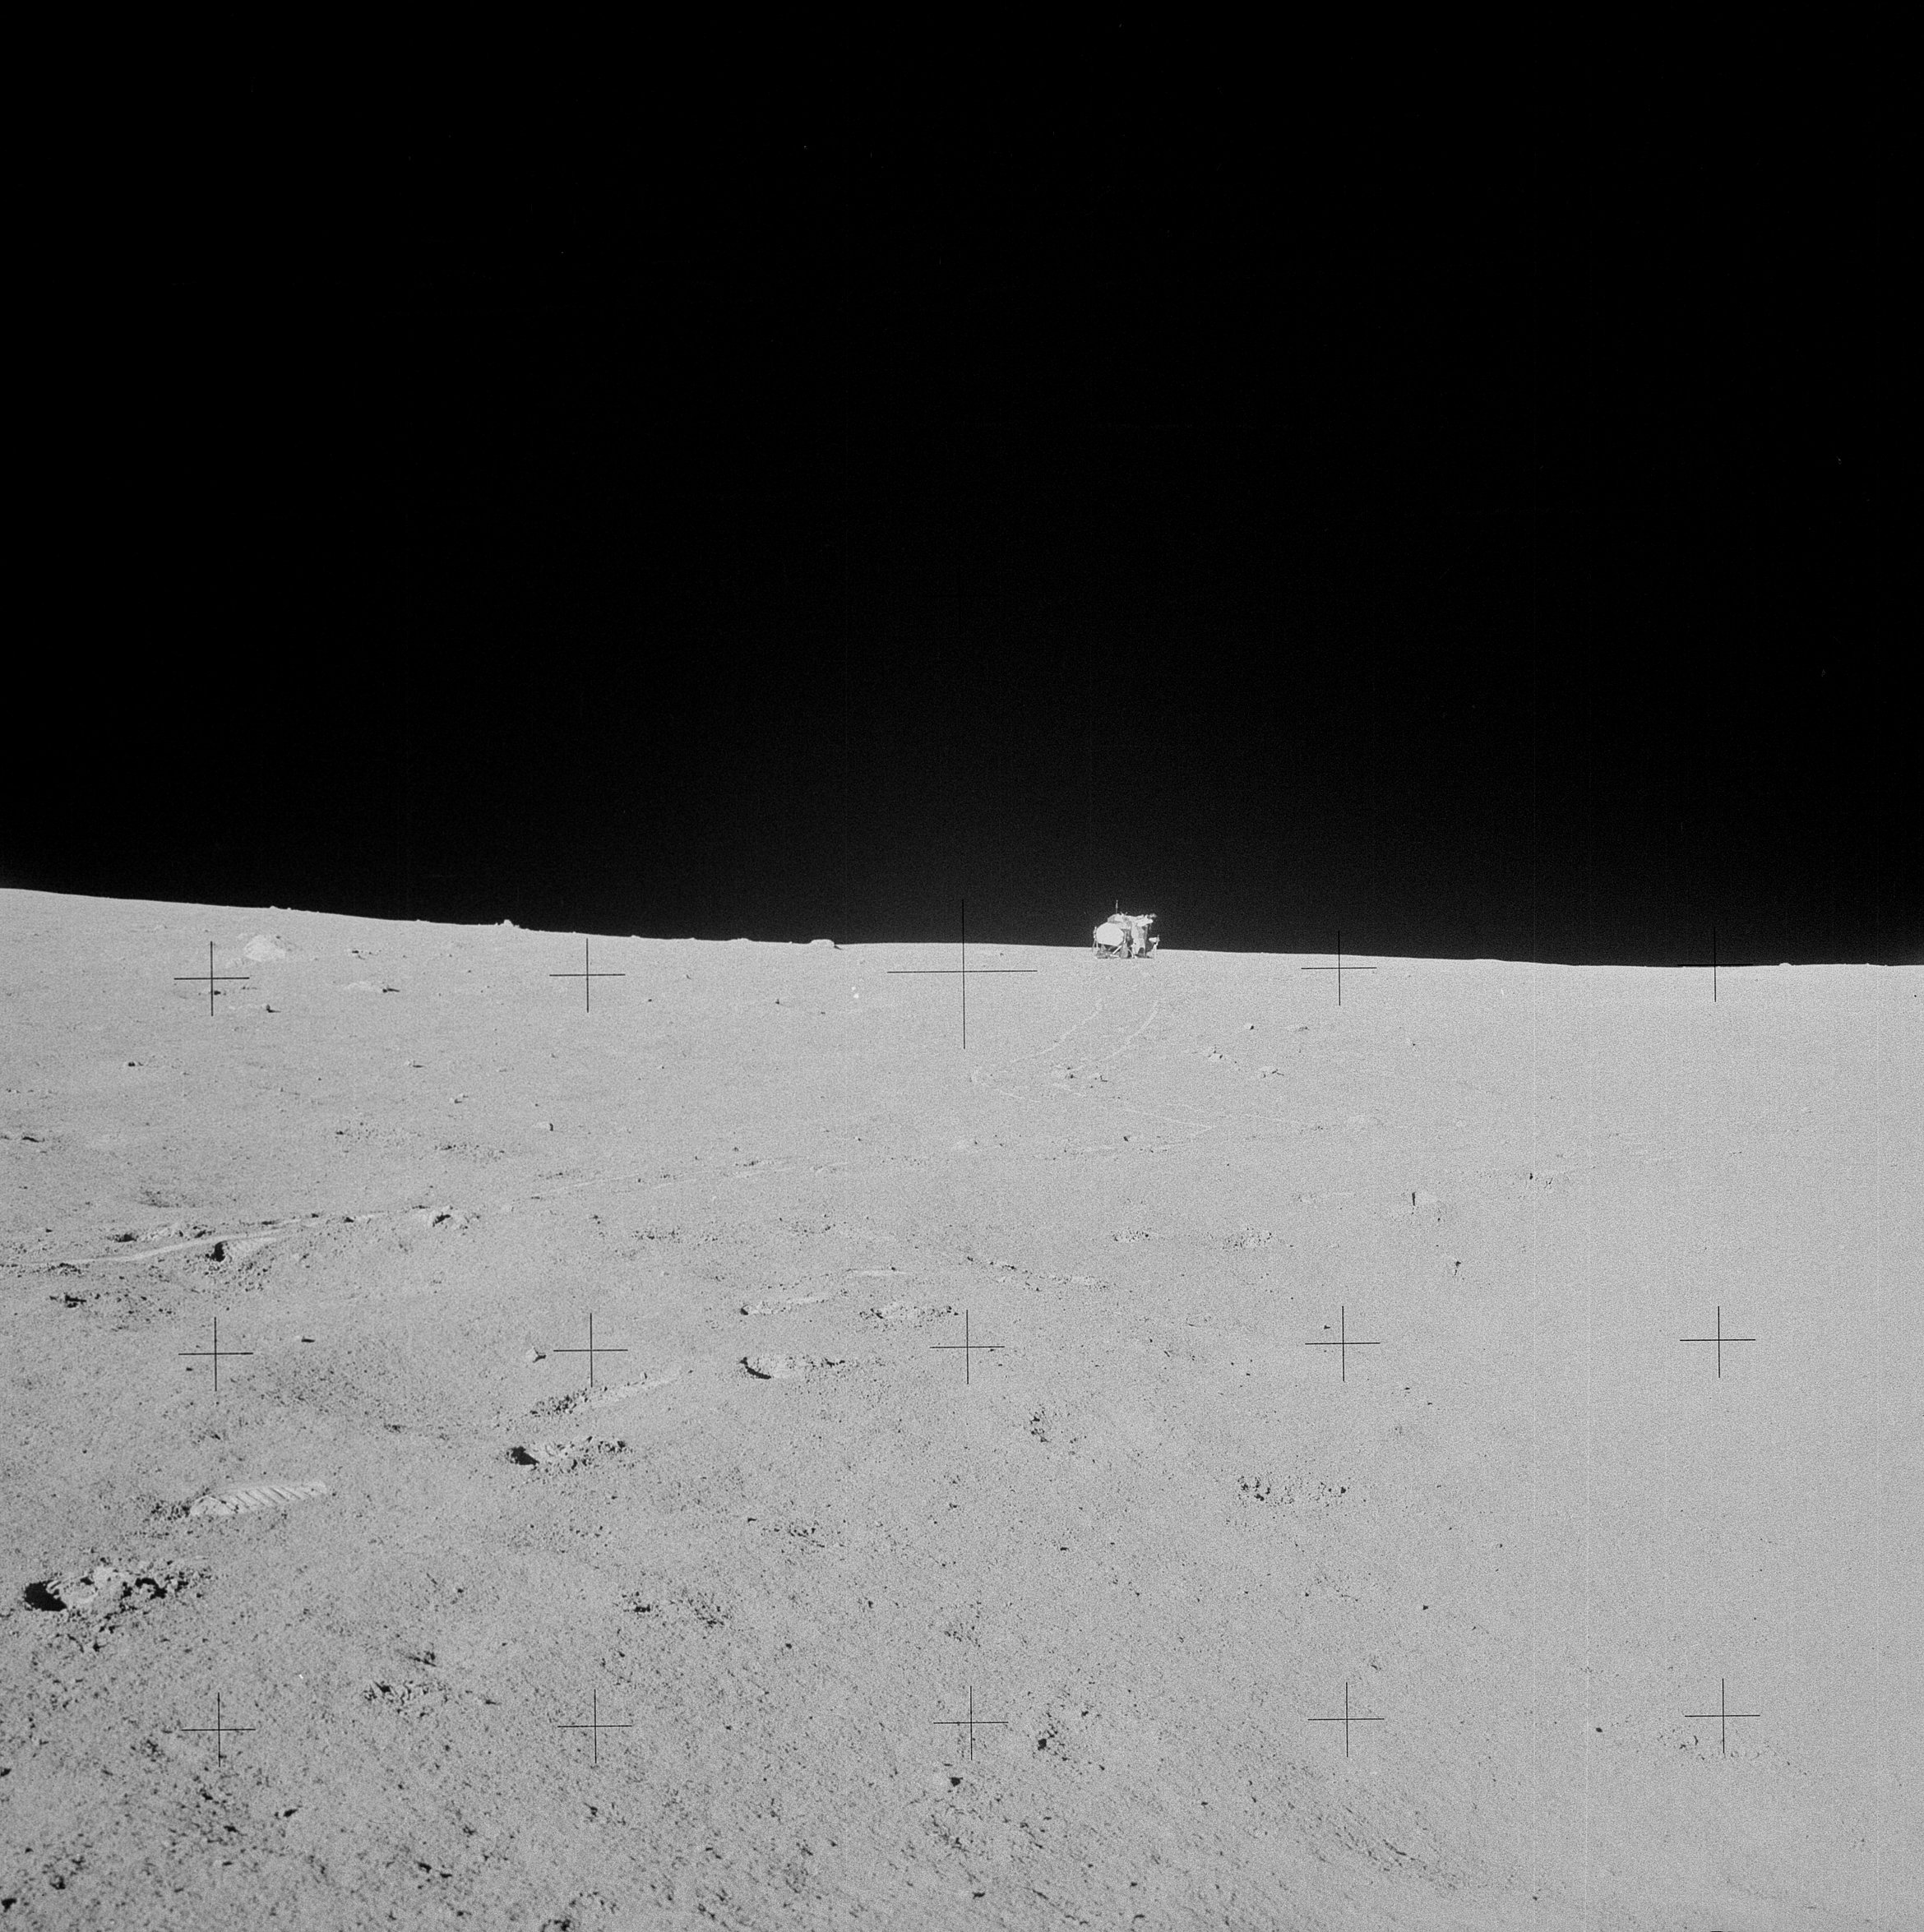 | AS14-68-9408 132:16:44 Final frame in Ed's Station A pan, showing the LM. Image credit: Image Science and Analysis Laboratory, NASA-Johnson Space Center. |
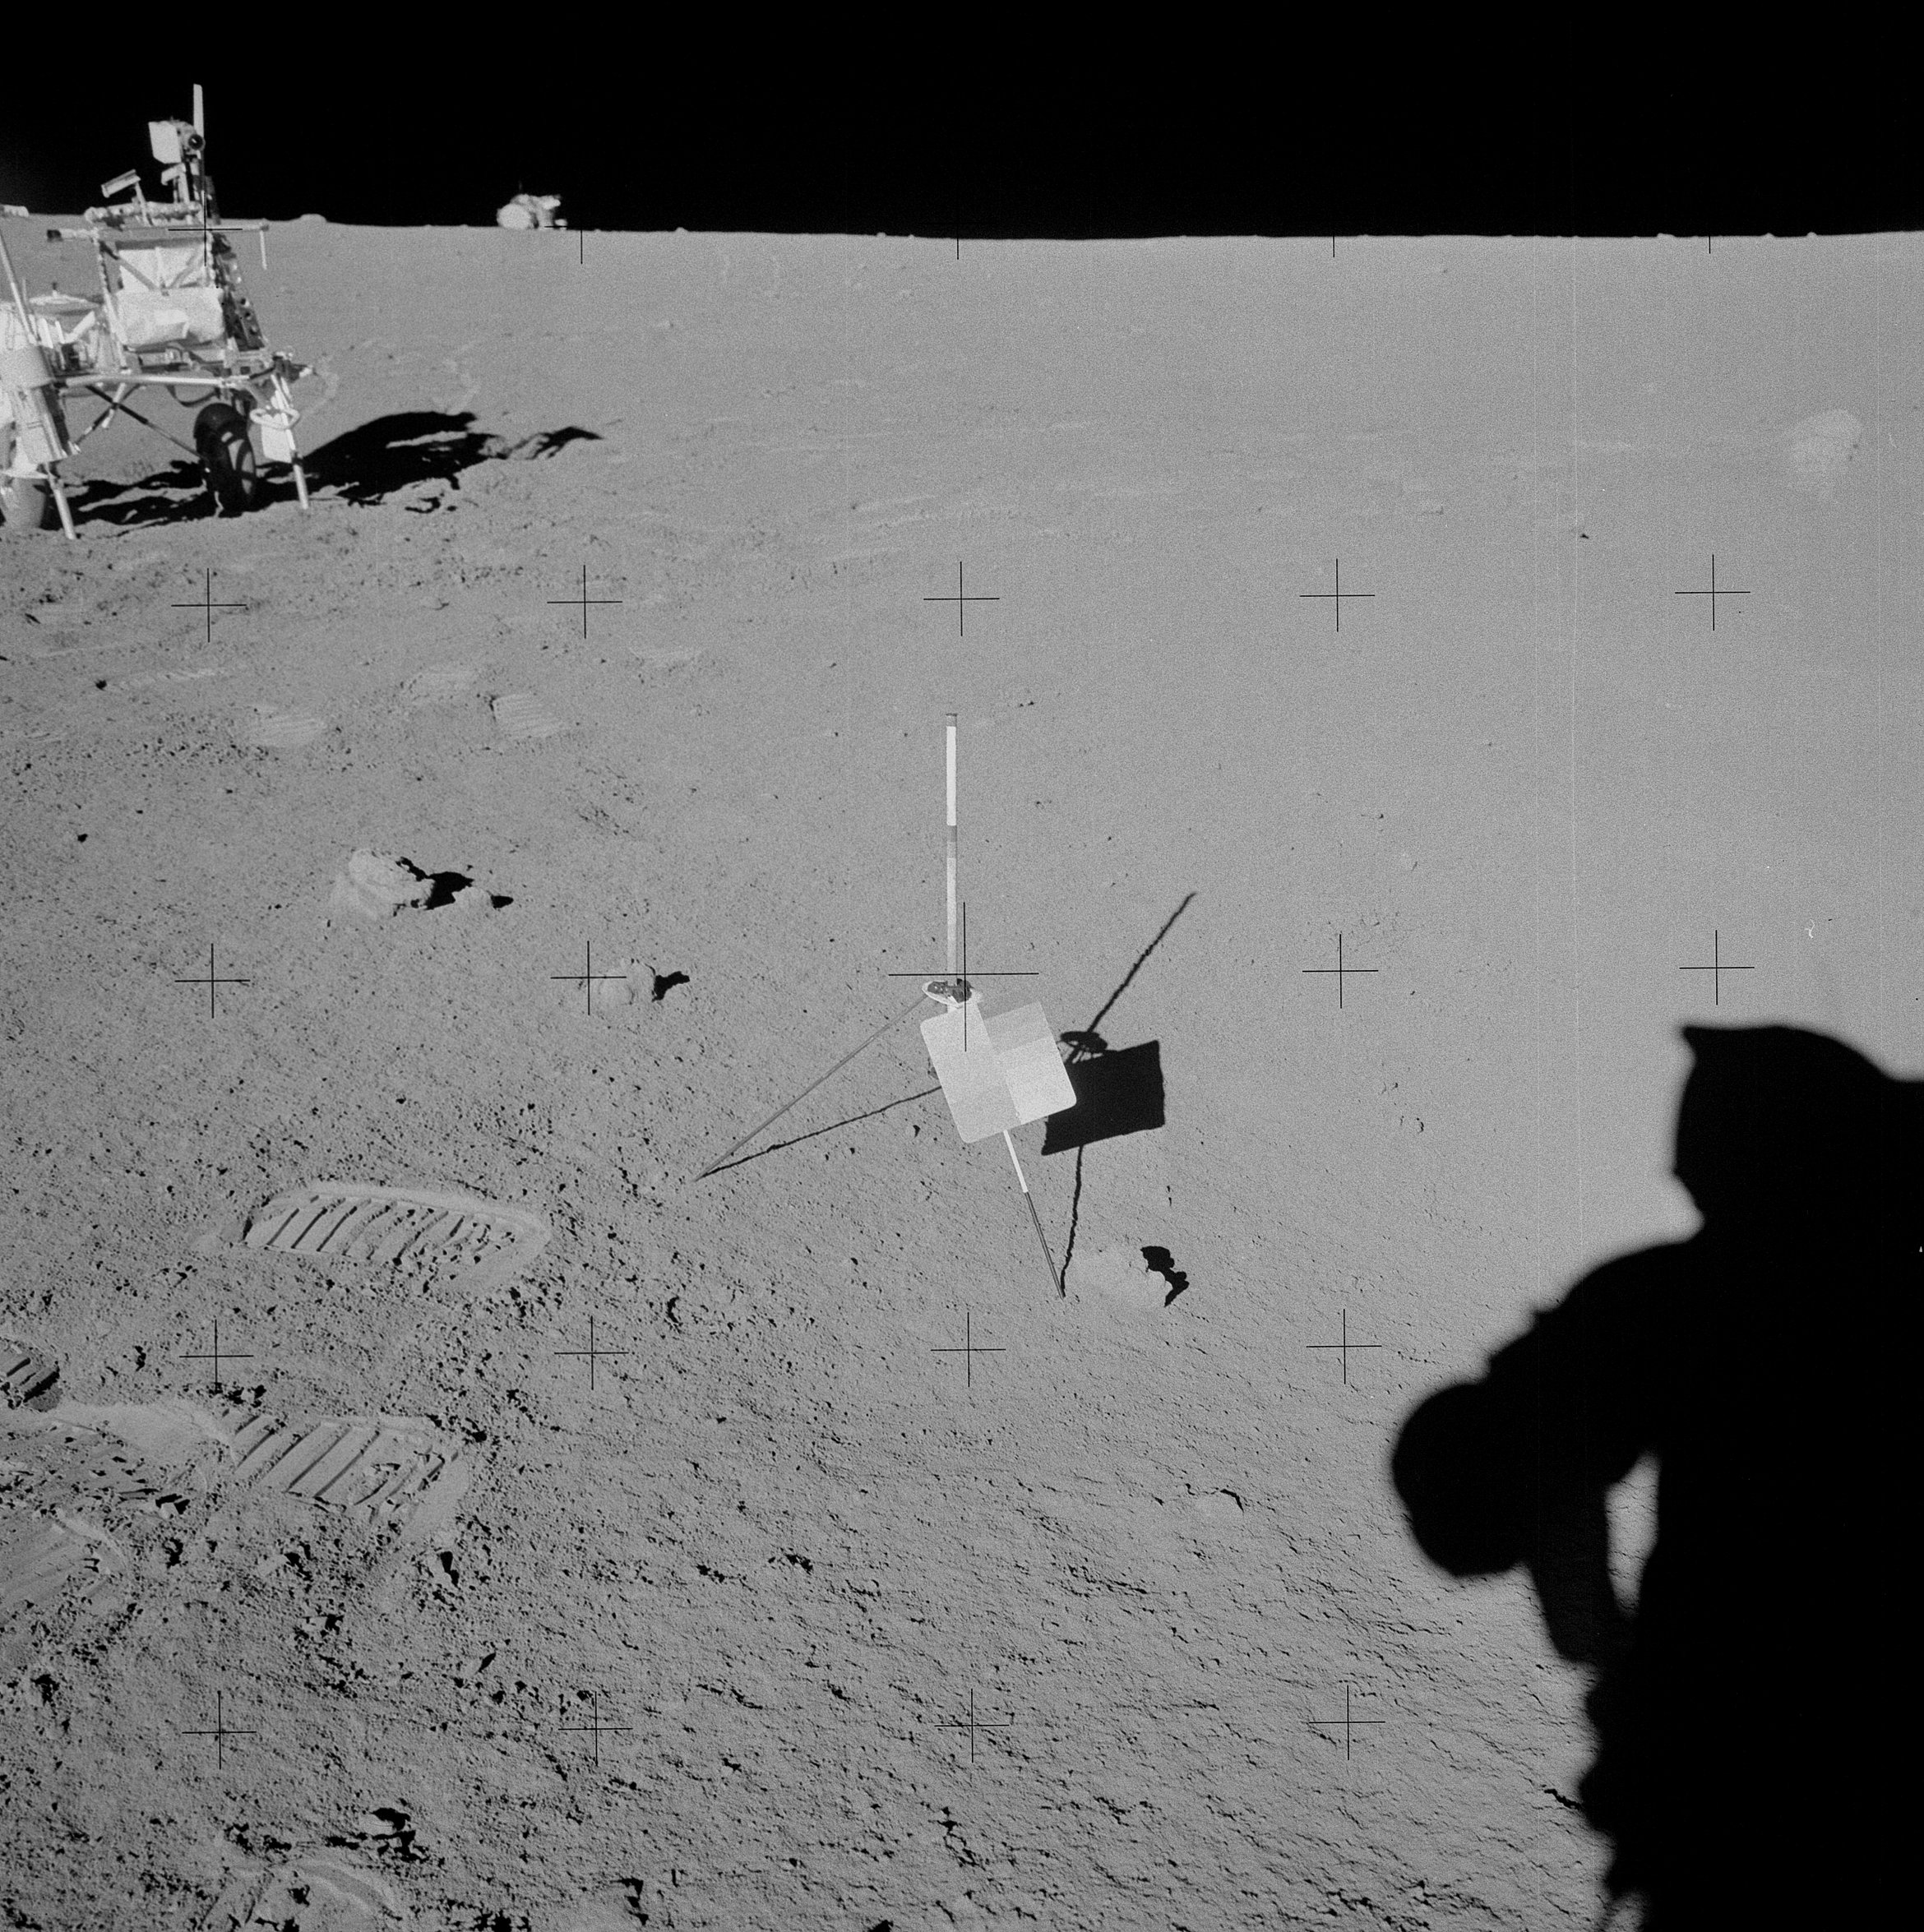 | AS14-68-9409 132:21:23 Ed is collecting a documented sample at Station A and takes this down-Sun locator to the LM. Image credit: Image Science and Analysis Laboratory, NASA-Johnson Space Center. |
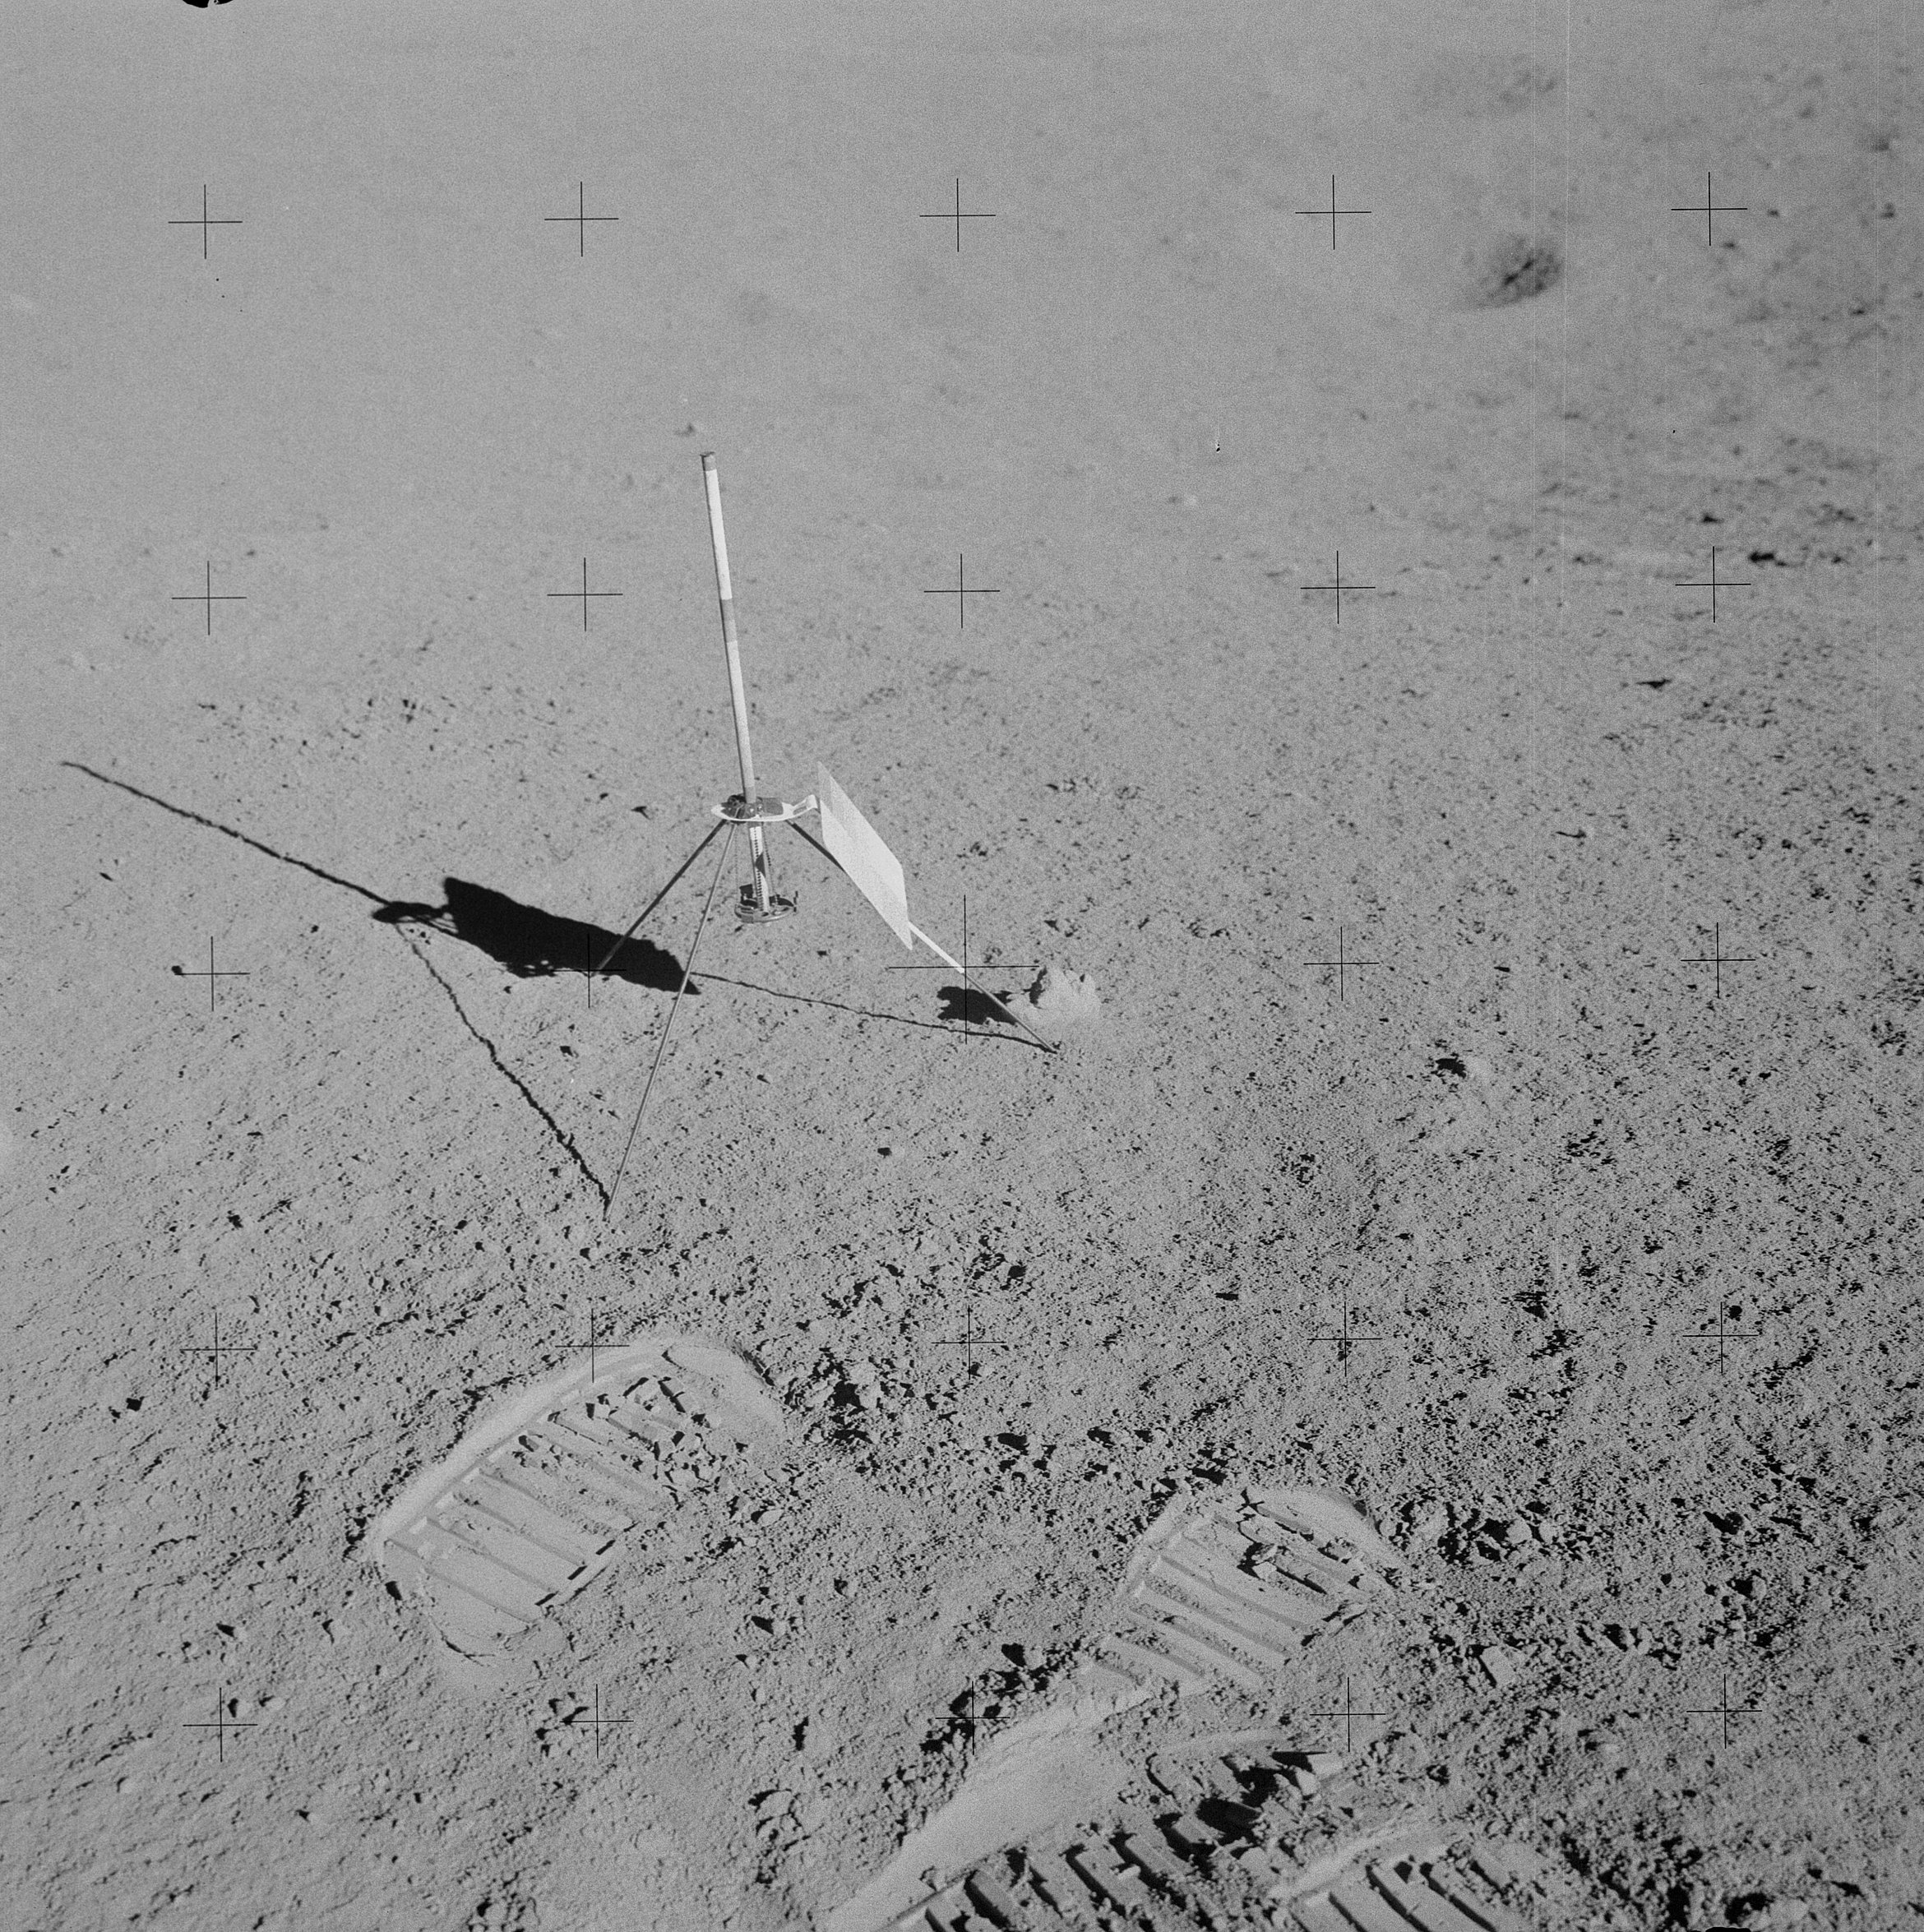 | AS14-68-9410 Ed has moved around to the southeast of the gnomon. Image credit: Image Science and Analysis Laboratory, NASA-Johnson Space Center. |
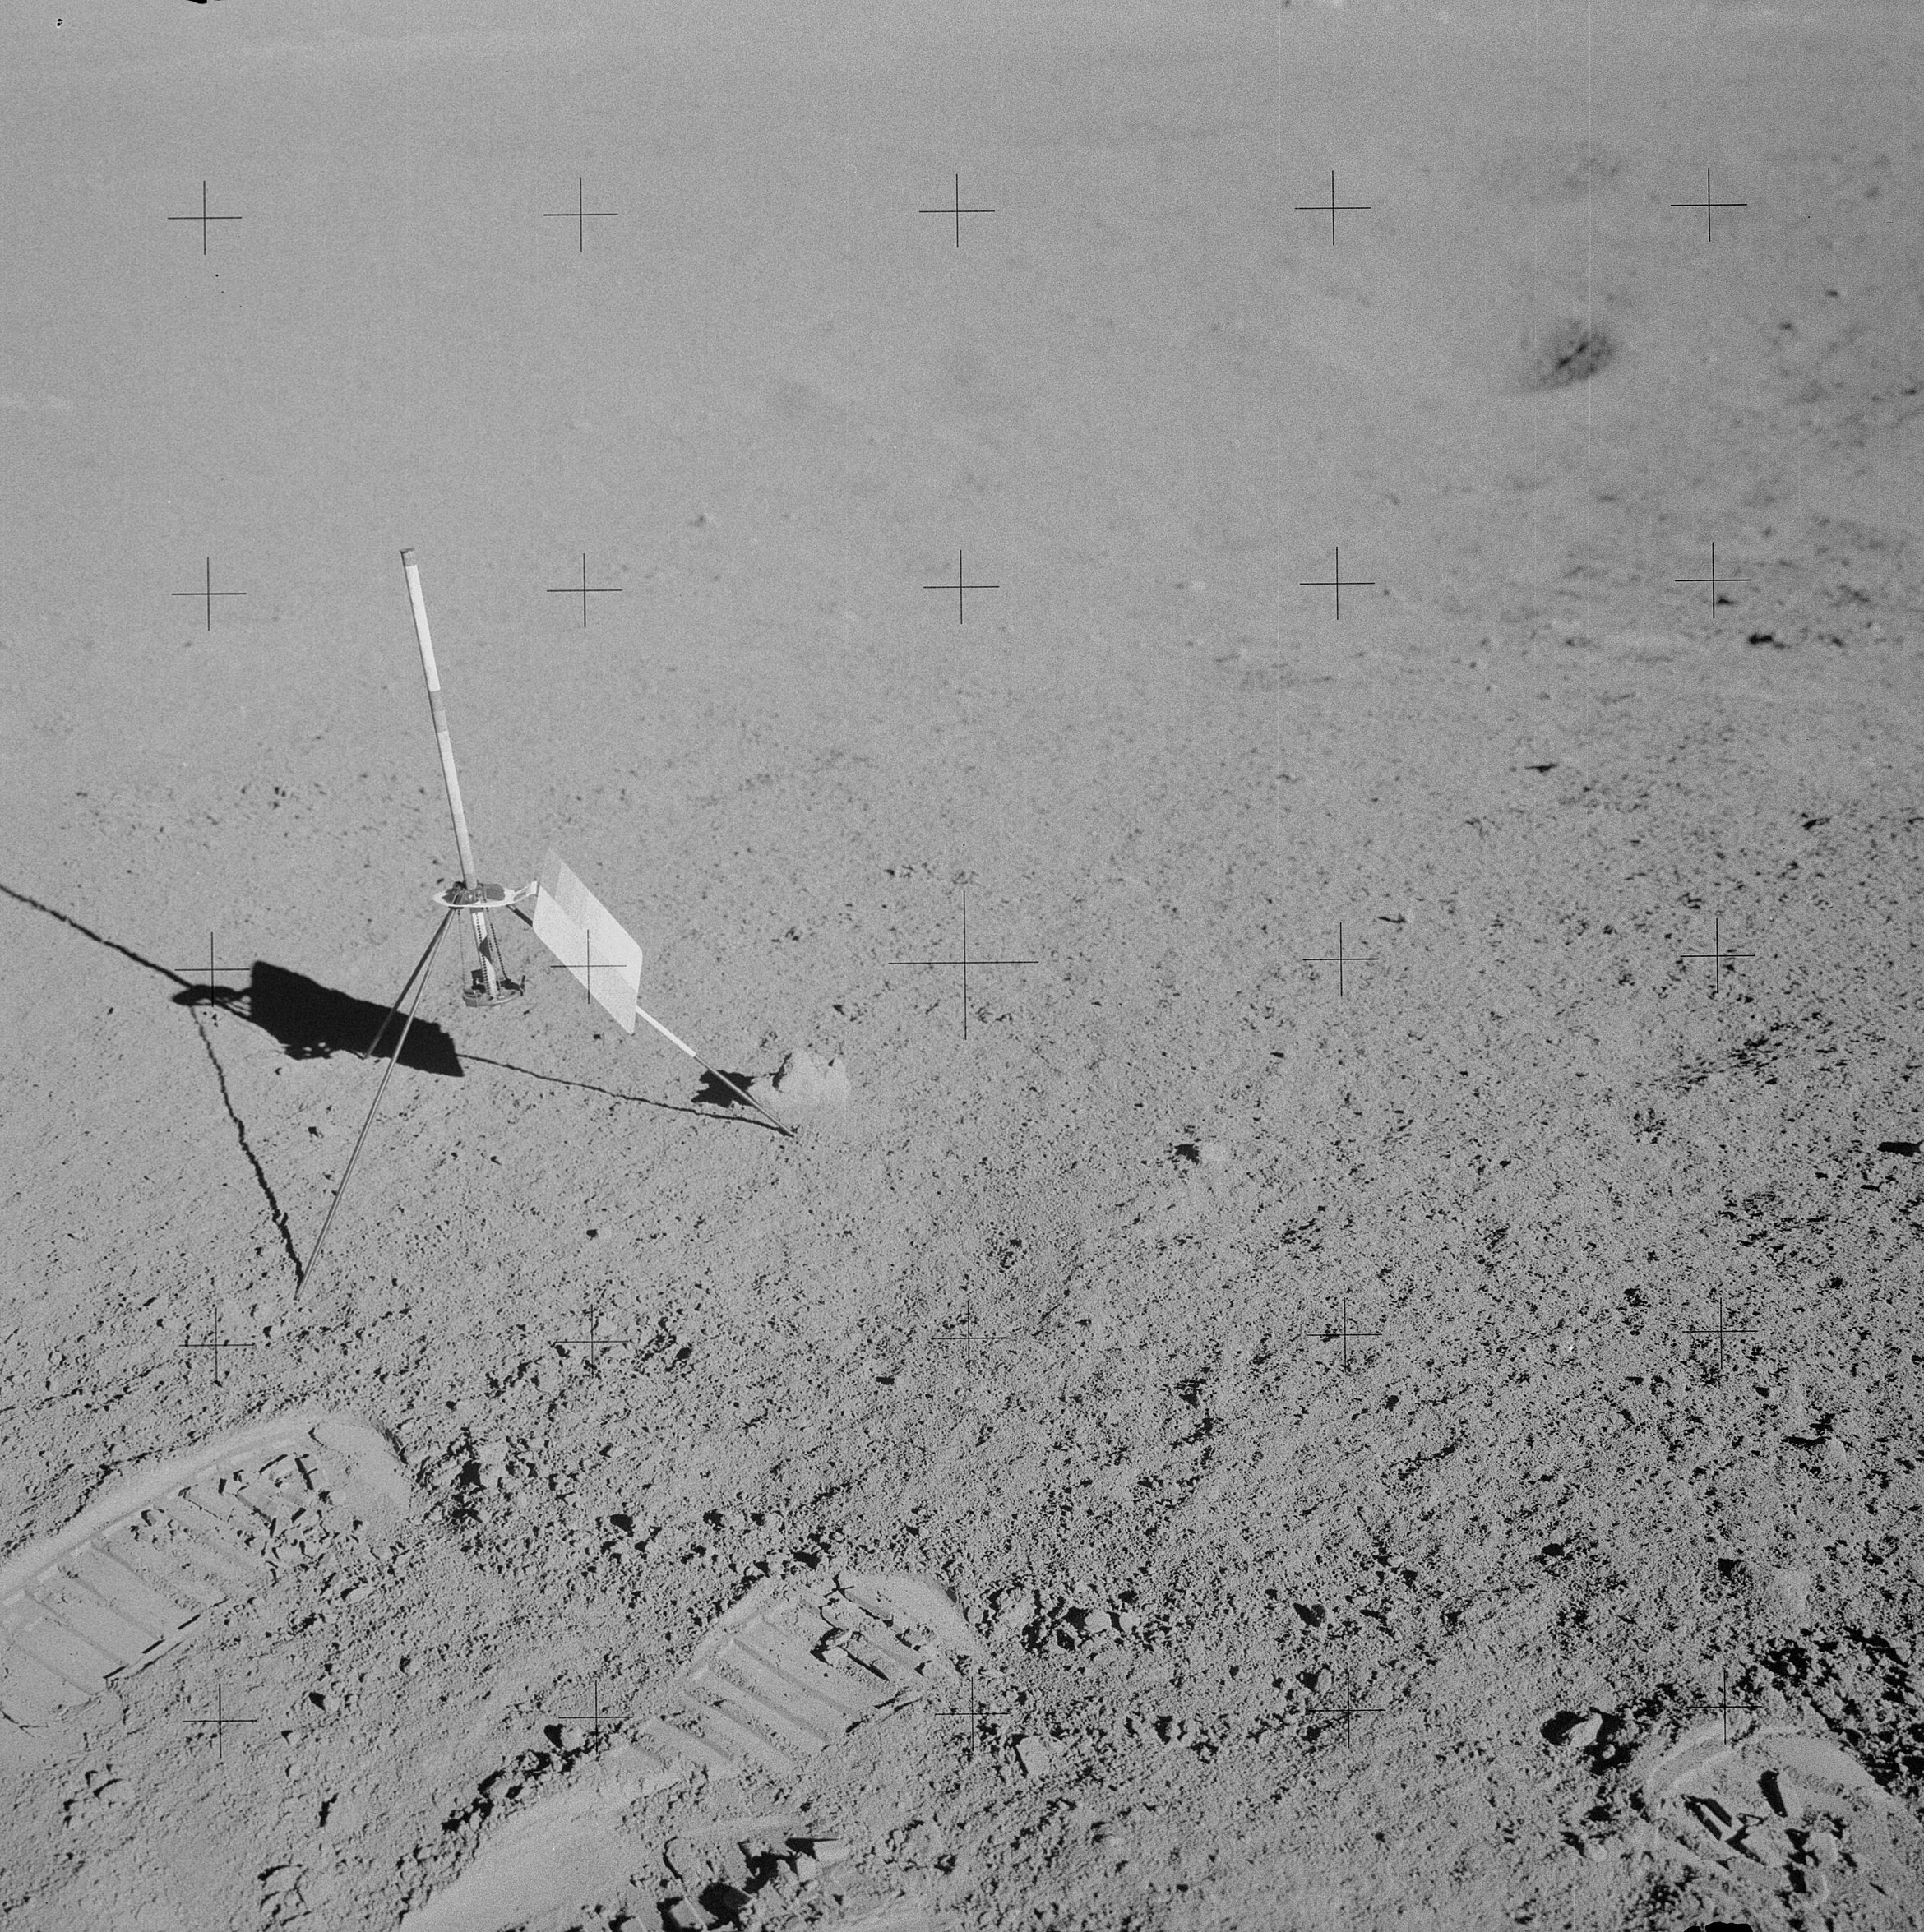 | AS14-68-9411 Ed has stepped to his right to take a stereo companion to 9410. Image credit: Image Science and Analysis Laboratory, NASA-Johnson Space Center. |
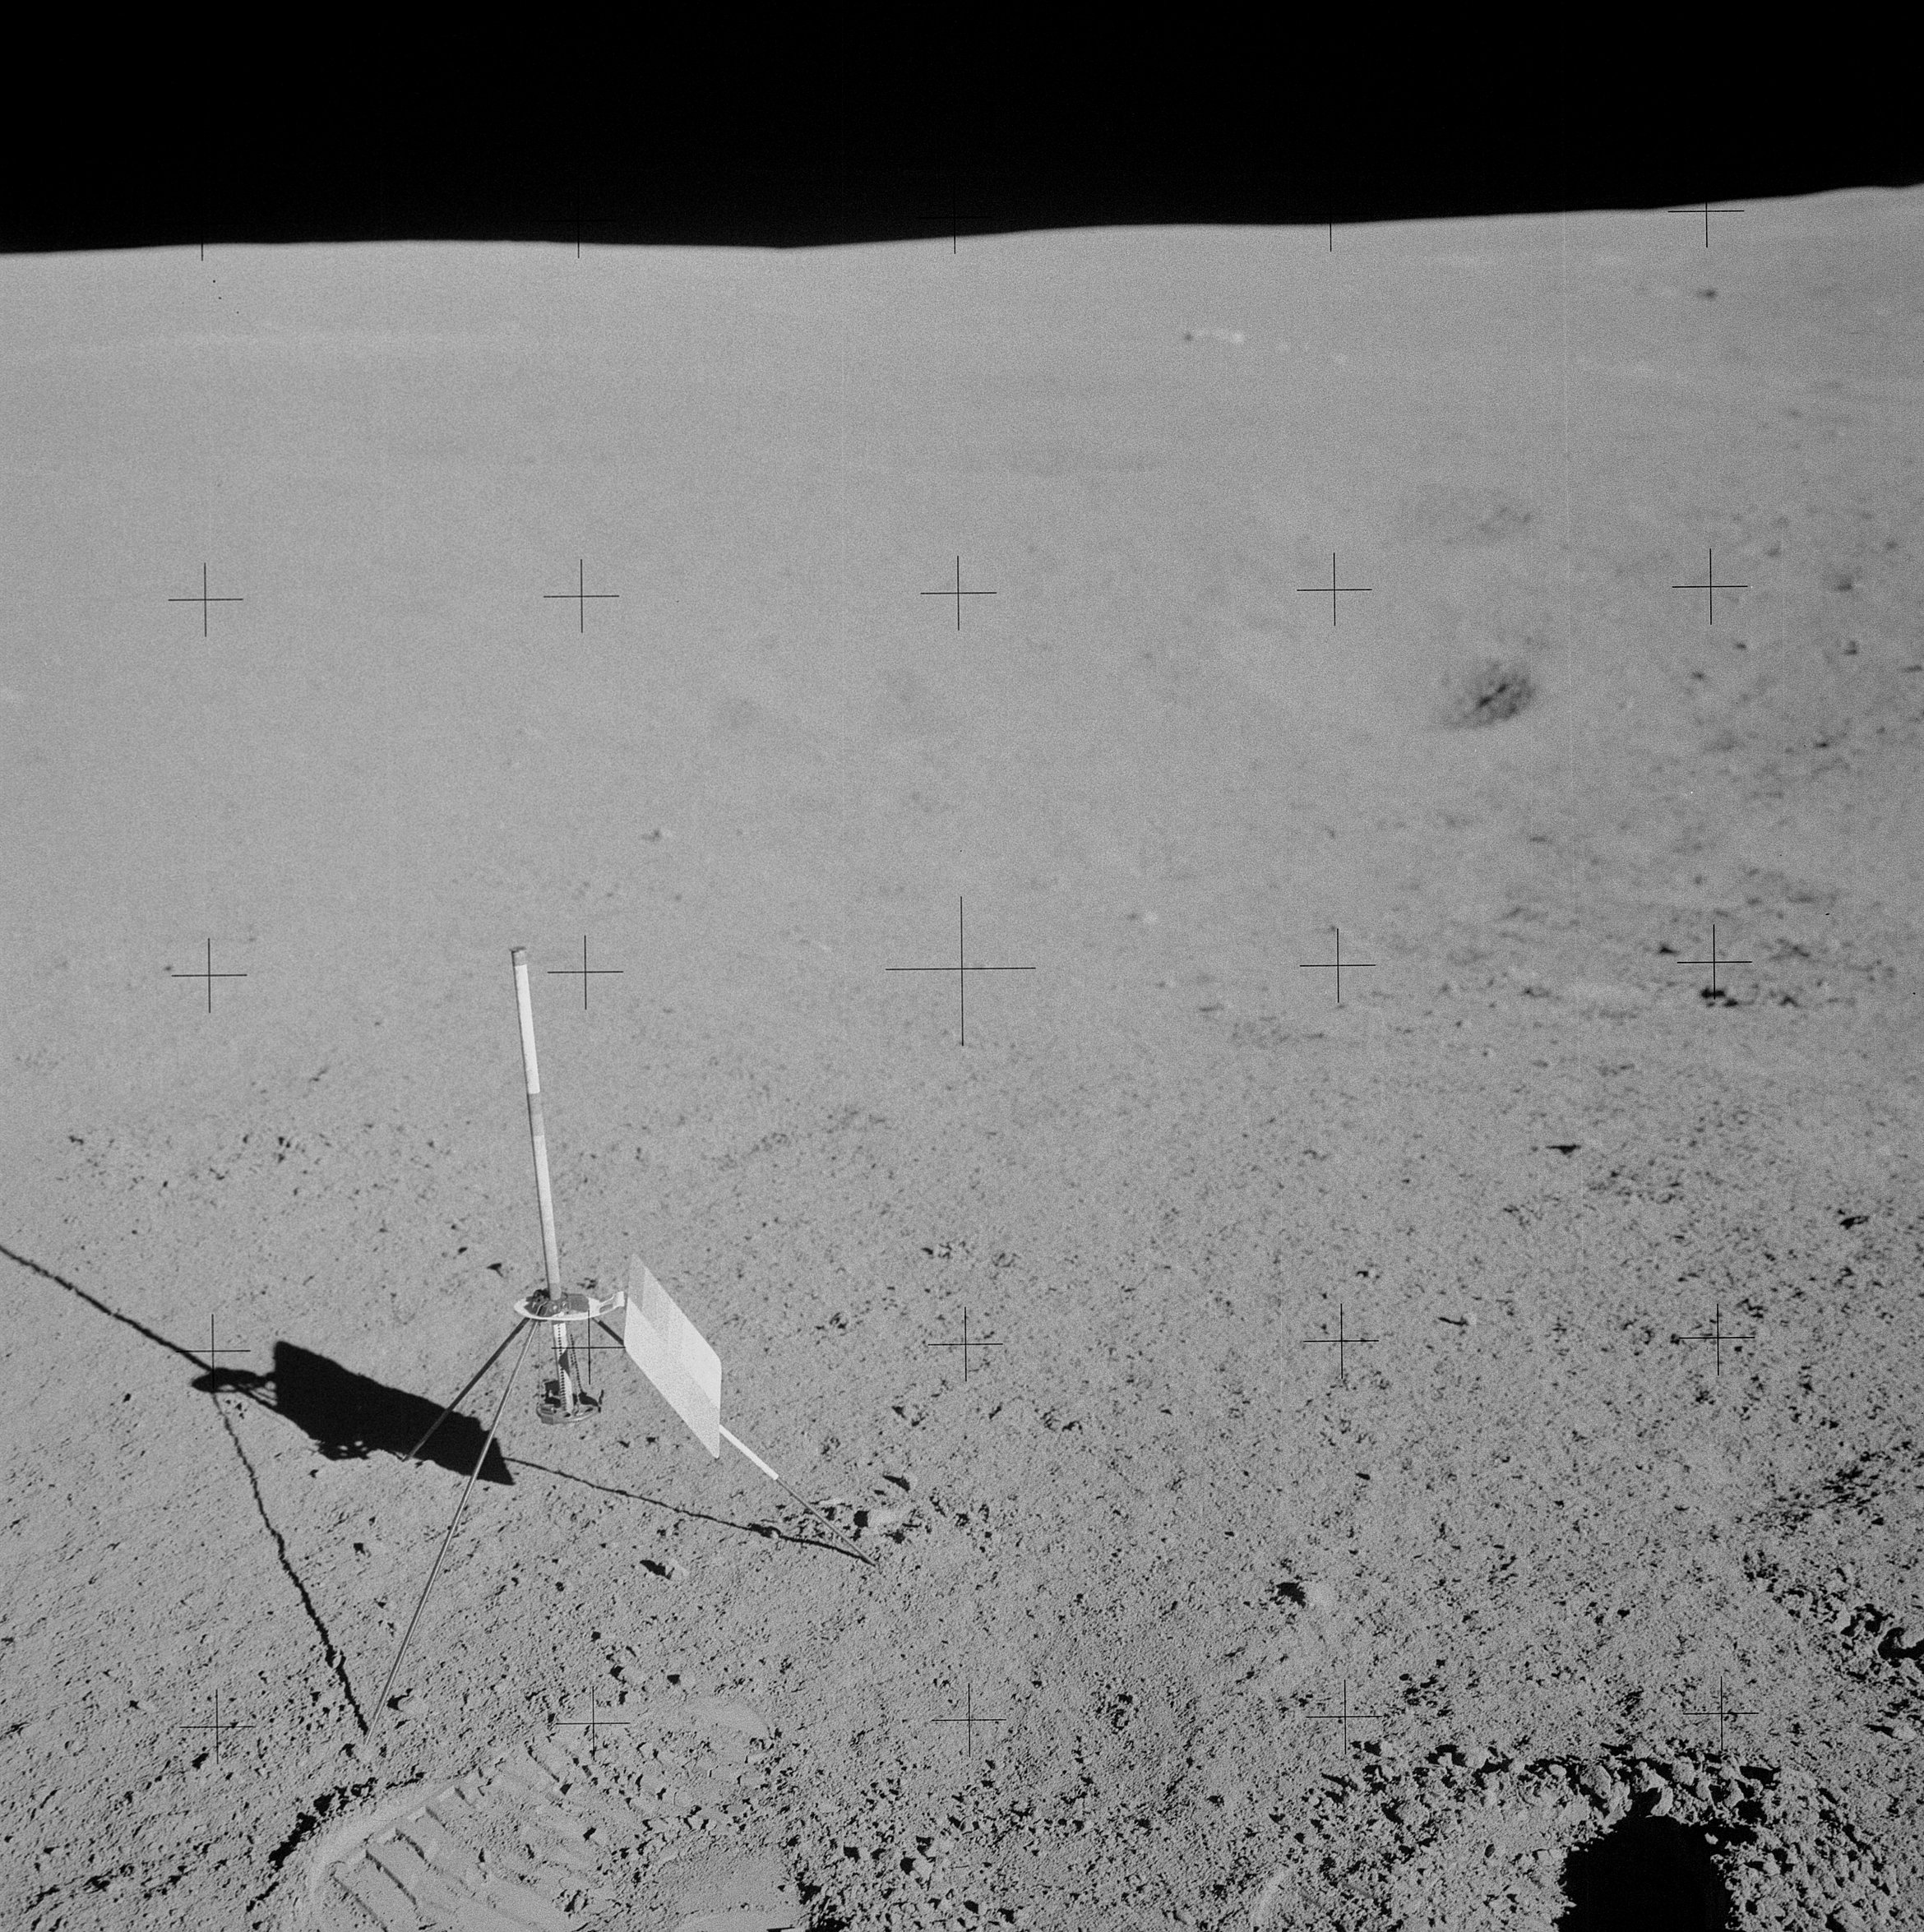 | AS14-68-9412 Post-sample photo companion to 9411. Image credit: Image Science and Analysis Laboratory, NASA-Johnson Space Center. |
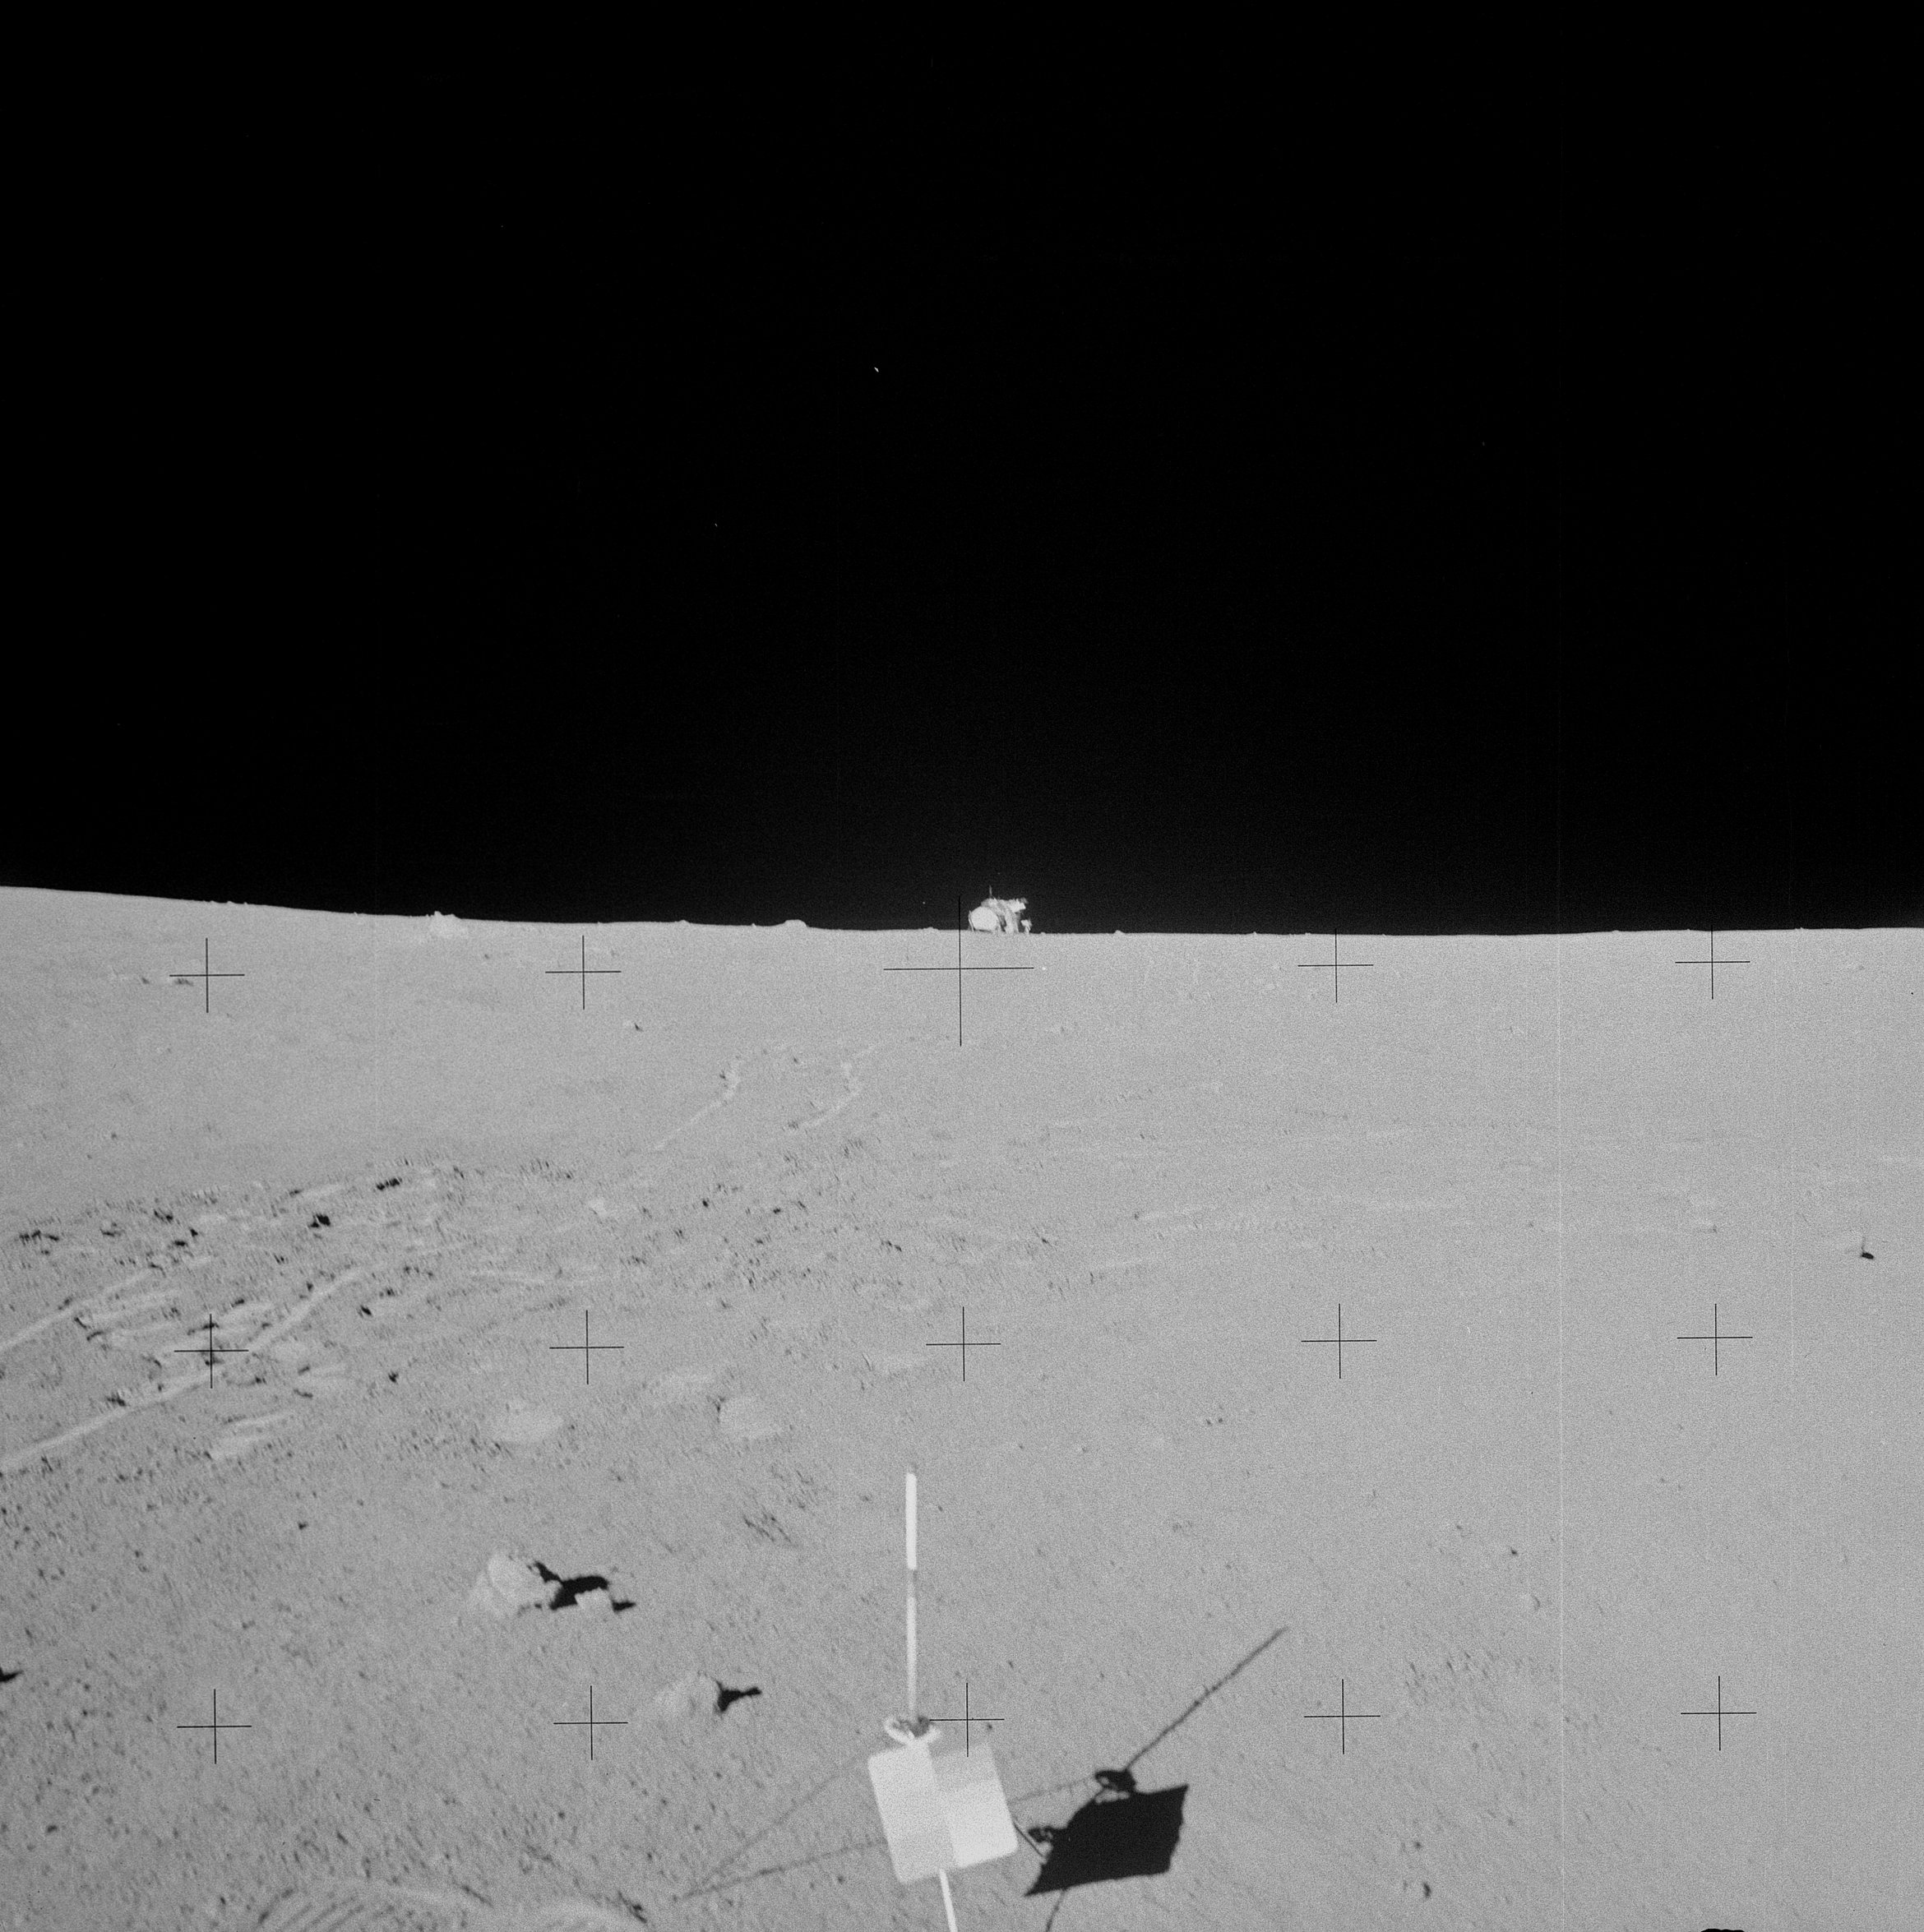 | AS14-68-9413 Post-sample over the gnomon toward the LM. Image credit: Image Science and Analysis Laboratory, NASA-Johnson Space Center. |
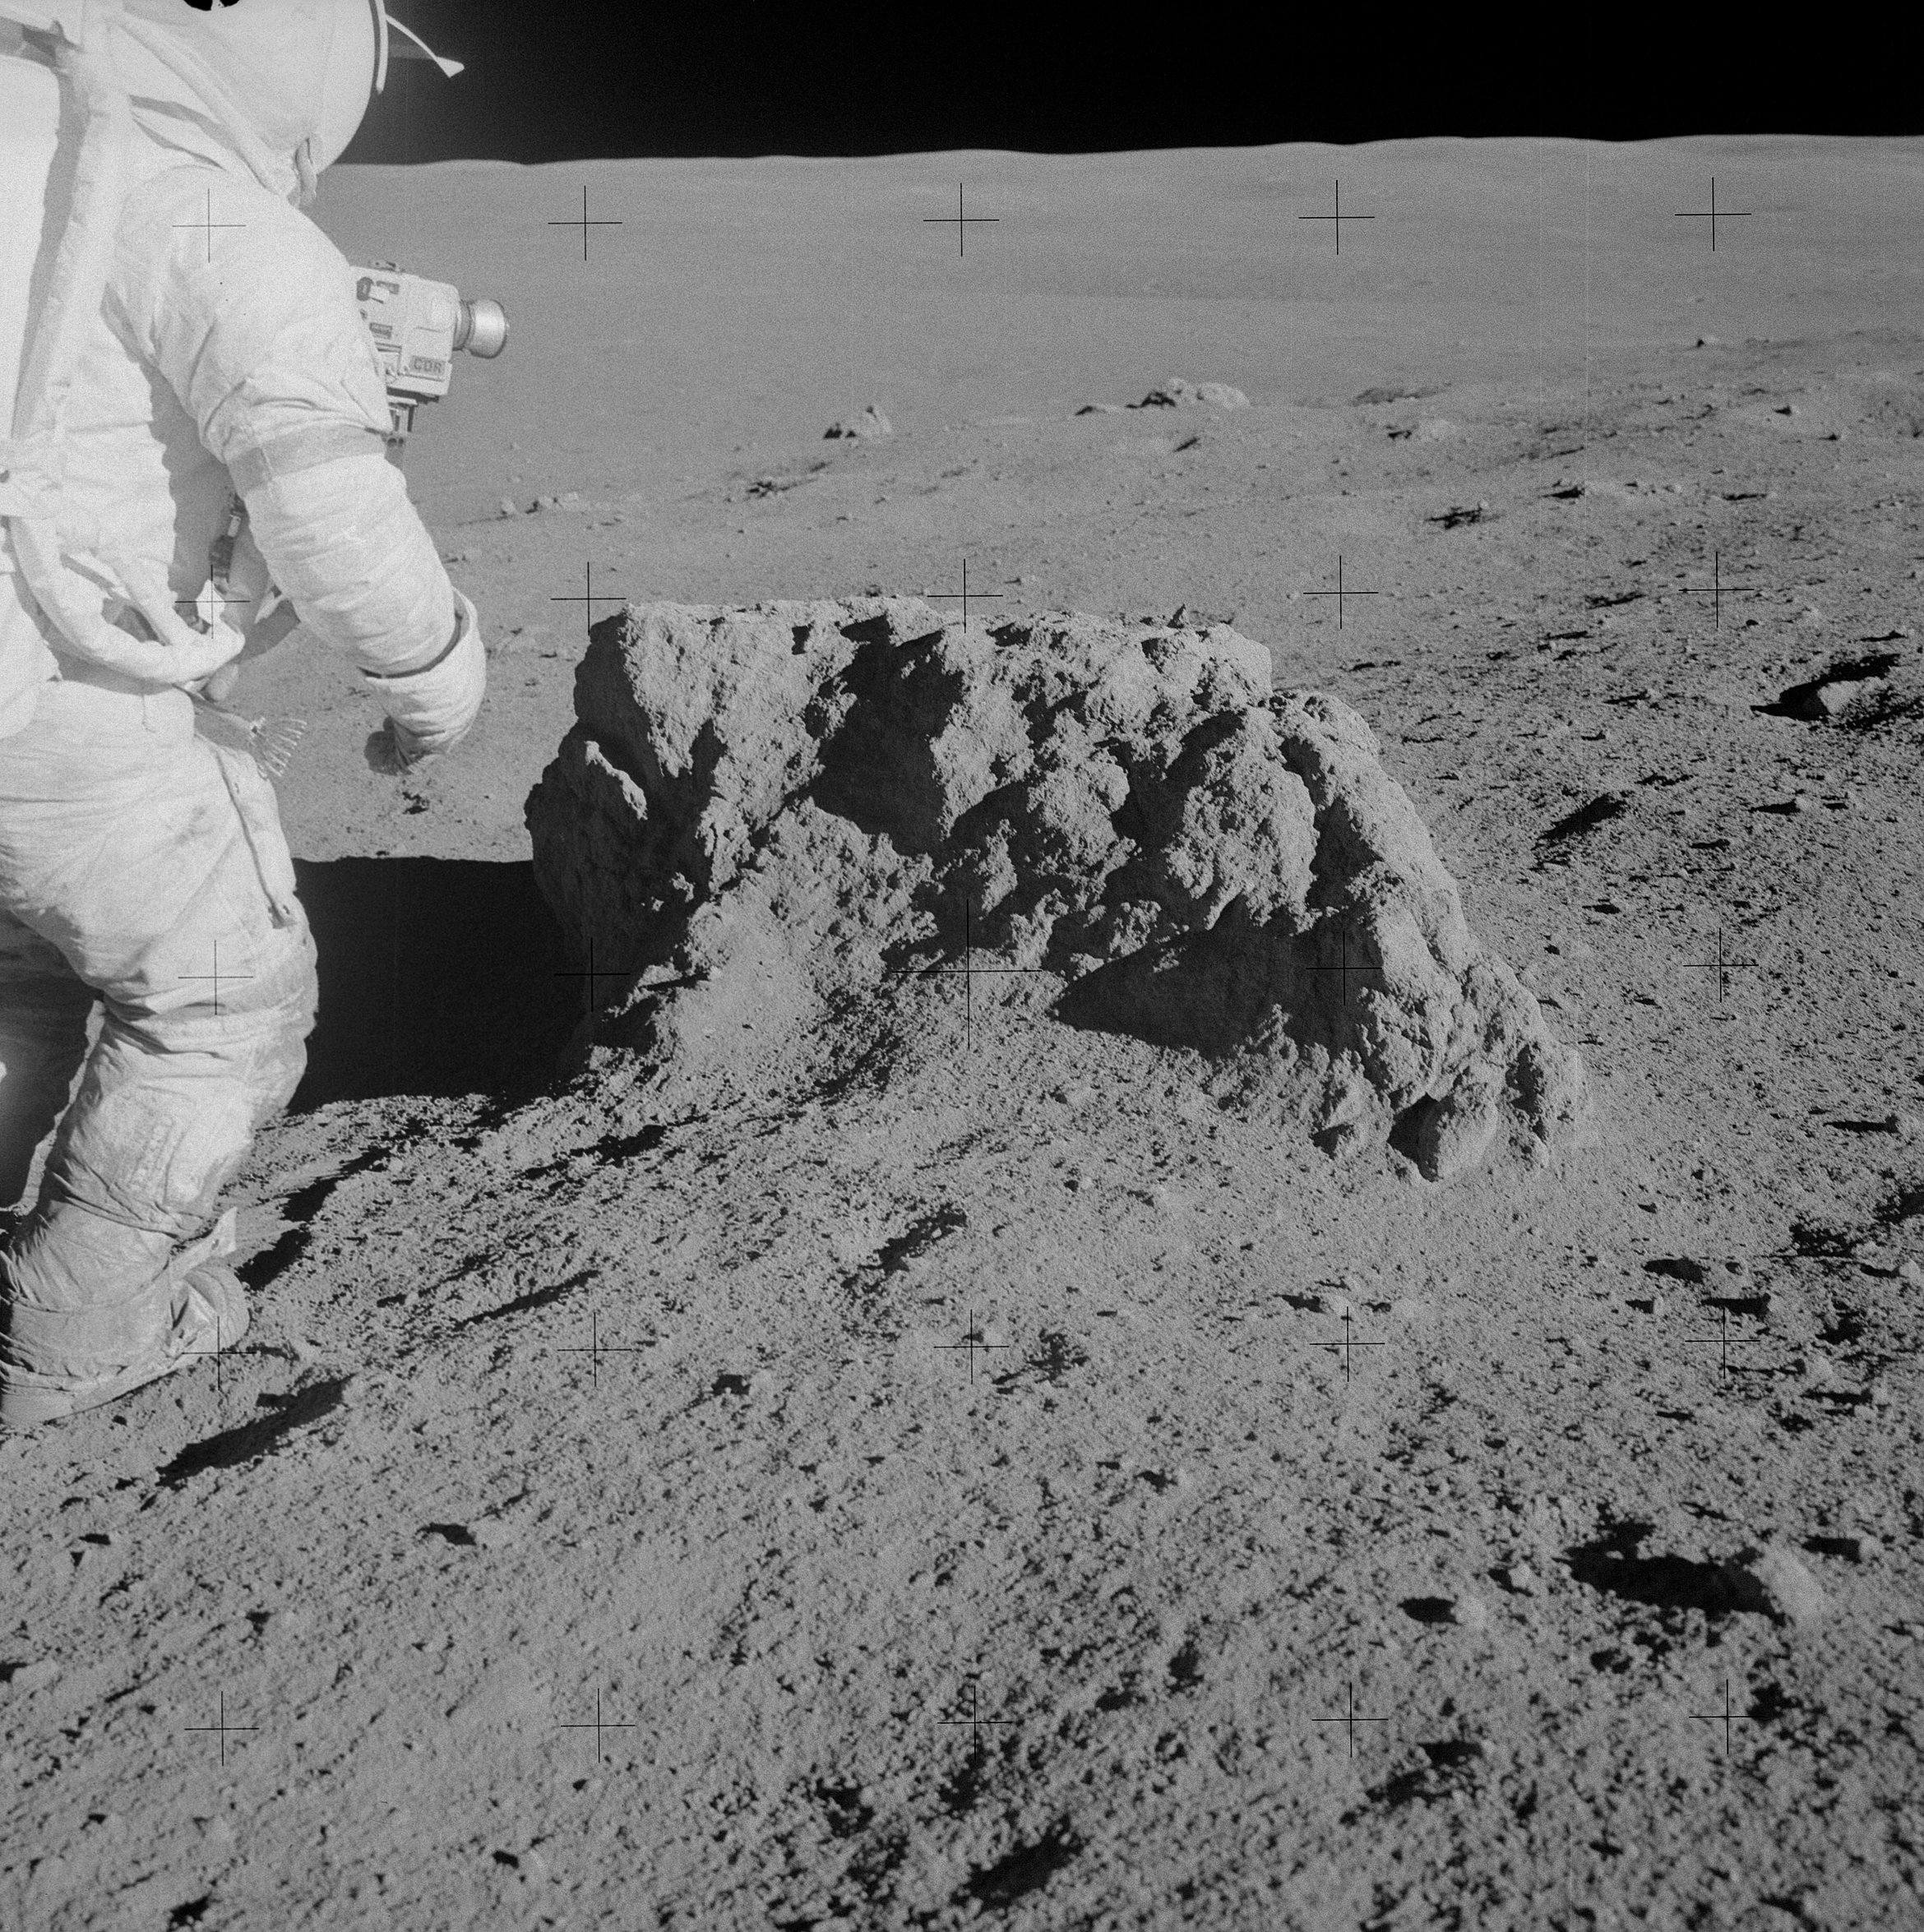 | AS14-68-9414 132:56:45 Close-up of the boulder at Station B2. Image credit: Image Science and Analysis Laboratory, NASA-Johnson Space Center. |
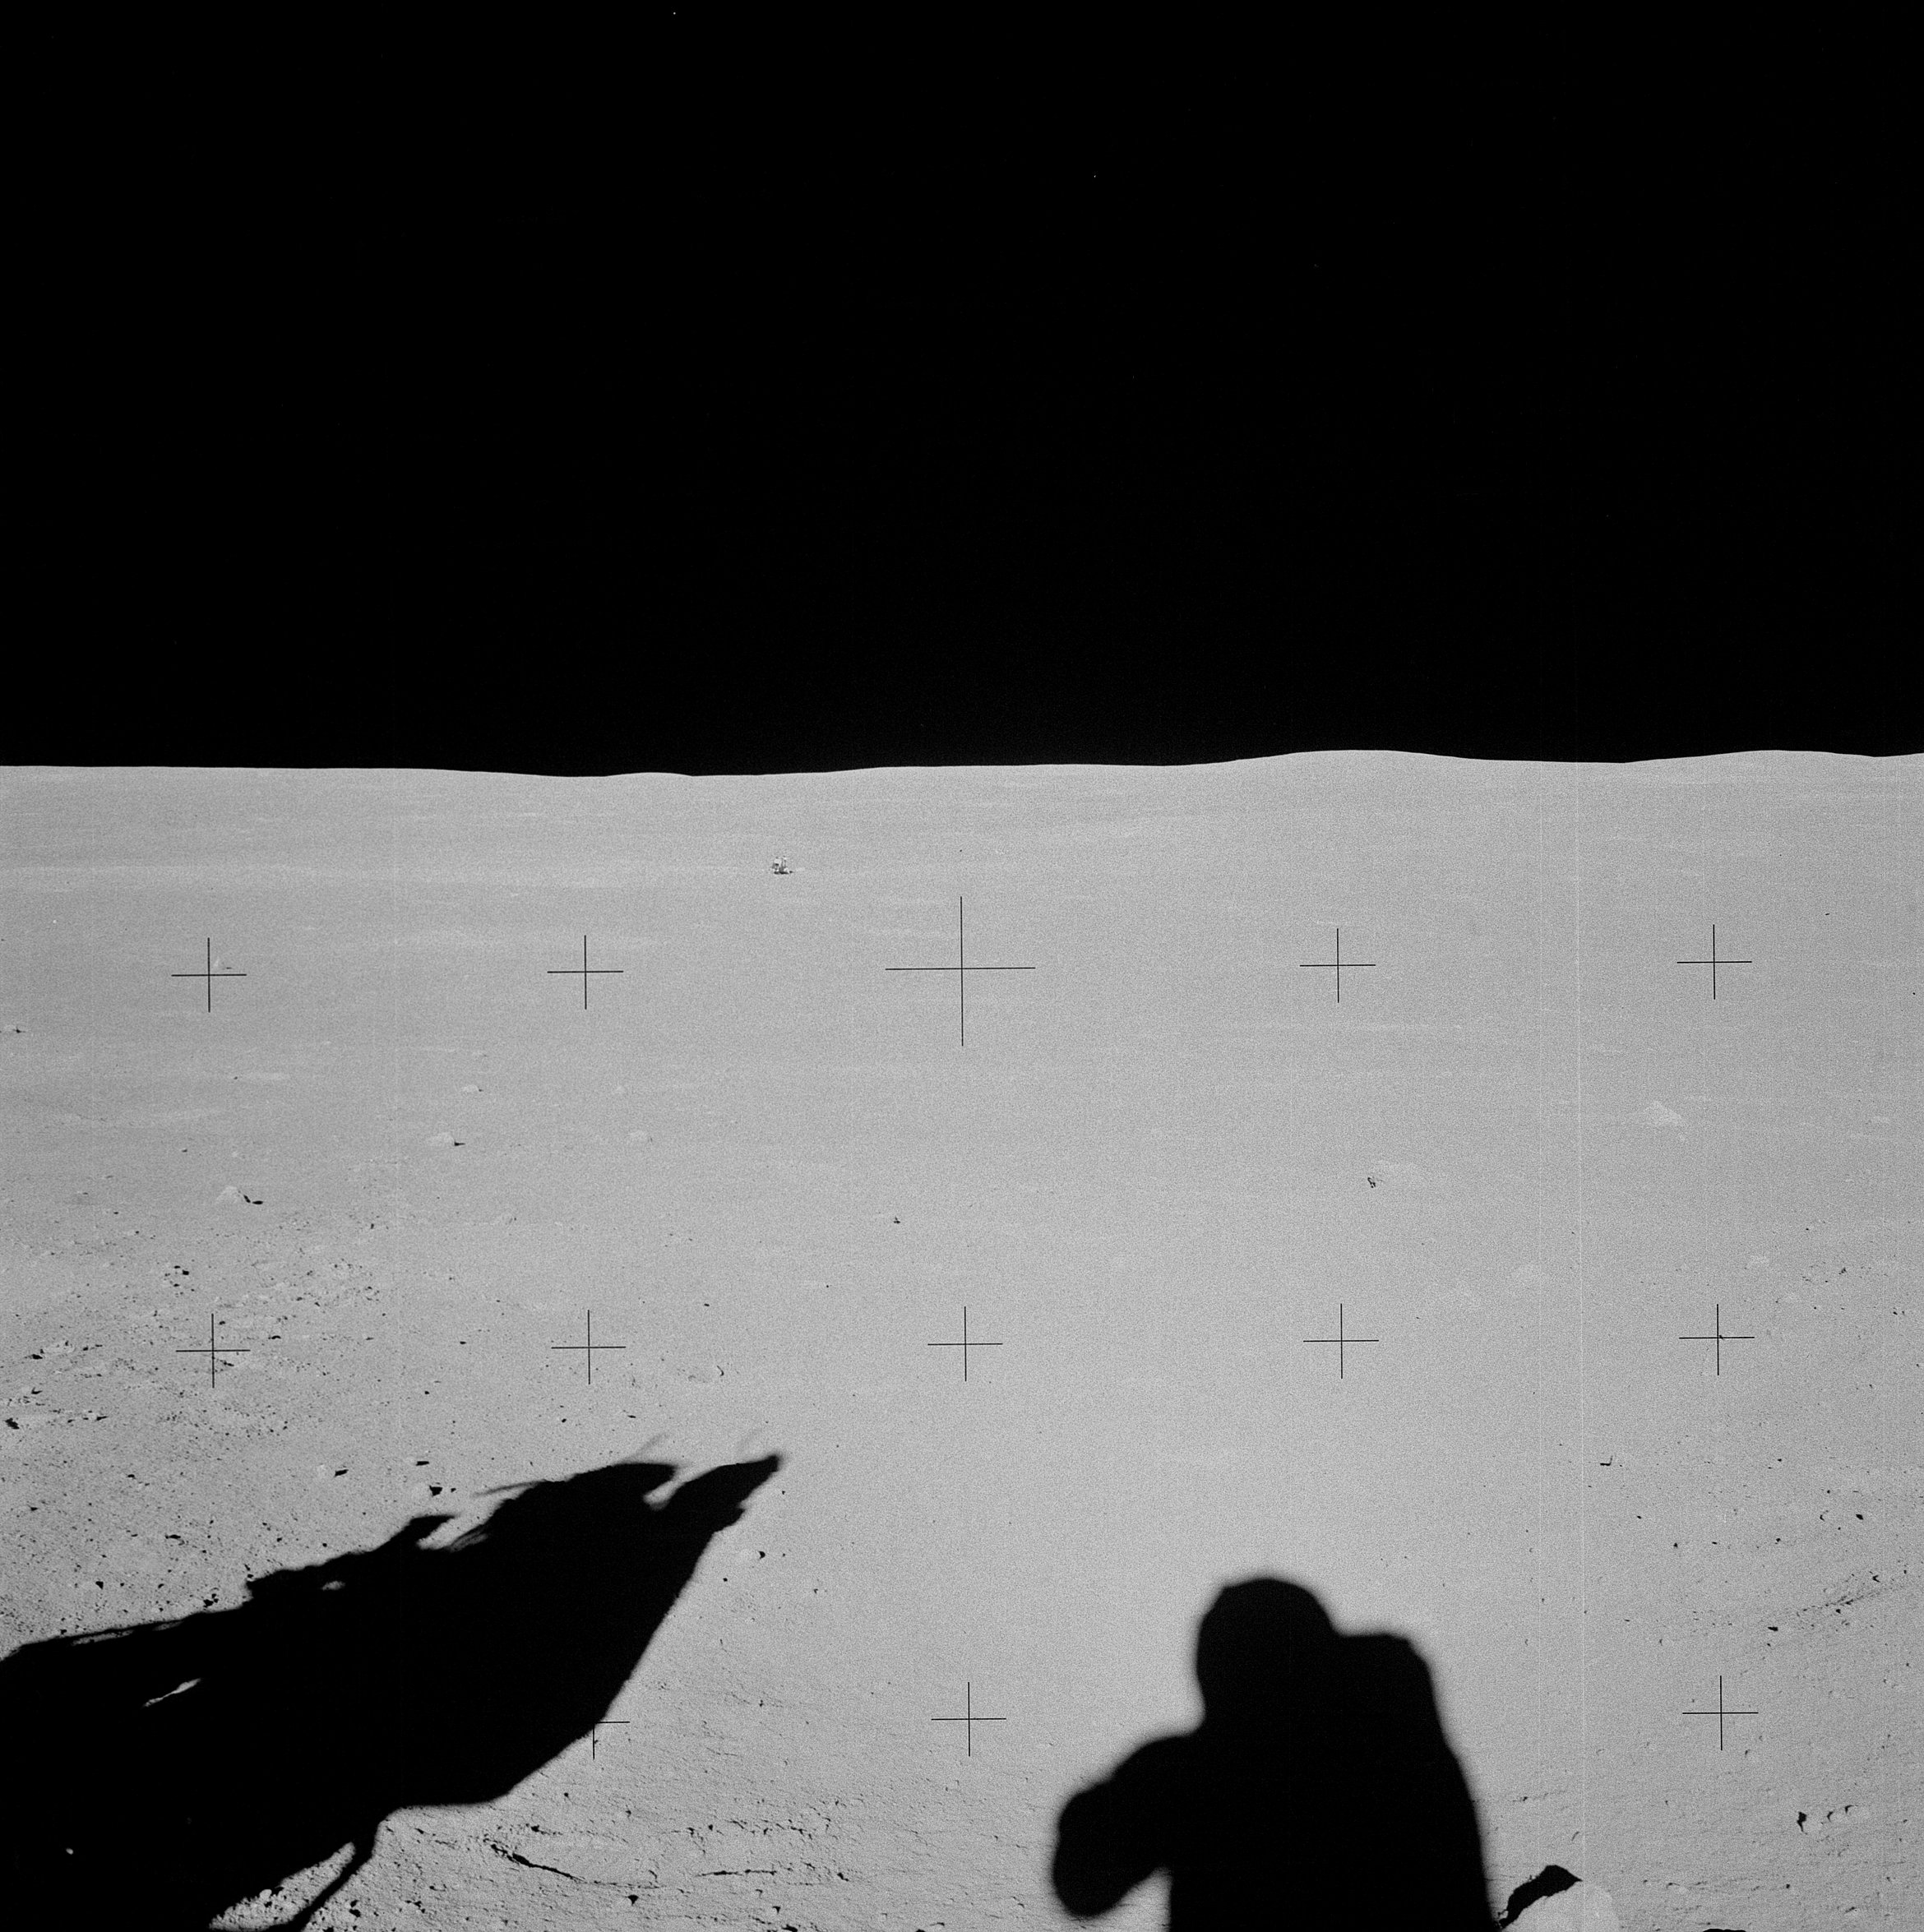 | AS14-68-9415 132:57:52 Down-Sun from Ed's Station B2 pan. Image credit: Image Science and Analysis Laboratory, NASA-Johnson Space Center. |
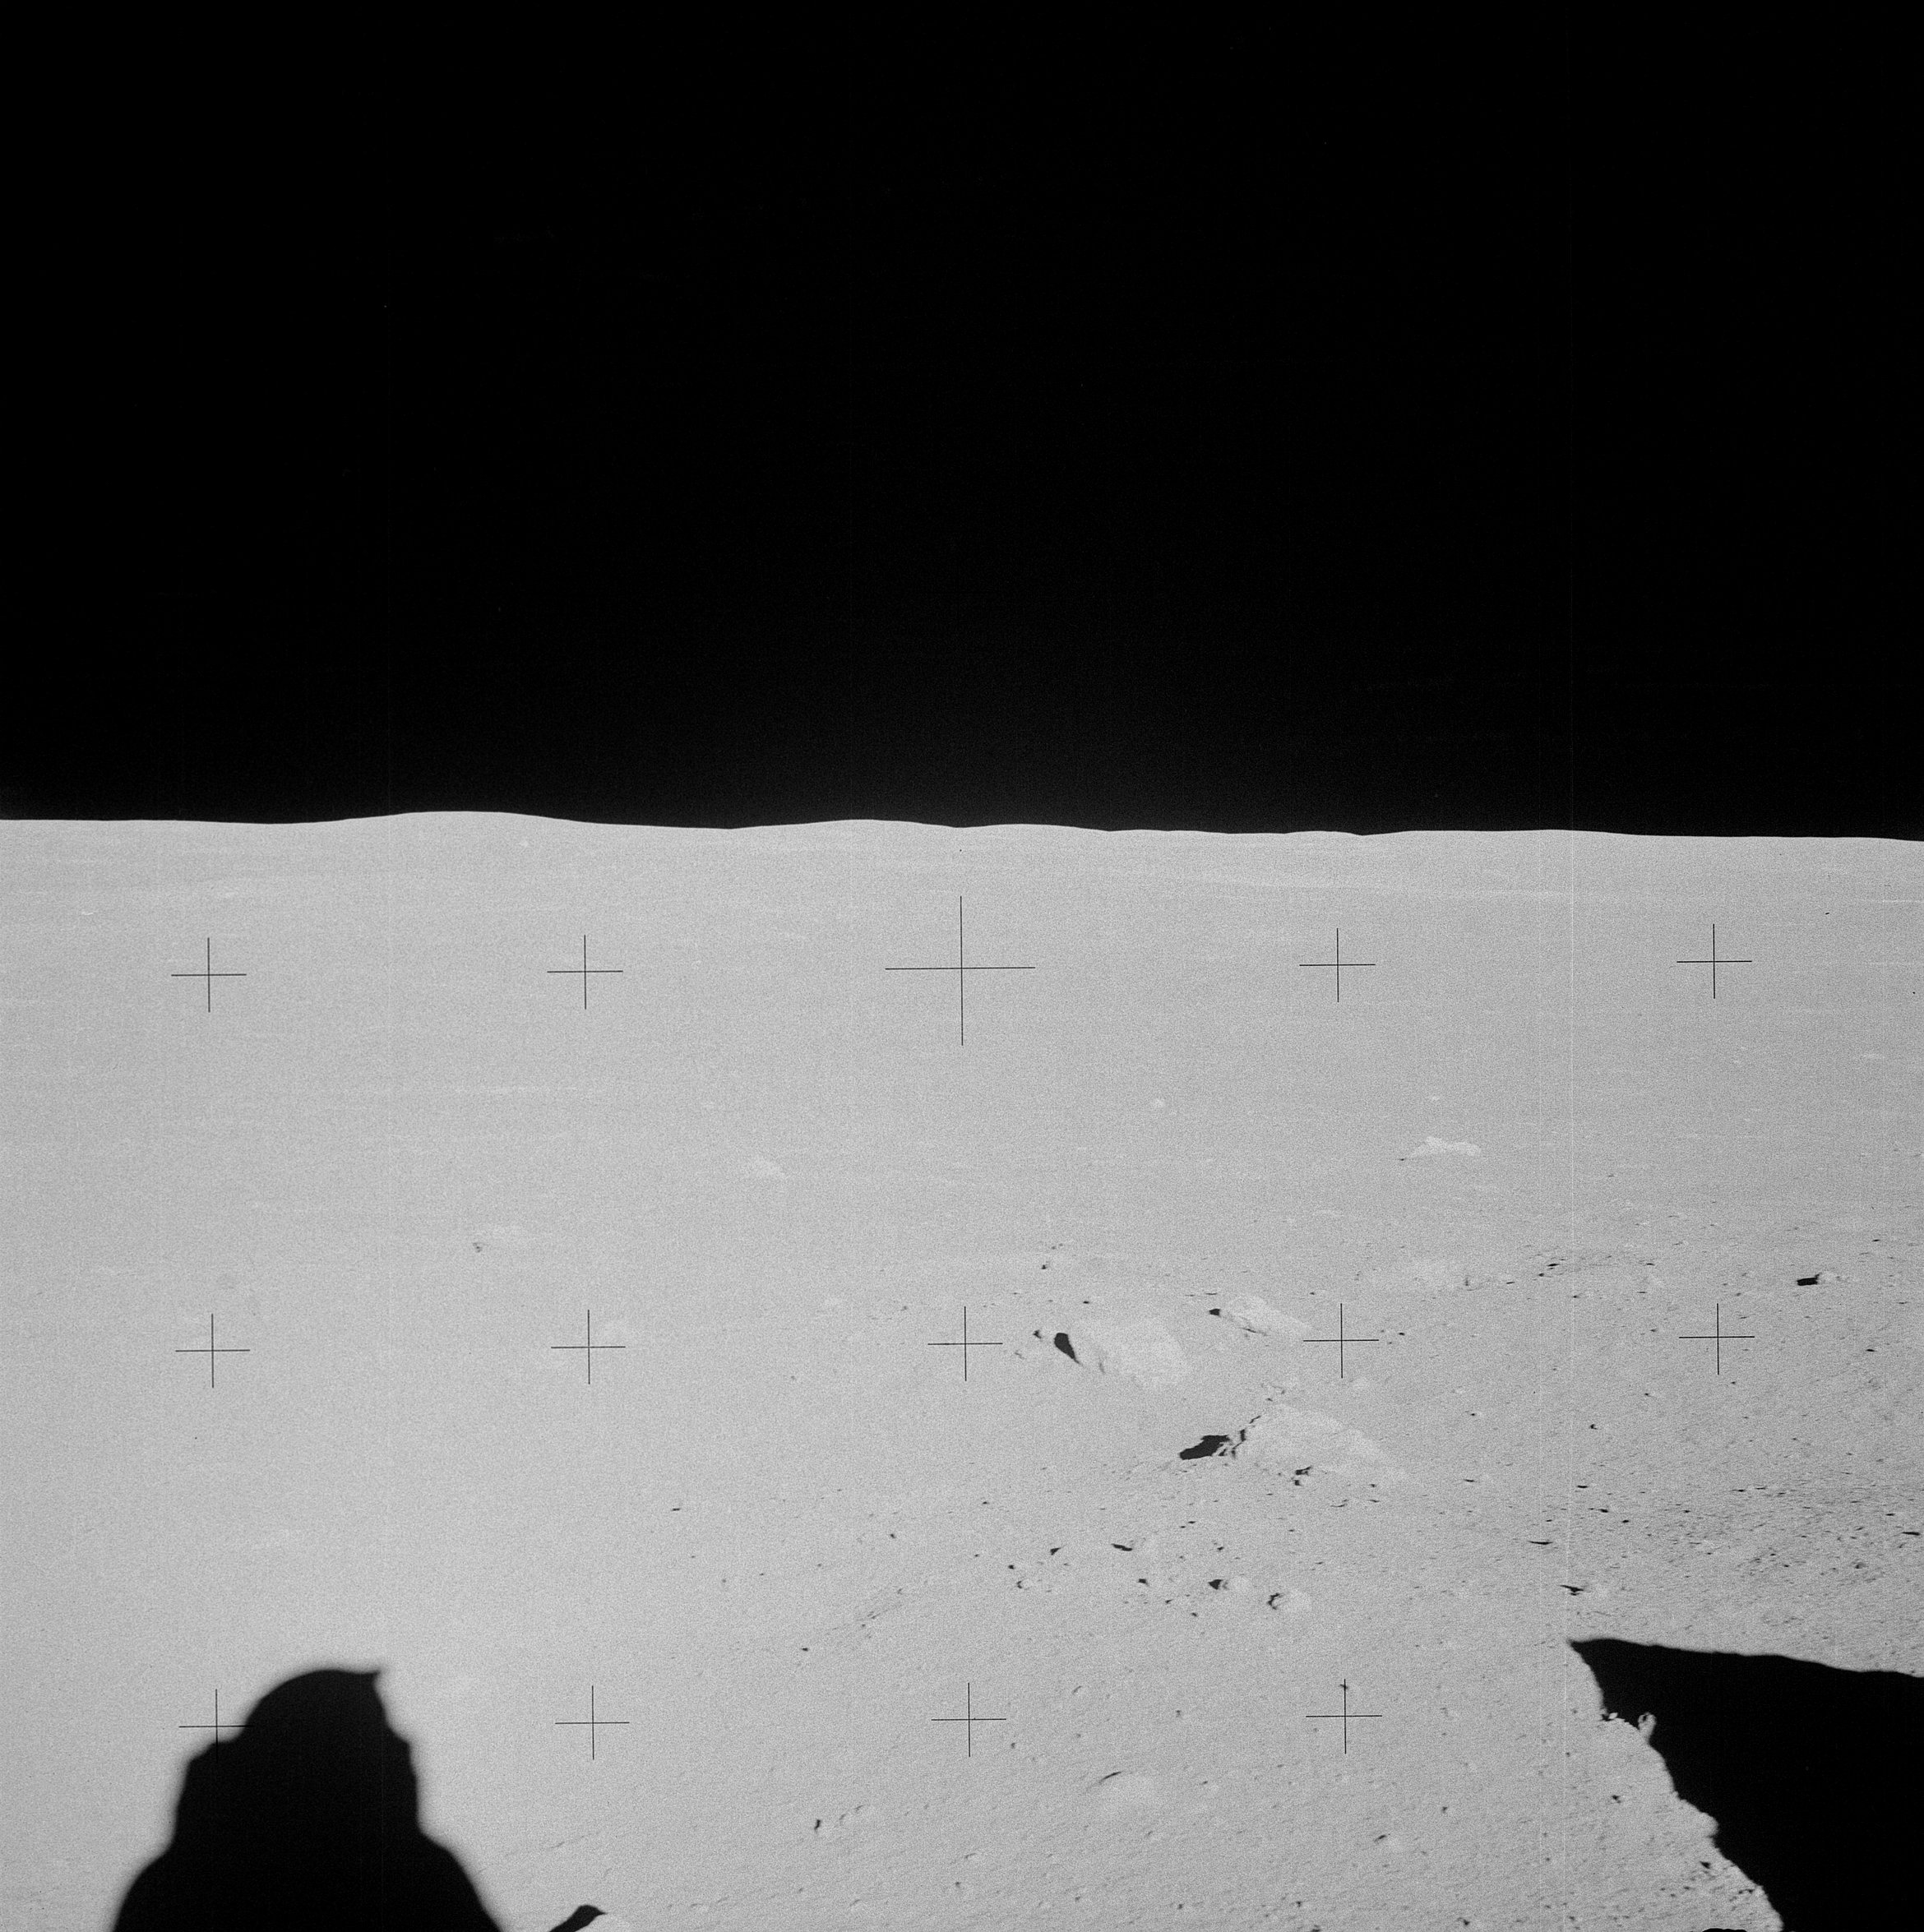 | AS14-68-9416 Rightward of 9415, showing Ed's shadow and that of Big Rock. Image credit: Image Science and Analysis Laboratory, NASA-Johnson Space Center. |
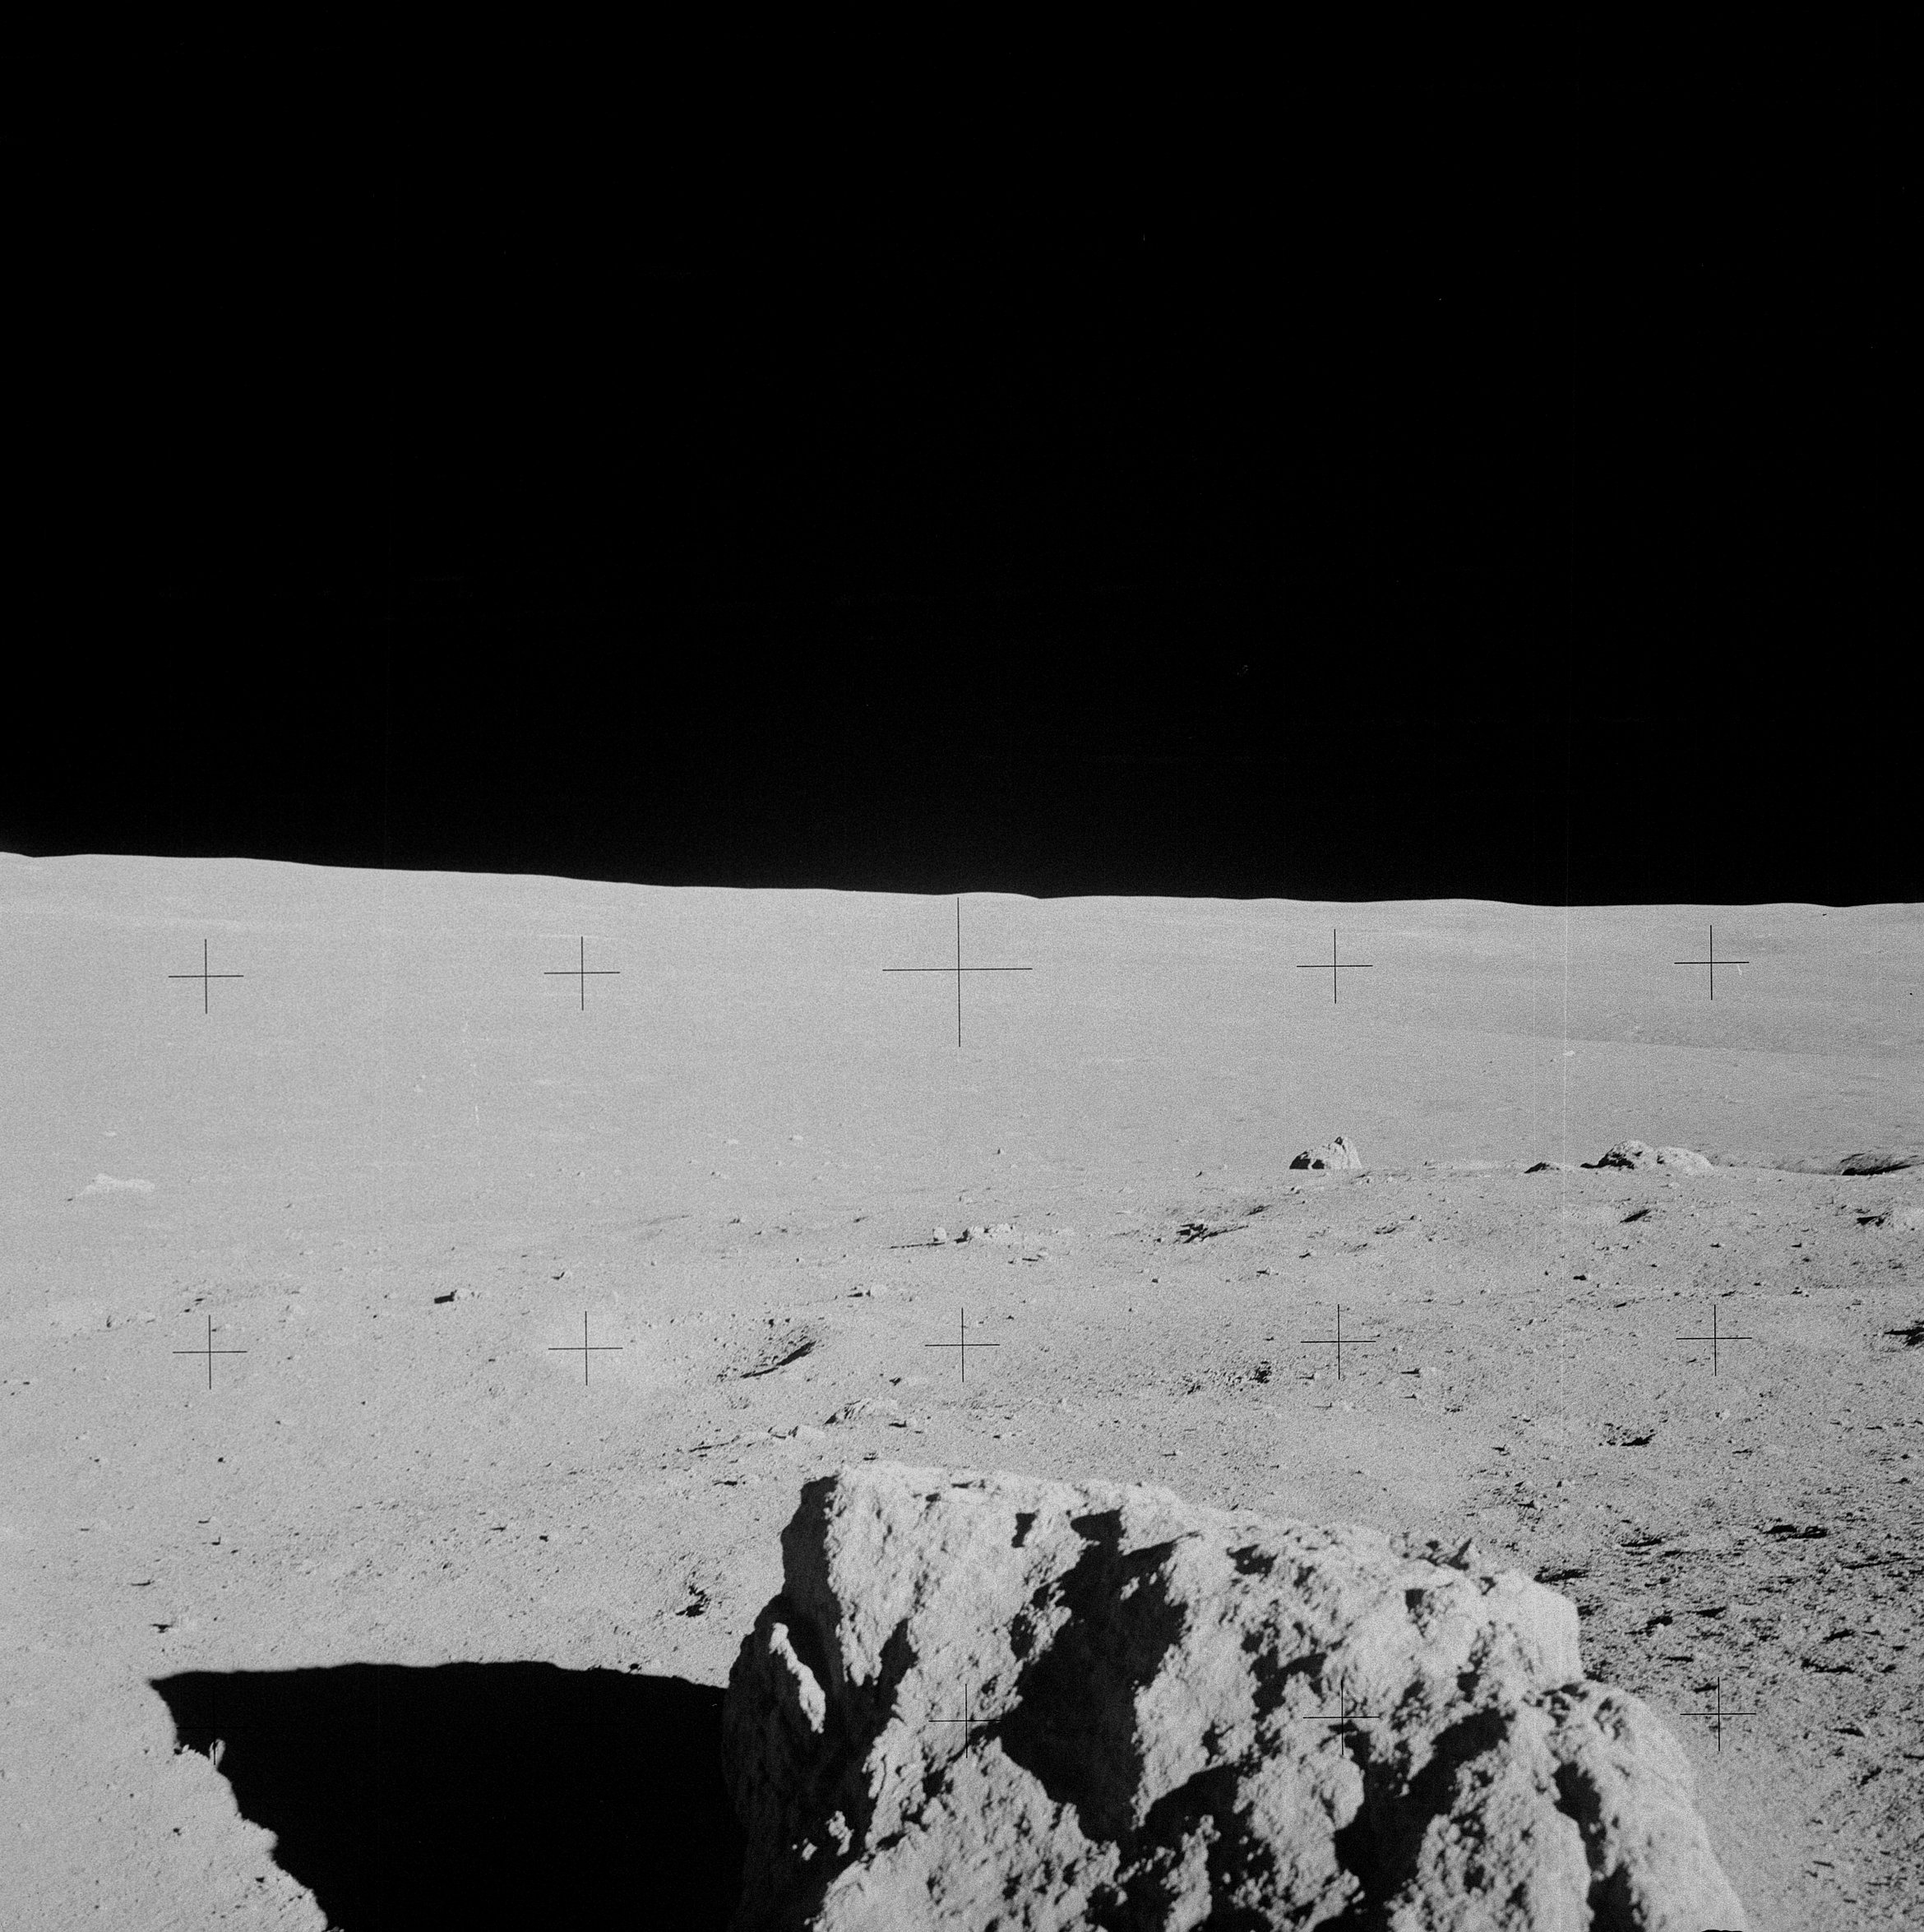 | AS14-68-9417 Rightward of 9416, across the top of Big Rock. Image credit: Image Science and Analysis Laboratory, NASA-Johnson Space Center. |
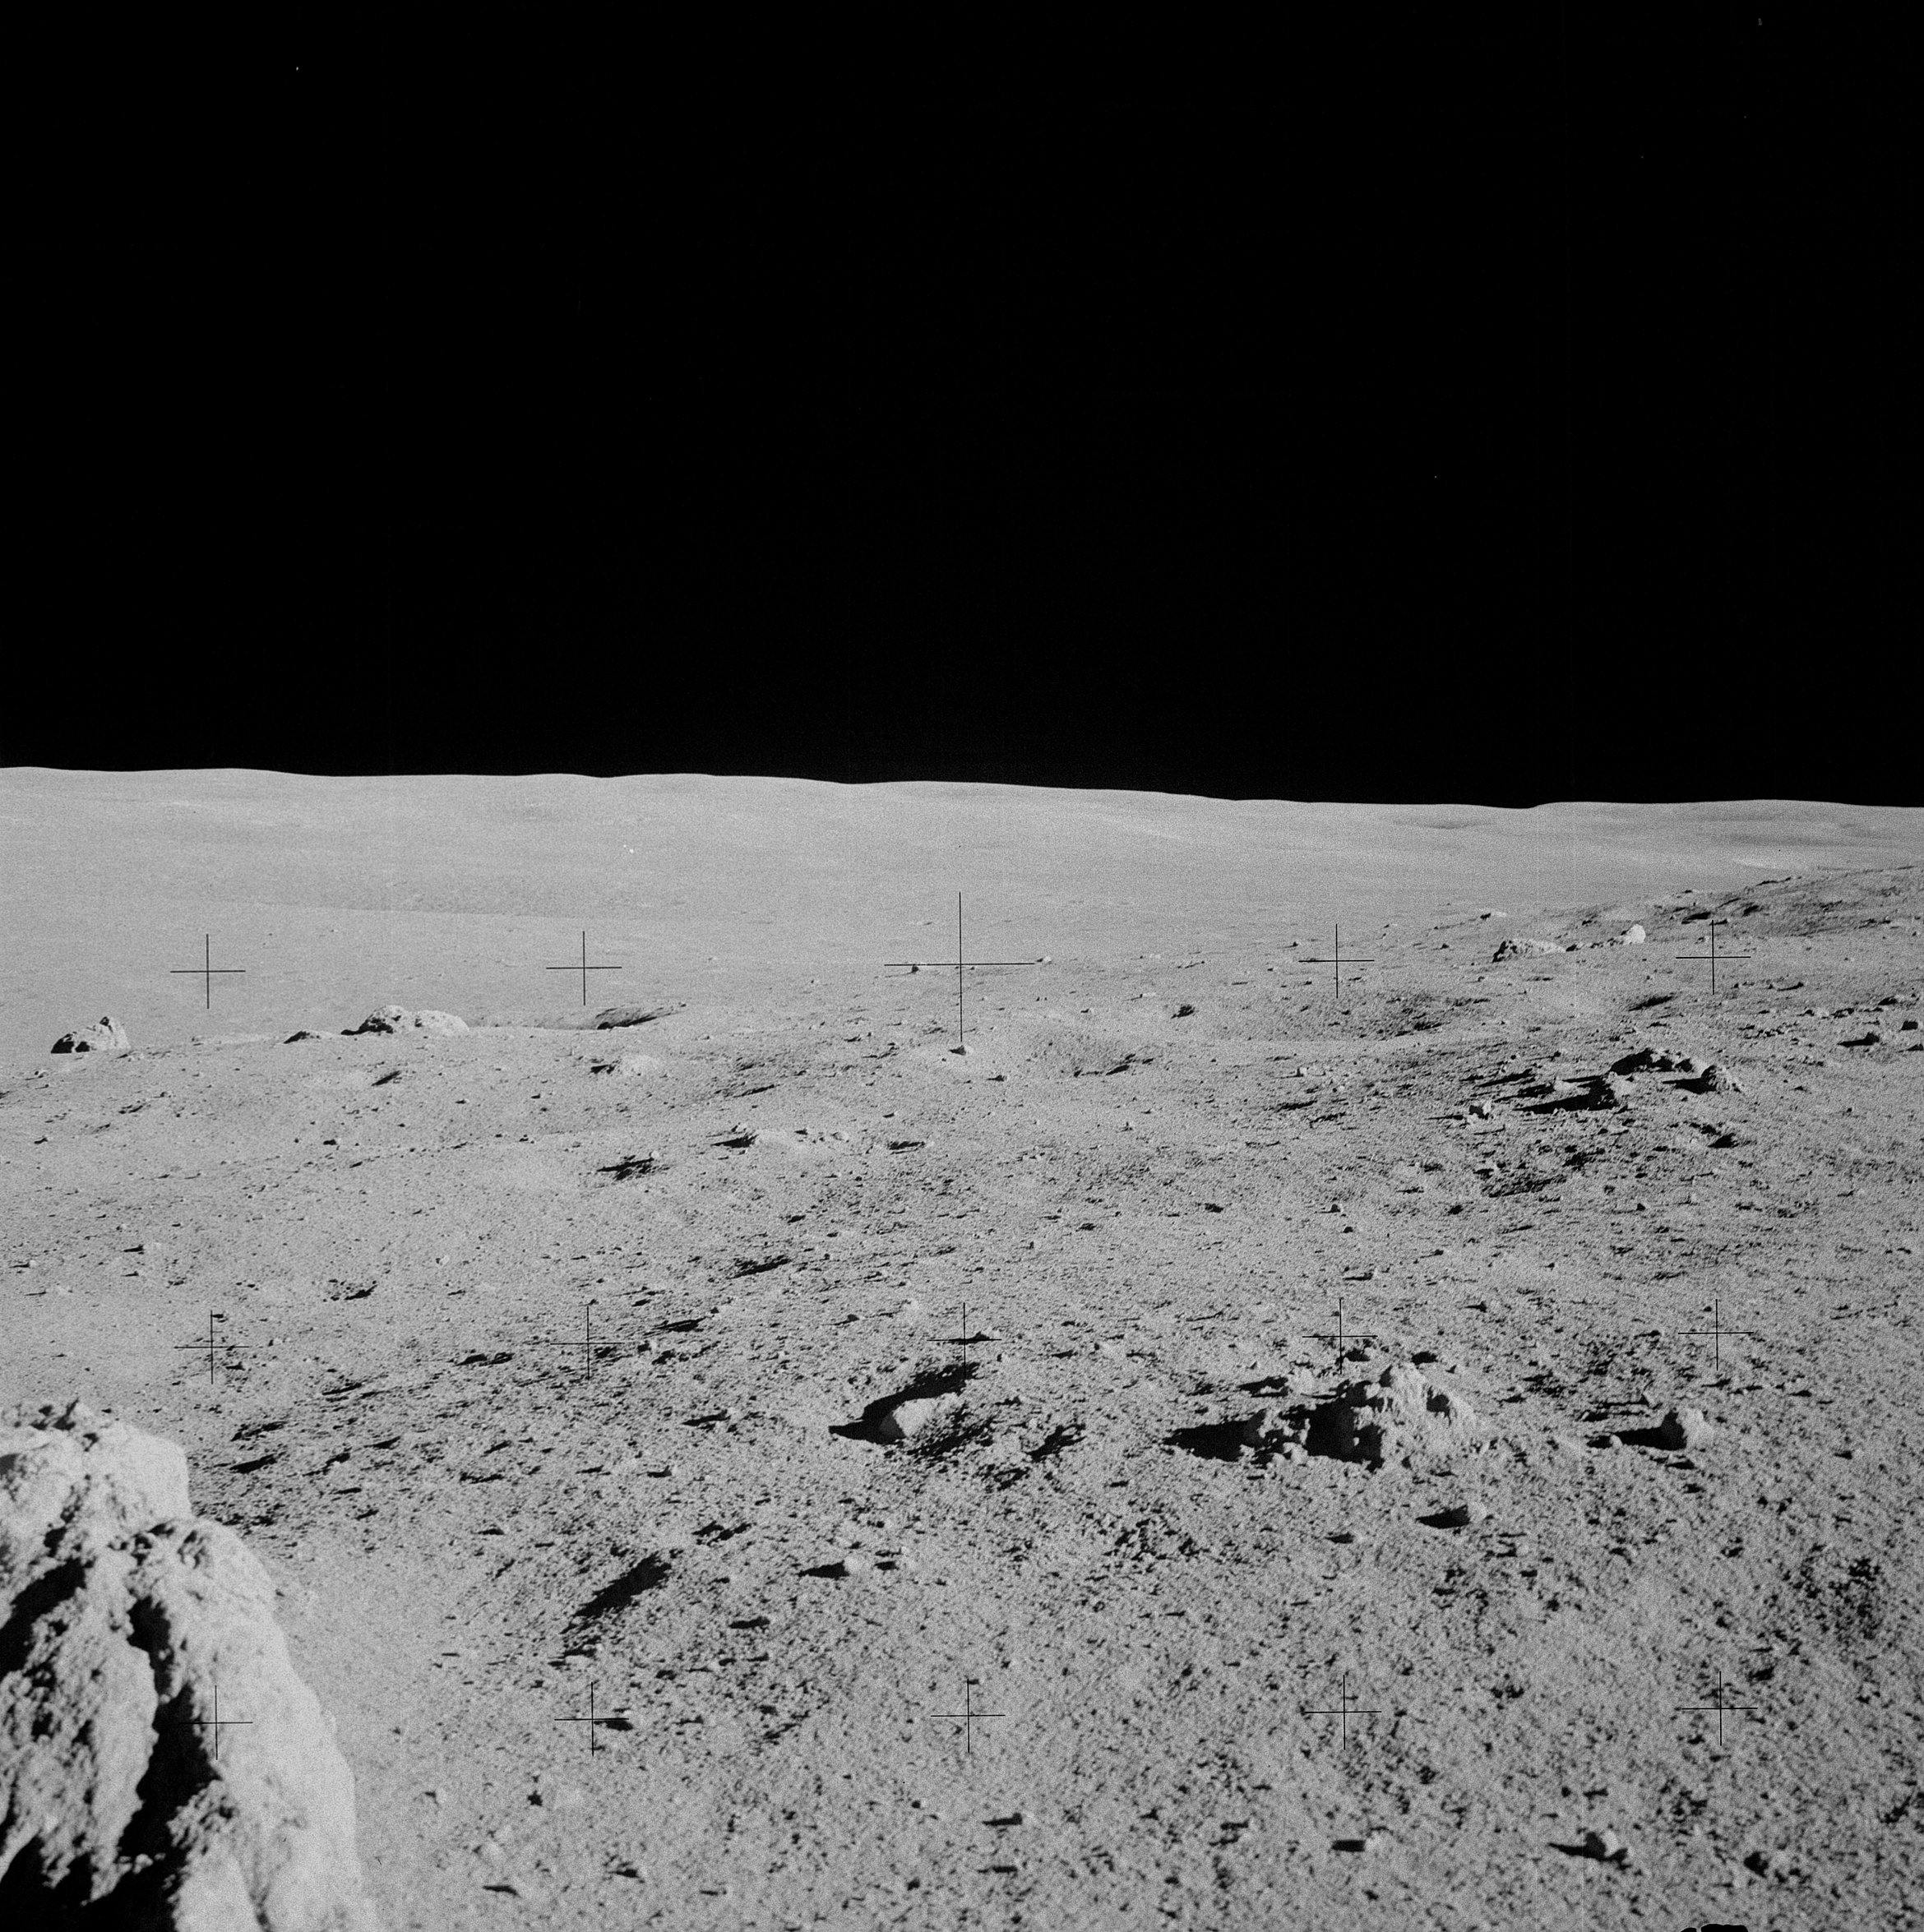 | AS14-68-9418 Rightward of 9417, showing a portion of Big Rock in the lower left. Image credit: Image Science and Analysis Laboratory, NASA-Johnson Space Center. |
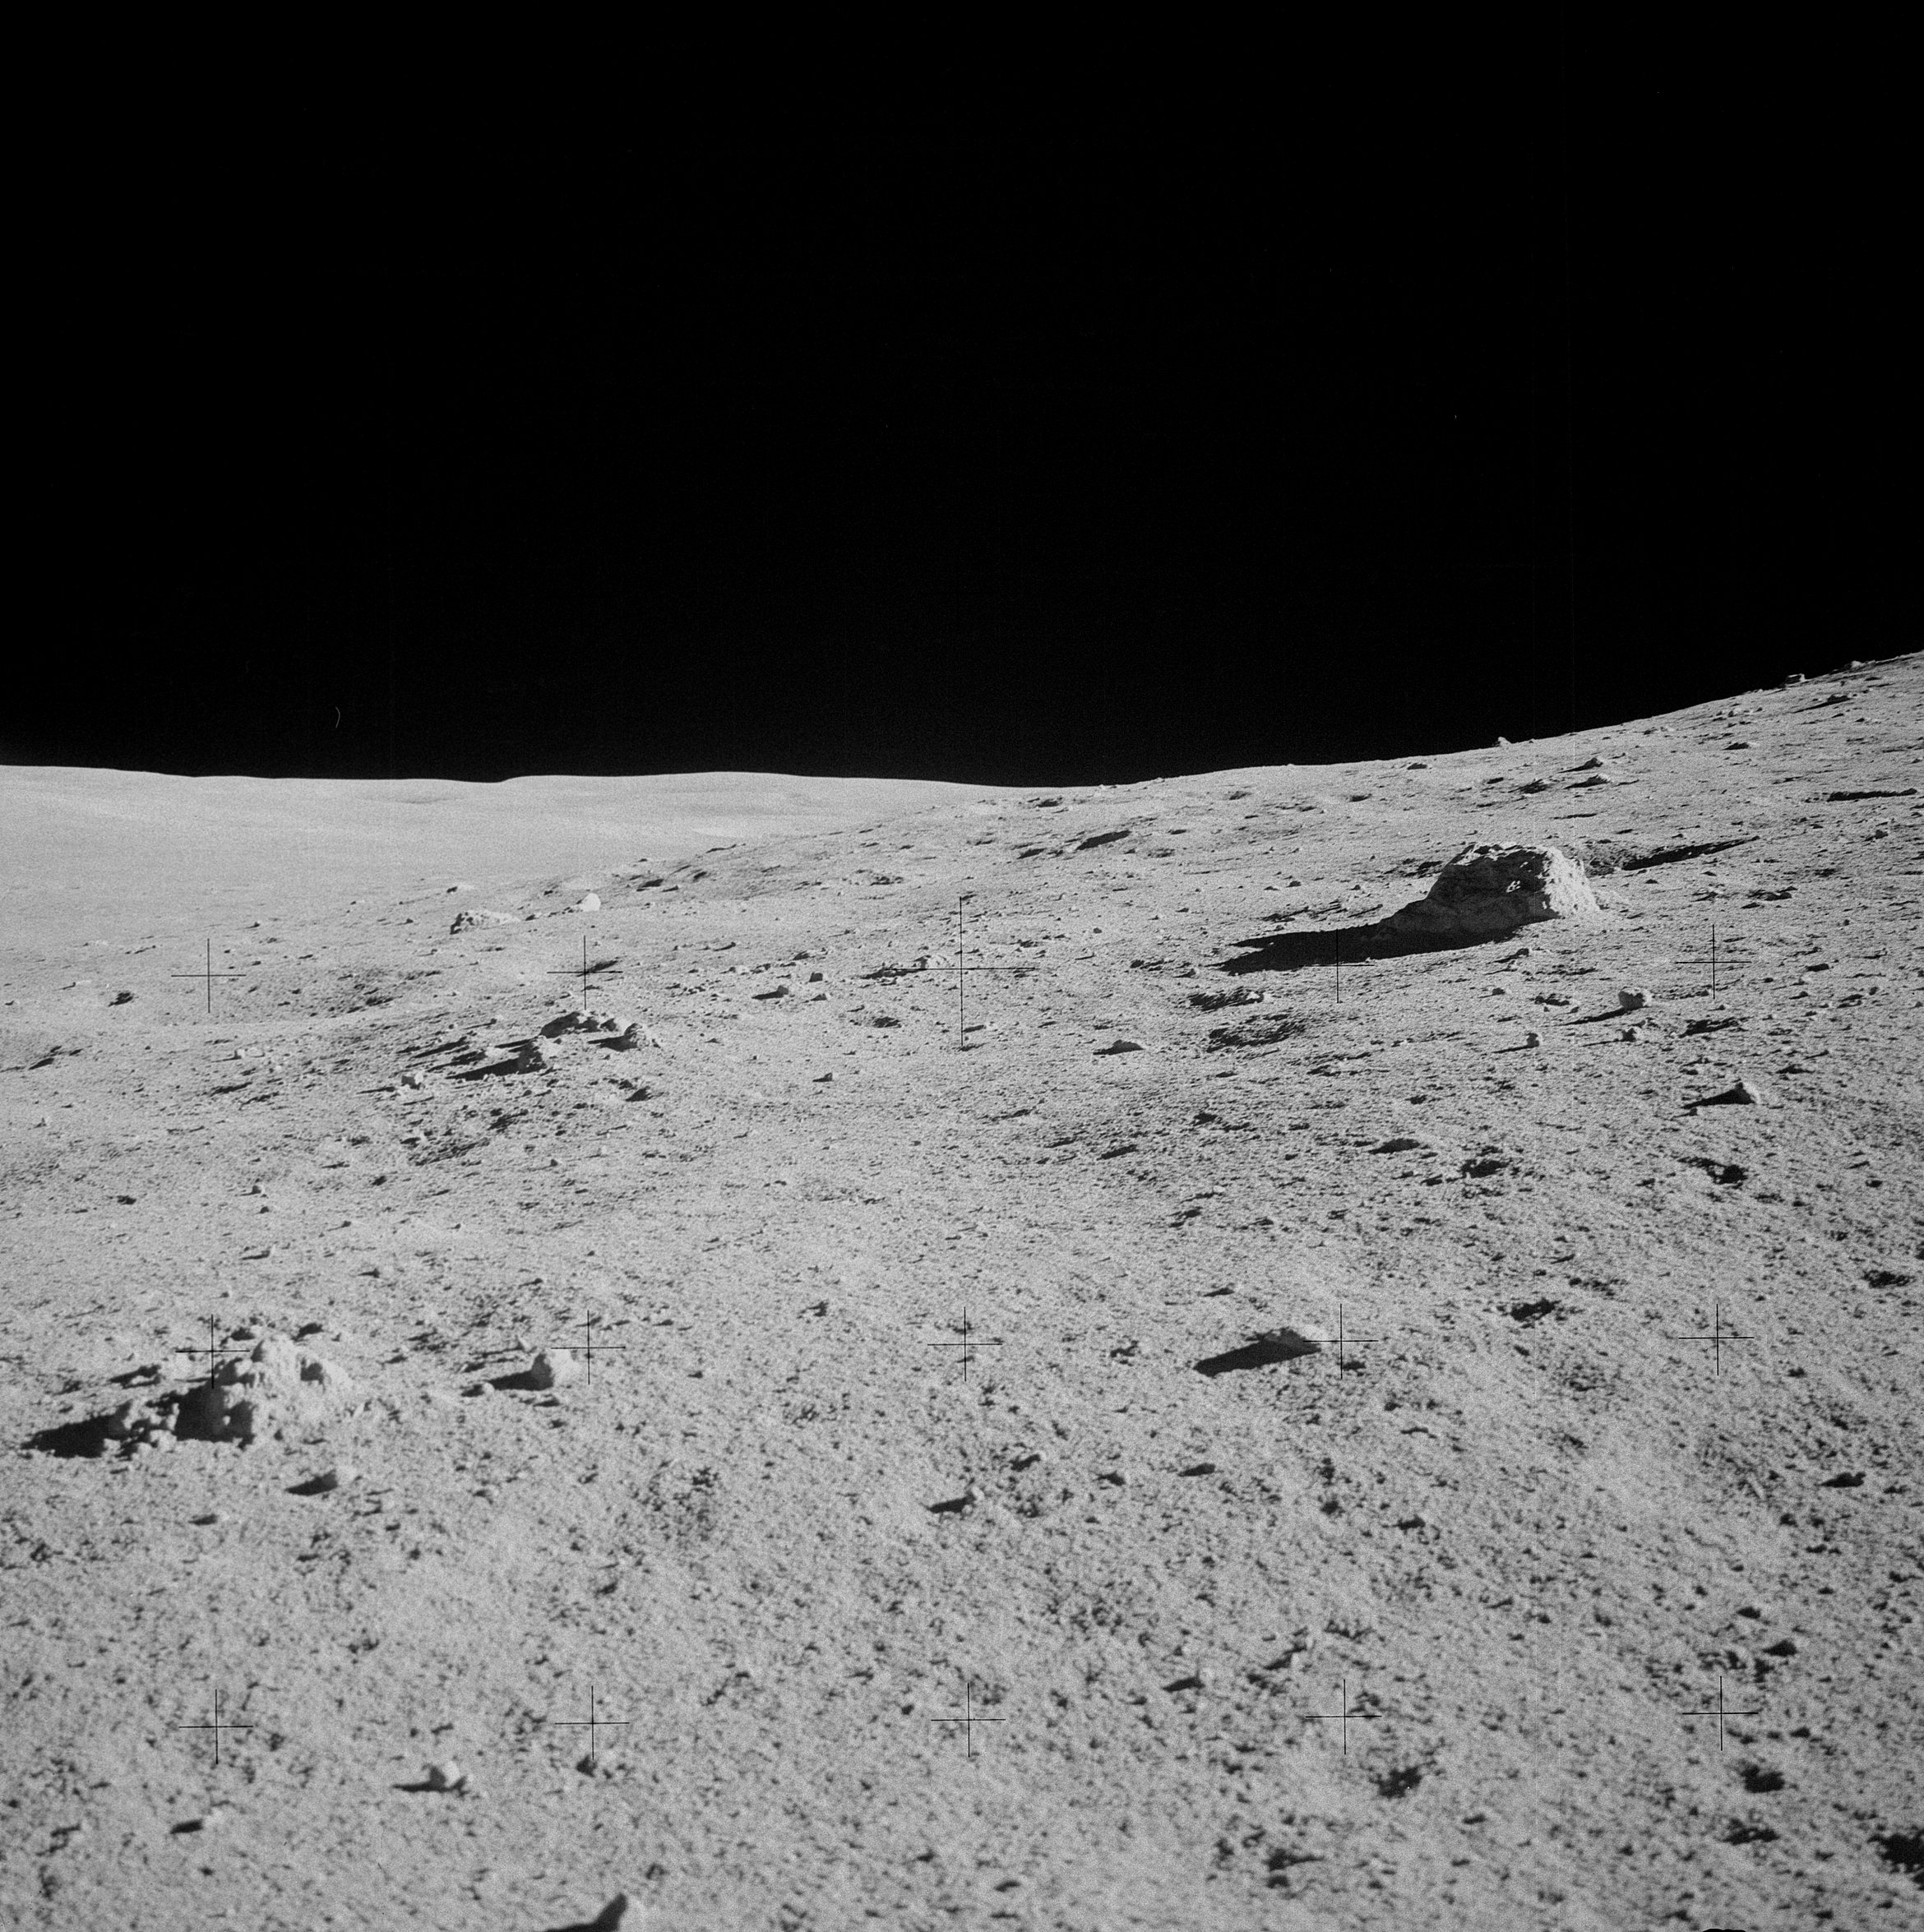 | AS14-68-9419 Rightward of 9418, showing the view toward the NNE with a large boulder at right center. Image credit: Image Science and Analysis Laboratory, NASA-Johnson Space Center. |
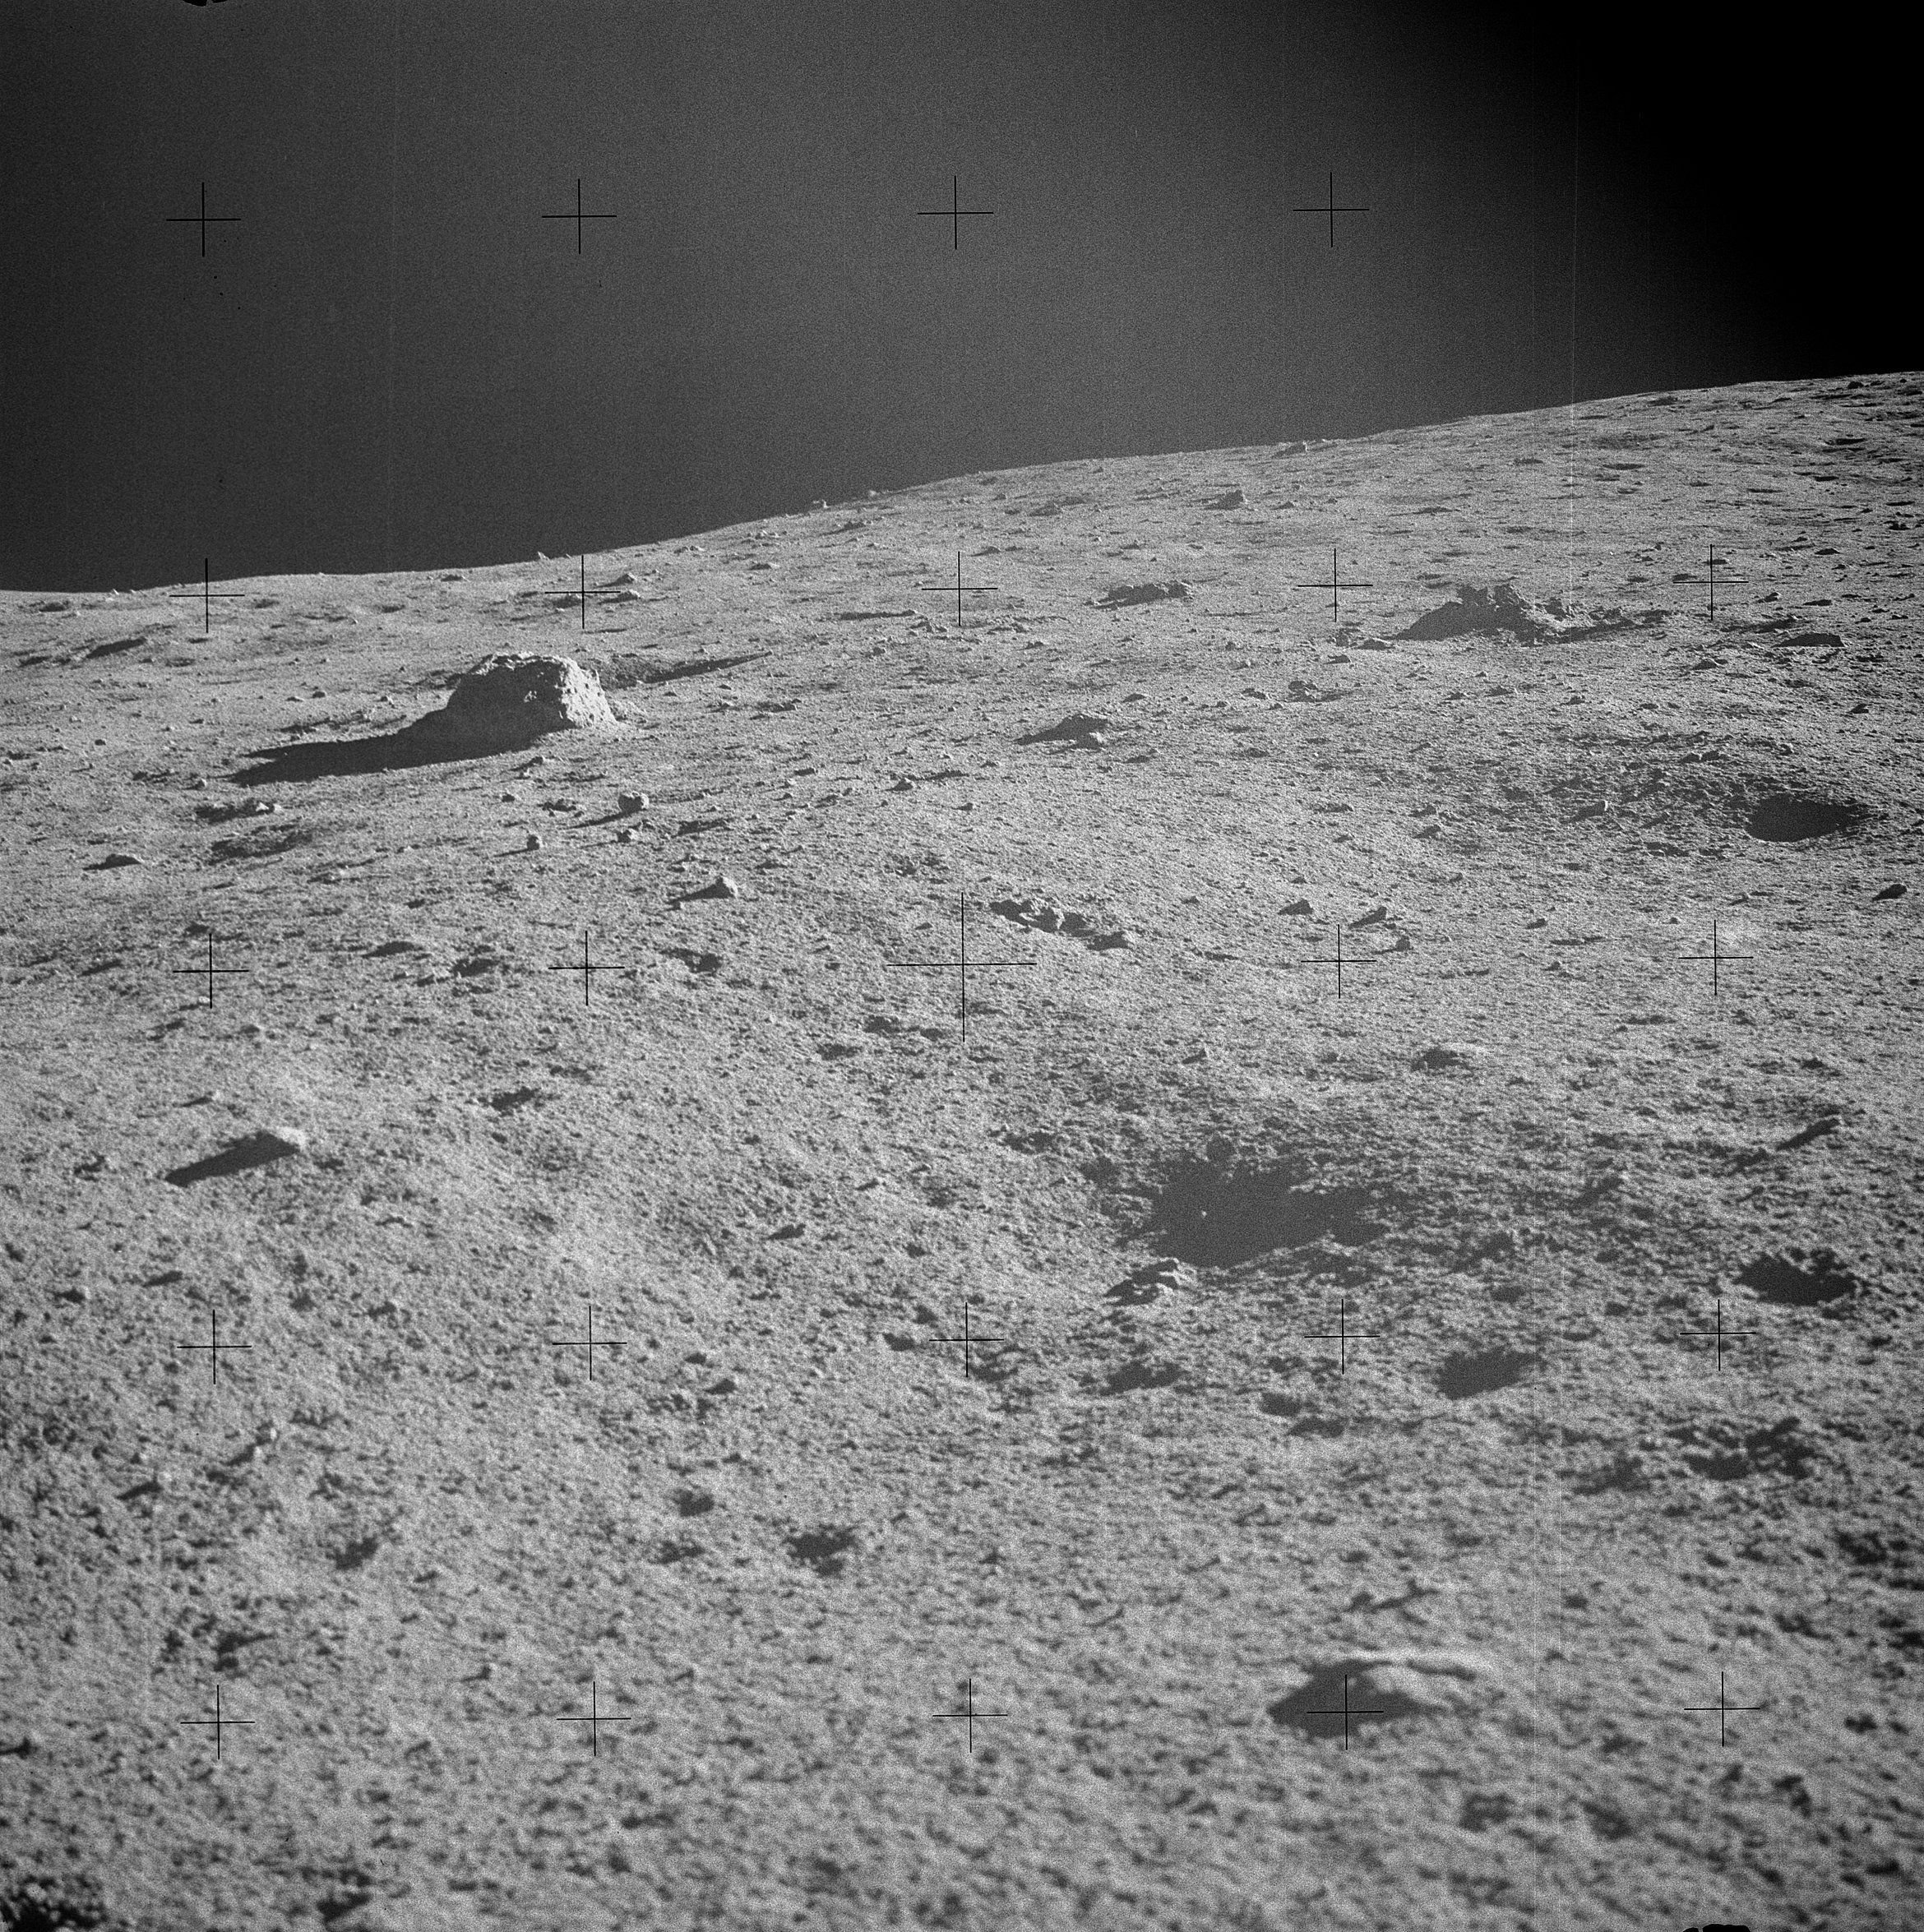 | AS14-68-9420 Rightward of 9419, the large boulder noted in 9419 is at left center. Image credit: Image Science and Analysis Laboratory, NASA-Johnson Space Center. |
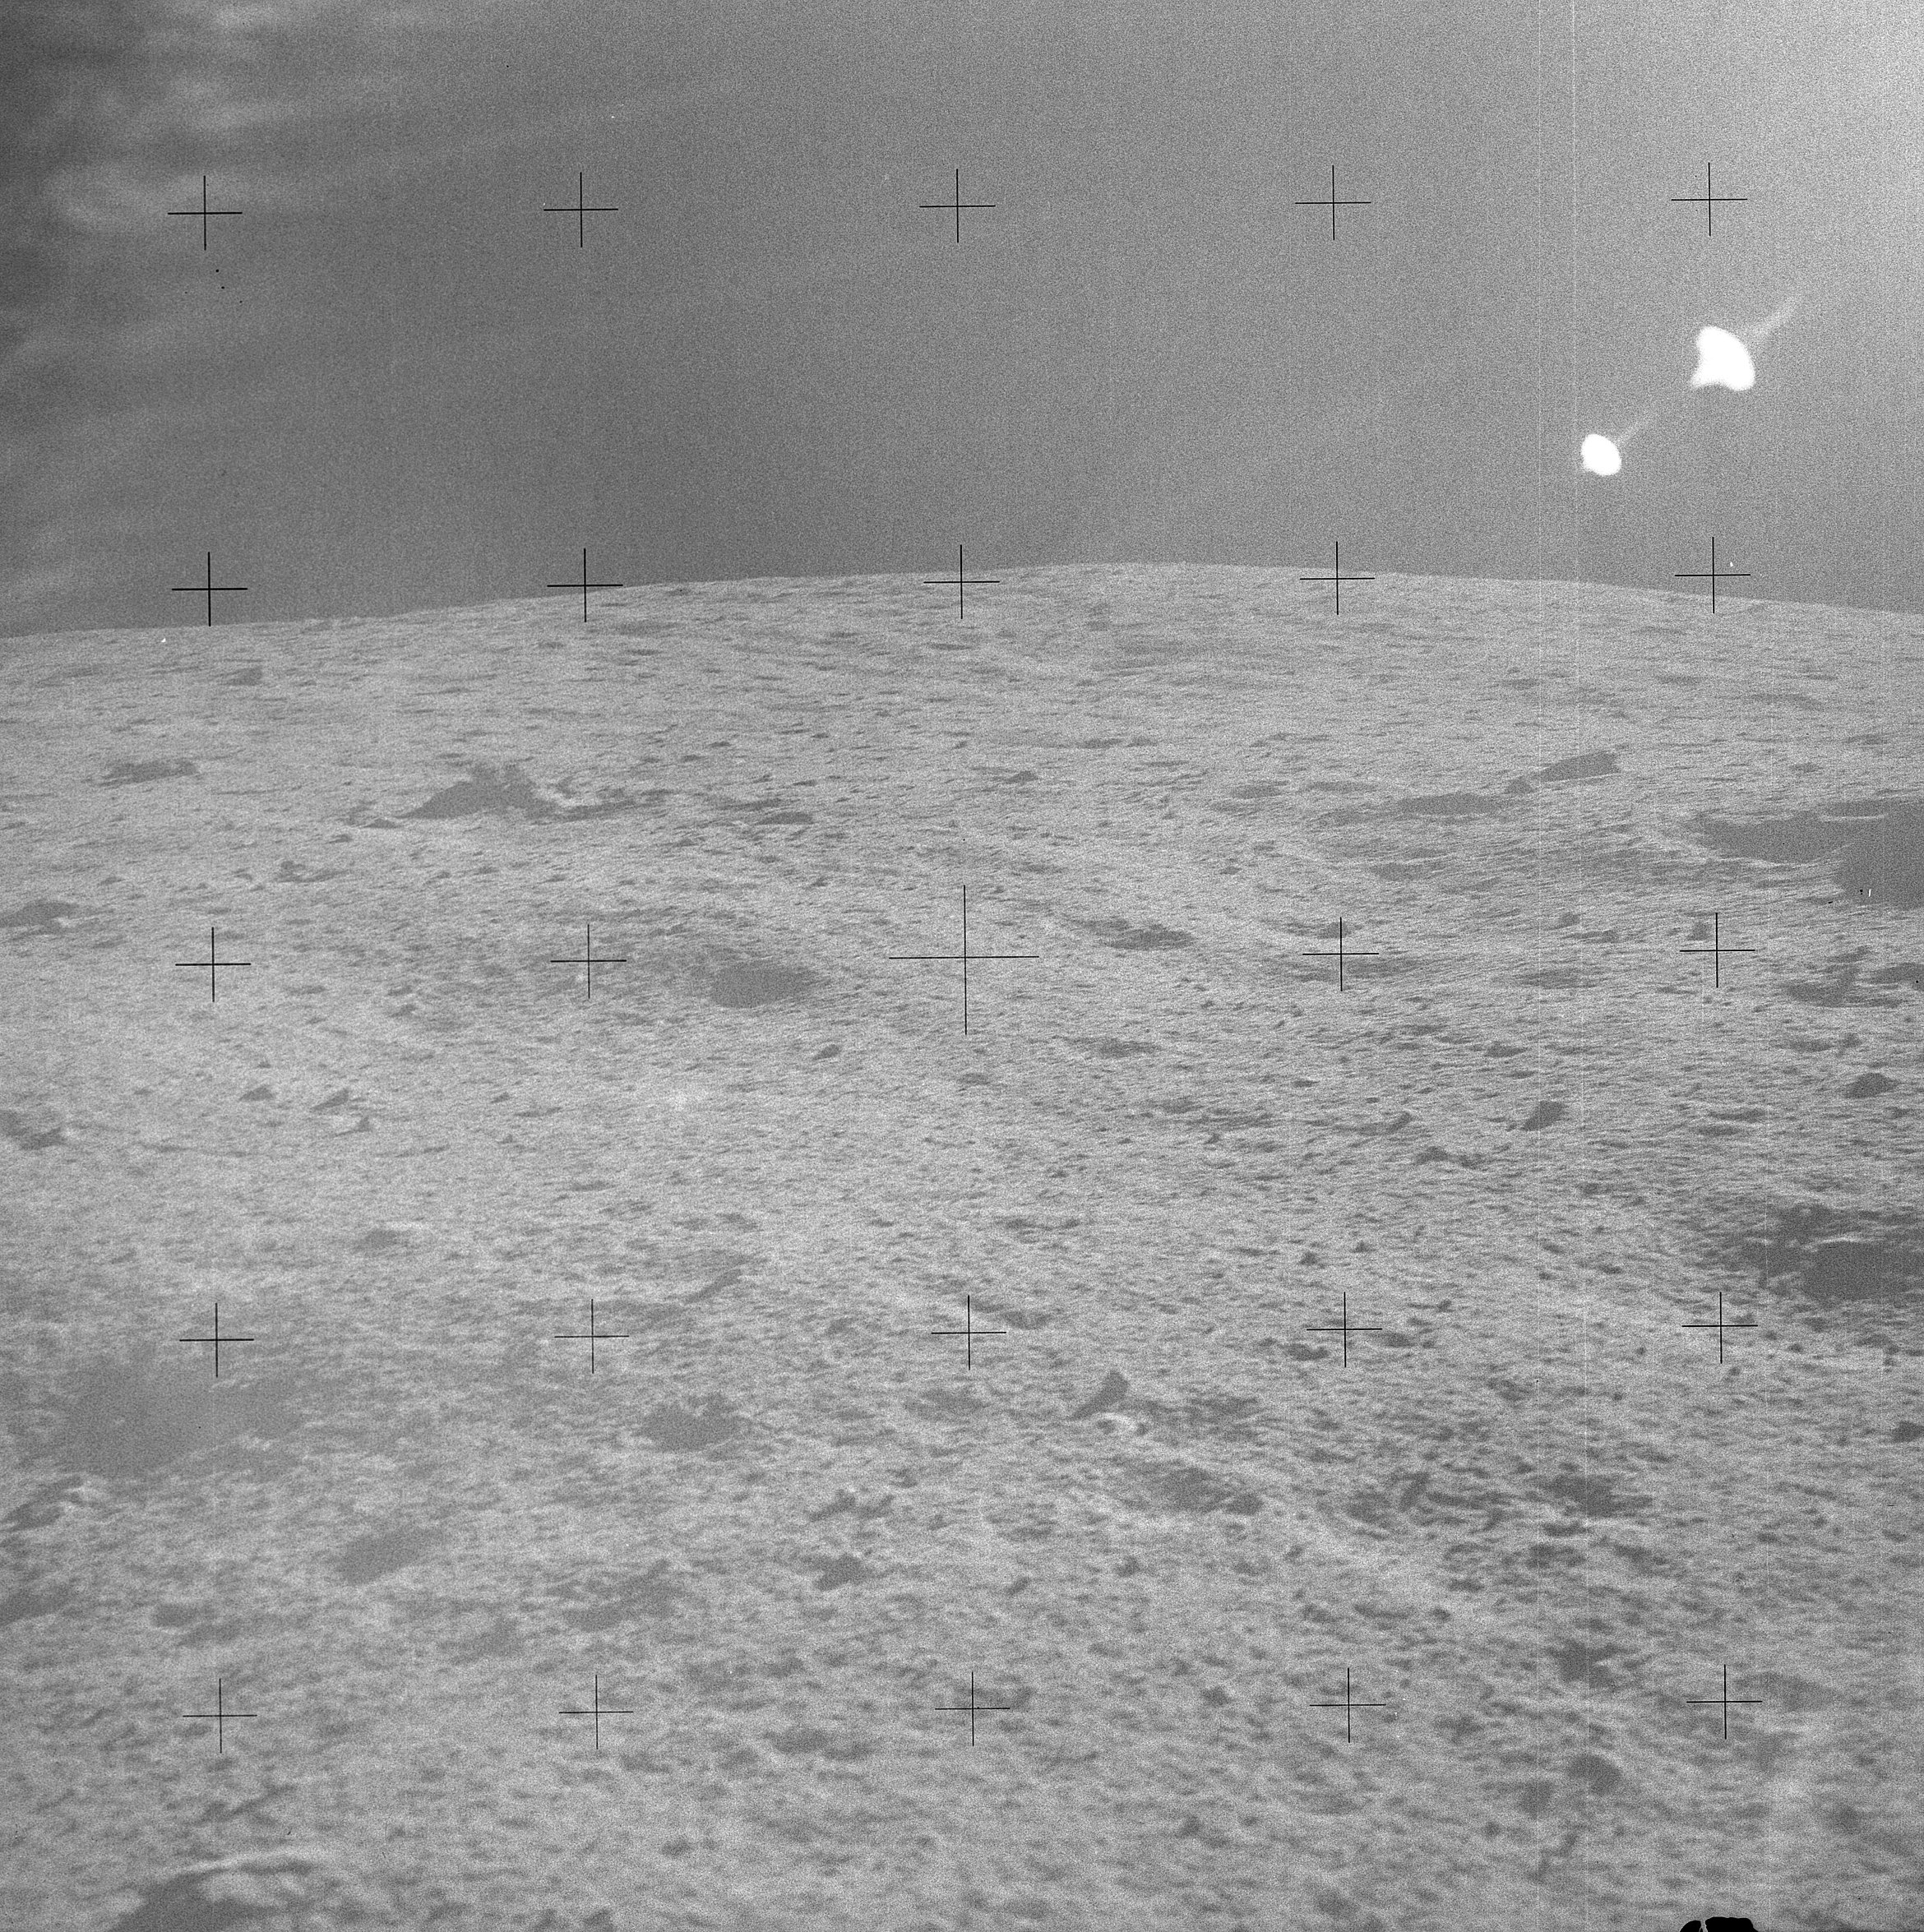 | AS14-68-9421 Ed's pan was taken during a brief rest stop on the climb up Cone Ridge. Image credit: Image Science and Analysis Laboratory, NASA-Johnson Space Center. |
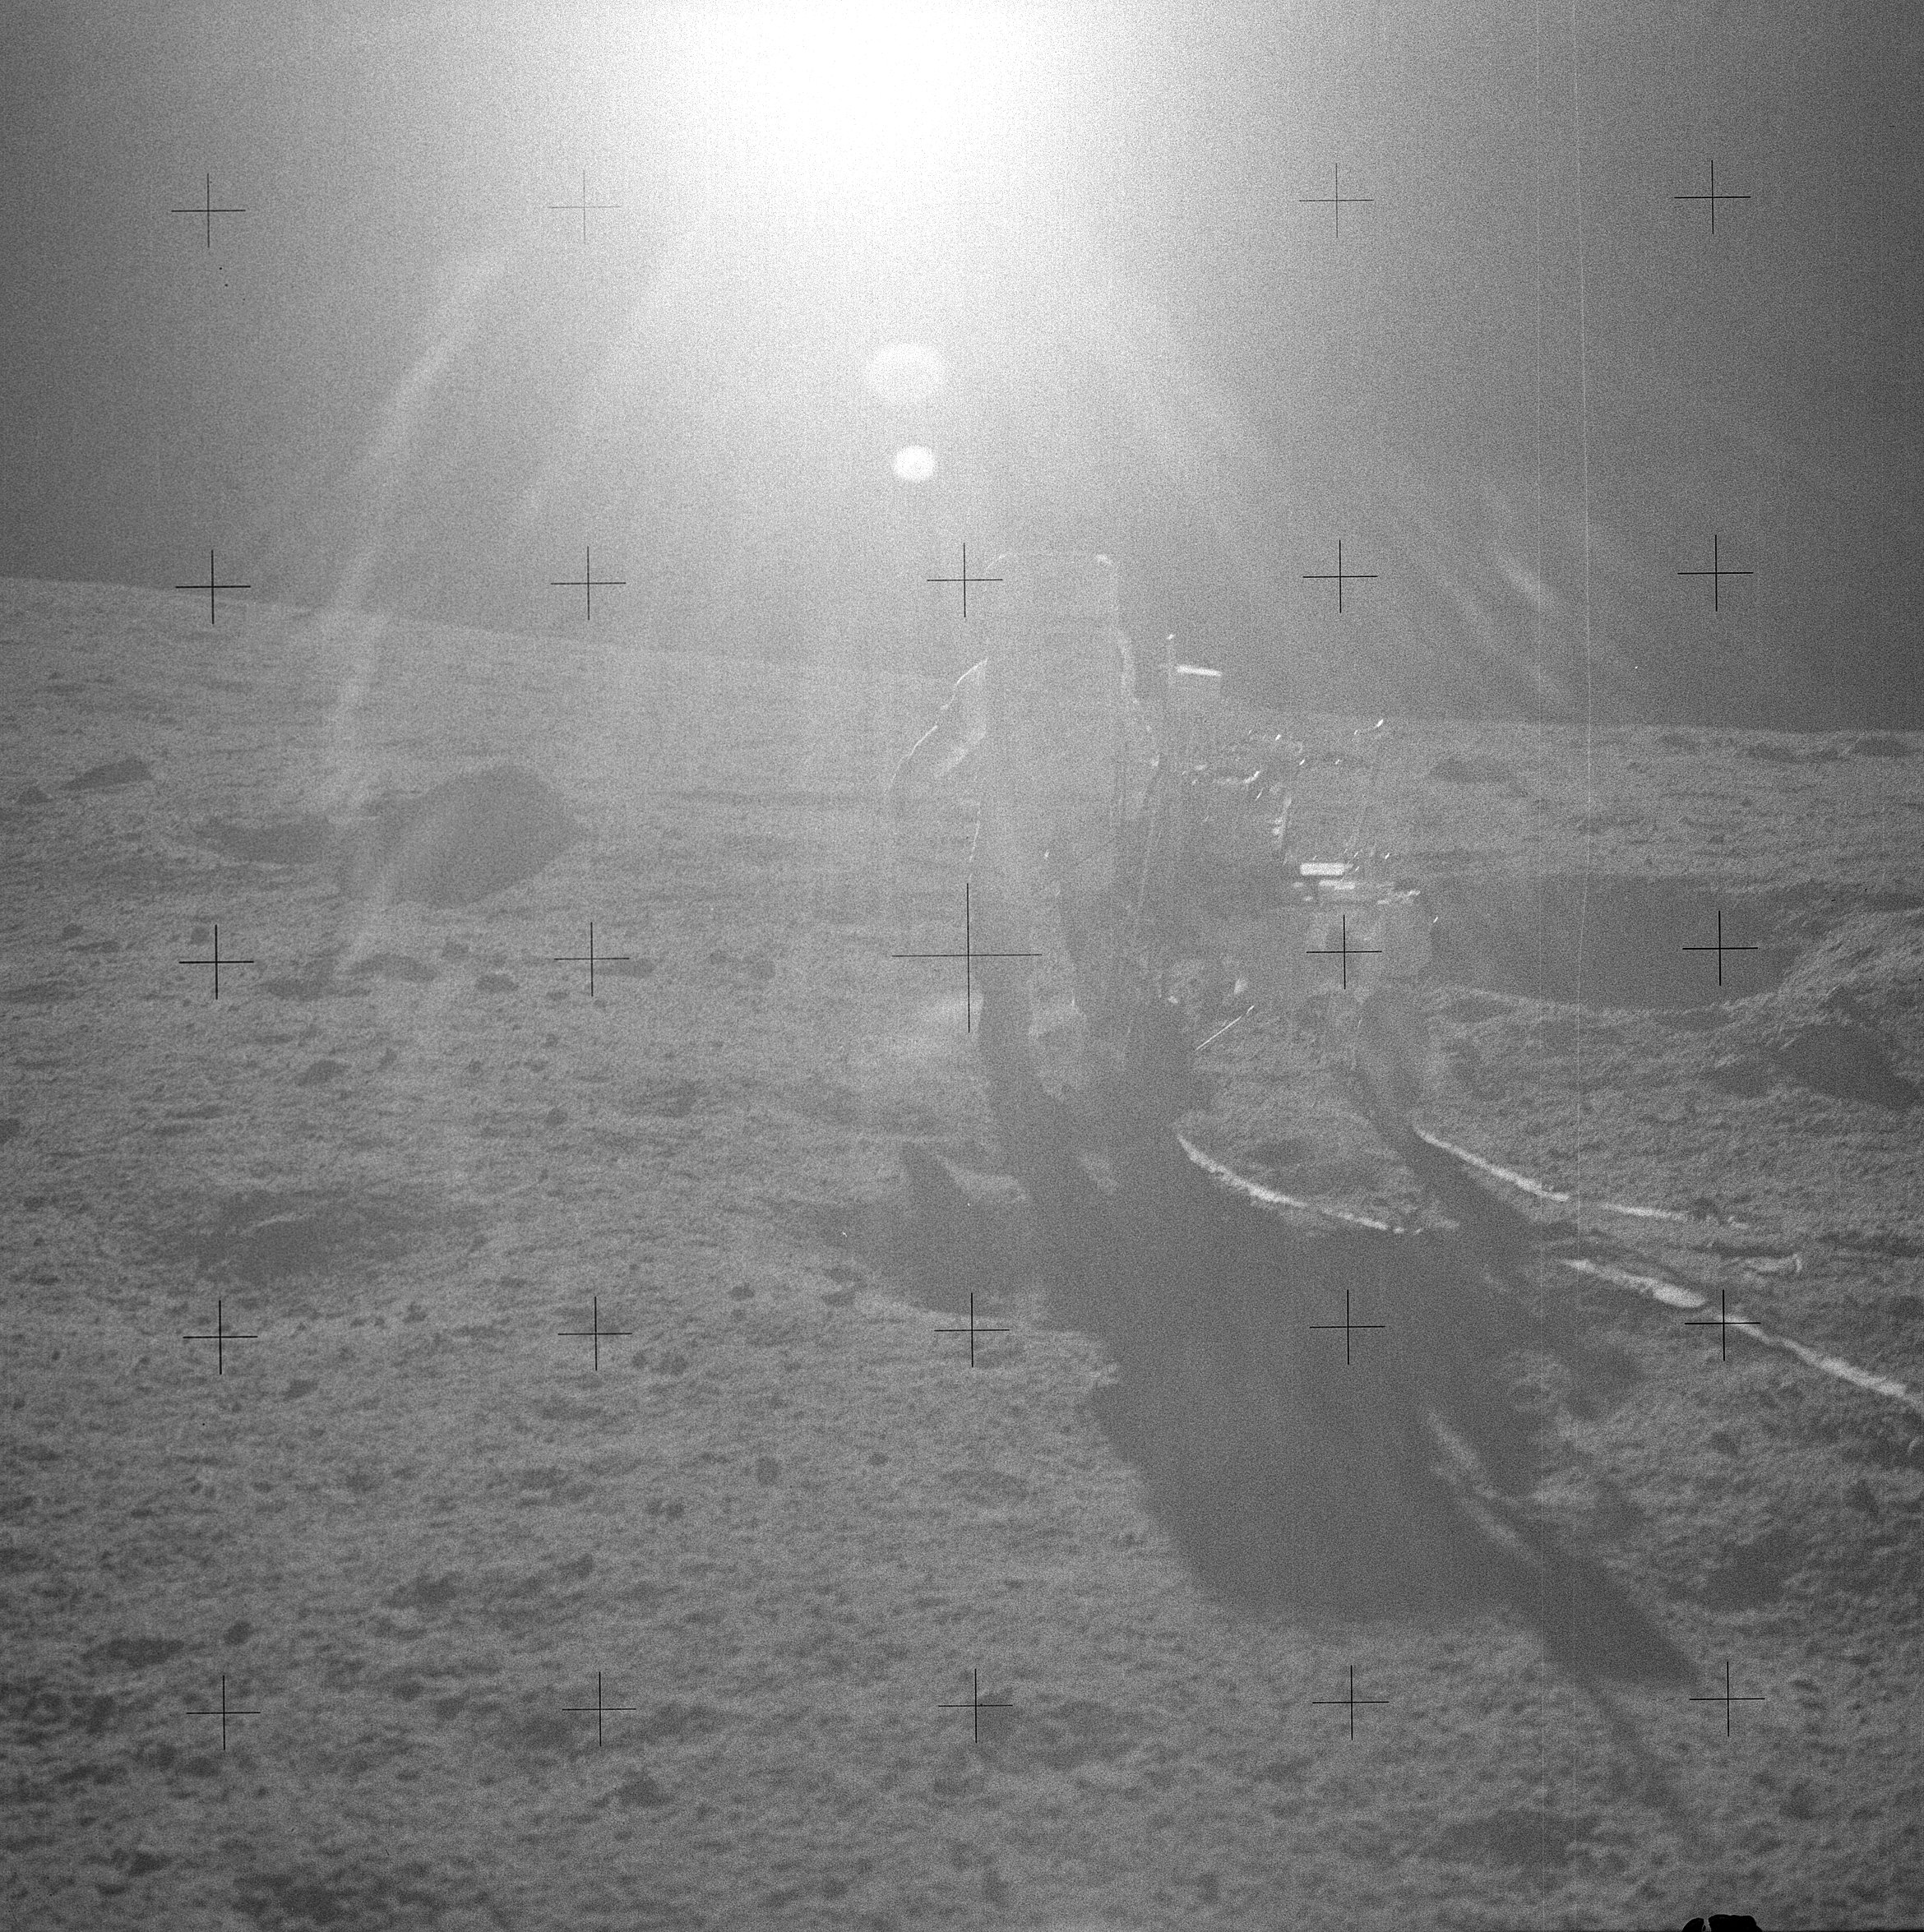 | AS14-68-9422 132:57:52 Frame from Ed Mitchell's Station B2 pan showing the up-Sun view. Image credit: Image Science and Analysis Laboratory, NASA-Johnson Space Center. |
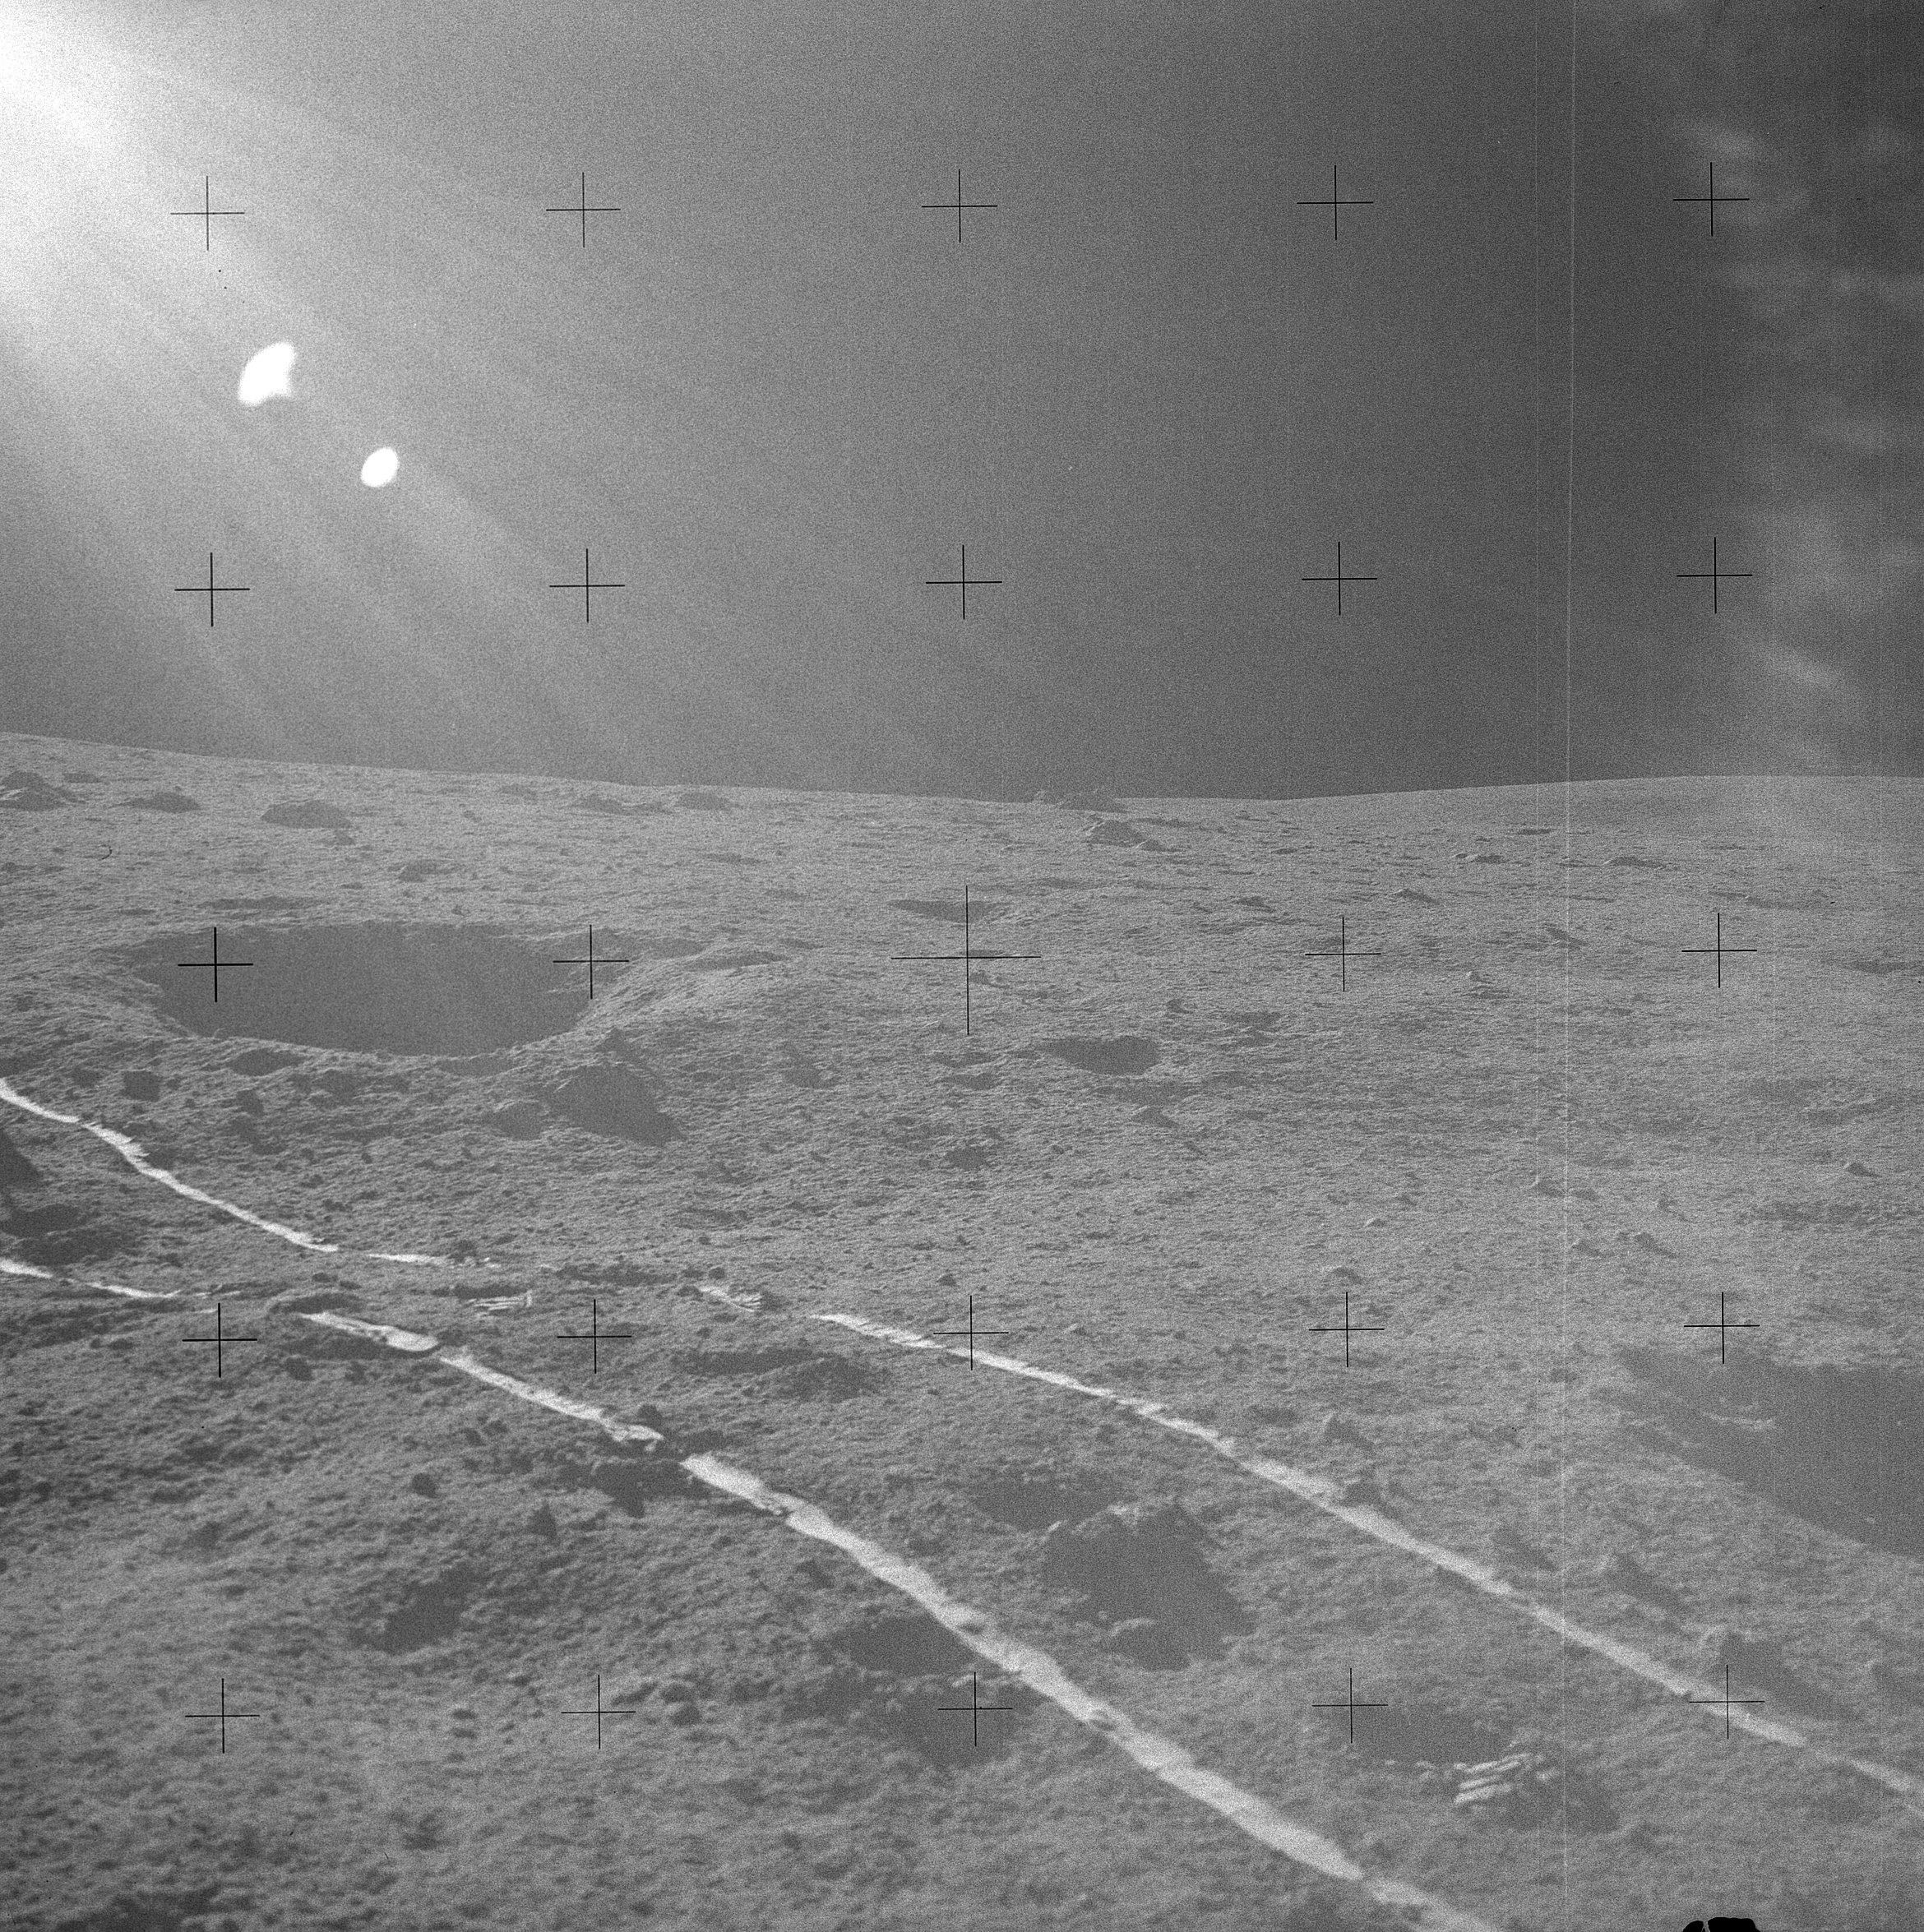 | AS14-68-9423 132:57:52 Frame from Ed Mitchell's Station B2 pan giving an up-Sun view of the MET tracks and Al's footprints. Image credit: Image Science and Analysis Laboratory, NASA-Johnson Space Center. |
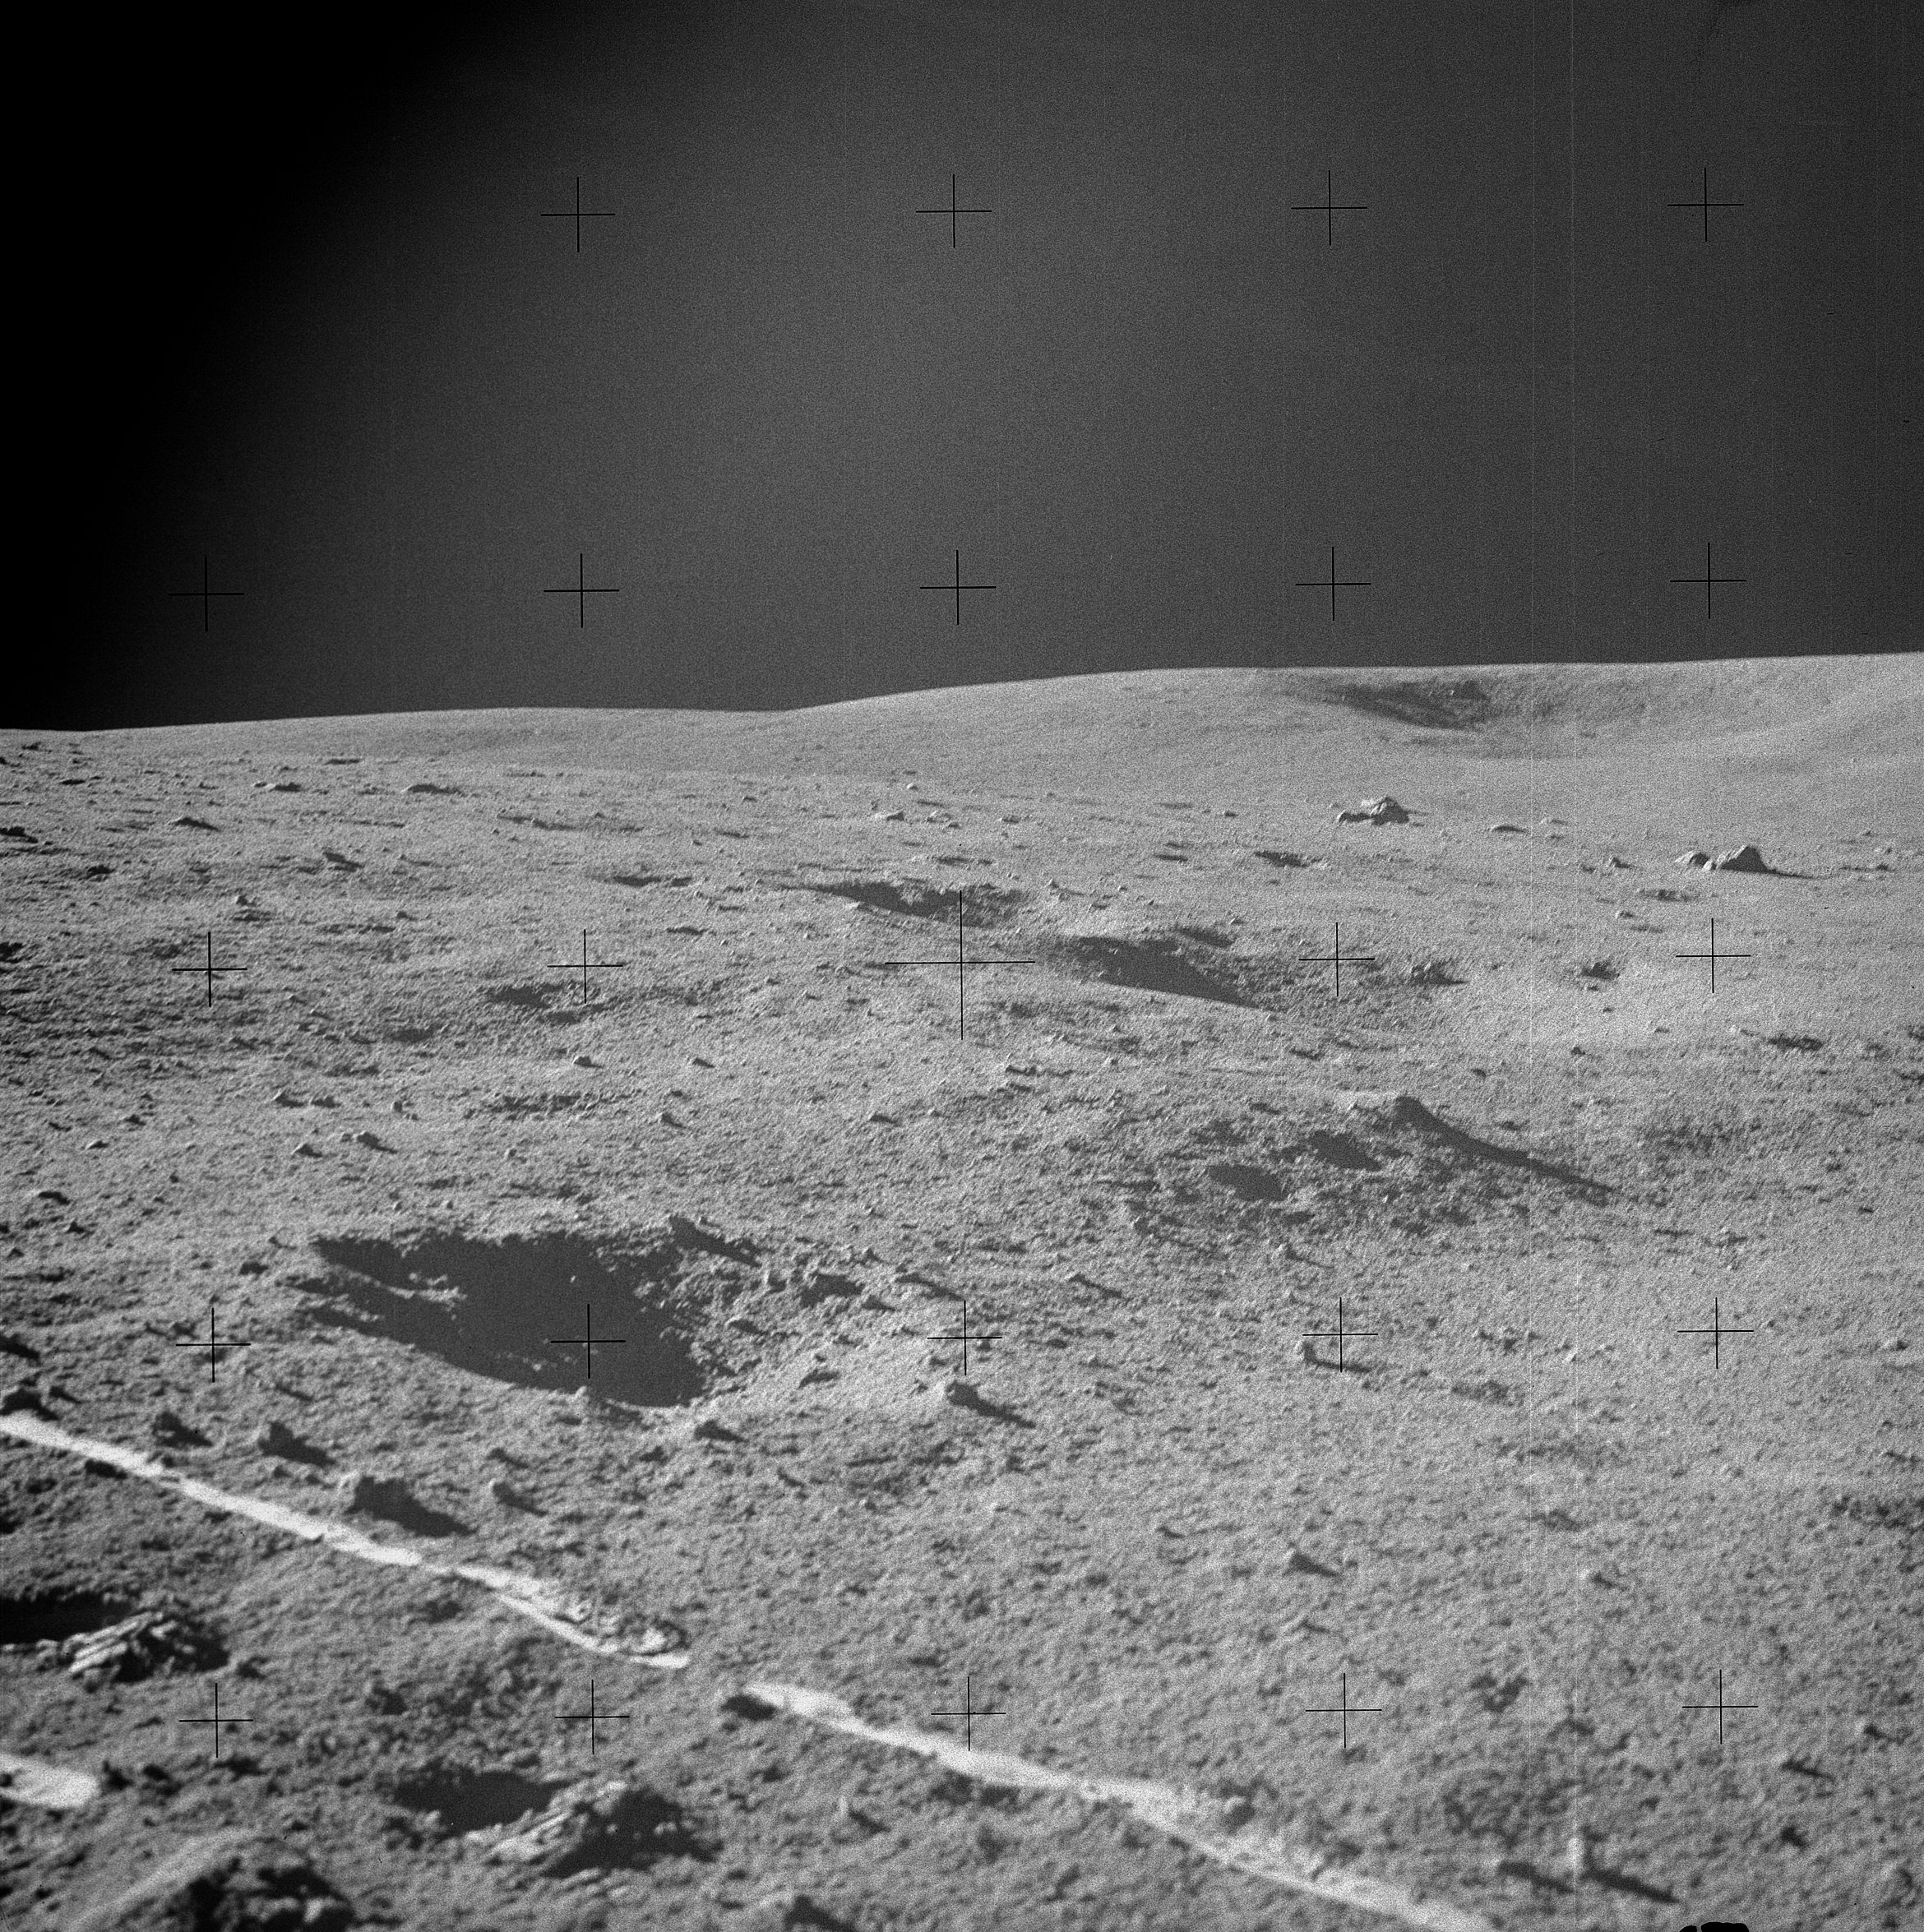 | AS14-68-9424 Rightward of 9423, with Old Nameless on the right, above center. Image credit: Image Science and Analysis Laboratory, NASA-Johnson Space Center. |
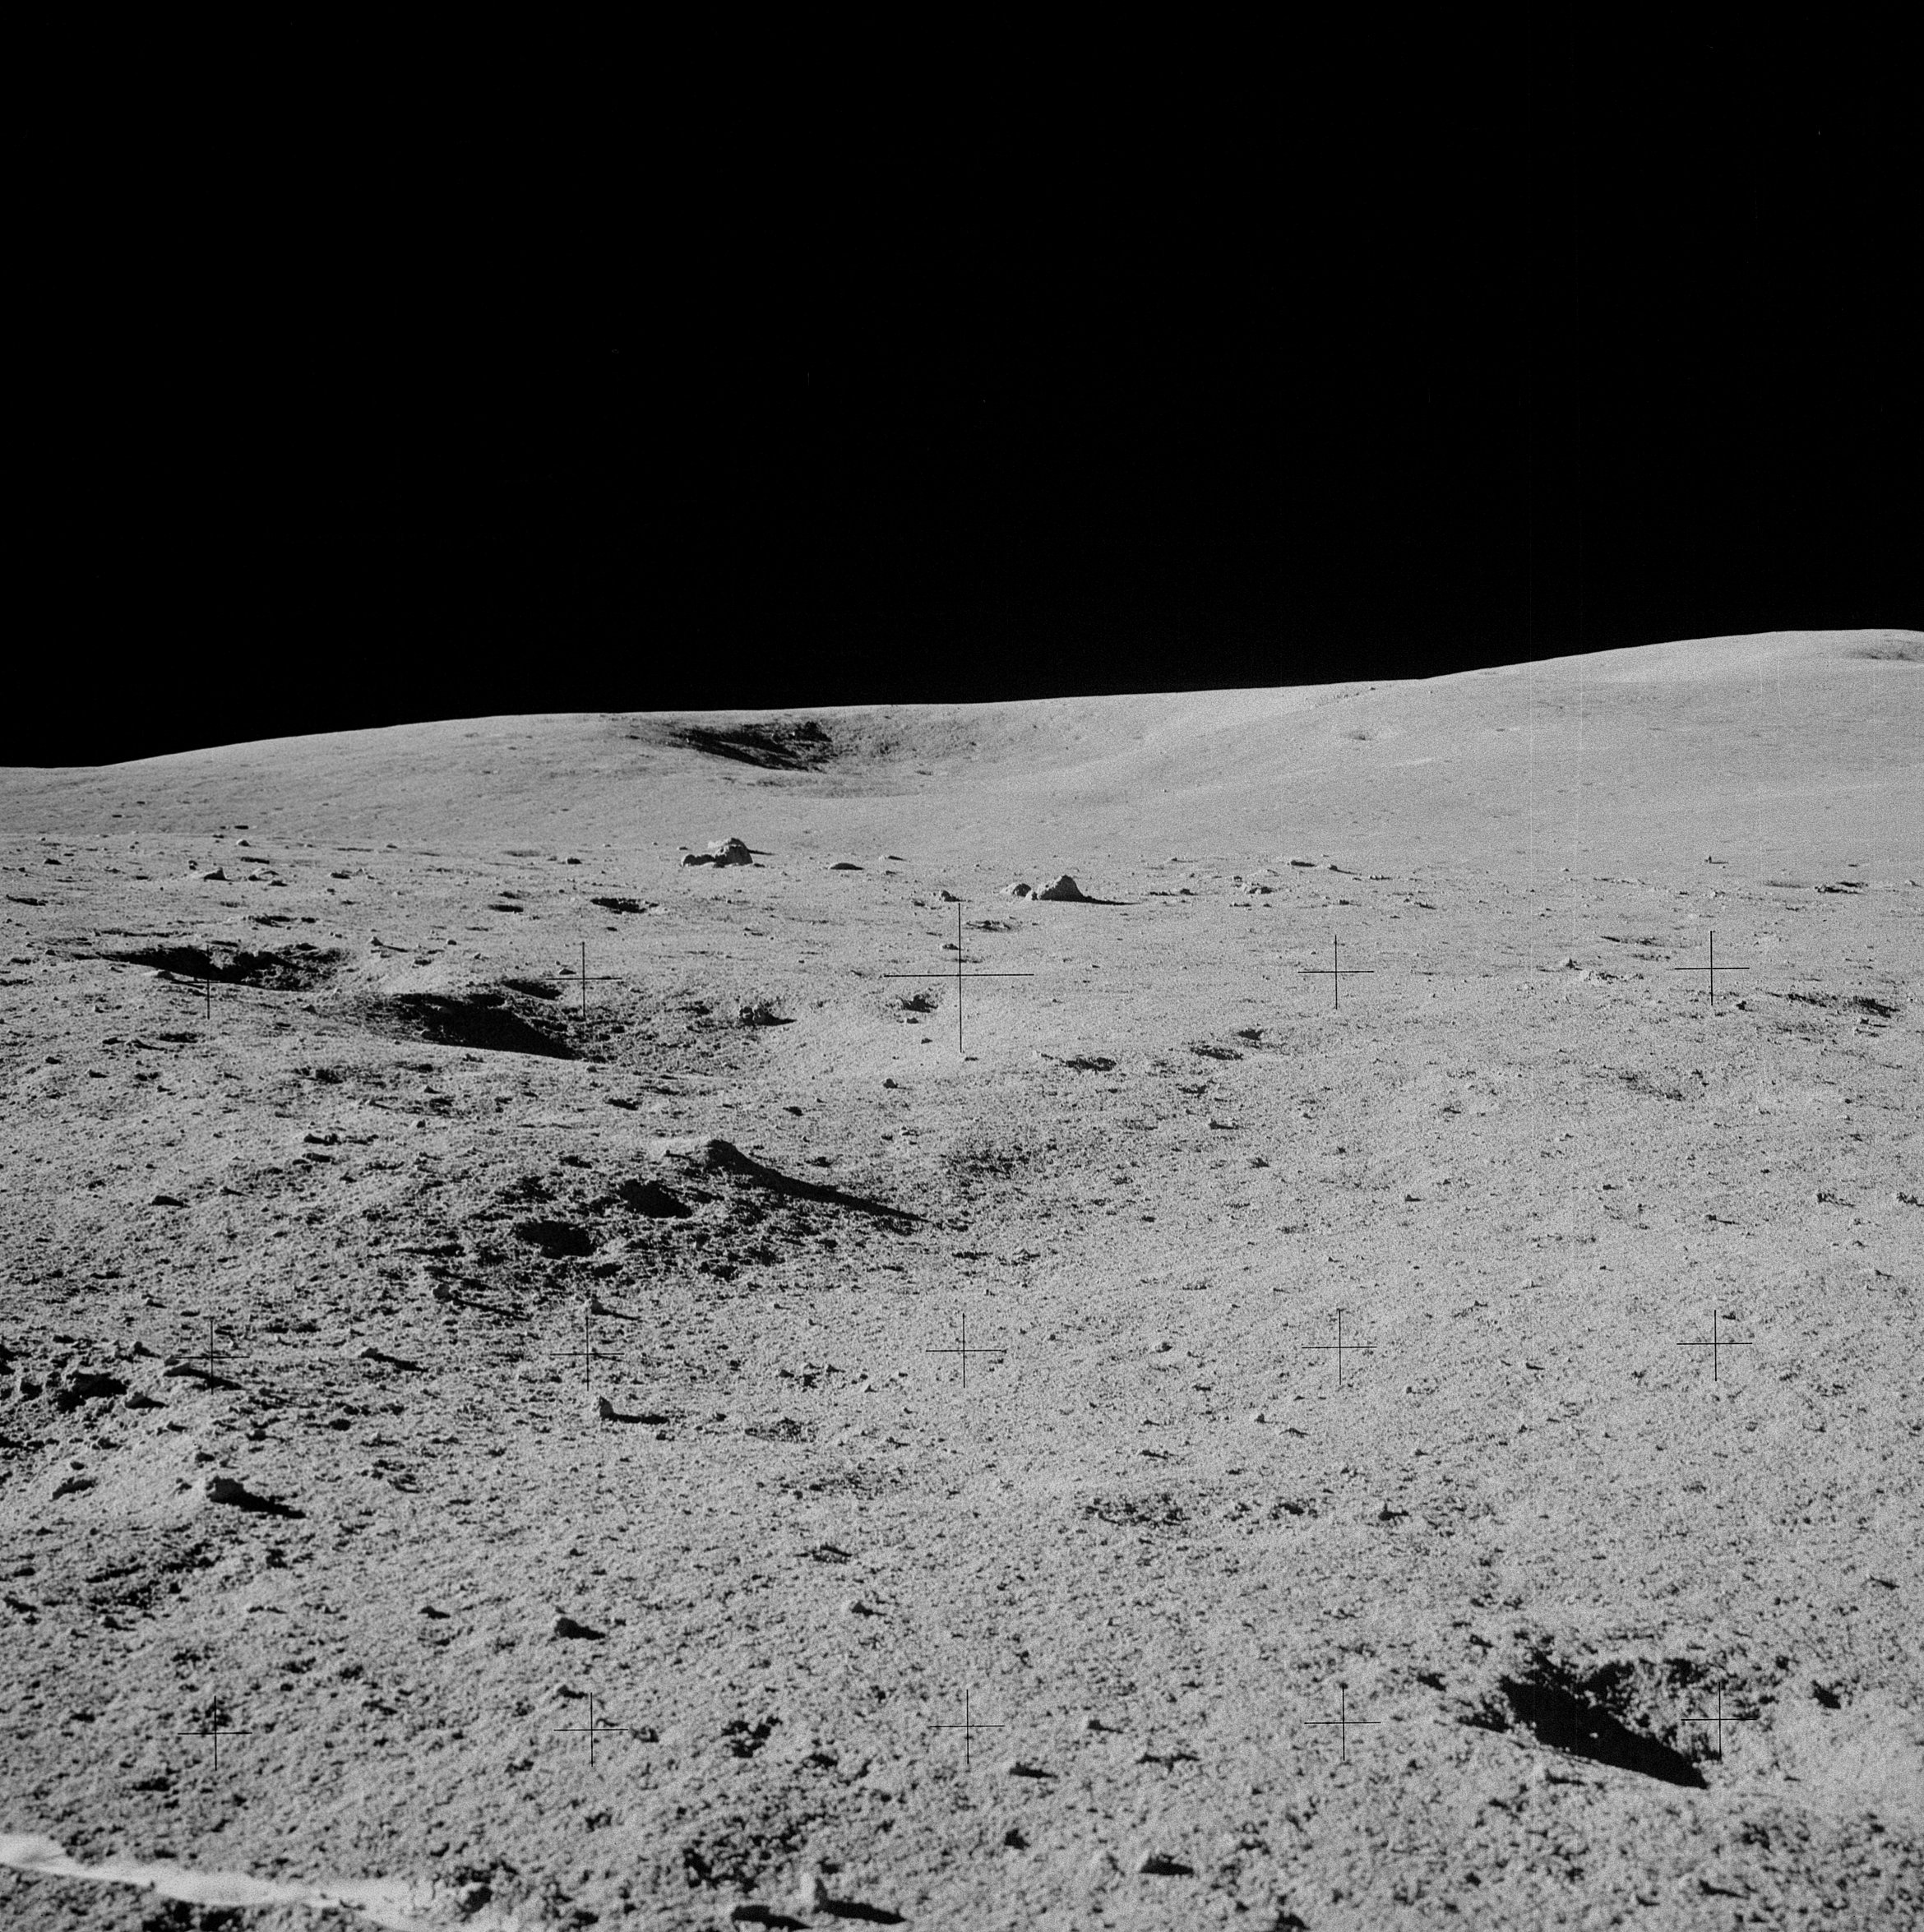 | AS14-68-9425 Rightward of 9424, with Old Nameless above center. Image credit: Image Science and Analysis Laboratory, NASA-Johnson Space Center. |
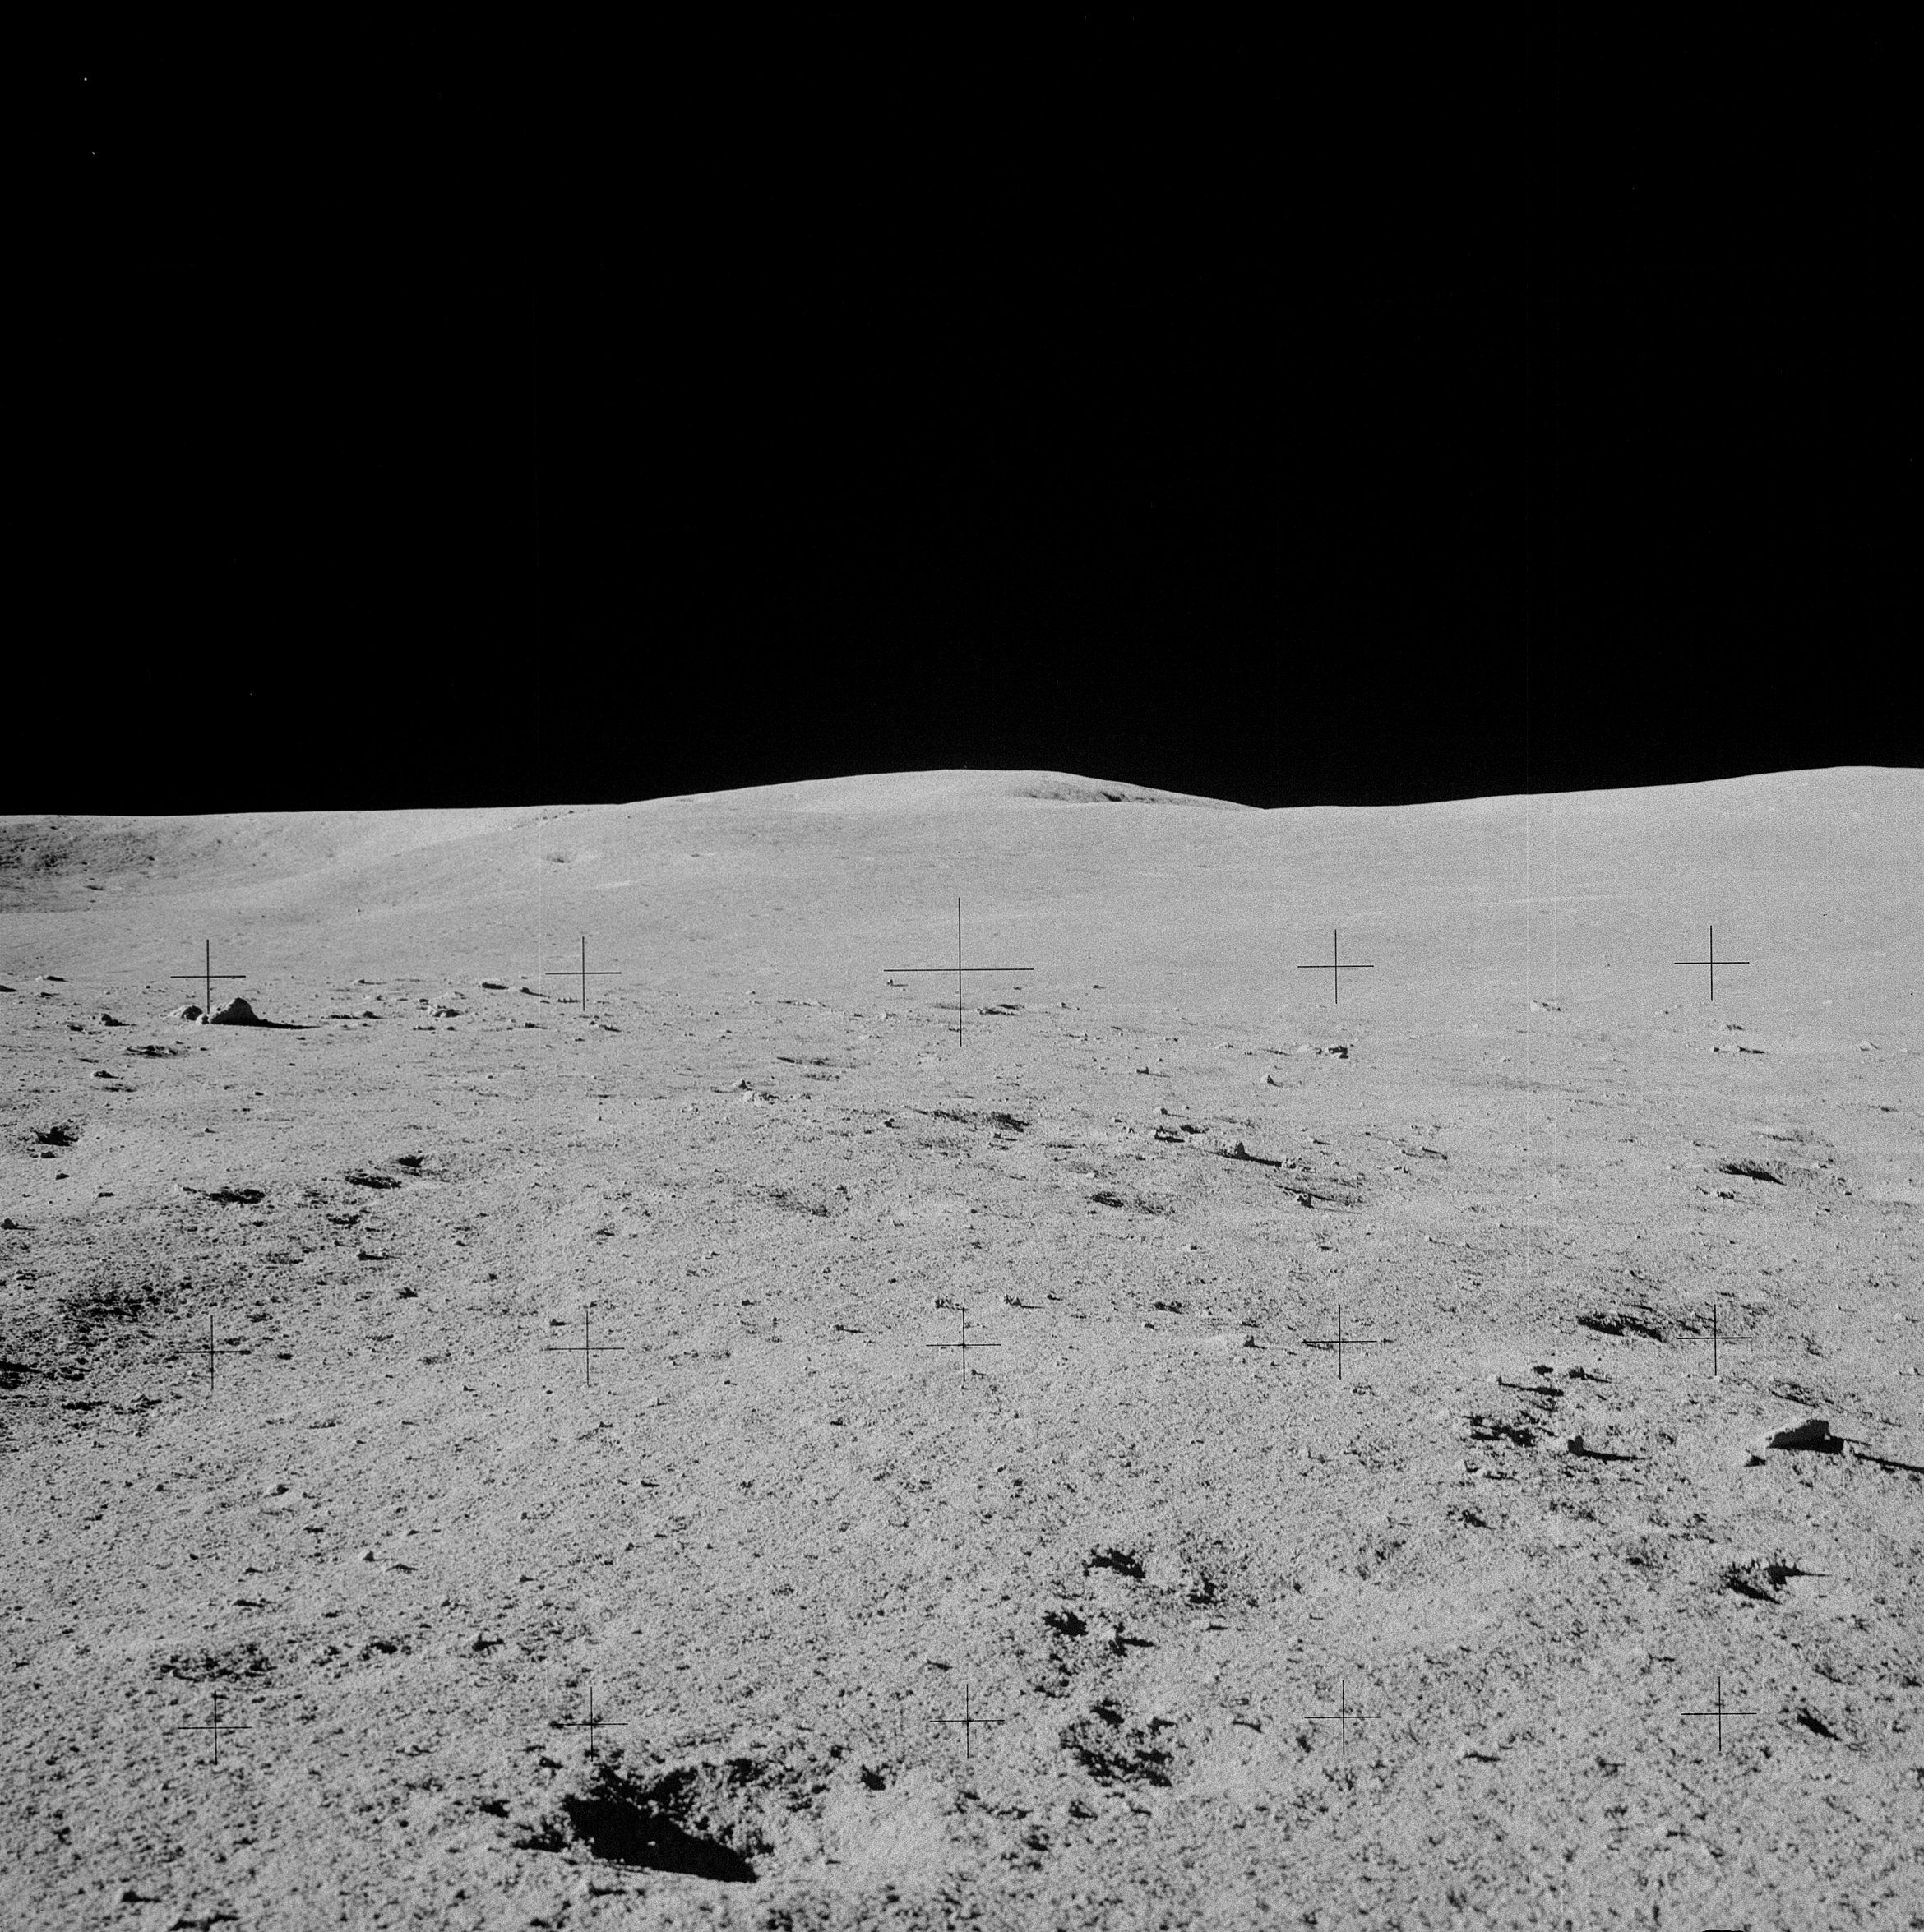 | AS14-68-9426 Rightward of 9425. Image credit: Image Science and Analysis Laboratory, NASA-Johnson Space Center. |
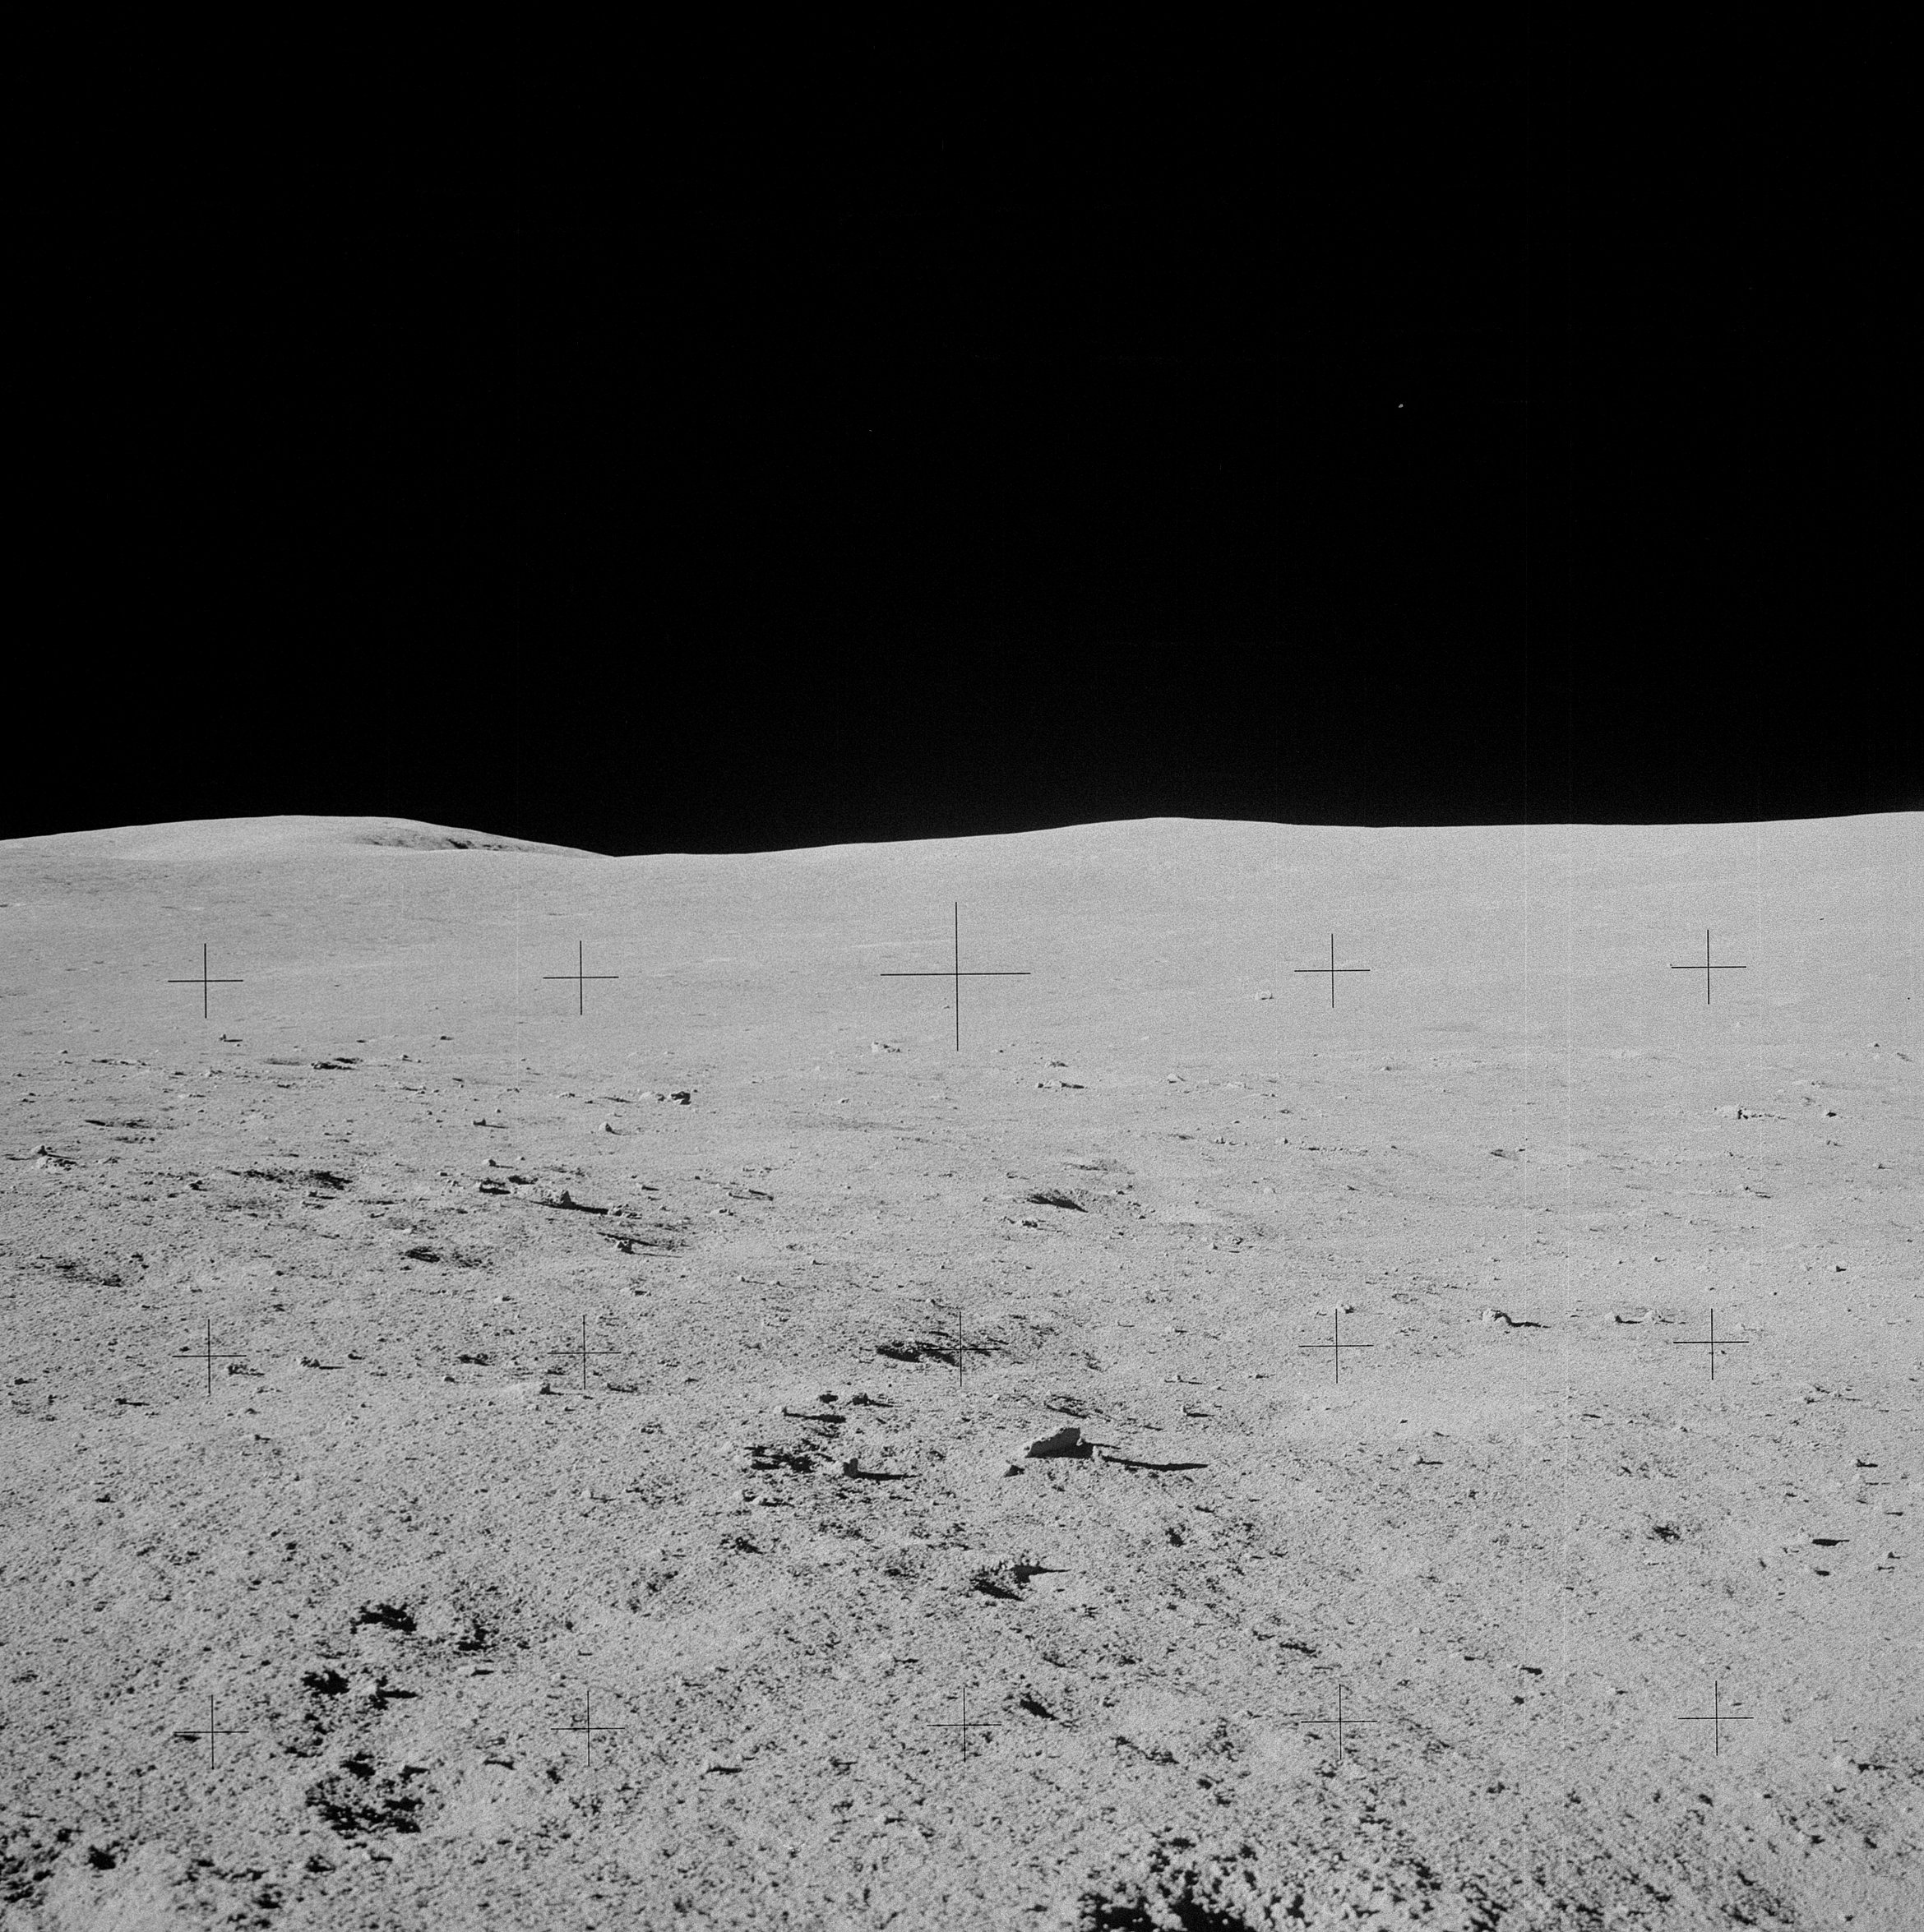 | AS14-68-9427 Rightward of 9426. Image credit: Image Science and Analysis Laboratory, NASA-Johnson Space Center. |
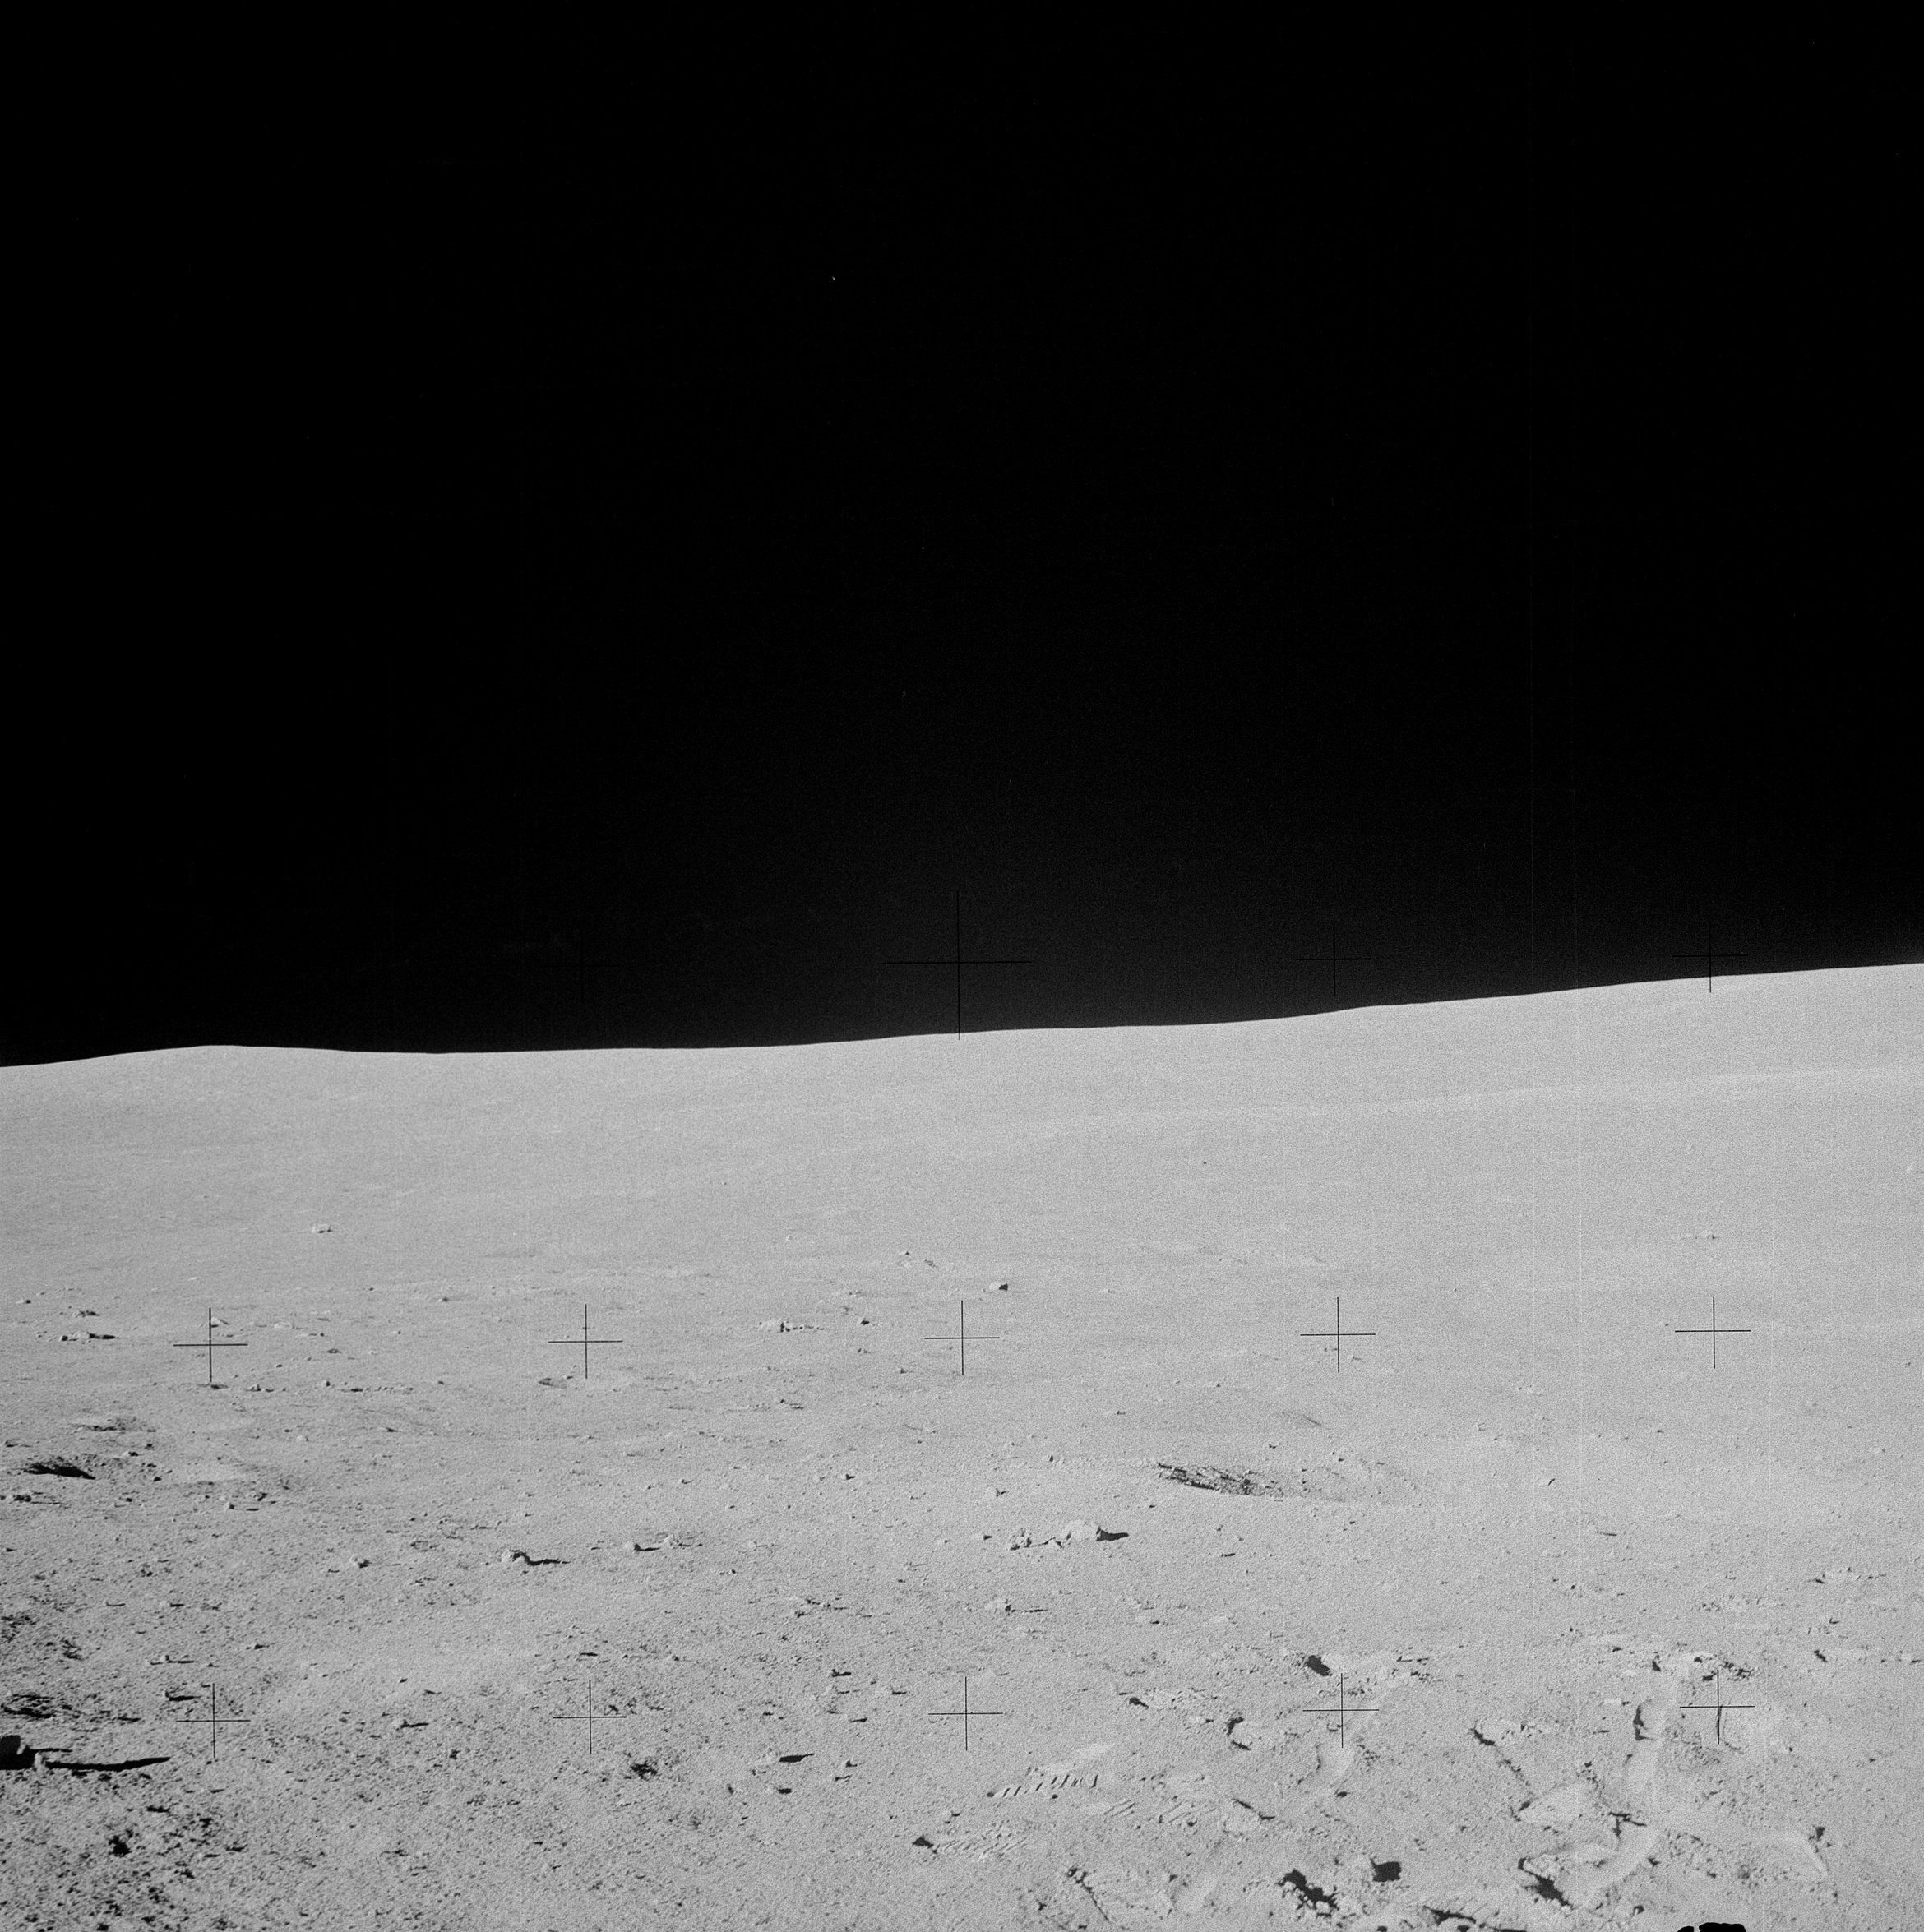 | AS14-68-9428 Rightward of 9427, footprints. Image credit: Image Science and Analysis Laboratory, NASA-Johnson Space Center. |
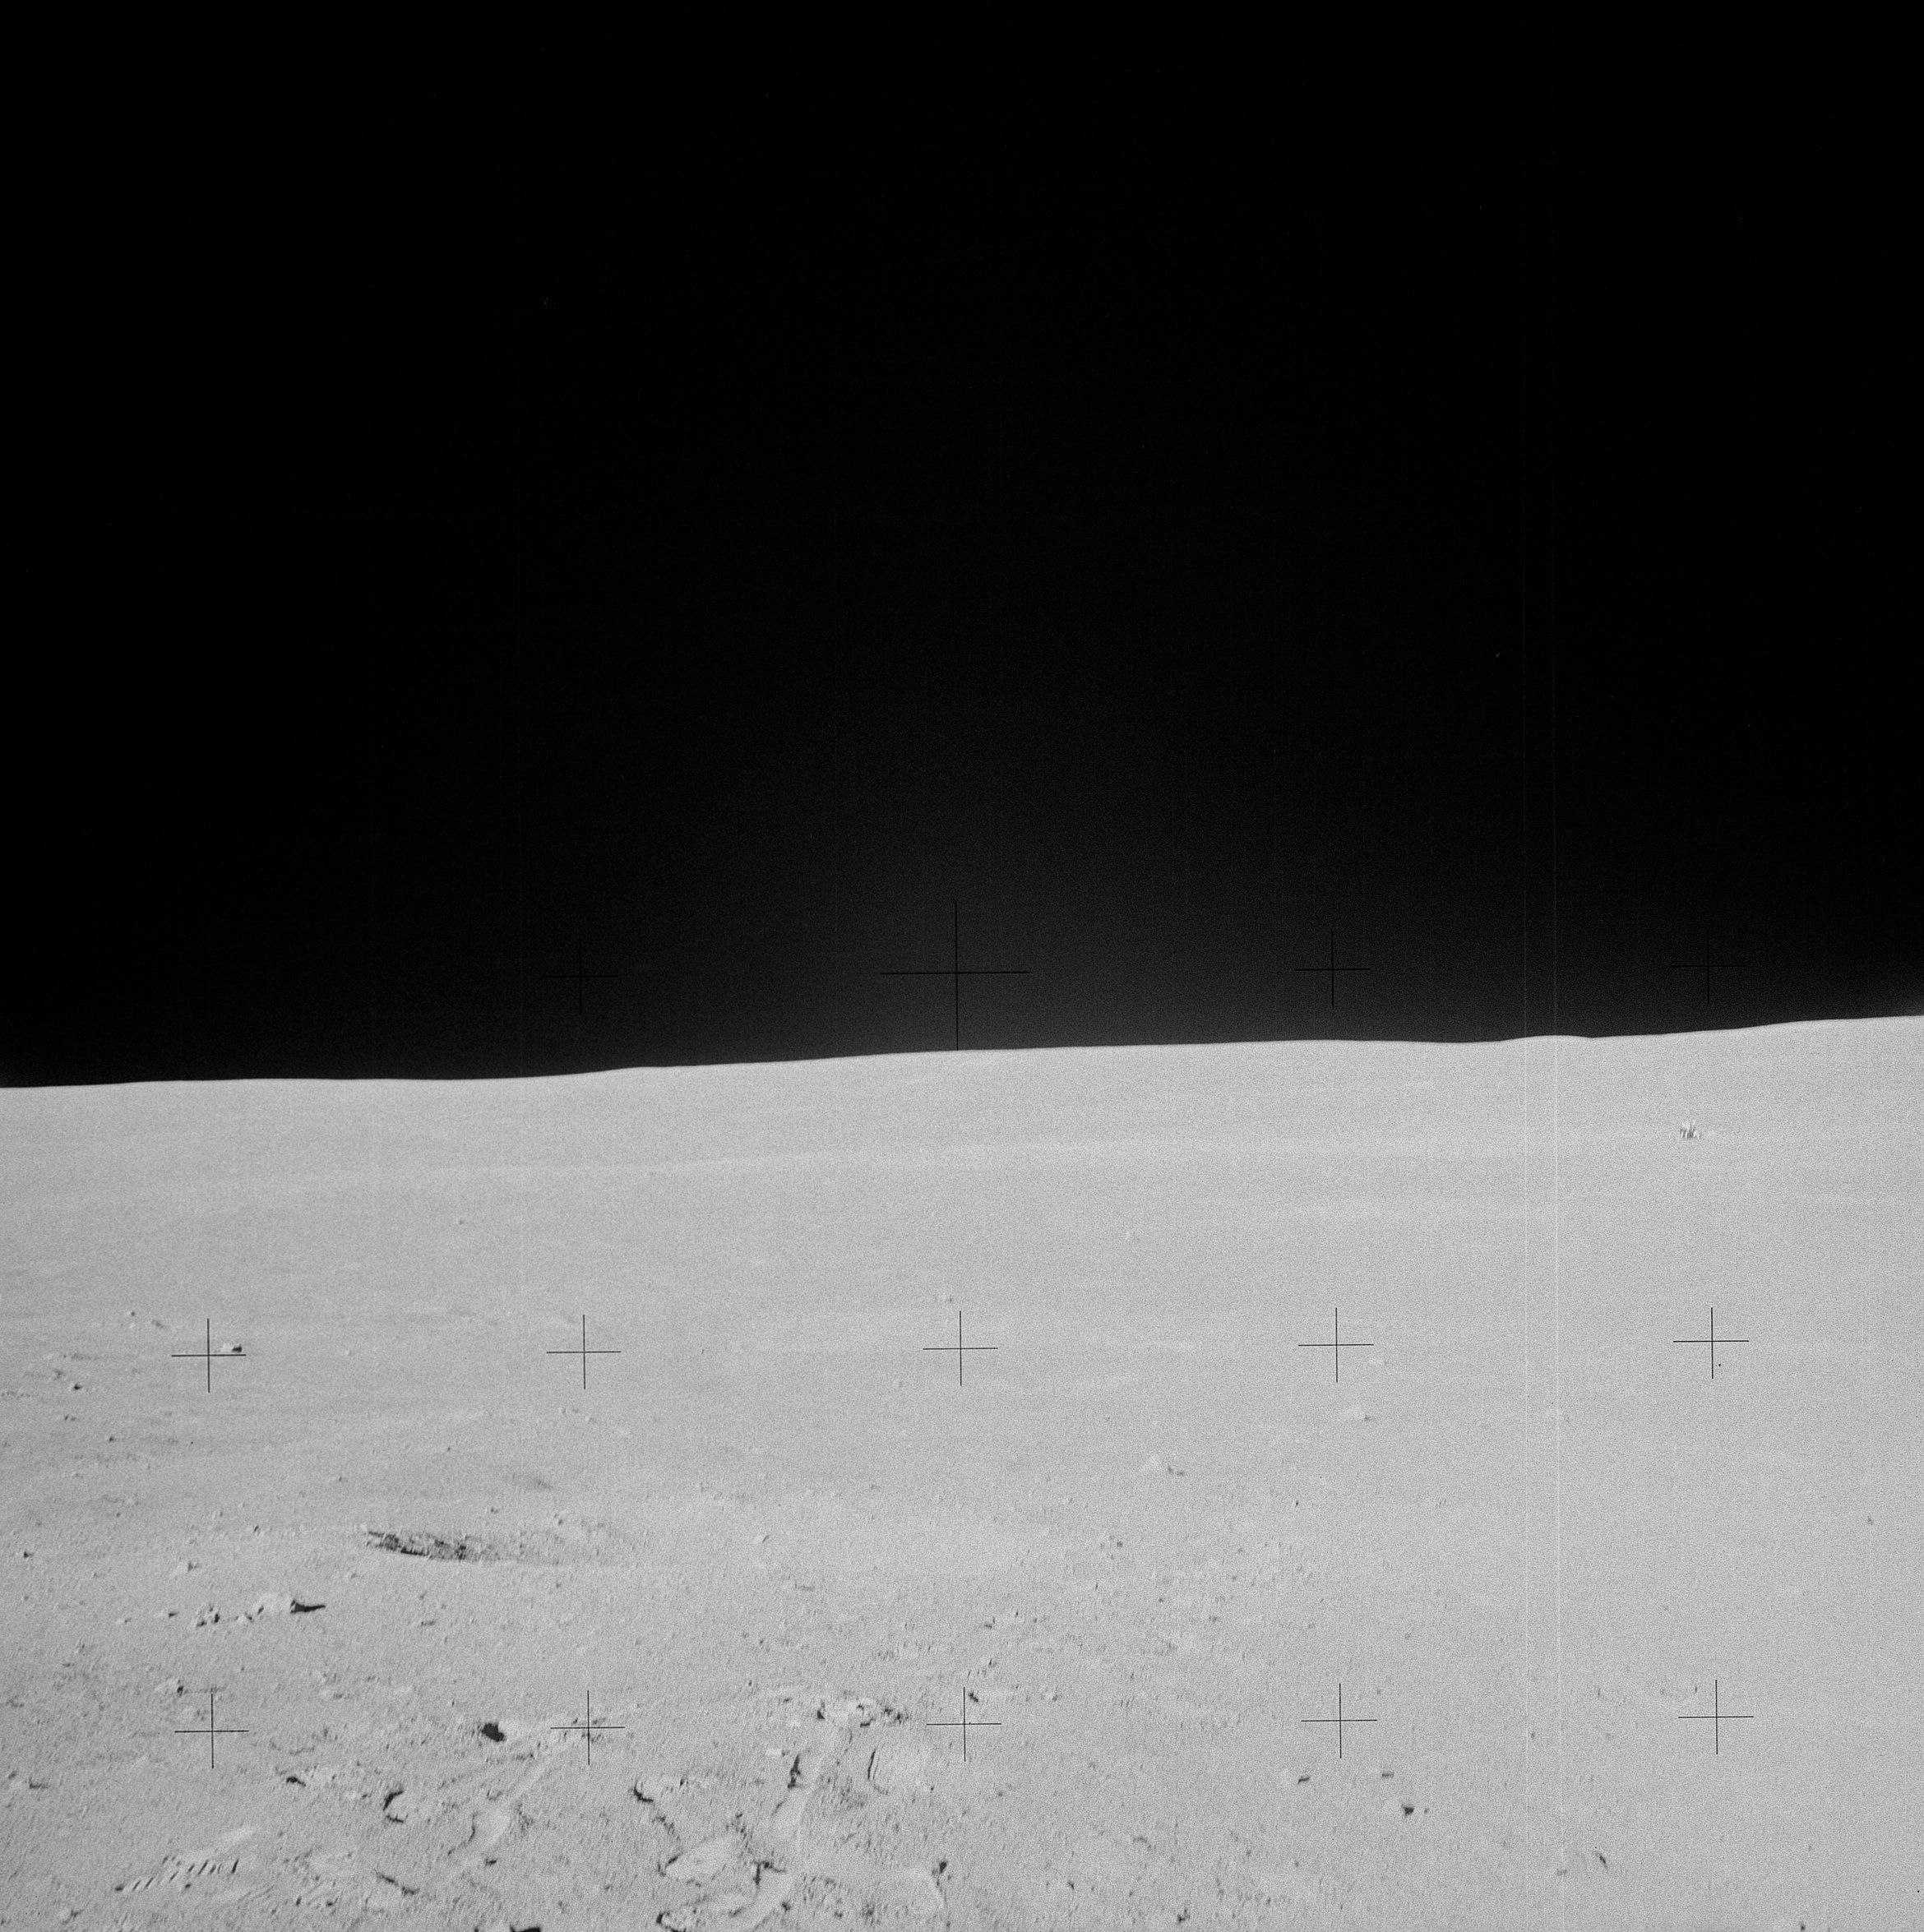 | AS14-68-9429 132:57:52 Rightward of 9428, with the LM at right center. Image credit: Image Science and Analysis Laboratory, NASA-Johnson Space Center. |
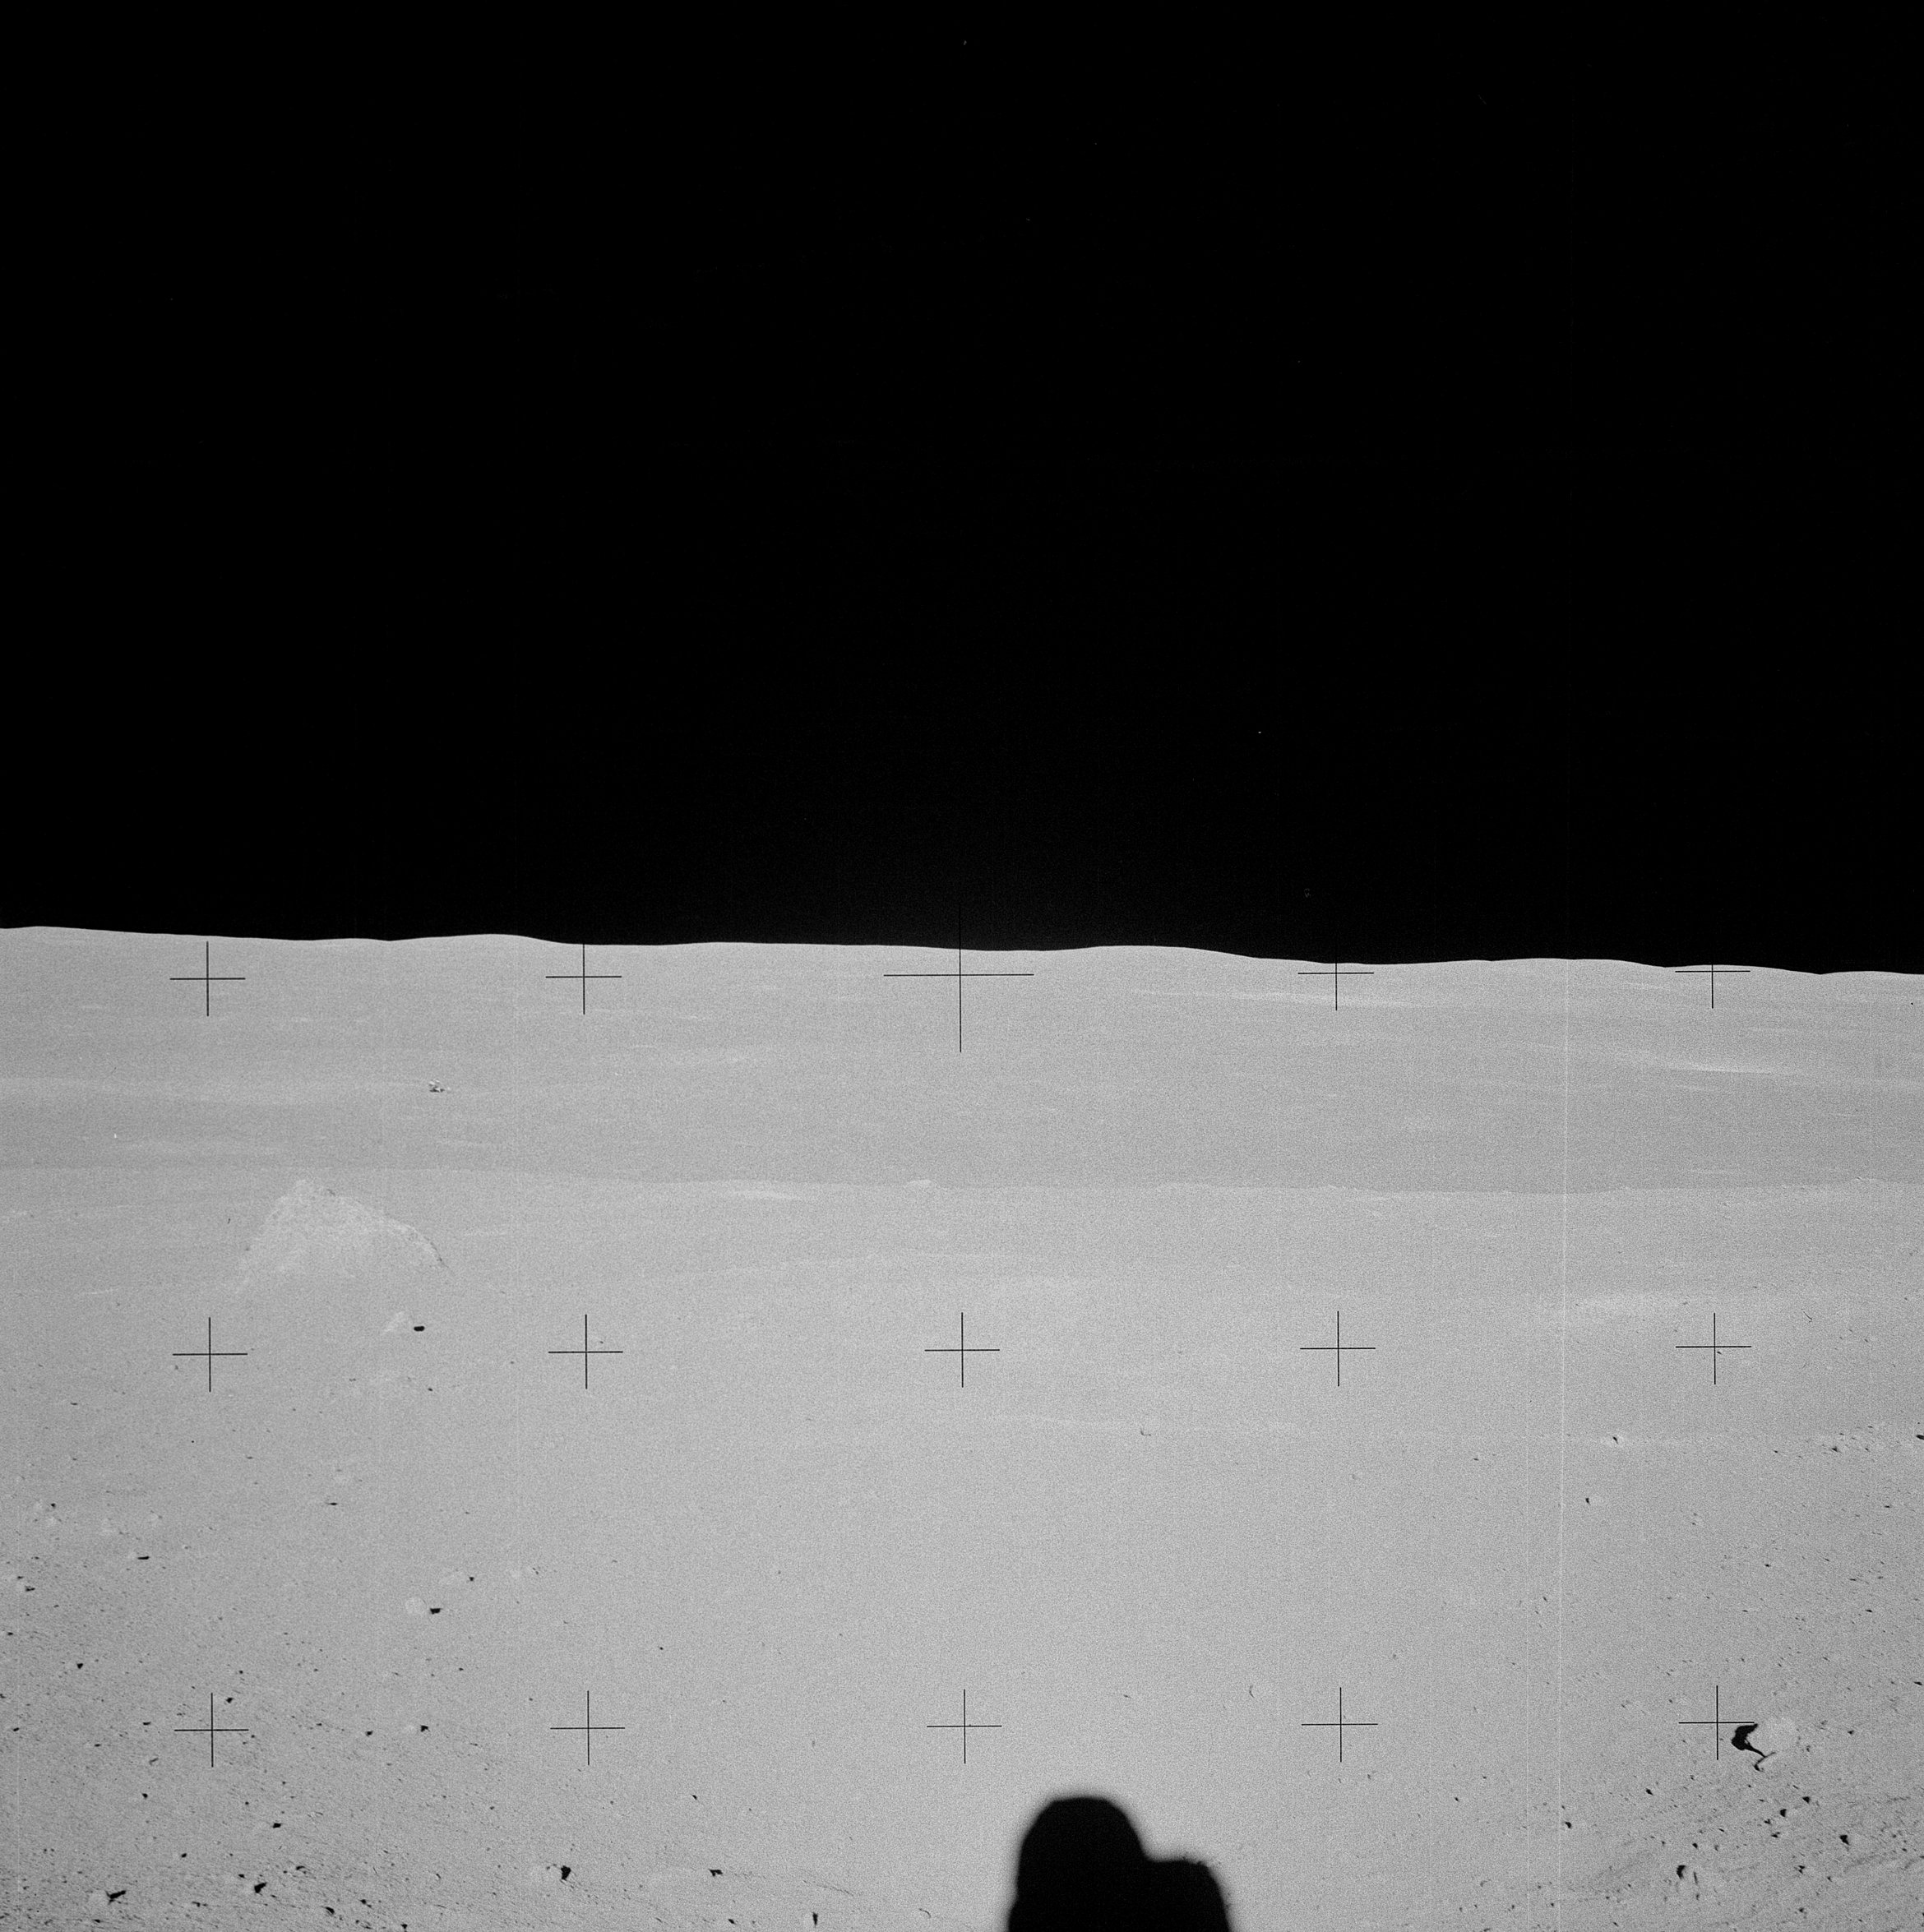 | AS14-68-9430 133:14:30 Ed takes a pan at Station B3, starting with this down-Sun. Image credit: Image Science and Analysis Laboratory, NASA-Johnson Space Center. |
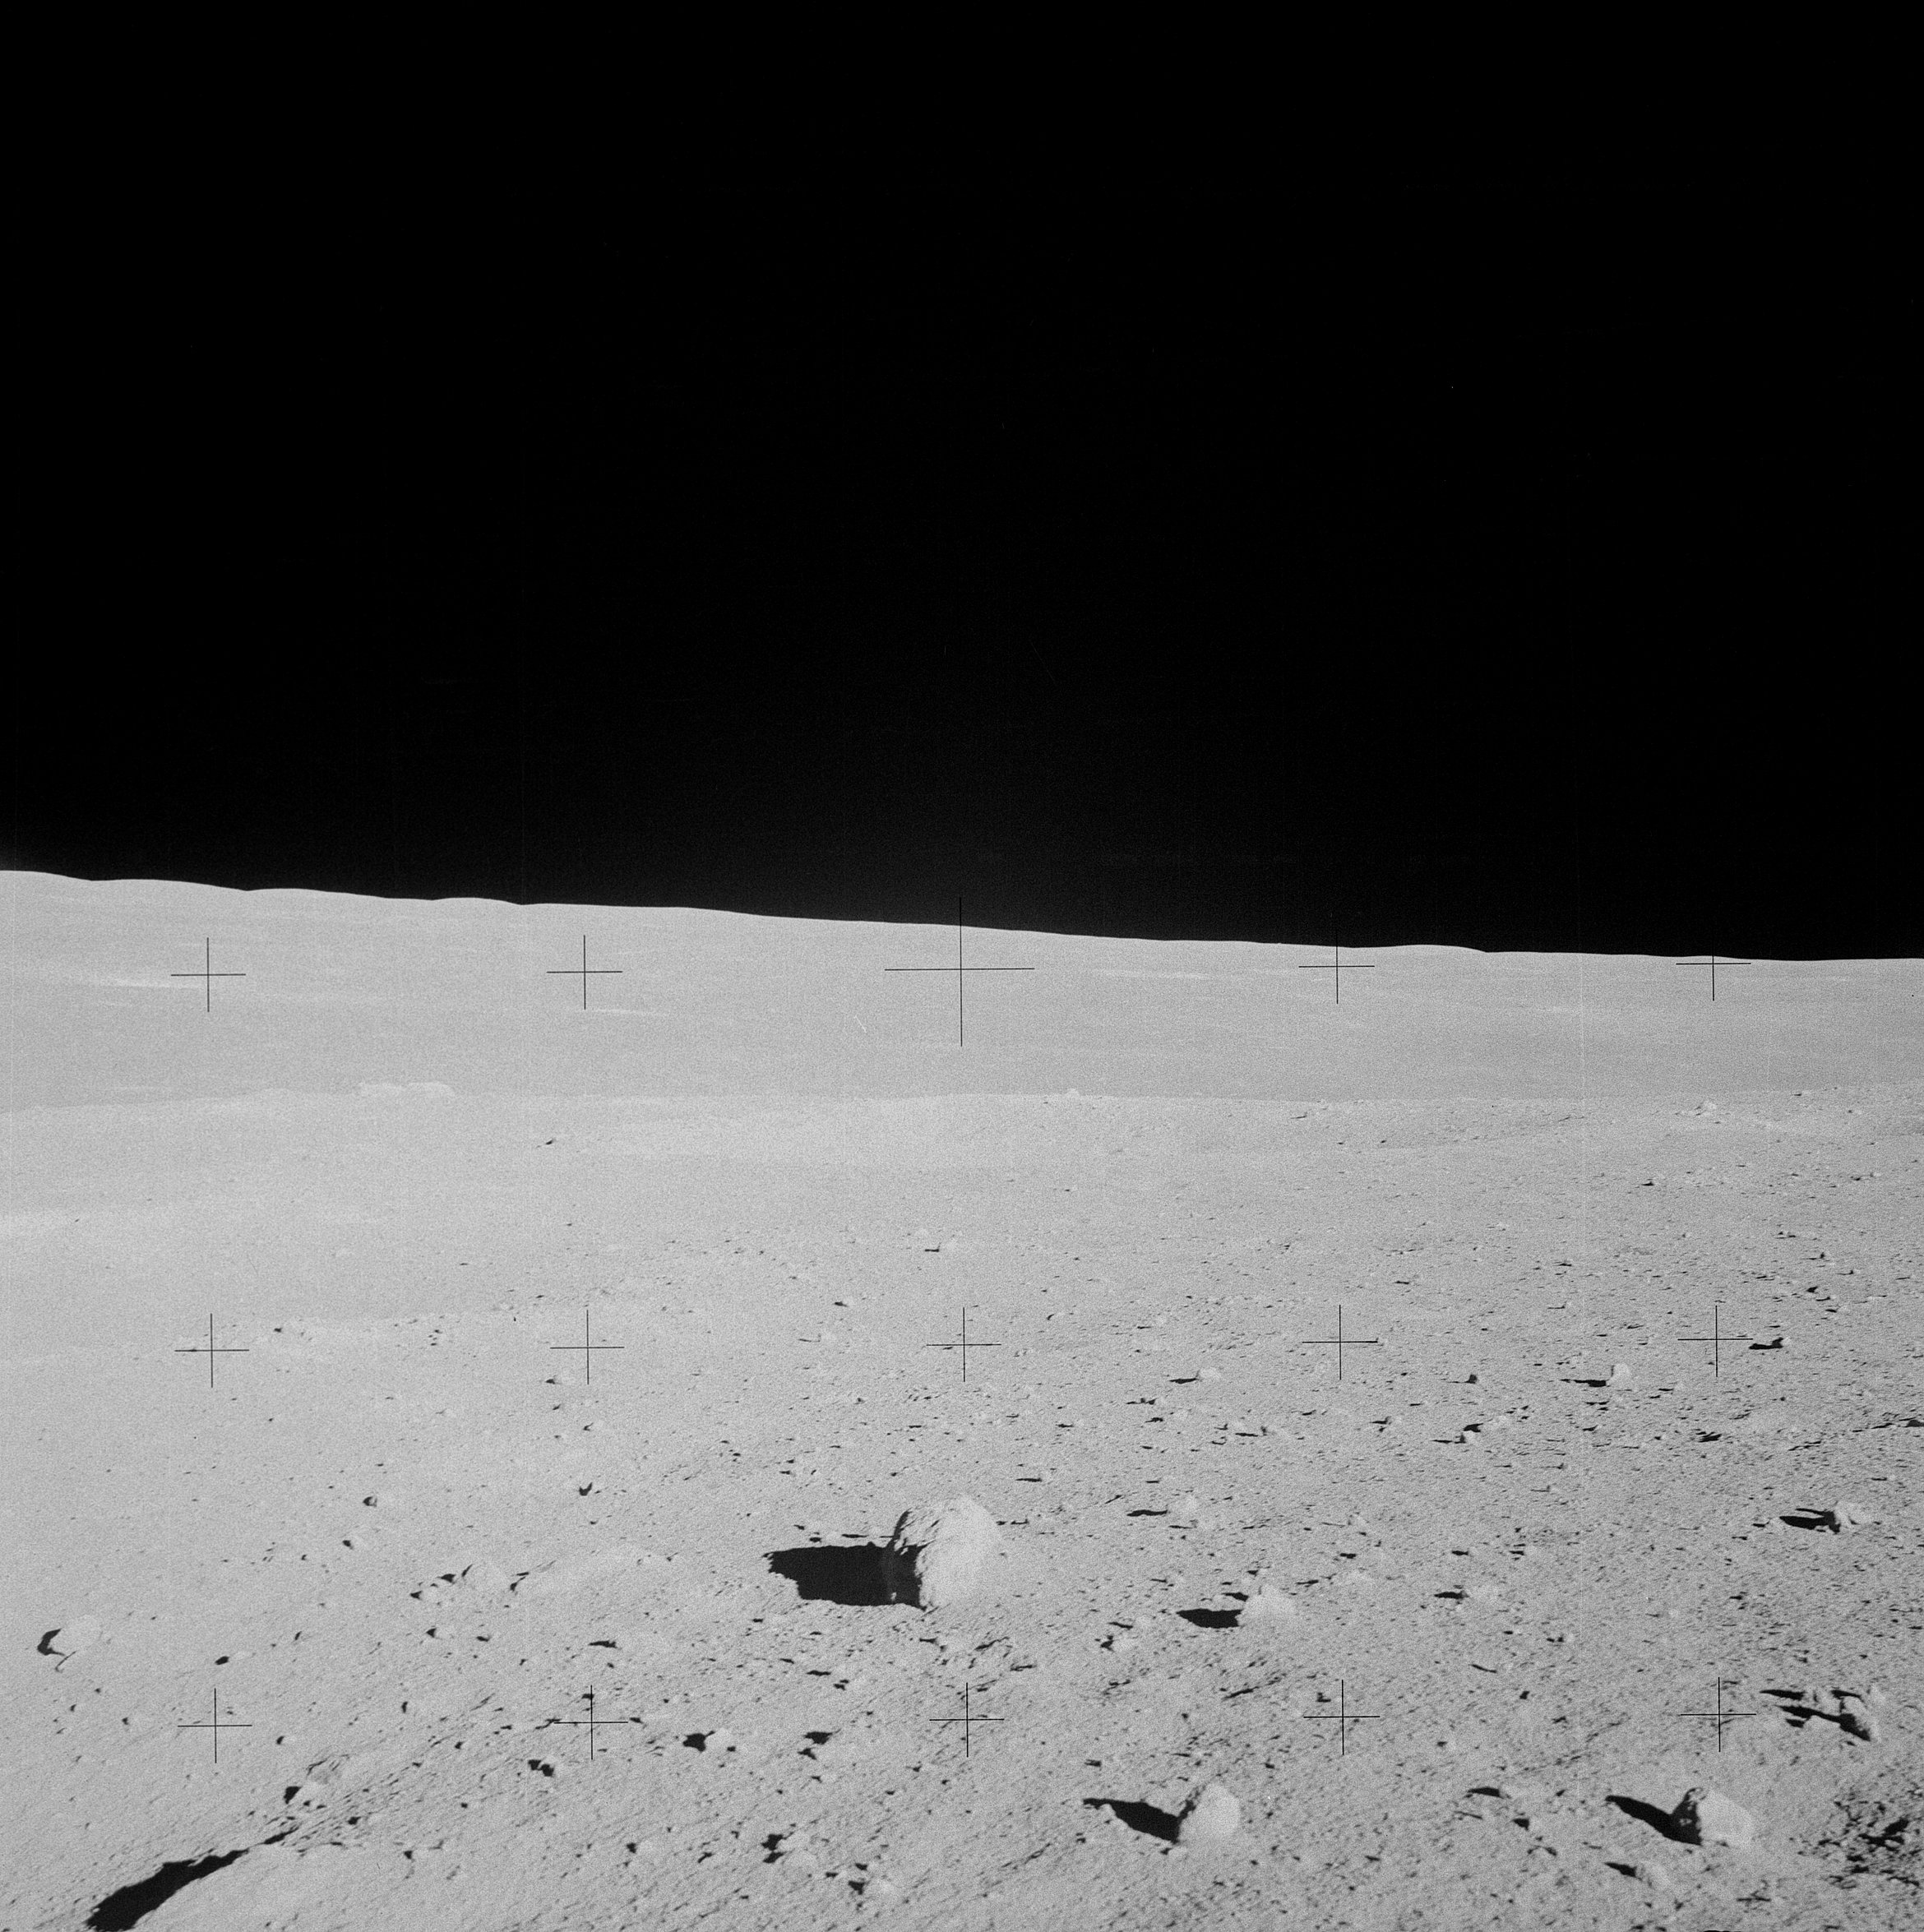 | AS14-68-9431 Rightward of 9430. Image credit: Image Science and Analysis Laboratory, NASA-Johnson Space Center. |
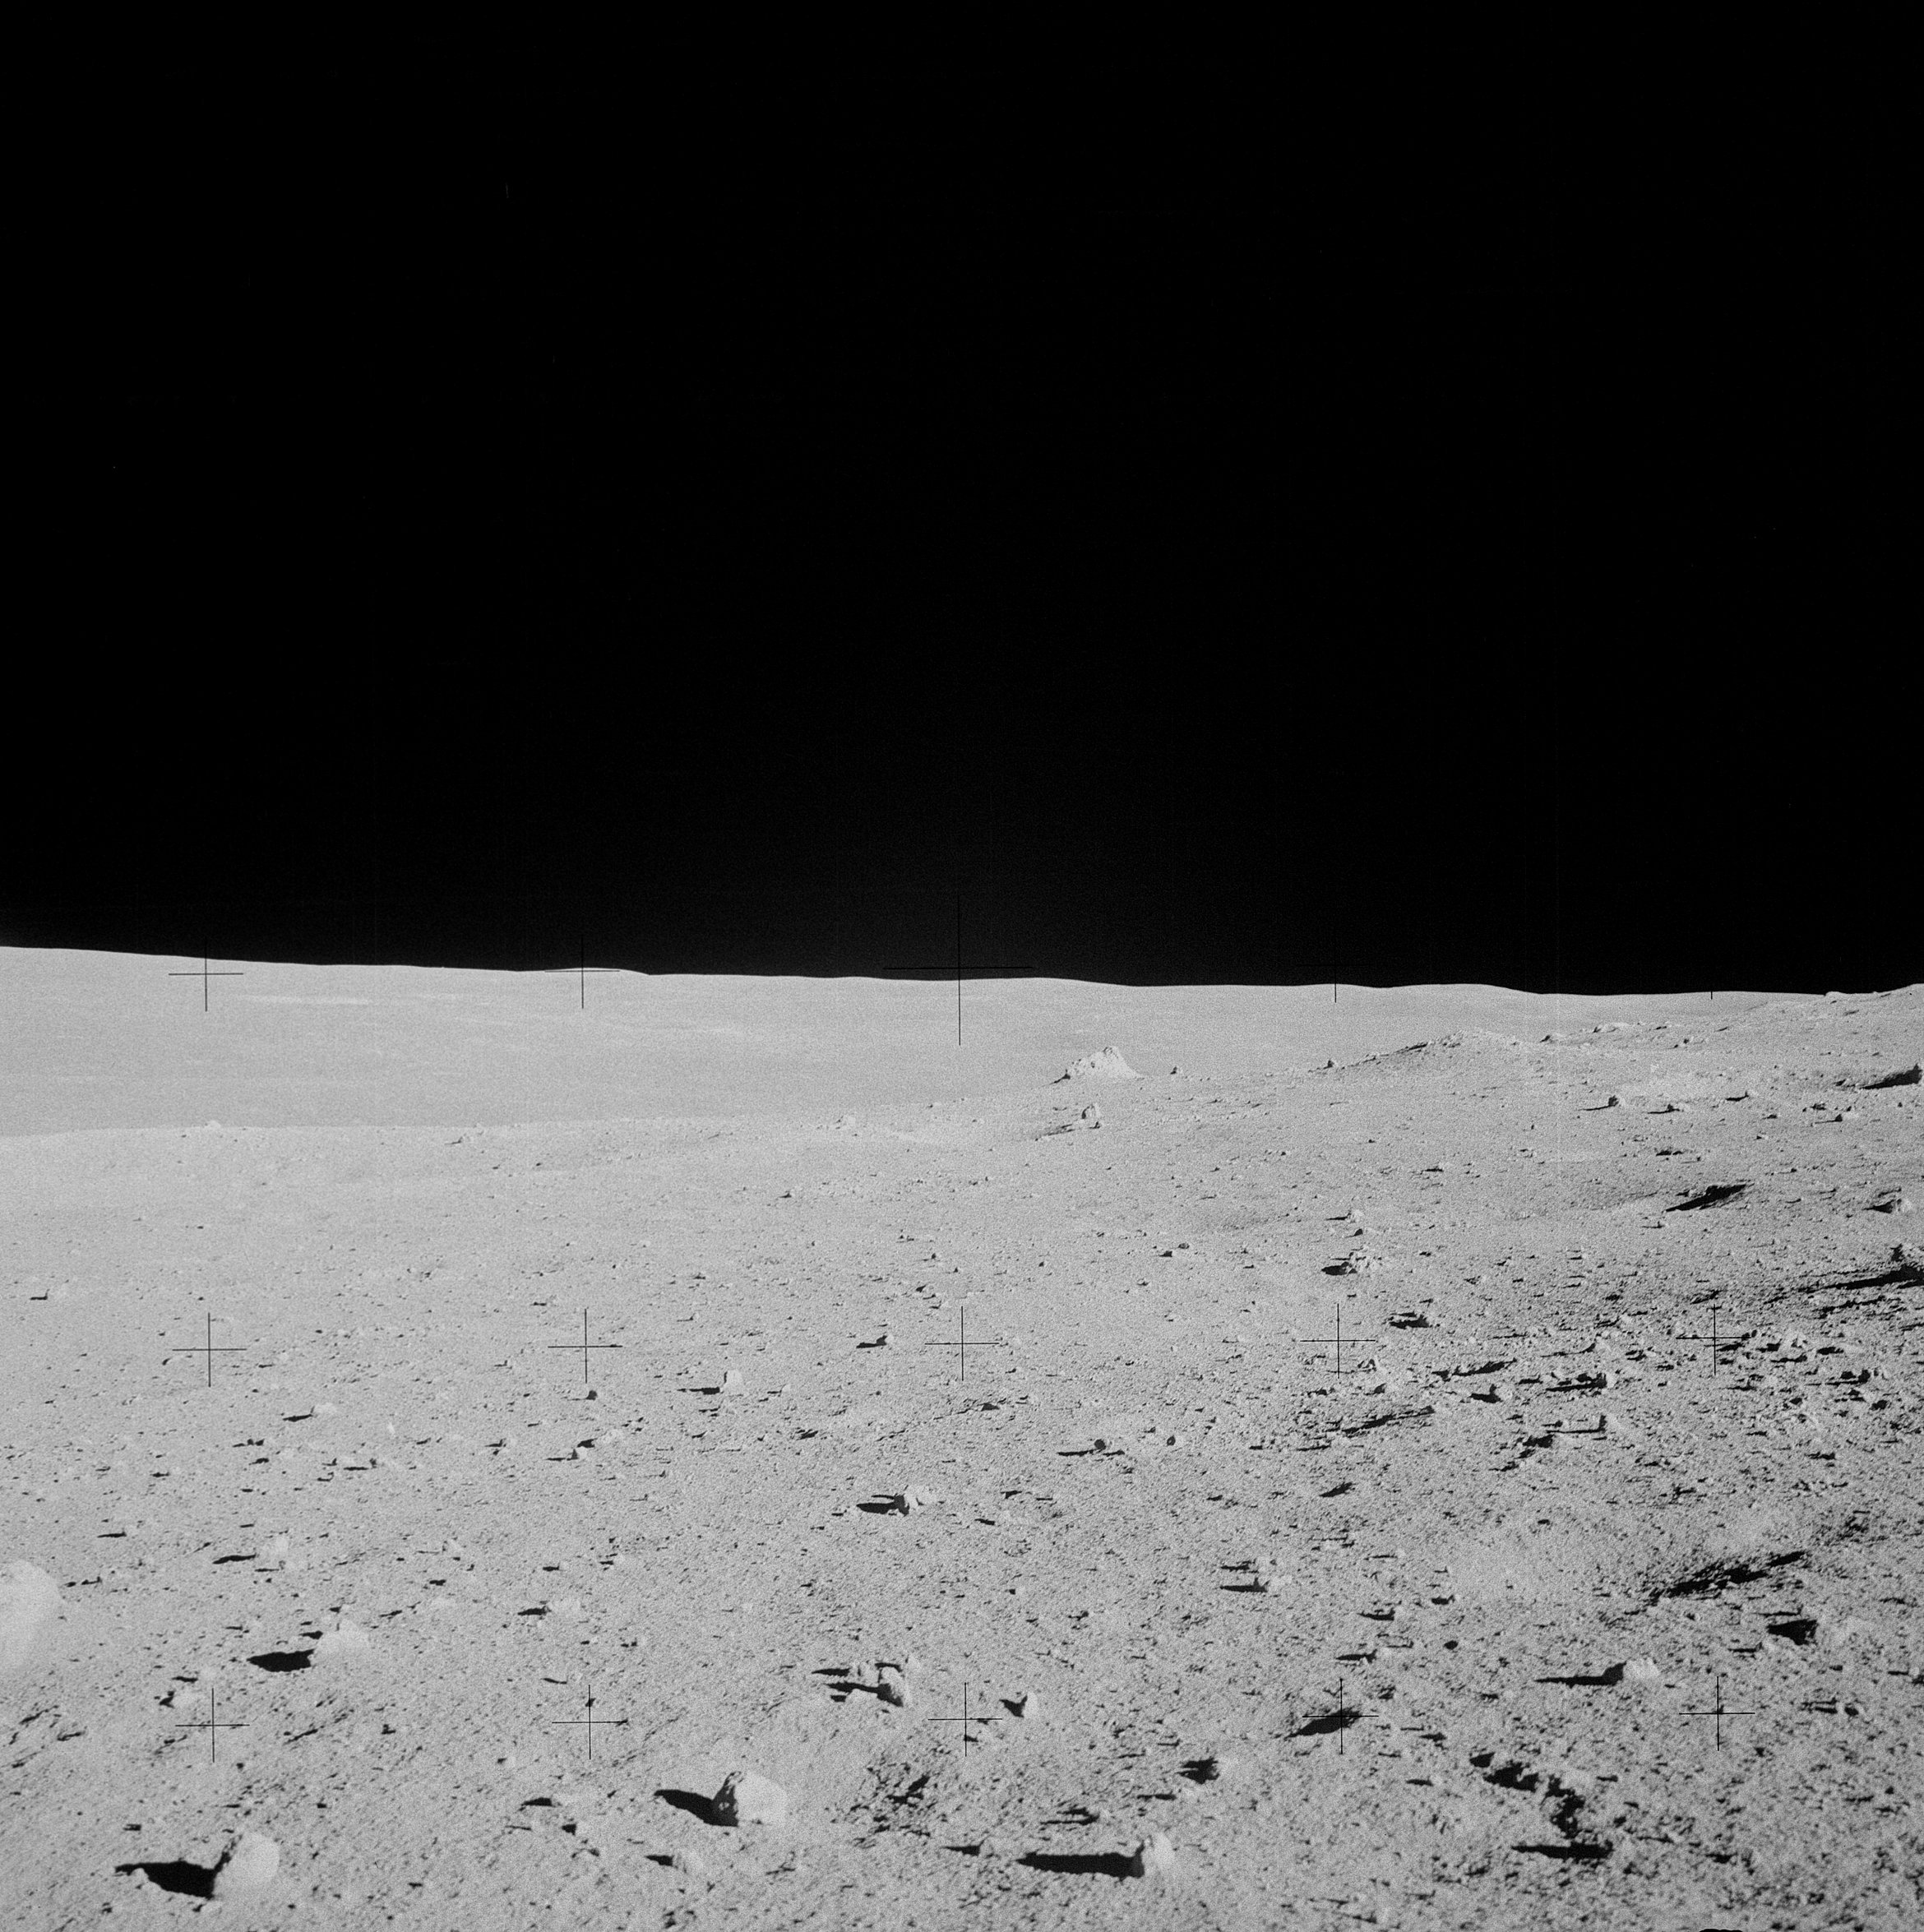 | AS14-68-9432 Rightward of 9431, centered on a large boulder. Image credit: Image Science and Analysis Laboratory, NASA-Johnson Space Center. |
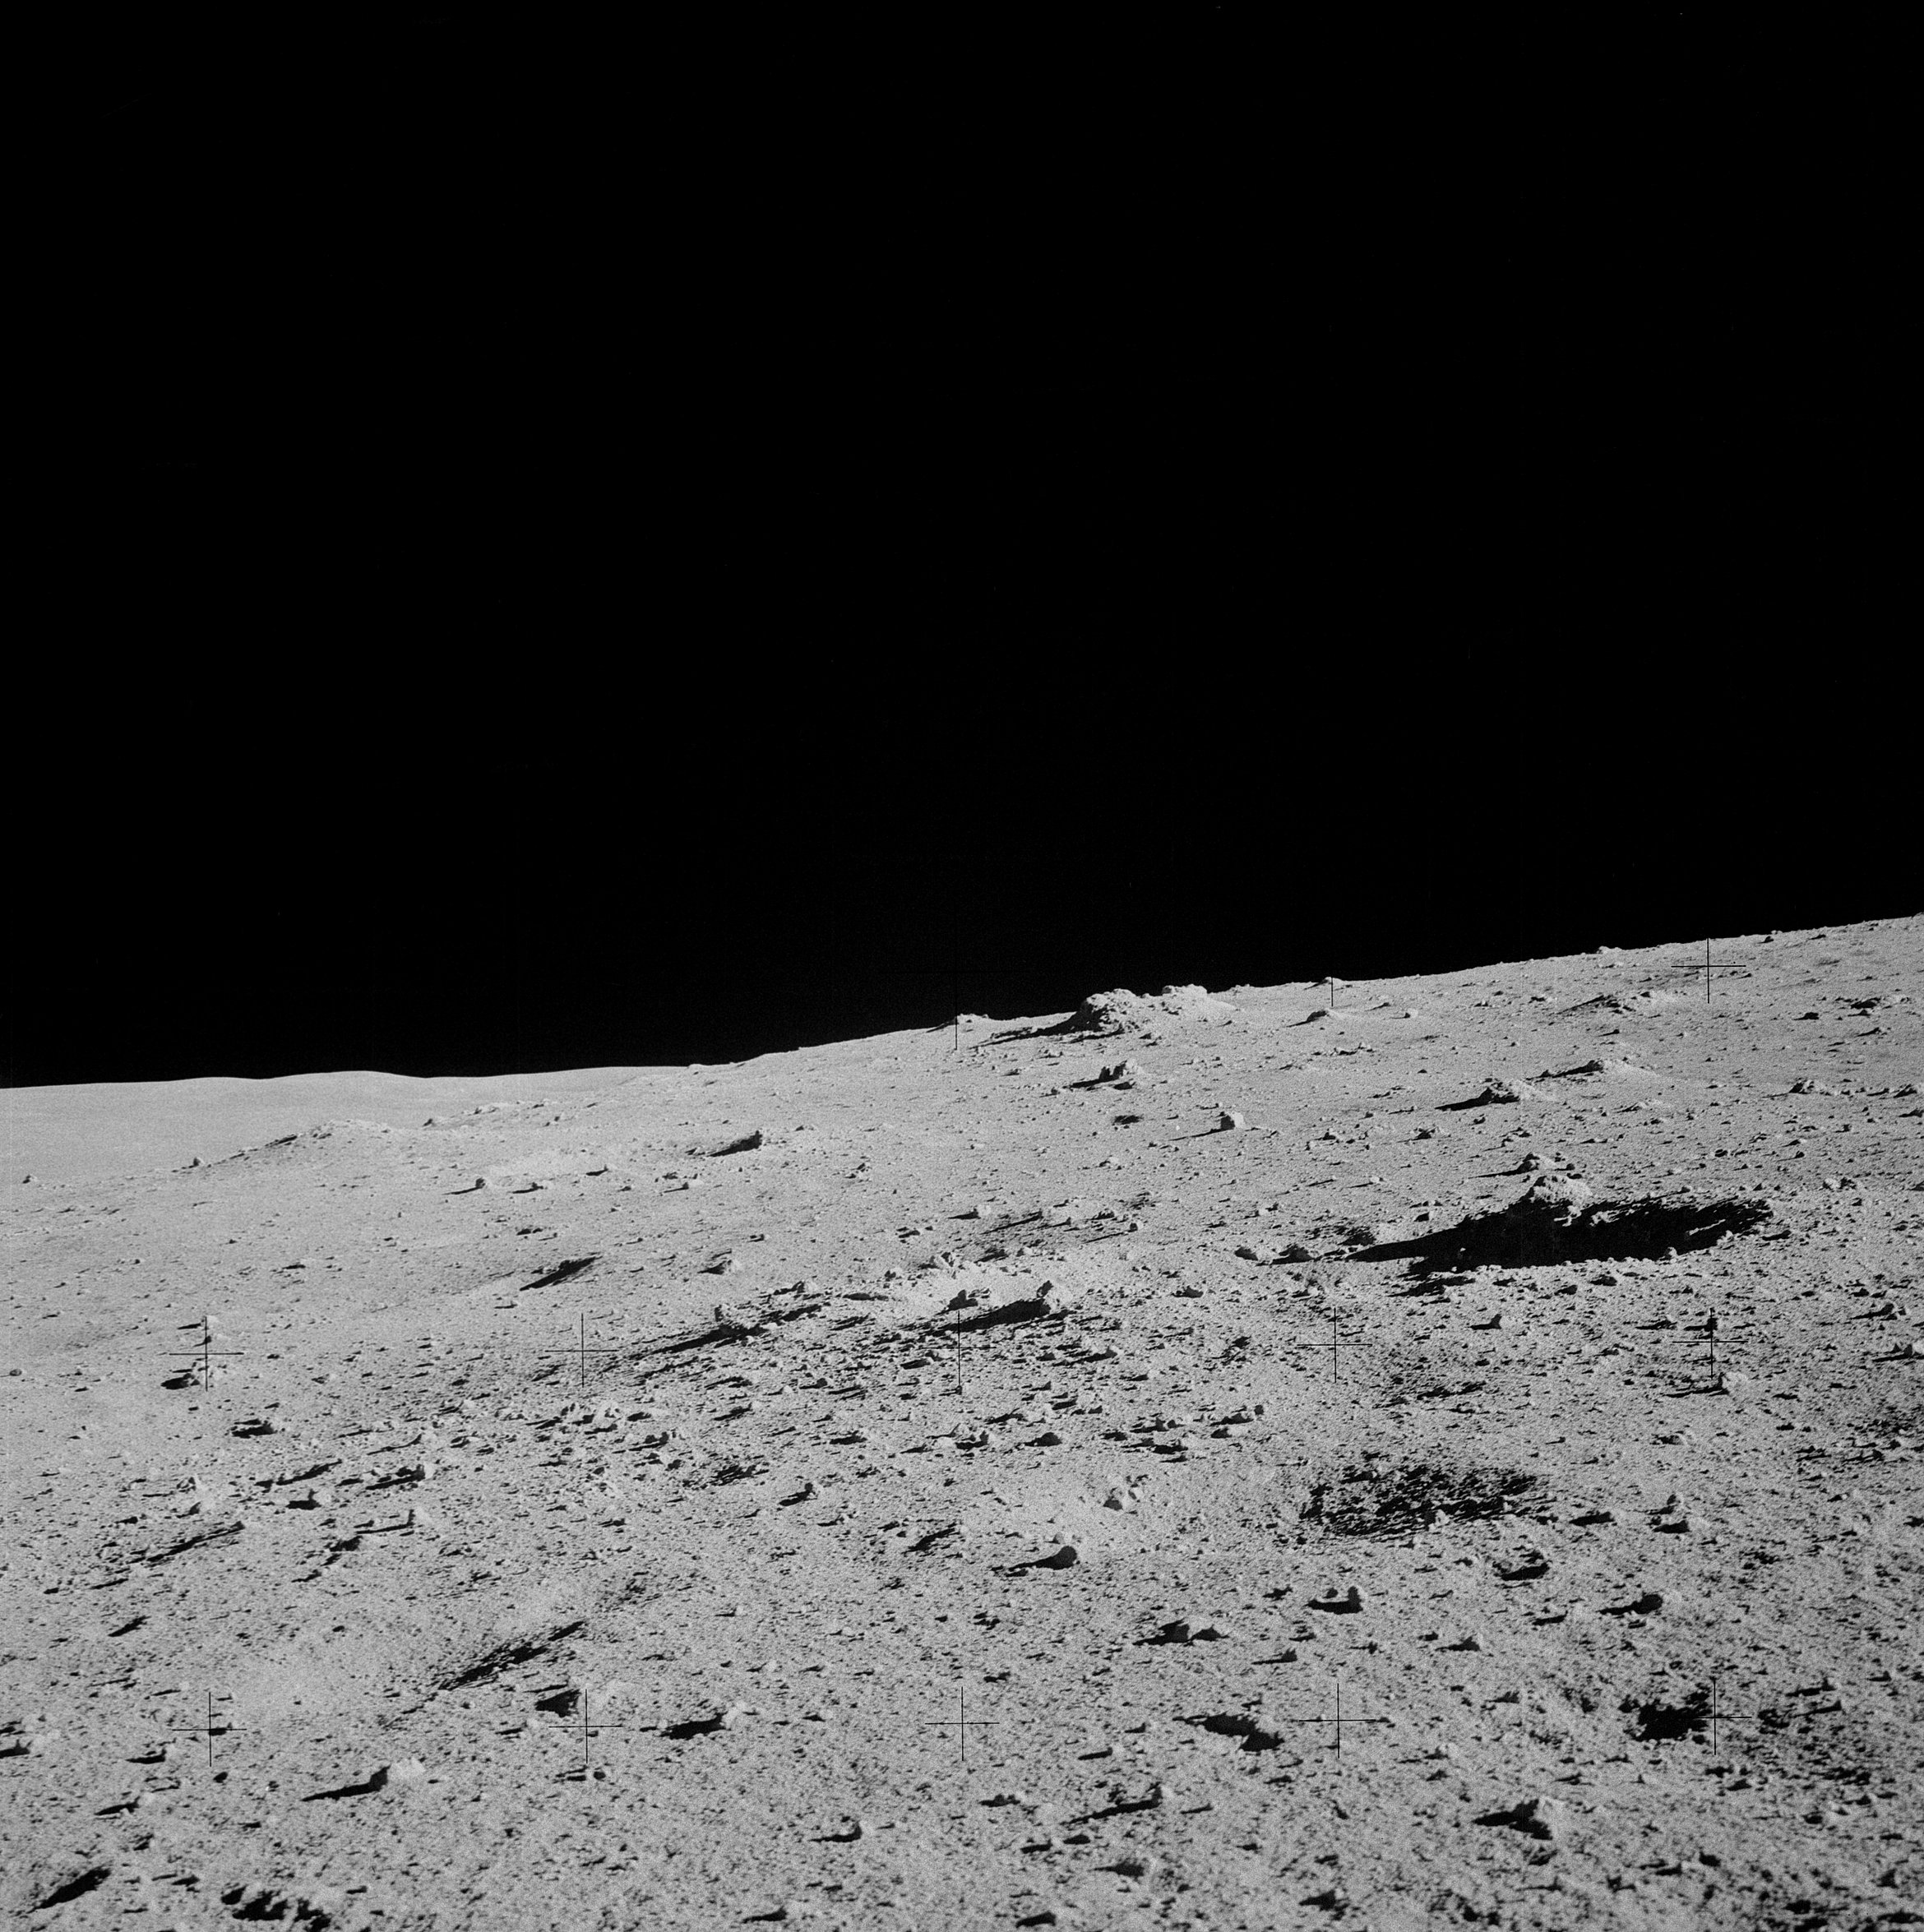 | AS14-68-9433 Rightward of 9432, with a rubble covered boulder at the center. Image credit: Image Science and Analysis Laboratory, NASA-Johnson Space Center. |
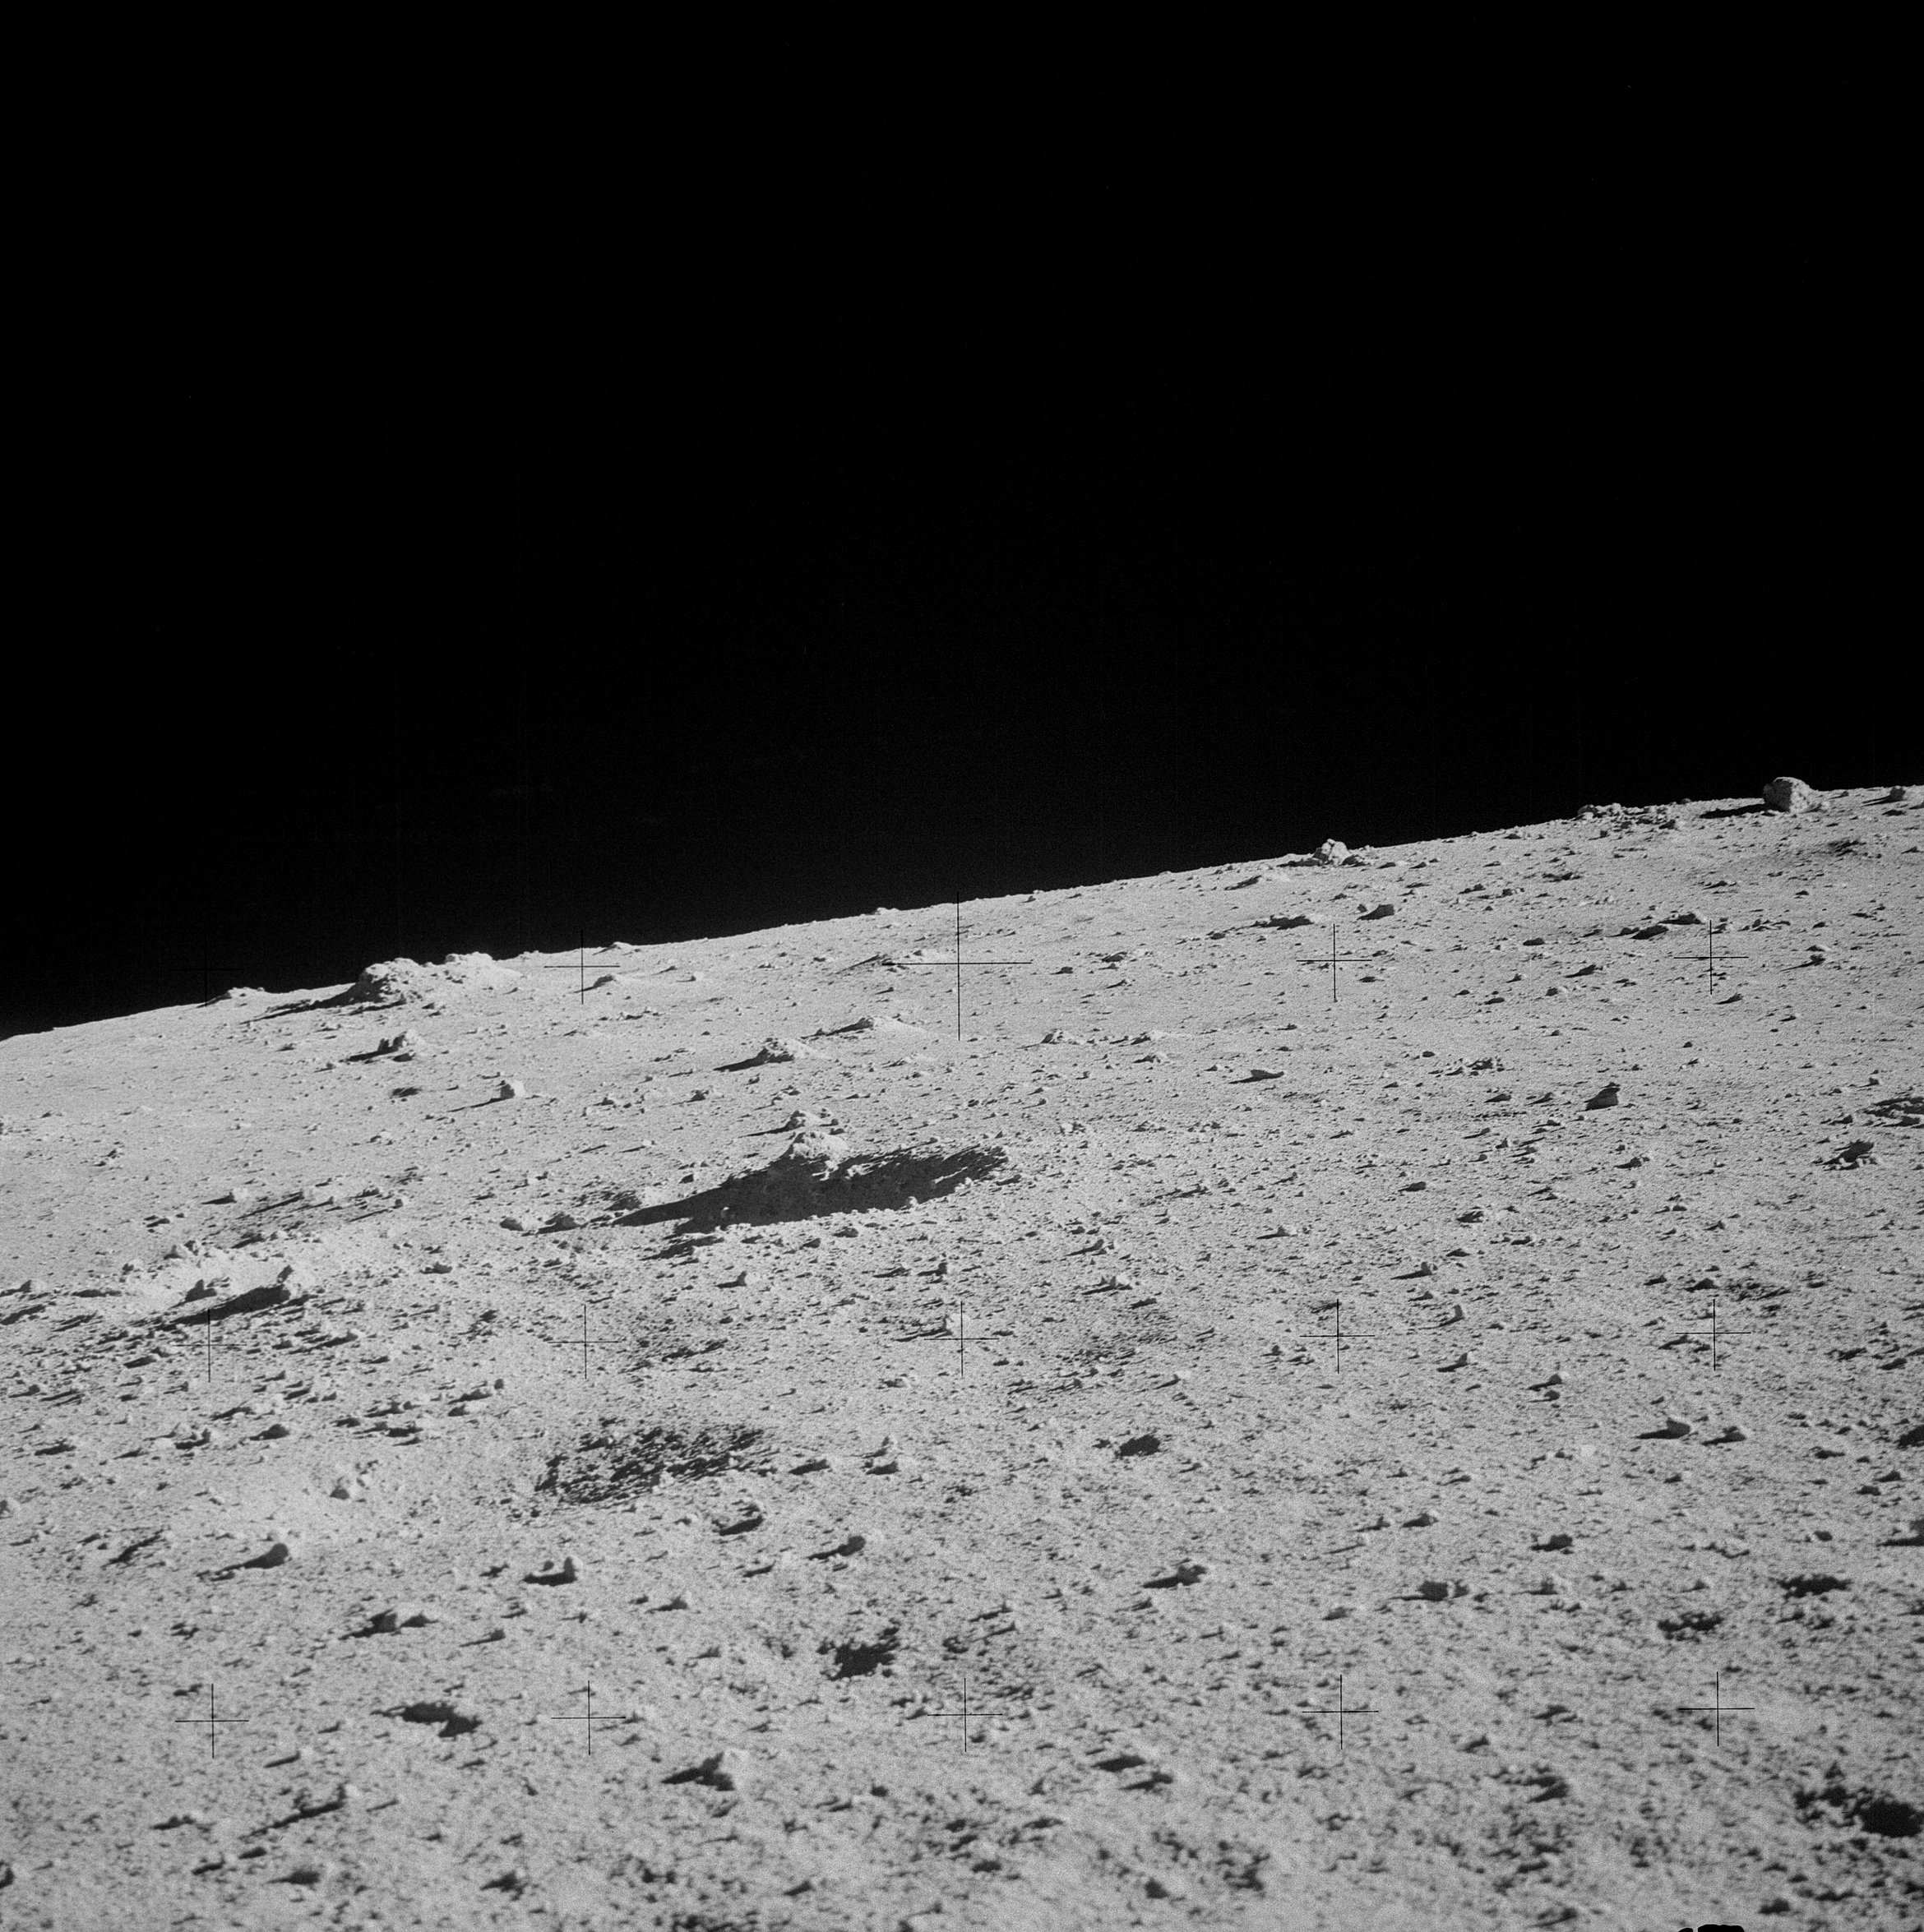 | AS14-68-9434 Rightward of 9433, showing a considerable number of boulders in the direction of the apparent Cone summit. Image credit: Image Science and Analysis Laboratory, NASA-Johnson Space Center. |
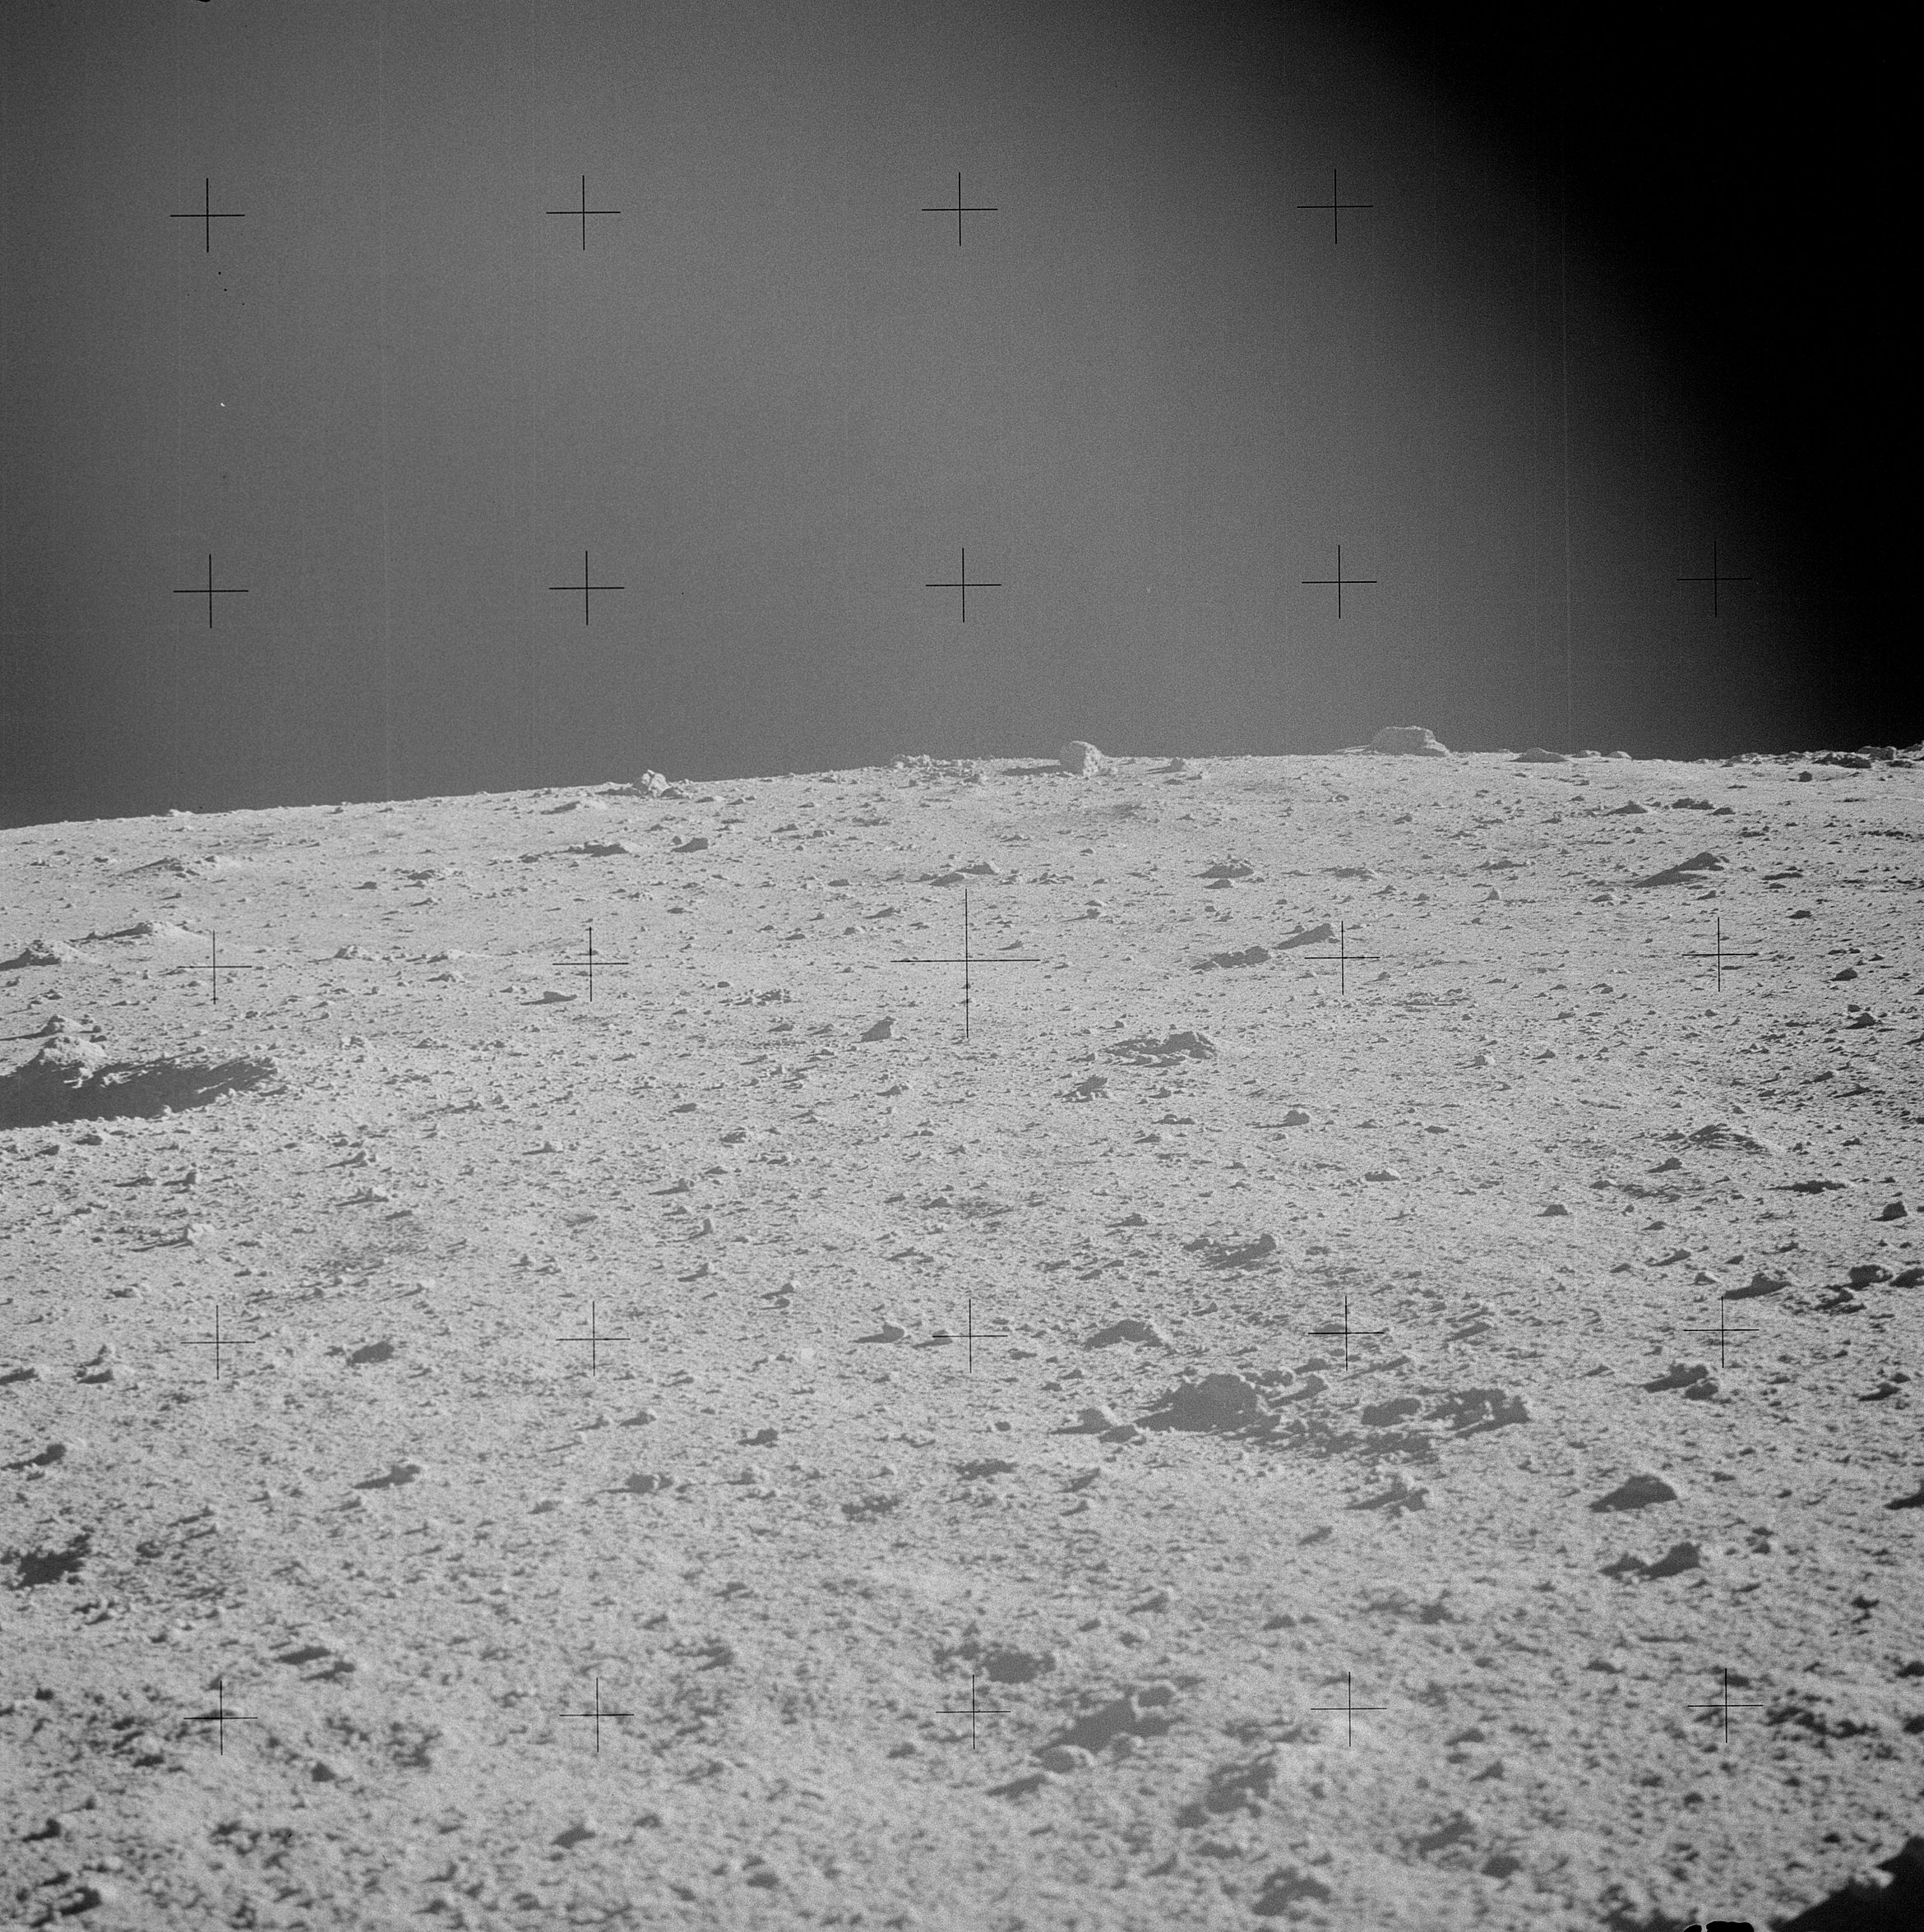 | AS14-68-9435 Rightward of 9434. Image credit: Image Science and Analysis Laboratory, NASA-Johnson Space Center. |
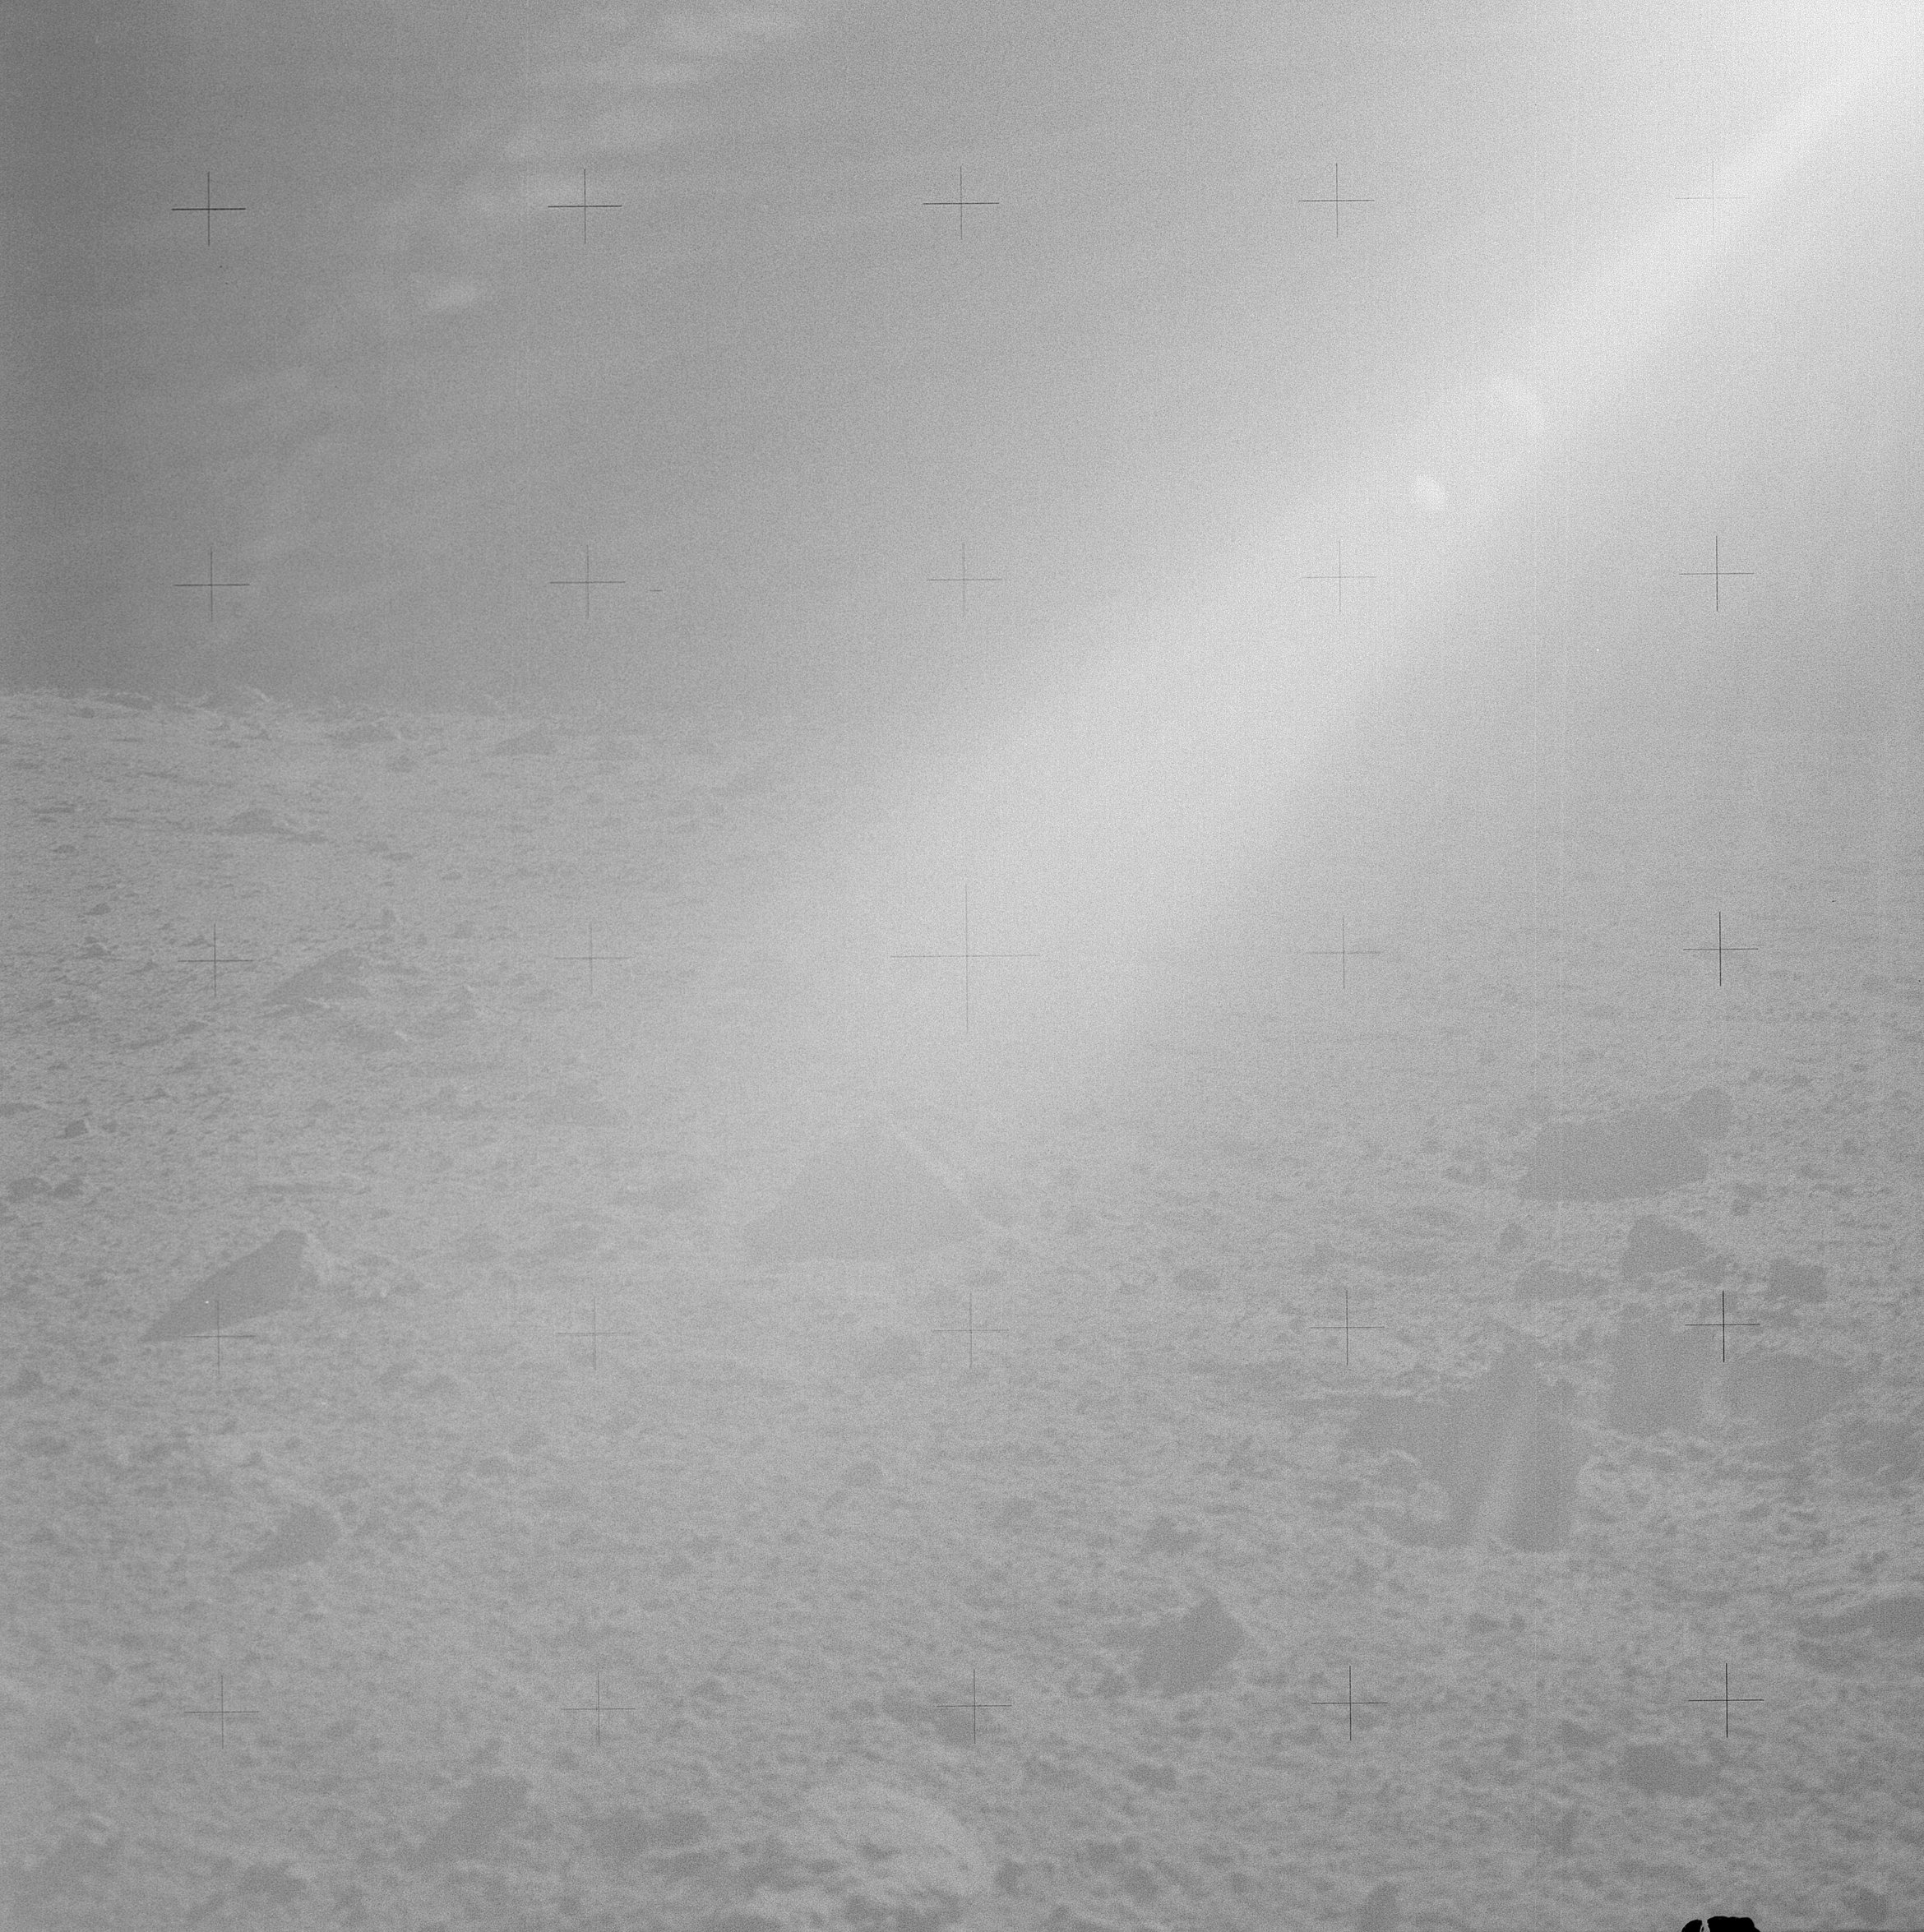 | AS14-68-9436 Rightward of 9435, up-Sun showing very large numbers of rocks and boulders on the apparent horizon. Image credit: Image Science and Analysis Laboratory, NASA-Johnson Space Center. |
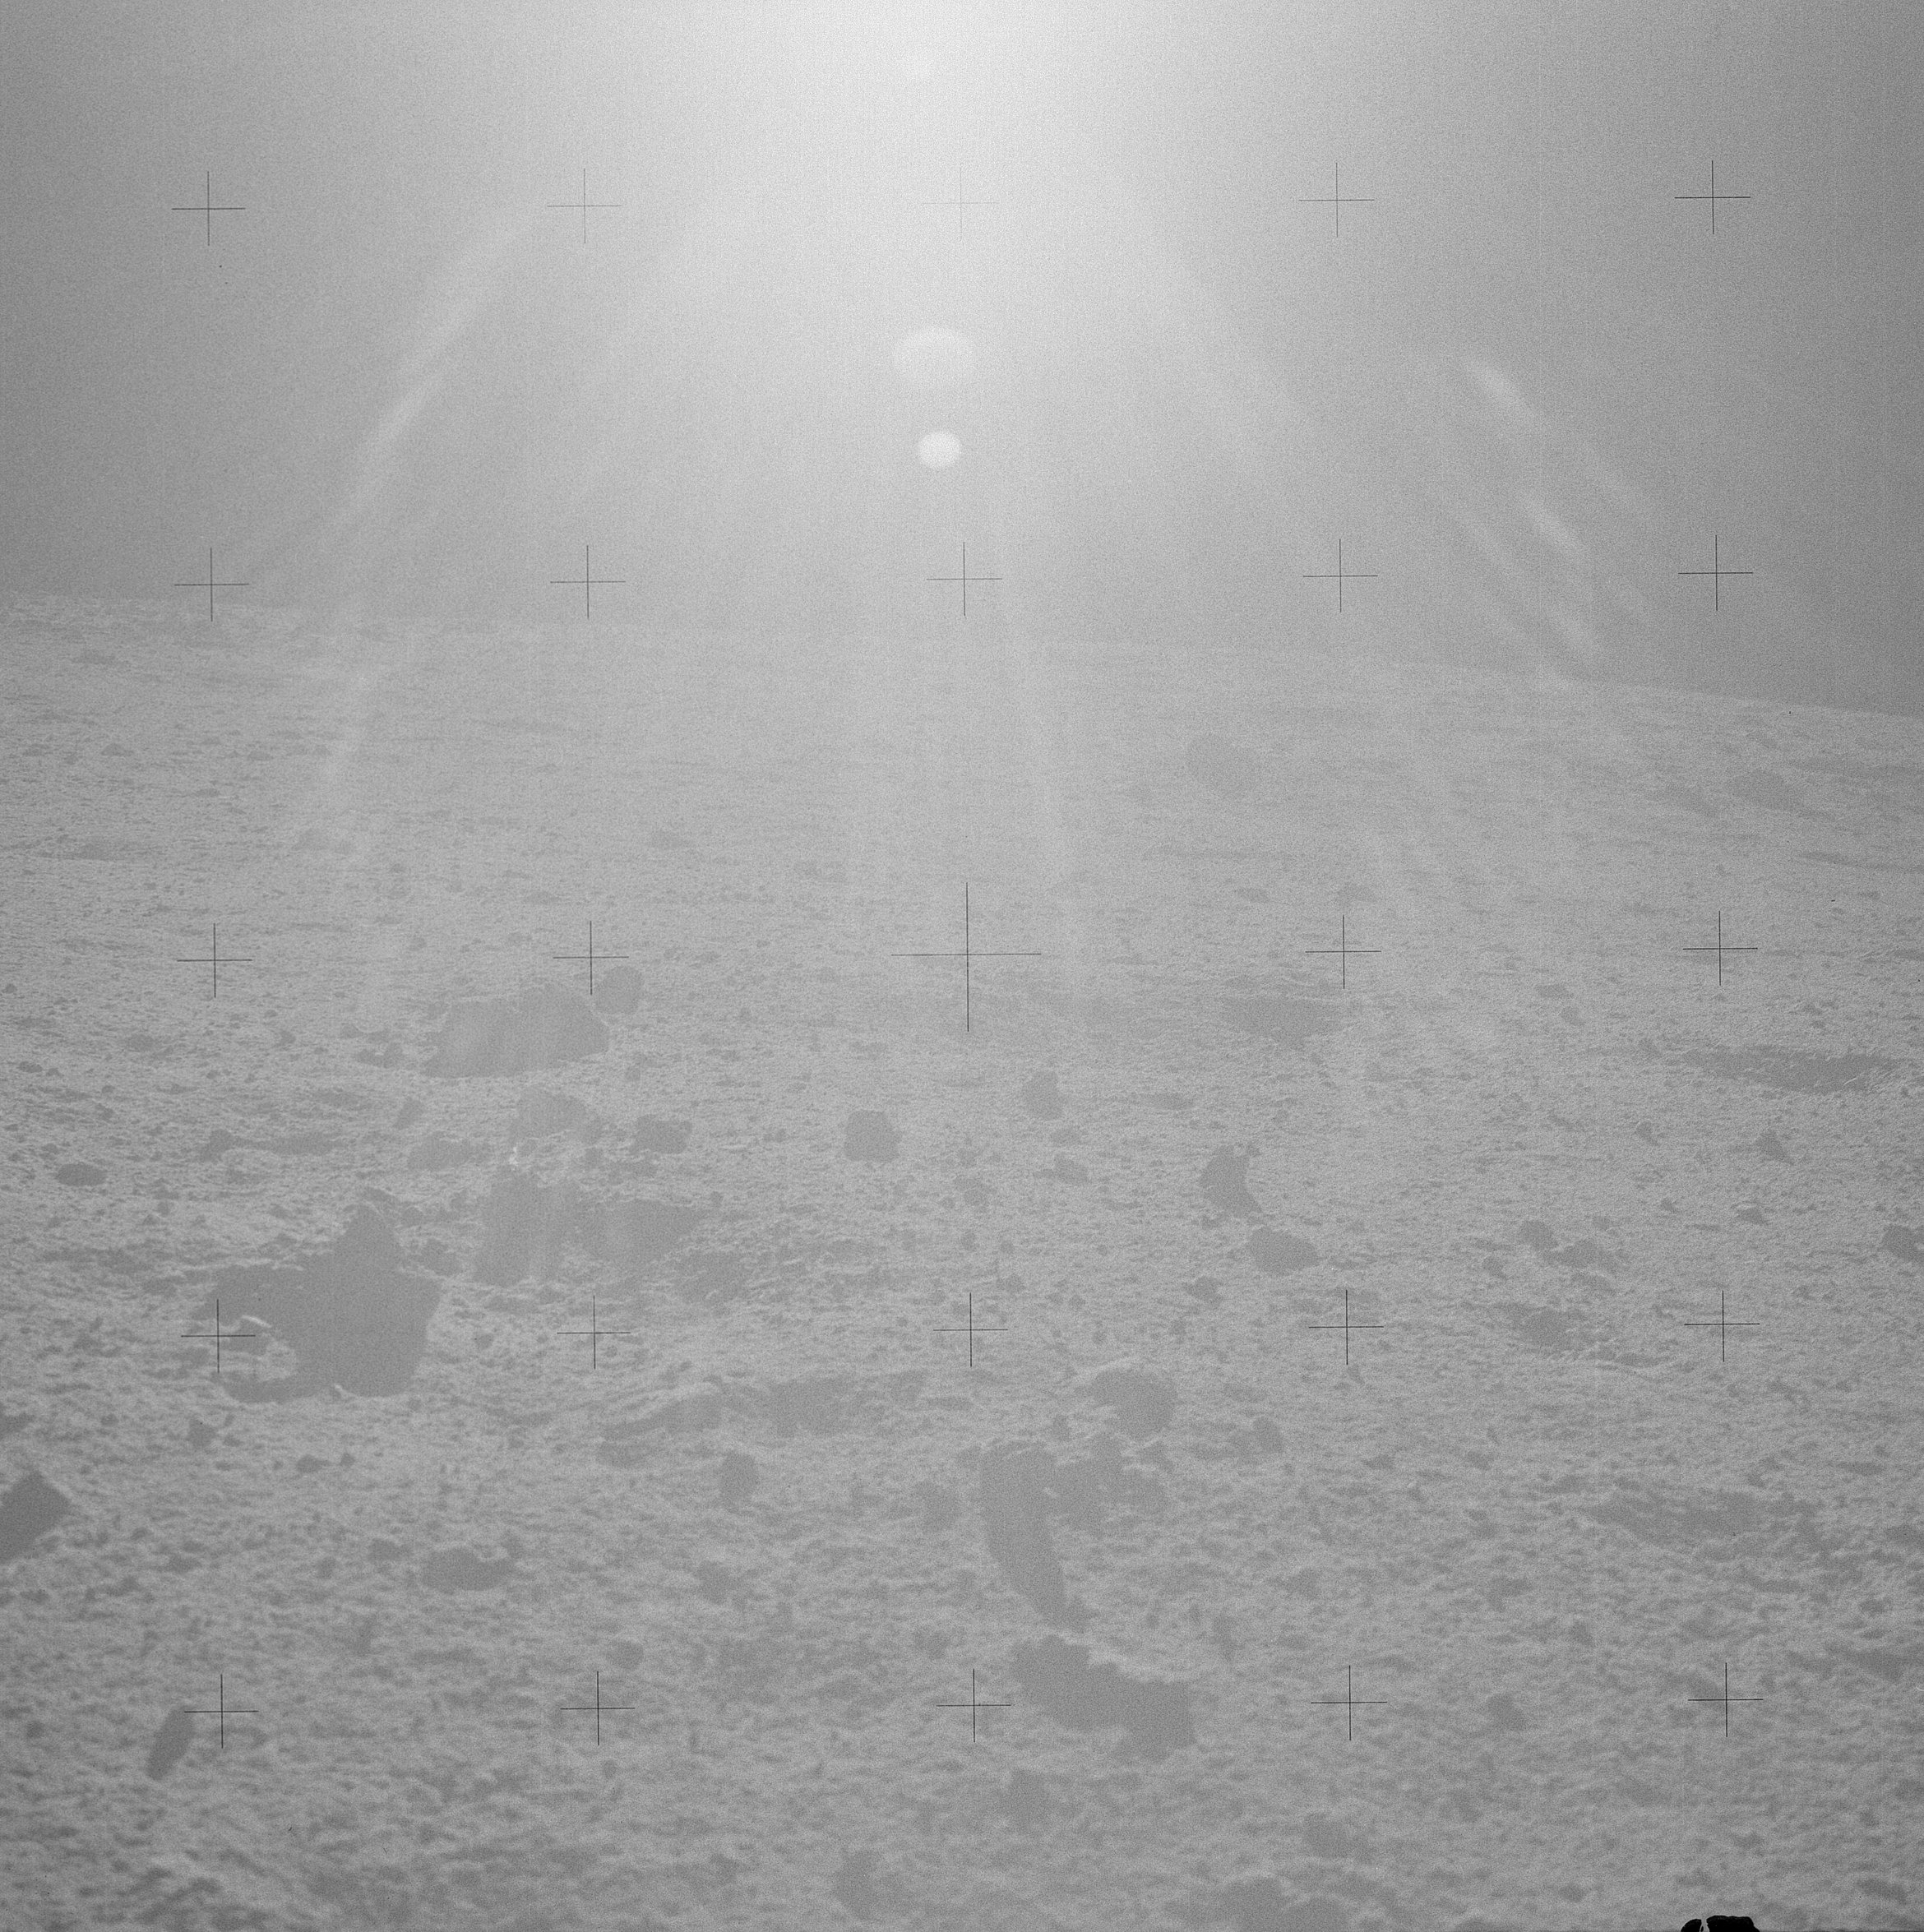 | AS14-68-9437 Rightward of 9436, up-Sun. Image credit: Image Science and Analysis Laboratory, NASA-Johnson Space Center. |
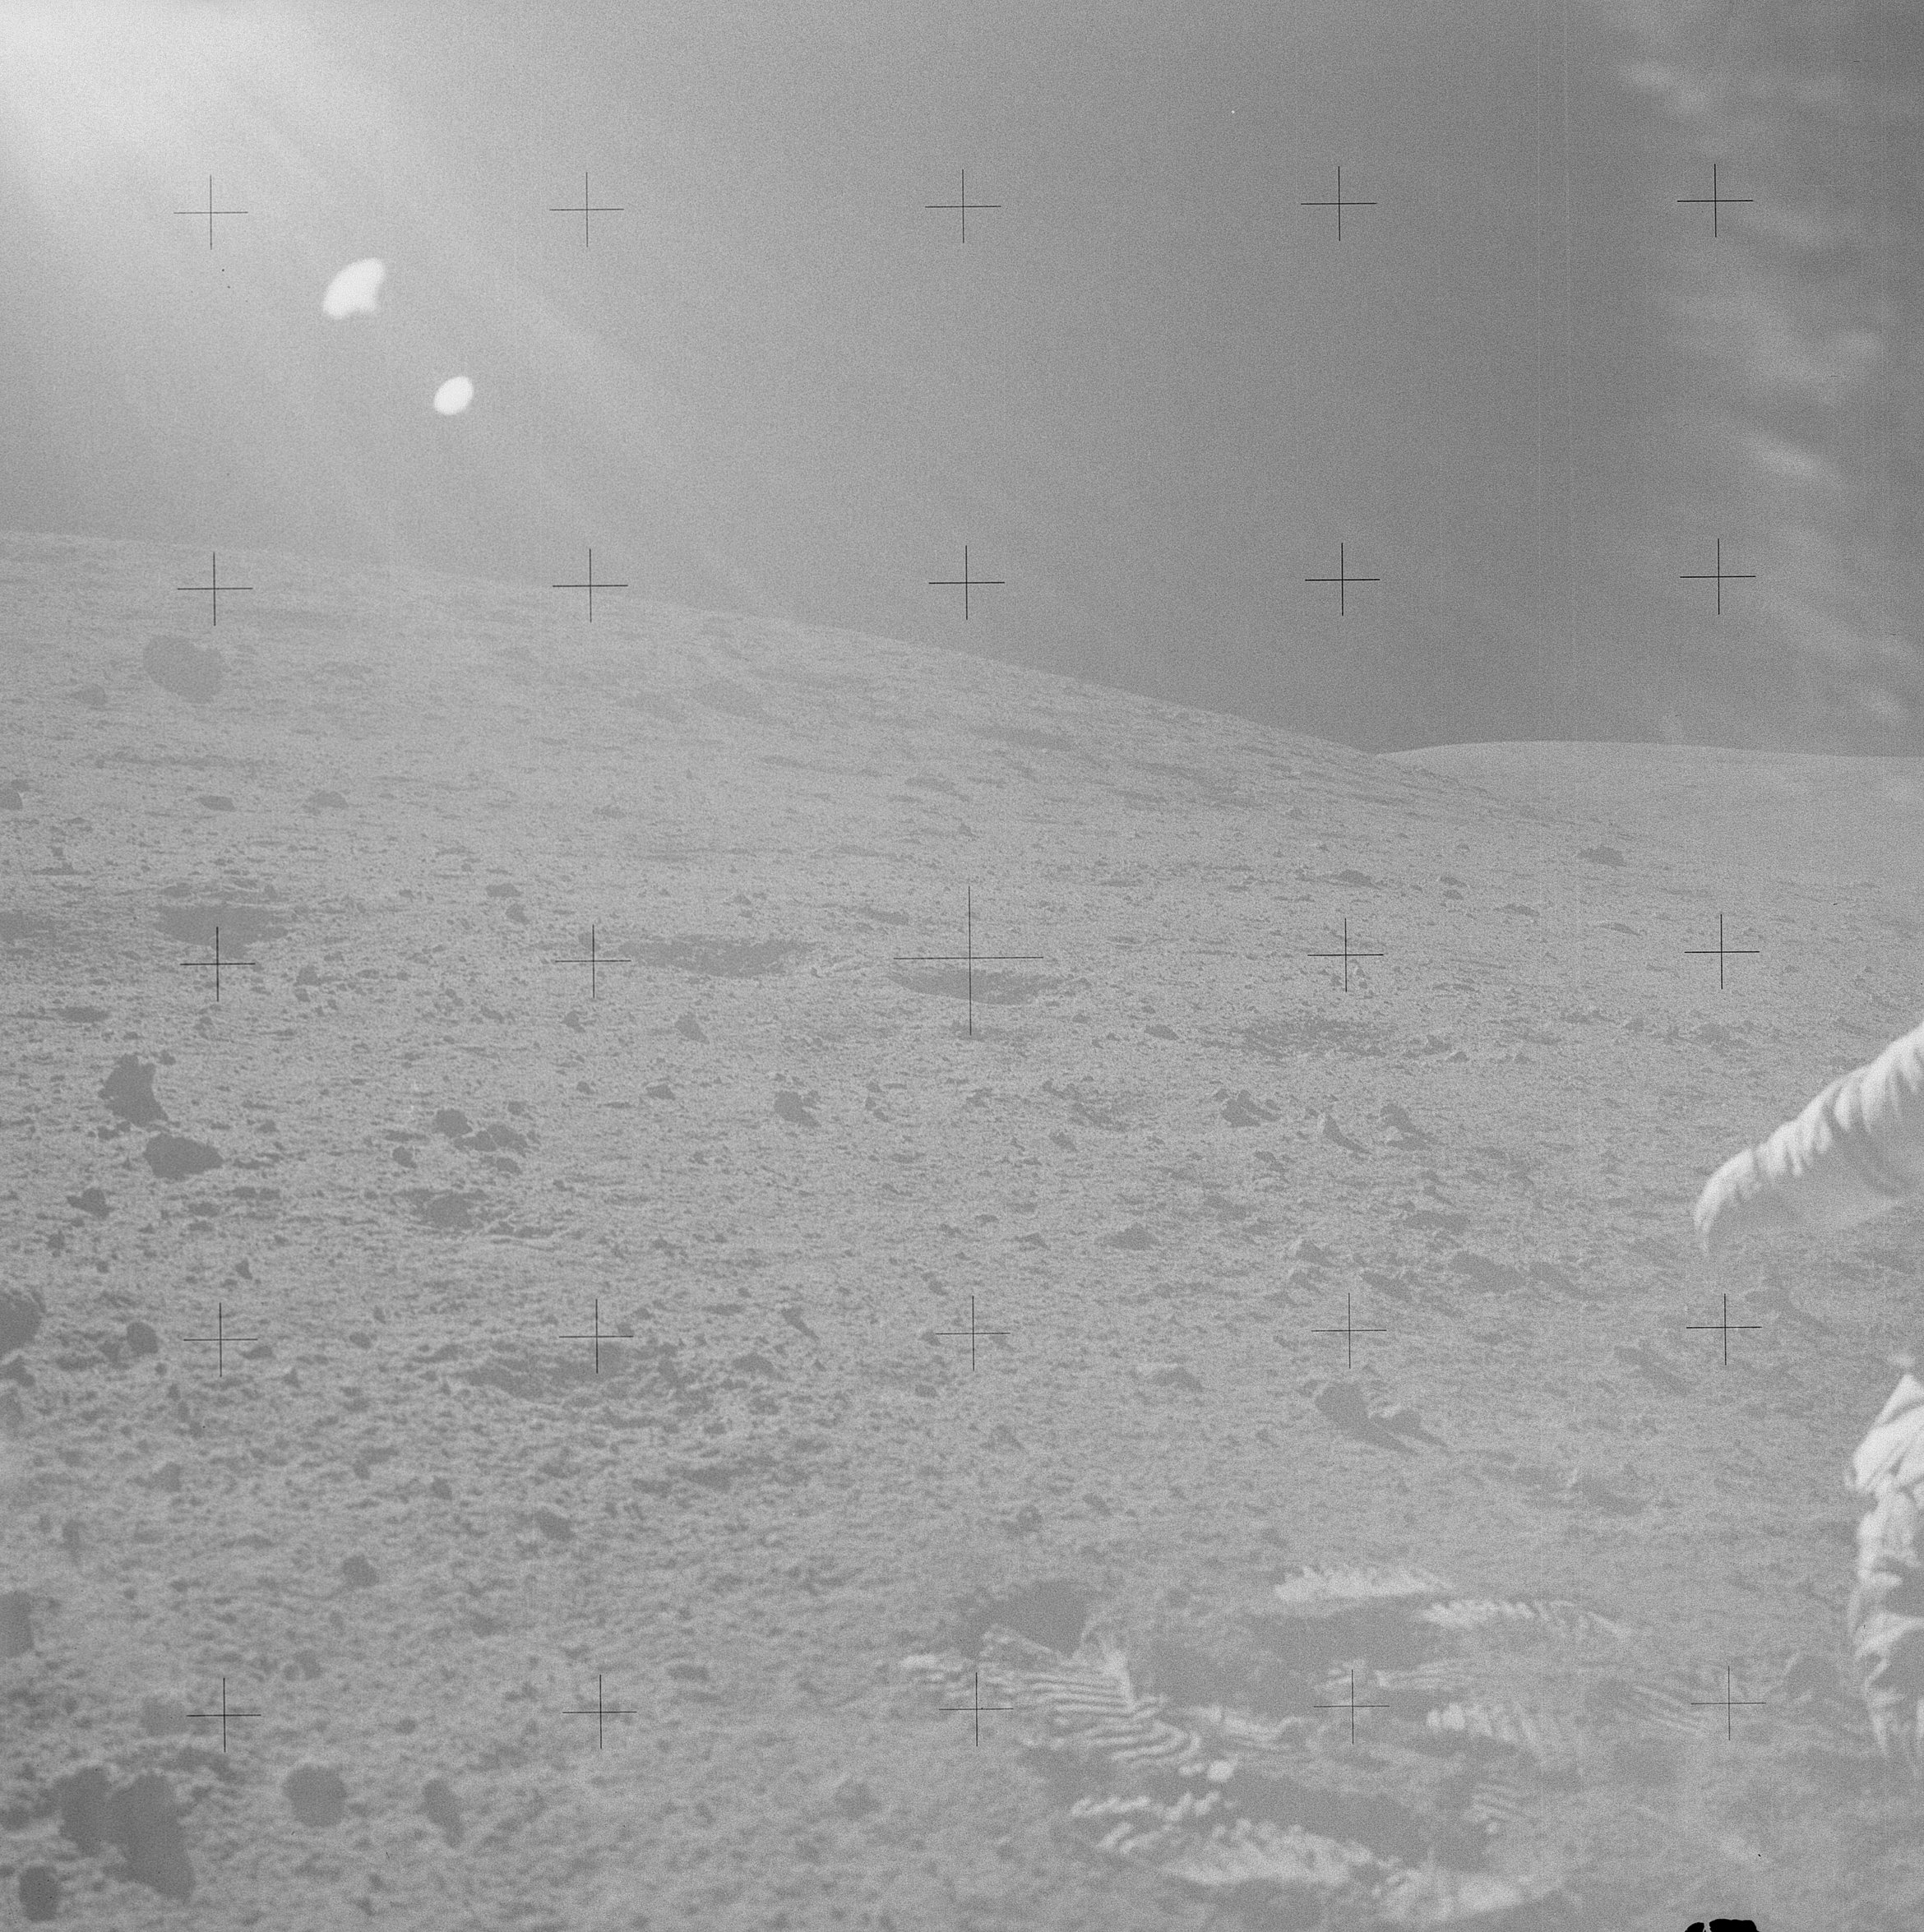 | AS14-68-9438 Rightward of 9437, showing Al's left arm and left leg. Image credit: Image Science and Analysis Laboratory, NASA-Johnson Space Center. |
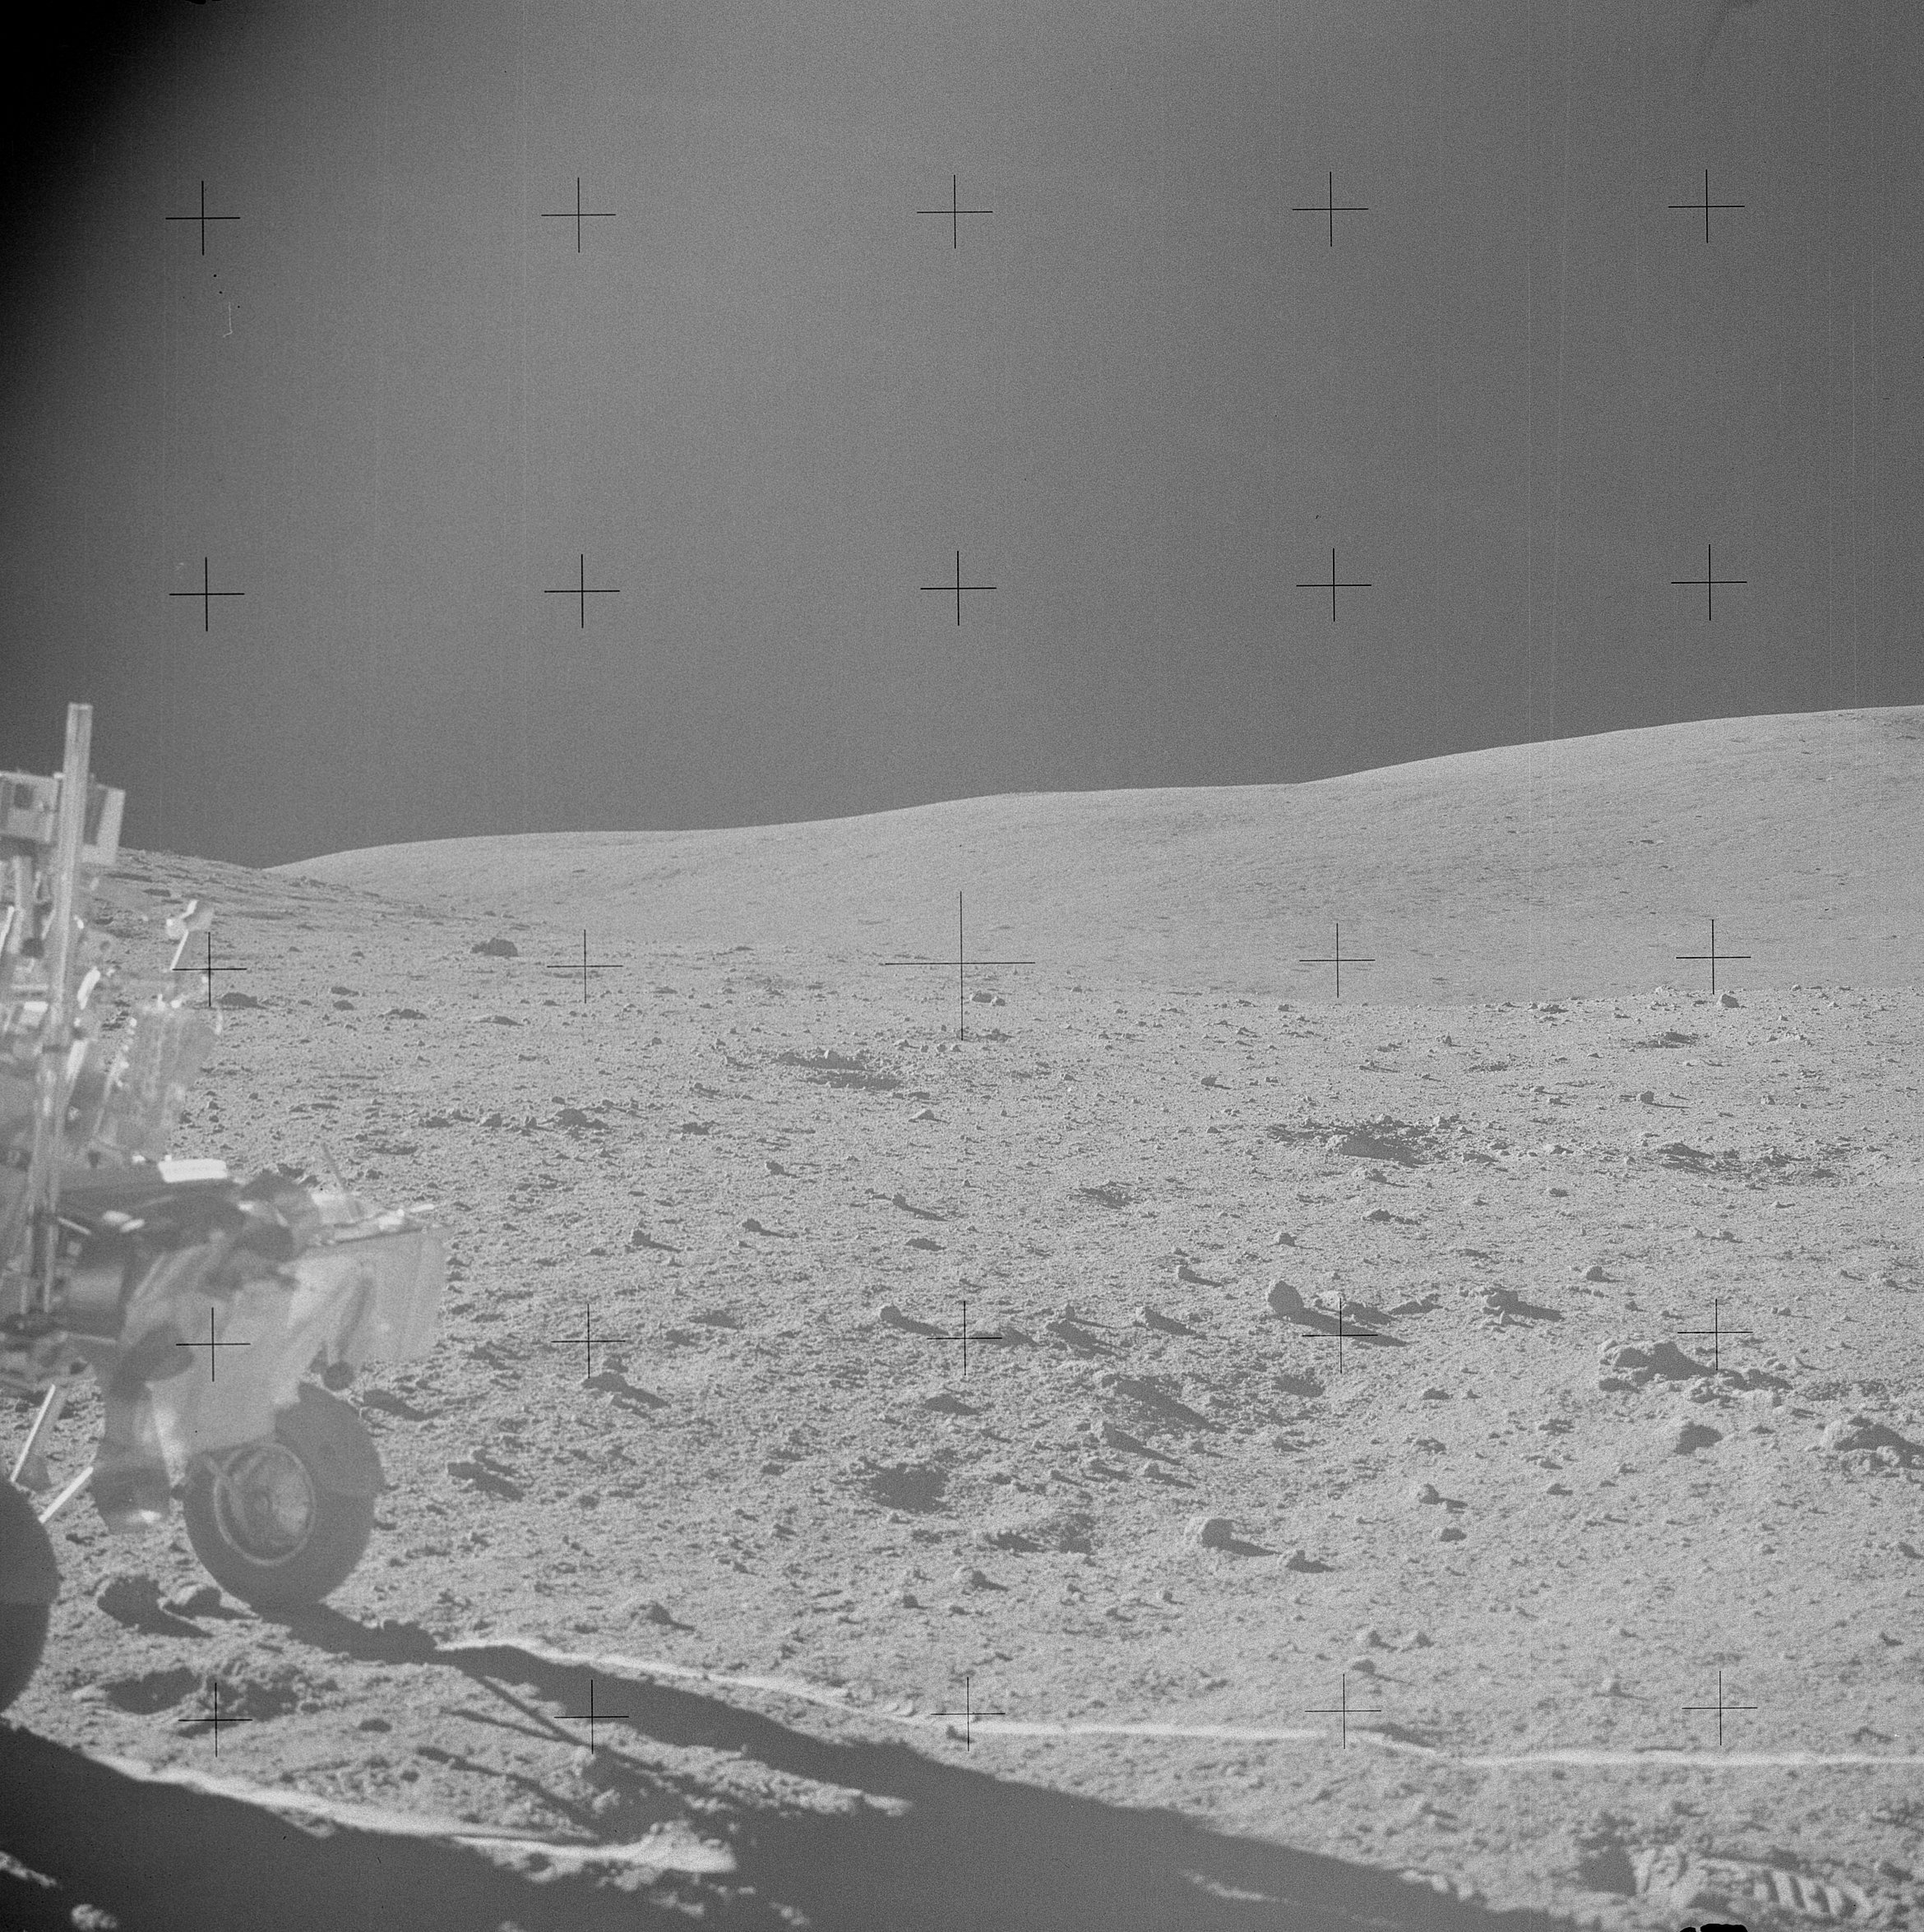 | AS14-68-9439 Rightward of 9438, Al has moved across Ed's field-of-view. Image credit: Image Science and Analysis Laboratory, NASA-Johnson Space Center. |
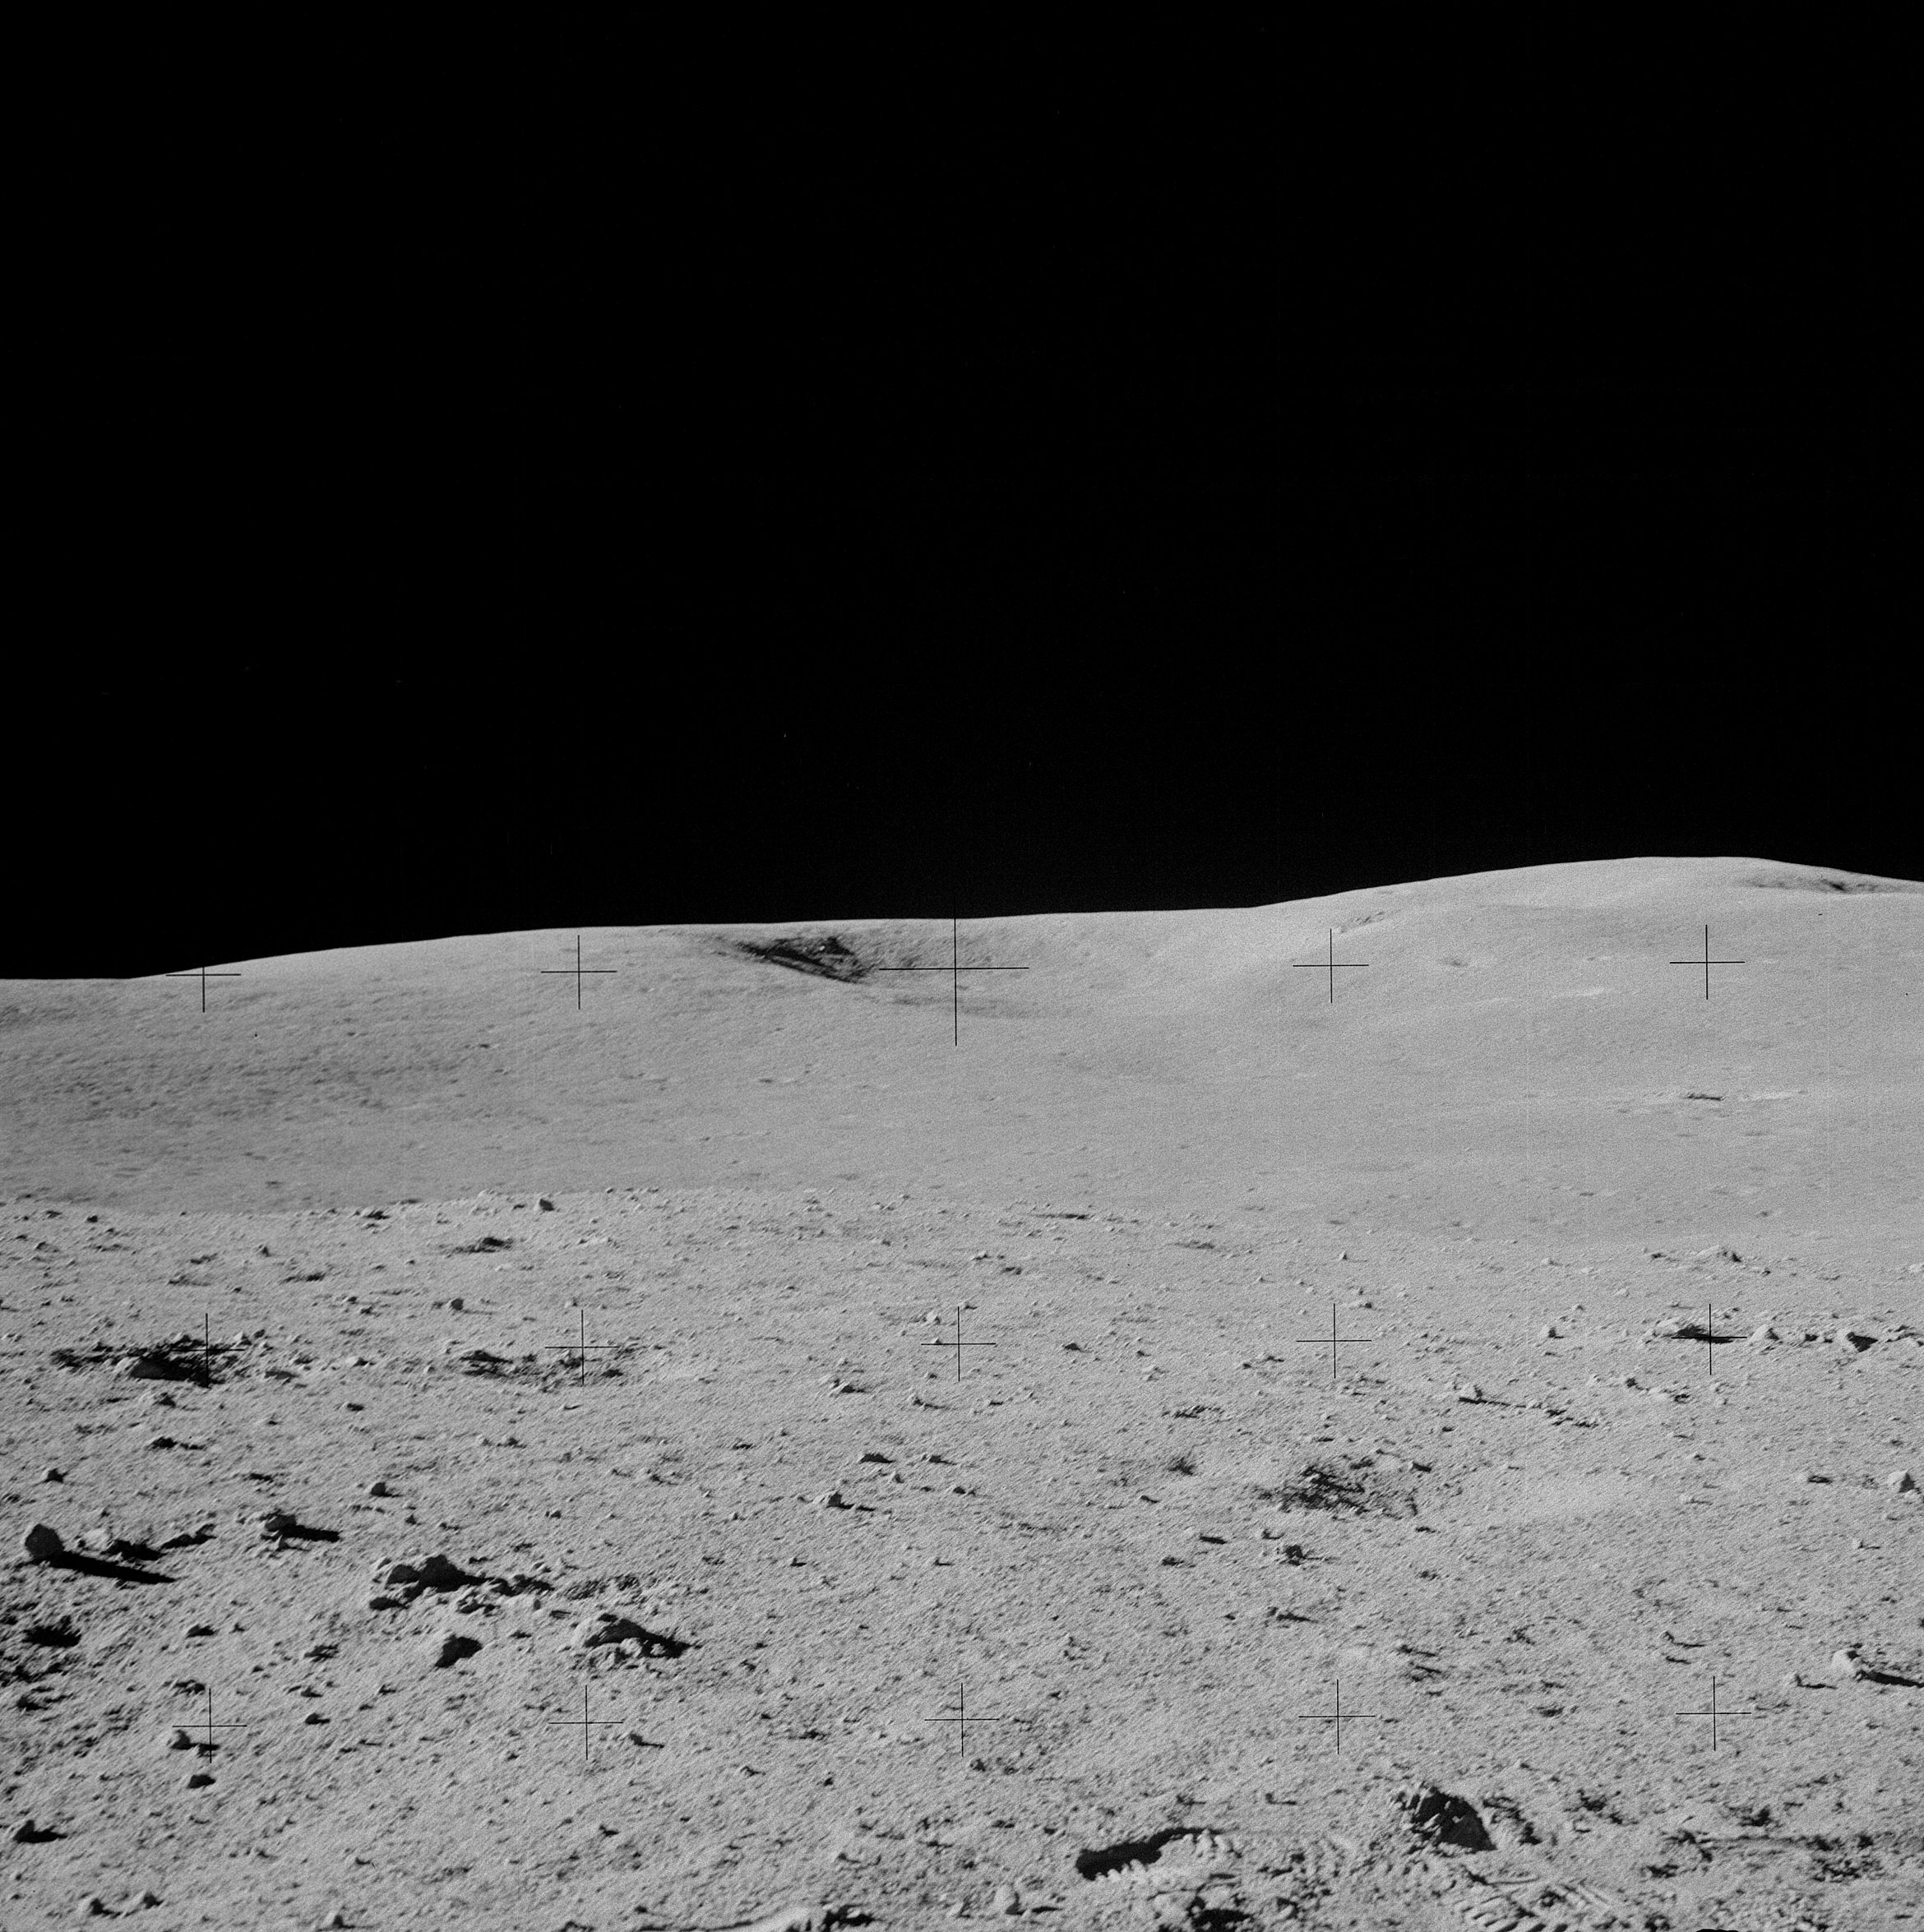 | AS14-68-9440 Rightward of 9439, centered on Old Nameless . Image credit: Image Science and Analysis Laboratory, NASA-Johnson Space Center. |
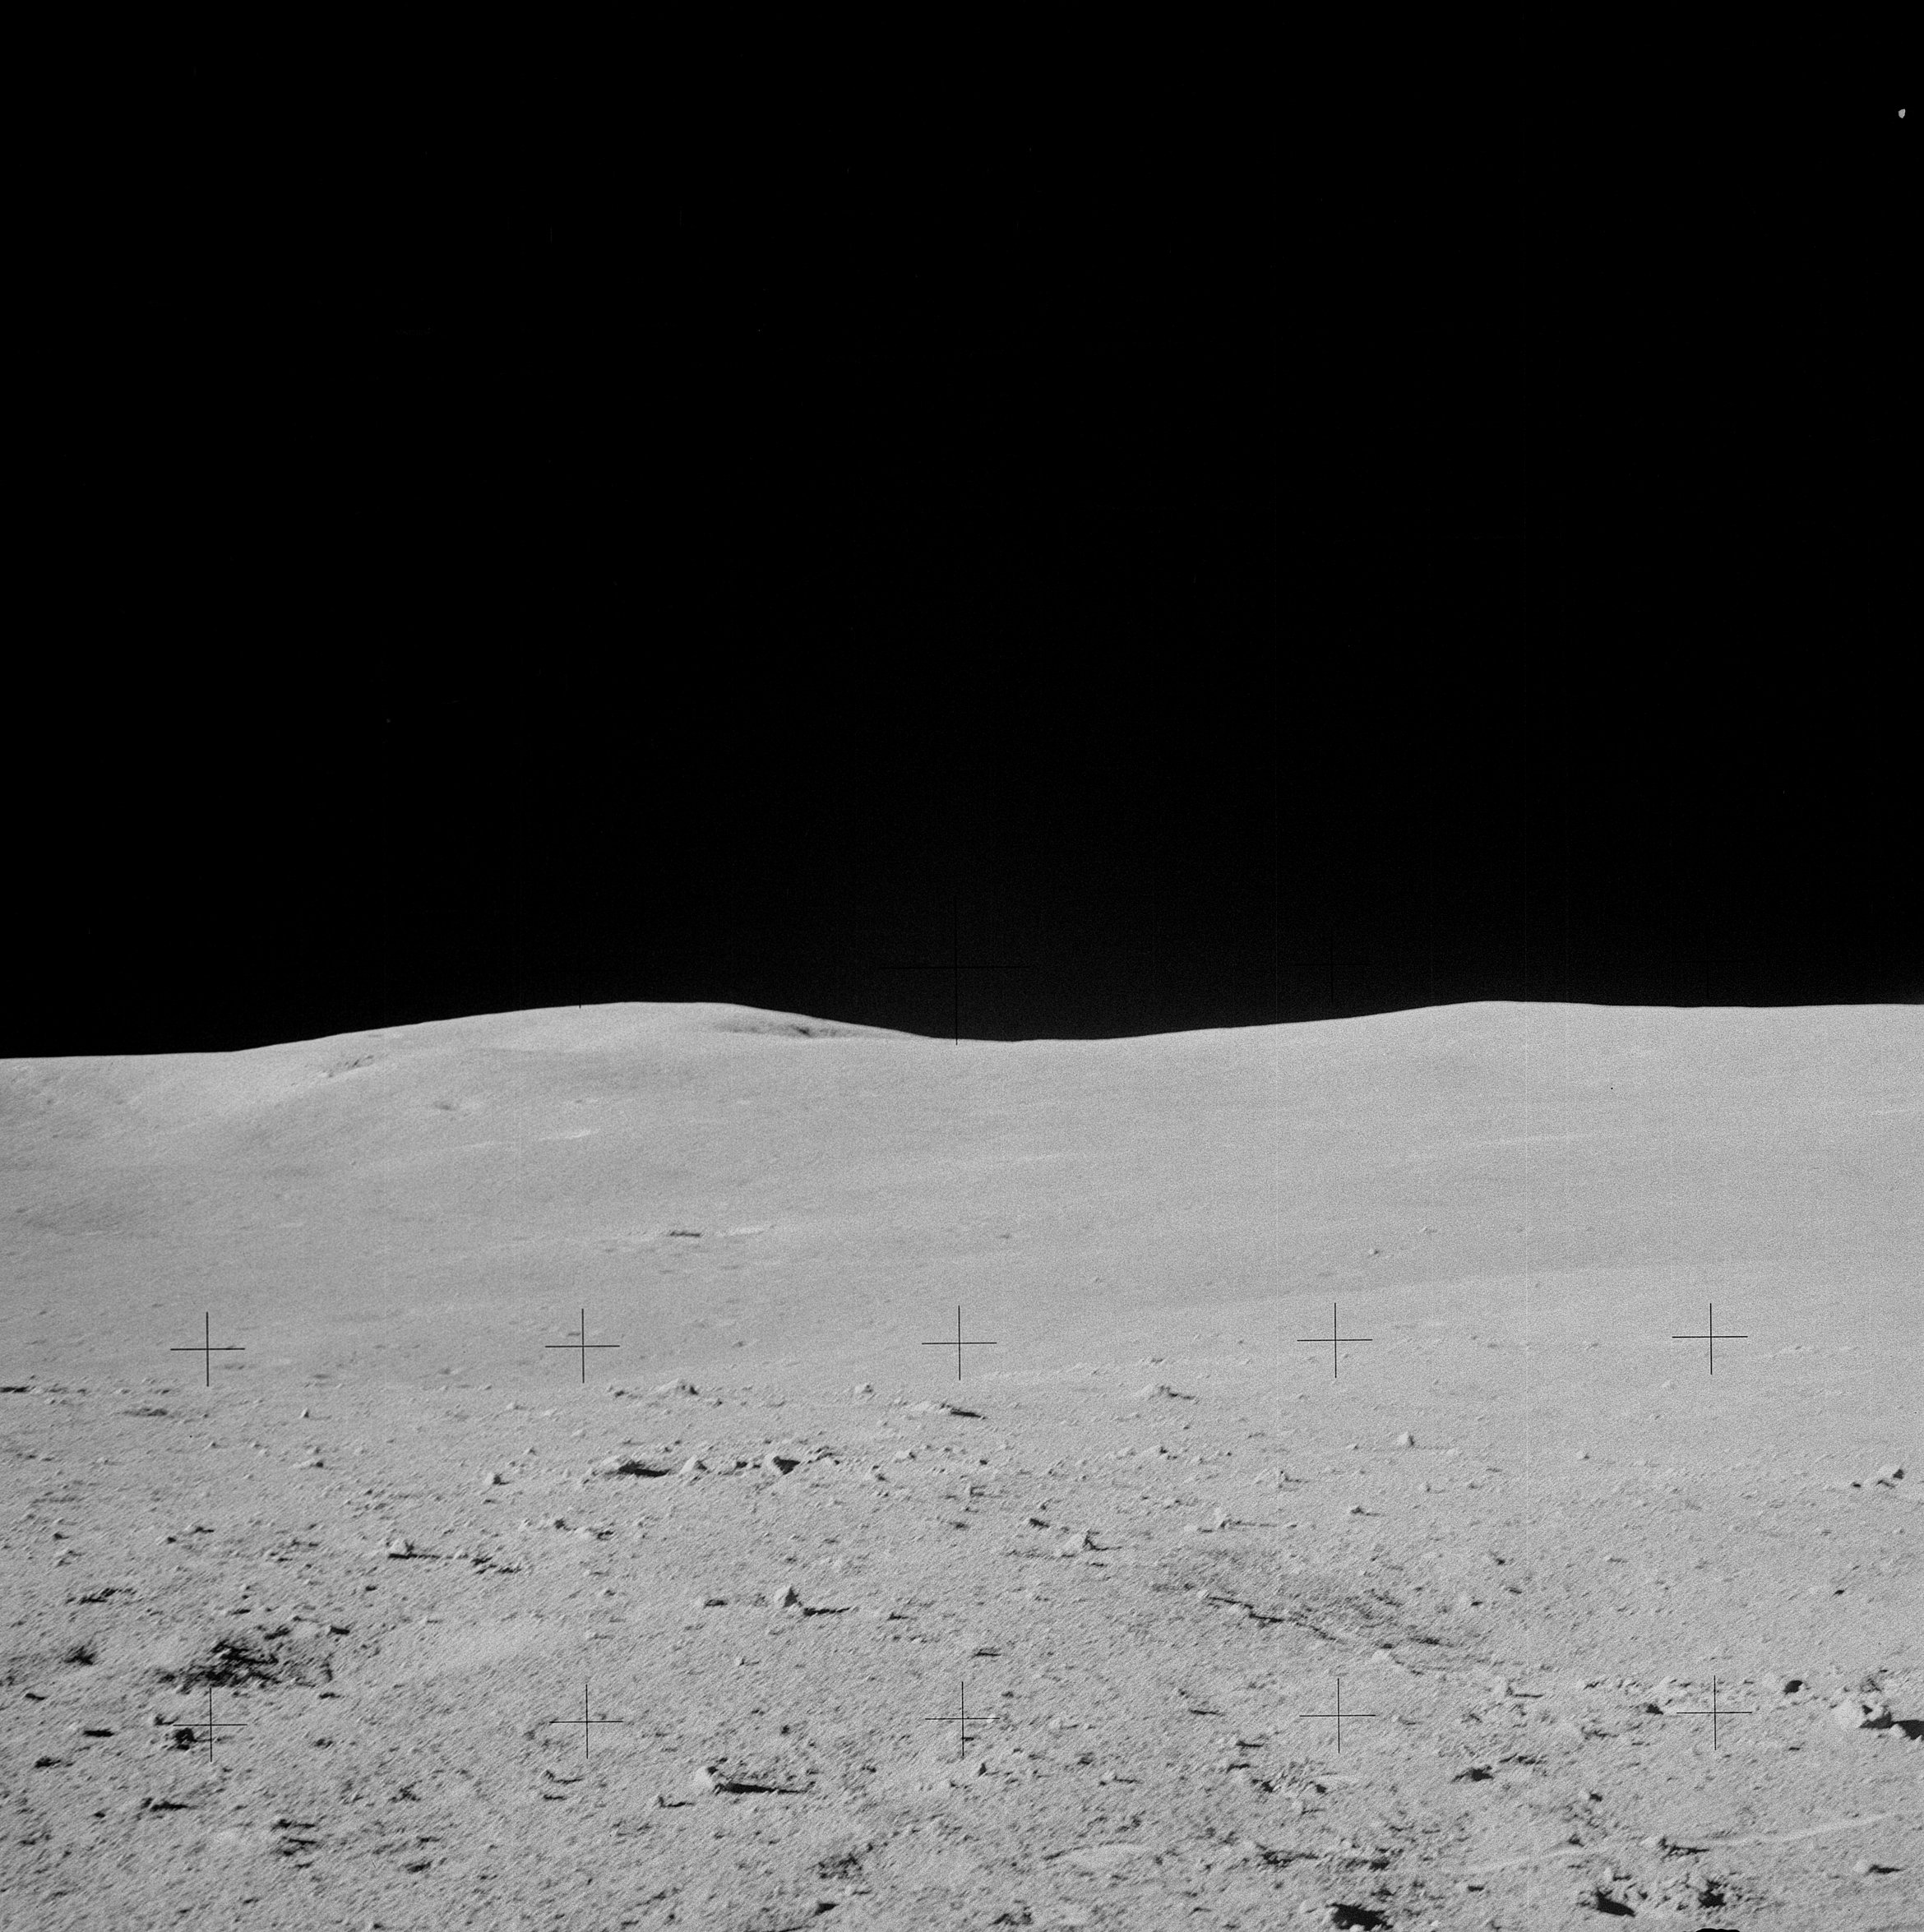 | AS14-68-9441 Rightward of 9440, centered on the cratered ridge to the right of Old Nameless. Image credit: Image Science and Analysis Laboratory, NASA-Johnson Space Center. |
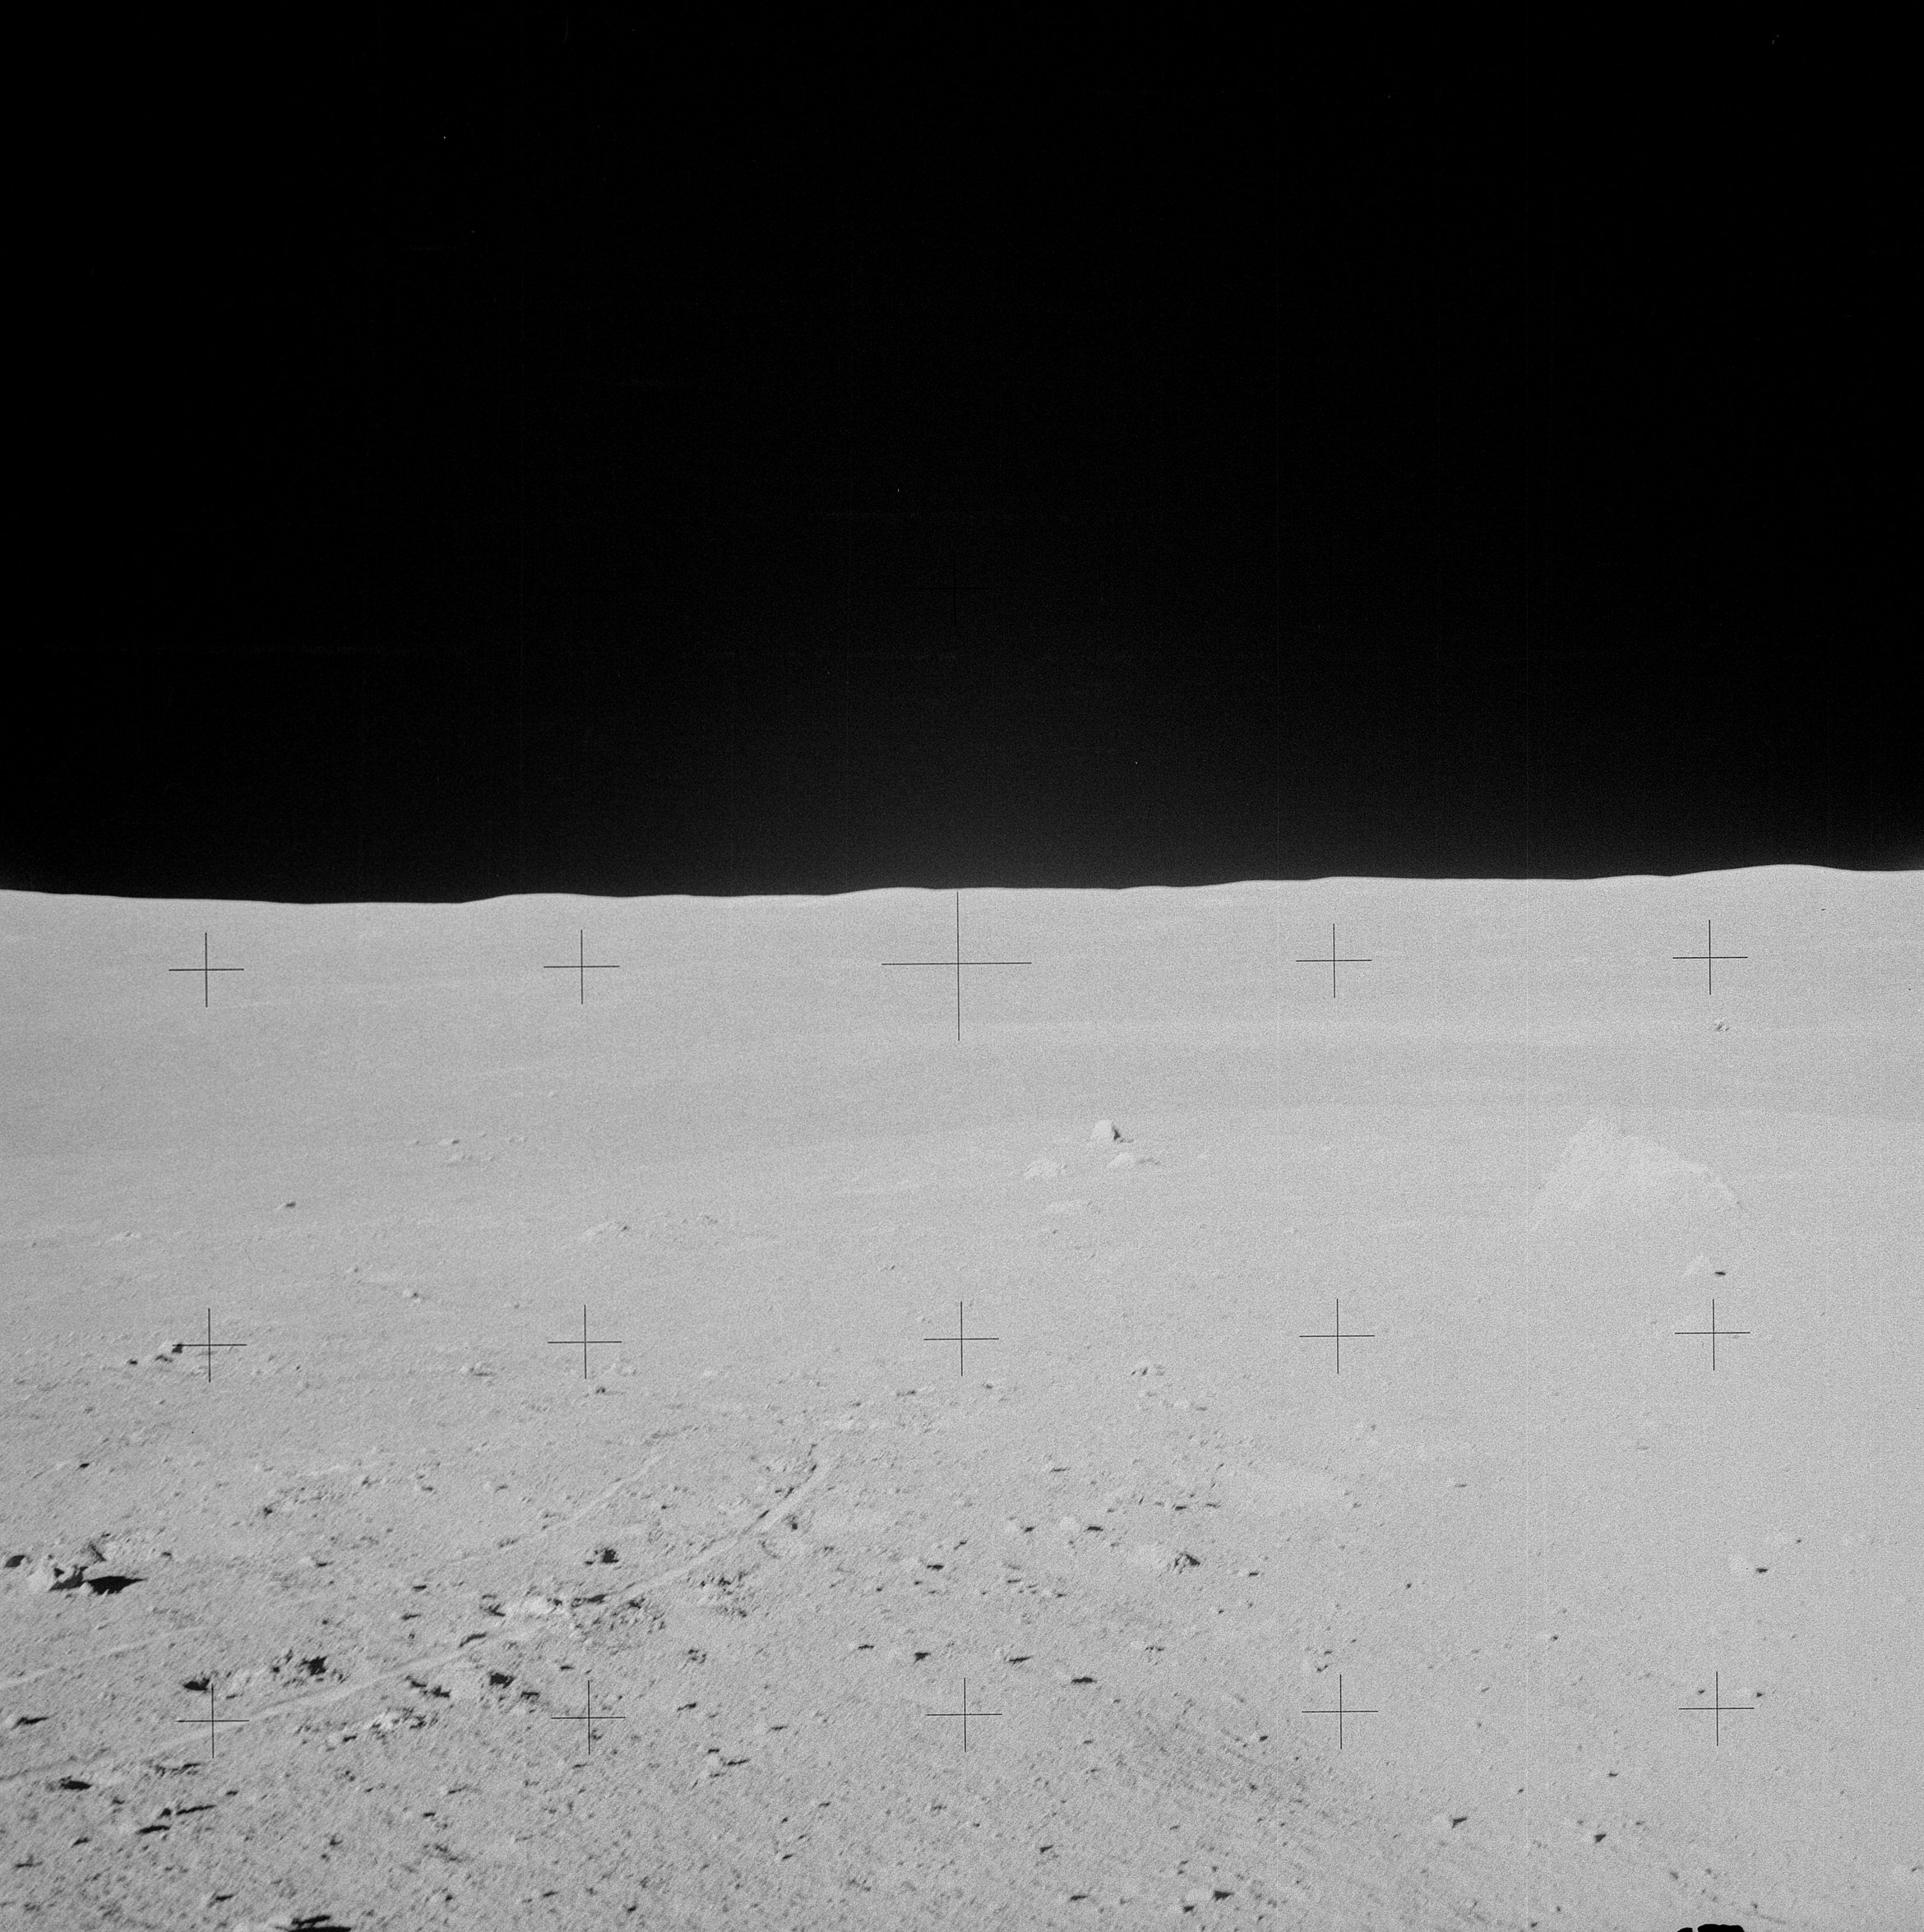 | AS14-68-9442 133:14:34 Rightward of 9441. Image credit: Image Science and Analysis Laboratory, NASA-Johnson Space Center. |
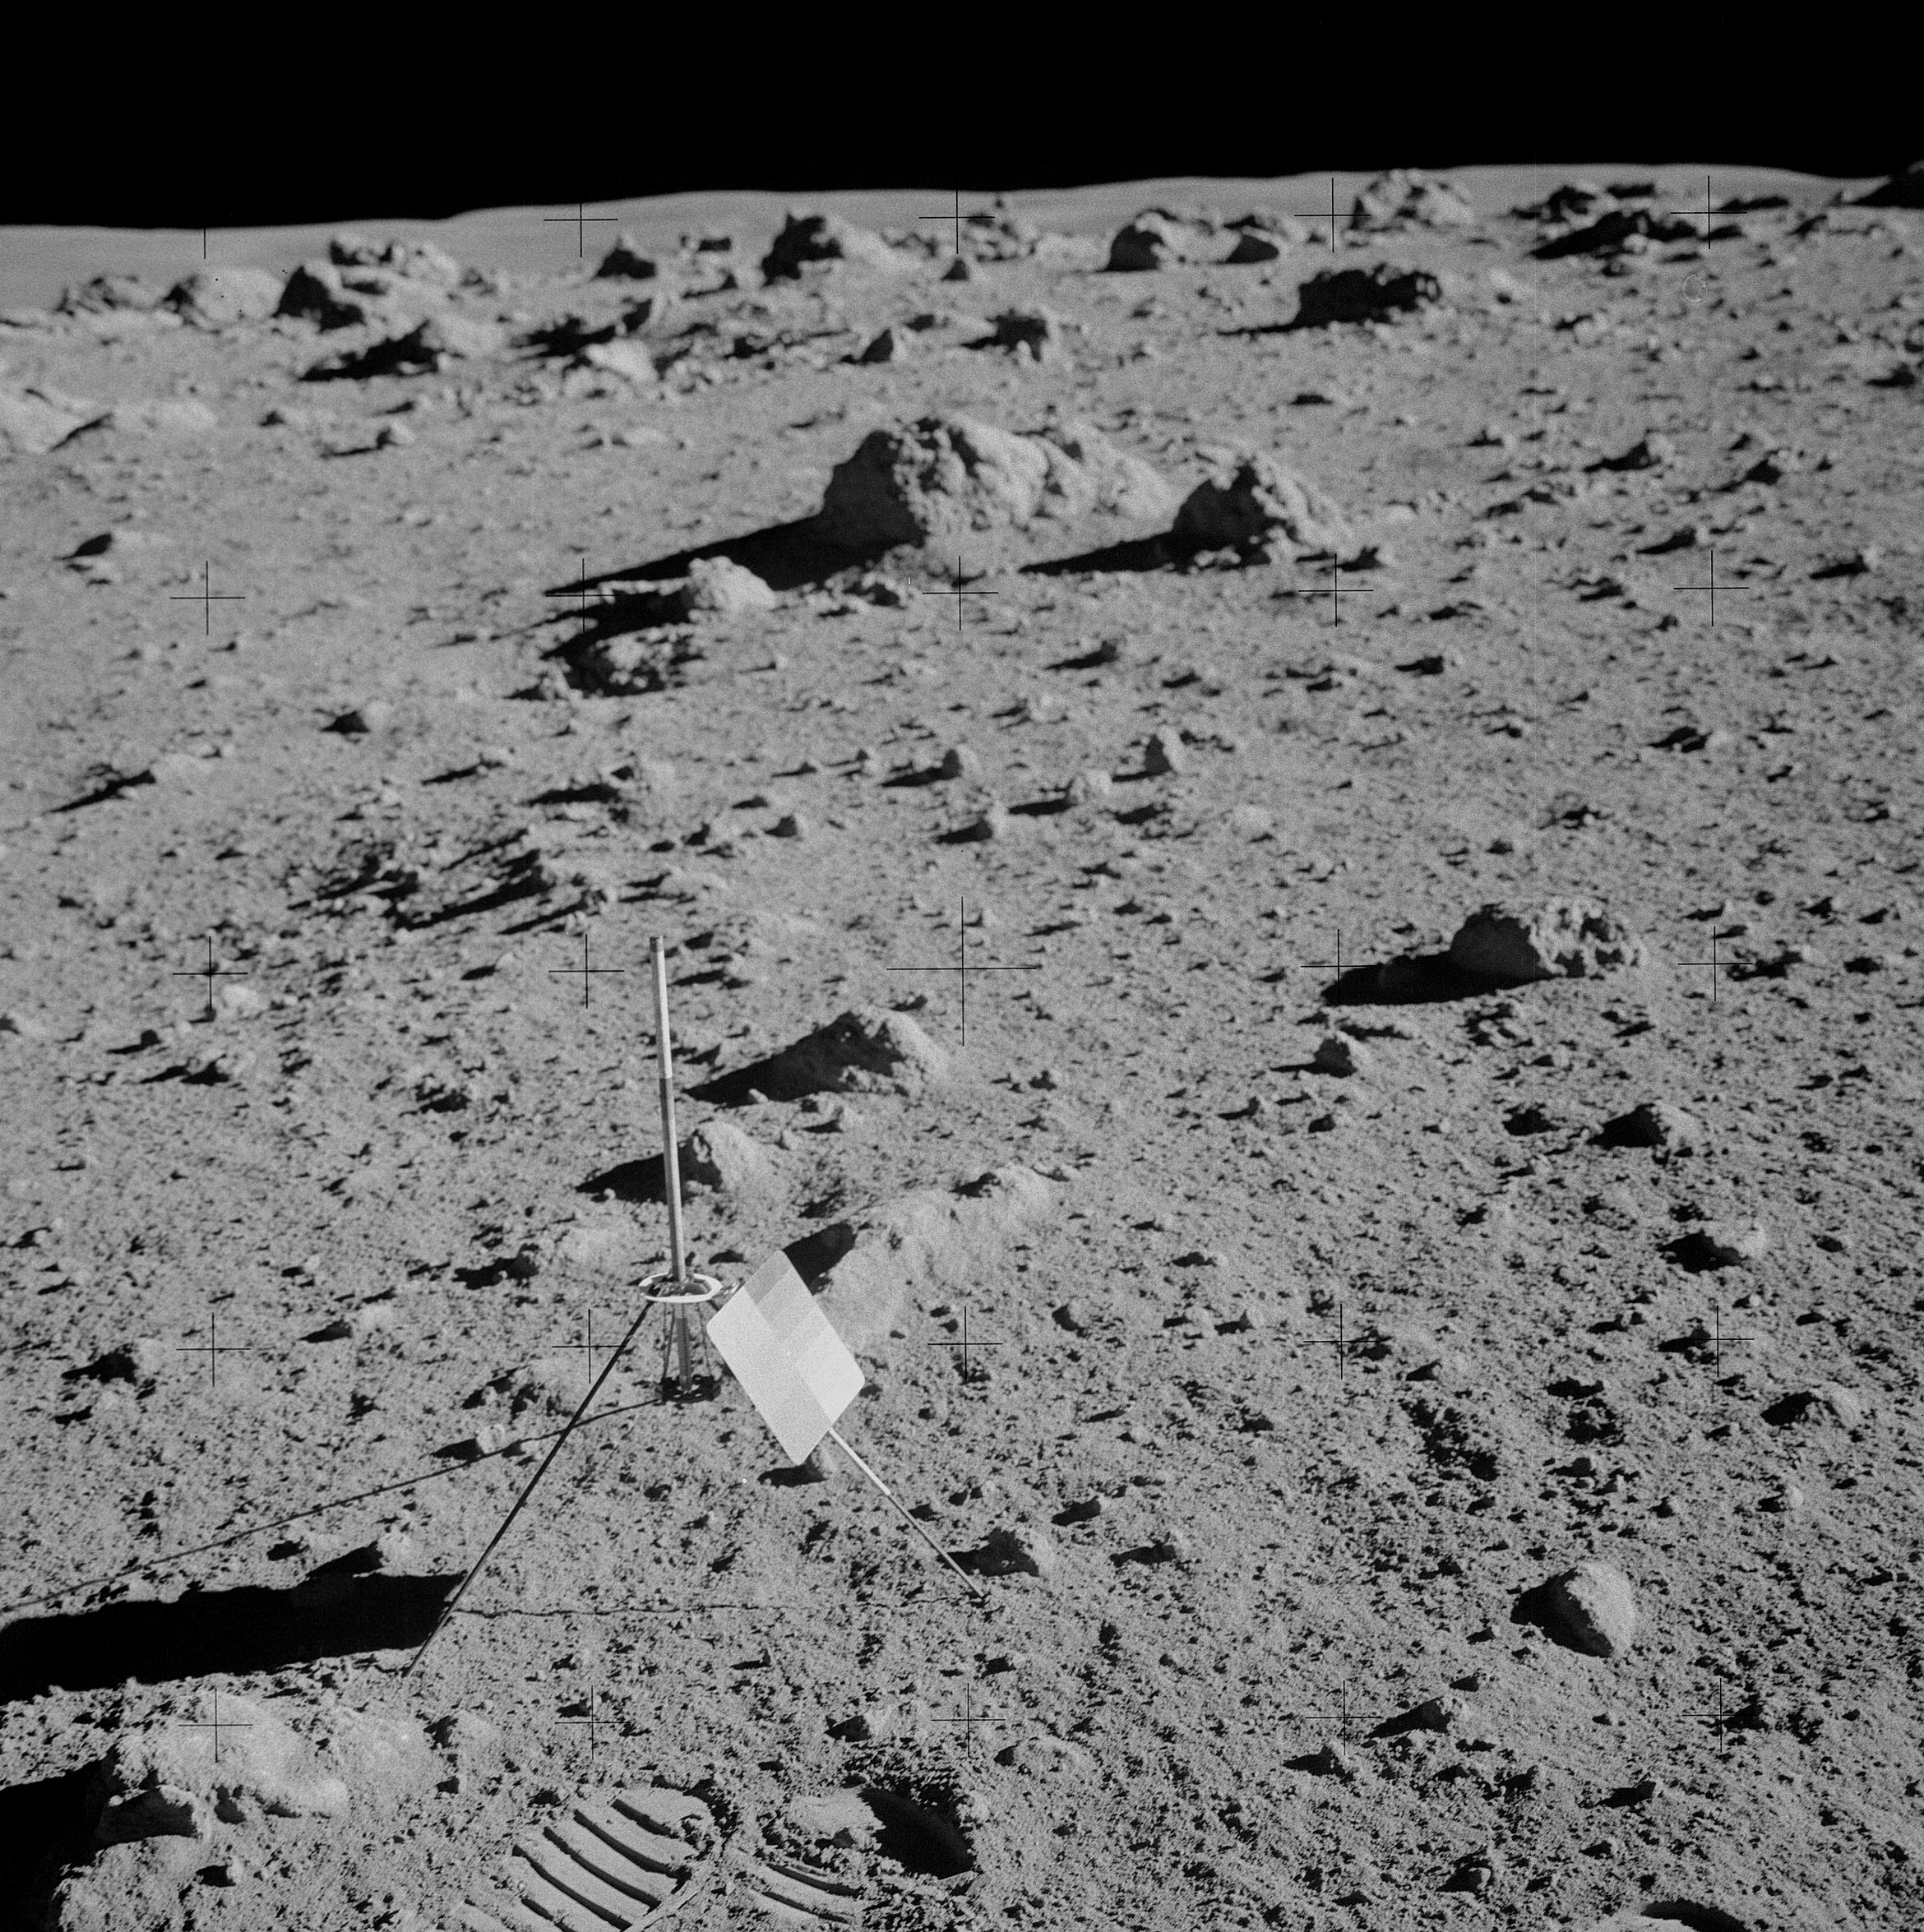 | AS14-68-9443 133:25:38 Cross-Sun stereo "before" from the south of the gnomon at Station C-Prime. Image credit: Image Science and Analysis Laboratory, NASA-Johnson Space Center. |
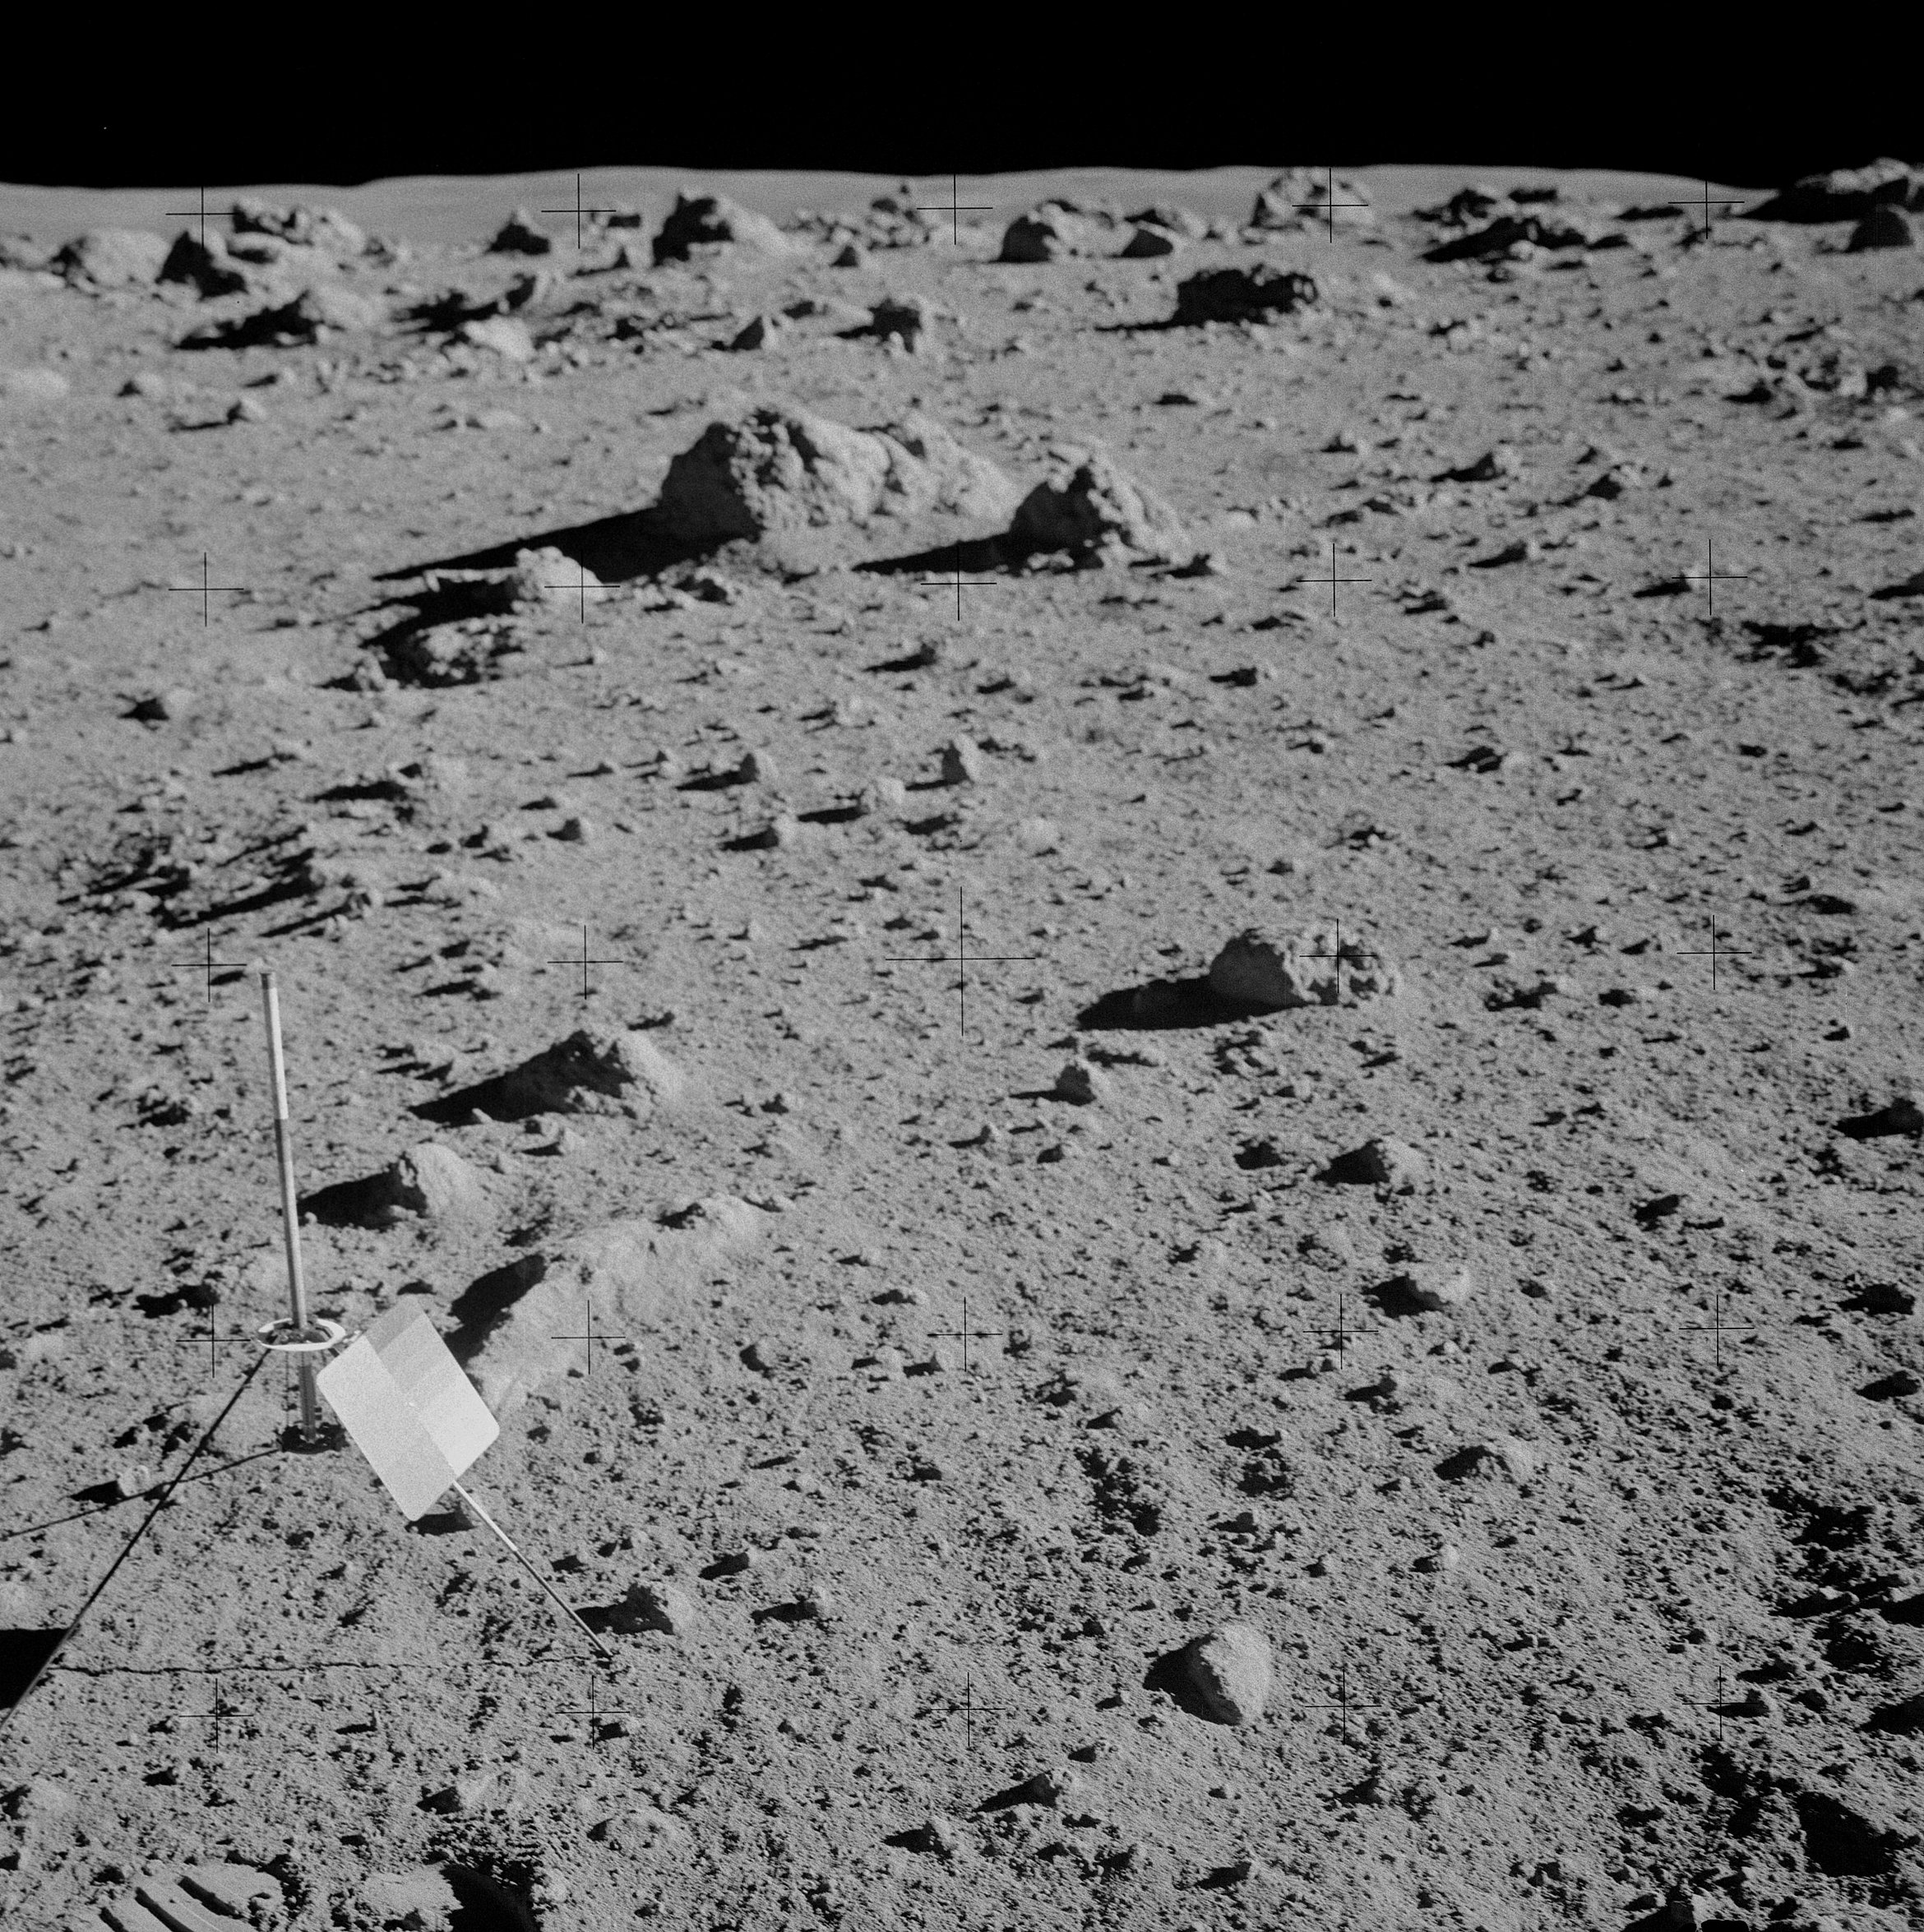 | AS14-68-9444 Ed steps to his right to take this stereo companion to 9443. Image credit: Image Science and Analysis Laboratory, NASA-Johnson Space Center. |
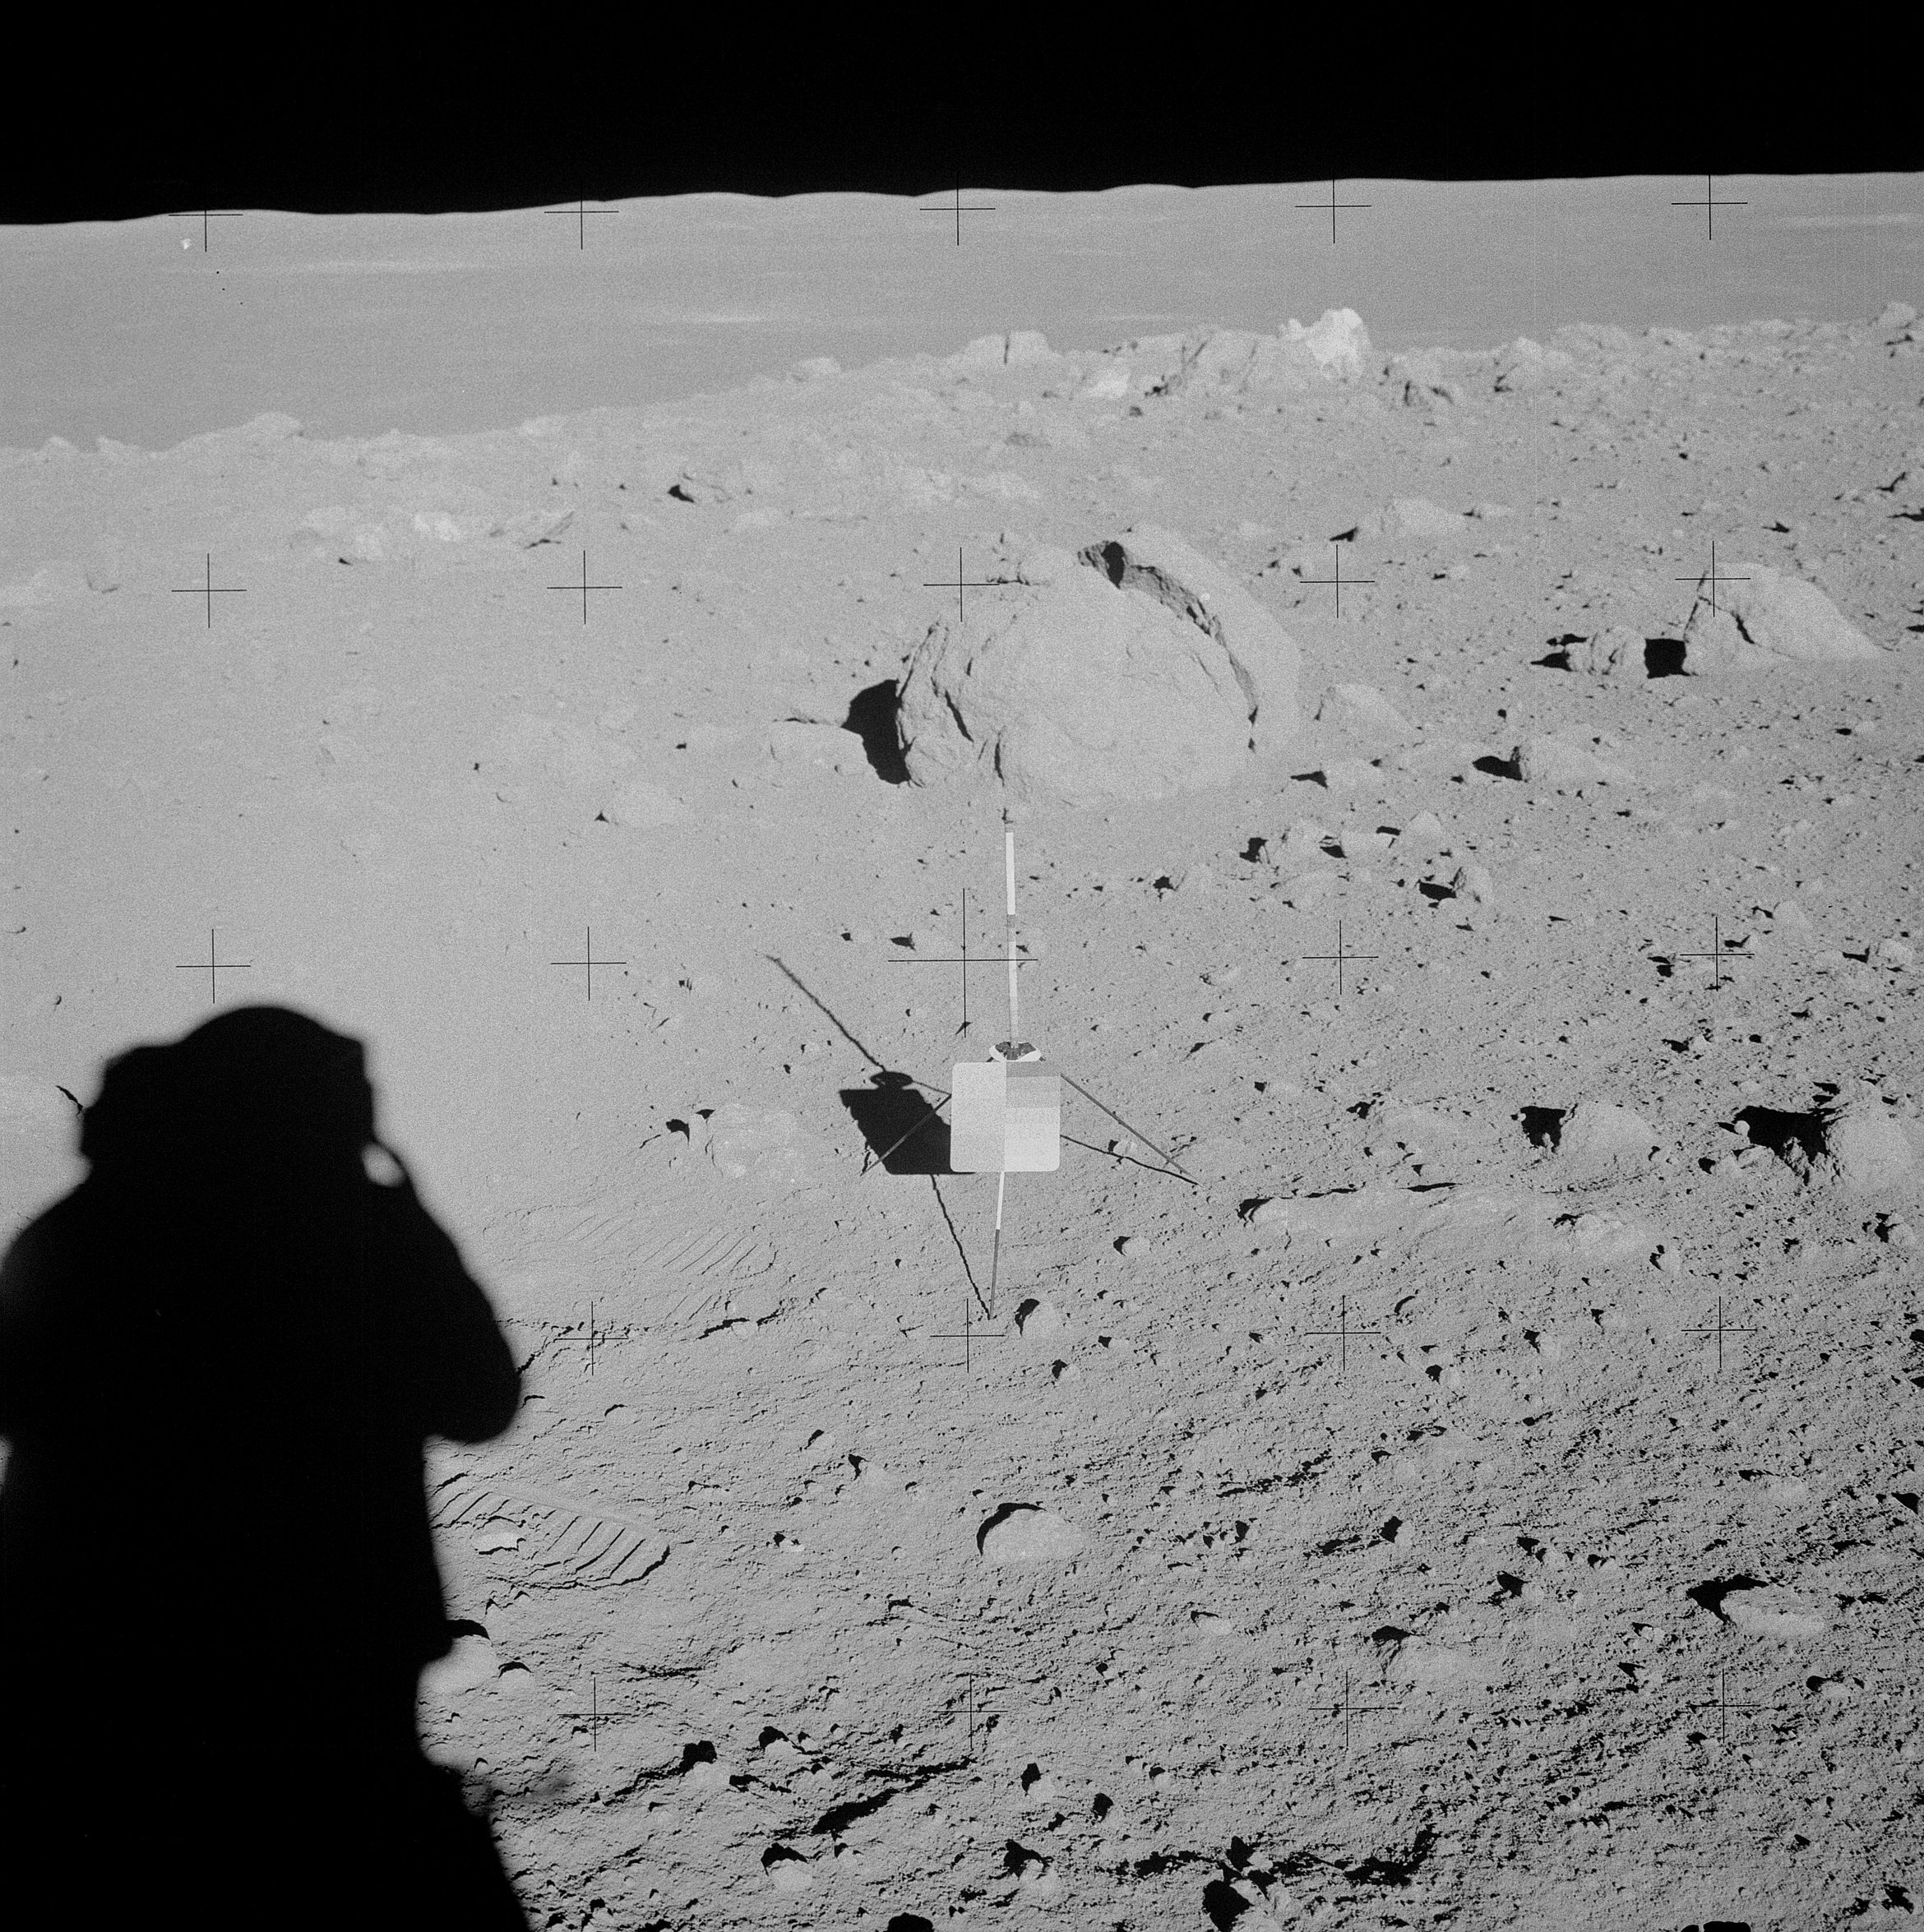 | AS14-68-9445 133:25:38 Down-Sun of the first sampling location at Station C-Prime. Image credit: Image Science and Analysis Laboratory, NASA-Johnson Space Center. |
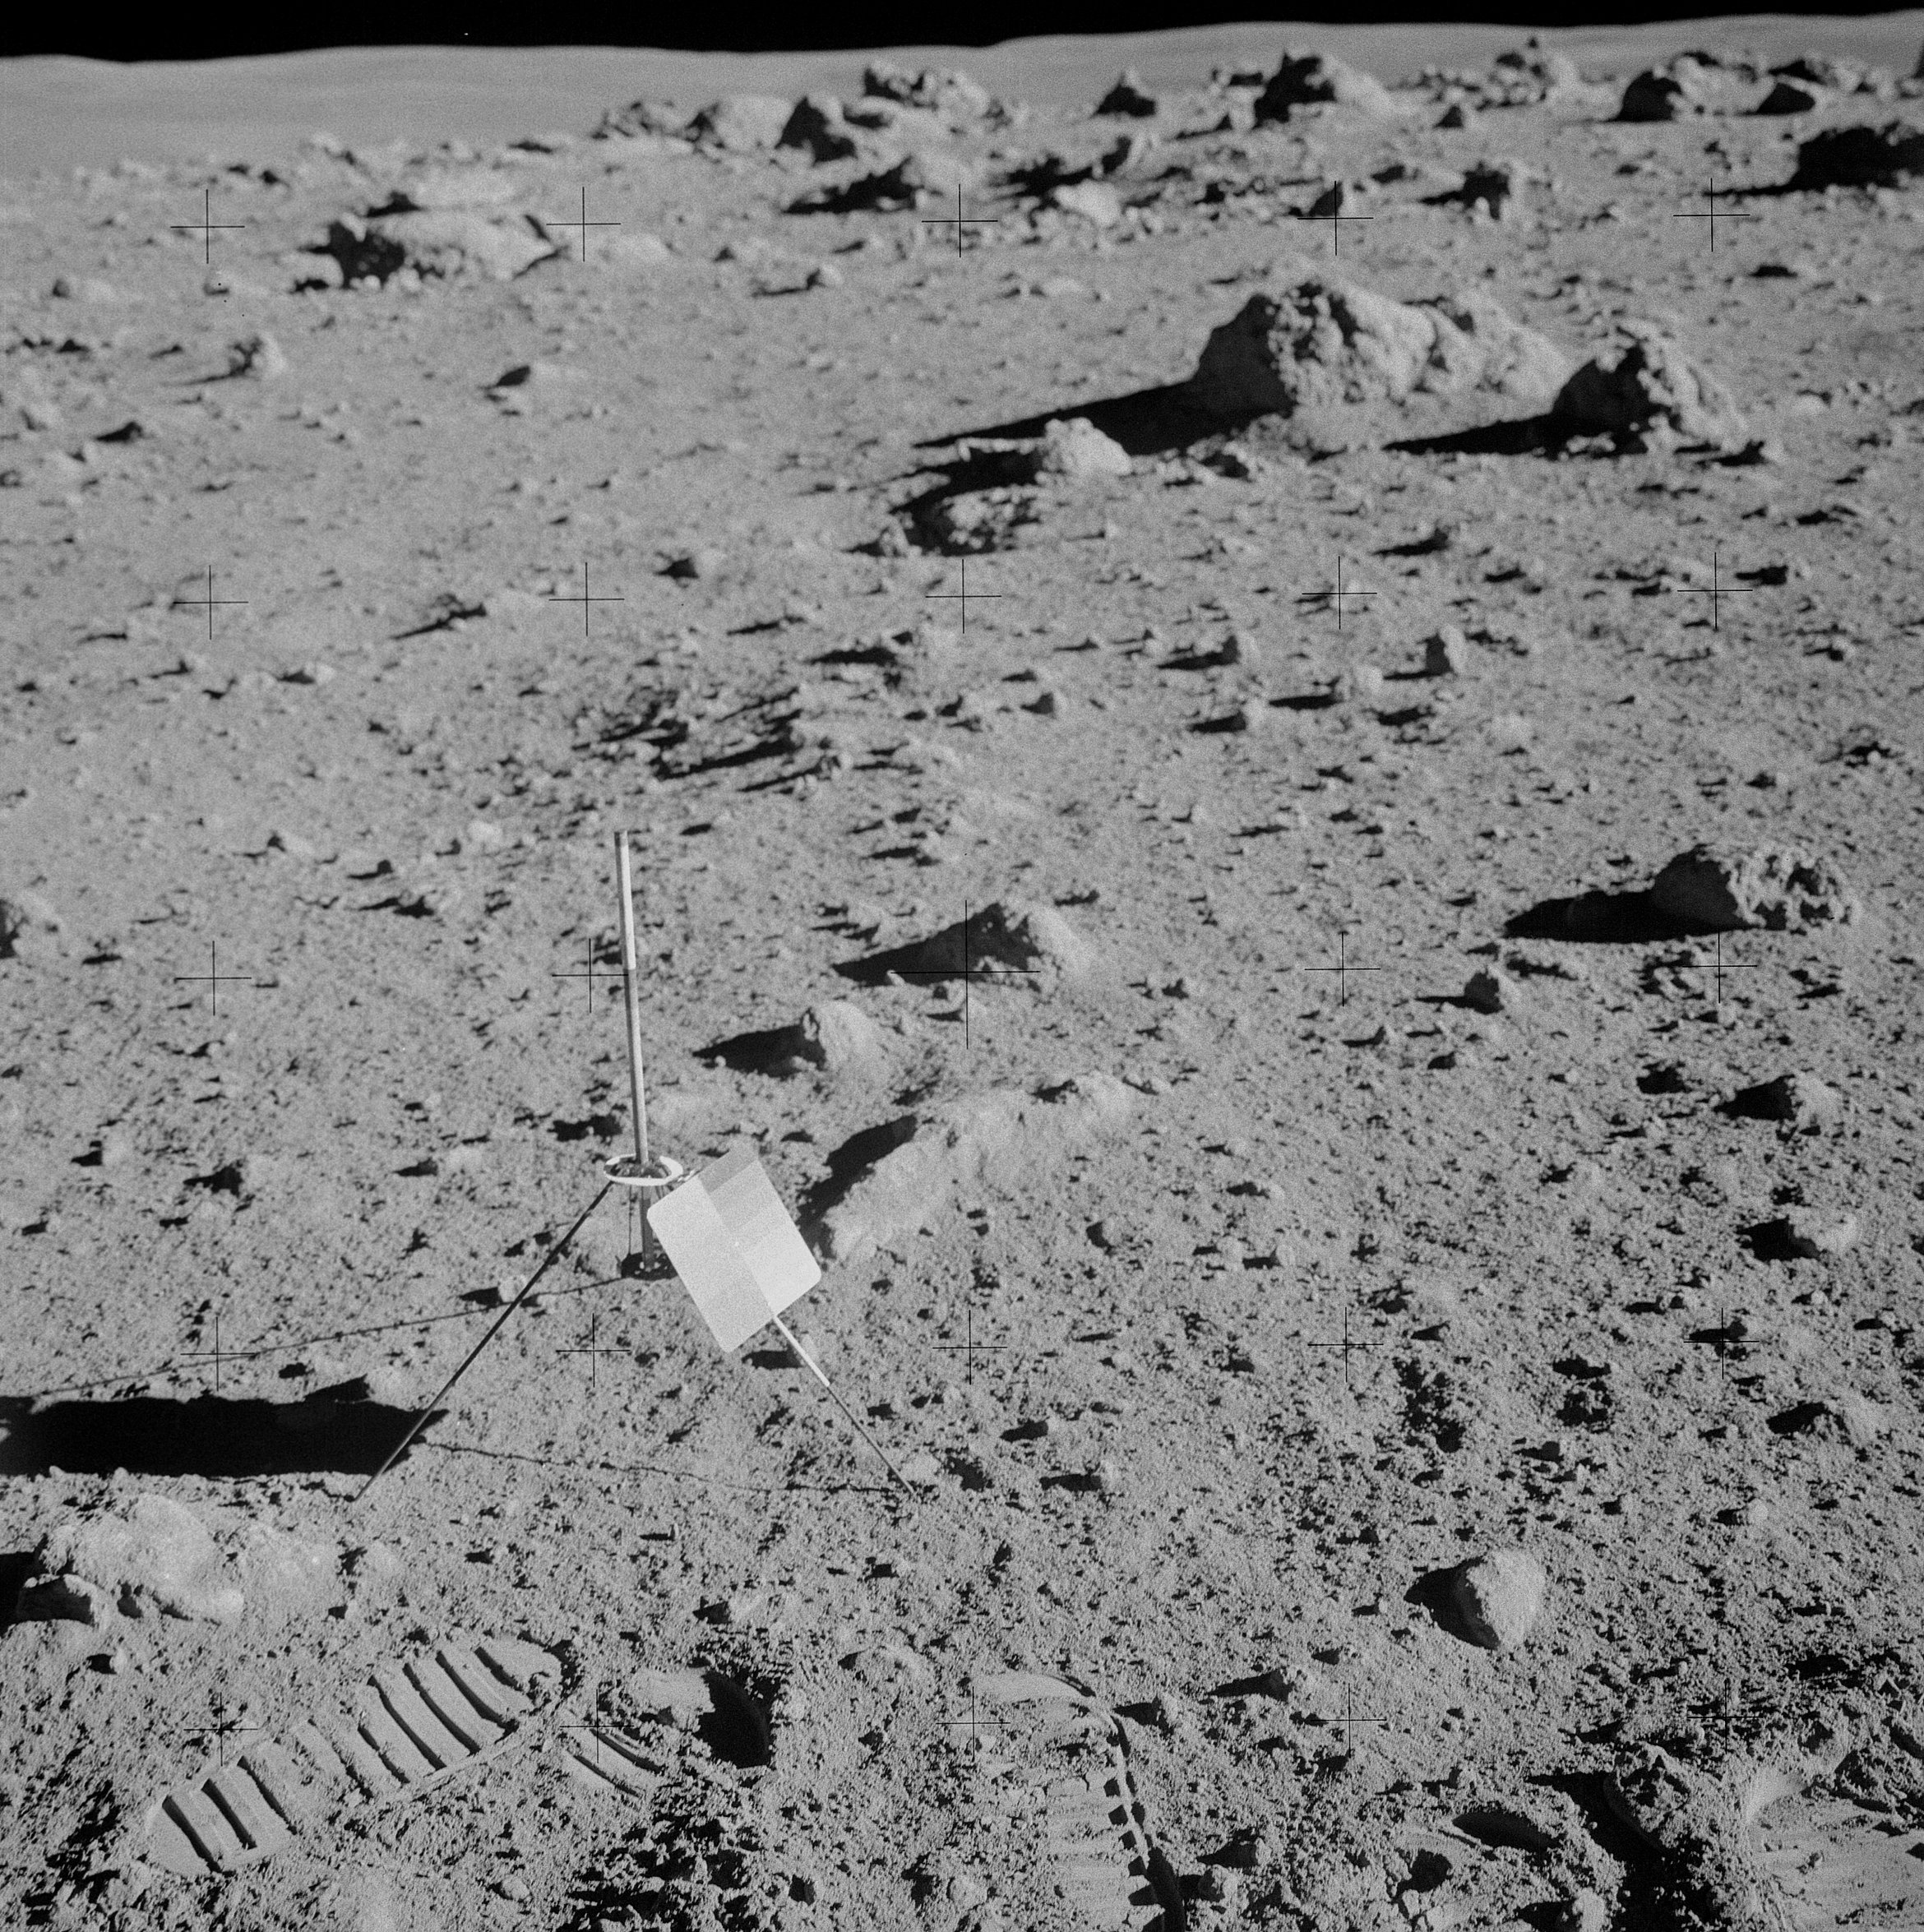 | AS14-68-9446 133:28:24 Post-sampling shot of Ed's documented sample at Station C-Prime. Image credit: Image Science and Analysis Laboratory, NASA-Johnson Space Center. |
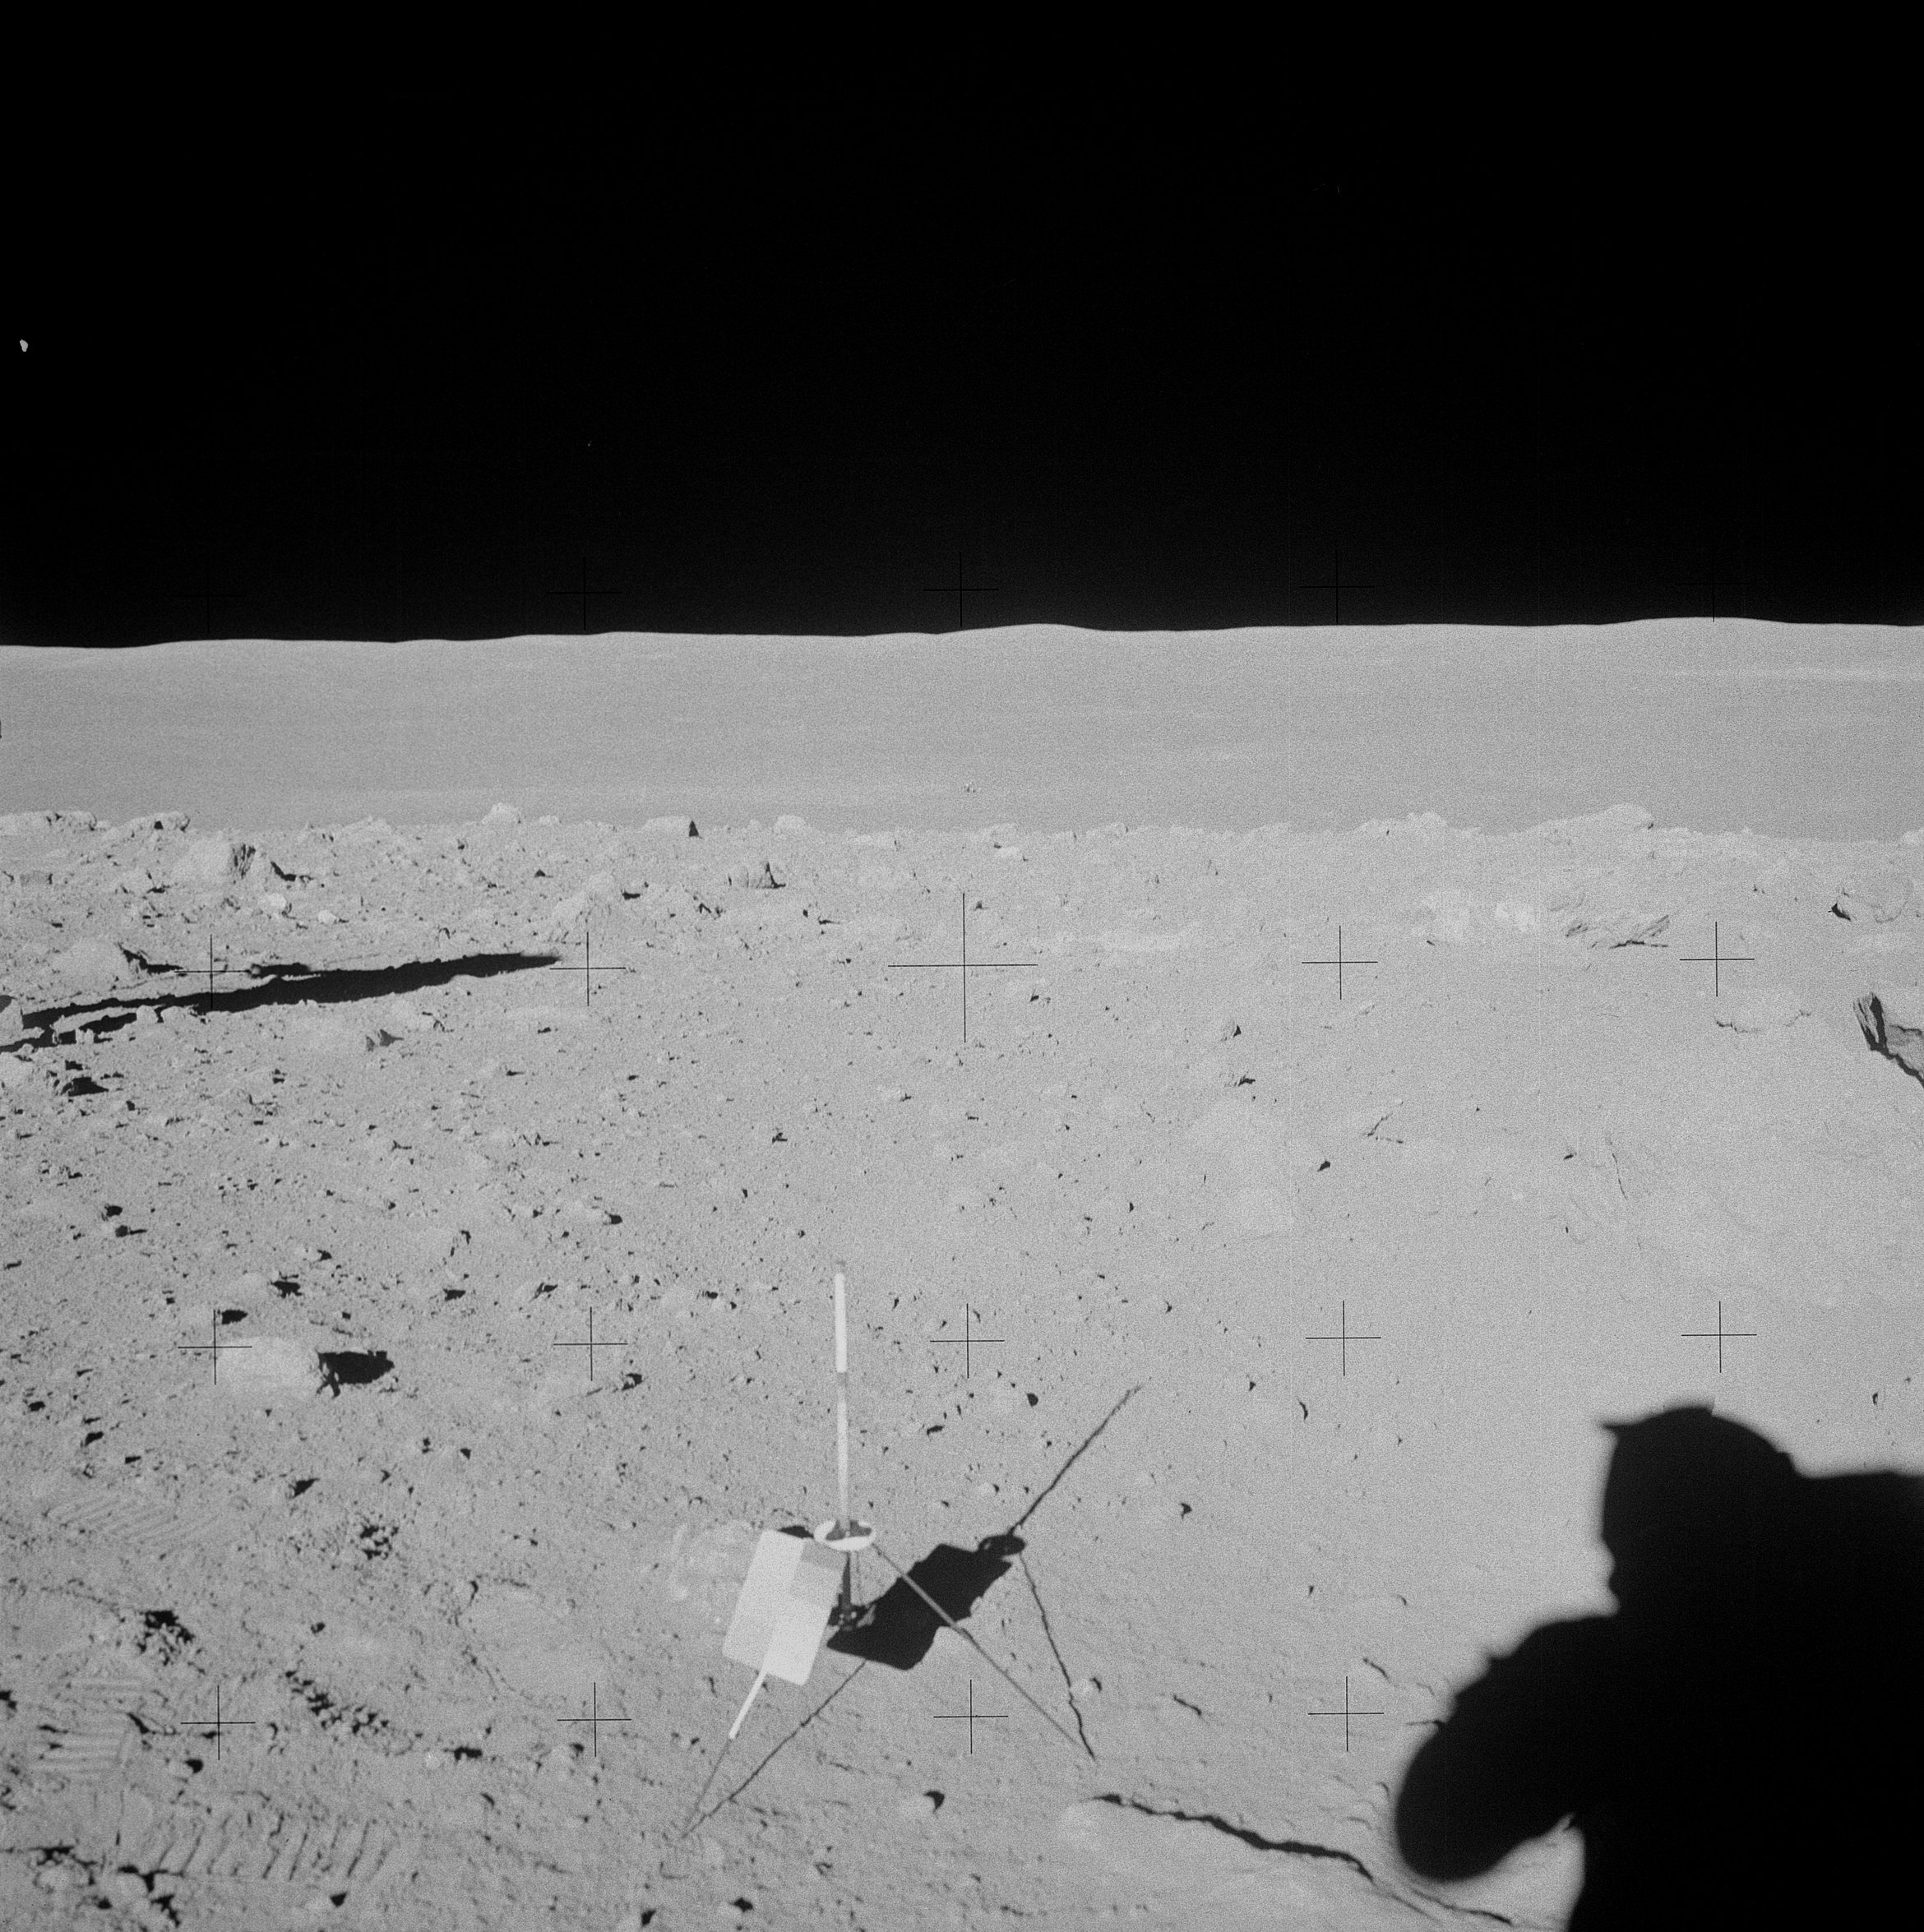 | AS14-68-9447 Ed has stepped around to the northeast to take another "after" of his documented sample area. Image credit: Image Science and Analysis Laboratory, NASA-Johnson Space Center. |
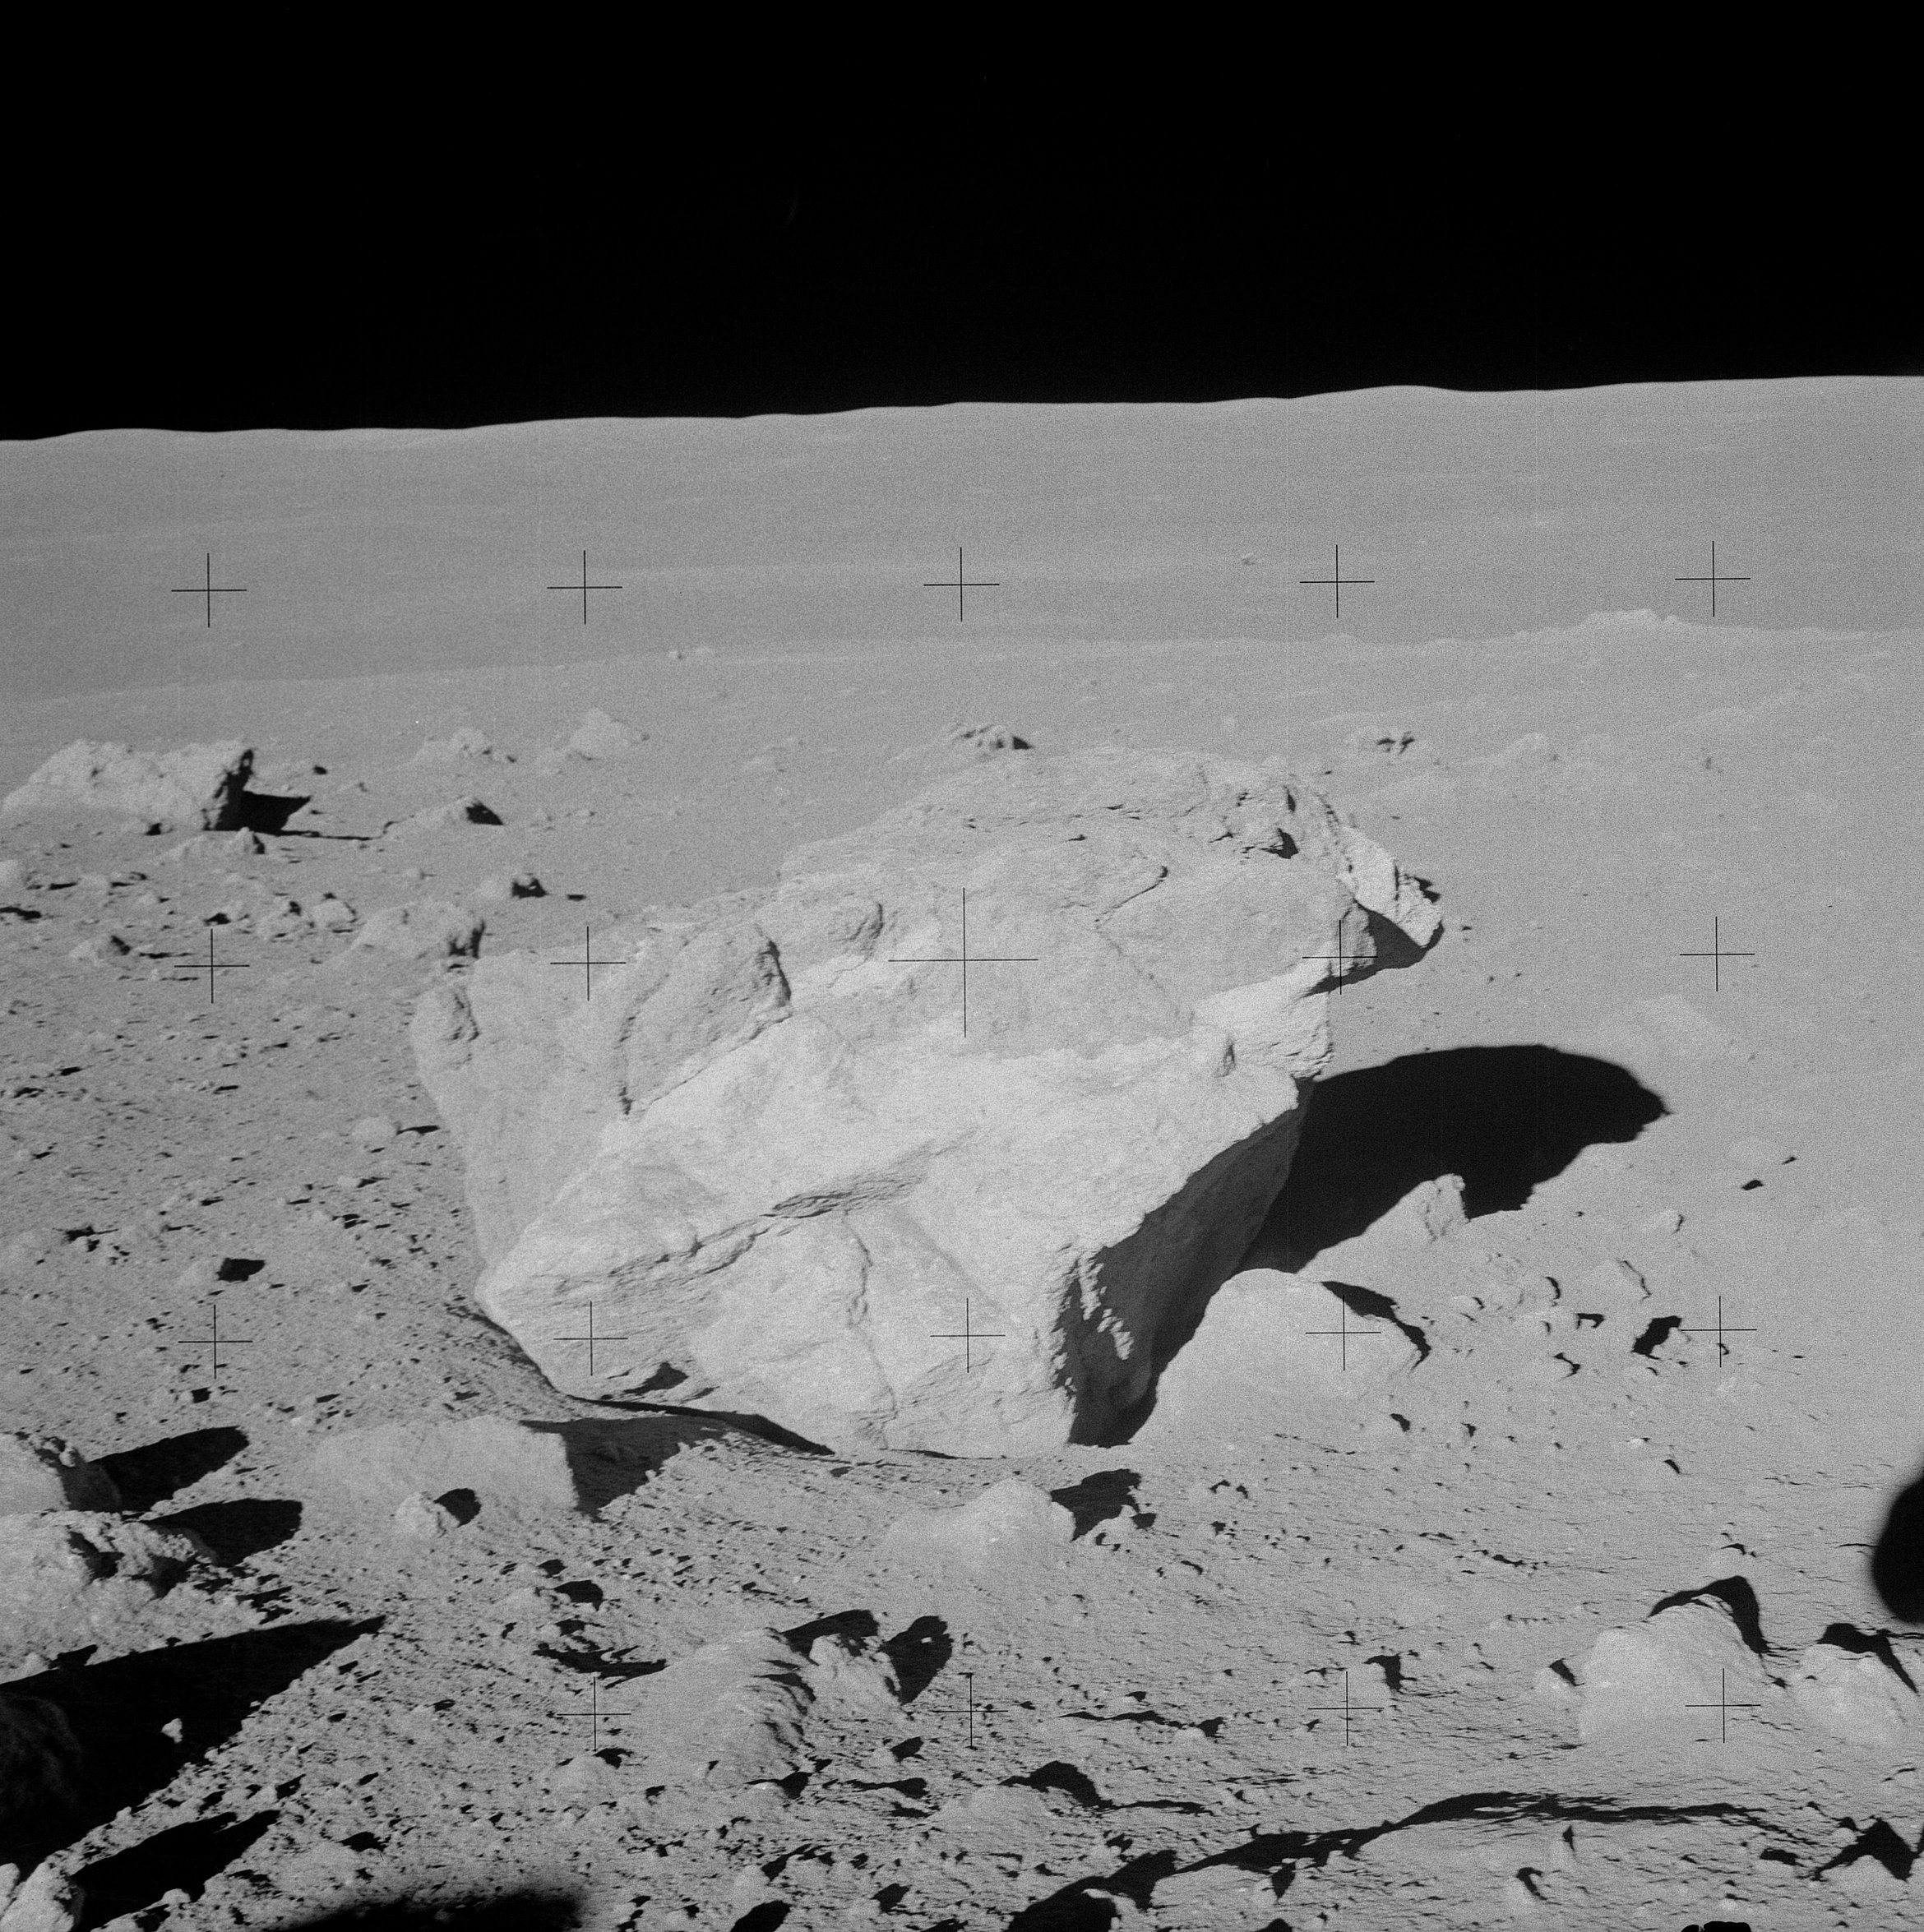 | AS14-68-9448 133:40:48 Close-up of a white boulder at Station C1. Image credit: Image Science and Analysis Laboratory, NASA-Johnson Space Center. |
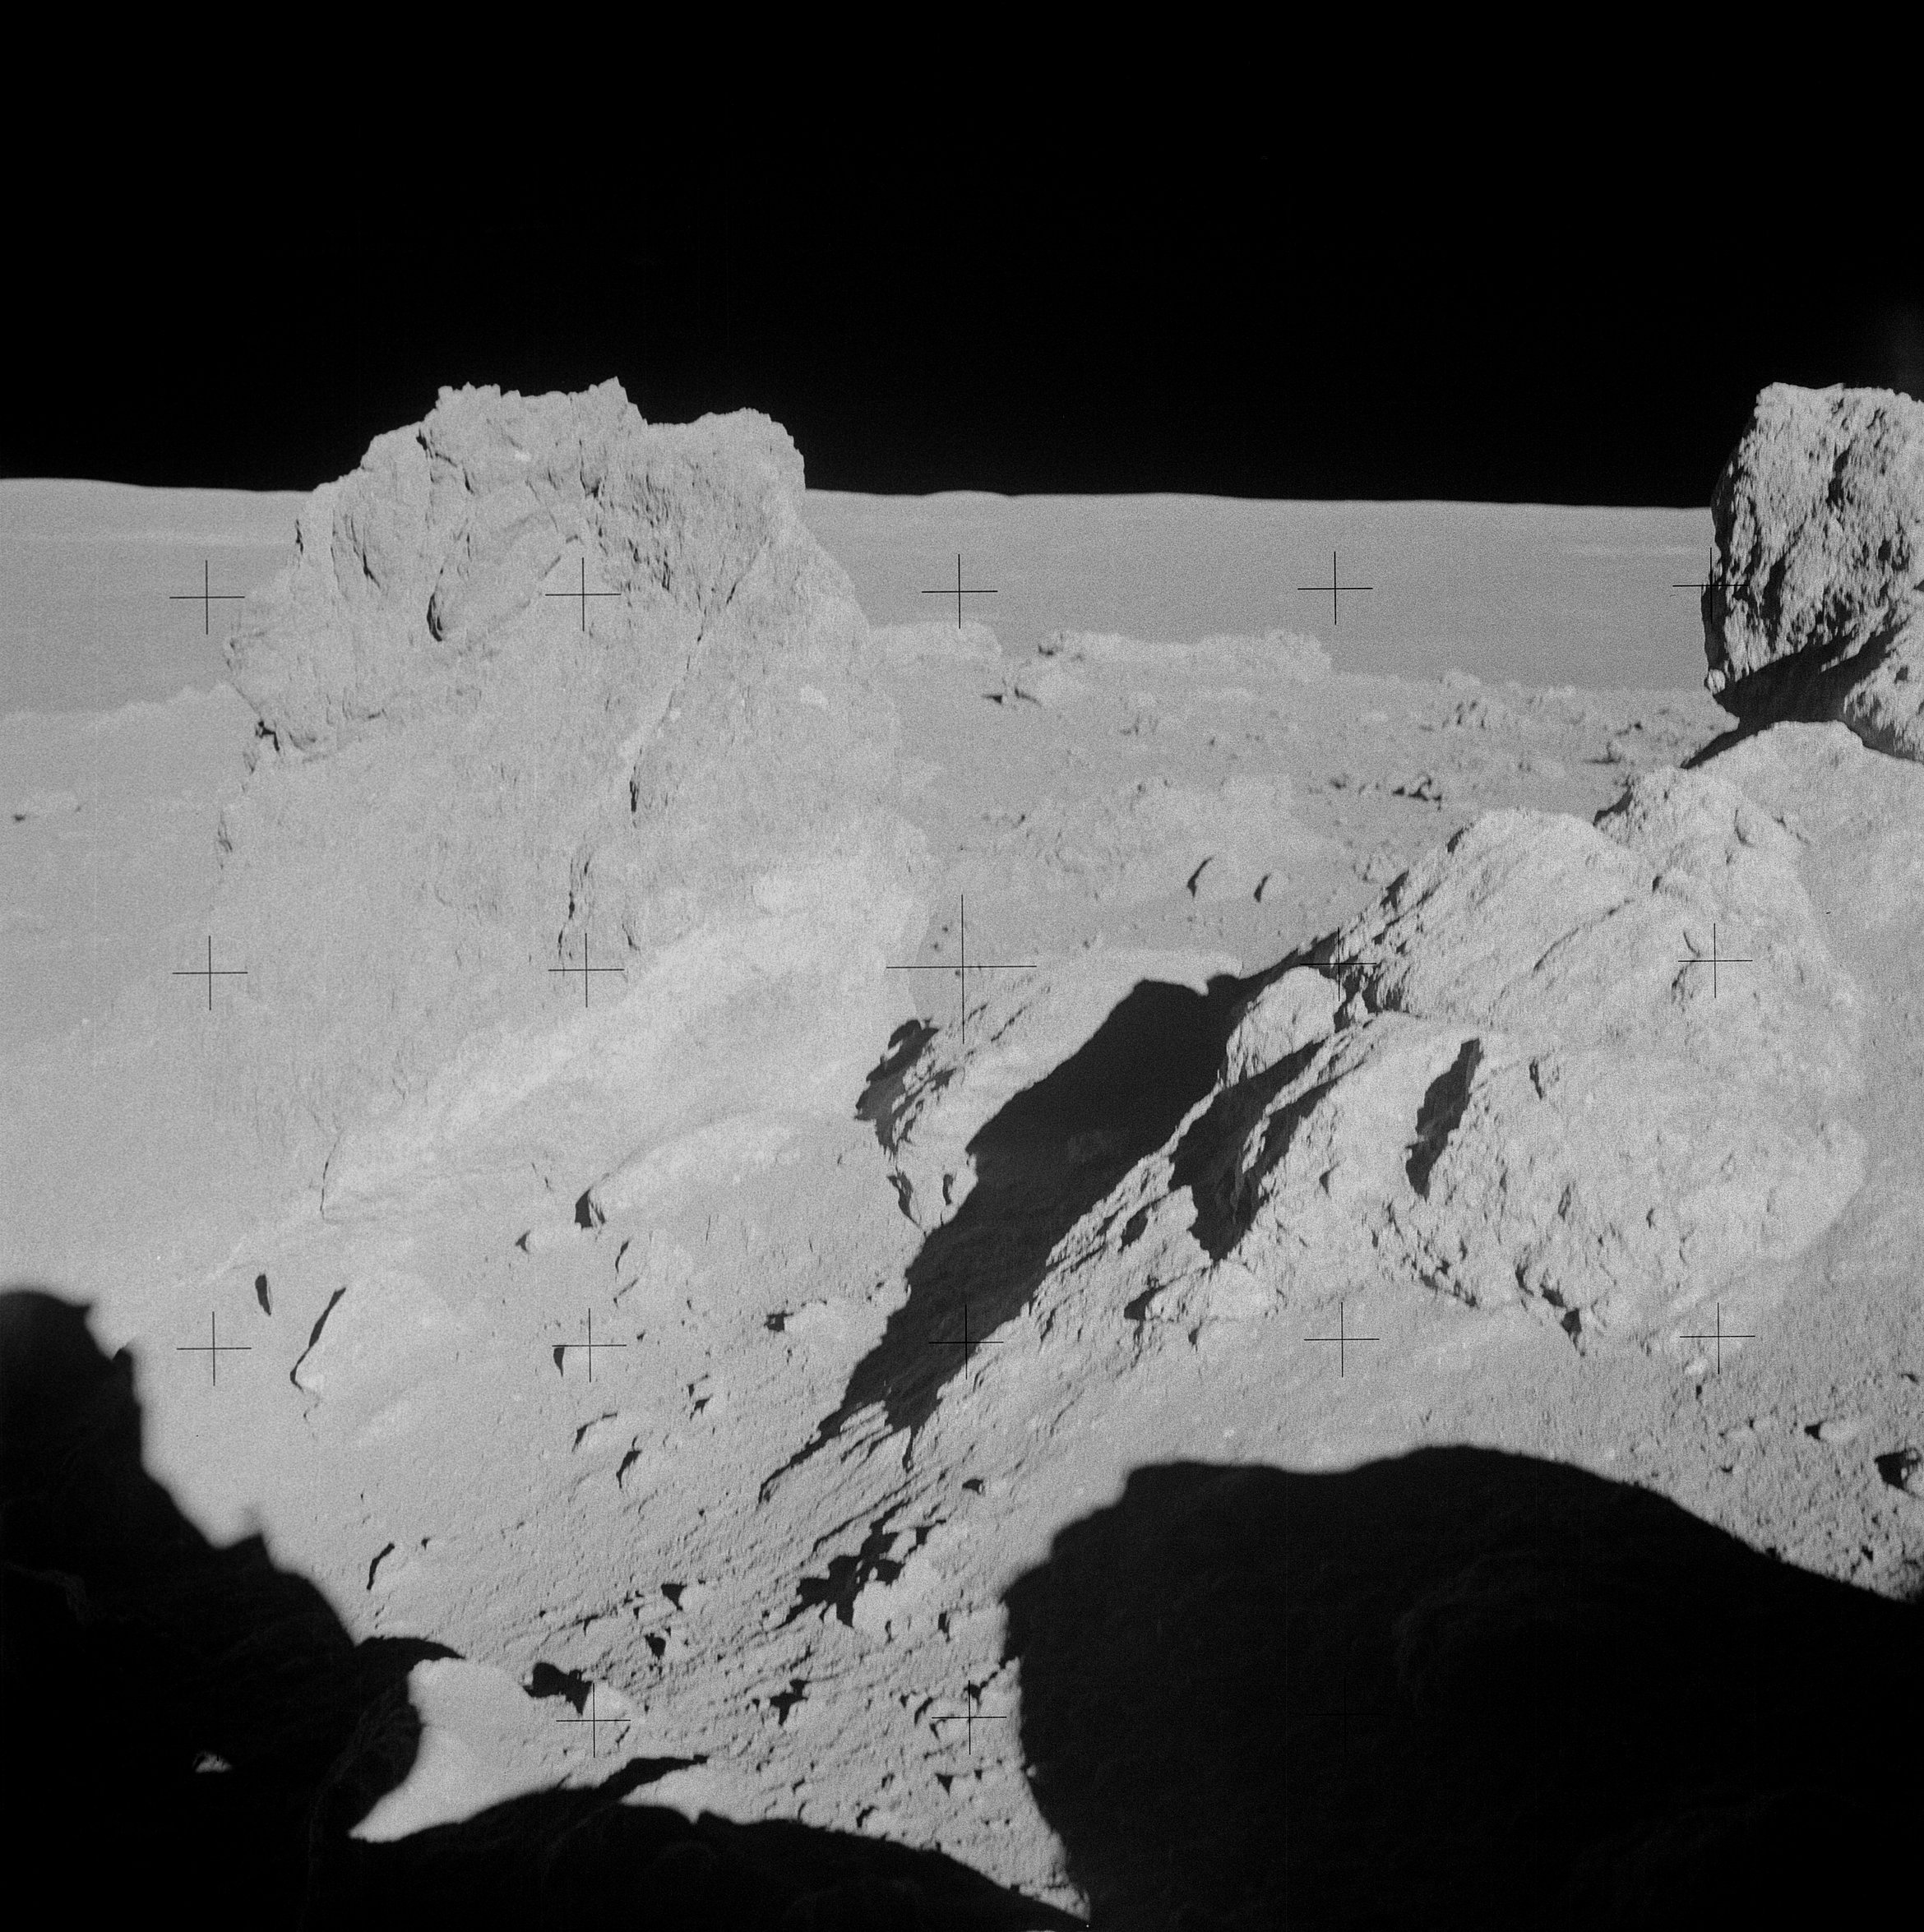 | AS14-68-9449 Ed has turned to his right to photograph the cluster of large blocks that were visible from Station C-Prime. Image credit: Image Science and Analysis Laboratory, NASA-Johnson Space Center. |
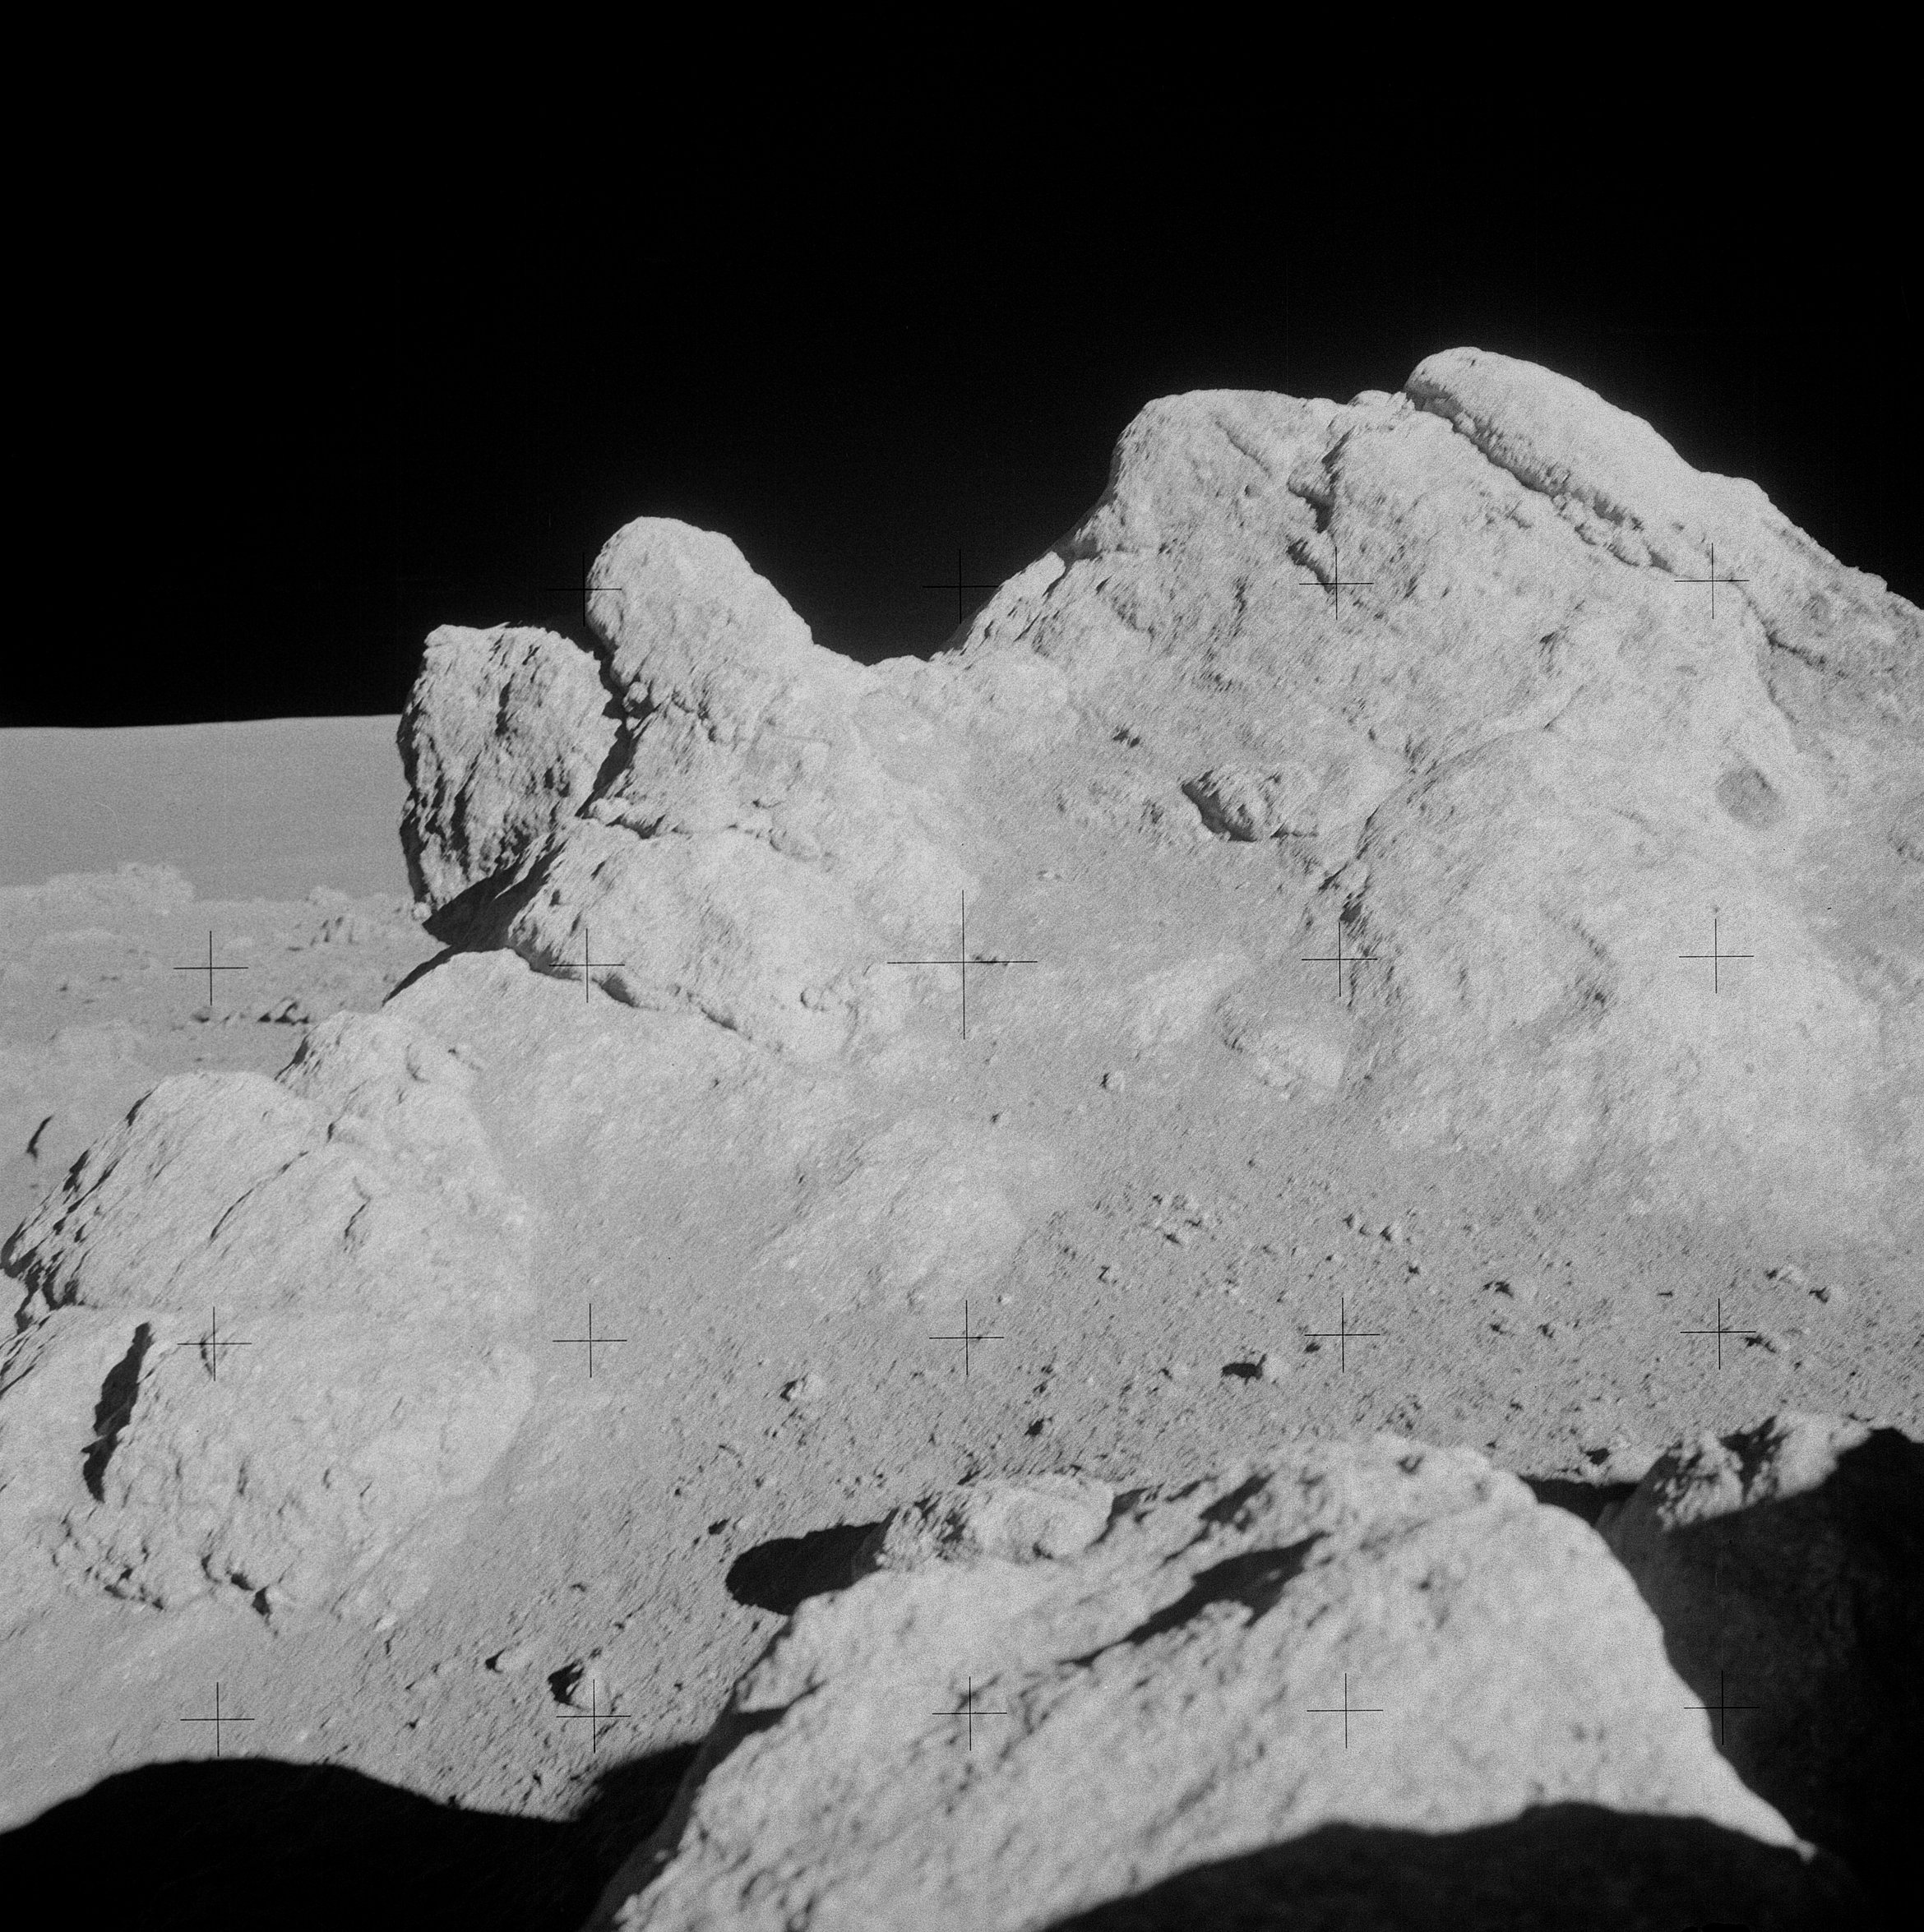 | AS14-68-9450 Ed has turned further to his right to take this portrait of the boulder known as Saddle Rock. Image credit: Image Science and Analysis Laboratory, NASA-Johnson Space Center. |
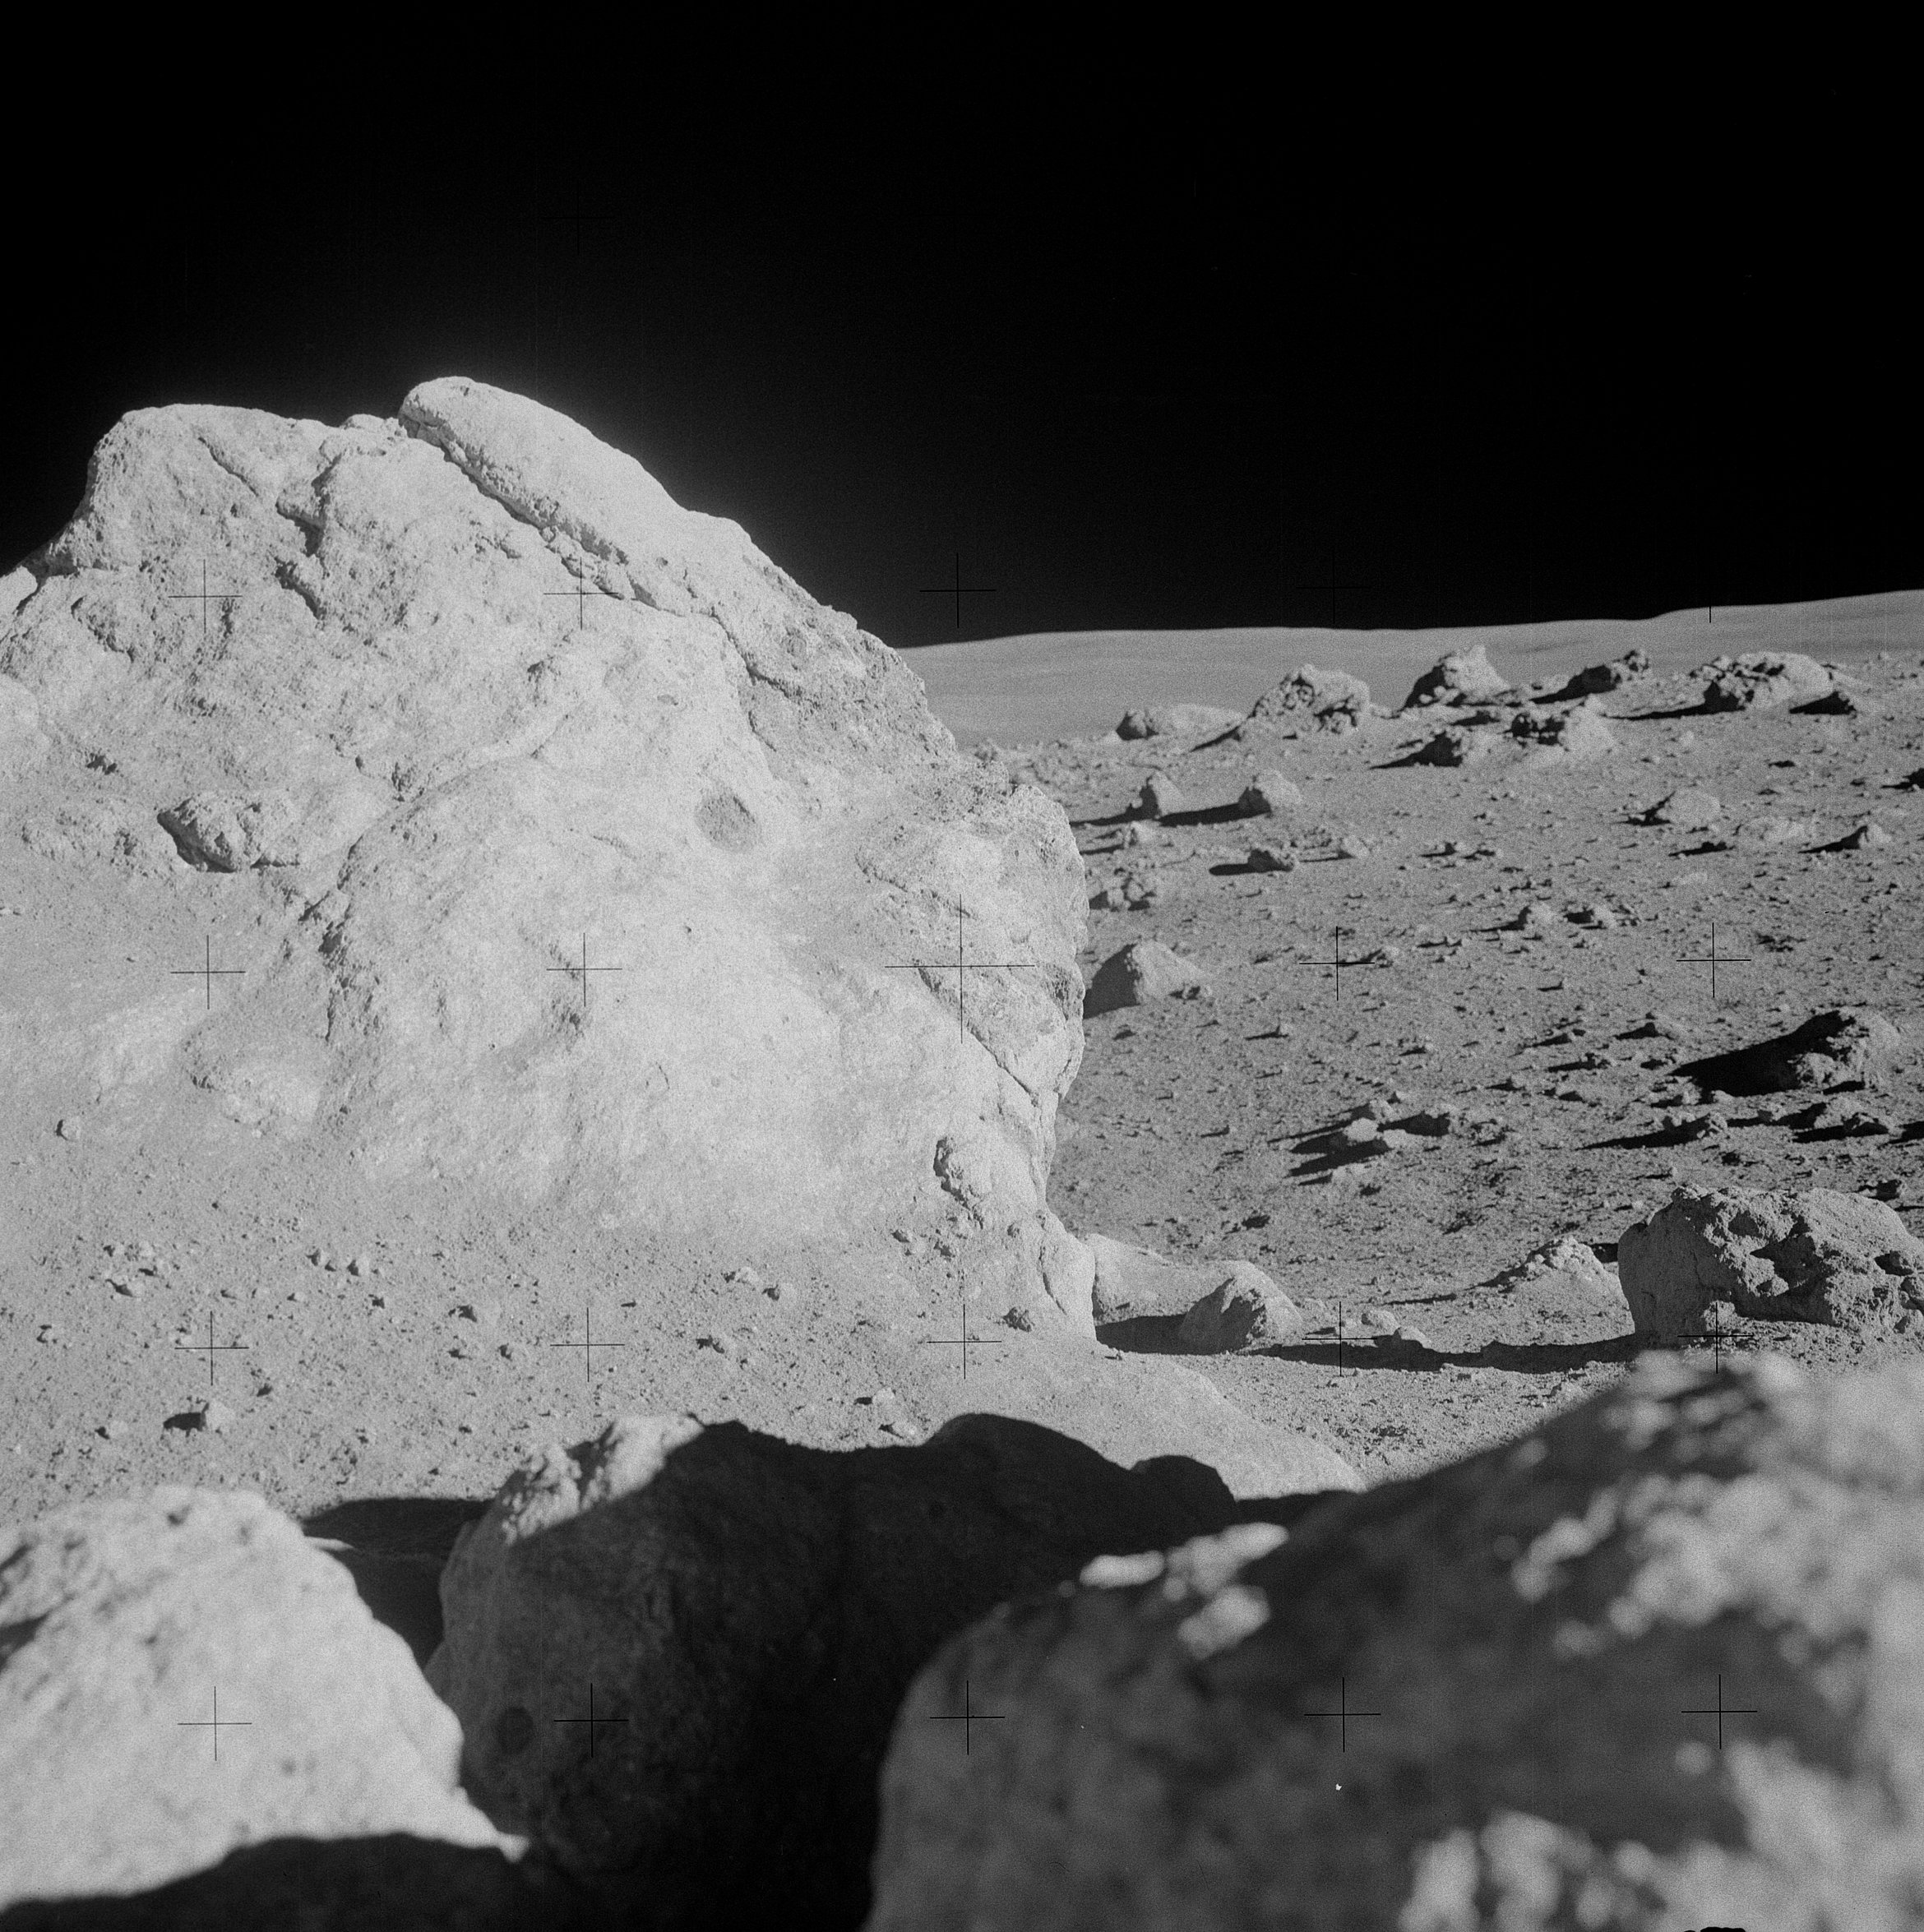 | AS14-68-9451 Ed has stepped back and to his right to take another picture of Saddle Rock. Image credit: Image Science and Analysis Laboratory, NASA-Johnson Space Center. |
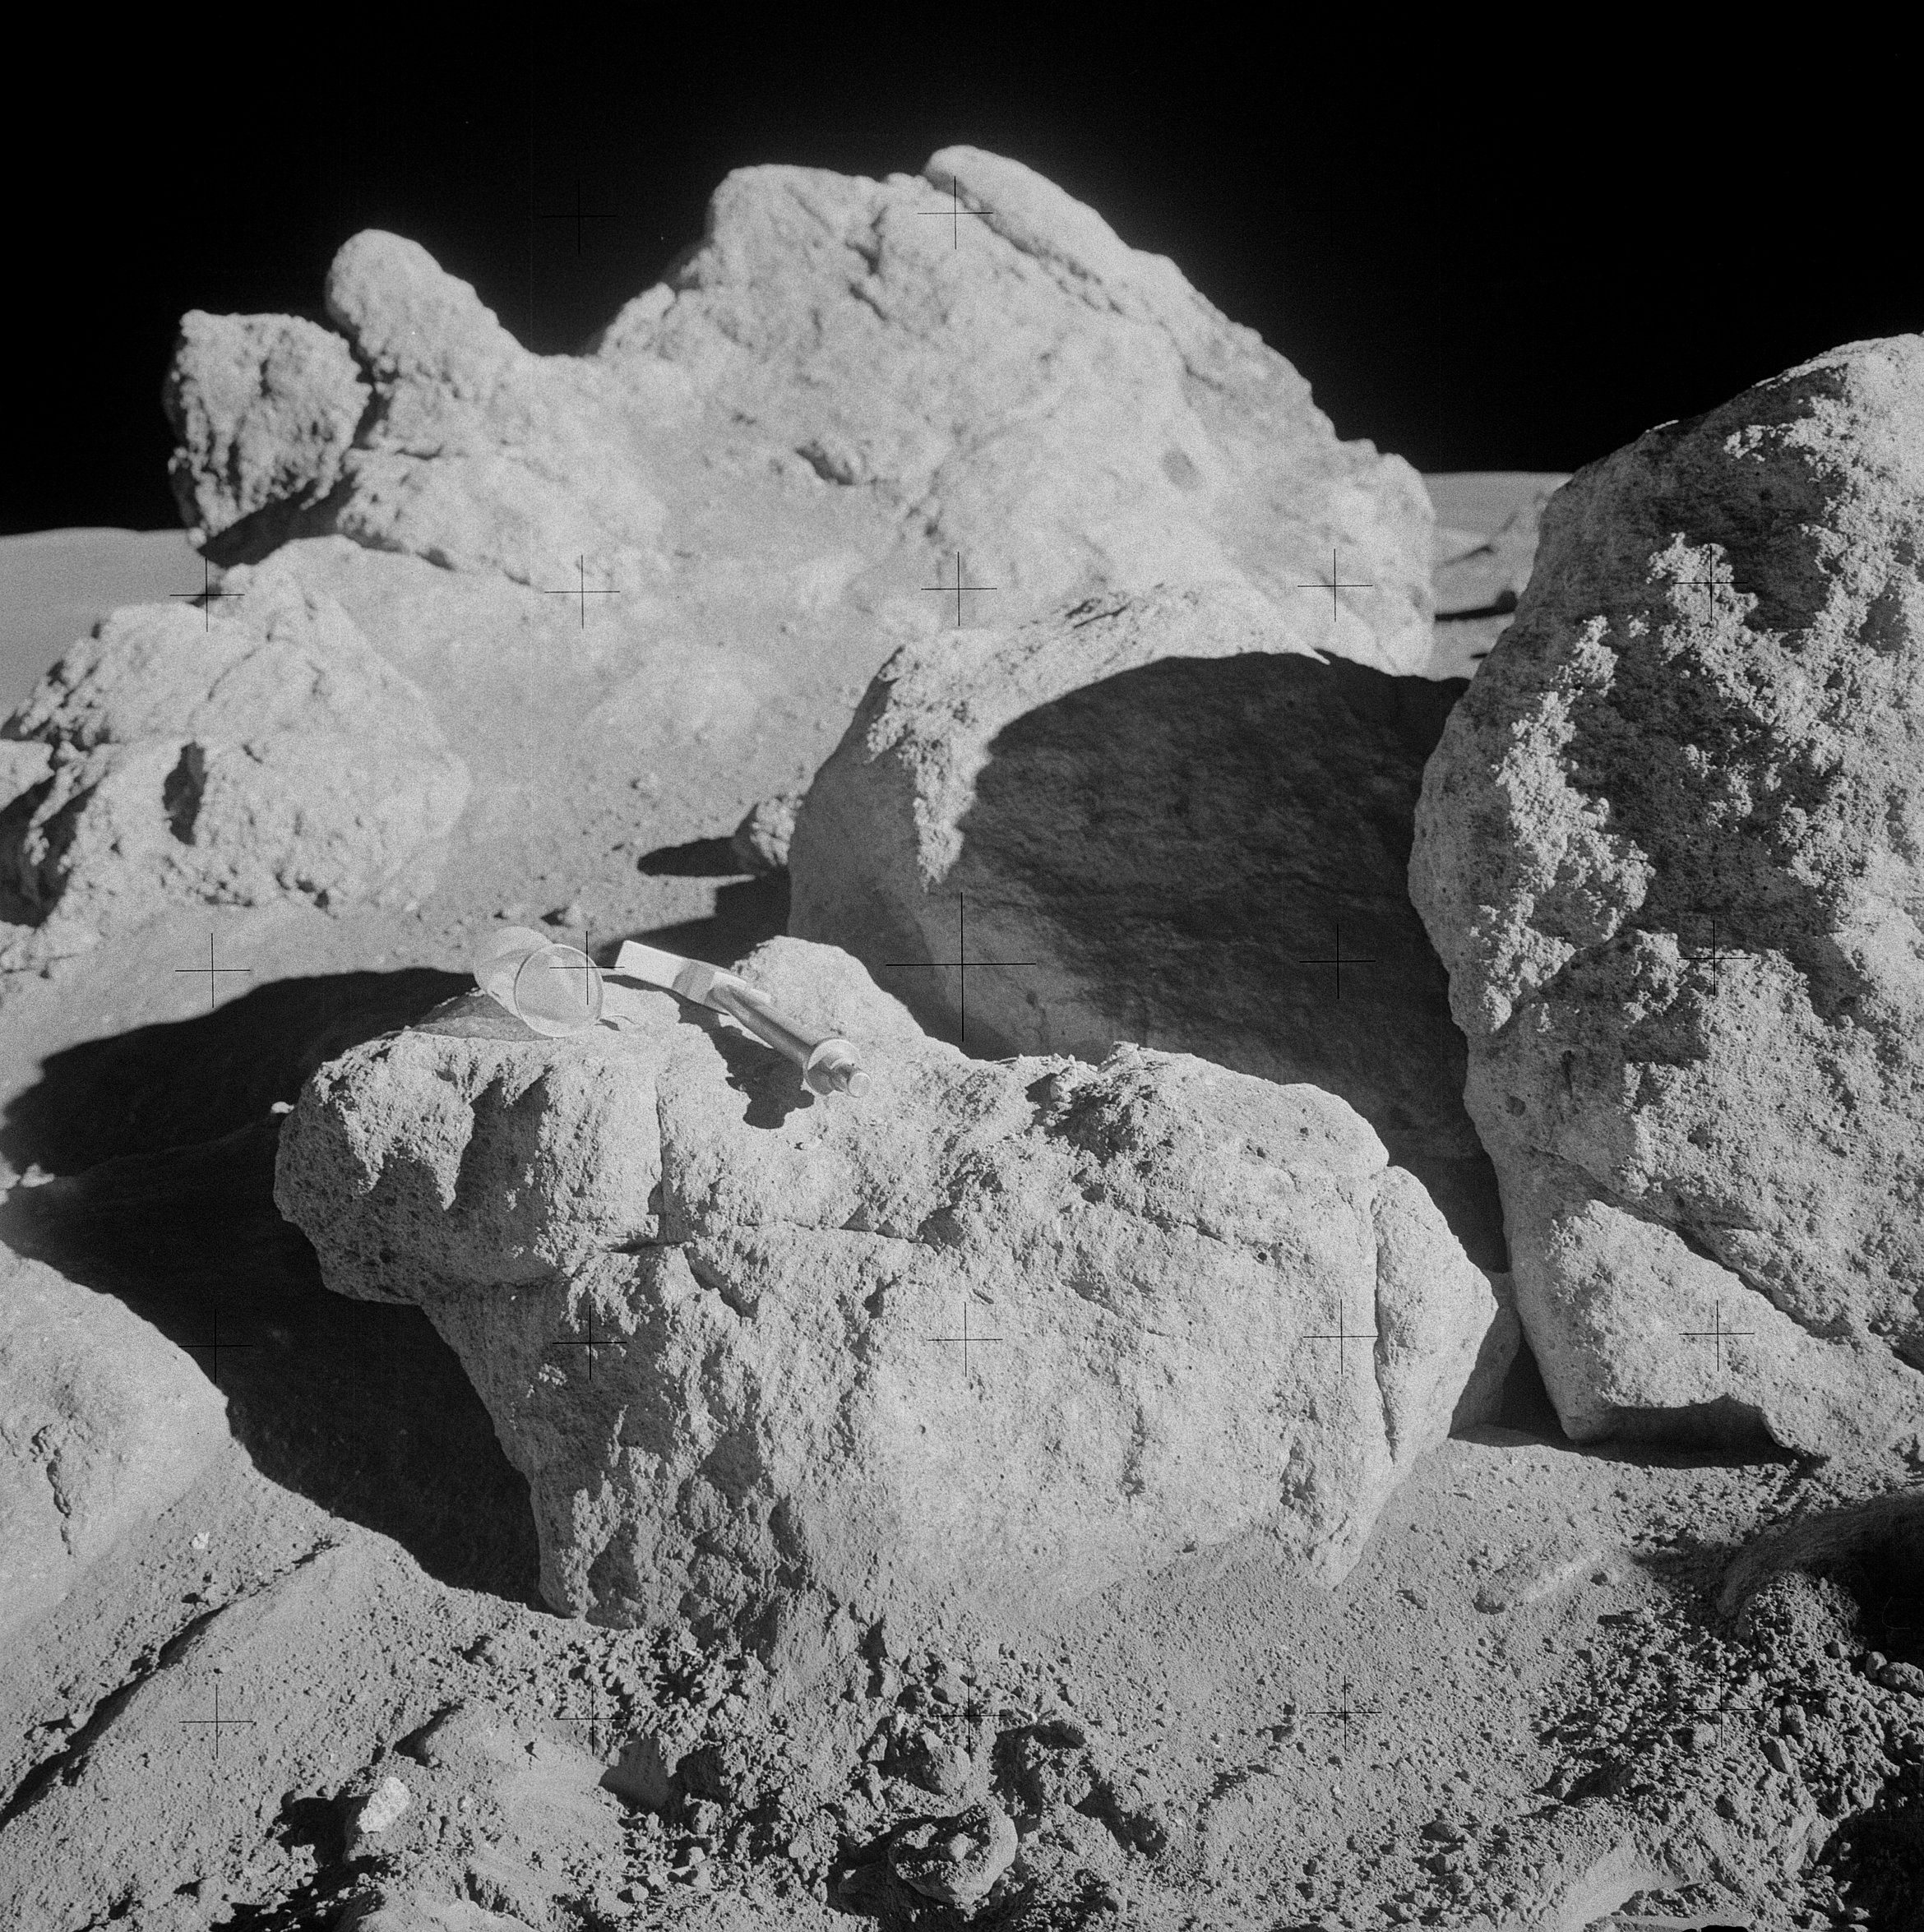 | AS14-68-9452 133:40:48 Down-Sun of the southern face of Saddle Rock. Image credit: Image Science and Analysis Laboratory, NASA-Johnson Space Center. |
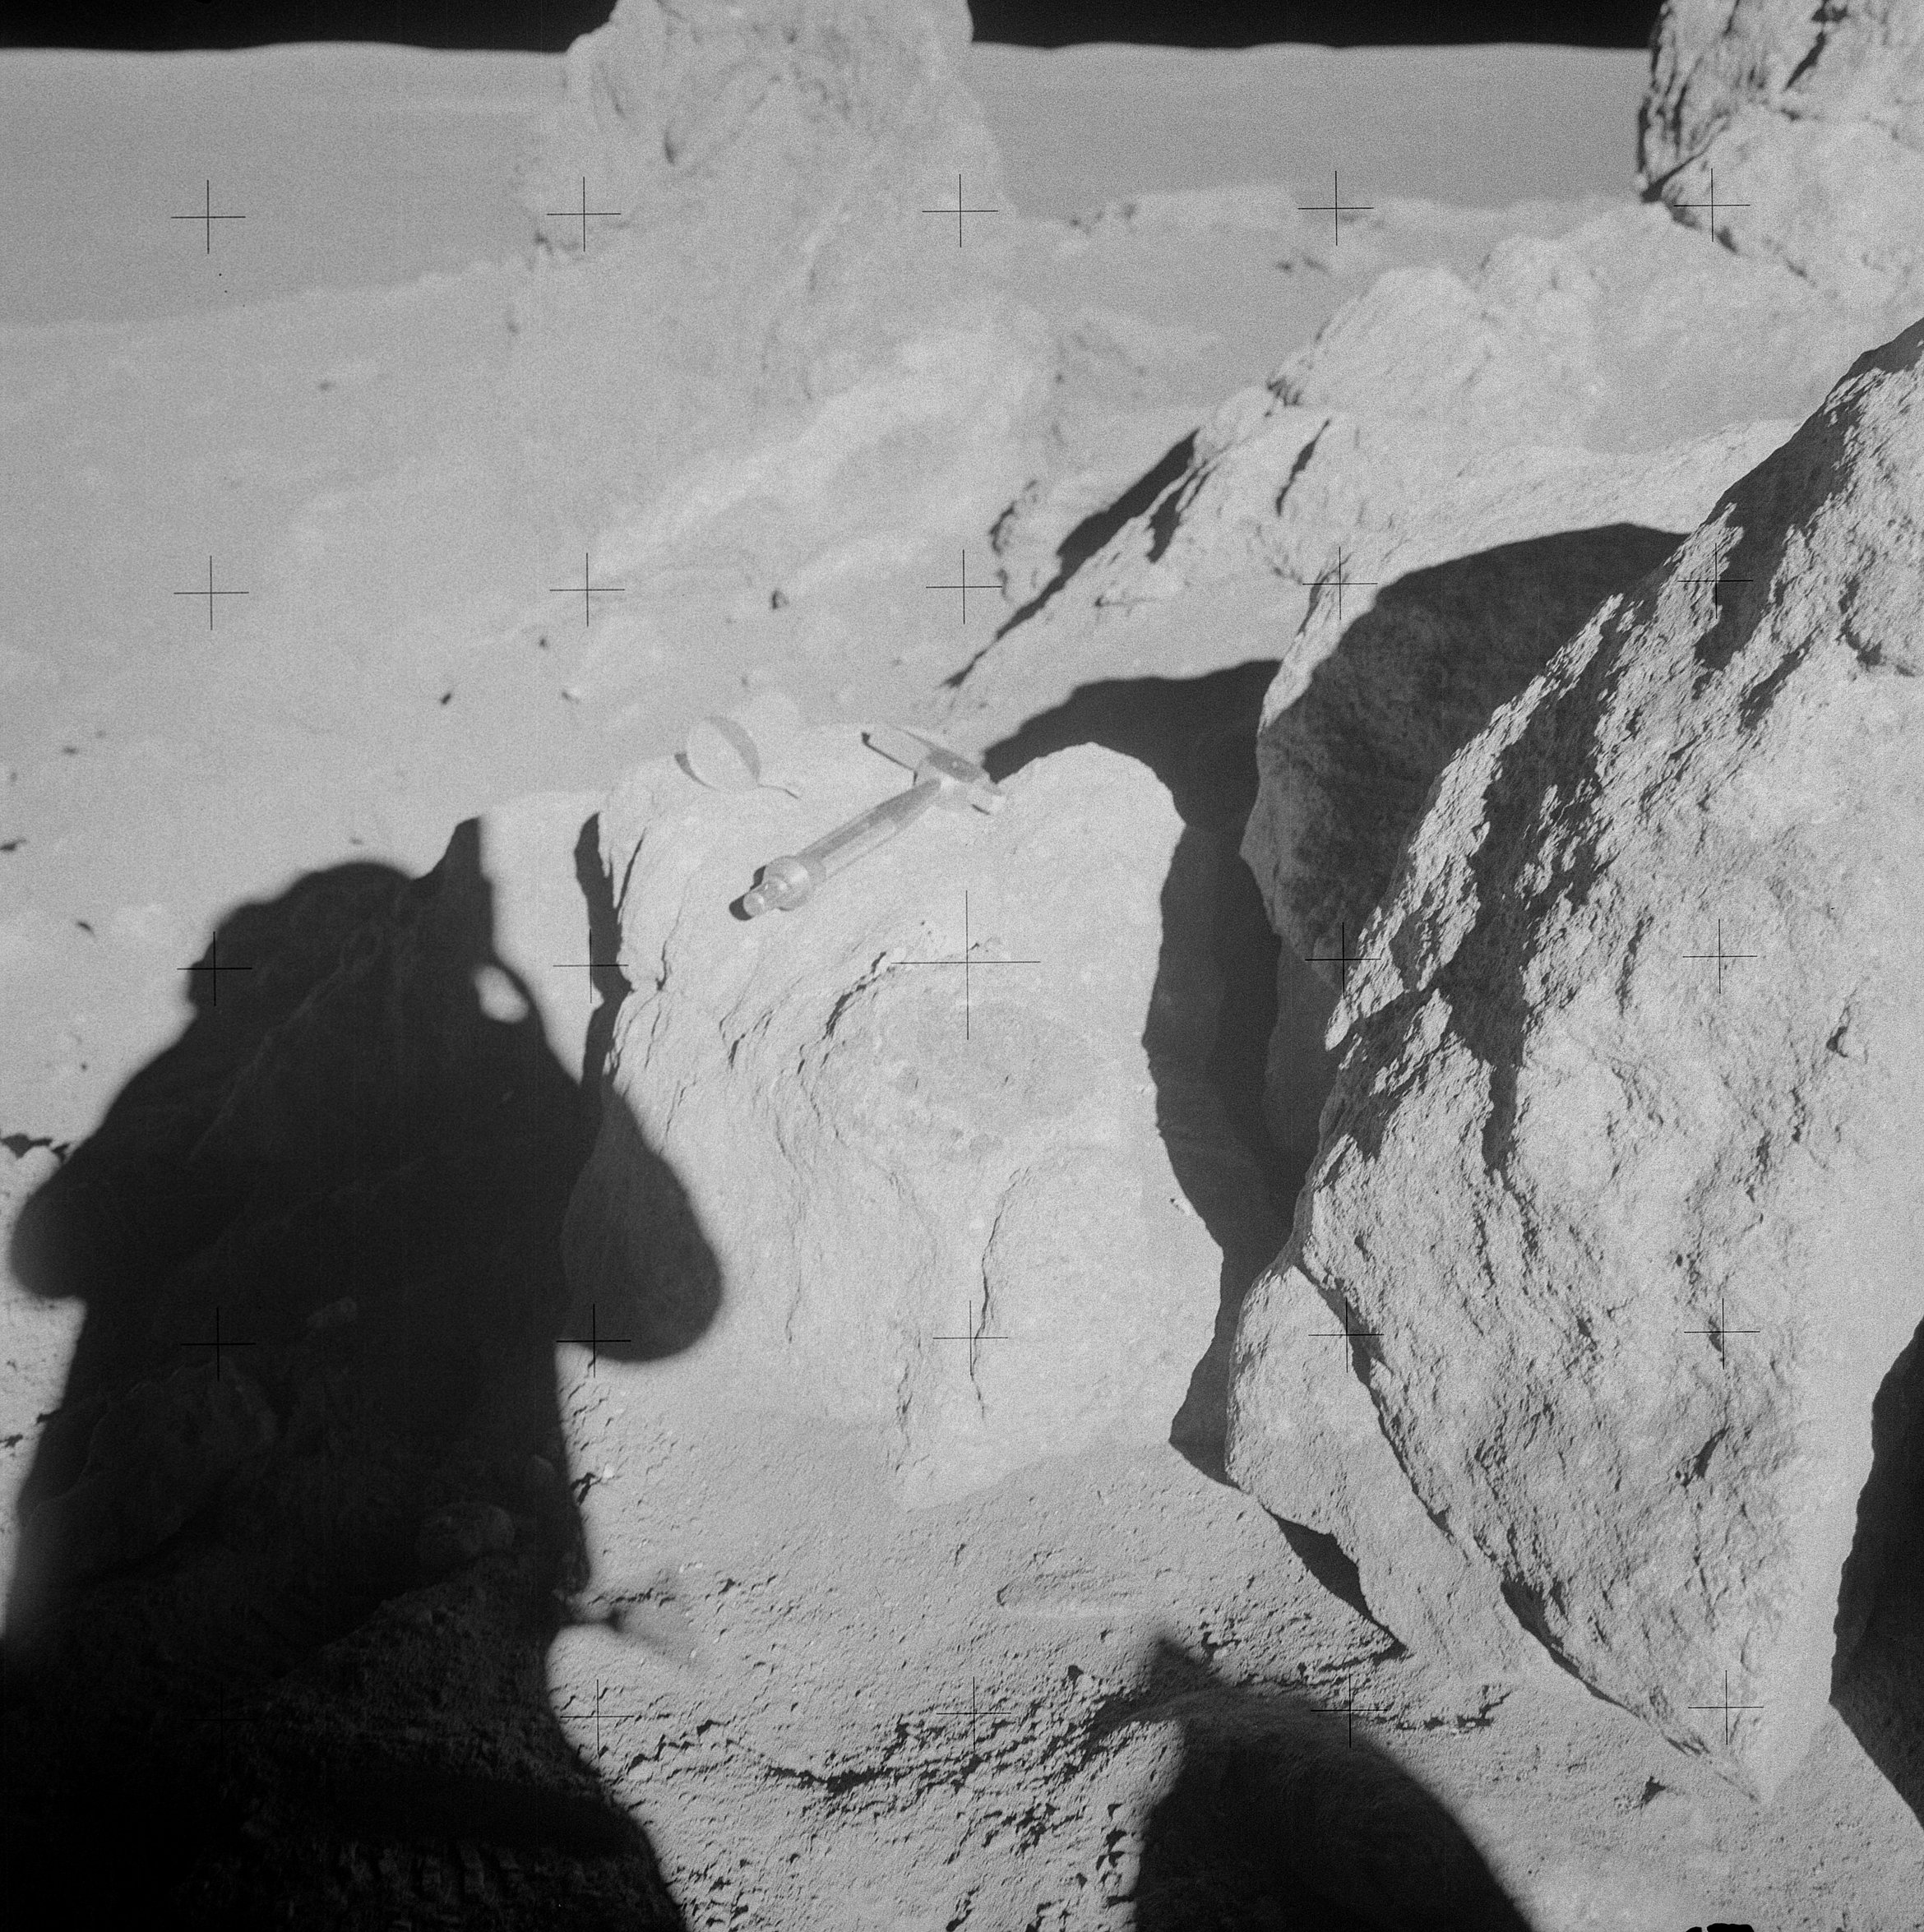 | AS14-68-9453 133:42:31 Ed has chipped a sample off White Rock and then took this "after". Image credit: Image Science and Analysis Laboratory, NASA-Johnson Space Center. |
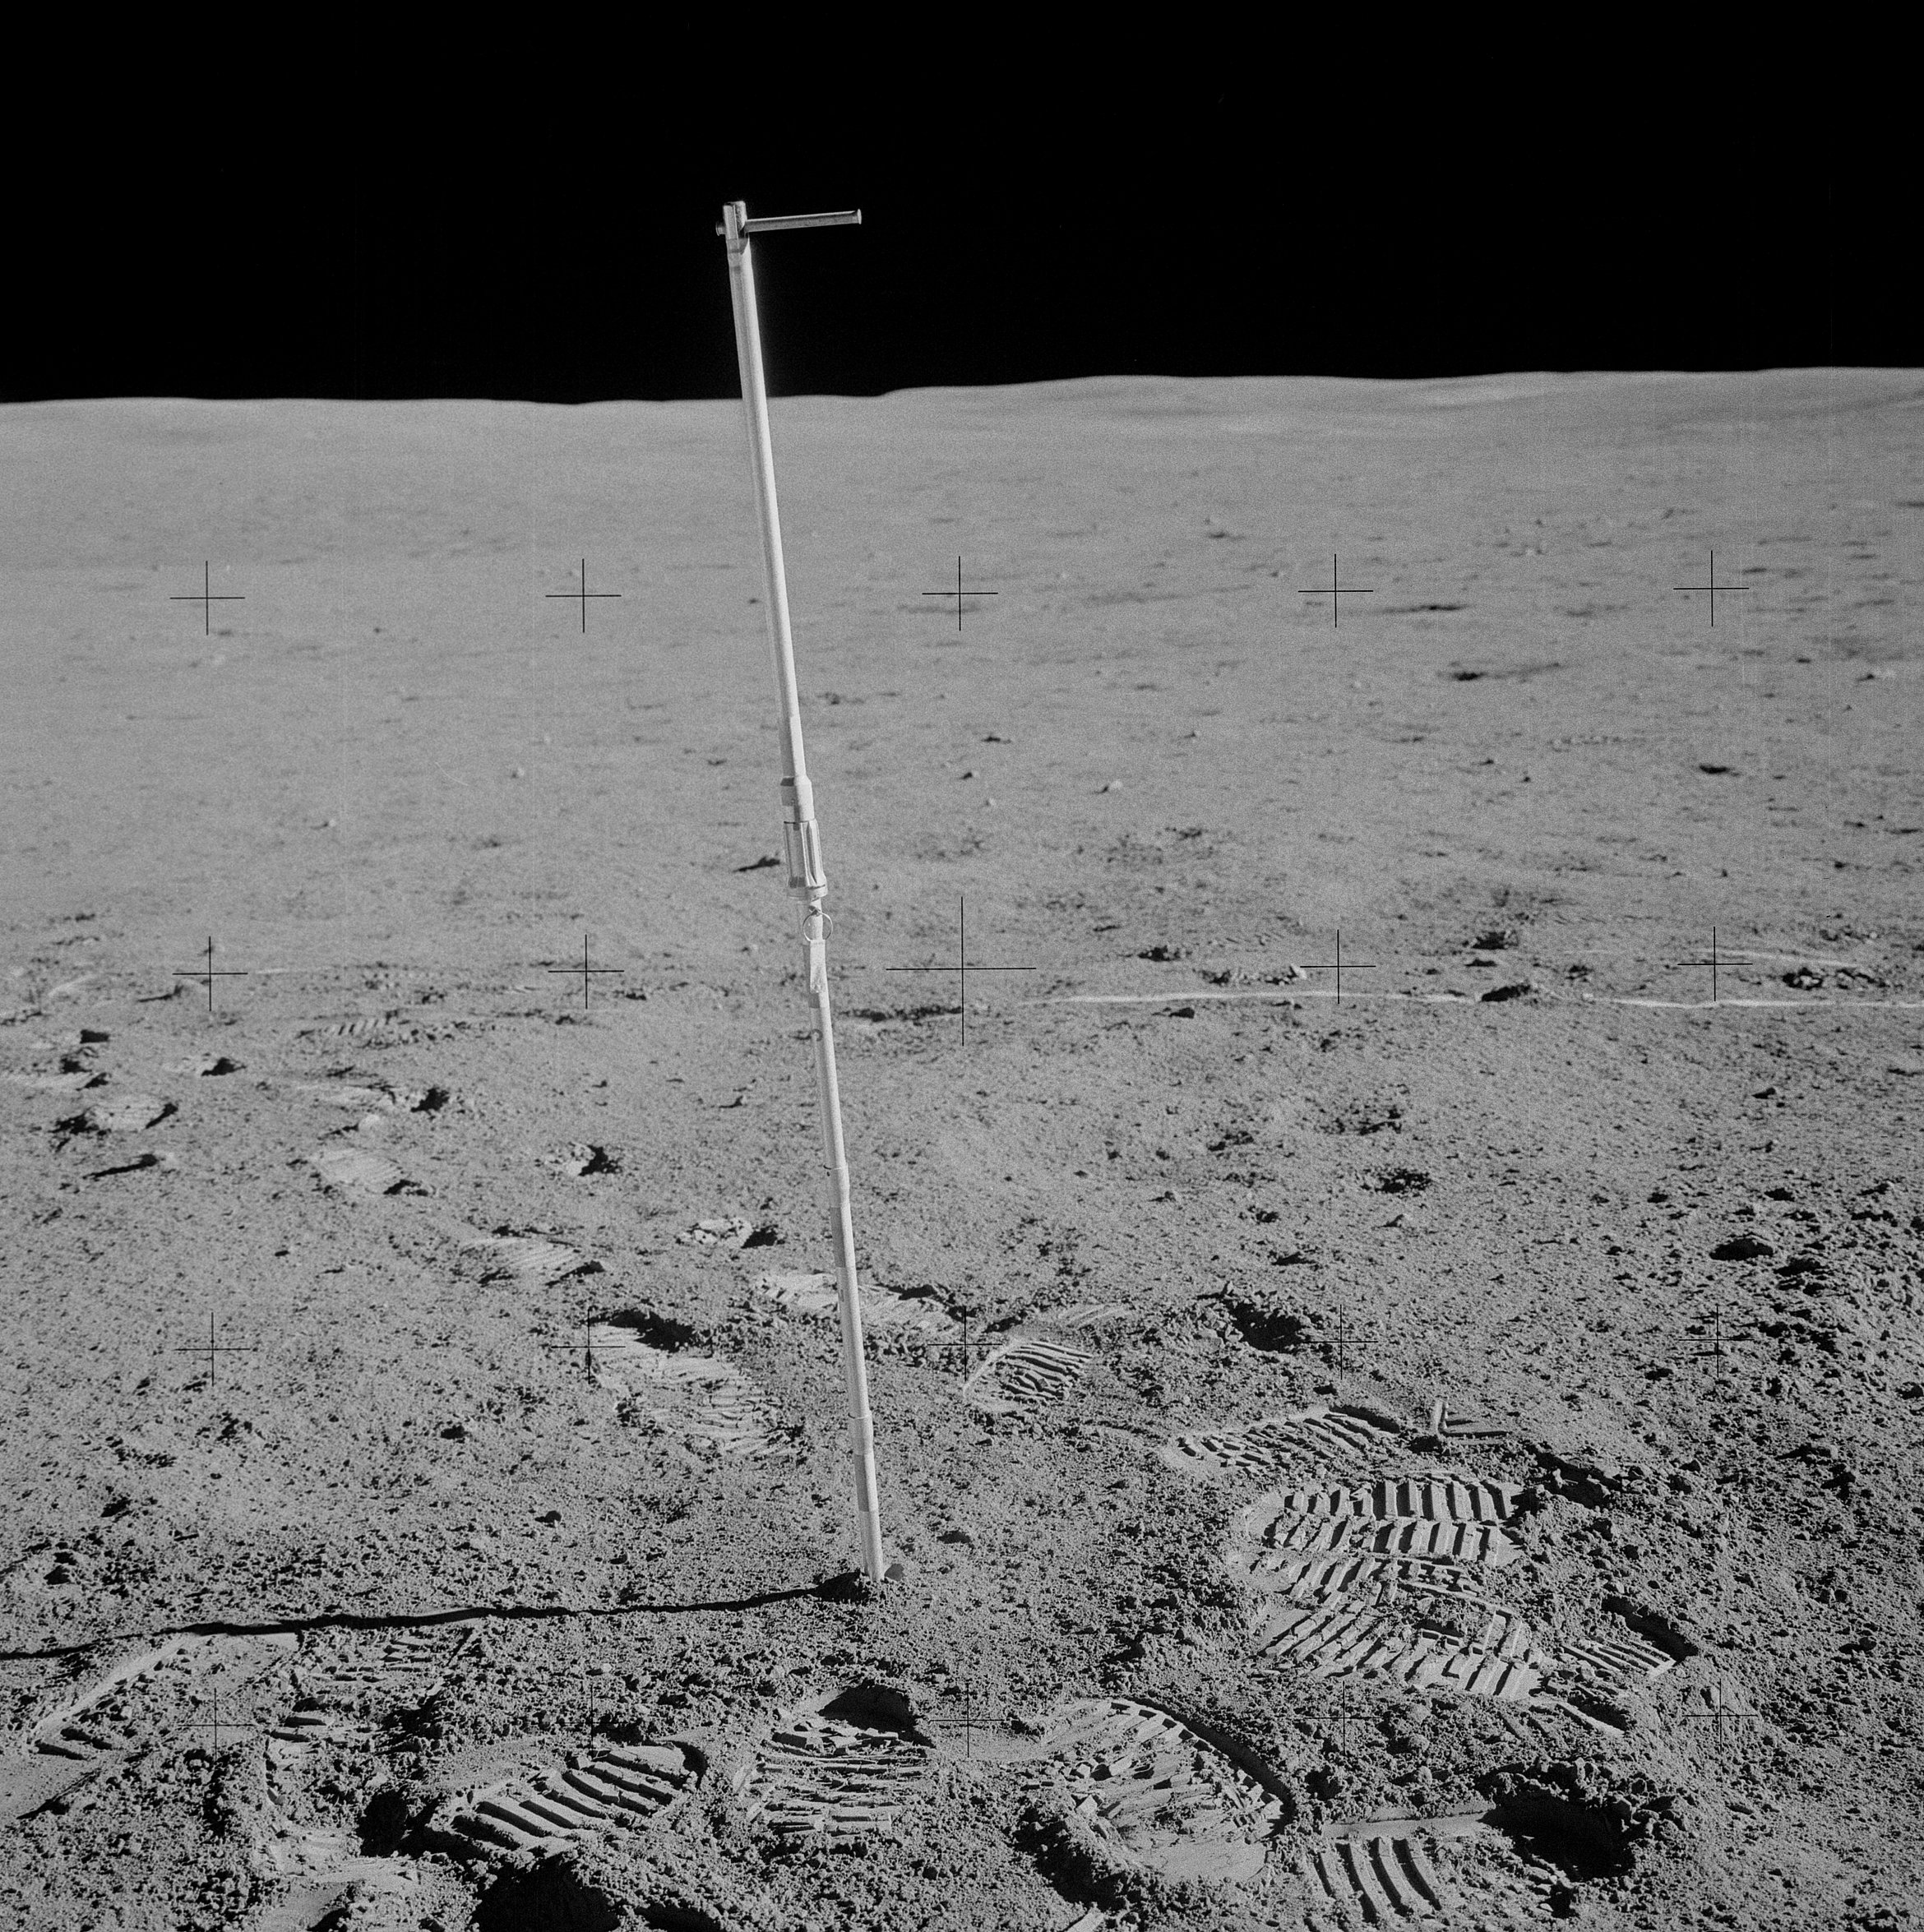 | AS14-68-9454 134:17:16 Ed has pushed a triple core by hand partway into the ground at Station G. The bottom section is about halfway in. Image credit: Image Science and Analysis Laboratory, NASA-Johnson Space Center. |
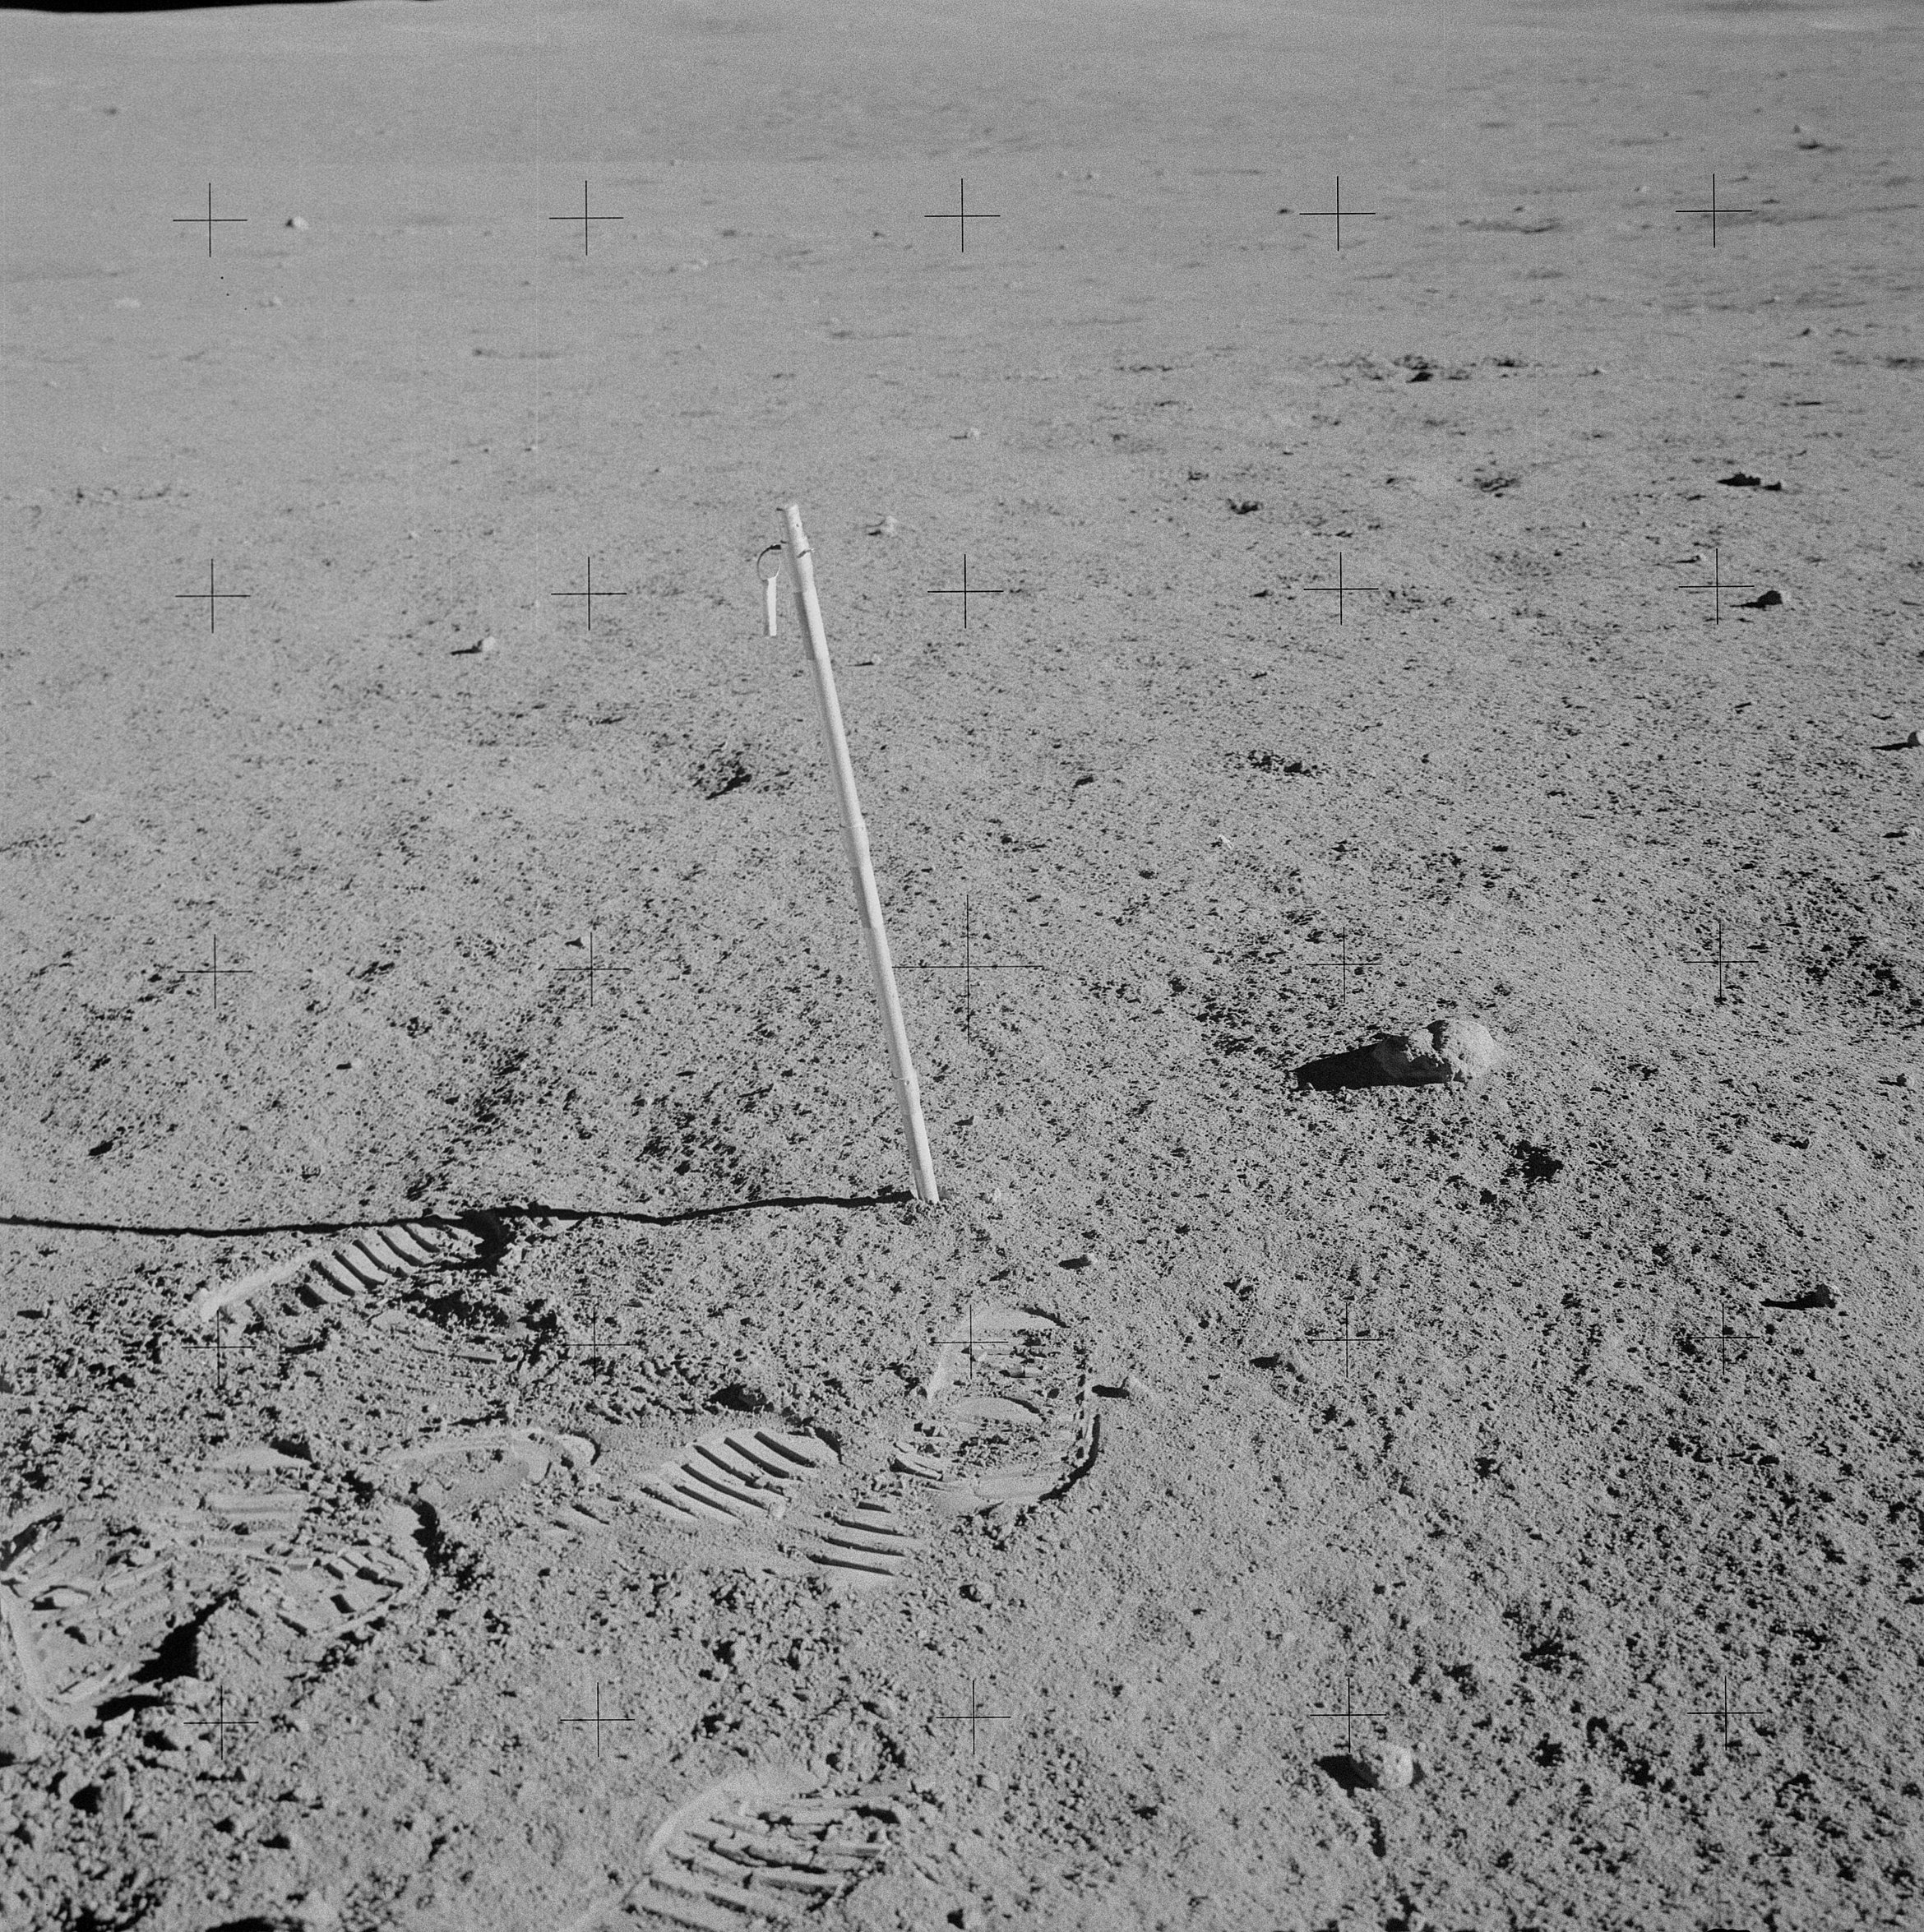 | AS14-68-9455 134:26:27 While Ed worked on the triple core, Al was digging a trench and, in the end, needed the extension handle to get it to full depth. Image credit: Image Science and Analysis Laboratory, NASA-Johnson Space Center. |
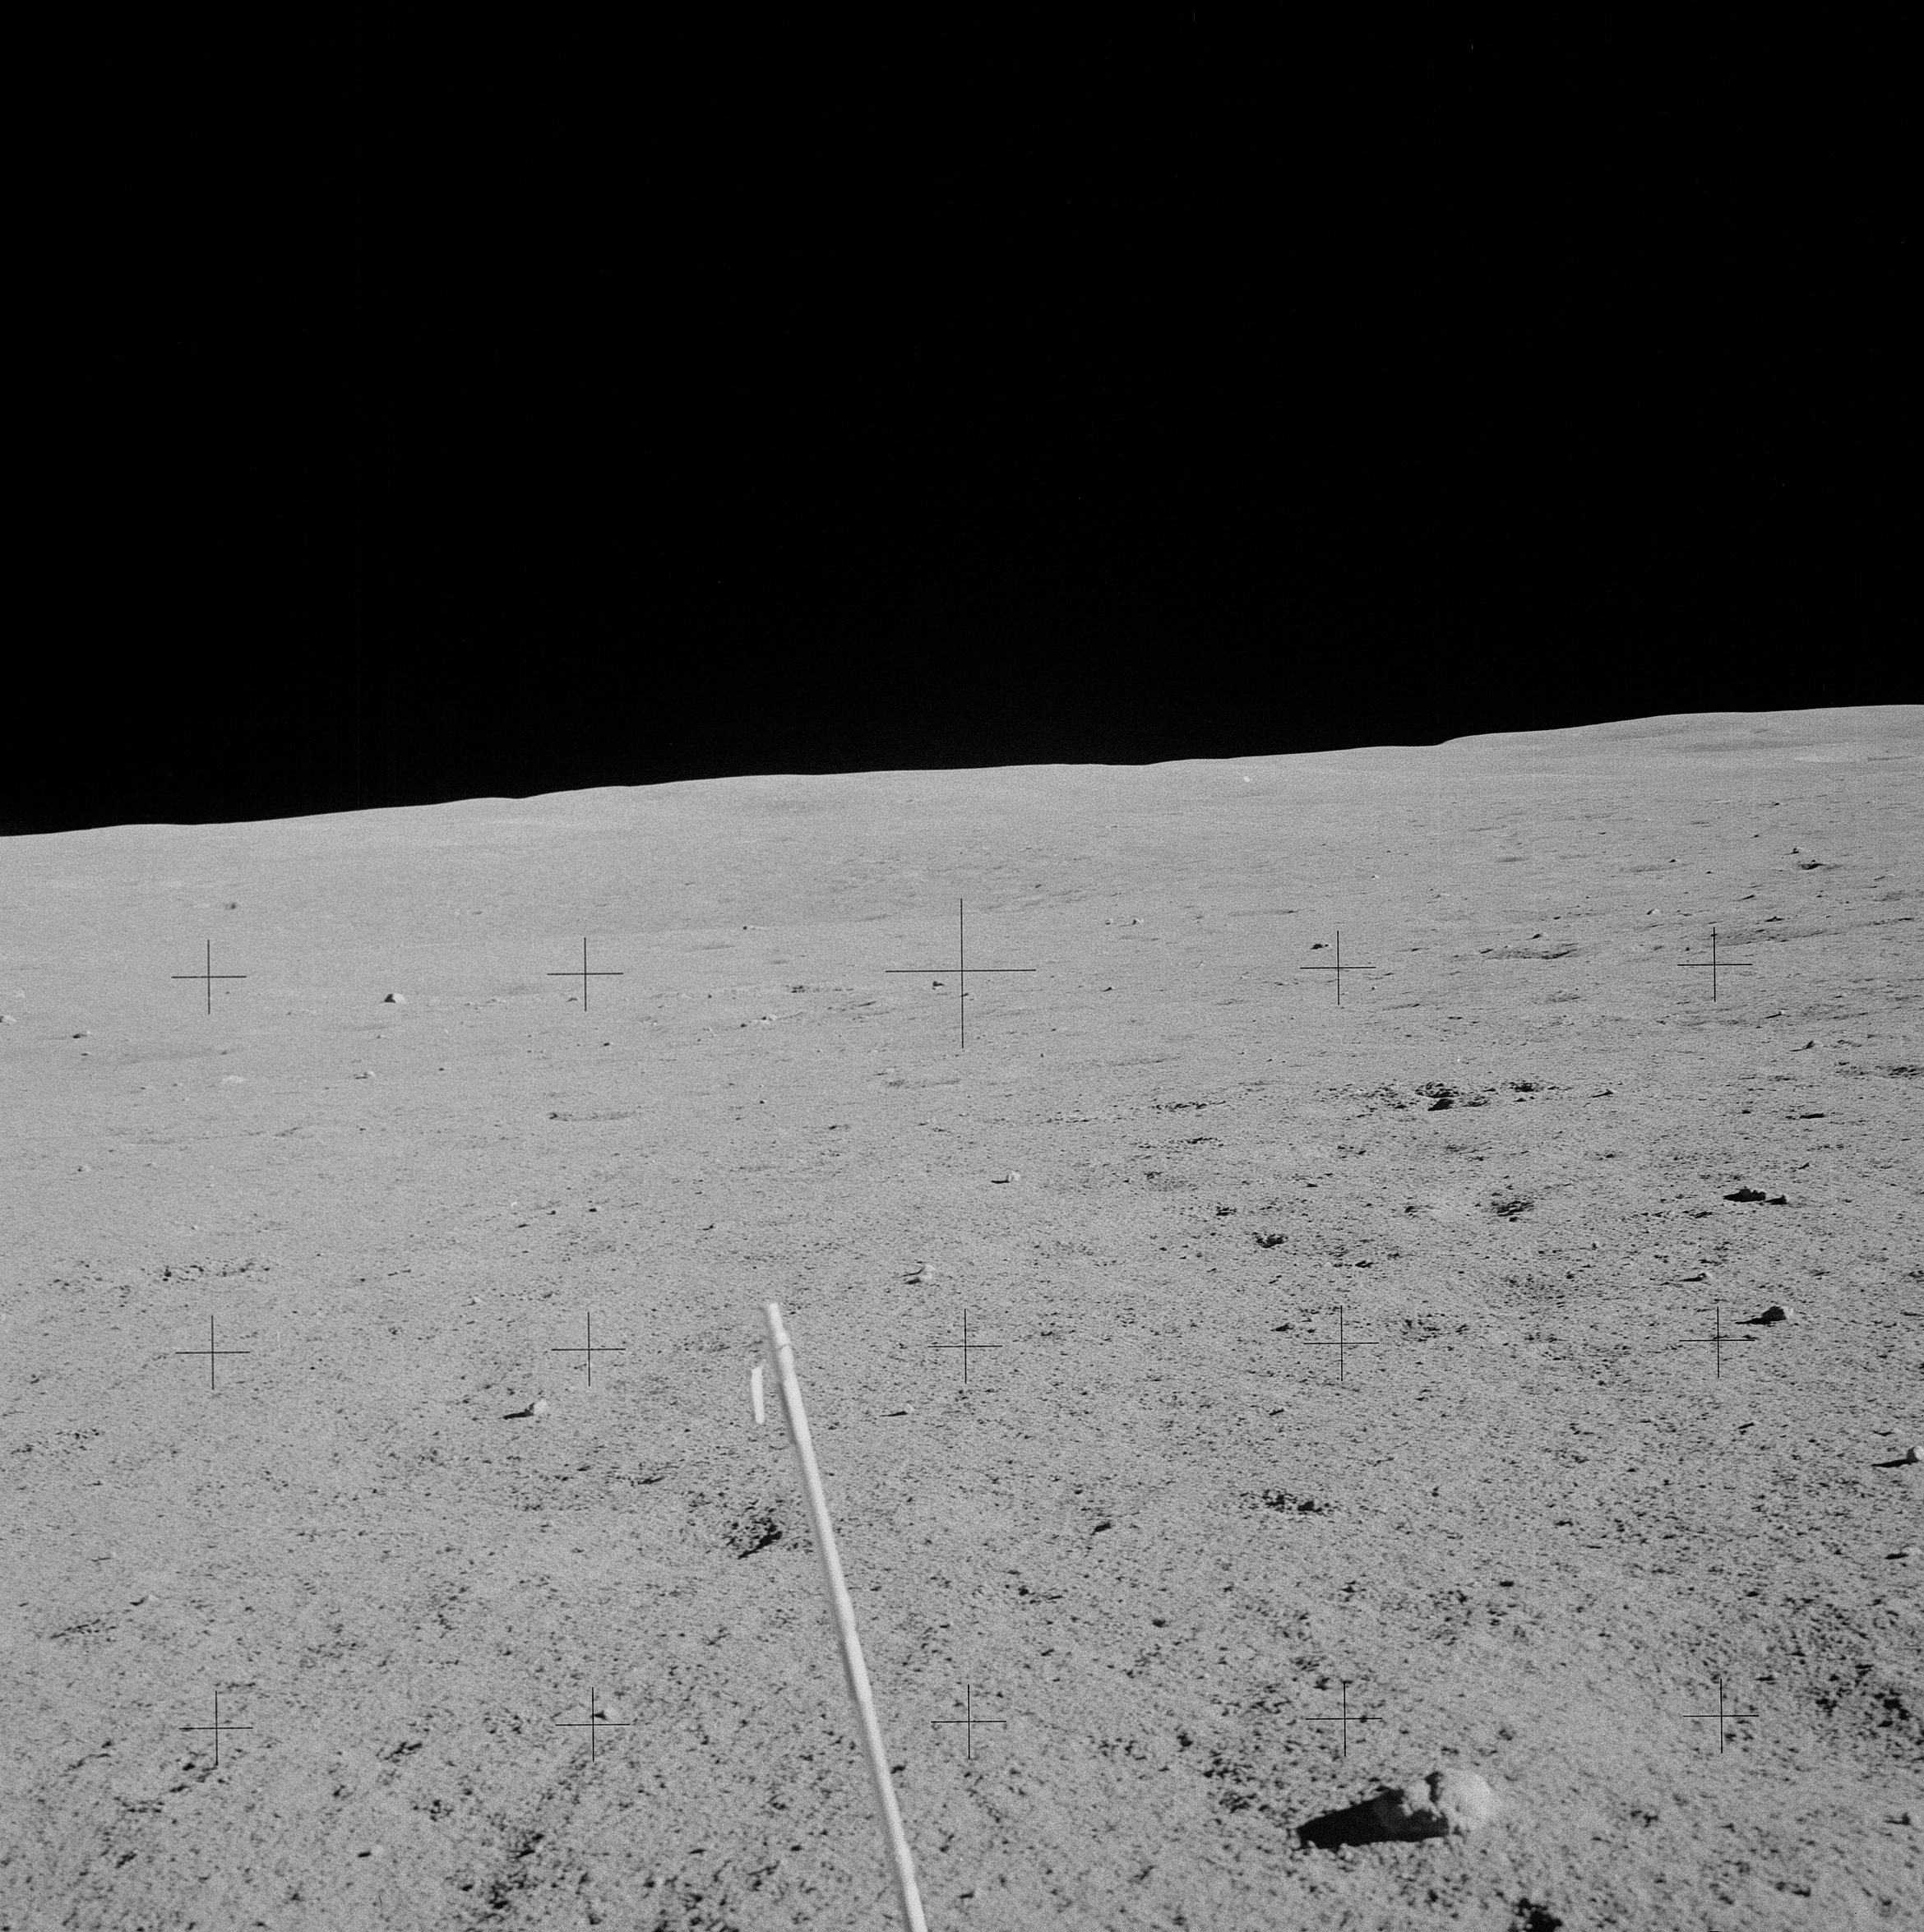 | AS14-68-9456 134:27:00 Ed raised the camera to show the horizon in a "locator". Image credit: Image Science and Analysis Laboratory, NASA-Johnson Space Center. |
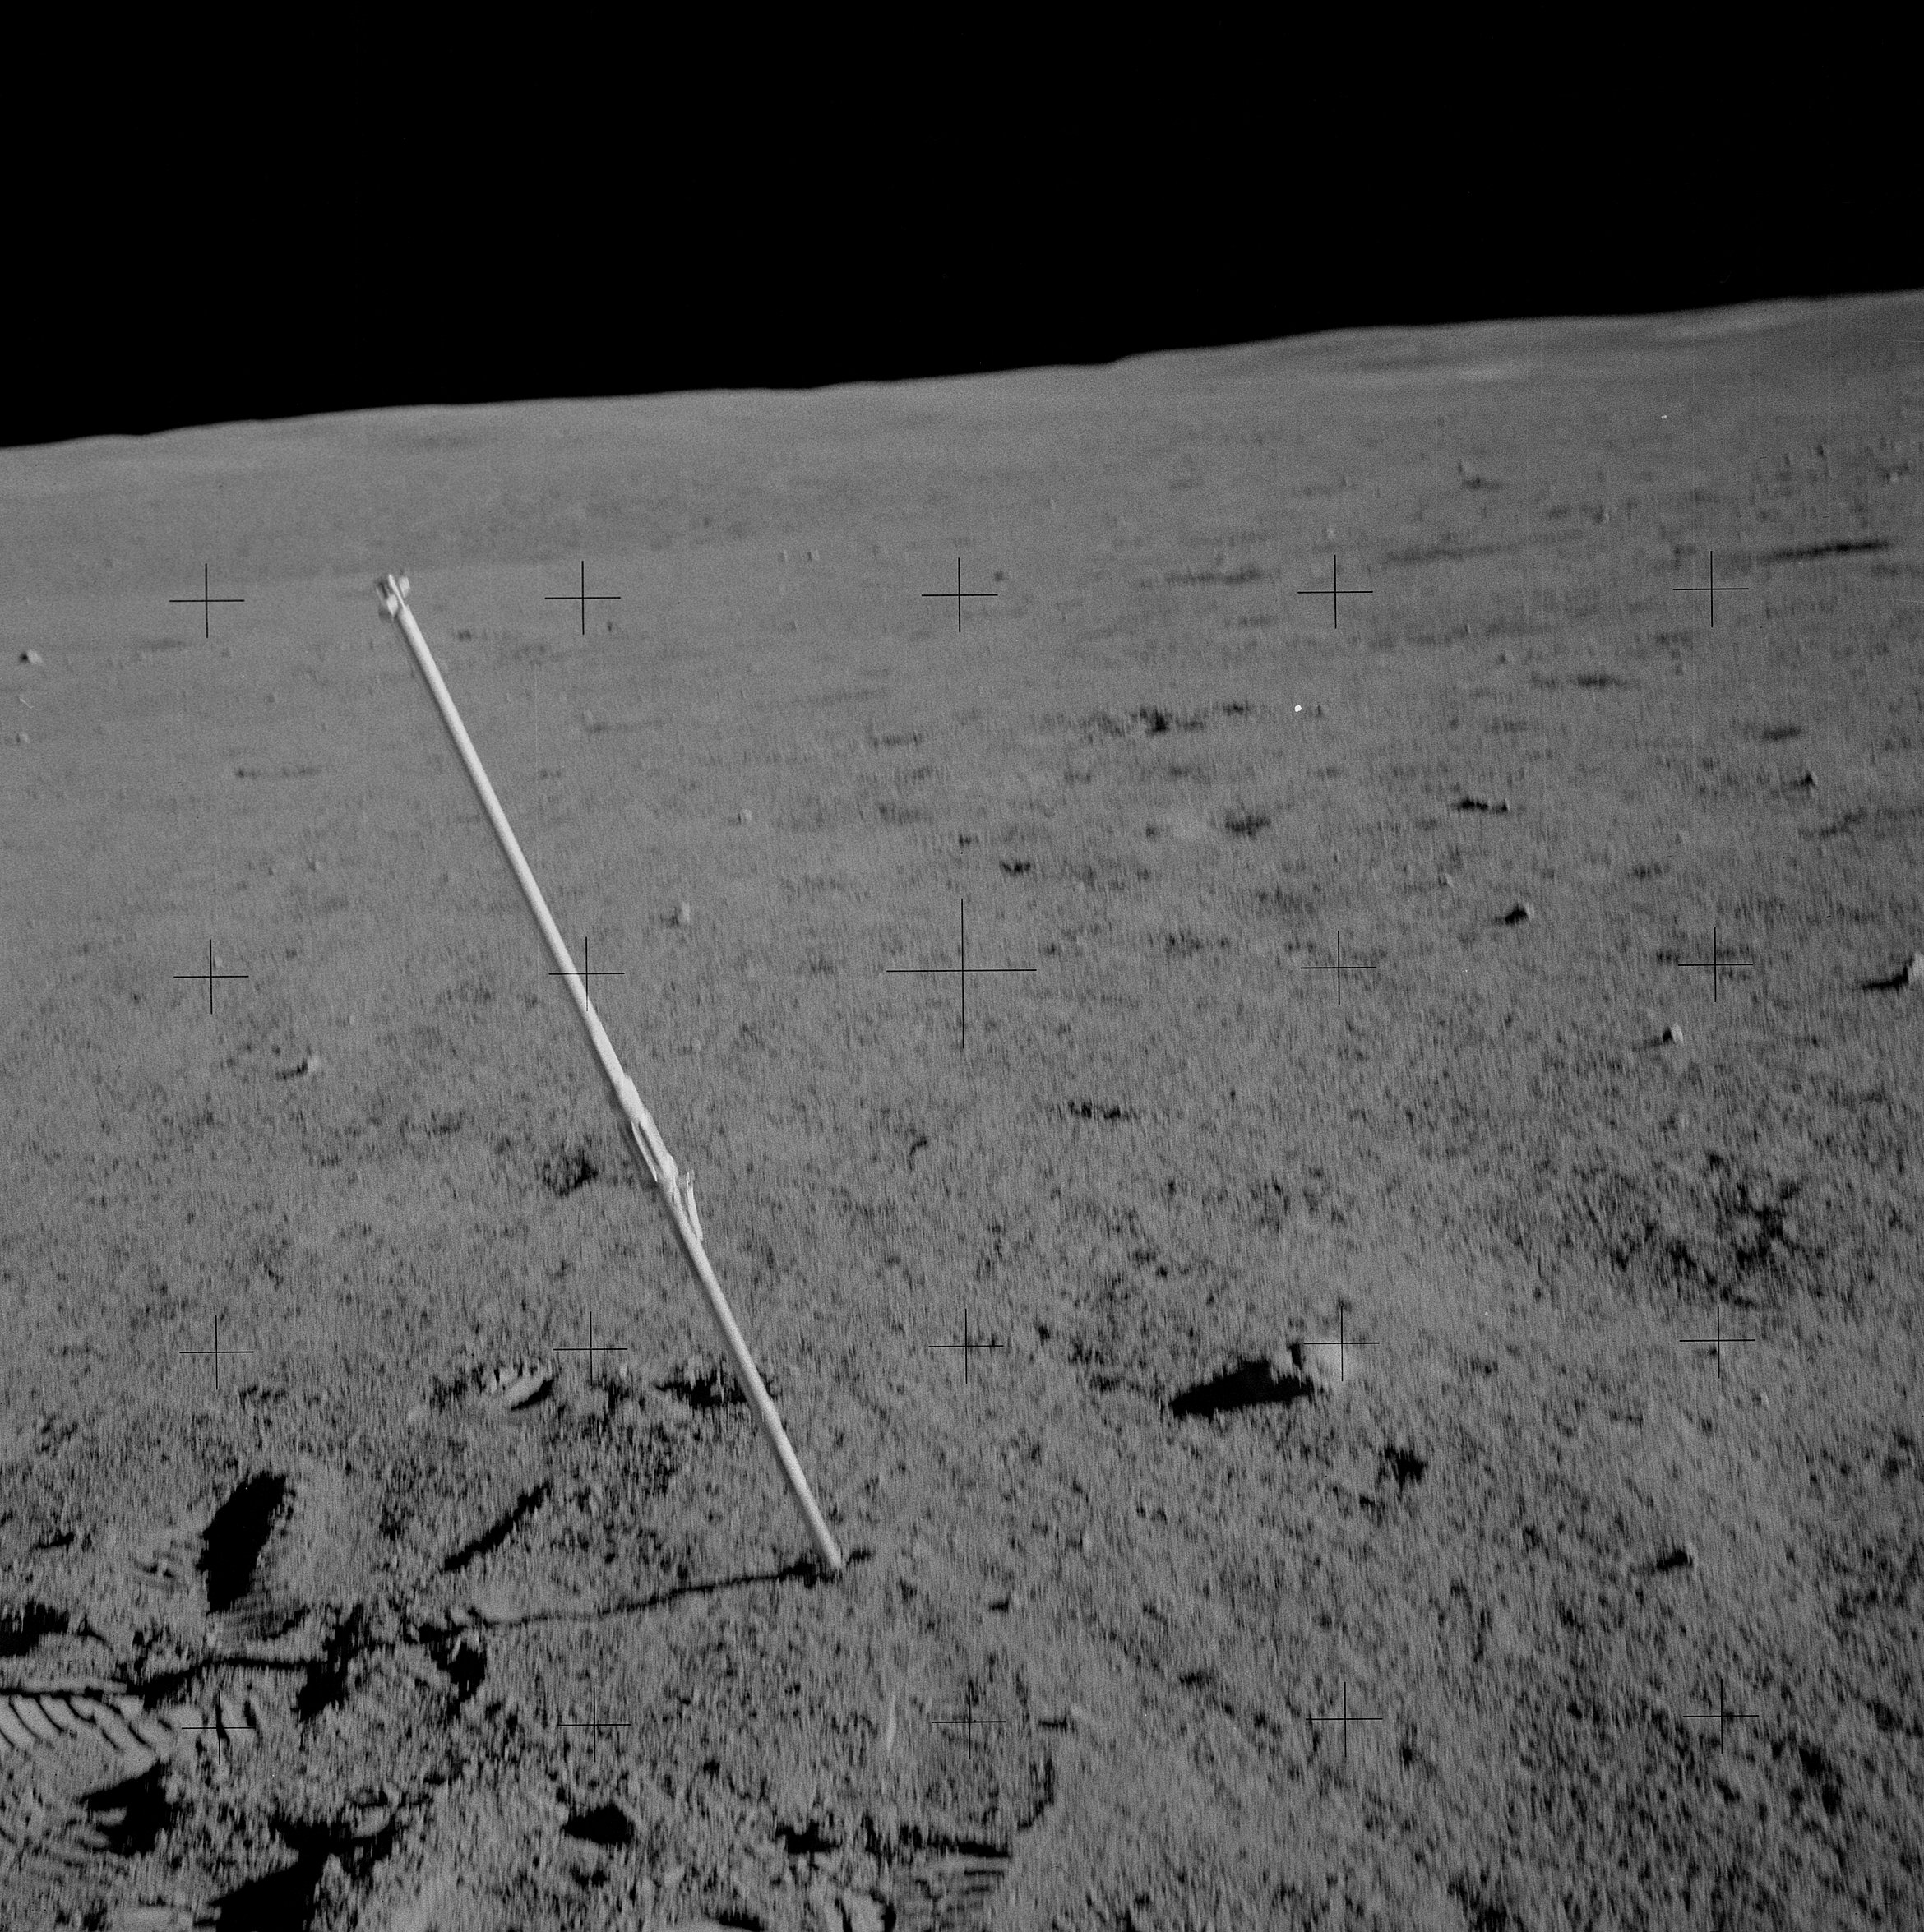 | AS14-68-9457 134:31:46 Note that Ed has the extension handle to complete the core. Image credit: Image Science and Analysis Laboratory, NASA-Johnson Space Center. |
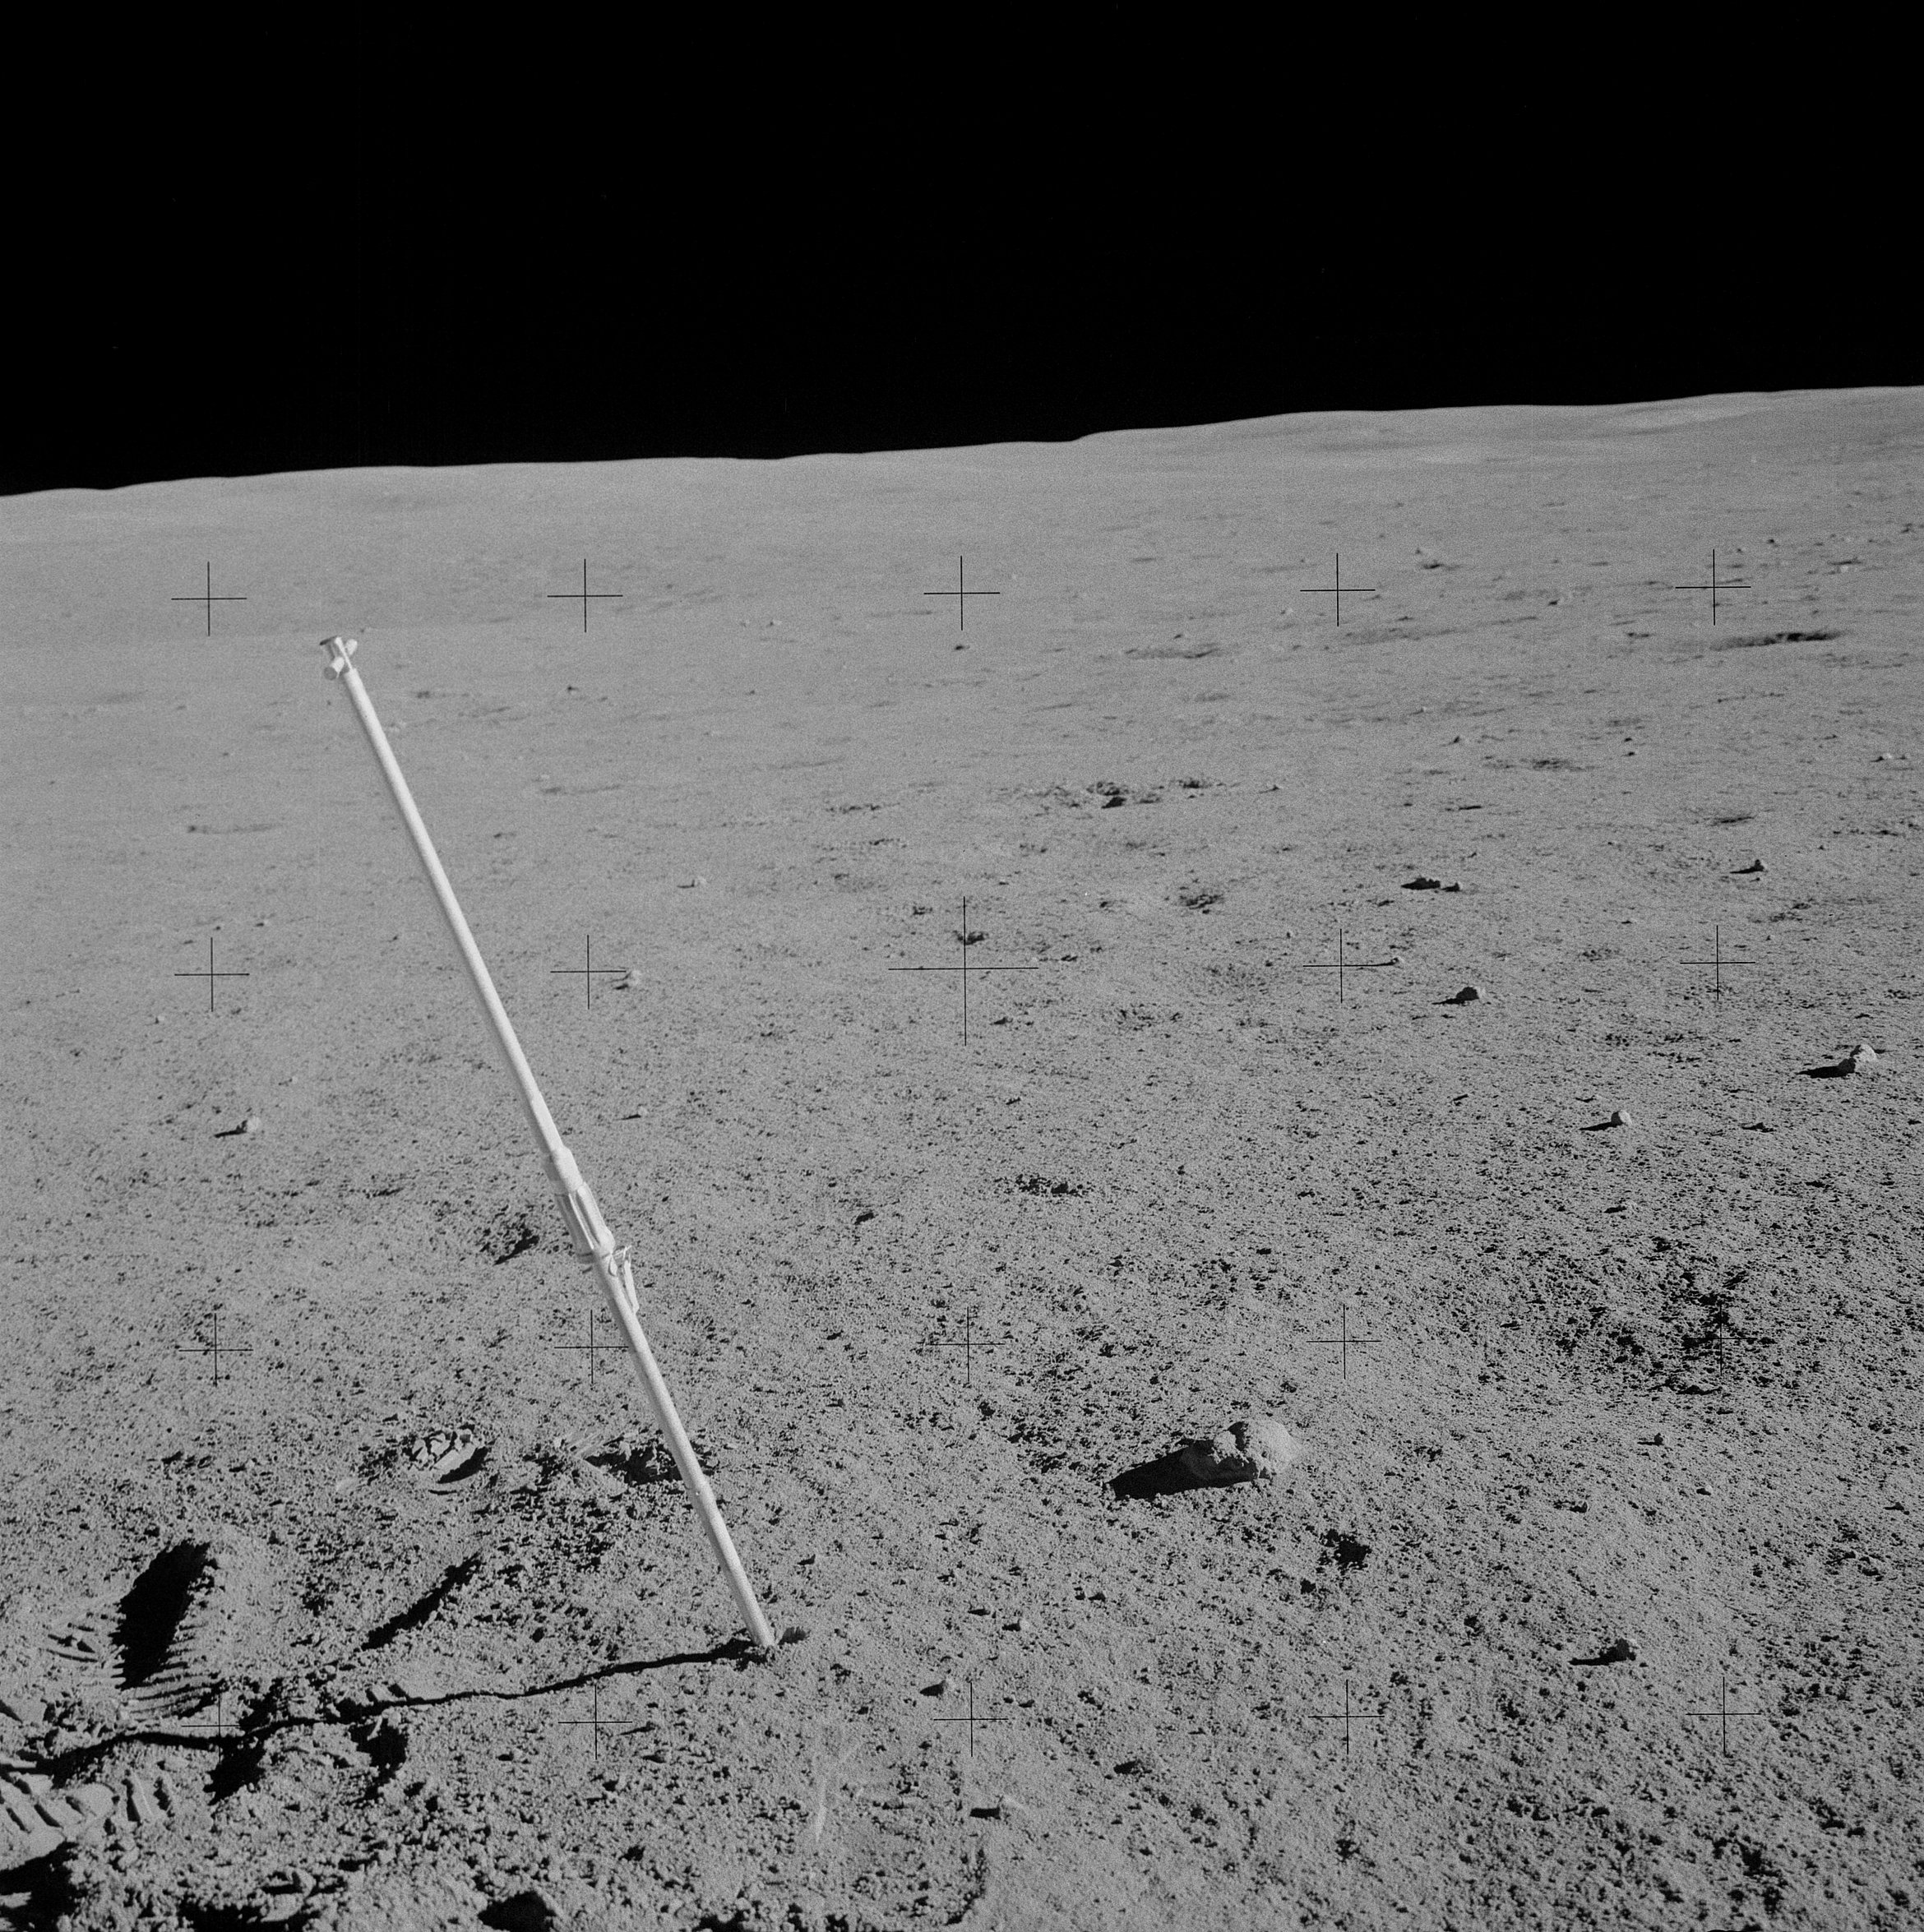 | AS14-68-9458 Similar to 9457. Image credit: Image Science and Analysis Laboratory, NASA-Johnson Space Center. |
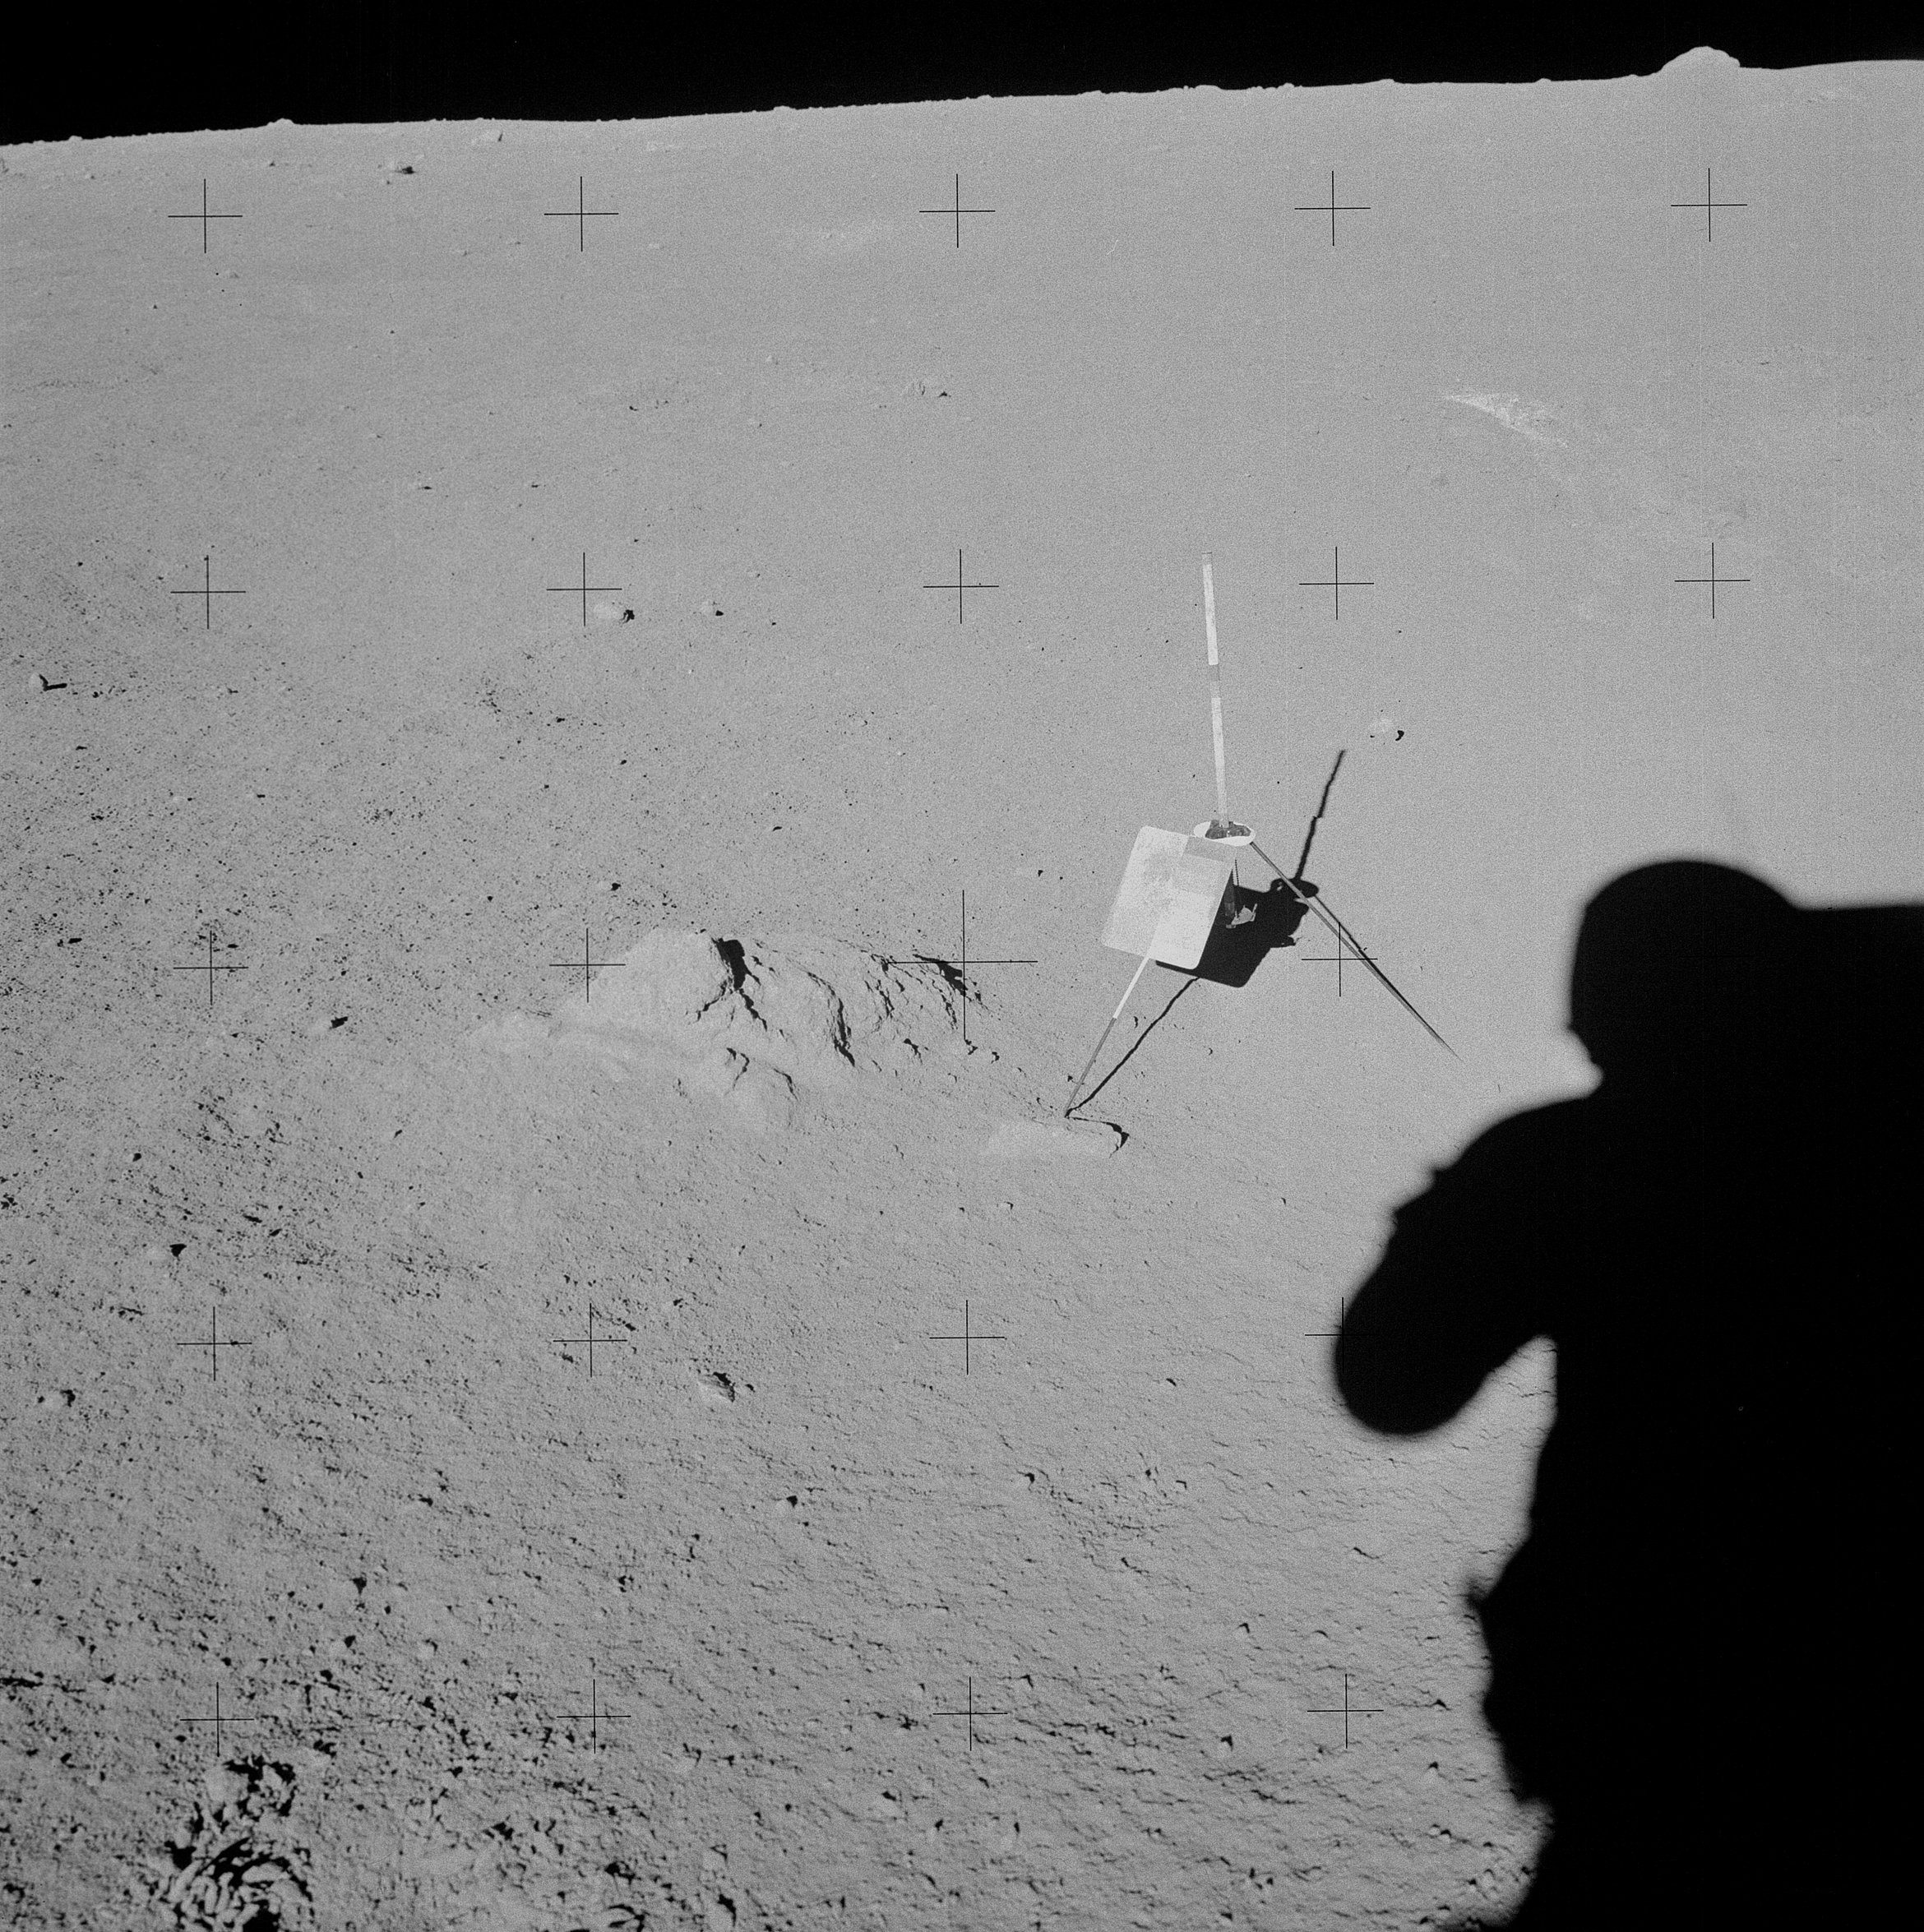 | AS14-68-9459 134:42:21 Down-Sun of the Station G documented sample. Image credit: Image Science and Analysis Laboratory, NASA-Johnson Space Center. |
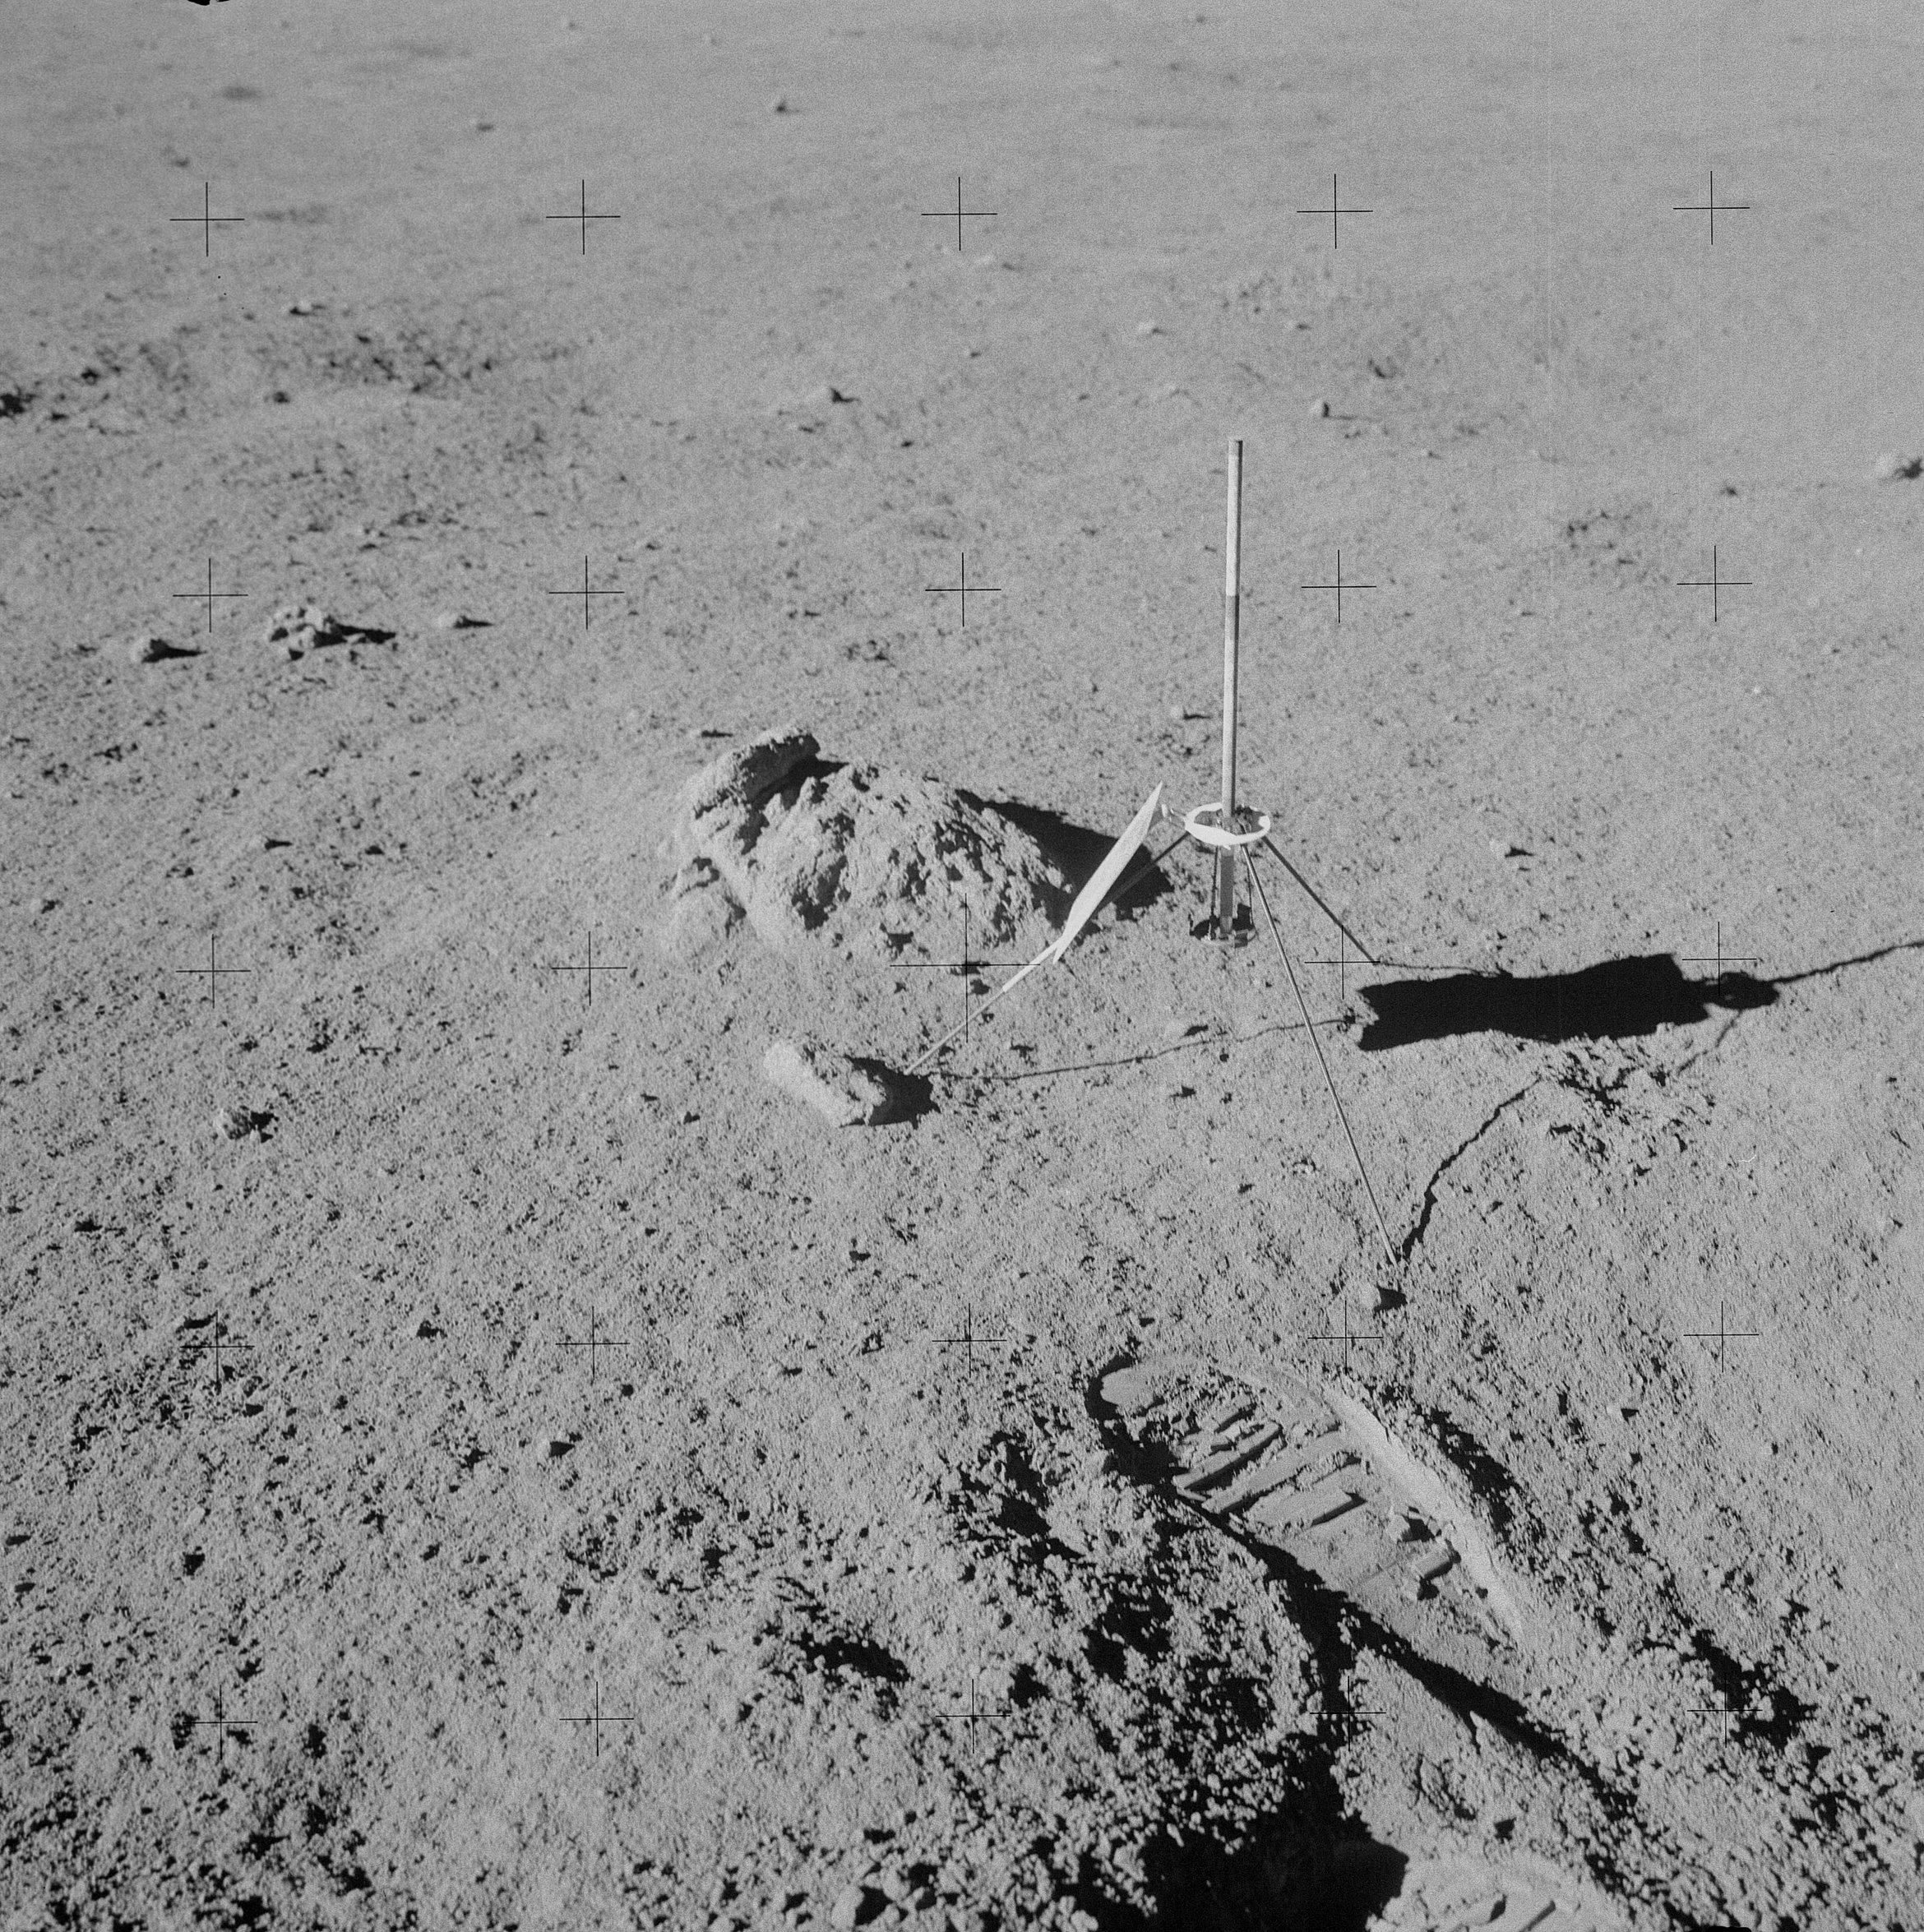 | AS14-68-9460 Cross-Sun from the north of the documented sample site at Station G. Image credit: Image Science and Analysis Laboratory, NASA-Johnson Space Center. |
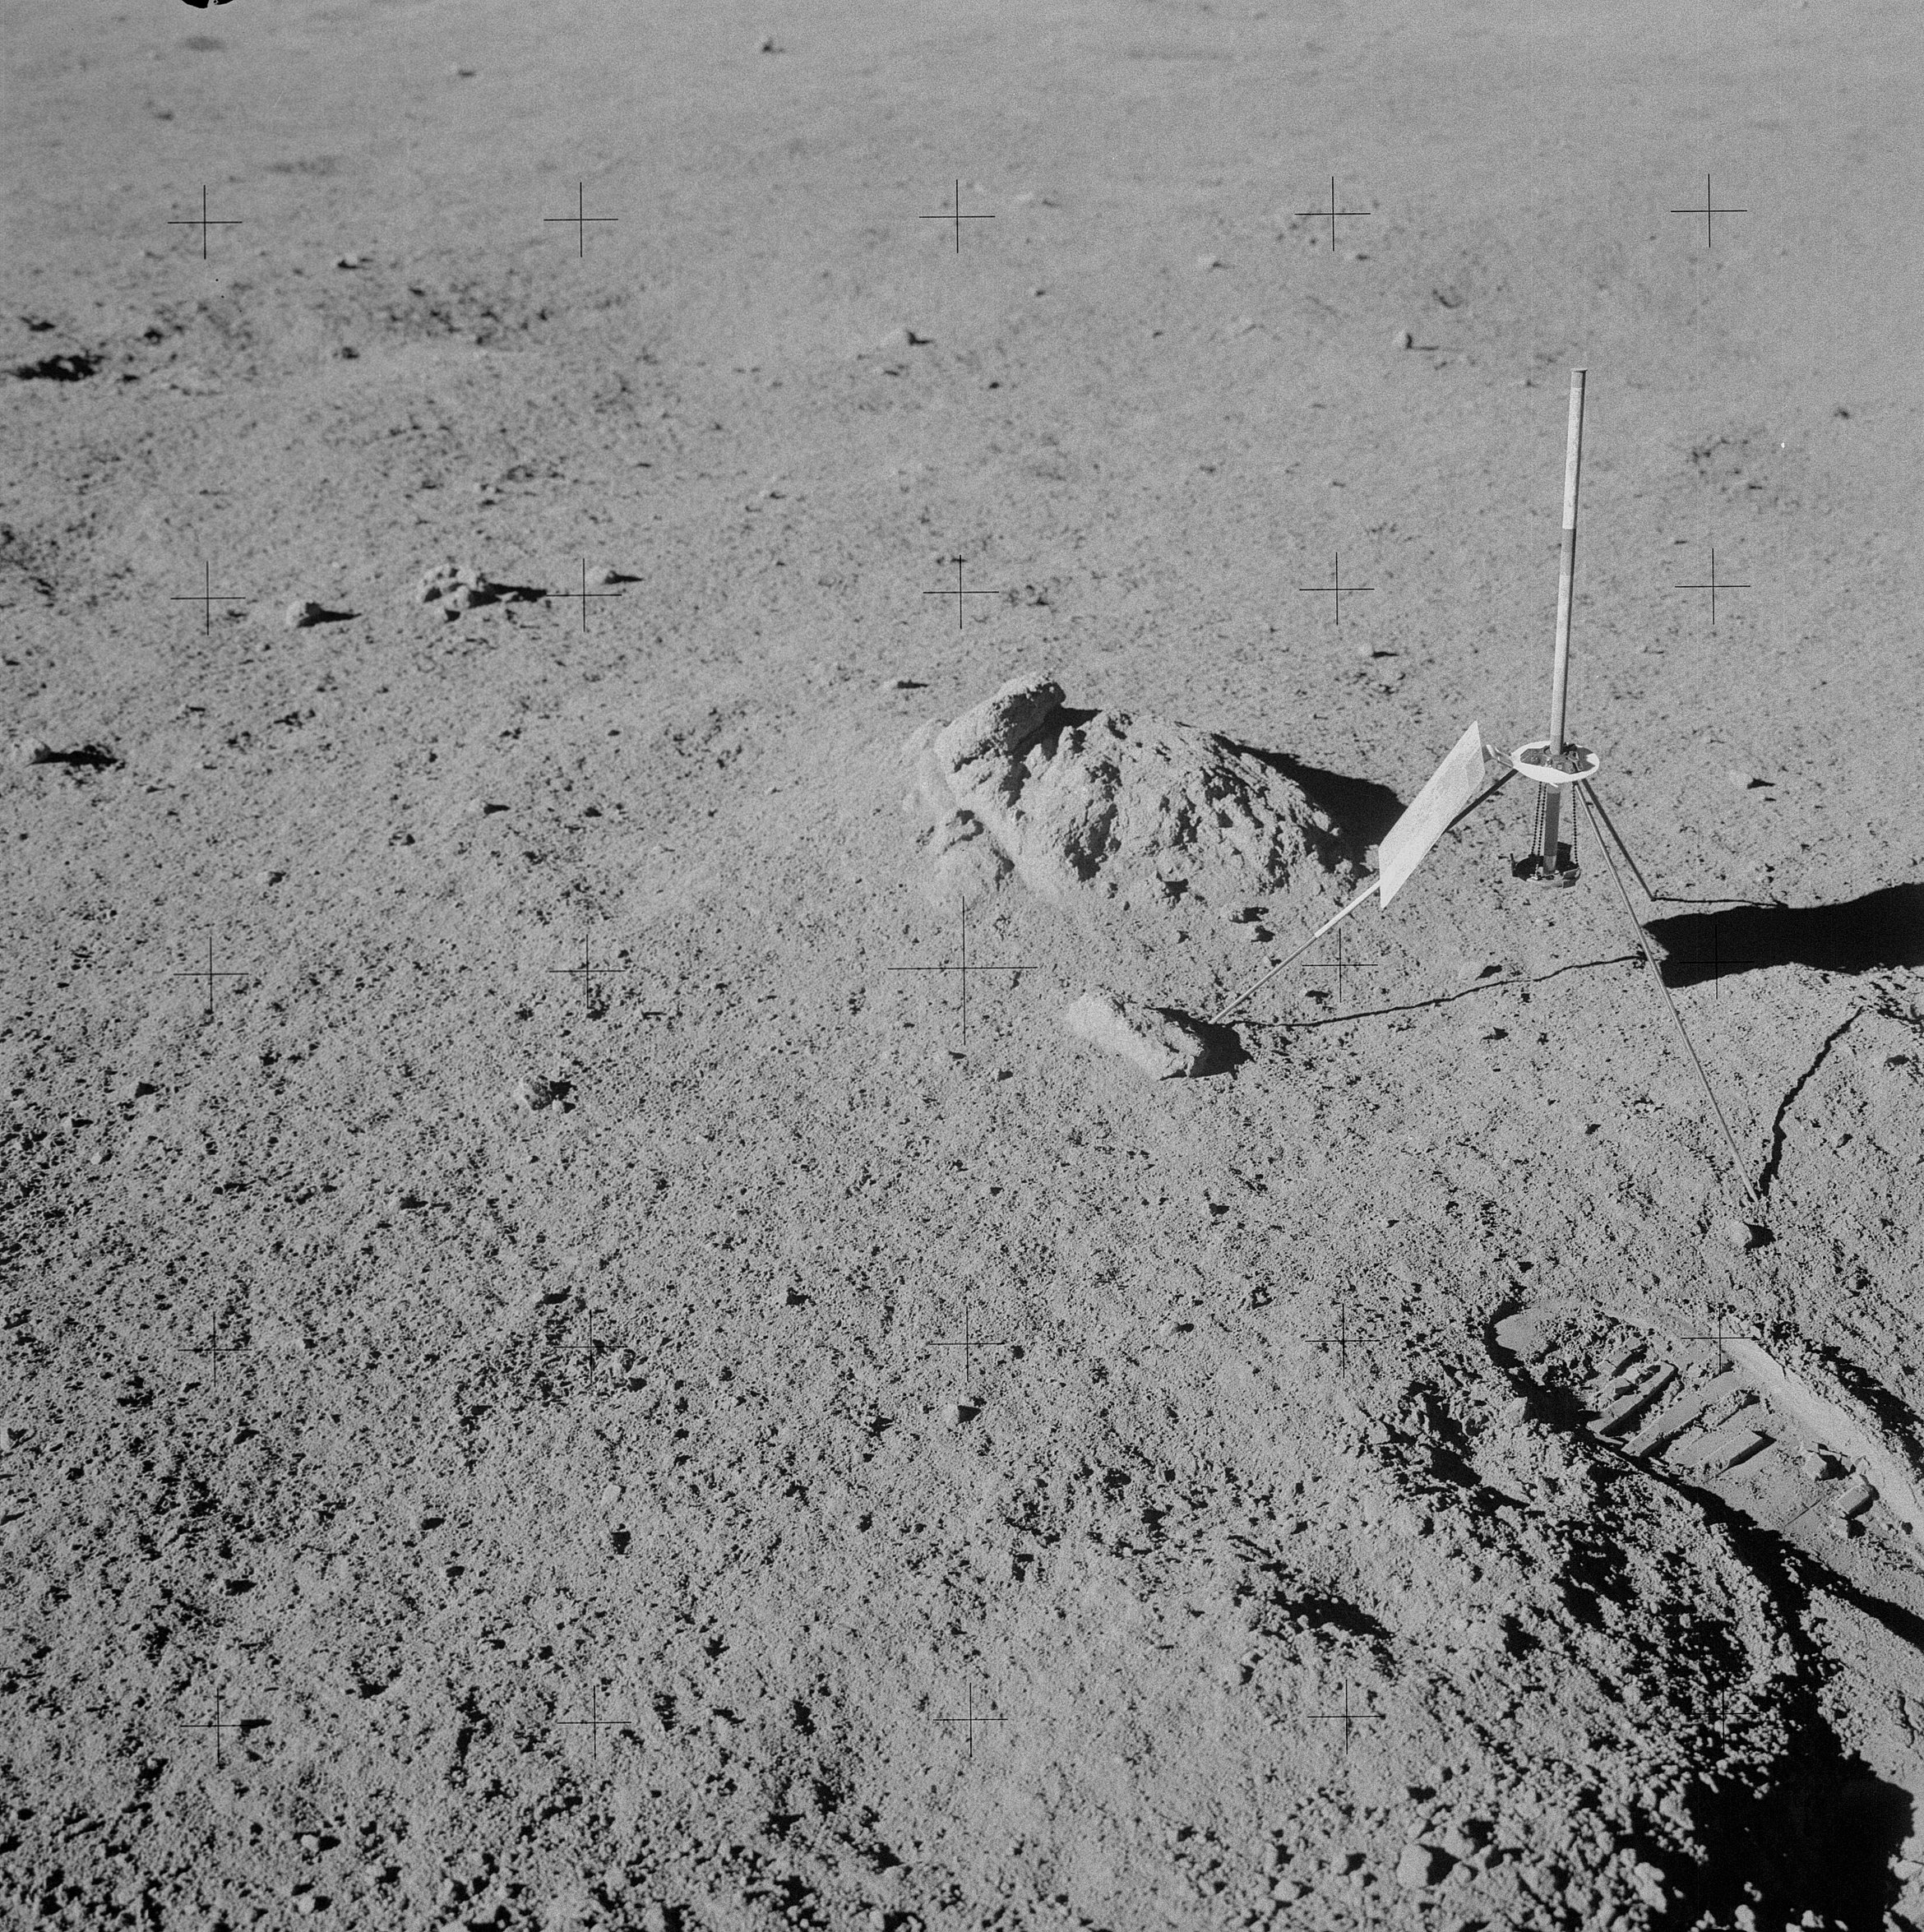 | AS14-68-9461 Ed has stepped left to take this stereo companion to 9460. Image credit: Image Science and Analysis Laboratory, NASA-Johnson Space Center. |
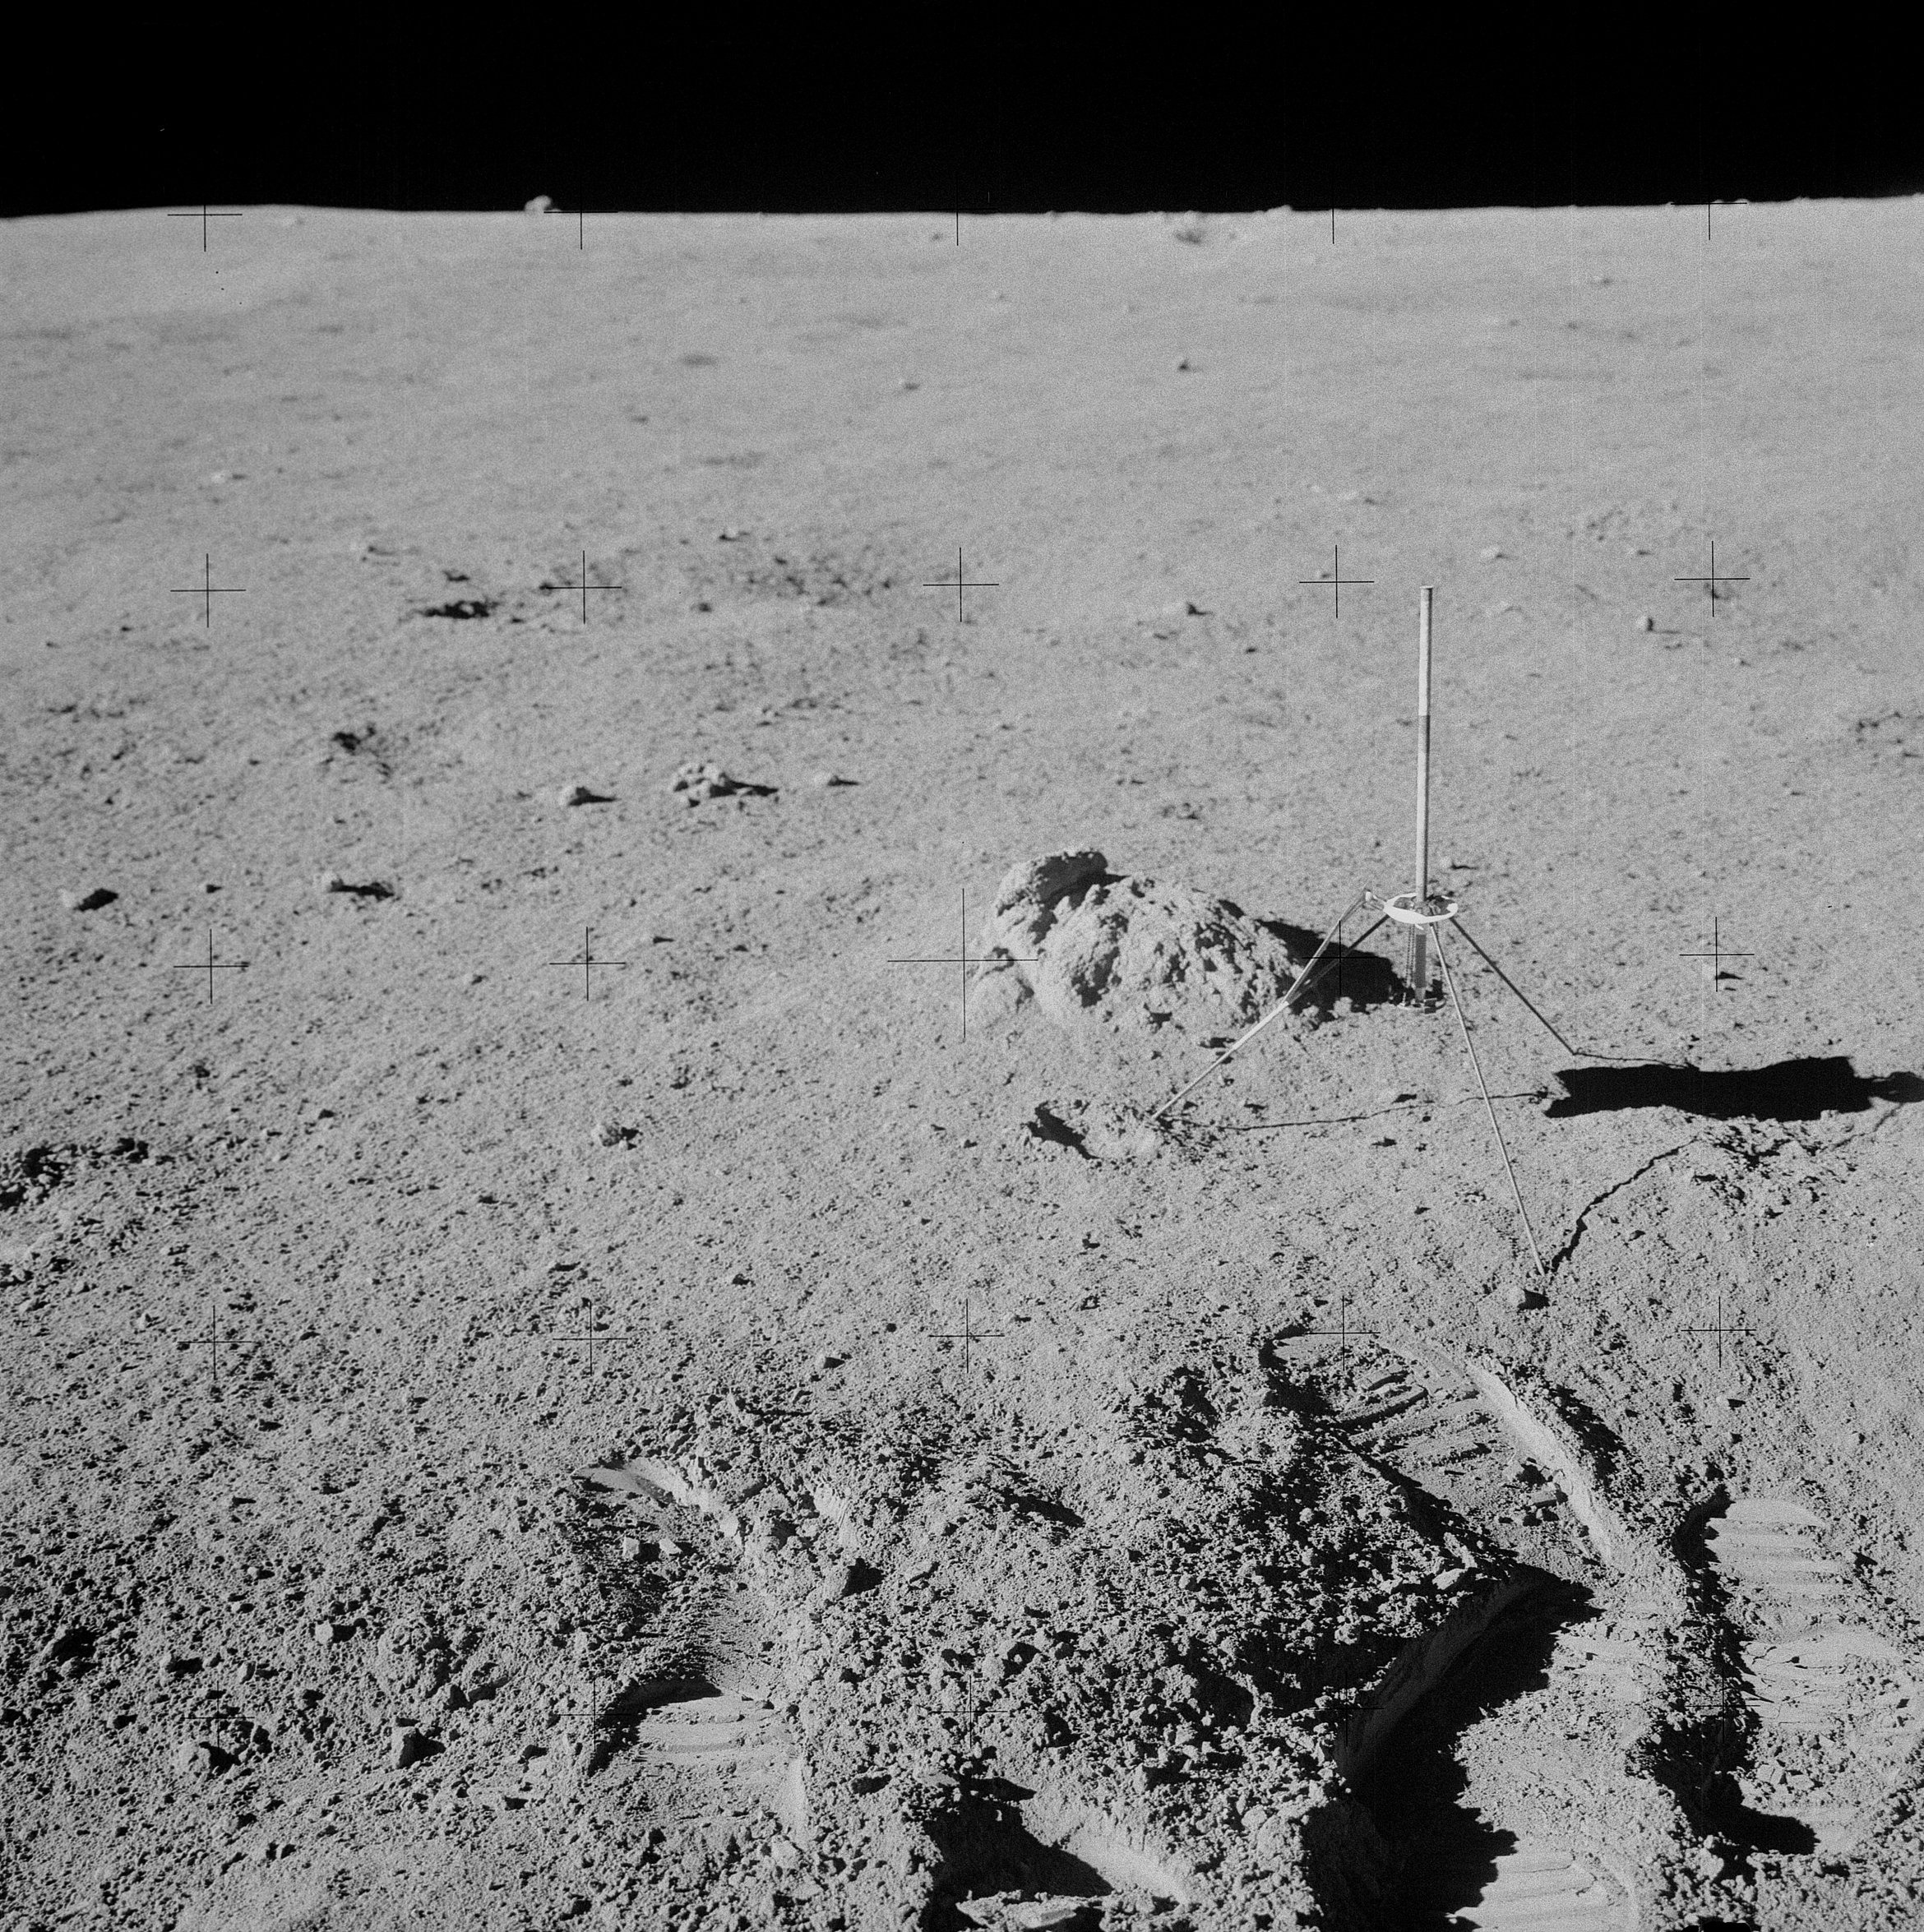 | AS14-68-9462 Post-sample photo of the Station G documented sample. Image credit: Image Science and Analysis Laboratory, NASA-Johnson Space Center. |
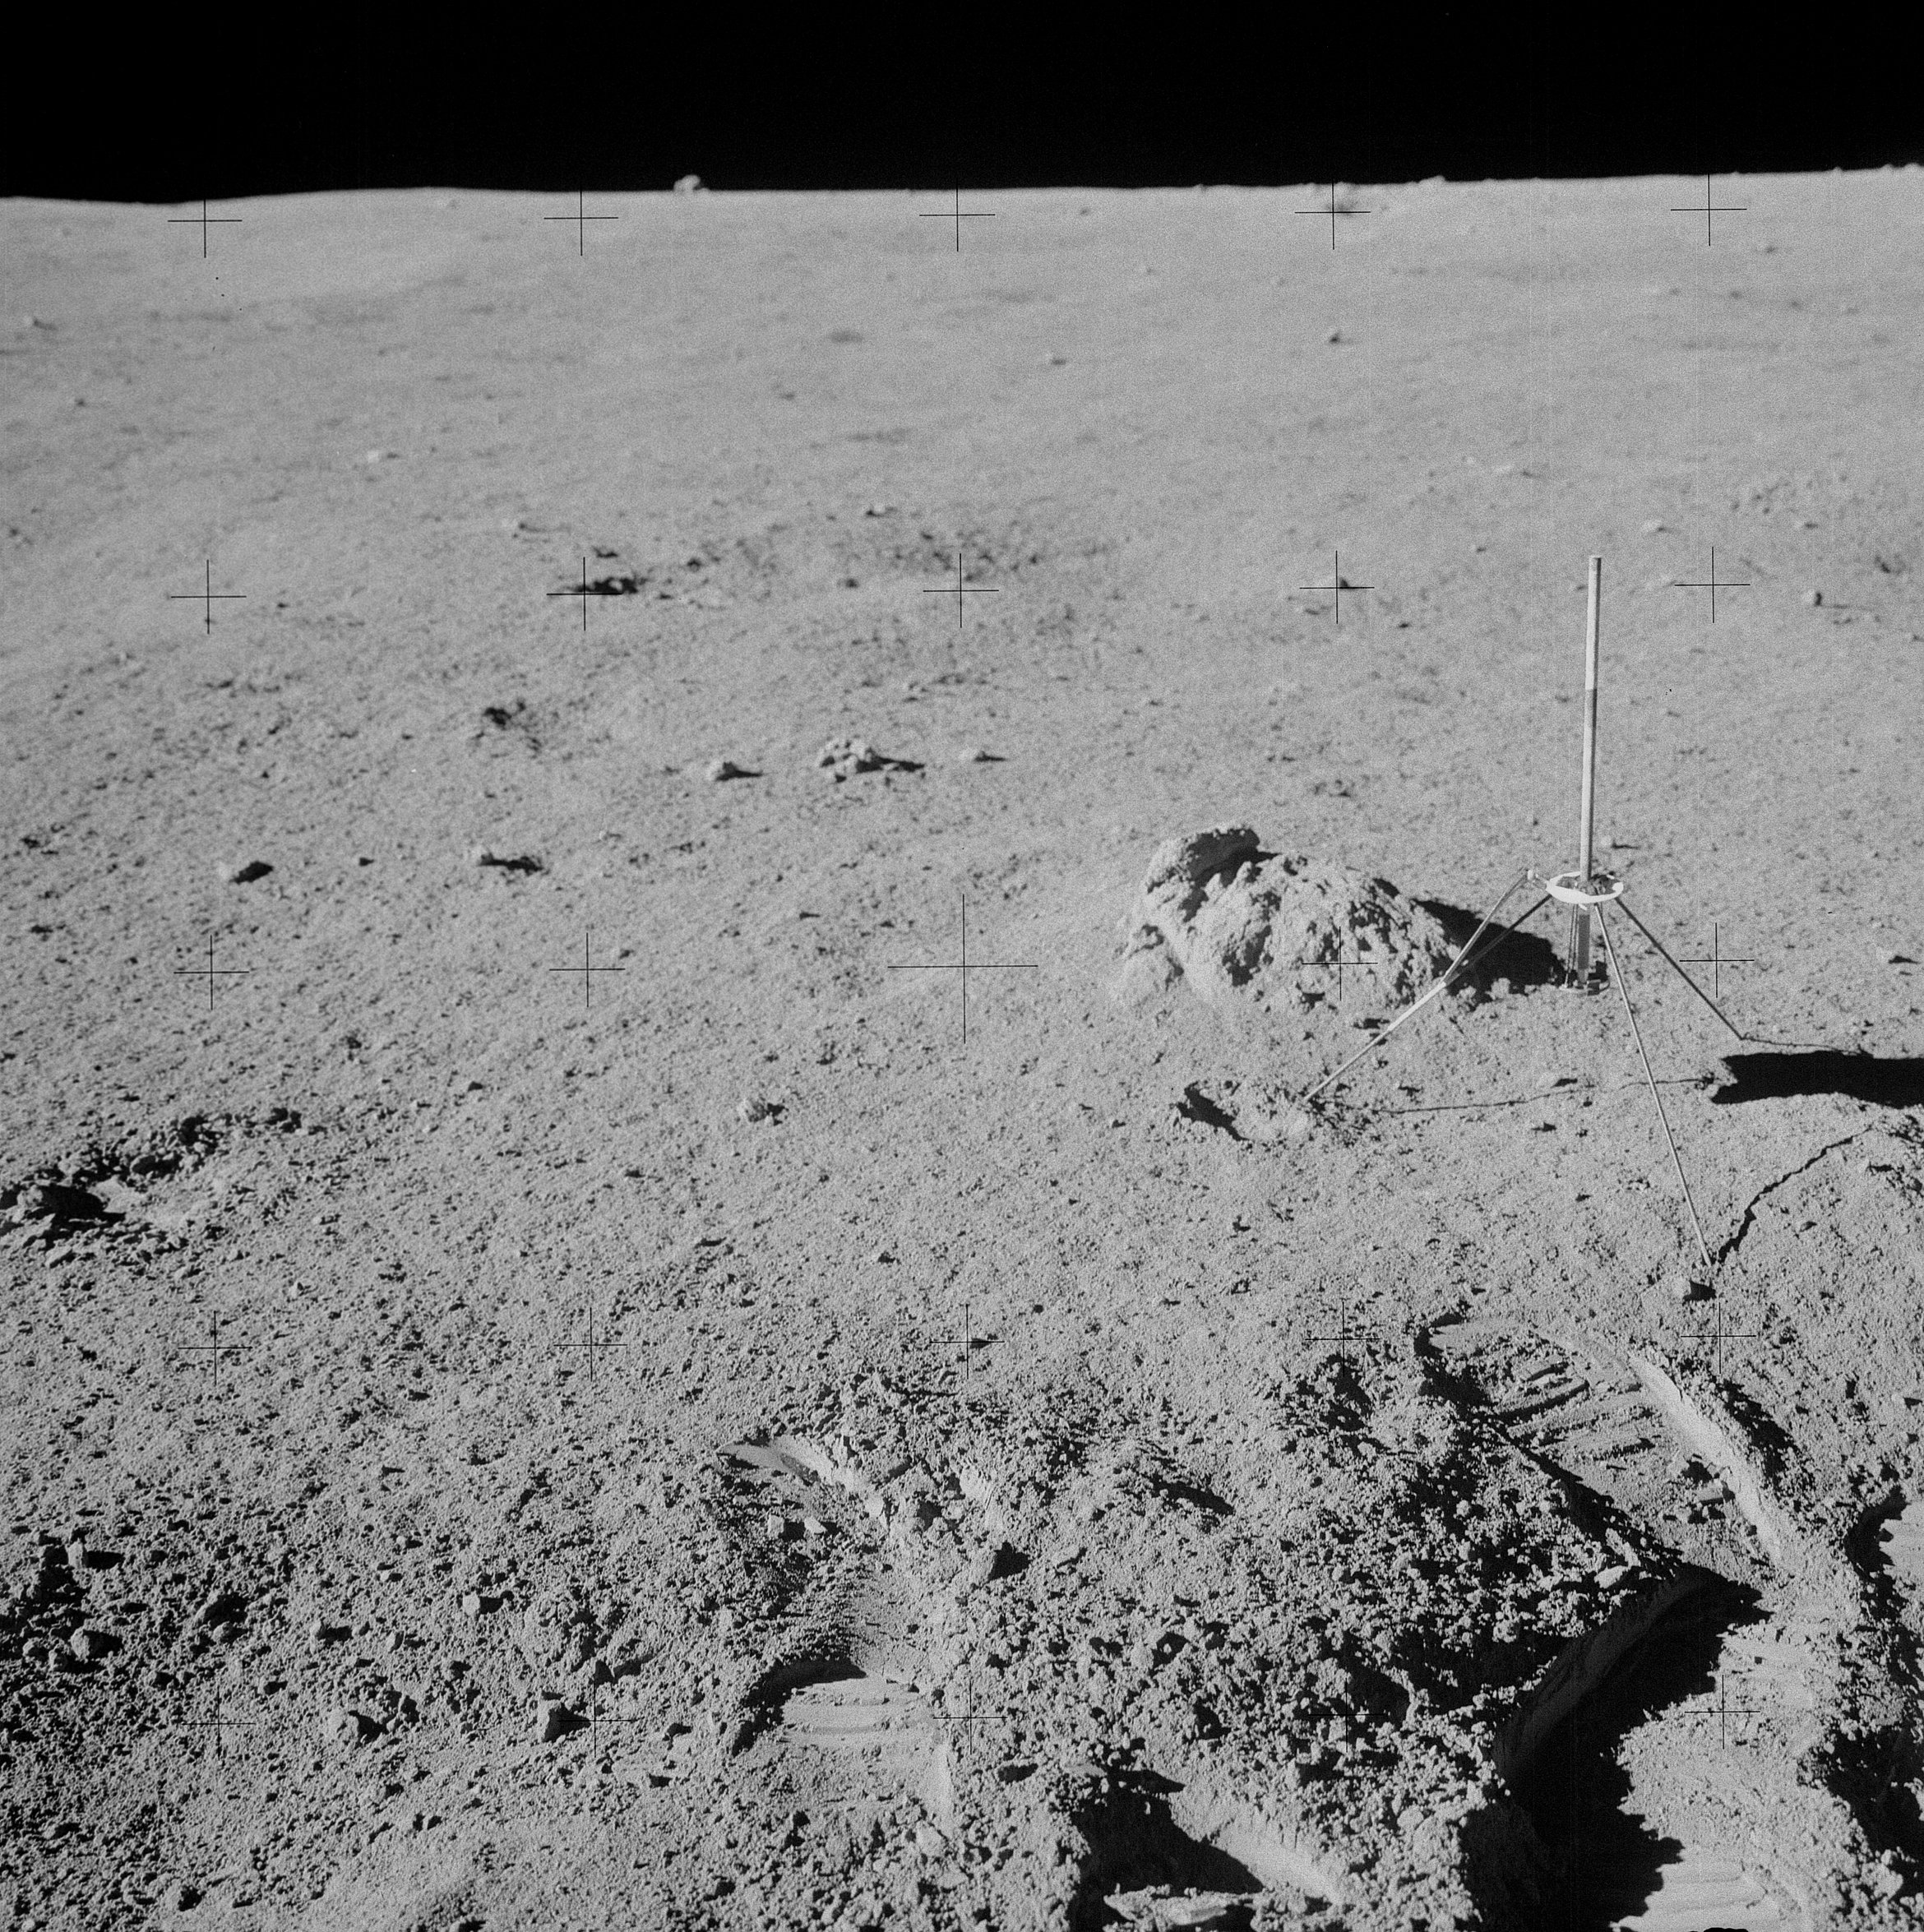 | AS14-68-9463 Ed has stepped left to take this stereo companion to 9462. Image credit: Image Science and Analysis Laboratory, NASA-Johnson Space Center. |
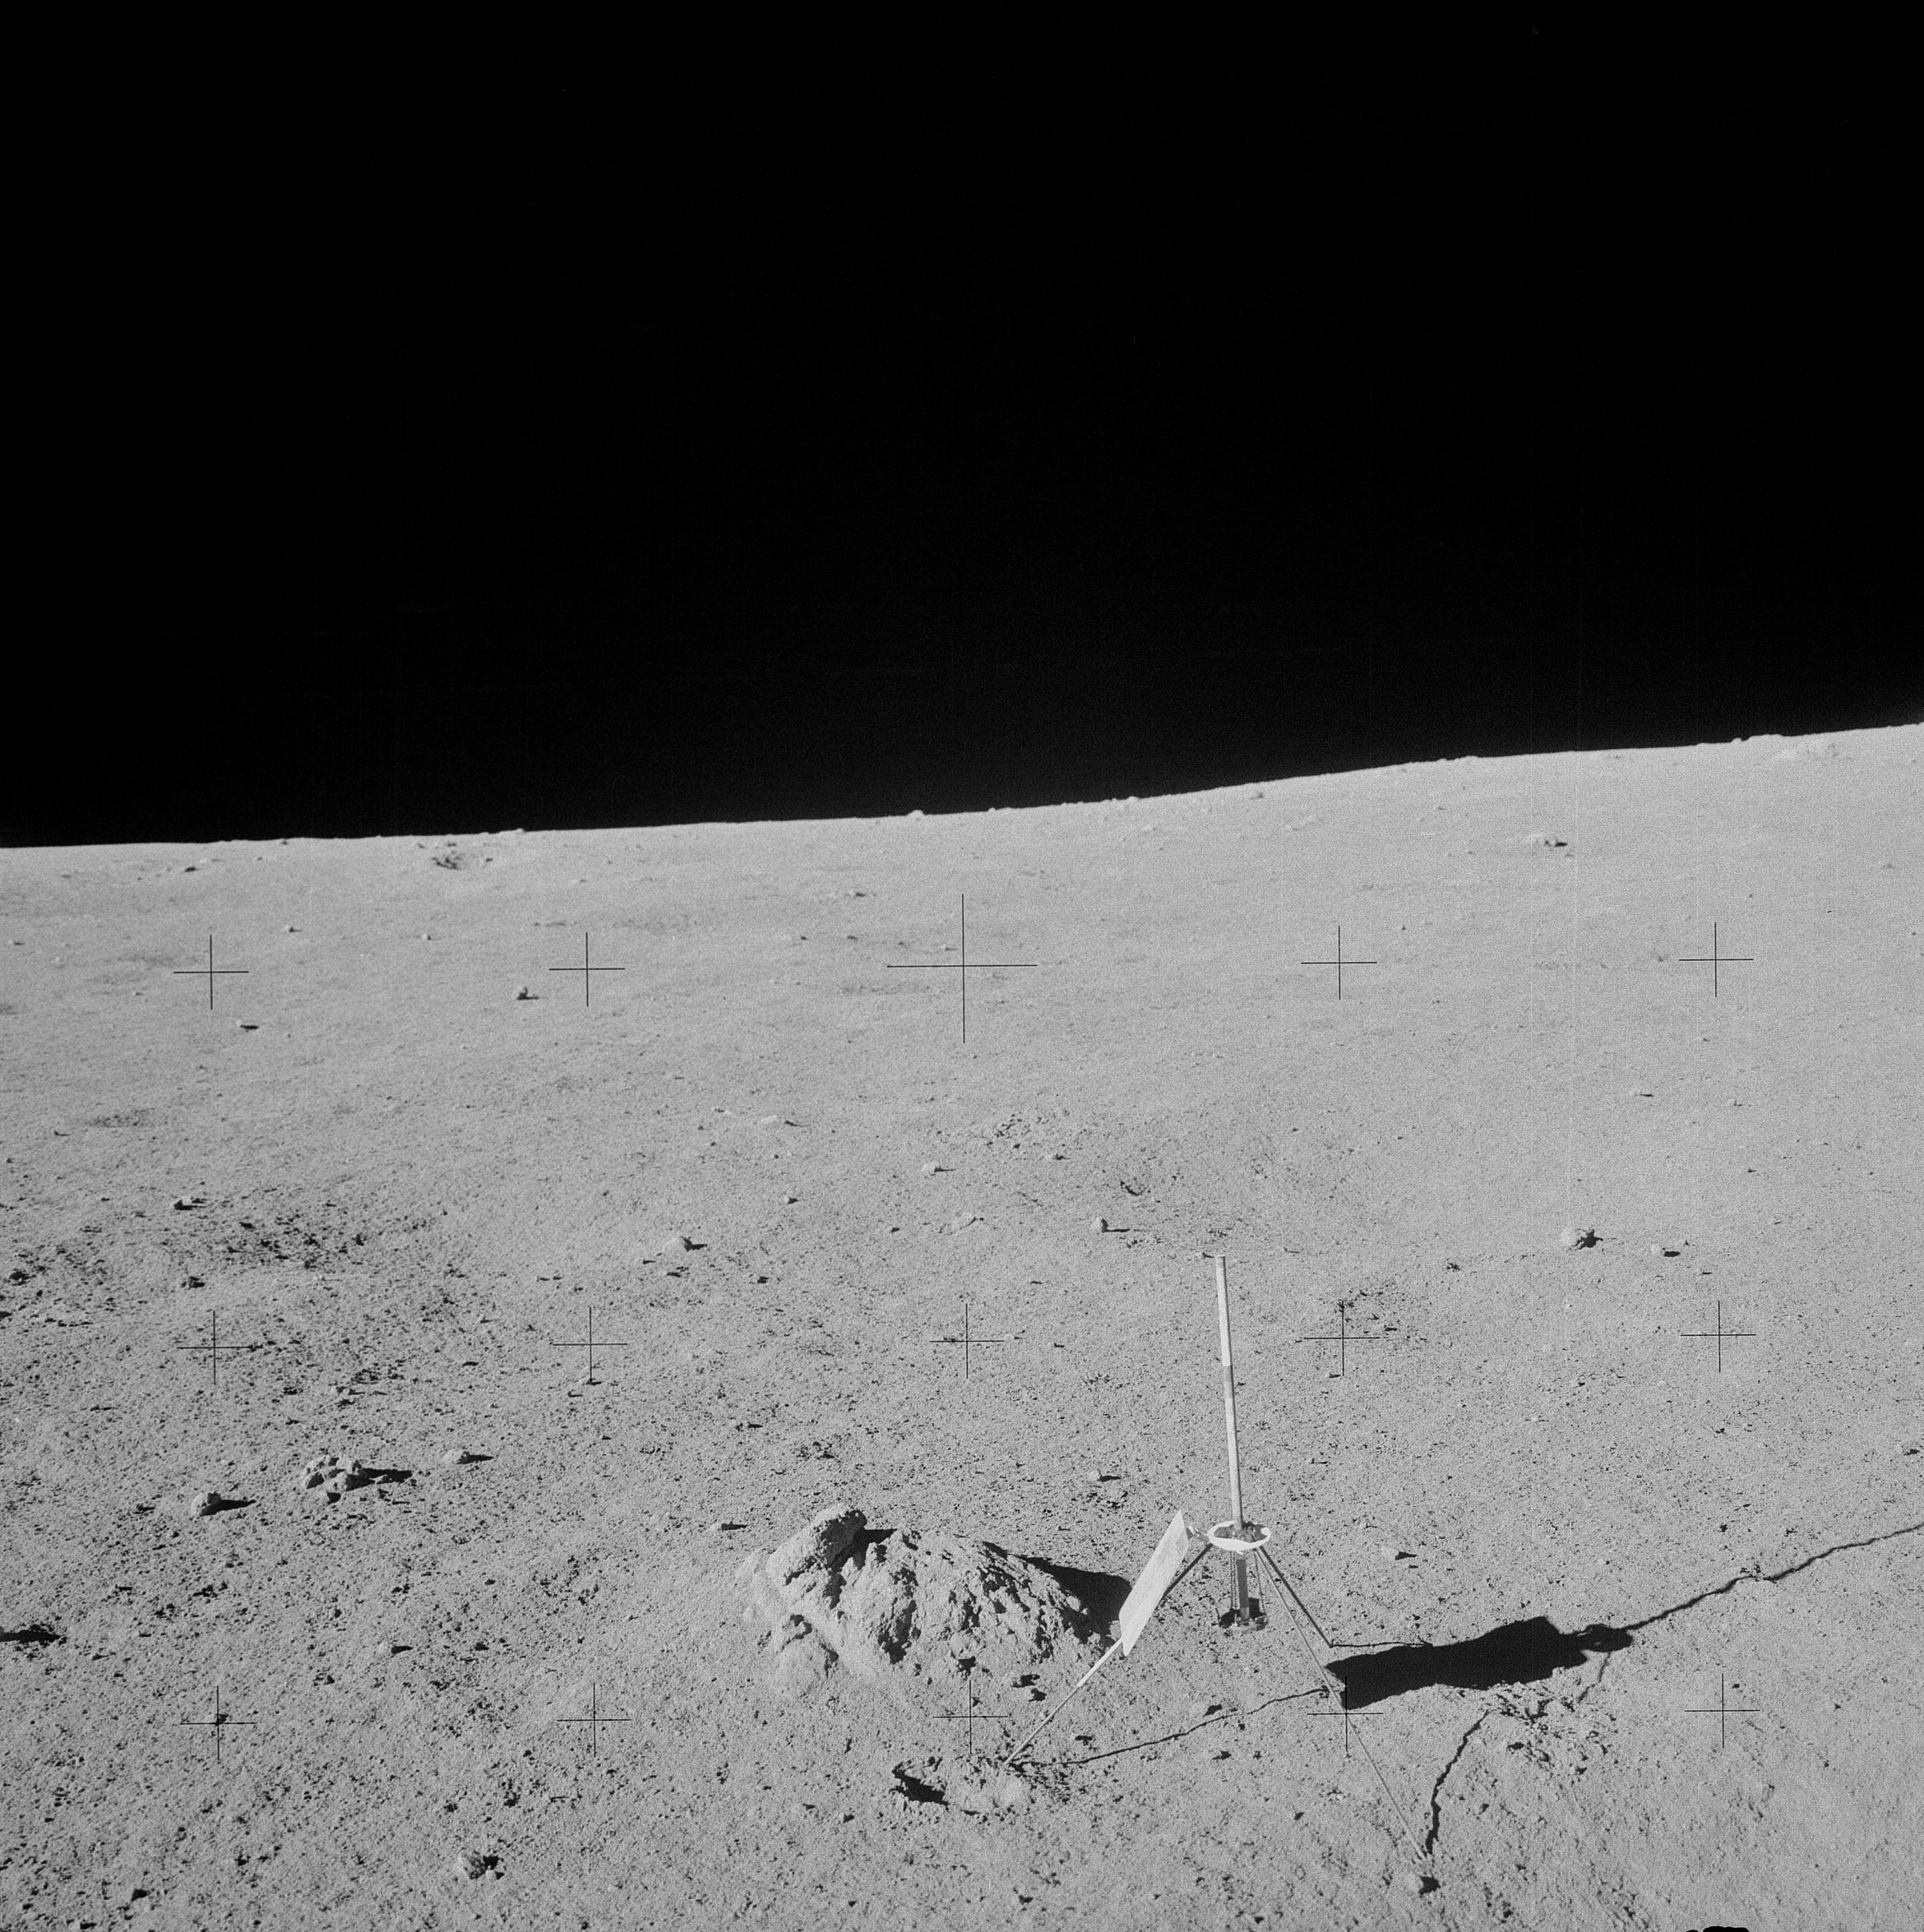 | AS14-68-9464 Ed has probably raised the camera to get a horizon "locator" at the Station G documented sample site. Image credit: Image Science and Analysis Laboratory, NASA-Johnson Space Center. |
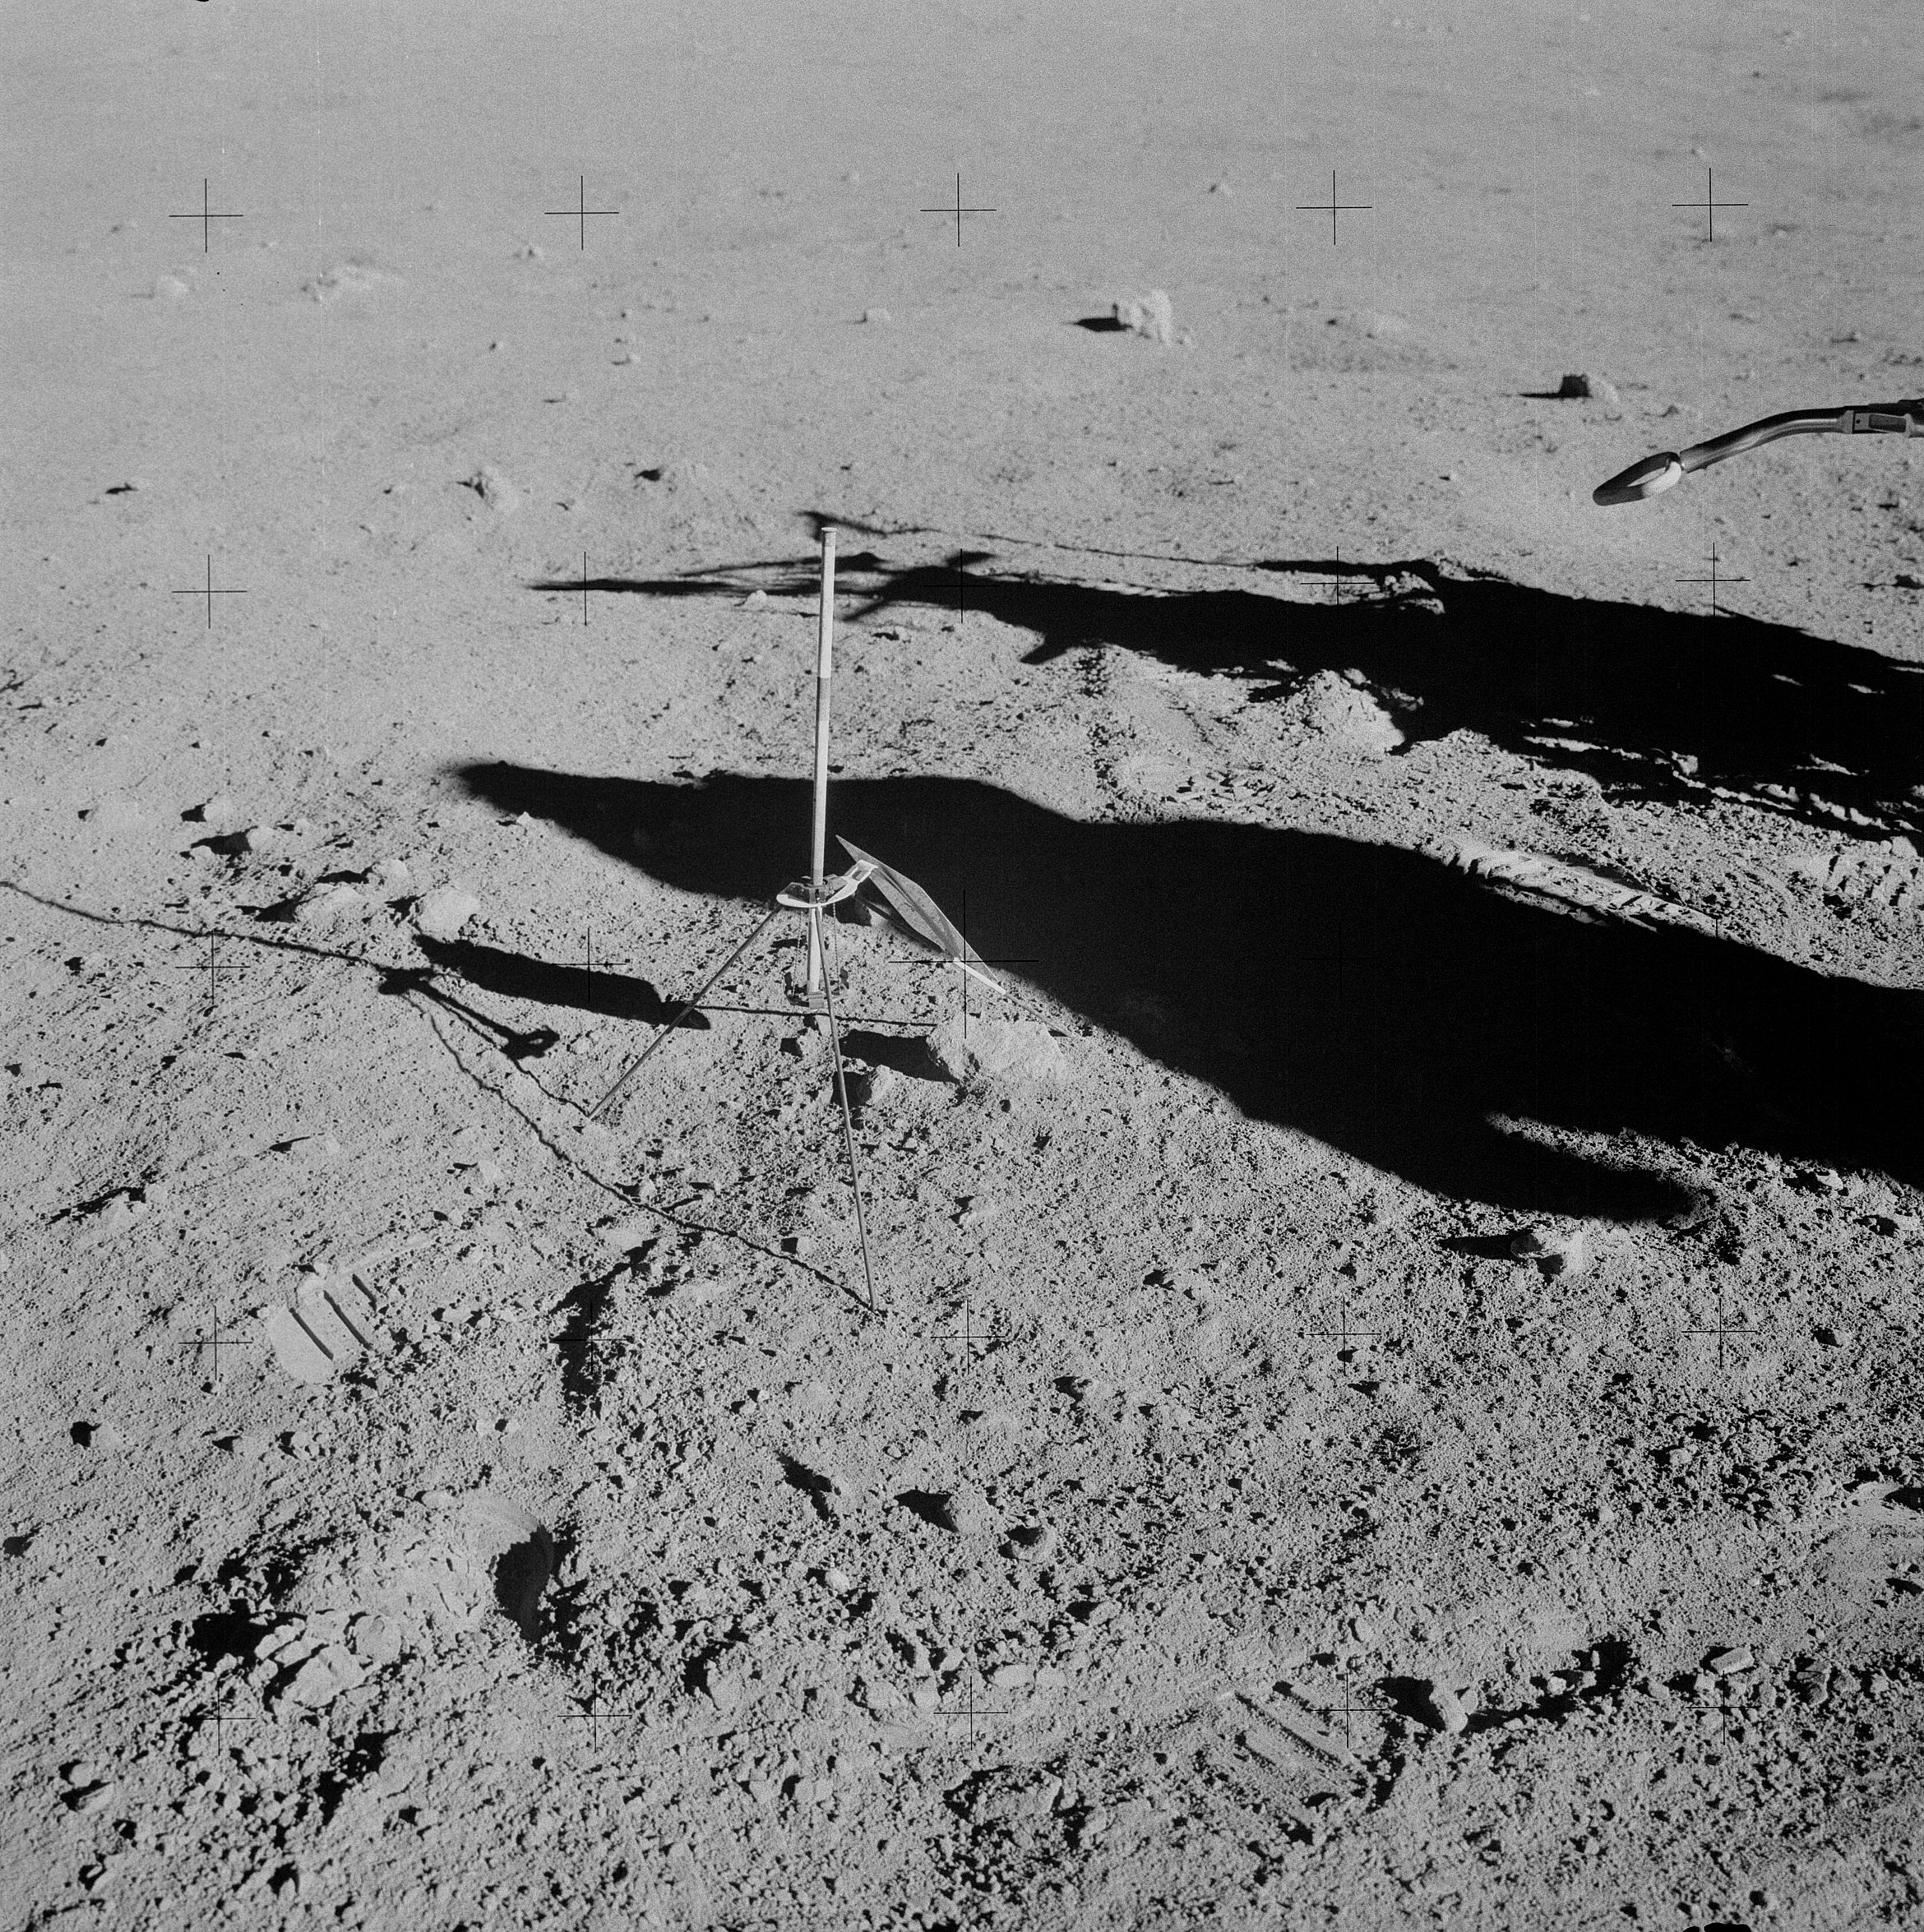 | AS14-68-9465 134:49:38 Cross-sun "before" from the south of the documented sample site at Station G2. Image credit: Image Science and Analysis Laboratory, NASA-Johnson Space Center. |
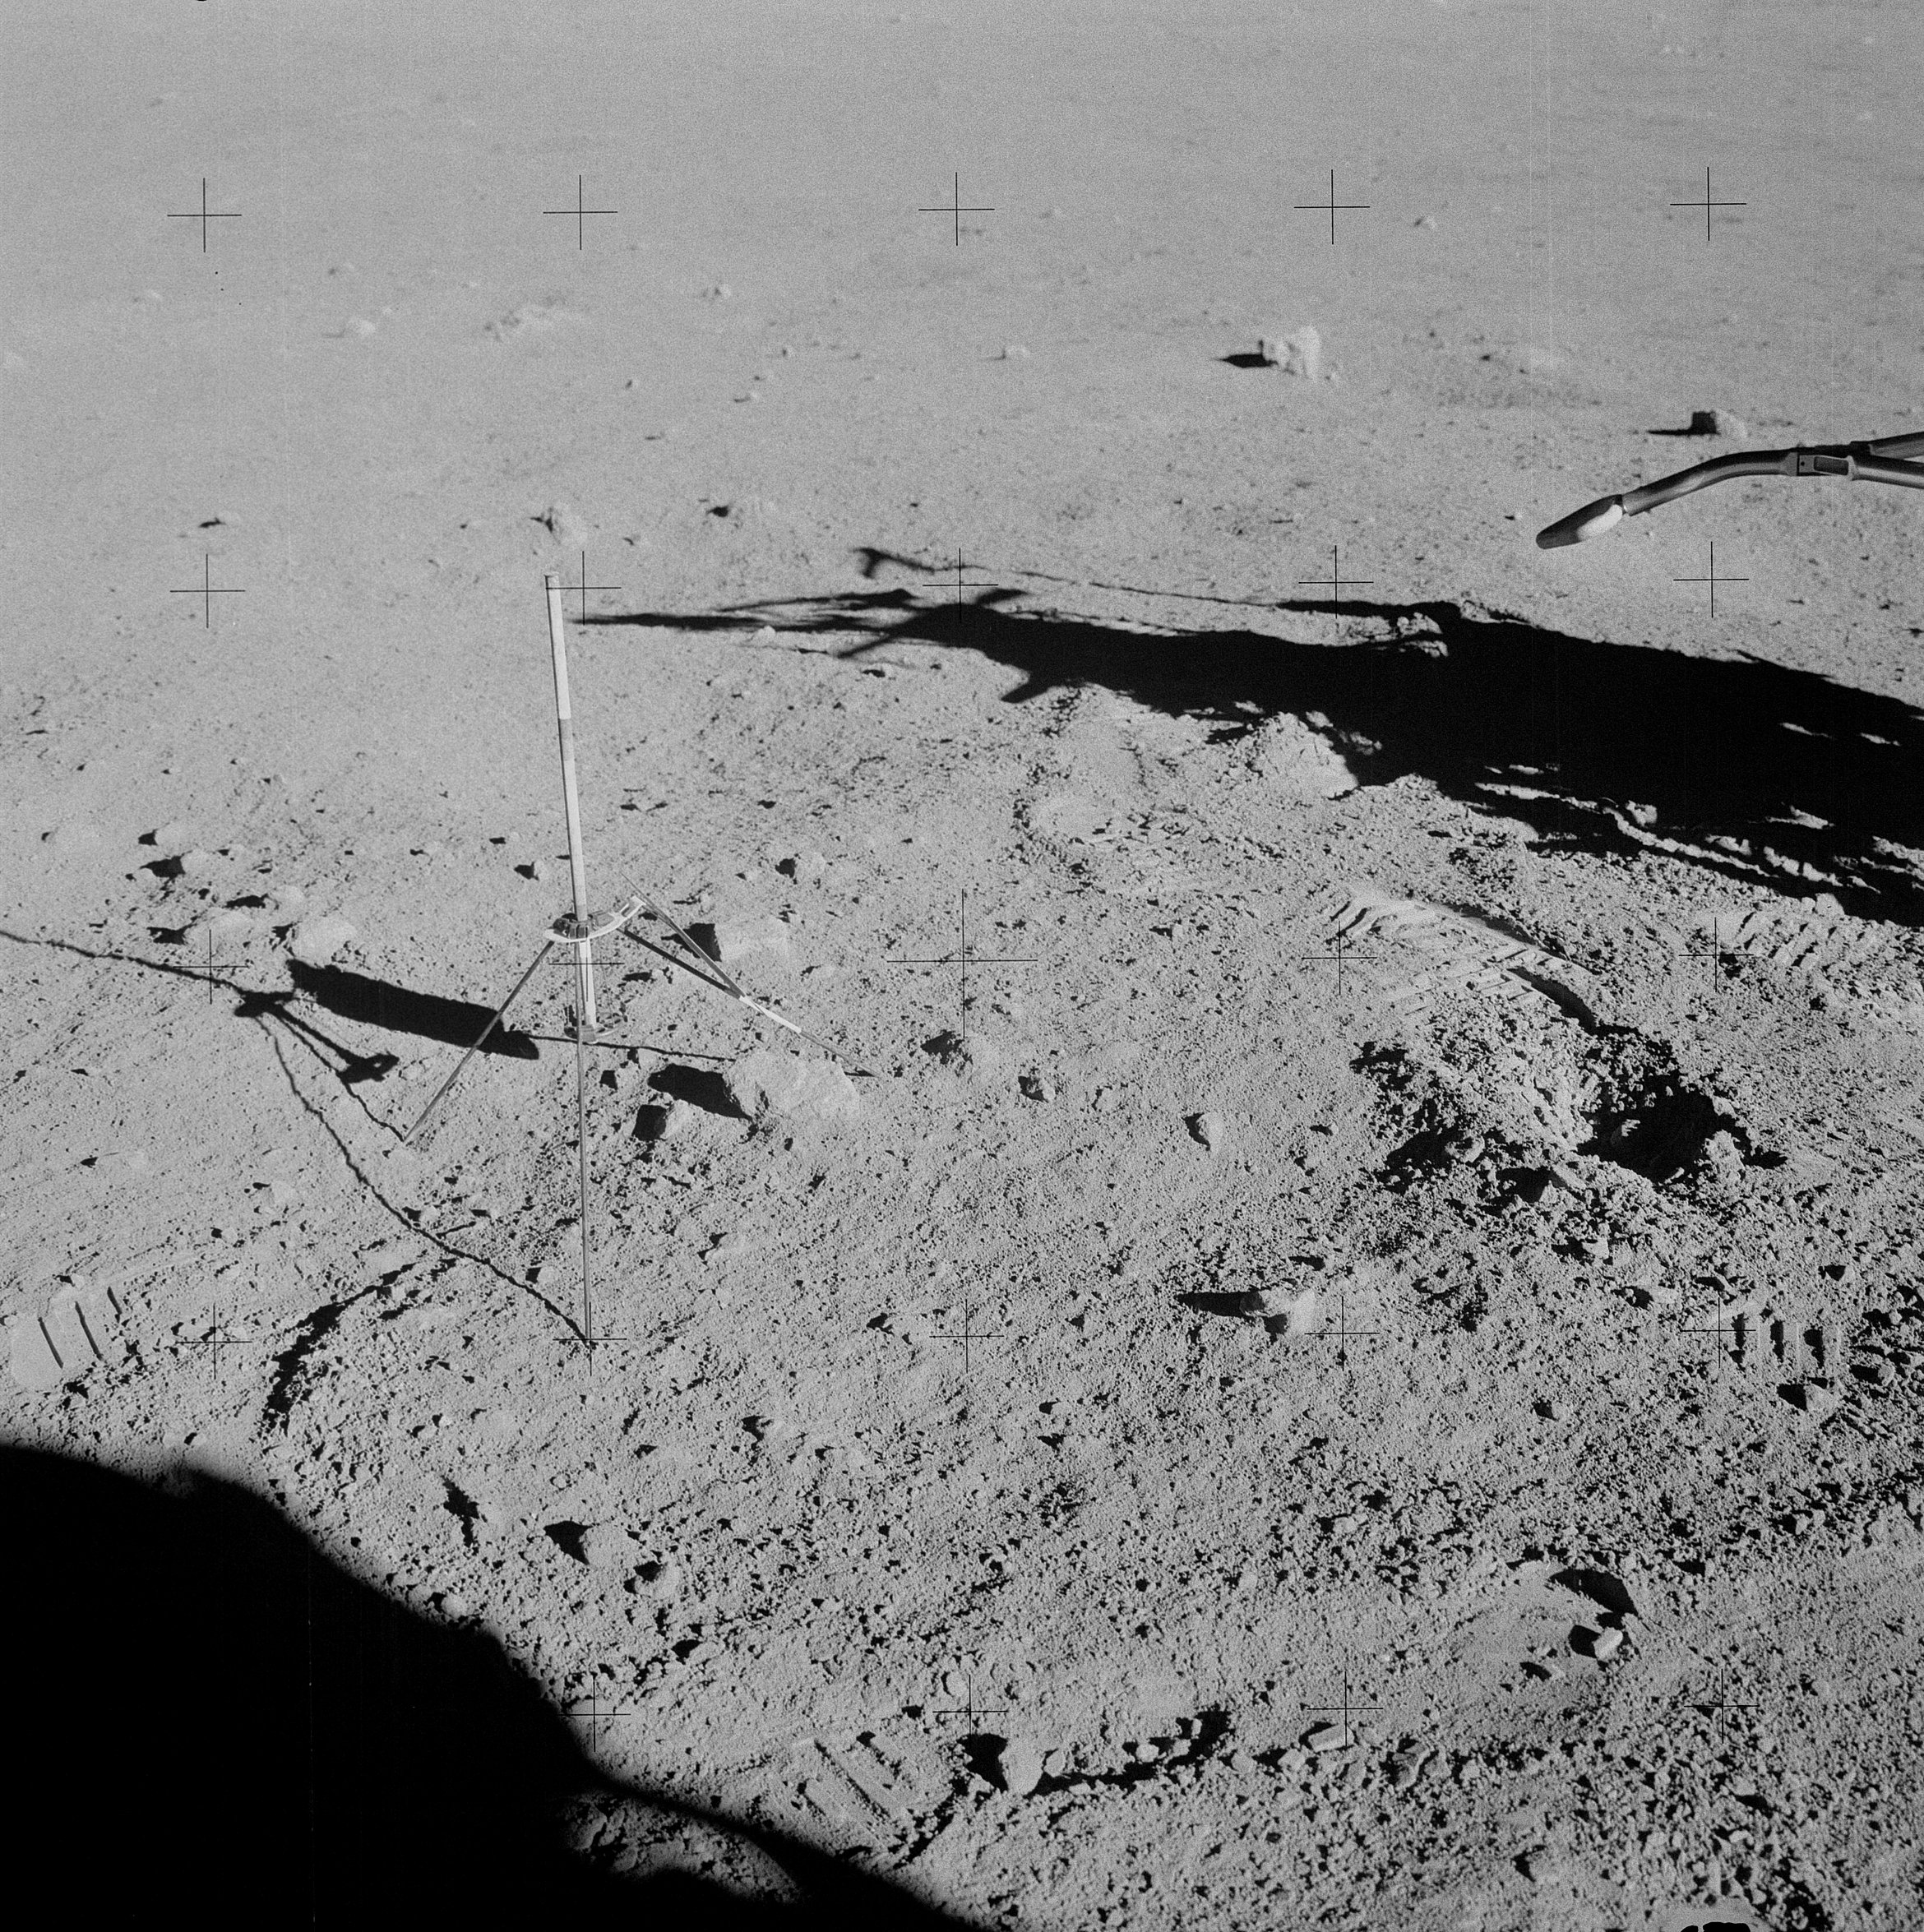 | AS14-68-9466 Ed has stepped to the right to take this stereo companion to 9465. Image credit: Image Science and Analysis Laboratory, NASA-Johnson Space Center. |
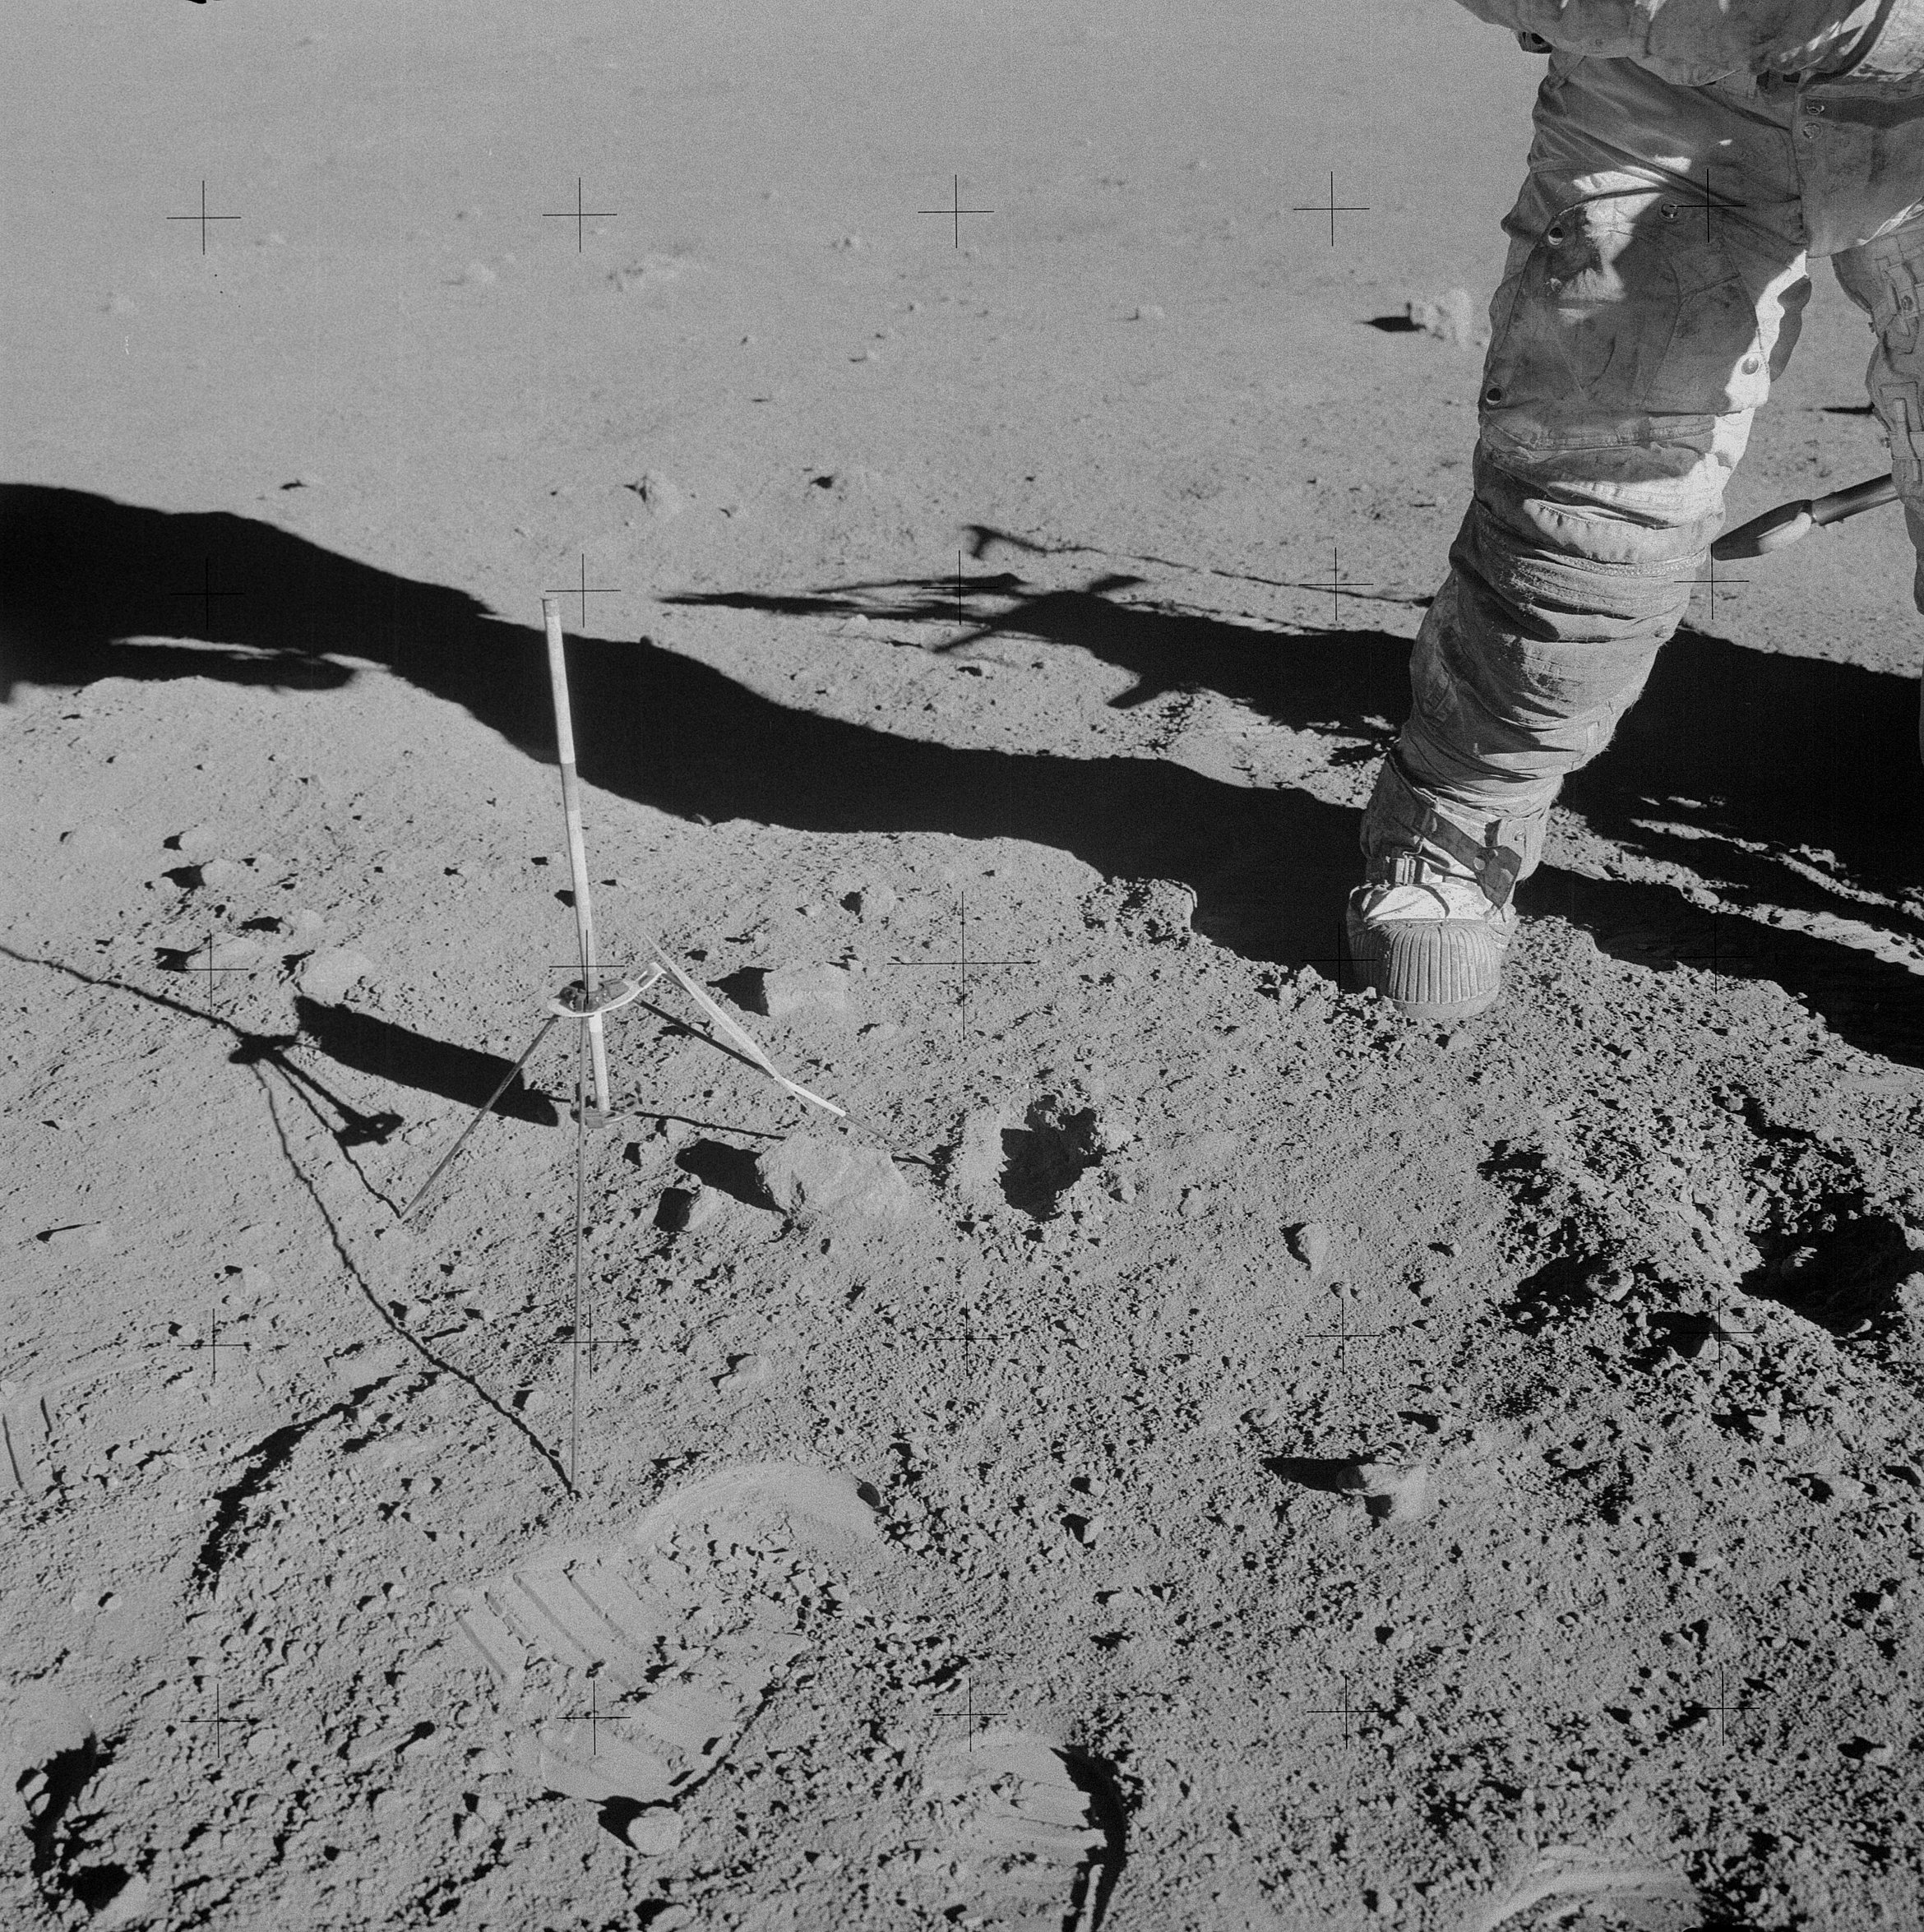 | AS14-68-9467 134:51:17 Post-sample photo of the Station G2 documented sample site. Image credit: Image Science and Analysis Laboratory, NASA-Johnson Space Center. |
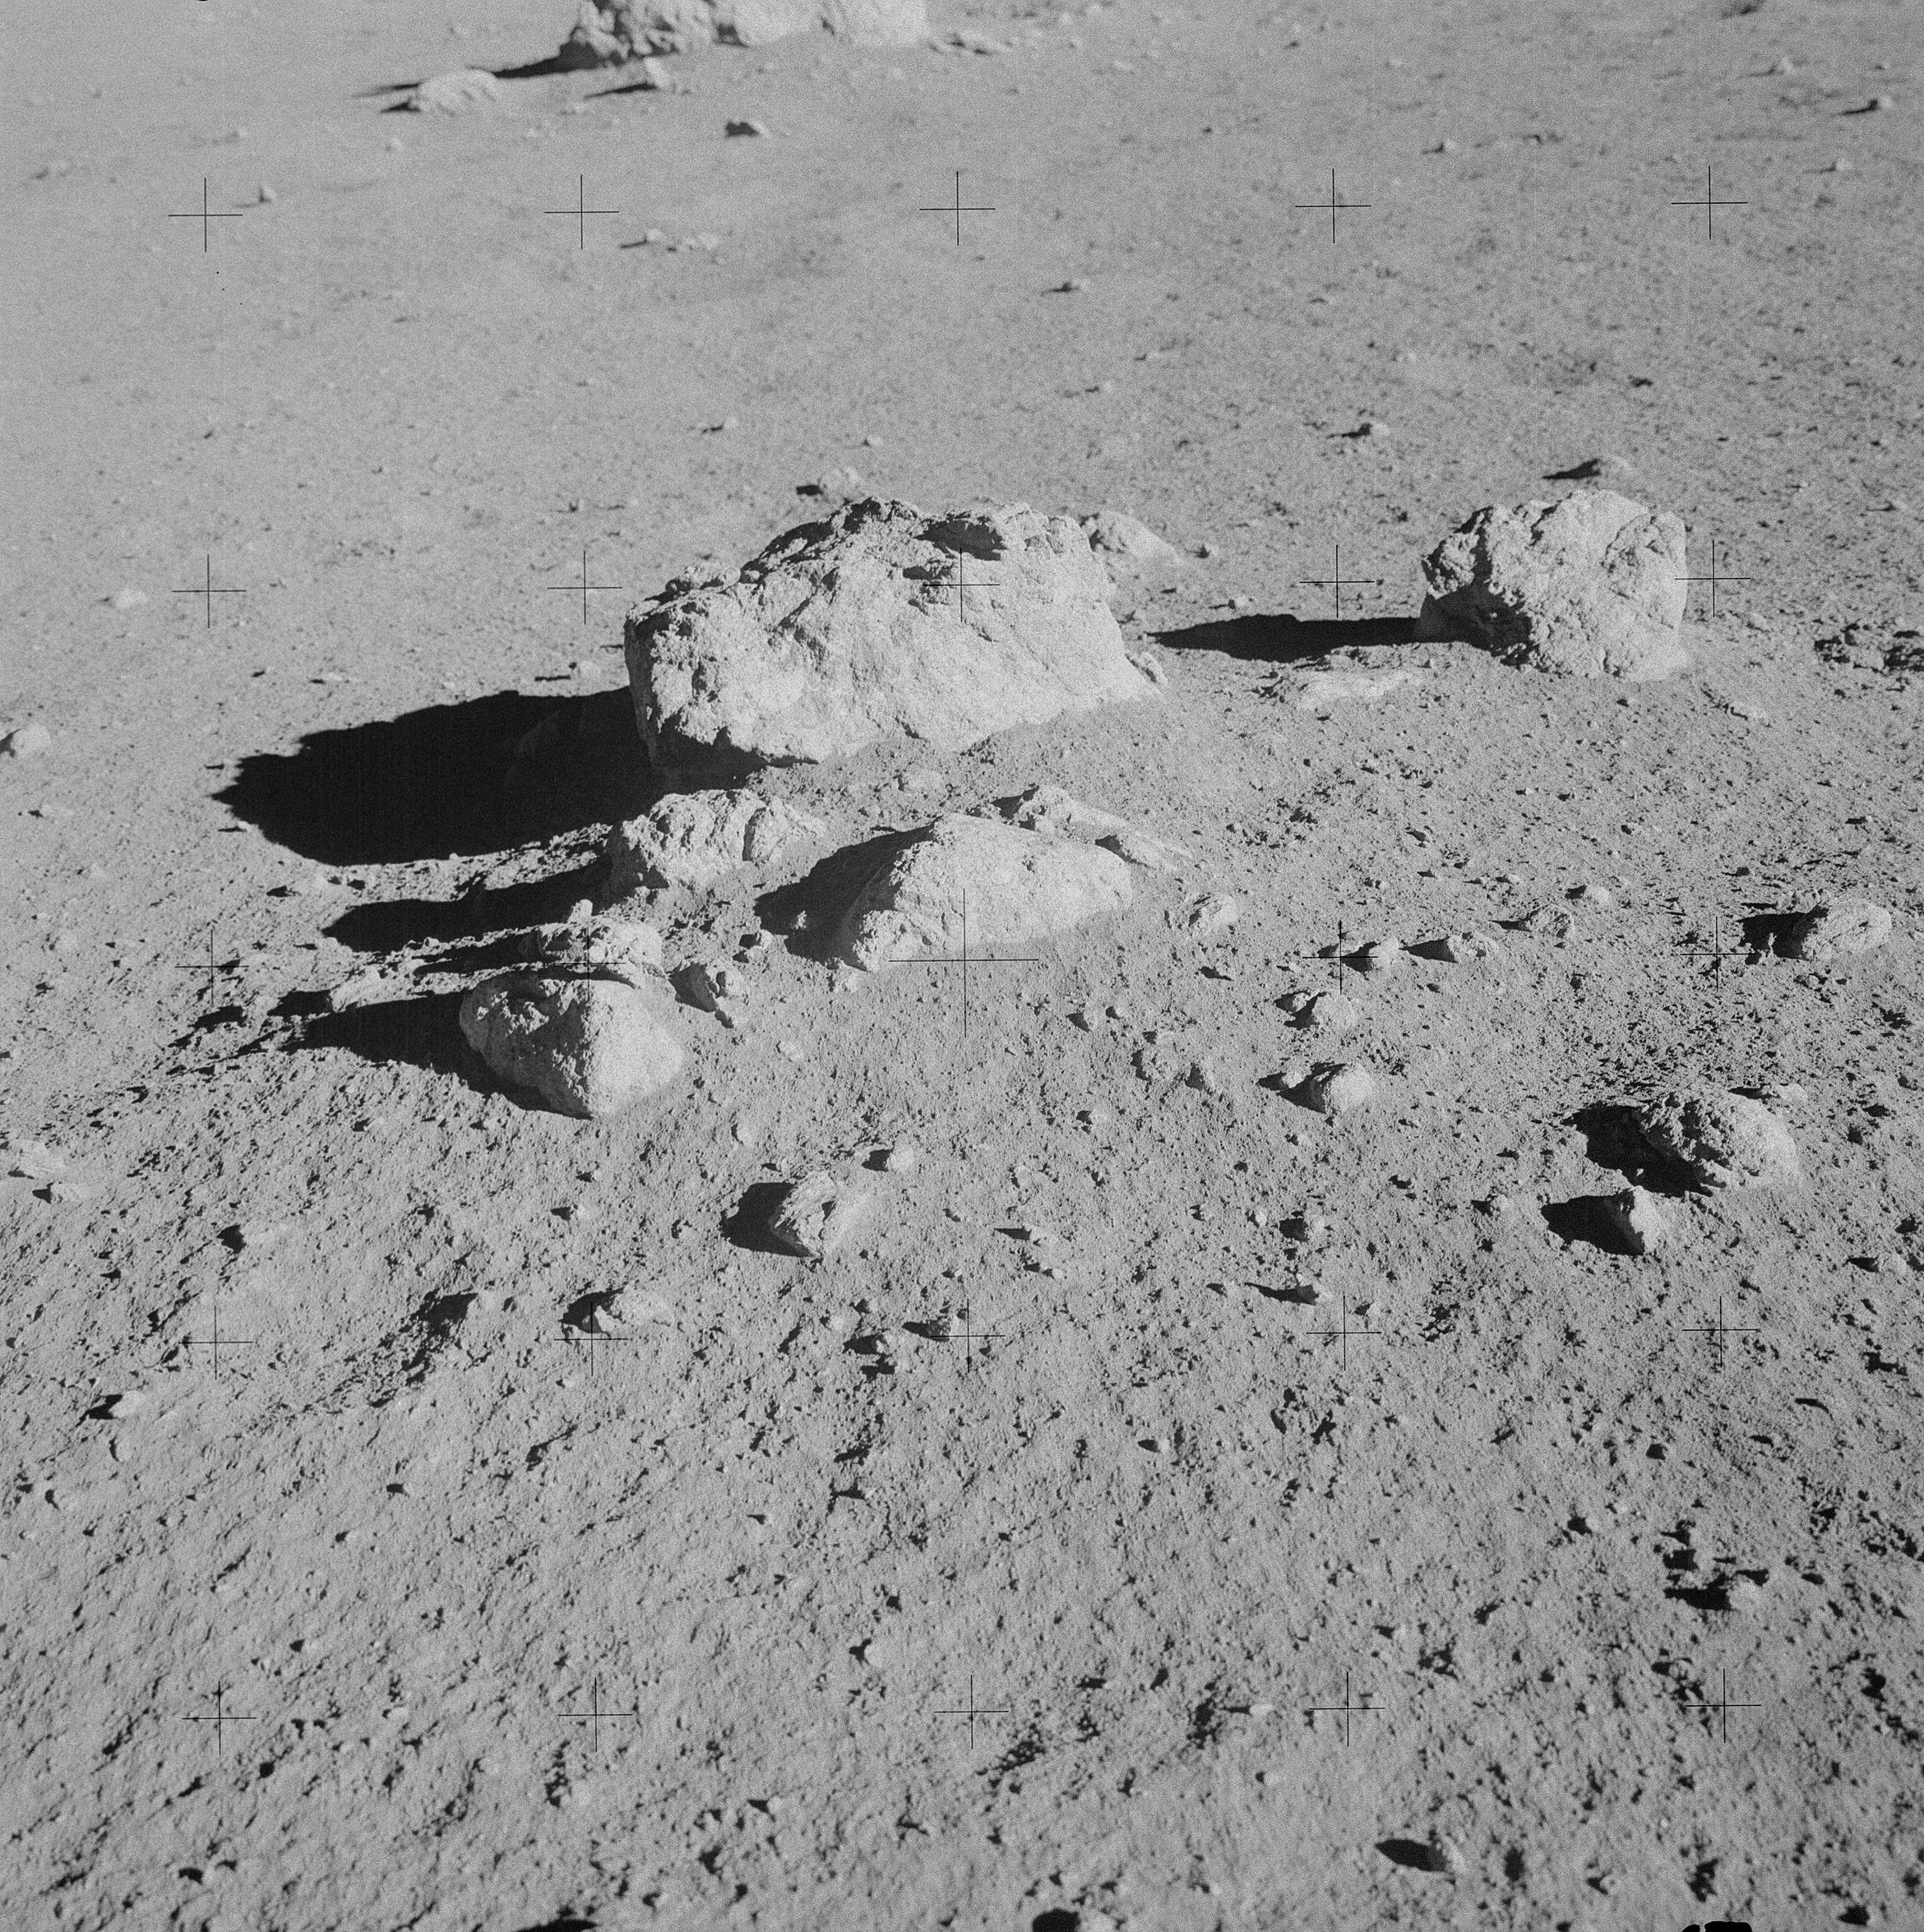 | AS14-68-9468 134:56:35 Ed is taking a series of photographs in the boulder field at Station H, north of the LM. Image credit: Image Science and Analysis Laboratory, NASA-Johnson Space Center. |
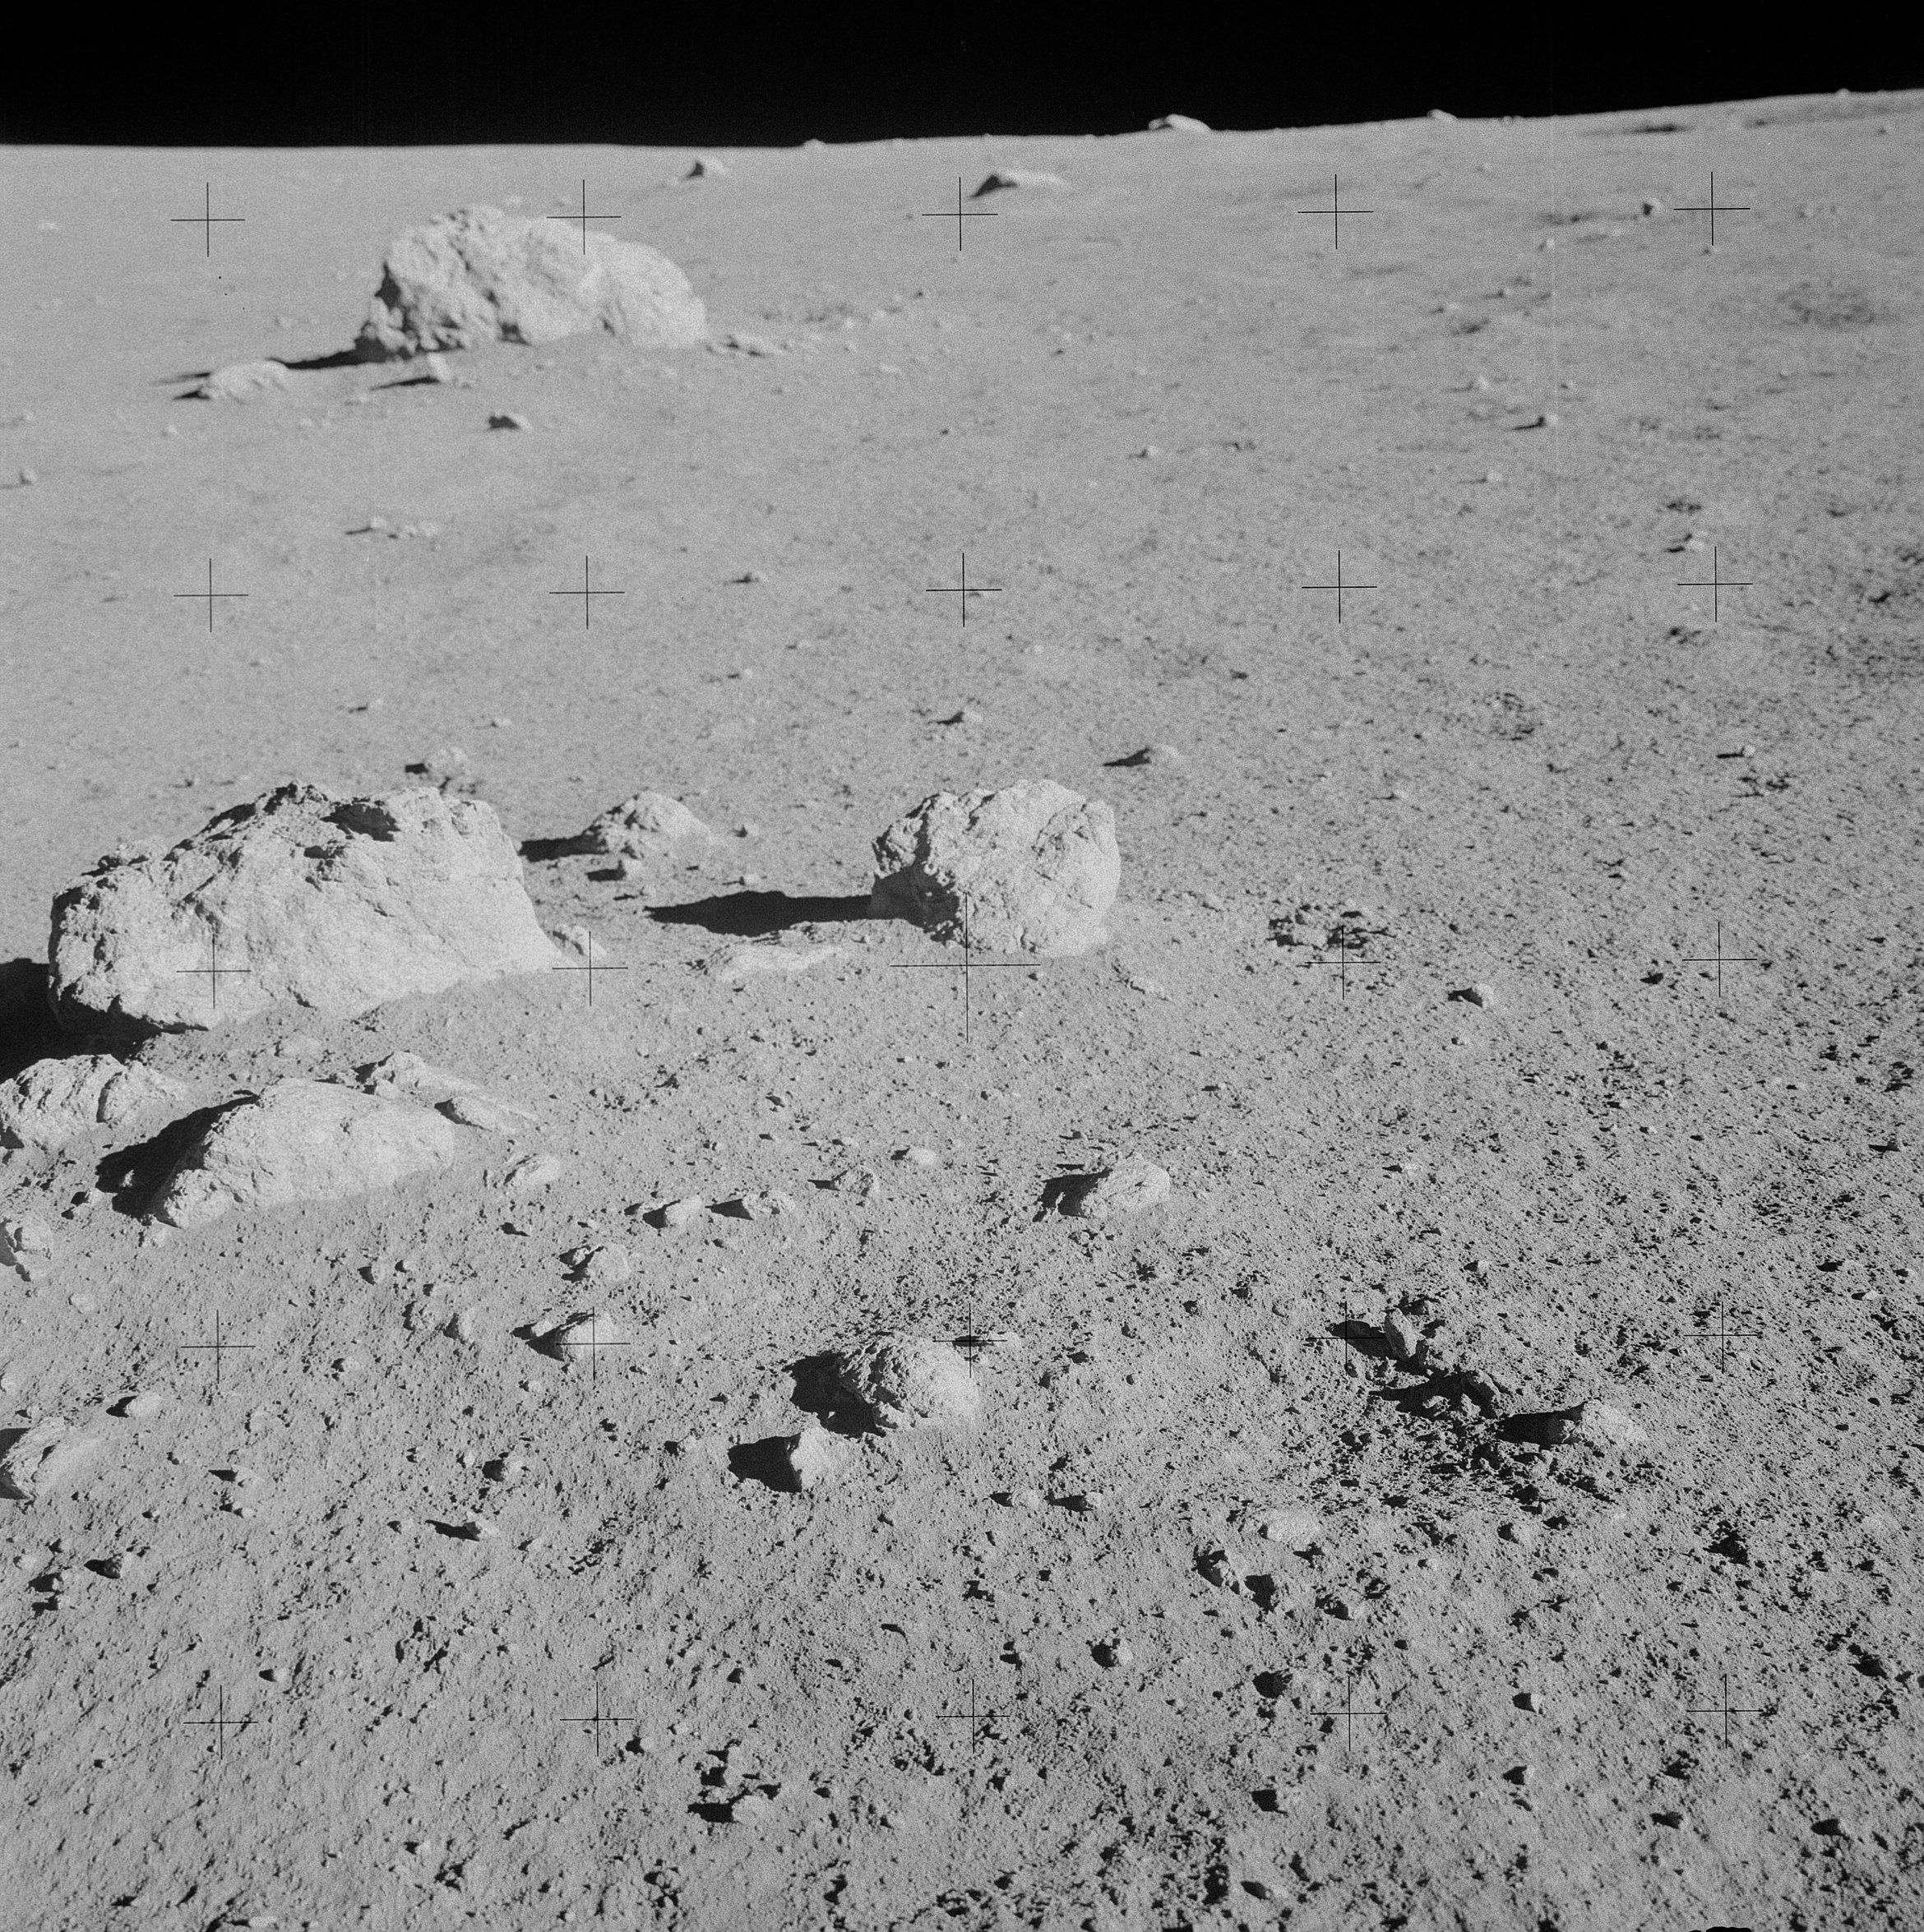 | AS14-68-9469 134:56:35 Cross-Sun to the north of a group of Station H boulders. Image credit: Image Science and Analysis Laboratory, NASA-Johnson Space Center. |
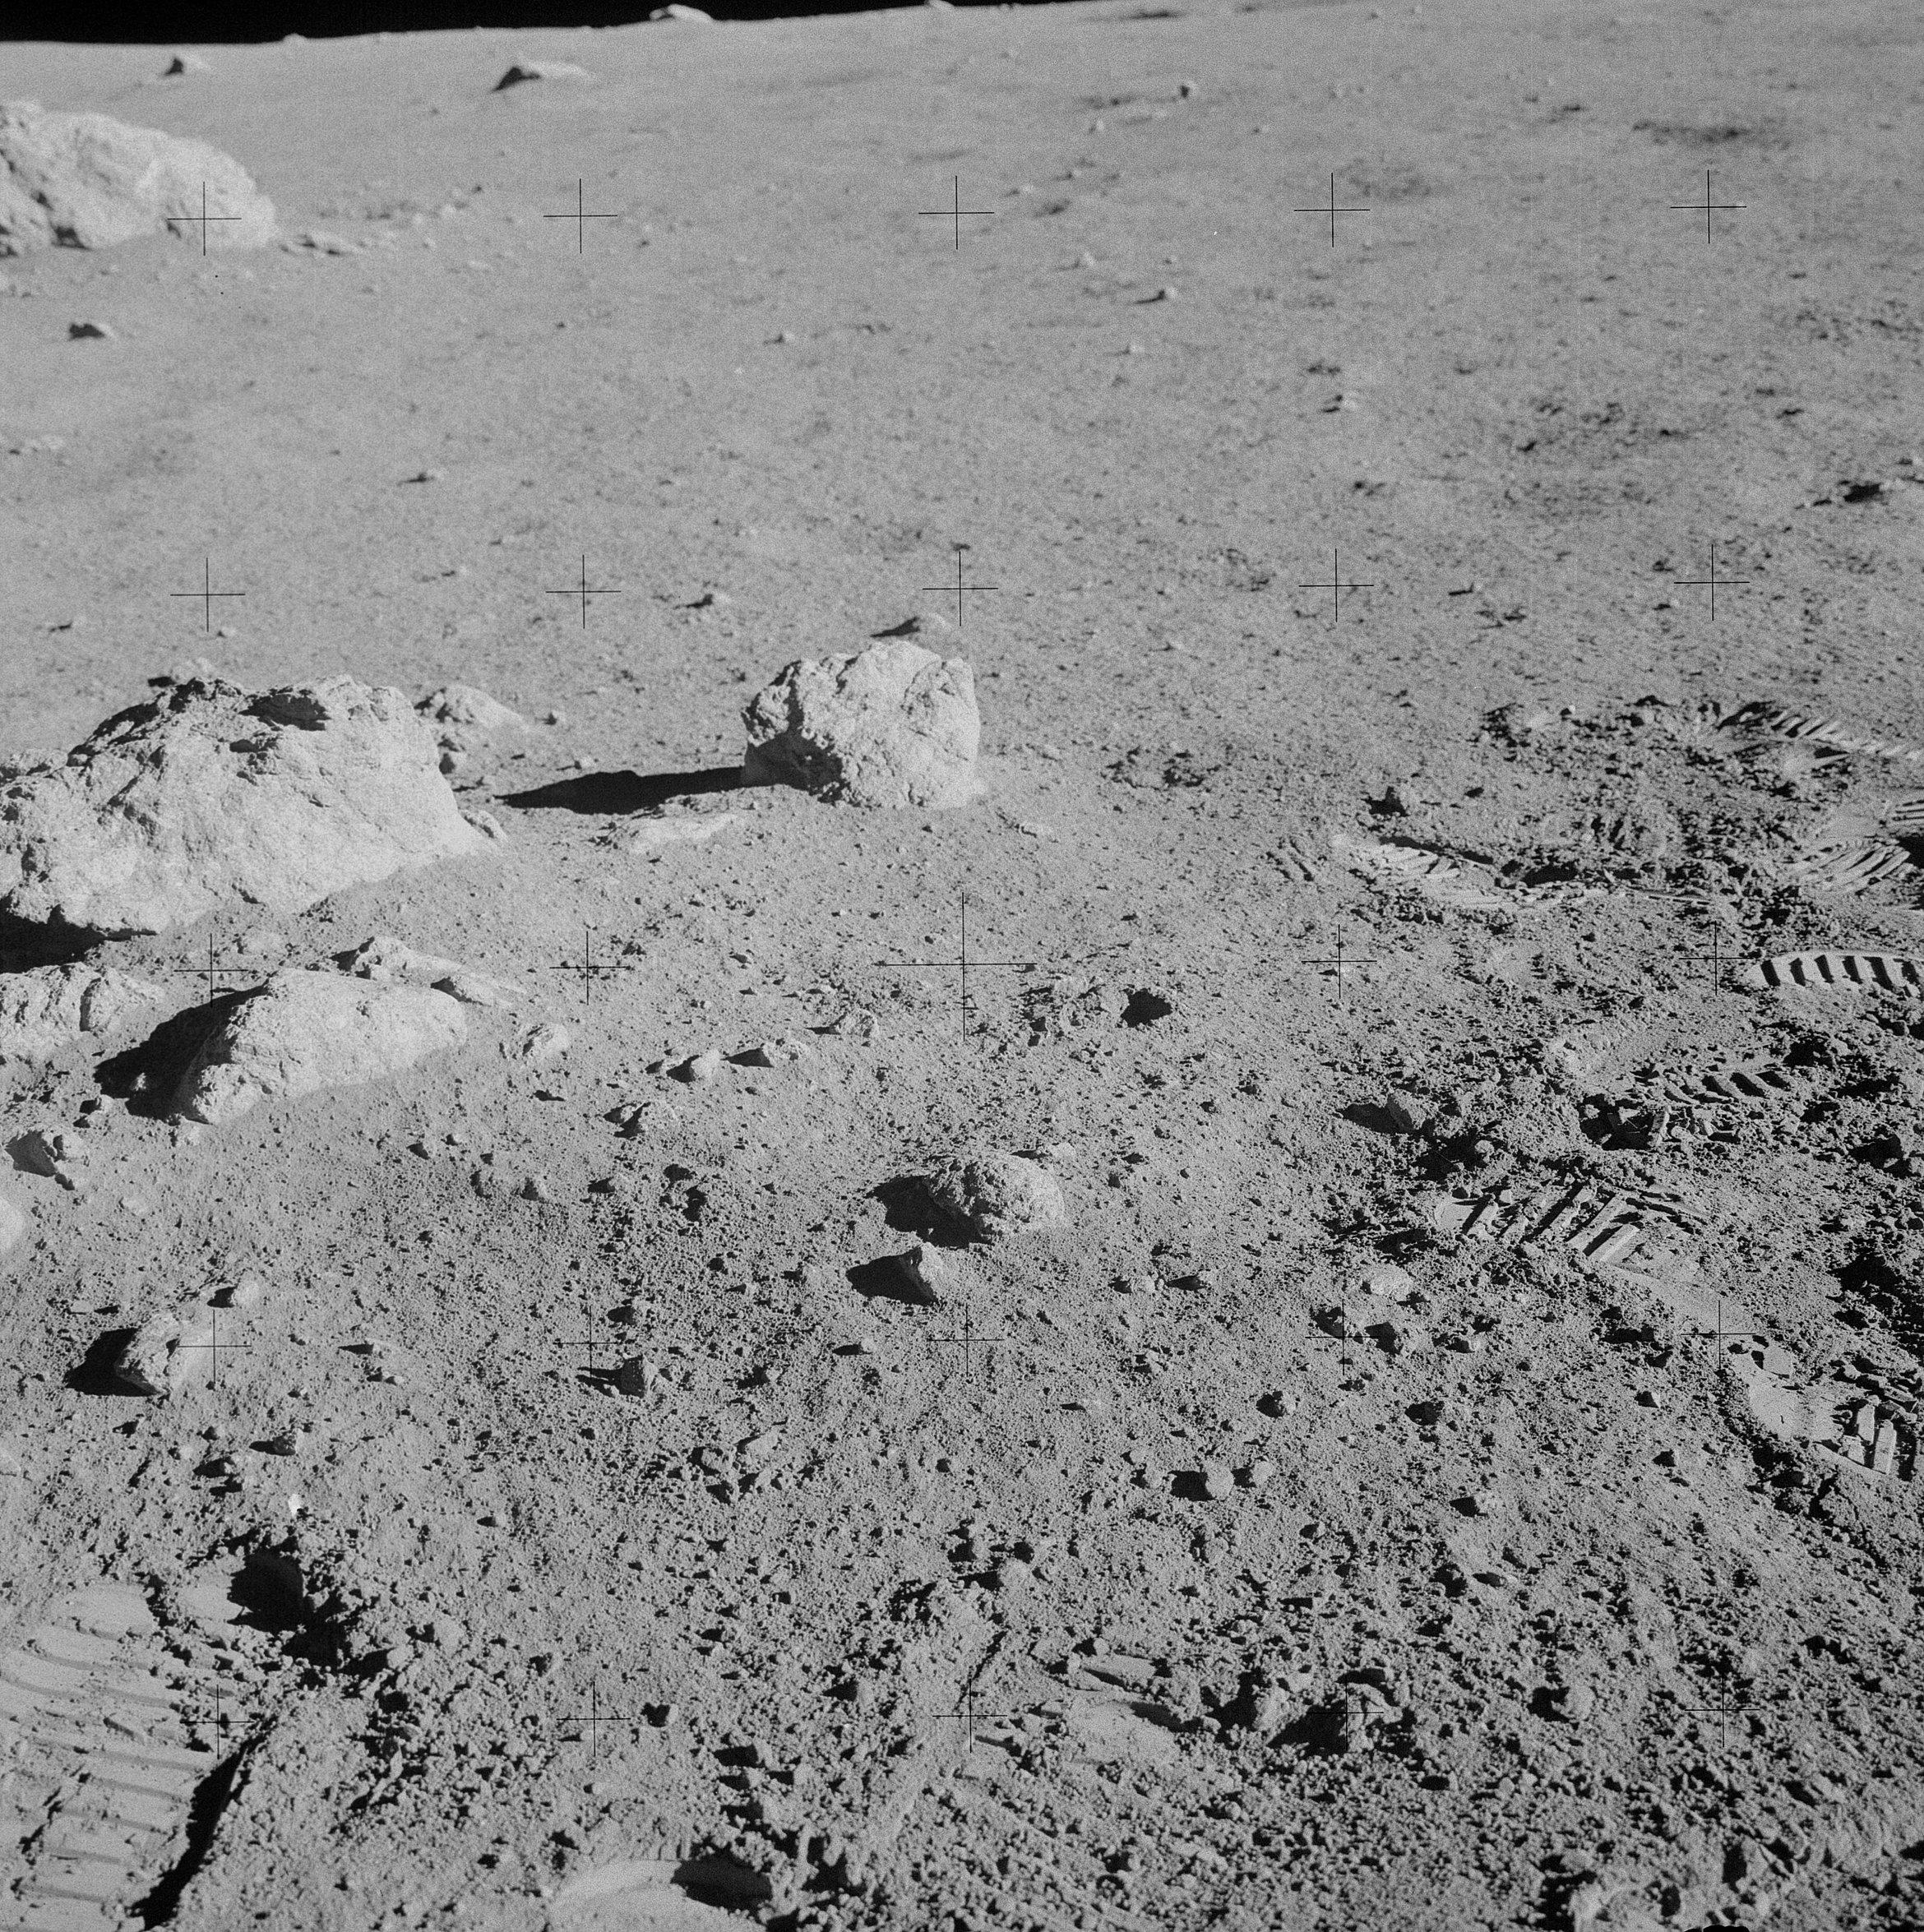 | AS14-68-9470 Rightward from 9469. Image credit: Image Science and Analysis Laboratory, NASA-Johnson Space Center. |
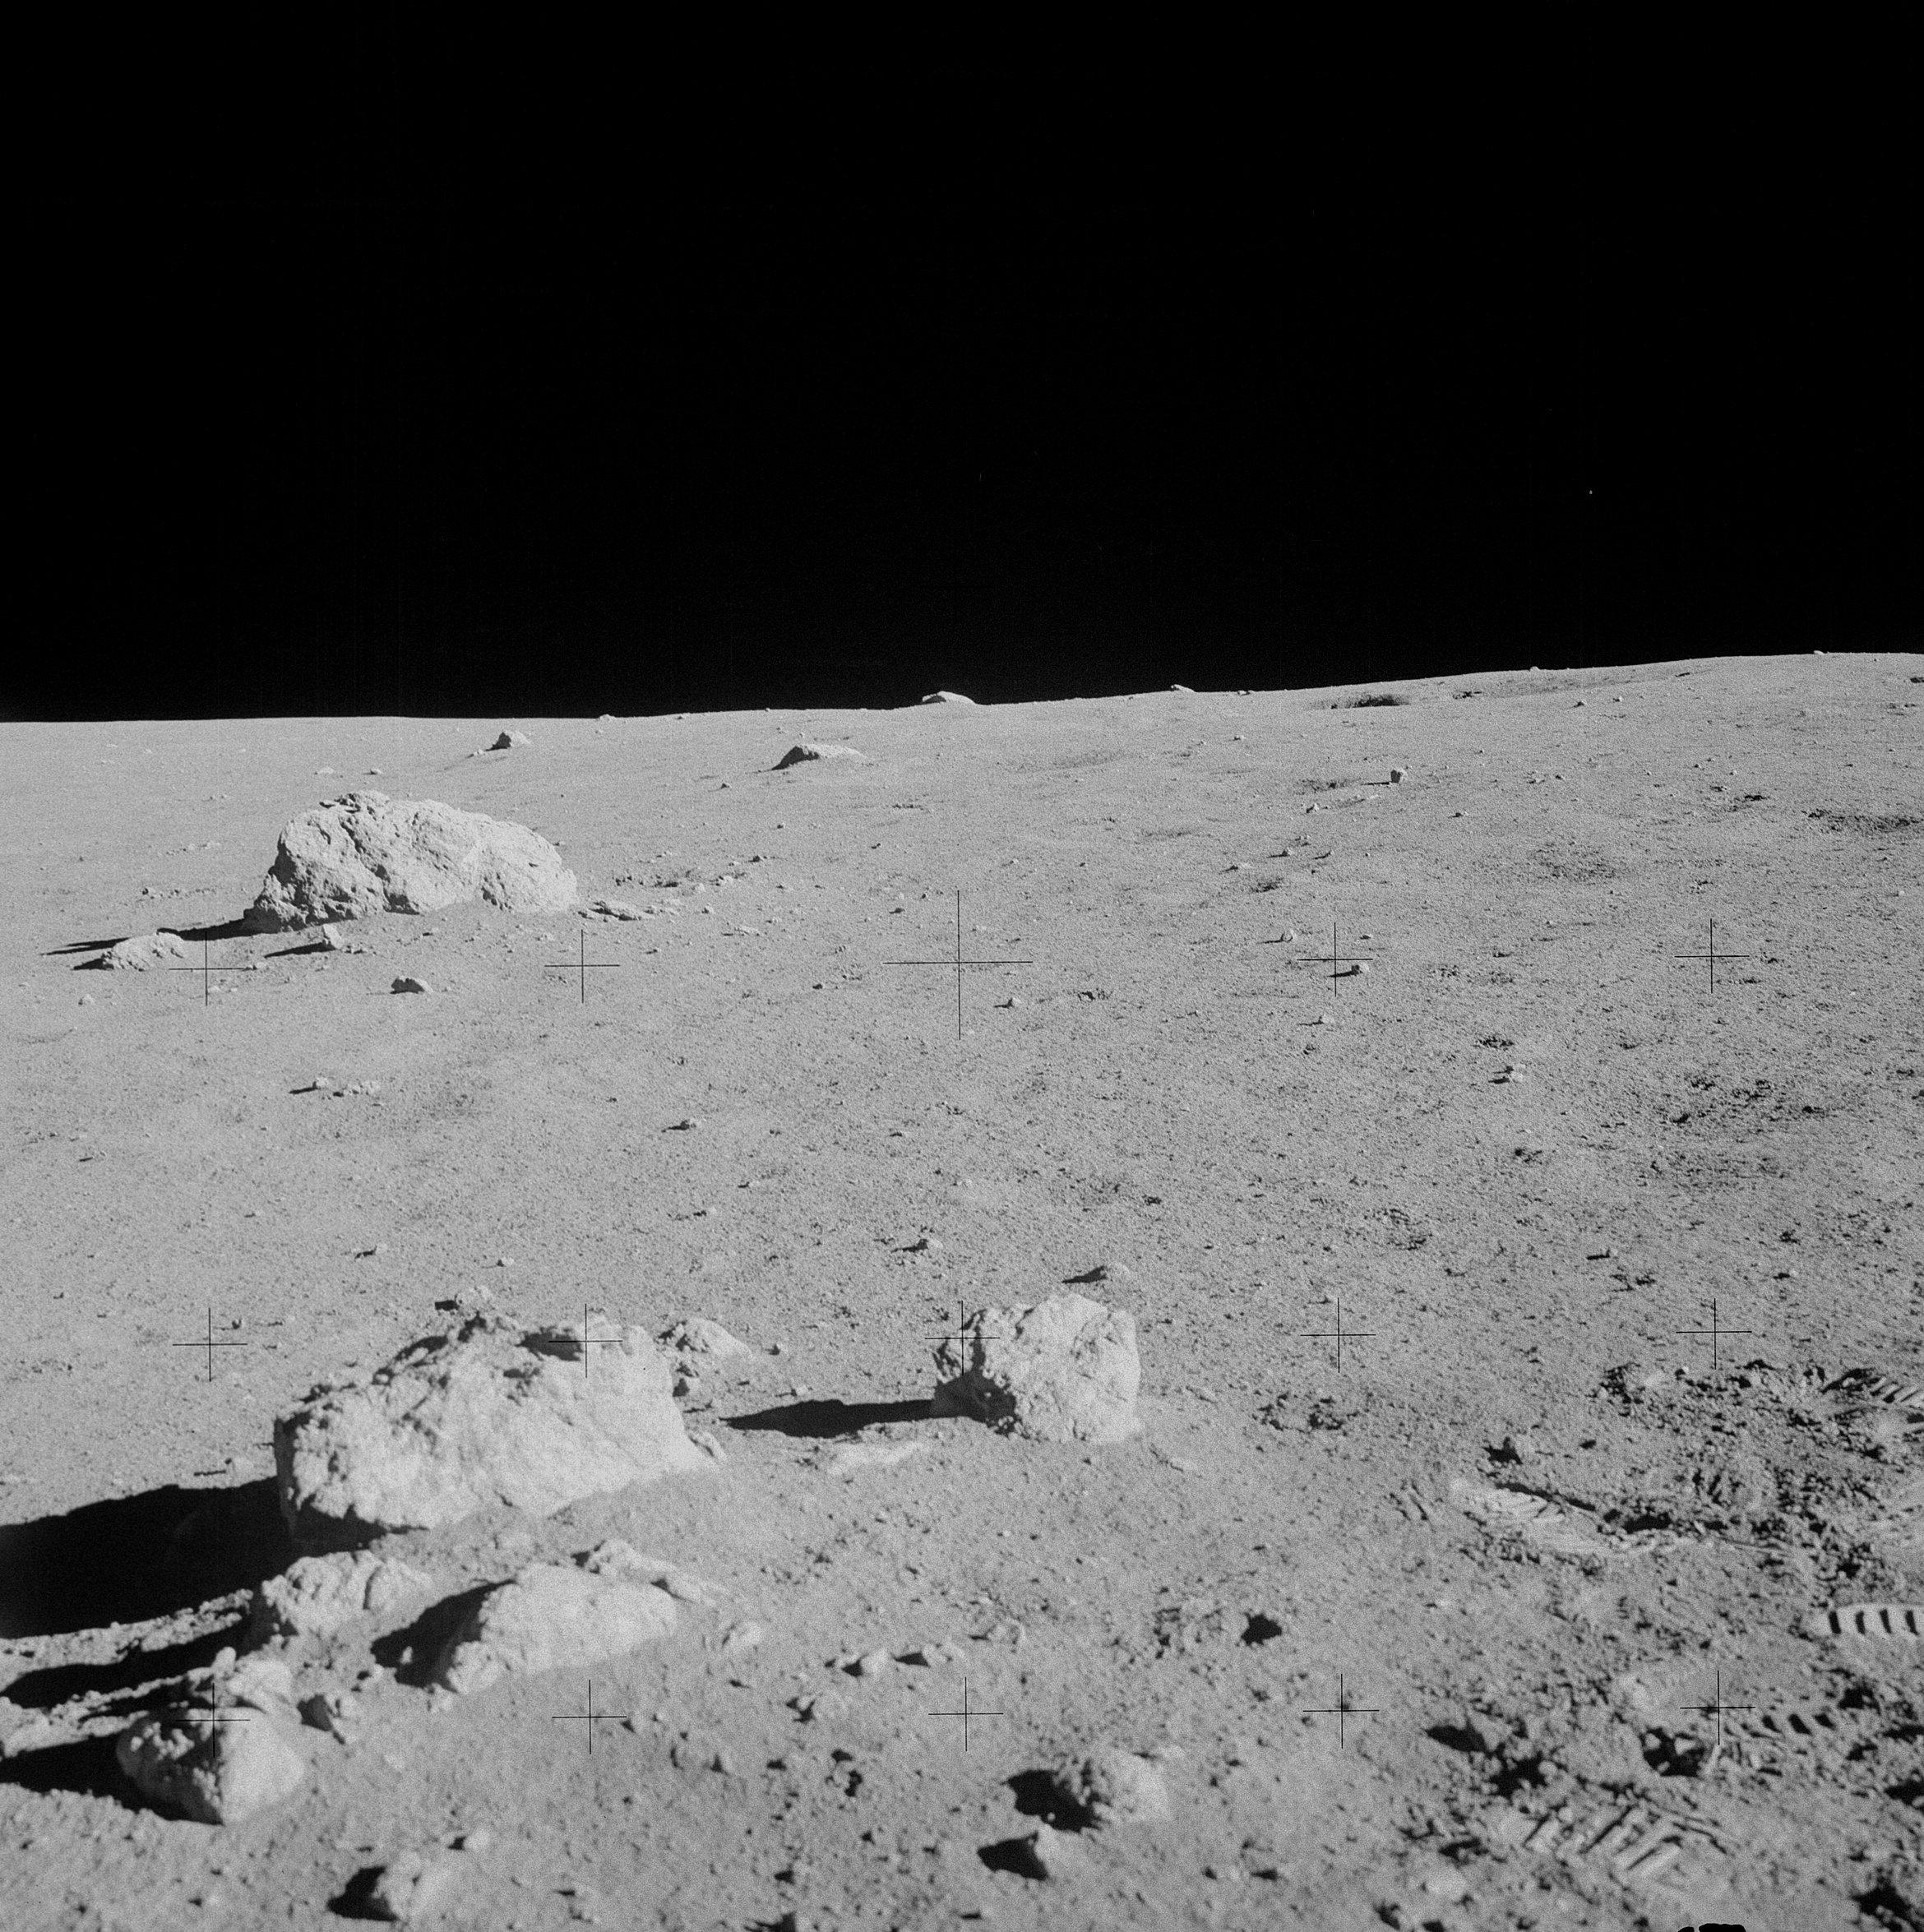 | AS14-68-9471 Turtle Rock is the large boulder at left center. Image credit: Image Science and Analysis Laboratory, NASA-Johnson Space Center. |
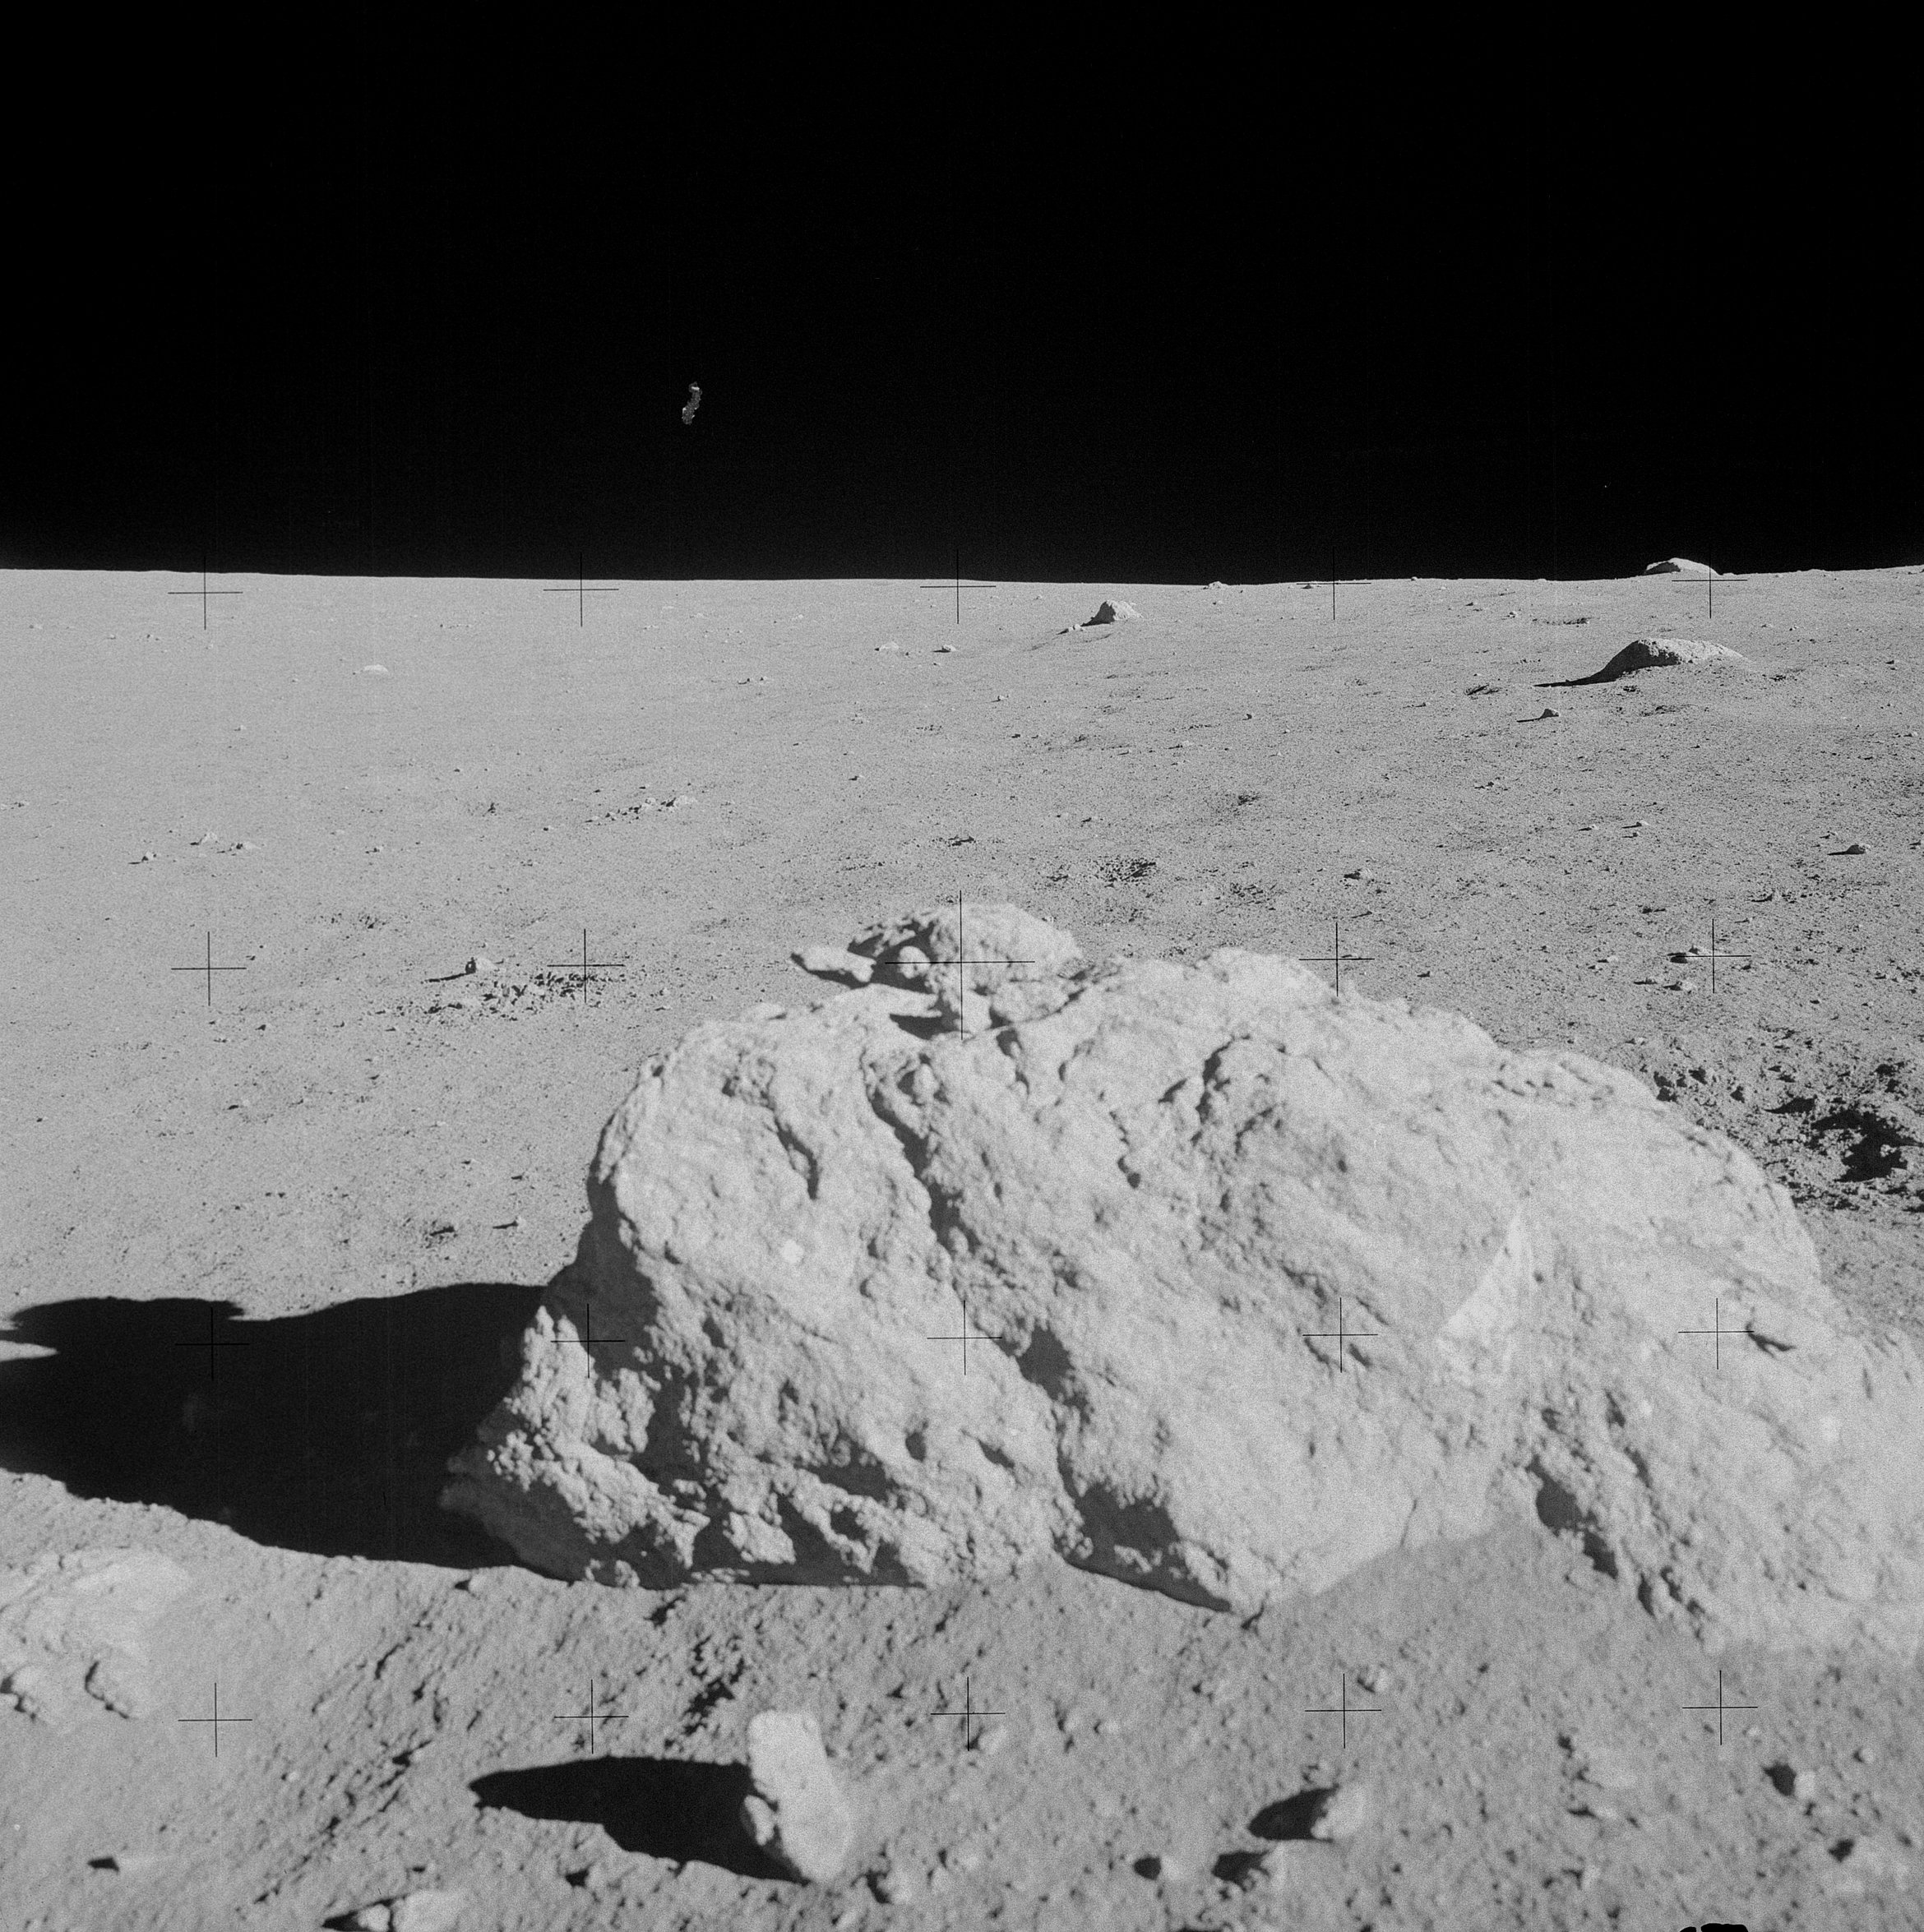 | AS14-68-9472 134:56:35 Ed has moved over close to Turtle Rock to take a series of photos of this largest boulder in the group. Image credit: Image Science and Analysis Laboratory, NASA-Johnson Space Center. |
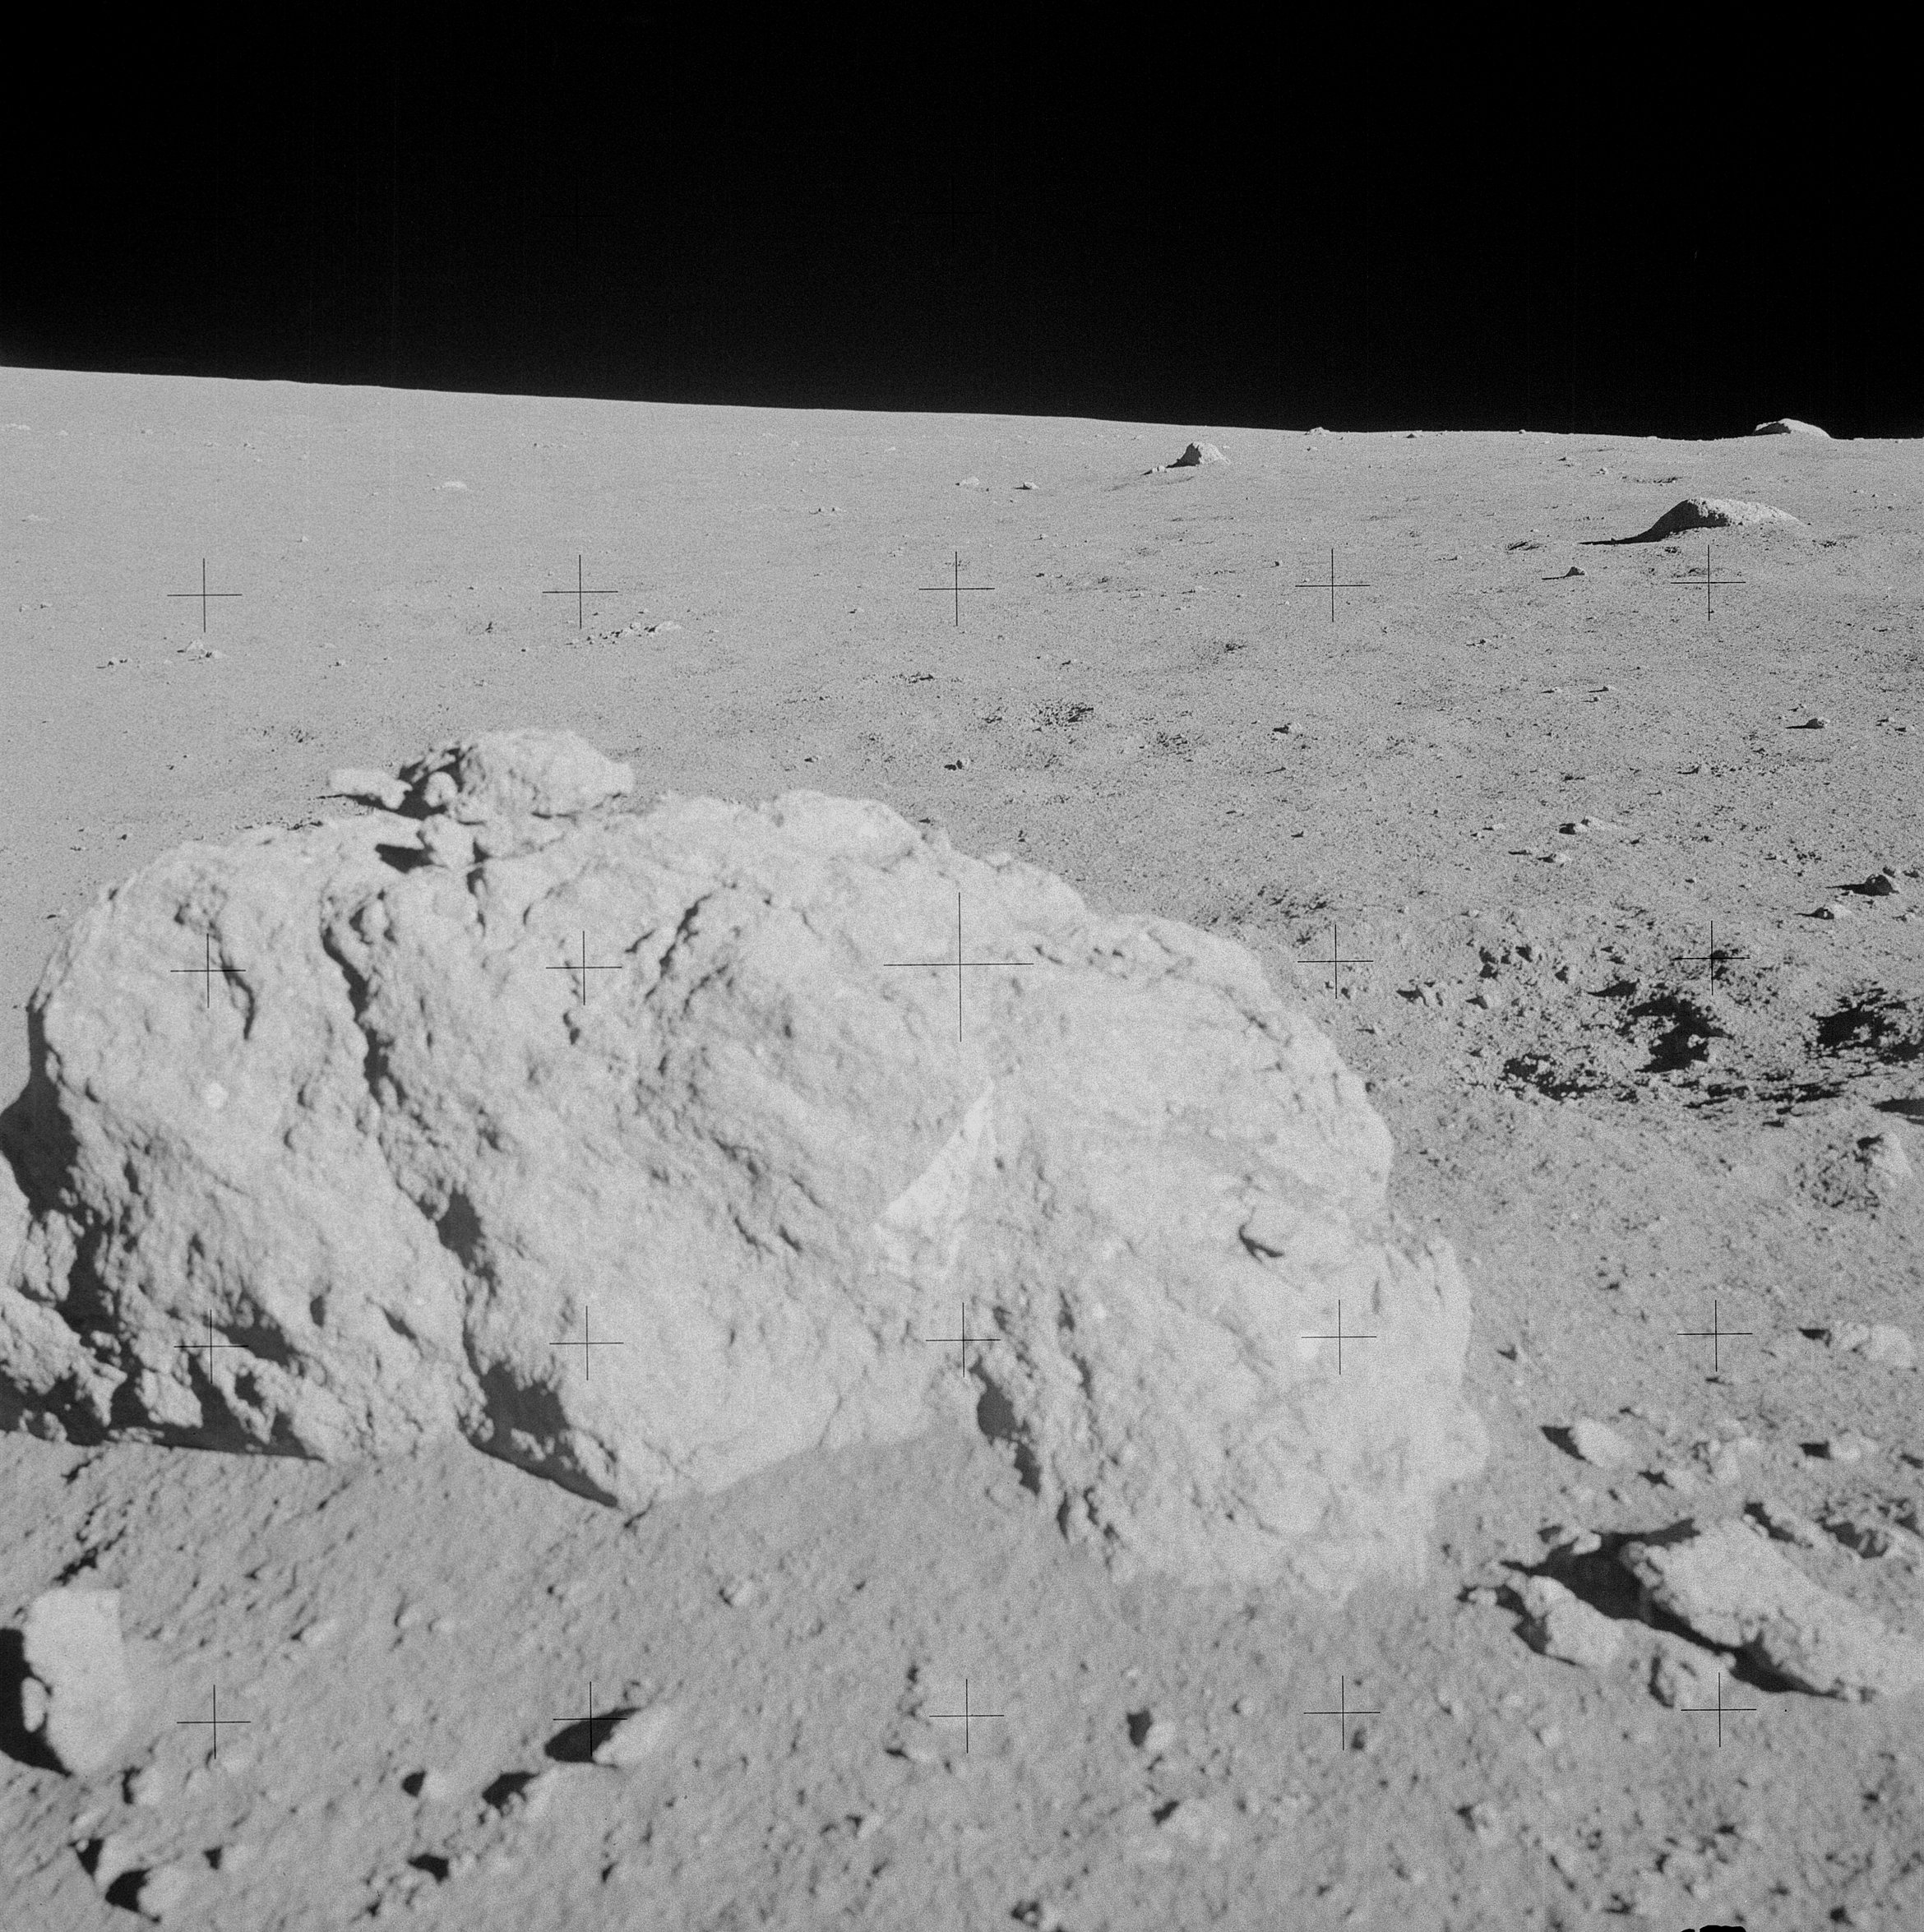 | AS14-68-9473 Ed has stepped to his right to continue his portrait of Turtle Rock. Image credit: Image Science and Analysis Laboratory, NASA-Johnson Space Center. |
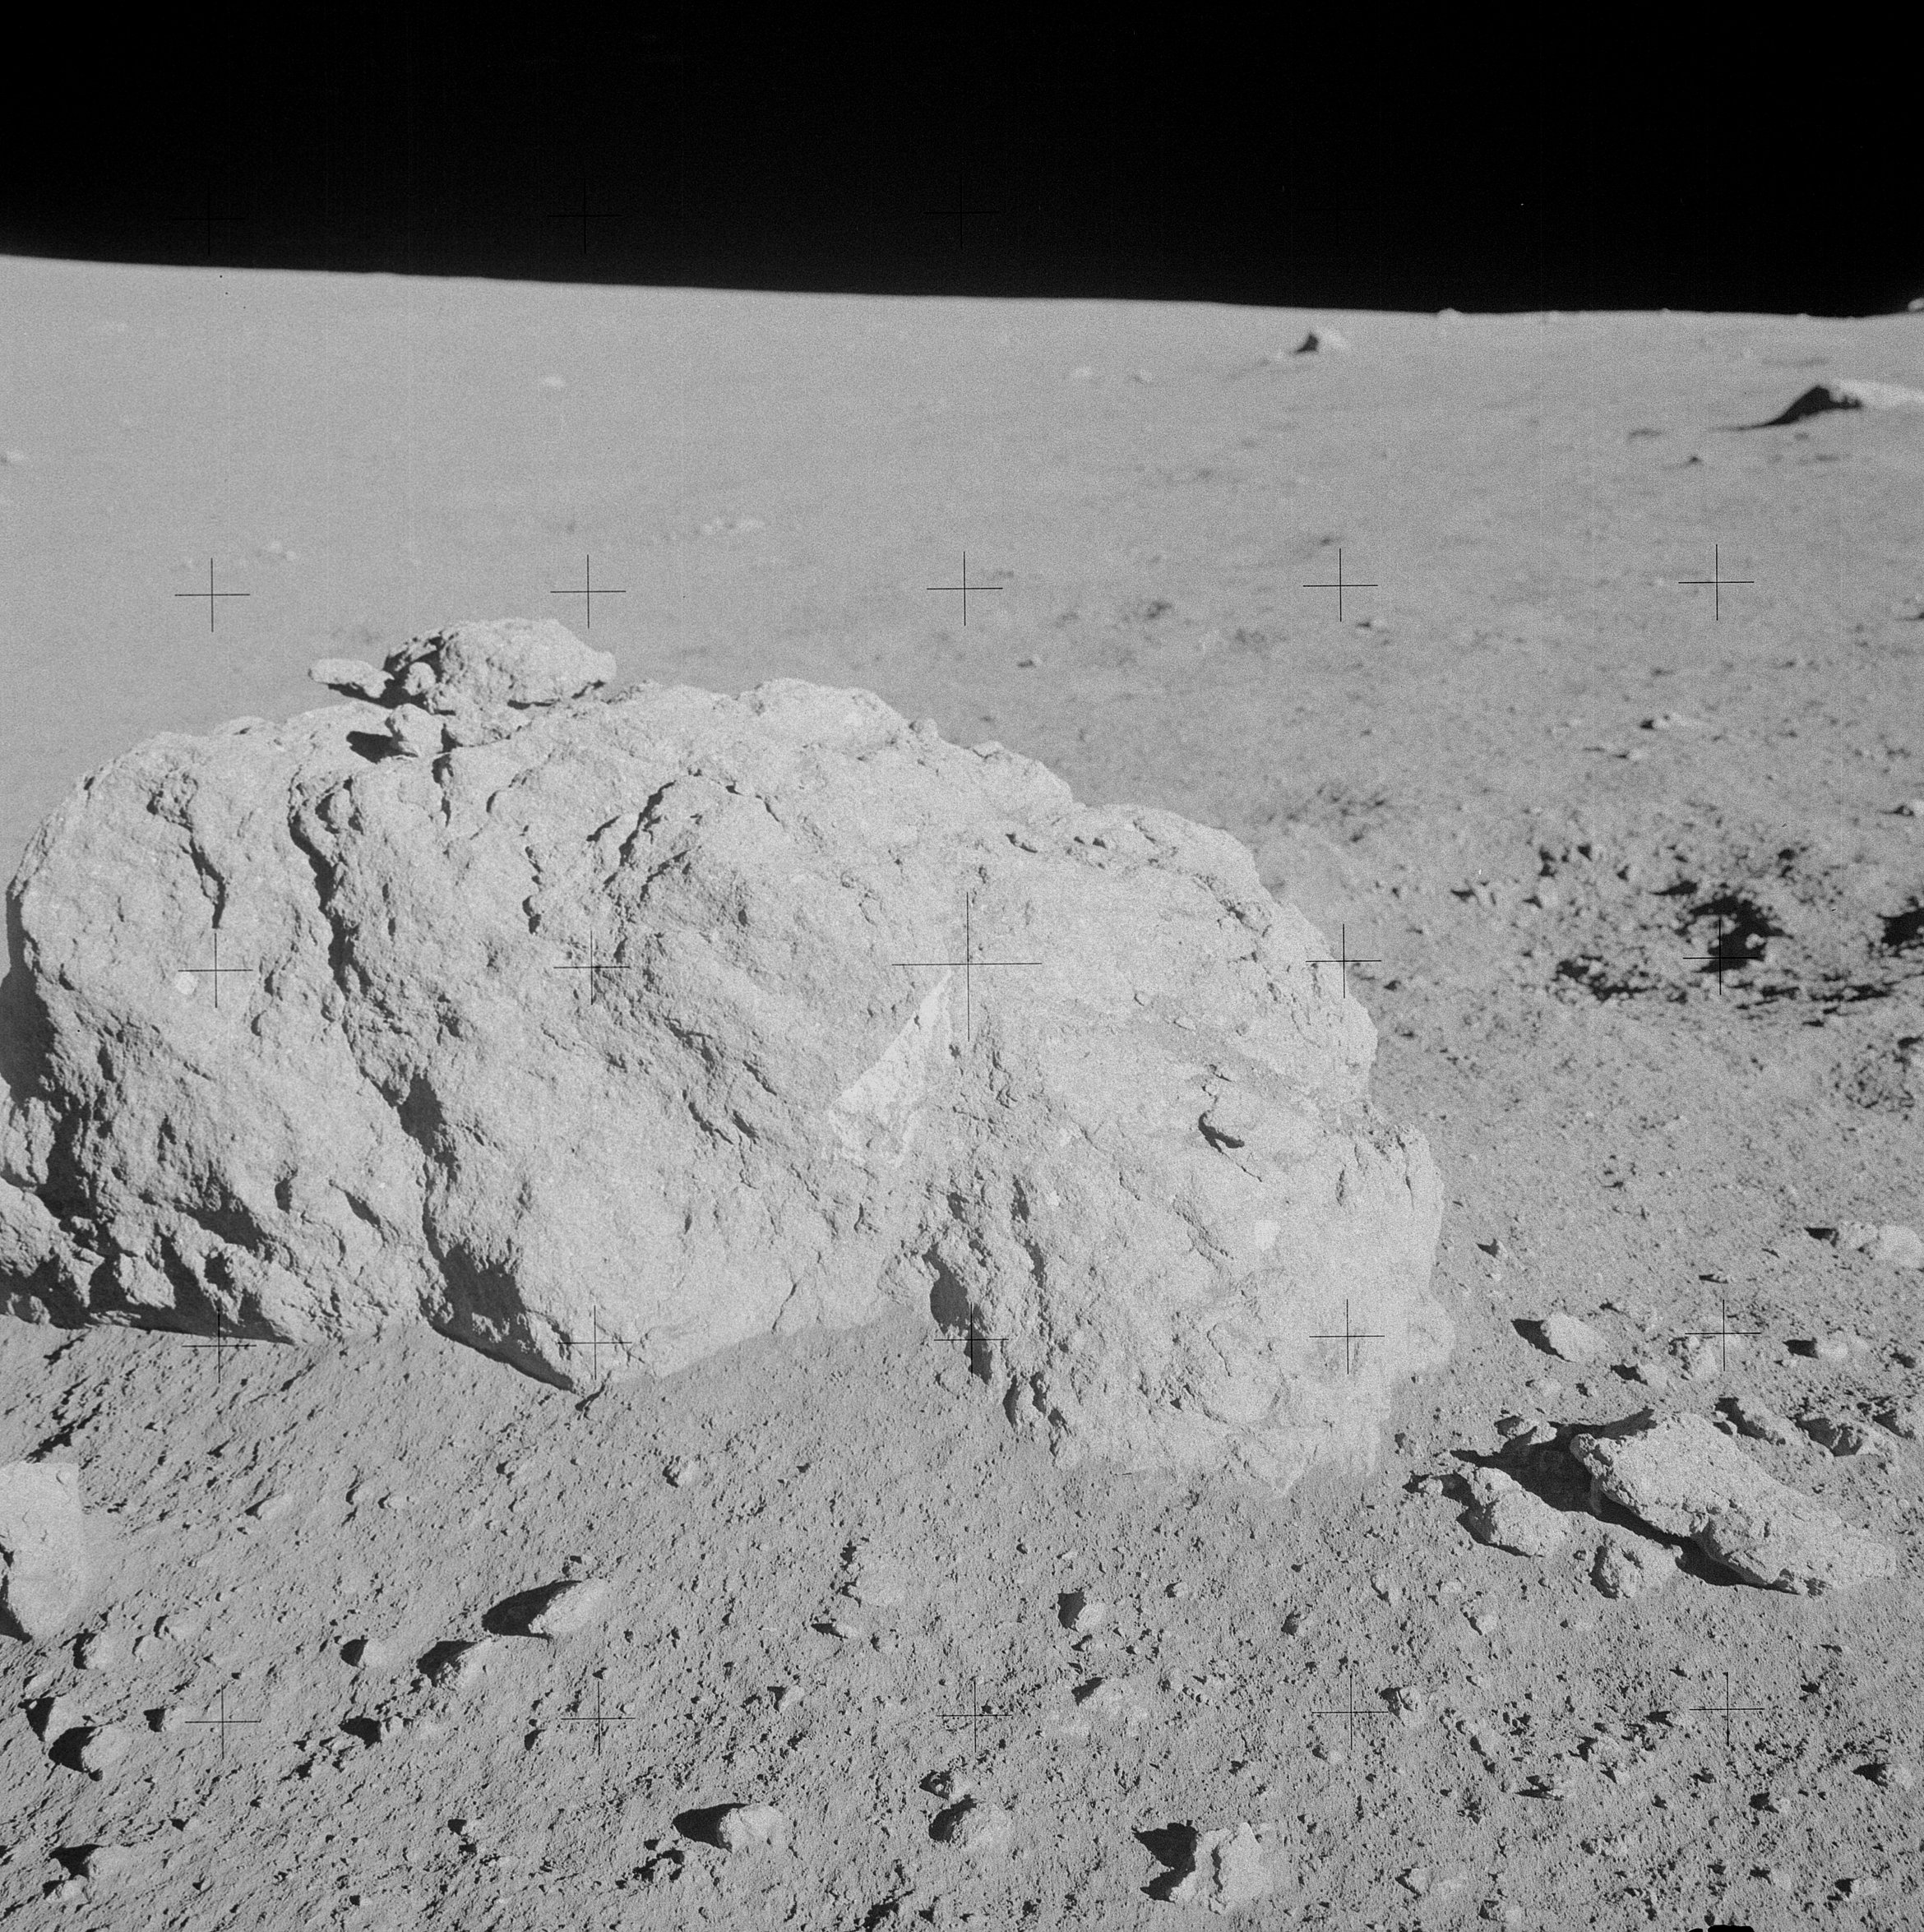 | AS14-68-9474 Ed has changed his focus setting. Image credit: Image Science and Analysis Laboratory, NASA-Johnson Space Center. |
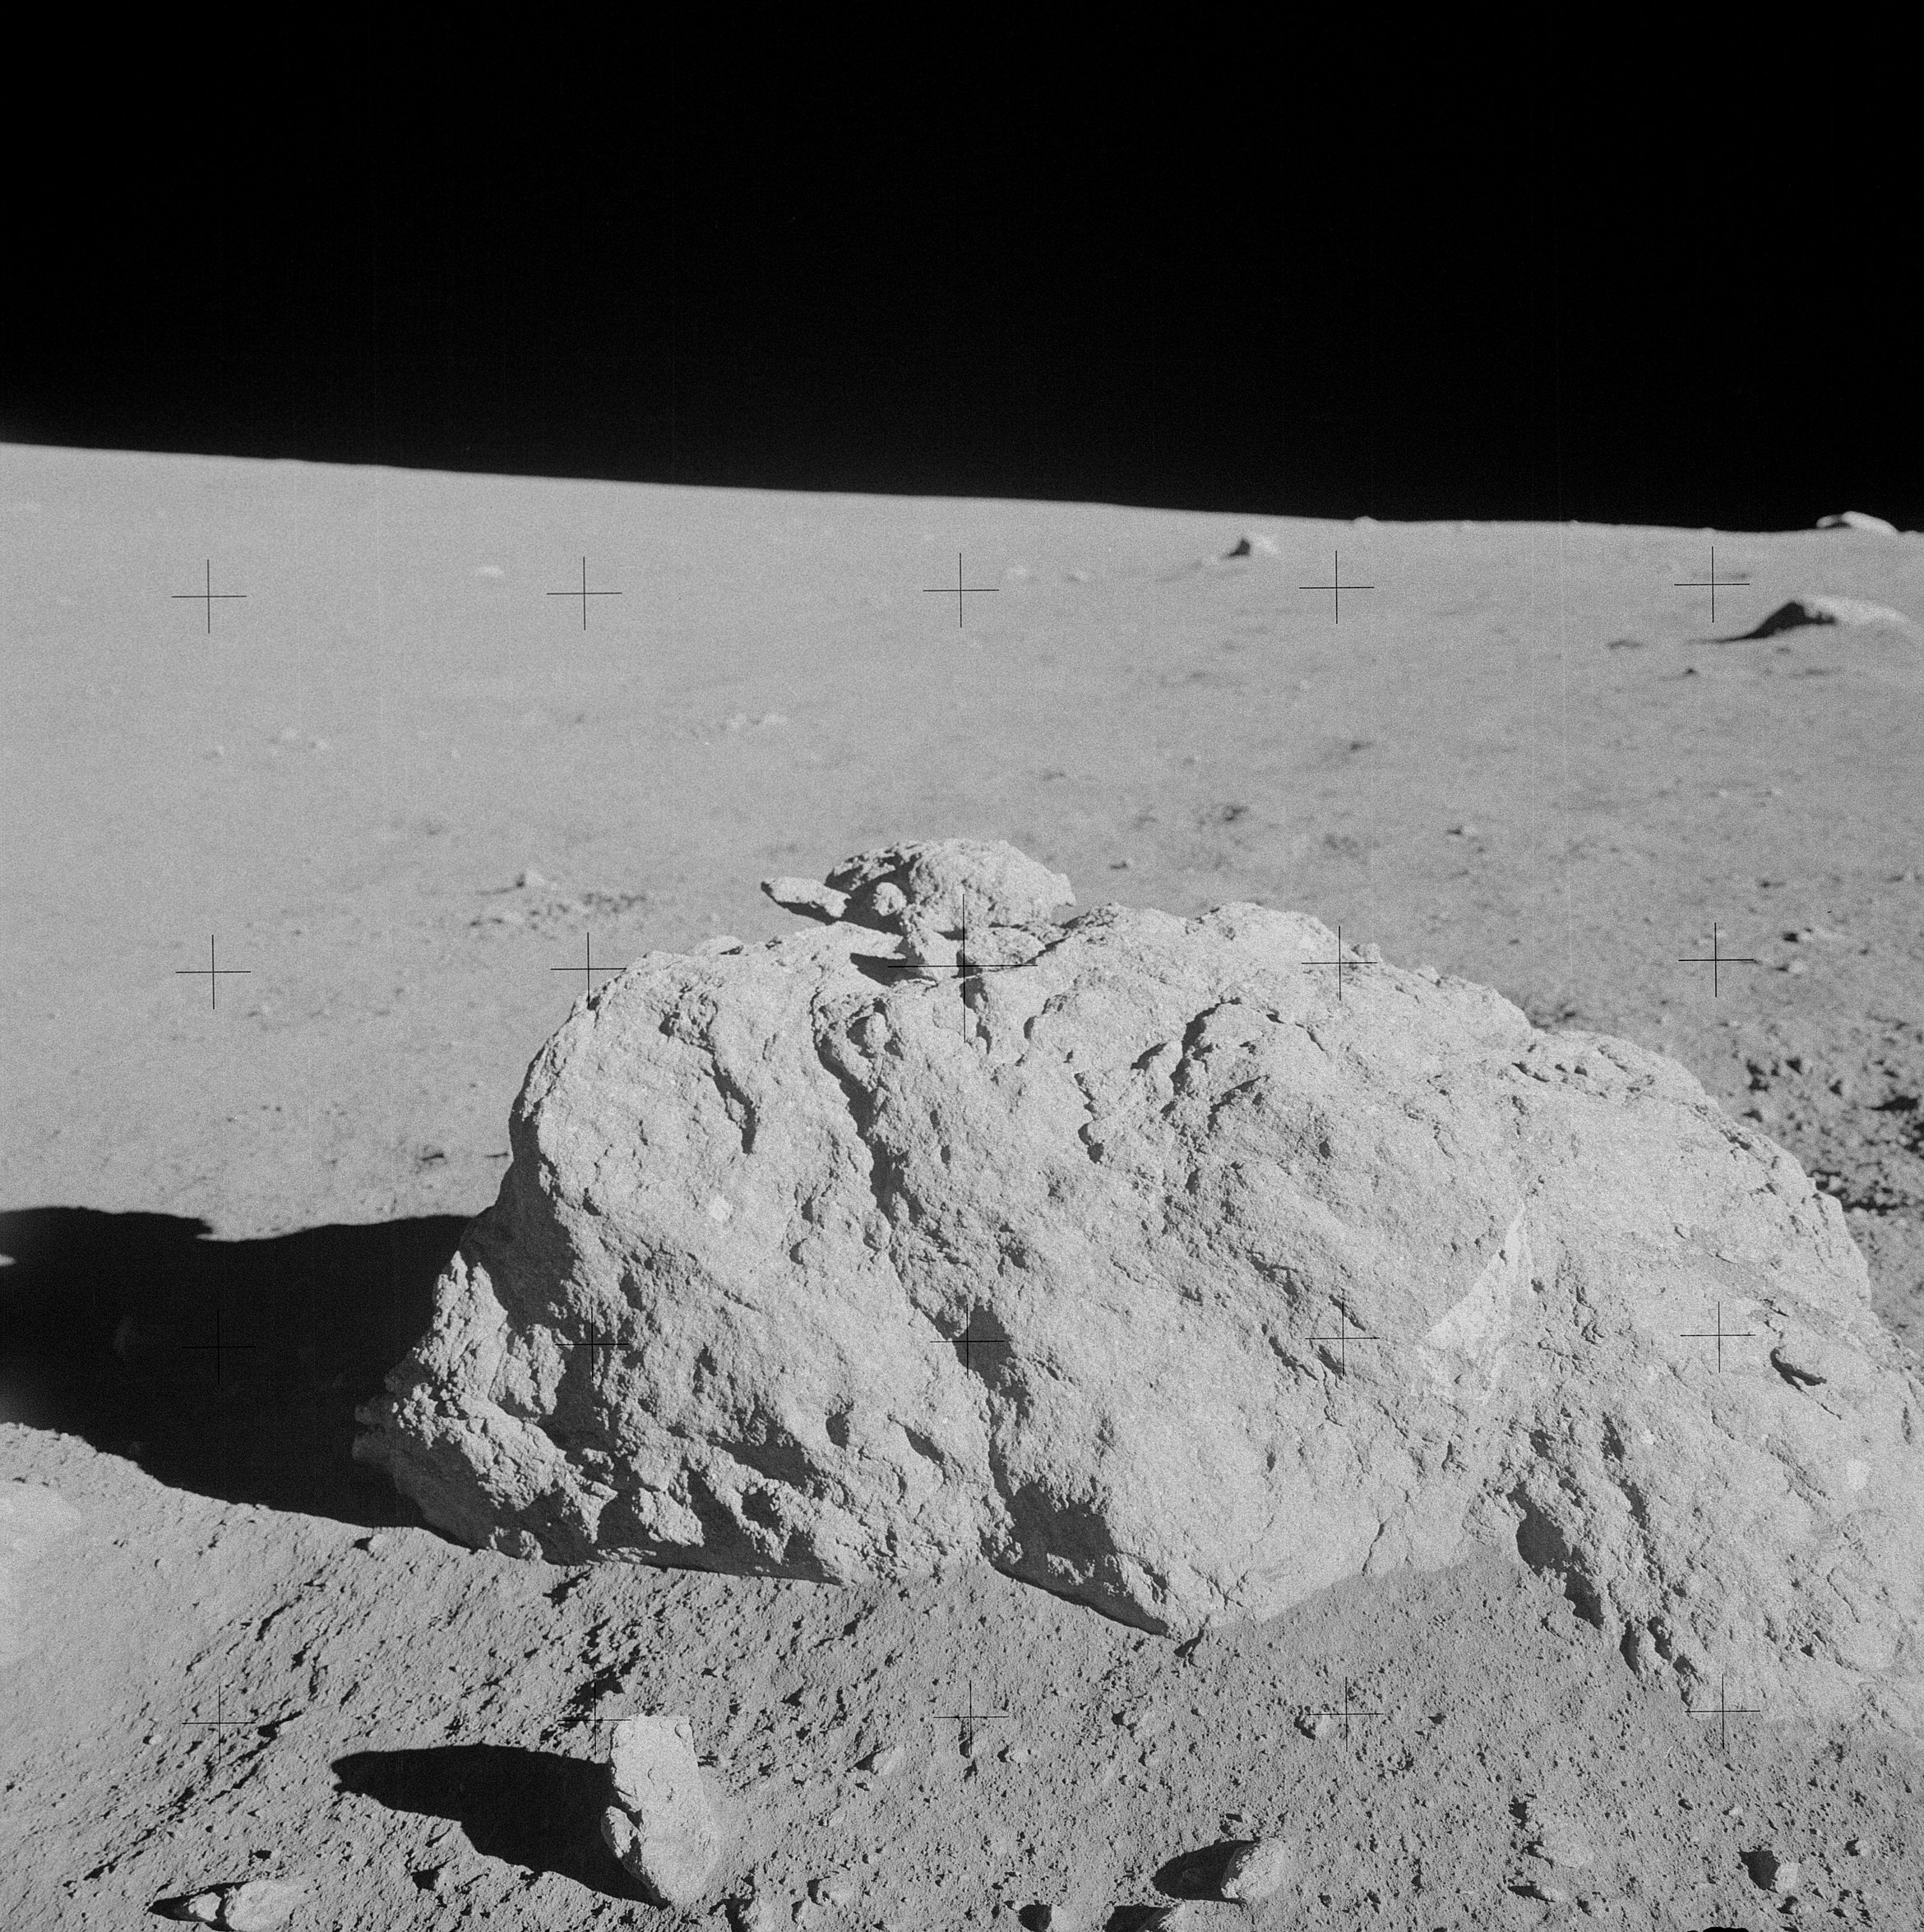 | AS14-68-9475 Ed has stepped to his left to repeat 9472 at a more appropriate focus setting. Image credit: Image Science and Analysis Laboratory, NASA-Johnson Space Center. |
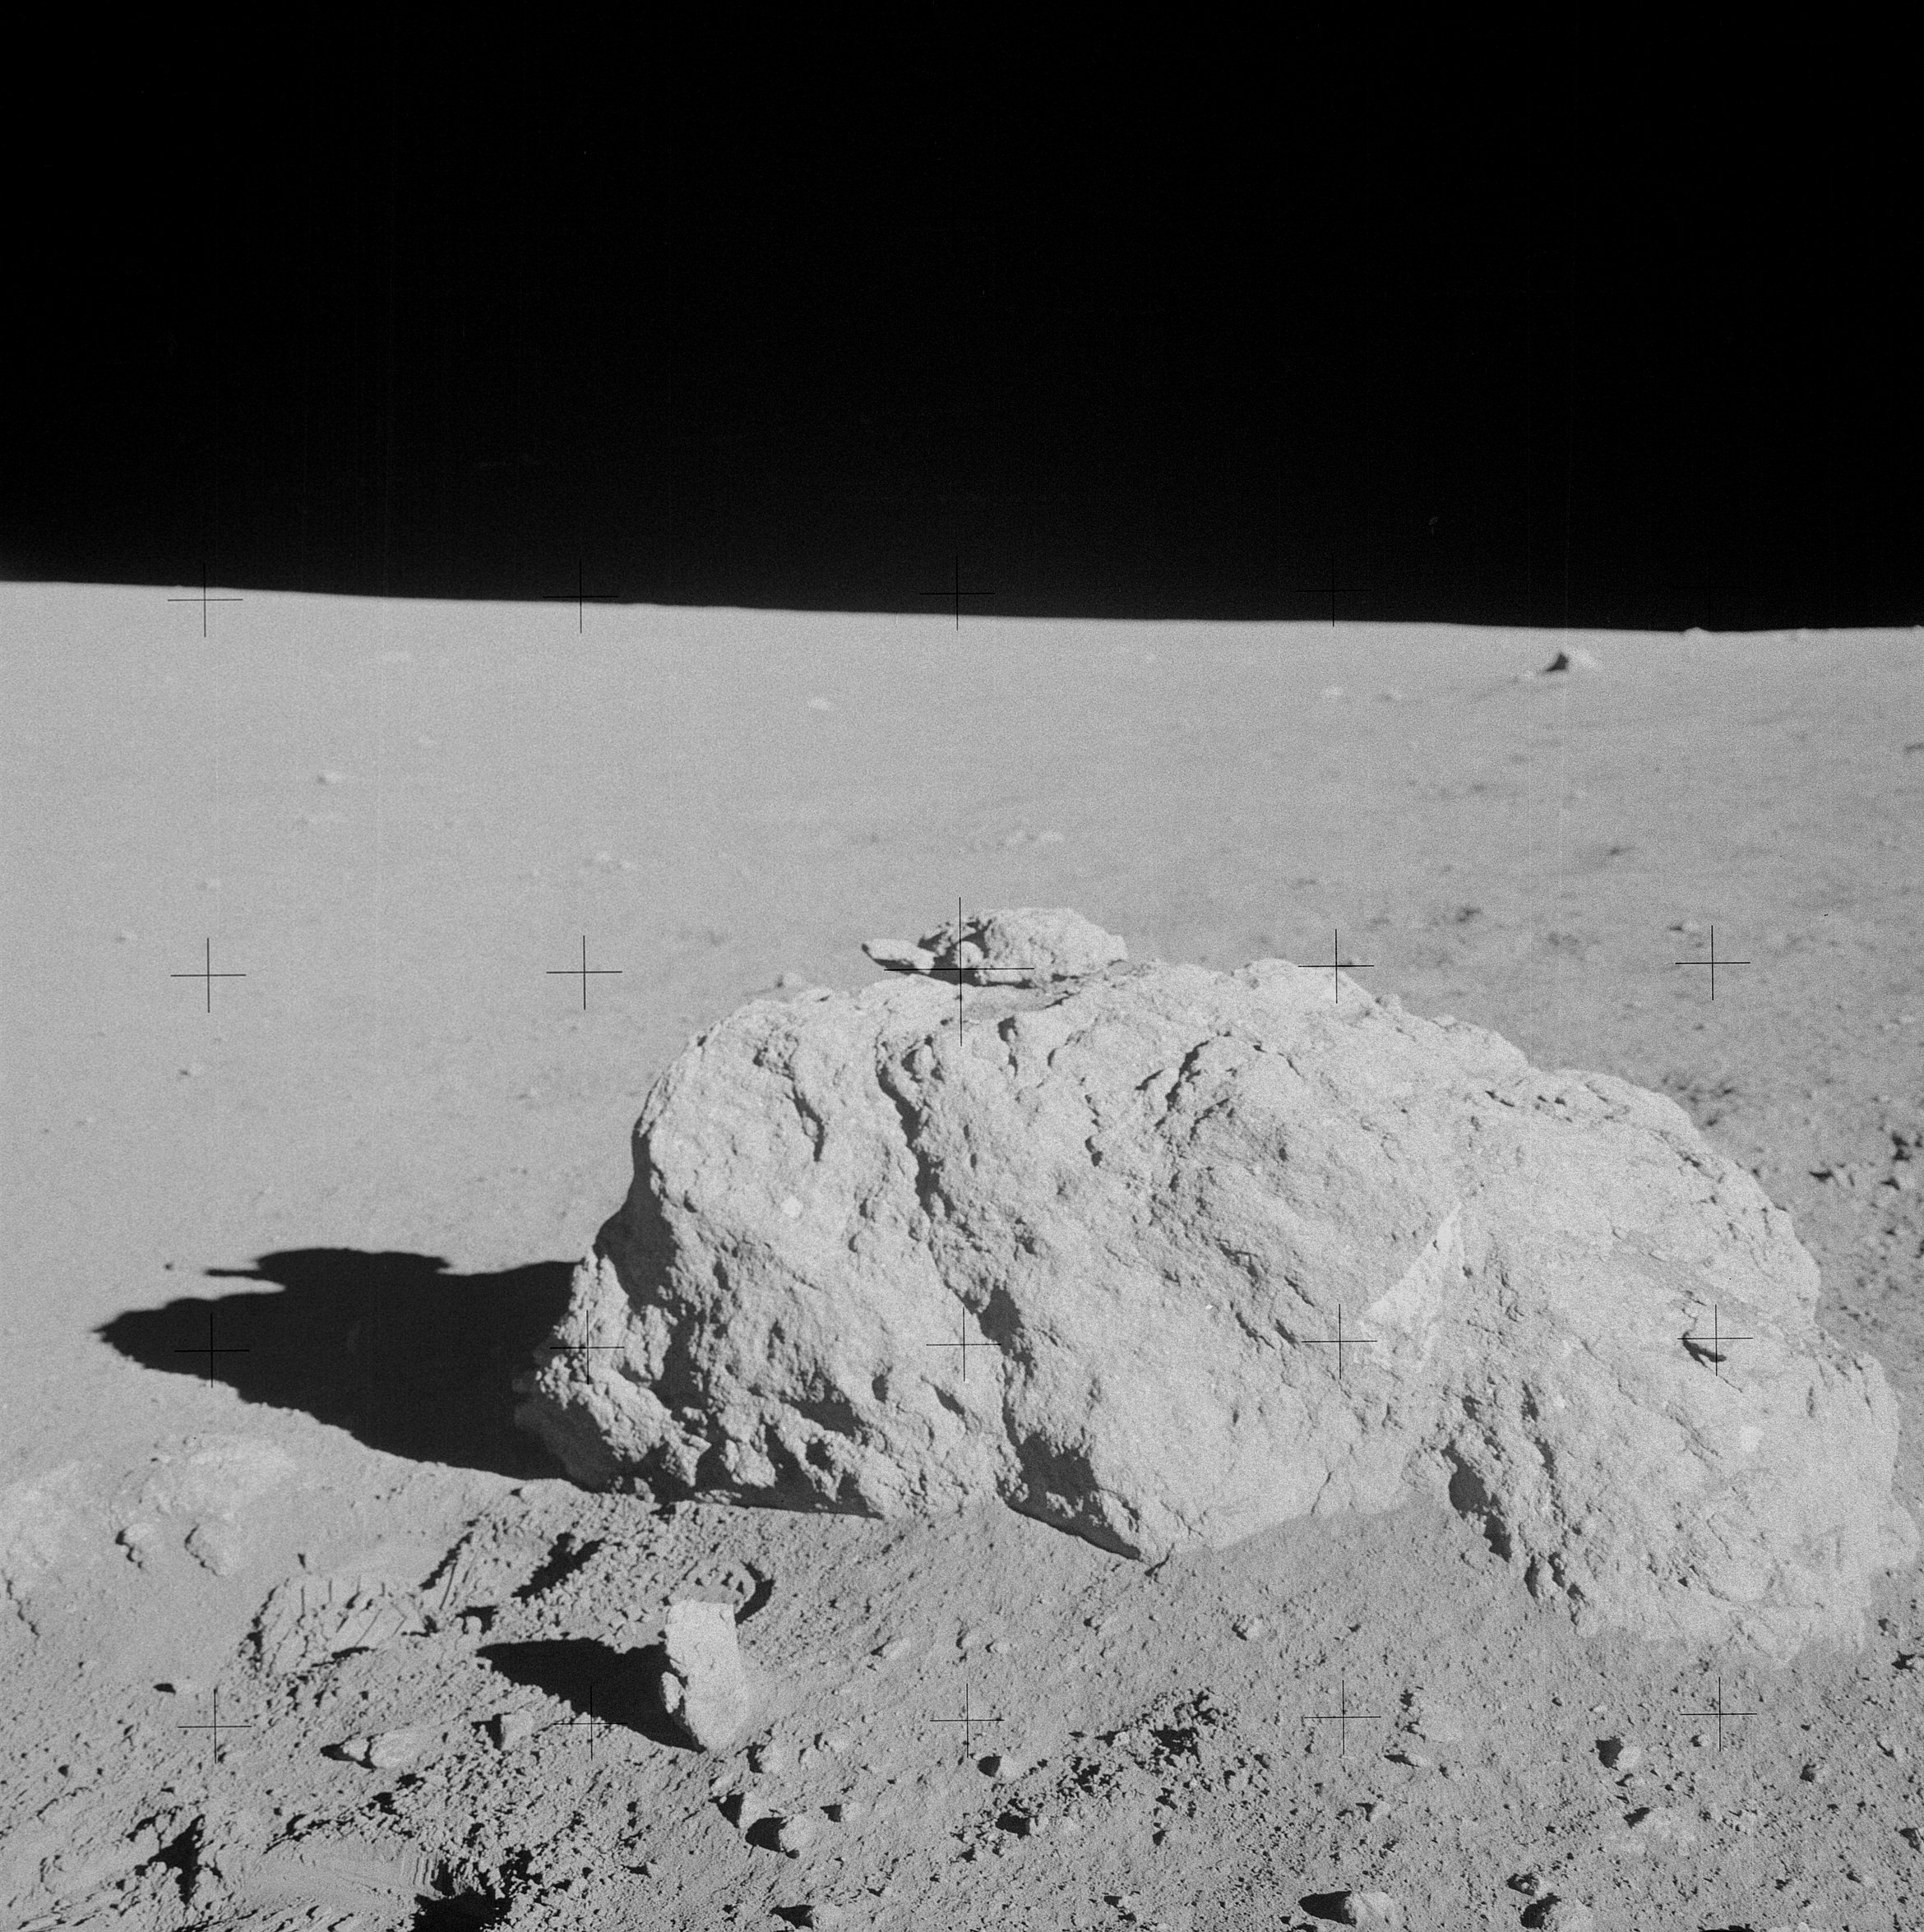 | AS14-68-9476 134:56:35 Ed has stepped to his left again to complete his portrait of Turtle Rock. Image credit: Image Science and Analysis Laboratory, NASA-Johnson Space Center. |
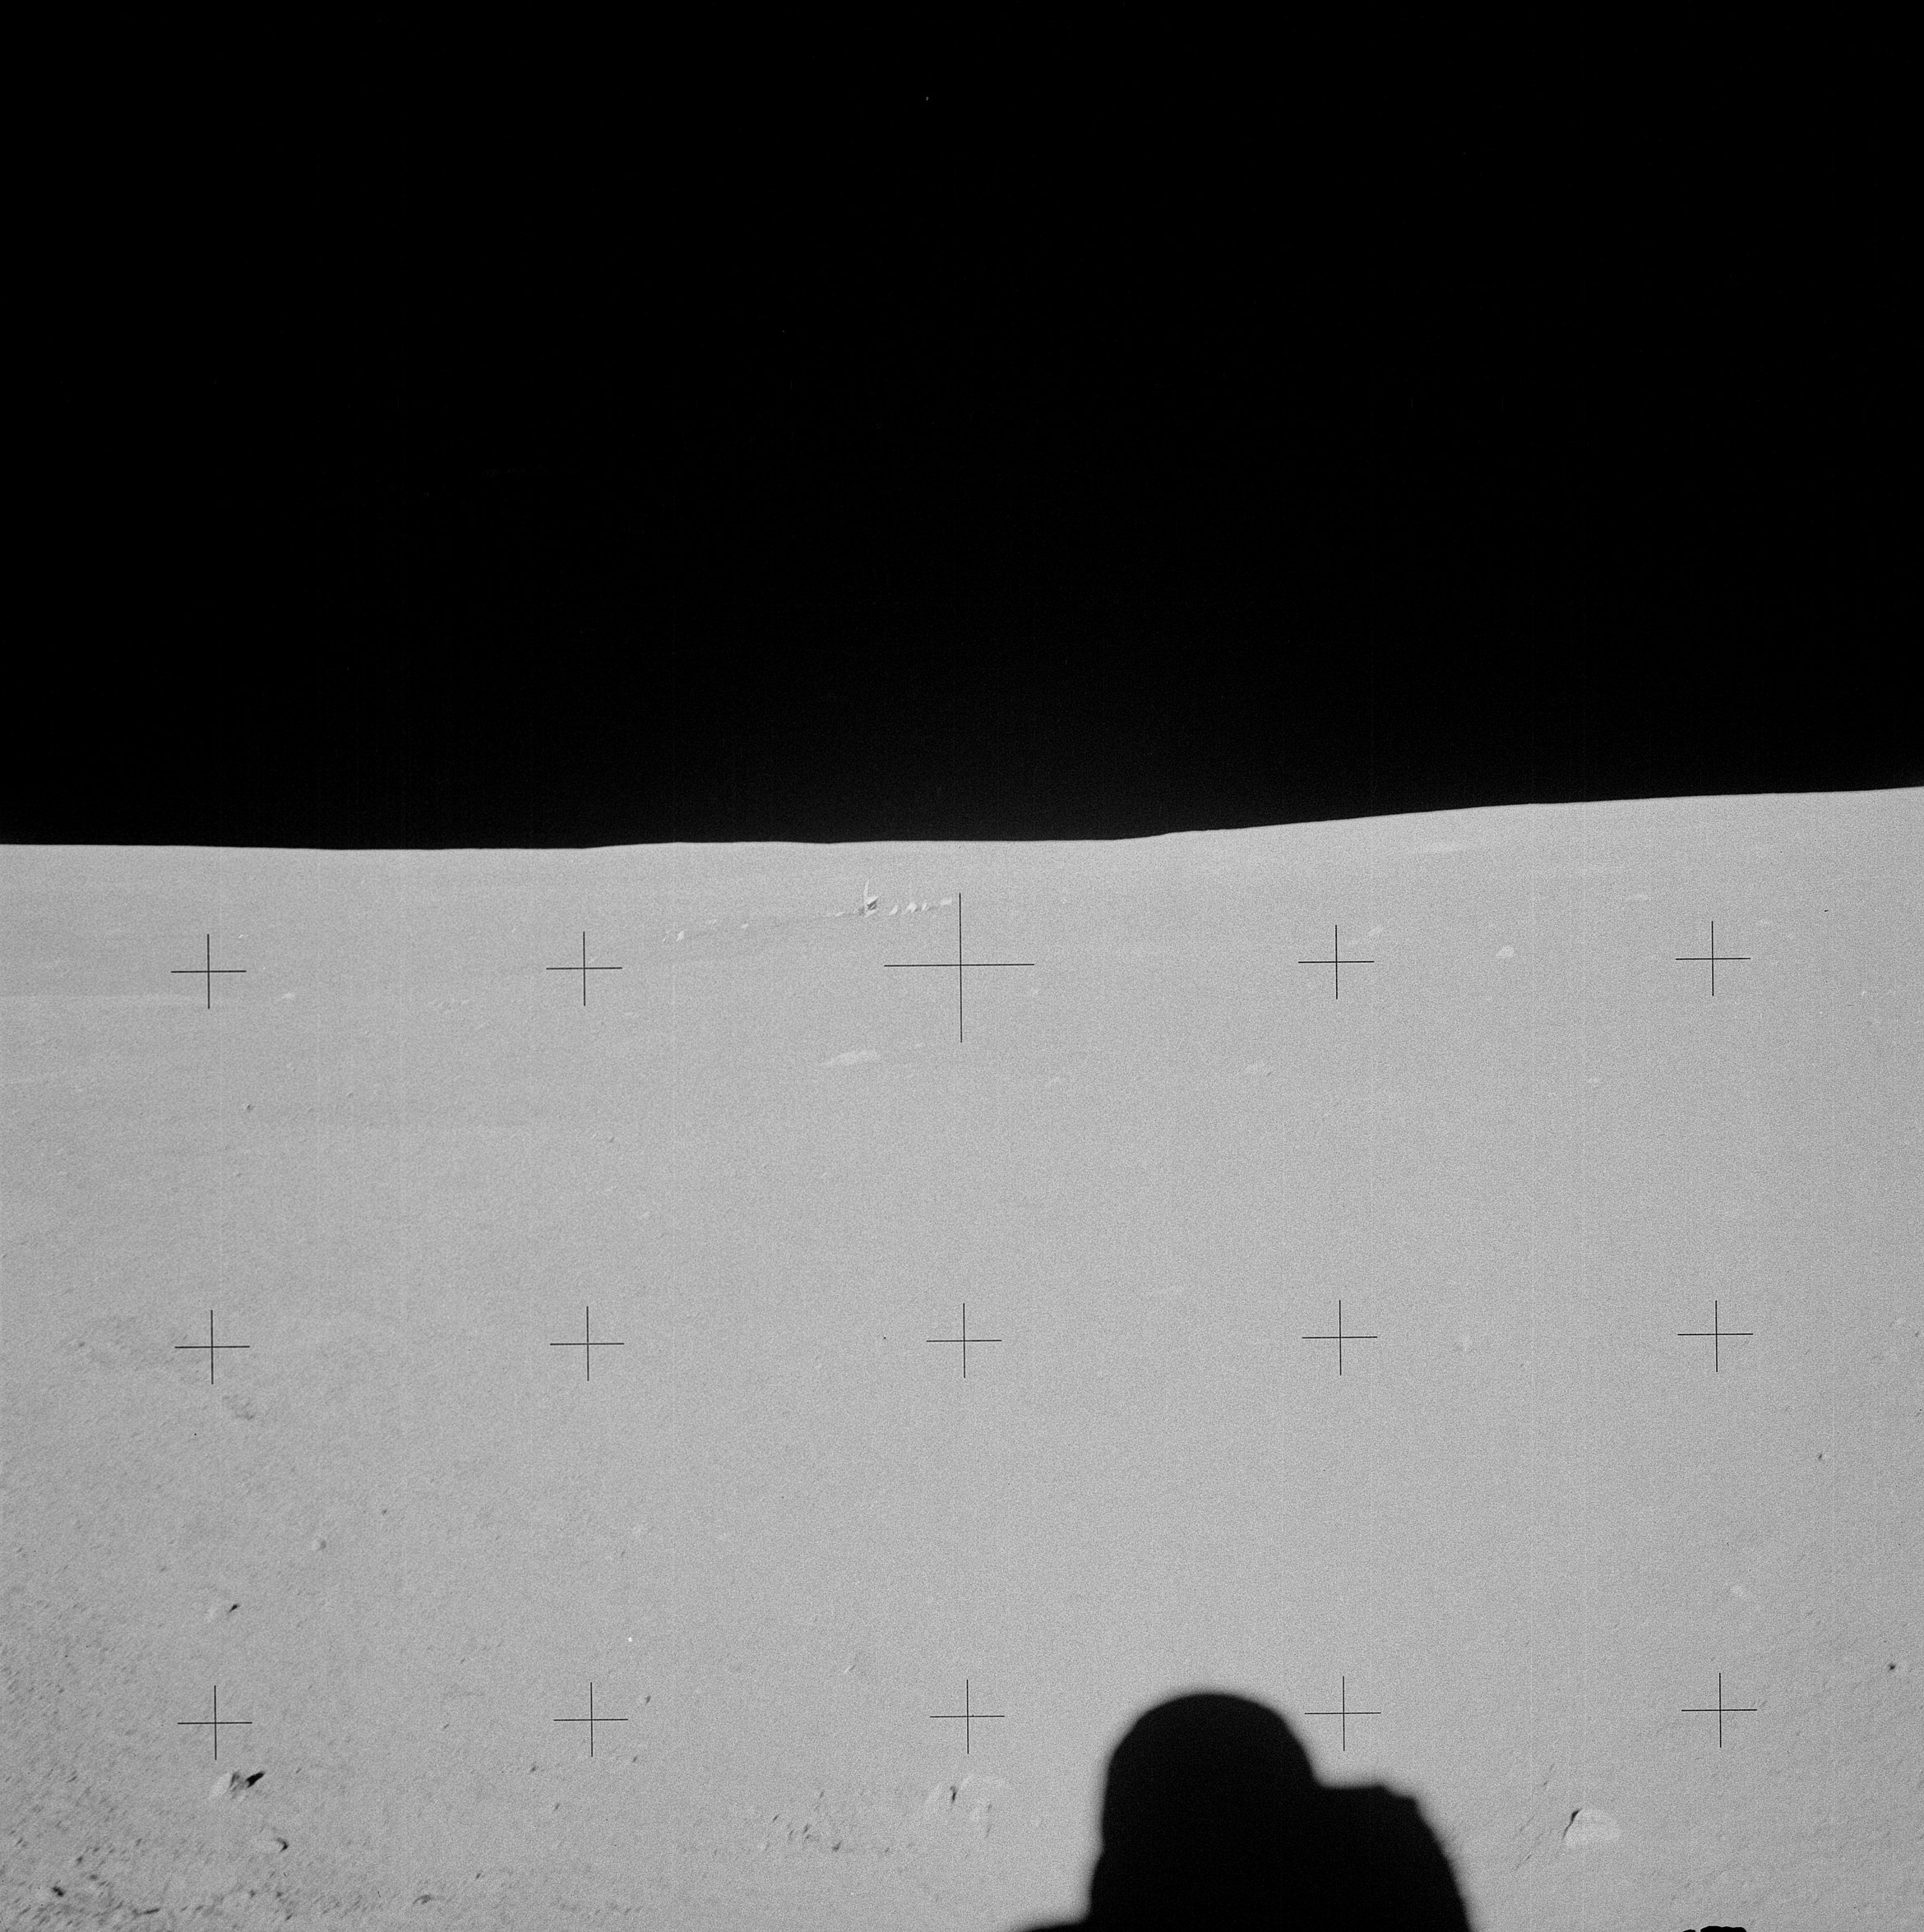 | AS14-68-9477 135:01:30 Ed has started a pan at Station H, beginning with this down-Sun toward the ALSEP. Image credit: Image Science and Analysis Laboratory, NASA-Johnson Space Center. |
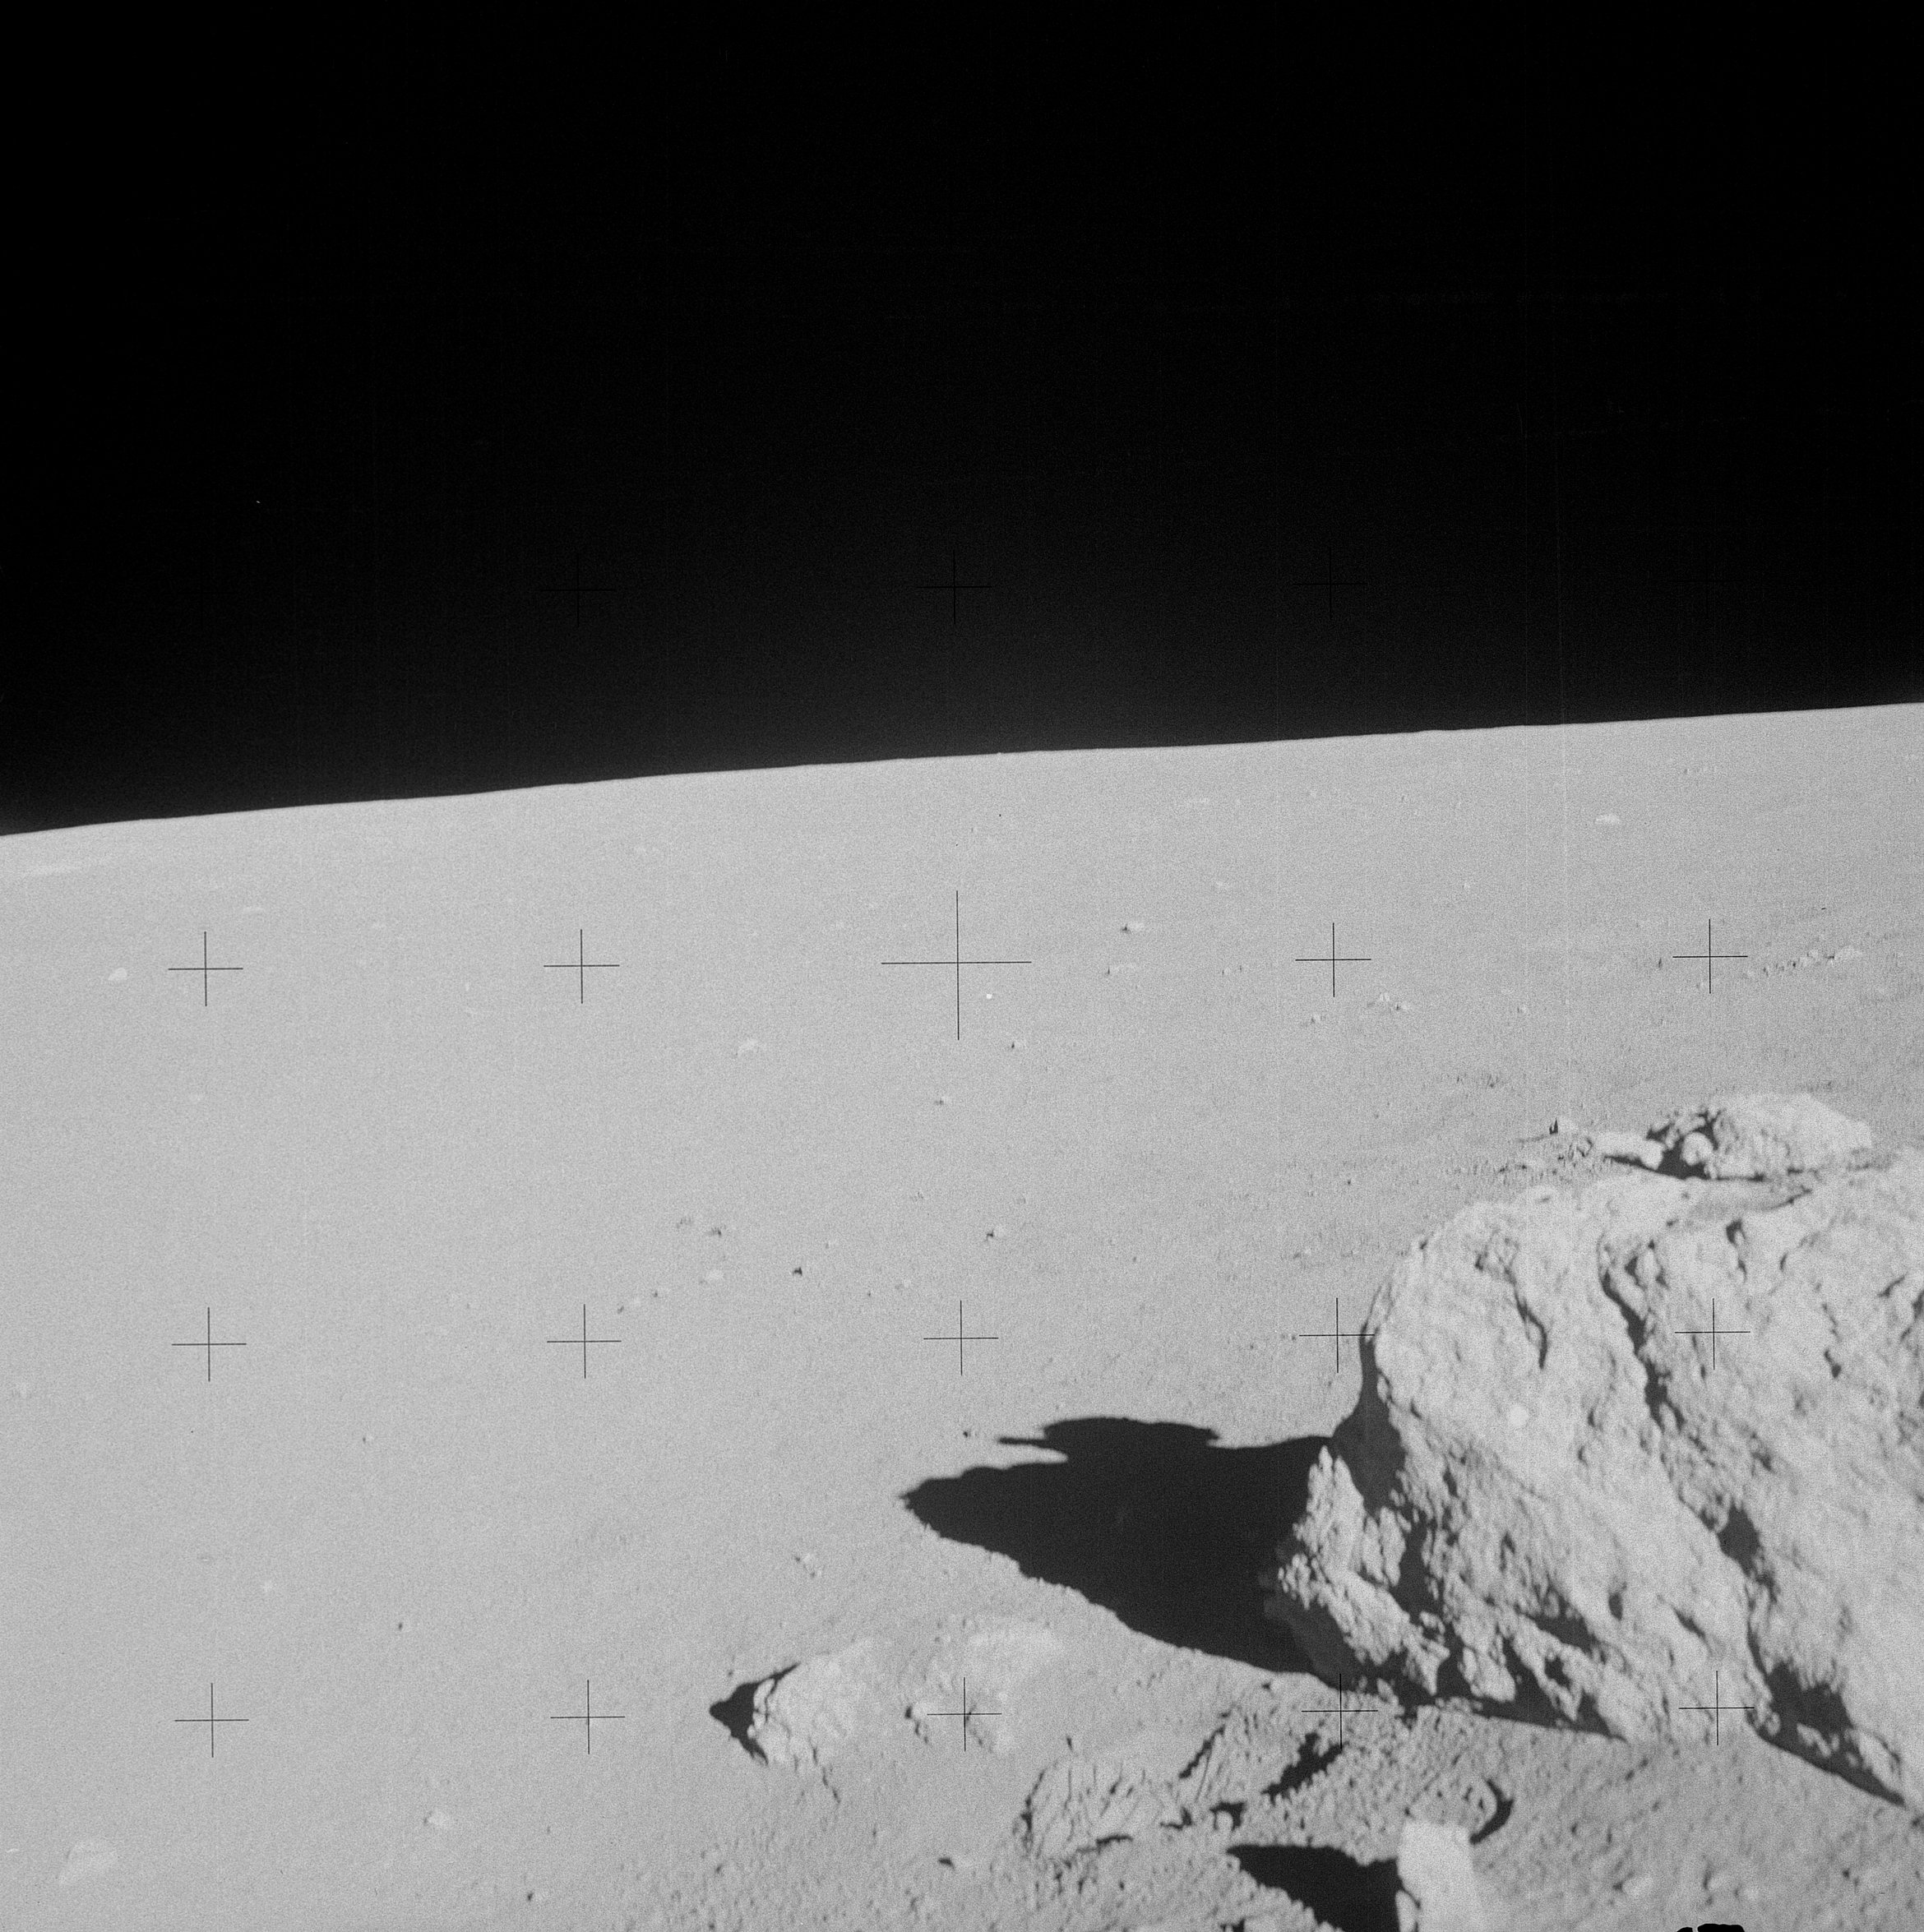 | AS14-68-9478 Rightward of 9477, showing the turtle. Image credit: Image Science and Analysis Laboratory, NASA-Johnson Space Center. |
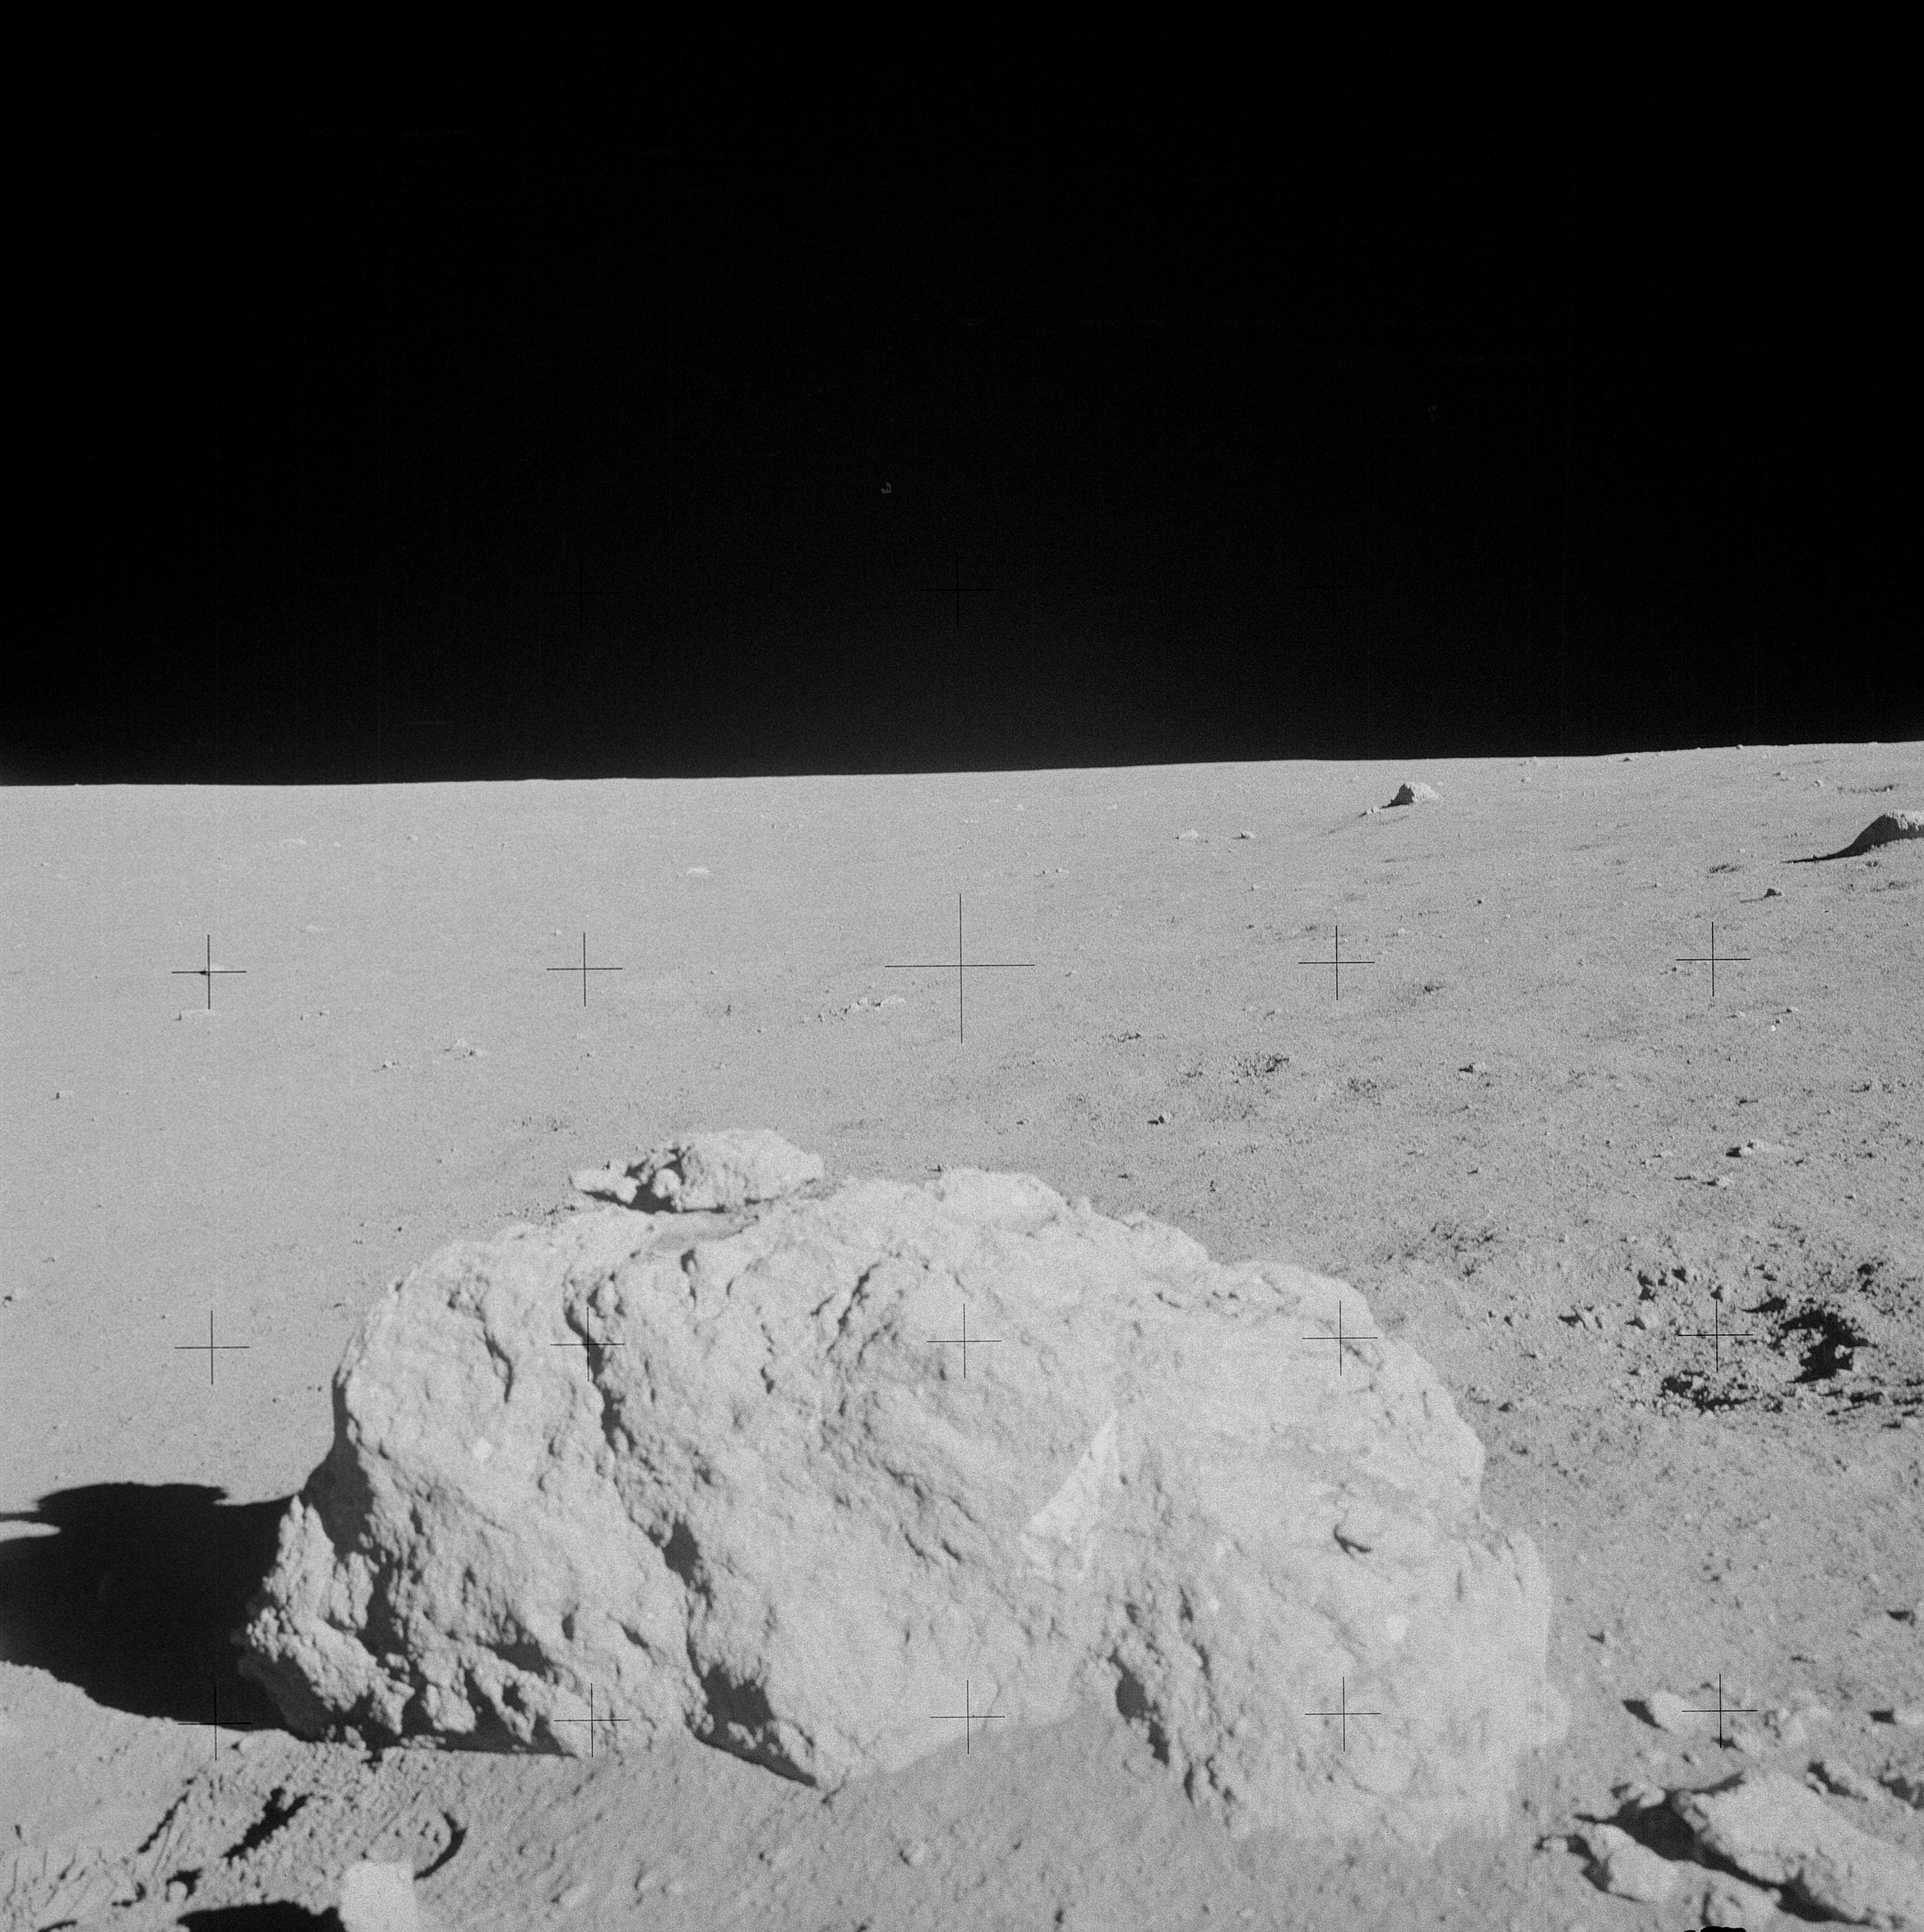 | AS14-68-9479 135:01:30 Rightward of 9478. Image credit: Image Science and Analysis Laboratory, NASA-Johnson Space Center. |
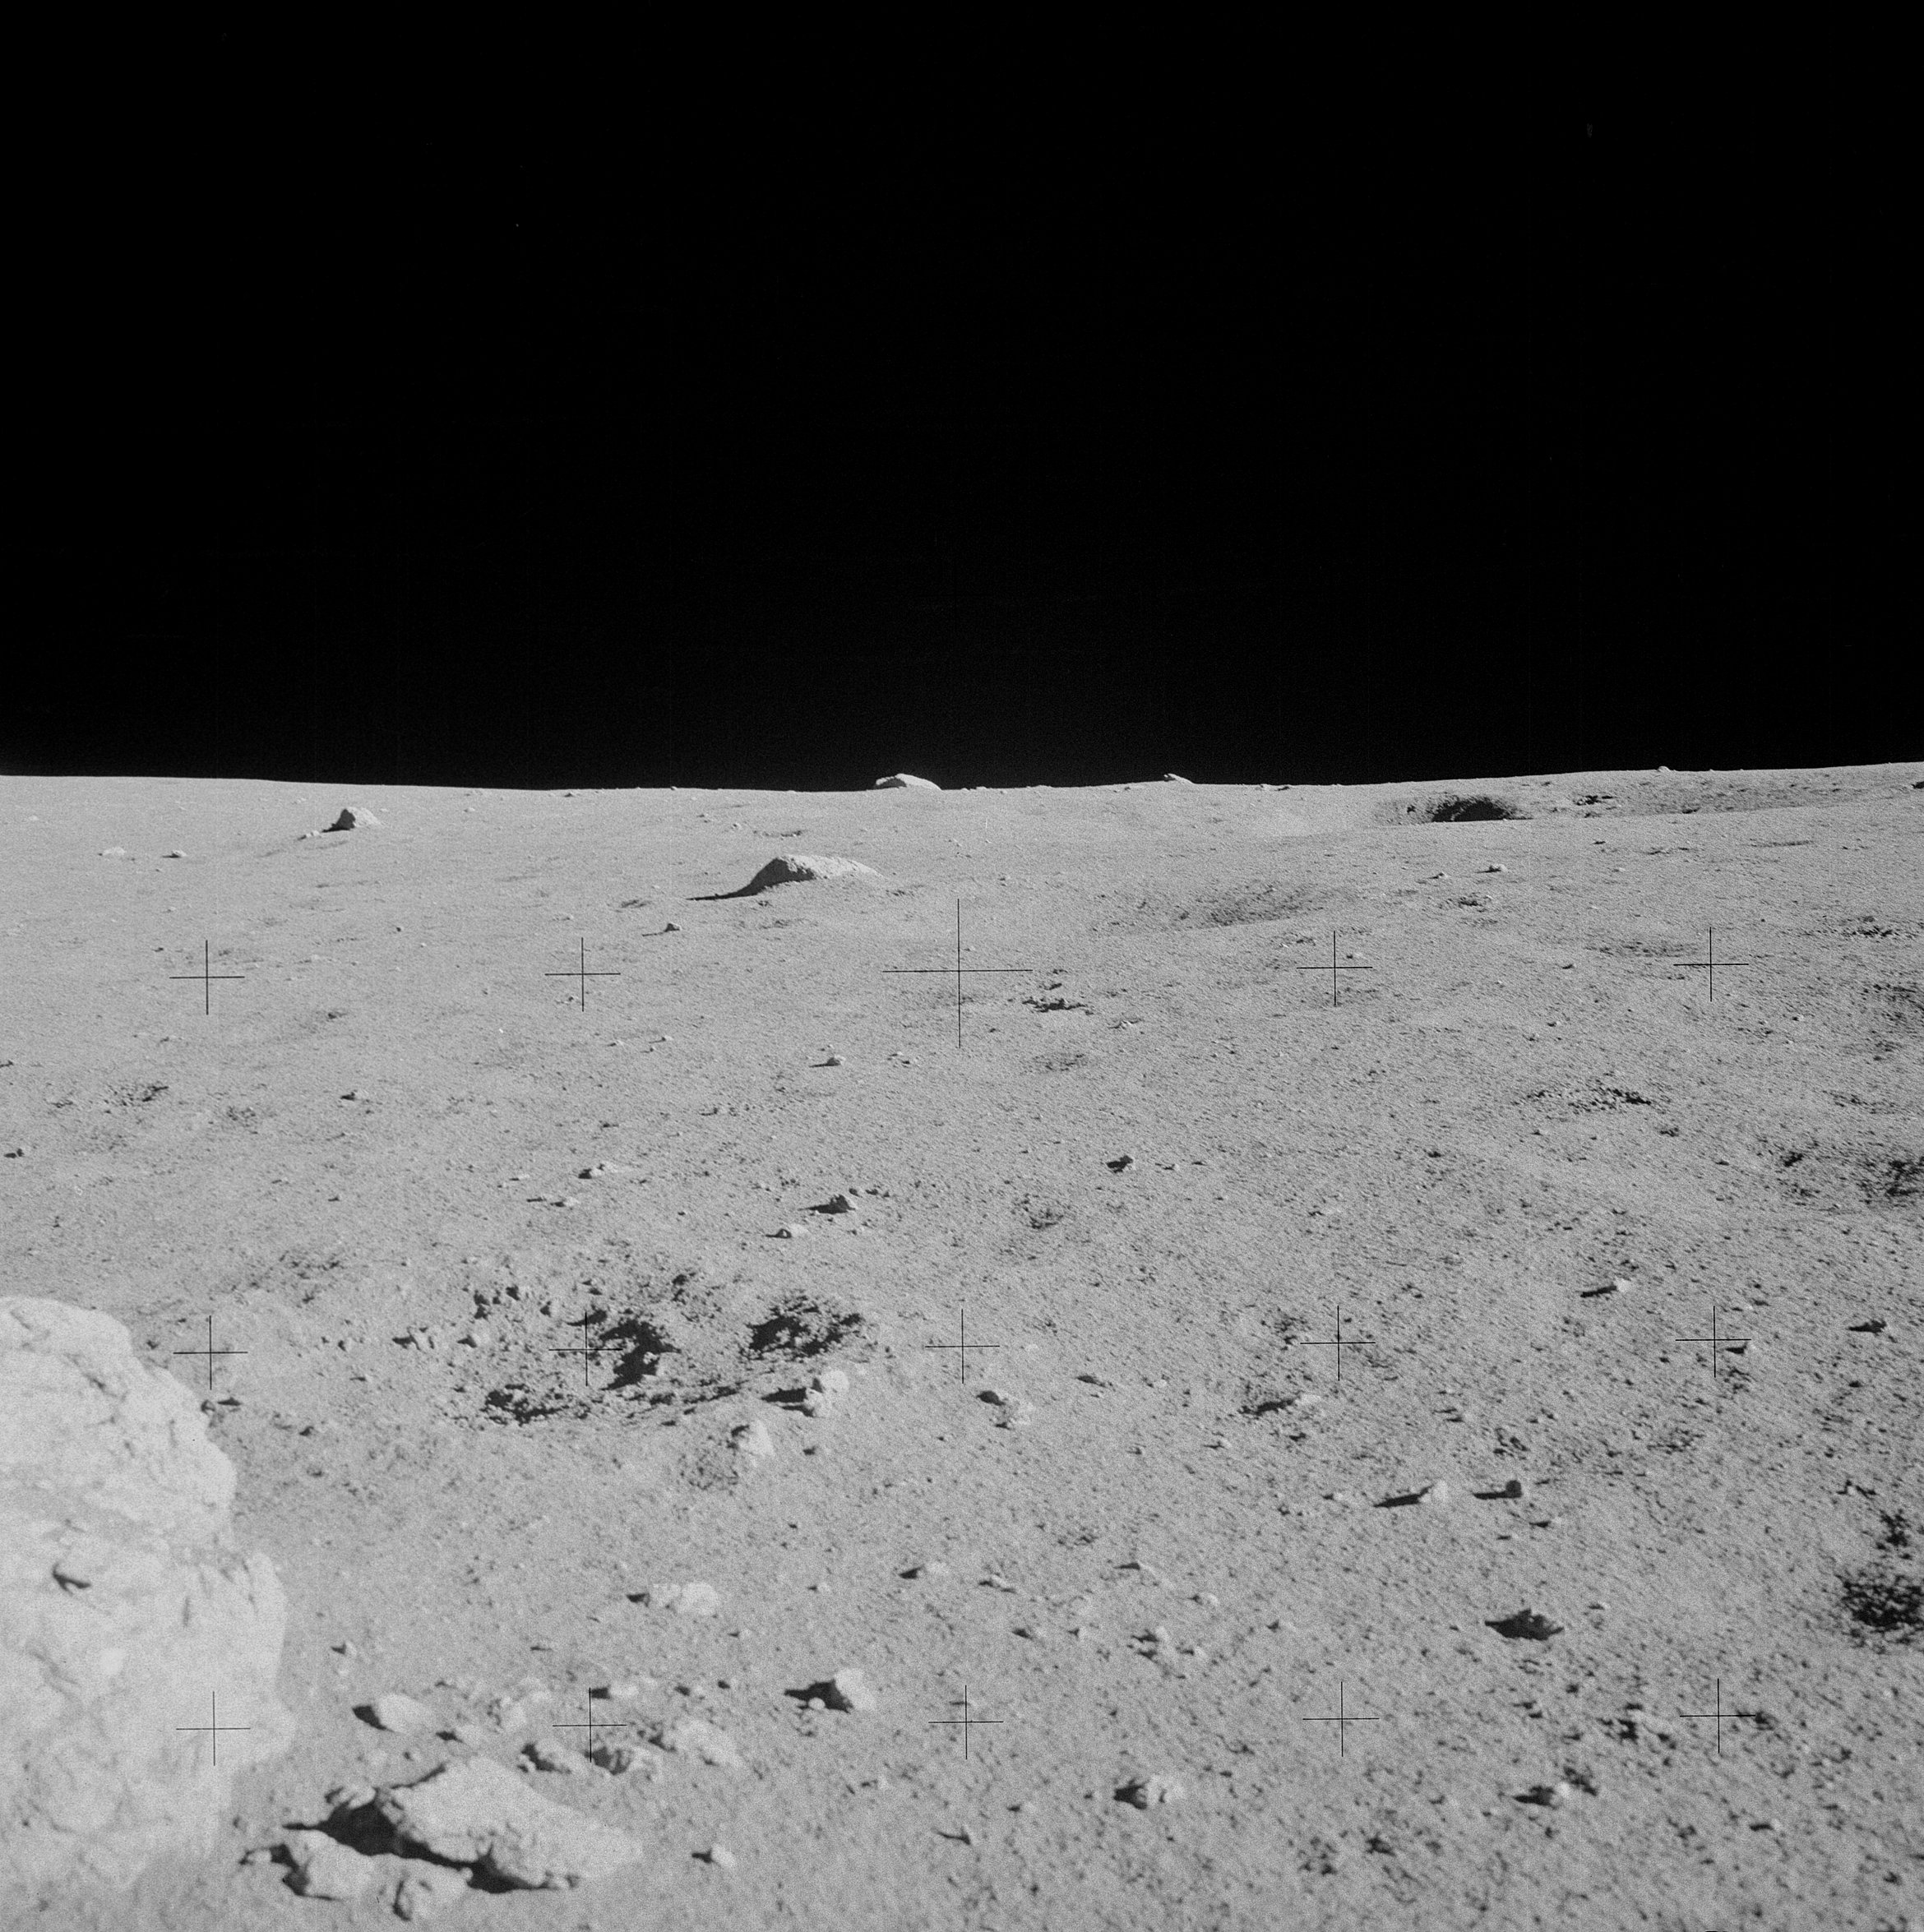 | AS14-68-9480 Rightward of 9479, showing a number of large boulders on the local horizon. Image credit: Image Science and Analysis Laboratory, NASA-Johnson Space Center. |
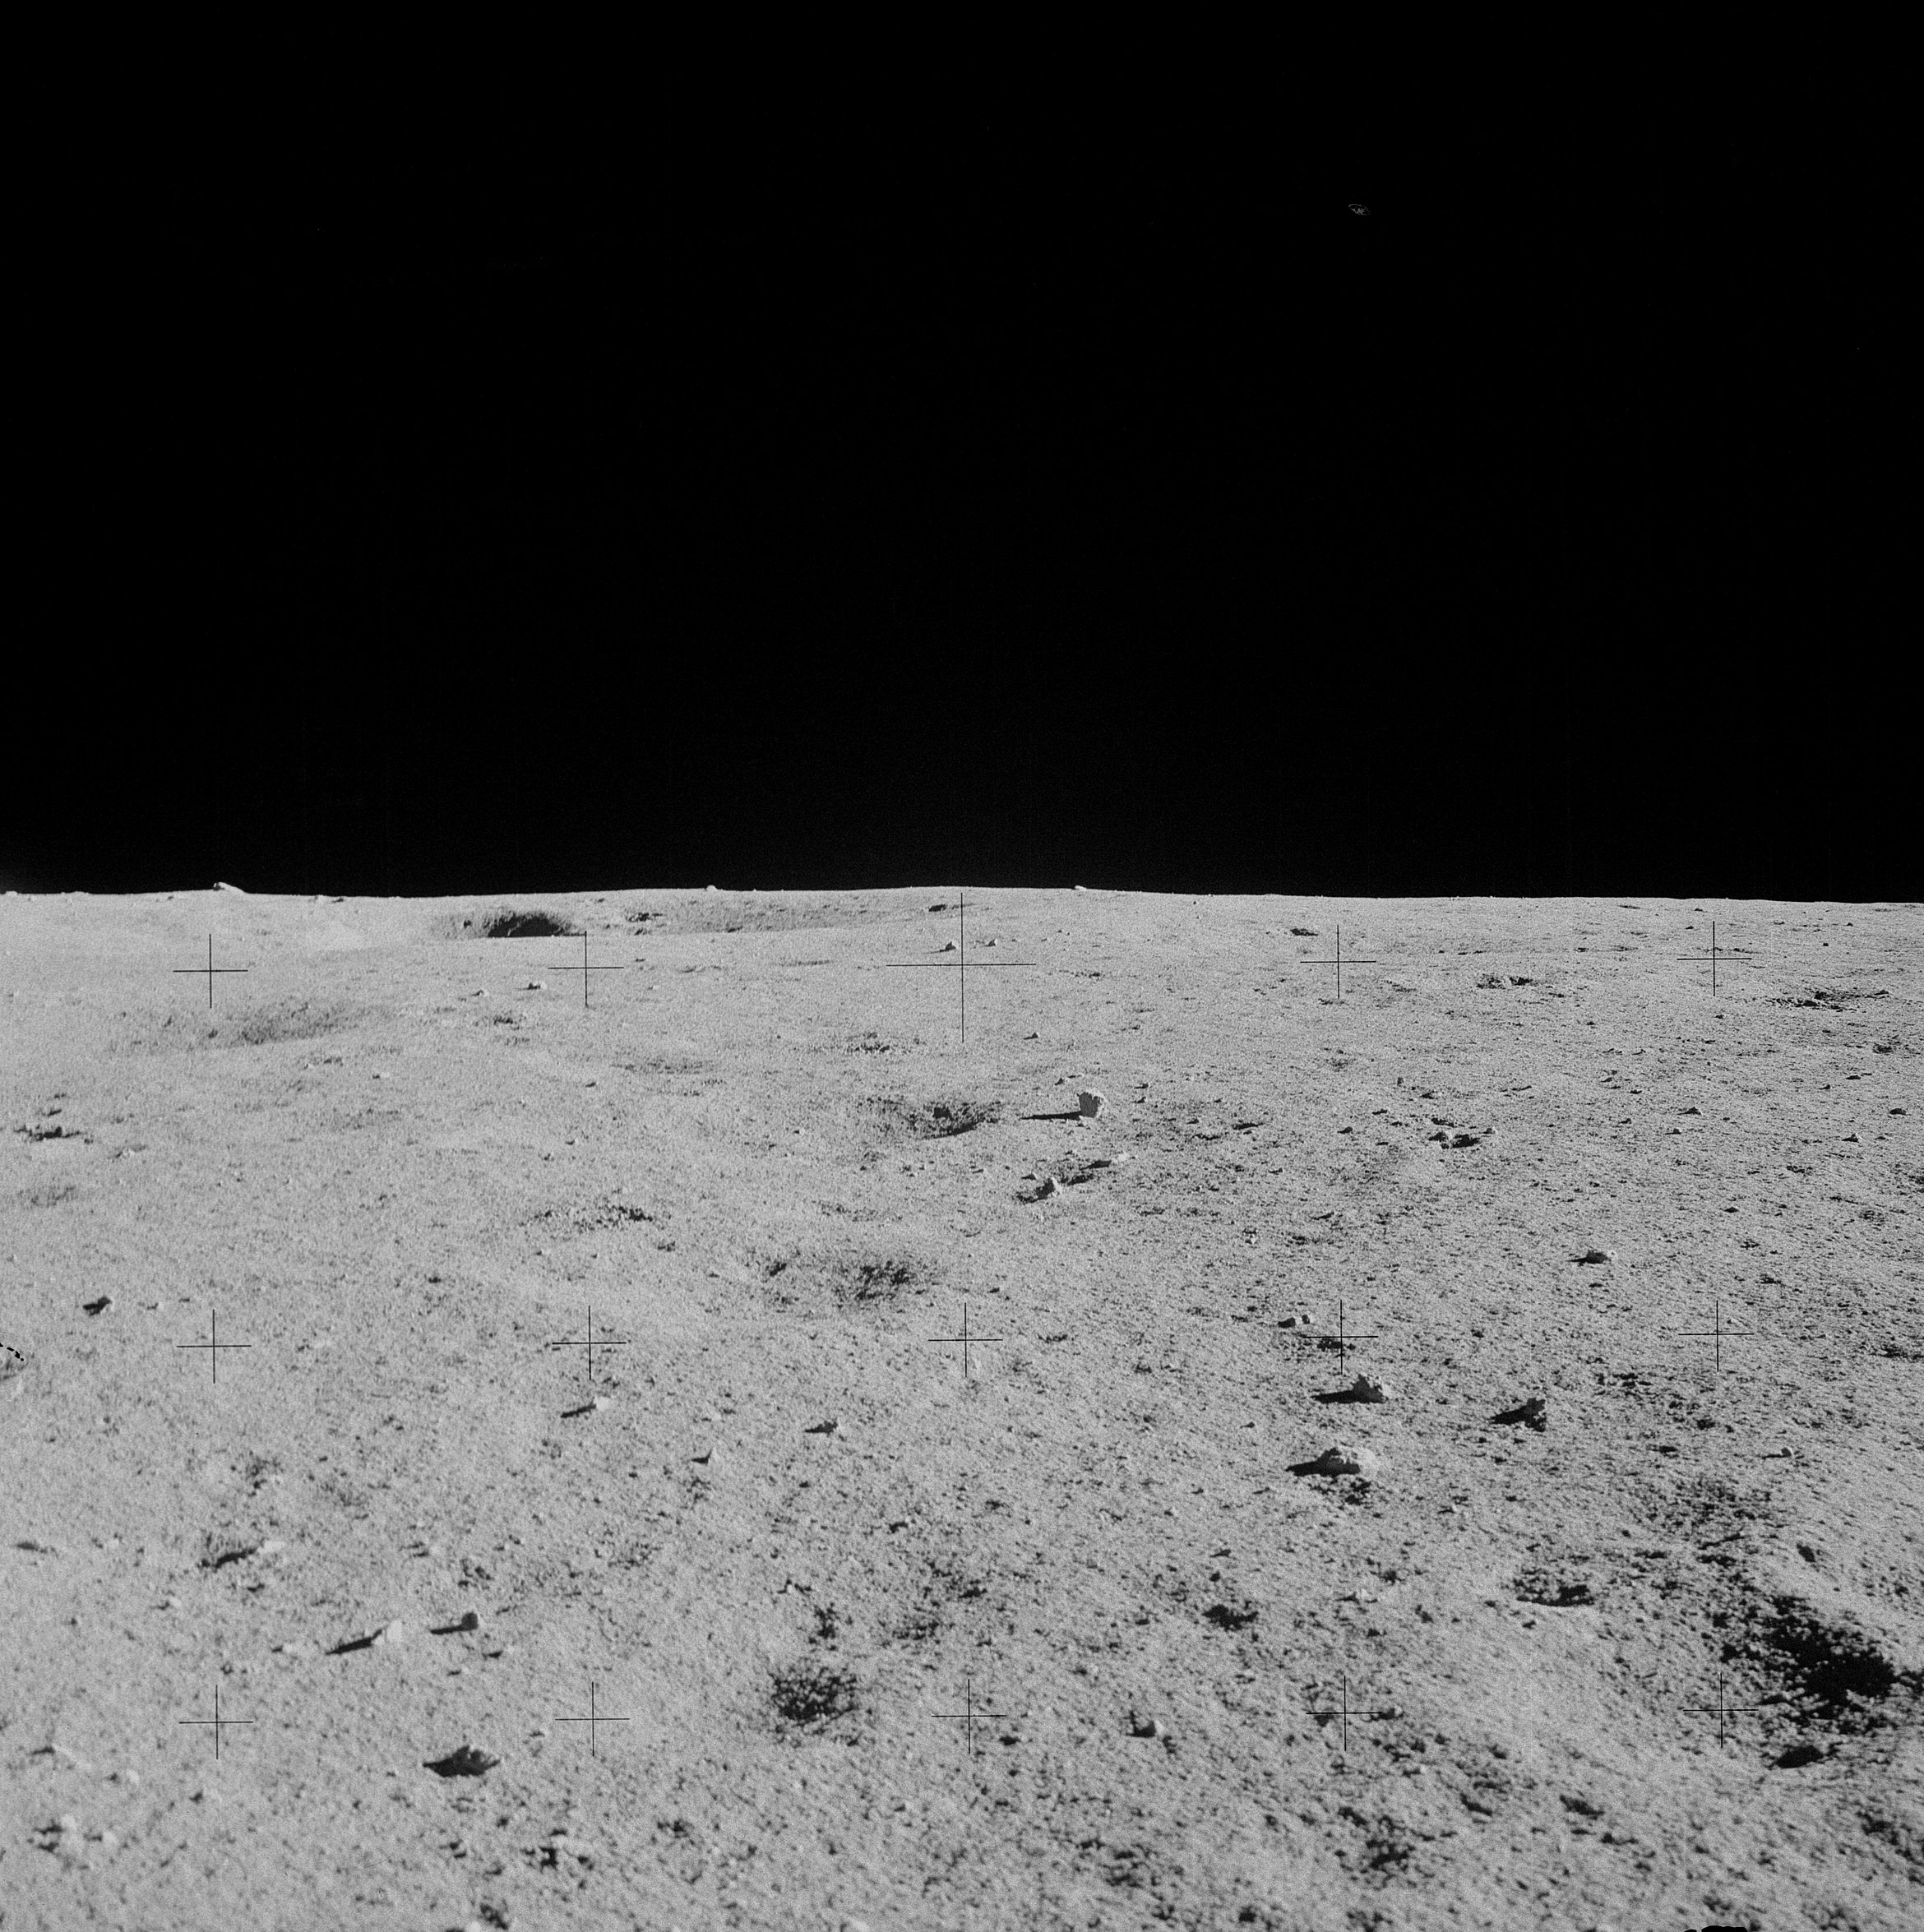 | AS14-68-9481 Rightward of 9480. Image credit: Image Science and Analysis Laboratory, NASA-Johnson Space Center. |
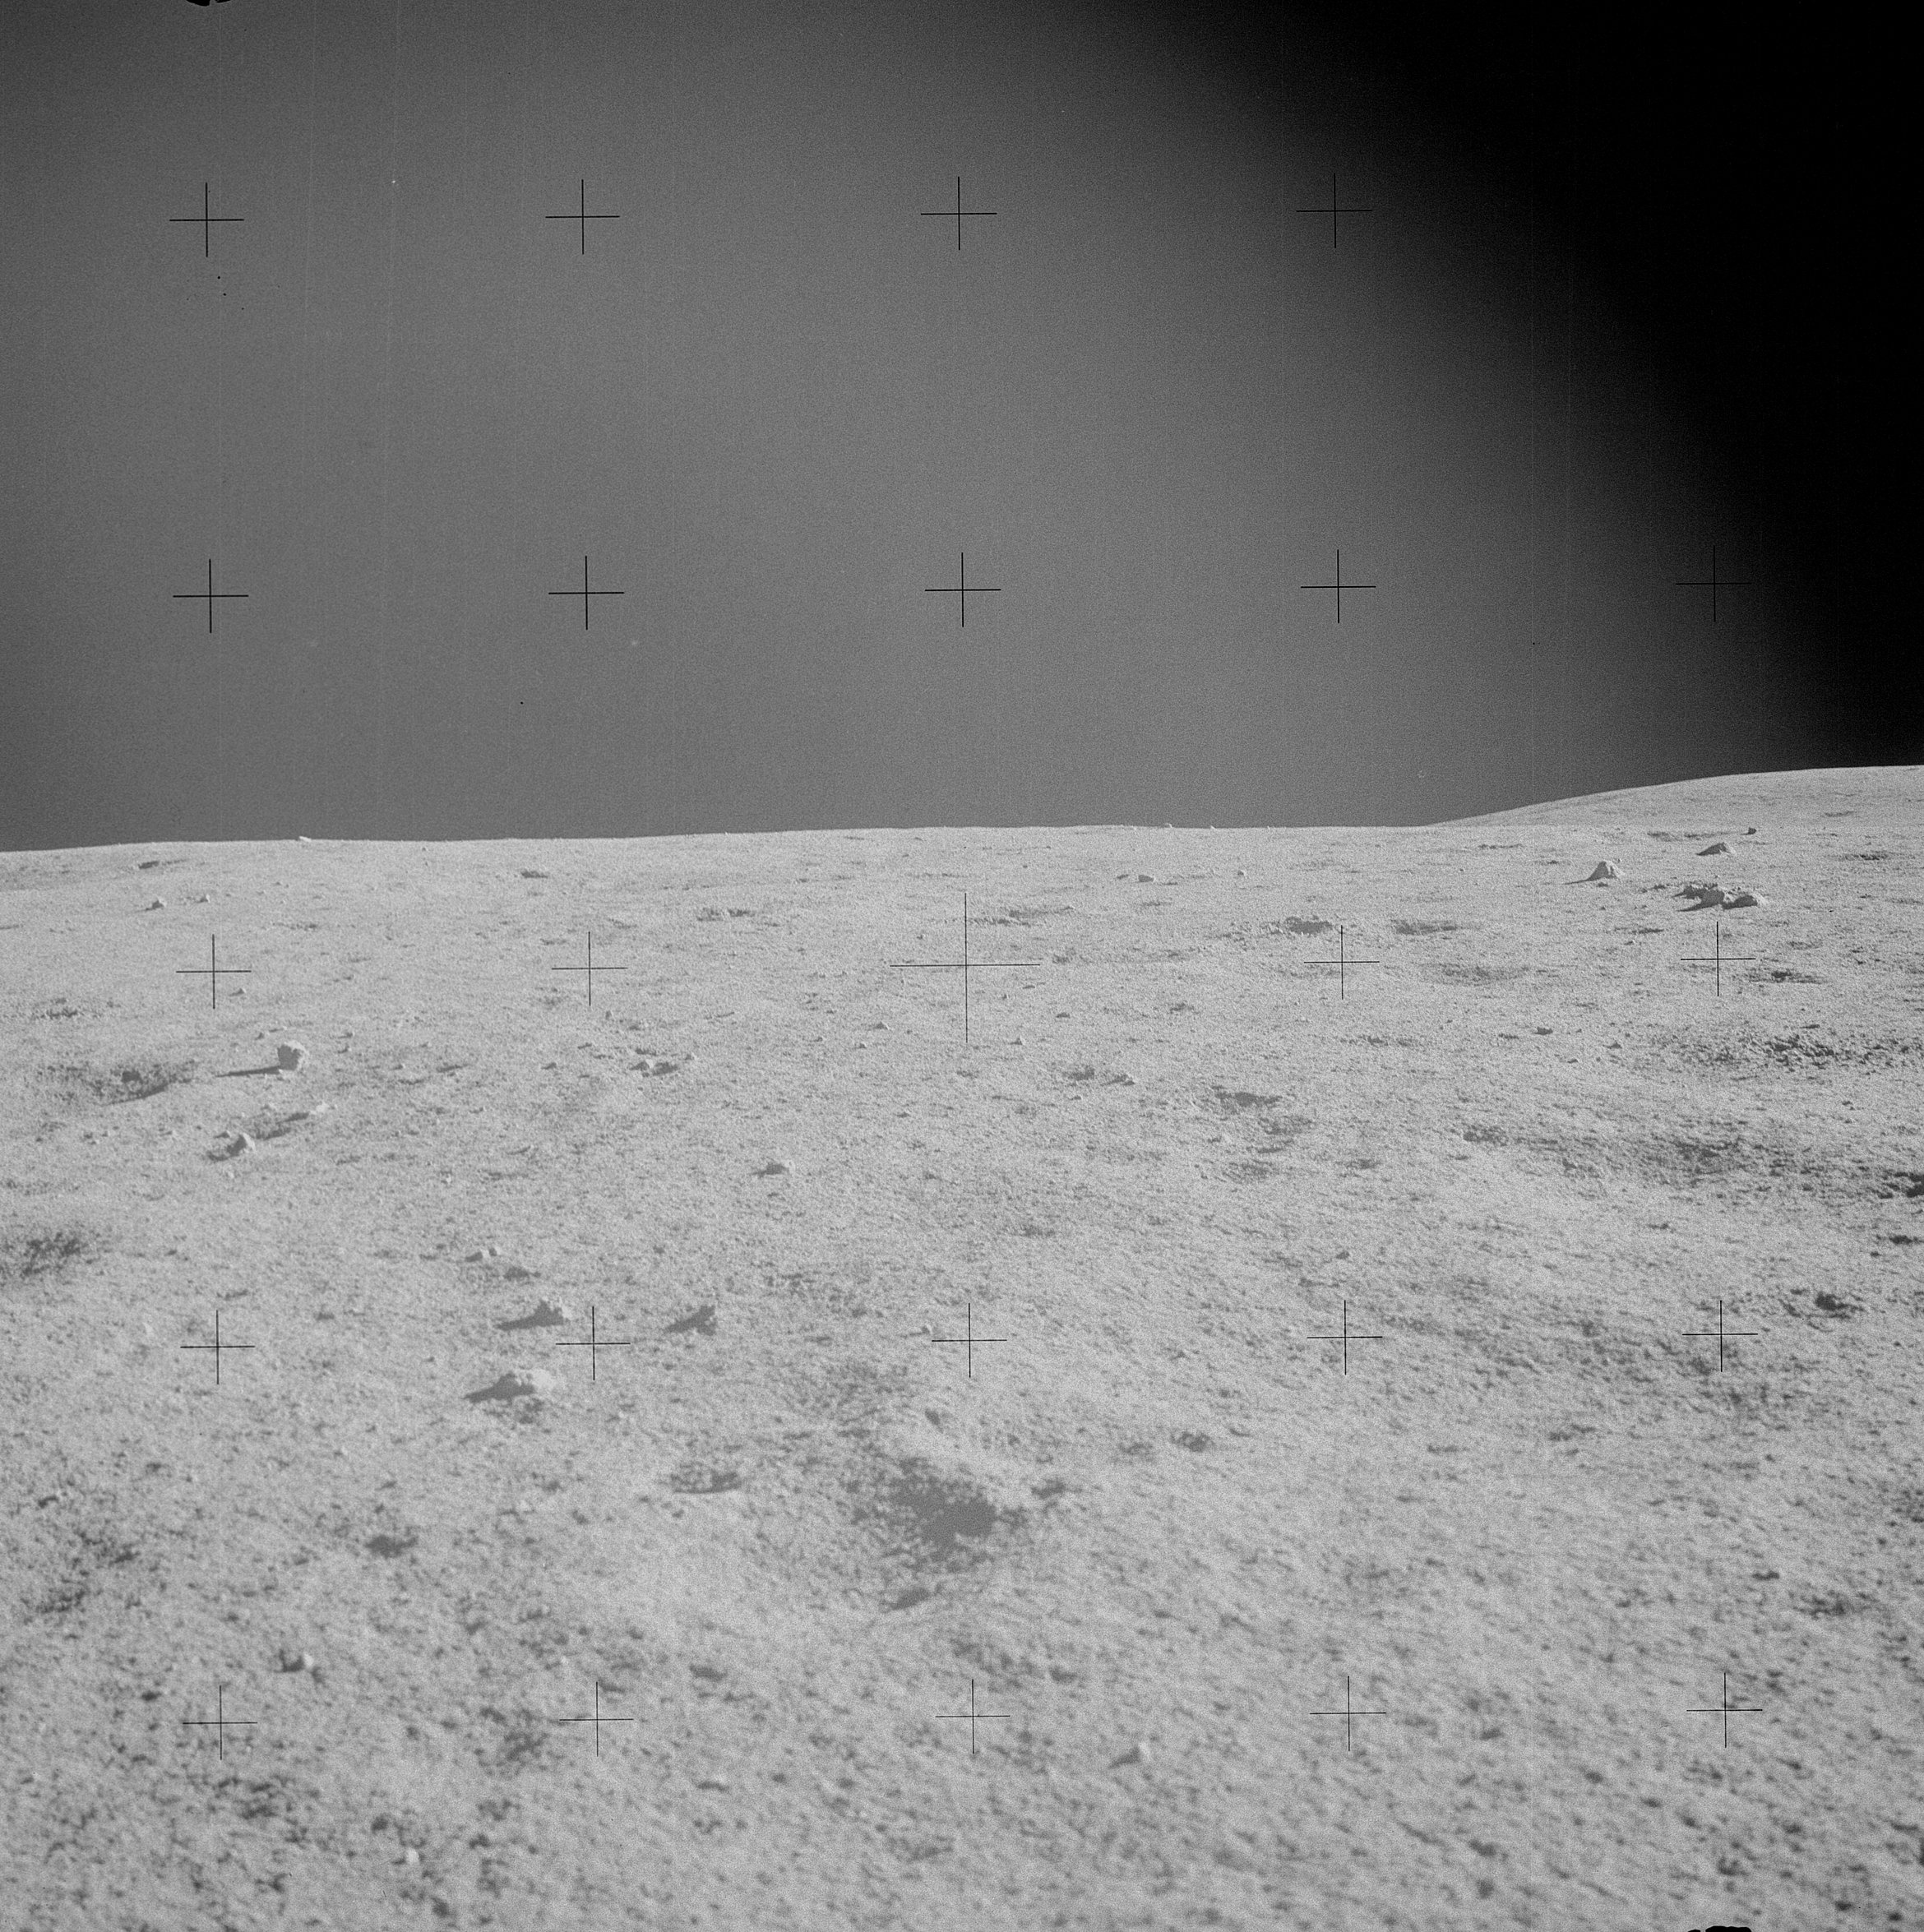 | AS14-68-9482 Rightward of 9481. Image credit: Image Science and Analysis Laboratory, NASA-Johnson Space Center. |
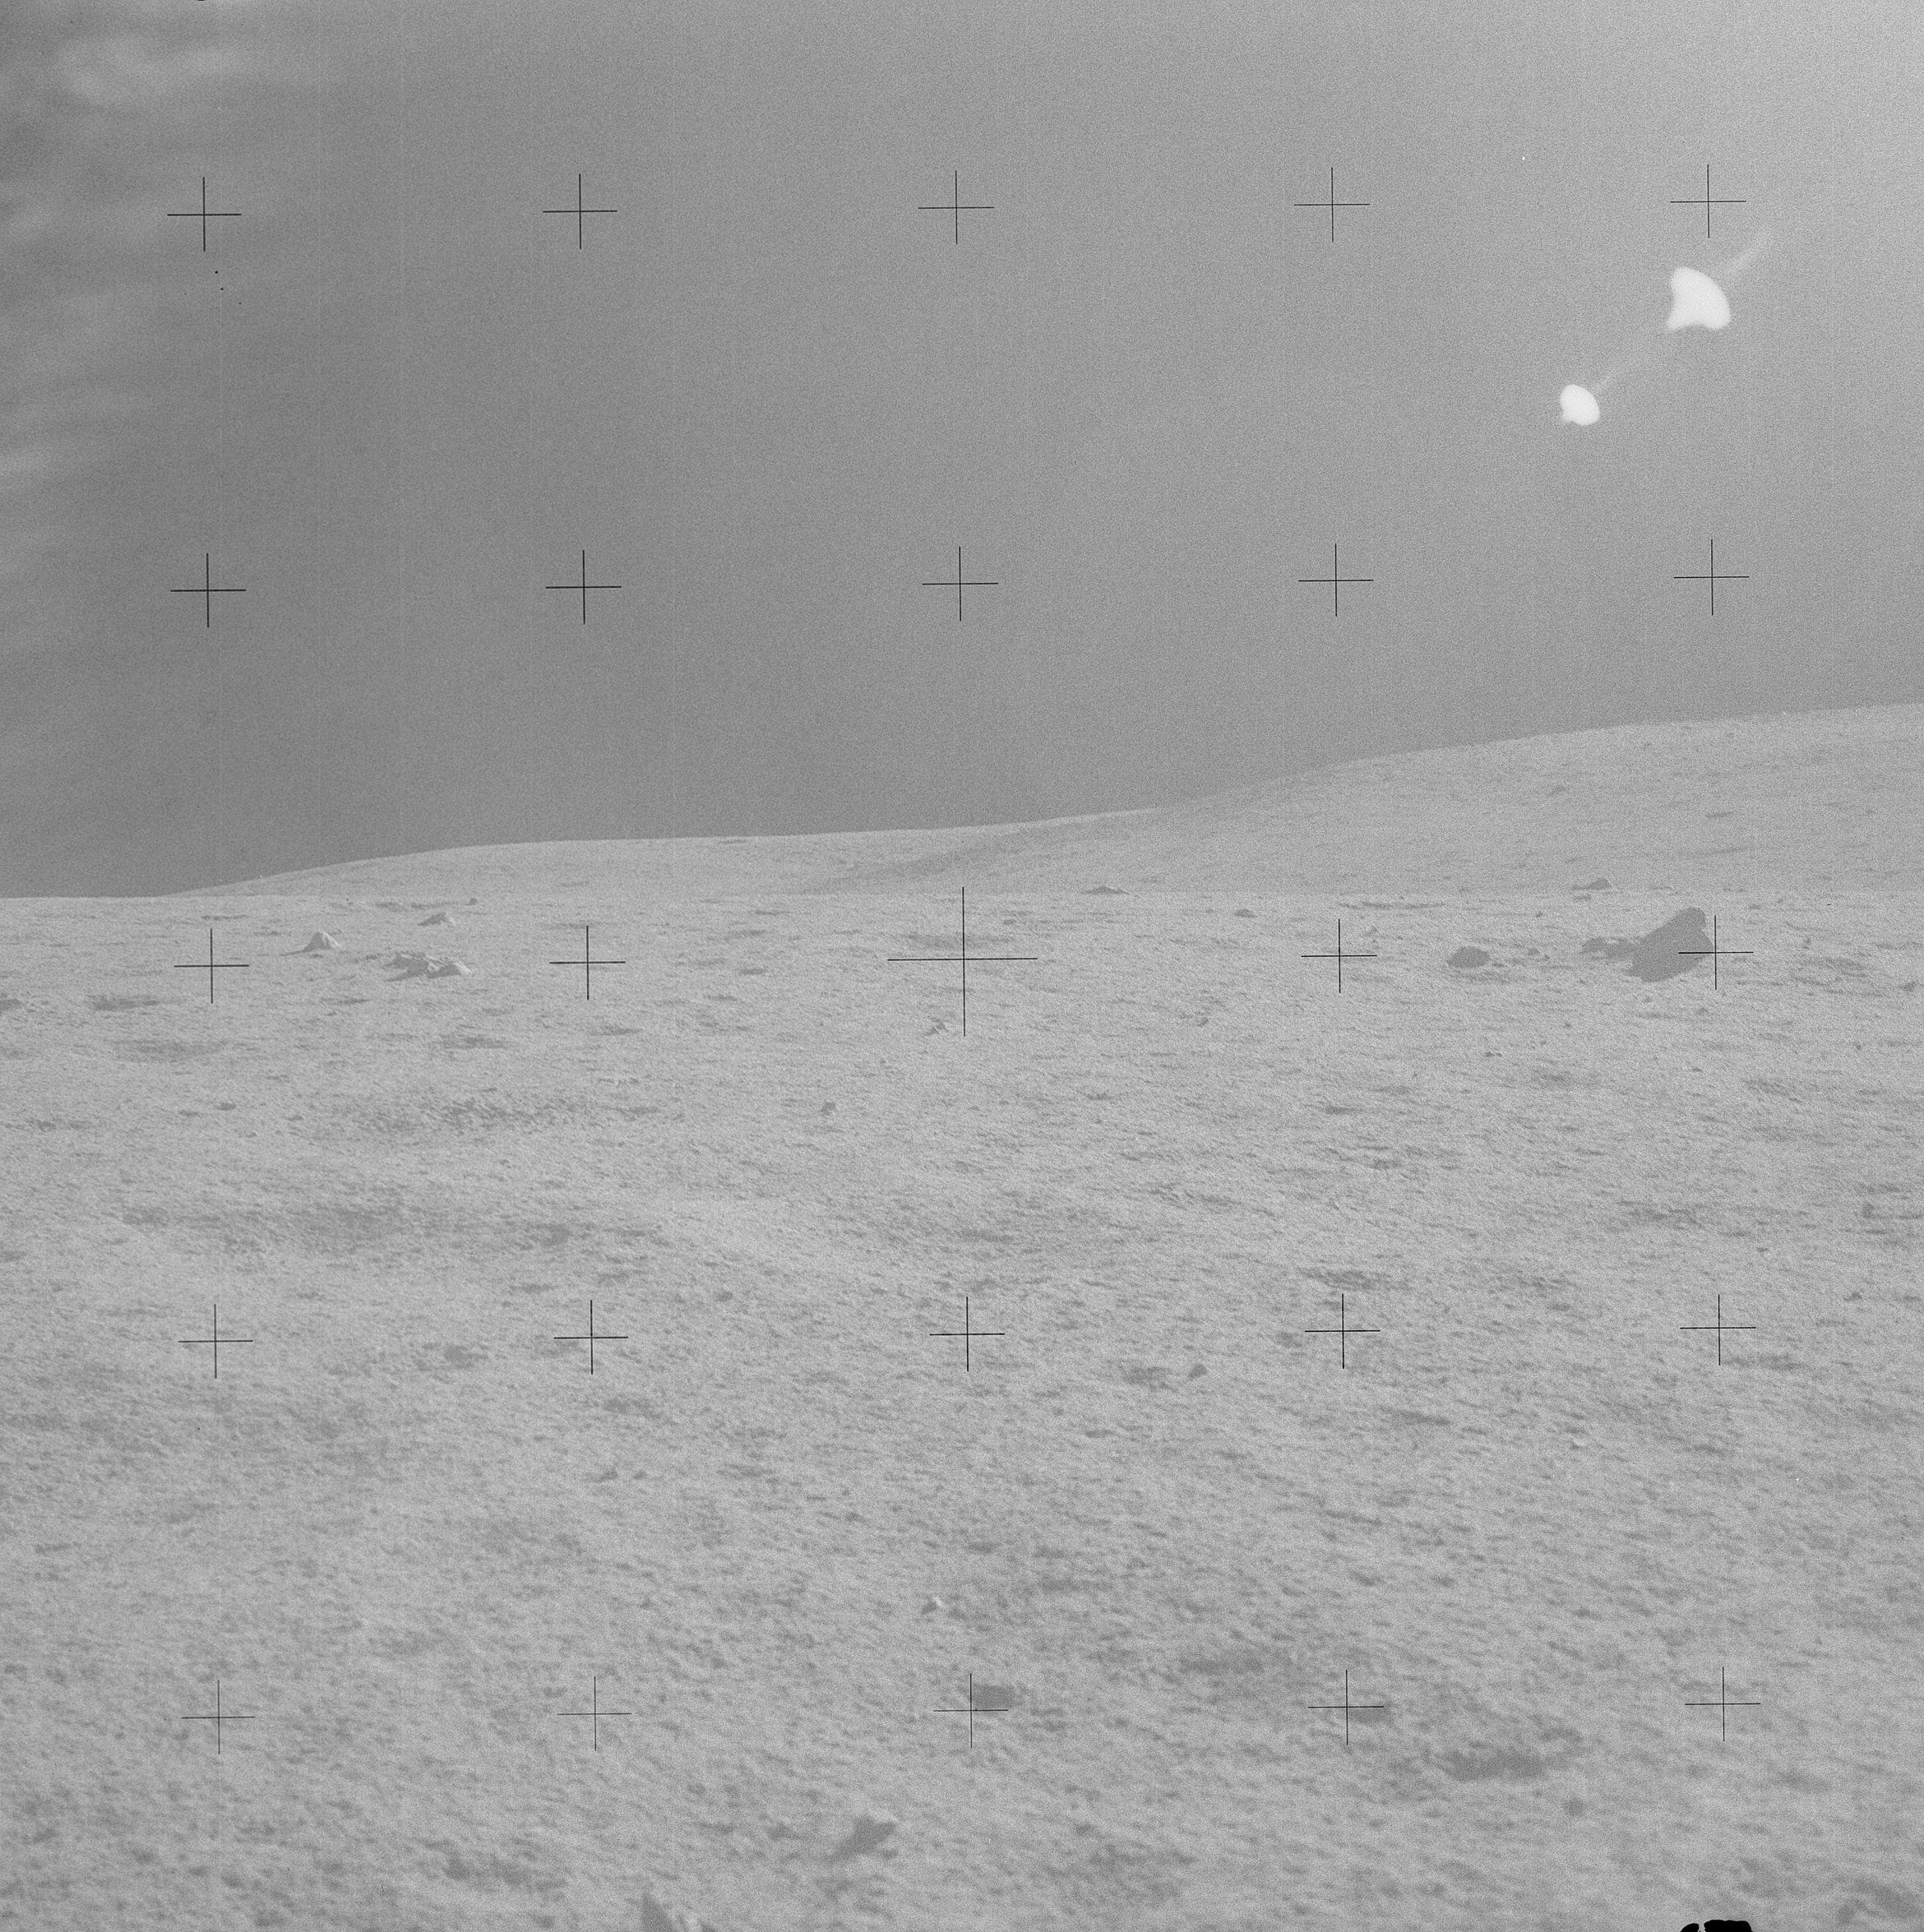 | AS14-68-9483 Rightward of 9482, showing some boulders on the slope of the Cone Crater ridge. Image credit: Image Science and Analysis Laboratory, NASA-Johnson Space Center. |
 | AS14-68-9484 Rightward of 9483, up-Sun. Image credit: Image Science and Analysis Laboratory, NASA-Johnson Space Center. |
 | AS14-68-9485 Rightward of 9484. Image credit: Image Science and Analysis Laboratory, NASA-Johnson Space Center. |
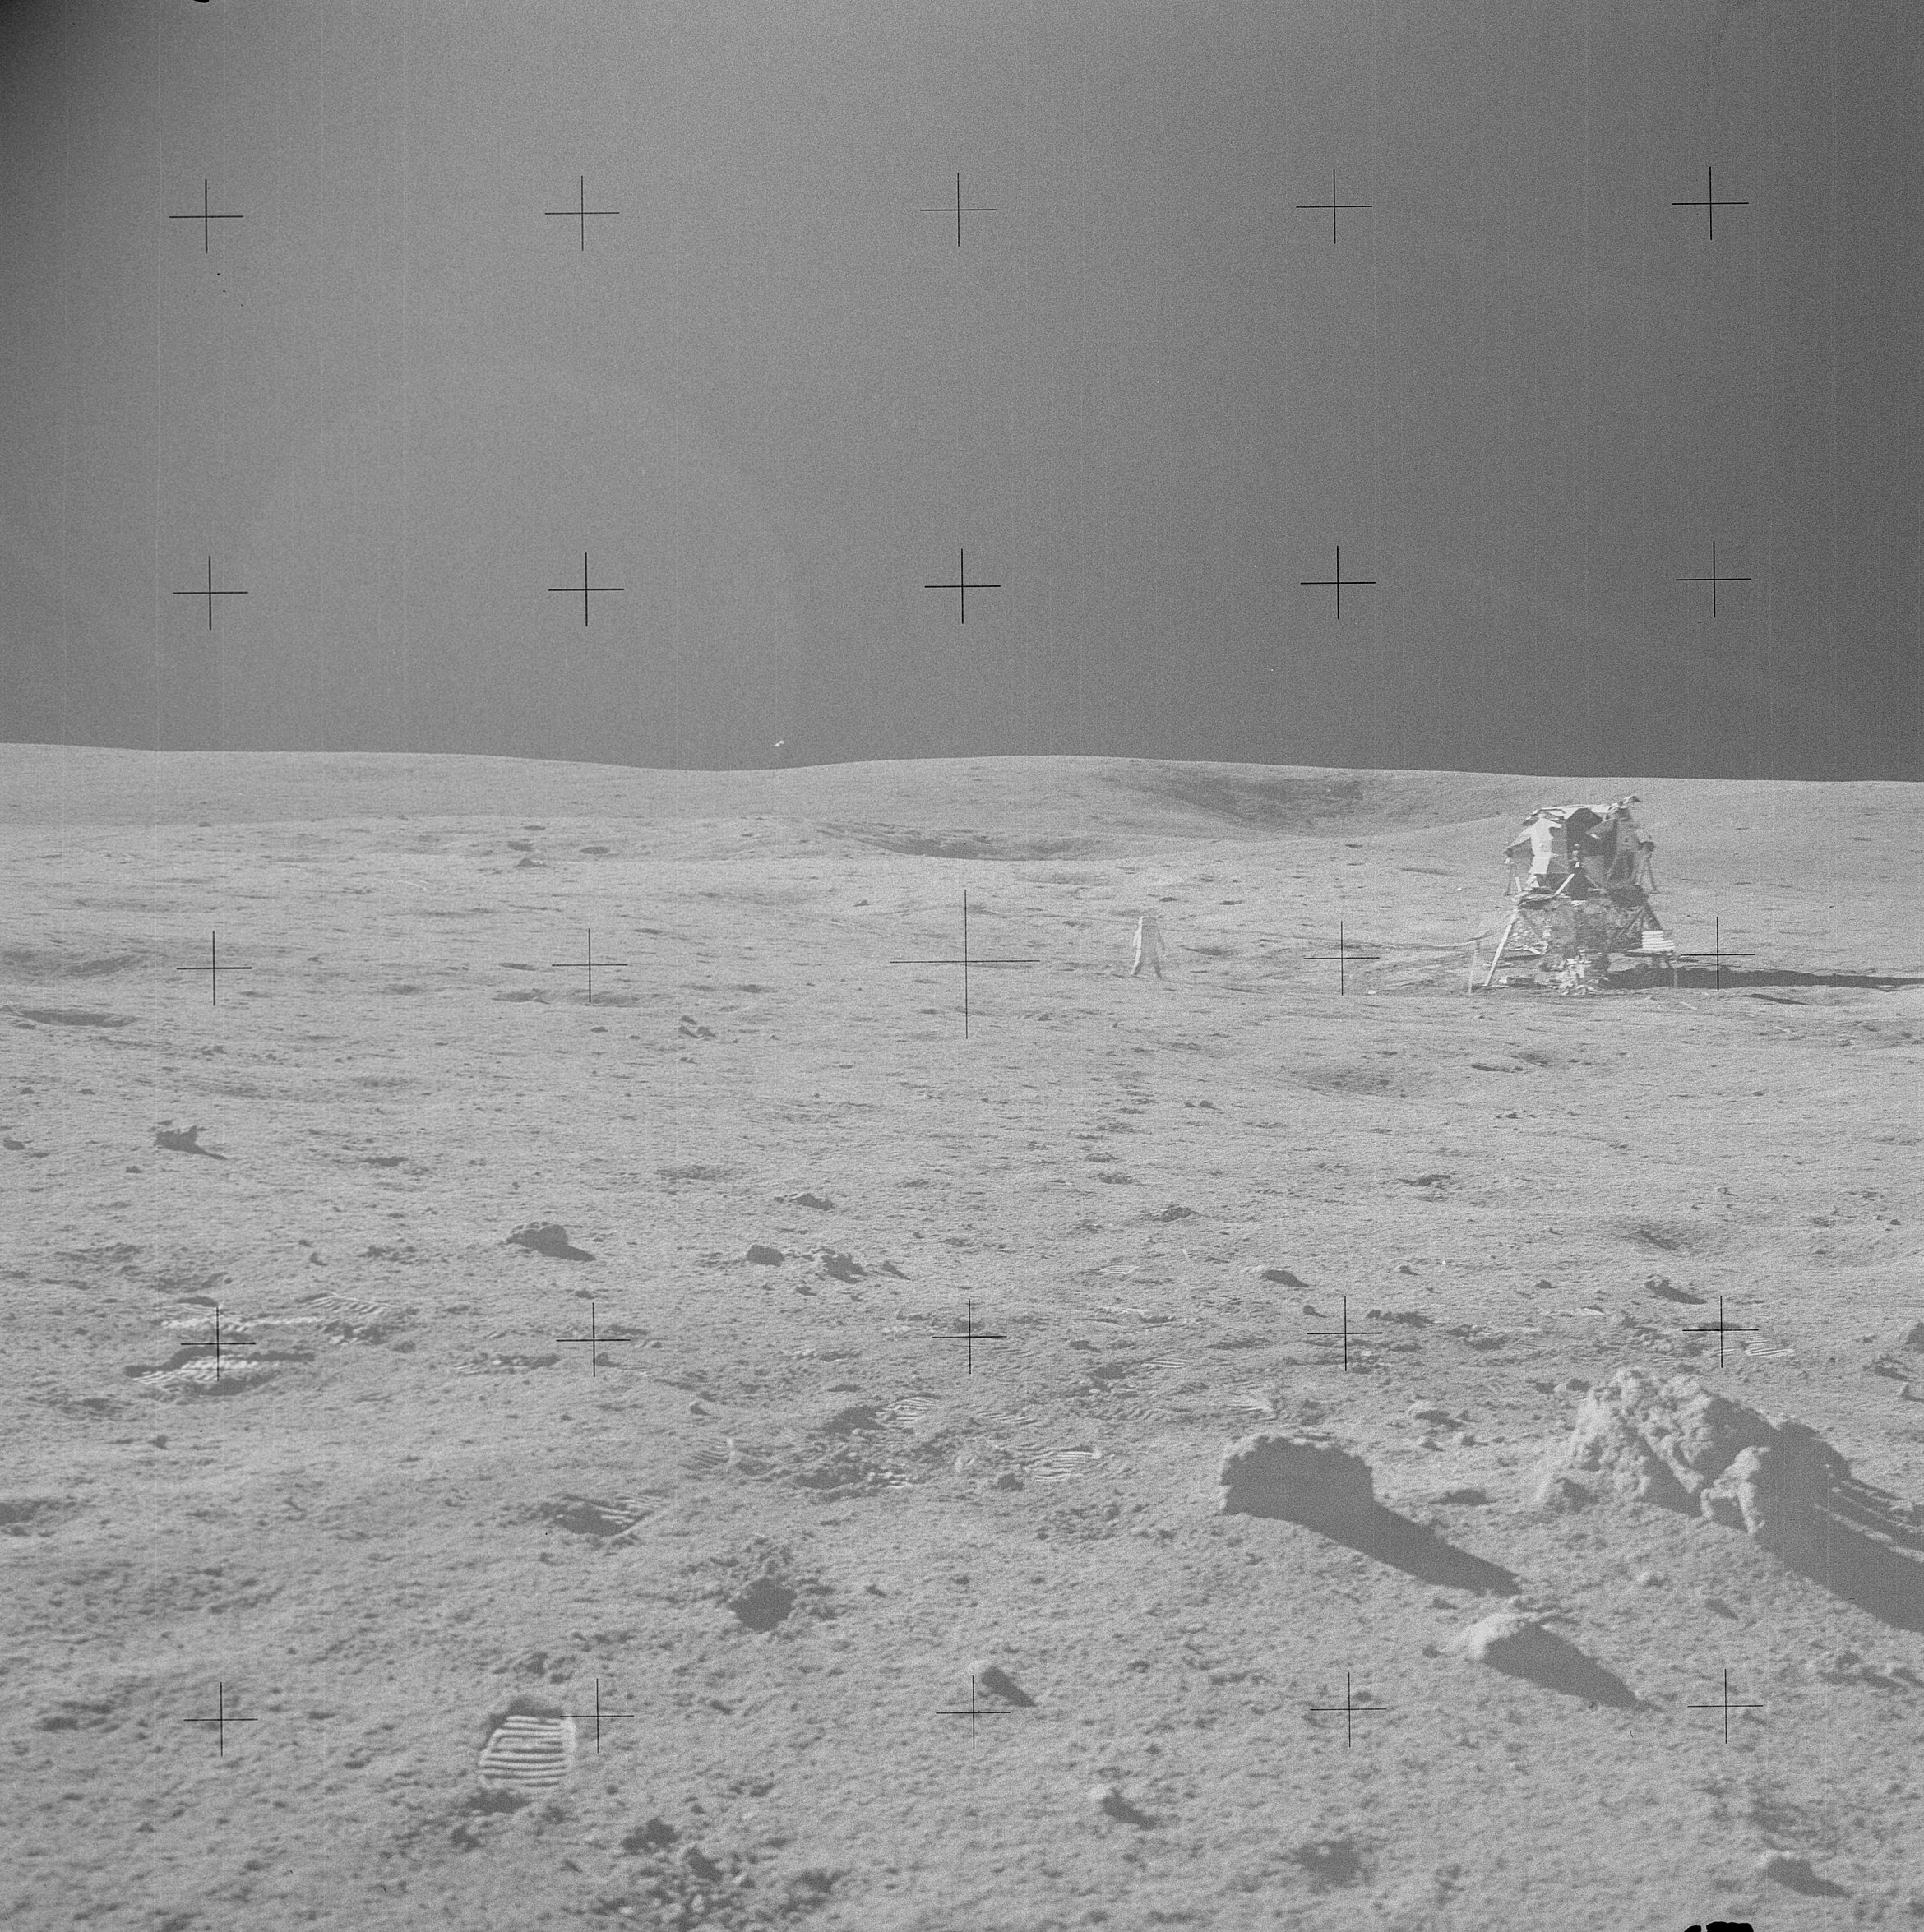 | AS14-68-9486 135:01:56 Photo toward the LM from Station H. We are looking ESE. Image credit: Image Science and Analysis Laboratory, NASA-Johnson Space Center. |
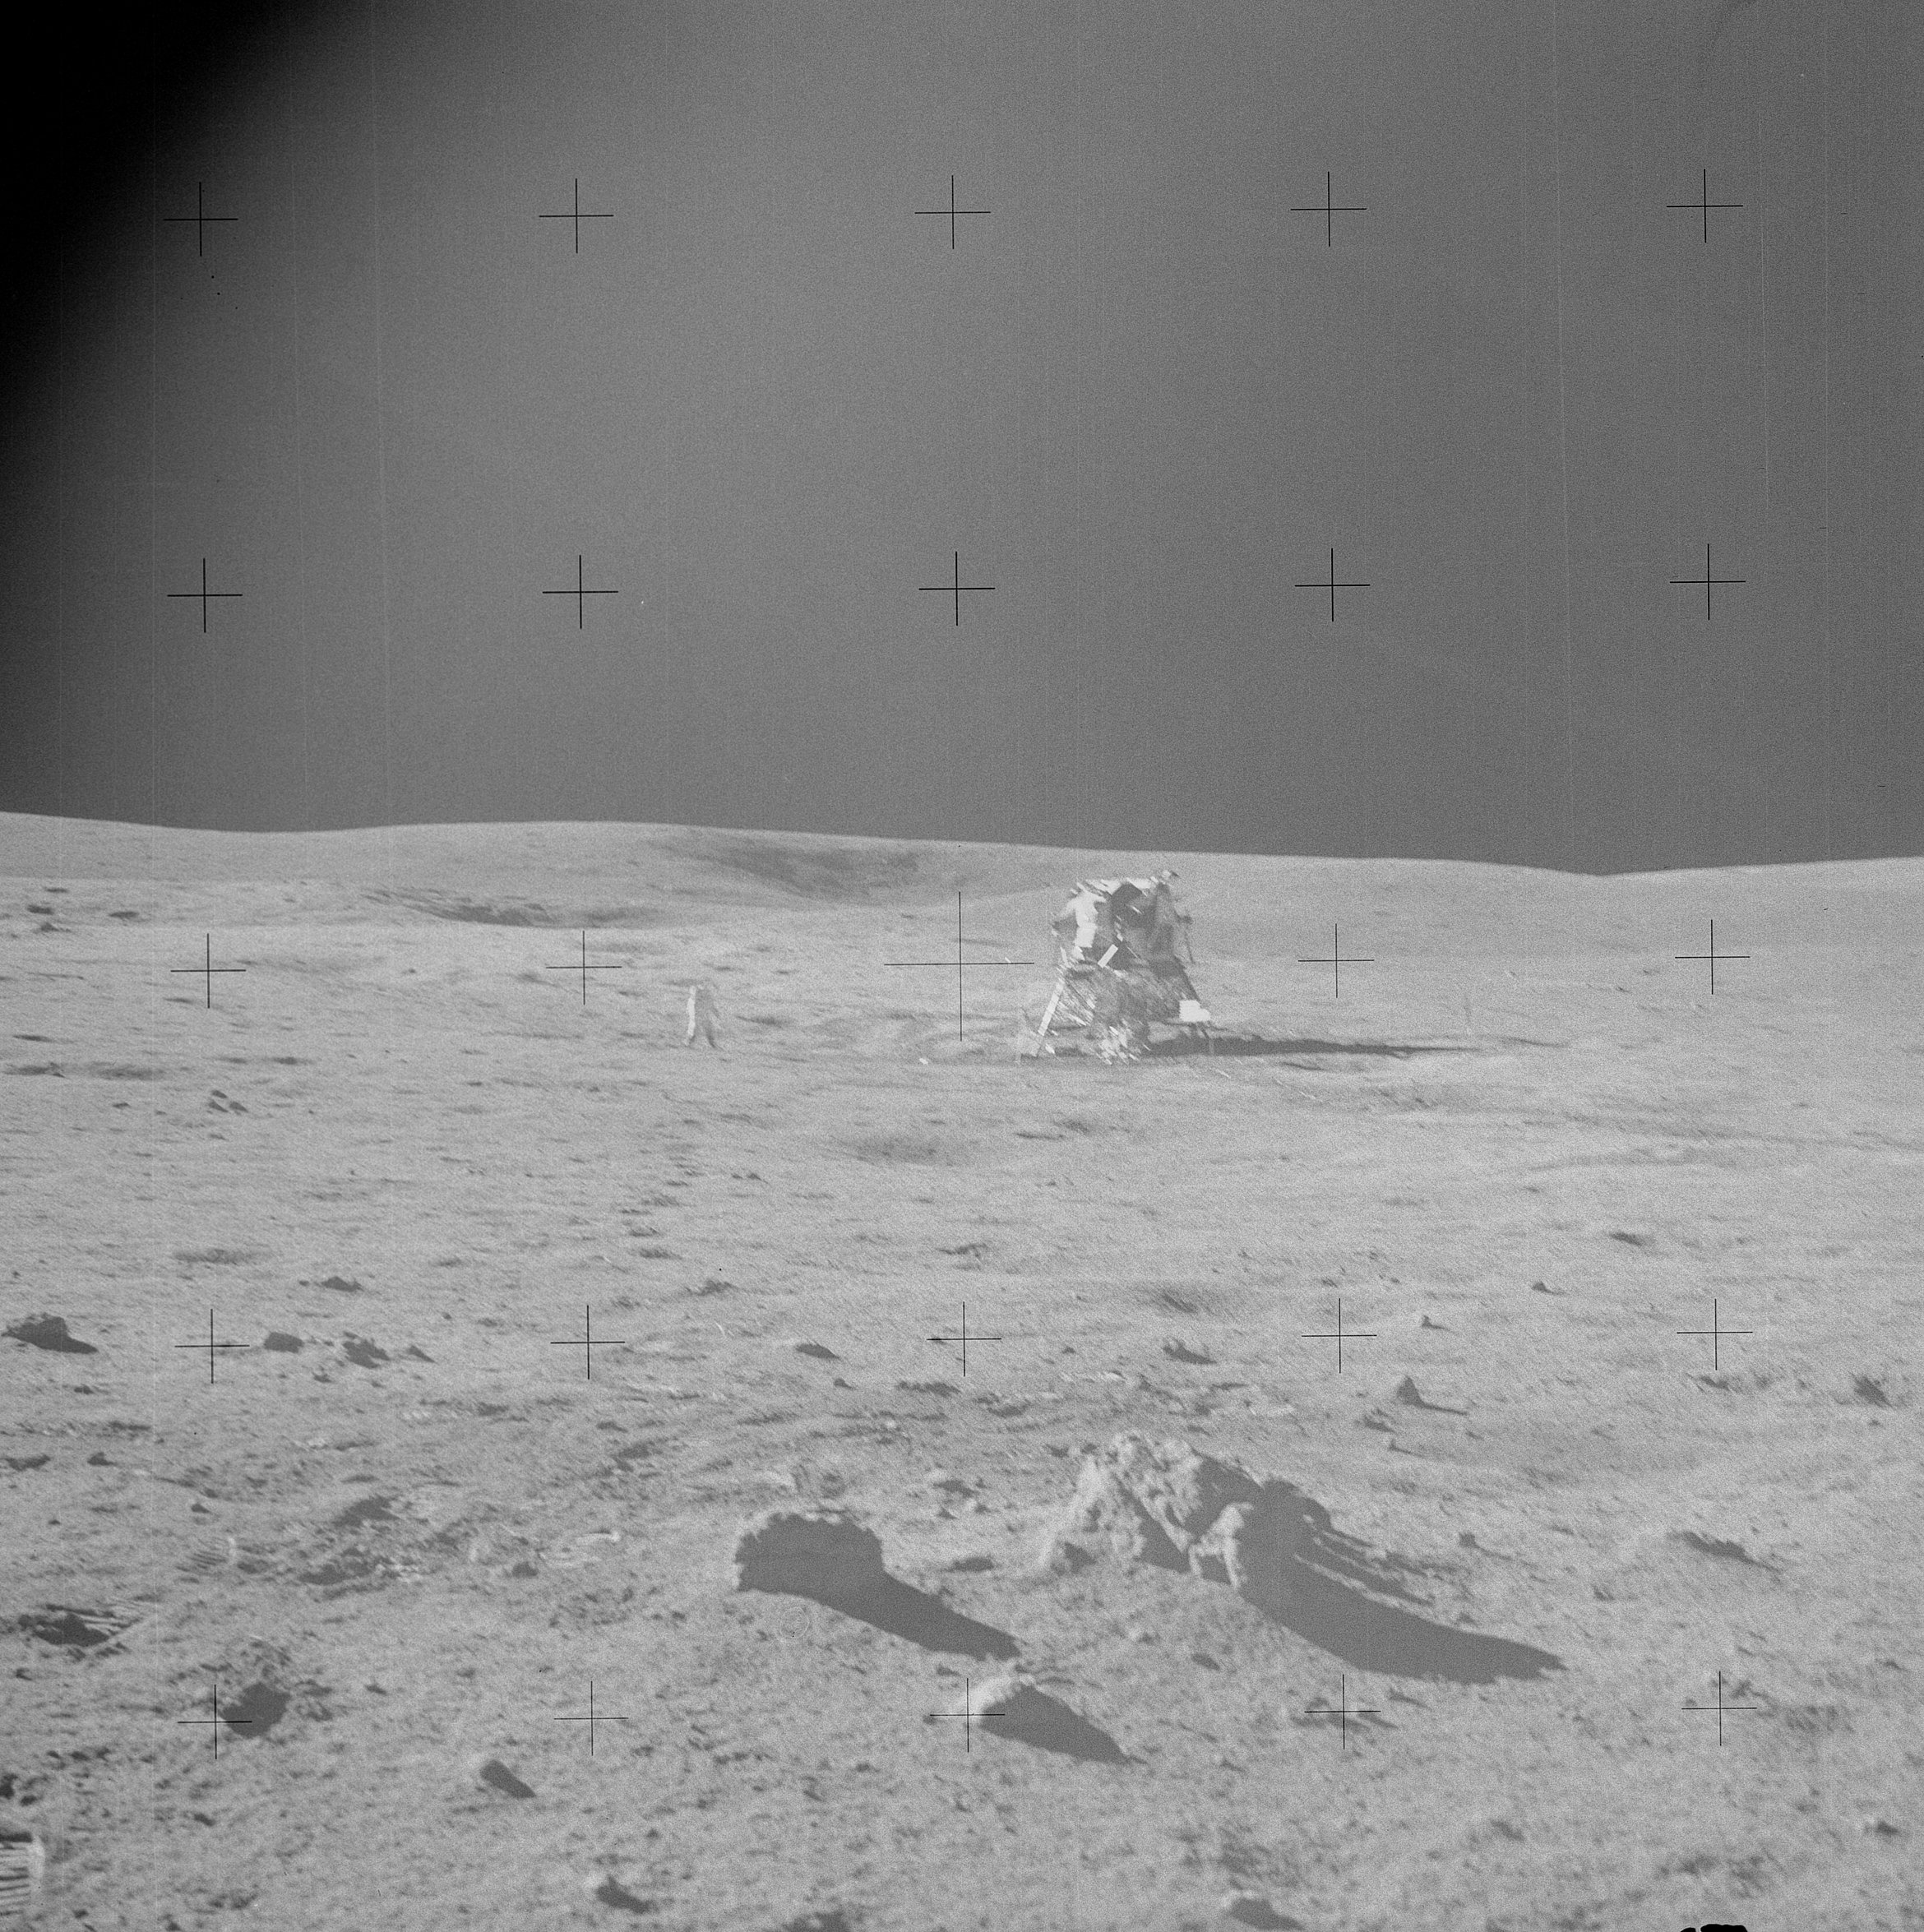 | AS14-68-9487 135:01:56 Frame from Ed's Station H pan. Image credit: Image Science and Analysis Laboratory, NASA-Johnson Space Center. |
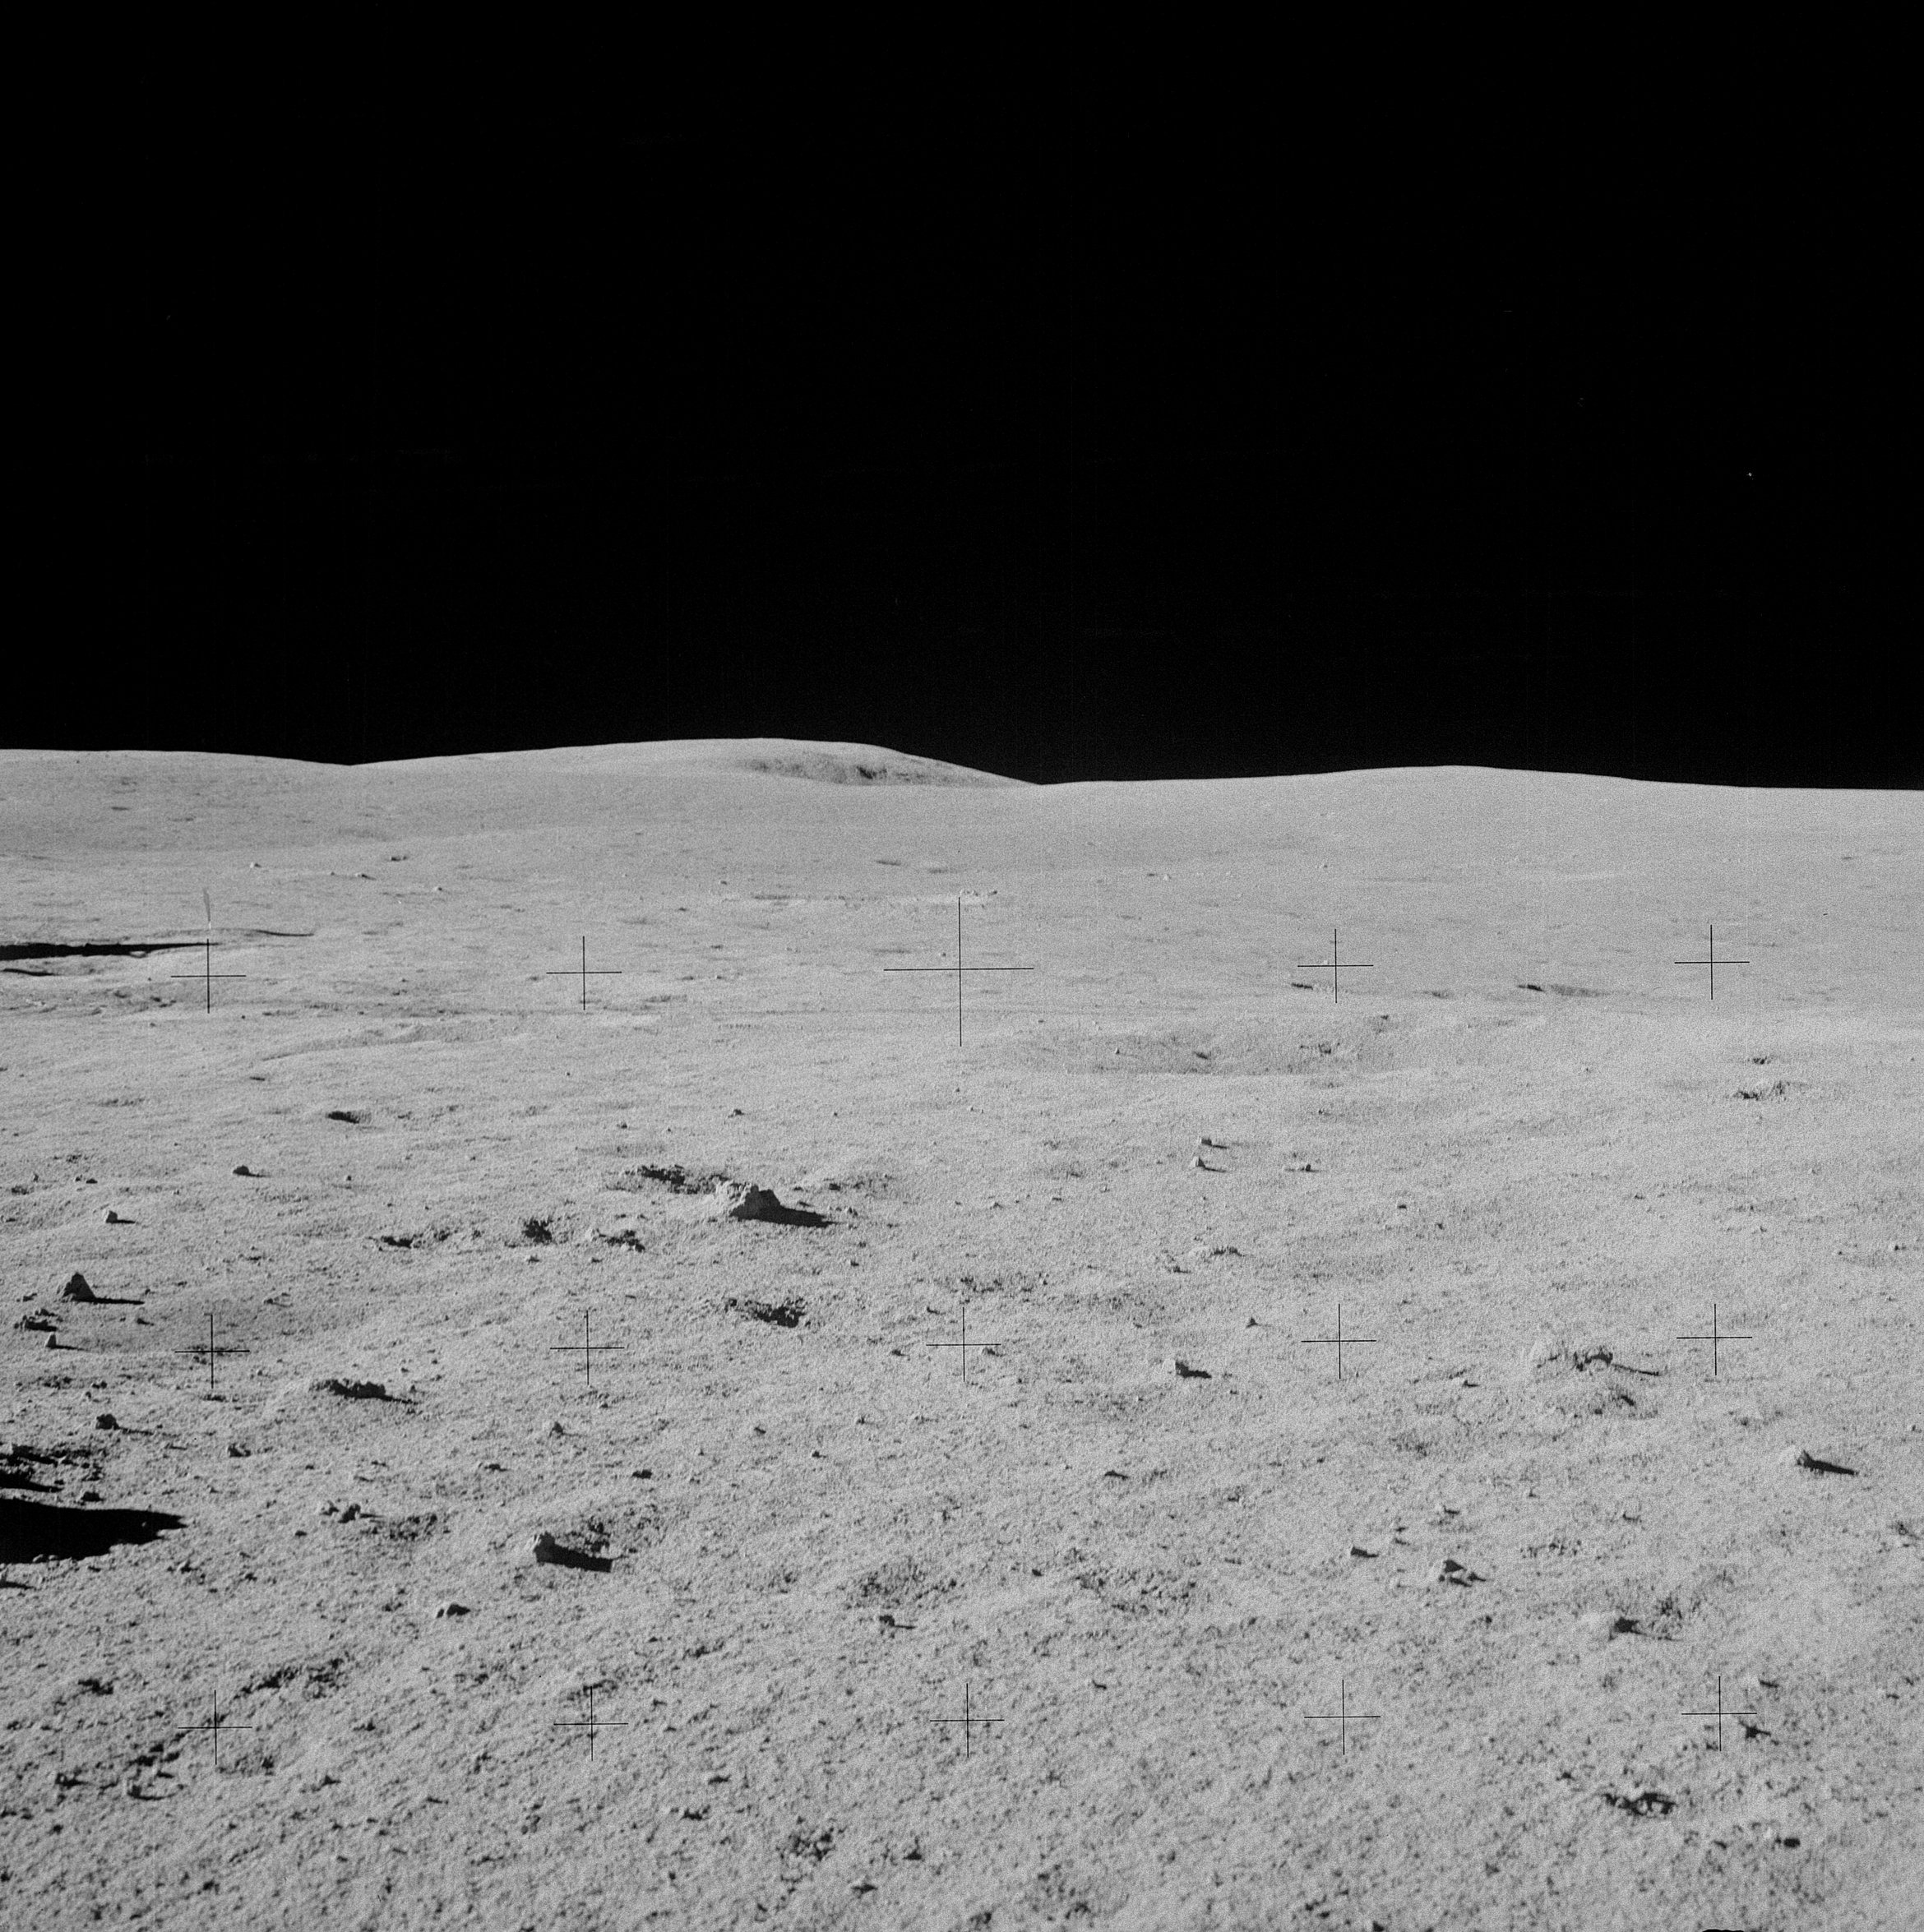 | AS14-68-9488 Rightward of 9487, with the LM out of the field-of-view to the left. Image credit: Image Science and Analysis Laboratory, NASA-Johnson Space Center. |
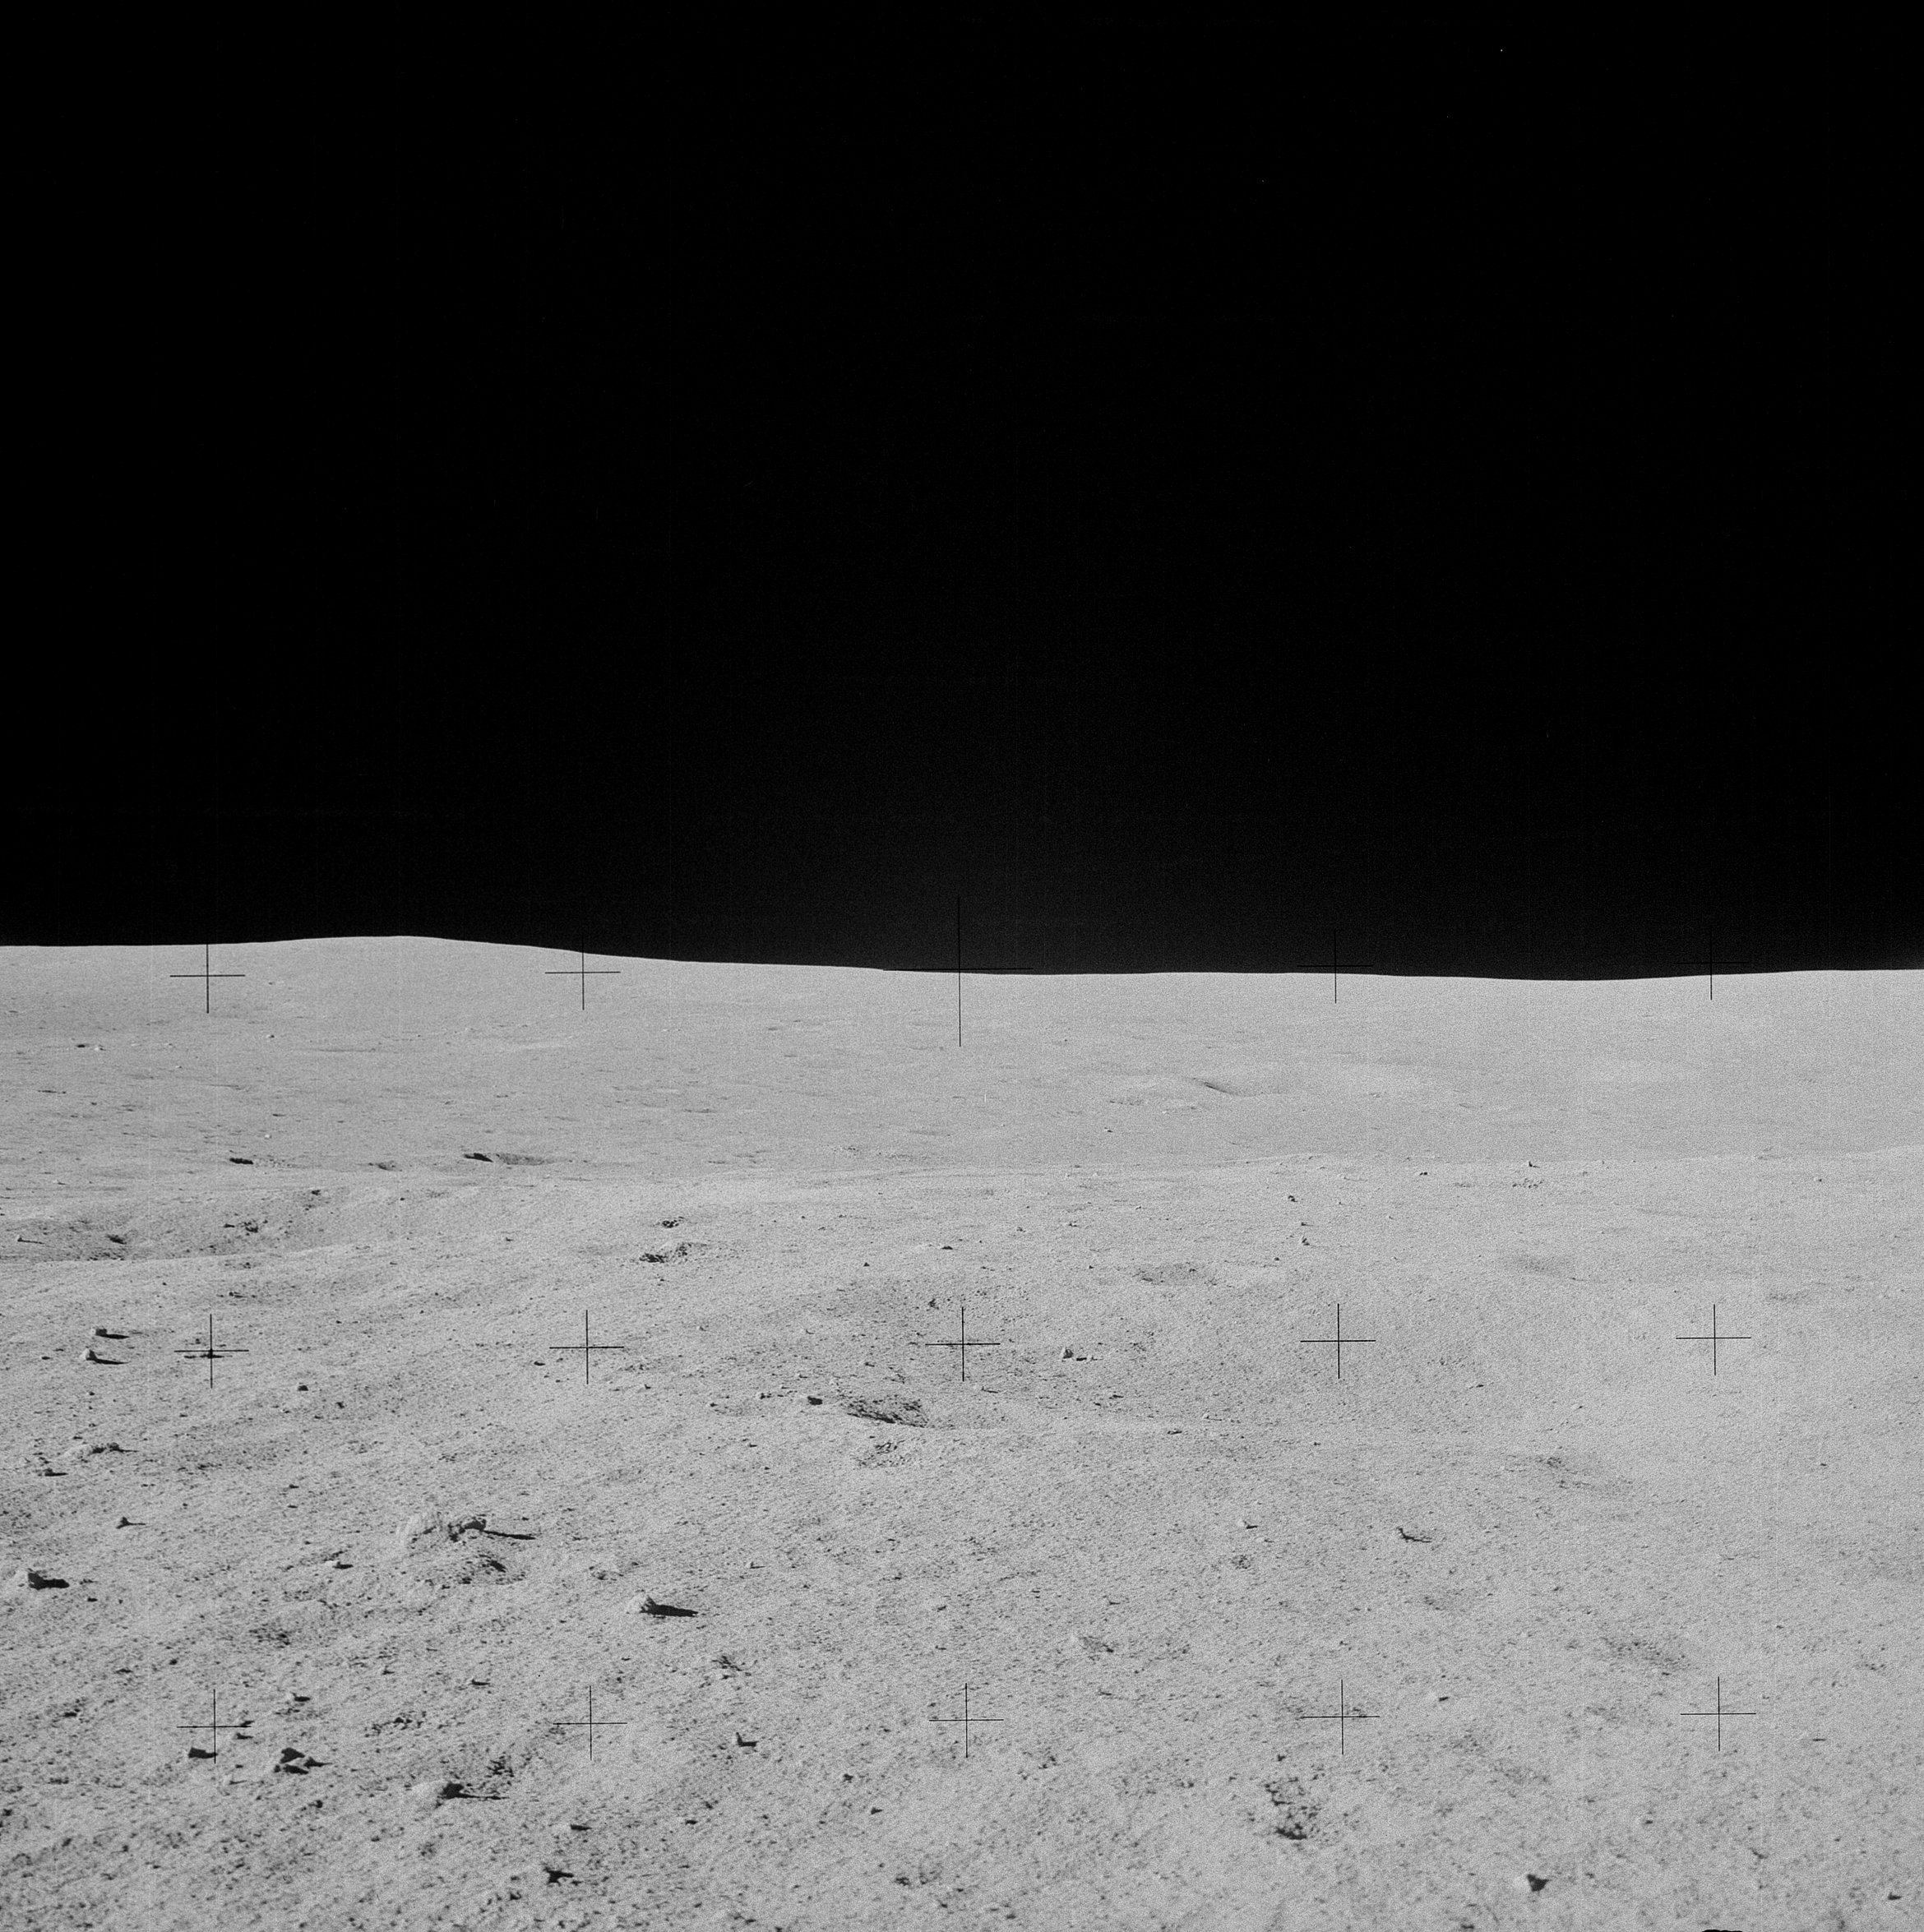 | AS14-68-9489 Rightward of 9488, given an impression of the undulations of the local terrain and of the bowl rim rising up and forming the local horizon to the southwest. Image credit: Image Science and Analysis Laboratory, NASA-Johnson Space Center. |
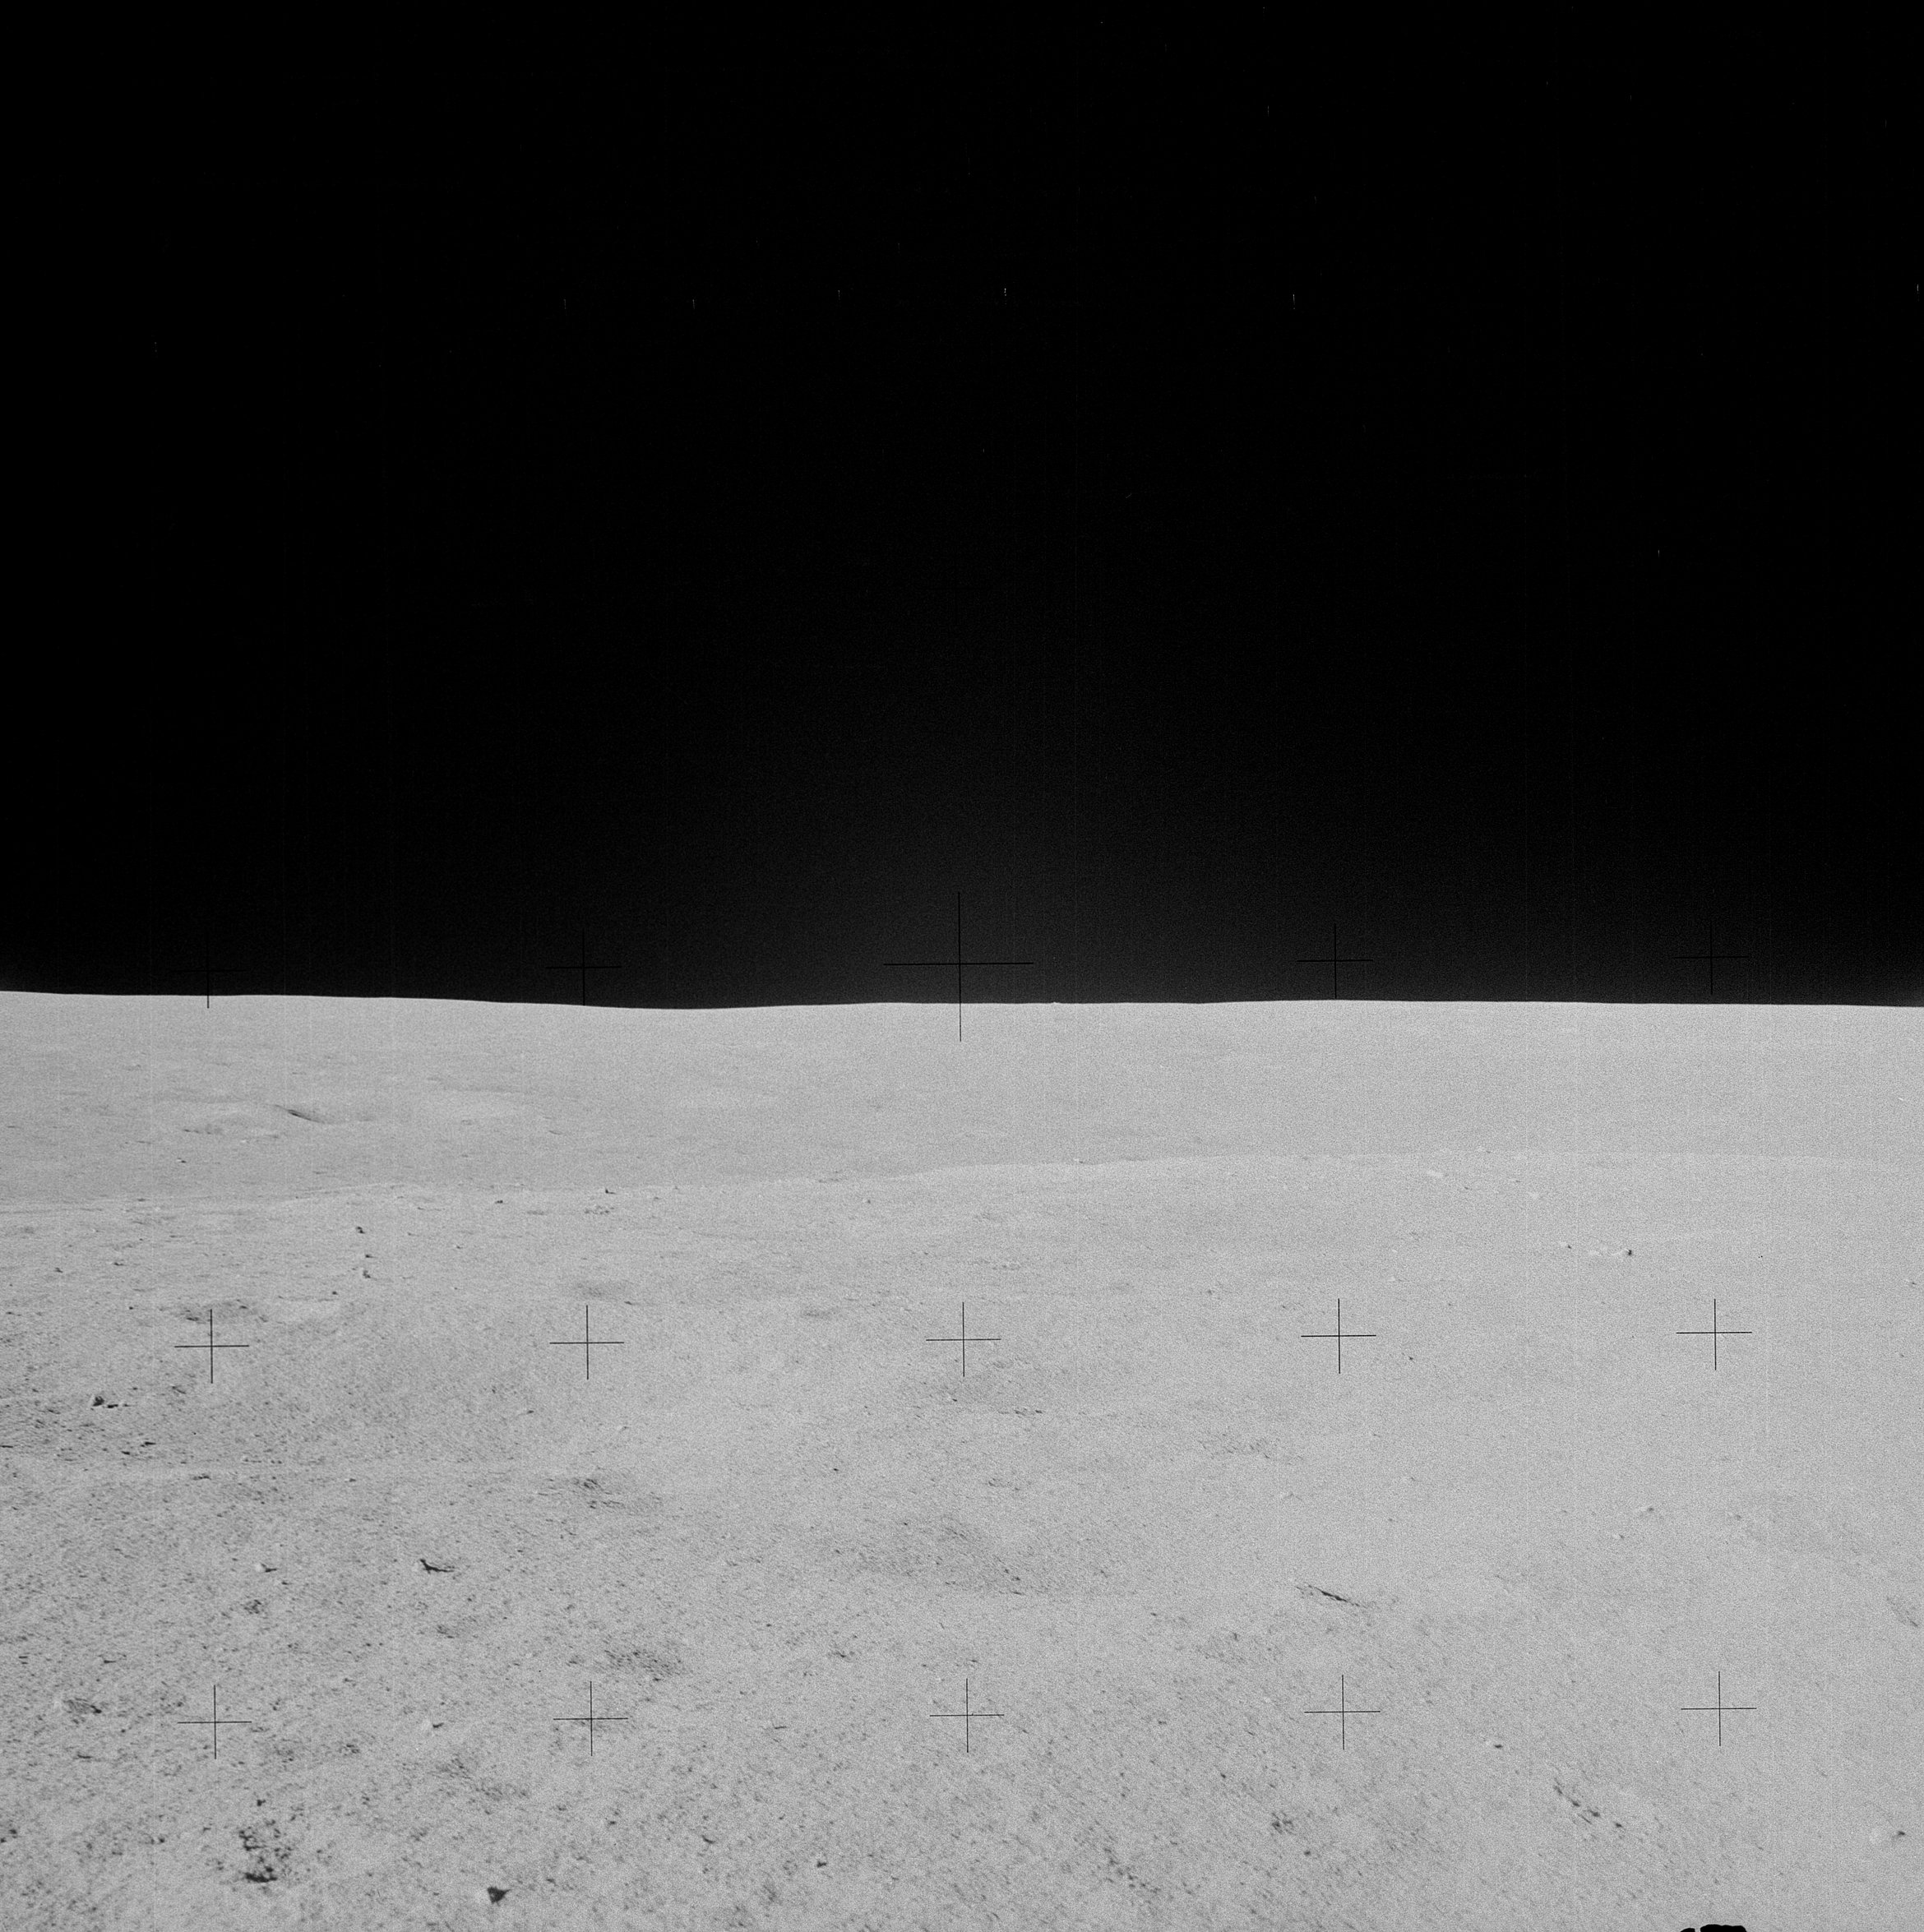 | AS14-68-9490 Rightward of 9489. Image credit: Image Science and Analysis Laboratory, NASA-Johnson Space Center. |
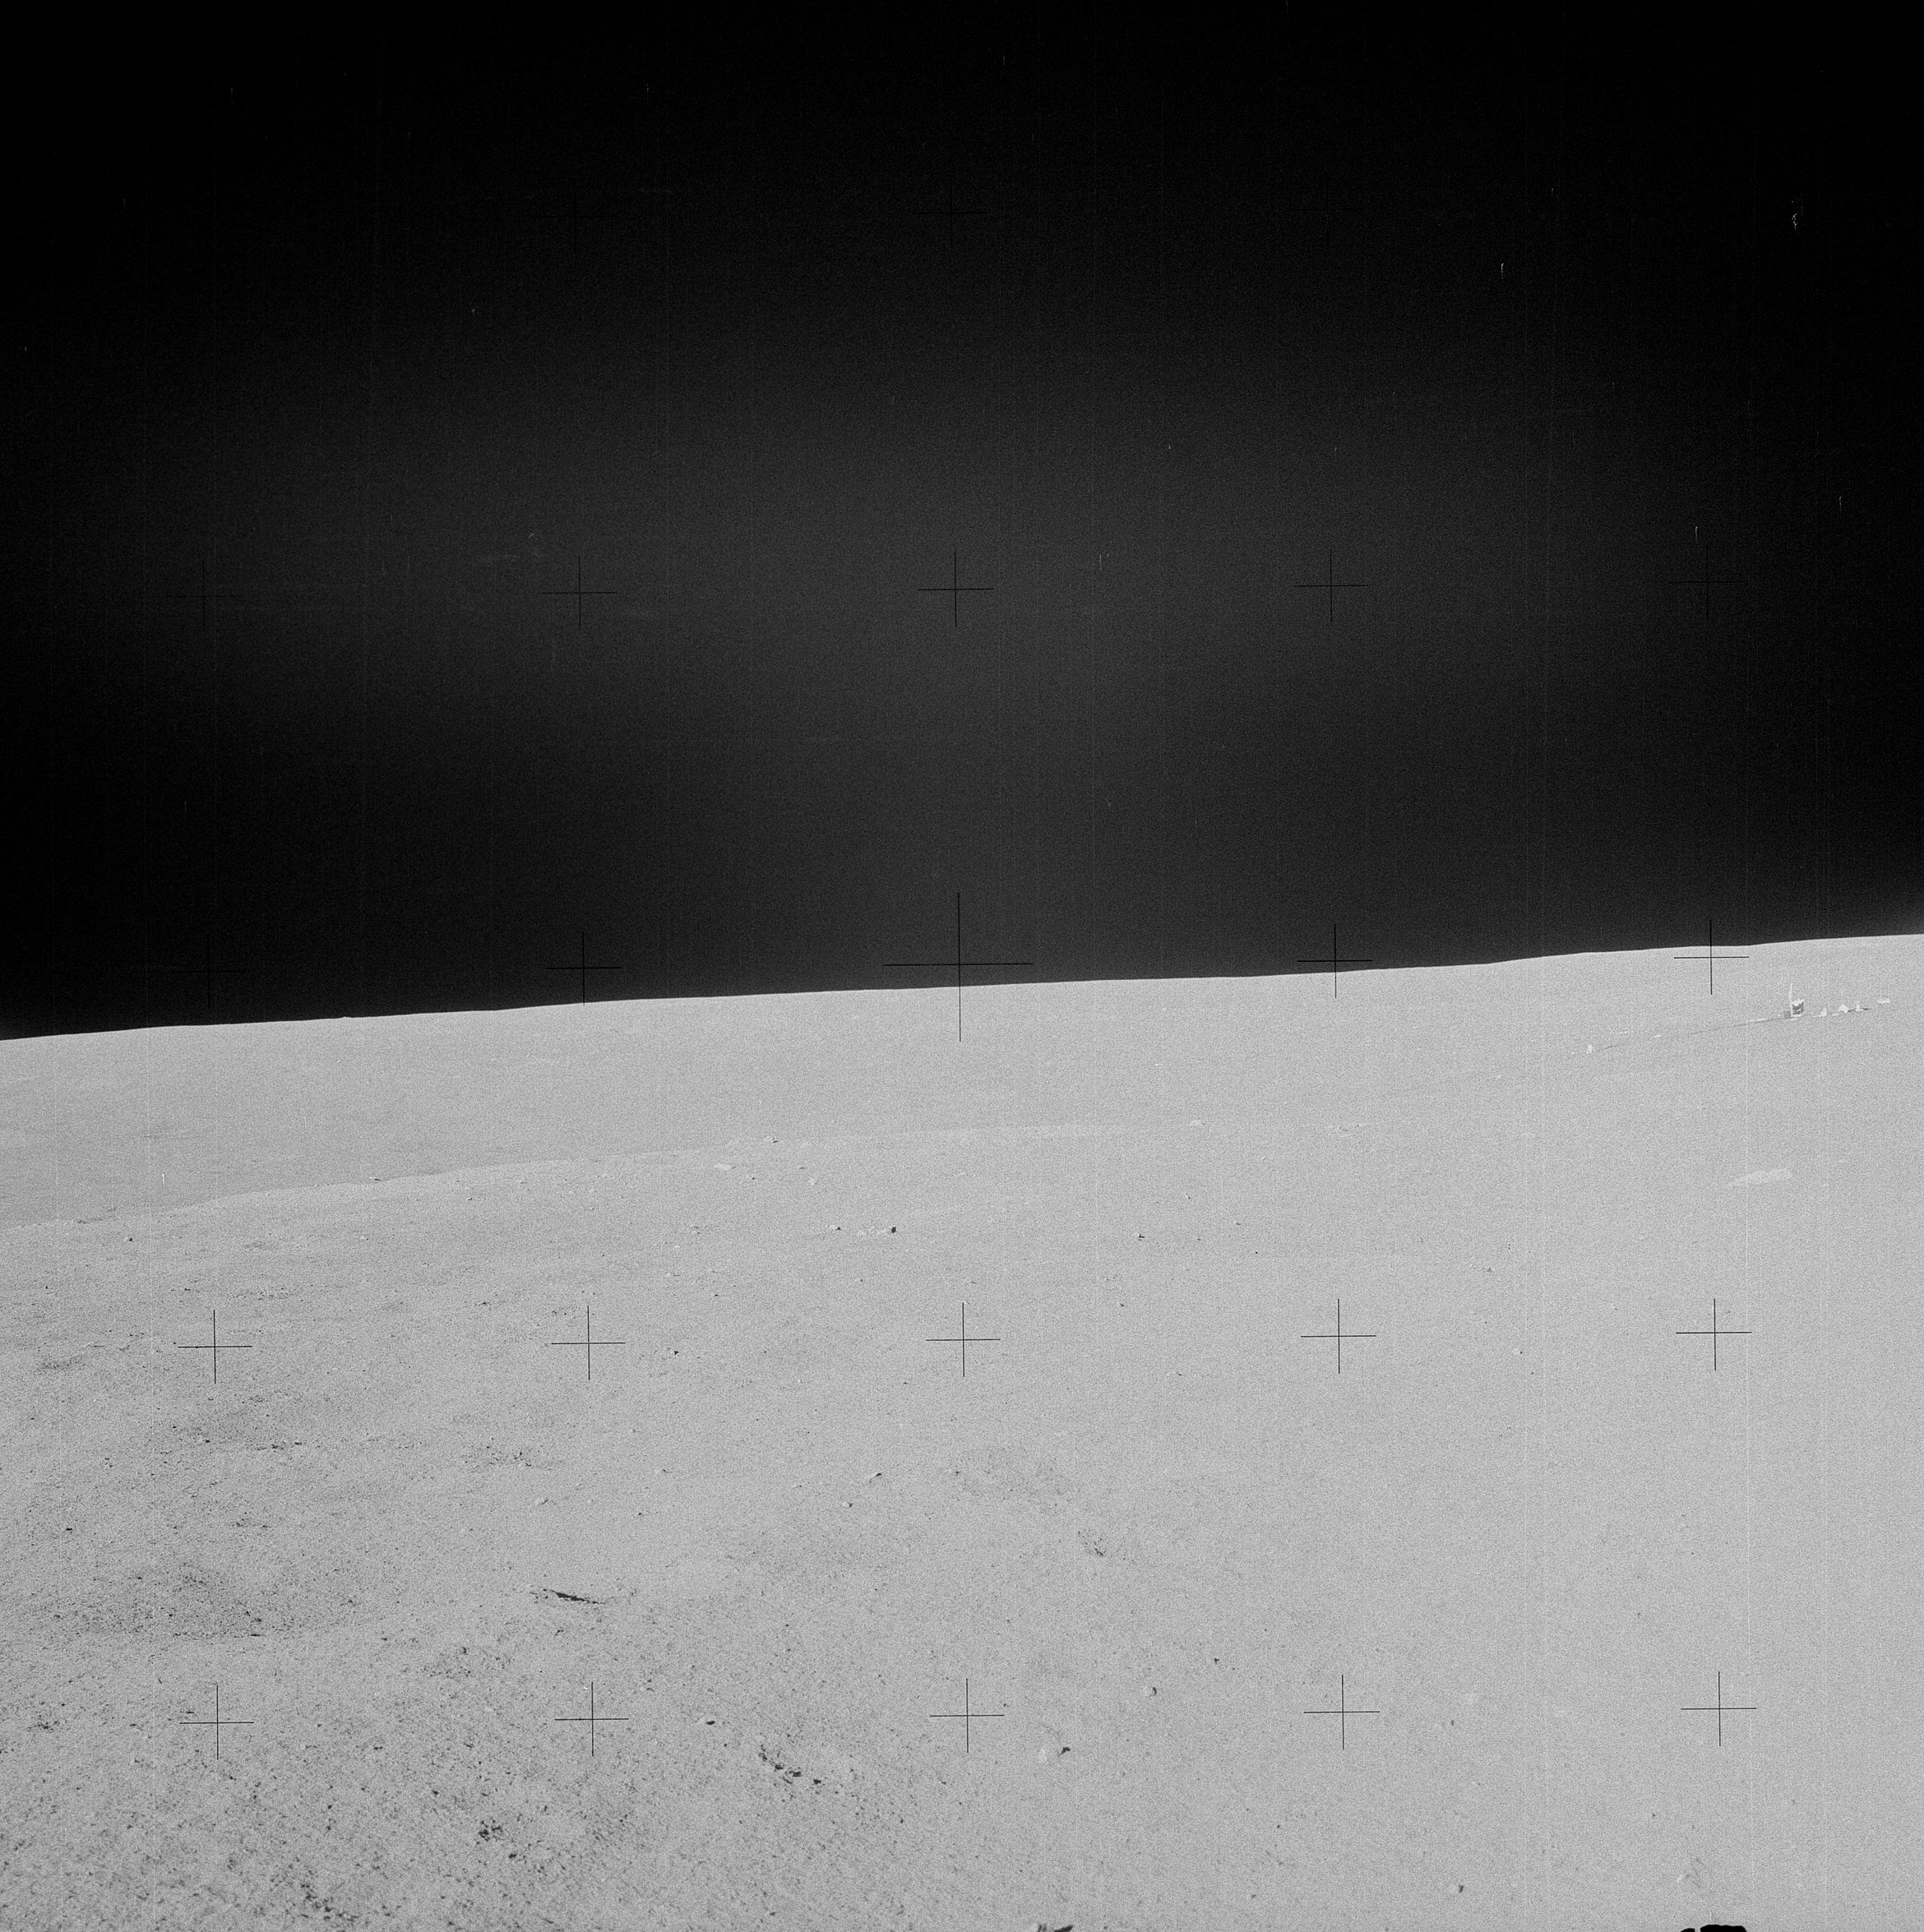 | AS14-68-9491 135:03:11 Rightward of 9488, with the ALSEP at the right edge. Image credit: Image Science and Analysis Laboratory, NASA-Johnson Space Center. |
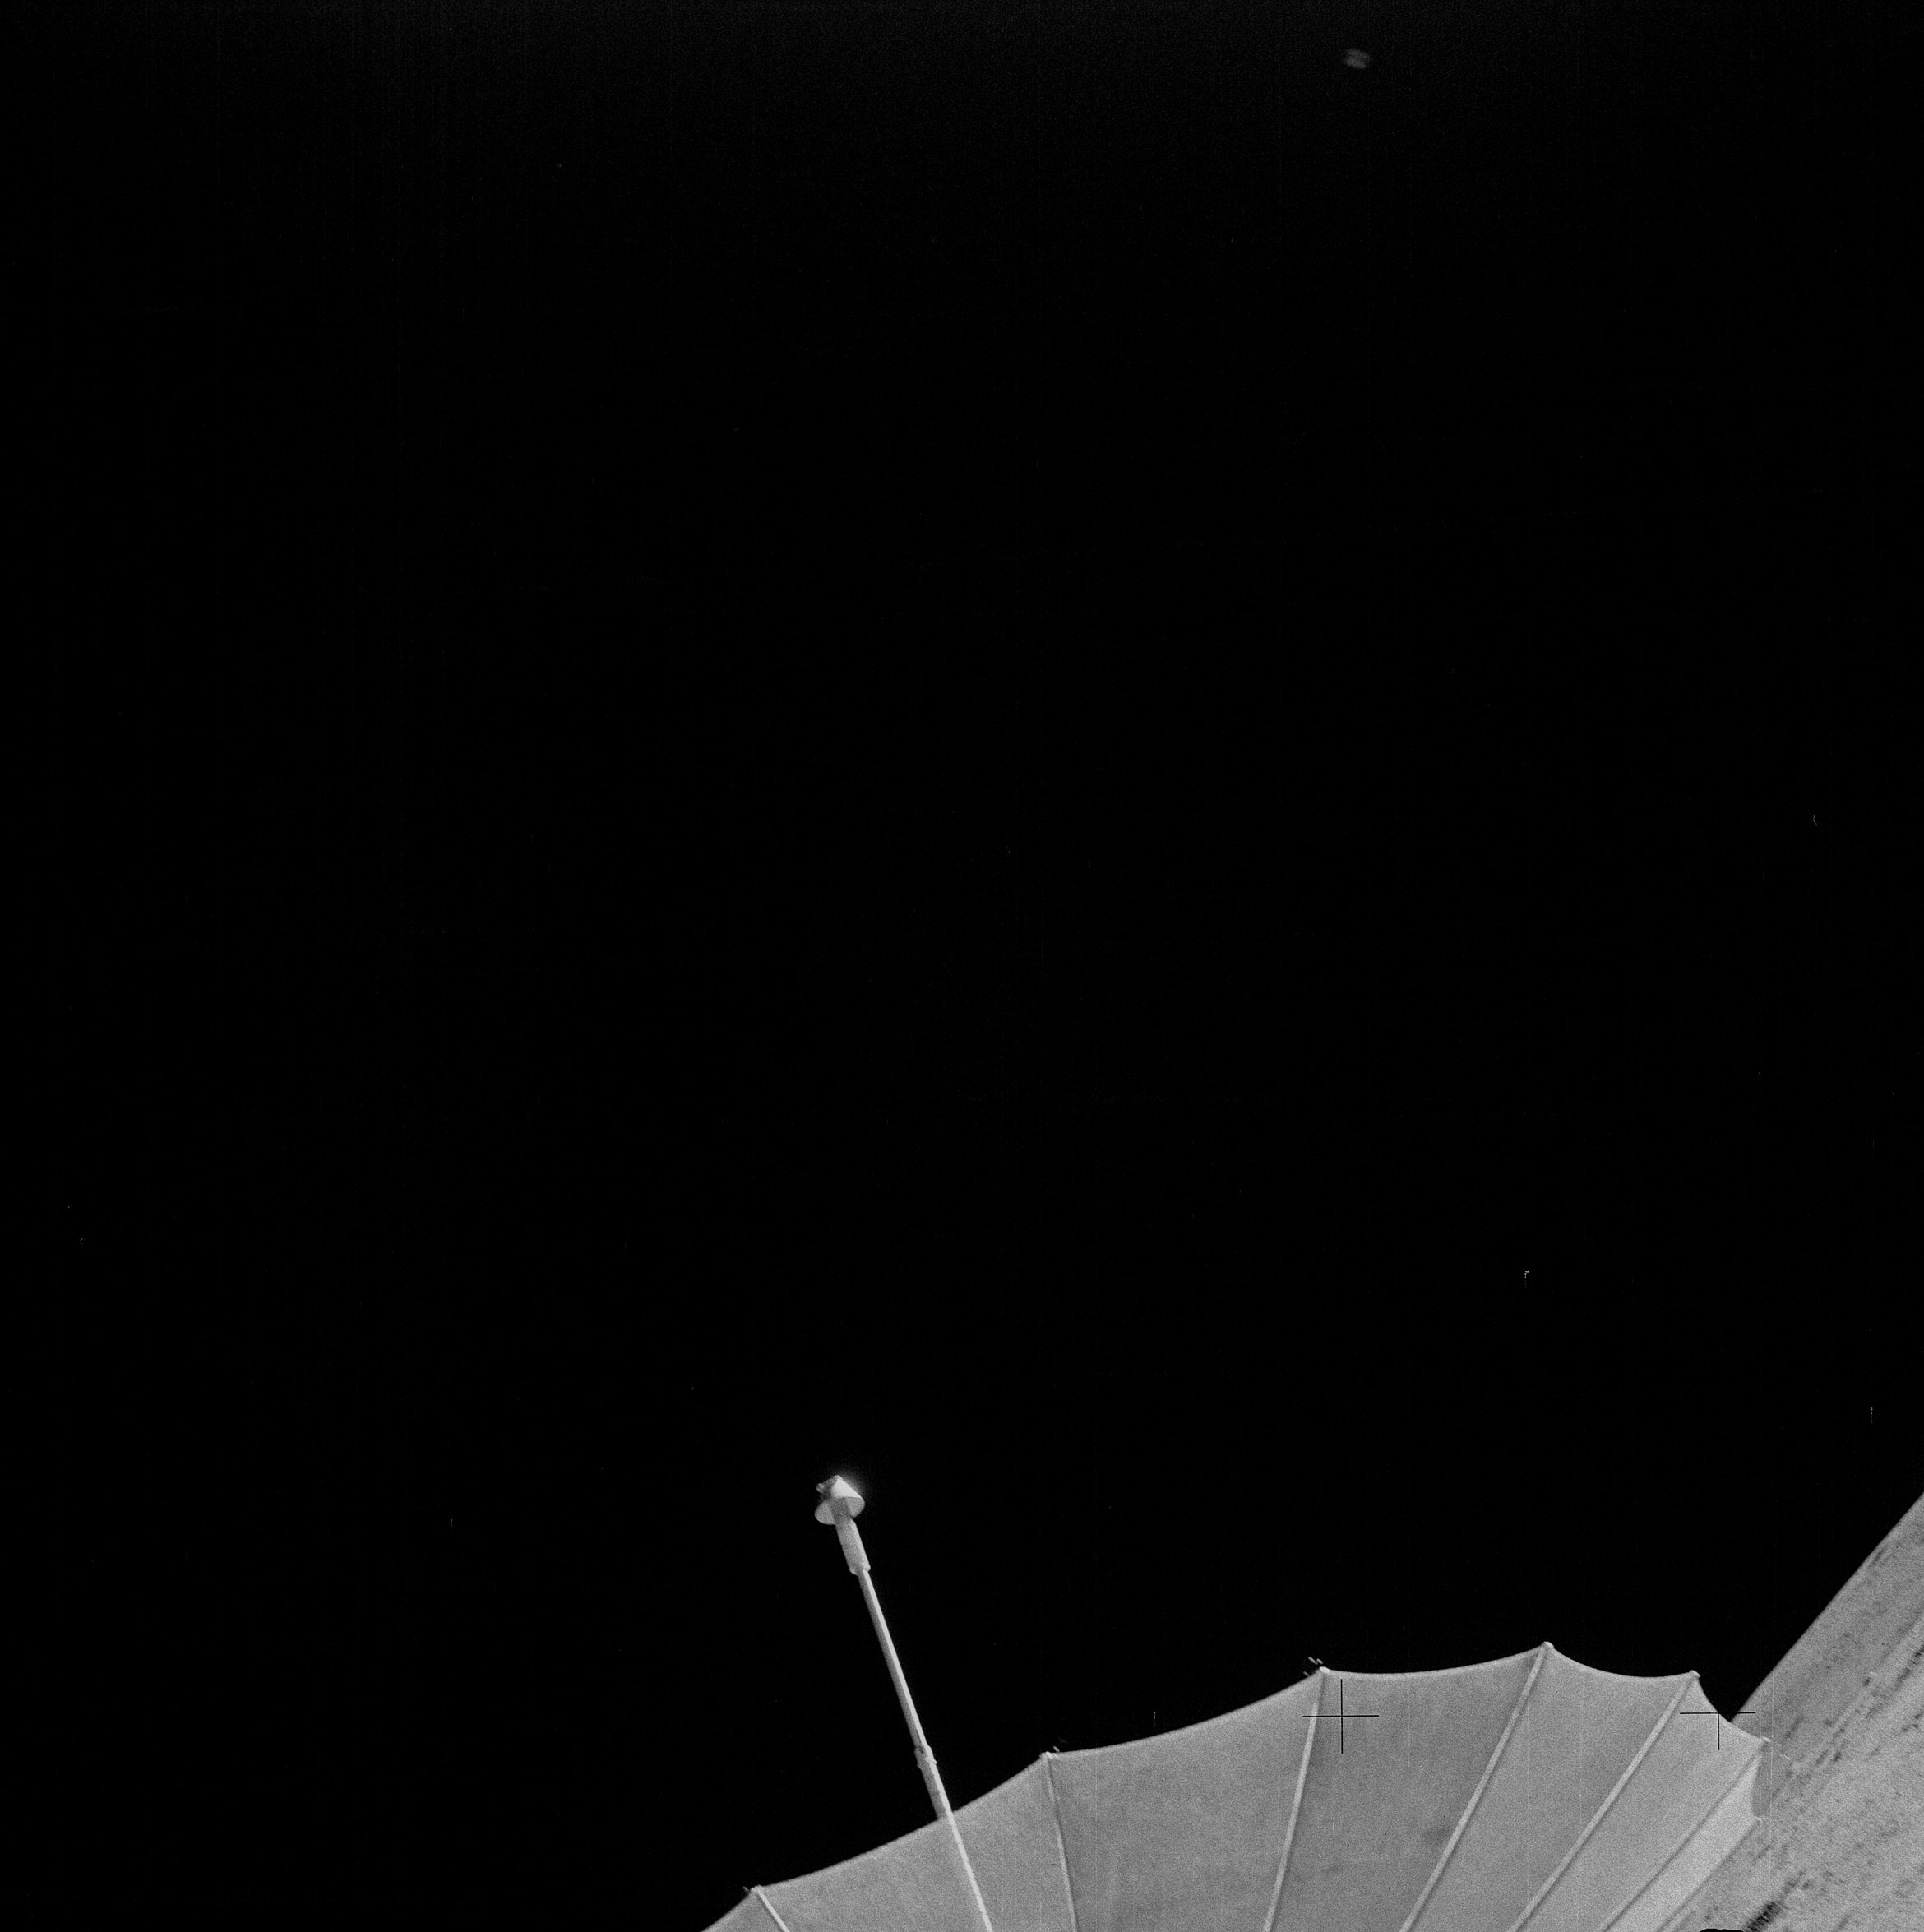 | AS14-68-9492 This picture shows the transmission element in the S-Band. Image credit: Image Science and Analysis Laboratory, NASA-Johnson Space Center. |
 | AS14-68-9492A This picture shows the transmission element in the S-Band. Lightstruck. Image credit: Image Science and Analysis Laboratory, NASA-Johnson Space Center. |
| | |
| 70-mm magazine JJ - AS14-67-9361 to 9393 | Photography Index | 70-mm magazine P - AS14-69-9493 to 9656 |