
 |  |  |
| 70-mm magazine II - AS14-66-9216 to 9360 | Photography Index | 70-mm magazine MM - AS14-68-9393 to 9492 |
No copyright is asserted for NASA photographs. If a recognizable person appears in a photo, use for commercial purposes may infringe a right of privacy or publicity. Photos may not be used to state or imply the endorsement by NASA or by any NASA employee of a commercial product, process or service, or used in any other manner that might mislead. Accordingly, it is requested that if a NASA photograph is used in advertising and other commercial promotion, layout and copy be submitted to NASA prior to release. NASA photos reproduced from this archive should include photo credit to "NASA" or "National Aeronautics and Space Administration" and should include scanning credit to the appropriate individuals or agencies as noted in the captions.
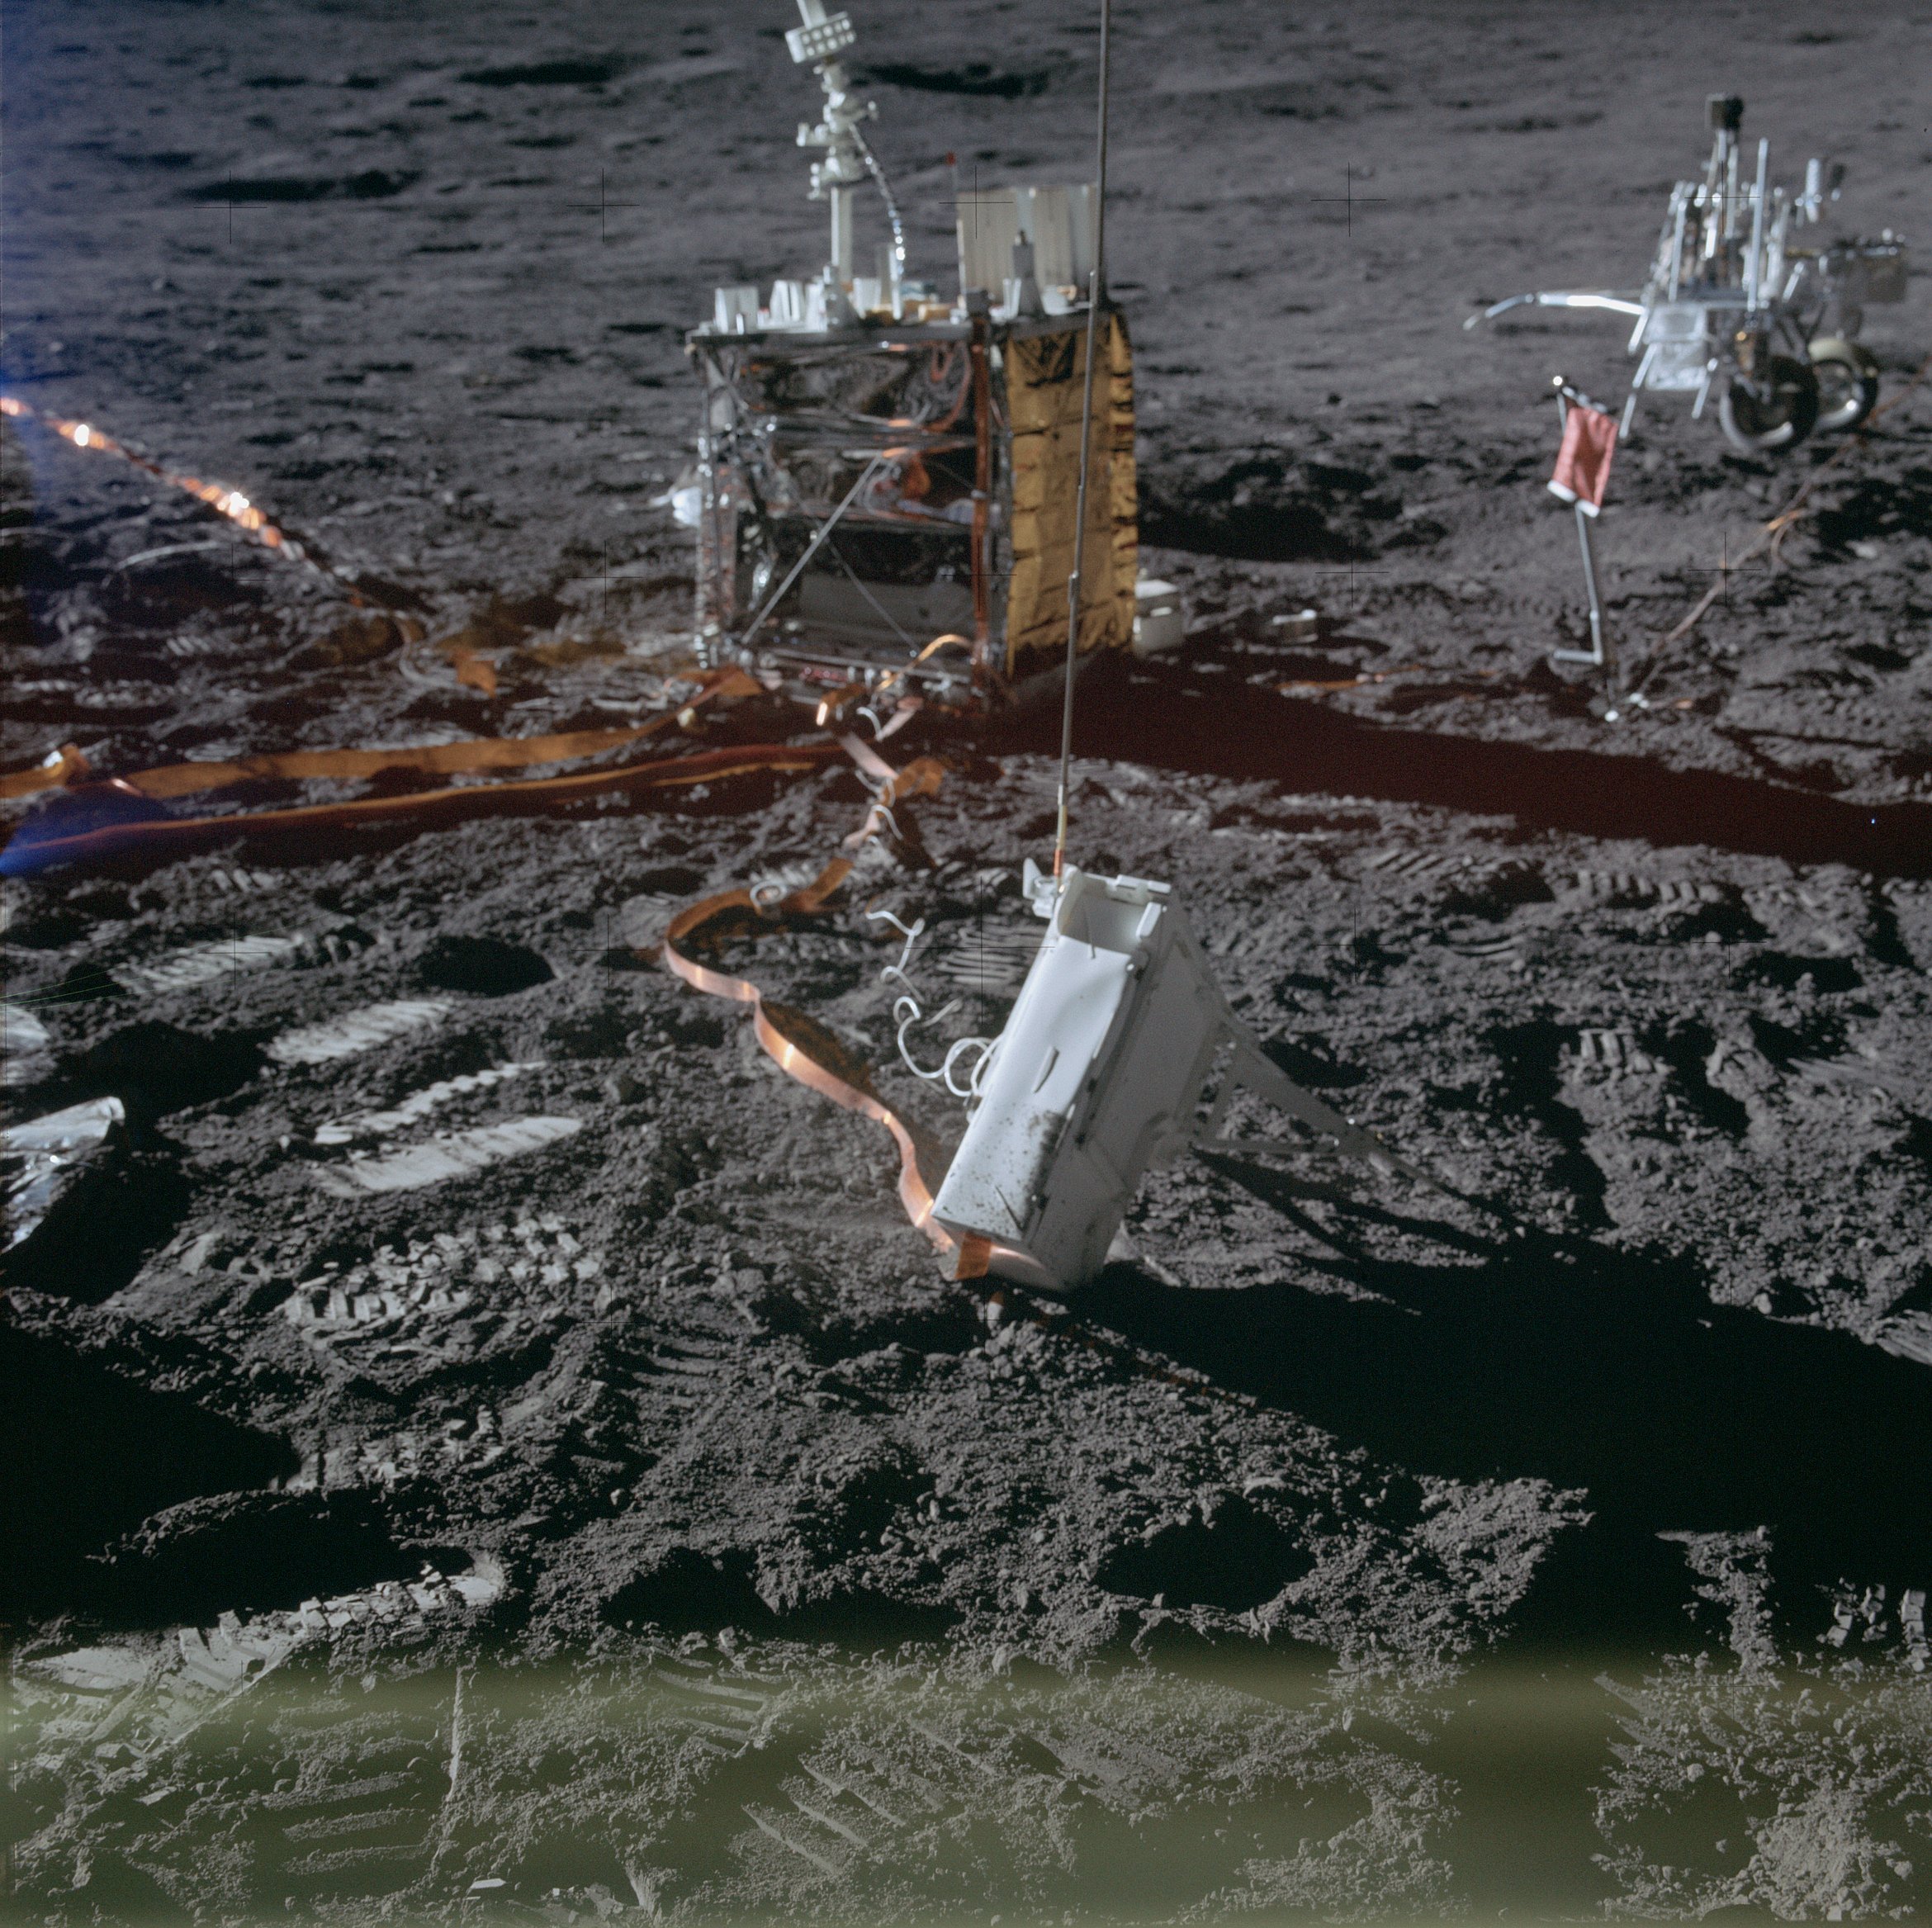 | AS14-67-9361 117:12:00 Al starts a series of photographs documenting the ALSEP deployment with this photo of the mortar package in the foreground, the Central Station beyond it with cables leading to the various experiment packages, the Thumper/Geophone cable anchor, with the cable headed south (up and to the right) from the anchor past the MET. Image credit: Image Science and Analysis Laboratory, NASA-Johnson Space Center. |
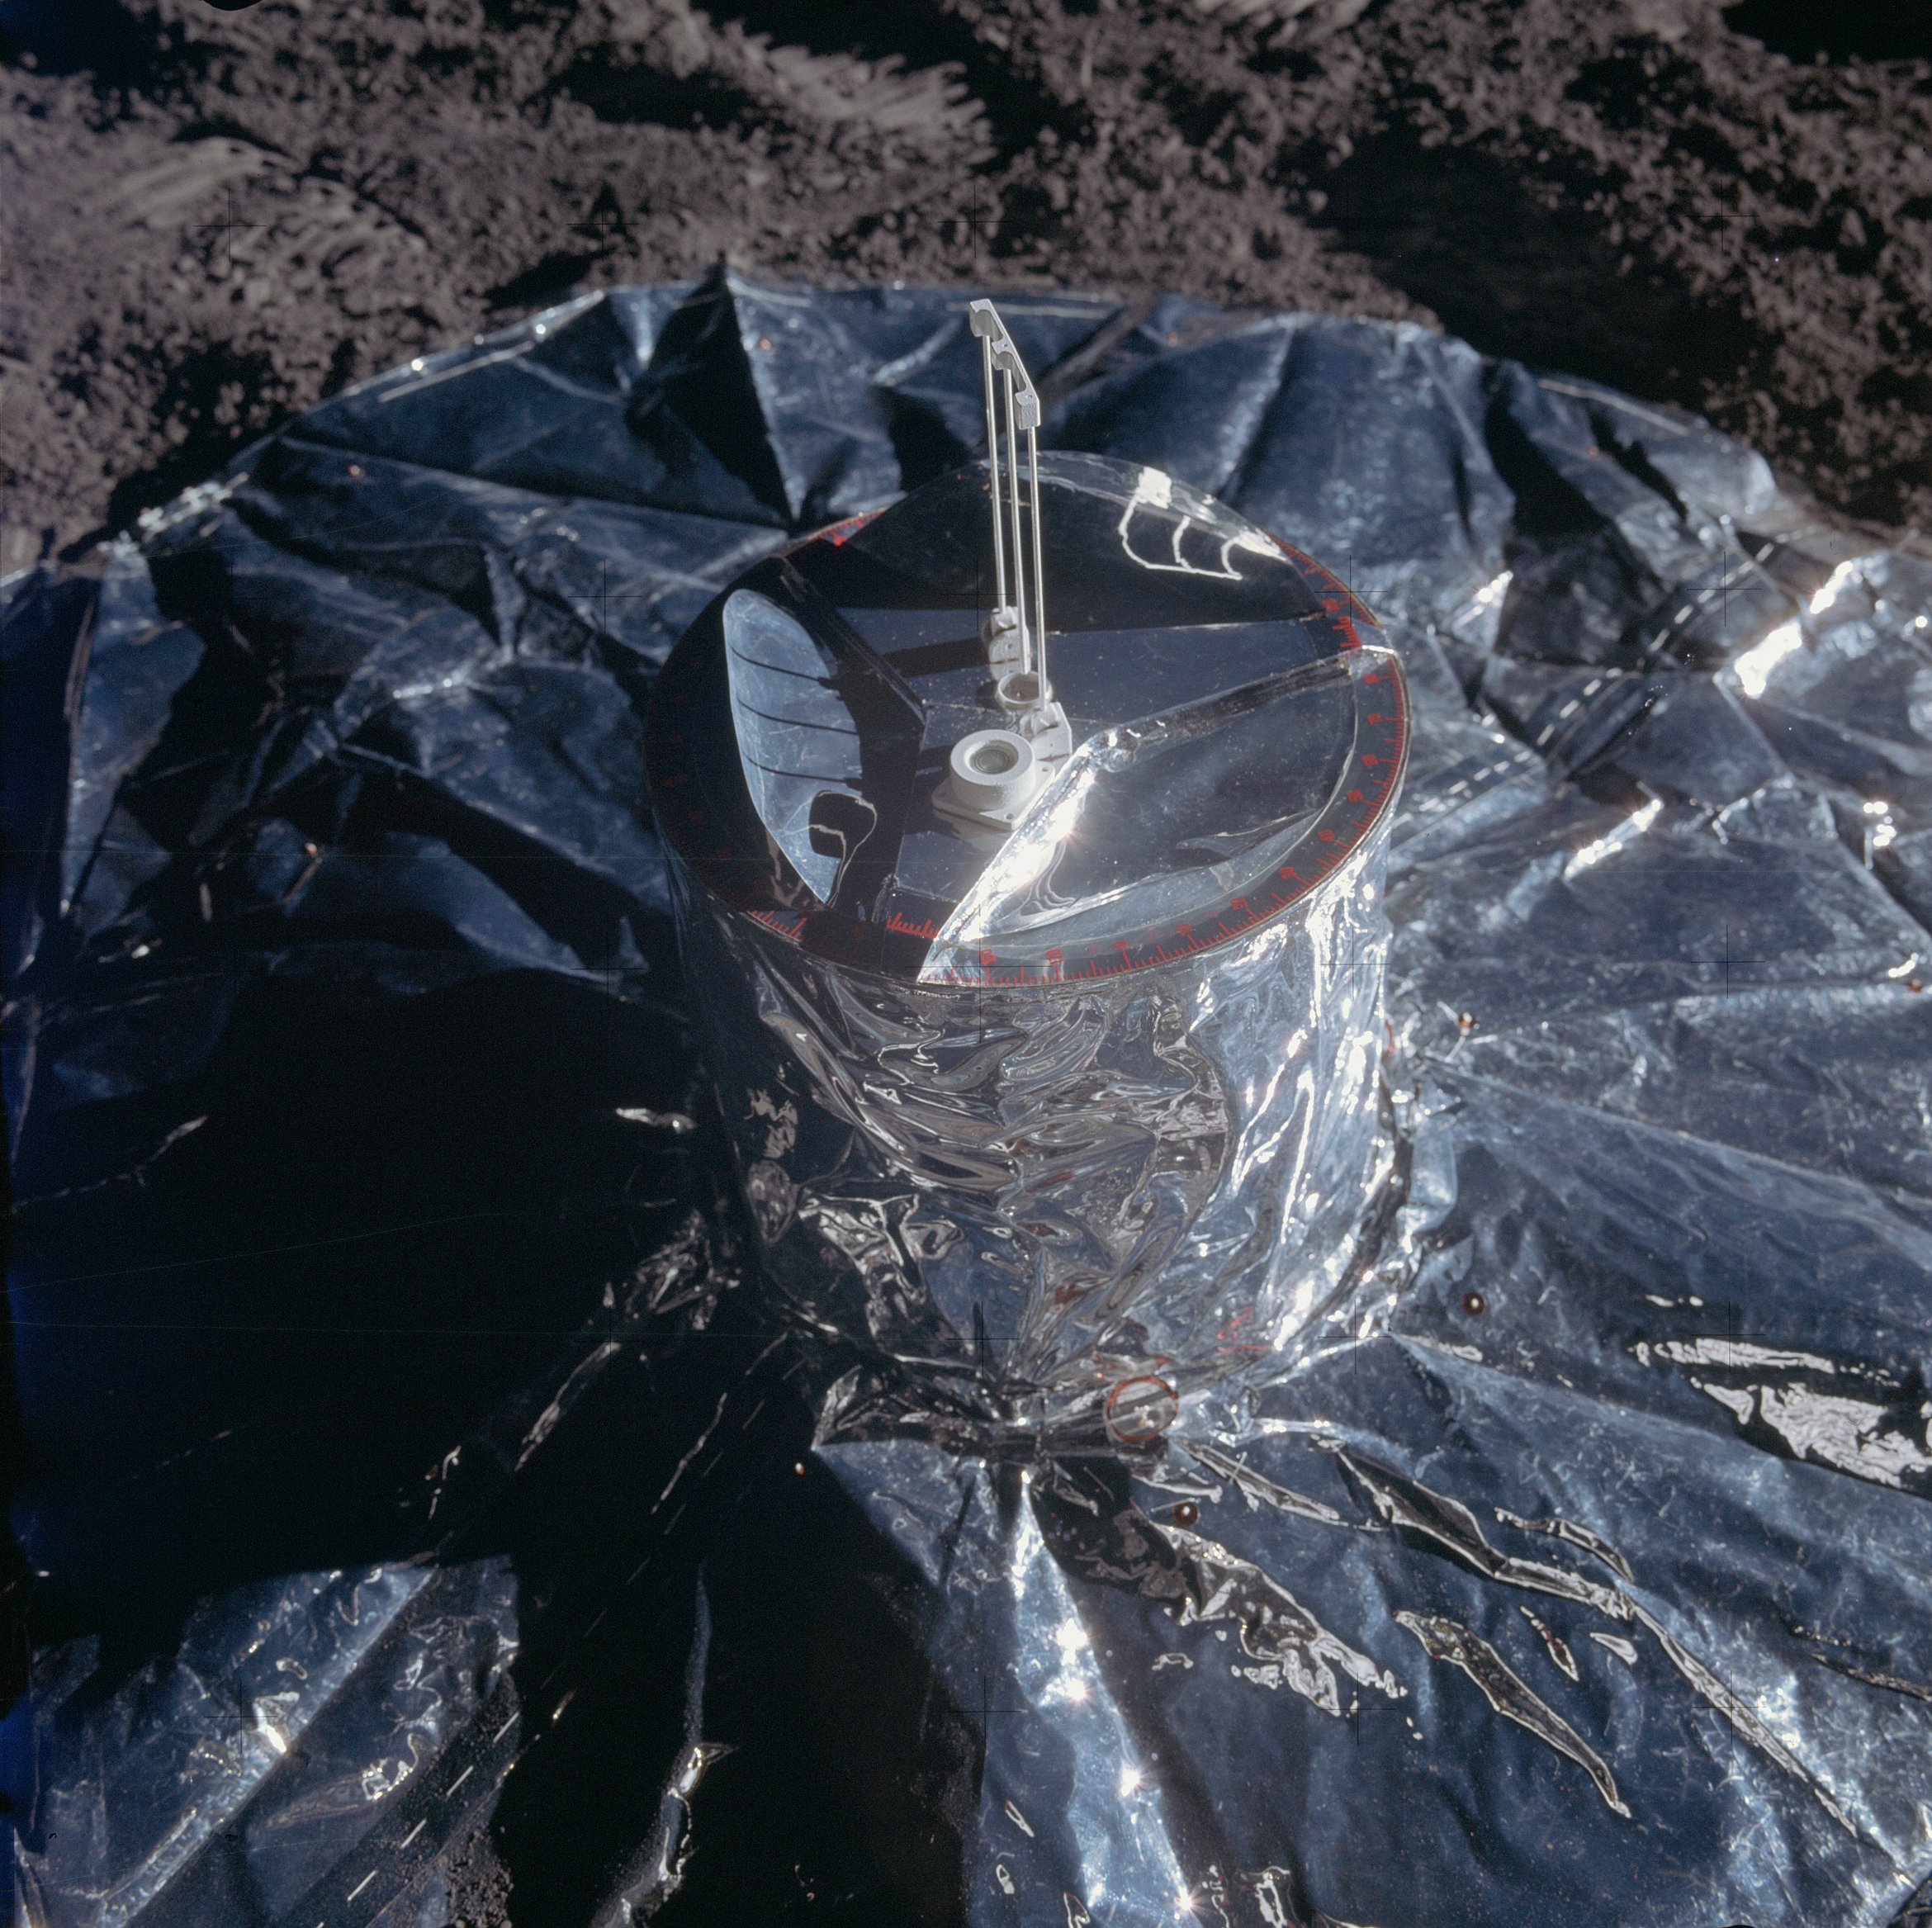 | AS14-67-9362 This photo is a close-up of the top of the Passive Seismic Experiment (PSE) and shows the gnomon/handle - resembling a cricket wicket - and the level bubble housing. Image credit: Image Science and Analysis Laboratory, NASA-Johnson Space Center. |
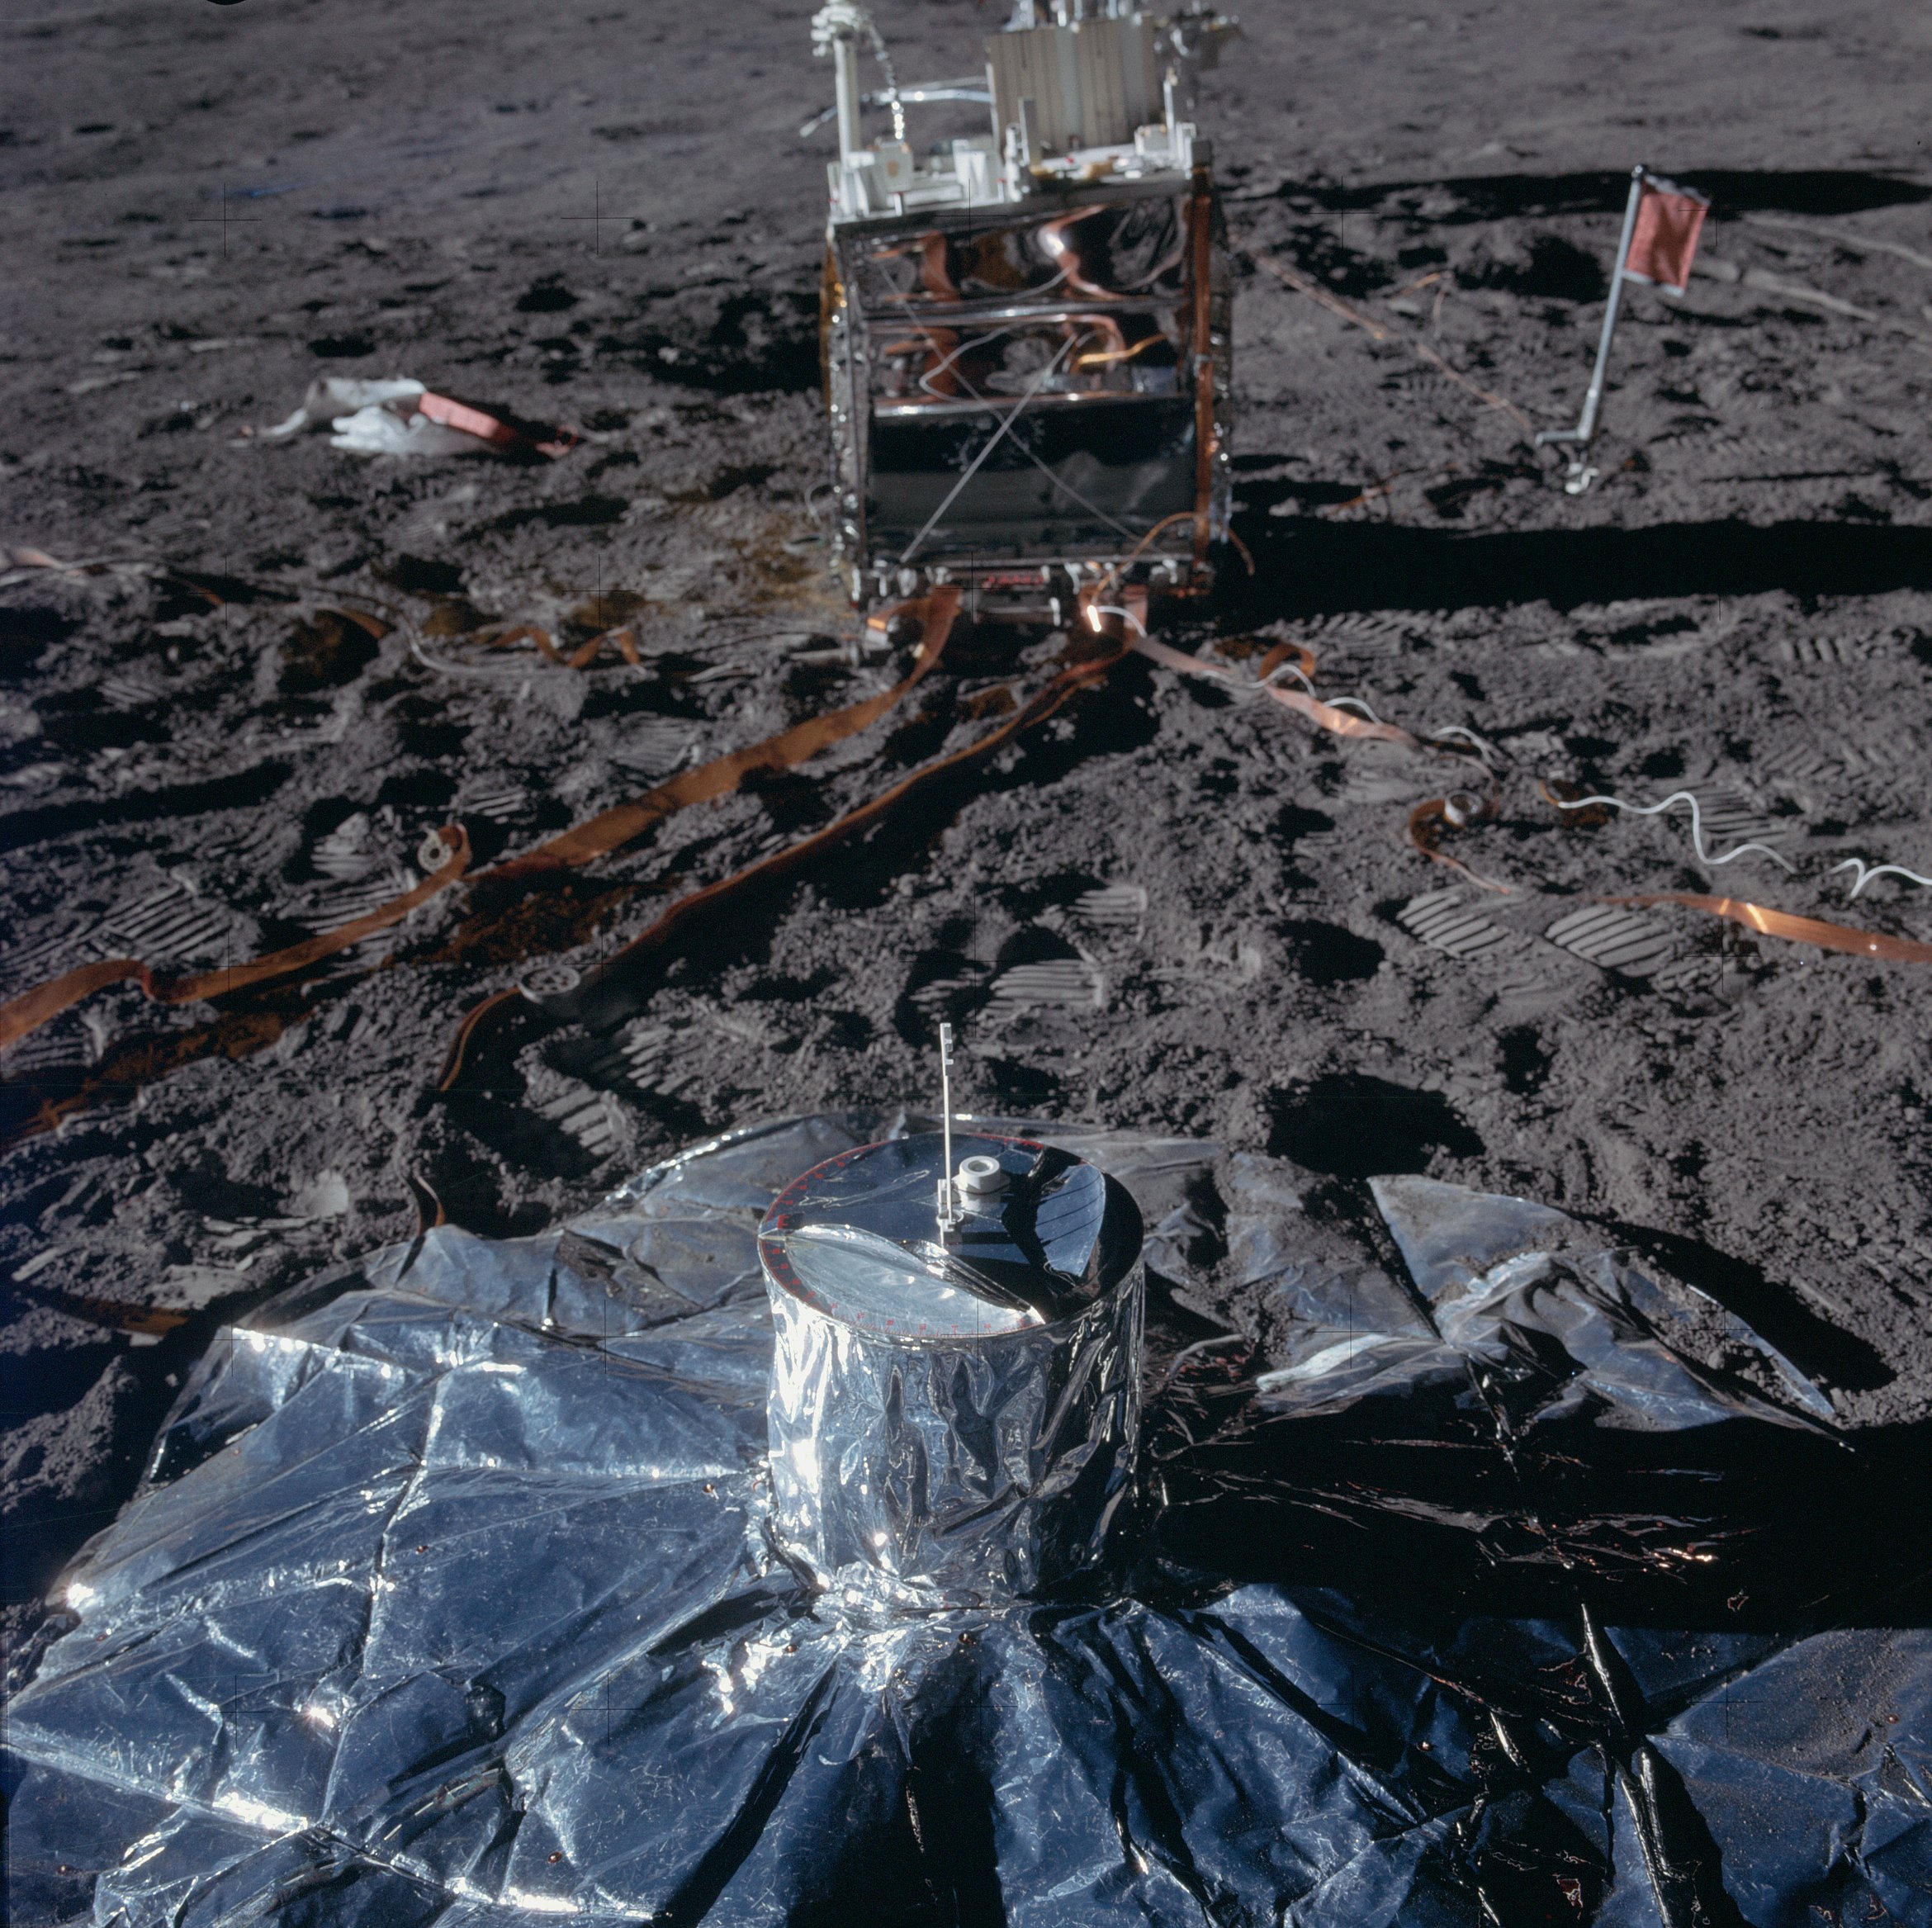 | AS14-67-9363 Shows the view across the PSE toward the north face of the Central Station. Image credit: Image Science and Analysis Laboratory, NASA-Johnson Space Center. |
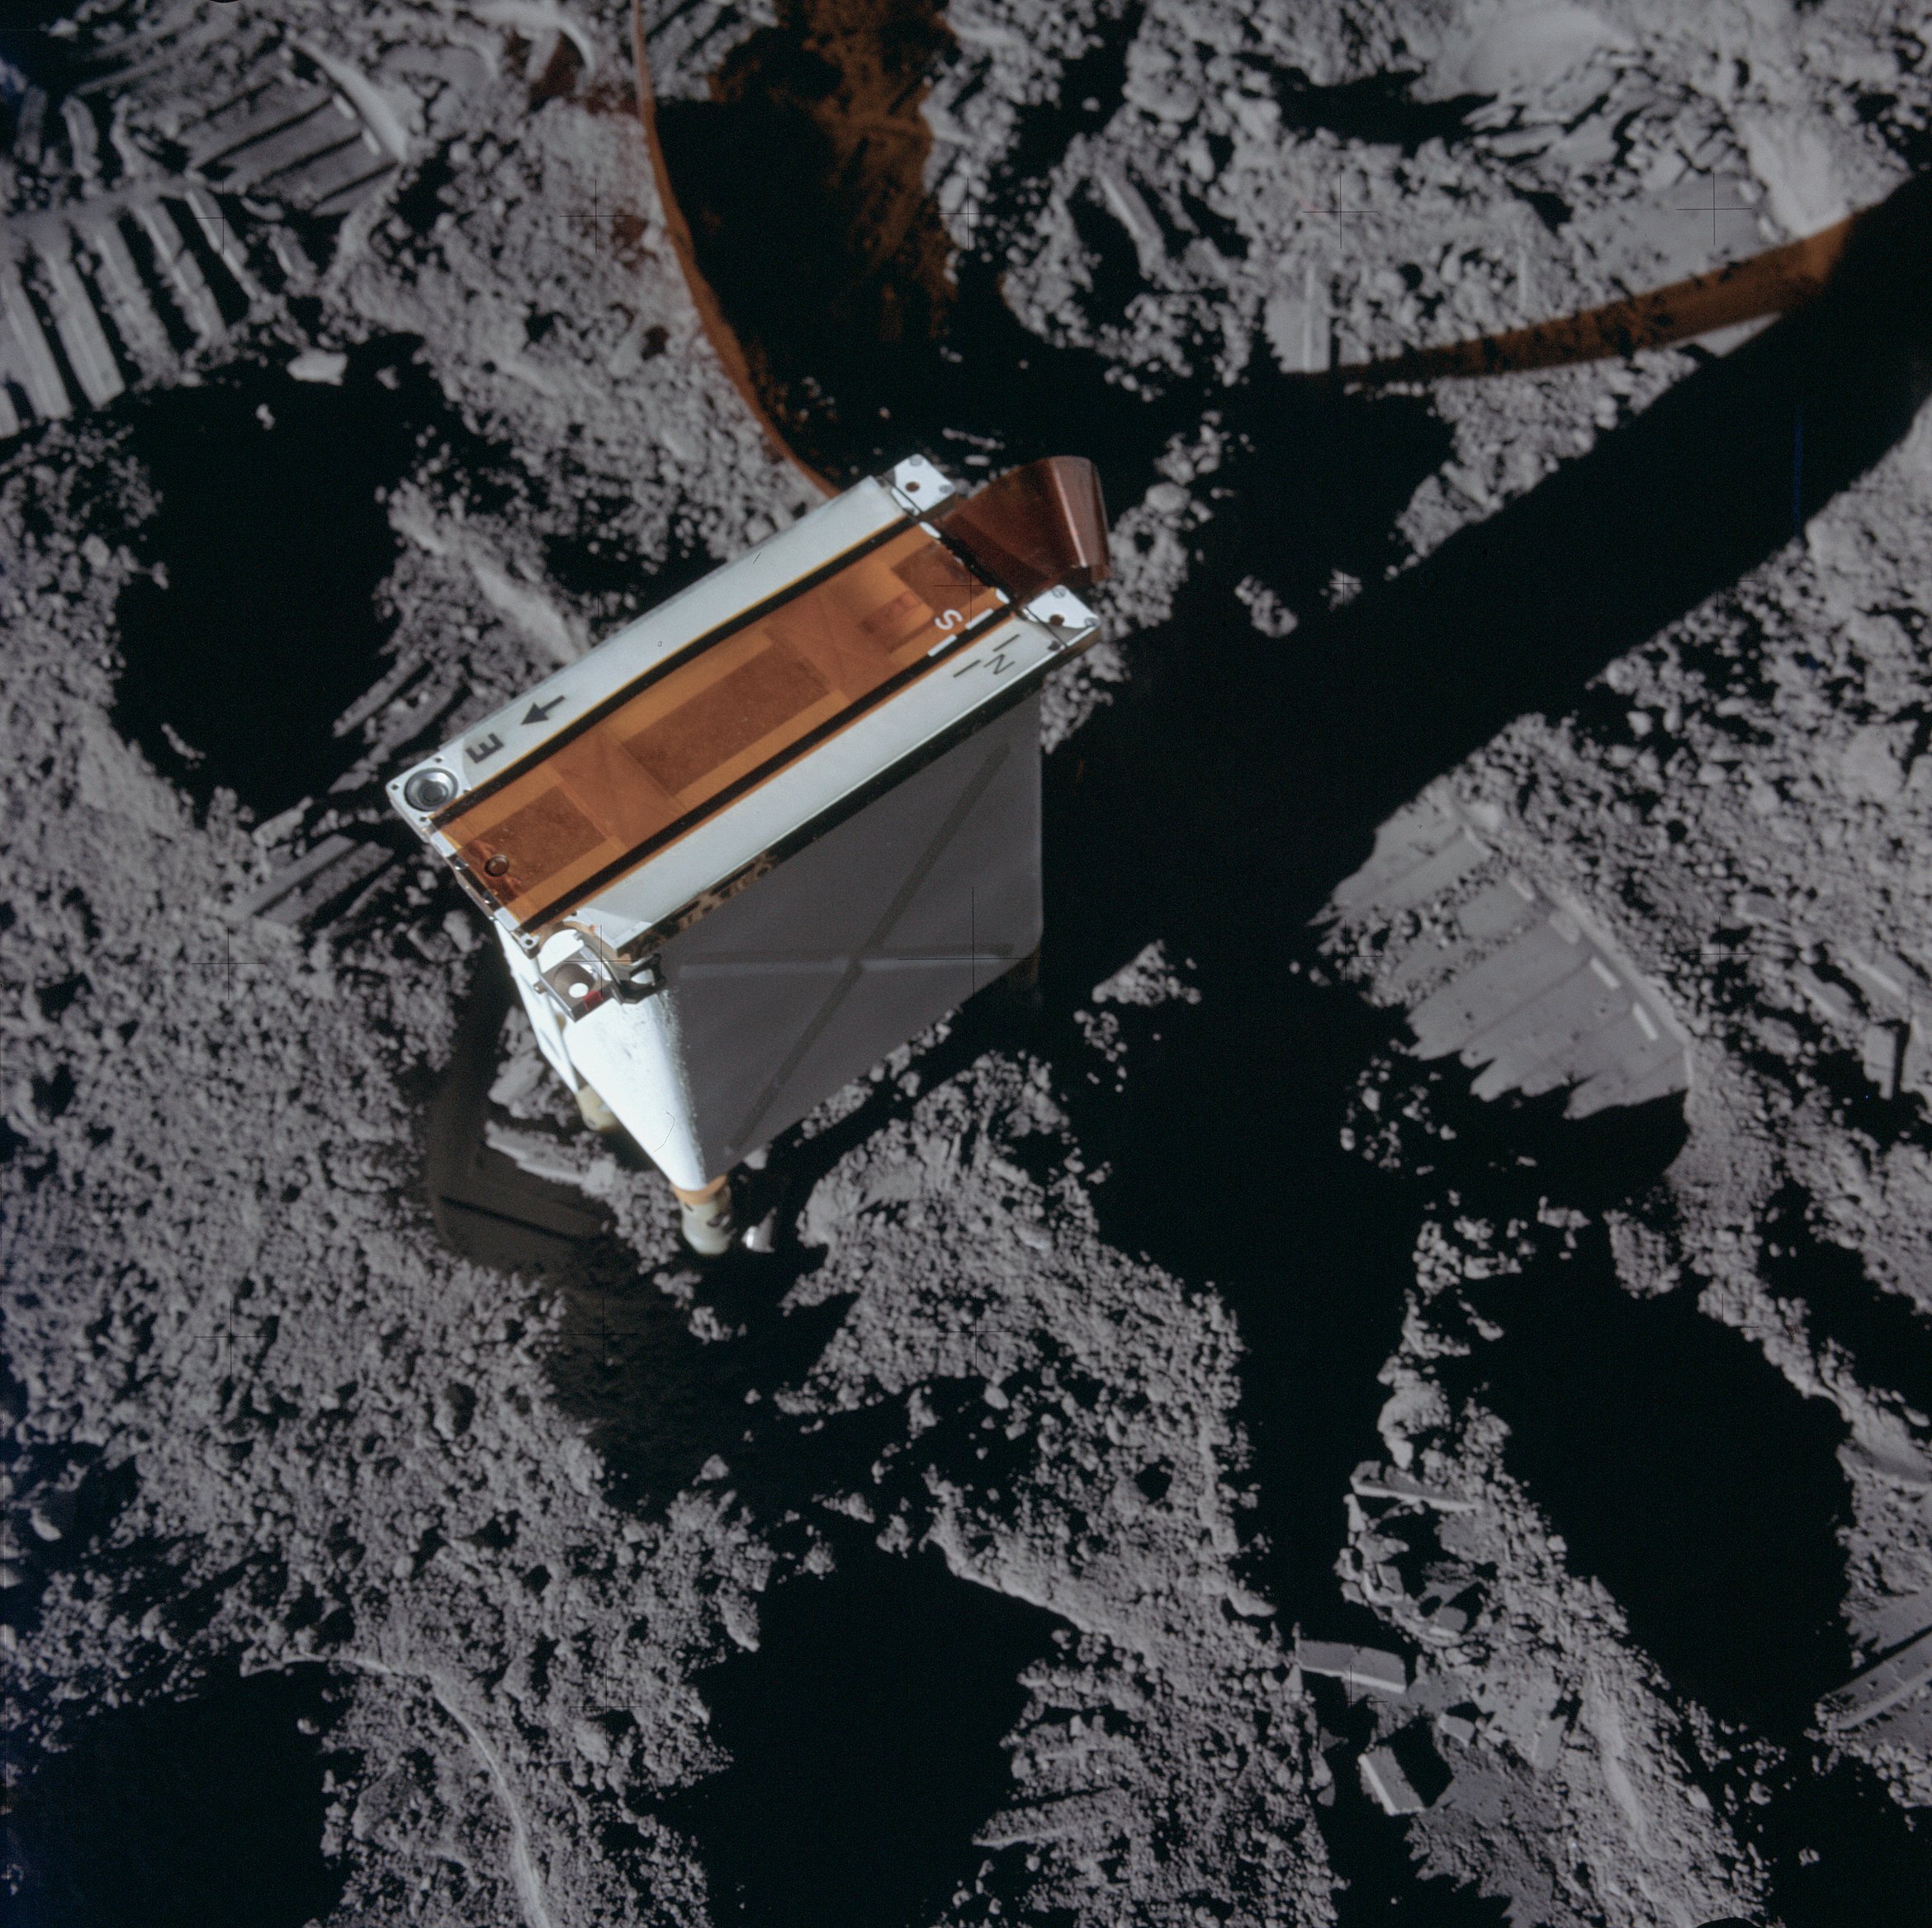 | AS14-67-9364 117:15:10 Close-up shot looking down on the top of the Charged Particle Lunar Environment Experiment (CPLEE). Image credit: Image Science and Analysis Laboratory, NASA-Johnson Space Center. |
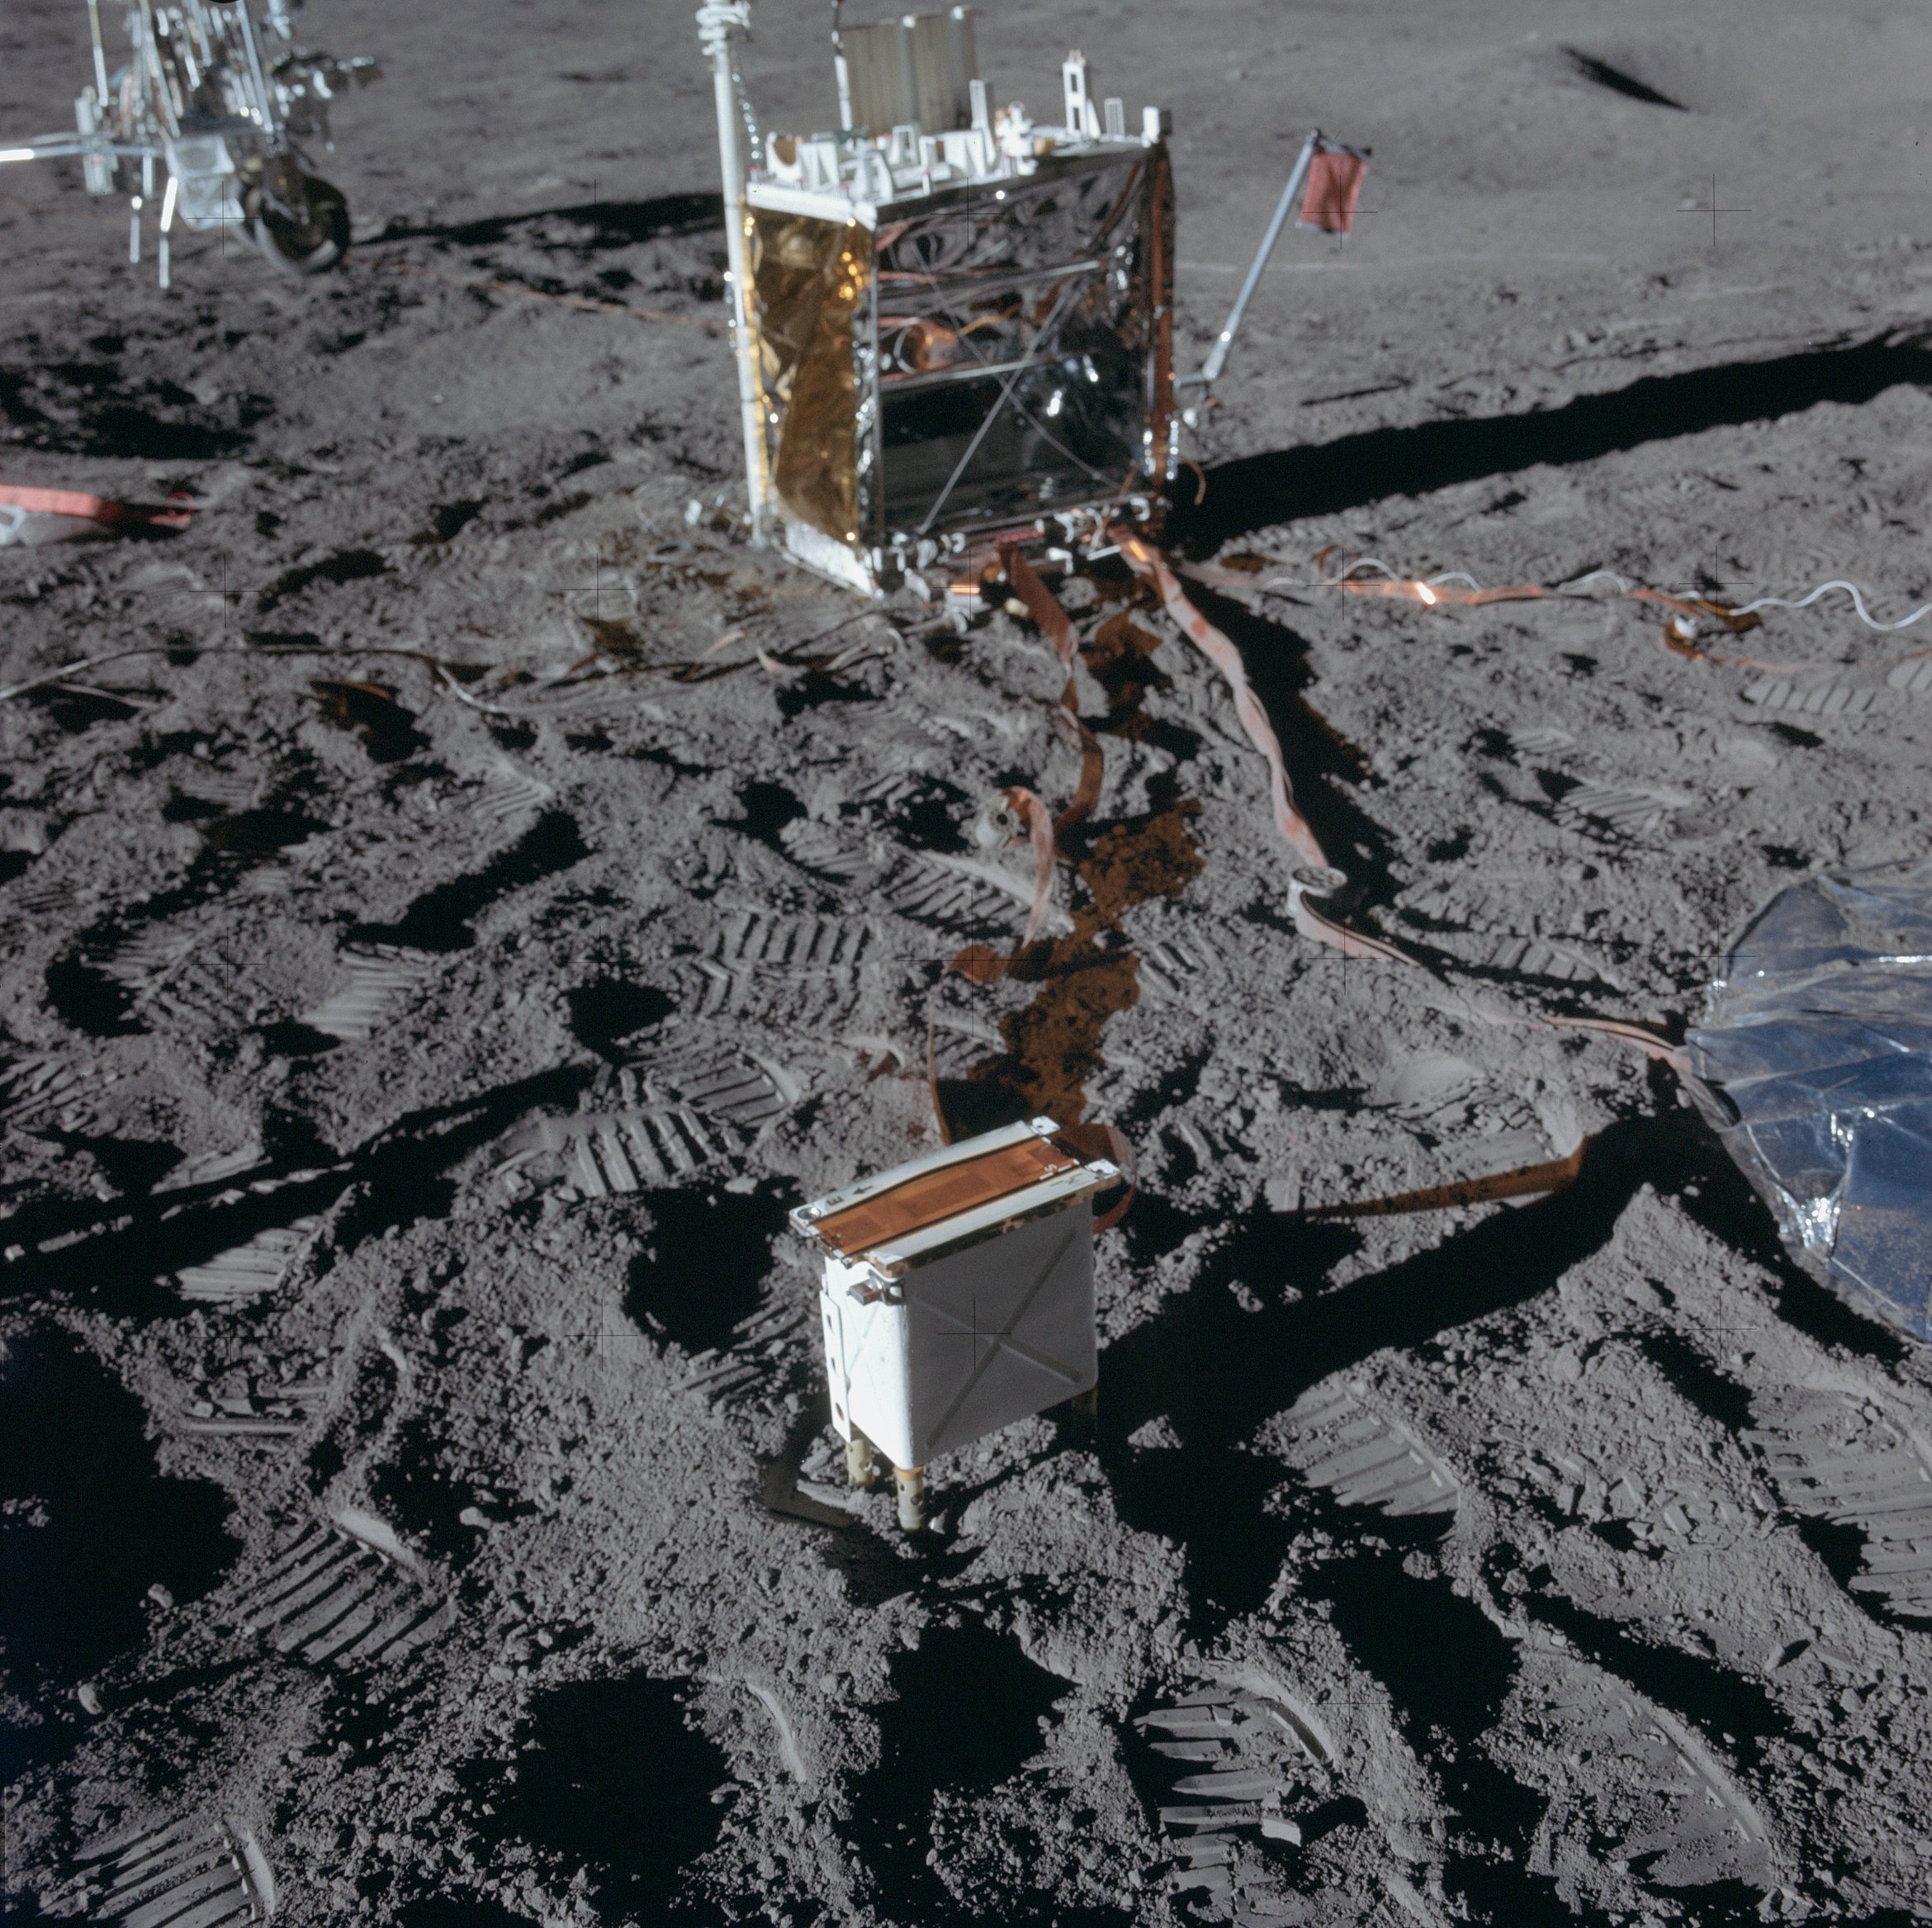 | AS14-67-9365 117:16:43 Cross-Sun "locator" showing the location of the Charged Particle Lunar Environment Experiment (CPLEE), which is in the foreground, relative to the Central Station. Image credit: Image Science and Analysis Laboratory, NASA-Johnson Space Center. |
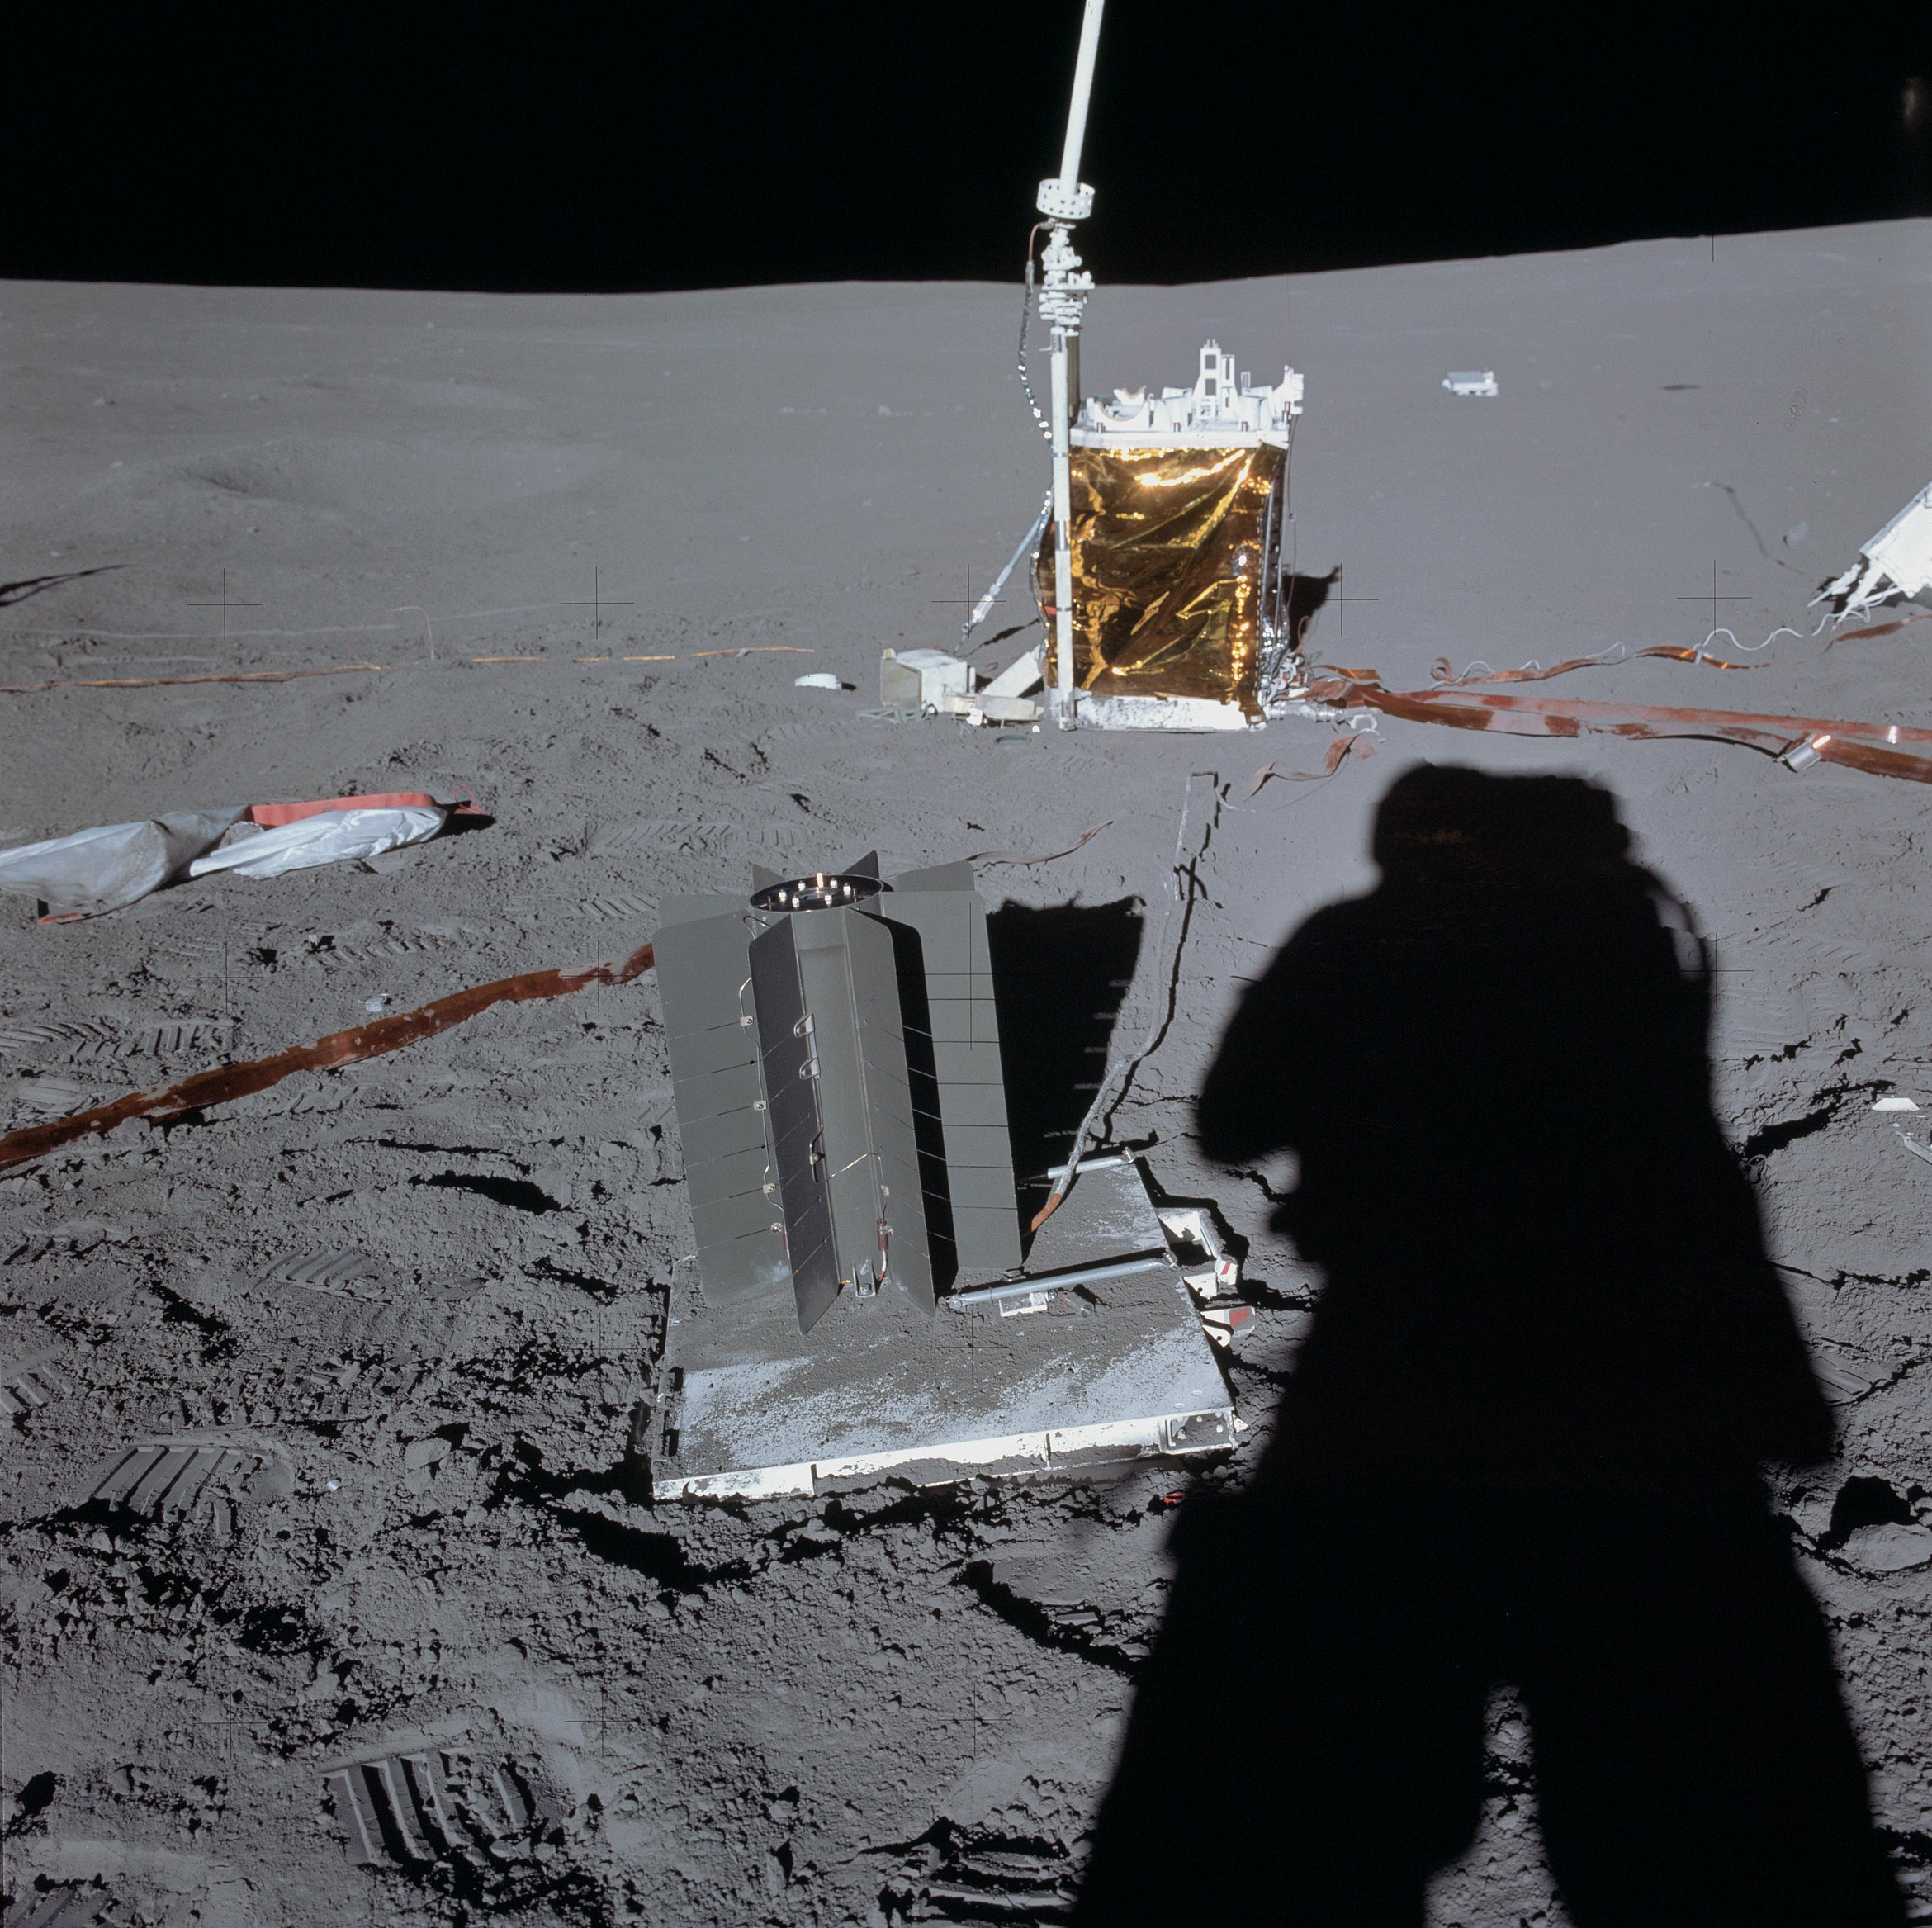 | AS14-67-9366 117:17:41 Down-Sun picture of the RTG with the Central Station in the background. Image credit: Image Science and Analysis Laboratory, NASA-Johnson Space Center. |
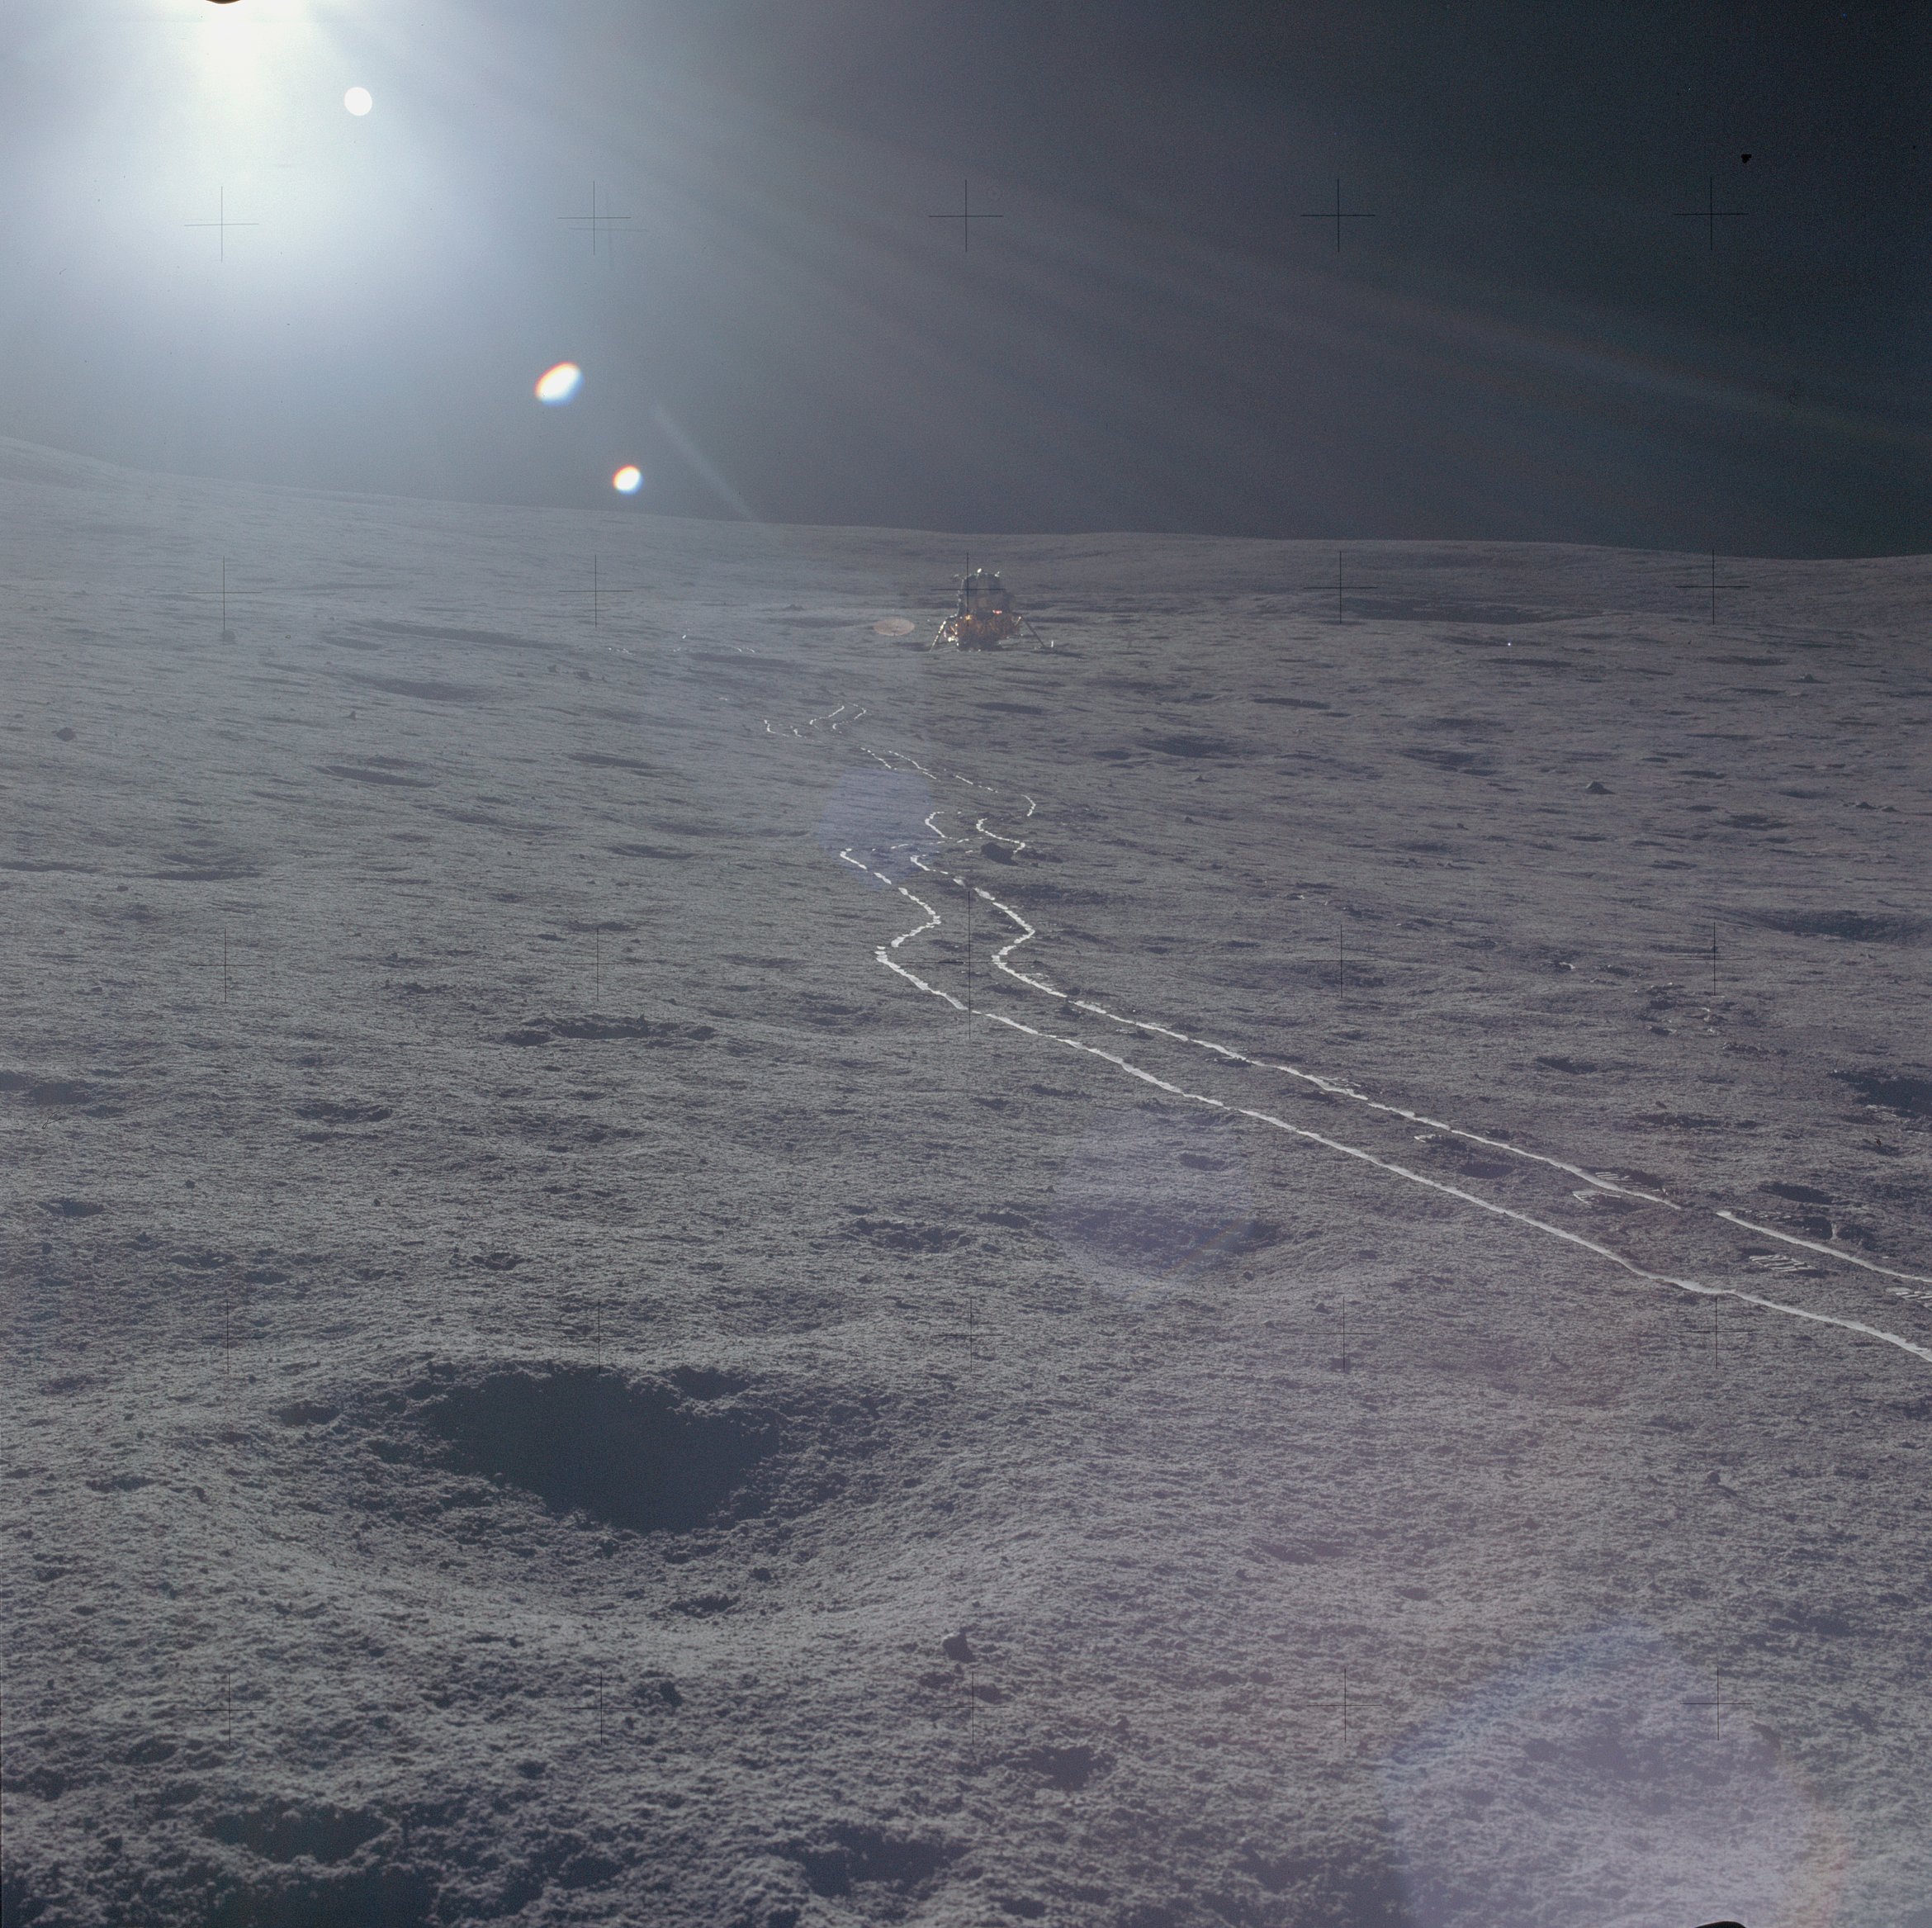 | AS14-67-9367 117:19:37 This up-Sun photo was taken from near the ALSEP Central Station back toward the LM in order to provide relative location information. Image credit: Image Science and Analysis Laboratory, NASA-Johnson Space Center. |
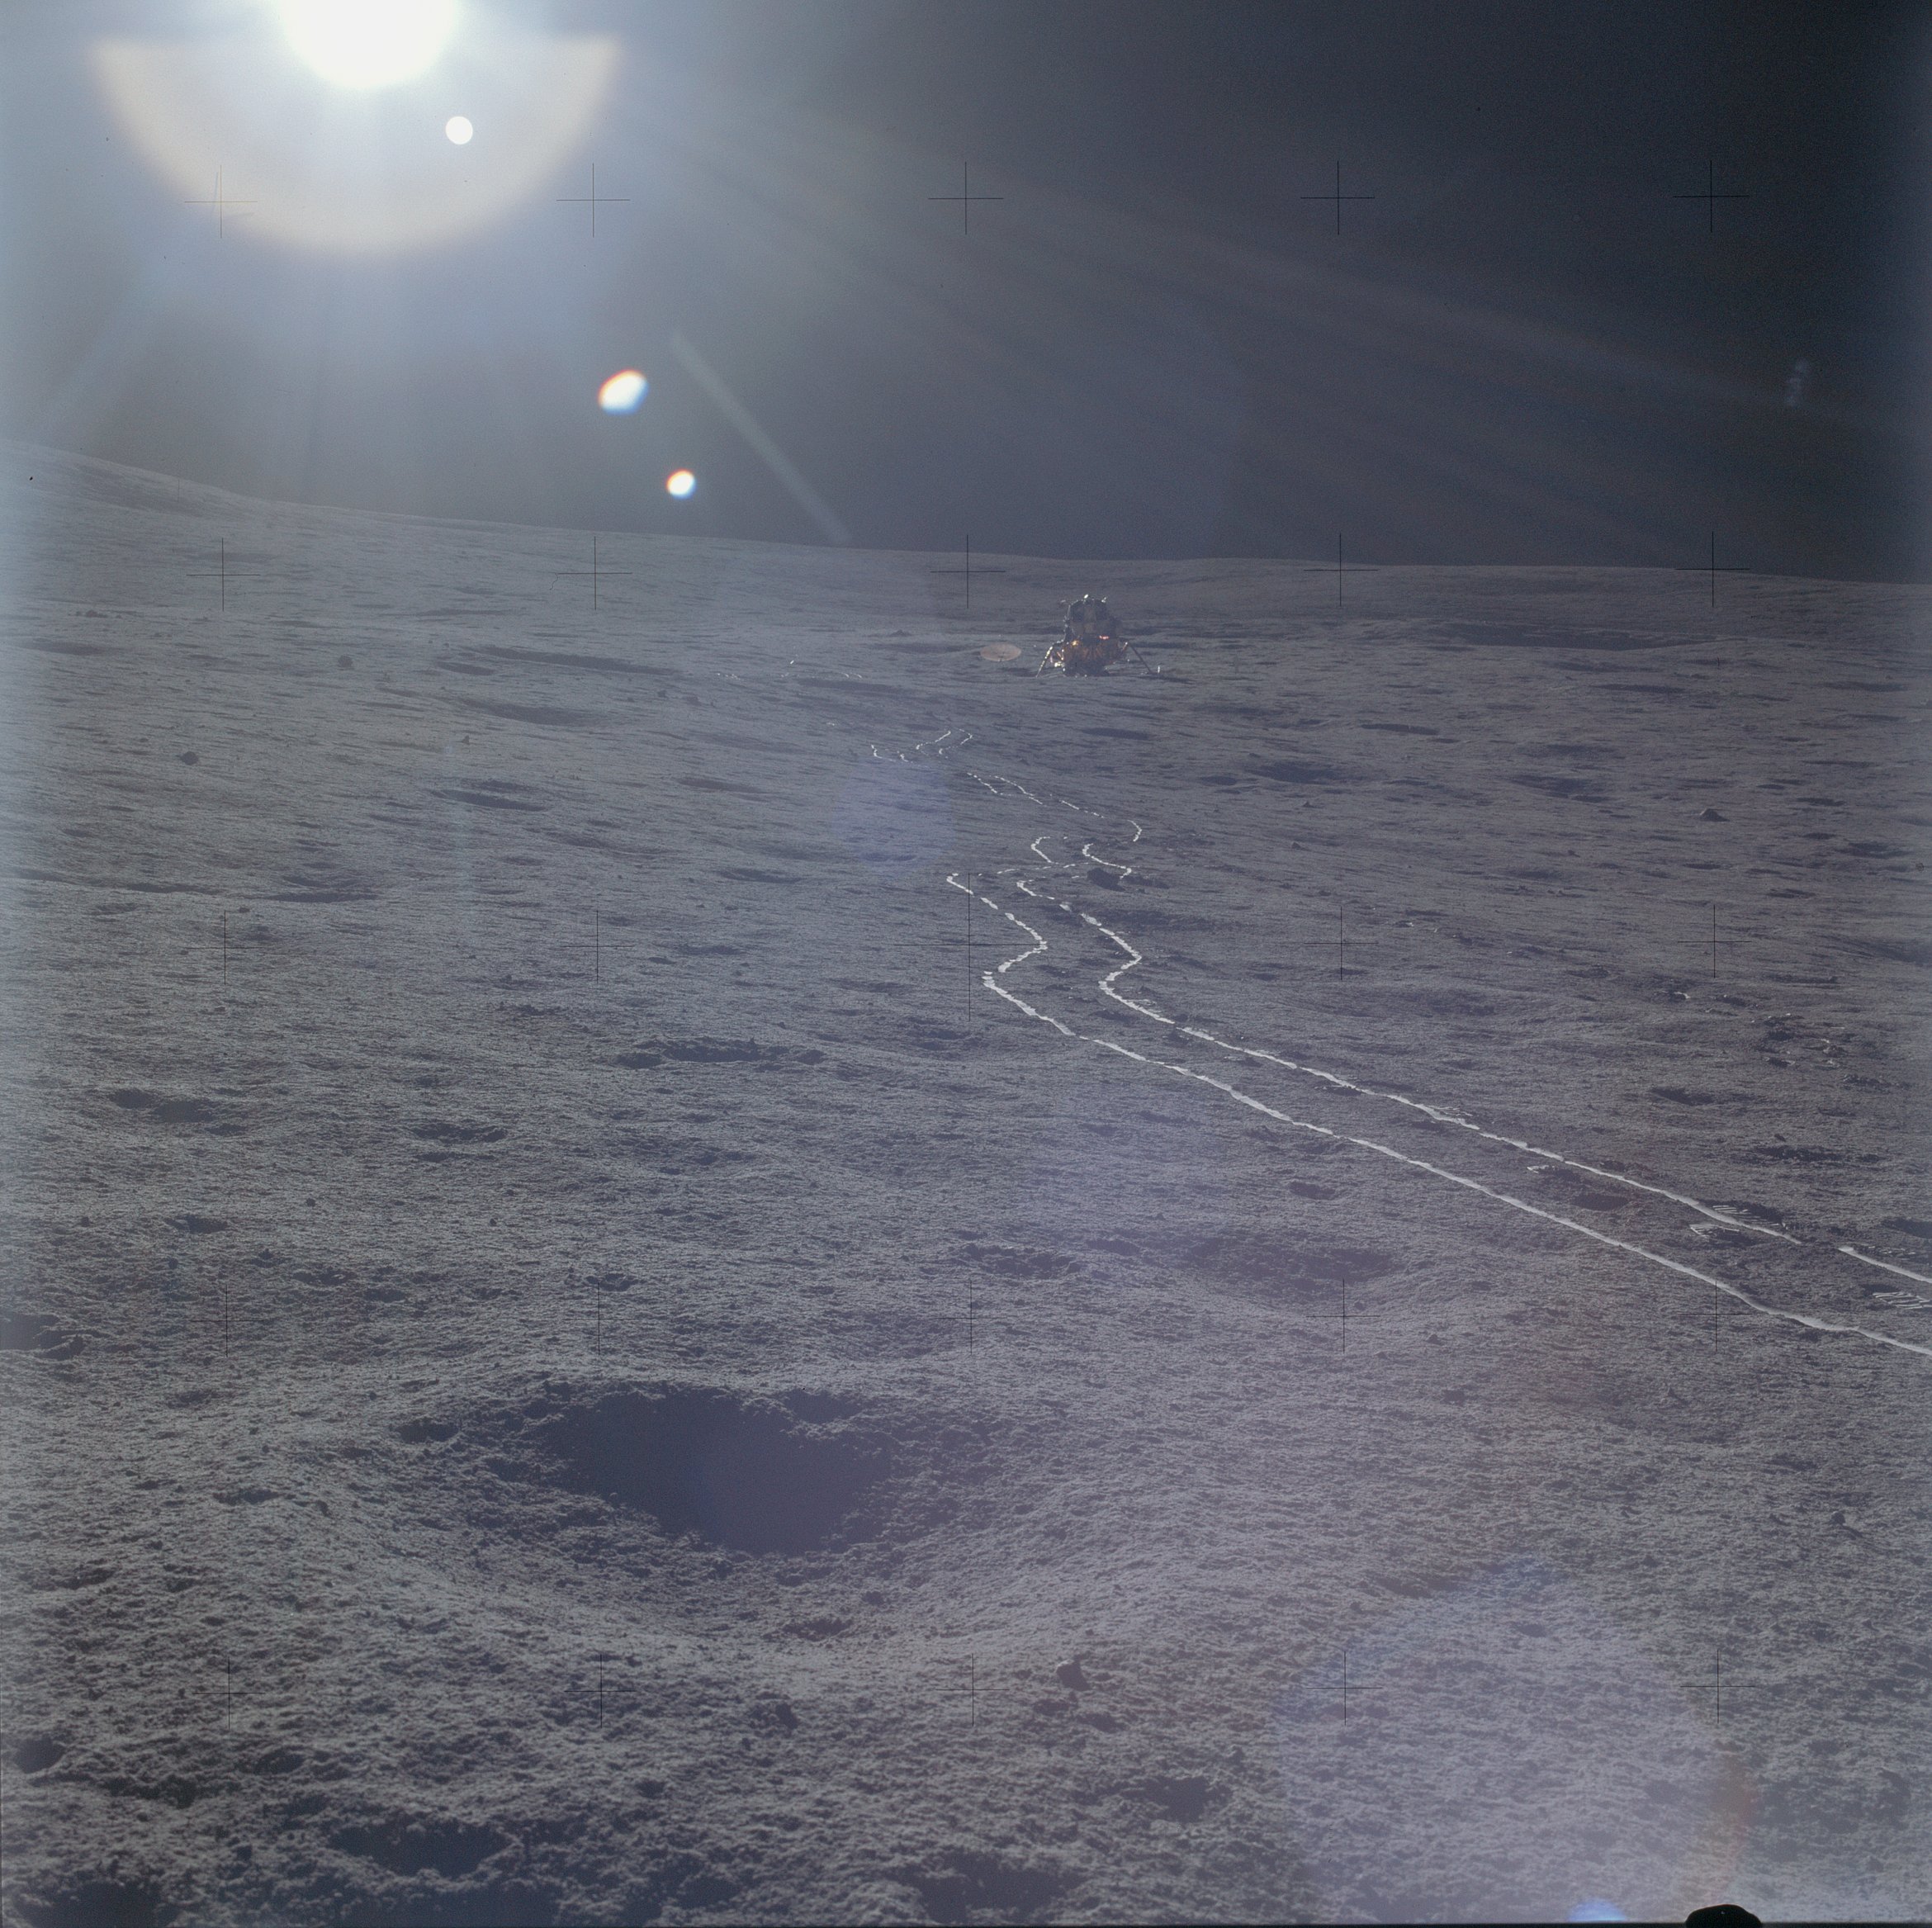 | AS14-67-9368 Similar to 9367. Image credit: Image Science and Analysis Laboratory, NASA-Johnson Space Center. |
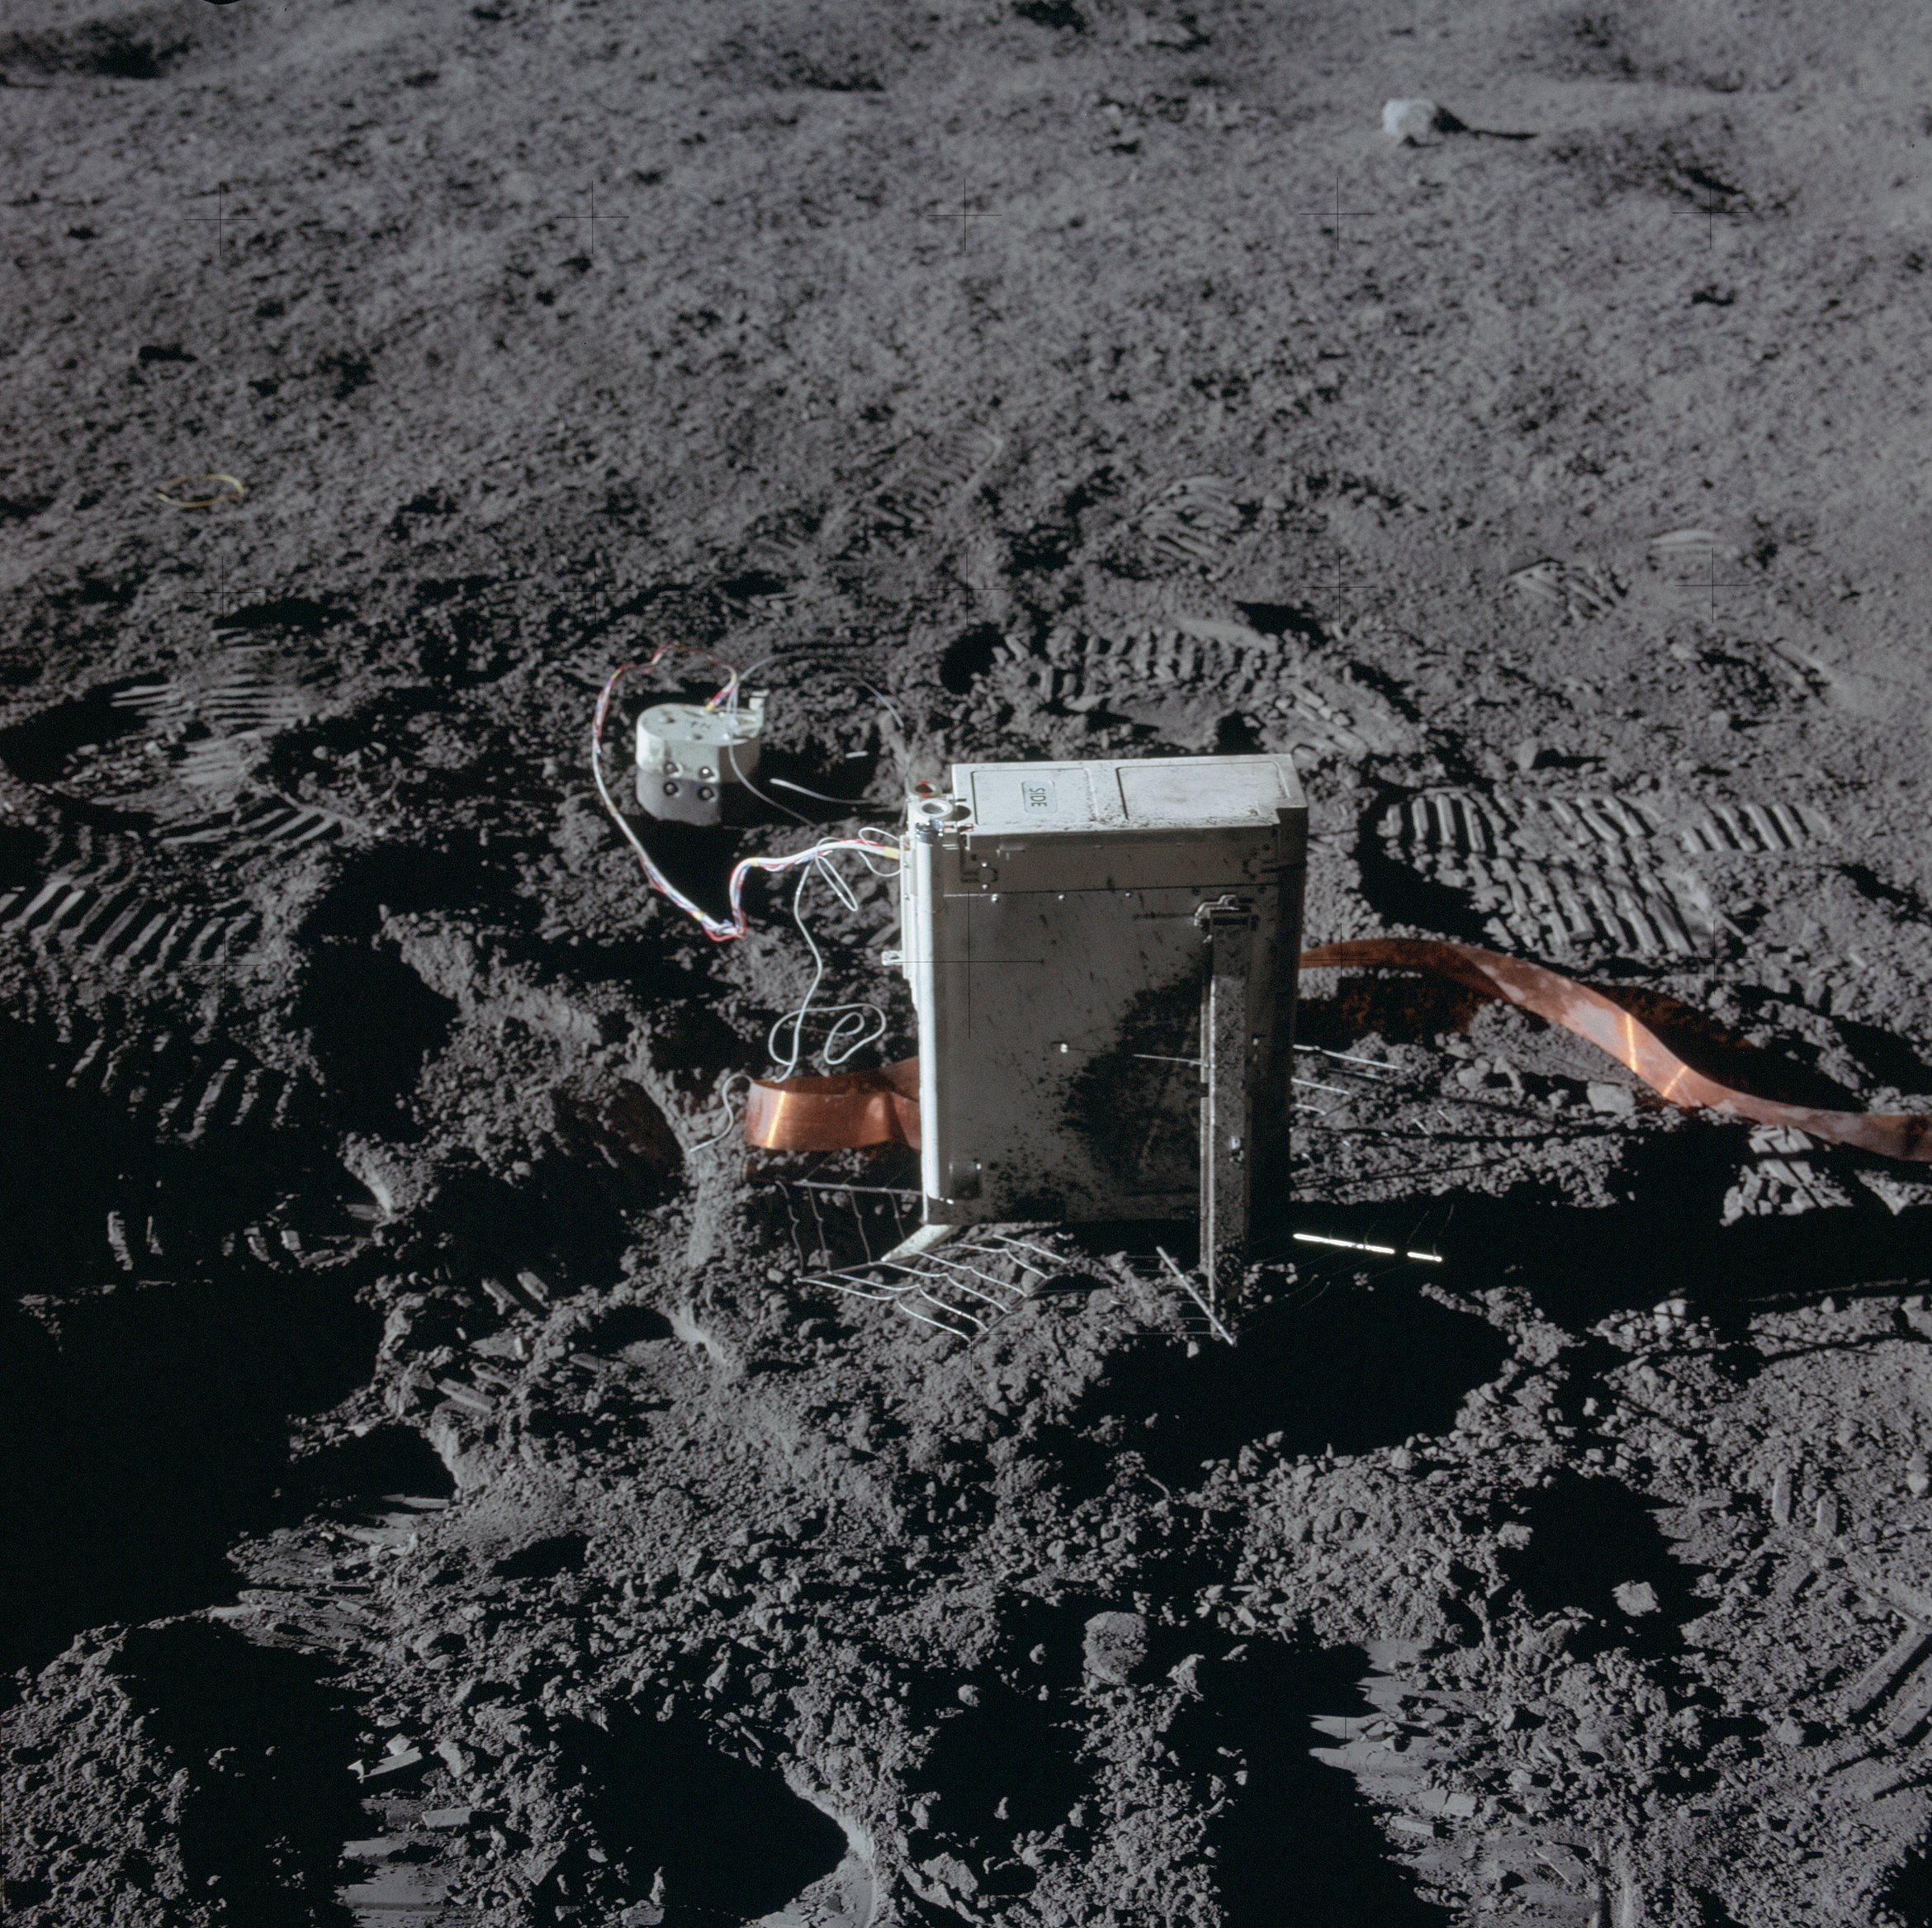 | AS14-67-9369 117:20:27 This photo shows the Cold Cathode Ion Gauge (CCIG) and the Suprathermal Ion Detection Experiment (SIDE). Image credit: Image Science and Analysis Laboratory, NASA-Johnson Space Center. |
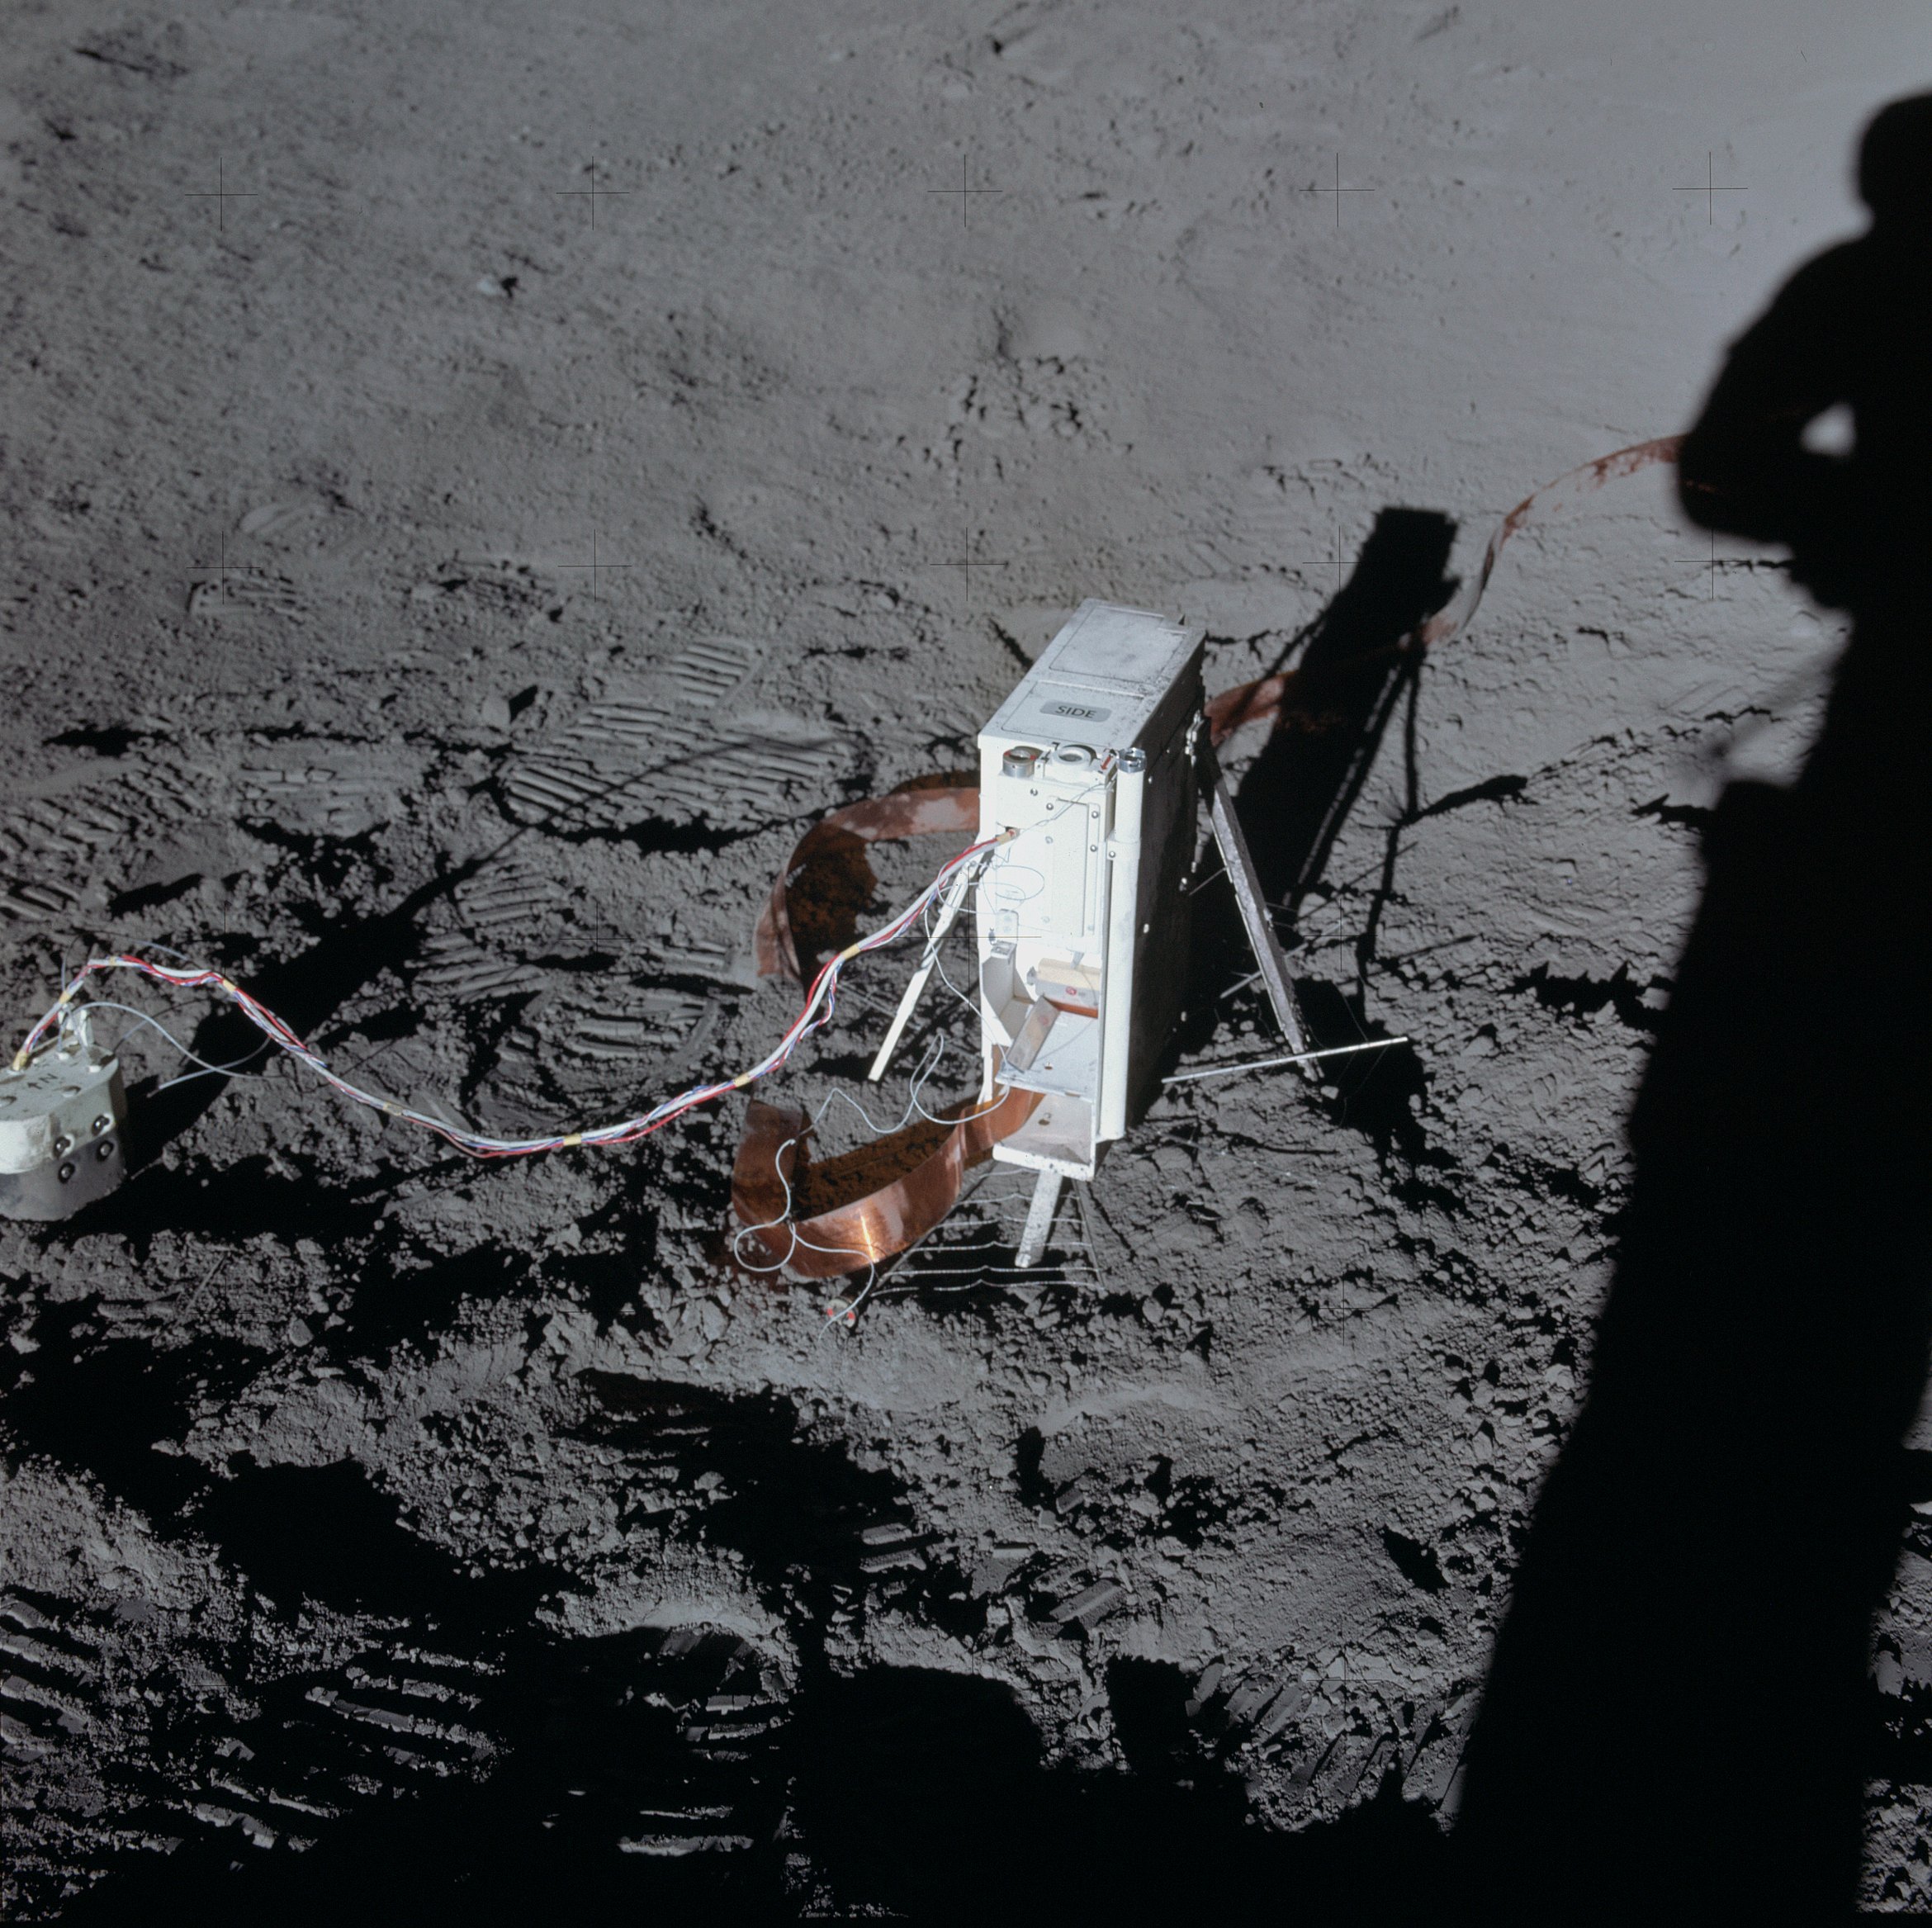 | AS14-67-9370 117:20:27 Similar to 9369. Image credit: Image Science and Analysis Laboratory, NASA-Johnson Space Center. |
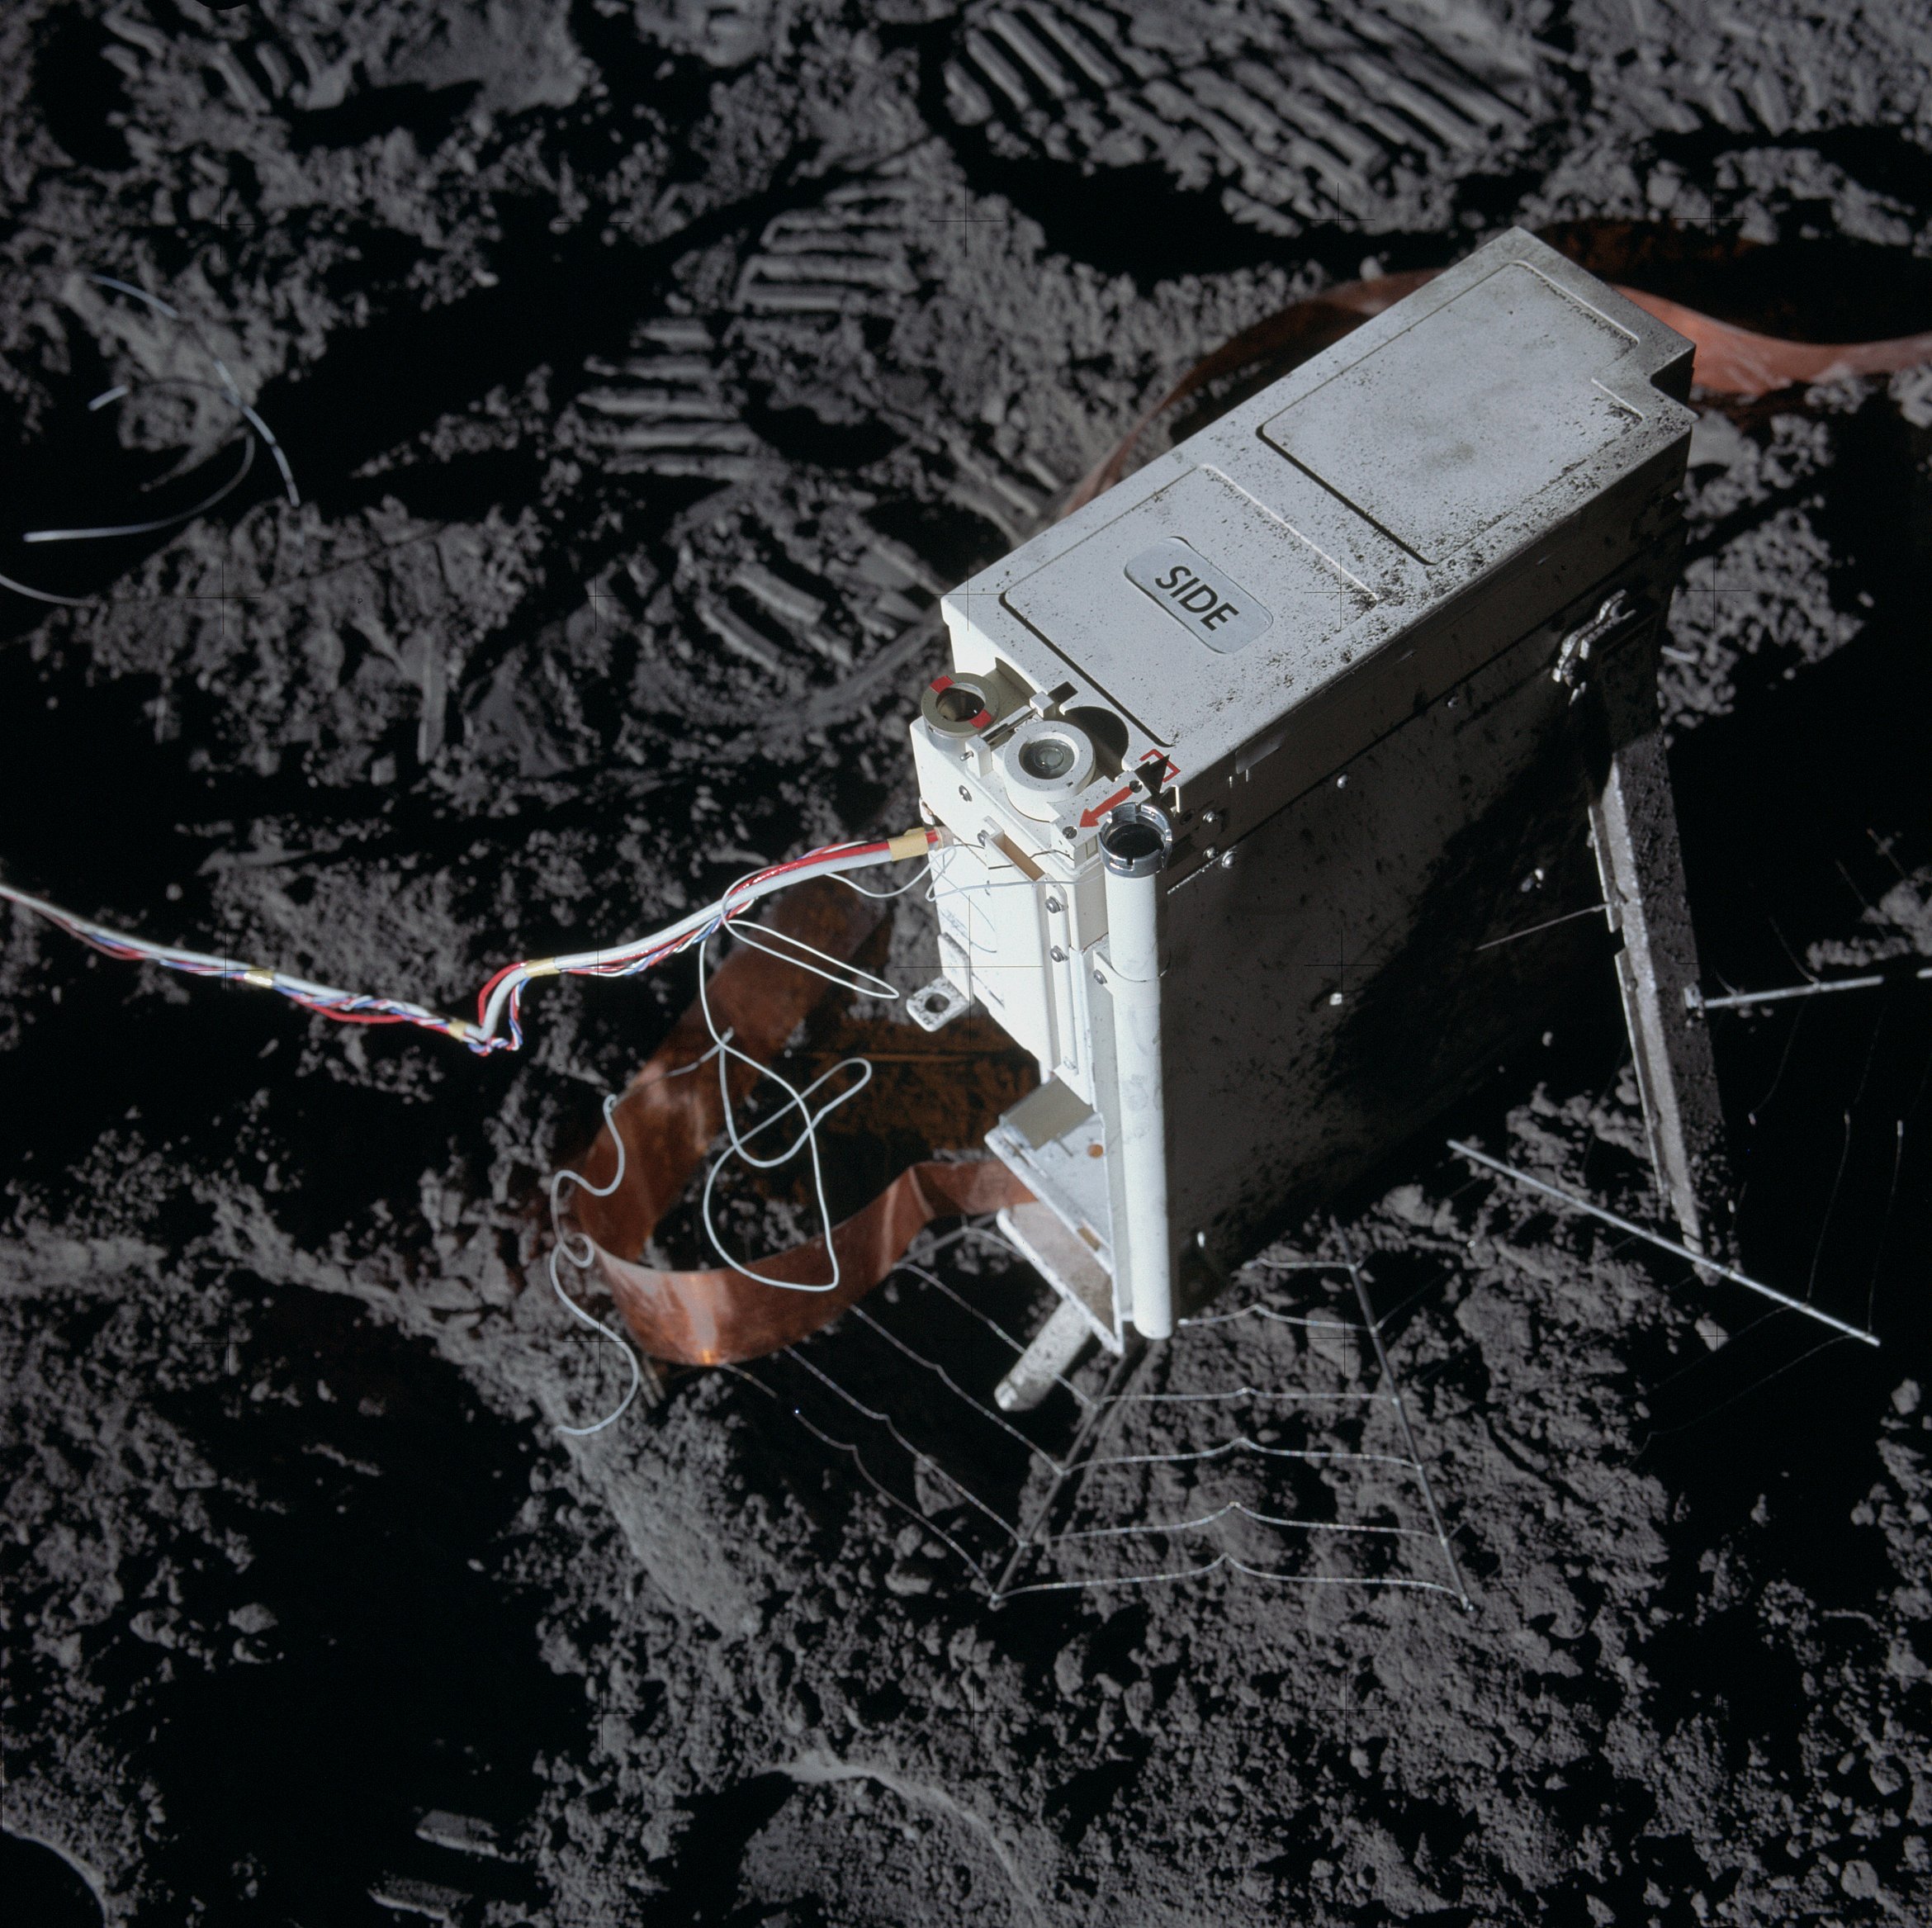 | AS14-67-9371 117:21:31 Close-up of the Suprathermal Ion Detector Experiment (SIDE). Image credit: Image Science and Analysis Laboratory, NASA-Johnson Space Center. |
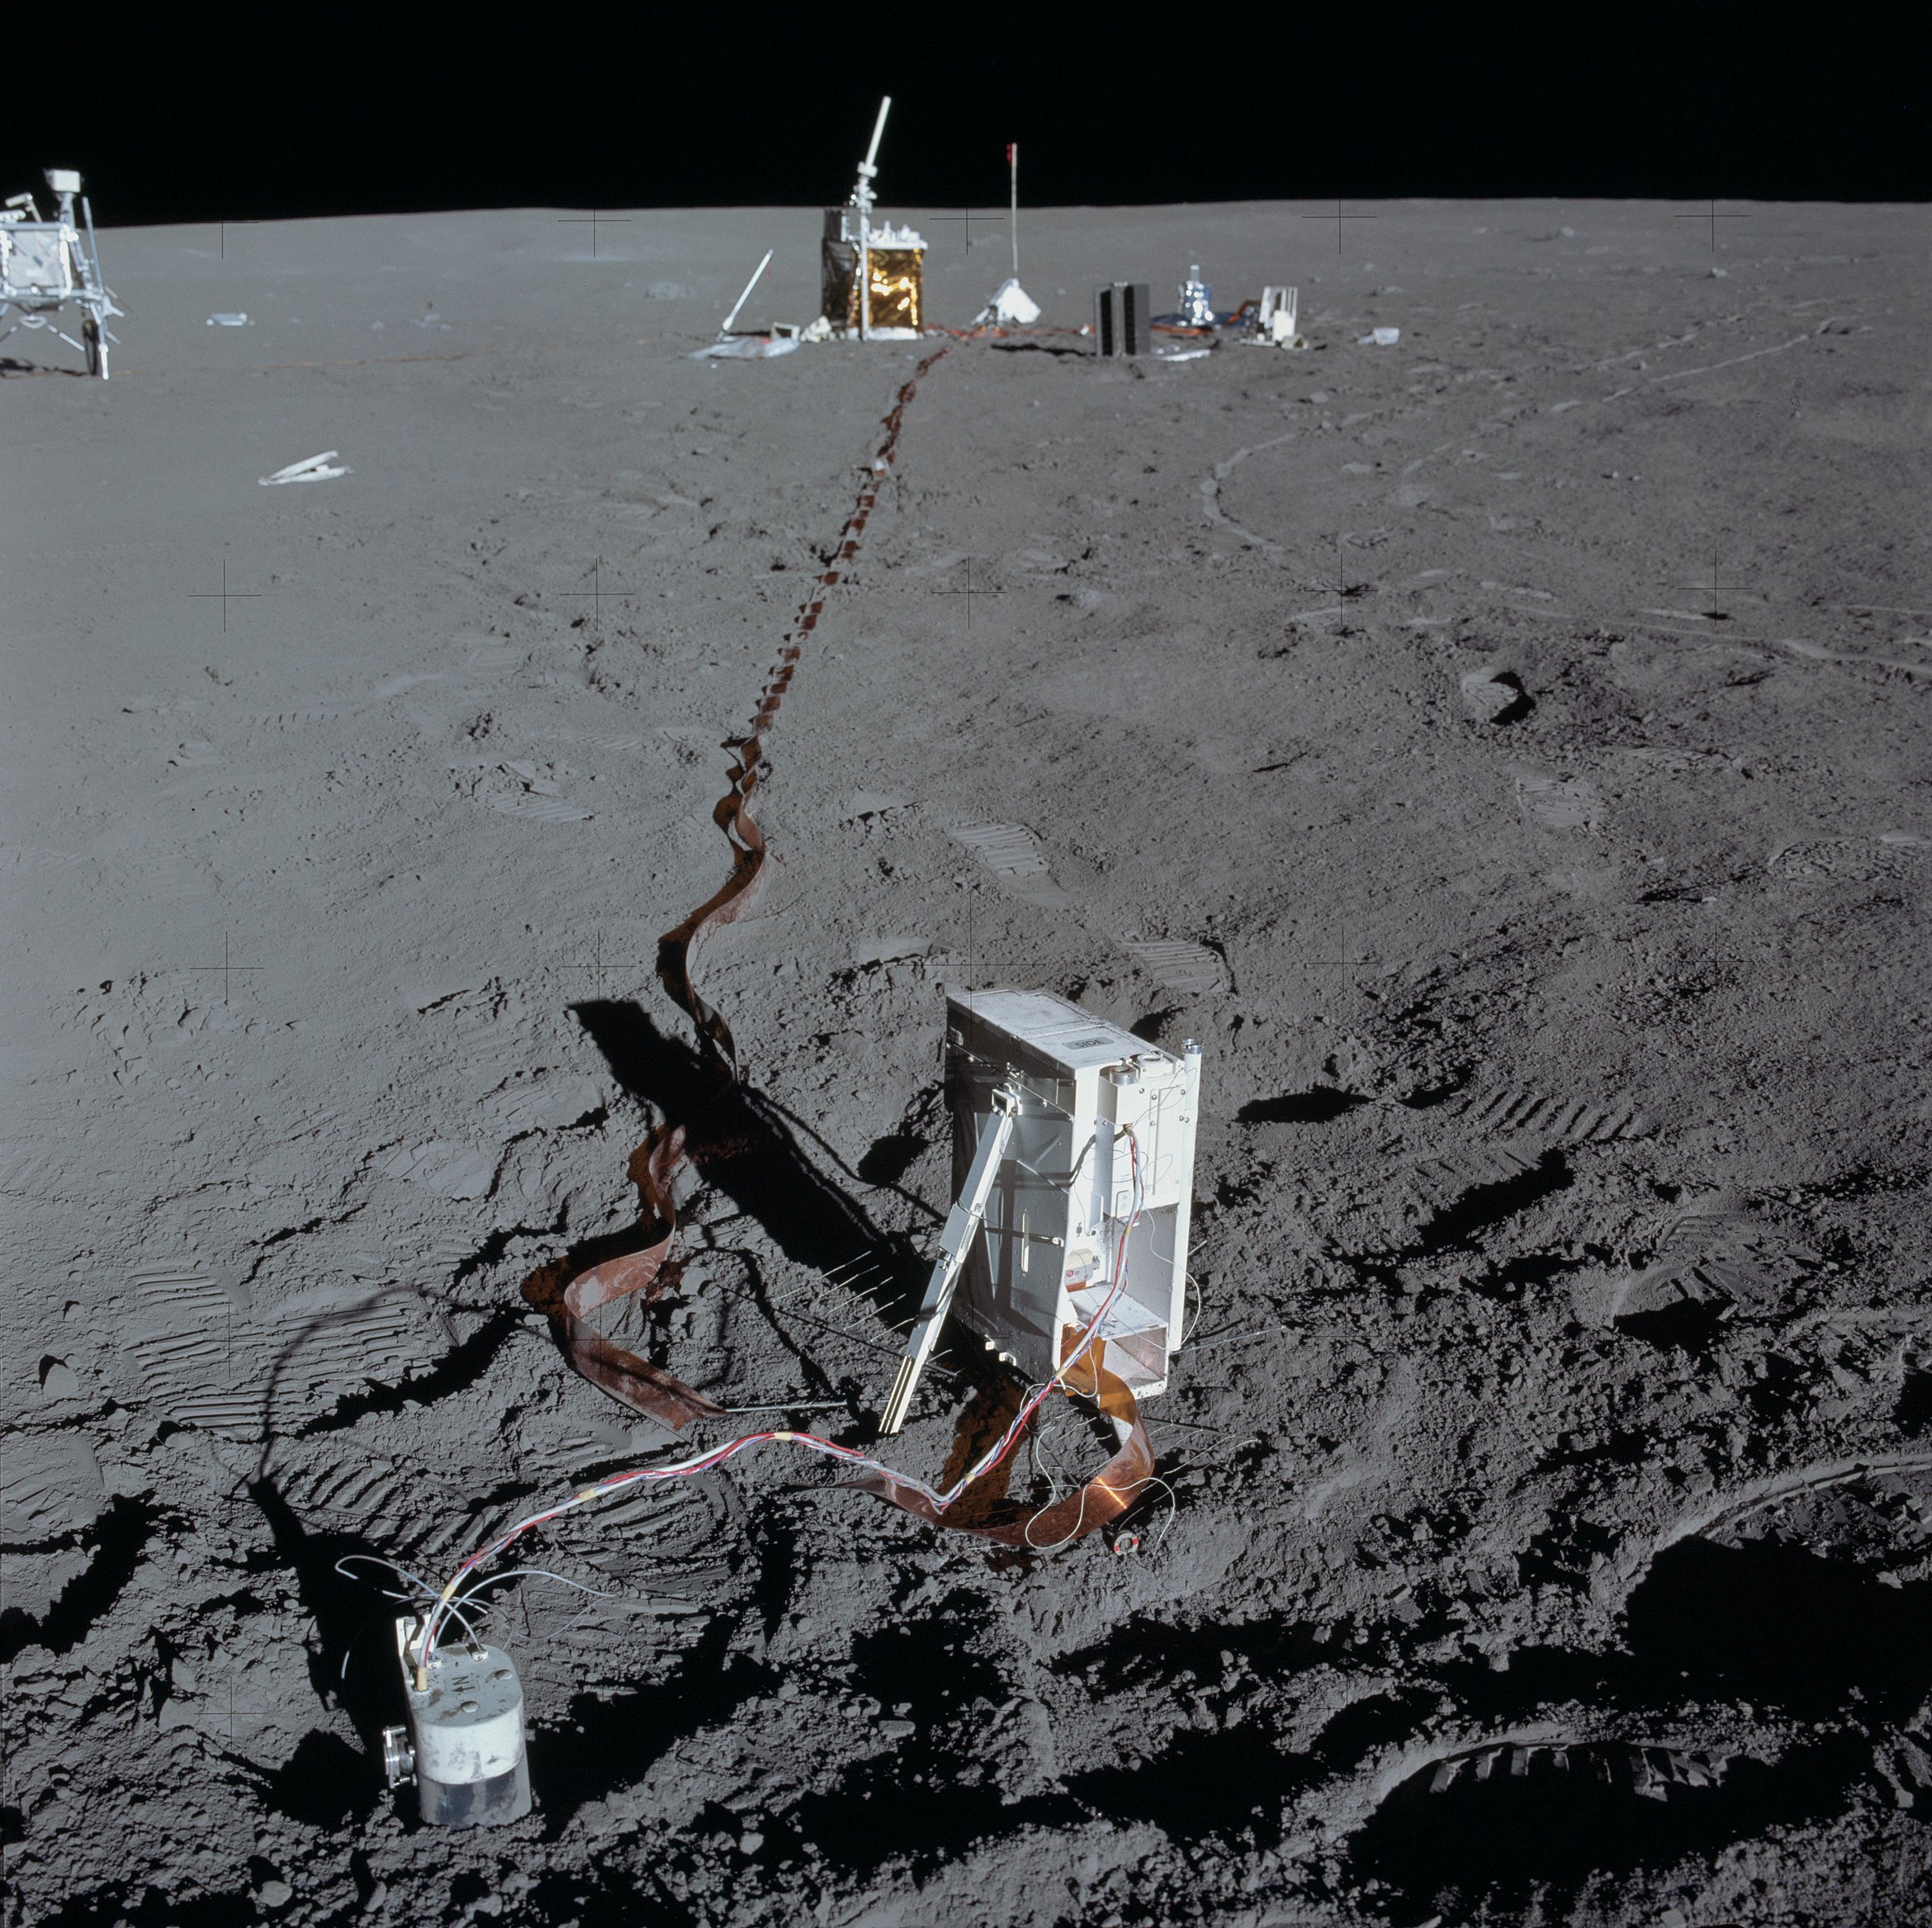 | AS14-67-9372 117:21:37 Al took this "locator" photo of the SIDE/CCIG toward the Central Station, which is northwest of the instruments. Image credit: Image Science and Analysis Laboratory, NASA-Johnson Space Center. |
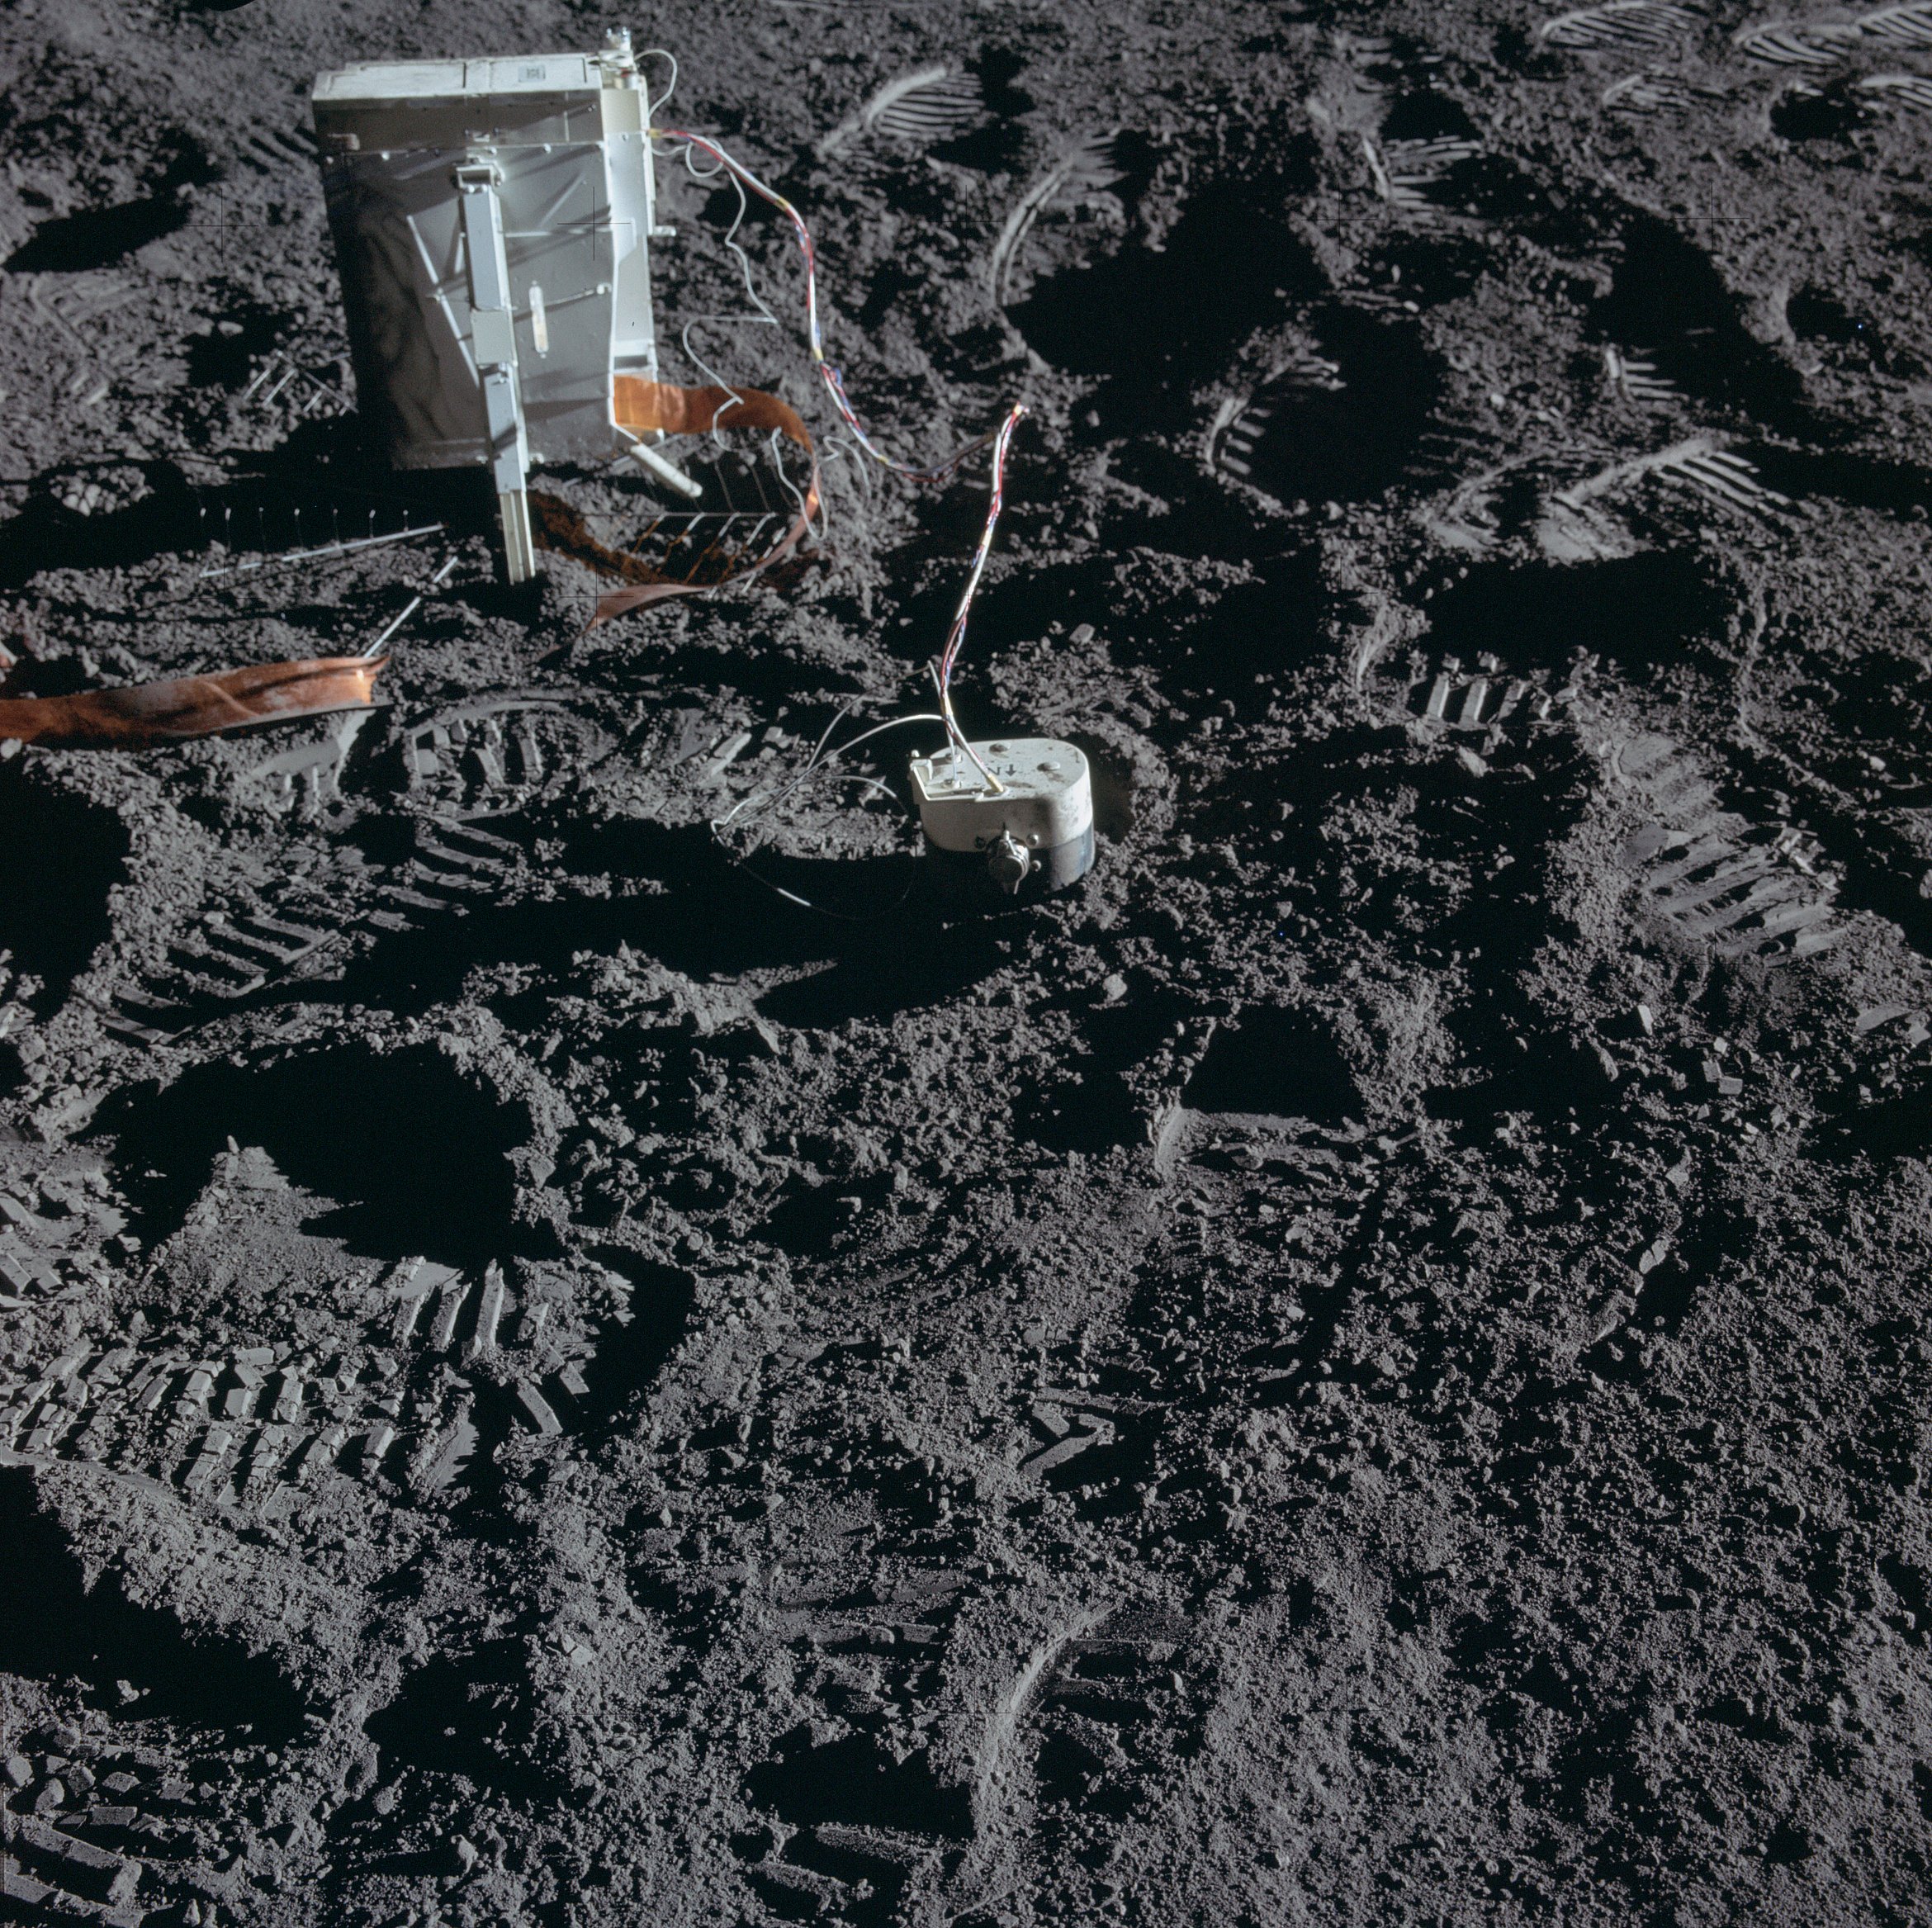 | AS14-67-9373 117:21:37 View of the SIDE/CCIG from the south. Image credit: Image Science and Analysis Laboratory, NASA-Johnson Space Center. |
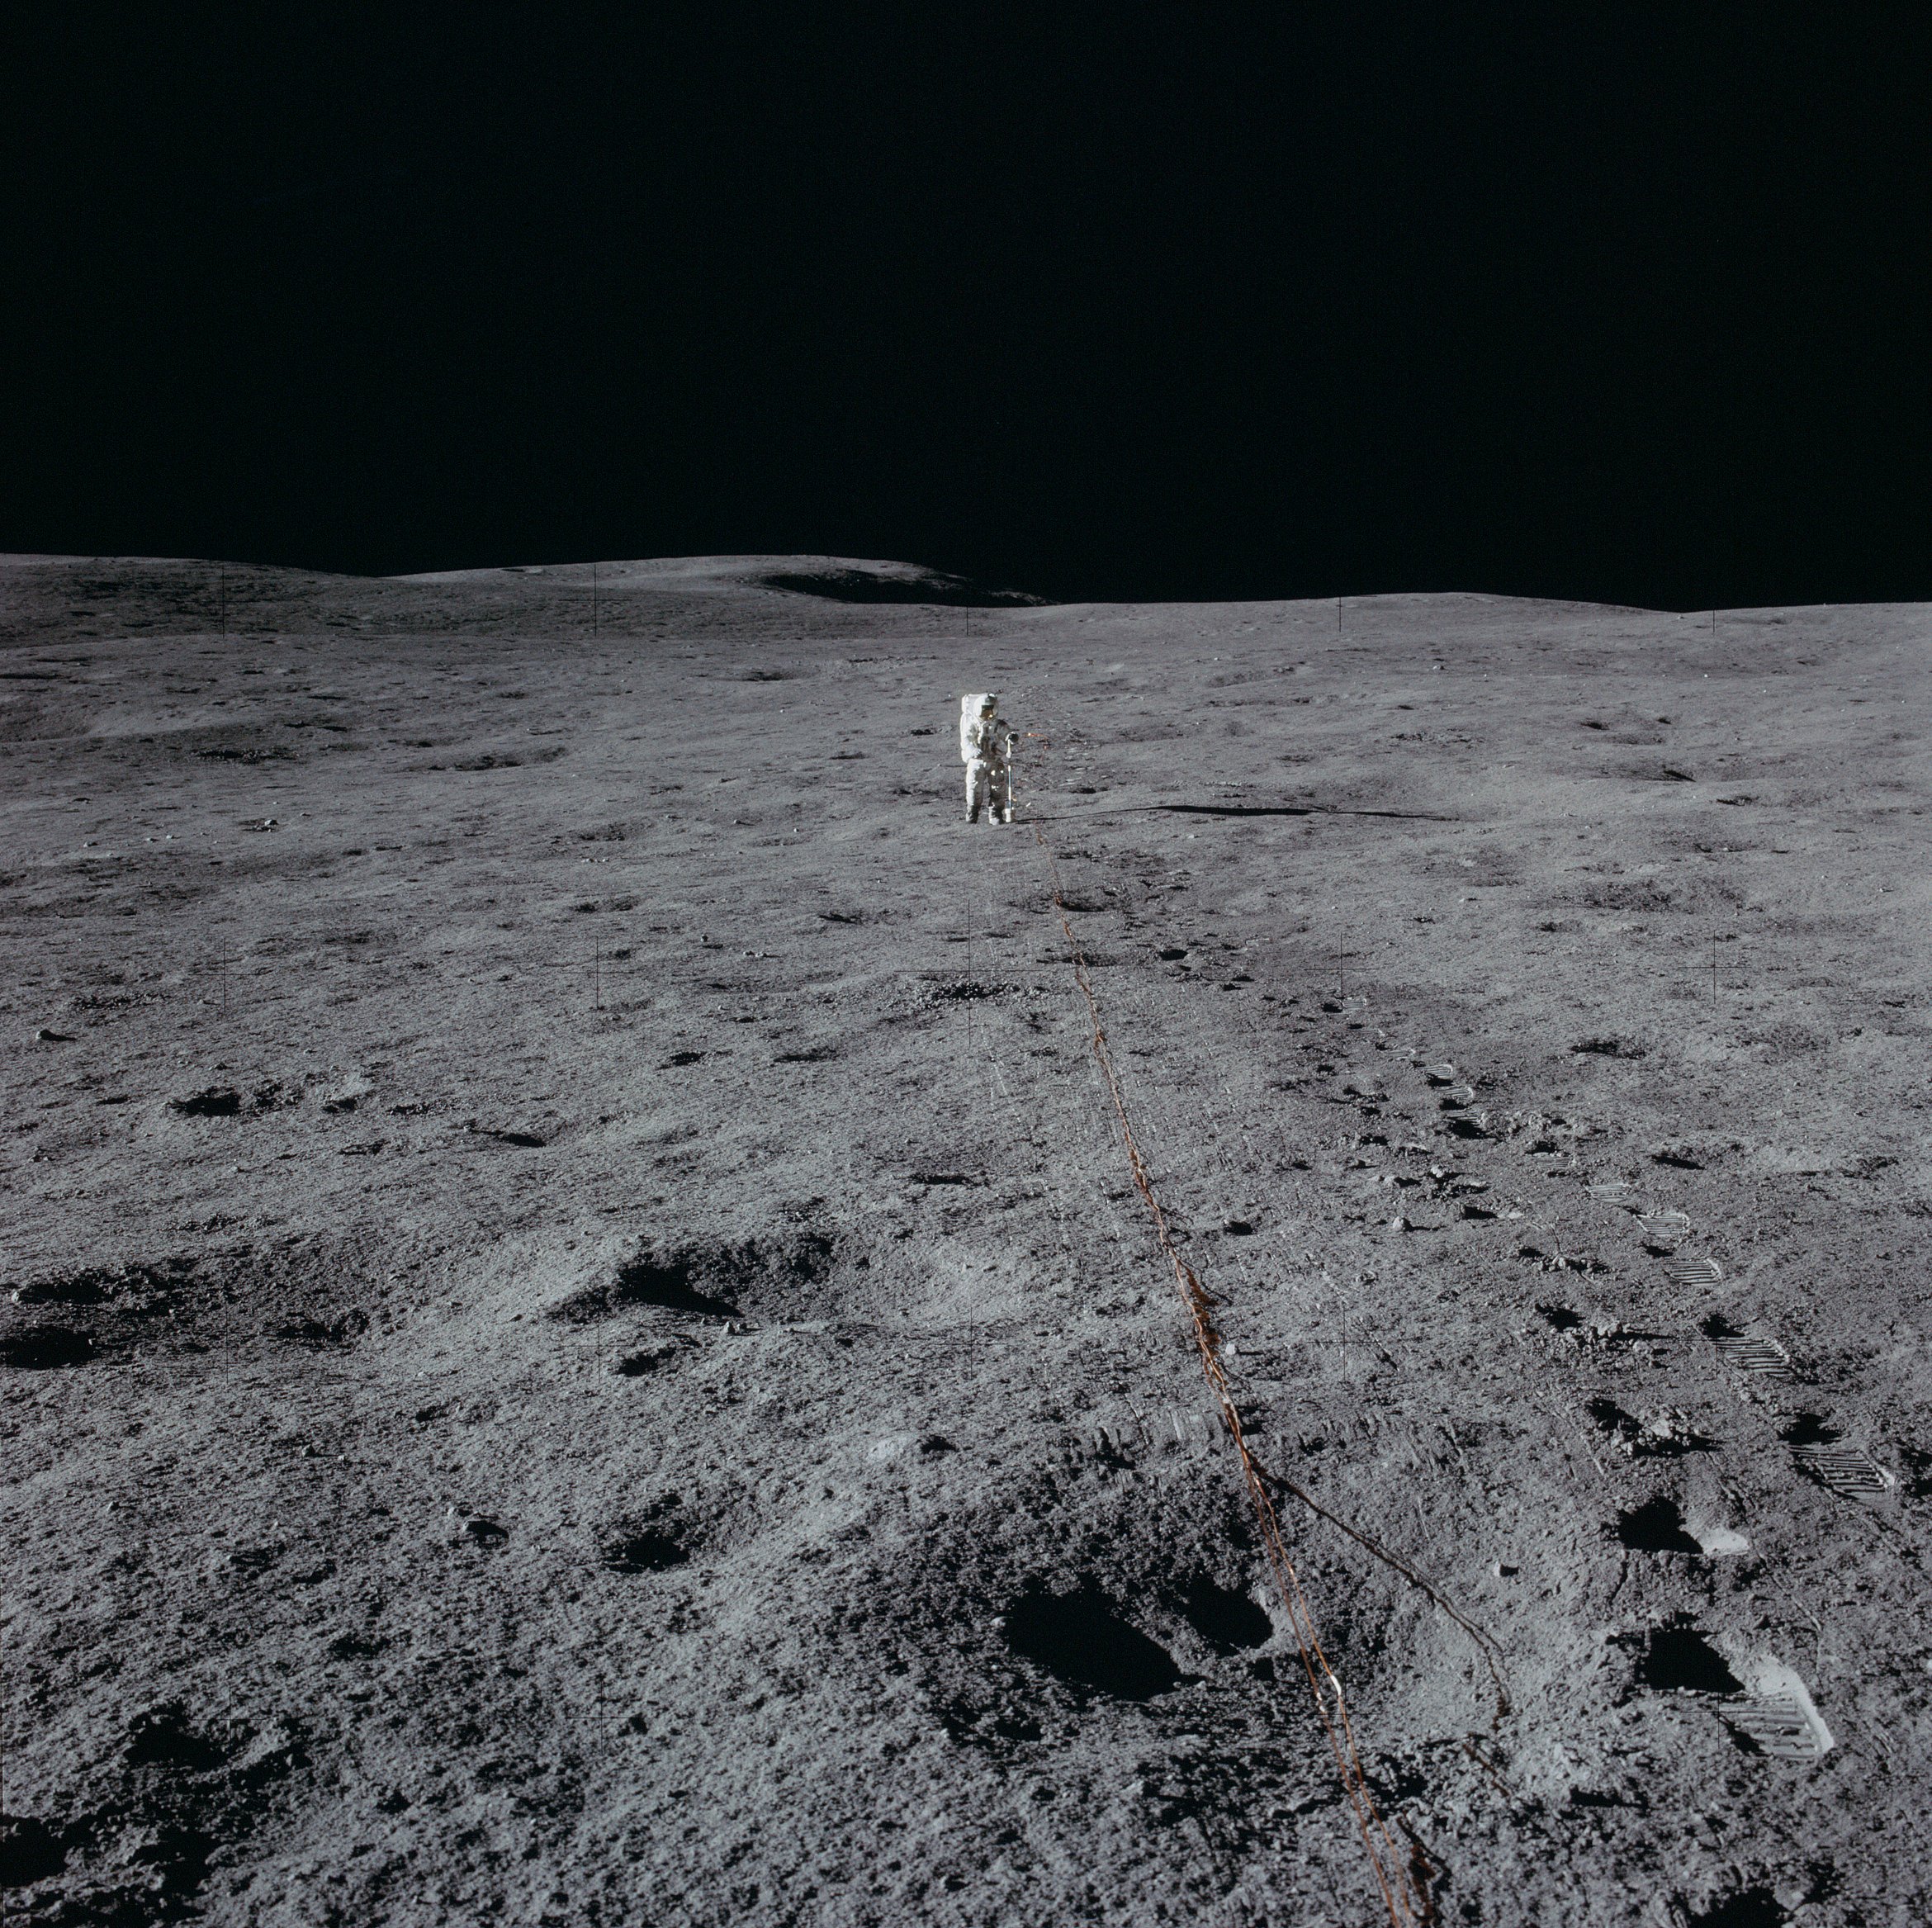 | AS14-67-9374 117:24:33 Al took this shot from near the MET, looking southeast along the geophone line toward Ed, who is working his way back, stopping every 15 feet to operate the thumper. Image credit: Image Science and Analysis Laboratory, NASA-Johnson Space Center. |
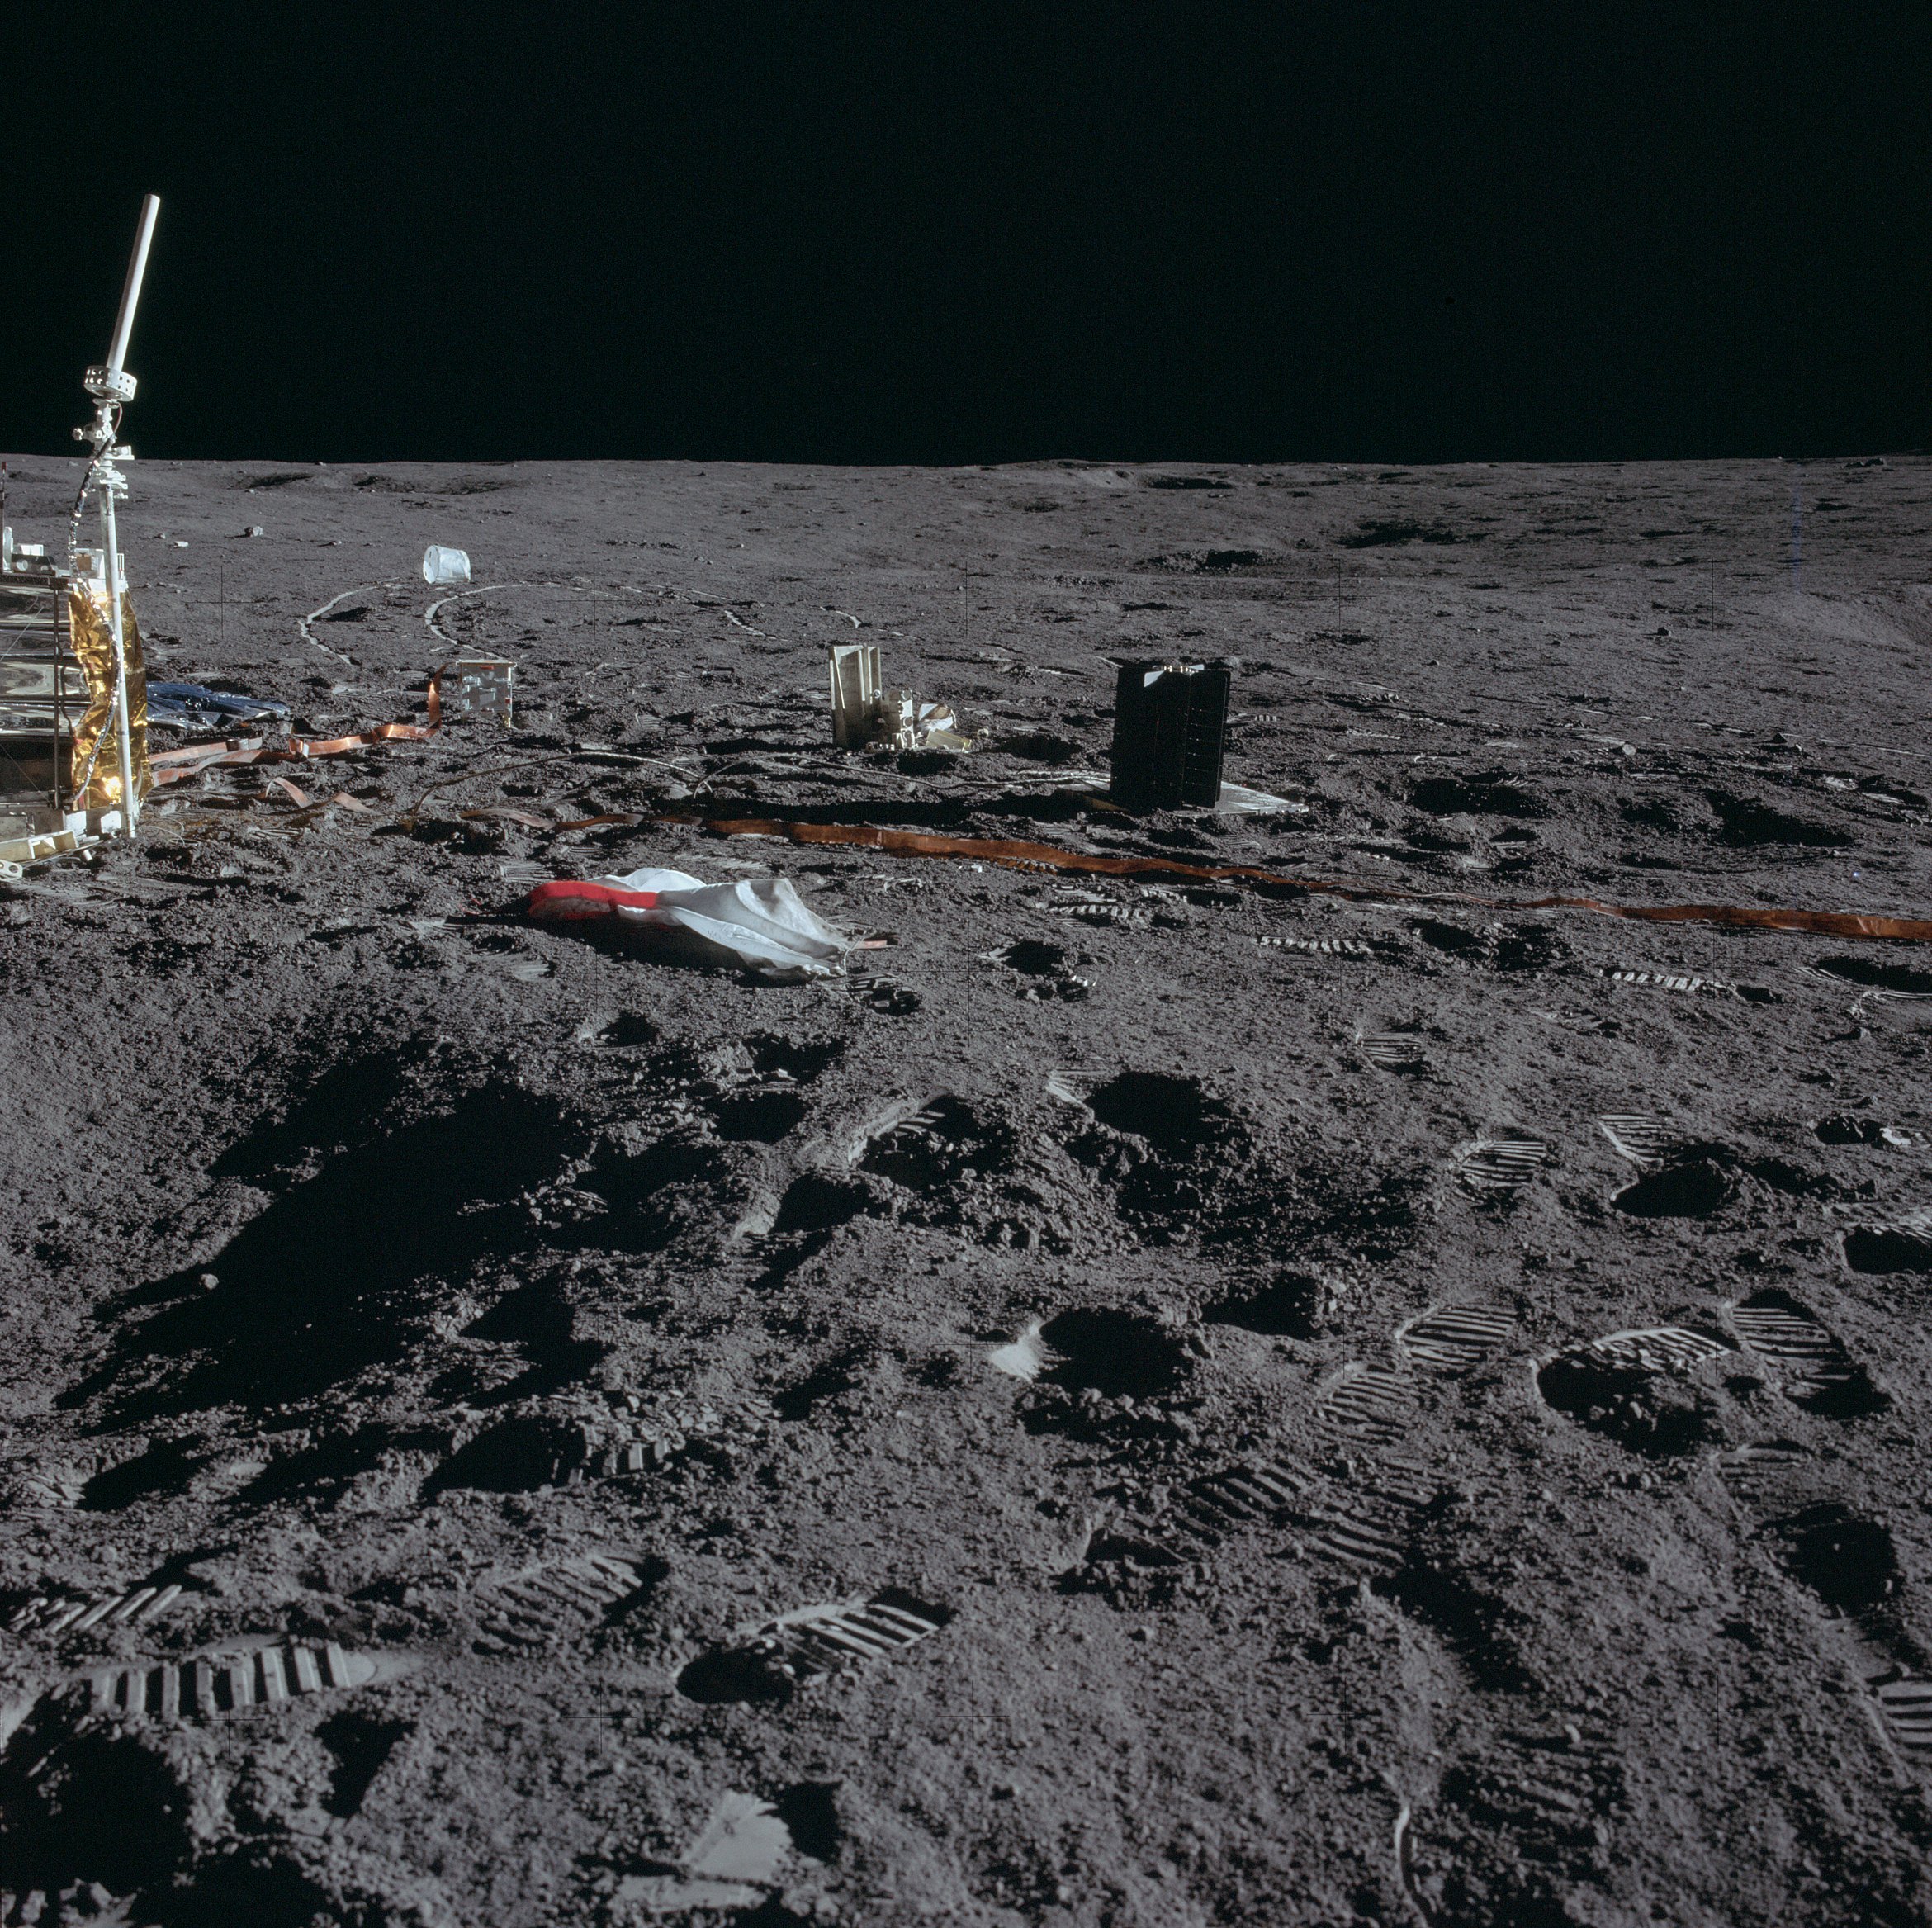 | AS14-67-9375 117:24:33 View toward the north of the RTG and the CPLEE. Image credit: Image Science and Analysis Laboratory, NASA-Johnson Space Center. |
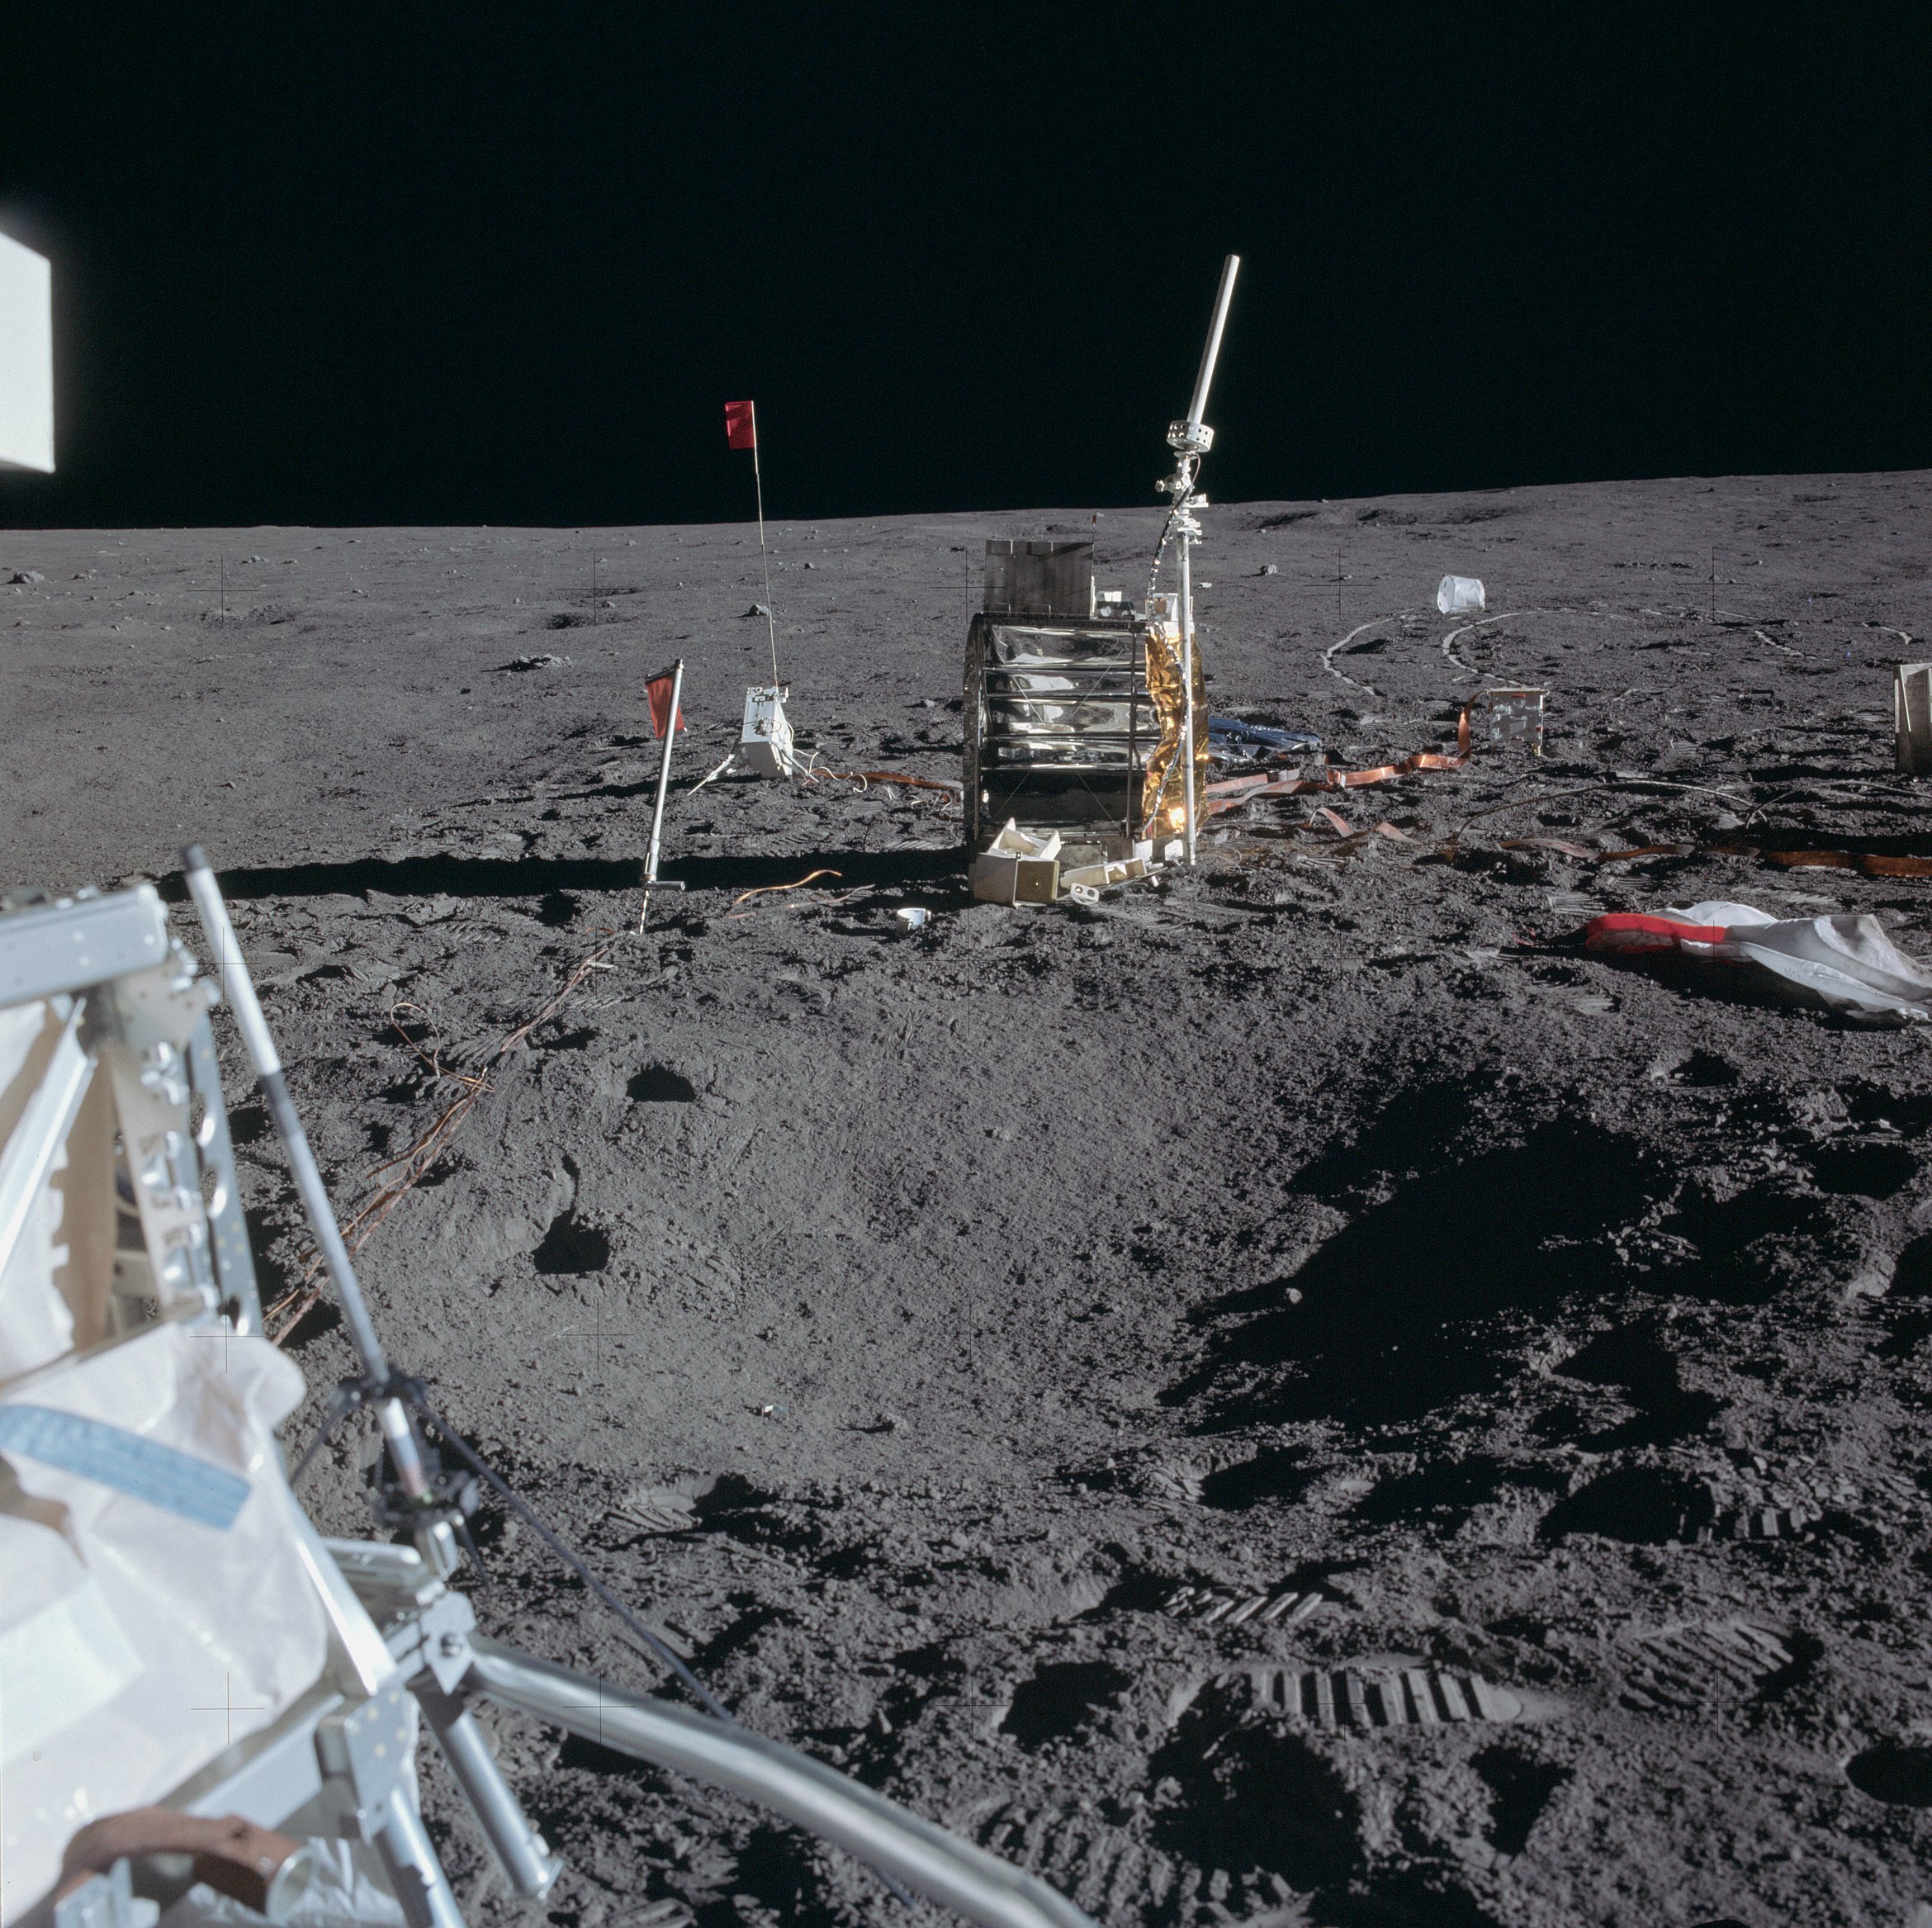 | AS14-67-9376 117:24:33 Geophone/thumper anchor flag, mortar pack, Central Station, CPLEE, and assorted packing material. Image credit: Image Science and Analysis Laboratory, NASA-Johnson Space Center. |
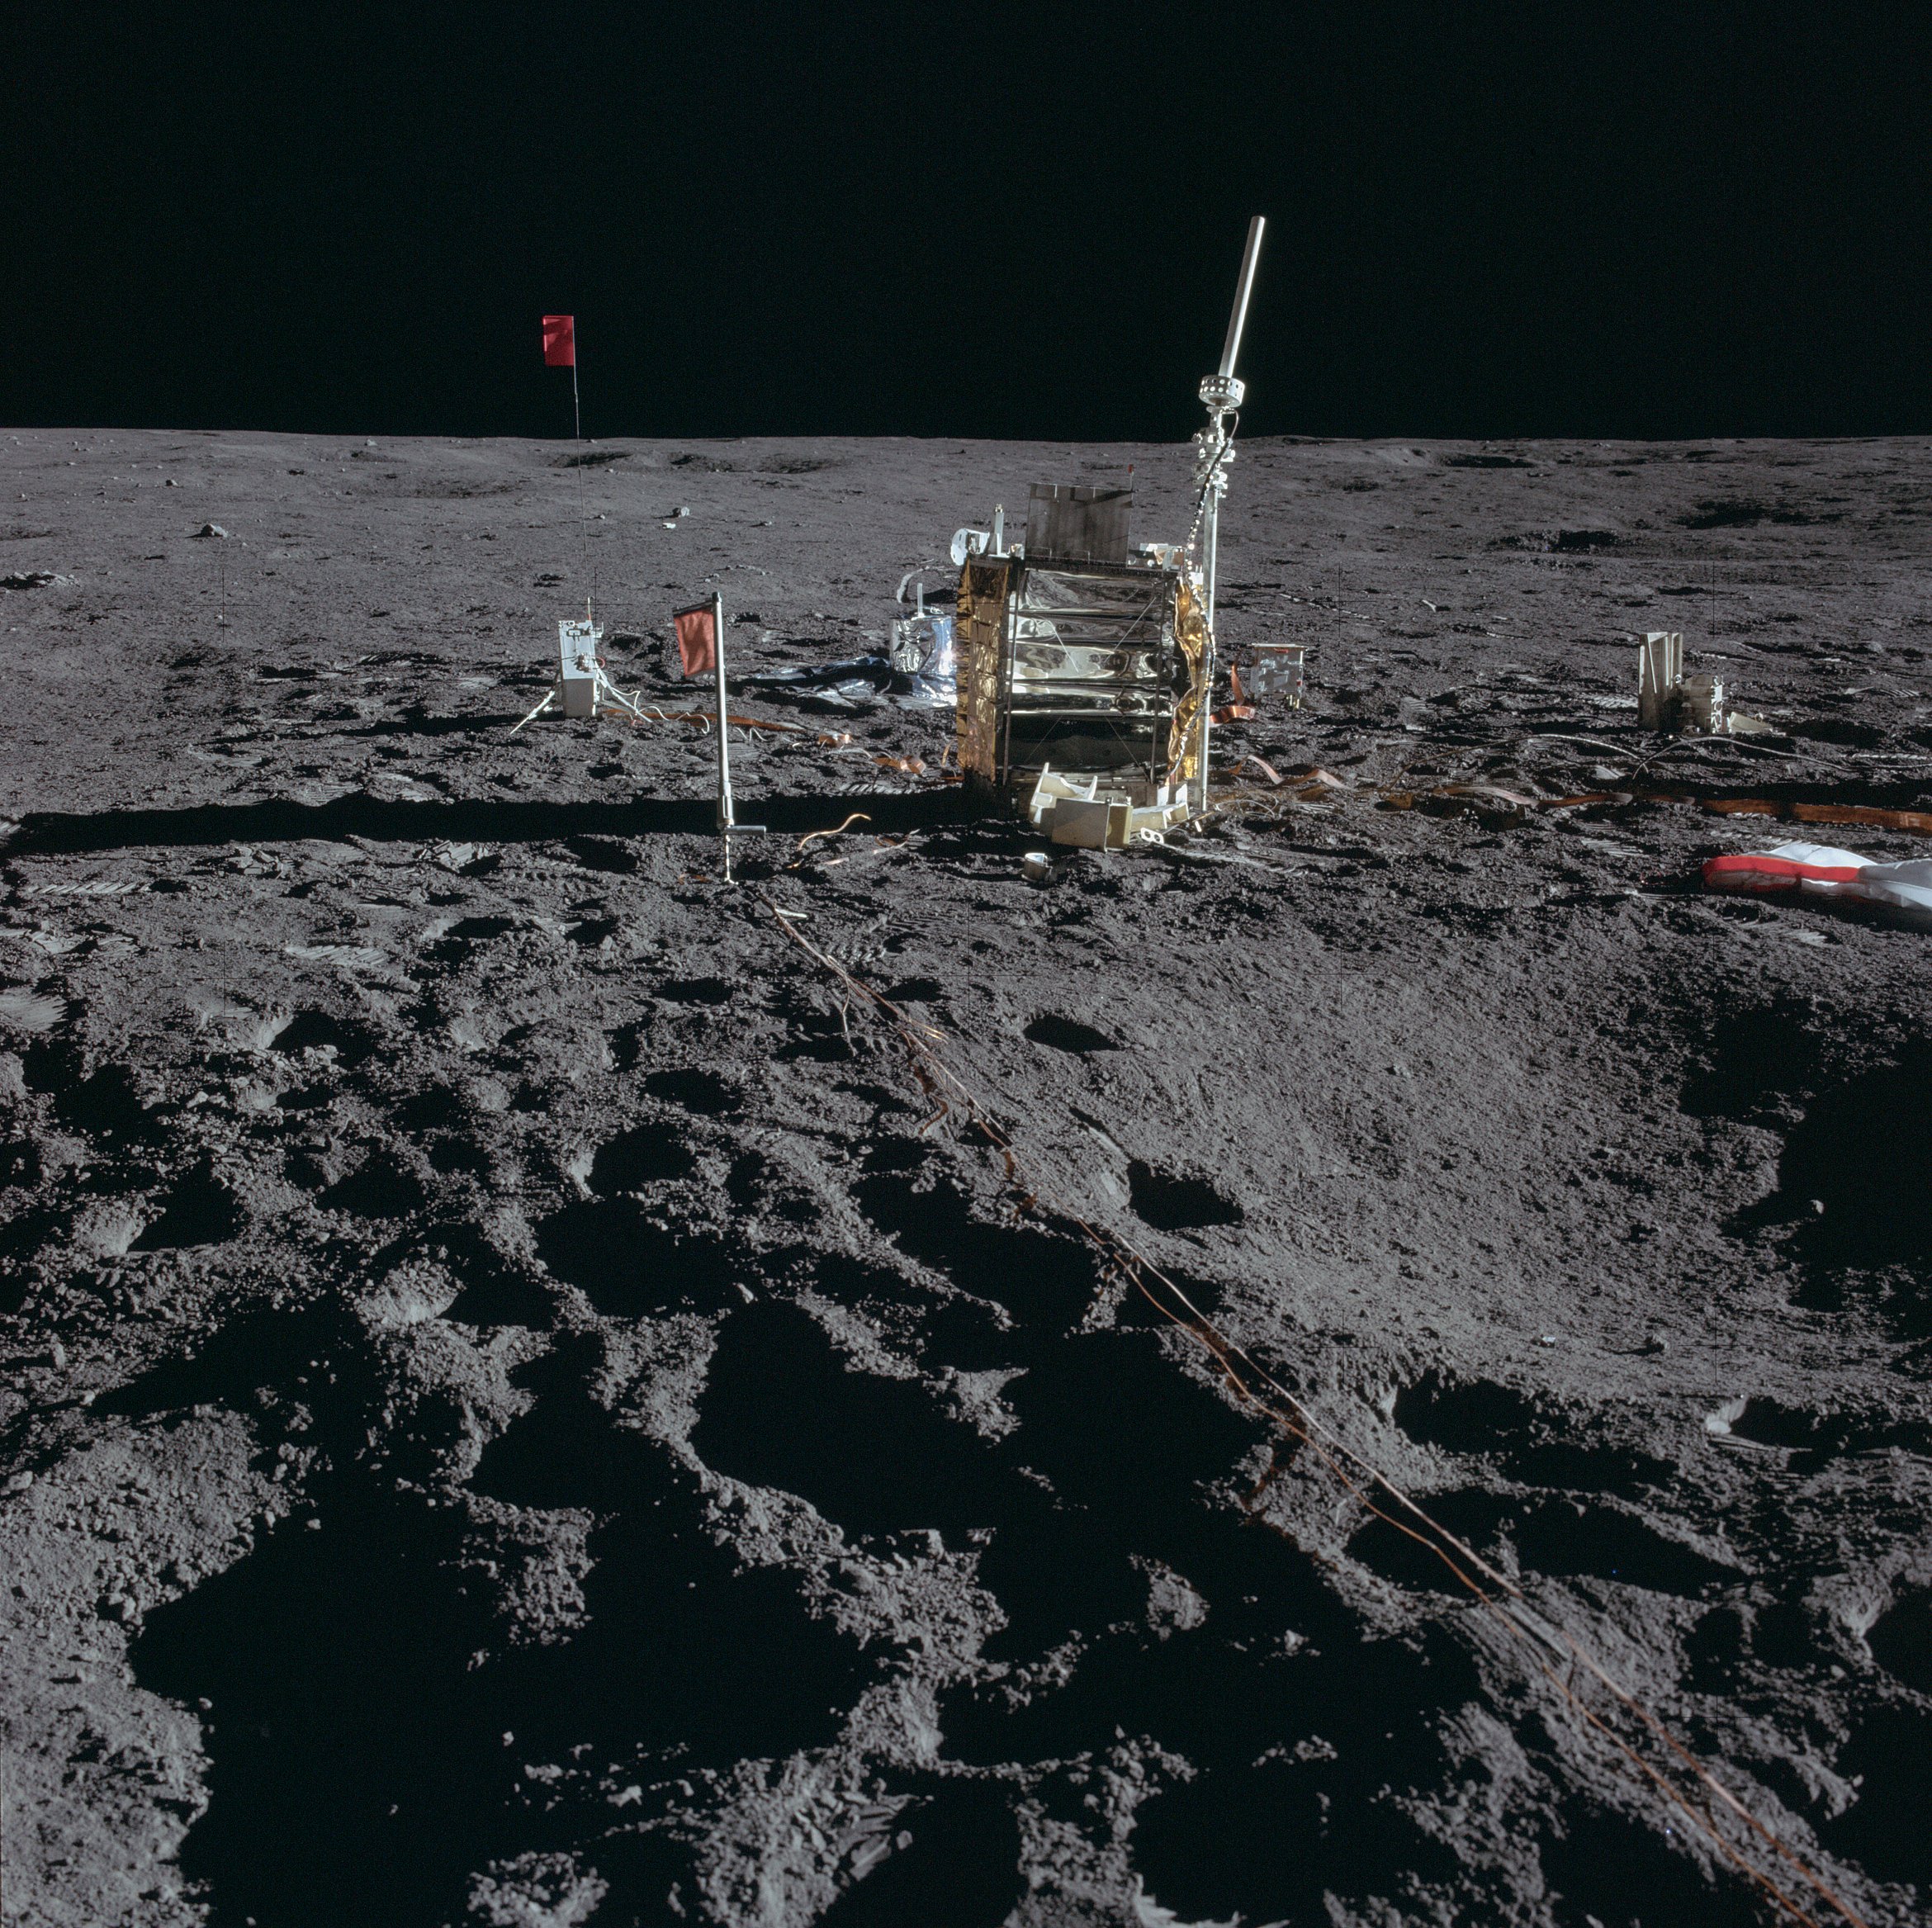 | AS14-67-9377 The geophone cable runs from the center of the image to the lower right corner. Image credit: Image Science and Analysis Laboratory, NASA-Johnson Space Center. |
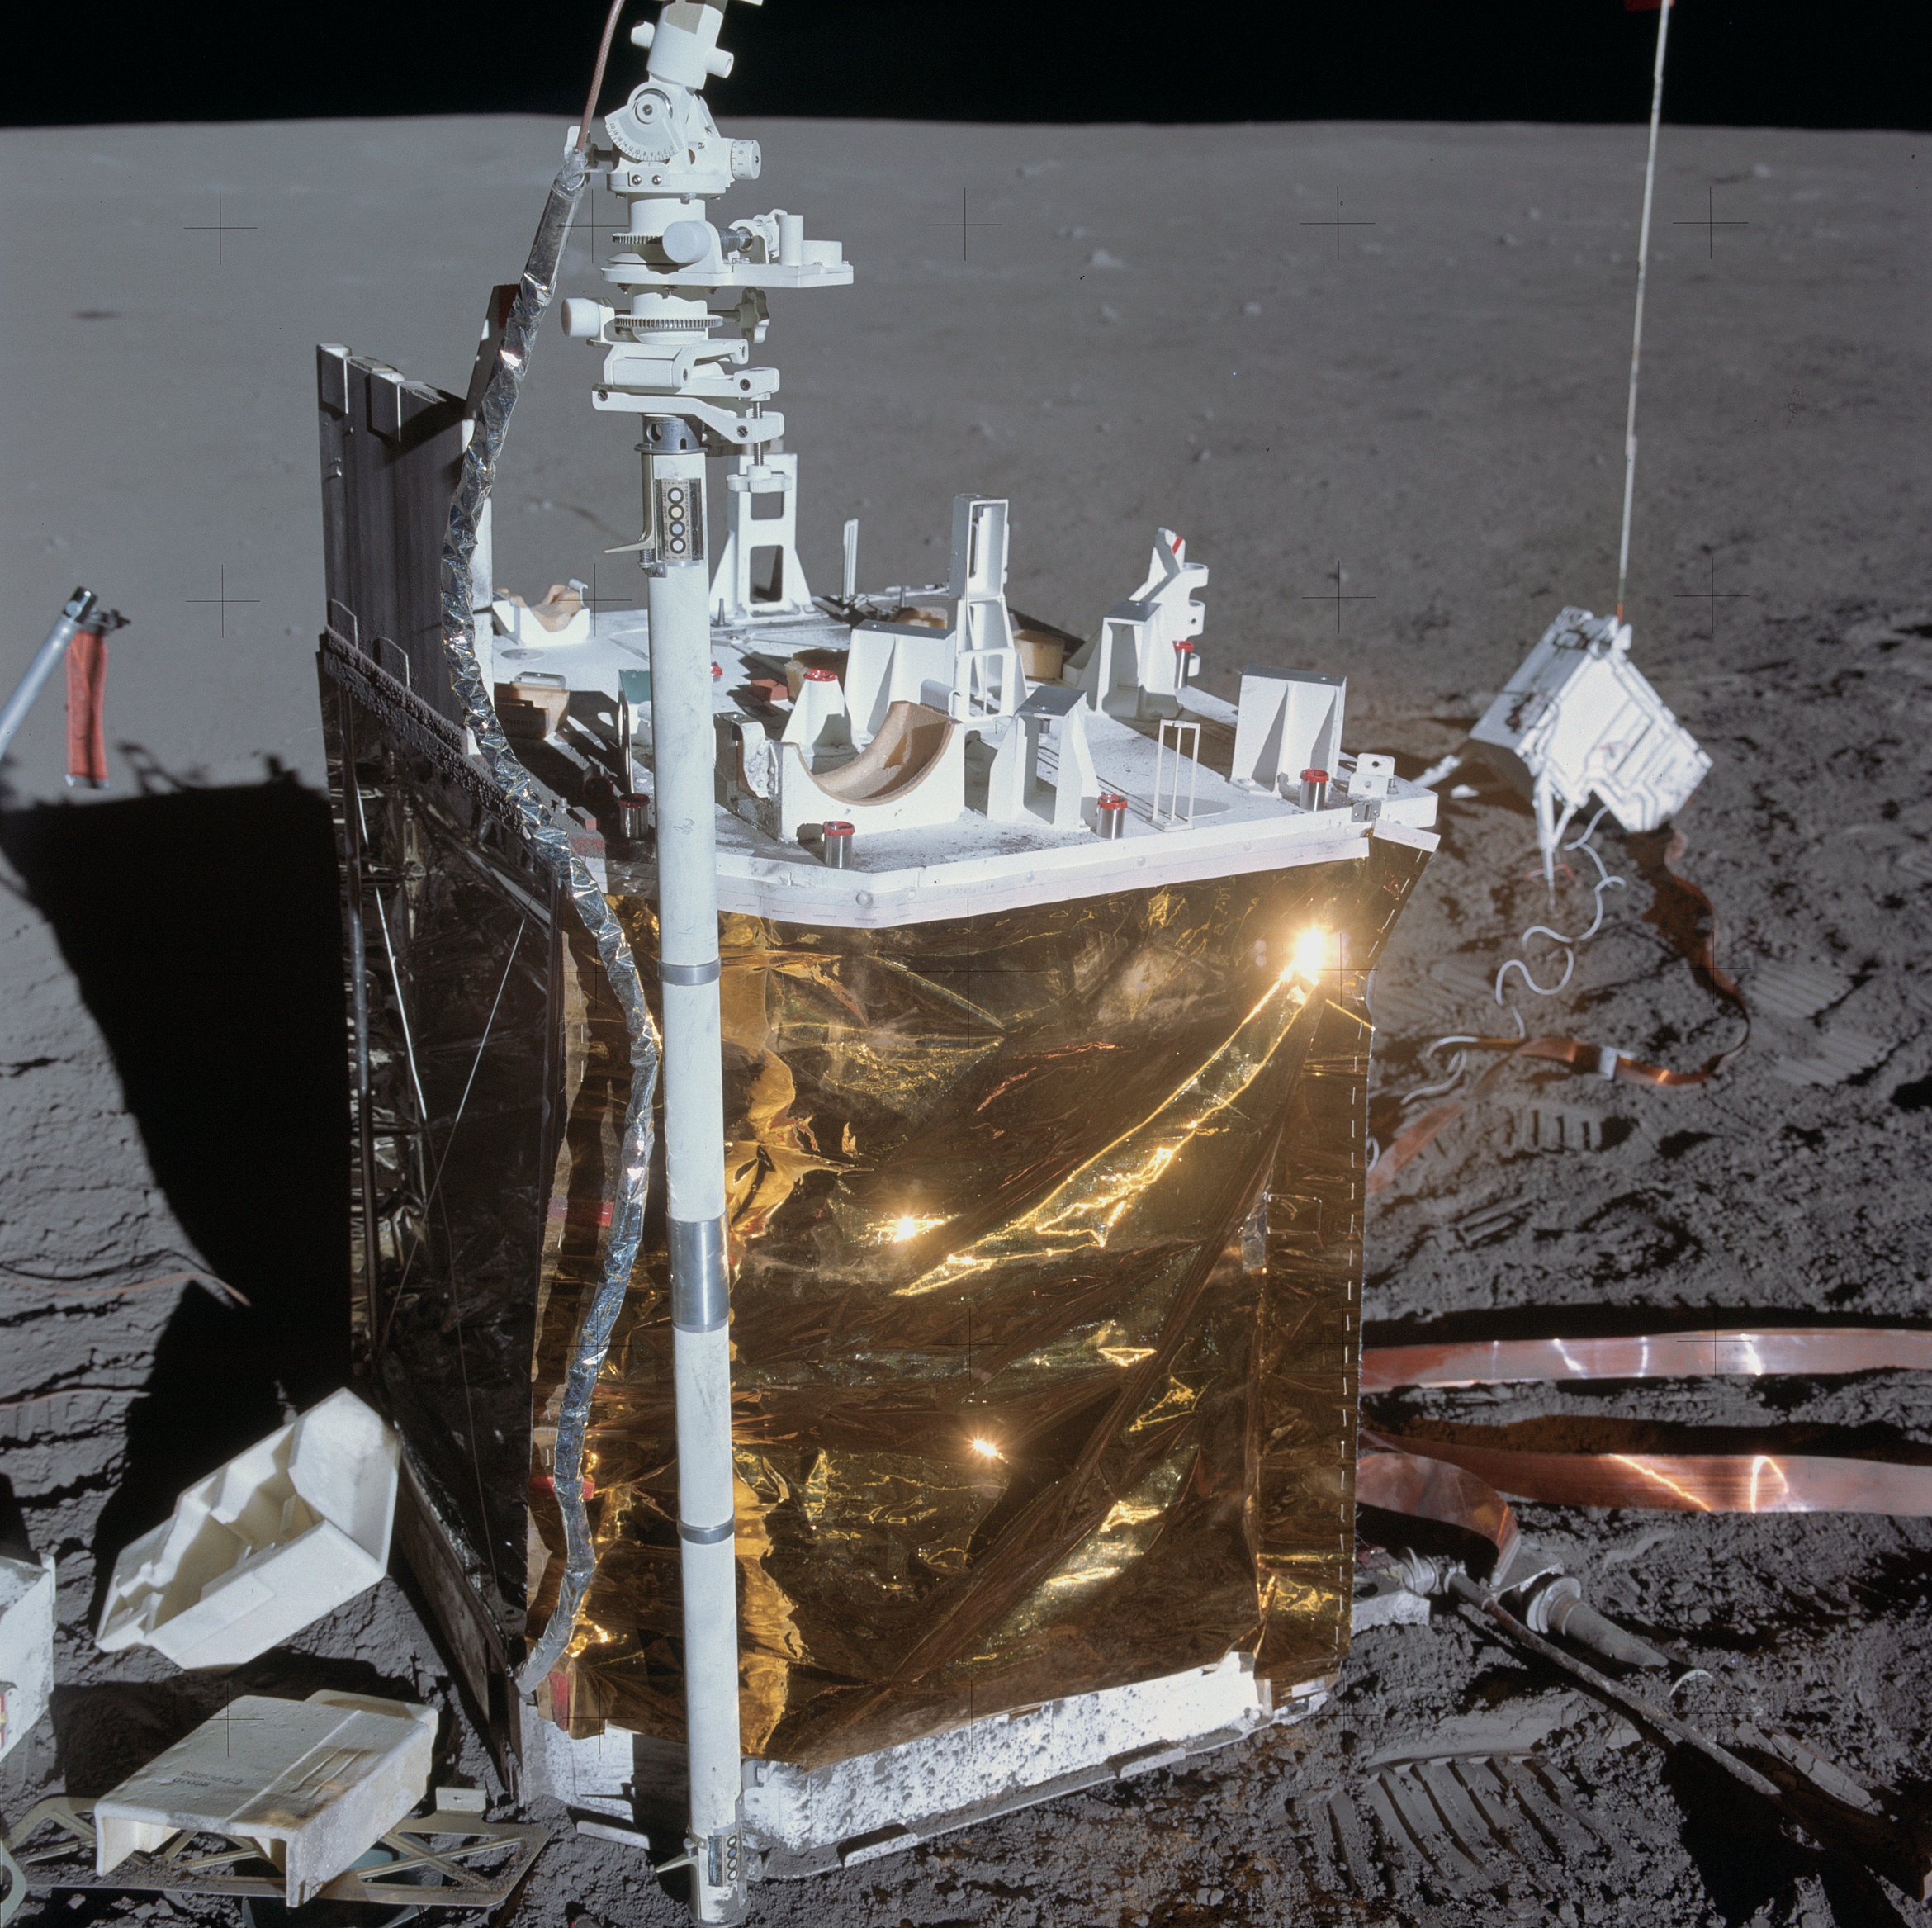 | AS14-67-9378 117:24:55 Close up of the Central Station, with the mortar pack to the right. Image credit: Image Science and Analysis Laboratory, NASA-Johnson Space Center. |
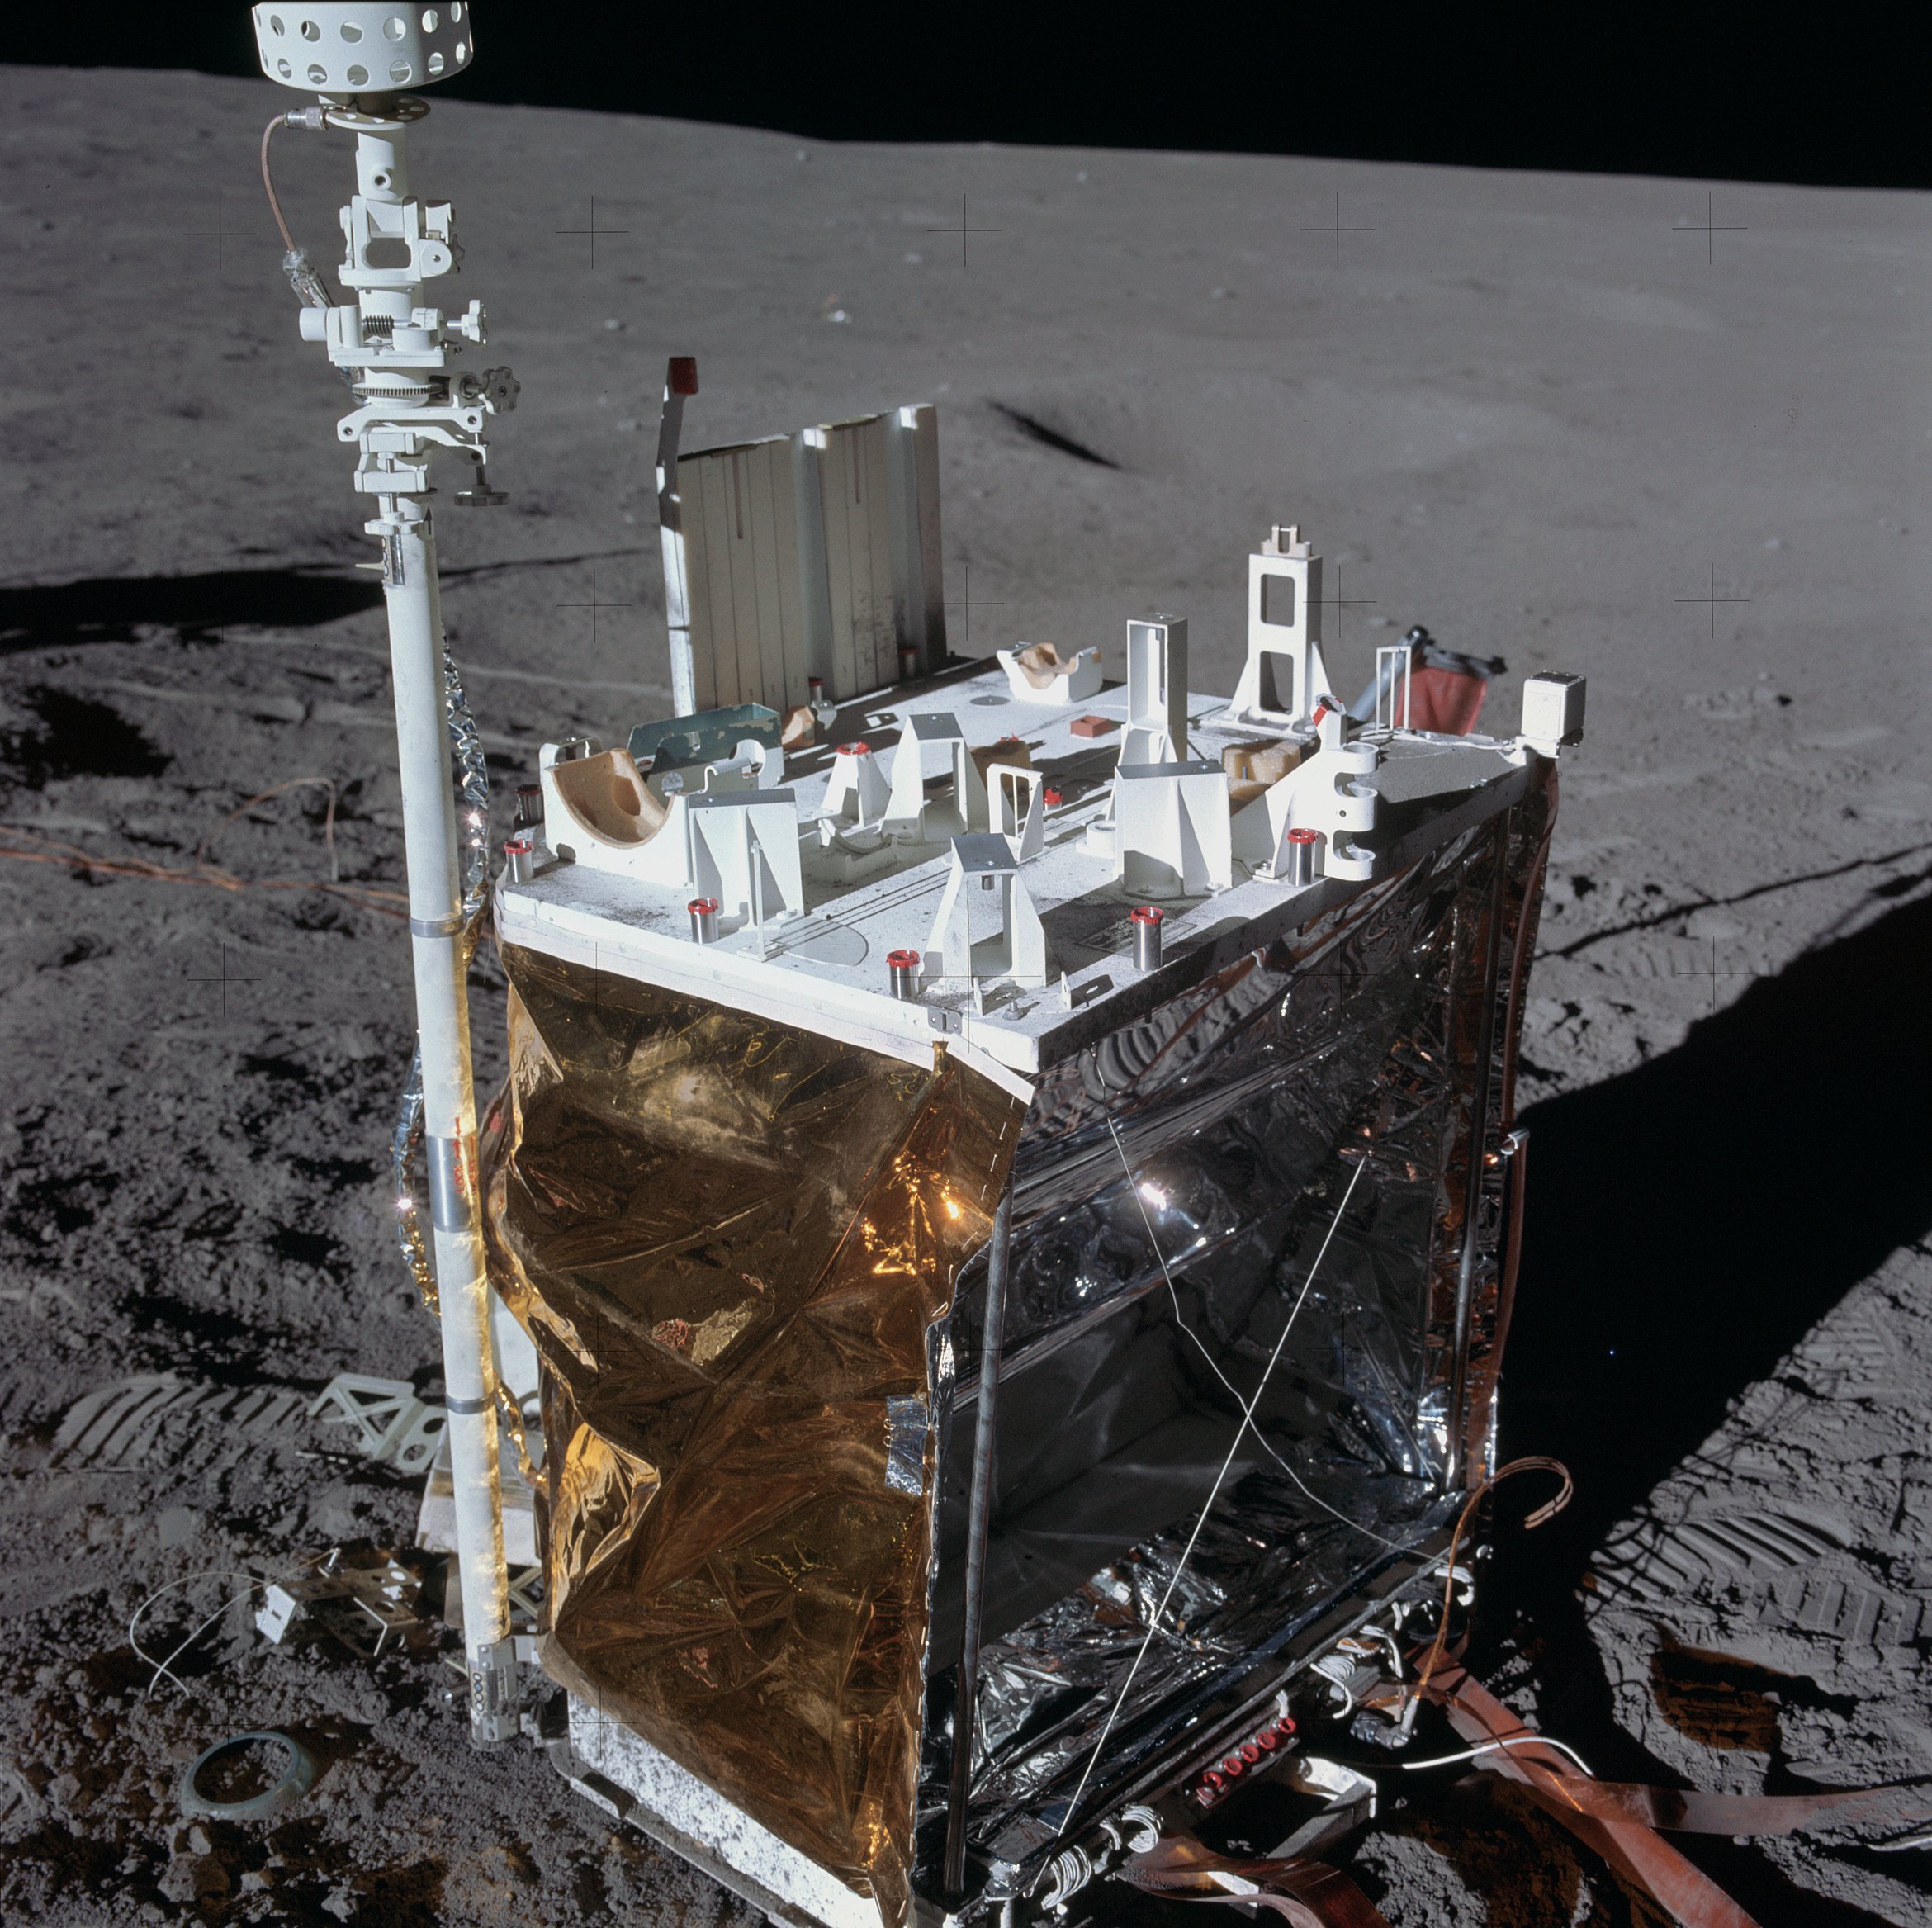 | AS14-67-9379 117:25:32 View to the southwest showing the back of the Central Station and its top surface, with good definition of the astronaut switches at the bottom. Image credit: Image Science and Analysis Laboratory, NASA-Johnson Space Center. |
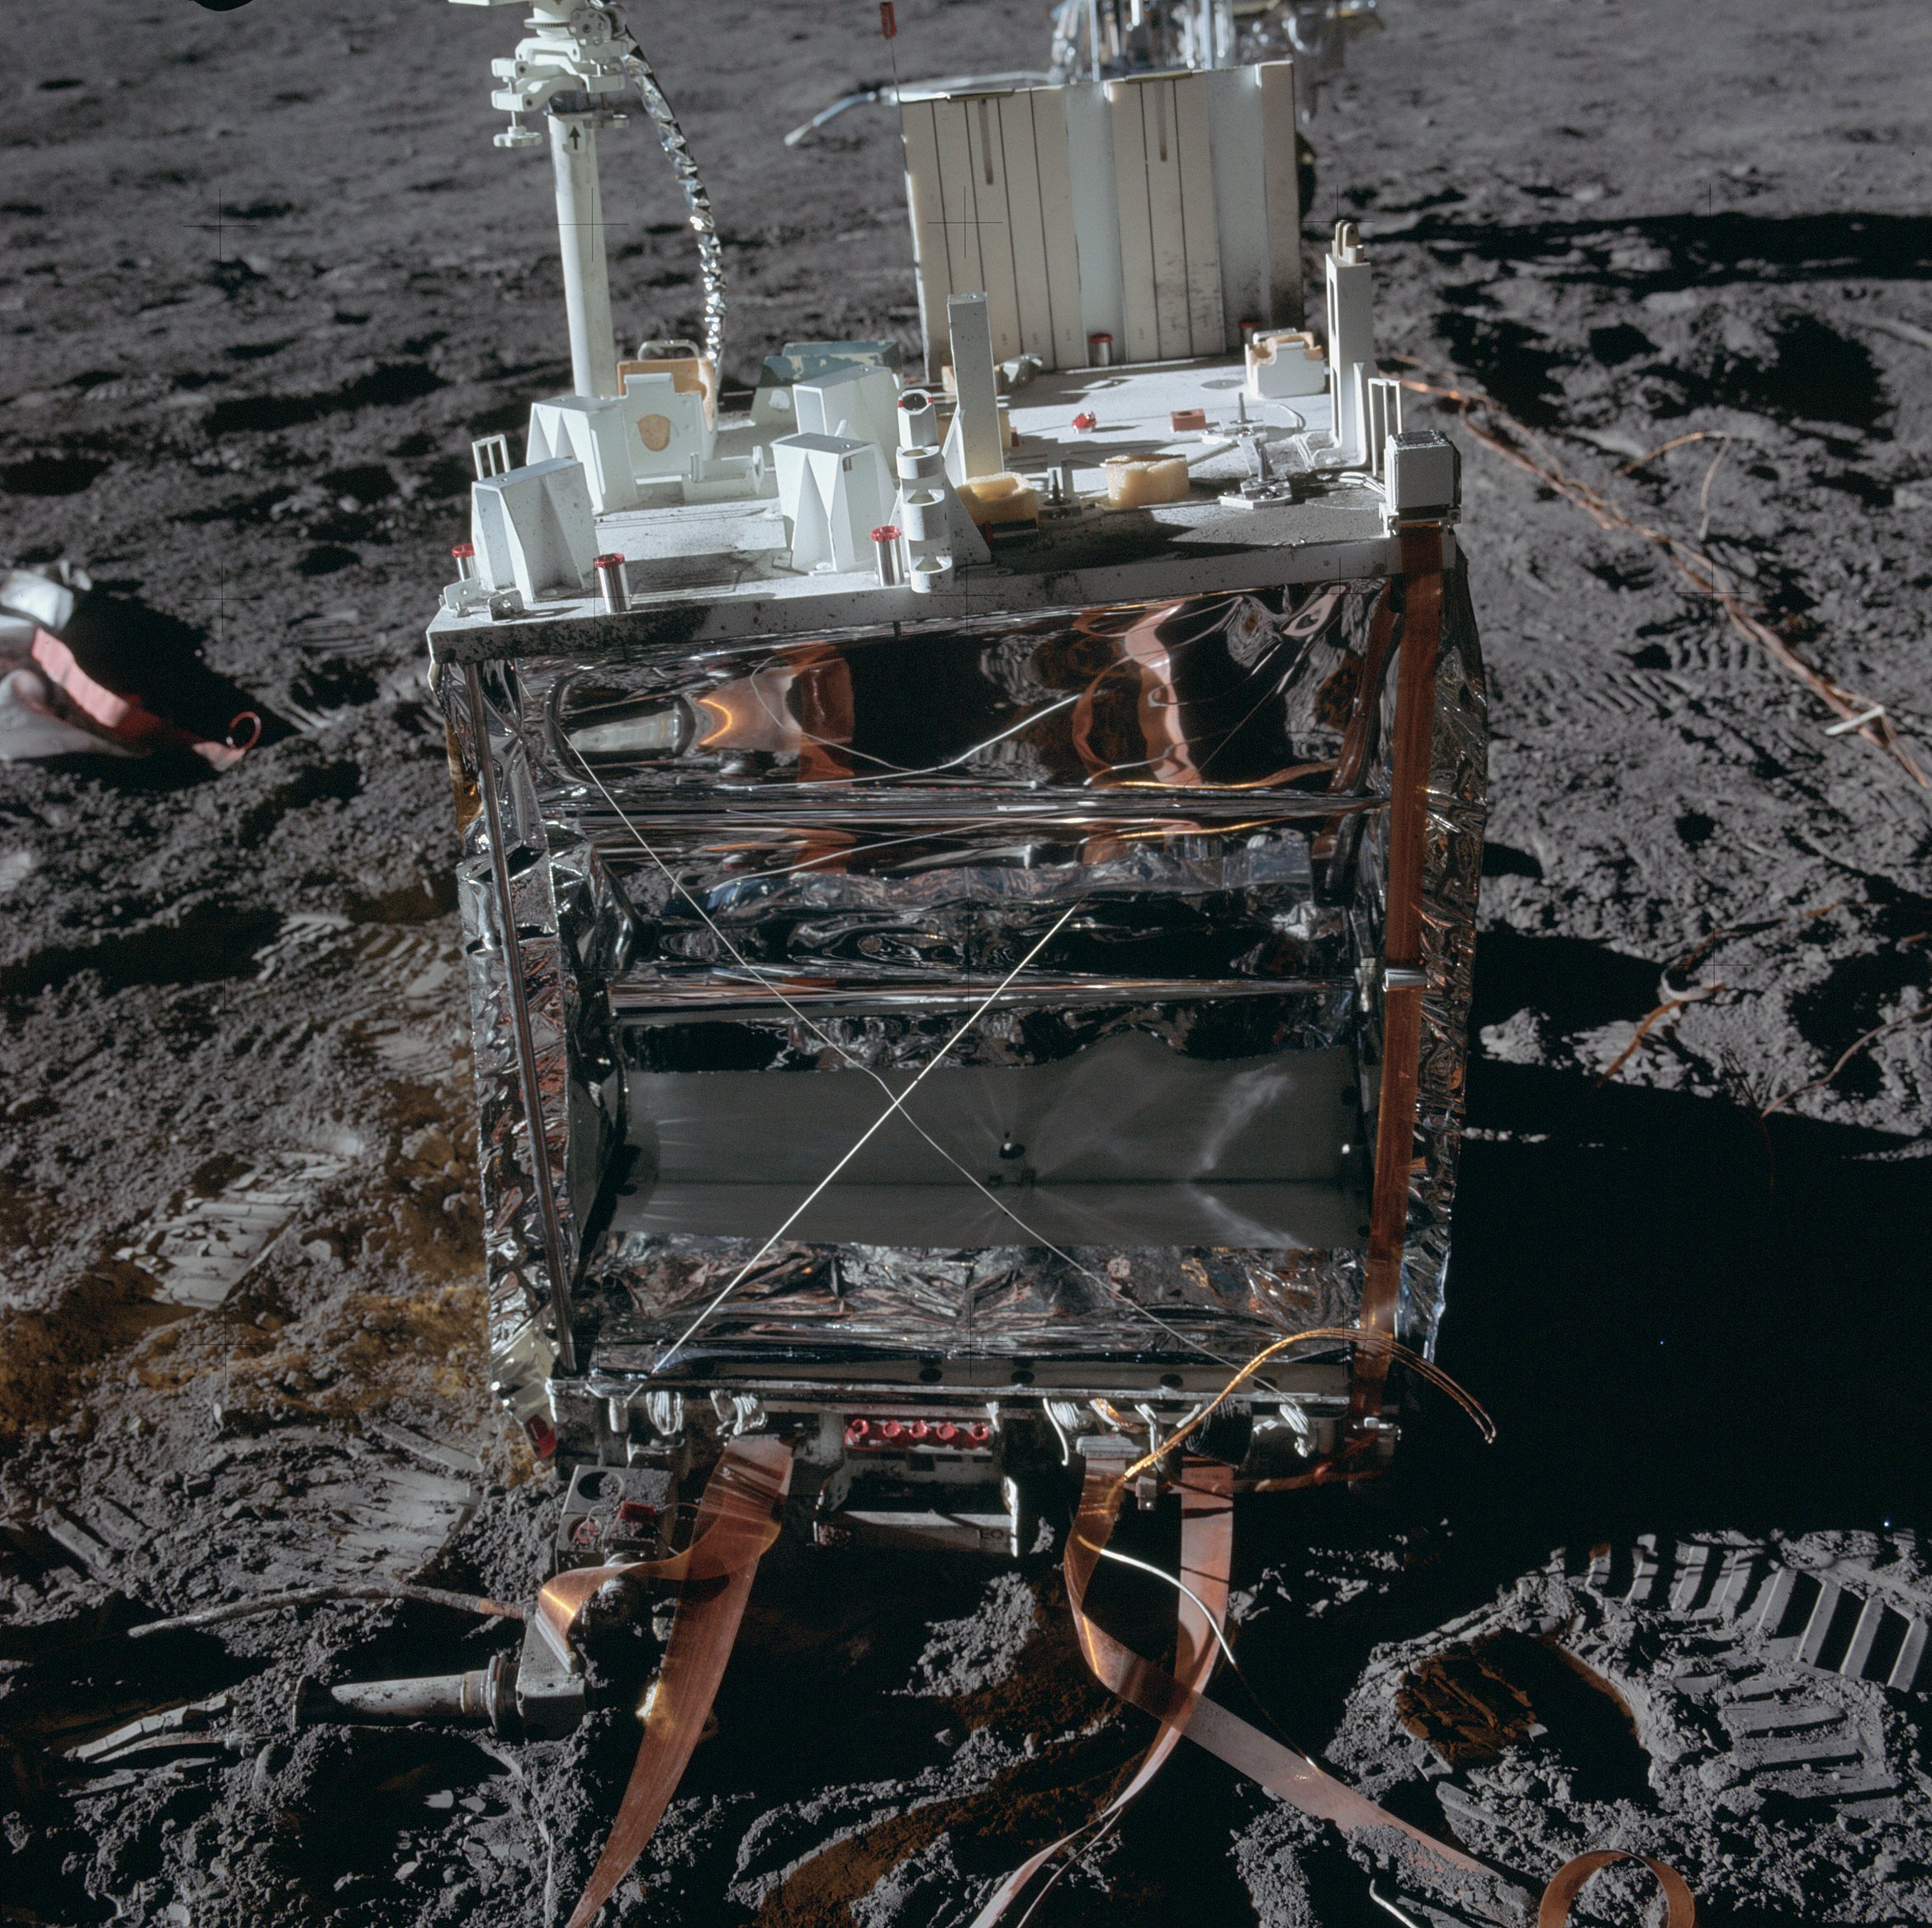 | AS14-67-9380 This photo shows the north face of the ALSEP Central Station. Image credit: Image Science and Analysis Laboratory, NASA-Johnson Space Center. |
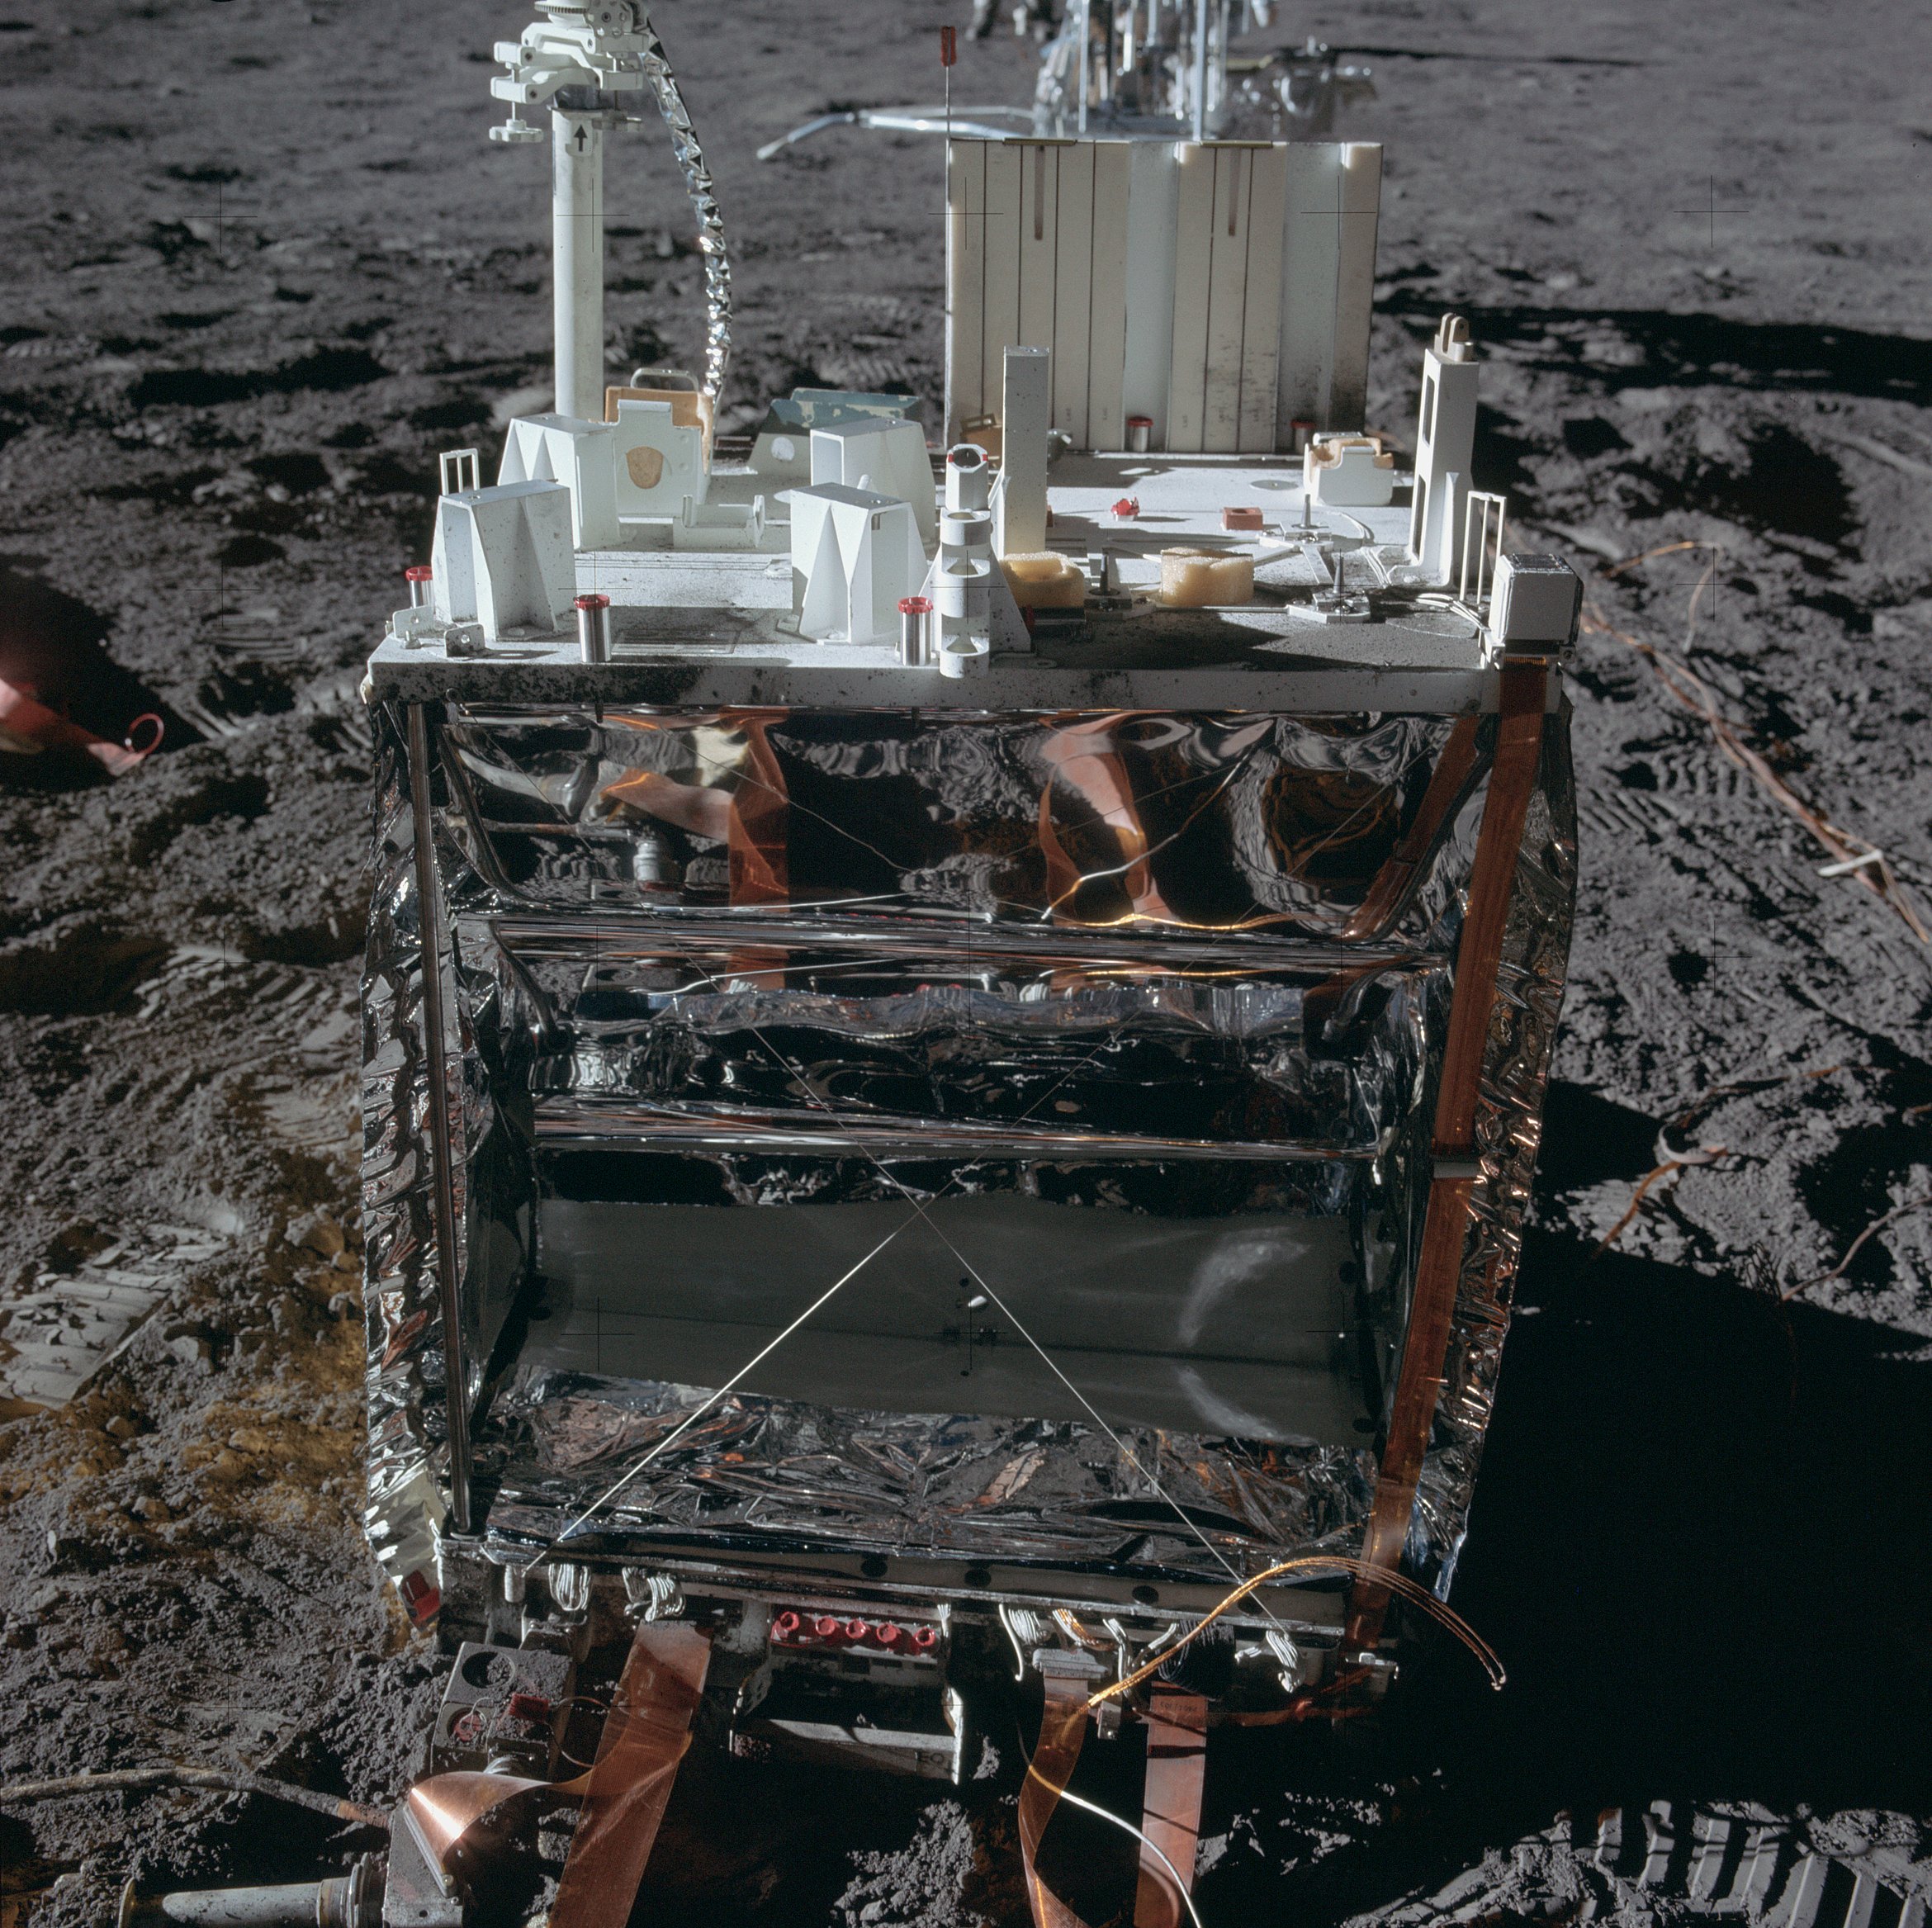 | AS14-67-9381 Close-up of the north face of the Central Station. Image credit: Image Science and Analysis Laboratory, NASA-Johnson Space Center. |
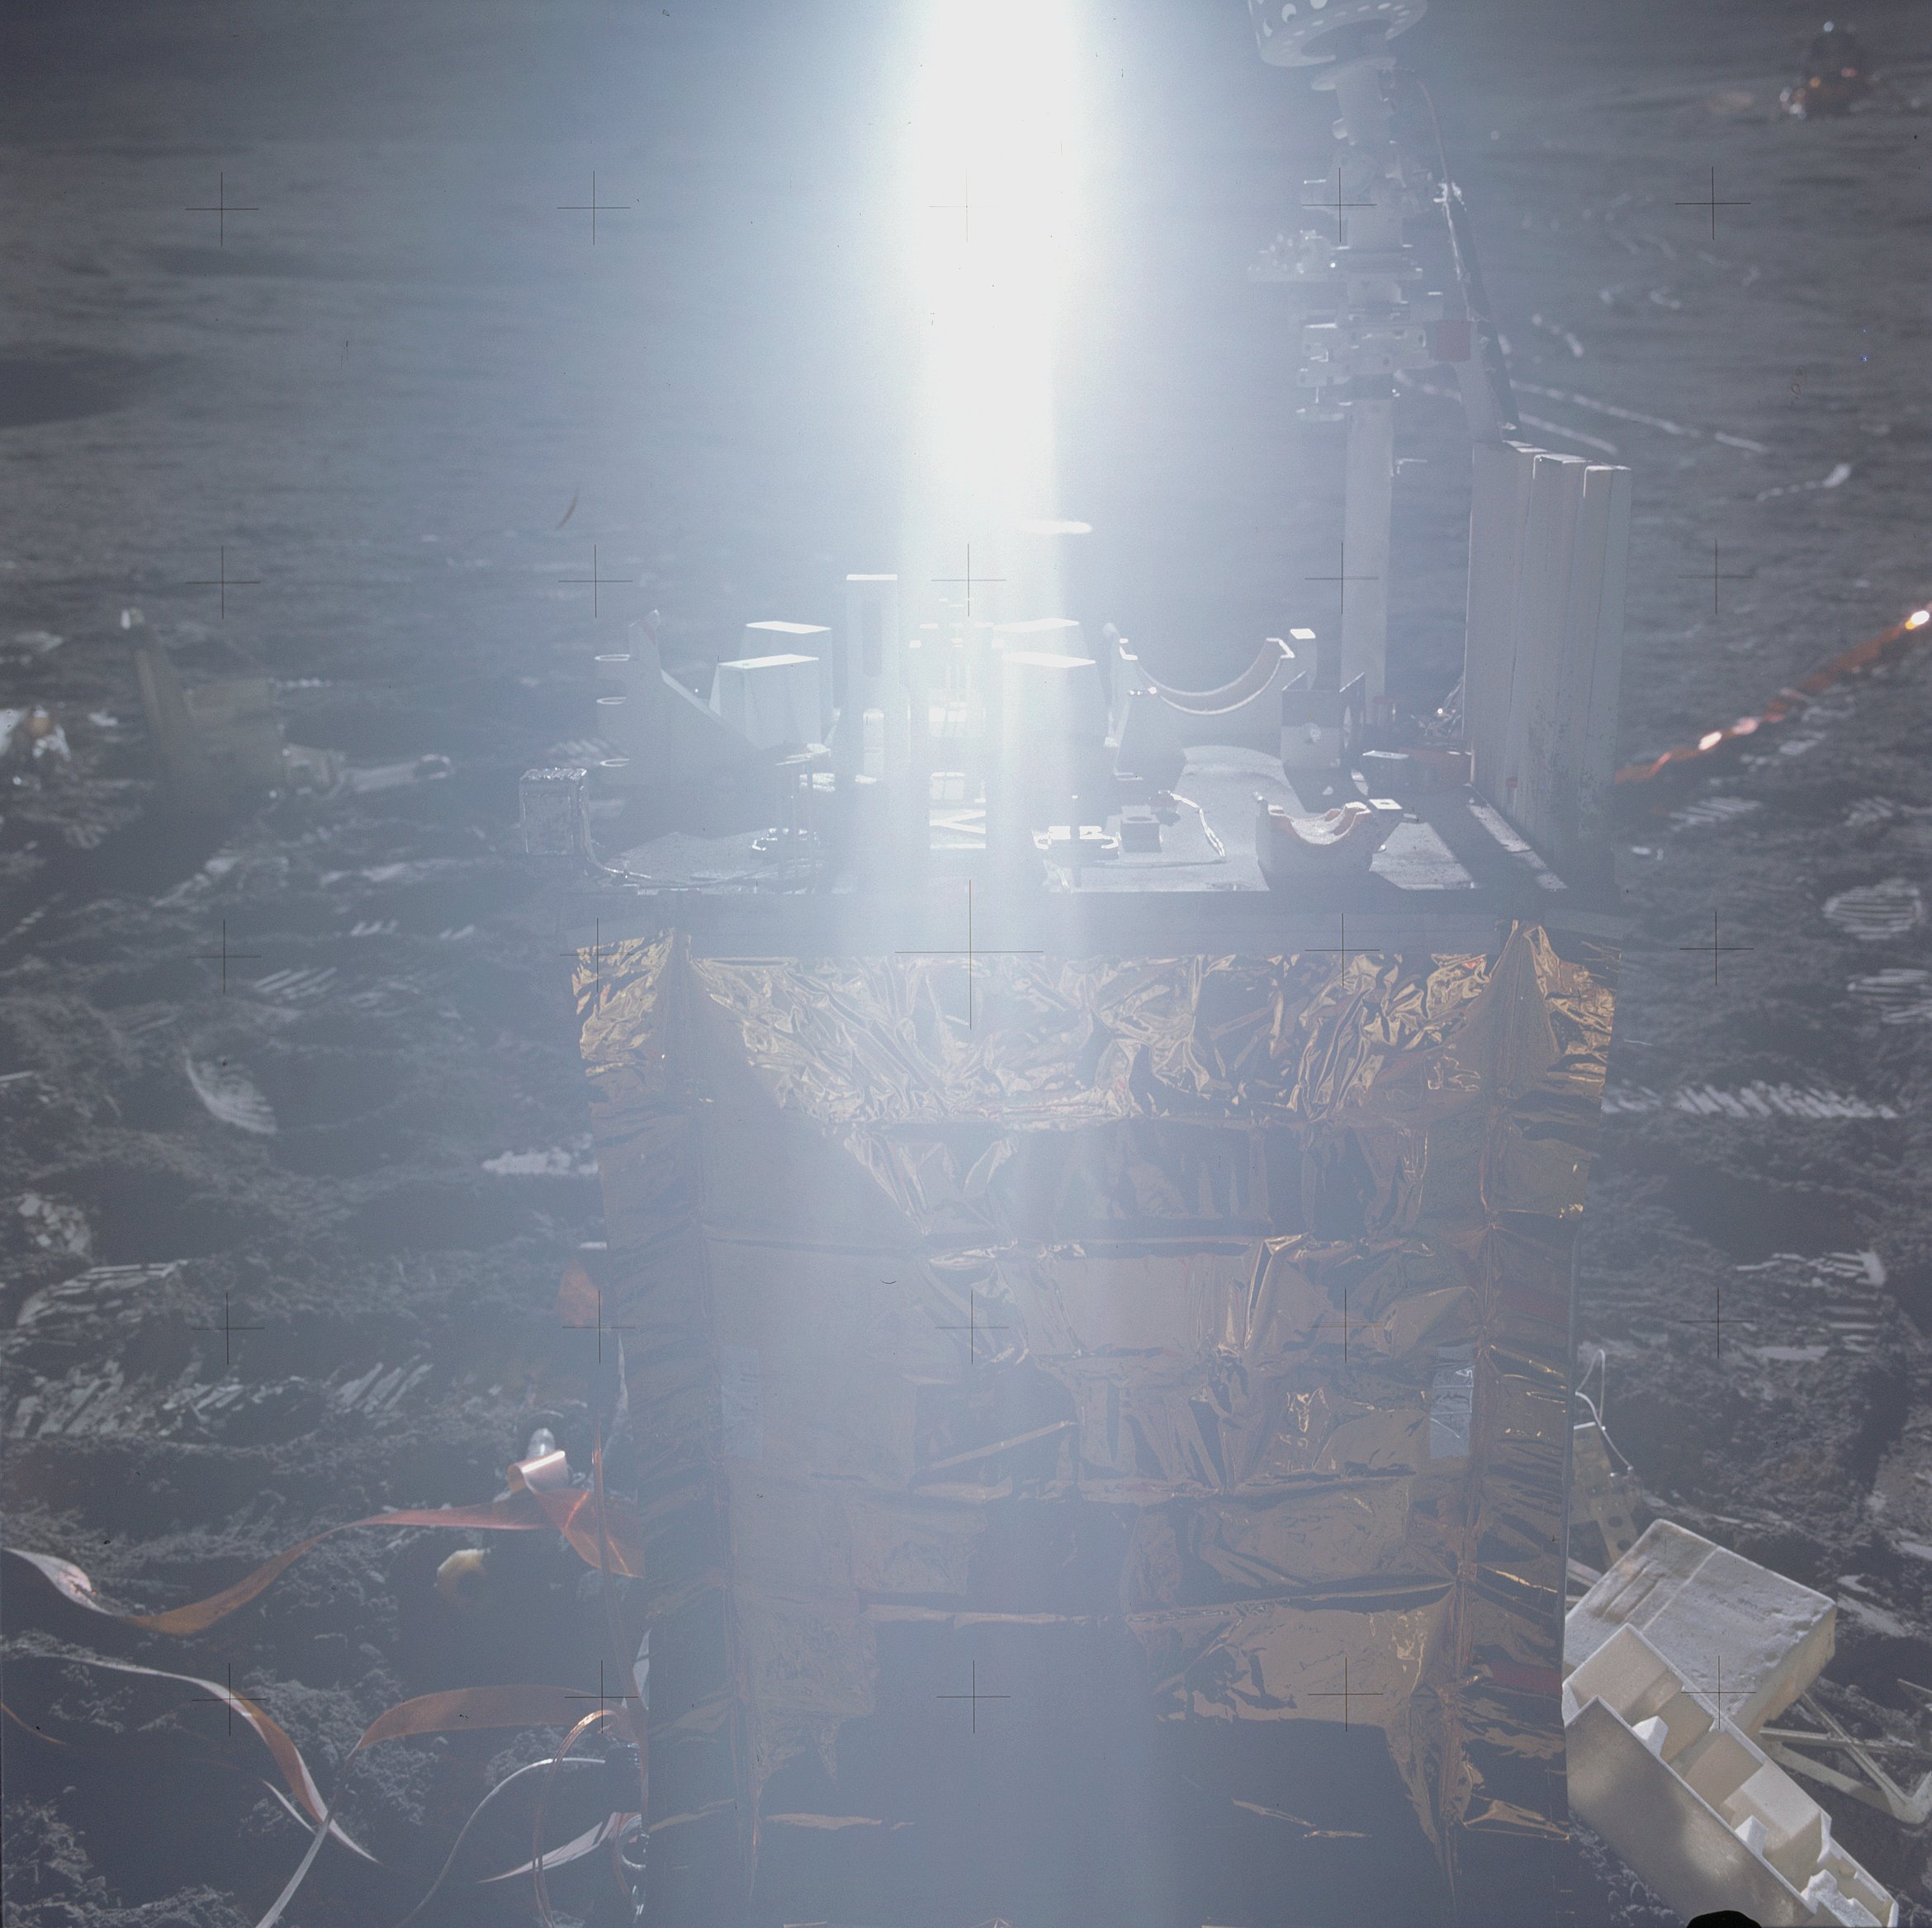 | AS14-67-9382 117:27:53 Up-Sun of the Central Station, spoiled by glare. Image credit: Image Science and Analysis Laboratory, NASA-Johnson Space Center. |
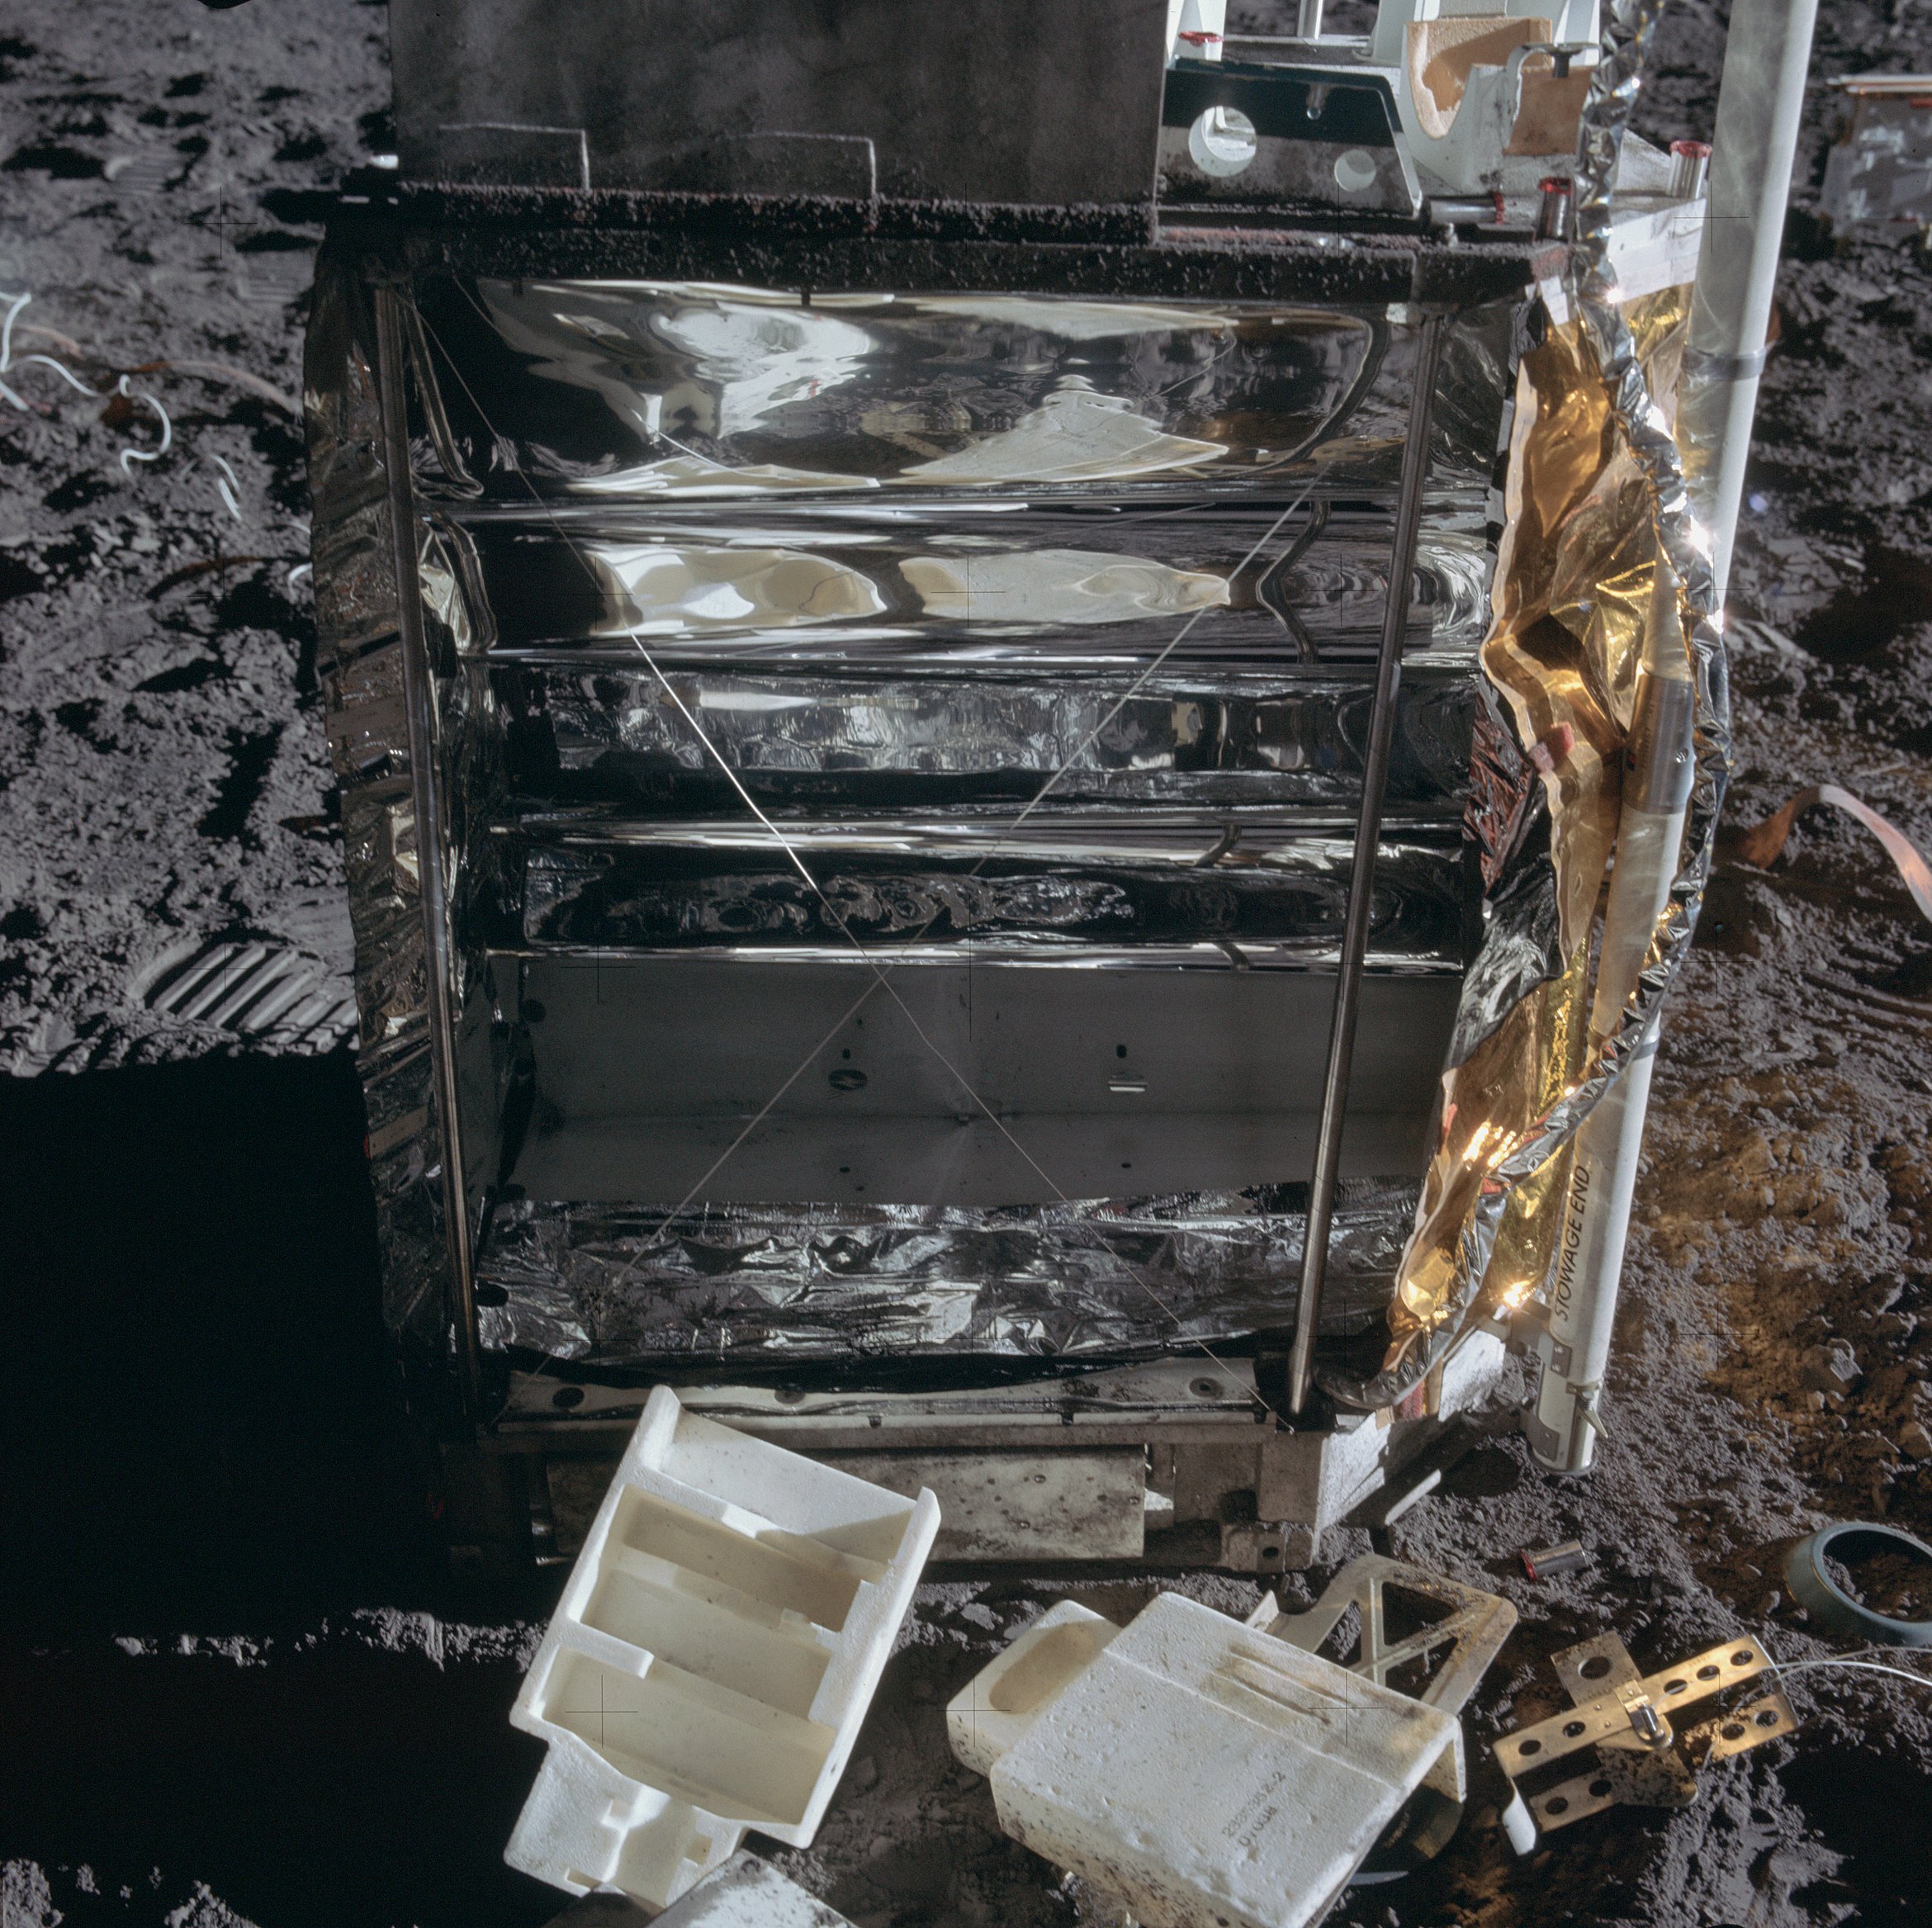 | AS14-67-9383 117:28:47 View of the south face of the Central Station with assorted packing material on the ground. Image credit: Image Science and Analysis Laboratory, NASA-Johnson Space Center. |
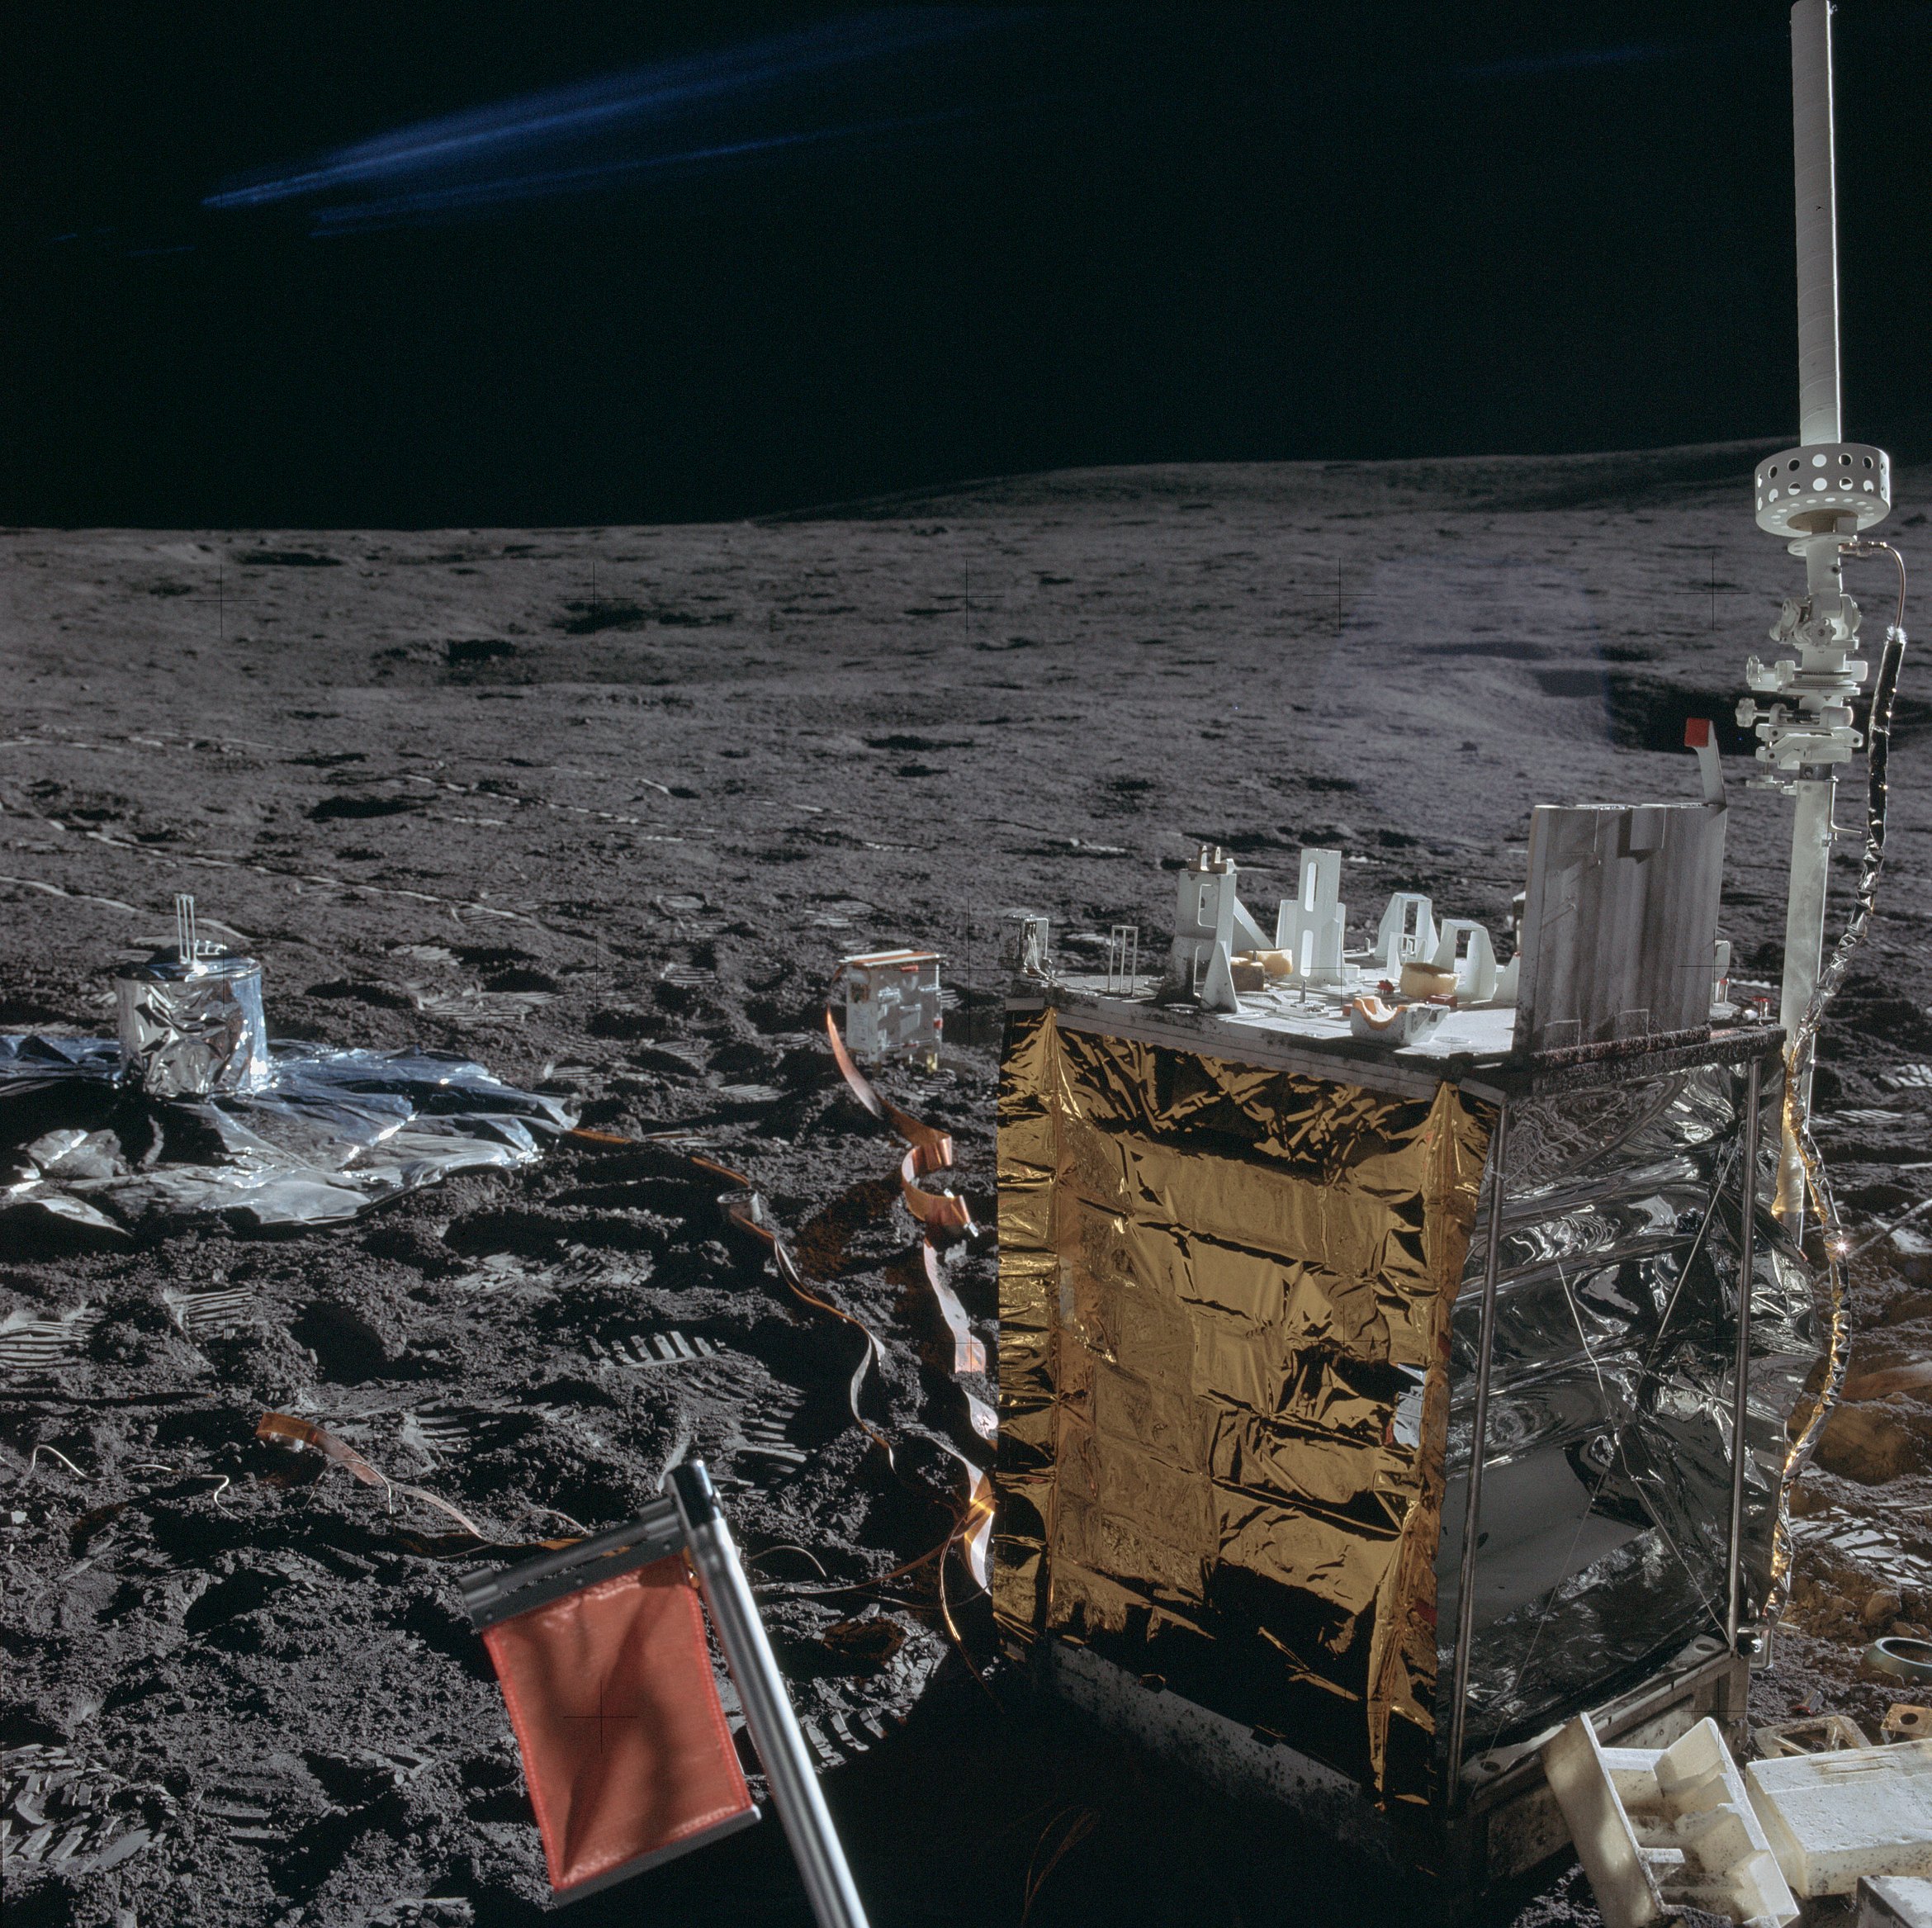 | AS14-67-9384 117:25:32 View to the northeast of the Central Station and, at the left, the Passive Seismometer experiment. Image credit: Image Science and Analysis Laboratory, NASA-Johnson Space Center. |
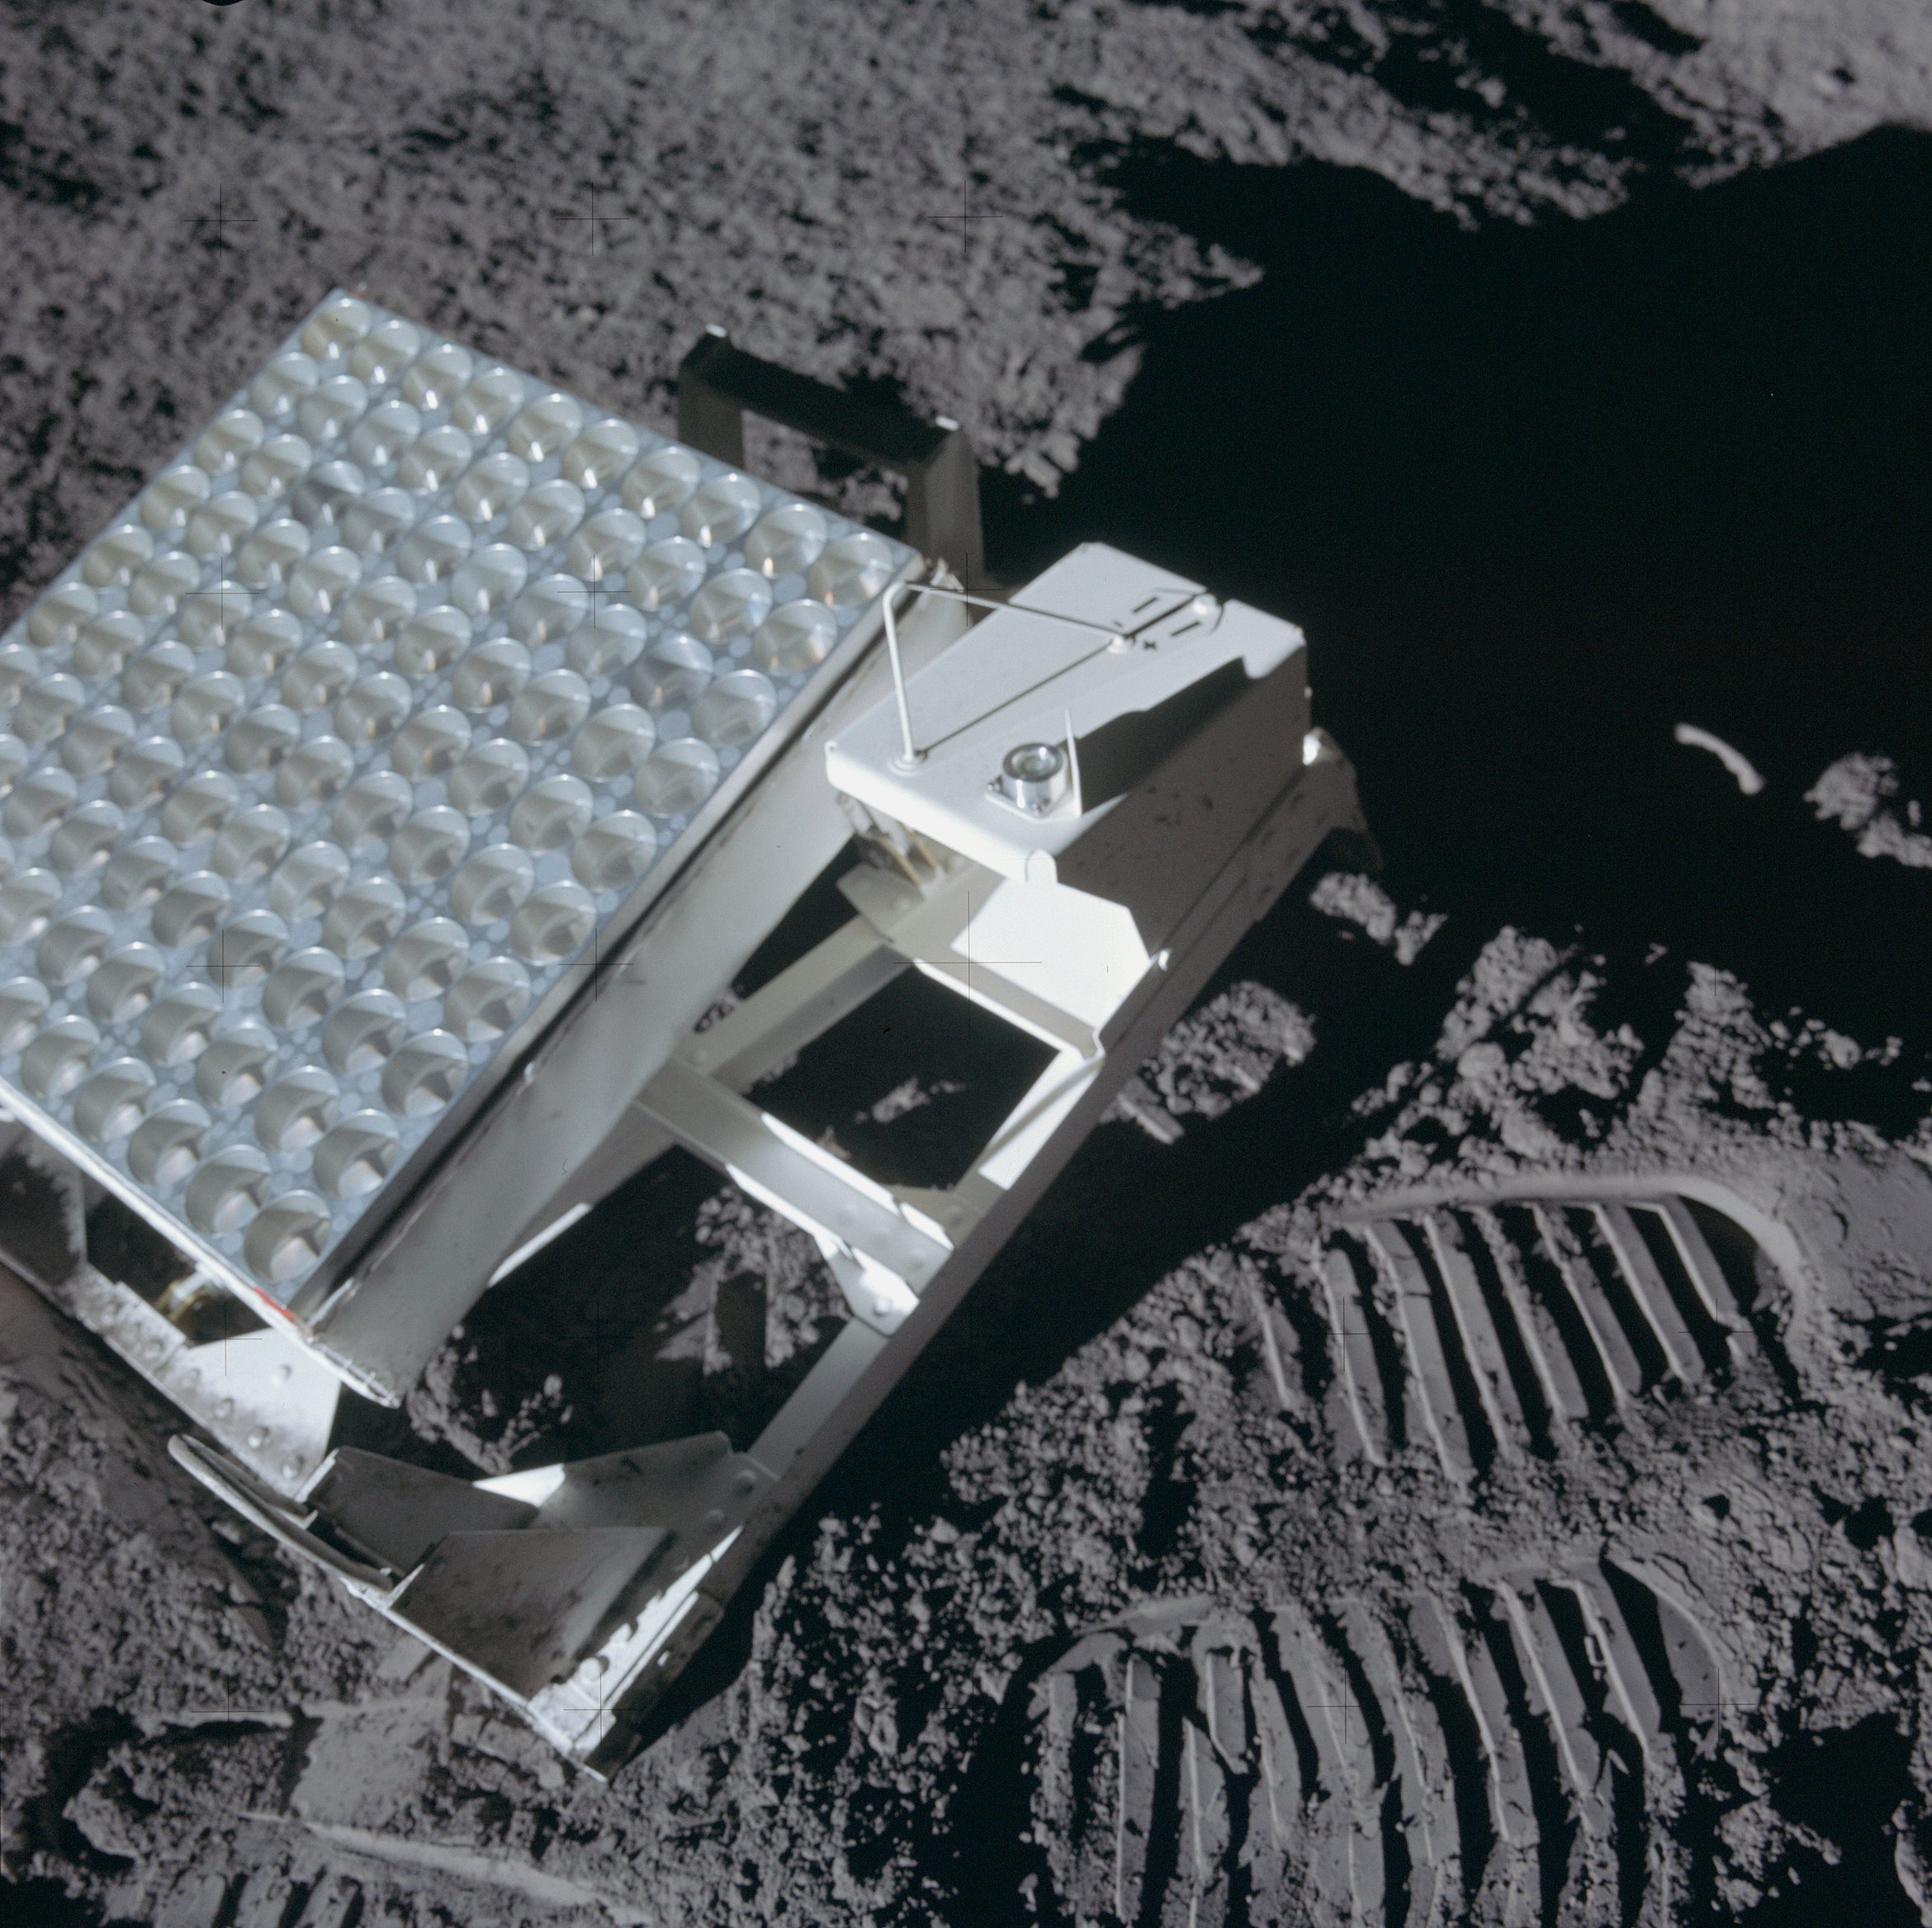 | AS14-67-9385 Close-up of the LRRR. Image credit: Image Science and Analysis Laboratory, NASA-Johnson Space Center. |
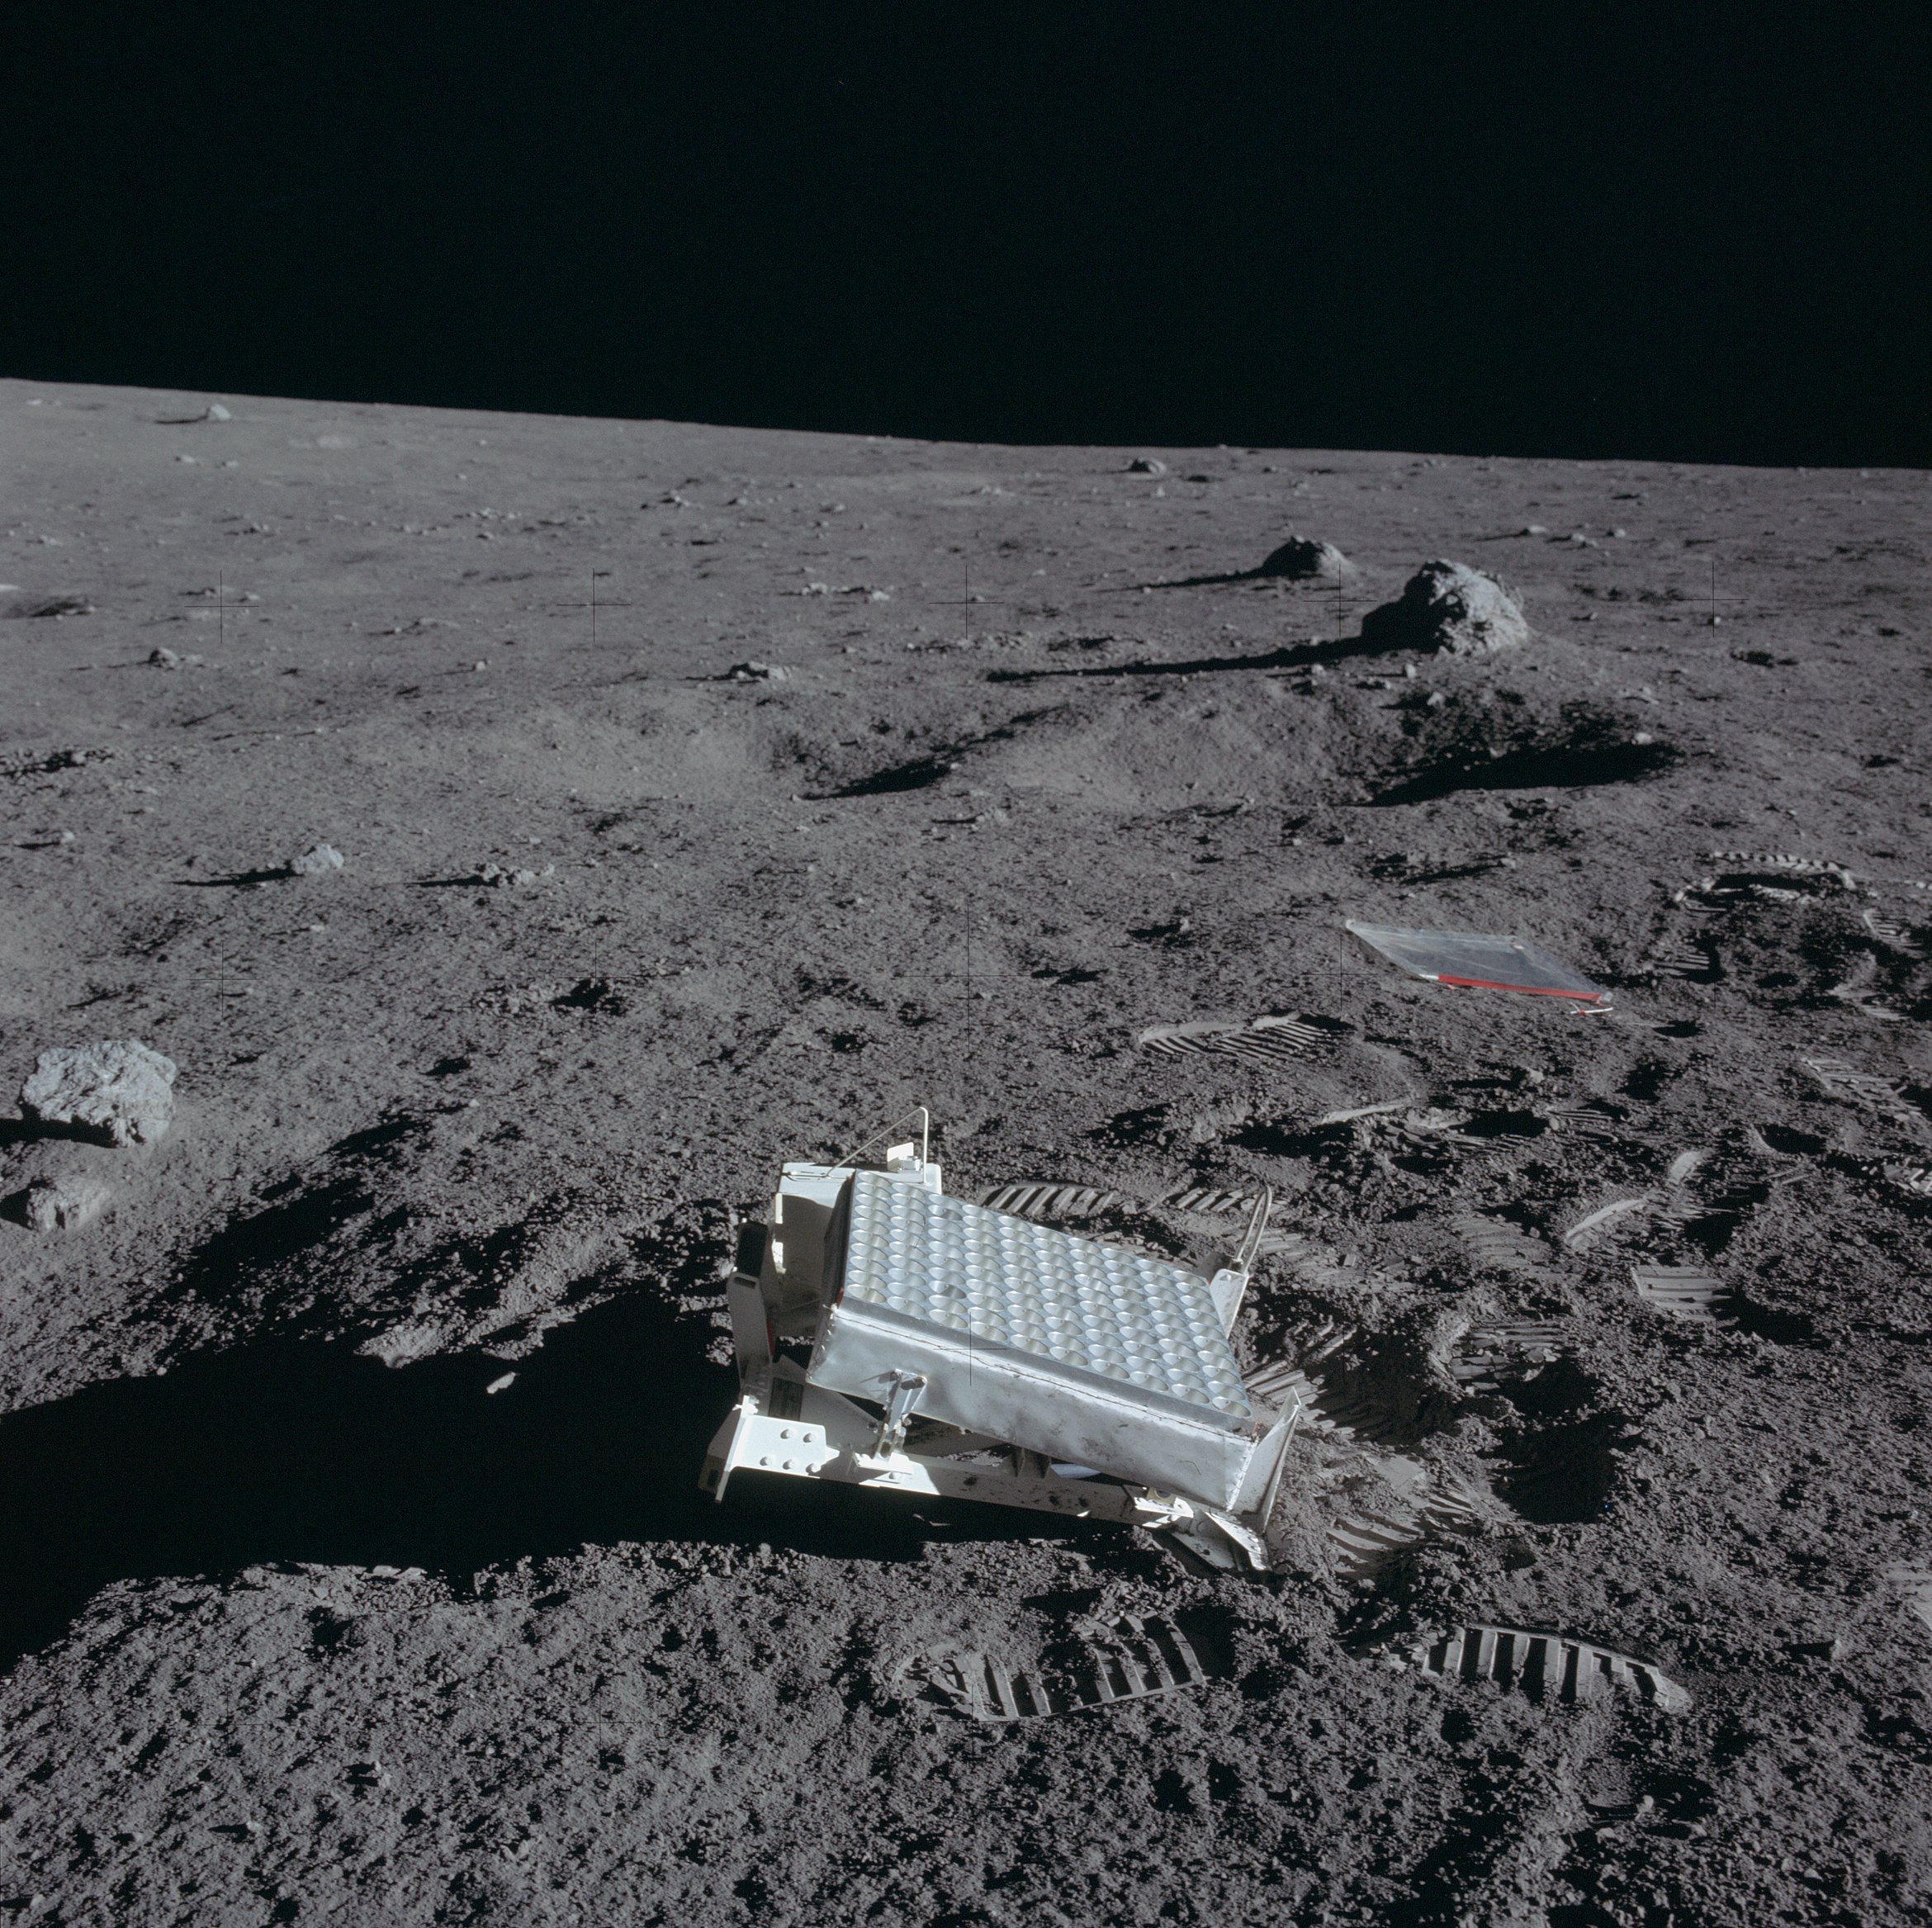 | AS14-67-9386 Close-up of the LRRR. Image credit: Image Science and Analysis Laboratory, NASA-Johnson Space Center. |
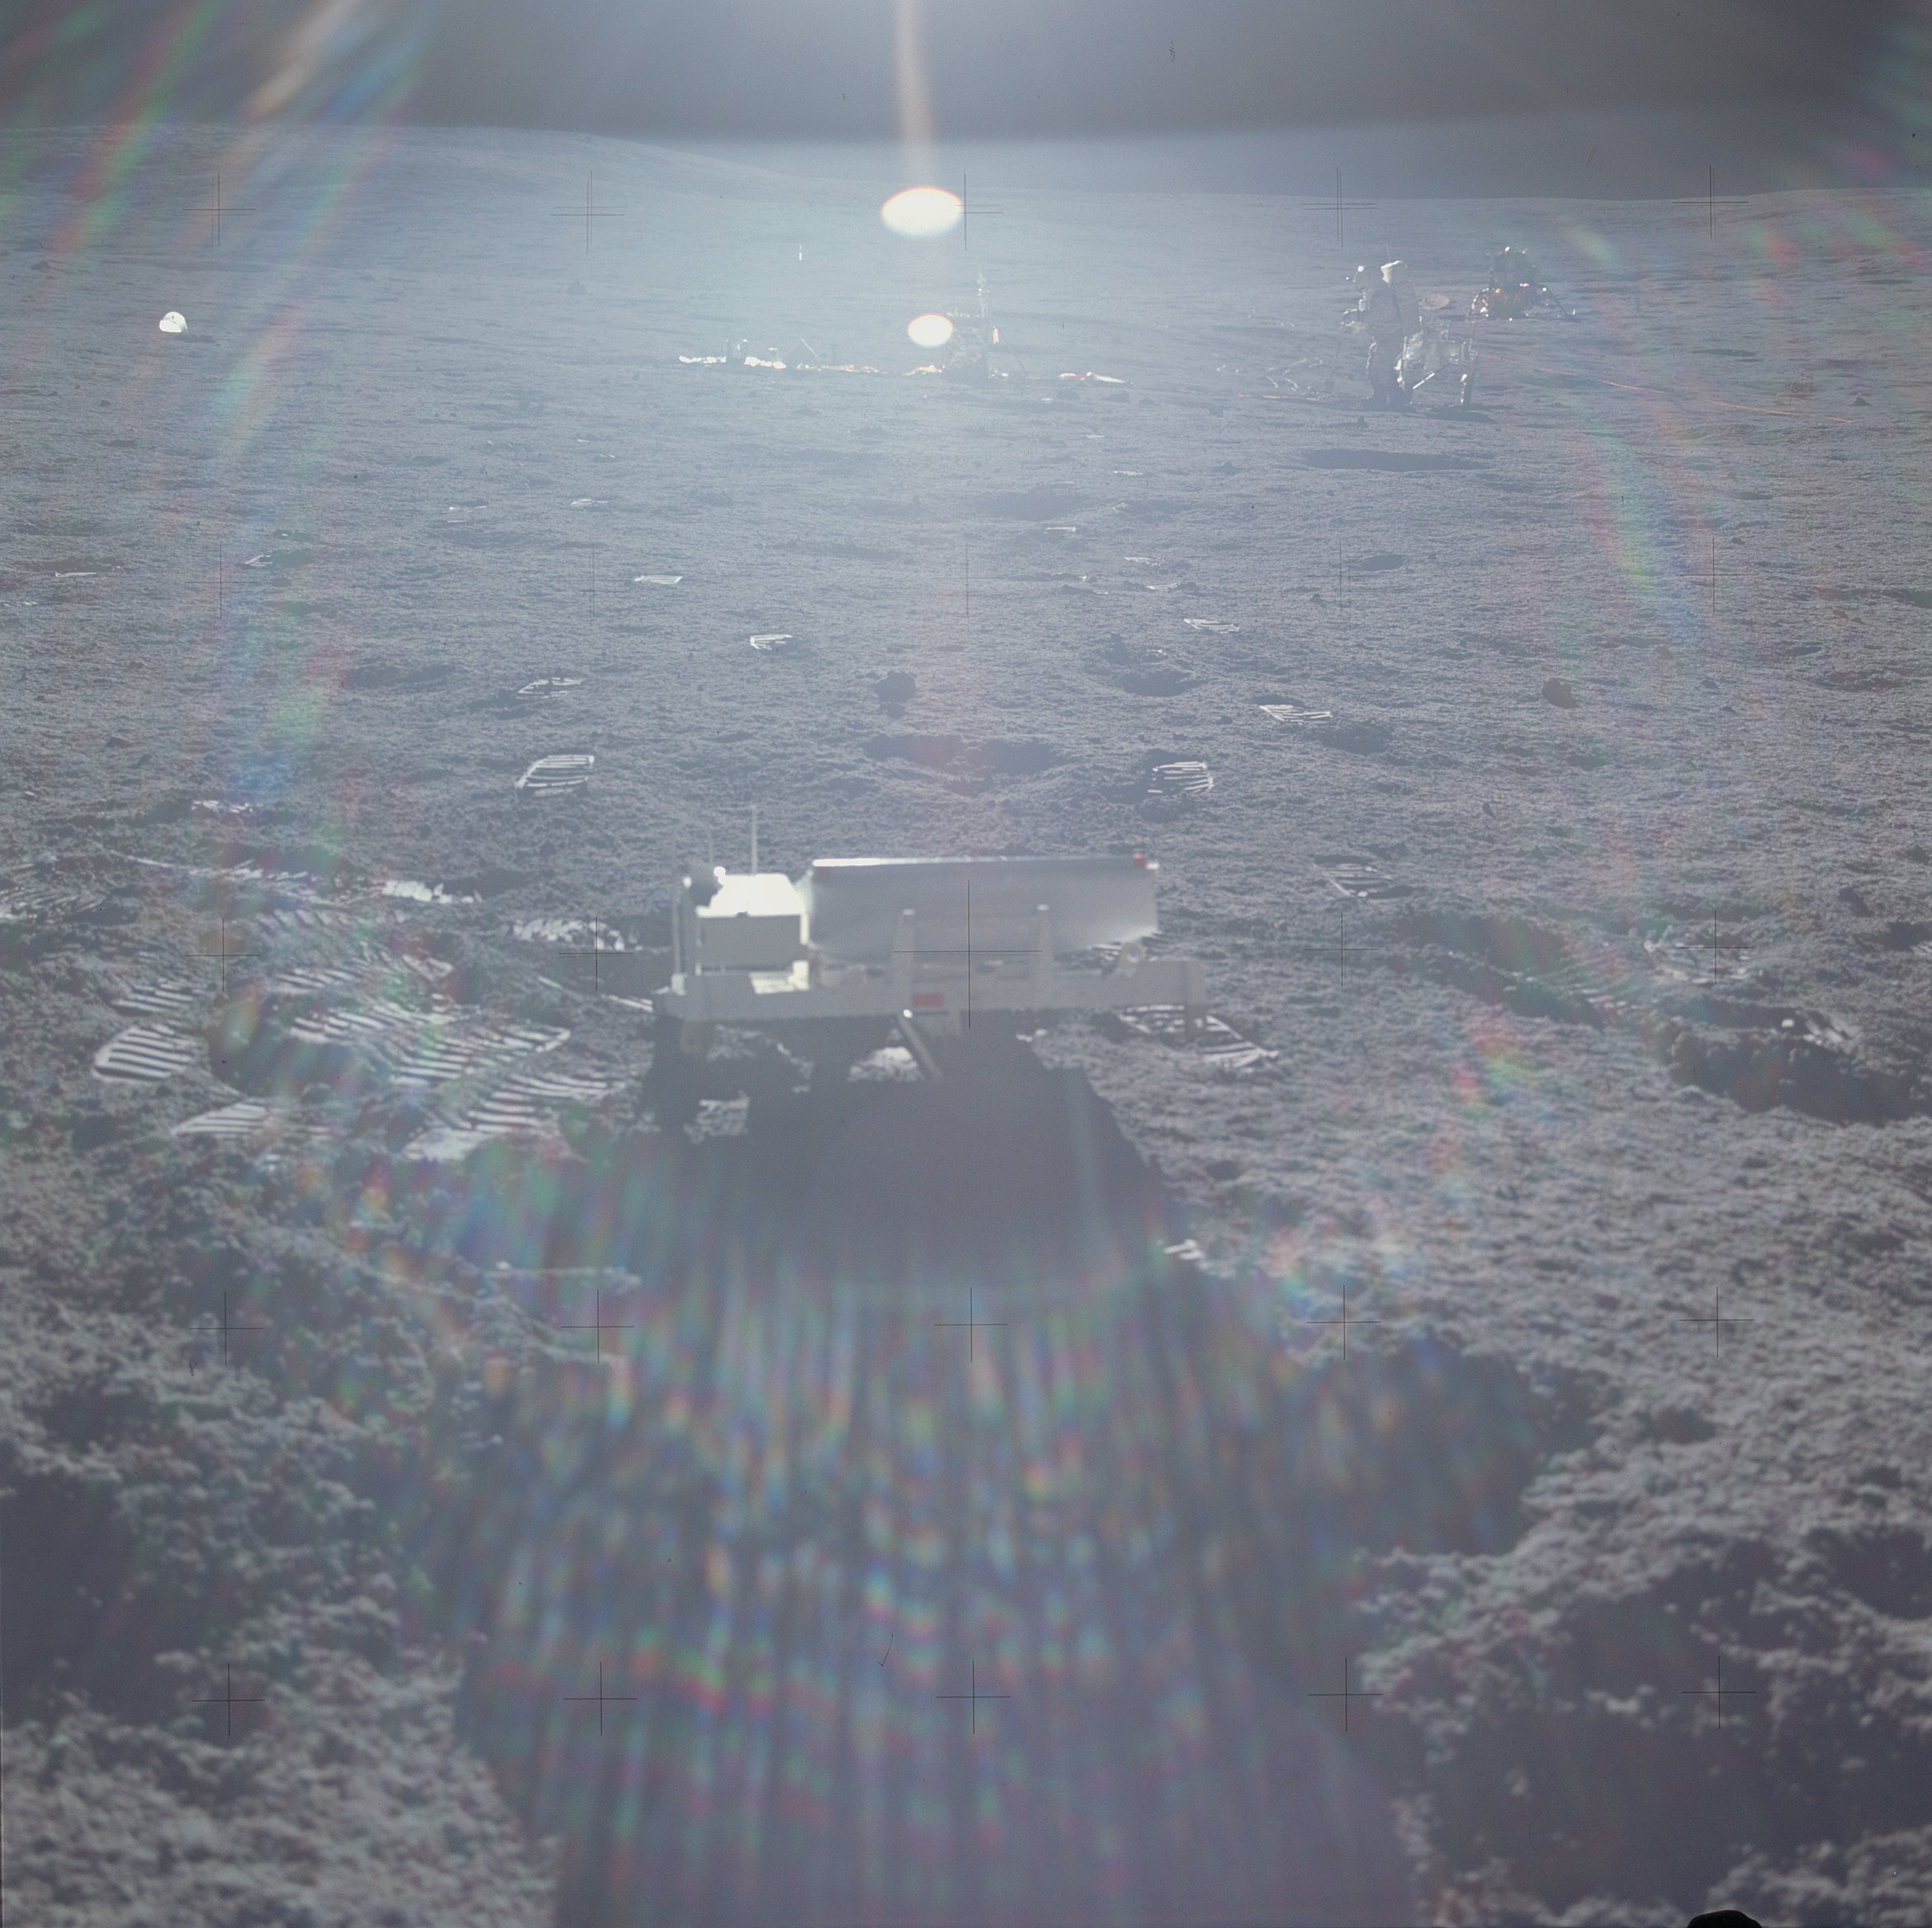 | AS14-67-9387 117:31:47 Up-Sun of the LRRR, showing Ed at the MET and the LM in the background, just to the right of Ed. Image credit: Image Science and Analysis Laboratory, NASA-Johnson Space Center. |
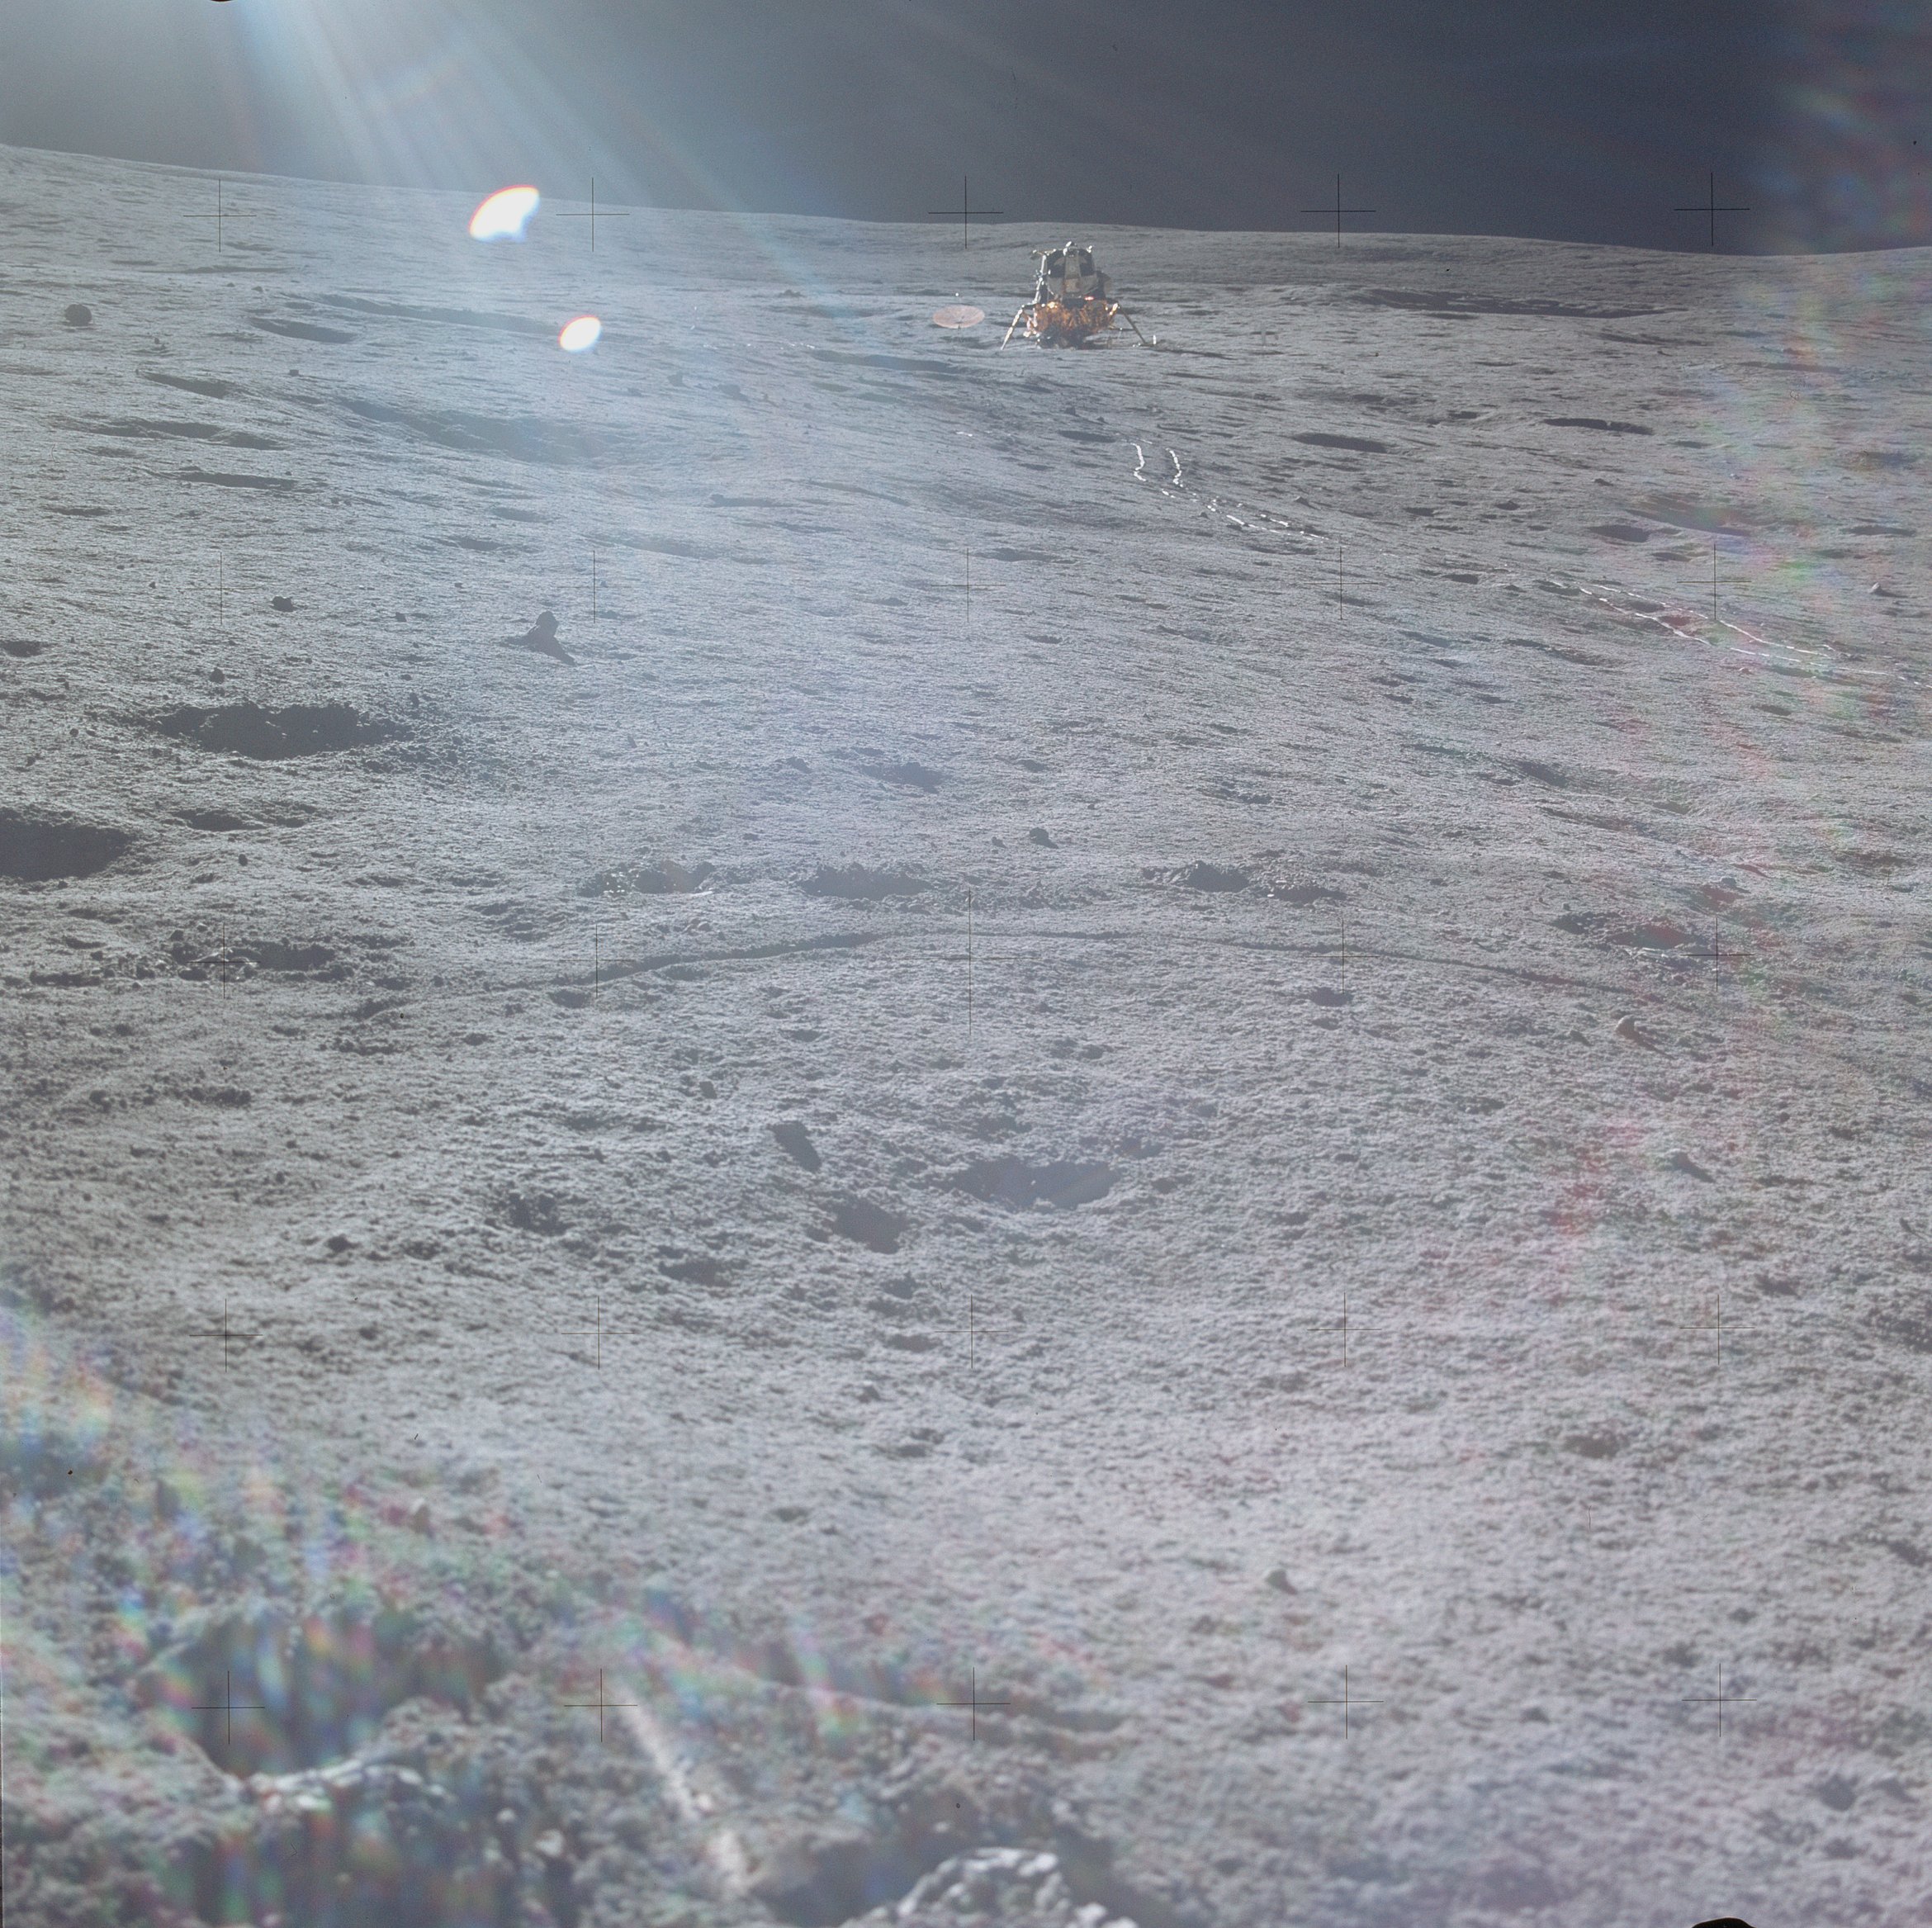 | AS14-67-9388 117:42:26 Al's up-Sun "locator" to the LM across the circle he has drawn to define his sampling area. Image credit: Image Science and Analysis Laboratory, NASA-Johnson Space Center. |
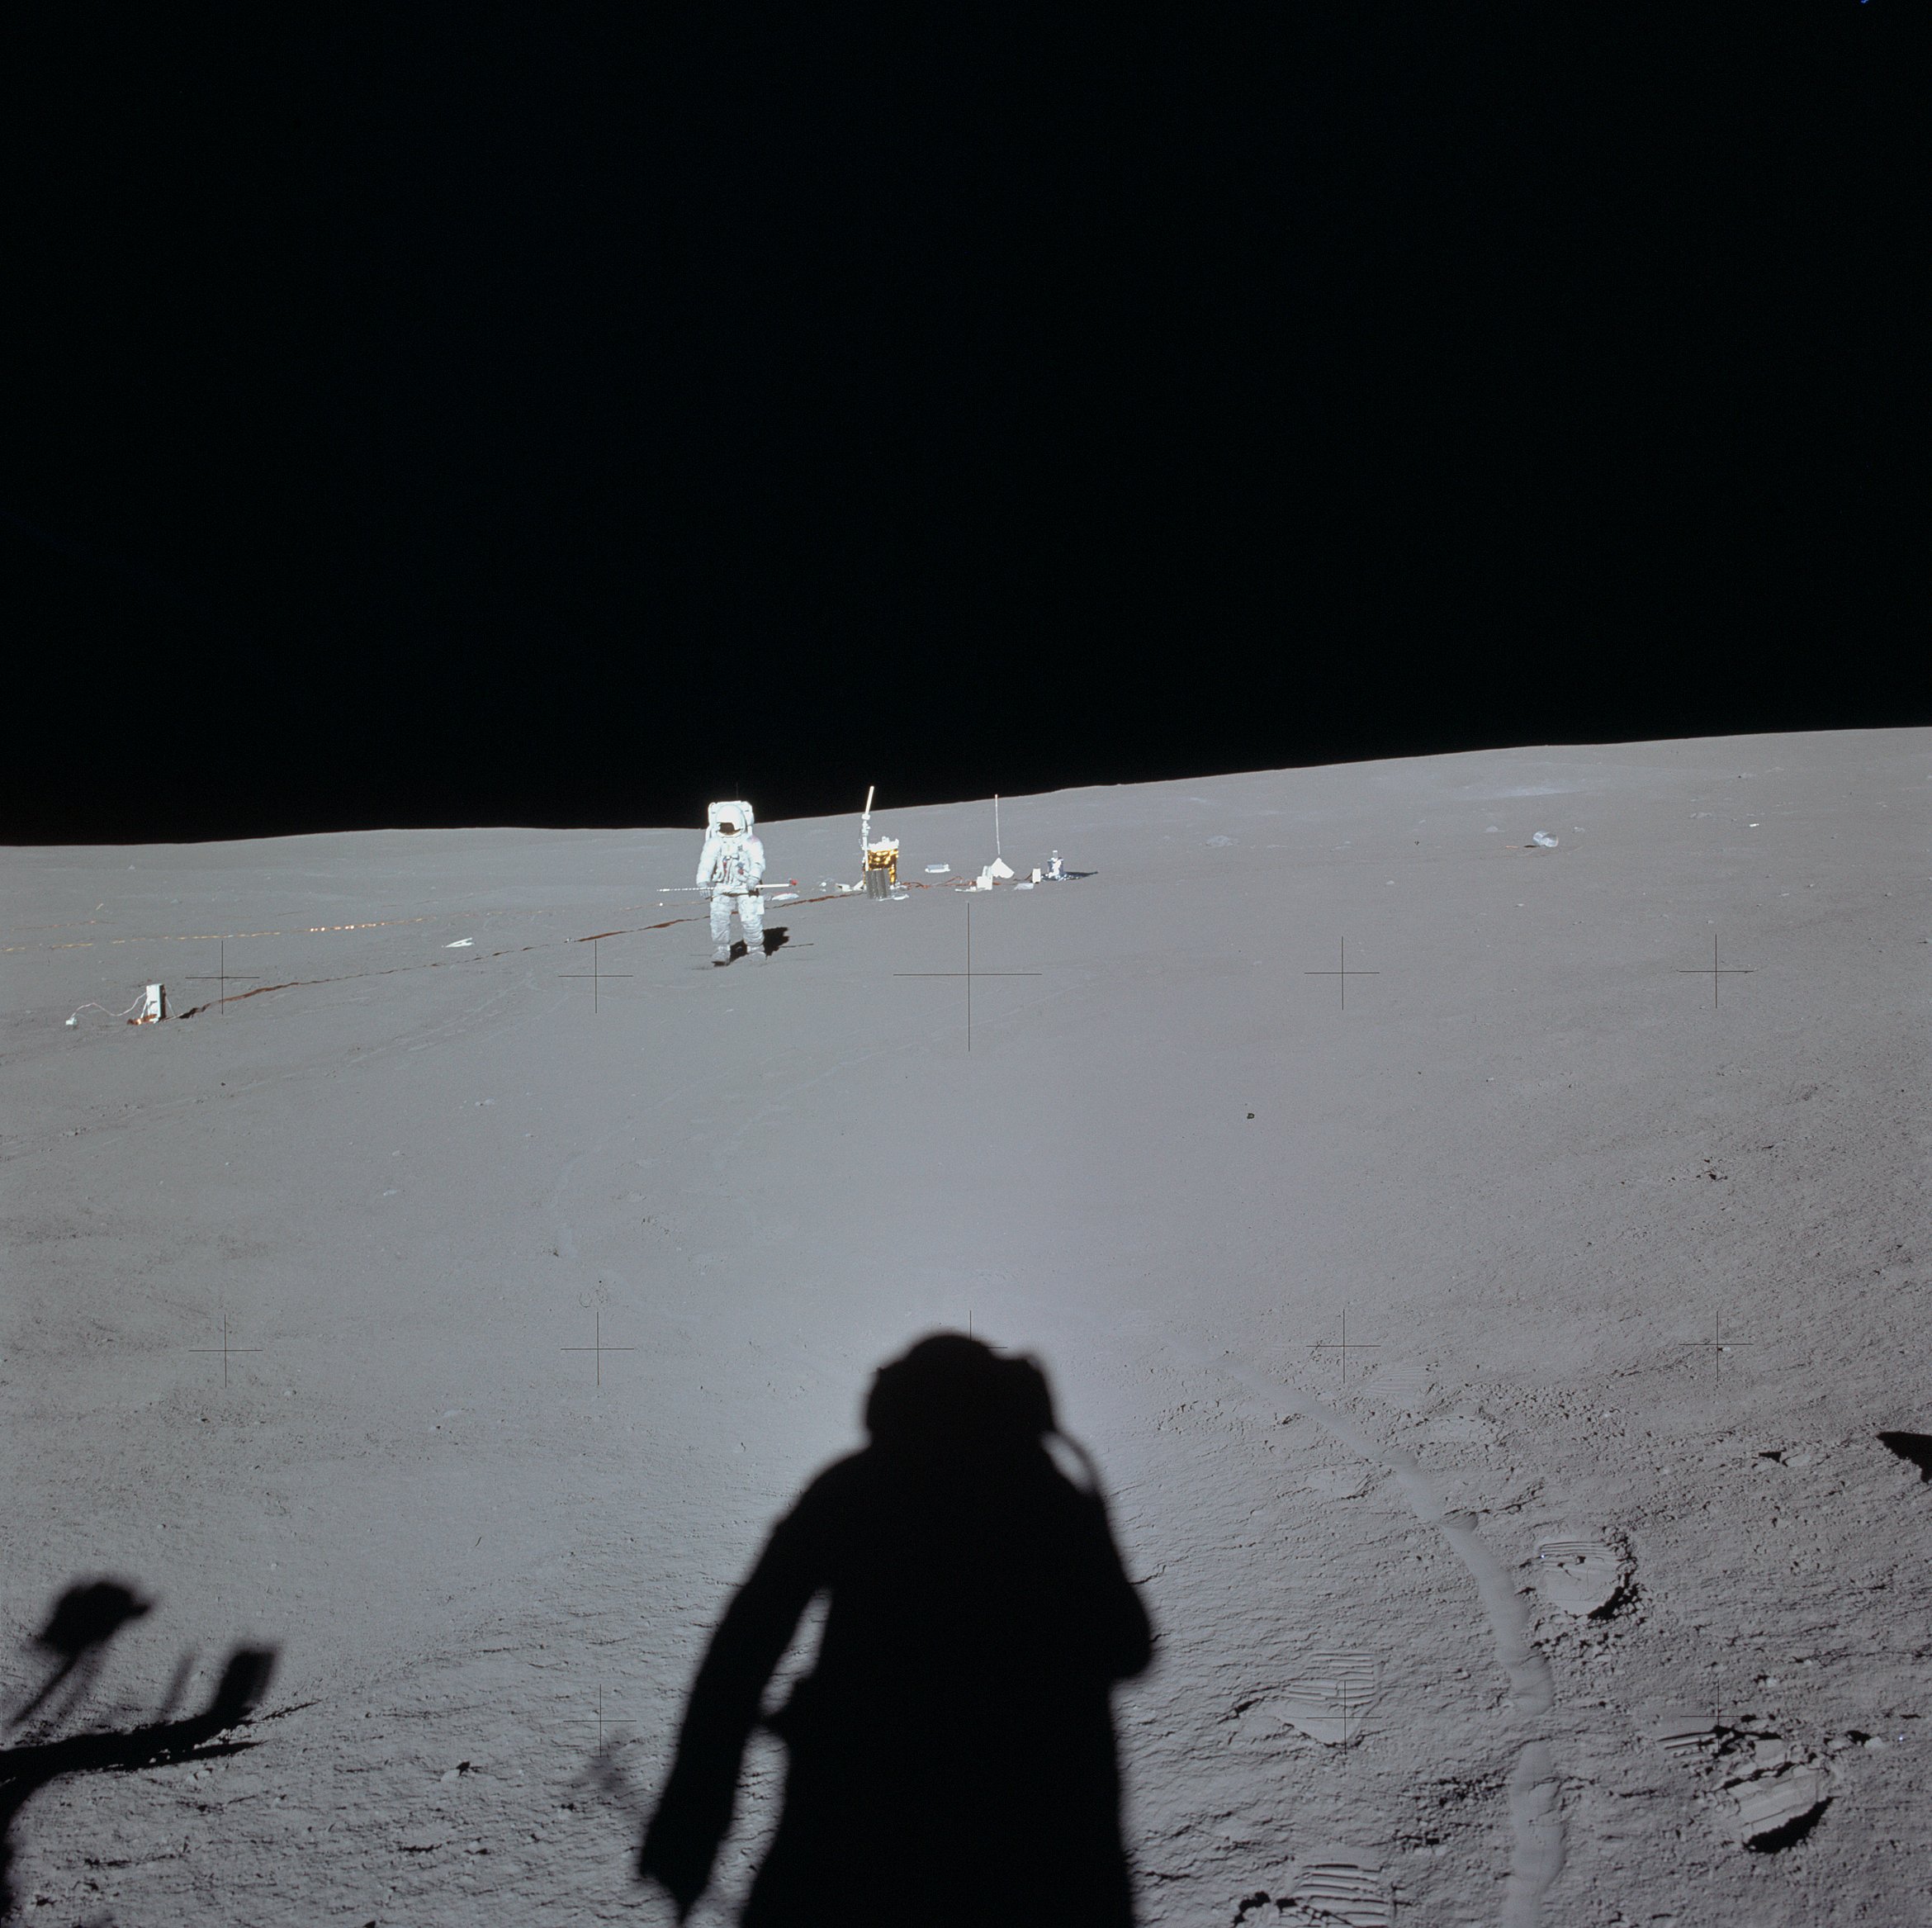 | AS14-67-9389 117:42:37 Al's down-Sun "locator" to the ALSEP site for the comprehensive sample collected on the way back to the LM after the ALSEP deployment. Image credit: Image Science and Analysis Laboratory, NASA-Johnson Space Center. |
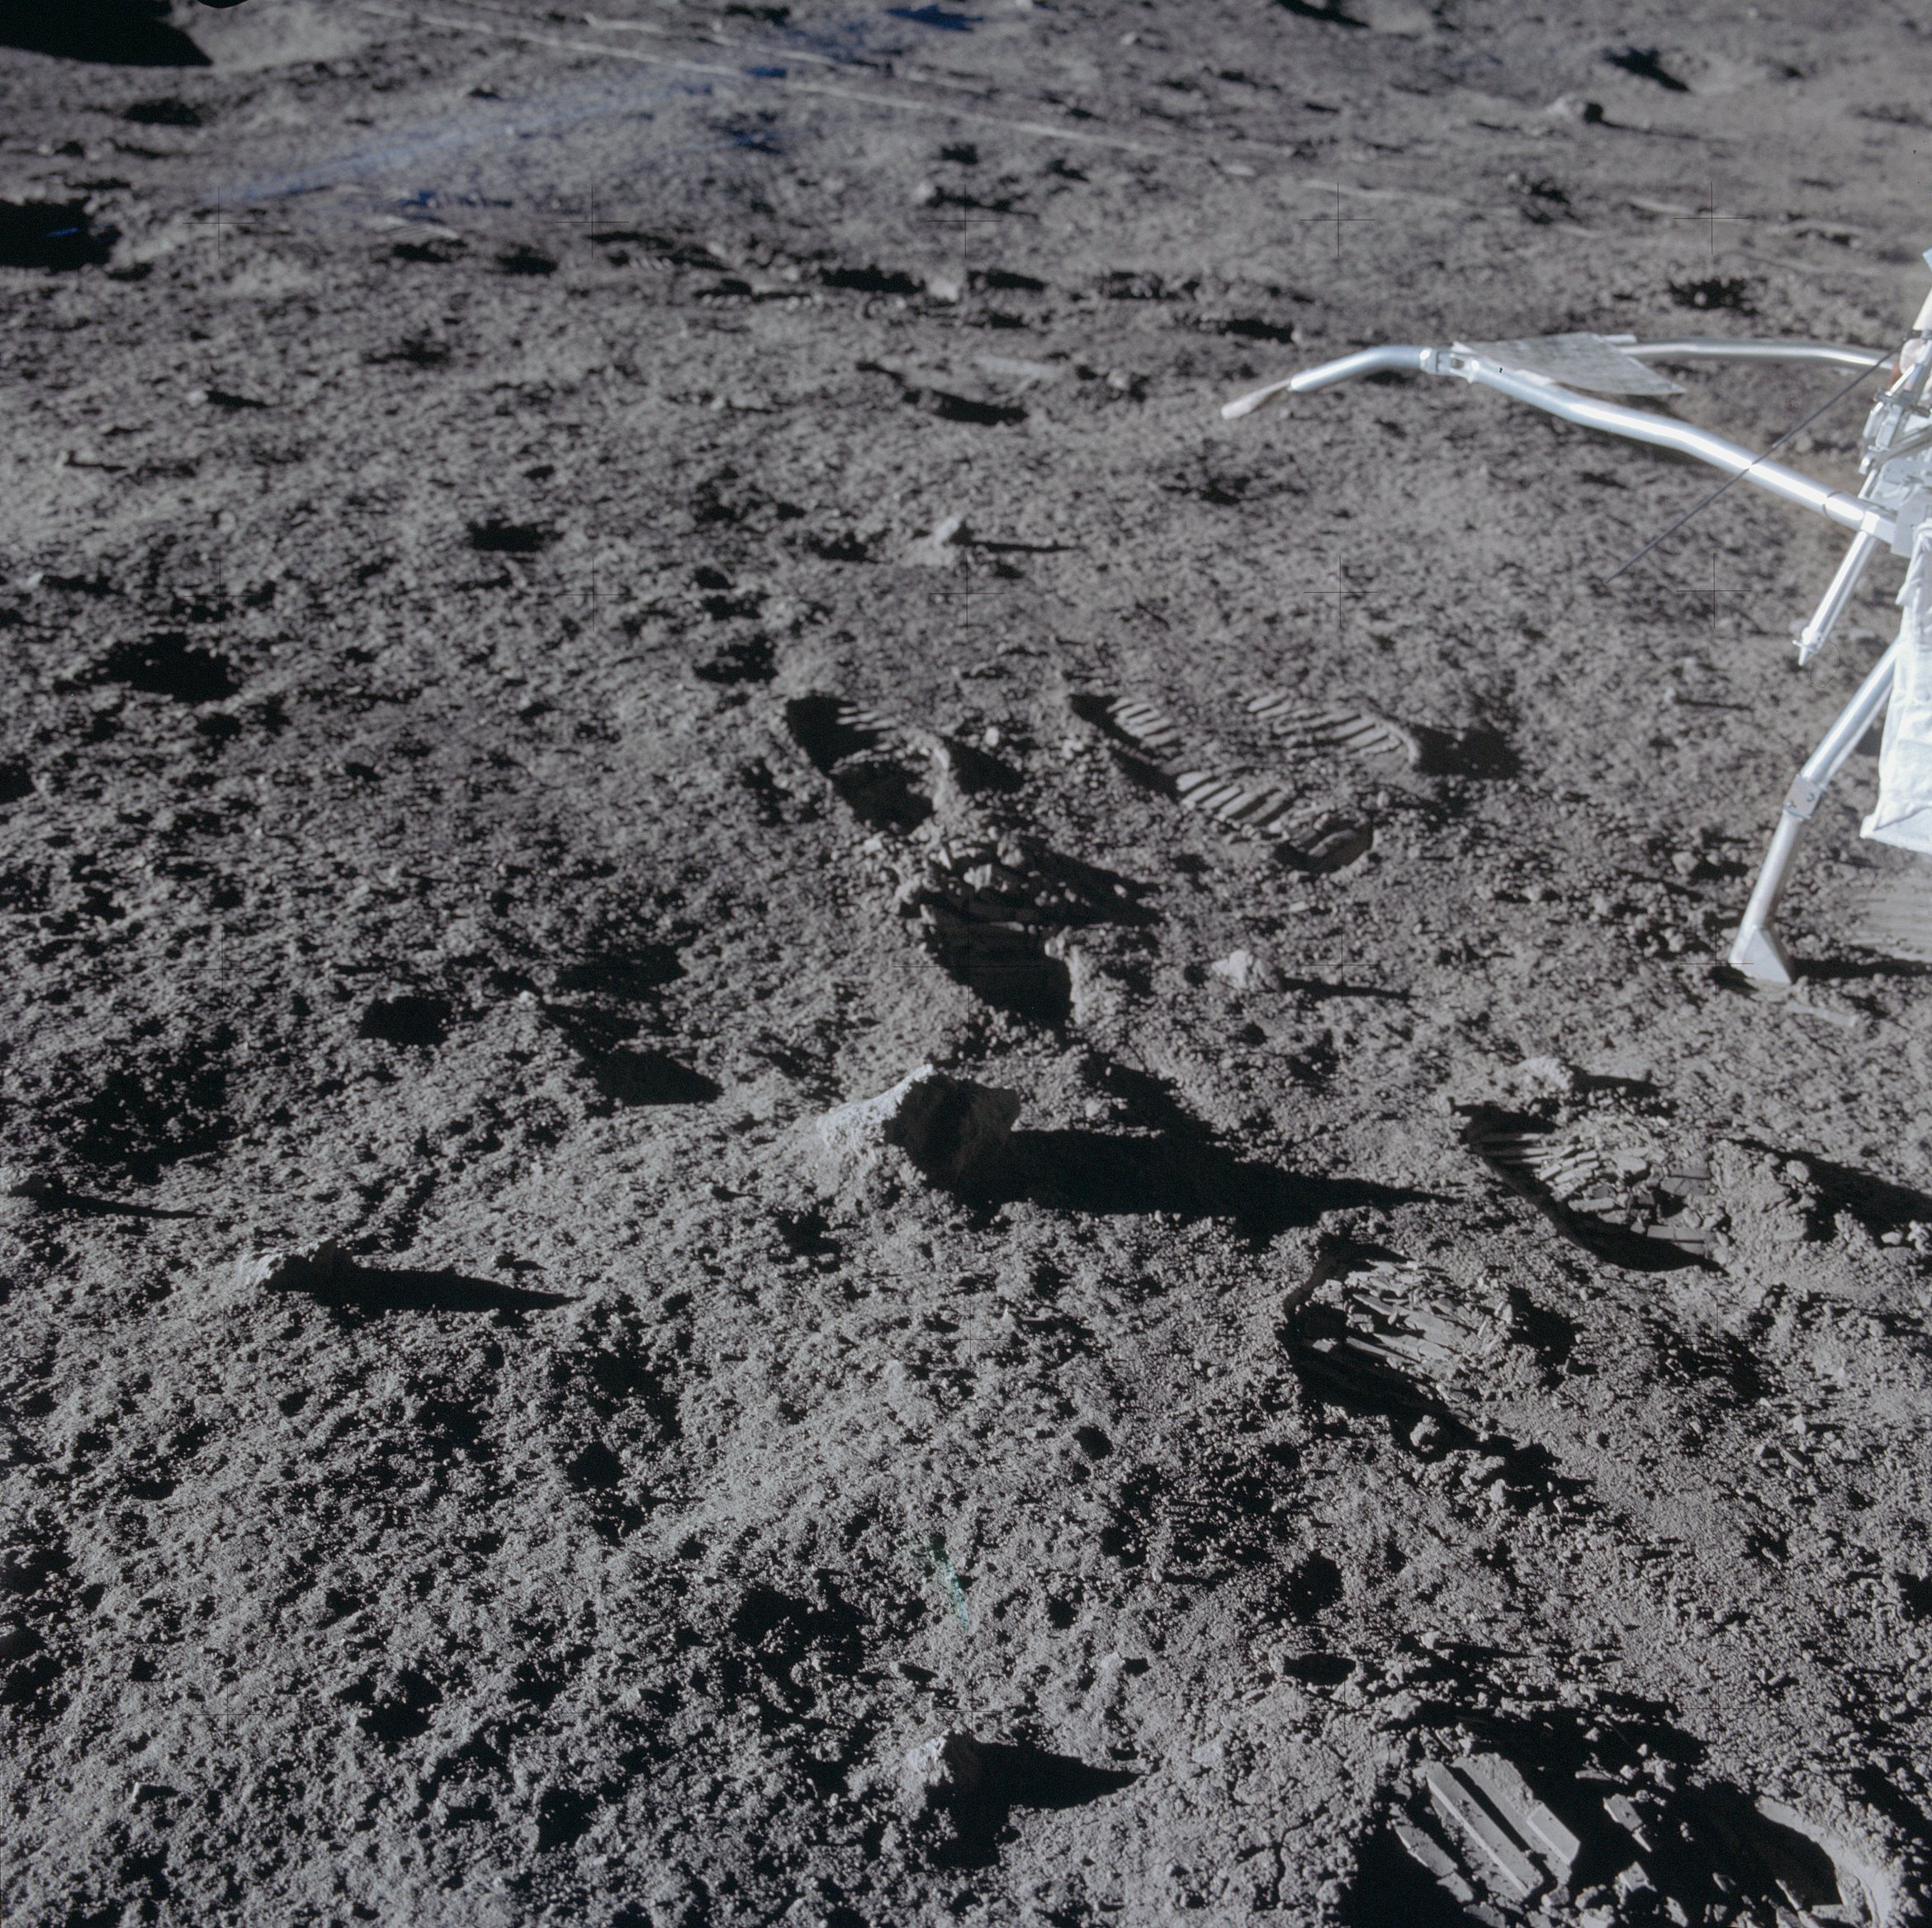 | AS14-67-9390 117:50:12 Cross-Sun to the south of Al's football-sized rocks. Image credit: Image Science and Analysis Laboratory, NASA-Johnson Space Center. |
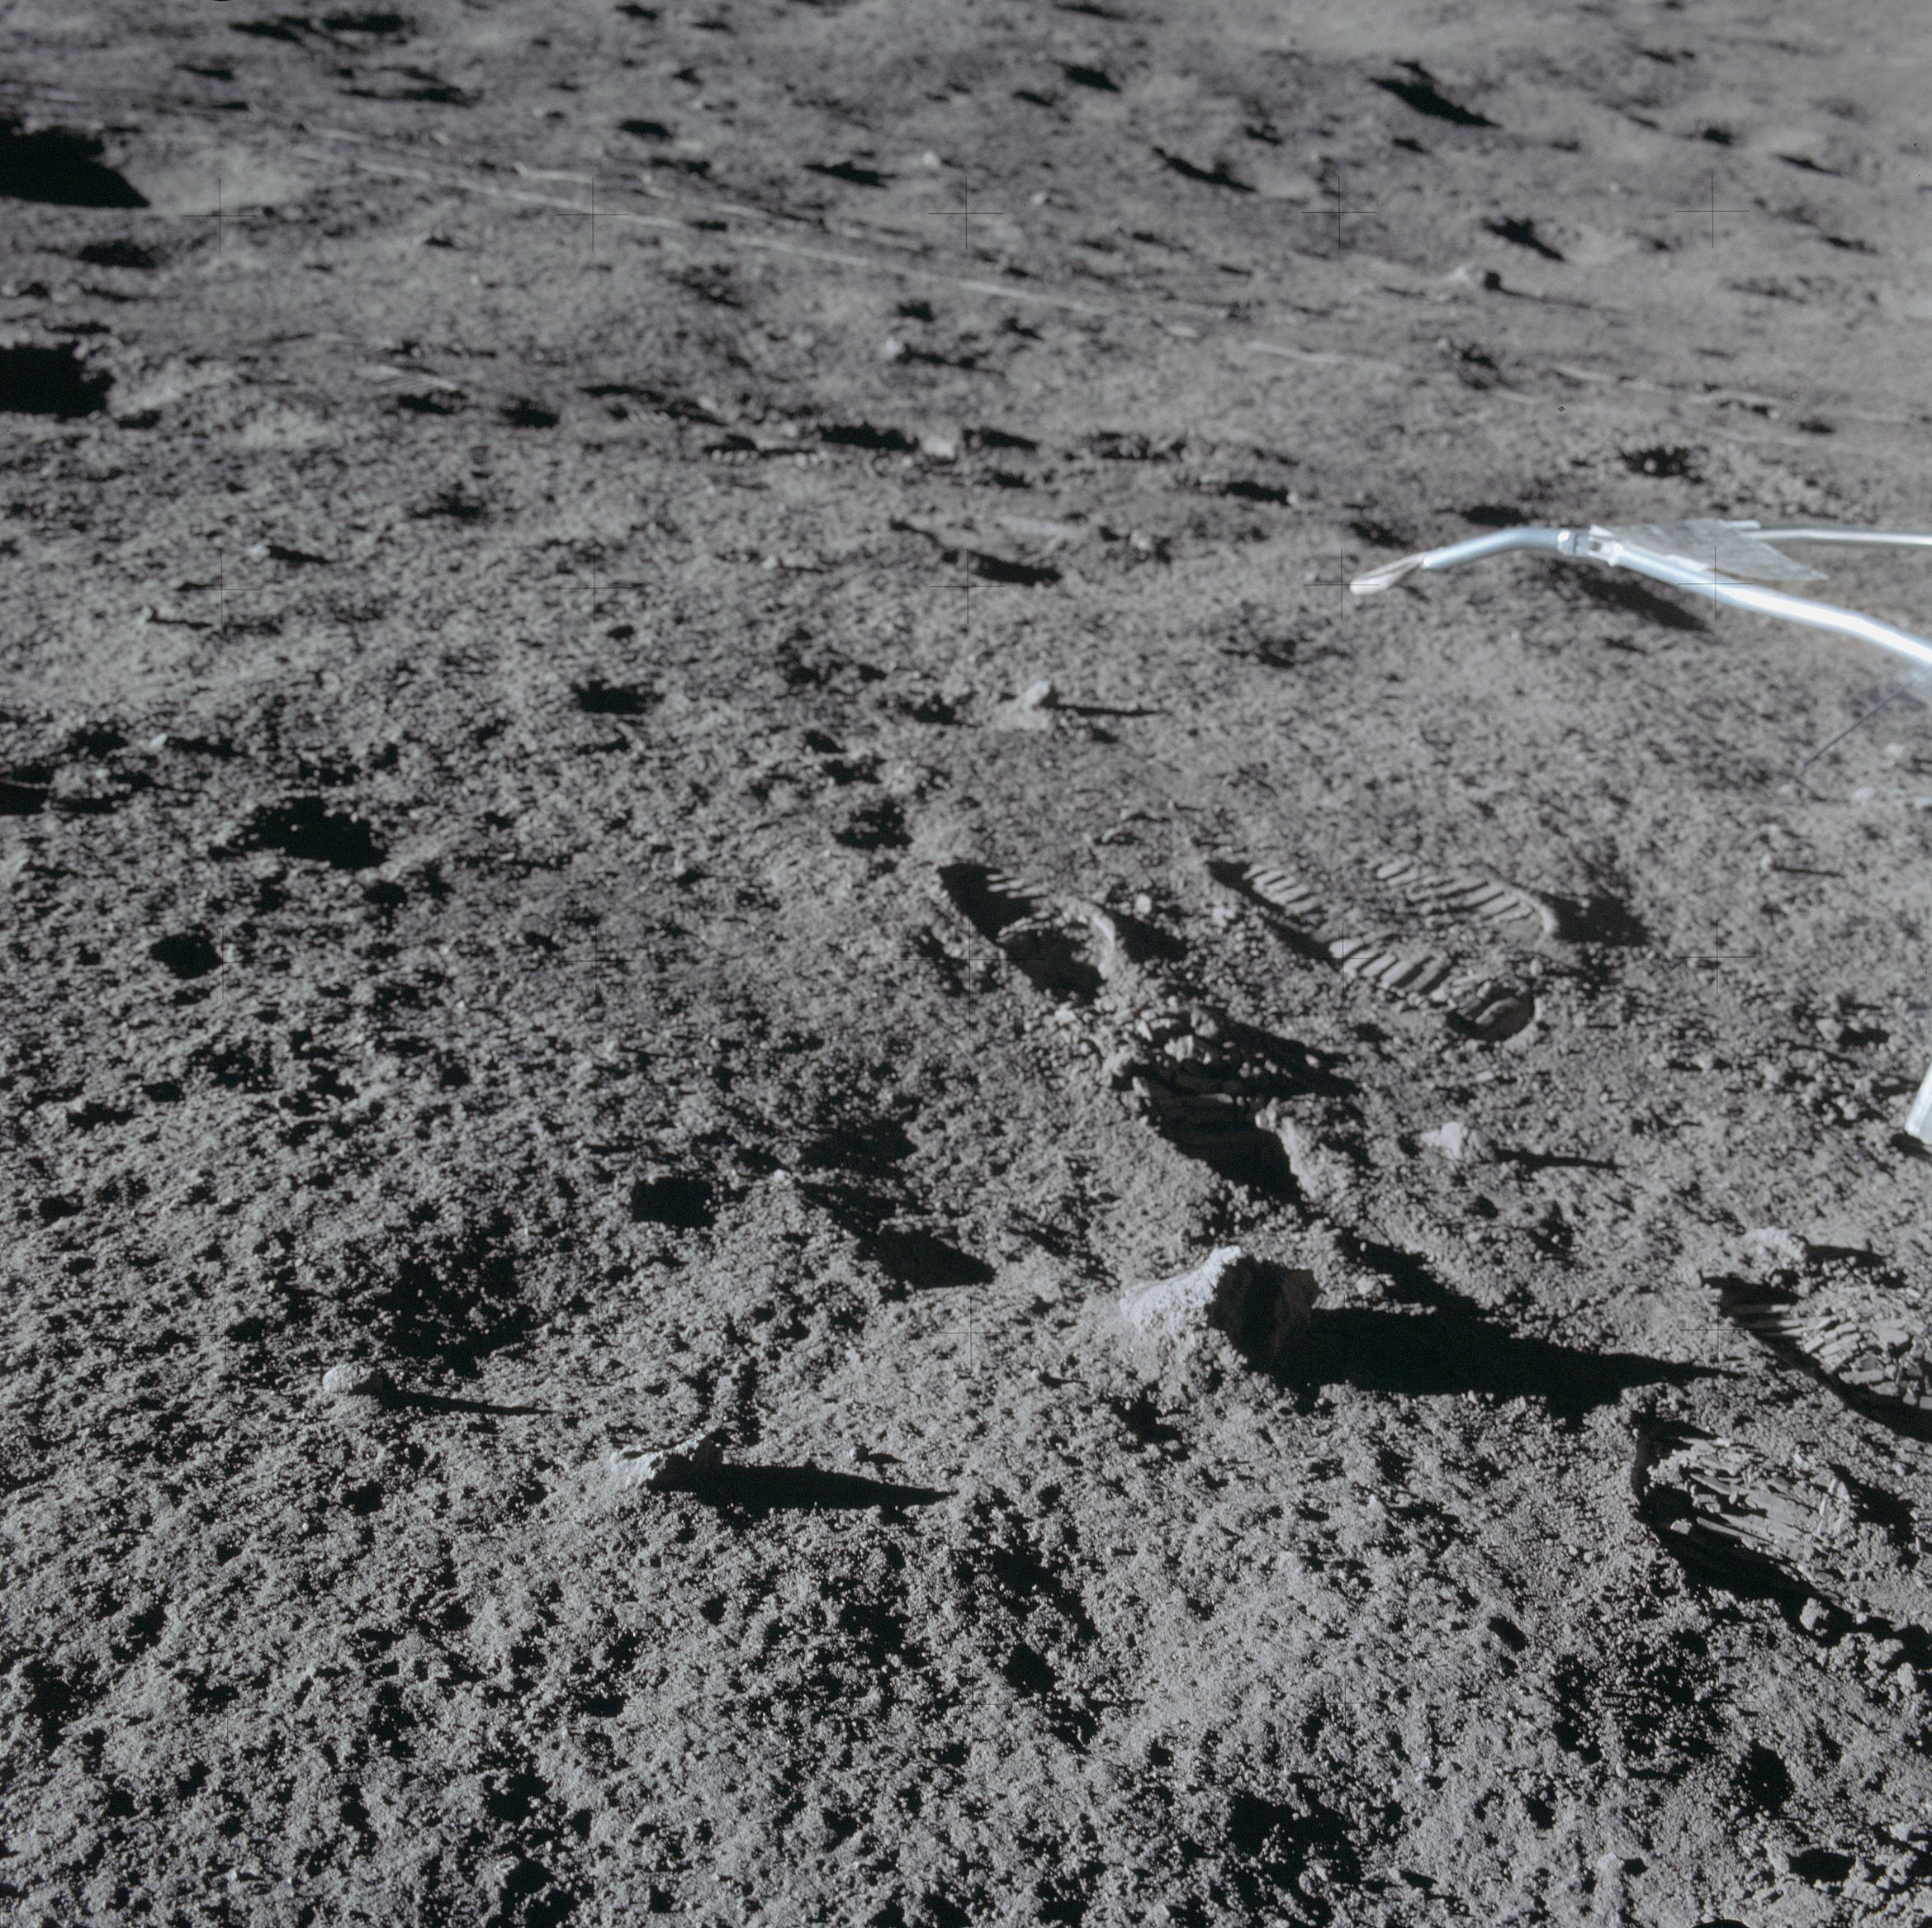 | AS14-67-9391 Al has stepped to his left to get a stereo companion to 9390. Image credit: Image Science and Analysis Laboratory, NASA-Johnson Space Center. |
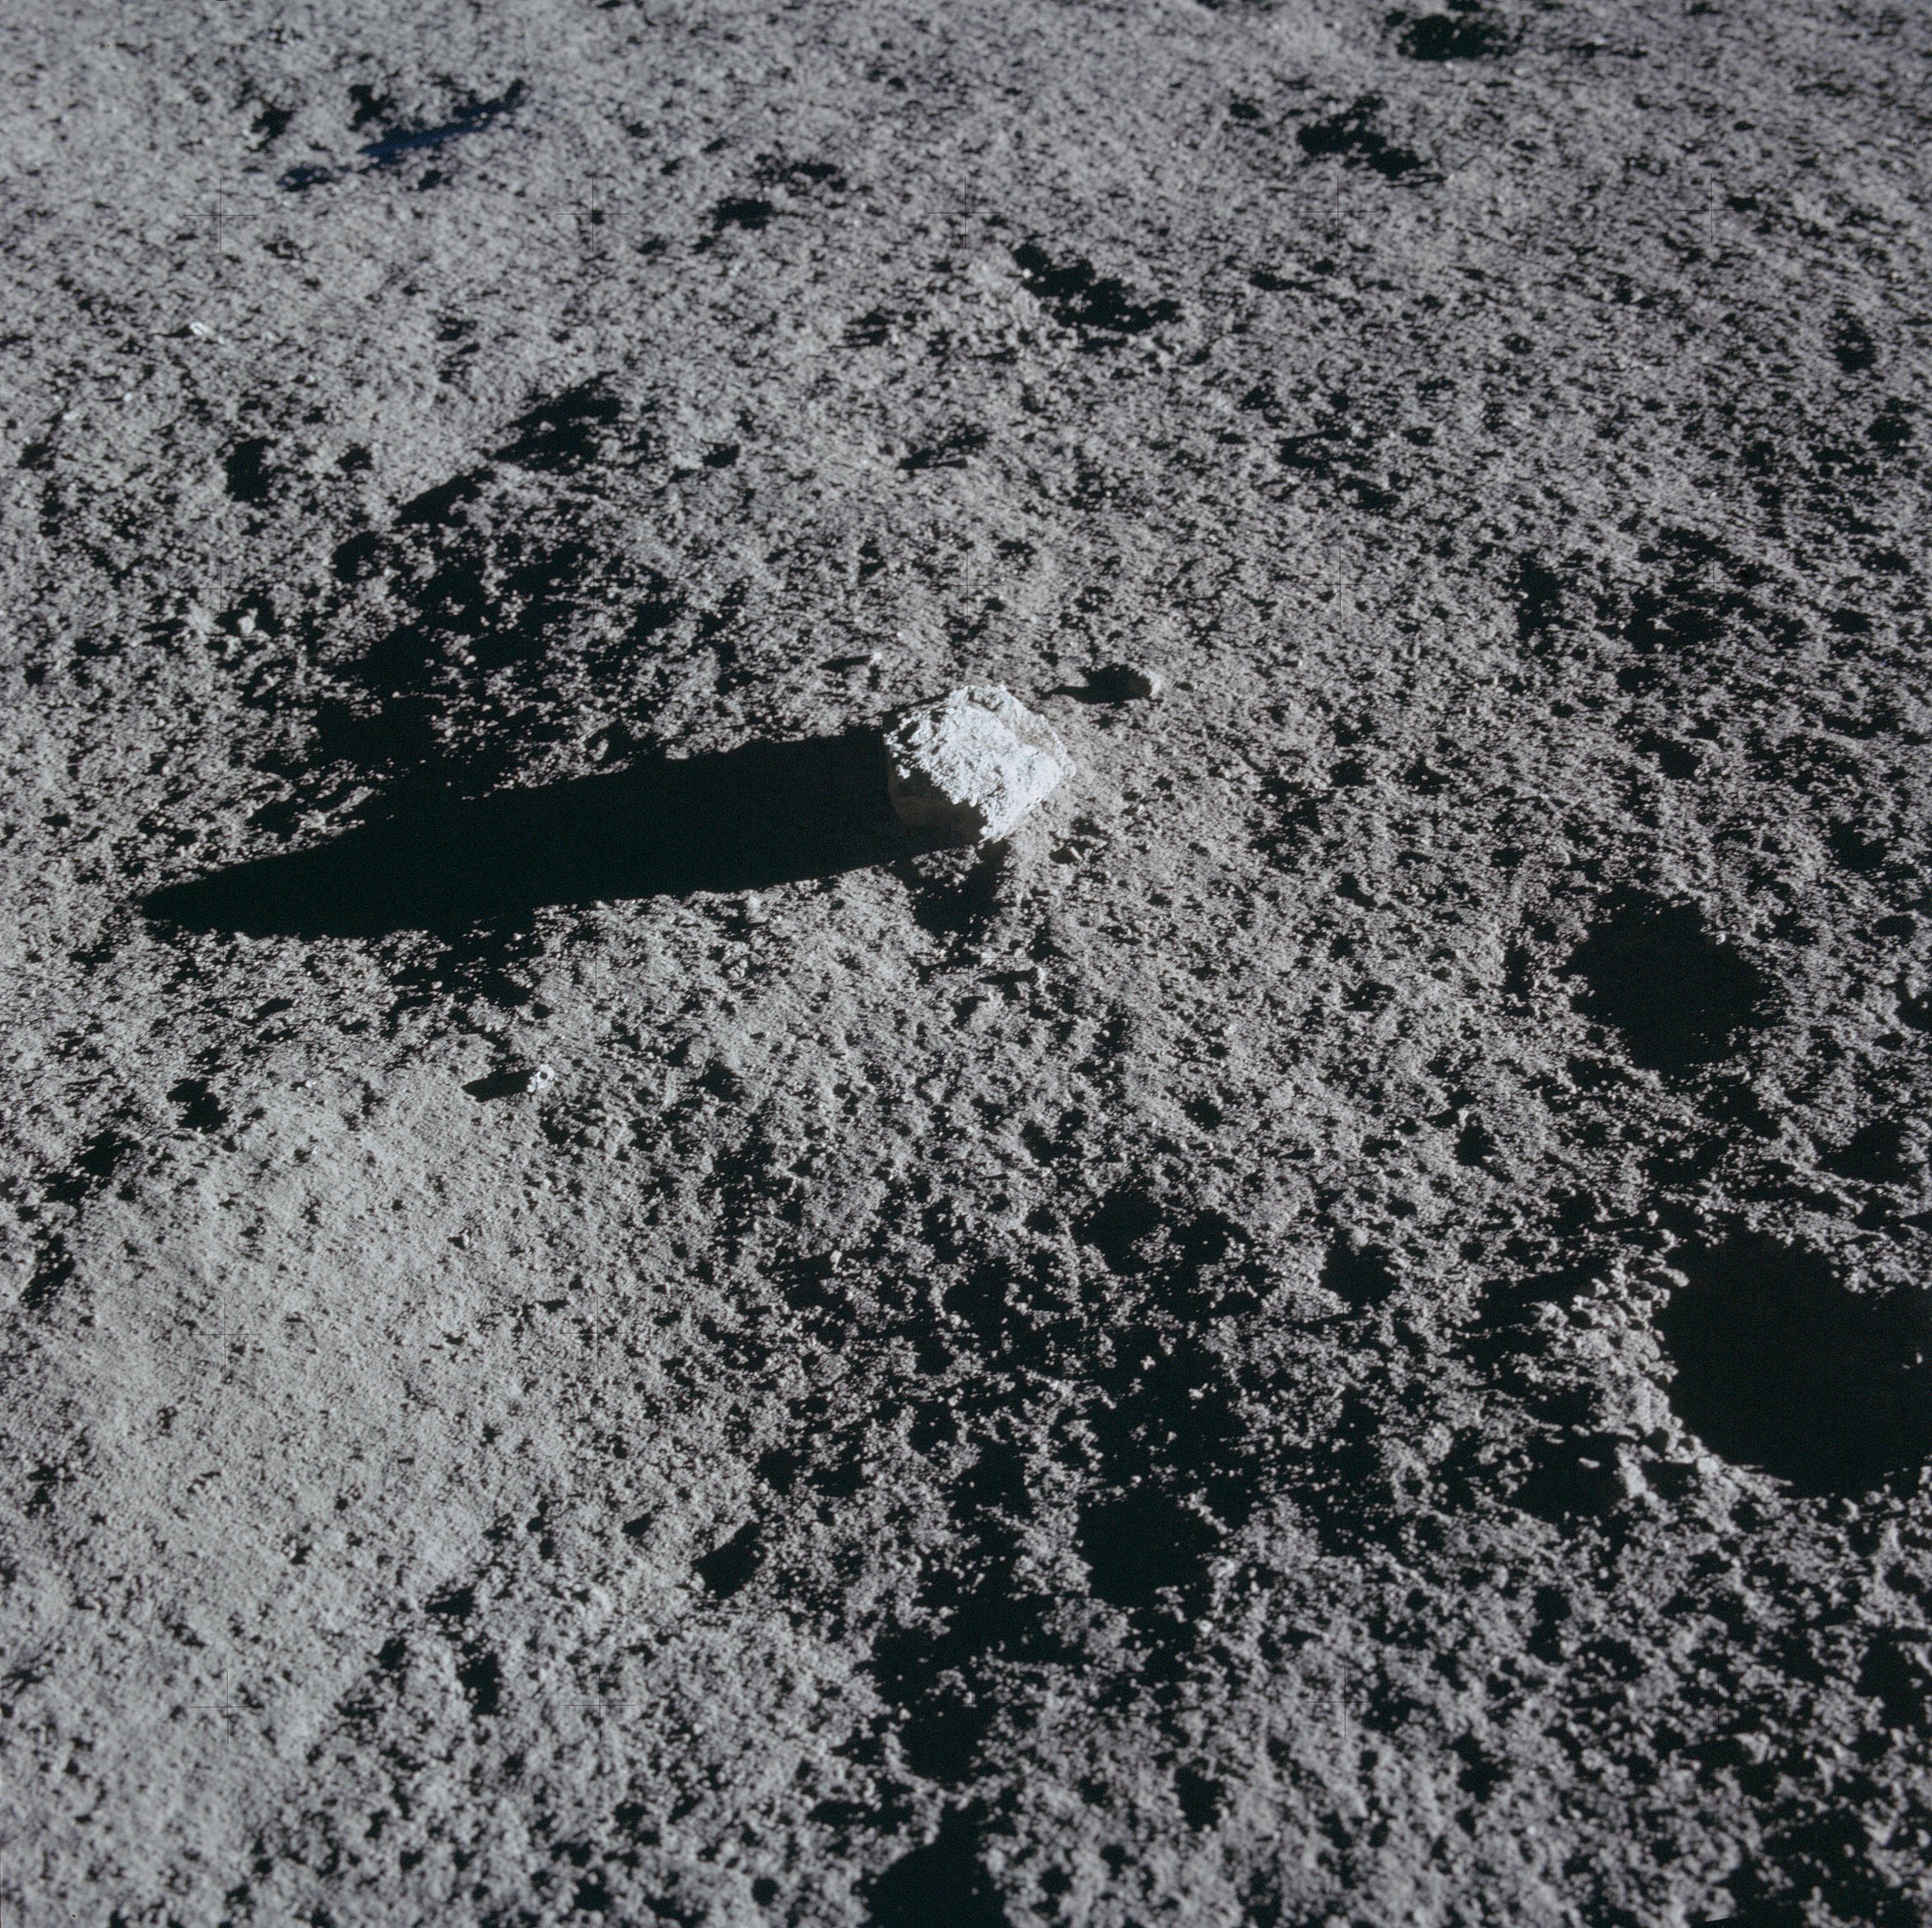 | AS14-67-9392 This picture is taken to the north of the same area shown in 9390 and 9391. Image credit: Image Science and Analysis Laboratory, NASA-Johnson Space Center. |
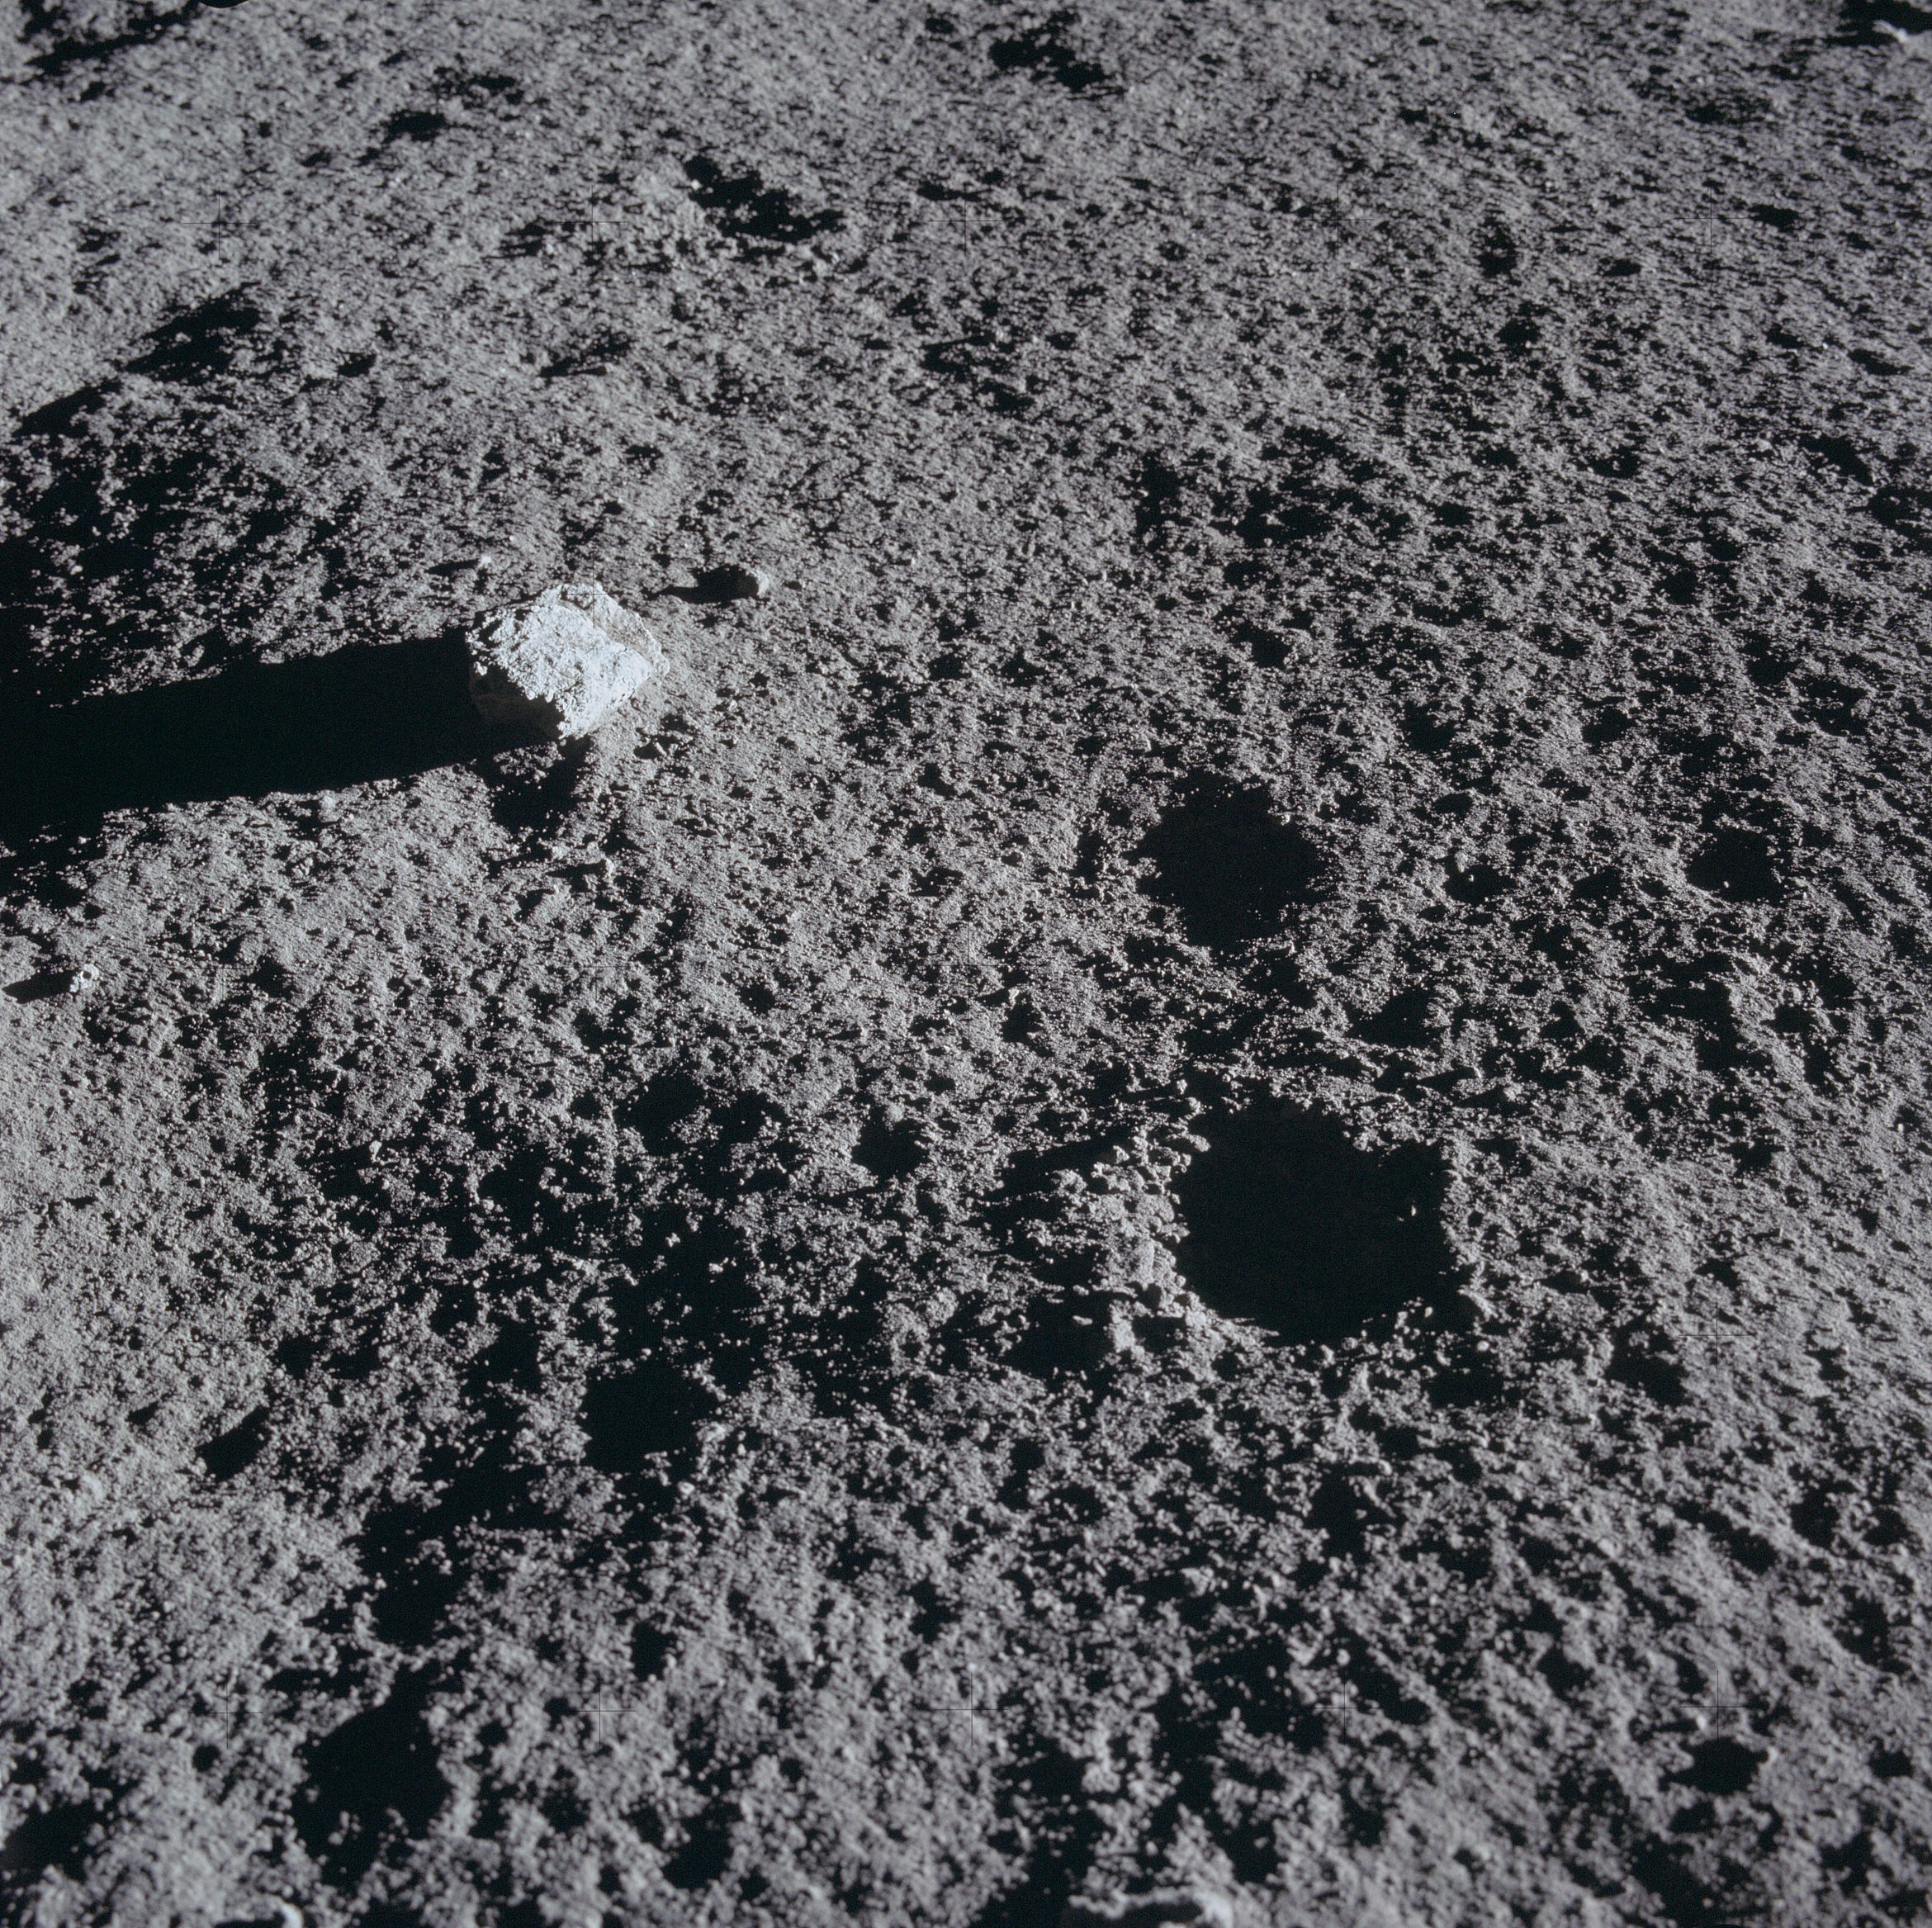 | AS14-67-9393 Similar to 9392. Image credit: Image Science and Analysis Laboratory, NASA-Johnson Space Center. |
| | |
| 70-mm magazine II - AS14-66-9216 to 9360 | Photography Index | 70-mm magazine MM - AS14-68-9393 to 9492 |