
 |  |  |
| 70-mm magazine KK - AS14-65-9202 to 9215 | Photography Index | 70-mm magazine JJ - AS14-67-9361 to 9393 |
No copyright is asserted for NASA photographs. If a recognizable person appears in a photo, use for commercial purposes may infringe a right of privacy or publicity. Photos may not be used to state or imply the endorsement by NASA or by any NASA employee of a commercial product, process or service, or used in any other manner that might mislead. Accordingly, it is requested that if a NASA photograph is used in advertising and other commercial promotion, layout and copy be submitted to NASA prior to release. NASA photos reproduced from this archive should include photo credit to "NASA" or "National Aeronautics and Space Administration" and should include scanning credit to the appropriate individuals or agencies as noted in the captions.
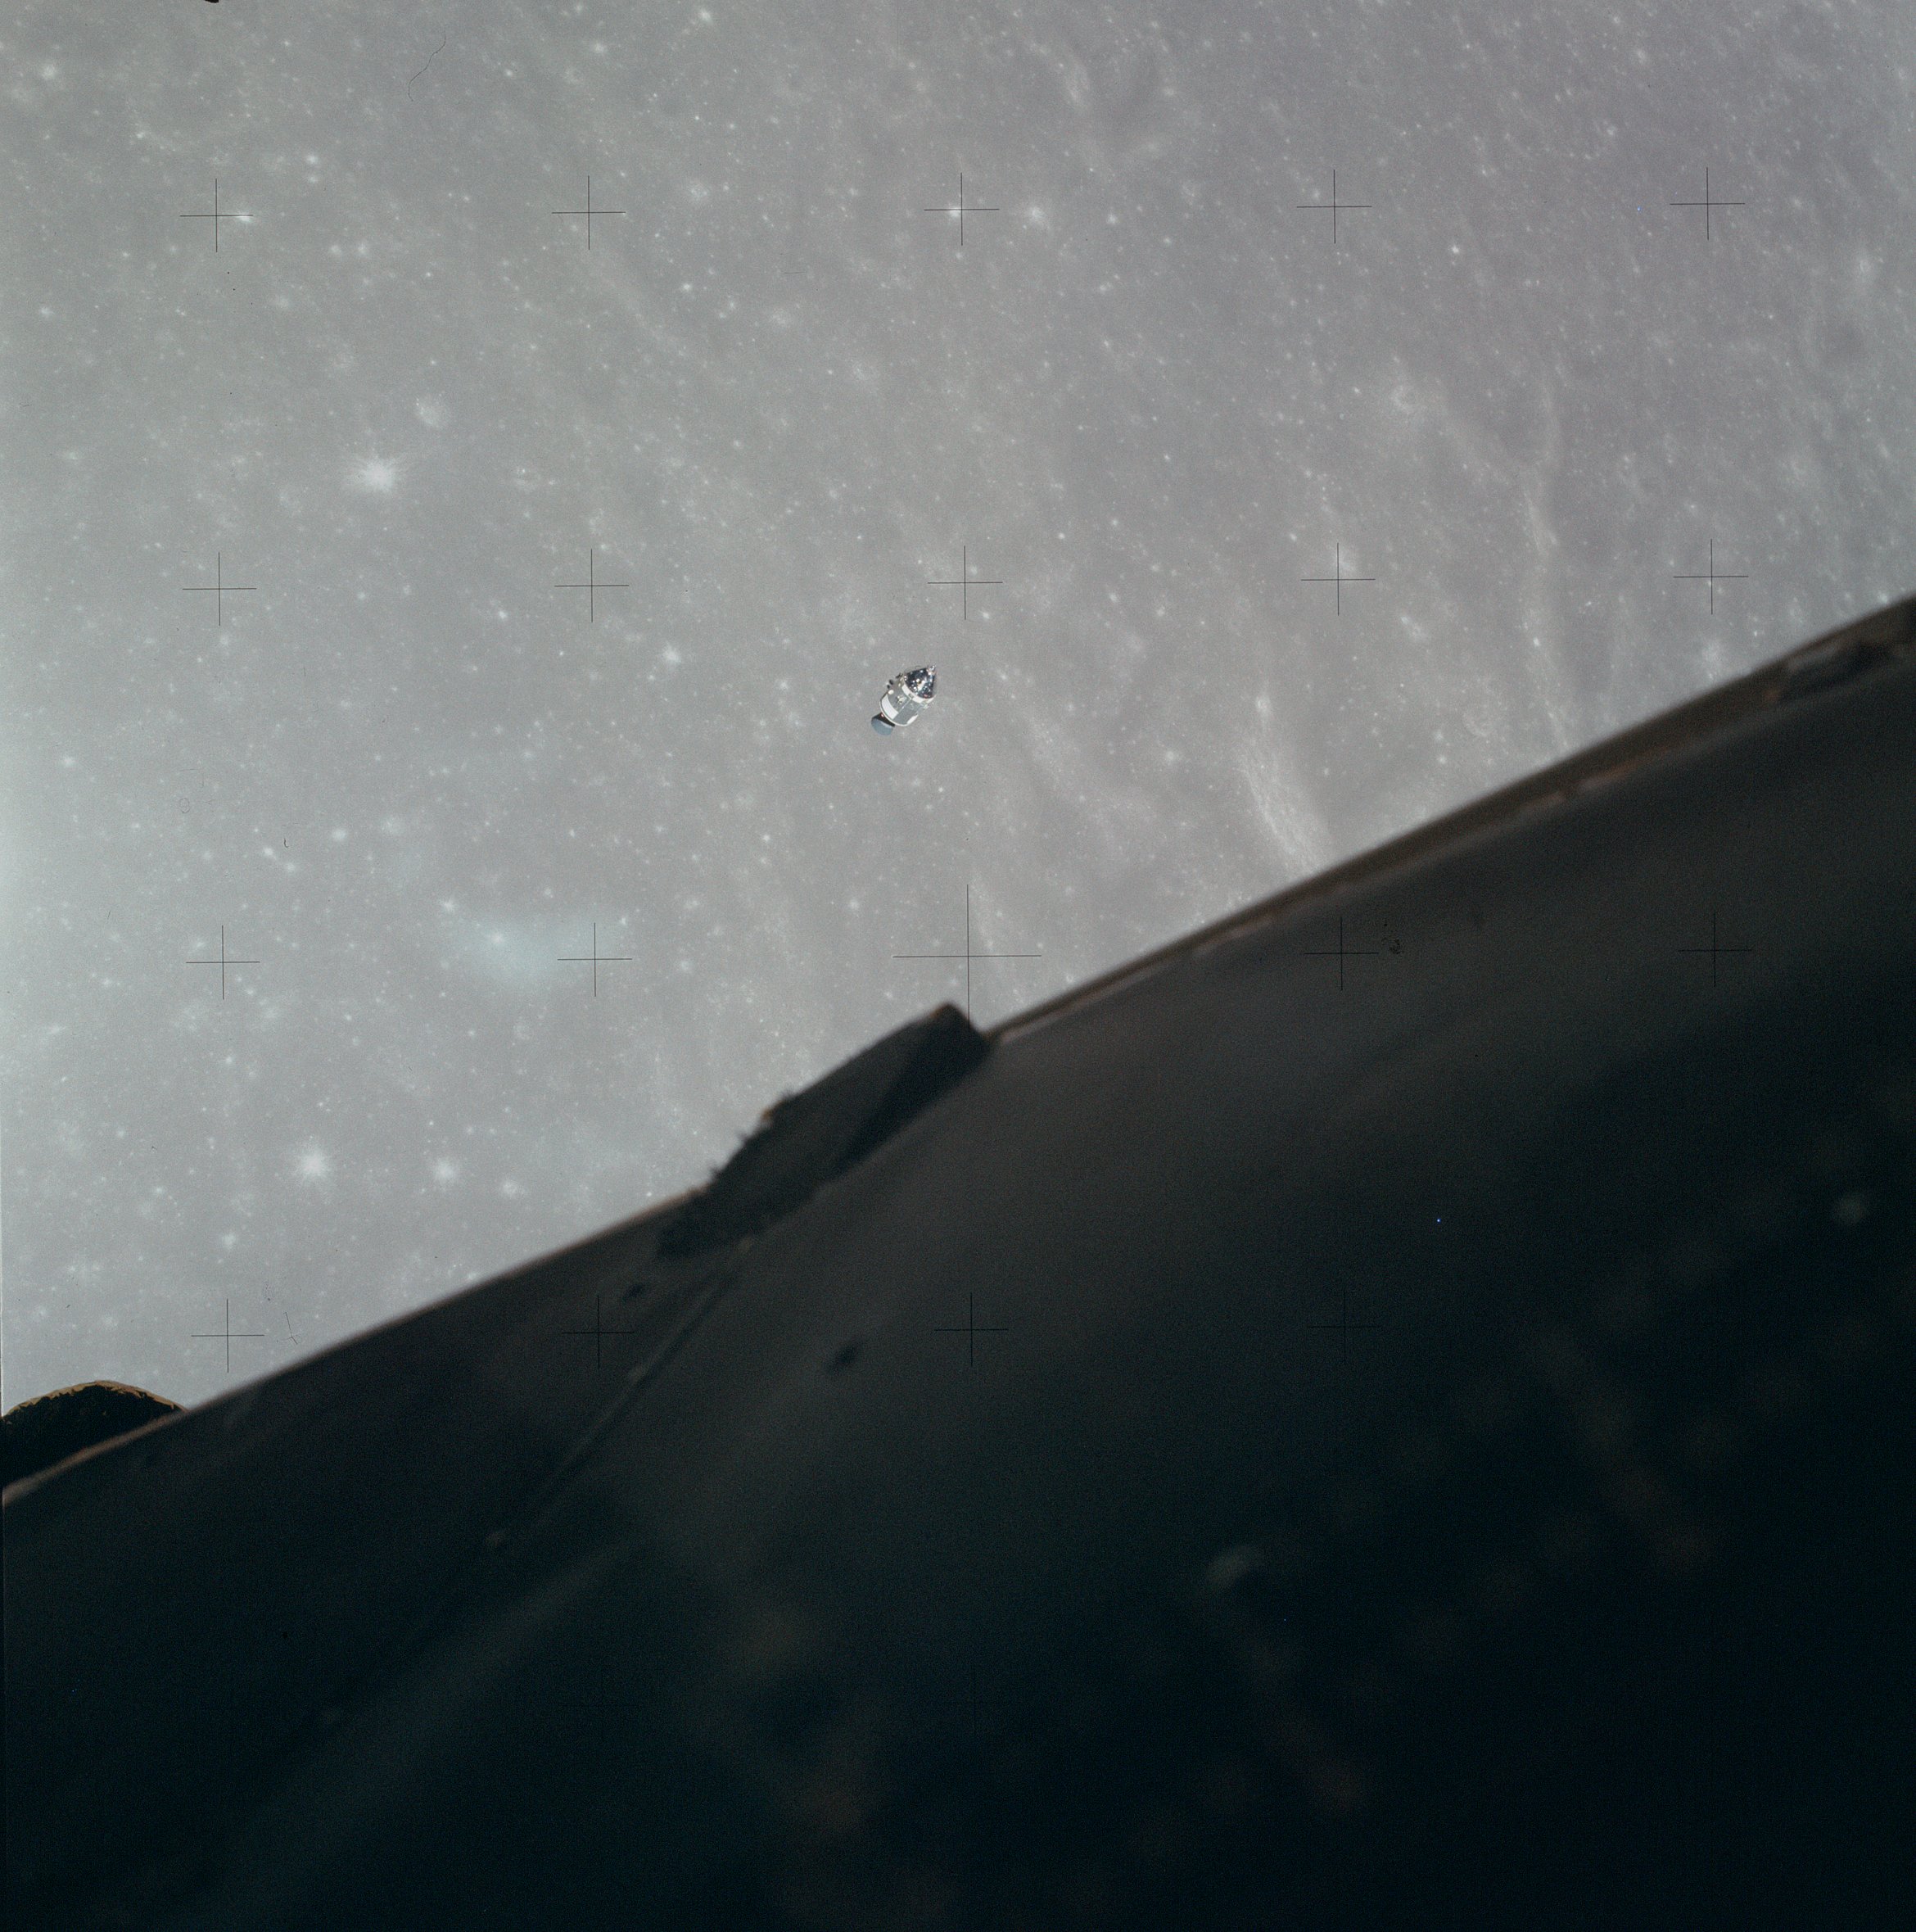 | AS14-66-9216 CSM with the lunar surface below it, from the LM. Image credit: Image Science and Analysis Laboratory, NASA-Johnson Space Center. |
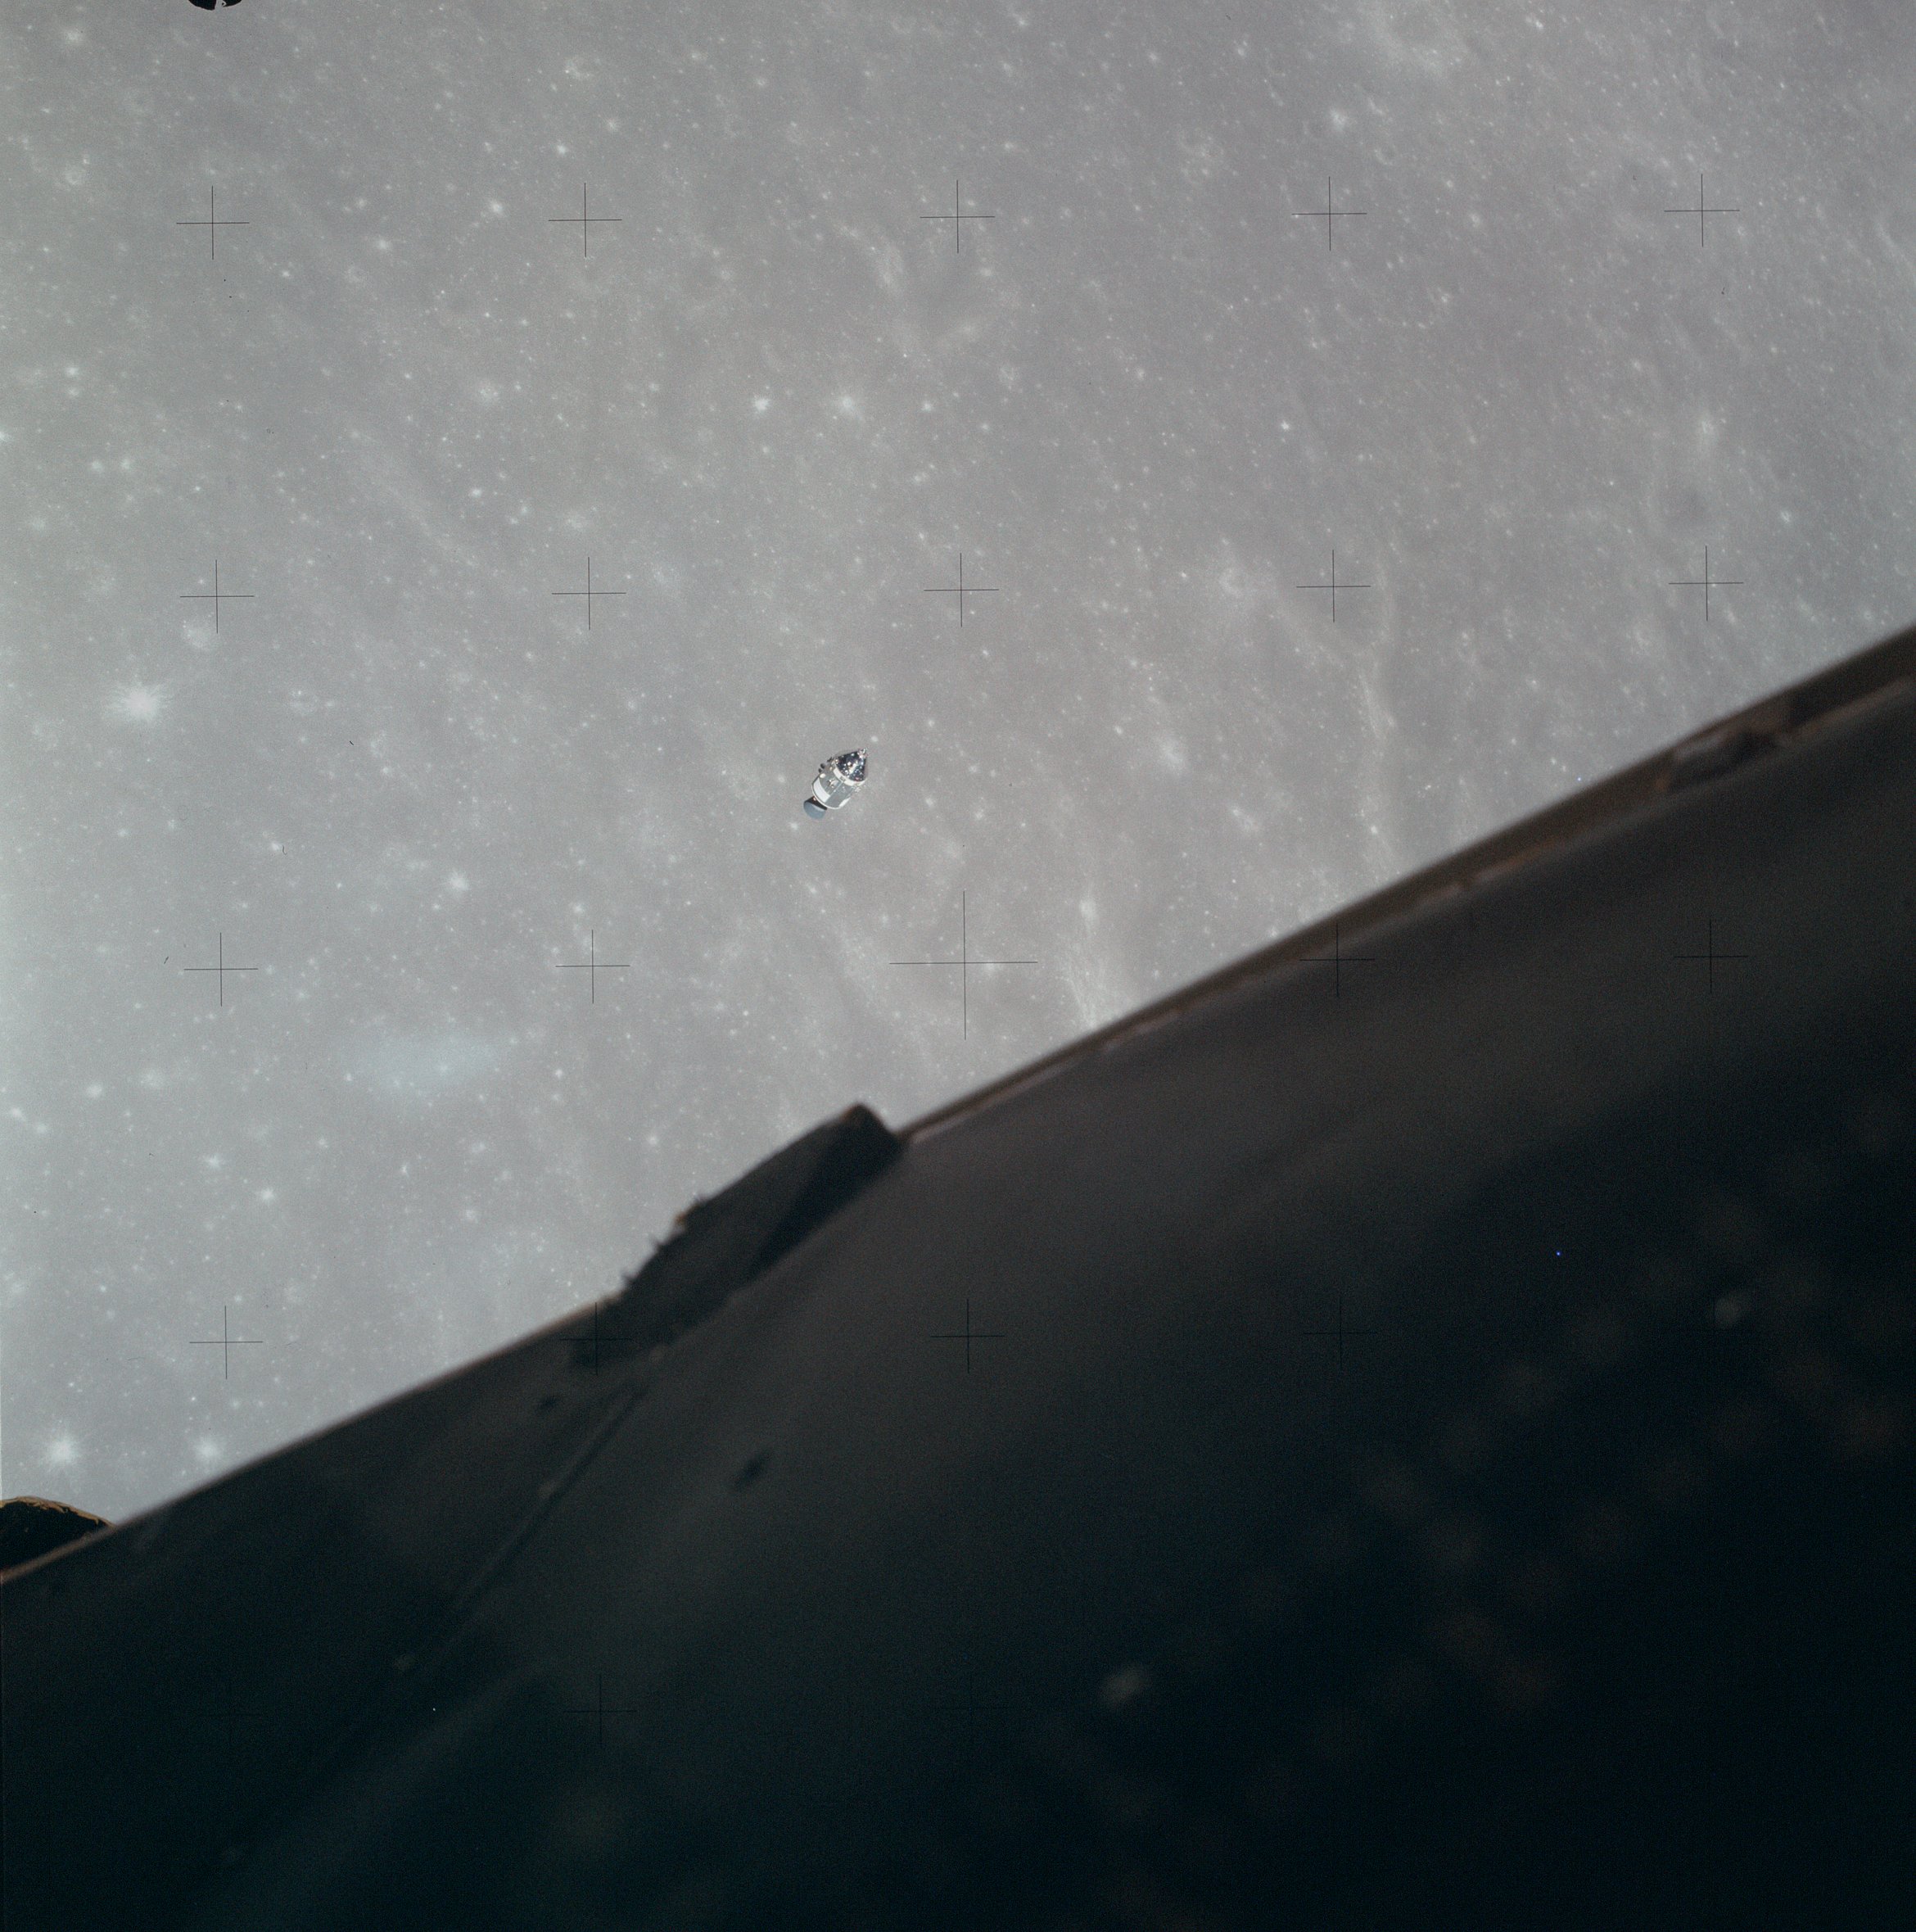 | AS14-66-9217 Similar to 9216. Image credit: Image Science and Analysis Laboratory, NASA-Johnson Space Center. |
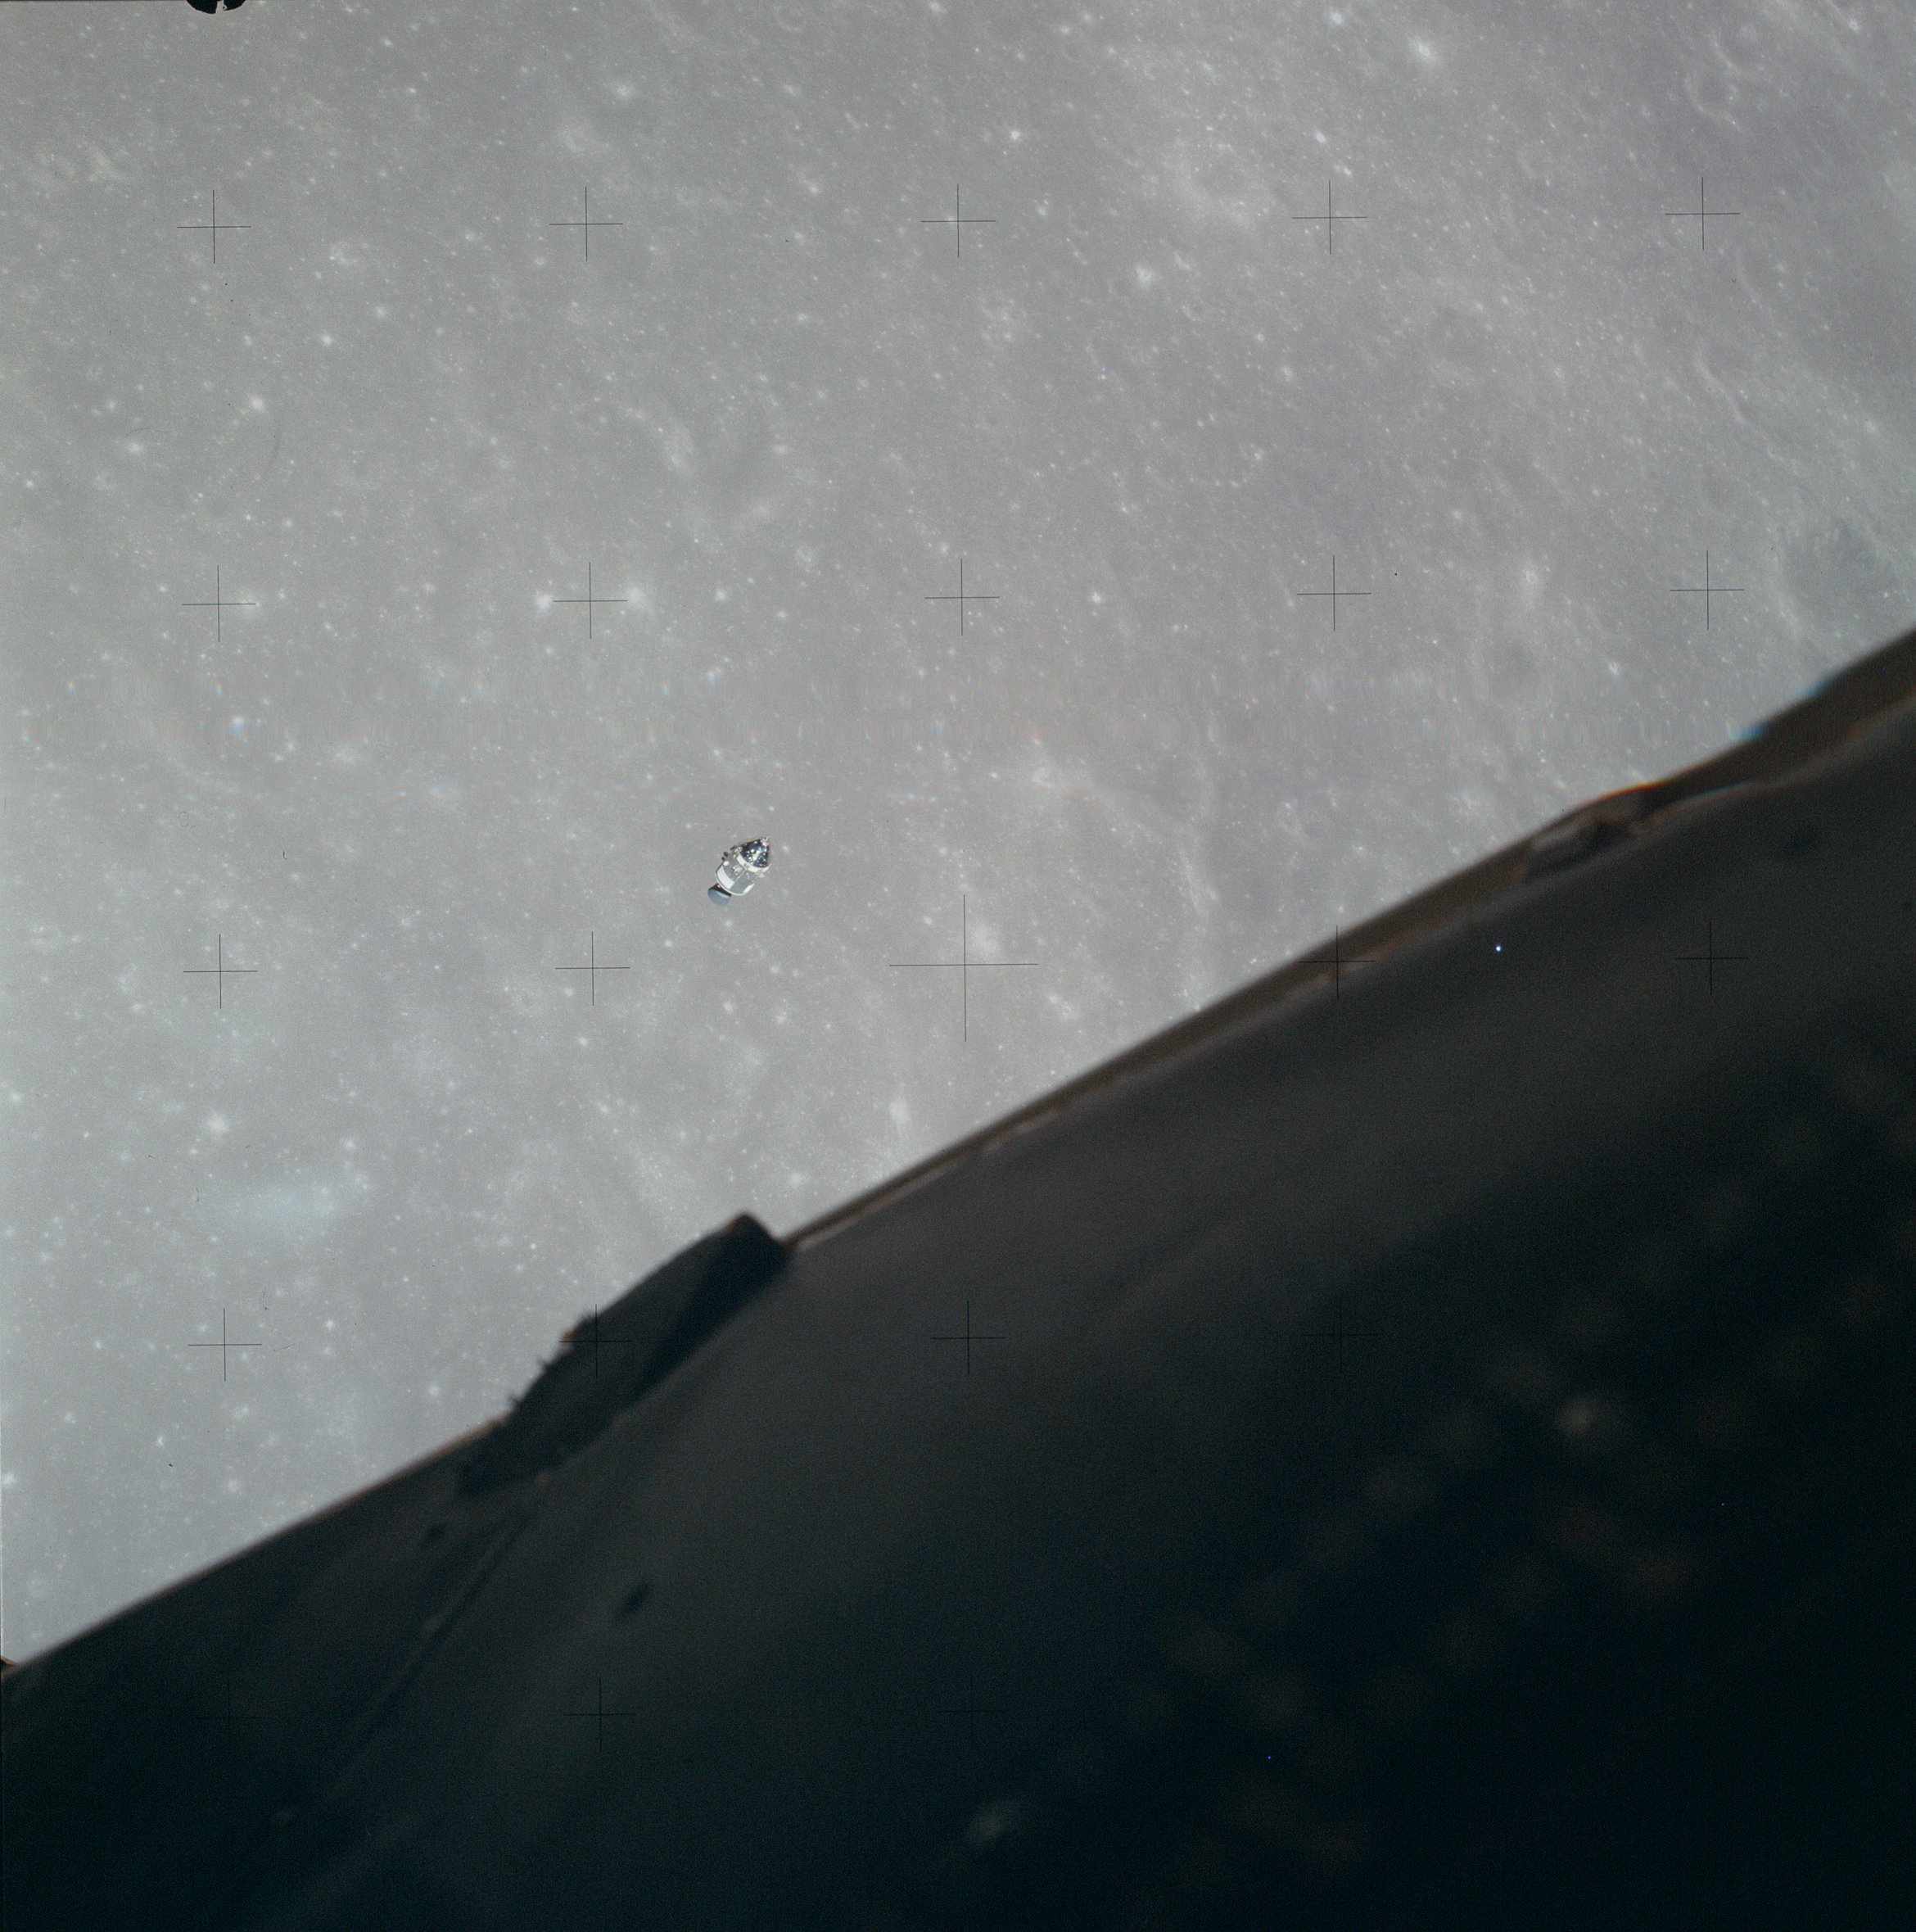 | AS14-66-9218 Similar to 9216. Image credit: Image Science and Analysis Laboratory, NASA-Johnson Space Center. |
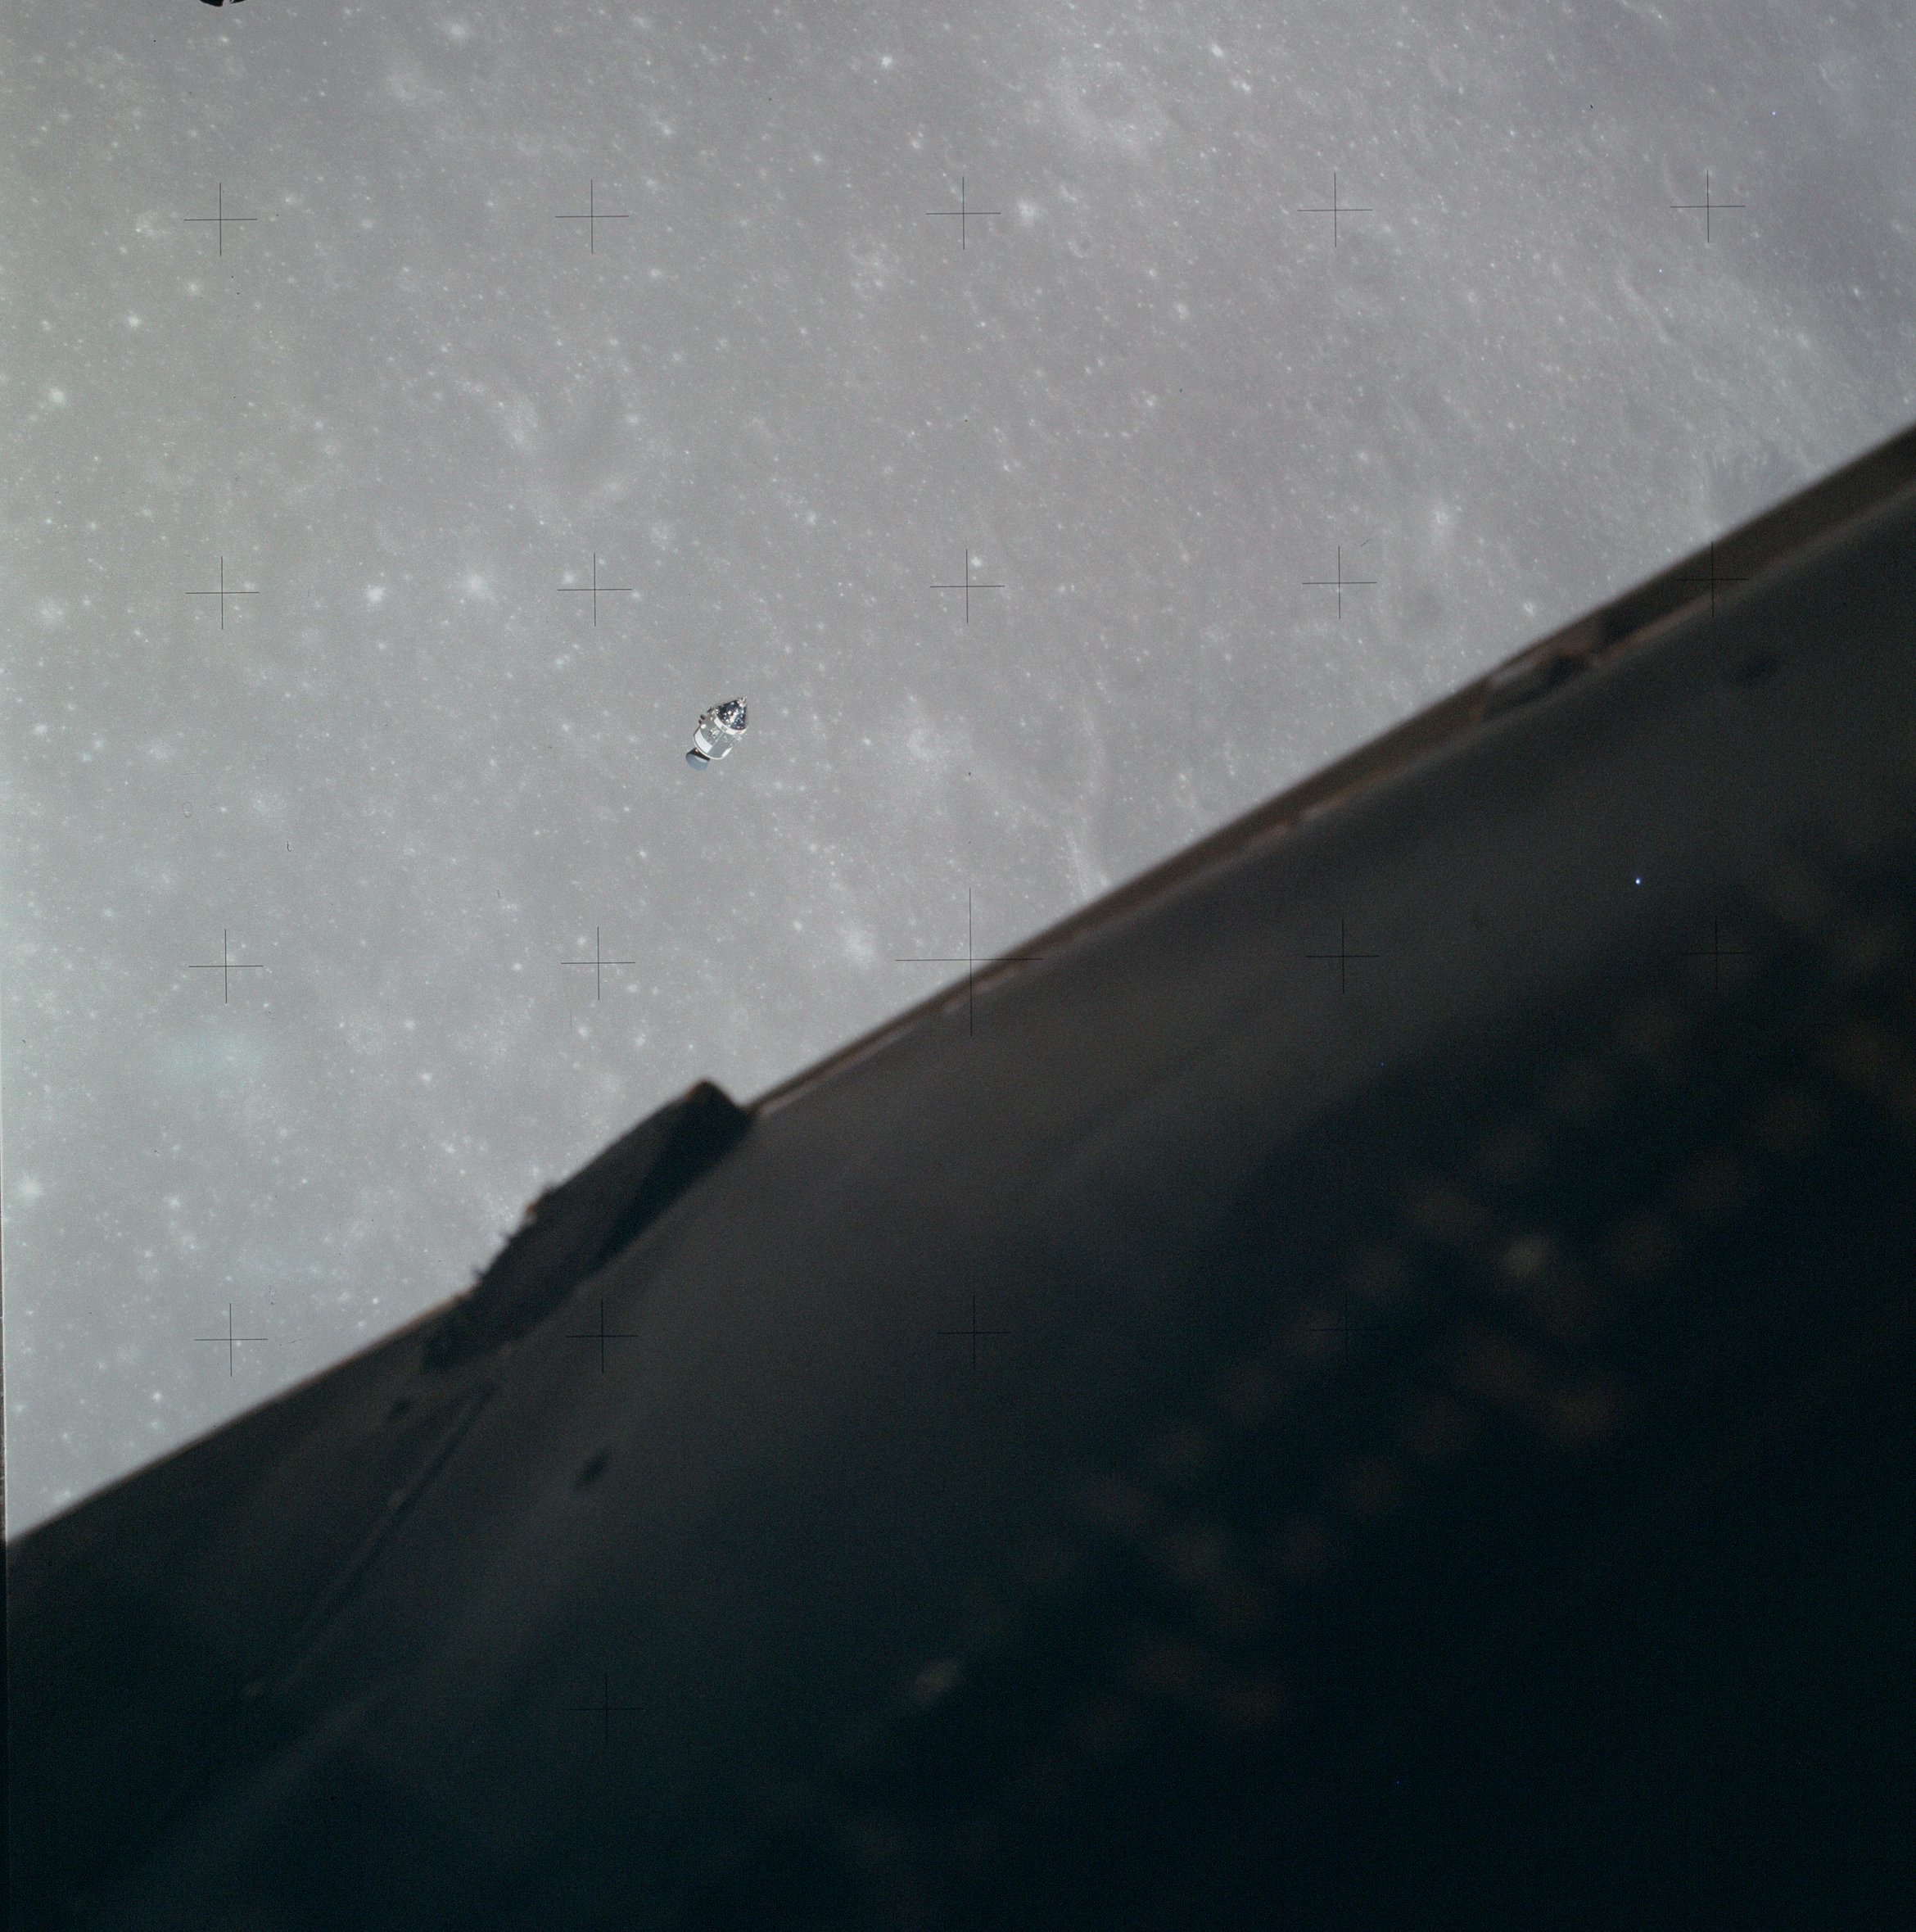 | AS14-66-9219 Similar to 9216. Image credit: Image Science and Analysis Laboratory, NASA-Johnson Space Center. |
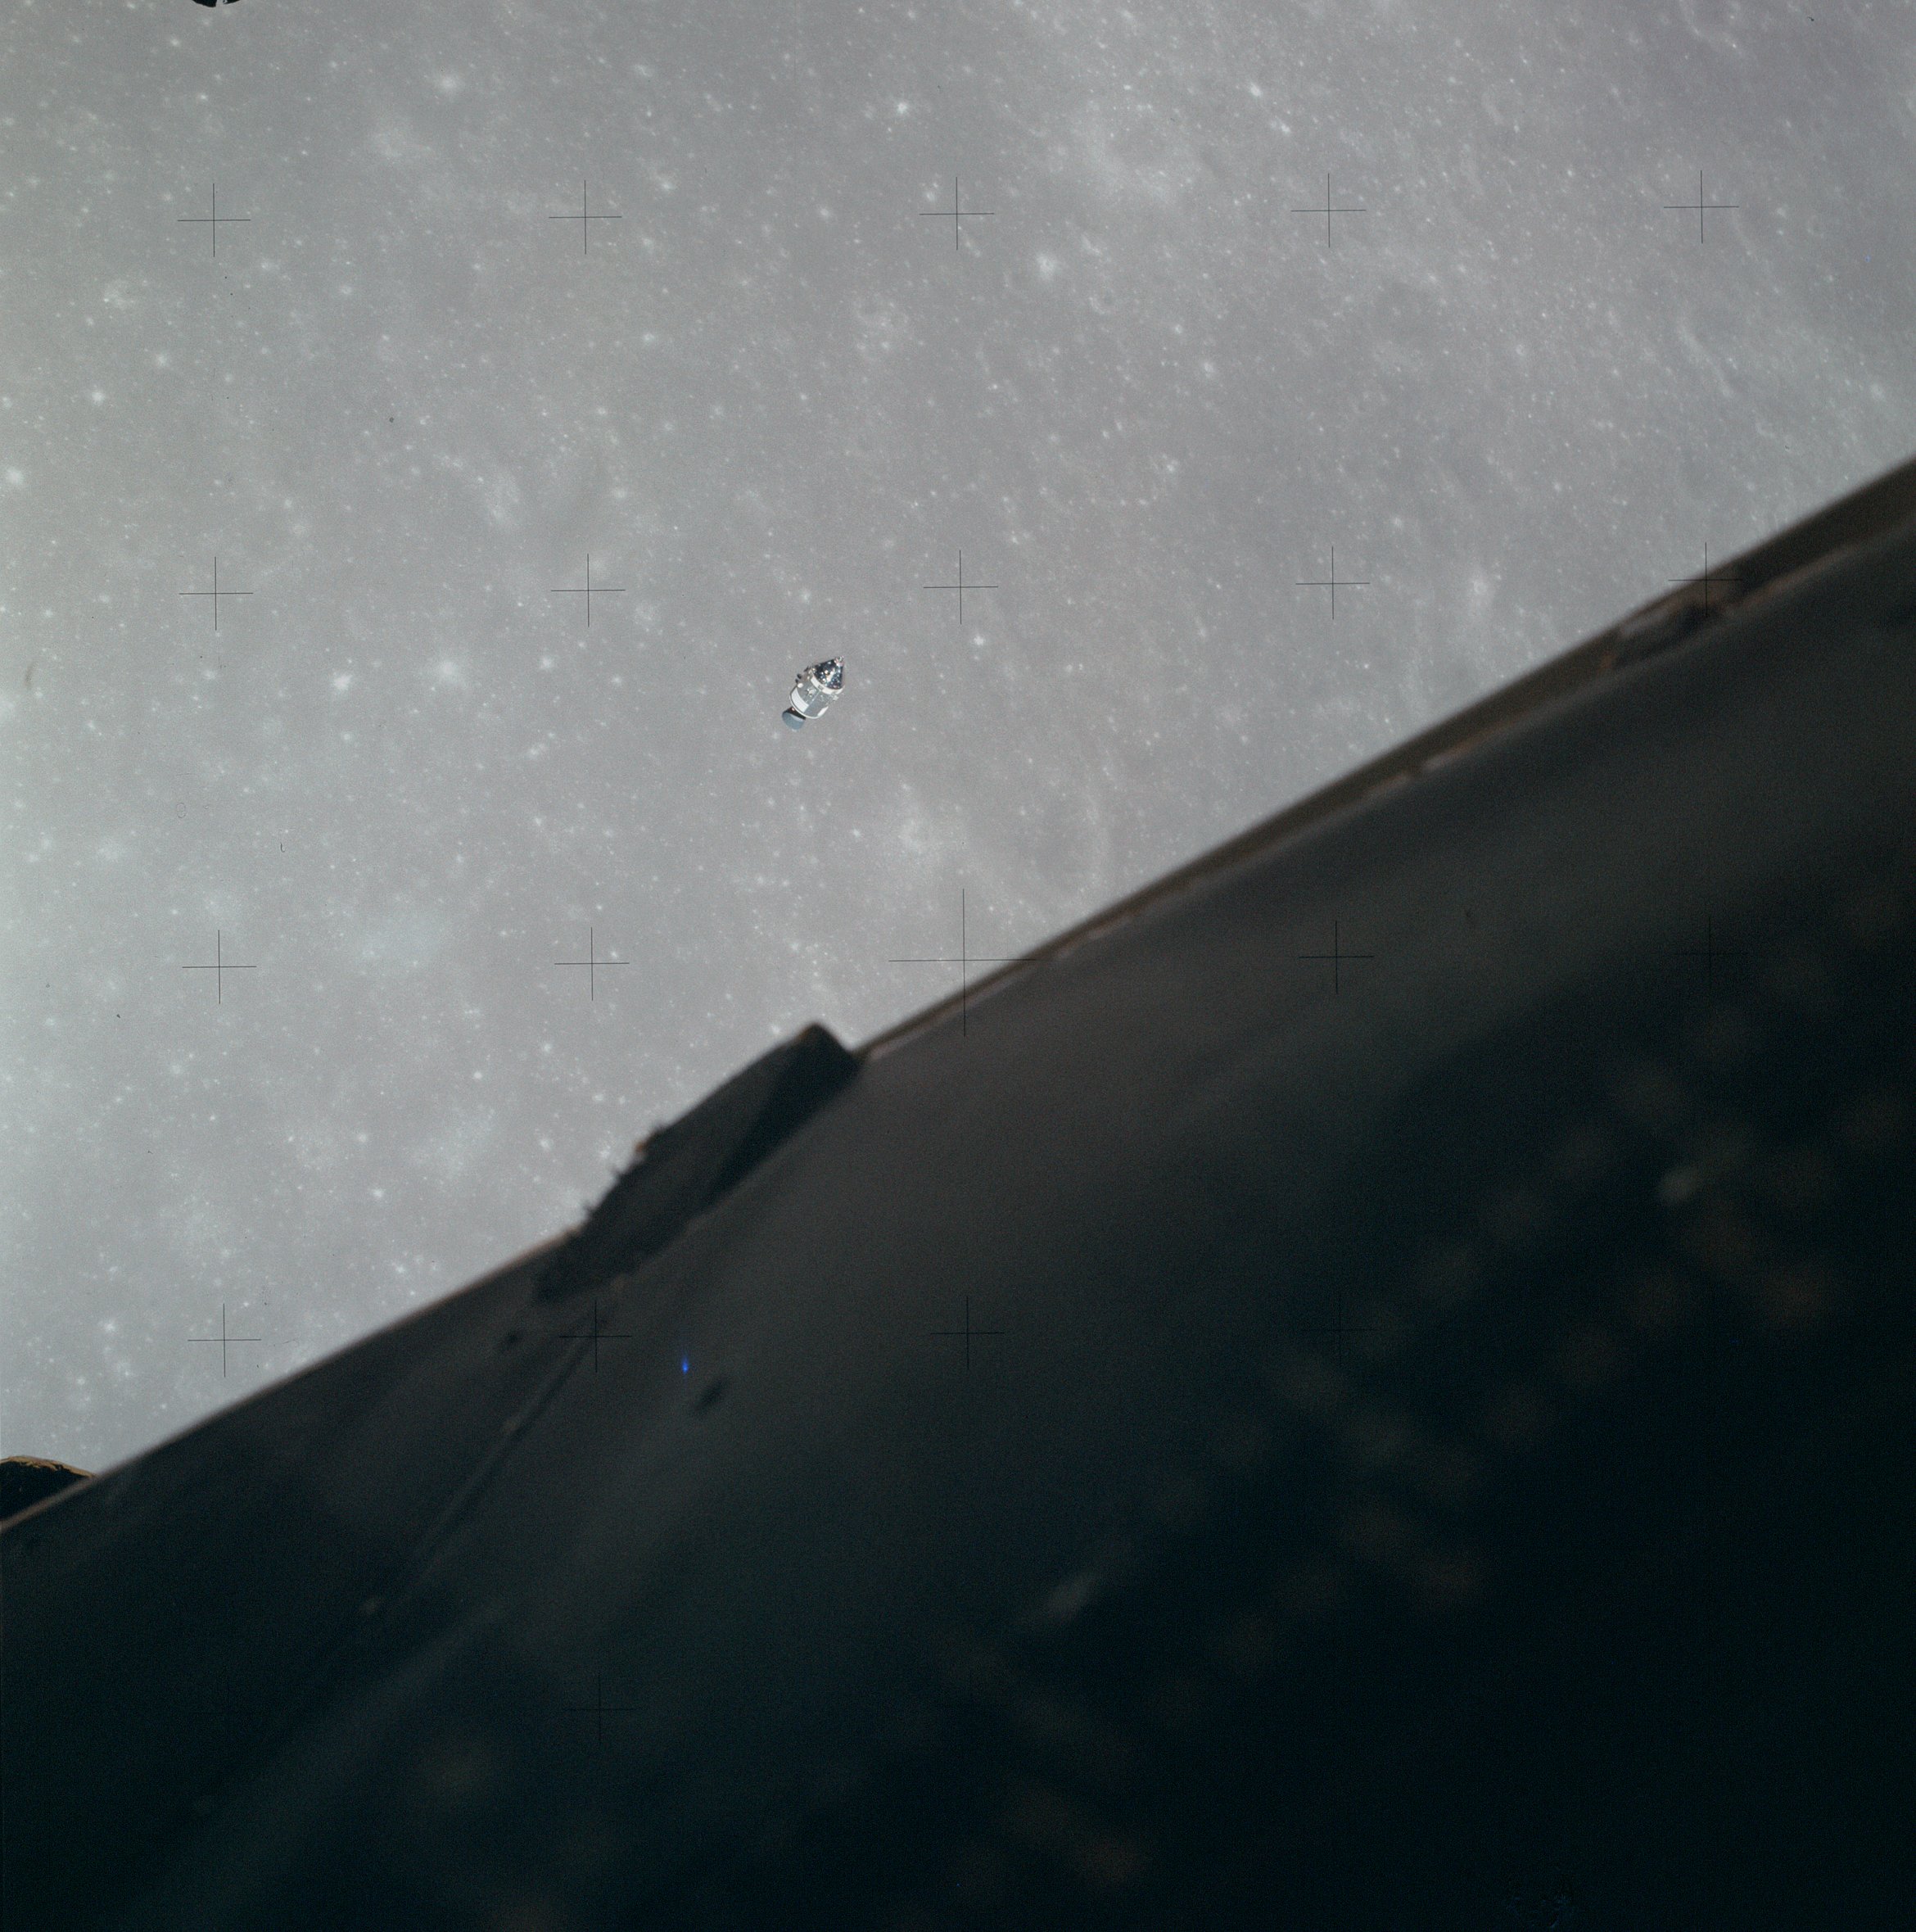 | AS14-66-9220 Similar to 9216. Image credit: Image Science and Analysis Laboratory, NASA-Johnson Space Center. |
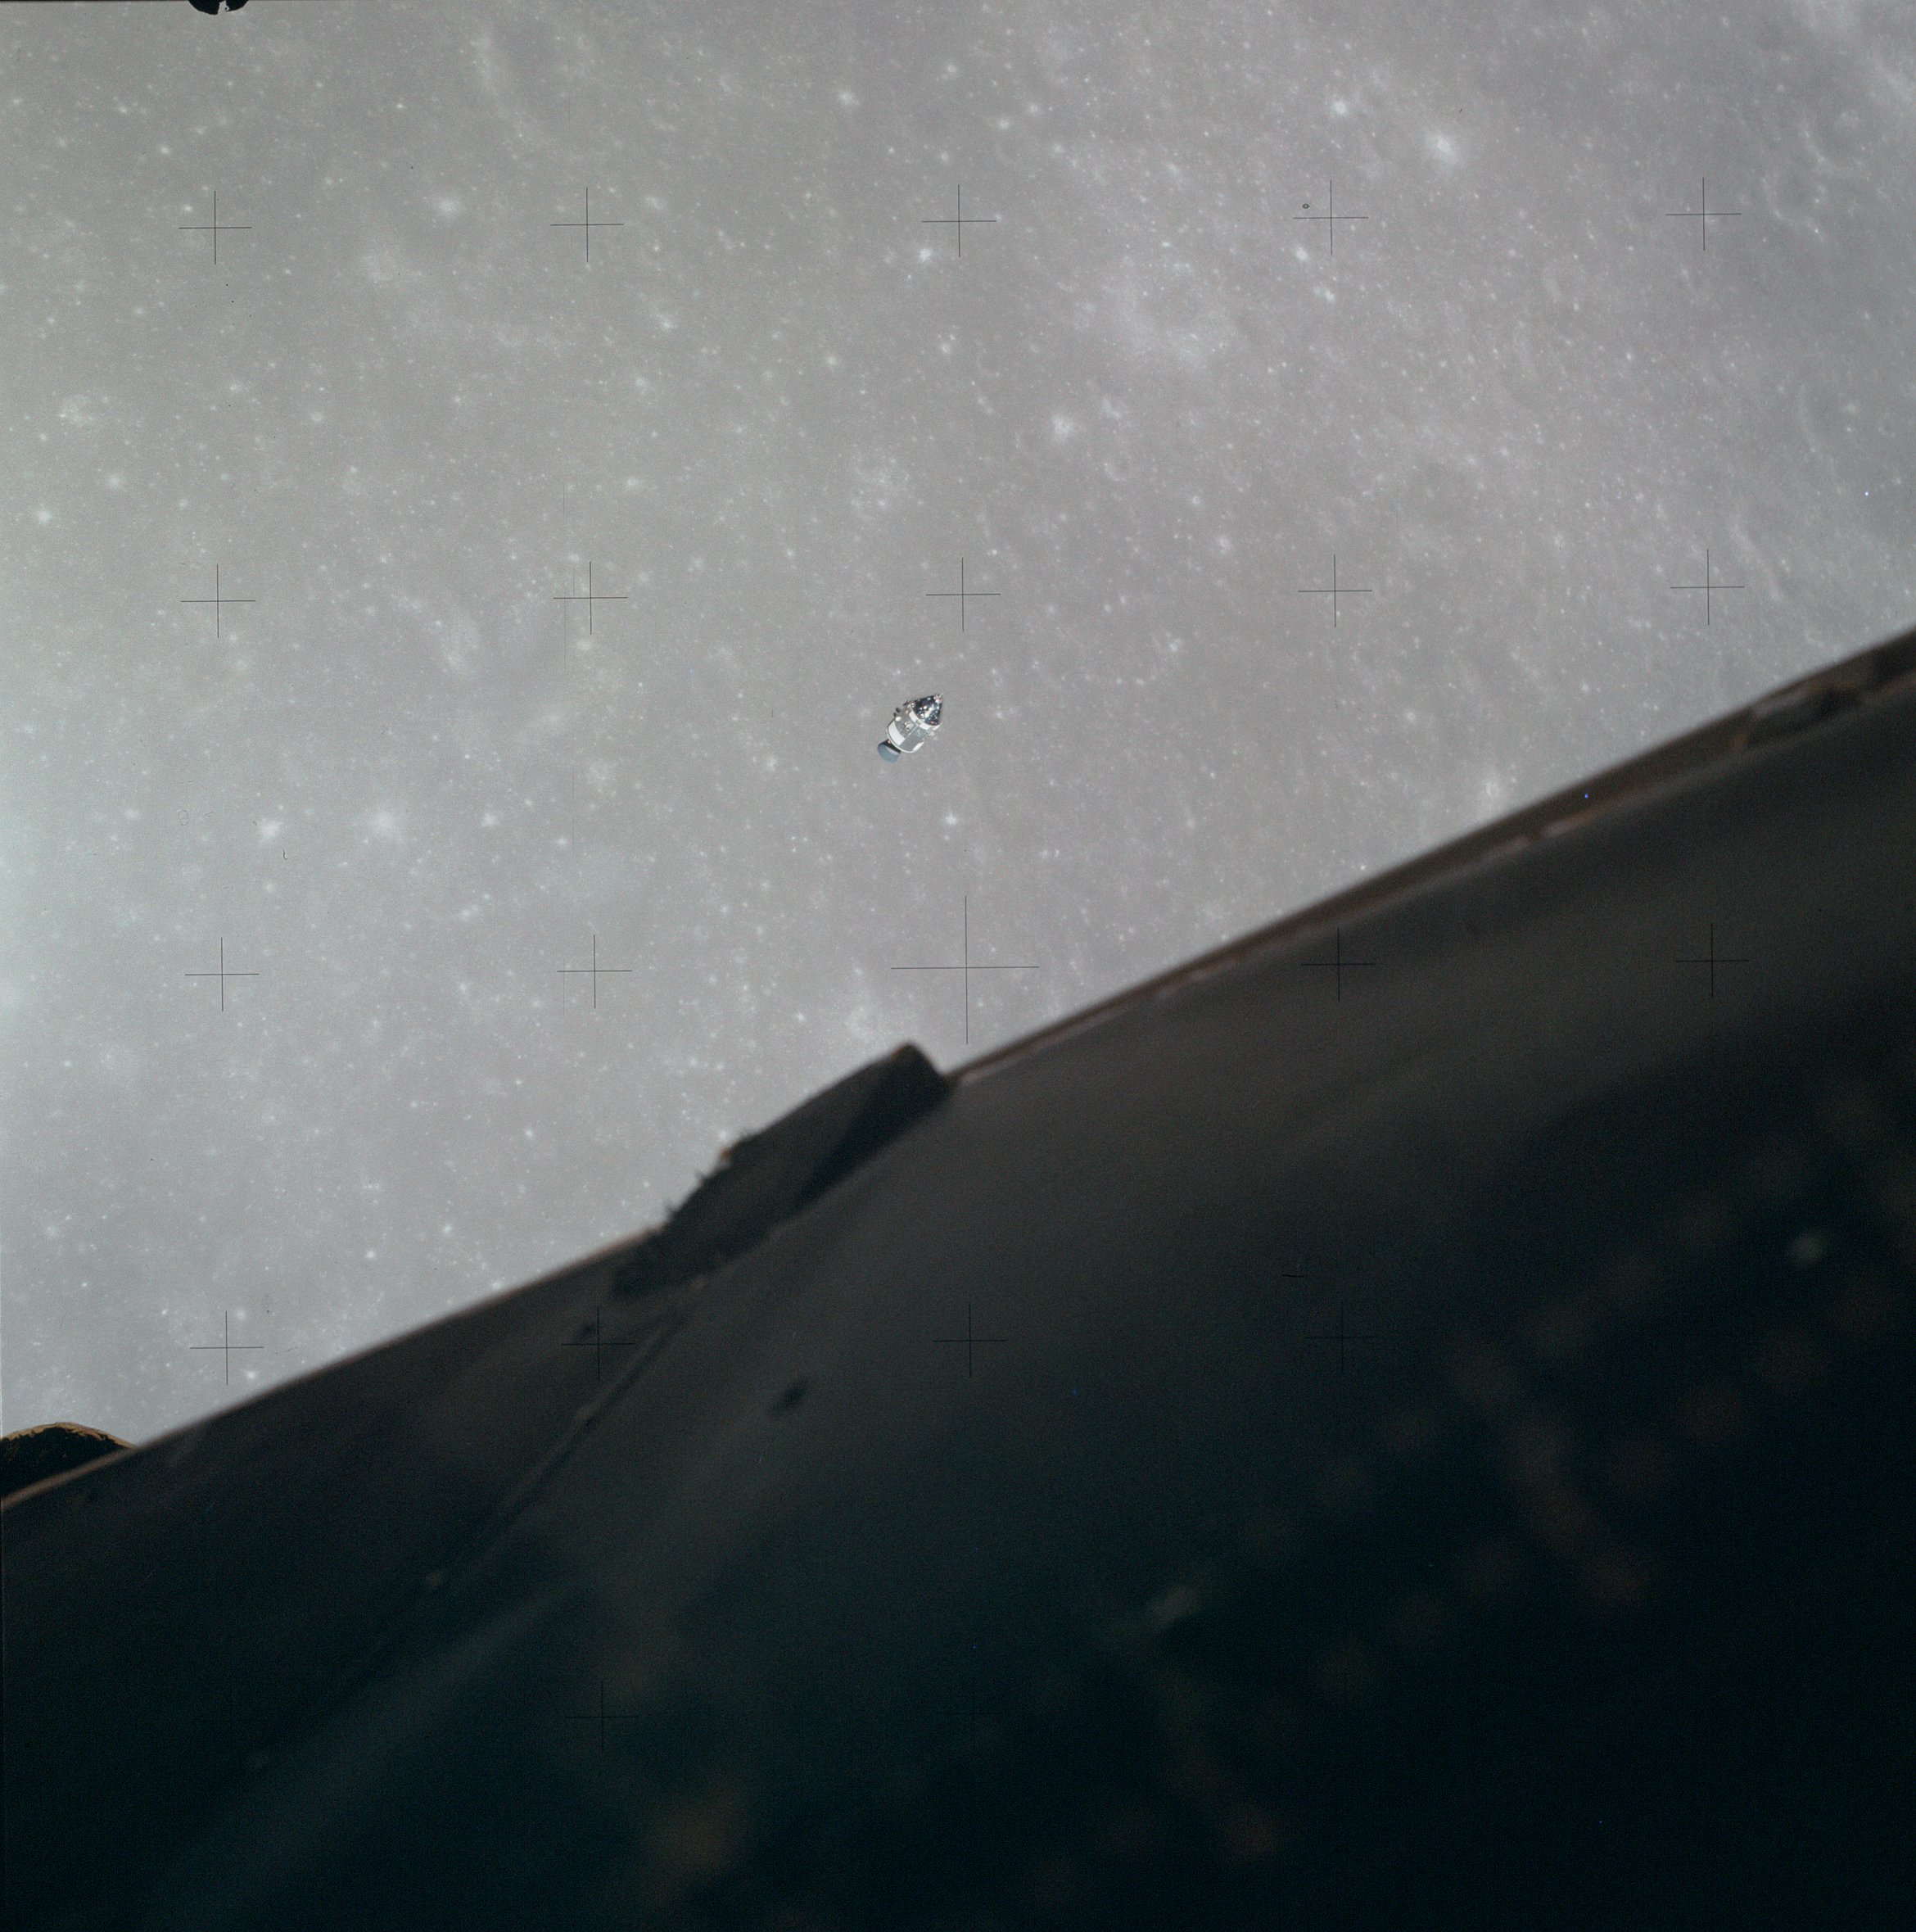 | AS14-66-9221 Similar to 9216. Image credit: Image Science and Analysis Laboratory, NASA-Johnson Space Center. |
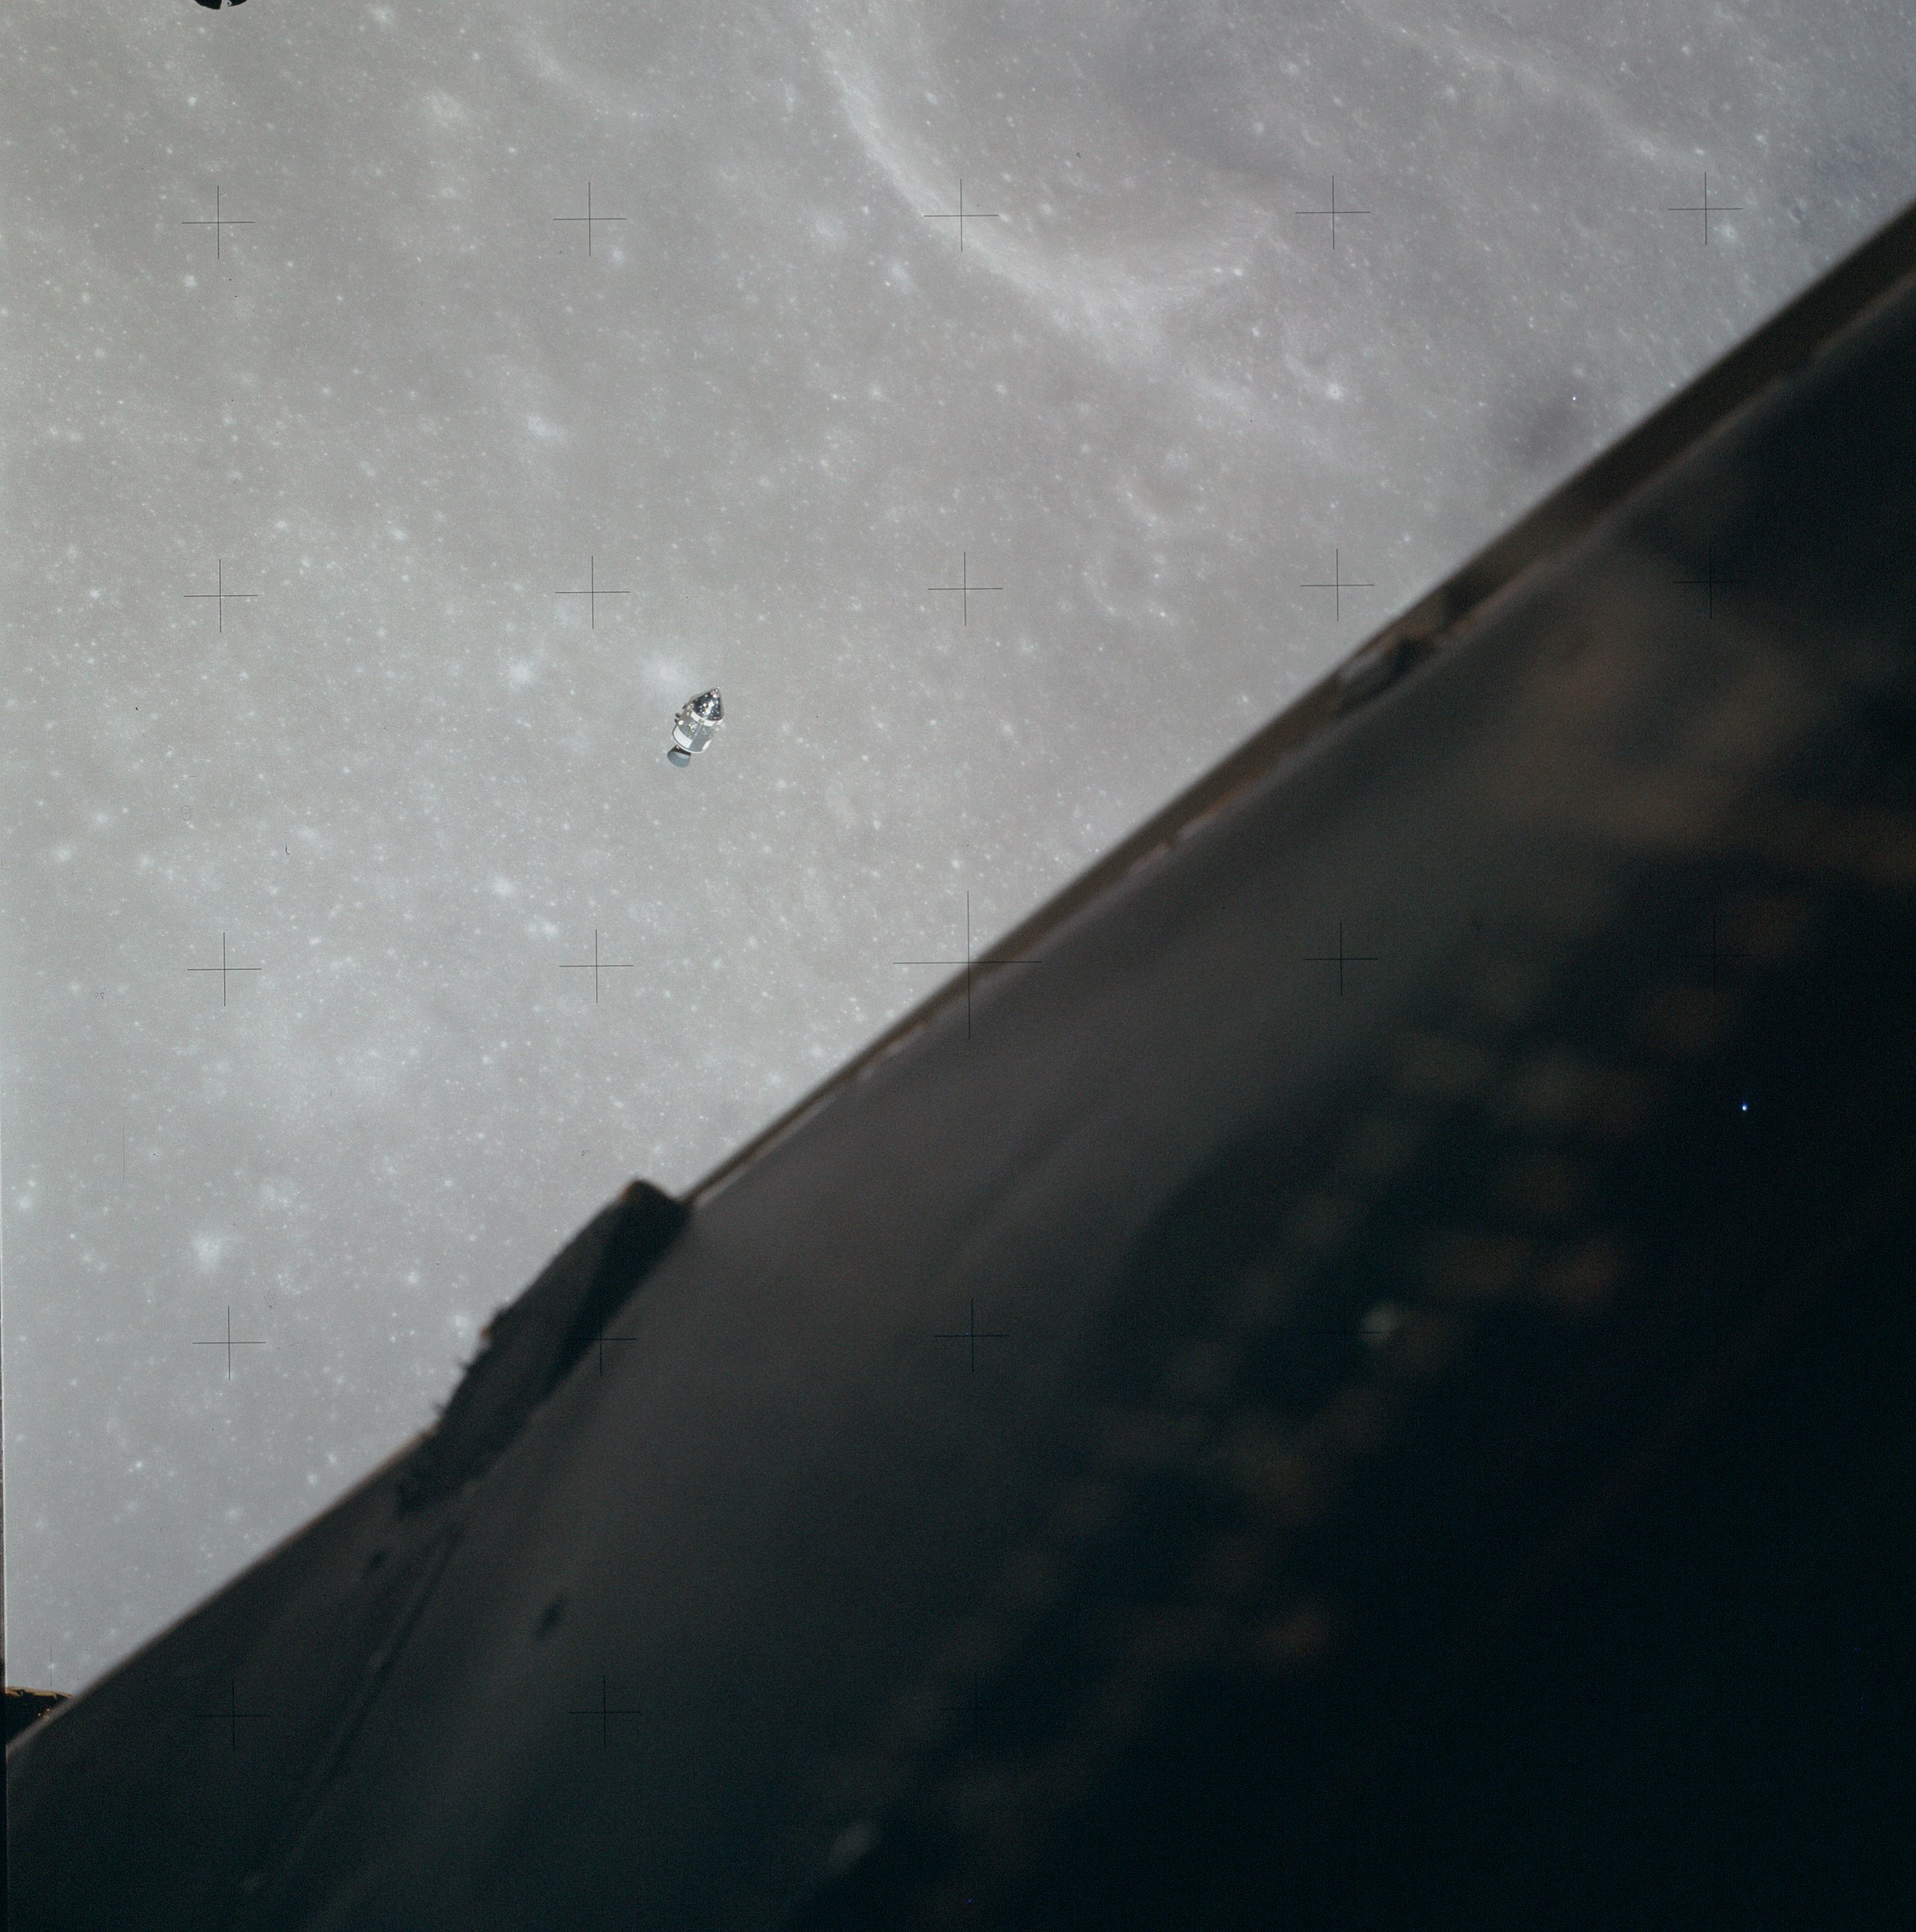 | AS14-66-9222 Similar to 9216. Image credit: Image Science and Analysis Laboratory, NASA-Johnson Space Center. |
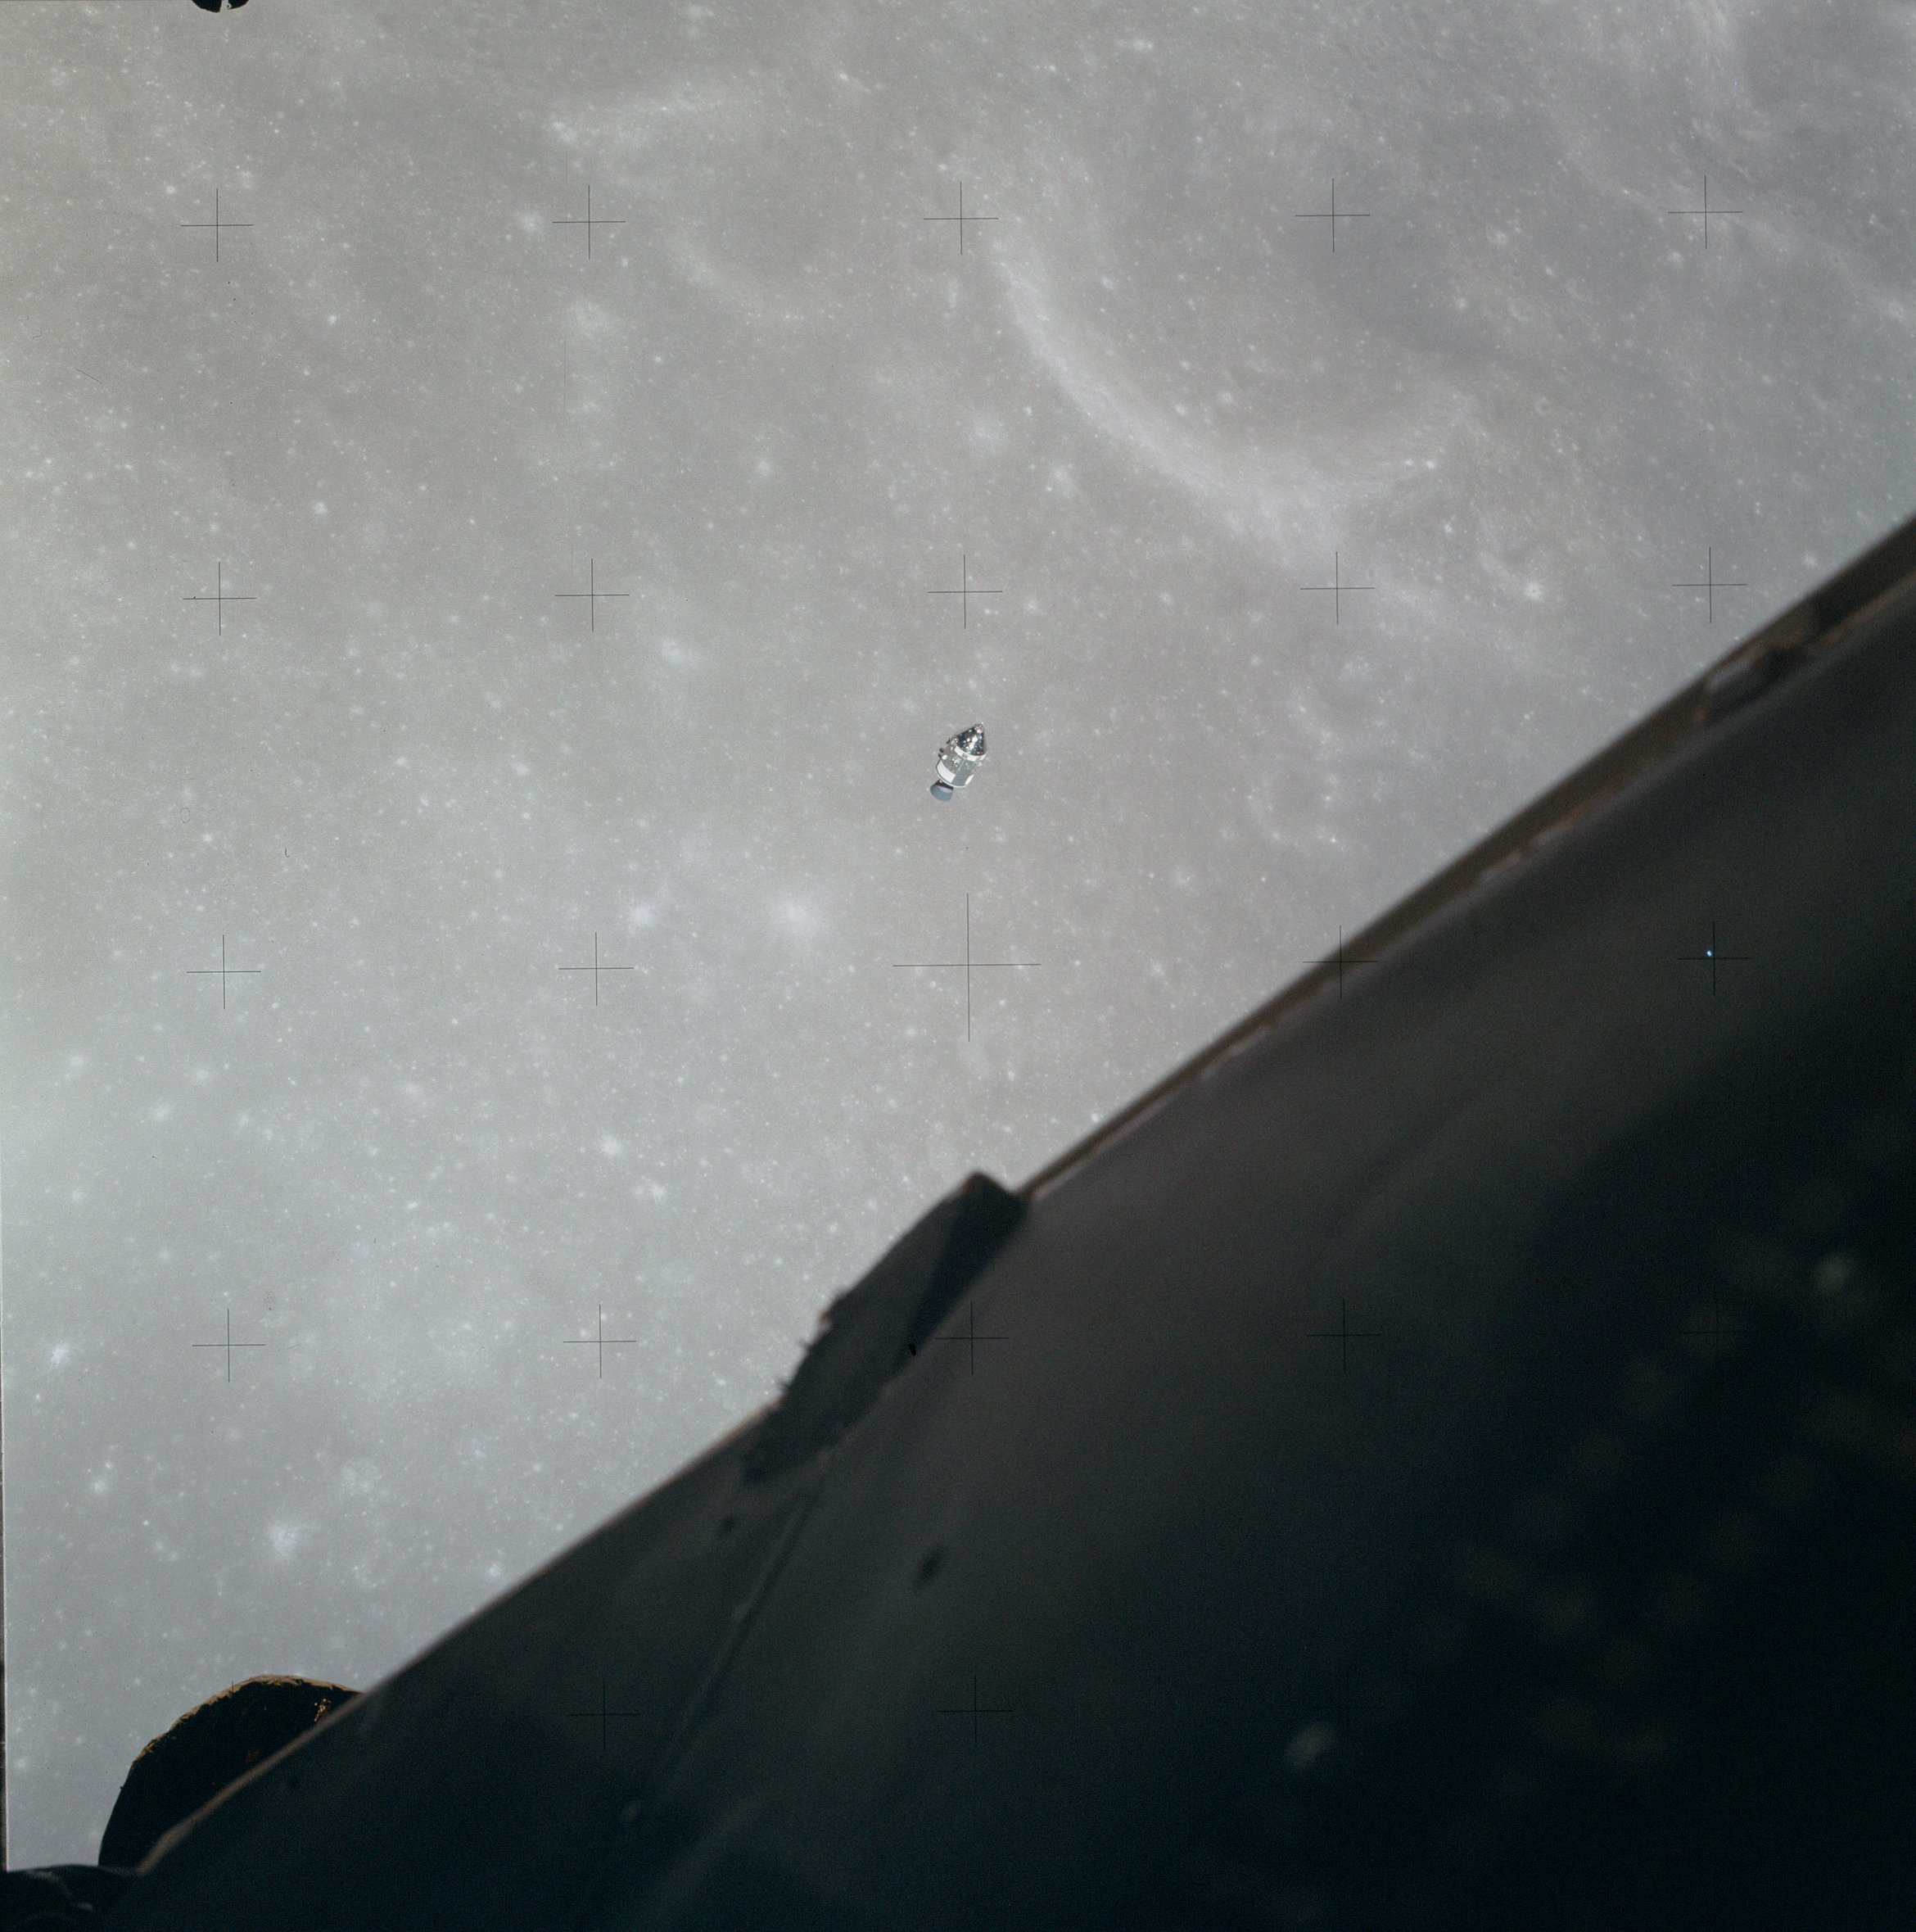 | AS14-66-9223 Similar to 9216. Image credit: Image Science and Analysis Laboratory, NASA-Johnson Space Center. |
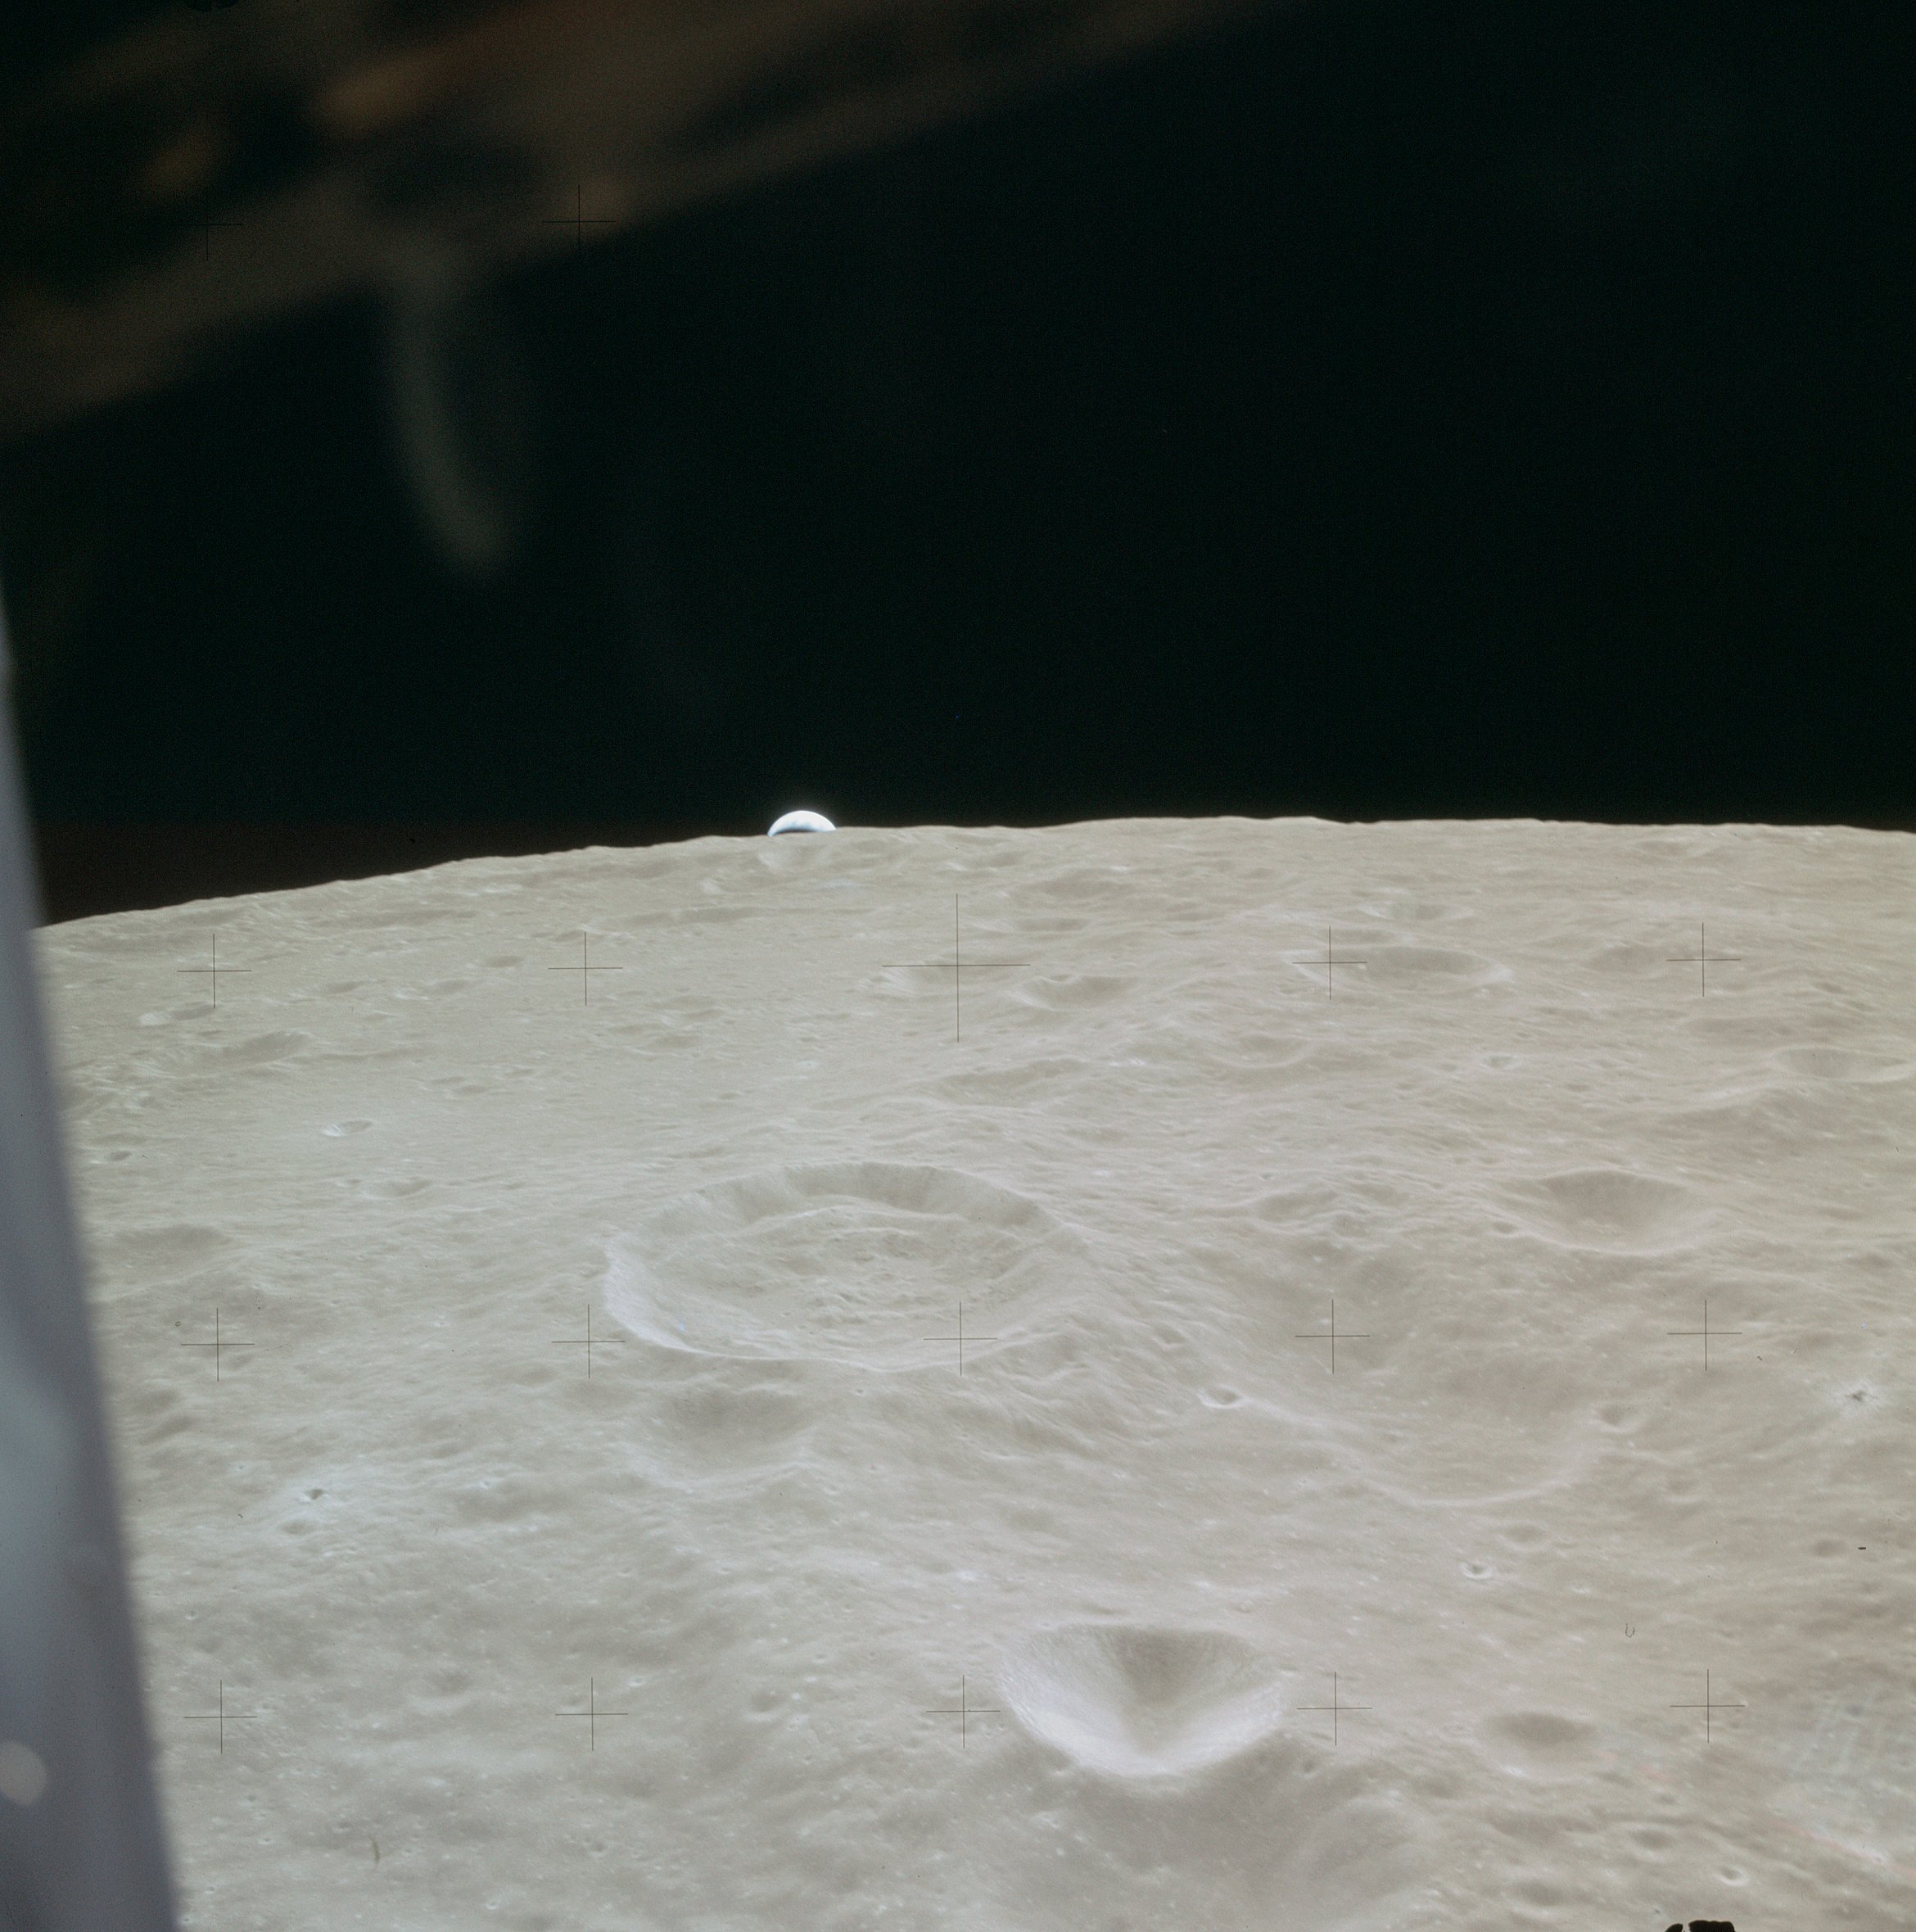 | AS14-66-9224 Earthrise from the LM on Rev 14. Location: 9° S, 105° E Image credit: Image Science and Analysis Laboratory, NASA-Johnson Space Center. |
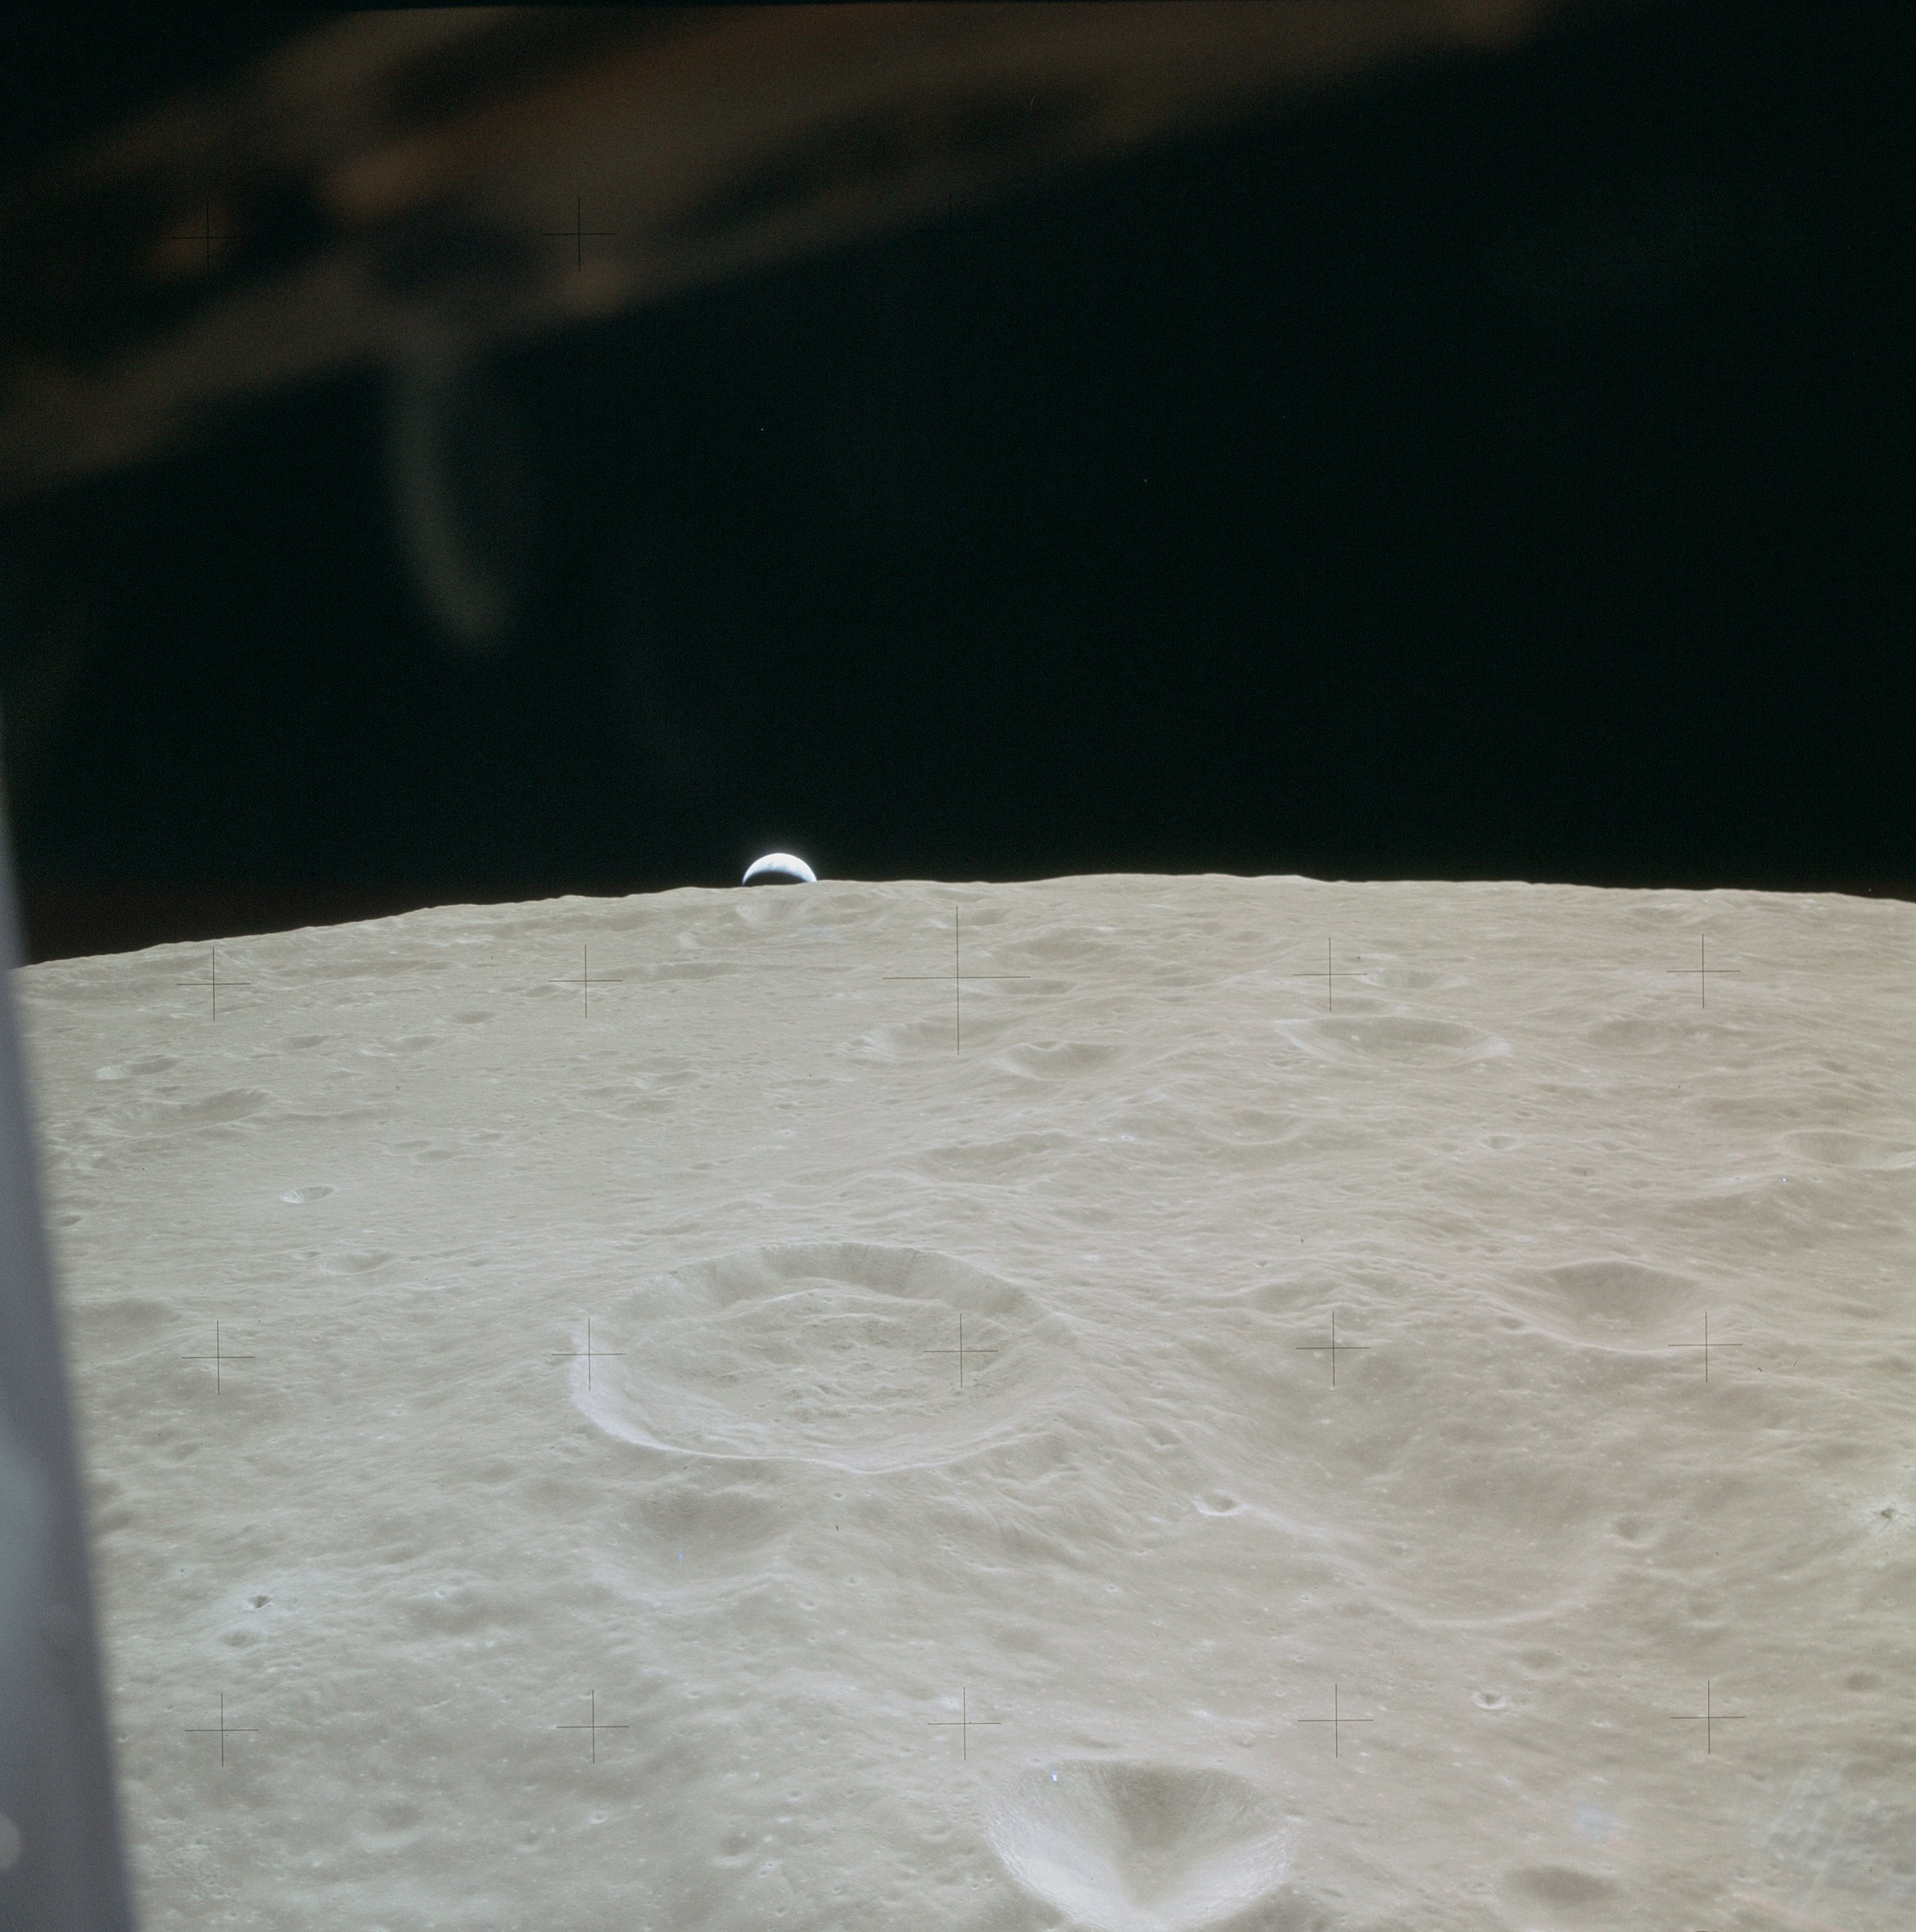 | AS14-66-9225 Similar to 9224. Location: 9° S, 104° E Image credit: Image Science and Analysis Laboratory, NASA-Johnson Space Center. |
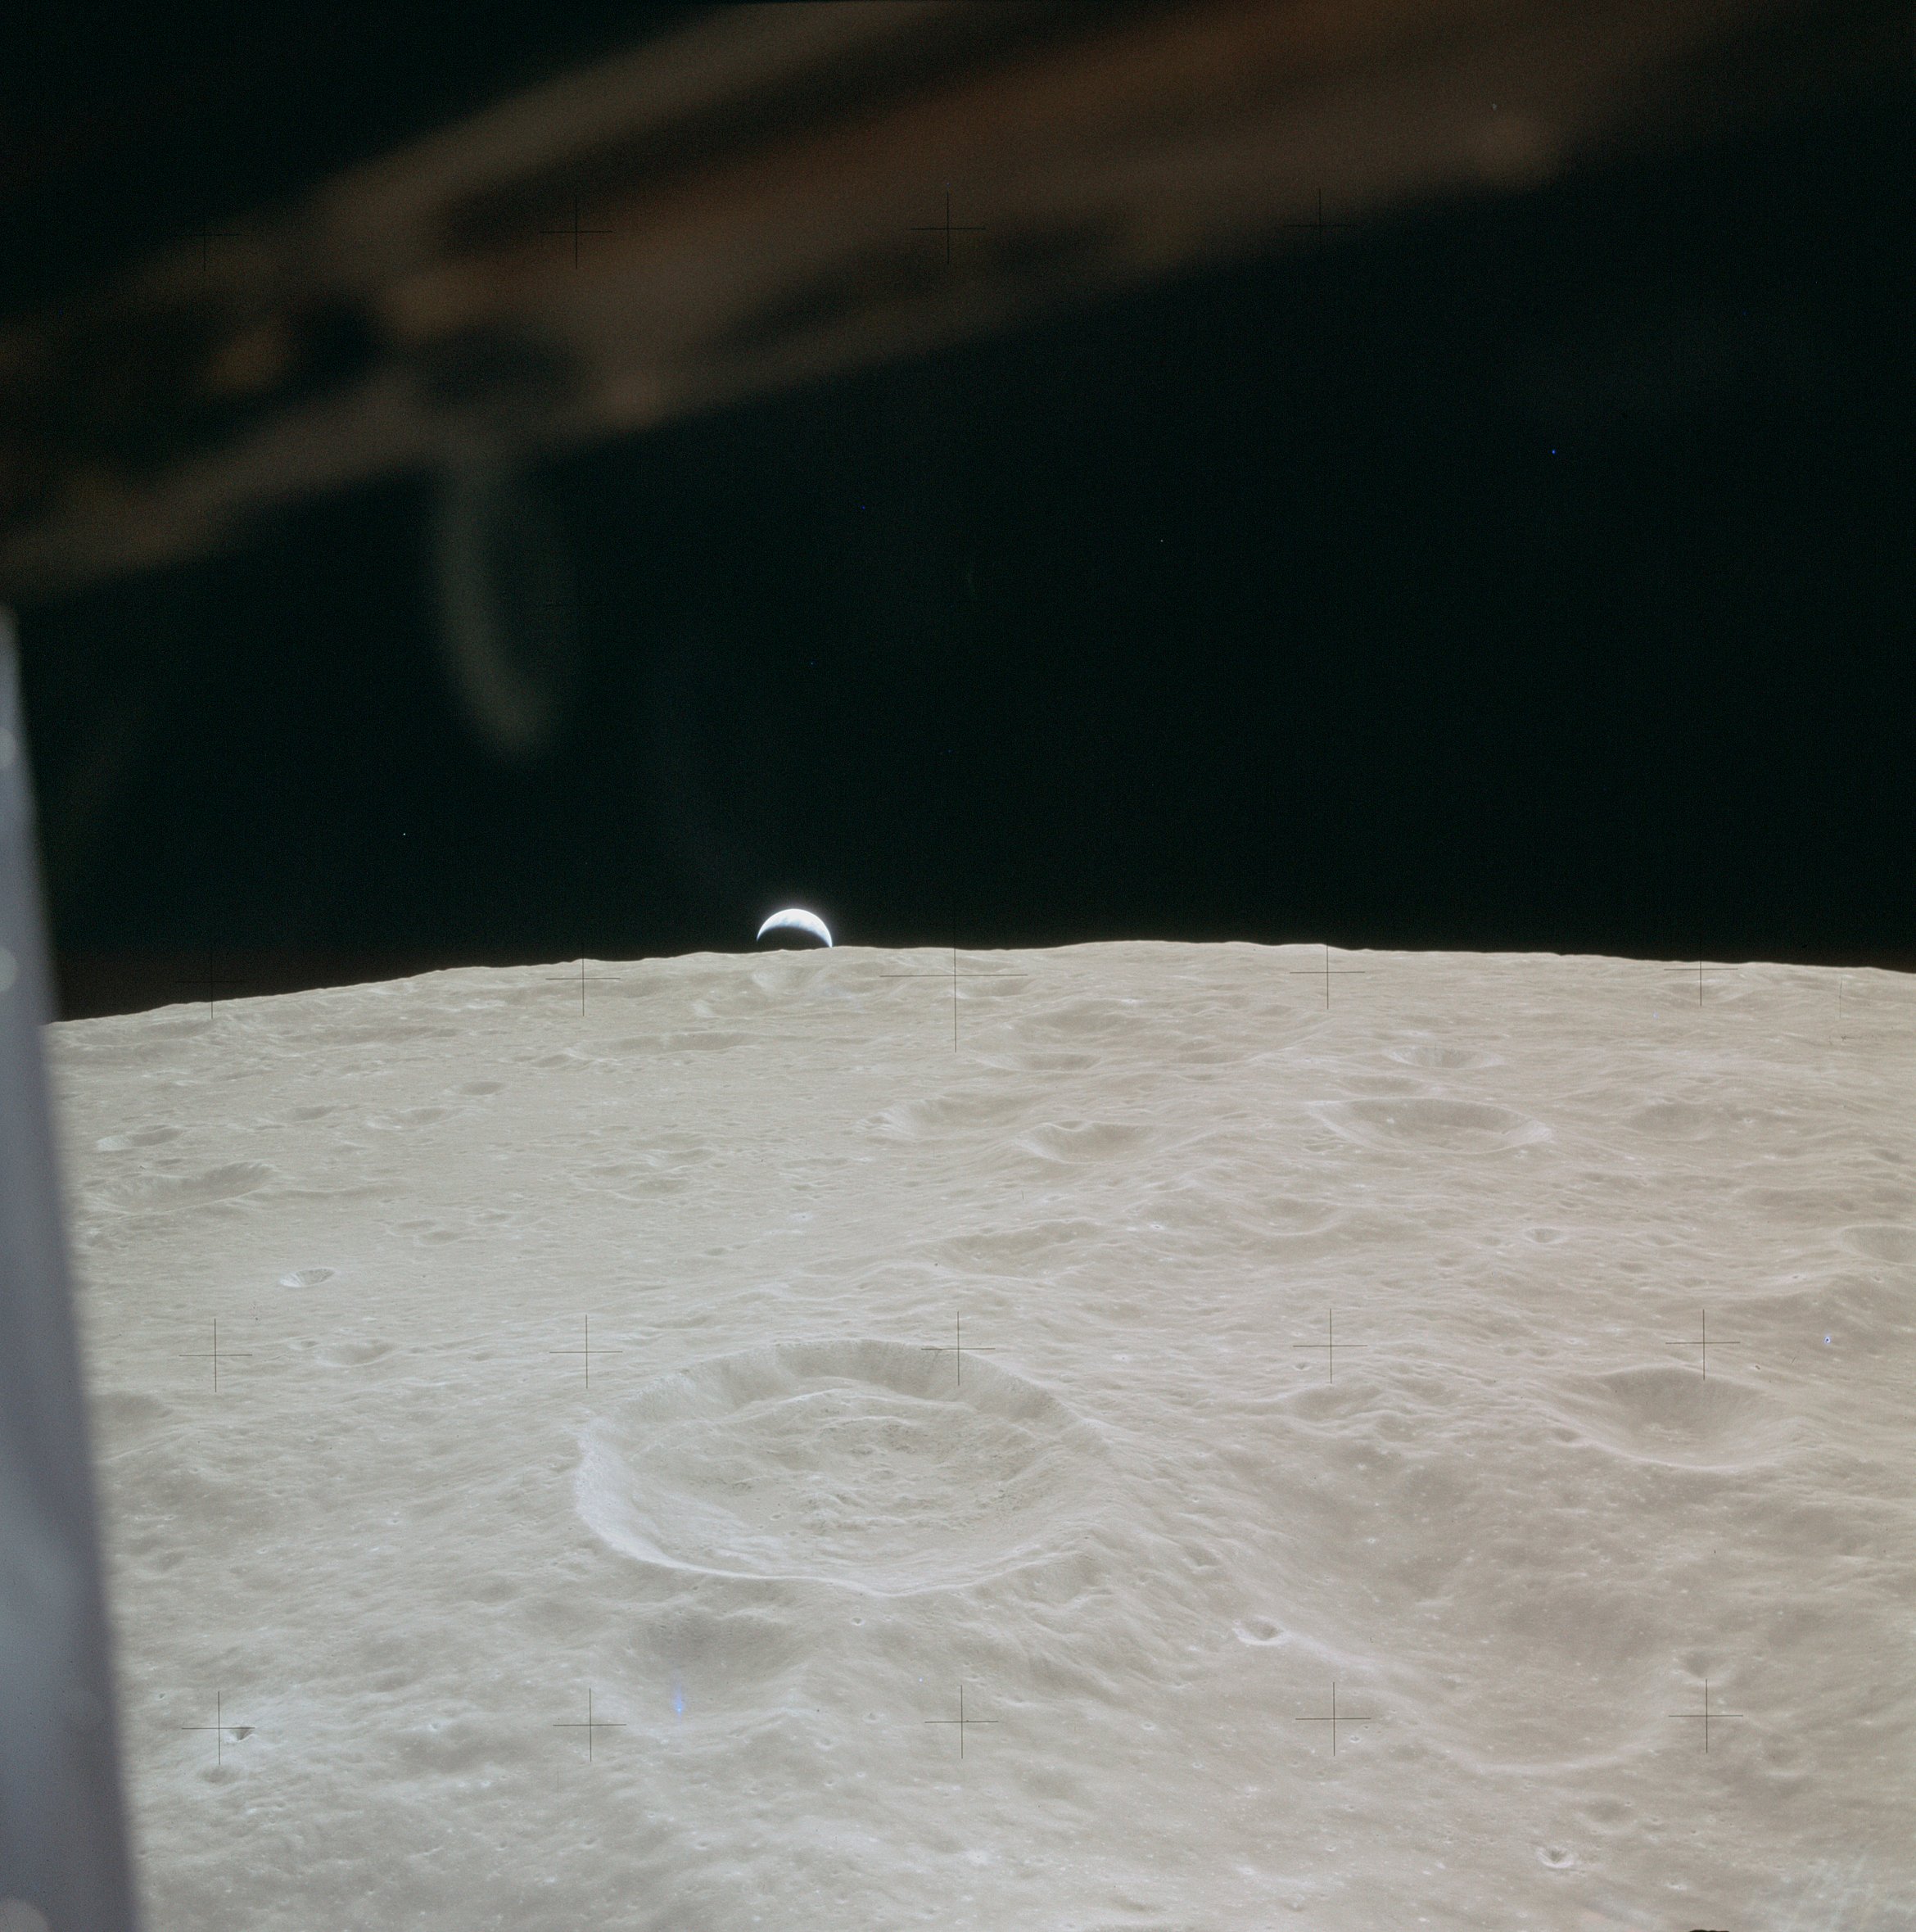 | AS14-66-9226 Similar to 9224. Location: 9° S, 103° E Image credit: Image Science and Analysis Laboratory, NASA-Johnson Space Center. |
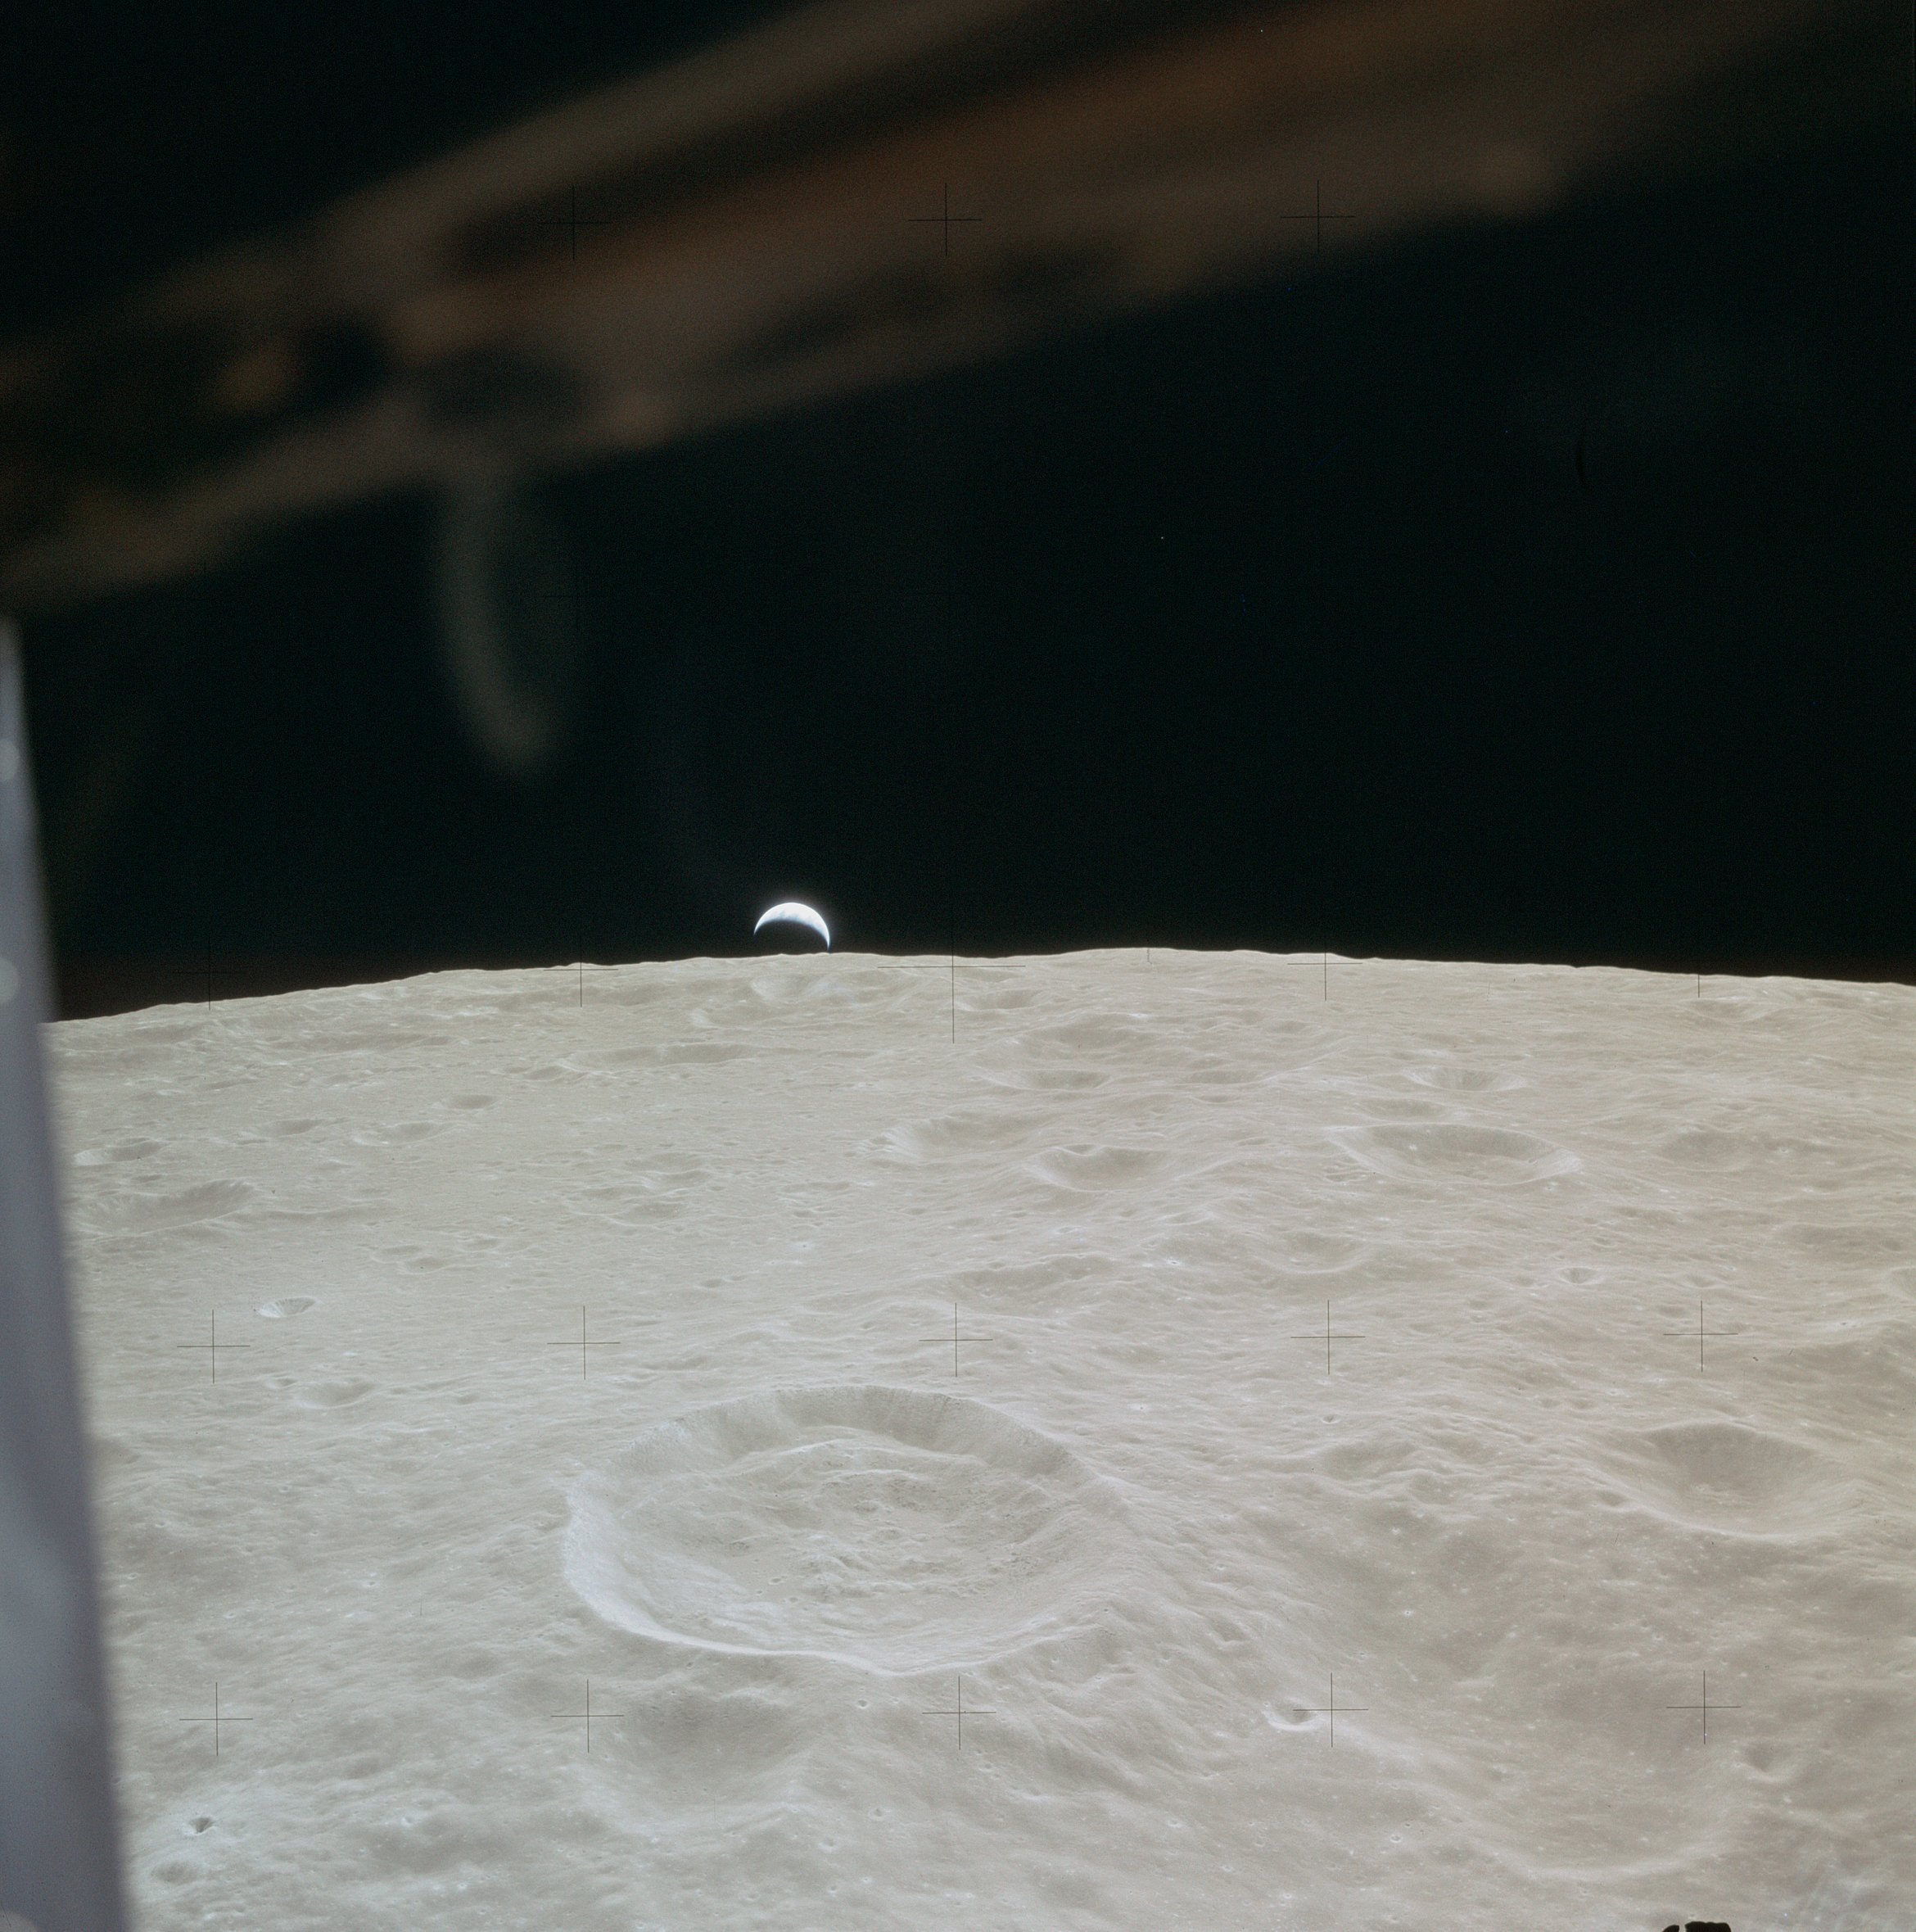 | AS14-66-9227 Similar to 9224. Image credit: Image Science and Analysis Laboratory, NASA-Johnson Space Center. |
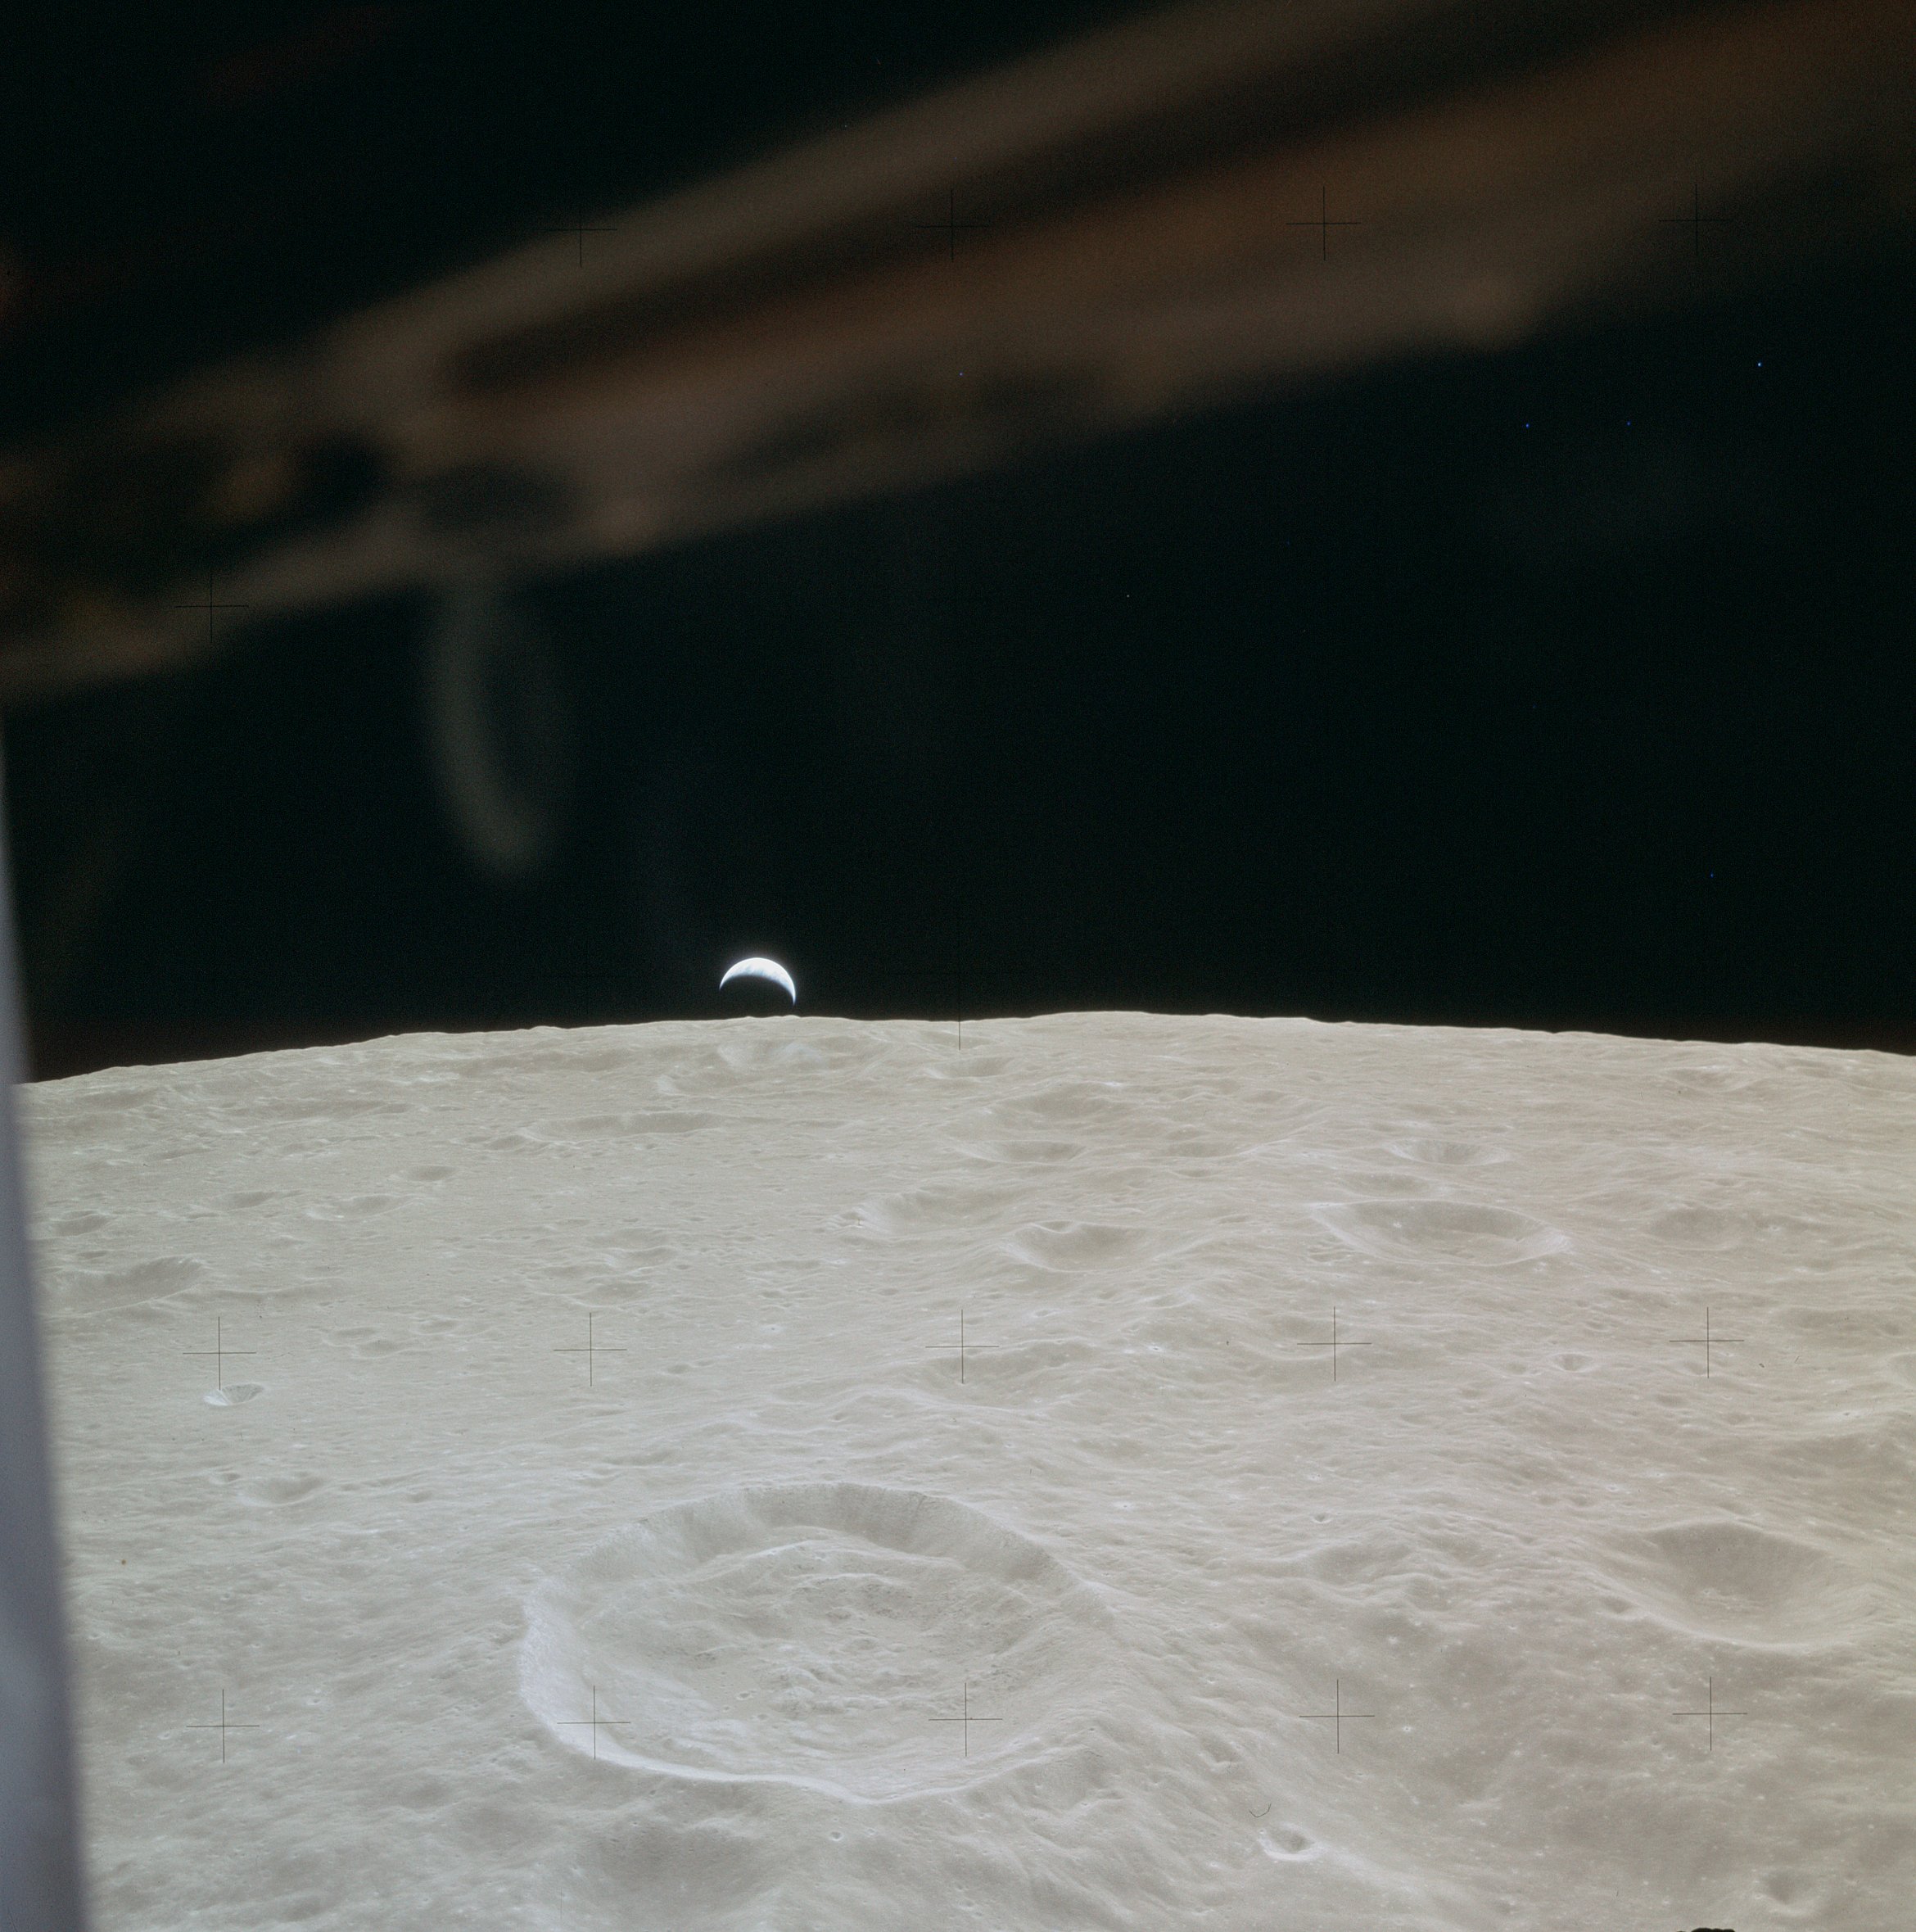 | AS14-66-9228 Similar to 9224. Image credit: Image Science and Analysis Laboratory, NASA-Johnson Space Center. |
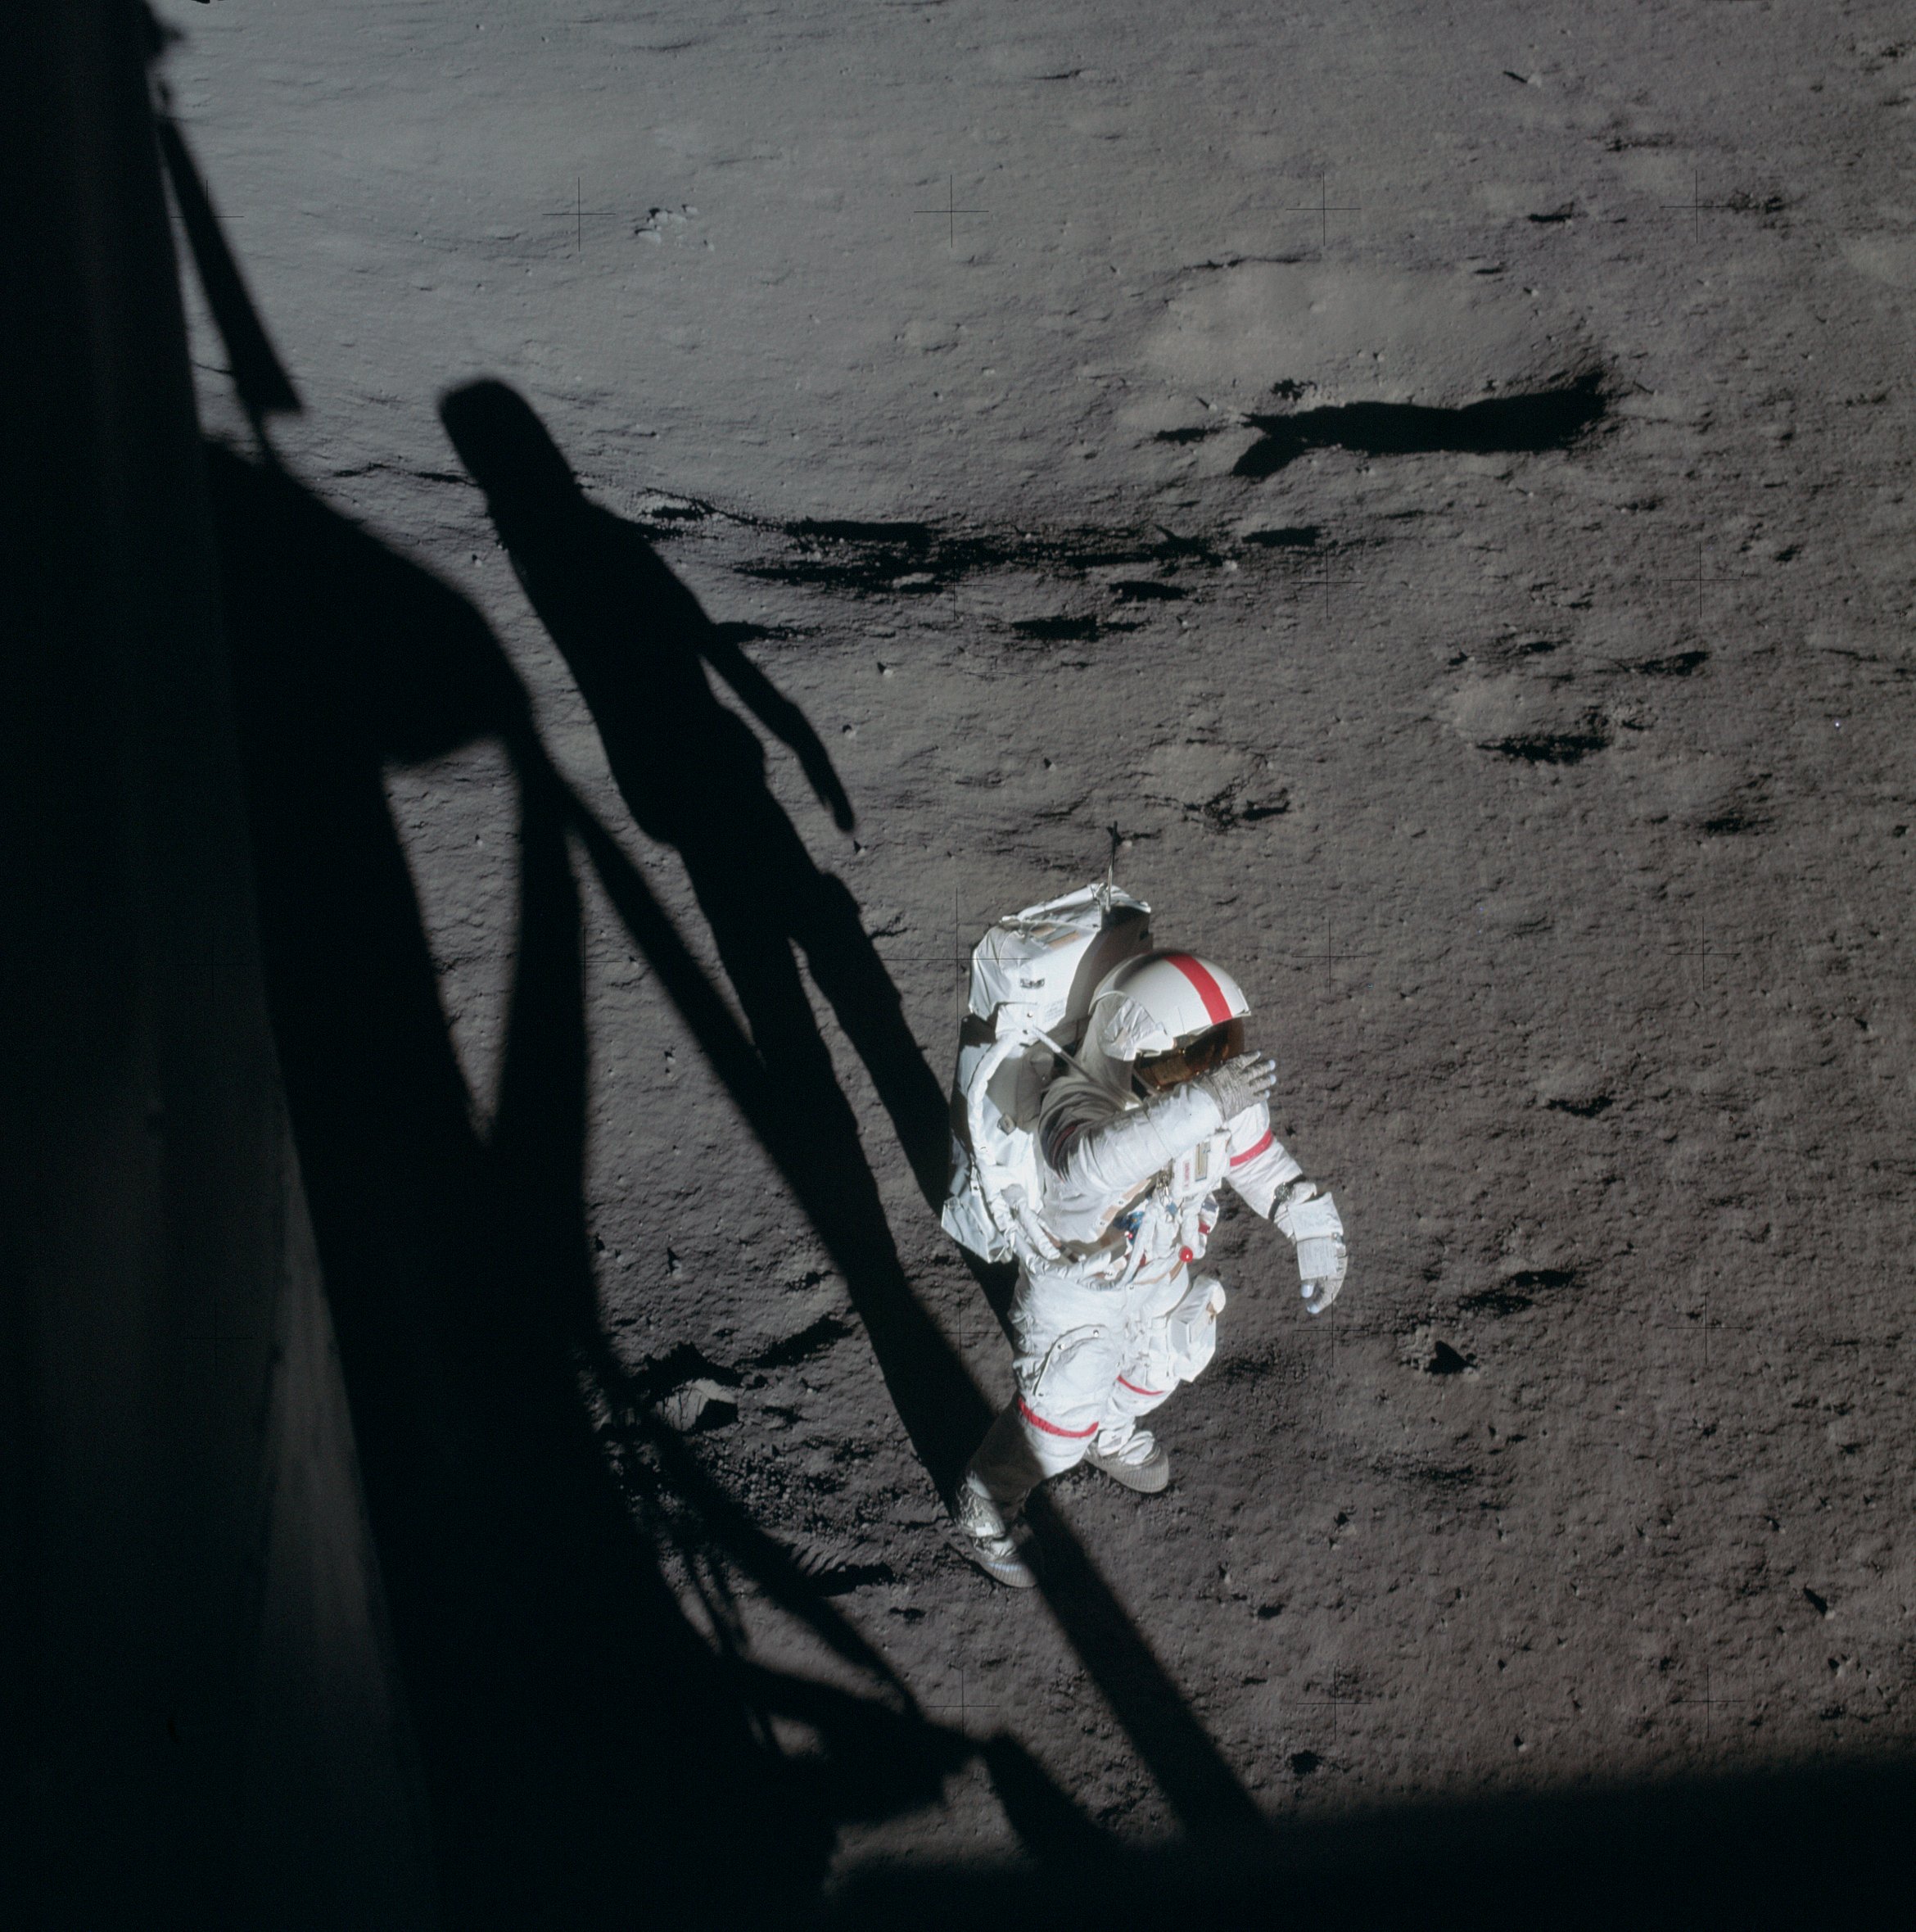 | AS14-66-9229 113:52:32 Ed took this photo of Al out the right-hand, LMP window. Image credit: Image Science and Analysis Laboratory, NASA-Johnson Space Center. |
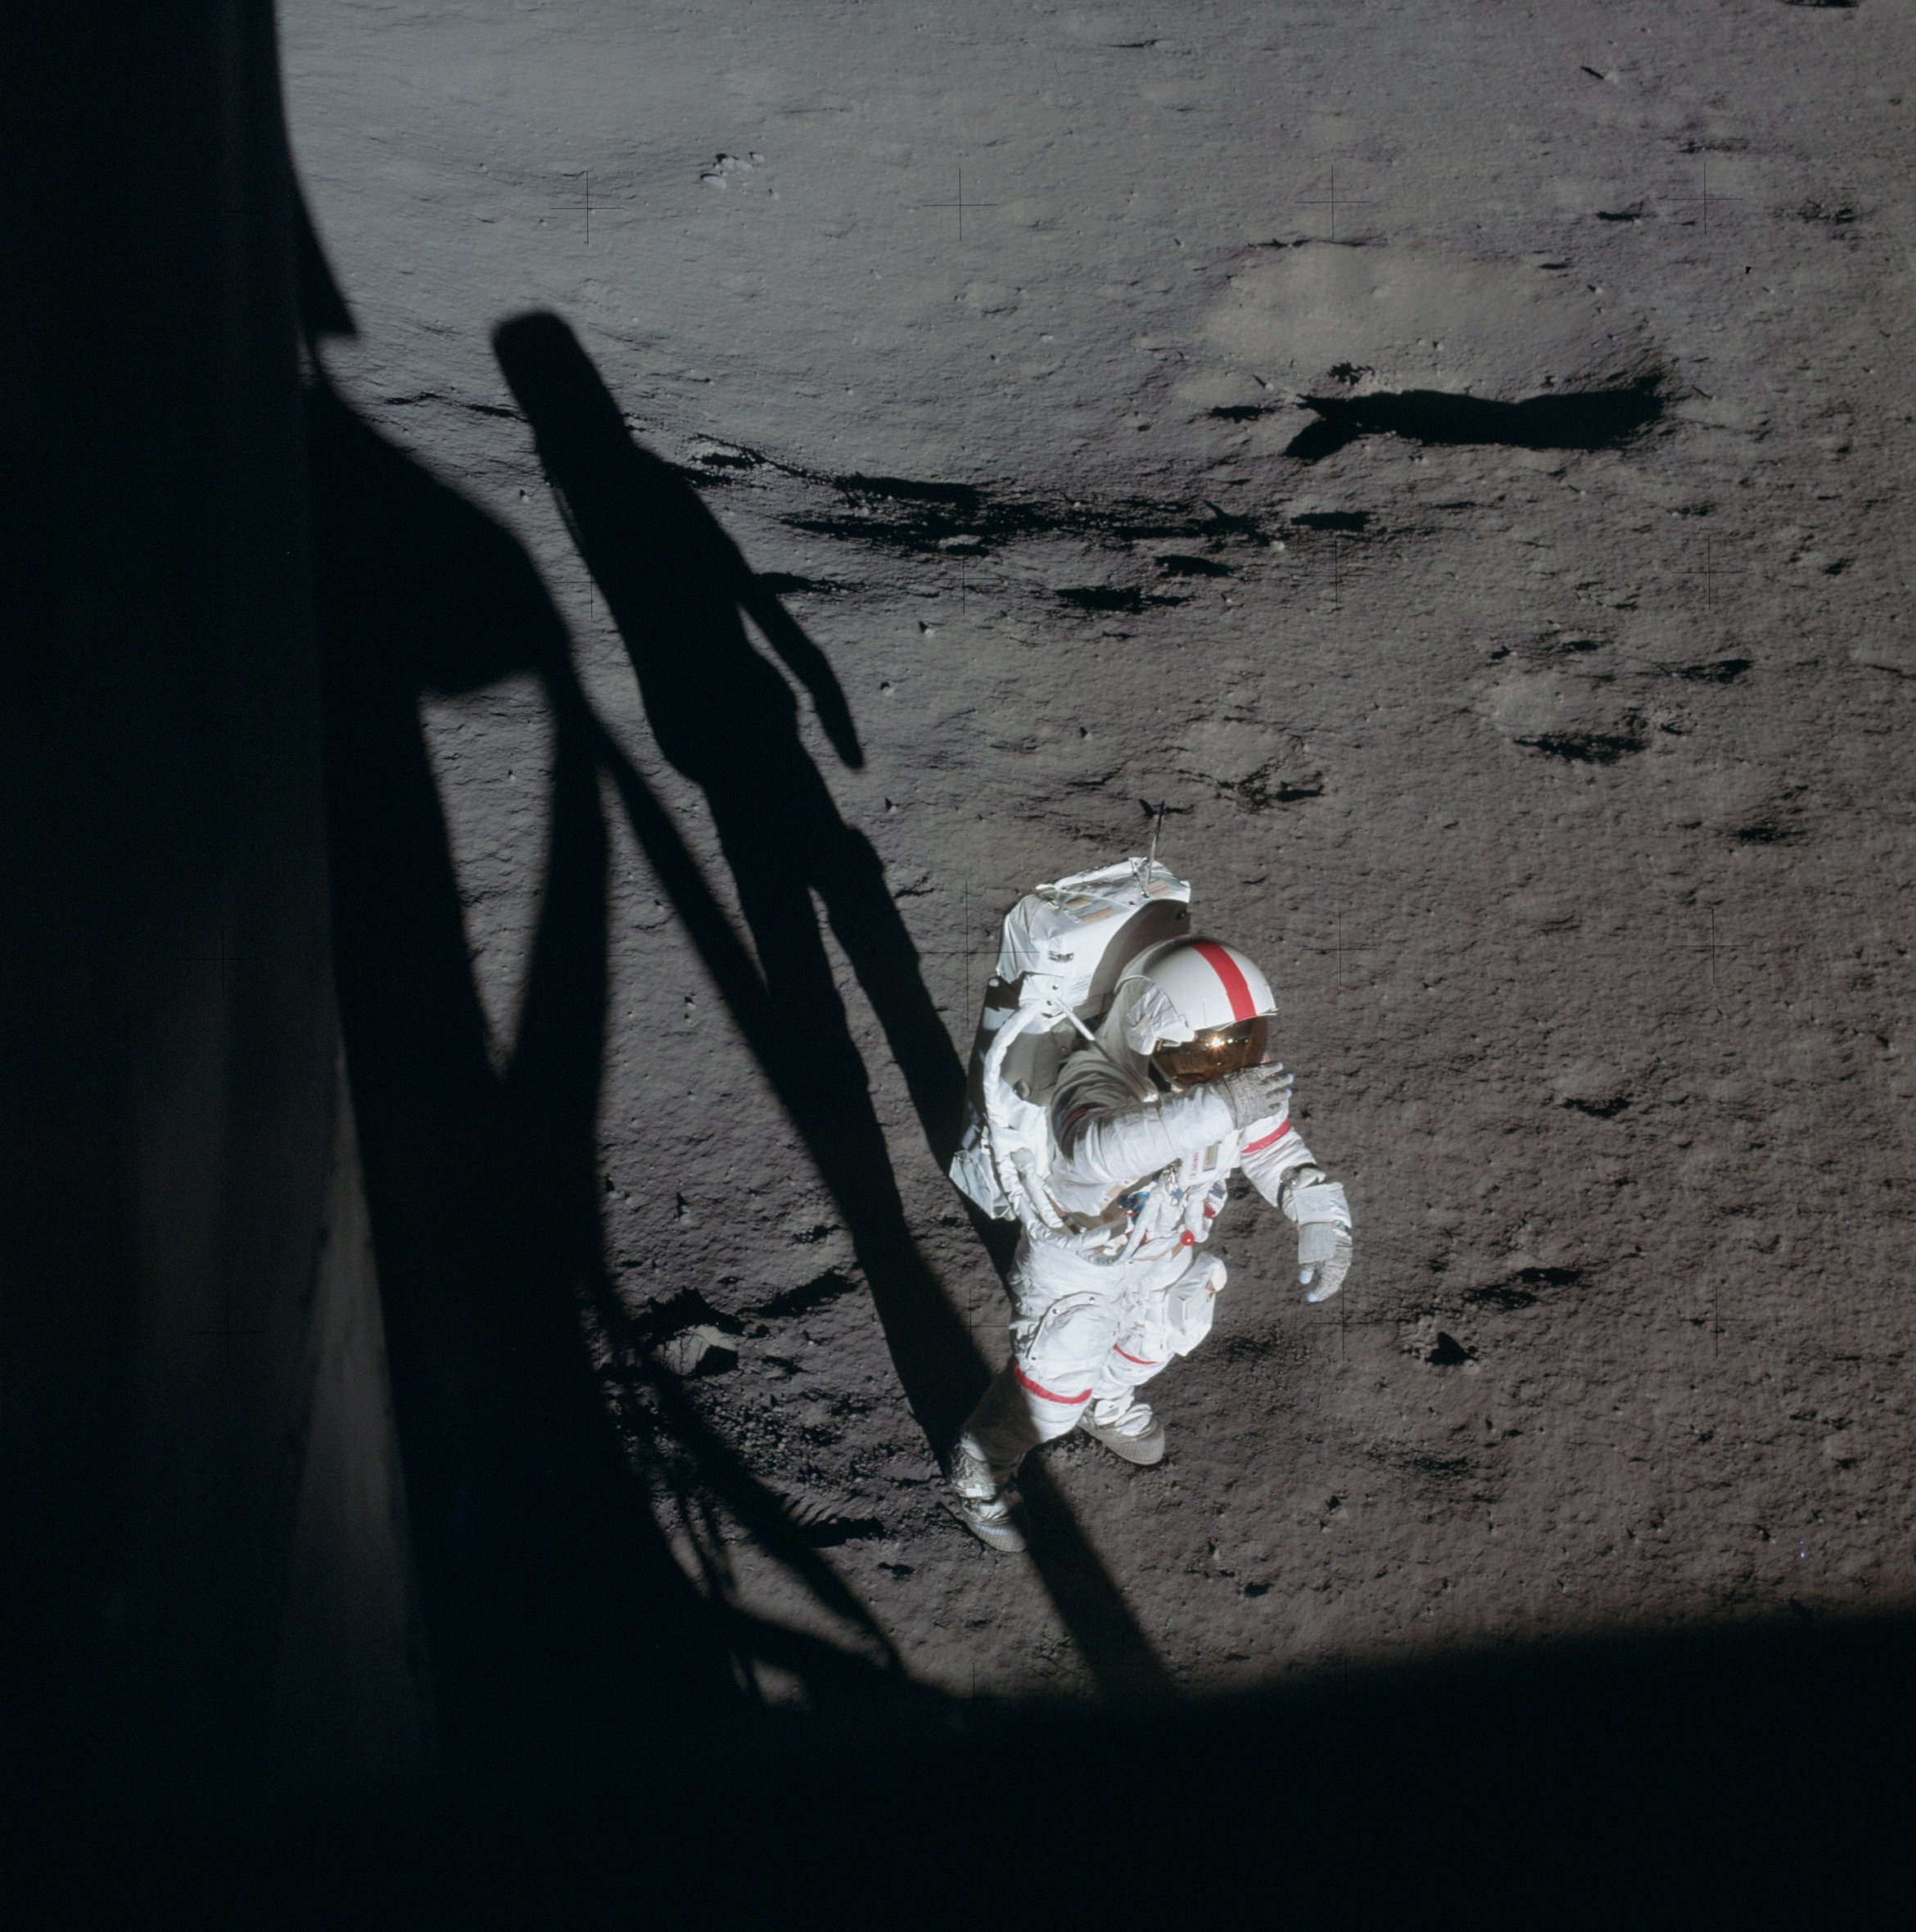 | AS14-66-9230 113:52:32 Ed took this photo of Al out the right-hand, LMP window. Image credit: Image Science and Analysis Laboratory, NASA-Johnson Space Center. |
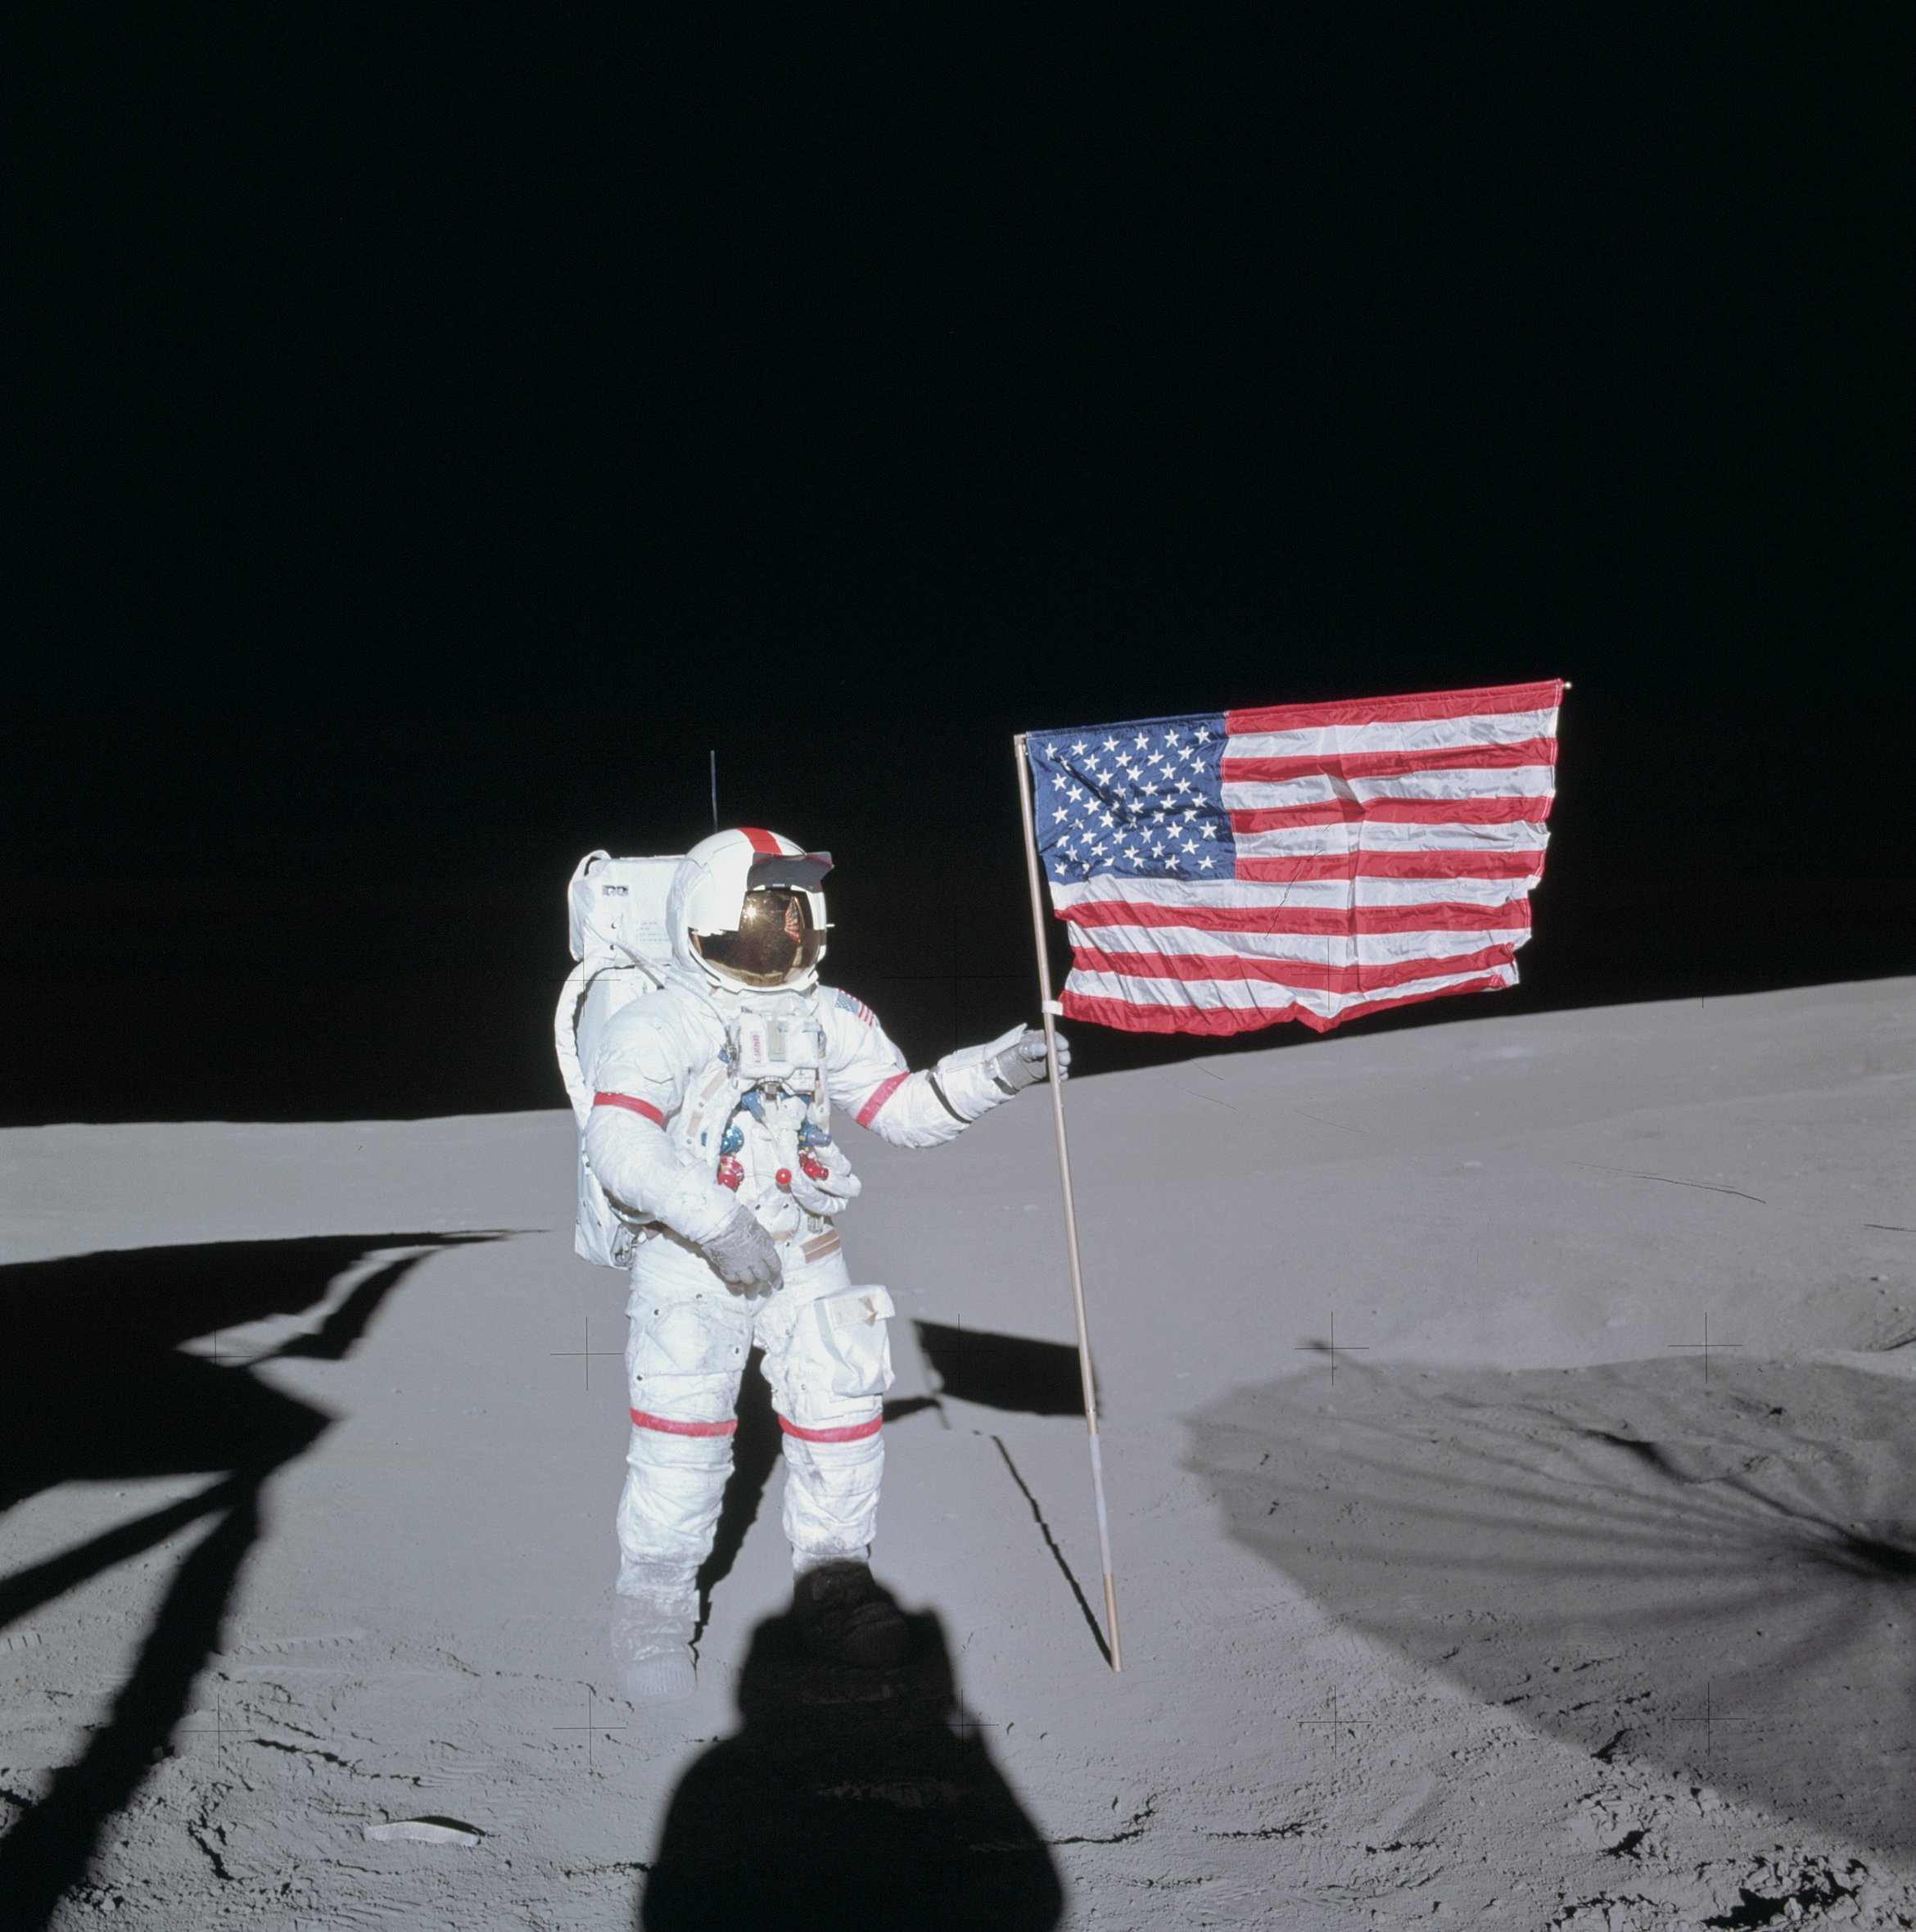 | AS14-66-9231 114:44:02 Down-Sun Al at the U.S. flag. Image credit: Image Science and Analysis Laboratory, NASA-Johnson Space Center. |
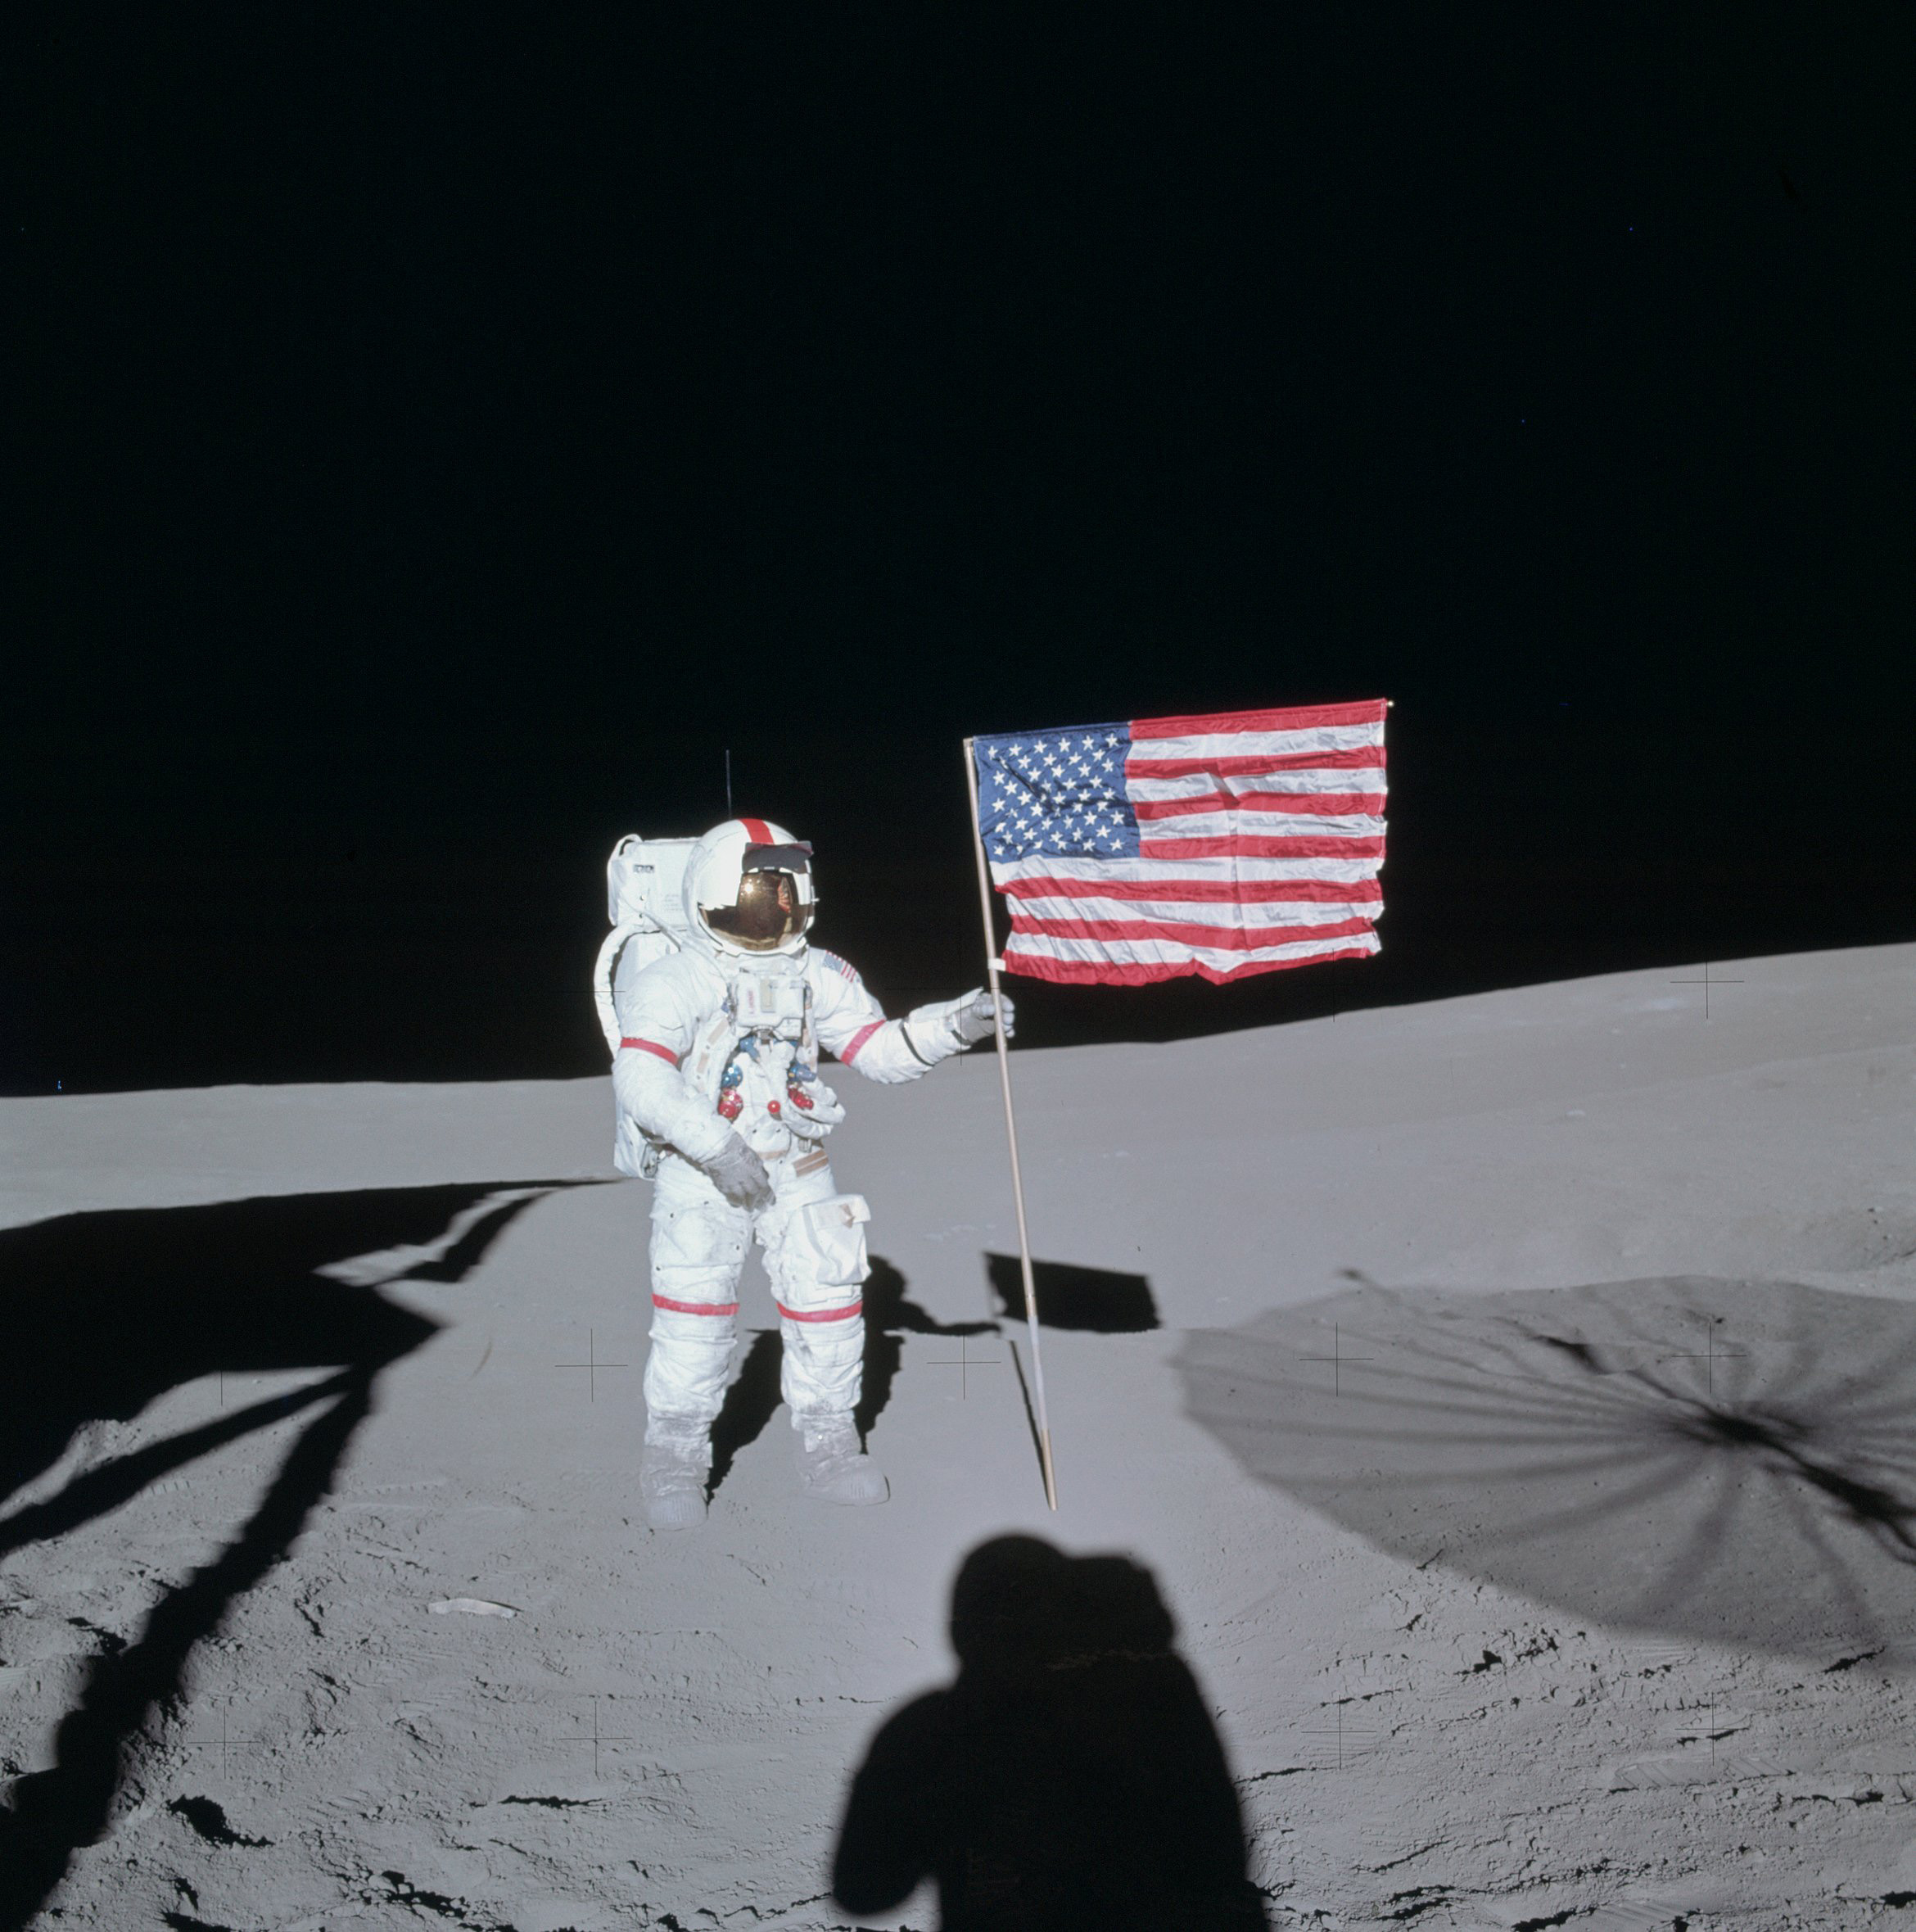 | AS14-66-9232 114:44:39 This is one of two tourist pictures of Al Shepard taken after deployment of the U.S. flag. Image credit: Image Science and Analysis Laboratory, NASA-Johnson Space Center. |
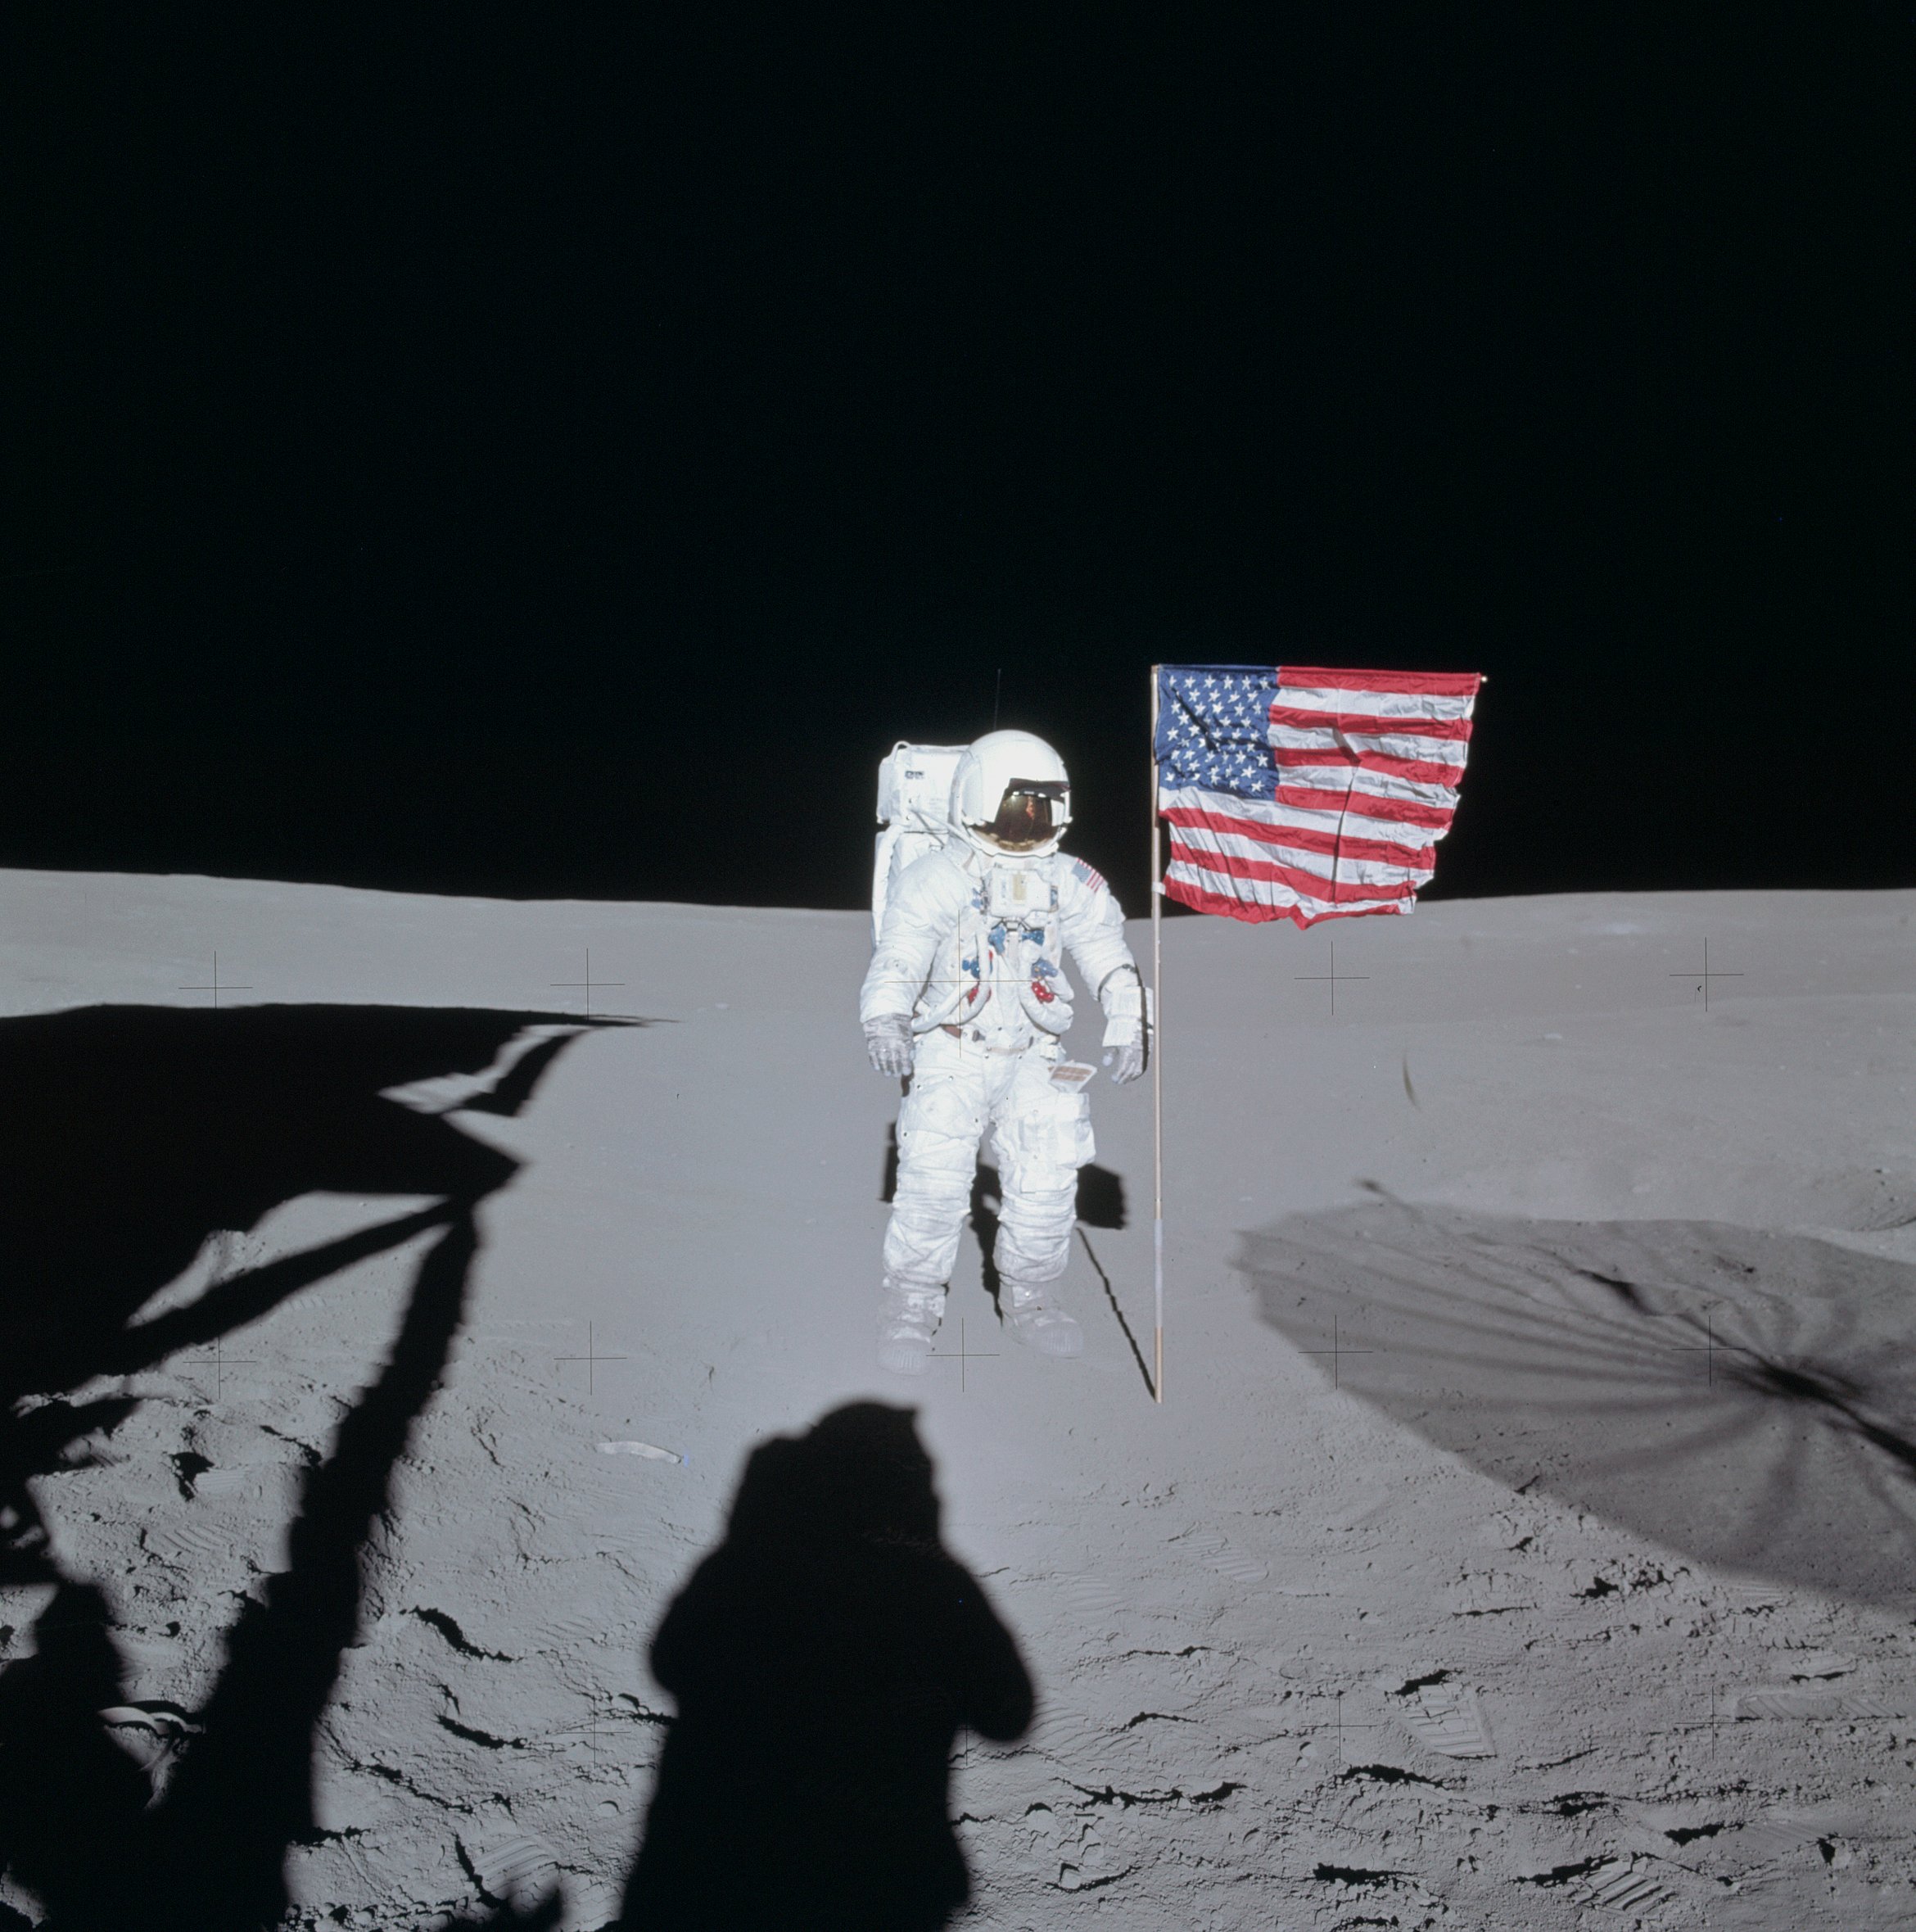 | AS14-66-9233 114:45:46 Down-Sun portrait of Ed at the U.S. flag. Image credit: Image Science and Analysis Laboratory, NASA-Johnson Space Center. |
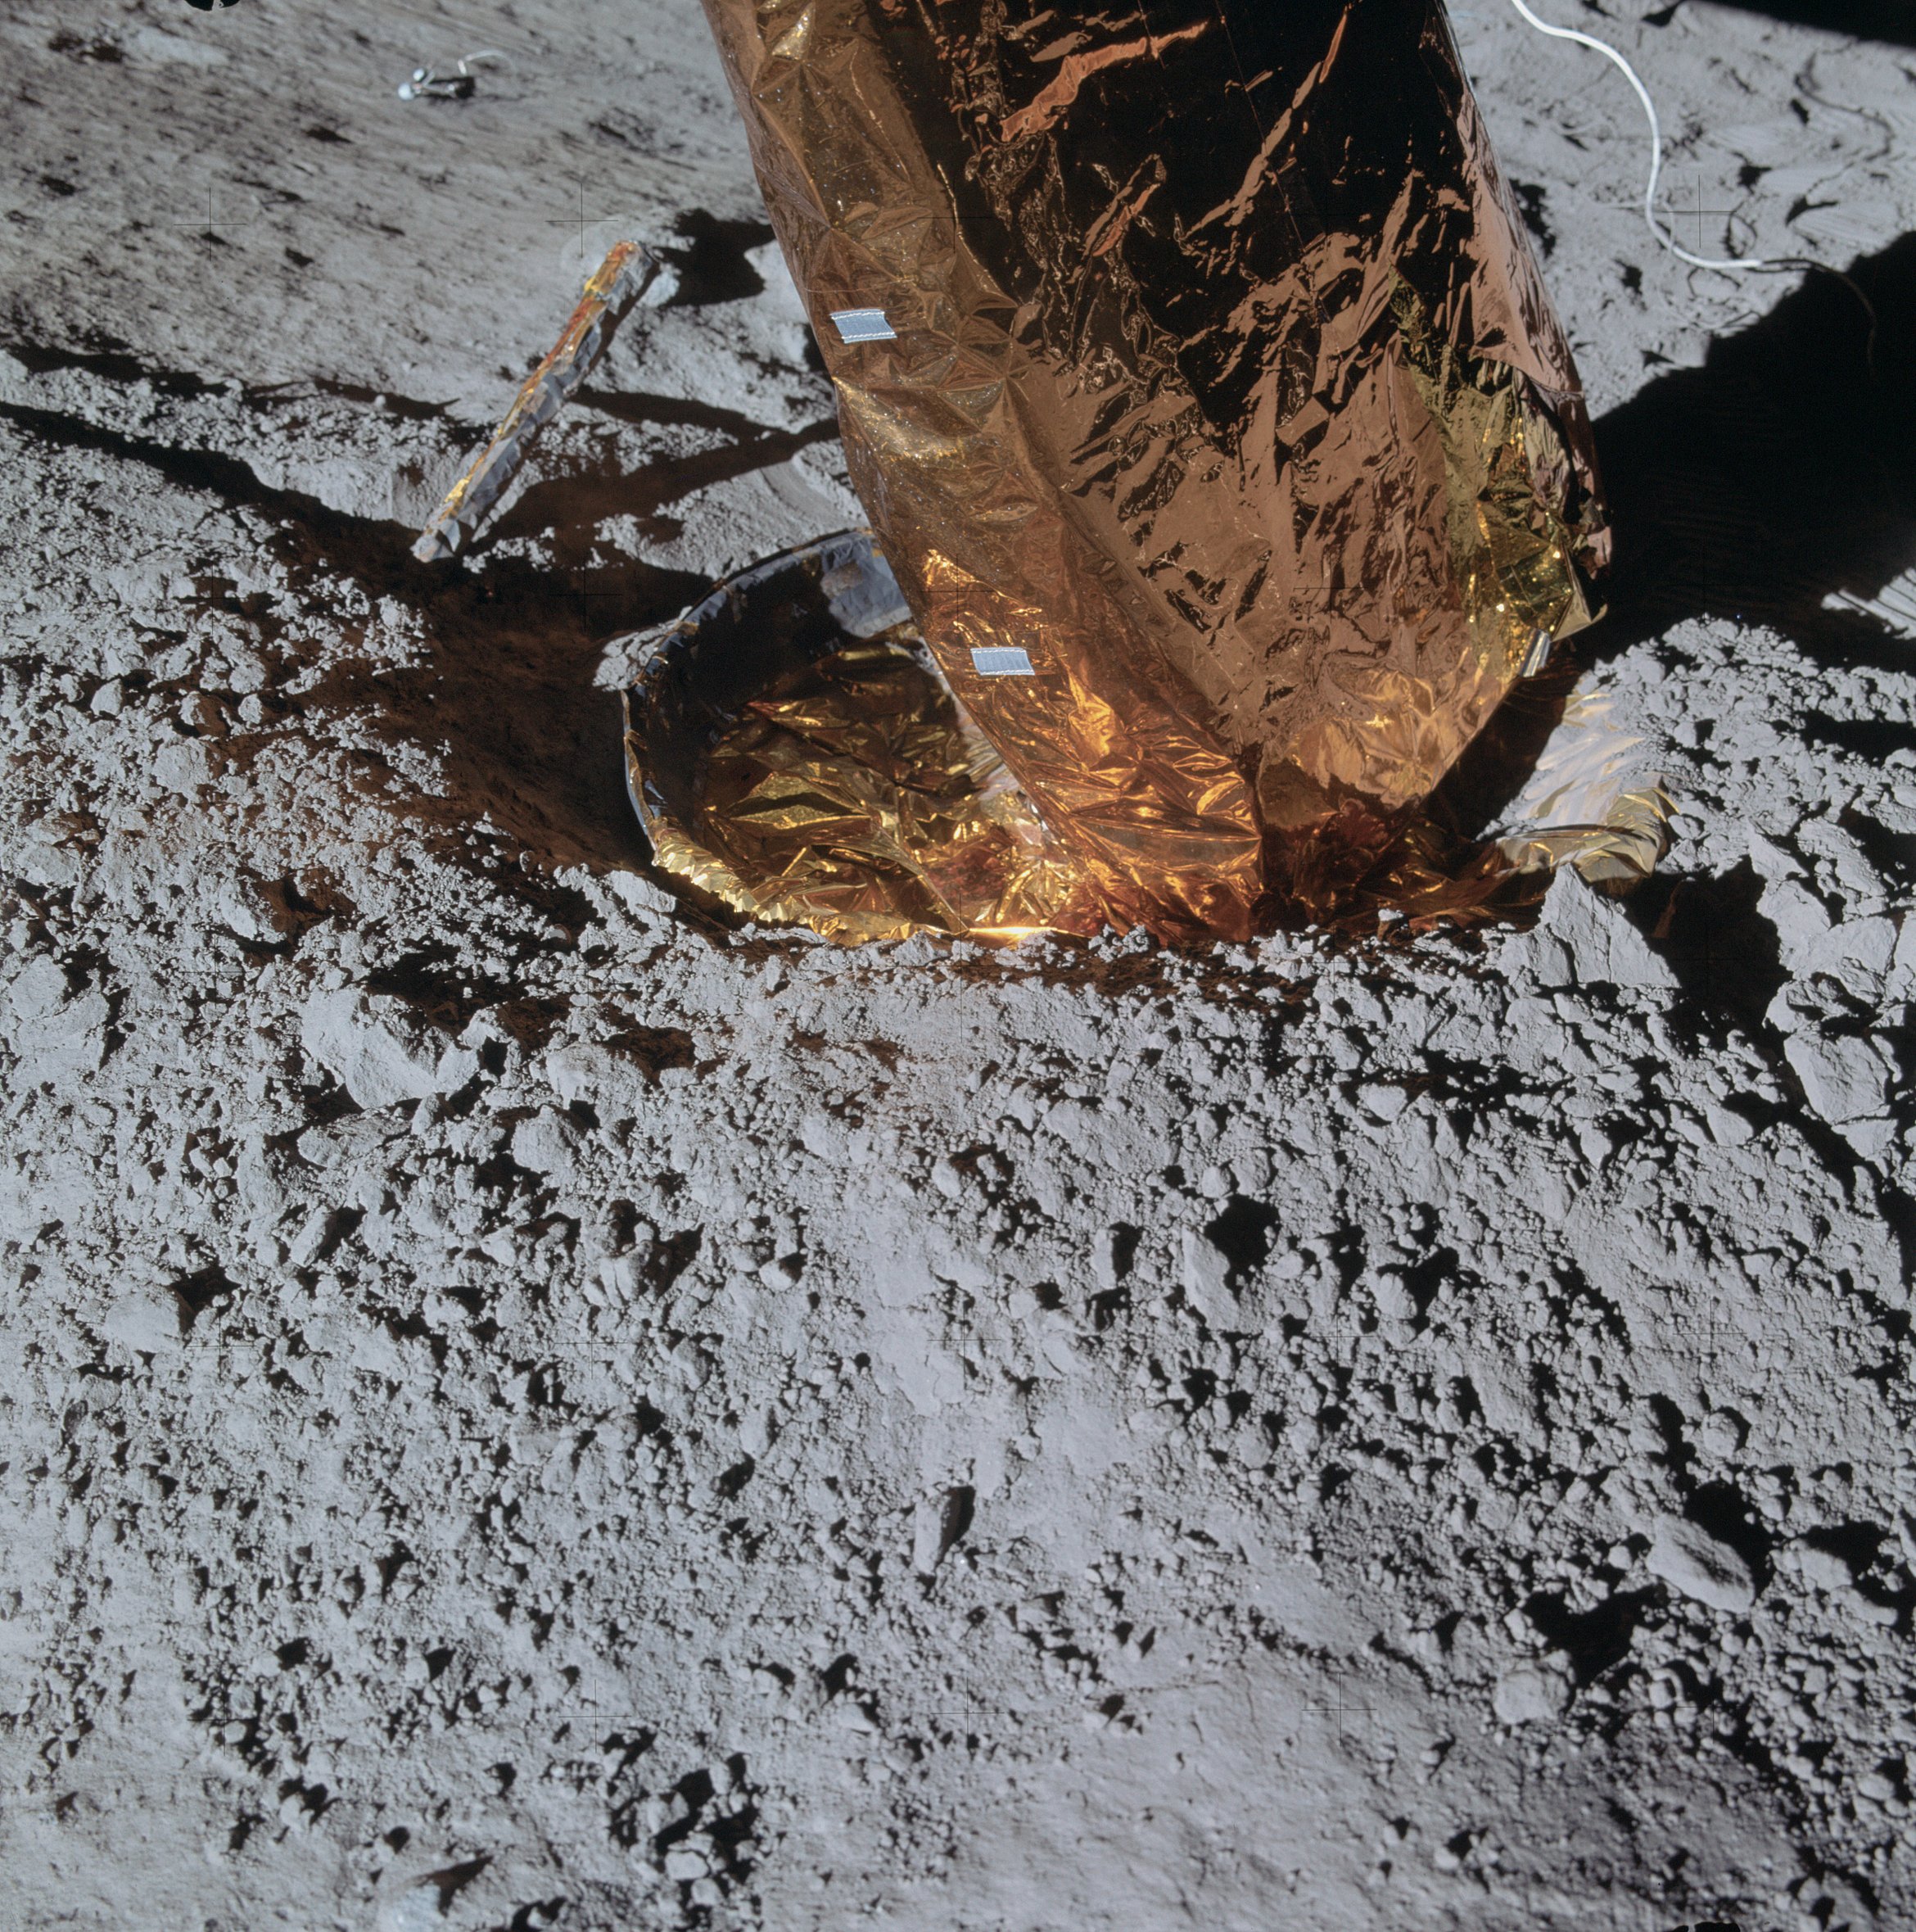 | AS14-66-9234 114:53:38 This photo shows the north footpad, which has dug into the surface. Image credit: Image Science and Analysis Laboratory, NASA-Johnson Space Center. |
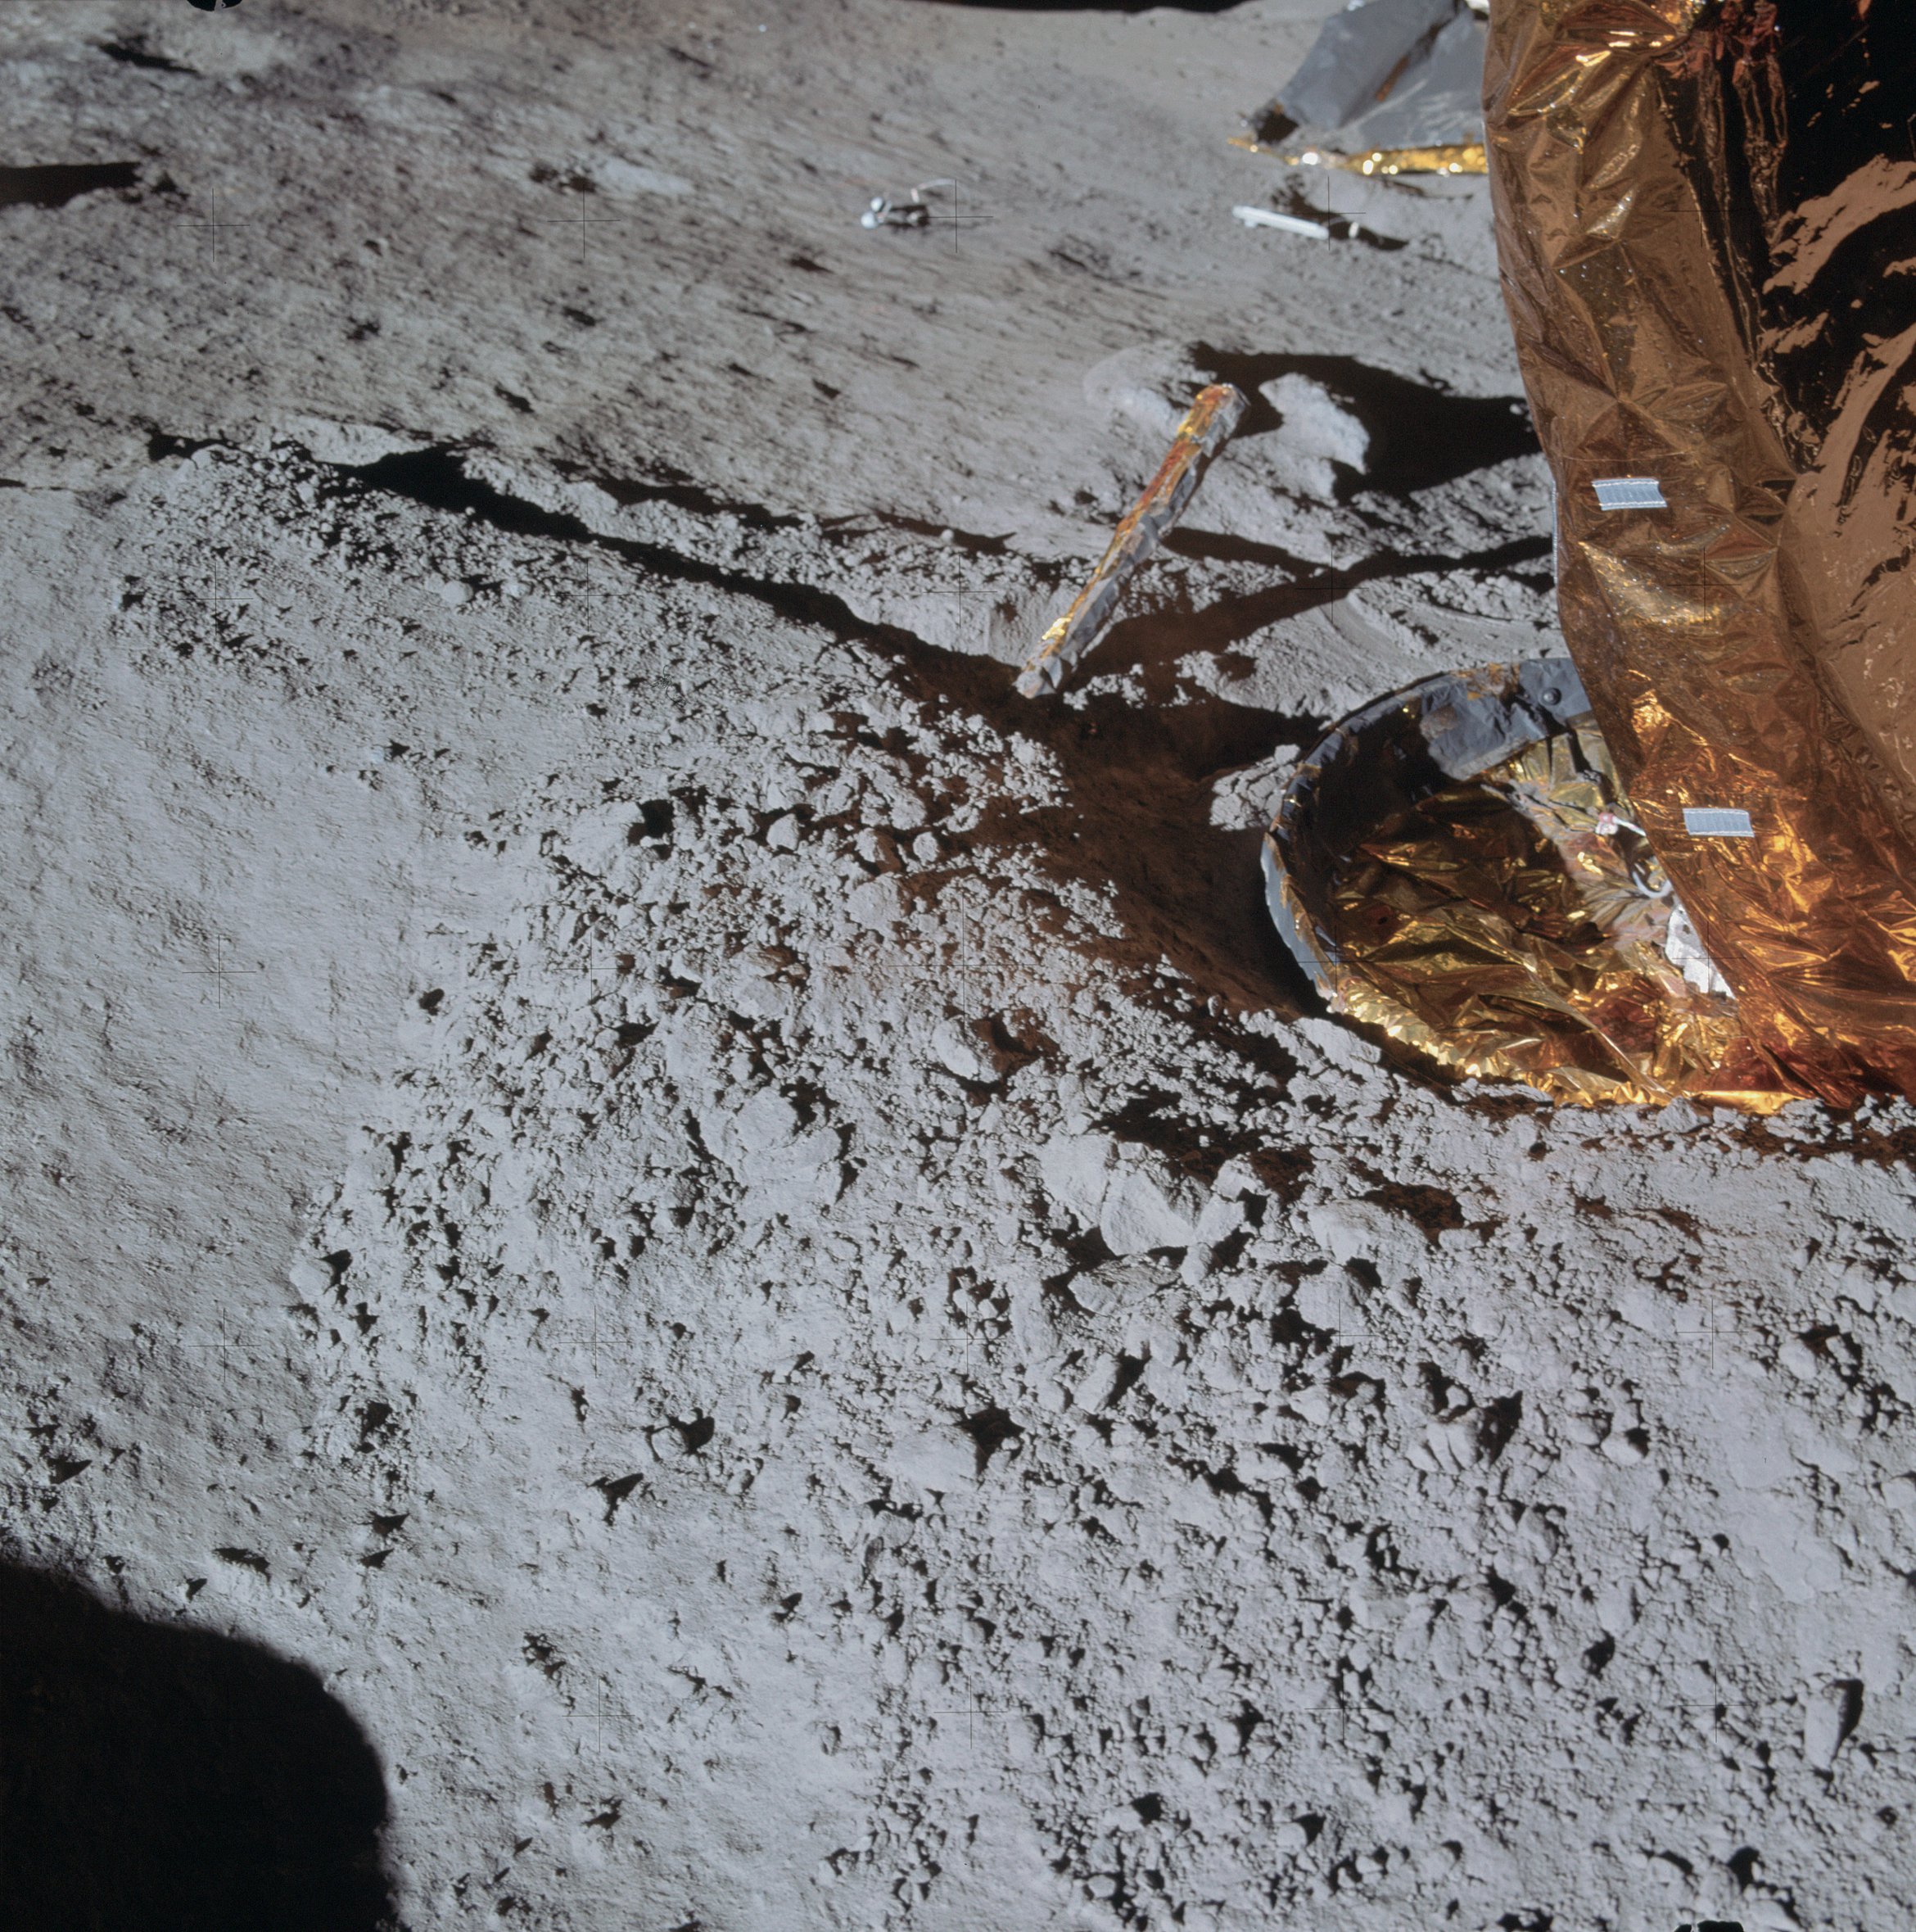 | AS14-66-9235 North footpad. Image credit: Image Science and Analysis Laboratory, NASA-Johnson Space Center. |
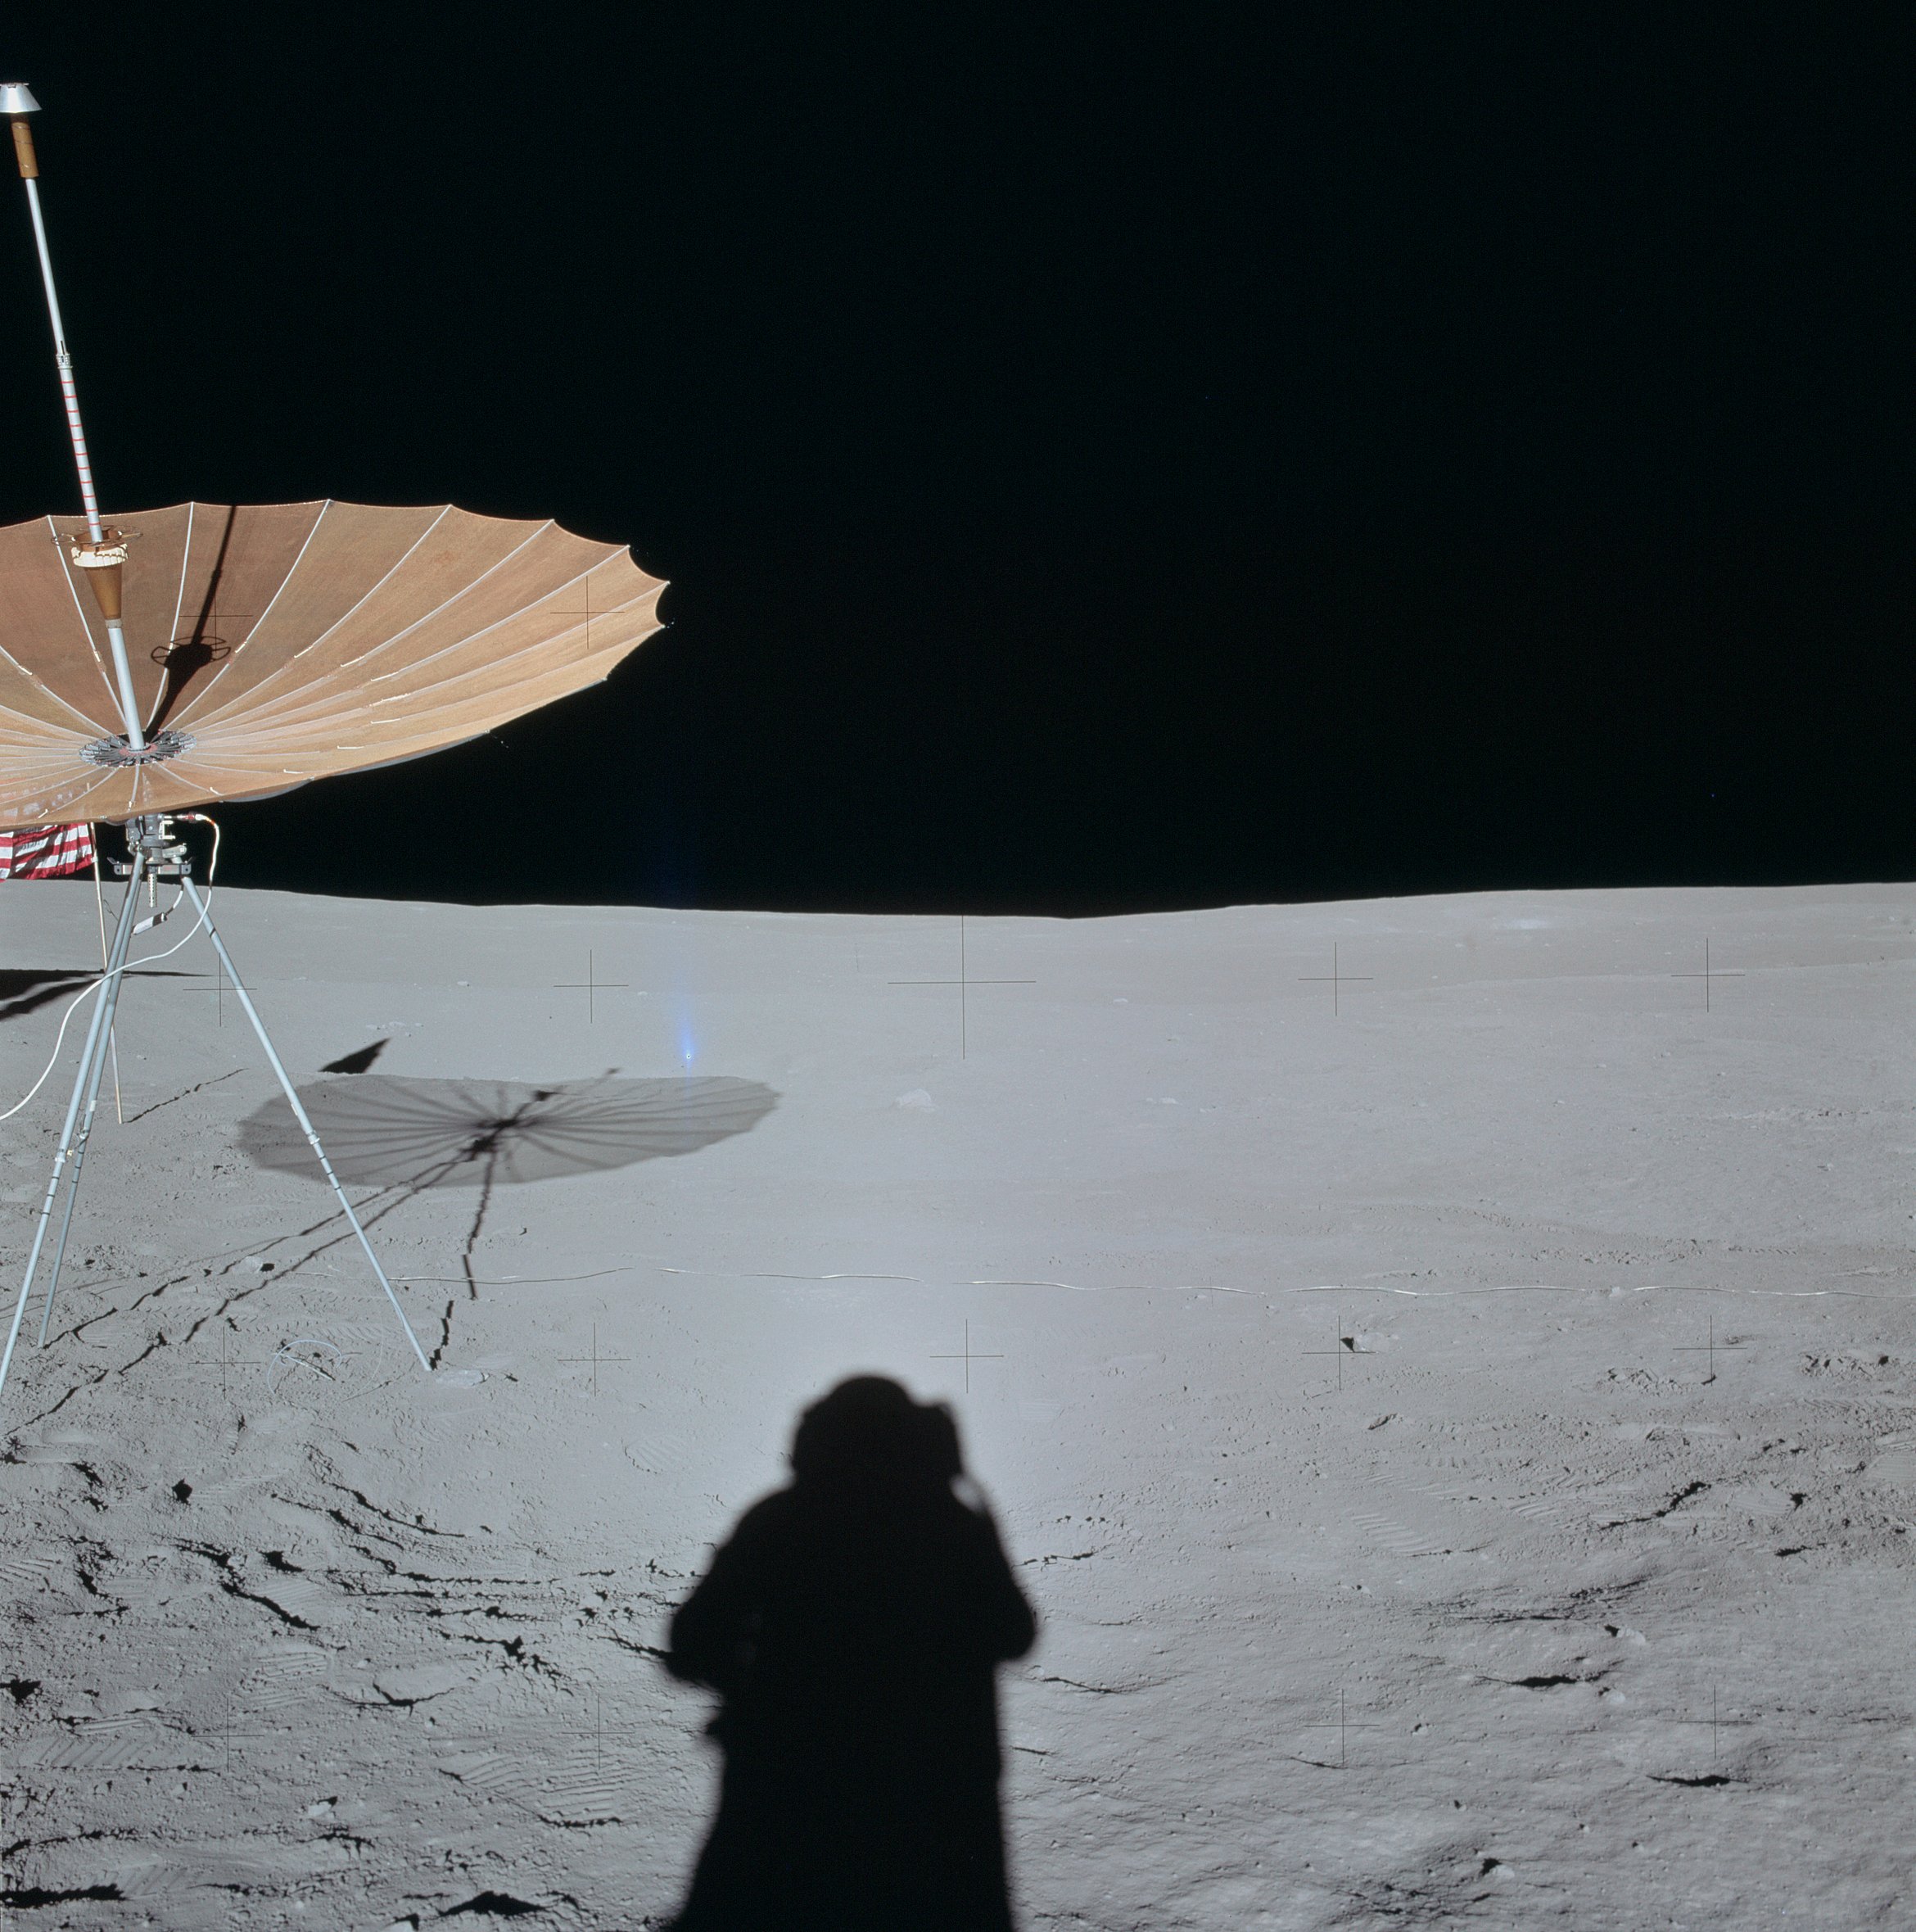 | AS14-66-9236 Al starts a pan from the 4 o'clock position, northeast of the LM. Image credit: Image Science and Analysis Laboratory, NASA-Johnson Space Center. |
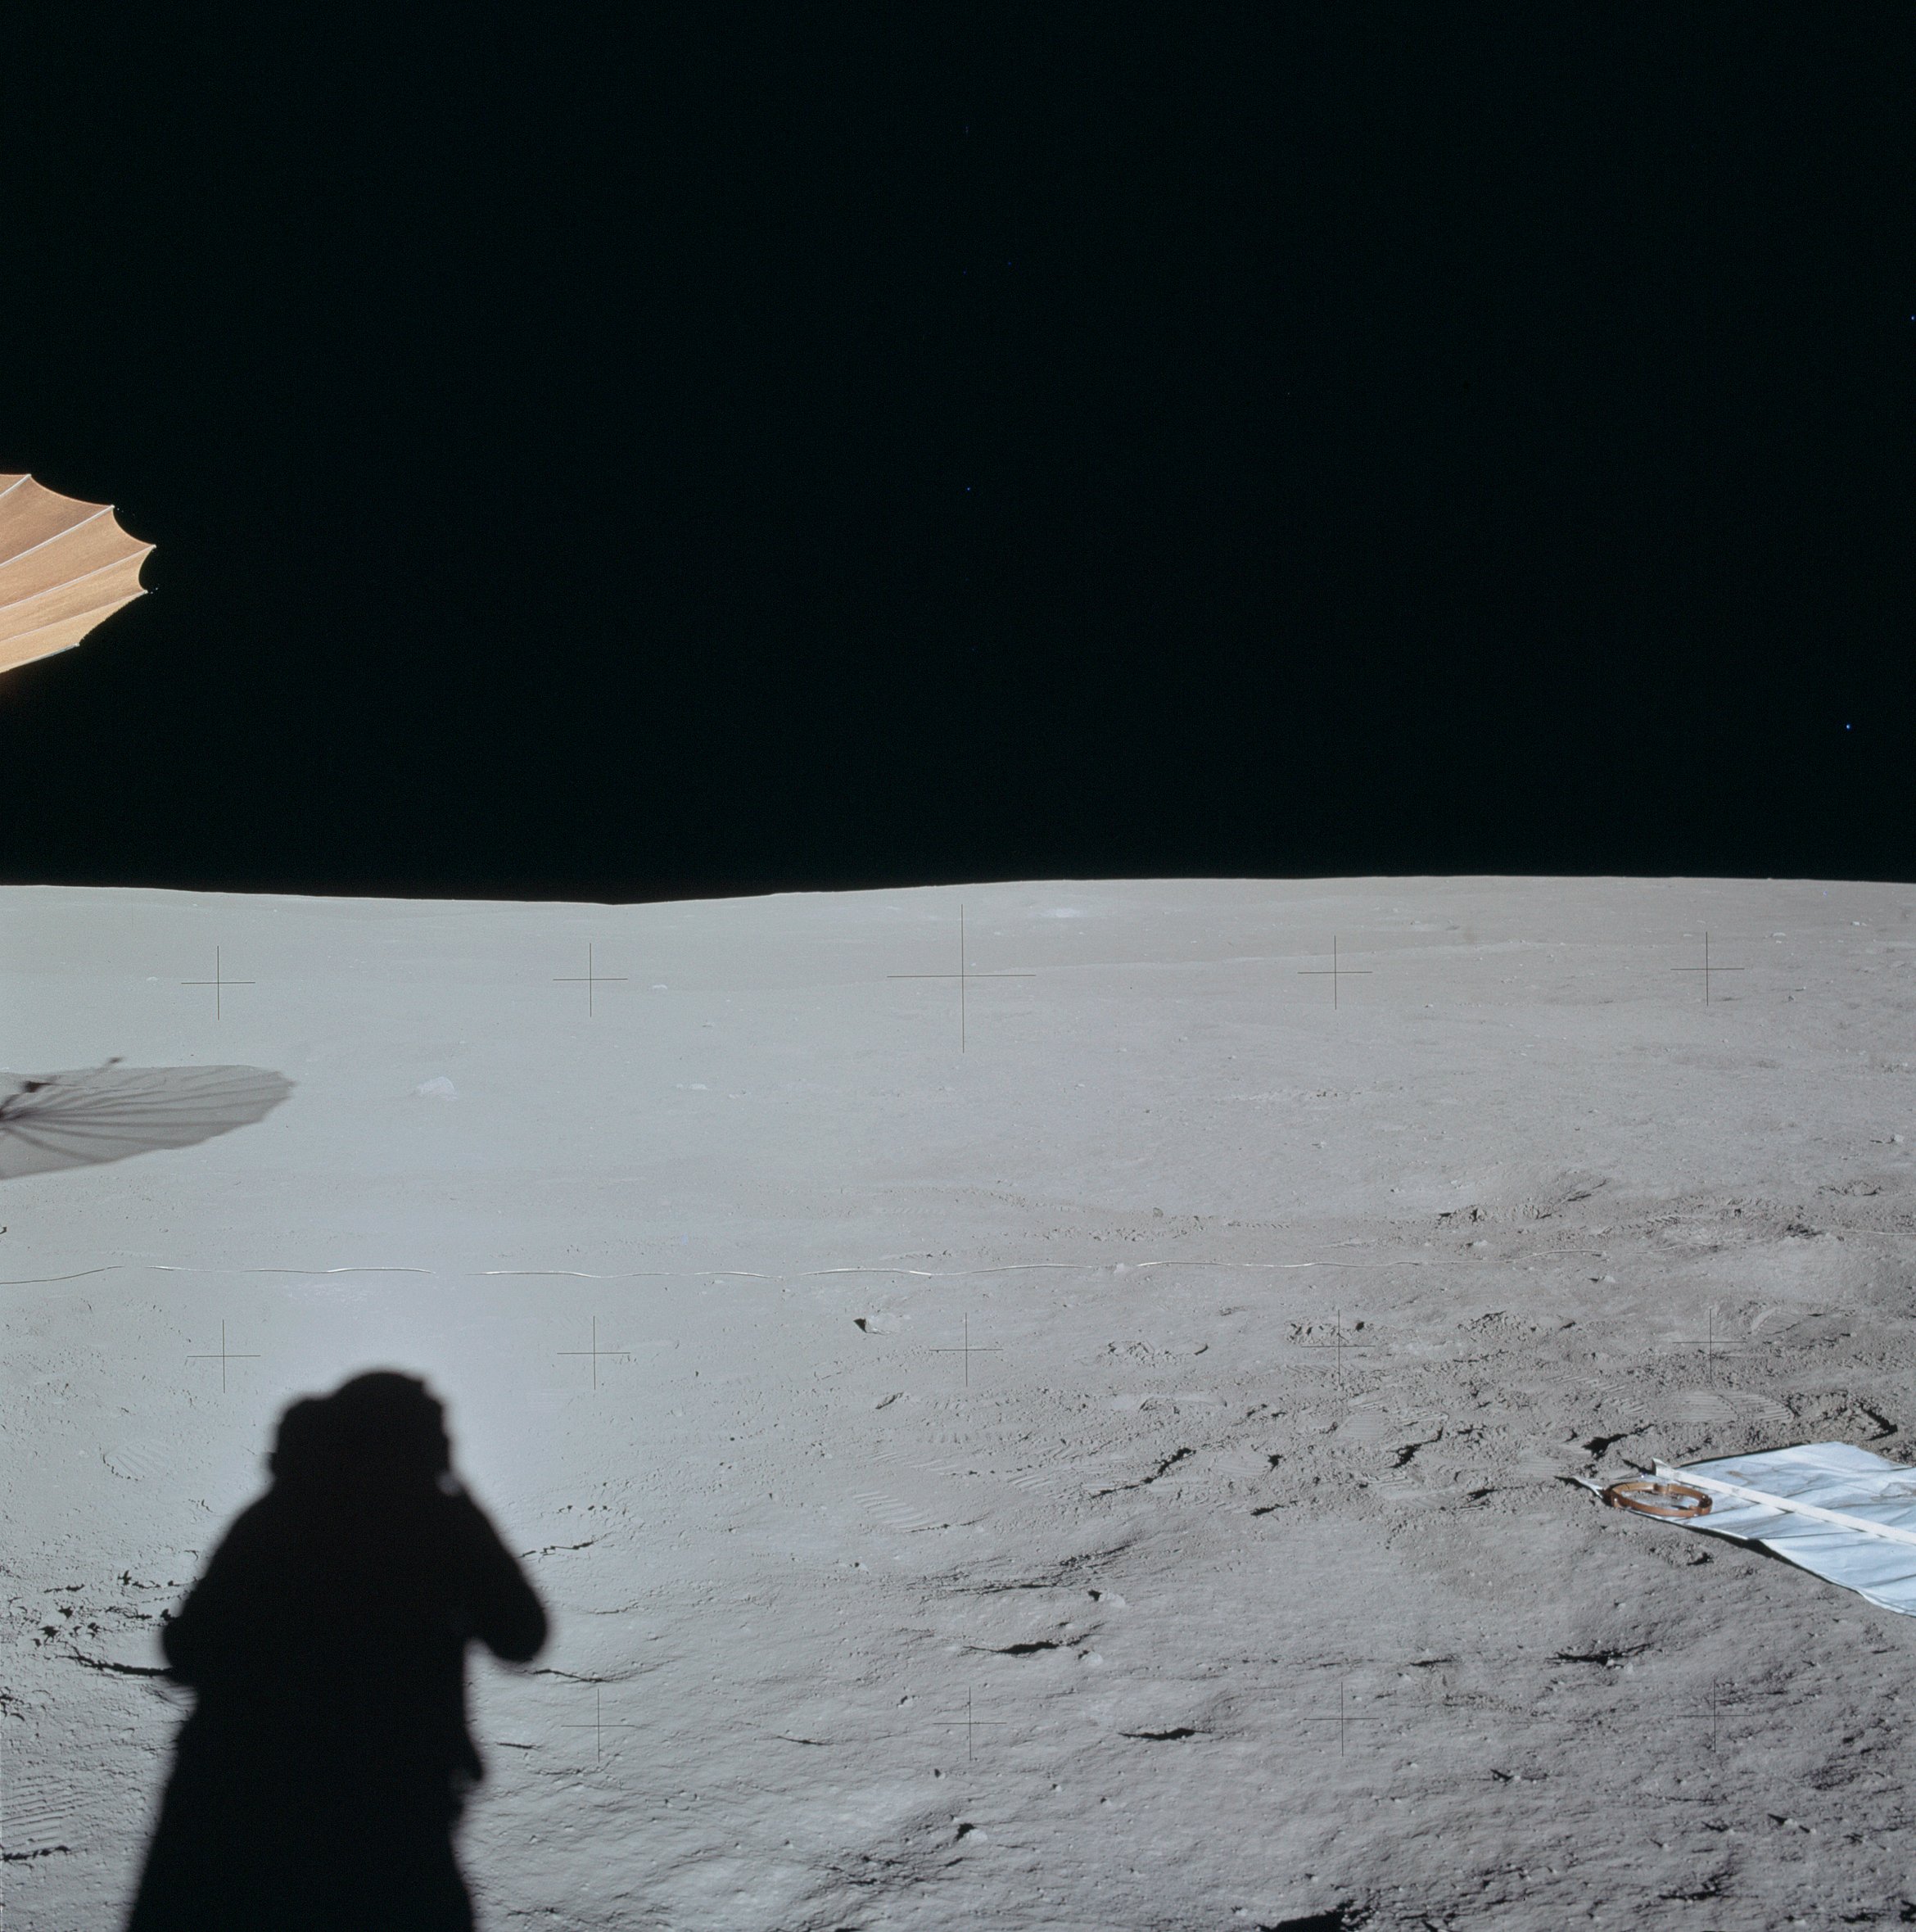 | AS14-66-9237 Rightward from 9236, showing the S-Band antenna cover which, at the end of the EVA, they will put on top of the MET to keep it from overheating during the rest period. Image credit: Image Science and Analysis Laboratory, NASA-Johnson Space Center. |
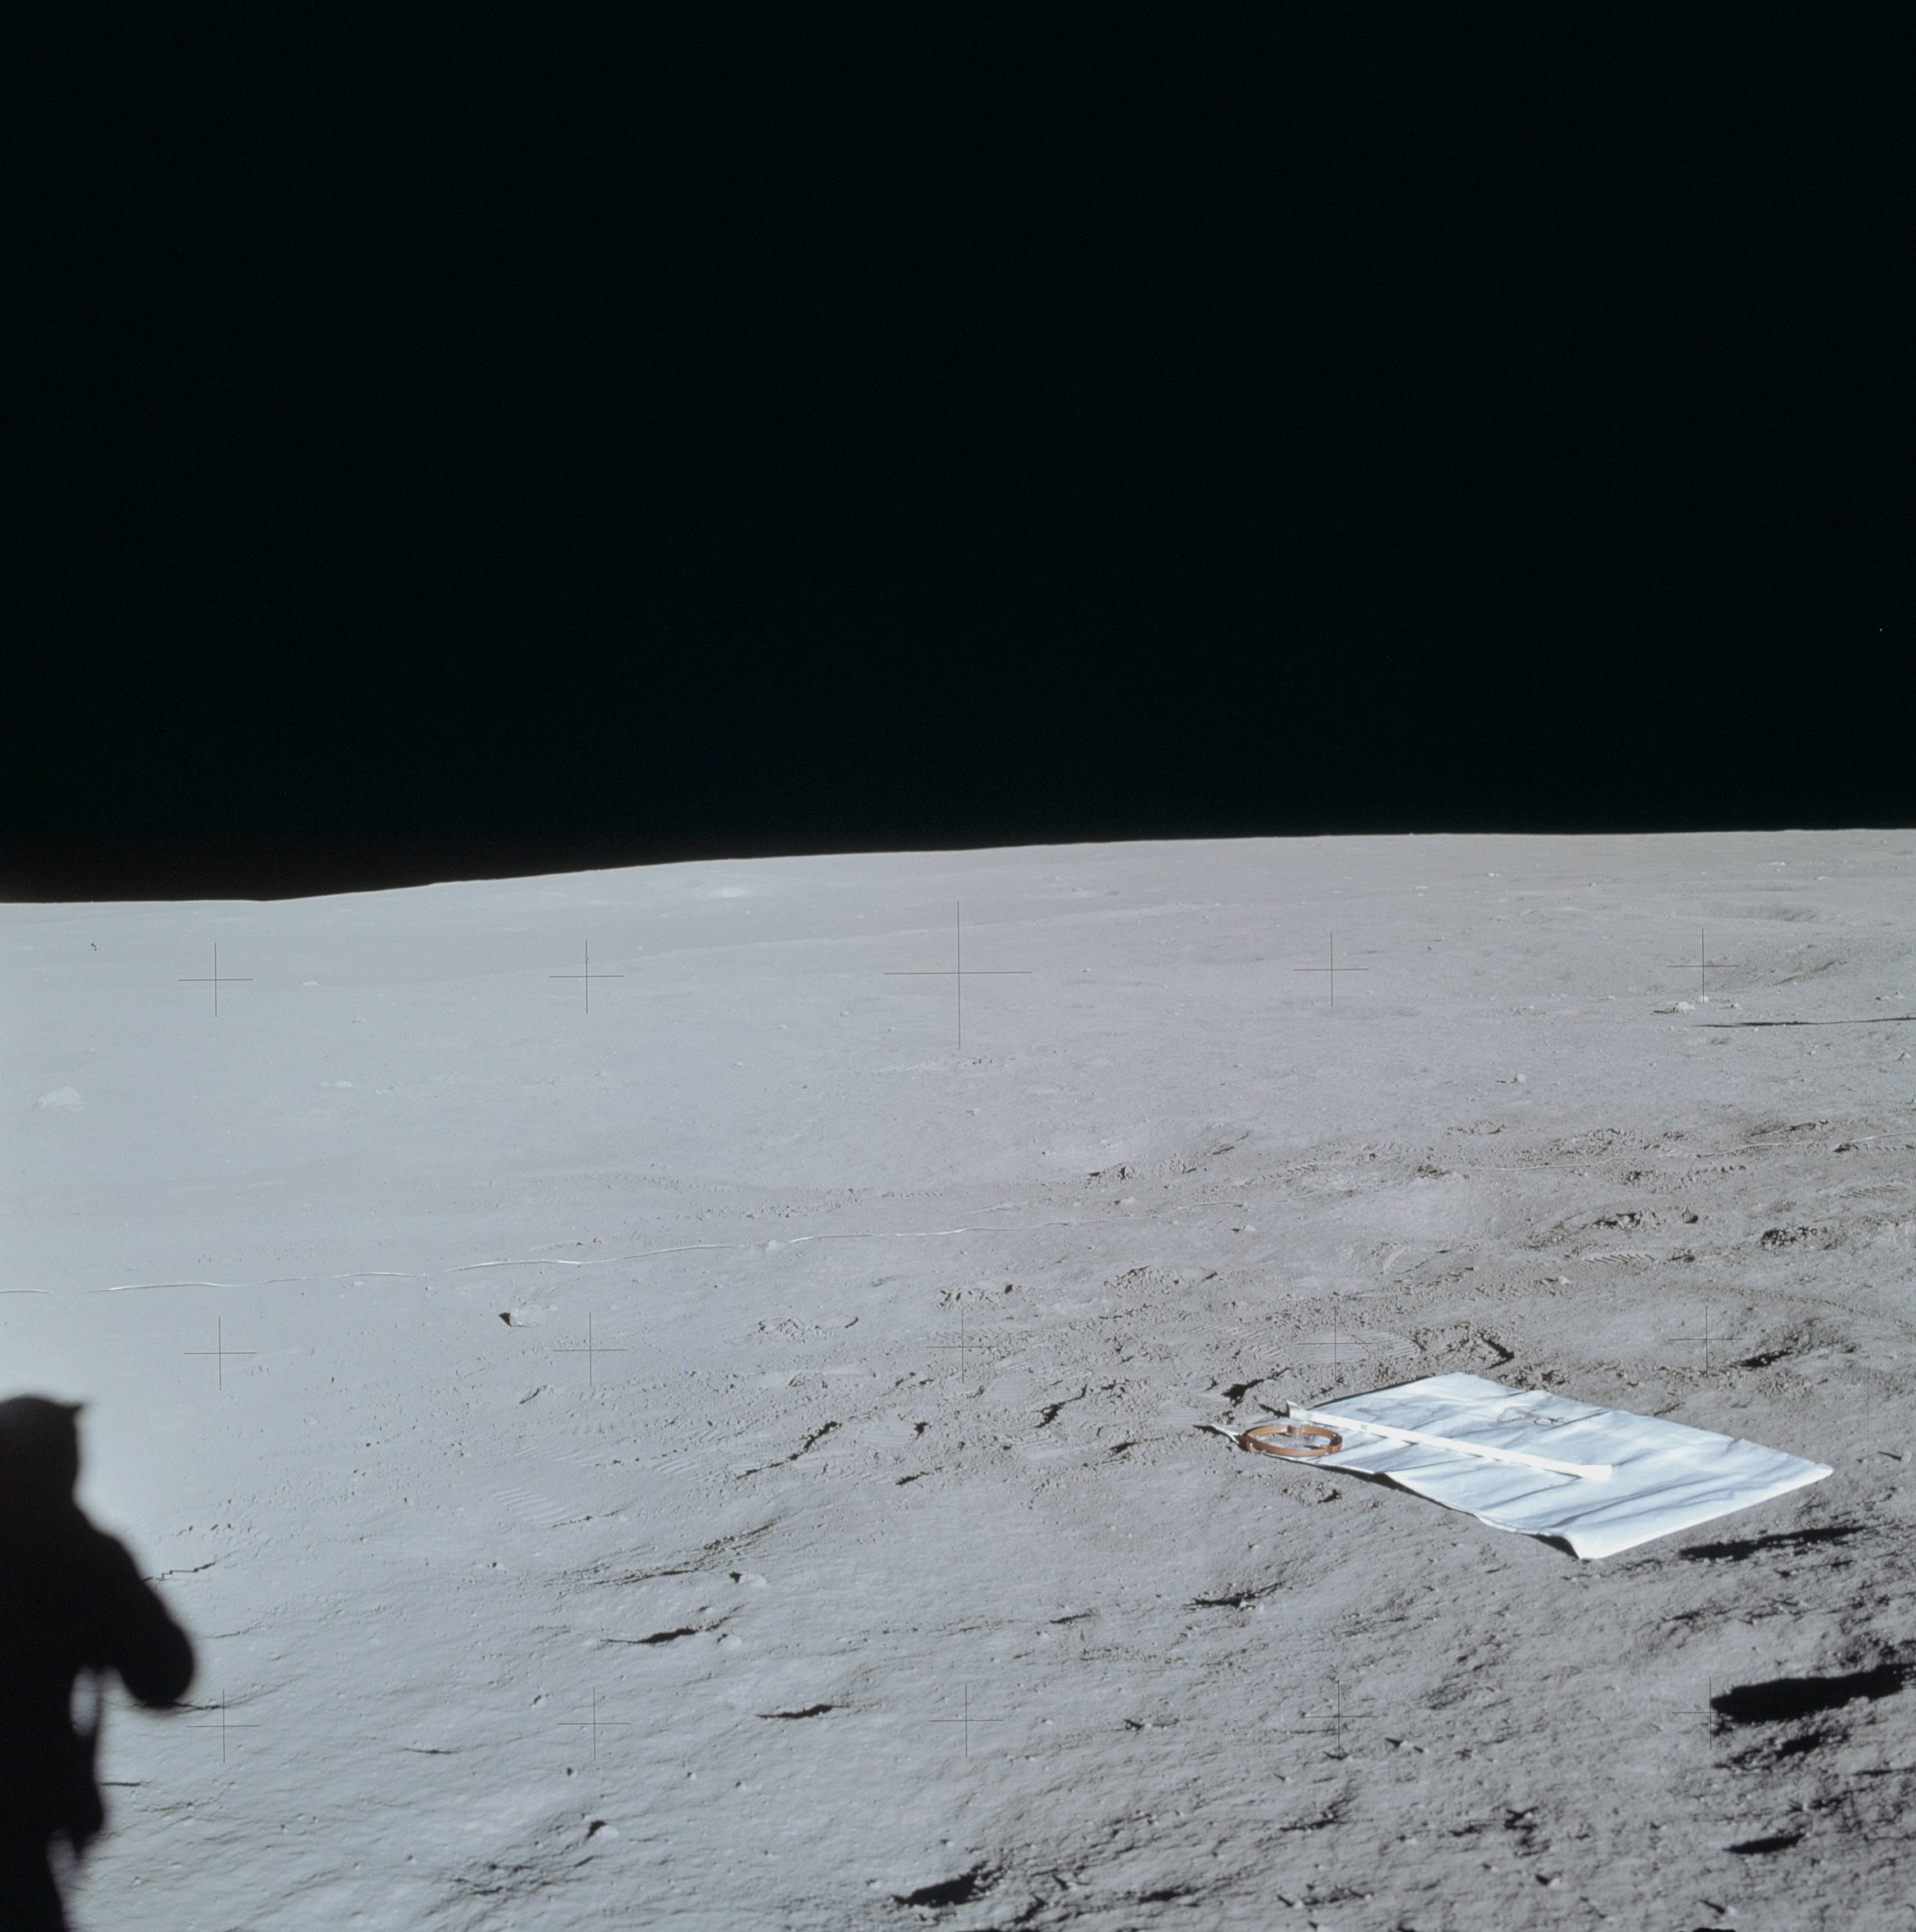 | AS14-66-9238 Rightward from 9237. Image credit: Image Science and Analysis Laboratory, NASA-Johnson Space Center. |
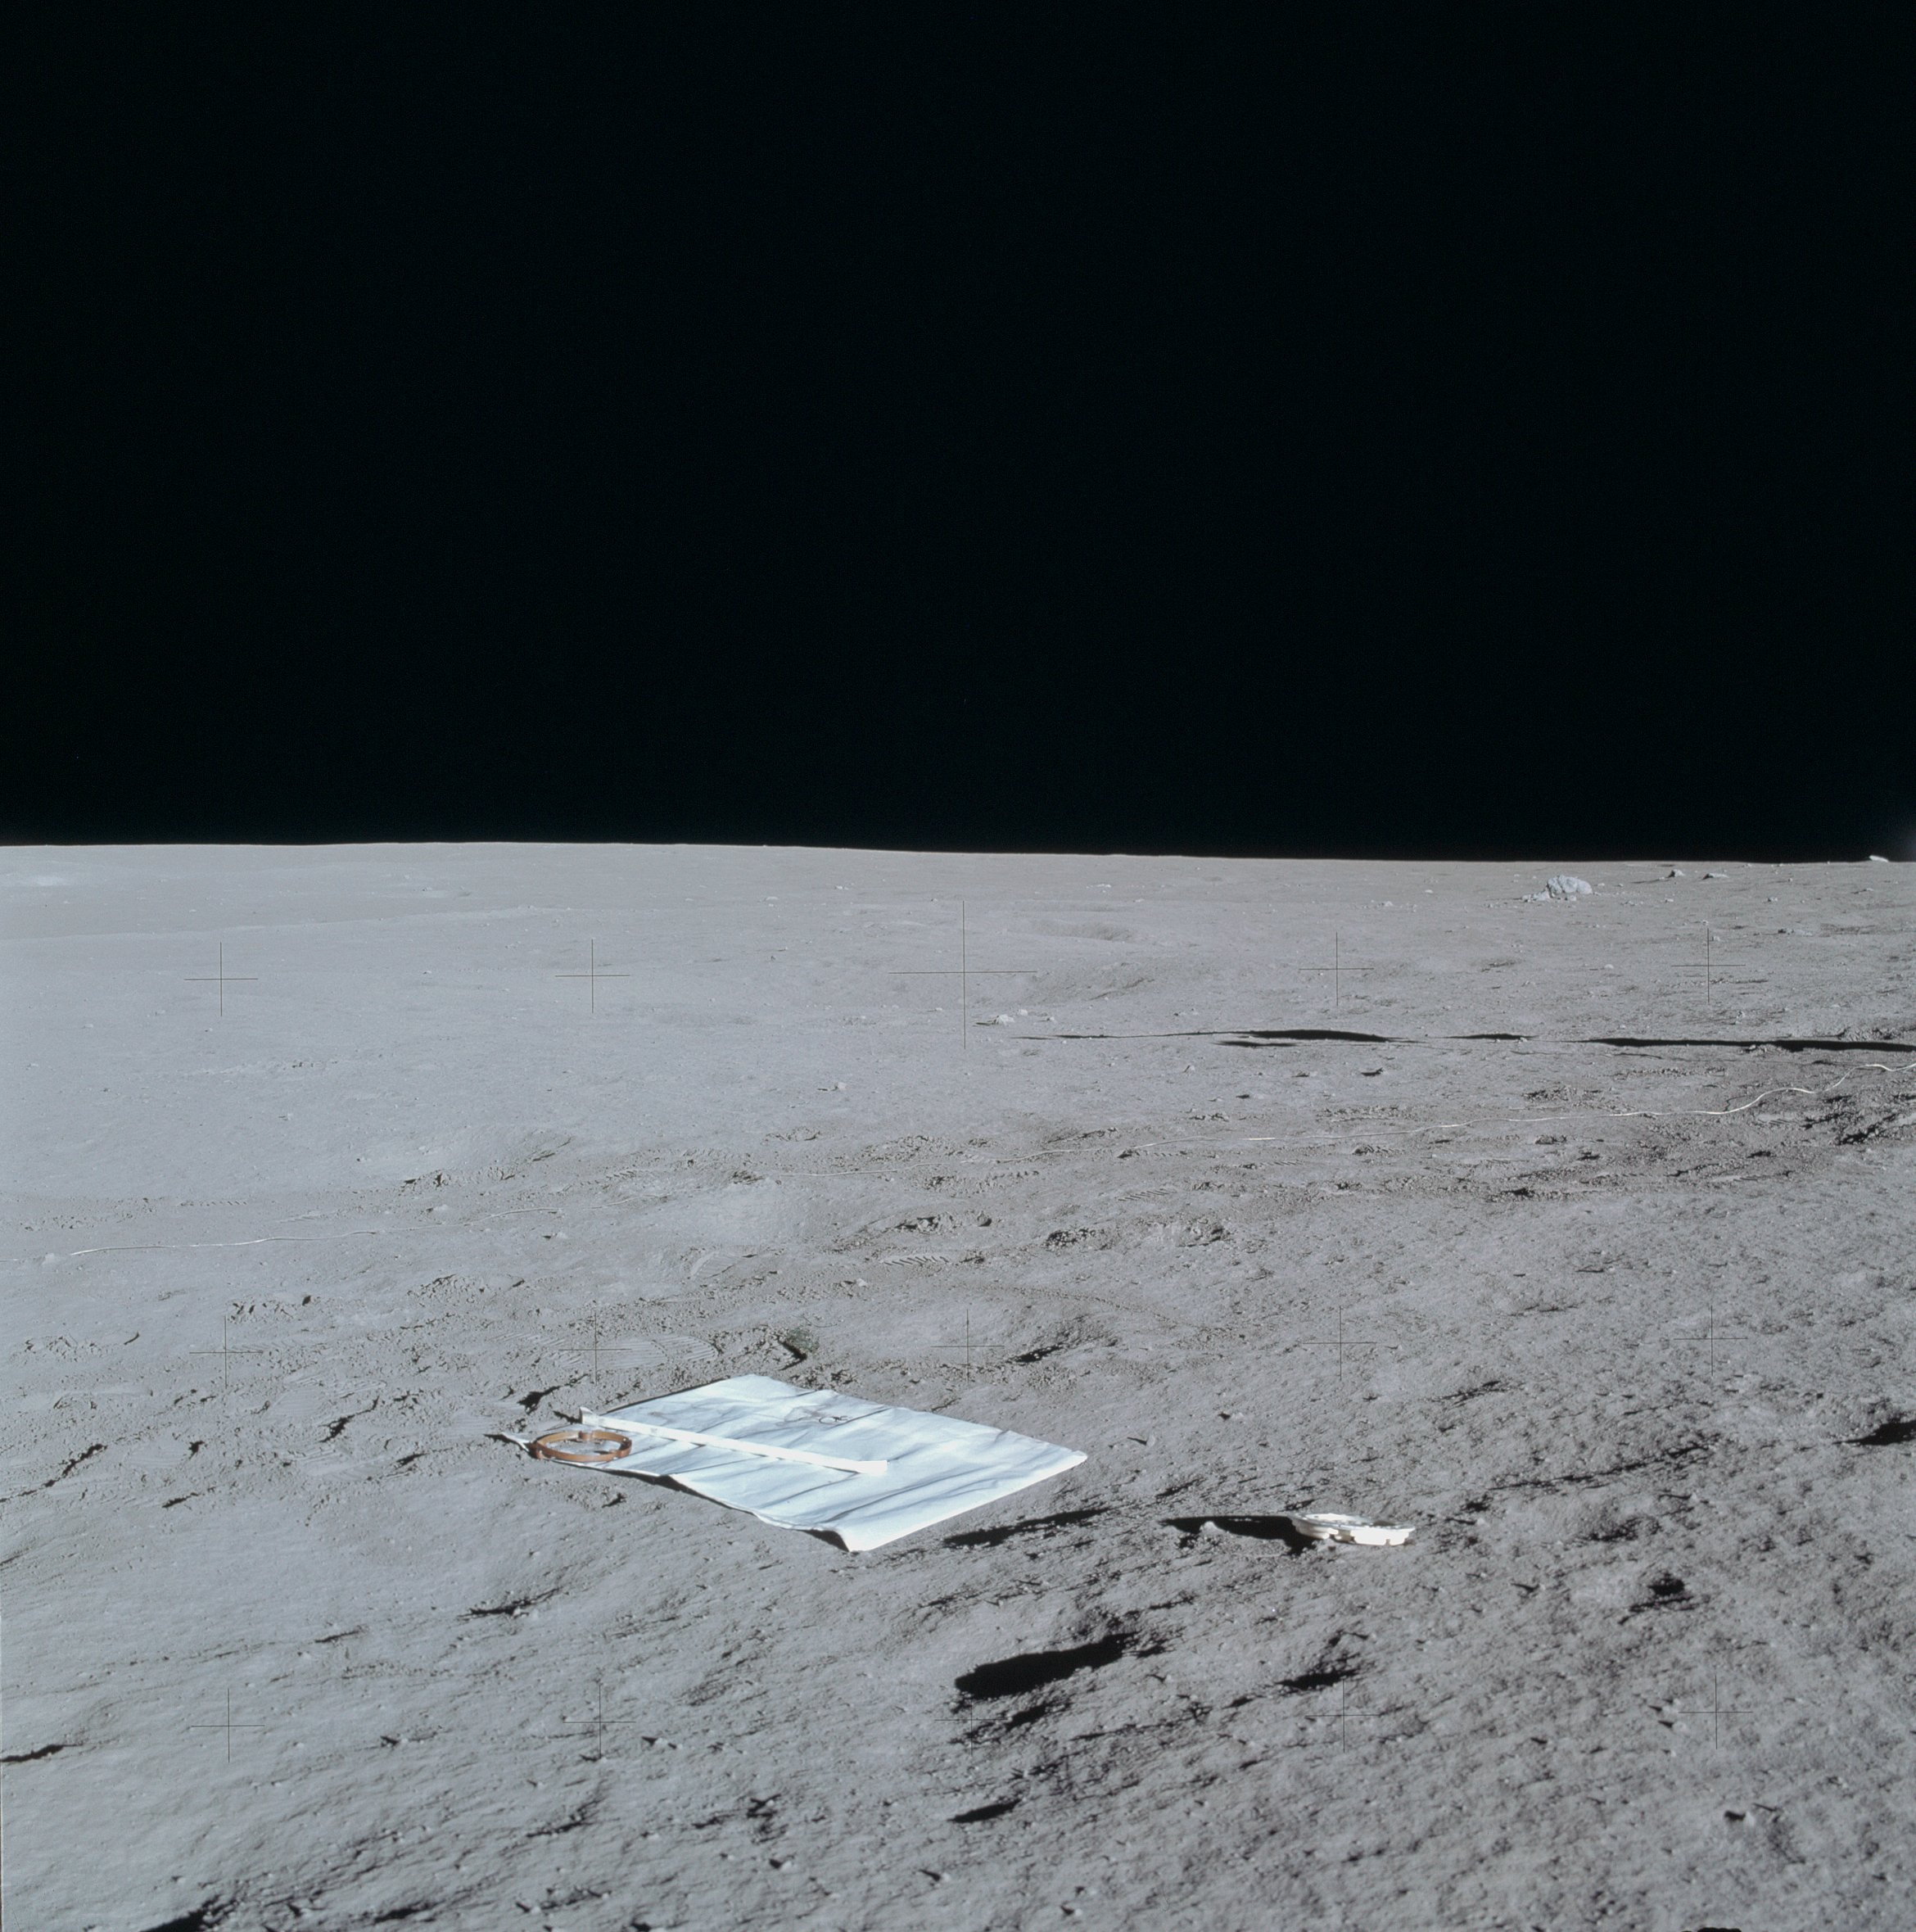 | AS14-66-9239 Rightward from 9238. Image credit: Image Science and Analysis Laboratory, NASA-Johnson Space Center. |
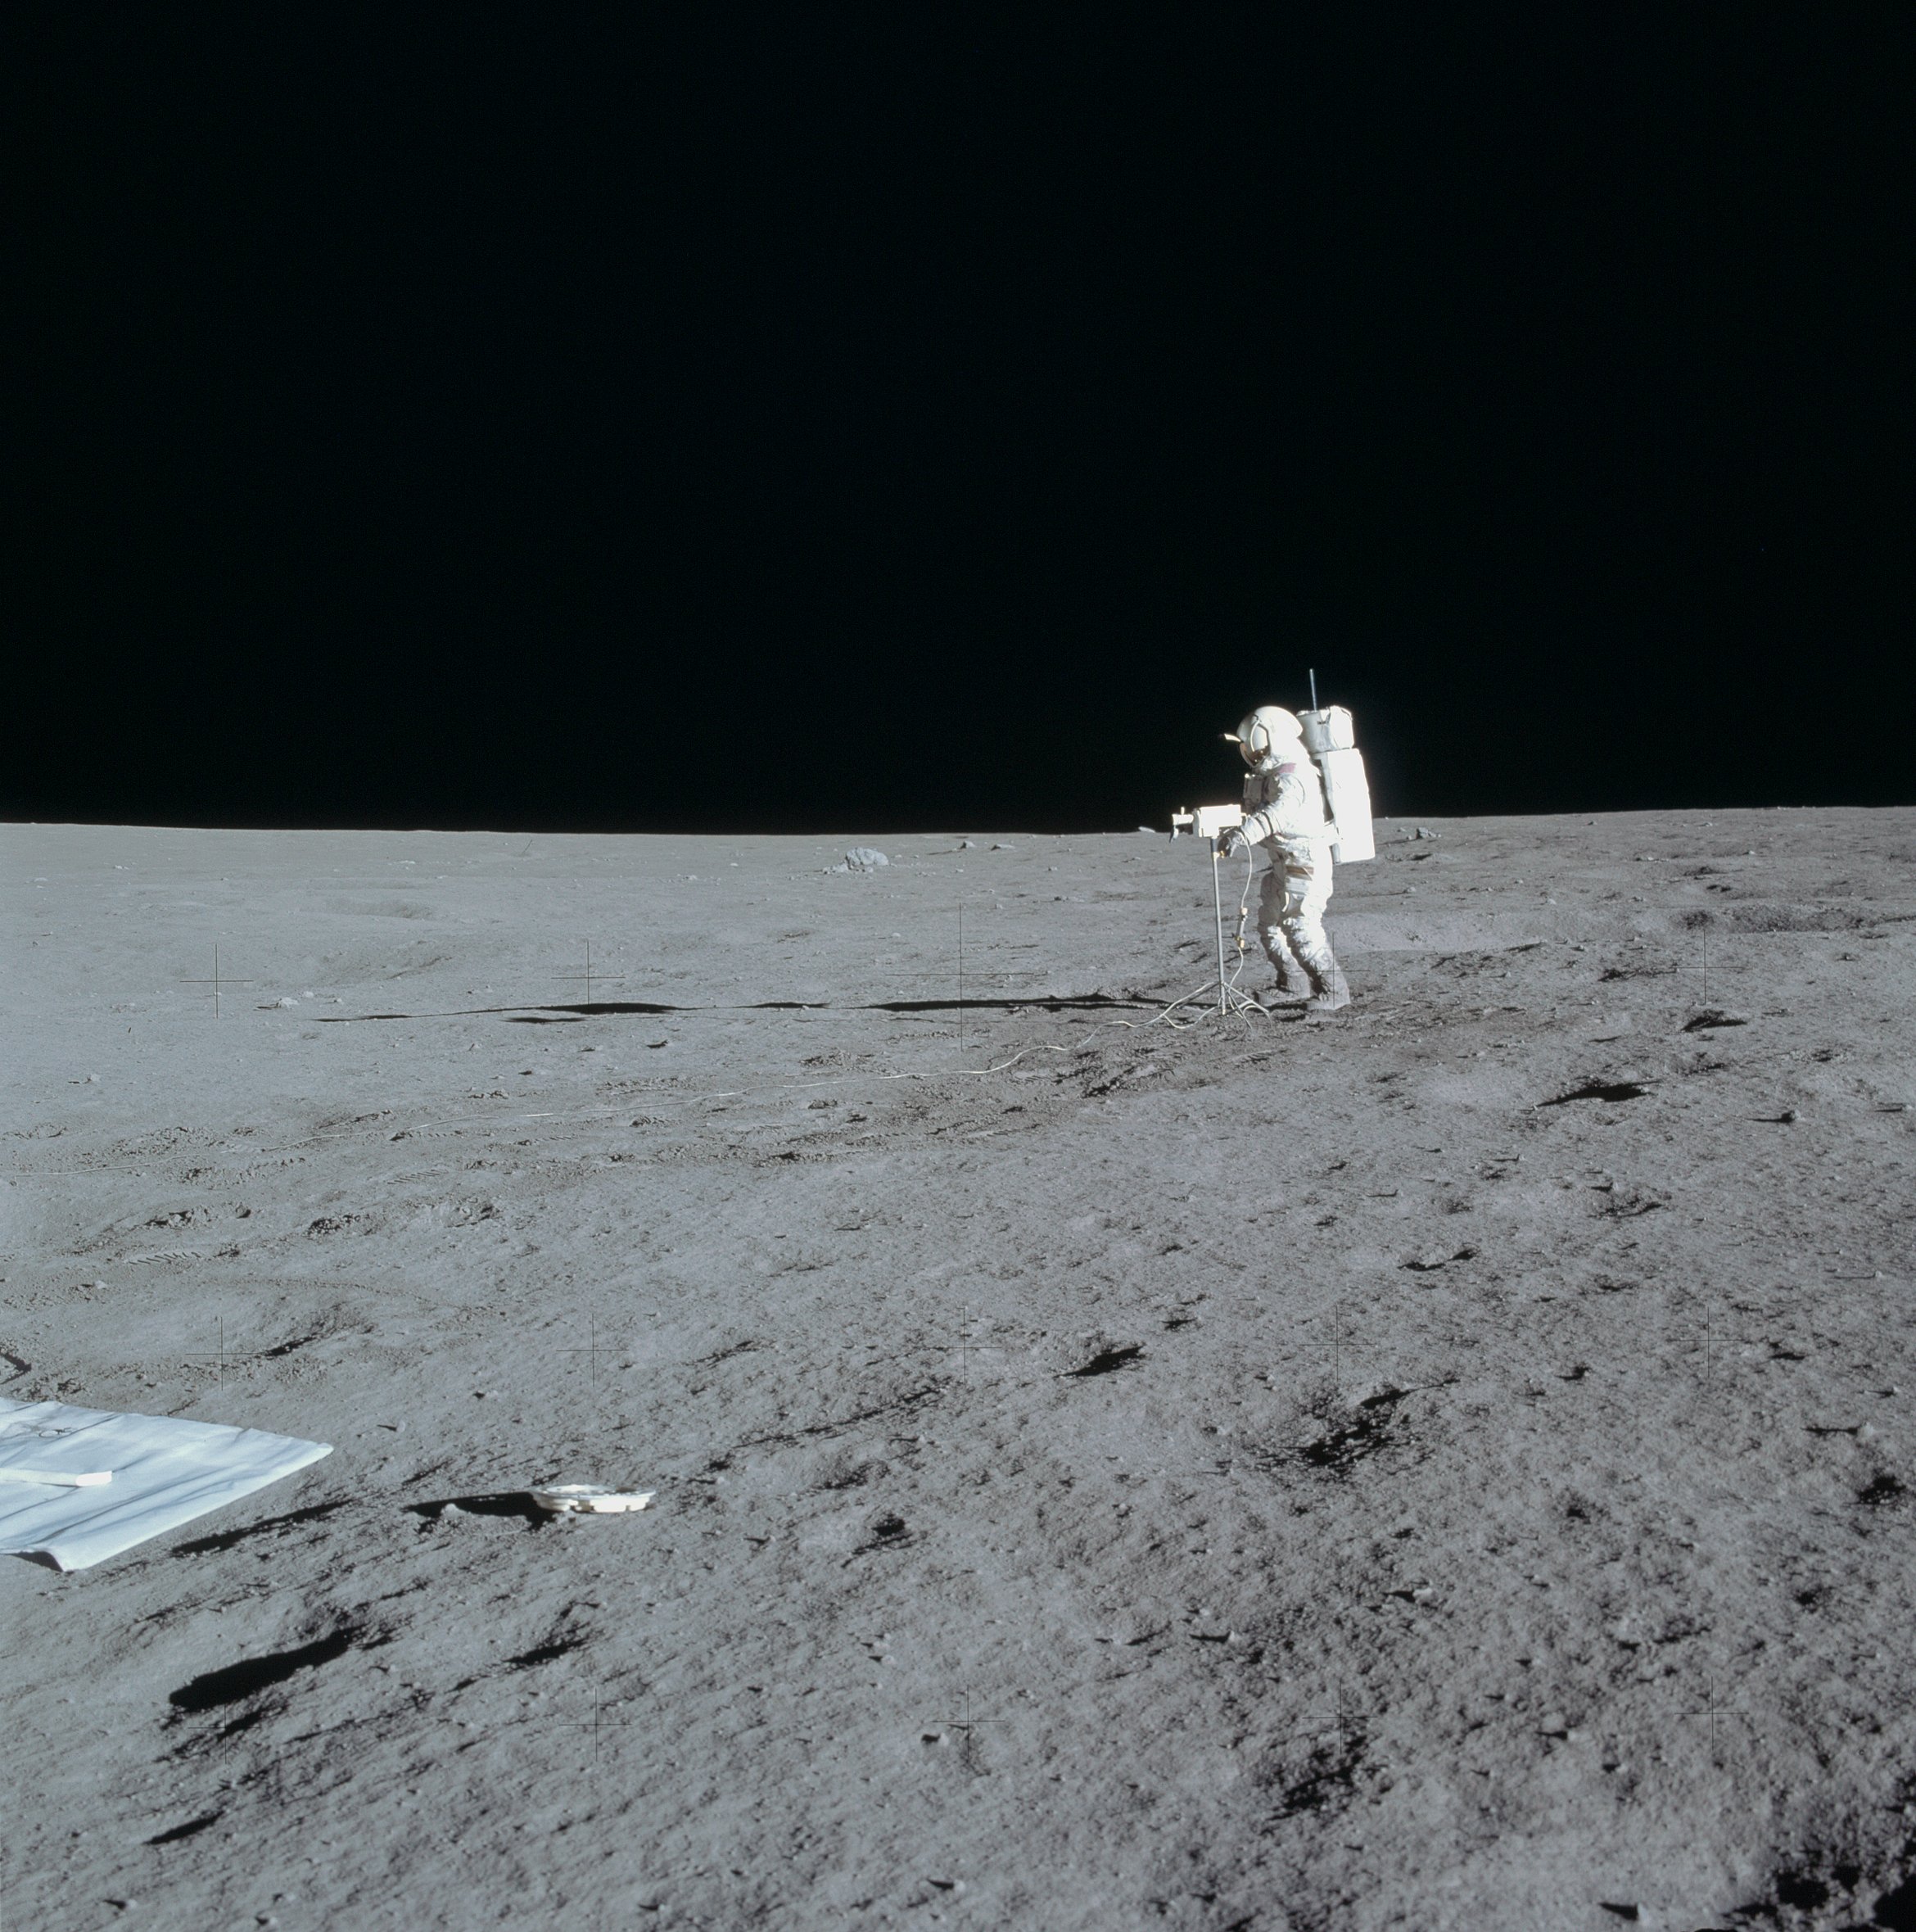 | AS14-66-9240 114:53:38 Al took this photo while facing slightly west of north. Image credit: Image Science and Analysis Laboratory, NASA-Johnson Space Center. |
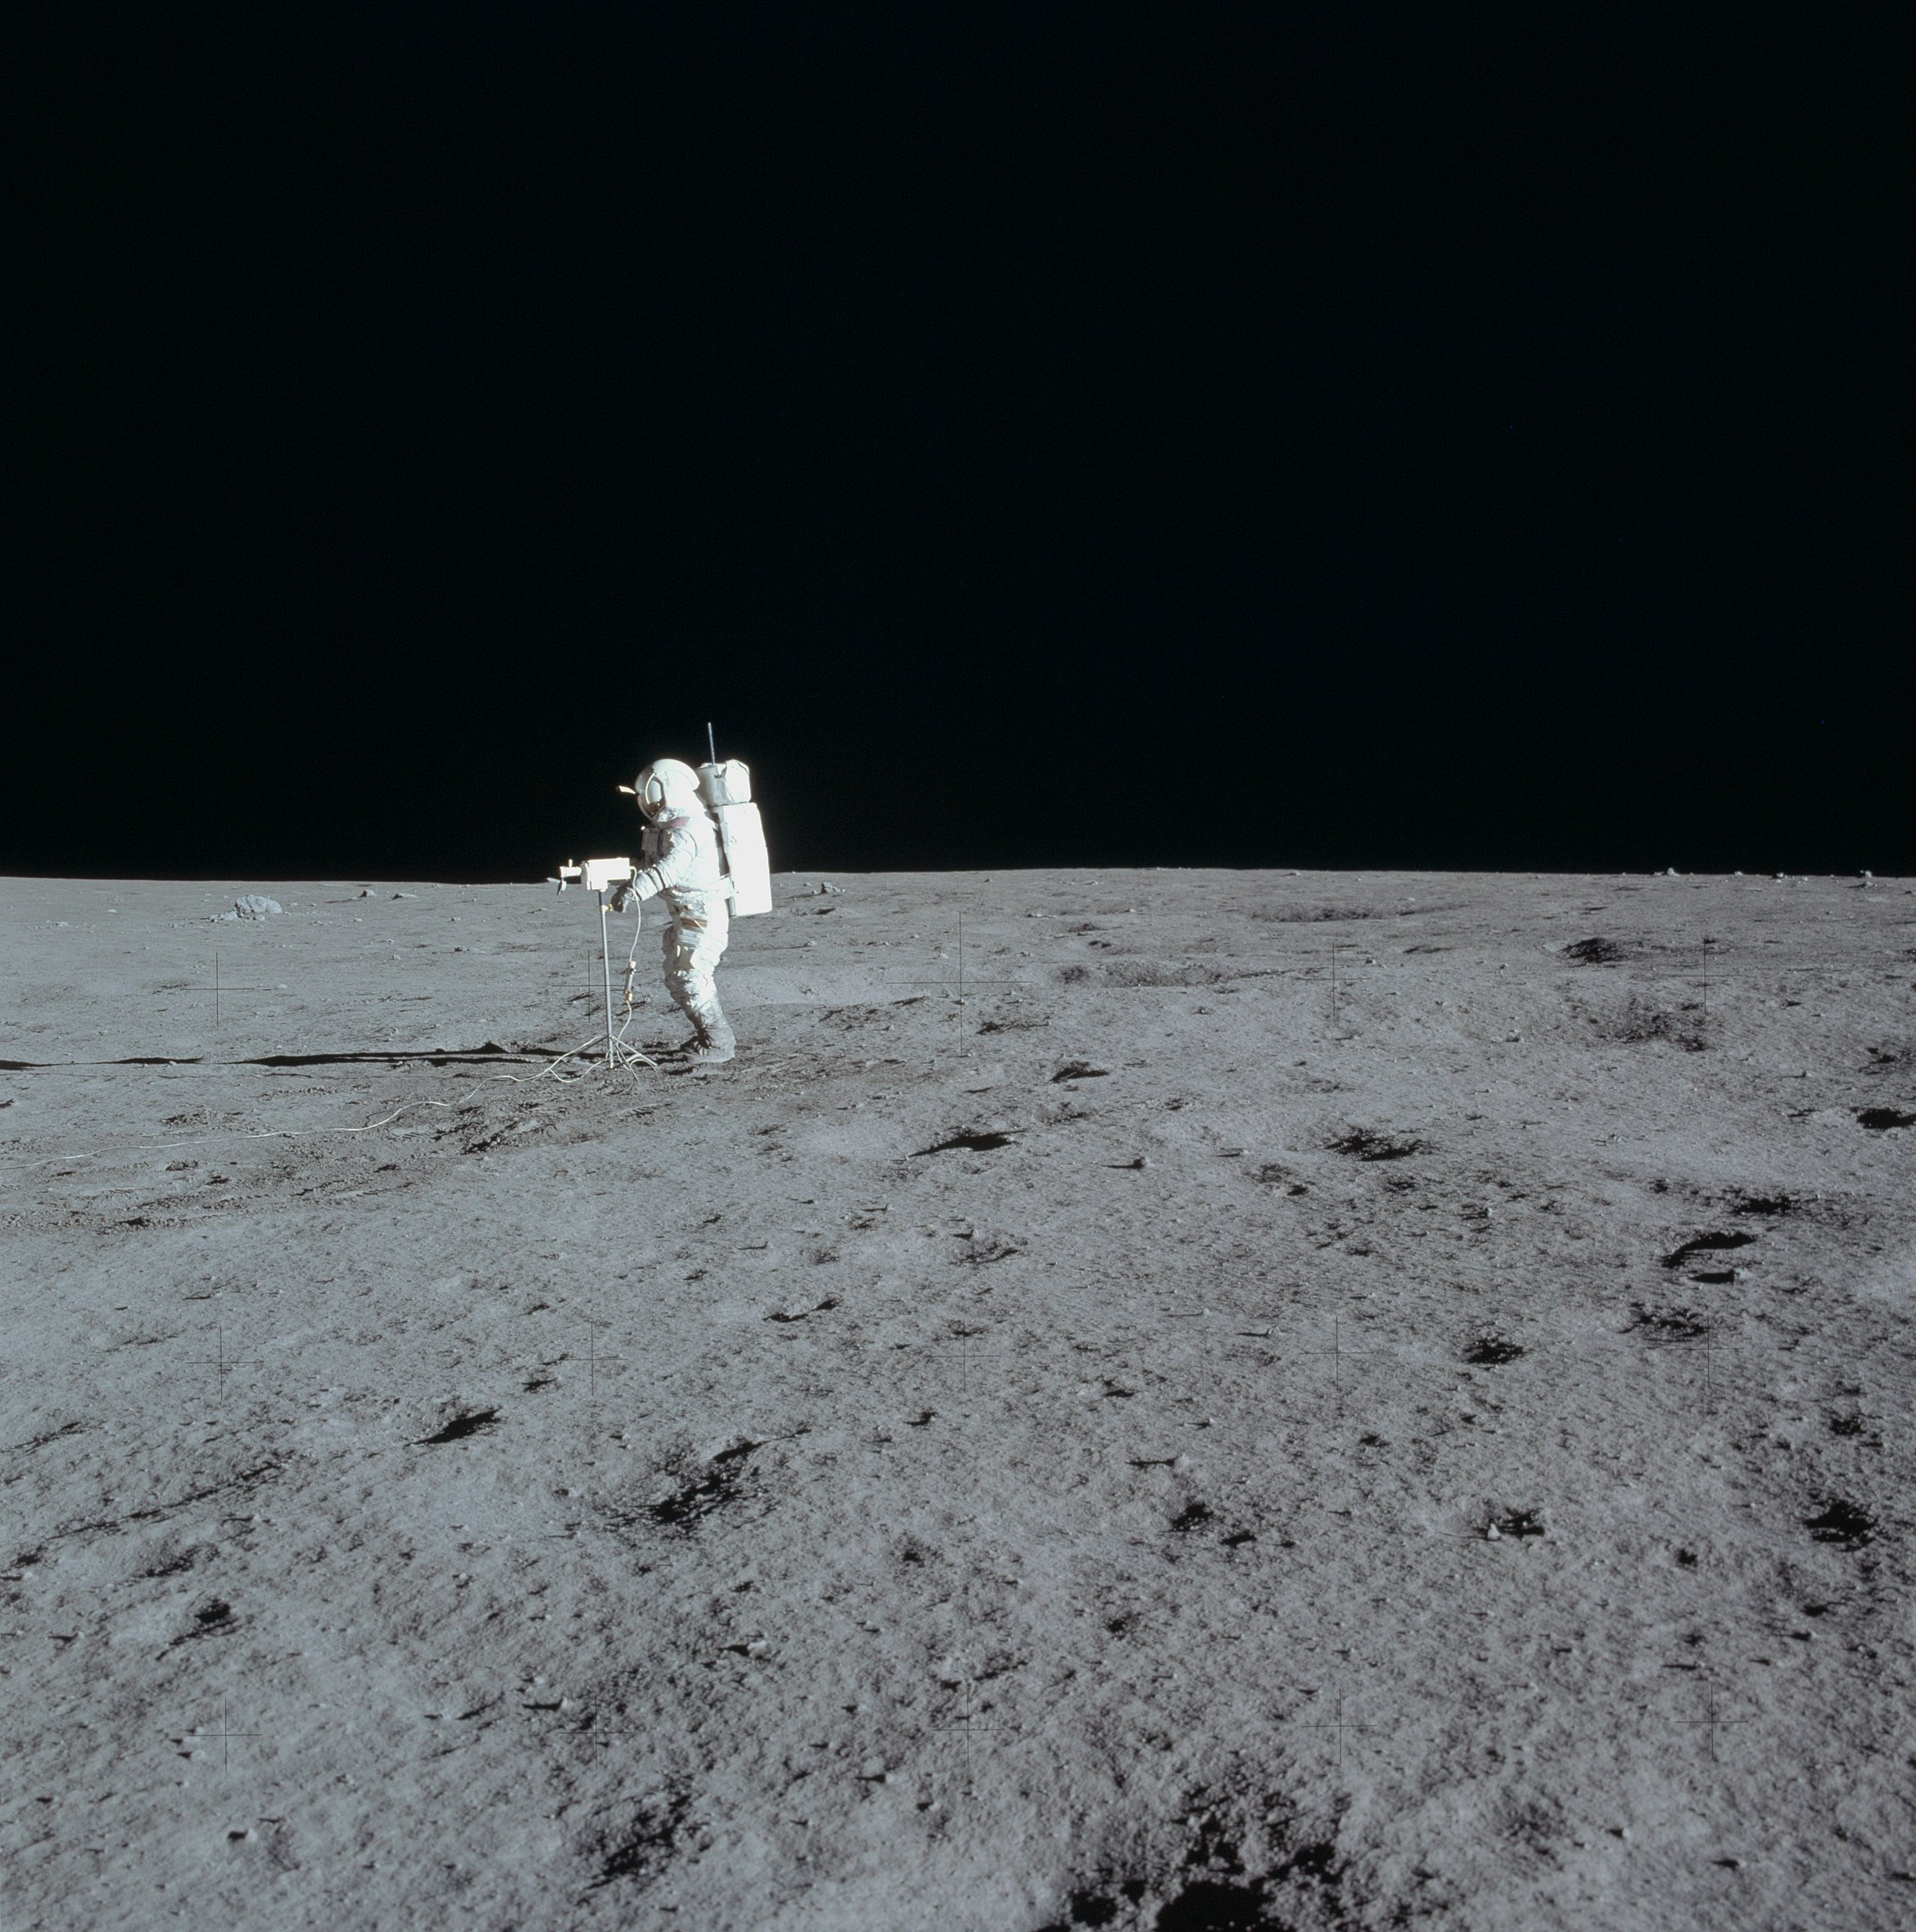 | AS14-66-9241 114:53:38 Rightward of 9240, showing Ed doing his TV pan. Image credit: Image Science and Analysis Laboratory, NASA-Johnson Space Center. |
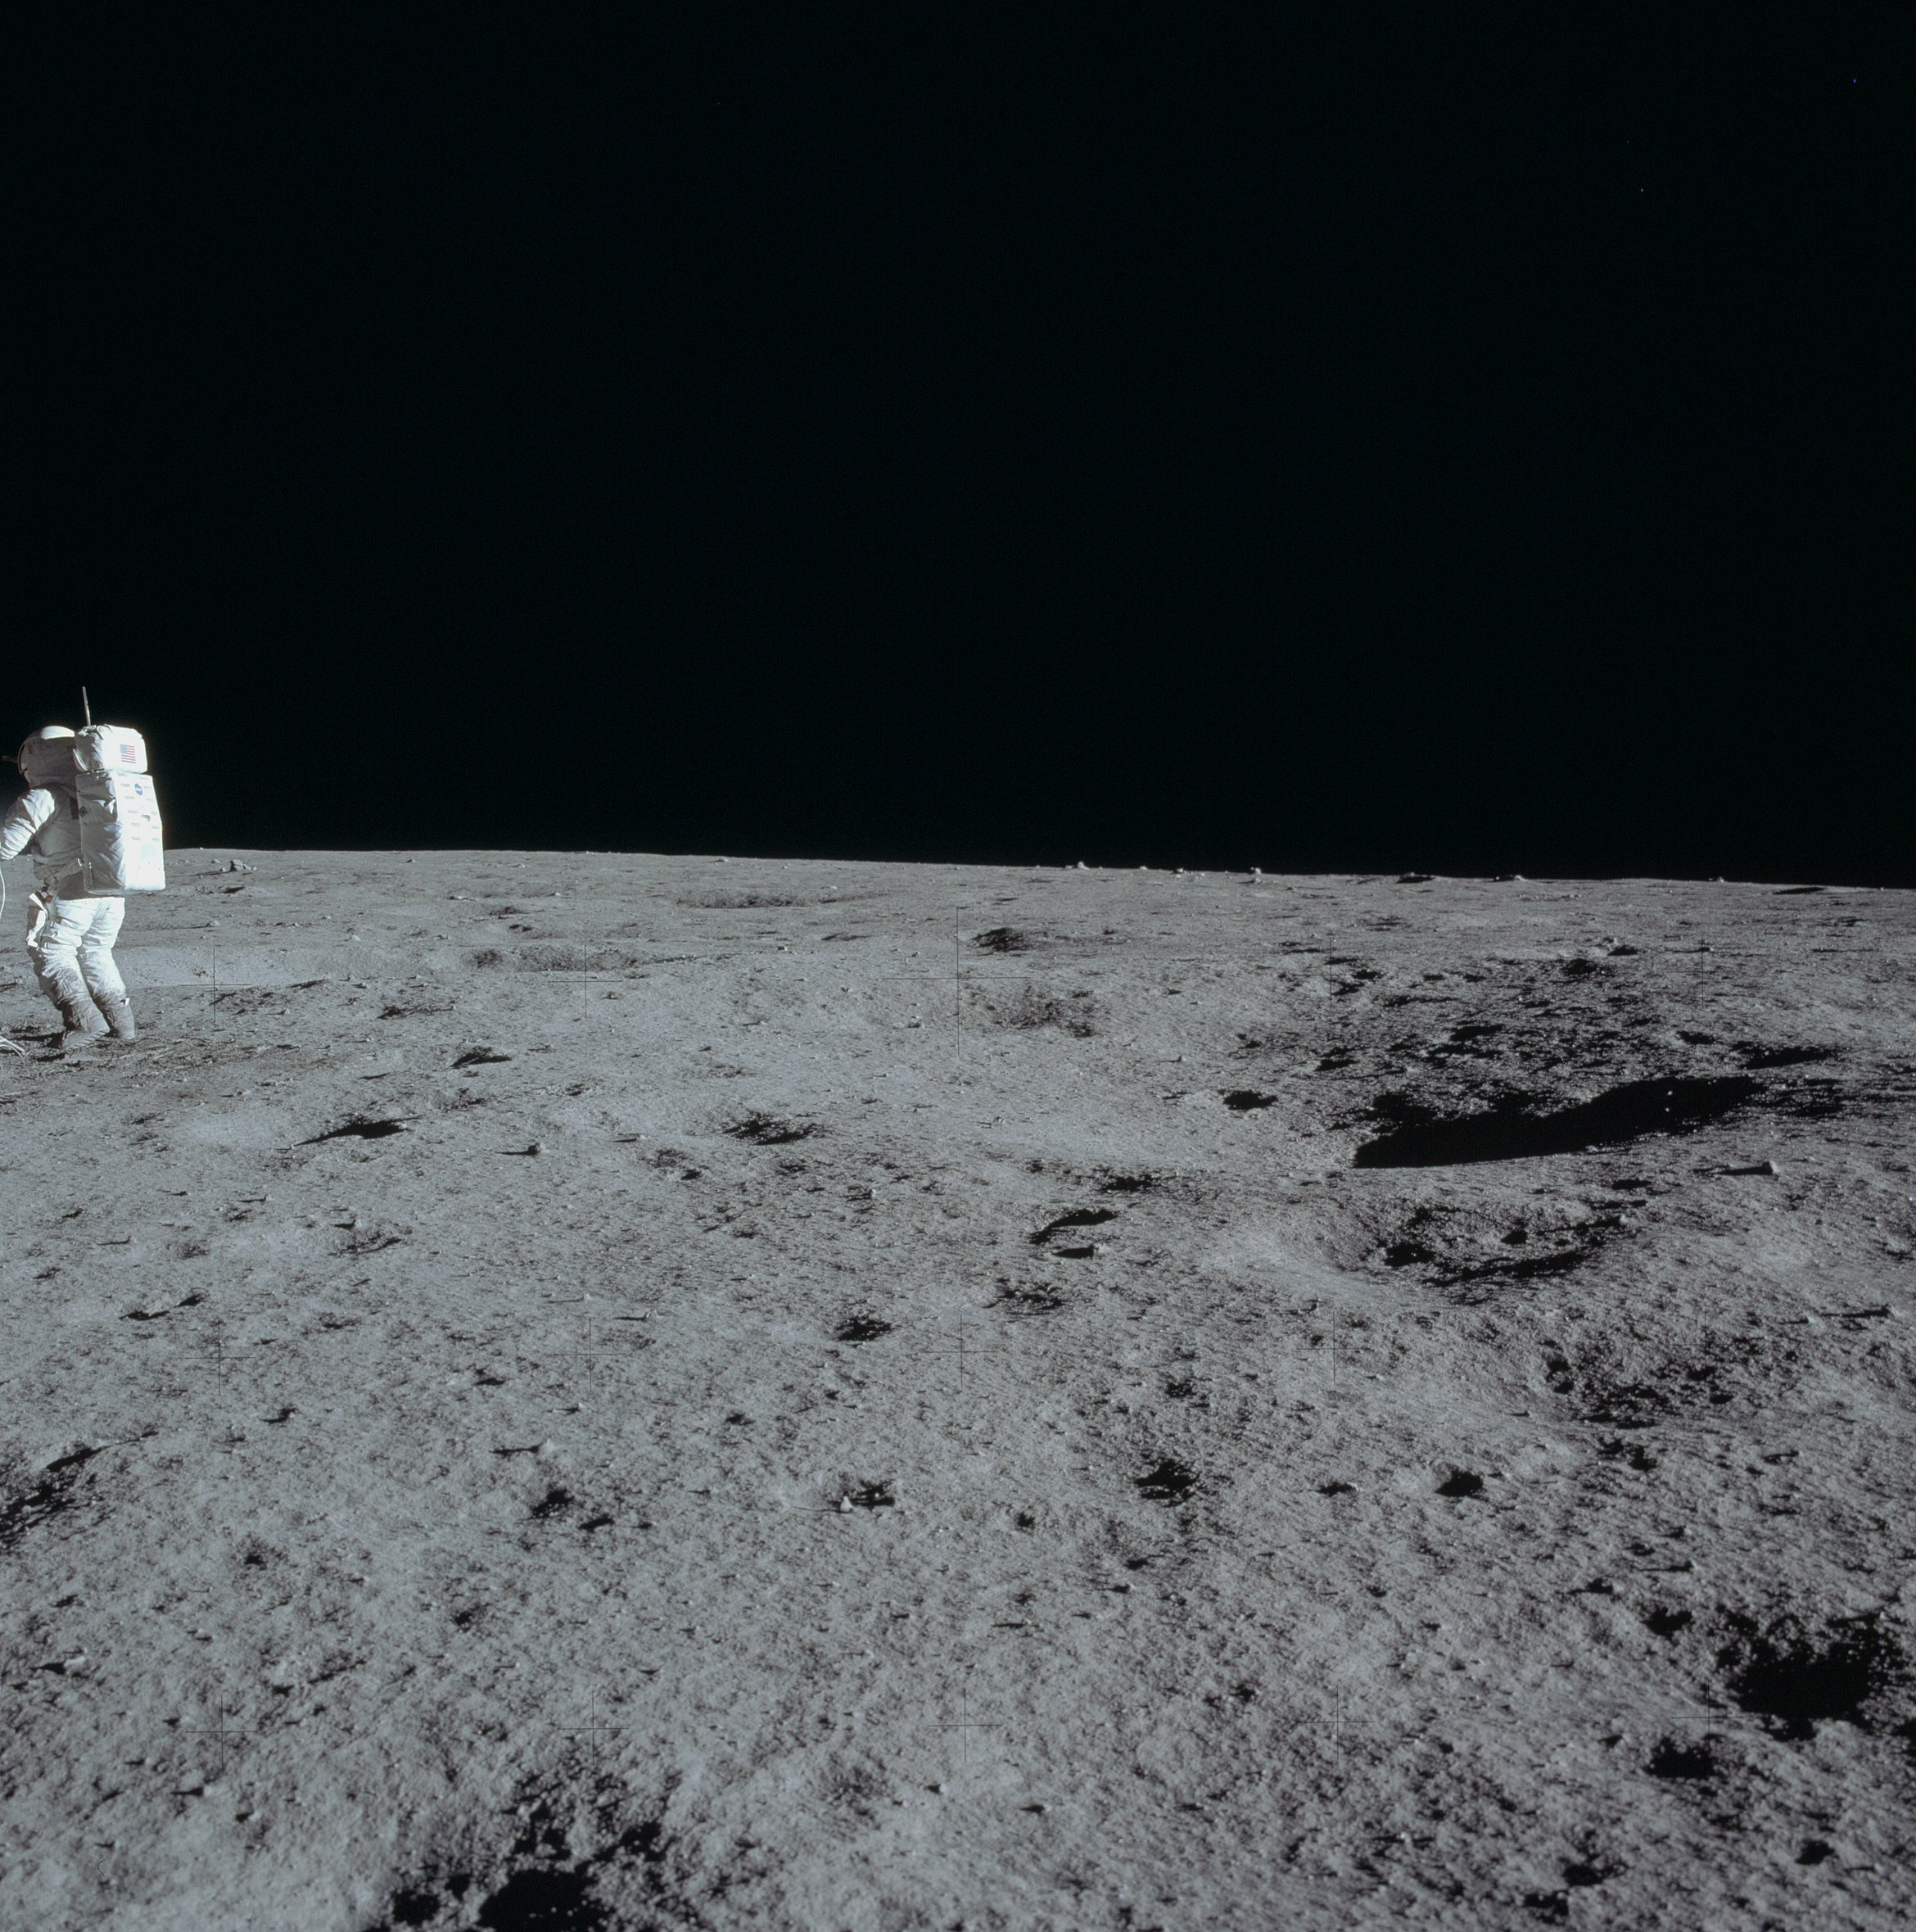 | AS14-66-9242 Rightward of 9241. Image credit: Image Science and Analysis Laboratory, NASA-Johnson Space Center. |
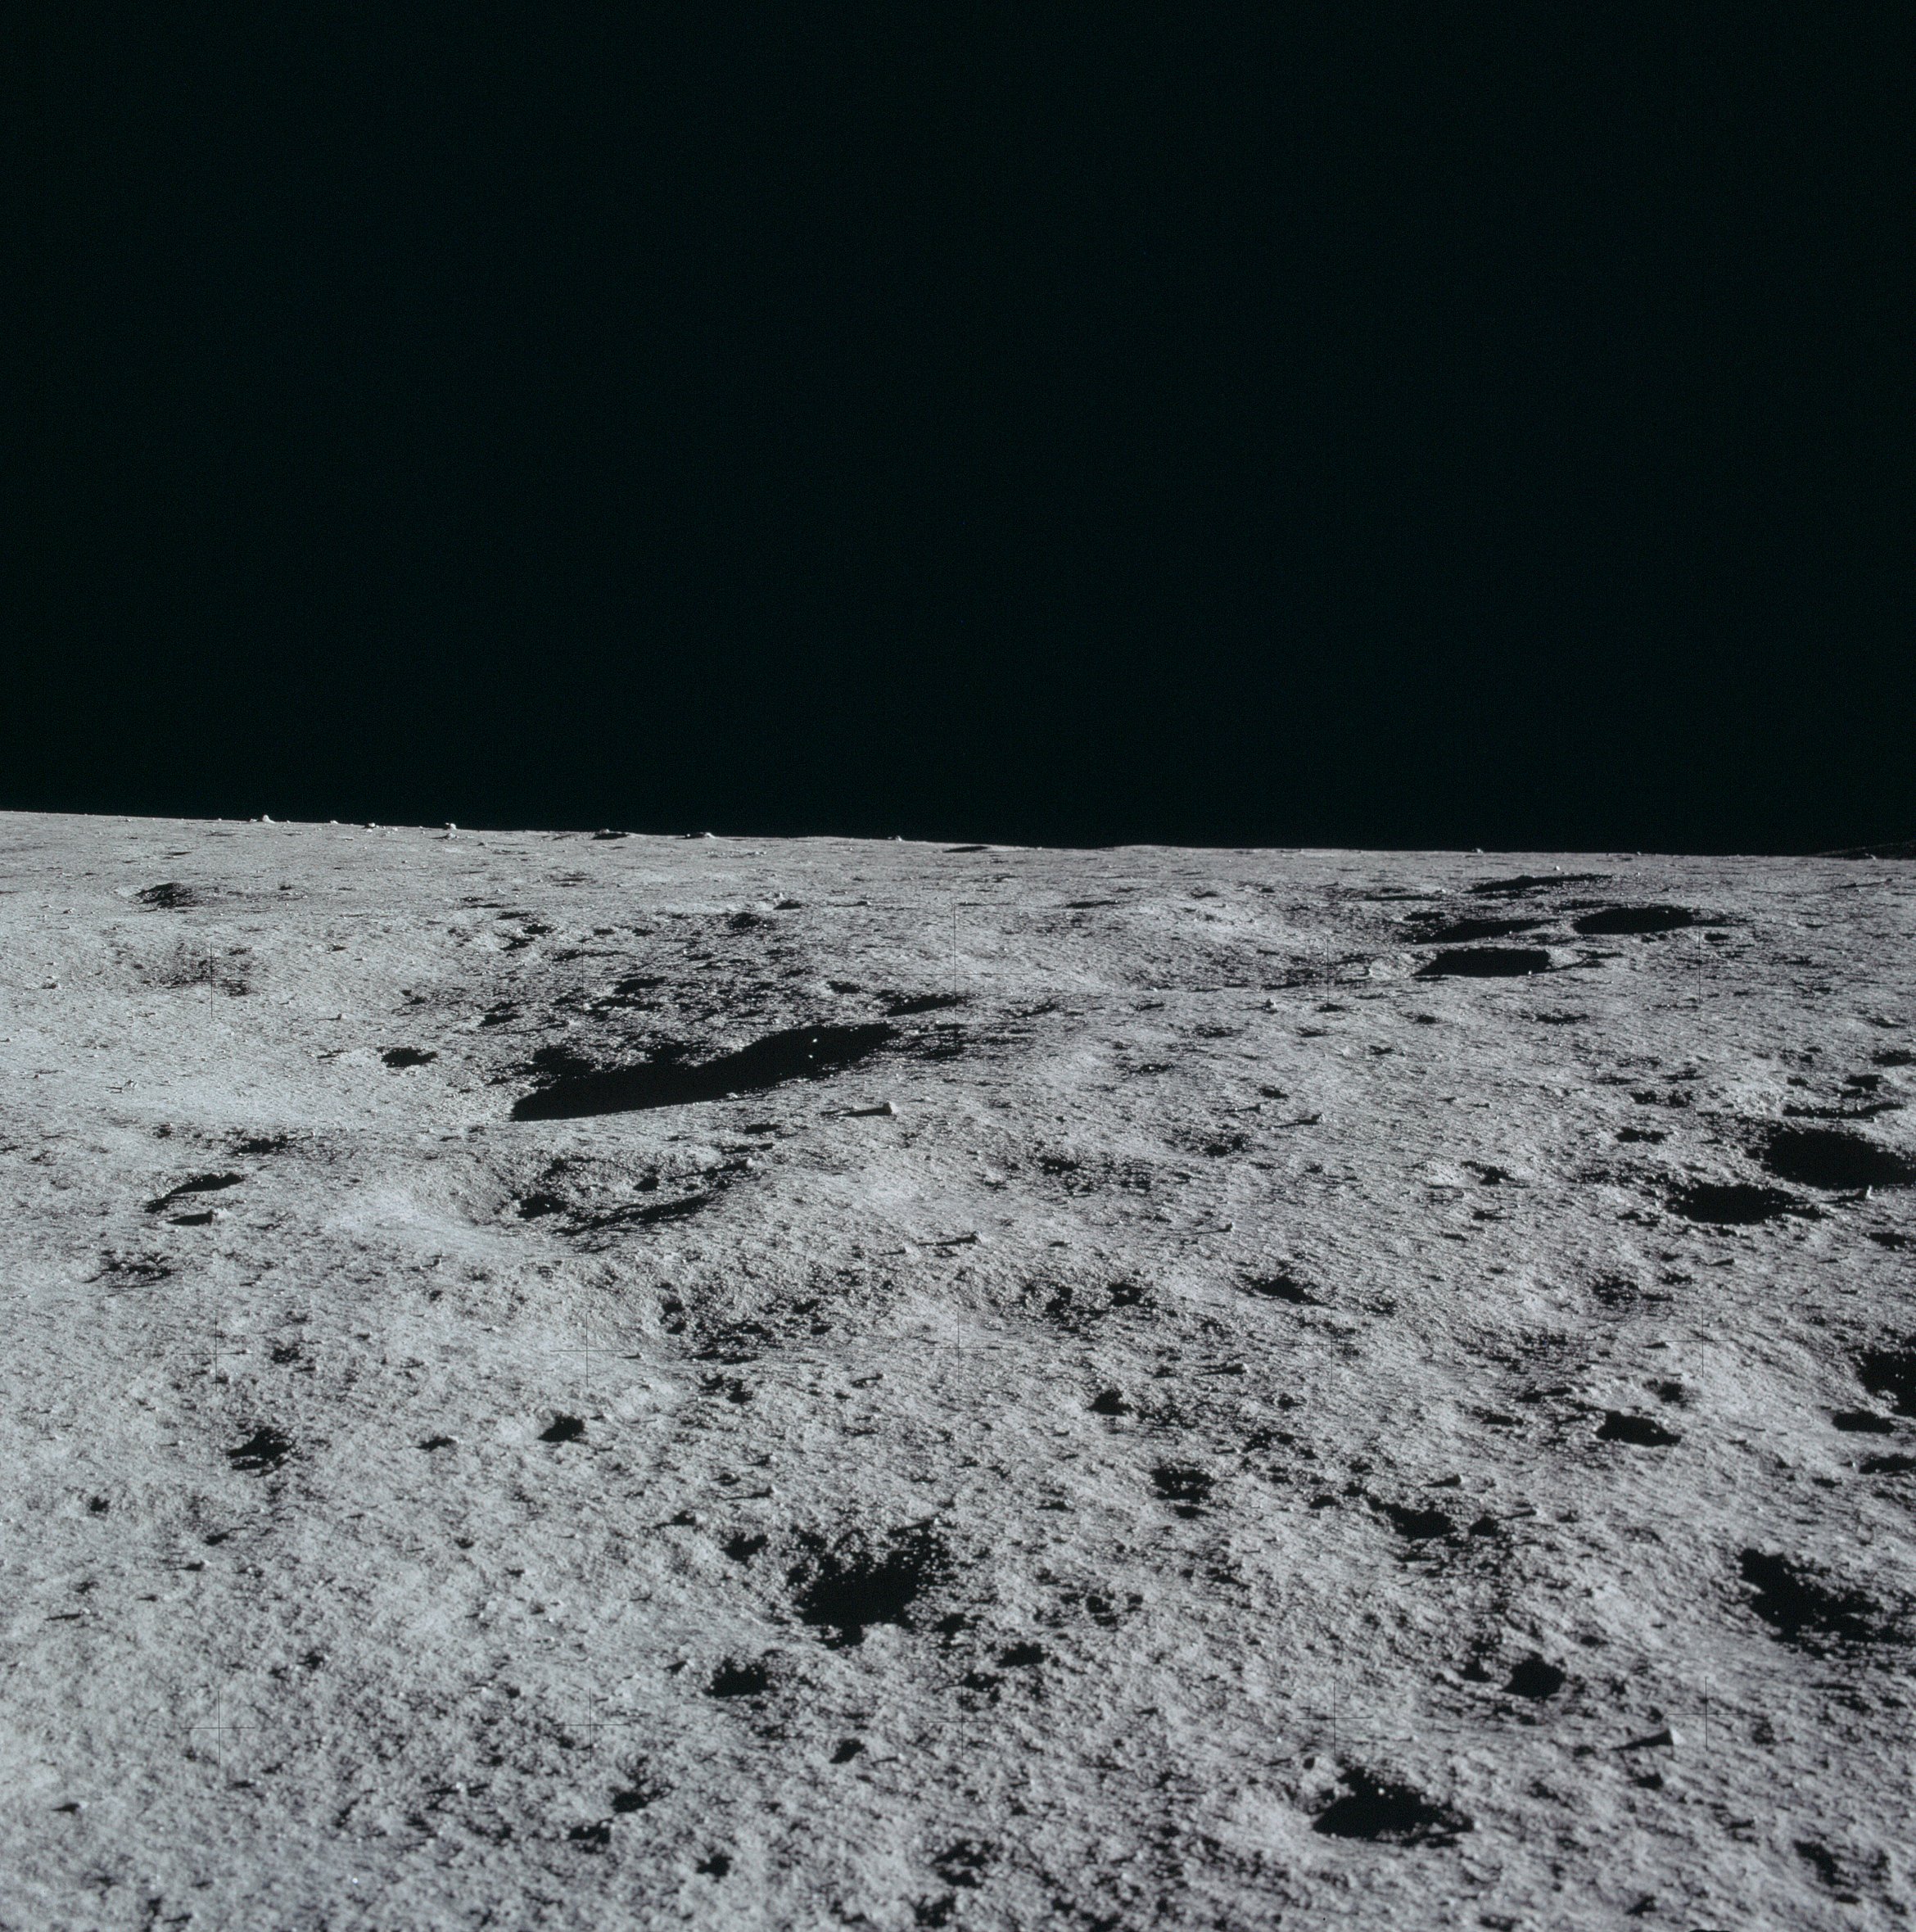 | AS14-66-9243 Looking to the northeast, the Sun angle makes it easy to see the texture of the surface in the foreground. Image credit: Image Science and Analysis Laboratory, NASA-Johnson Space Center. |
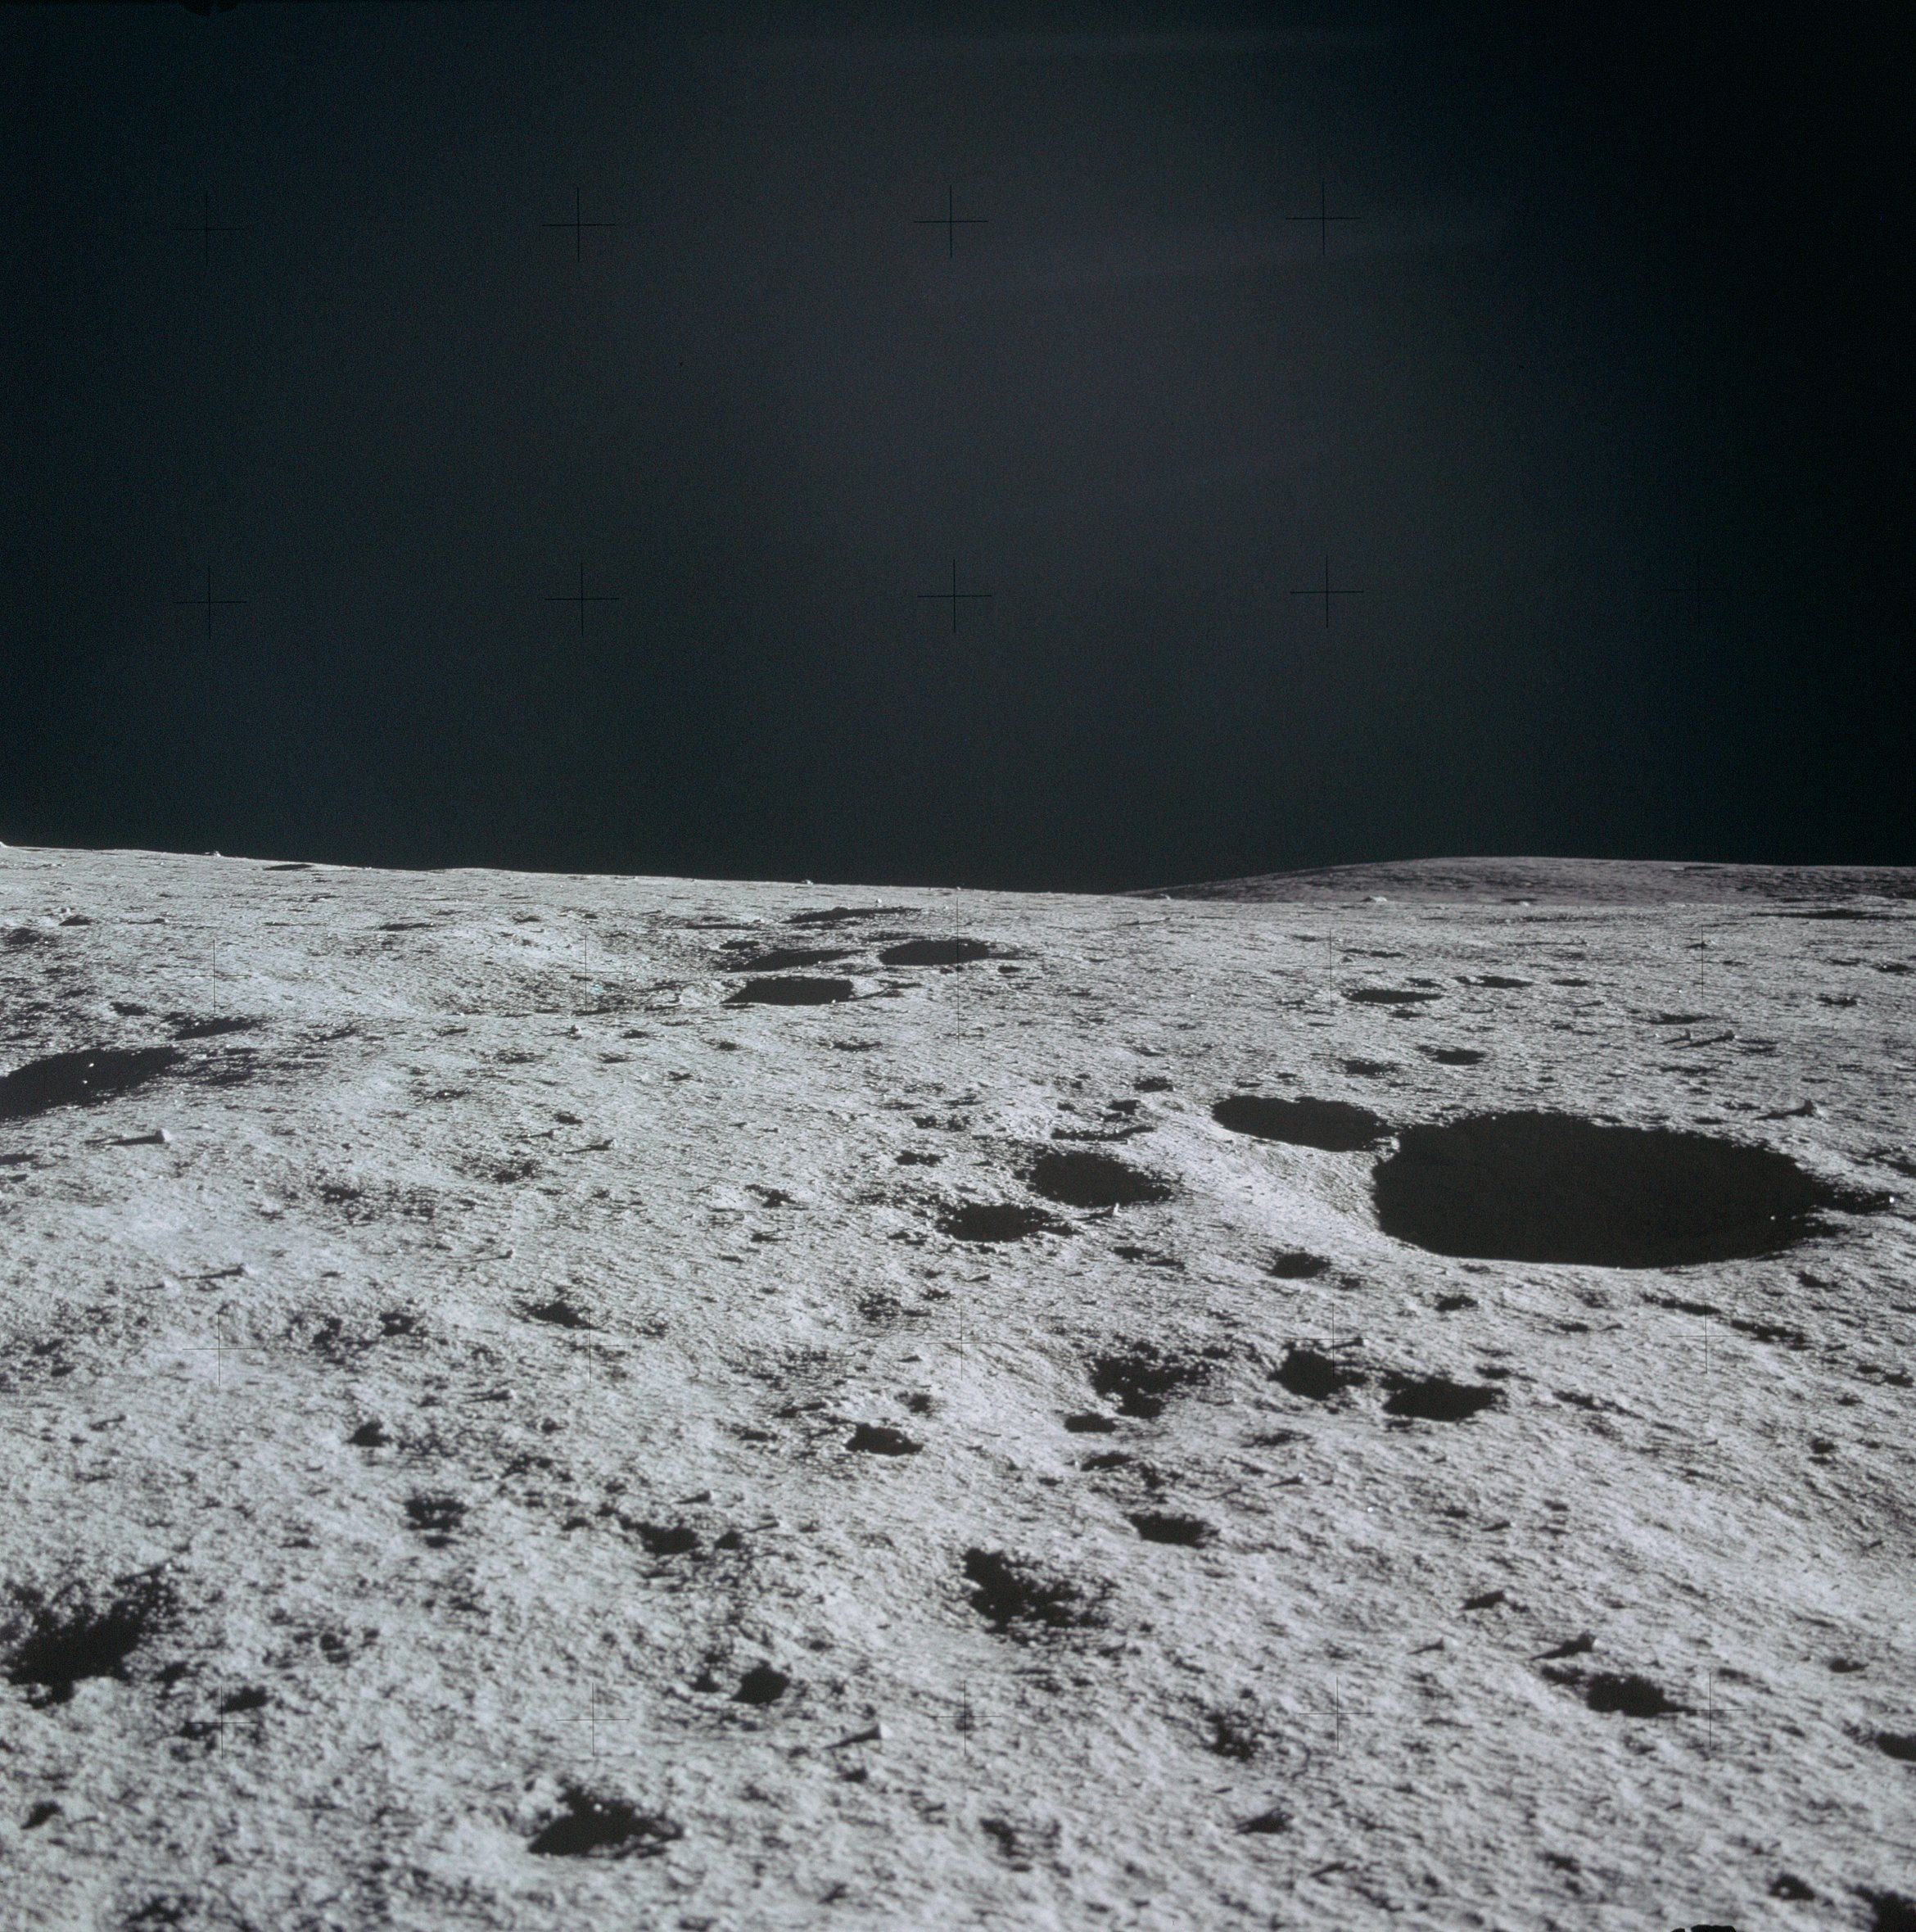 | AS14-66-9244 As Al turns further east, the objective of EVA-2, Cone Crater, can be seen in the distance on the right. Image credit: Image Science and Analysis Laboratory, NASA-Johnson Space Center. |
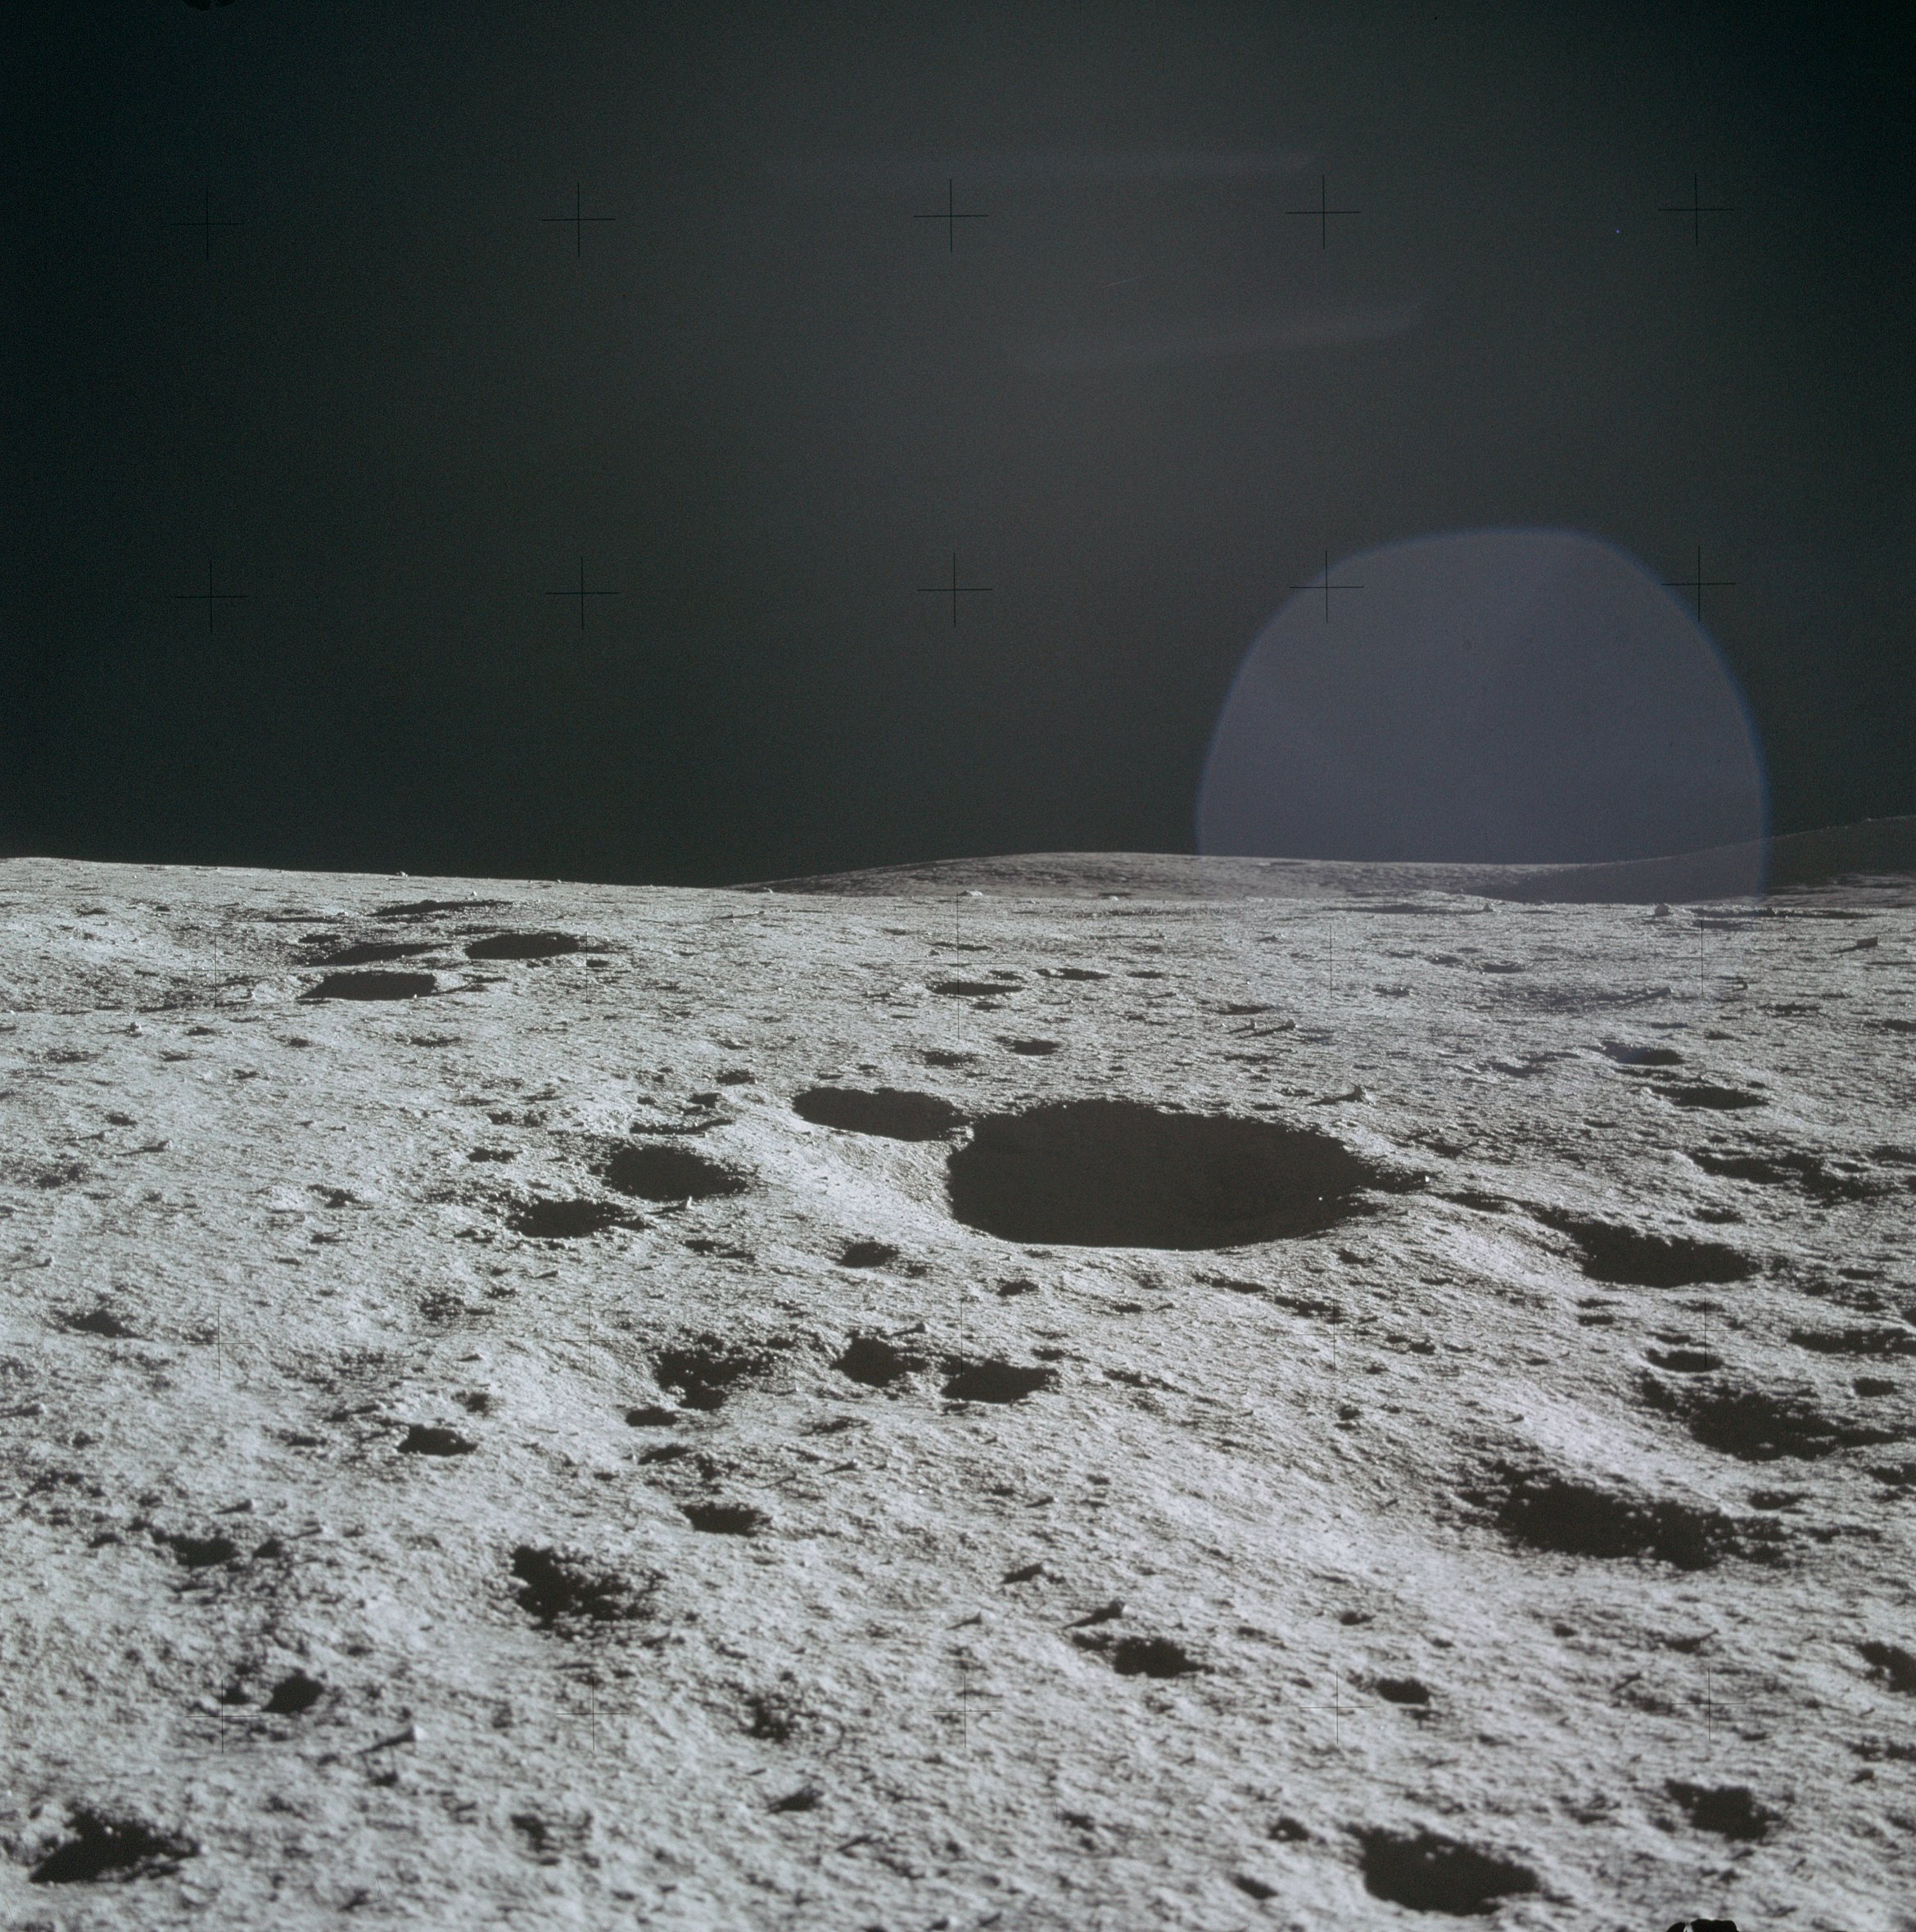 | AS14-66-9245 Rightward of 9244. Image credit: Image Science and Analysis Laboratory, NASA-Johnson Space Center. |
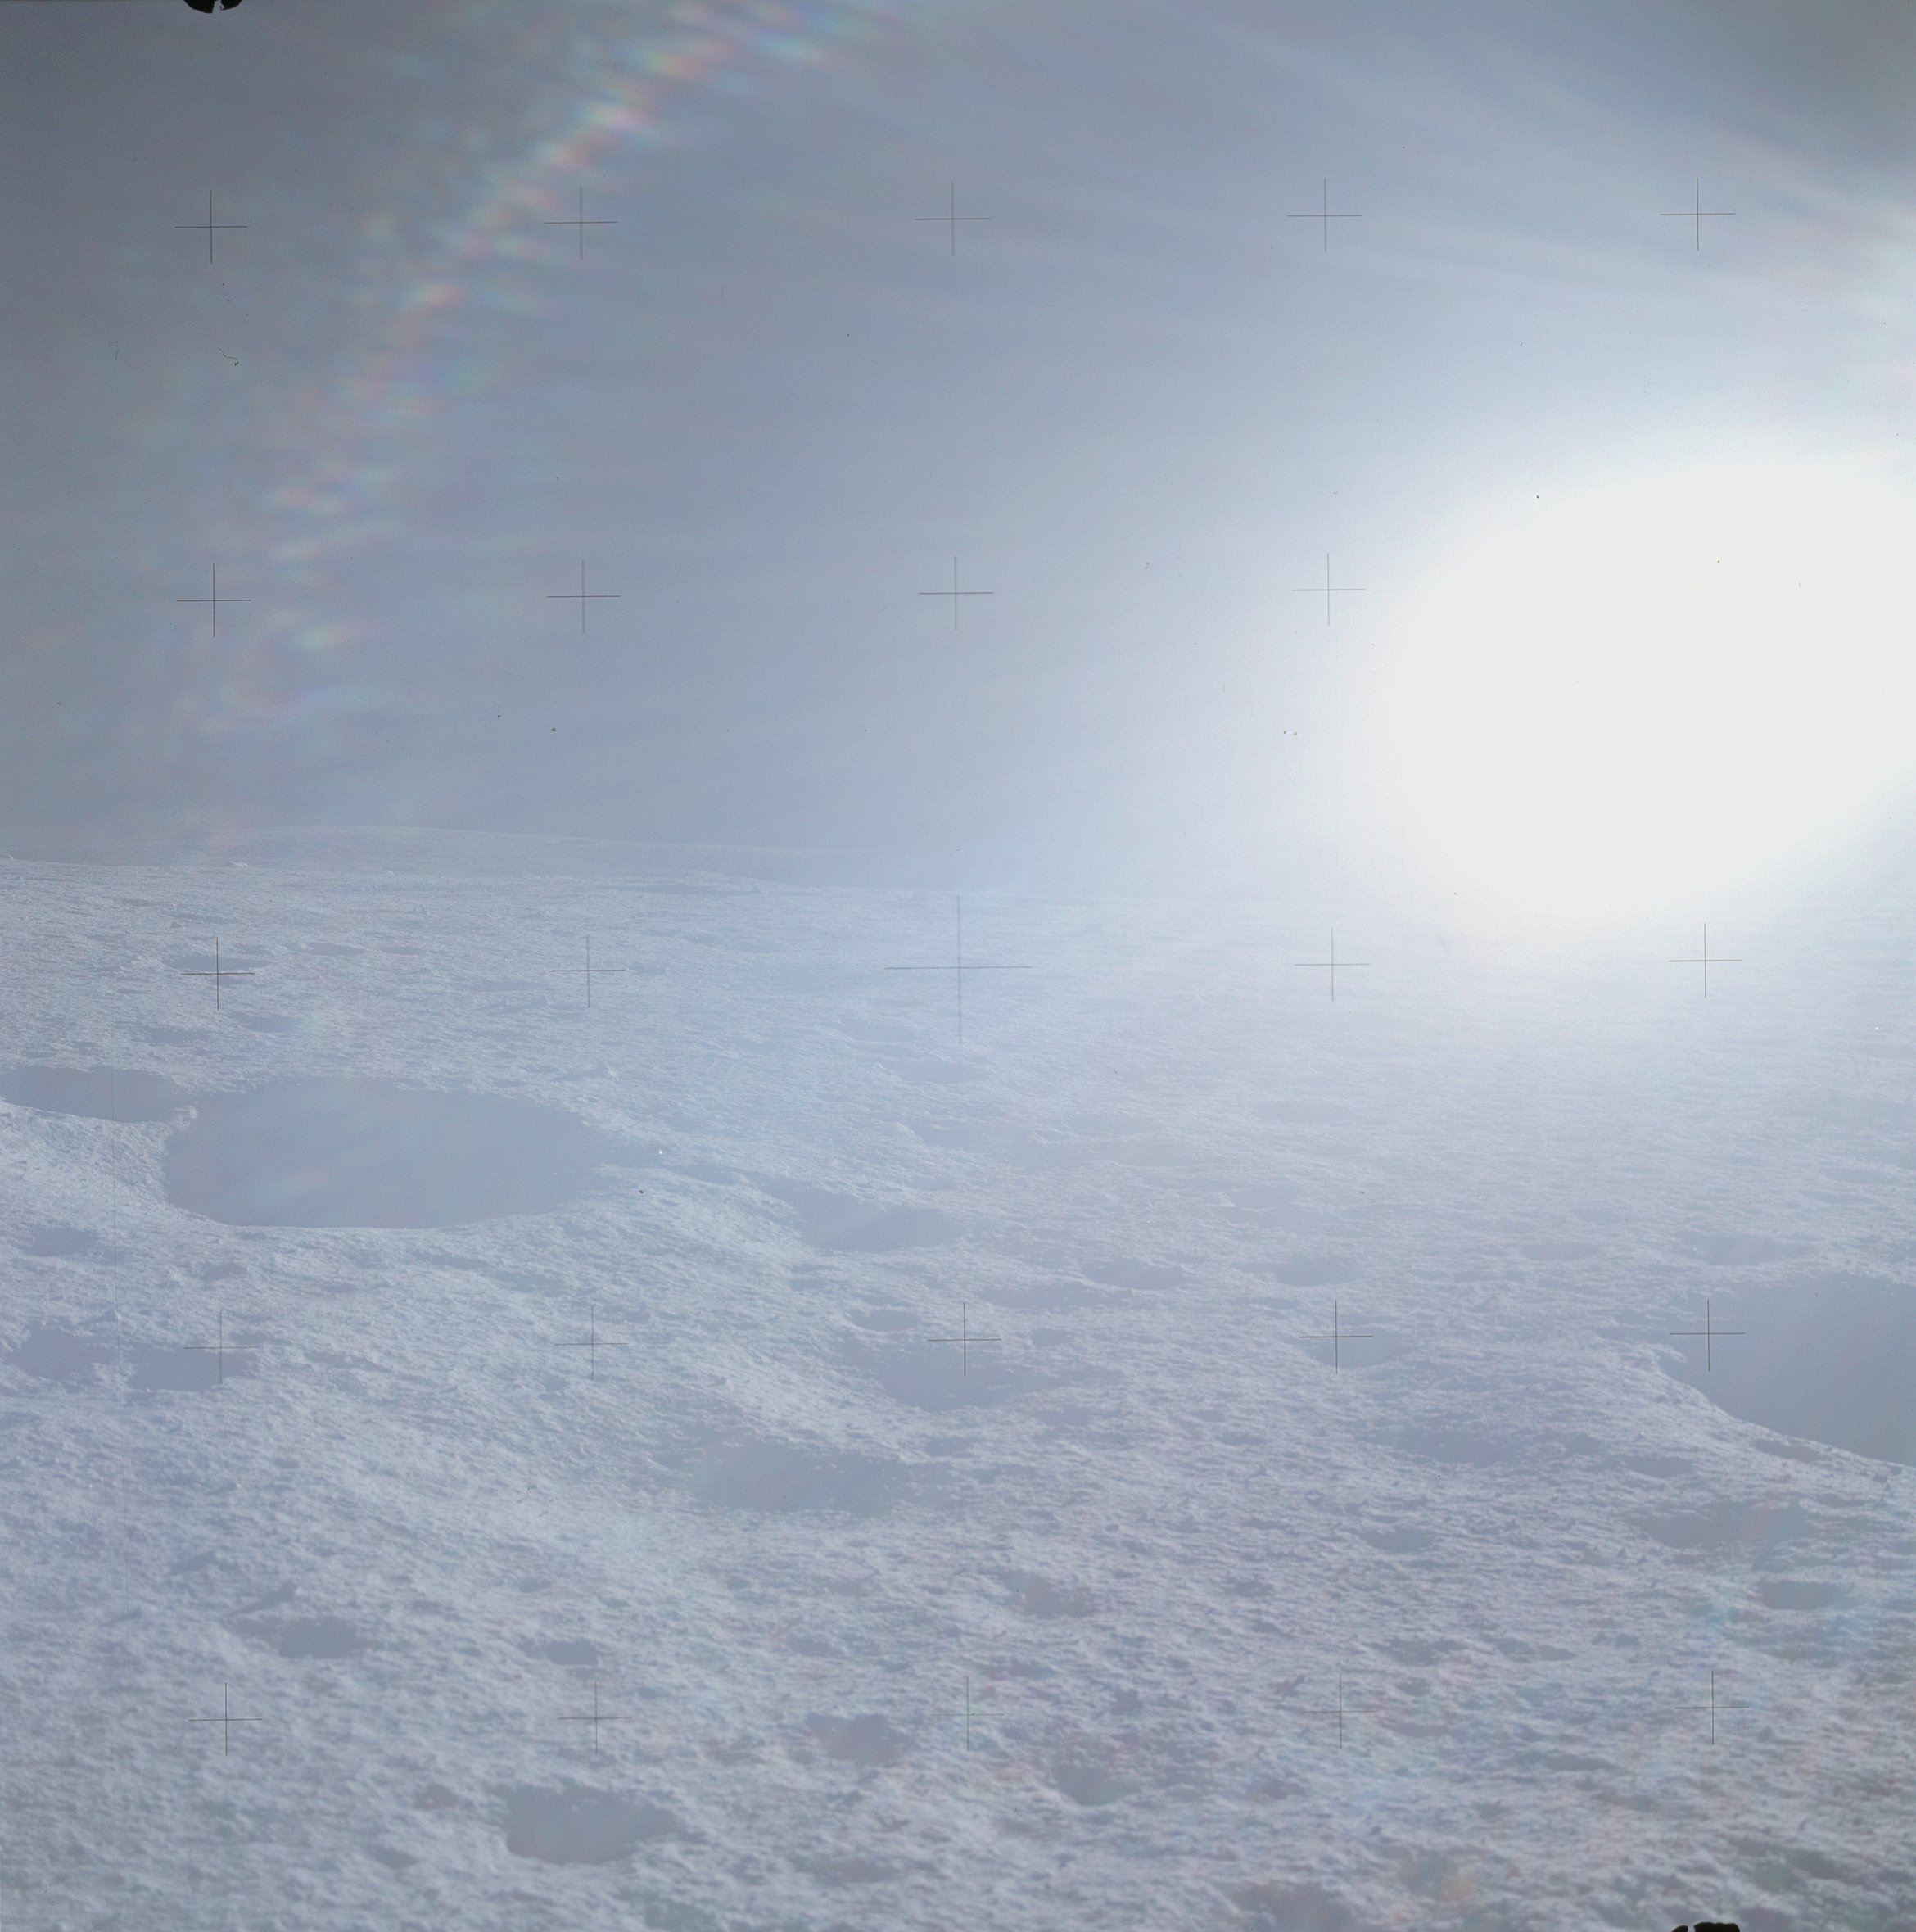 | AS14-66-9246 Rightward of 9245, slightly left of up-Sun with considerable Sun glare. Image credit: Image Science and Analysis Laboratory, NASA-Johnson Space Center. |
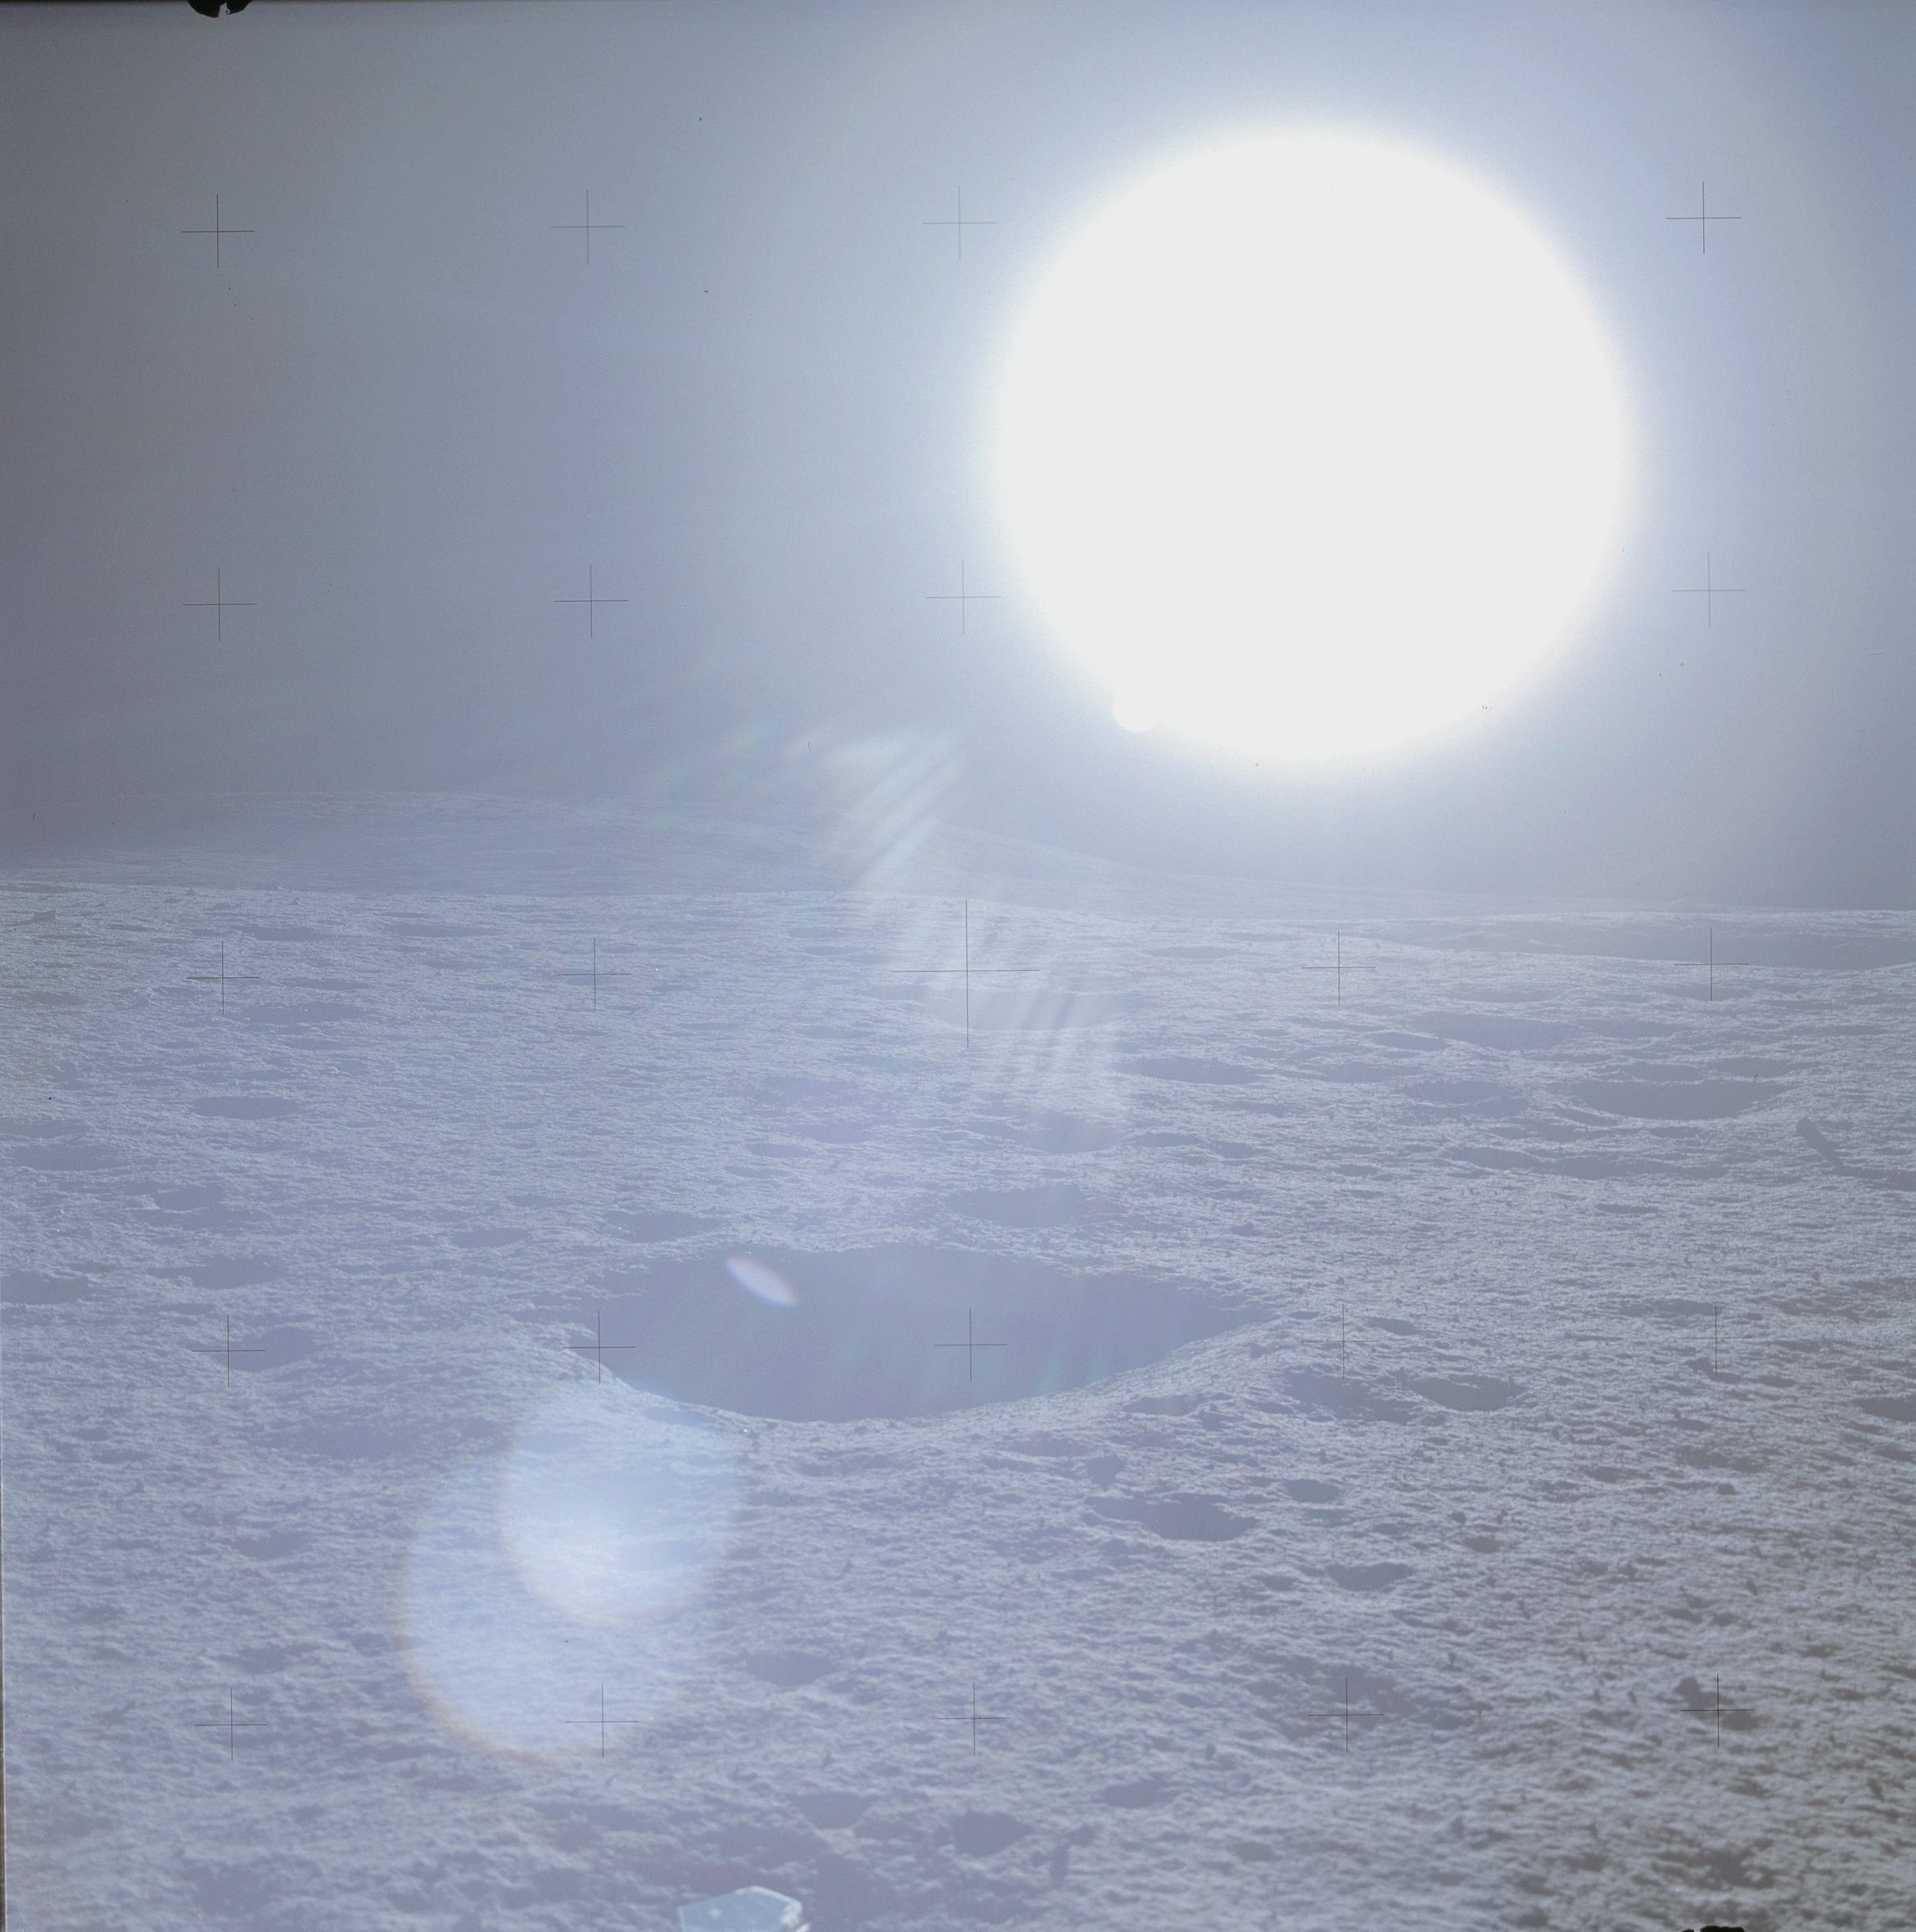 | AS14-66-9247 Rightward of 9246, up-Sun showing the Cone Crater ridge. Image credit: Image Science and Analysis Laboratory, NASA-Johnson Space Center. |
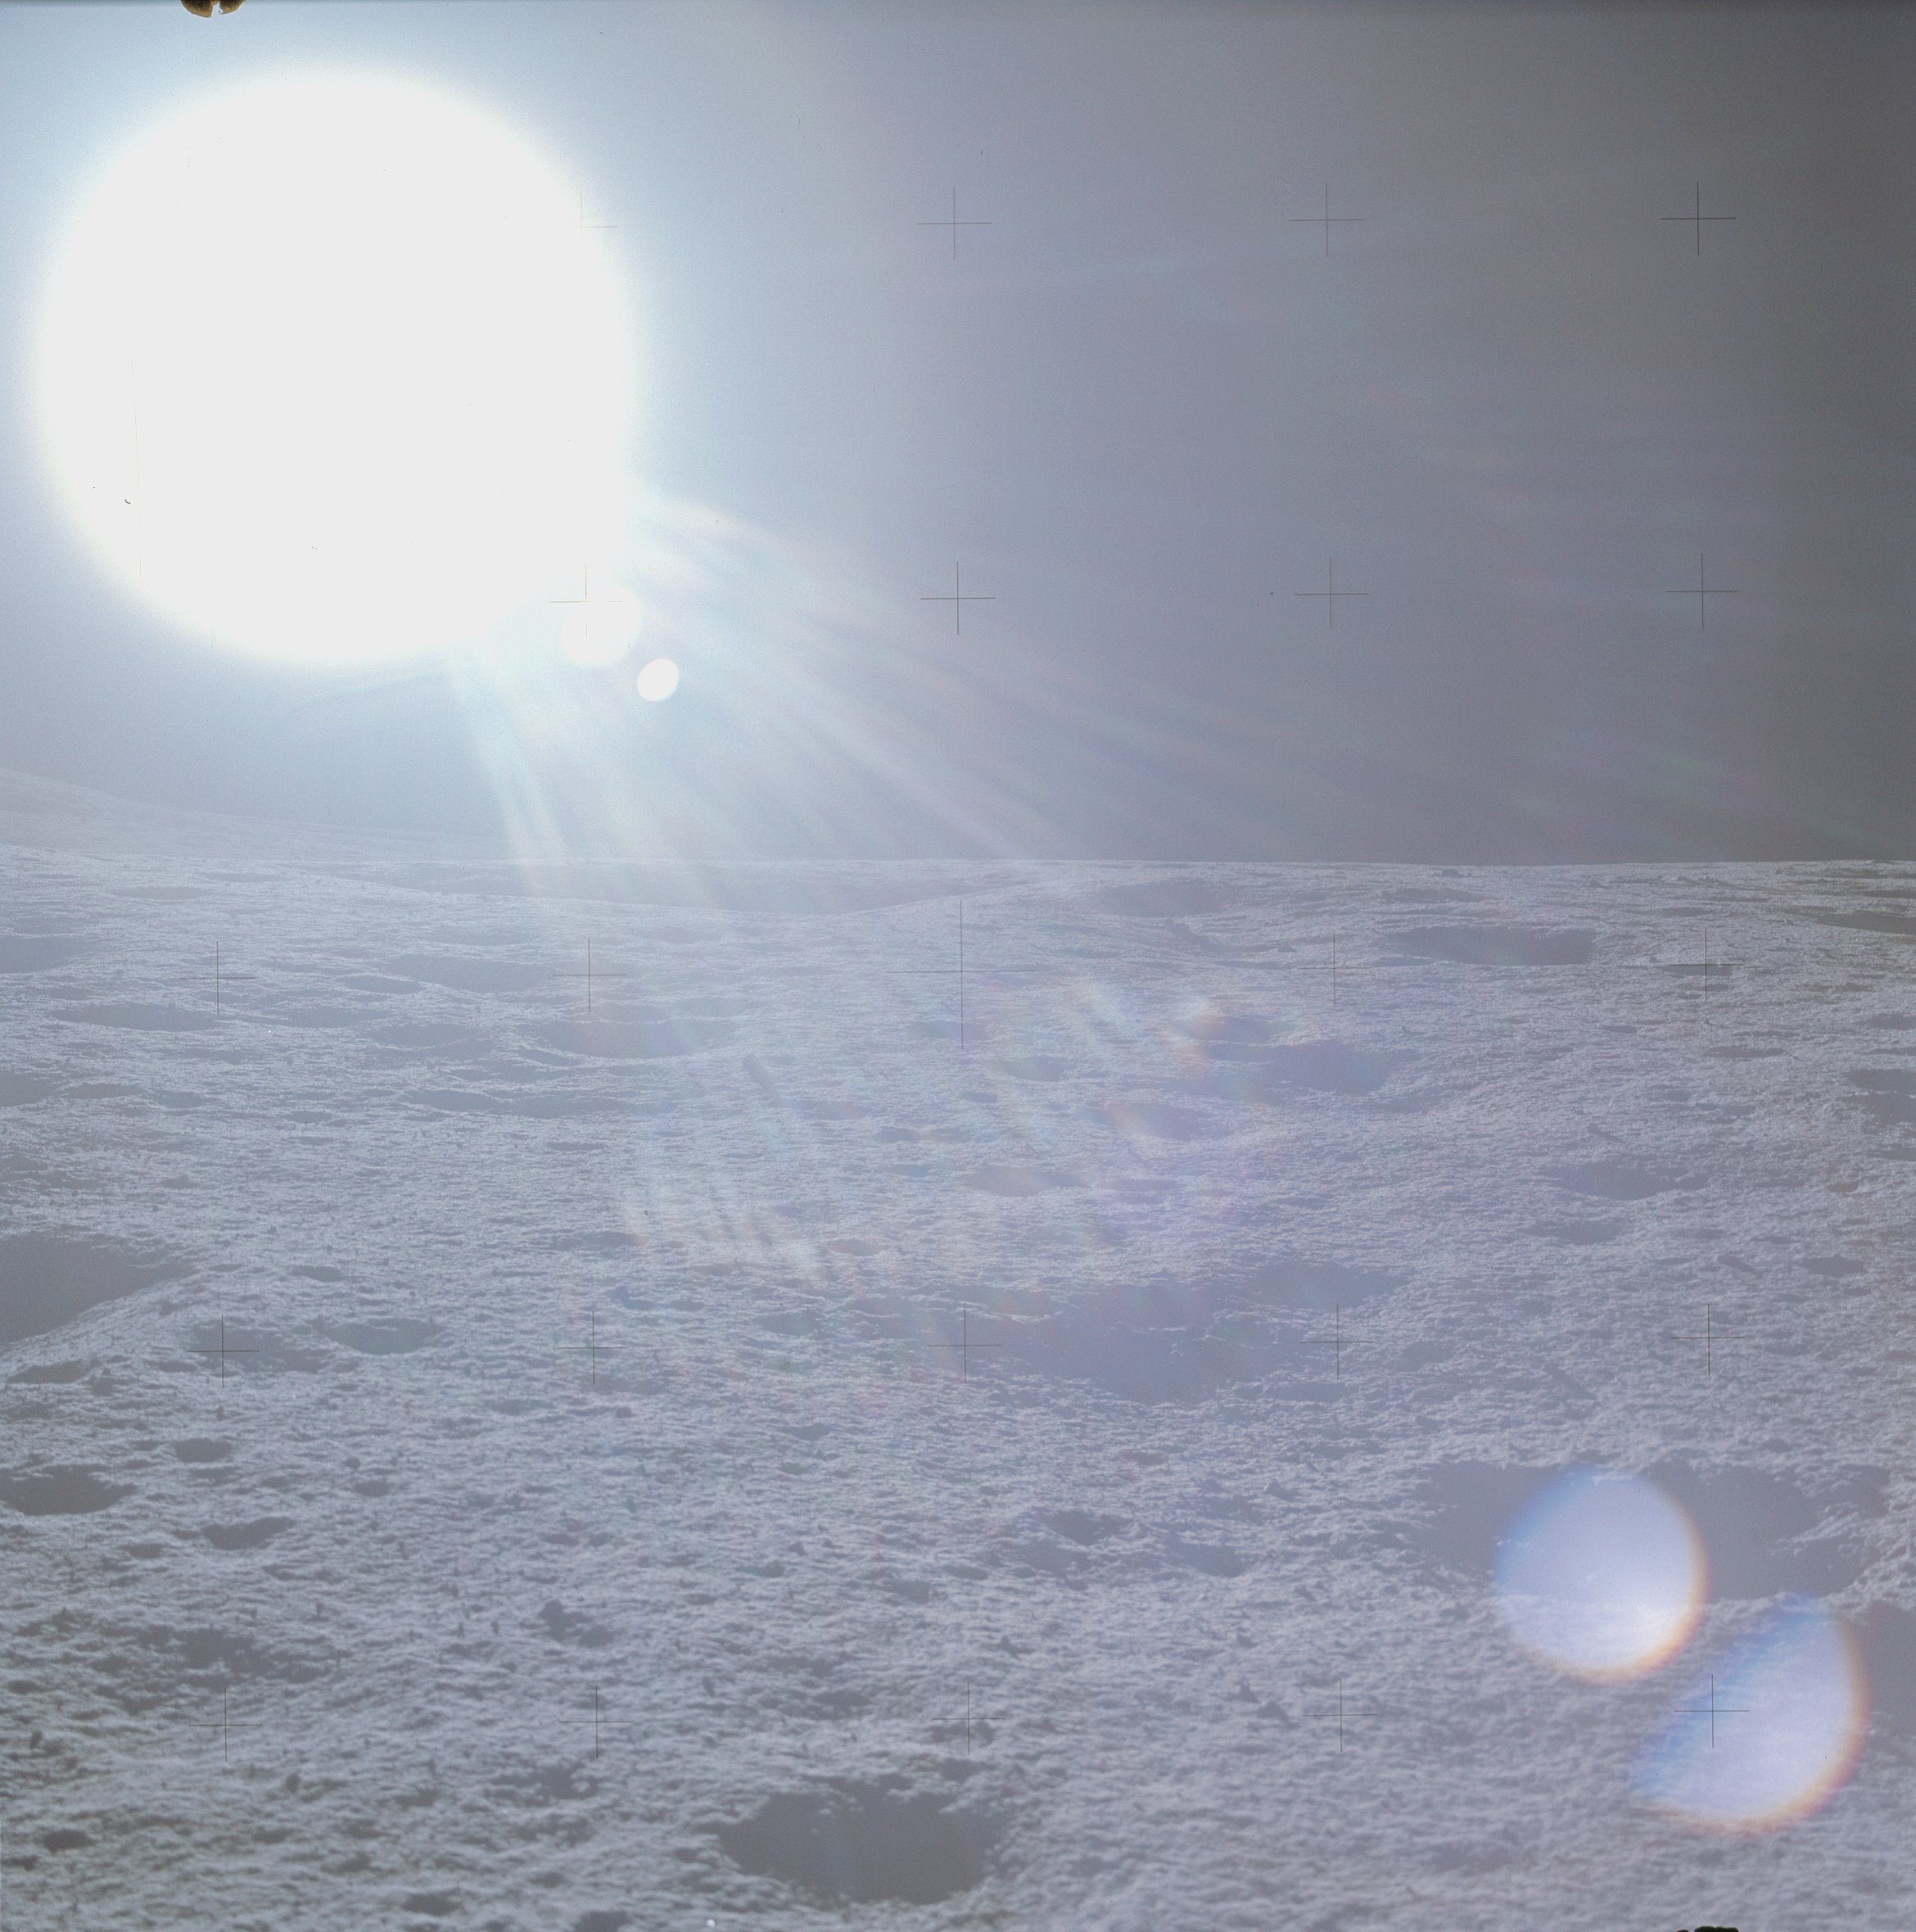 | AS14-66-9248 Rightward of 9247. Image credit: Image Science and Analysis Laboratory, NASA-Johnson Space Center. |
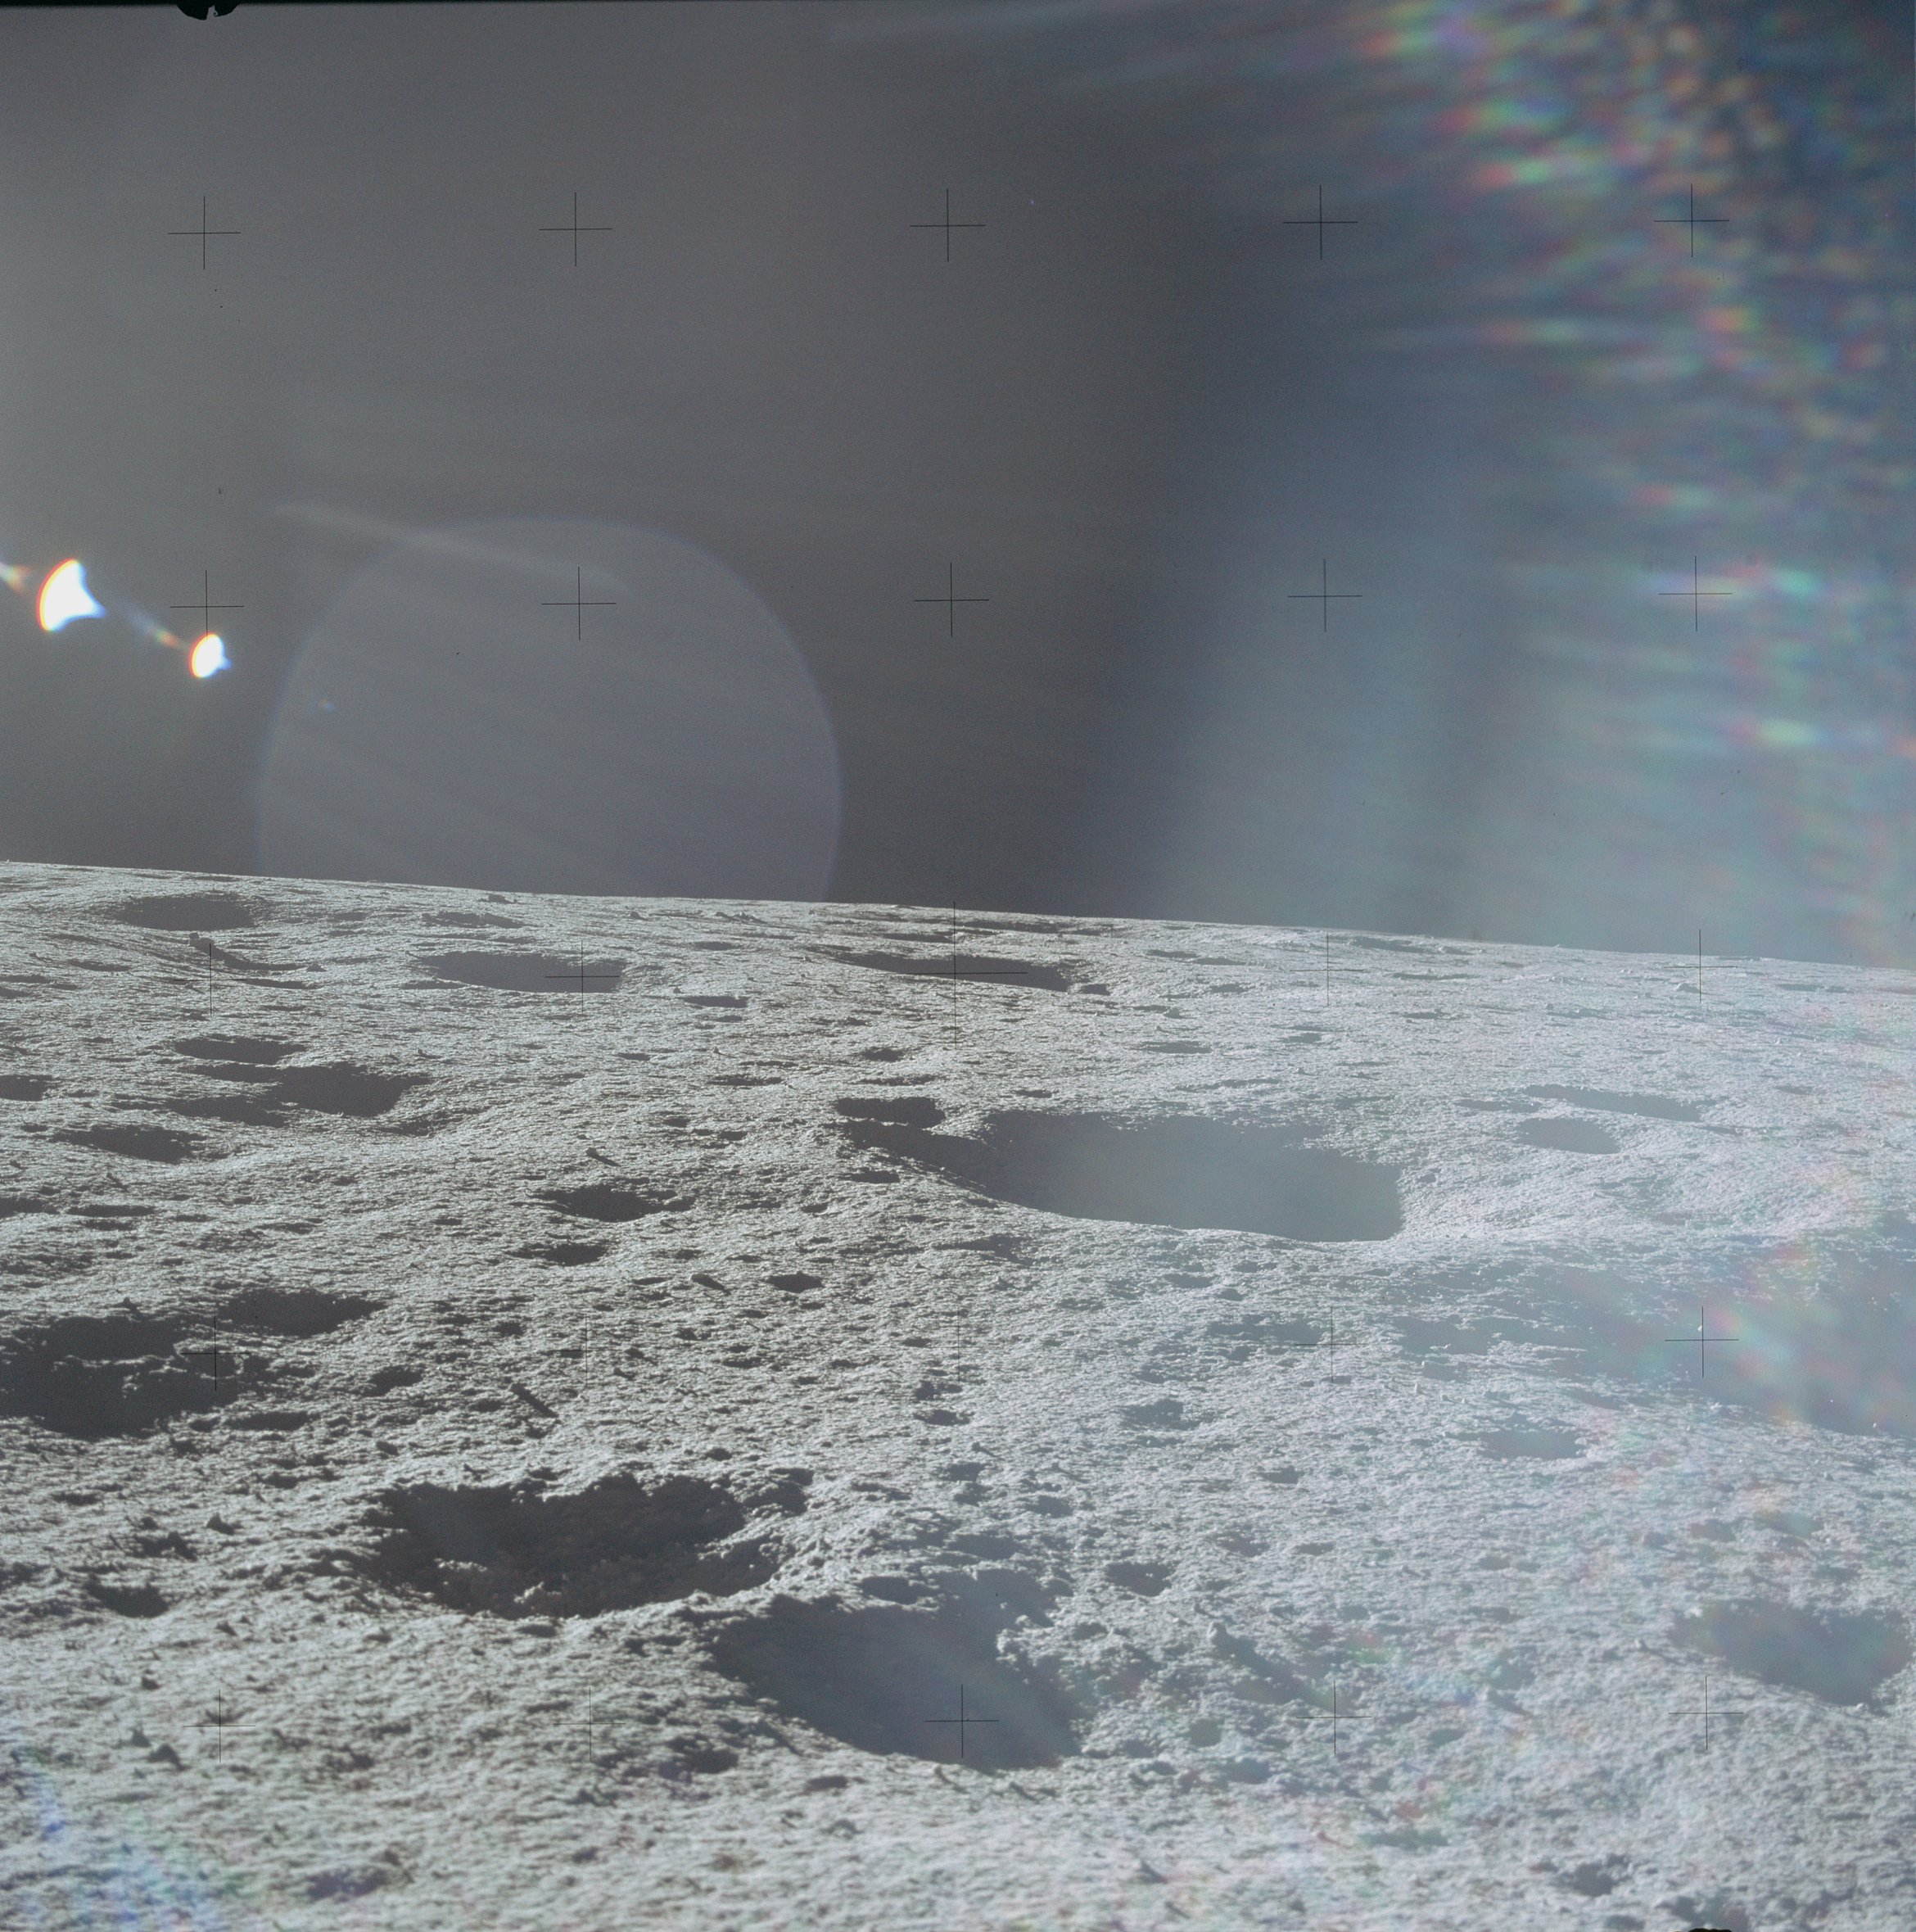 | AS14-66-9249 Rightward of 9248, with numerous rock and crater shadows. Image credit: Image Science and Analysis Laboratory, NASA-Johnson Space Center. |
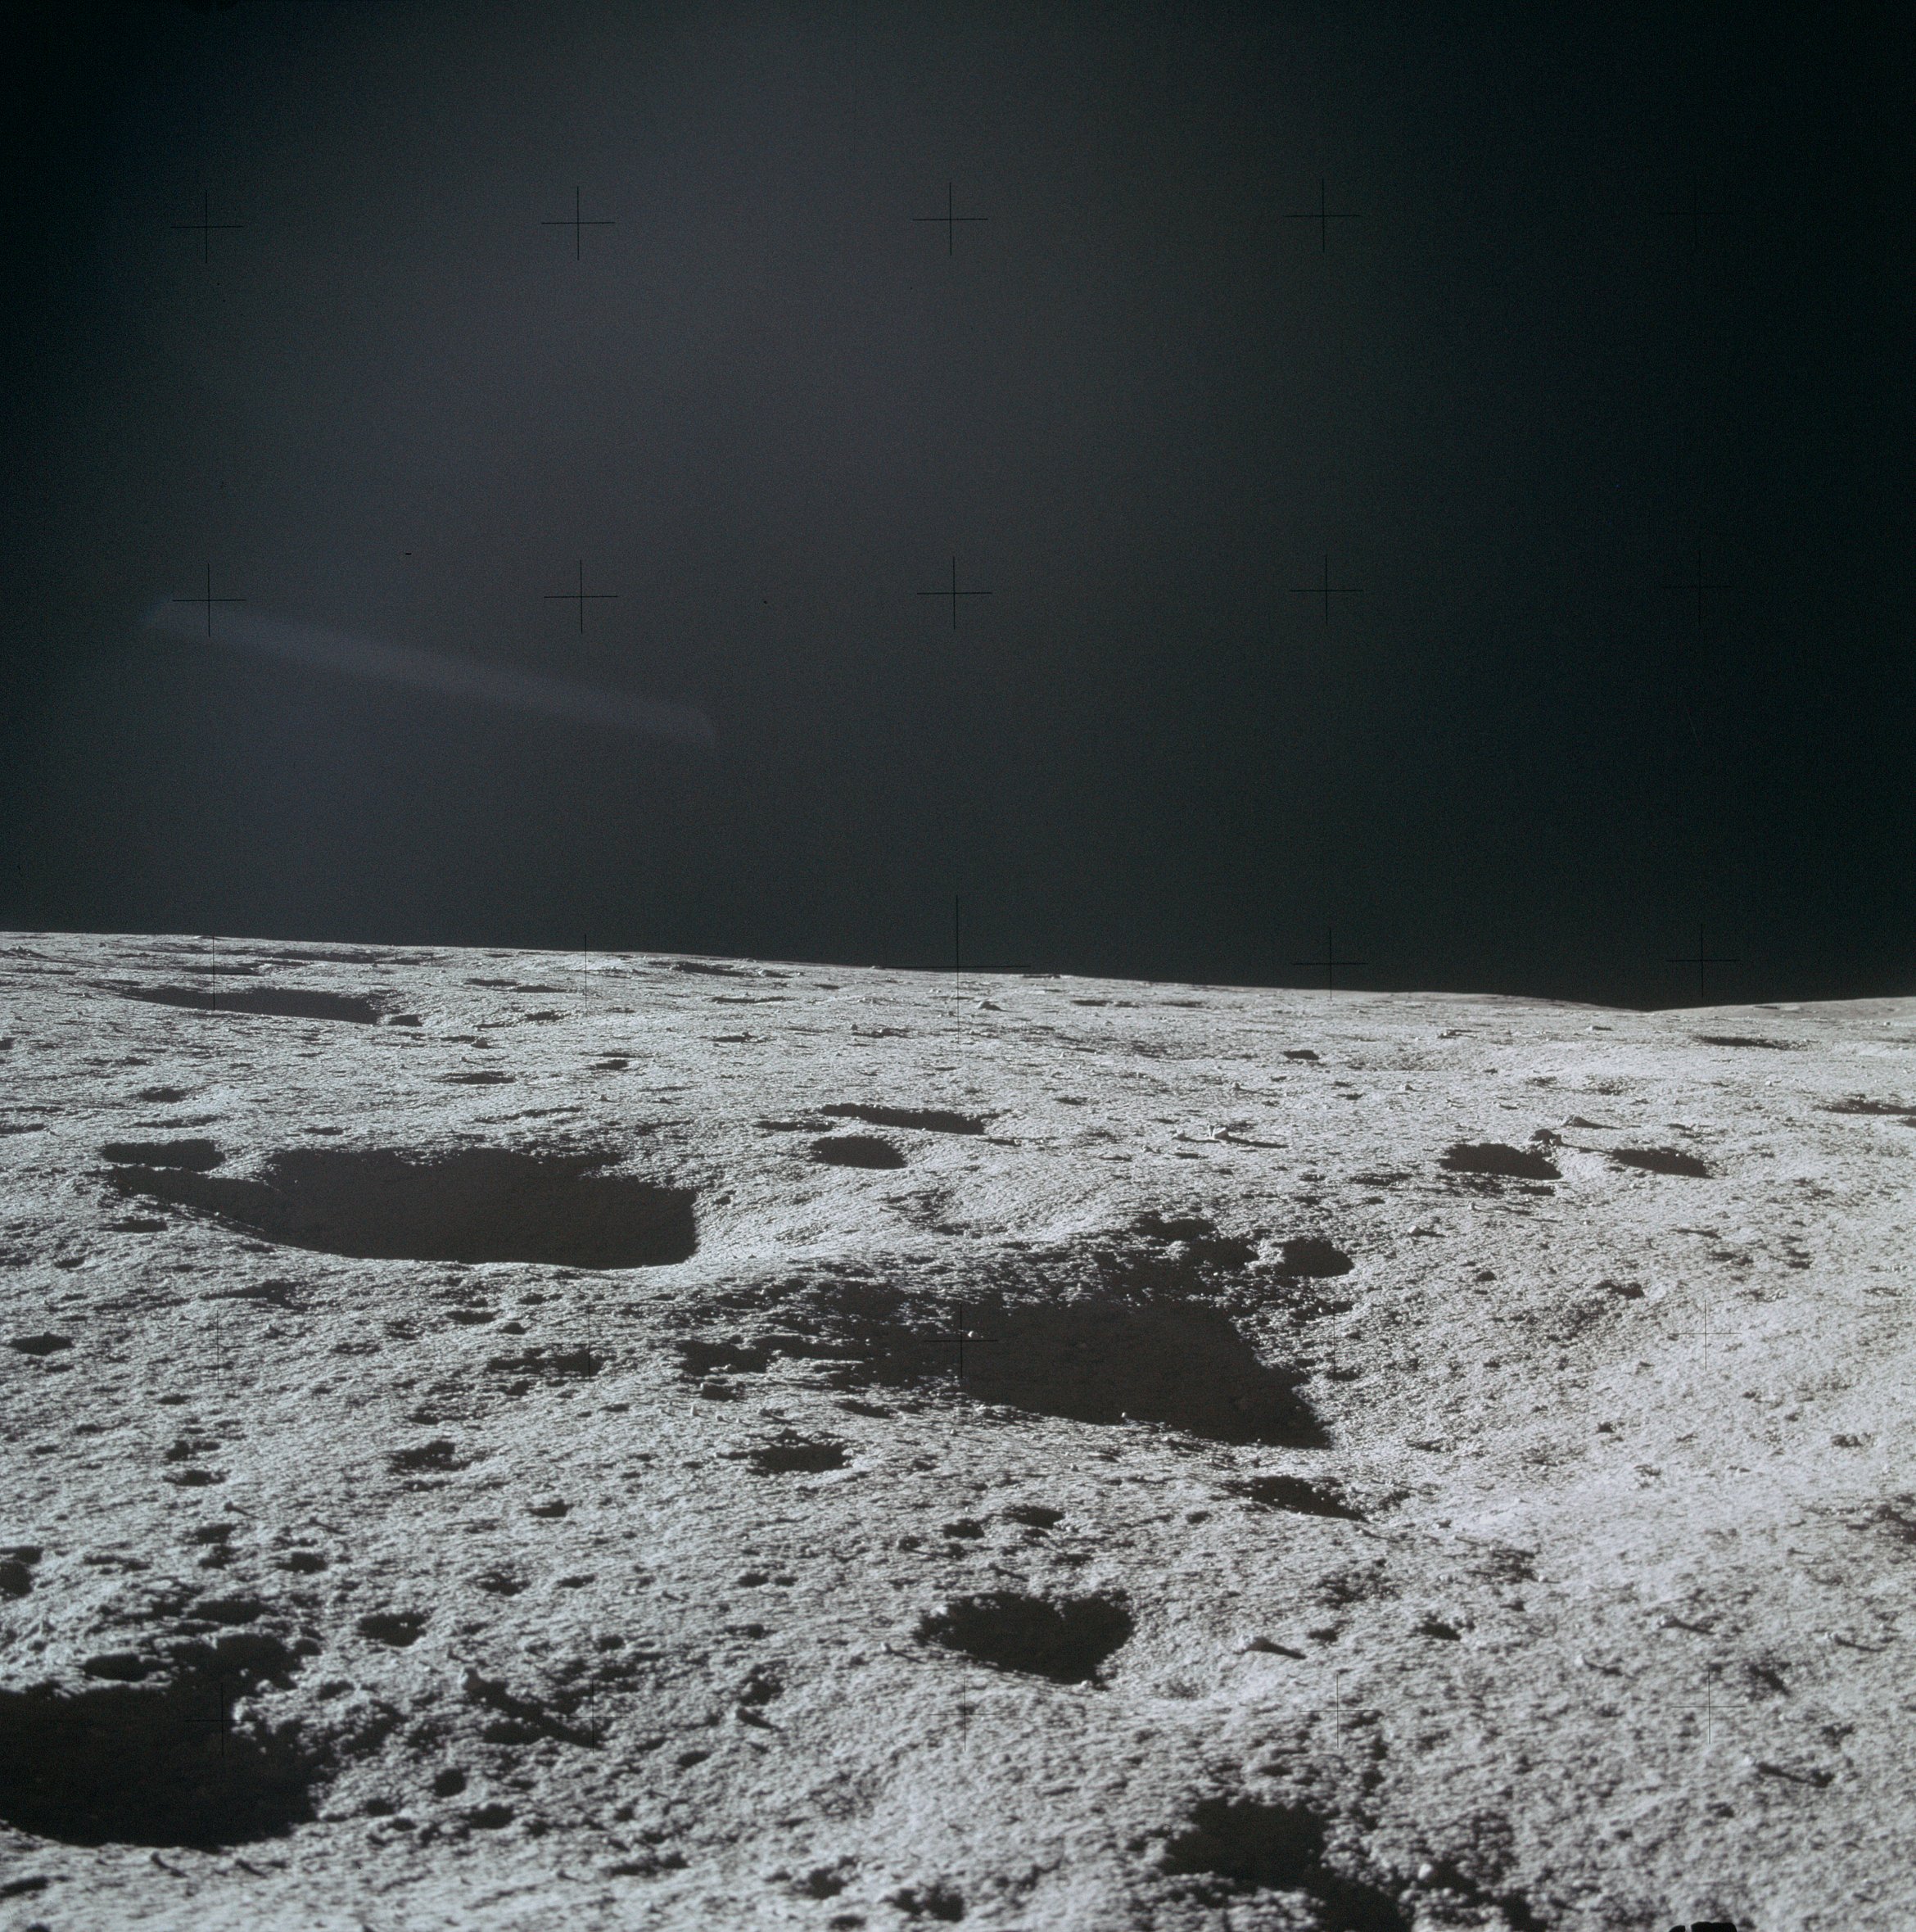 | AS14-66-9250 Rightward of 9249. Image credit: Image Science and Analysis Laboratory, NASA-Johnson Space Center. |
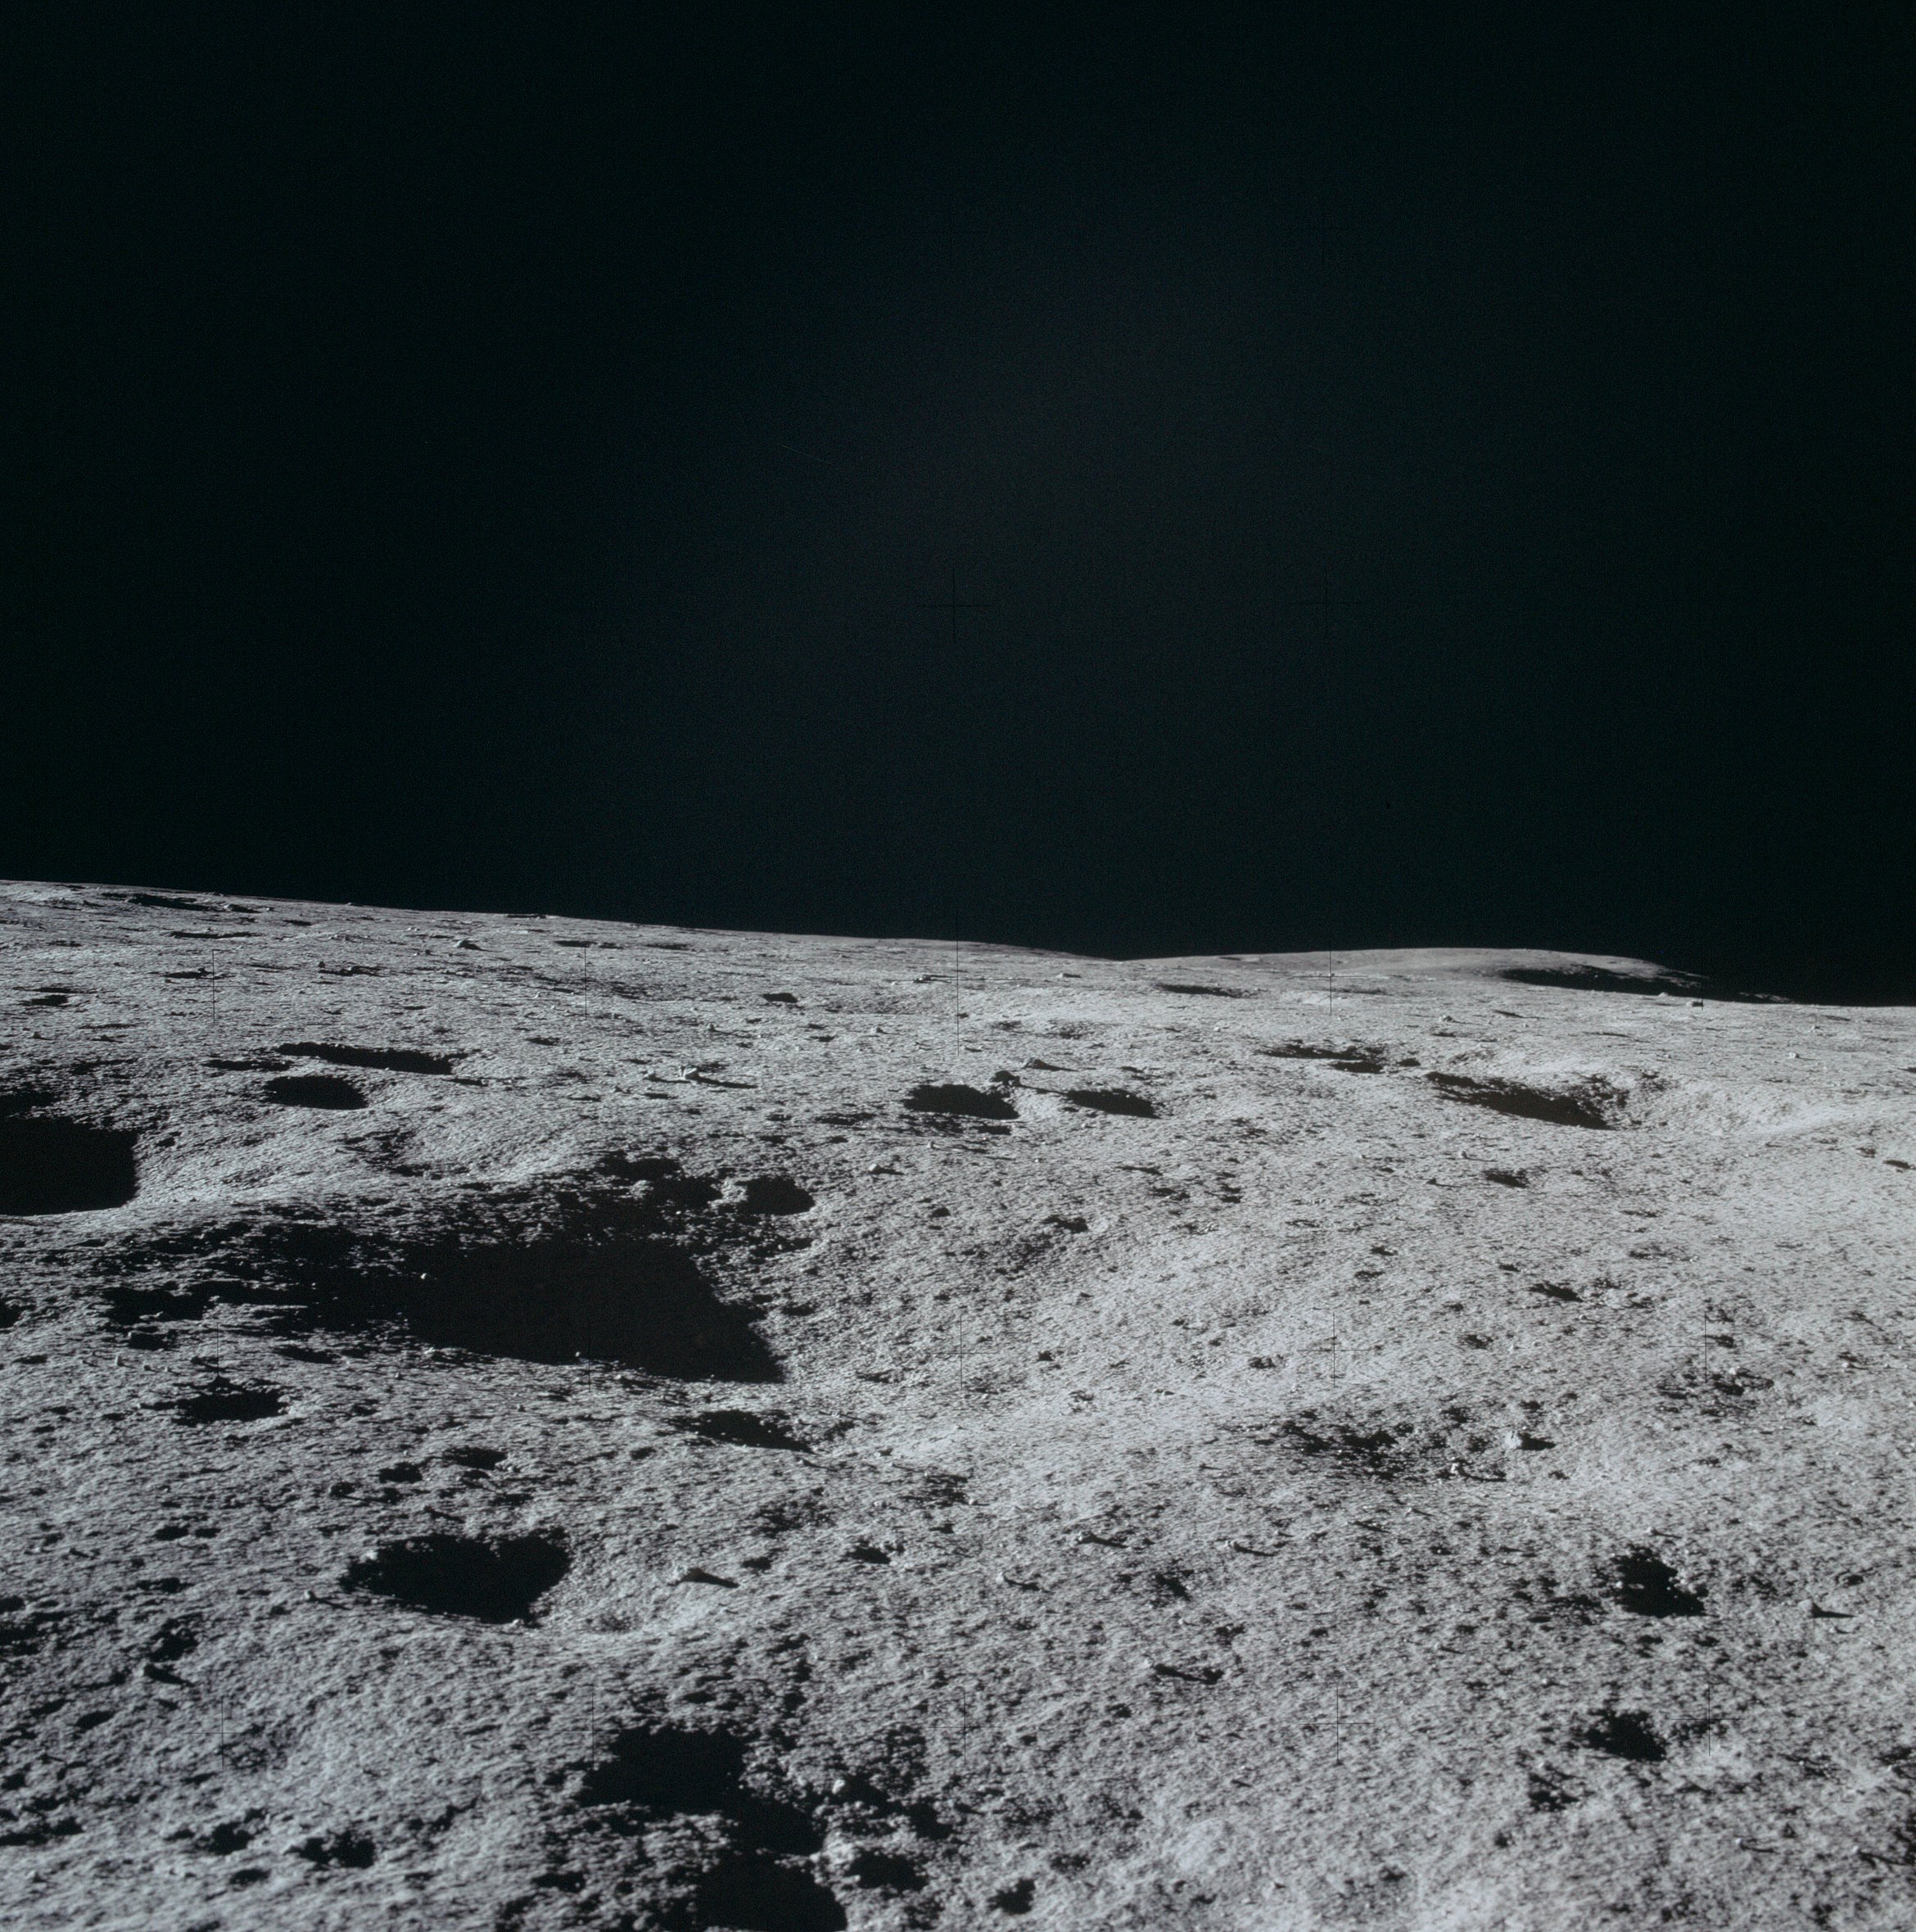 | AS14-66-9251 Rightward of 9250. Image credit: Image Science and Analysis Laboratory, NASA-Johnson Space Center. |
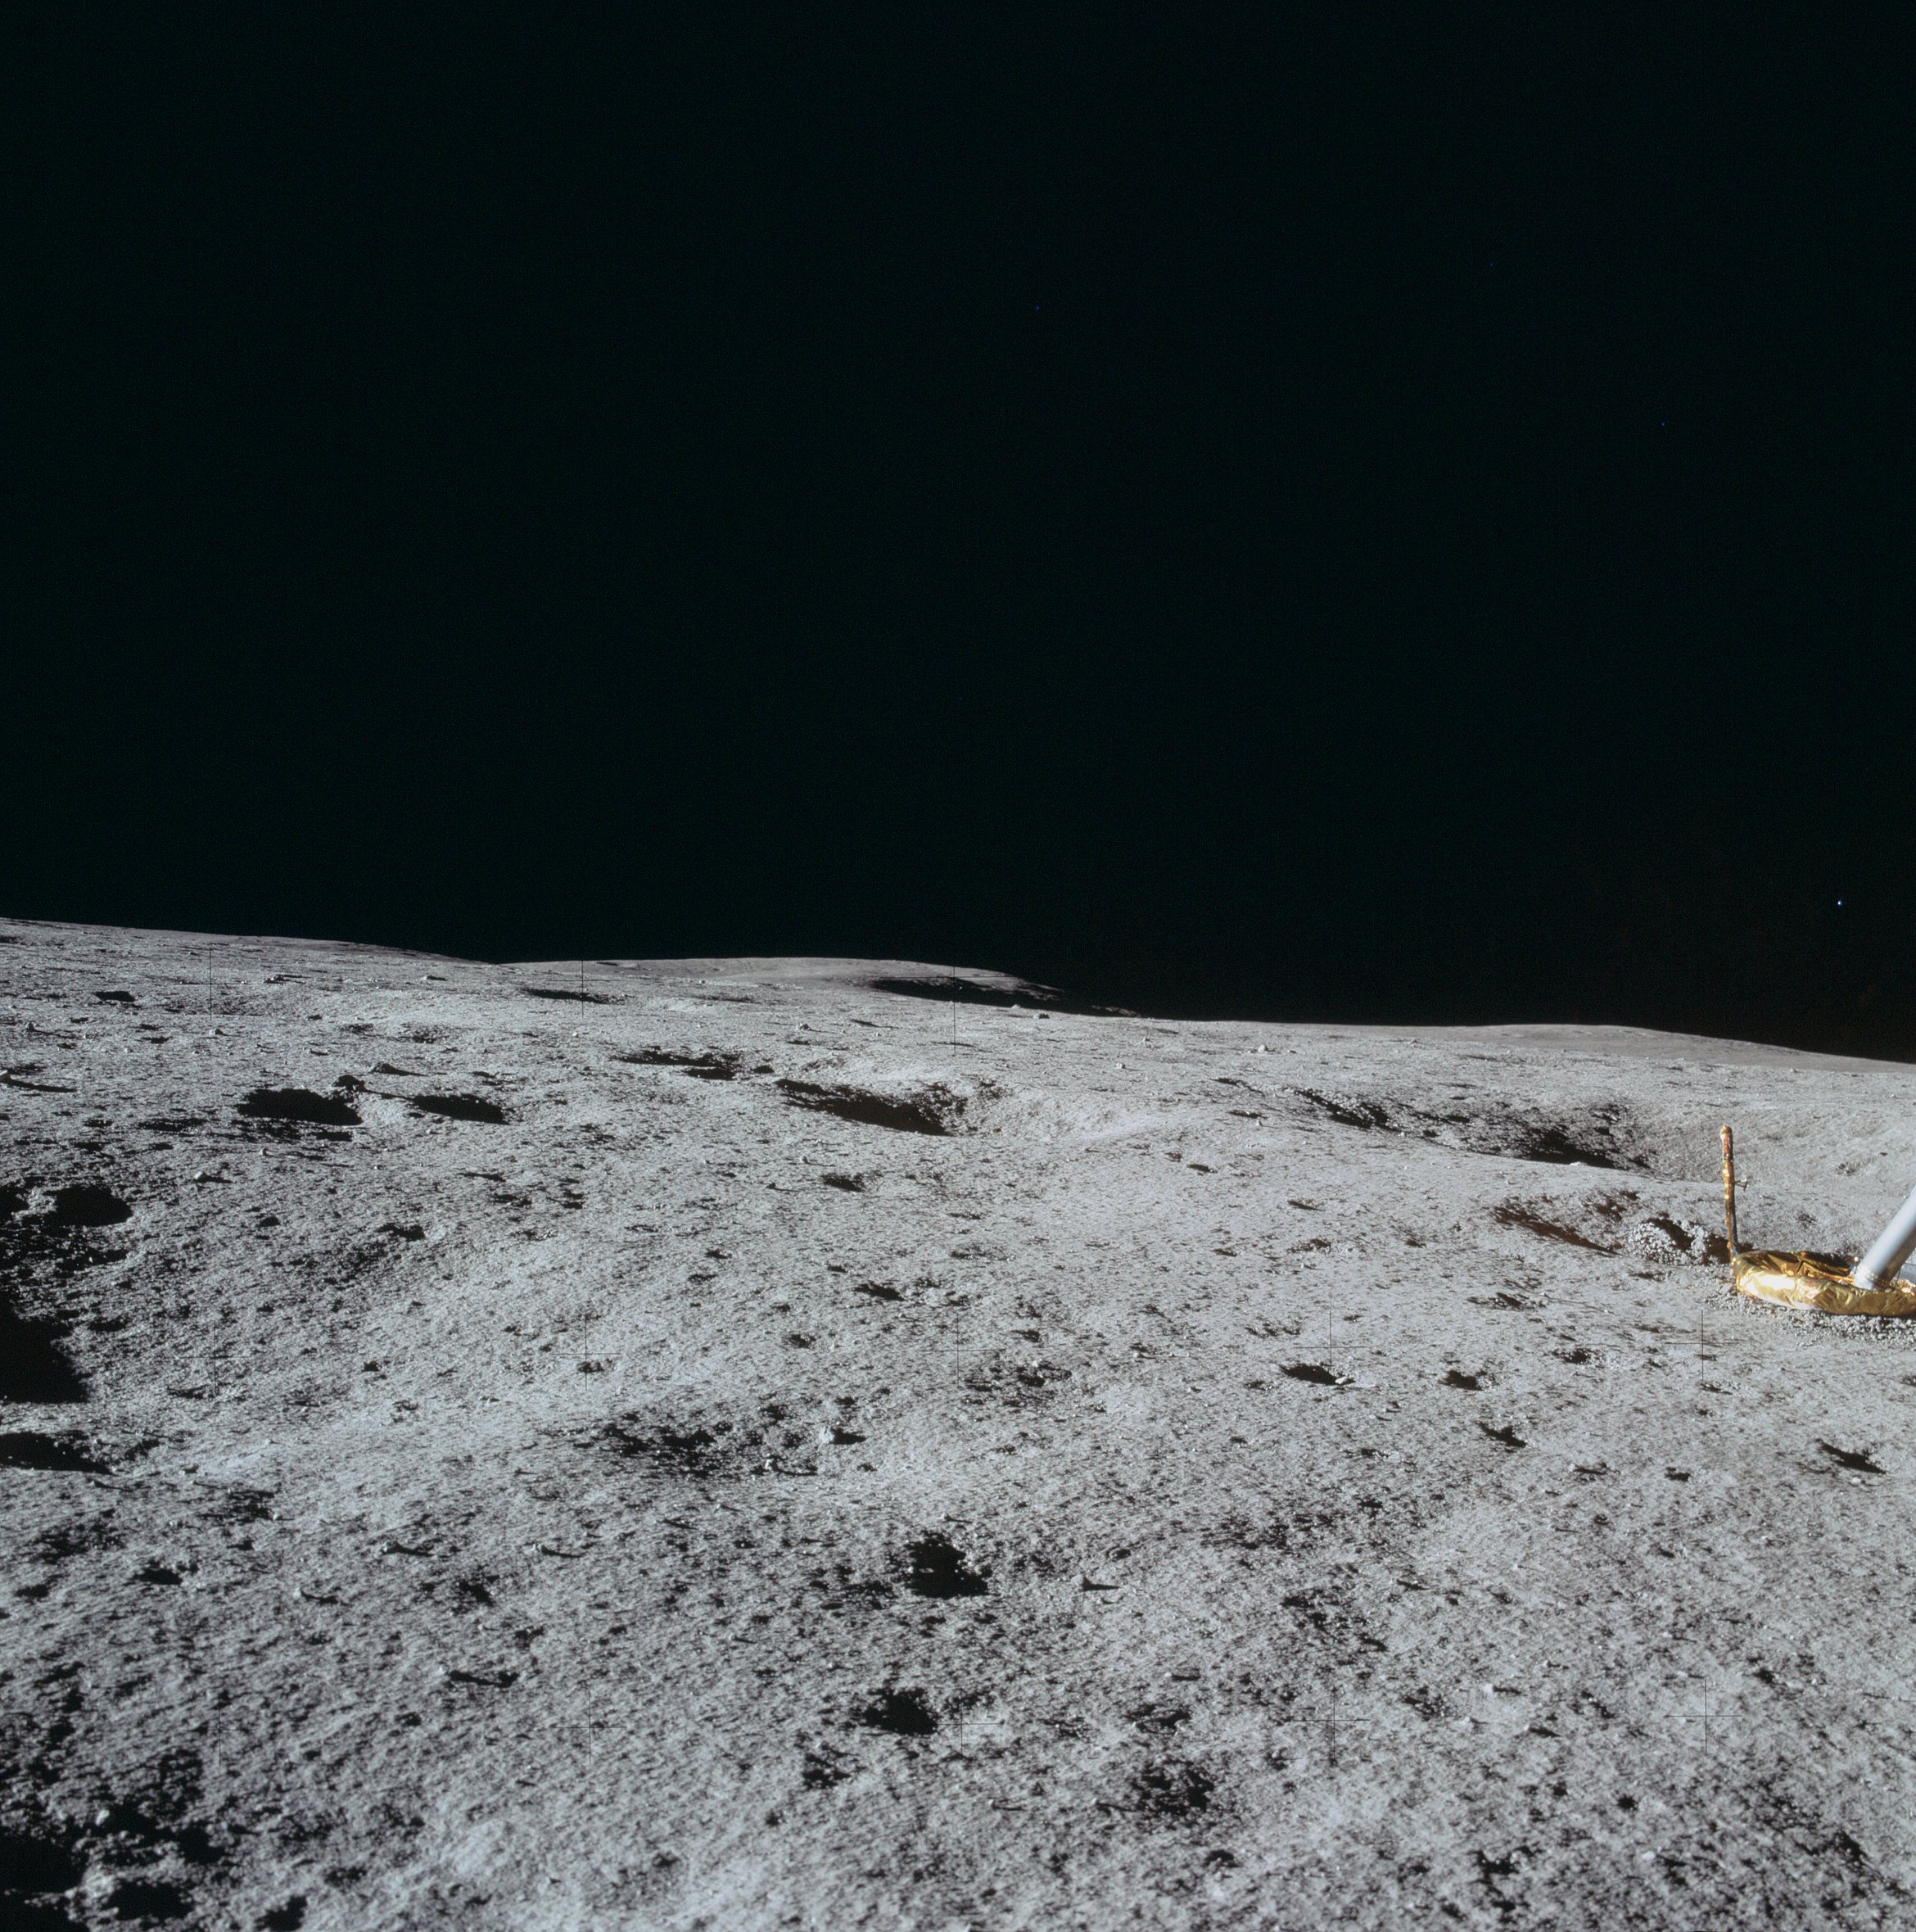 | AS14-66-9252 Rightward of 9251, showing the east footpad with it's bent probe. Image credit: Image Science and Analysis Laboratory, NASA-Johnson Space Center. |
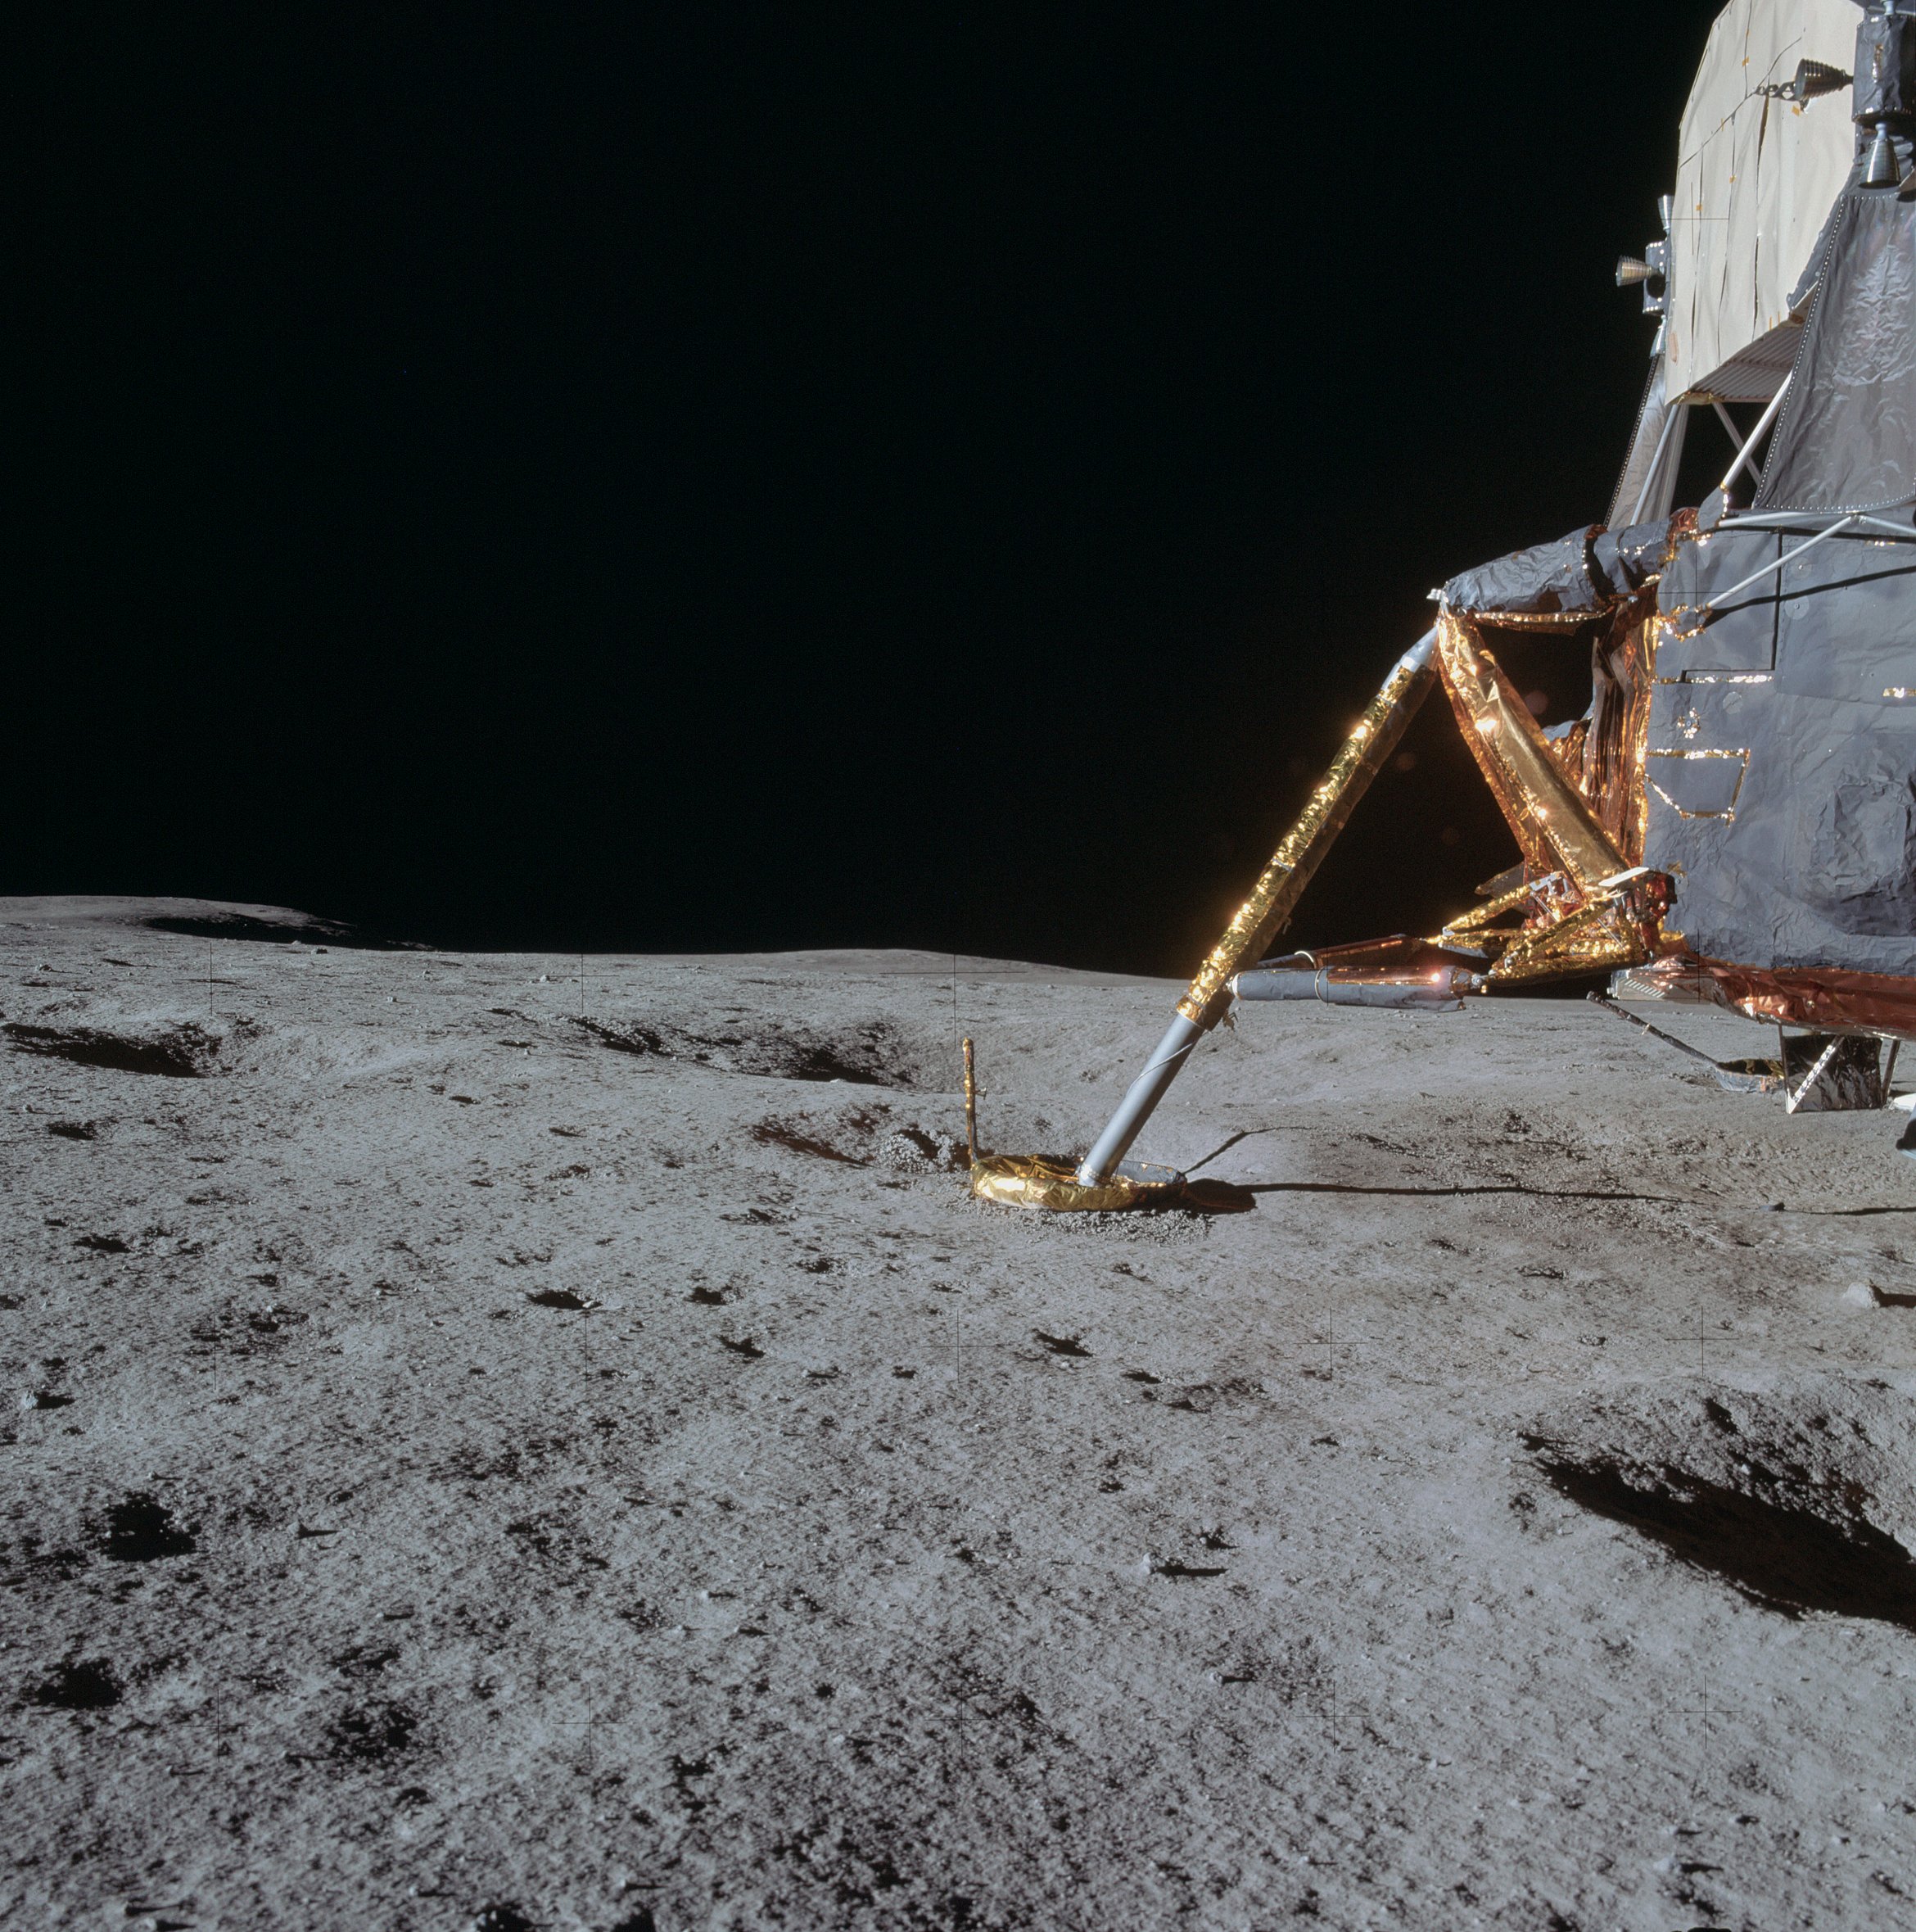 | AS14-66-9253 Rightward of 9252, showing the northeast of the LM. Image credit: Image Science and Analysis Laboratory, NASA-Johnson Space Center. |
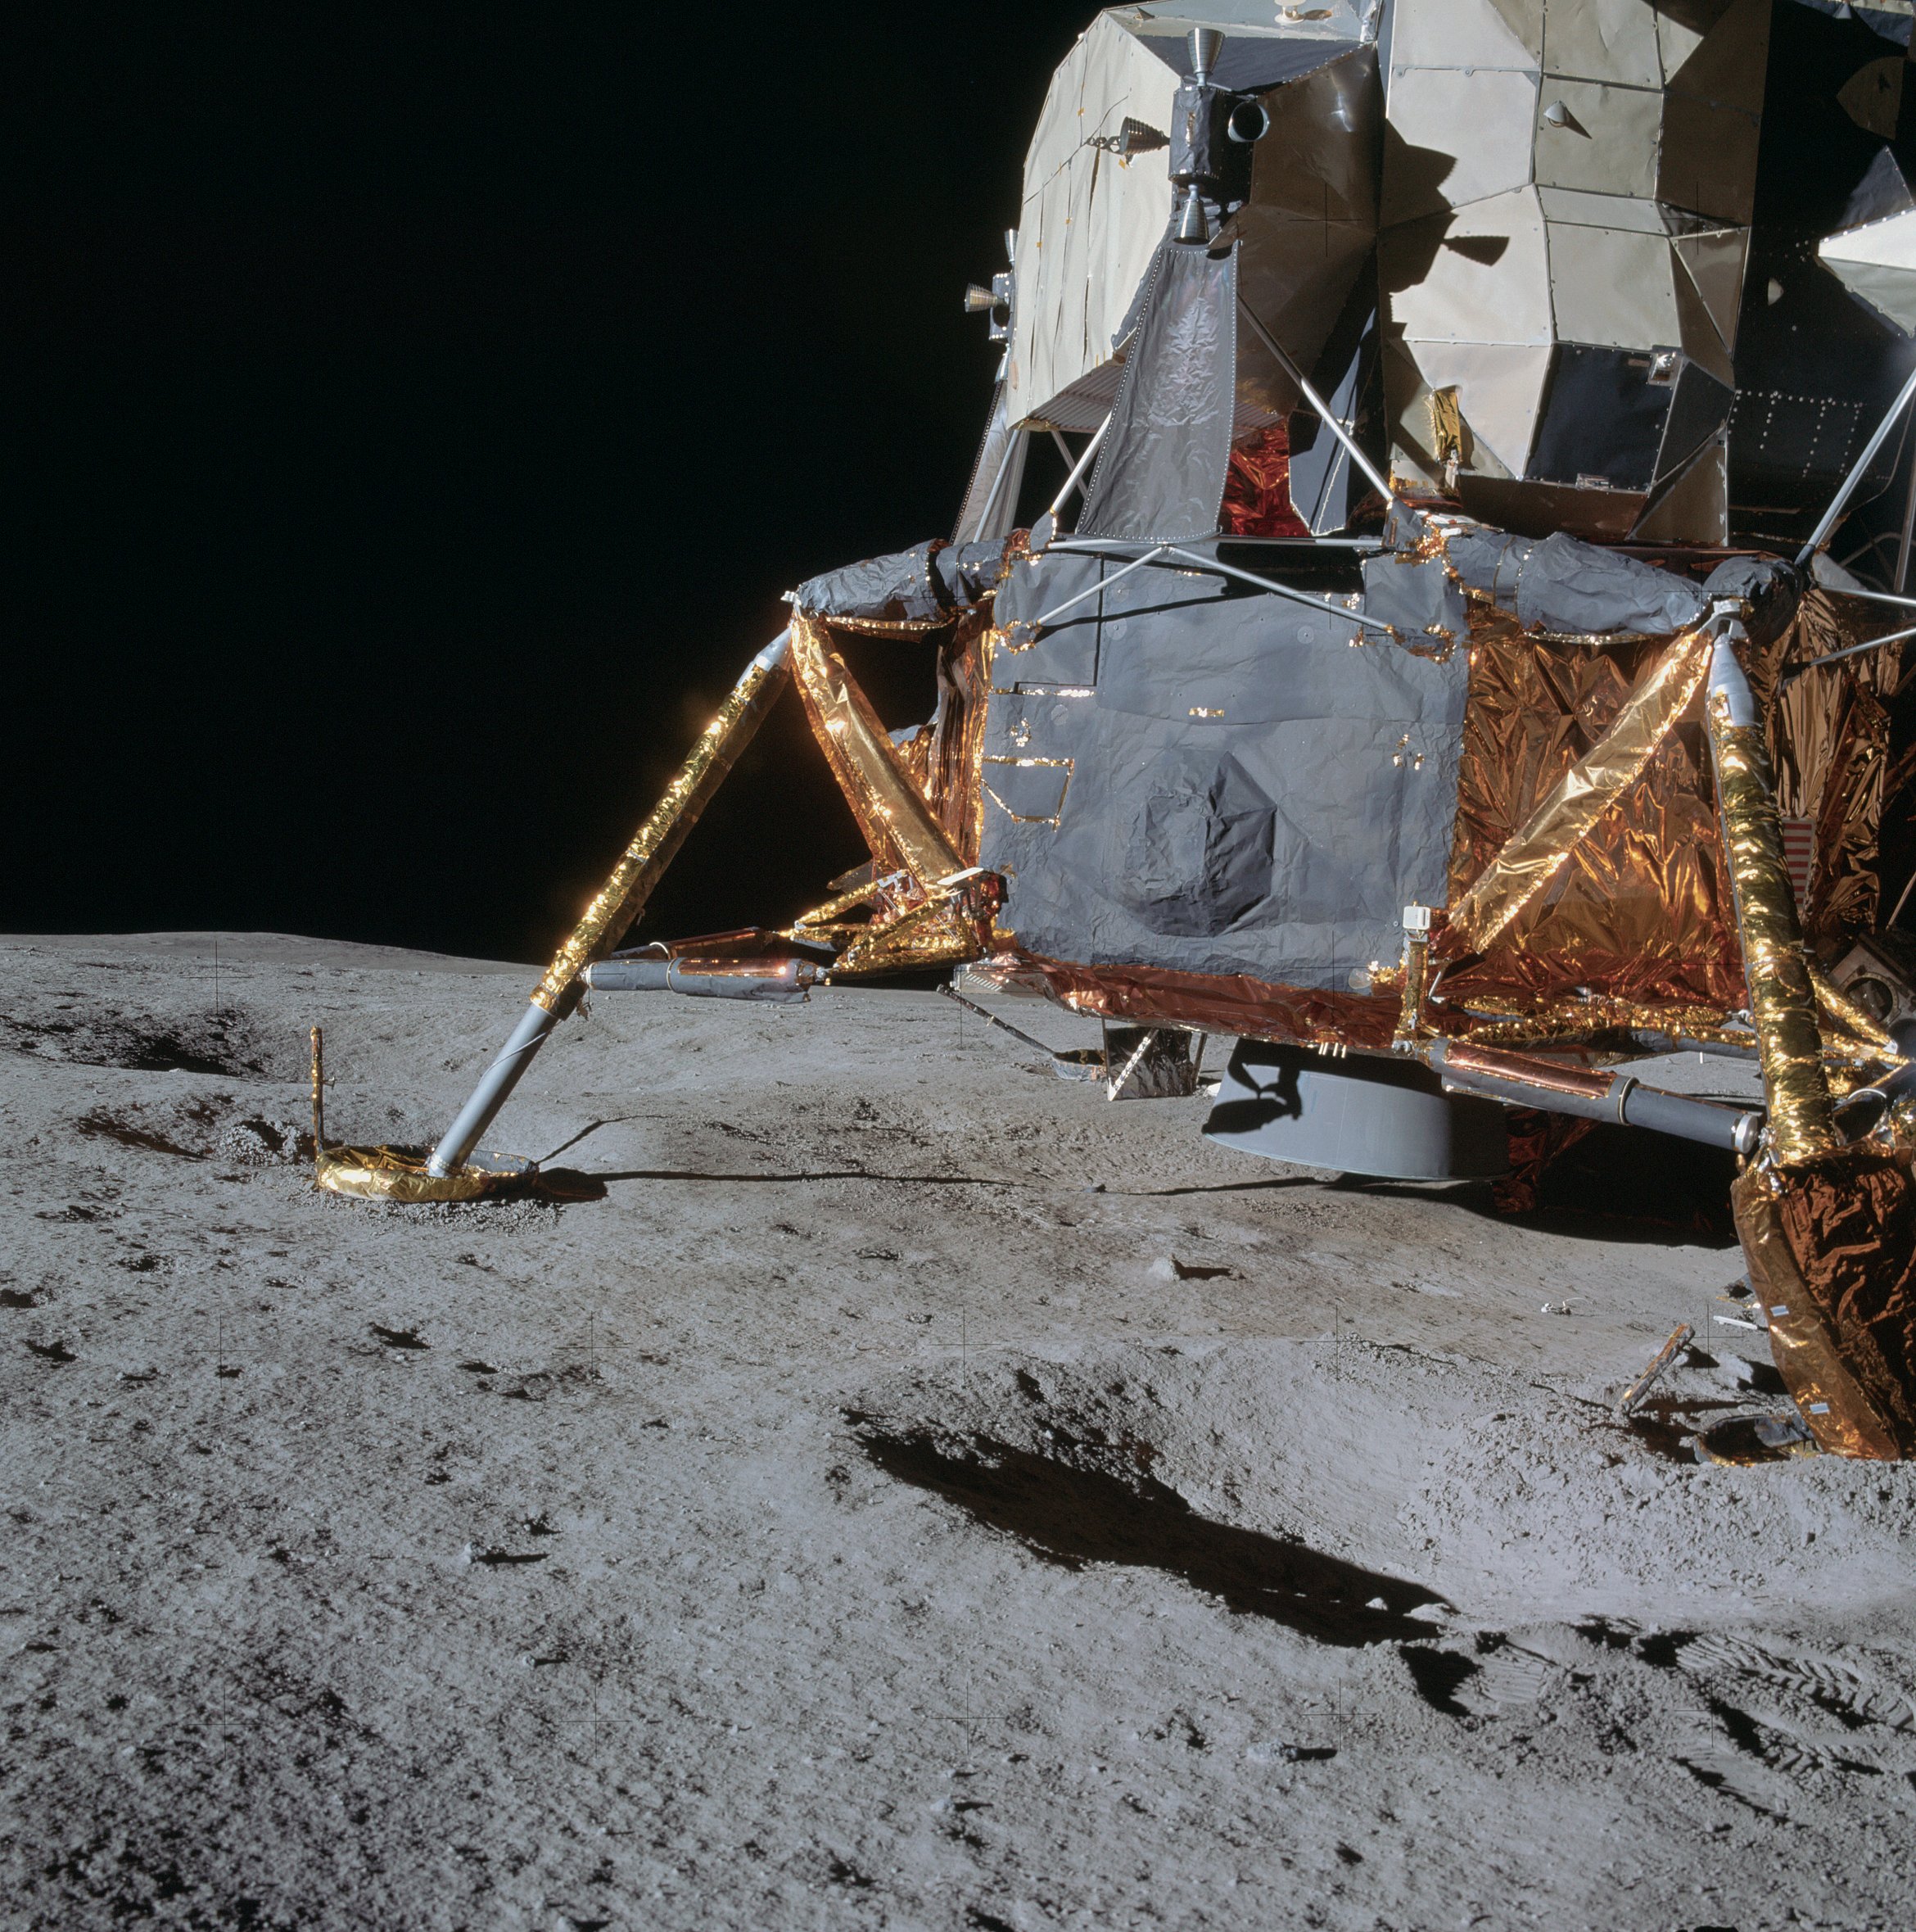 | AS14-66-9254 114:53:38 Frame from Al's 4 o'clock pan. Image credit: Image Science and Analysis Laboratory, NASA-Johnson Space Center. |
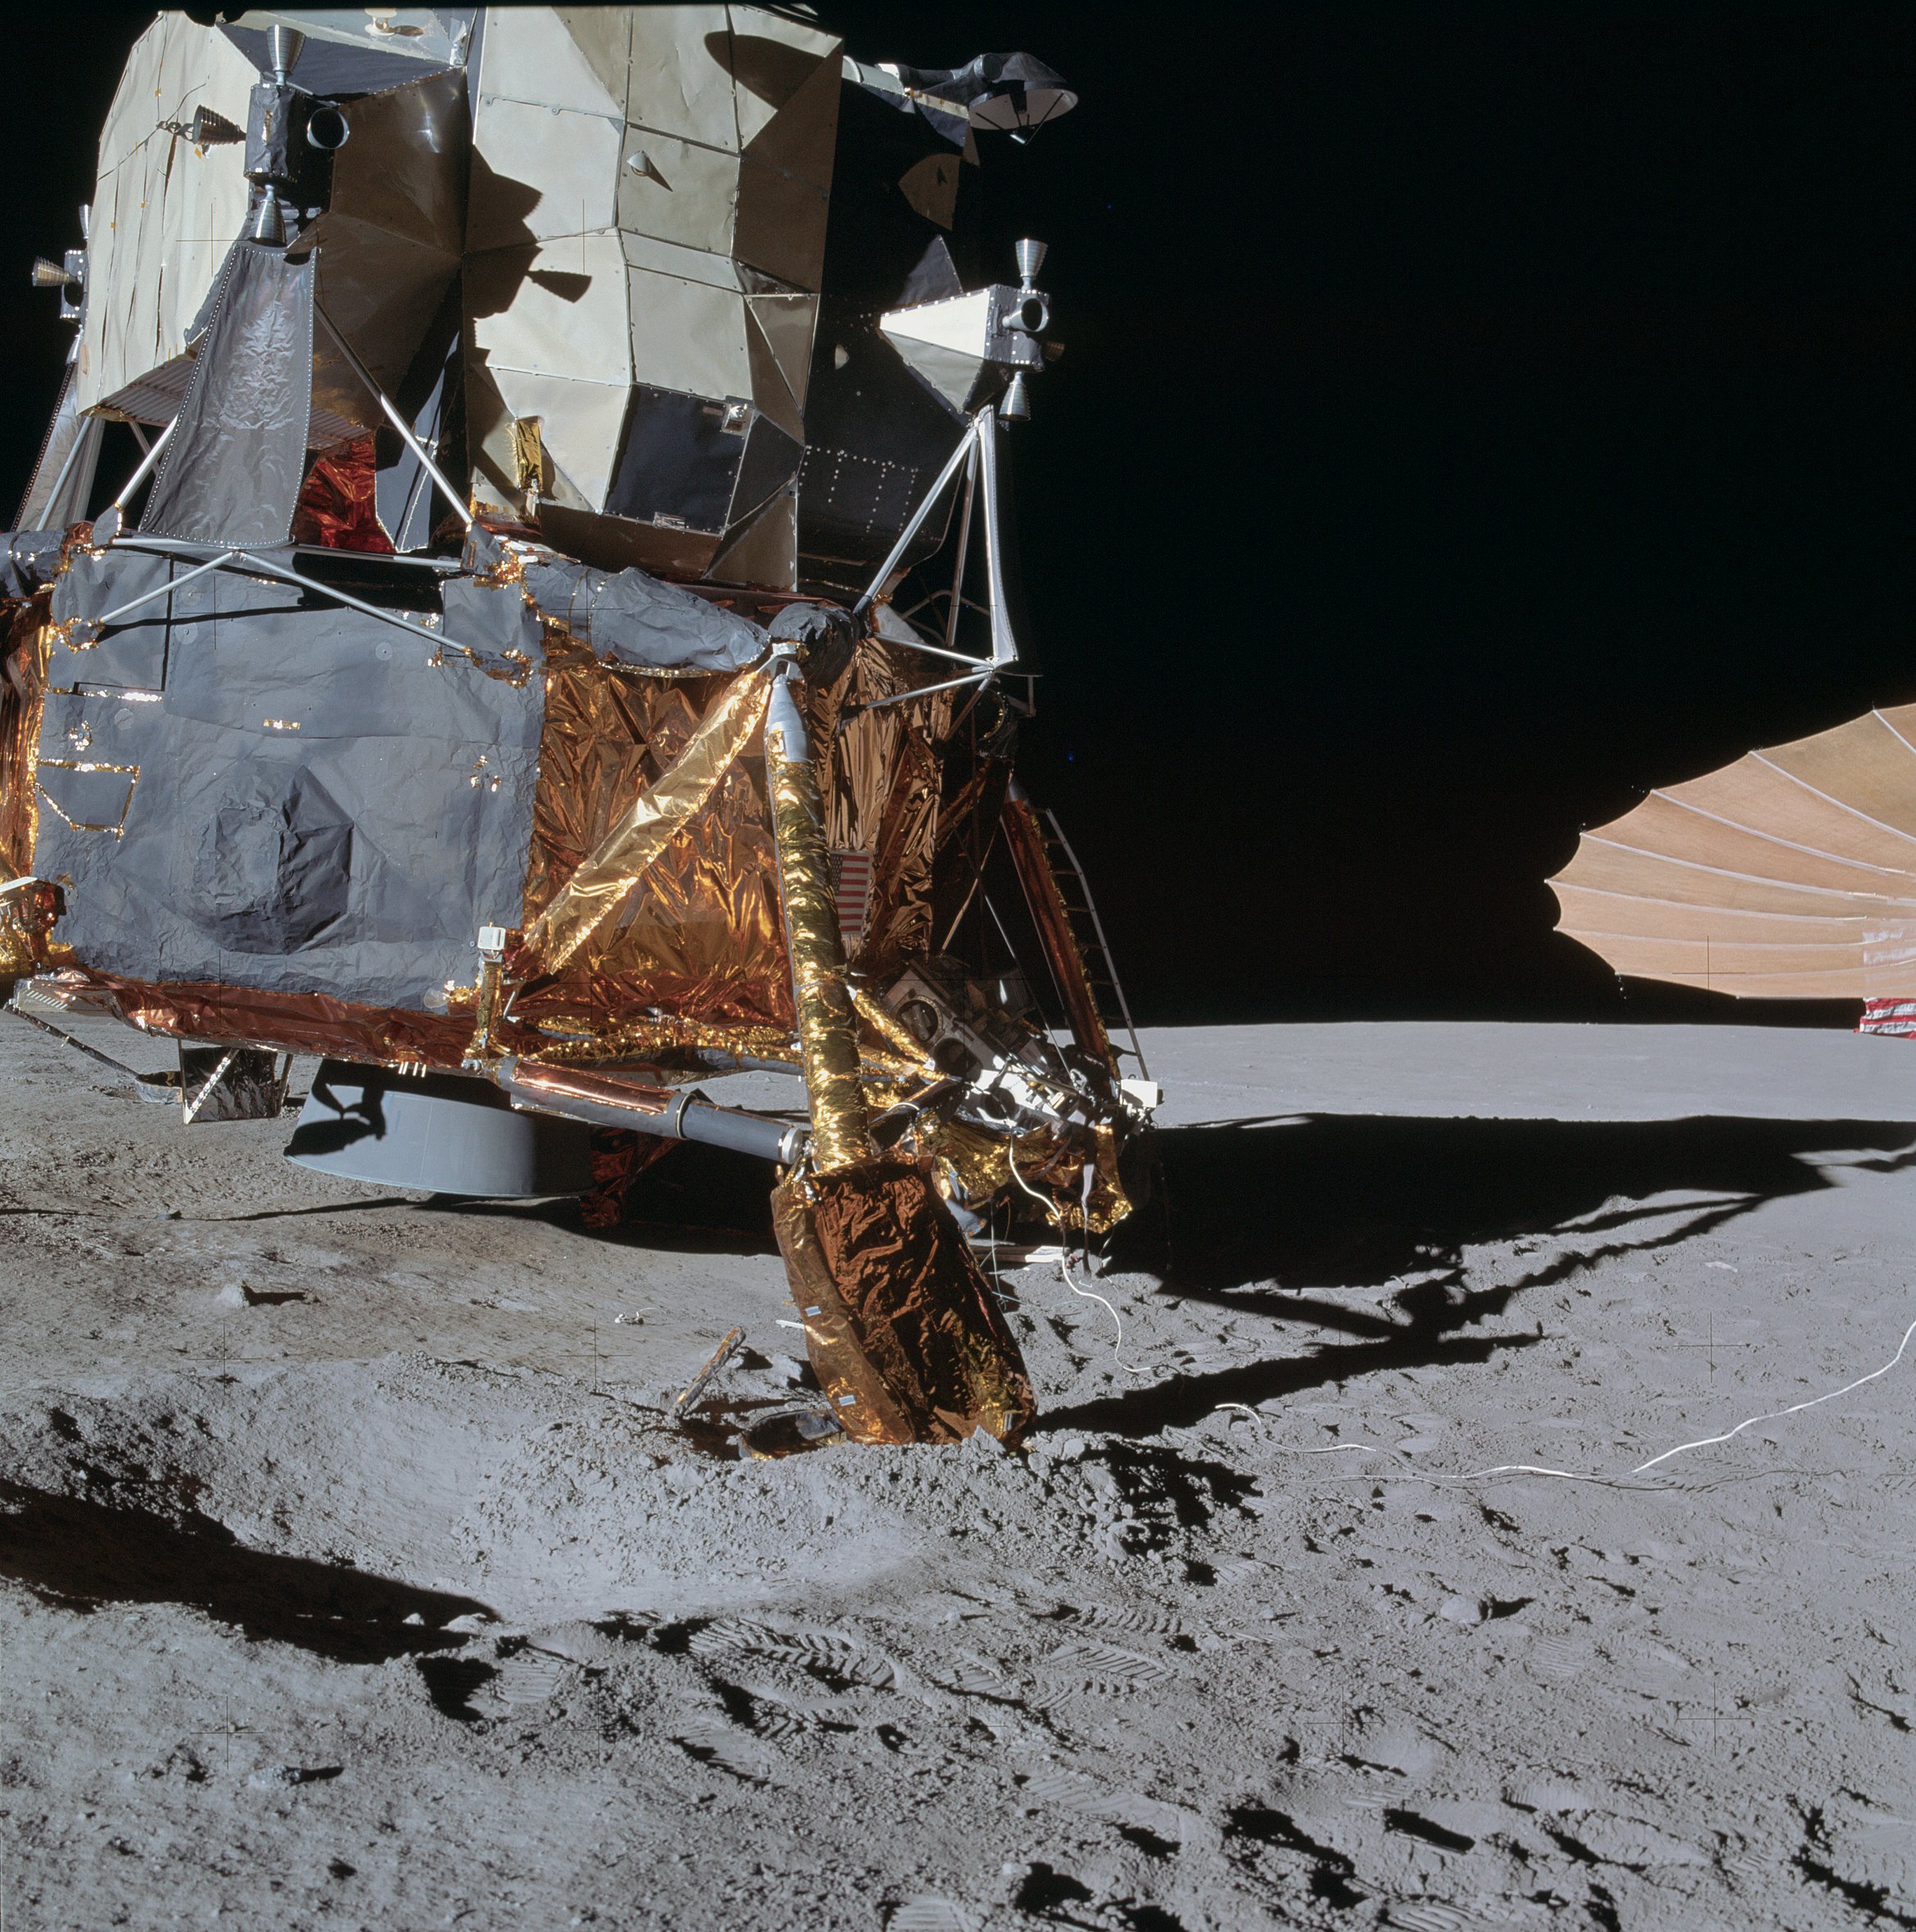 | AS14-66-9255 114:53:38 View of the right side of the LM, and the right (+Y) strut in particular. Image credit: Image Science and Analysis Laboratory, NASA-Johnson Space Center. |
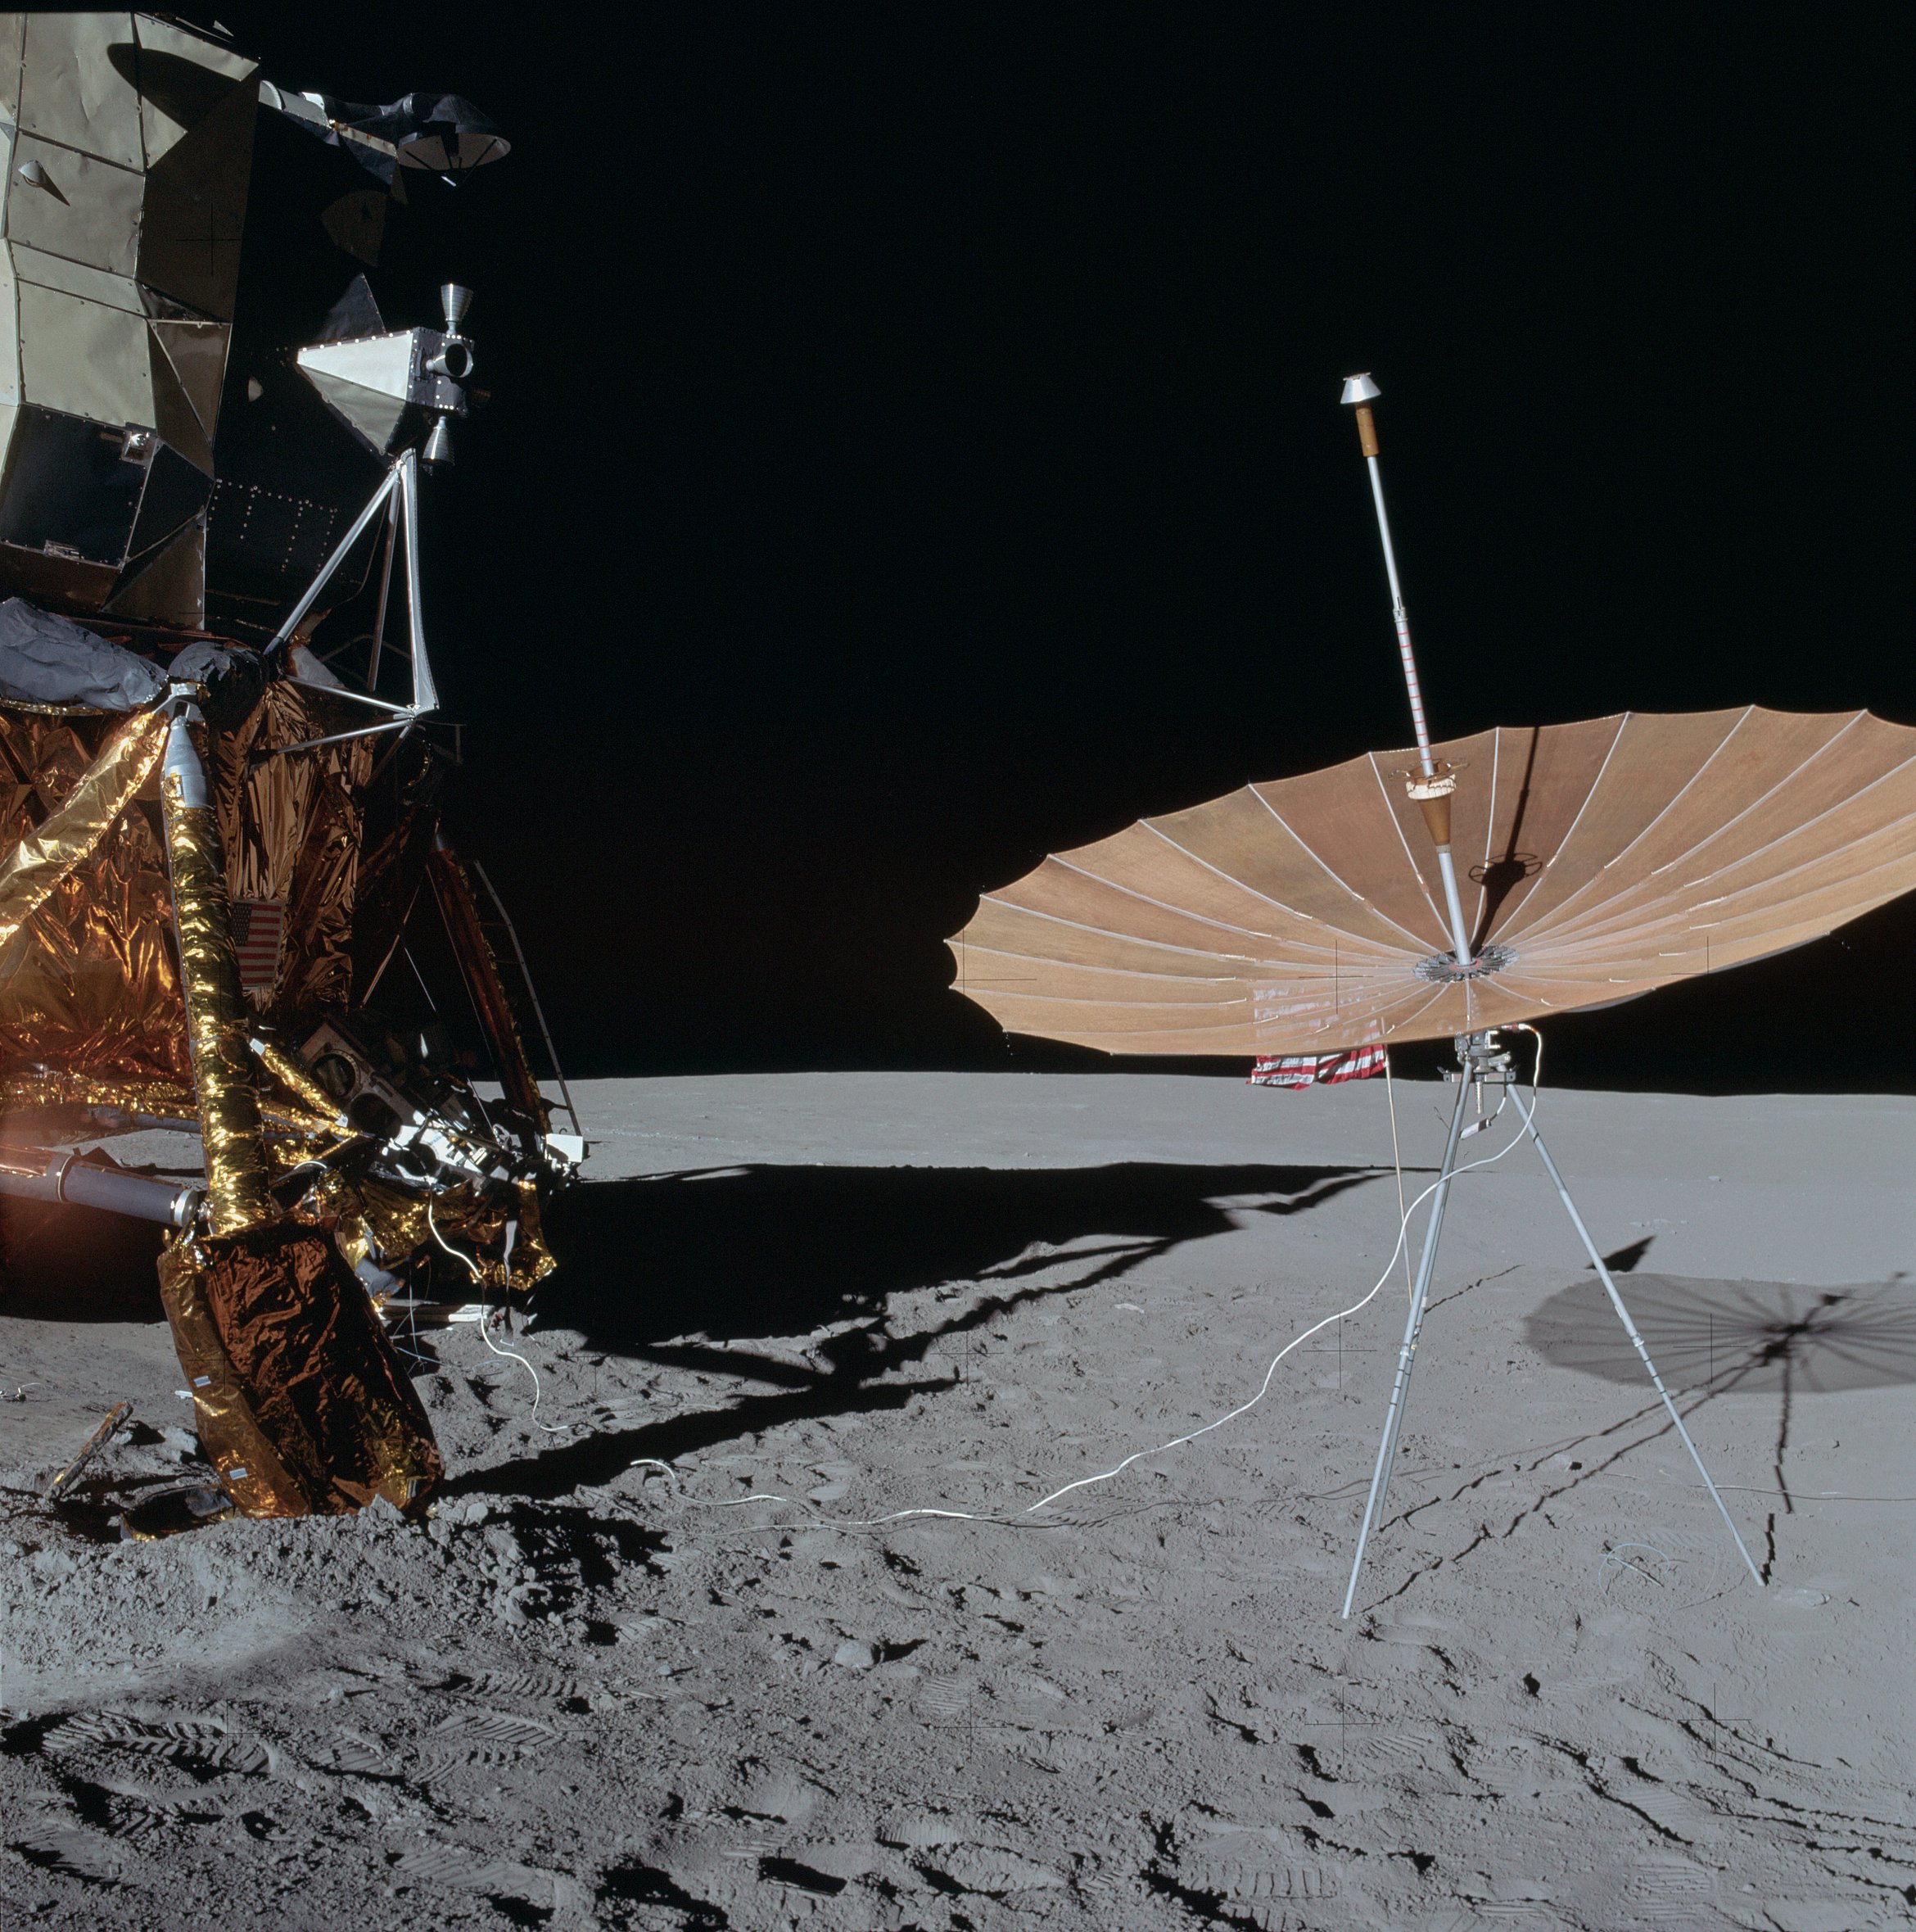 | AS14-66-9256 This is a good down-Sun portrait of the S-Band antenna. Image credit: Image Science and Analysis Laboratory, NASA-Johnson Space Center. |
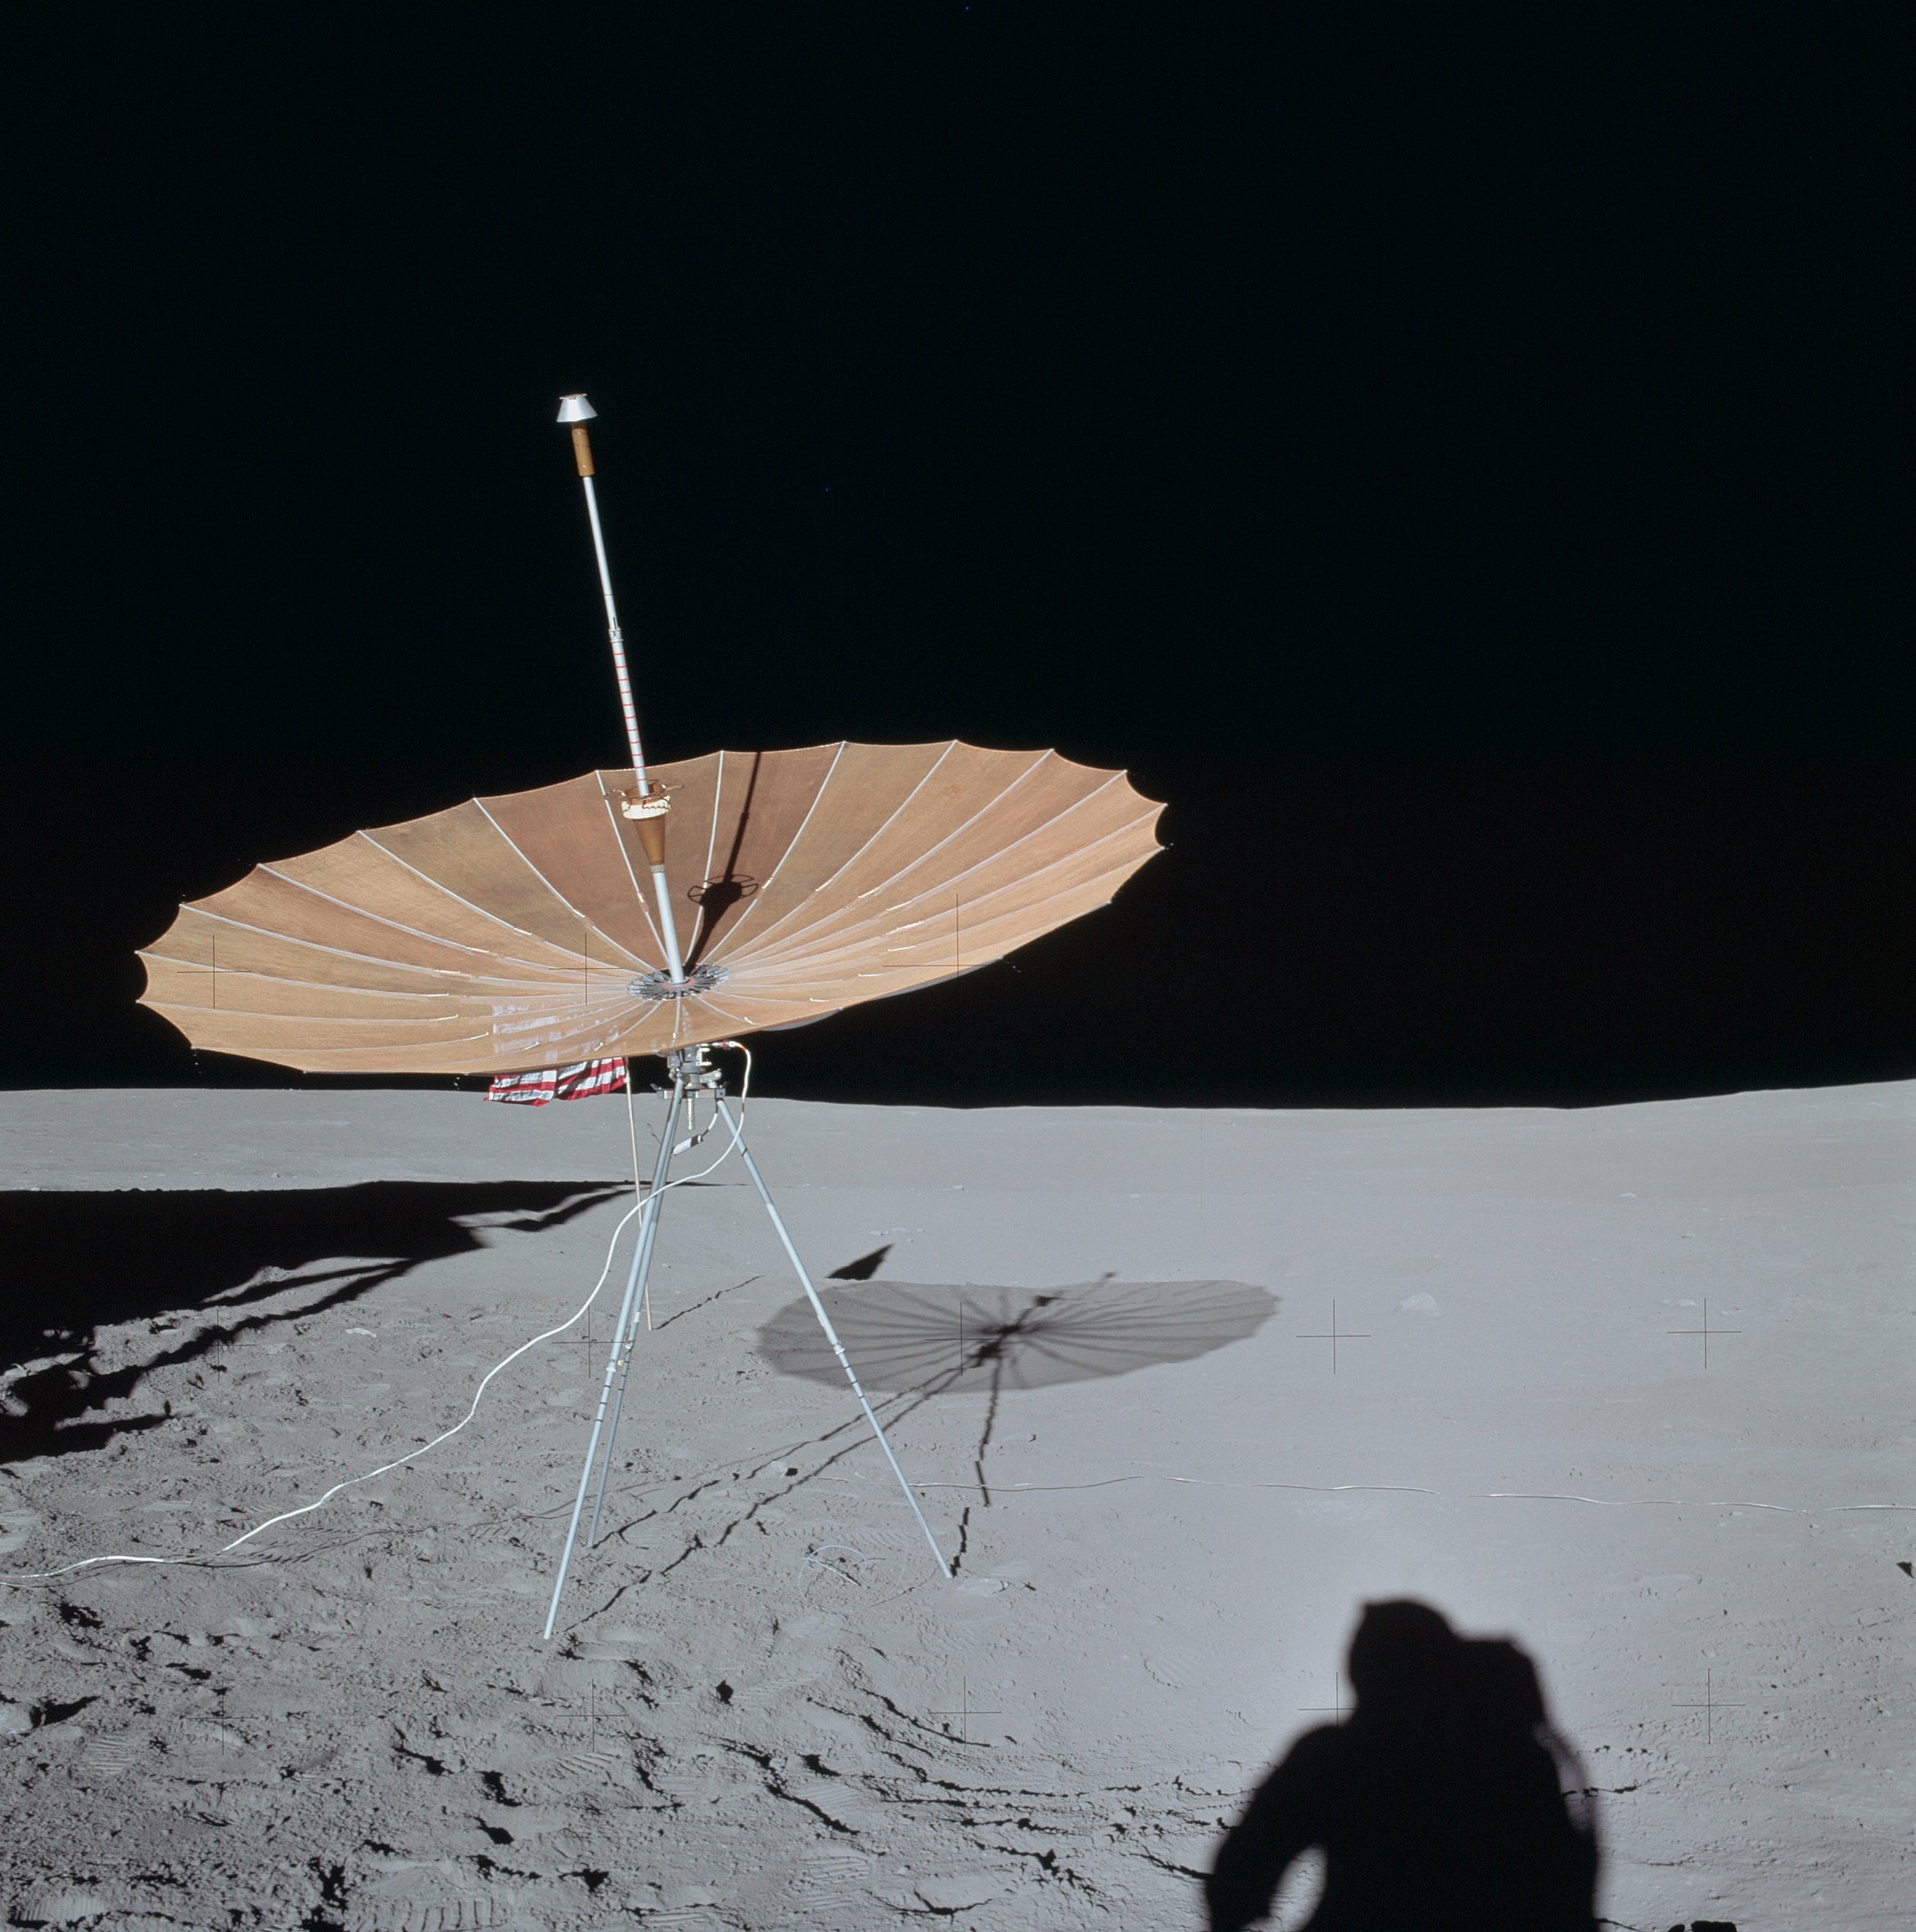 | AS14-66-9257 Looking west-southwest, the last picture in this pan shows the S-Band antenna and the flag directly behind it. Image credit: Image Science and Analysis Laboratory, NASA-Johnson Space Center. |
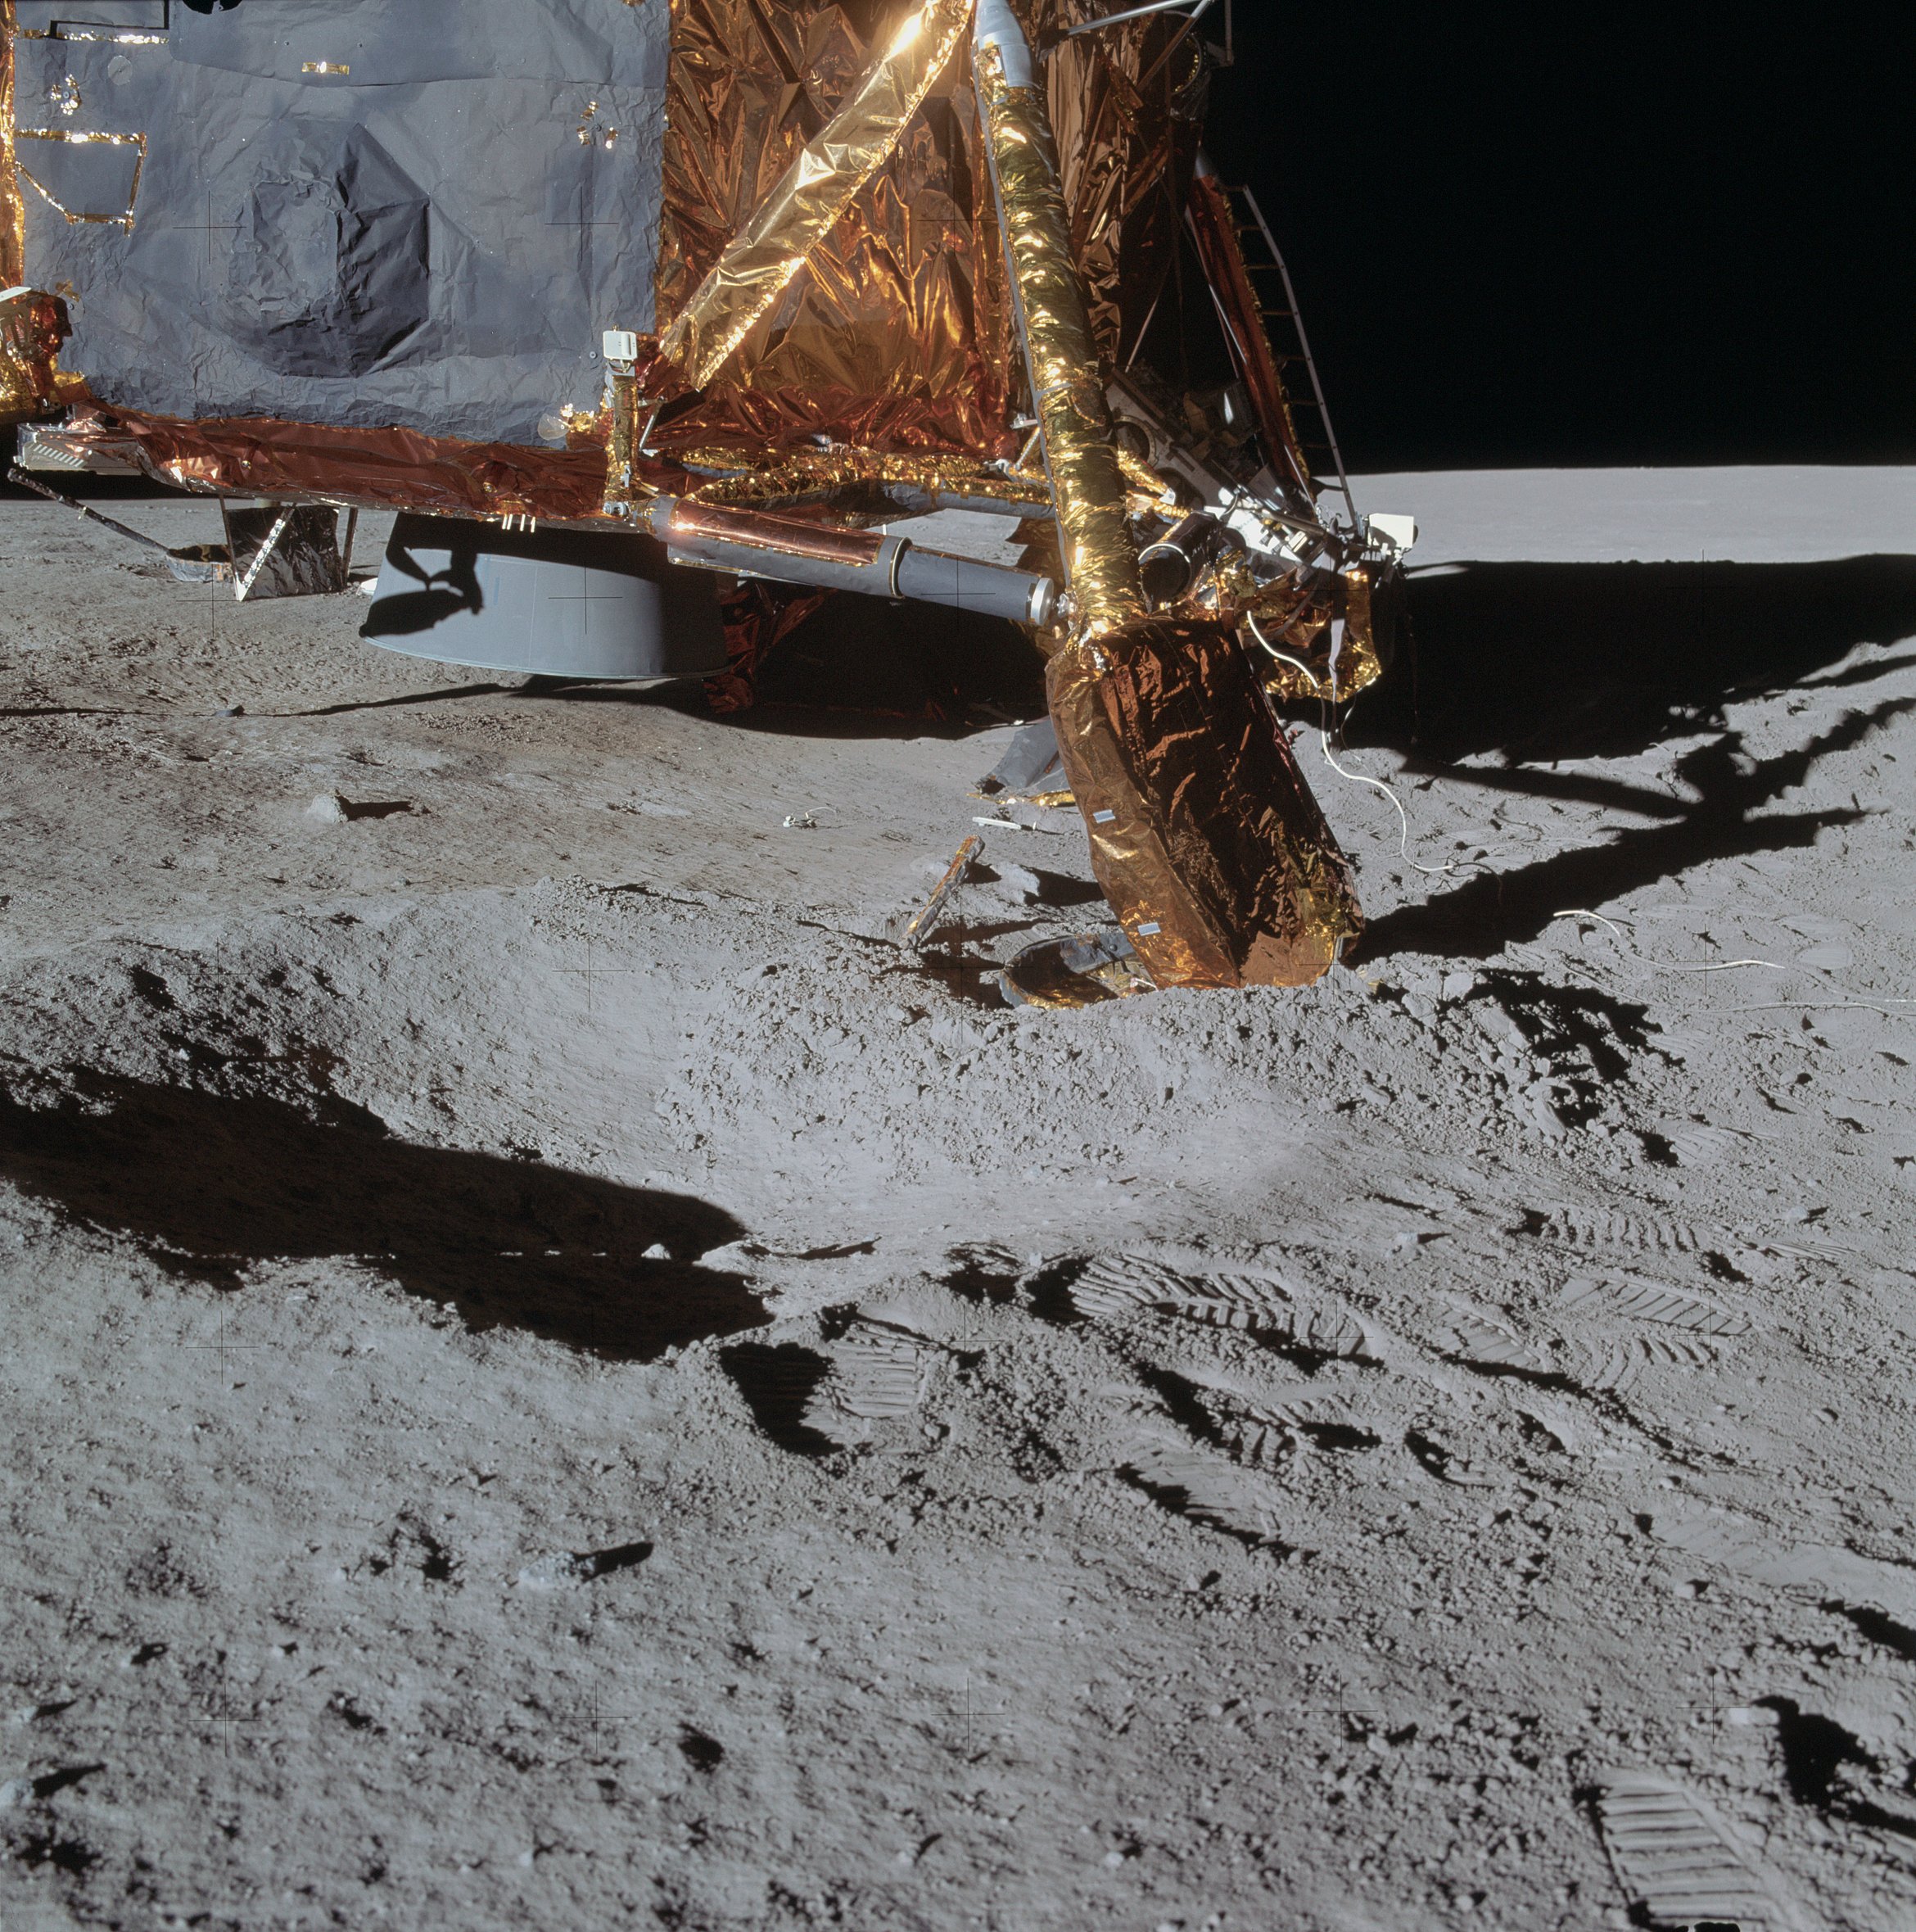 | AS14-66-9258 114:53:38 Al took this picture of the north footpad after finishing the 4 o'clock pan. Image credit: Image Science and Analysis Laboratory, NASA-Johnson Space Center. |
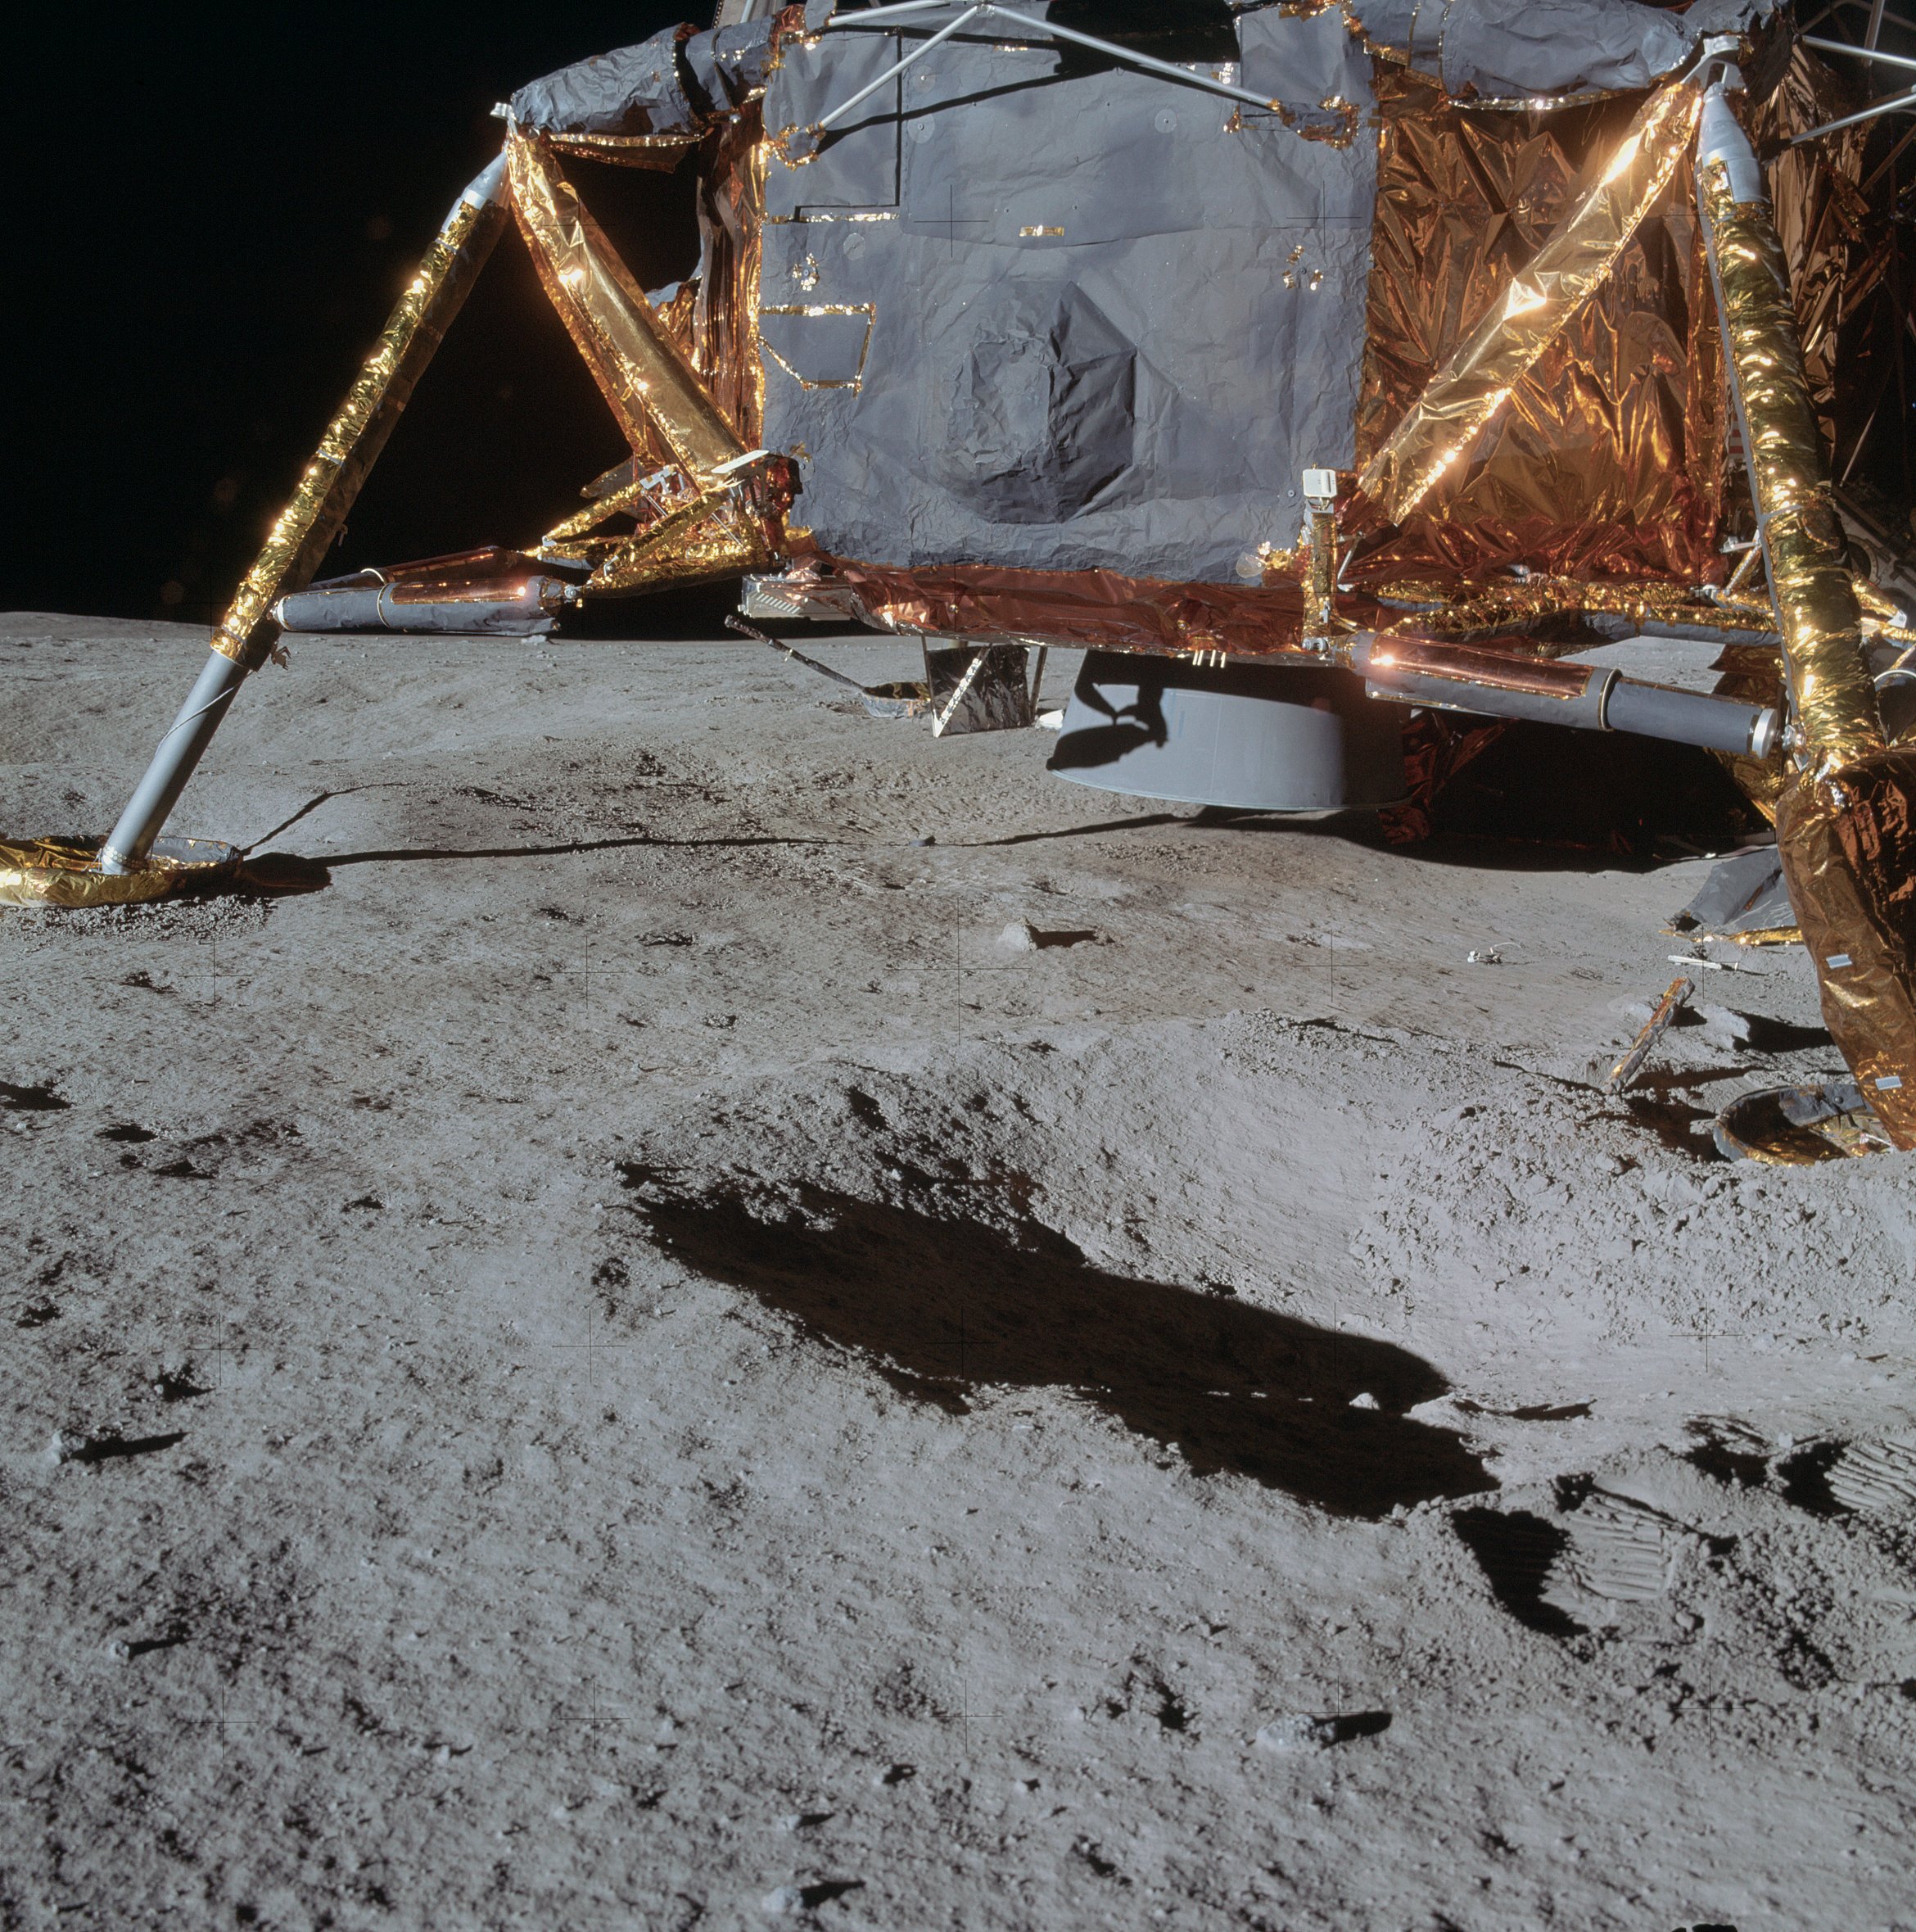 | AS14-66-9259 Al has turned counter-clockwise, showing the area under the engine bell. Image credit: Image Science and Analysis Laboratory, NASA-Johnson Space Center. |
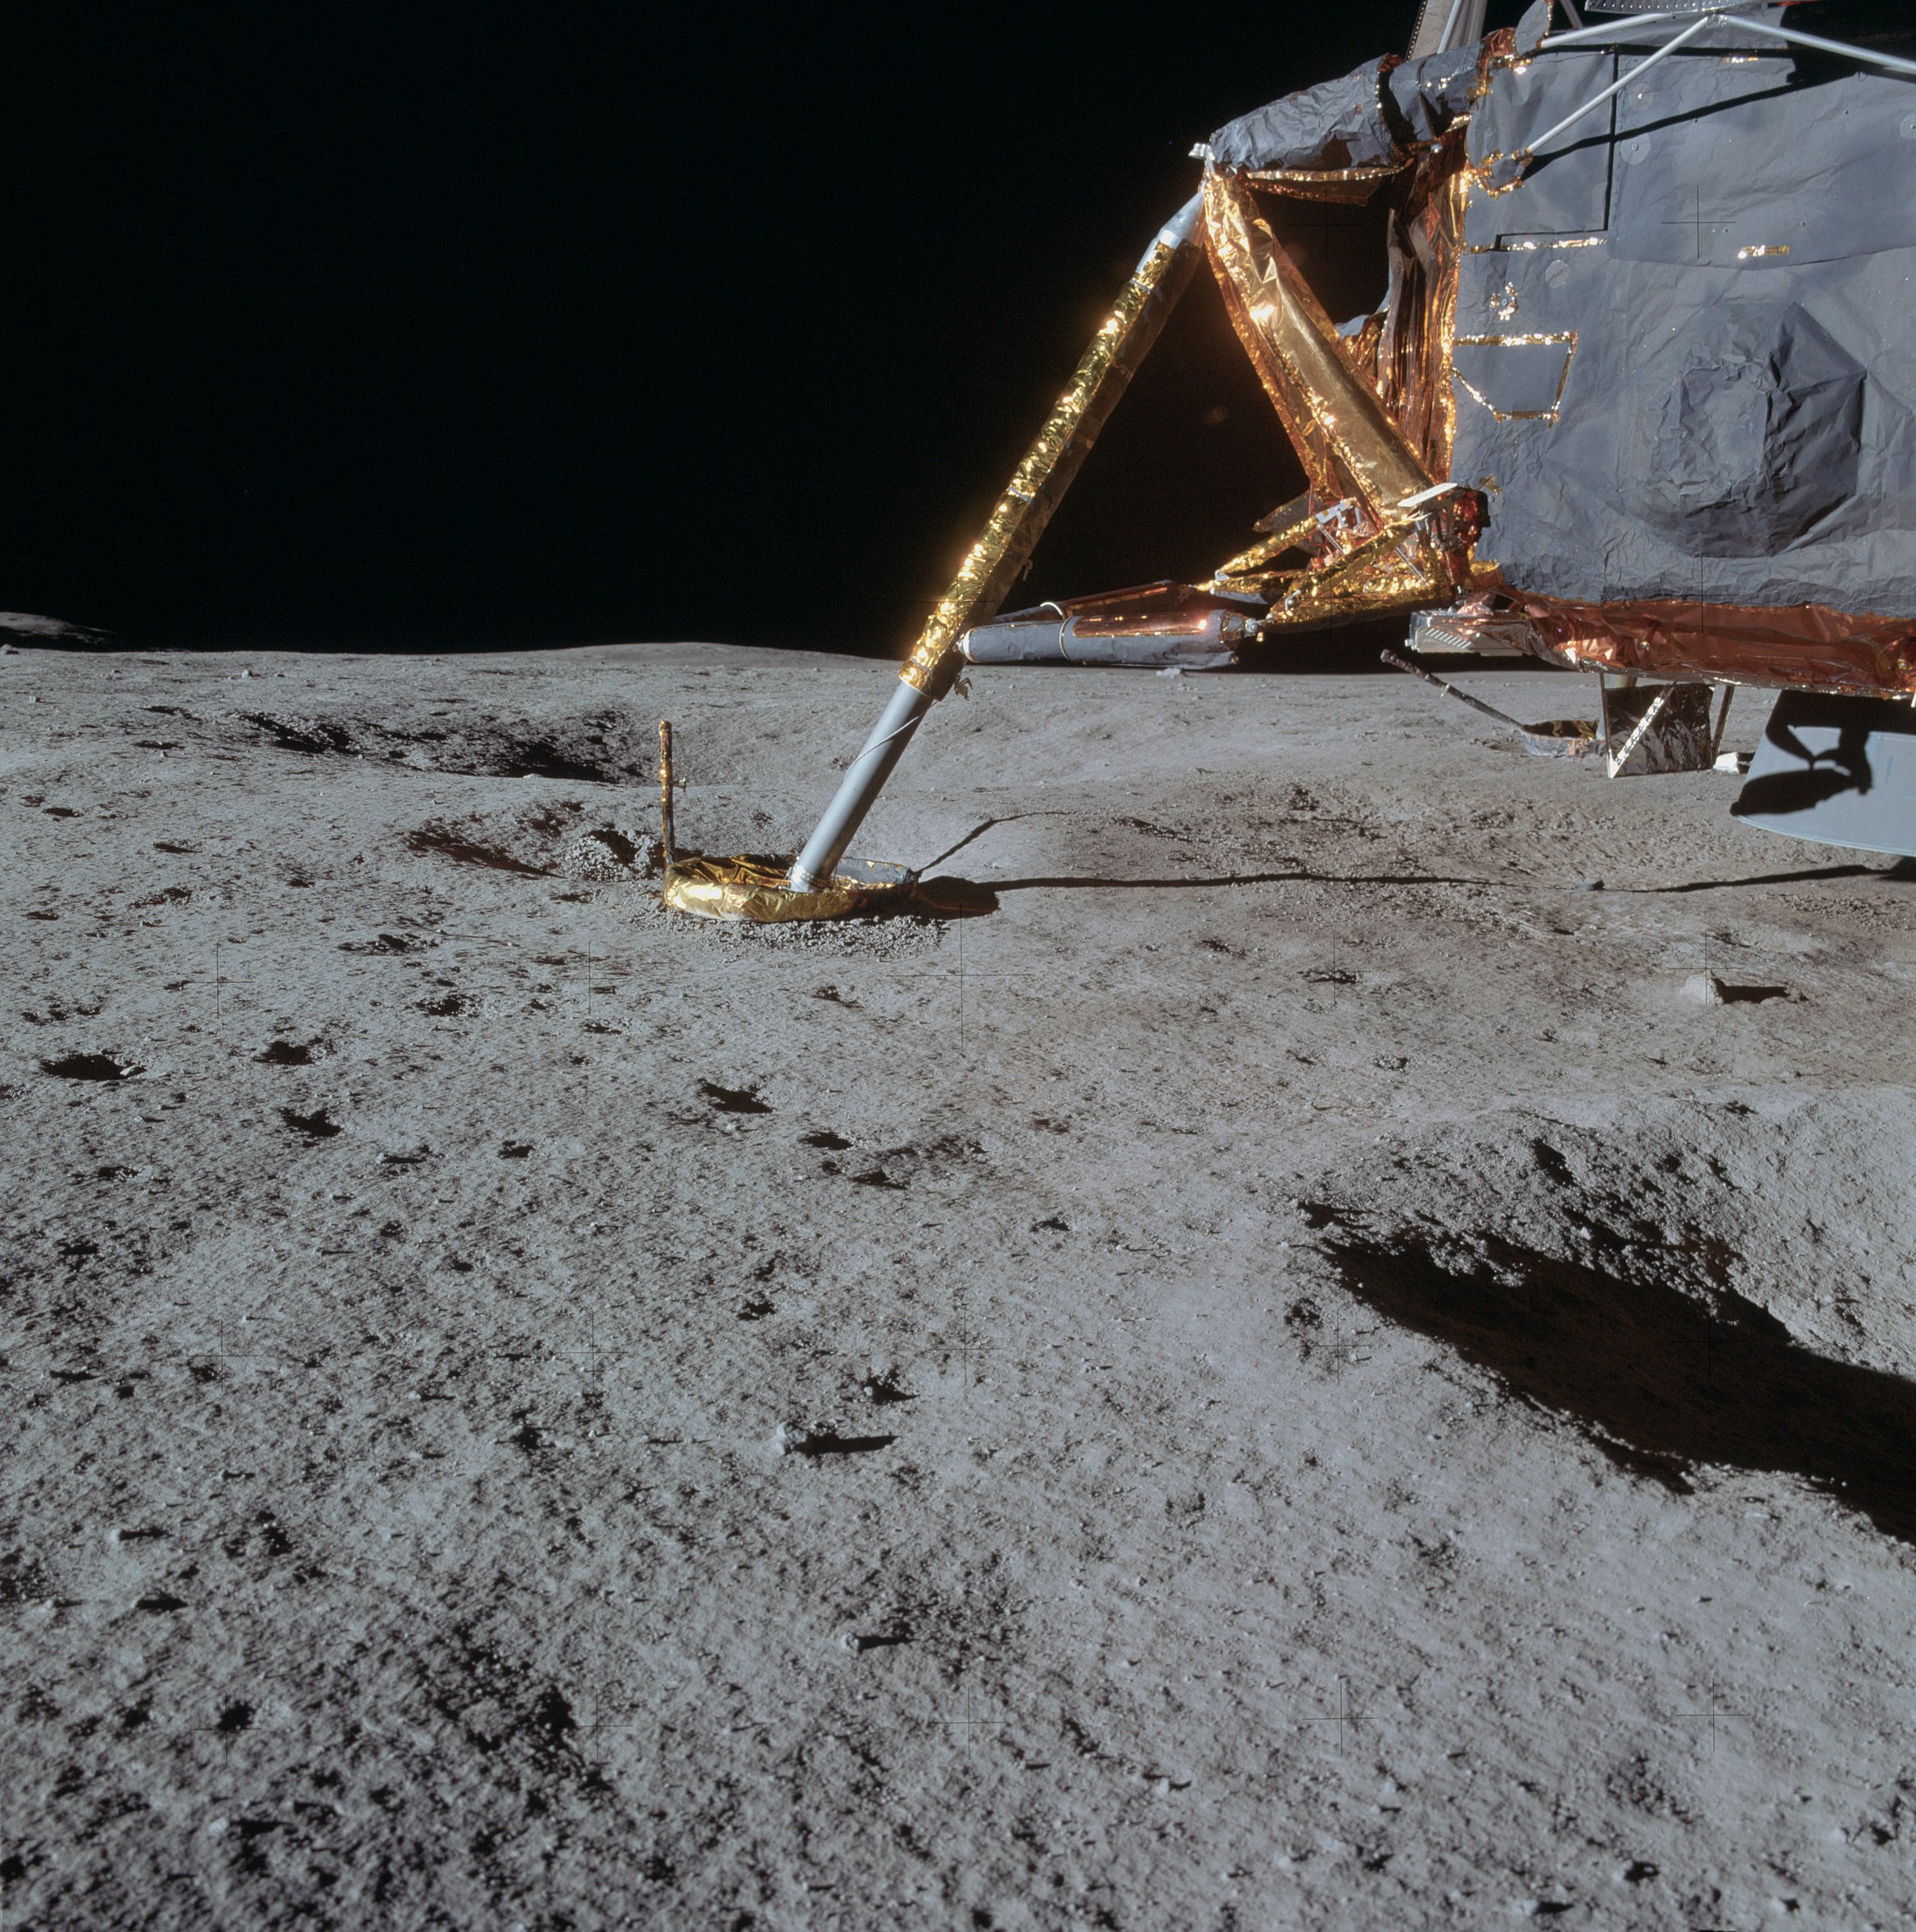 | AS14-66-9260 East footpad. Image credit: Image Science and Analysis Laboratory, NASA-Johnson Space Center. |
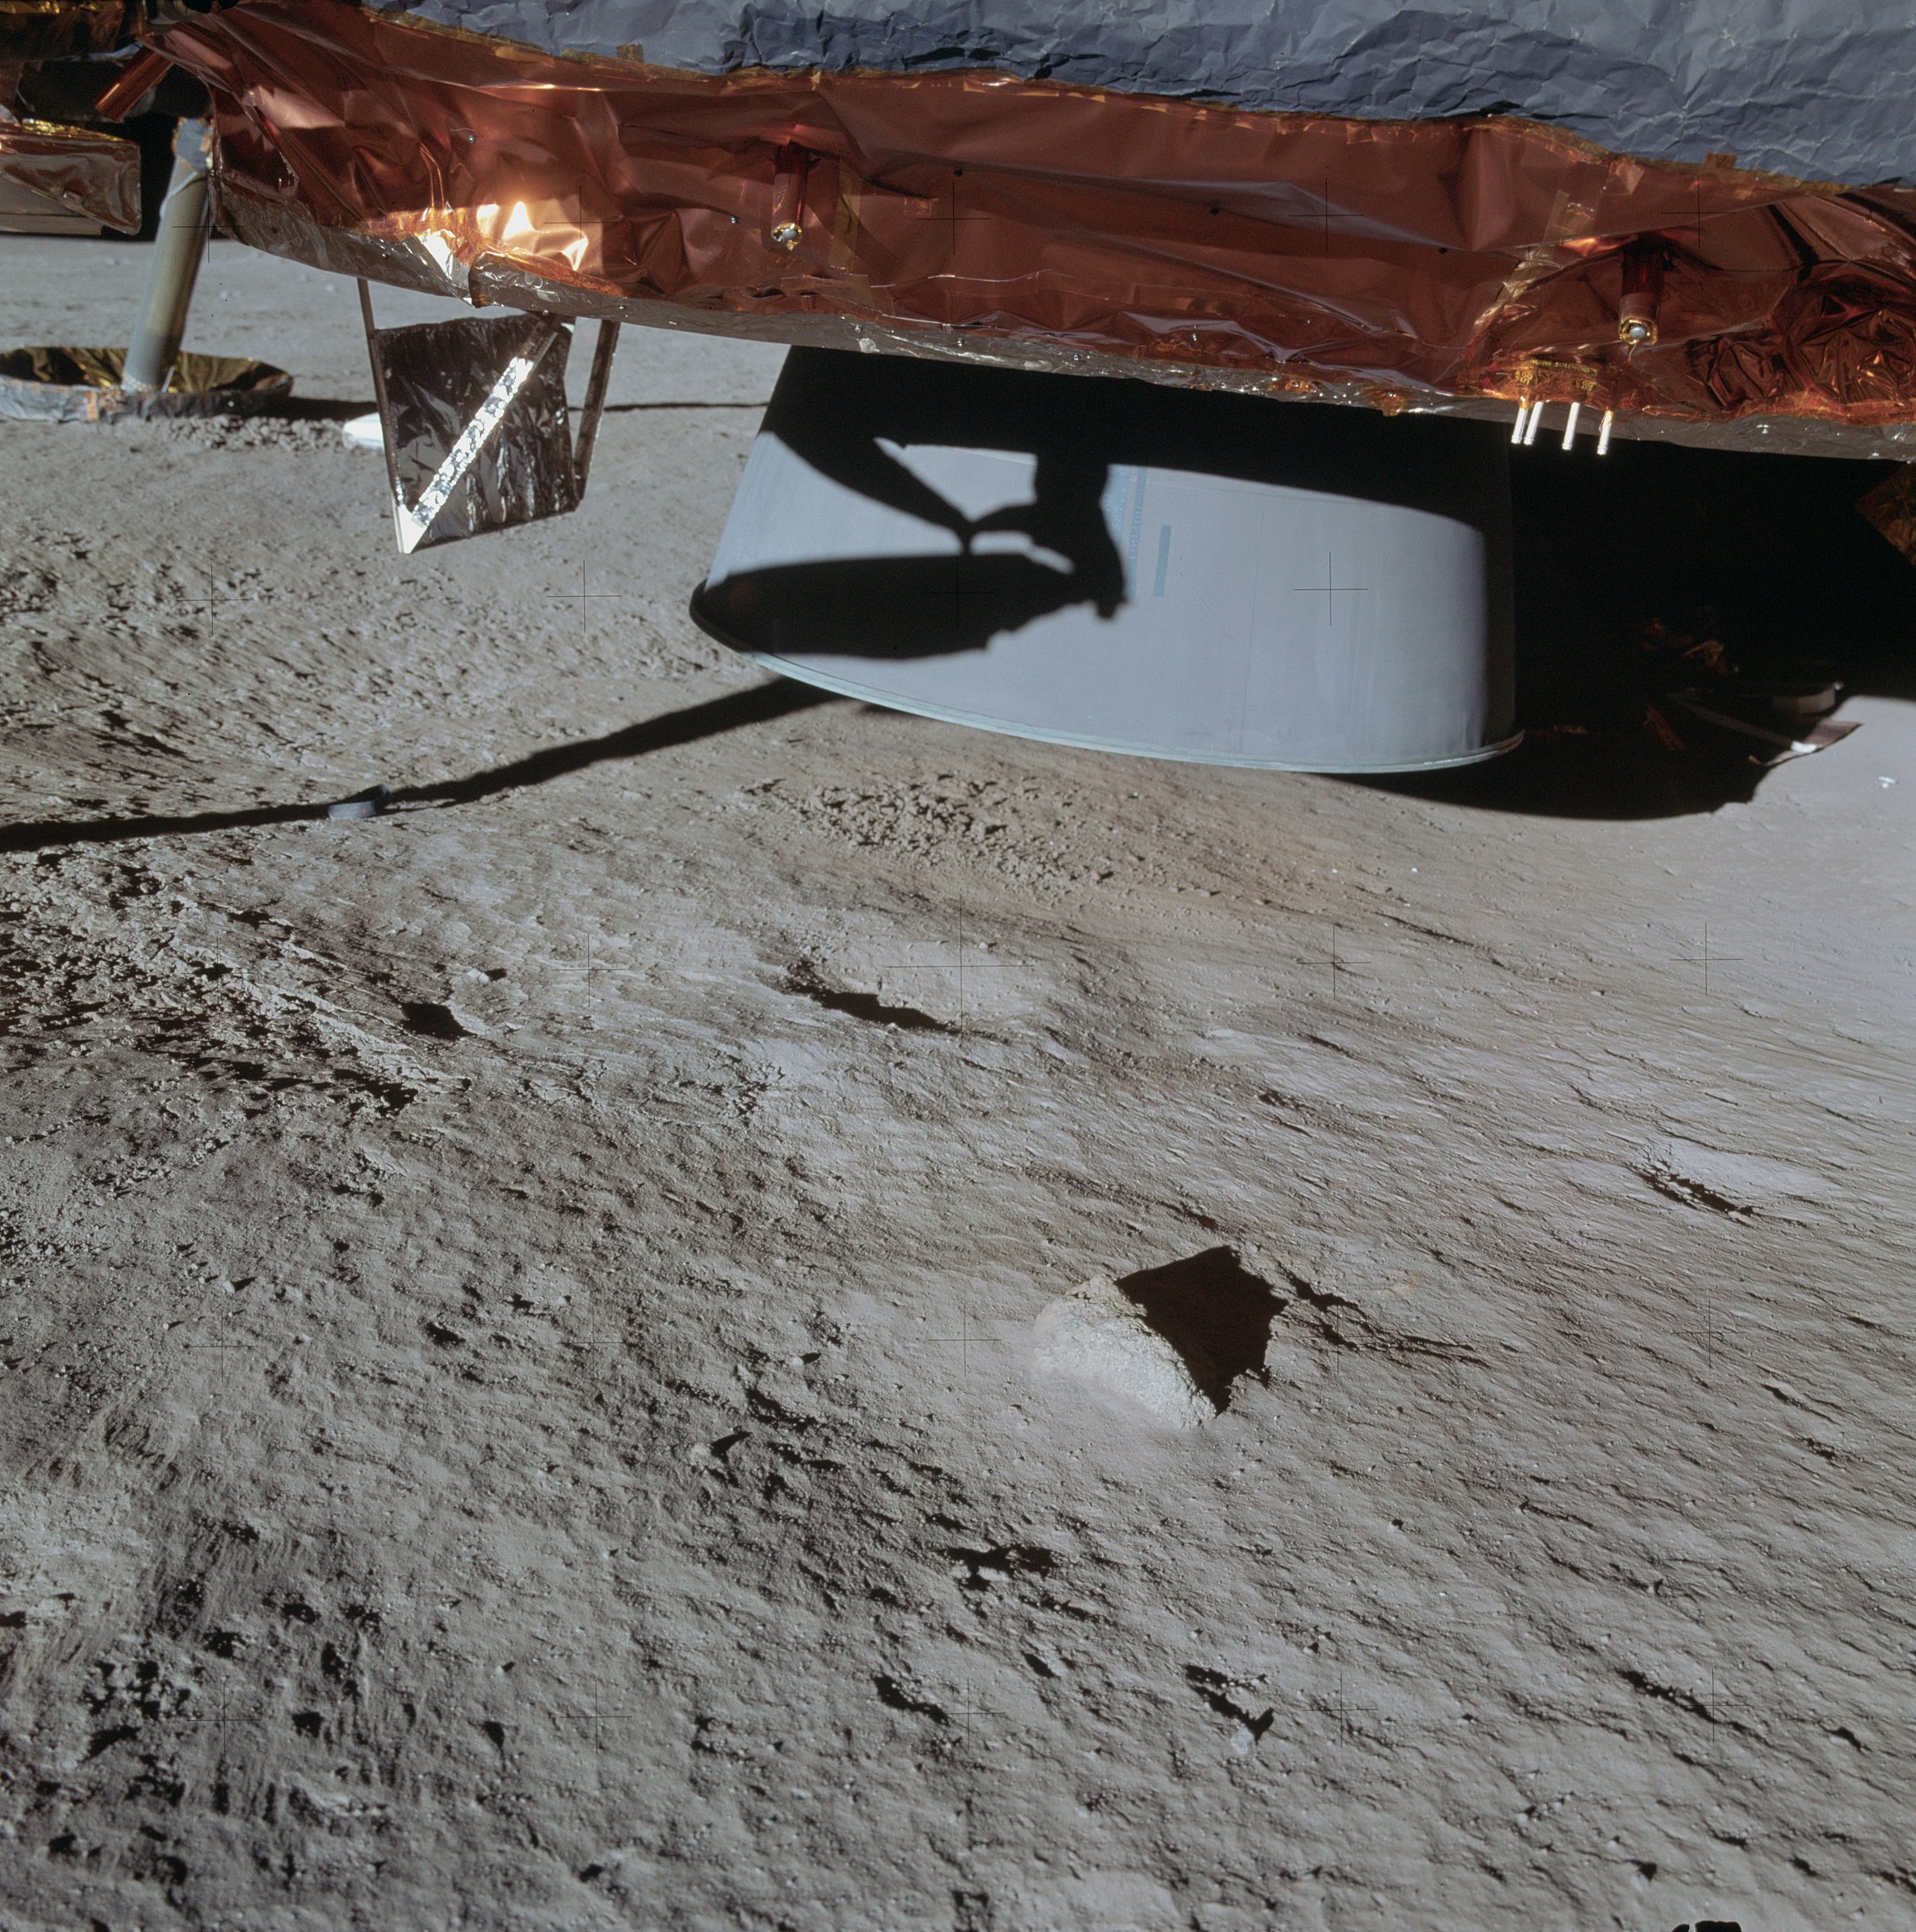 | AS14-66-9261 114:53:38 Close-up under the engine bell showing the rock and the sweep pattern. Image credit: Image Science and Analysis Laboratory, NASA-Johnson Space Center. |
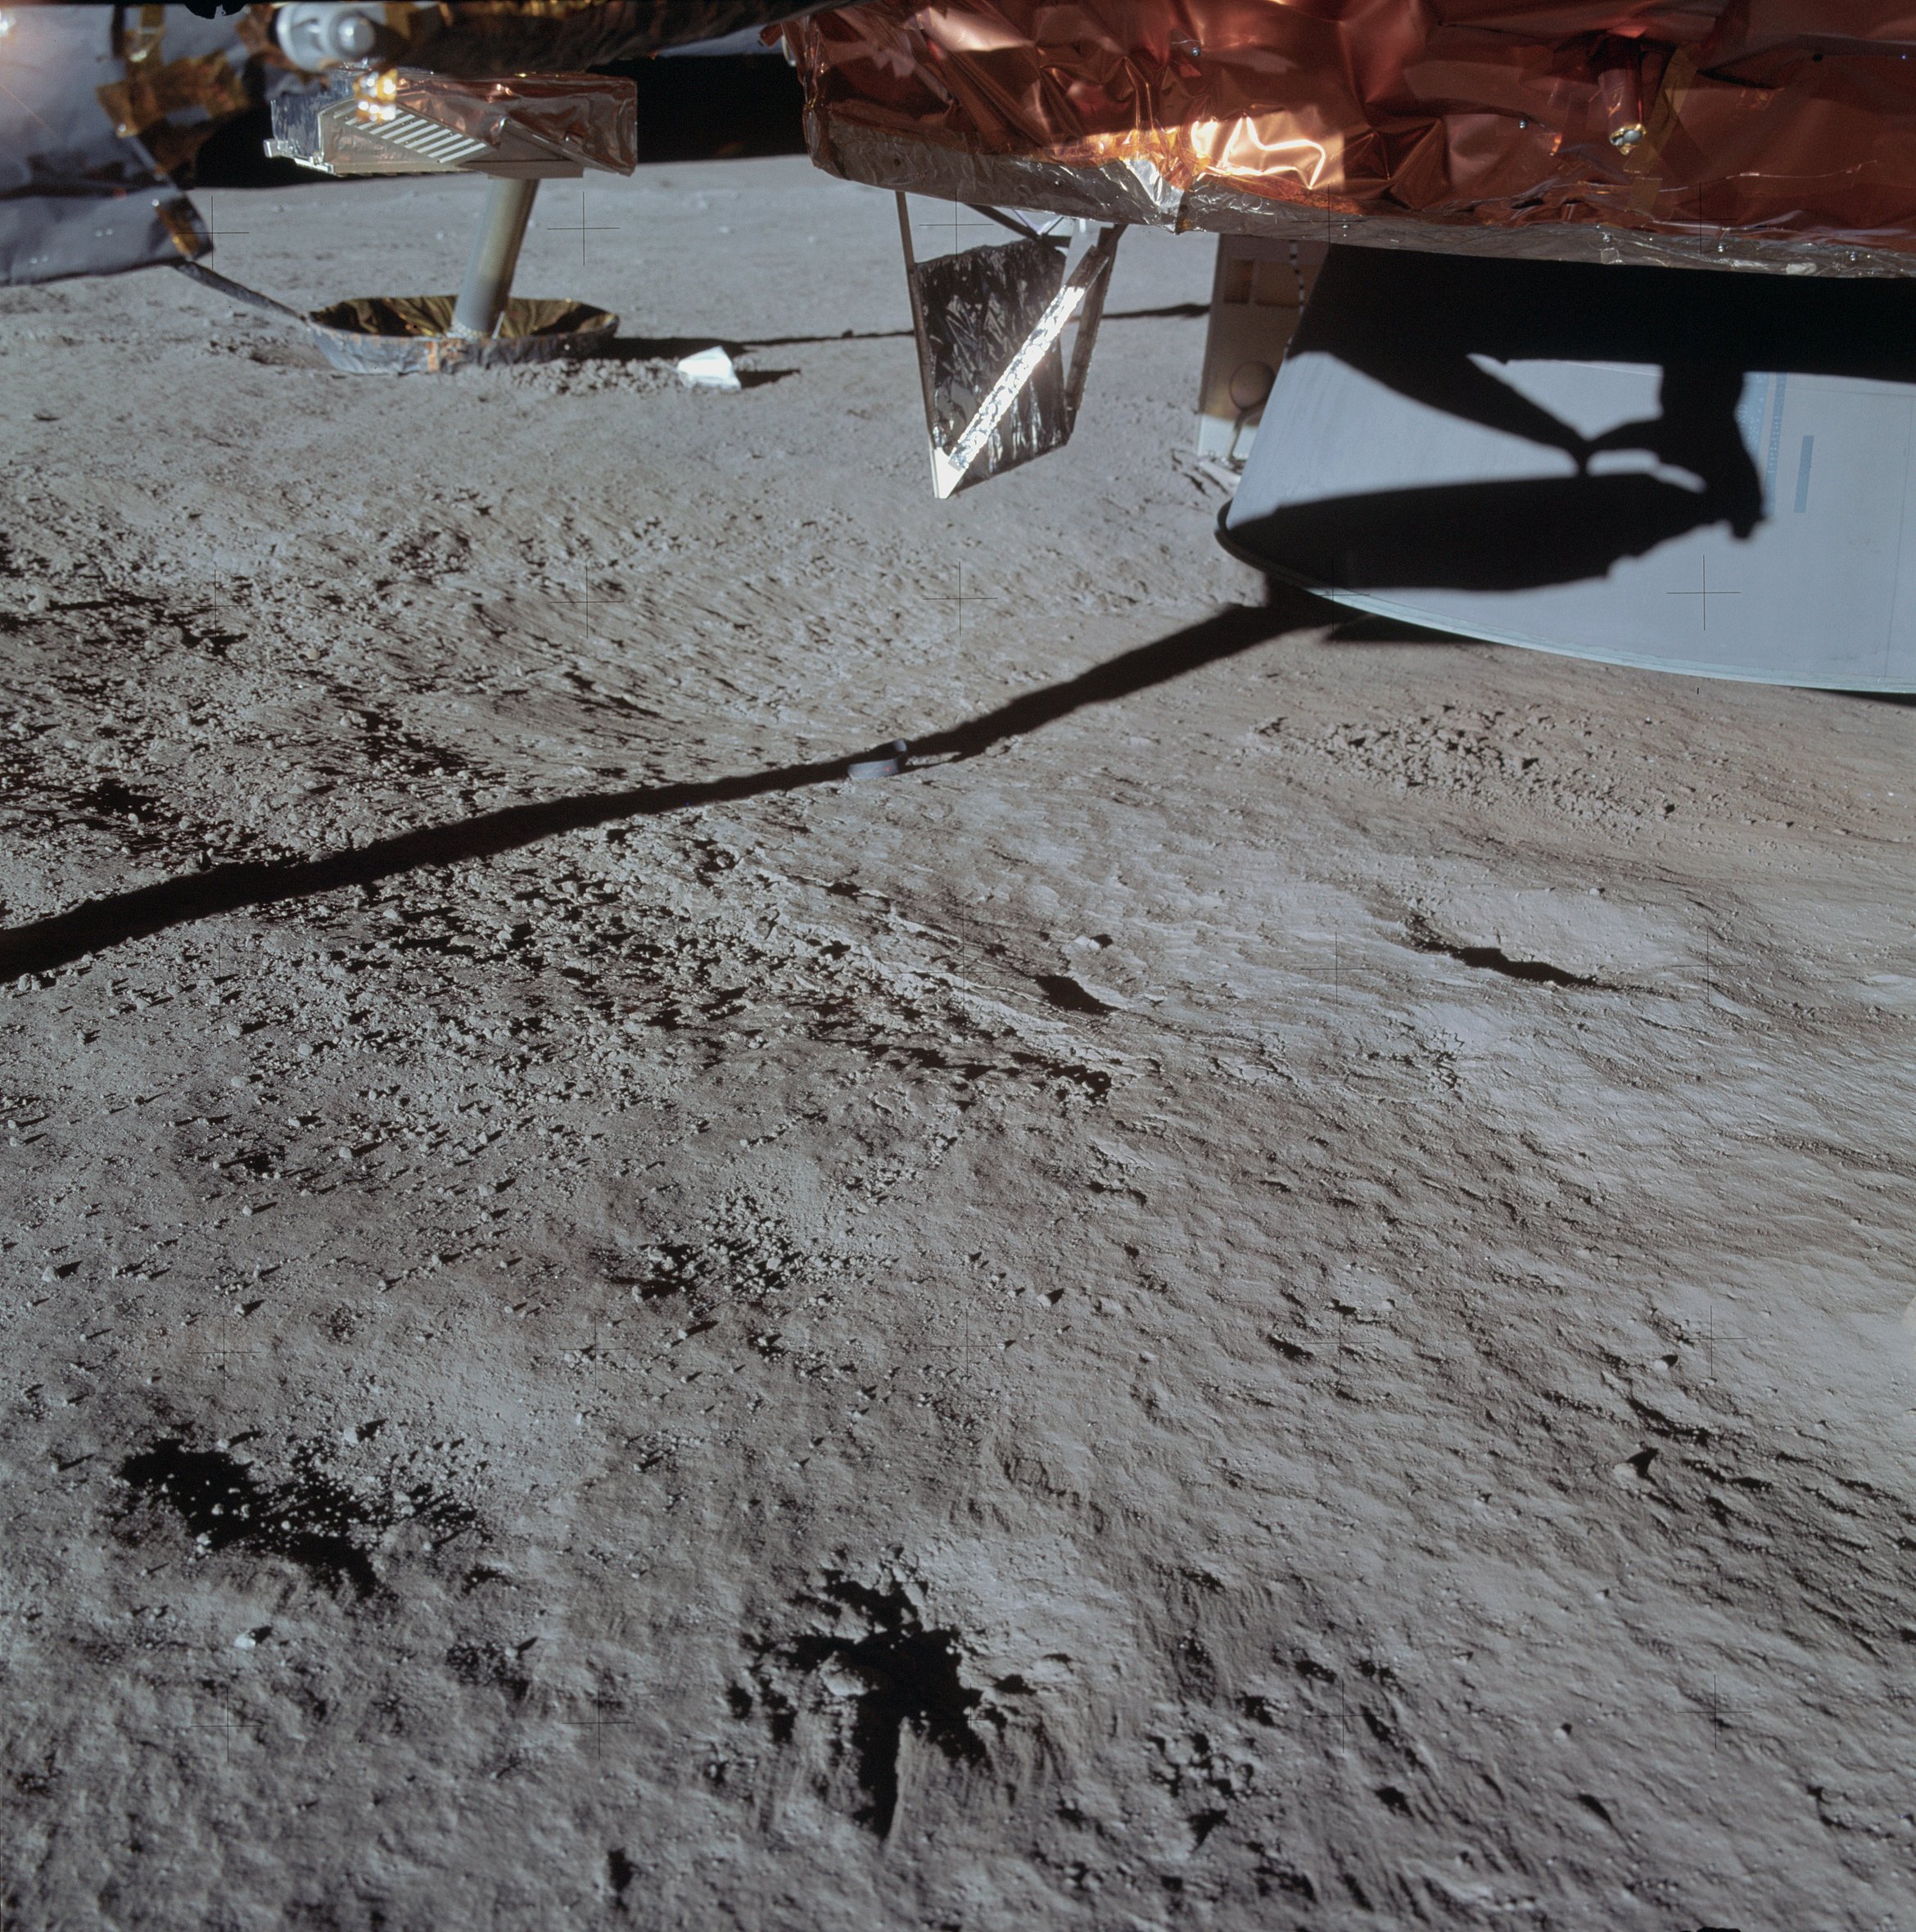 | AS14-66-9262 Cobbles in the sweep pattern made by the descent plume. Image credit: Image Science and Analysis Laboratory, NASA-Johnson Space Center. |
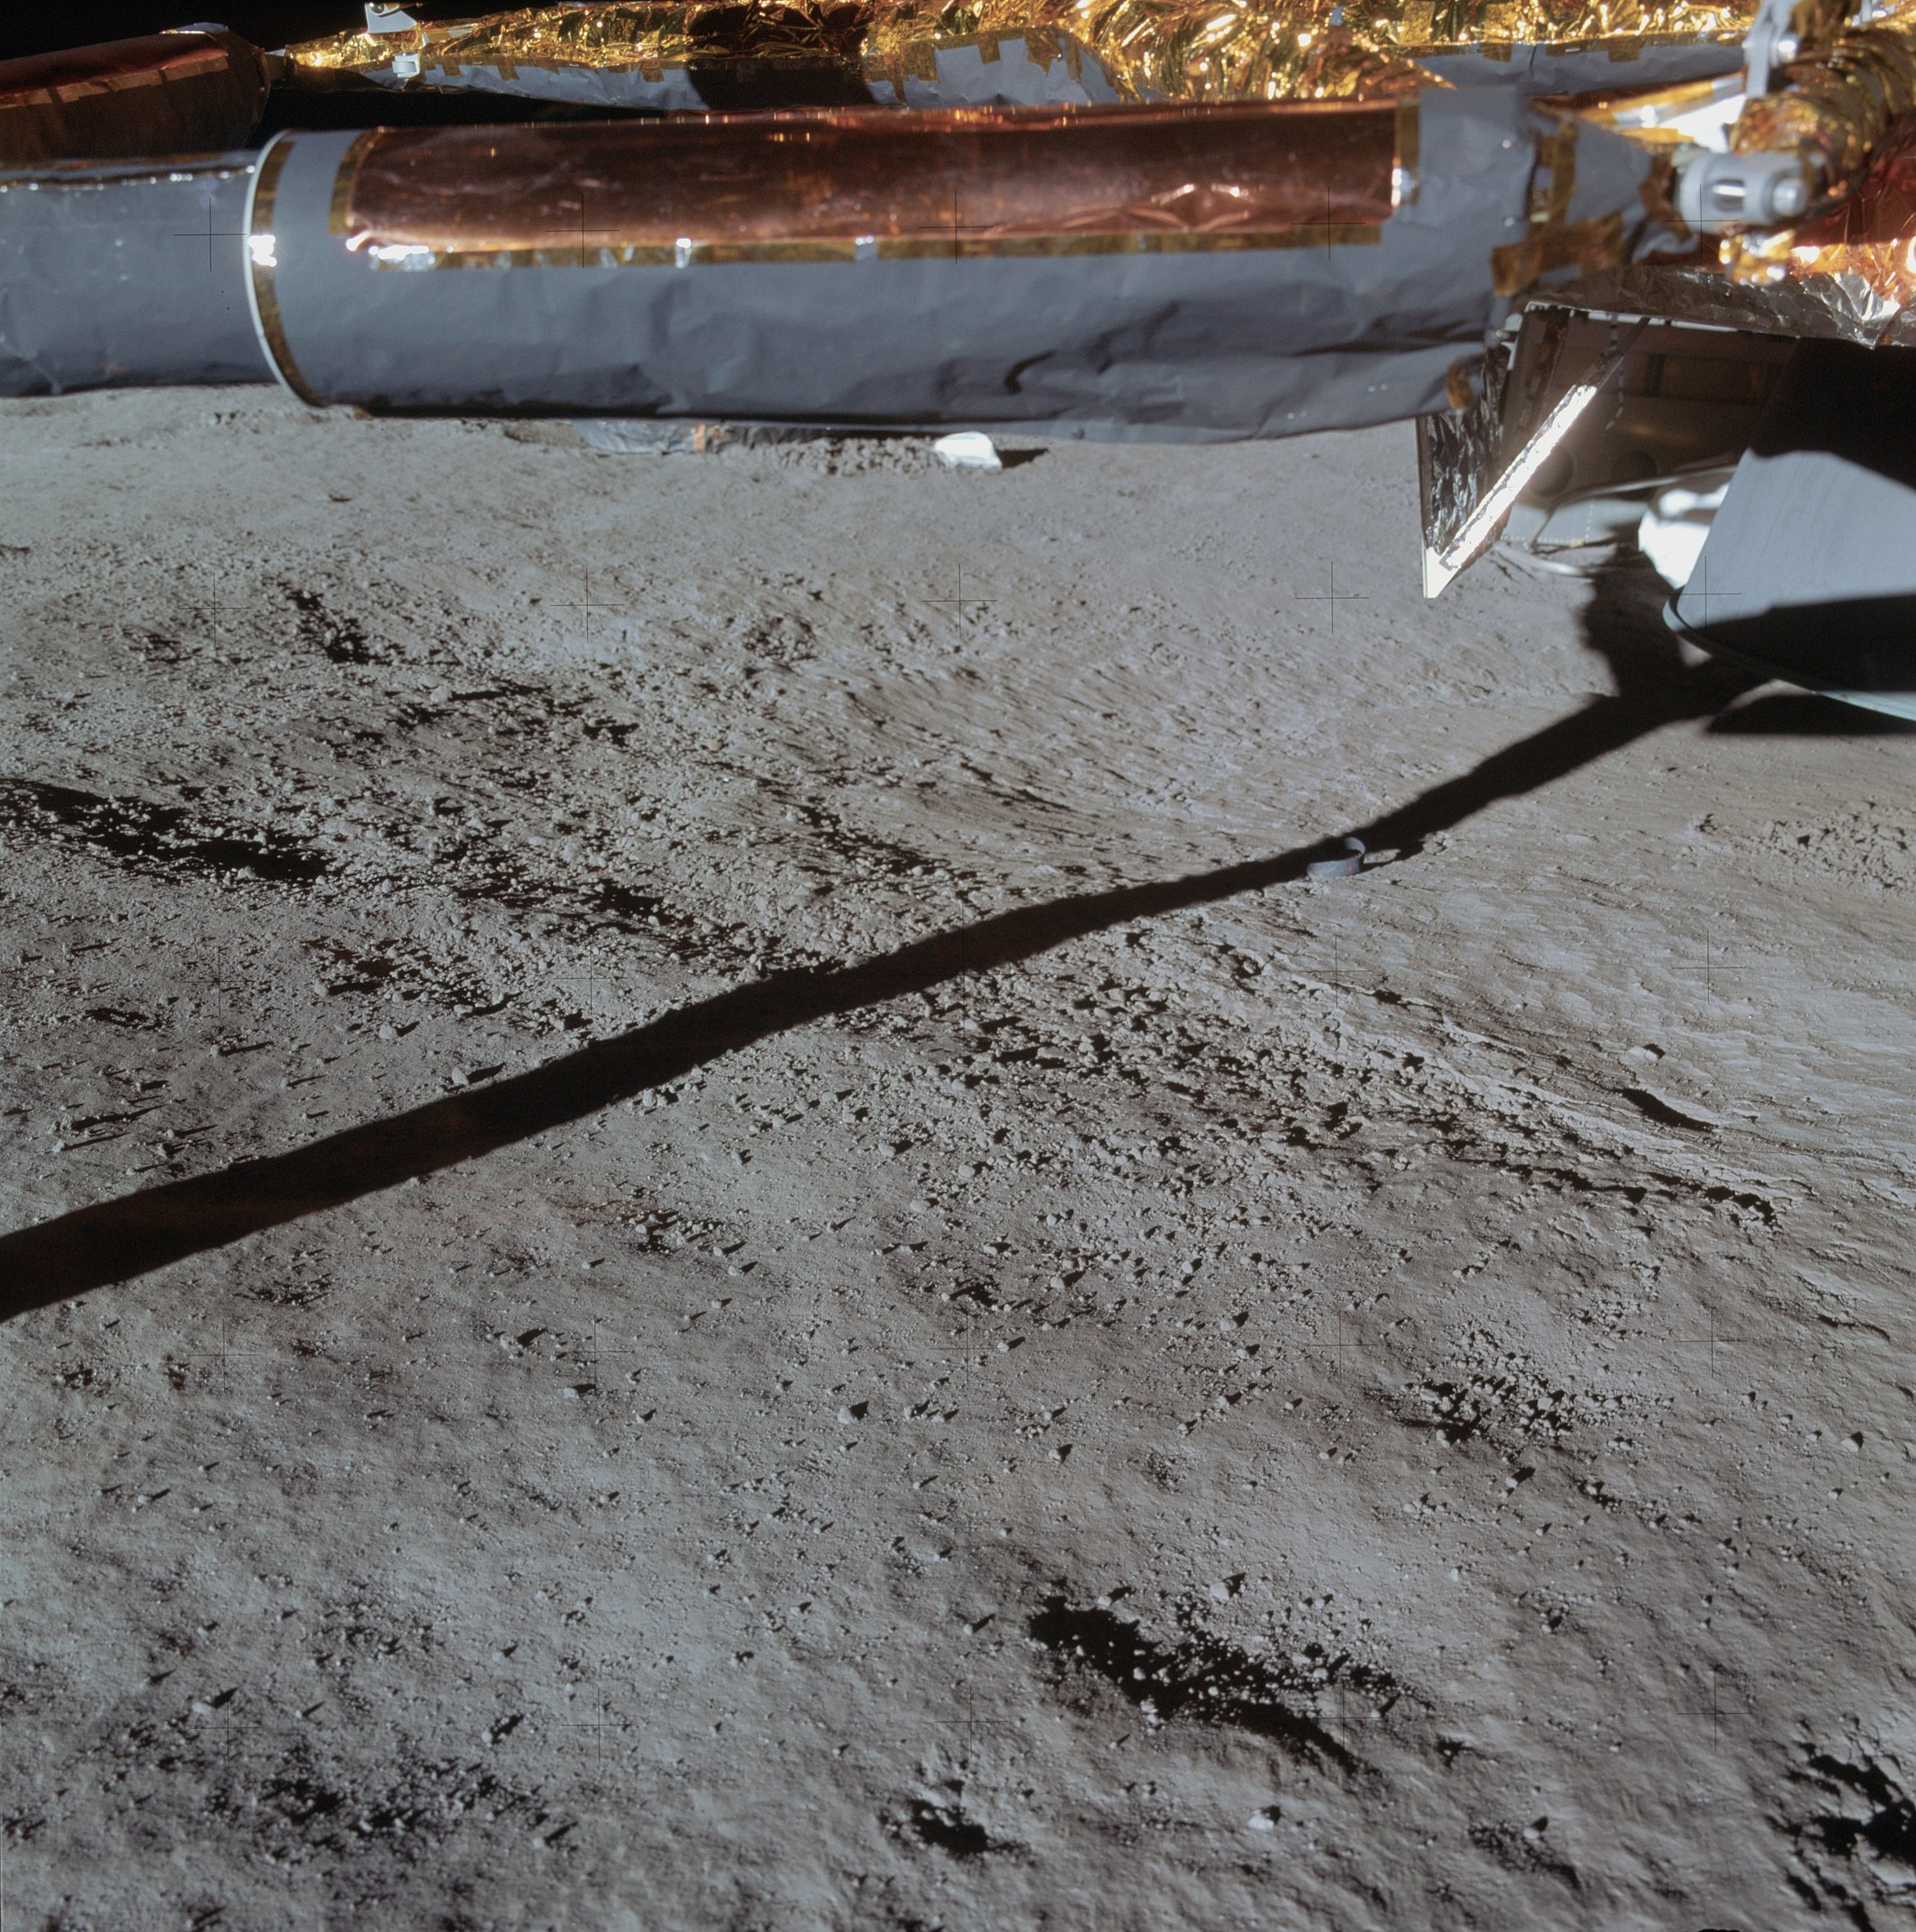 | AS14-66-9263 View under the spacecraft showing the cobbles in the sweep pattern. Image credit: Image Science and Analysis Laboratory, NASA-Johnson Space Center. |
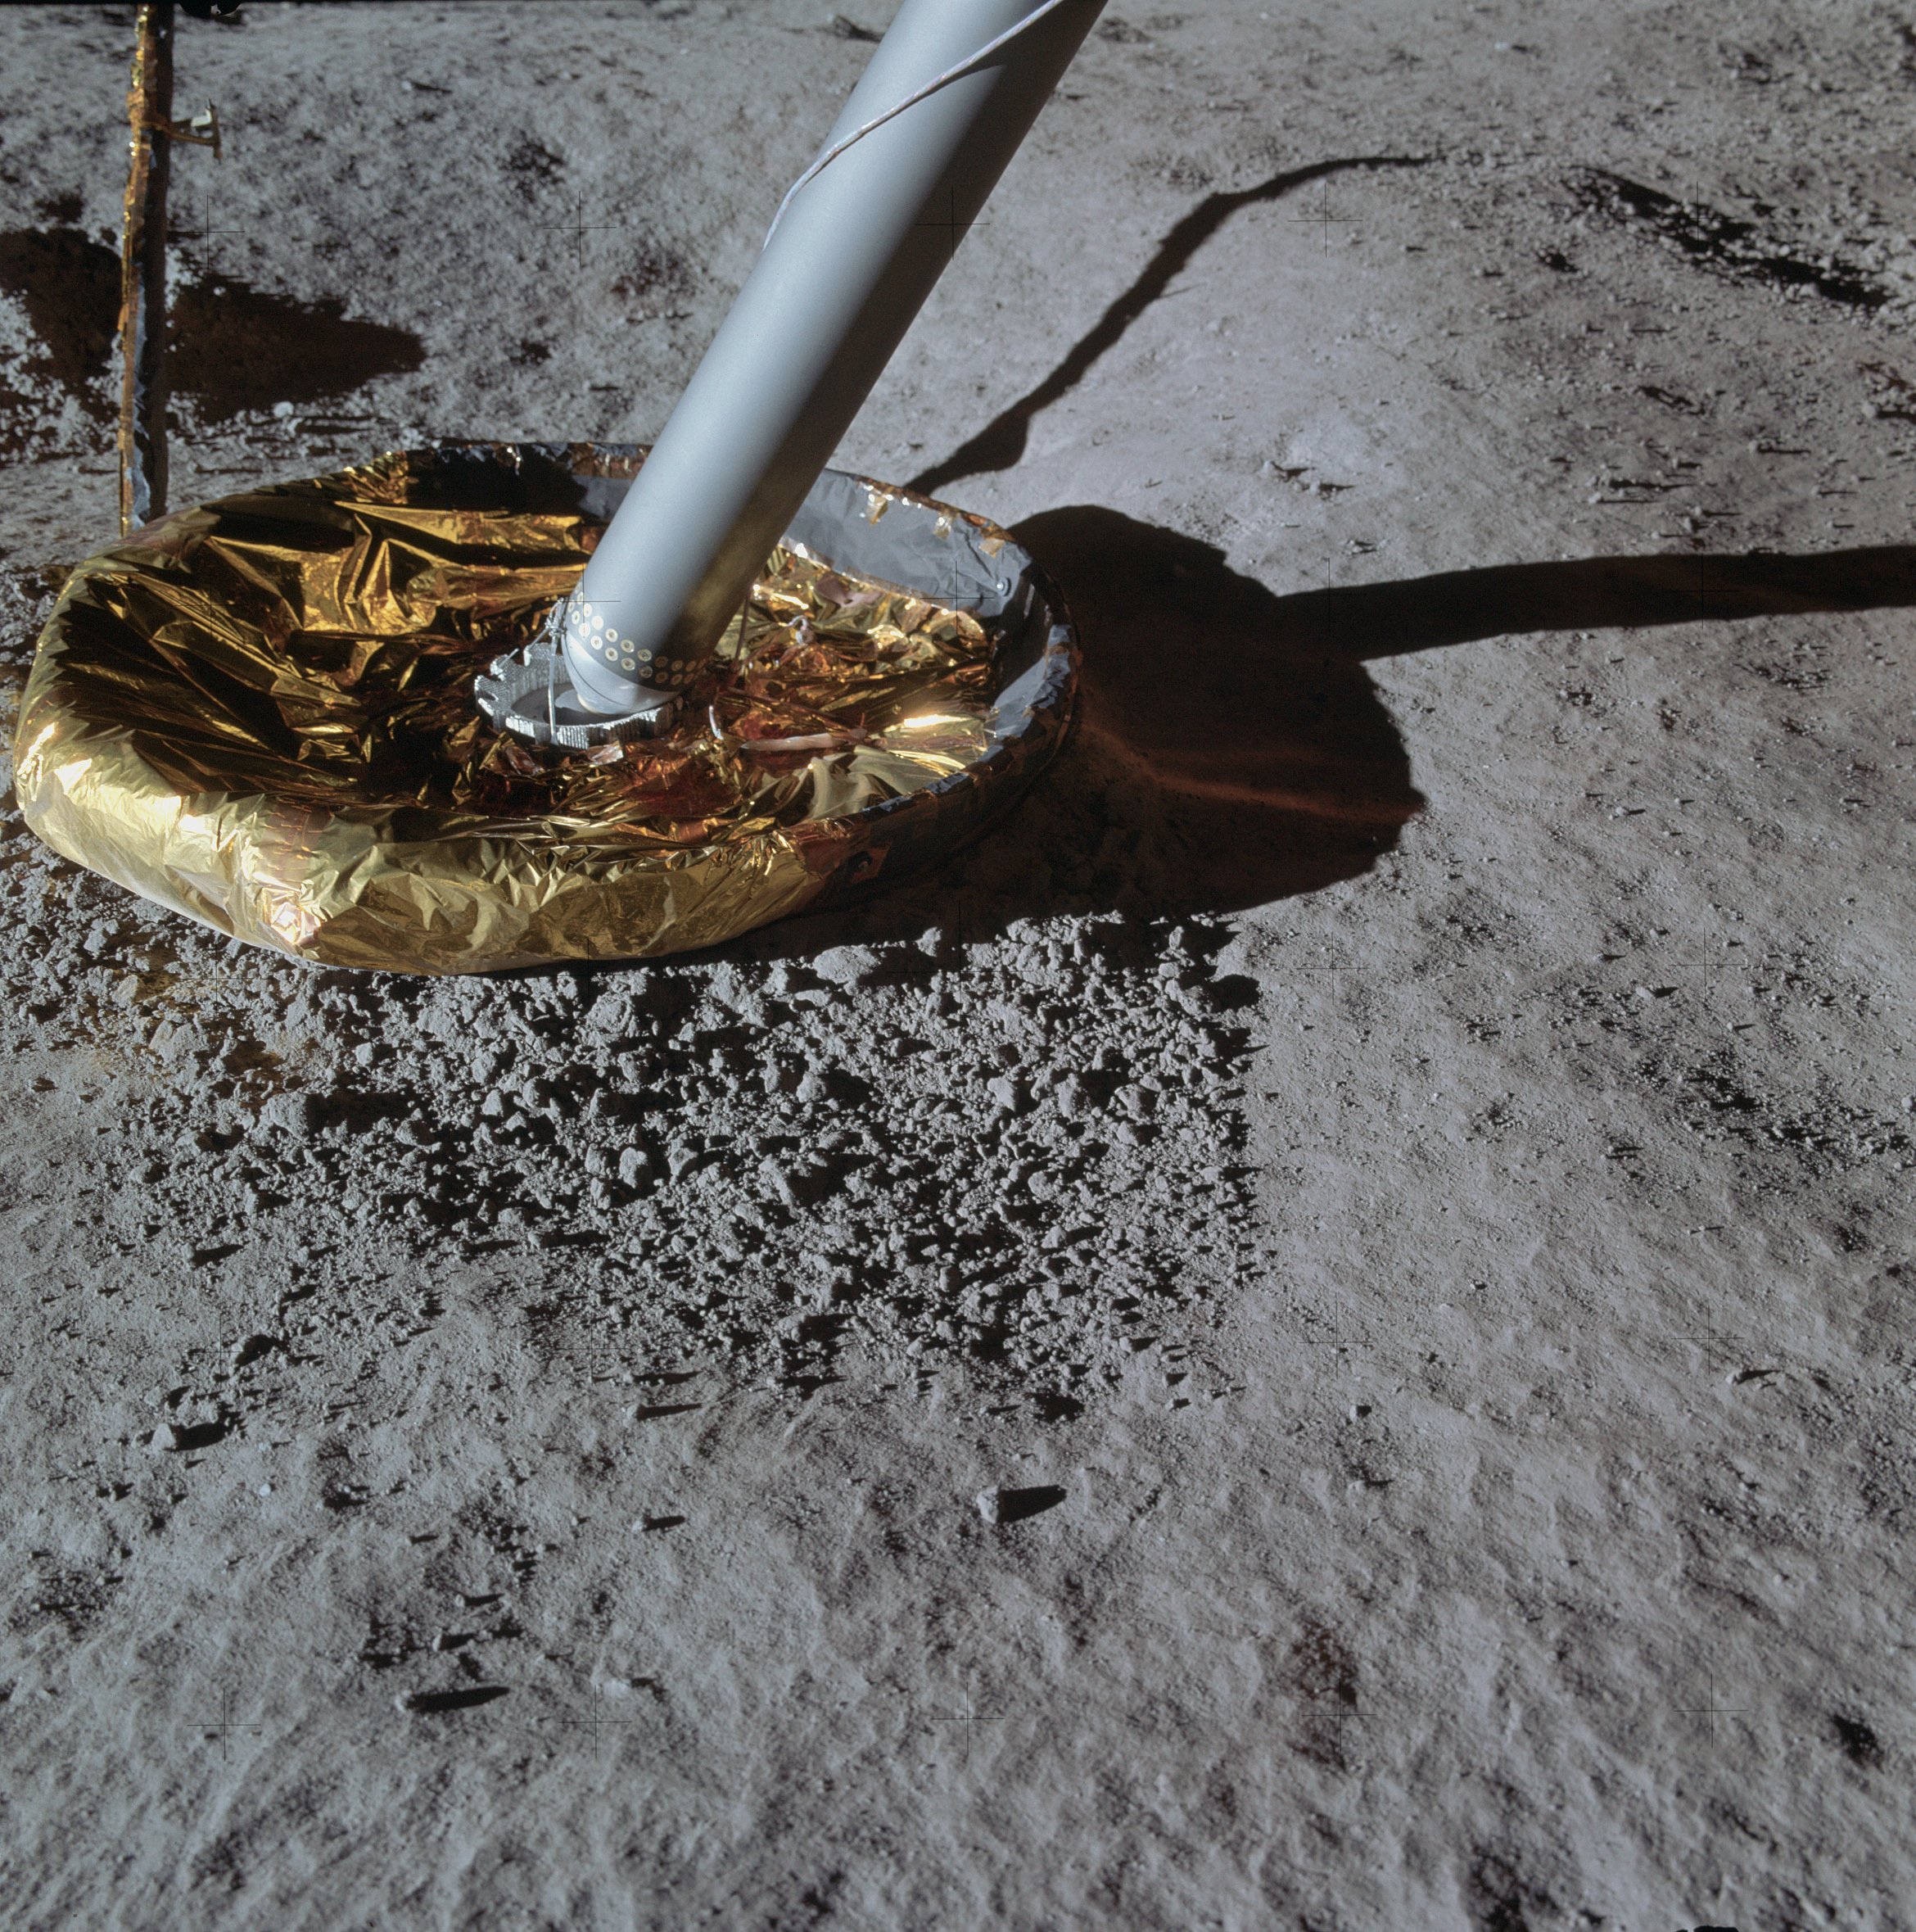 | AS14-66-9264 Close-up of the east footpad. Image credit: Image Science and Analysis Laboratory, NASA-Johnson Space Center. |
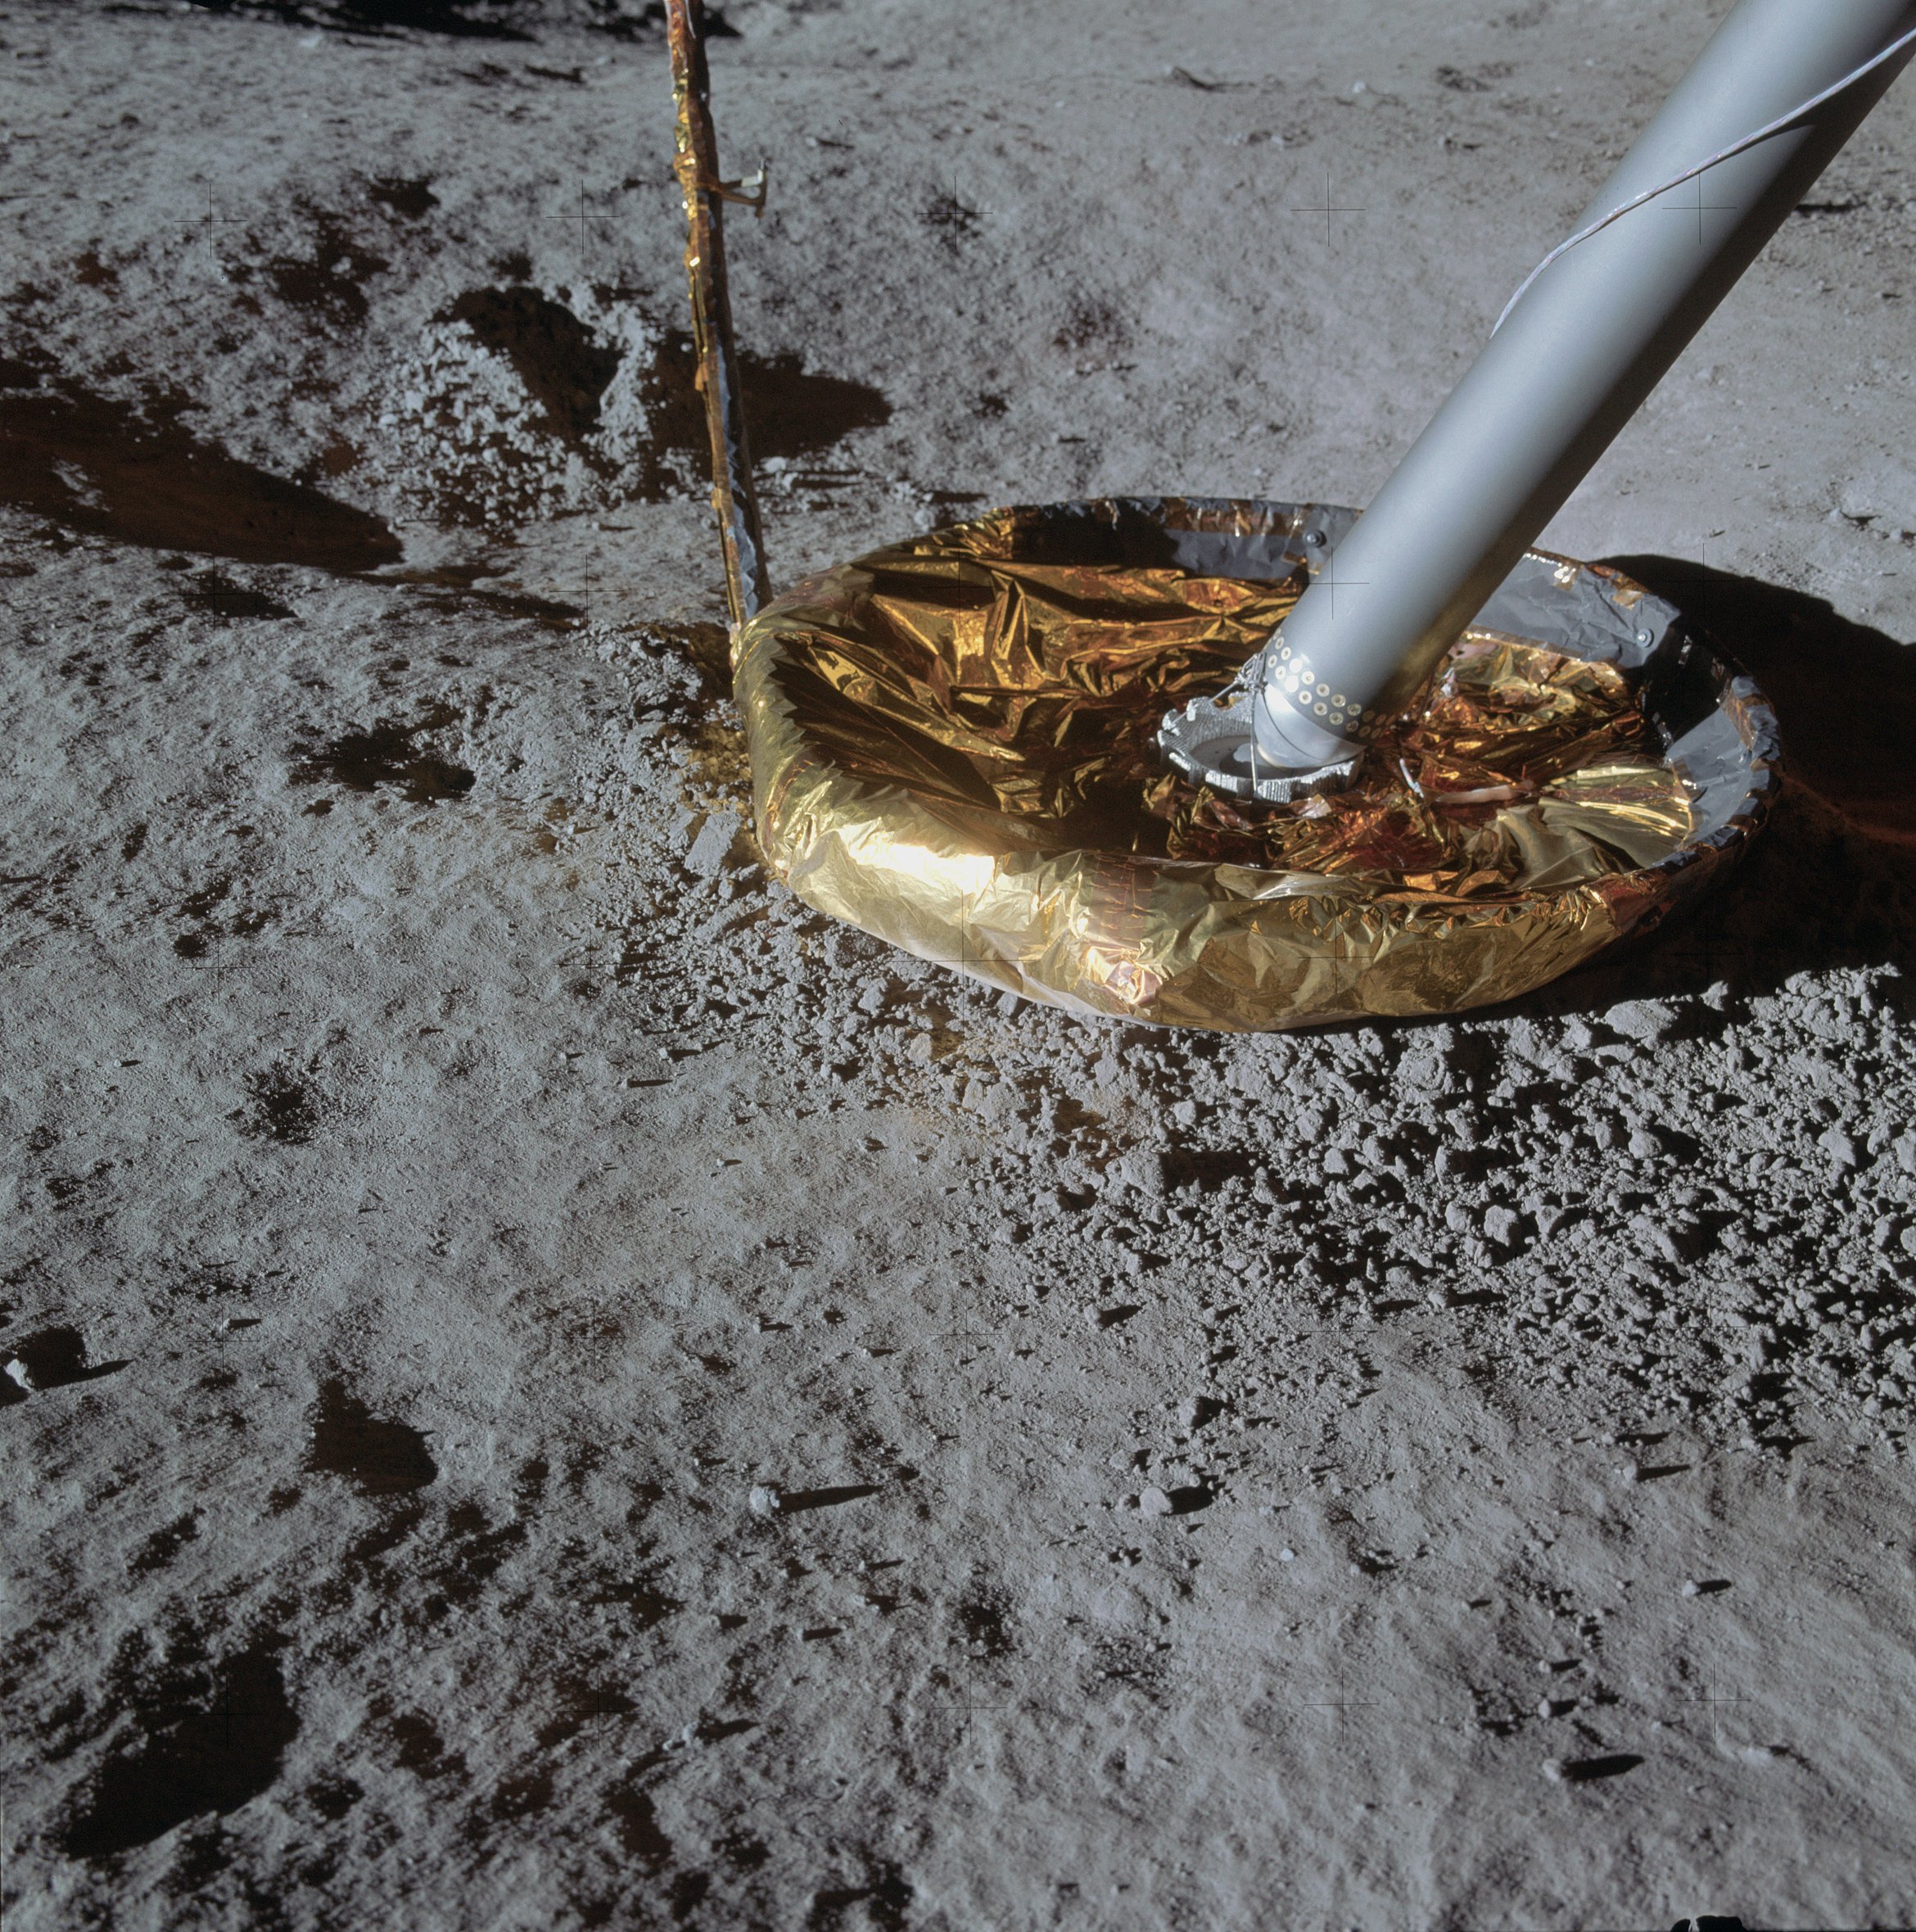 | AS14-66-9265 114:53:38 Close-up of the minus-Z (east) footpad. Image credit: Image Science and Analysis Laboratory, NASA-Johnson Space Center. |
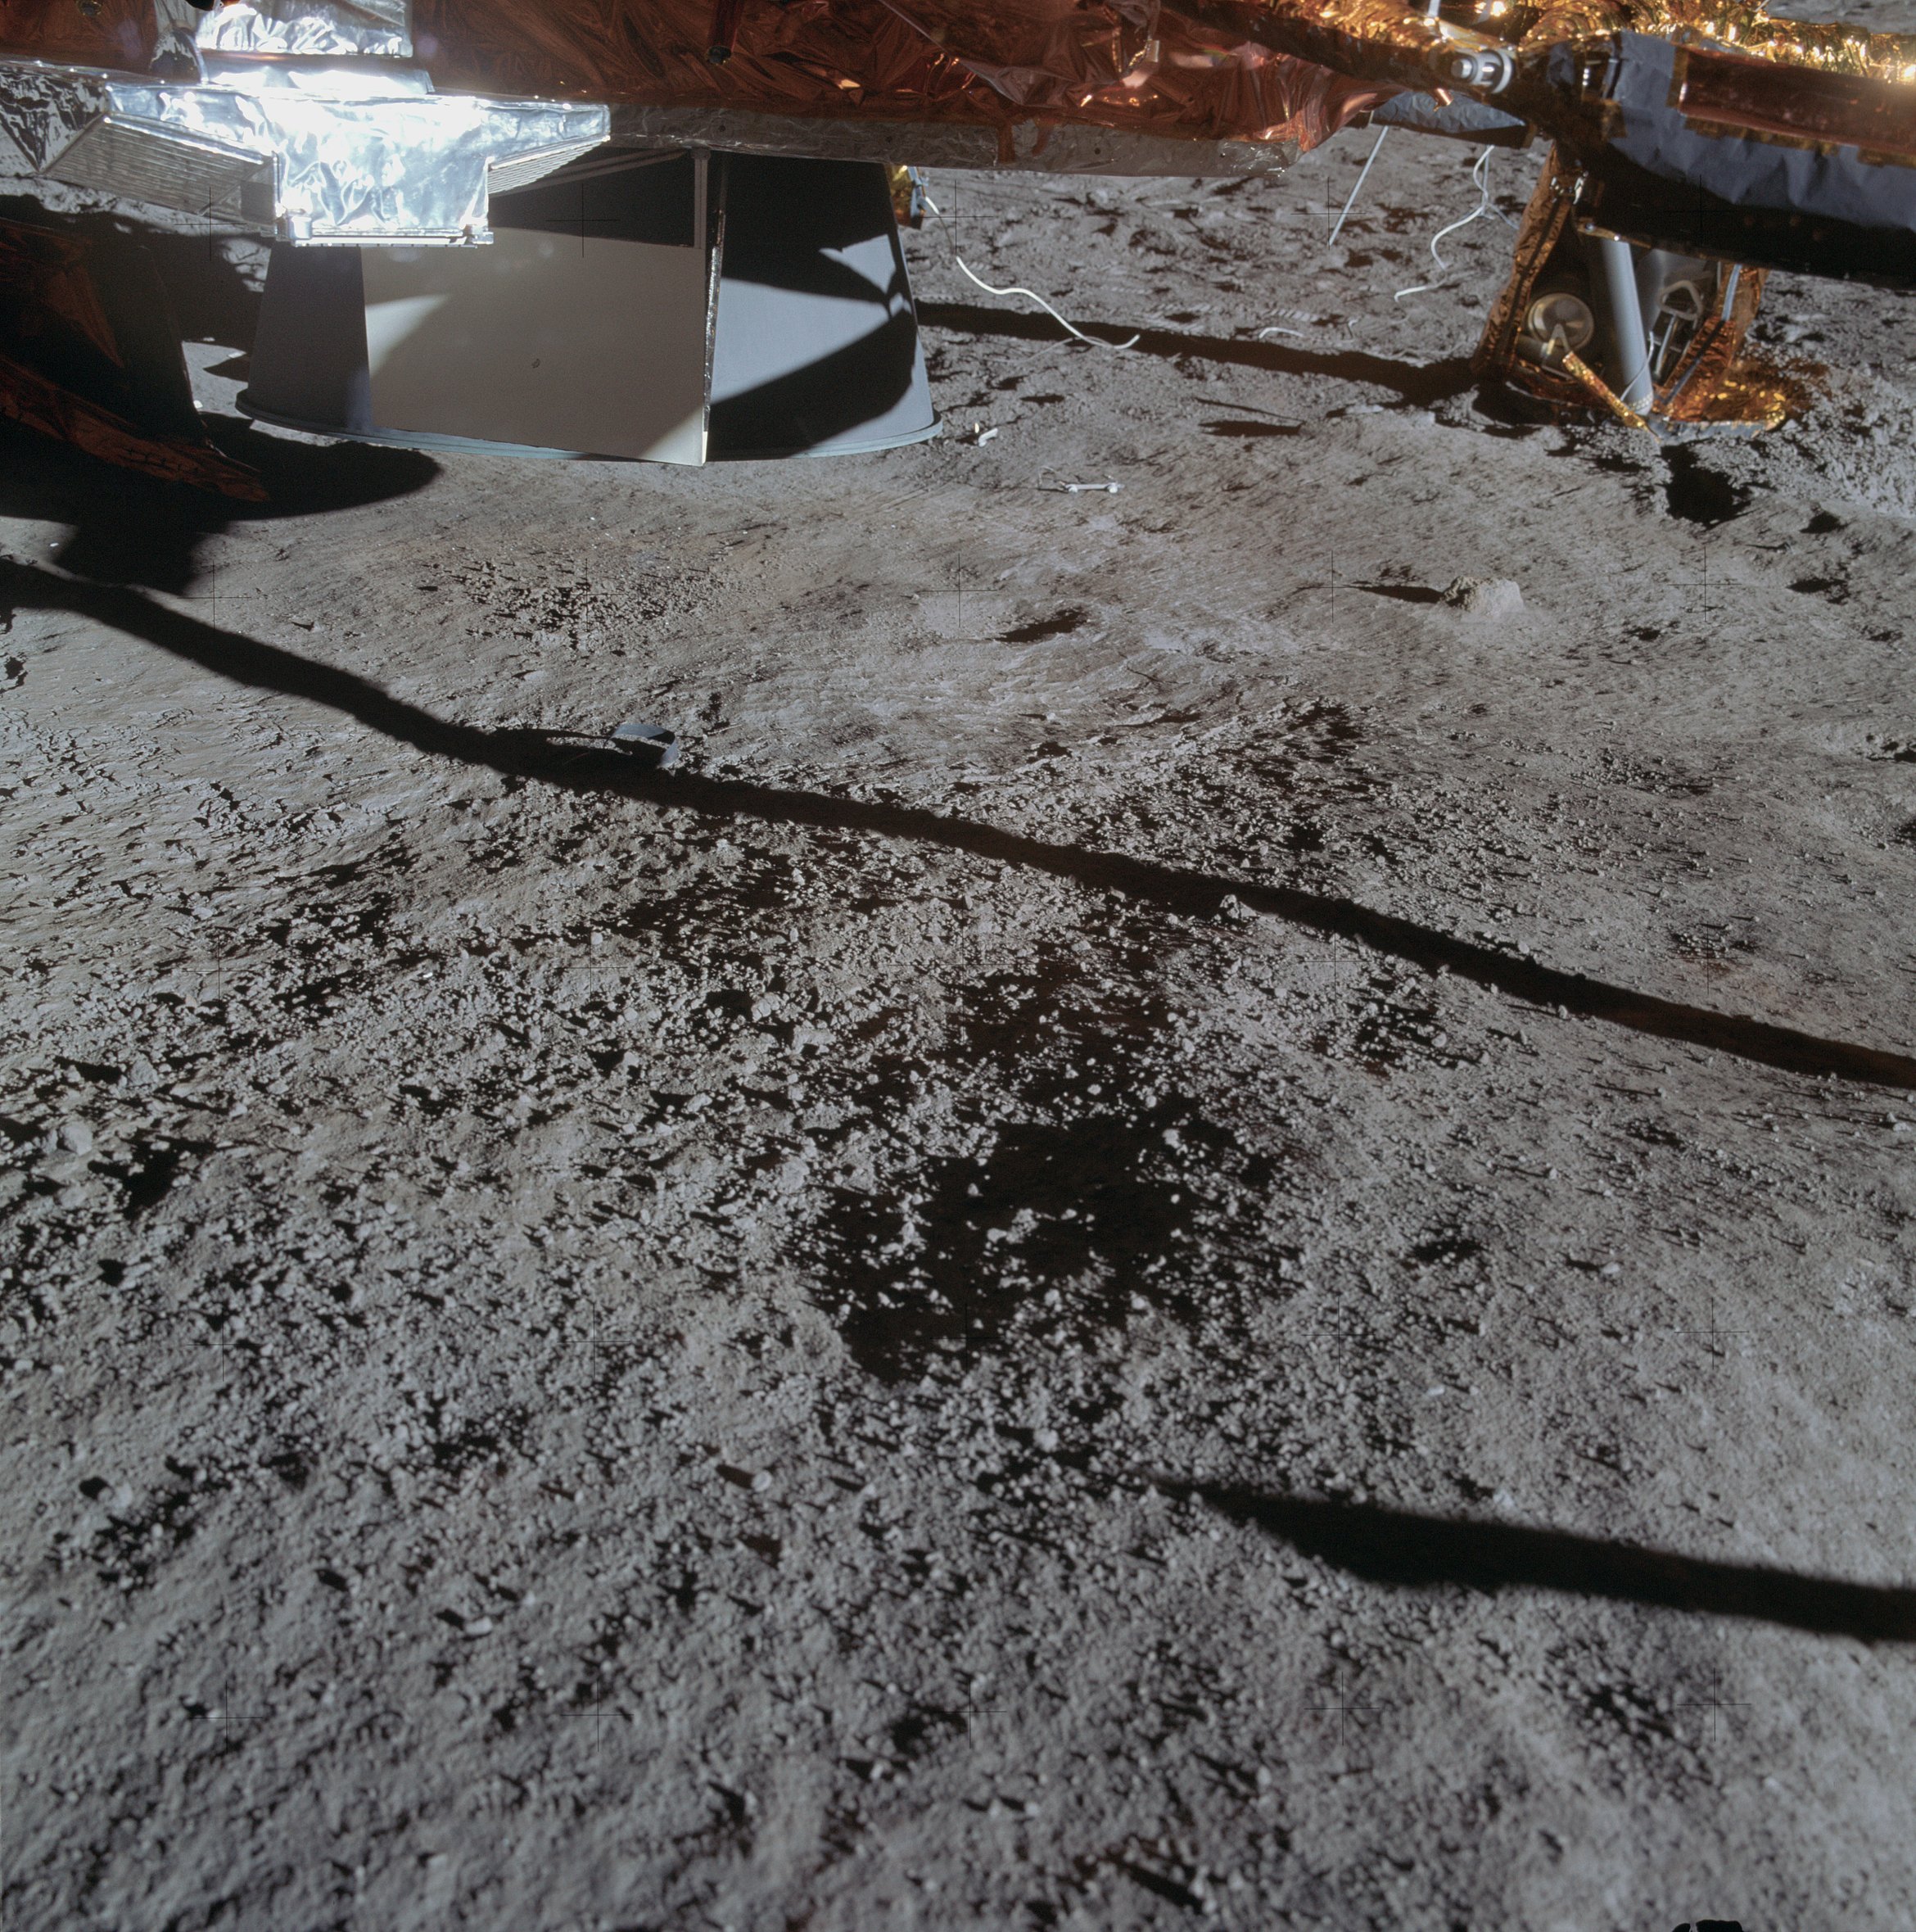 | AS14-66-9266 View under the engine bell from the south. Image credit: Image Science and Analysis Laboratory, NASA-Johnson Space Center. |
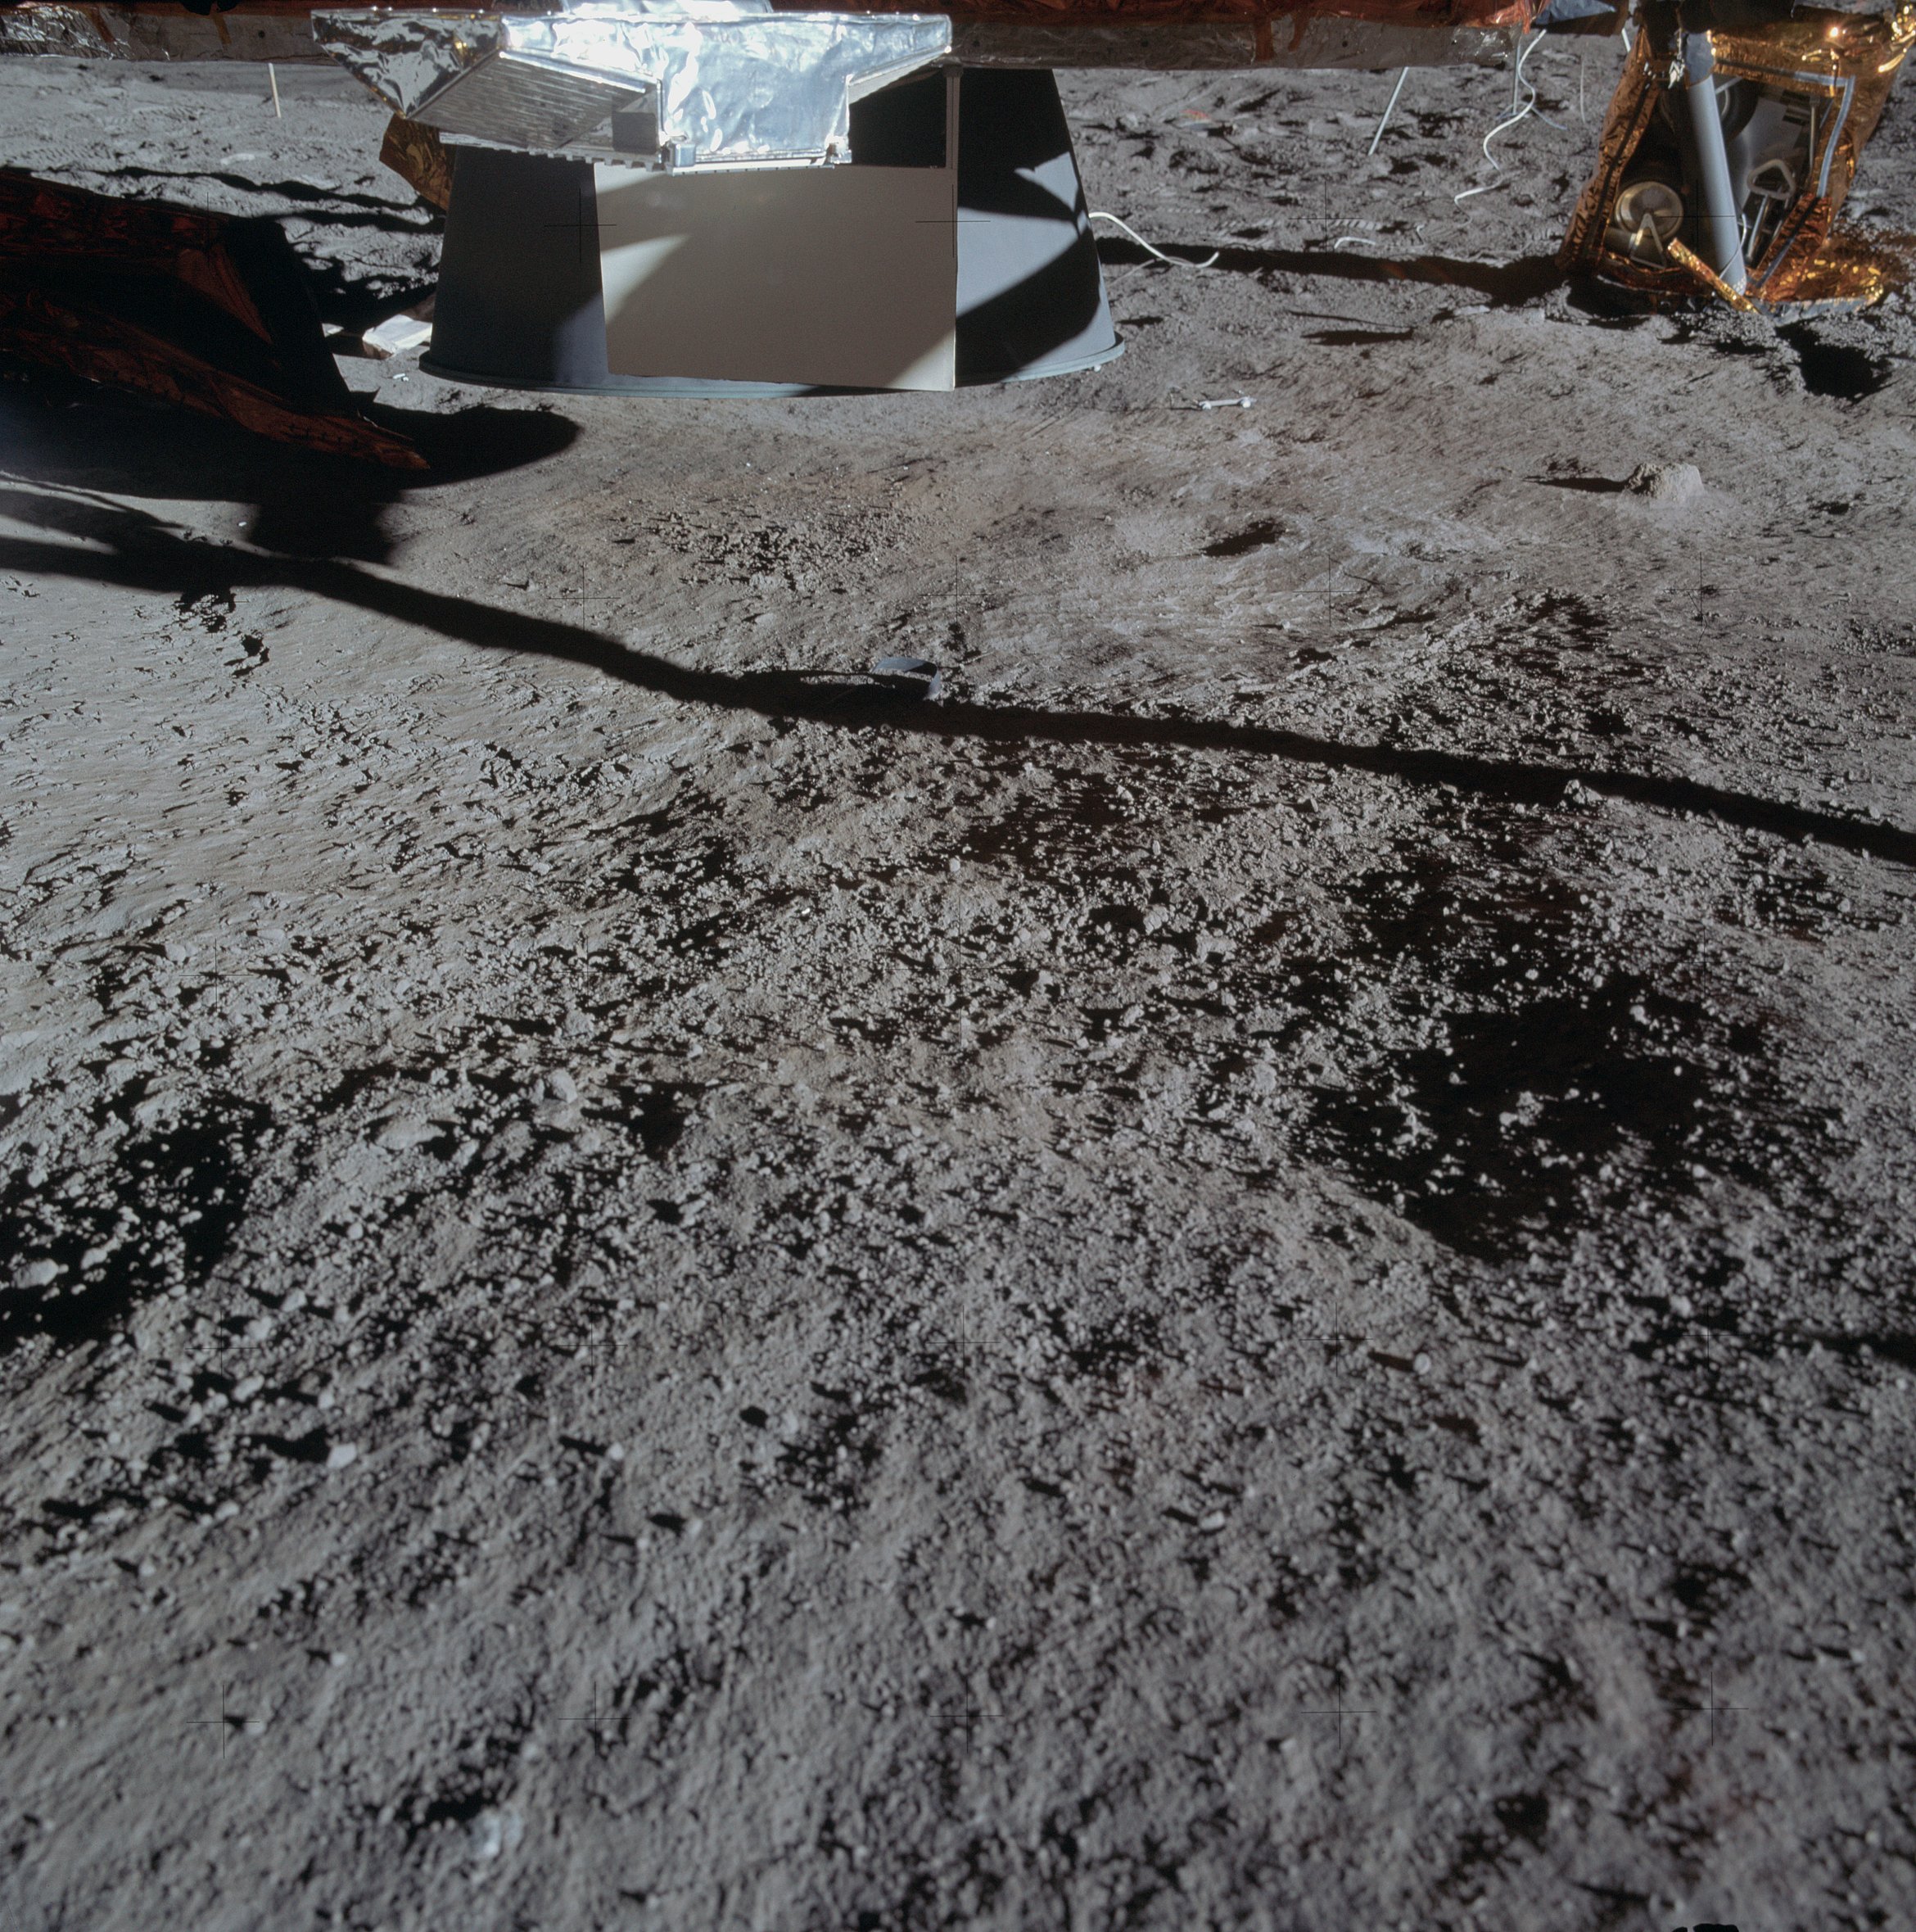 | AS14-66-9267 Under the engine bell. Image credit: Image Science and Analysis Laboratory, NASA-Johnson Space Center. |
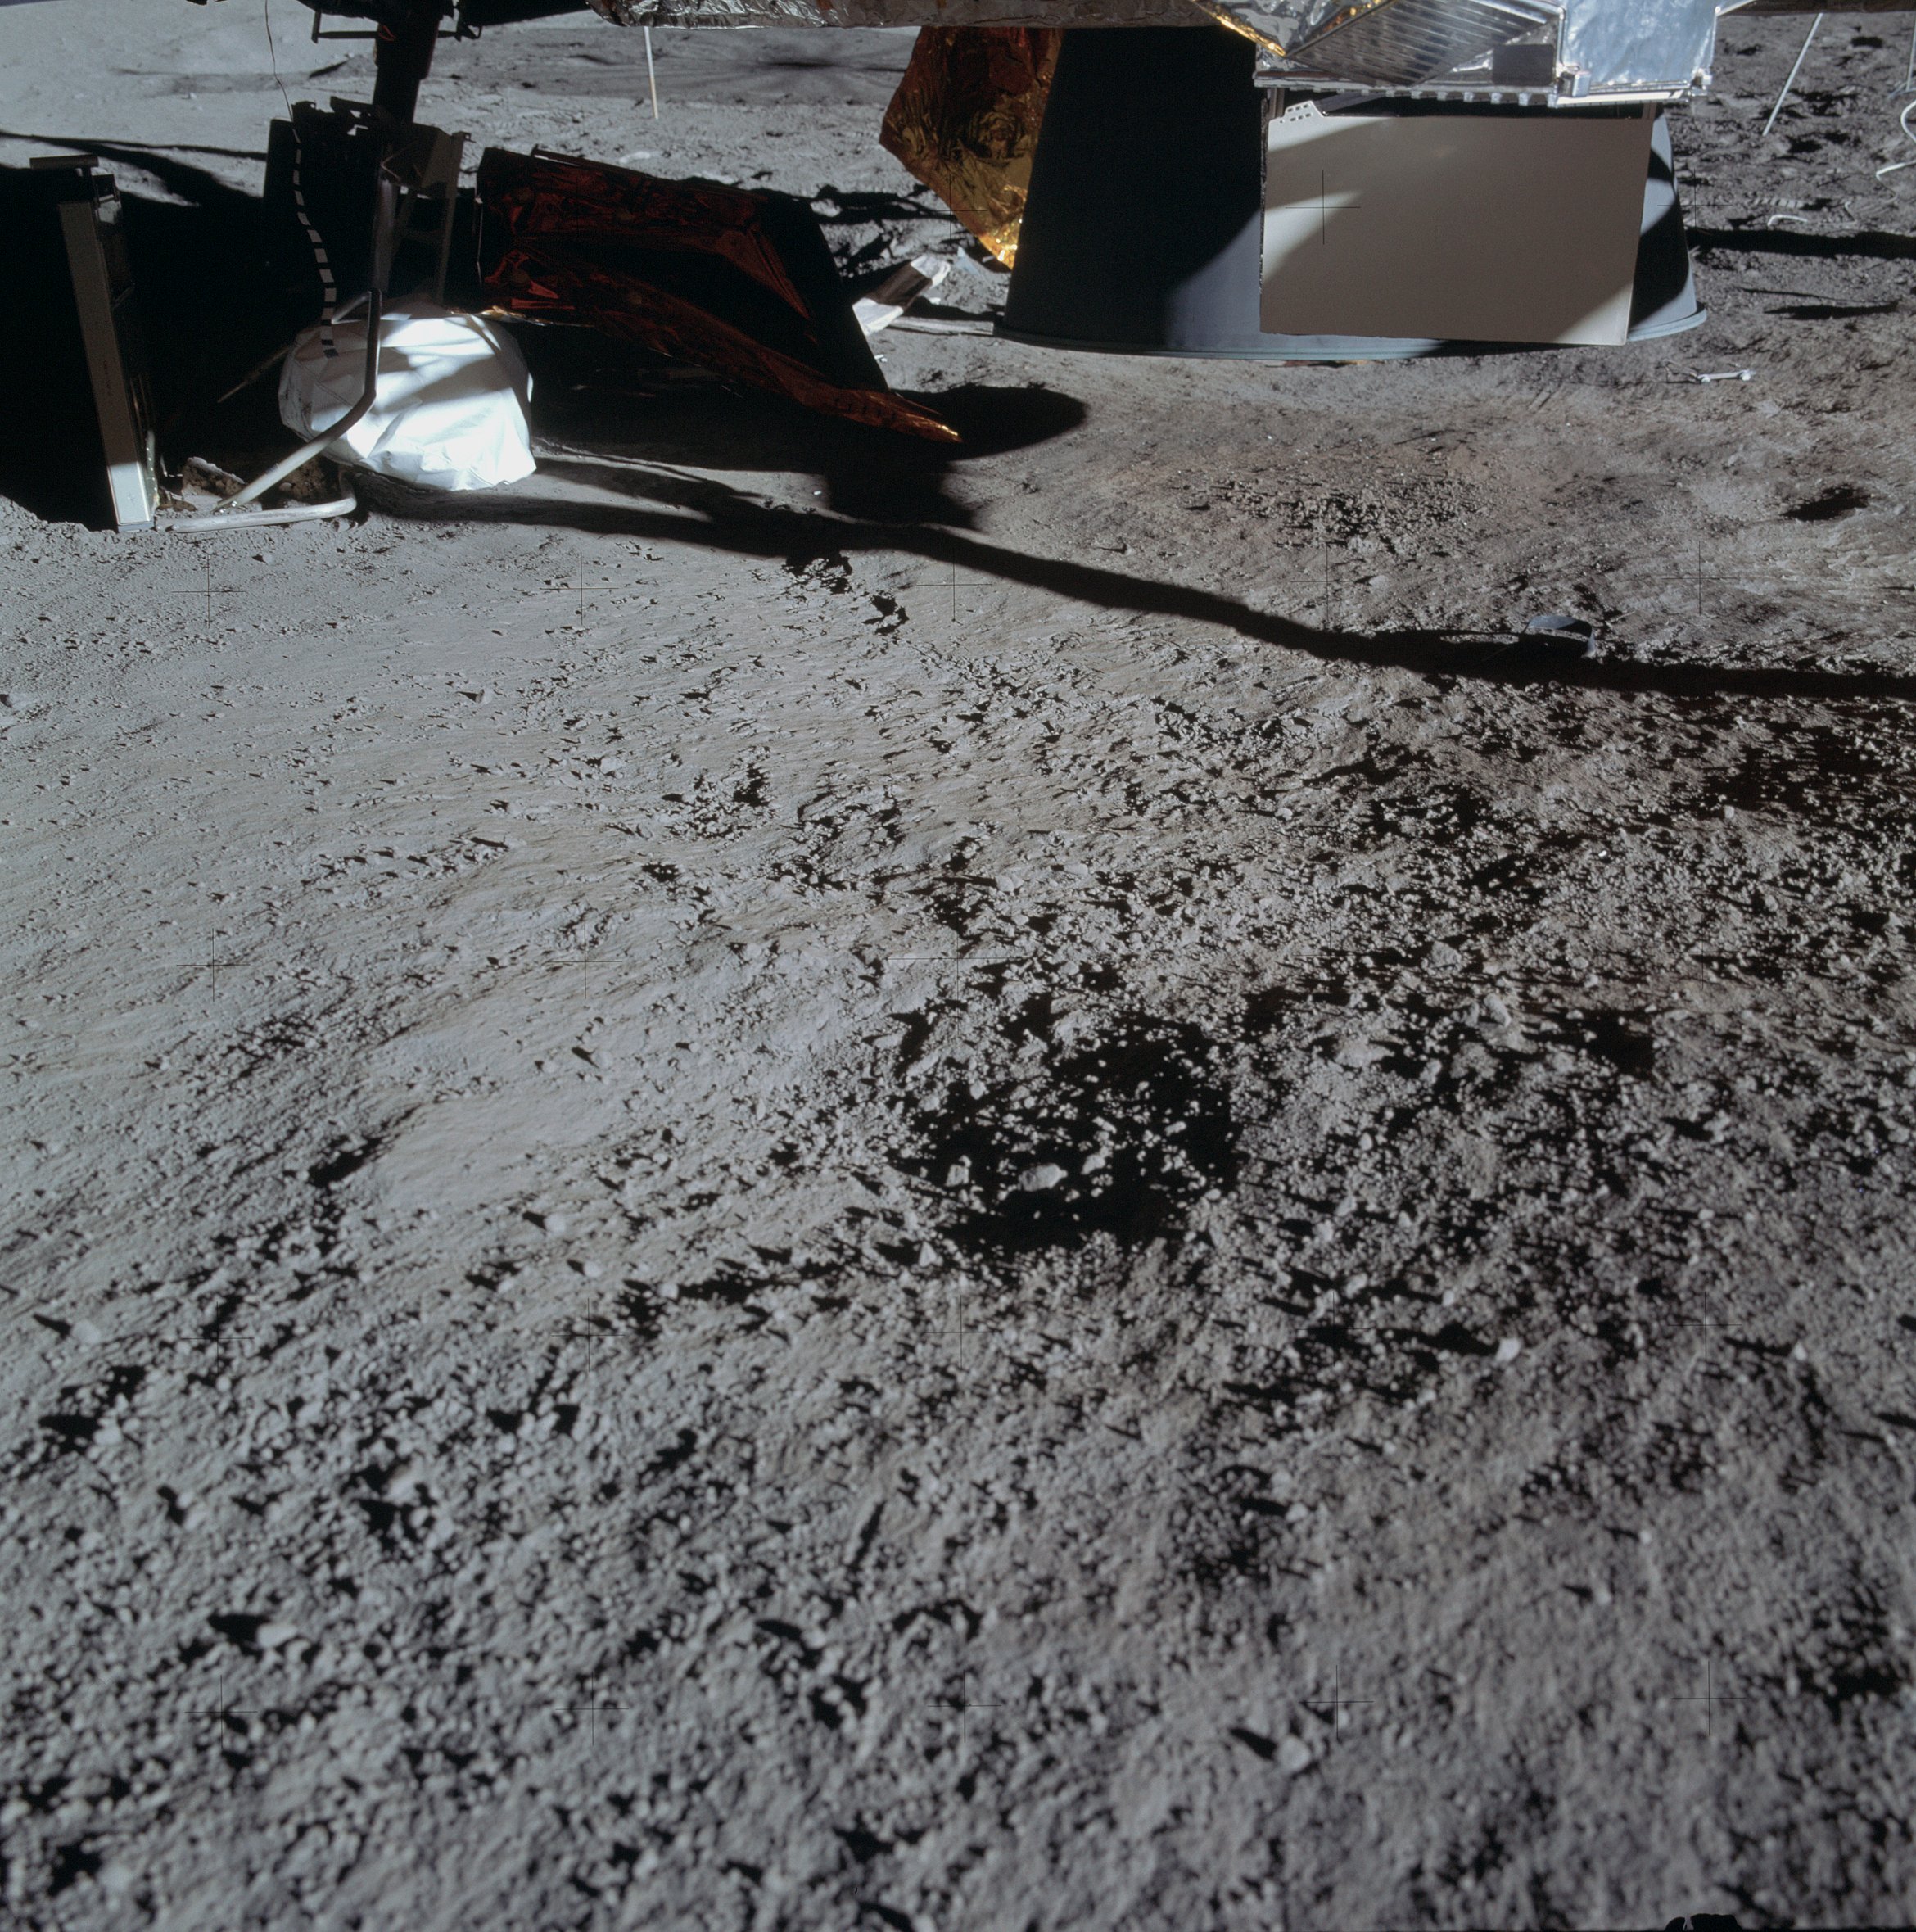 | AS14-66-9268 Under the engine bell. Image credit: Image Science and Analysis Laboratory, NASA-Johnson Space Center. |
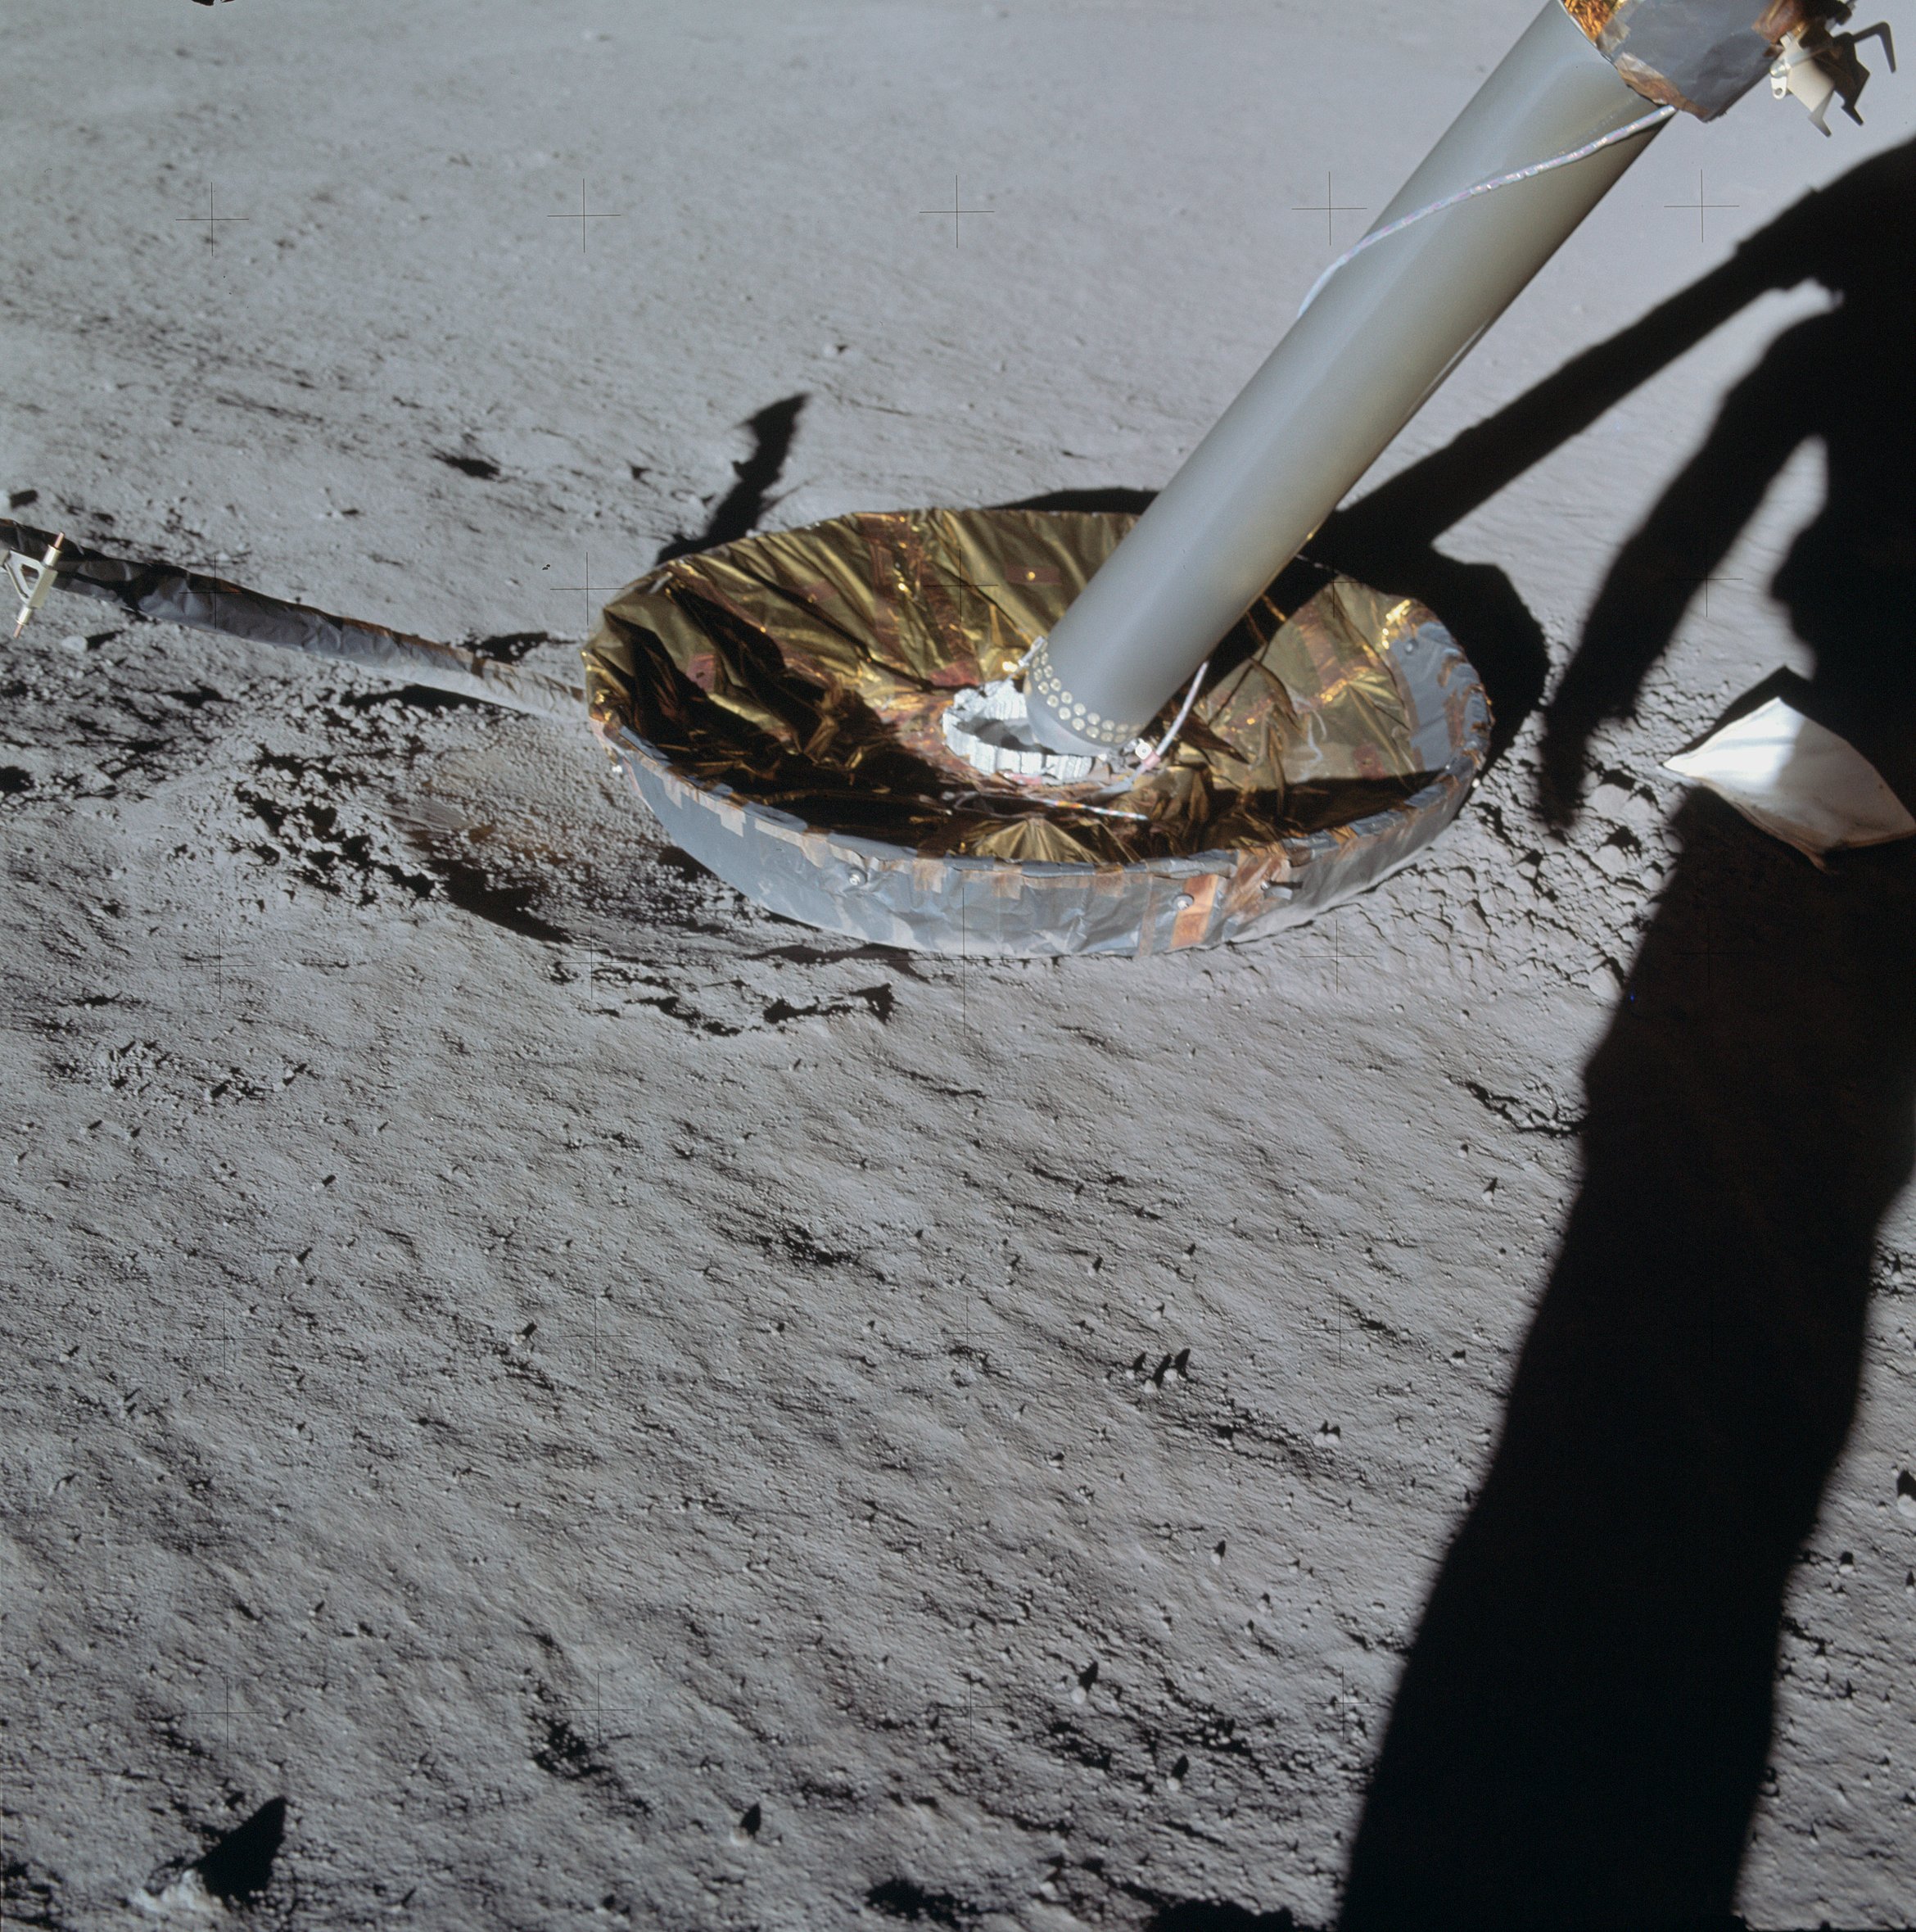 | AS14-66-9269 114:53:38 Close-up of the minus-Y (south) footpad taken from the east. Image credit: Image Science and Analysis Laboratory, NASA-Johnson Space Center. |
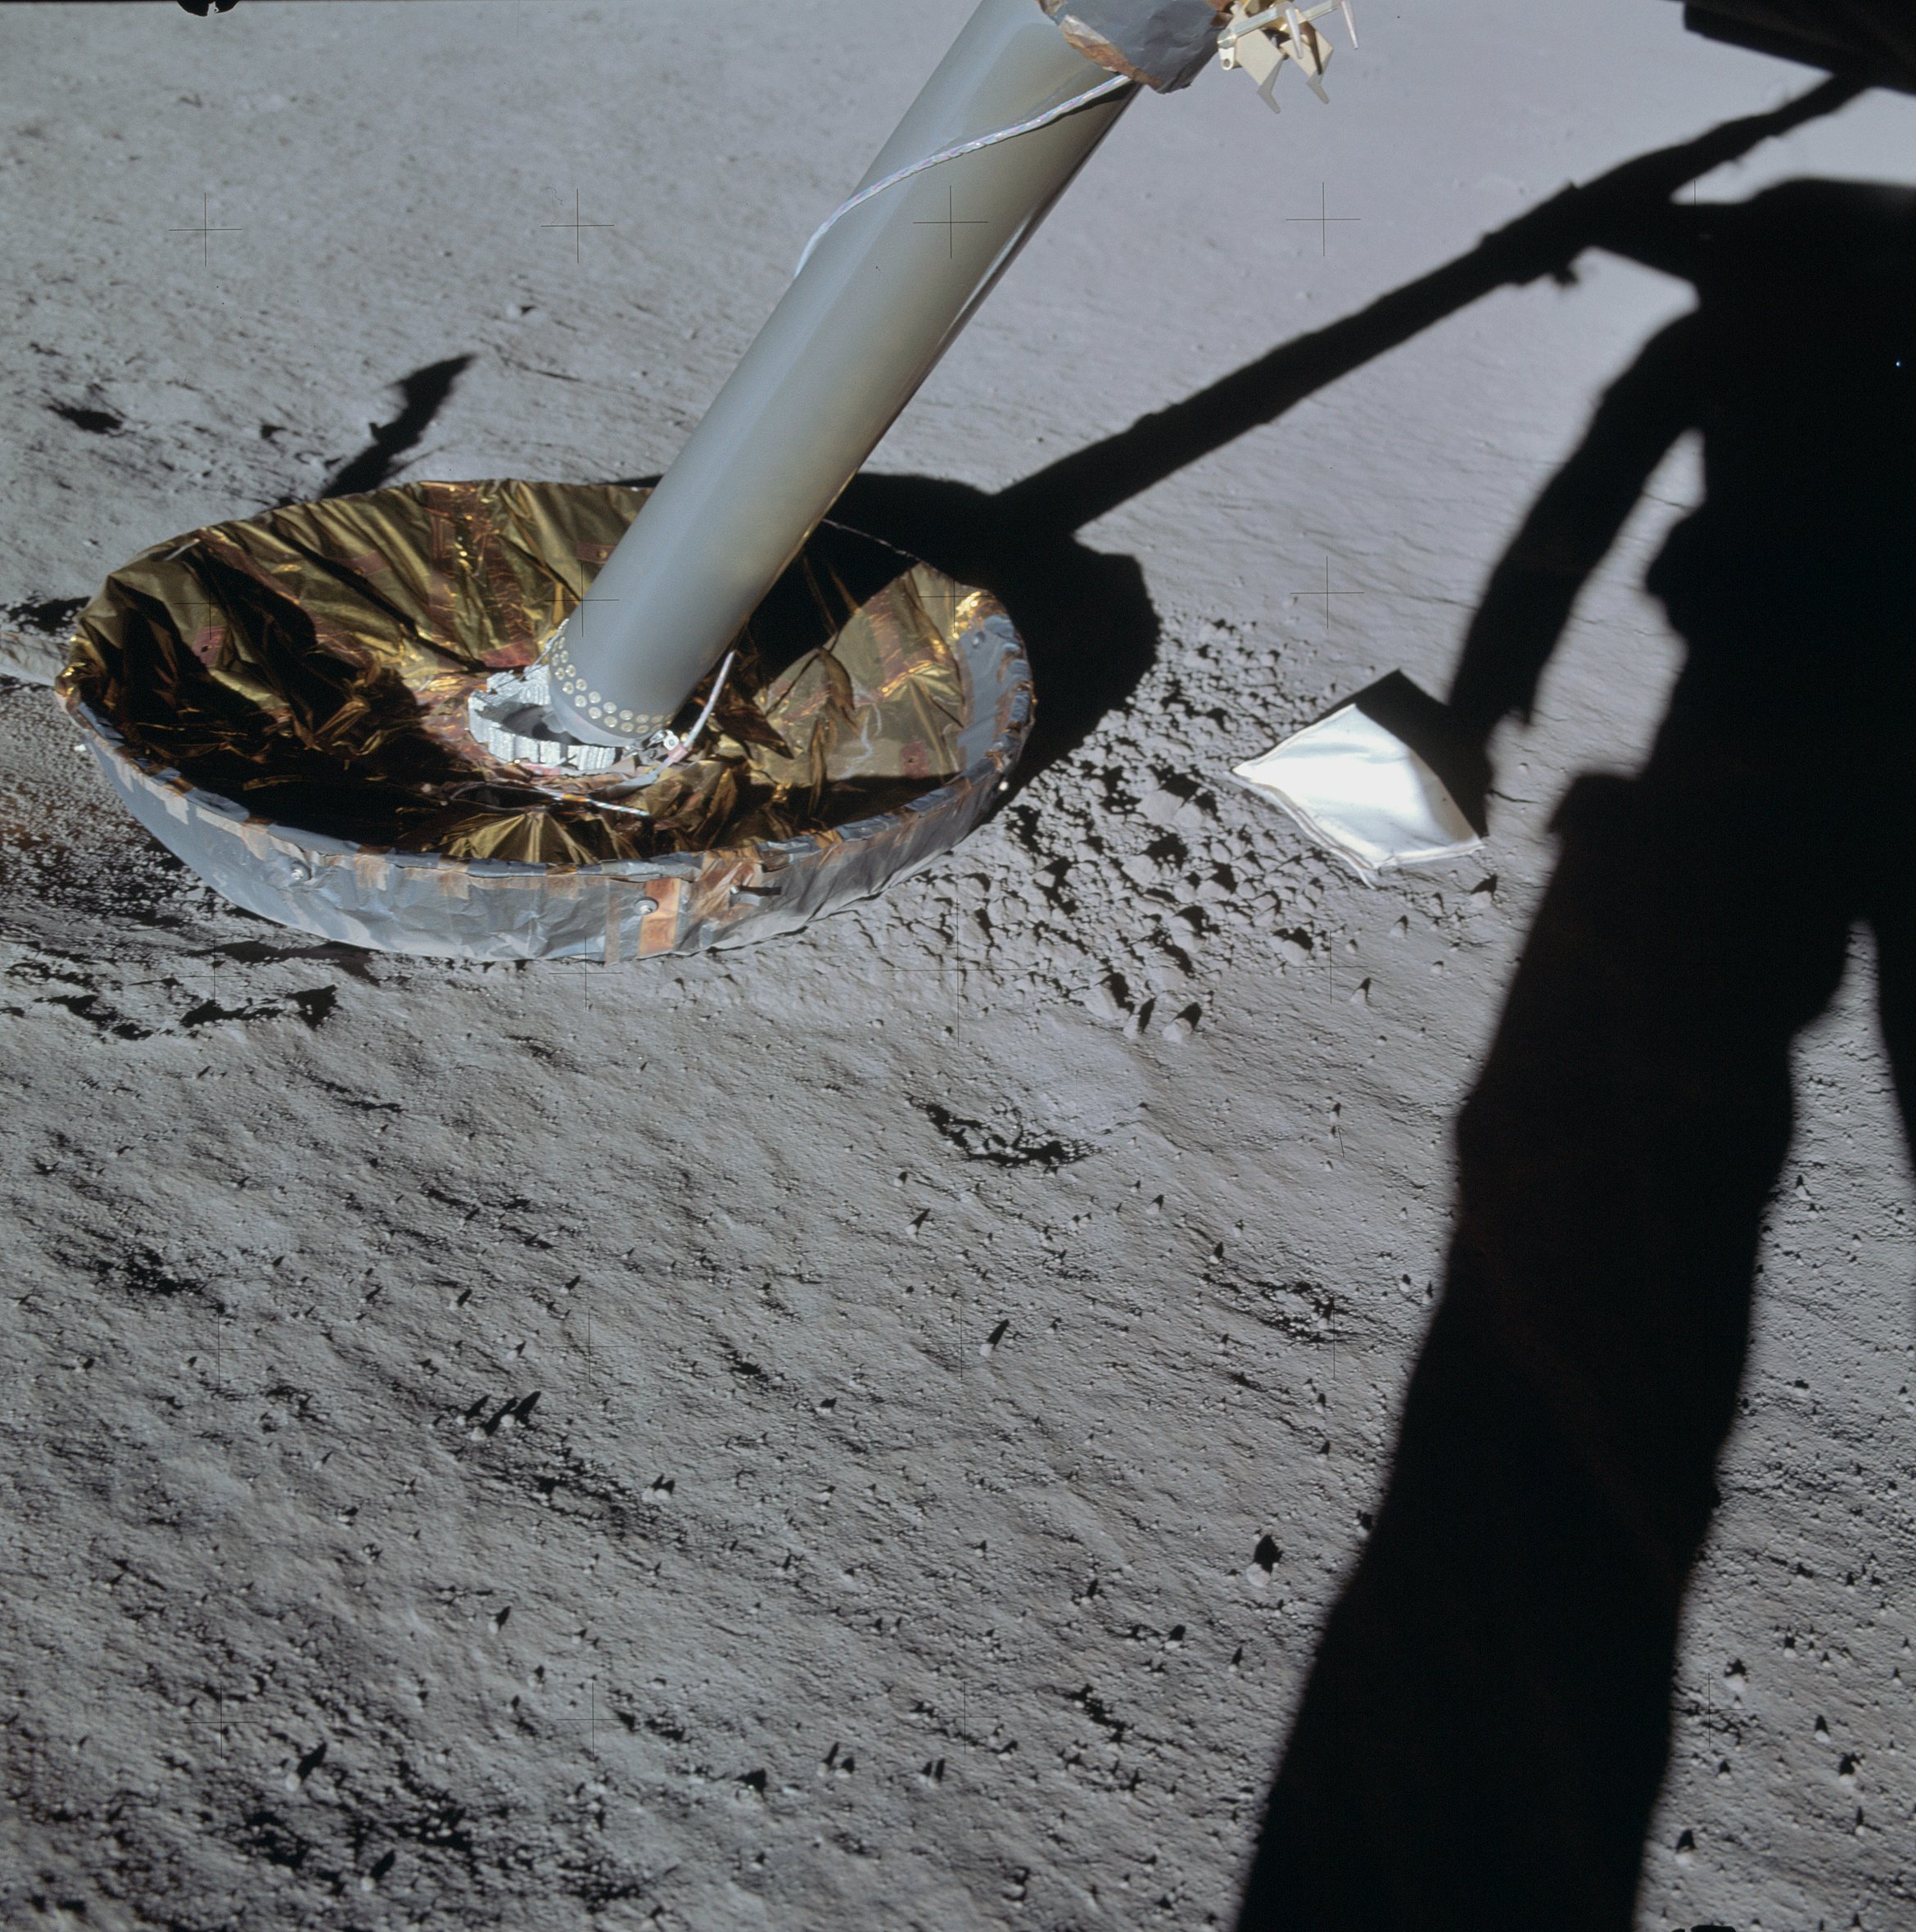 | AS14-66-9270 Close-up of the south footpad. Image credit: Image Science and Analysis Laboratory, NASA-Johnson Space Center. |
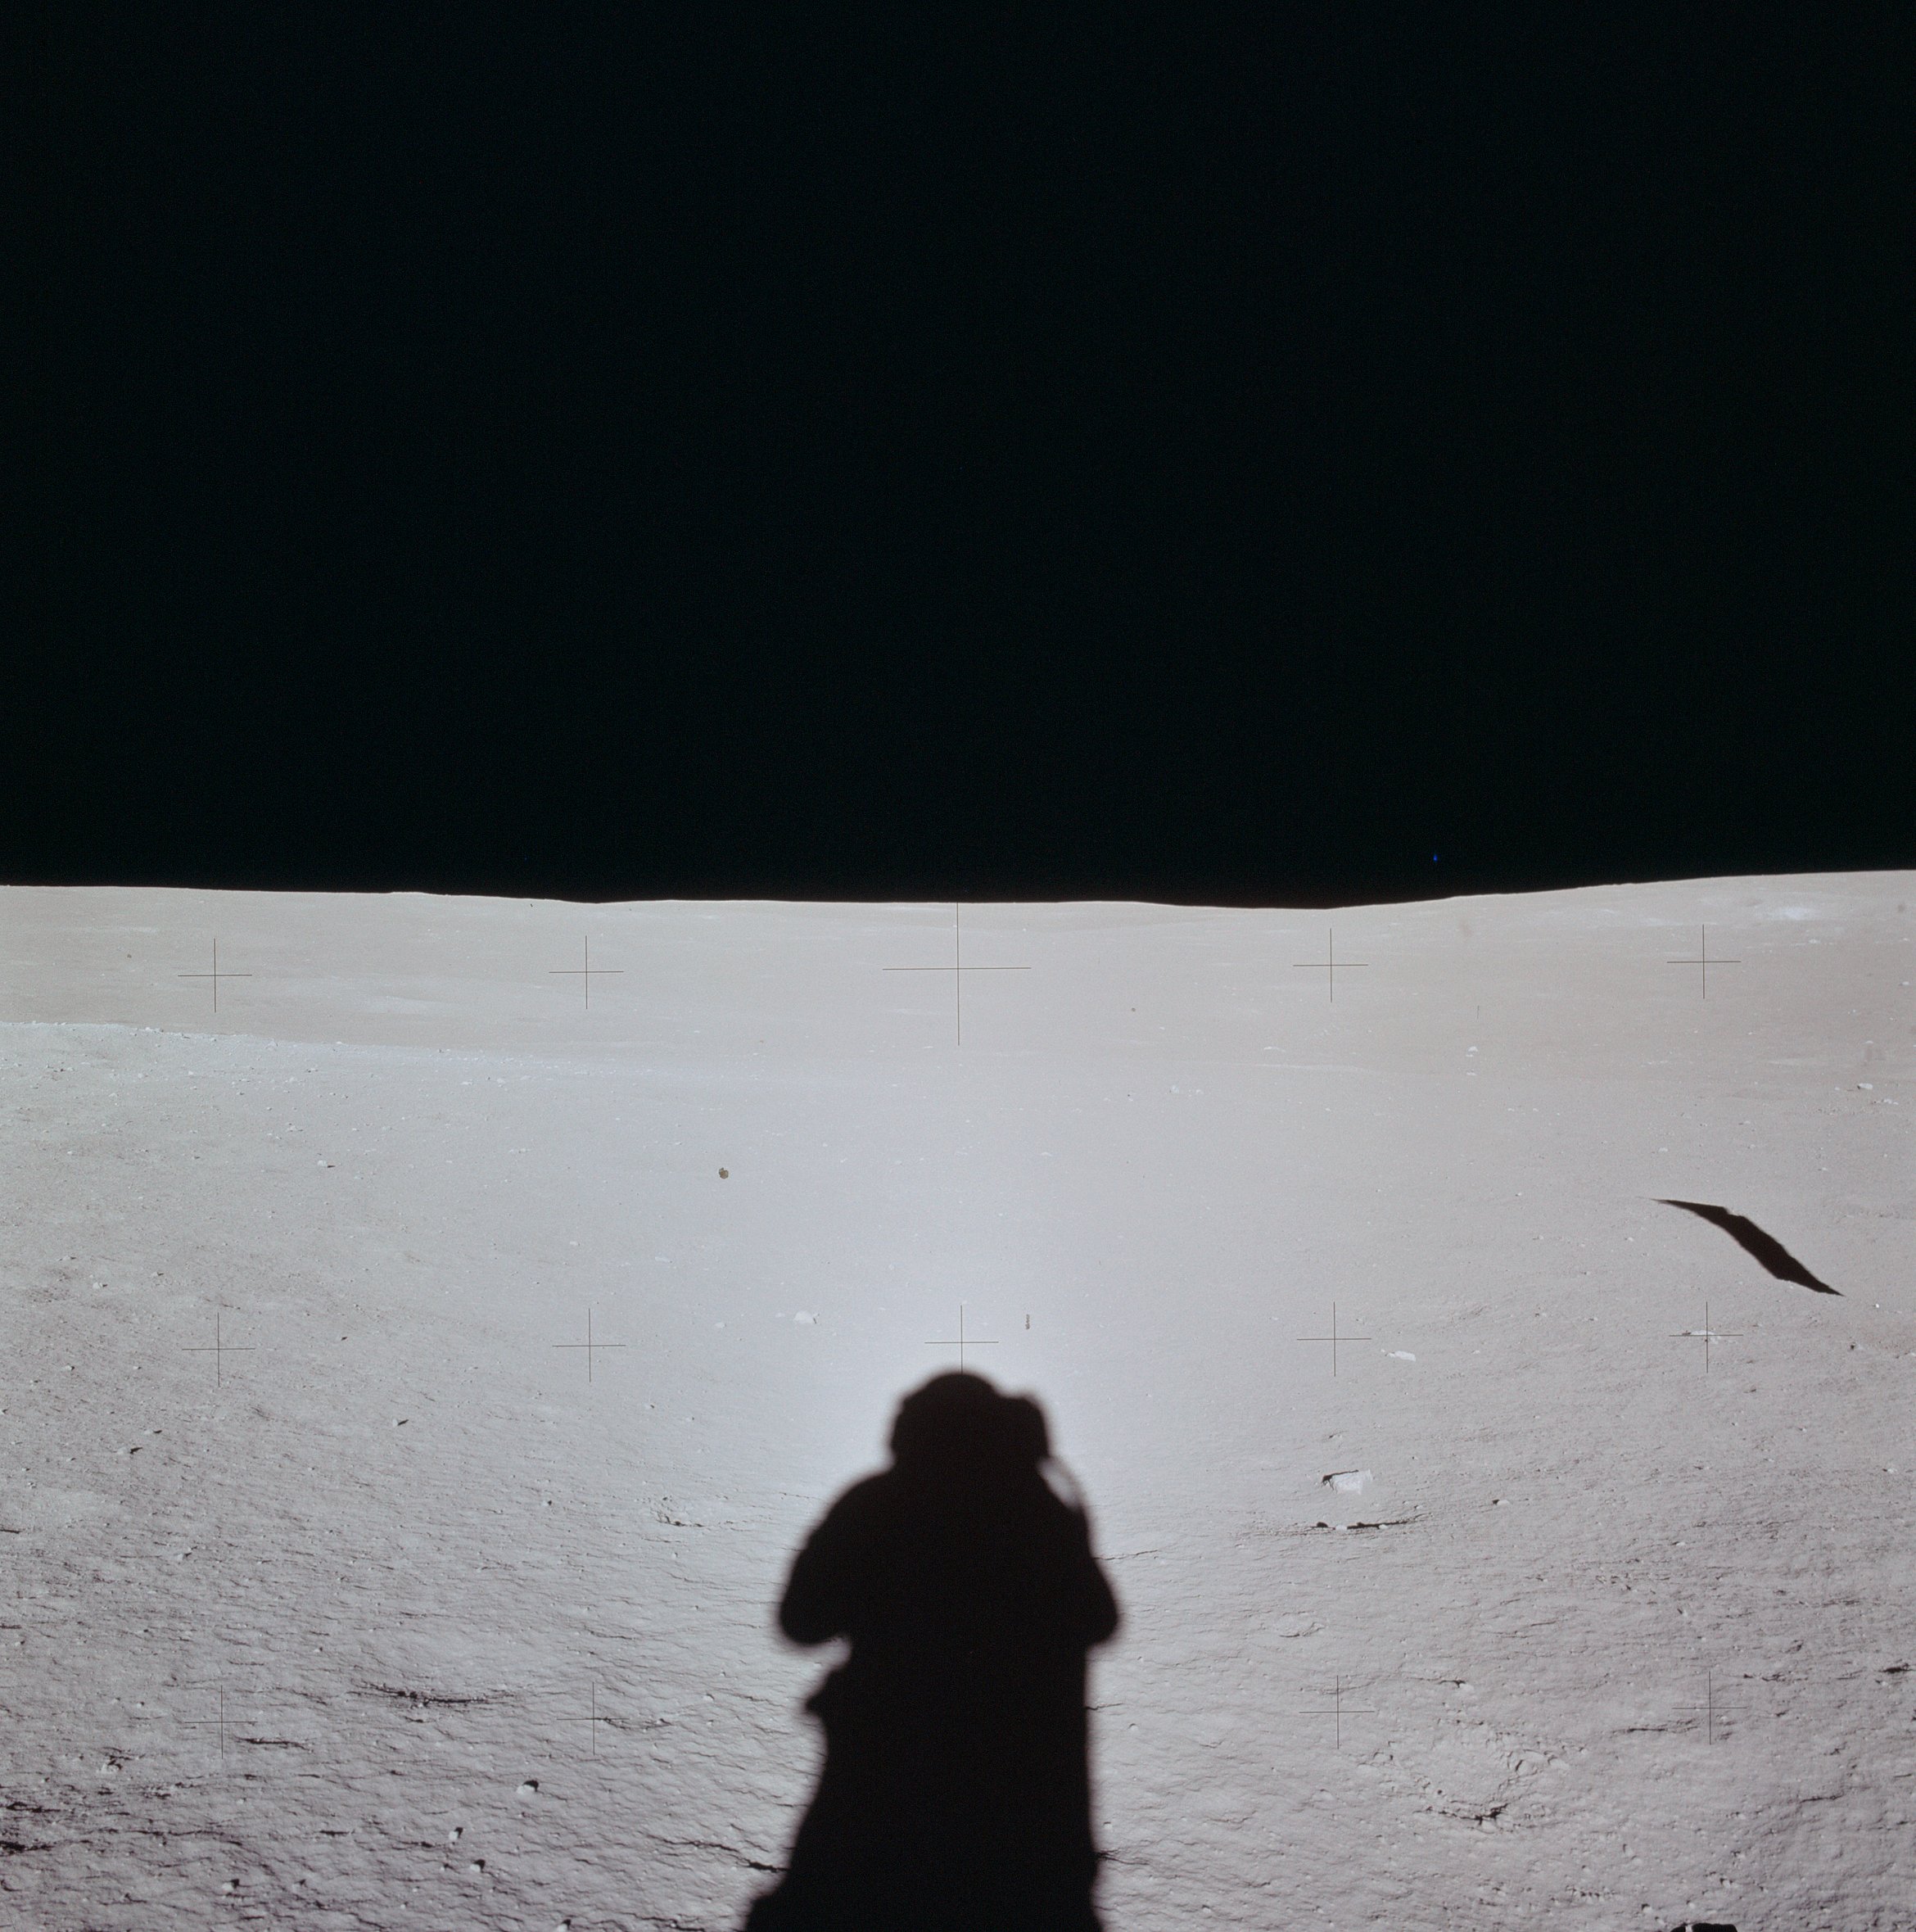 | AS14-66-9271 114:53:34 Al has started a pan from the 8 o'clock position, southeast of the LM near the Solar Wind Composition experiment (SWC). Image credit: Image Science and Analysis Laboratory, NASA-Johnson Space Center. |
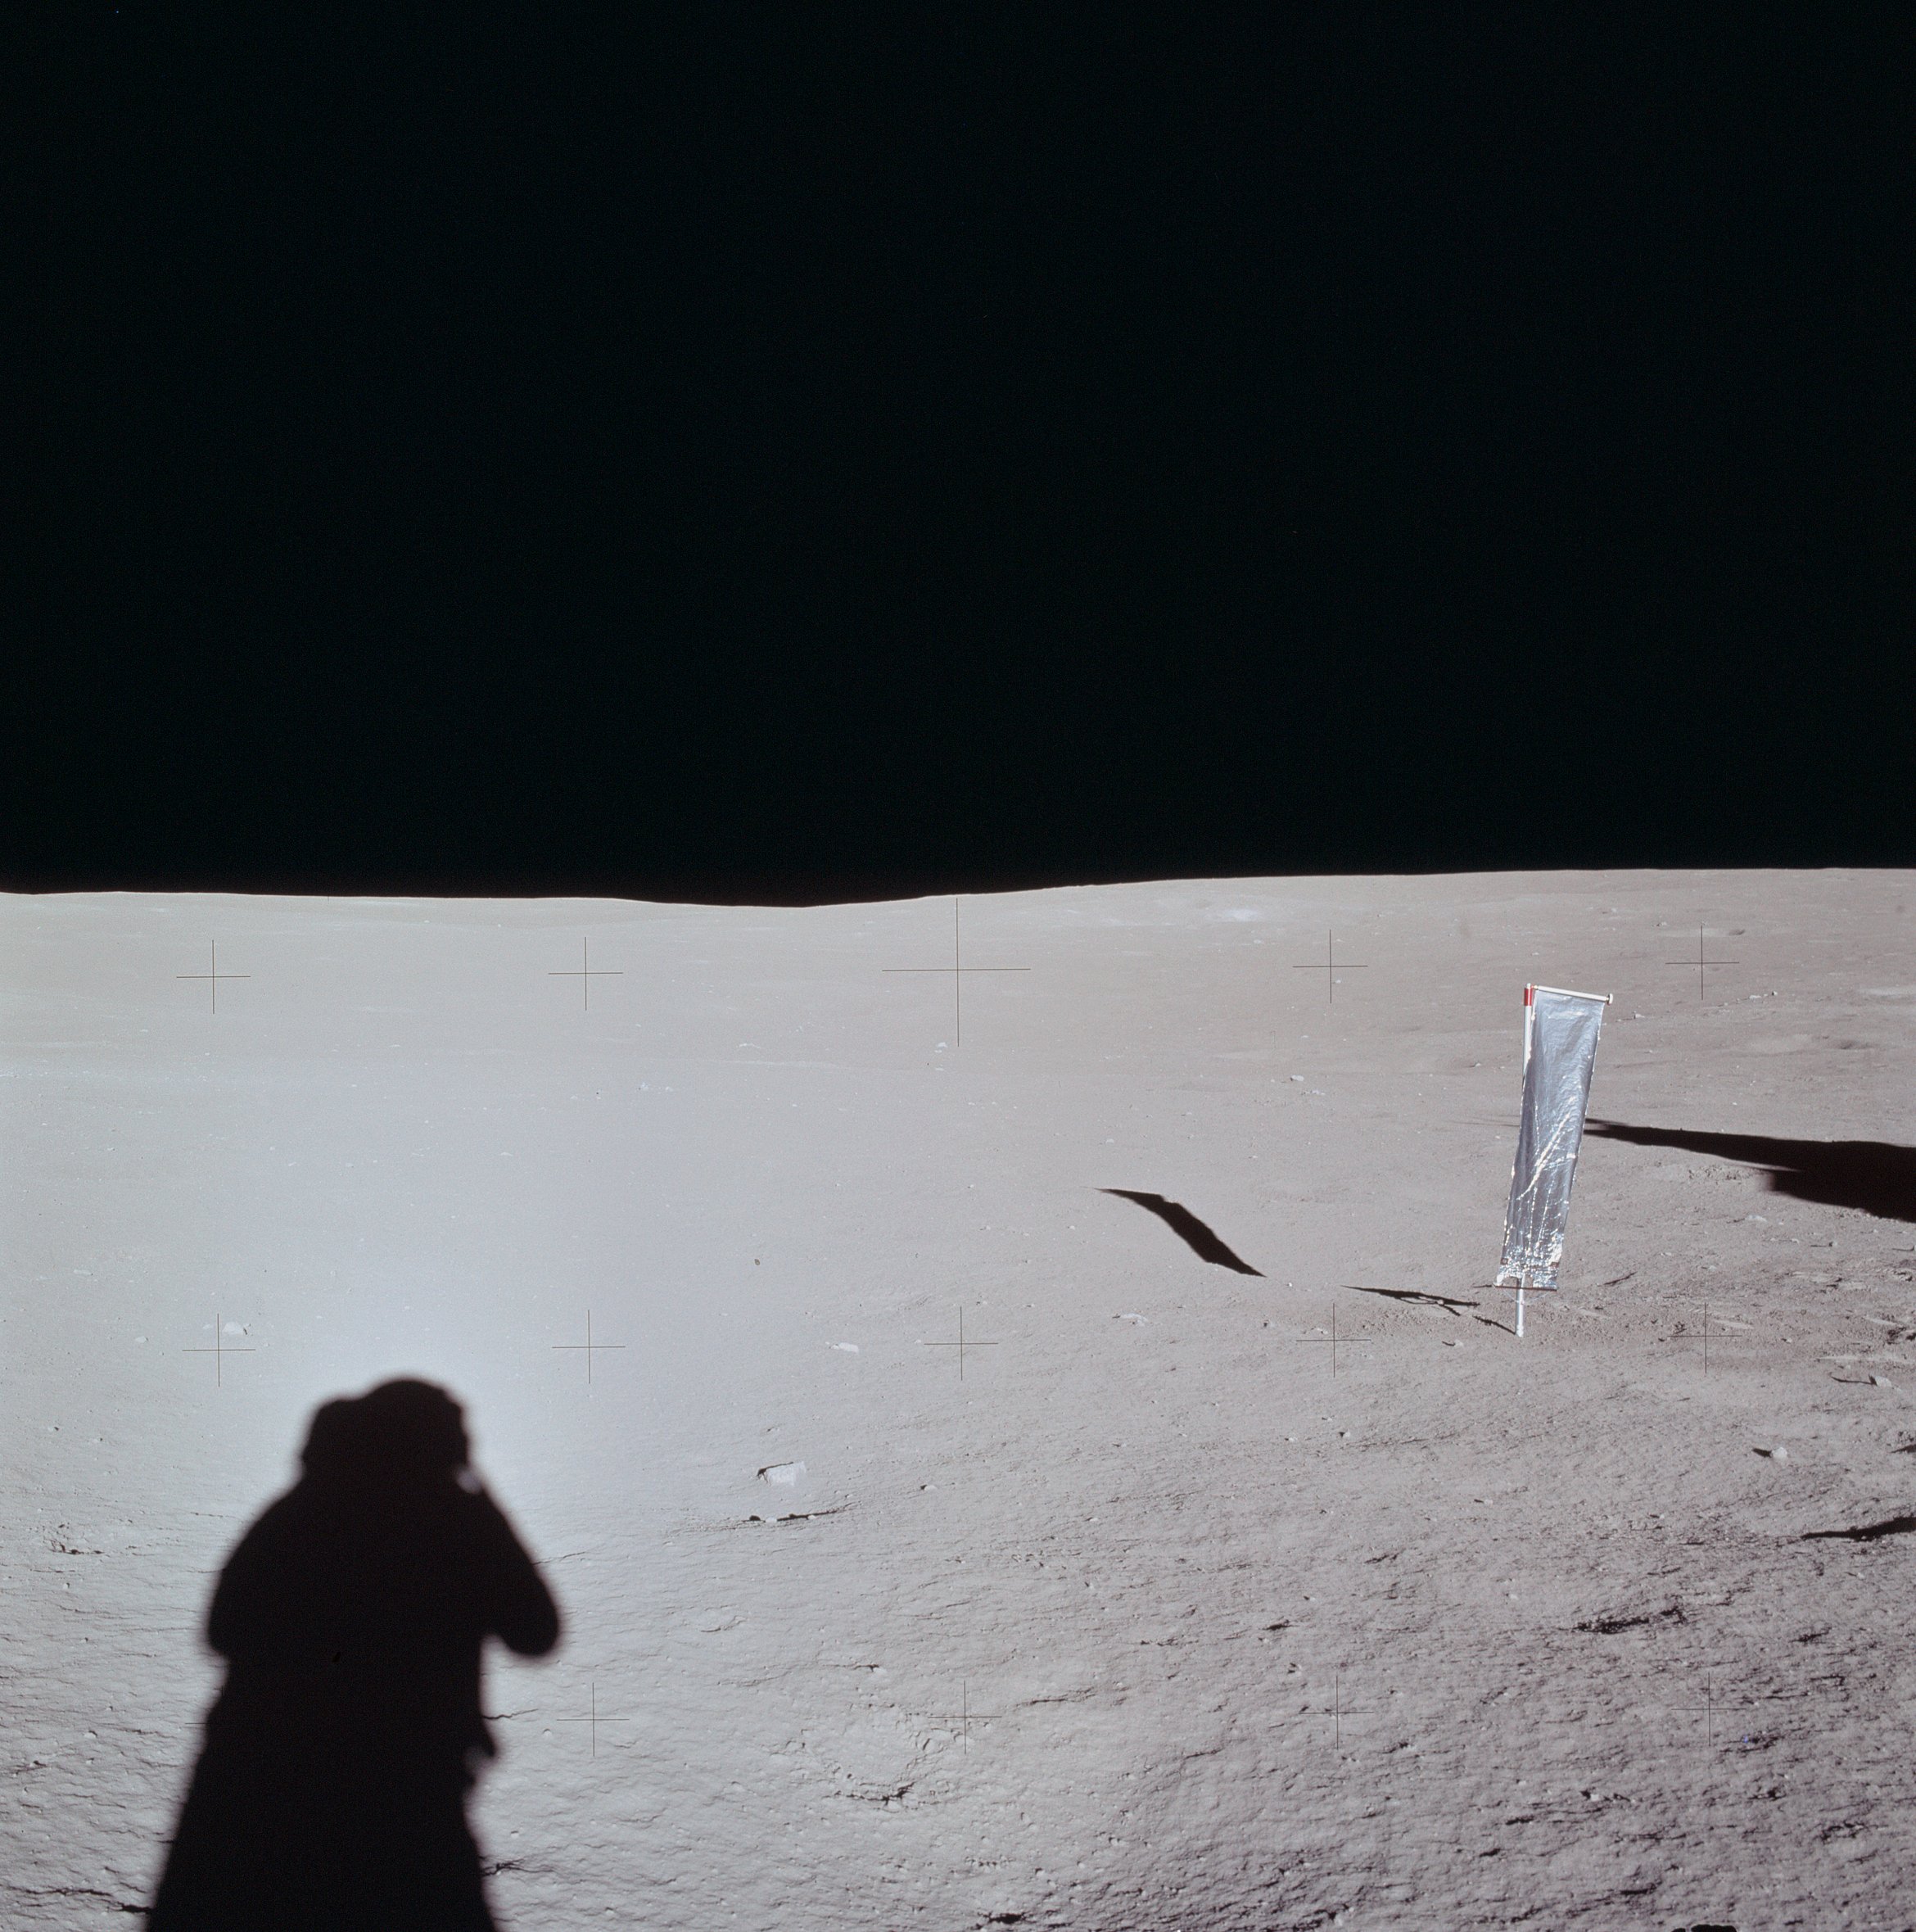 | AS14-66-9272 Rightward of 9271. Image credit: Image Science and Analysis Laboratory, NASA-Johnson Space Center. |
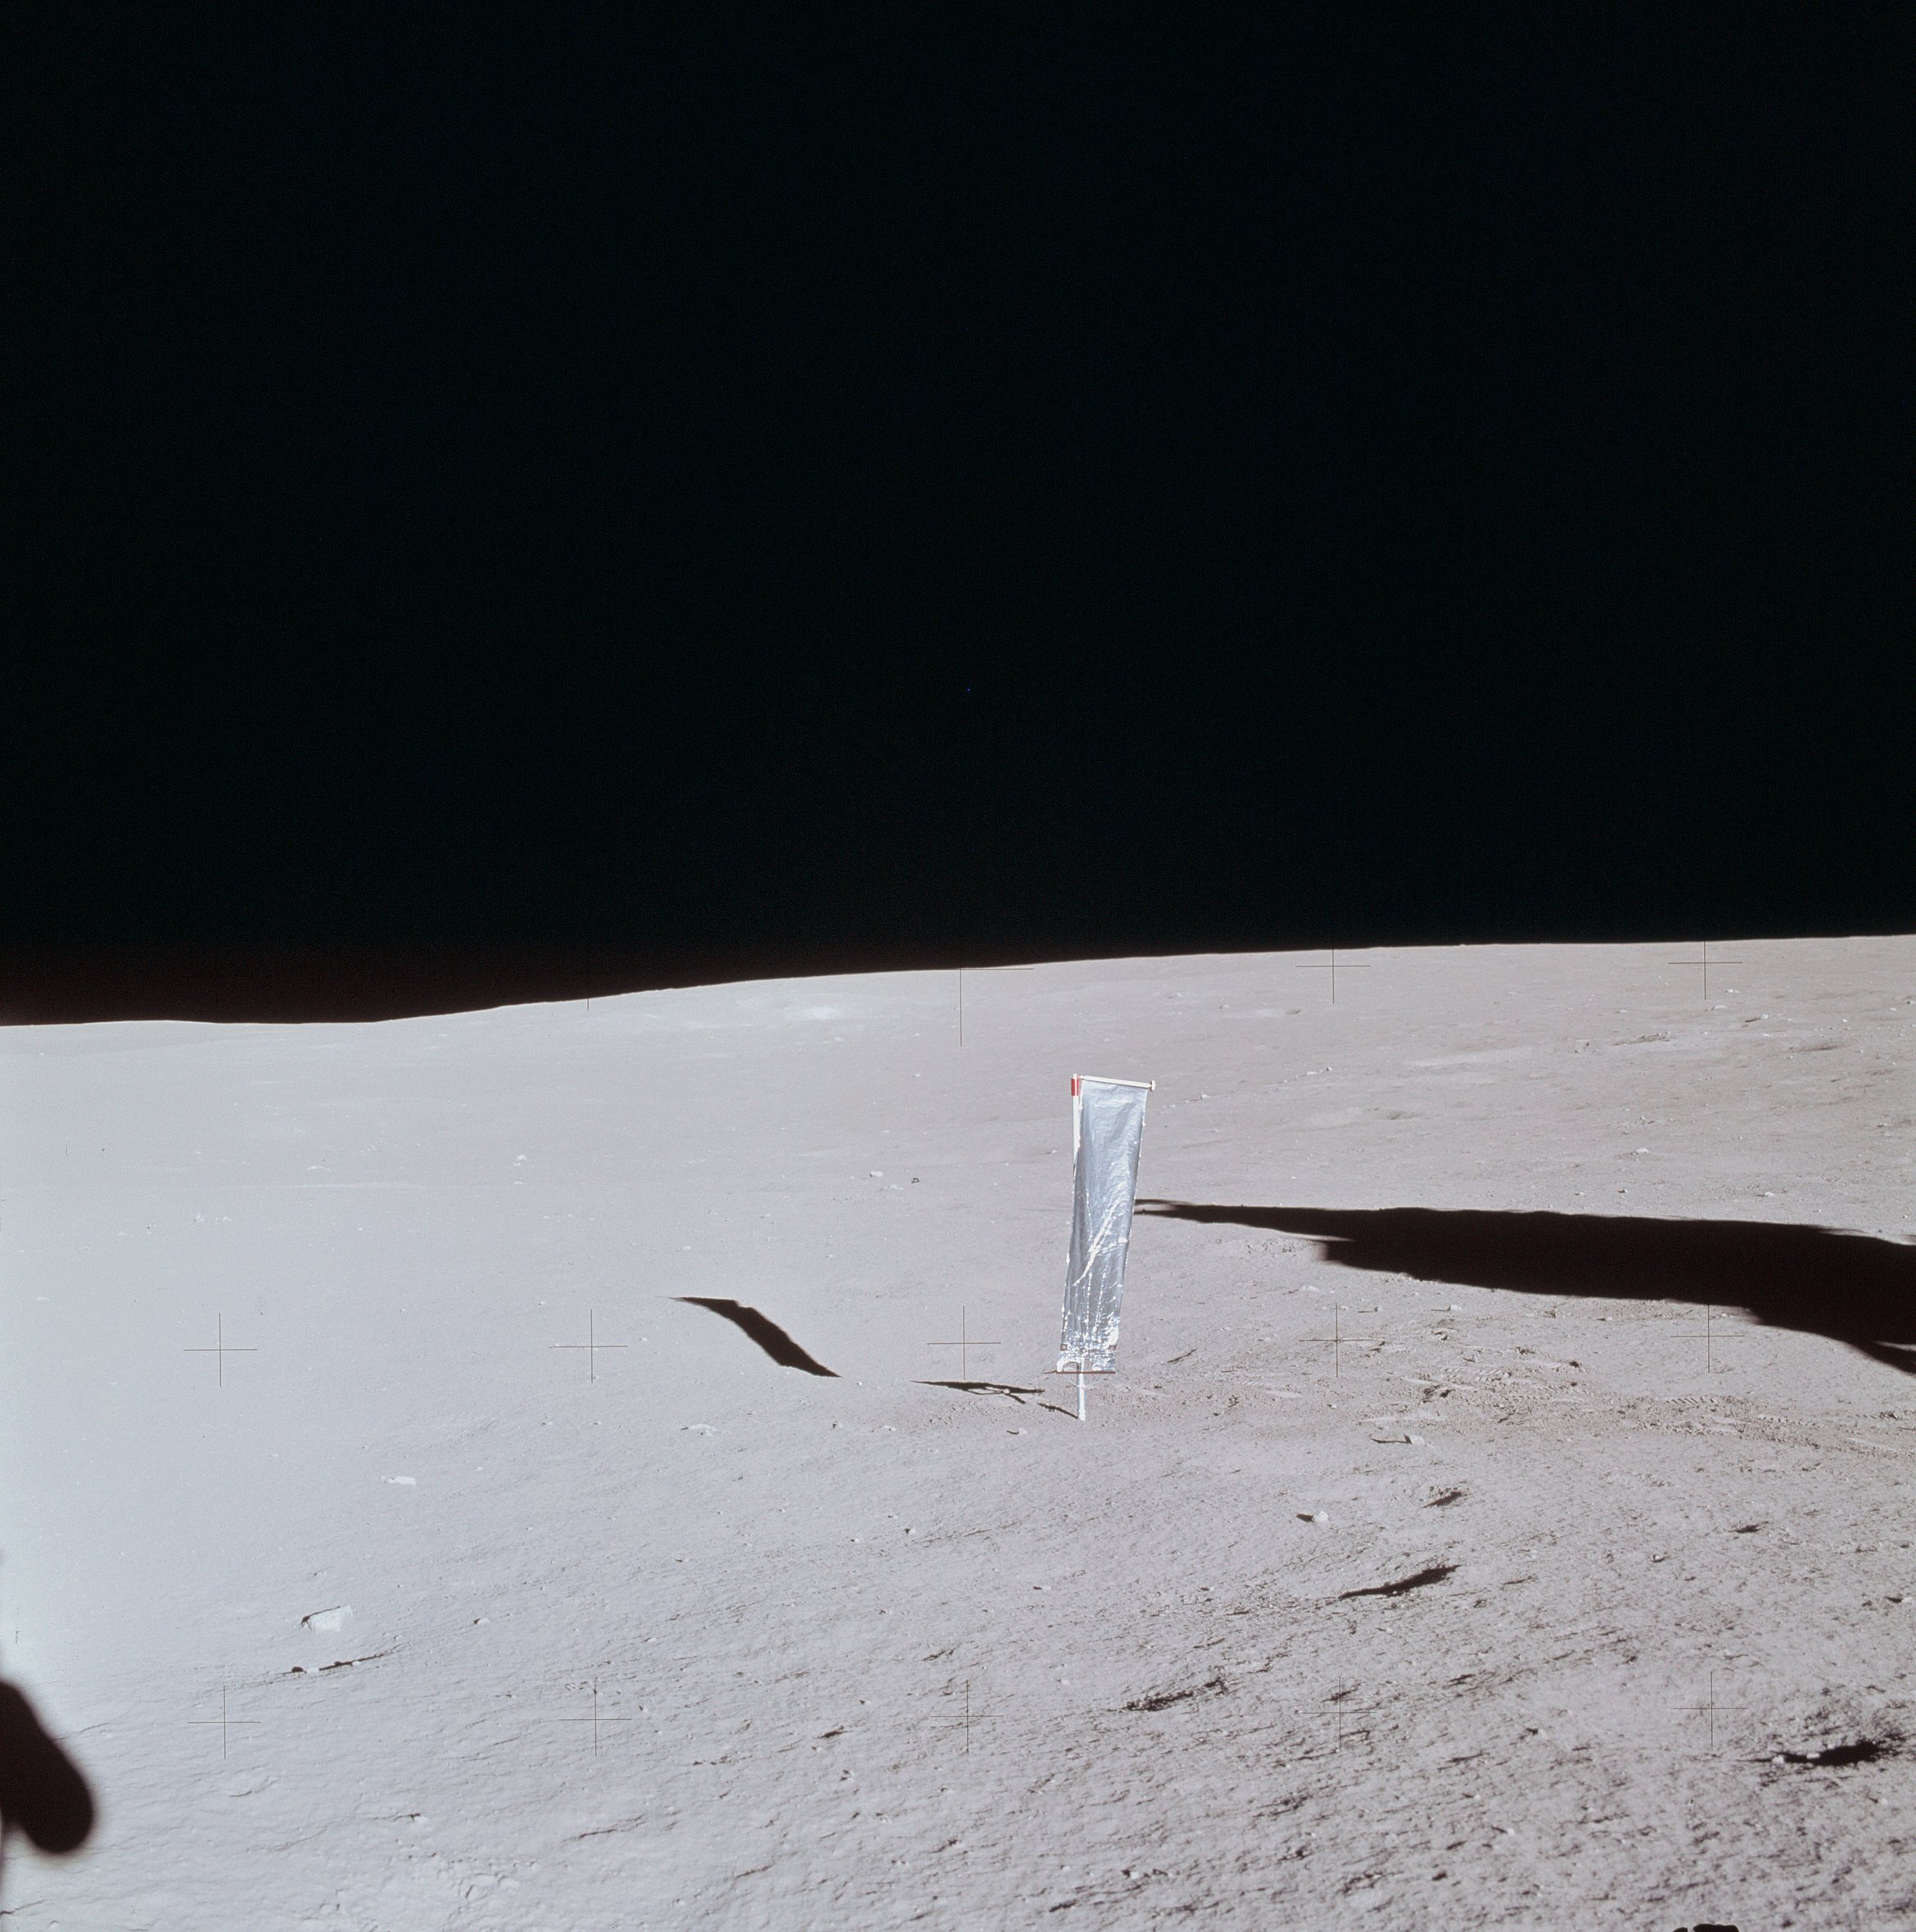 | AS14-66-9273 Rightward of 9272, centered on the SWC. Image credit: Image Science and Analysis Laboratory, NASA-Johnson Space Center. |
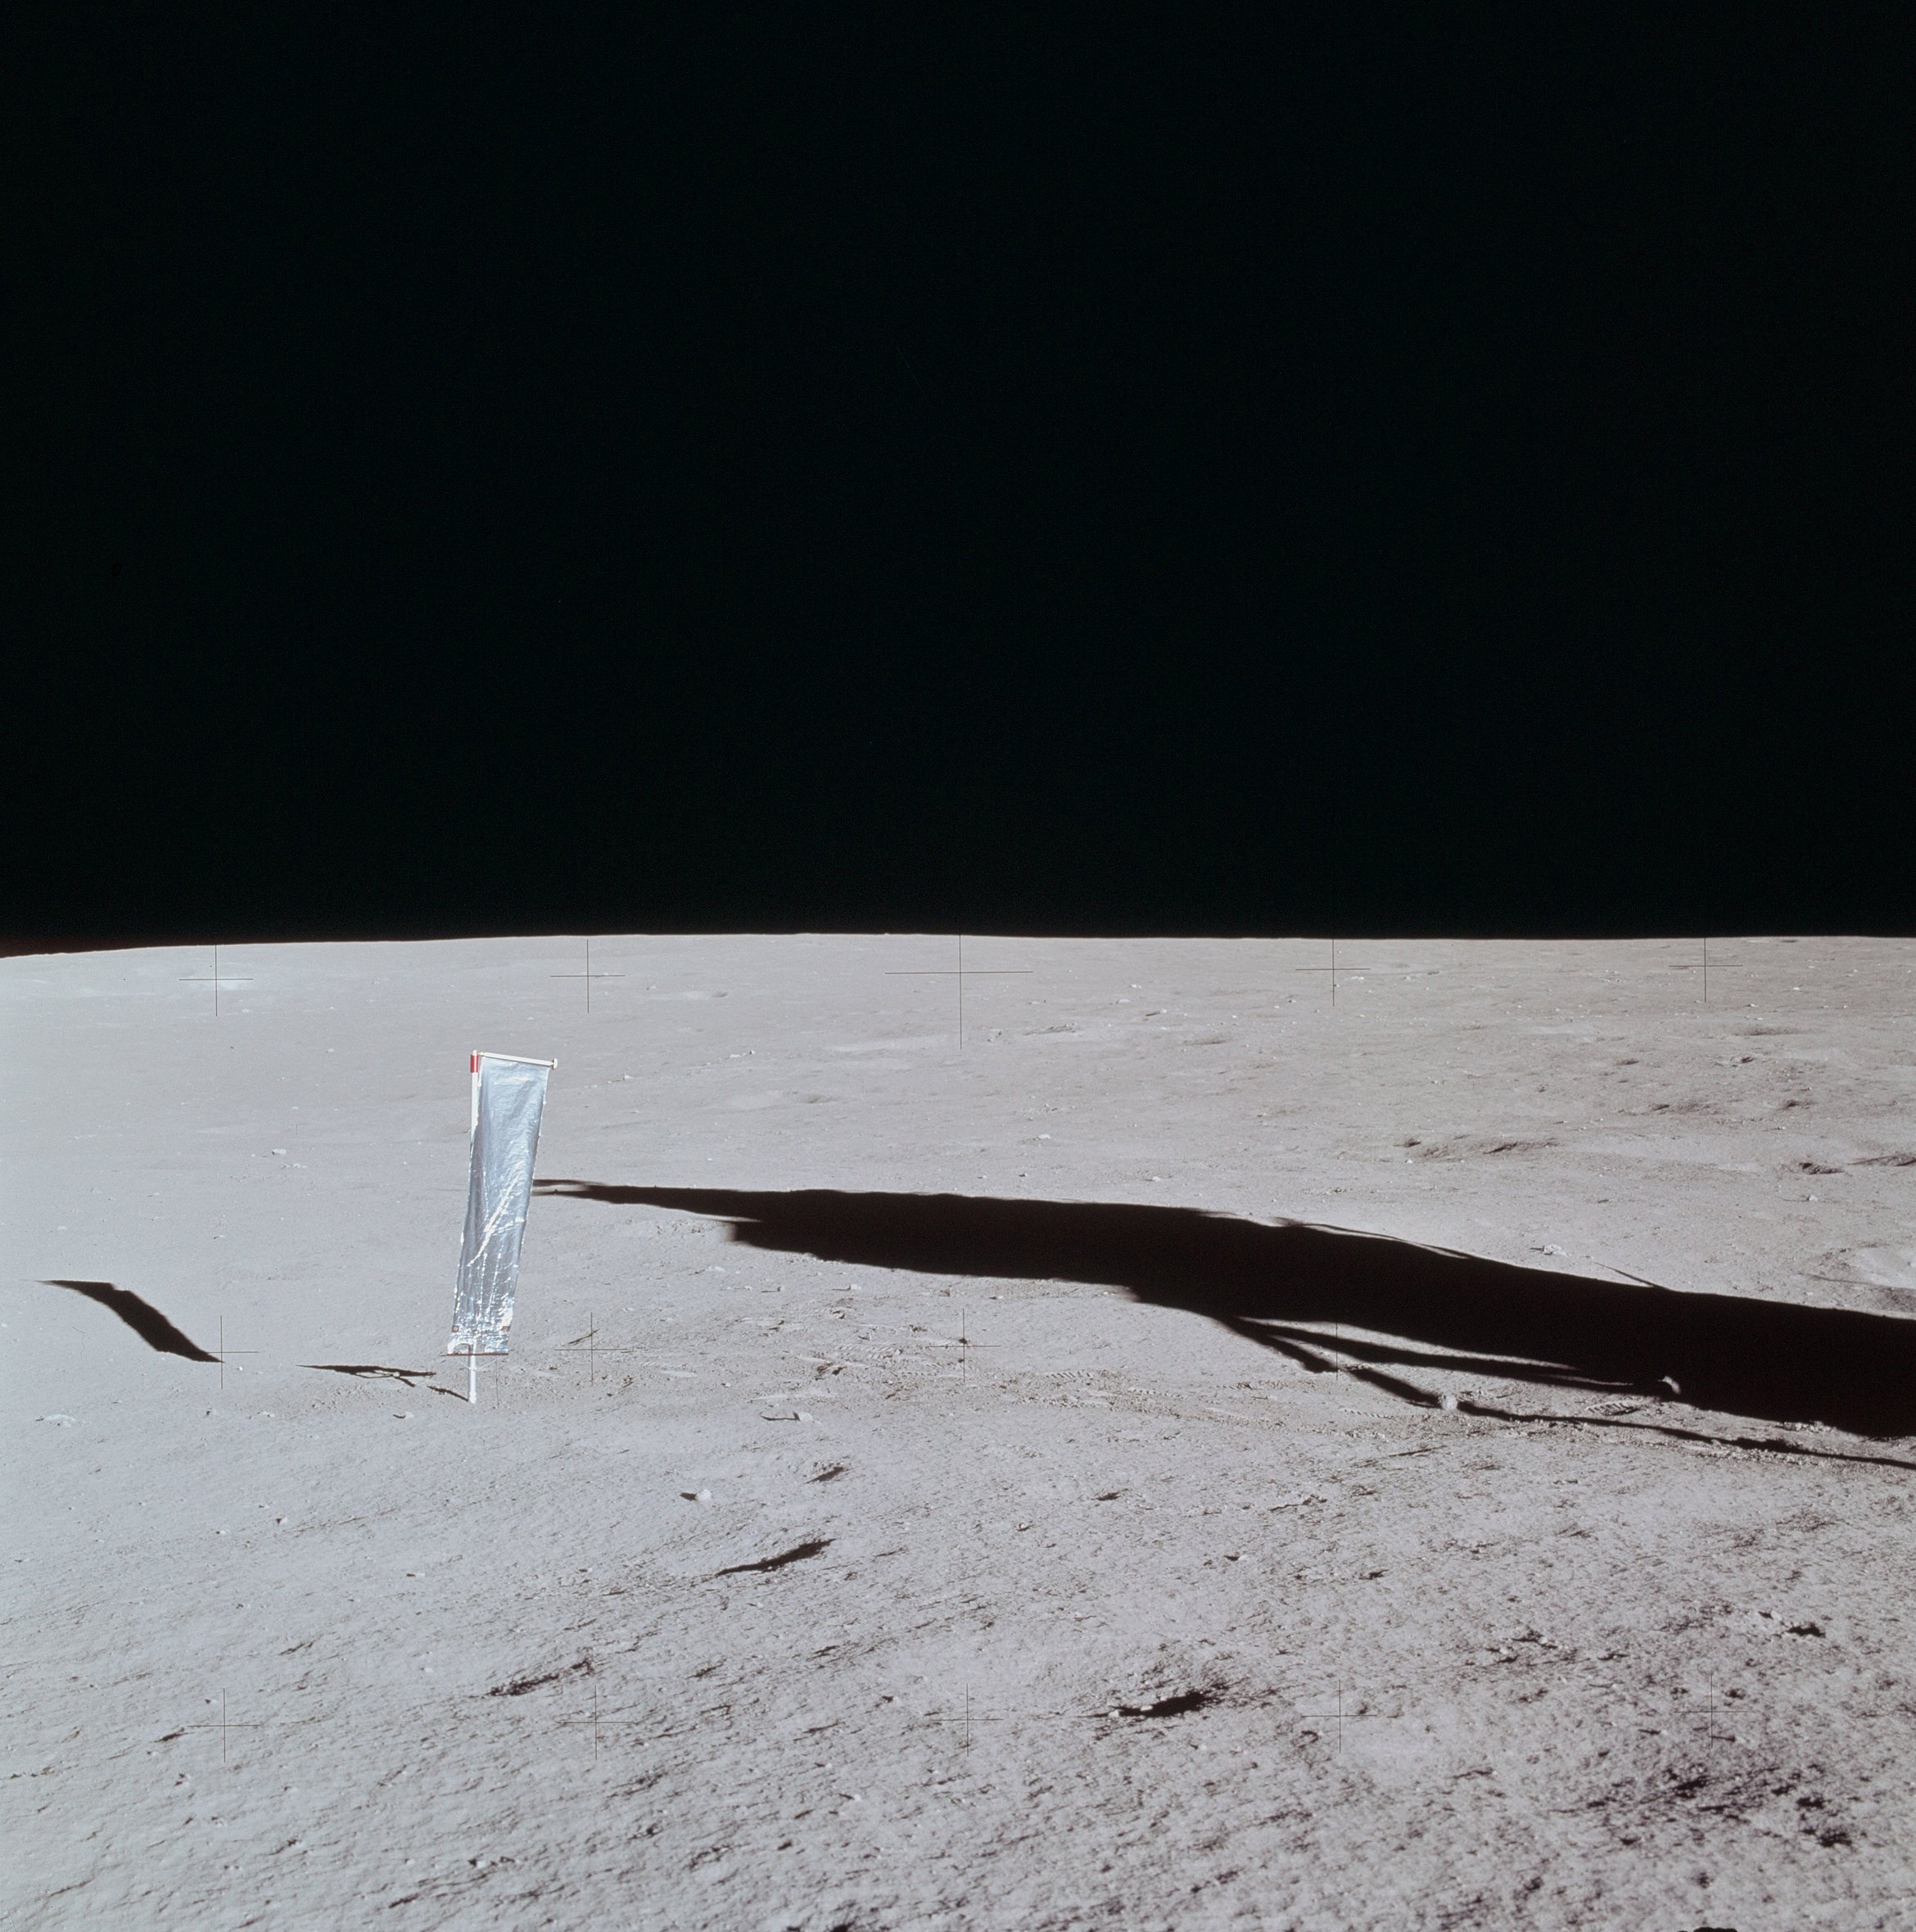 | AS14-66-9274 Rightward of 9273, SWC and most of the LM shadow. Image credit: Image Science and Analysis Laboratory, NASA-Johnson Space Center. |
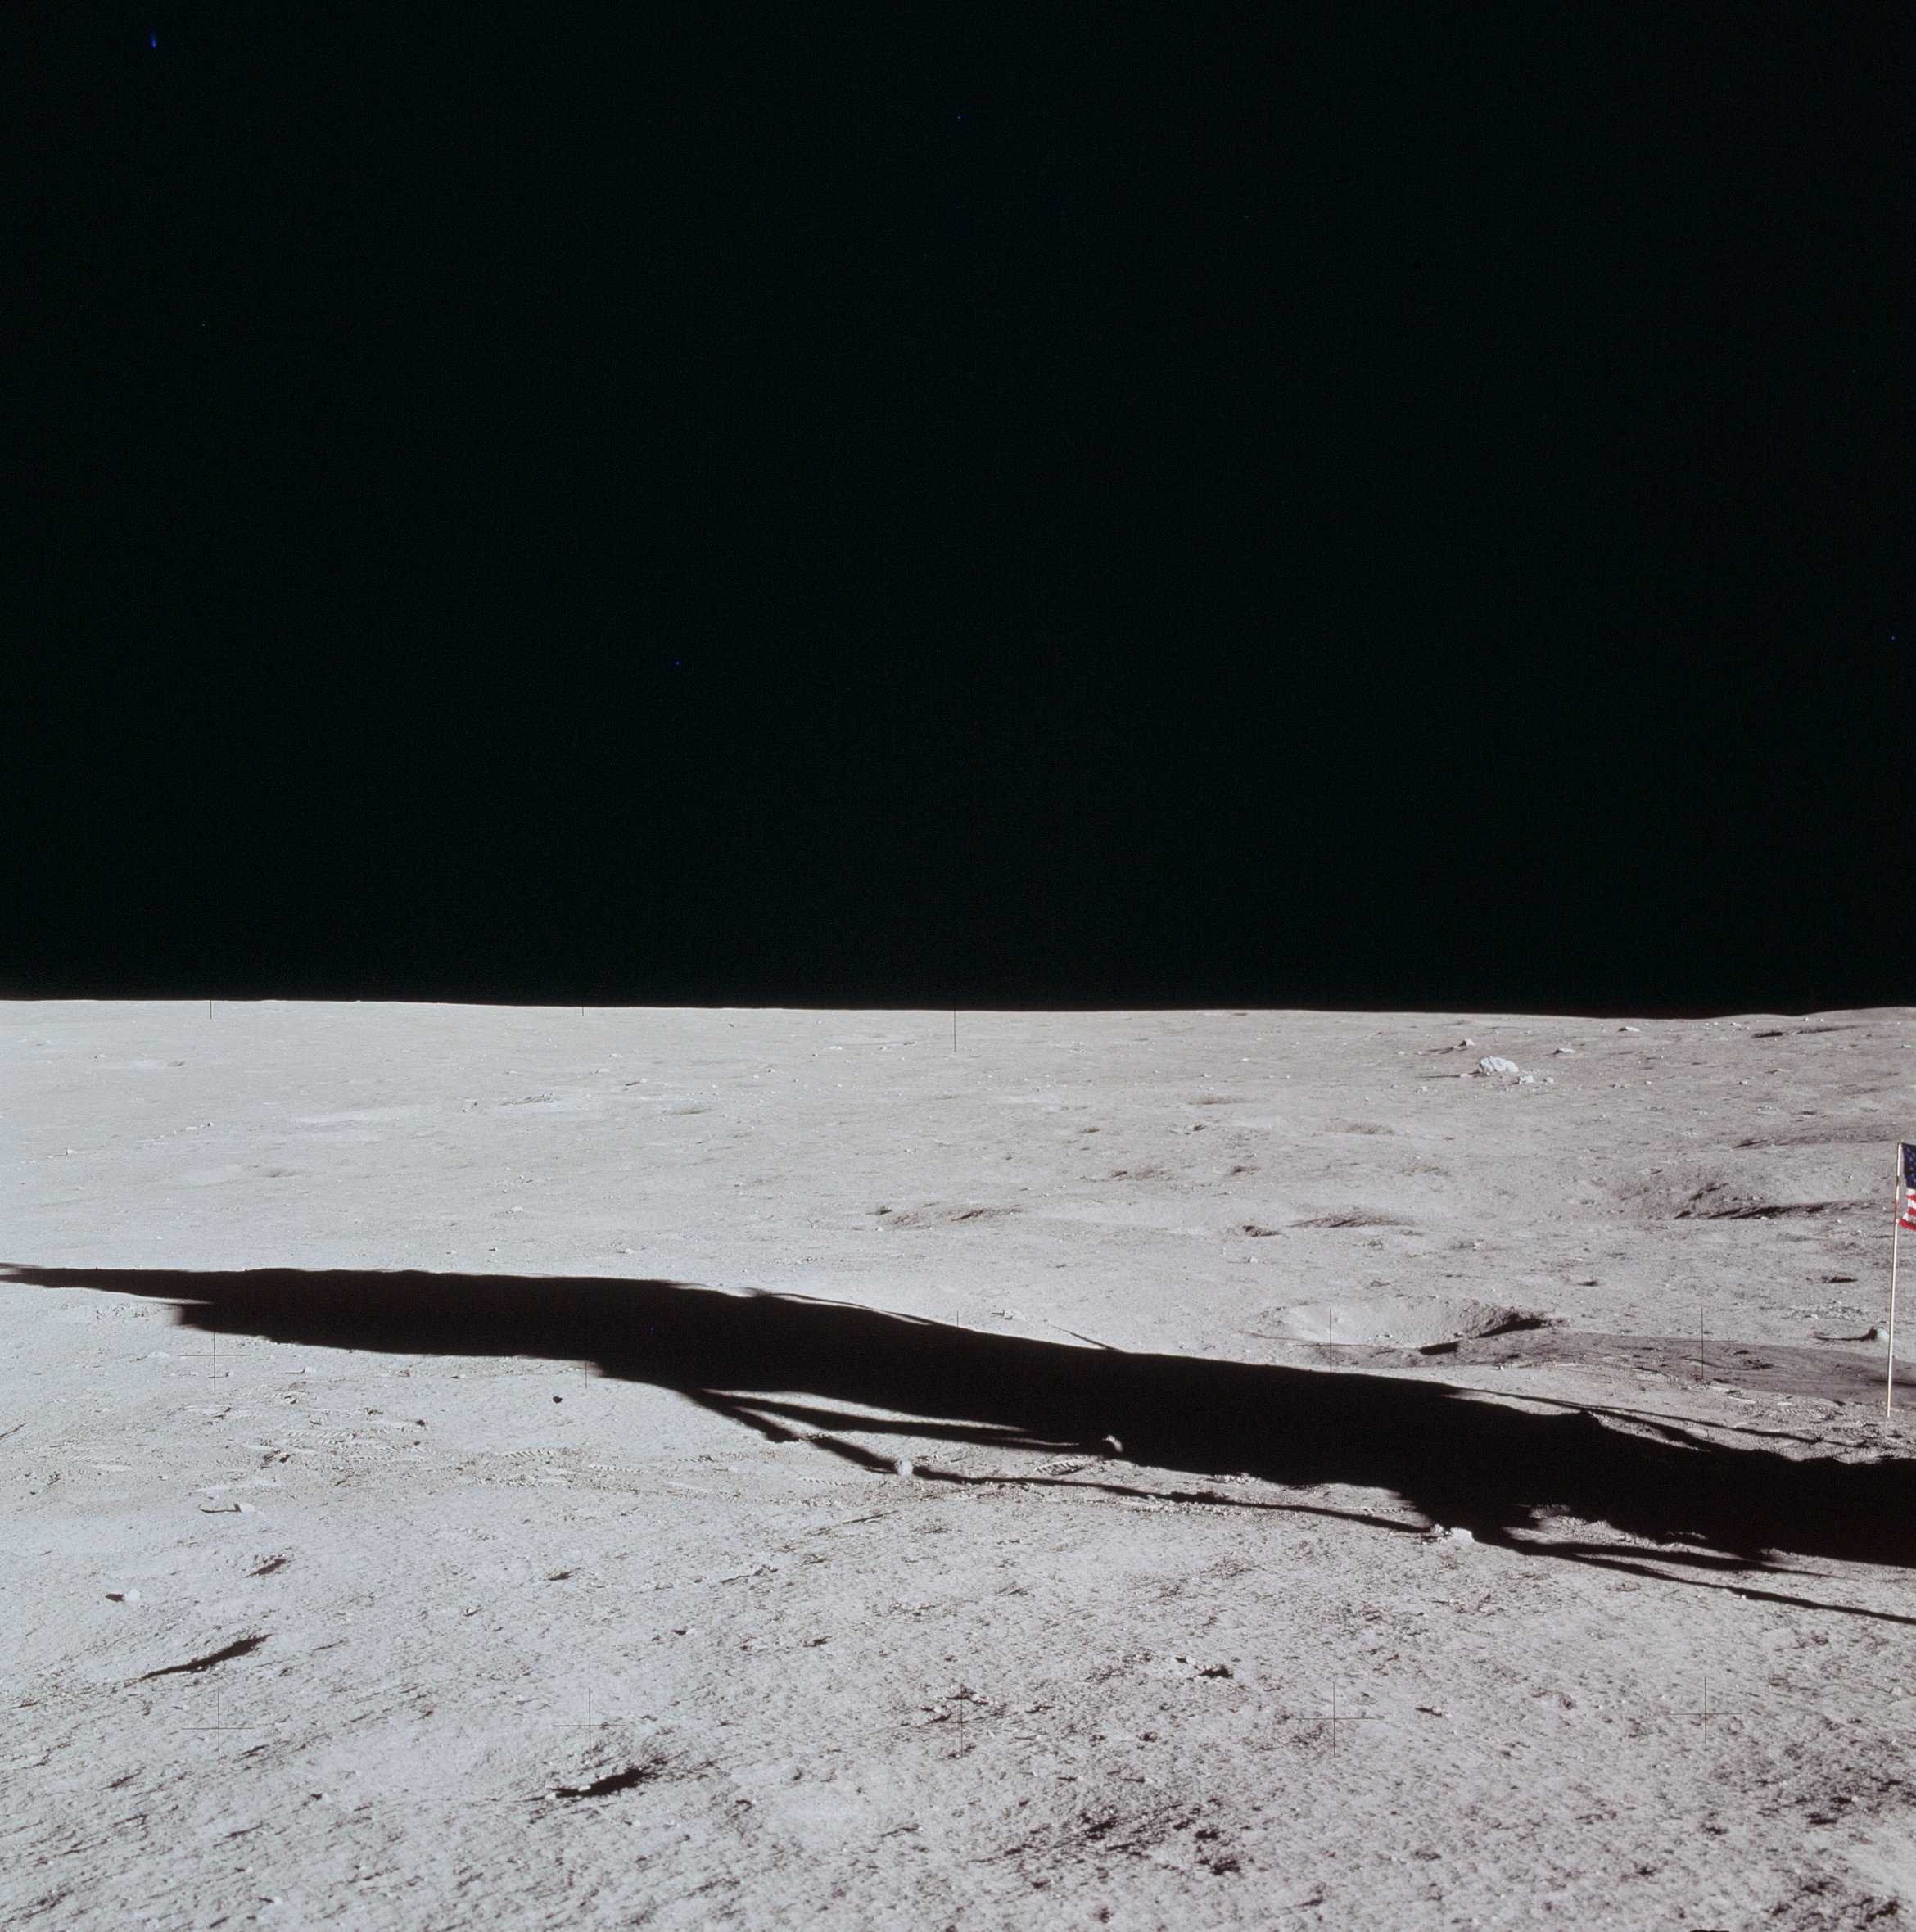 | AS14-66-9275 Rightward of 9274, LM shadow and Turtle Rock. Image credit: Image Science and Analysis Laboratory, NASA-Johnson Space Center. |
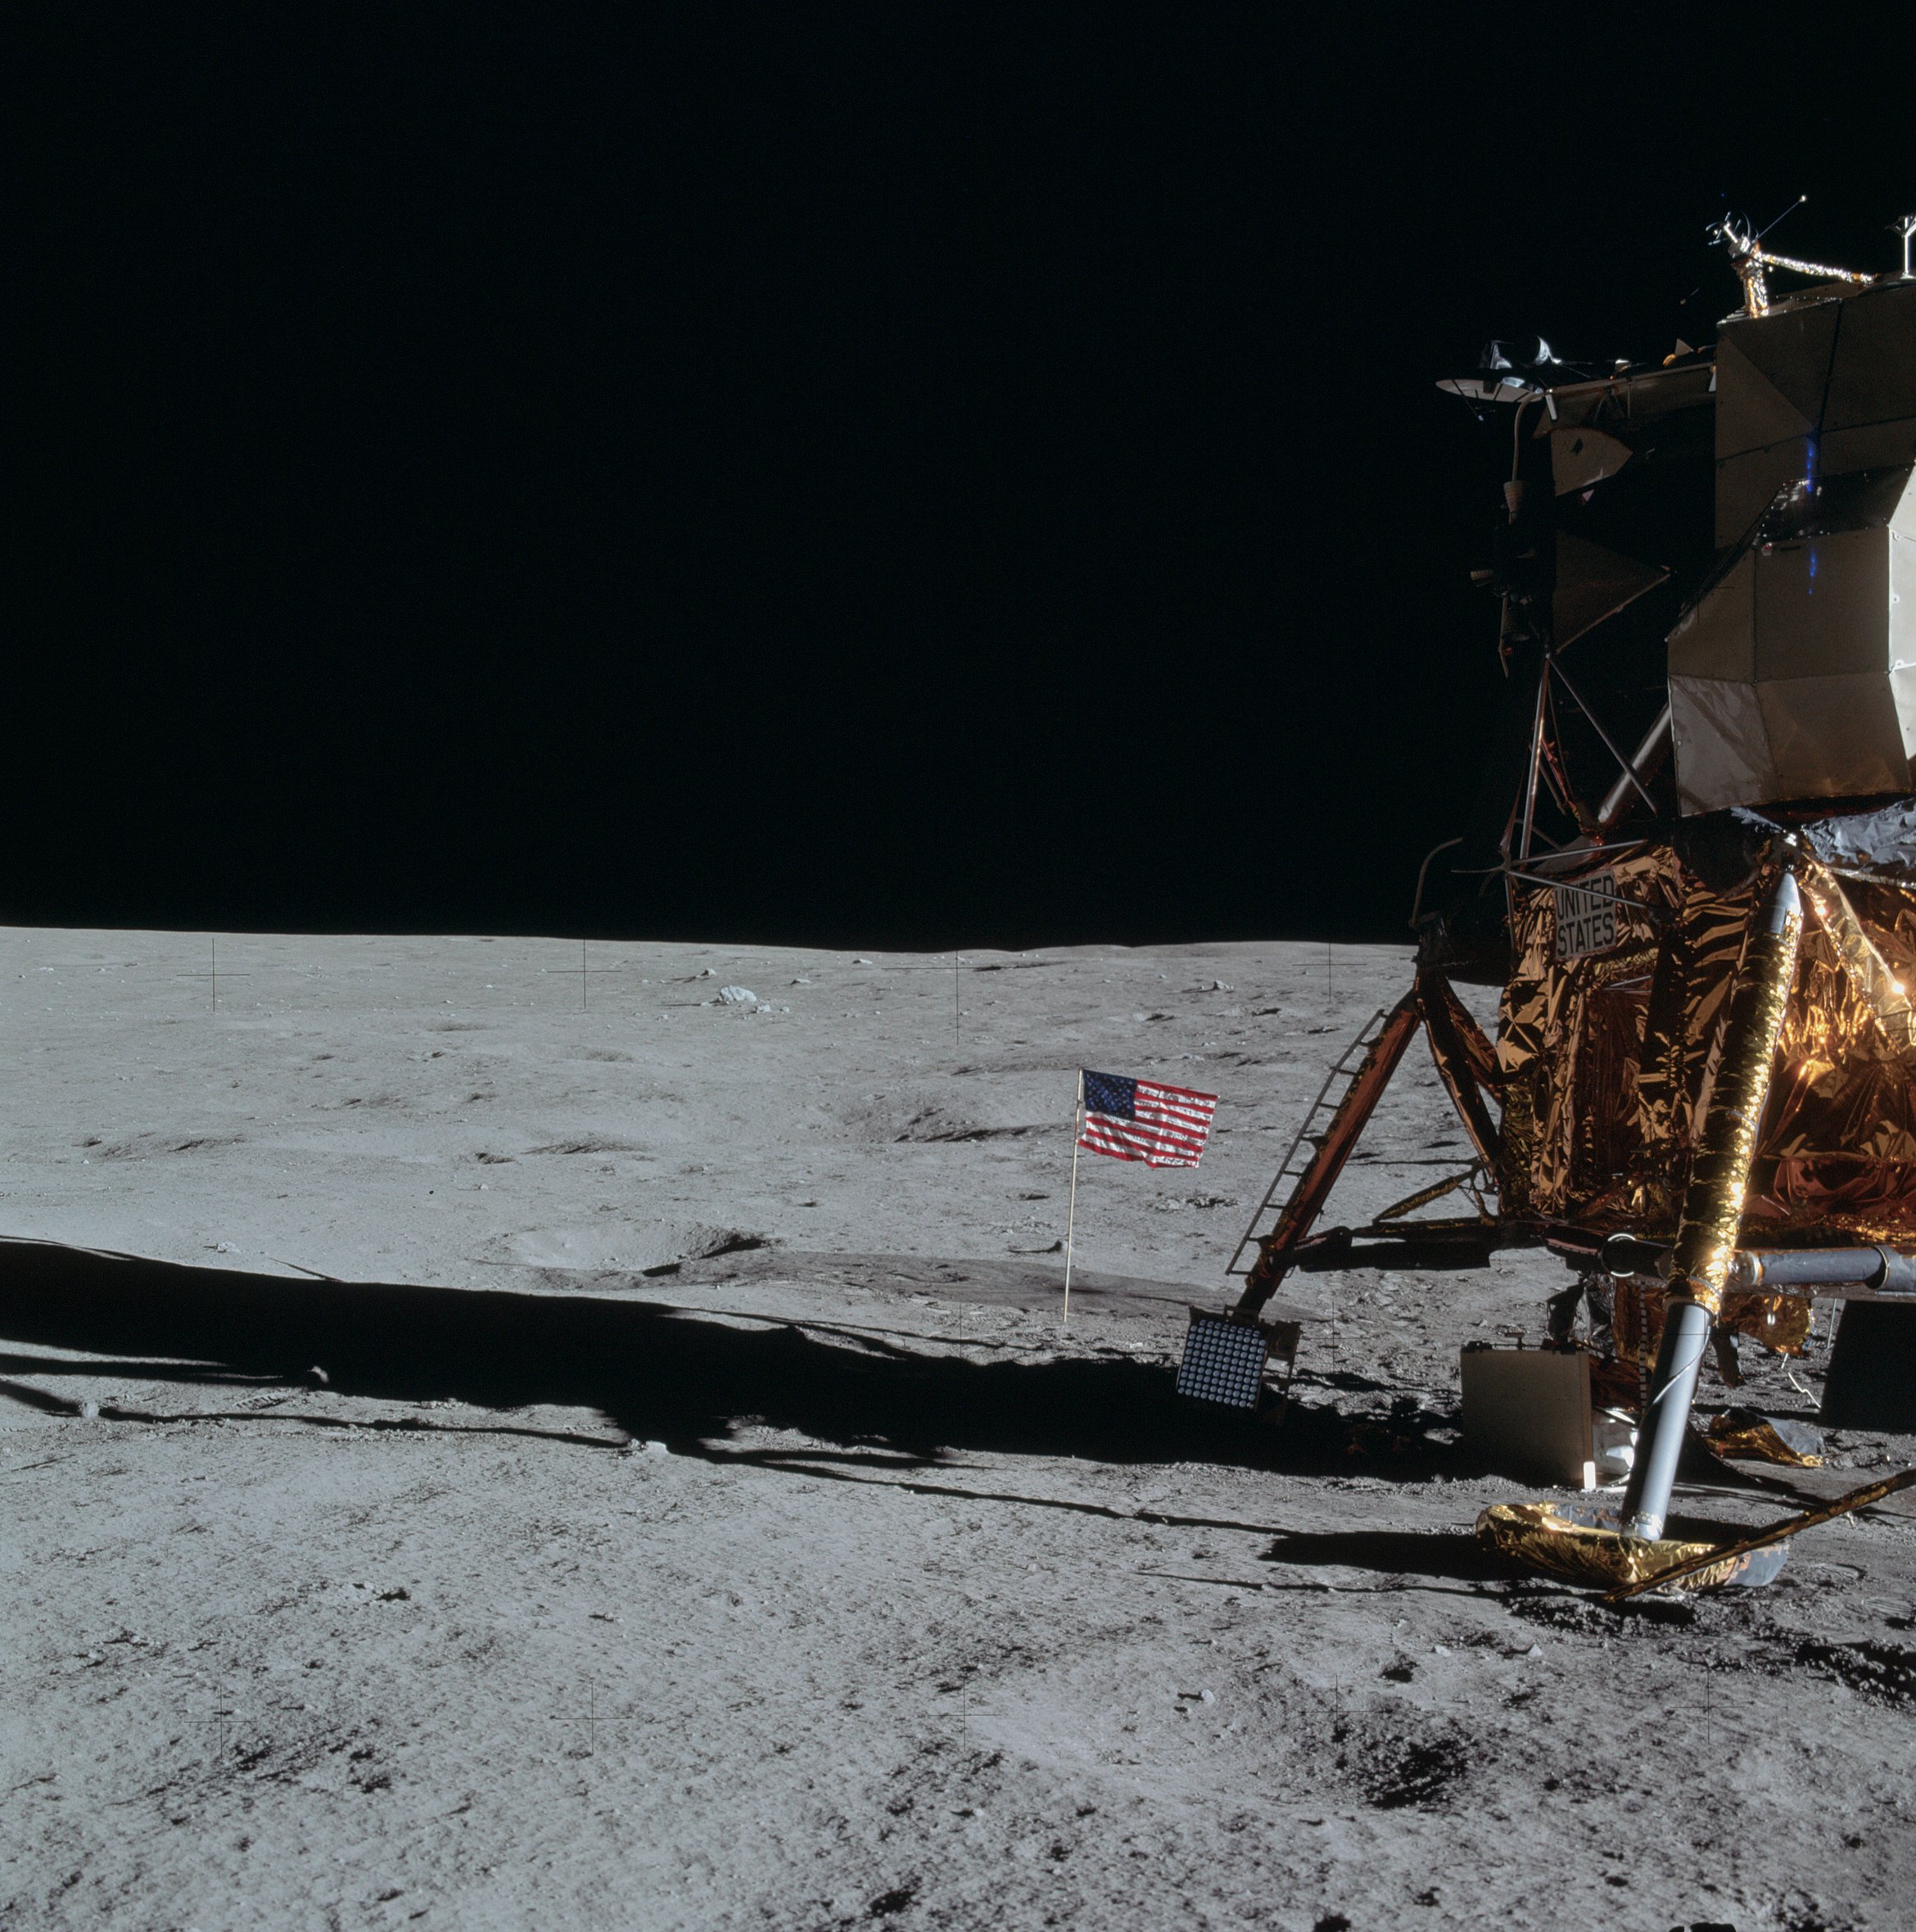 | AS14-66-9276 Rightward of 9275, LM shadow, ladder, U.S. flag, S-Band antenna shadow. Image credit: Image Science and Analysis Laboratory, NASA-Johnson Space Center. |
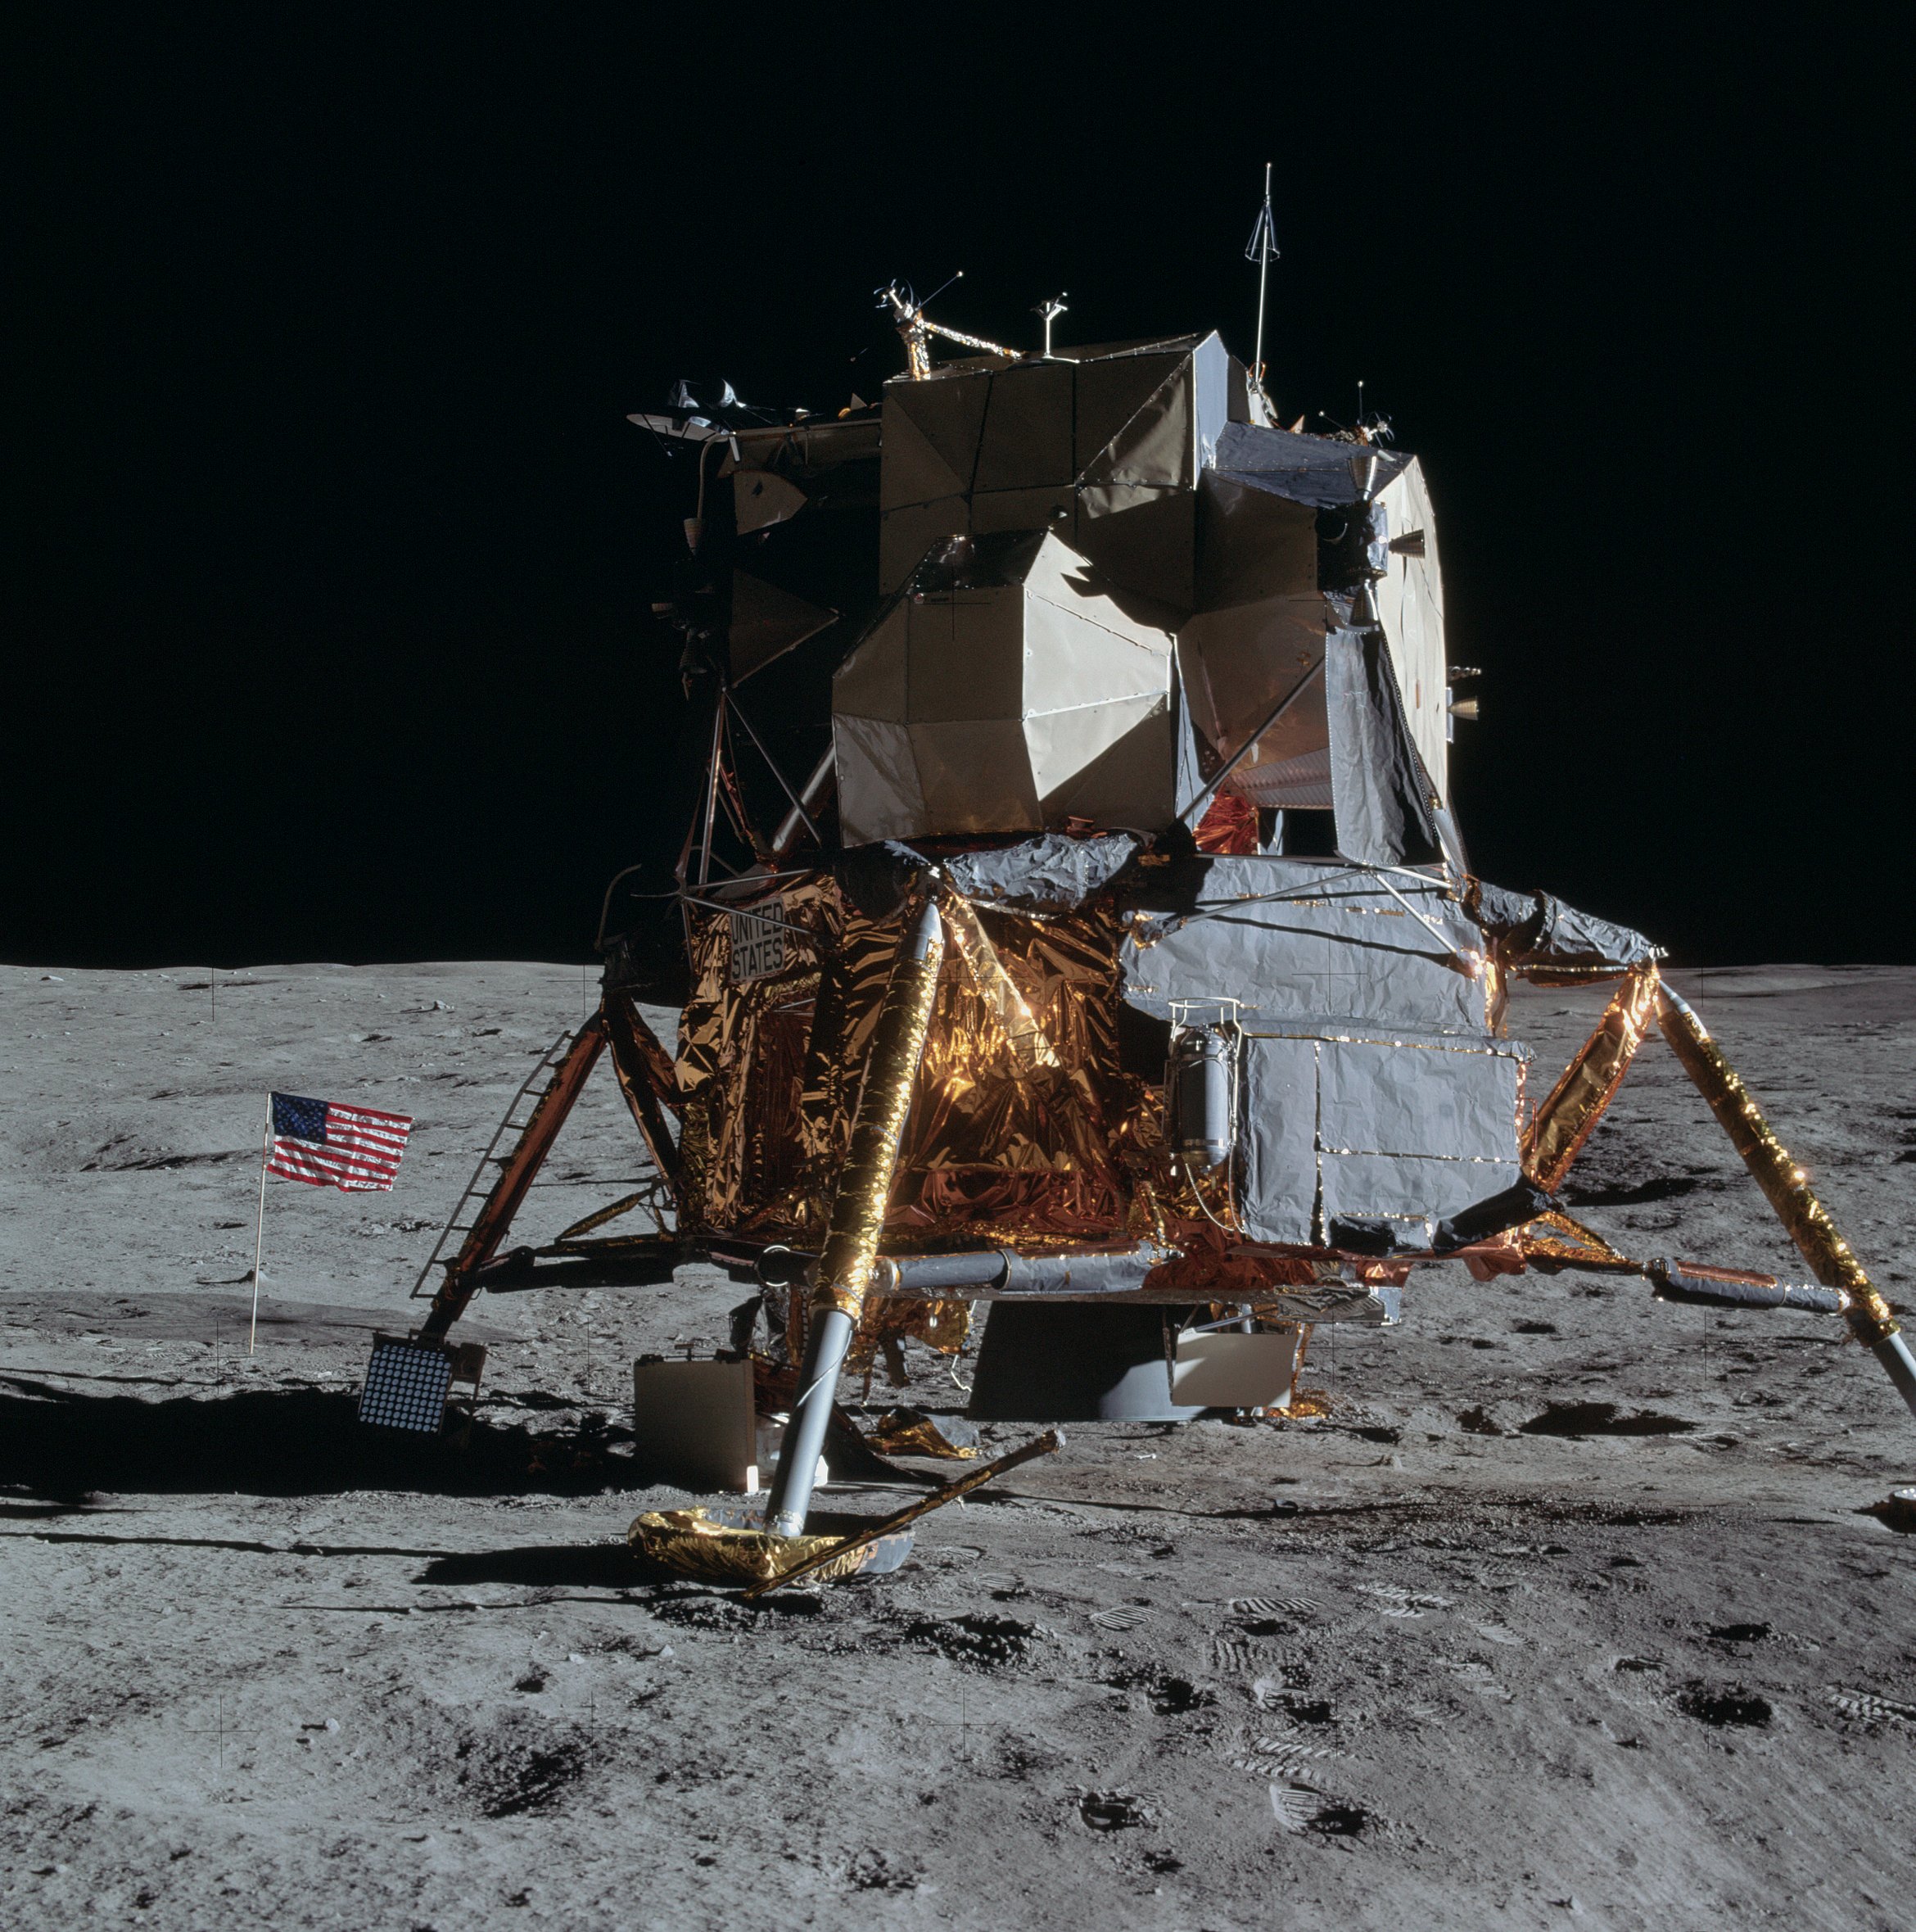 | AS14-66-9277 114:53:38 Rightward of 9276. Image credit: Image Science and Analysis Laboratory, NASA-Johnson Space Center. |
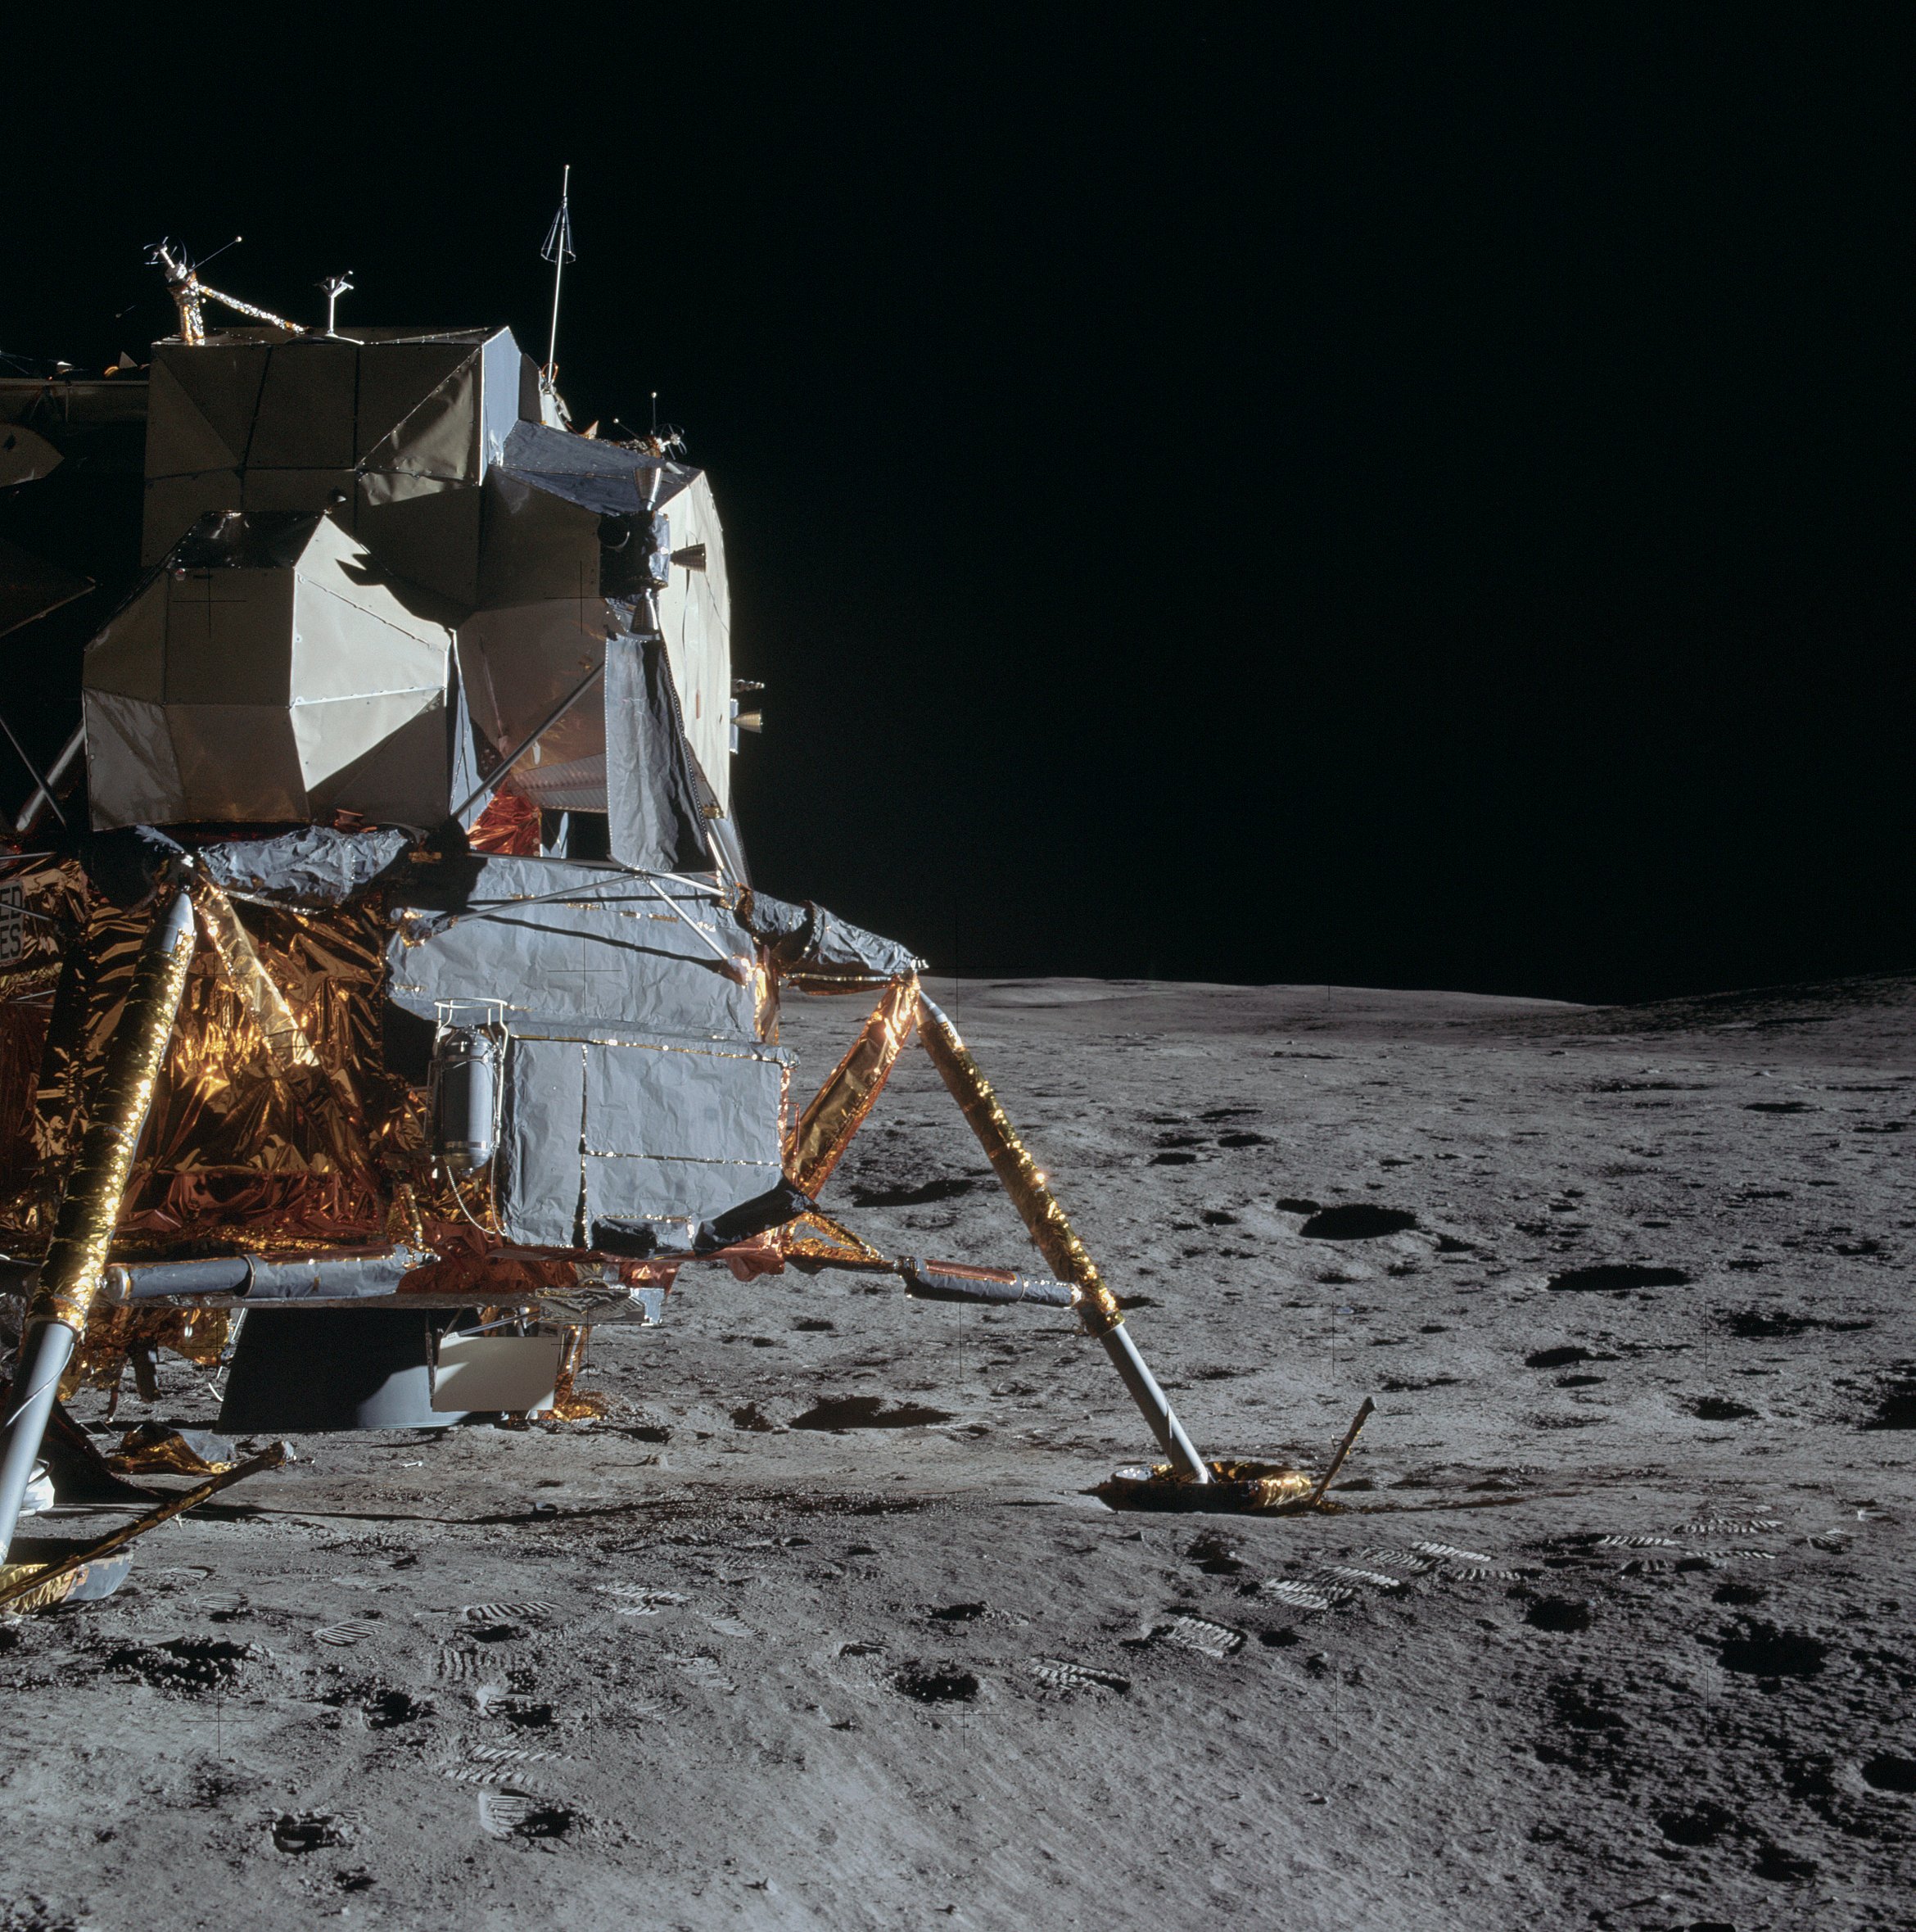 | AS14-66-9278 Rightward of 9277. Image credit: Image Science and Analysis Laboratory, NASA-Johnson Space Center. |
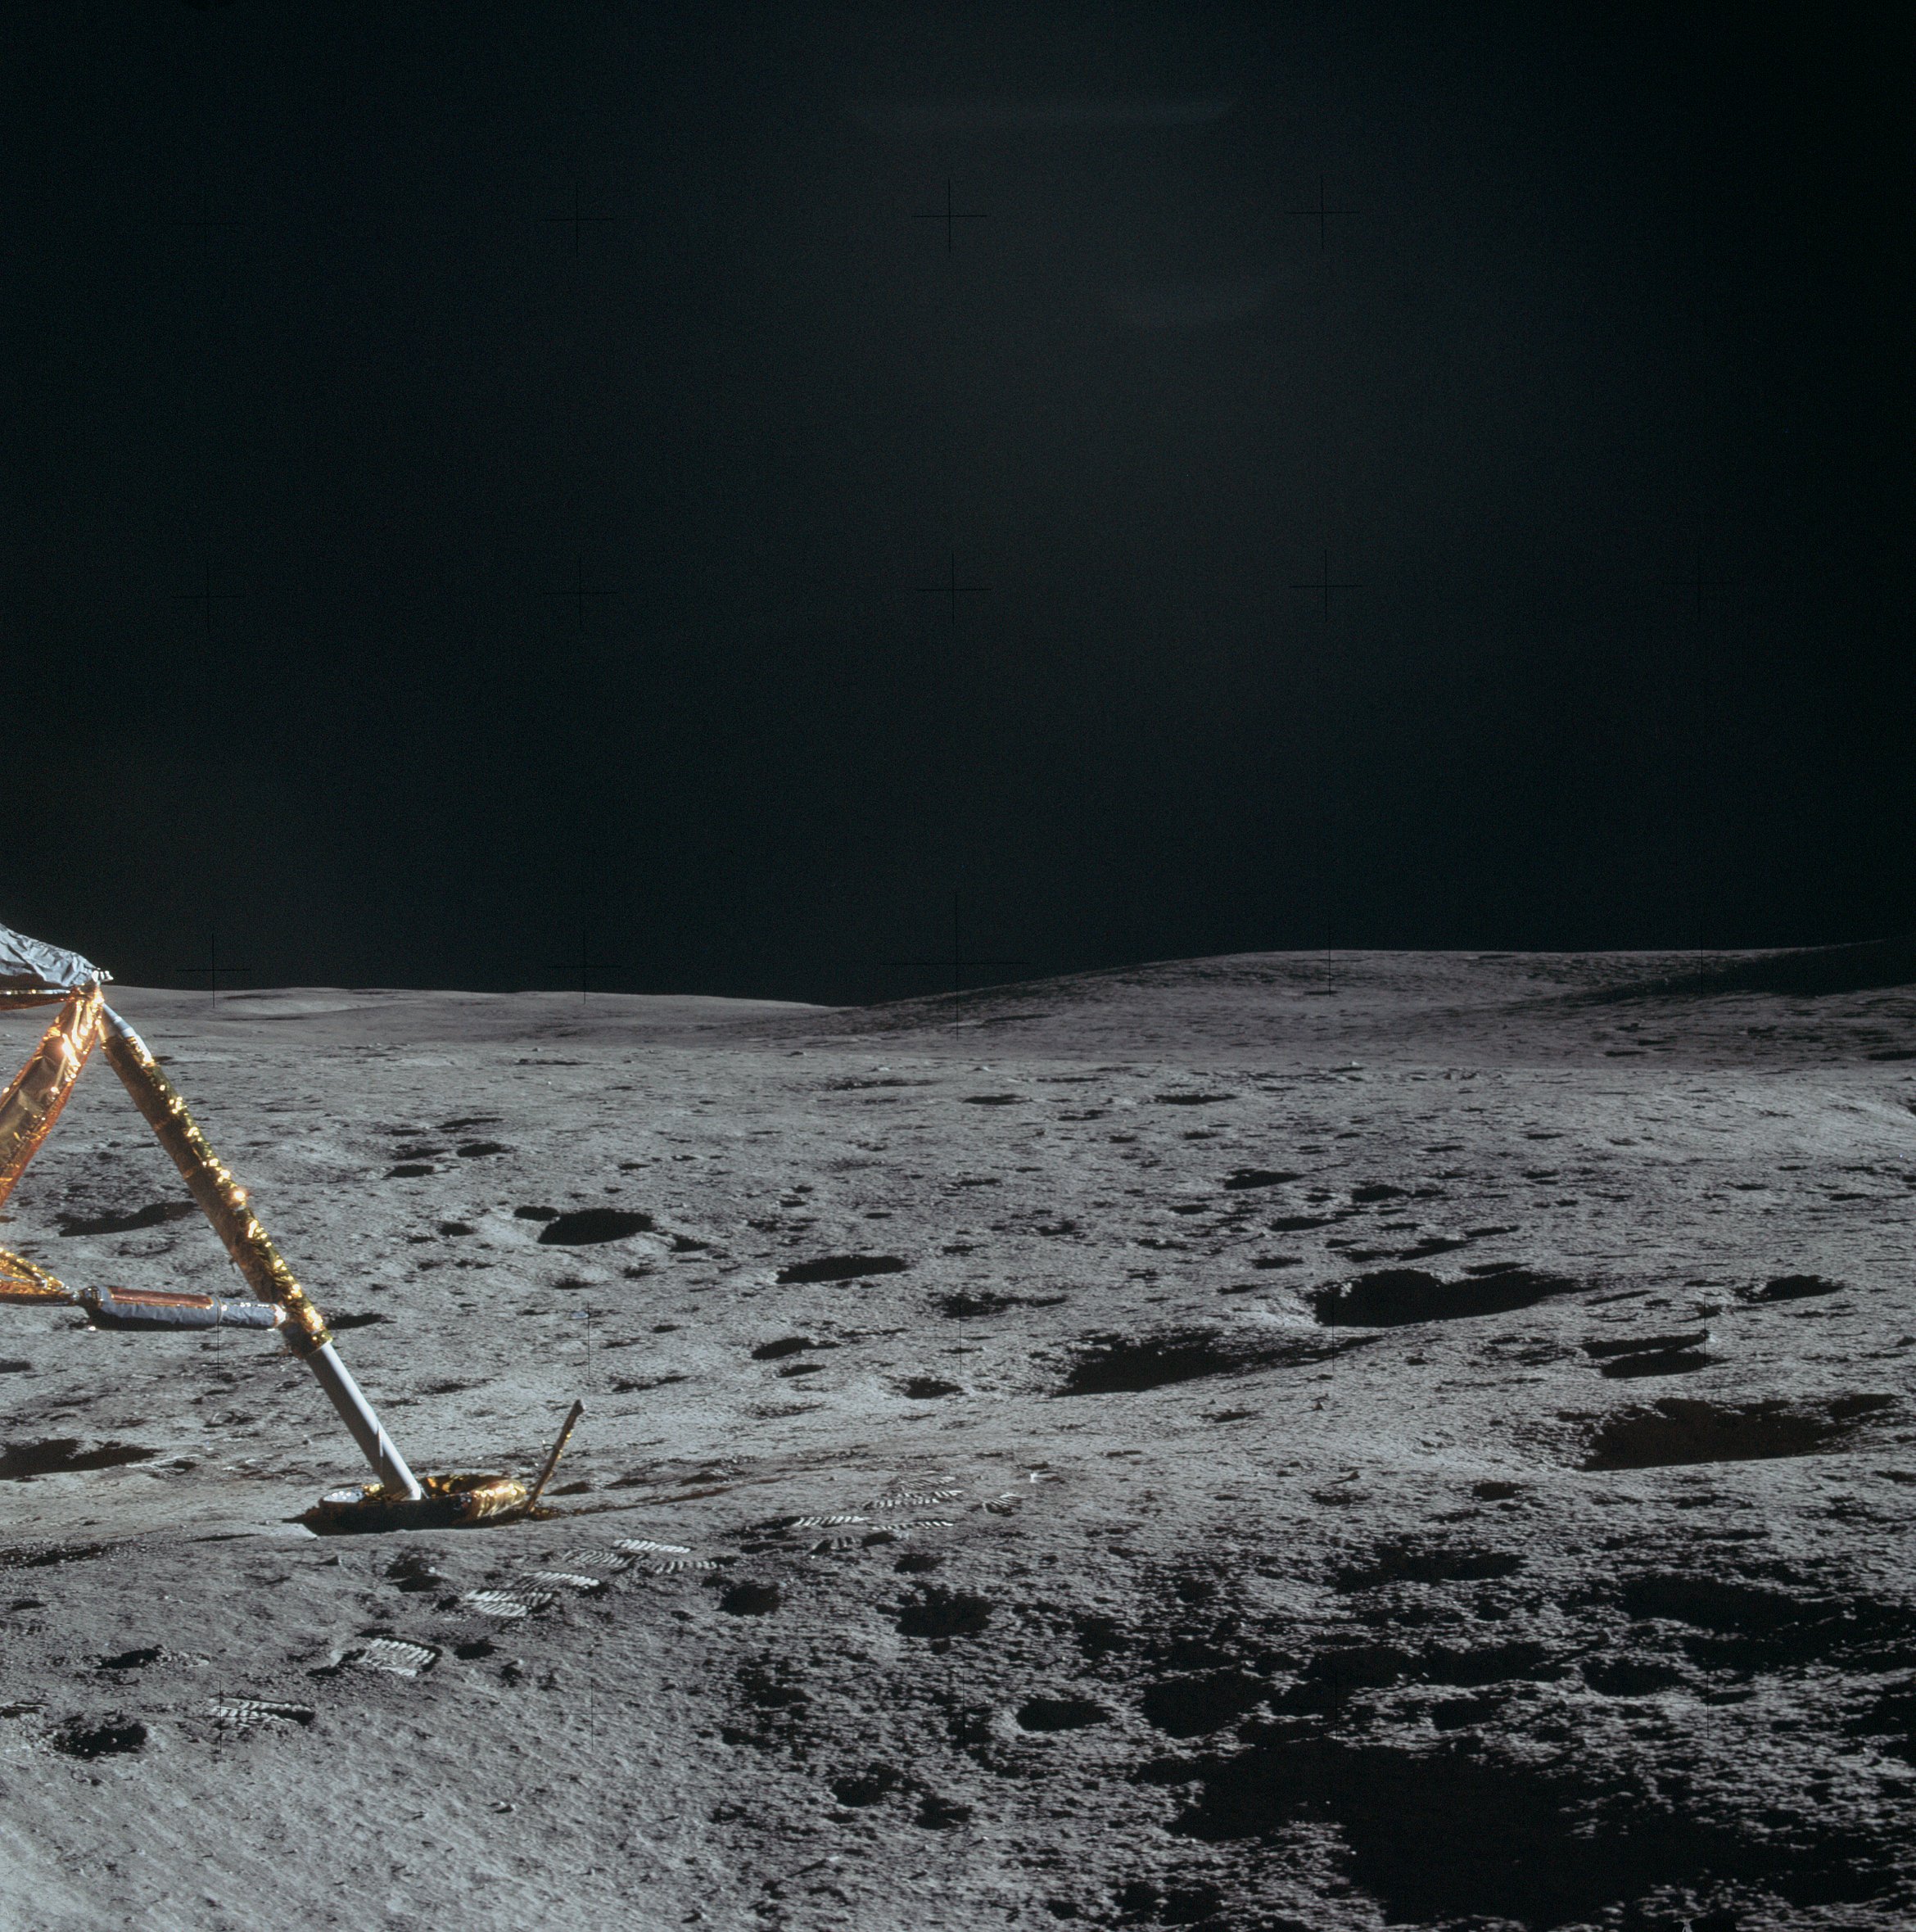 | AS14-66-9279 Rightward of 9278. Image credit: Image Science and Analysis Laboratory, NASA-Johnson Space Center. |
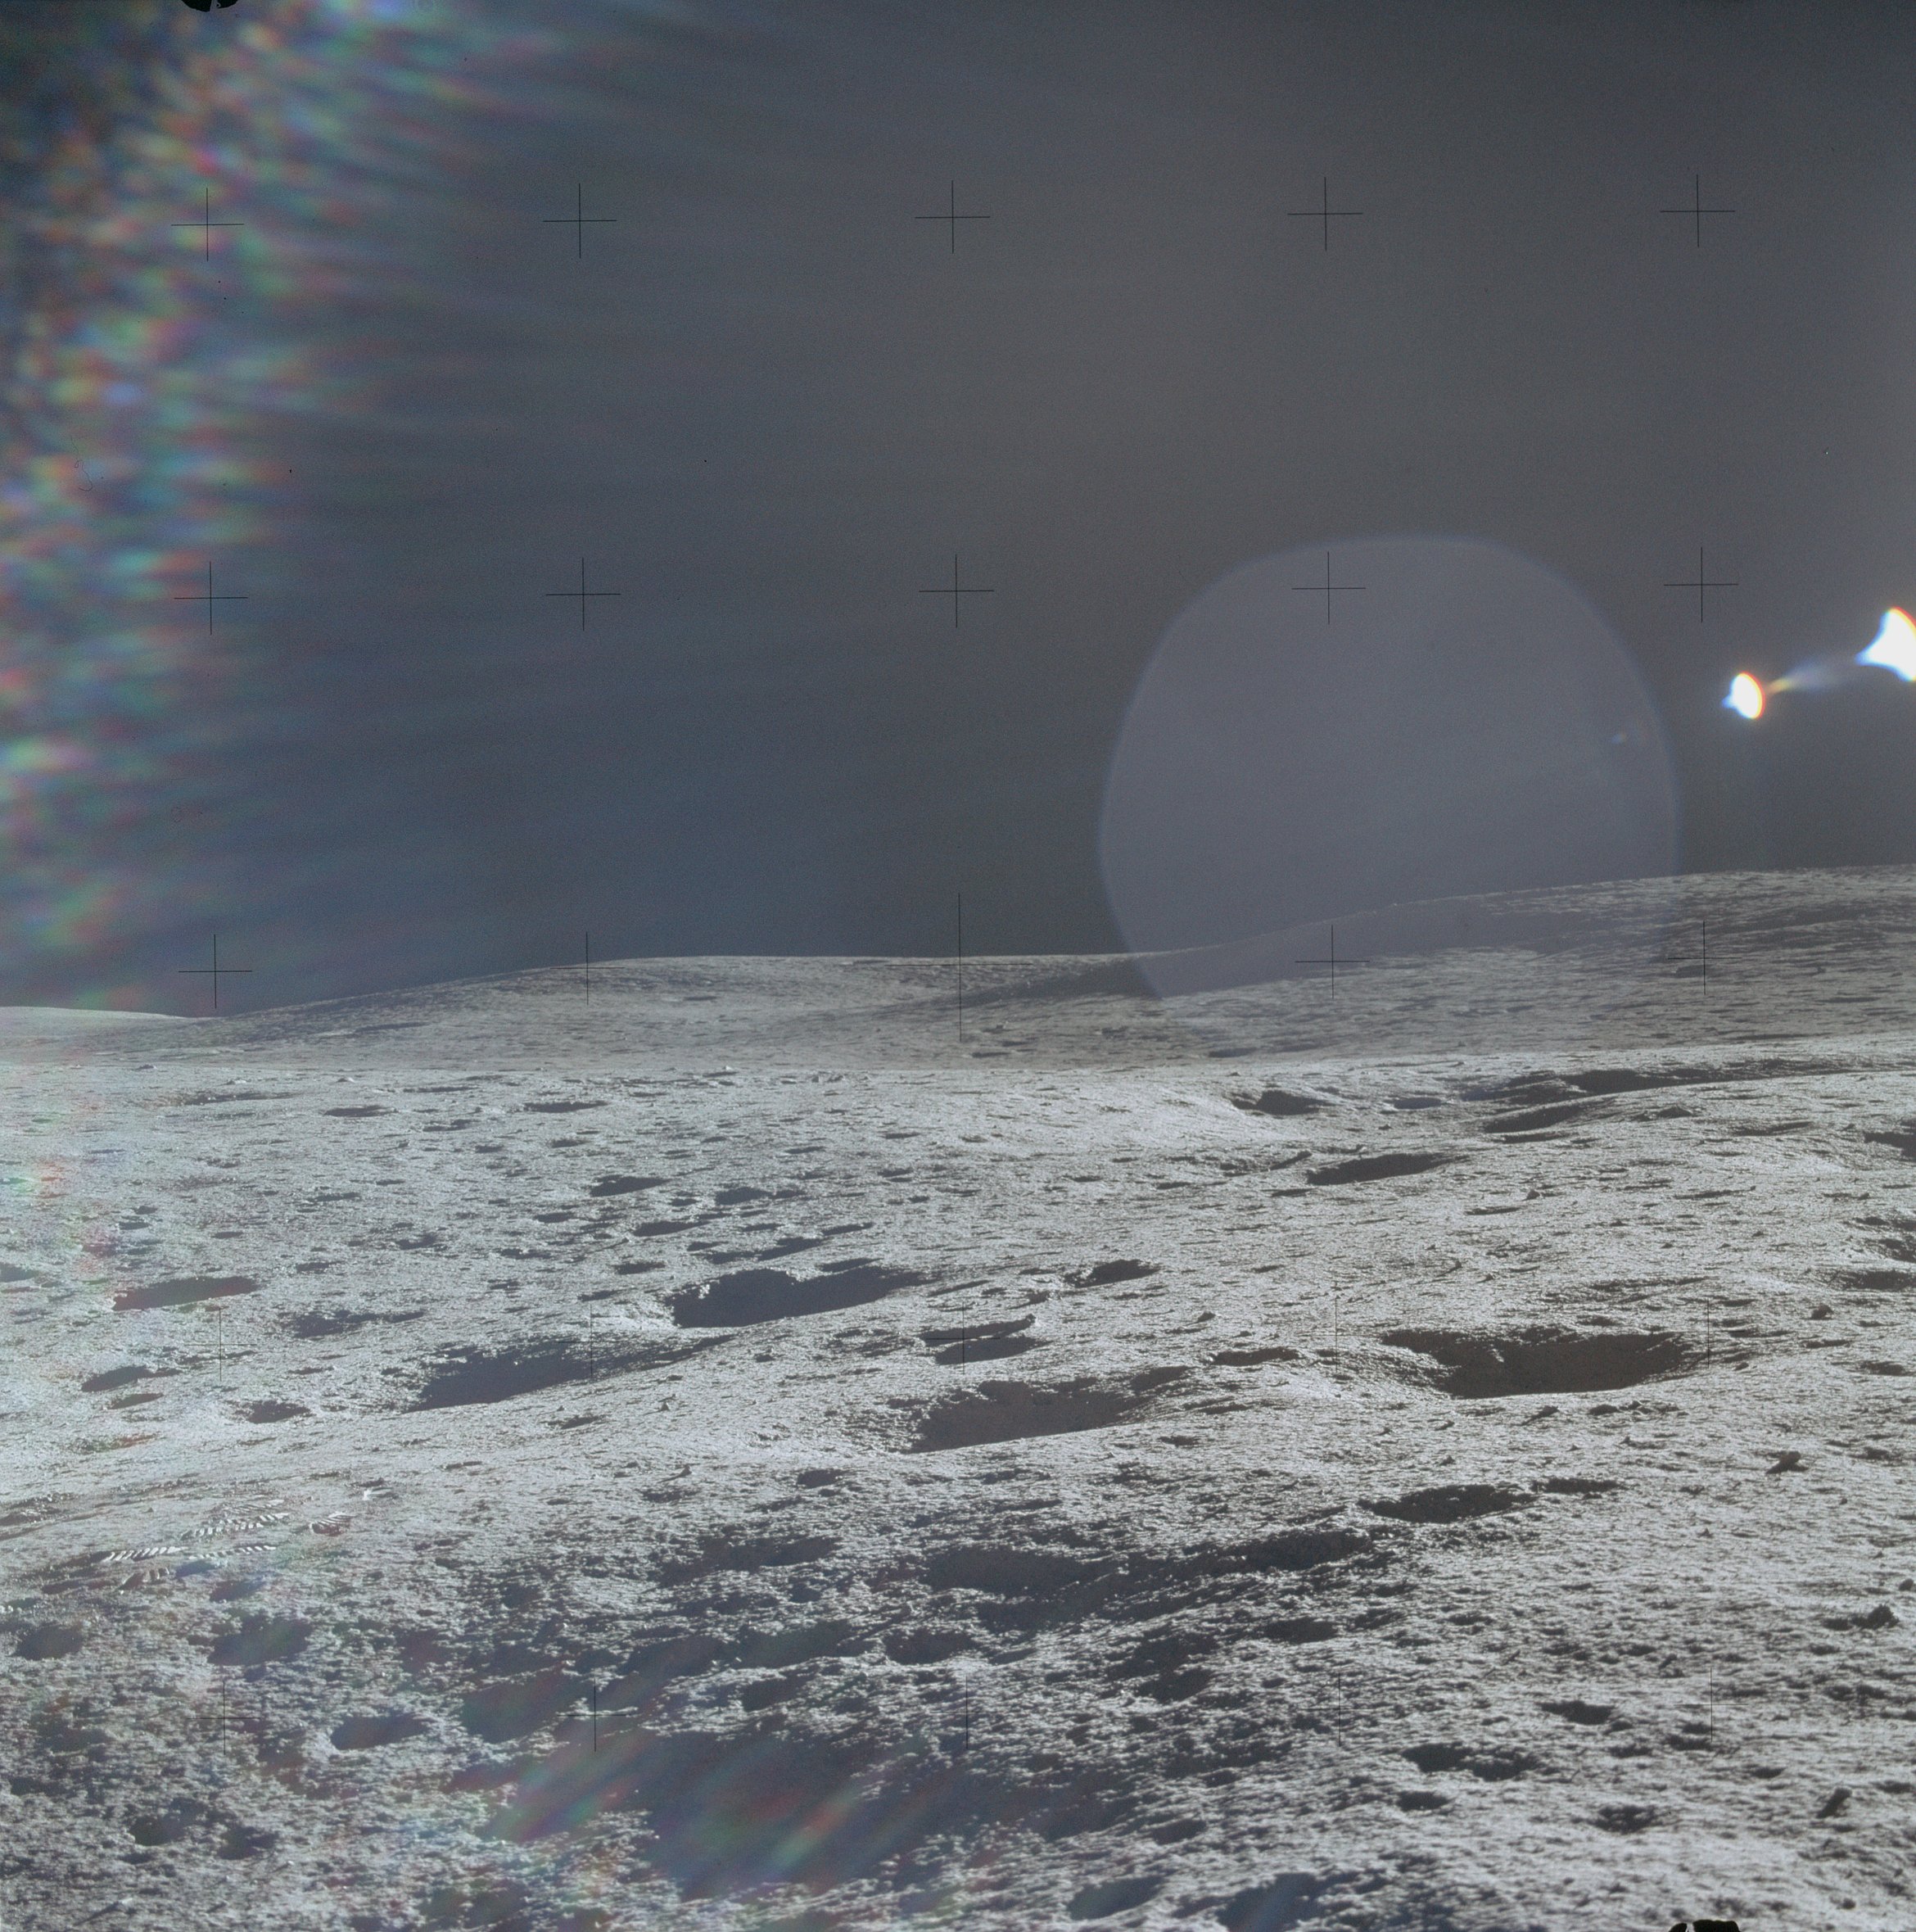 | AS14-66-9280 Rightward of 9279, showing most of the Cone Crater ridge north of the crater. Image credit: Image Science and Analysis Laboratory, NASA-Johnson Space Center. |
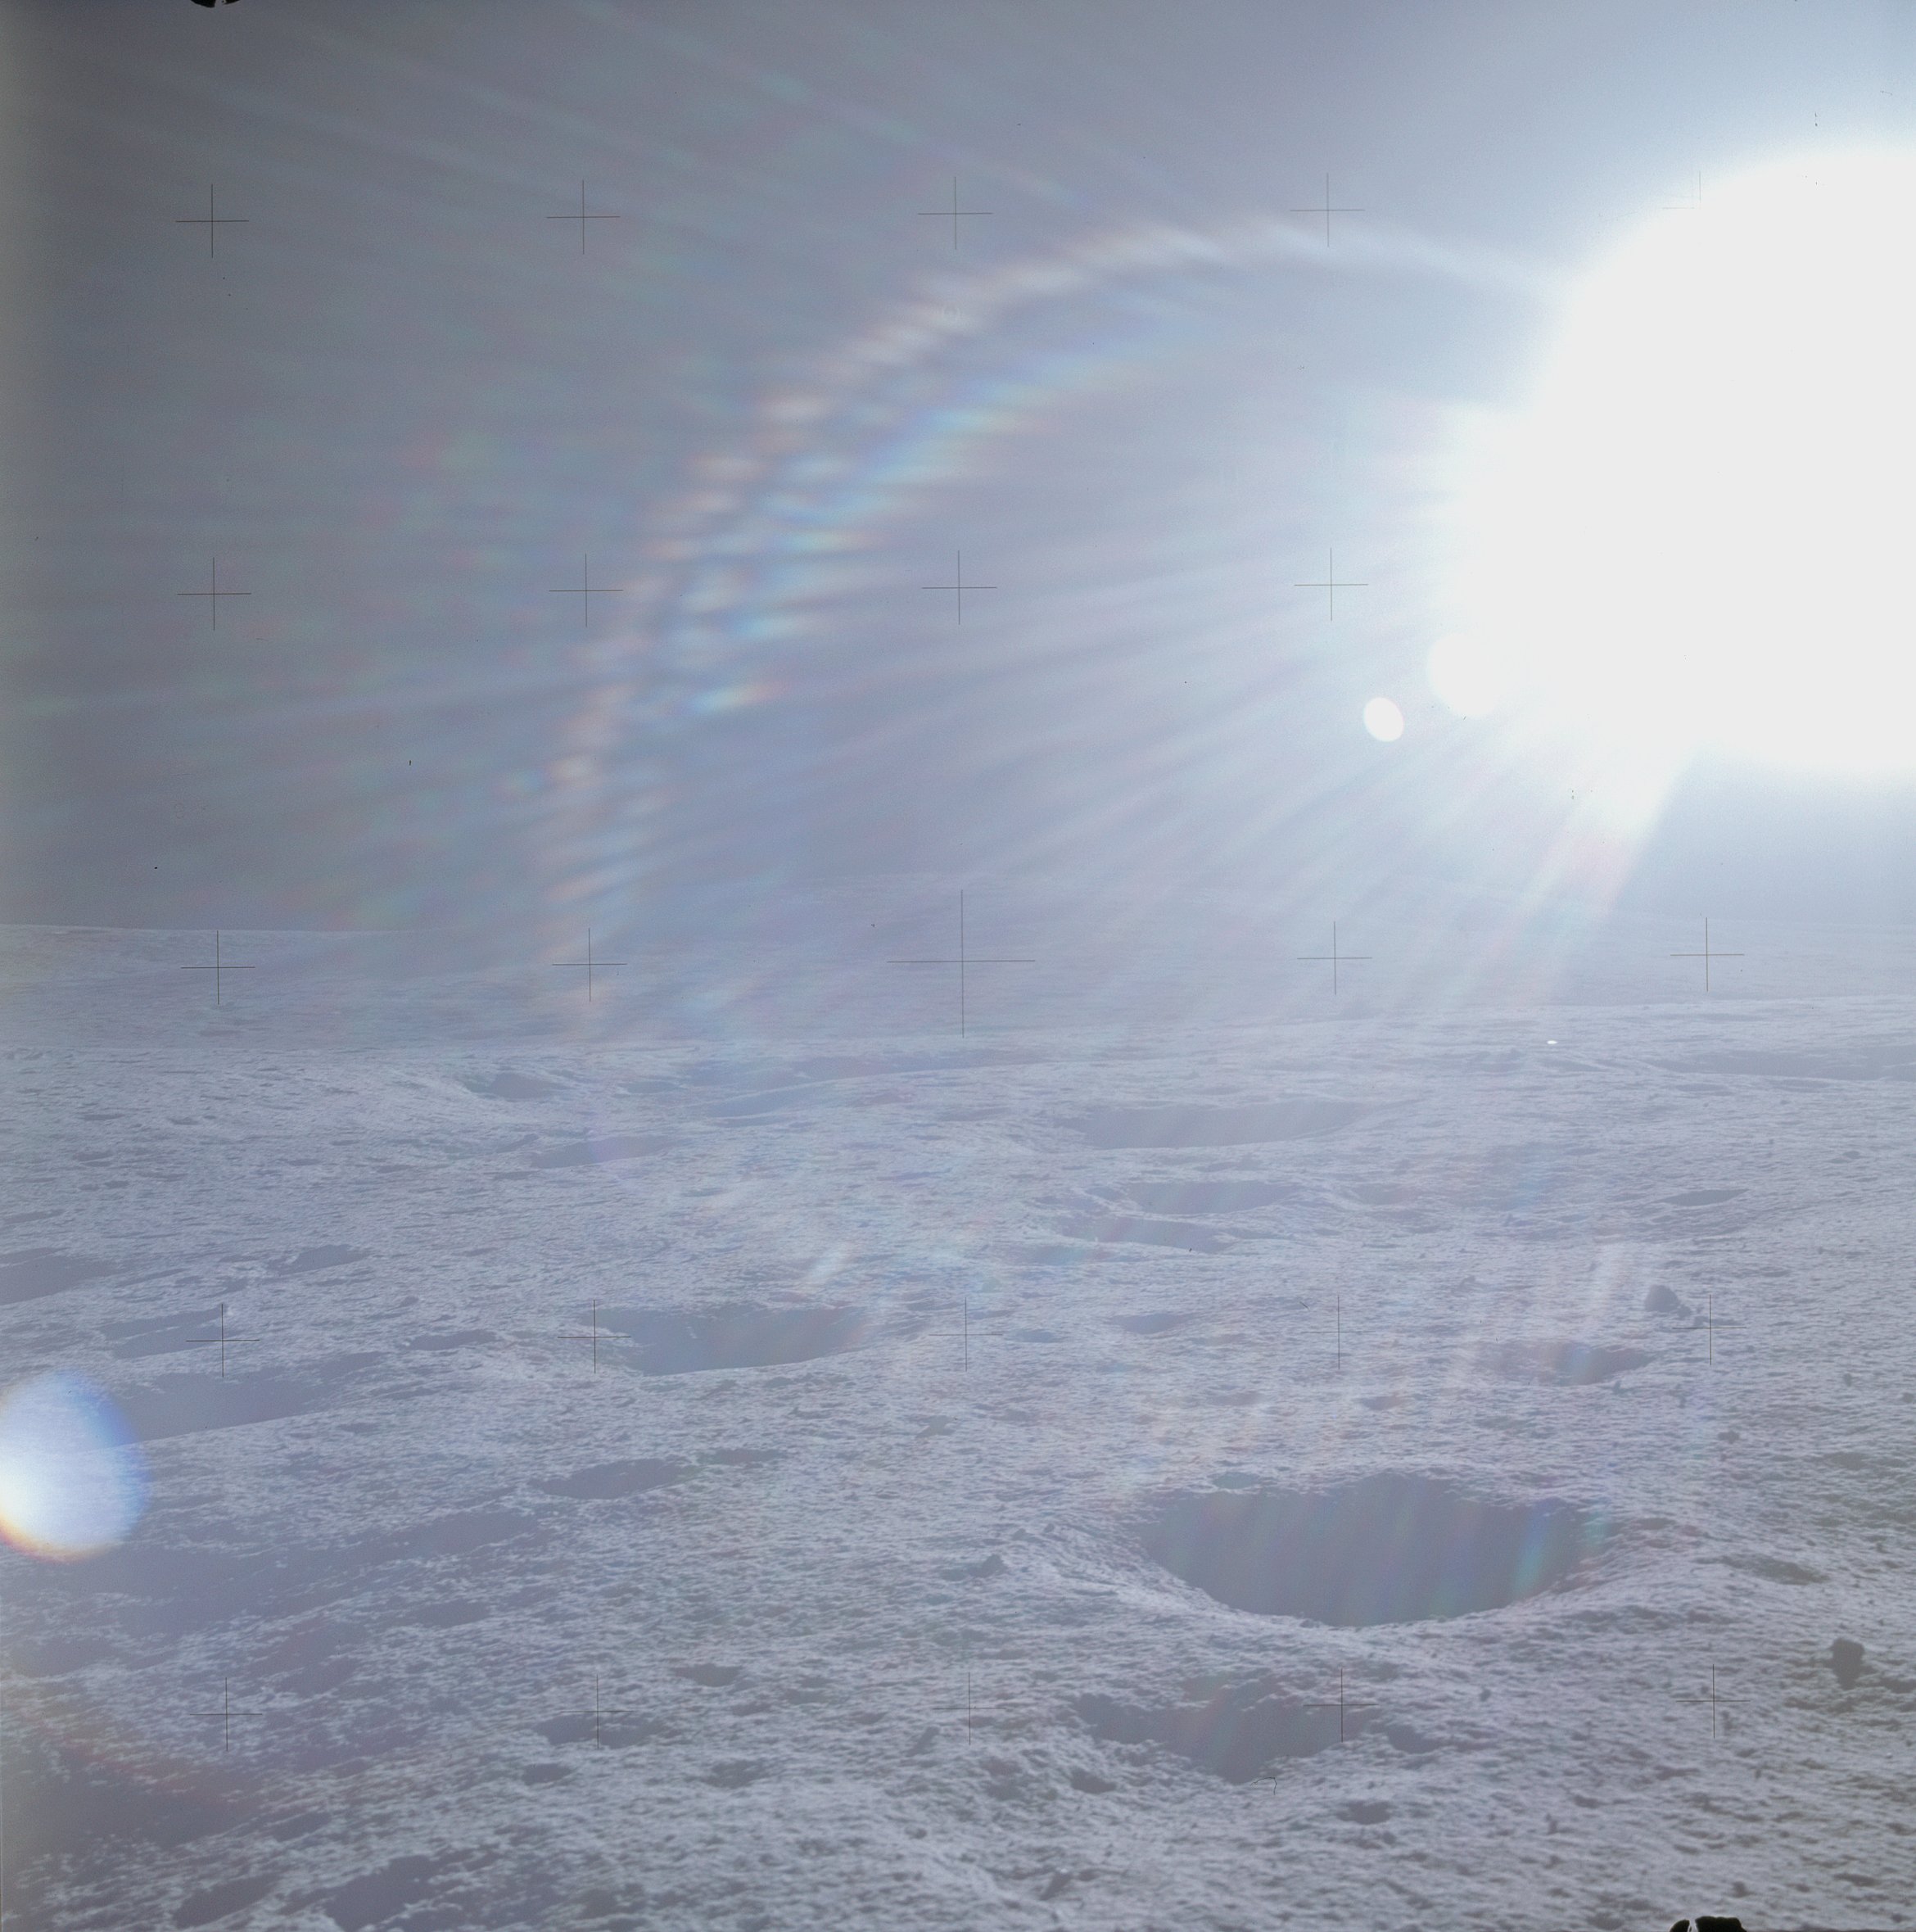 | AS14-66-9281 Rightward of 9280, the ridge is lost in Sun glare. Image credit: Image Science and Analysis Laboratory, NASA-Johnson Space Center. |
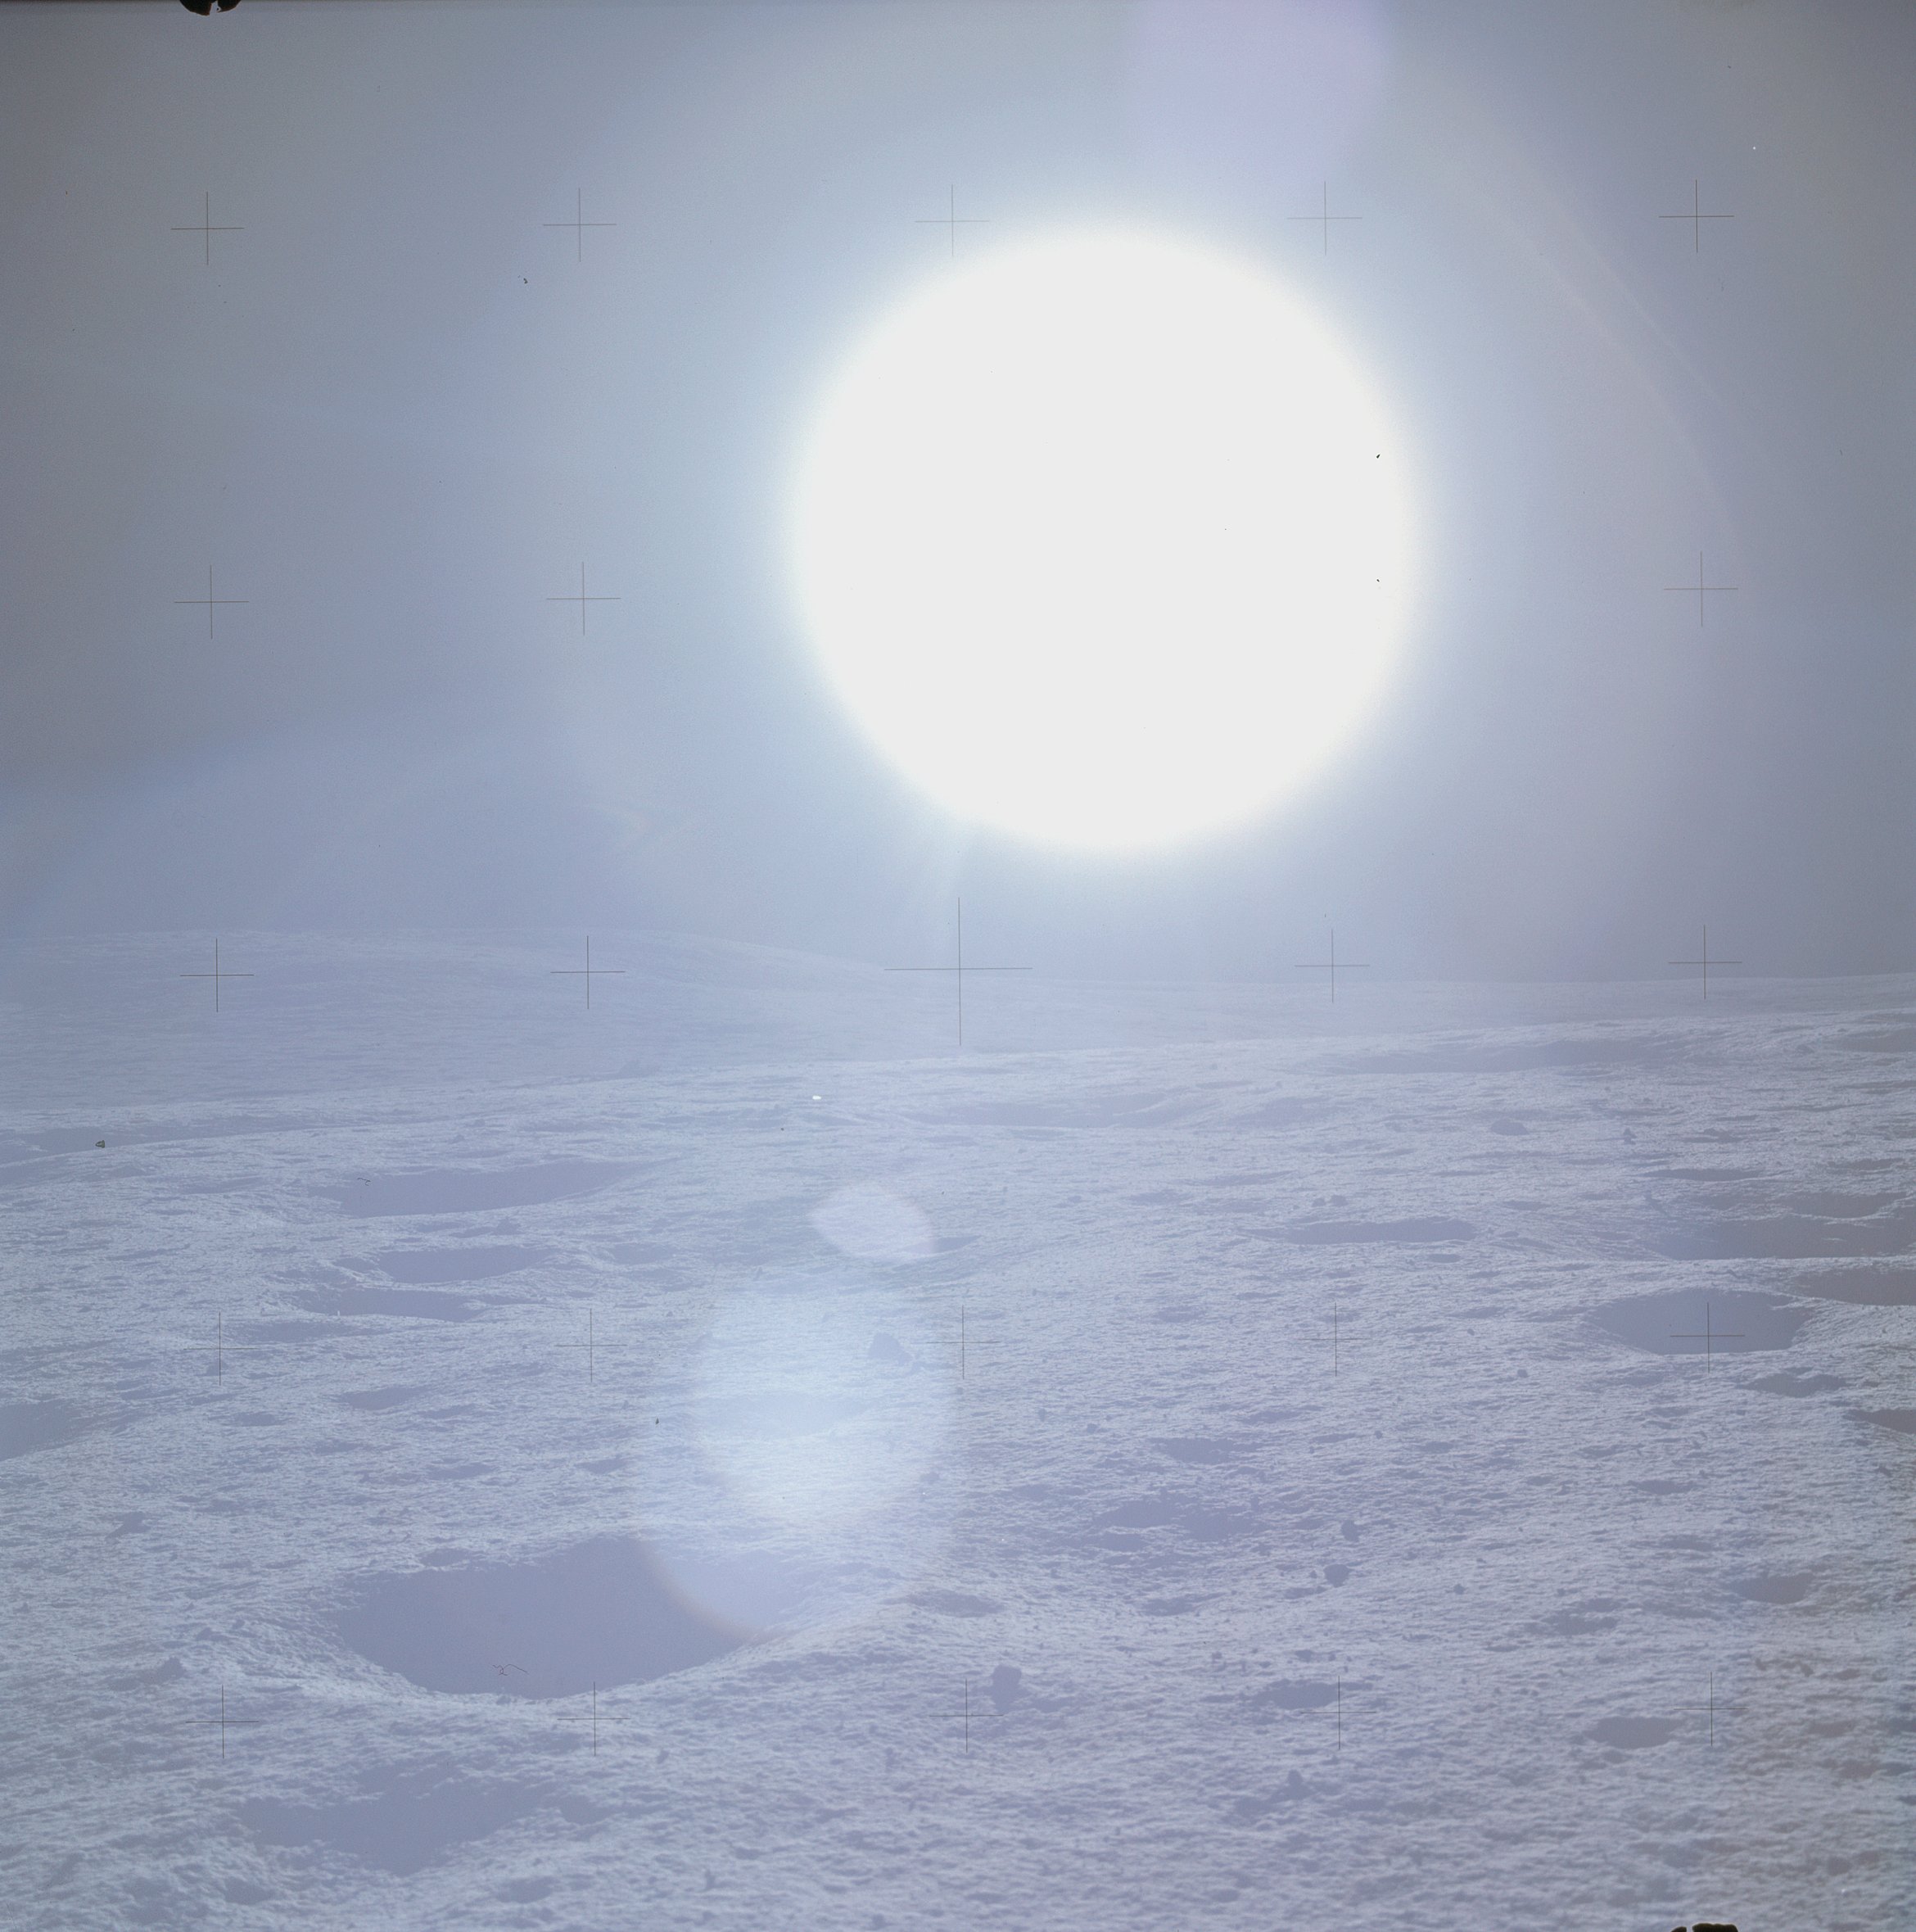 | AS14-66-9282 Rightward of 9281, up-Sun. Image credit: Image Science and Analysis Laboratory, NASA-Johnson Space Center. |
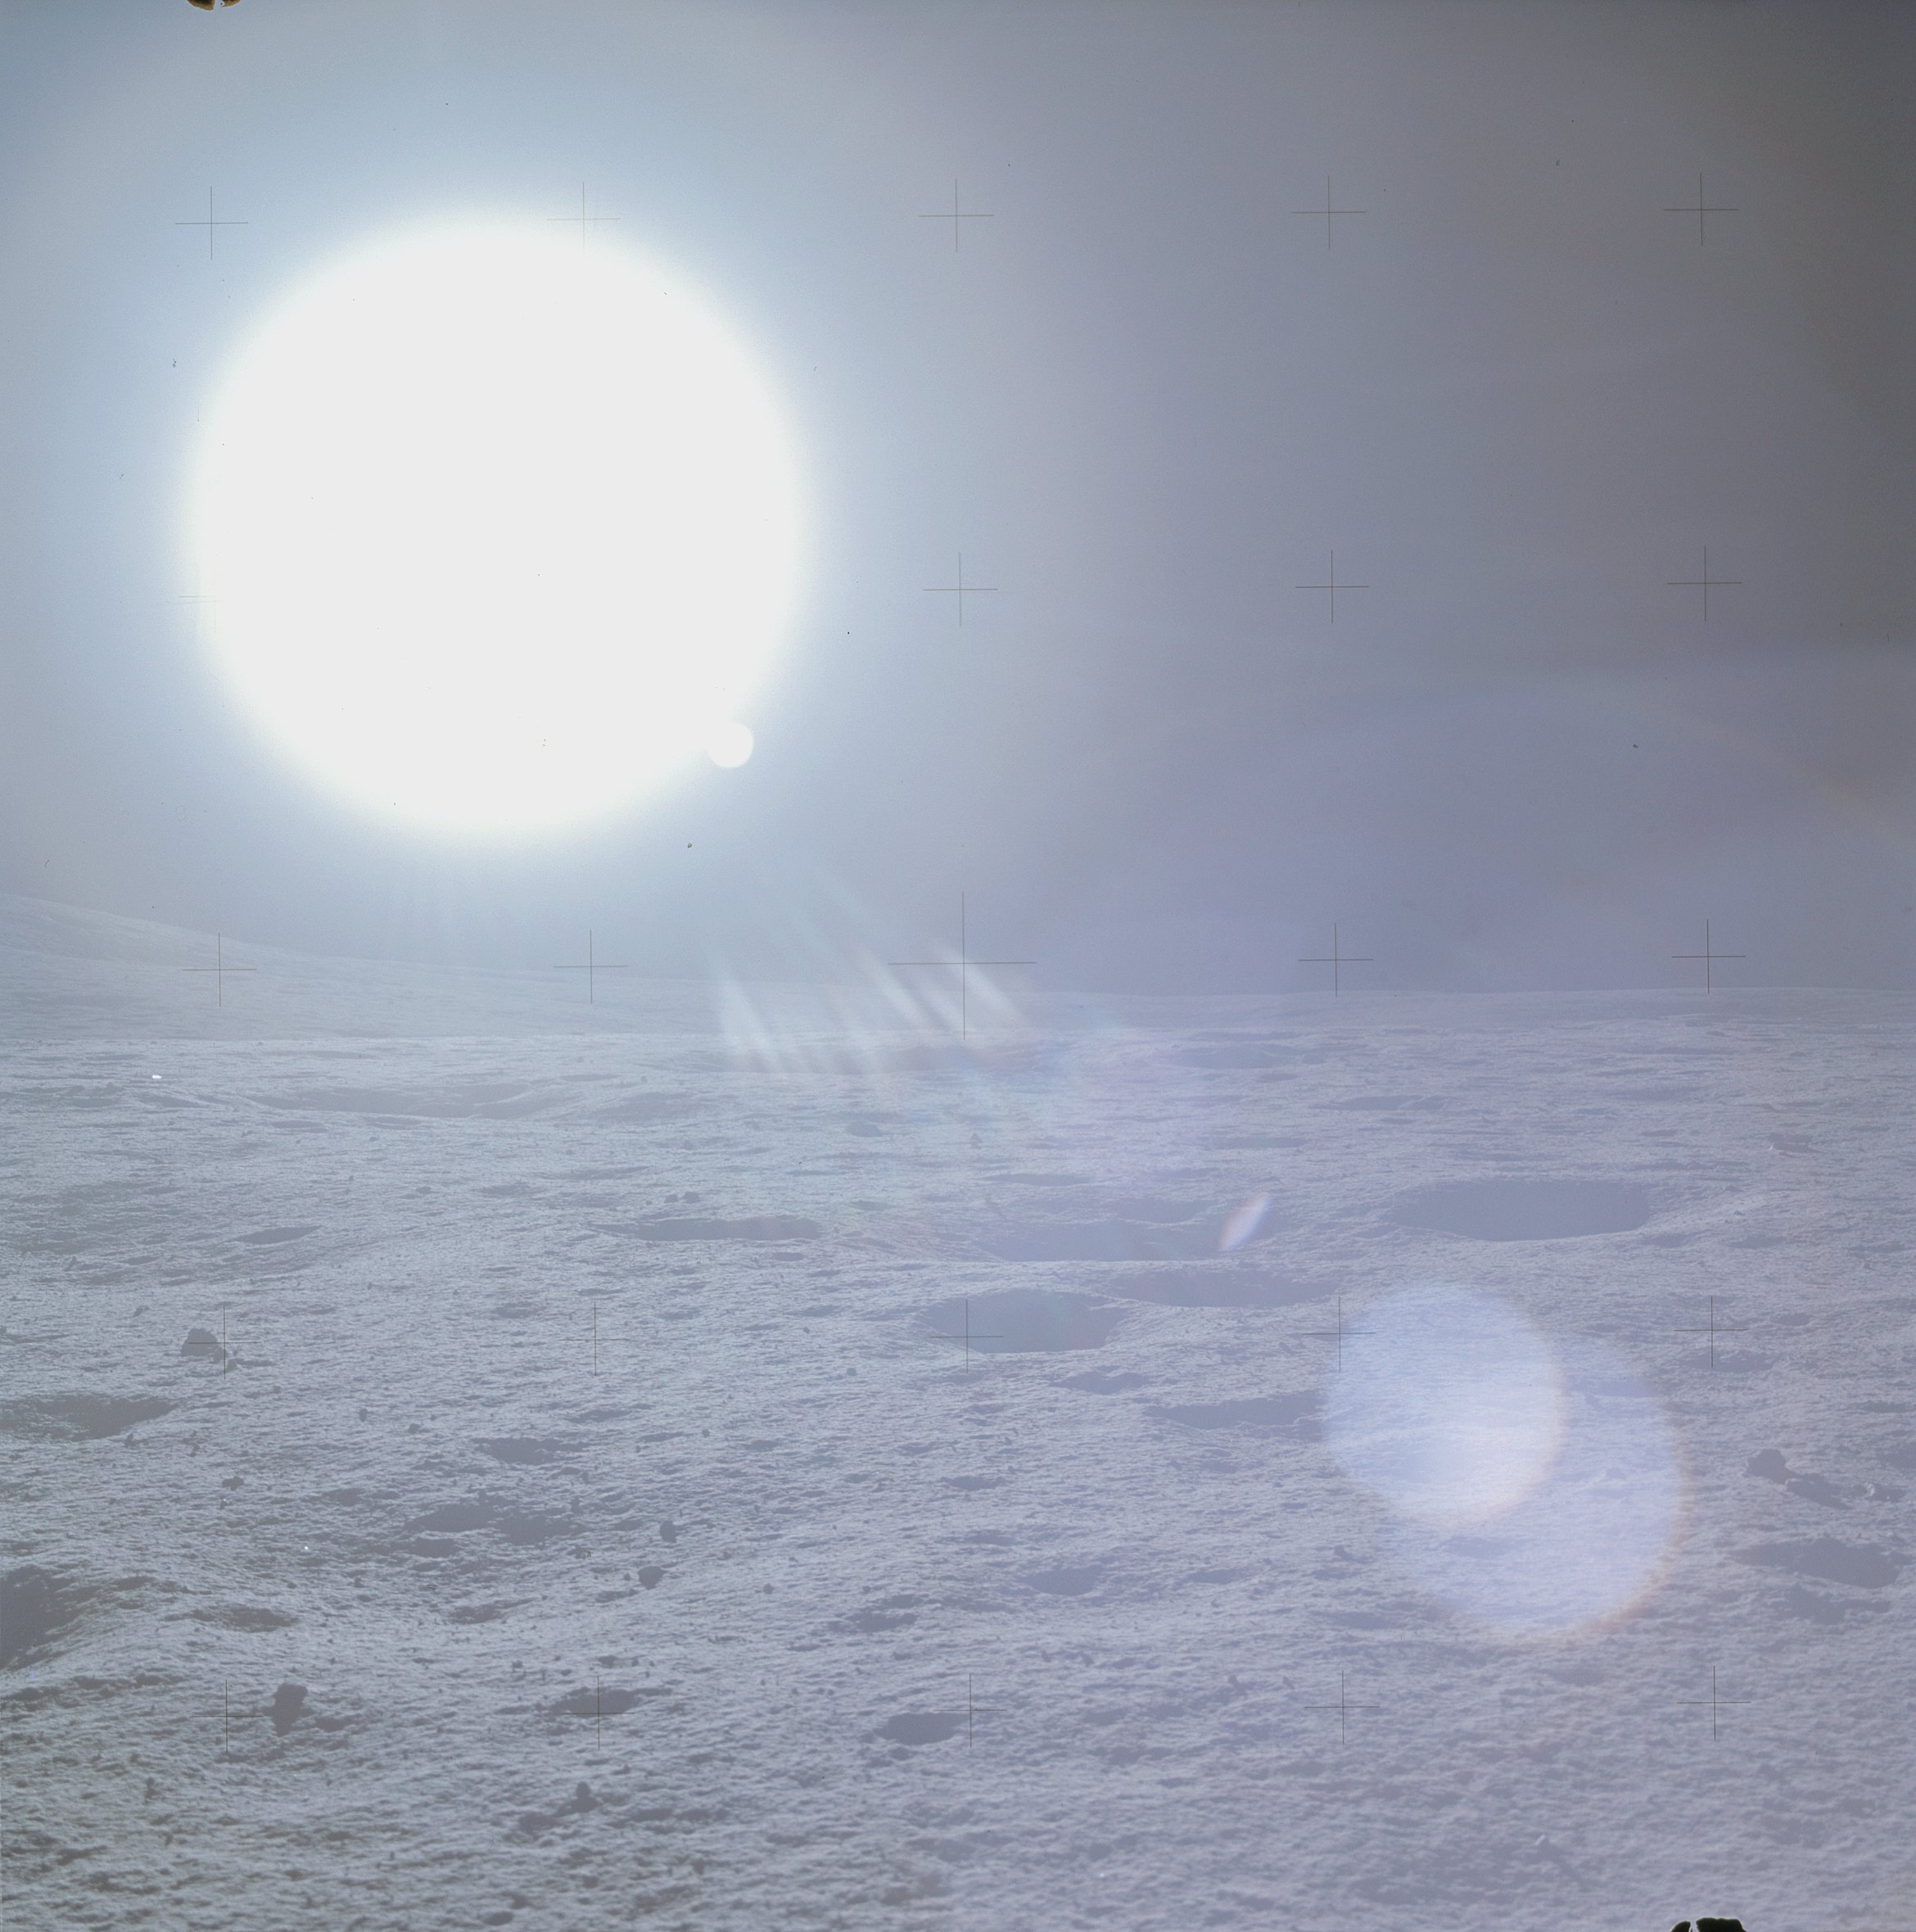 | AS14-66-9283 Rightward of 9282, with considerable glare. Image credit: Image Science and Analysis Laboratory, NASA-Johnson Space Center. |
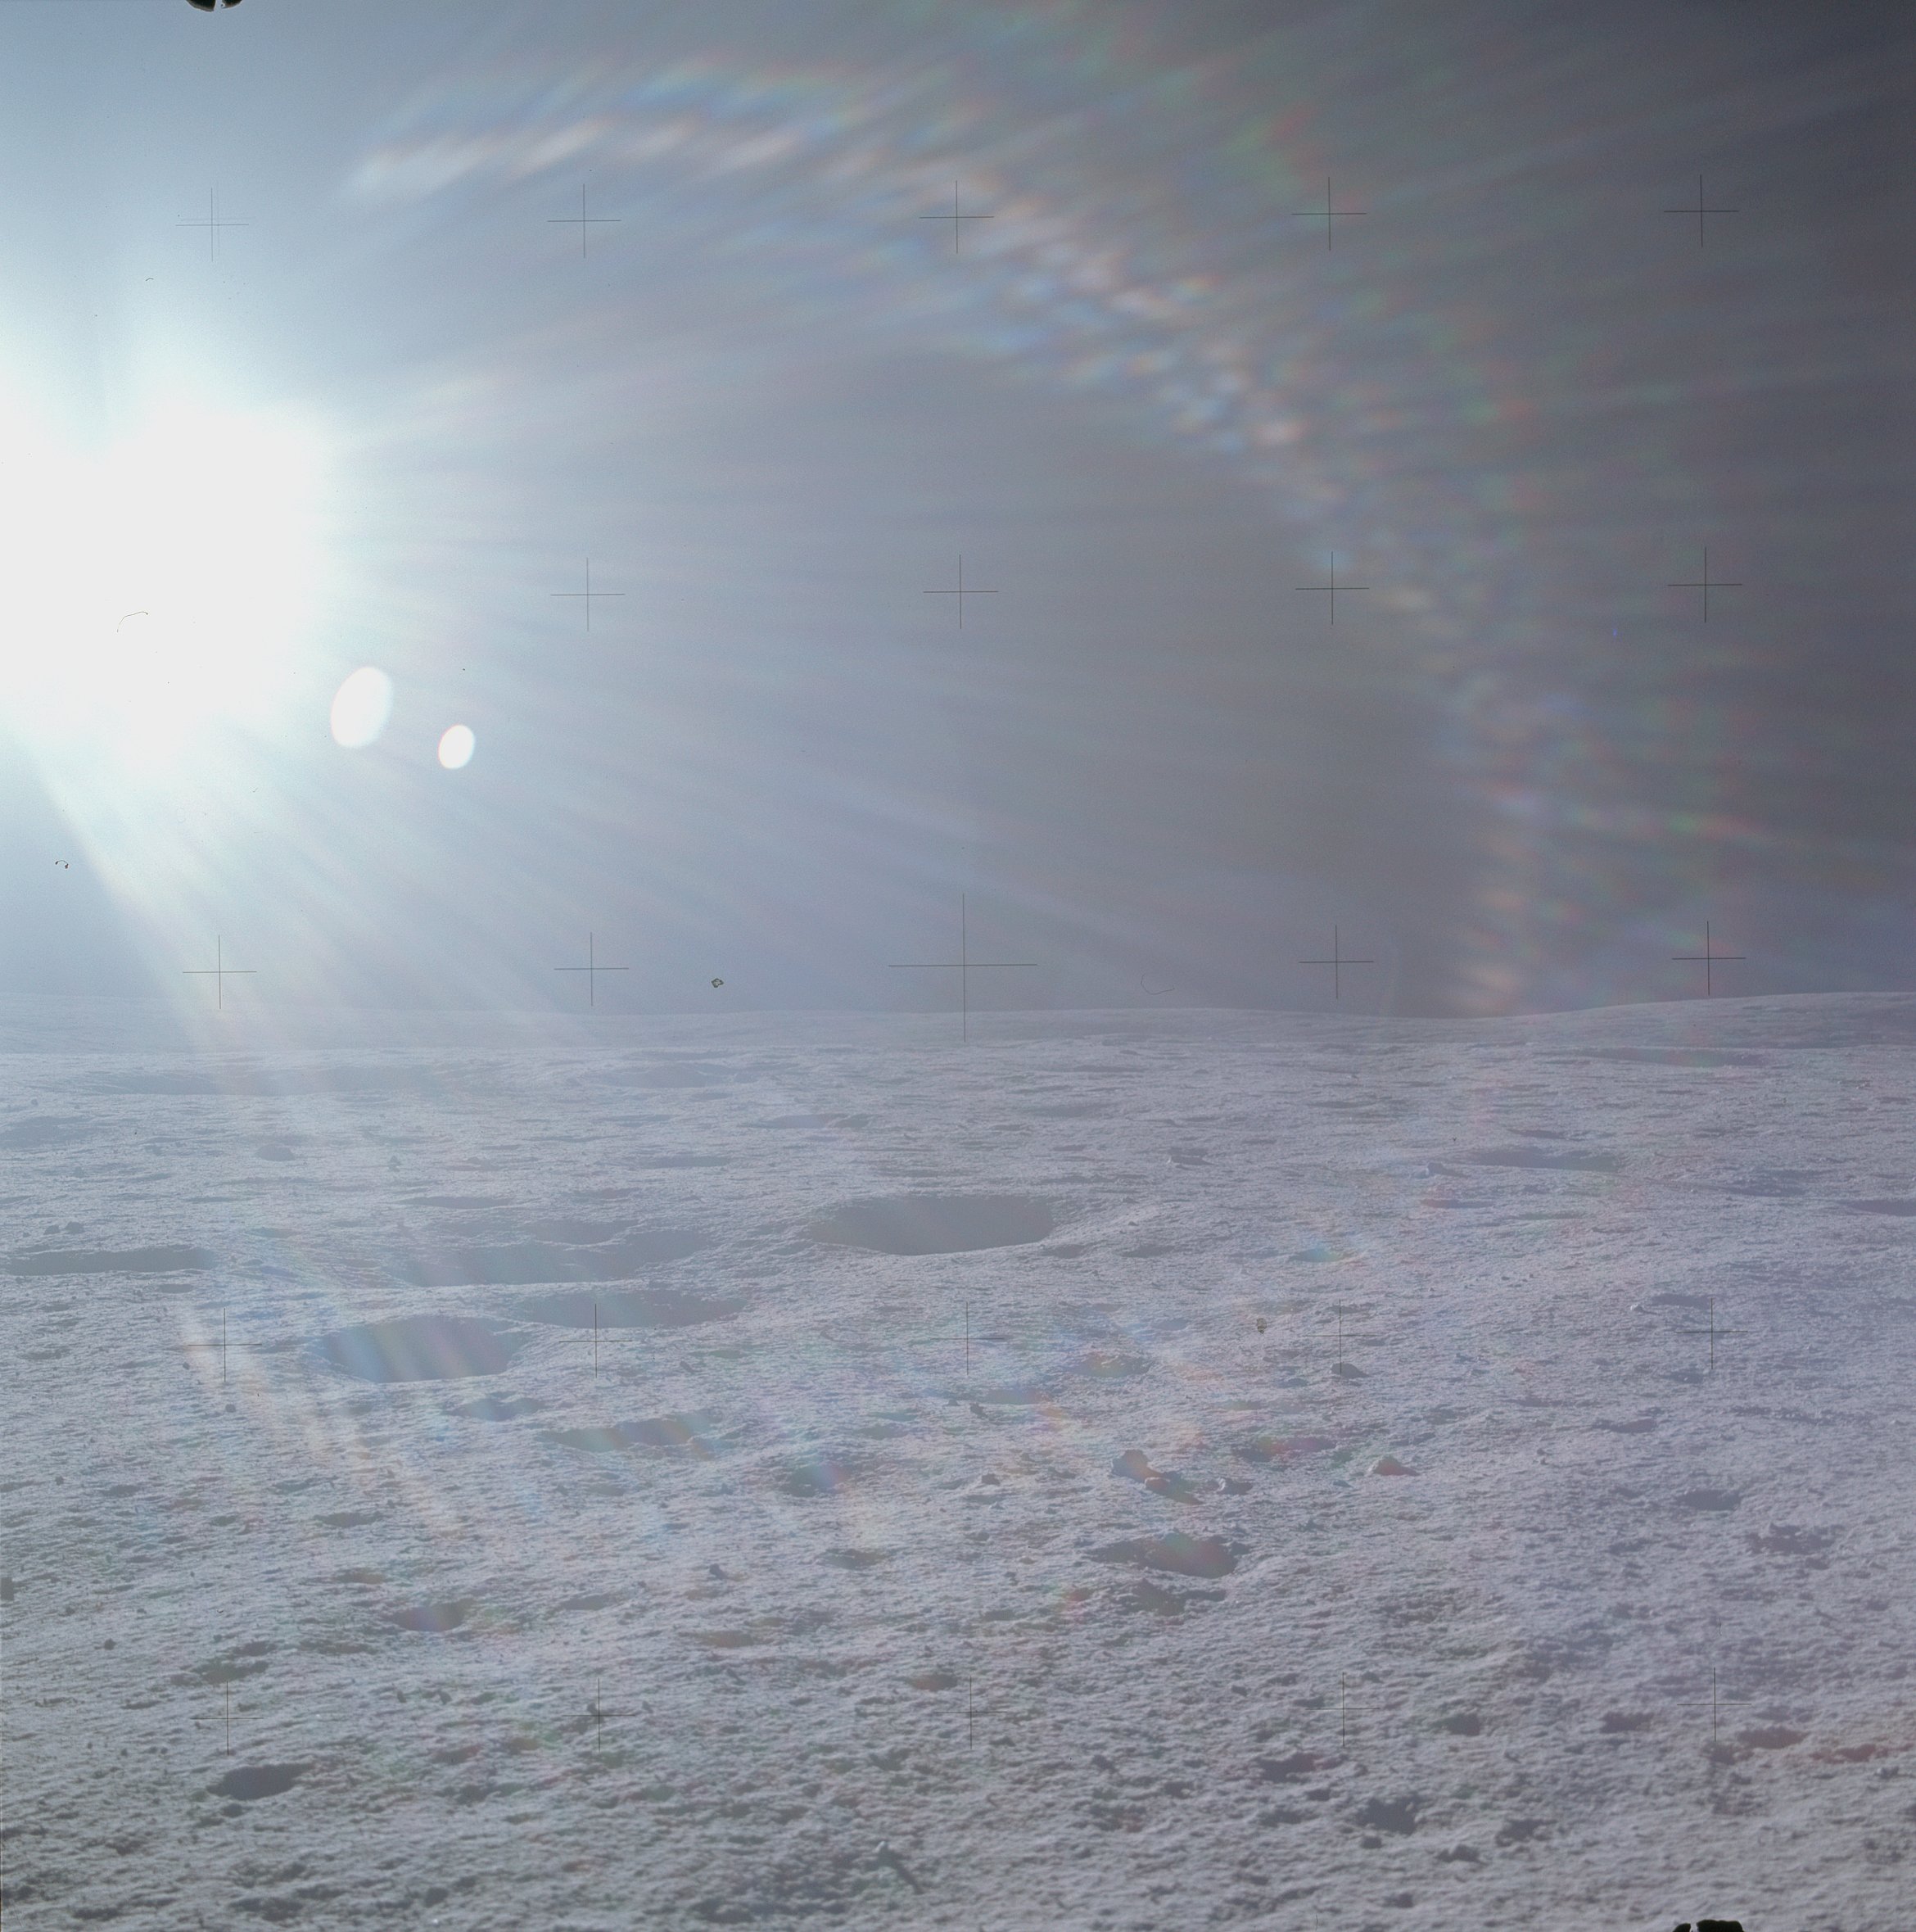 | AS14-66-9284 Rightward of 9283. Image credit: Image Science and Analysis Laboratory, NASA-Johnson Space Center. |
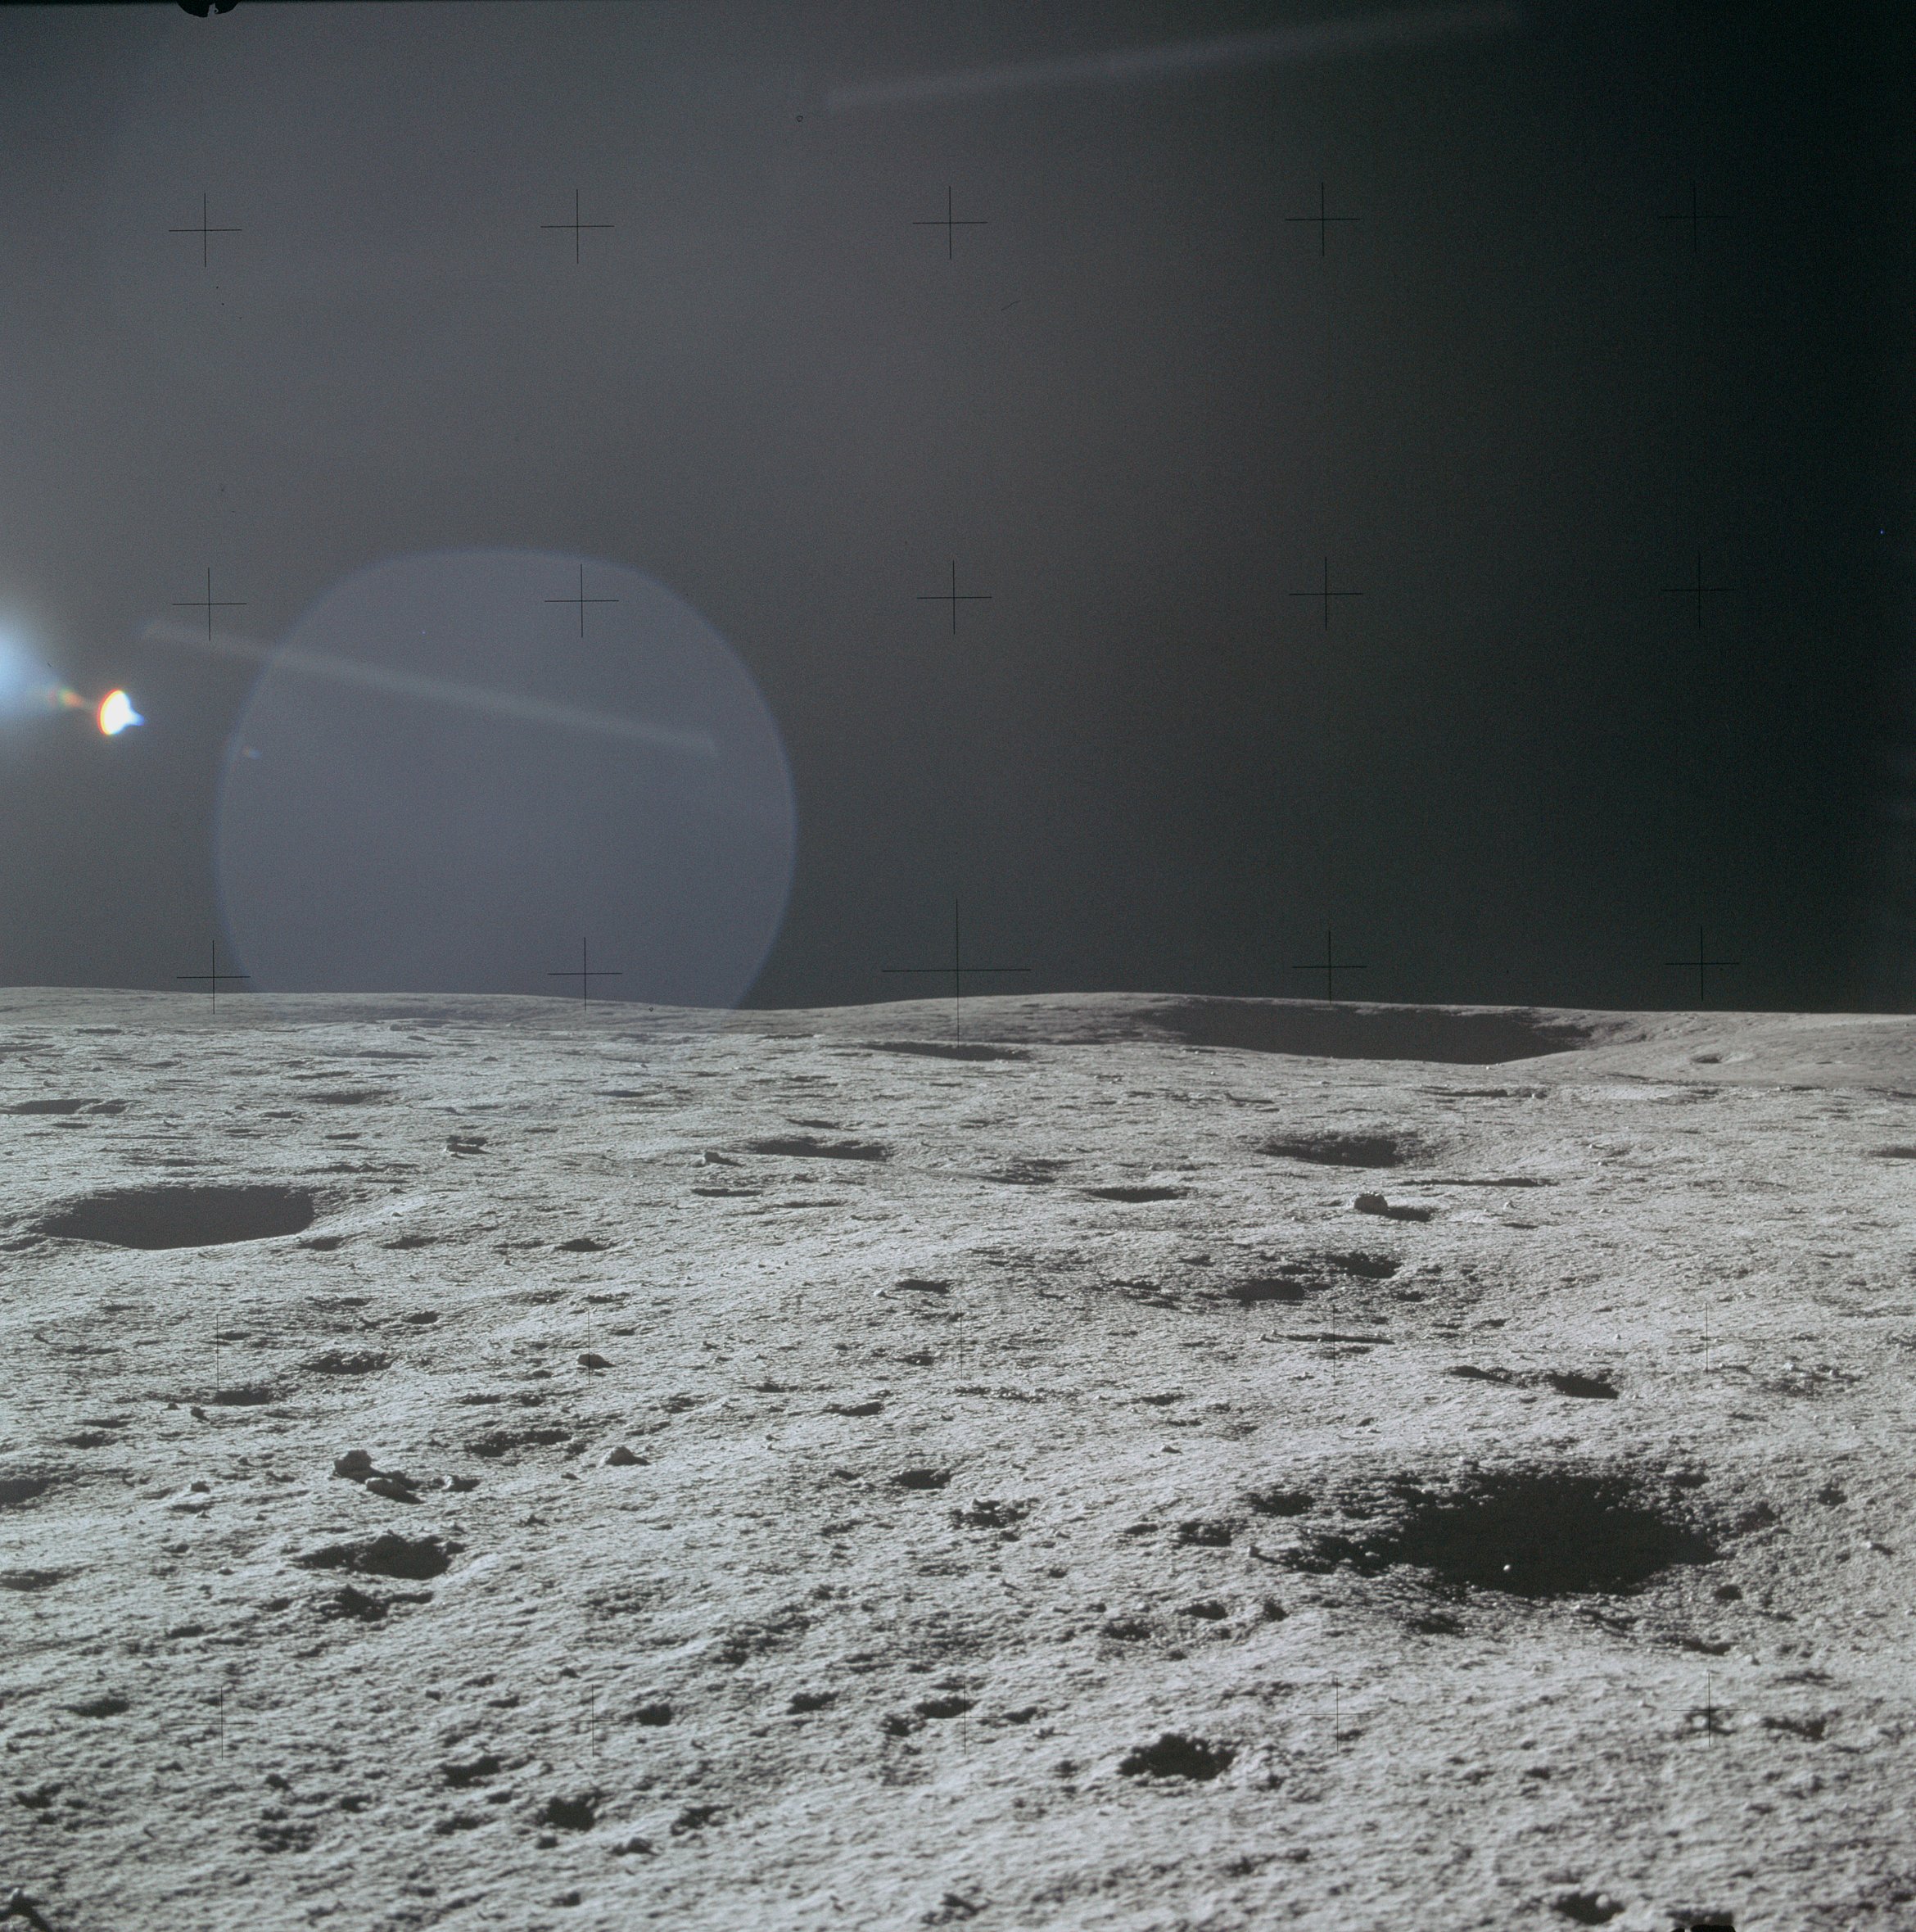 | AS14-66-9285 Rightward of 9284, with Old Nameless to the right of center. Image credit: Image Science and Analysis Laboratory, NASA-Johnson Space Center. |
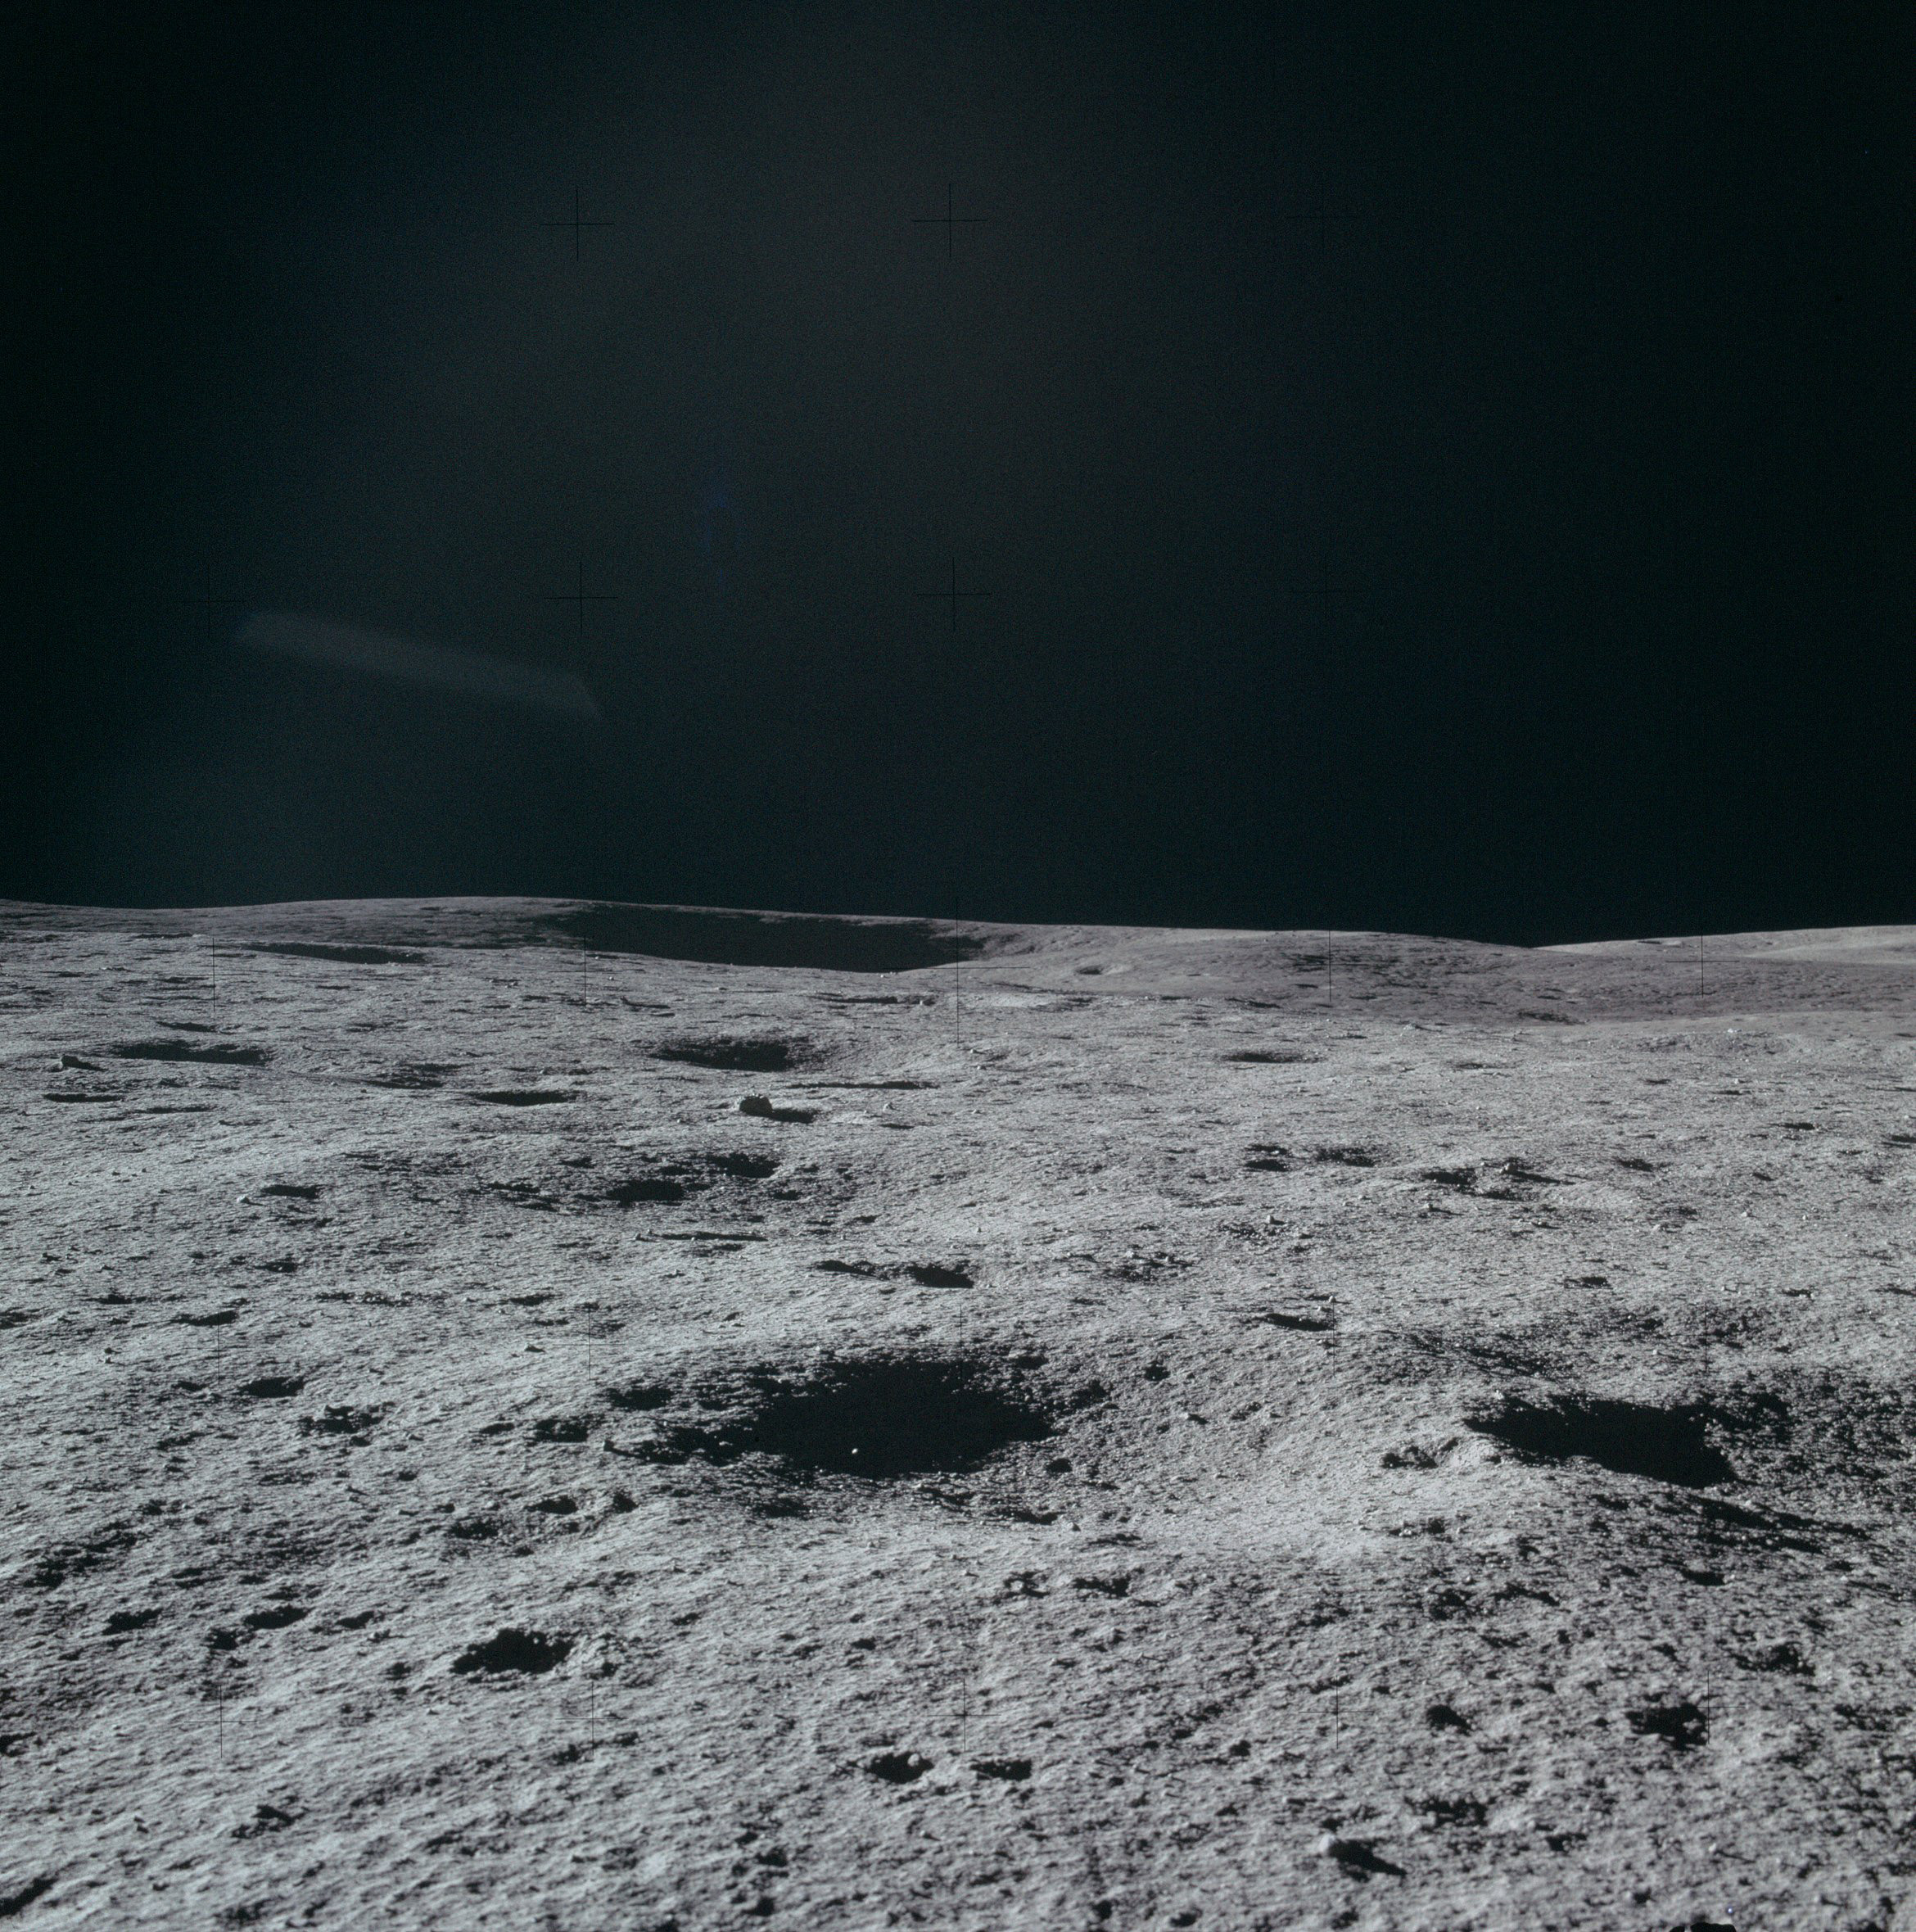 | AS14-66-9286 Rightward of 9285, directly toward a crater that is southwest of the landing site. Image credit: Image Science and Analysis Laboratory, NASA-Johnson Space Center. |
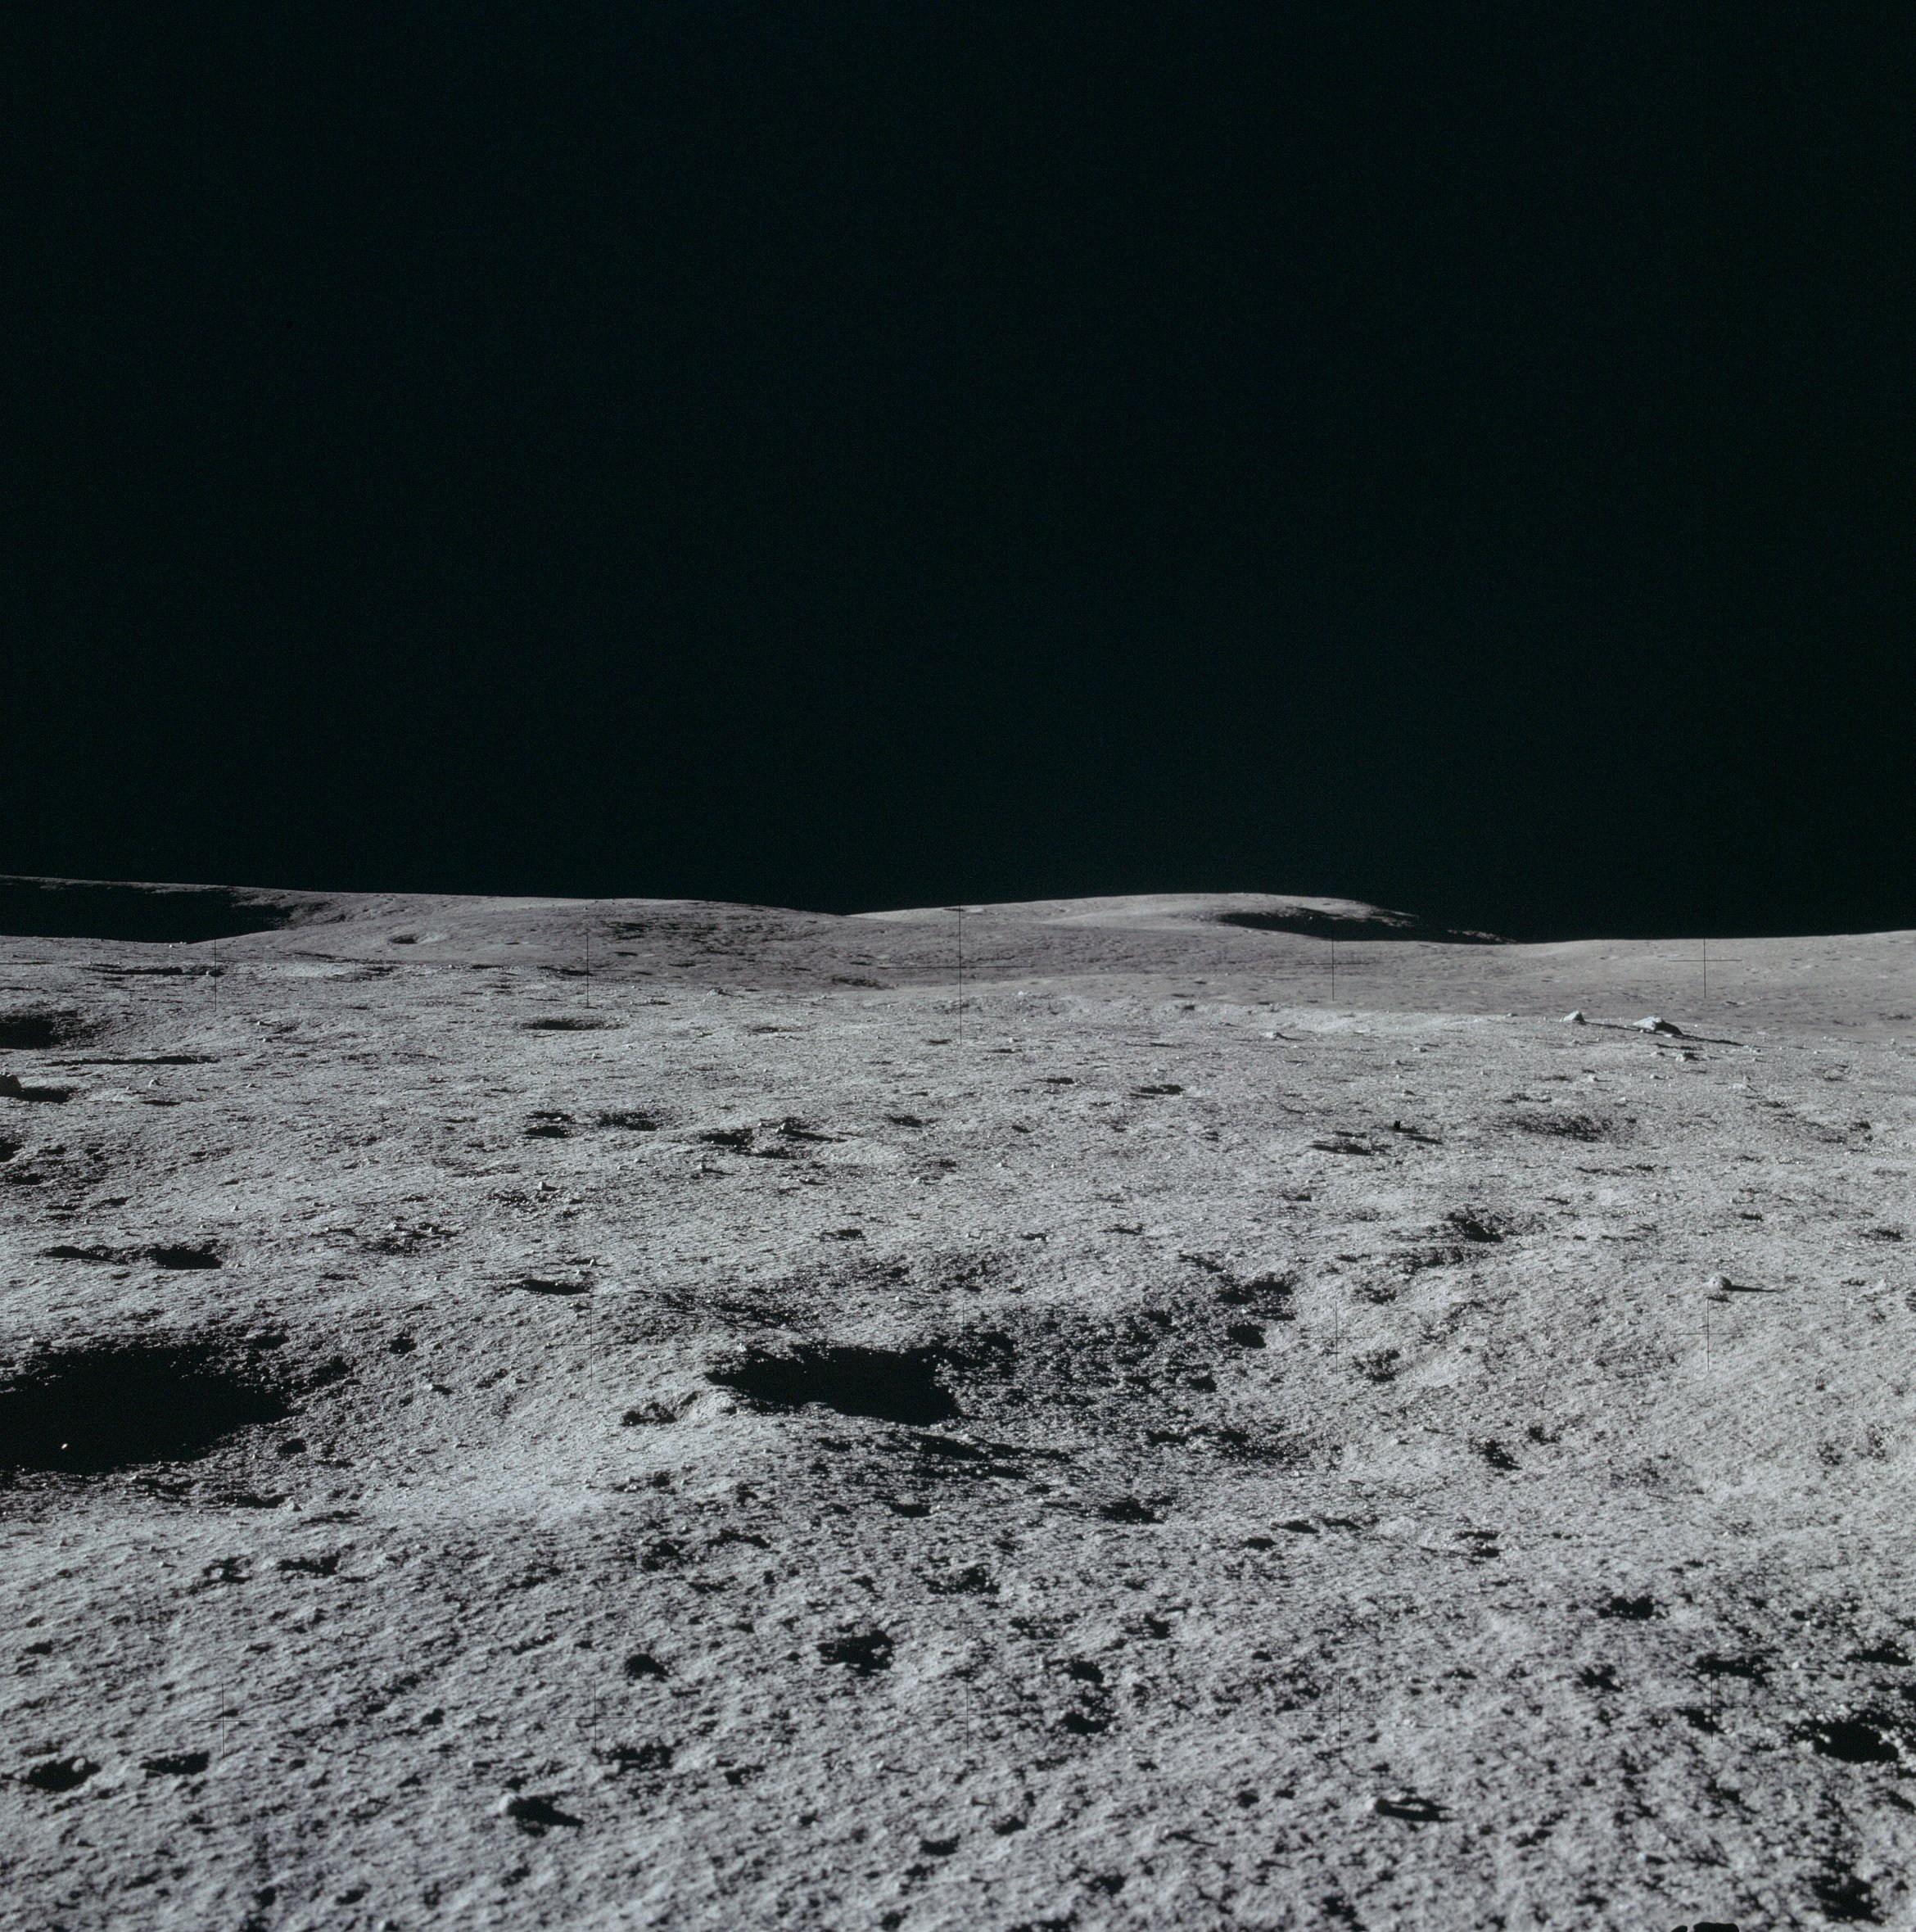 | AS14-66-9287 Rightward of 9286. Image credit: Image Science and Analysis Laboratory, NASA-Johnson Space Center. |
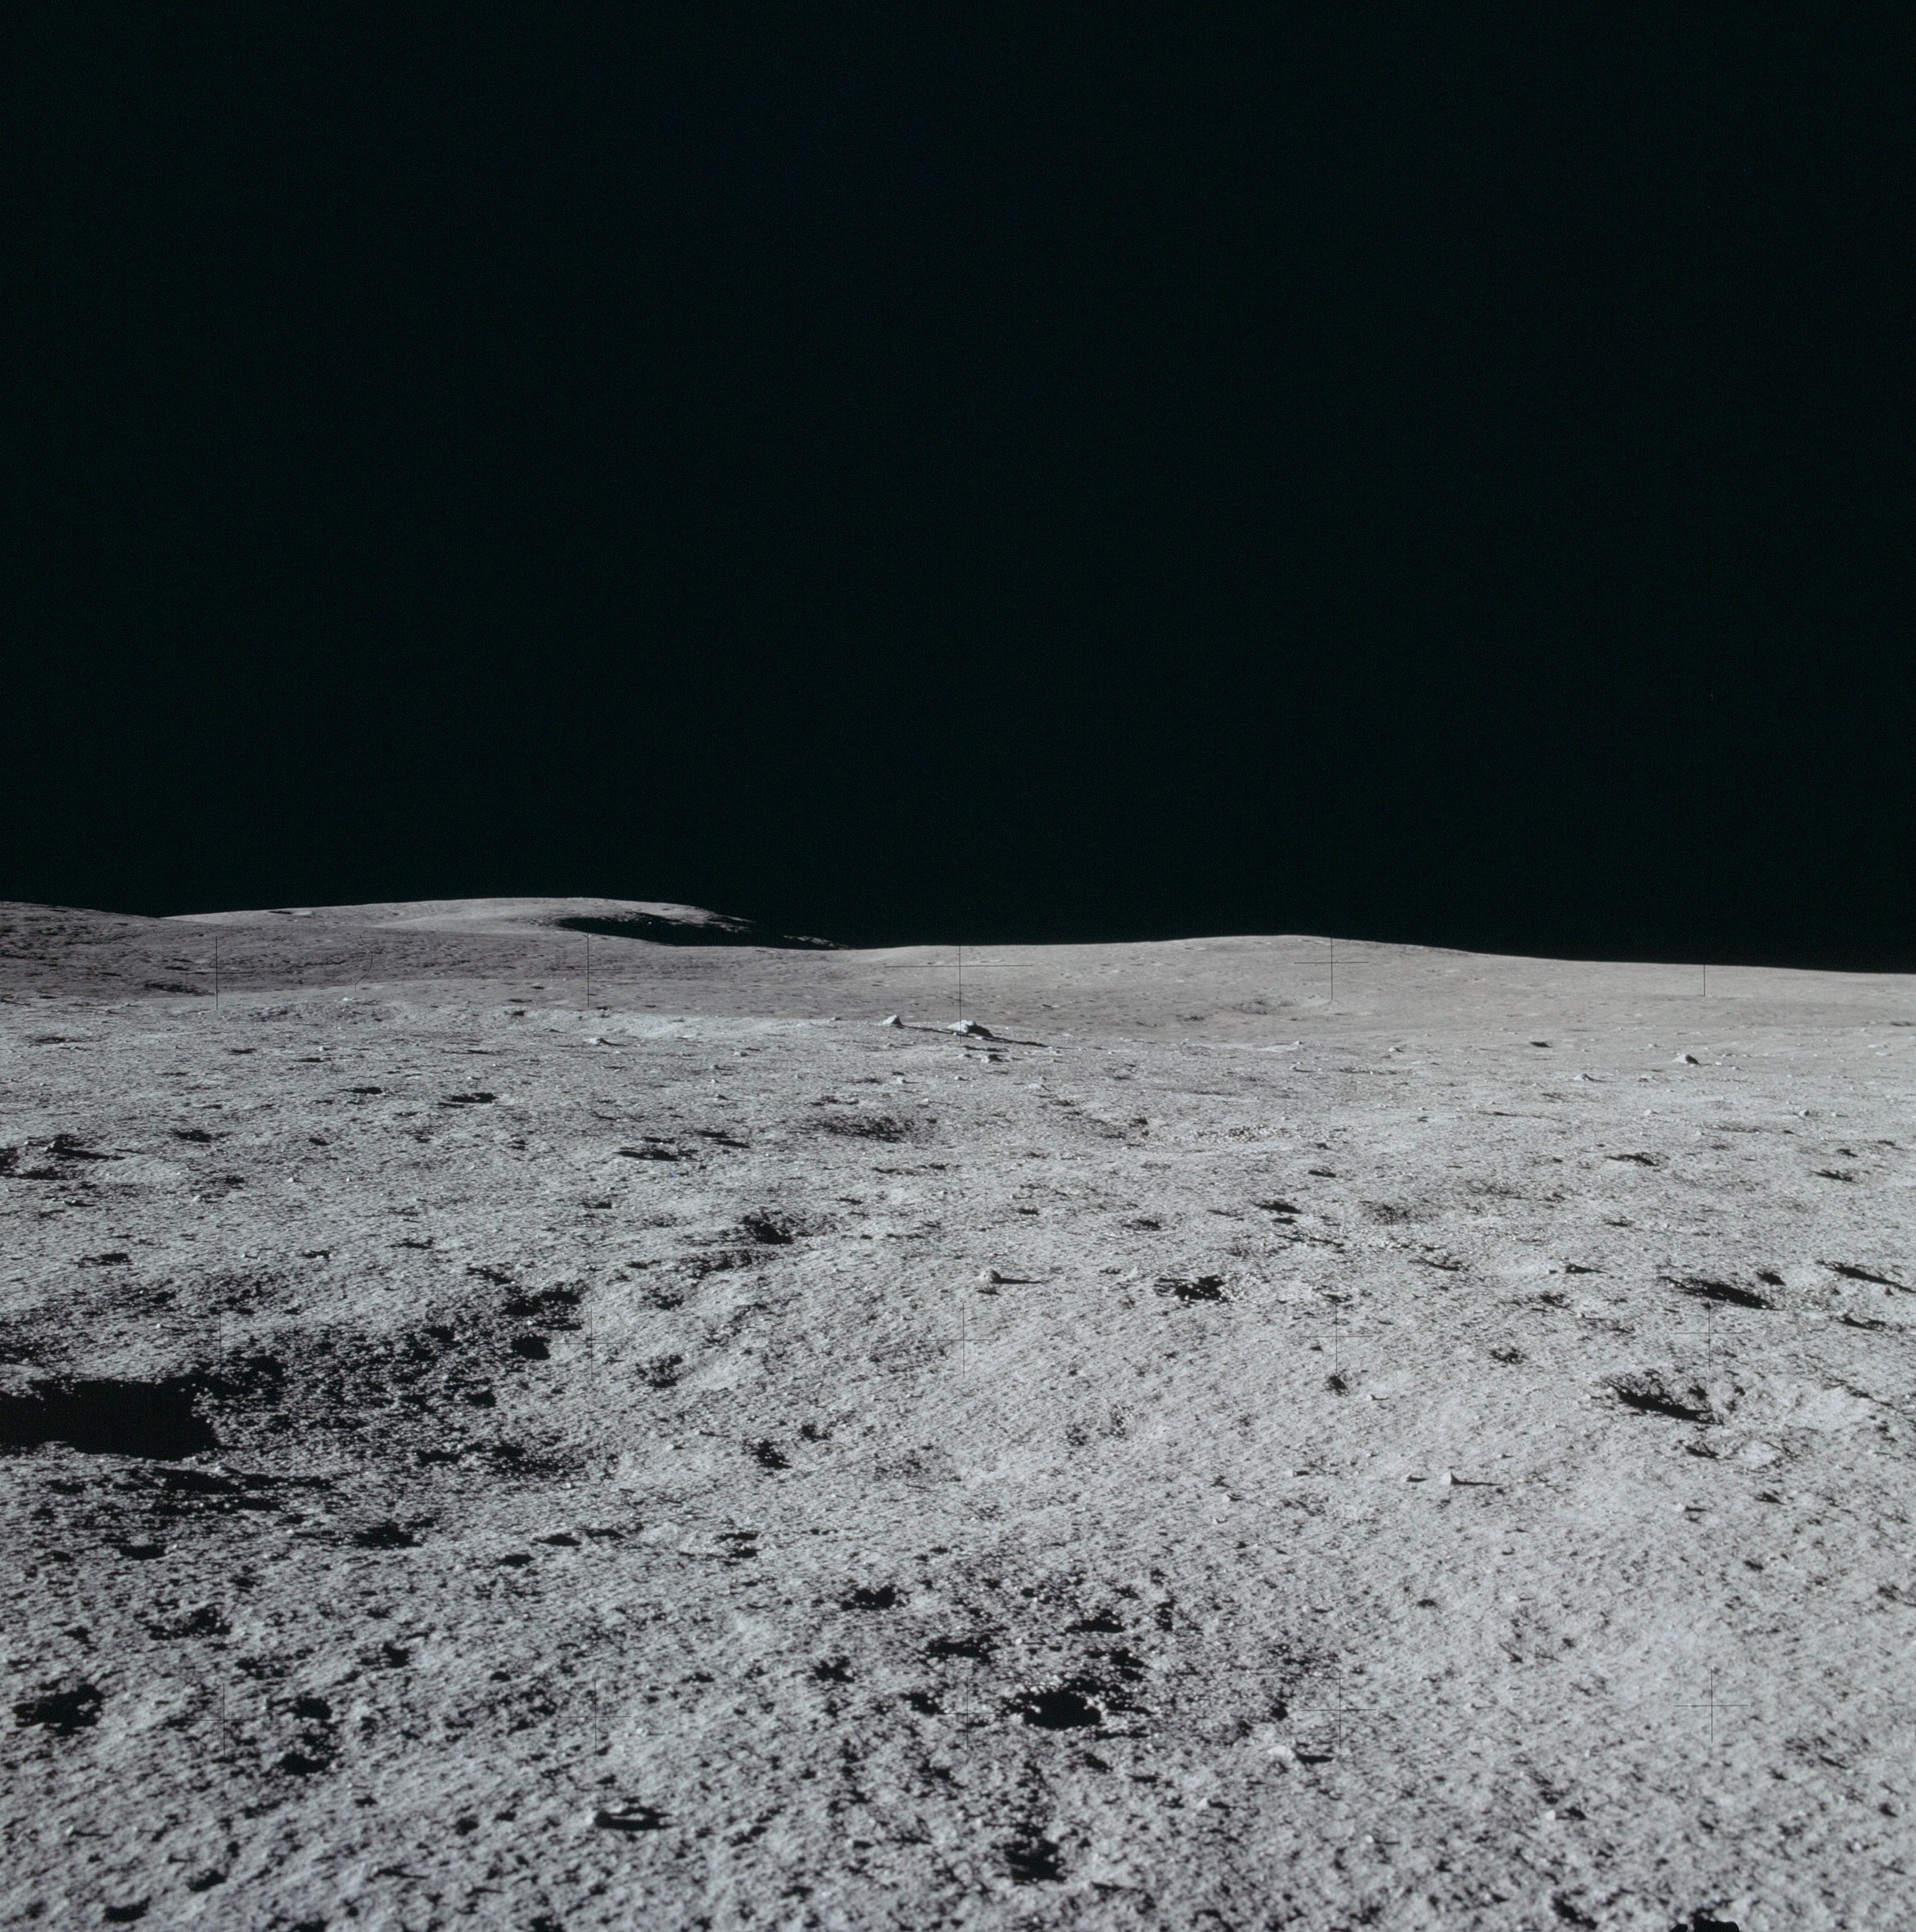 | AS14-66-9288 Rightward of 9287. Image credit: Image Science and Analysis Laboratory, NASA-Johnson Space Center. |
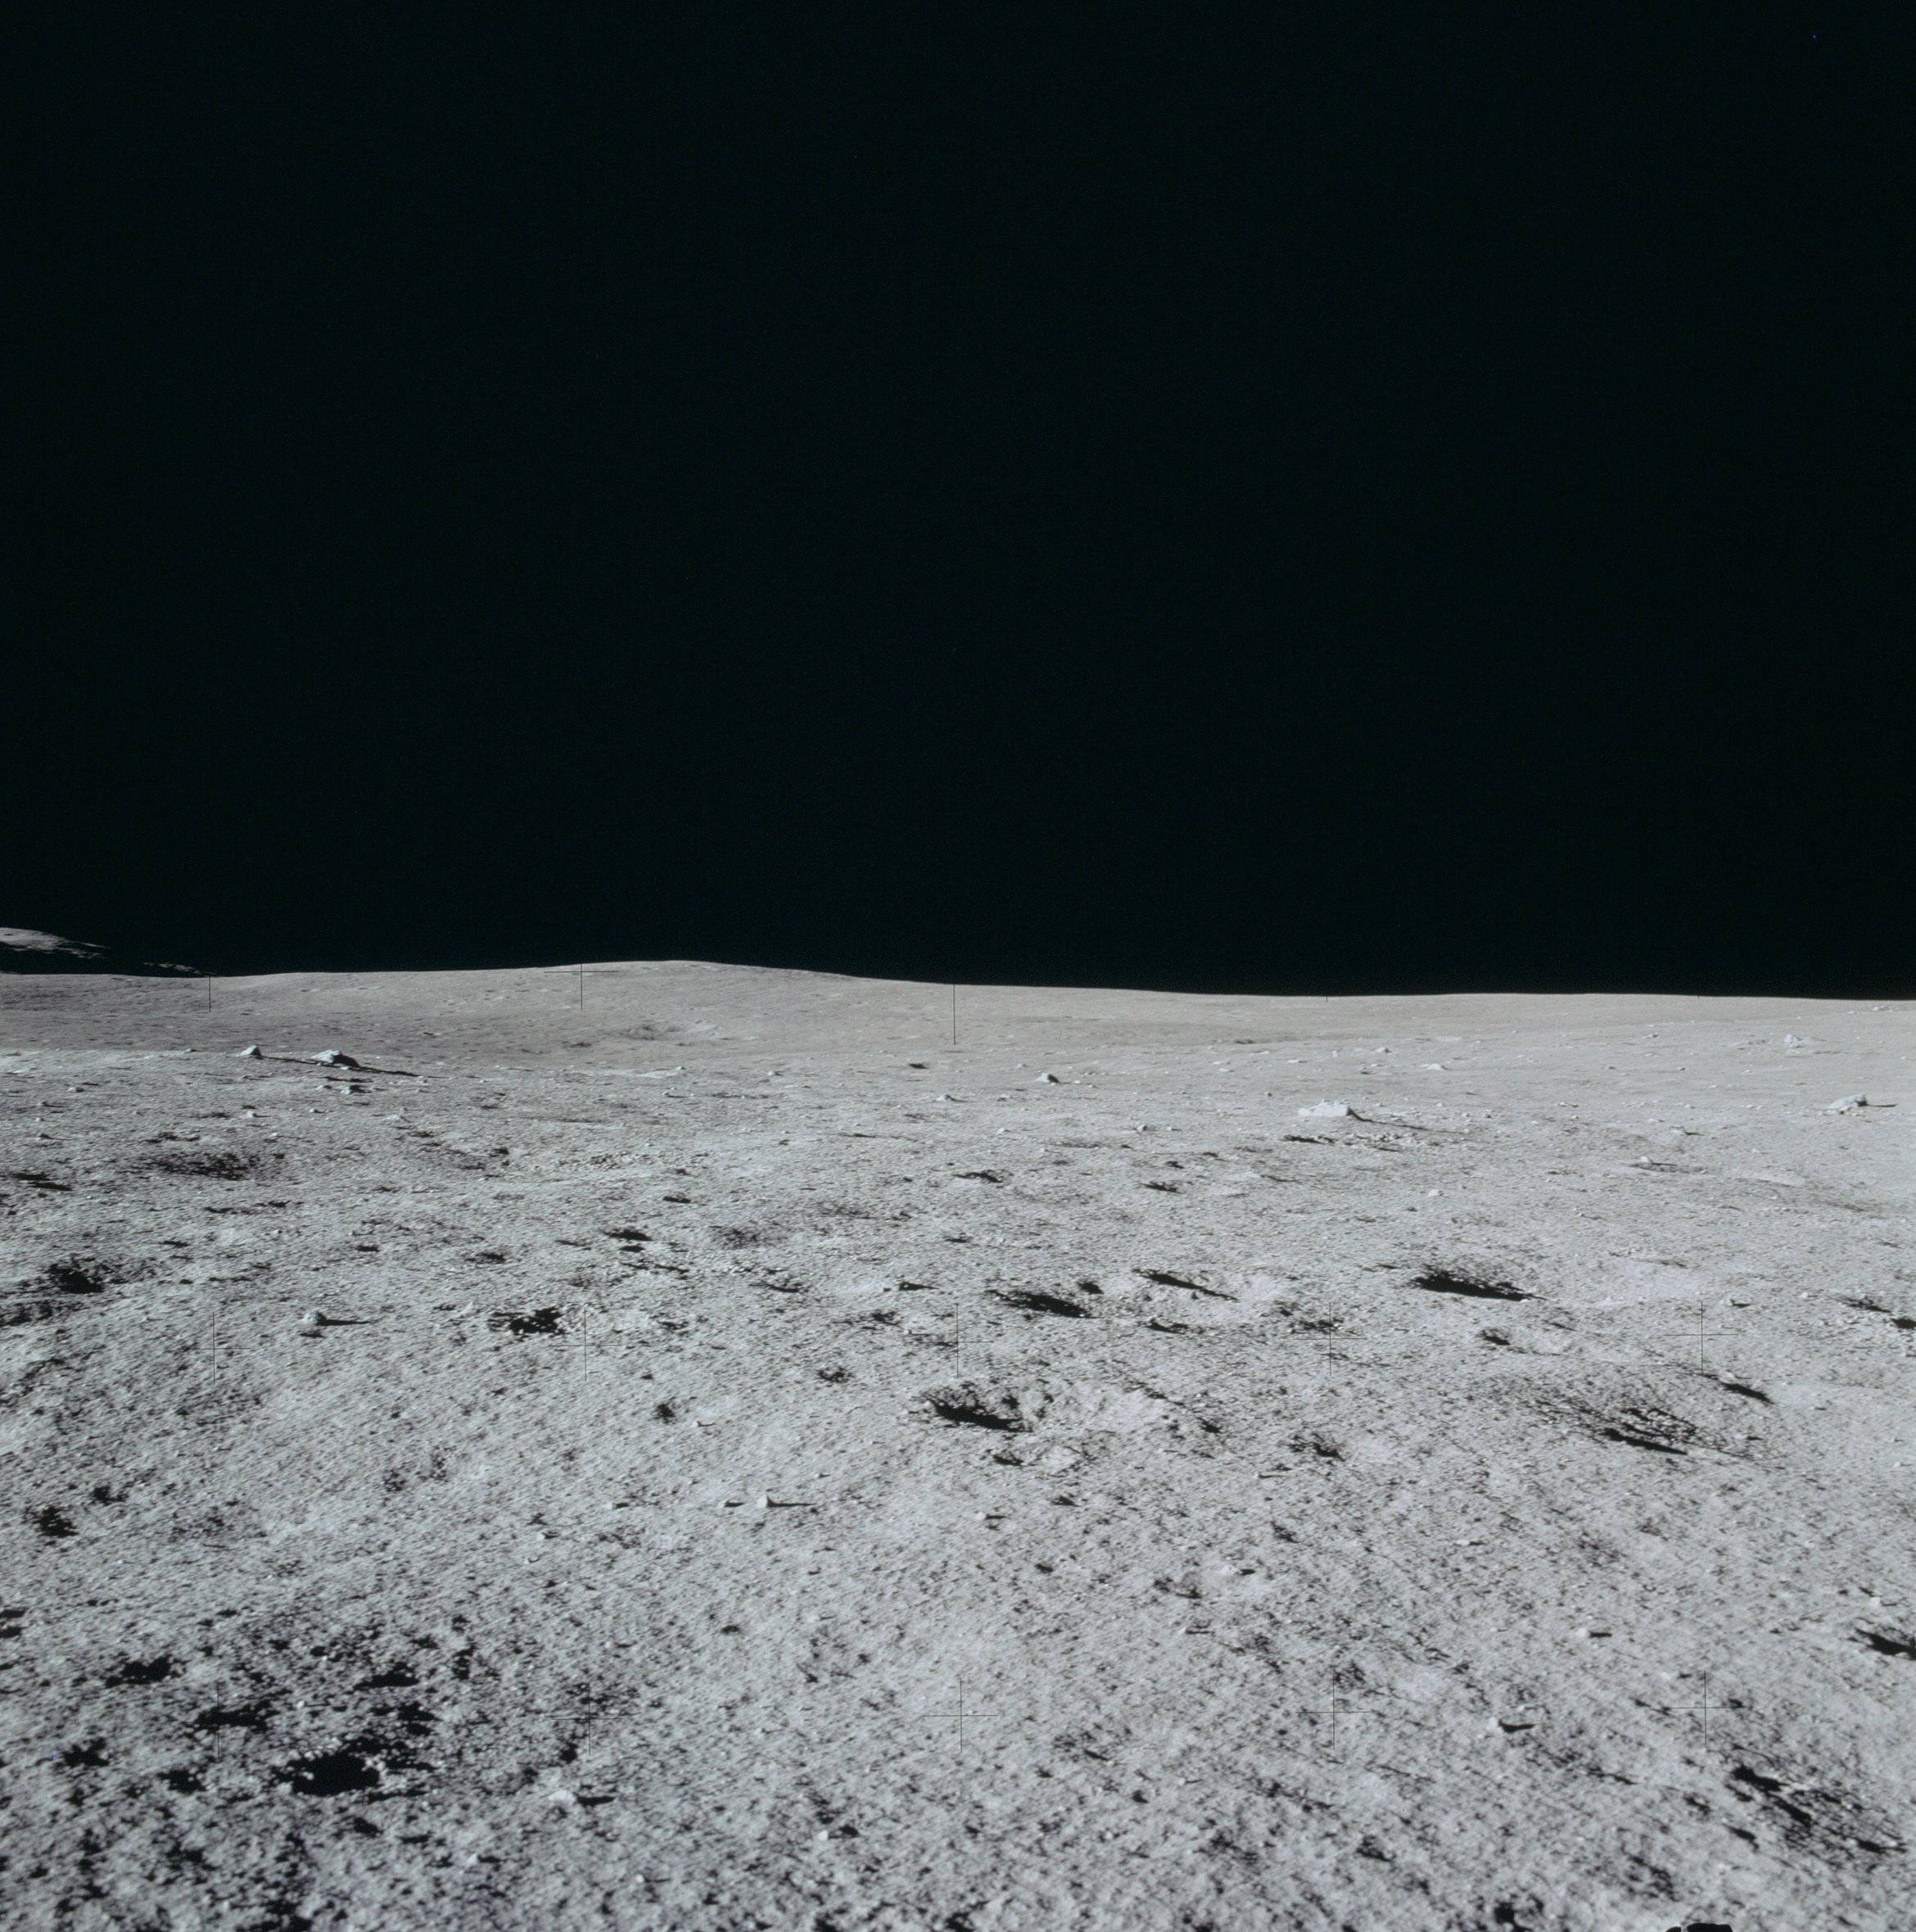 | AS14-66-9289 Rightward of 9288. Image credit: Image Science and Analysis Laboratory, NASA-Johnson Space Center. |
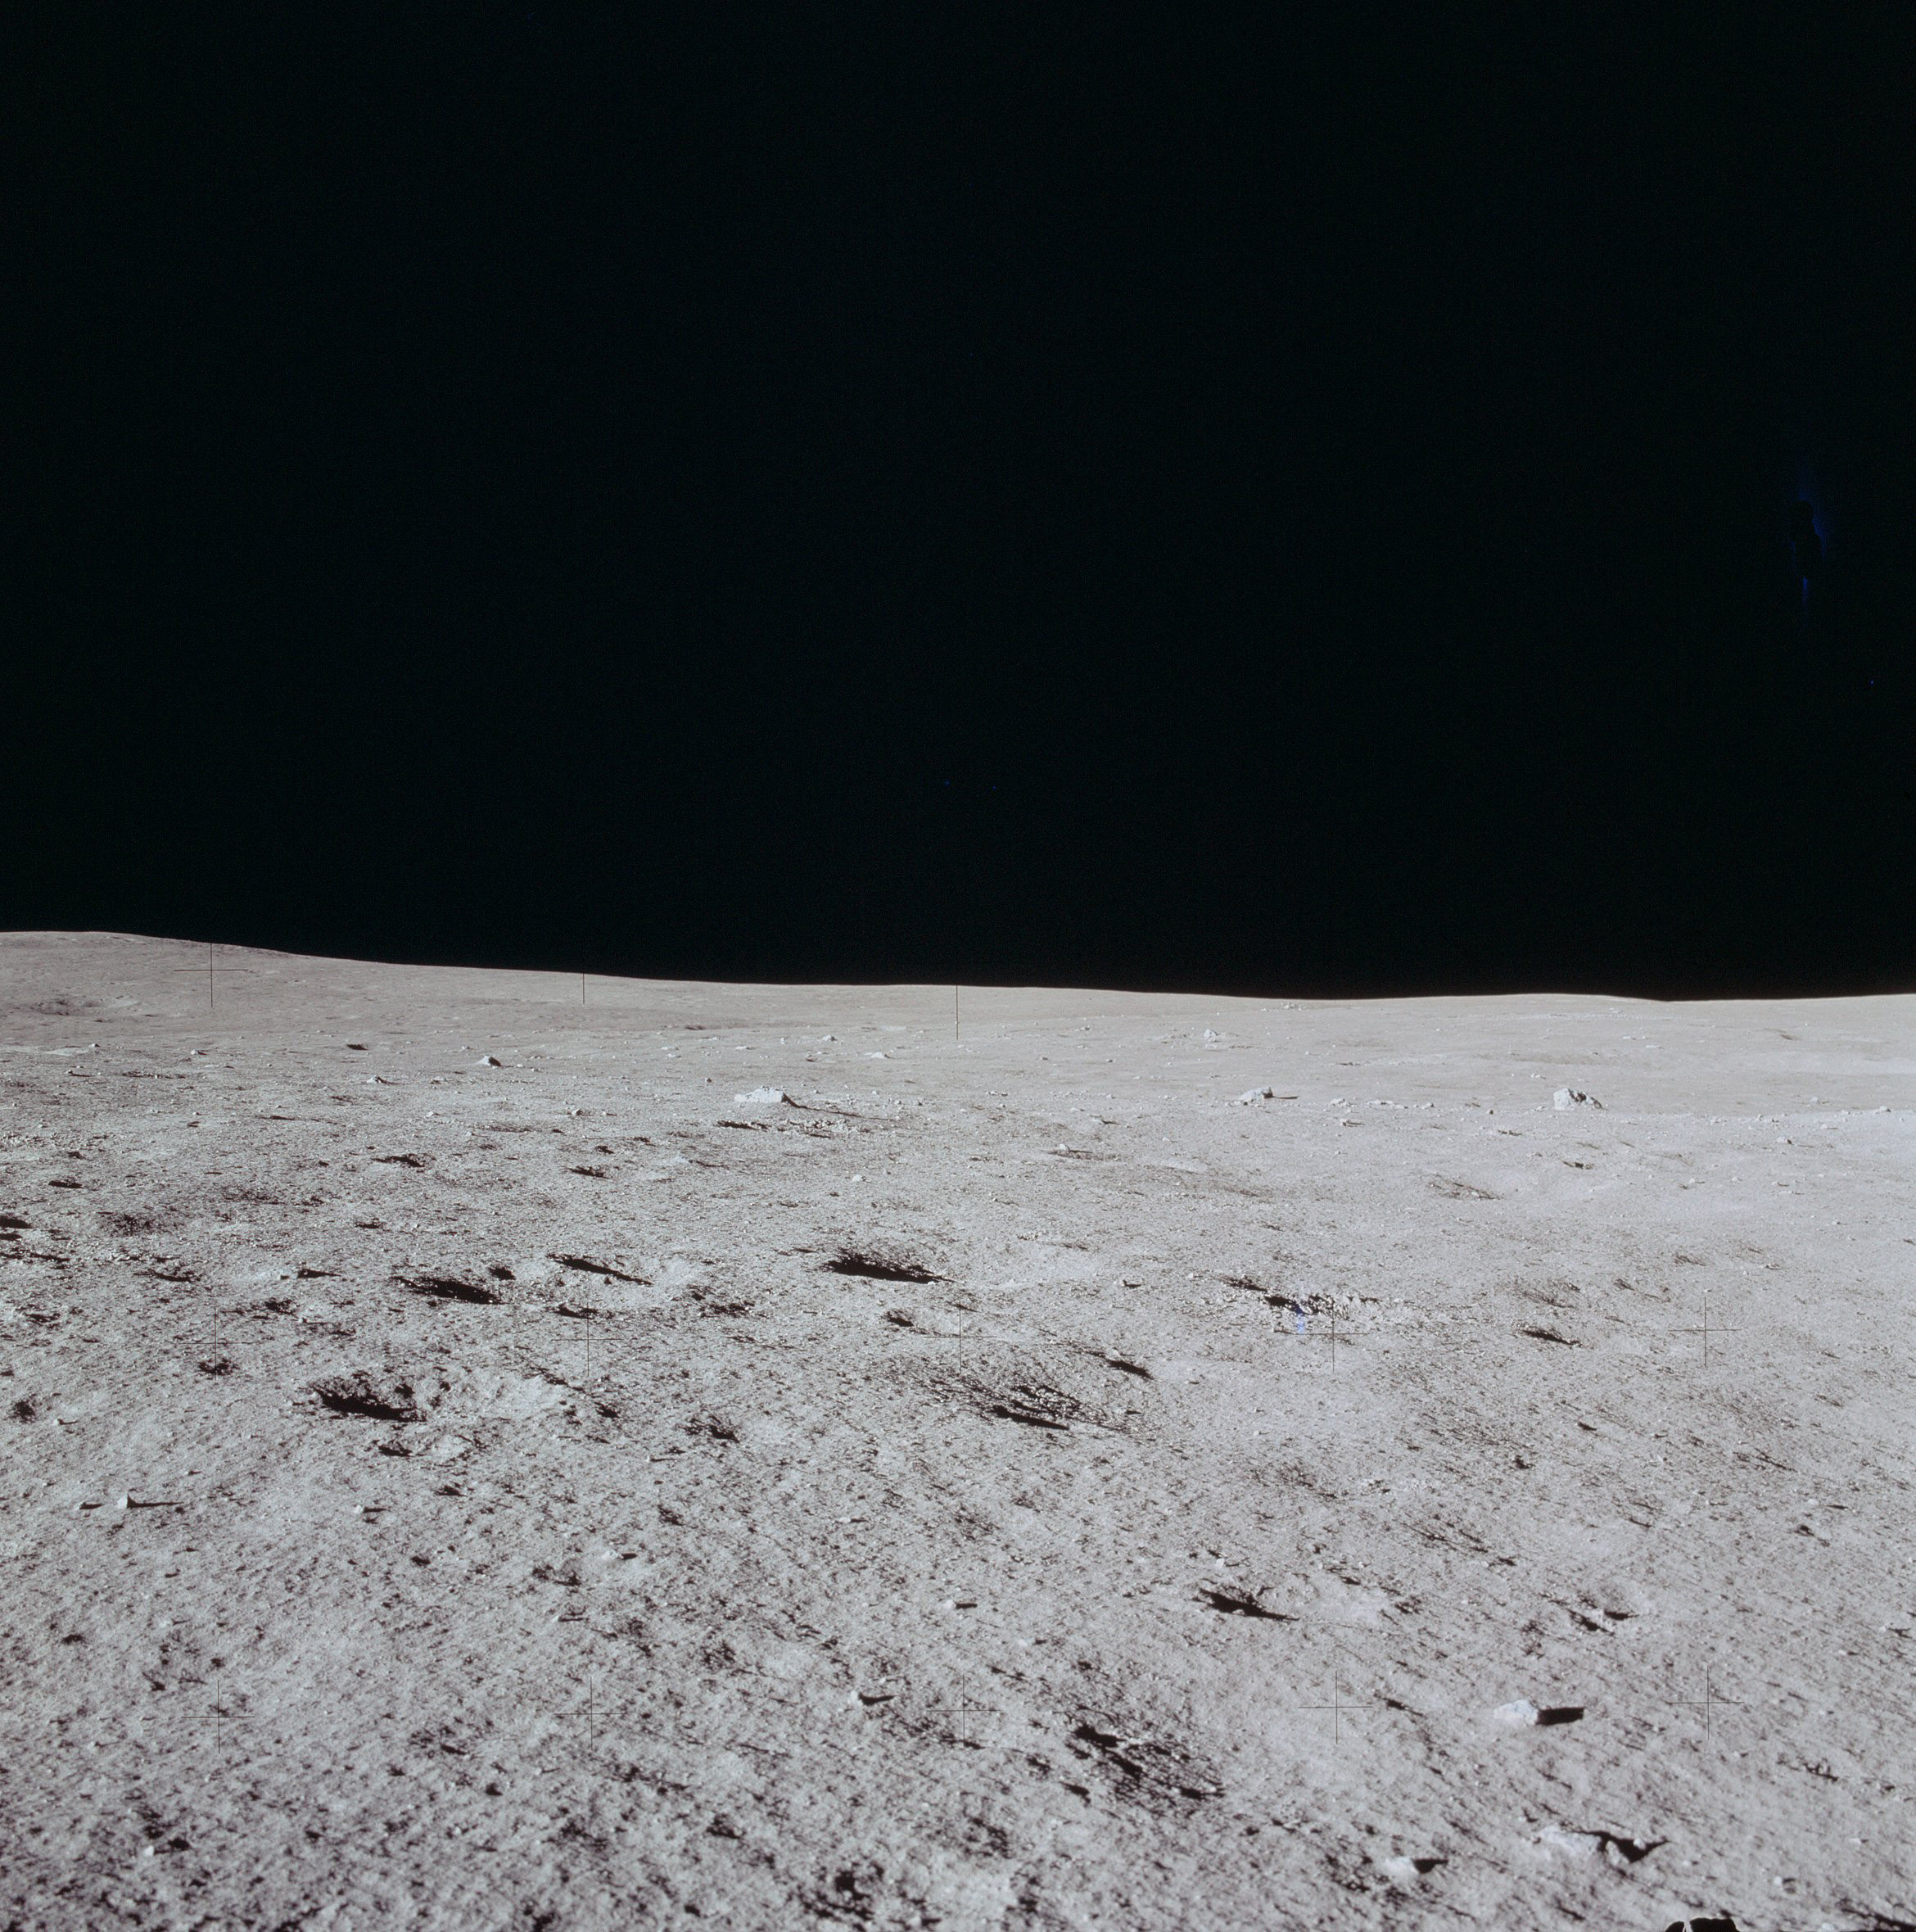 | AS14-66-9290 LUNAR SURFACE LOOKING SOUTHWEST Image credit: Image Science and Analysis Laboratory, NASA-Johnson Space Center. |
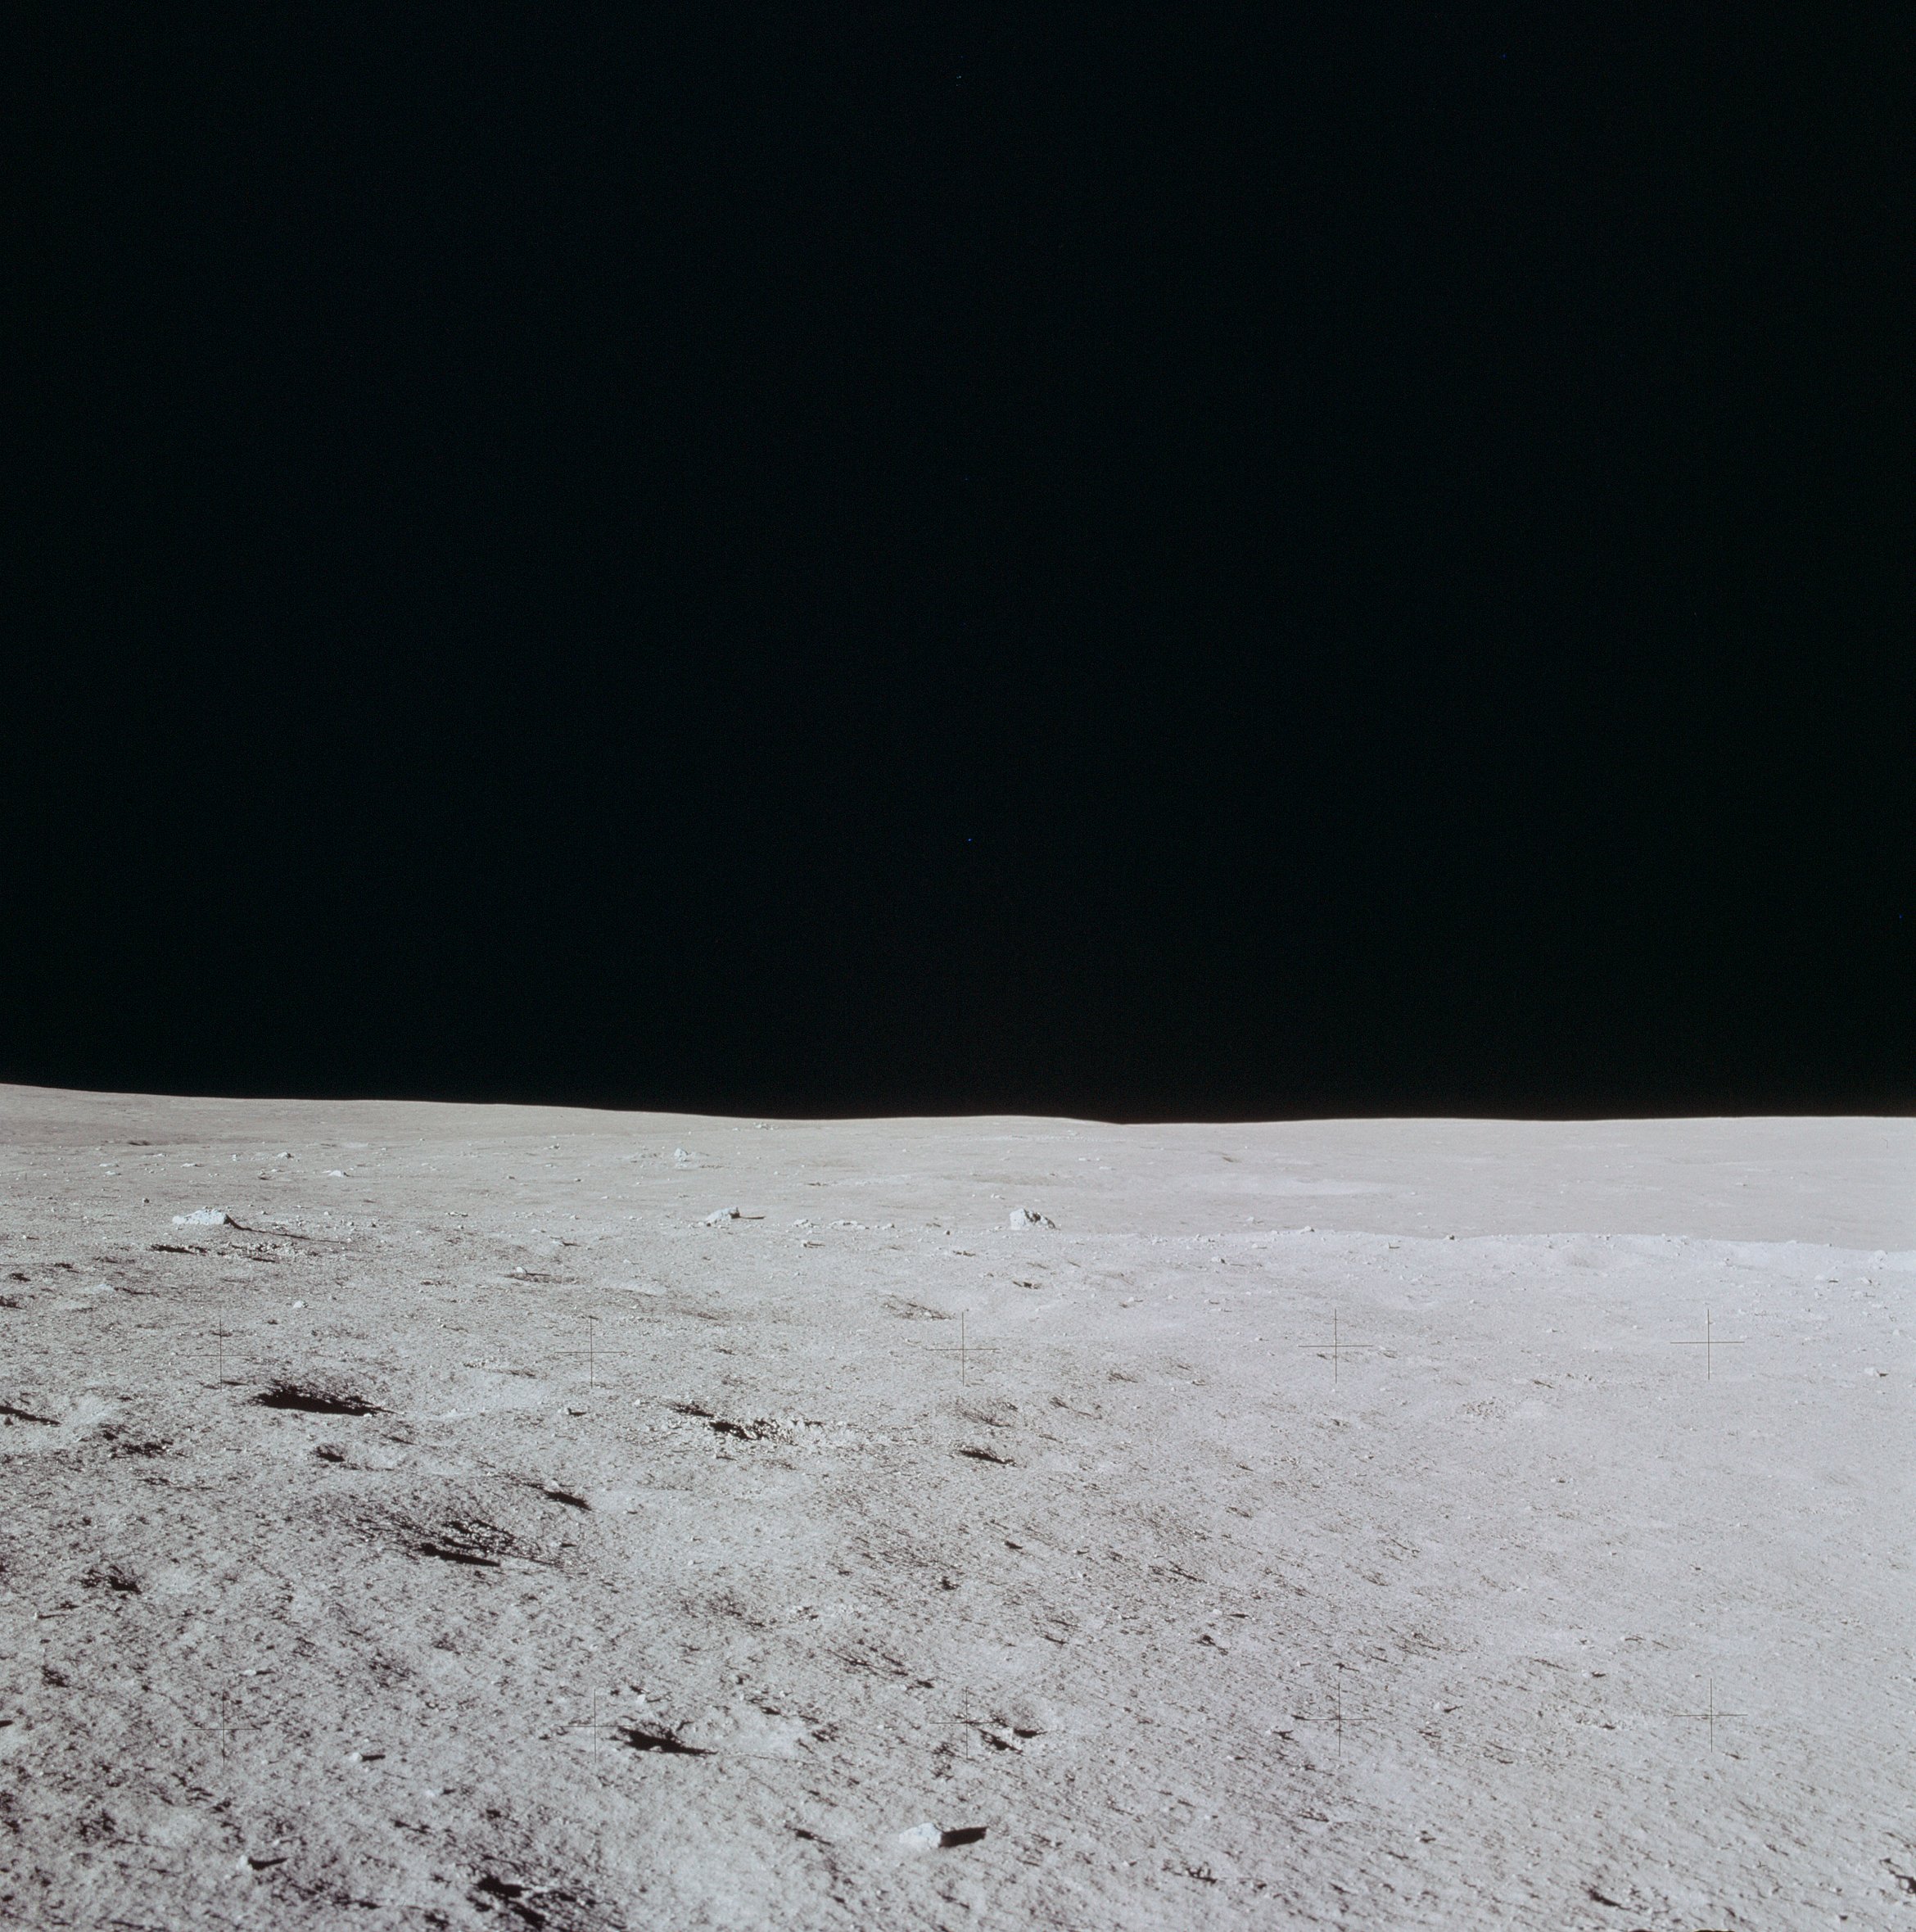 | AS14-66-9291 LUNAR SURFACE TO HORIZON LOOKING SOUTHWEST Image credit: Image Science and Analysis Laboratory, NASA-Johnson Space Center. |
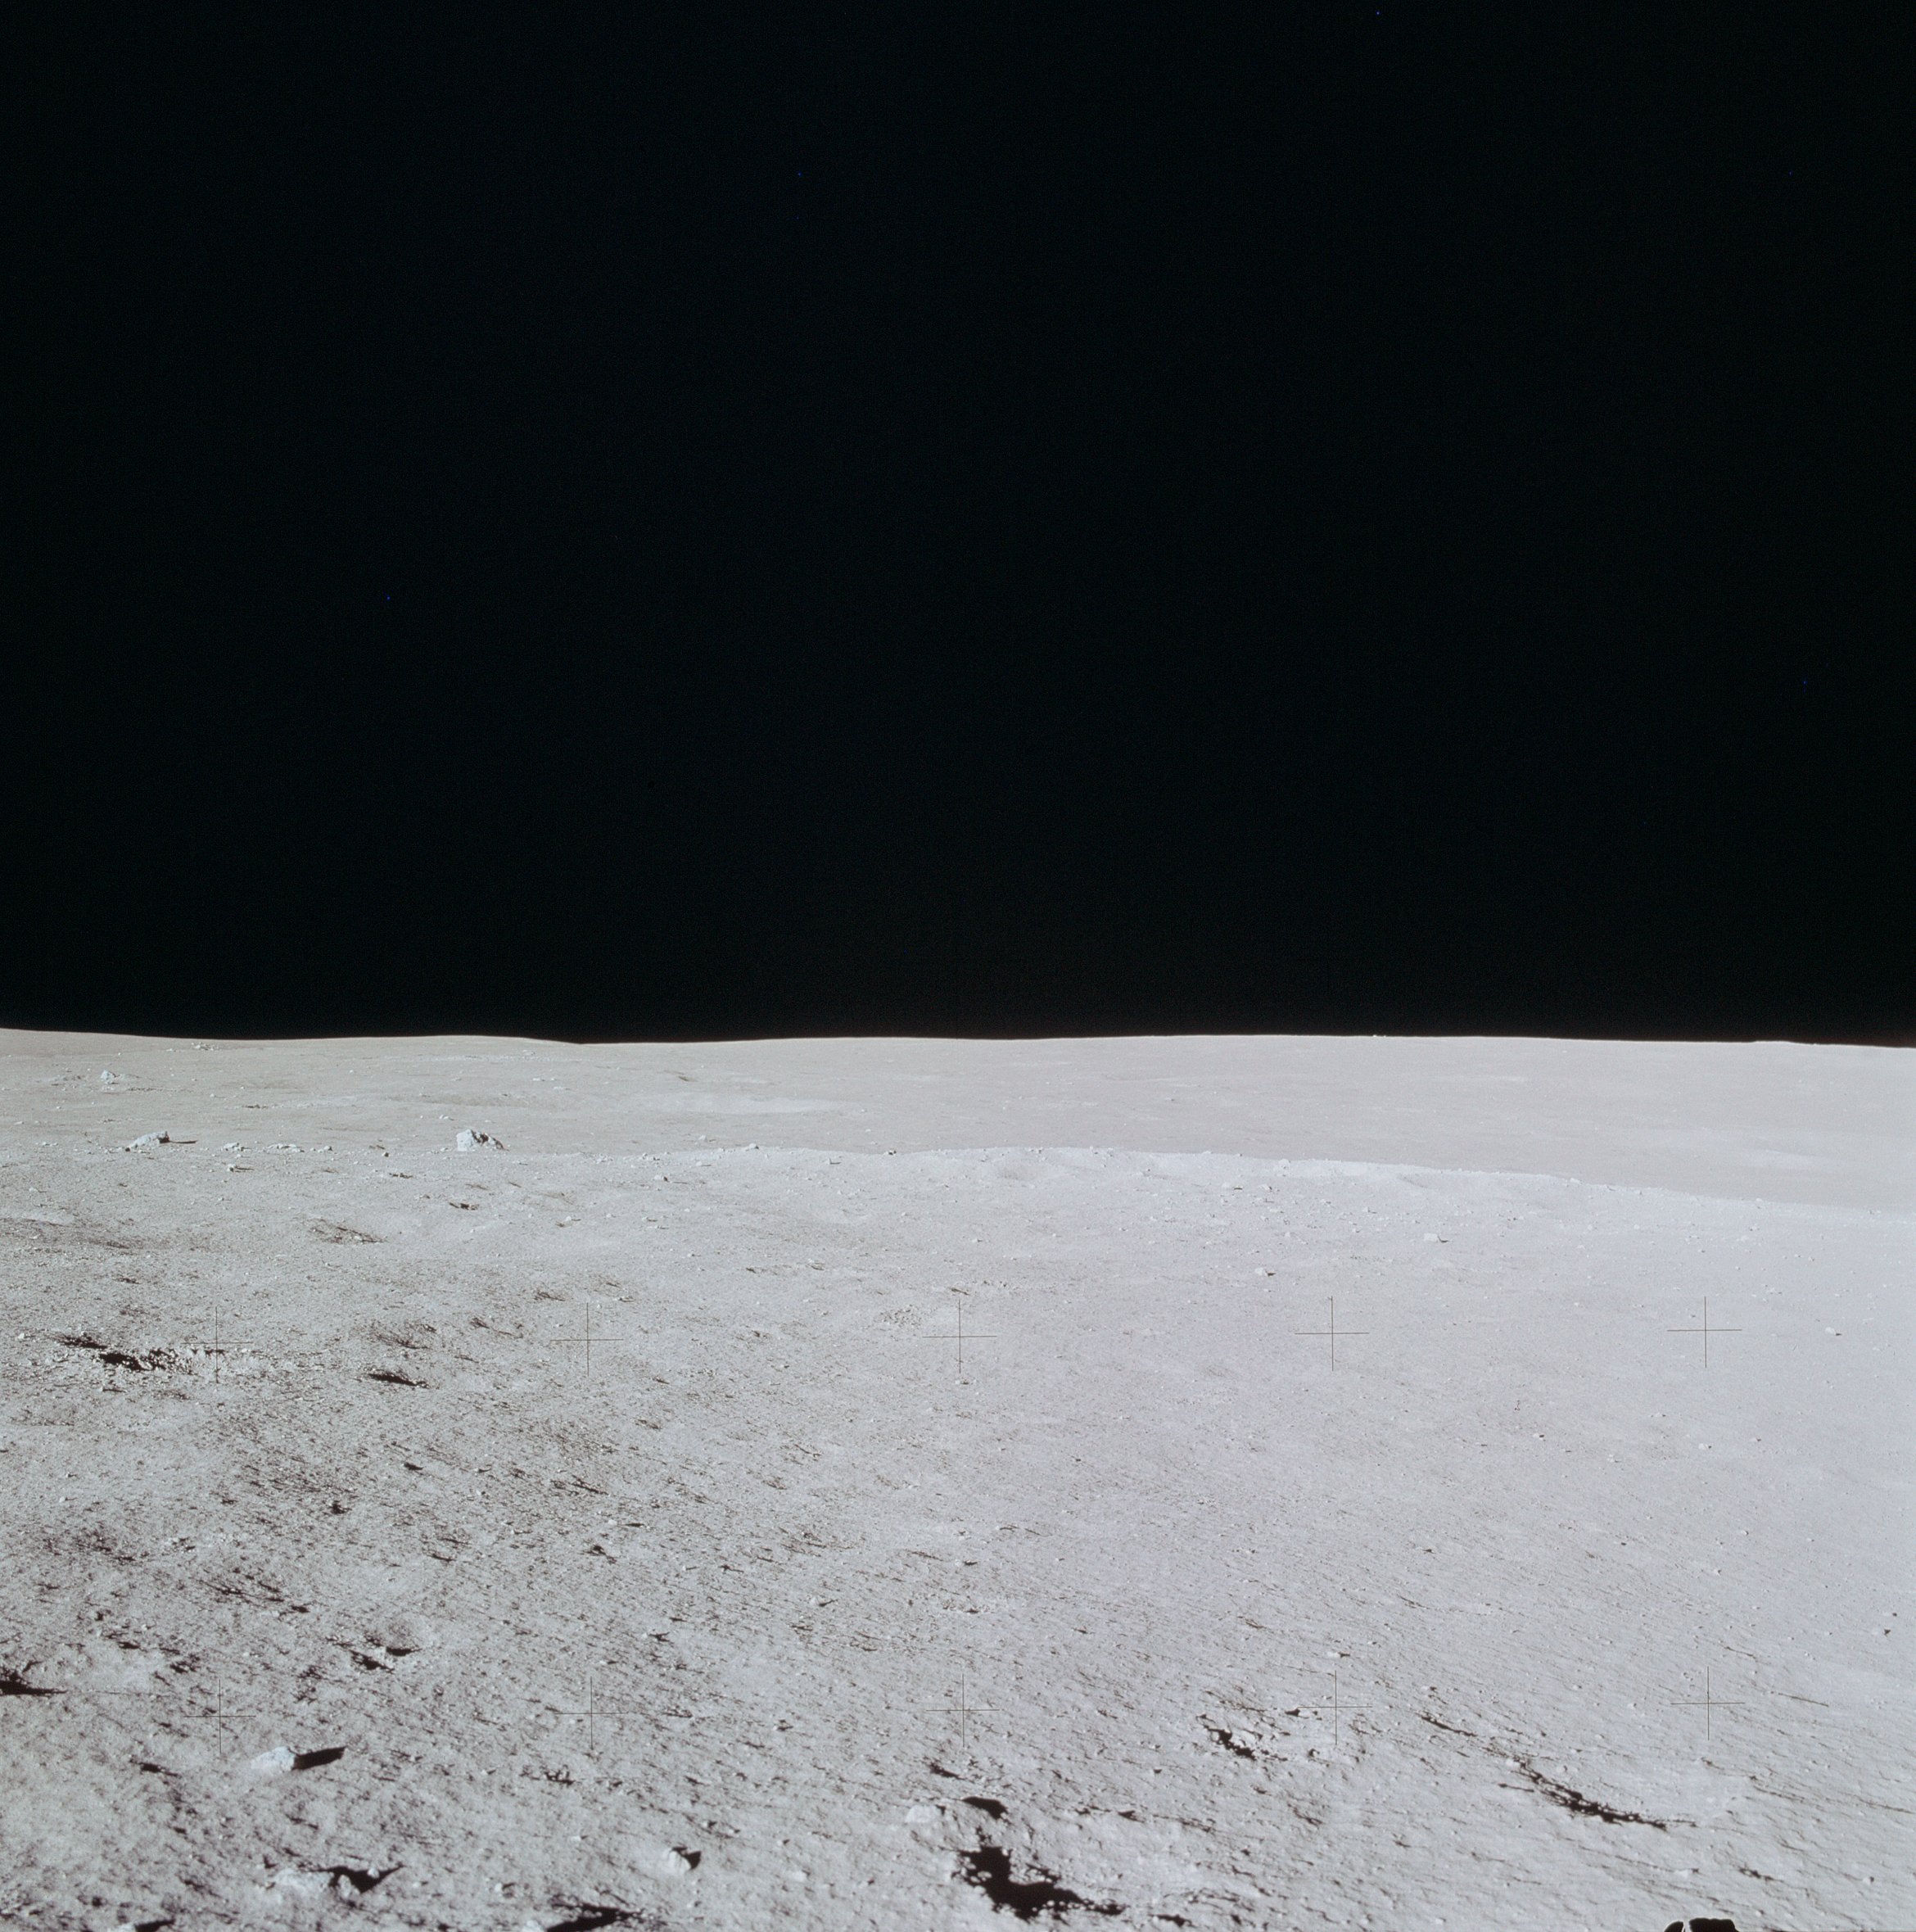 | AS14-66-9292 LUNAR SURFACE TO HORIZON LOOKING SOUTHWEST Image credit: Image Science and Analysis Laboratory, NASA-Johnson Space Center. |
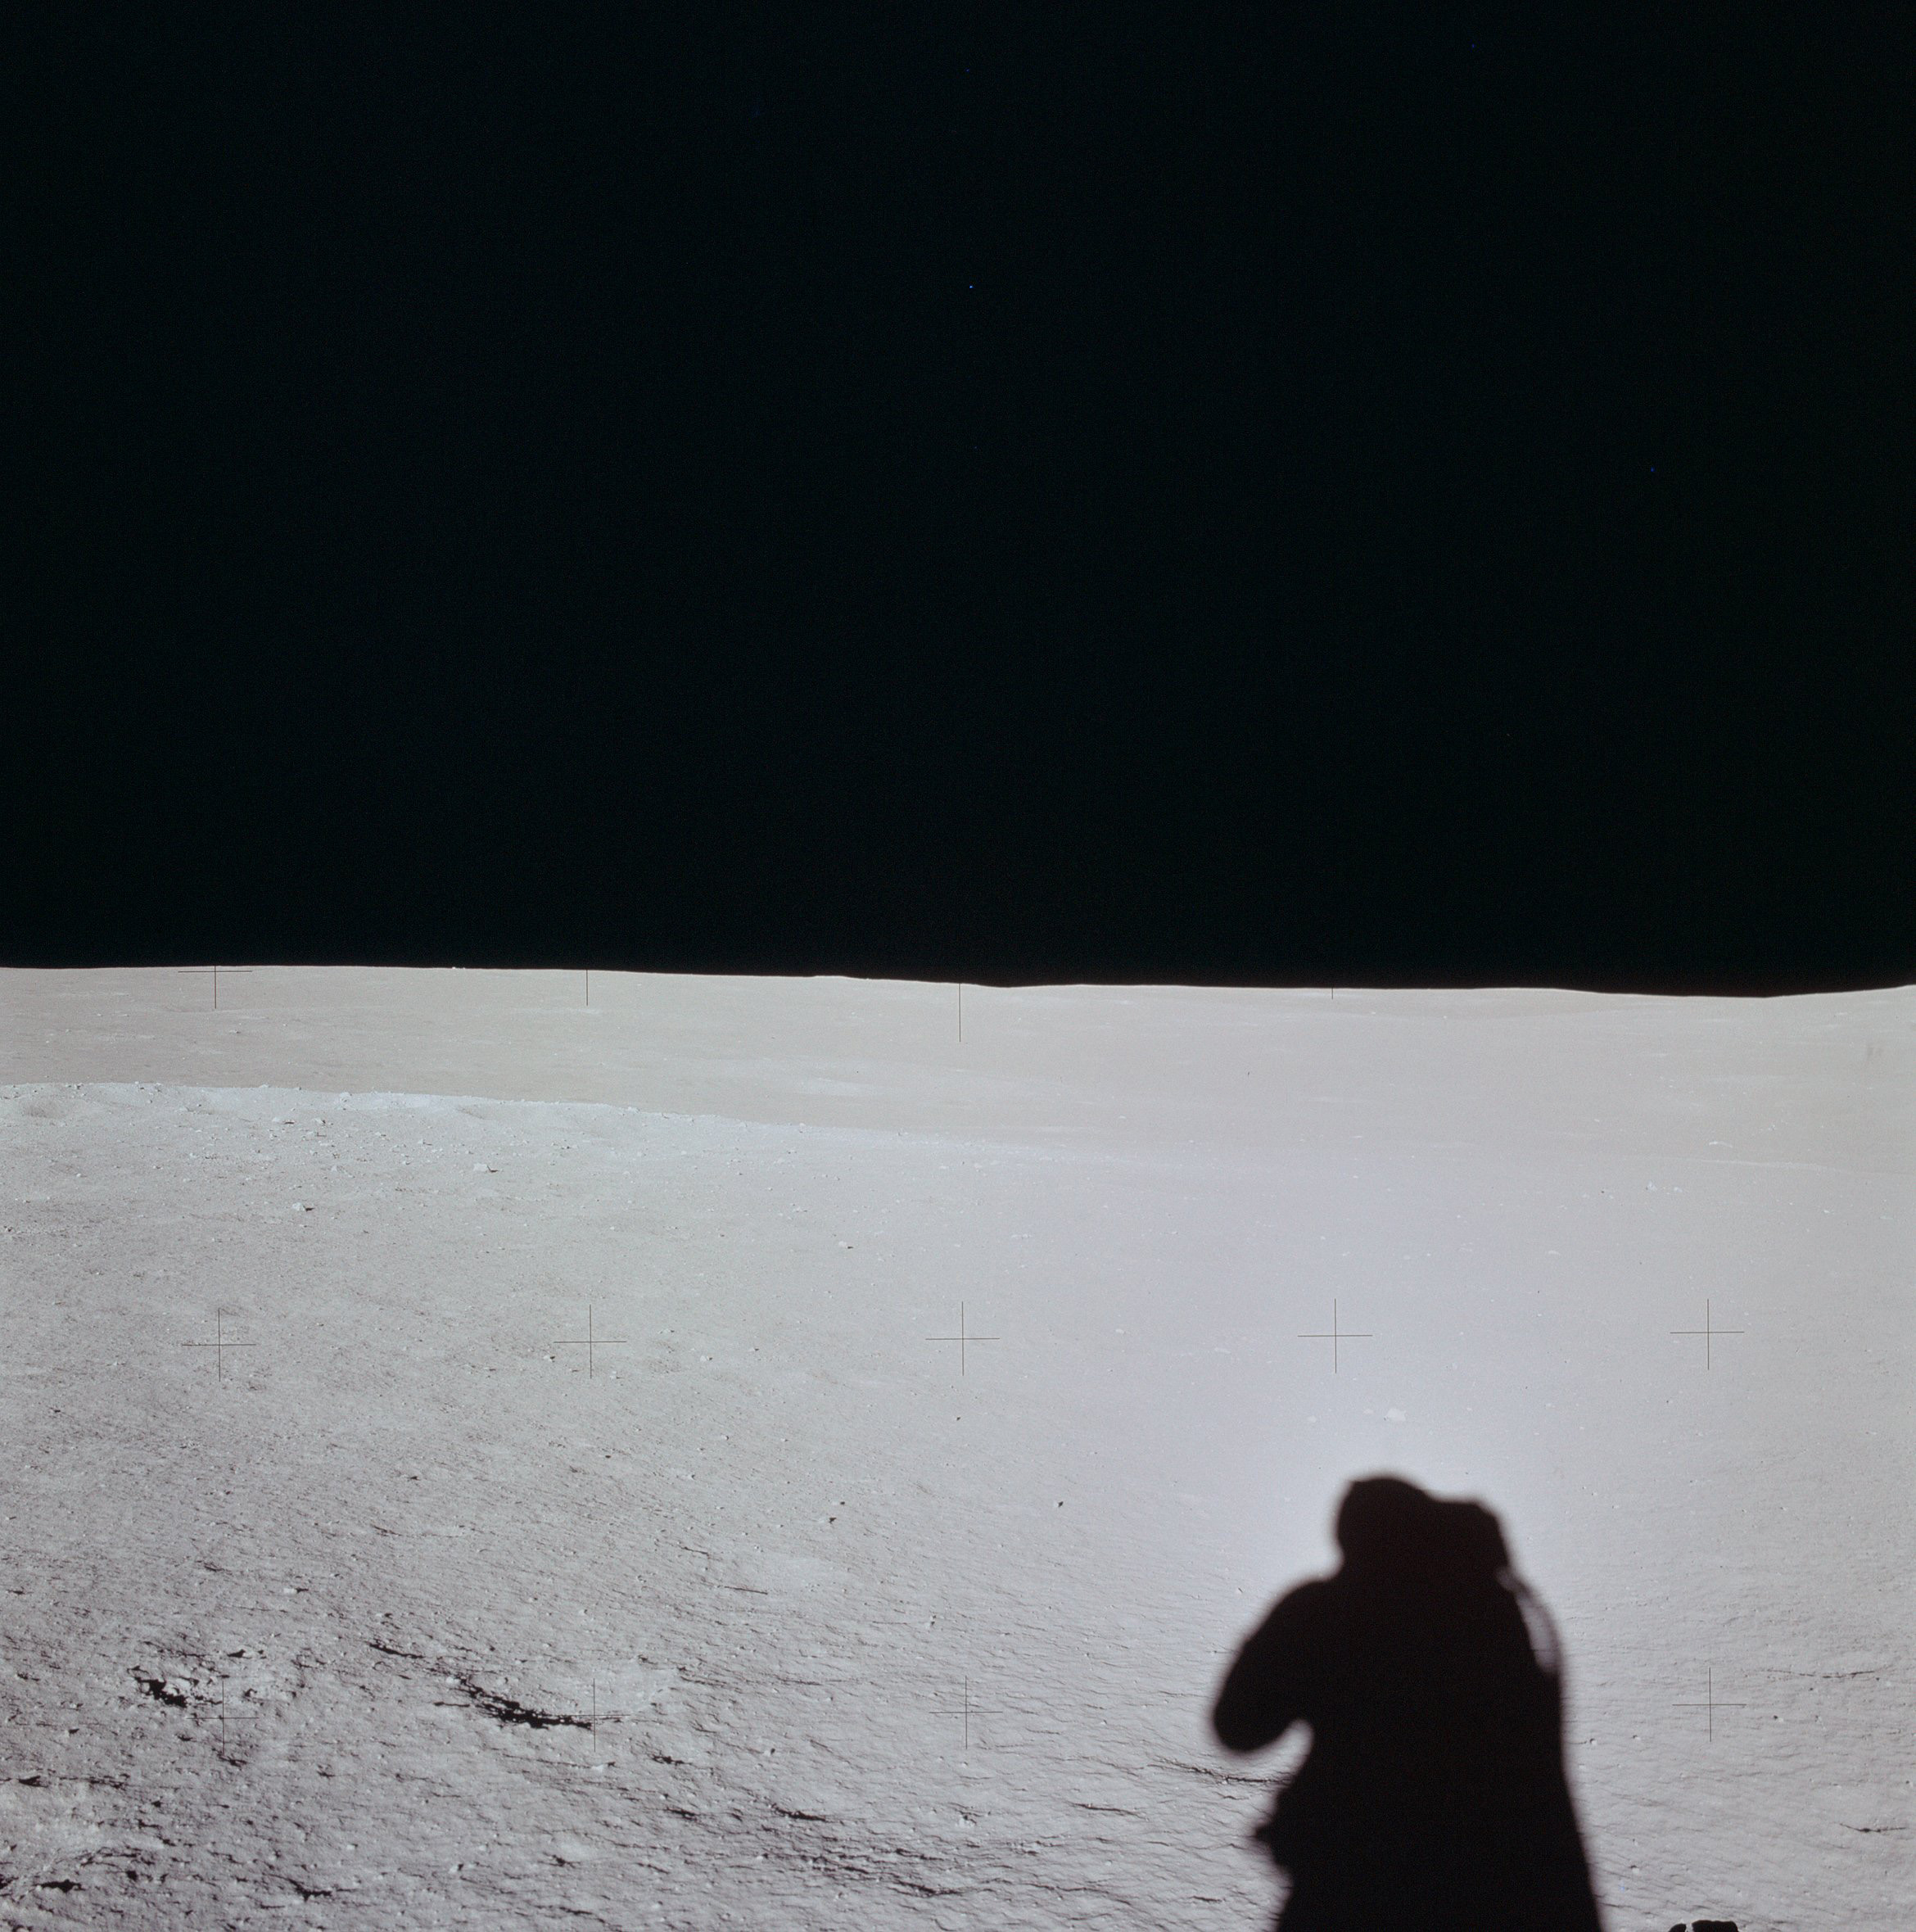 | AS14-66-9293 114:53:38 This down-Sun photo is the final frame is Al's 8 o'clock pan and demonstrates the extreme washout at zero phase. Image credit: Image Science and Analysis Laboratory, NASA-Johnson Space Center. |
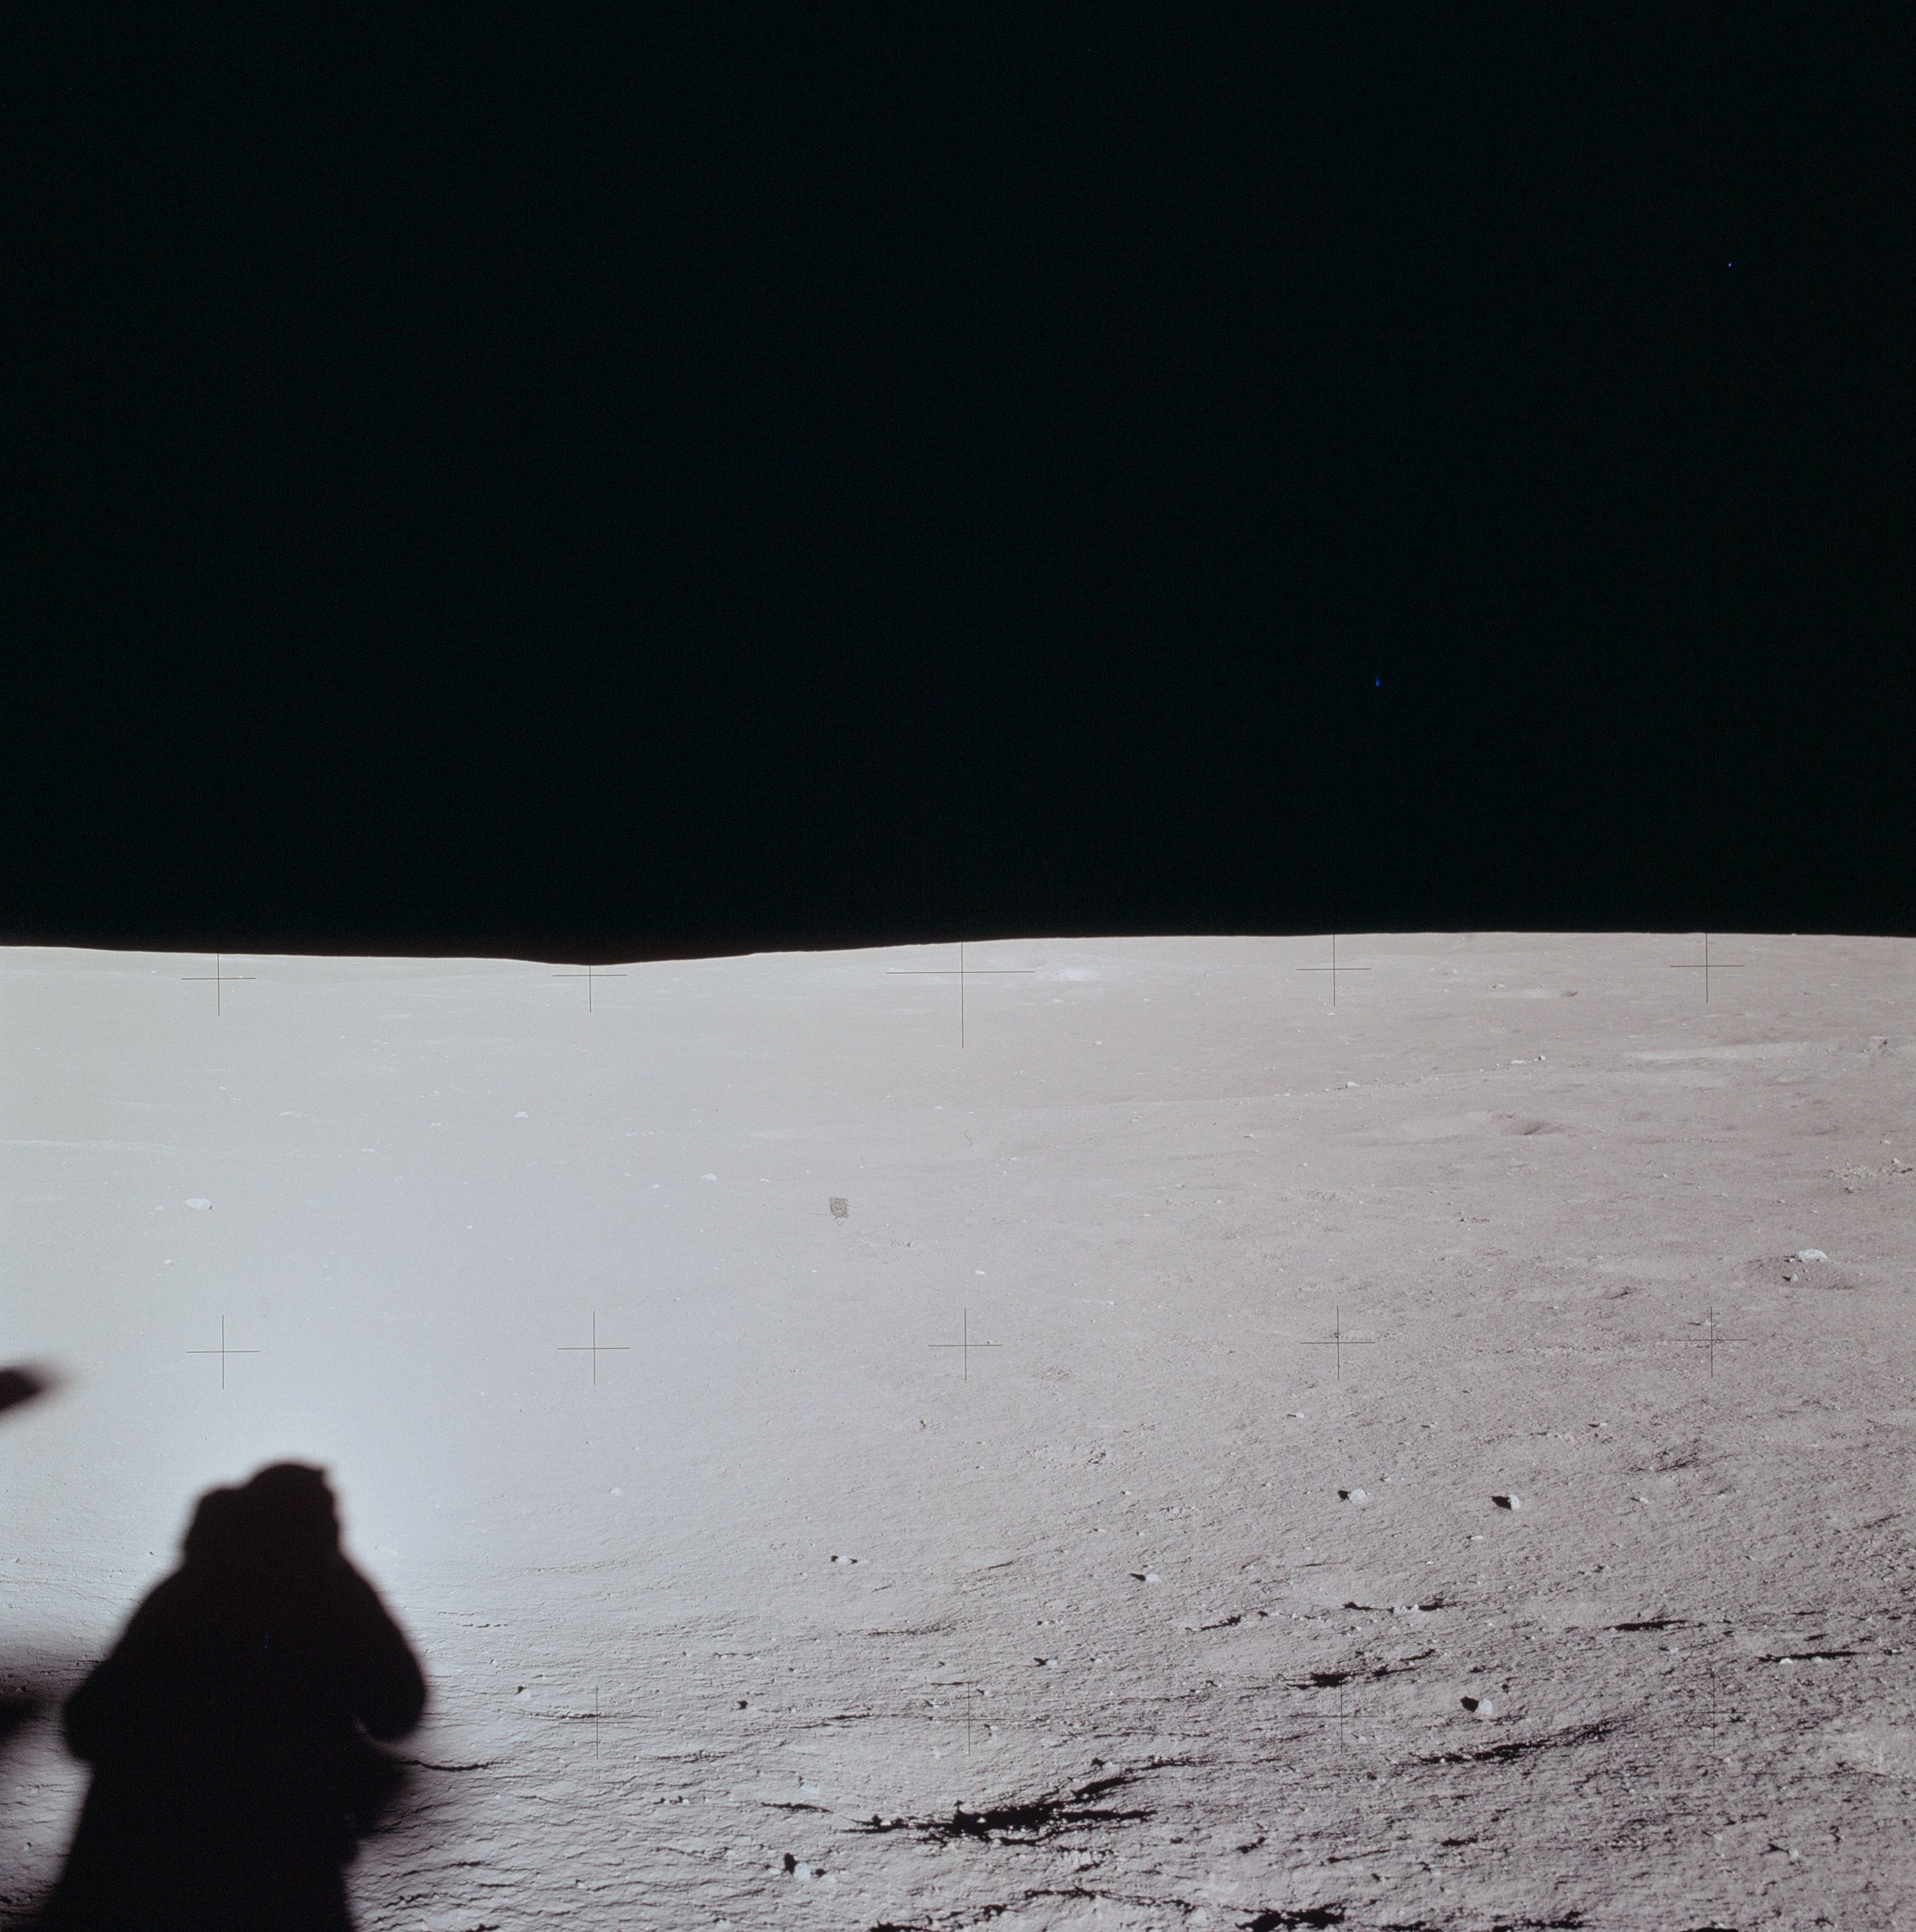 | AS14-66-9294 Al has move to the 12 o'clock position, due west of the ladder, to take a third pan. Image credit: Image Science and Analysis Laboratory, NASA-Johnson Space Center. |
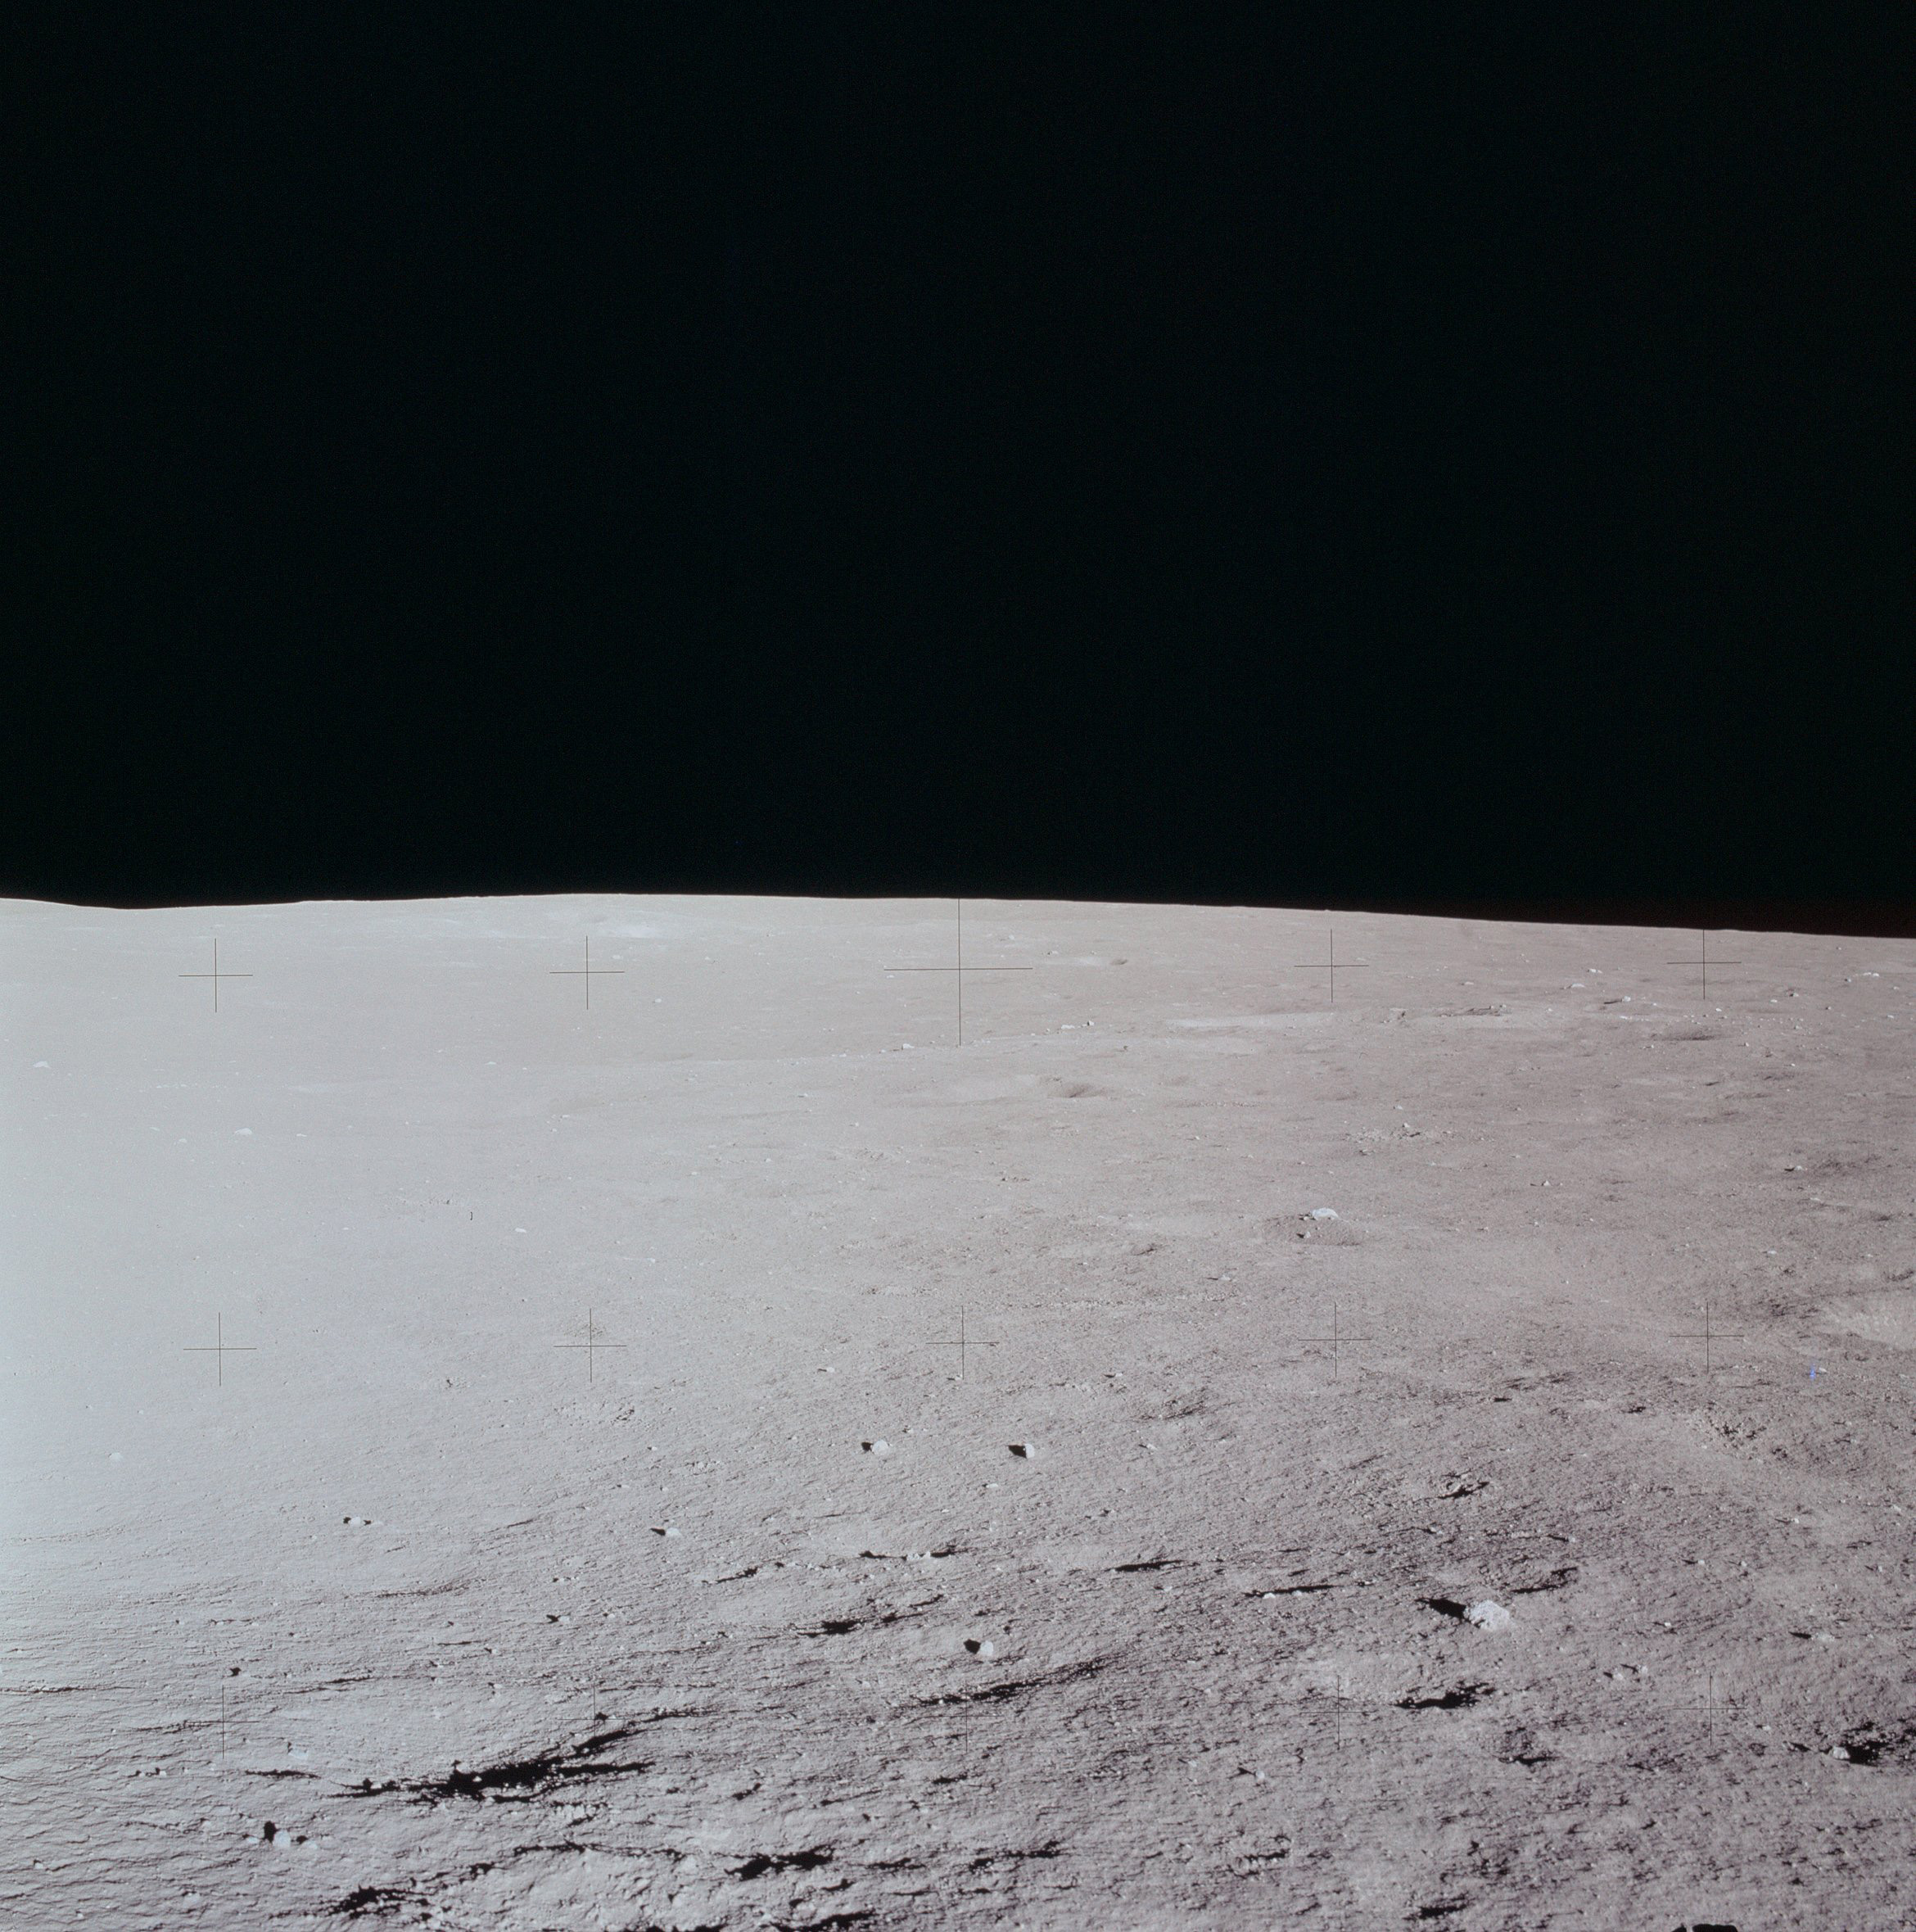 | AS14-66-9295 Rightward of 9294. Image credit: Image Science and Analysis Laboratory, NASA-Johnson Space Center. |
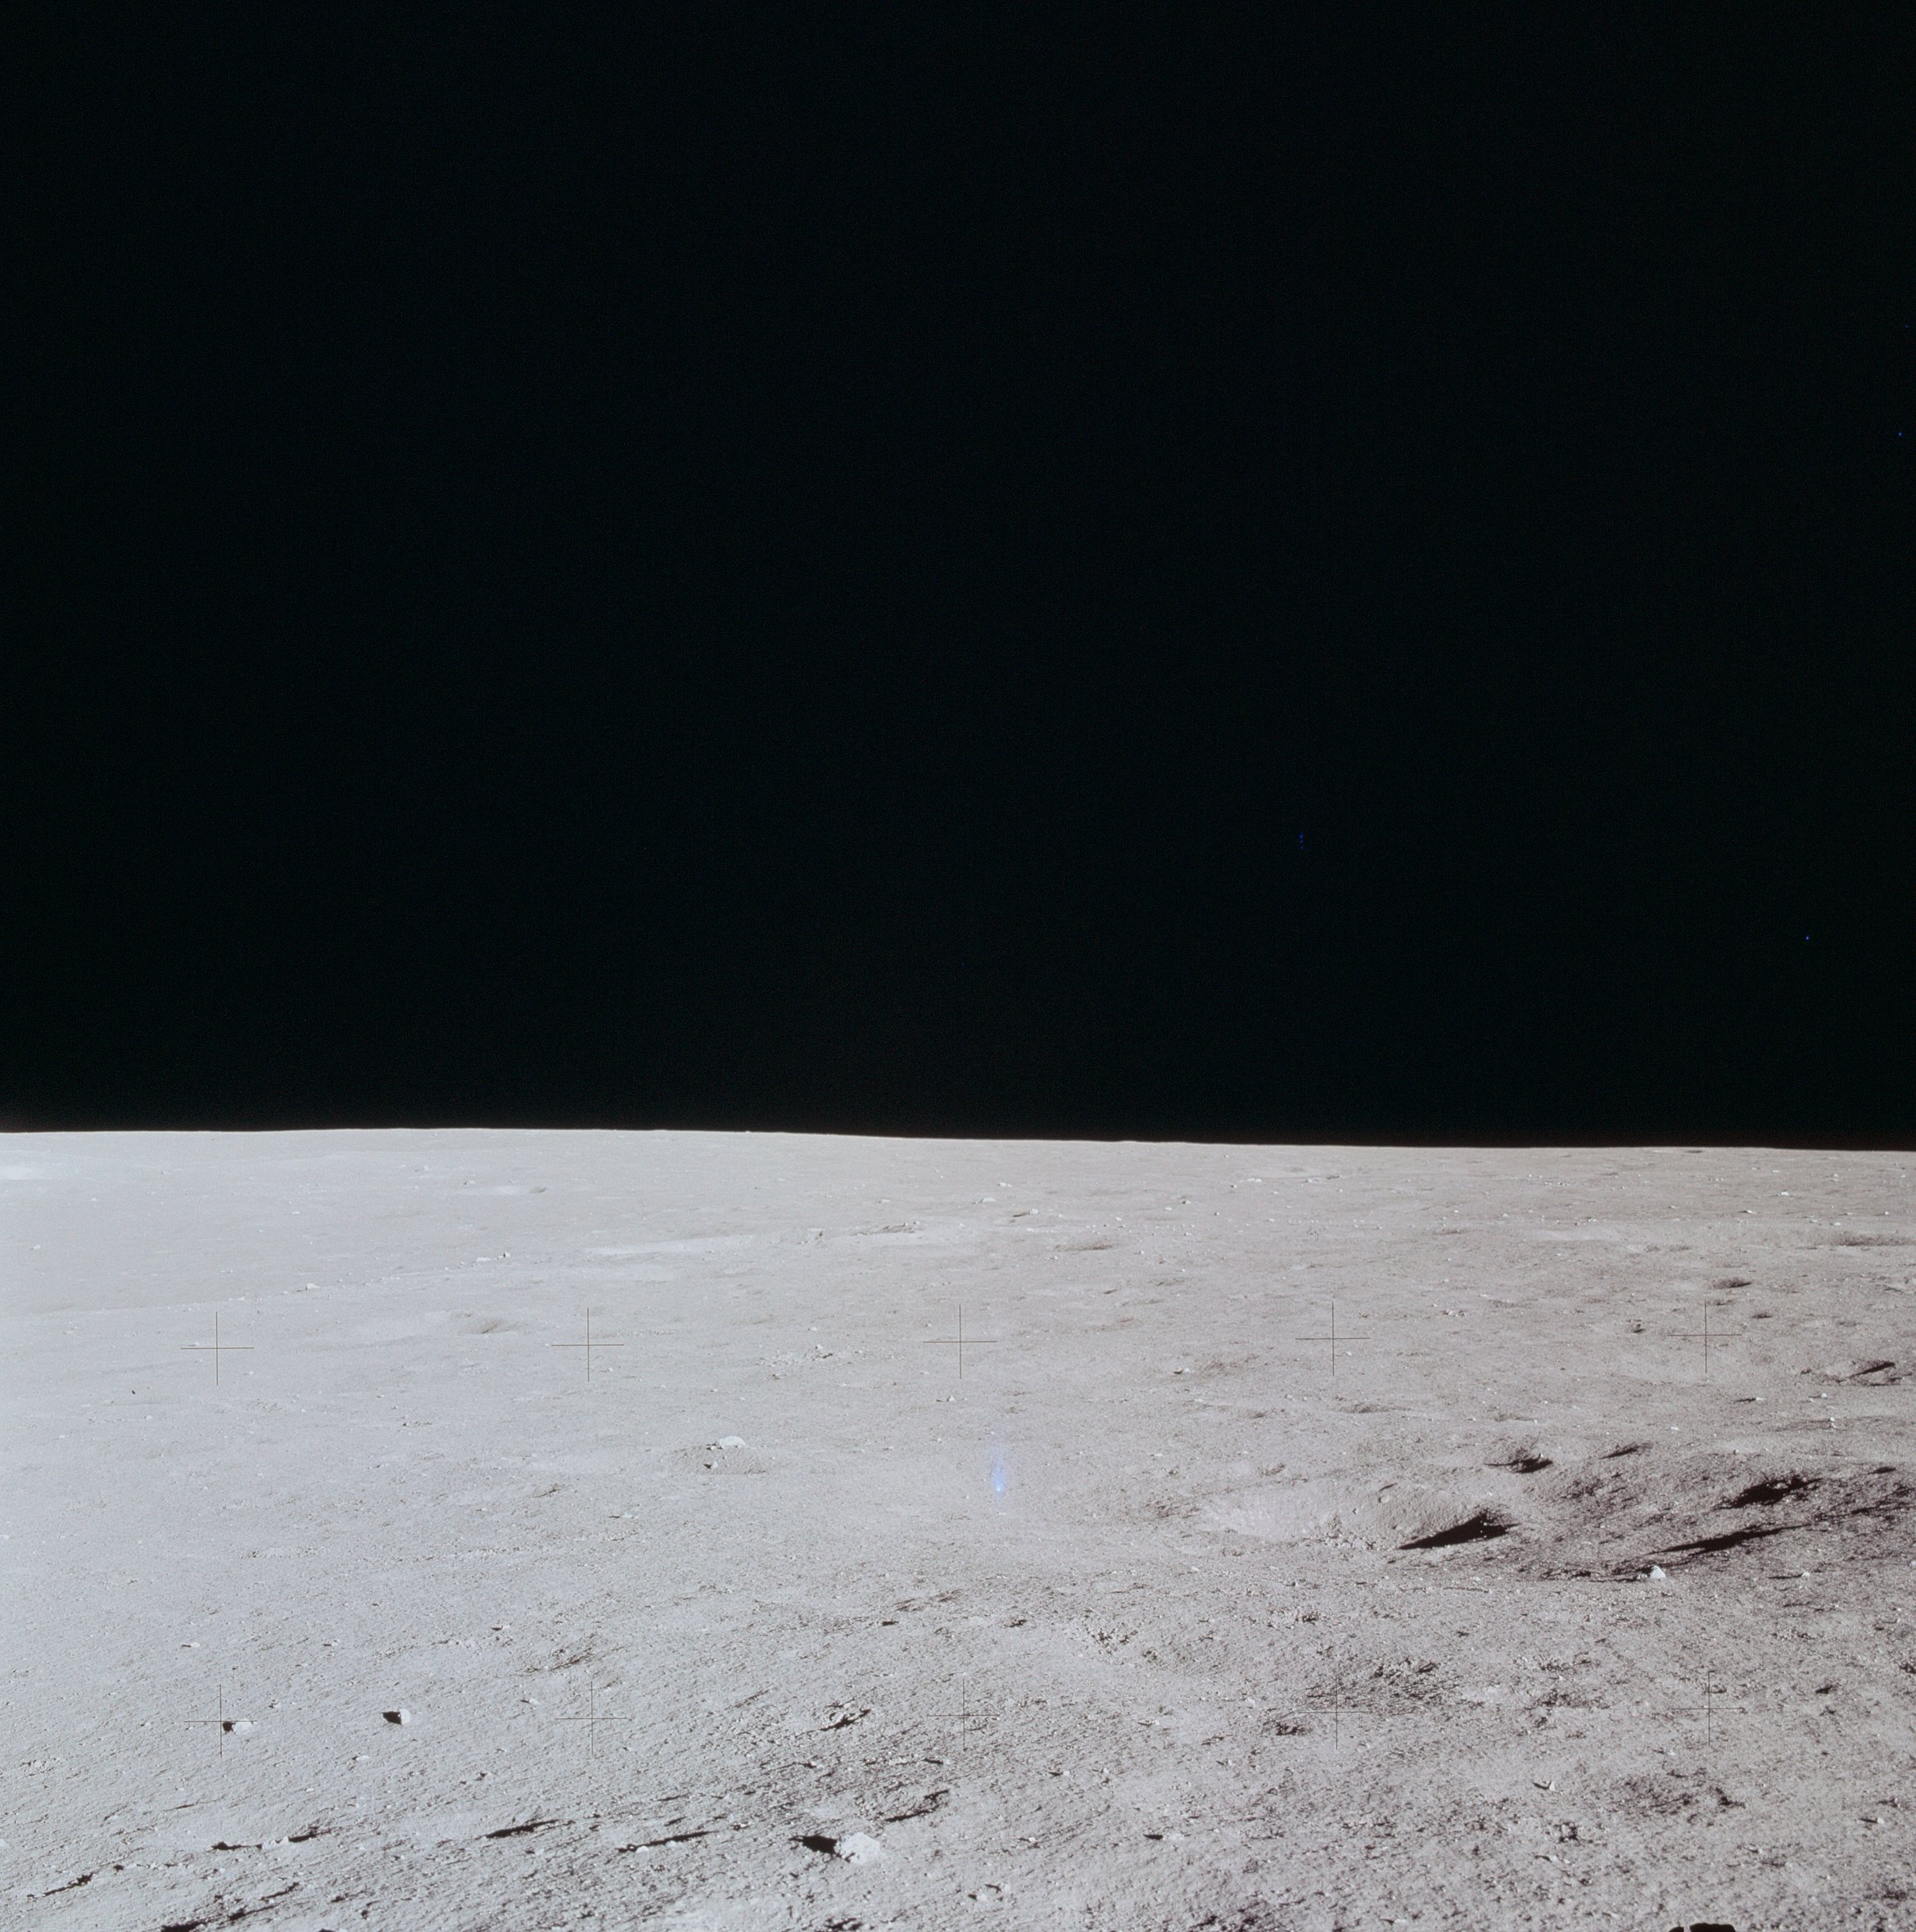 | AS14-66-9296 Rightward of 9295. Image credit: Image Science and Analysis Laboratory, NASA-Johnson Space Center. |
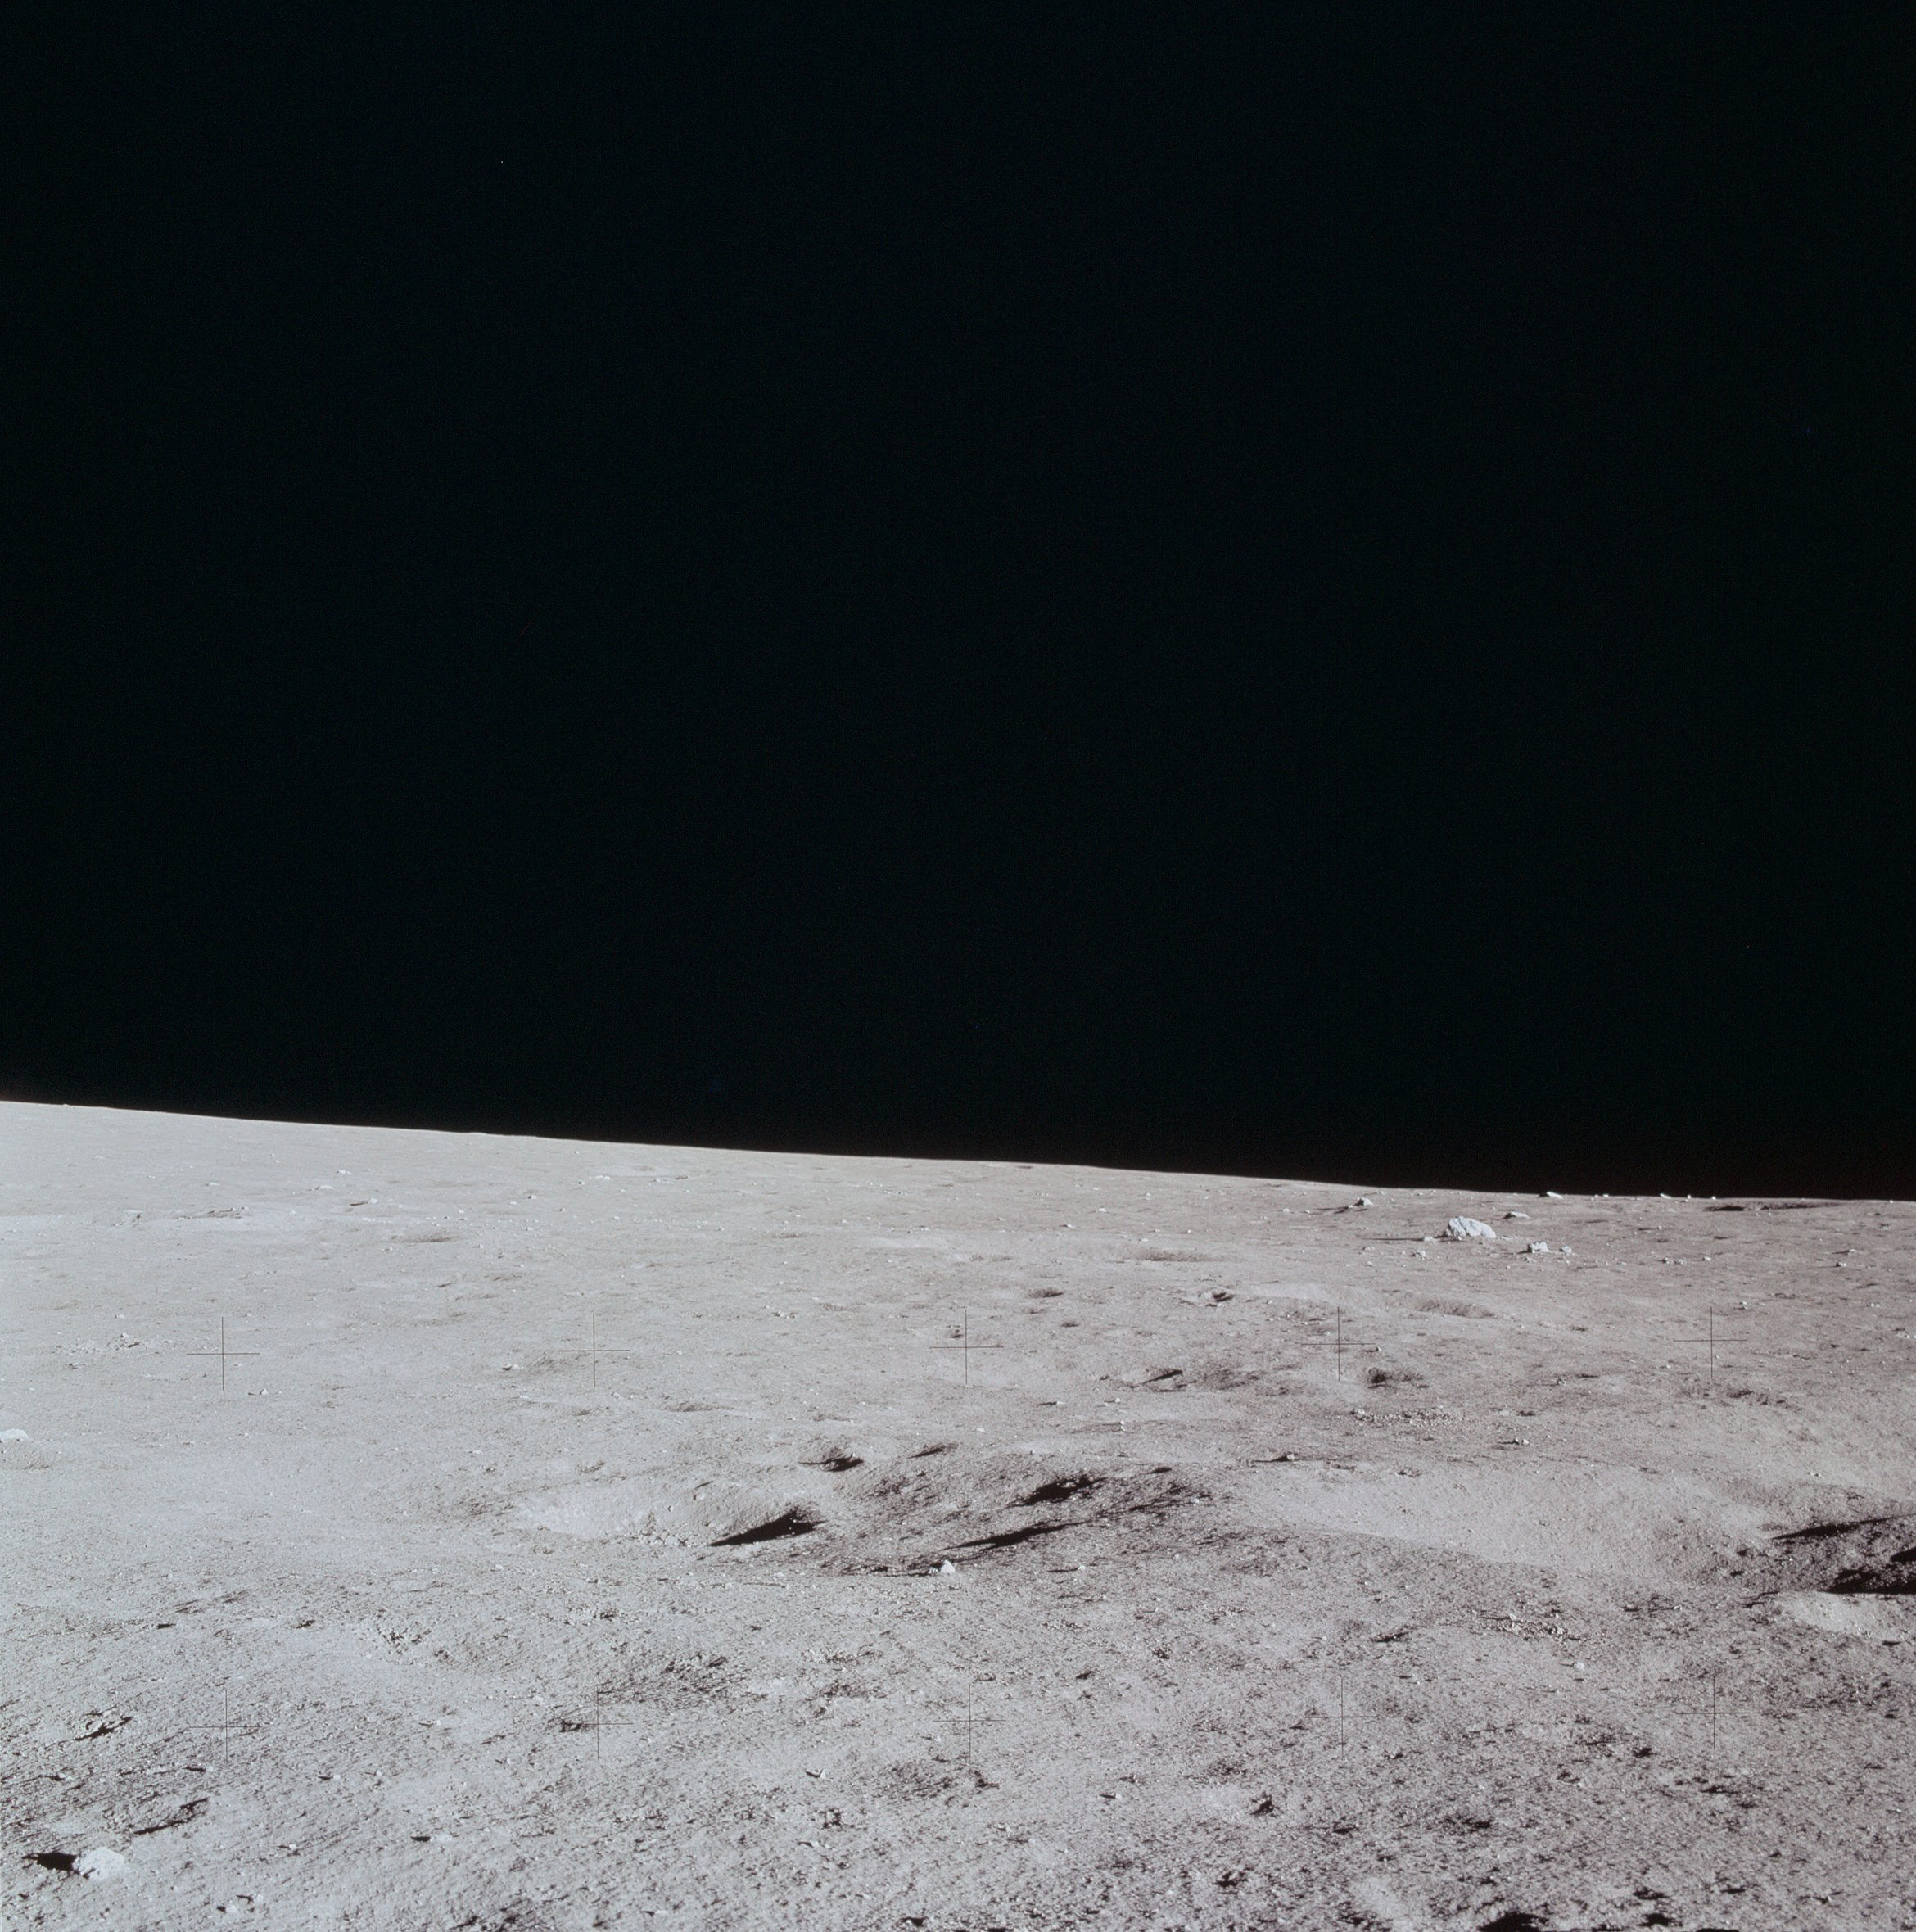 | AS14-66-9297 Rightward of 9296. Image credit: Image Science and Analysis Laboratory, NASA-Johnson Space Center. |
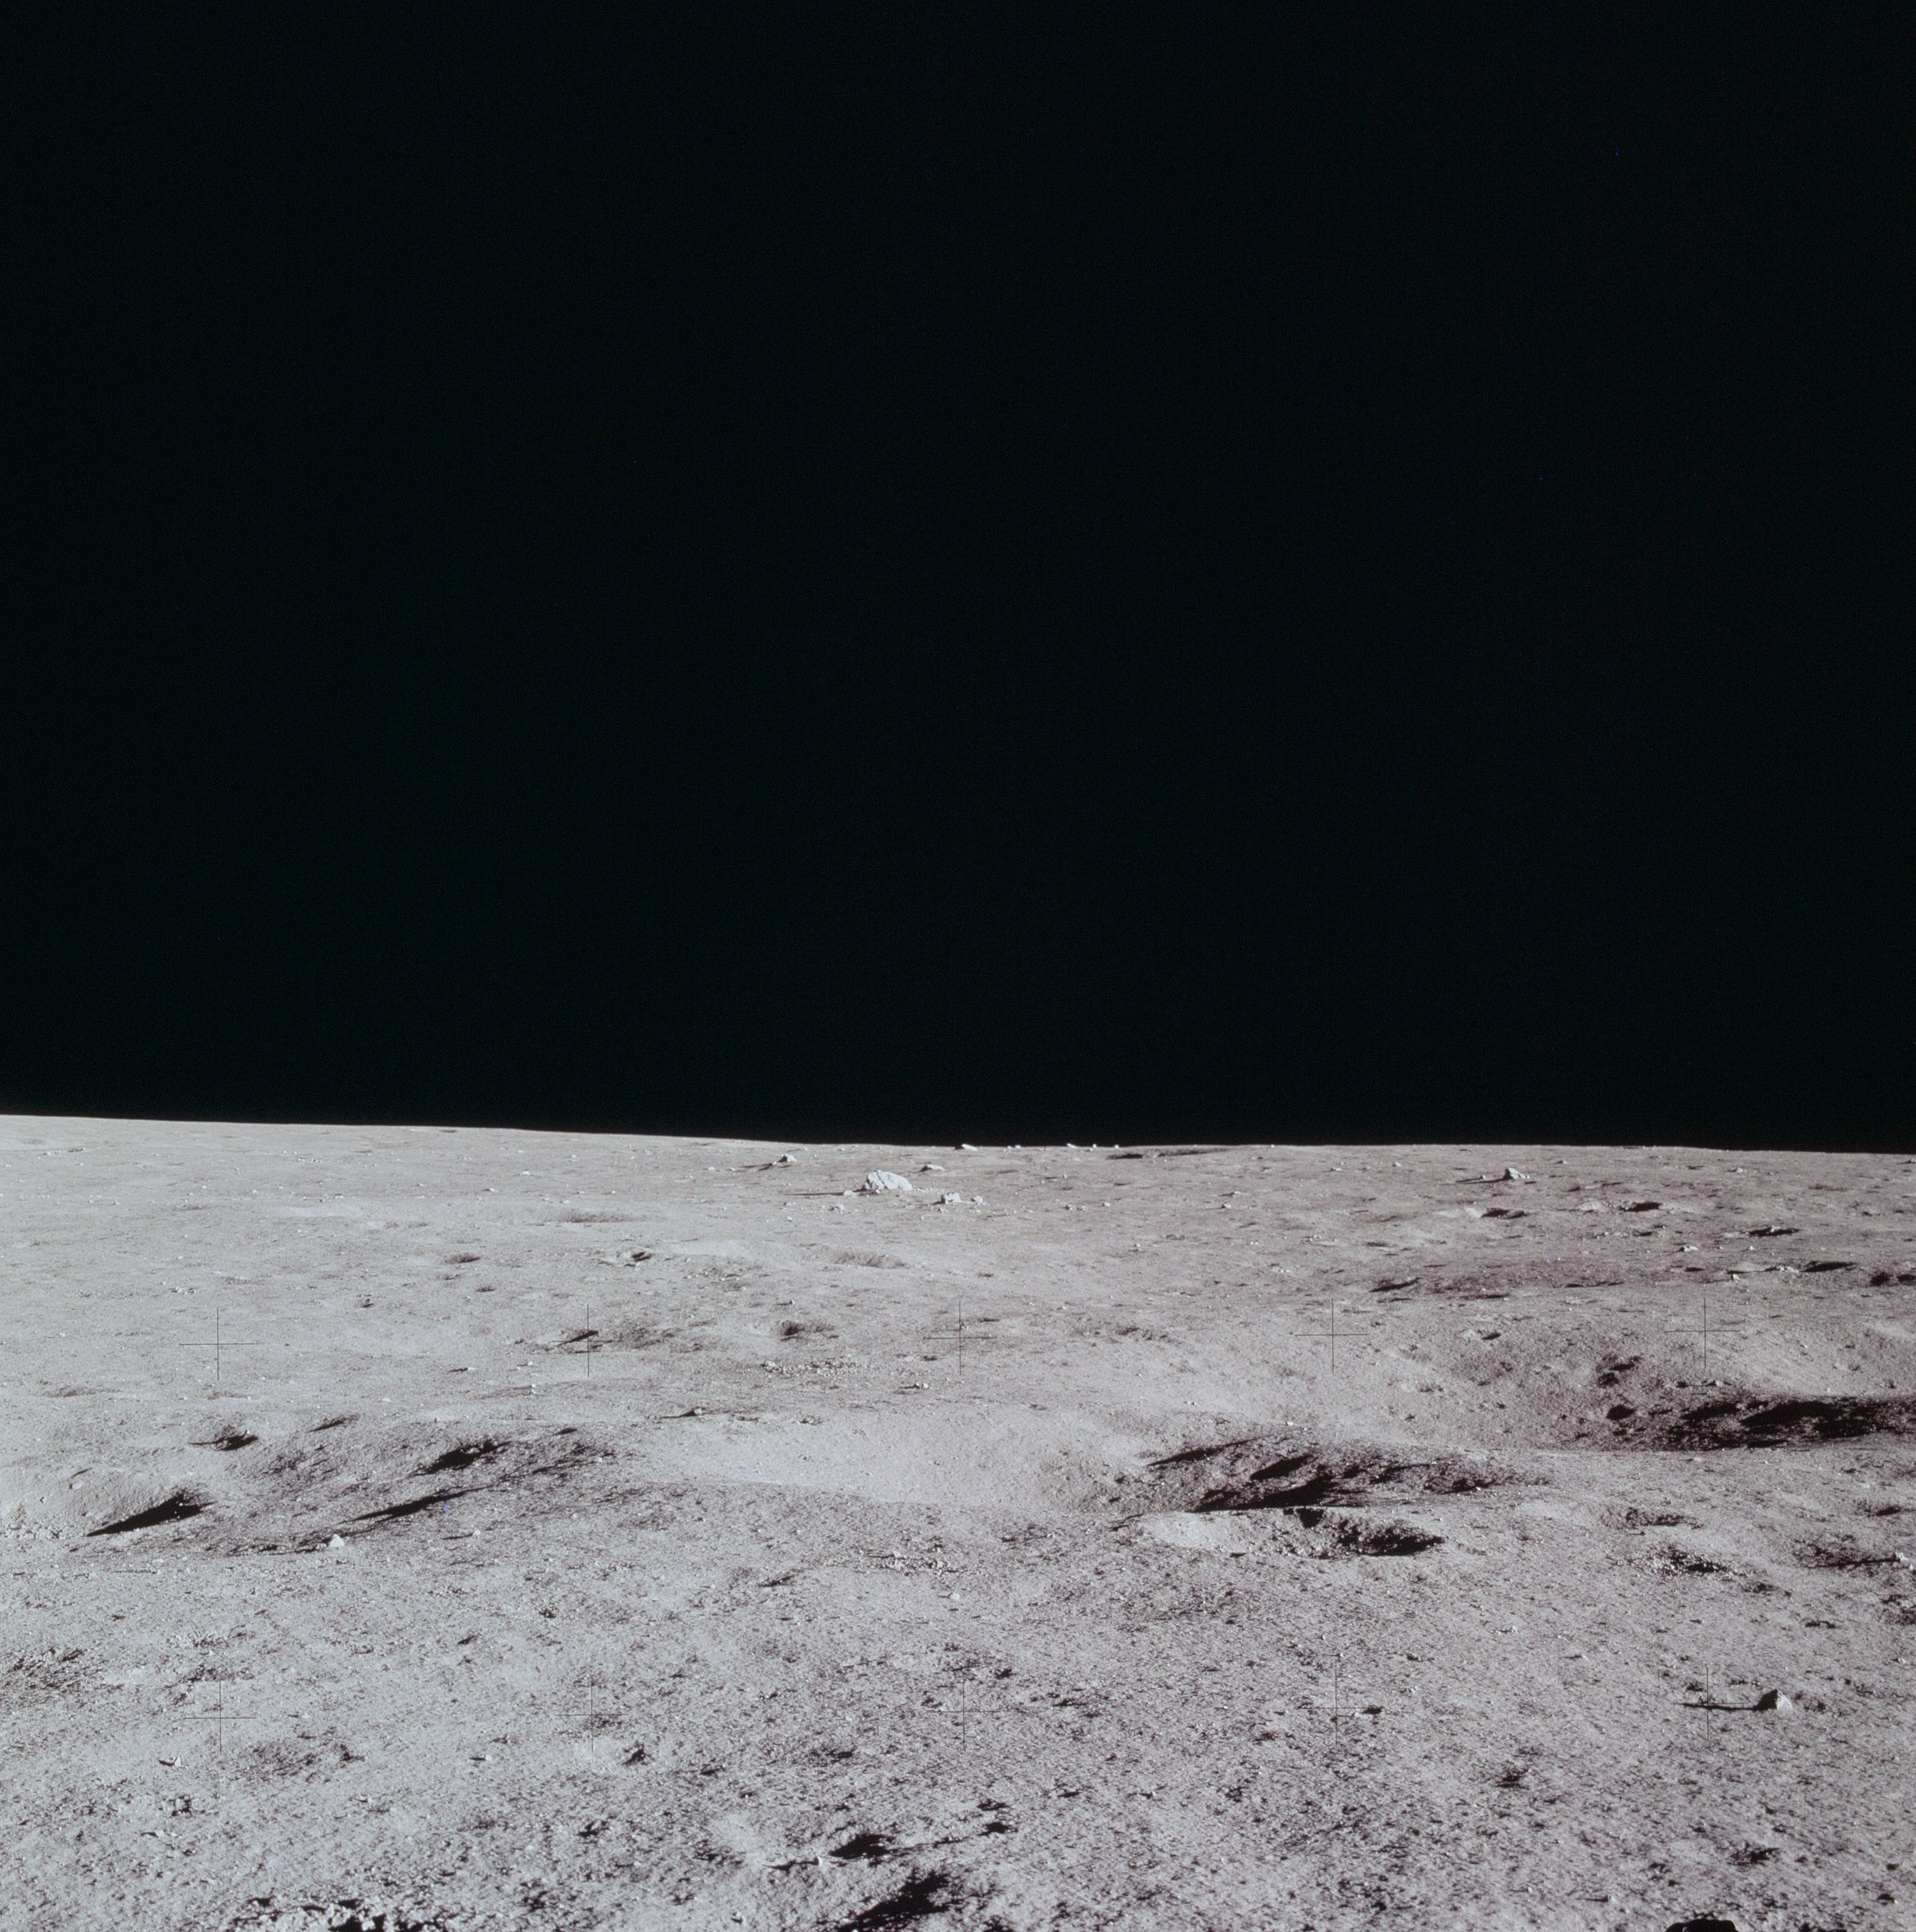 | AS14-66-9298 Rightward of 9297, toward Turtle Rock. Image credit: Image Science and Analysis Laboratory, NASA-Johnson Space Center. |
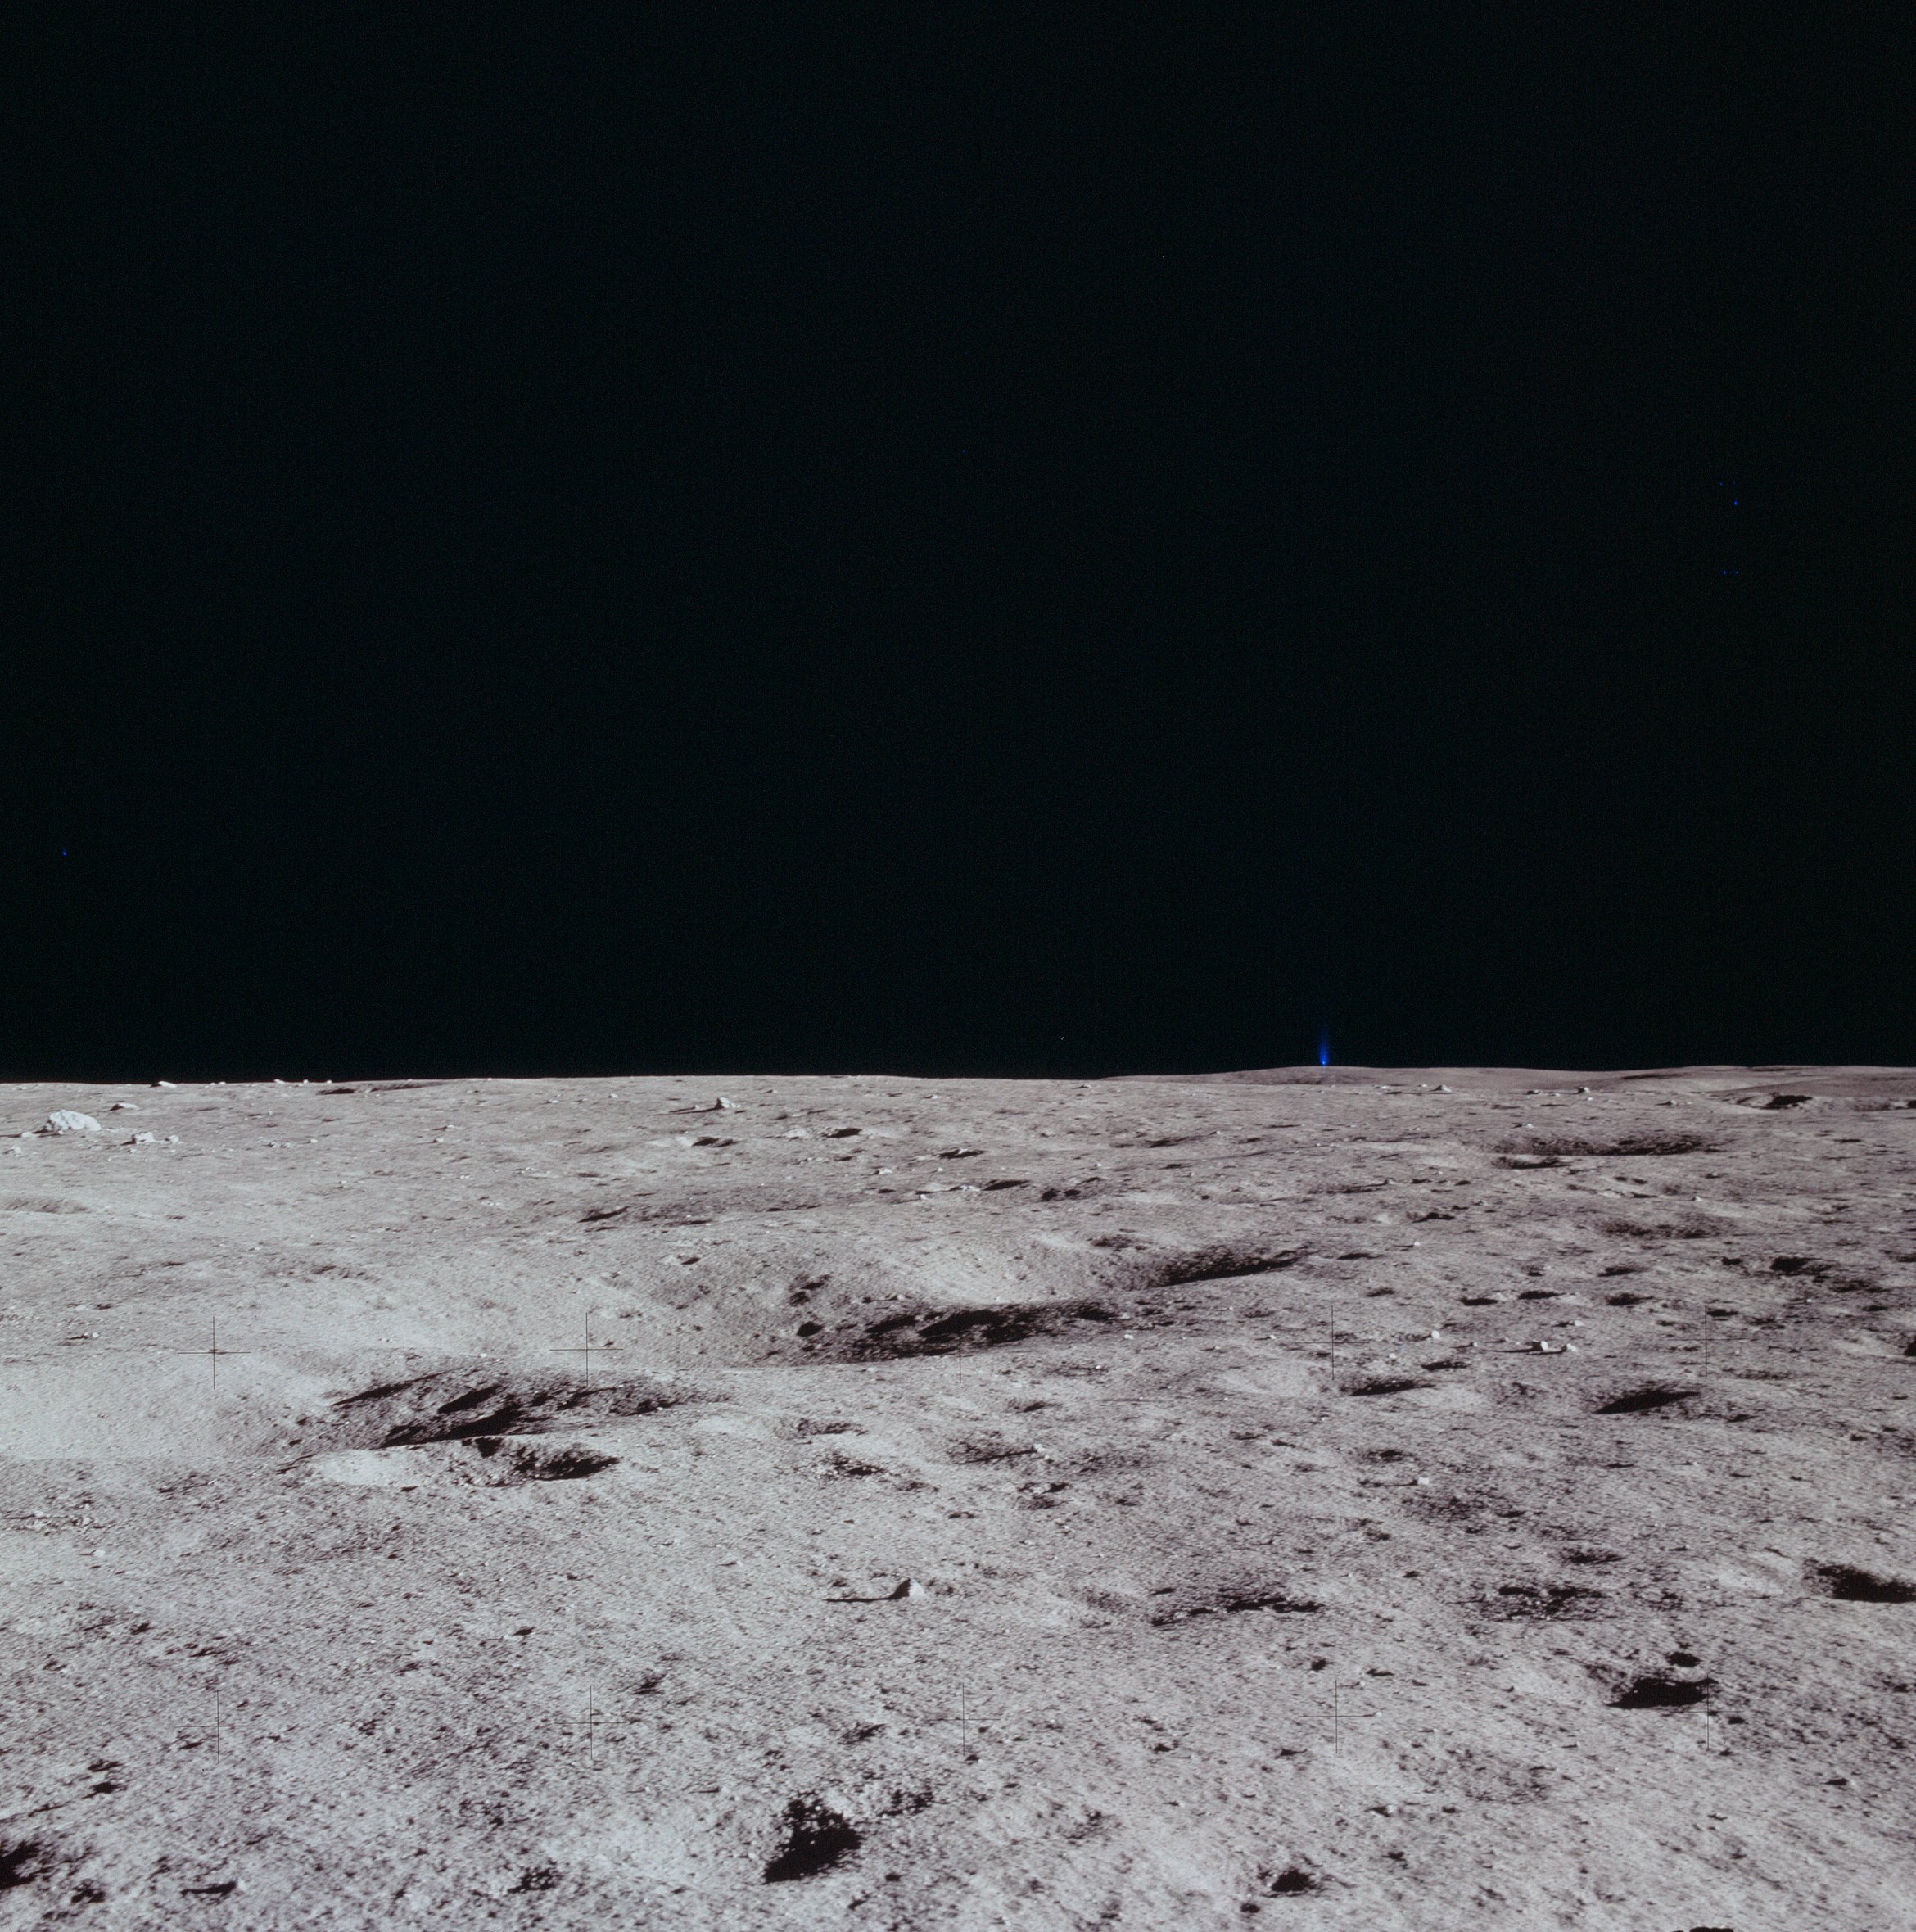 | AS14-66-9299 Rightward of 9298. Image credit: Image Science and Analysis Laboratory, NASA-Johnson Space Center. |
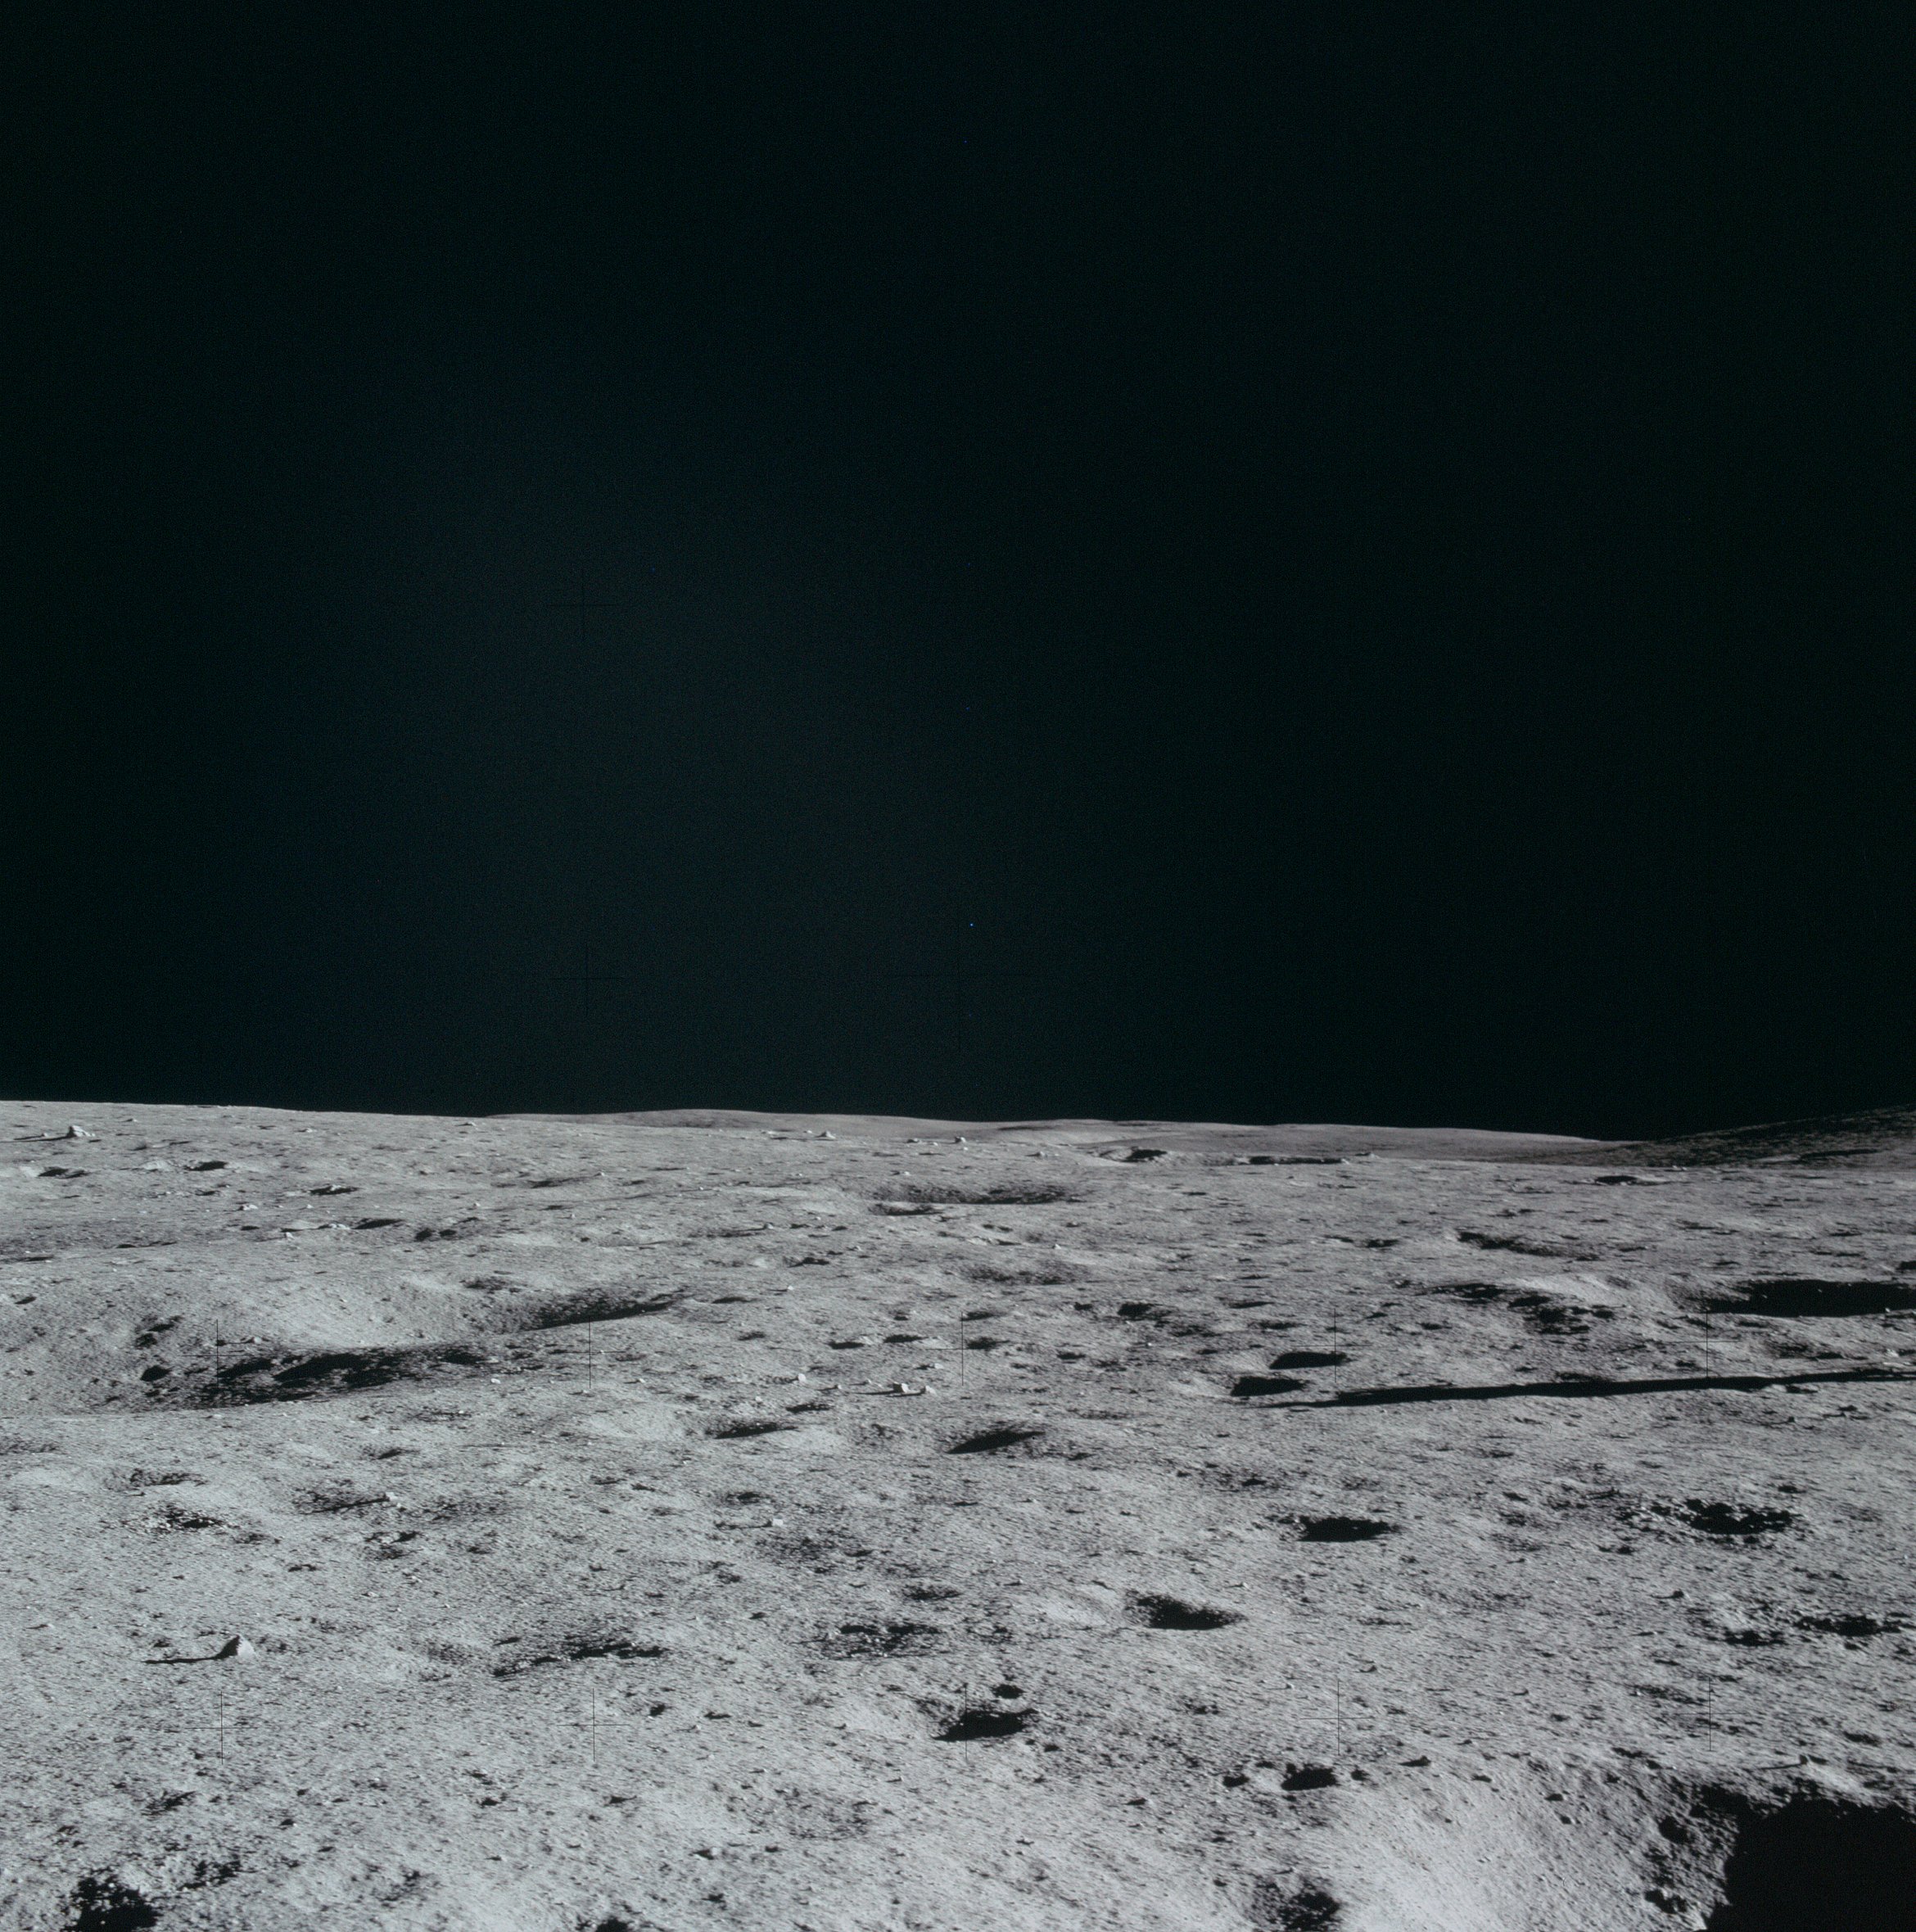 | AS14-66-9300 Rightward of 9299, showing the western tip of Ed's shadow. Image credit: Image Science and Analysis Laboratory, NASA-Johnson Space Center. |
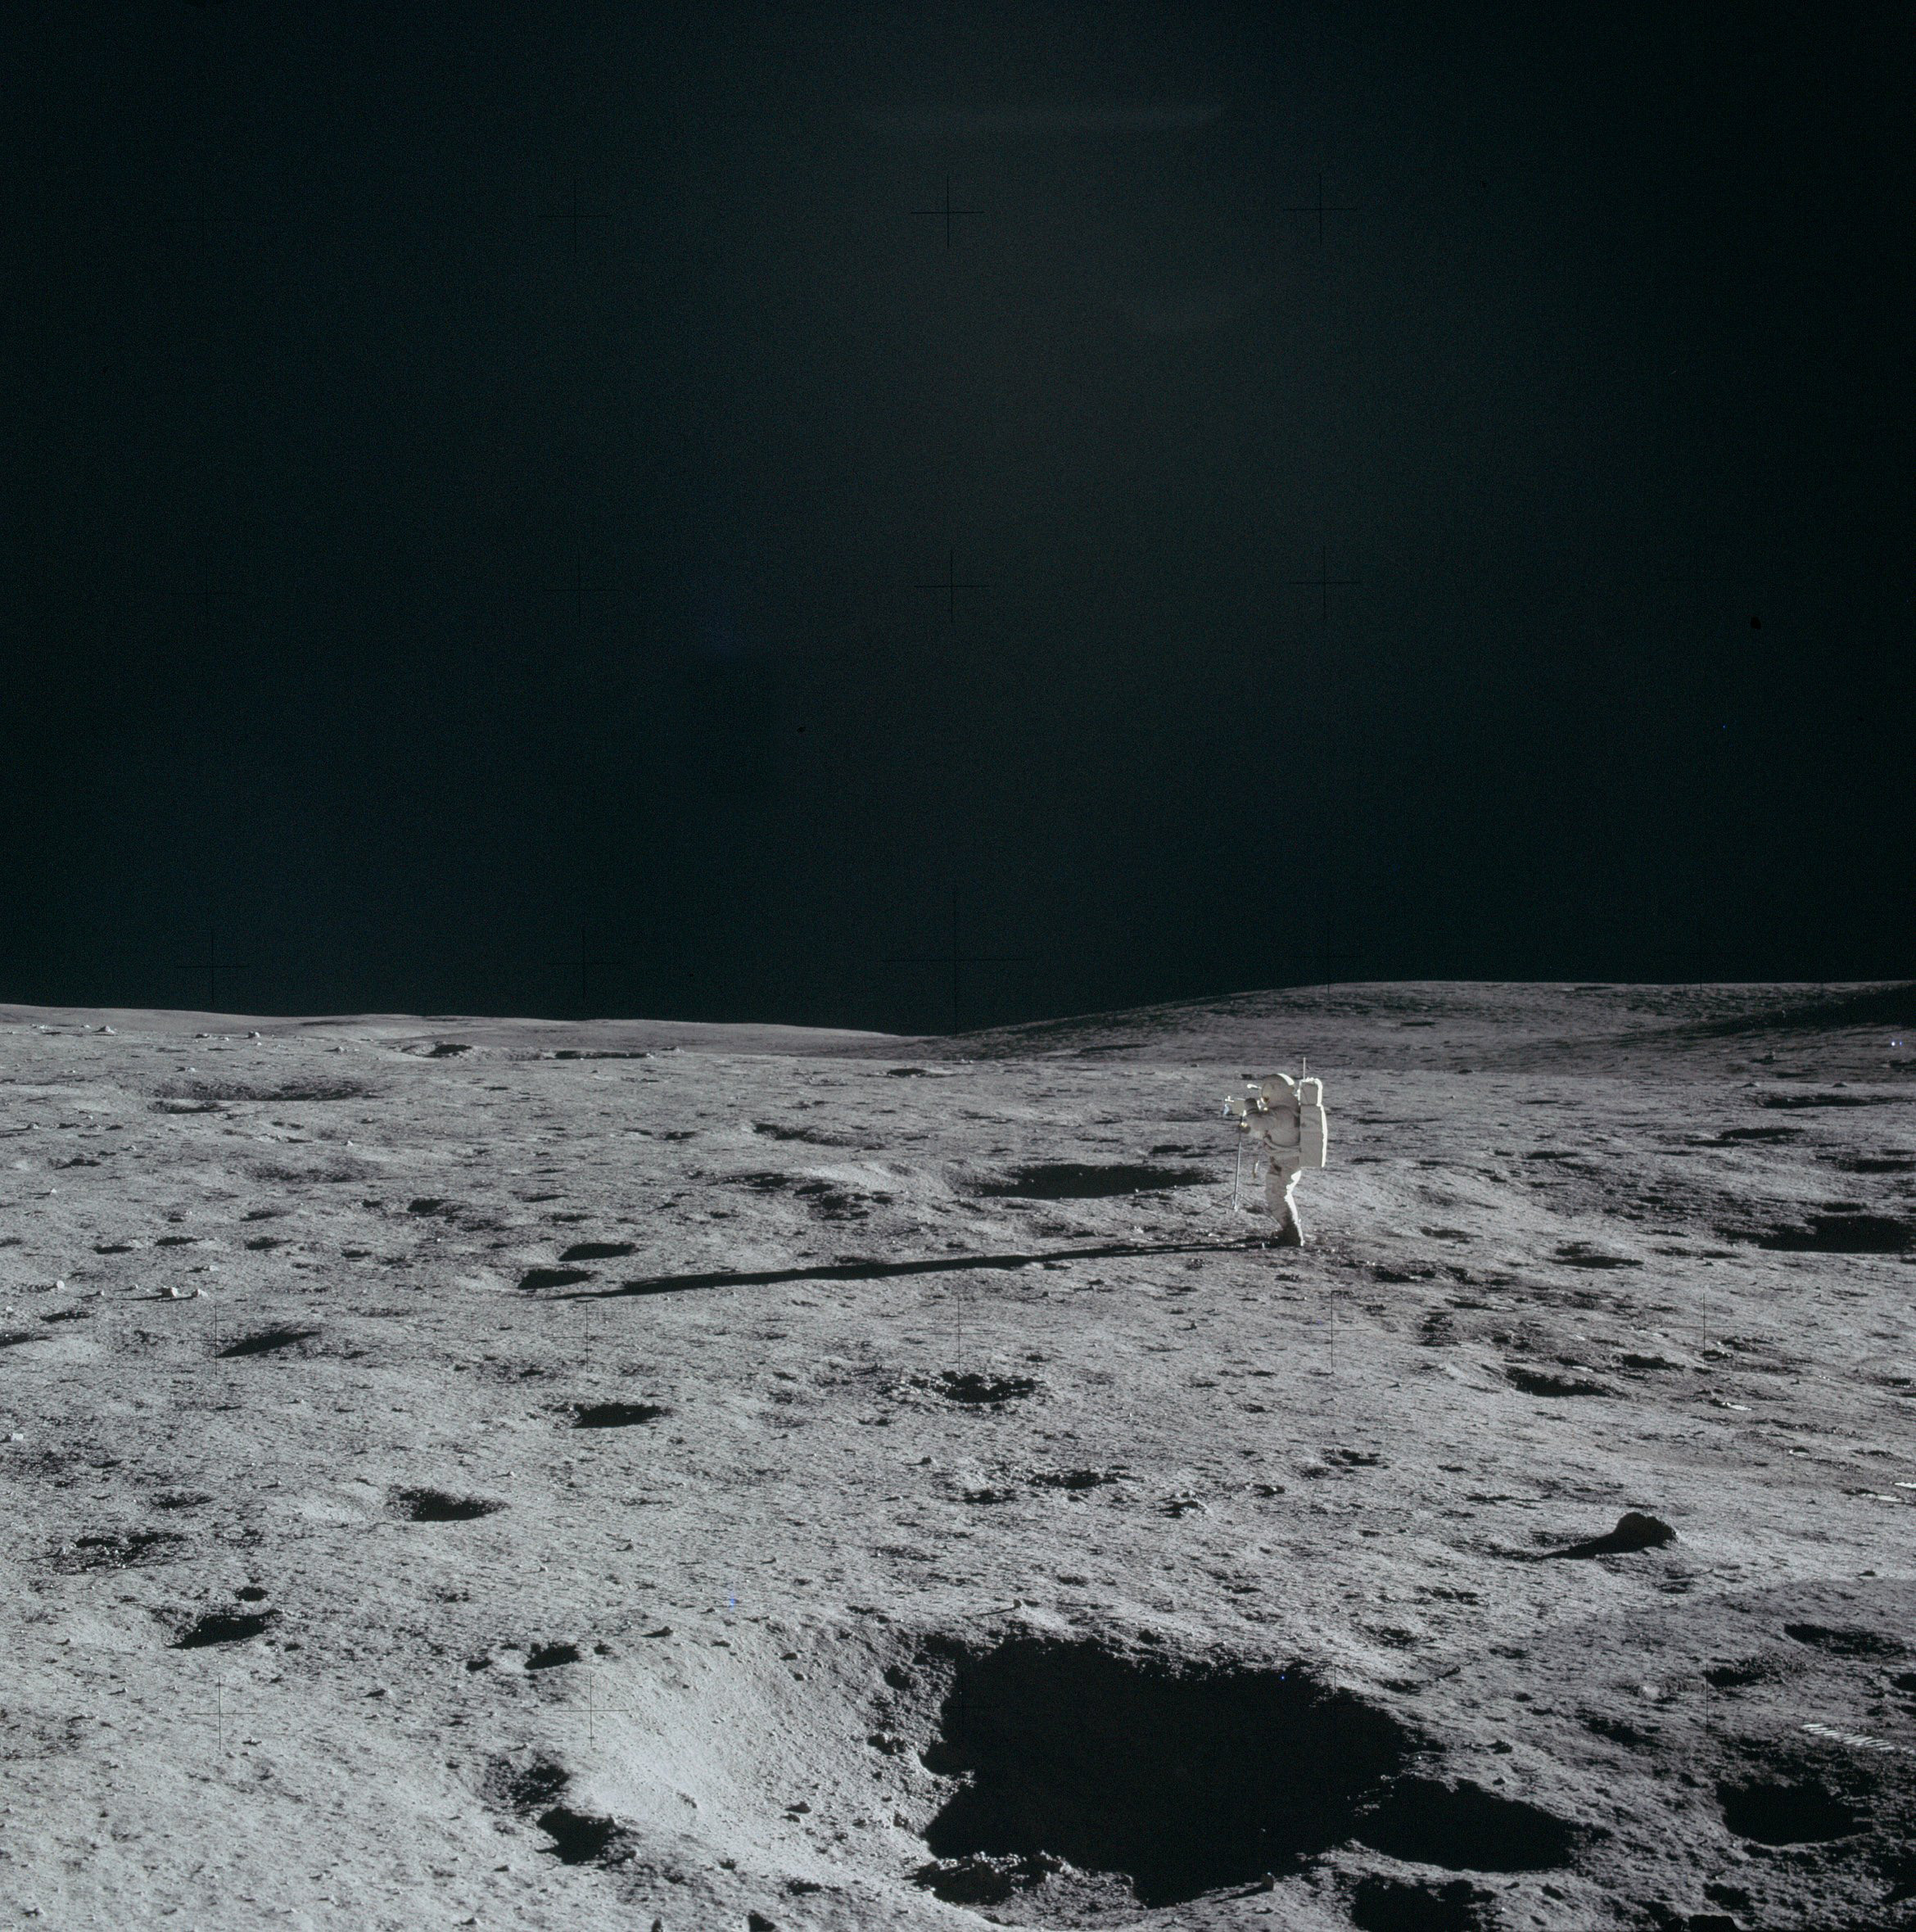 | AS14-66-9301 Ed is still doing a TV pan. Image credit: Image Science and Analysis Laboratory, NASA-Johnson Space Center. |
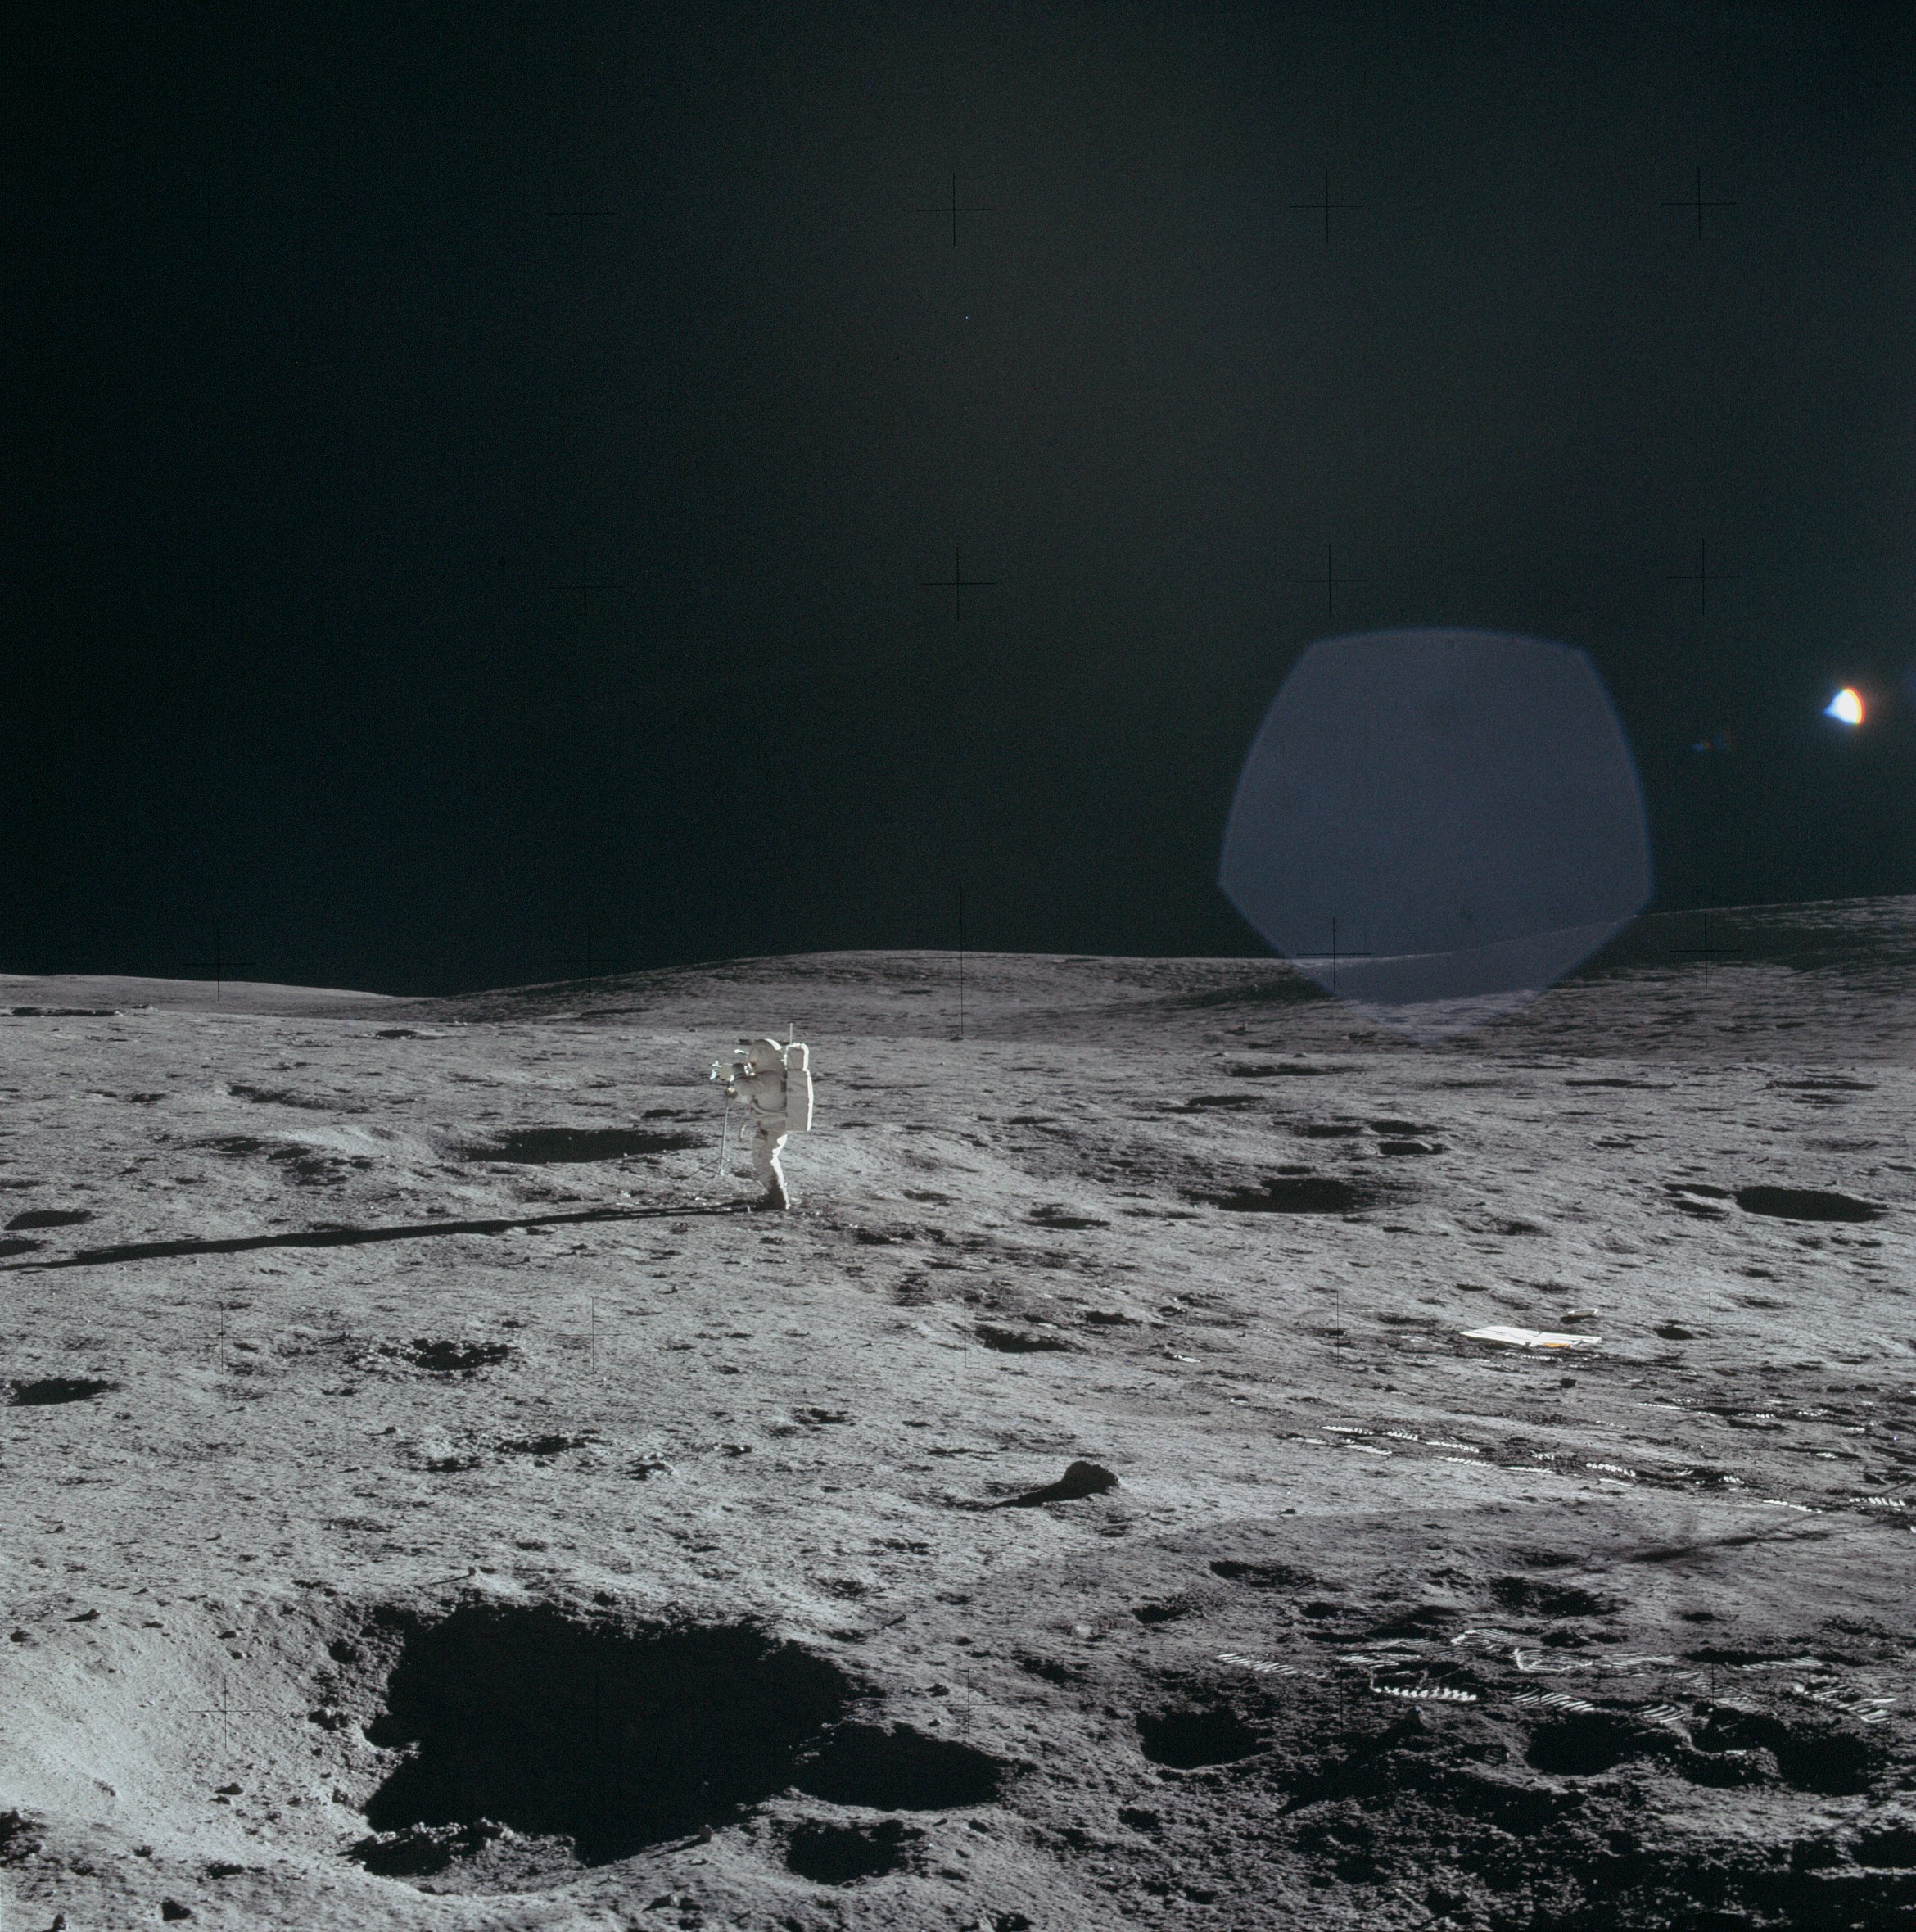 | AS14-66-9302 114:57:20 Frame from Al's 12 o'clock pan showing Ed doing a TV pan and, in the distance, considerable detail of the Cone Crater ridge. Image credit: Image Science and Analysis Laboratory, NASA-Johnson Space Center. |
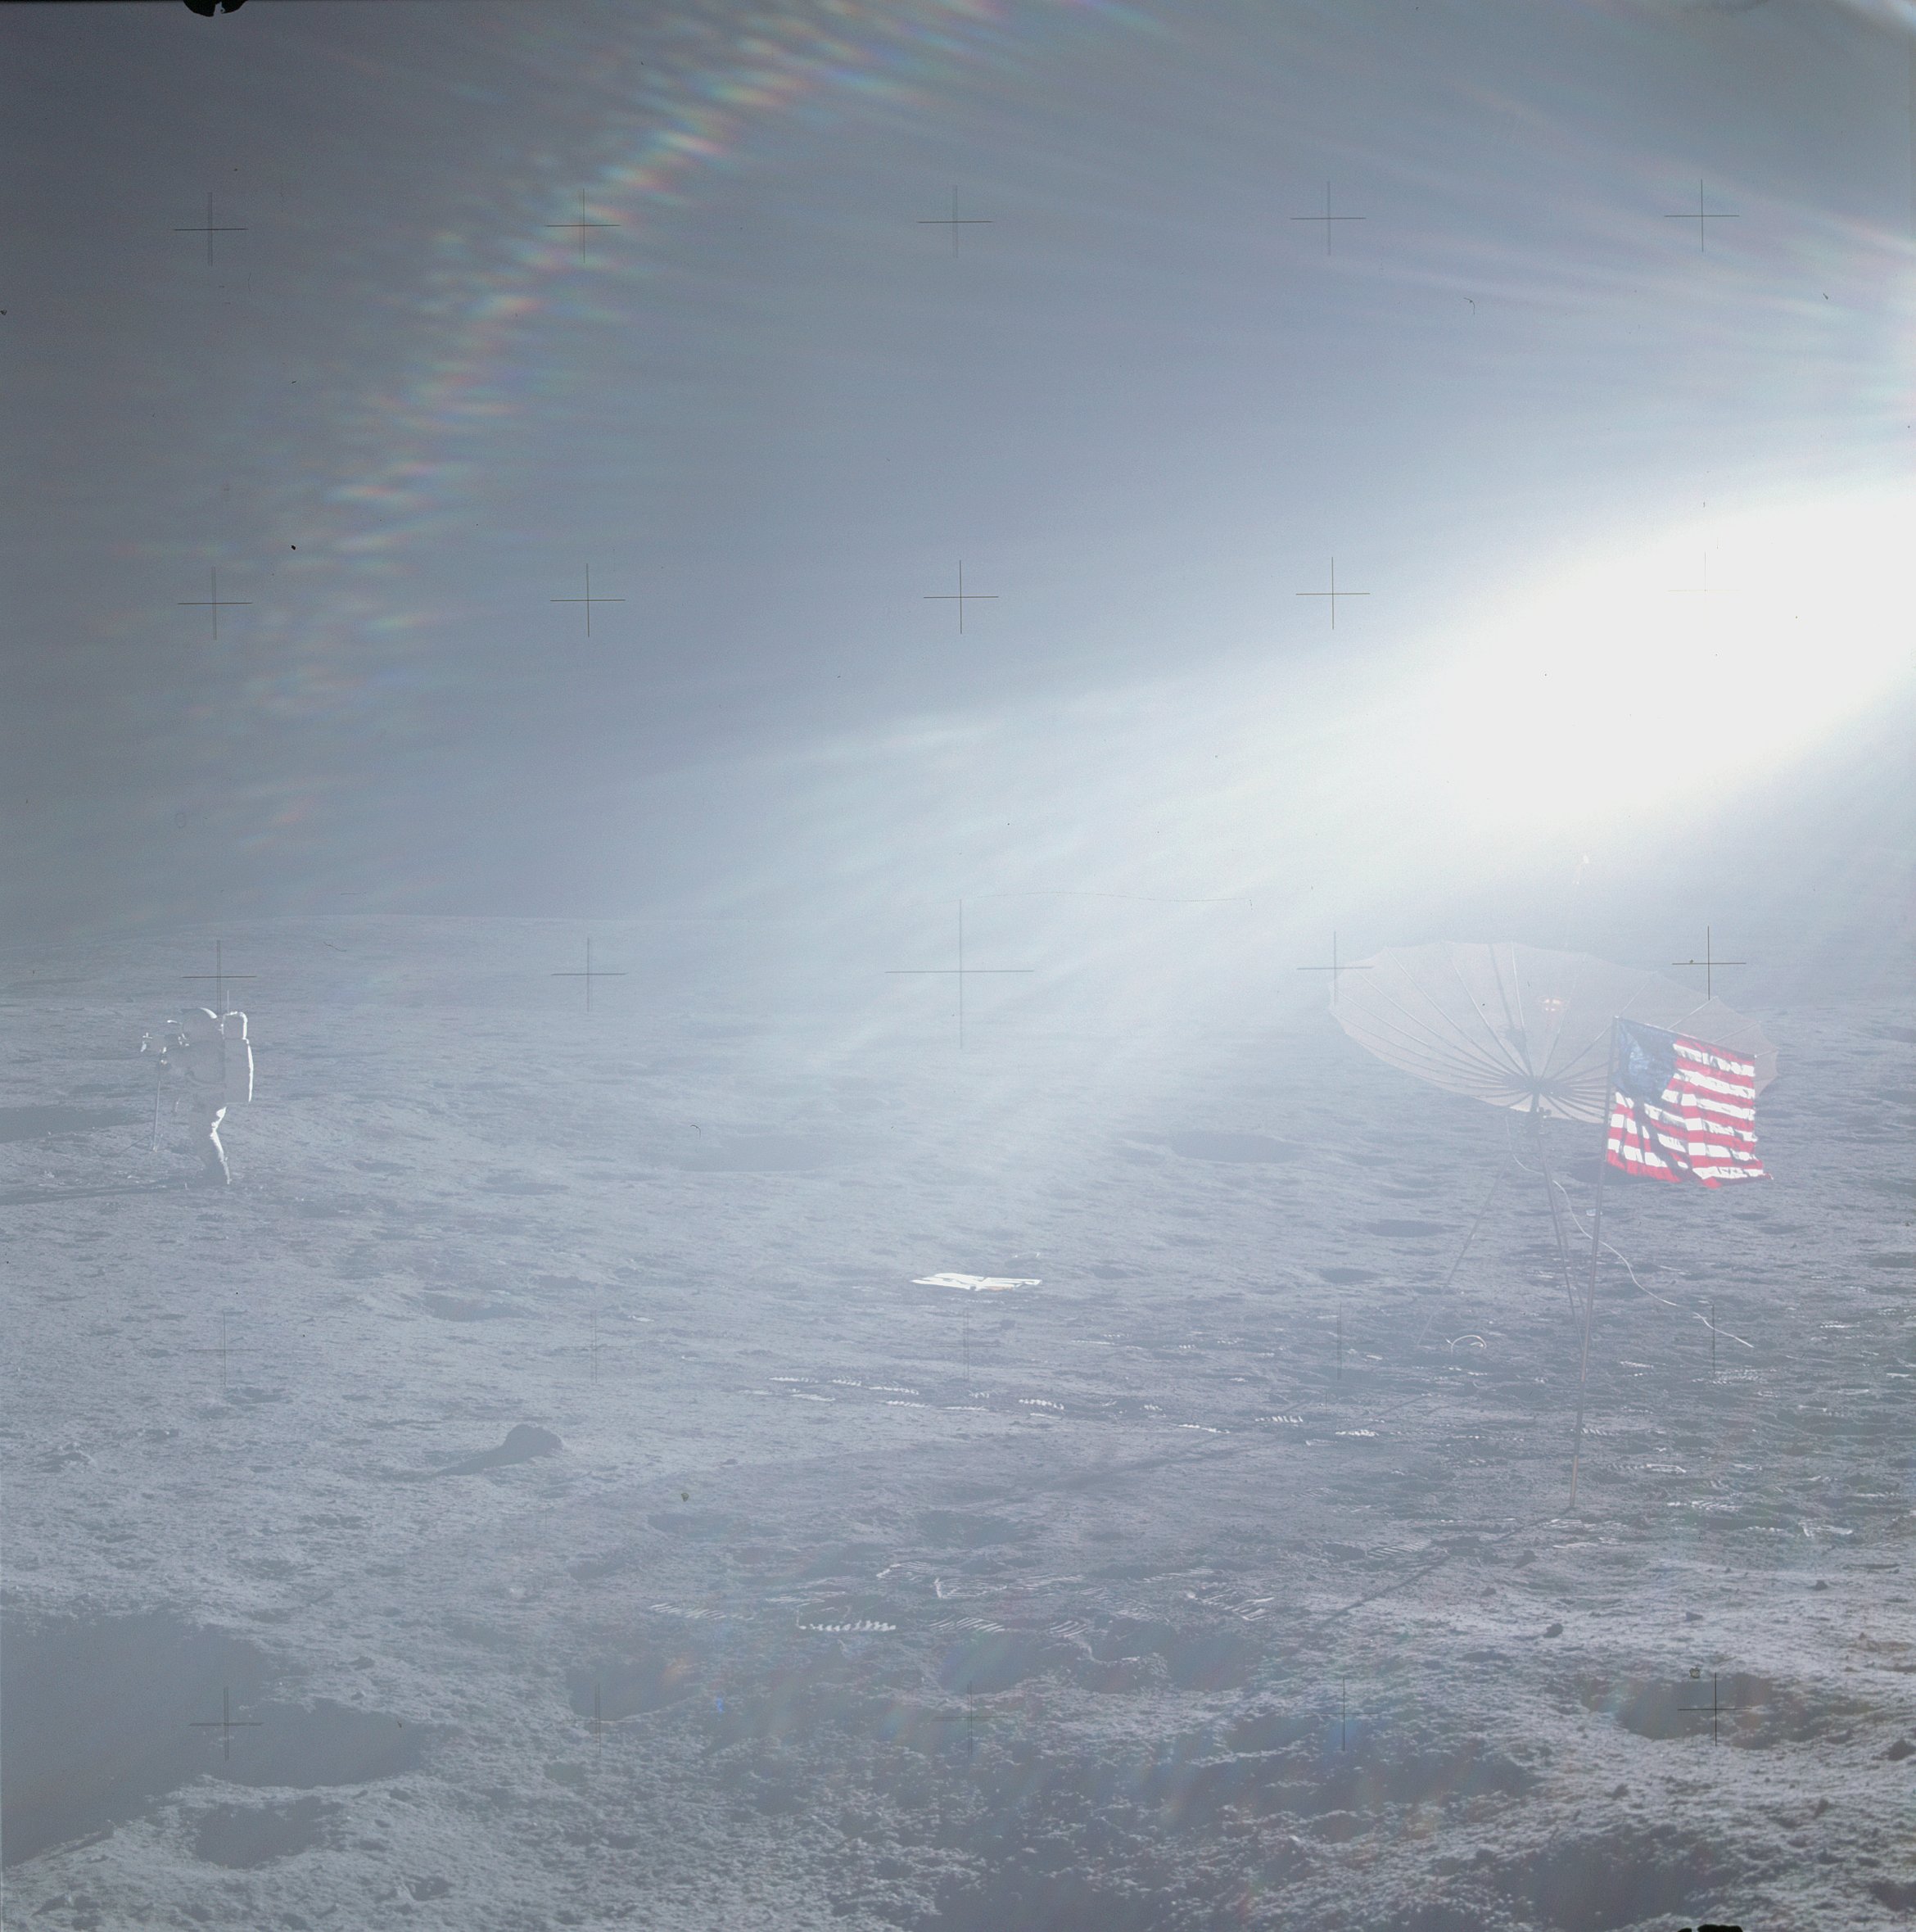 | AS14-66-9303 Rightward of 9302, showing Ed, the U.S. flag, the S-Band antenna. Image credit: Image Science and Analysis Laboratory, NASA-Johnson Space Center. |
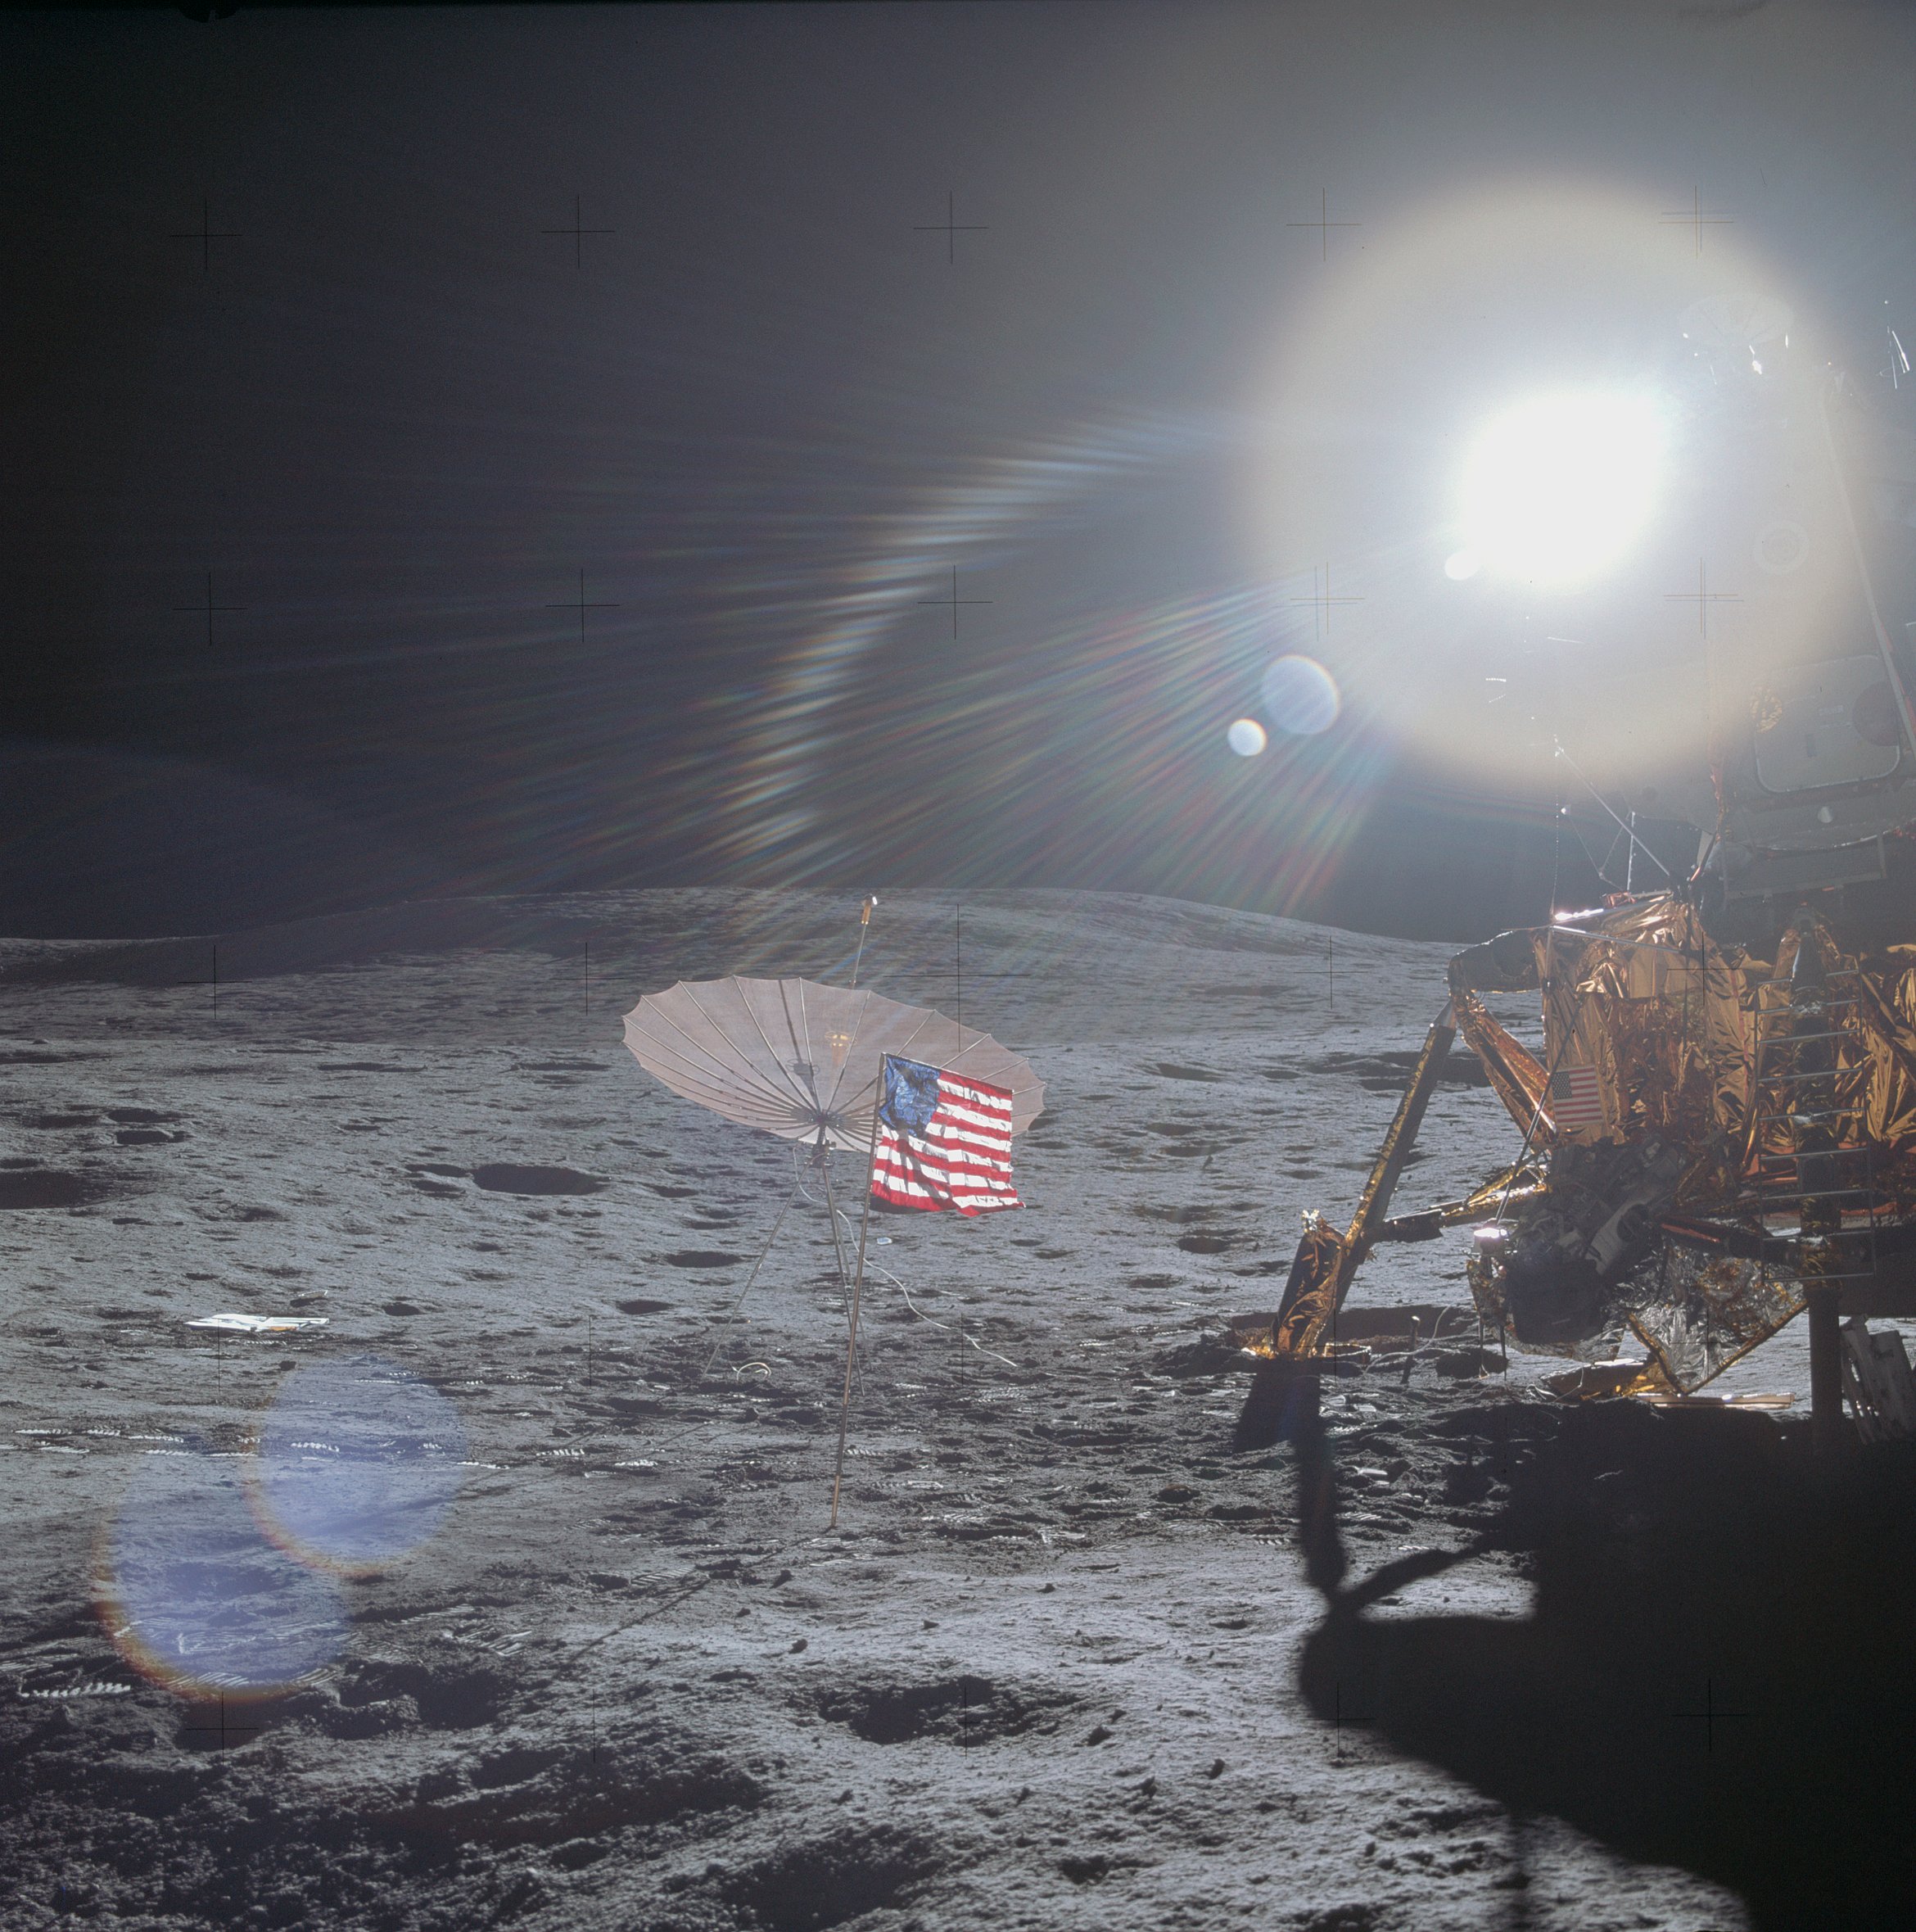 | AS14-66-9304 Up-Sun, but without a great deal of glare, perhaps because part of the LM shadow may be falling on Al's camera lens. Image credit: Image Science and Analysis Laboratory, NASA-Johnson Space Center. |
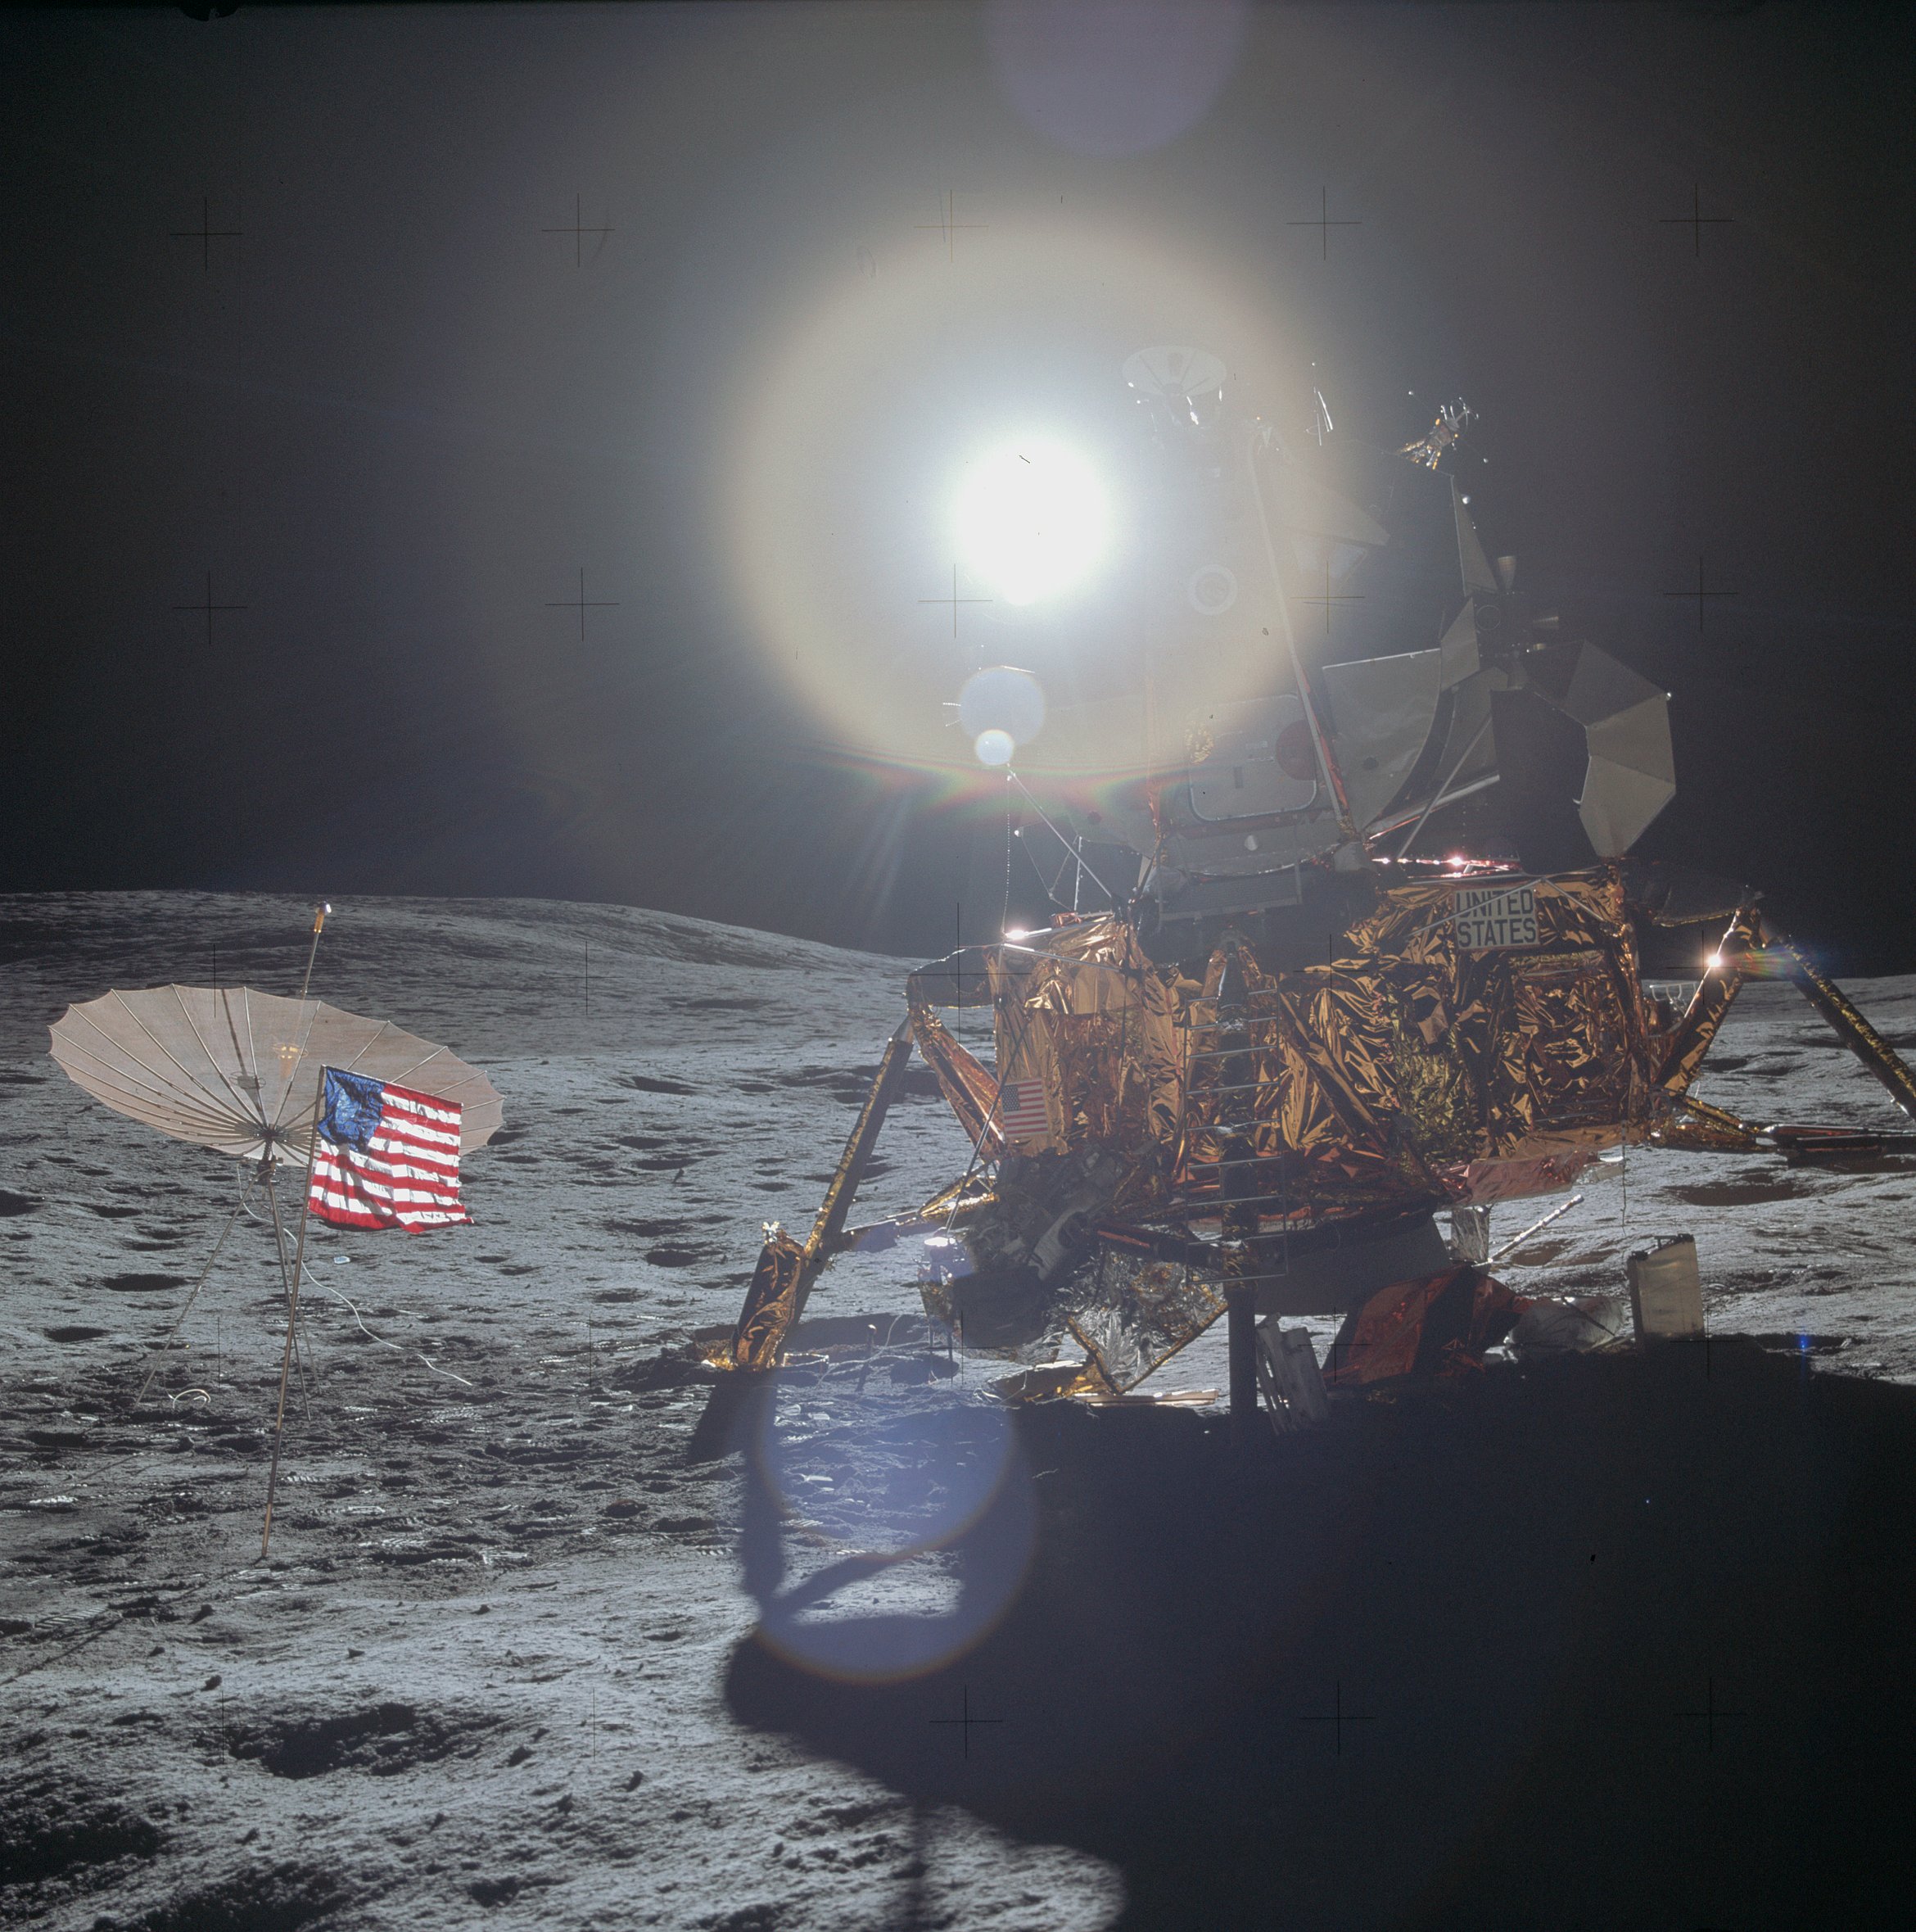 | AS14-66-9305 Ed and Al used the color magazine on Ed's camera to take a series of pictures of the site after EVA-1. Image credit: Image Science and Analysis Laboratory, NASA-Johnson Space Center. |
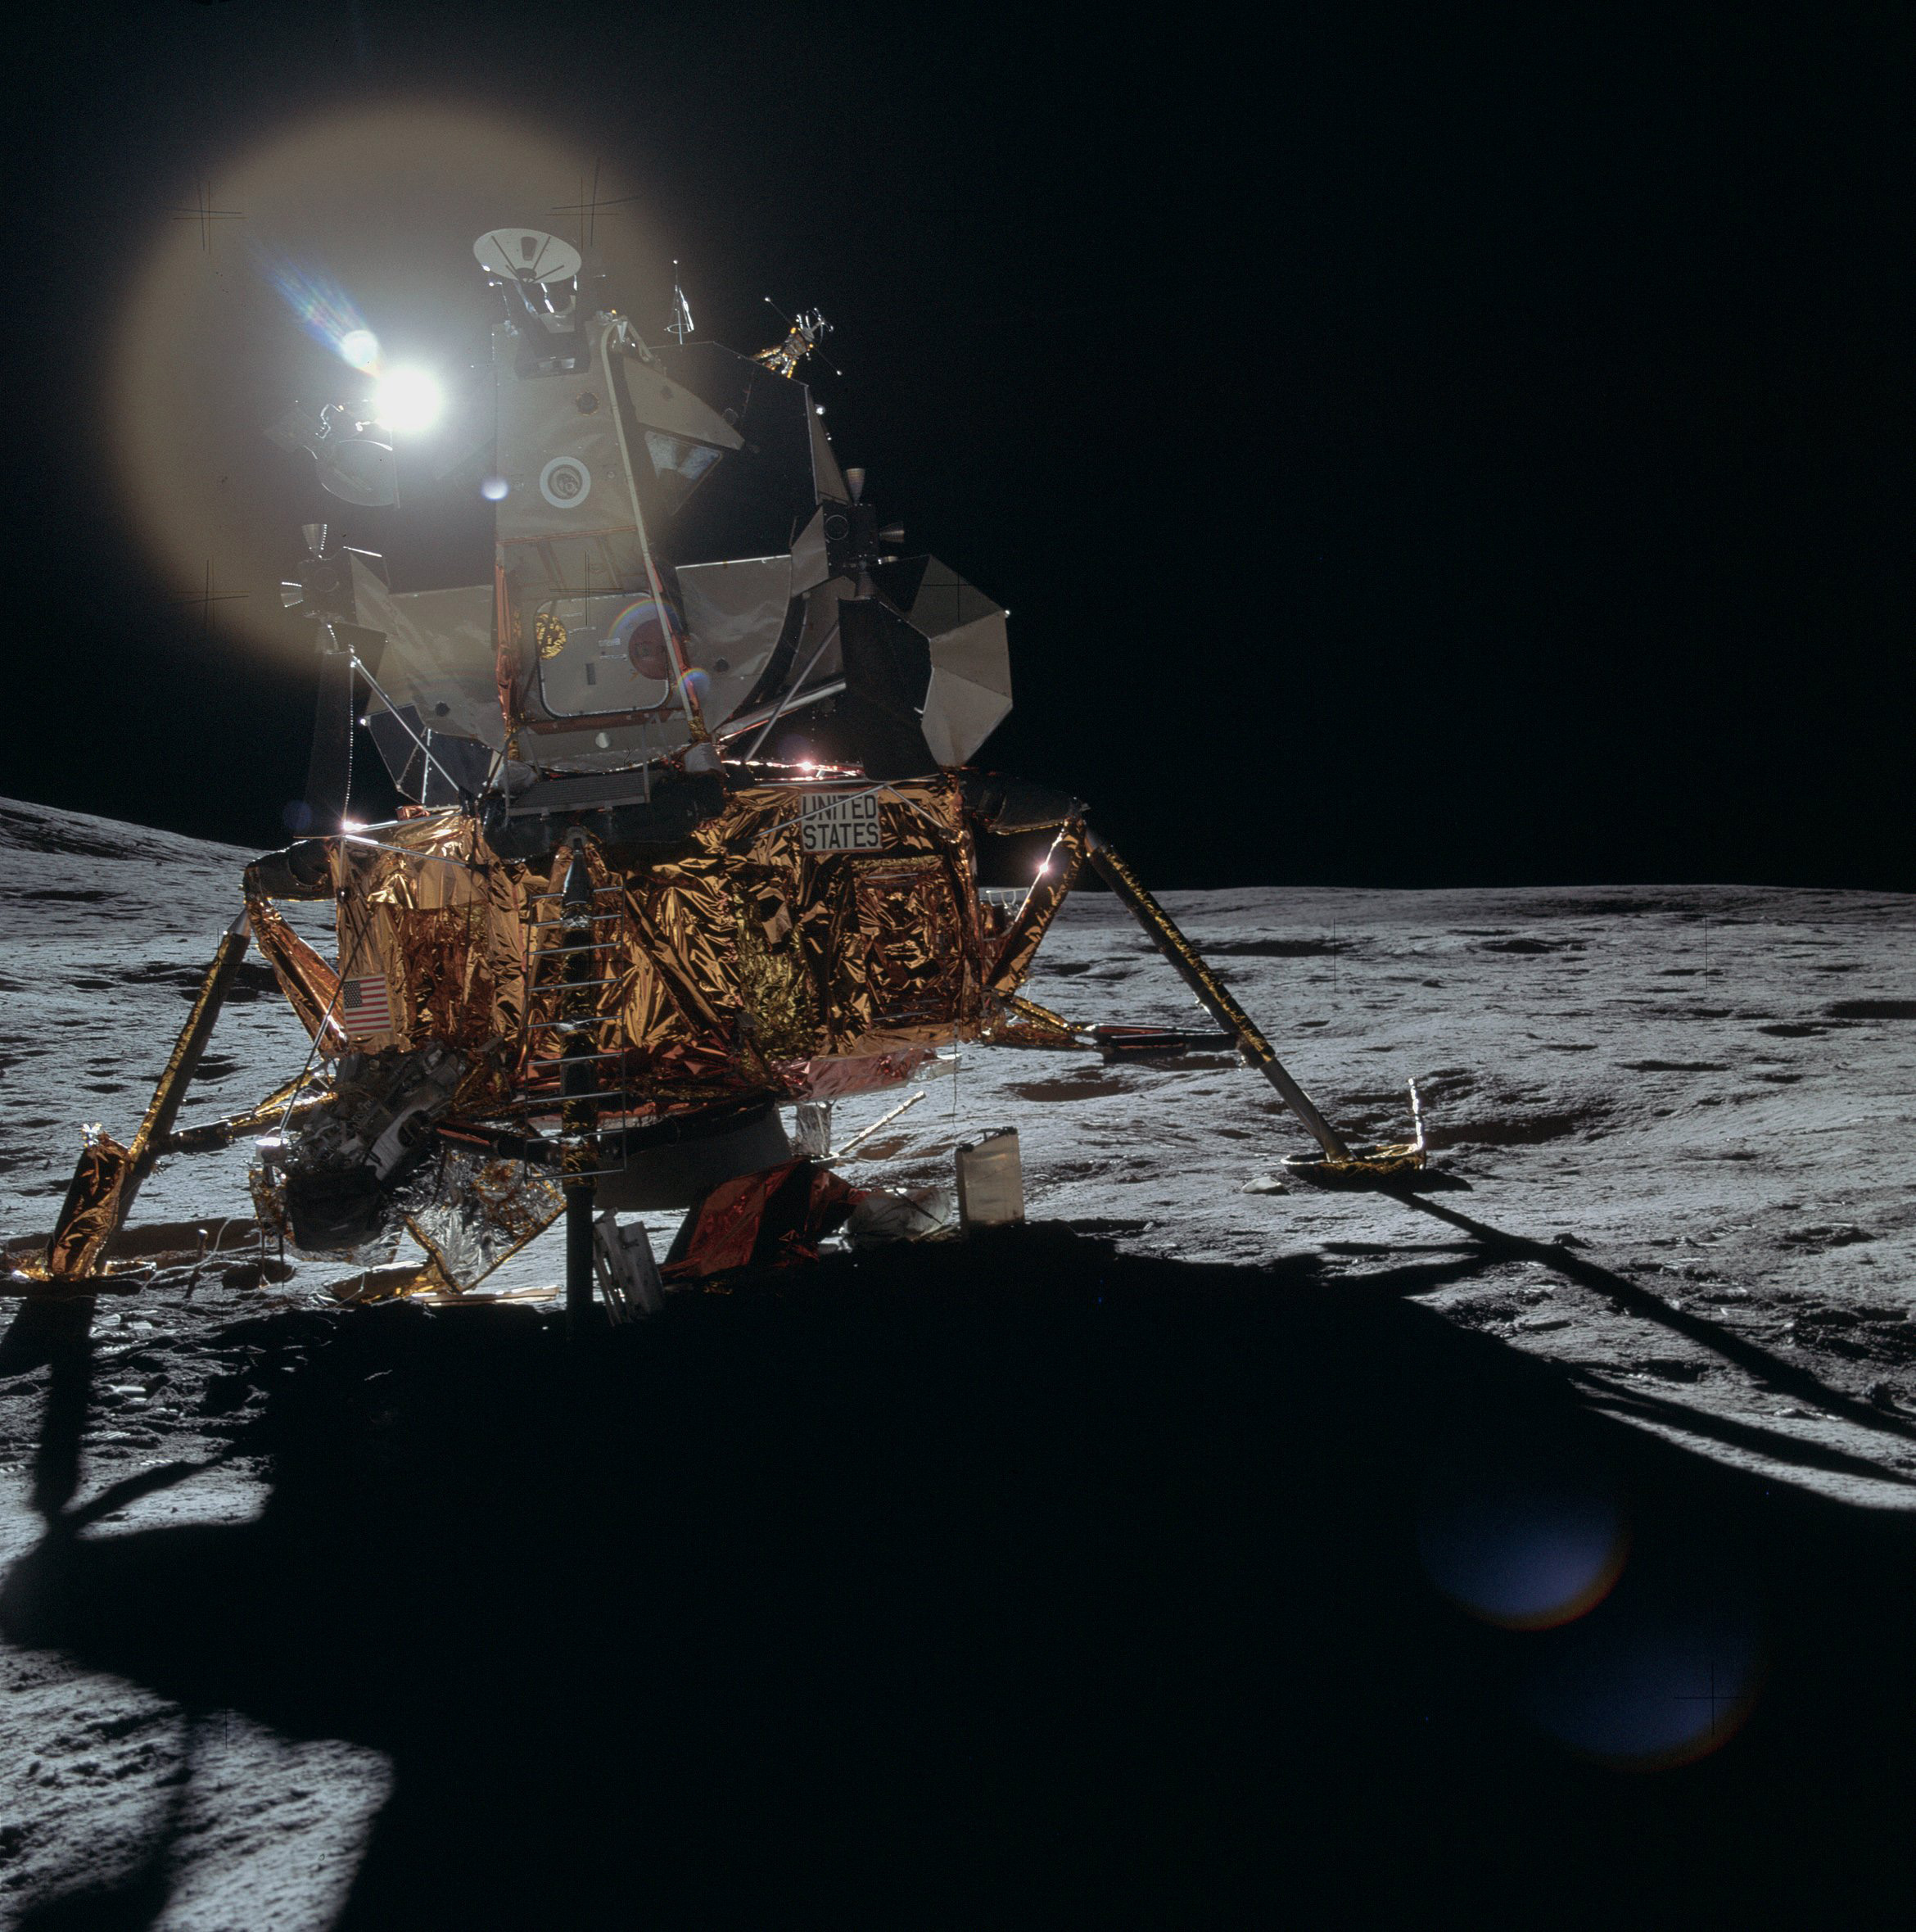 | AS14-66-9306 114:57:20 Rightward of 9305, centered just to the right of the hatch. Image credit: Image Science and Analysis Laboratory, NASA-Johnson Space Center. |
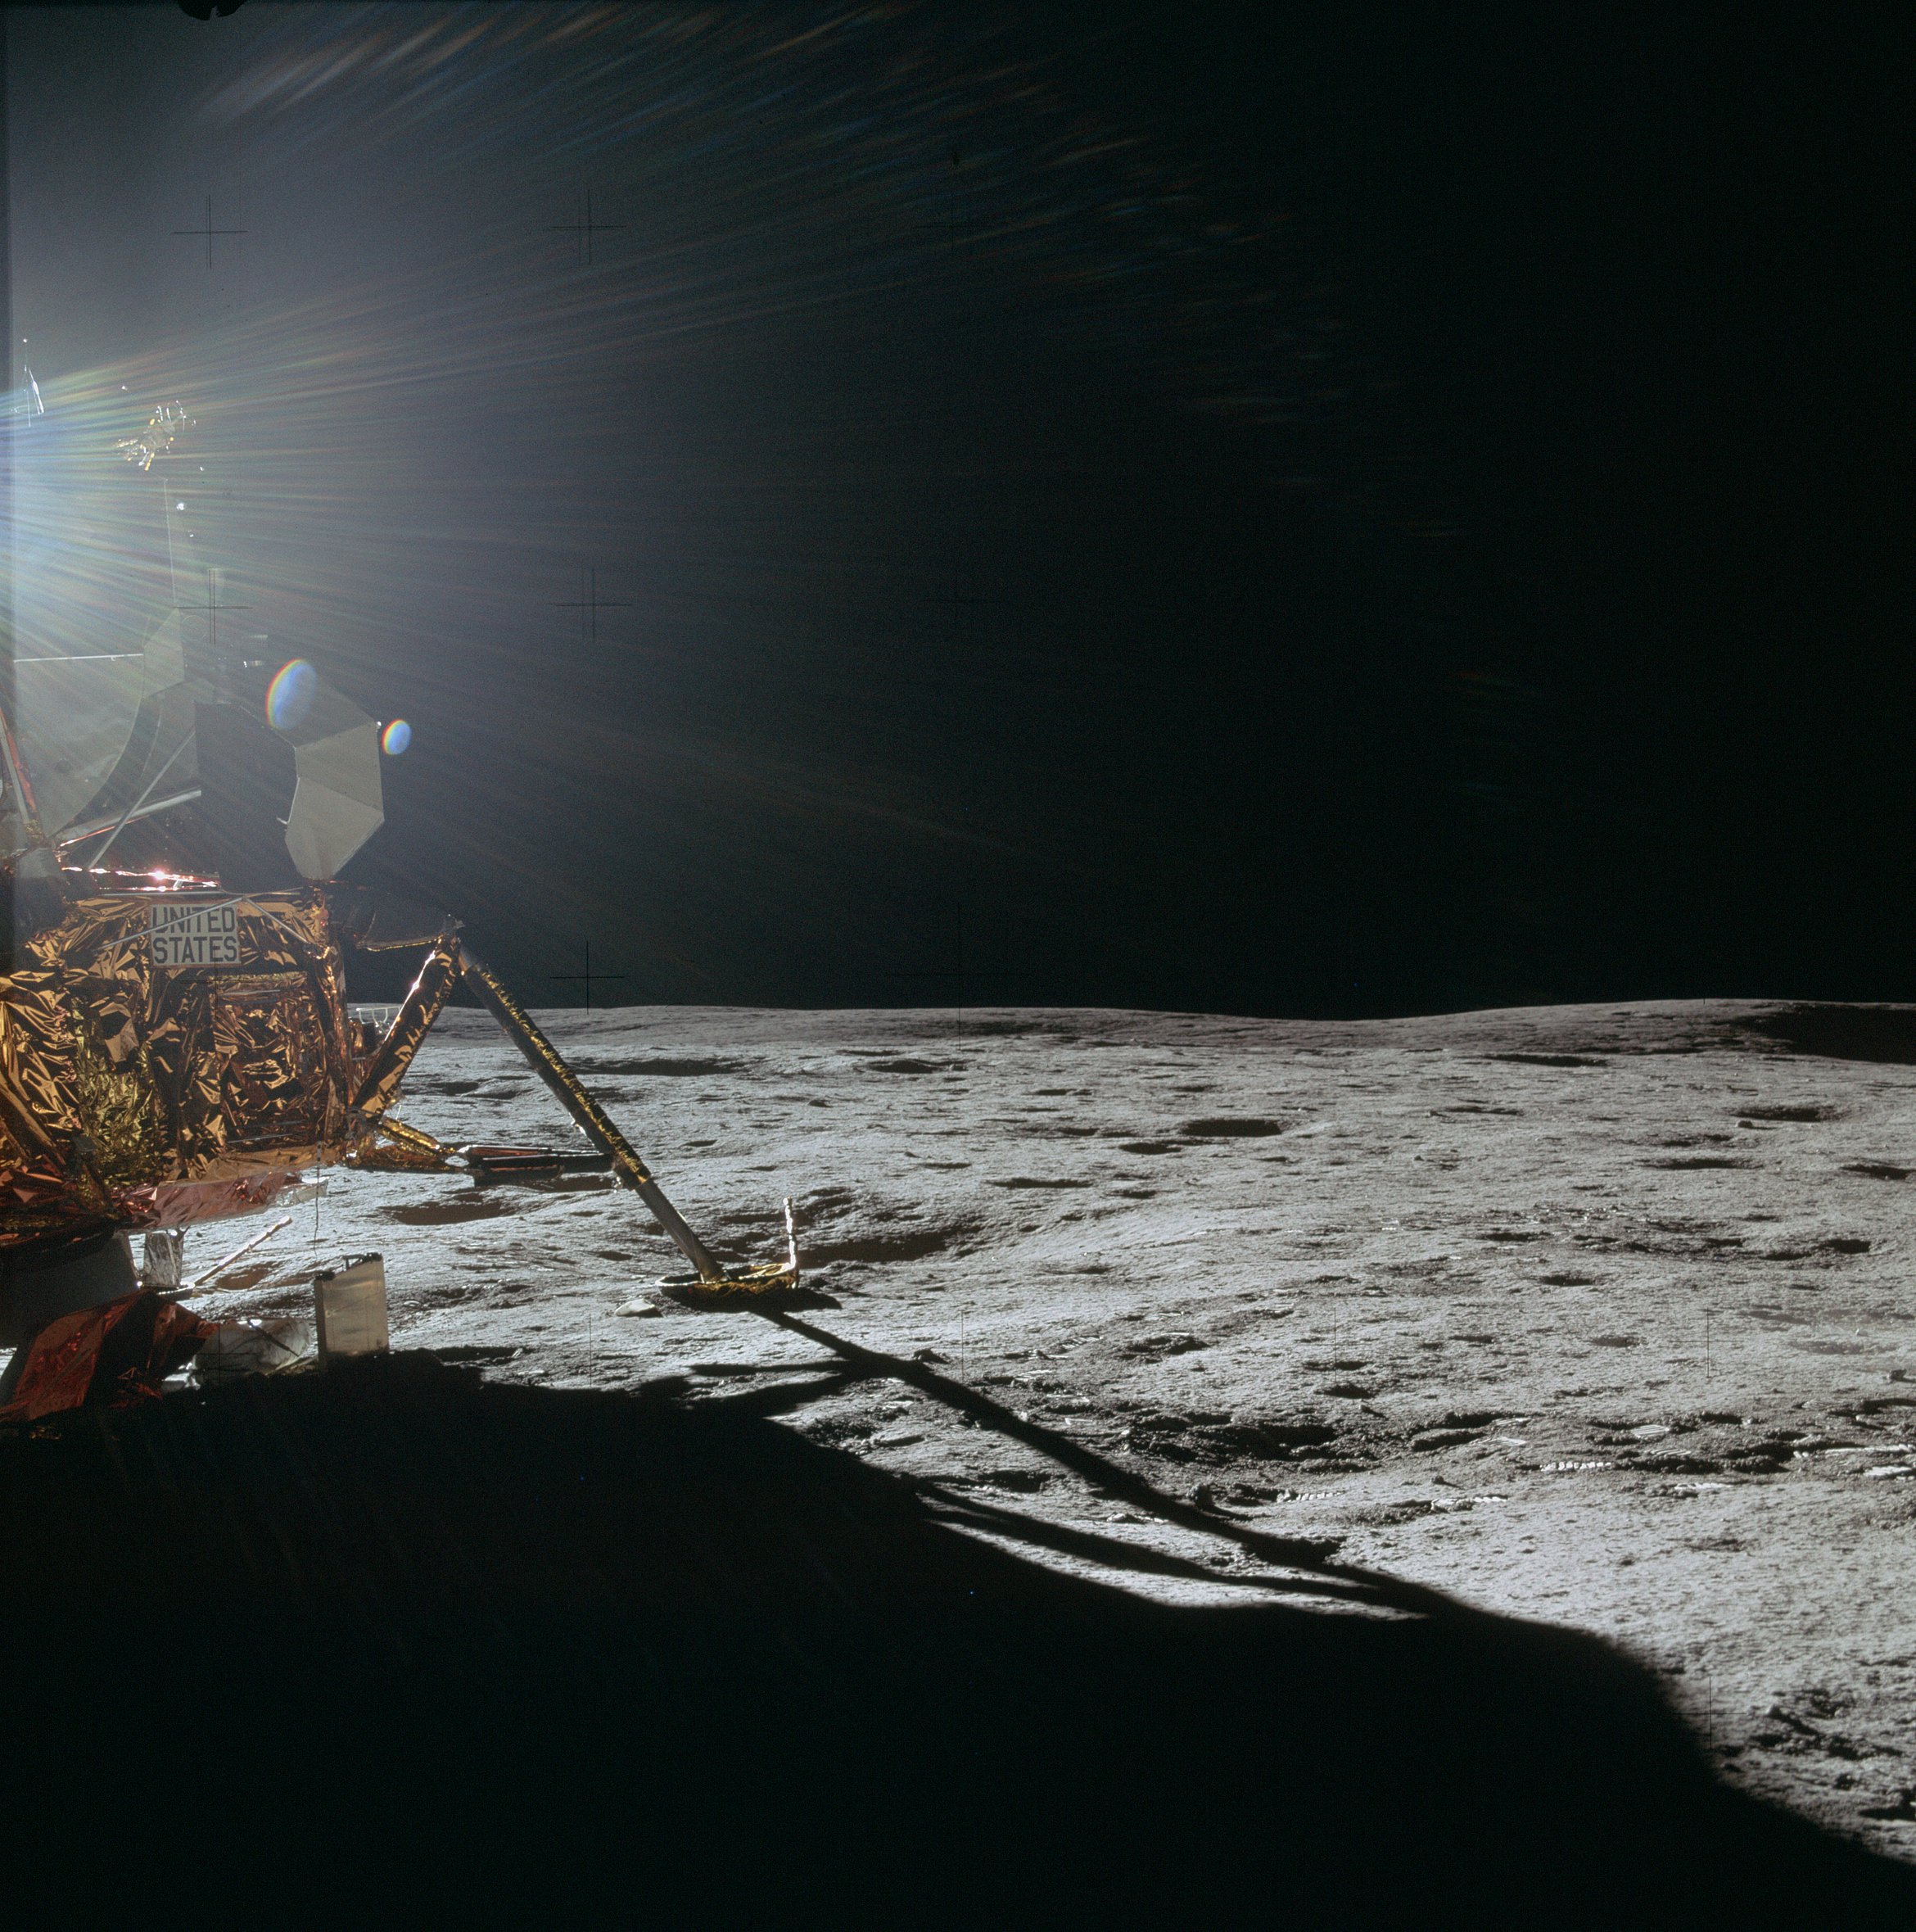 | AS14-66-9307 Rightward of 9306. Image credit: Image Science and Analysis Laboratory, NASA-Johnson Space Center. |
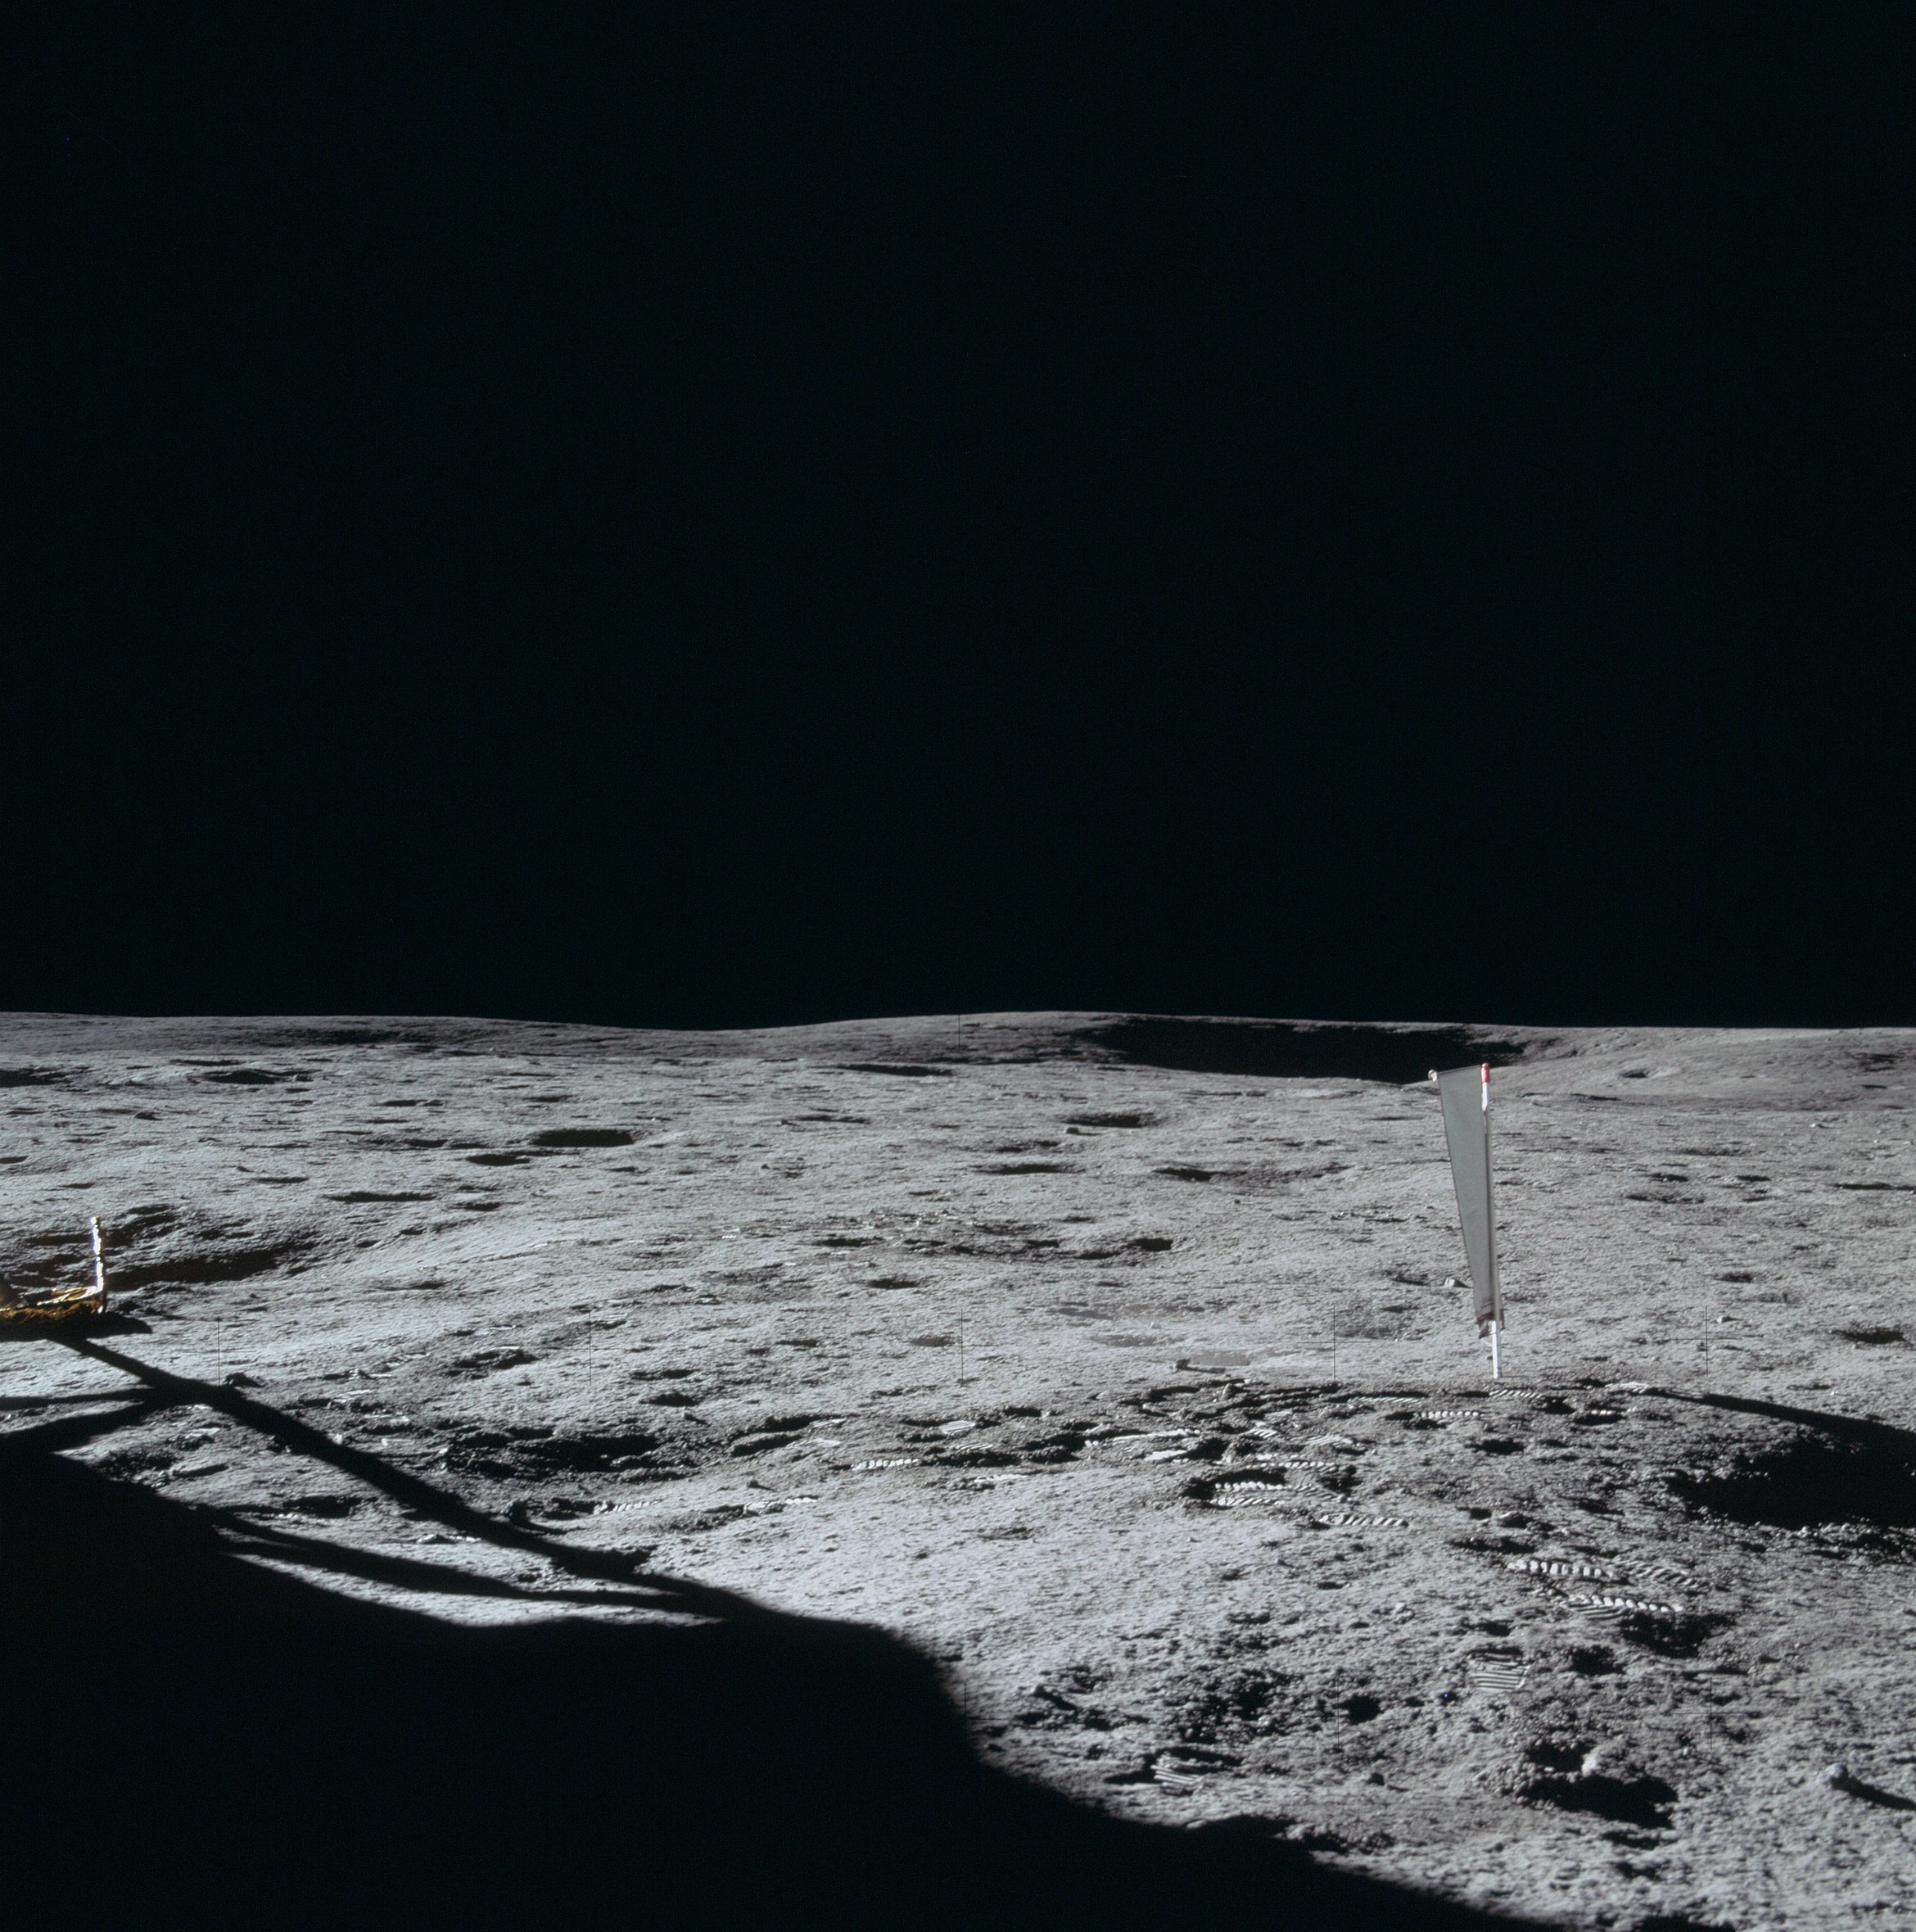 | AS14-66-9308 Rightward of 9307, showing the SWC with Old Nameless in the distance. Image credit: Image Science and Analysis Laboratory, NASA-Johnson Space Center. |
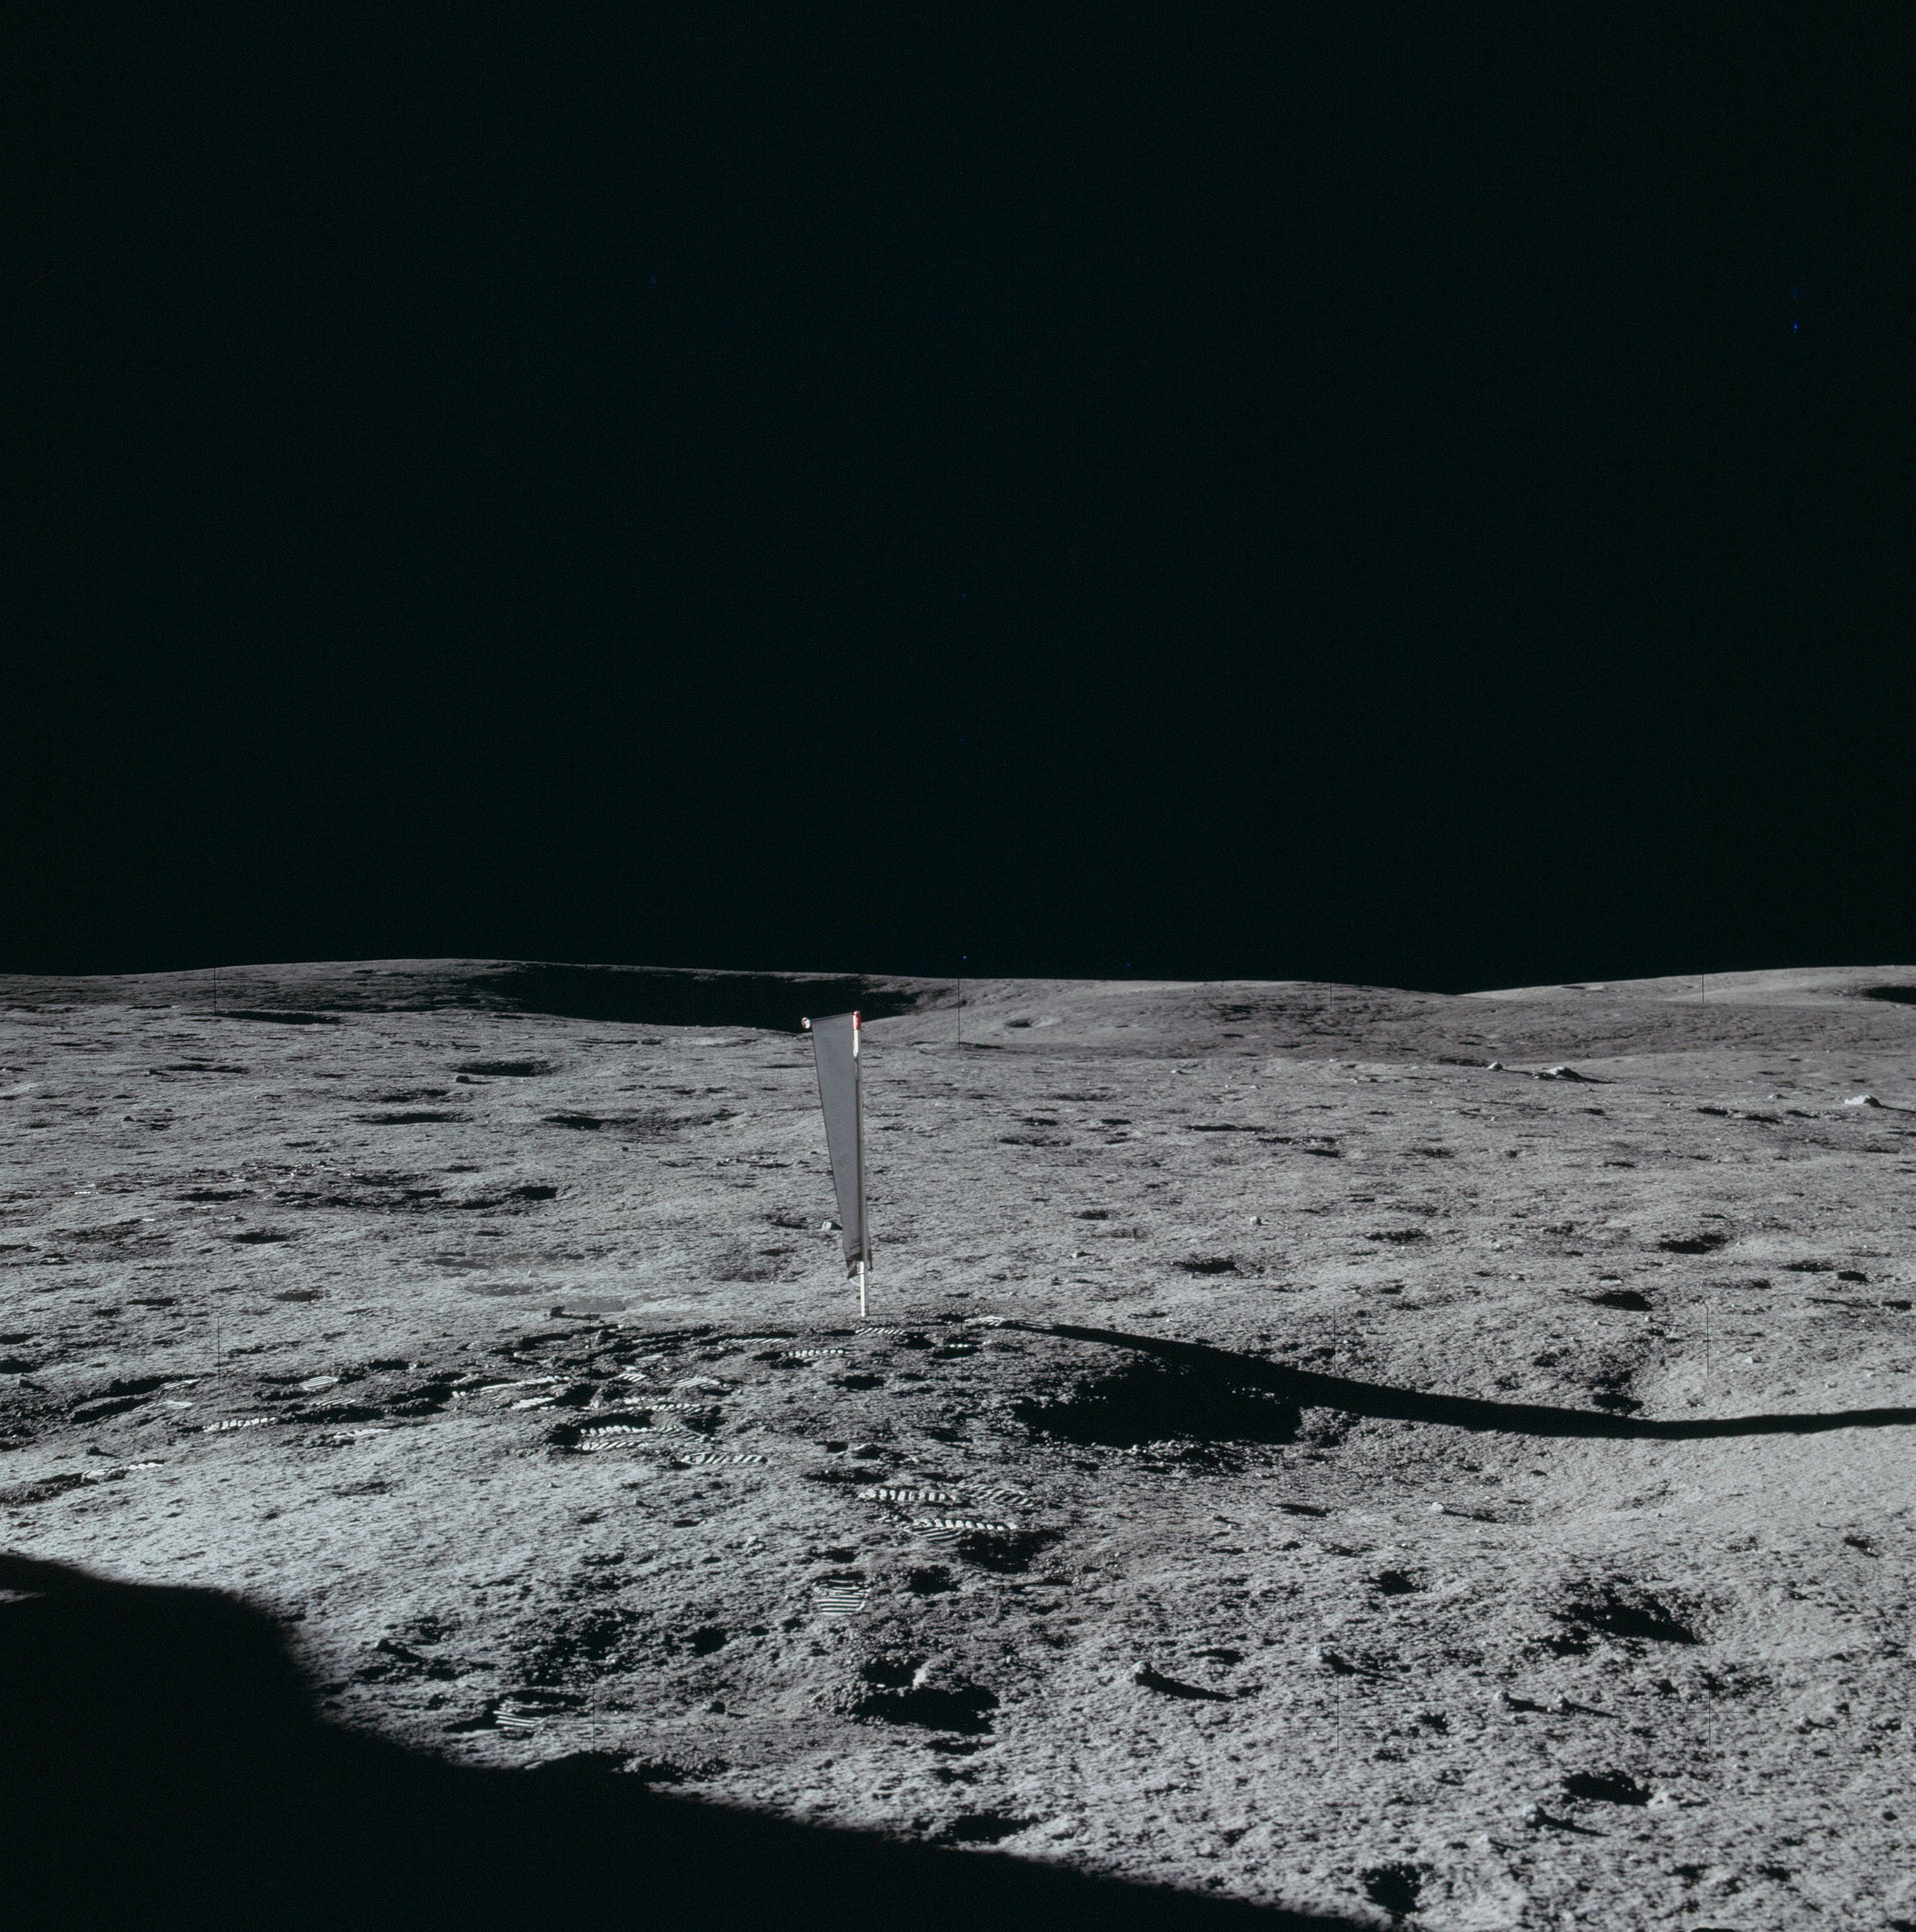 | AS14-66-9309 Rightward of 9308, centered on the SWC. Image credit: Image Science and Analysis Laboratory, NASA-Johnson Space Center. |
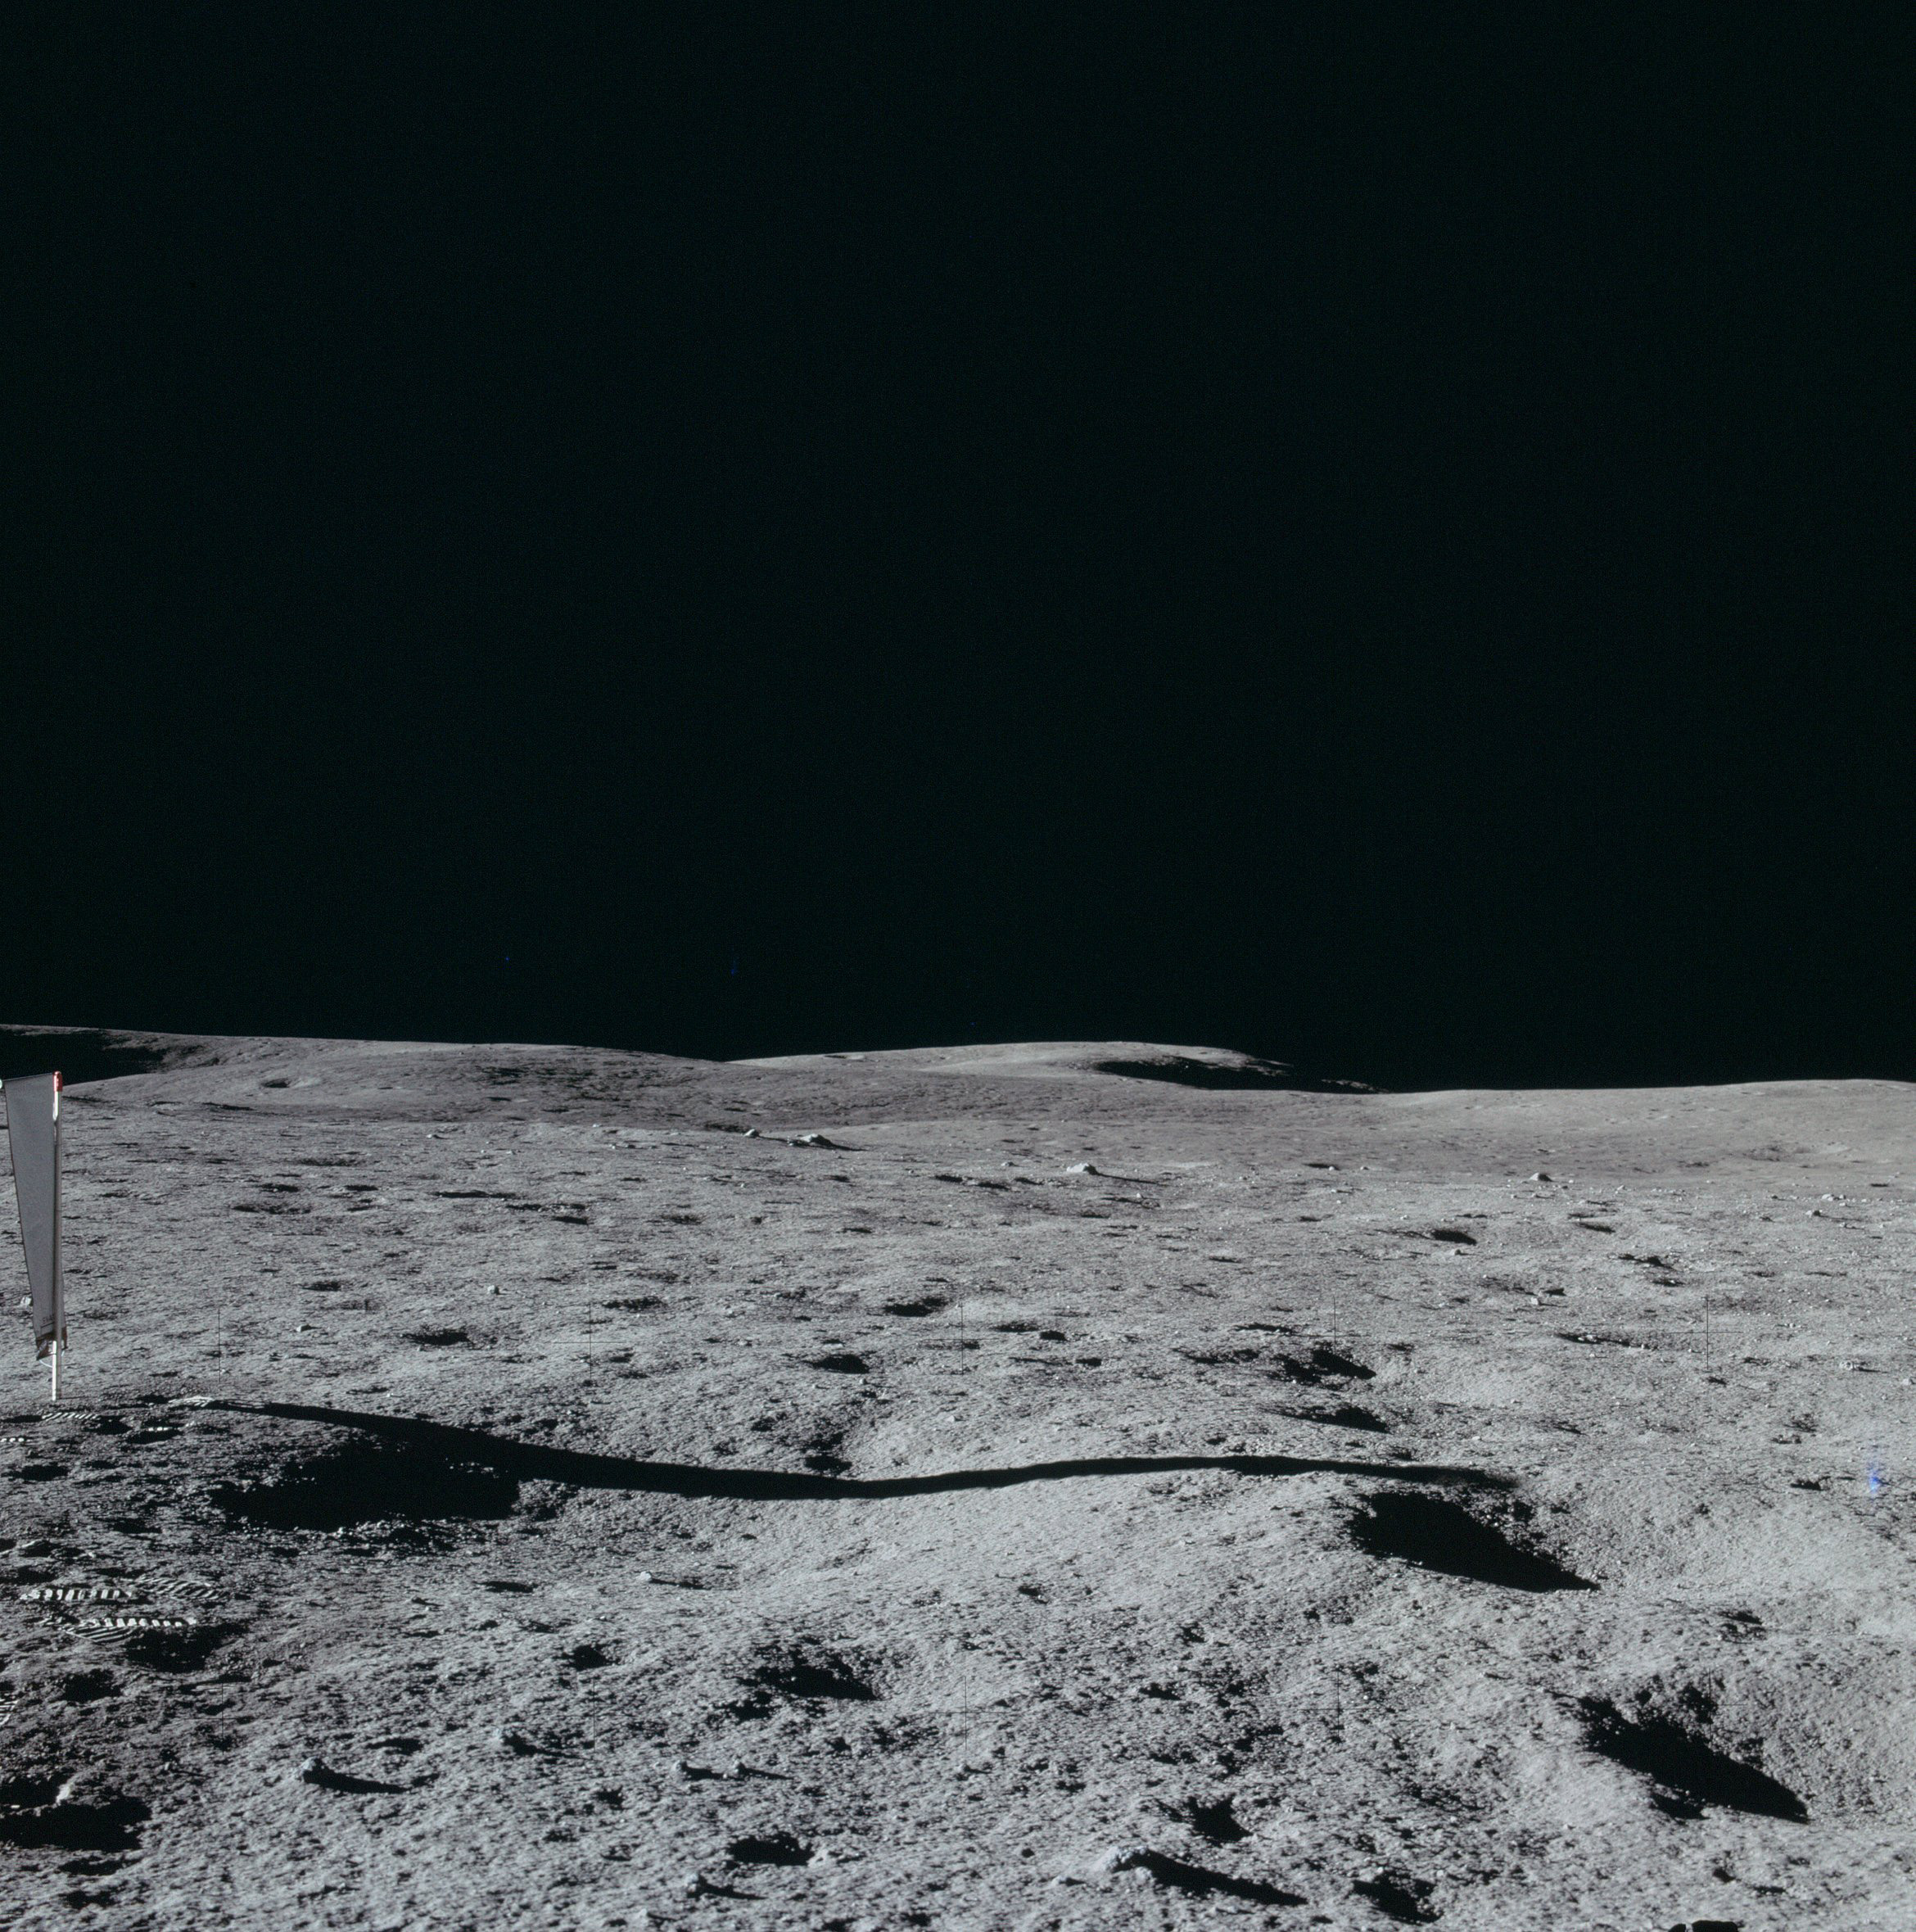 | AS14-66-9310 Rightward of 9309, showing the ridge to the south of the LM. Image credit: Image Science and Analysis Laboratory, NASA-Johnson Space Center. |
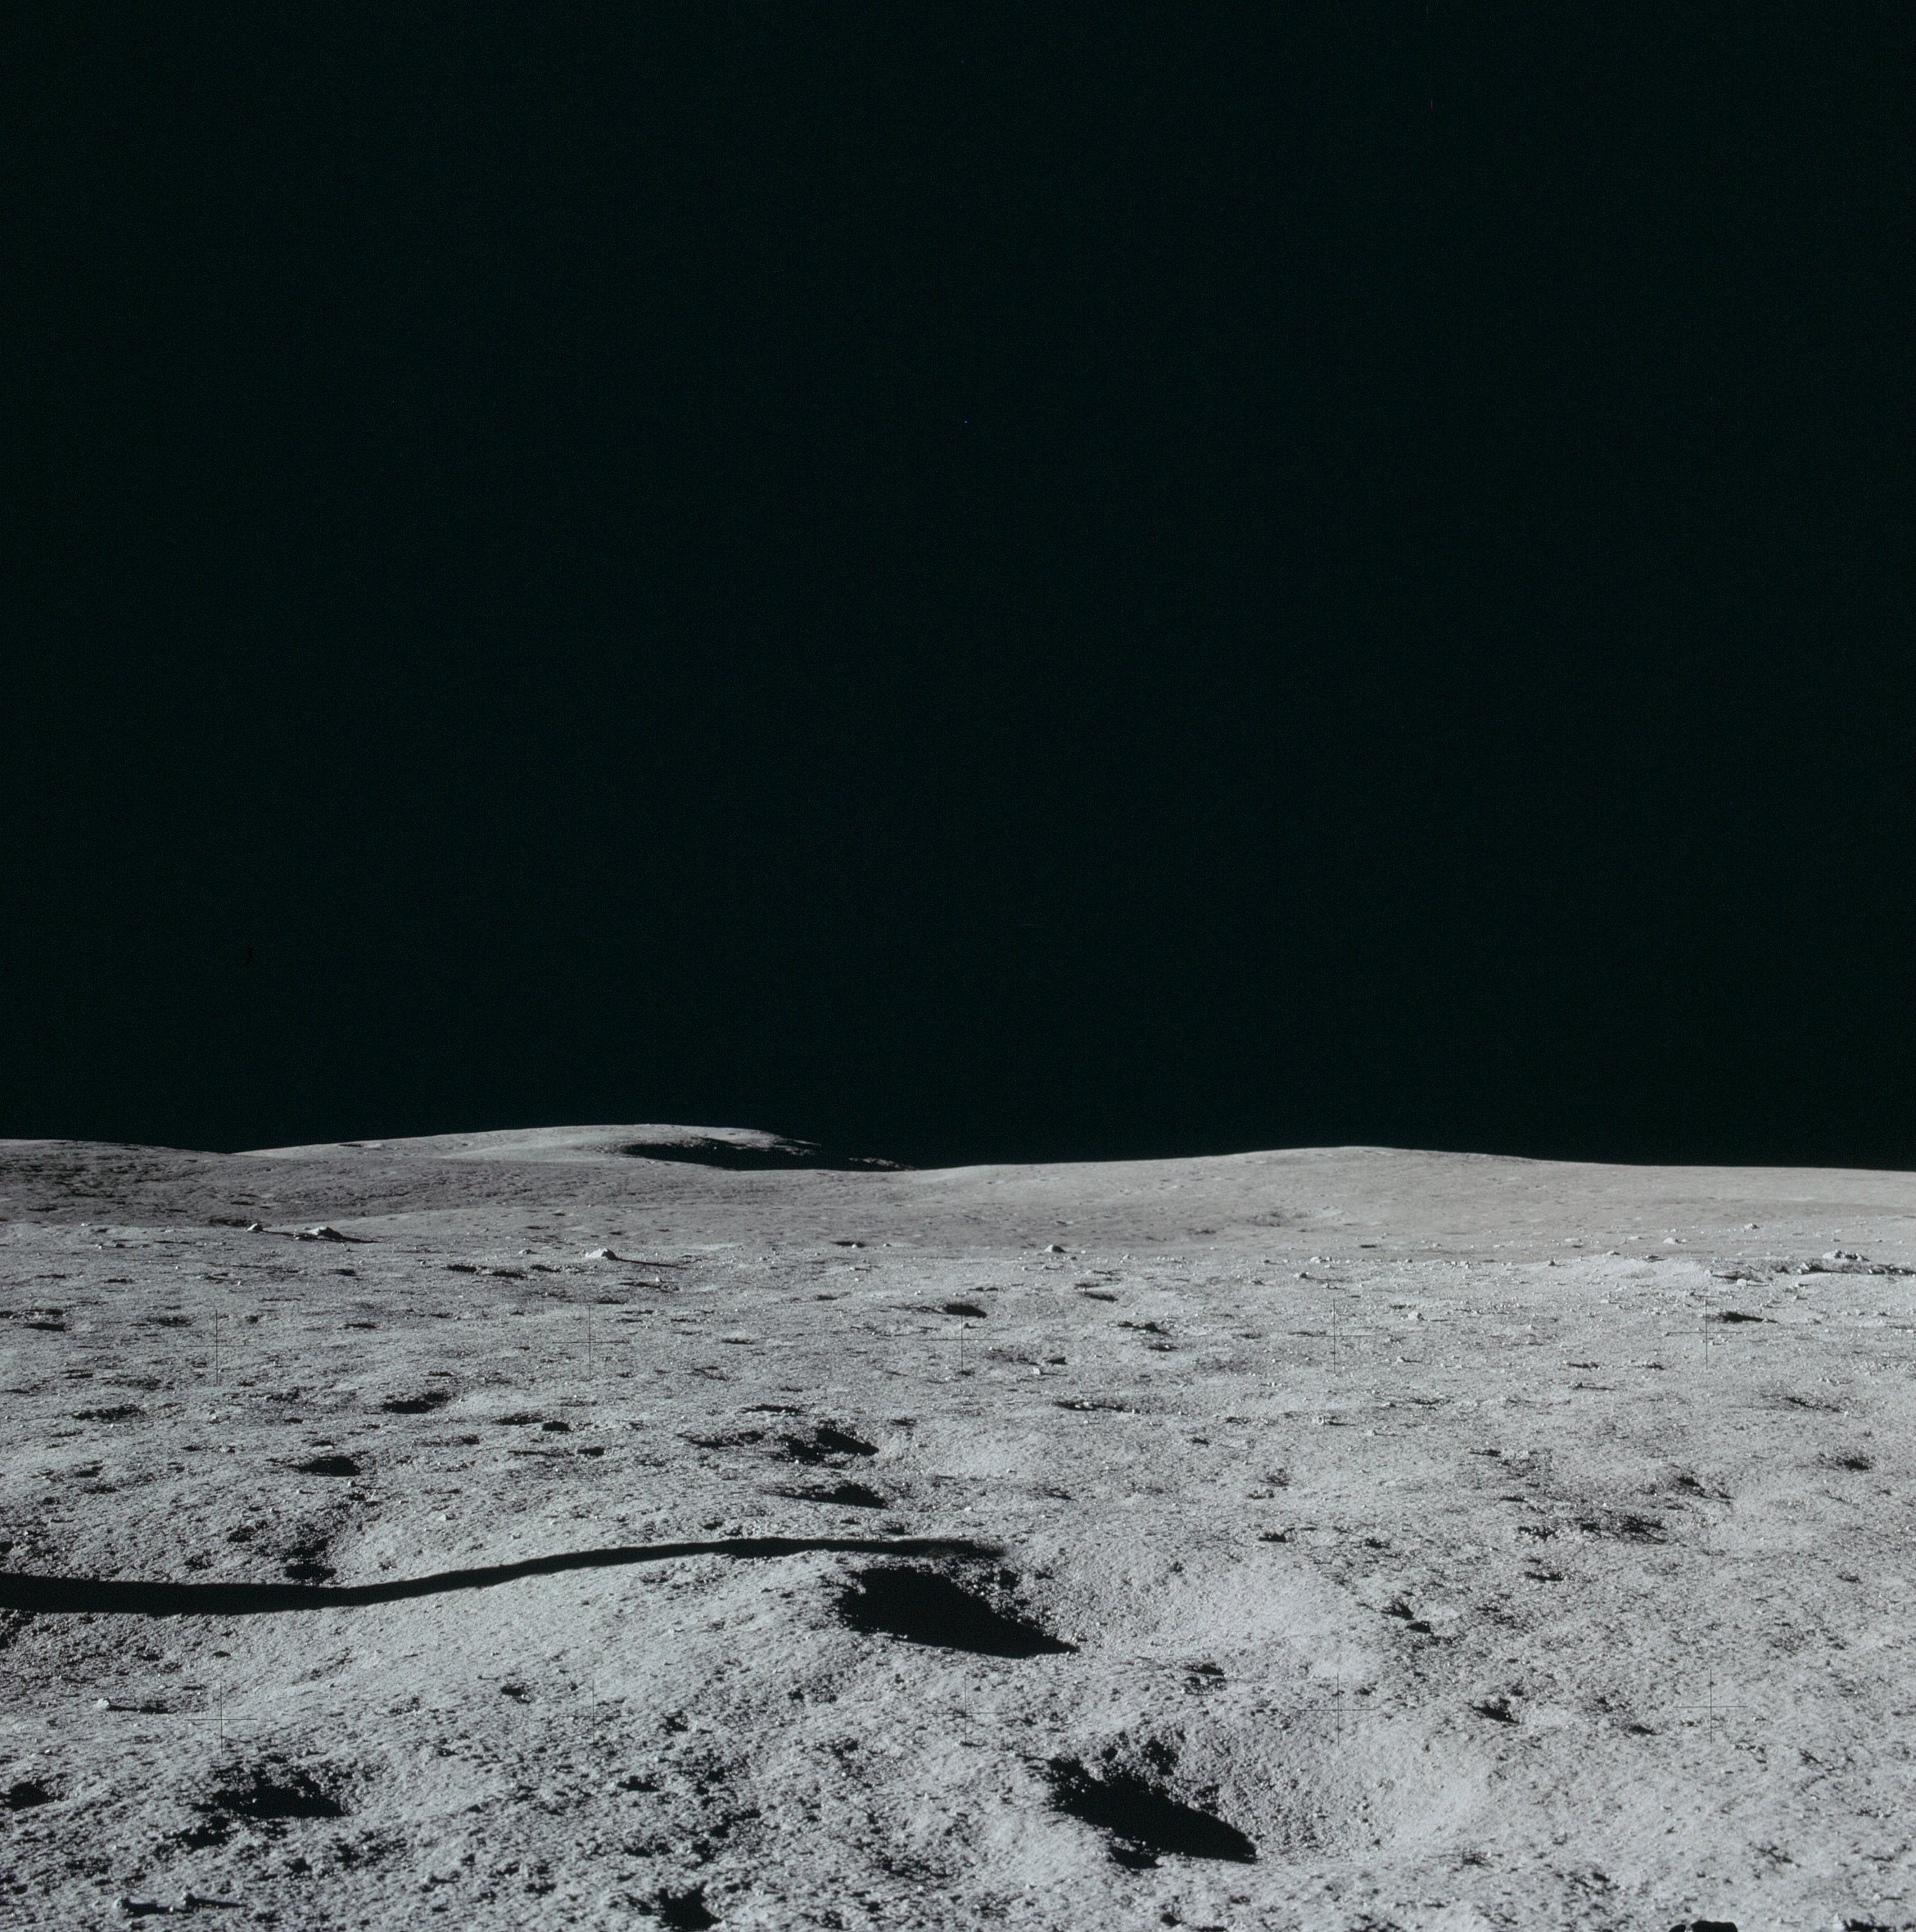 | AS14-66-9311 Rightward of 9310. Image credit: Image Science and Analysis Laboratory, NASA-Johnson Space Center. |
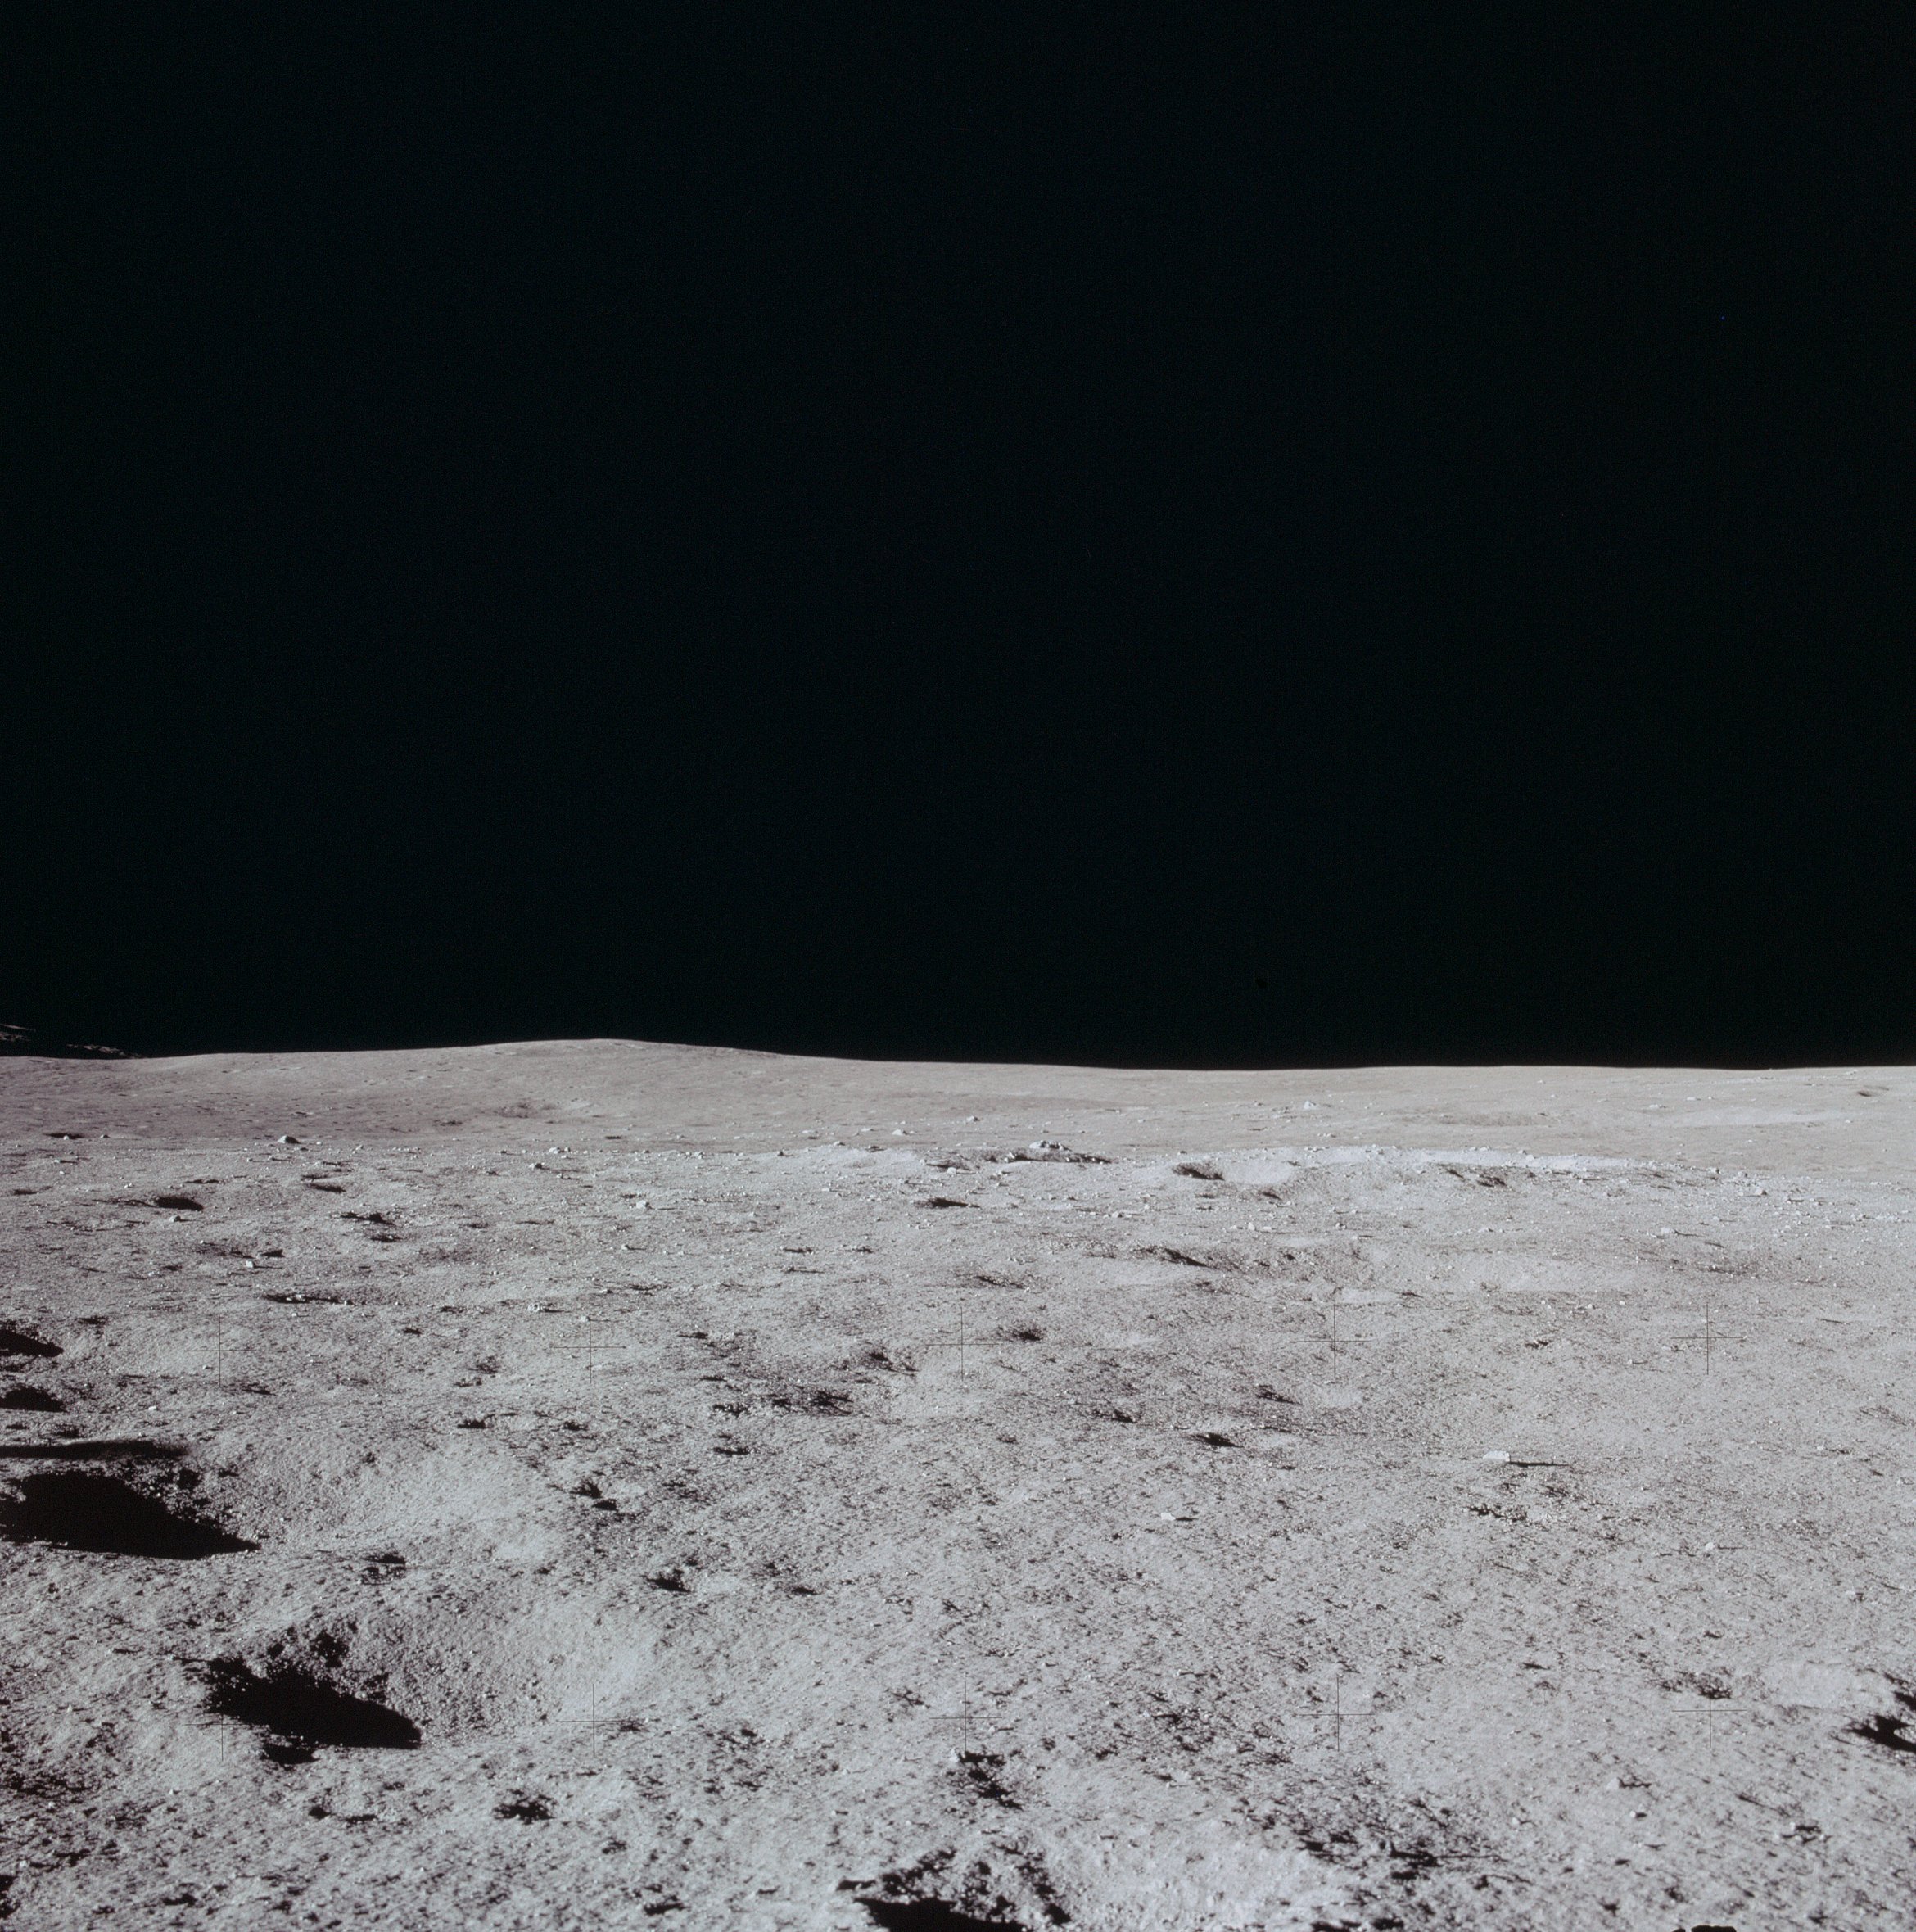 | AS14-66-9312 Rightward of 9311. Image credit: Image Science and Analysis Laboratory, NASA-Johnson Space Center. |
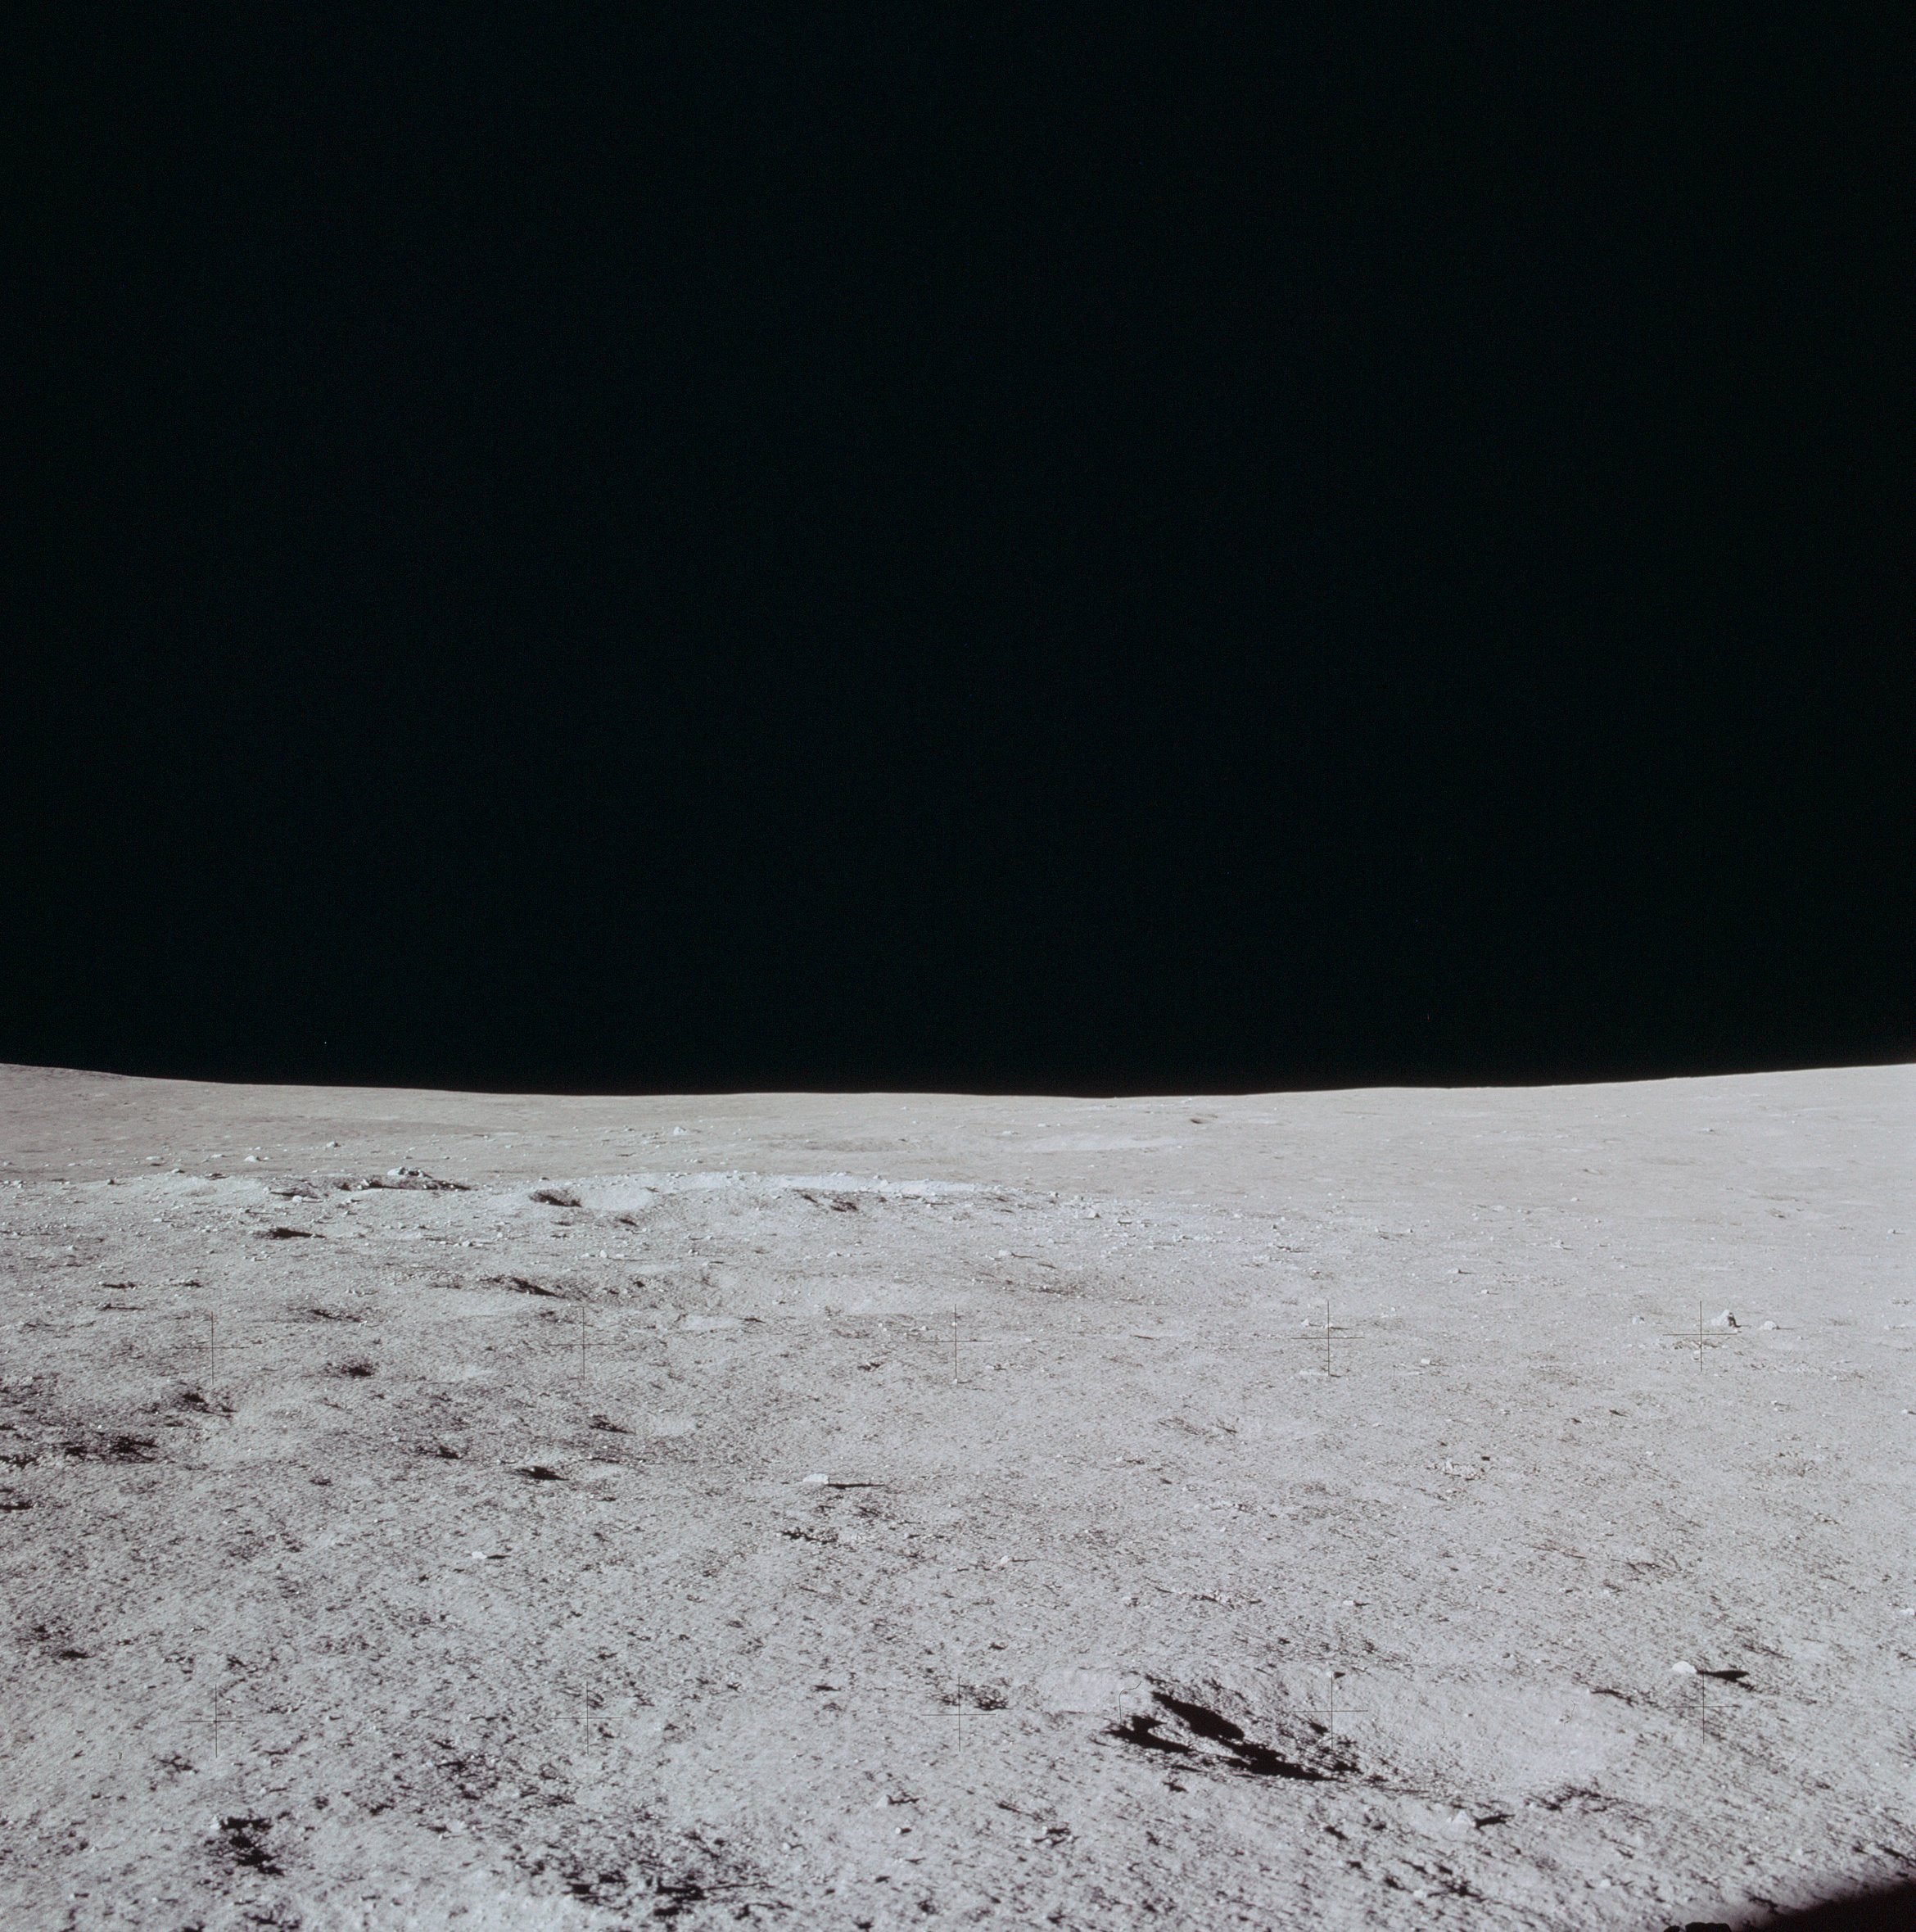 | AS14-66-9313 Rightward of 9312. Image credit: Image Science and Analysis Laboratory, NASA-Johnson Space Center. |
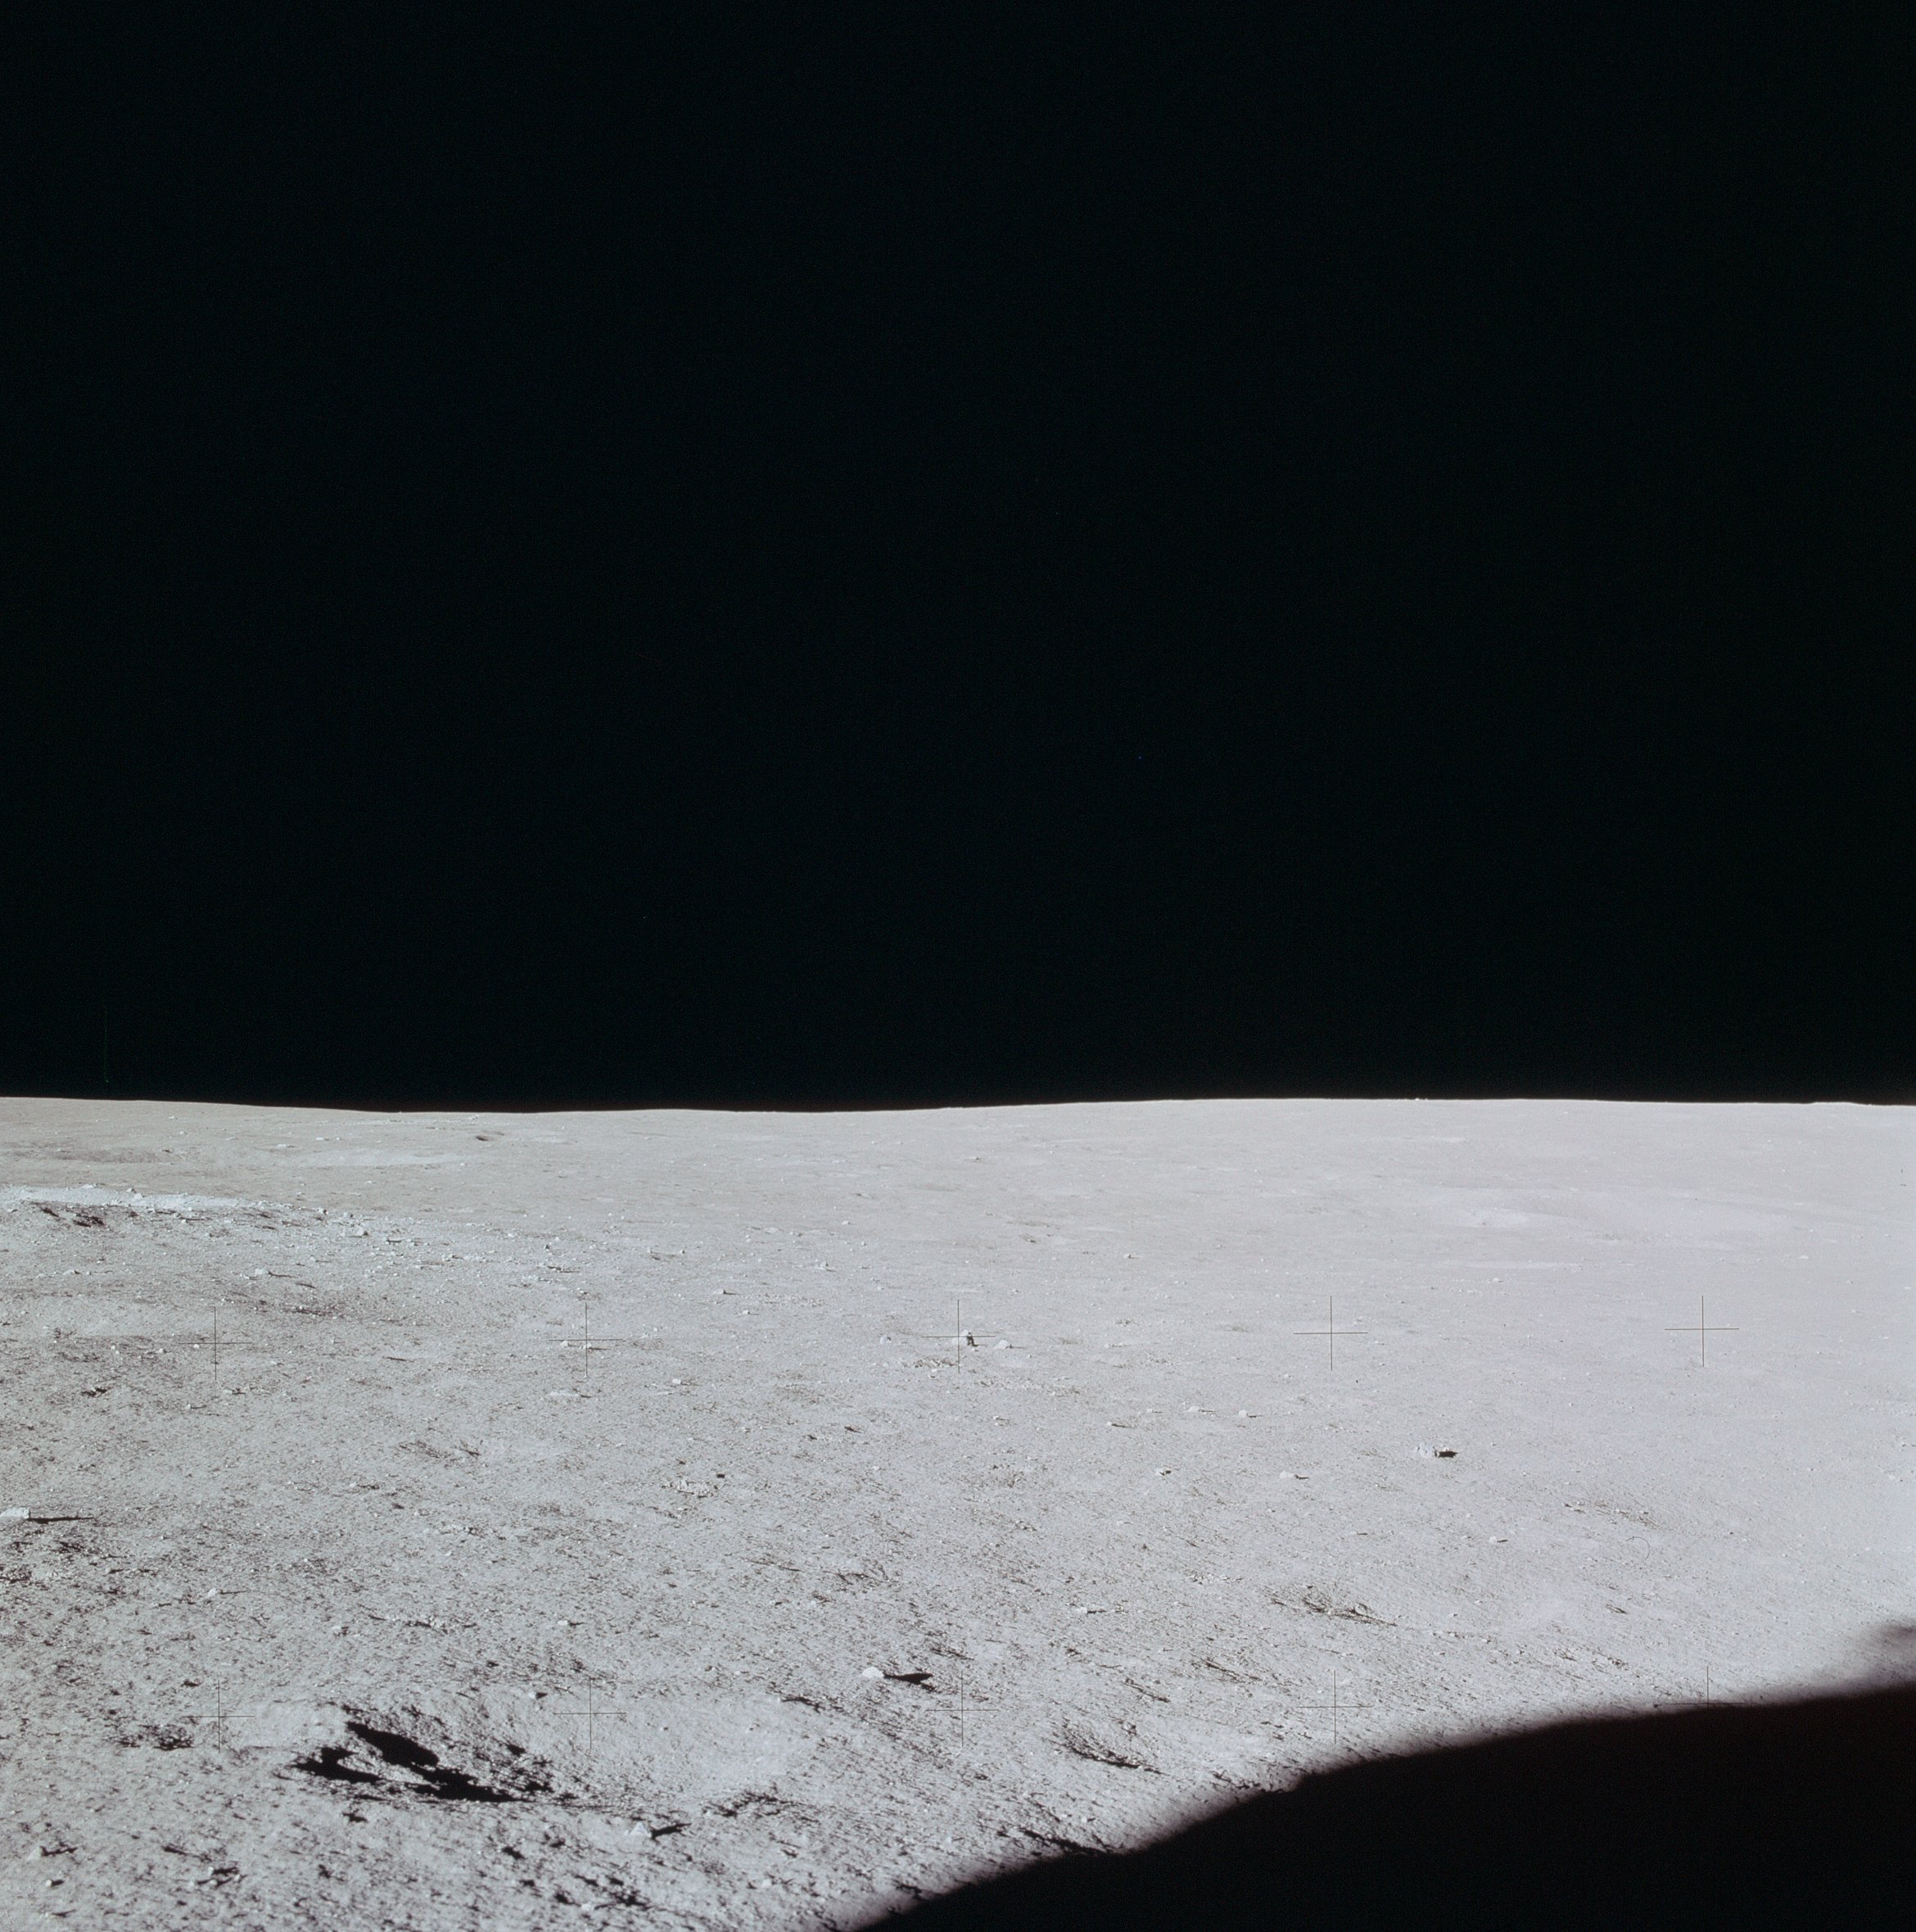 | AS14-66-9314 Rightward of 9313. Image credit: Image Science and Analysis Laboratory, NASA-Johnson Space Center. |
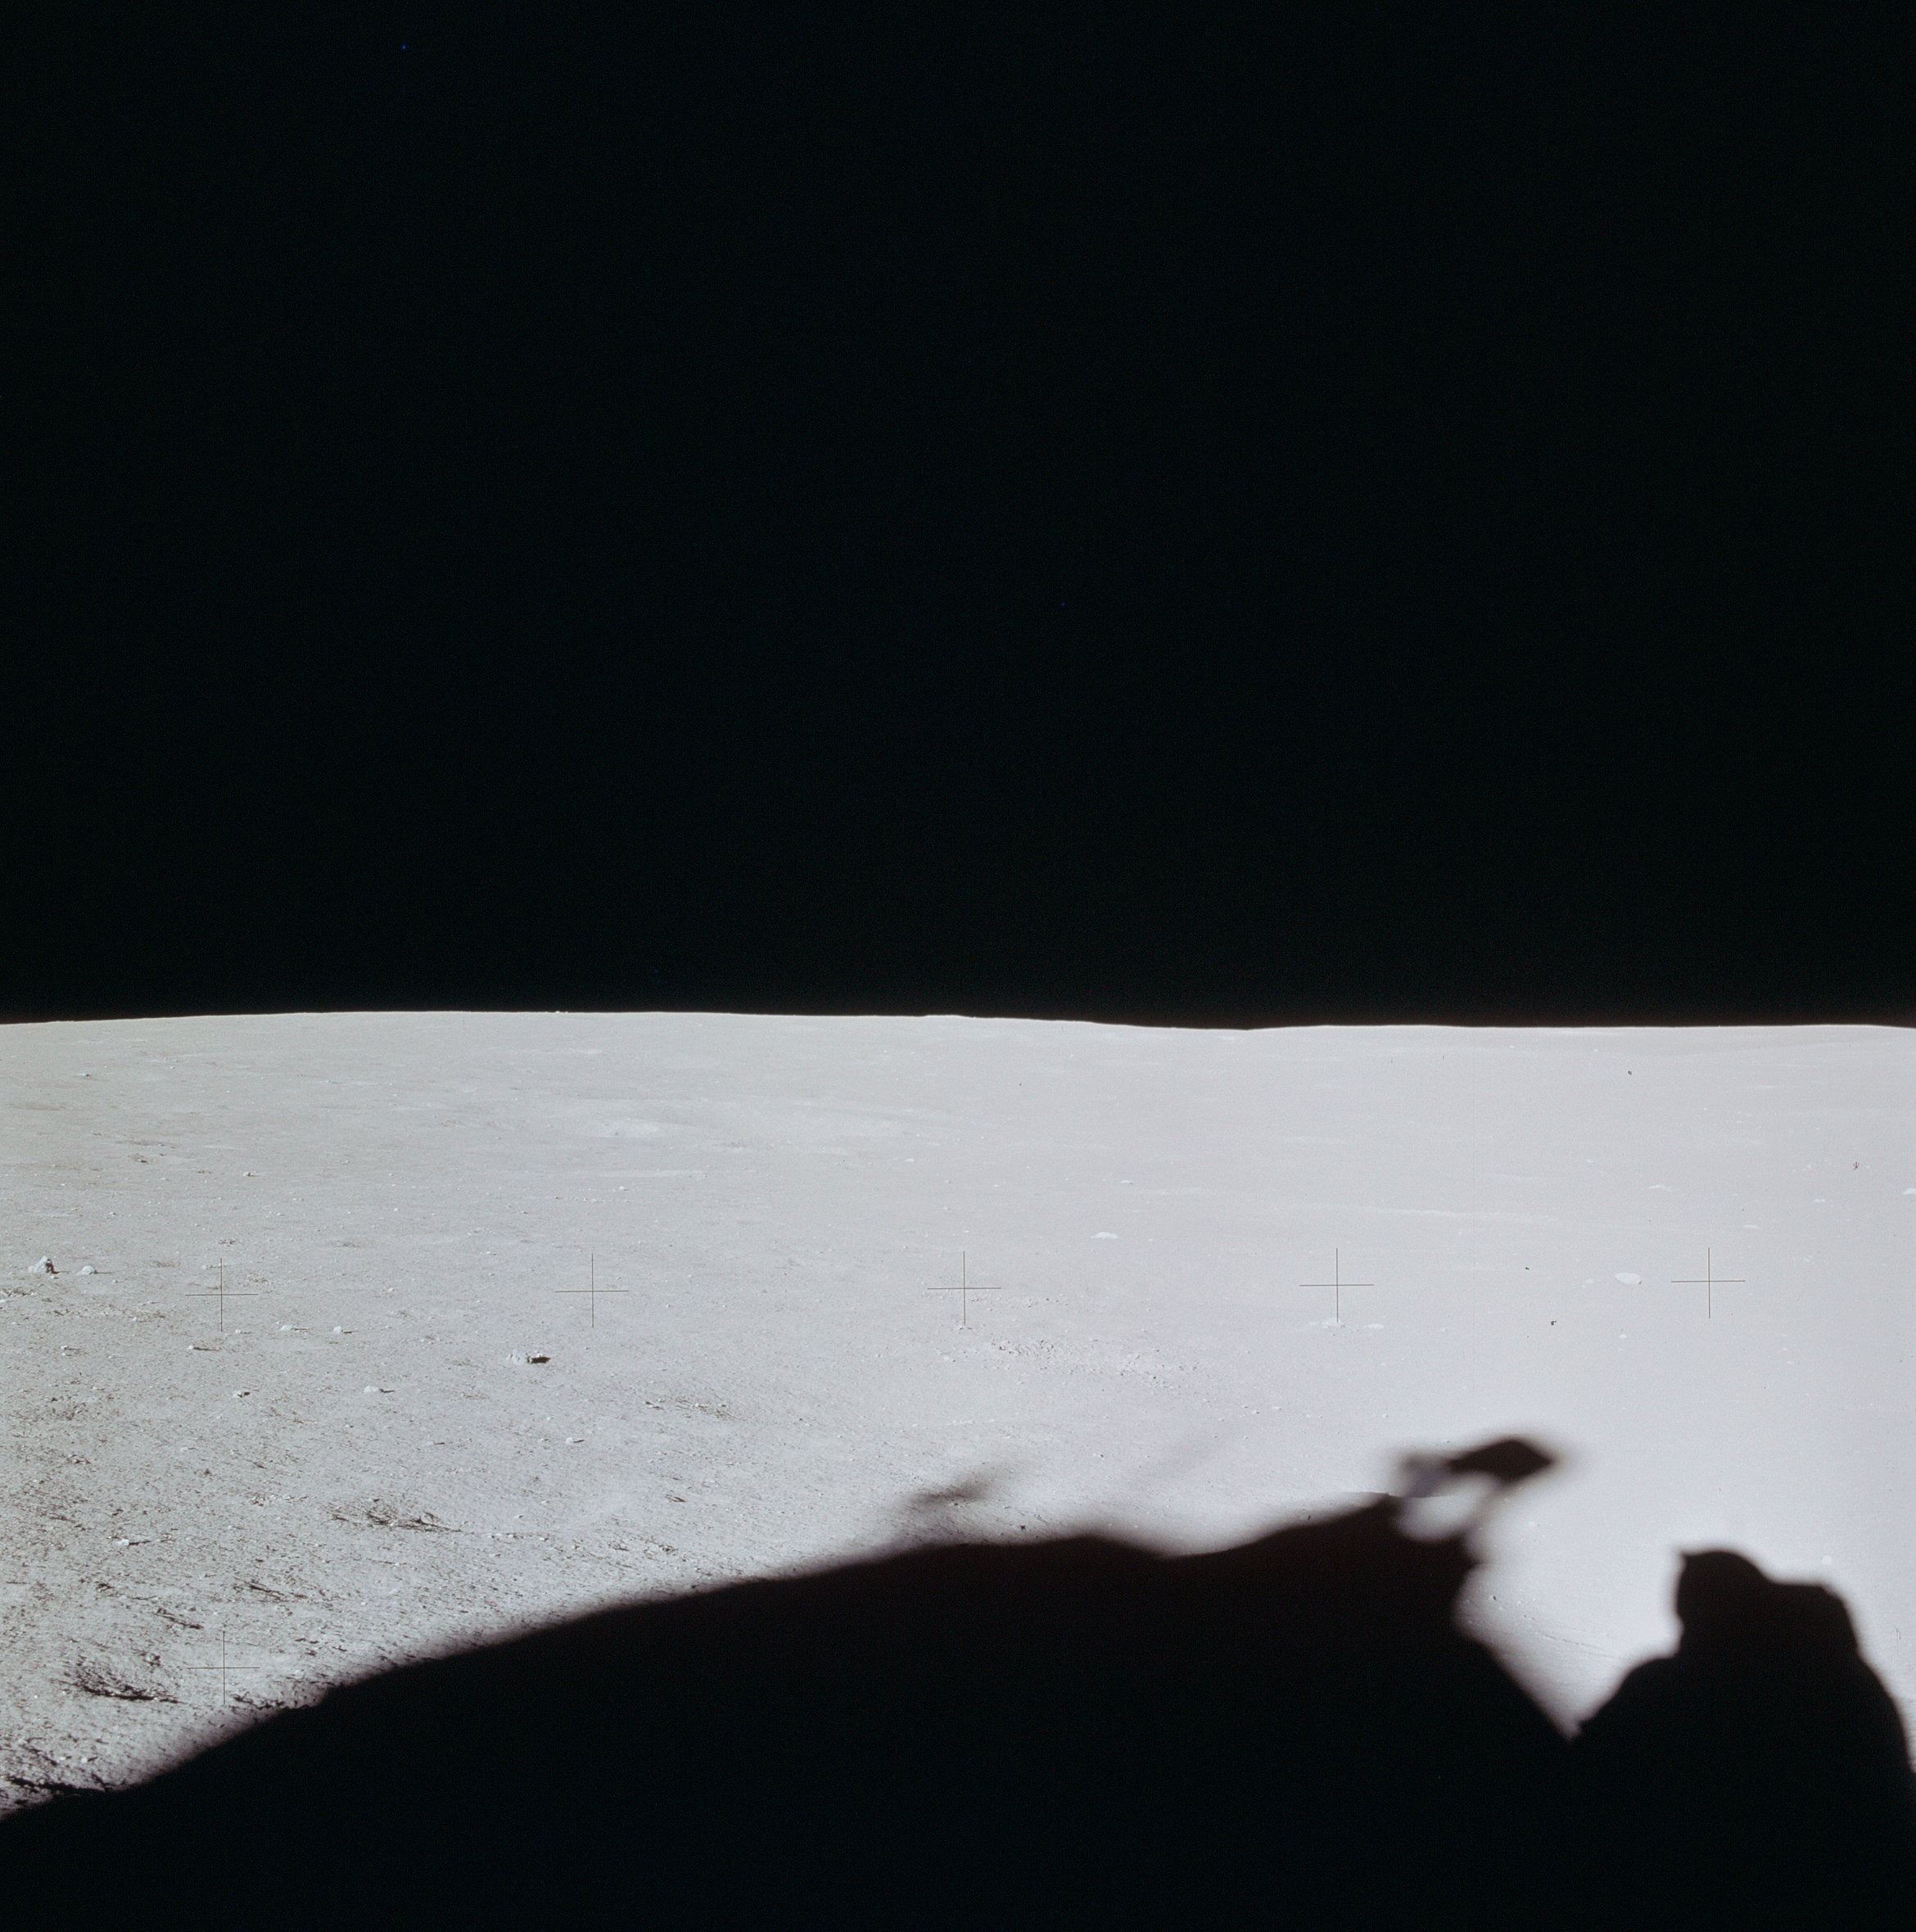 | AS14-66-9315 Rightward of 9314. Image credit: Image Science and Analysis Laboratory, NASA-Johnson Space Center. |
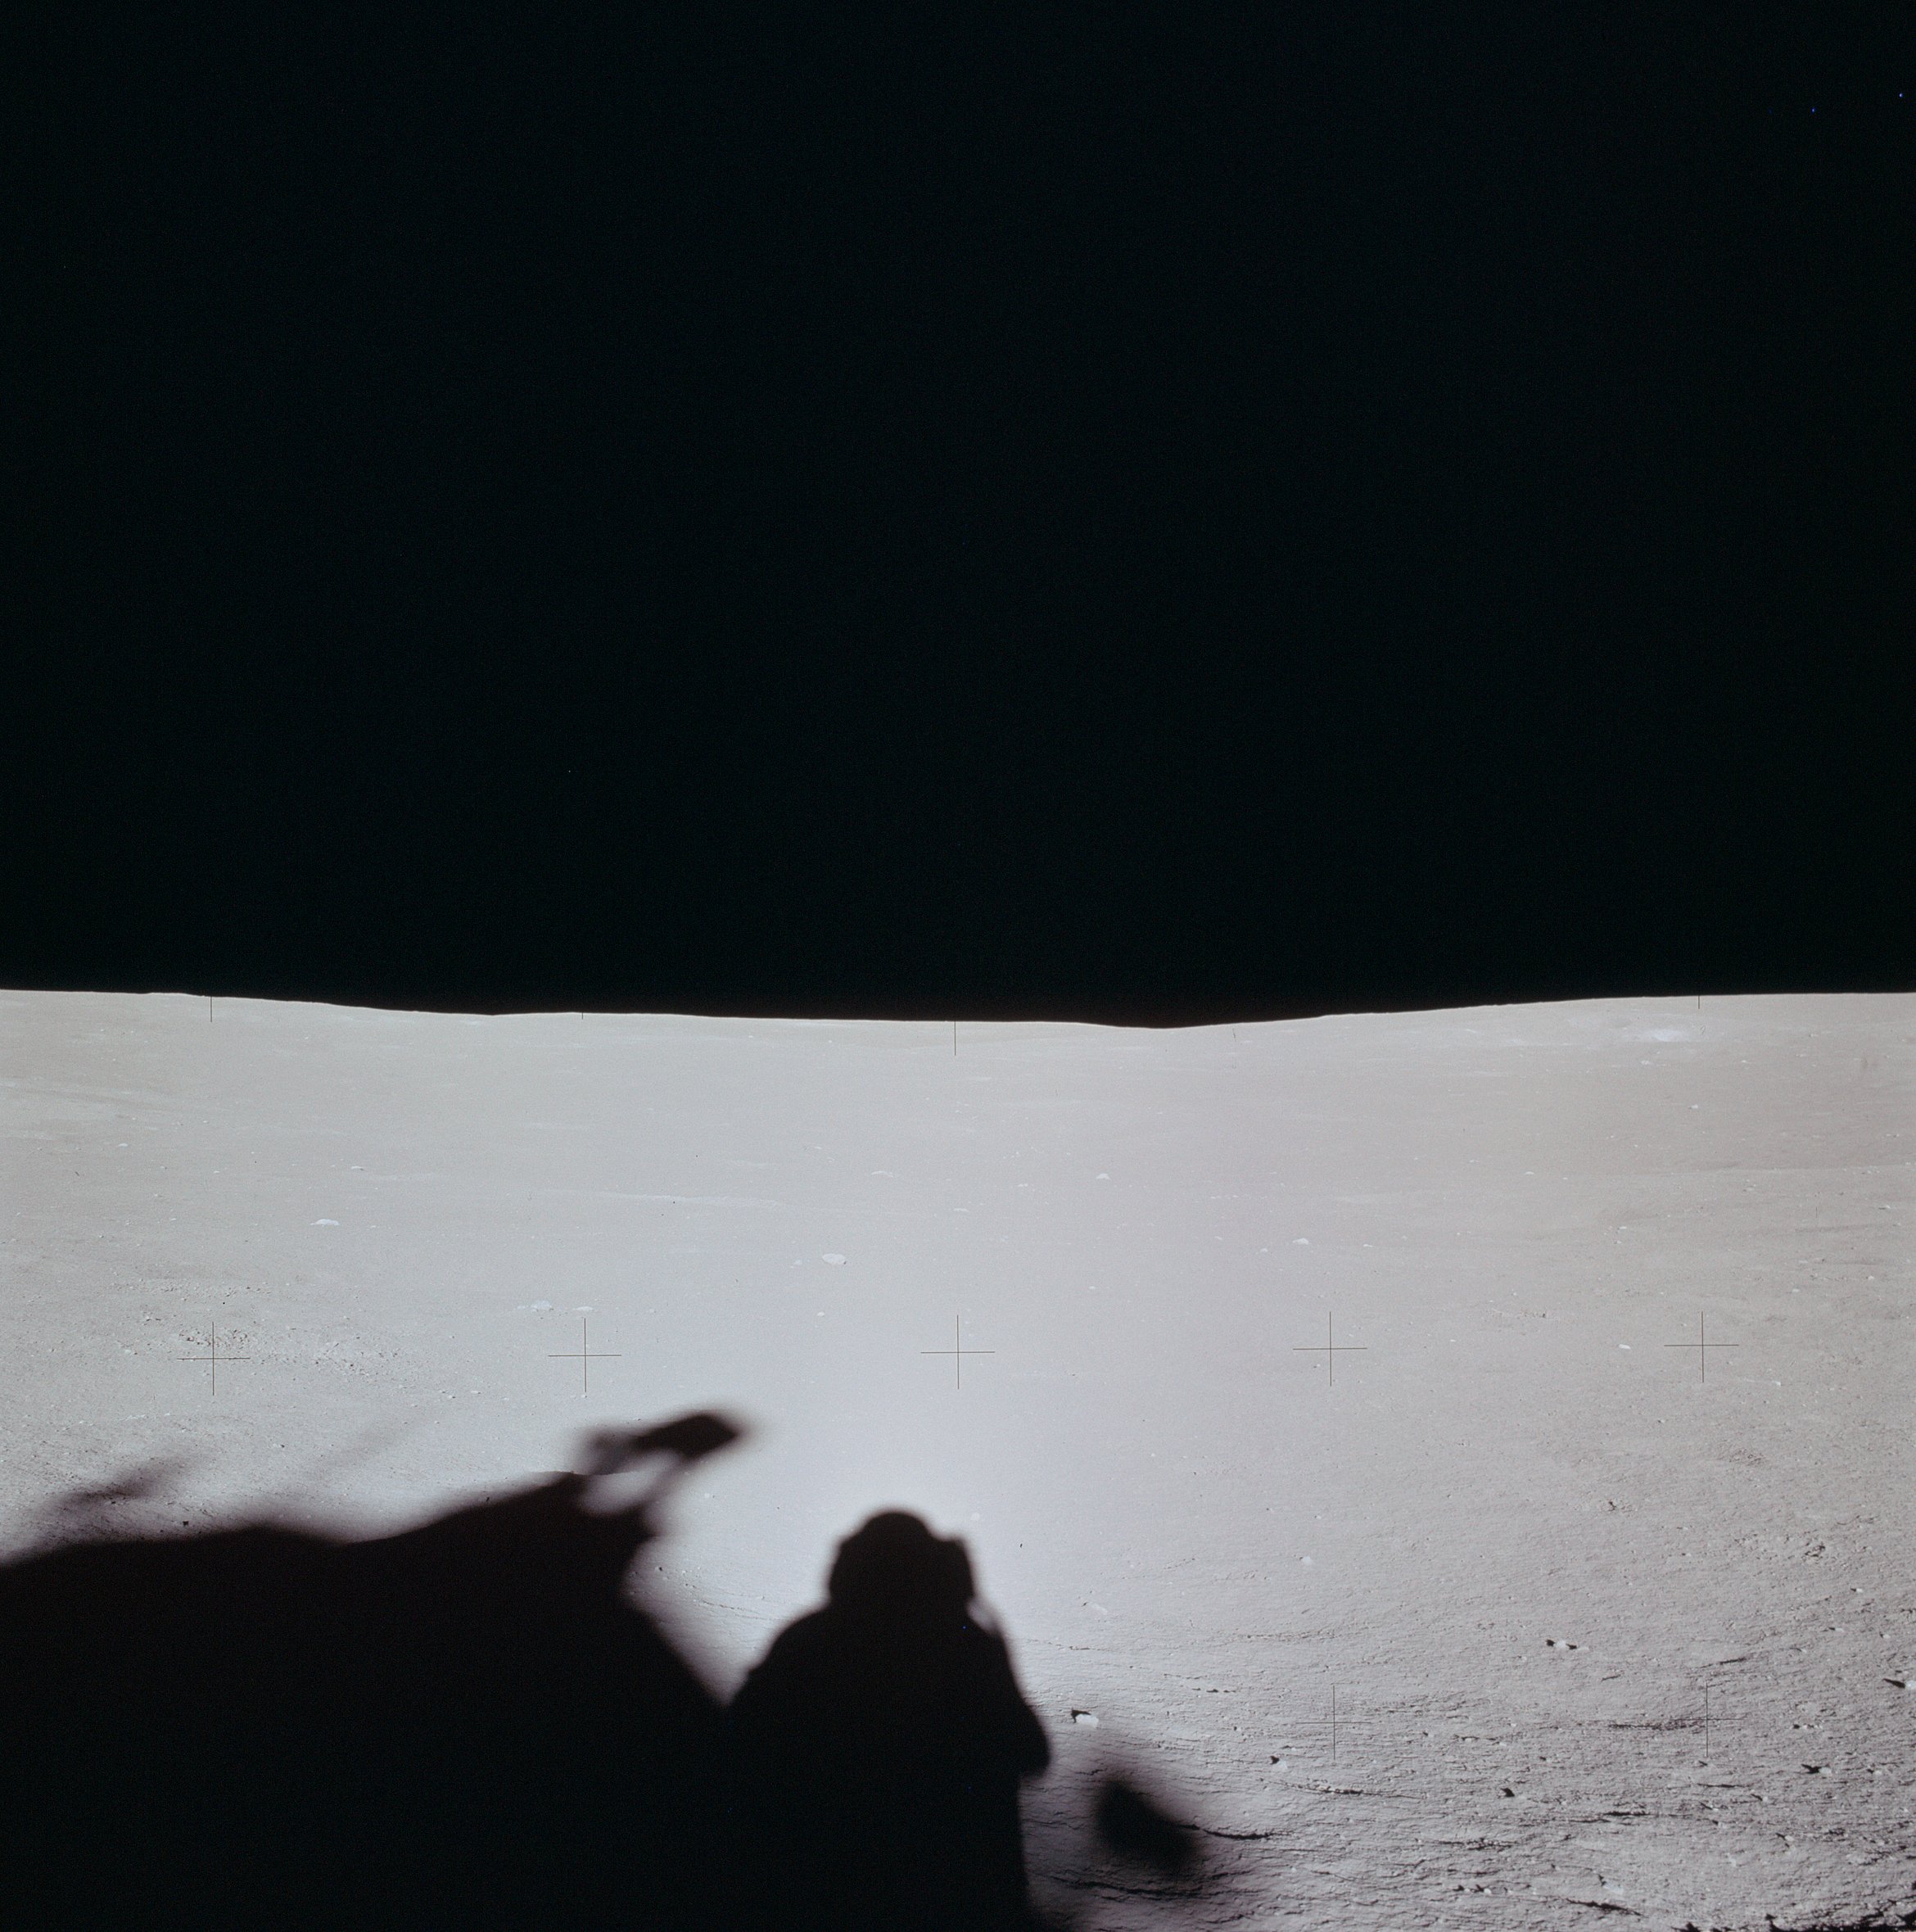 | AS14-66-9316 114:59:49 Down-Sun. Image credit: Image Science and Analysis Laboratory, NASA-Johnson Space Center. |
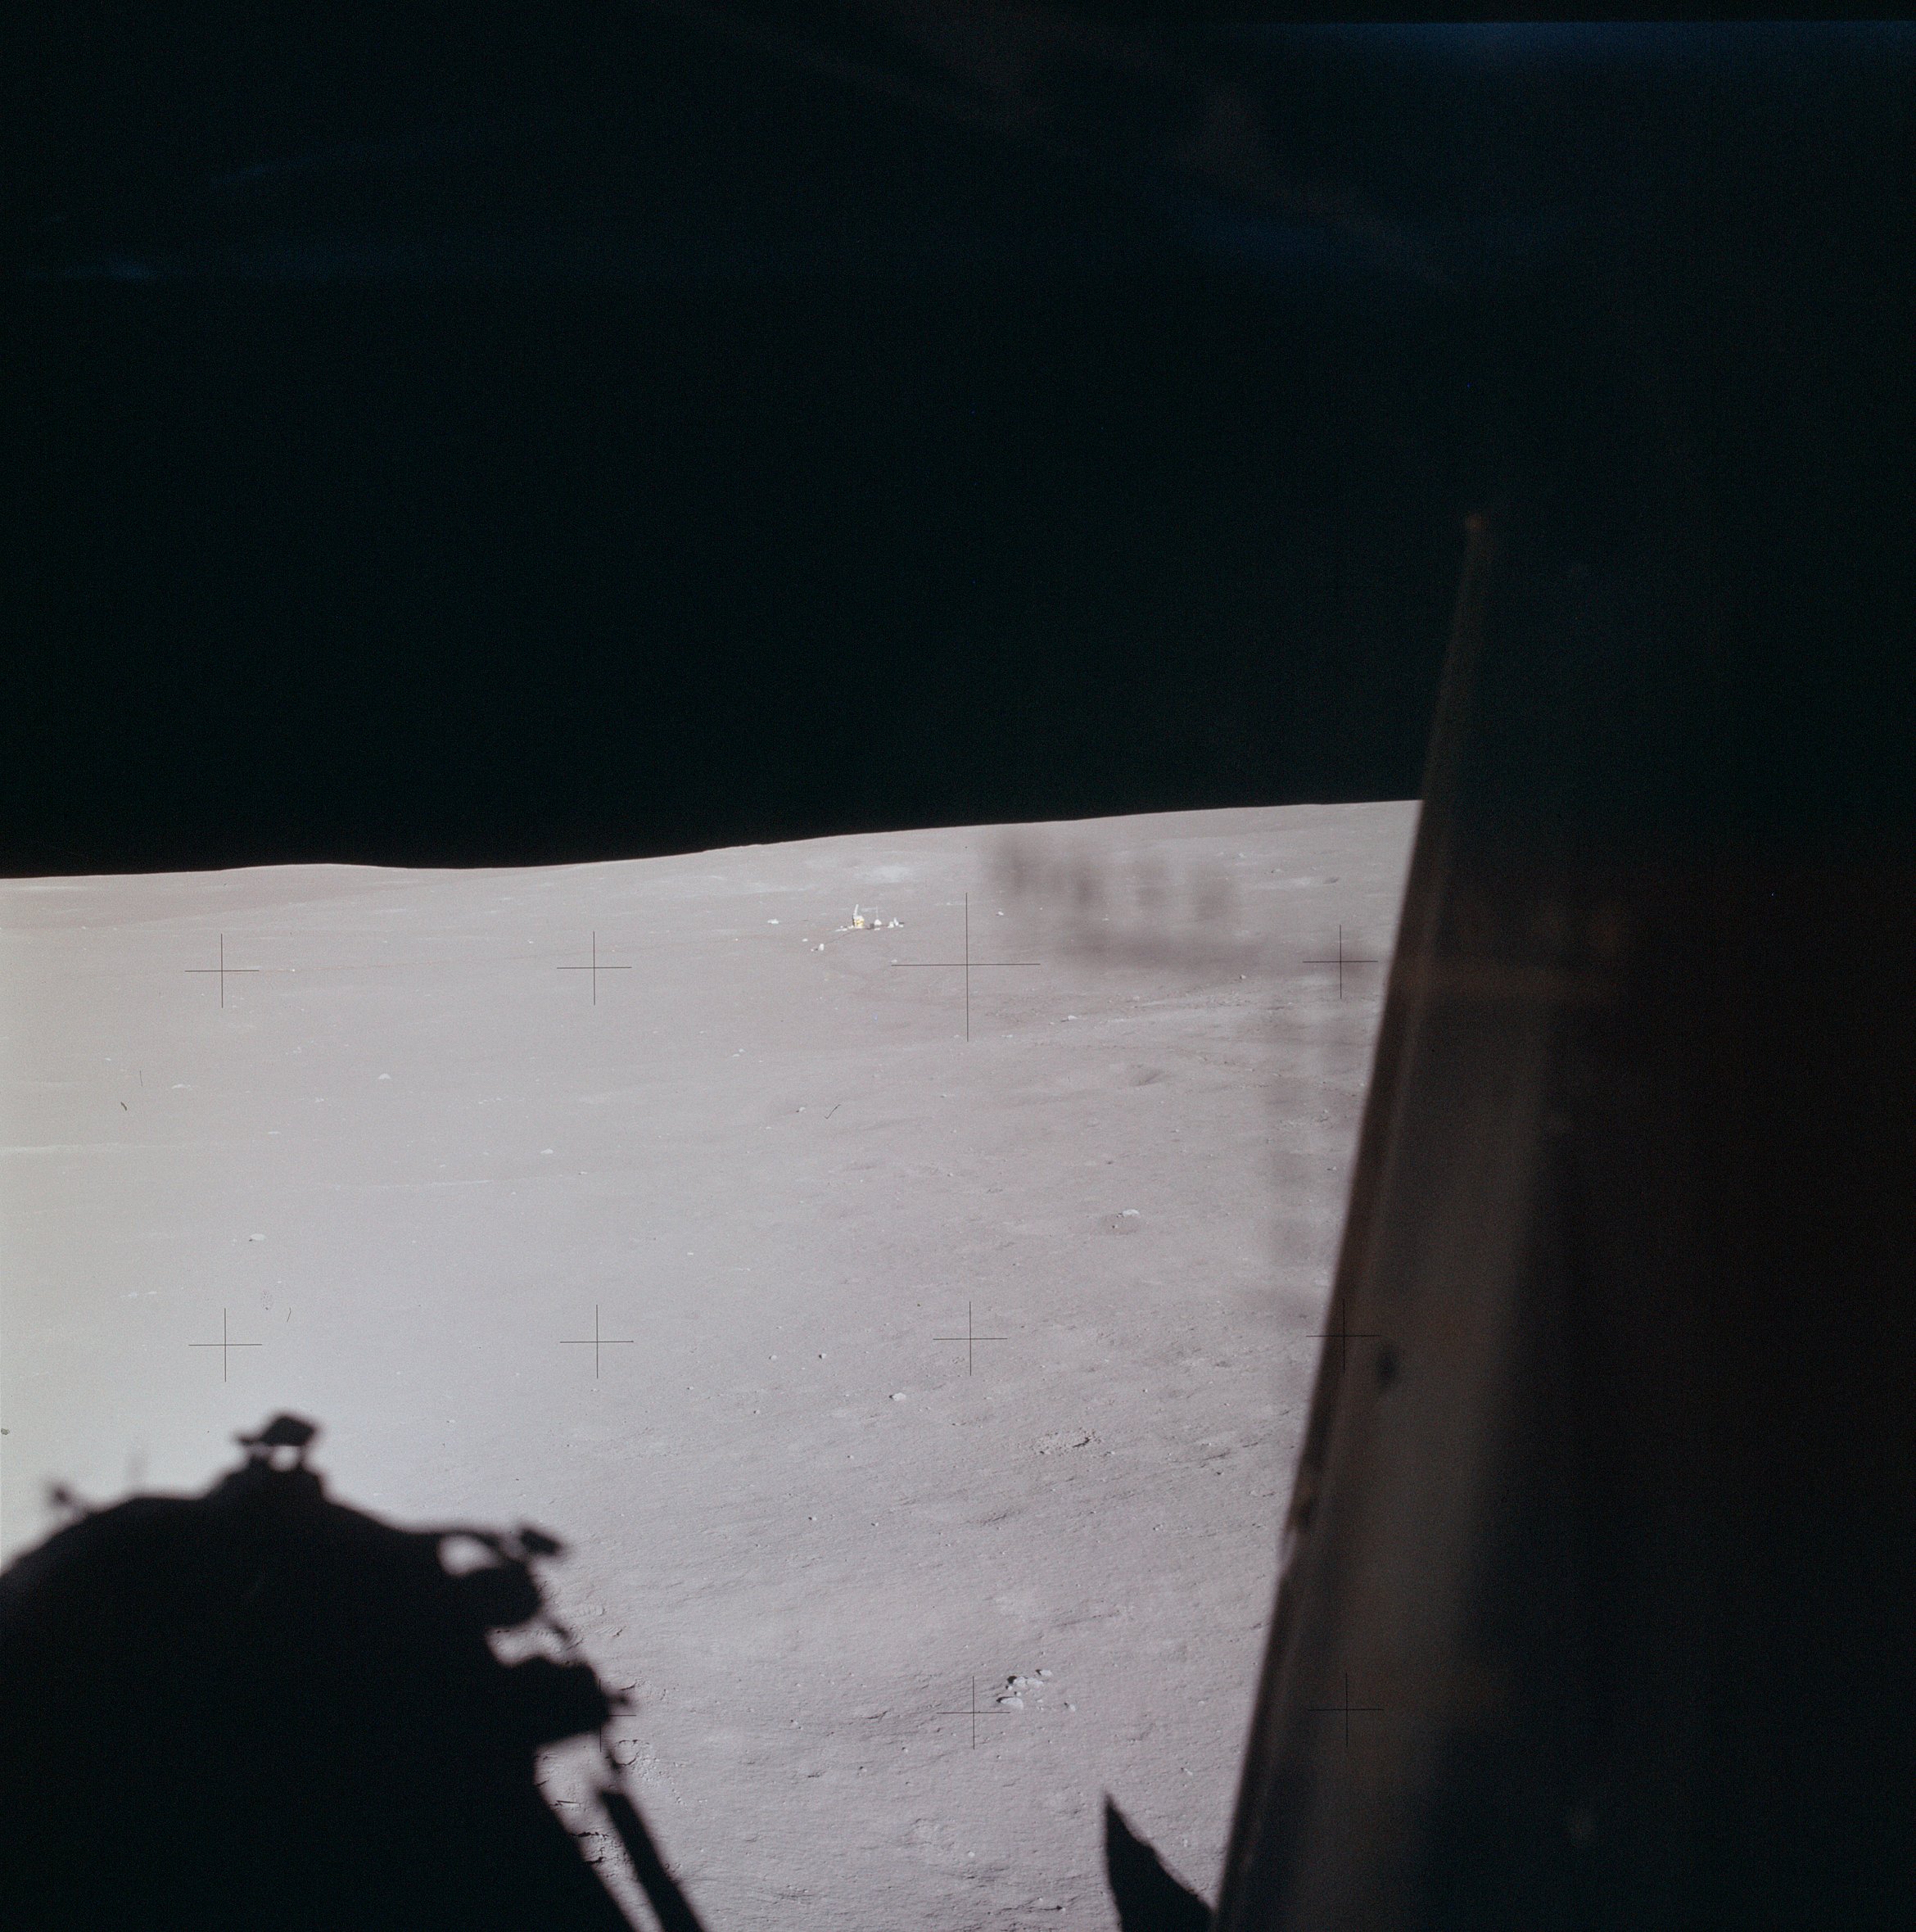 | AS14-66-9317 View of the ALSEP site from Al's window. Image credit: Image Science and Analysis Laboratory, NASA-Johnson Space Center. |
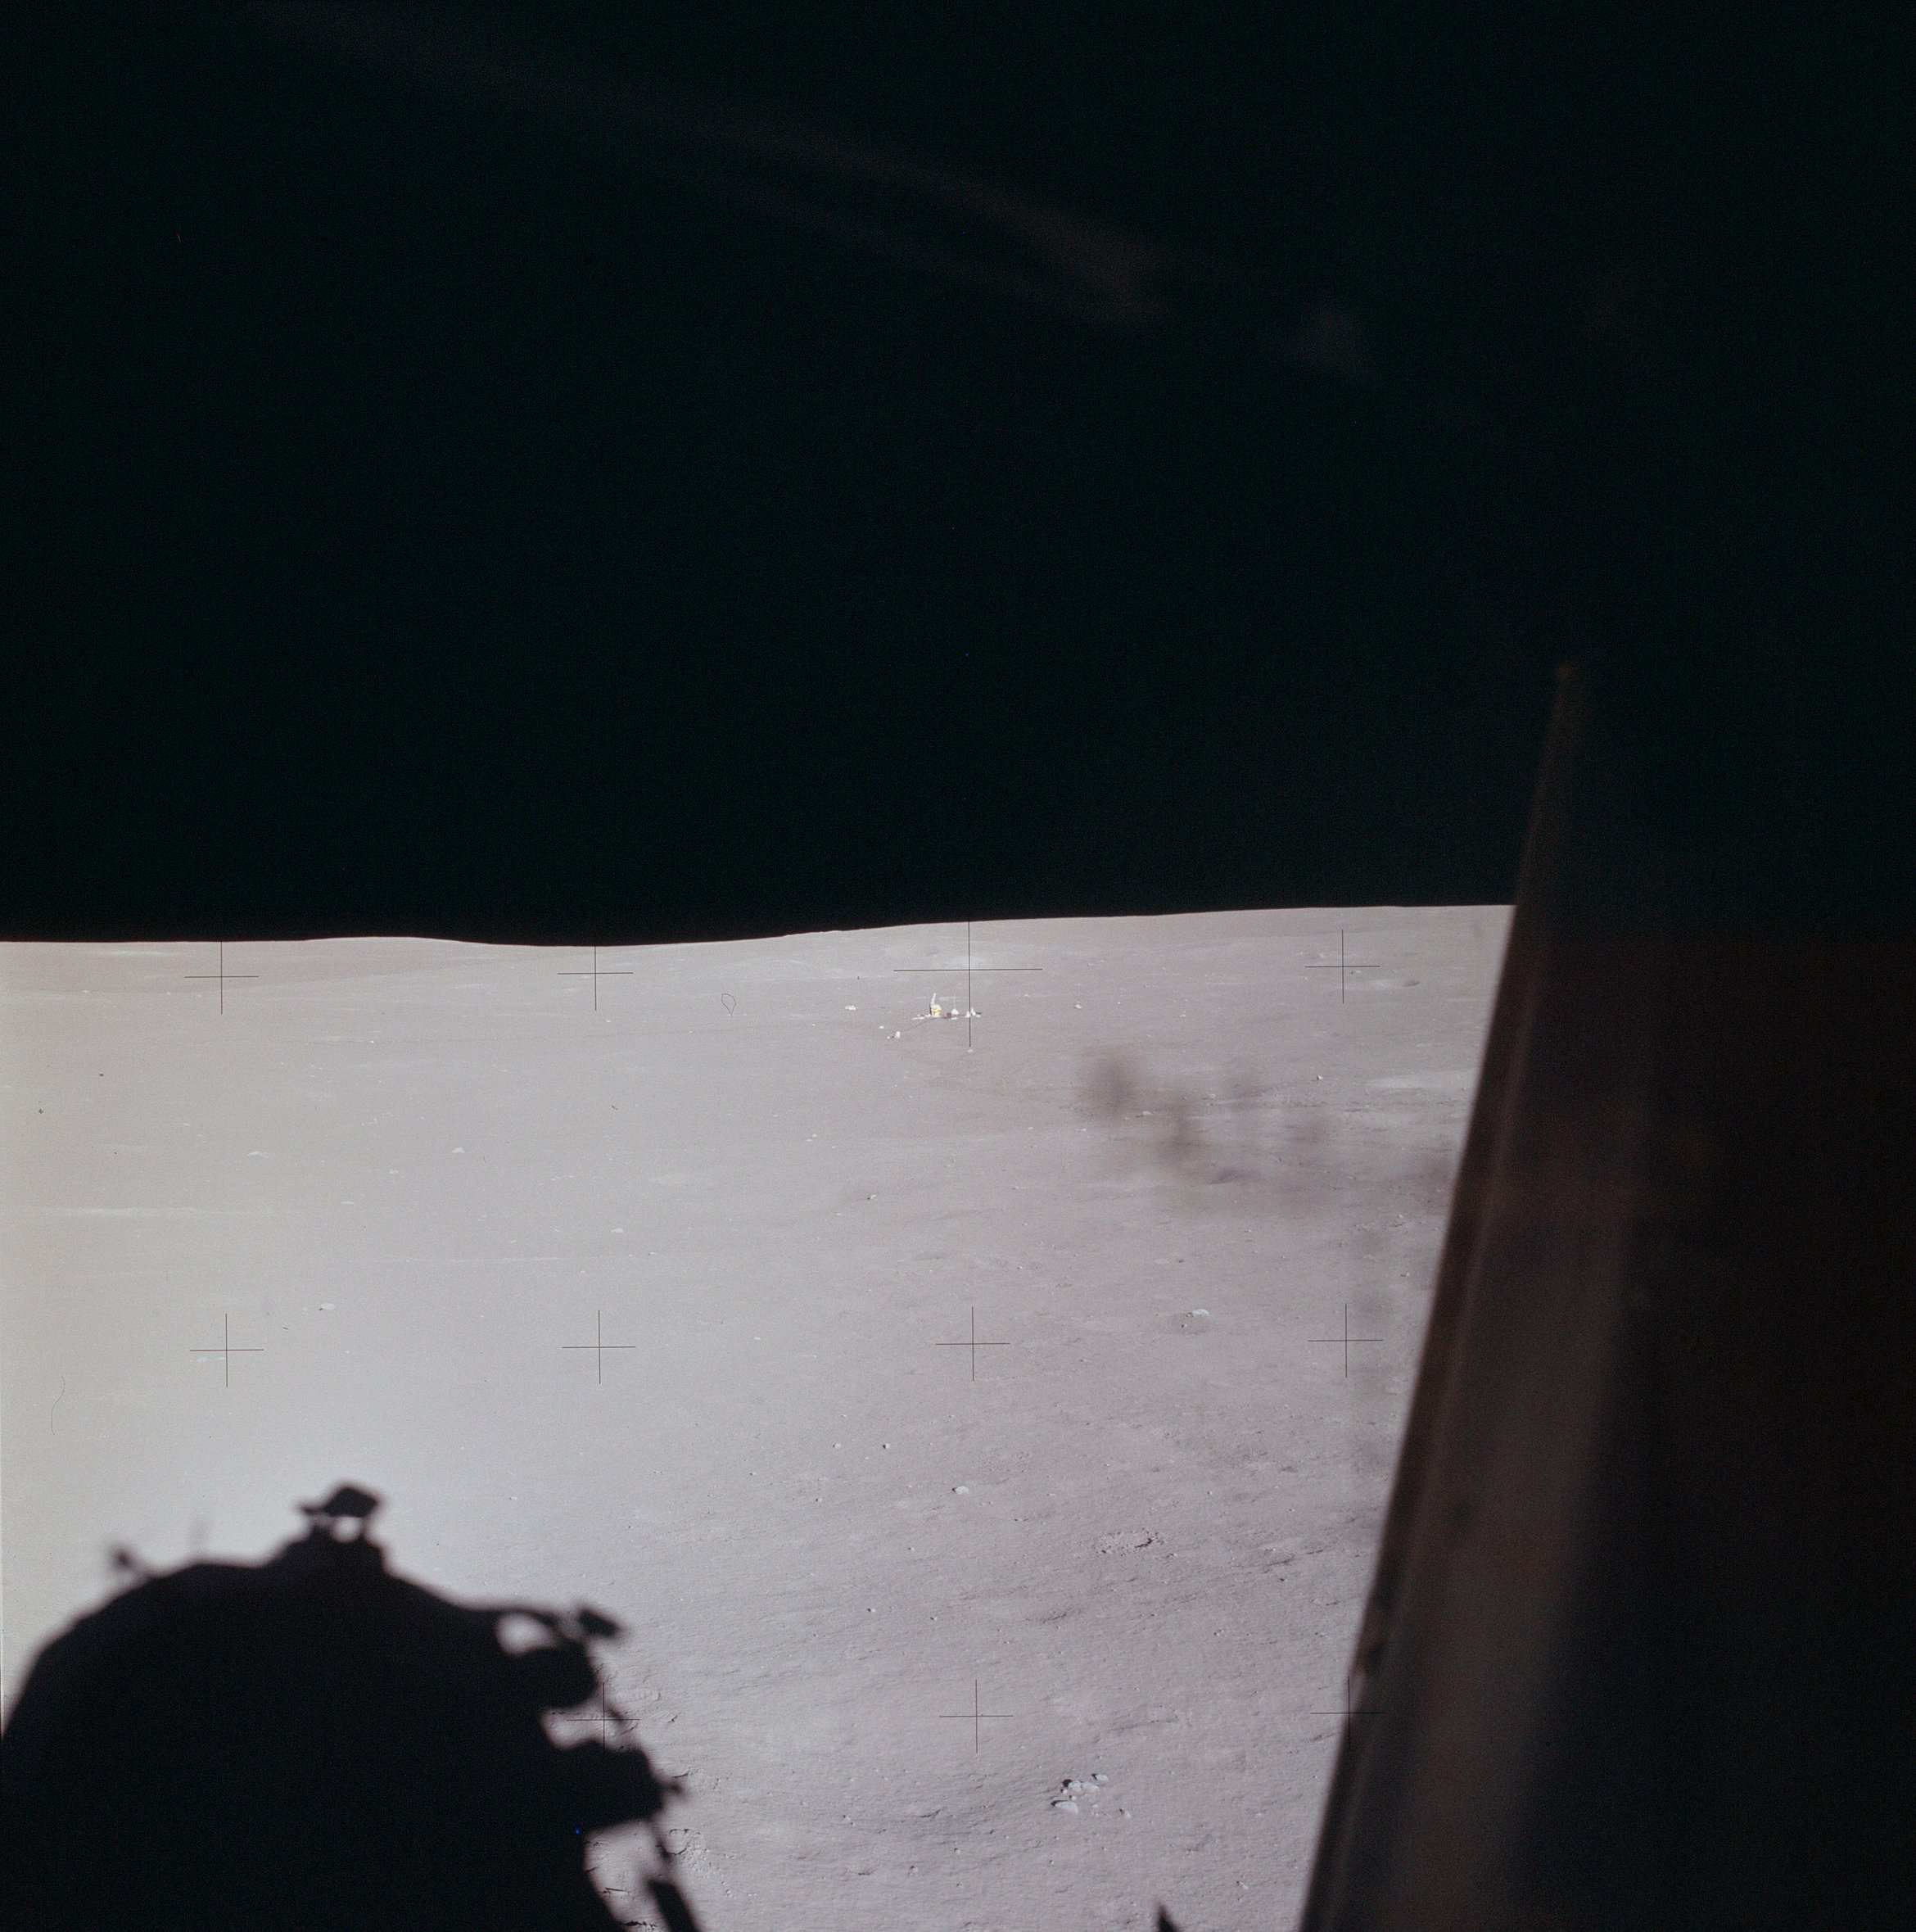 | AS14-66-9318 Similar to 9317. Image credit: Image Science and Analysis Laboratory, NASA-Johnson Space Center. |
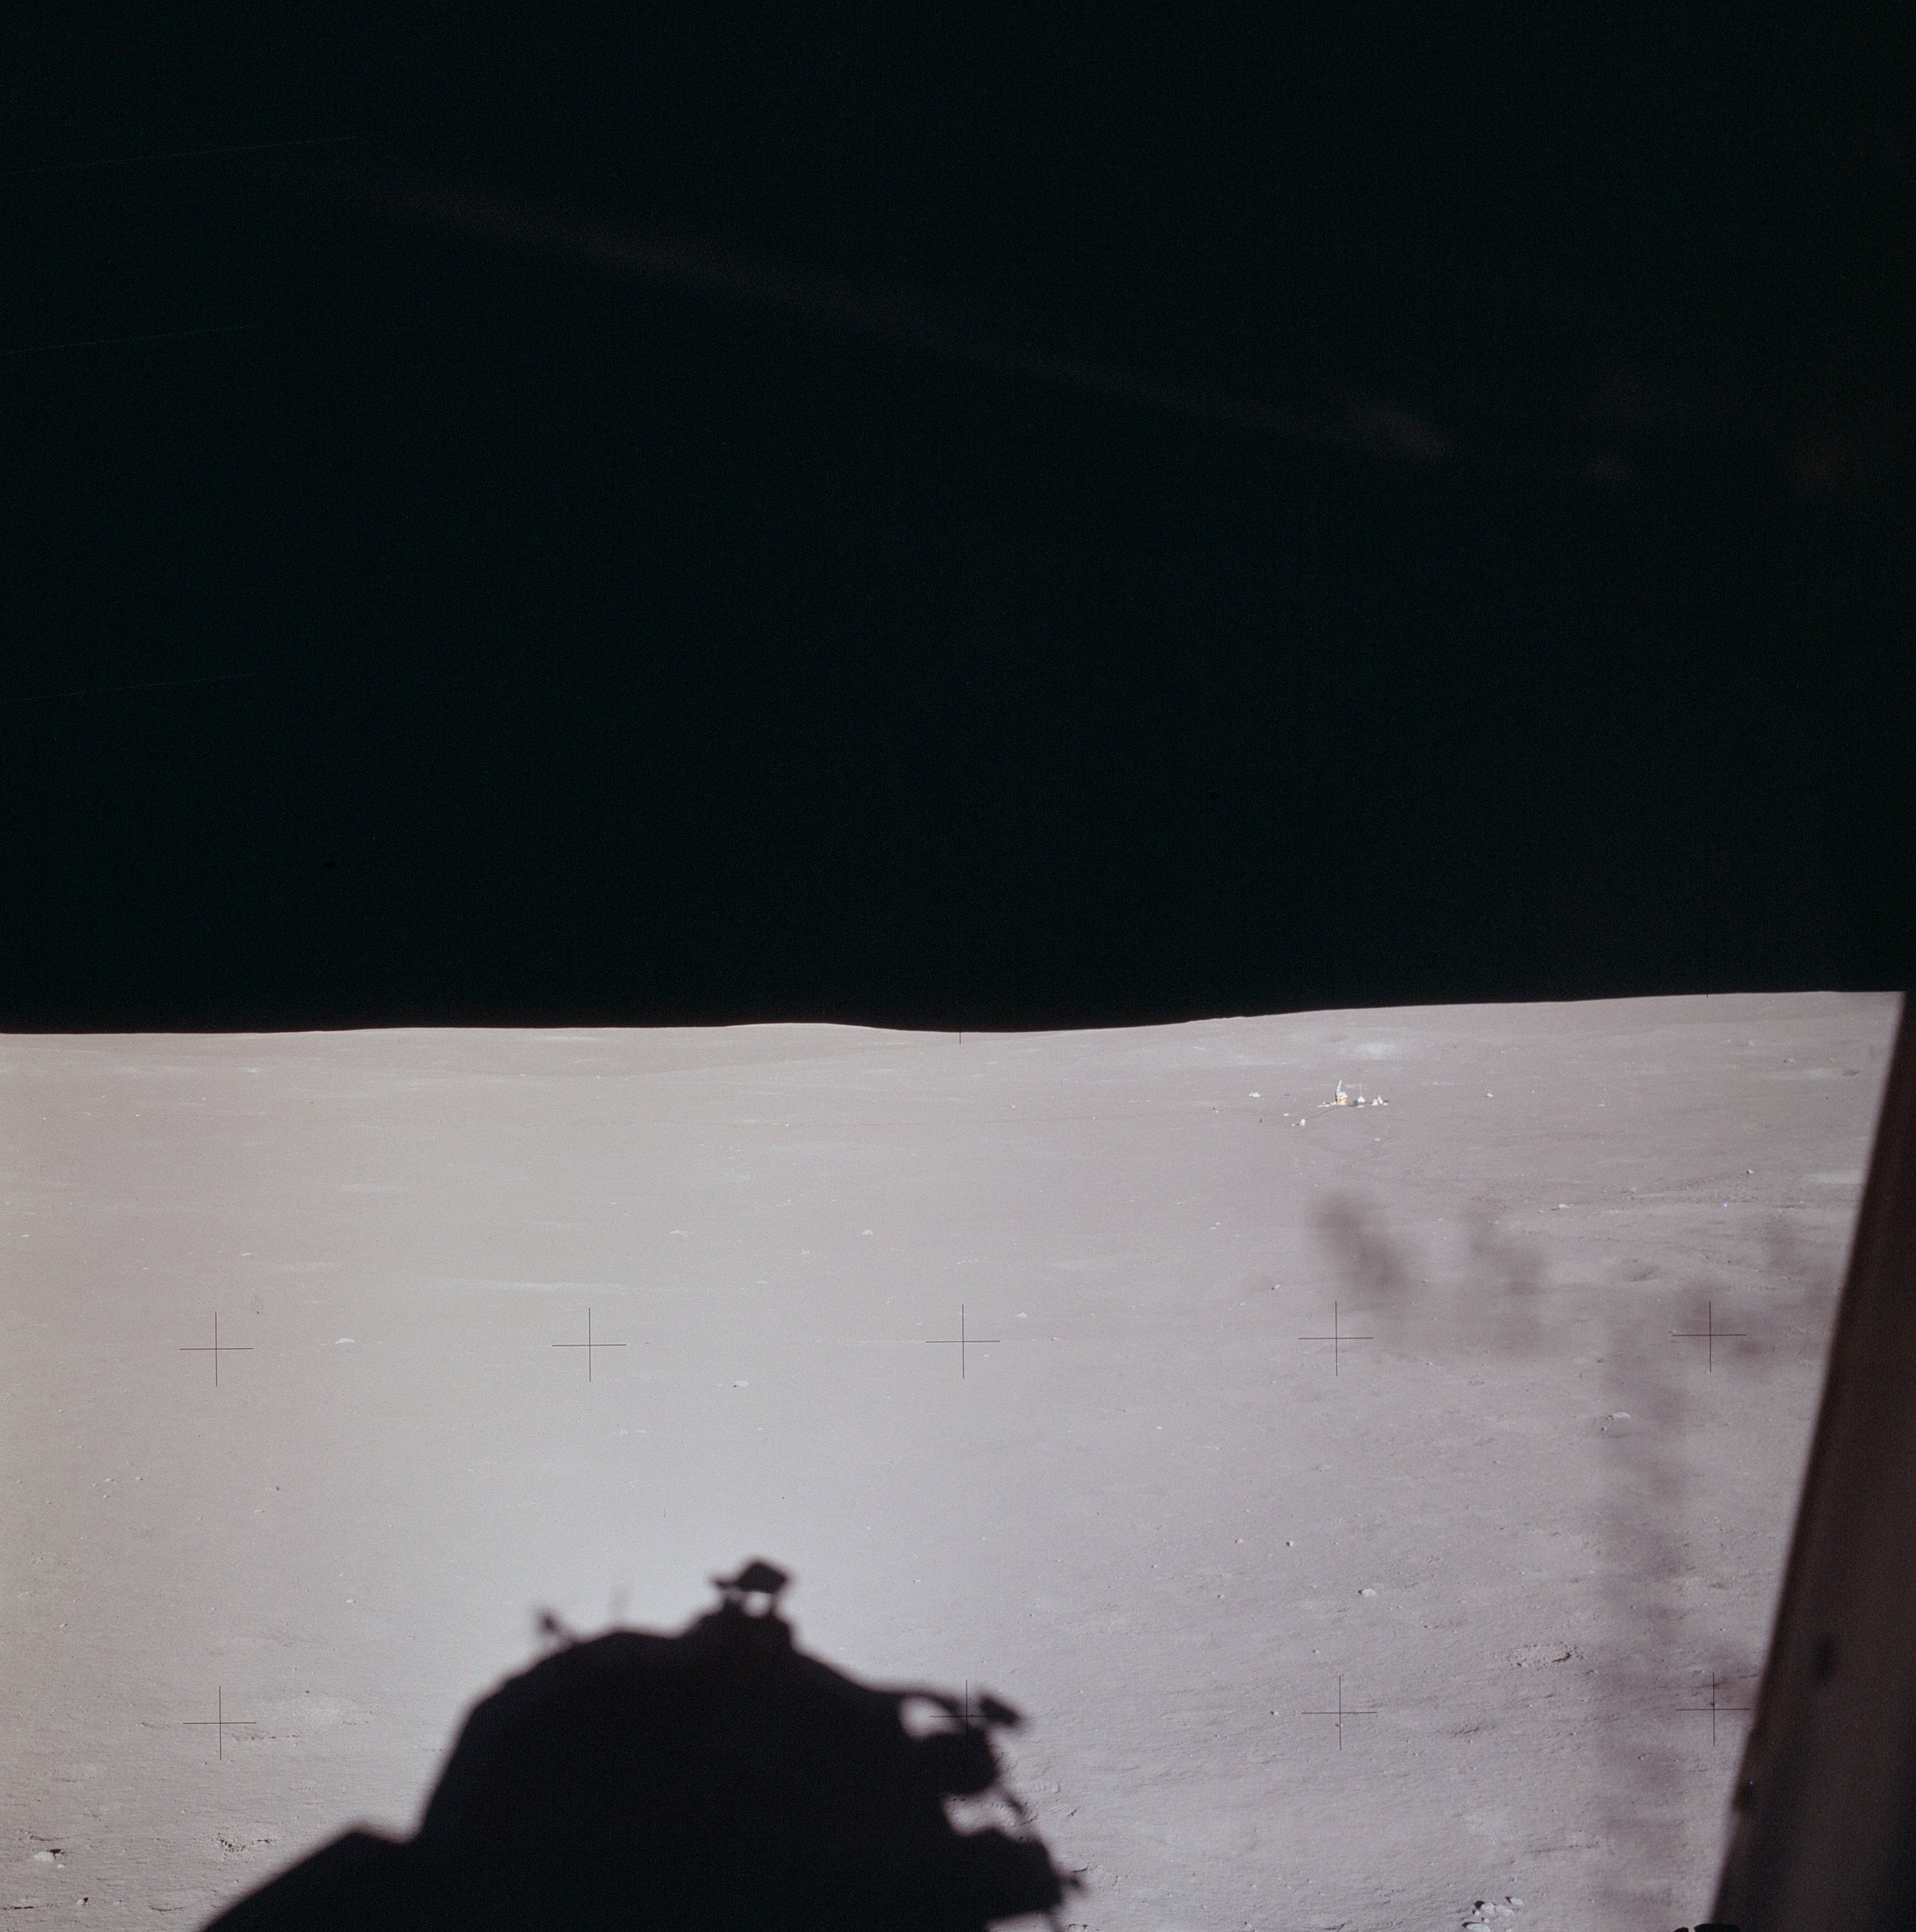 | AS14-66-9319 Similar to 9317. Image credit: Image Science and Analysis Laboratory, NASA-Johnson Space Center. |
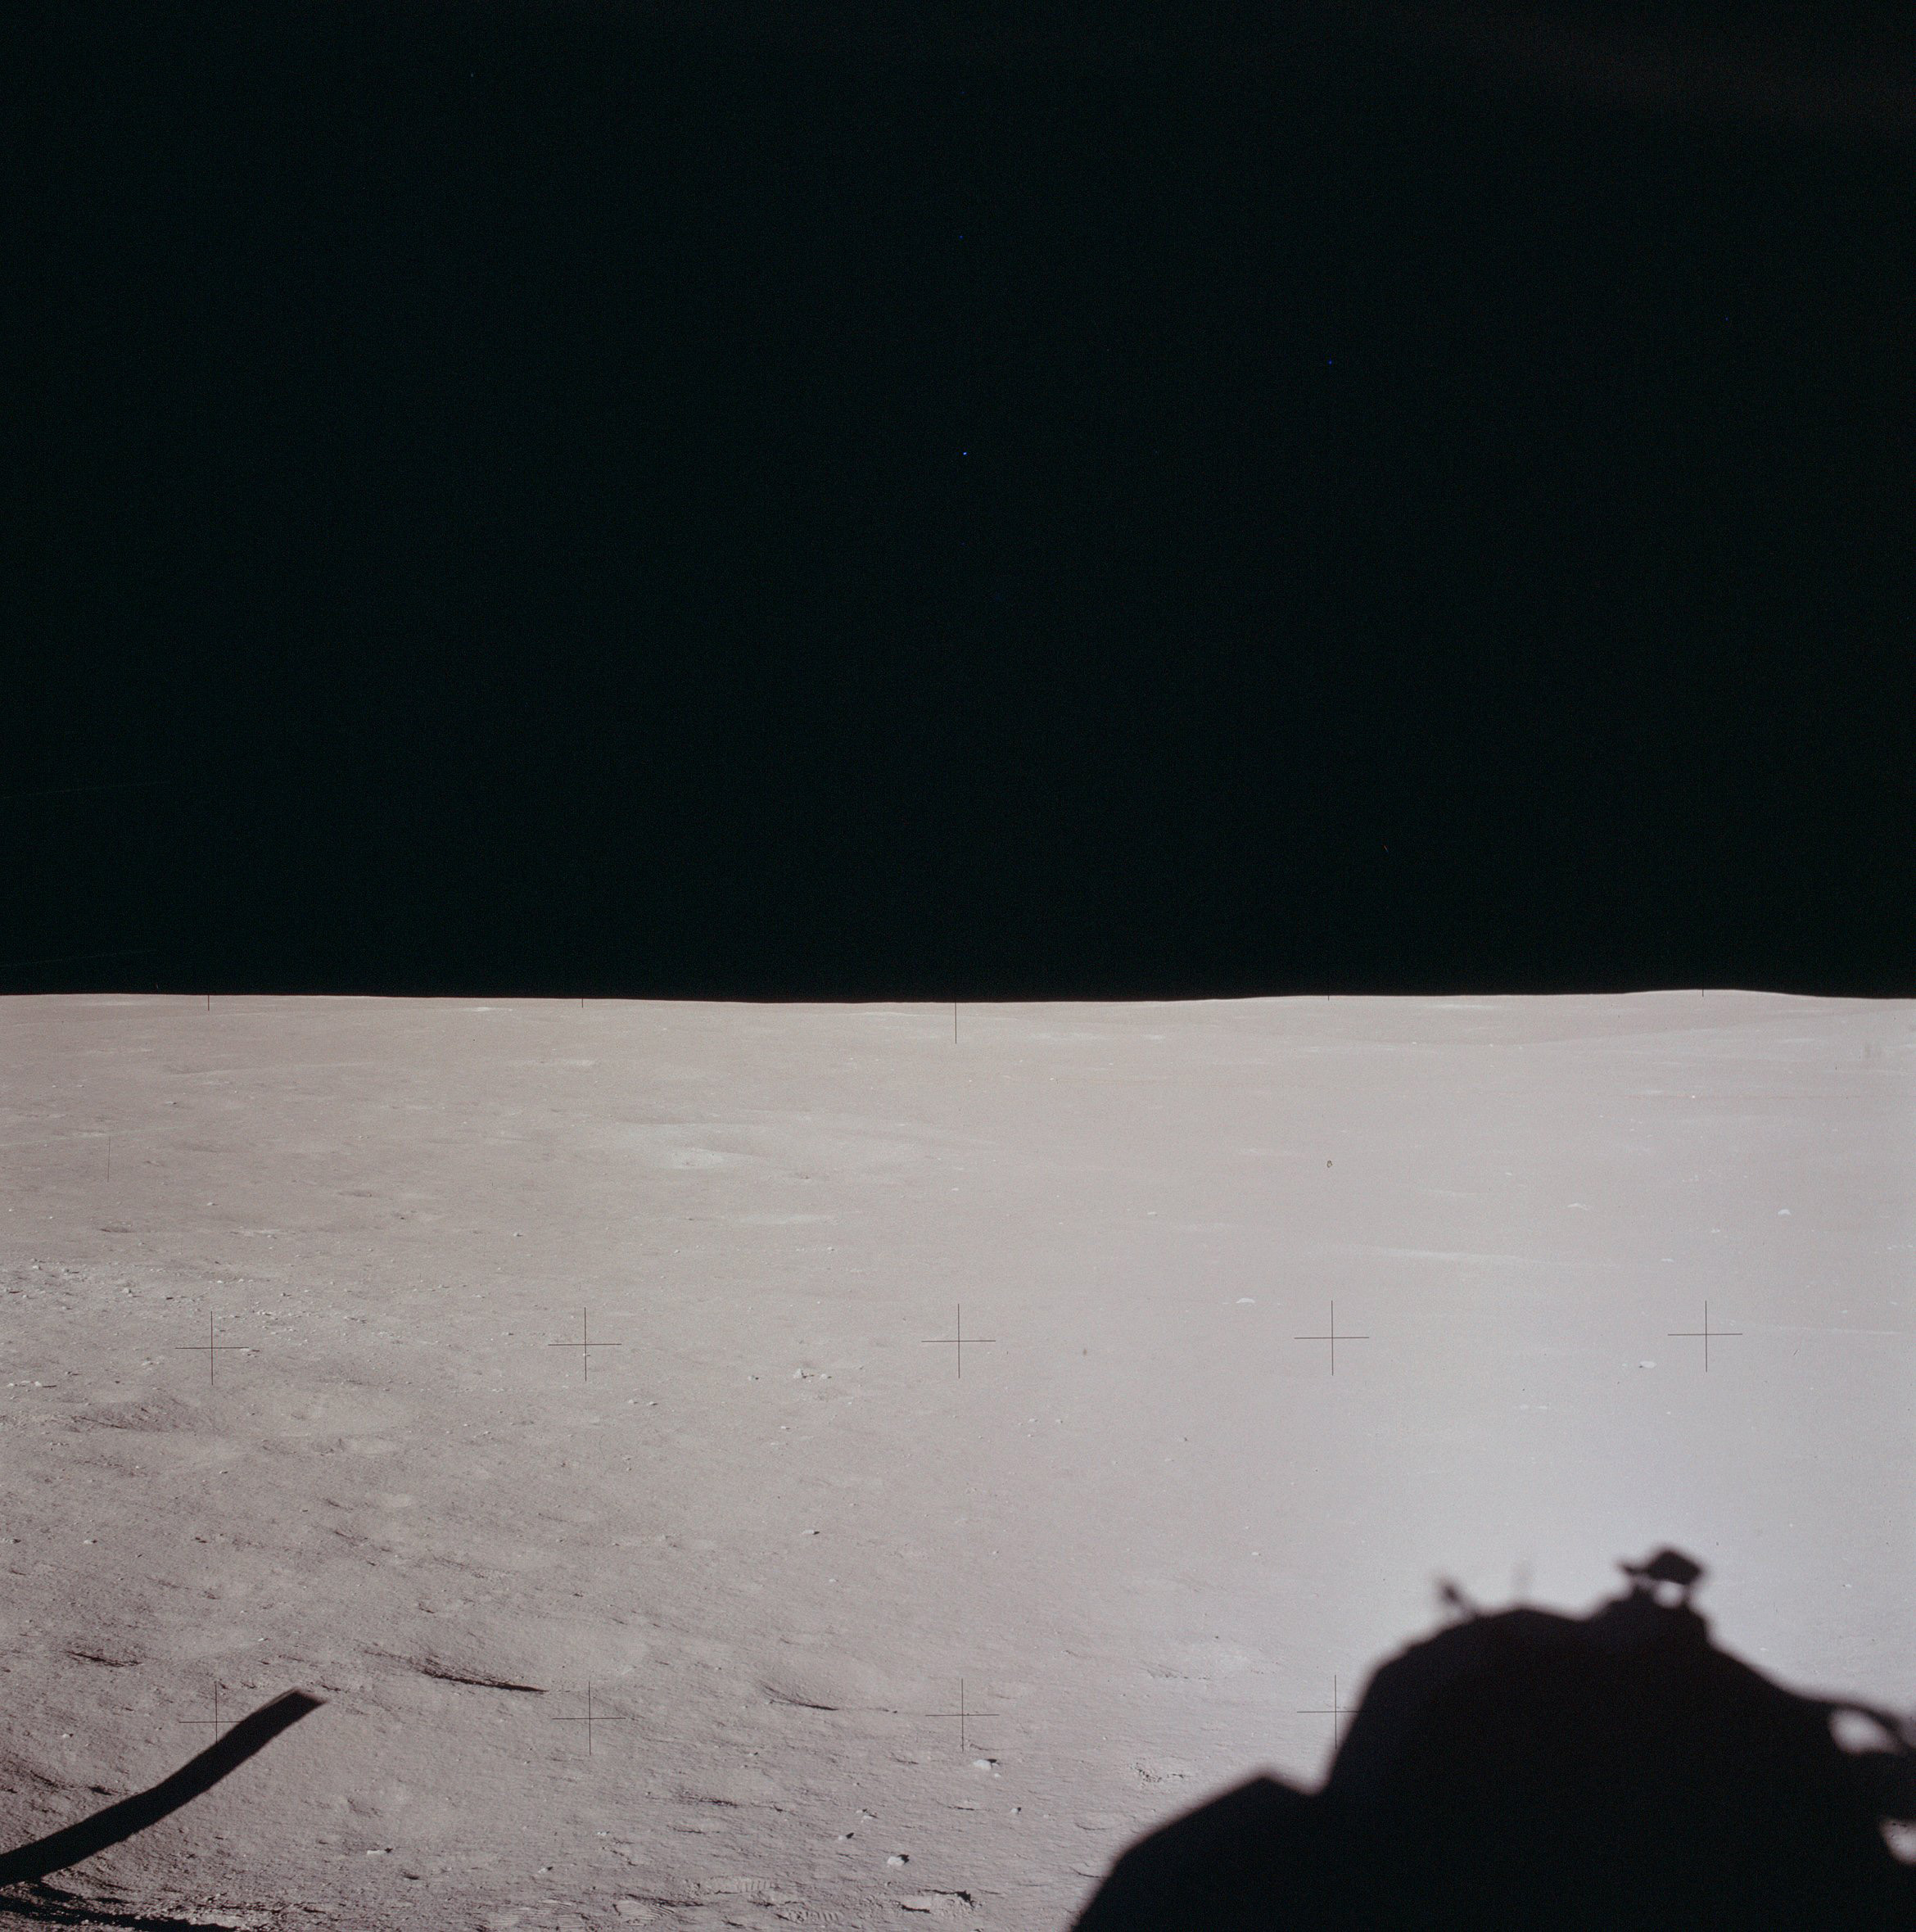 | AS14-66-9320 Leftward from 9319, down-Sun over the LM shadow. Image credit: Image Science and Analysis Laboratory, NASA-Johnson Space Center. |
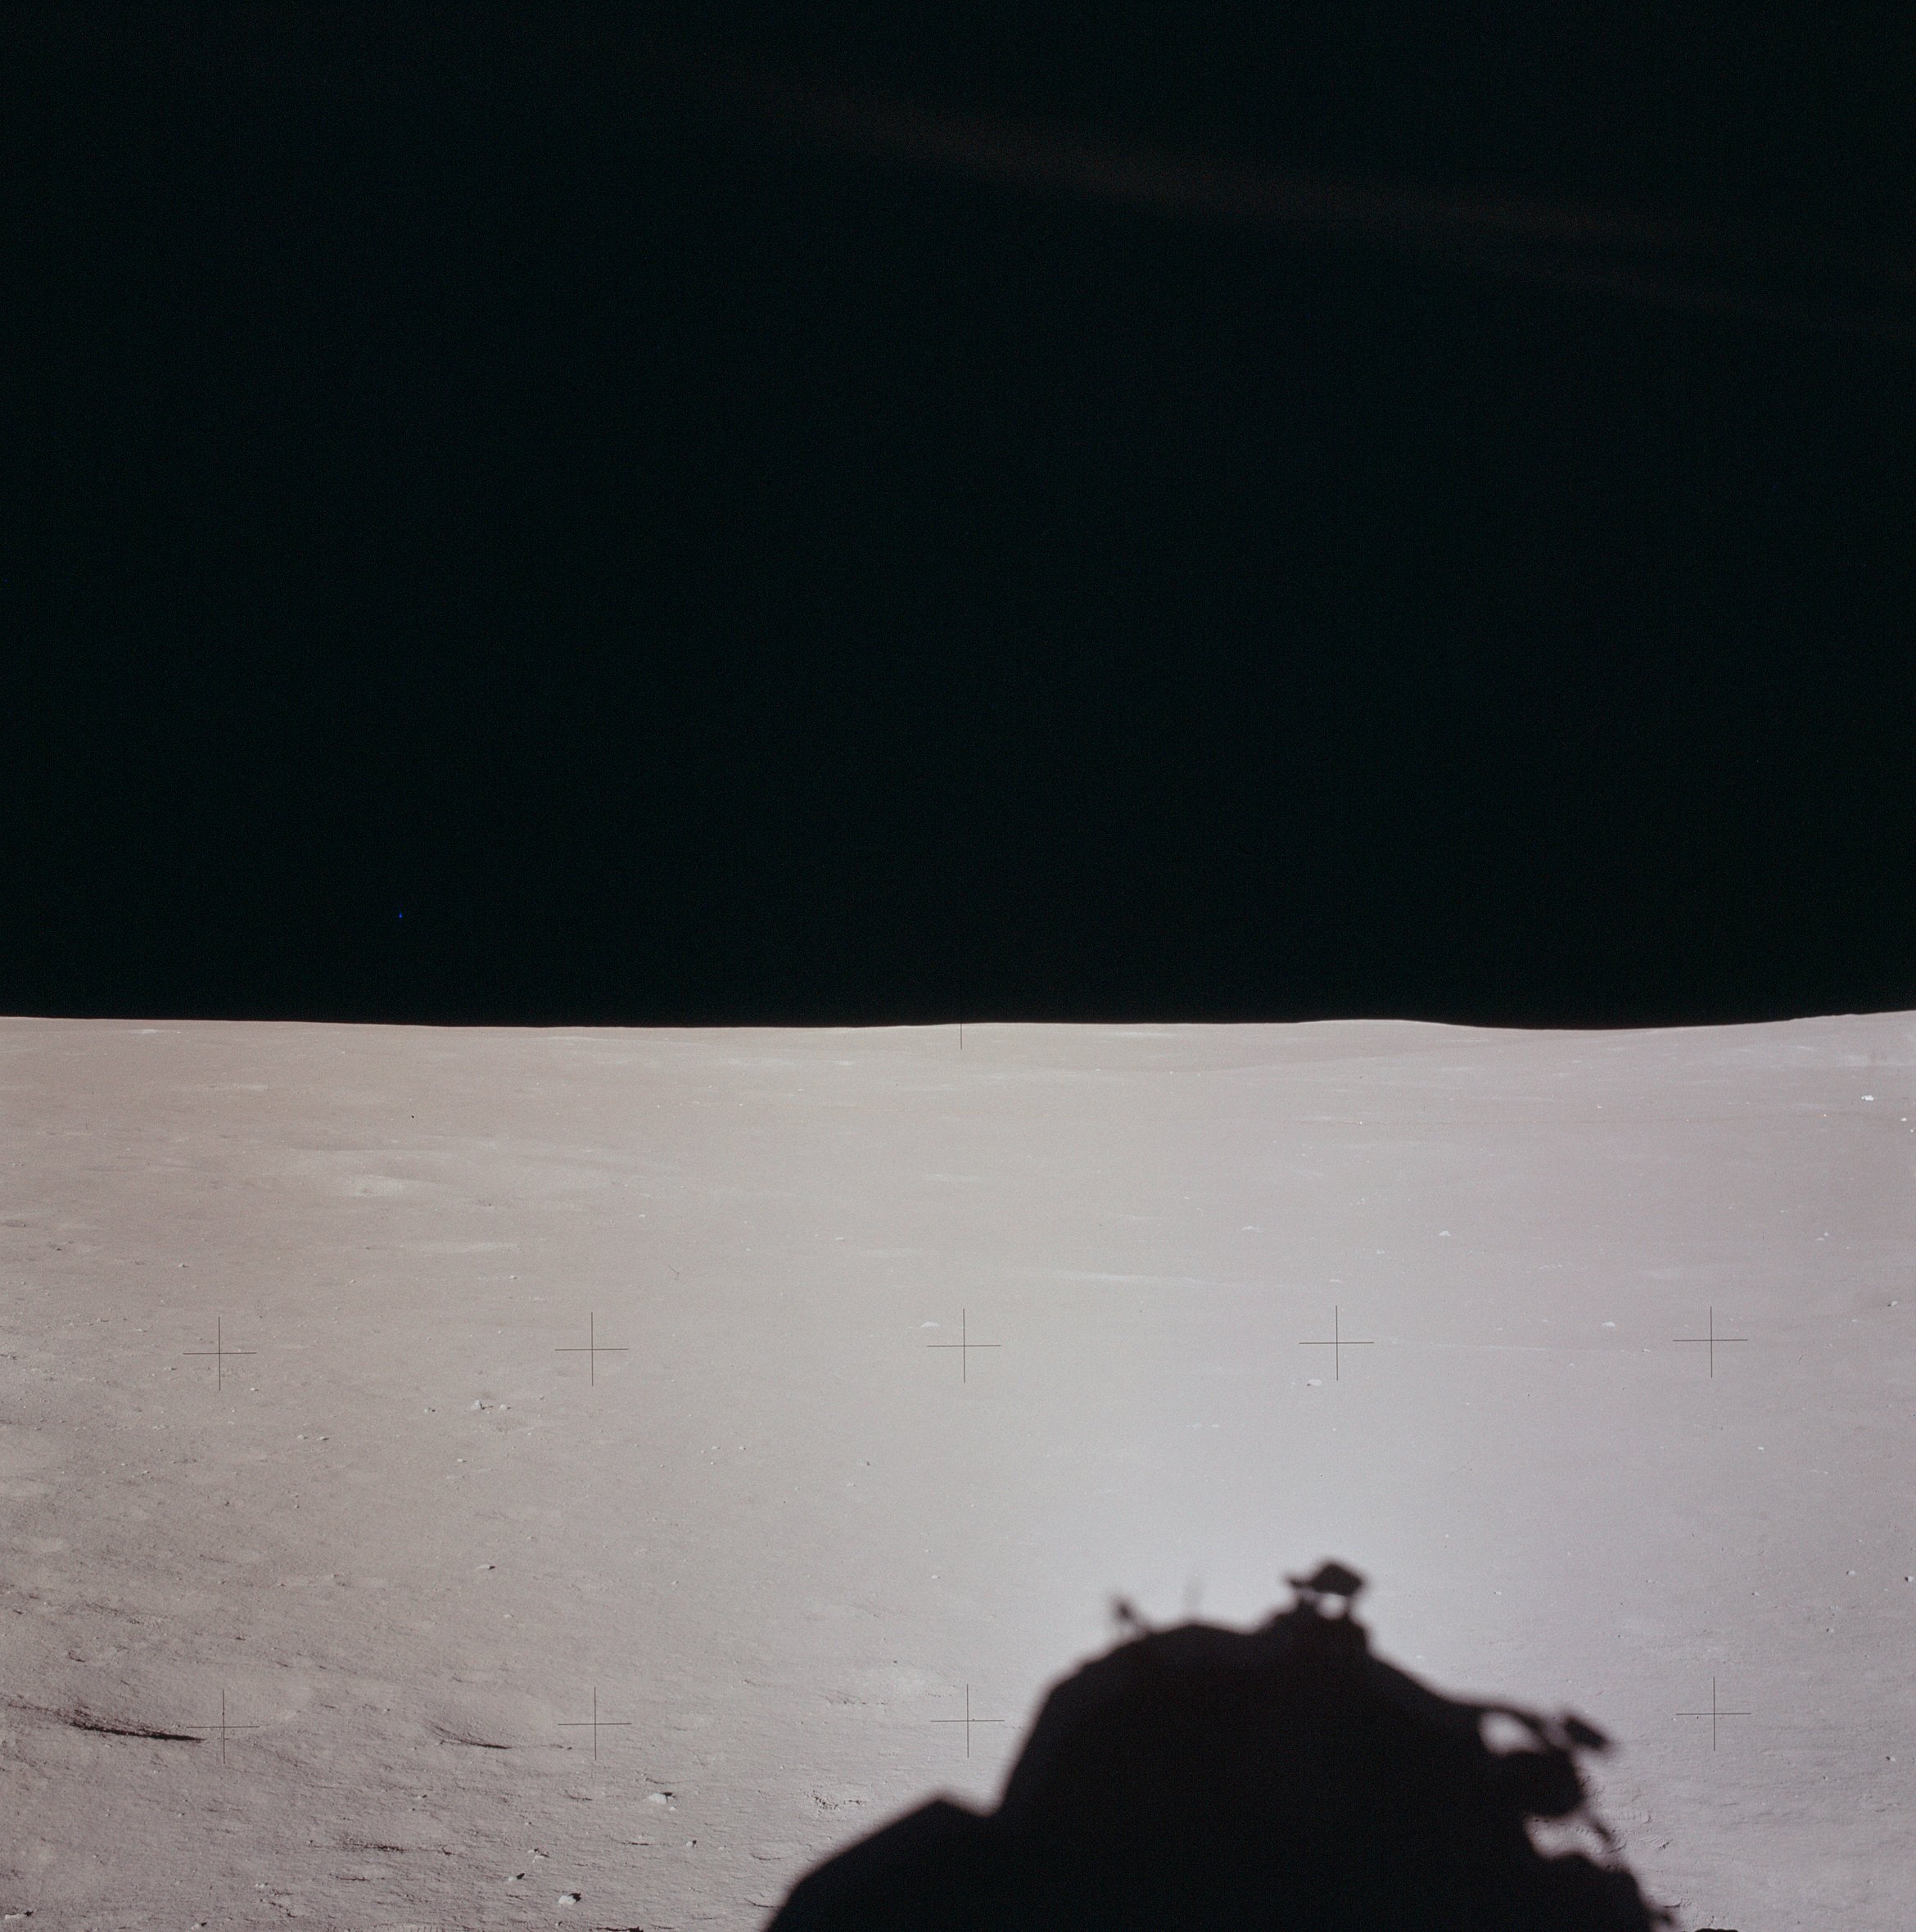 | AS14-66-9321 Similar to 9320. Image credit: Image Science and Analysis Laboratory, NASA-Johnson Space Center. |
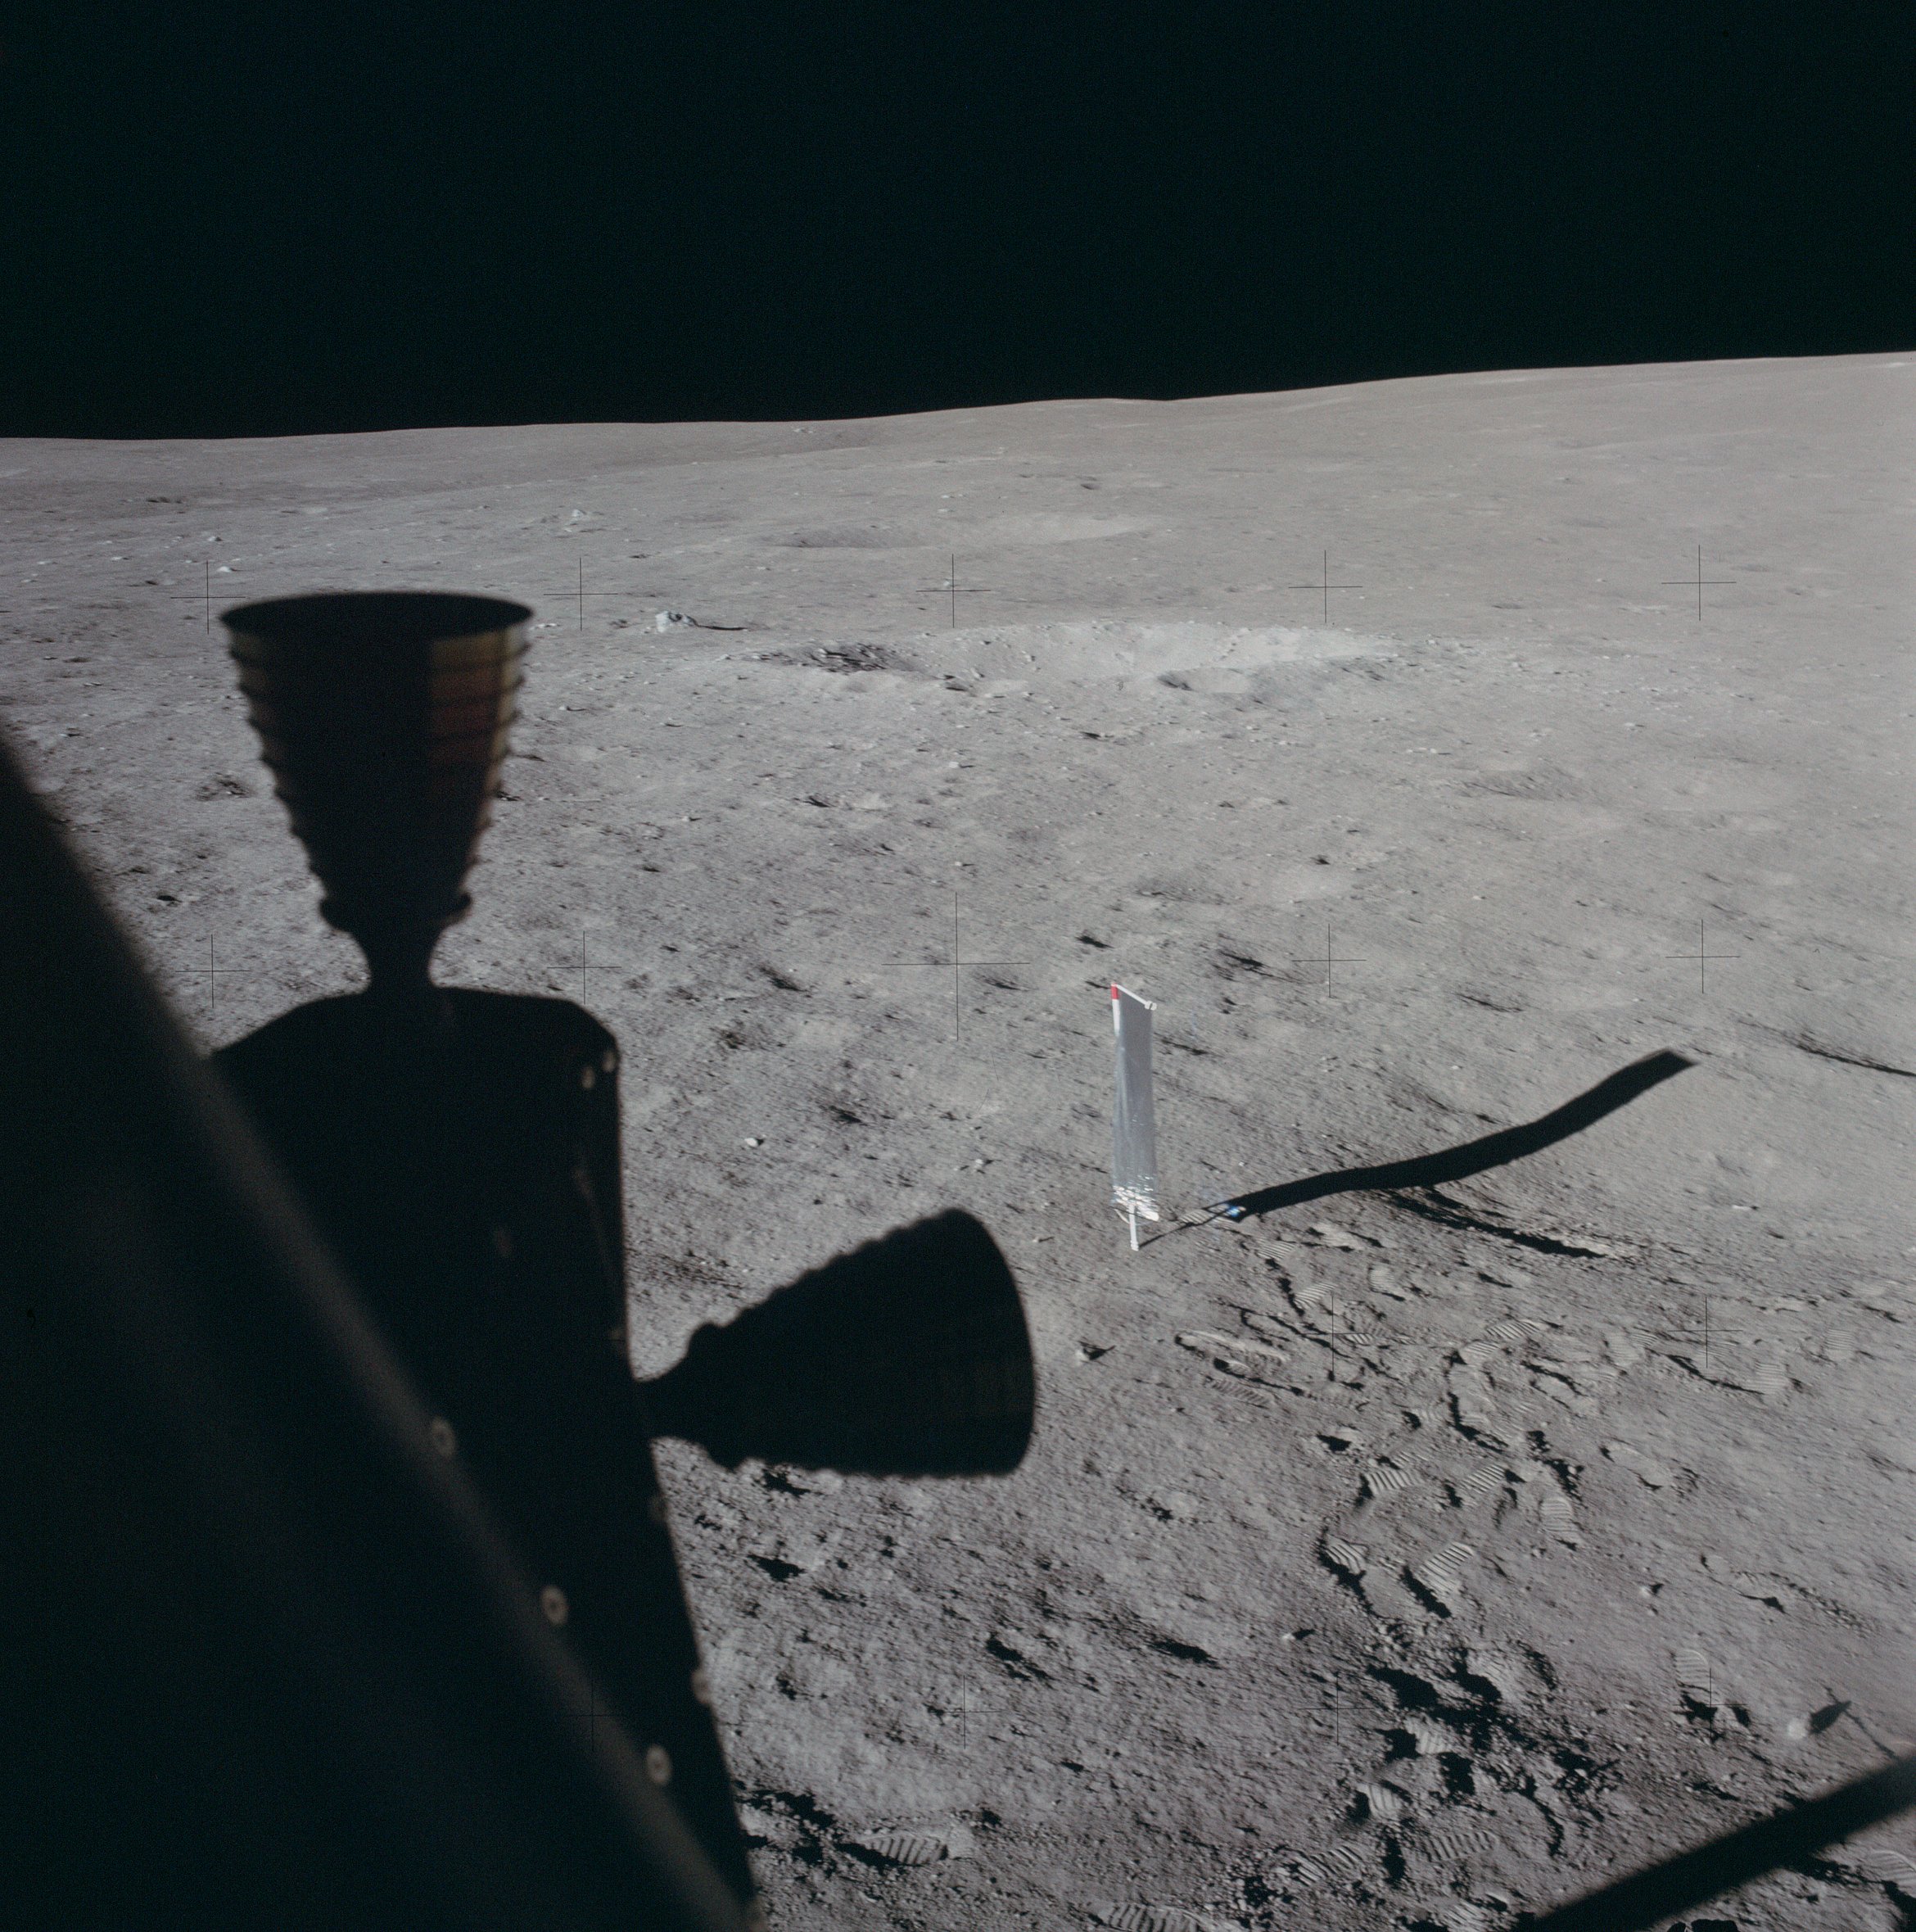 | AS14-66-9322 Good picture over Al's thrusters toward the SWC, with well-defined footprints. Image credit: Image Science and Analysis Laboratory, NASA-Johnson Space Center. |
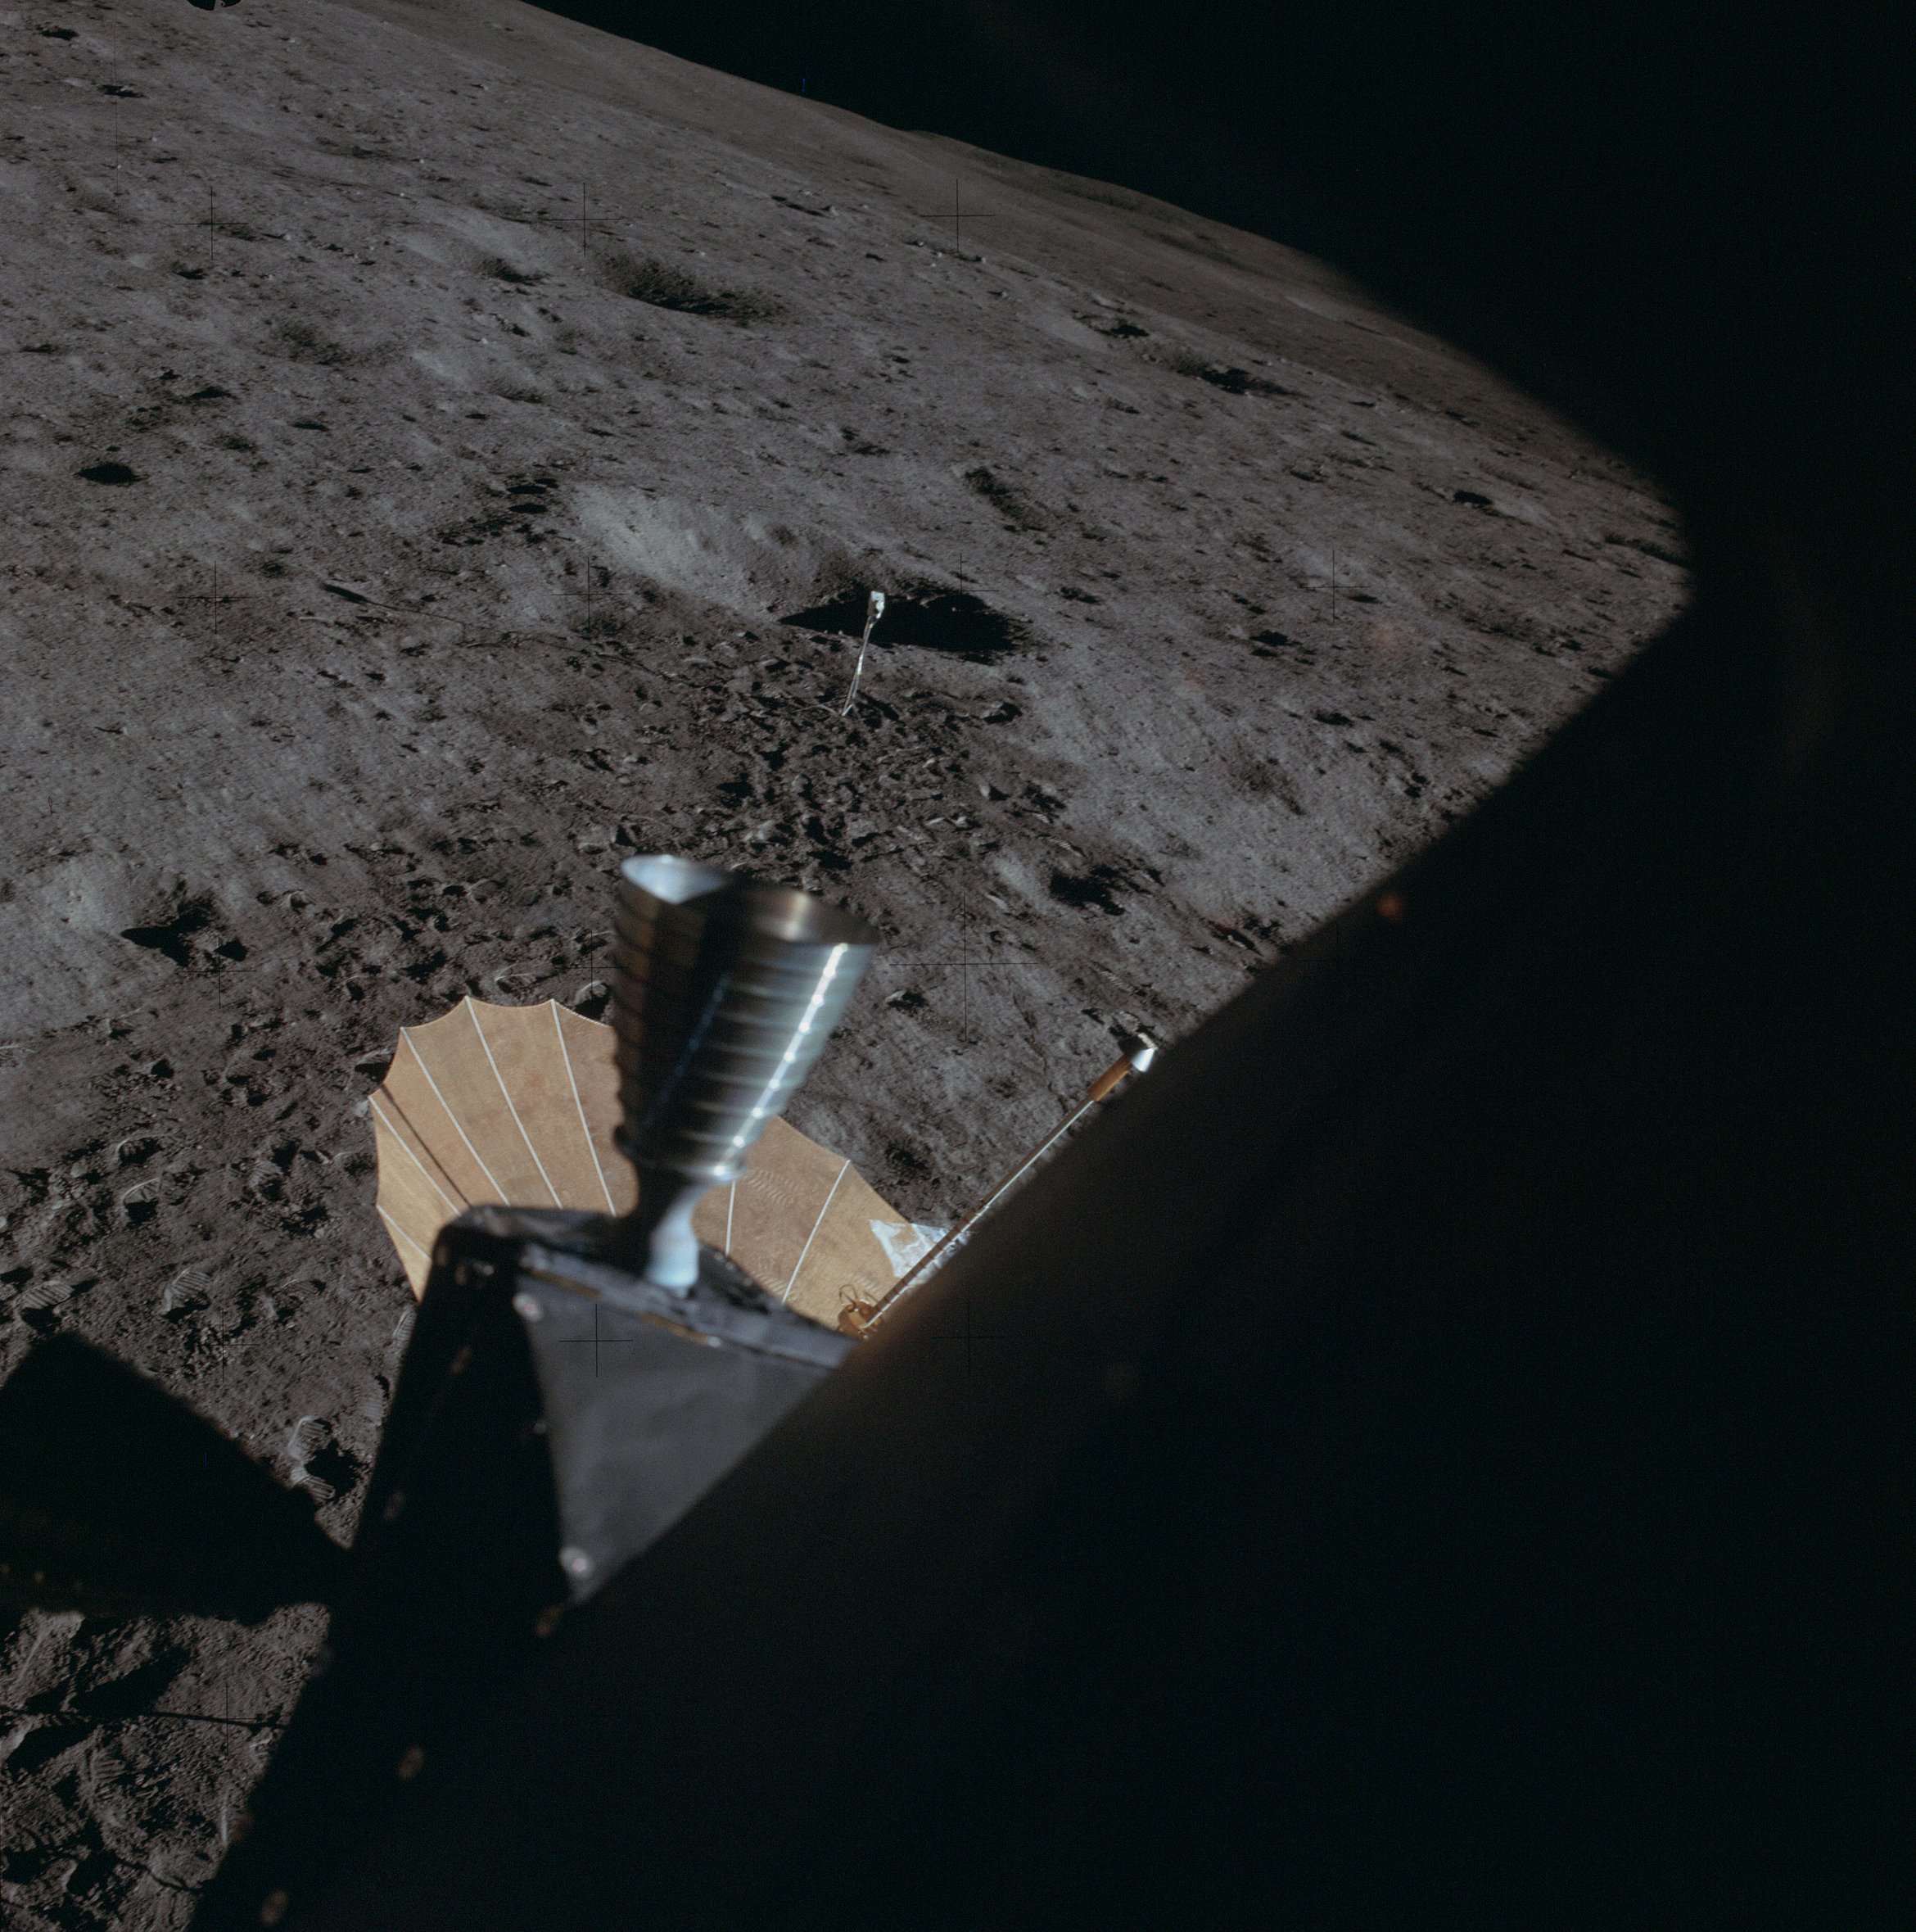 | AS14-66-9323 Photo out Ed's window, showing the TV camera and the S-Band antenna. Image credit: Image Science and Analysis Laboratory, NASA-Johnson Space Center. |
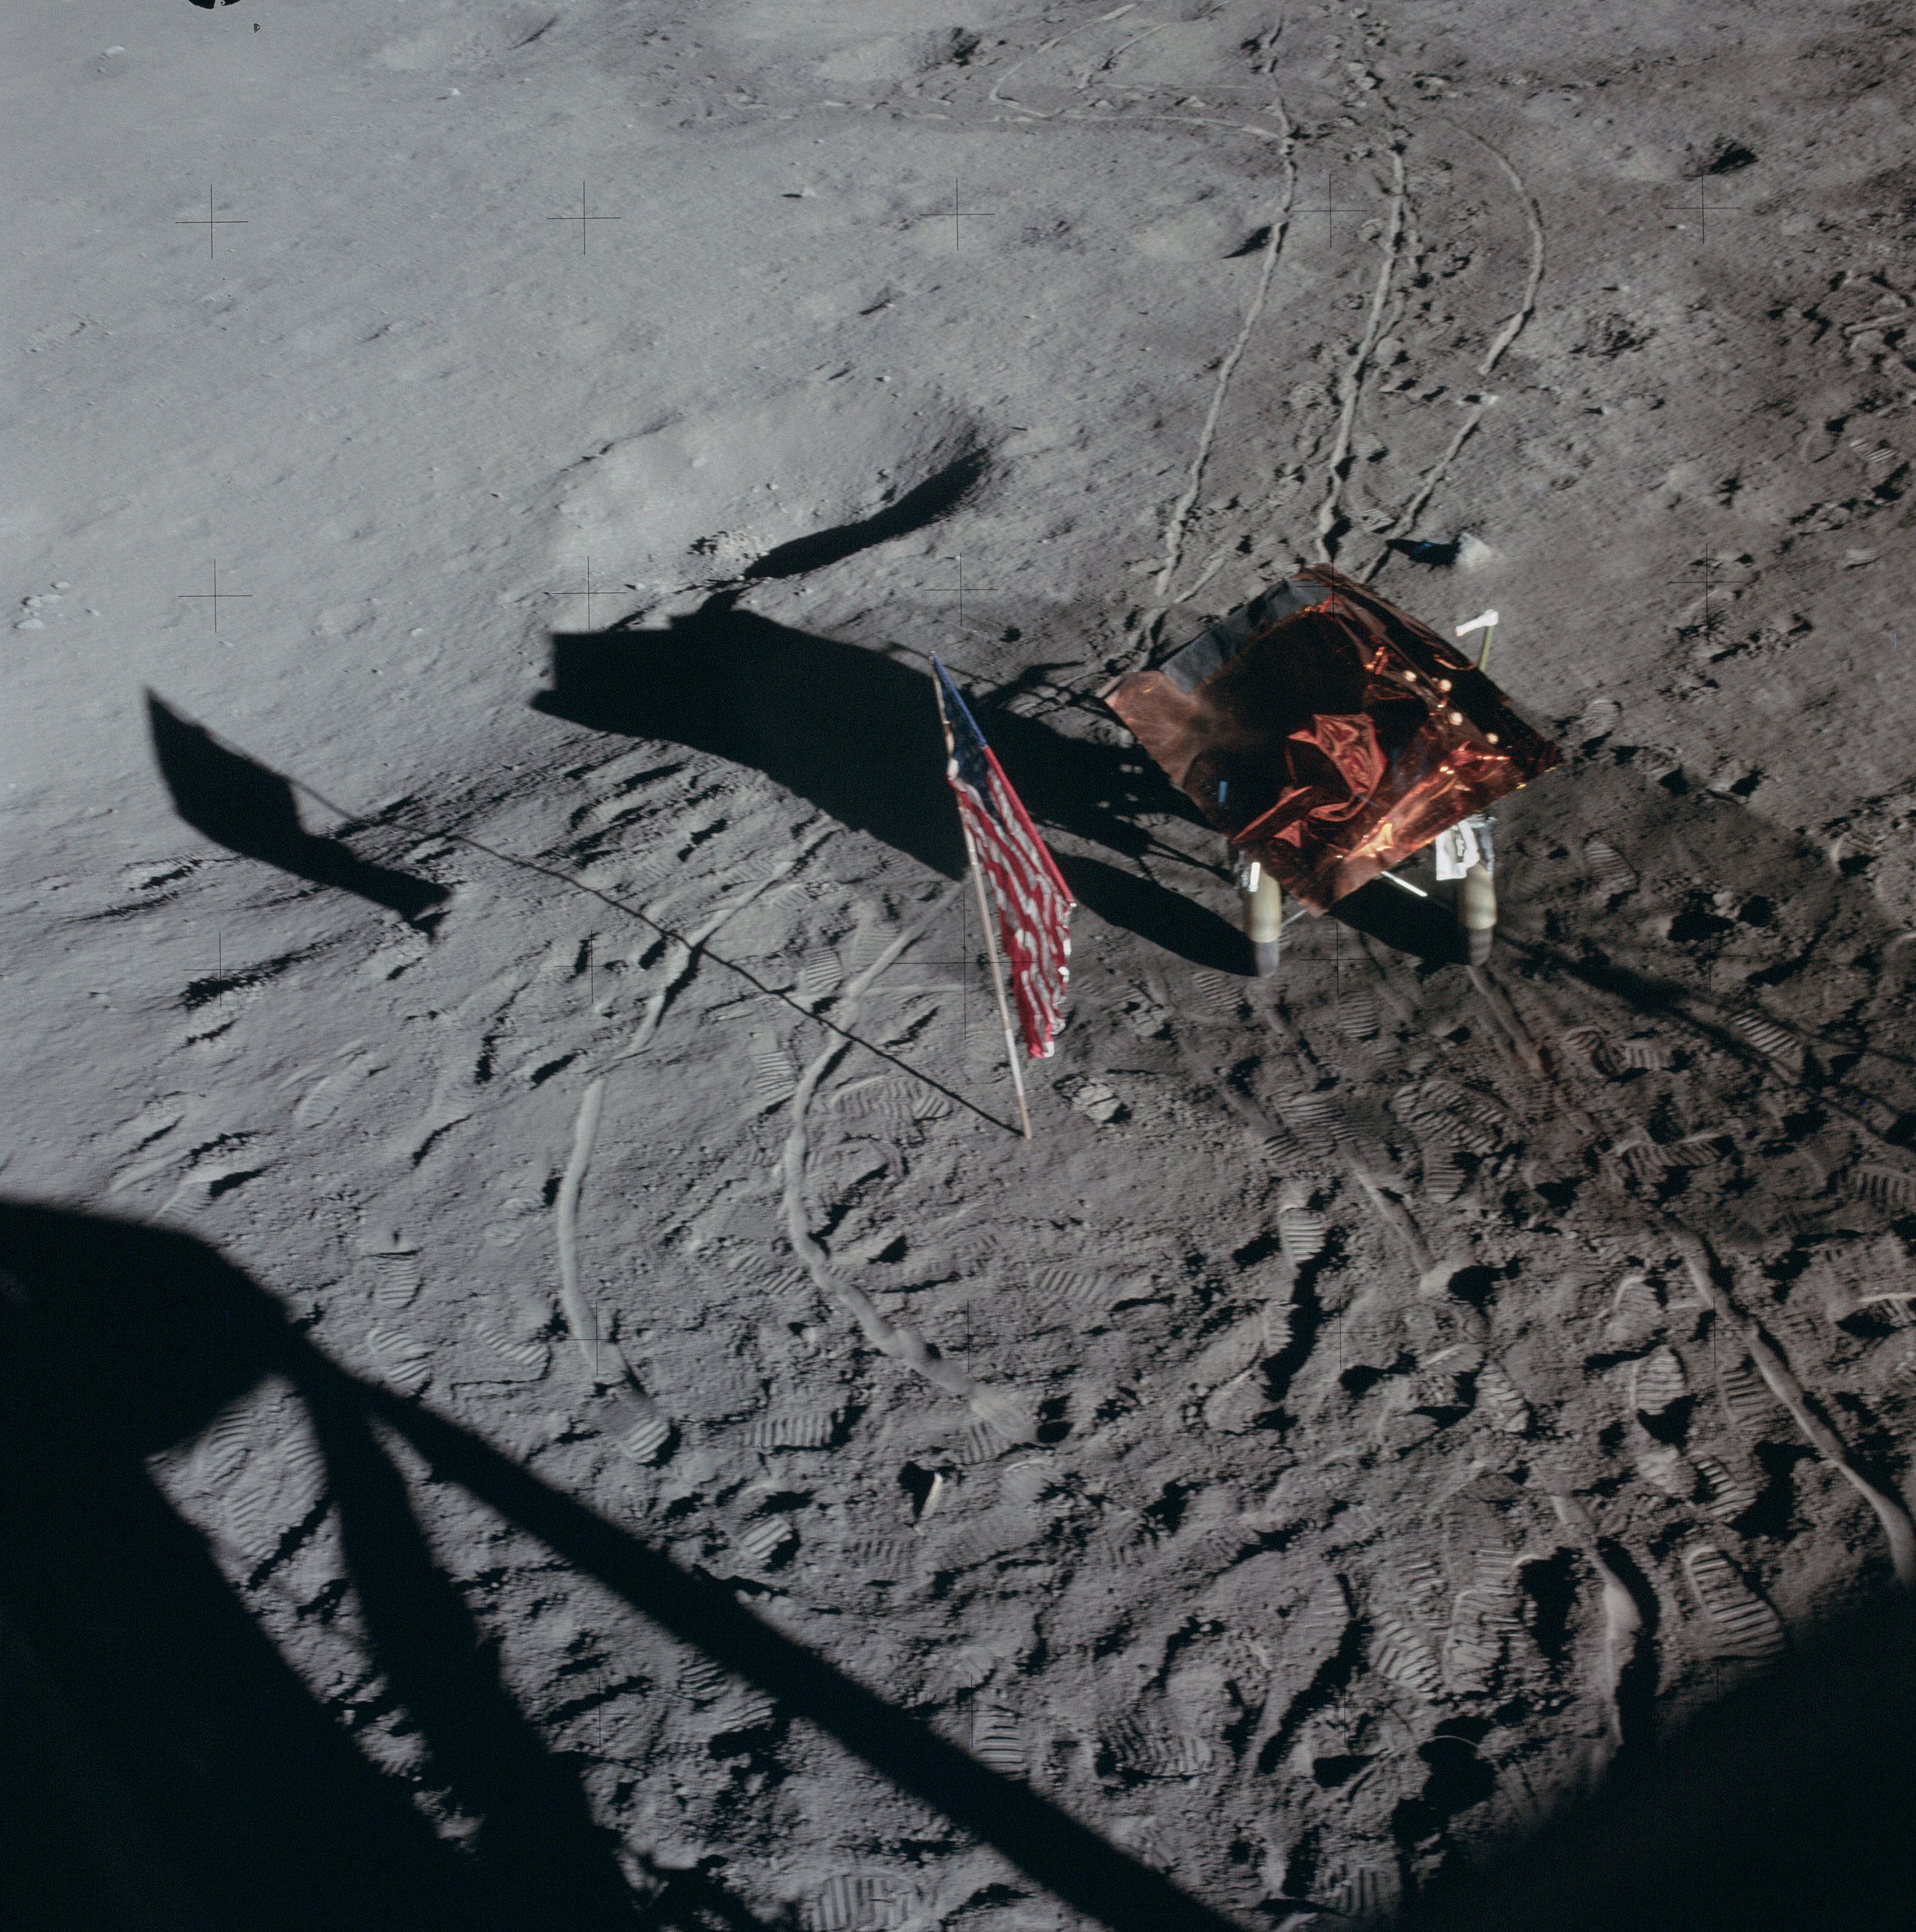 | AS14-66-9324 119:42:01 Leftward from 9323. Image credit: Image Science and Analysis Laboratory, NASA-Johnson Space Center. |
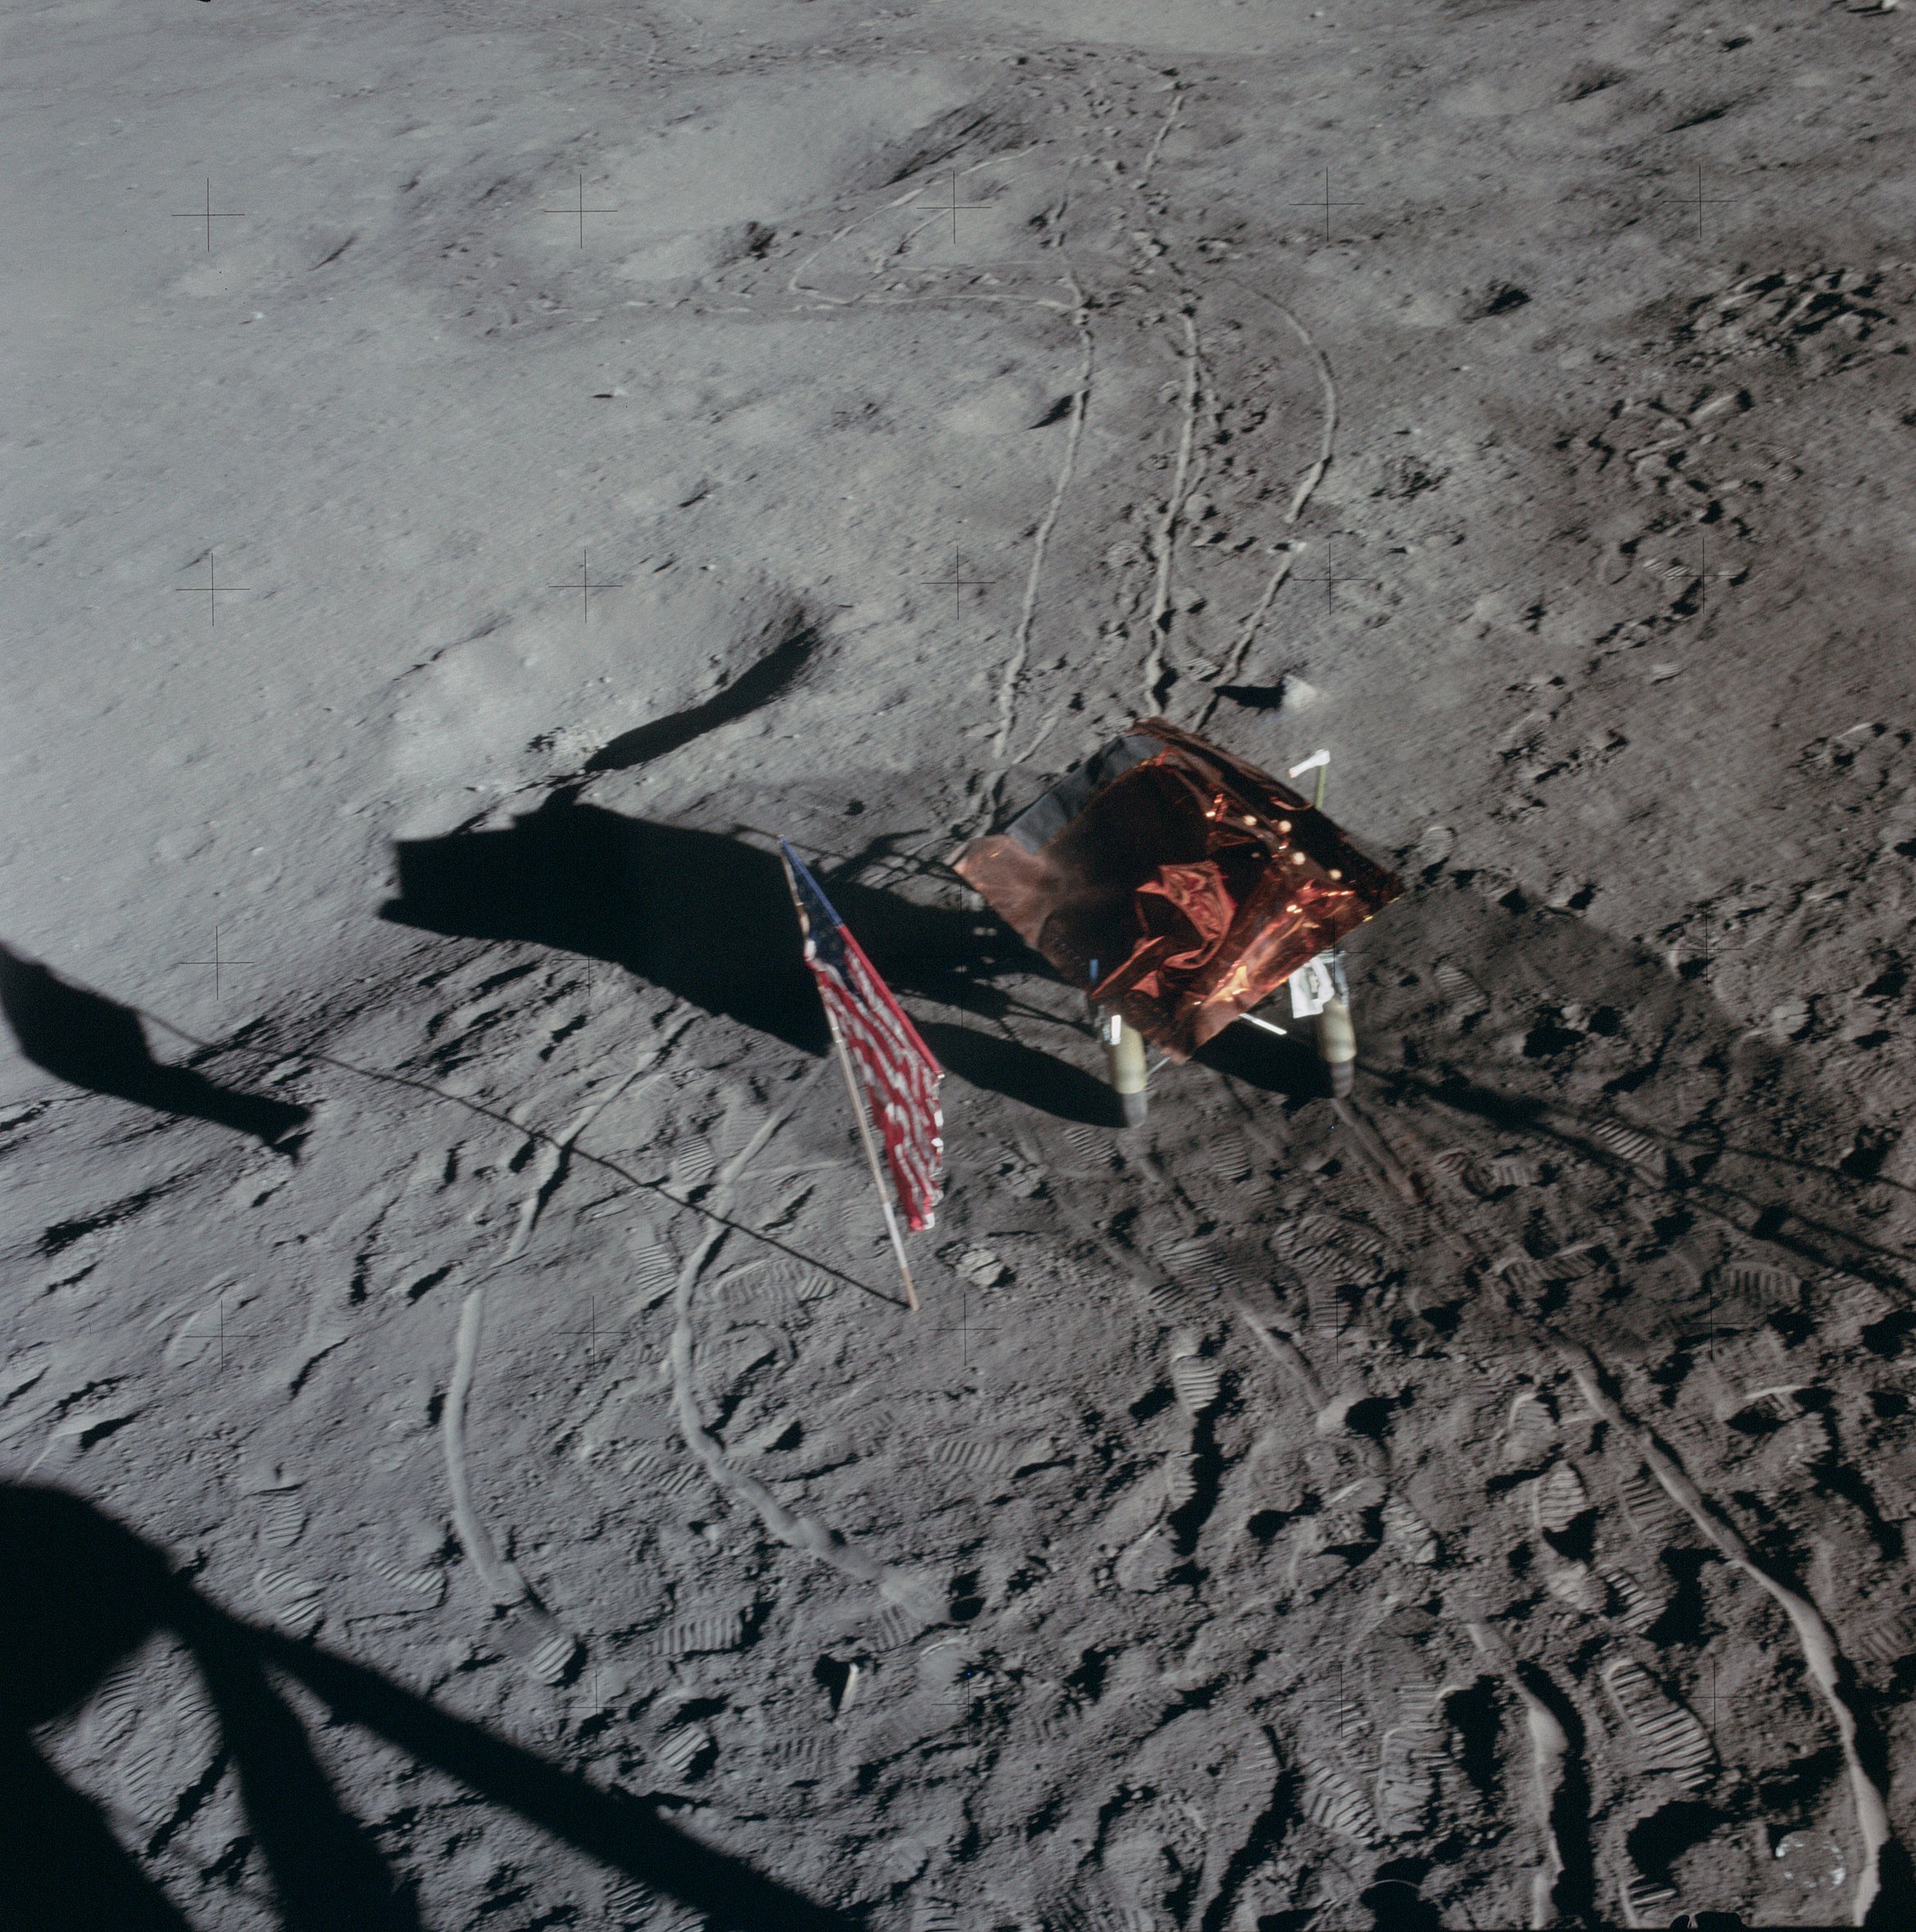 | AS14-66-9325 Similar to 9324. Image credit: Image Science and Analysis Laboratory, NASA-Johnson Space Center. |
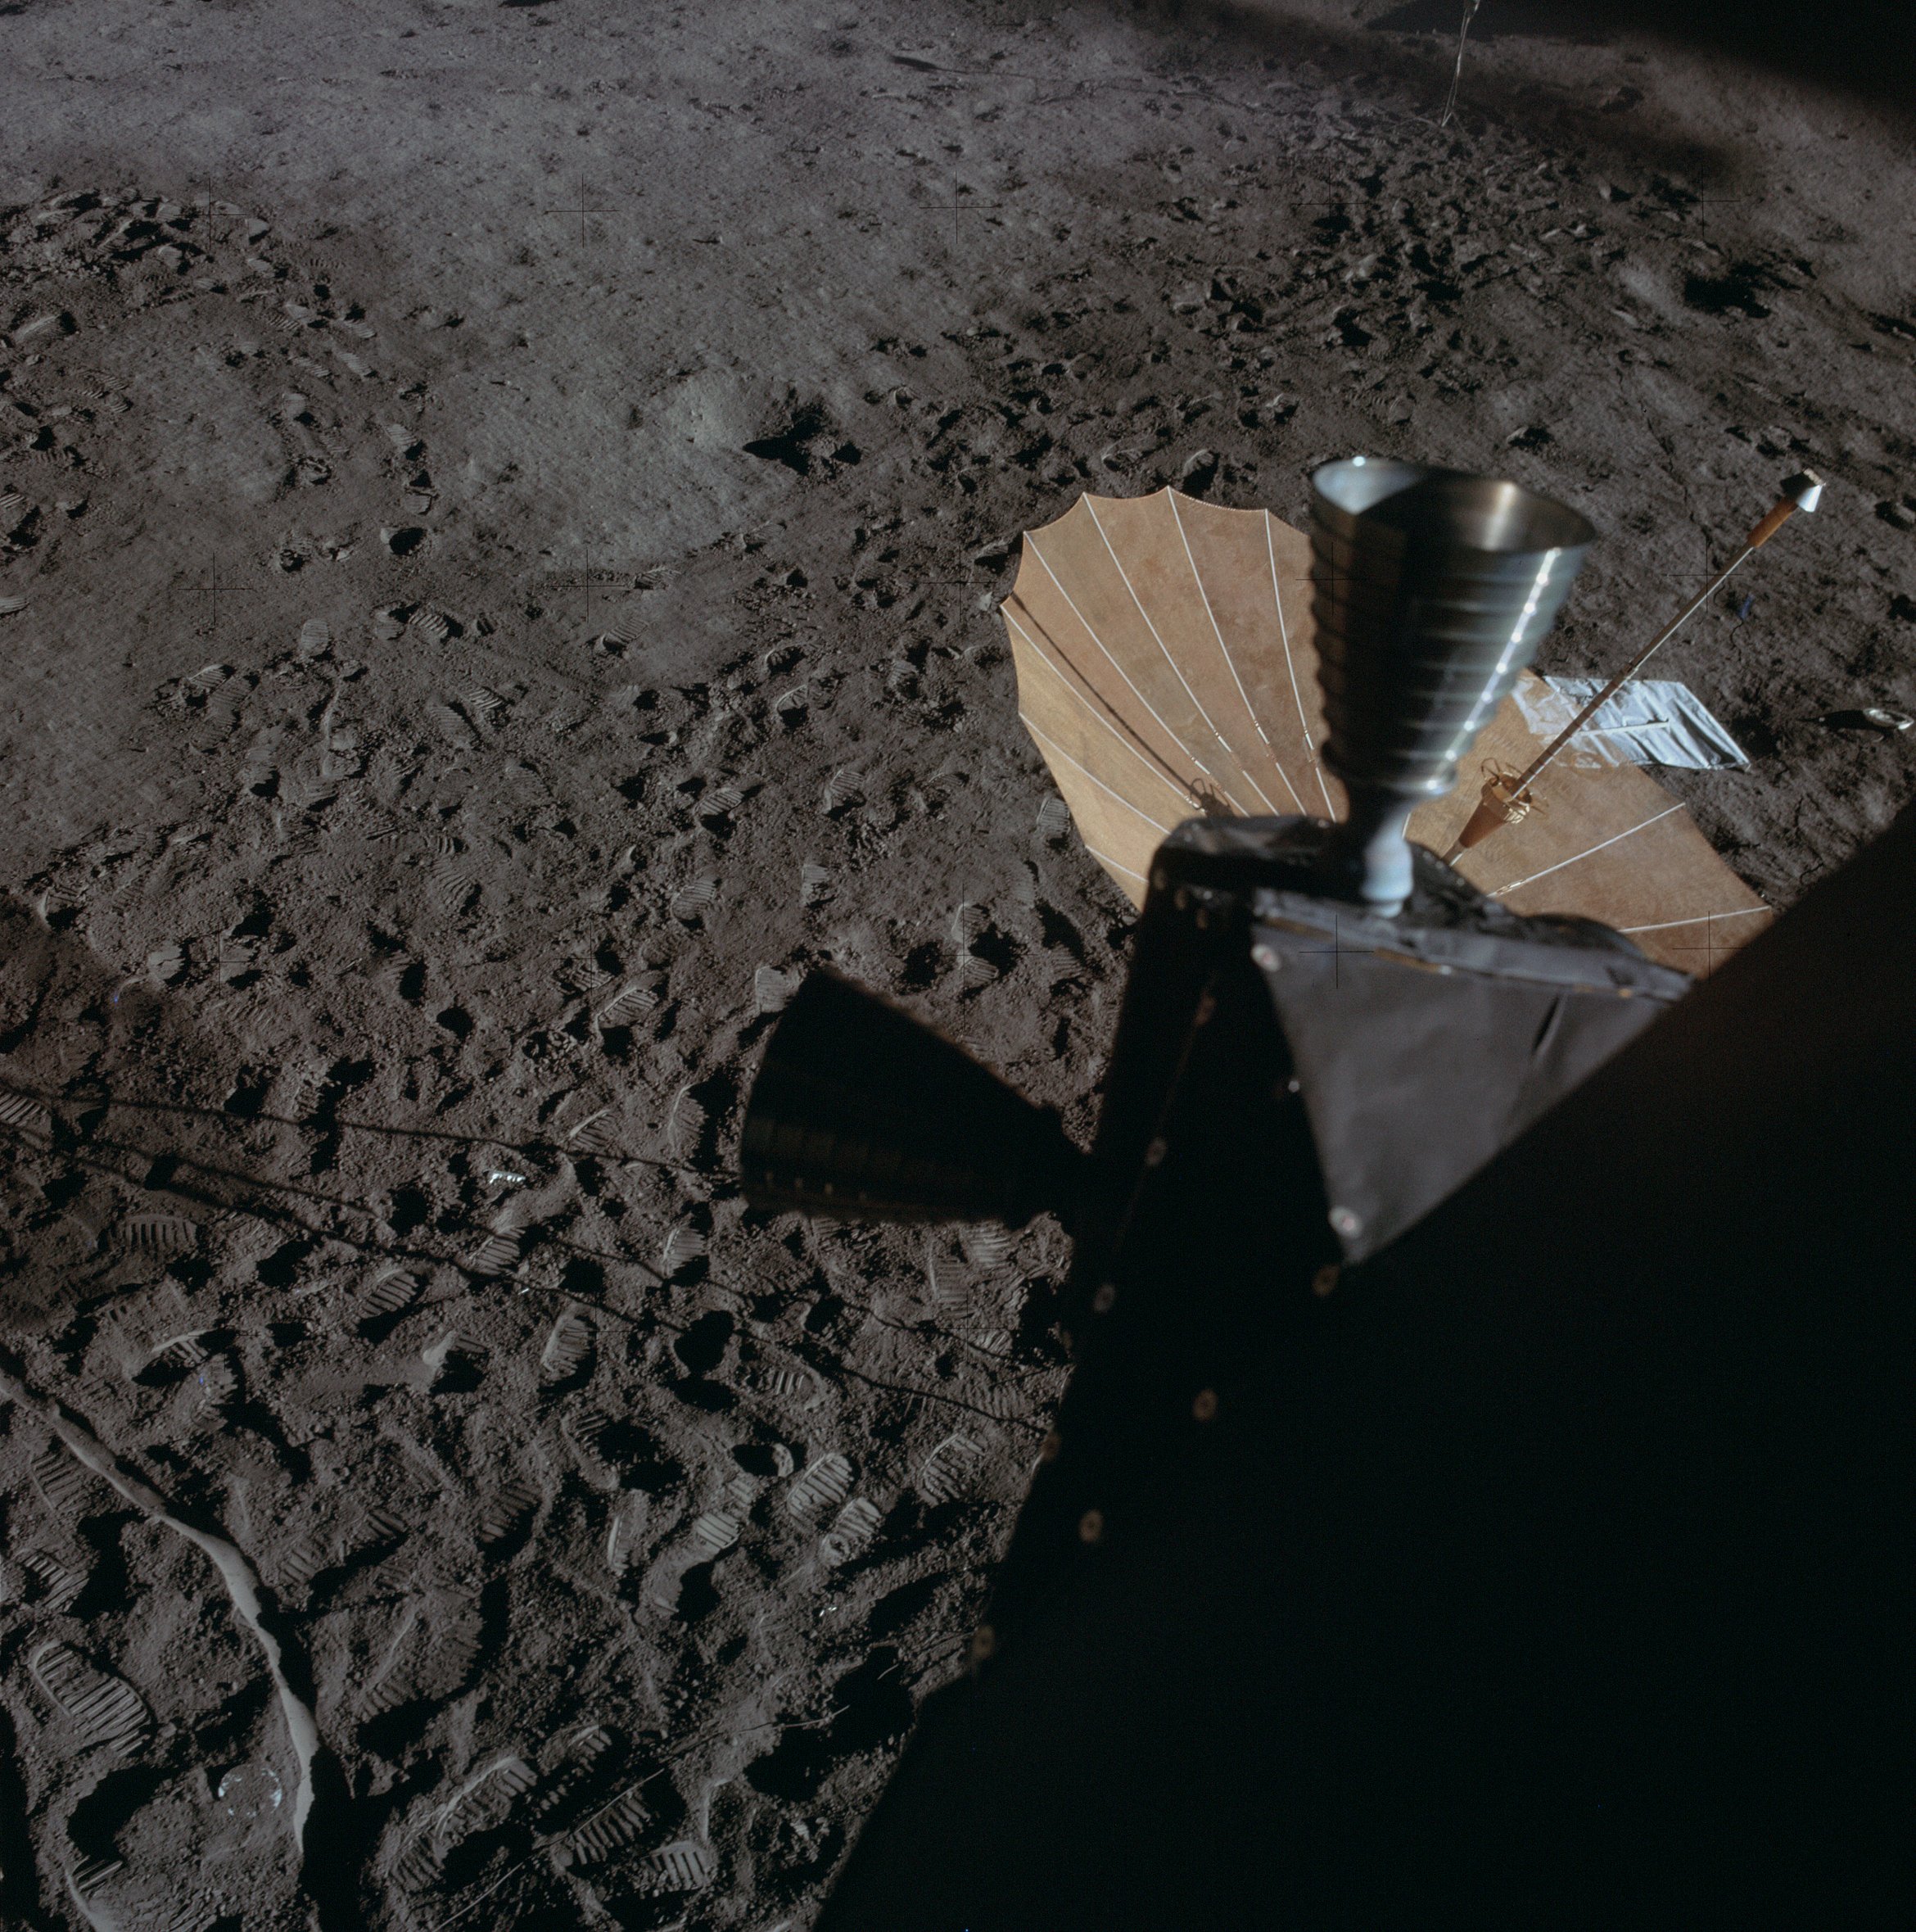 | AS14-66-9326 S-Band antenna and the TV. Image credit: Image Science and Analysis Laboratory, NASA-Johnson Space Center. |
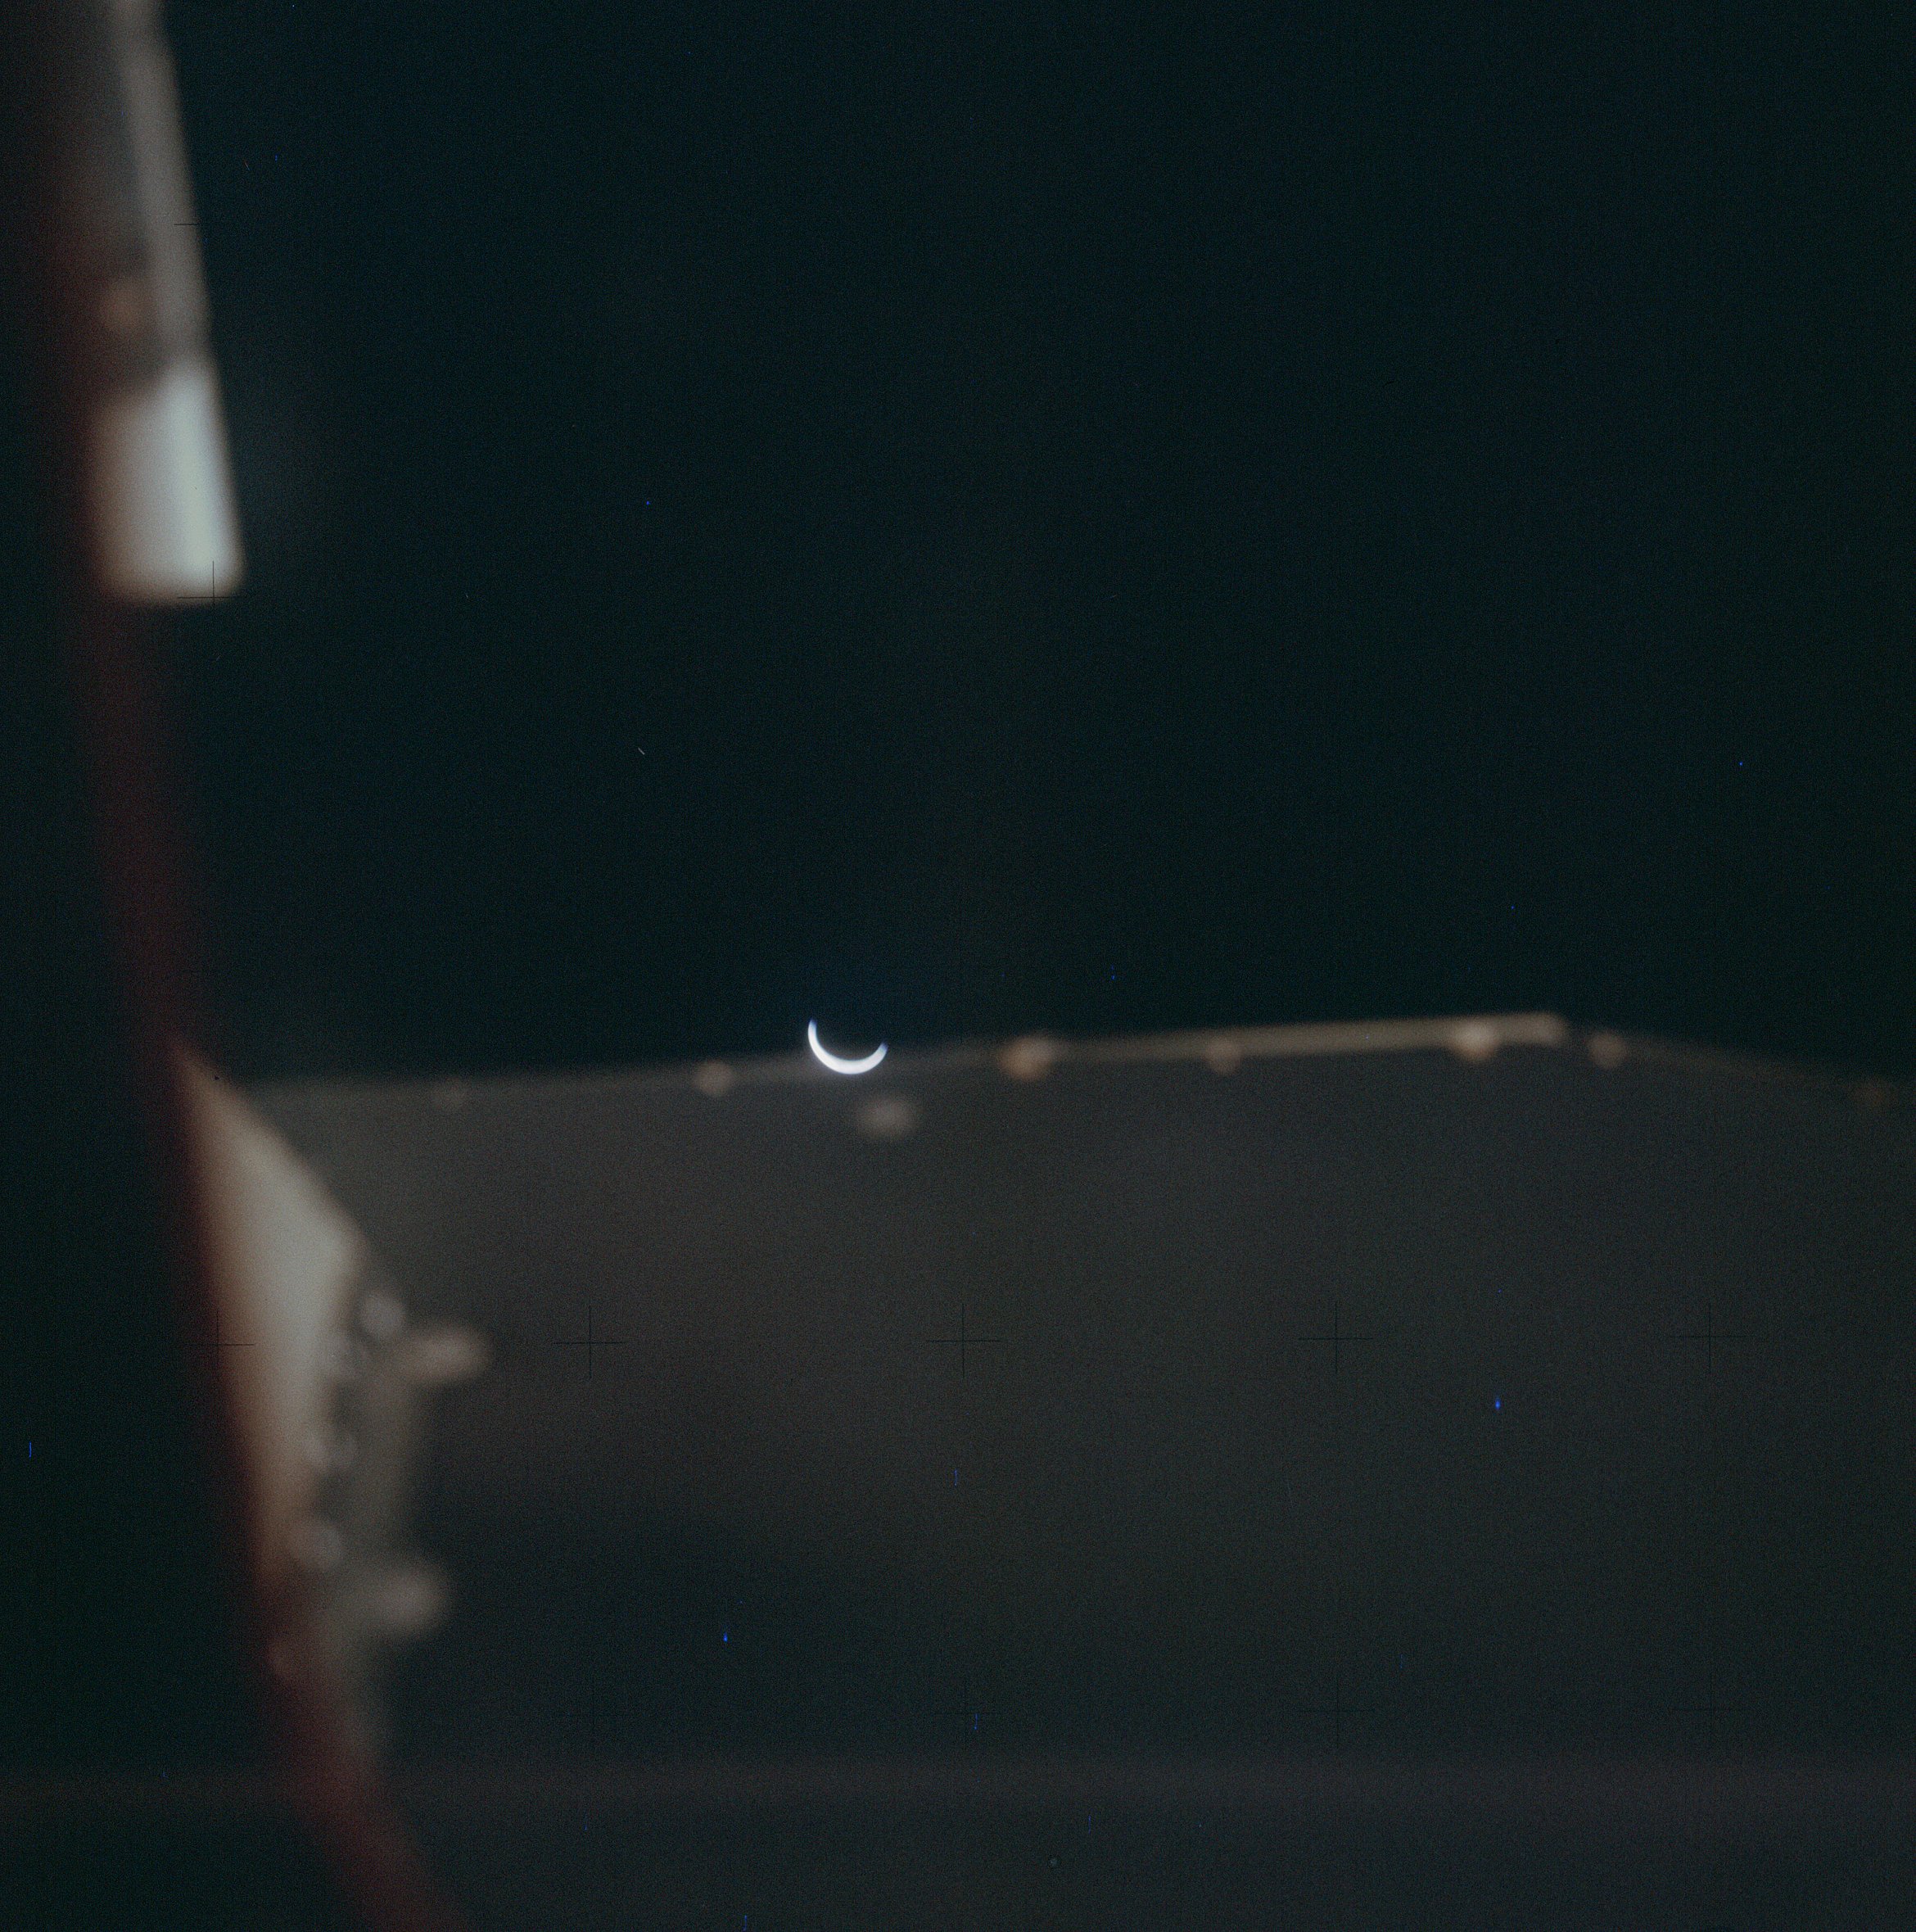 | AS14-66-9327 This photo of the Earth was taken through the rendezvous window over Al's station. Image credit: Image Science and Analysis Laboratory, NASA-Johnson Space Center. |
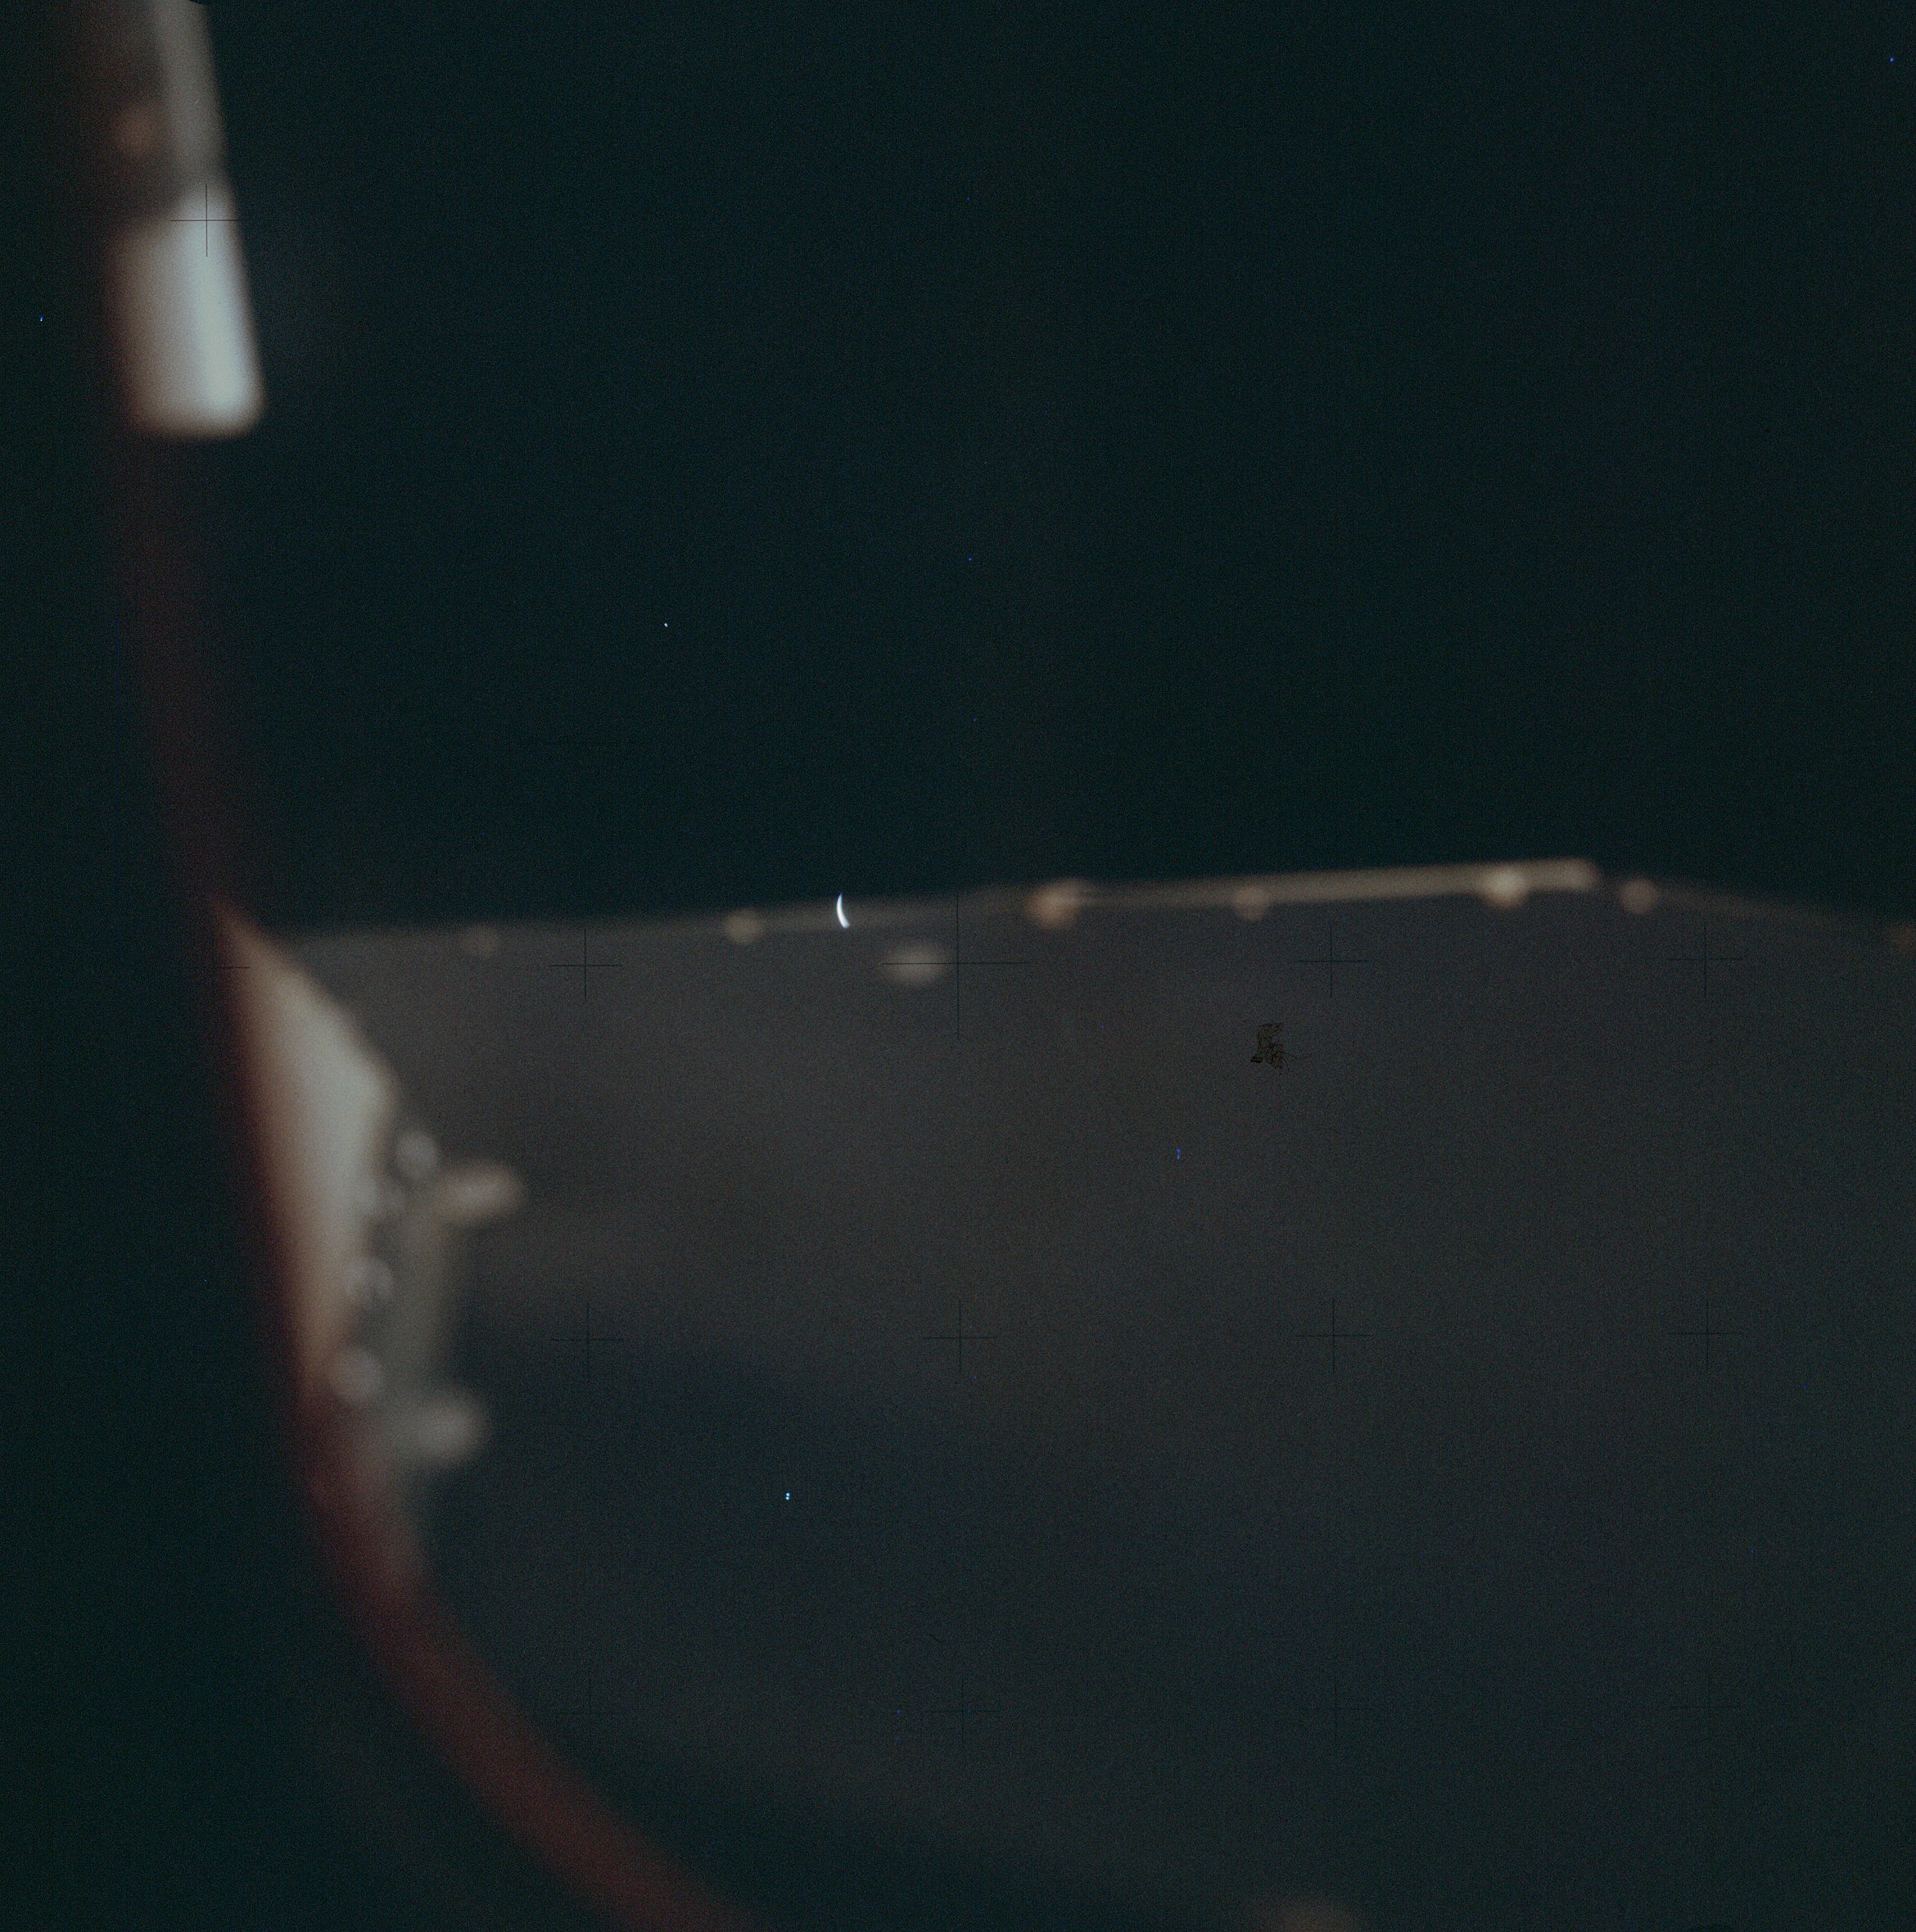 | AS14-66-9328 Earth. Image credit: Image Science and Analysis Laboratory, NASA-Johnson Space Center. |
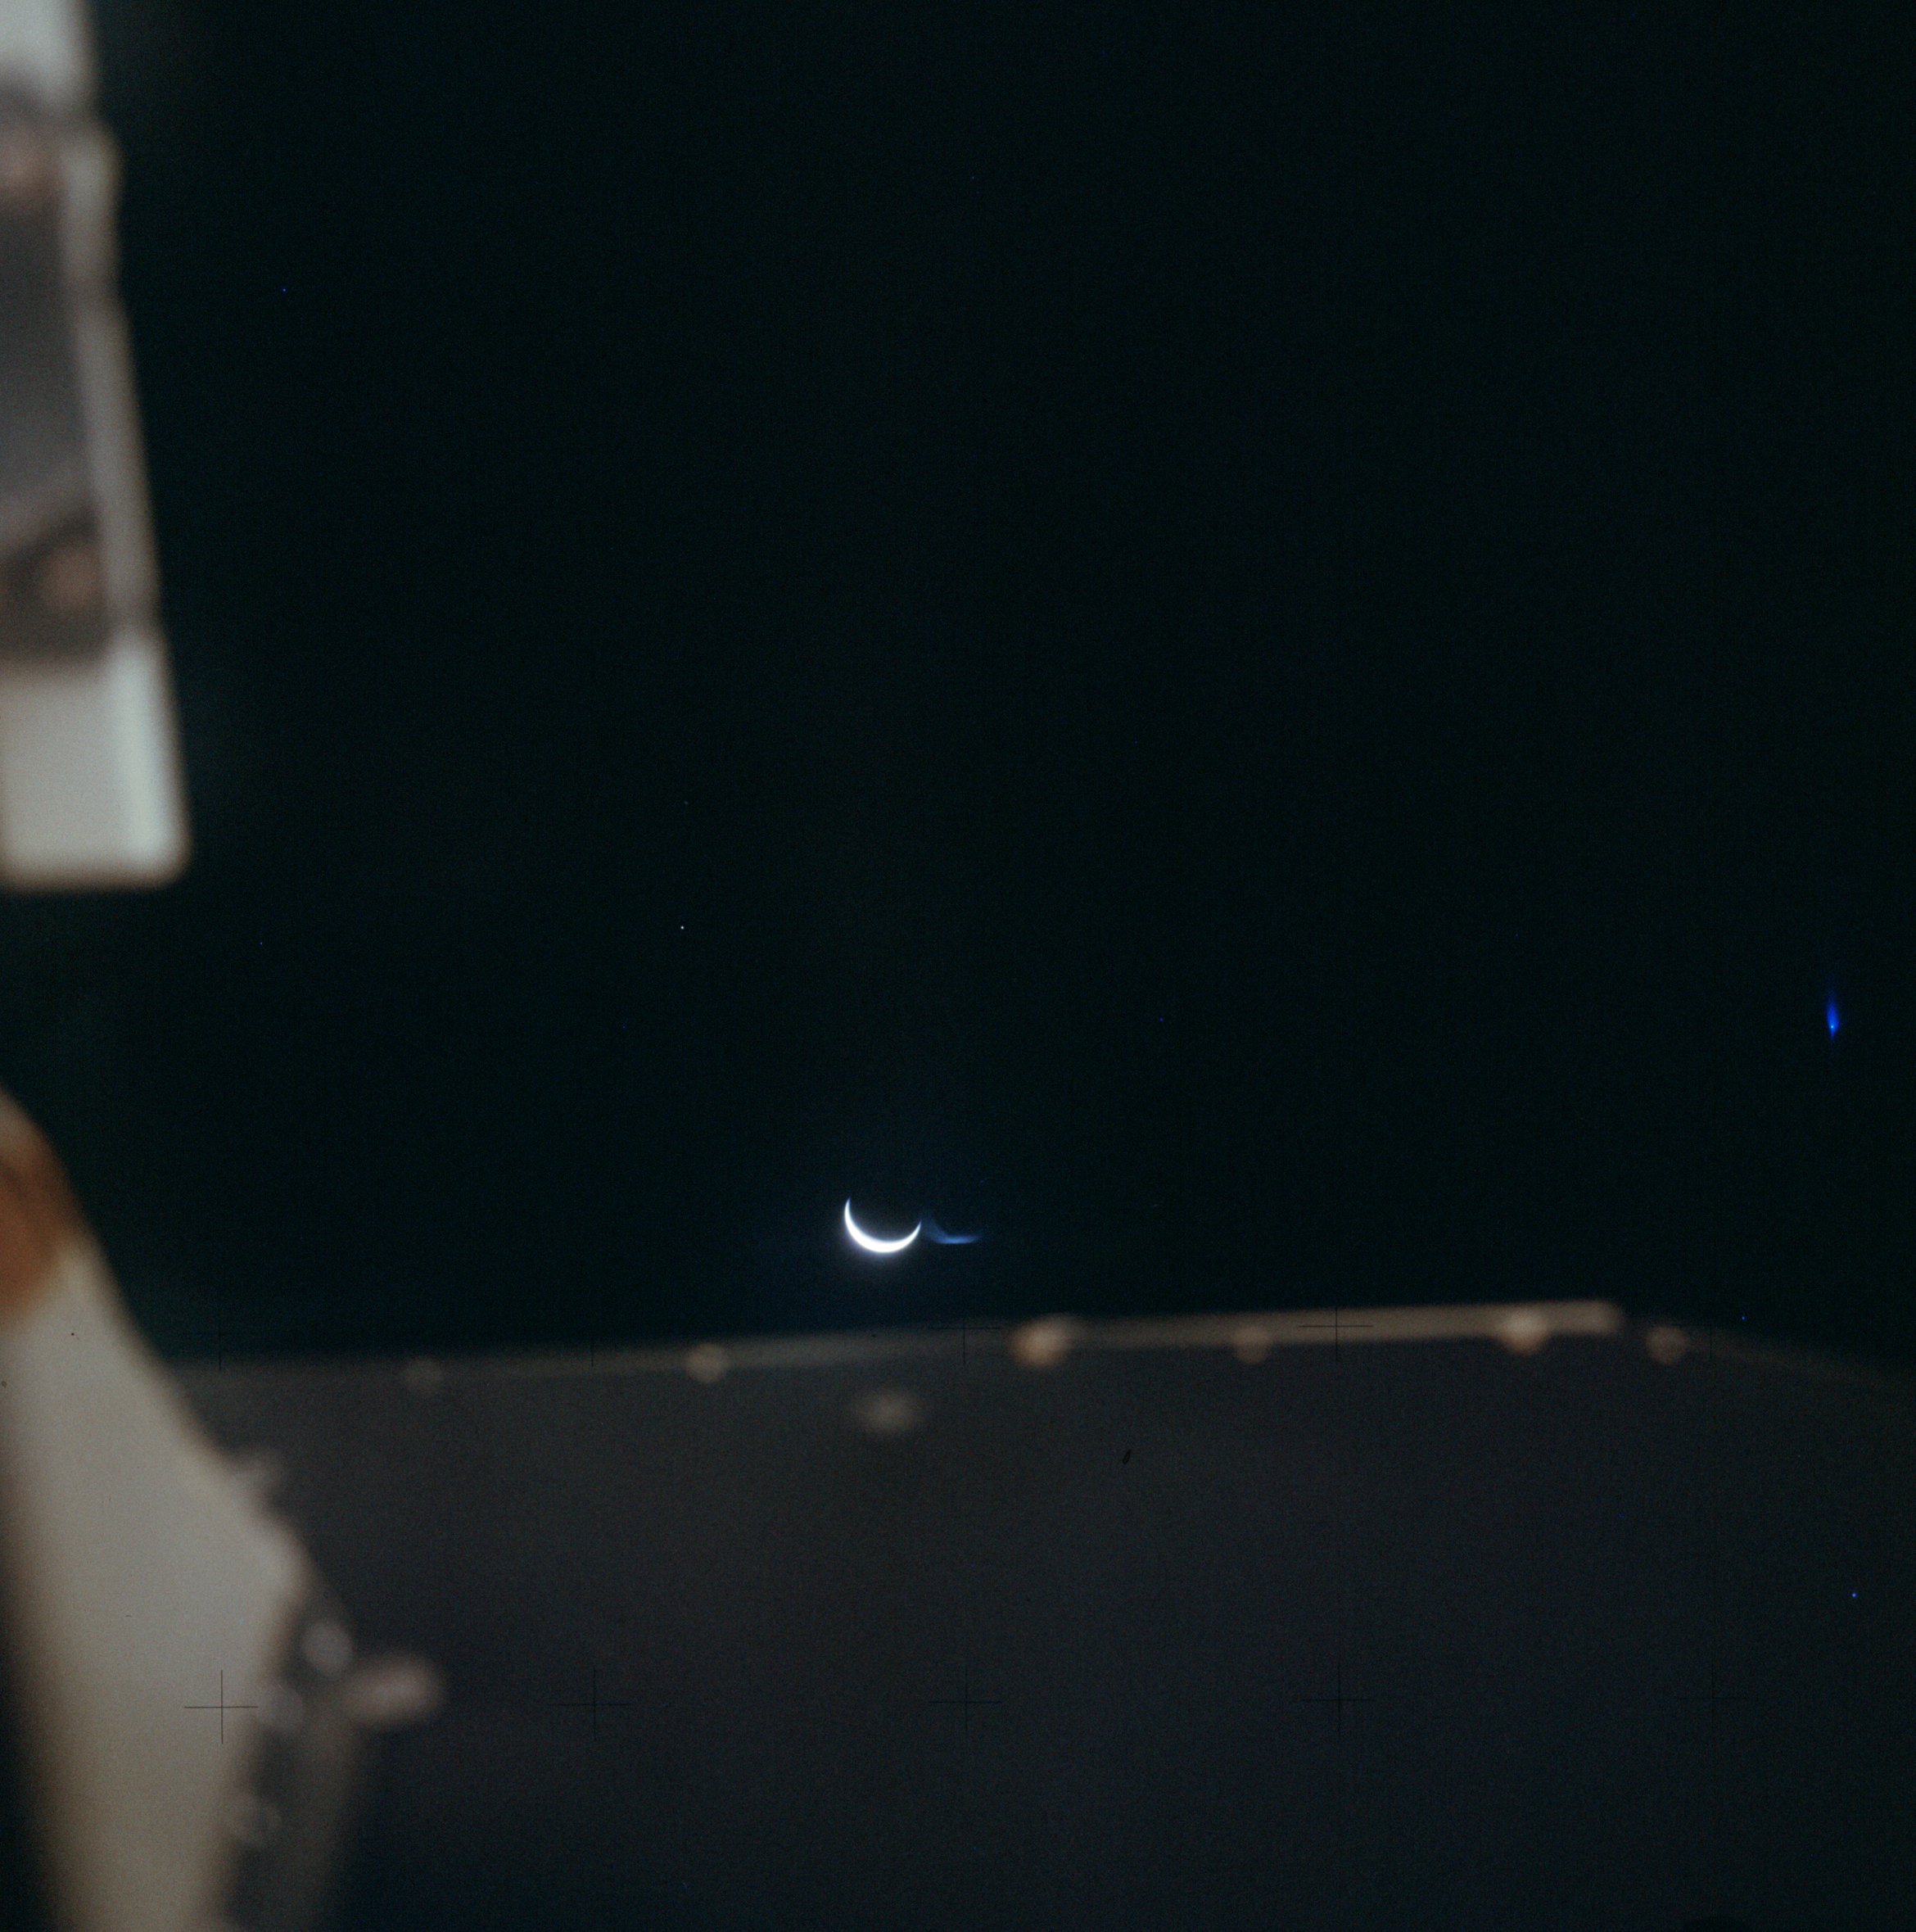 | AS14-66-9329 Earth. Image credit: Image Science and Analysis Laboratory, NASA-Johnson Space Center. |
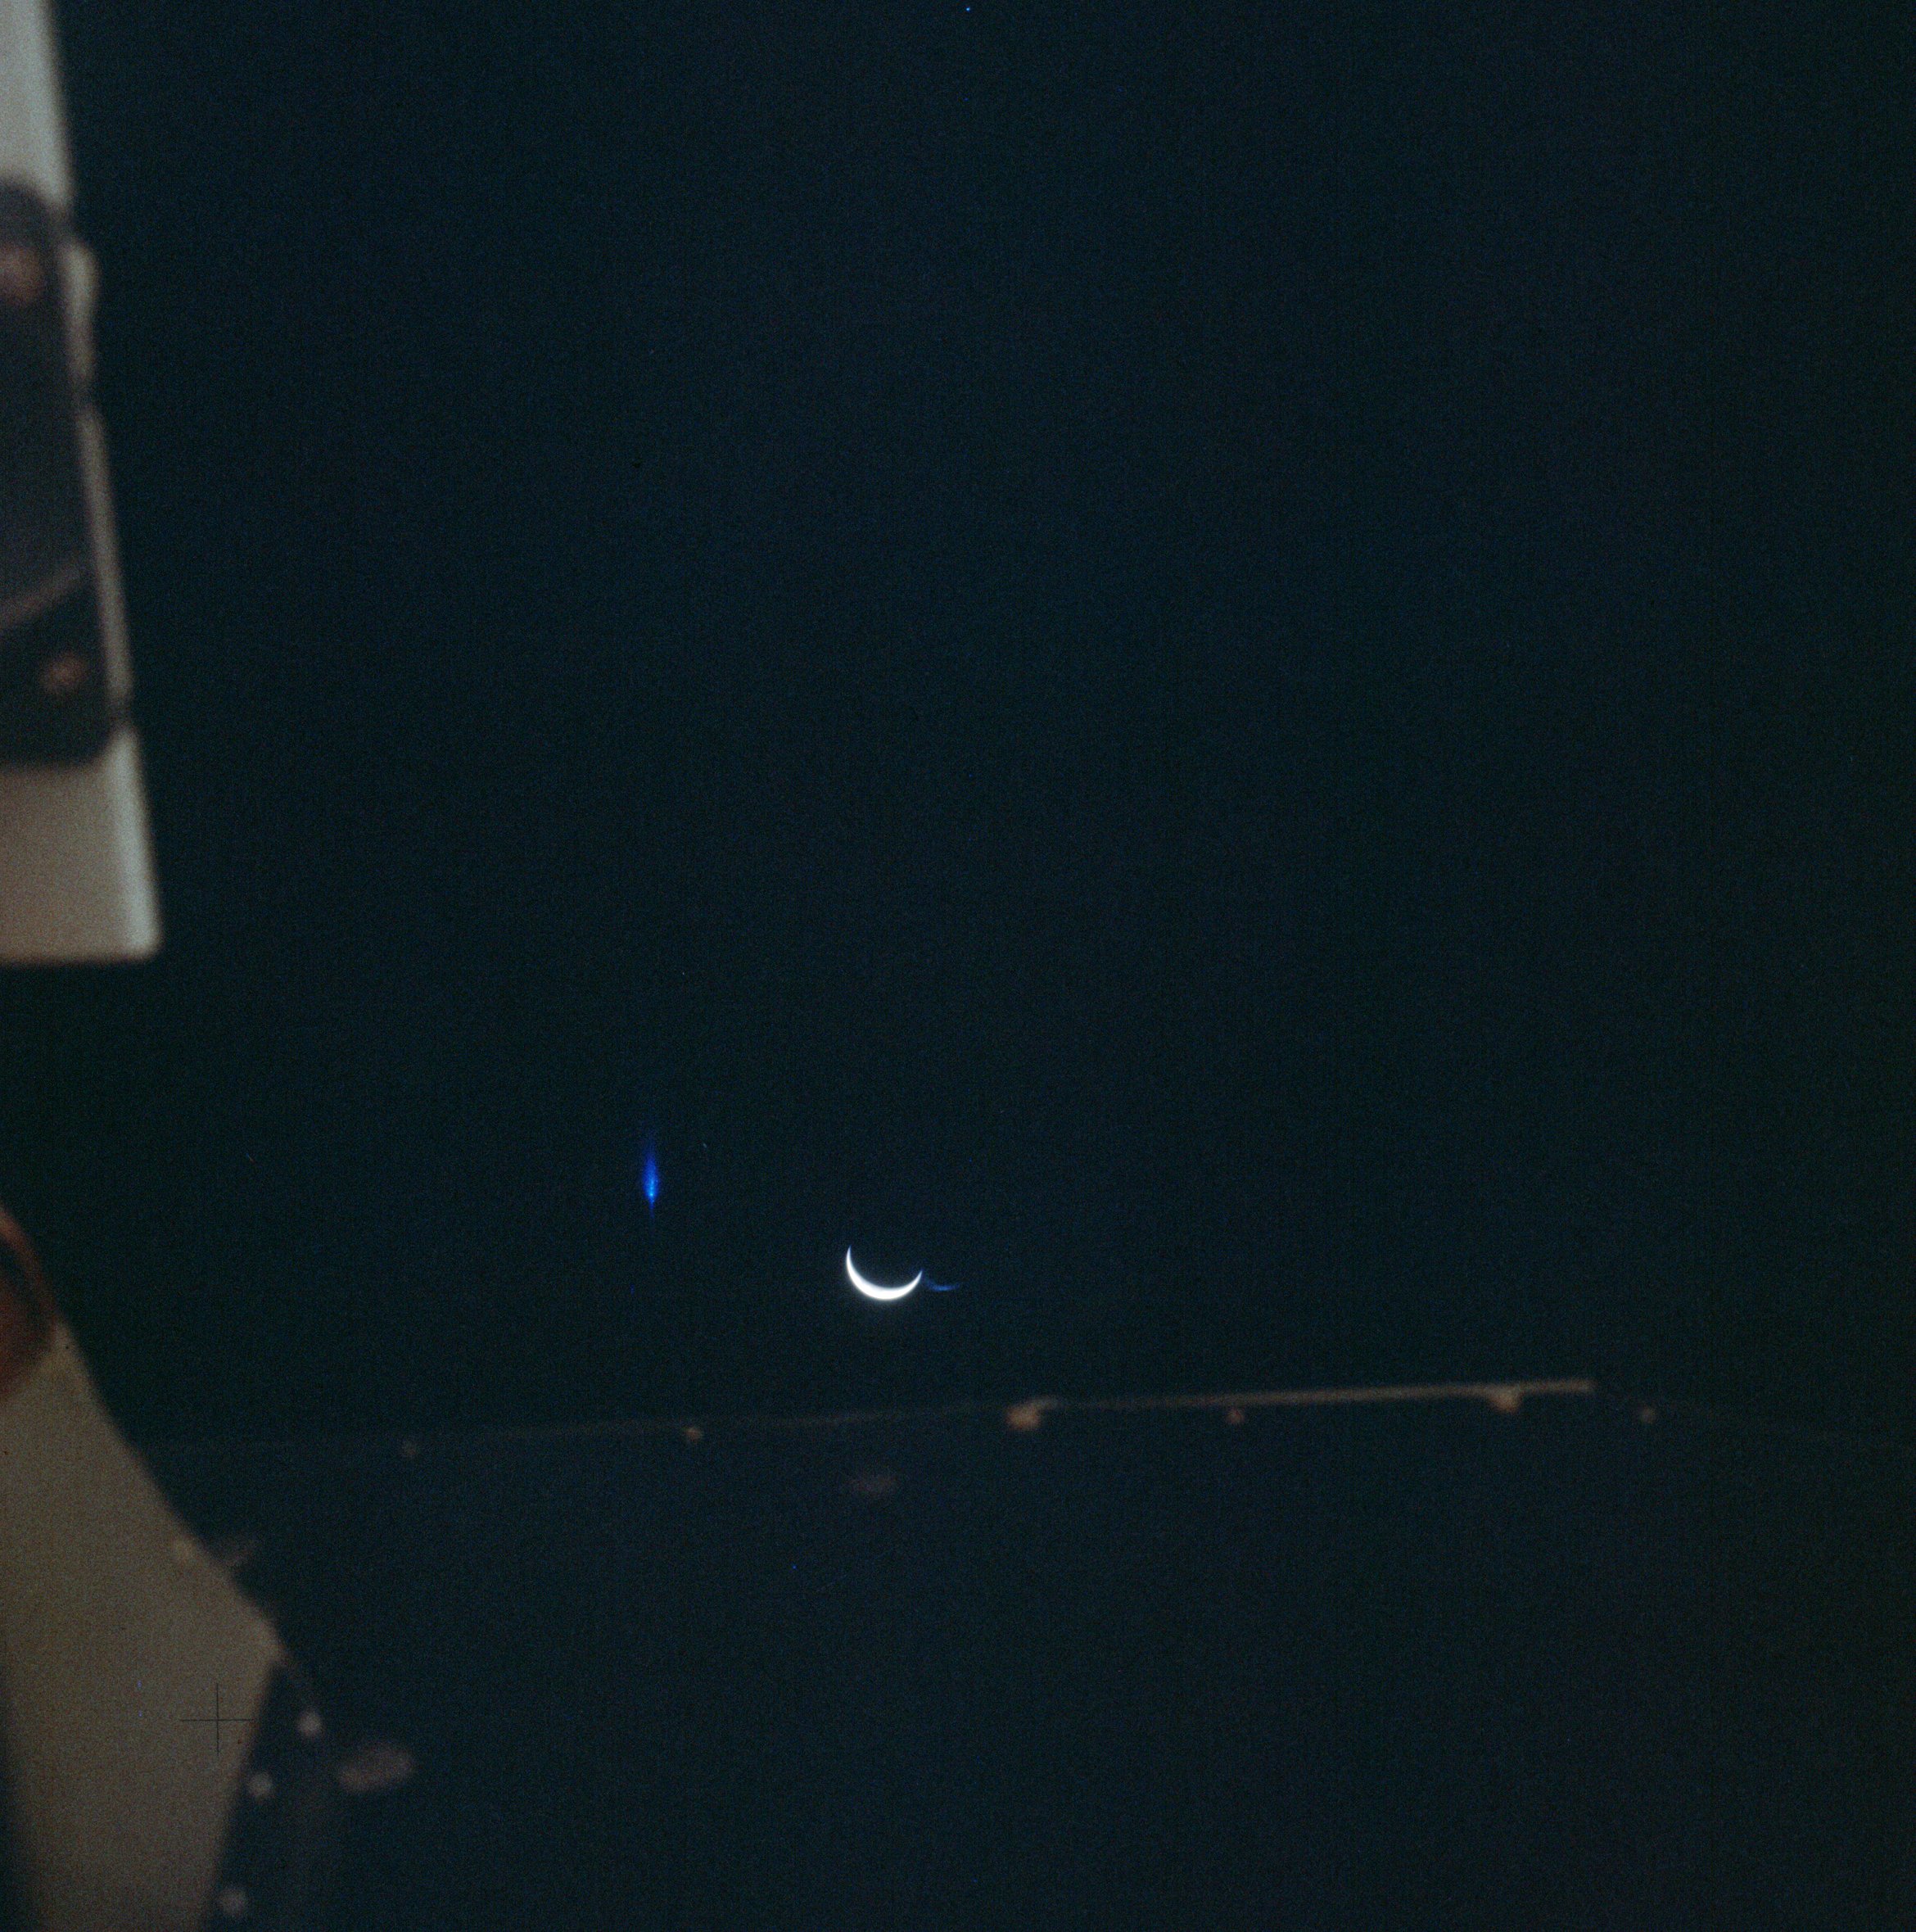 | AS14-66-9330 Earth. Image credit: Image Science and Analysis Laboratory, NASA-Johnson Space Center. |
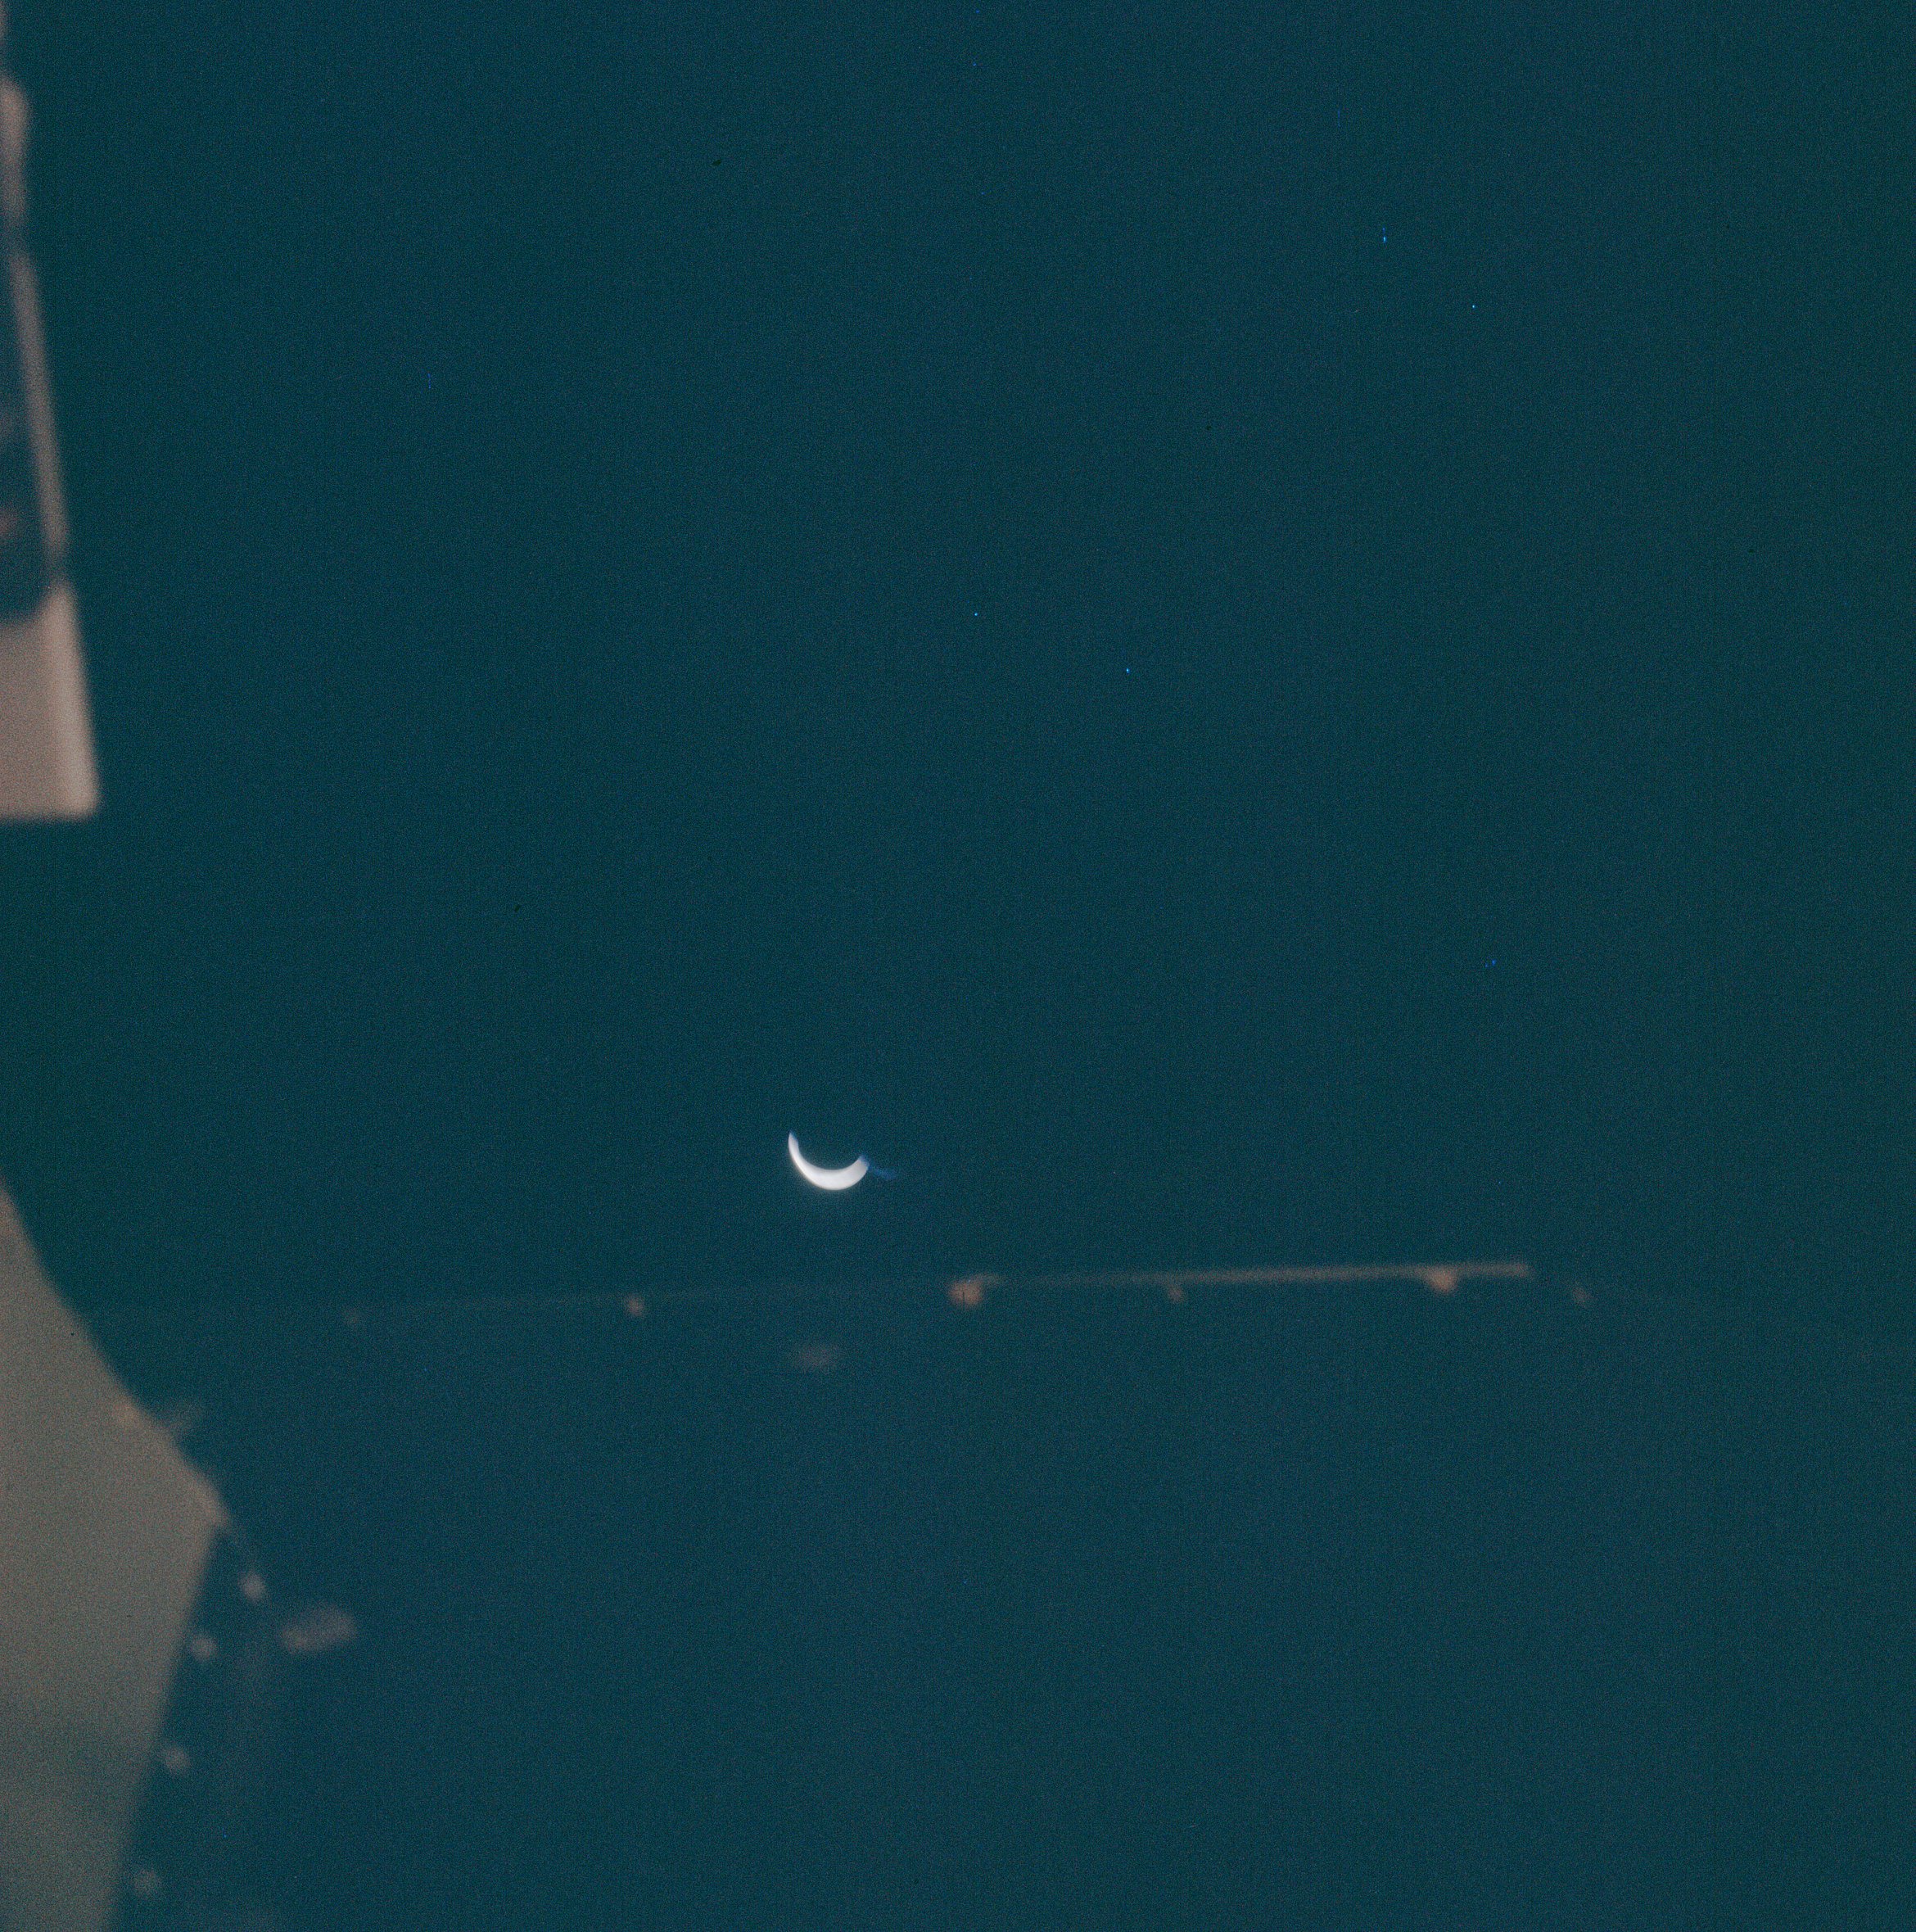 | AS14-66-9331 Earth. Image credit: Image Science and Analysis Laboratory, NASA-Johnson Space Center. |
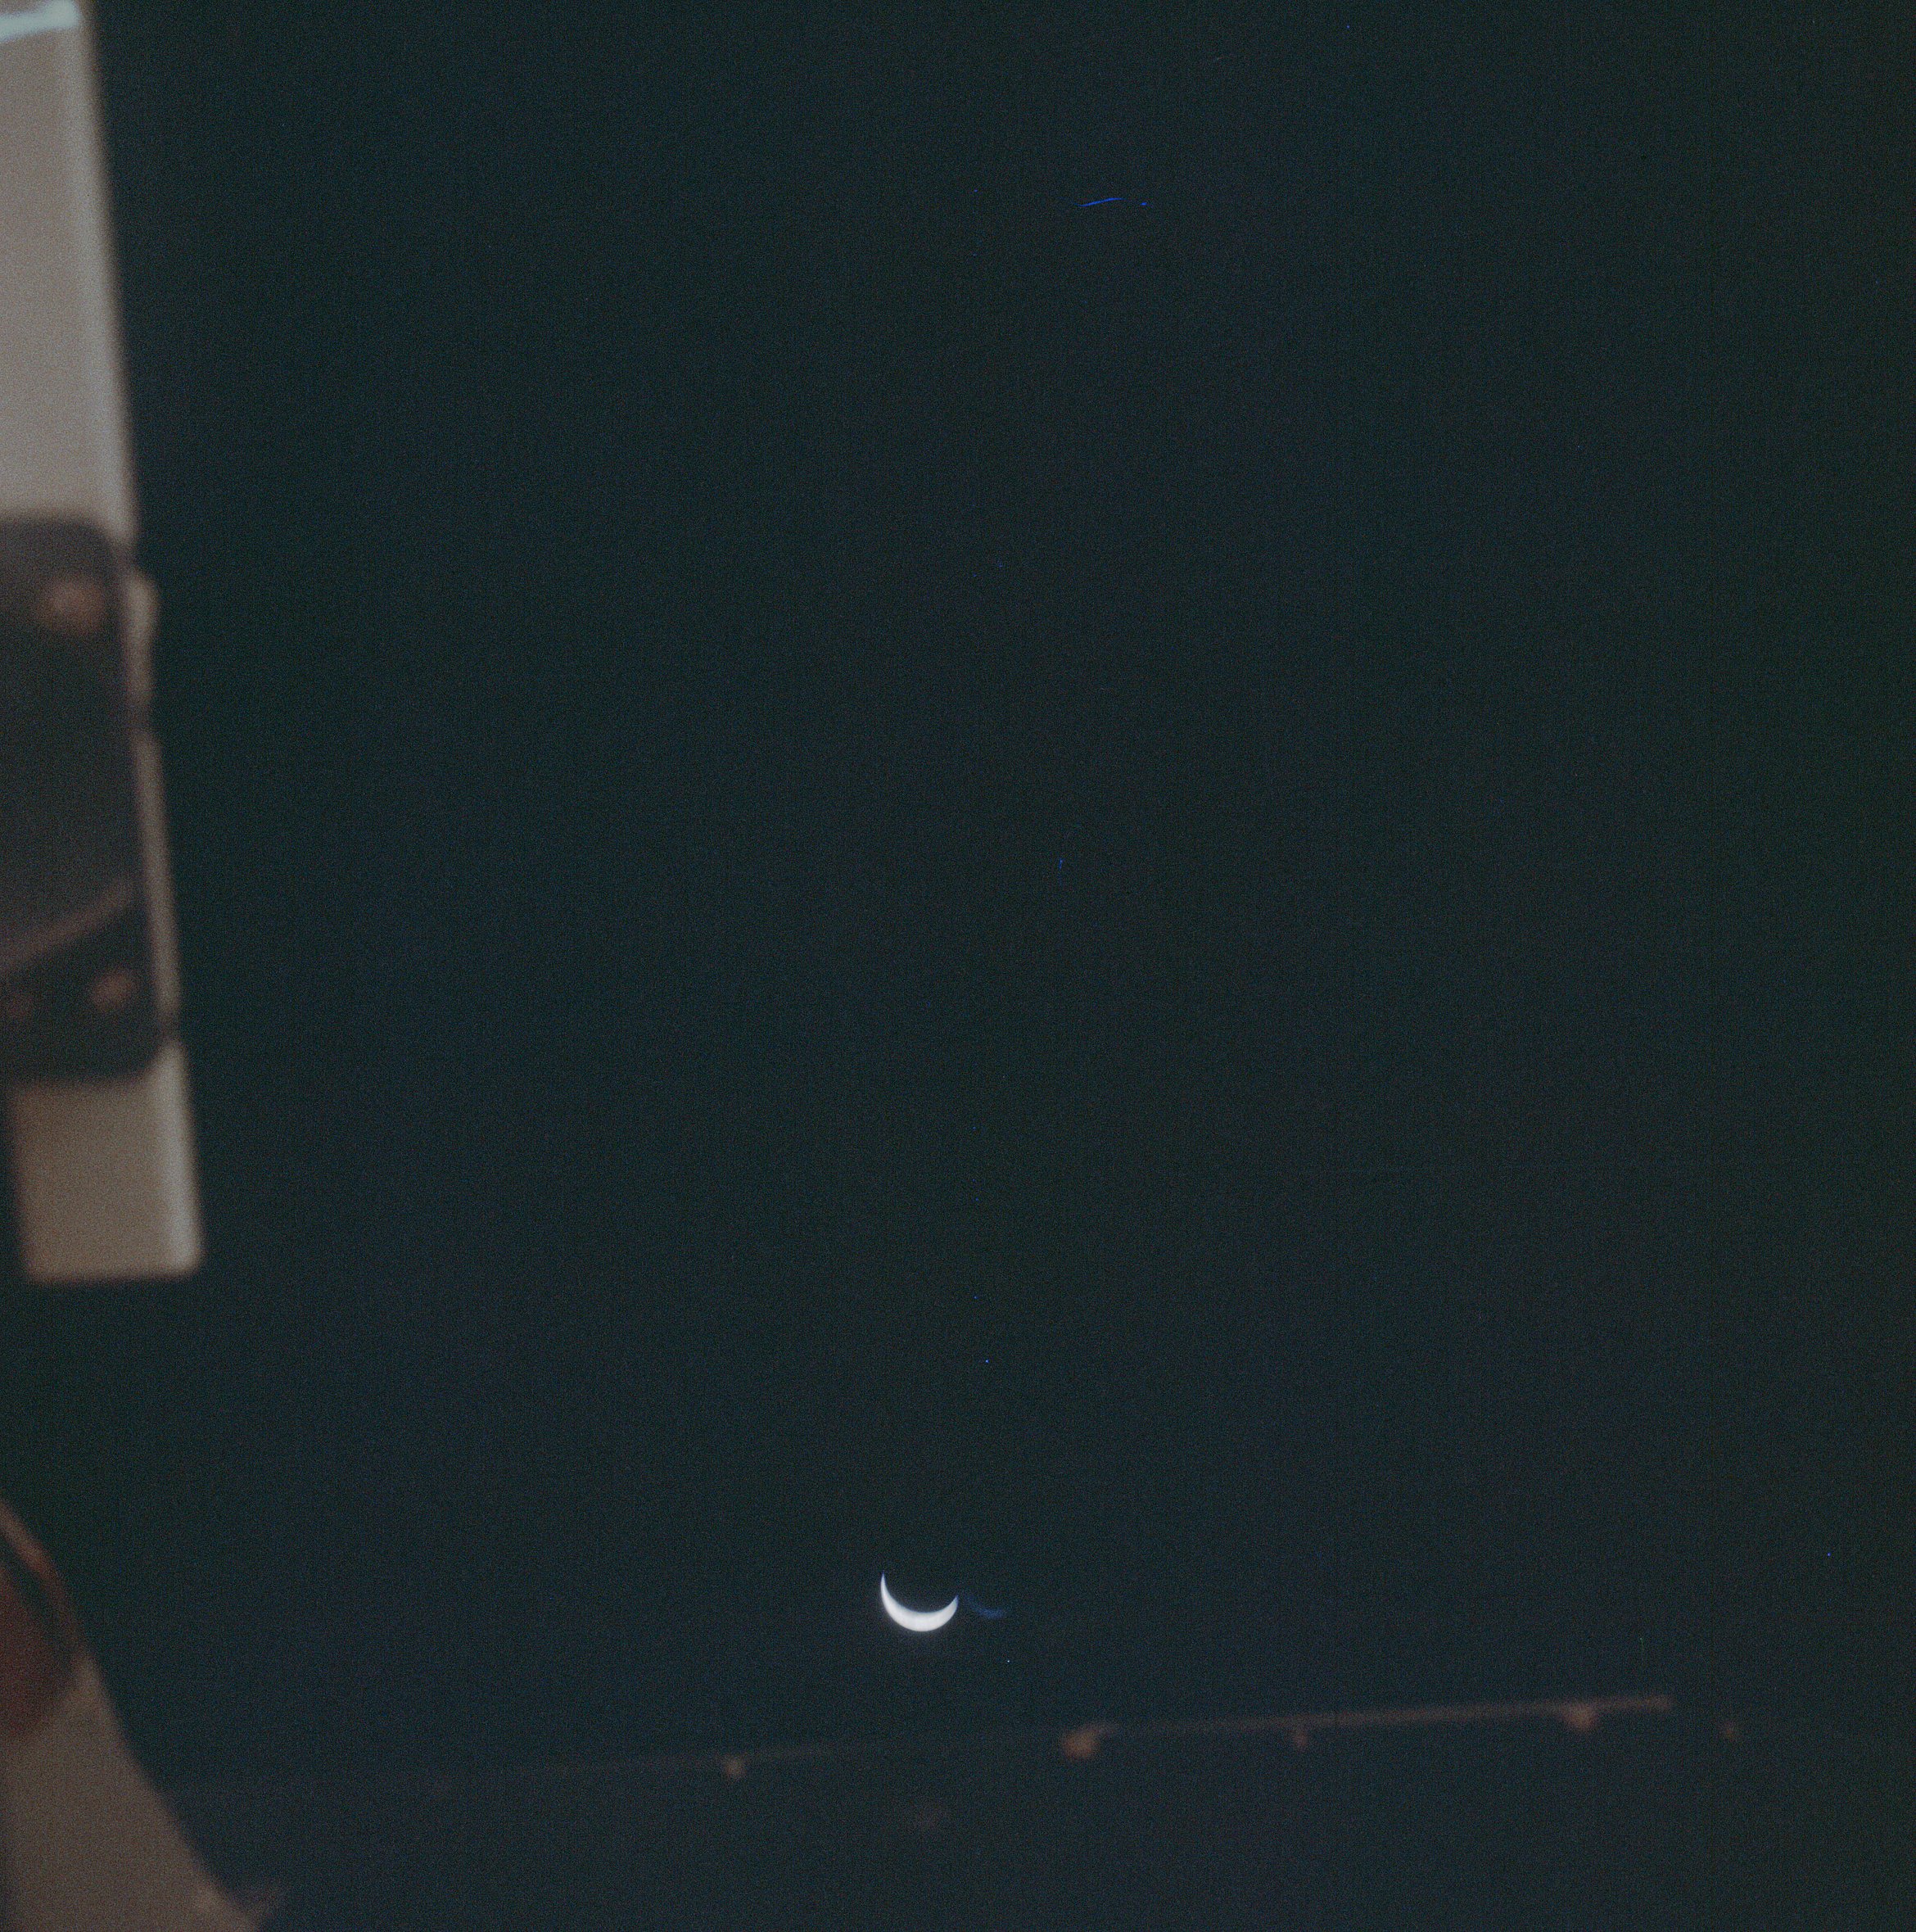 | AS14-66-9332 Earth. Image credit: Image Science and Analysis Laboratory, NASA-Johnson Space Center. |
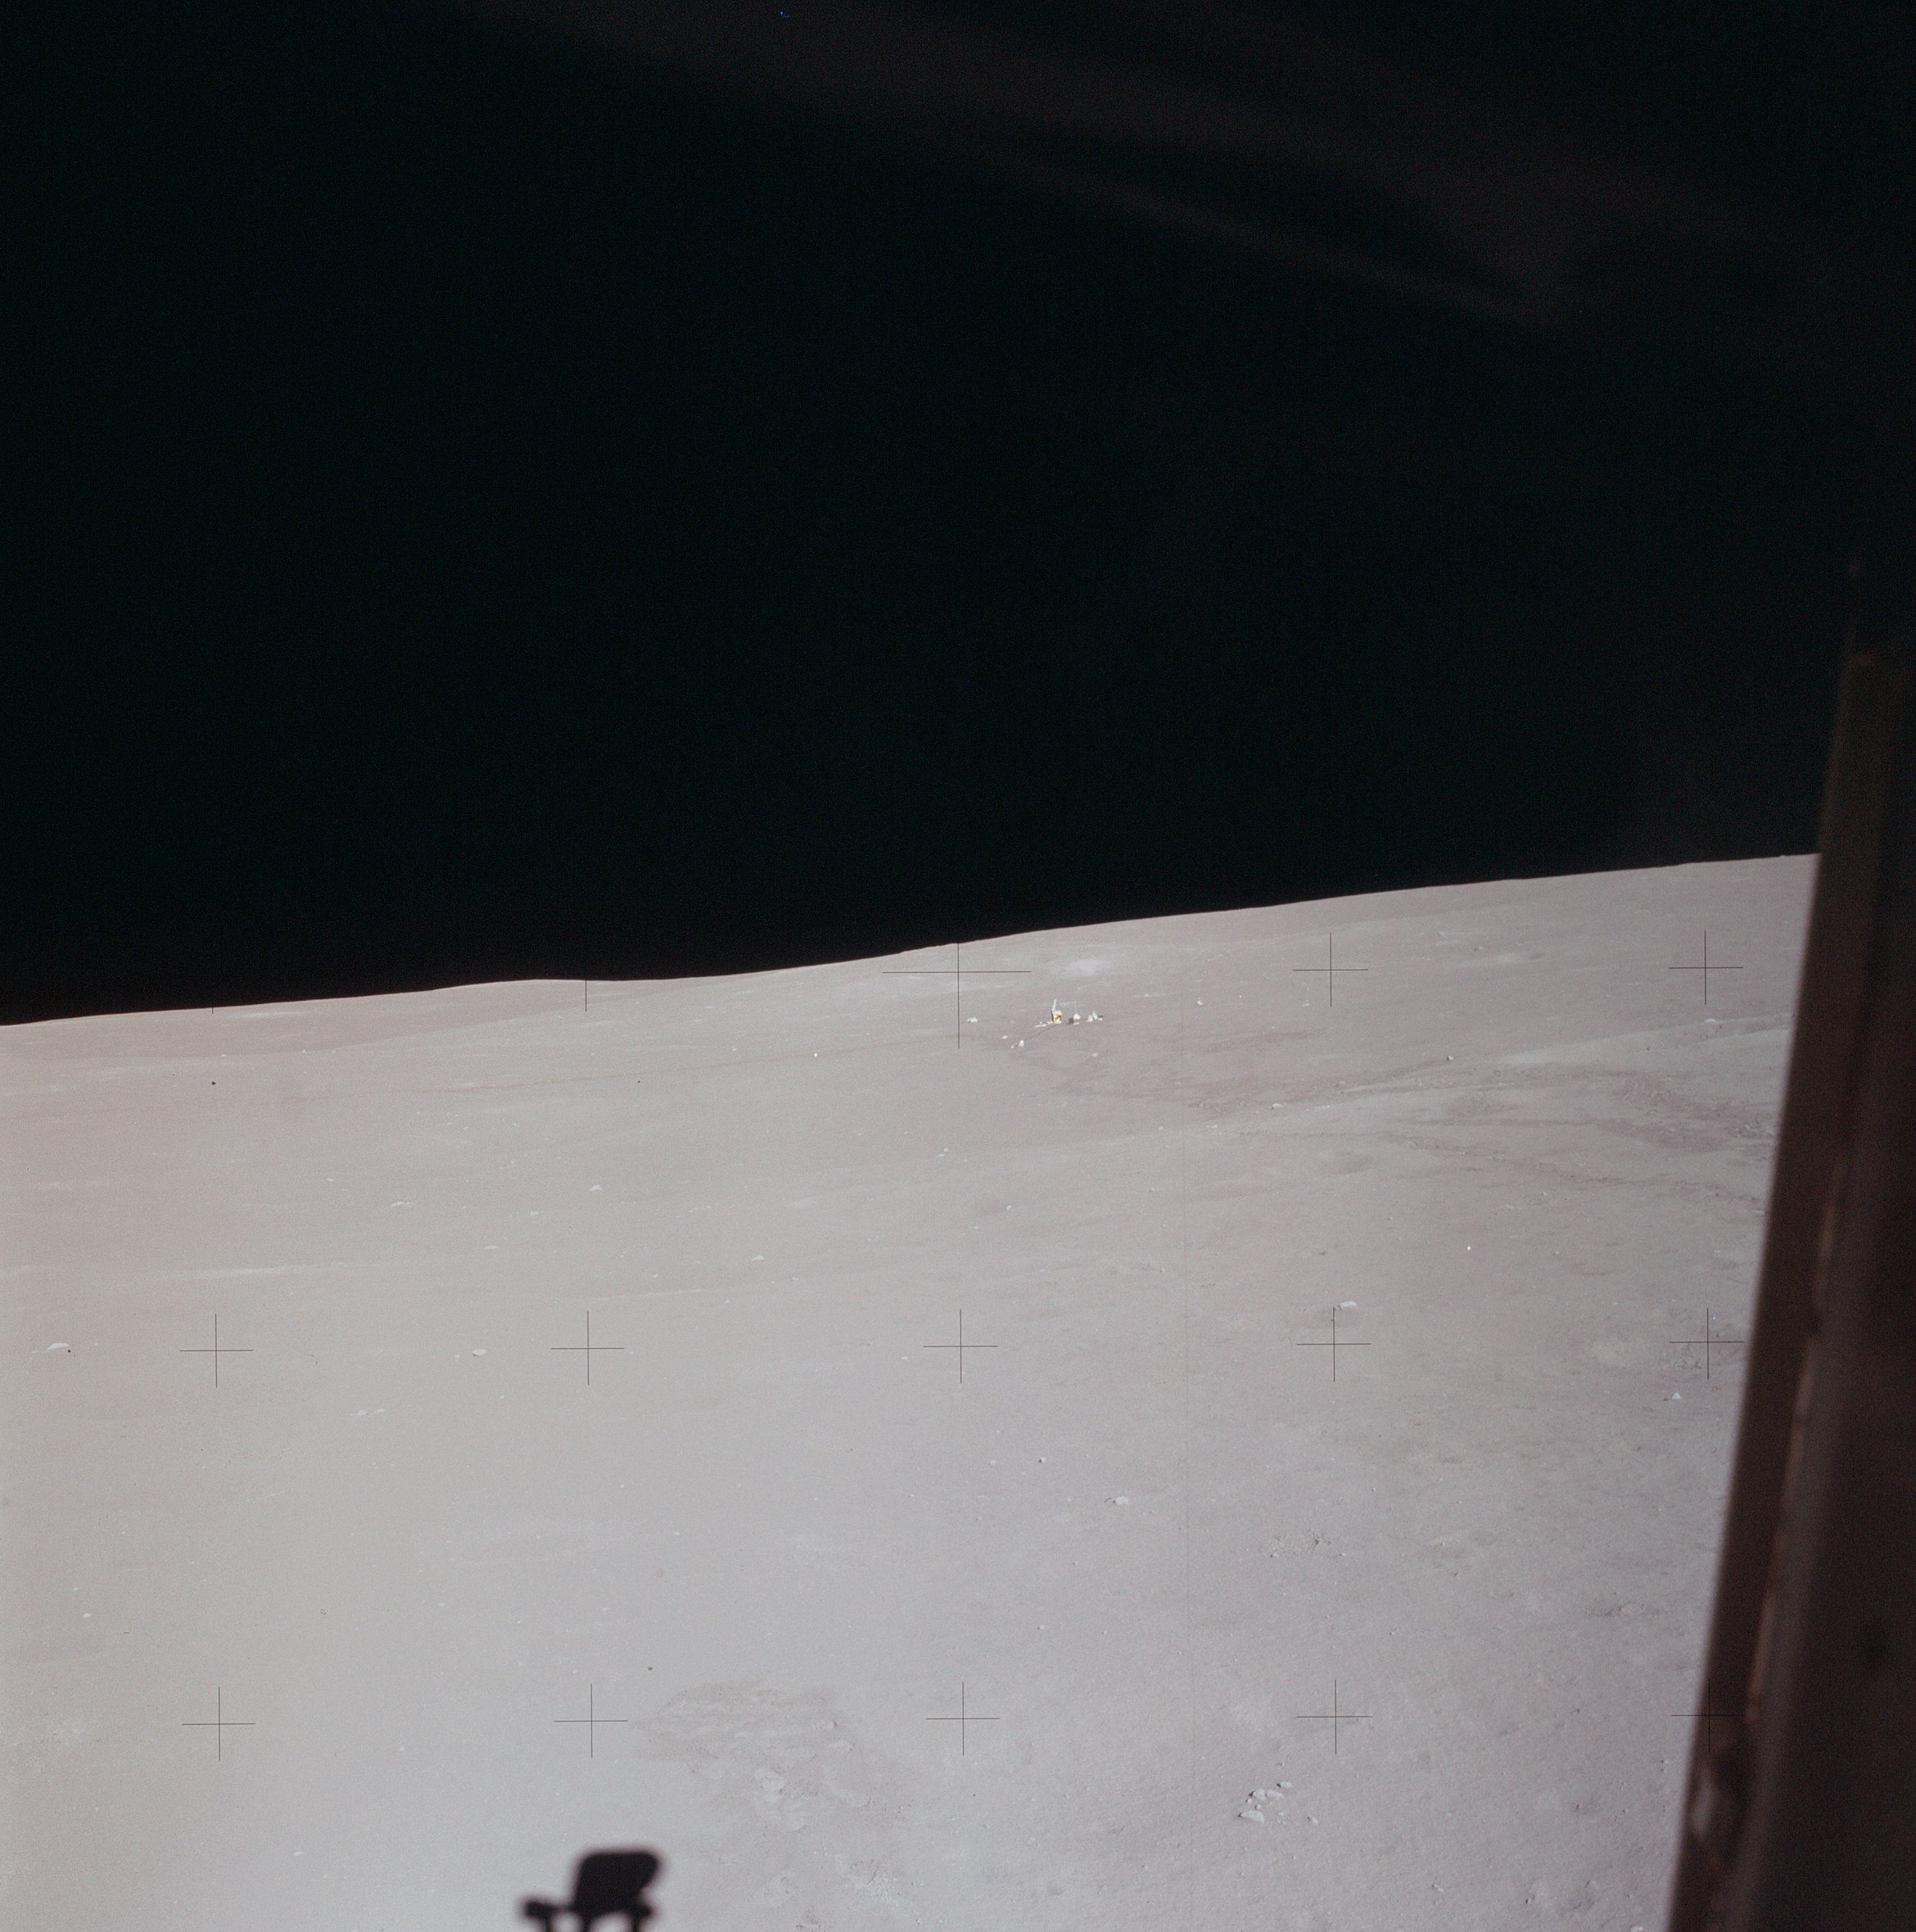 | AS14-66-9333 Shows the ALSEP site out Al's window. Image credit: Image Science and Analysis Laboratory, NASA-Johnson Space Center. |
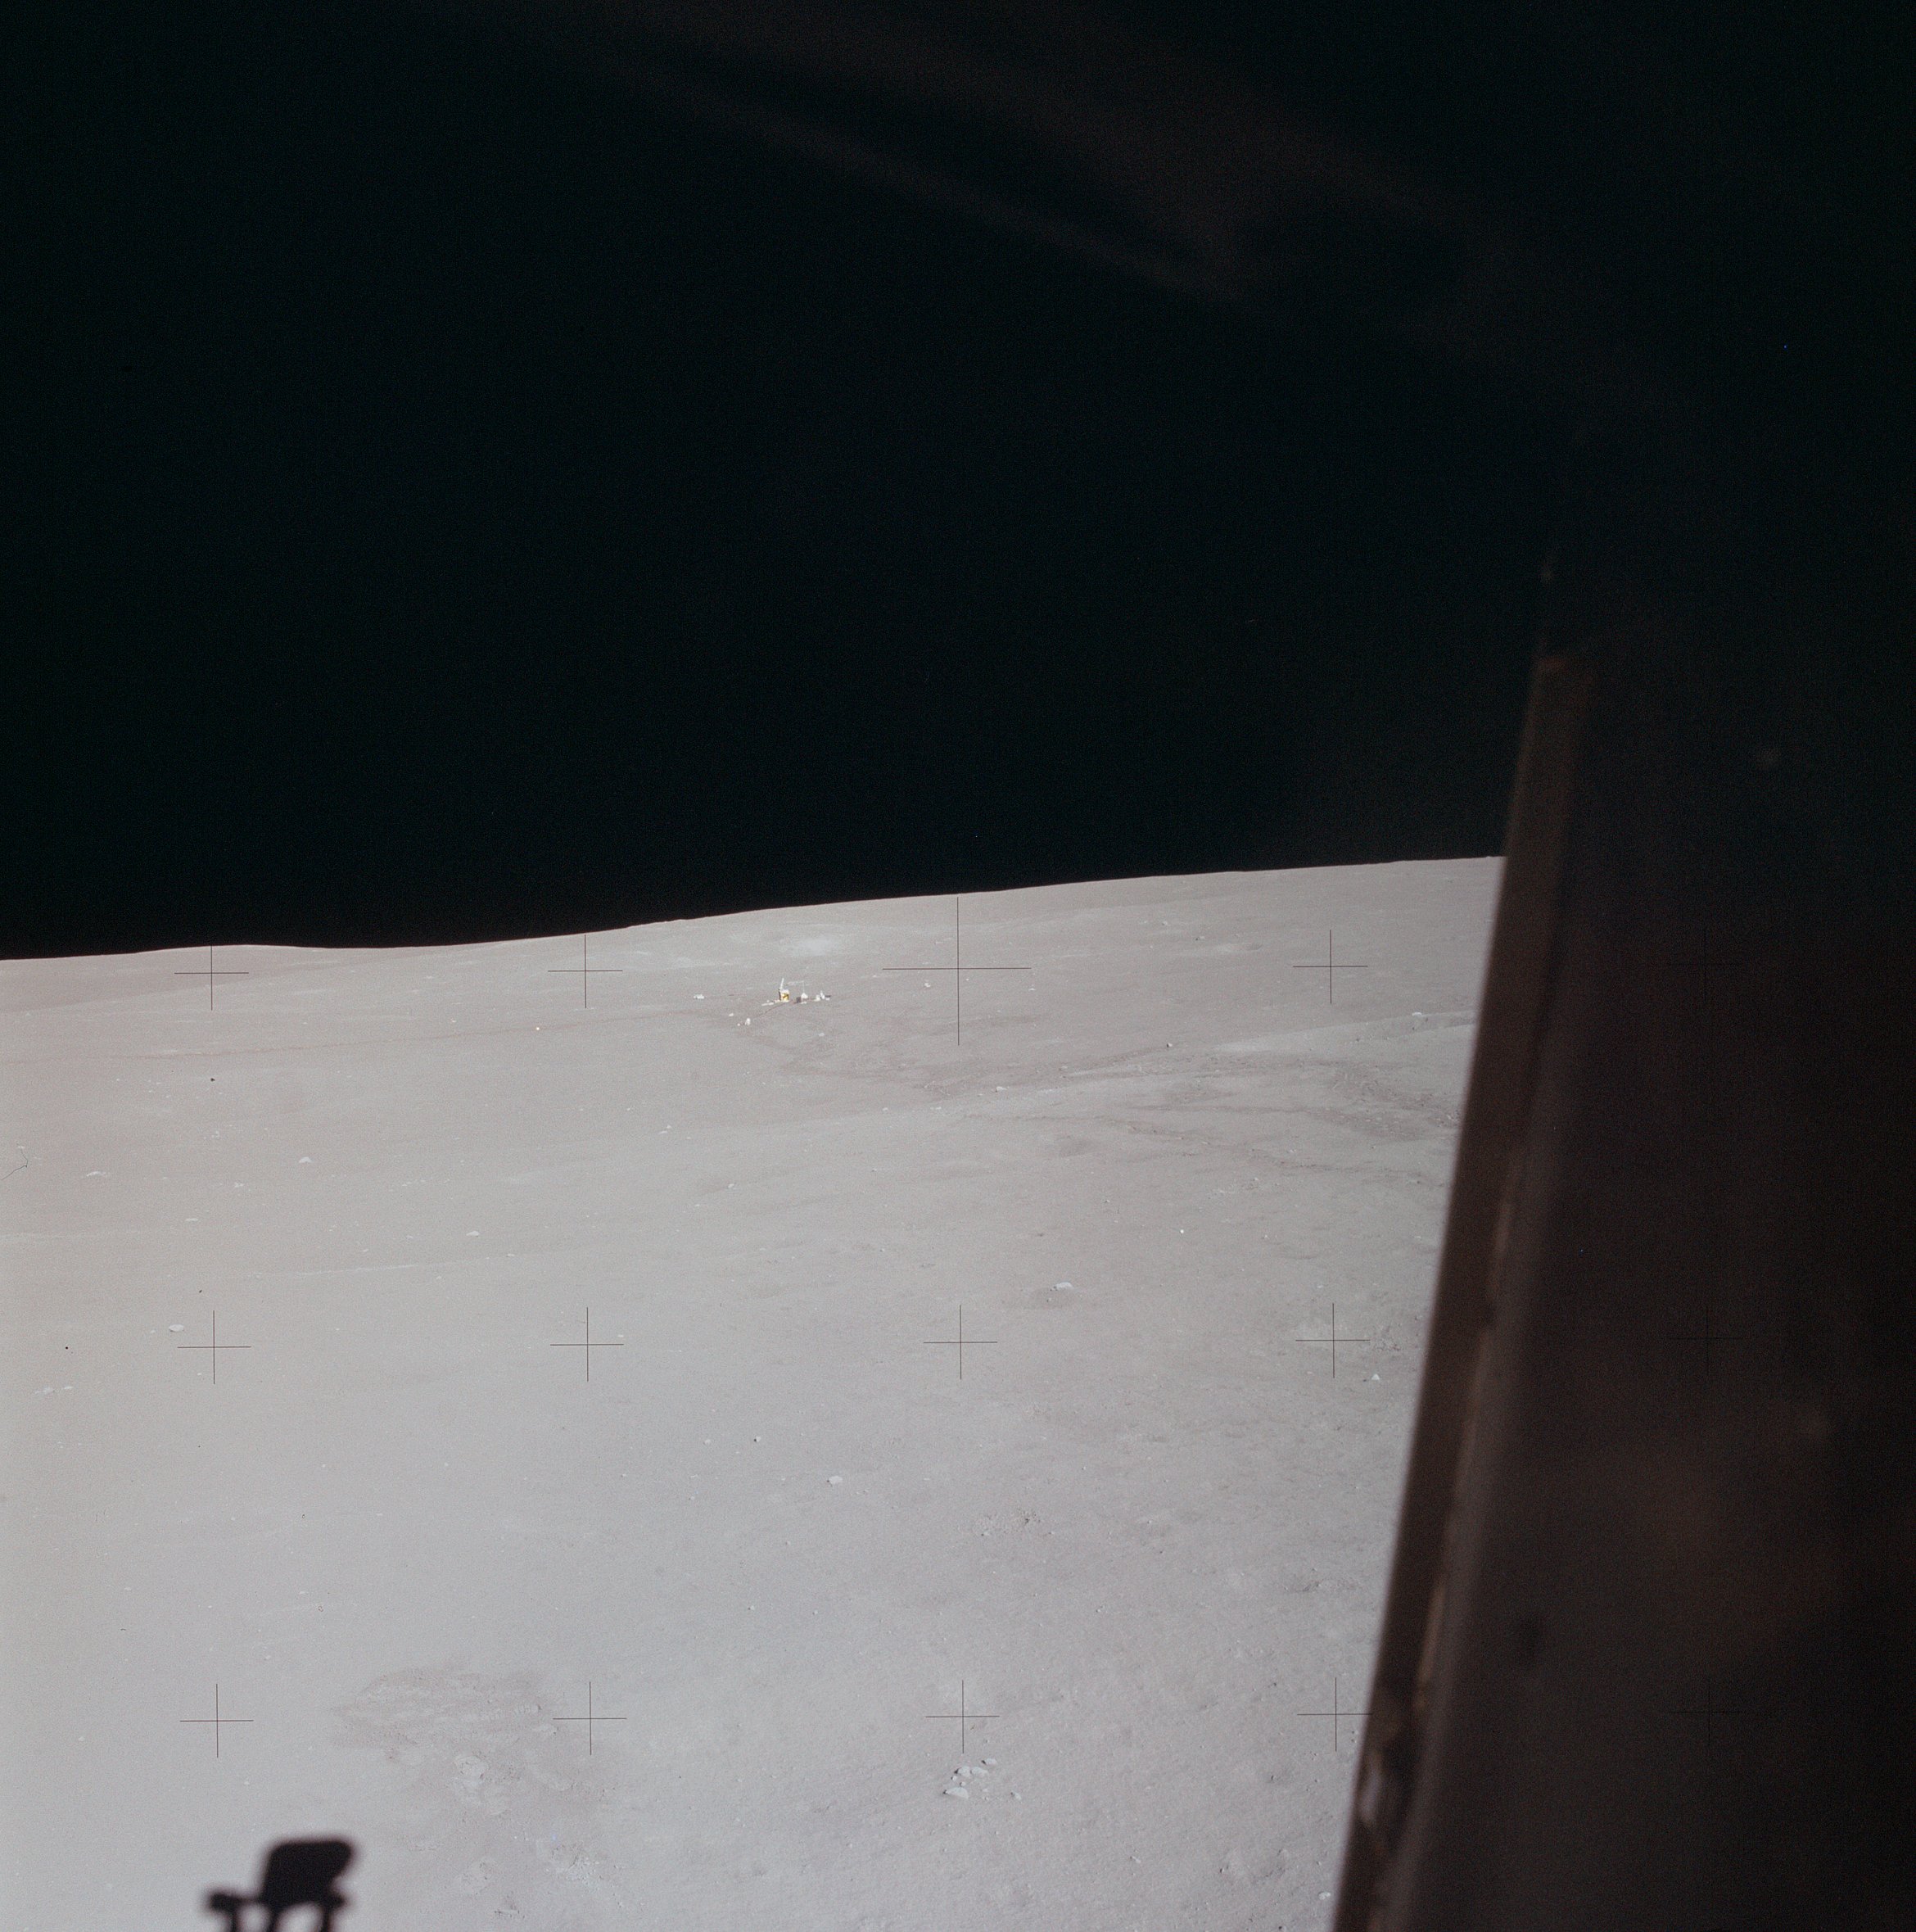 | AS14-66-9334 Similar to 9333. Image credit: Image Science and Analysis Laboratory, NASA-Johnson Space Center. |
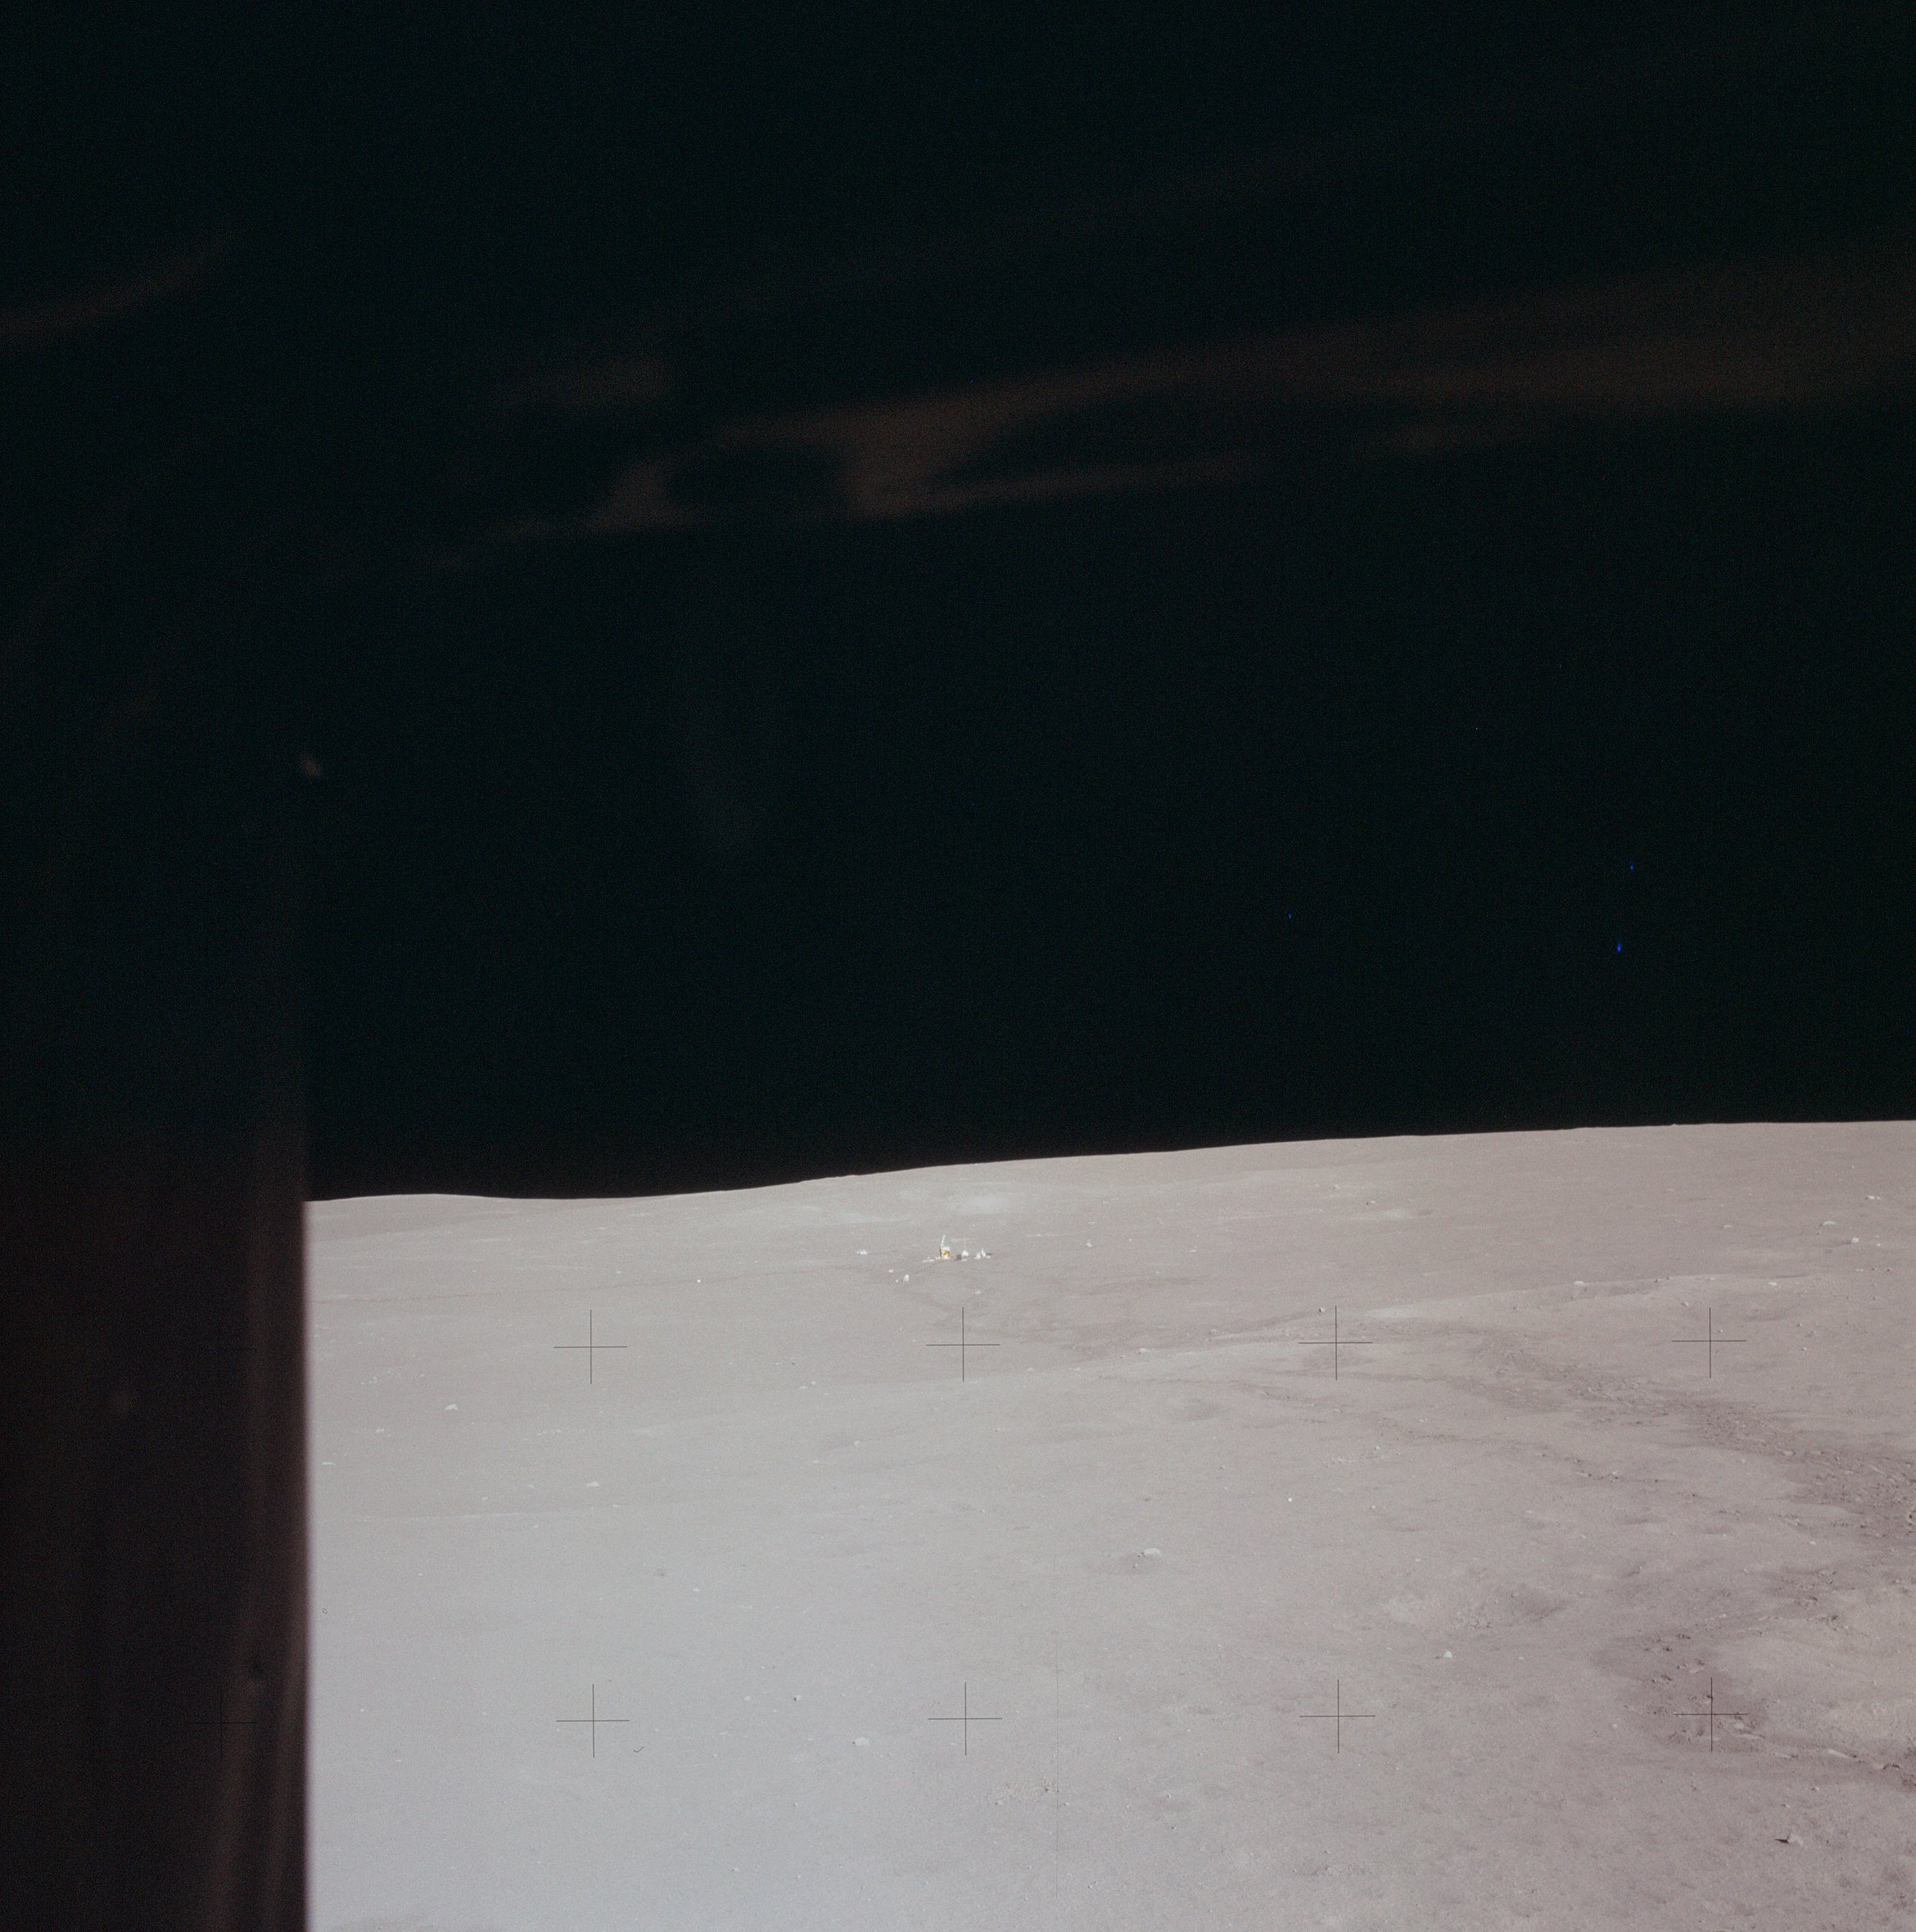 | AS14-66-9335 This frame was probably taken out Ed's window, a conclusion based on the relative azimuths of some small foreground rocks and the ALSEP instruments. Image credit: Image Science and Analysis Laboratory, NASA-Johnson Space Center. |
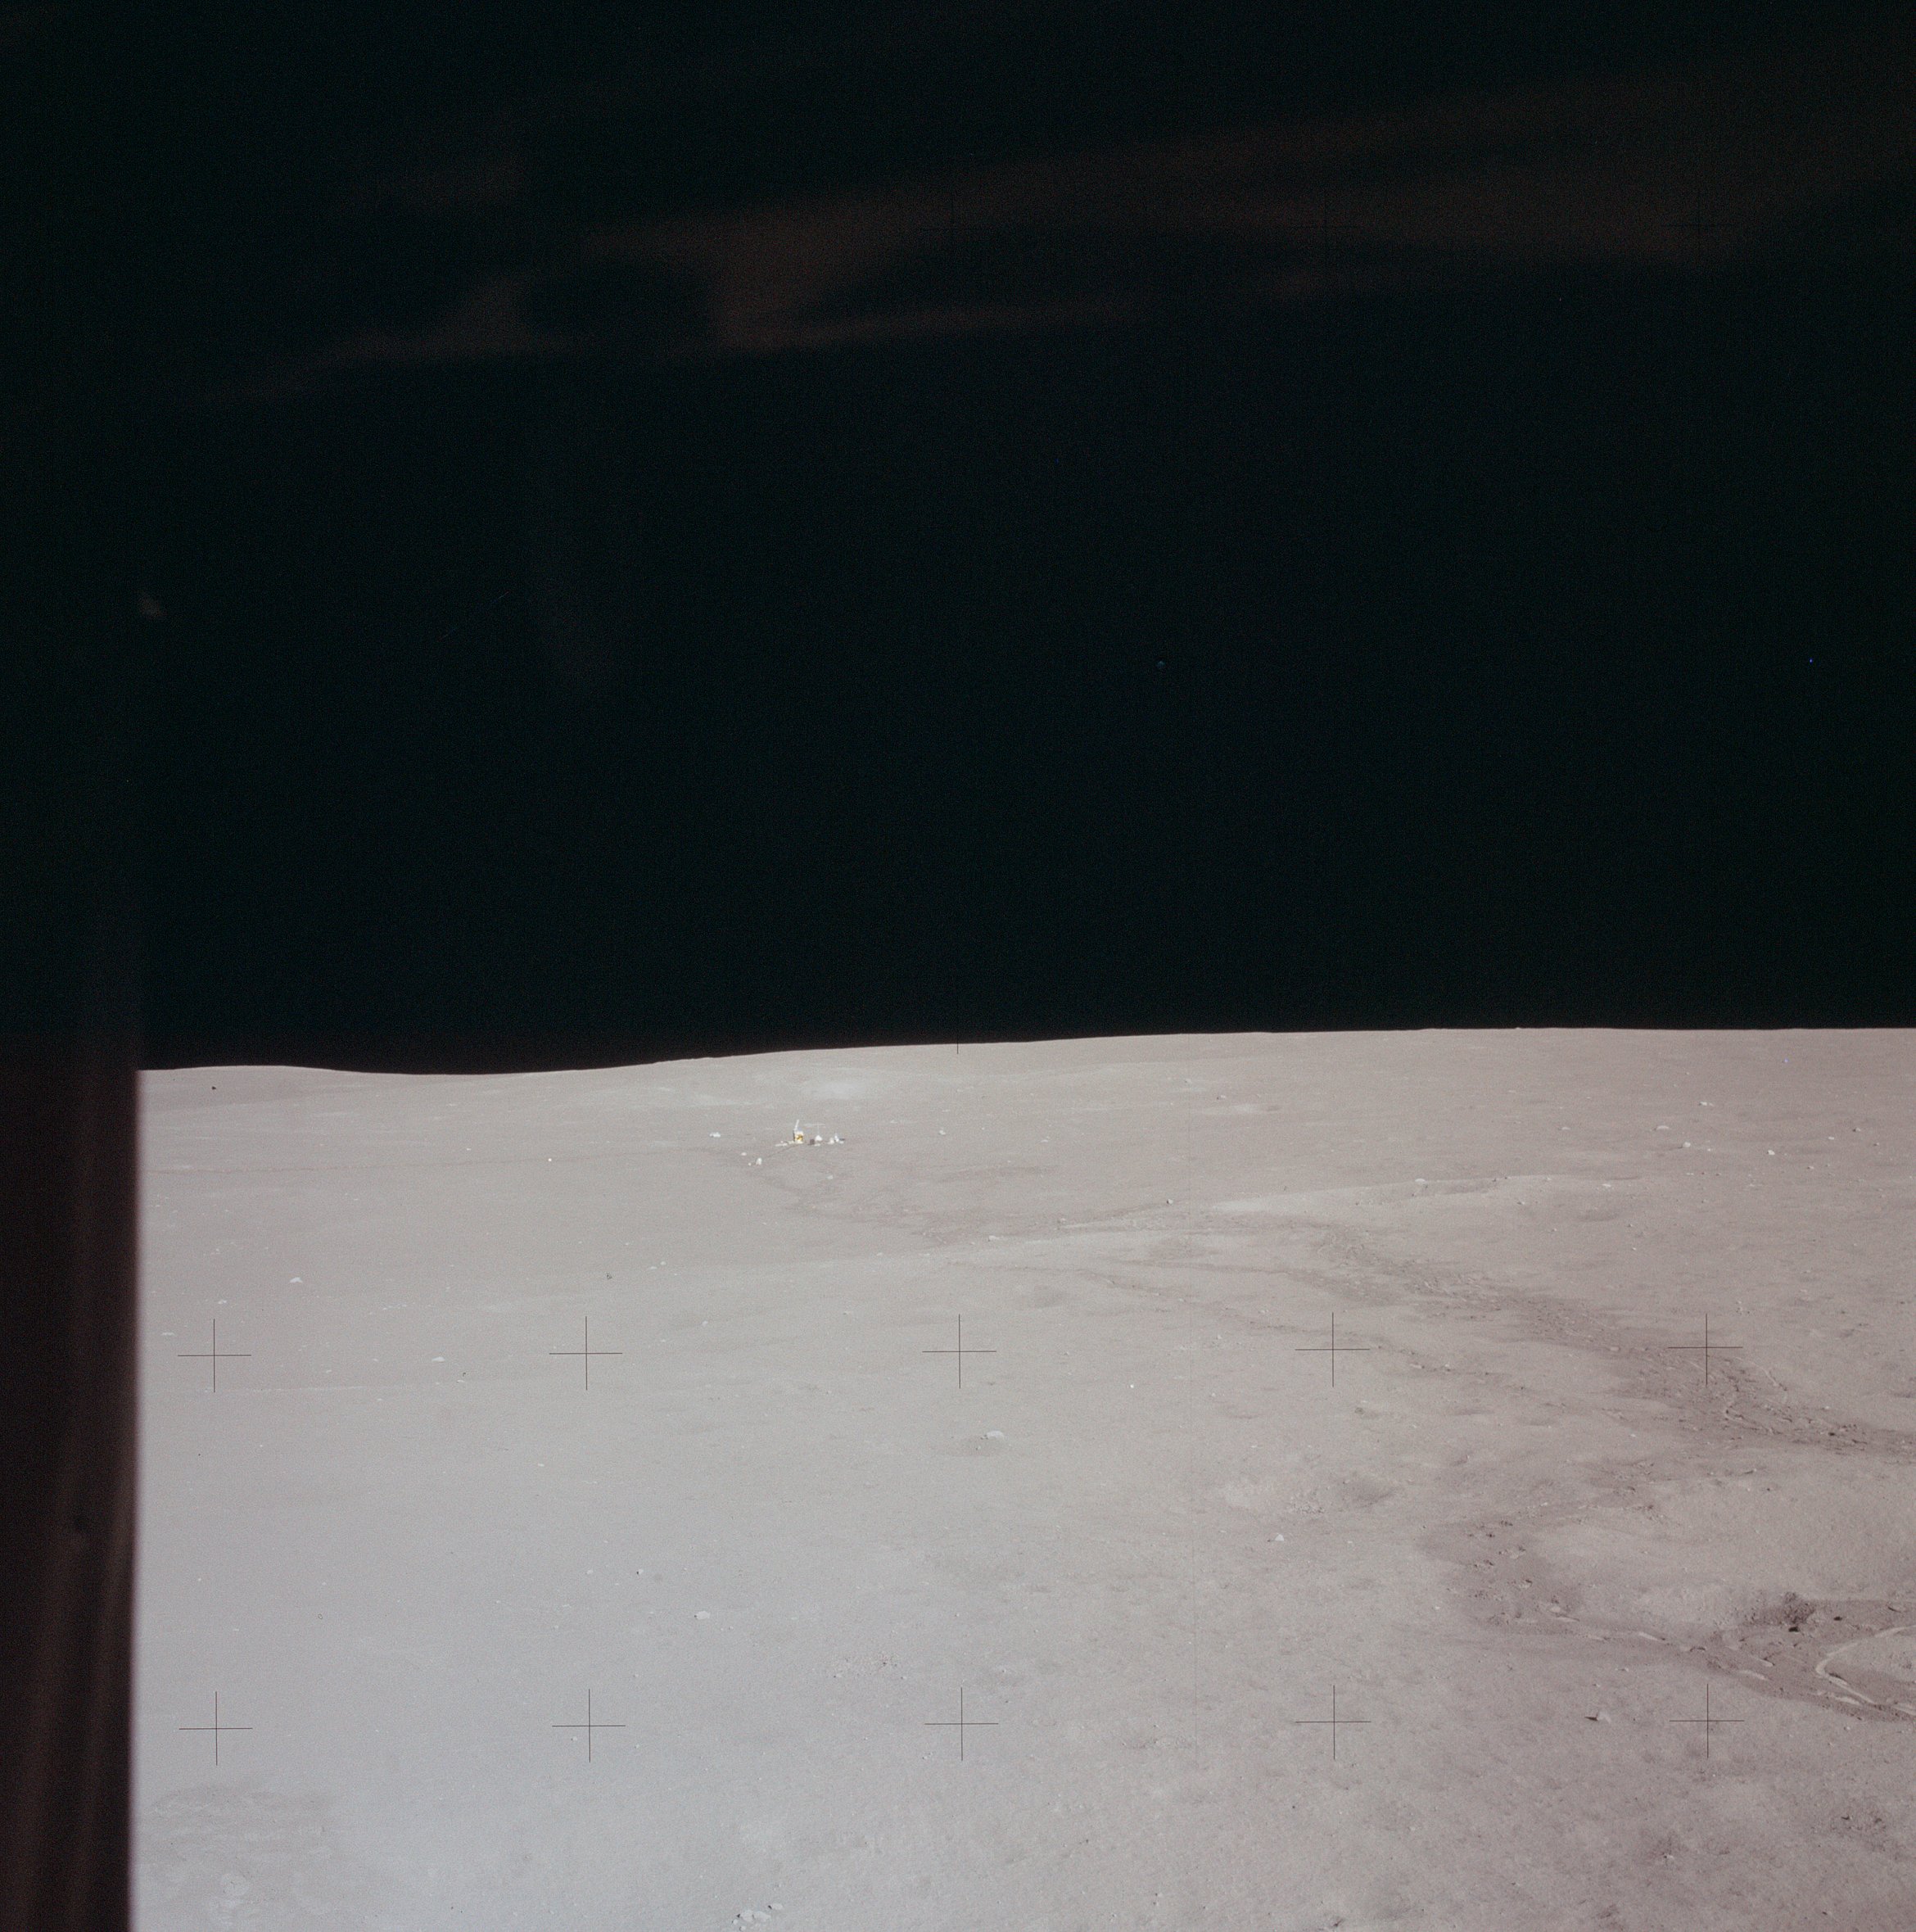 | AS14-66-9336 Similar to 9335. Image credit: Image Science and Analysis Laboratory, NASA-Johnson Space Center. |
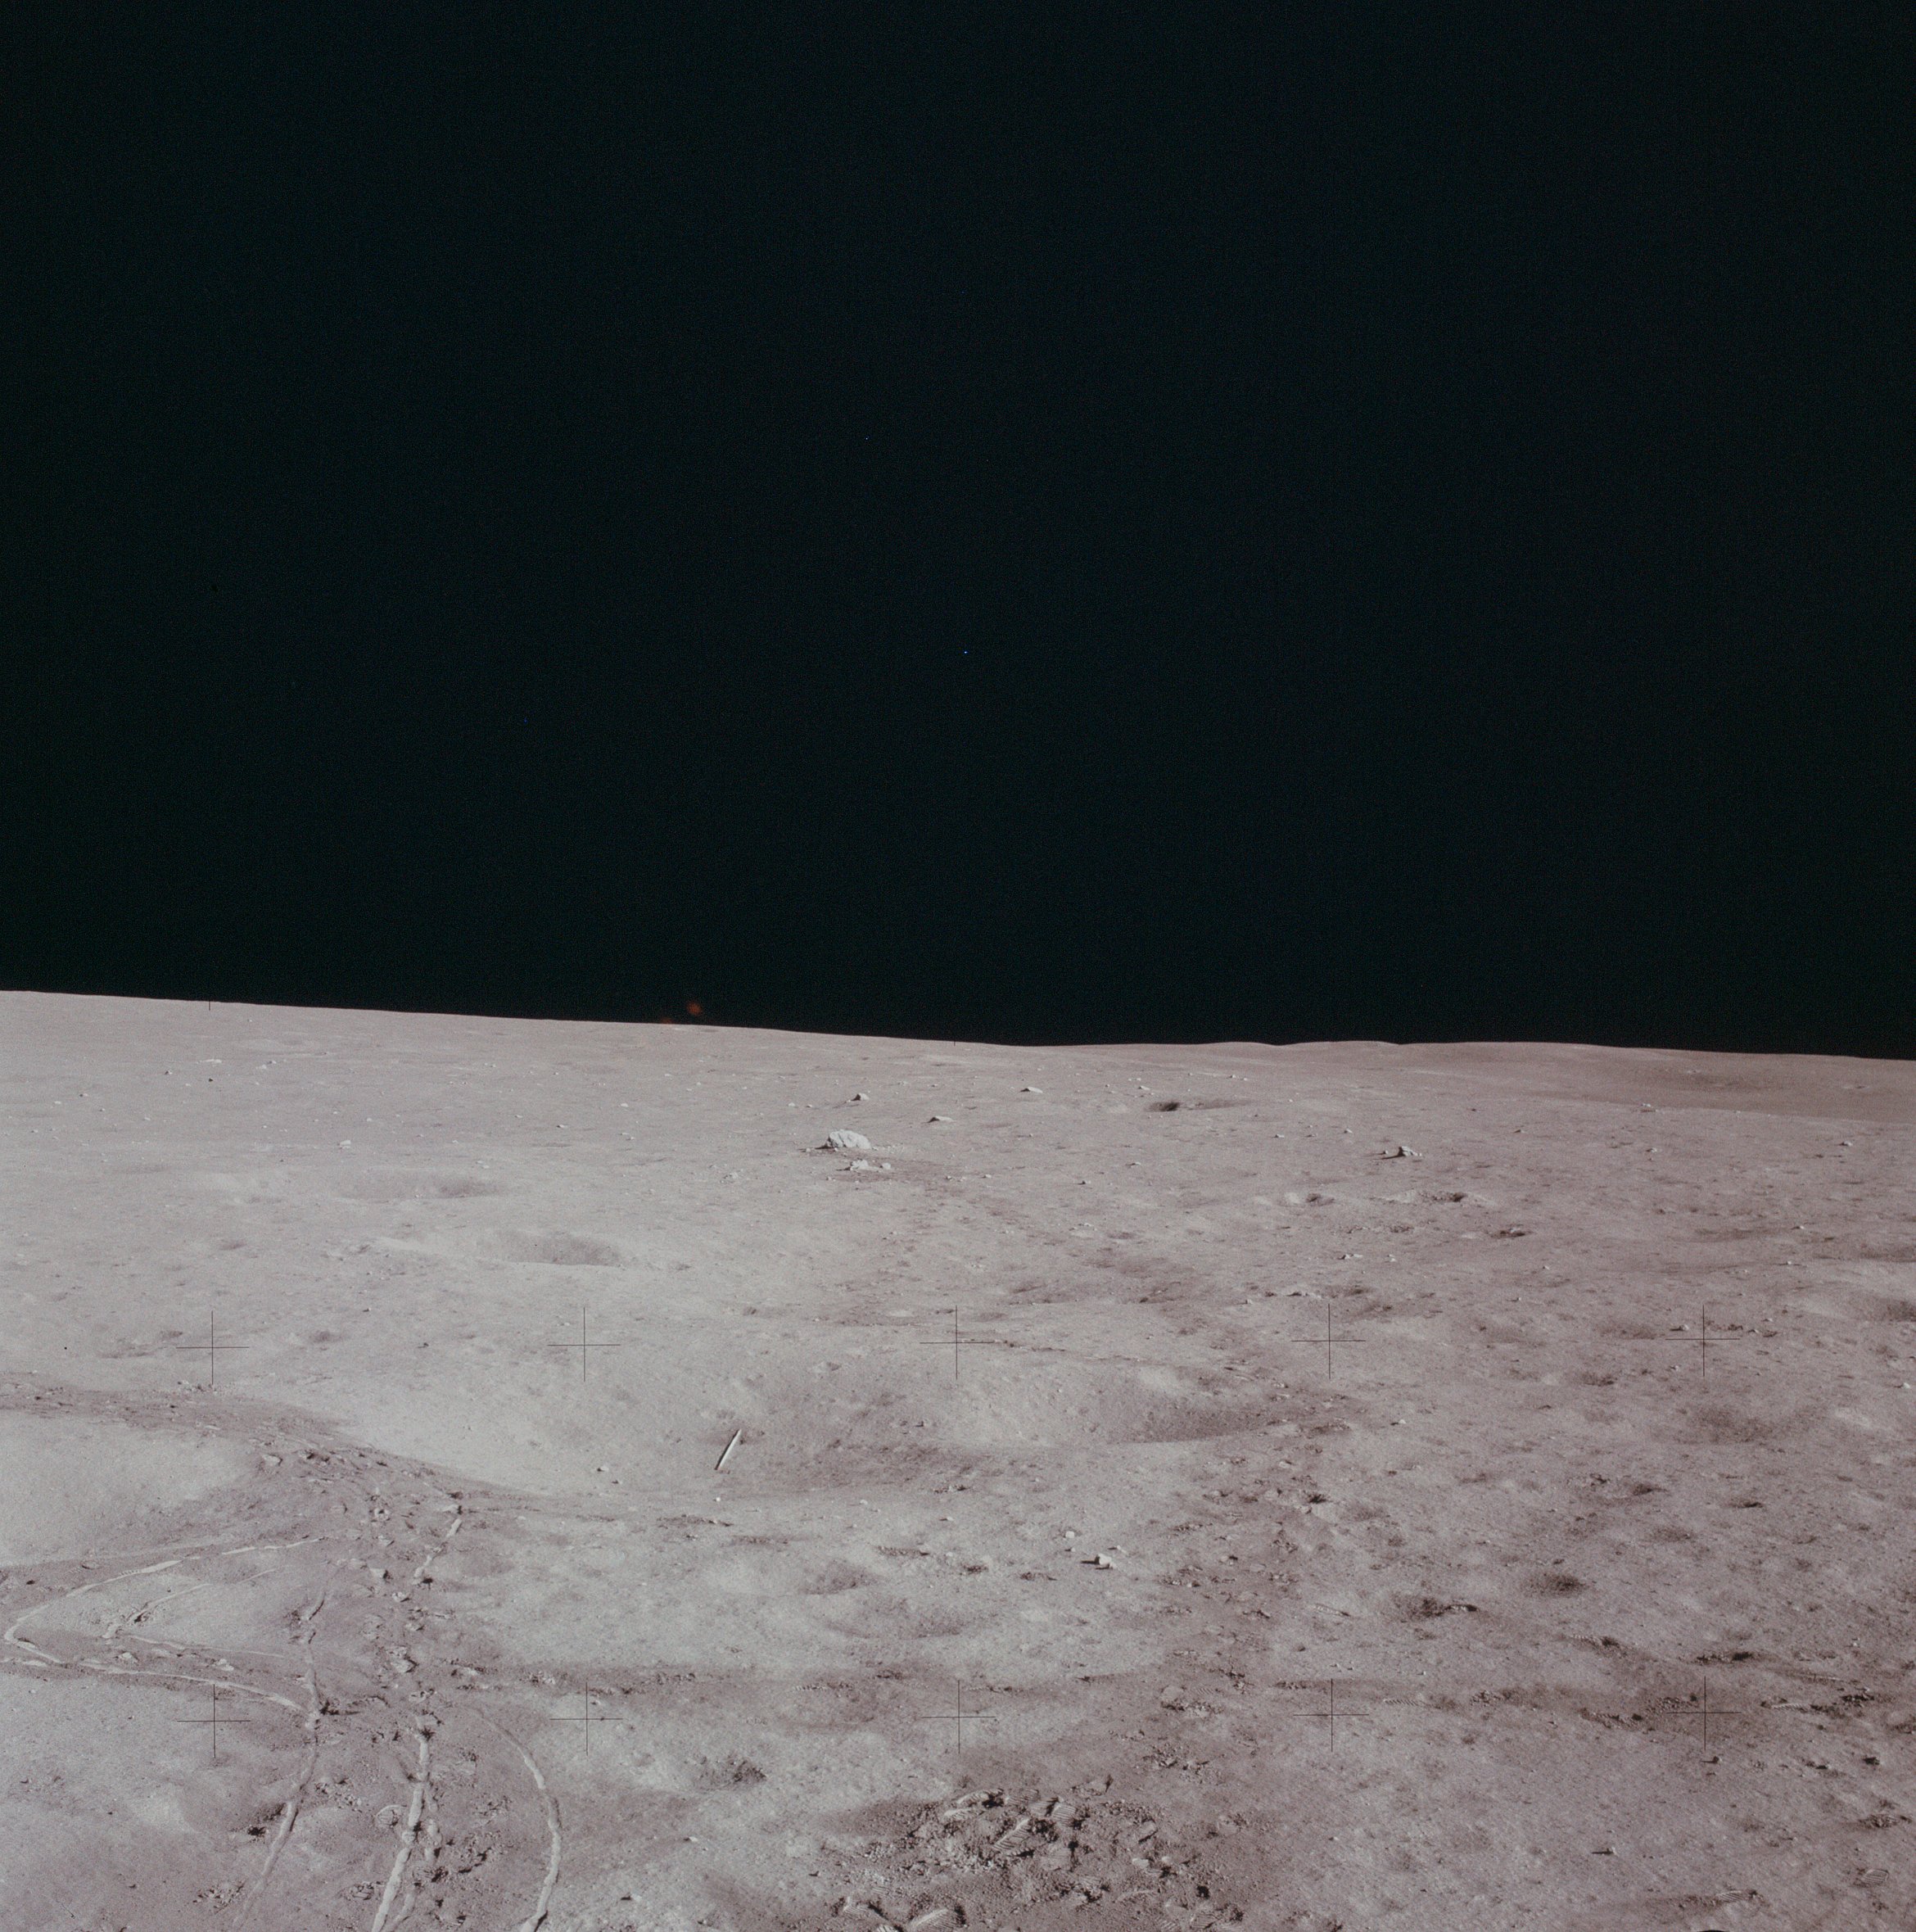 | AS14-66-9337 Post-EVA-2 photo out Ed's window showing the 'javelin' and one of the golf balls in a crater northwest of the LM. Image credit: Image Science and Analysis Laboratory, NASA-Johnson Space Center. |
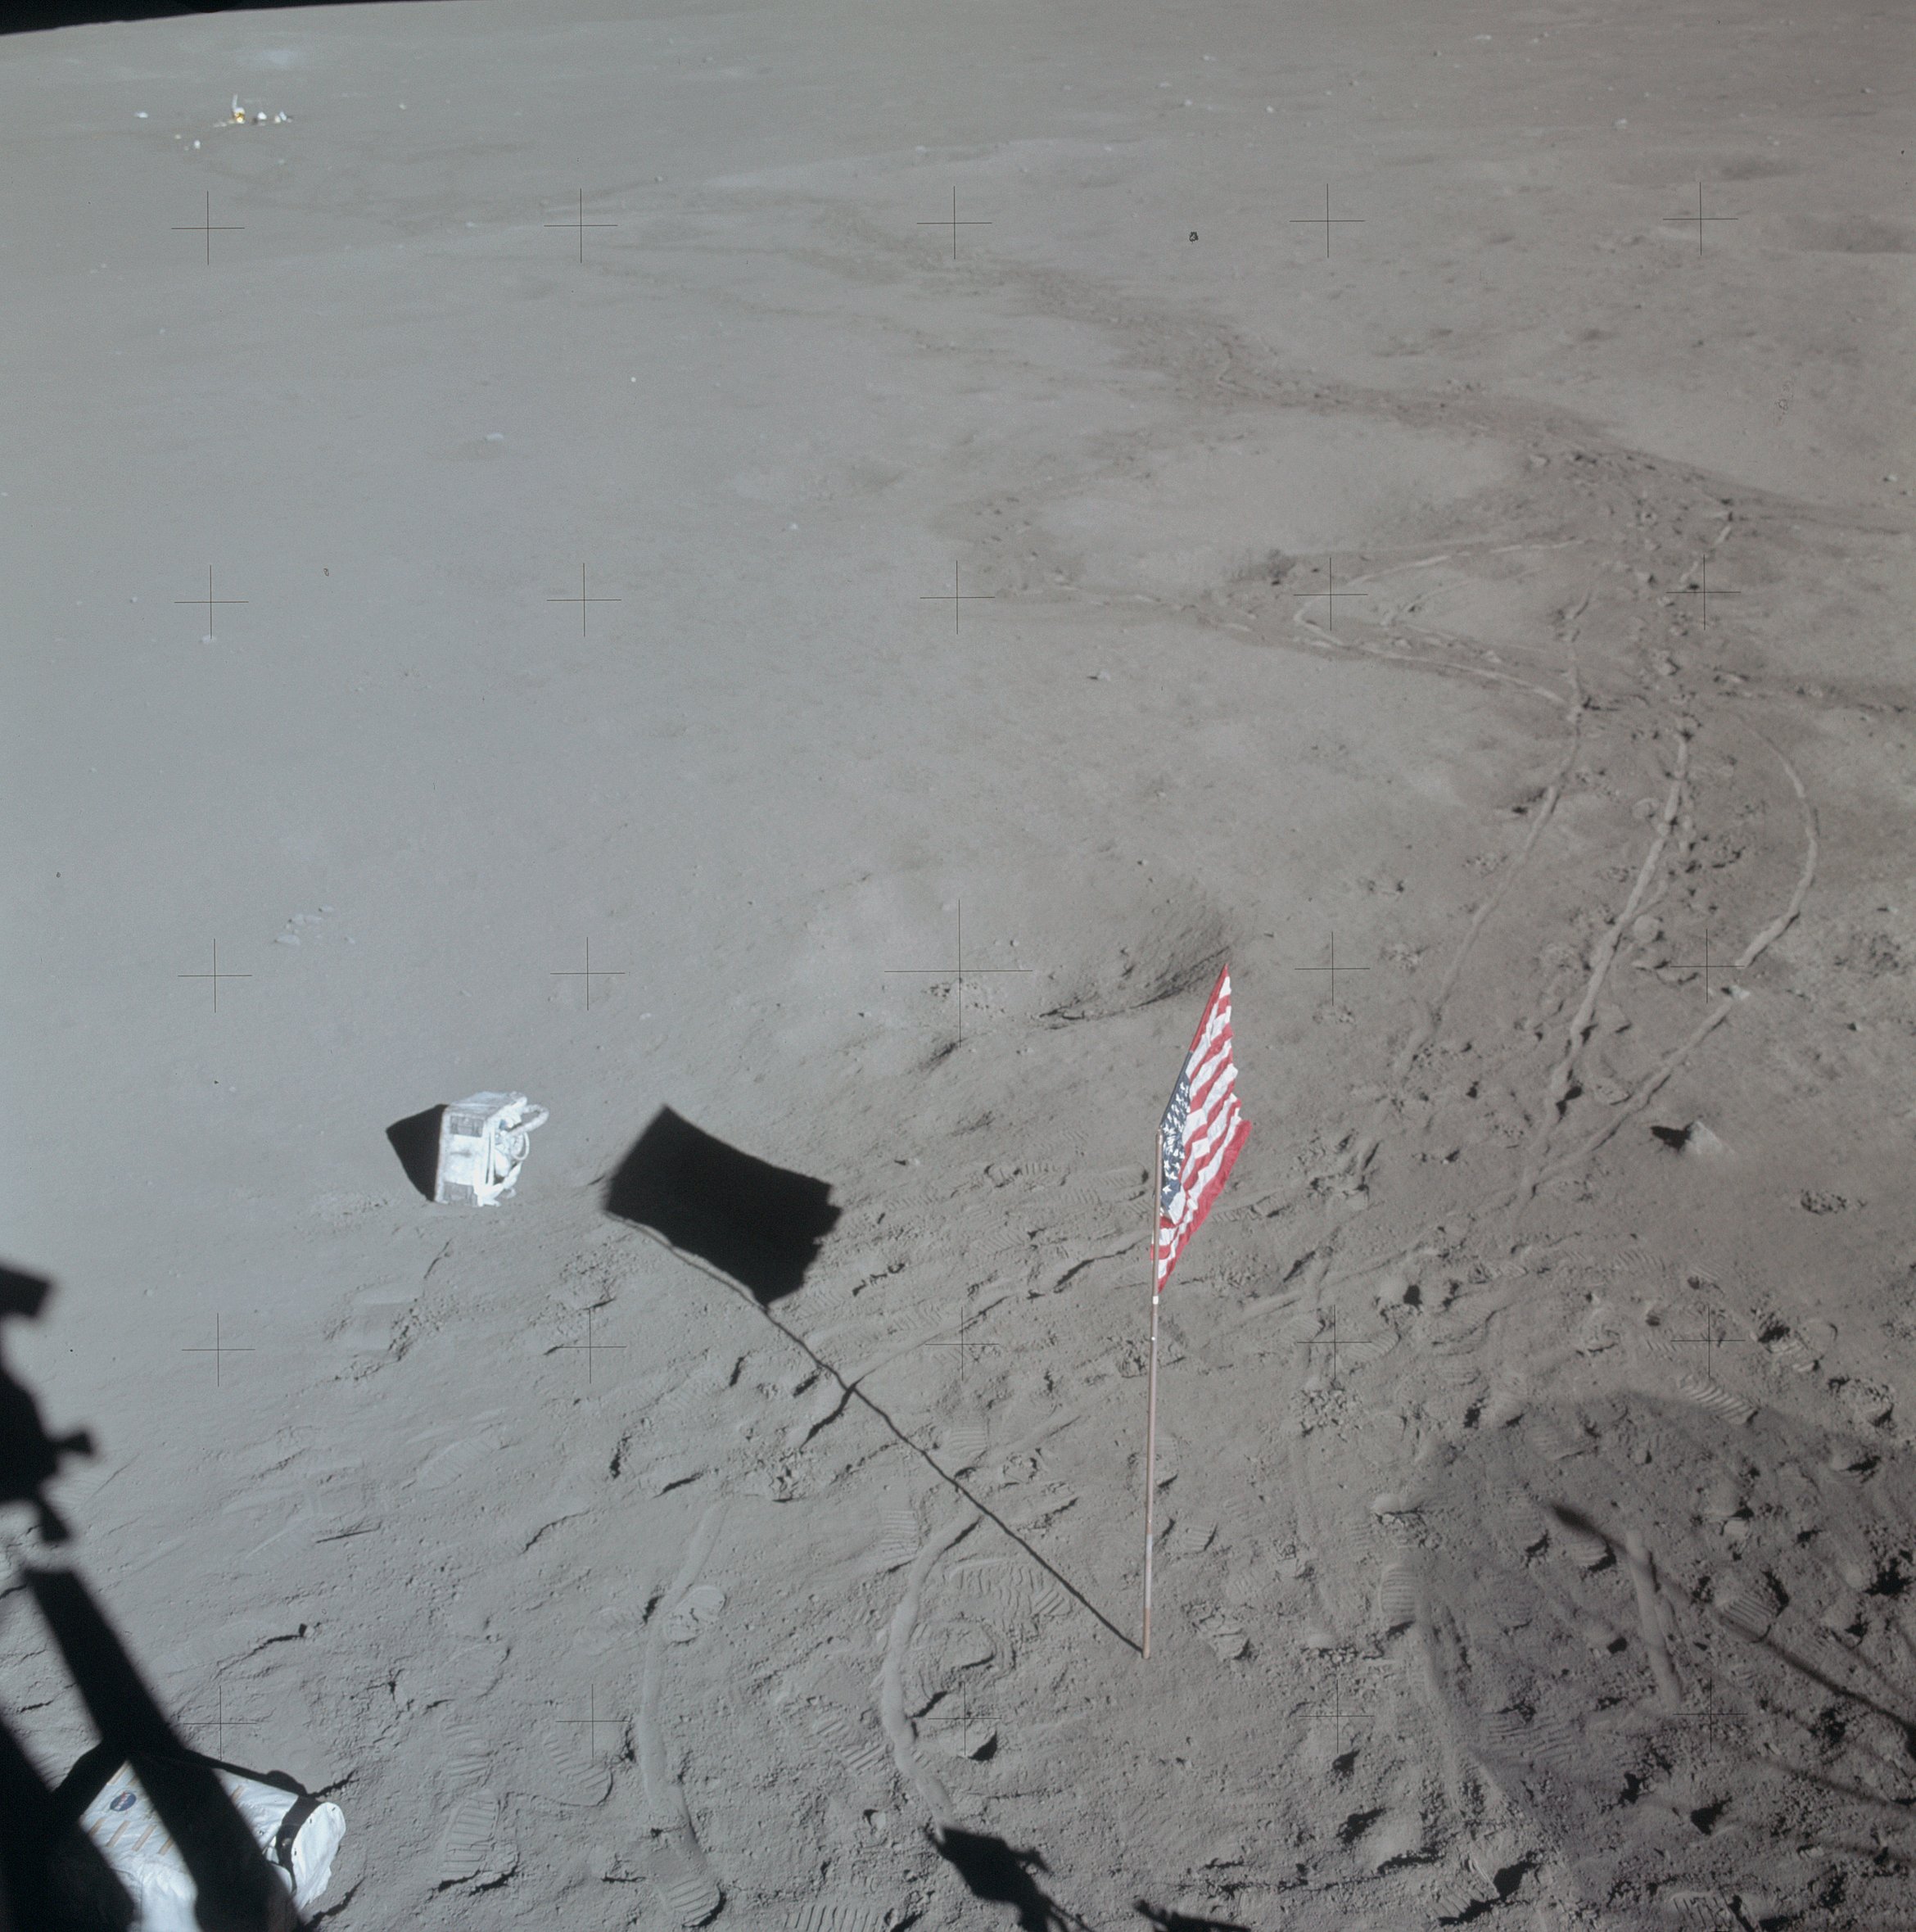 | AS14-66-9338 Ed Mitchell took this splendid picture after he and Al Shepard jettisoned the PLSSs in preparation for launch. Image credit: Image Science and Analysis Laboratory, NASA-Johnson Space Center. |
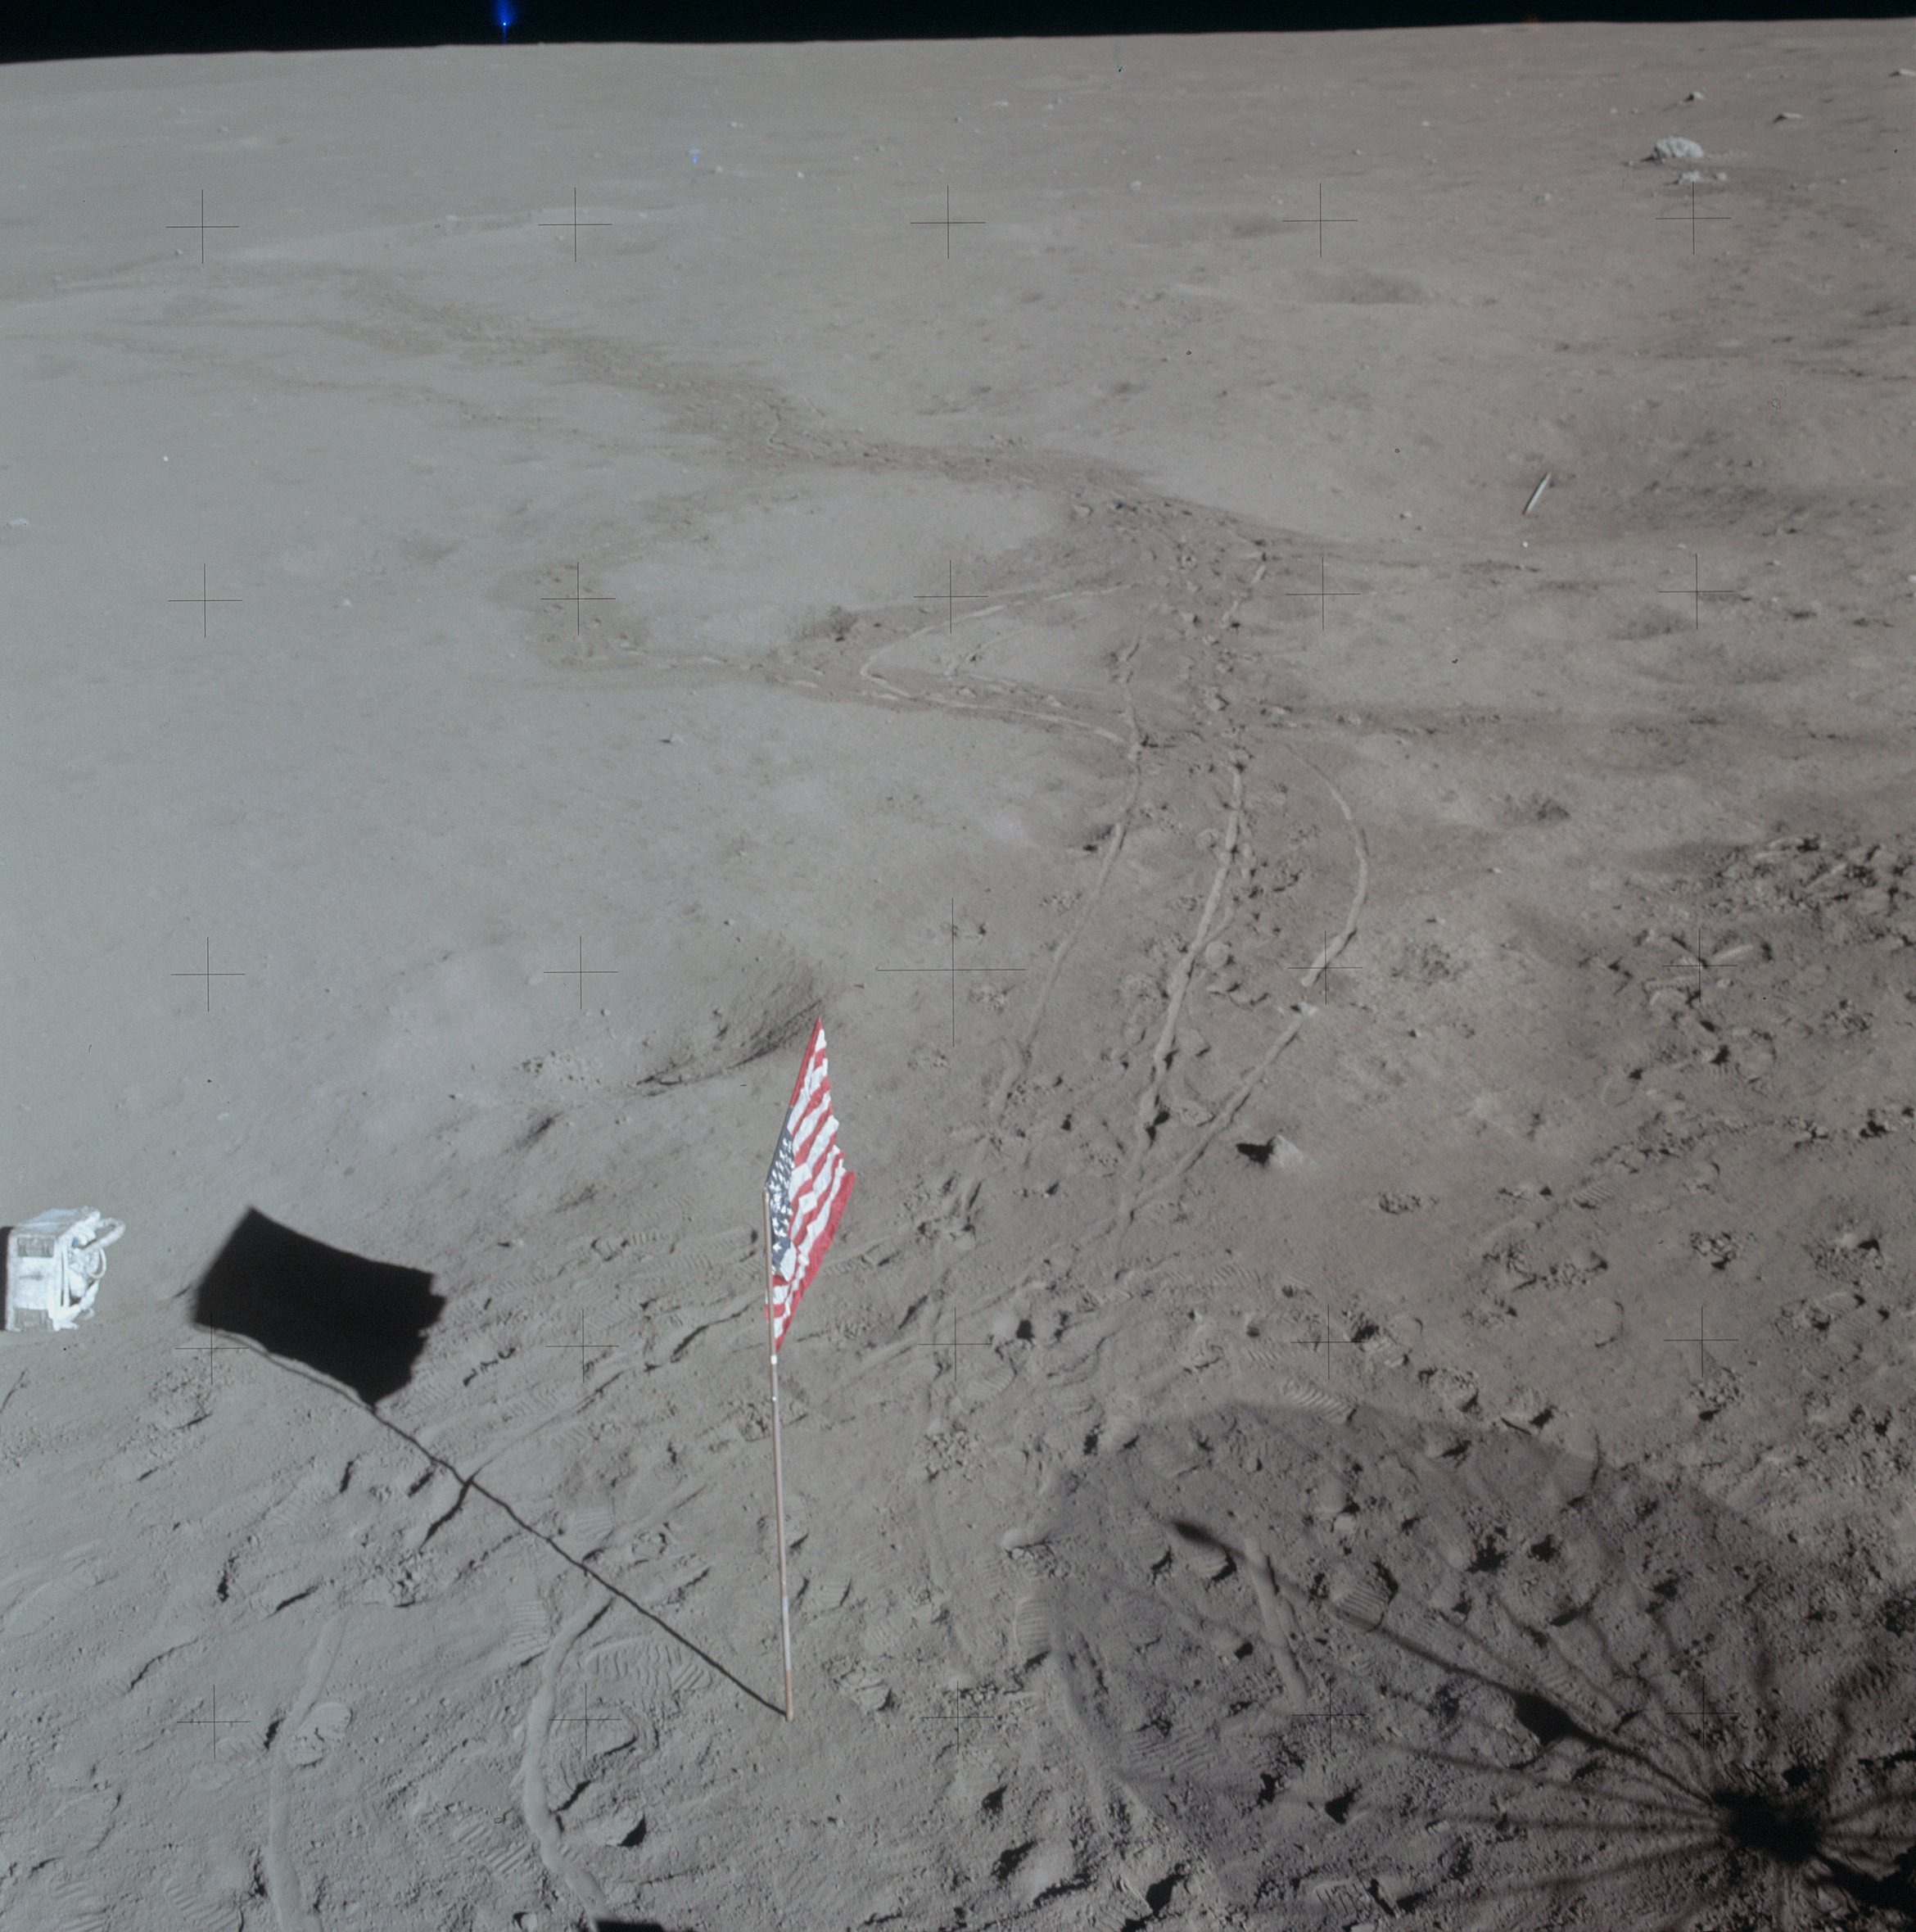 | AS14-66-9339 Similar to 9338. Image credit: Image Science and Analysis Laboratory, NASA-Johnson Space Center. |
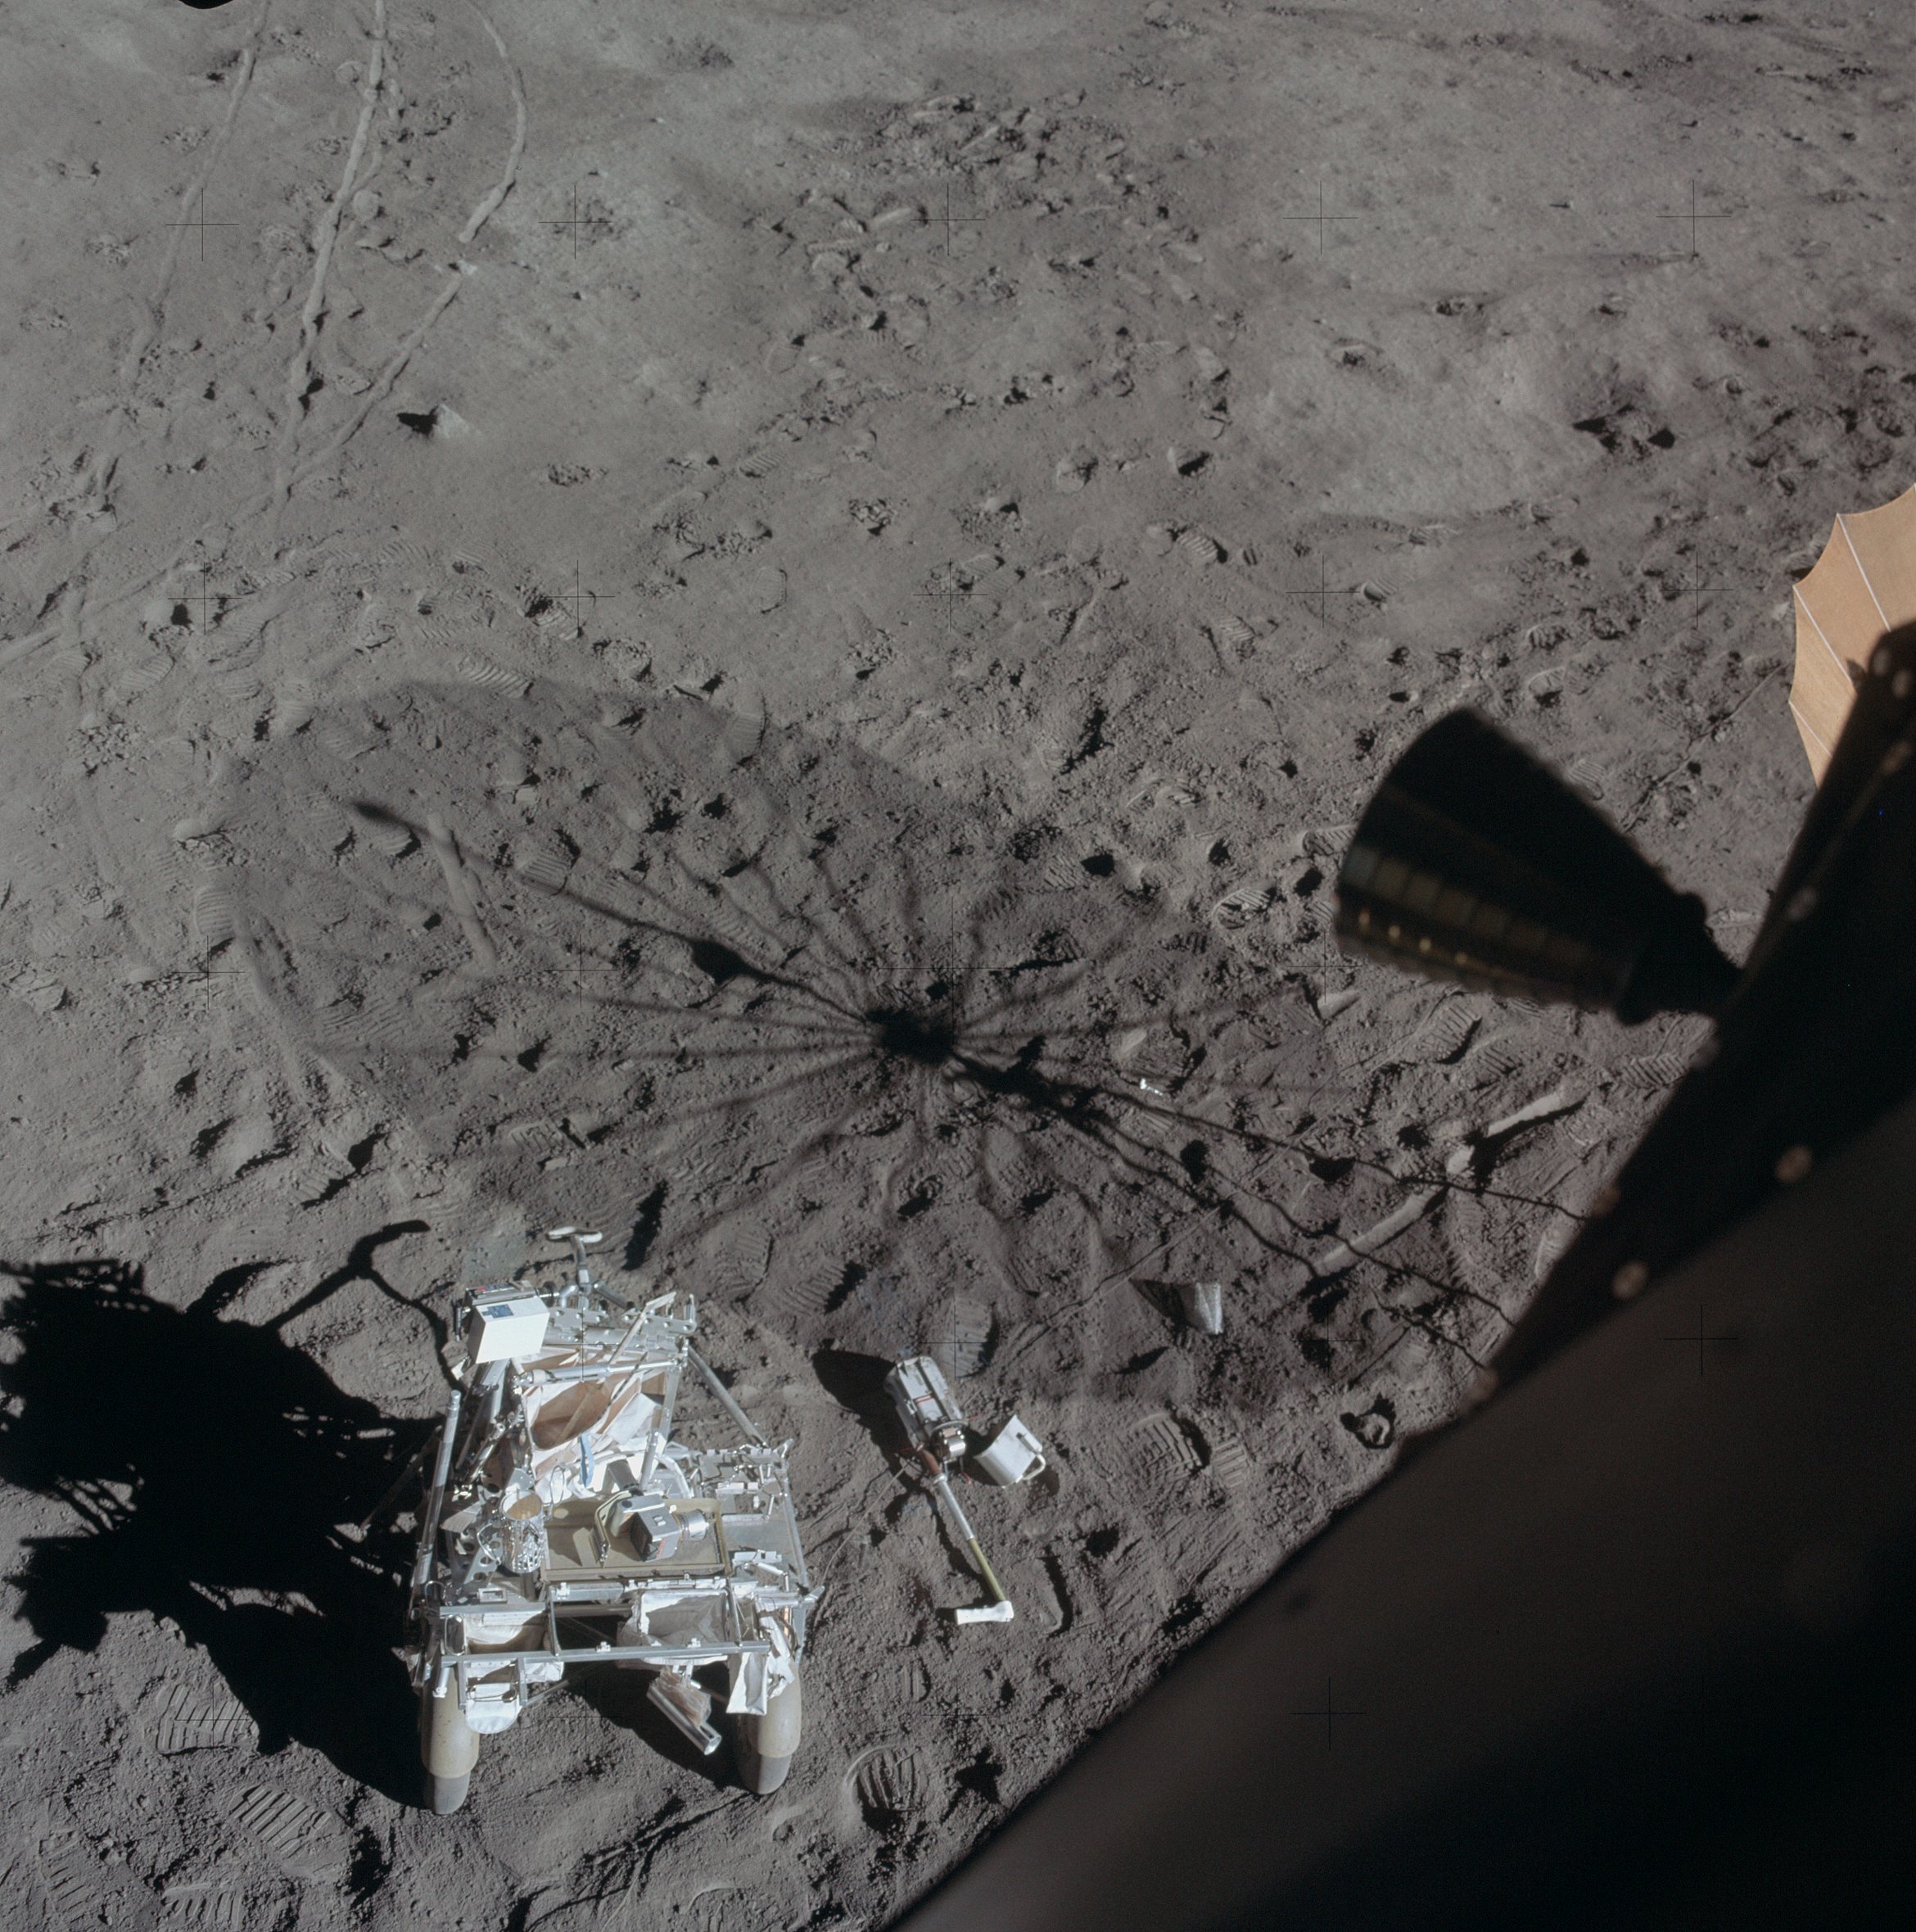 | AS14-66-9340 Ed took this photograph out his LM window at some point after the completion of the second EVA. Image credit: Image Science and Analysis Laboratory, NASA-Johnson Space Center. |
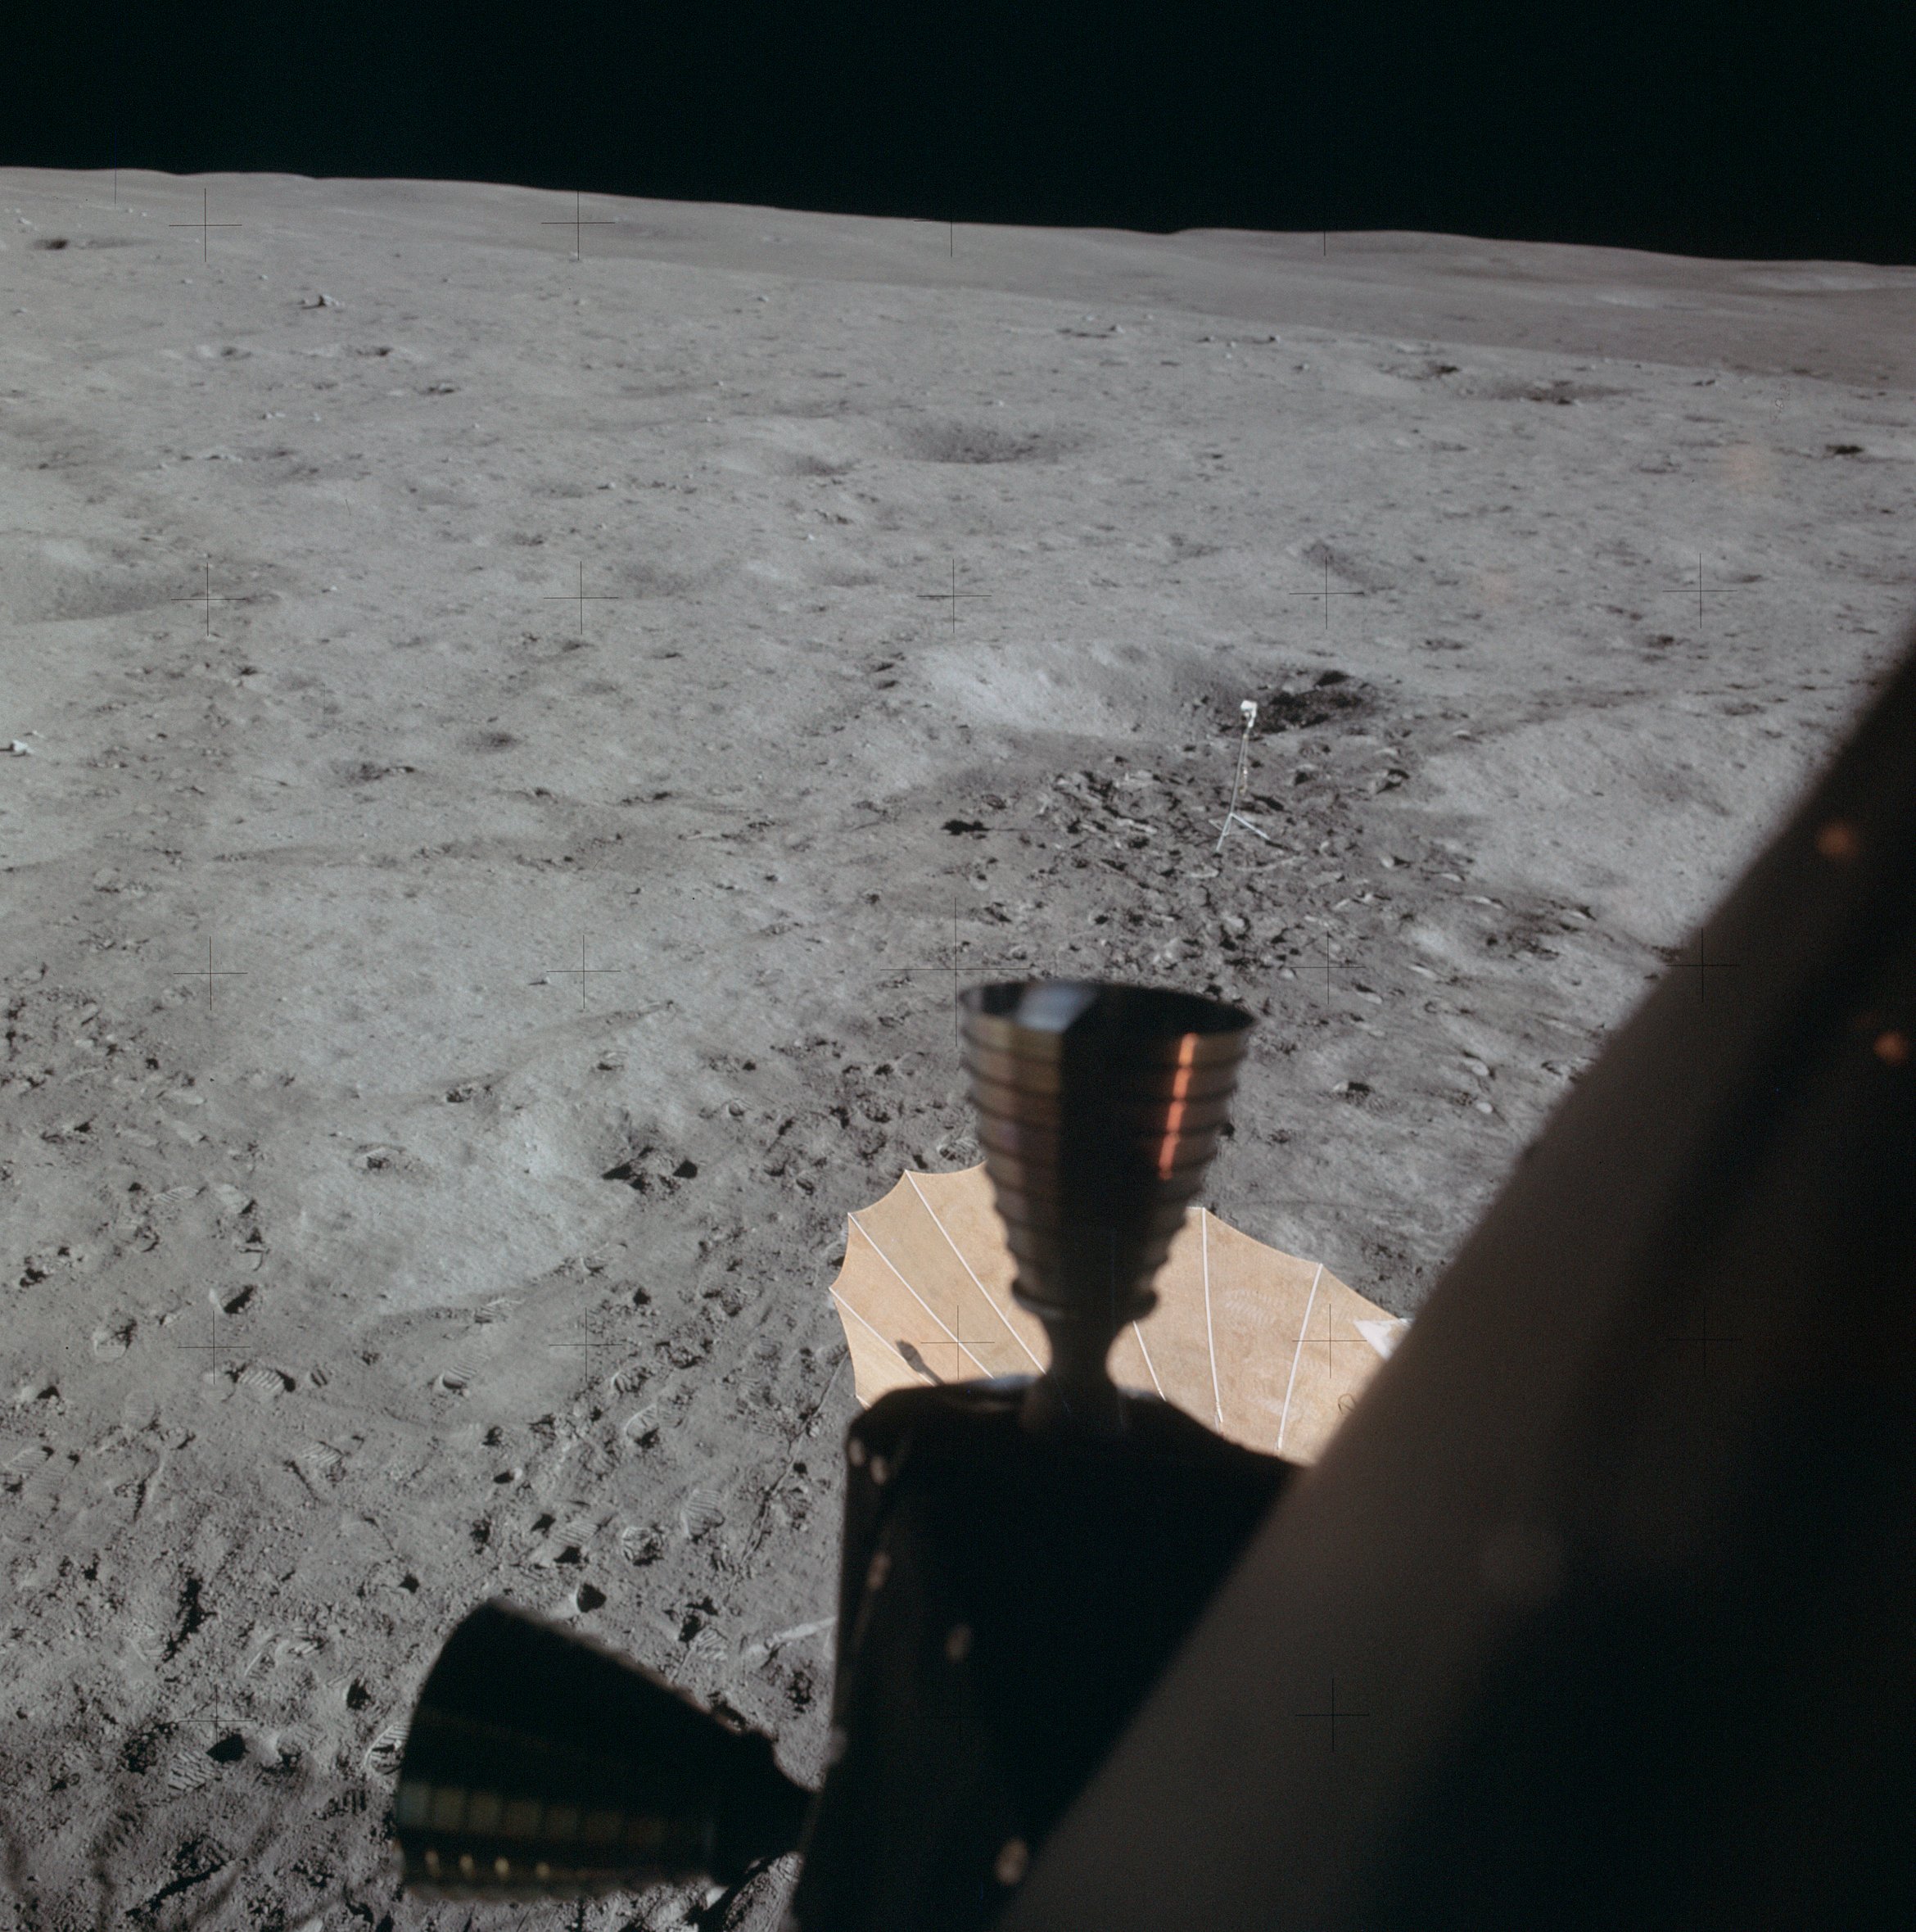 | AS14-66-9341 Over Ed's thrusters toward the TV camera and the S-Band antenna. Image credit: Image Science and Analysis Laboratory, NASA-Johnson Space Center. |
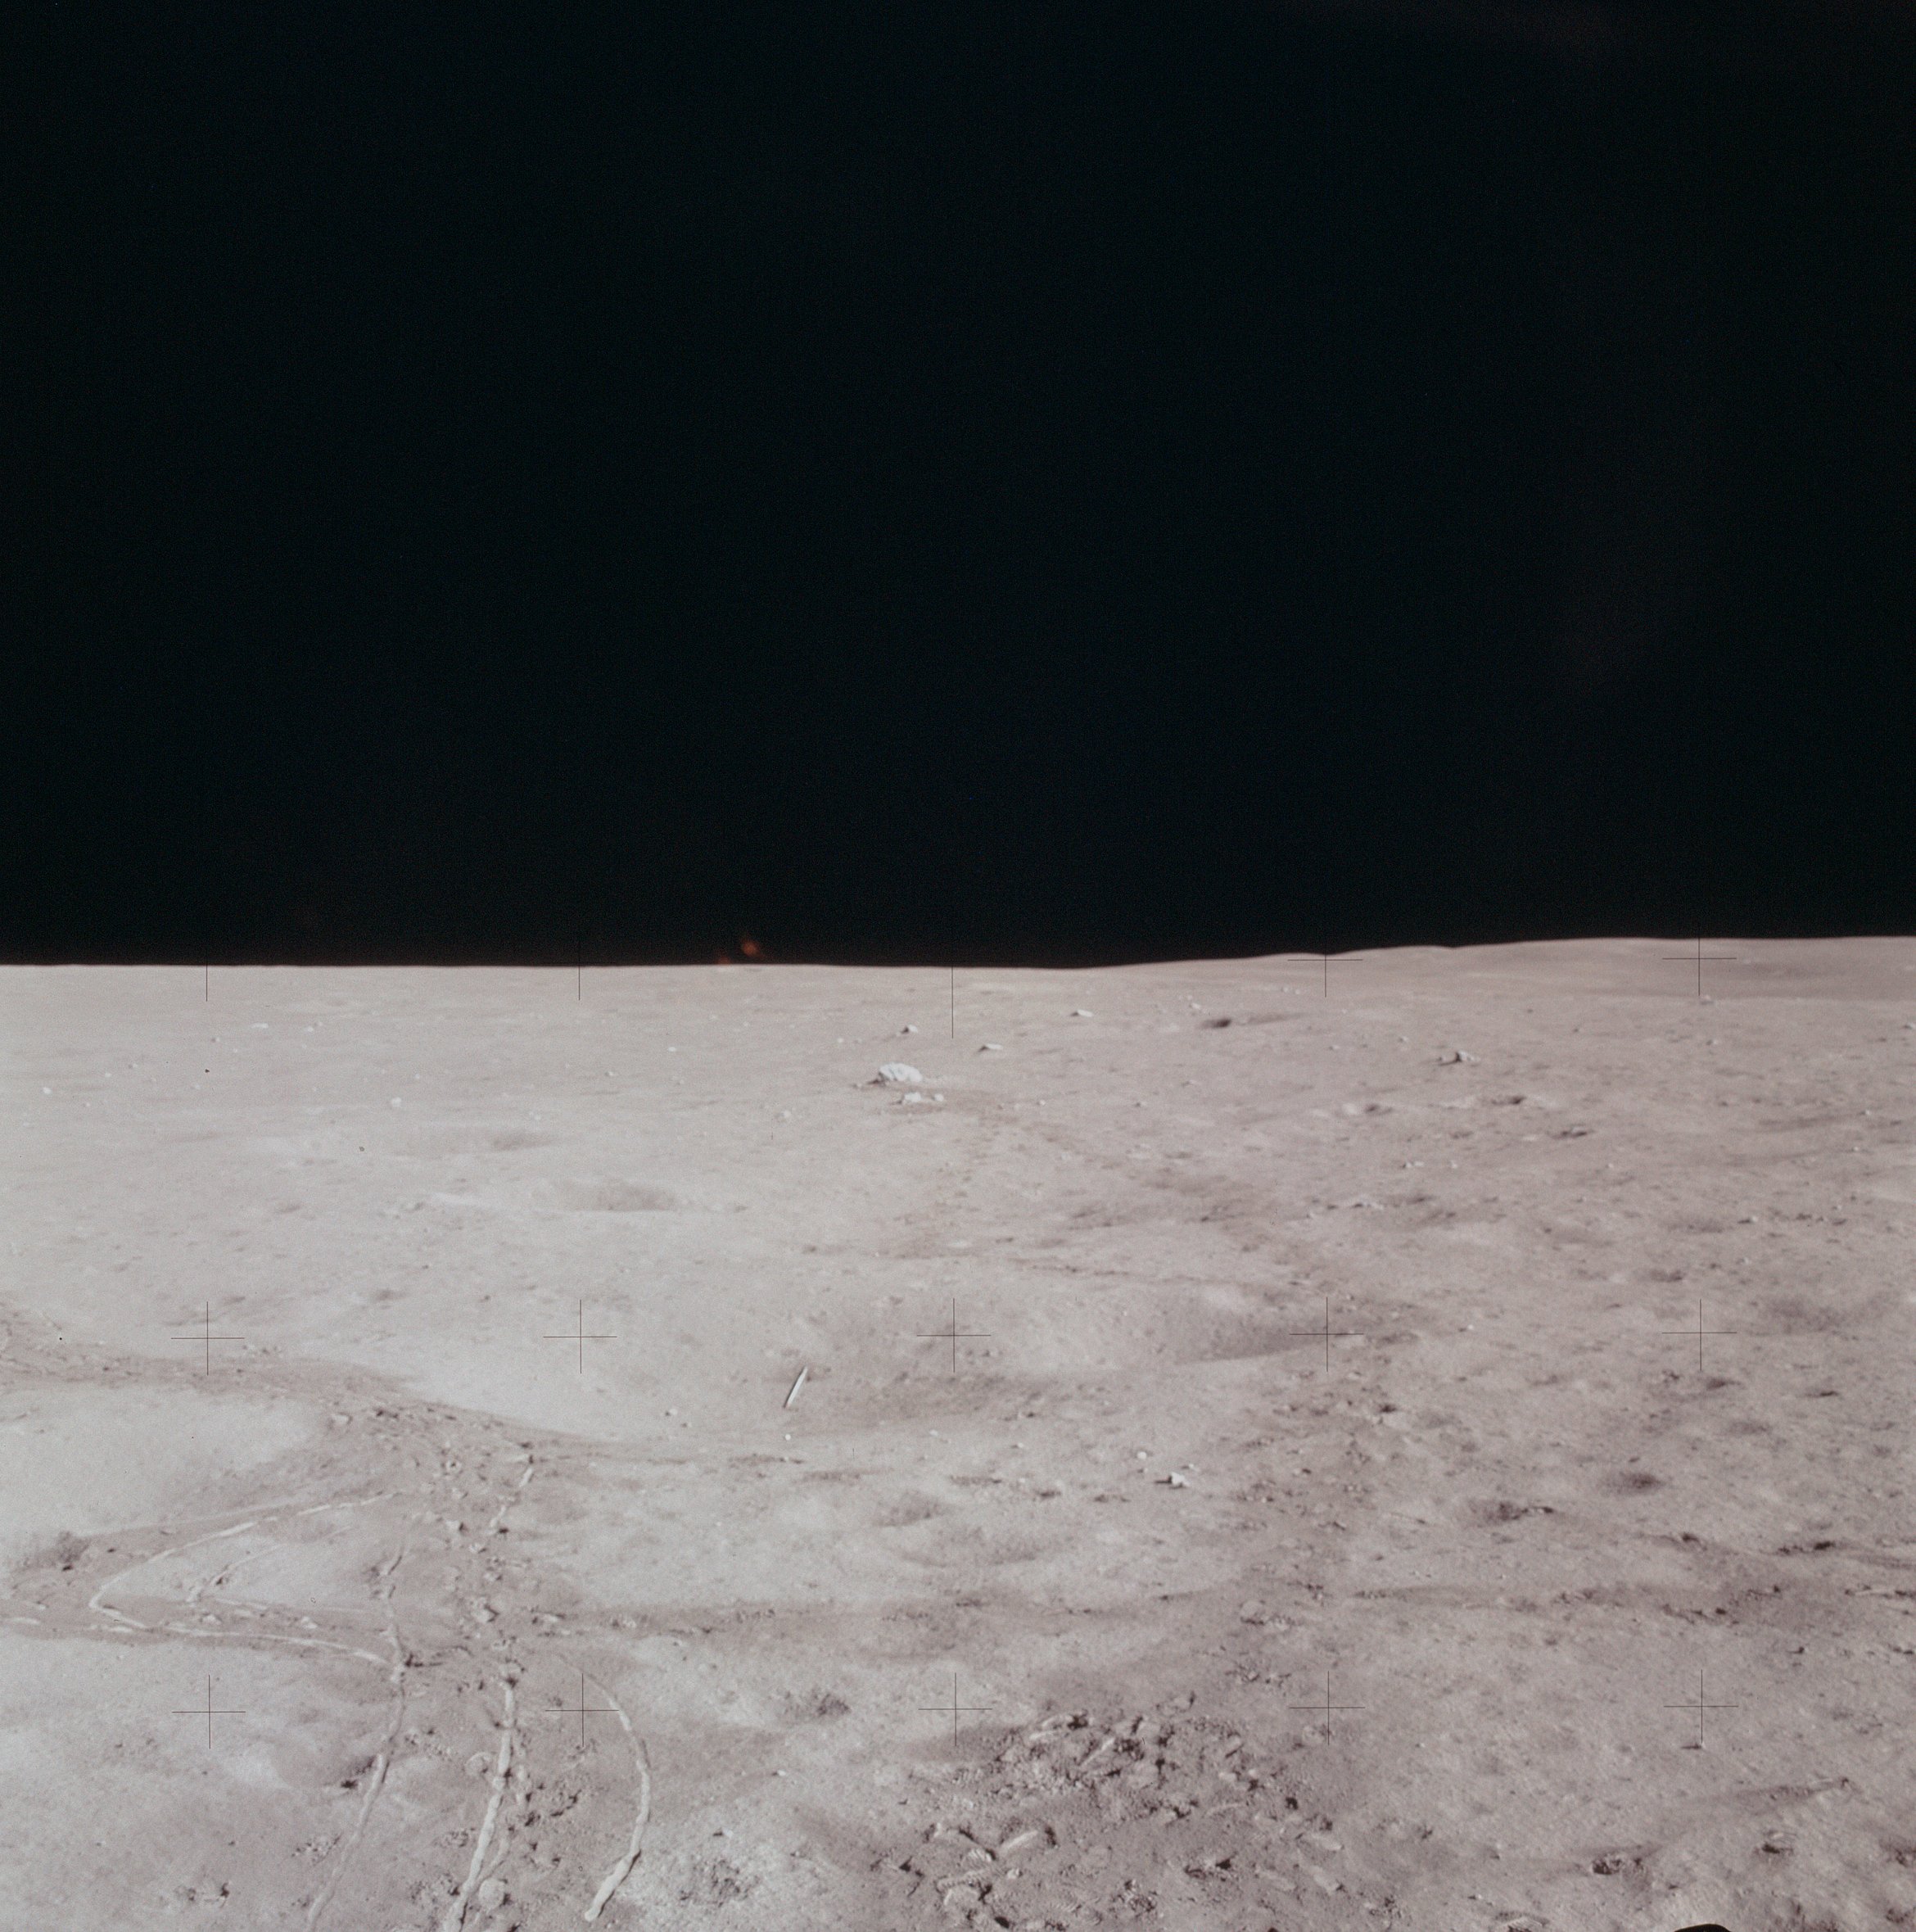 | AS14-66-9342 Javelin, golf ball, Turtle Rock with Ed's footprints leading back to the LM. Image credit: Image Science and Analysis Laboratory, NASA-Johnson Space Center. |
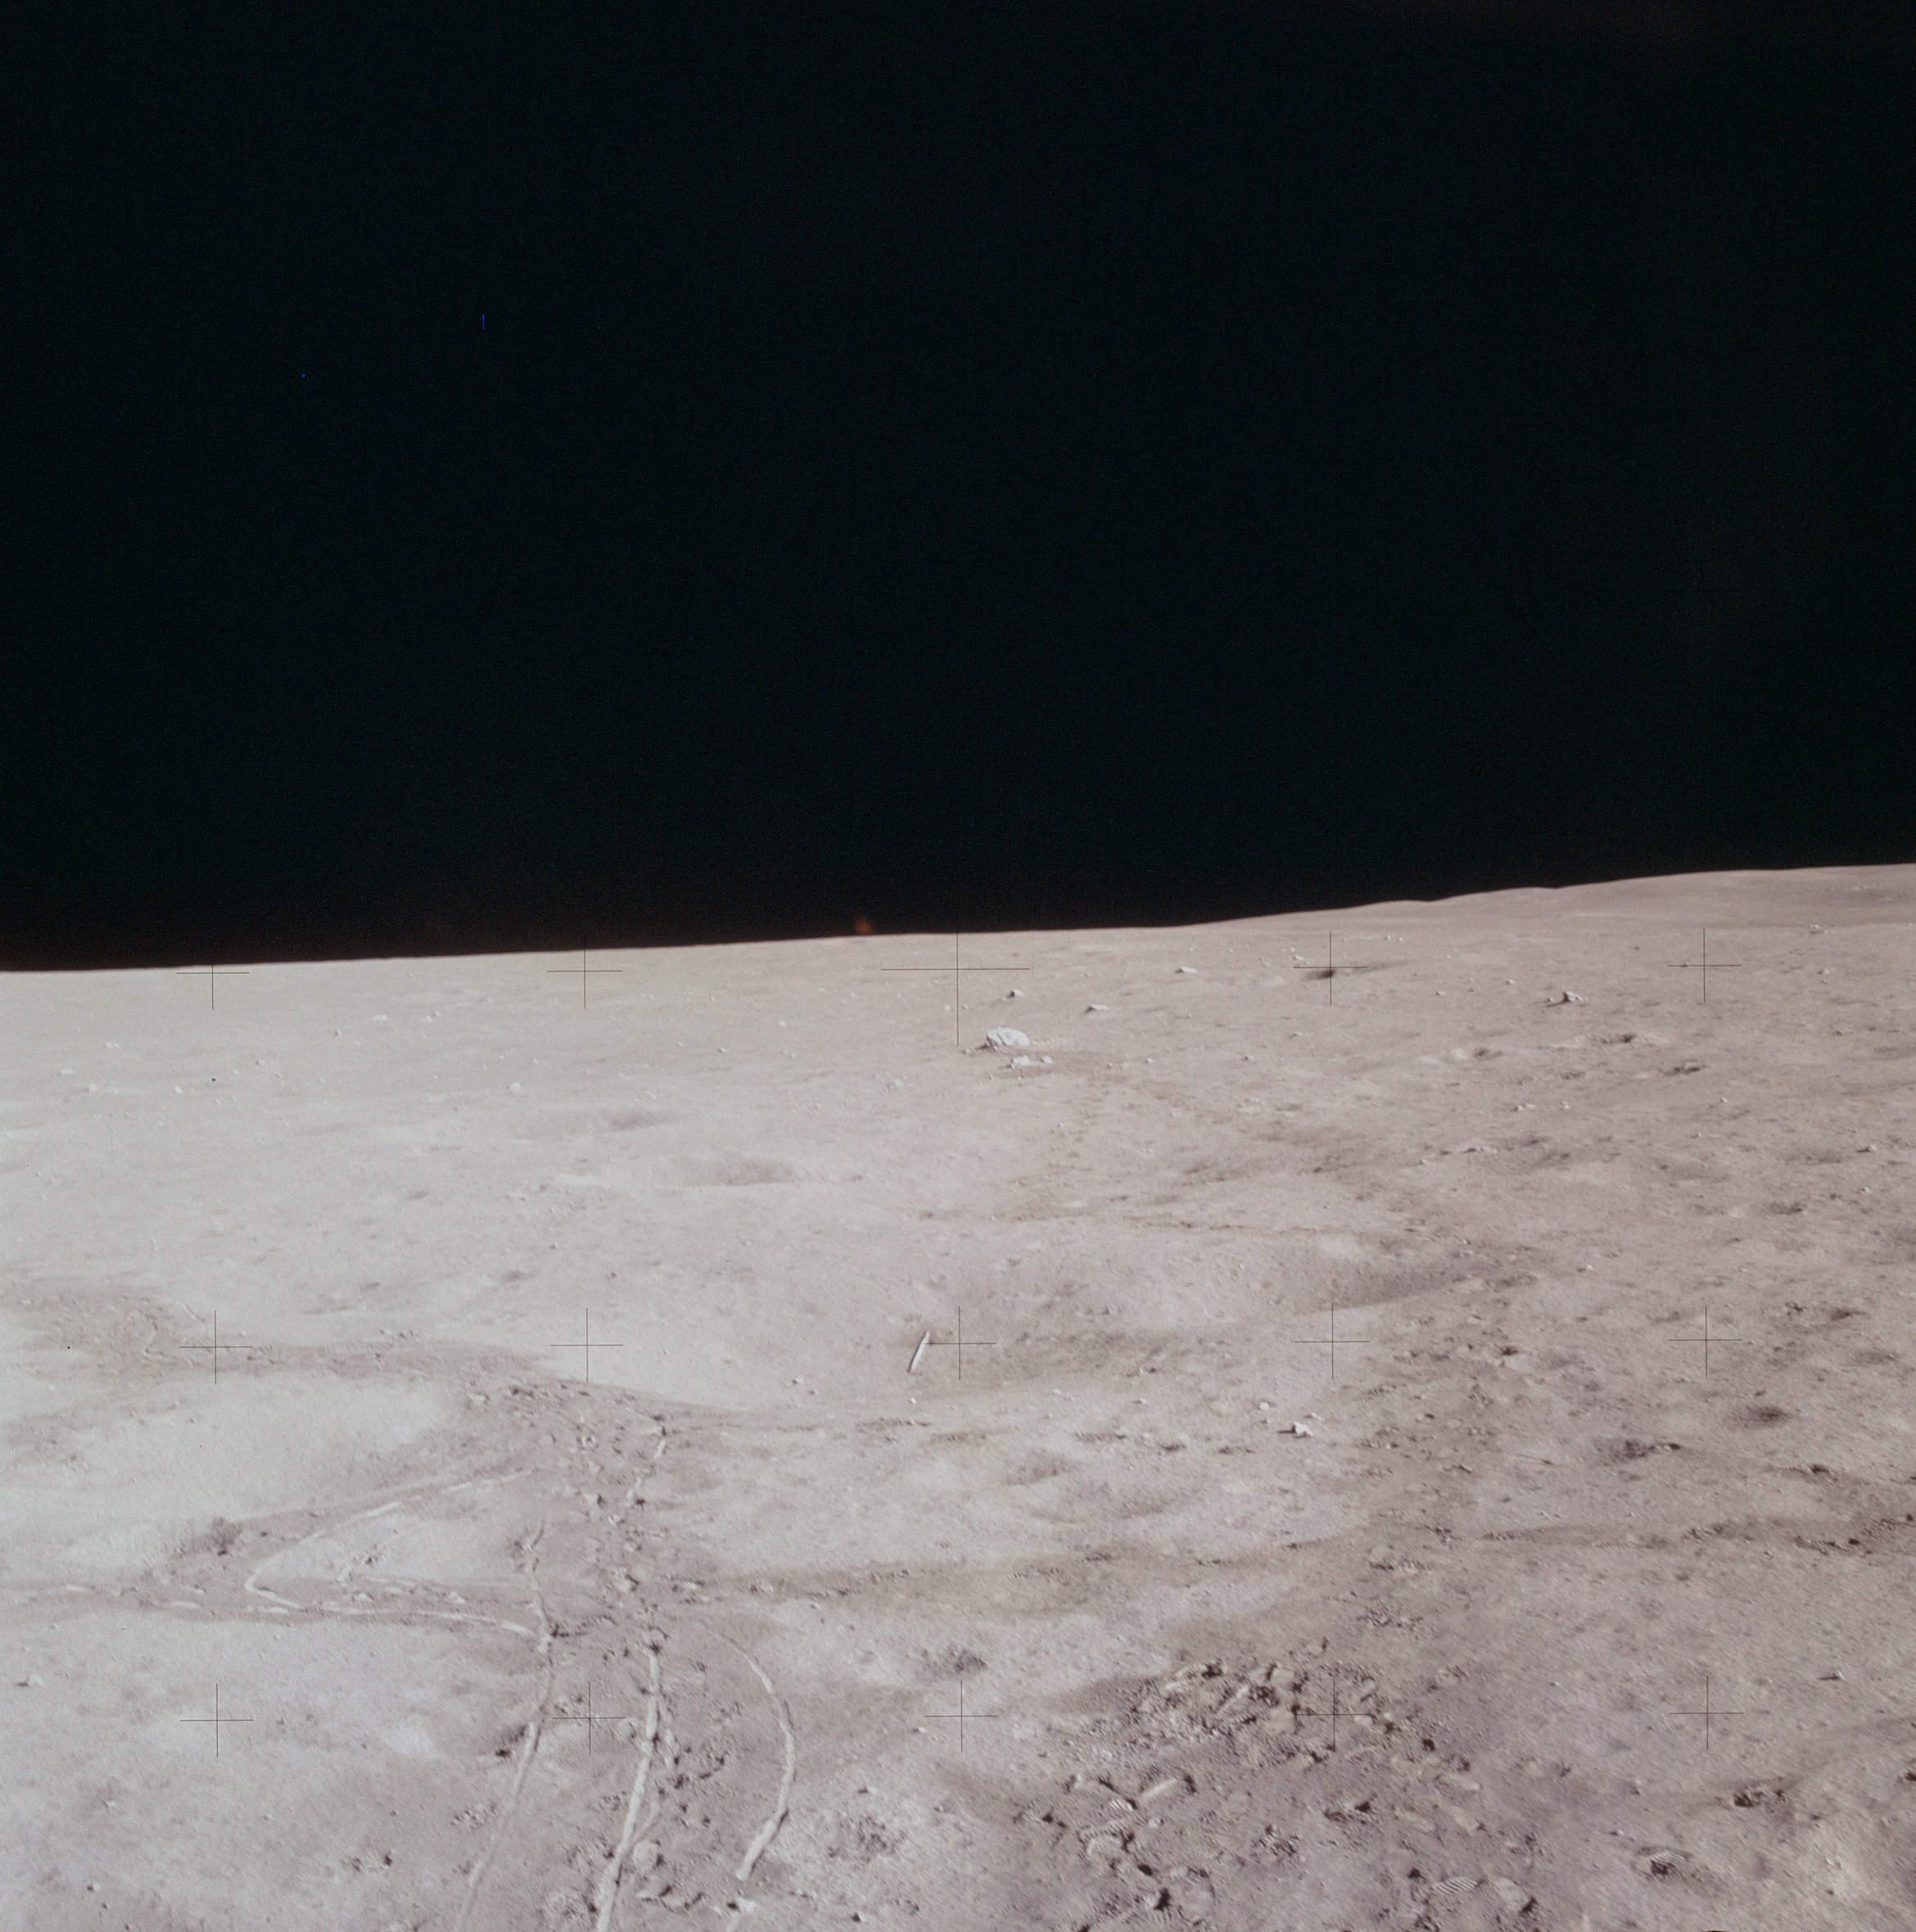 | AS14-66-9343 Similar to 9342, but not quite as good. Image credit: Image Science and Analysis Laboratory, NASA-Johnson Space Center. |
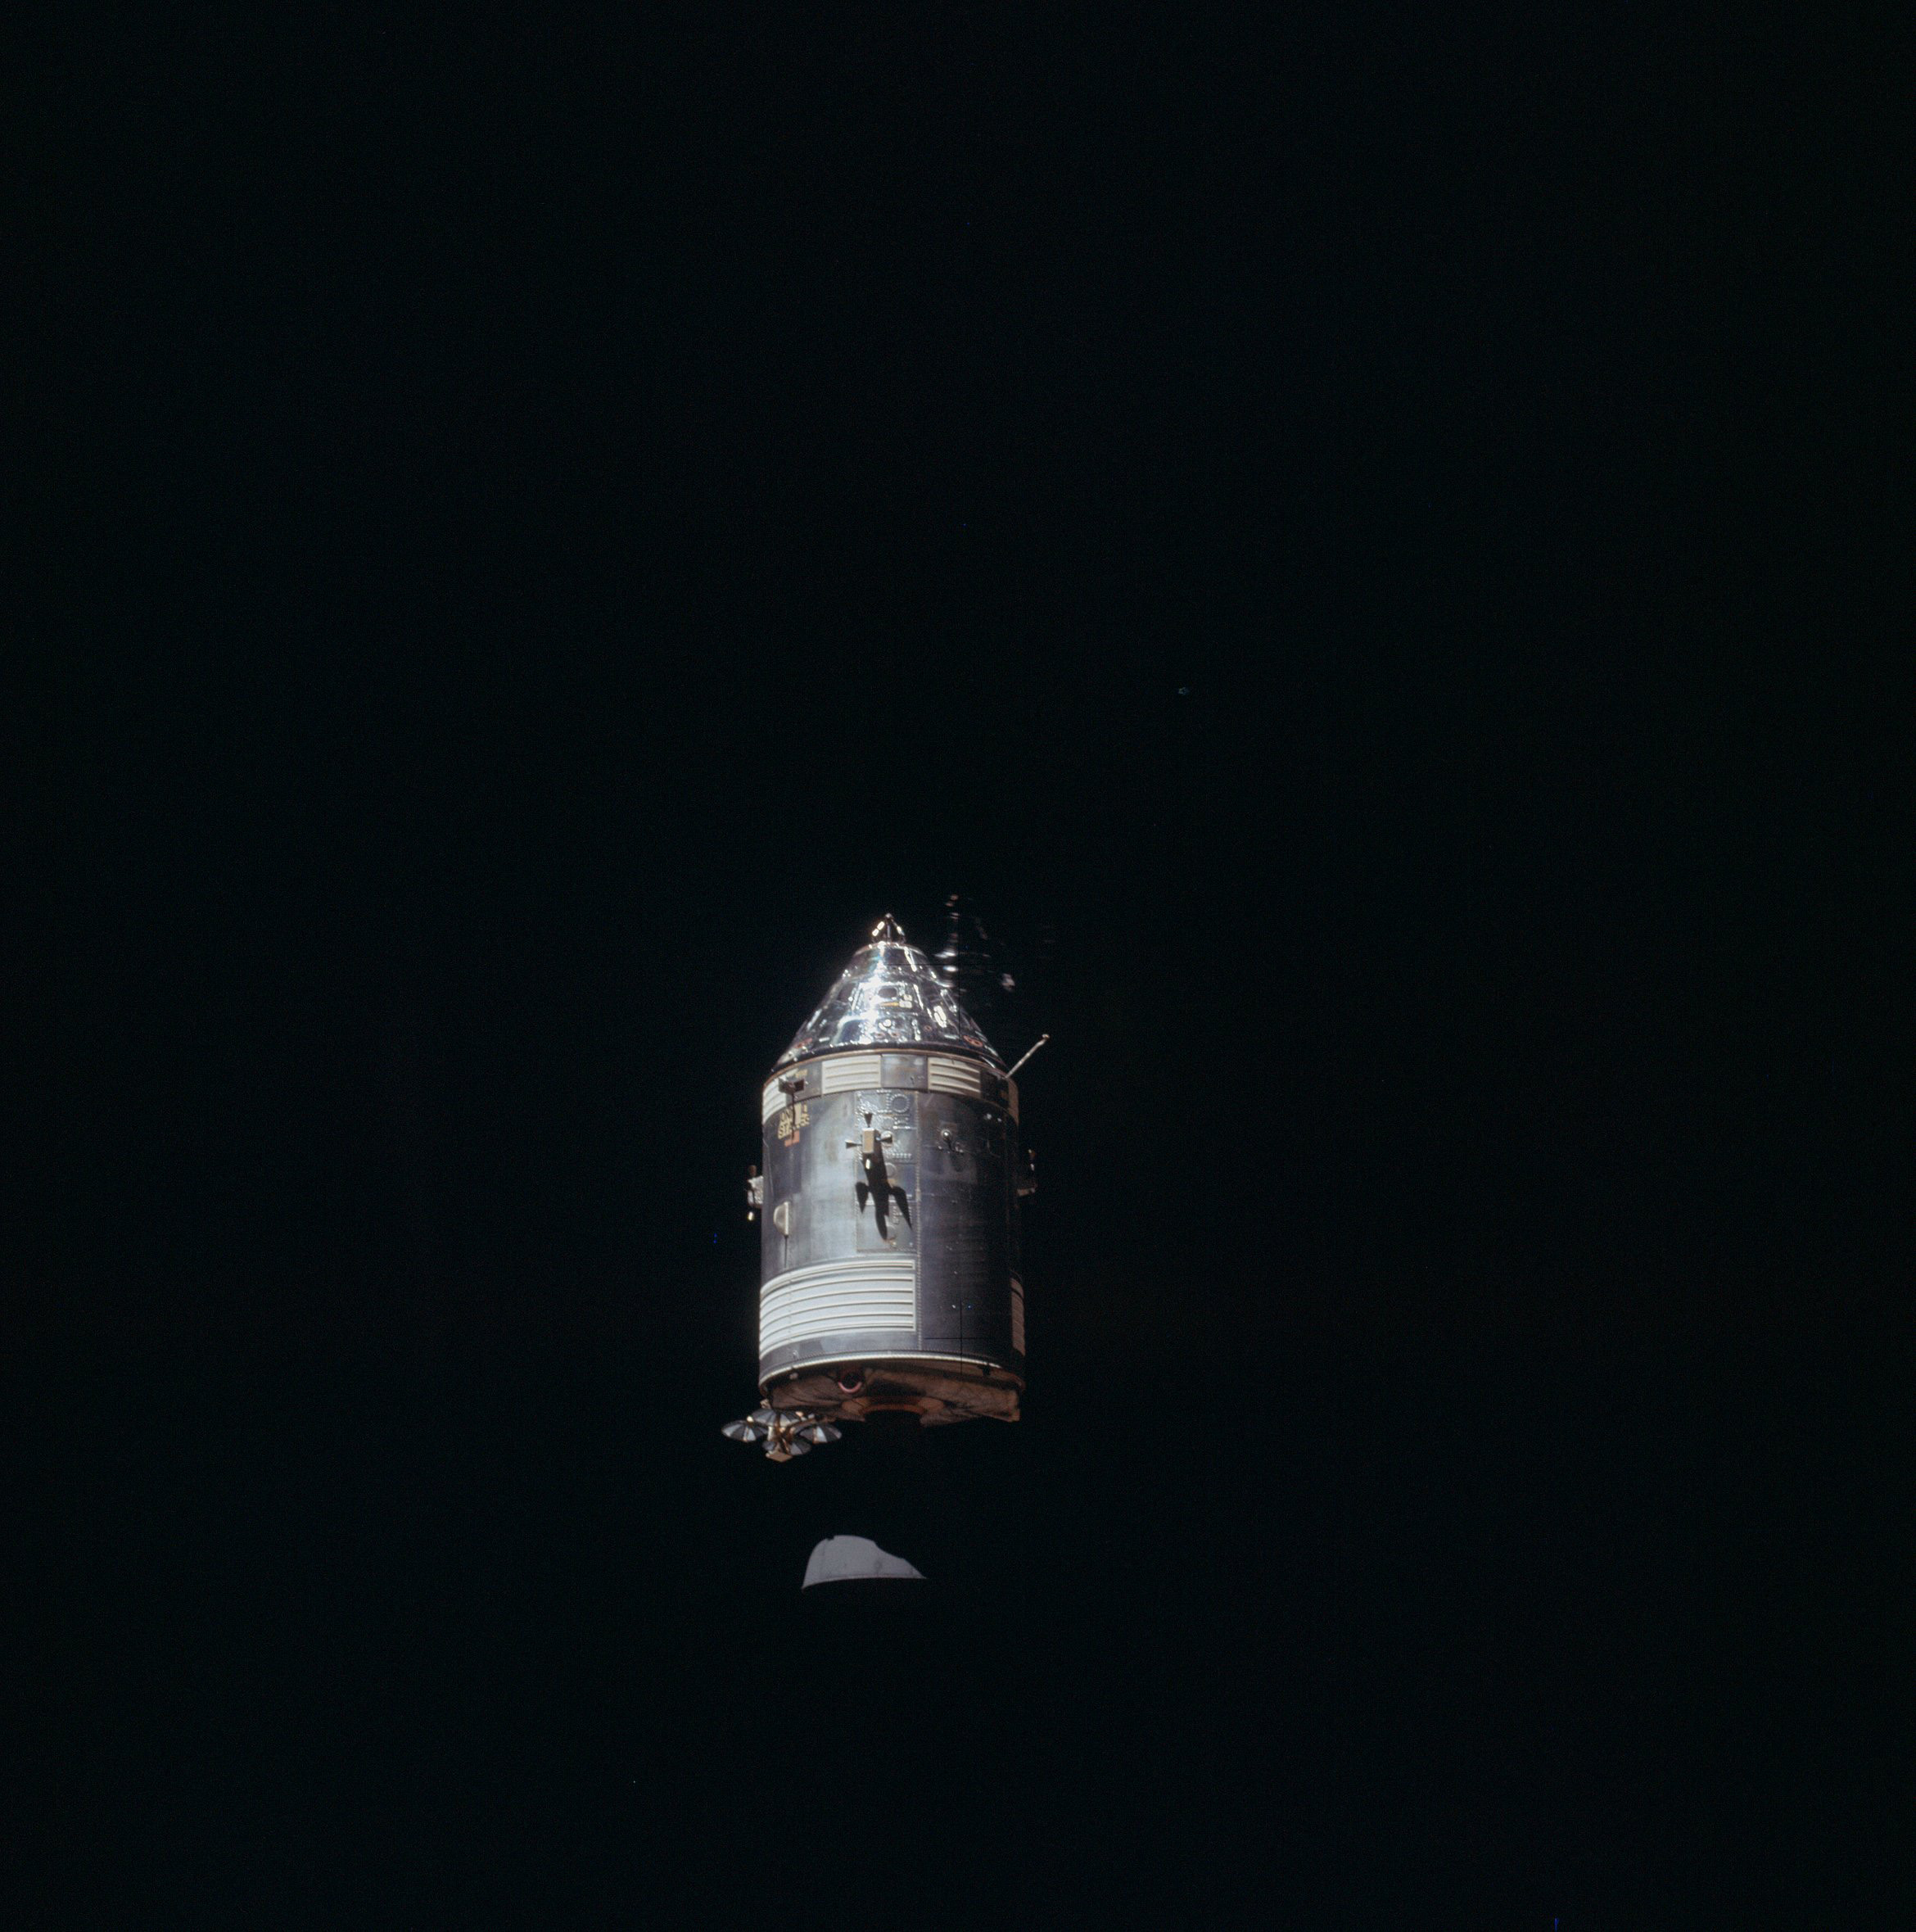 | AS14-66-9344 Command-and Service Module 'Kitty Hawk' from the Lunar Module at rendezvous. Image credit: Image Science and Analysis Laboratory, NASA-Johnson Space Center. |
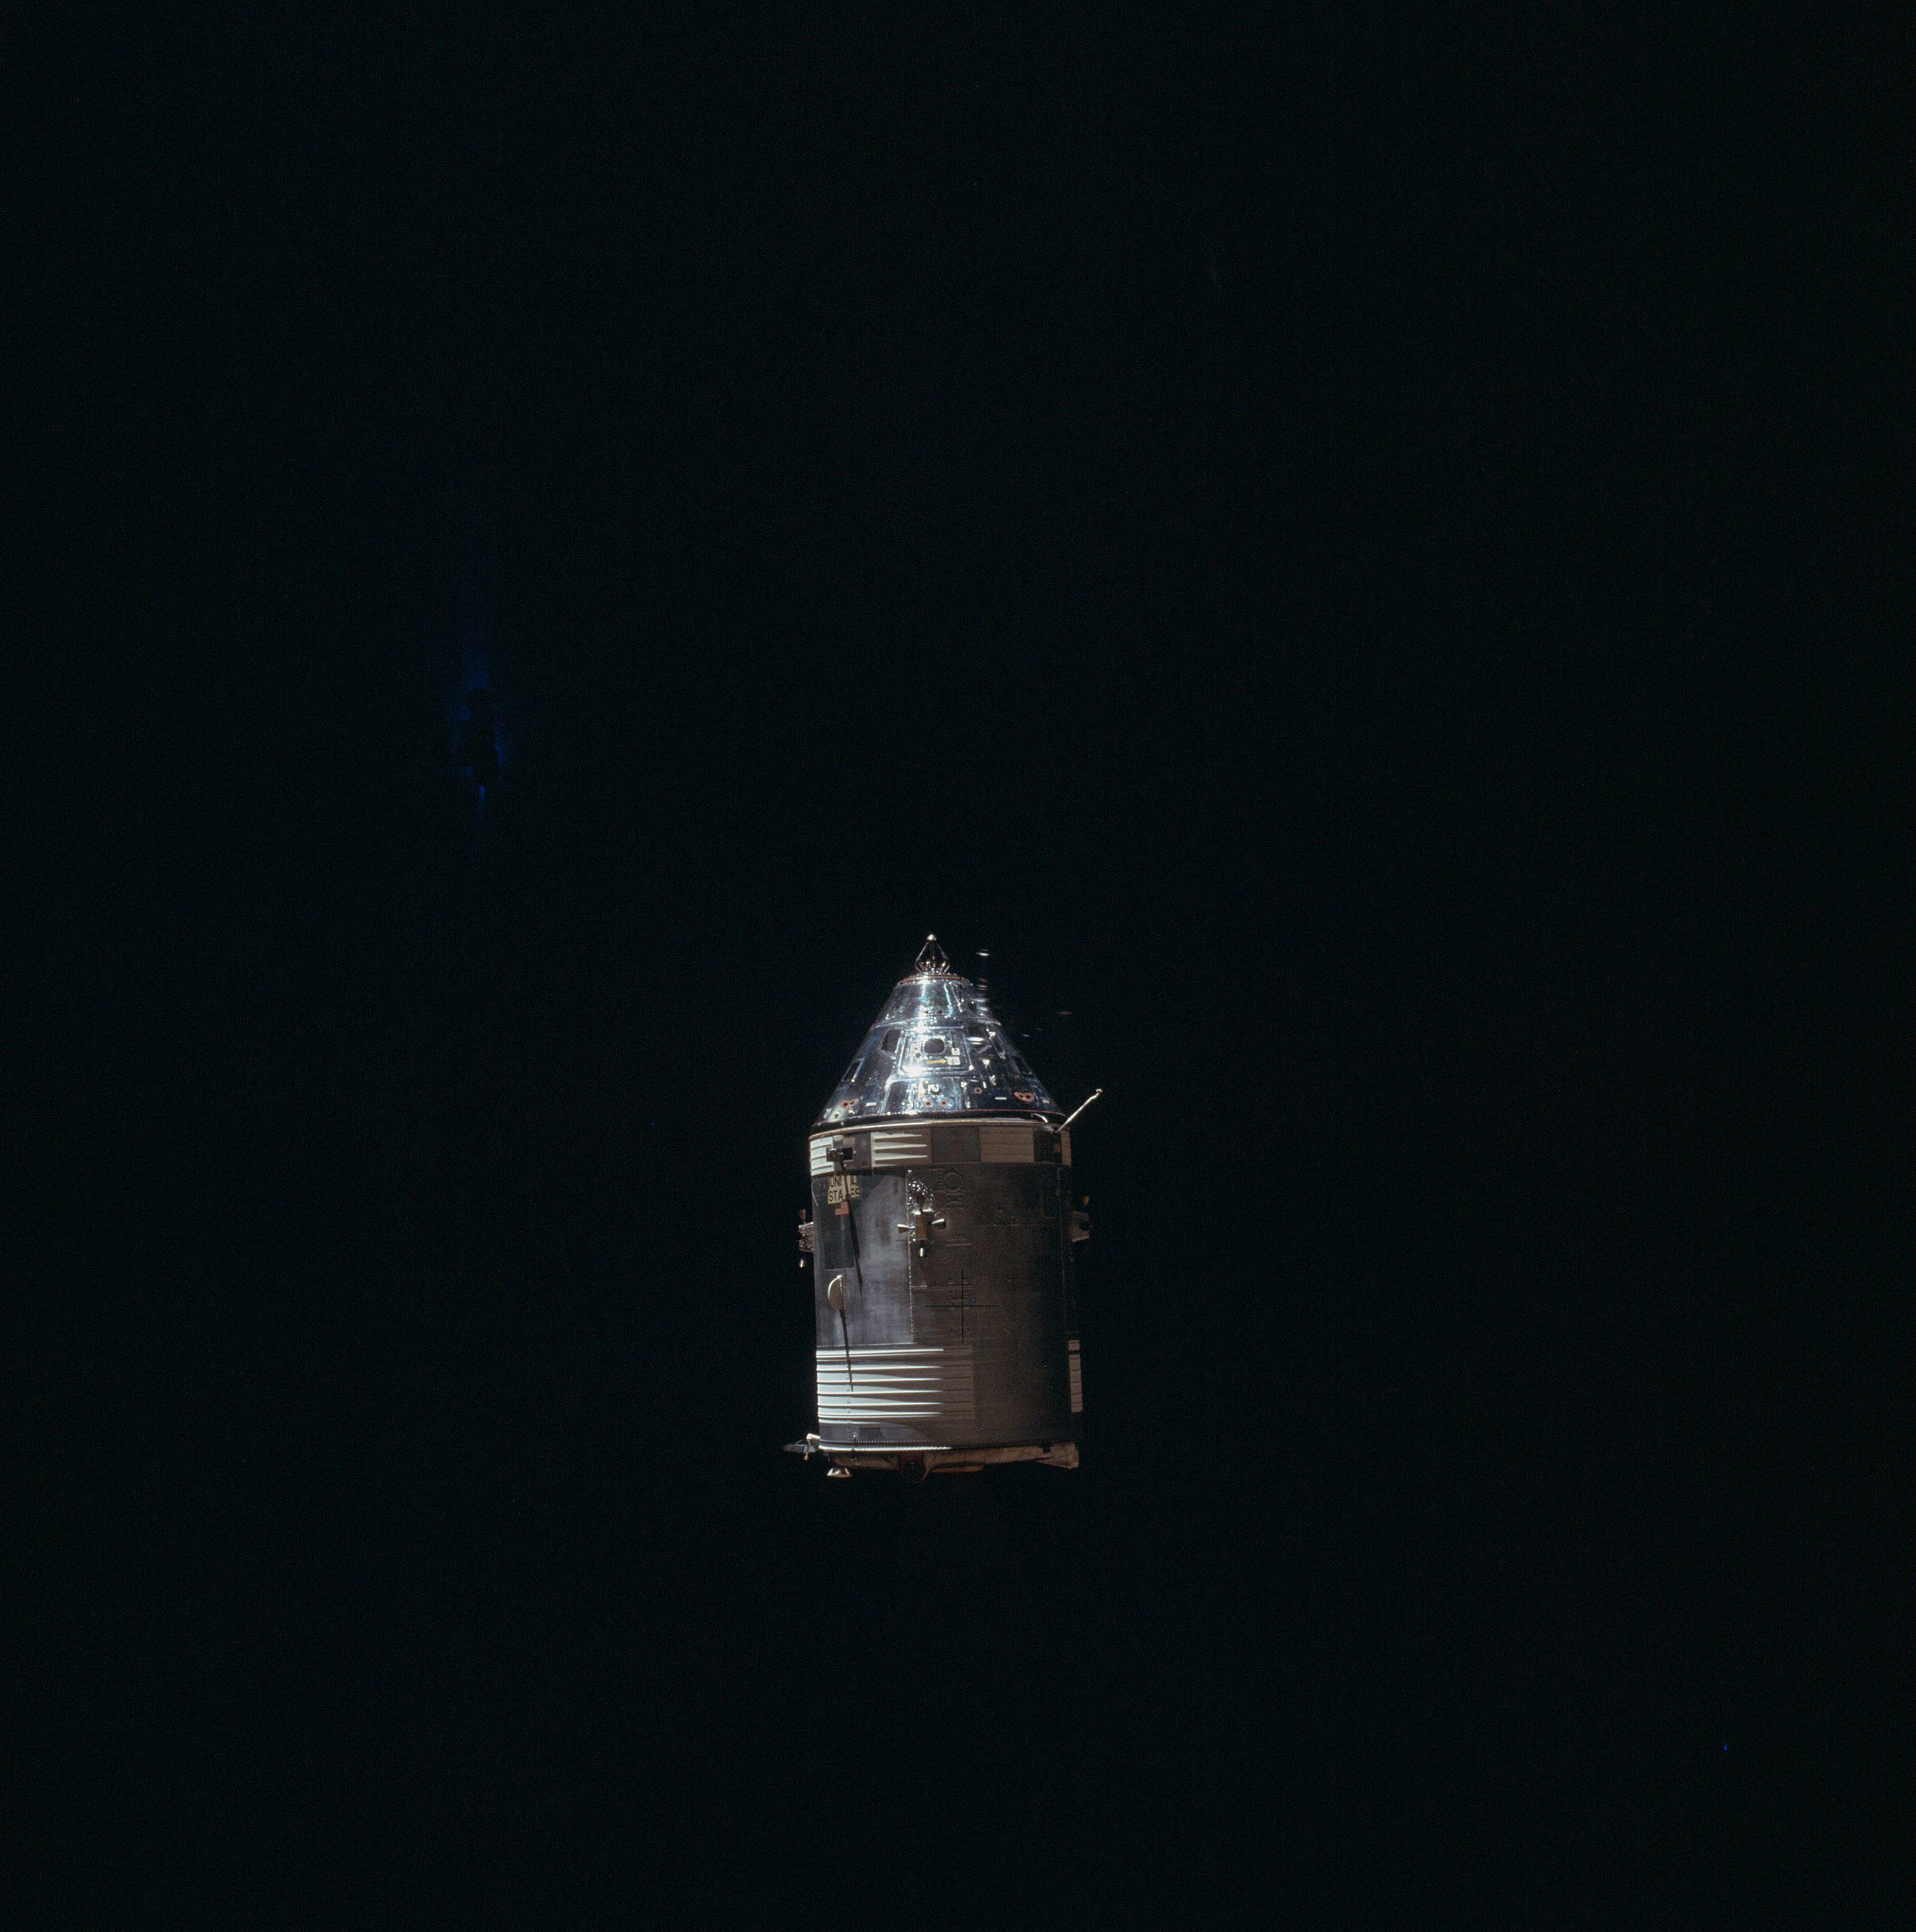 | AS14-66-9345 View of the CSM from the LM during rendezvous. Image credit: Image Science and Analysis Laboratory, NASA-Johnson Space Center. |
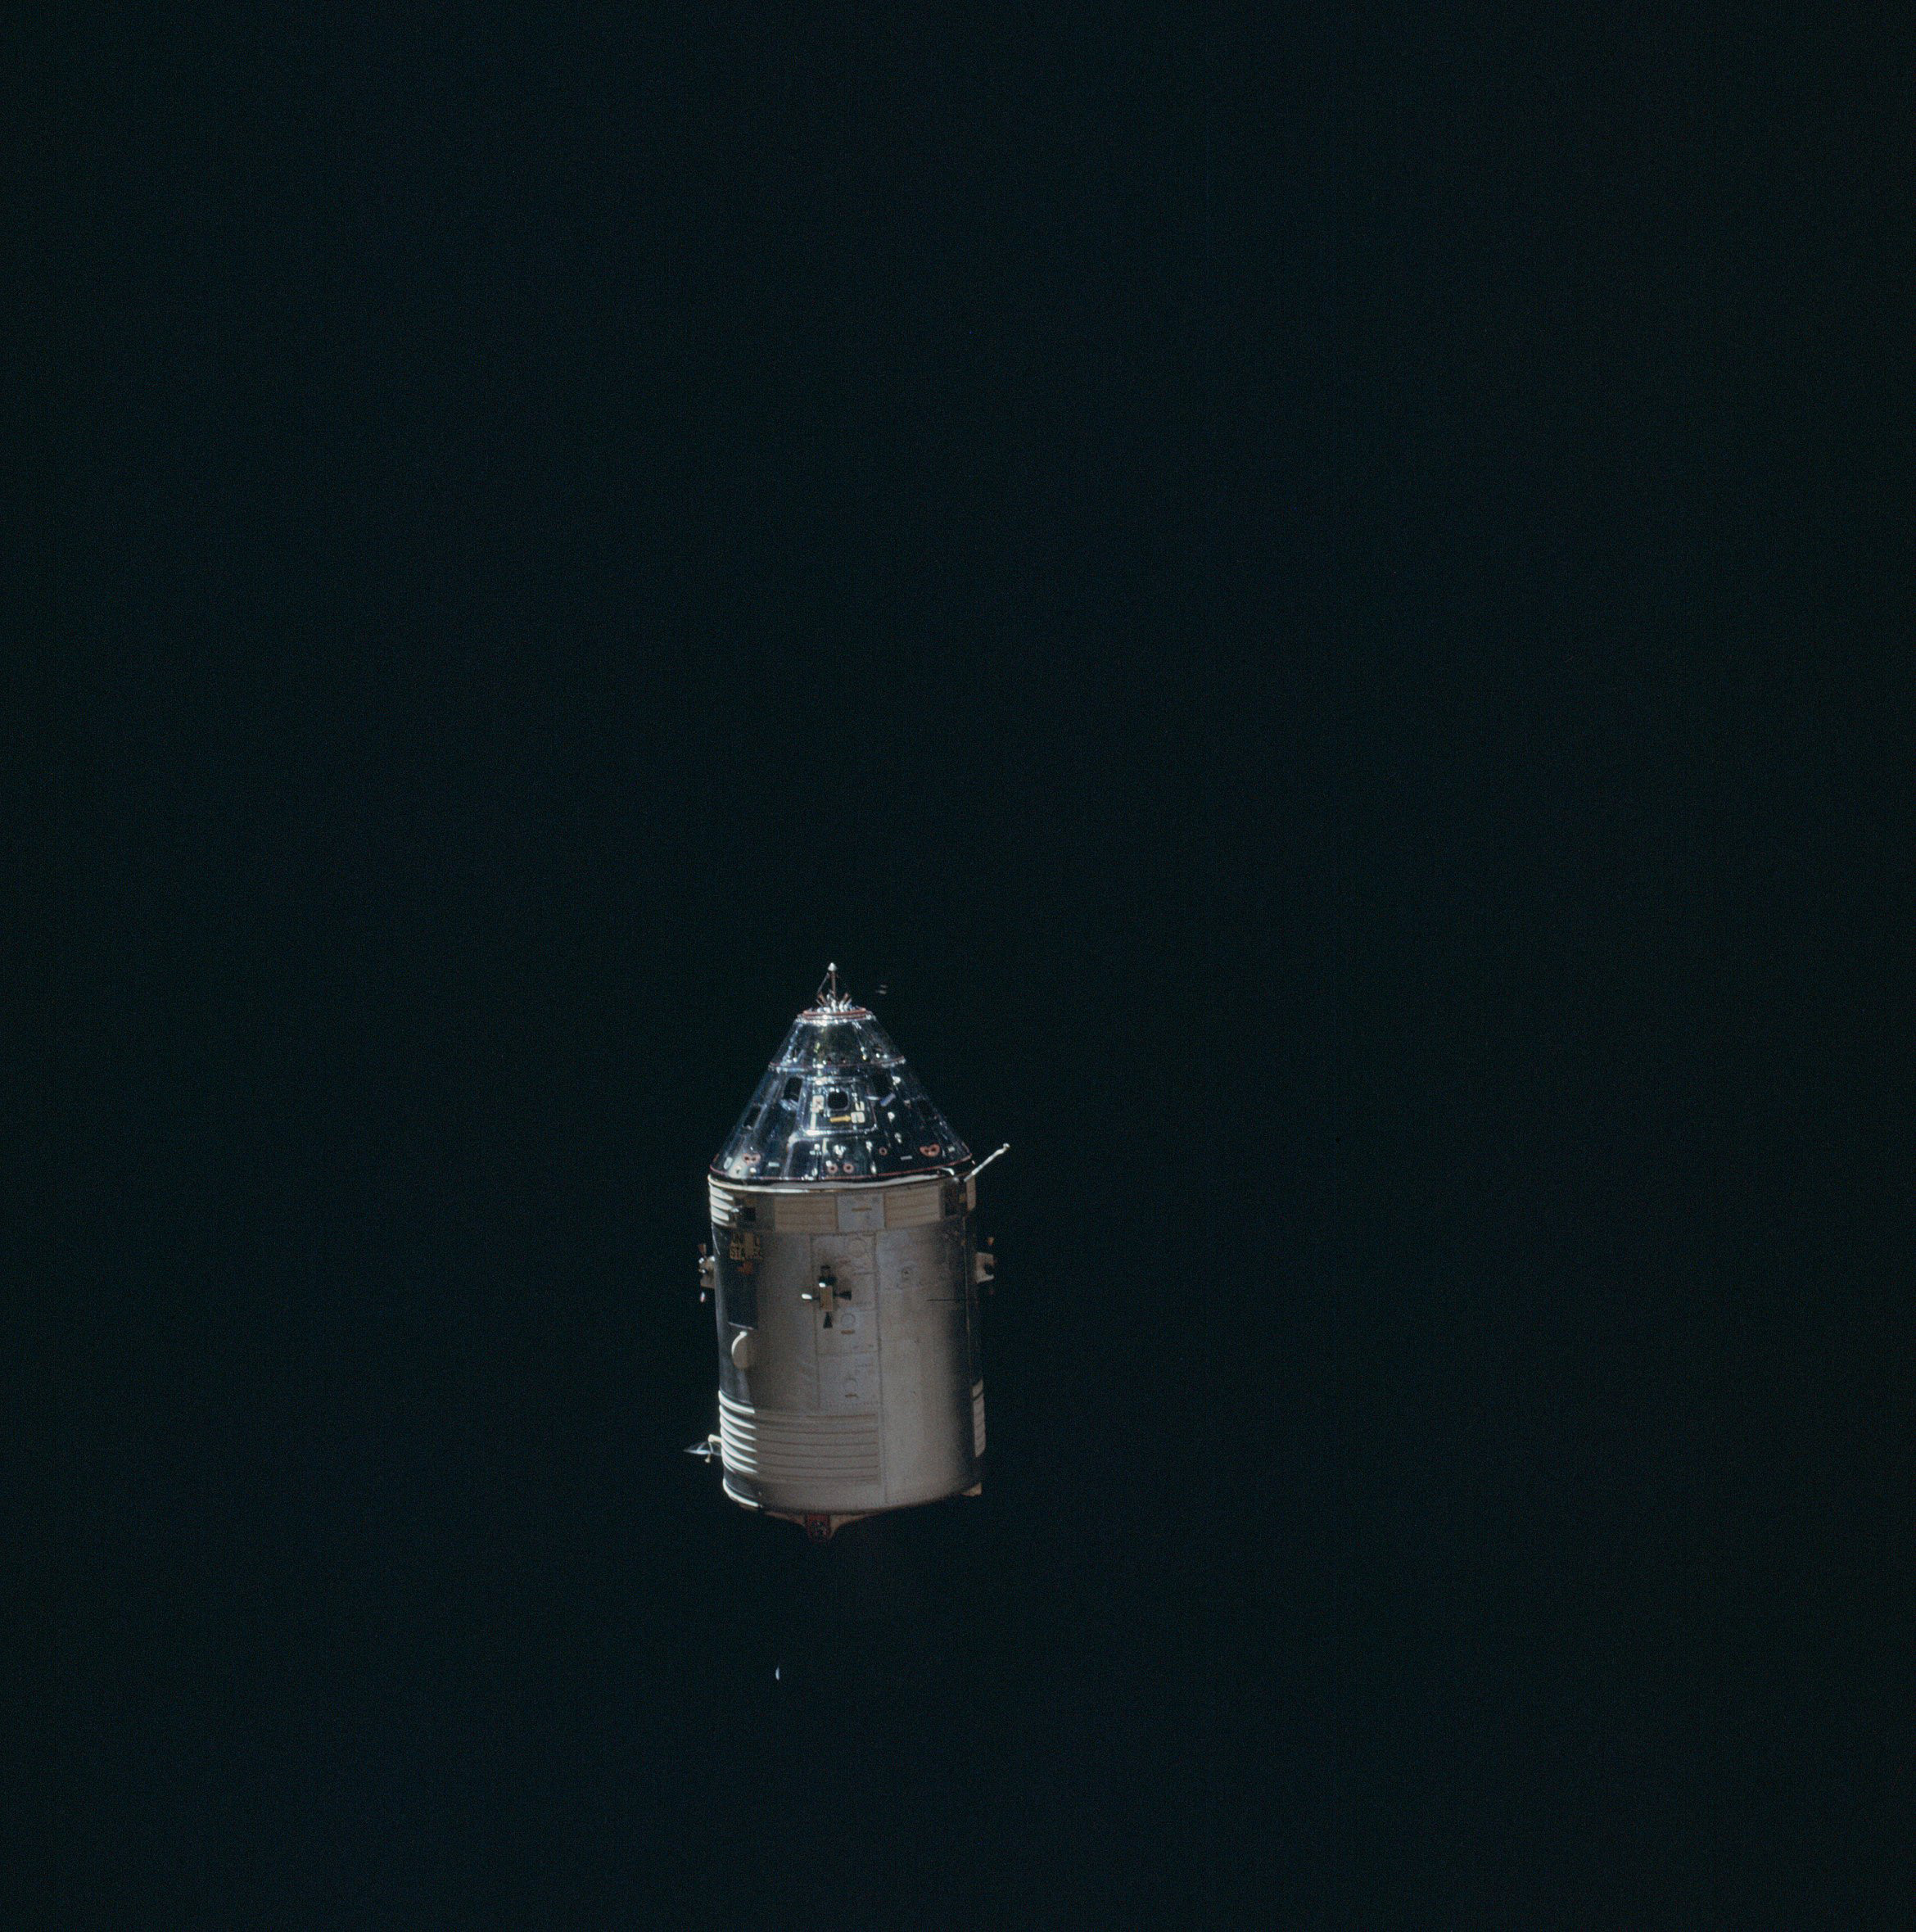 | AS14-66-9346 View of the CSM from the LM during rendezvous. Image credit: Image Science and Analysis Laboratory, NASA-Johnson Space Center. |
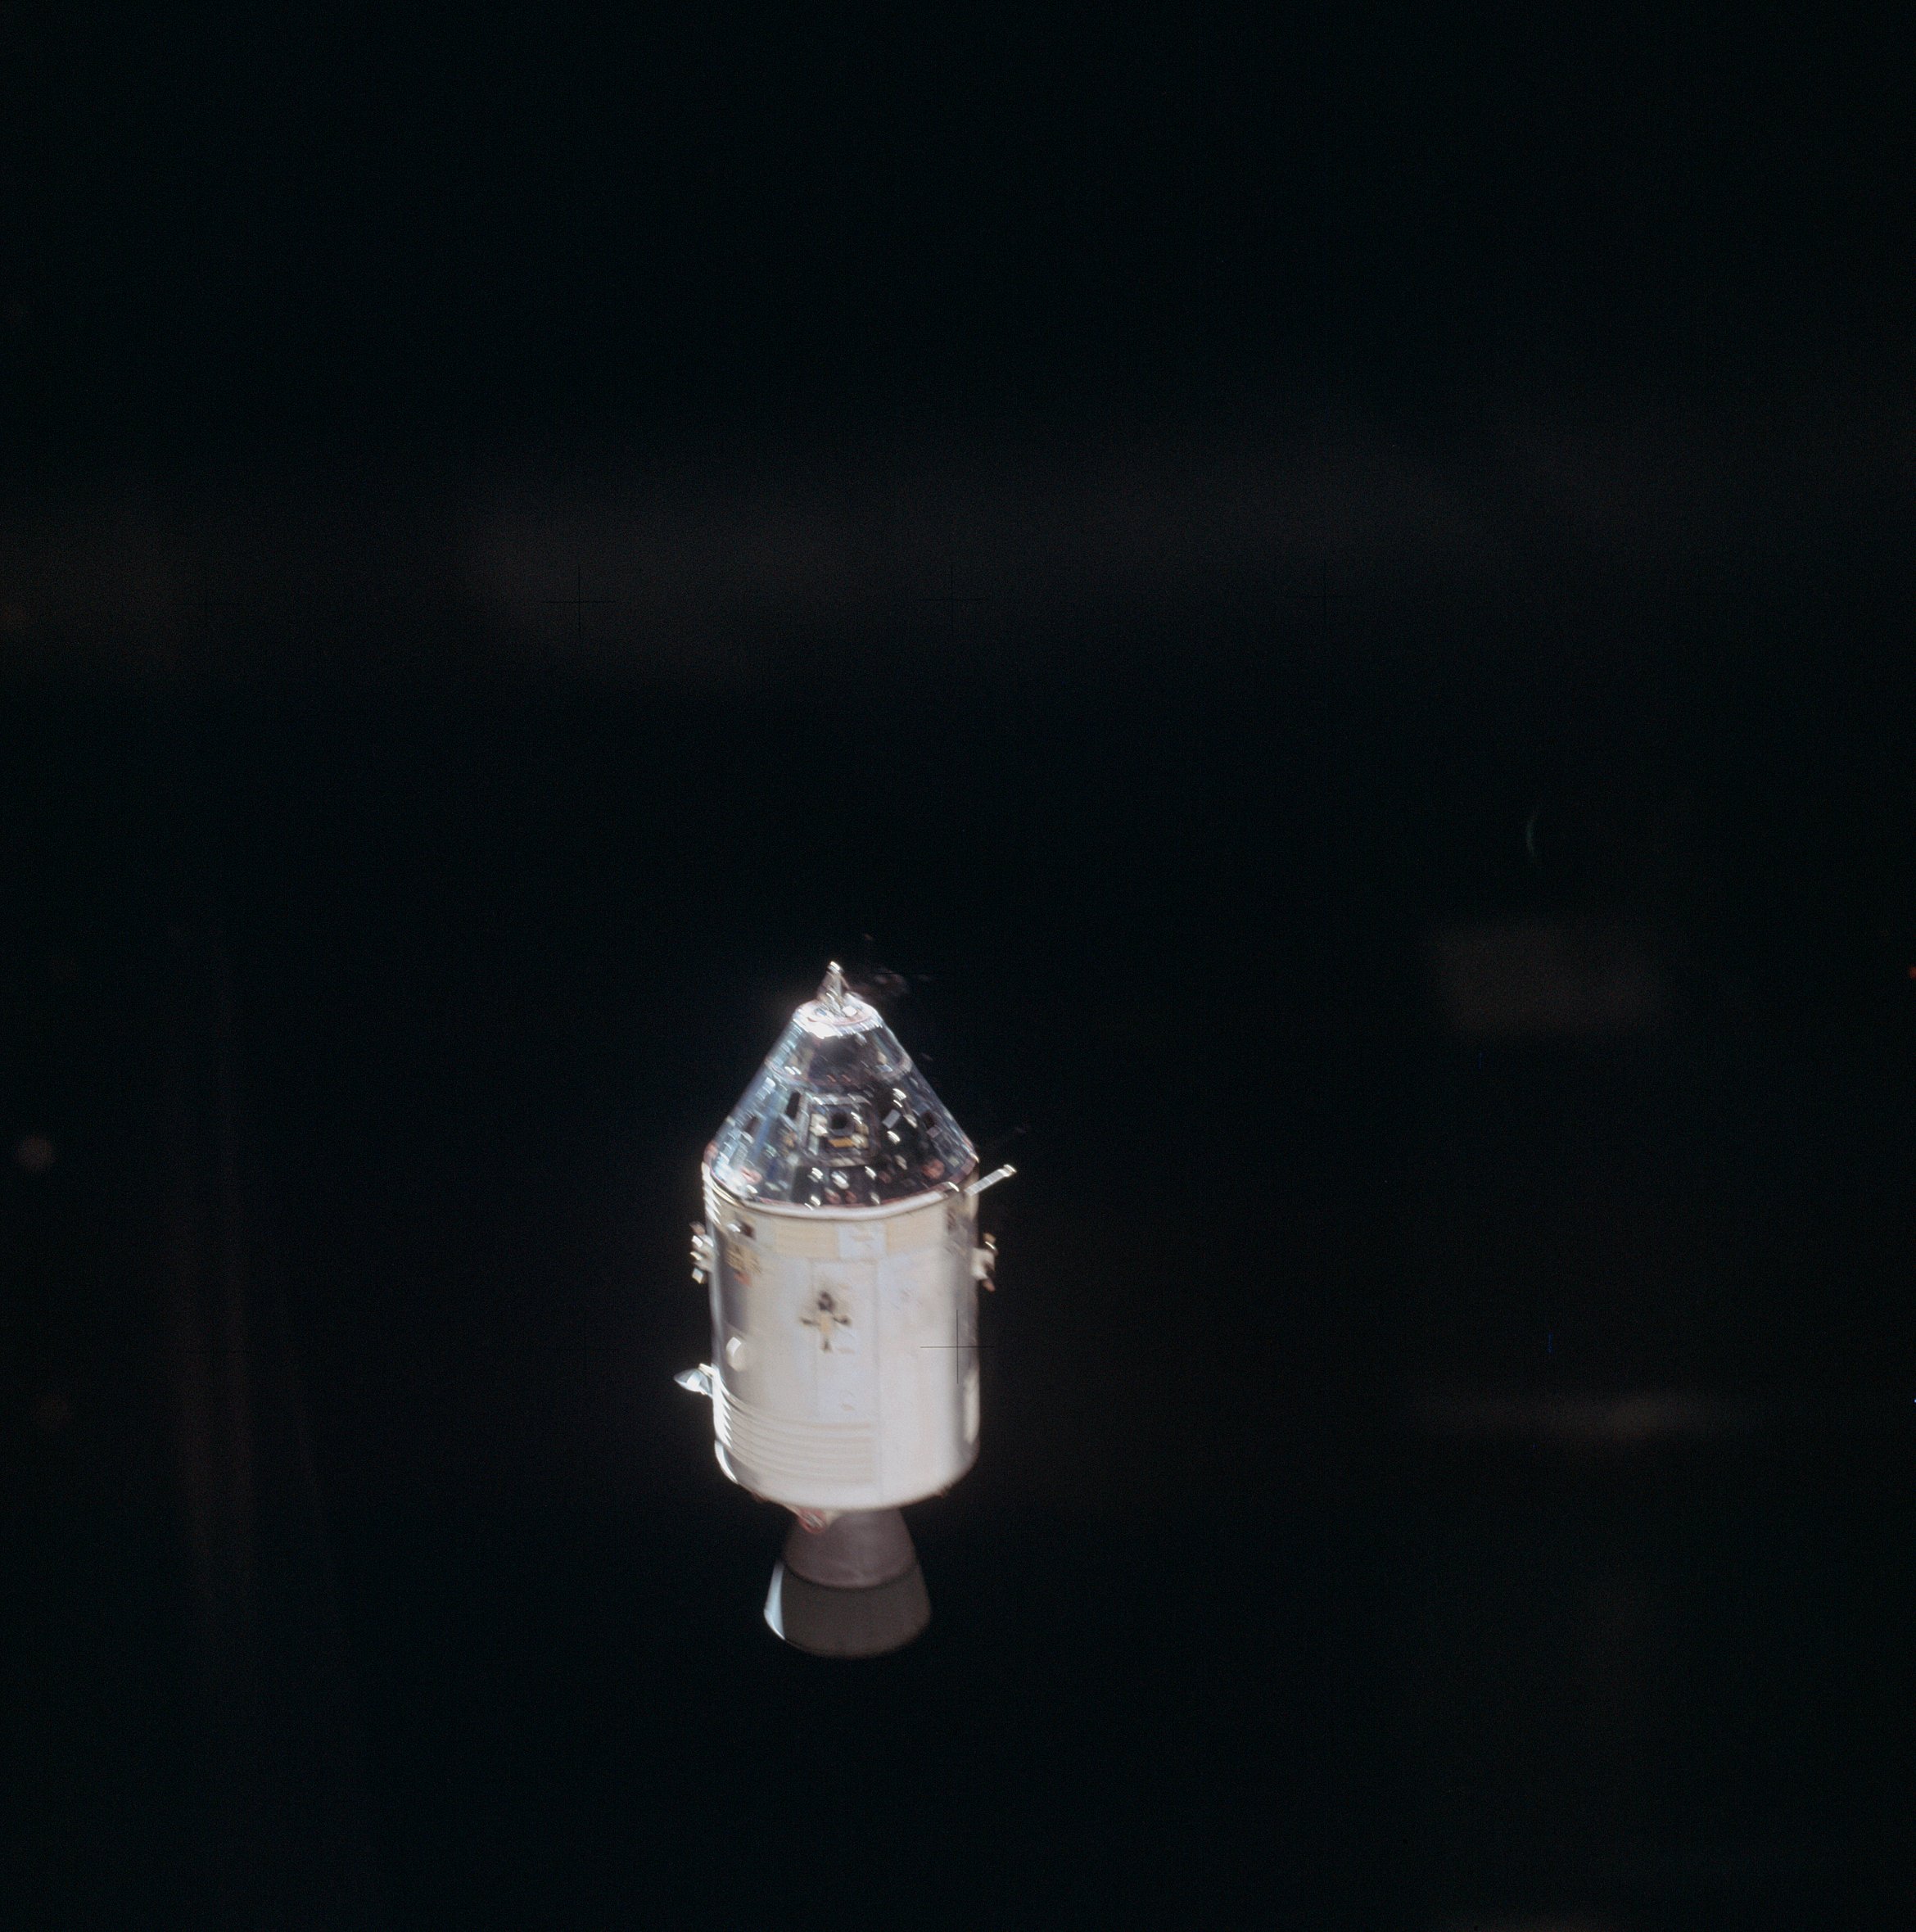 | AS14-66-9347 View of the CSM from the LM during rendezvous. Image credit: Image Science and Analysis Laboratory, NASA-Johnson Space Center. |
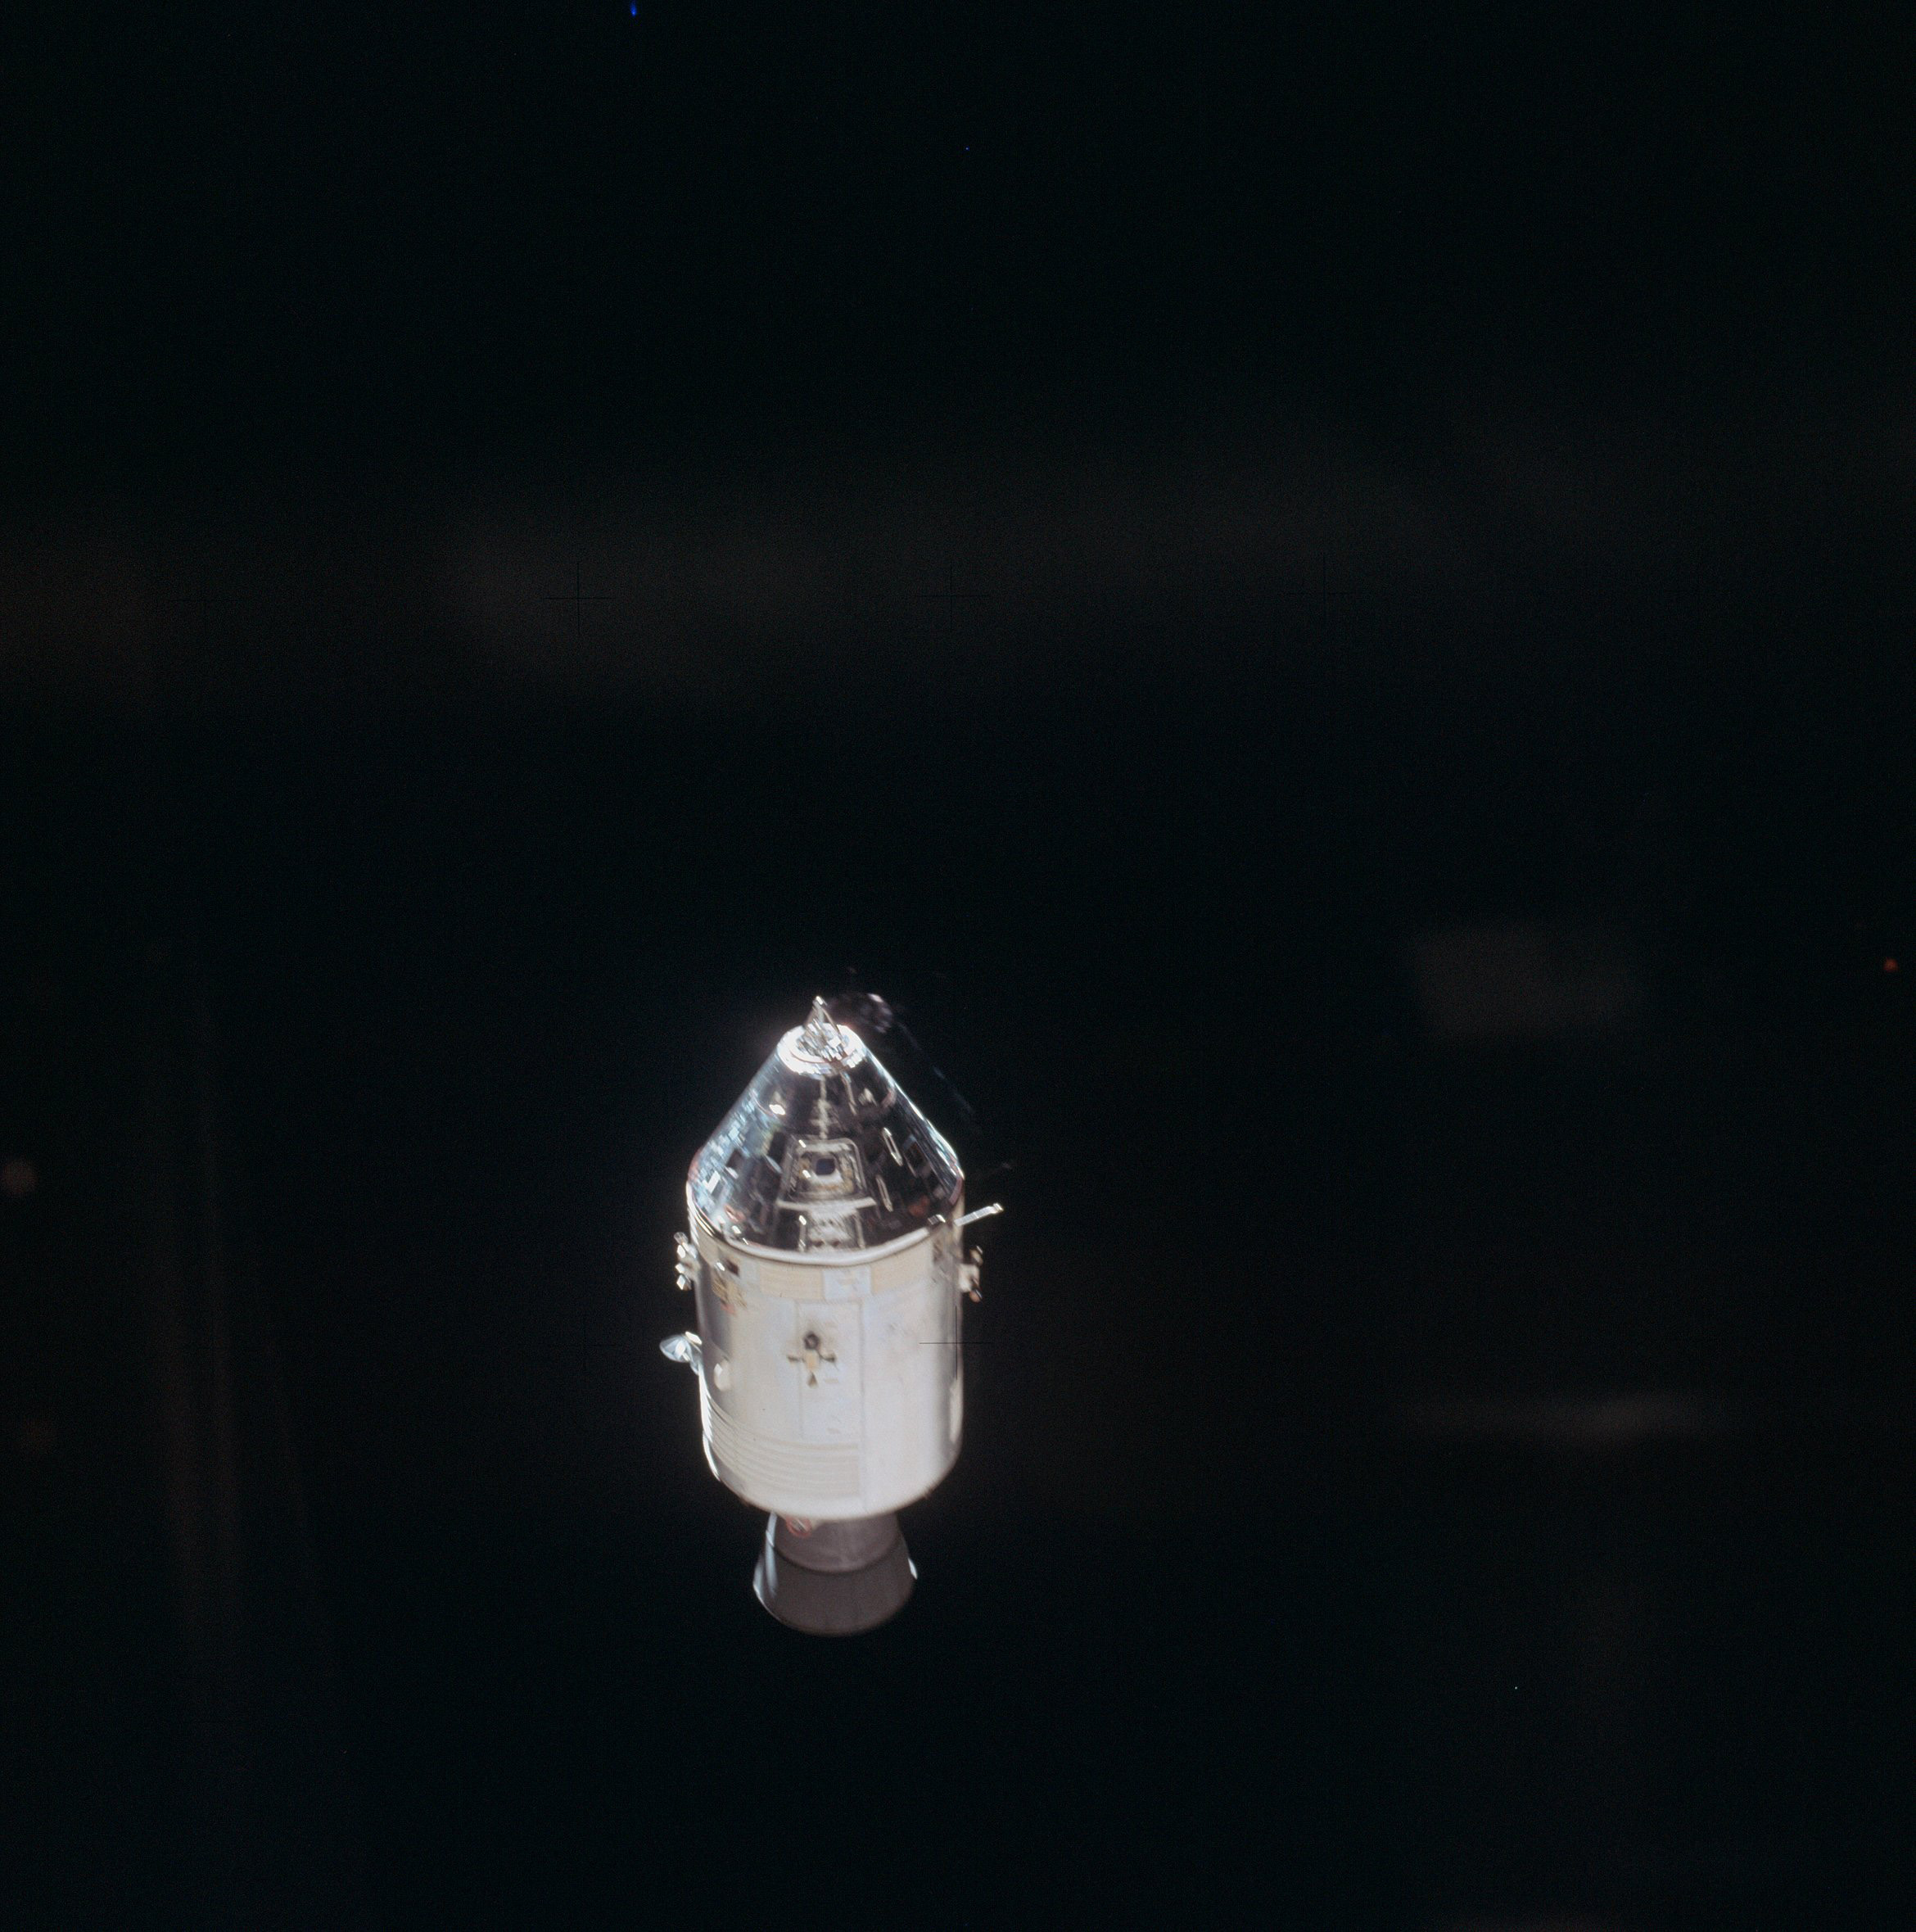 | AS14-66-9348 View of the CSM from the LM during rendezvous. Image credit: Image Science and Analysis Laboratory, NASA-Johnson Space Center. |
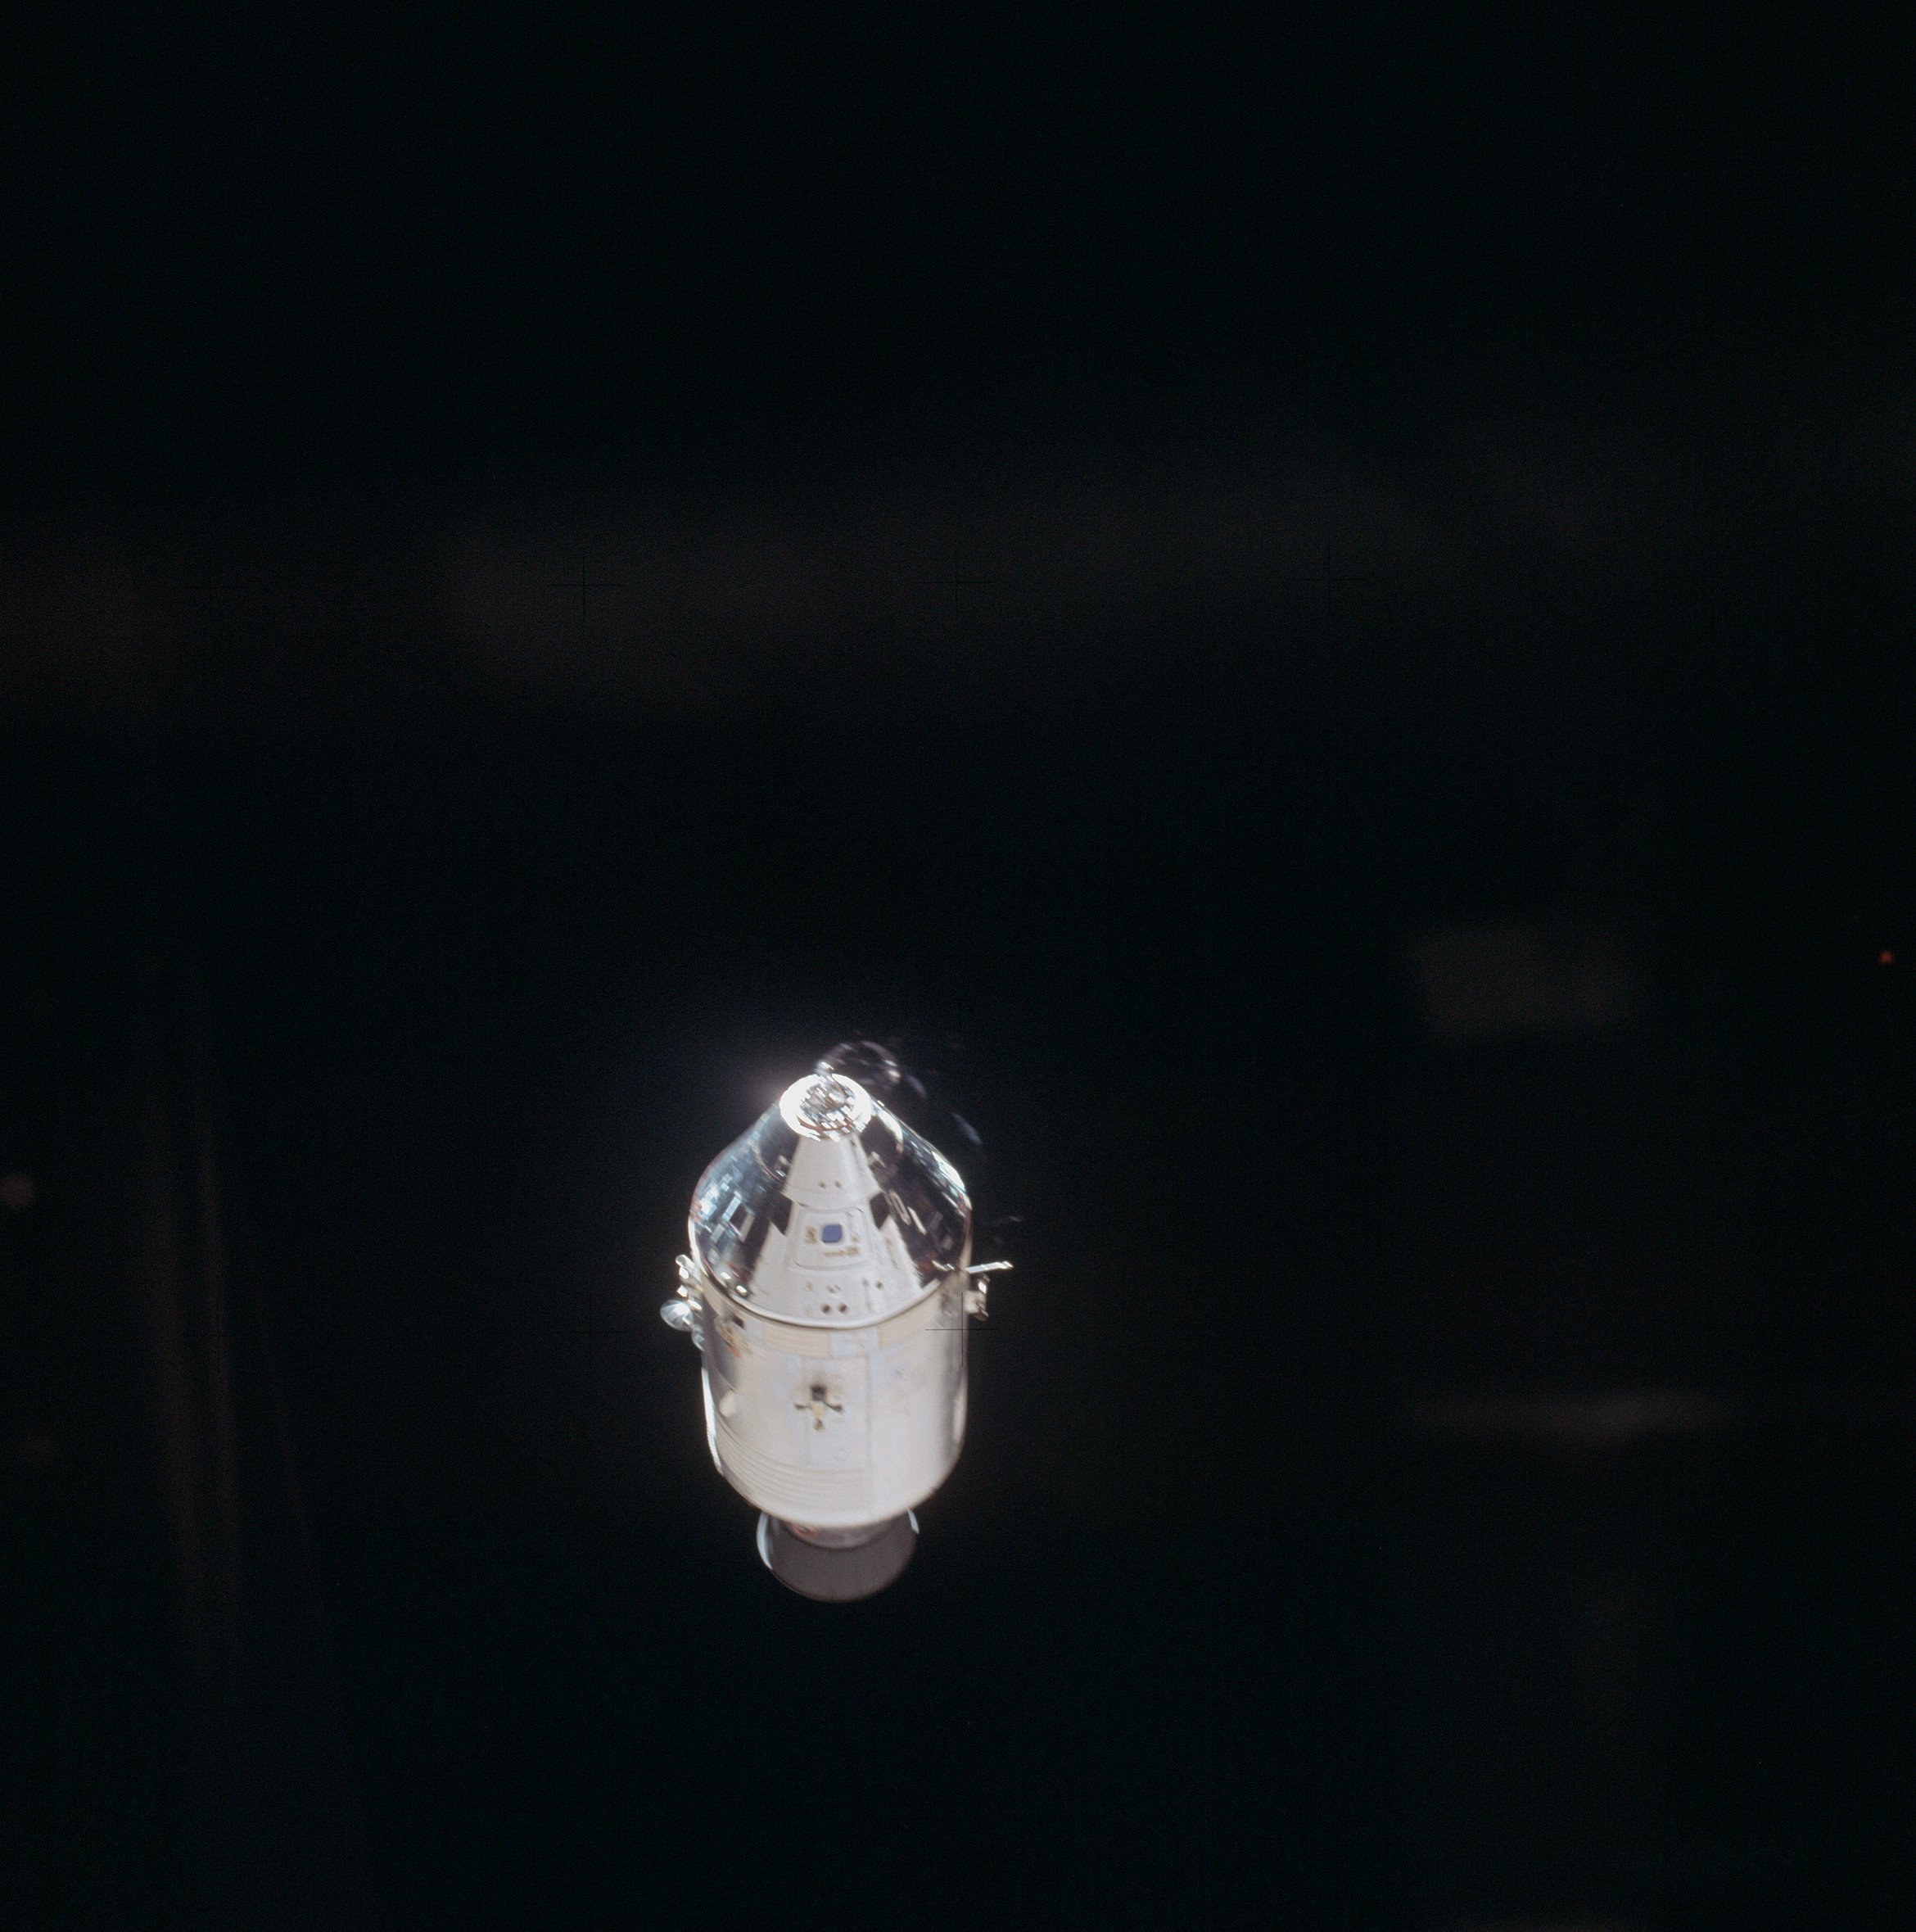 | AS14-66-9349 View of the CSM from the LM during rendezvous. Image credit: Image Science and Analysis Laboratory, NASA-Johnson Space Center. |
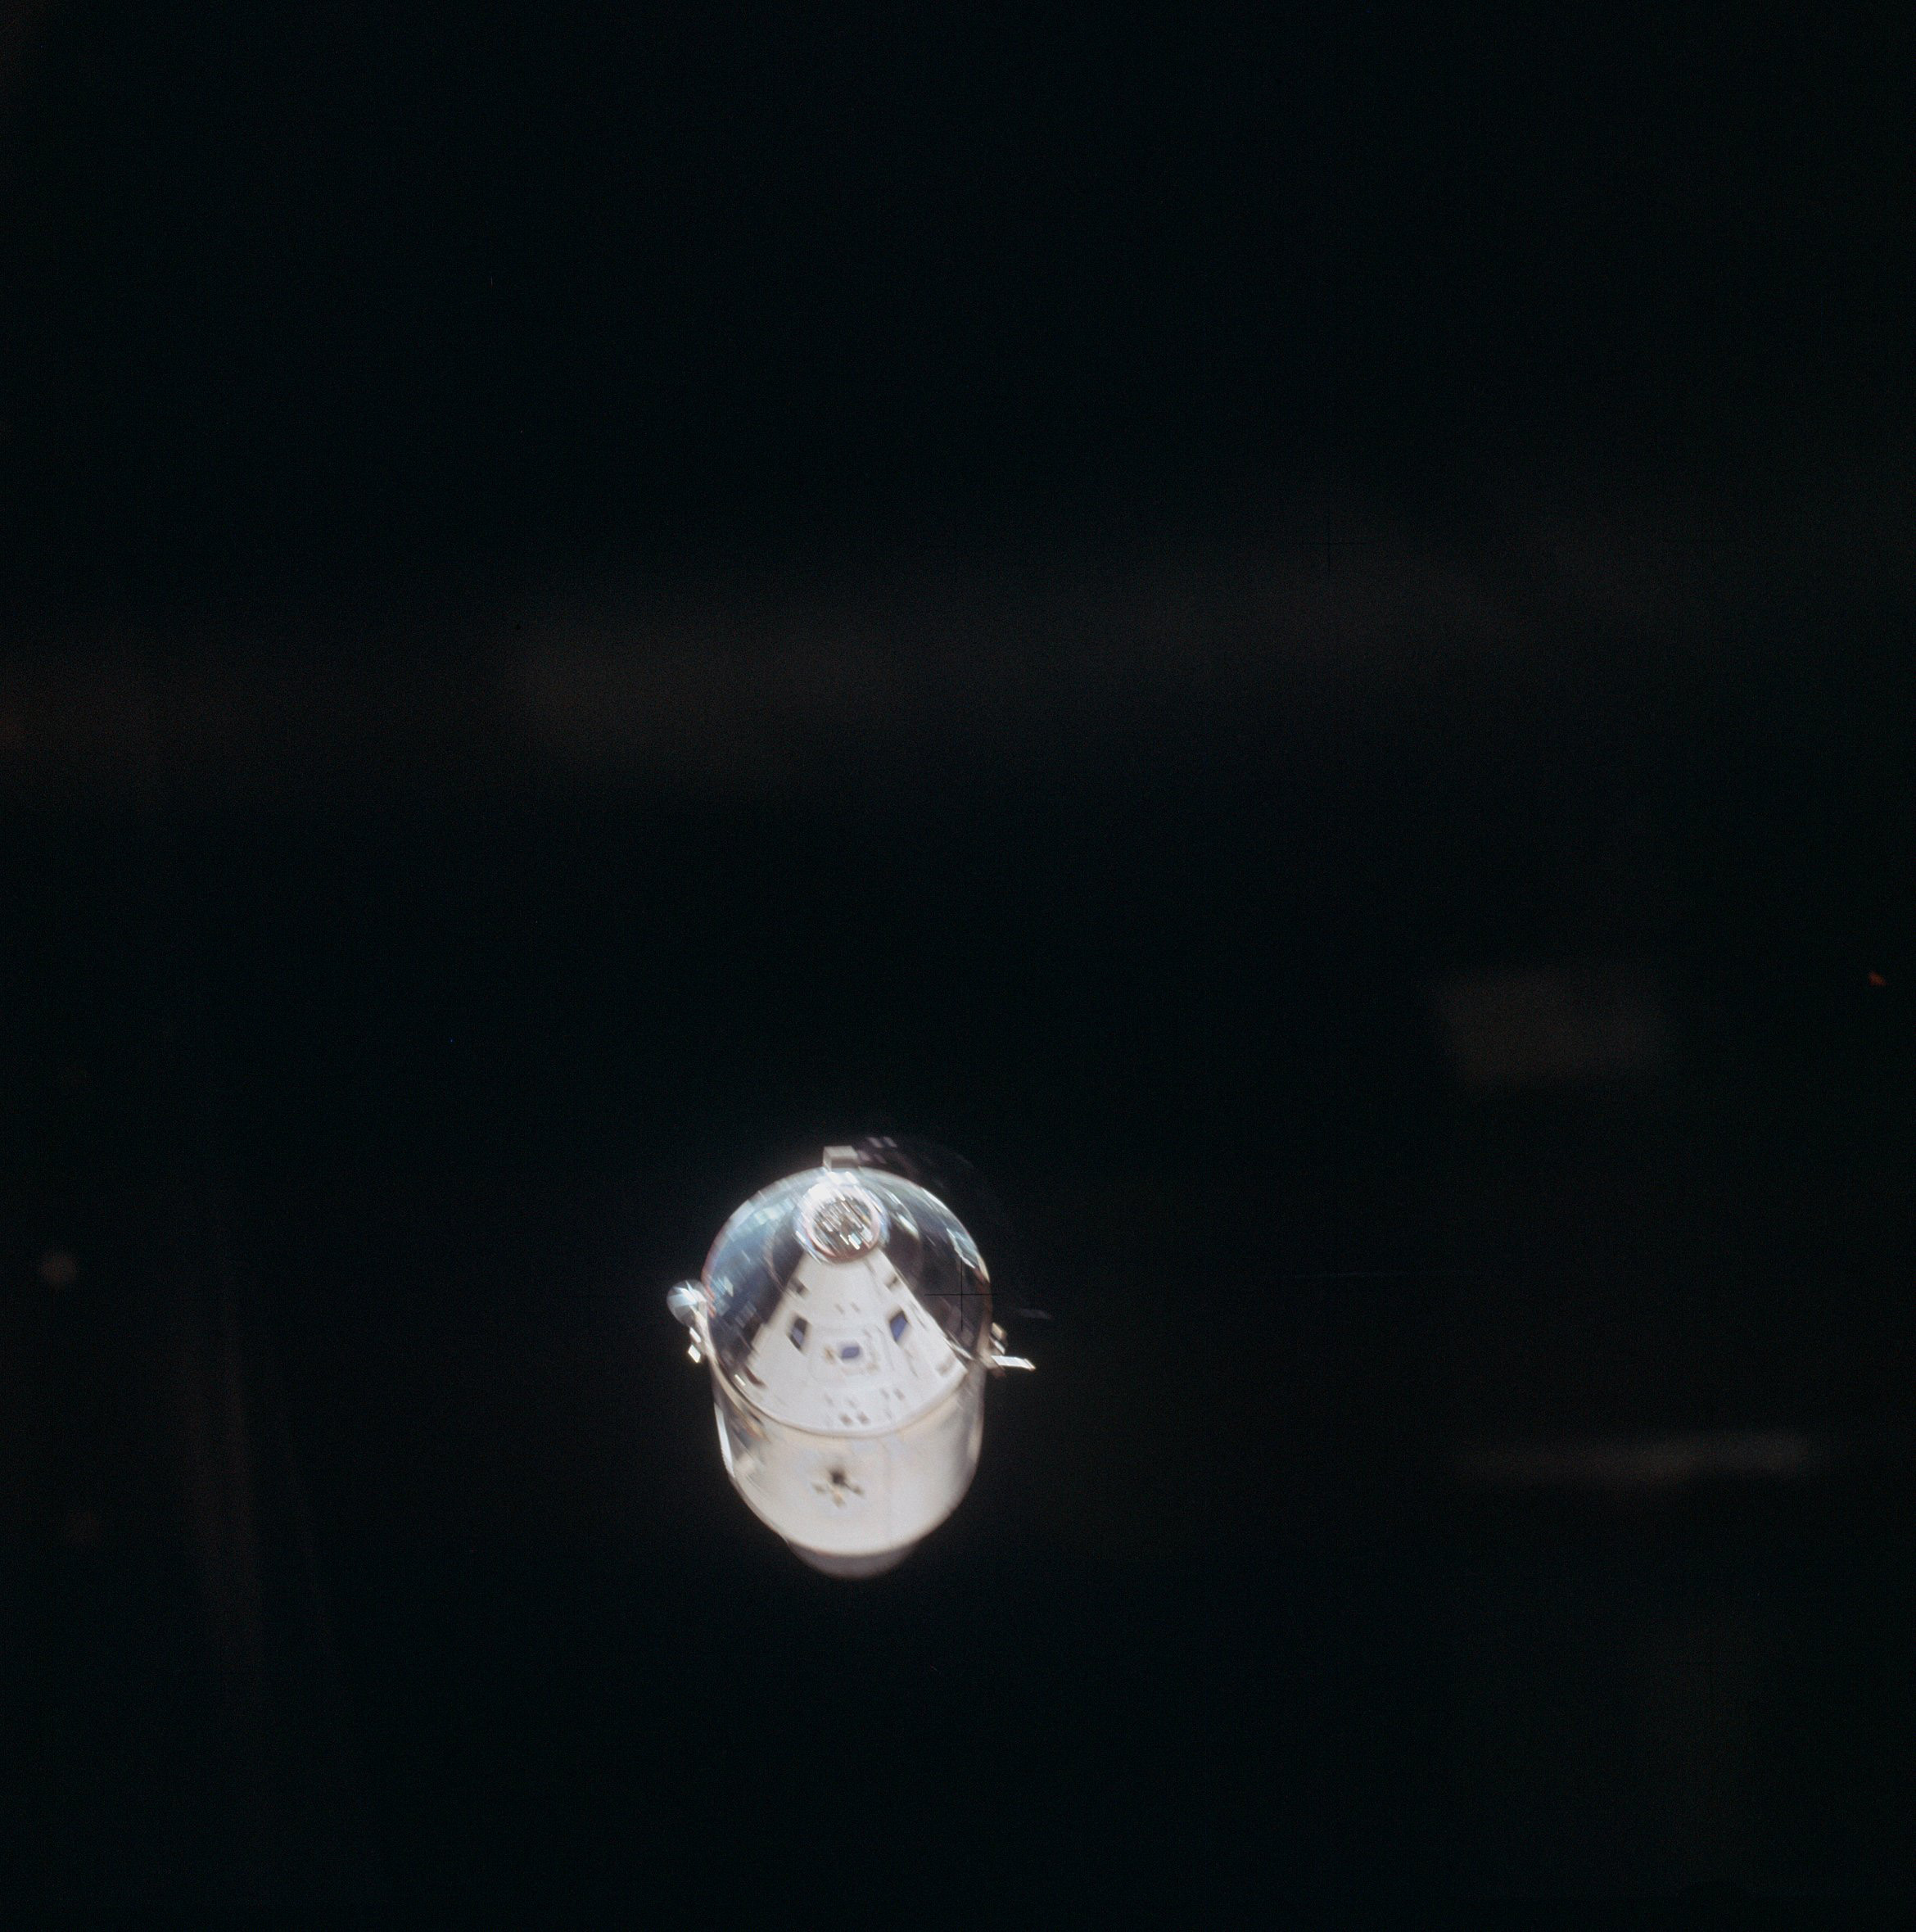 | AS14-66-9350 View of the CSM from the LM during rendezvous. Image credit: Image Science and Analysis Laboratory, NASA-Johnson Space Center. |
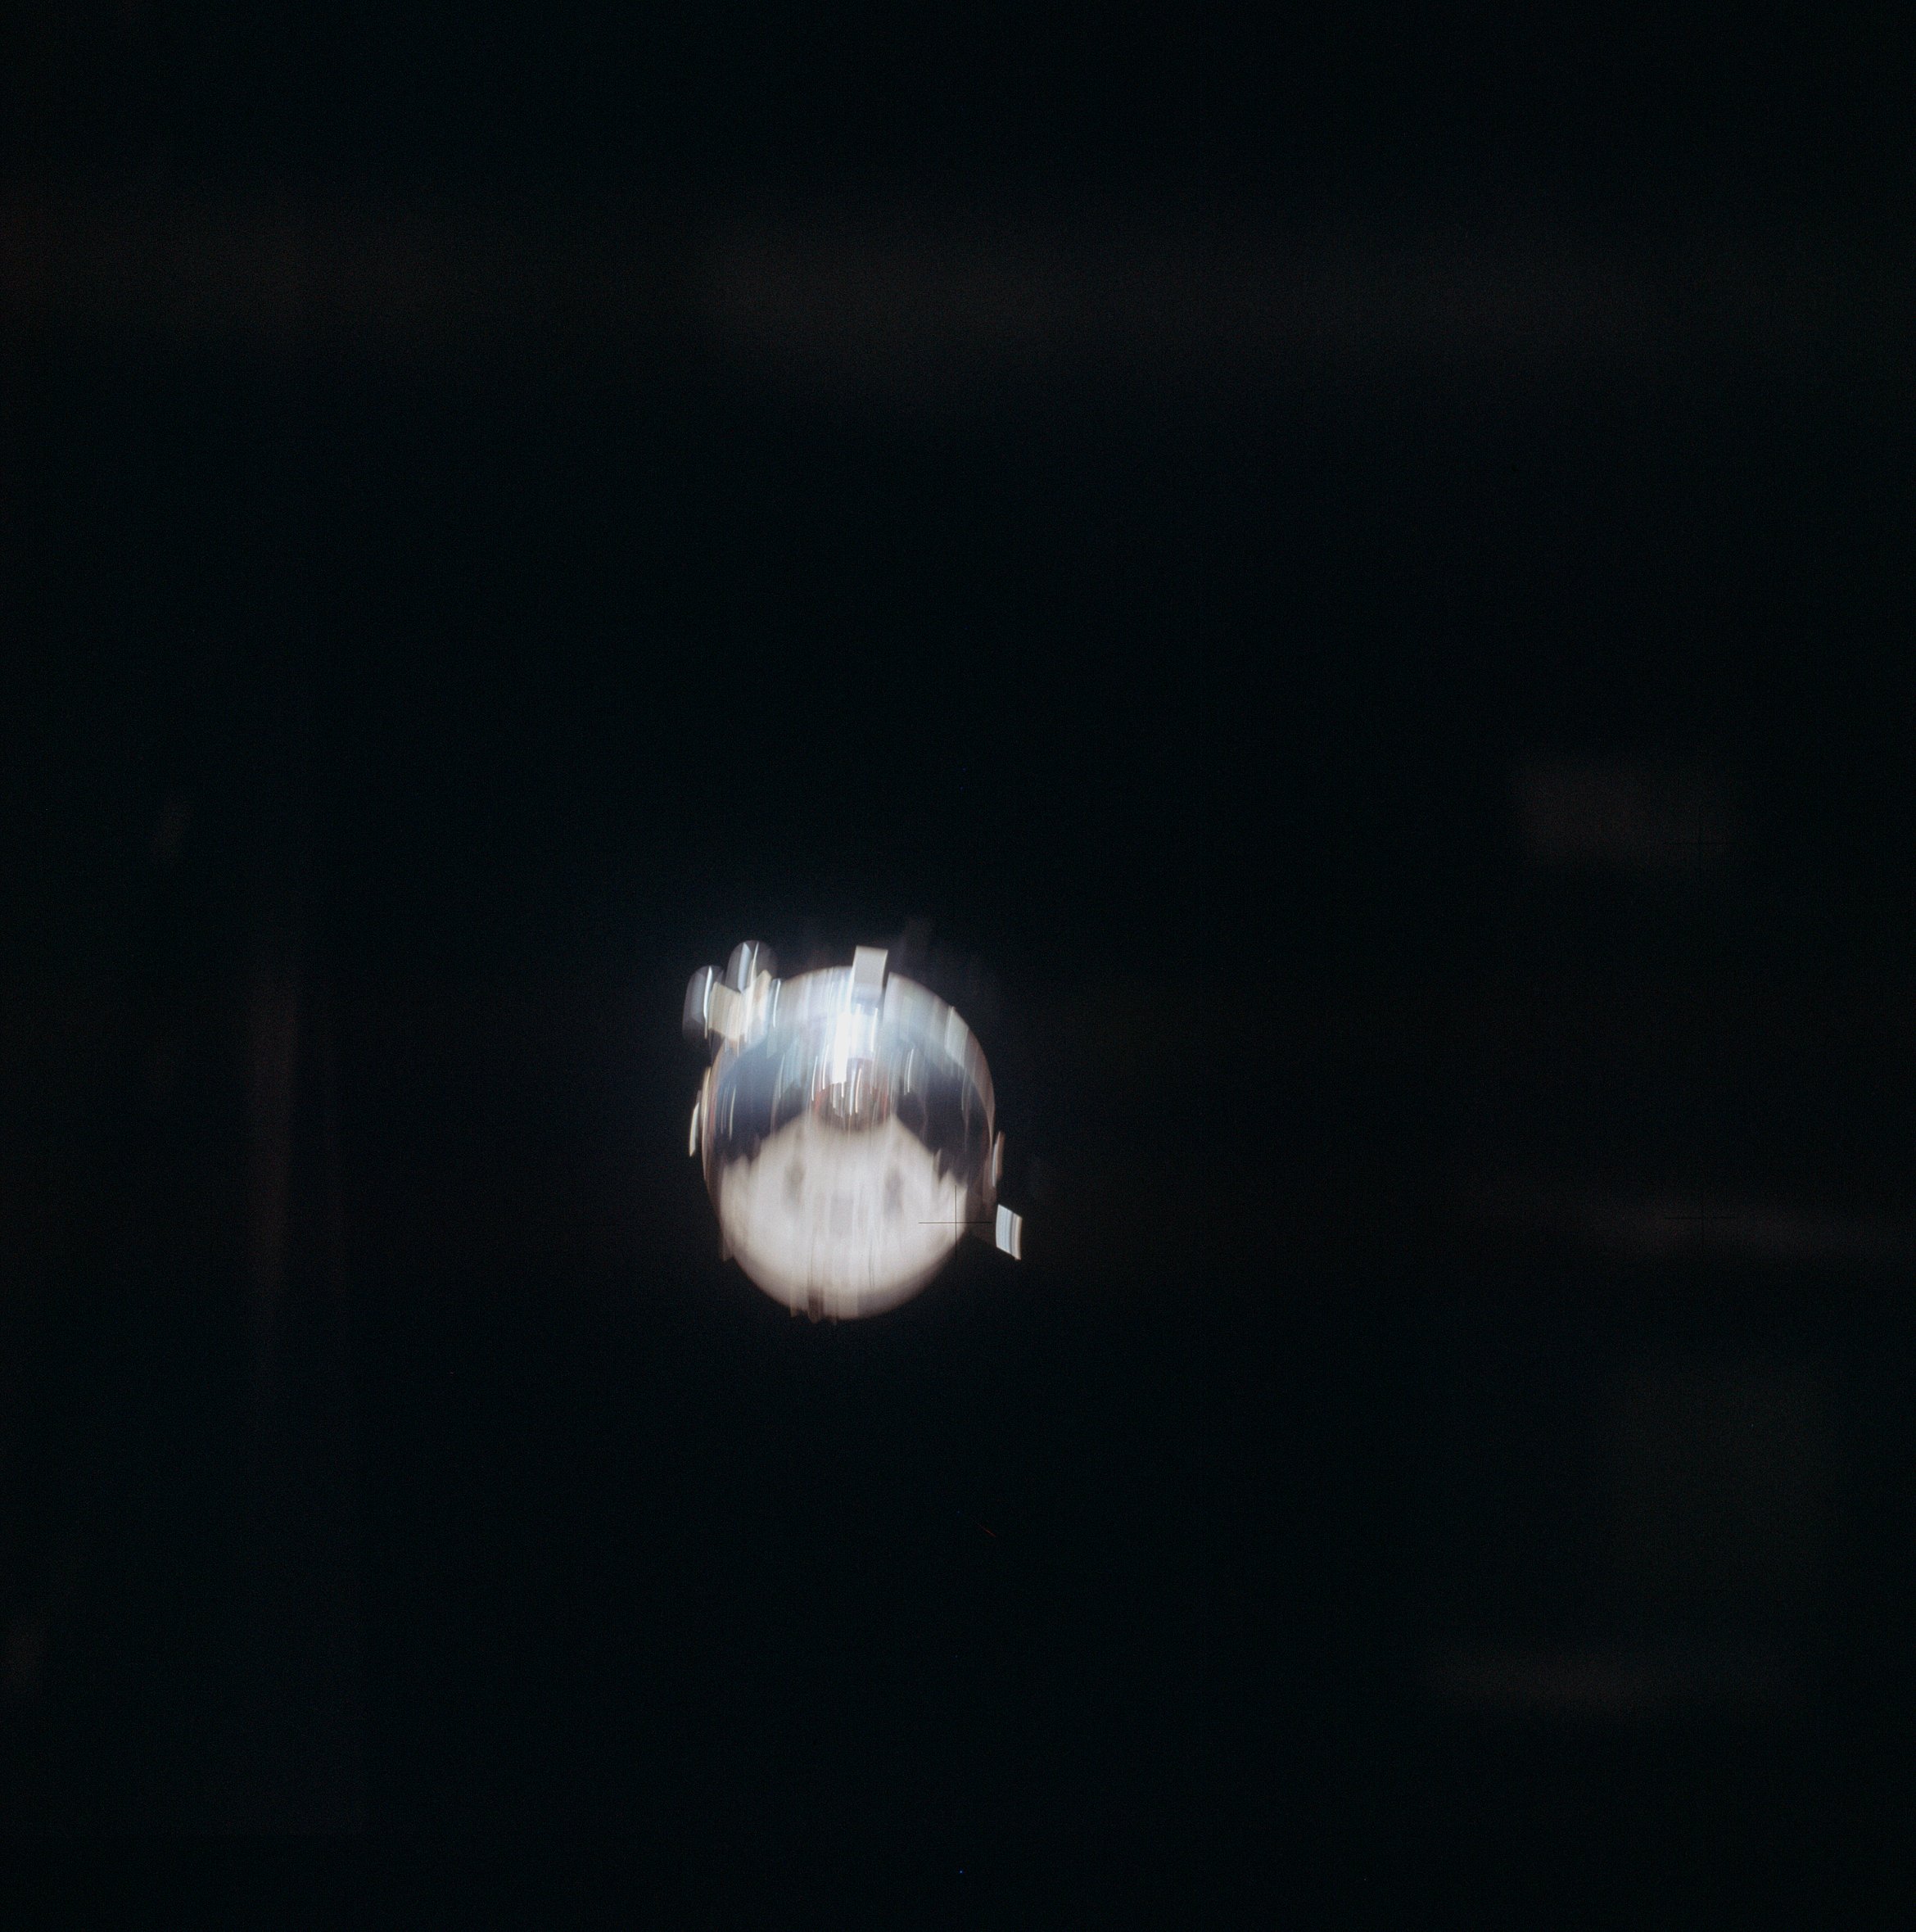 | AS14-66-9351 View of the CSM from the LM during rendezvous. Image credit: Image Science and Analysis Laboratory, NASA-Johnson Space Center. |
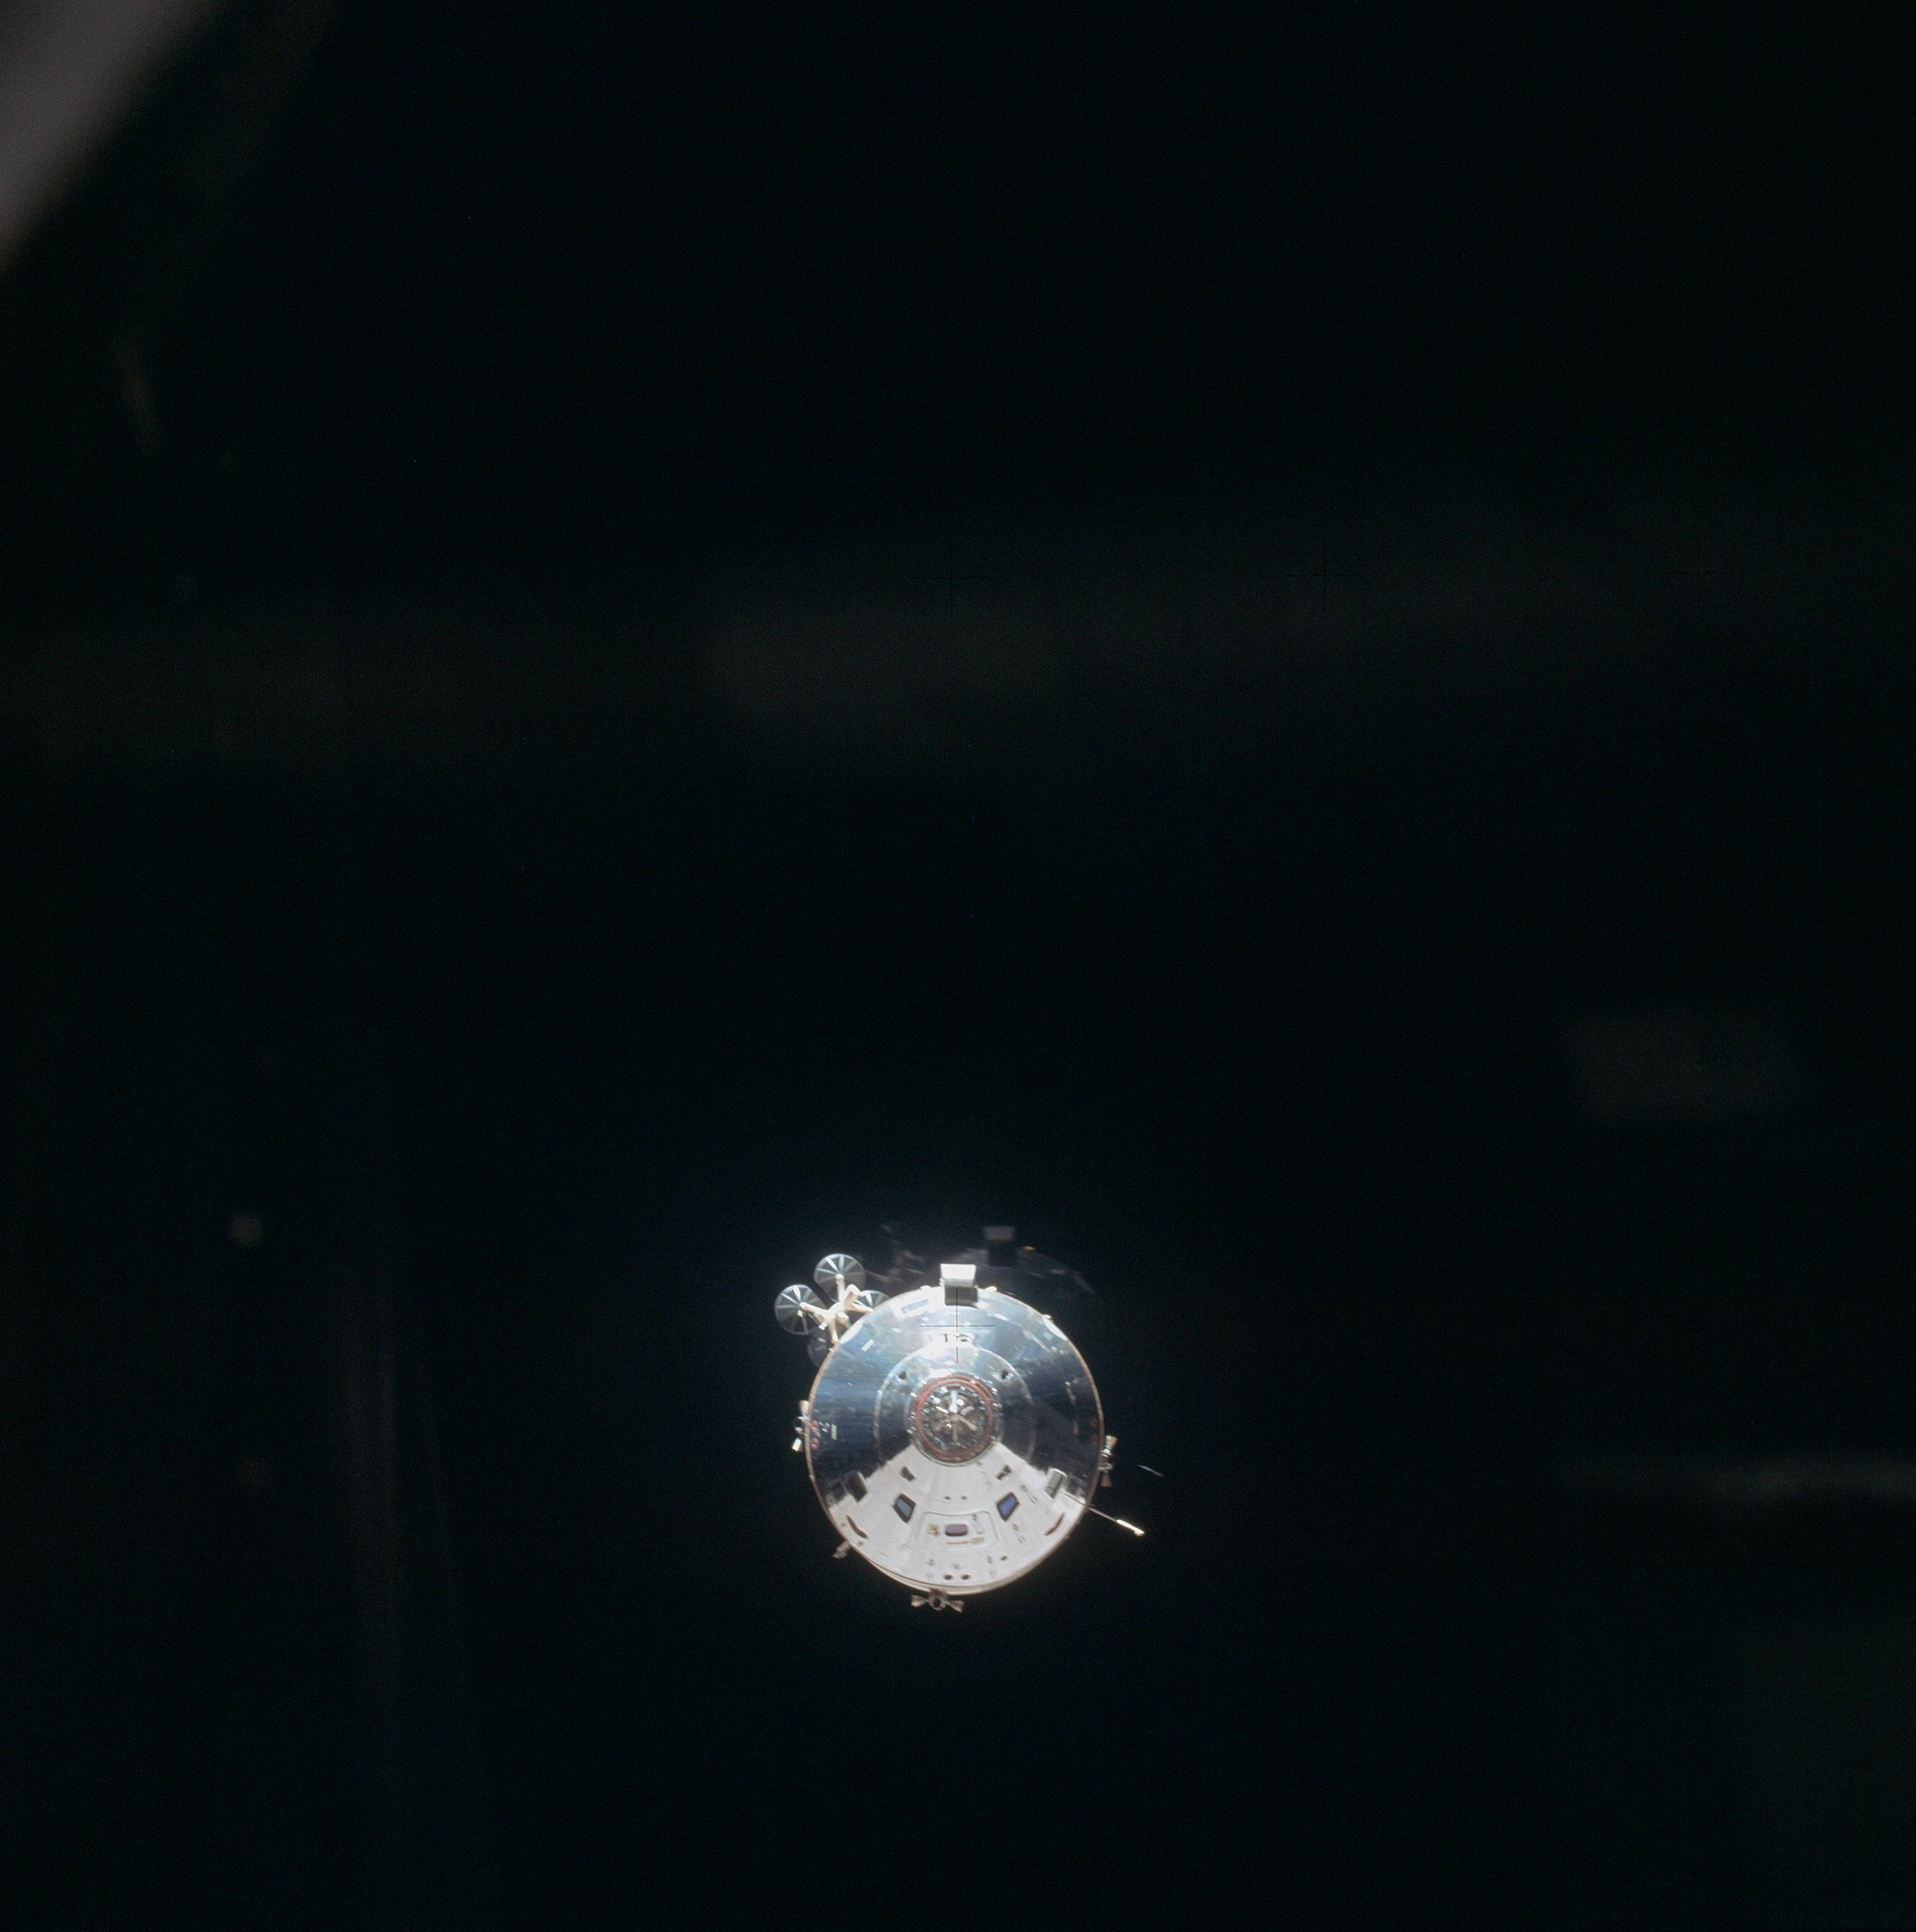 | AS14-66-9352 View of the CSM from the LM during rendezvous. Image credit: Image Science and Analysis Laboratory, NASA-Johnson Space Center. |
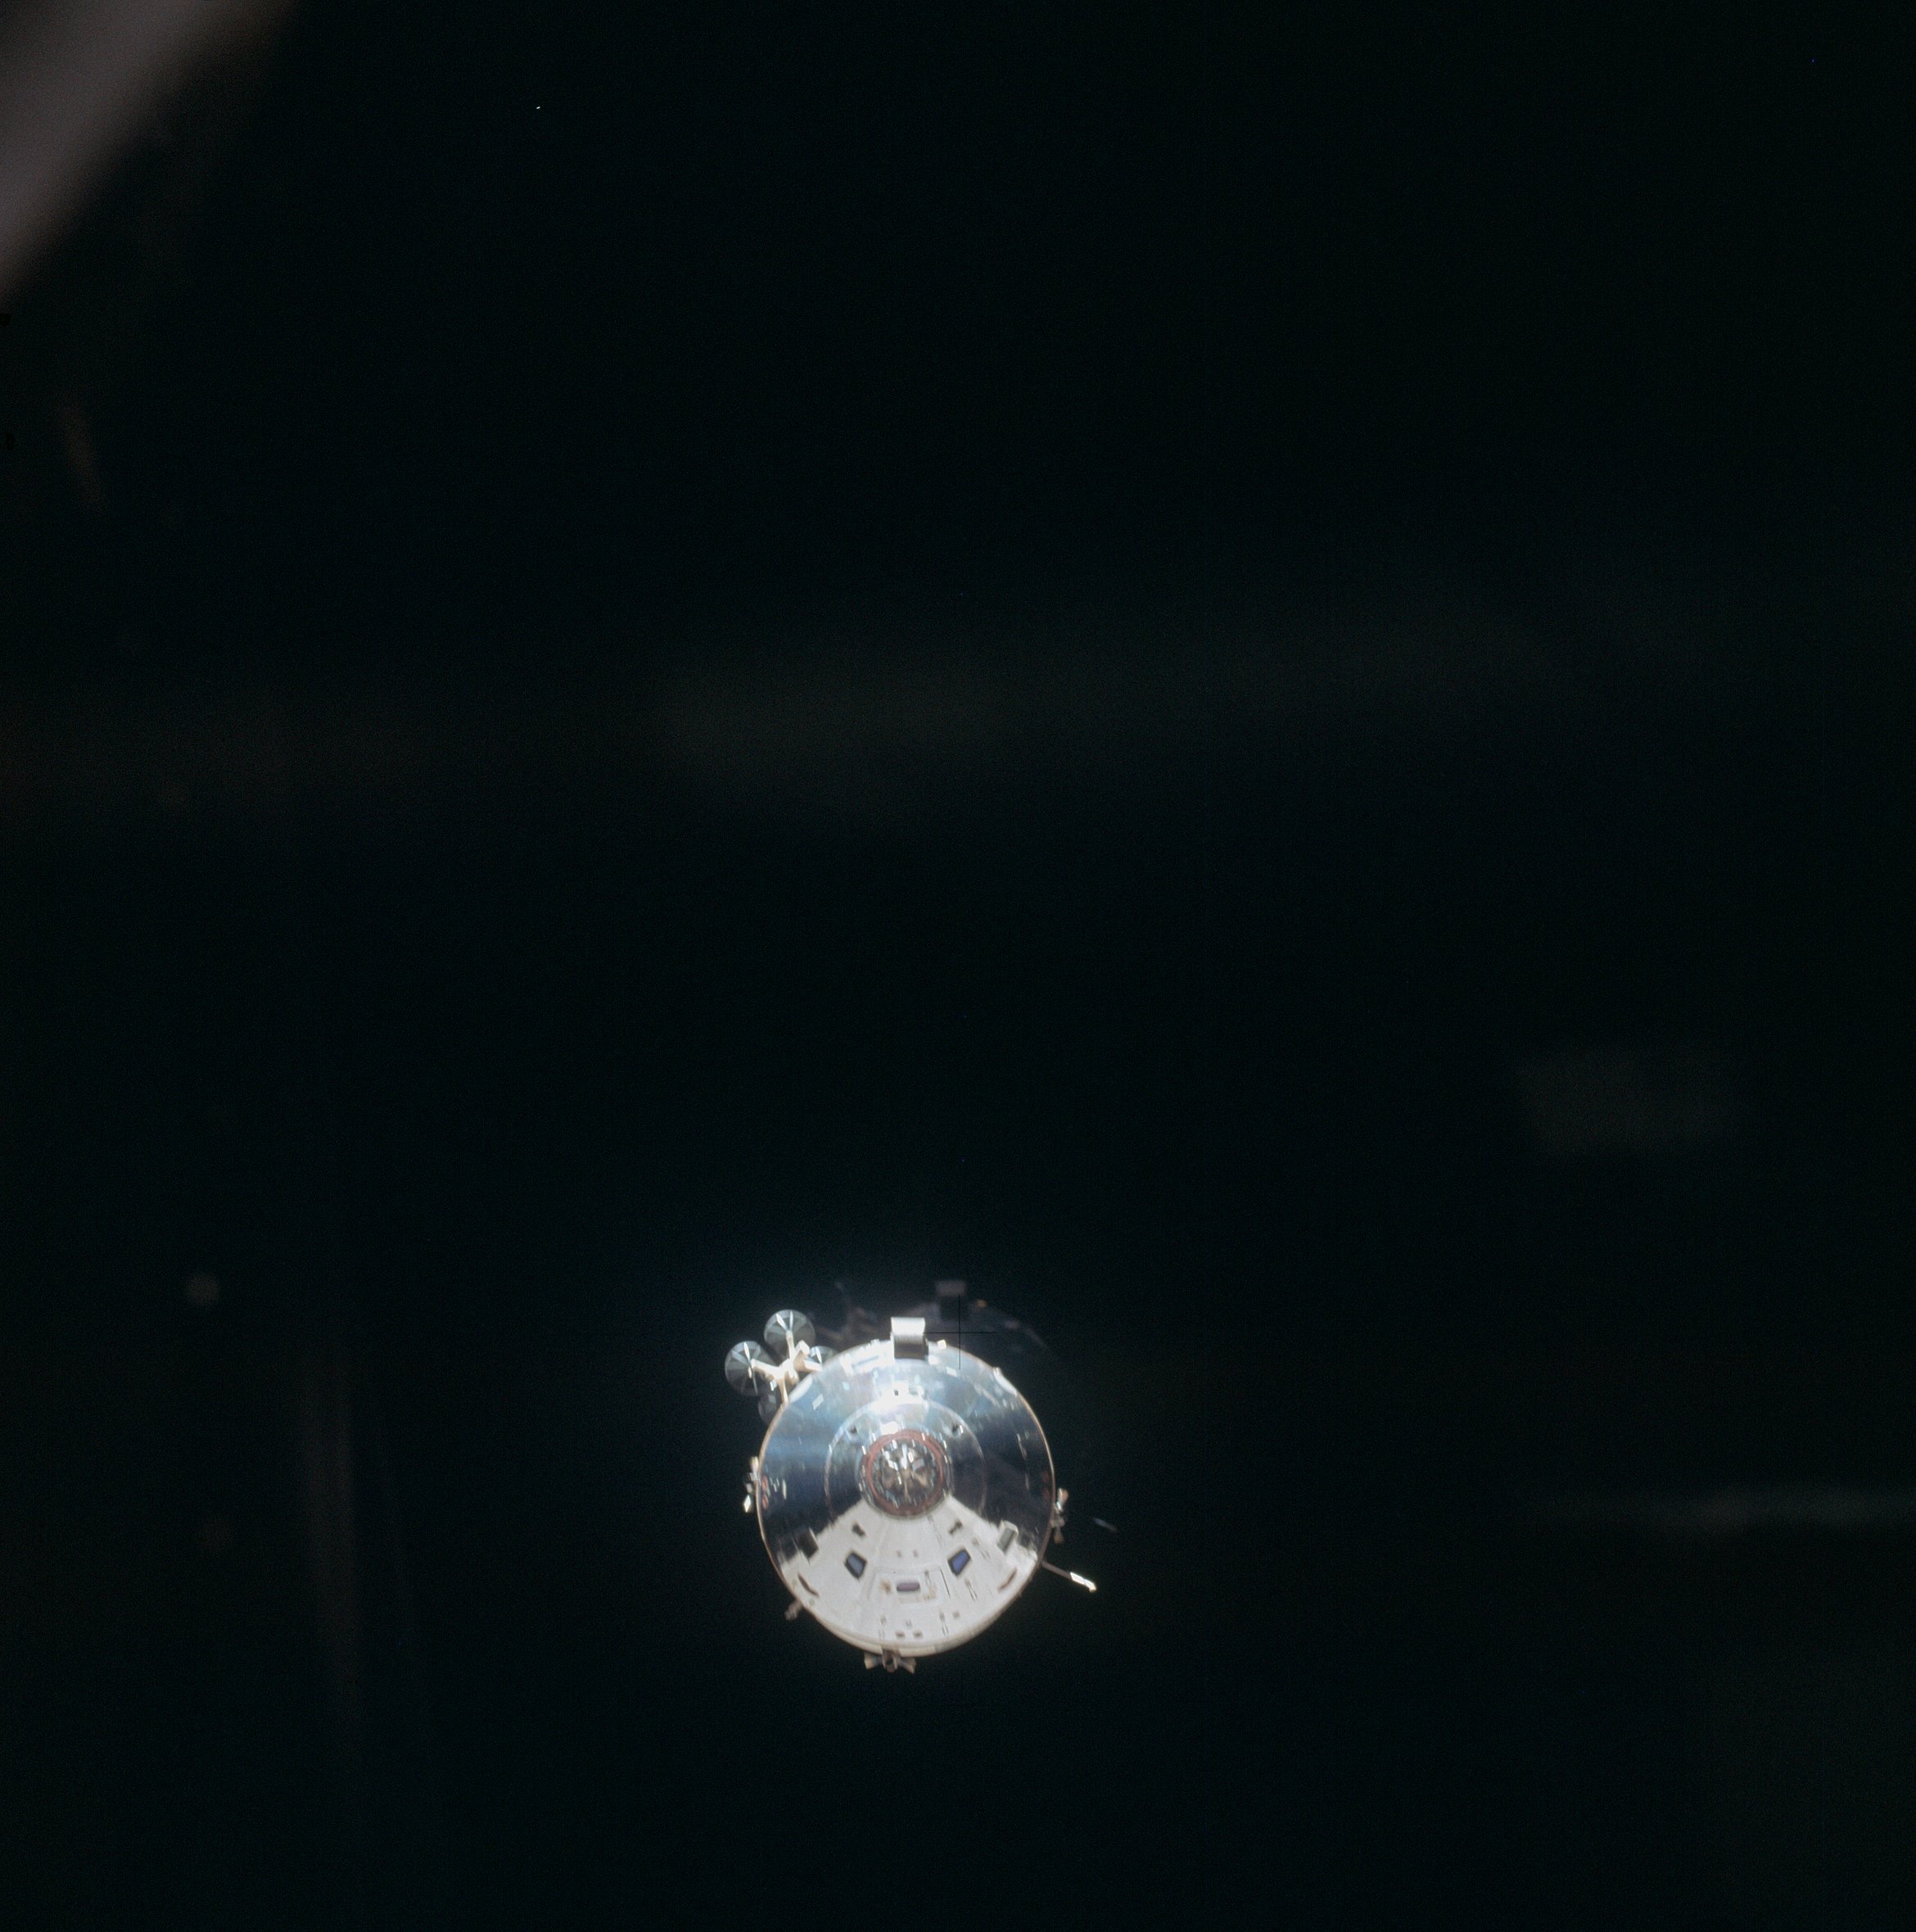 | AS14-66-9353 View of the CSM from the LM during rendezvous. Image credit: Image Science and Analysis Laboratory, NASA-Johnson Space Center. |
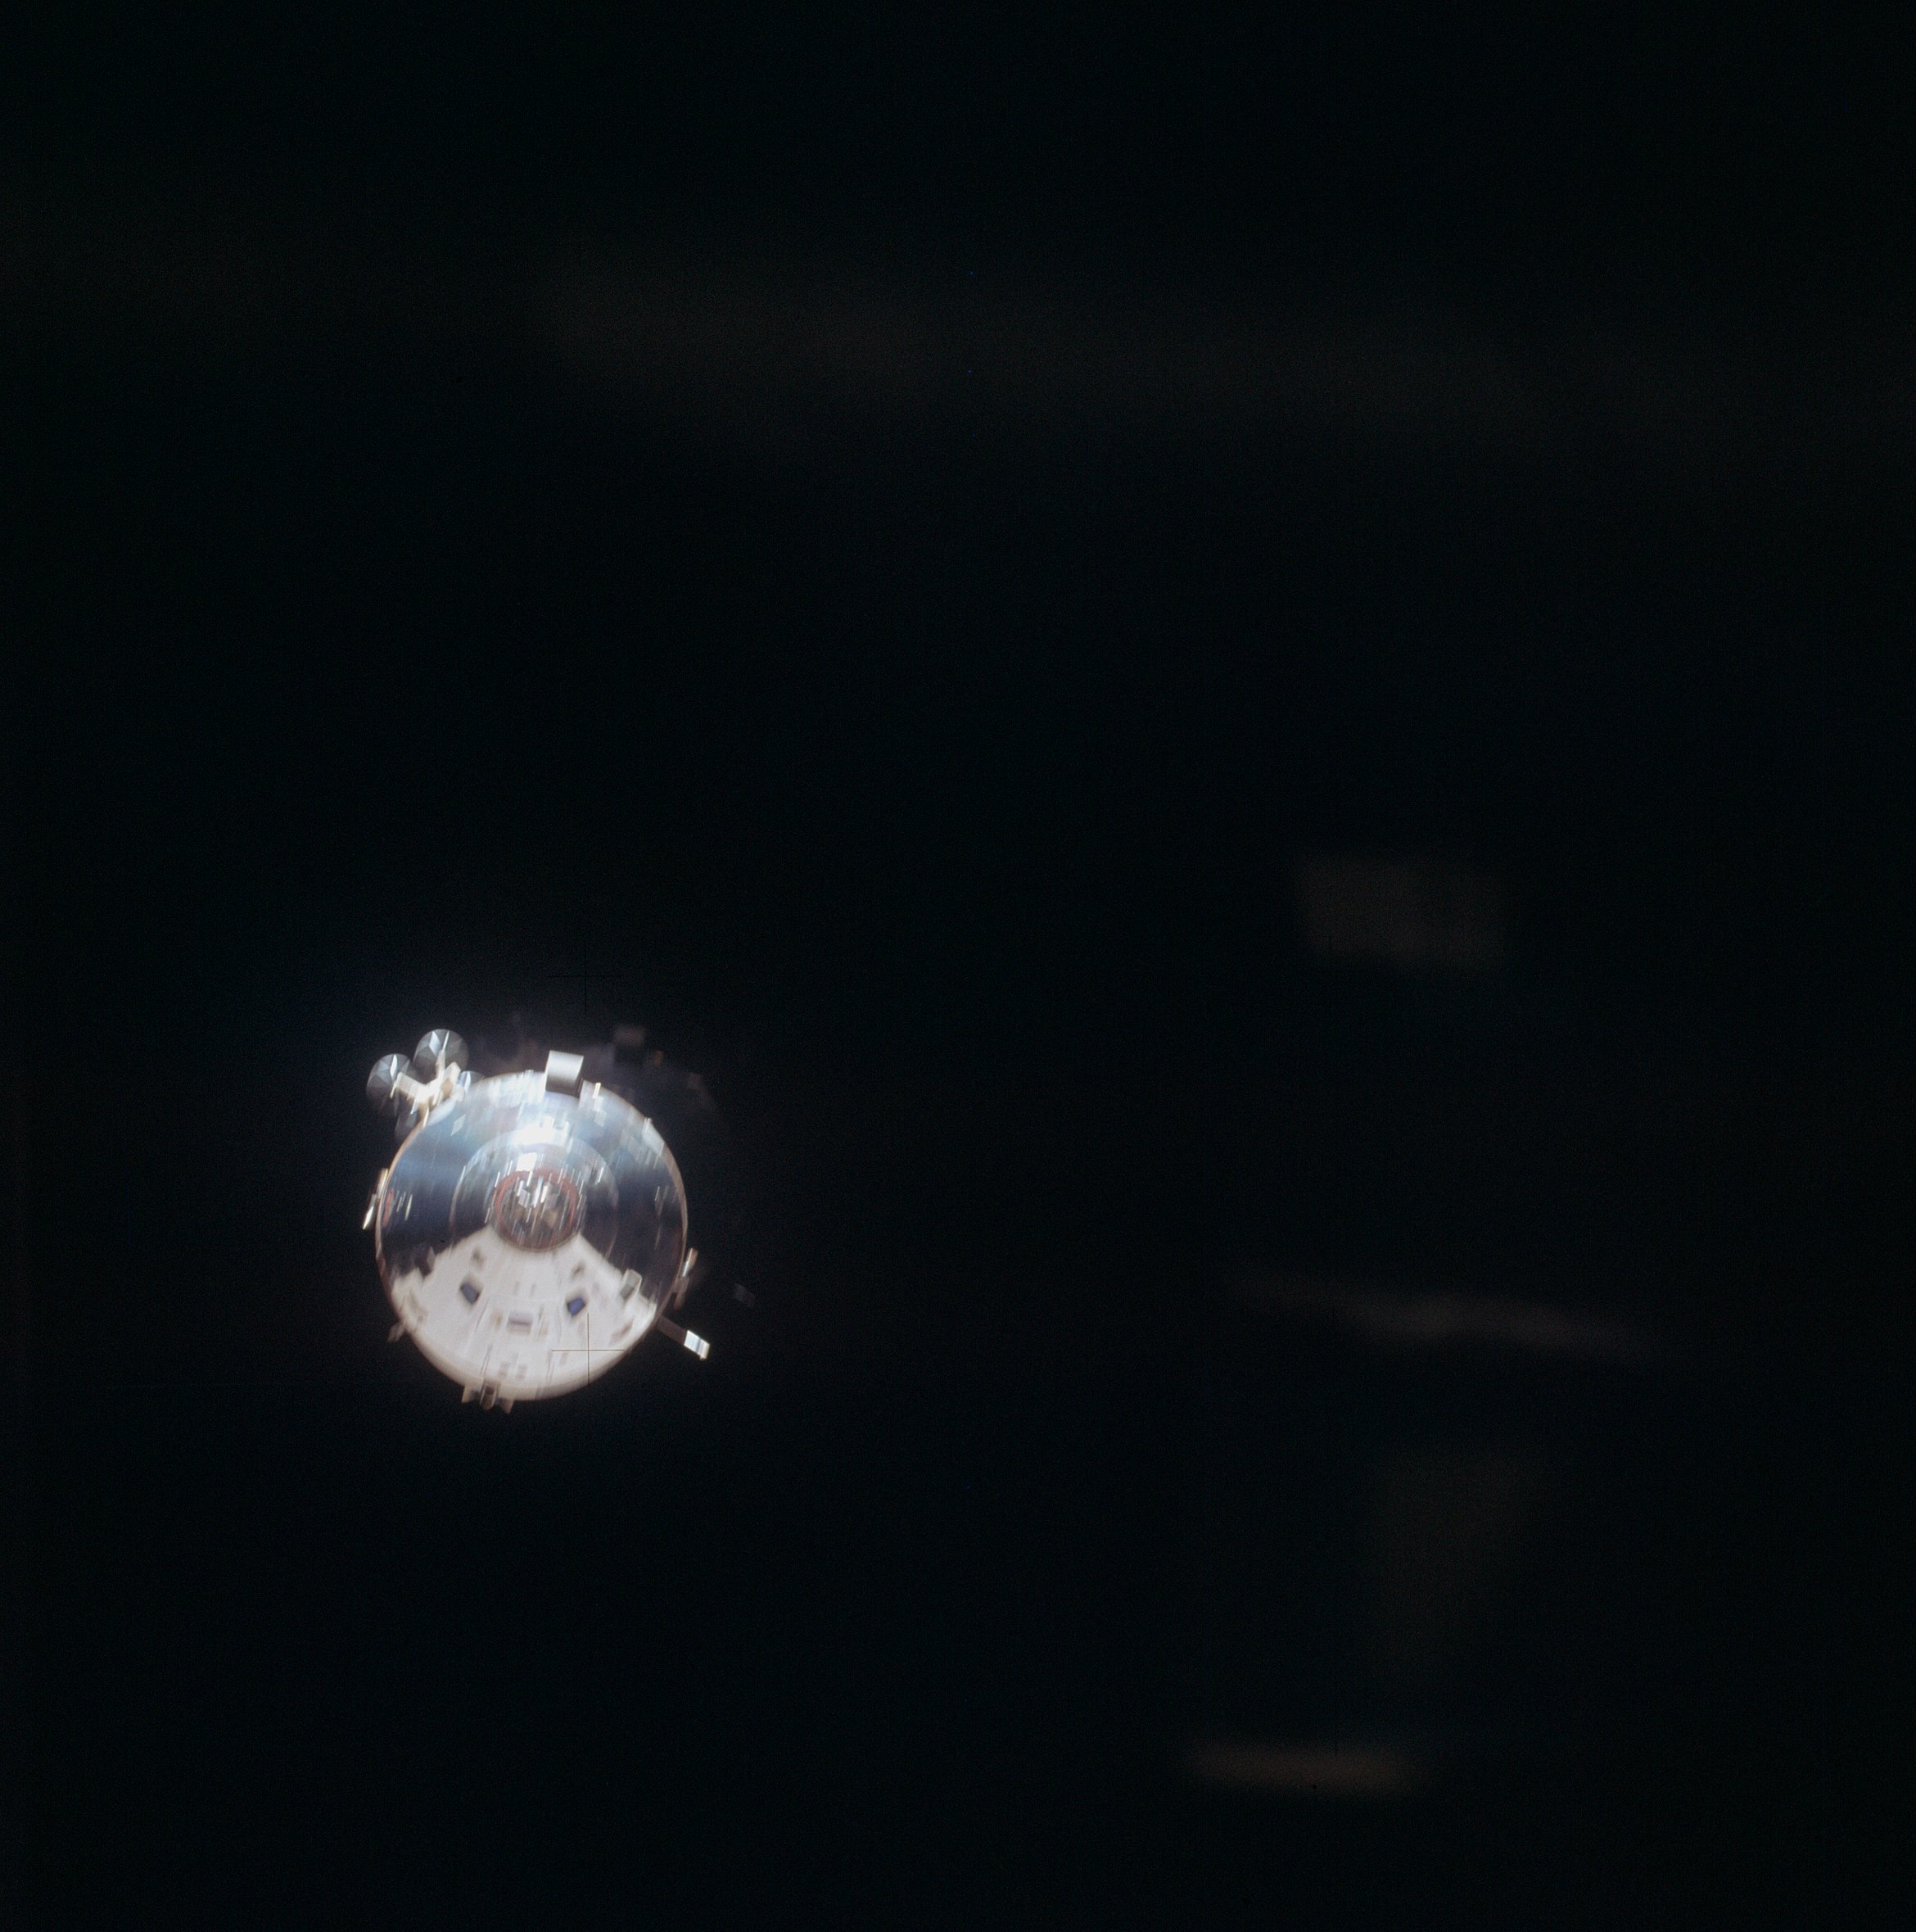 | AS14-66-9354 View of the CSM from the LM during rendezvous. Image credit: Image Science and Analysis Laboratory, NASA-Johnson Space Center. |
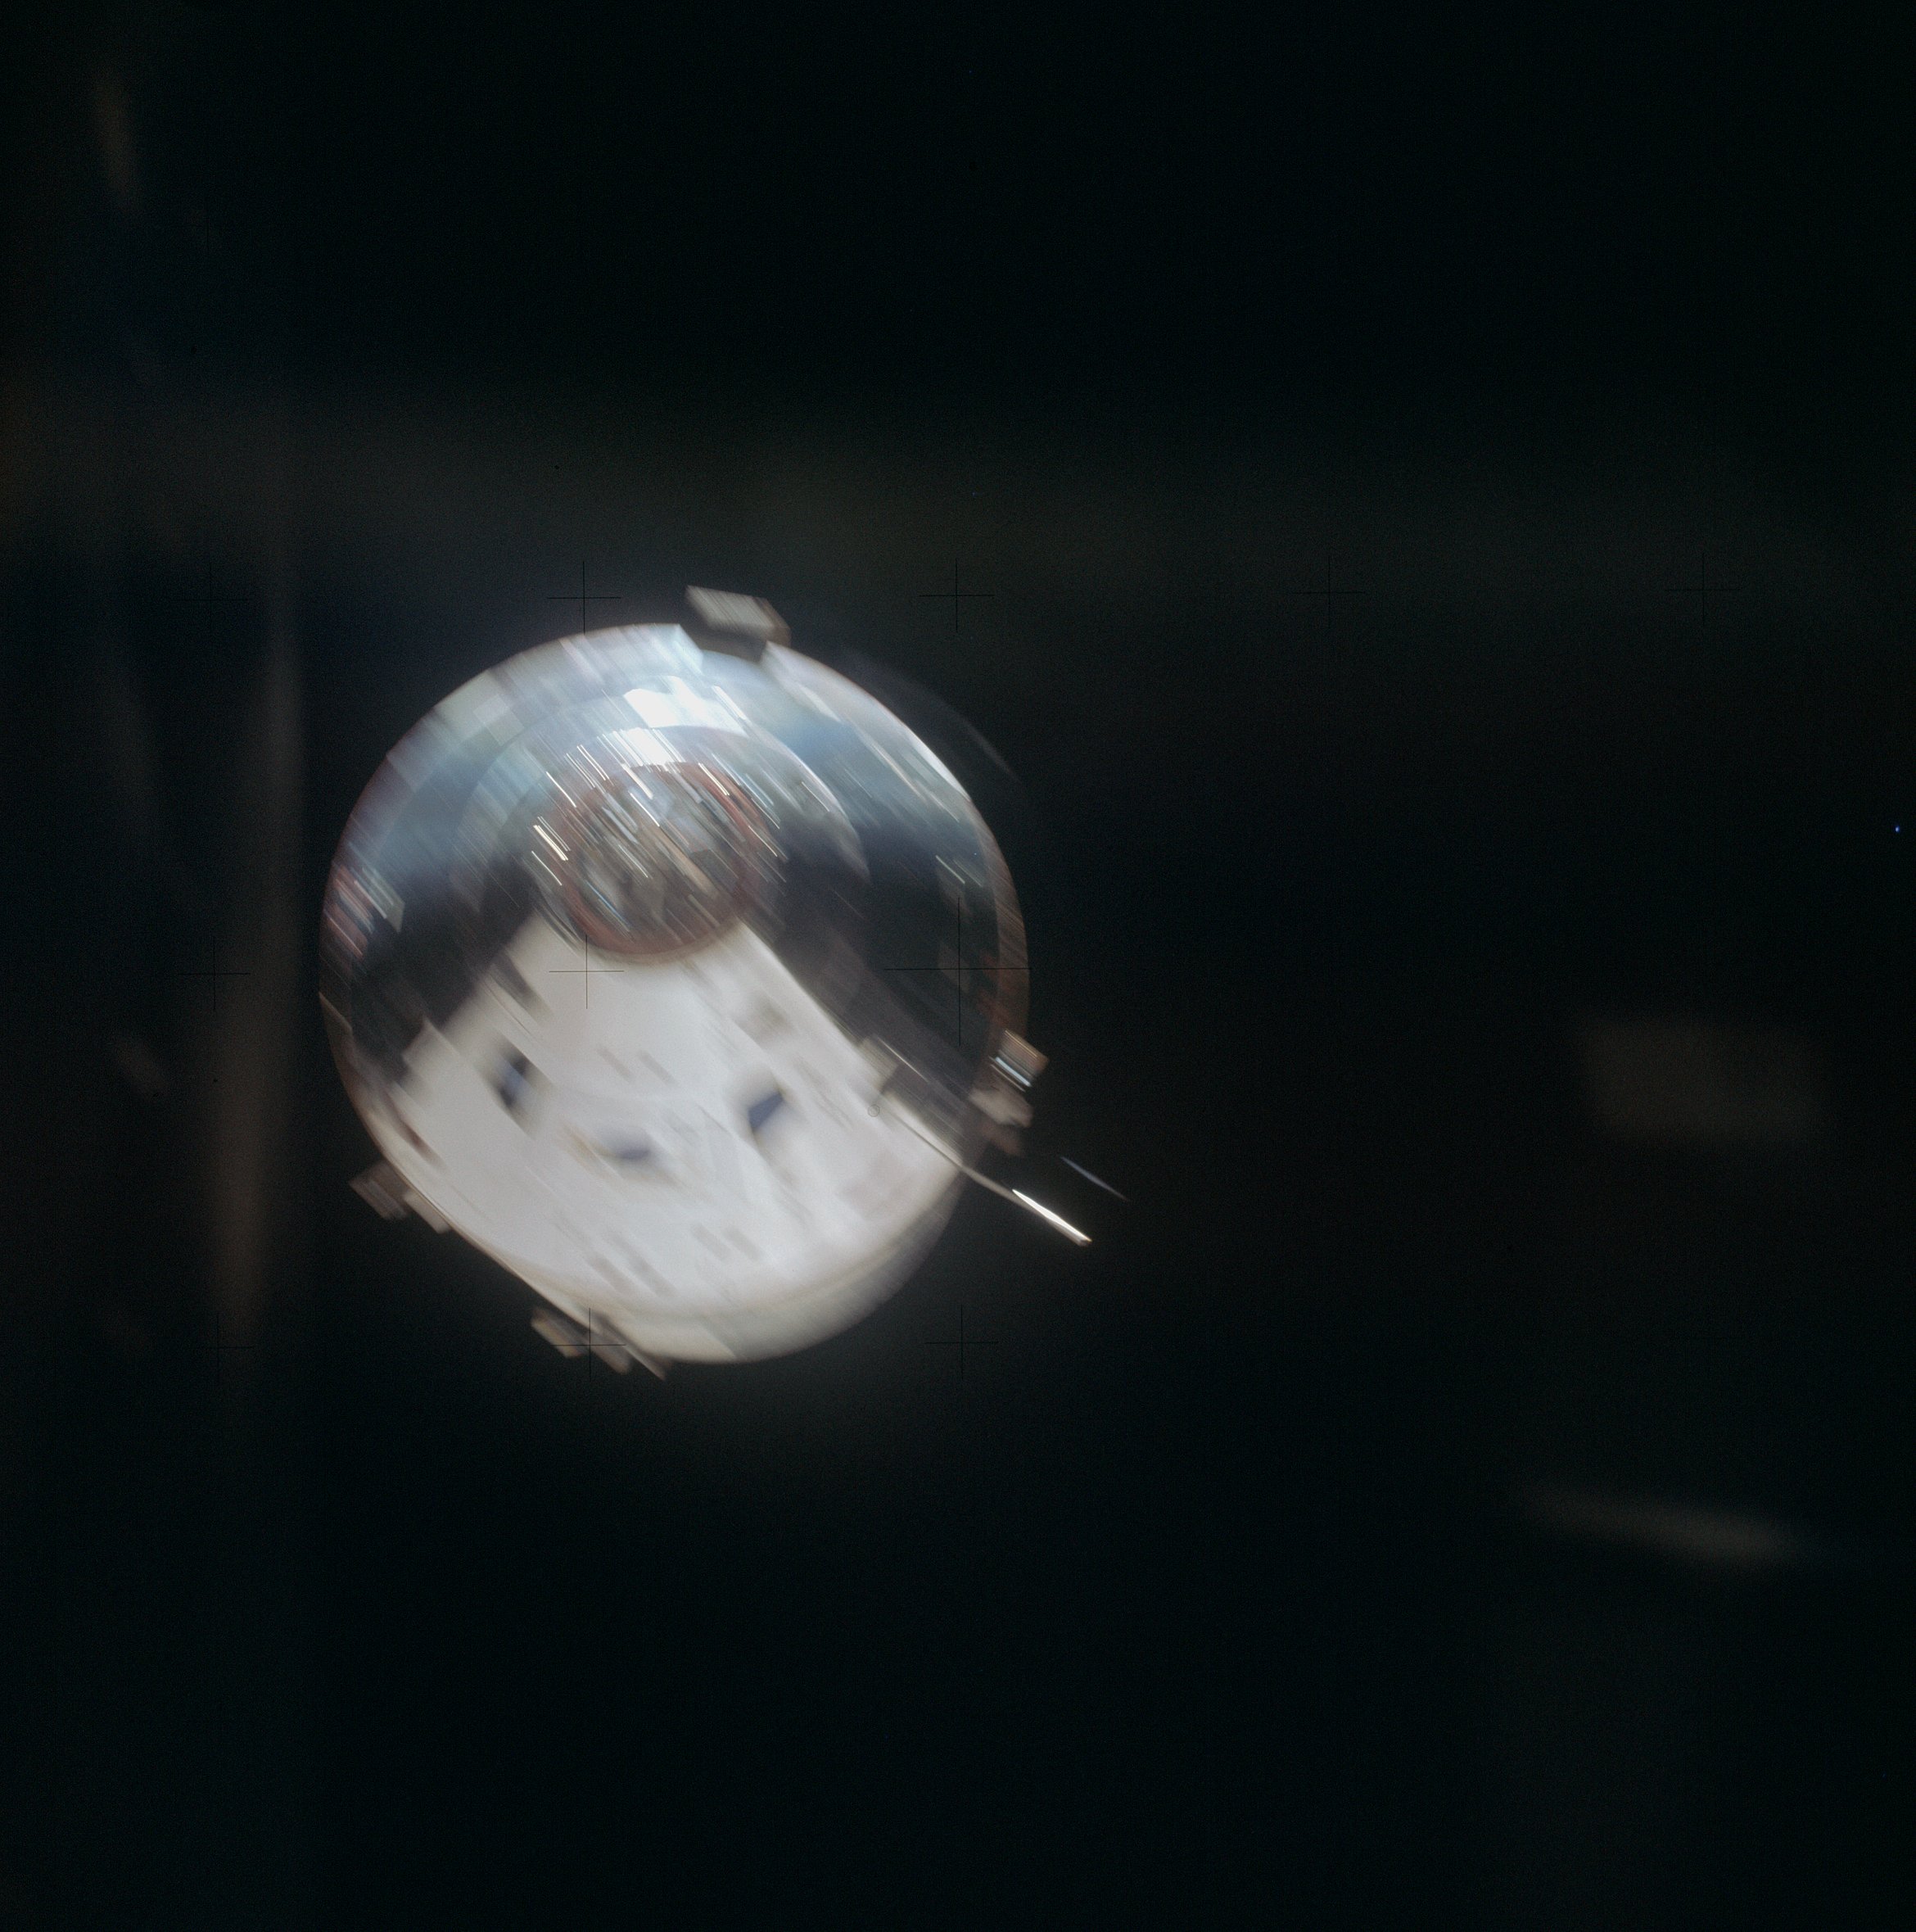 | AS14-66-9355 View of the CSM from the LM during rendezvous. Image credit: Image Science and Analysis Laboratory, NASA-Johnson Space Center. |
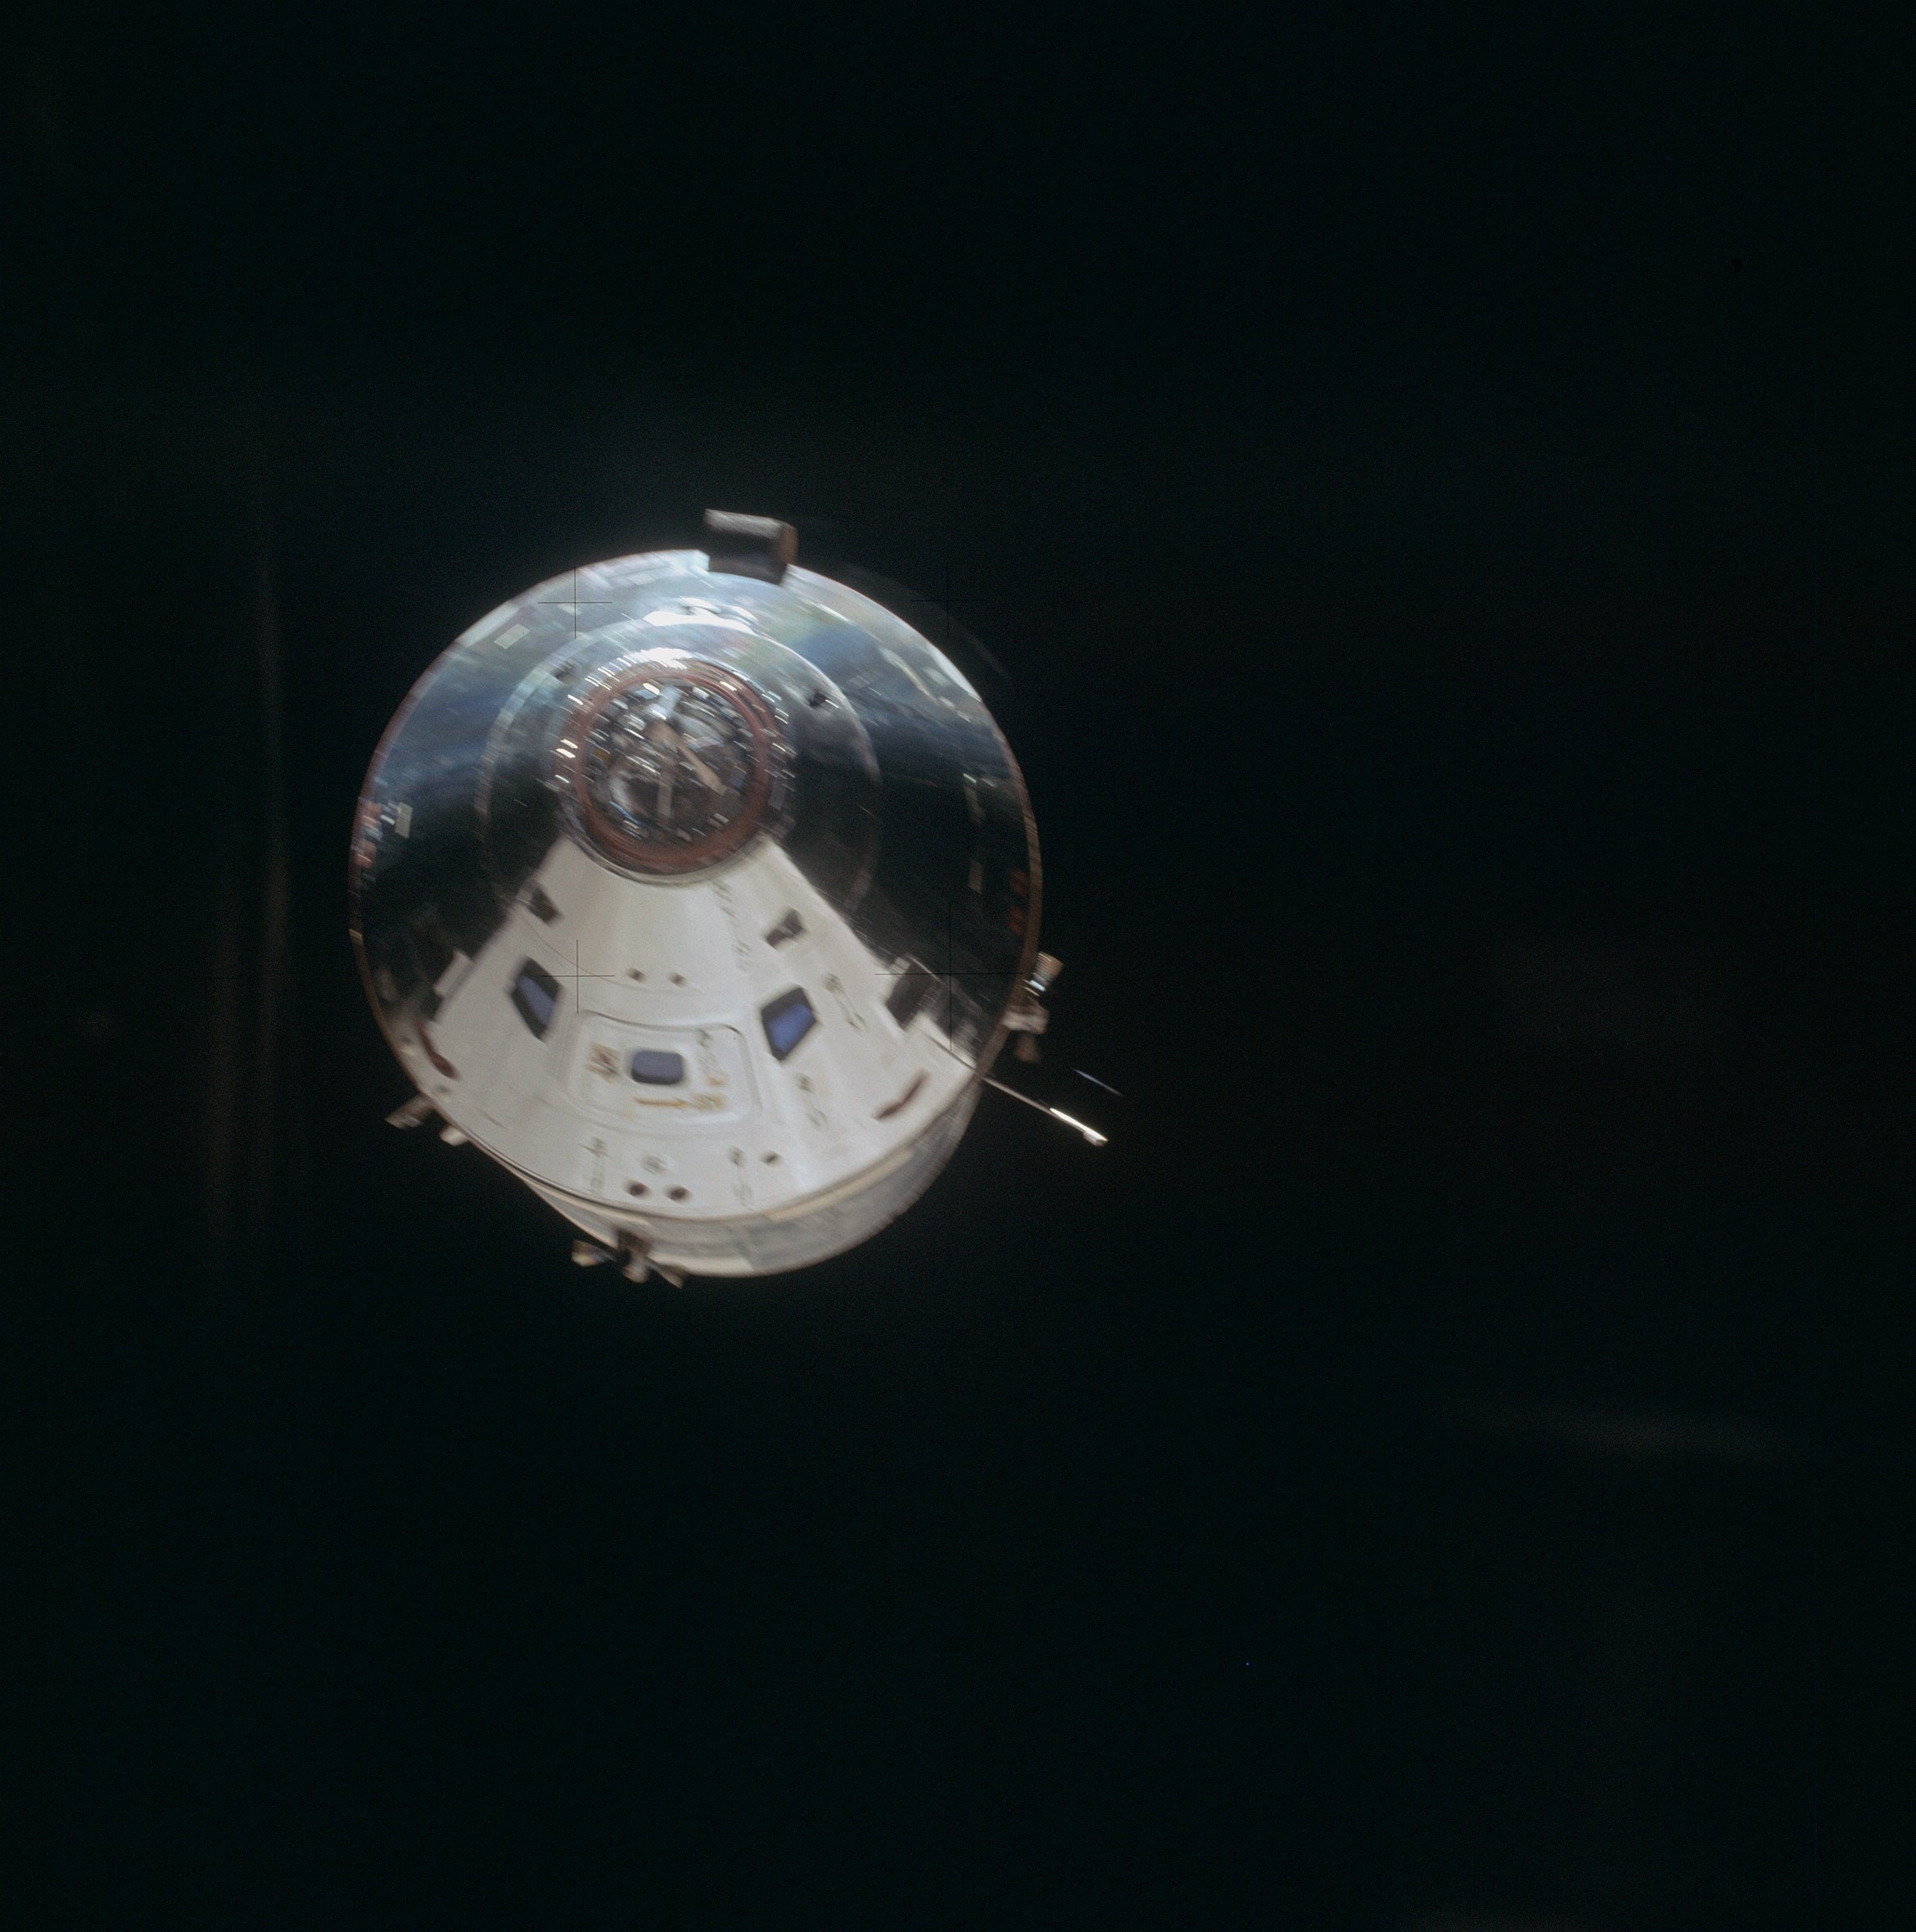 | AS14-66-9356 View of the CSM from the LM during rendezvous. Image credit: Image Science and Analysis Laboratory, NASA-Johnson Space Center. |
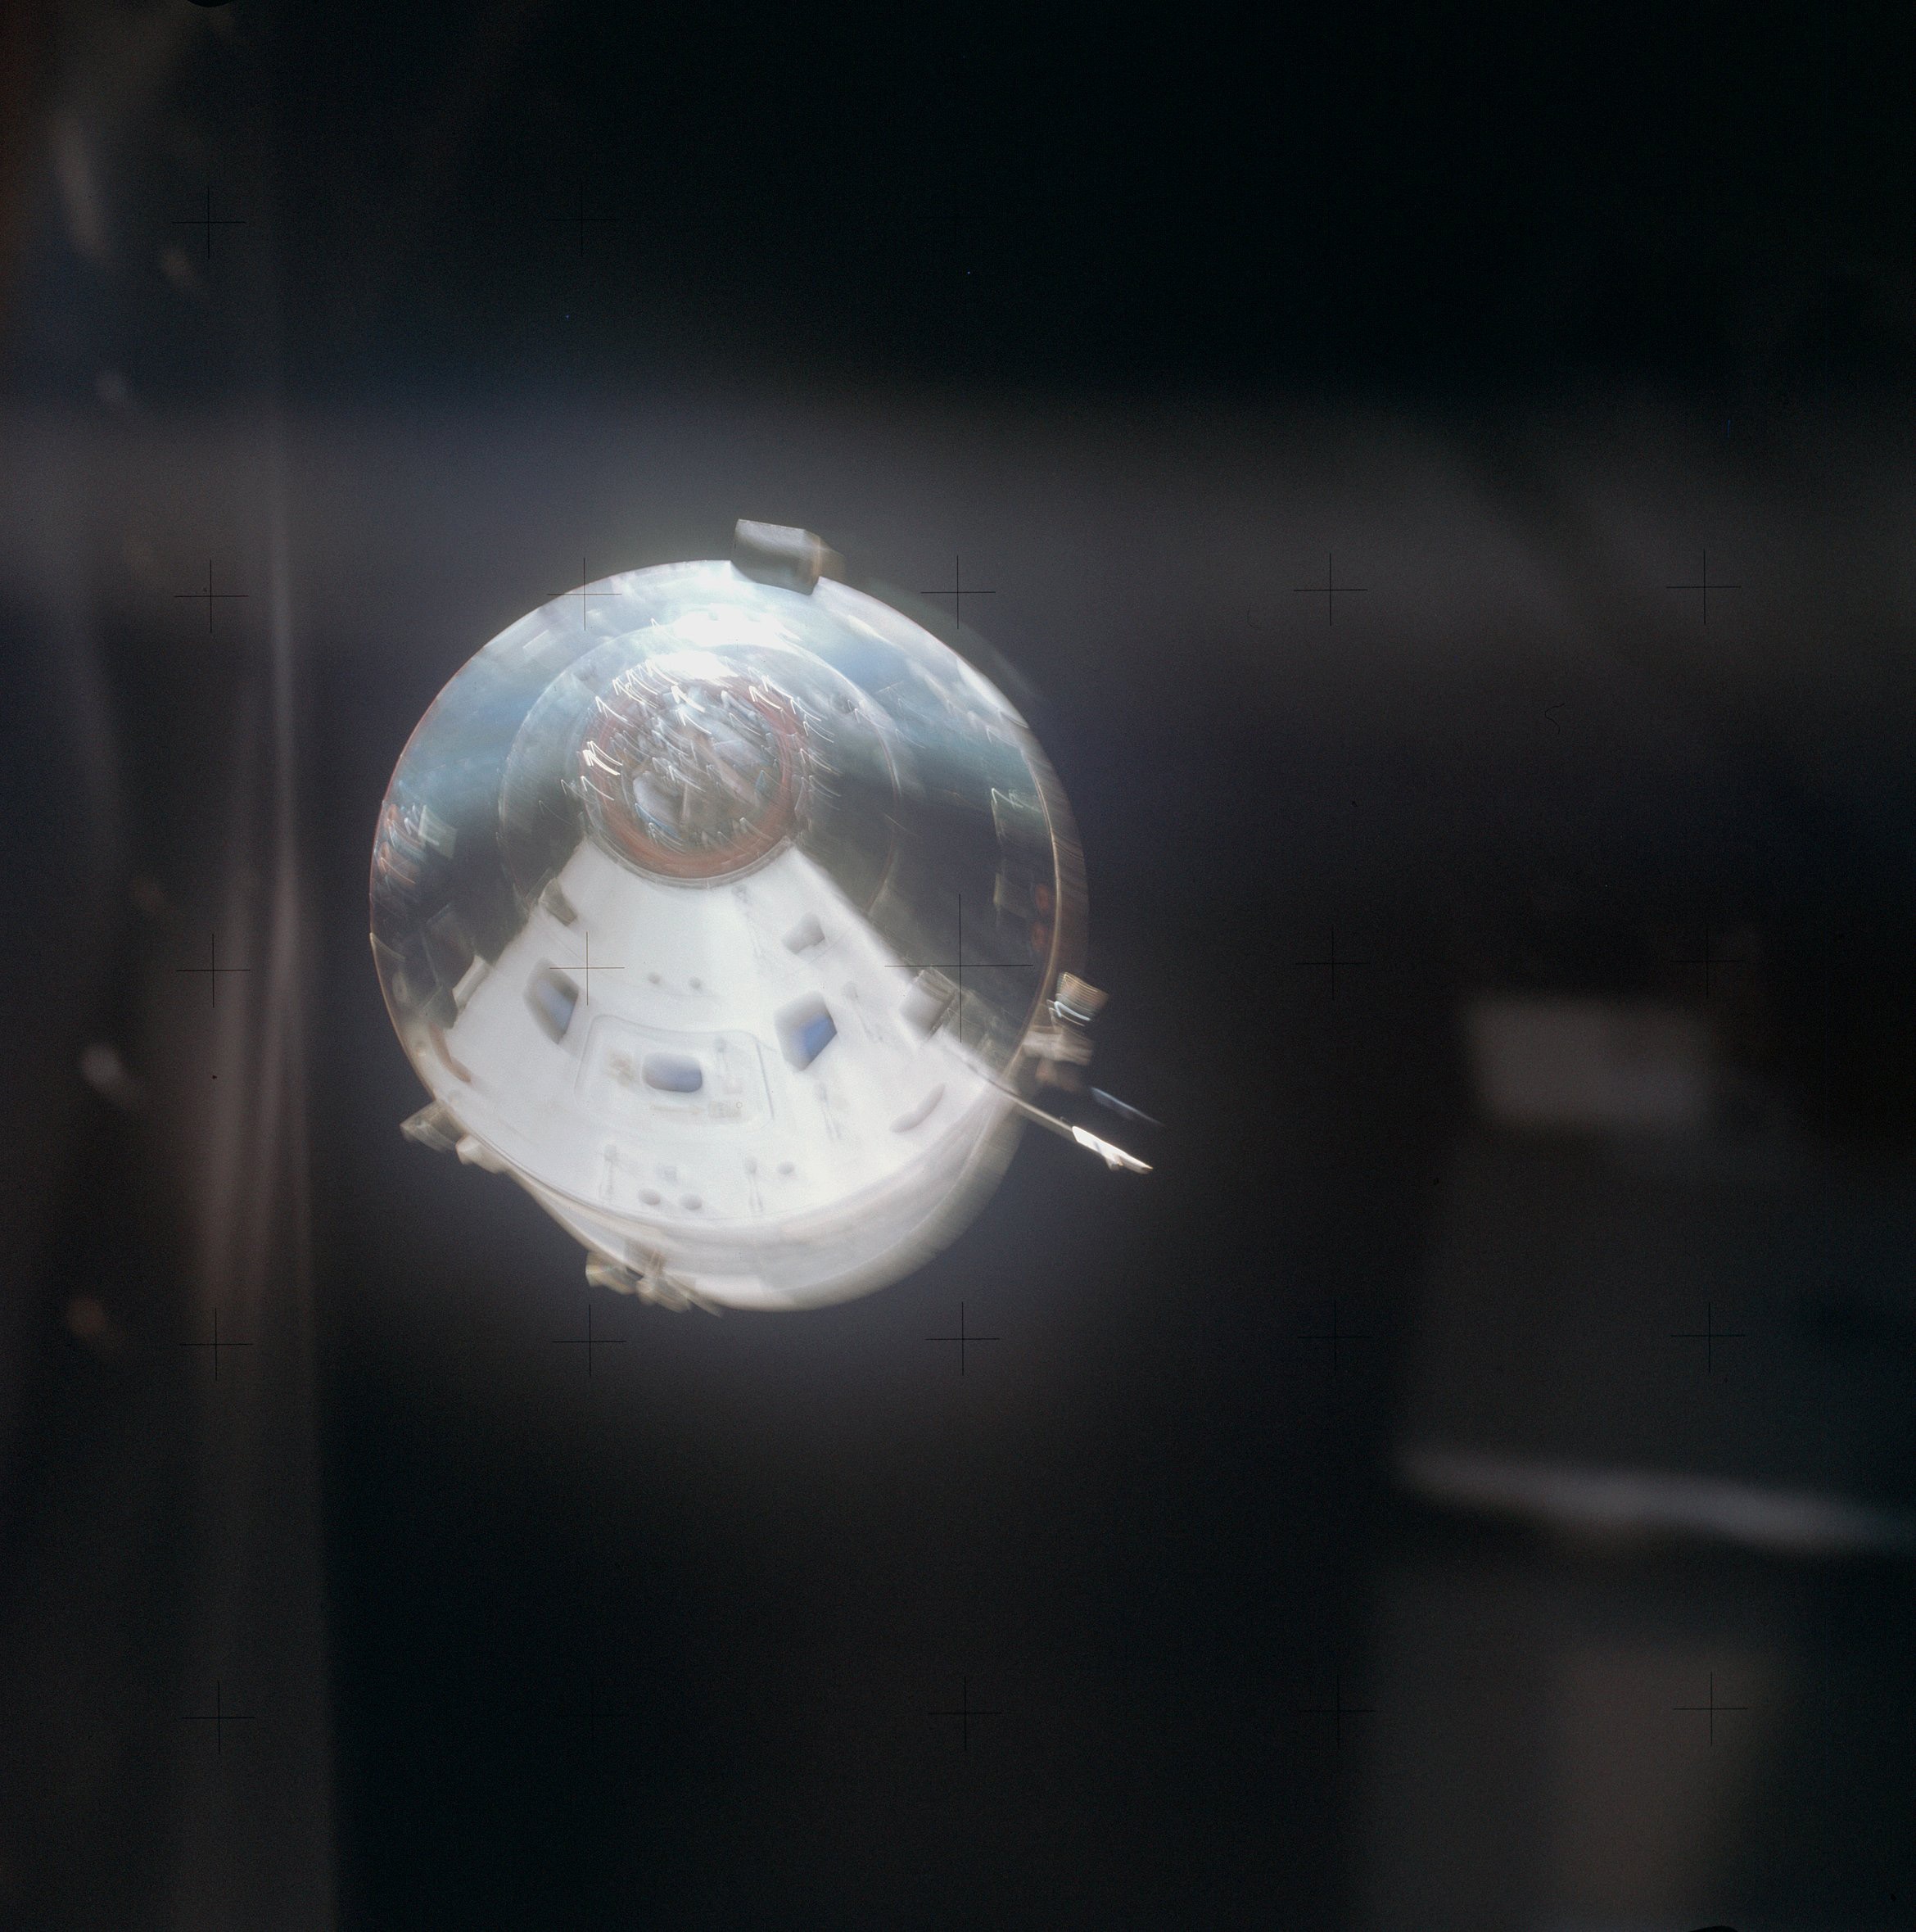 | AS14-66-9357 View of the CSM from the LM during rendezvous. Image credit: Image Science and Analysis Laboratory, NASA-Johnson Space Center. |
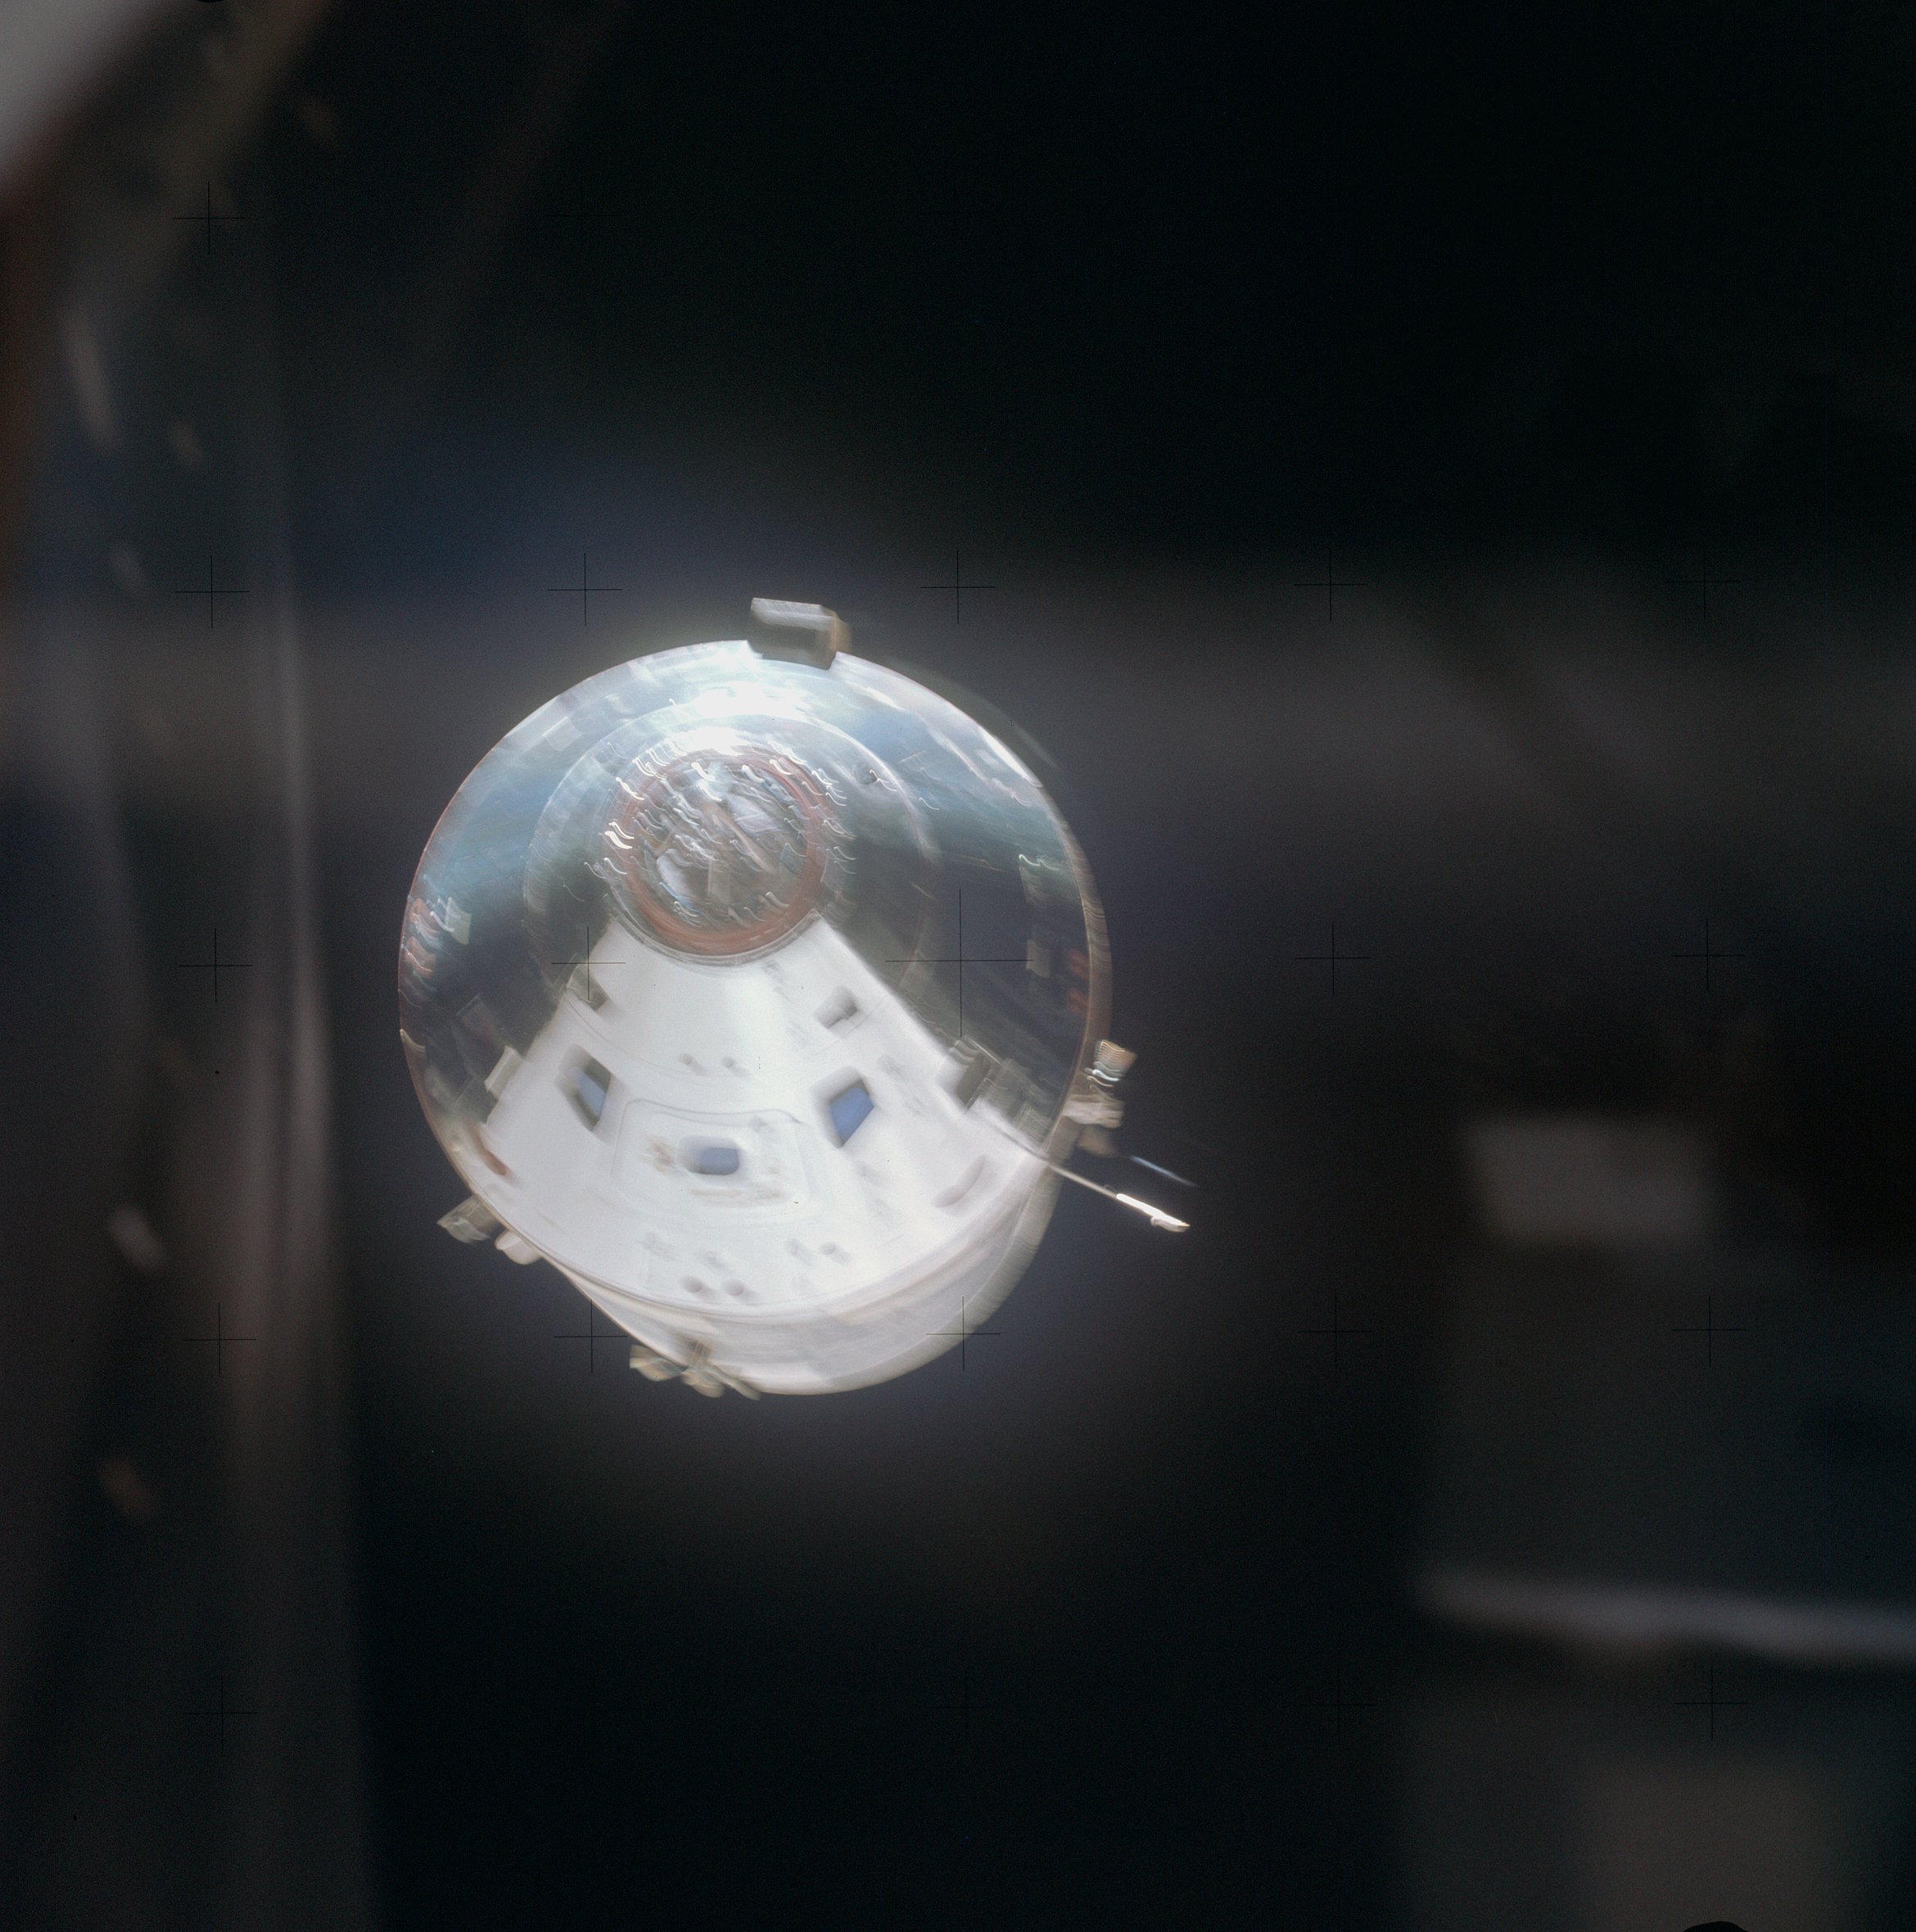 | AS14-66-9358 View of the CSM from the LM during rendezvous. Image credit: Image Science and Analysis Laboratory, NASA-Johnson Space Center. |
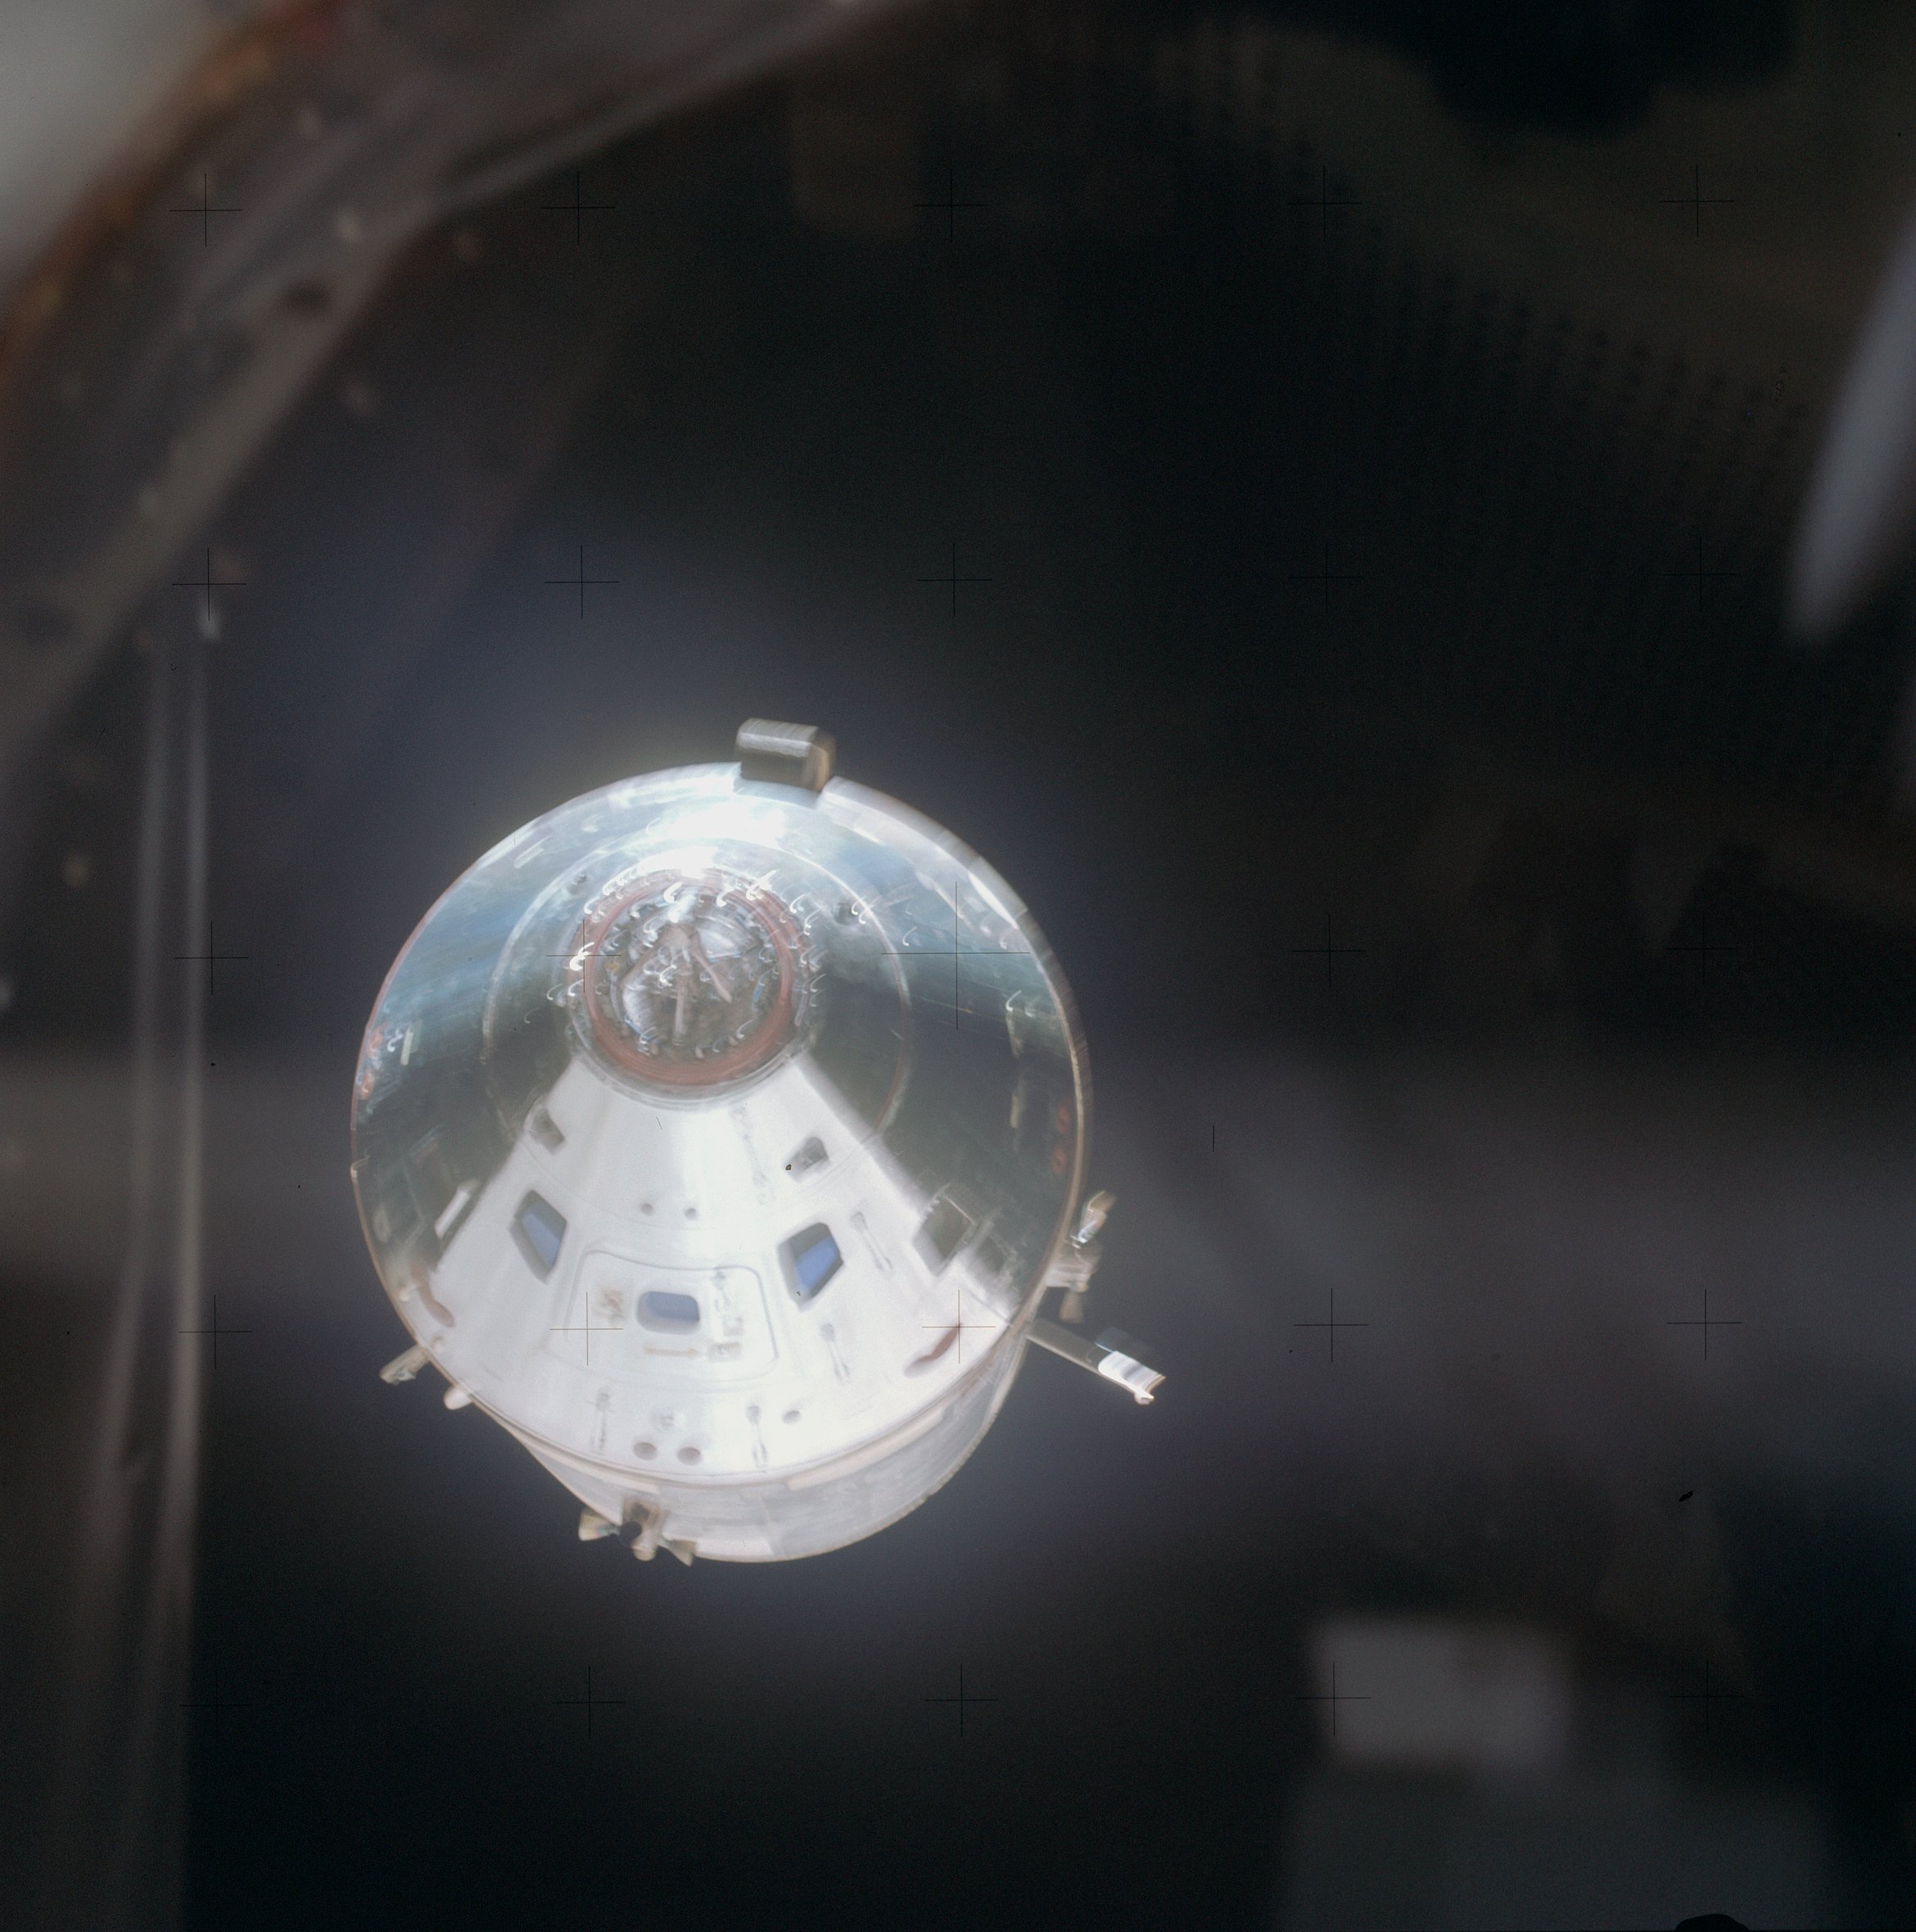 | AS14-66-9359 View of the CSM from the LM during rendezvous. Image credit: Image Science and Analysis Laboratory, NASA-Johnson Space Center. |
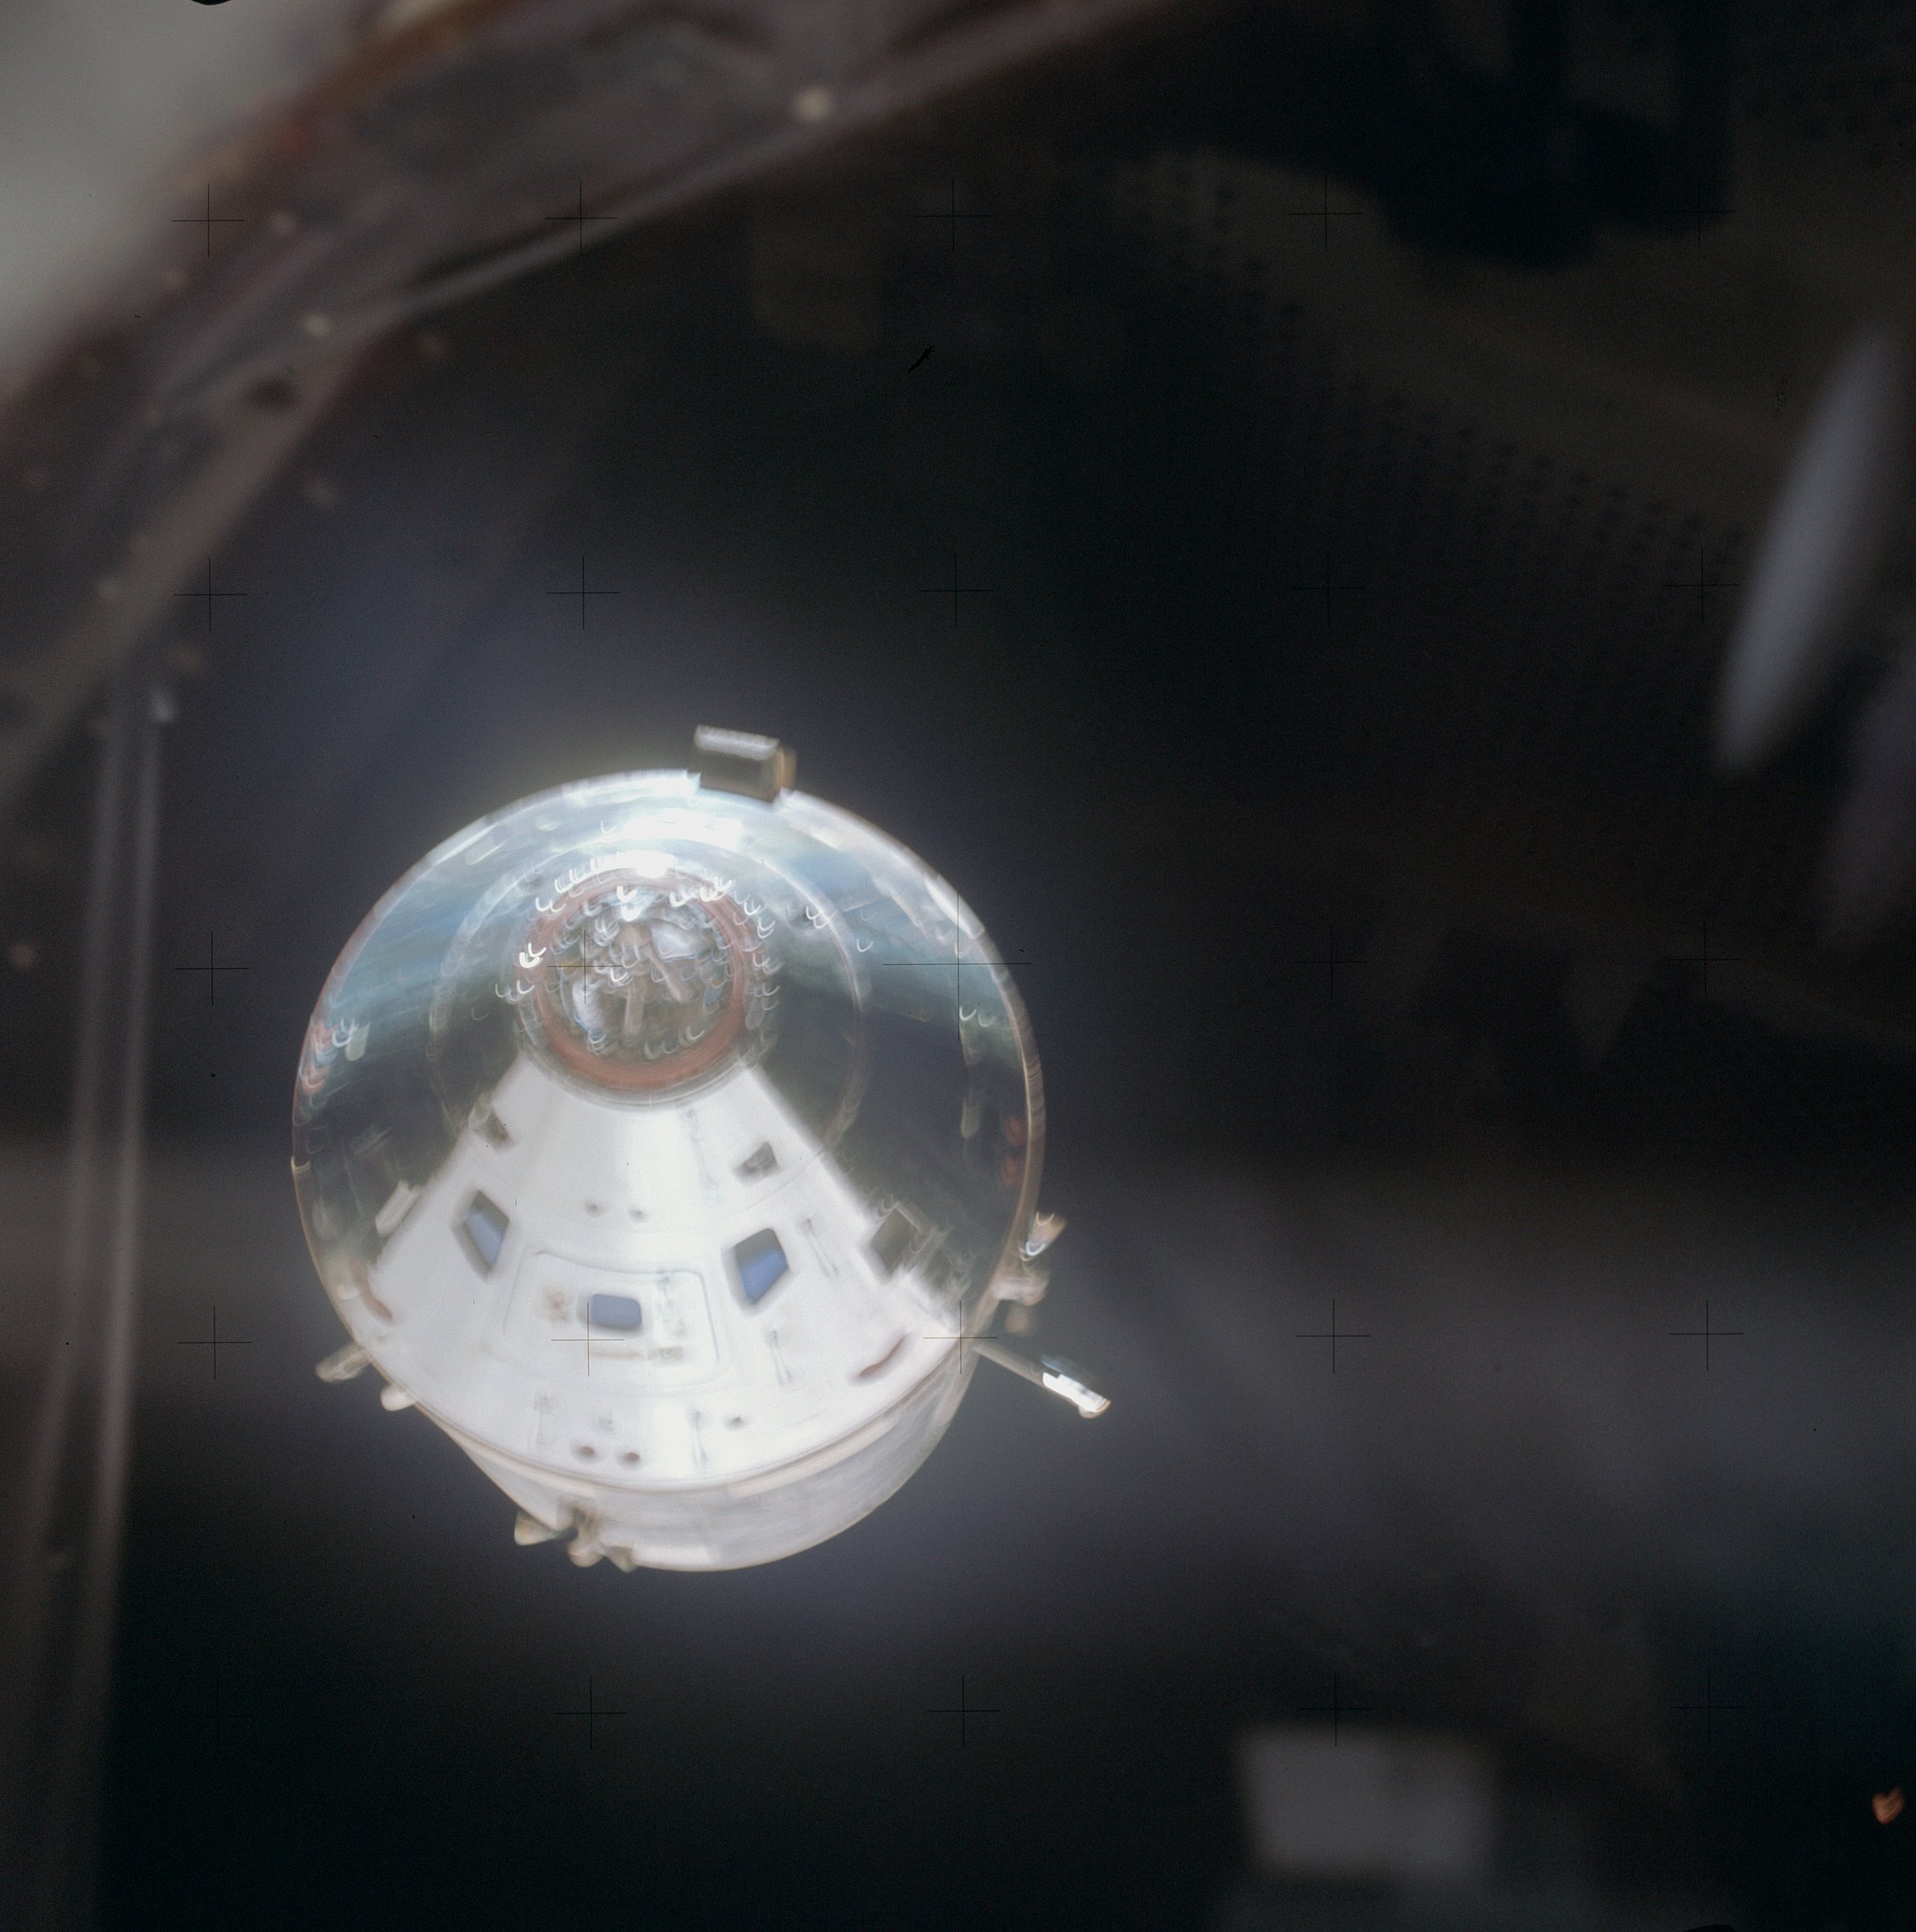 | AS14-66-9360 View of the CSM from the LM during rendezvous. Image credit: Image Science and Analysis Laboratory, NASA-Johnson Space Center. |
| | |
| 70-mm magazine KK - AS14-65-9202 to 9215 | Photography Index | 70-mm magazine JJ - AS14-67-9361 to 9393 |