 |
 |
 |
| 70-mm magazine L - AS13-60-8577 to 8726 |
Photography Index | 70-mm magazine JJ - AS13-62-8880 to 9039a |
No copyright is asserted for NASA photographs. If a recognizable person appears in a photo, use for commercial purposes may infringe a right of privacy or publicity. Photos may not be used to state or imply the endorsement by NASA or by any NASA employee of a commercial product, process or service, or used in any other manner that might mislead. Accordingly, it is requested that if a NASA photograph is used in advertising and other commercial promotion, layout and copy be submitted to NASA prior to release.
NASA photos reproduced from this archive should include photo credit to "NASA" or "National Aeronautics and Space Administration" and should include scanning credit to the appropriate individuals or agencies as noted in the captions.
|
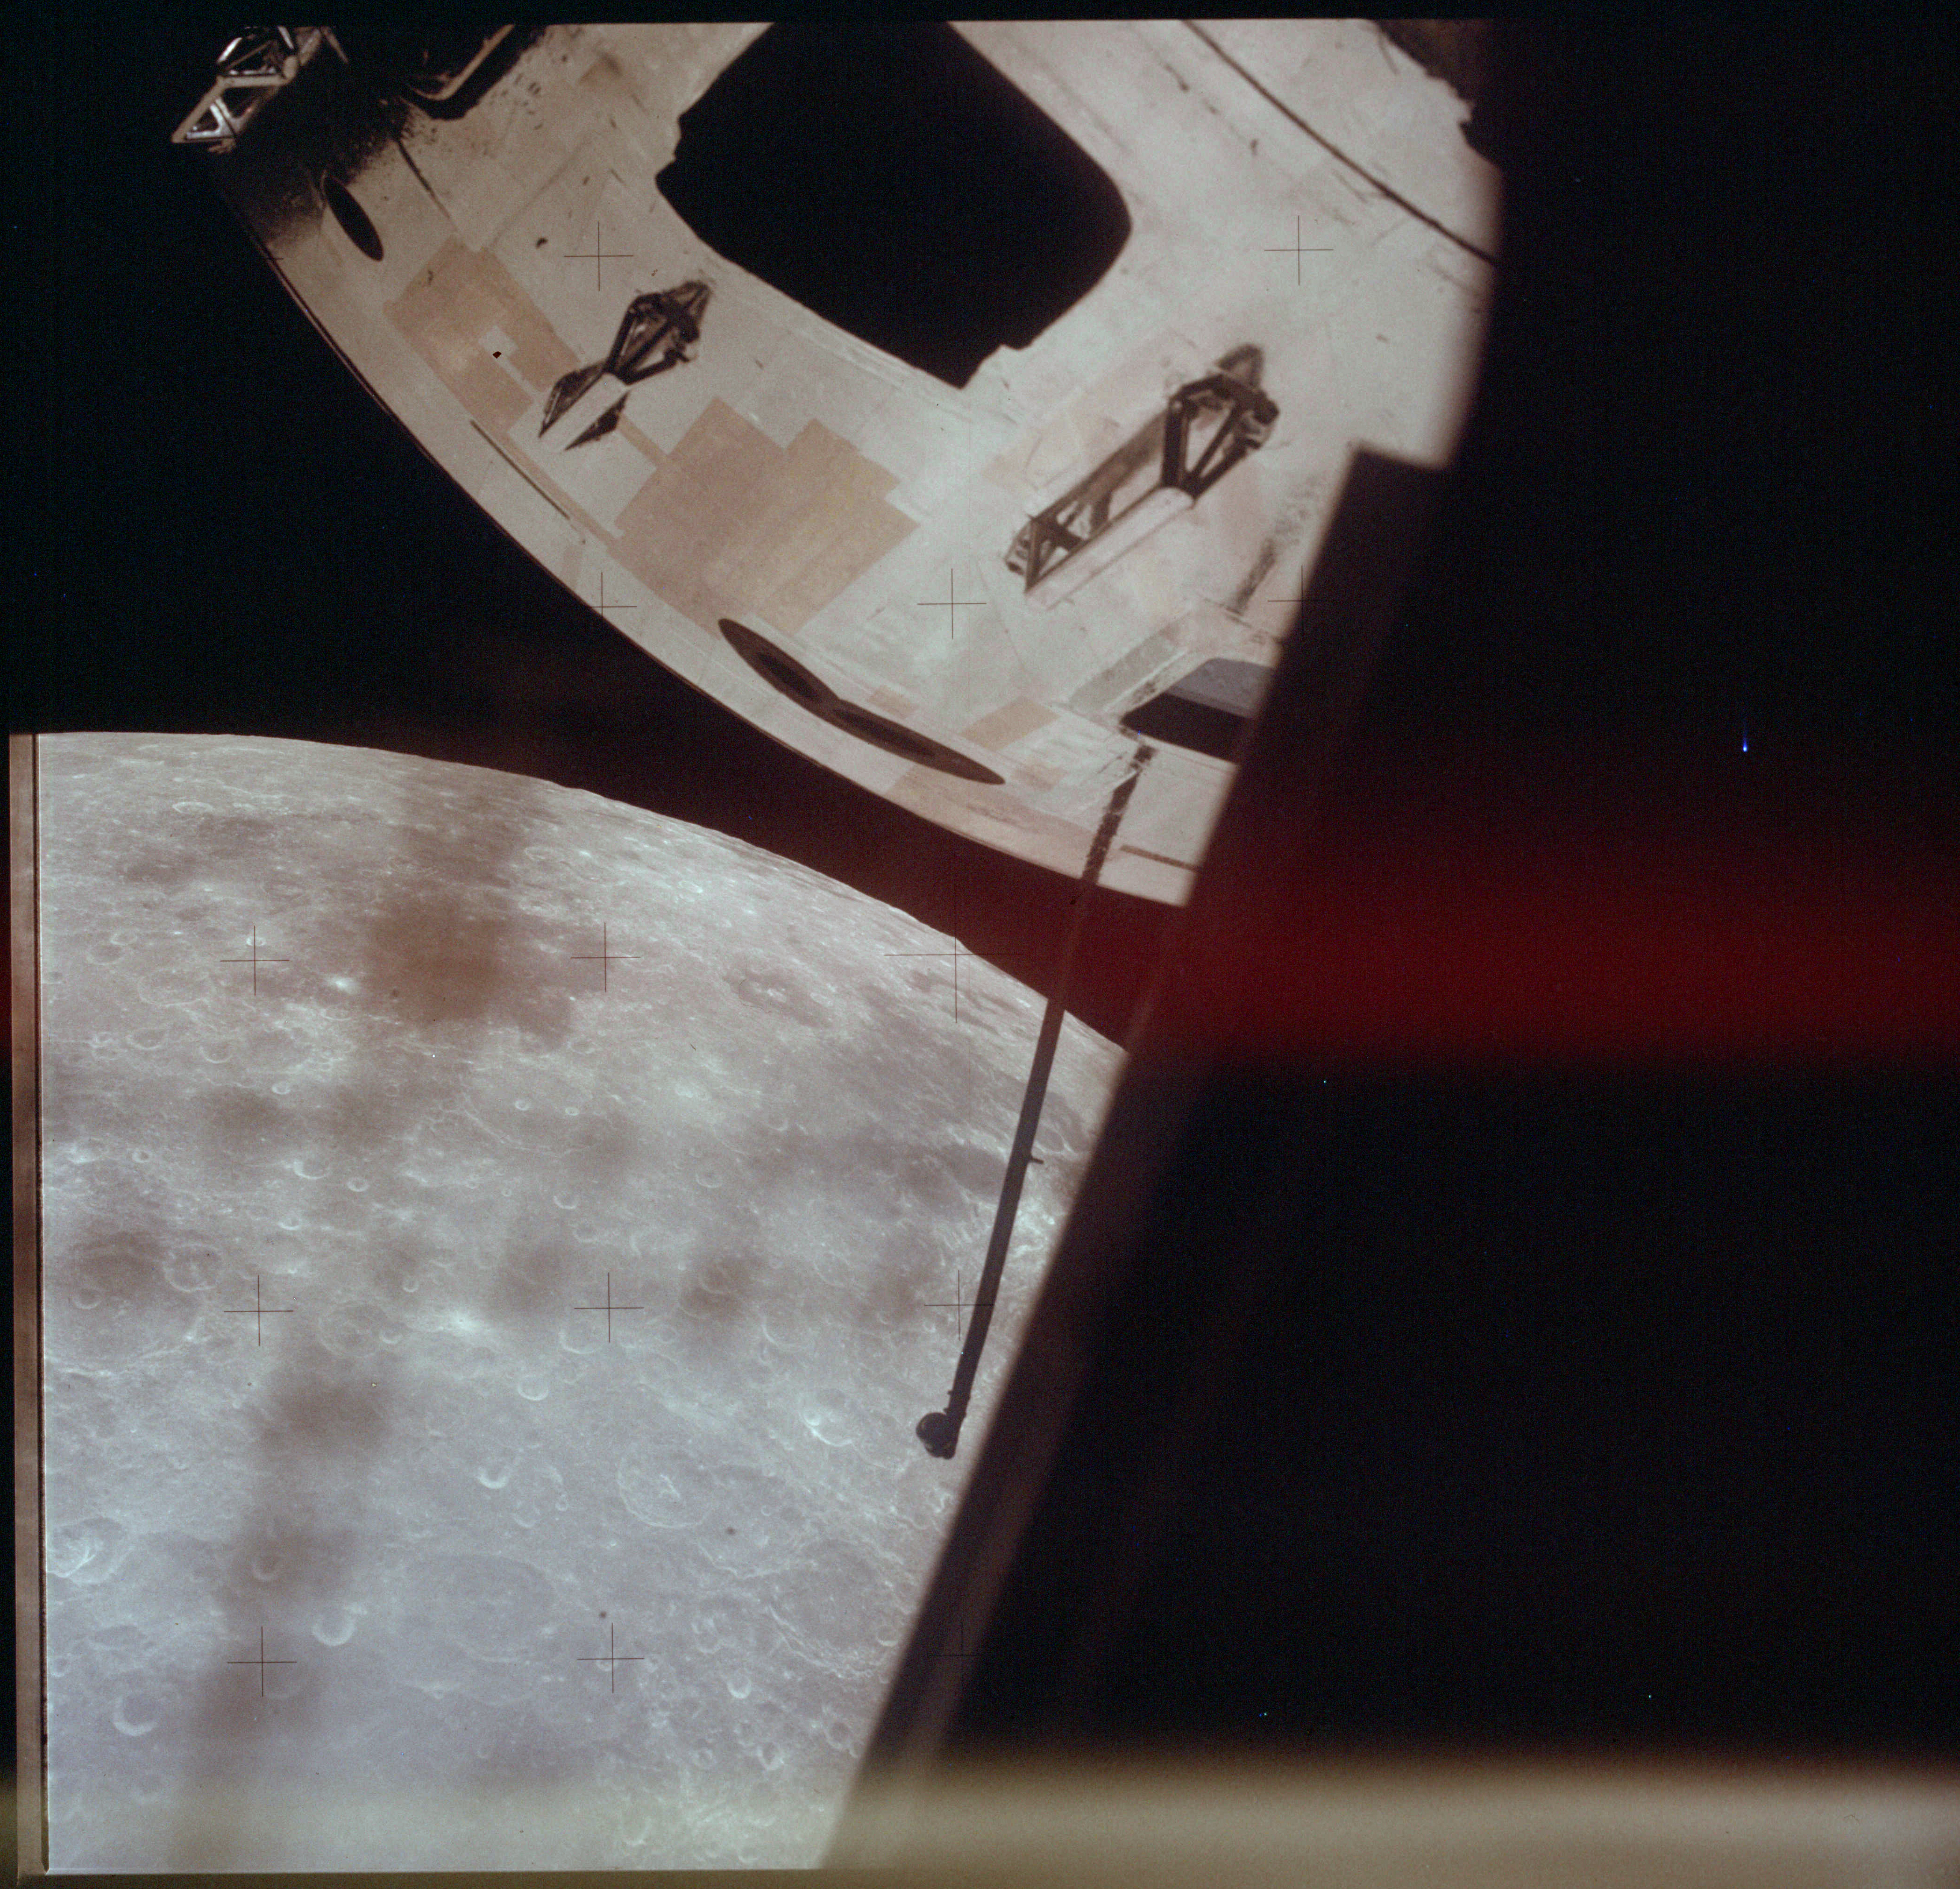
AS13-61-8727 Browse or print resolution. Apollo 13 Command Module and Moon, seen from Lunar Module. Image credit: Image Science and Analysis Laboratory, NASA-Johnson Space Center. |
|
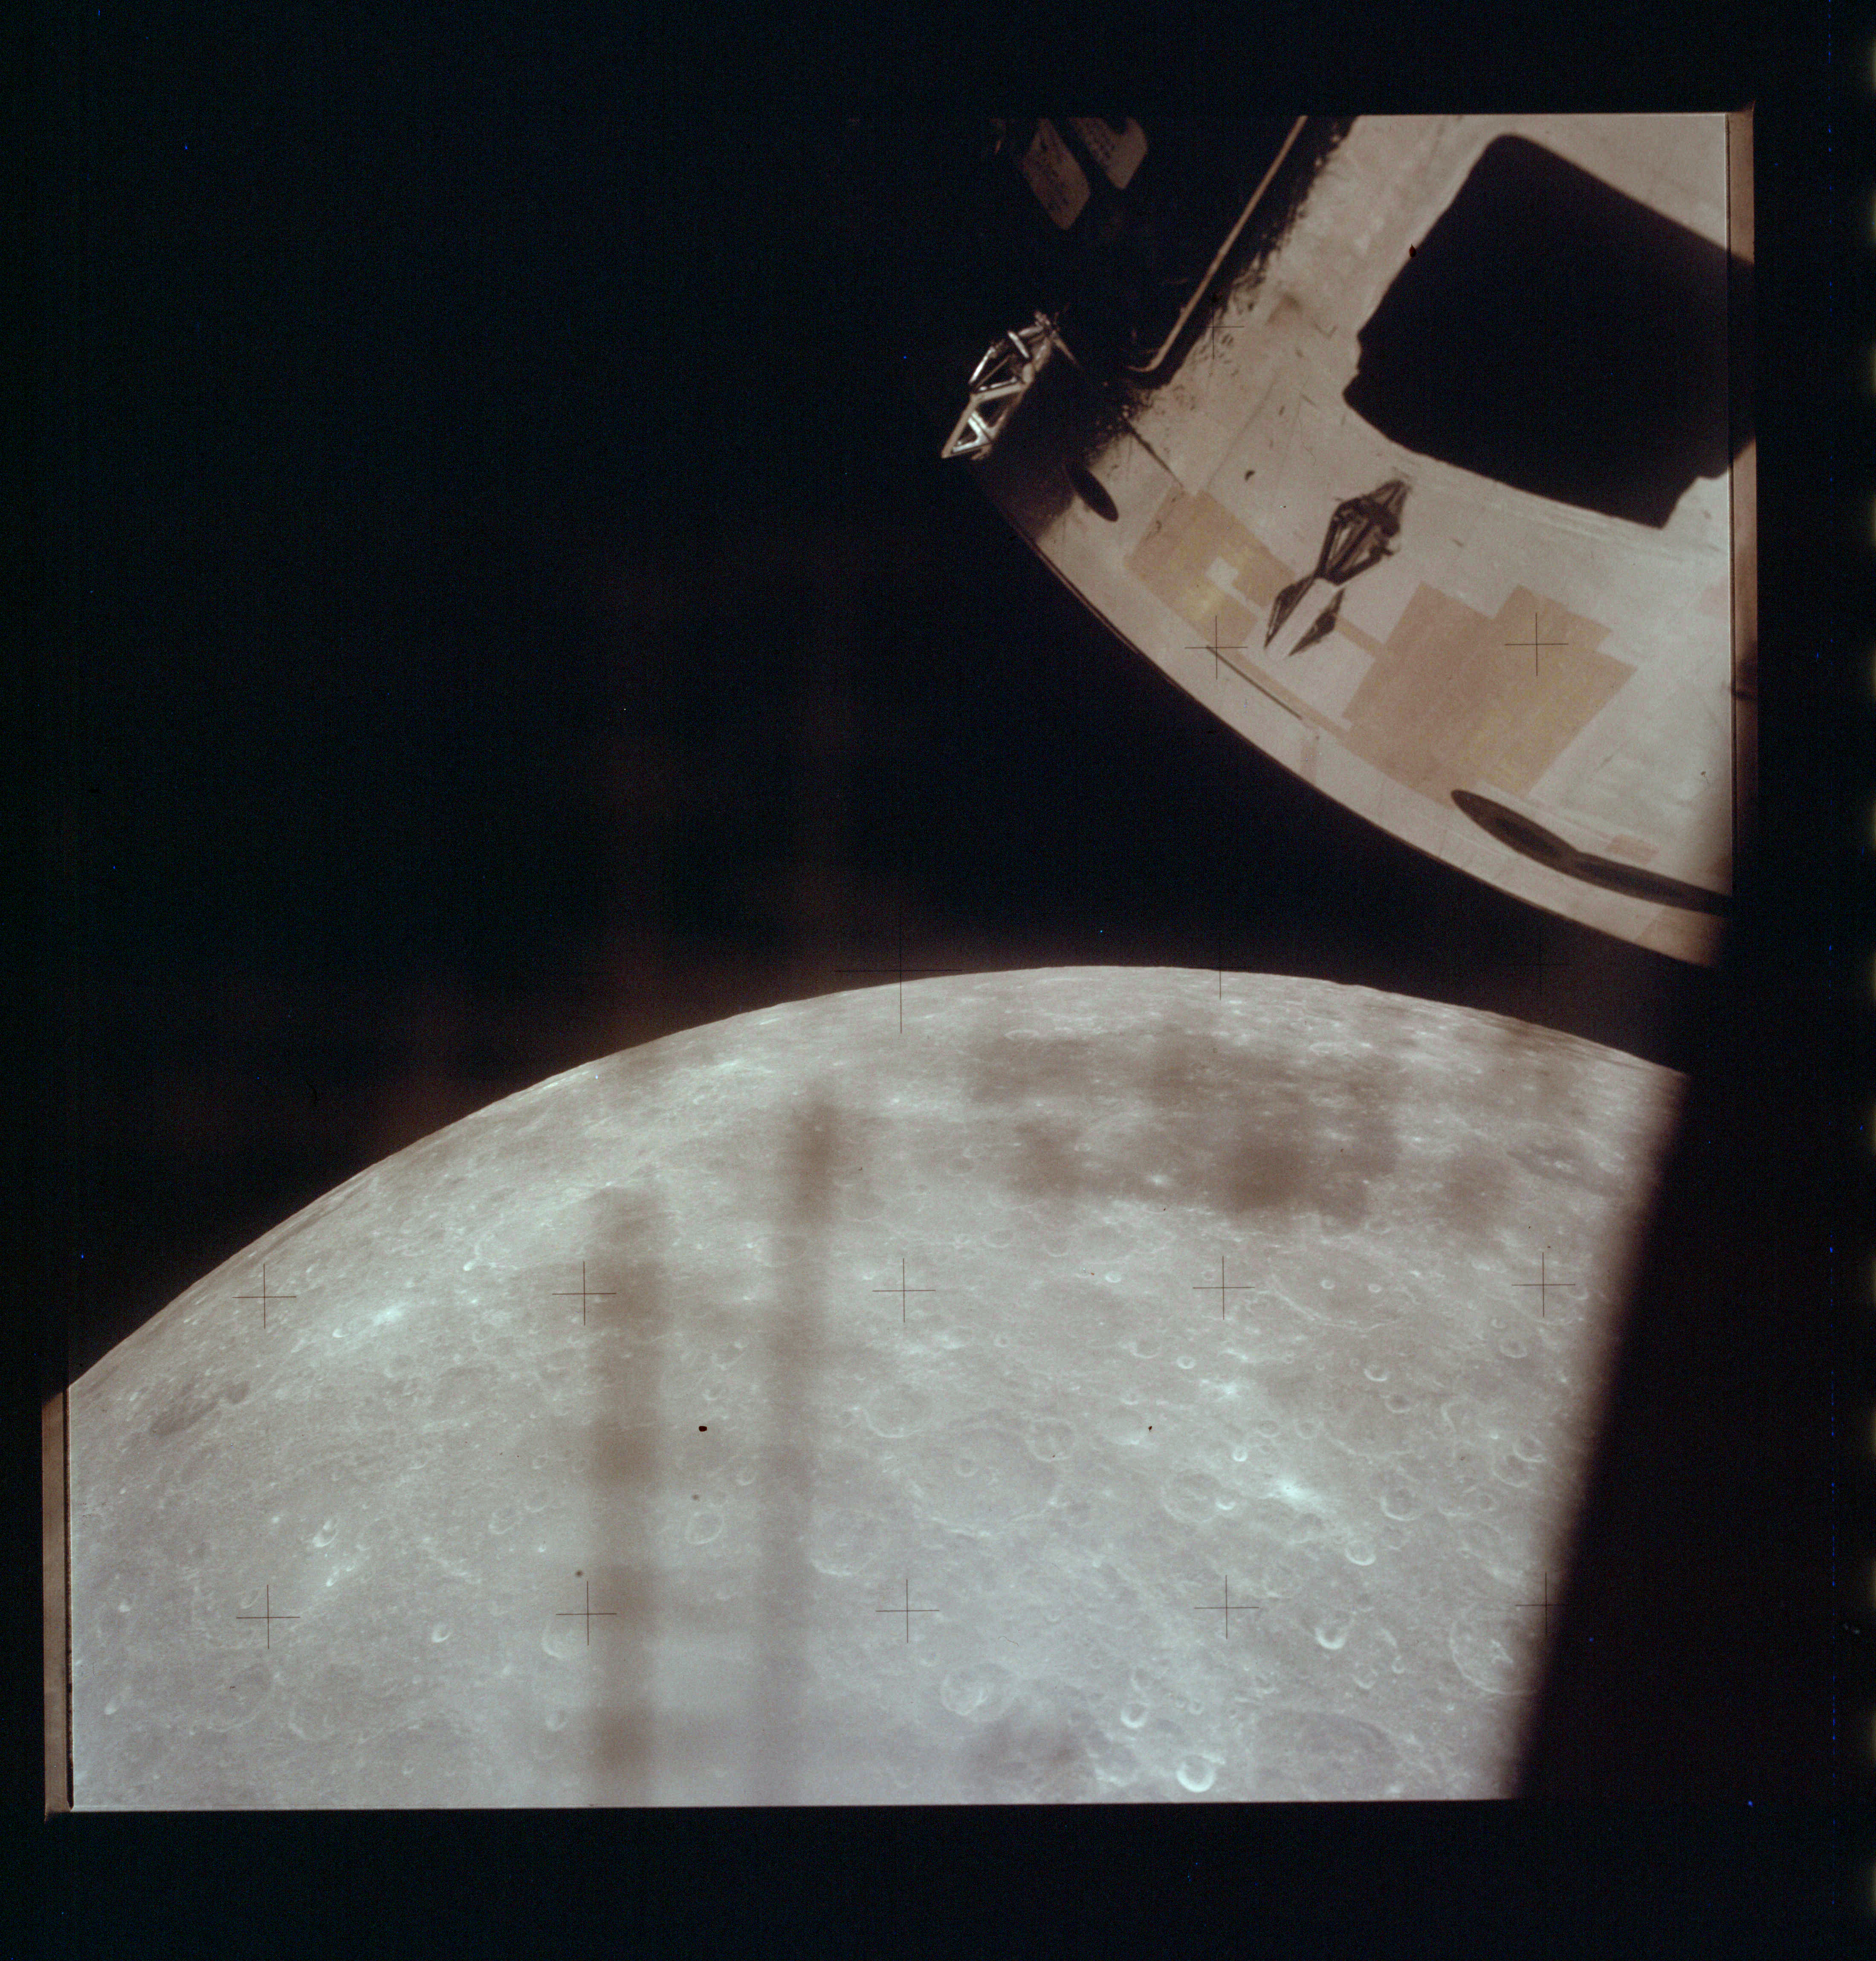
AS13-61-8728 Browse or print resolution. Apollo 13 Command Module and Moon, seen from Lunar Module. Image credit: Image Science and Analysis Laboratory, NASA-Johnson Space Center. |
|
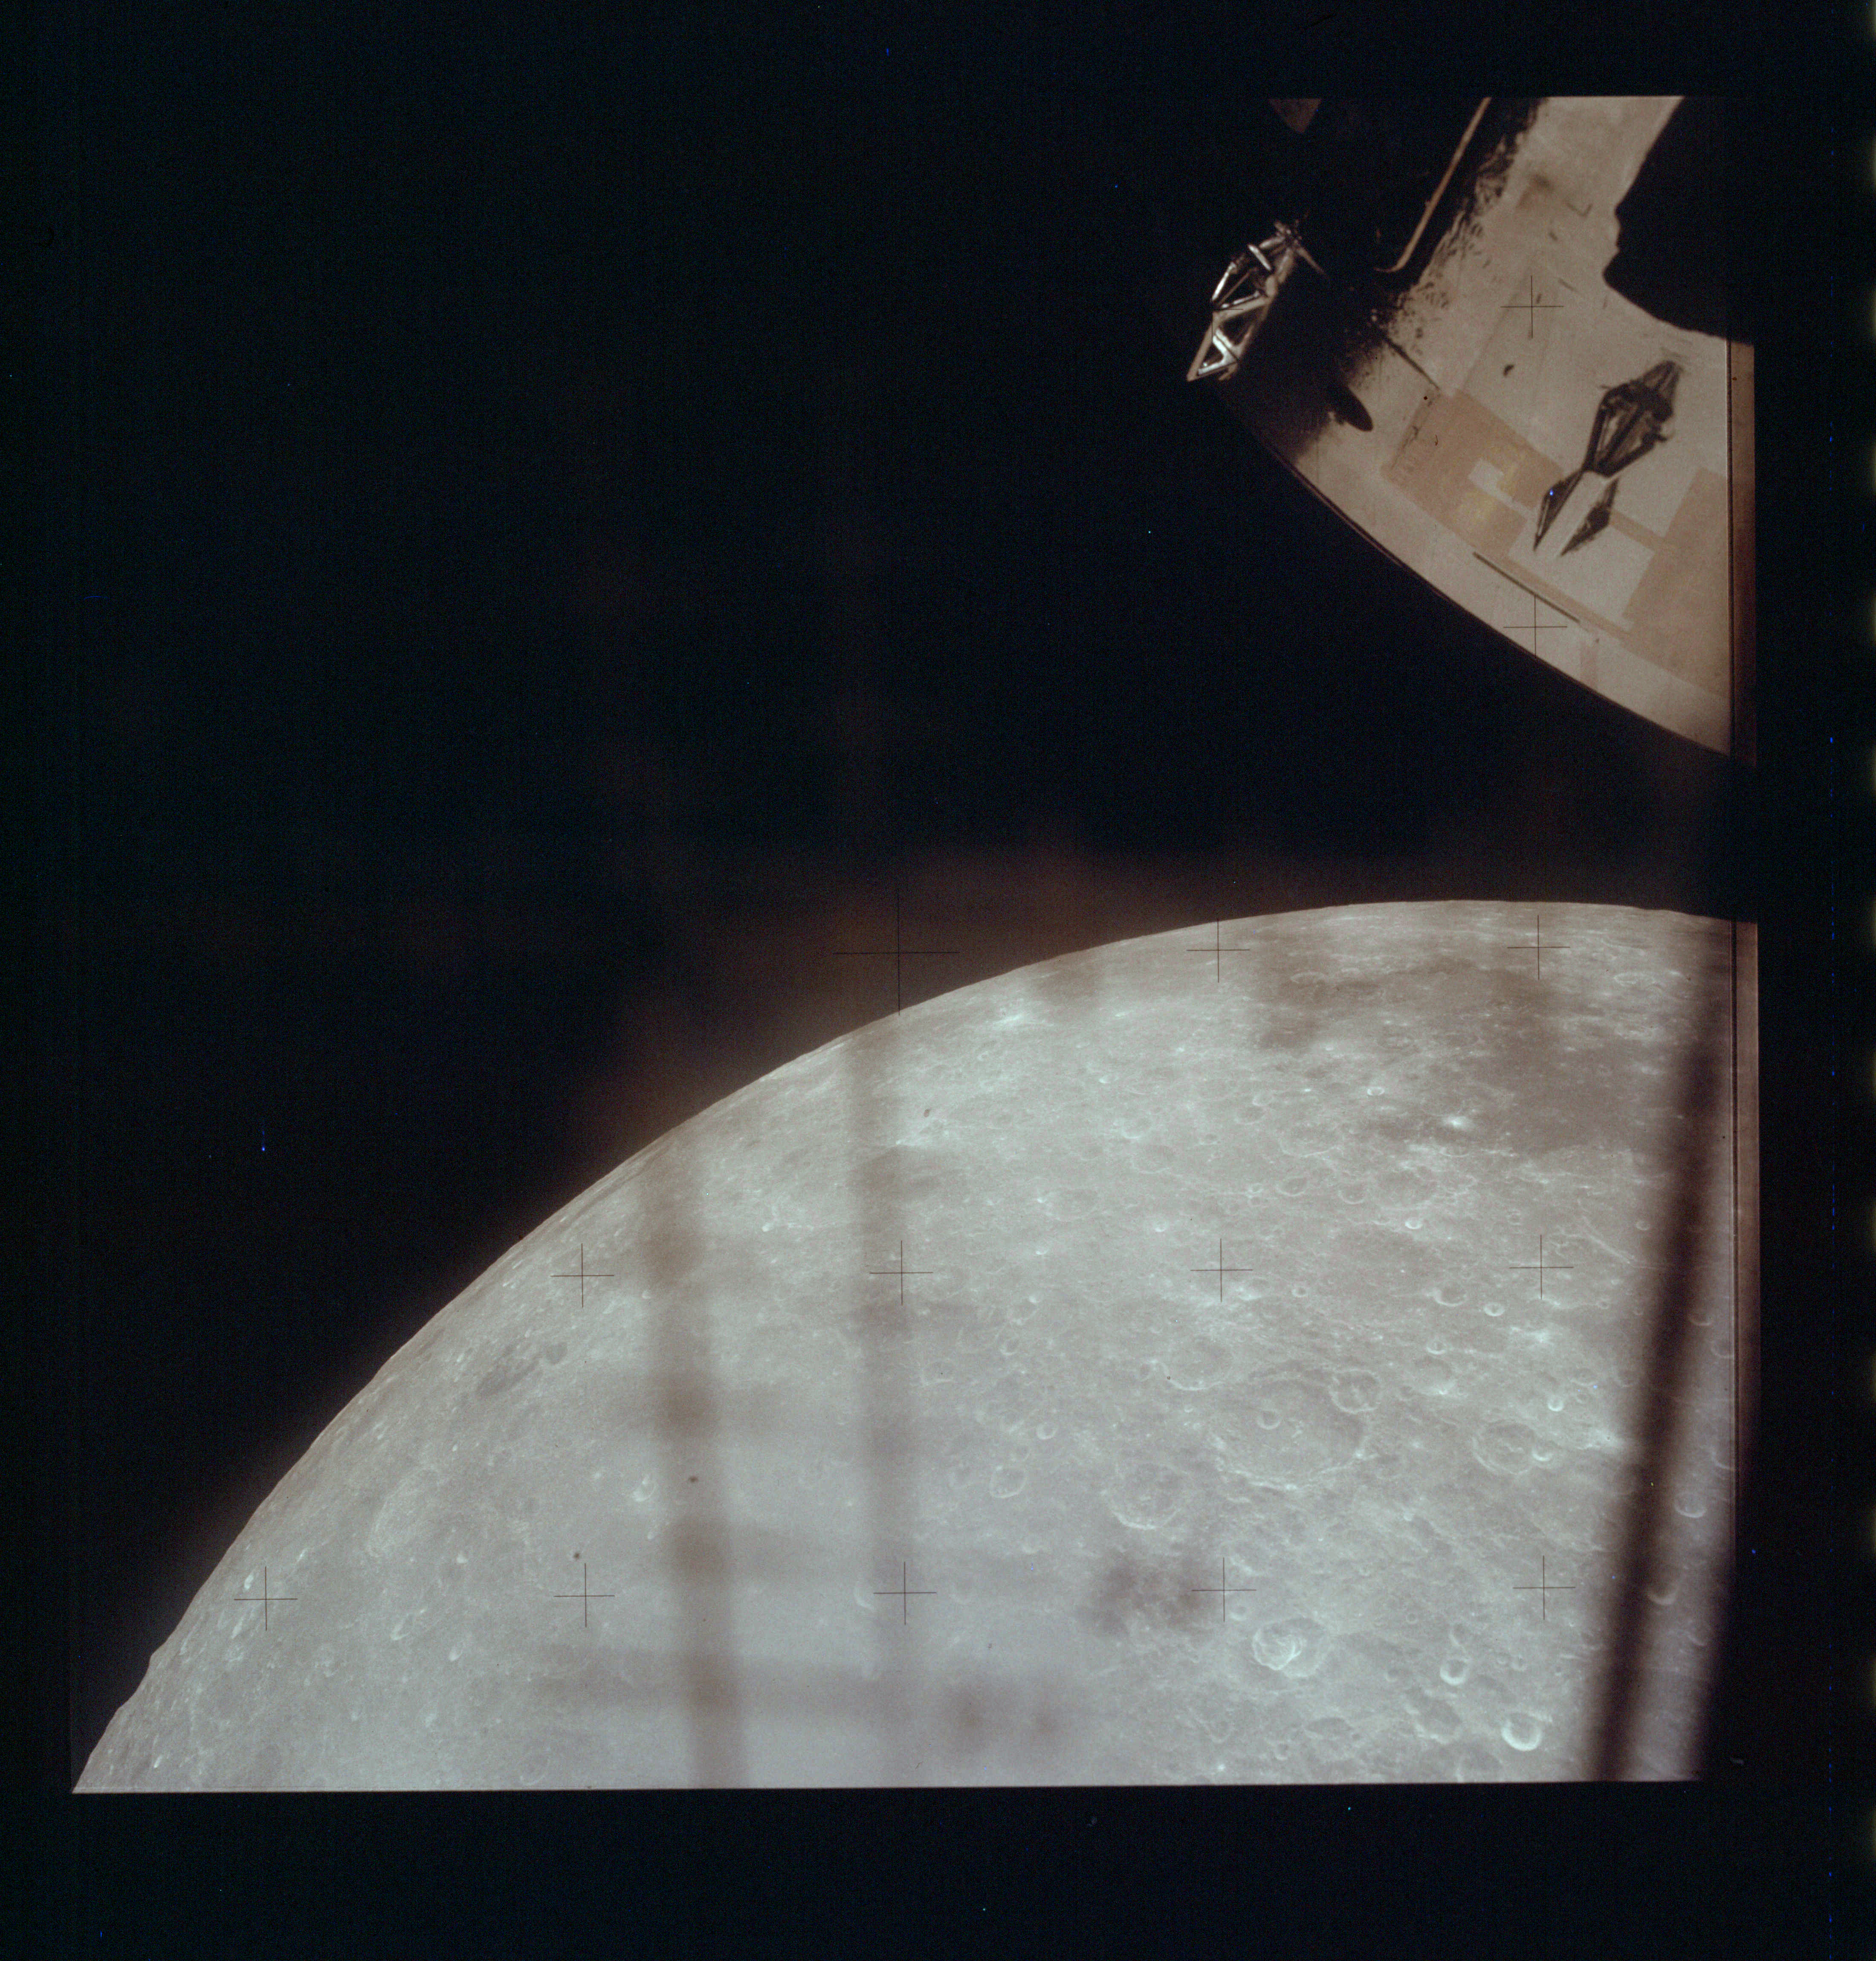
AS13-61-8729 Browse or print resolution. Apollo 13 Command Module and Moon, seen from Lunar Module. Image credit: Image Science and Analysis Laboratory, NASA-Johnson Space Center. |
|
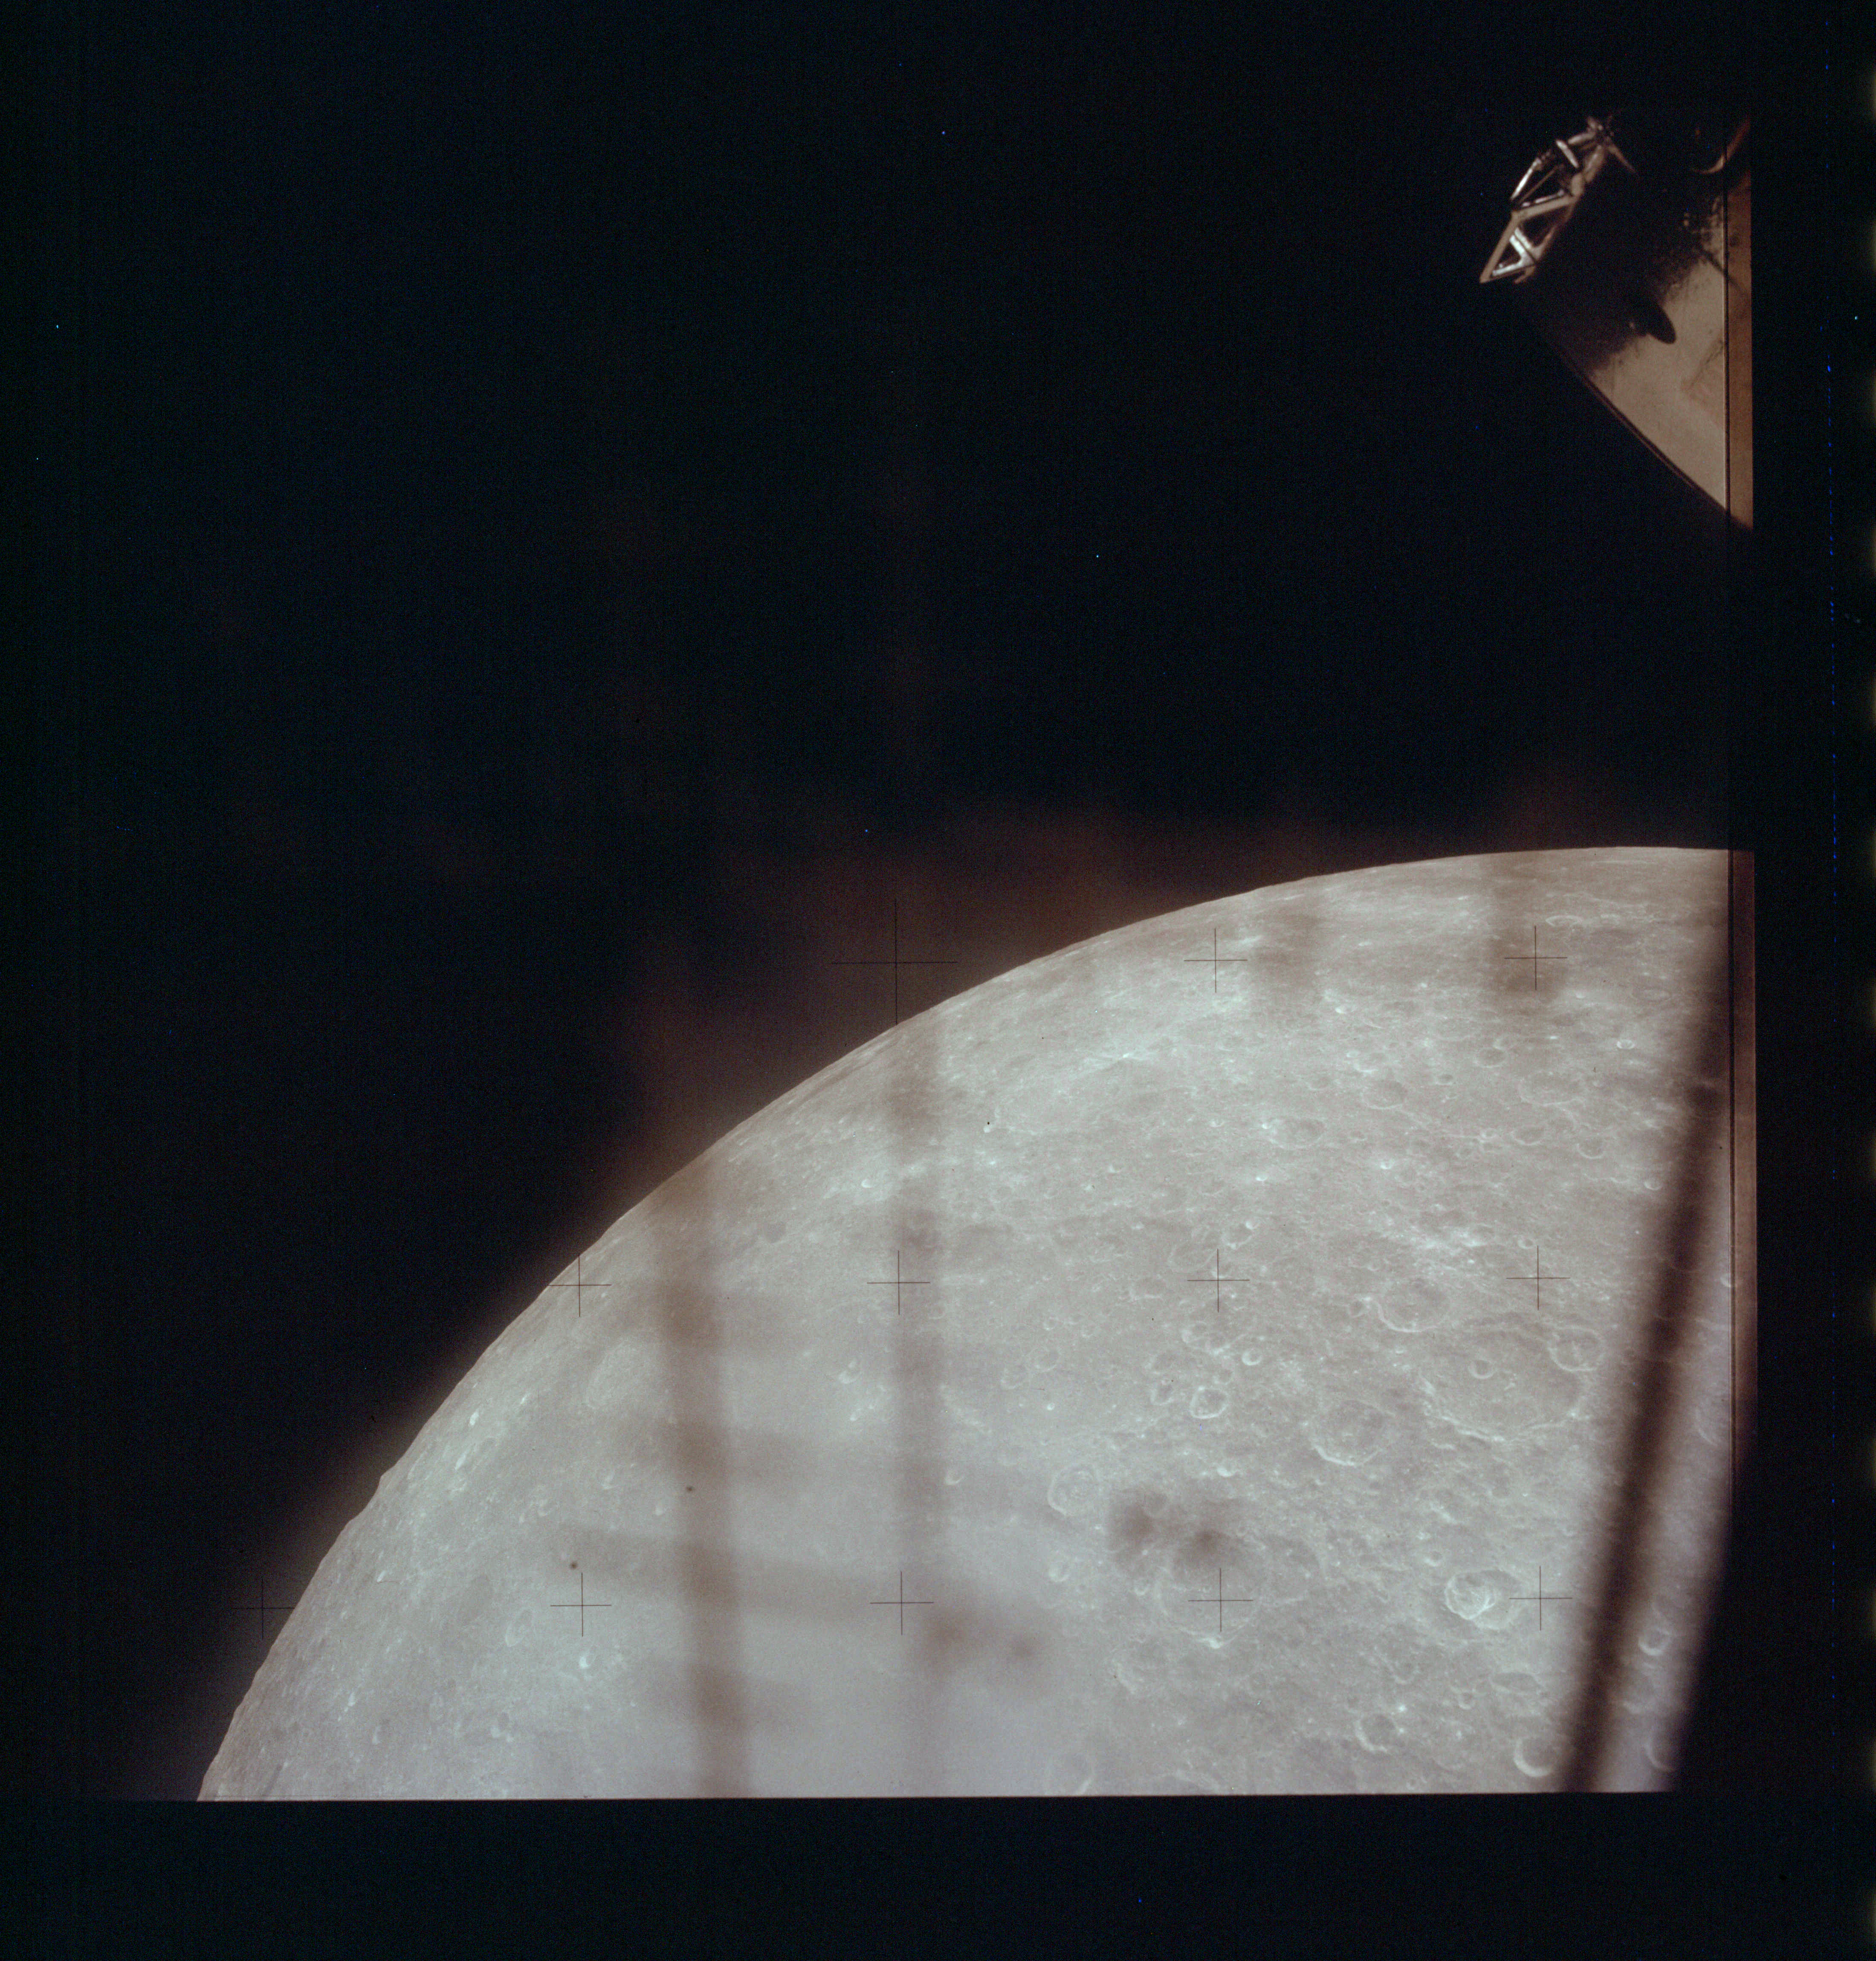
AS13-61-8730 Browse or print resolution. Apollo 13 Command Module and Moon, seen from Lunar Module. Image credit: Image Science and Analysis Laboratory, NASA-Johnson Space Center. |
|
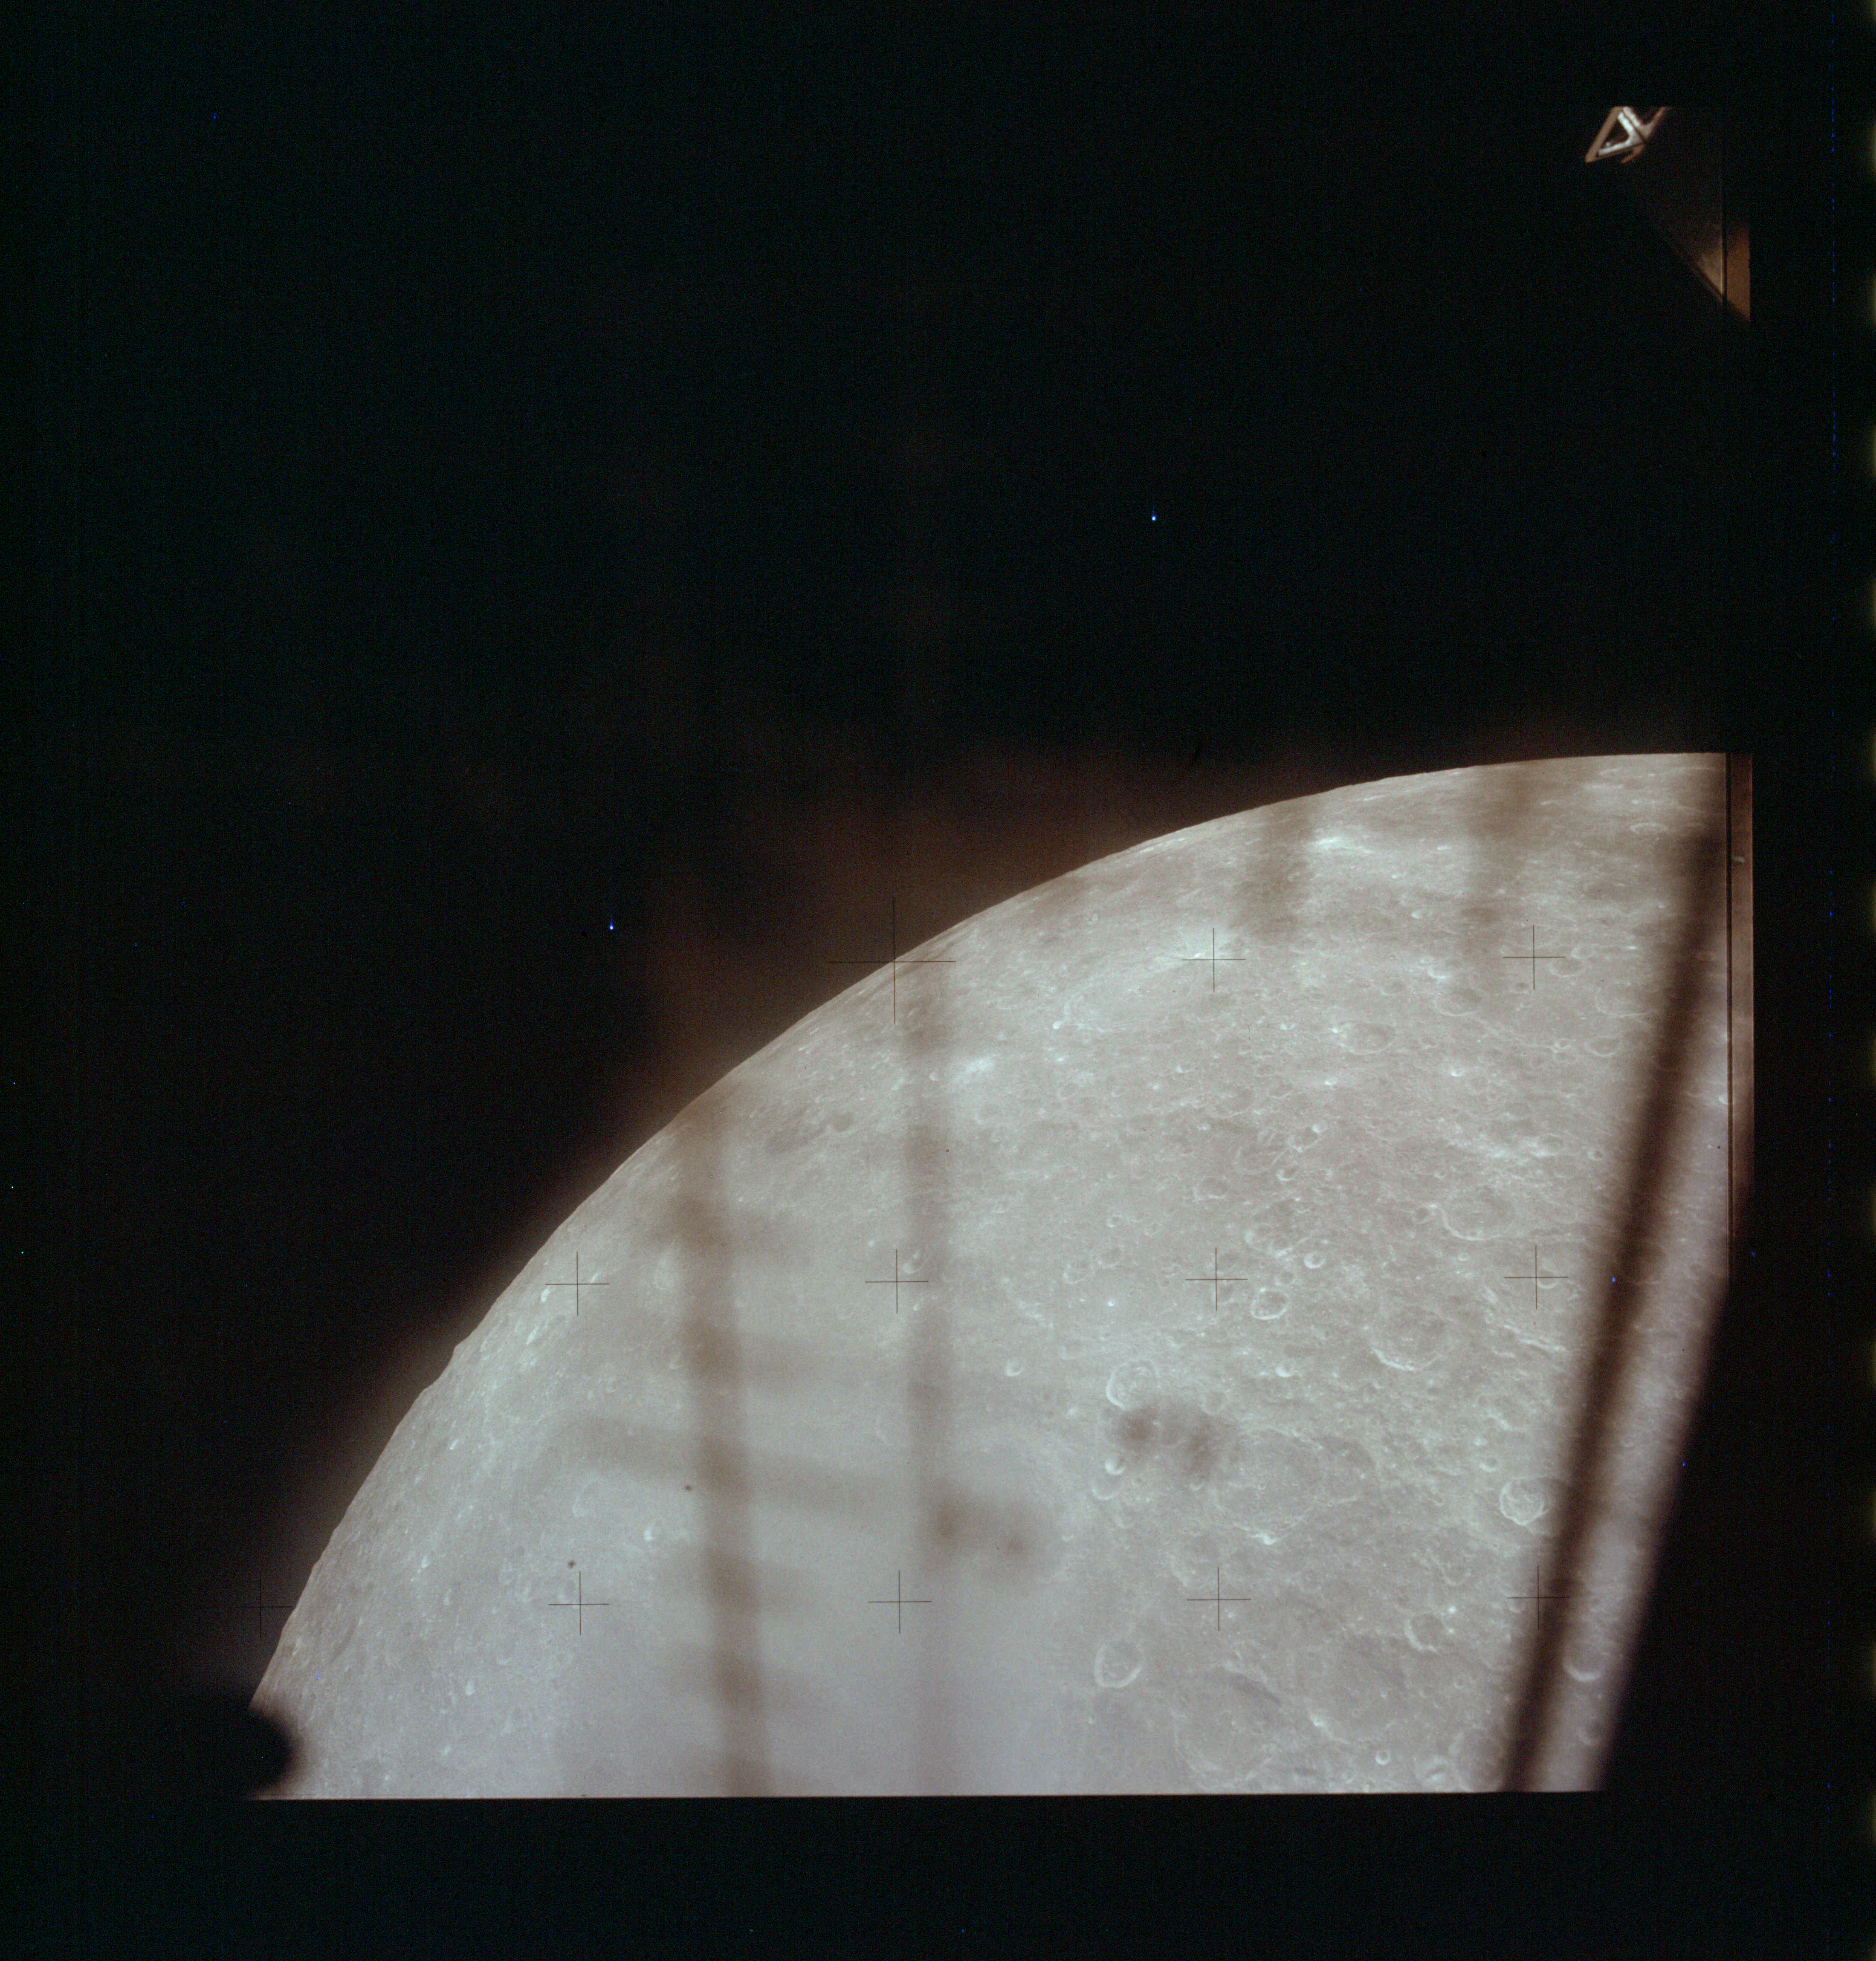
AS13-61-8731 Browse or print resolution. Moon, seen from Lunar Module. Image credit: Image Science and Analysis Laboratory, NASA-Johnson Space Center. |
|
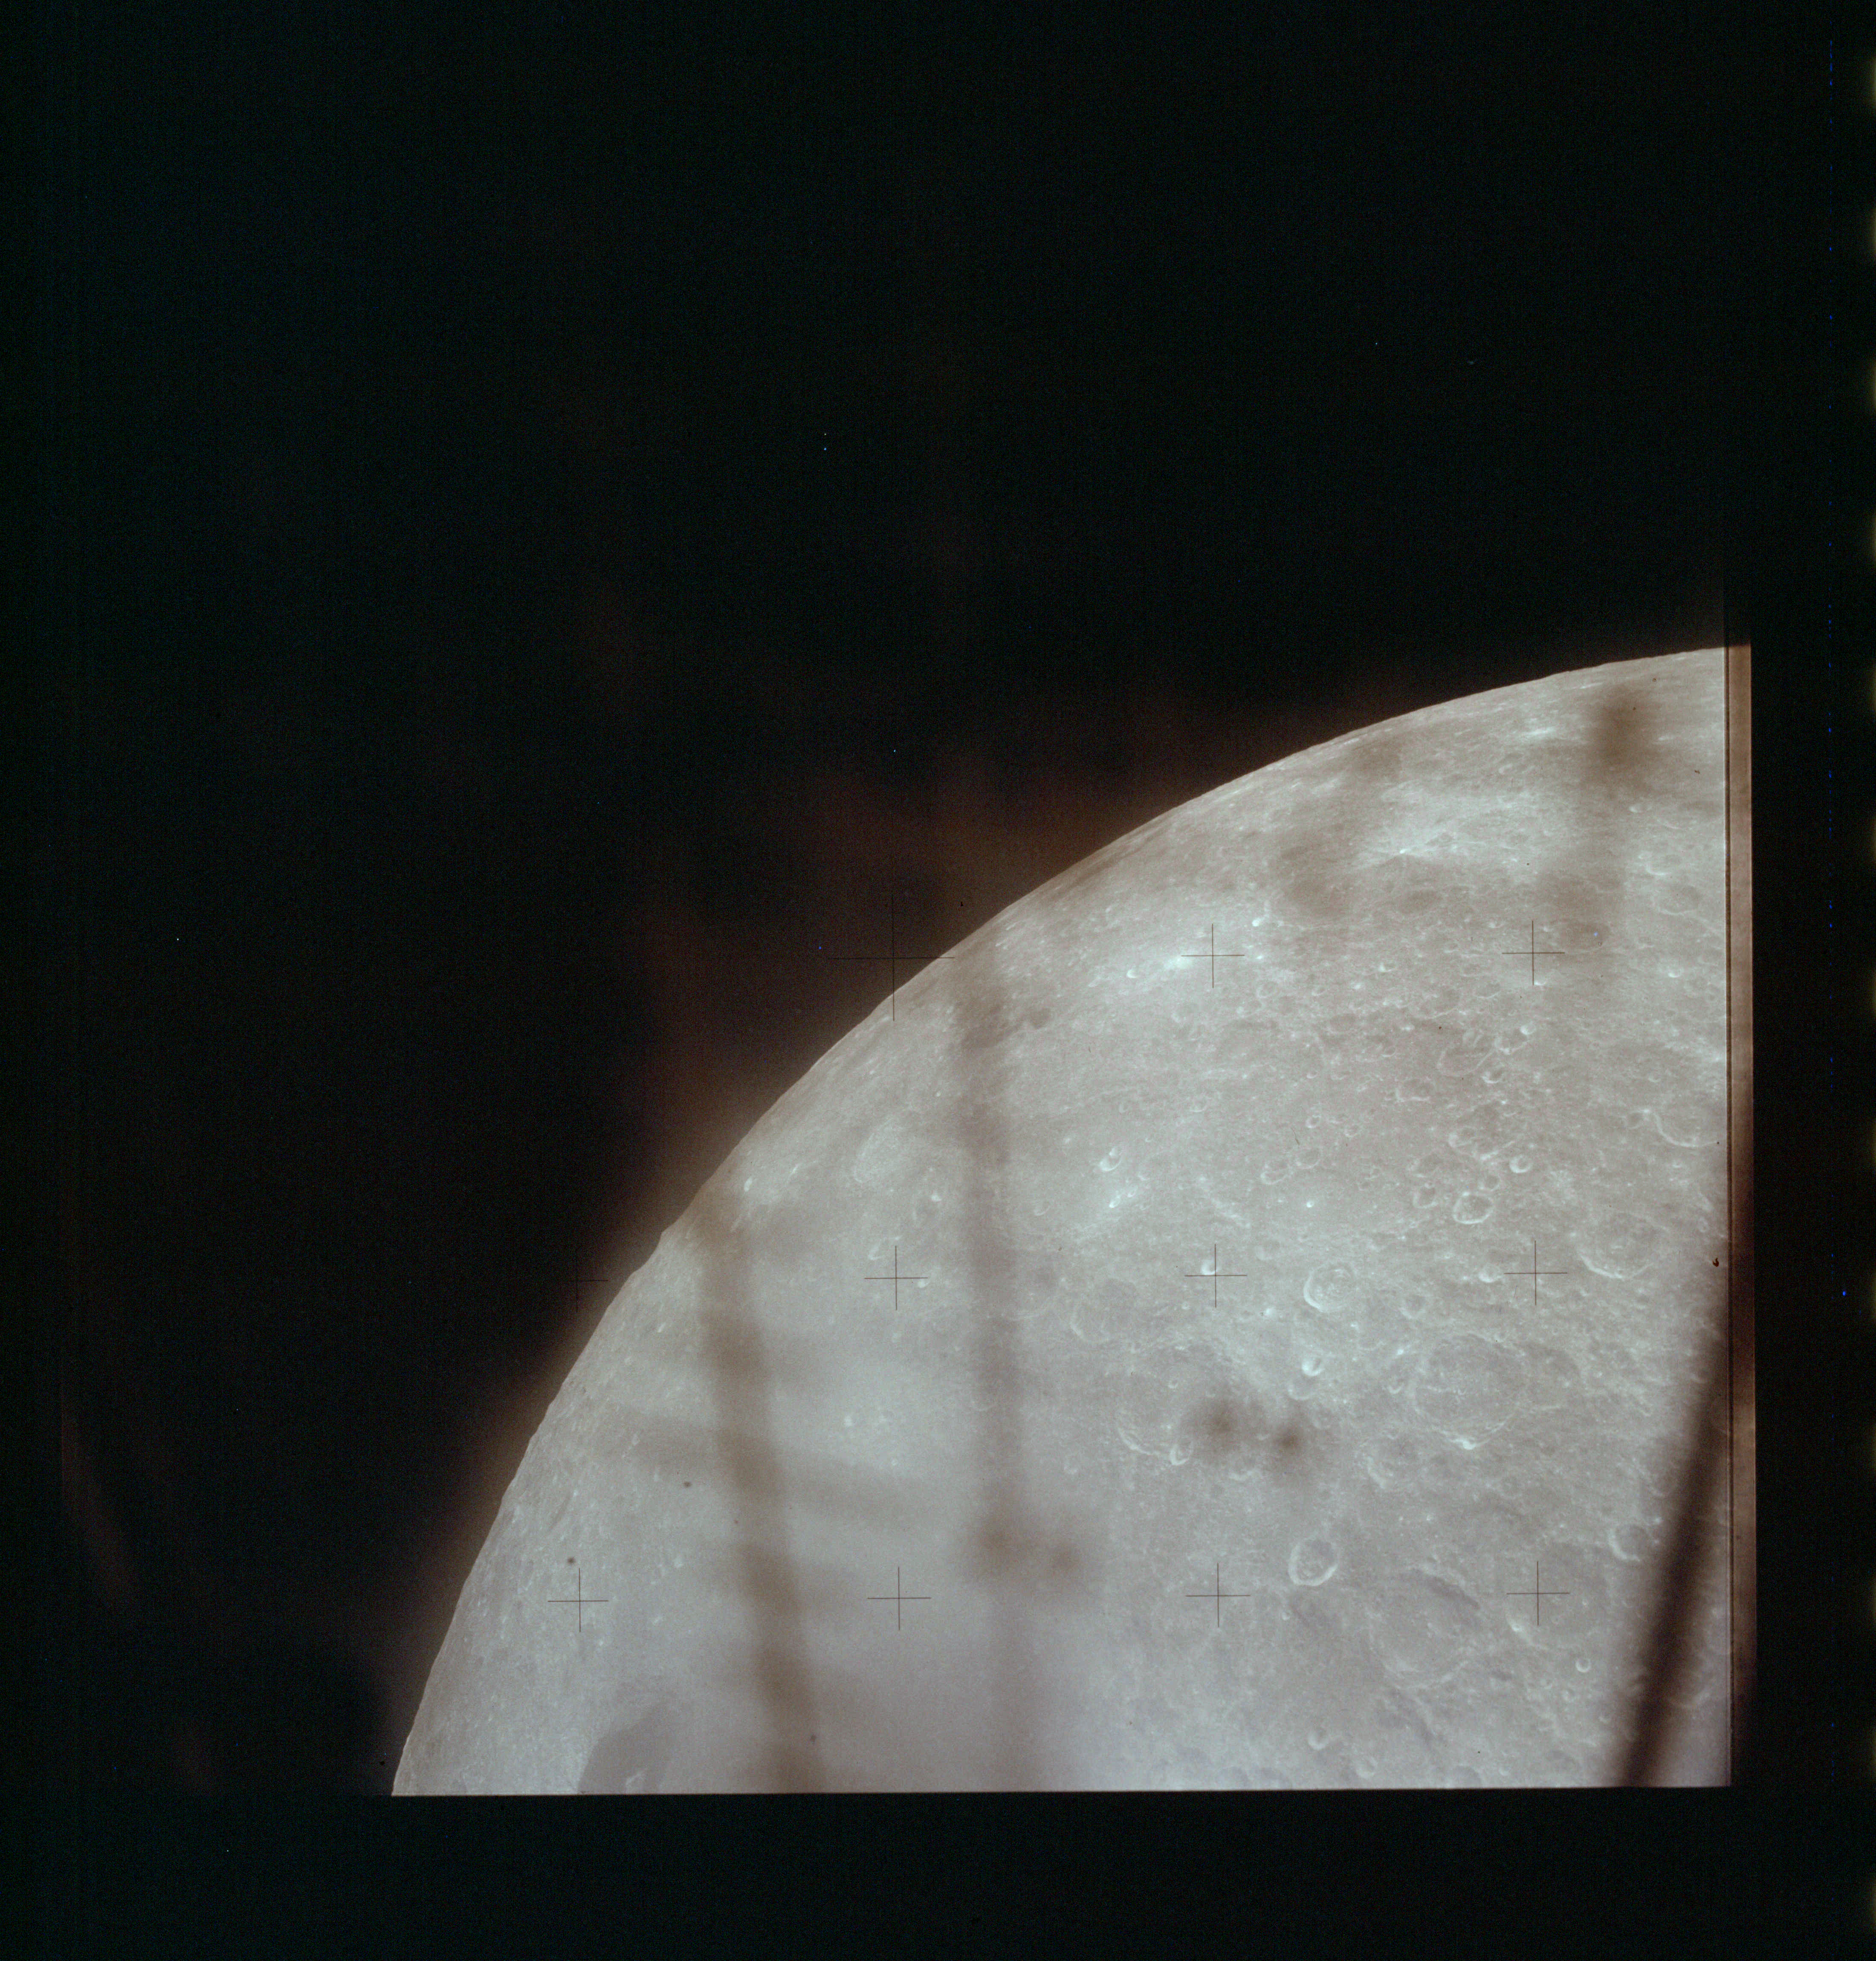
AS13-61-8732 Browse or print resolution. Moon, seen from Lunar Module. Image credit: Image Science and Analysis Laboratory, NASA-Johnson Space Center. |
|
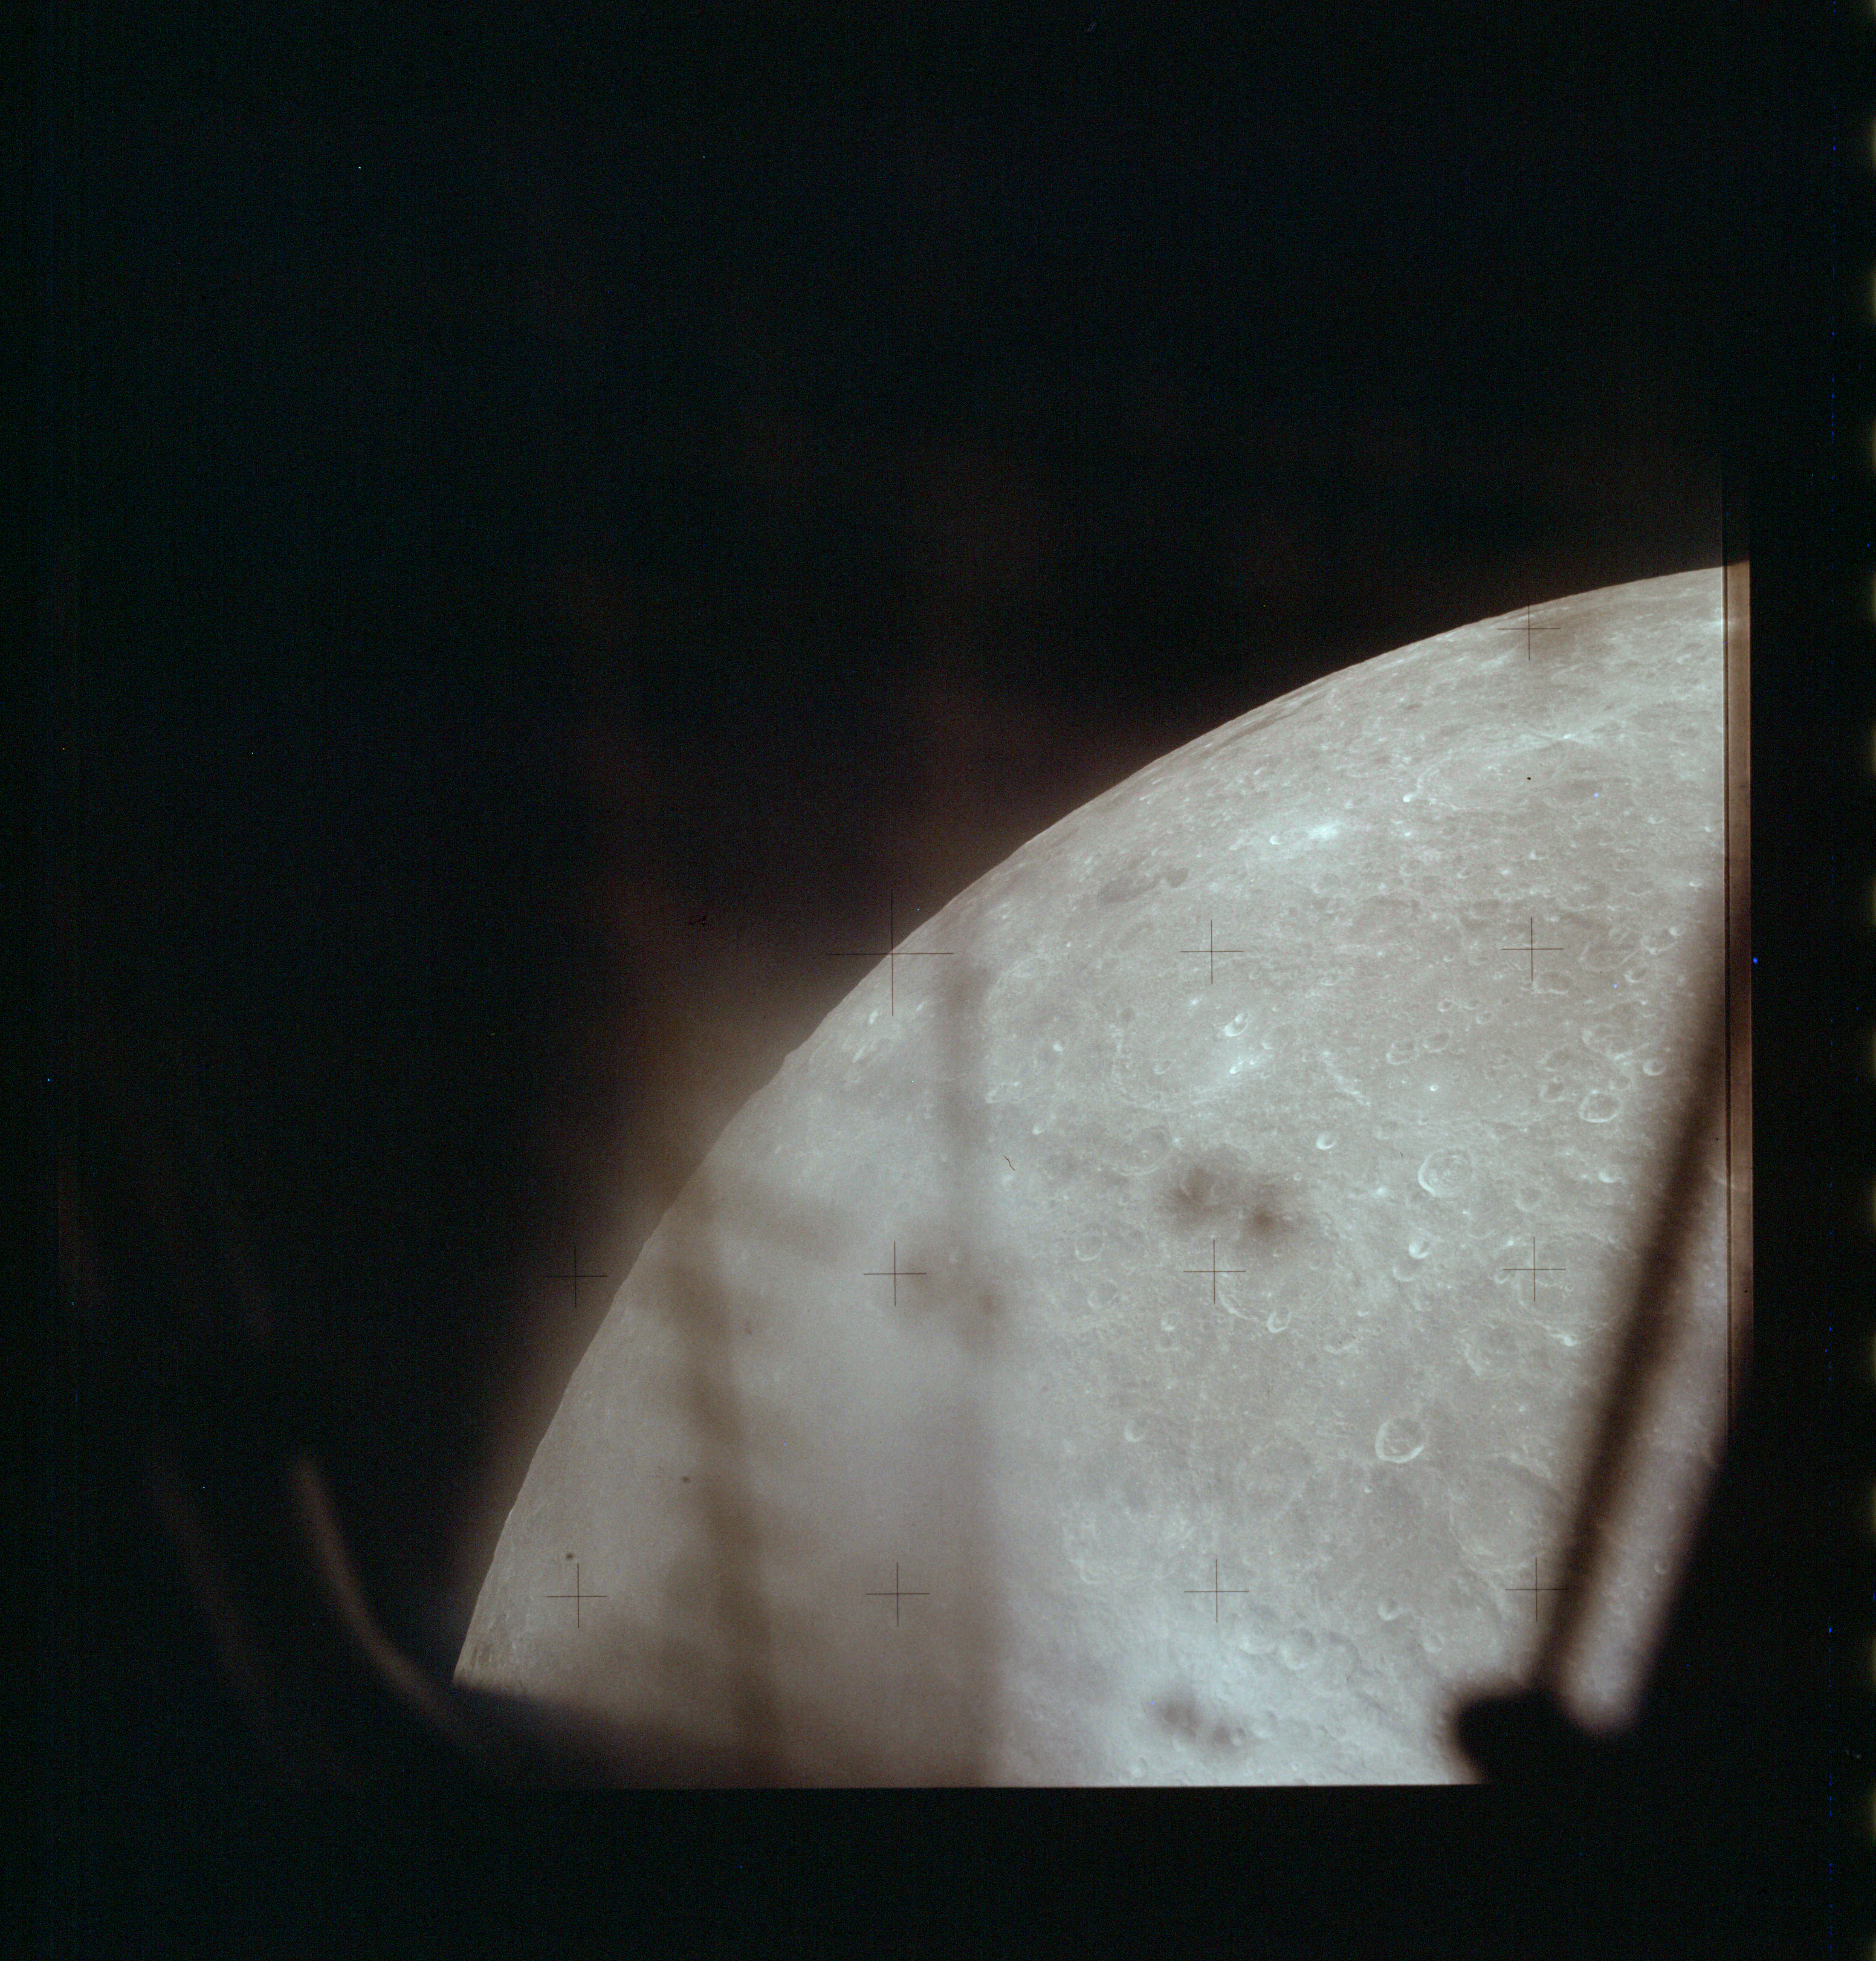
AS13-61-8733 Browse or print resolution. Moon, seen from Lunar Module. Image credit: Image Science and Analysis Laboratory, NASA-Johnson Space Center. |
|
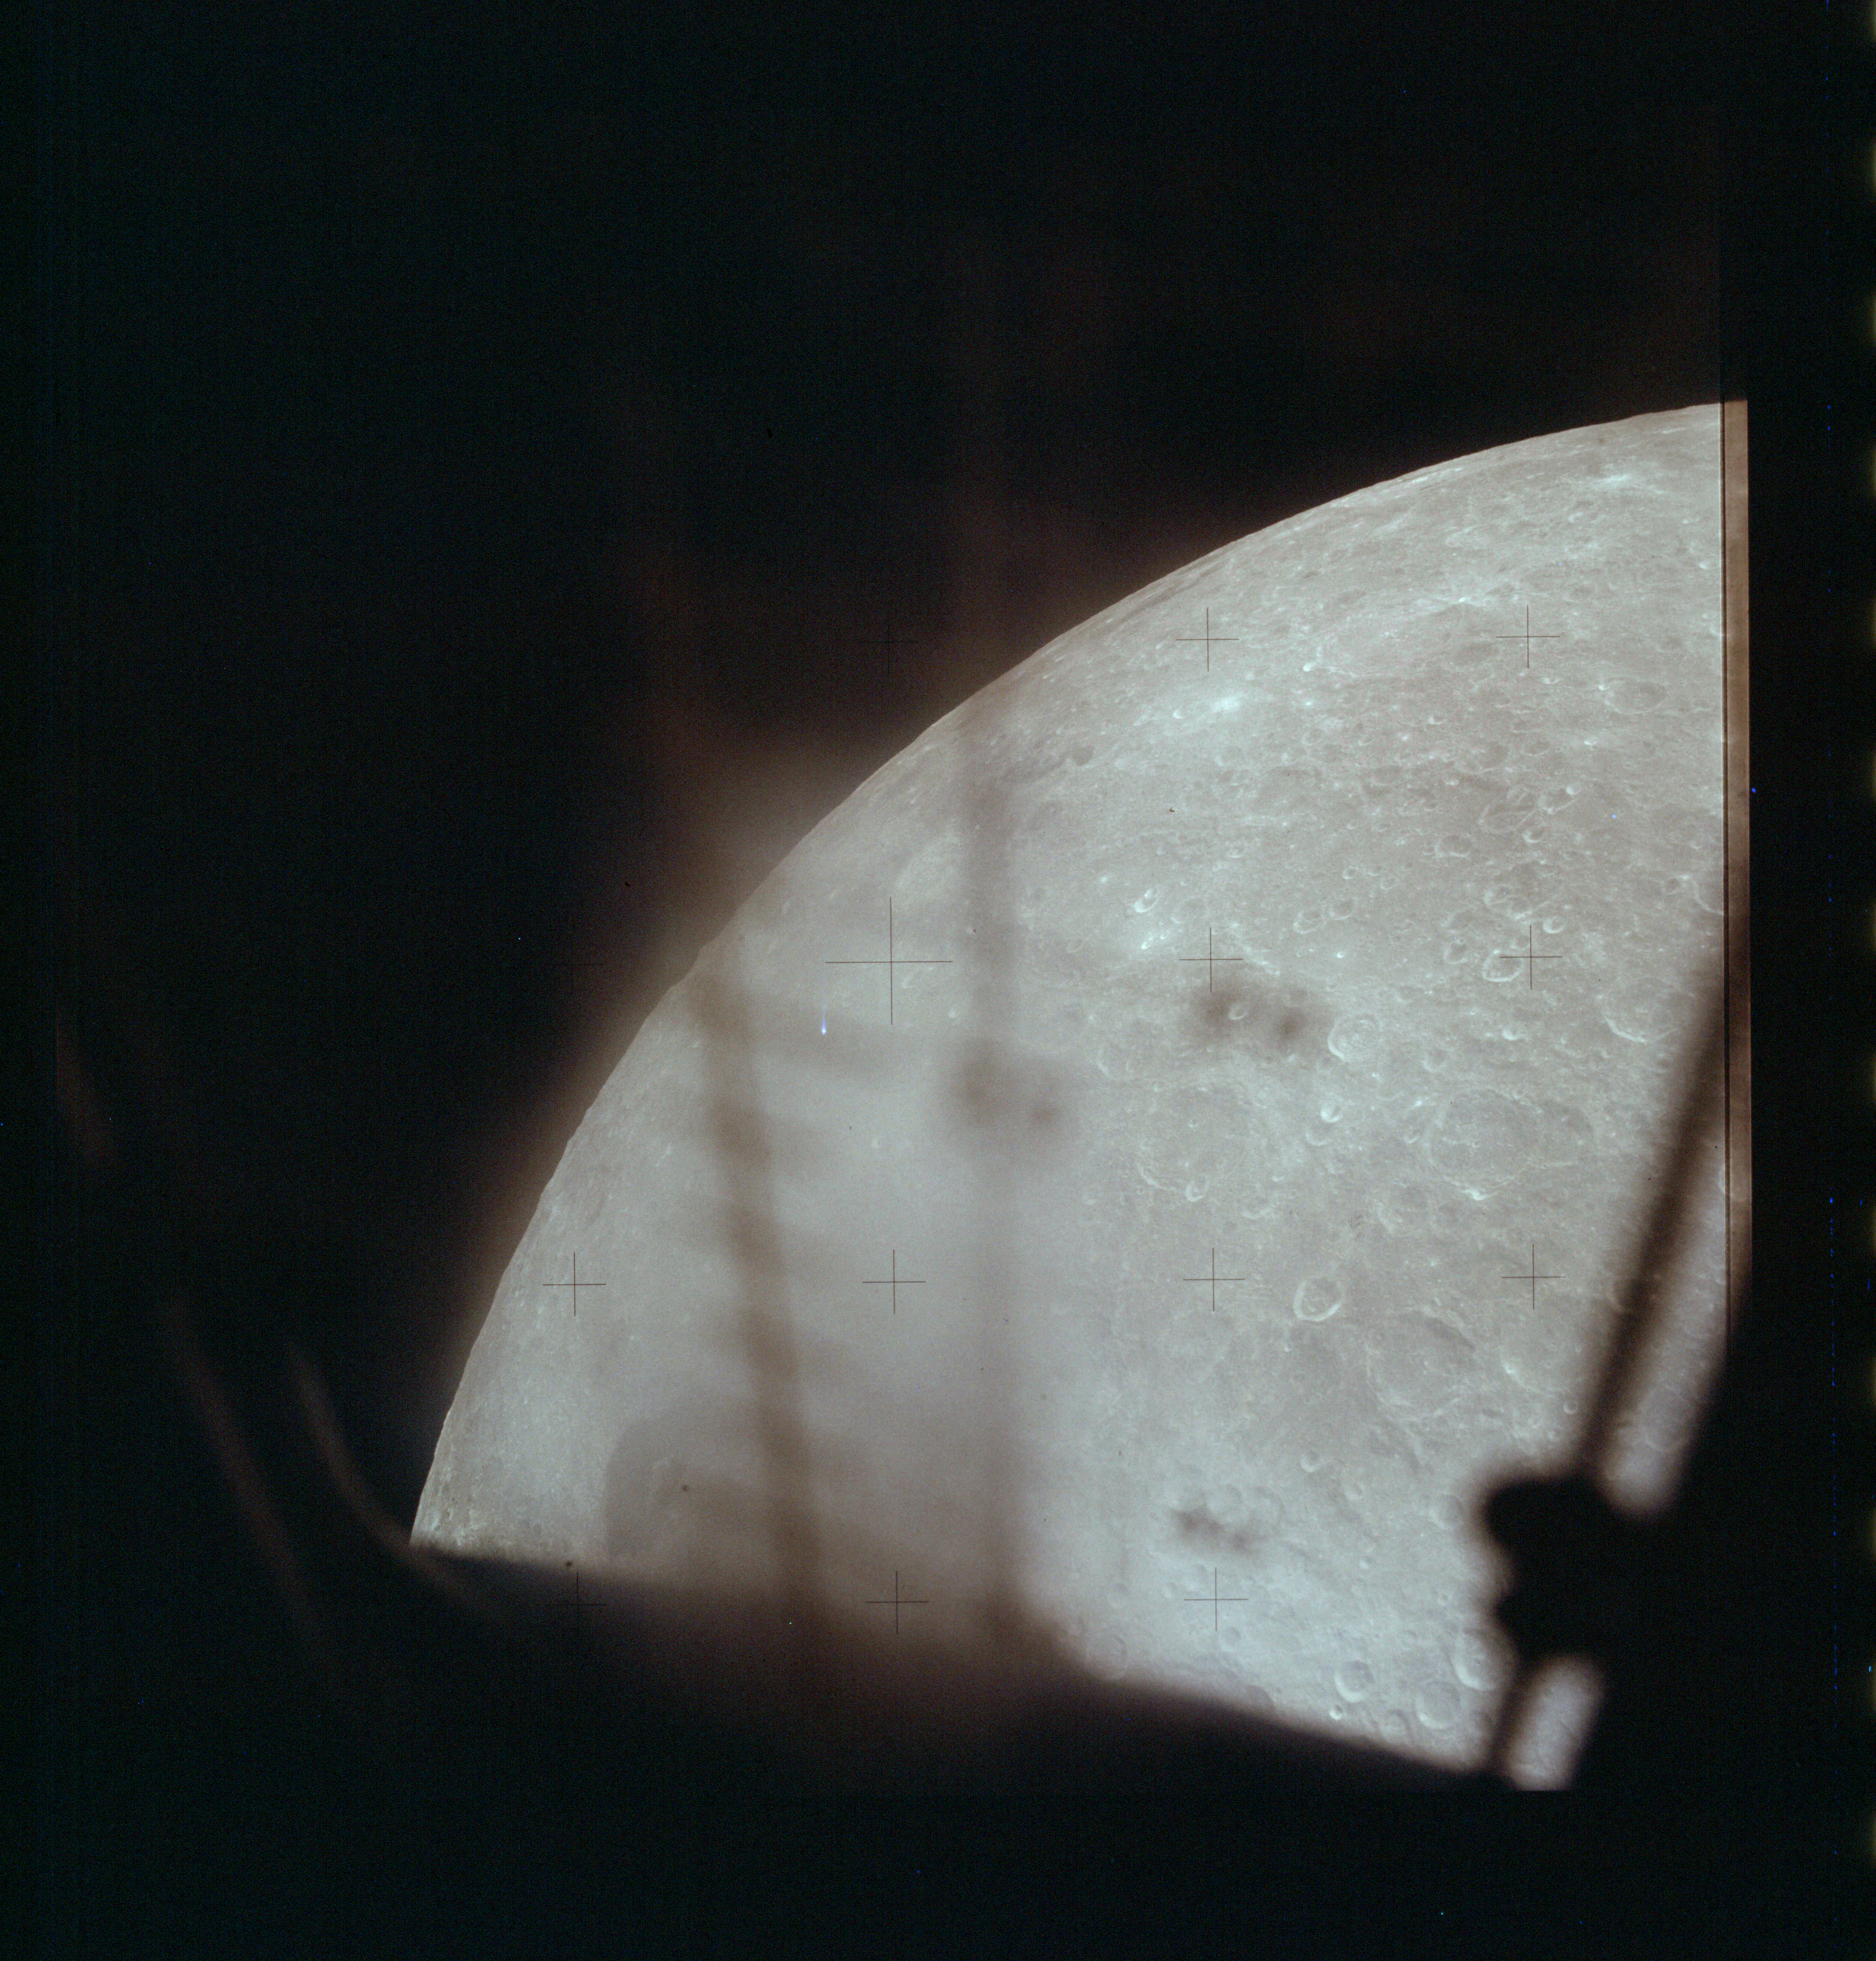
AS13-61-8734 Browse or print resolution. Moon, seen from Lunar Module. Image credit: Image Science and Analysis Laboratory, NASA-Johnson Space Center. |
|
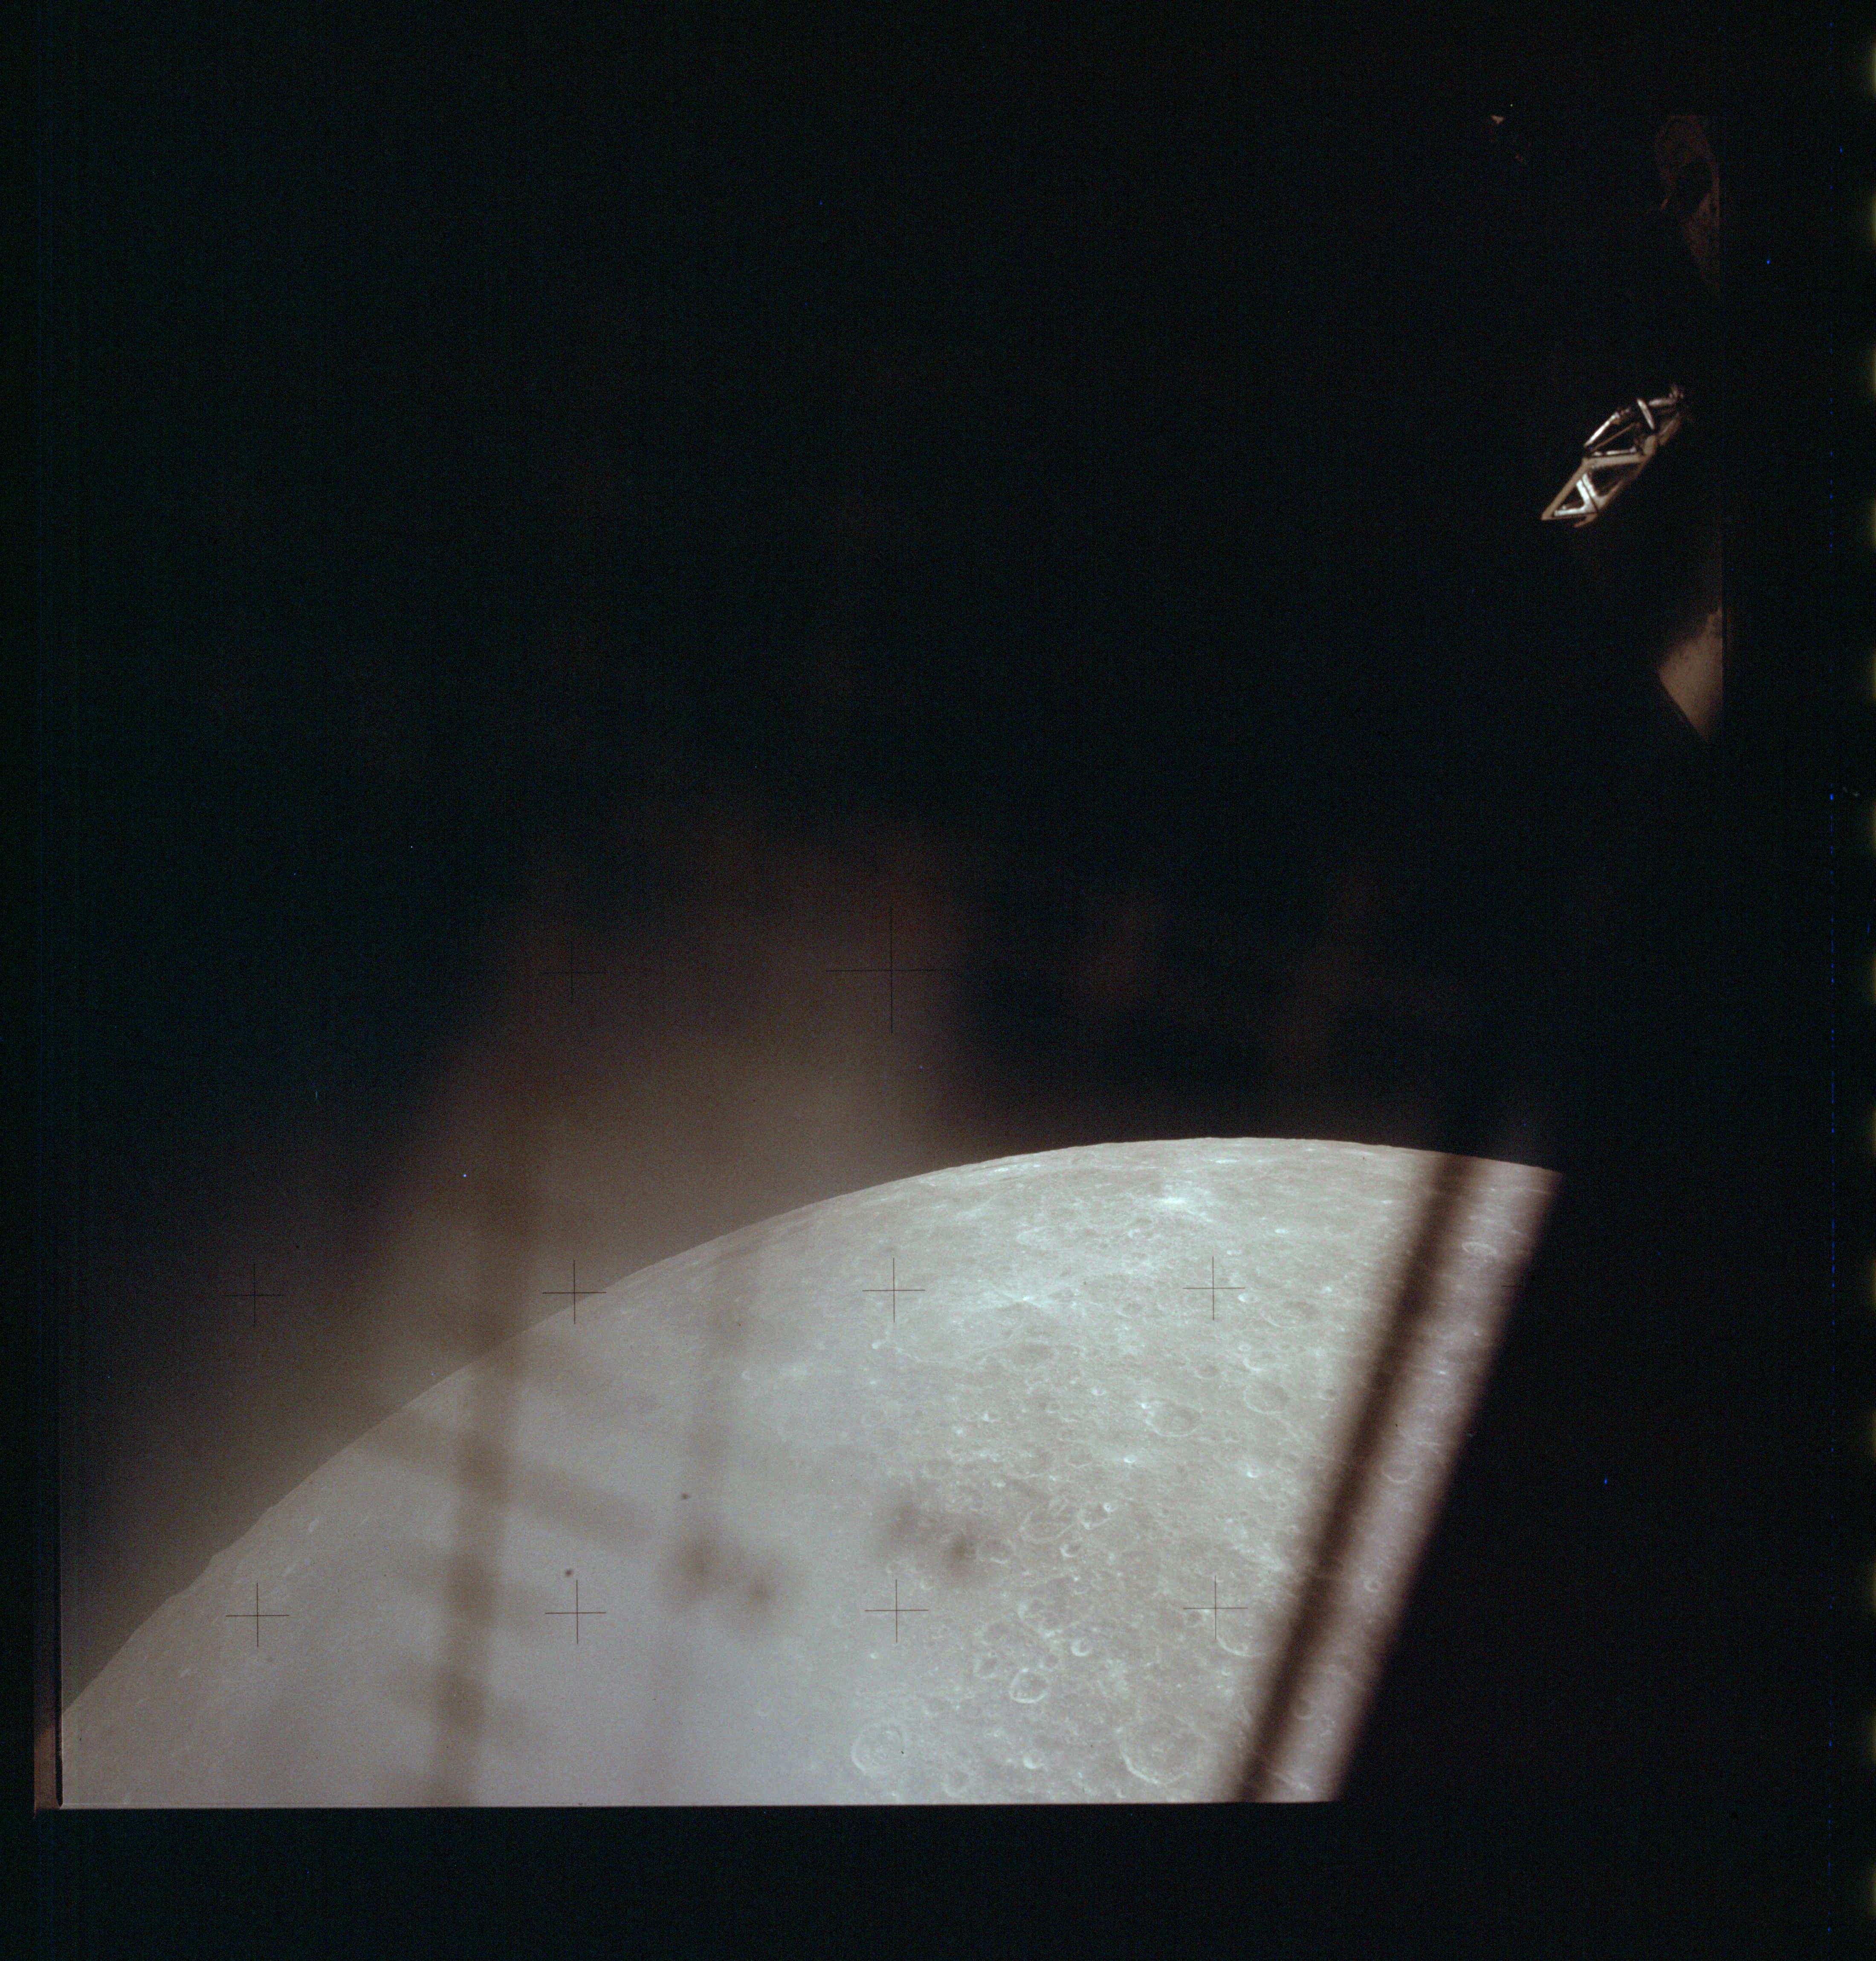
AS13-61-8735 Browse or print resolution. Moon, seen from Lunar Module. Image credit: Image Science and Analysis Laboratory, NASA-Johnson Space Center. |
|
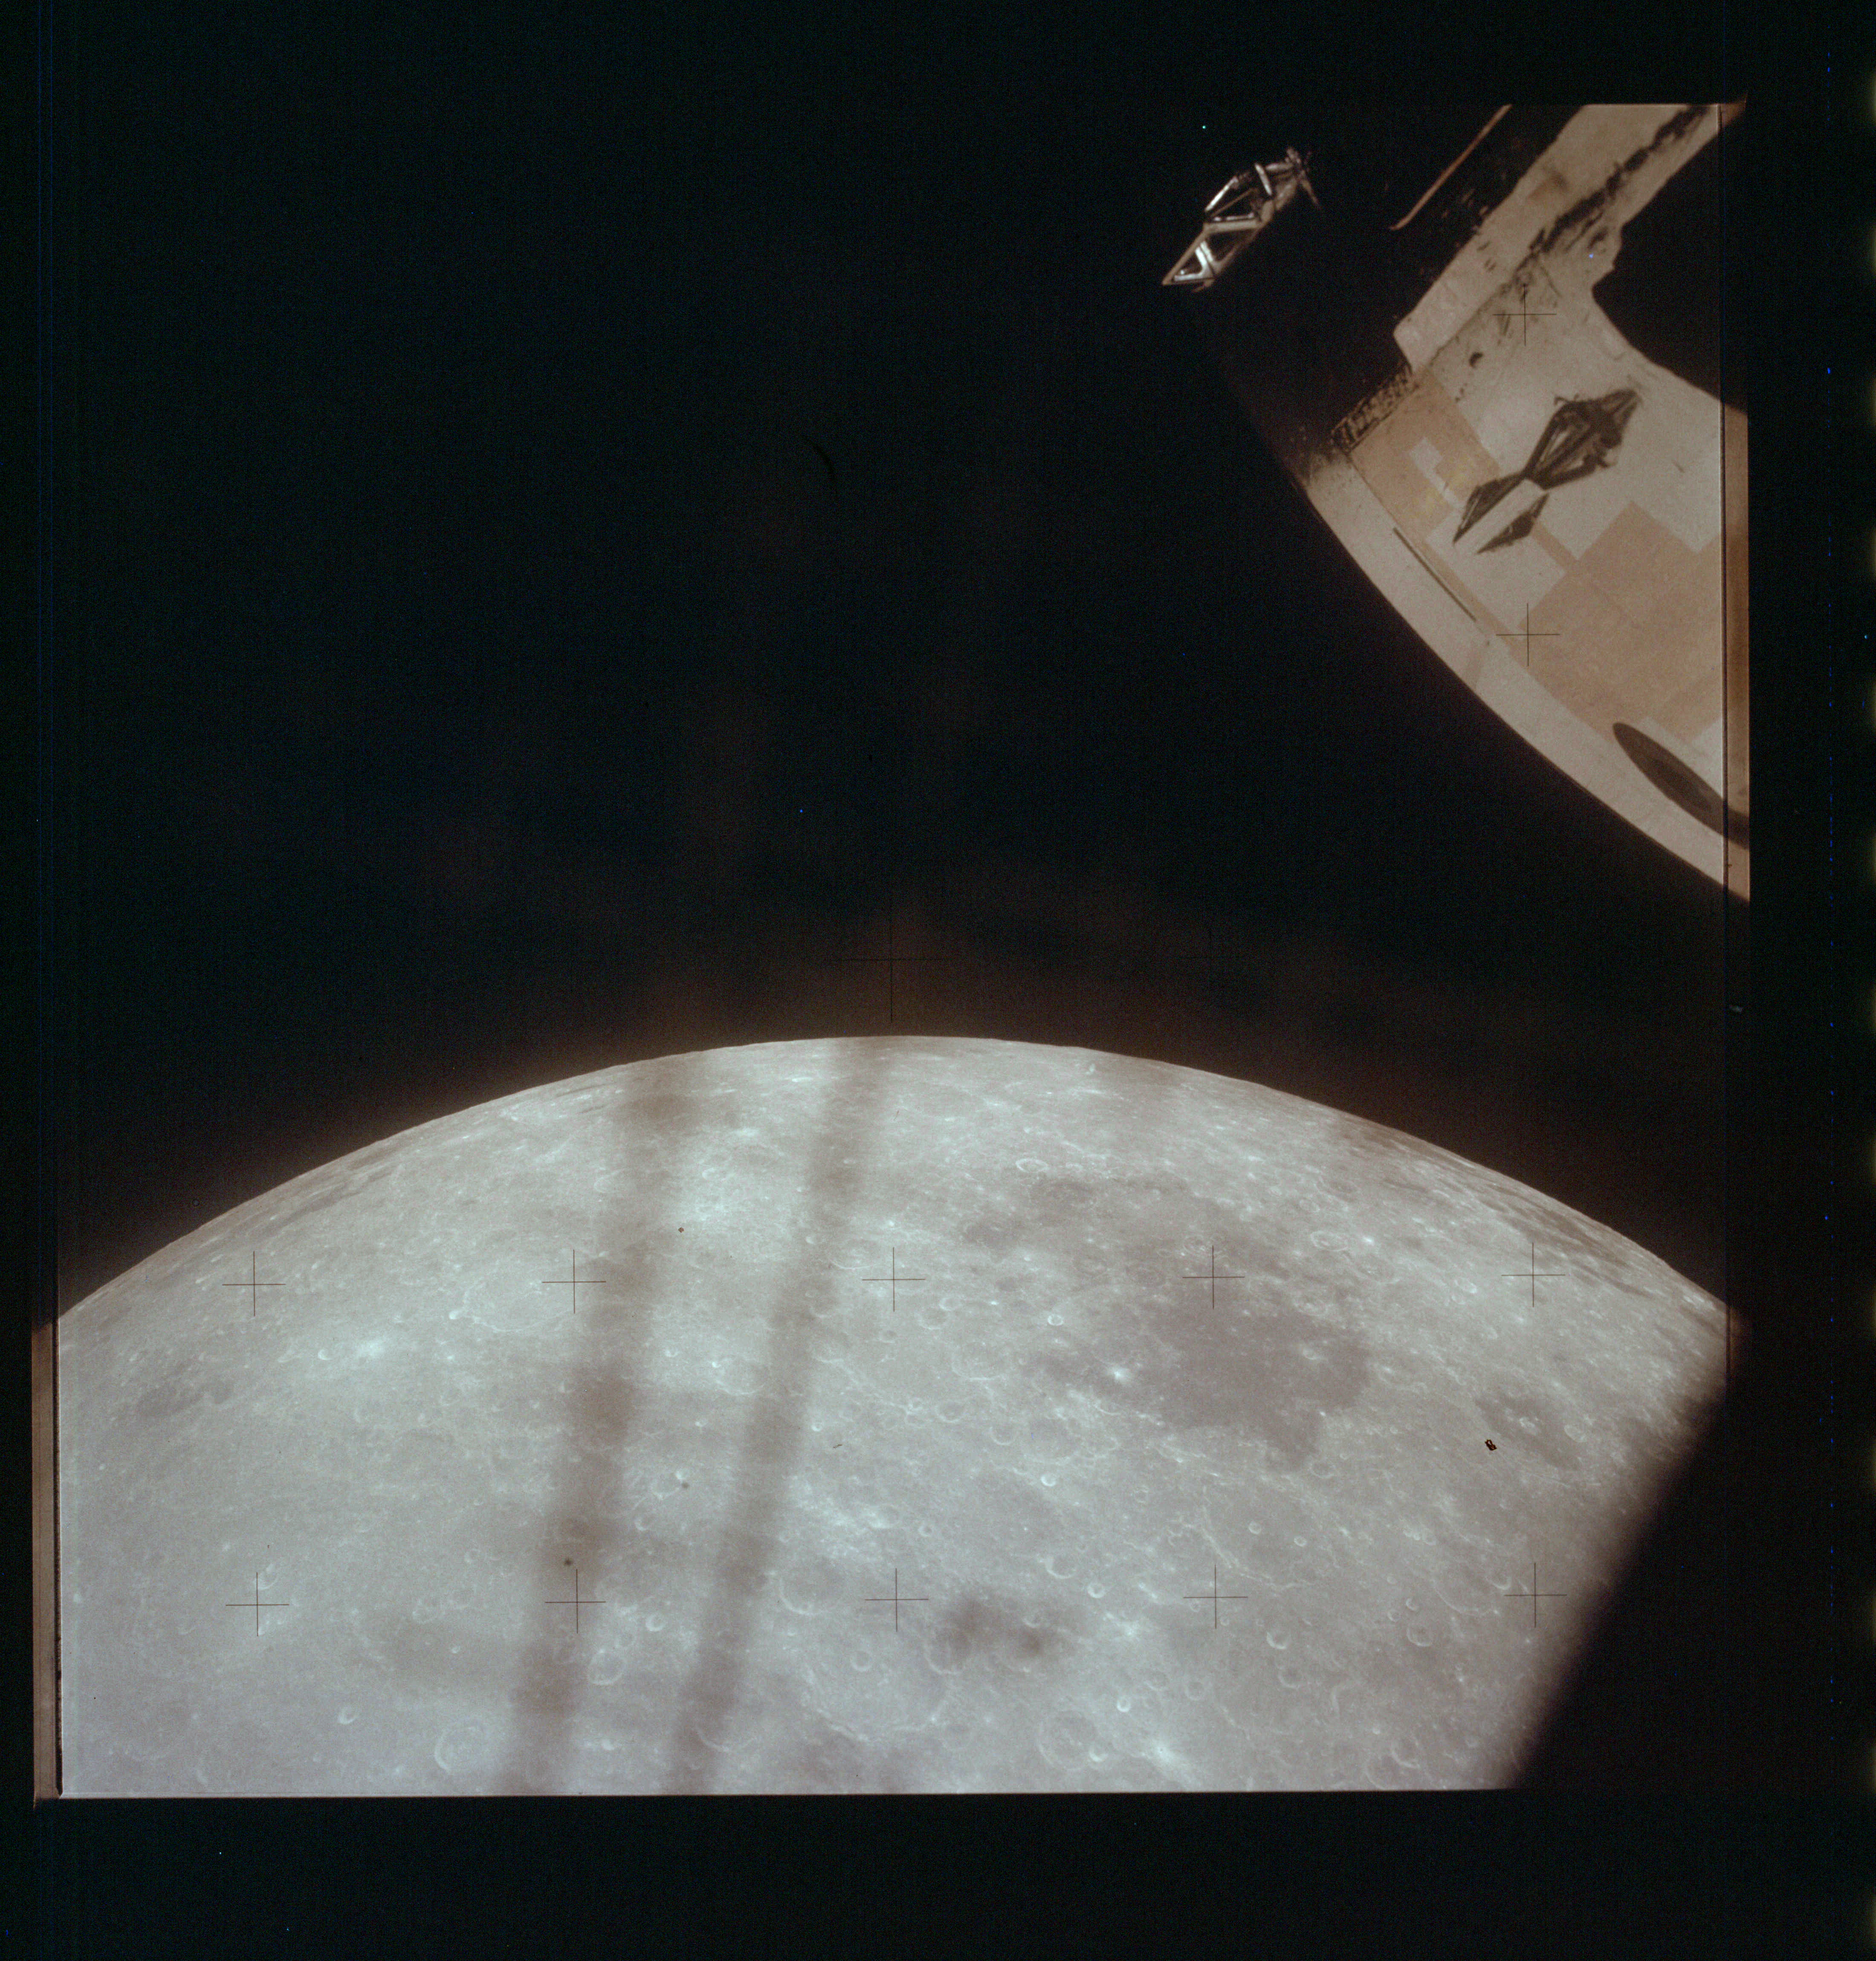
AS13-61-8736 Browse or print resolution. Apollo 13 Command Module and Moon, seen from Lunar Module. Image credit: Image Science and Analysis Laboratory, NASA-Johnson Space Center. |
|
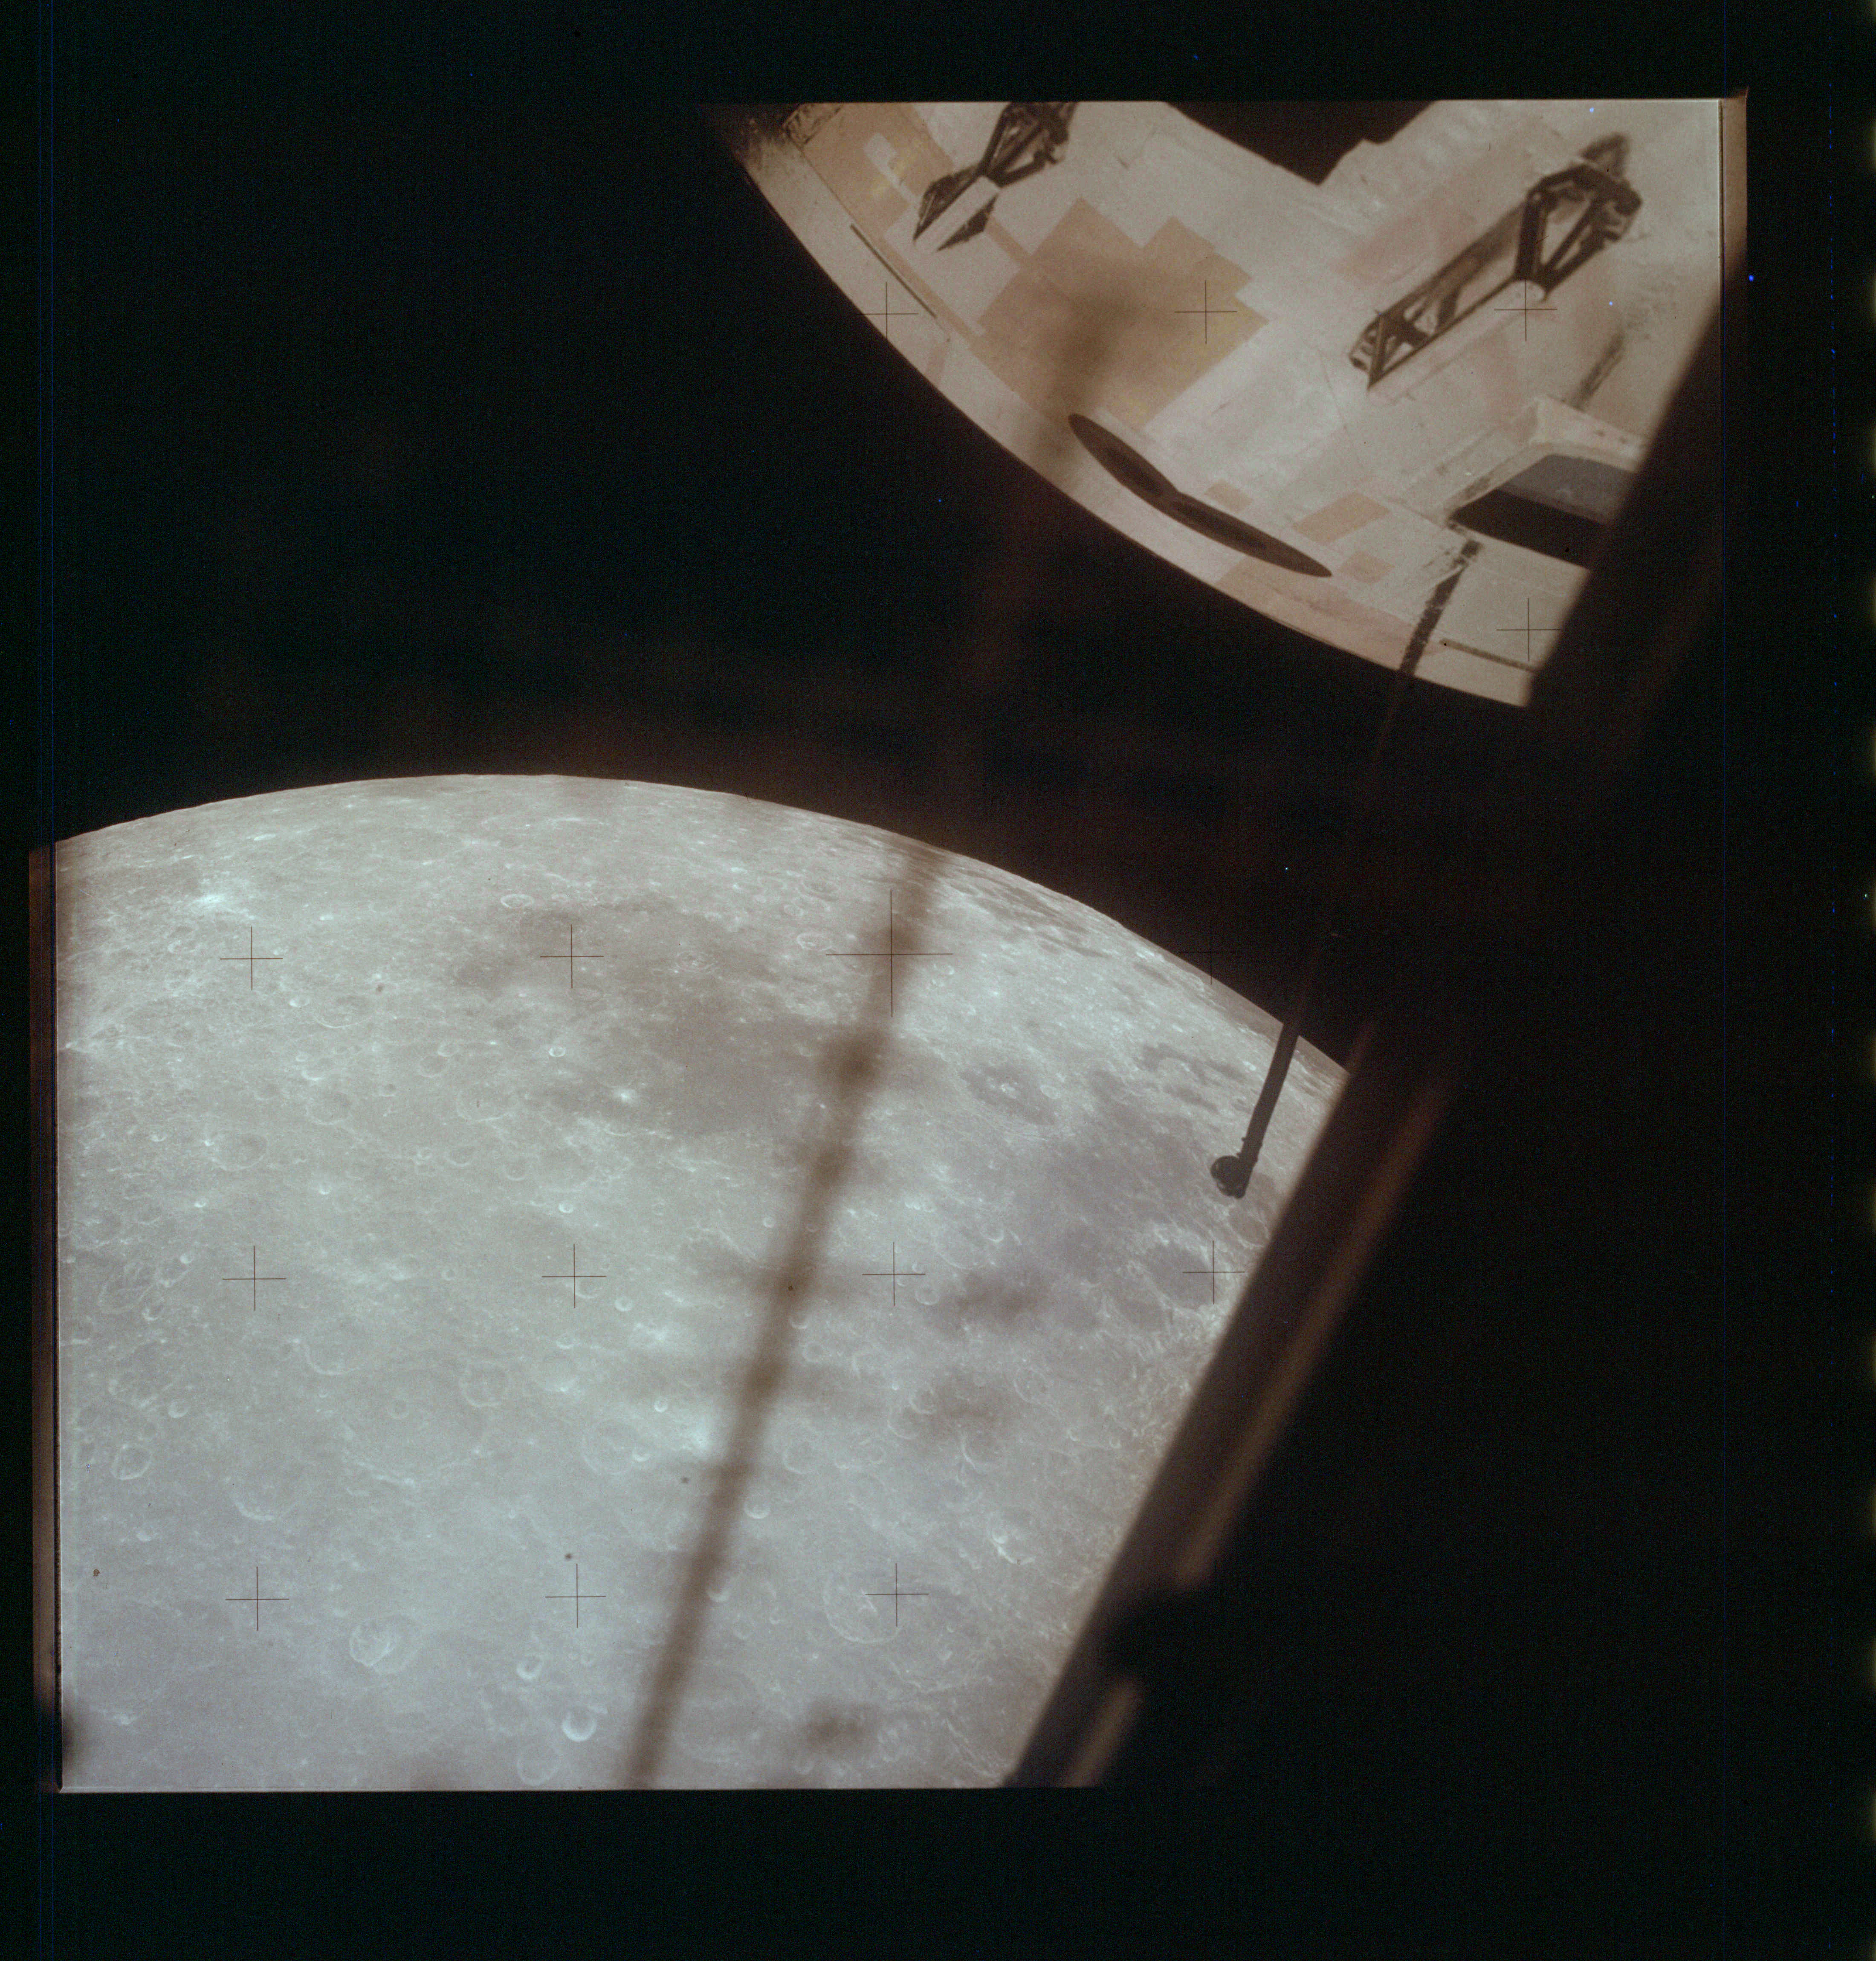
AS13-61-8737 Browse or print resolution. Apollo 13 Command Module and Moon, seen from Lunar Module. Image credit: Image Science and Analysis Laboratory, NASA-Johnson Space Center. |
|
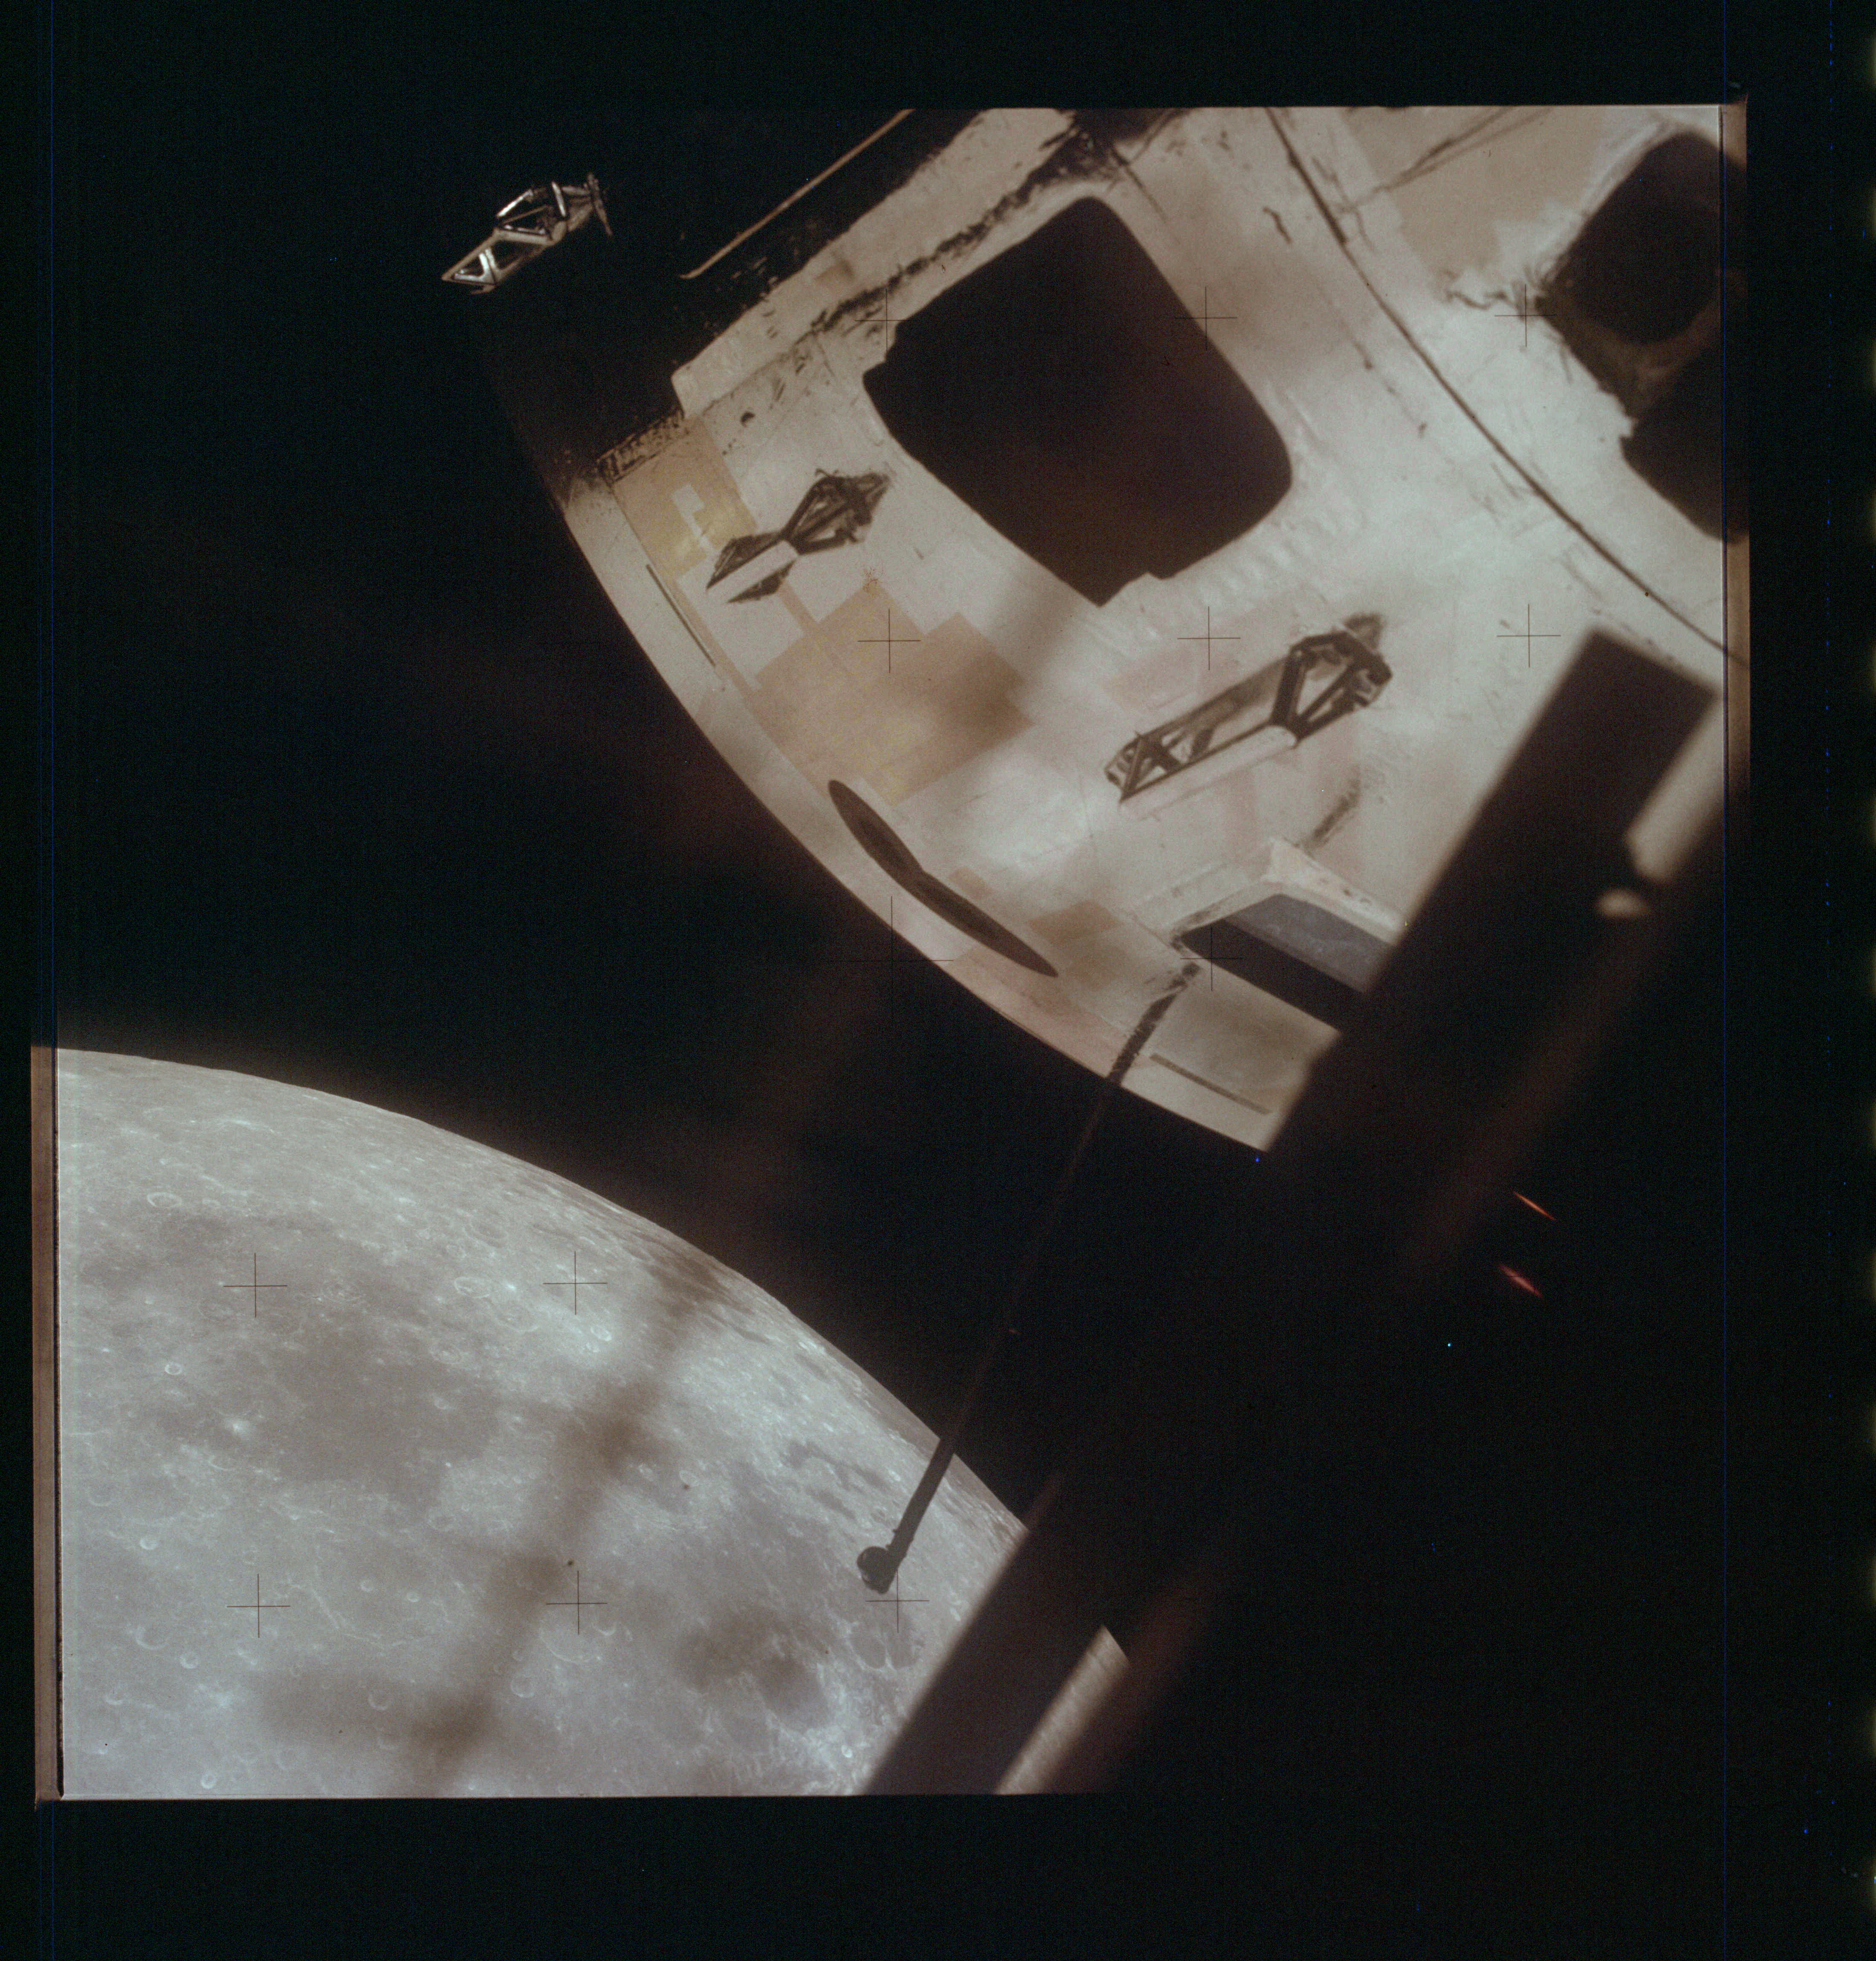
AS13-61-8738 Browse or print resolution. Apollo 13 Command Module and Moon, seen from Lunar Module. Image credit: Image Science and Analysis Laboratory, NASA-Johnson Space Center. |
|
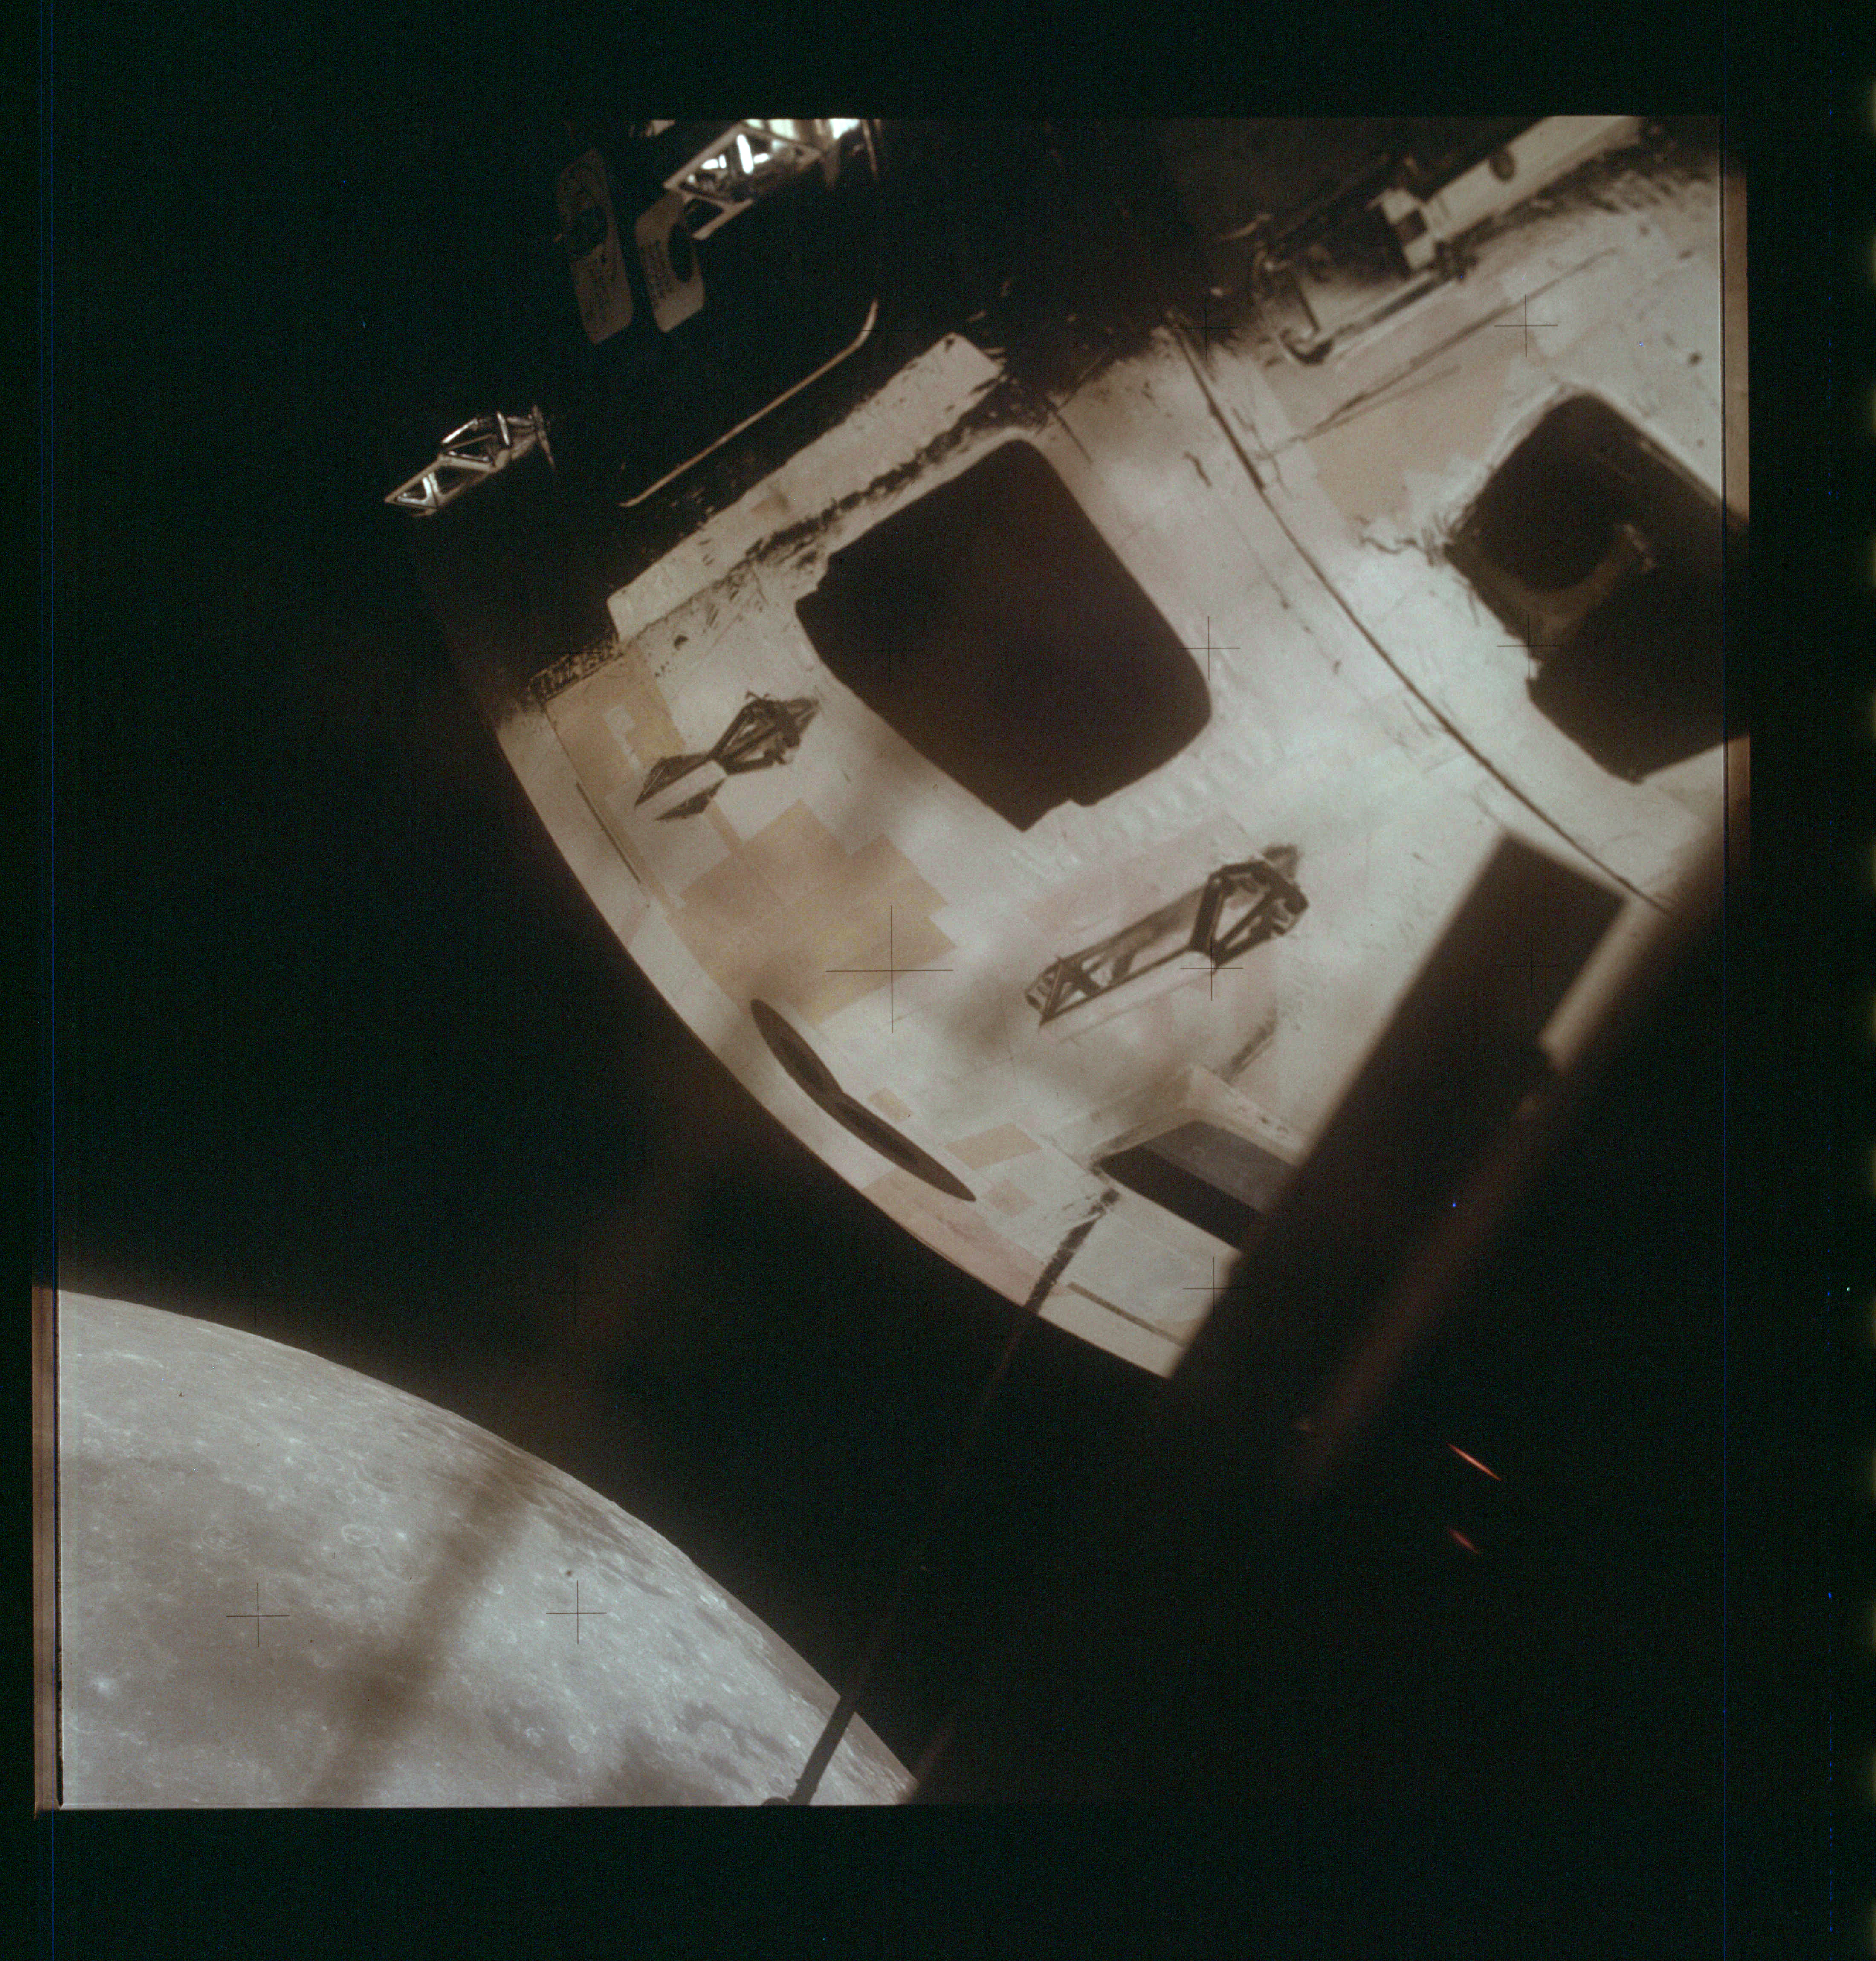
AS13-61-8739 Browse or print resolution. Apollo 13 Command Module and Moon, seen from Lunar Module. Image credit: Image Science and Analysis Laboratory, NASA-Johnson Space Center. |
|
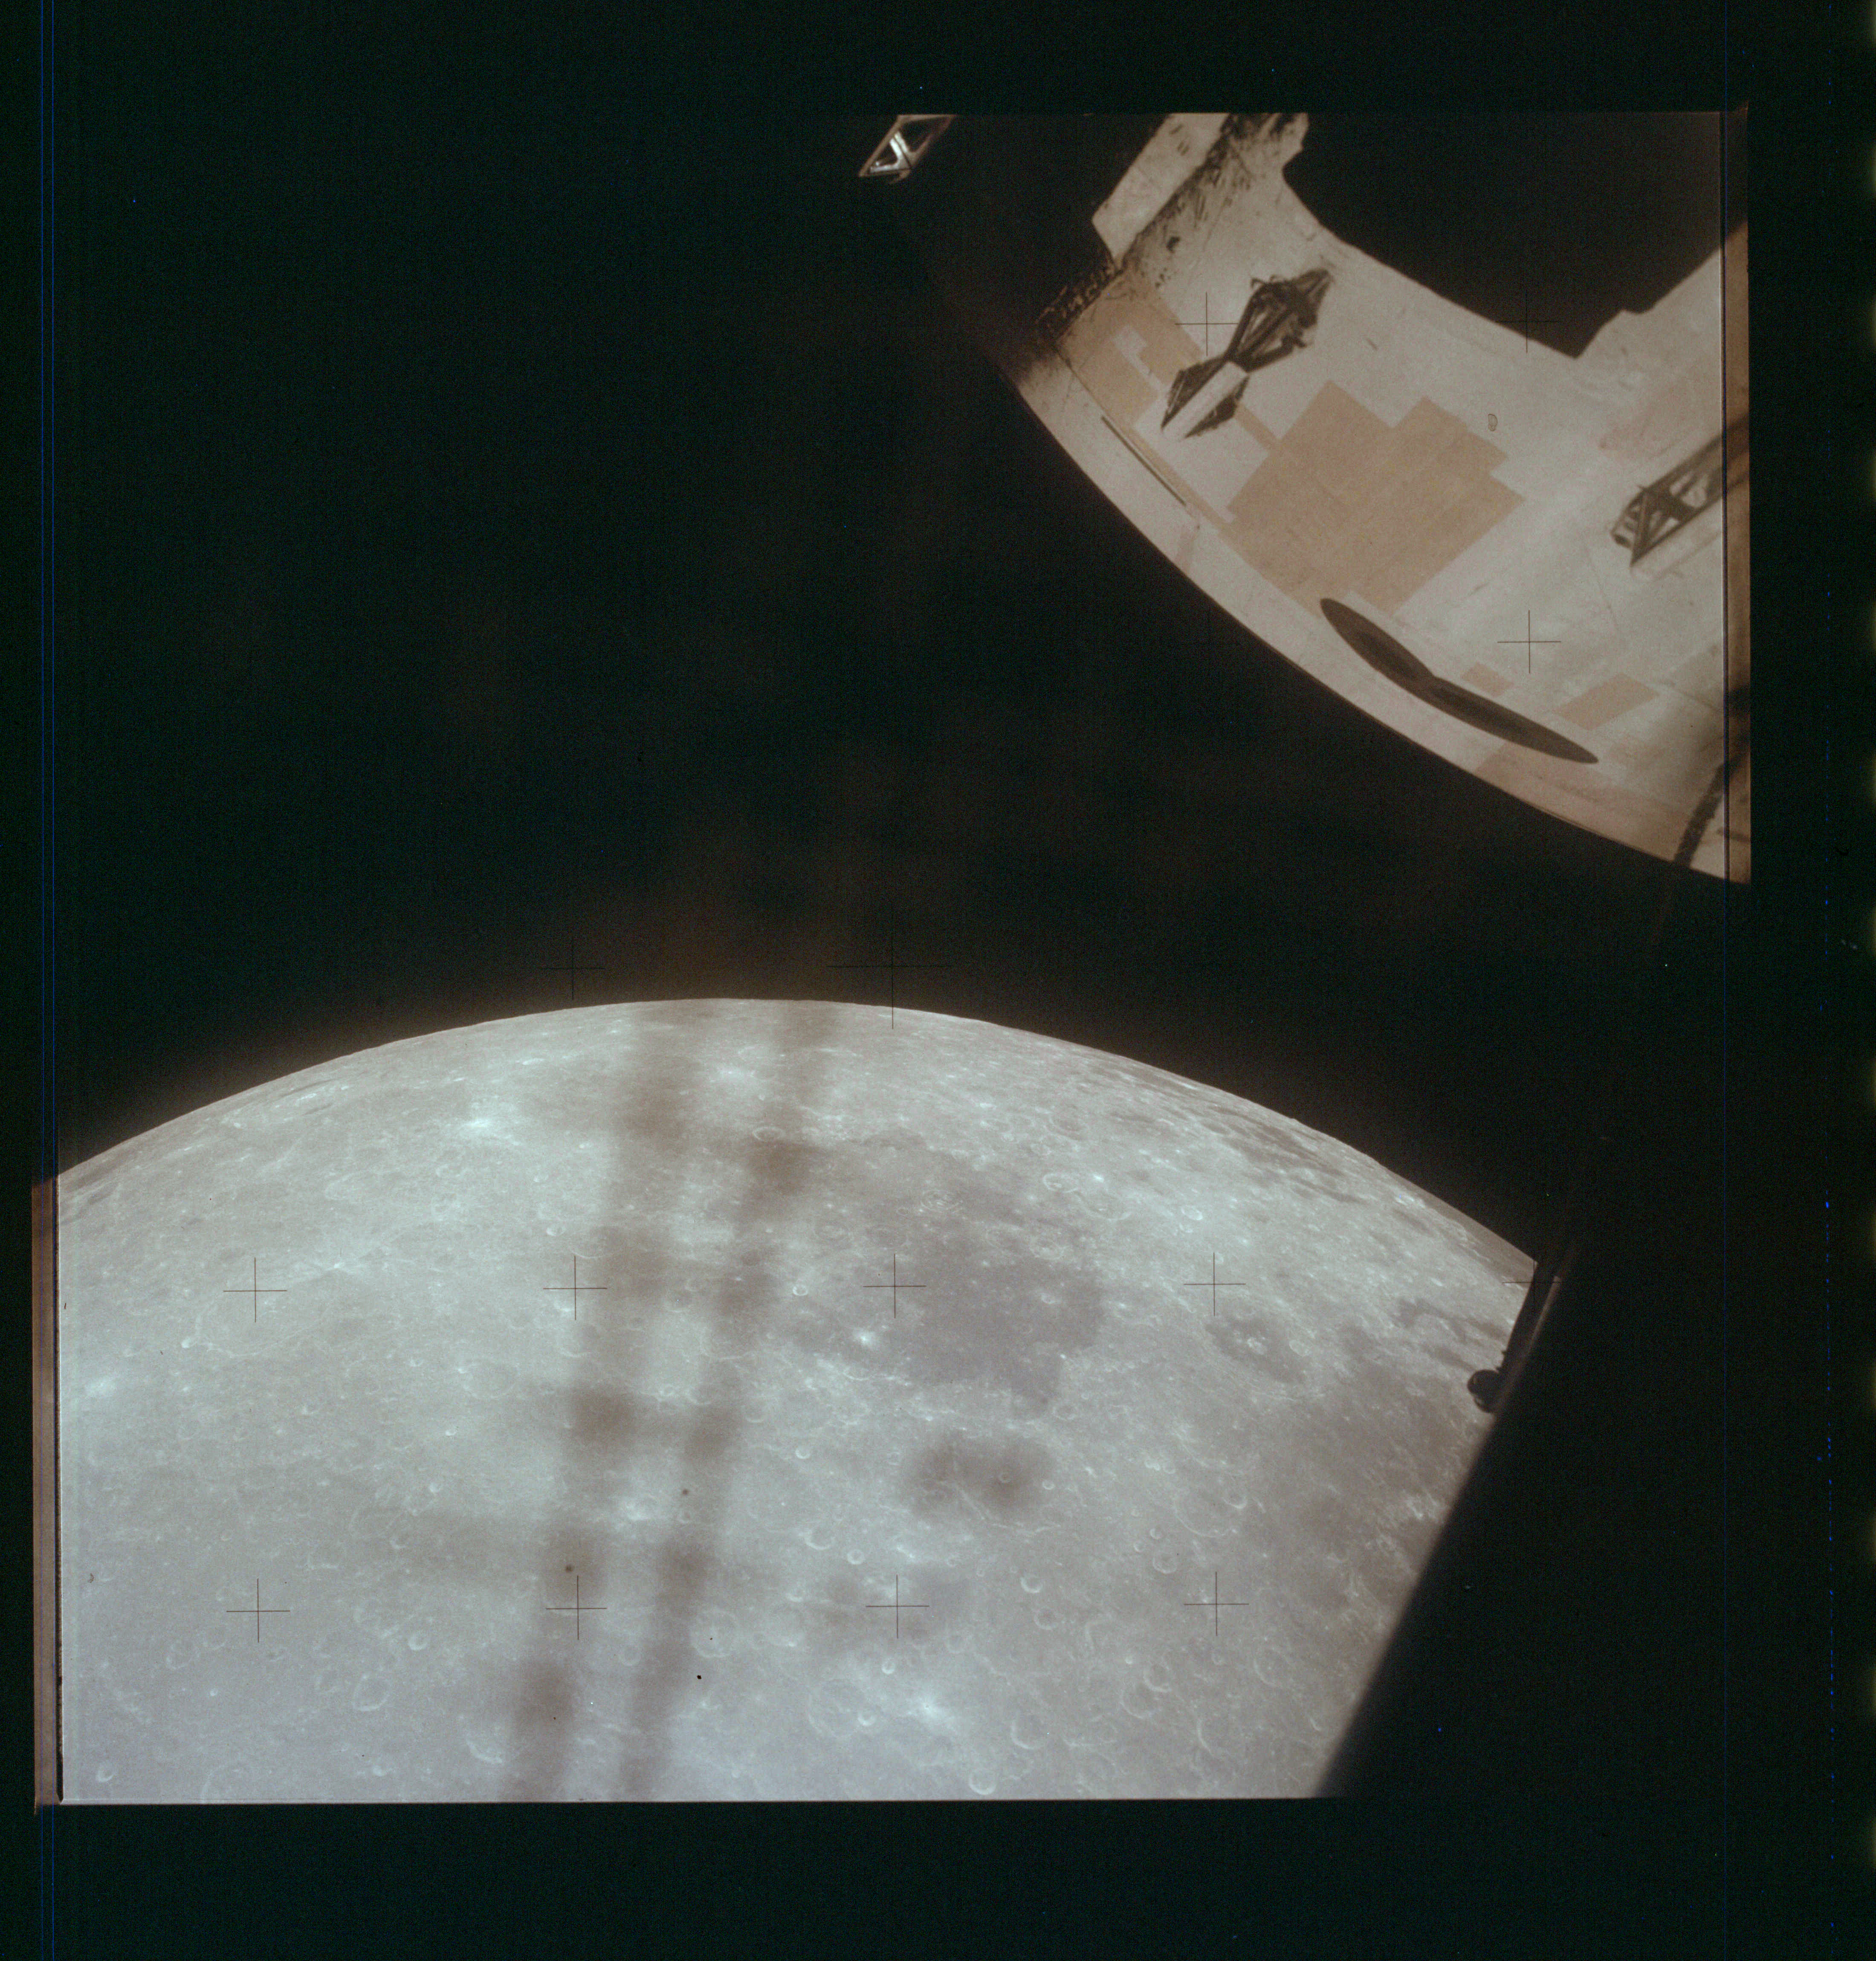
AS13-61-8740 Browse or print resolution. Apollo 13 Command Module and Moon, seen from Lunar Module. Image credit: Image Science and Analysis Laboratory, NASA-Johnson Space Center. |
|
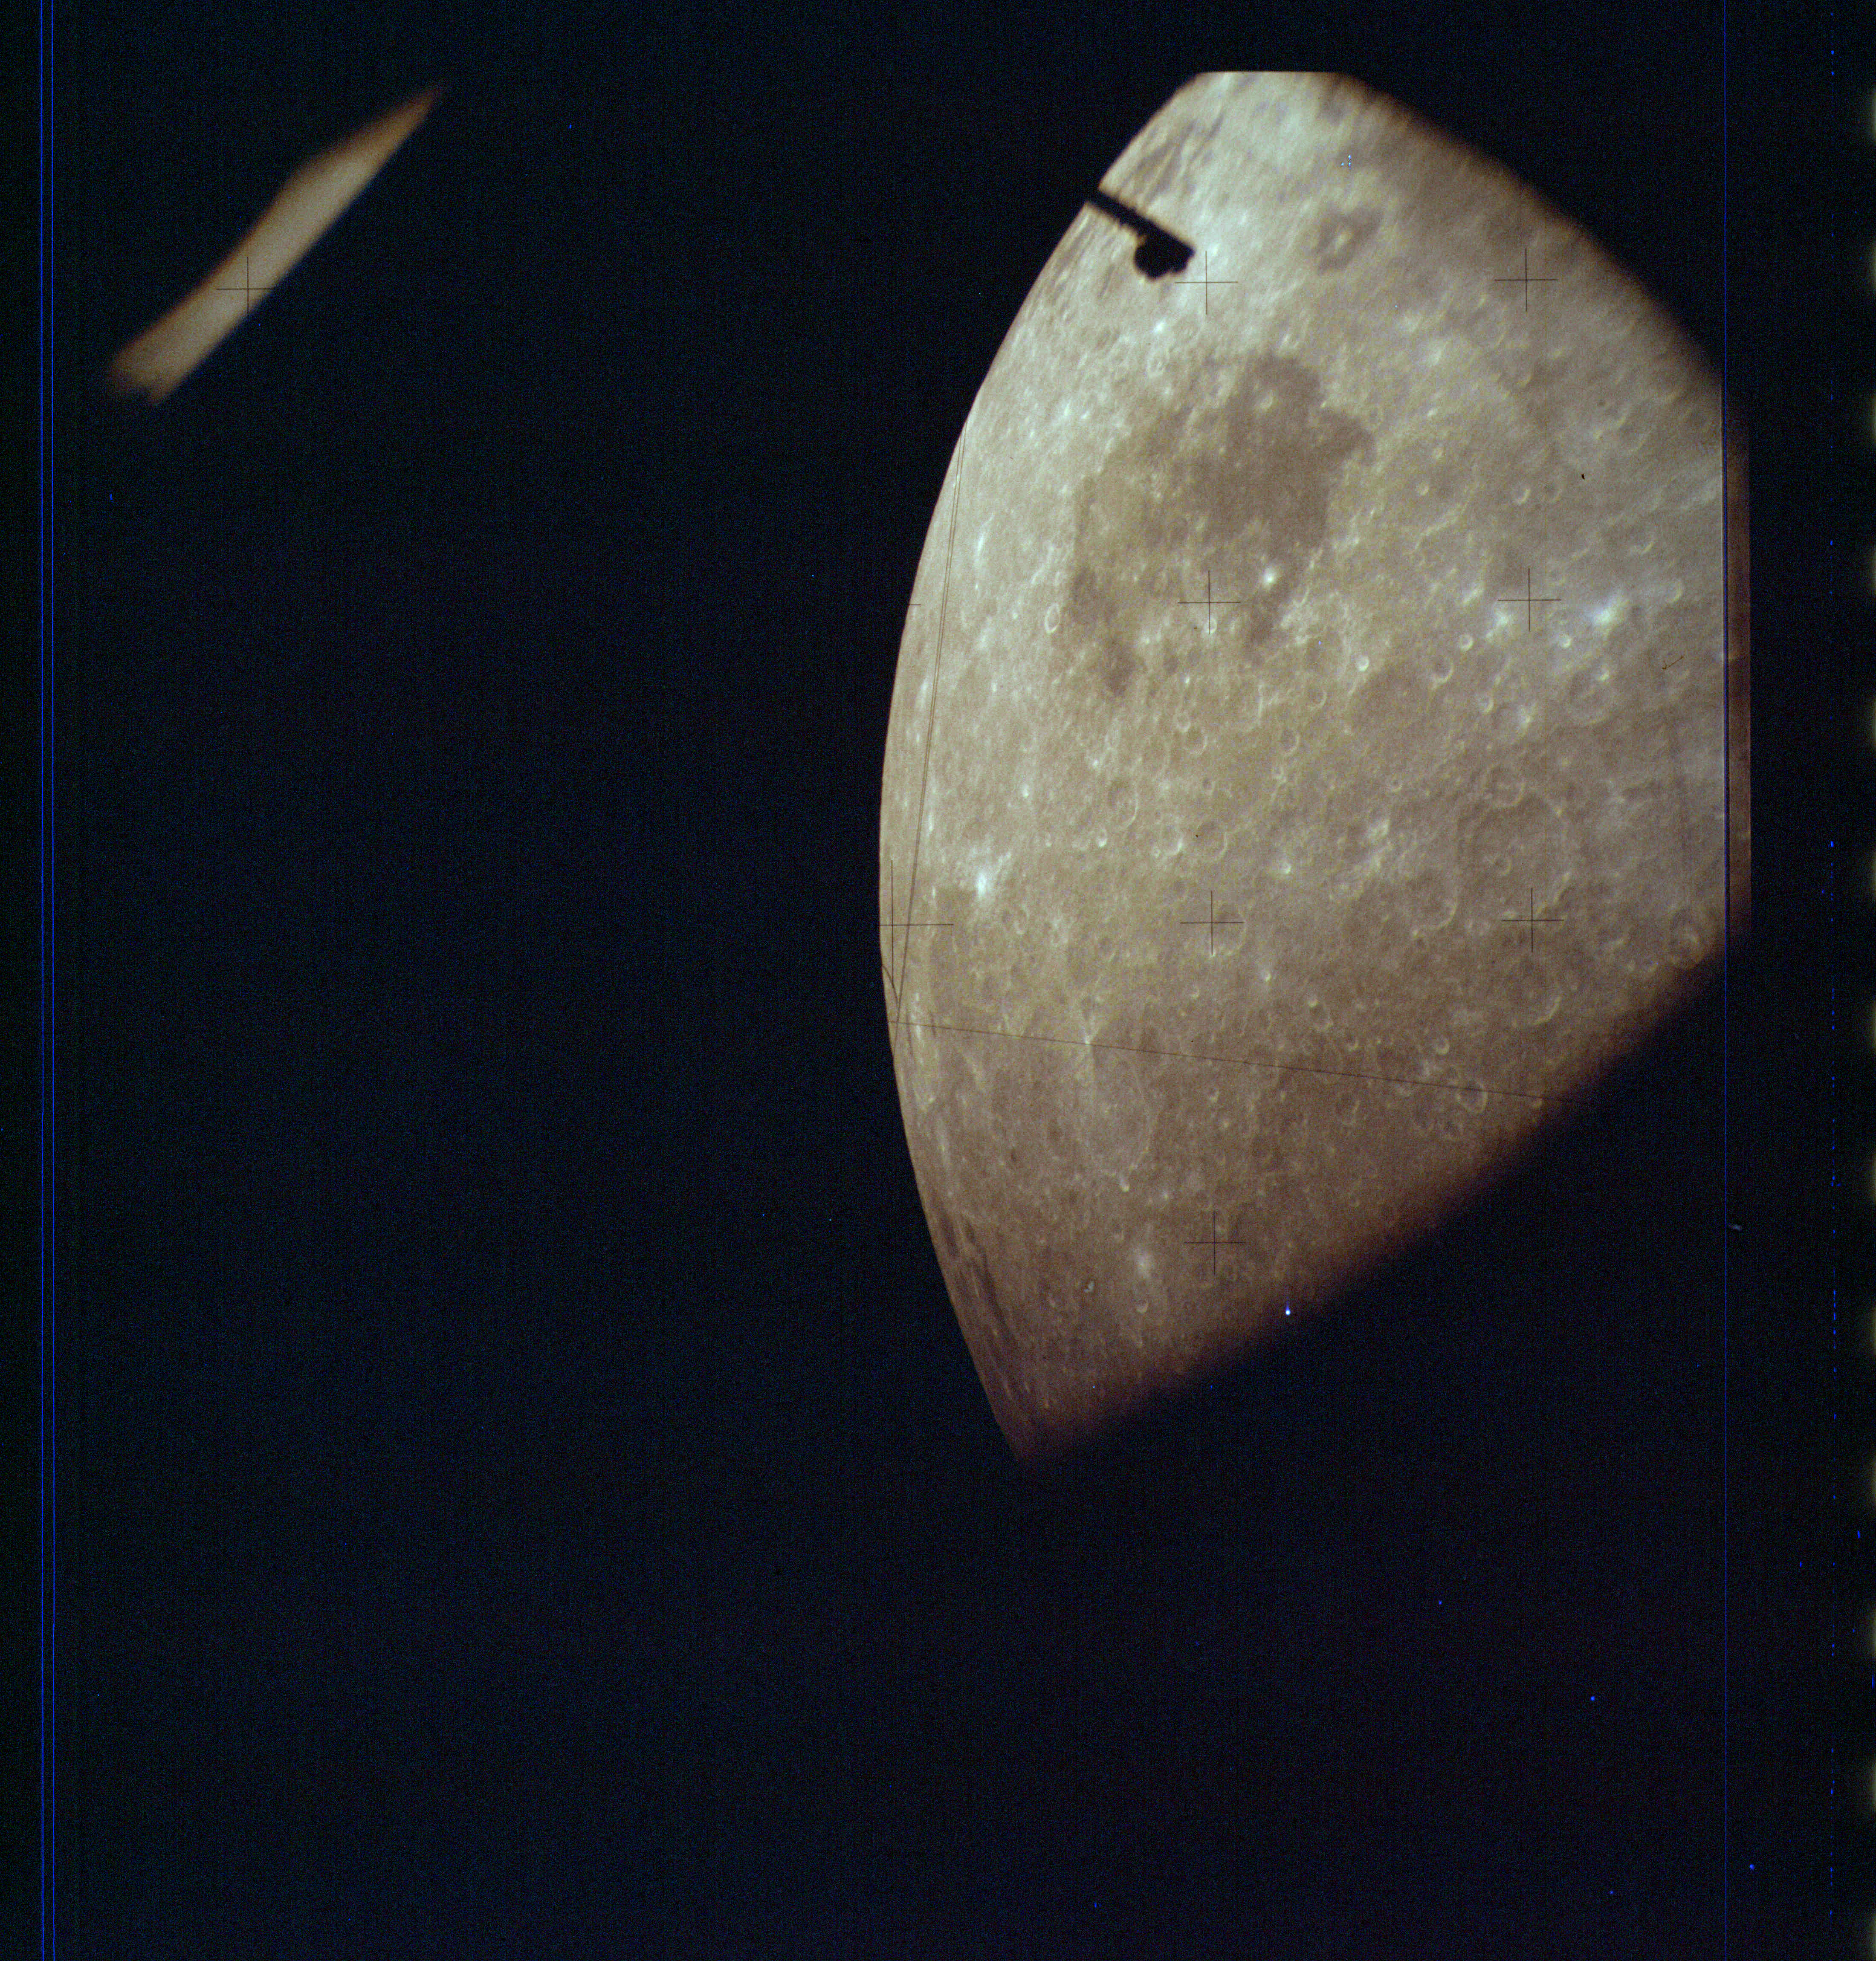
AS13-61-8741 Browse or print resolution. Moon, seen from Lunar Module. Image credit: Image Science and Analysis Laboratory, NASA-Johnson Space Center. |
|
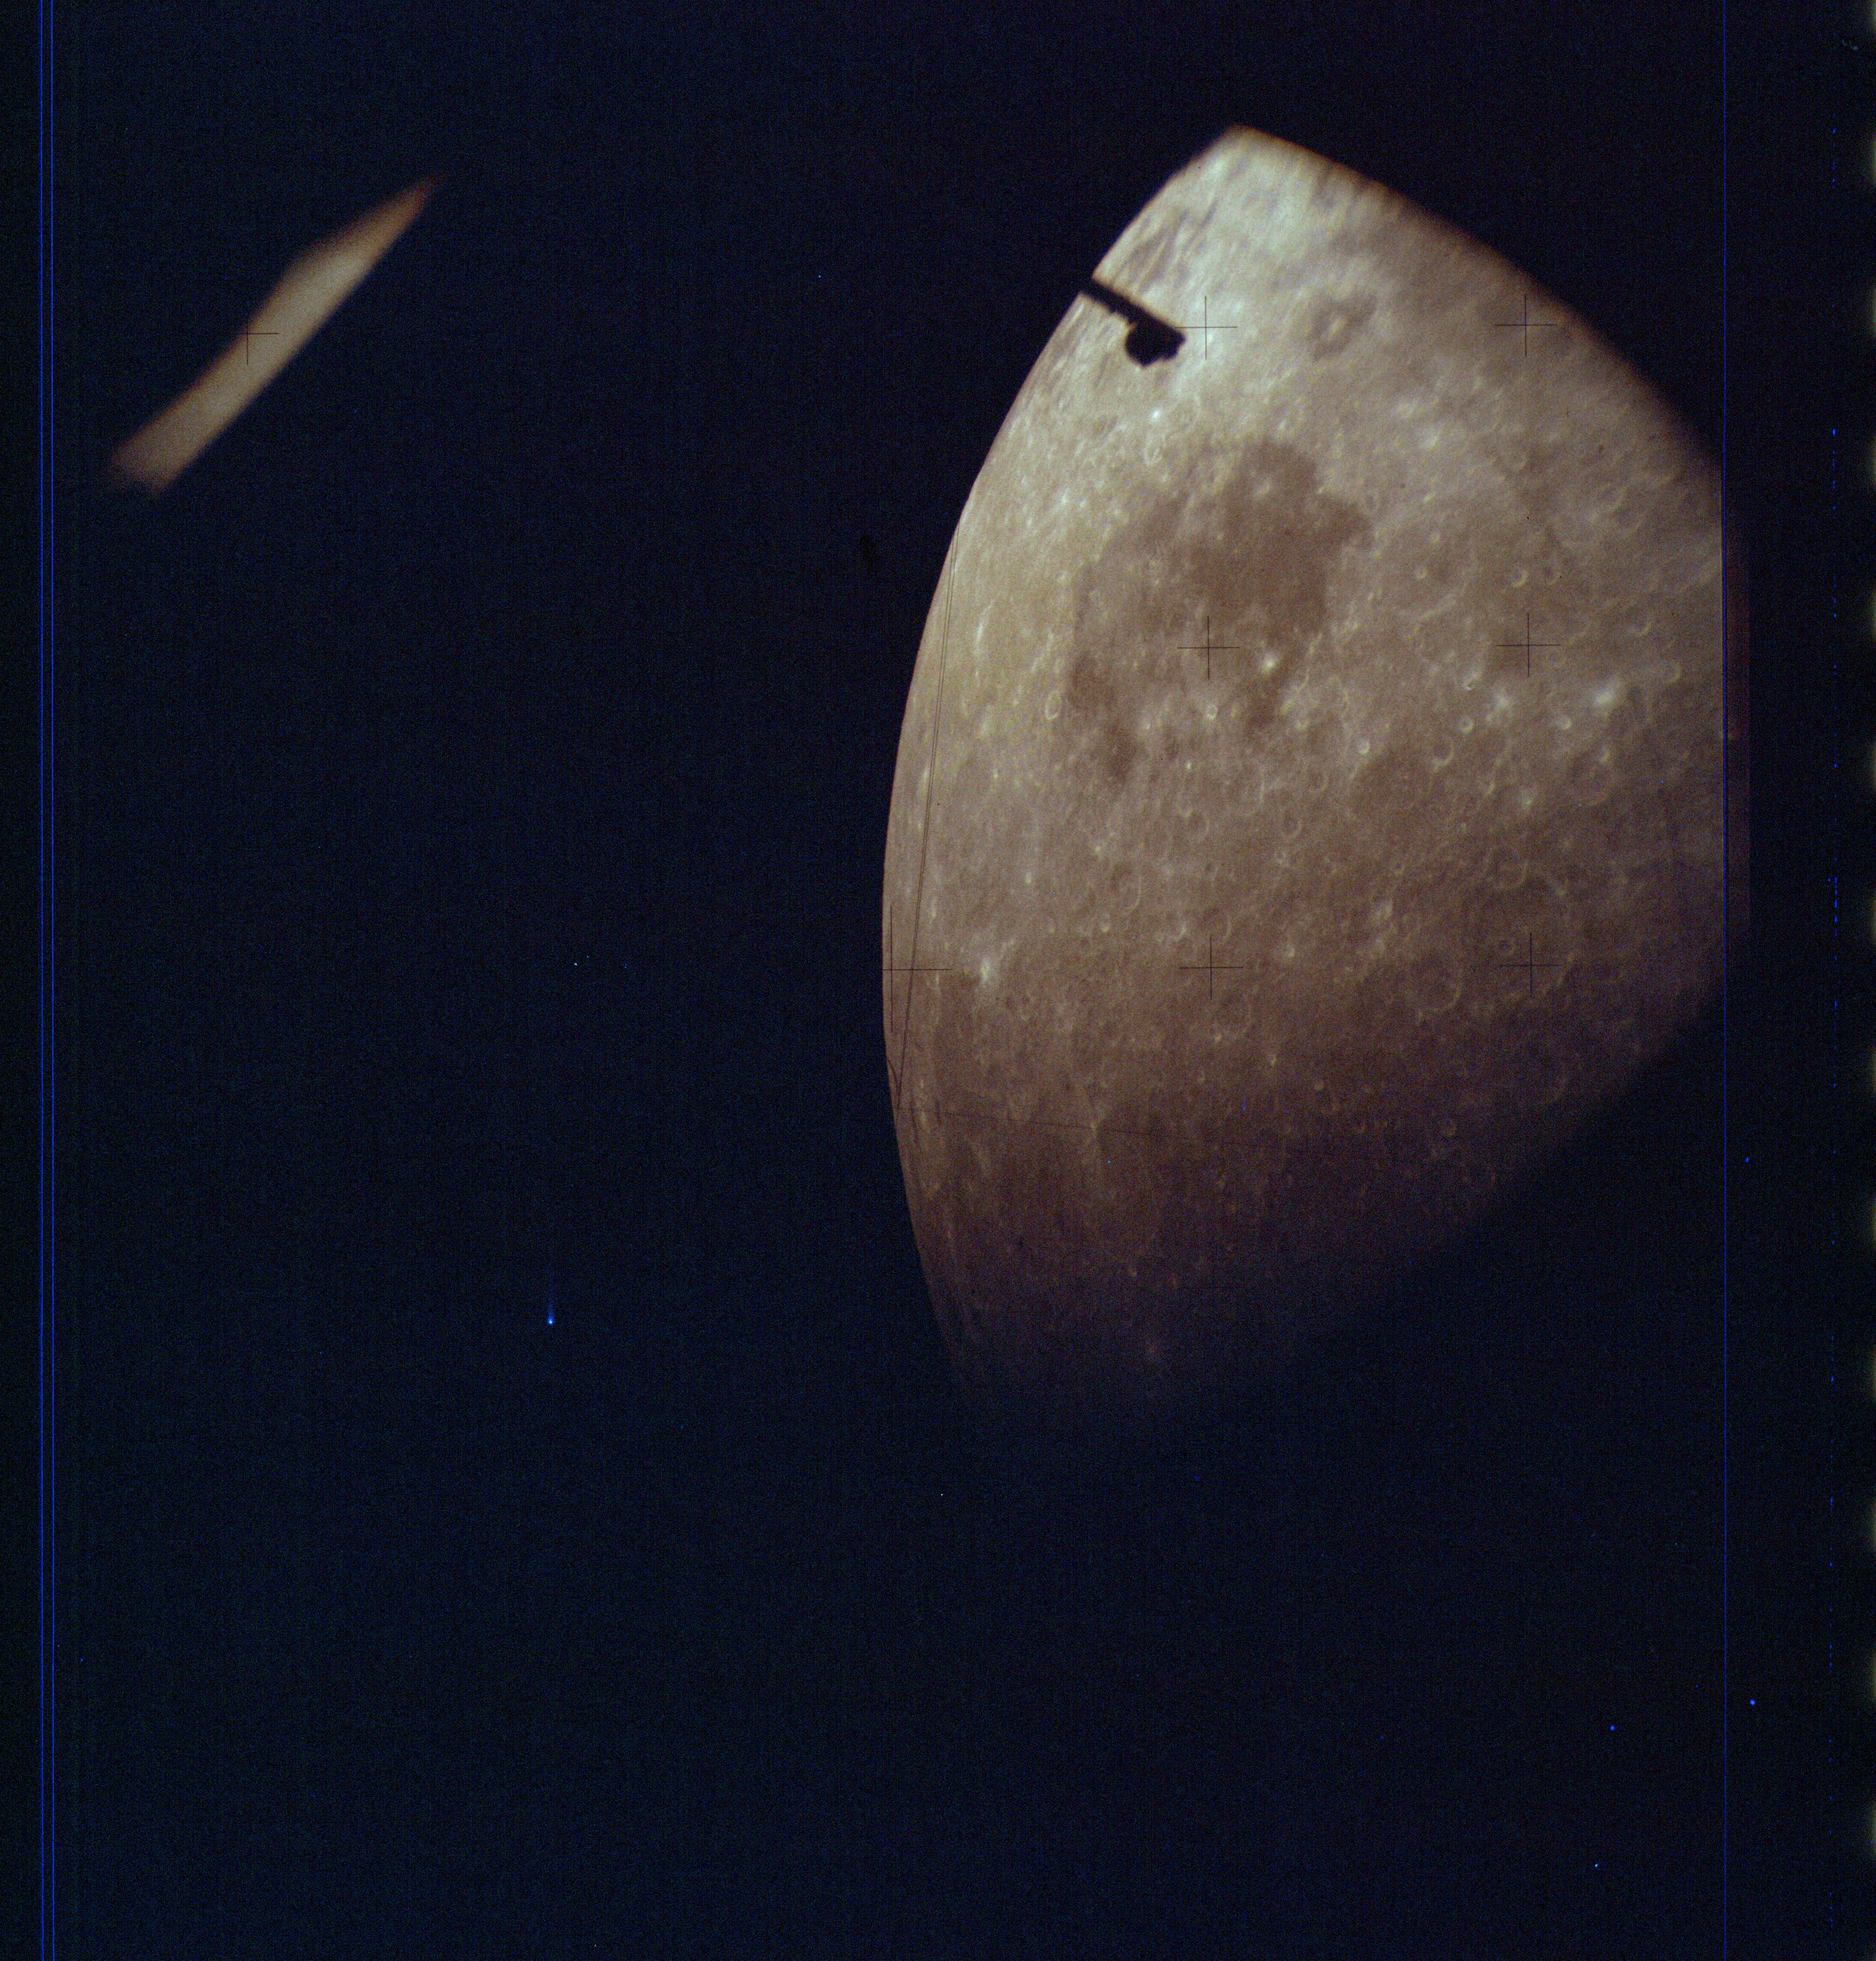
AS13-61-8742 Browse or print resolution. Moon, seen from Lunar Module. Image credit: Image Science and Analysis Laboratory, NASA-Johnson Space Center. |
|
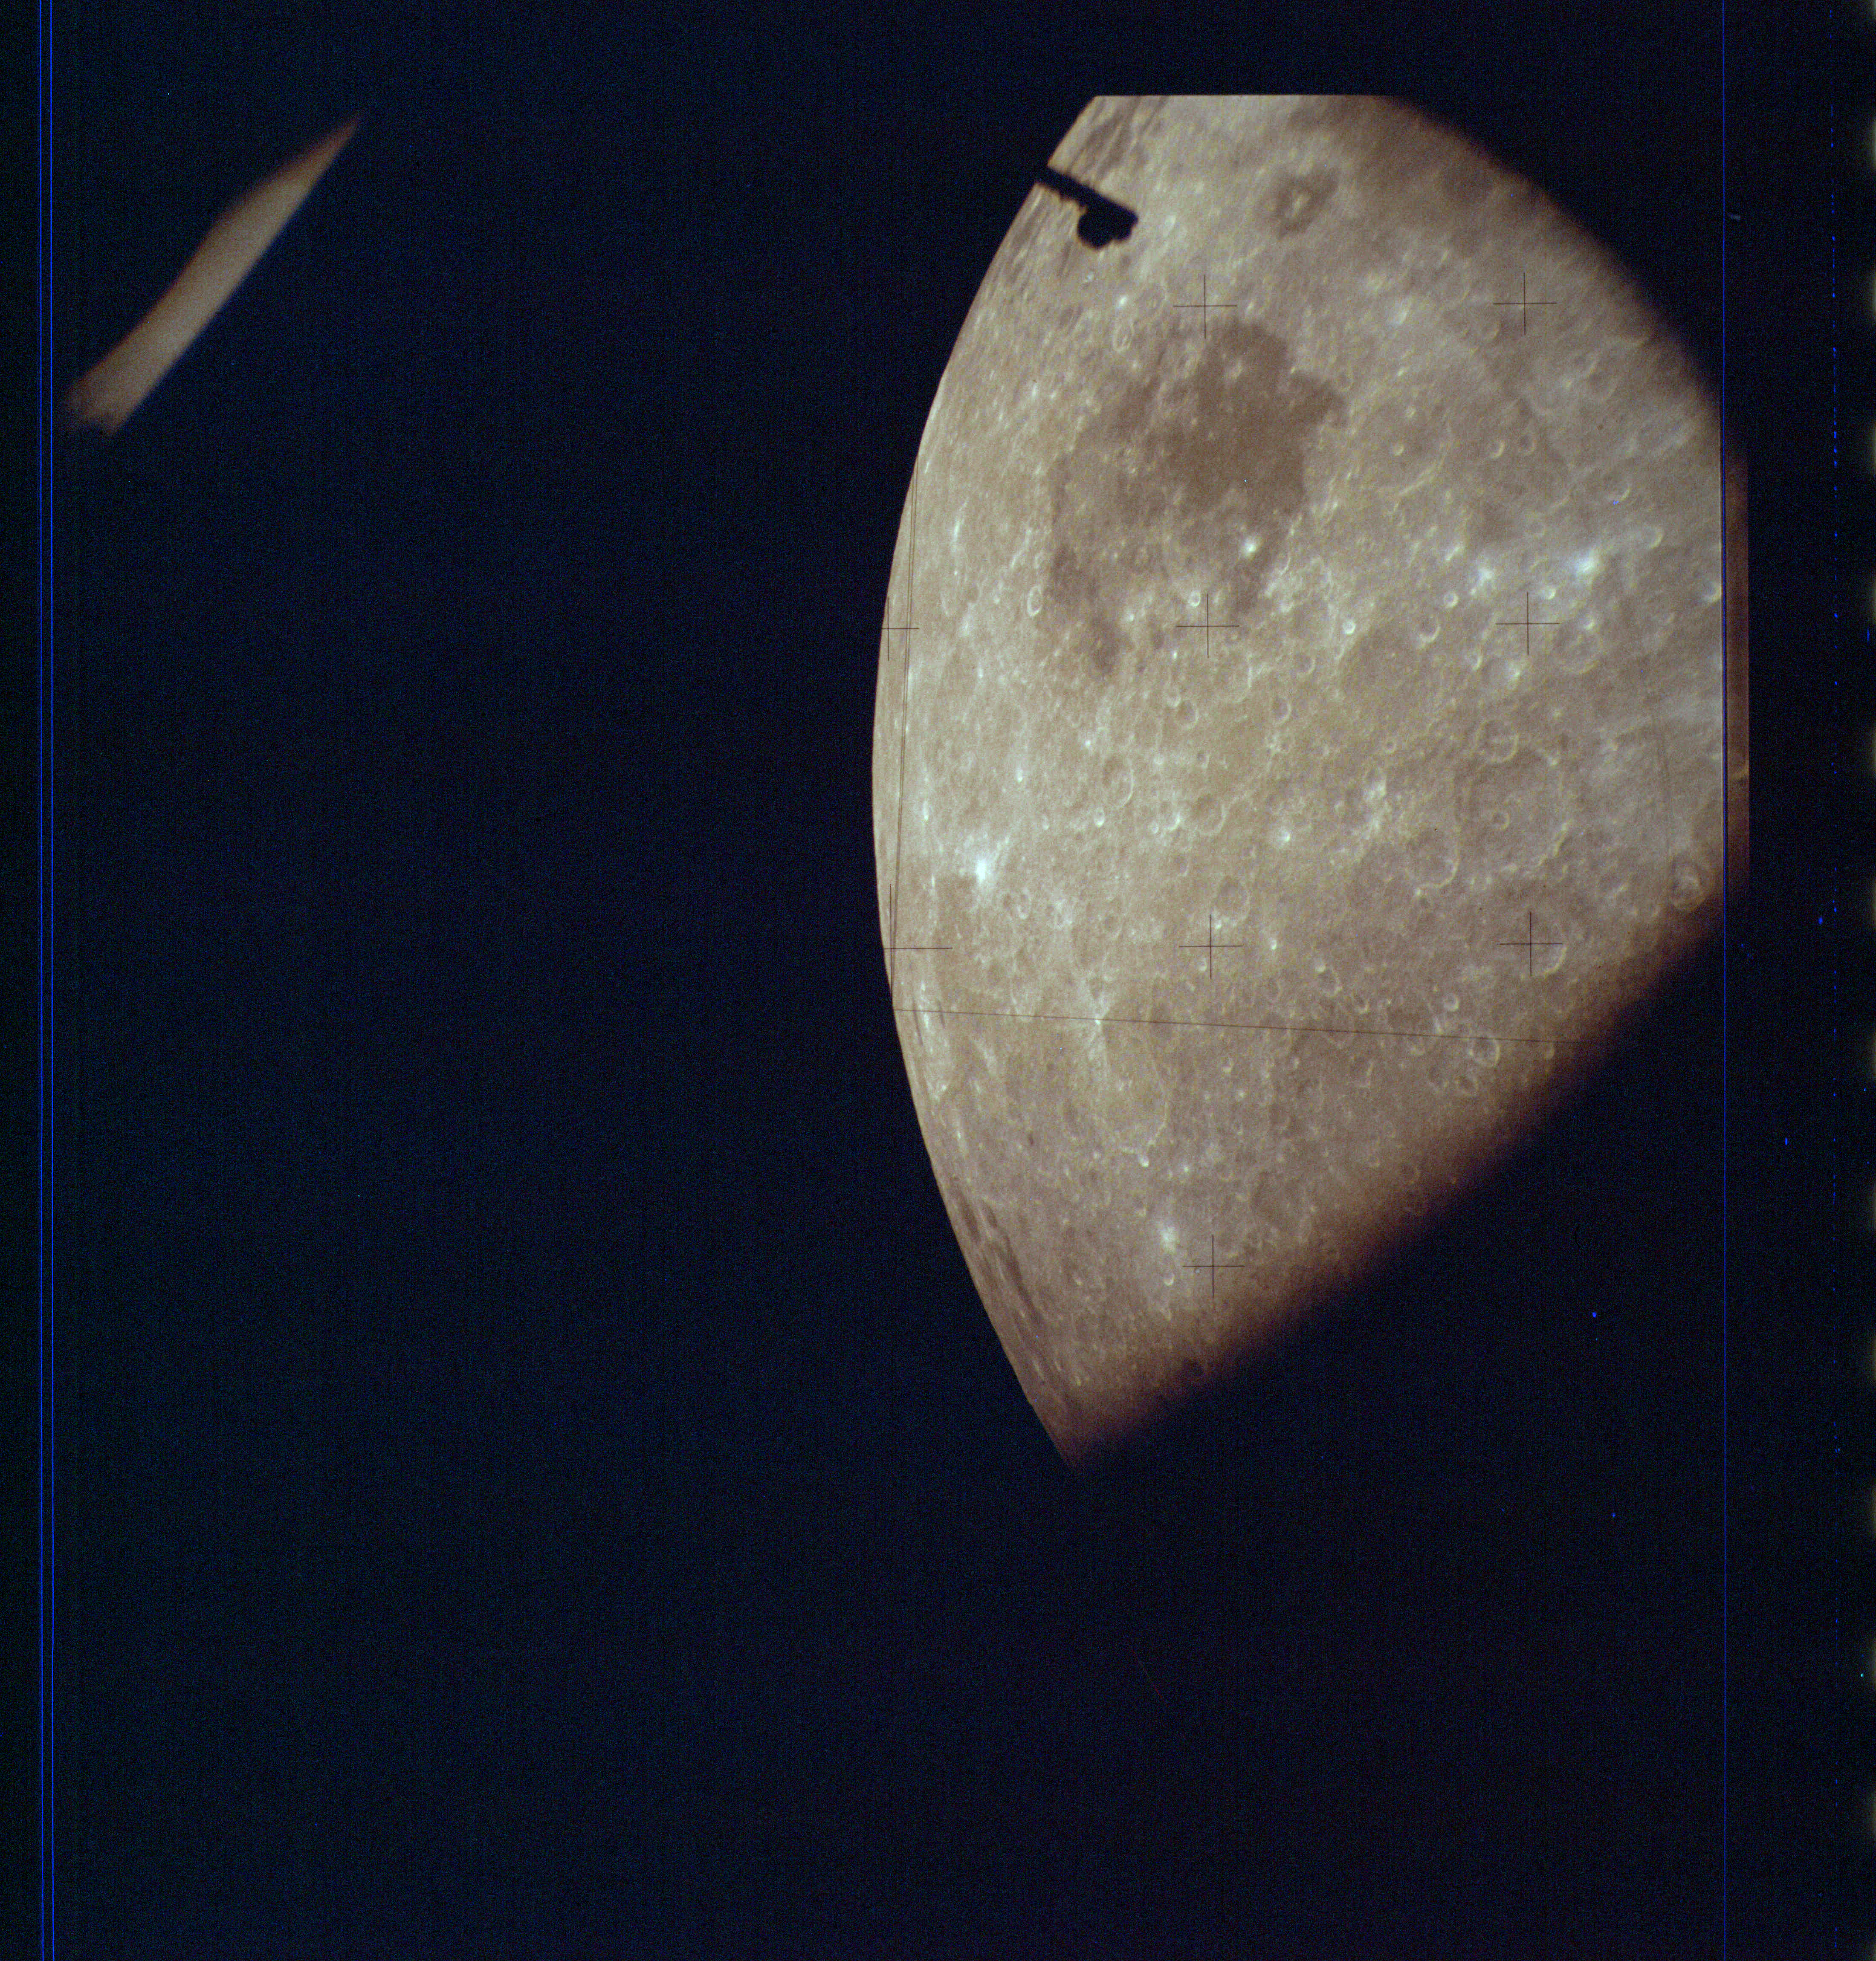
AS13-61-8743 Browse or print resolution. Moon, seen from Lunar Module. Image credit: Image Science and Analysis Laboratory, NASA-Johnson Space Center. |
|
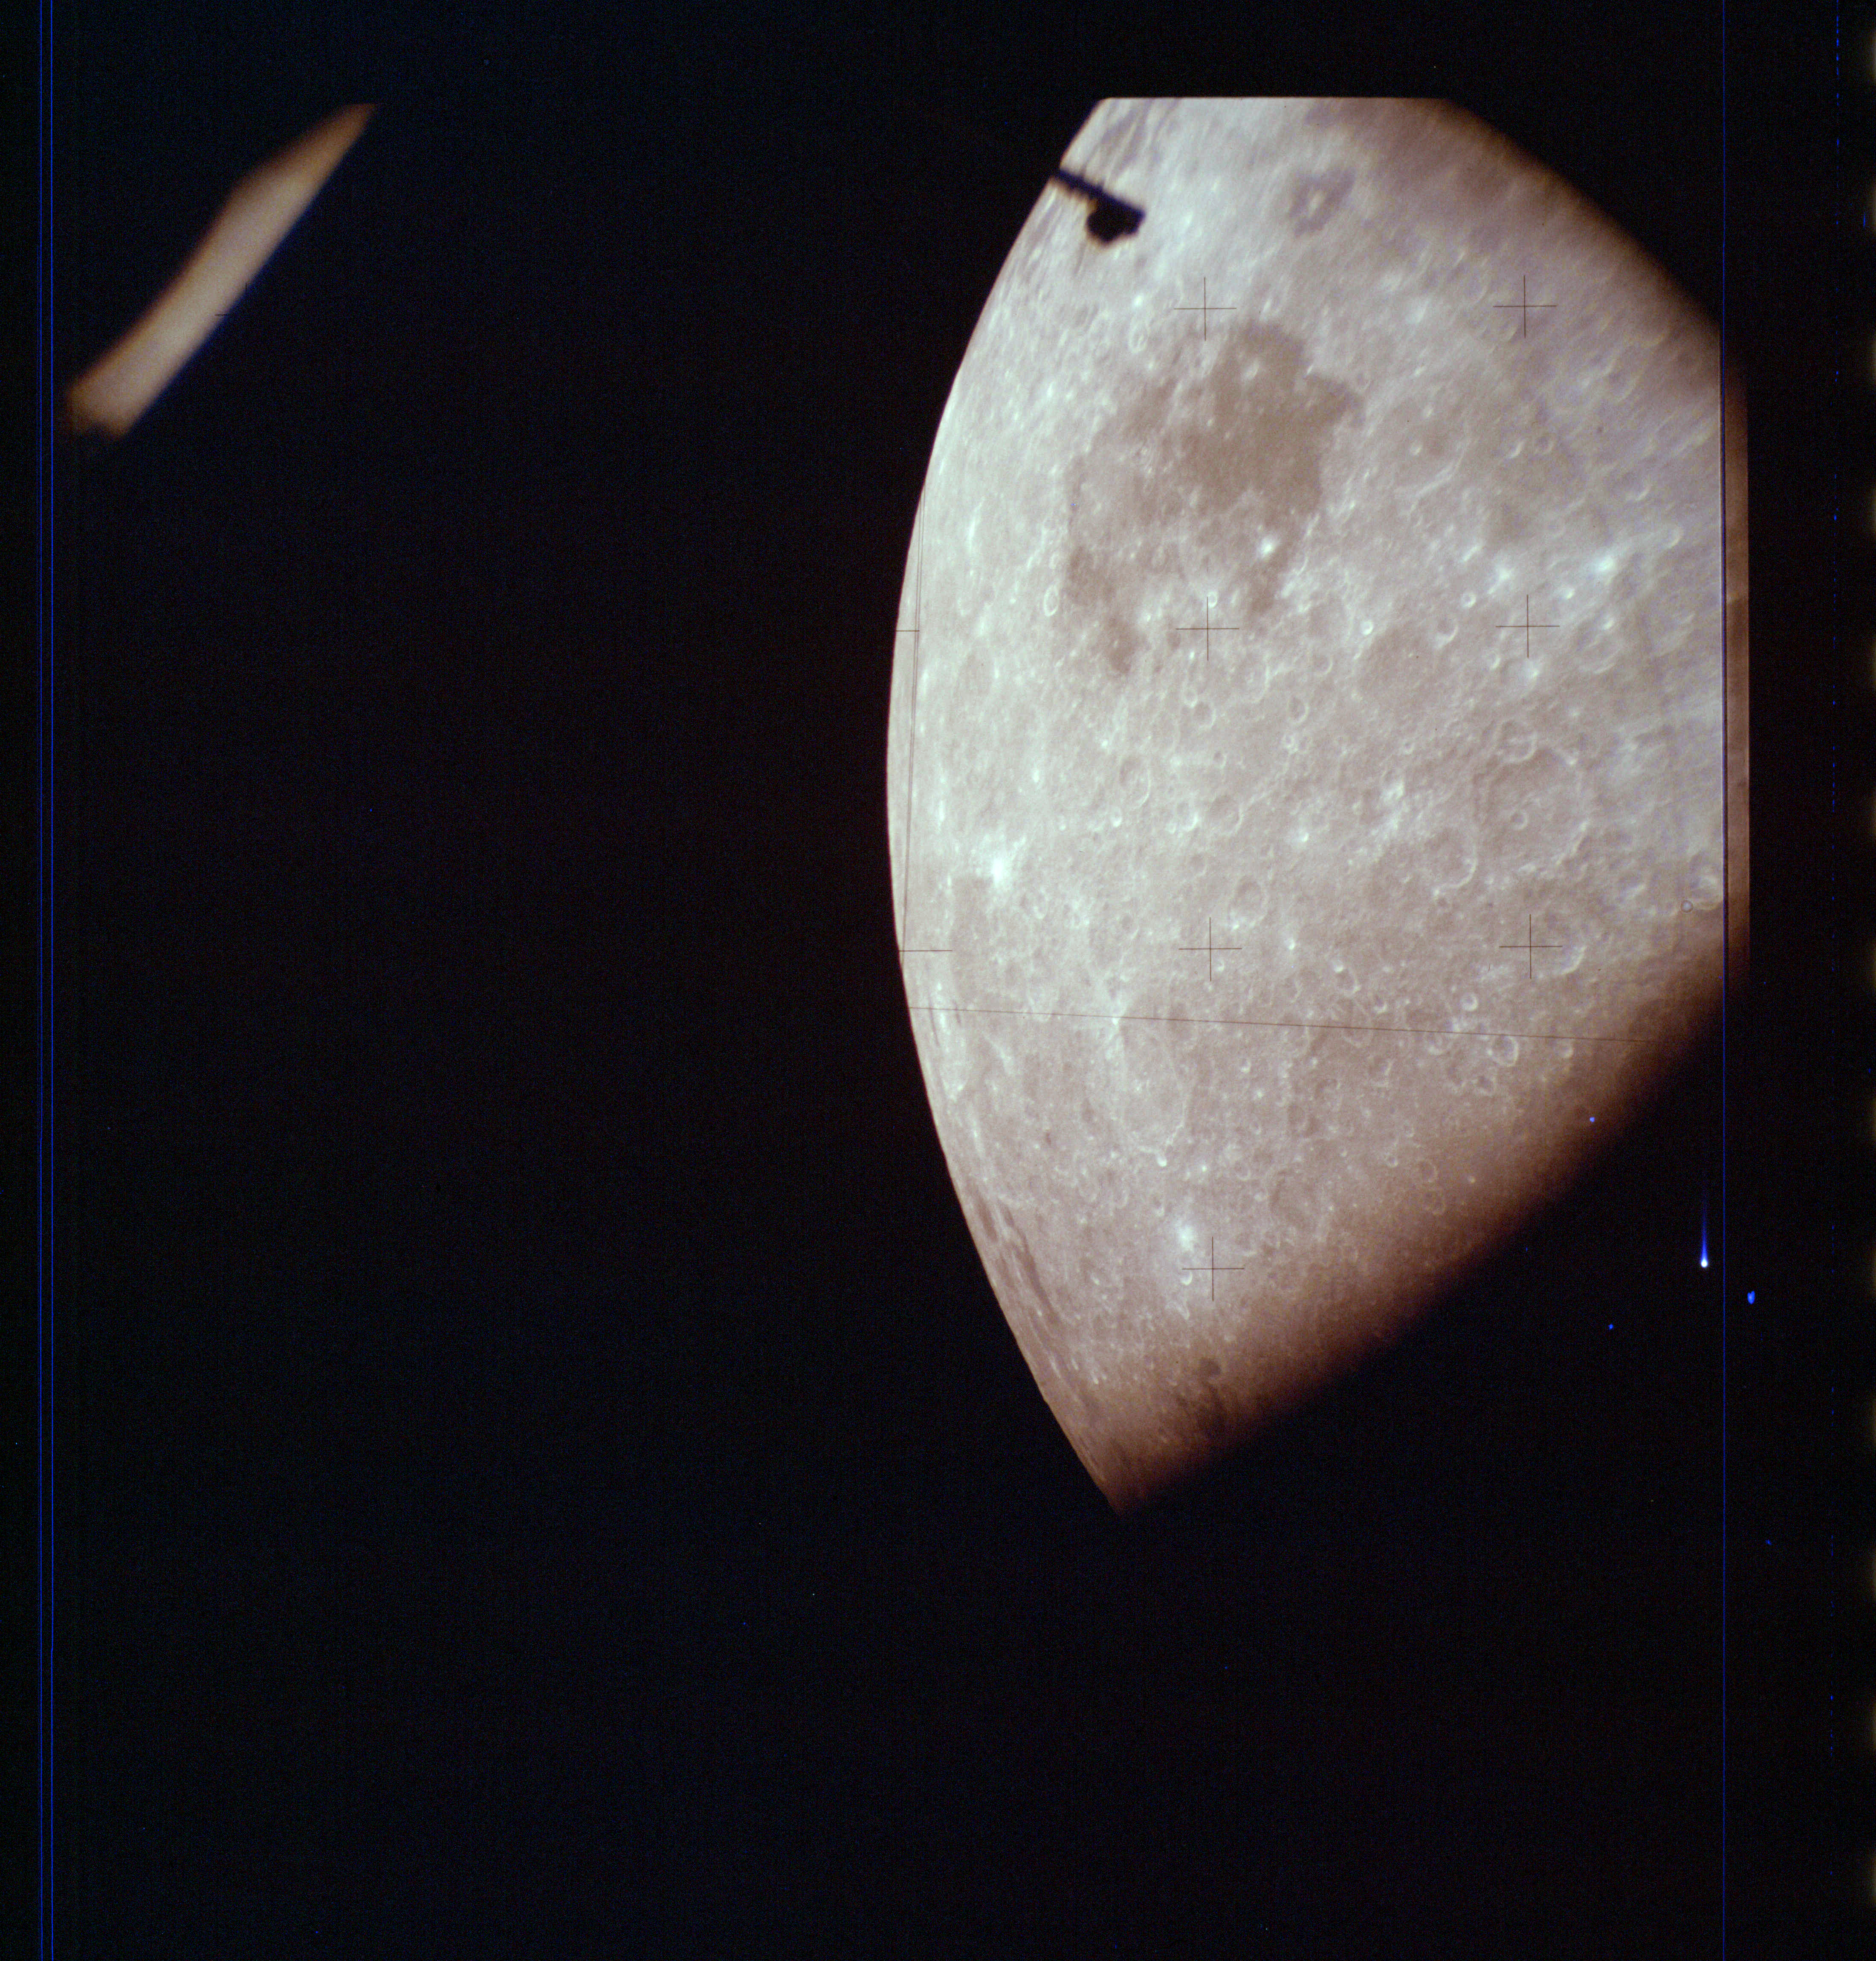
AS13-61-87 Browse or print resolution. Moon, seen from Lunar Module. Image credit: Image Science and Analysis Laboratory, NASA-Johnson Space Center. |
|
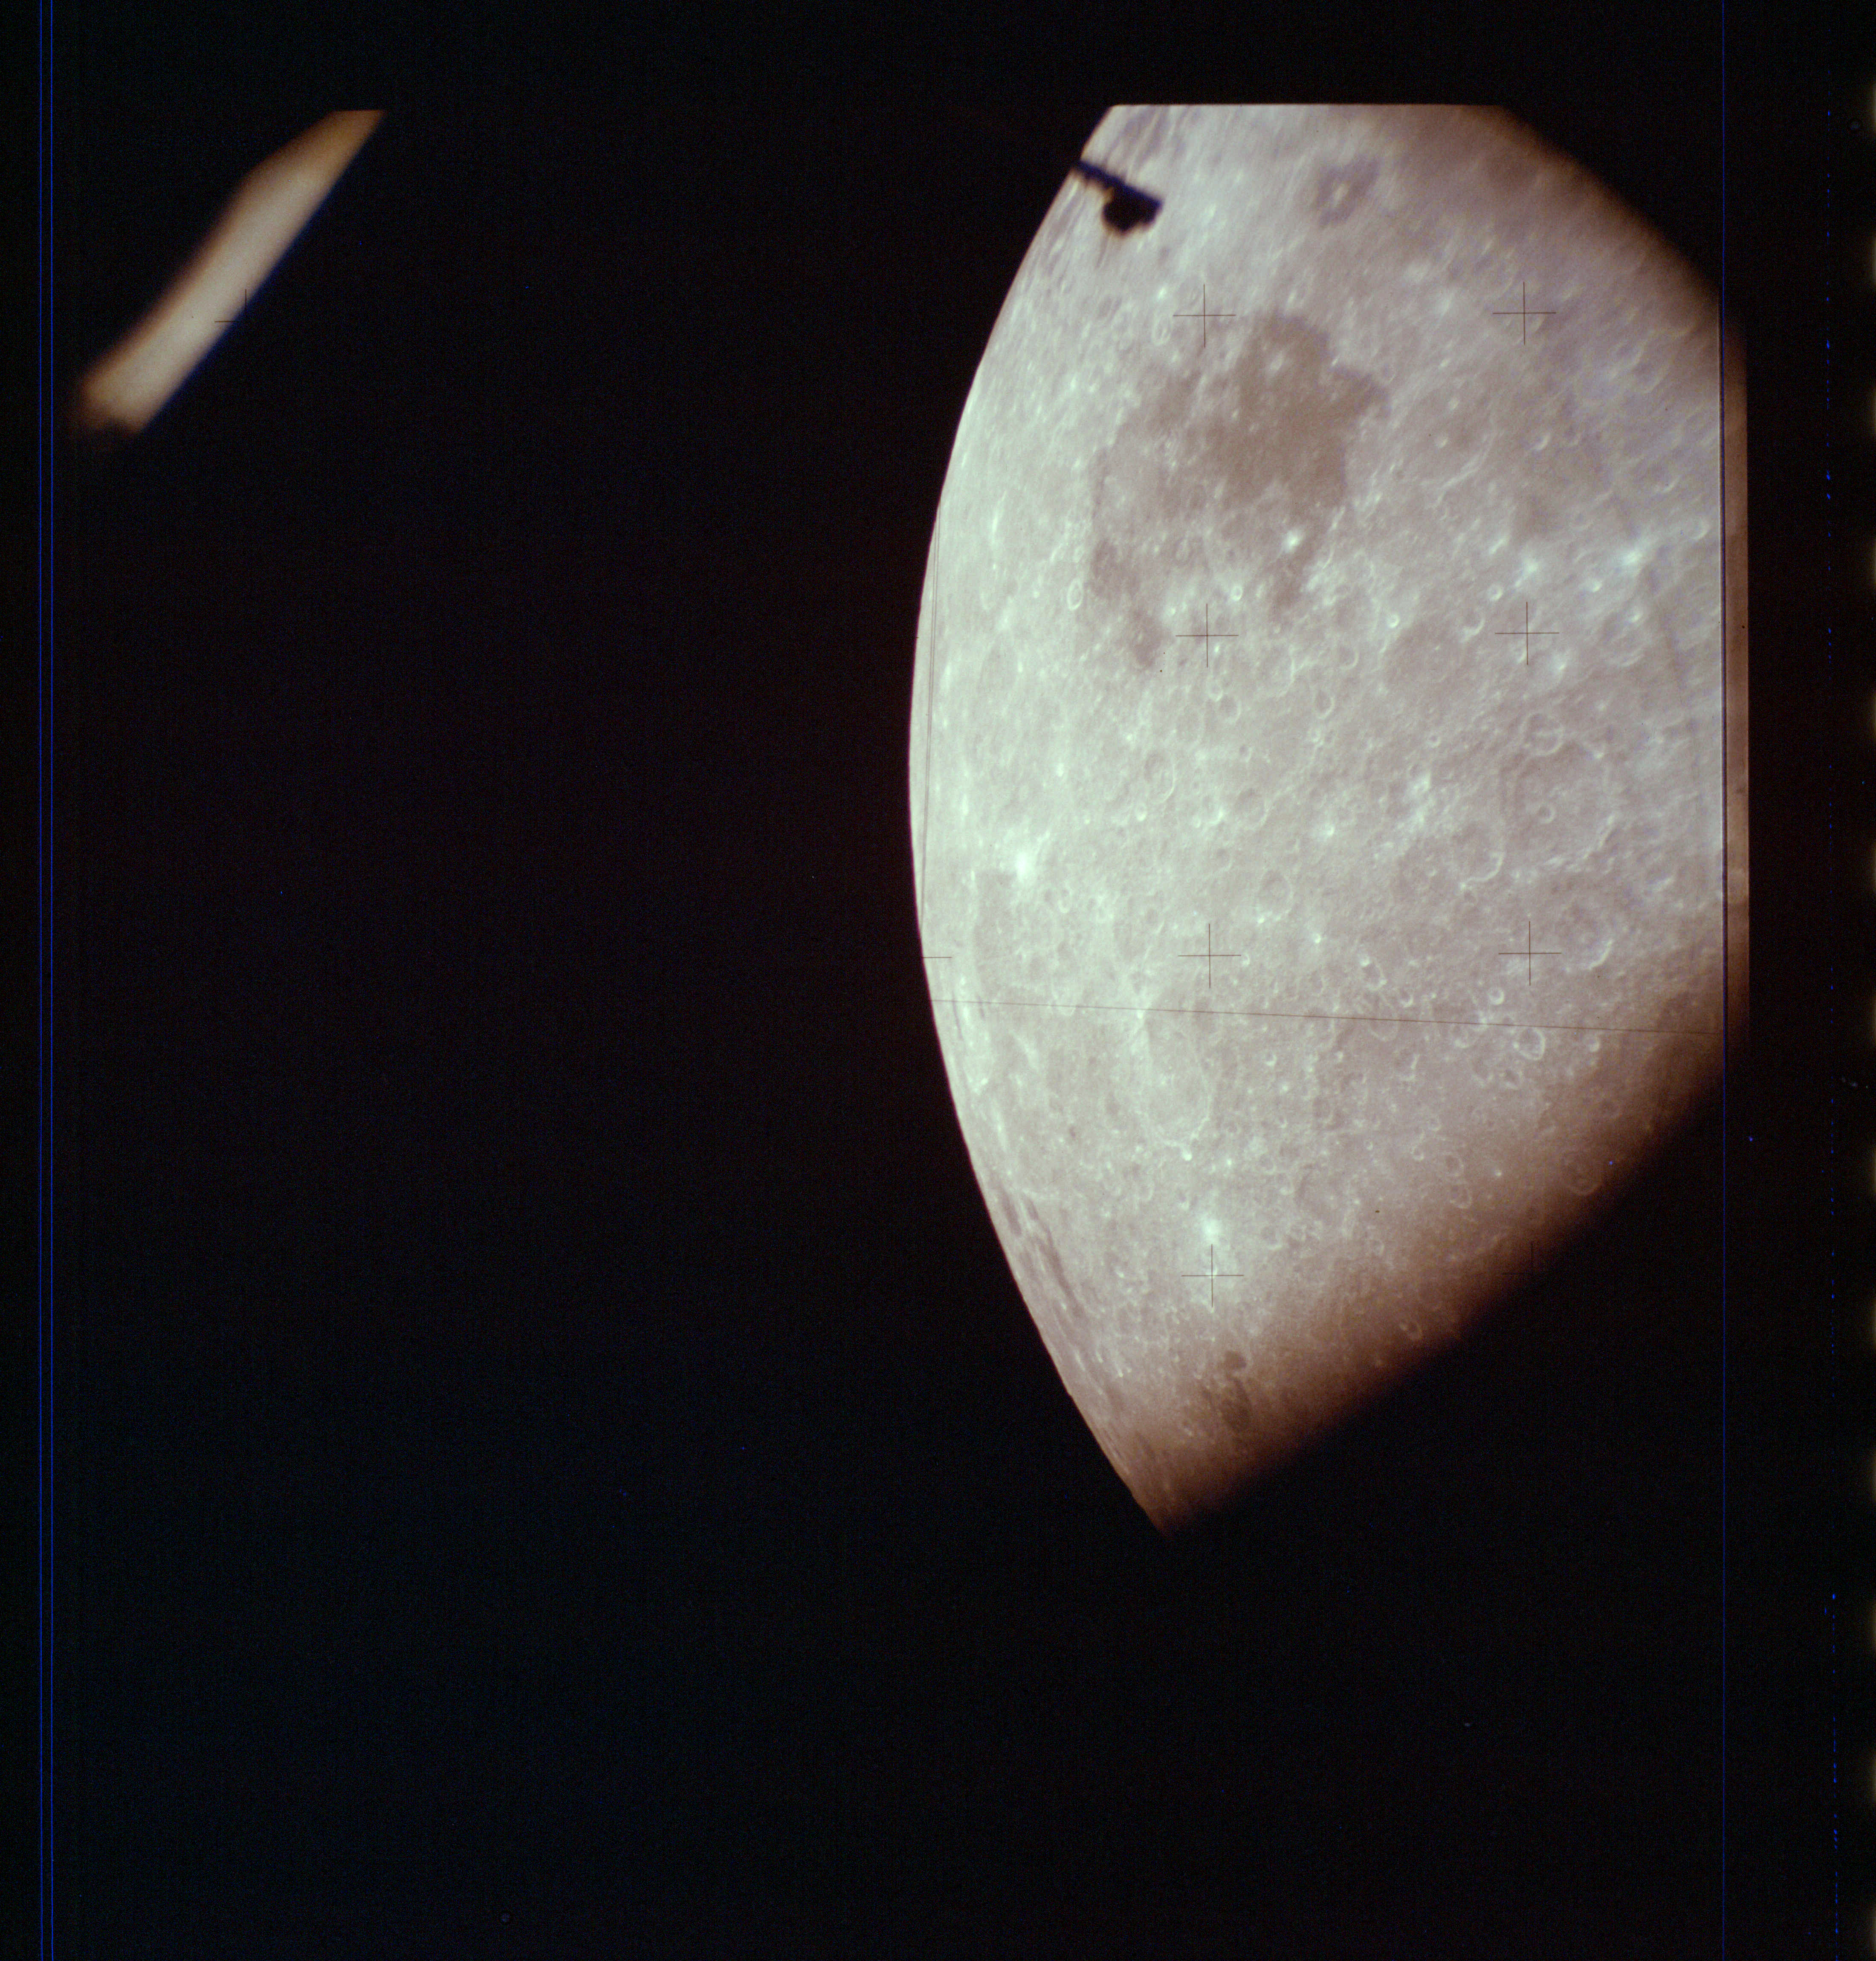
AS13-61-8745 Browse or print resolution. Moon, seen from Lunar Module. Image credit: Image Science and Analysis Laboratory, NASA-Johnson Space Center. |
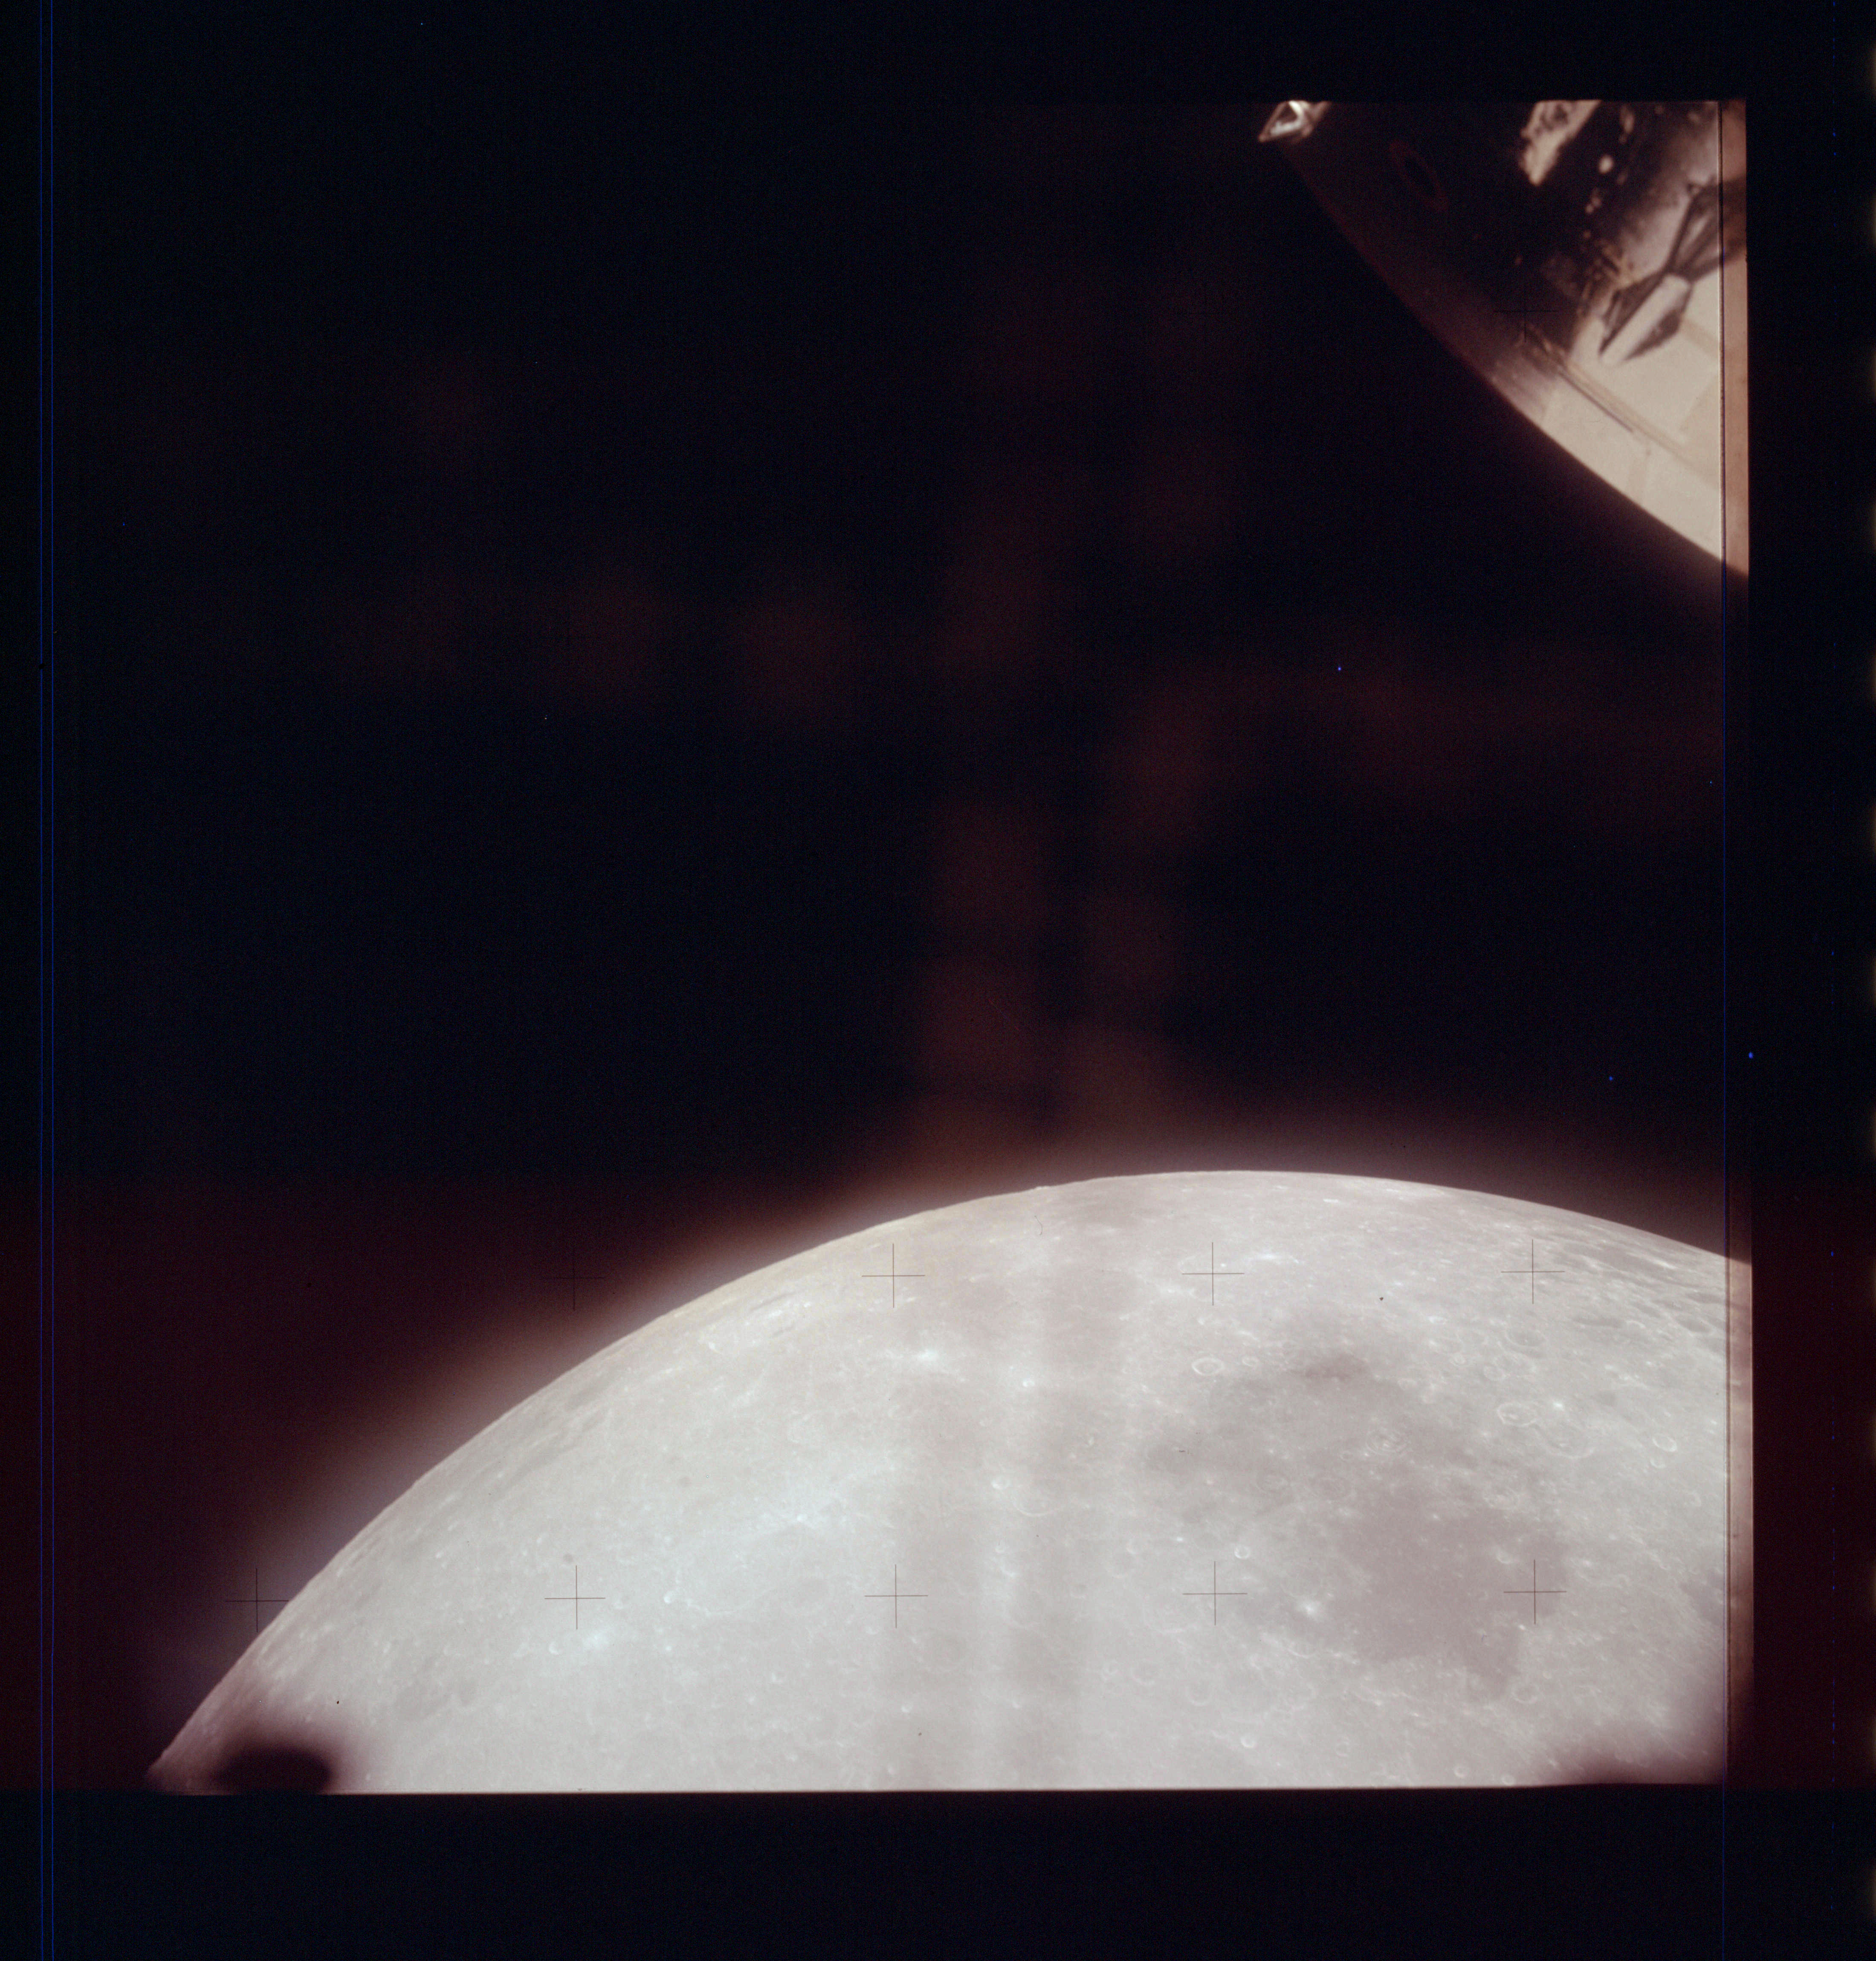
|
AS13-61-8746 Browse or print resolution. Apollo 13 Command Module and Moon, seen from Lunar Module. Image credit: Image Science and Analysis Laboratory, NASA-Johnson Space Center. |
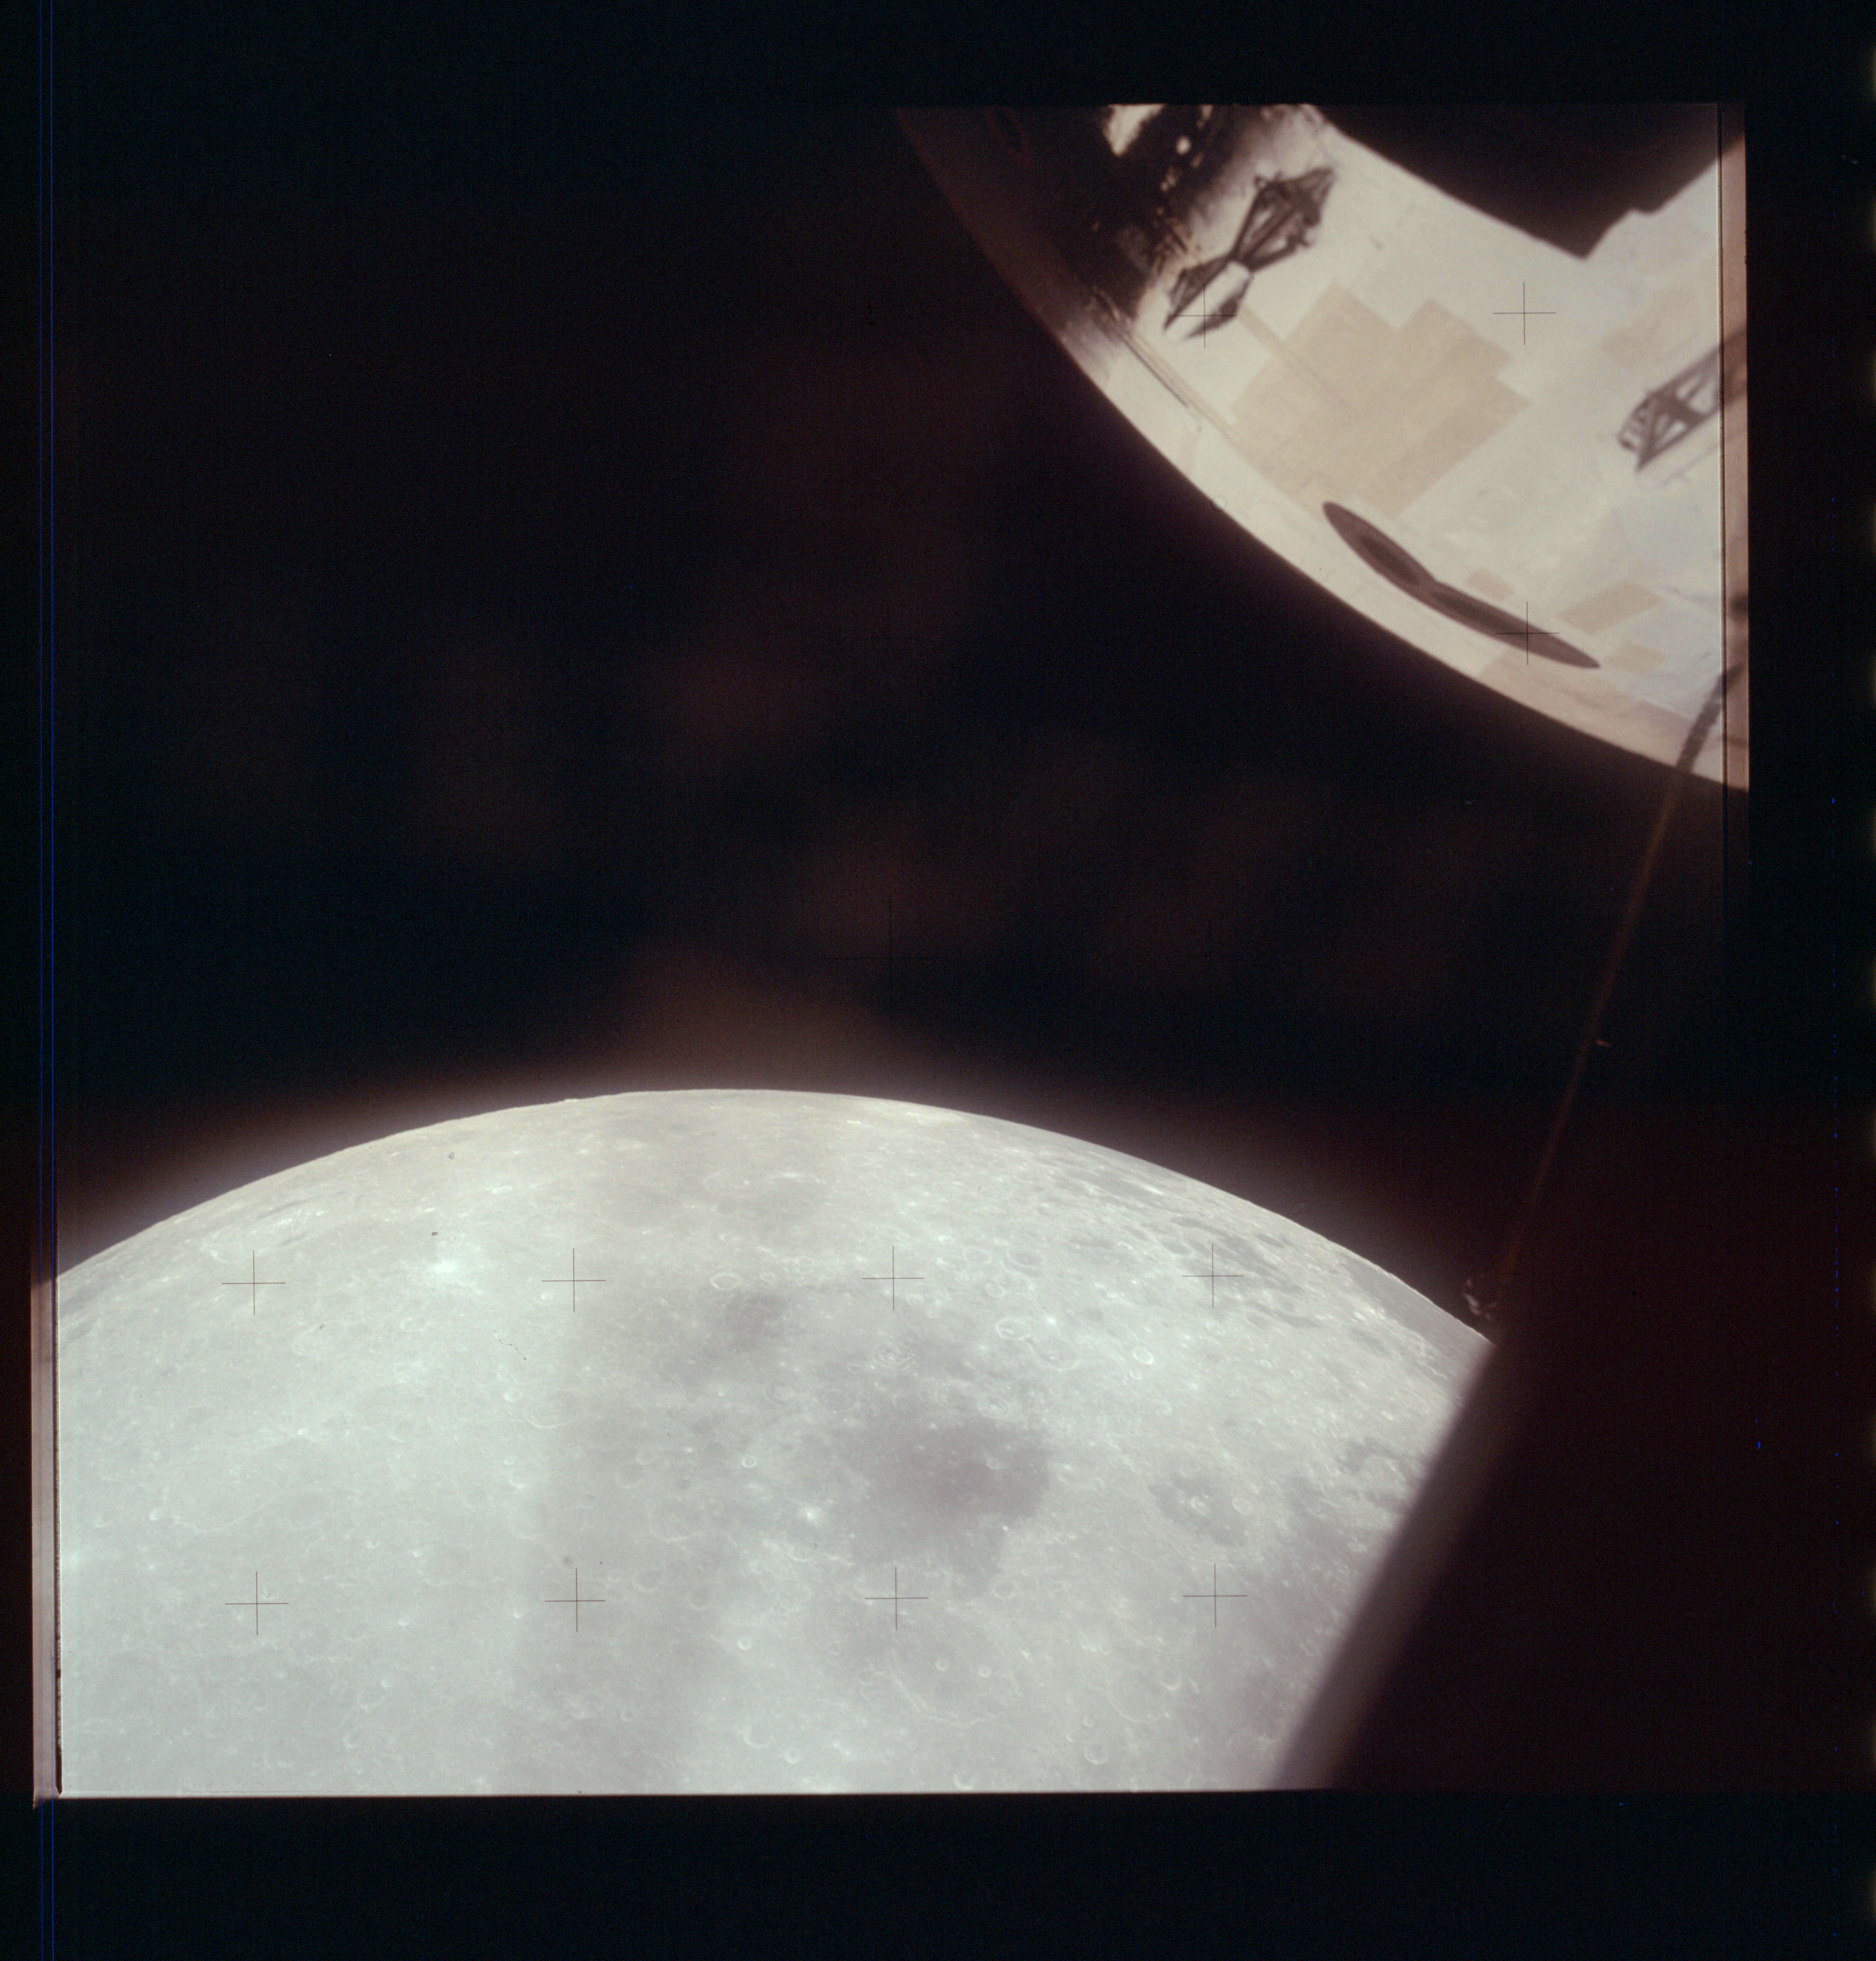
|
AS13-61-8747 Browse or print resolution. Apollo 13 Command Module and Moon, seen from Lunar Module. Image credit: Image Science and Analysis Laboratory, NASA-Johnson Space Center. |
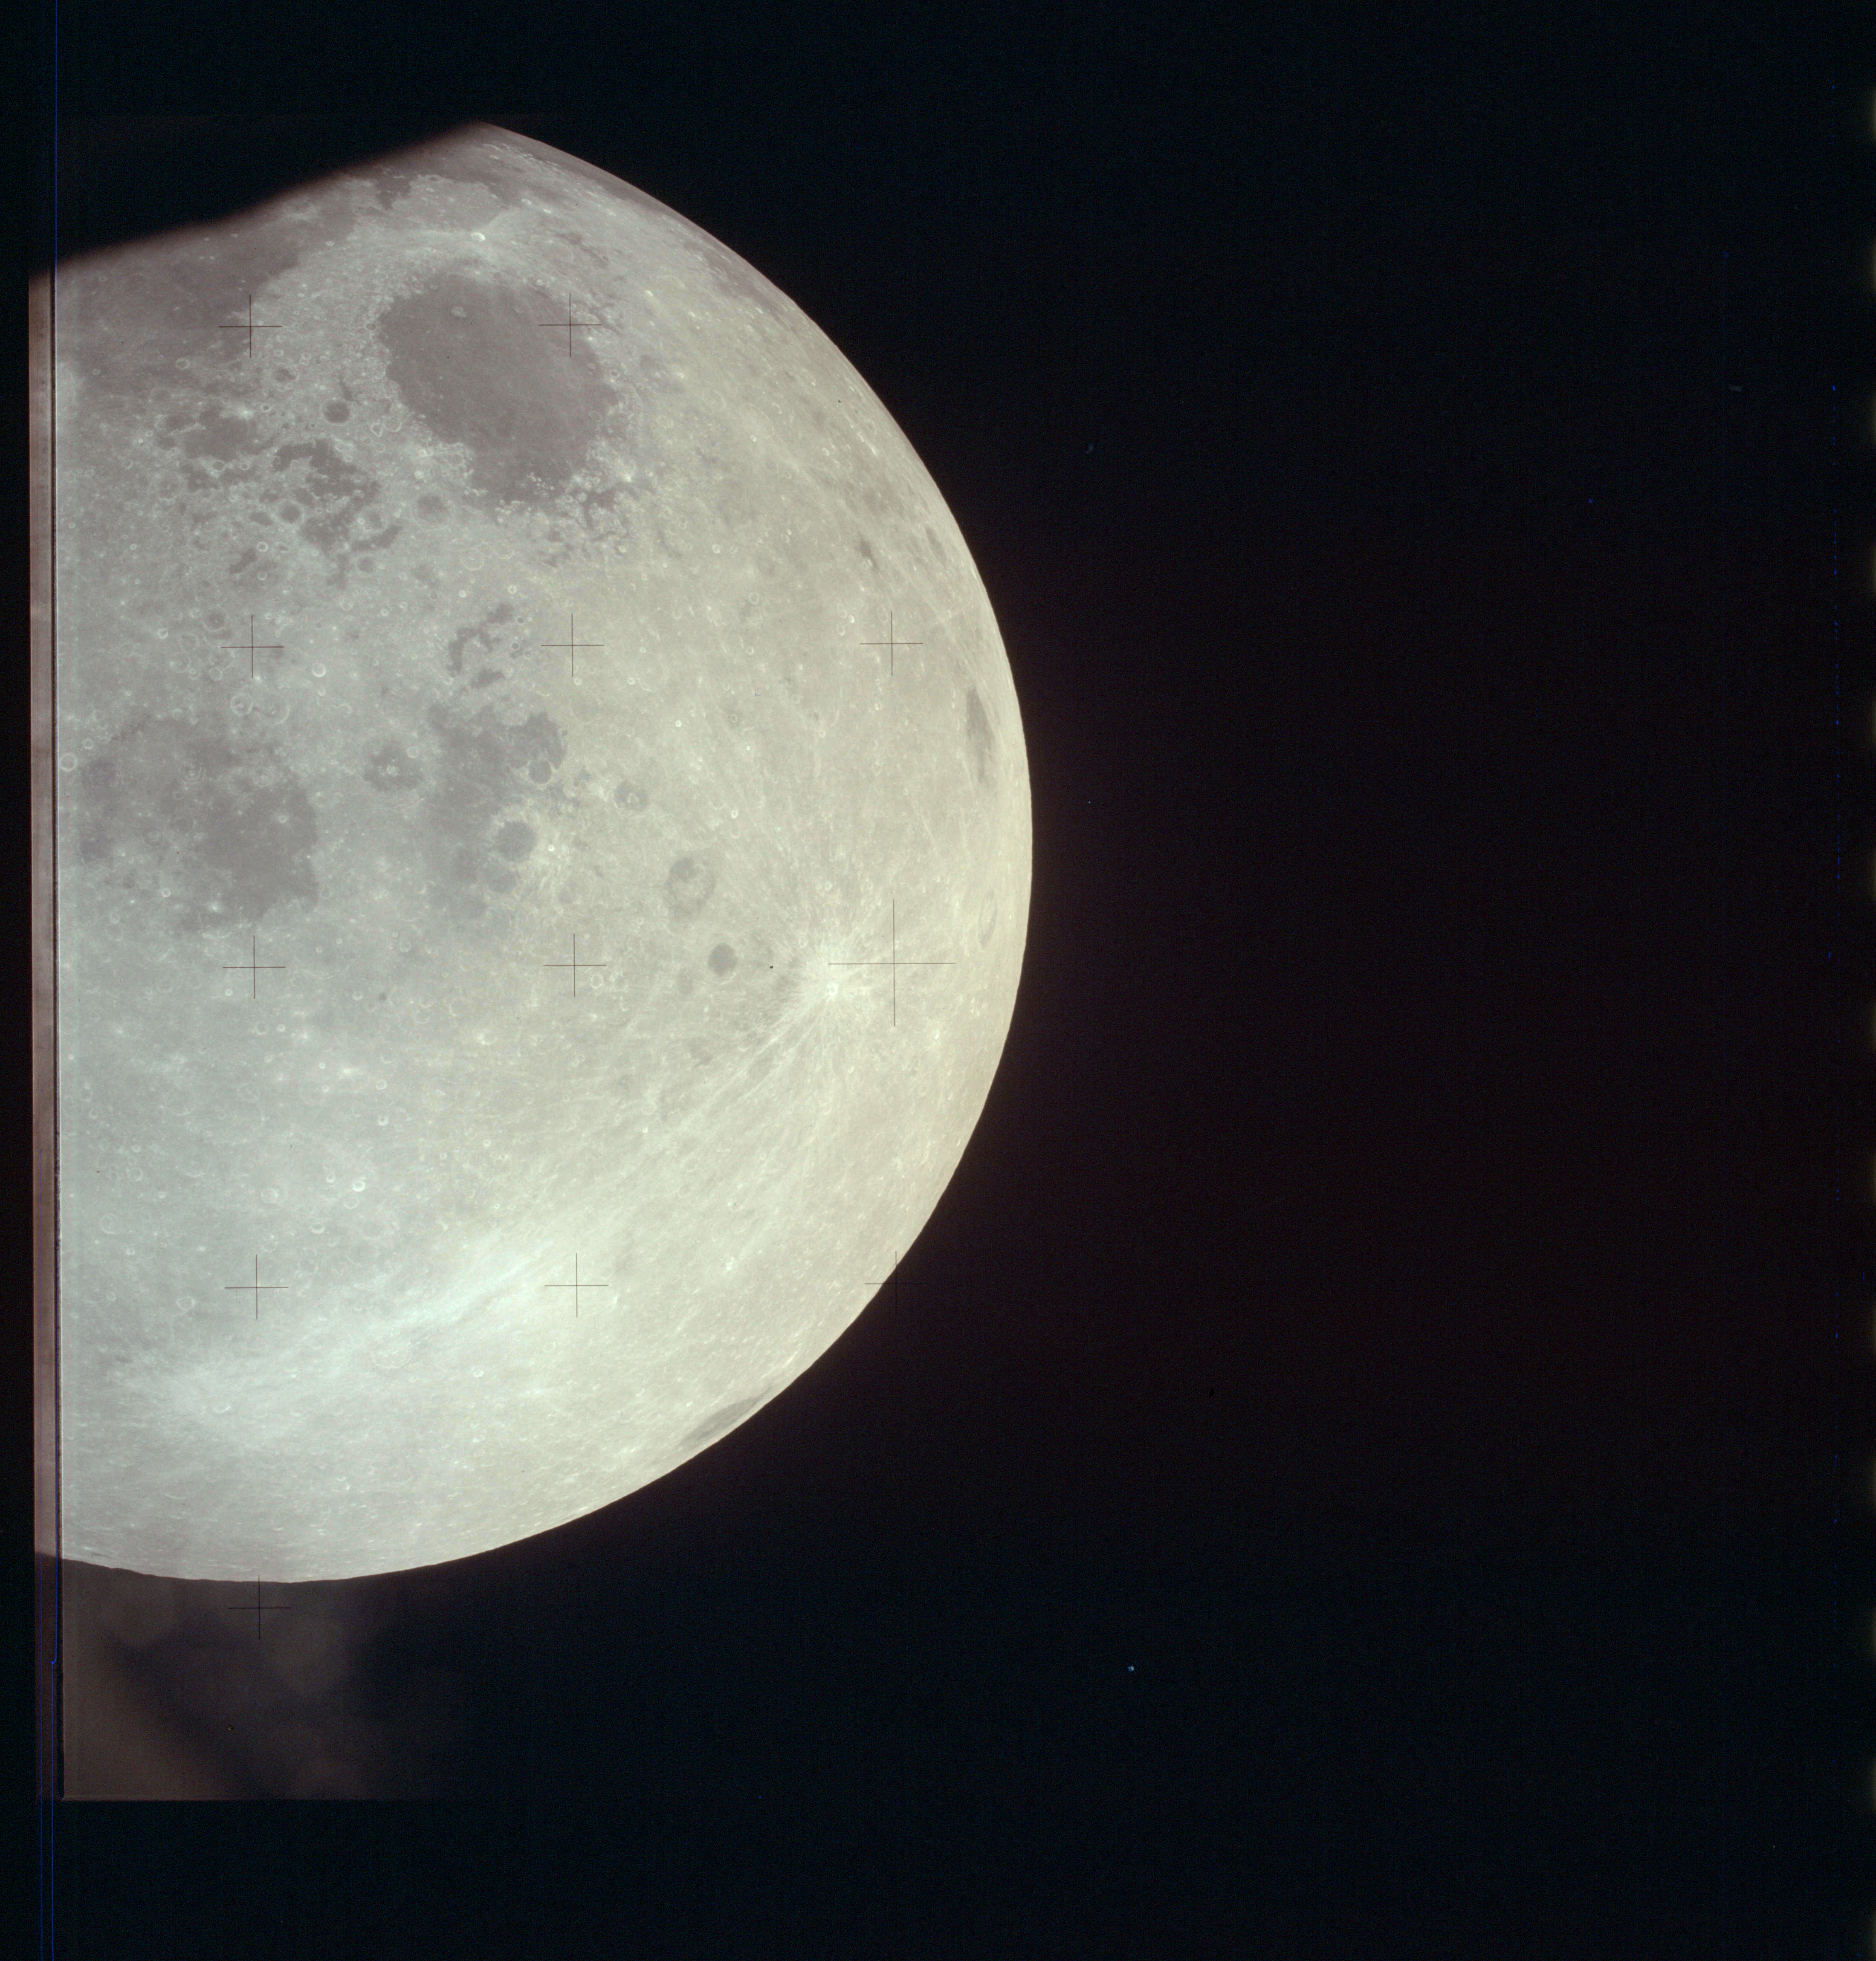
|
AS13-61-8748 Browse or print resolution. Moon from Apollo 13. Image credit: Image Science and Analysis Laboratory, NASA-Johnson Space Center. |
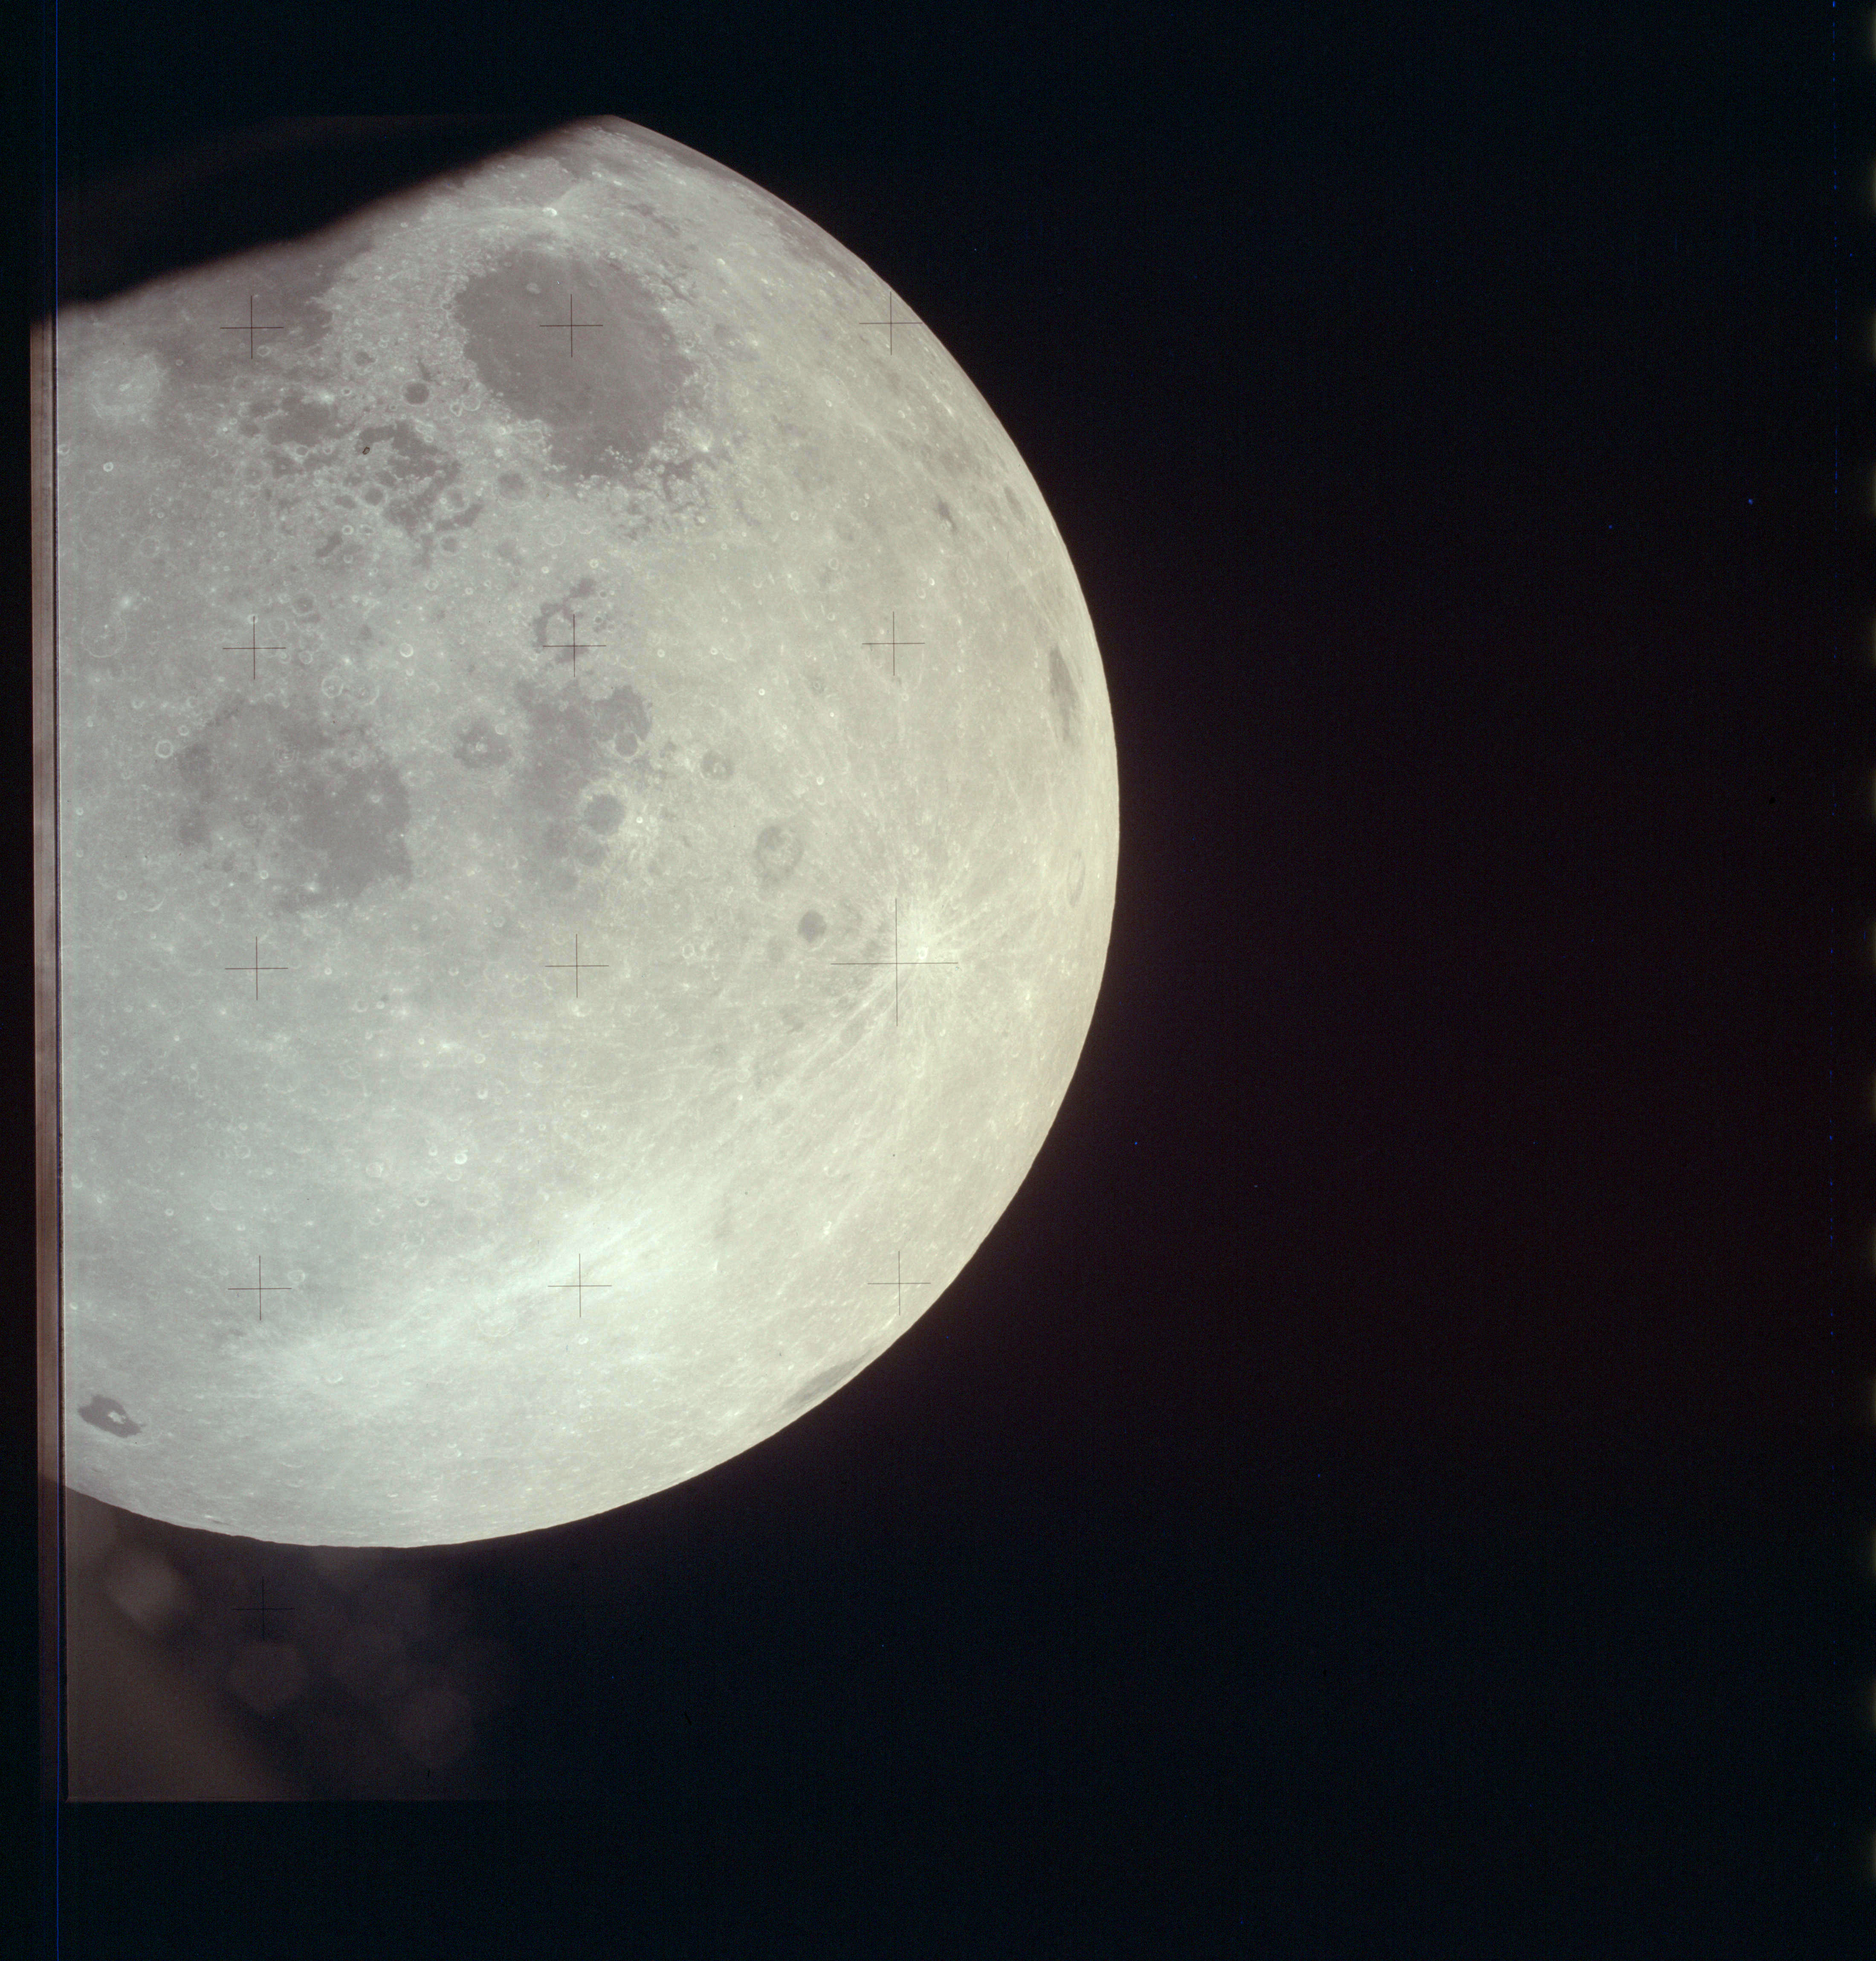
|
AS13-61-8749 Browse or print resolution. Moon from Apollo 13. Image credit: Image Science and Analysis Laboratory, NASA-Johnson Space Center. |
|
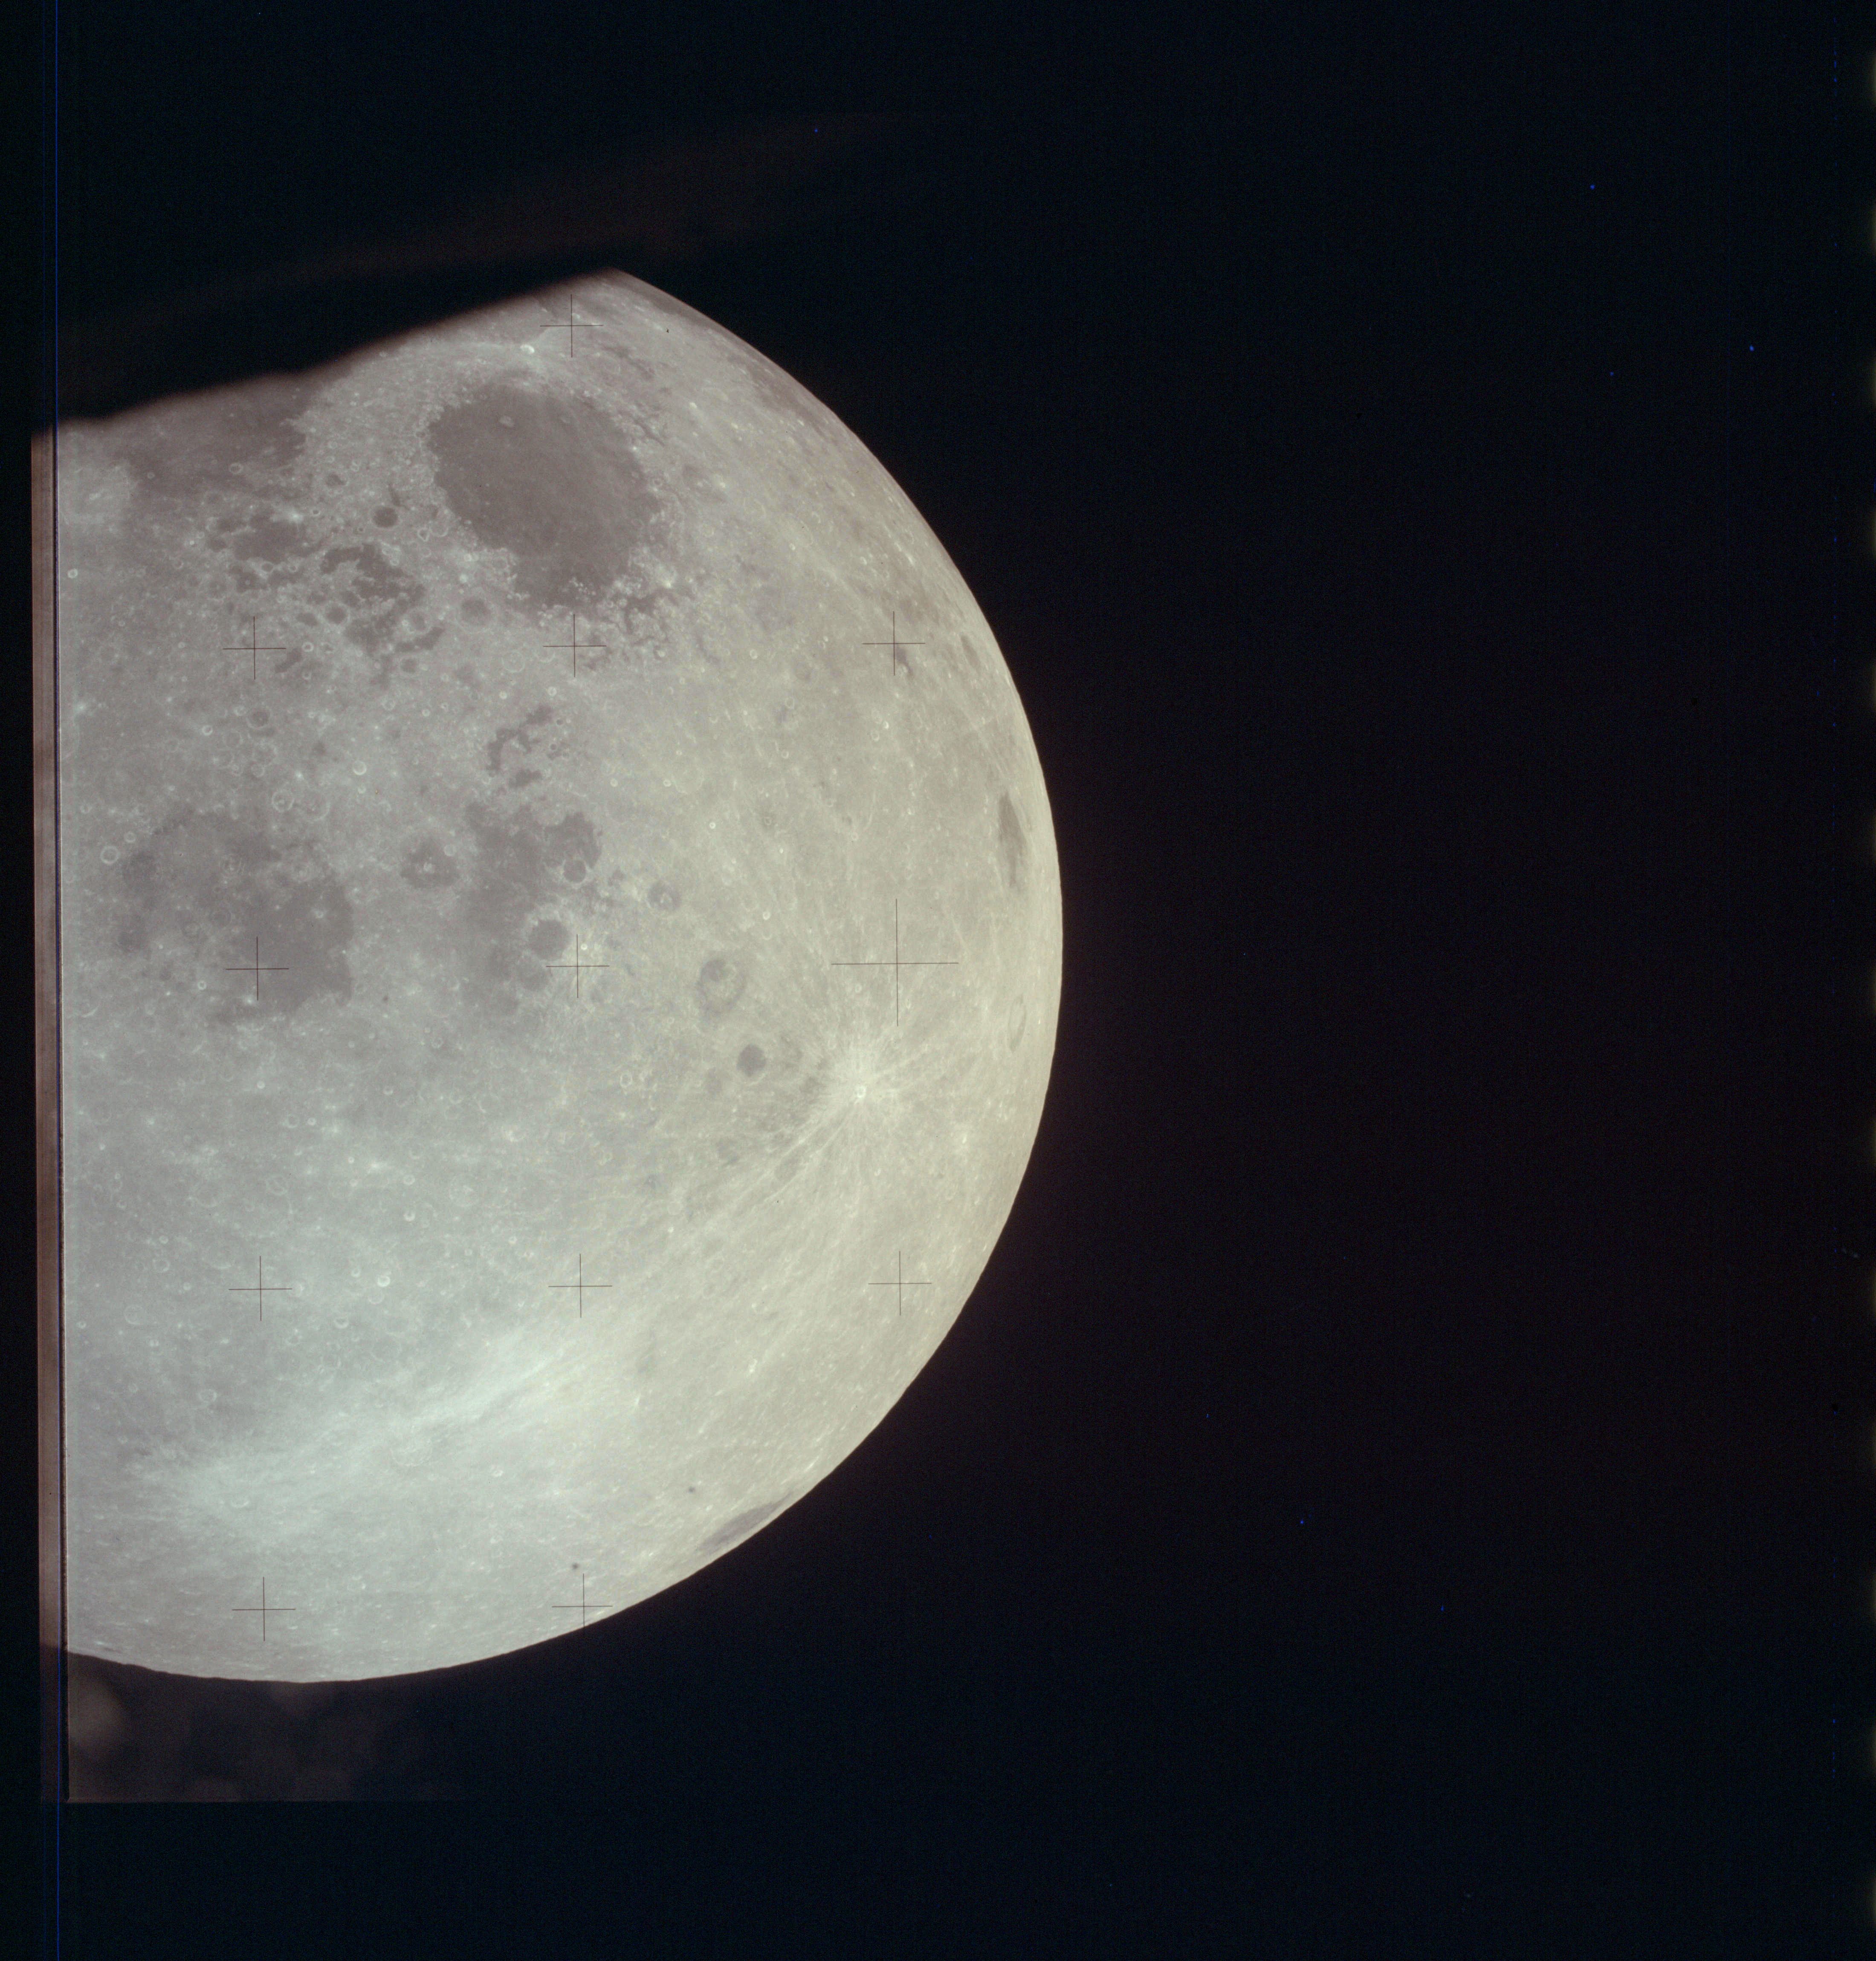
AS13-61-8750 Browse or print resolution. Moon from Apollo 13. Image credit: Image Science and Analysis Laboratory, NASA-Johnson Space Center. |
|
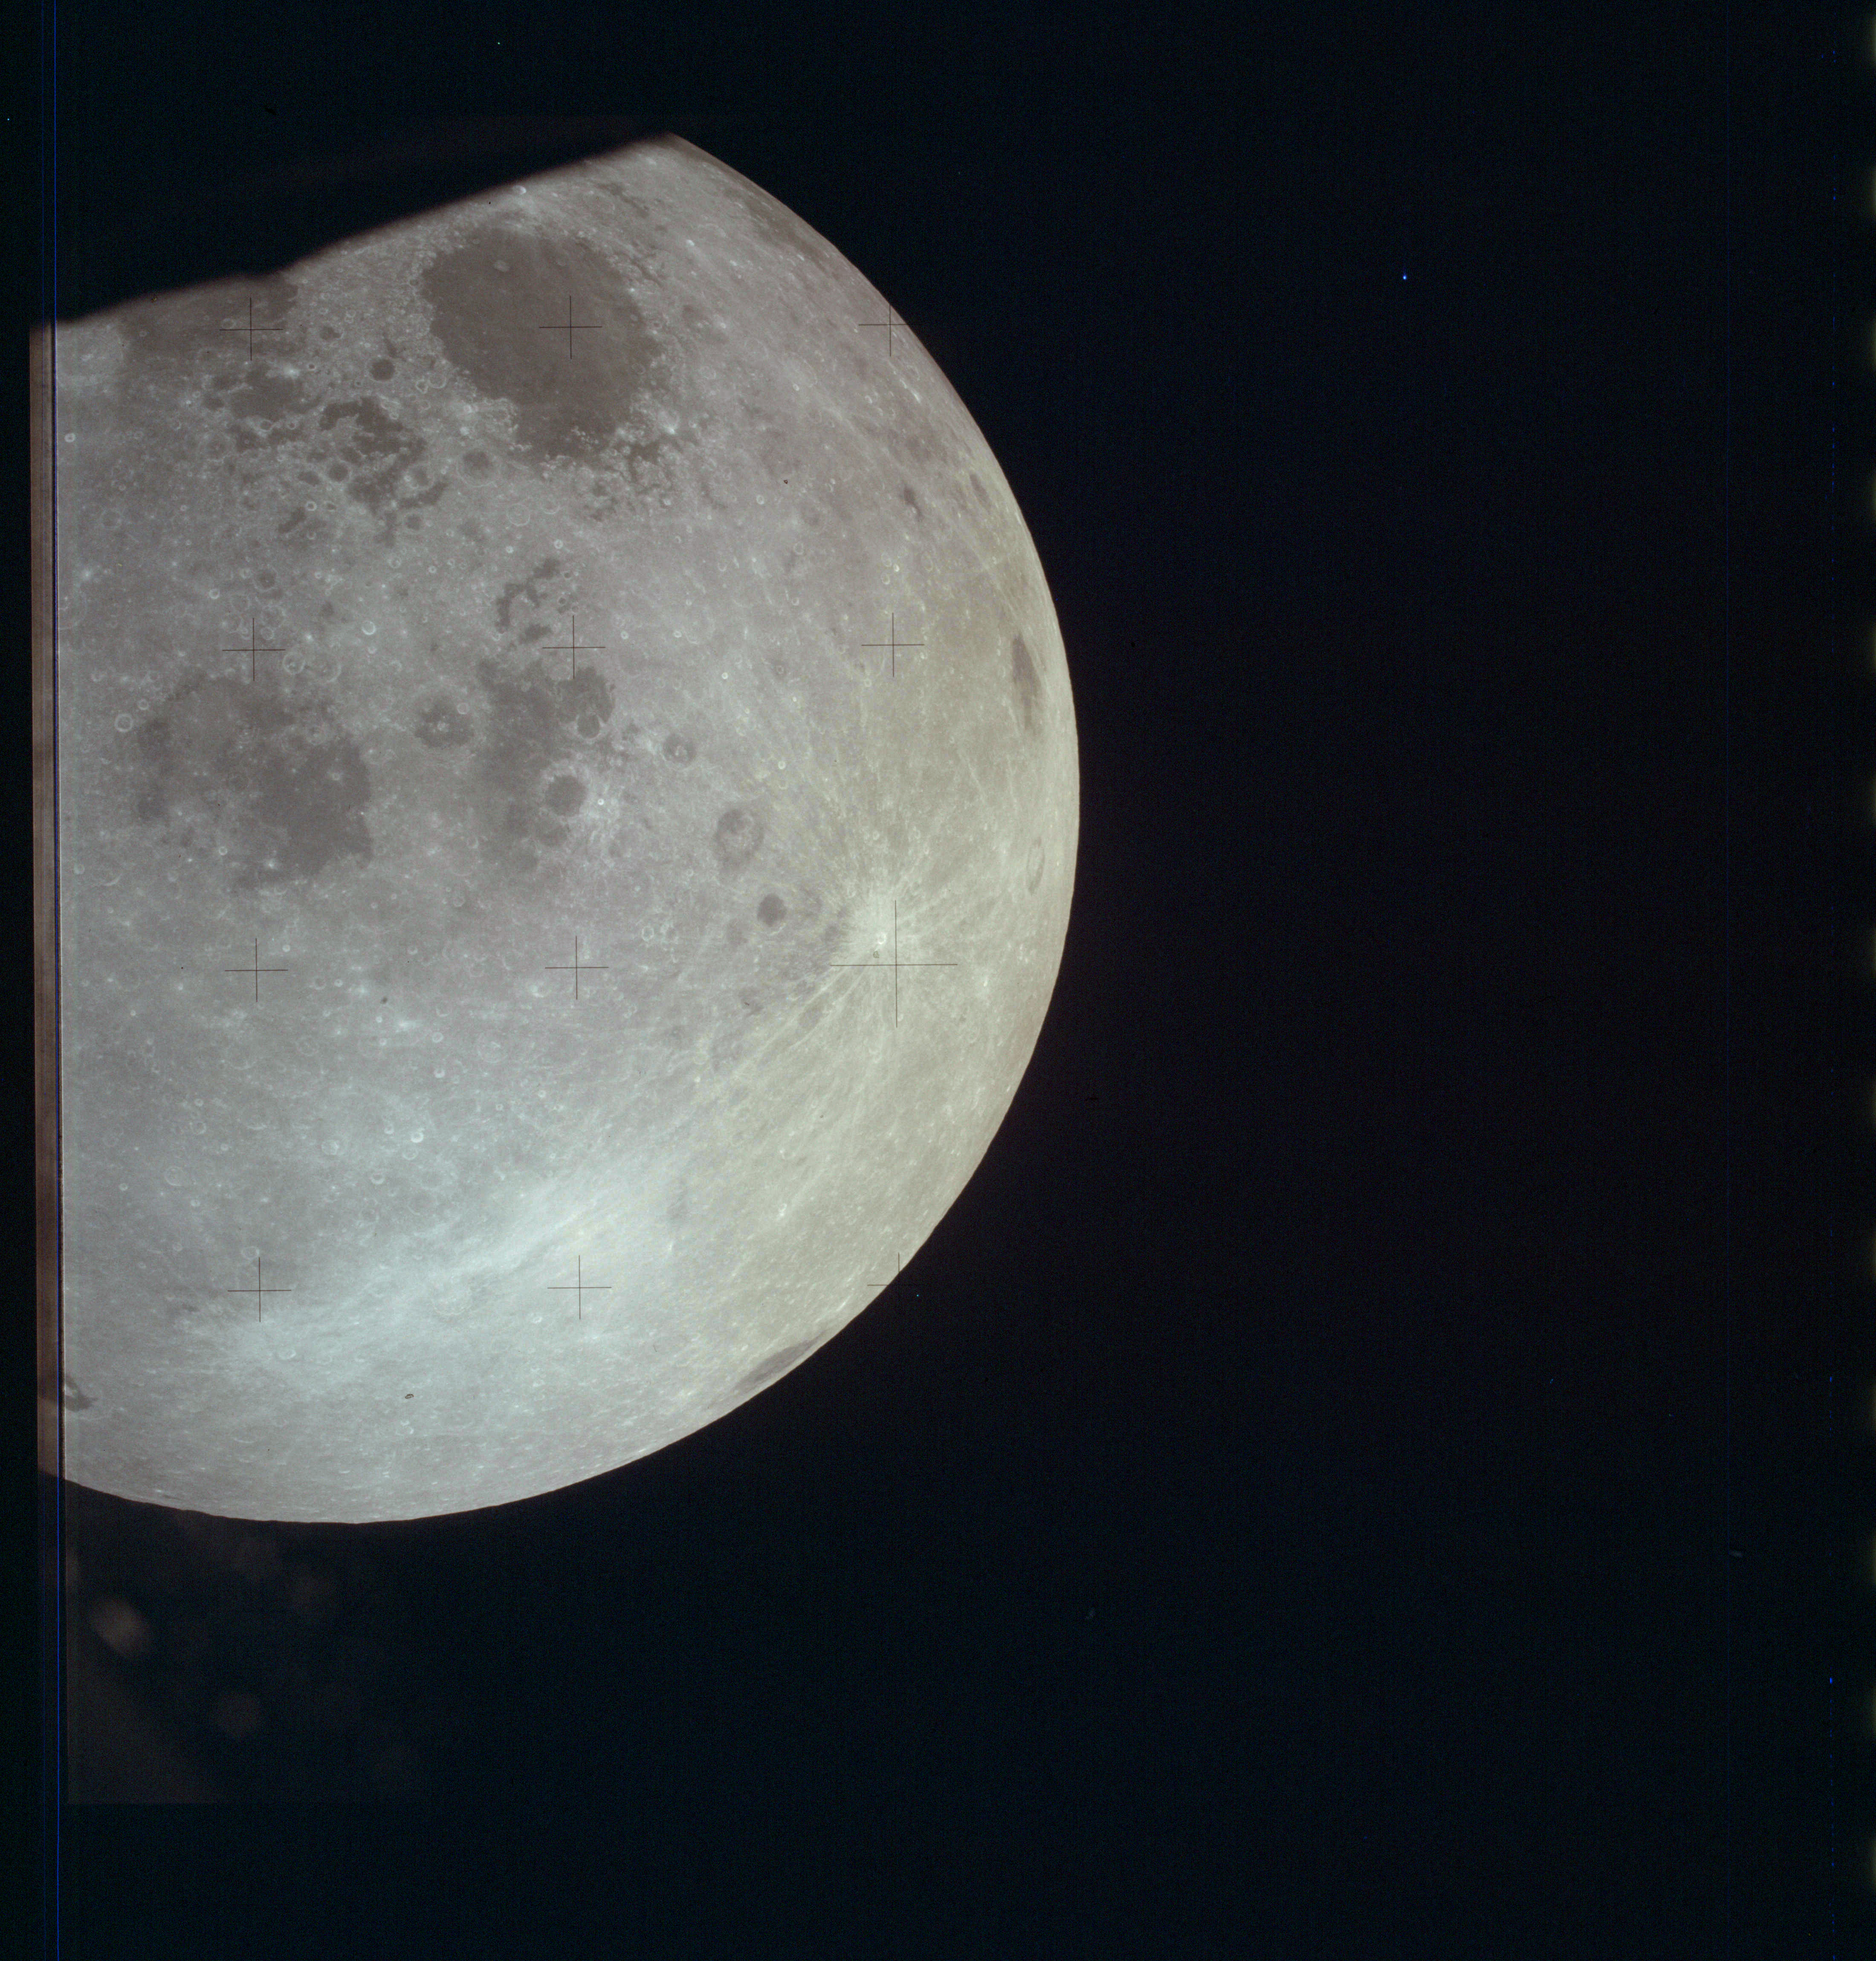
AS13-61-8751 Browse or print resolution. Moon from Apollo 13. Image credit: Image Science and Analysis Laboratory, NASA-Johnson Space Center. |
|
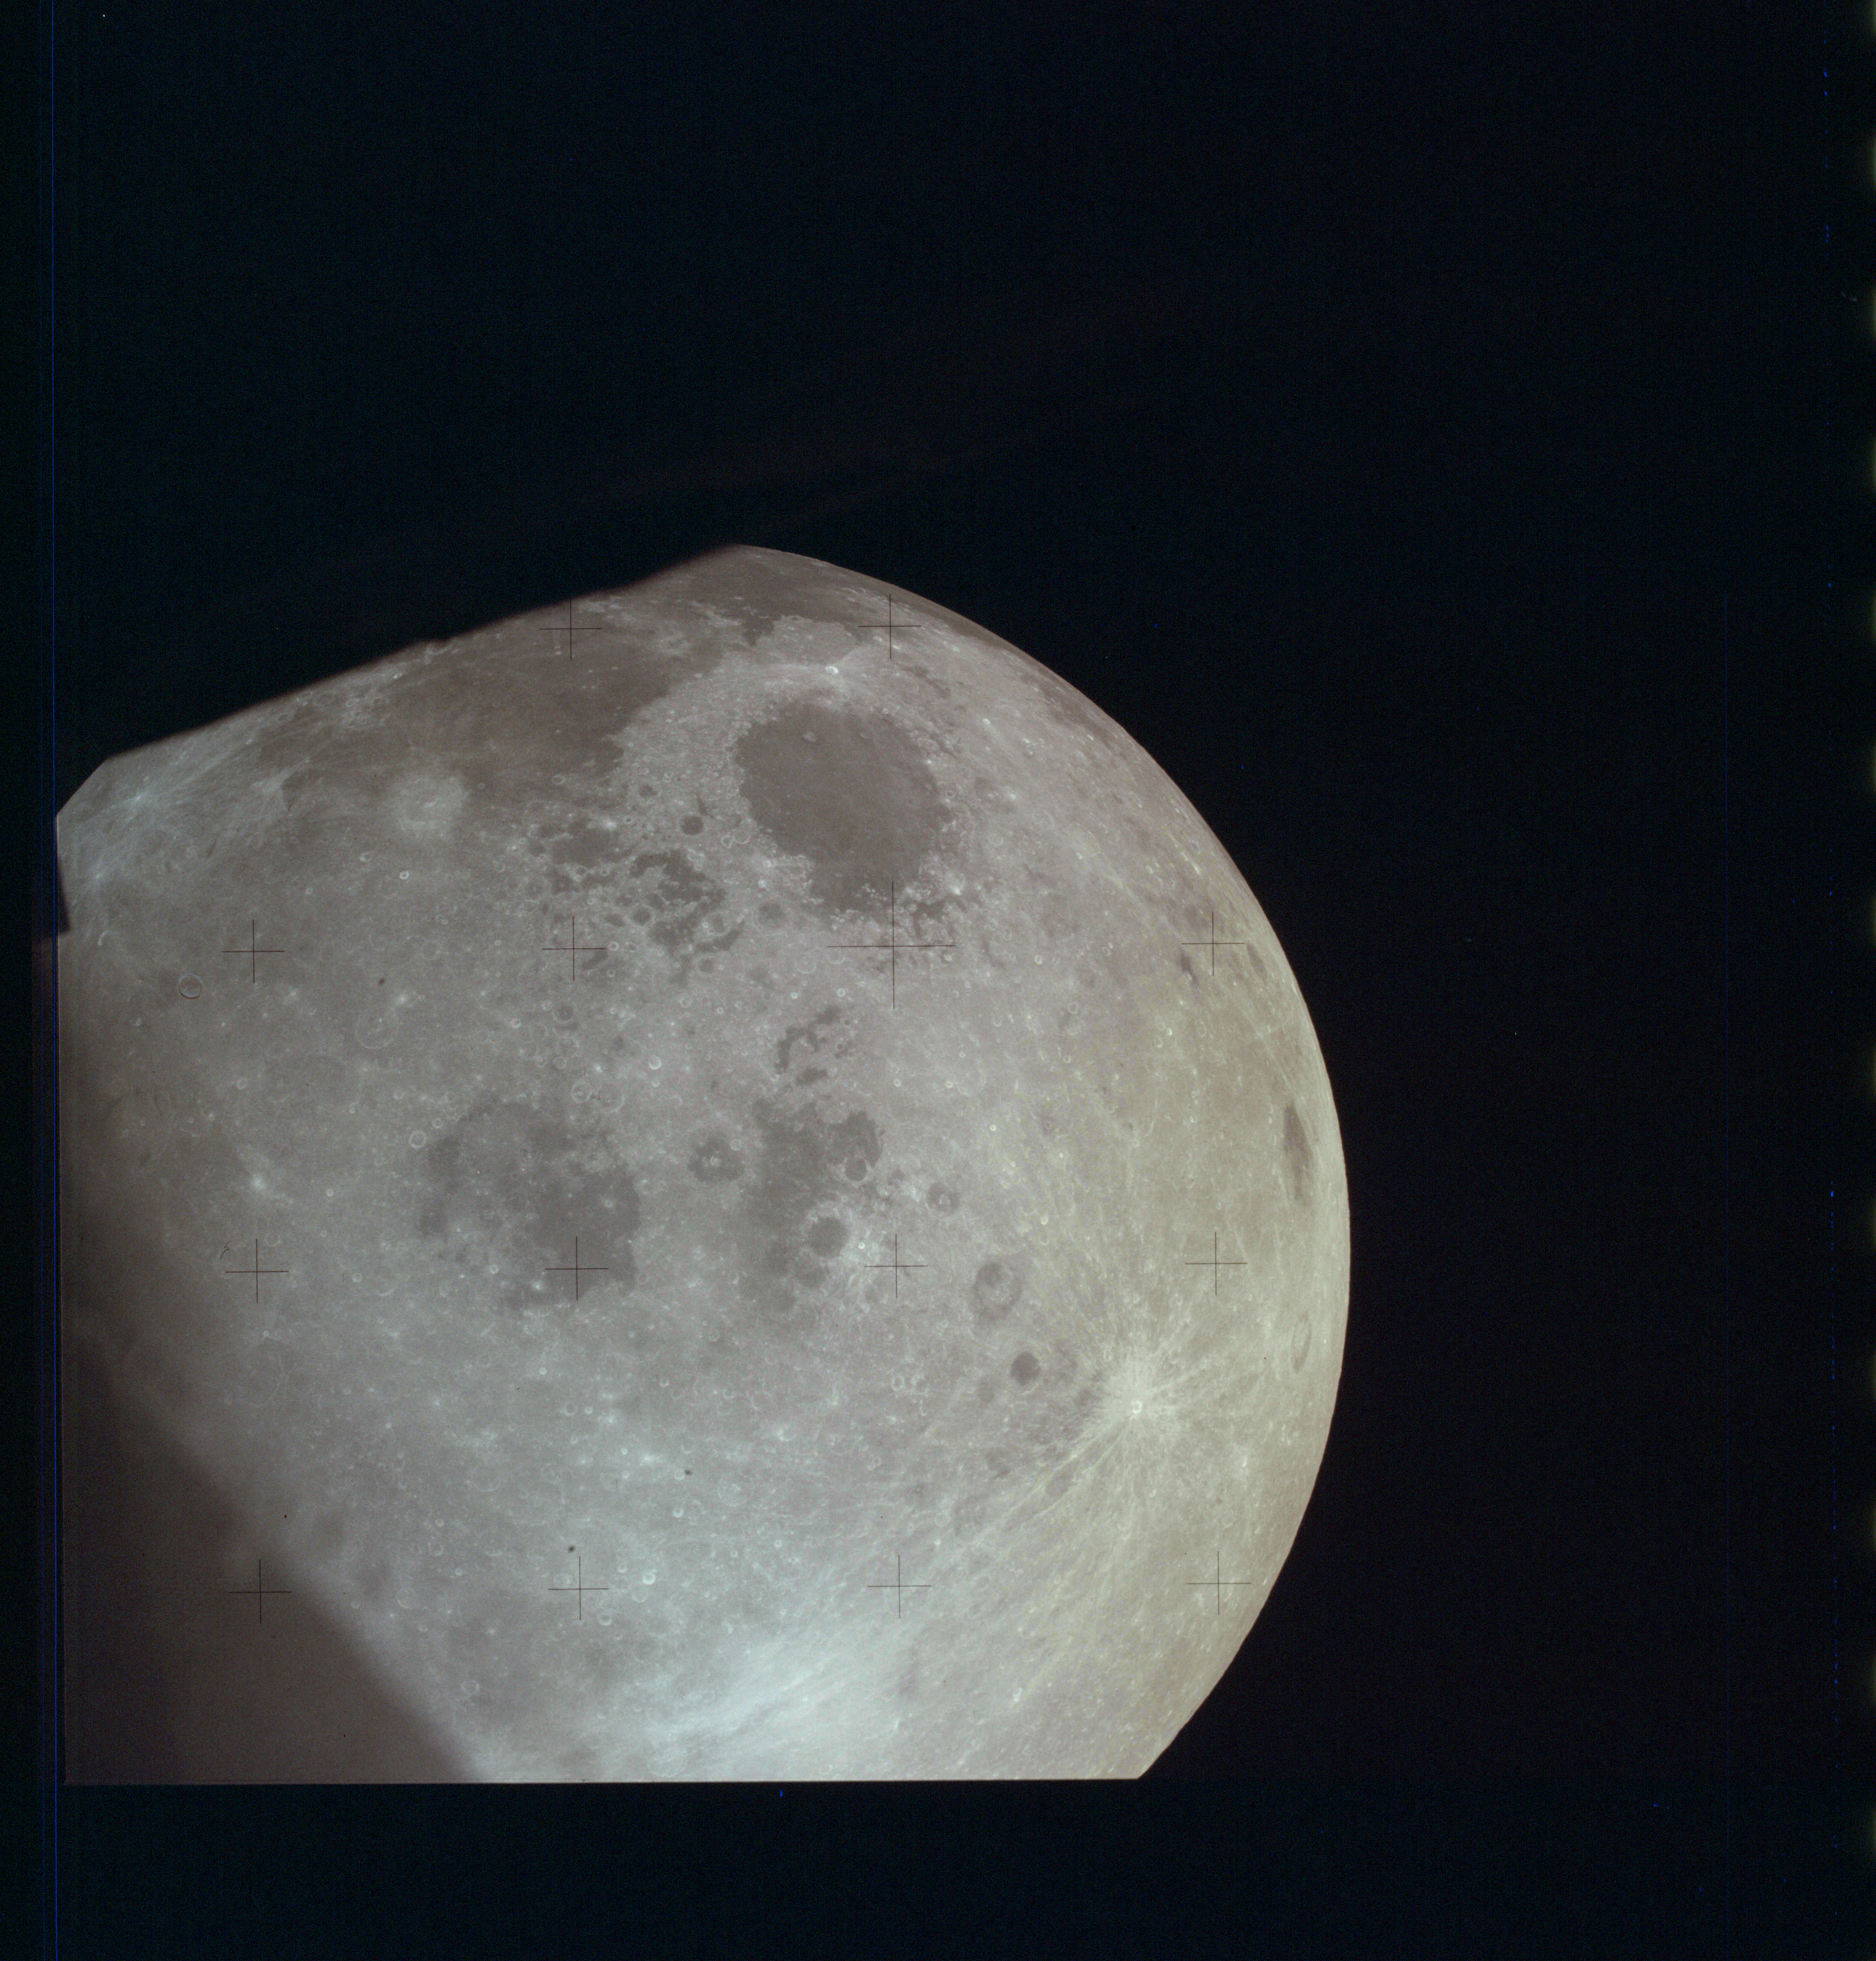
AS13-61-8752 Browse or print resolution. Moon from Apollo 13. Image credit: Image Science and Analysis Laboratory, NASA-Johnson Space Center. |
|
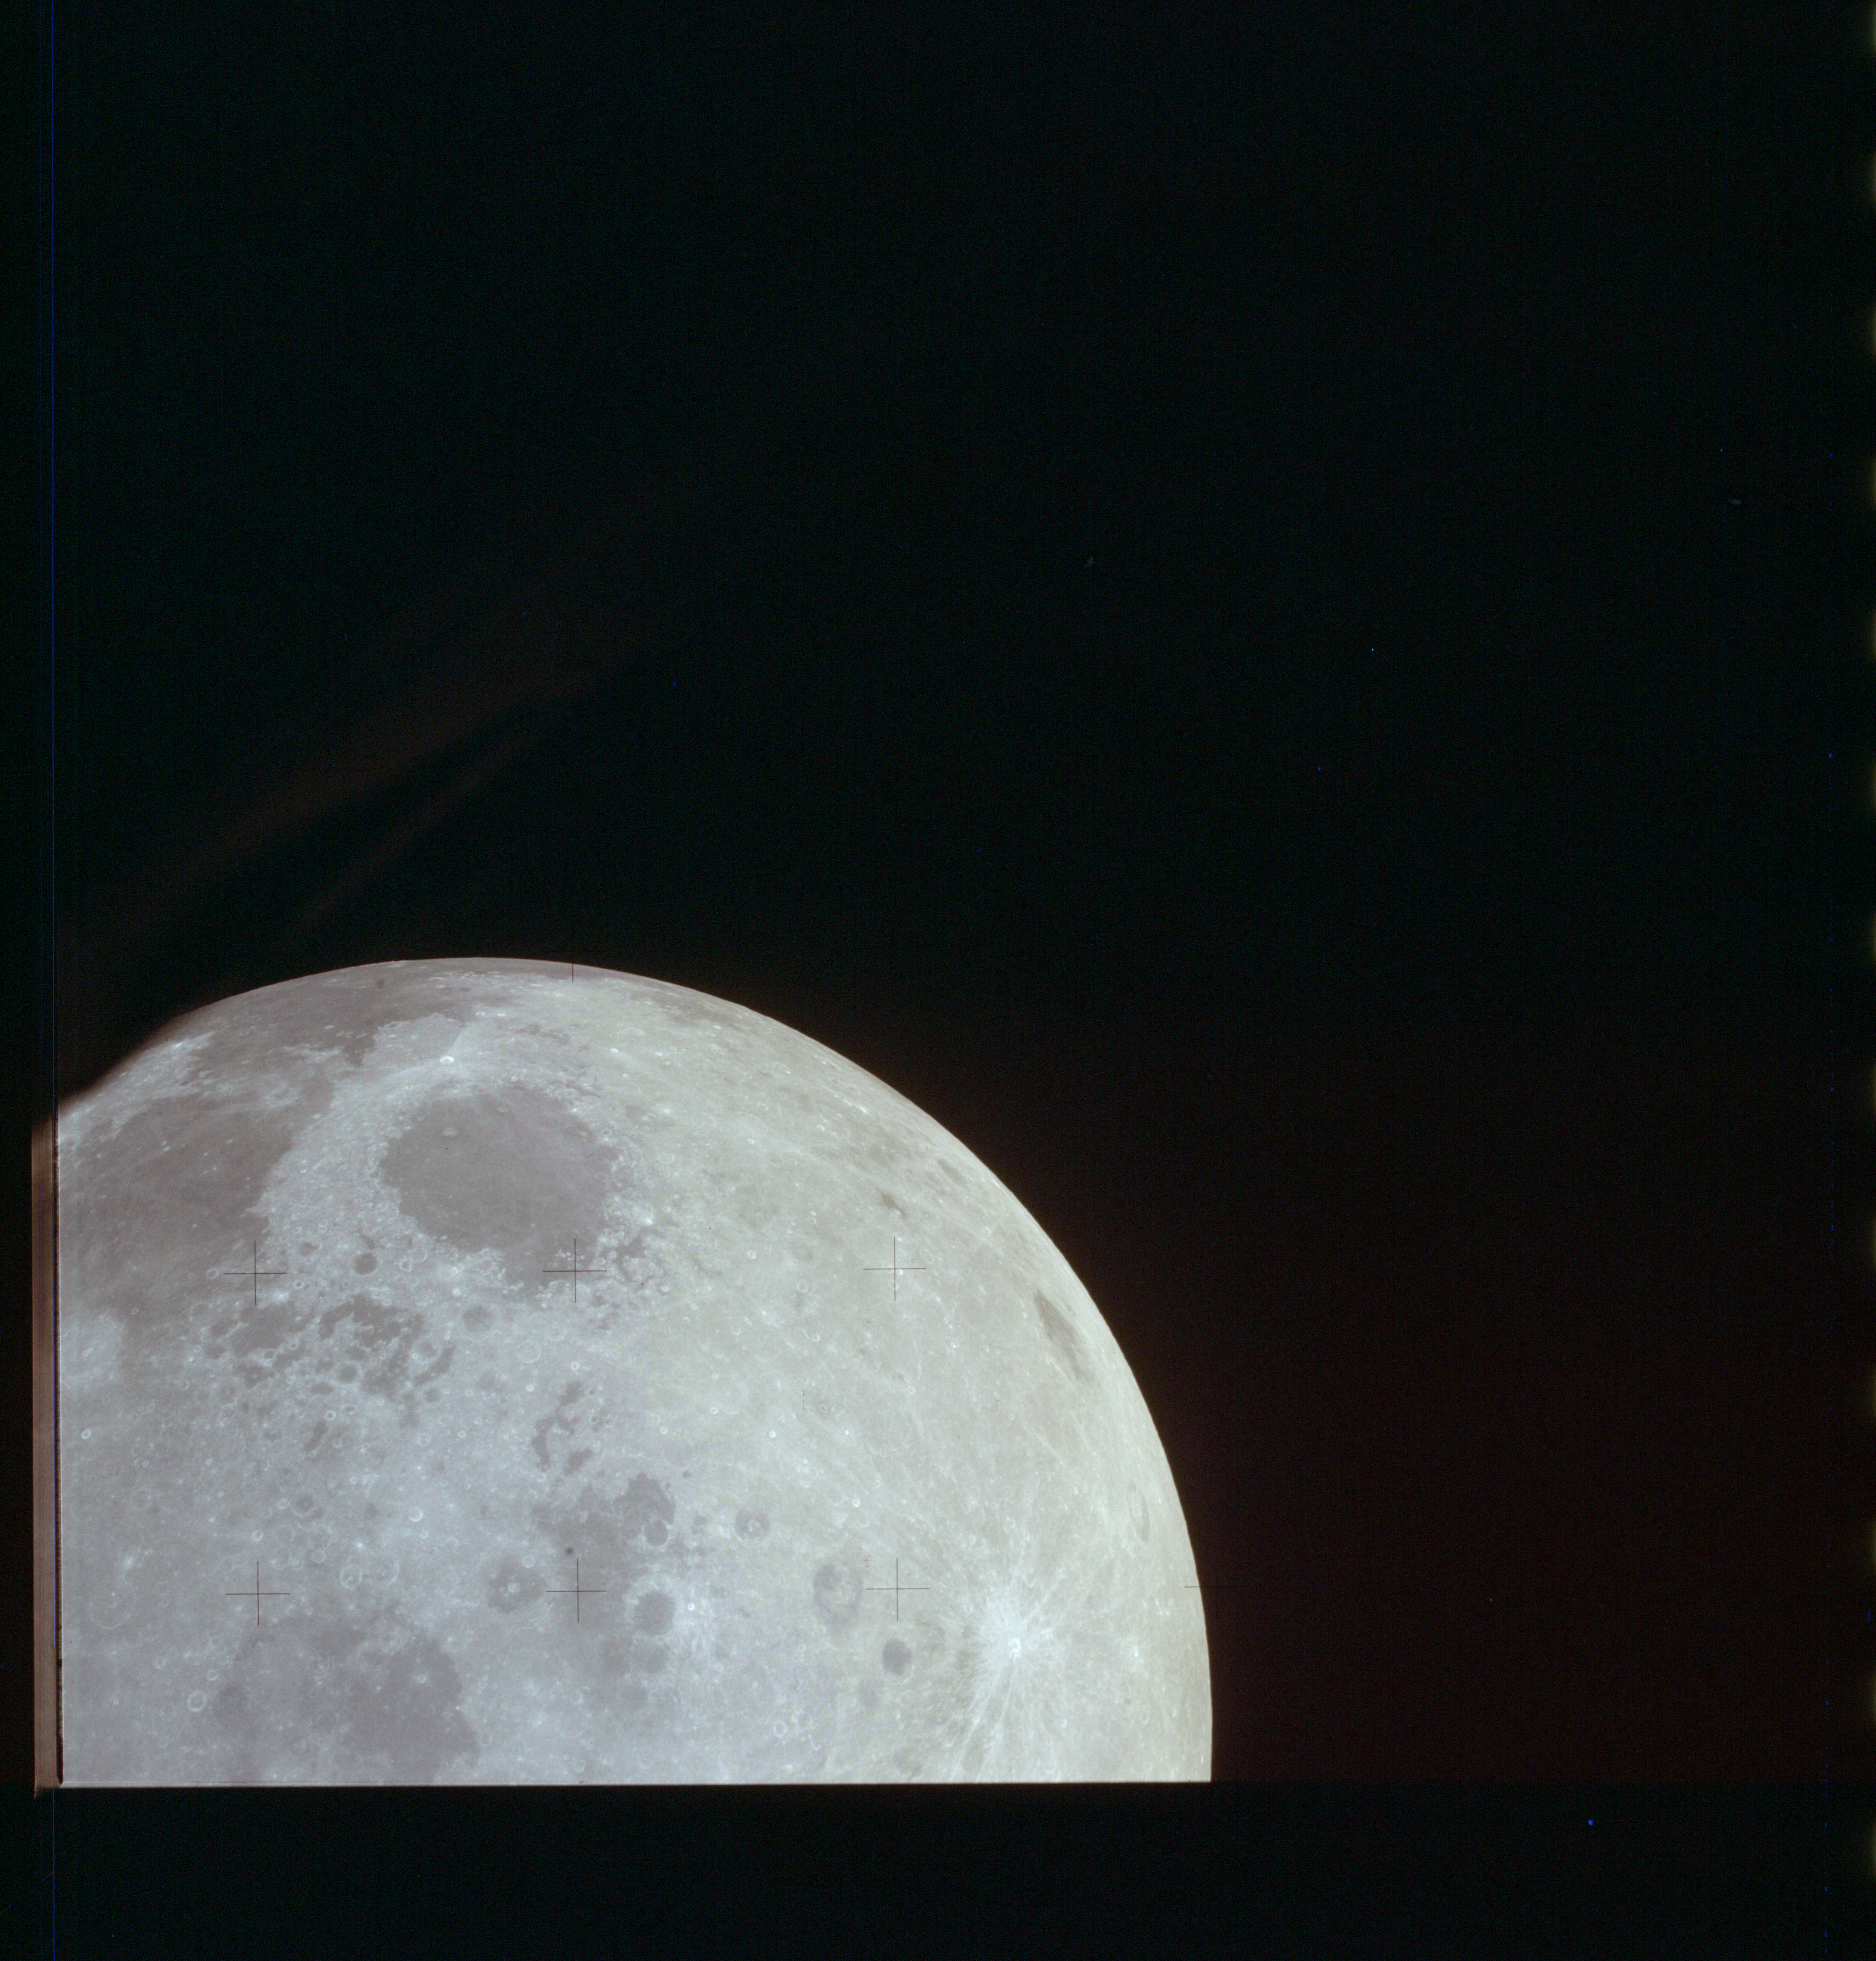
AS13-61-8753 Browse or print resolution. Moon from Apollo 13. Image credit: Image Science and Analysis Laboratory, NASA-Johnson Space Center. |
|
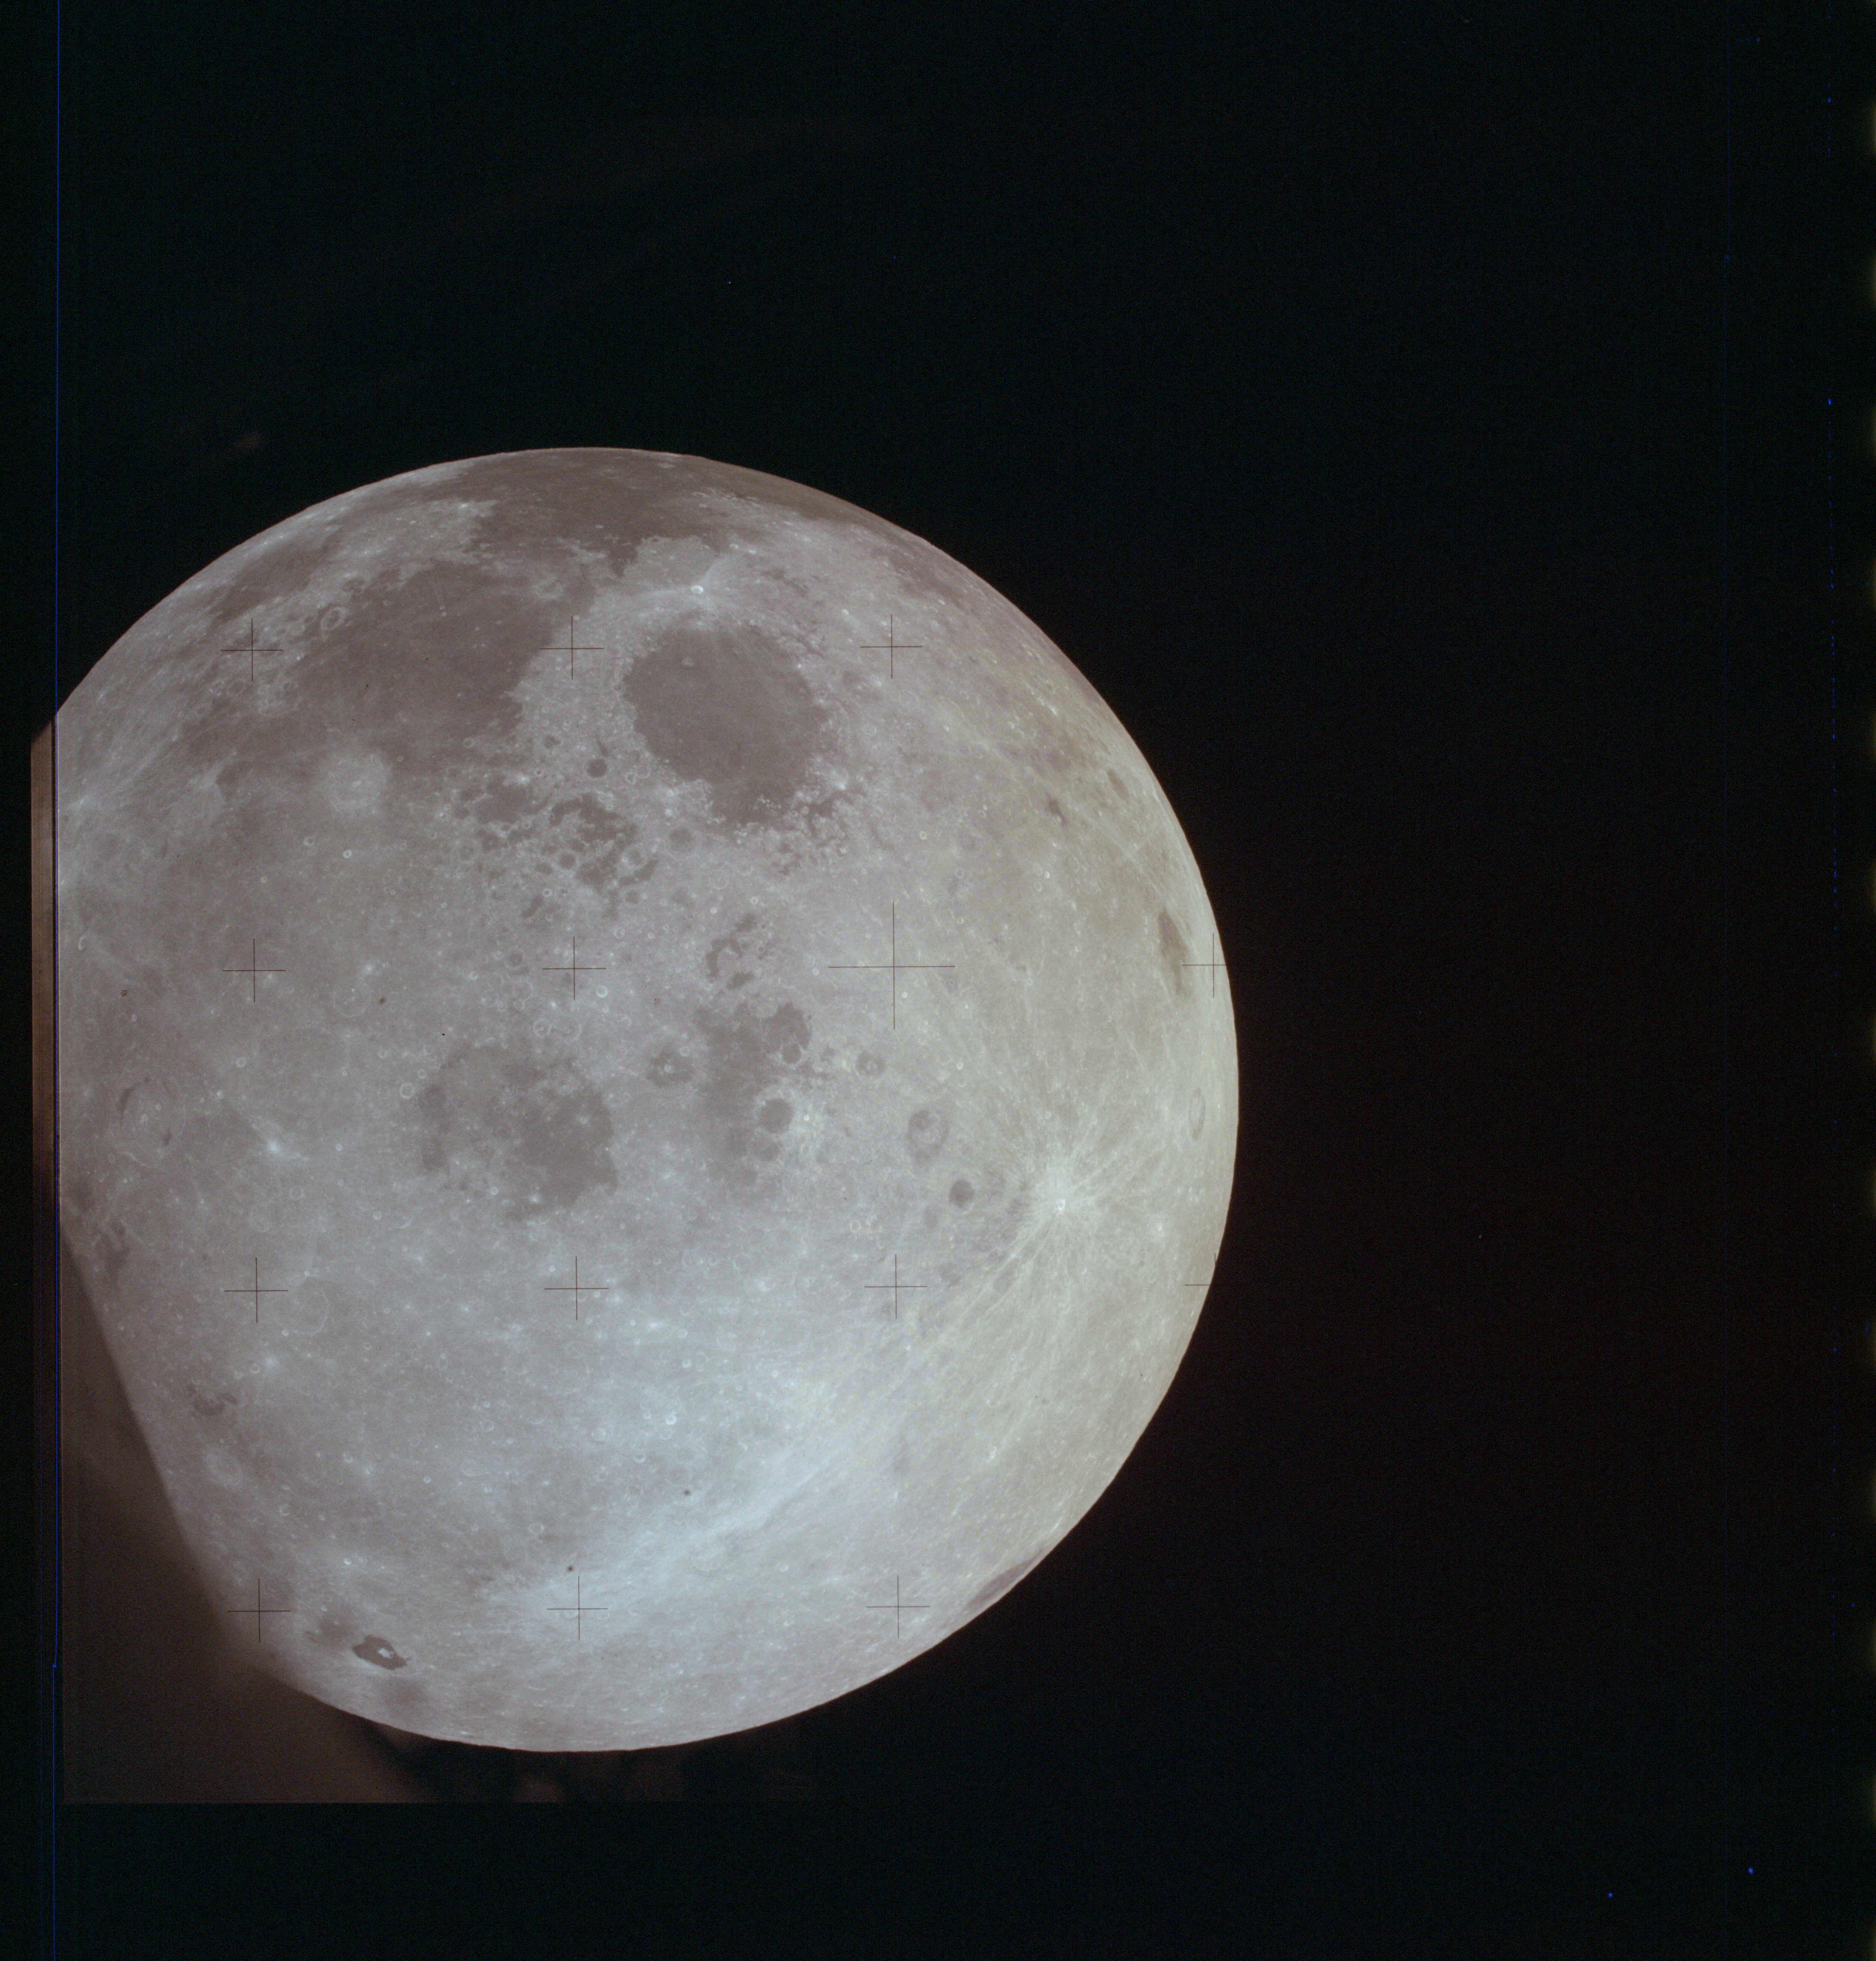
AS13-61-8754 Browse or print resolution. Moon from Apollo 13. Image credit: Image Science and Analysis Laboratory, NASA-Johnson Space Center. |
|
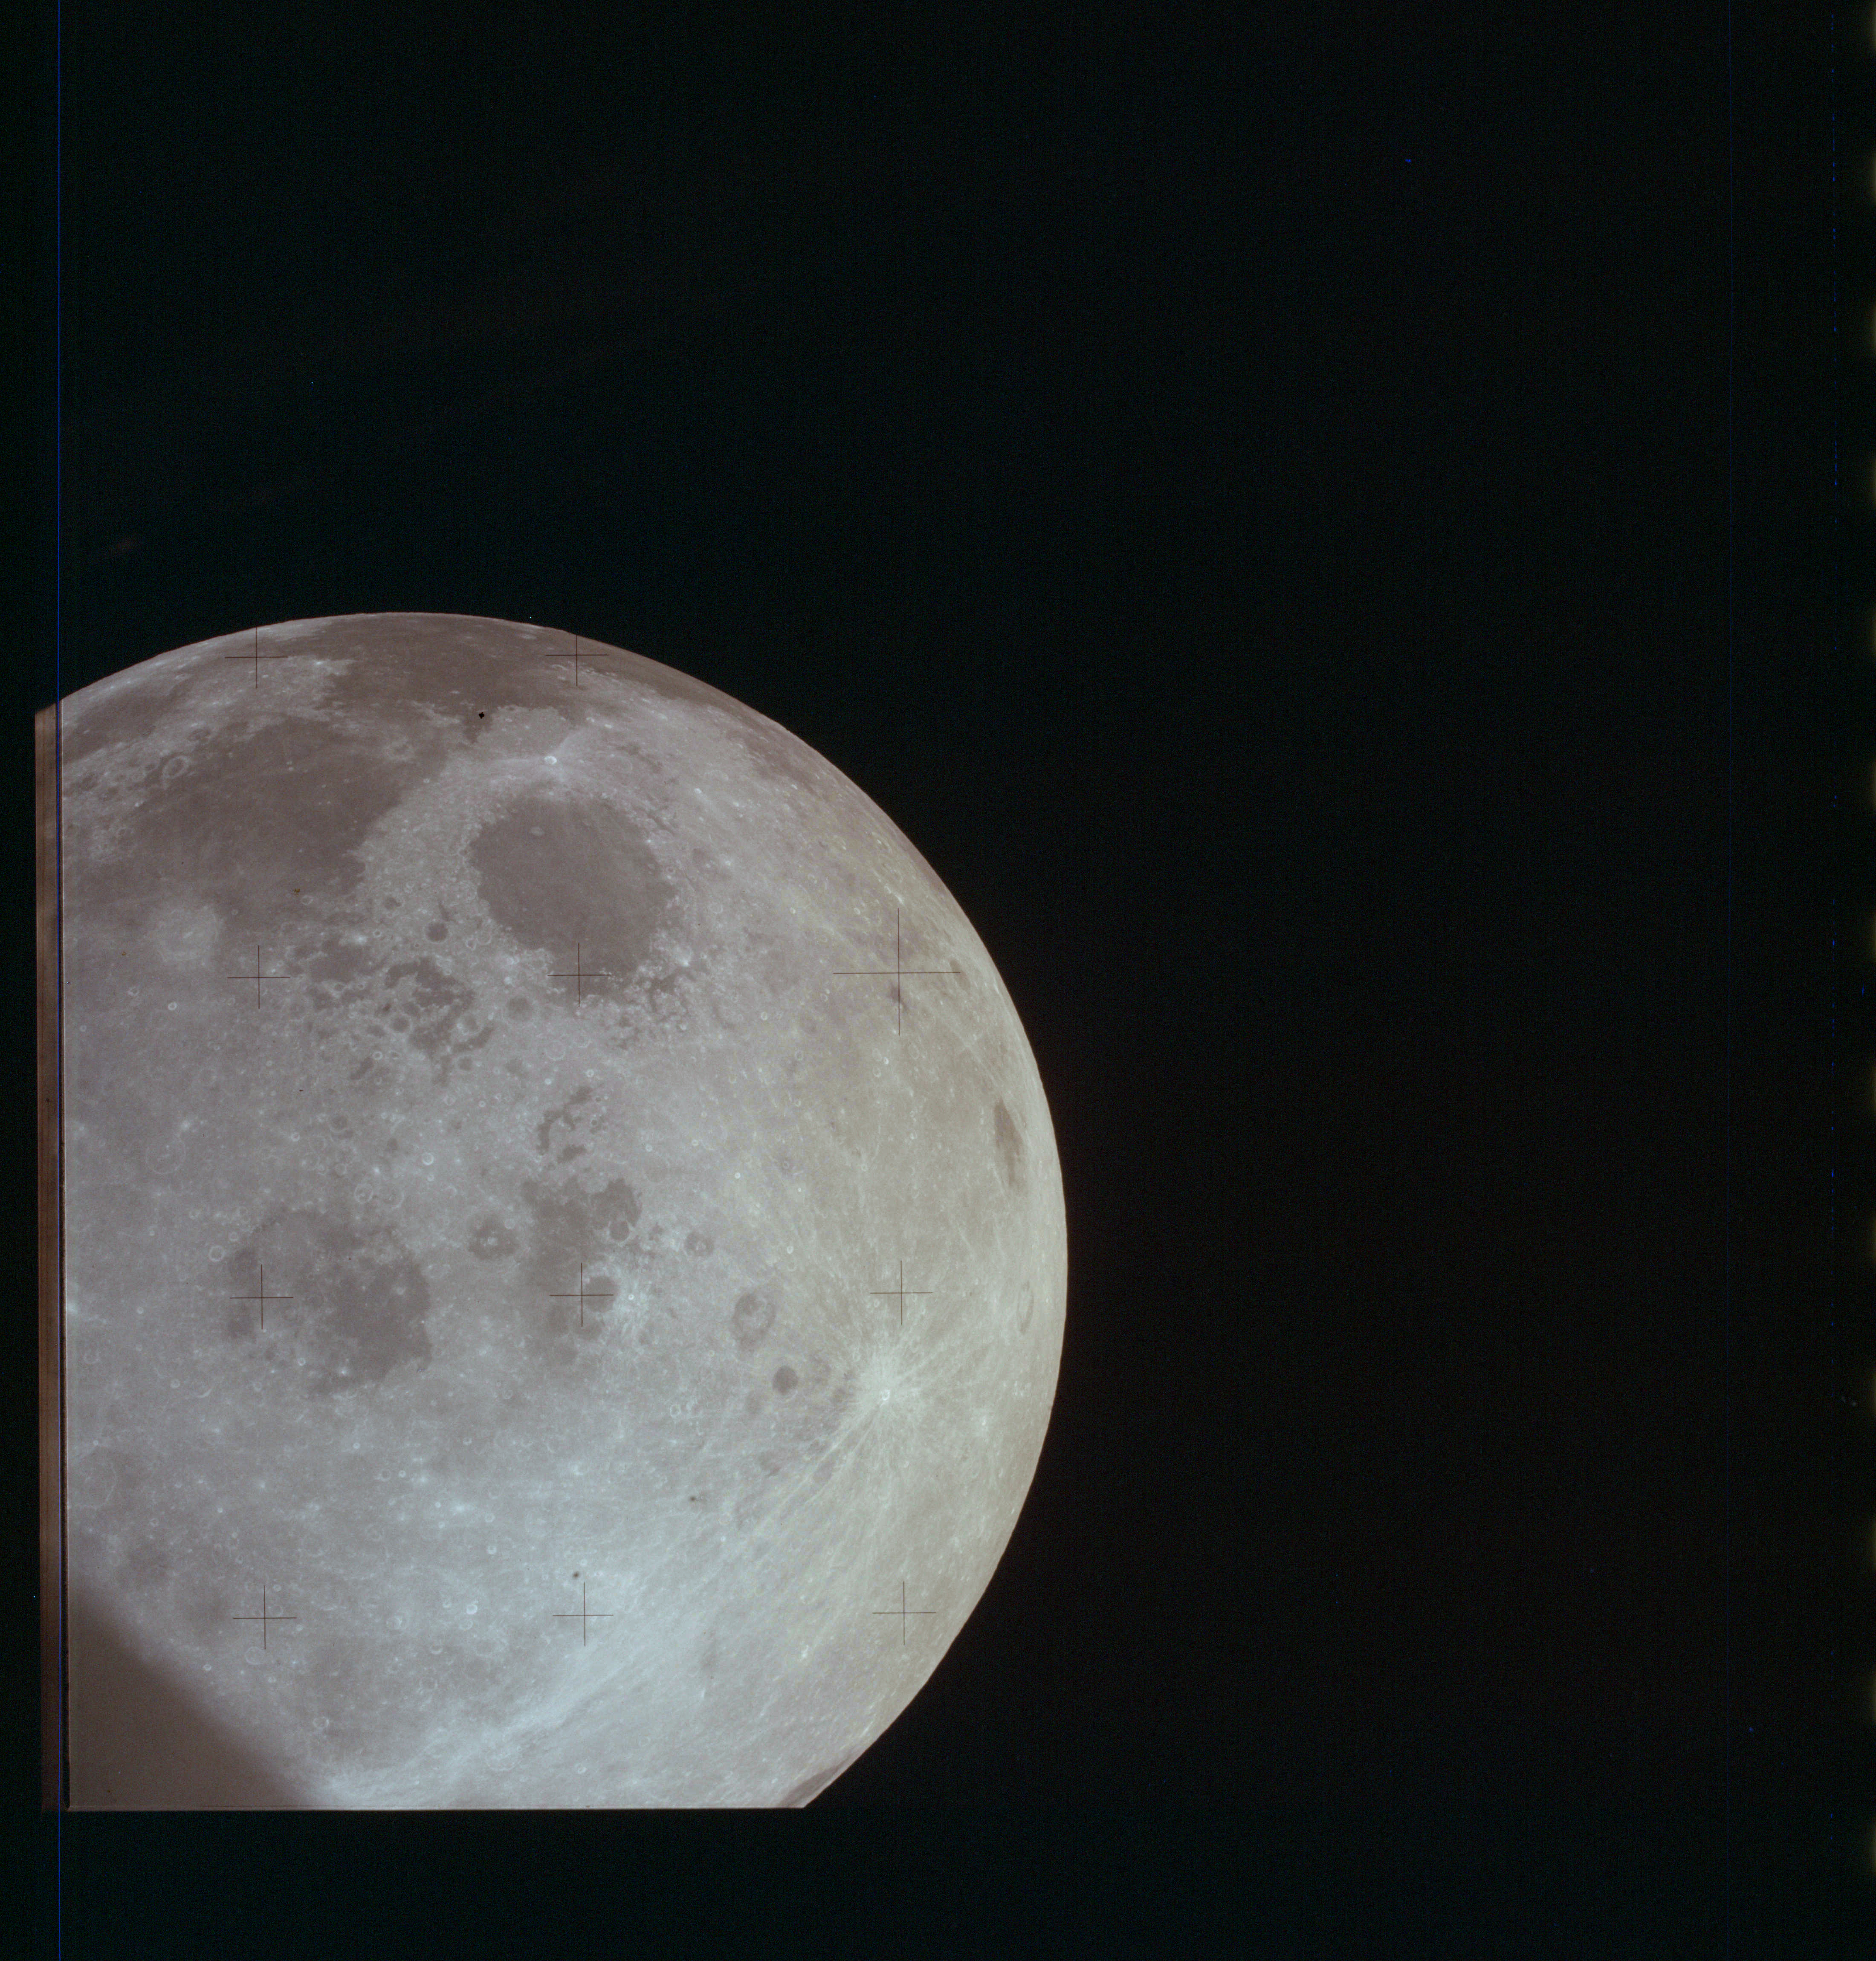
AS13-61-8755 Browse or print resolution. Moon from Apollo 13. Image credit: Image Science and Analysis Laboratory, NASA-Johnson Space Center. |
|
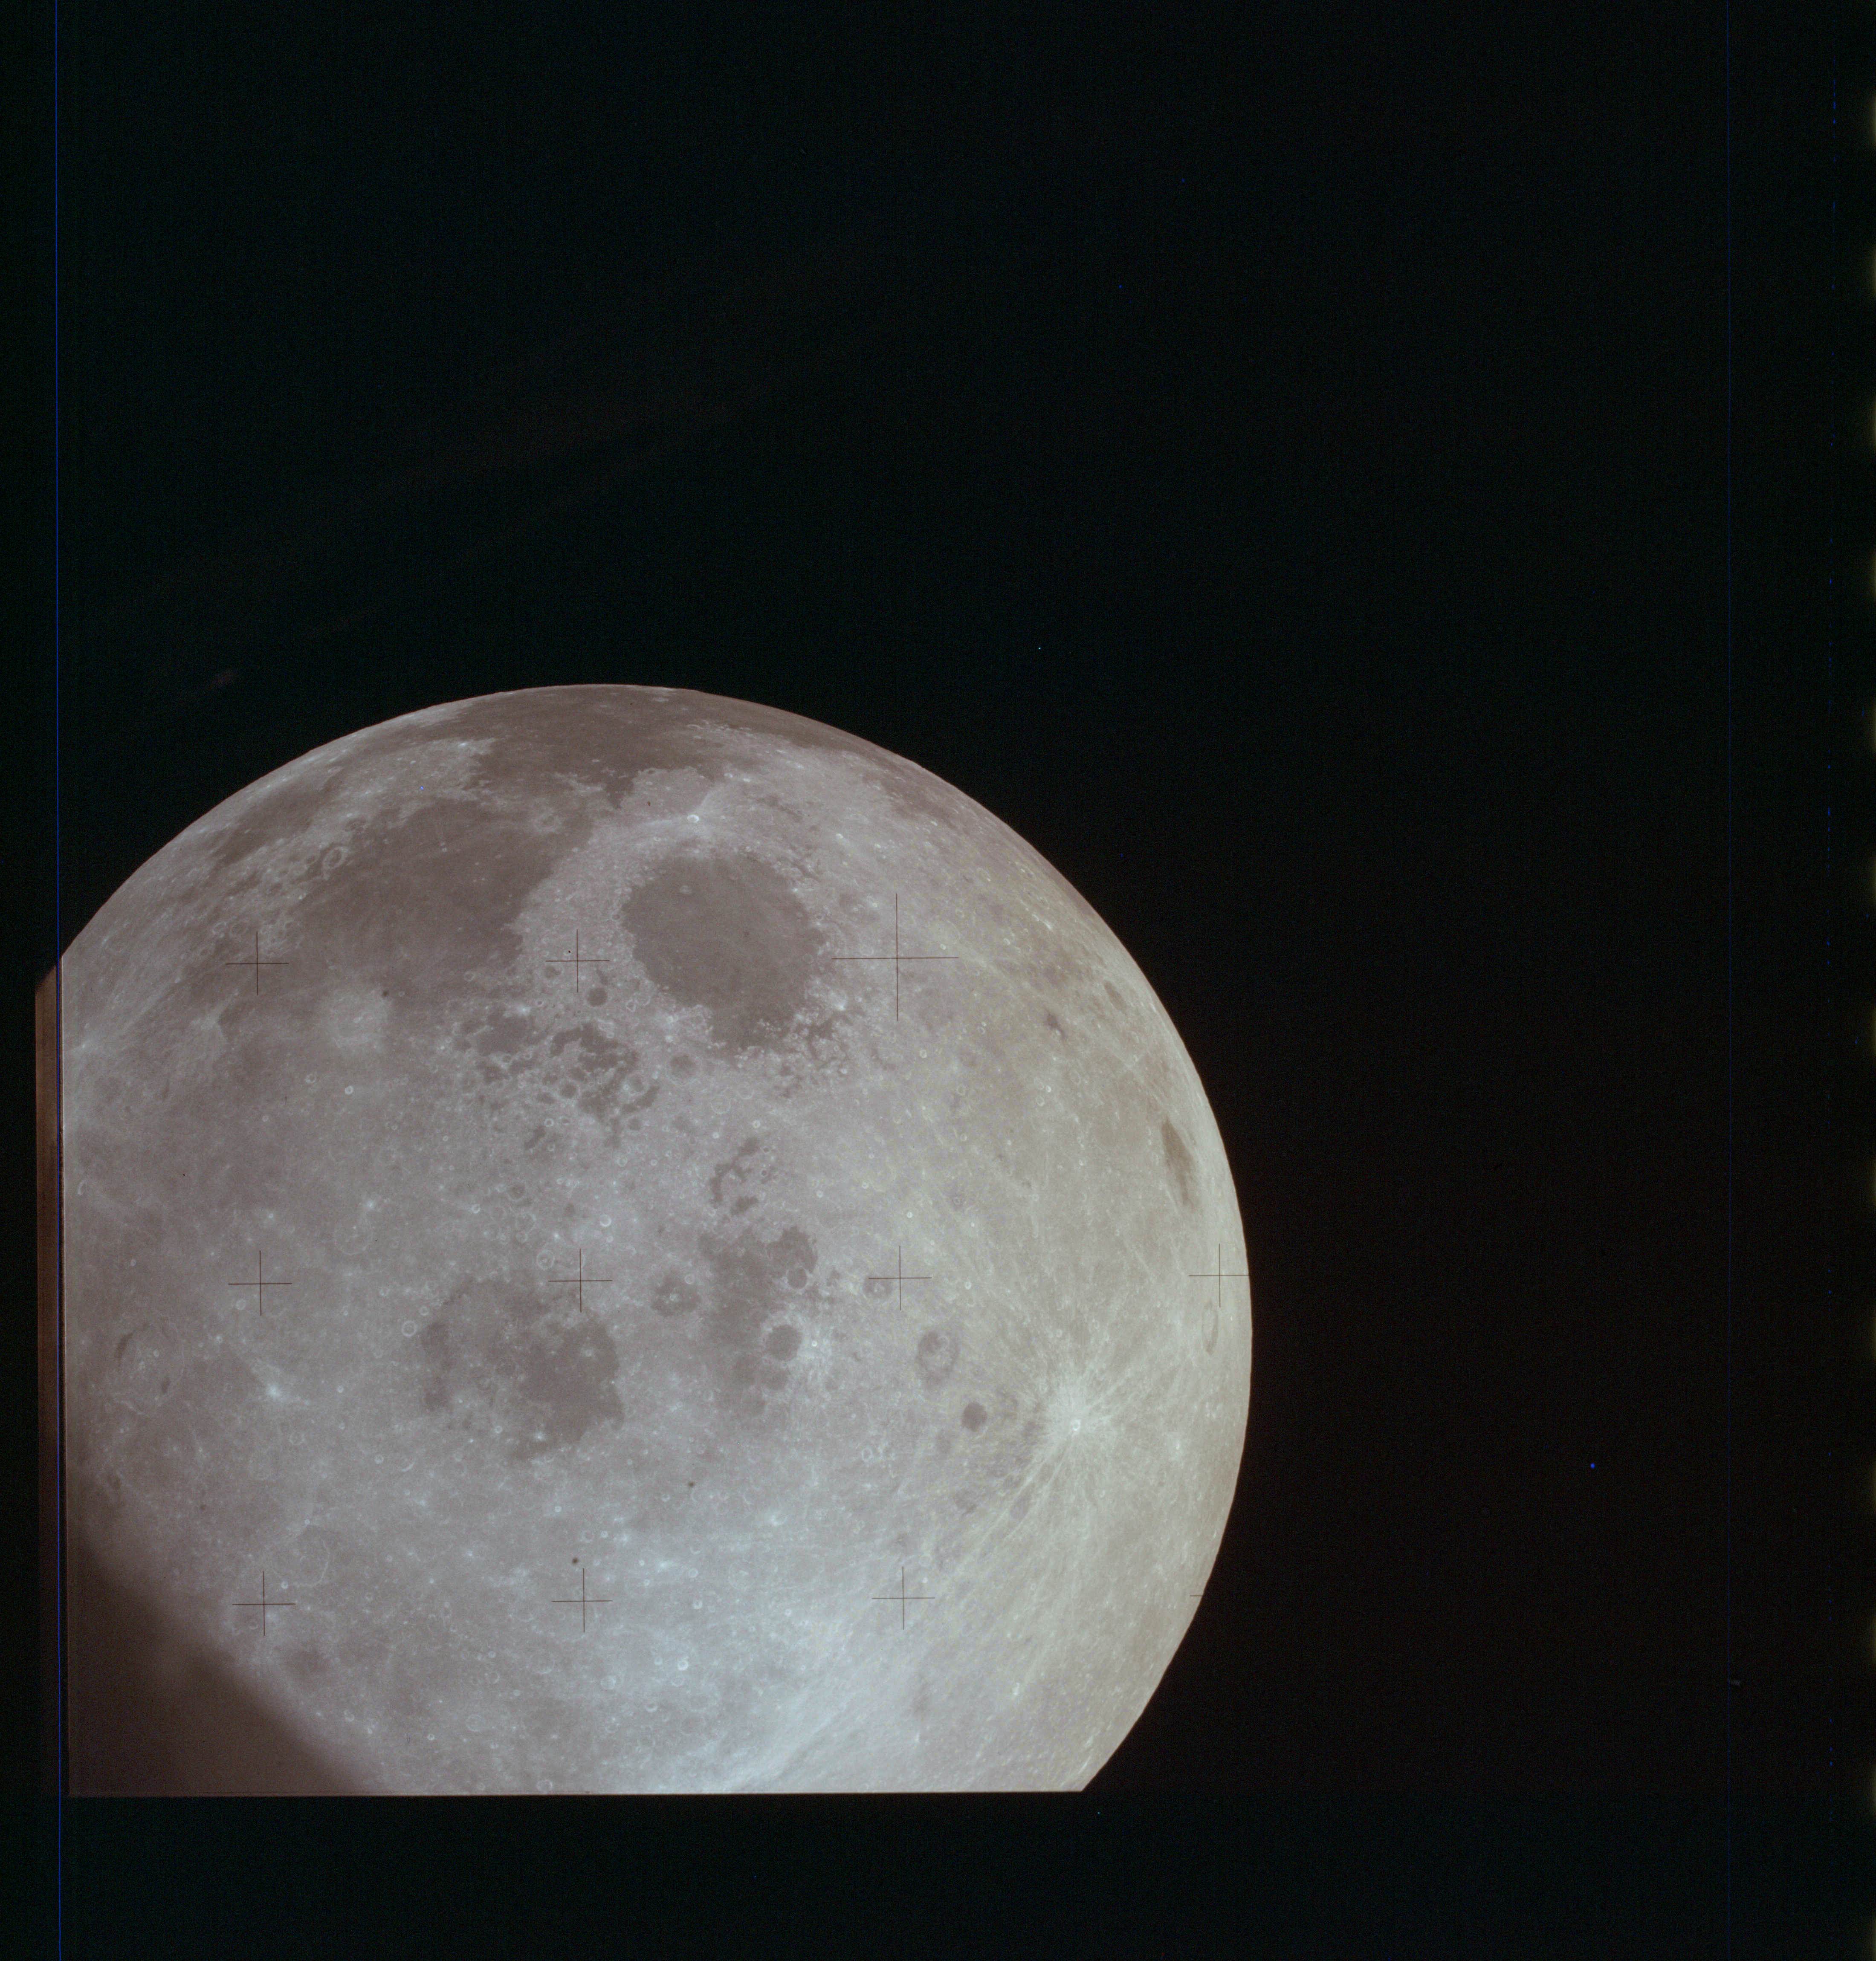
AS13-61-8756 Browse or print resolution. Moon from Apollo 13. Image credit: Image Science and Analysis Laboratory, NASA-Johnson Space Center. |
|
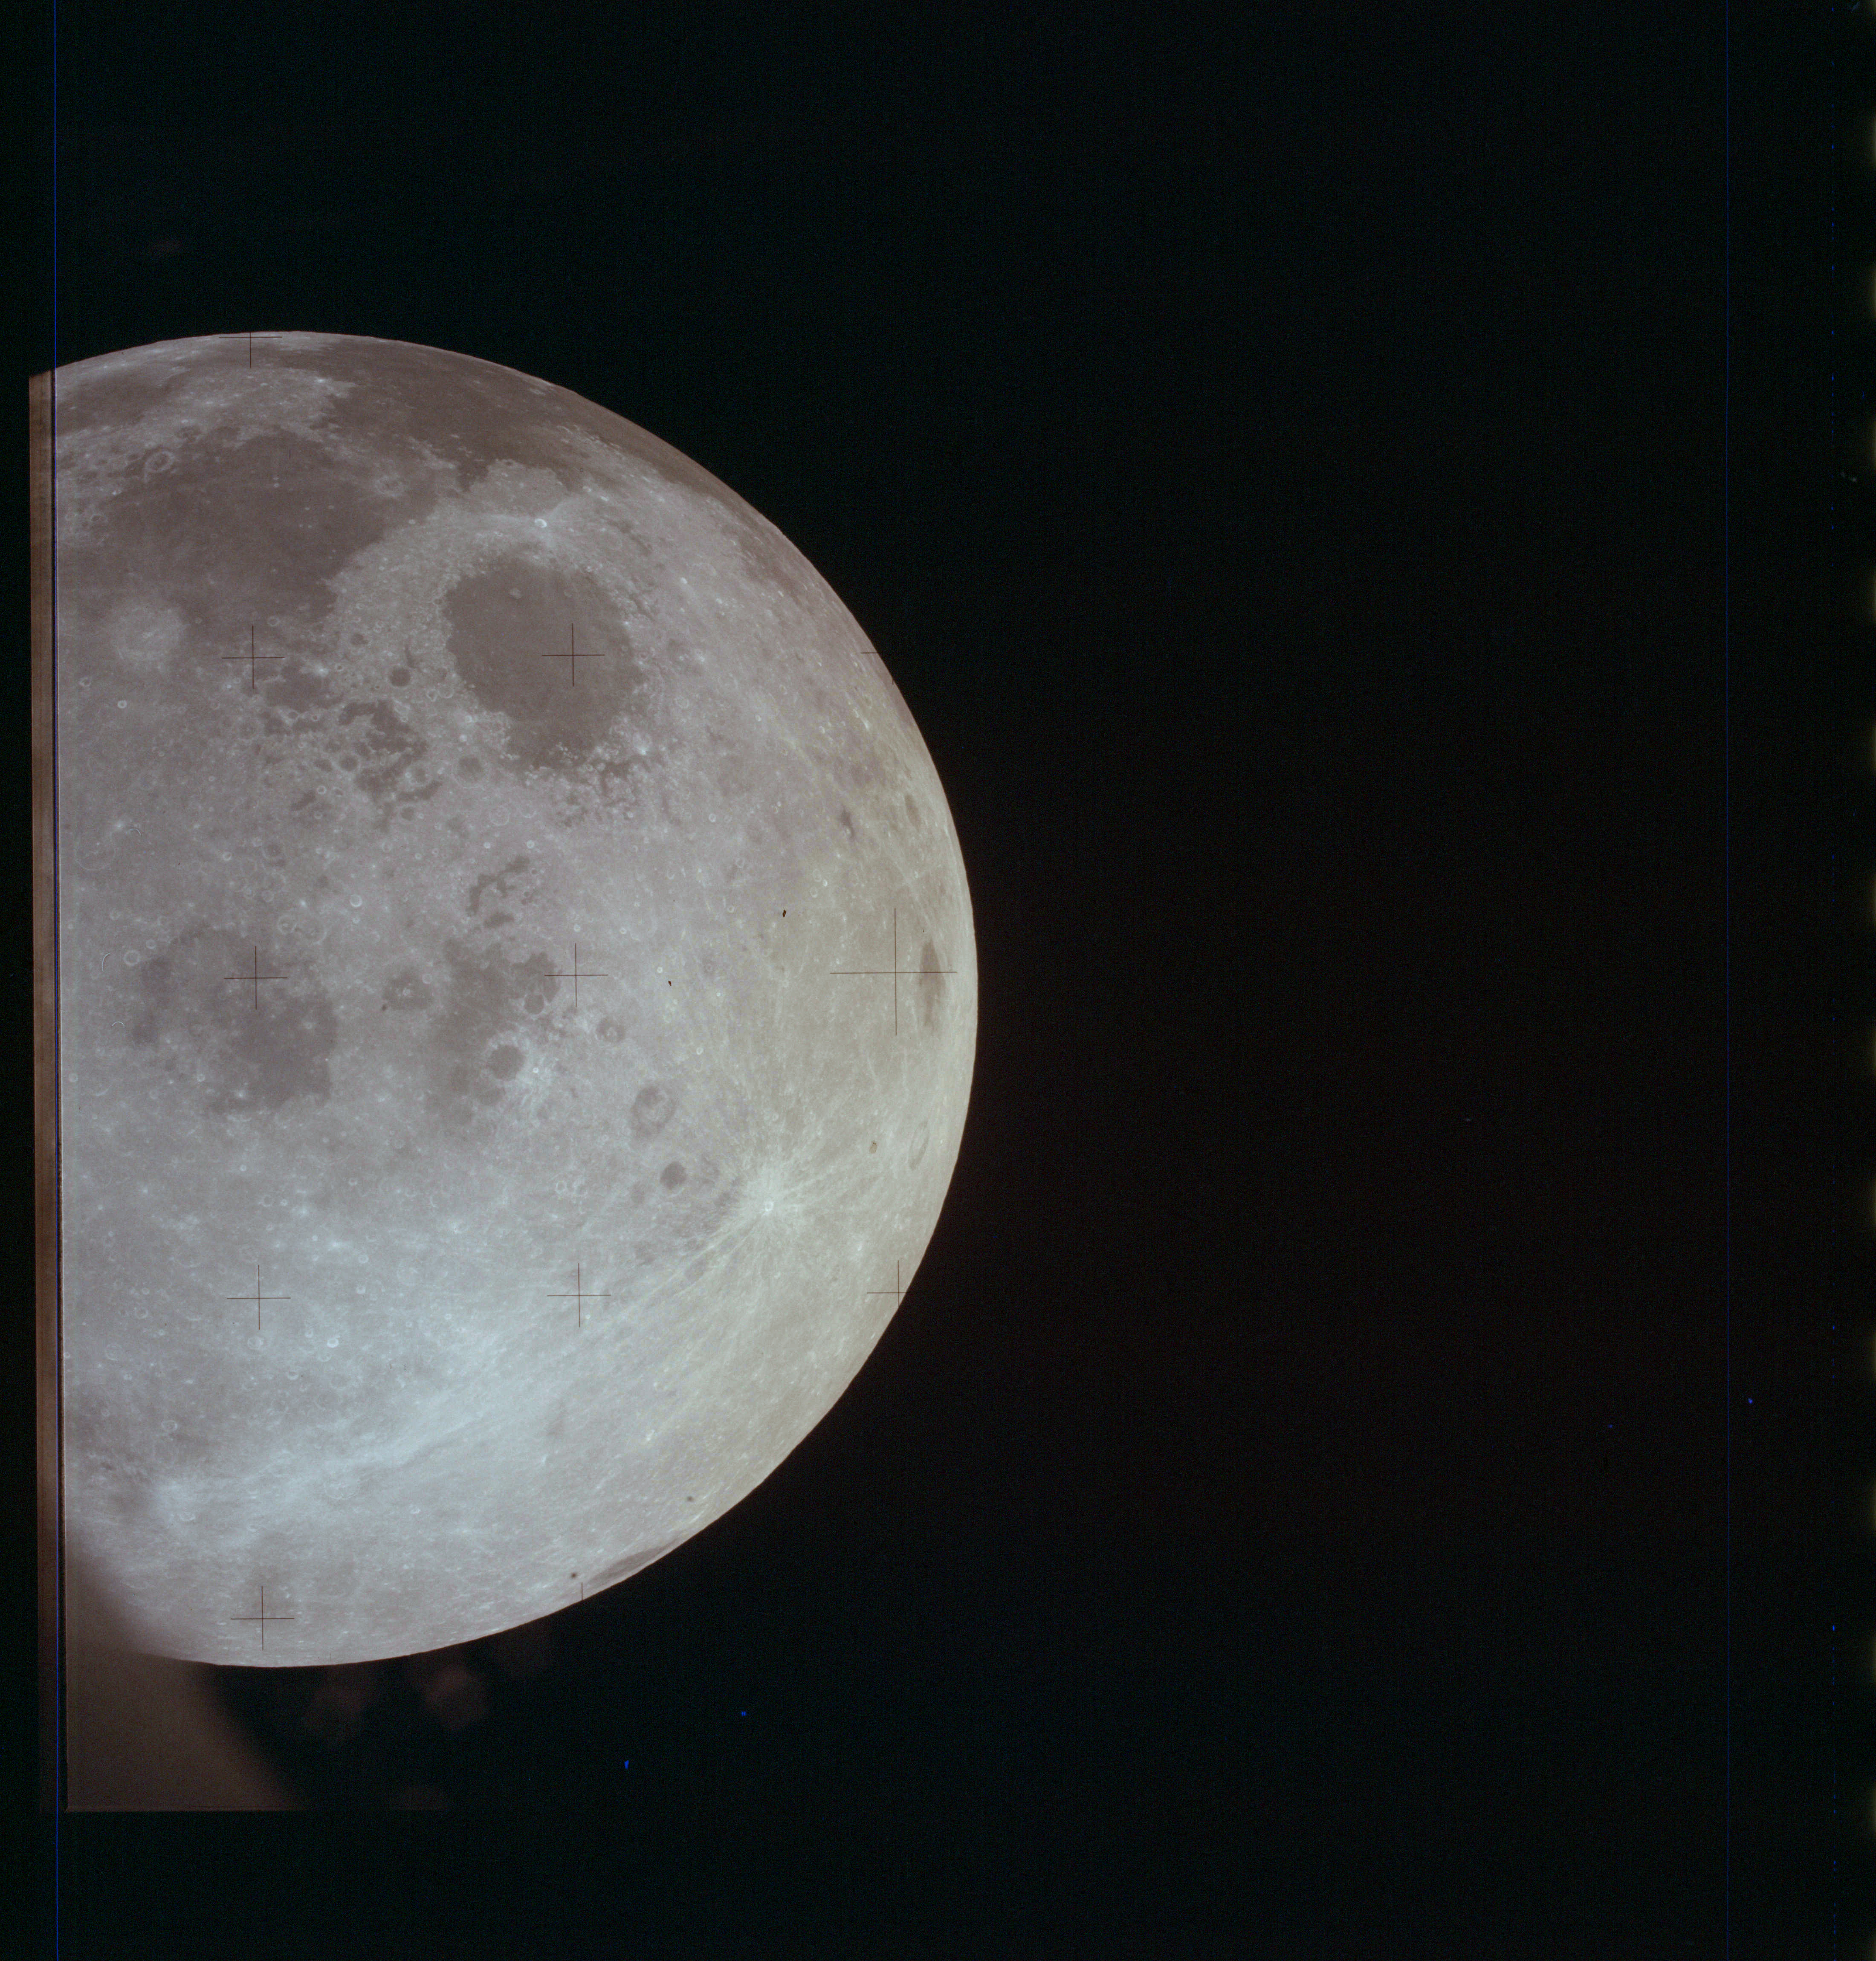
AS13-61-8757 Browse or print resolution. Moon from Apollo 13. Image credit: Image Science and Analysis Laboratory, NASA-Johnson Space Center. |
|
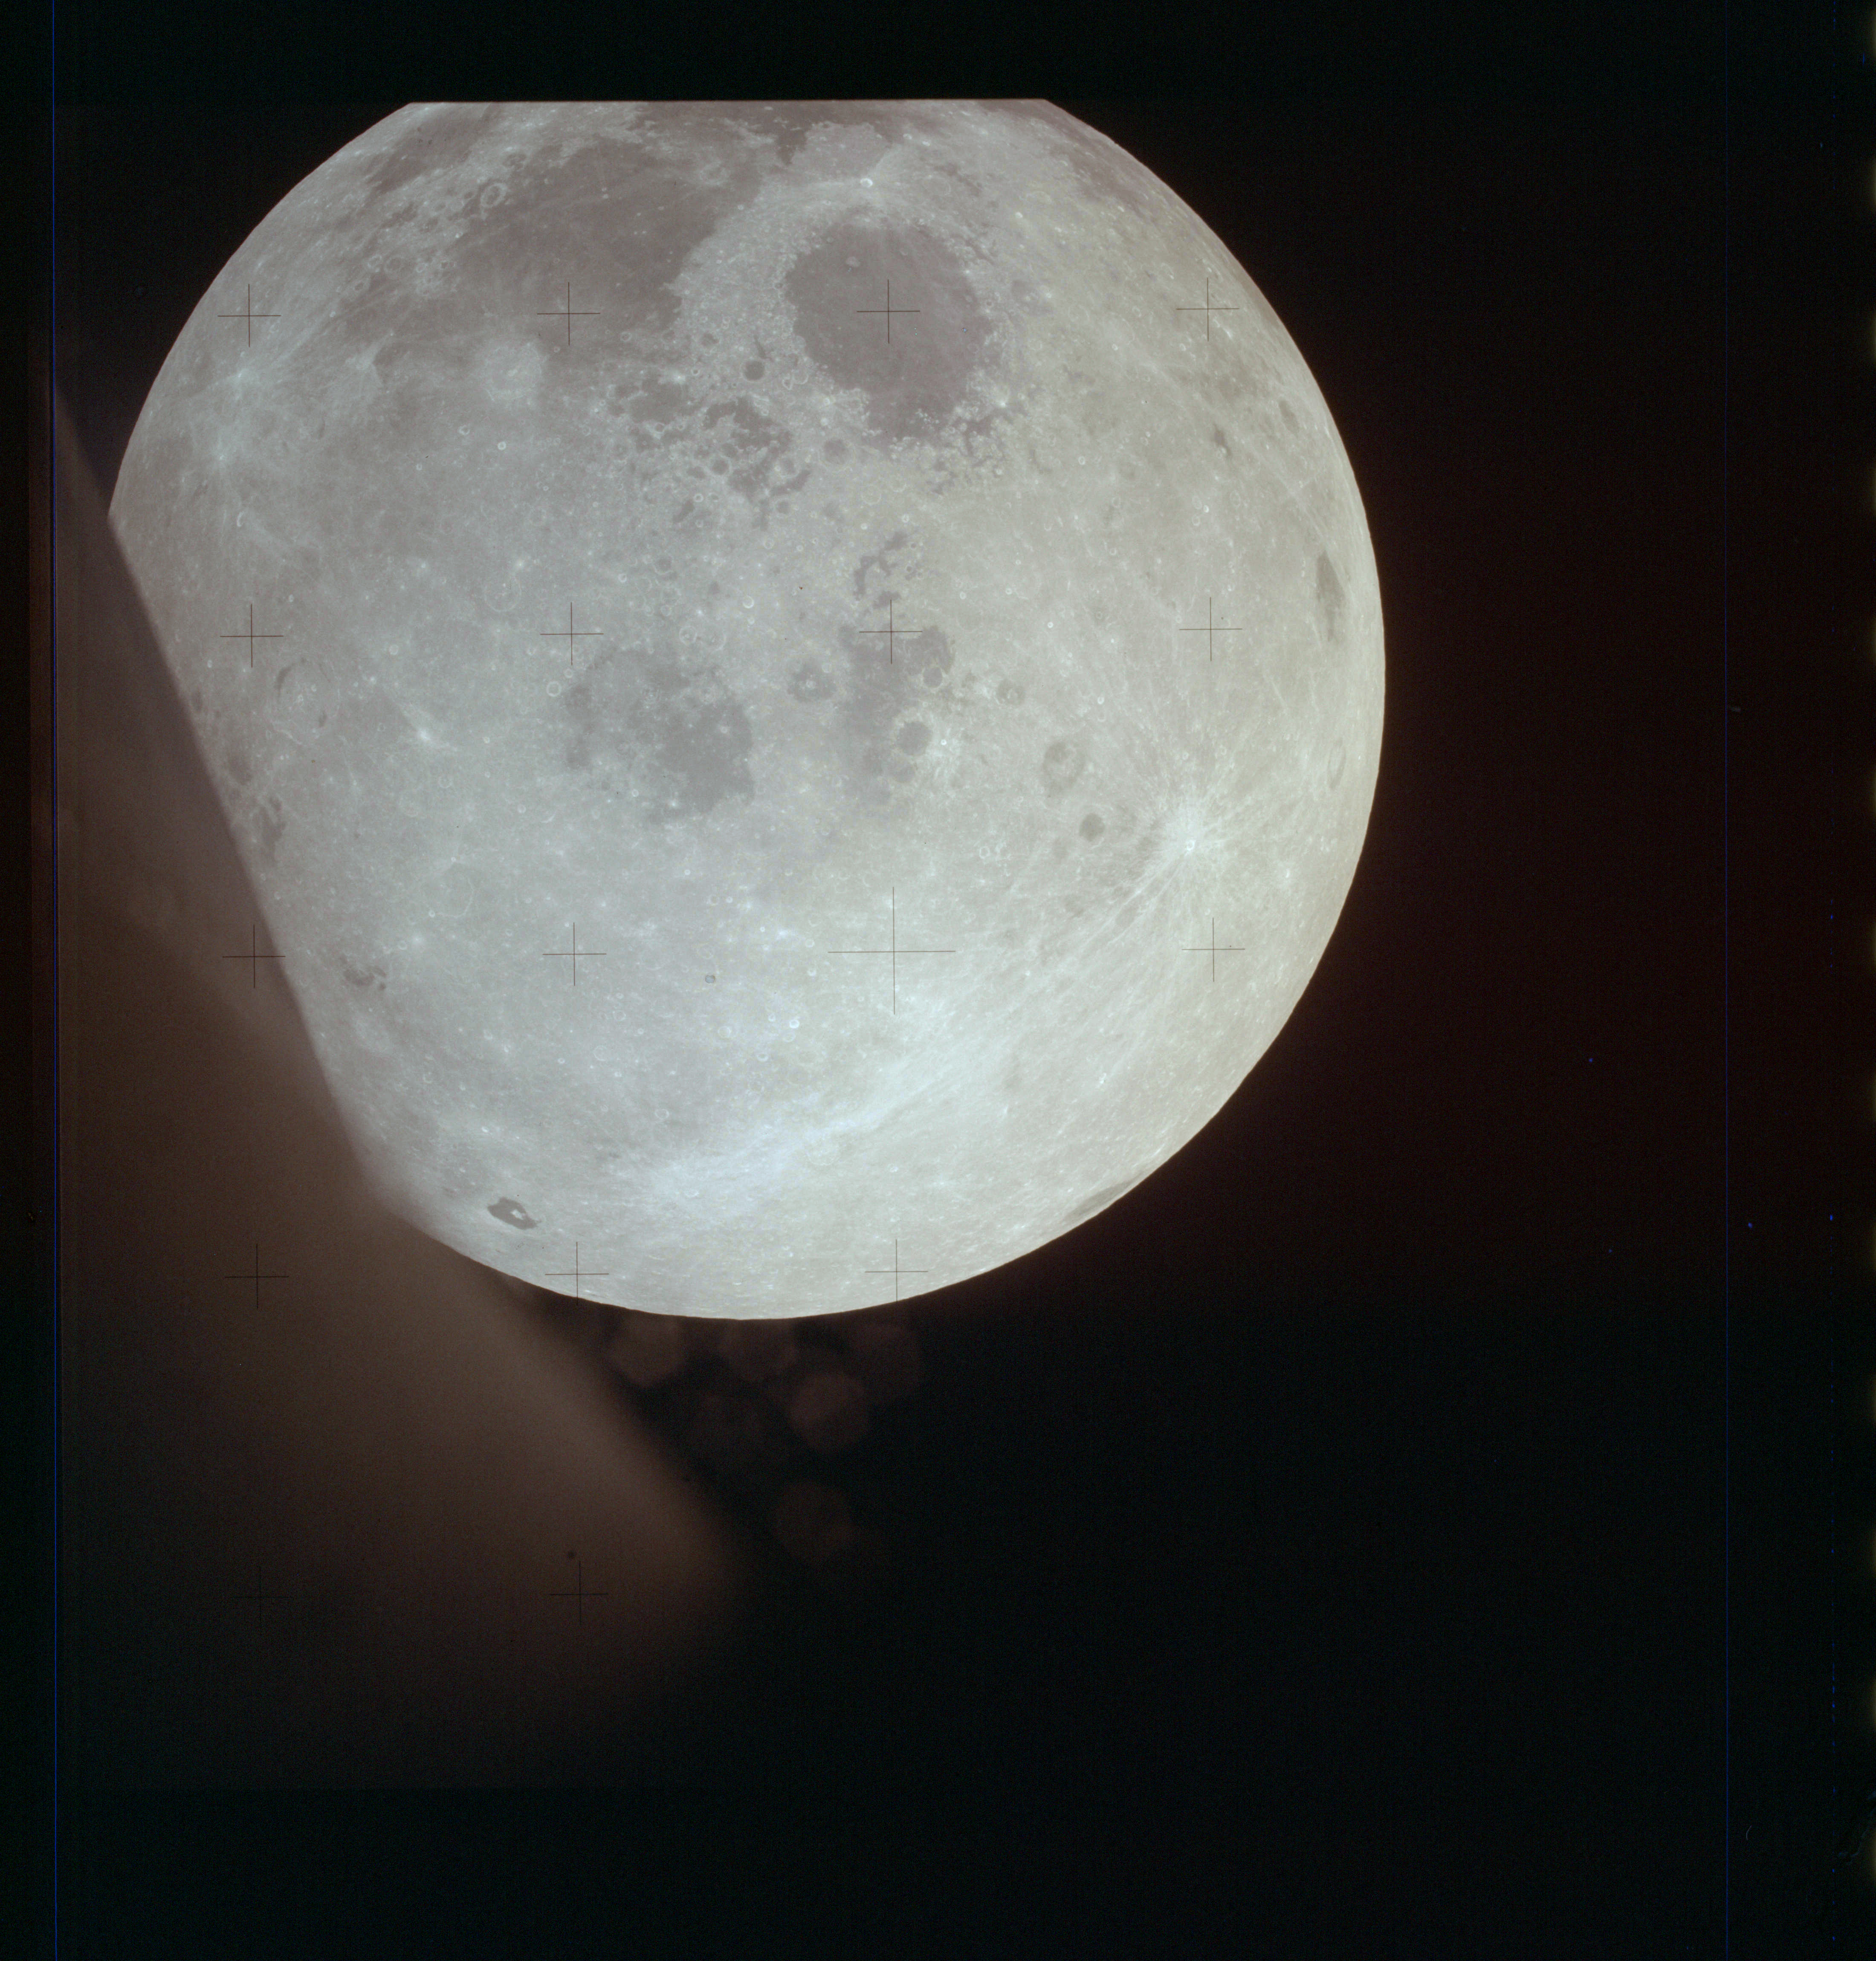
AS13-61-8758 Browse or print resolution. Moon from Apollo 13. Image credit: Image Science and Analysis Laboratory, NASA-Johnson Space Center. |
|
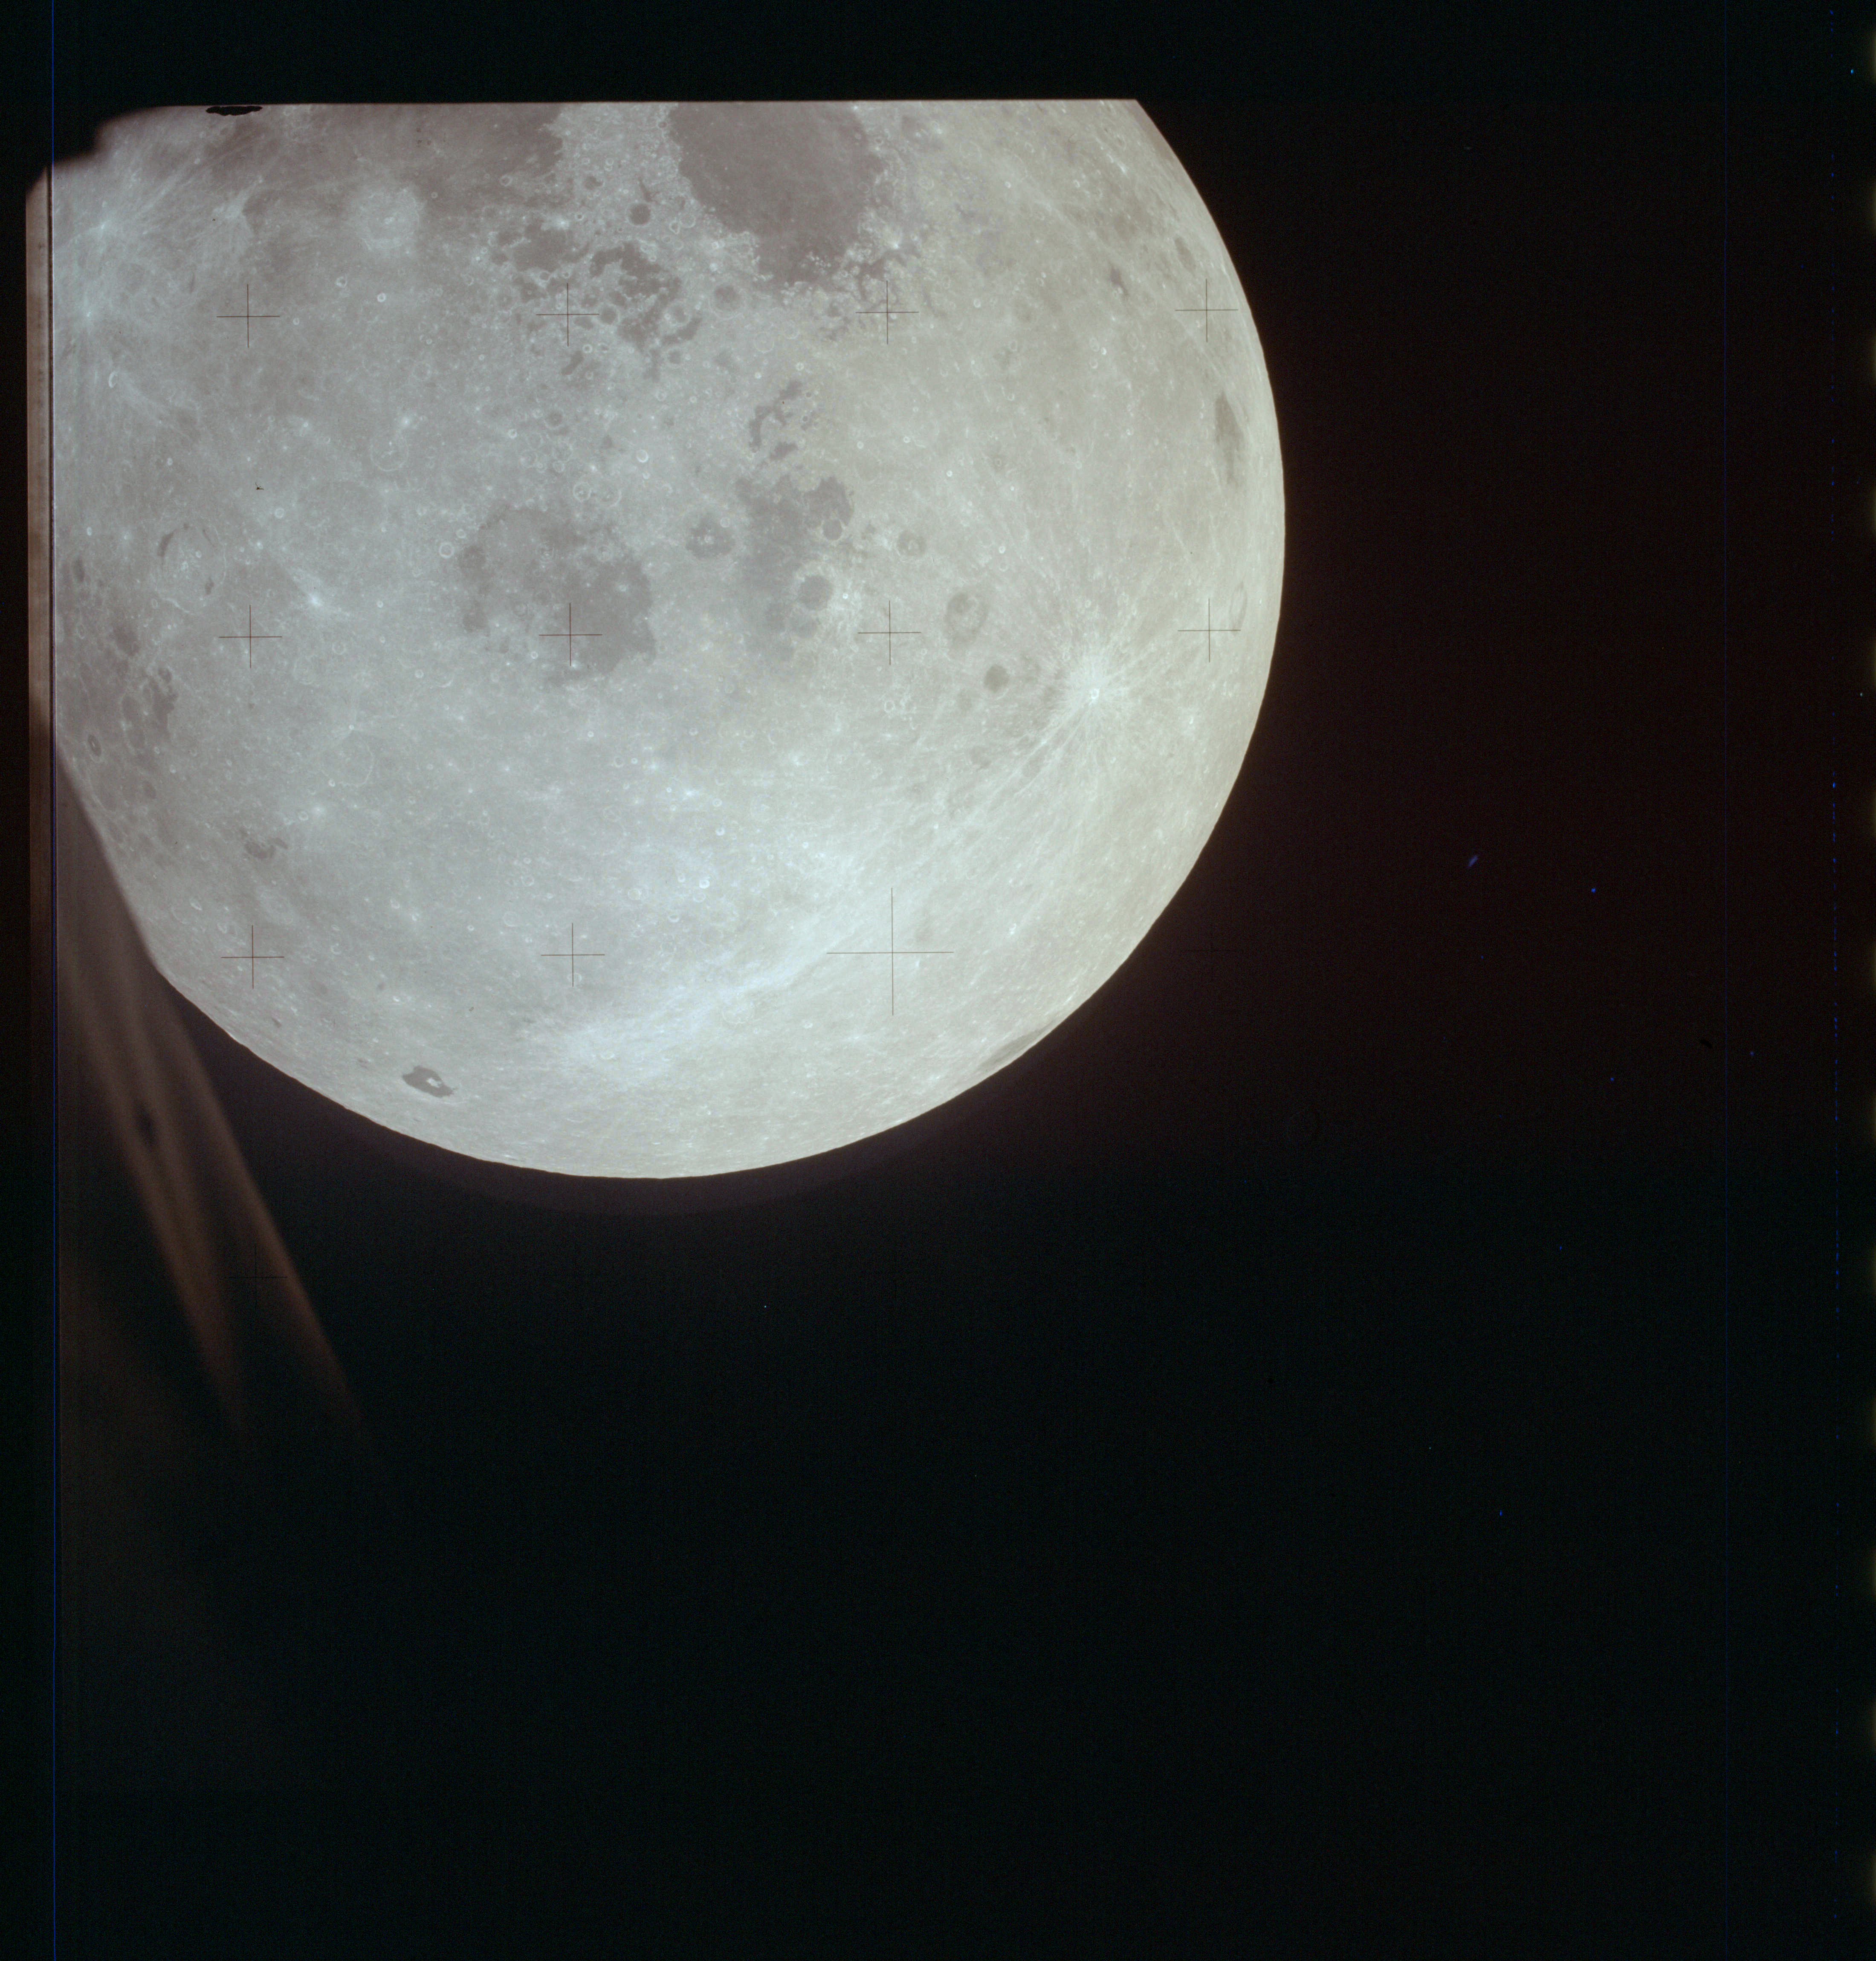
AS13-61-8759 Browse or print resolution. Moon from Apollo 13. Image credit: Image Science and Analysis Laboratory, NASA-Johnson Space Center. |
|
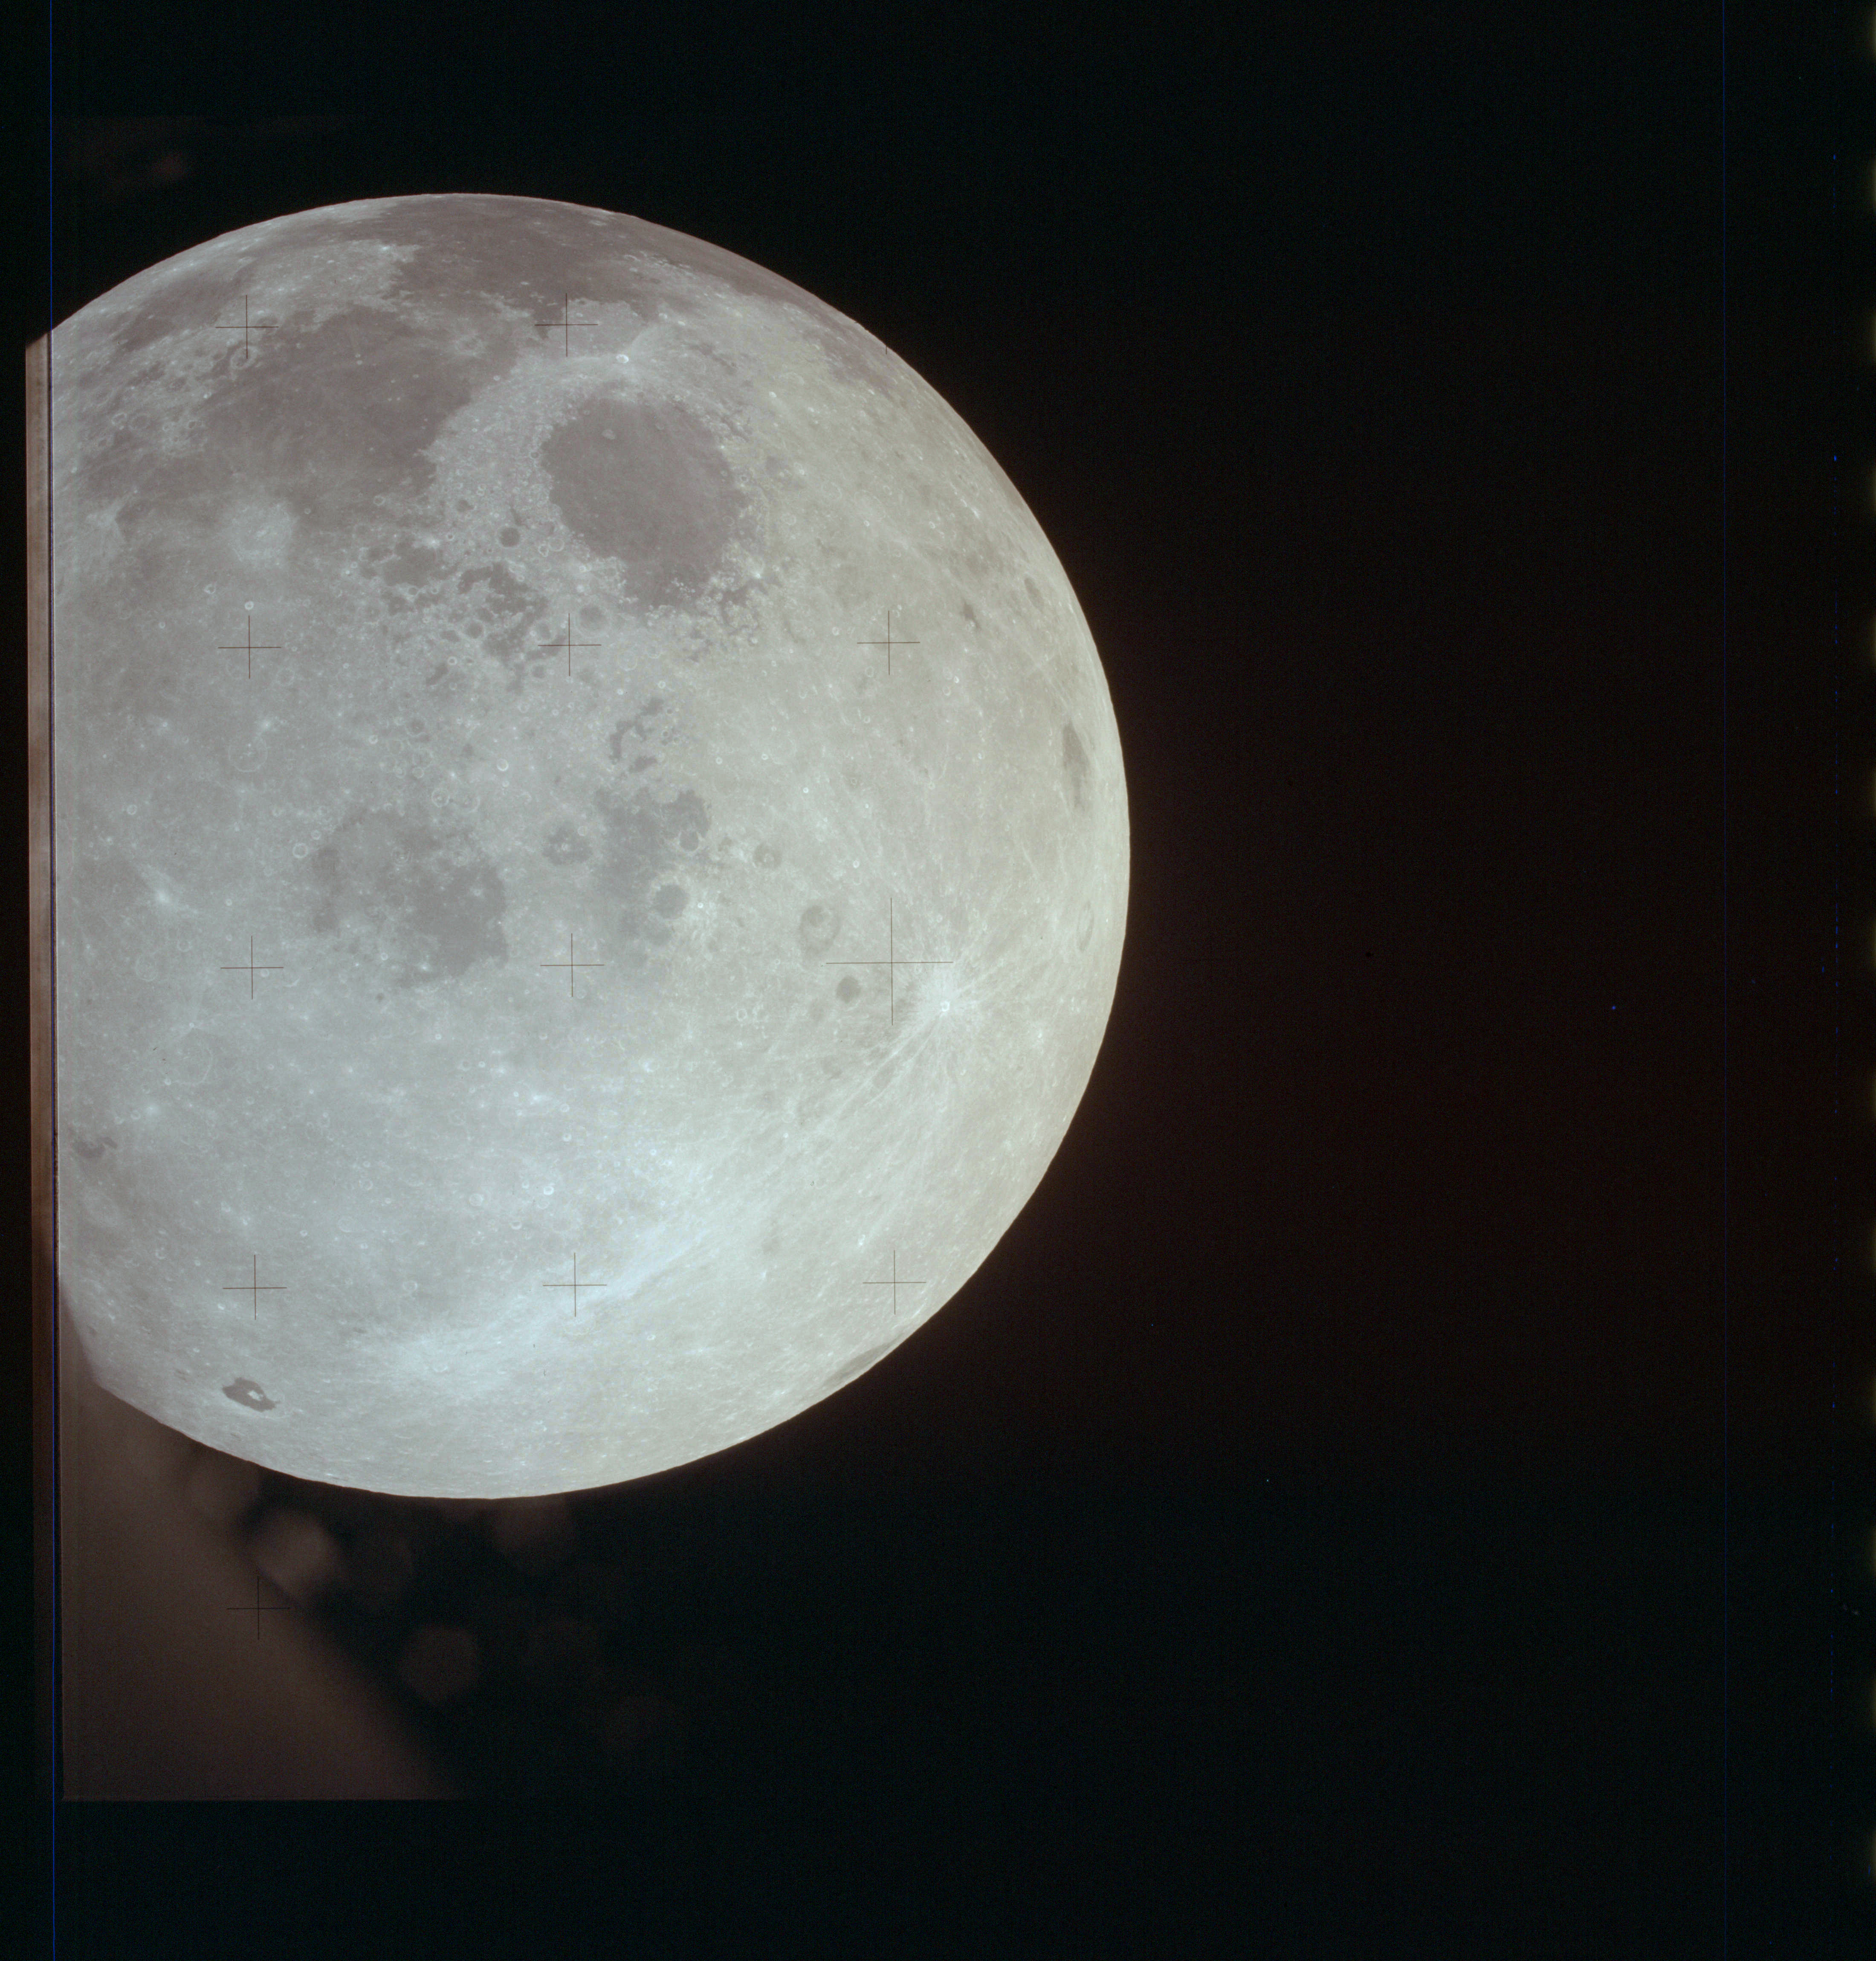
AS13-61-8760 Browse or print resolution. Moon from Apollo 13. Image credit: Image Science and Analysis Laboratory, NASA-Johnson Space Center. |
|
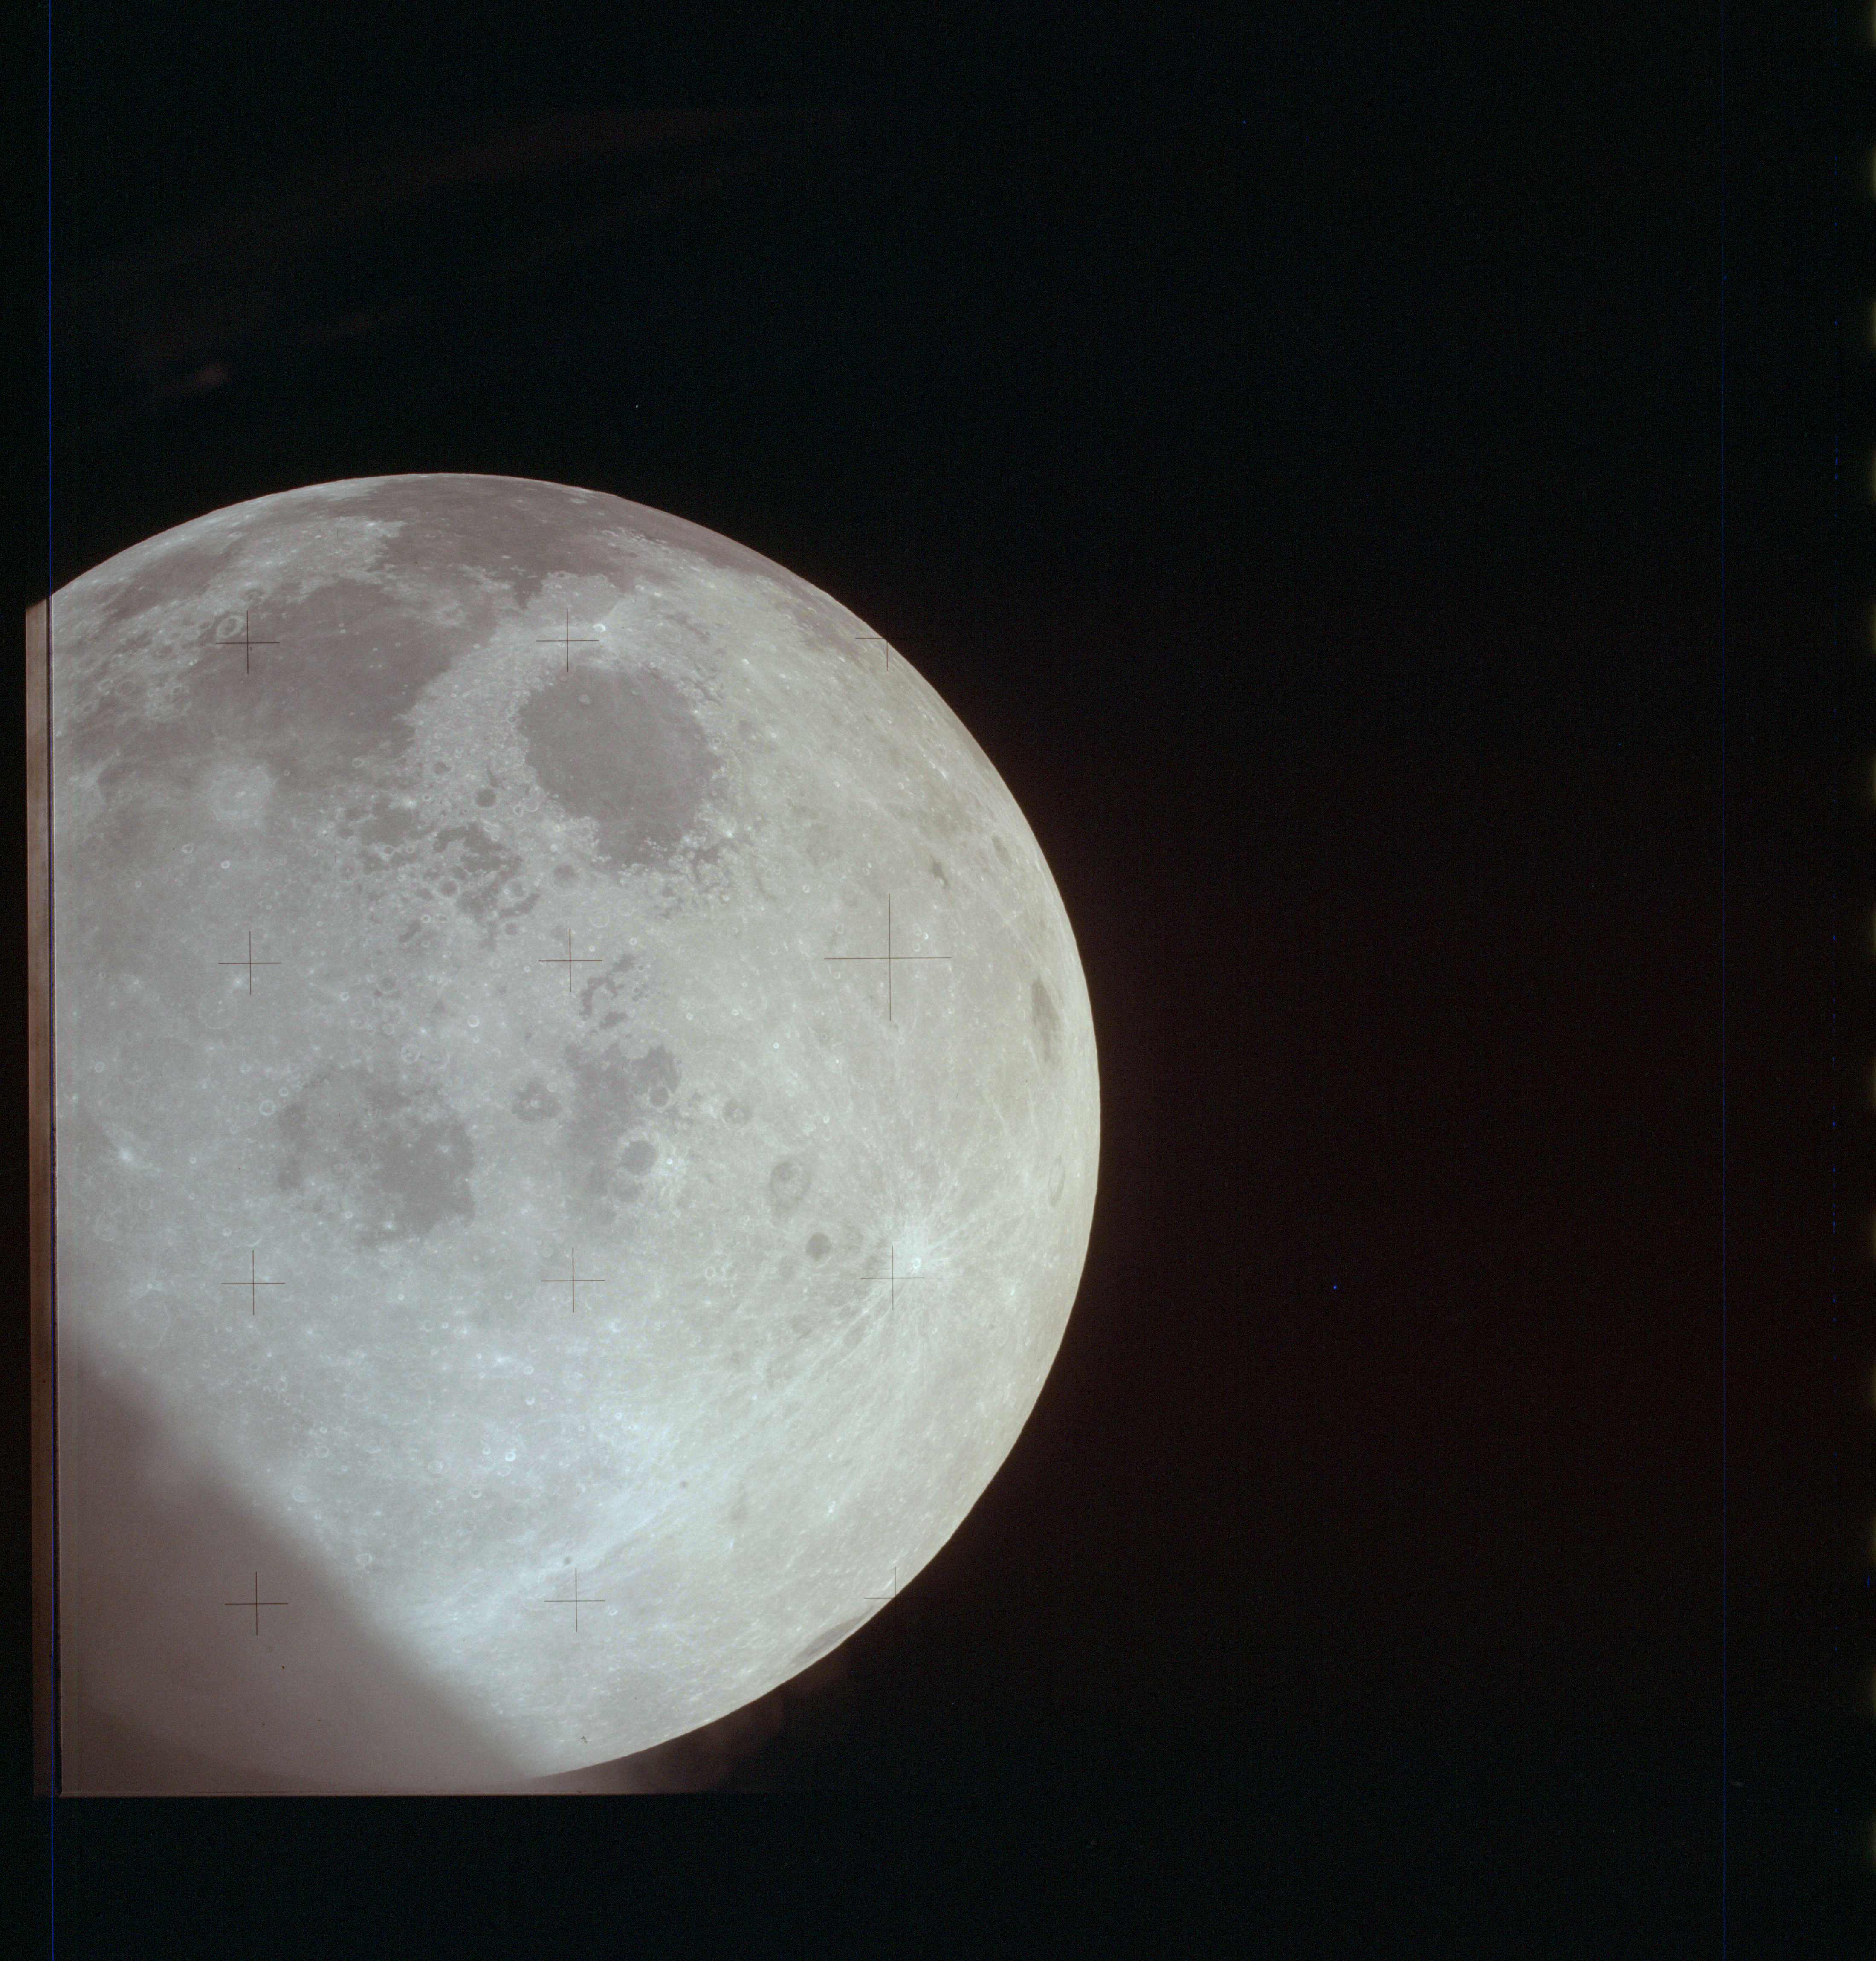
AS13-61-8761 Browse or print resolution. Moon from Apollo 13. Image credit: Image Science and Analysis Laboratory, NASA-Johnson Space Center. |
|
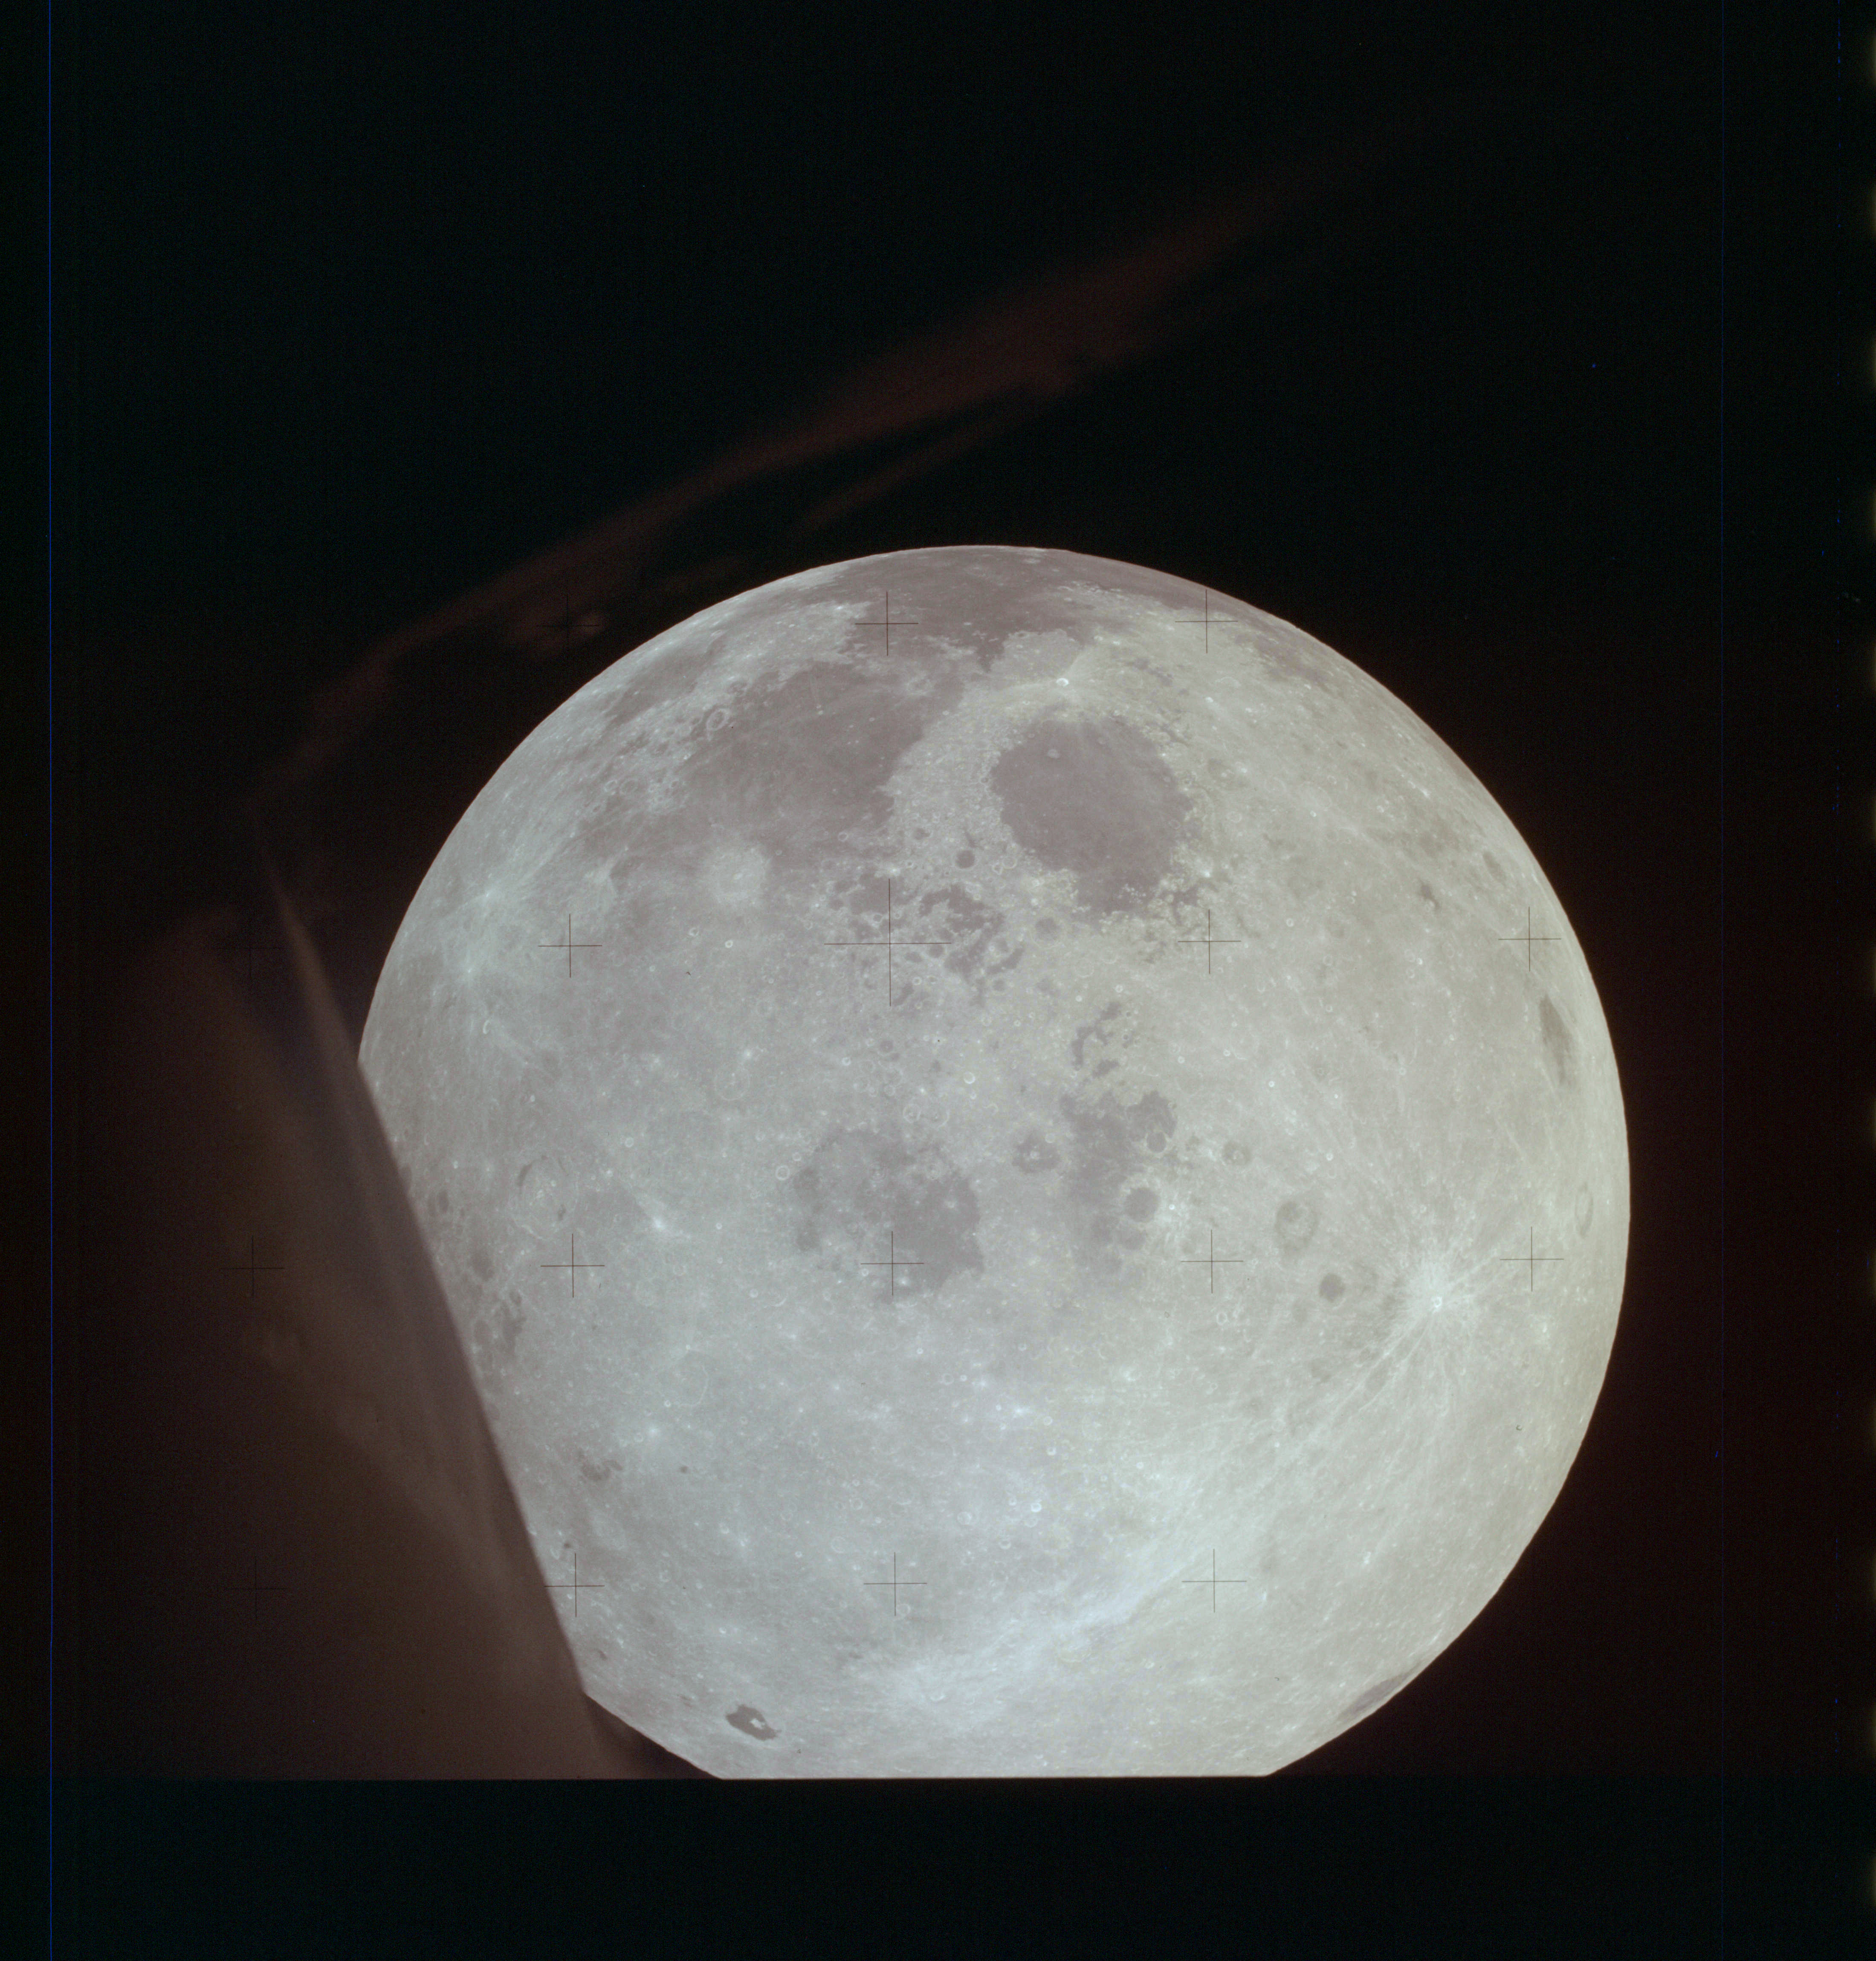
AS13-61-8762 Browse or print resolution. Moon from Apollo 13. Image credit: Image Science and Analysis Laboratory, NASA-Johnson Space Center. |
|
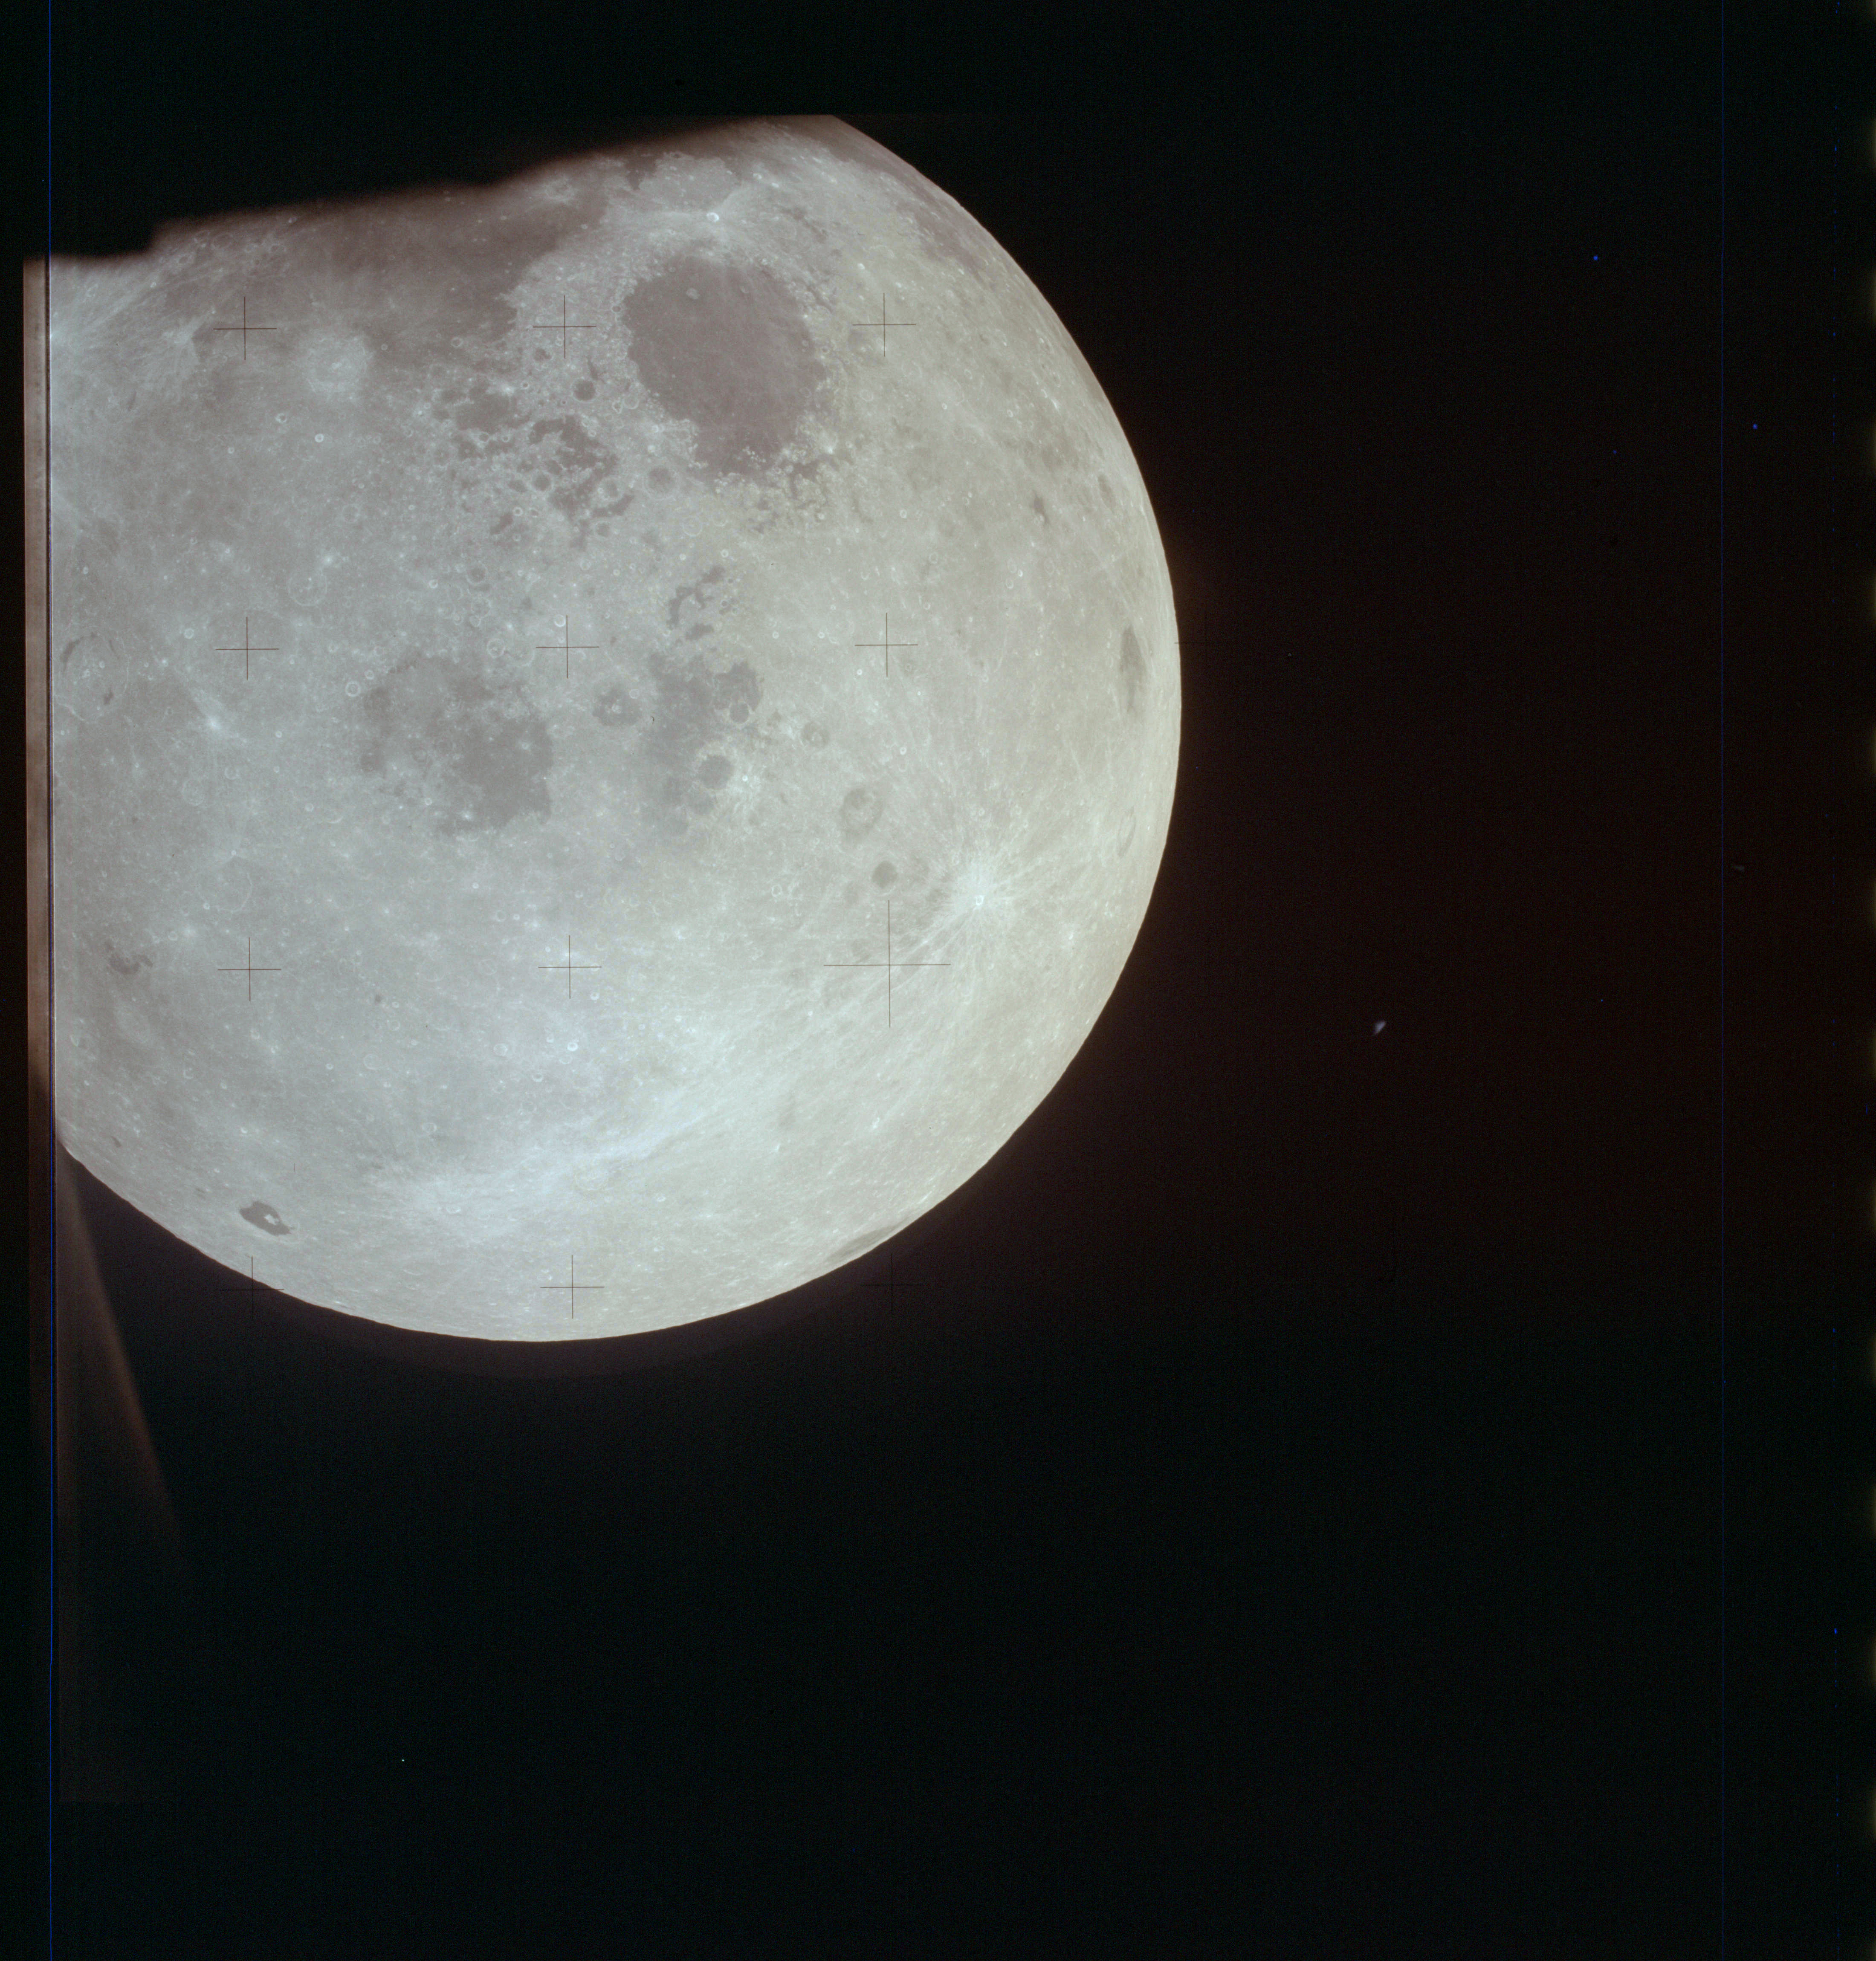
AS13-61-8763 Browse or print resolution. Moon from Apollo 13. Image credit: Image Science and Analysis Laboratory, NASA-Johnson Space Center. |
|
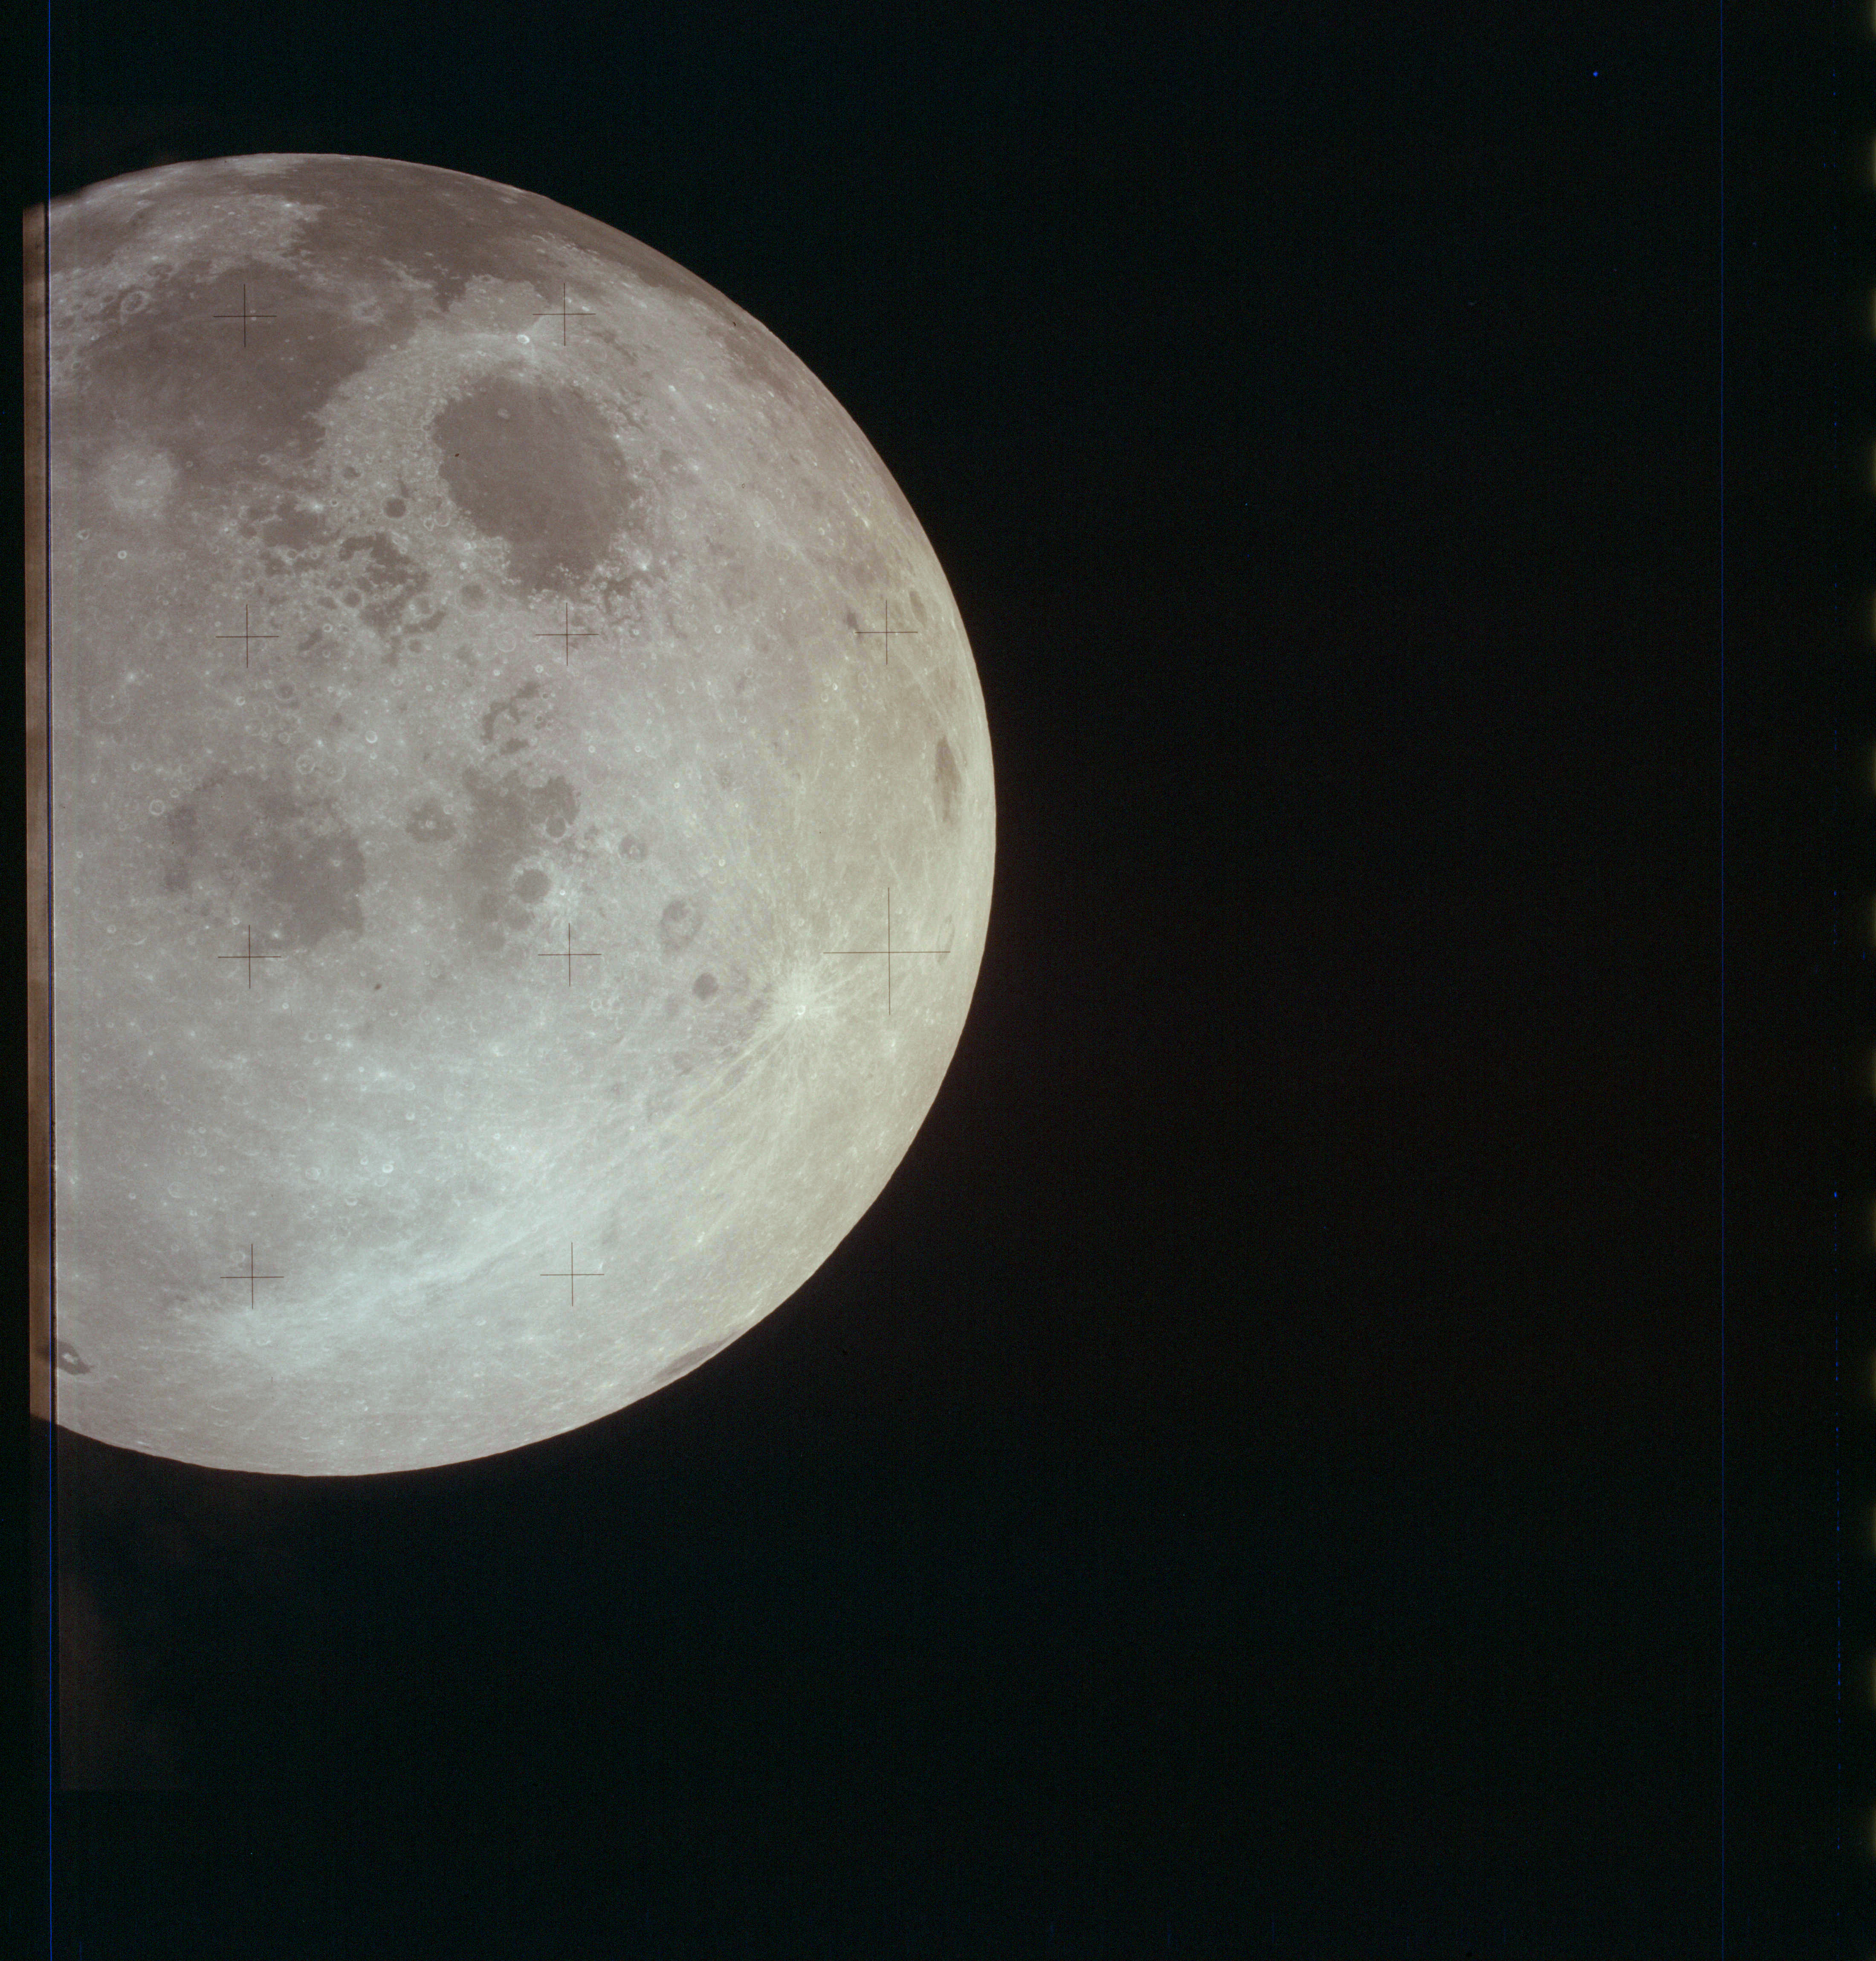
AS13-61-8764 Browse or print resolution. Moon from Apollo 13. Image credit: Image Science and Analysis Laboratory, NASA-Johnson Space Center. |
|
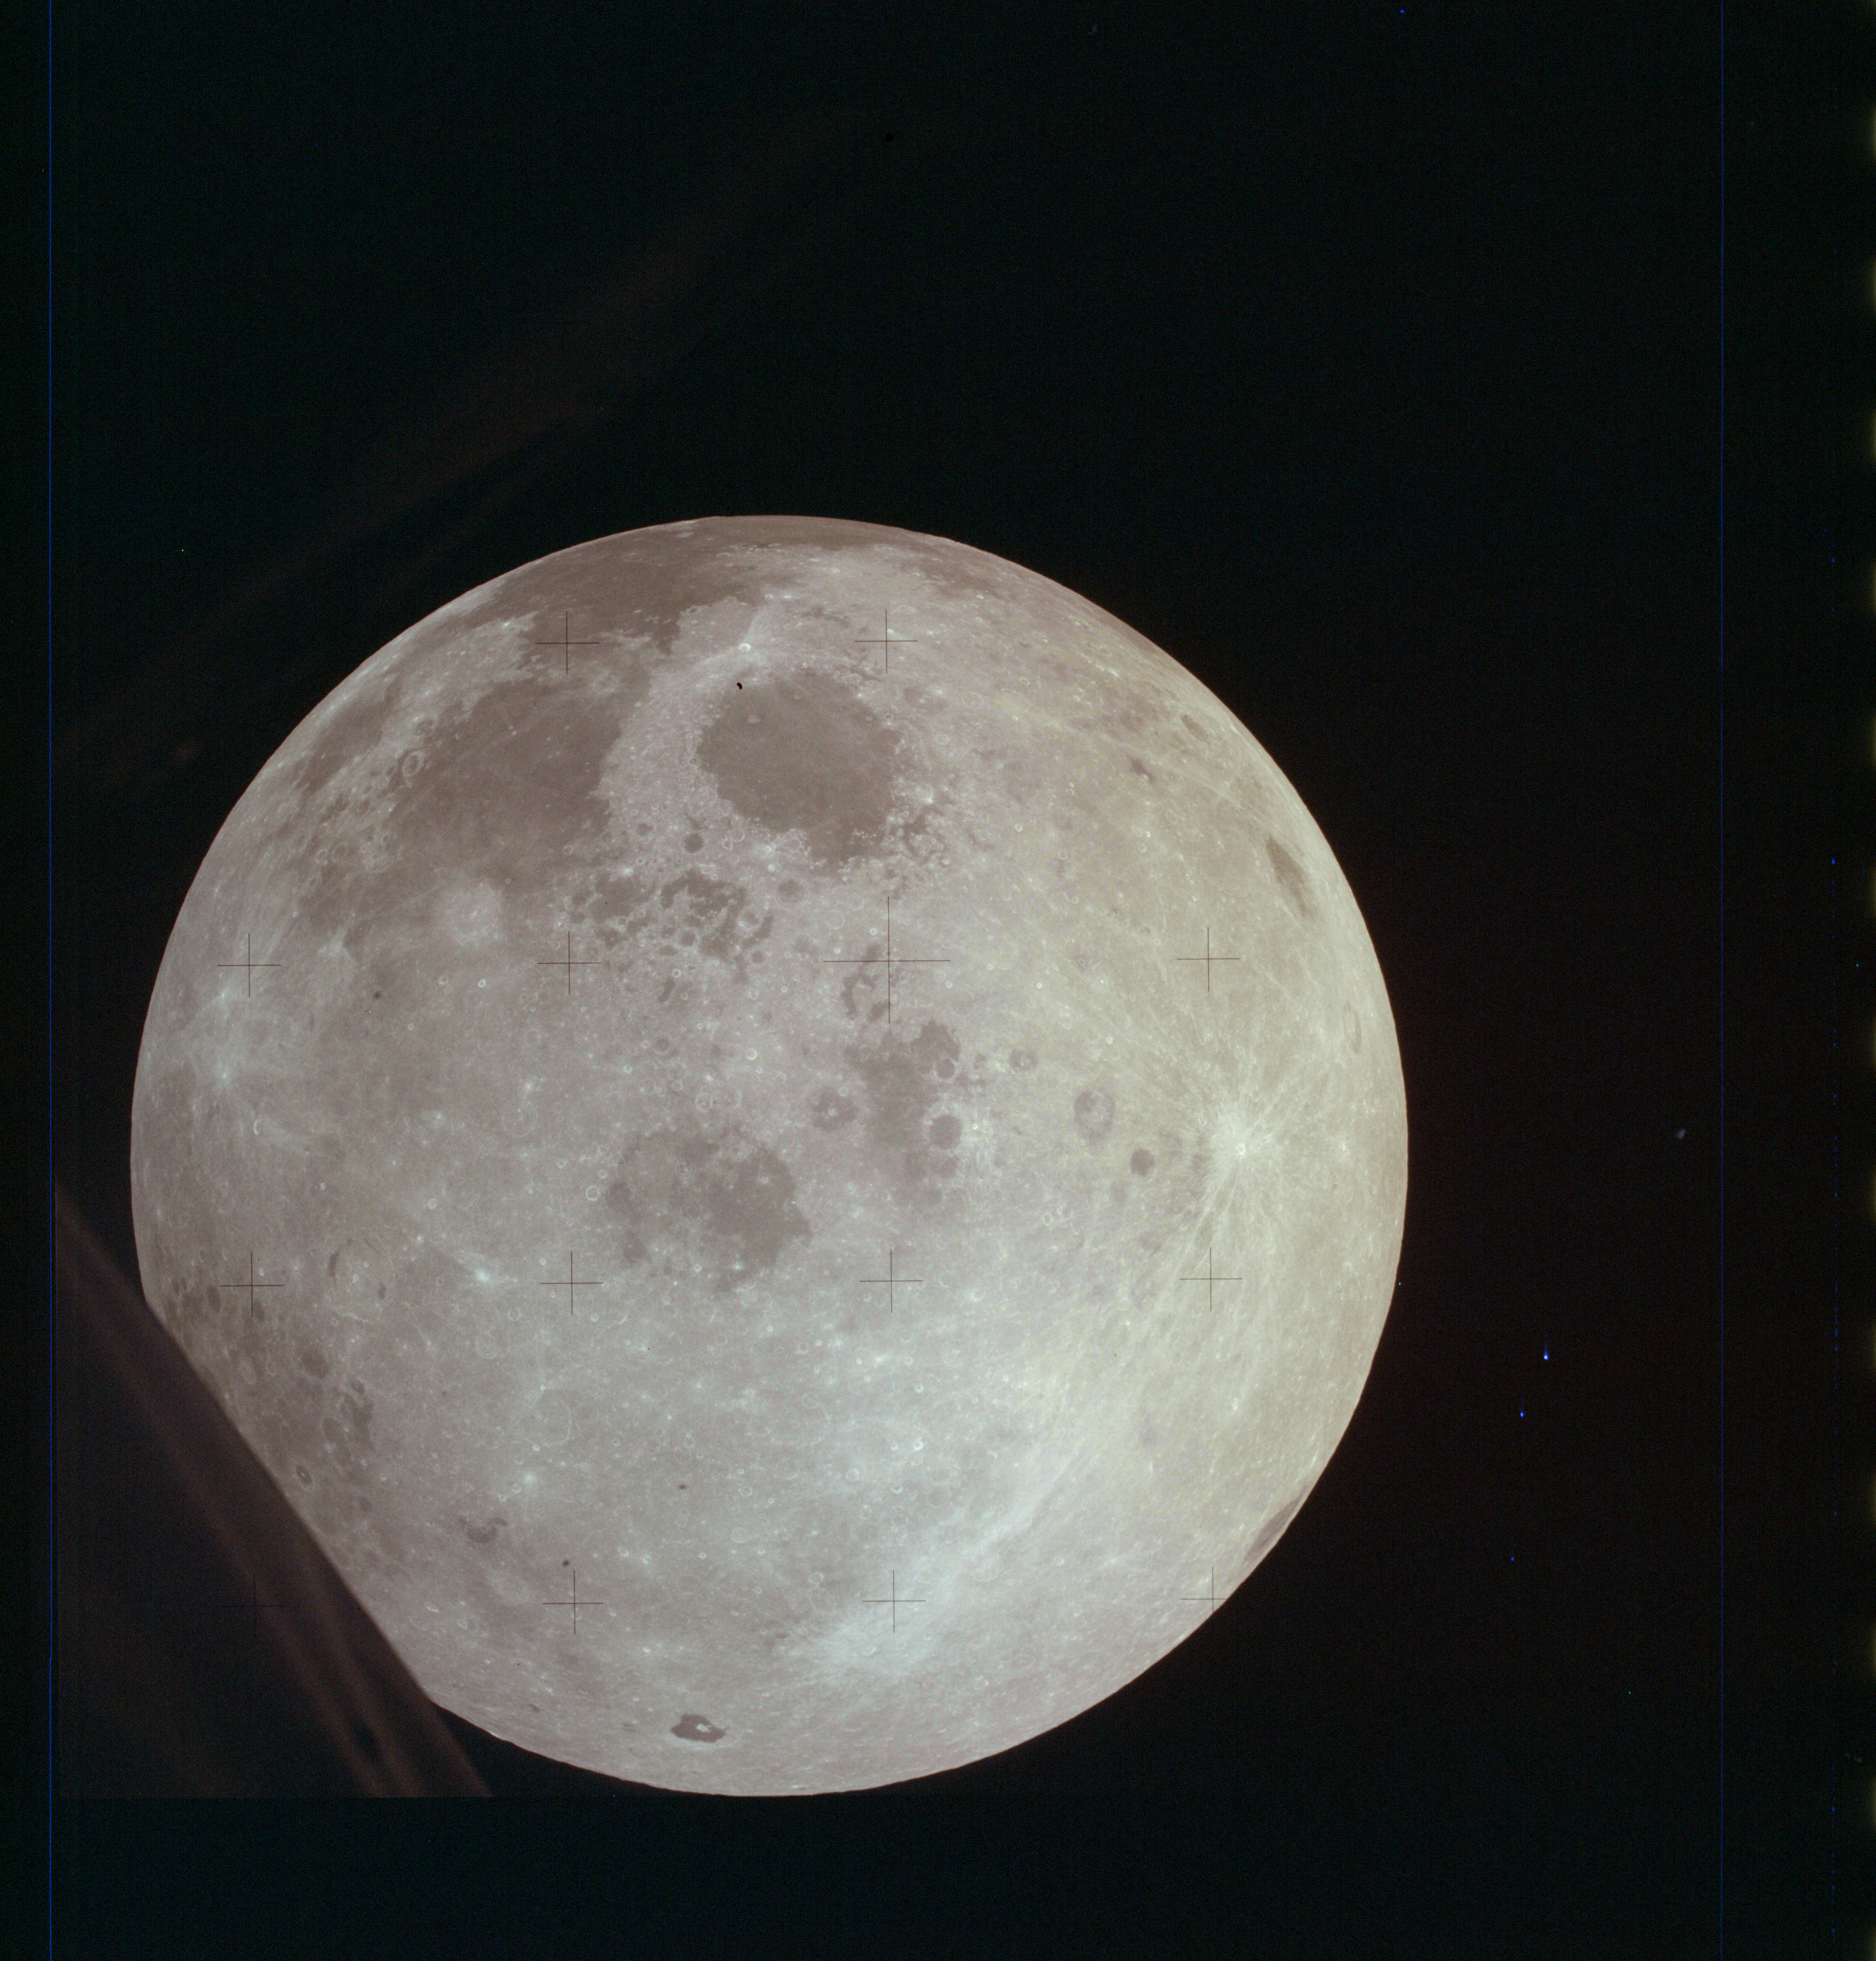
AS13-61-8765 Browse or print resolution. Moon from Apollo 13. Image credit: Image Science and Analysis Laboratory, NASA-Johnson Space Center. |
|
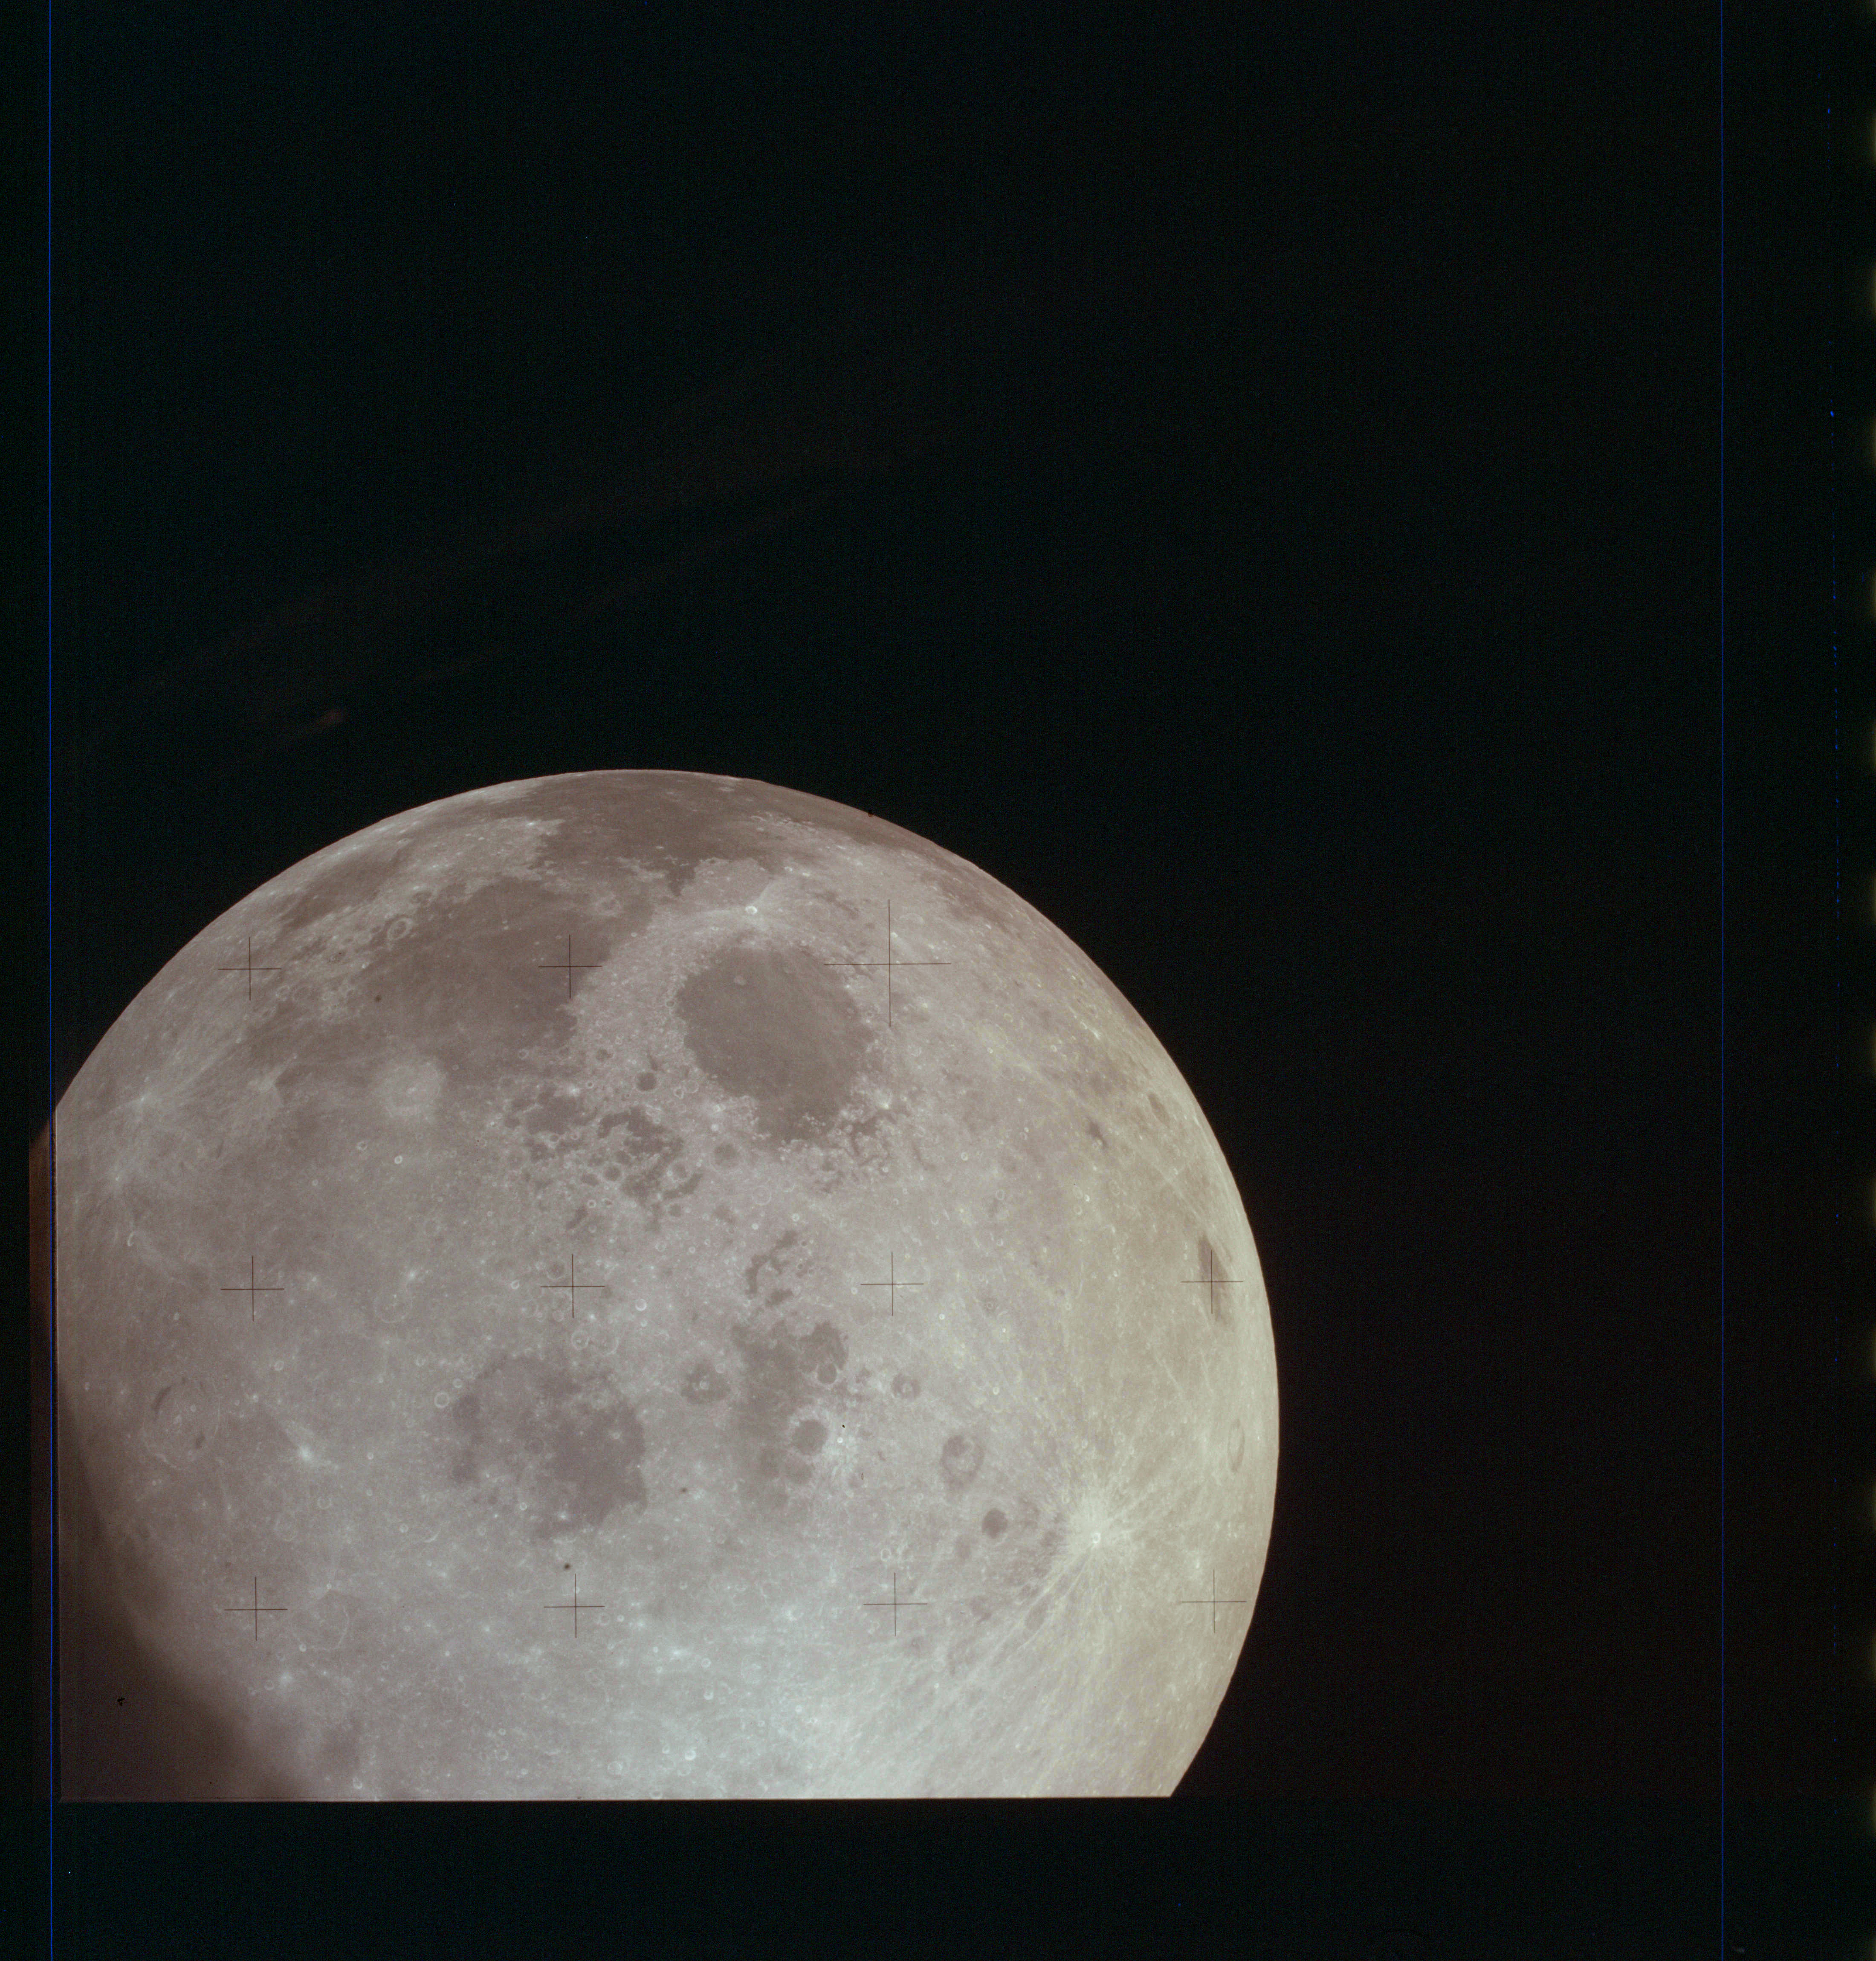
AS13-61-8766 Browse or print resolution. Moon from Apollo 13. Image credit: Image Science and Analysis Laboratory, NASA-Johnson Space Center. |
|
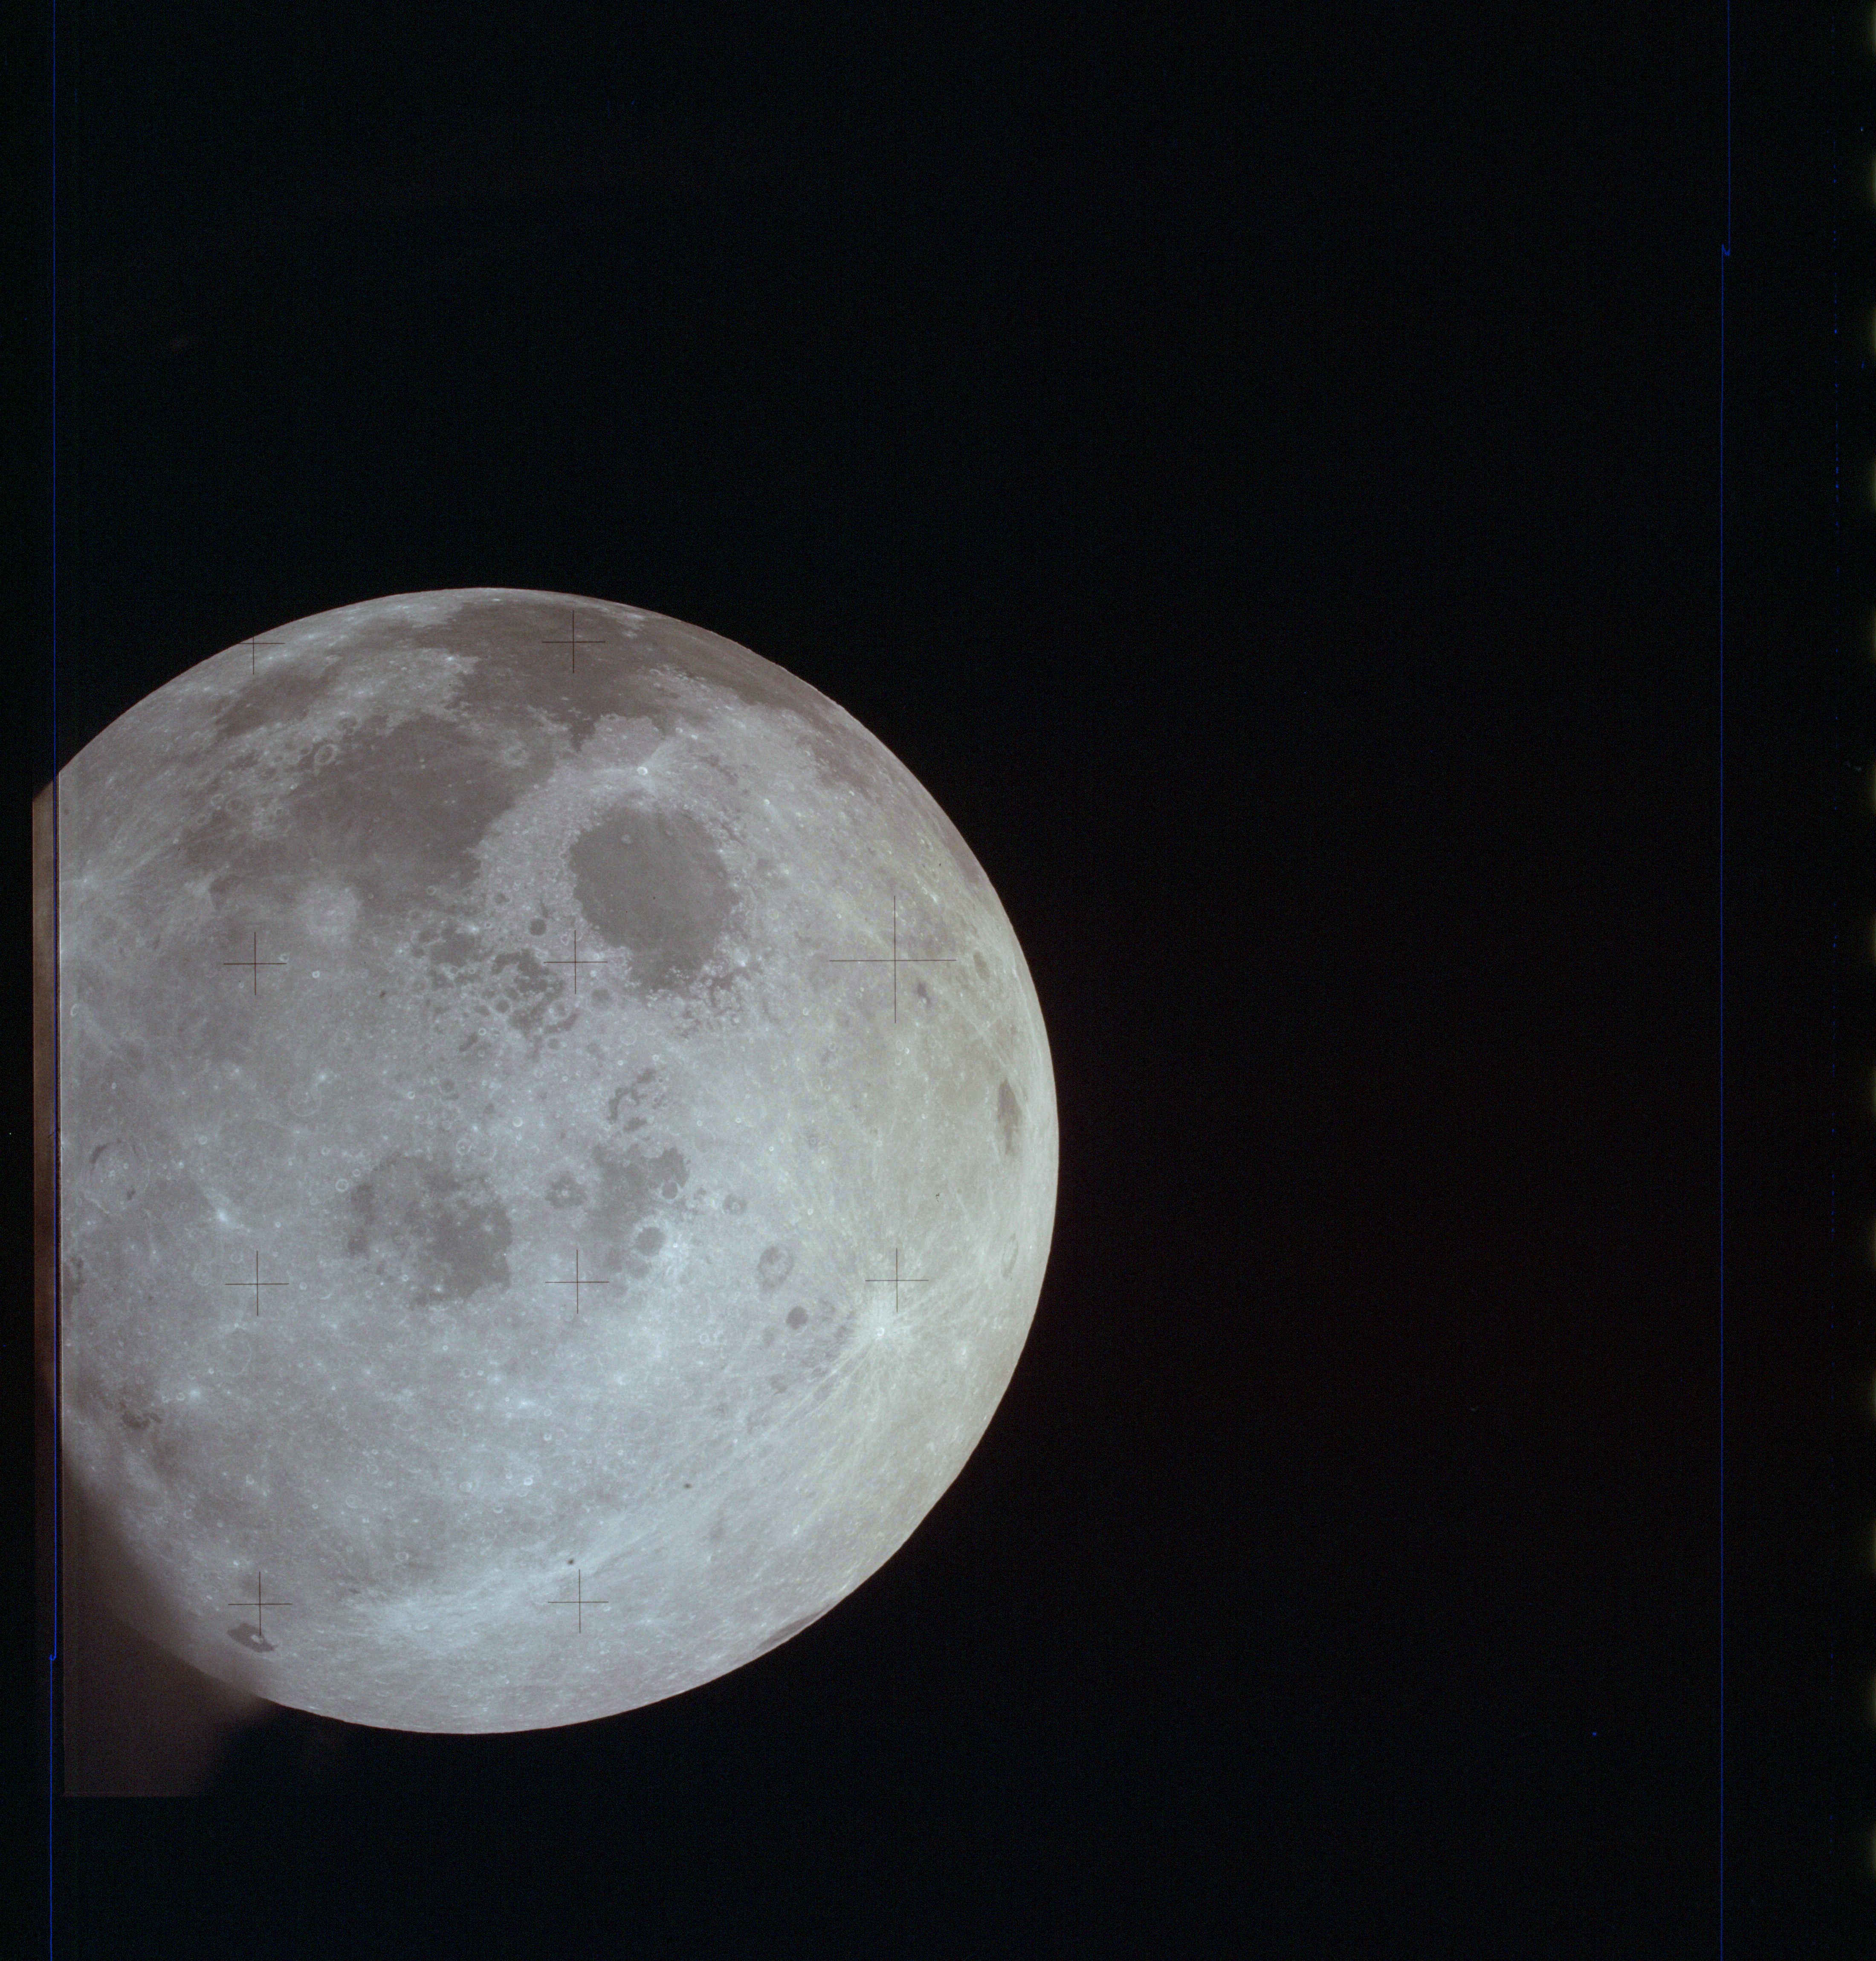
AS13-61-8767 Browse or print resolution. Moon from Apollo 13. Image credit: Image Science and Analysis Laboratory, NASA-Johnson Space Center. |
|
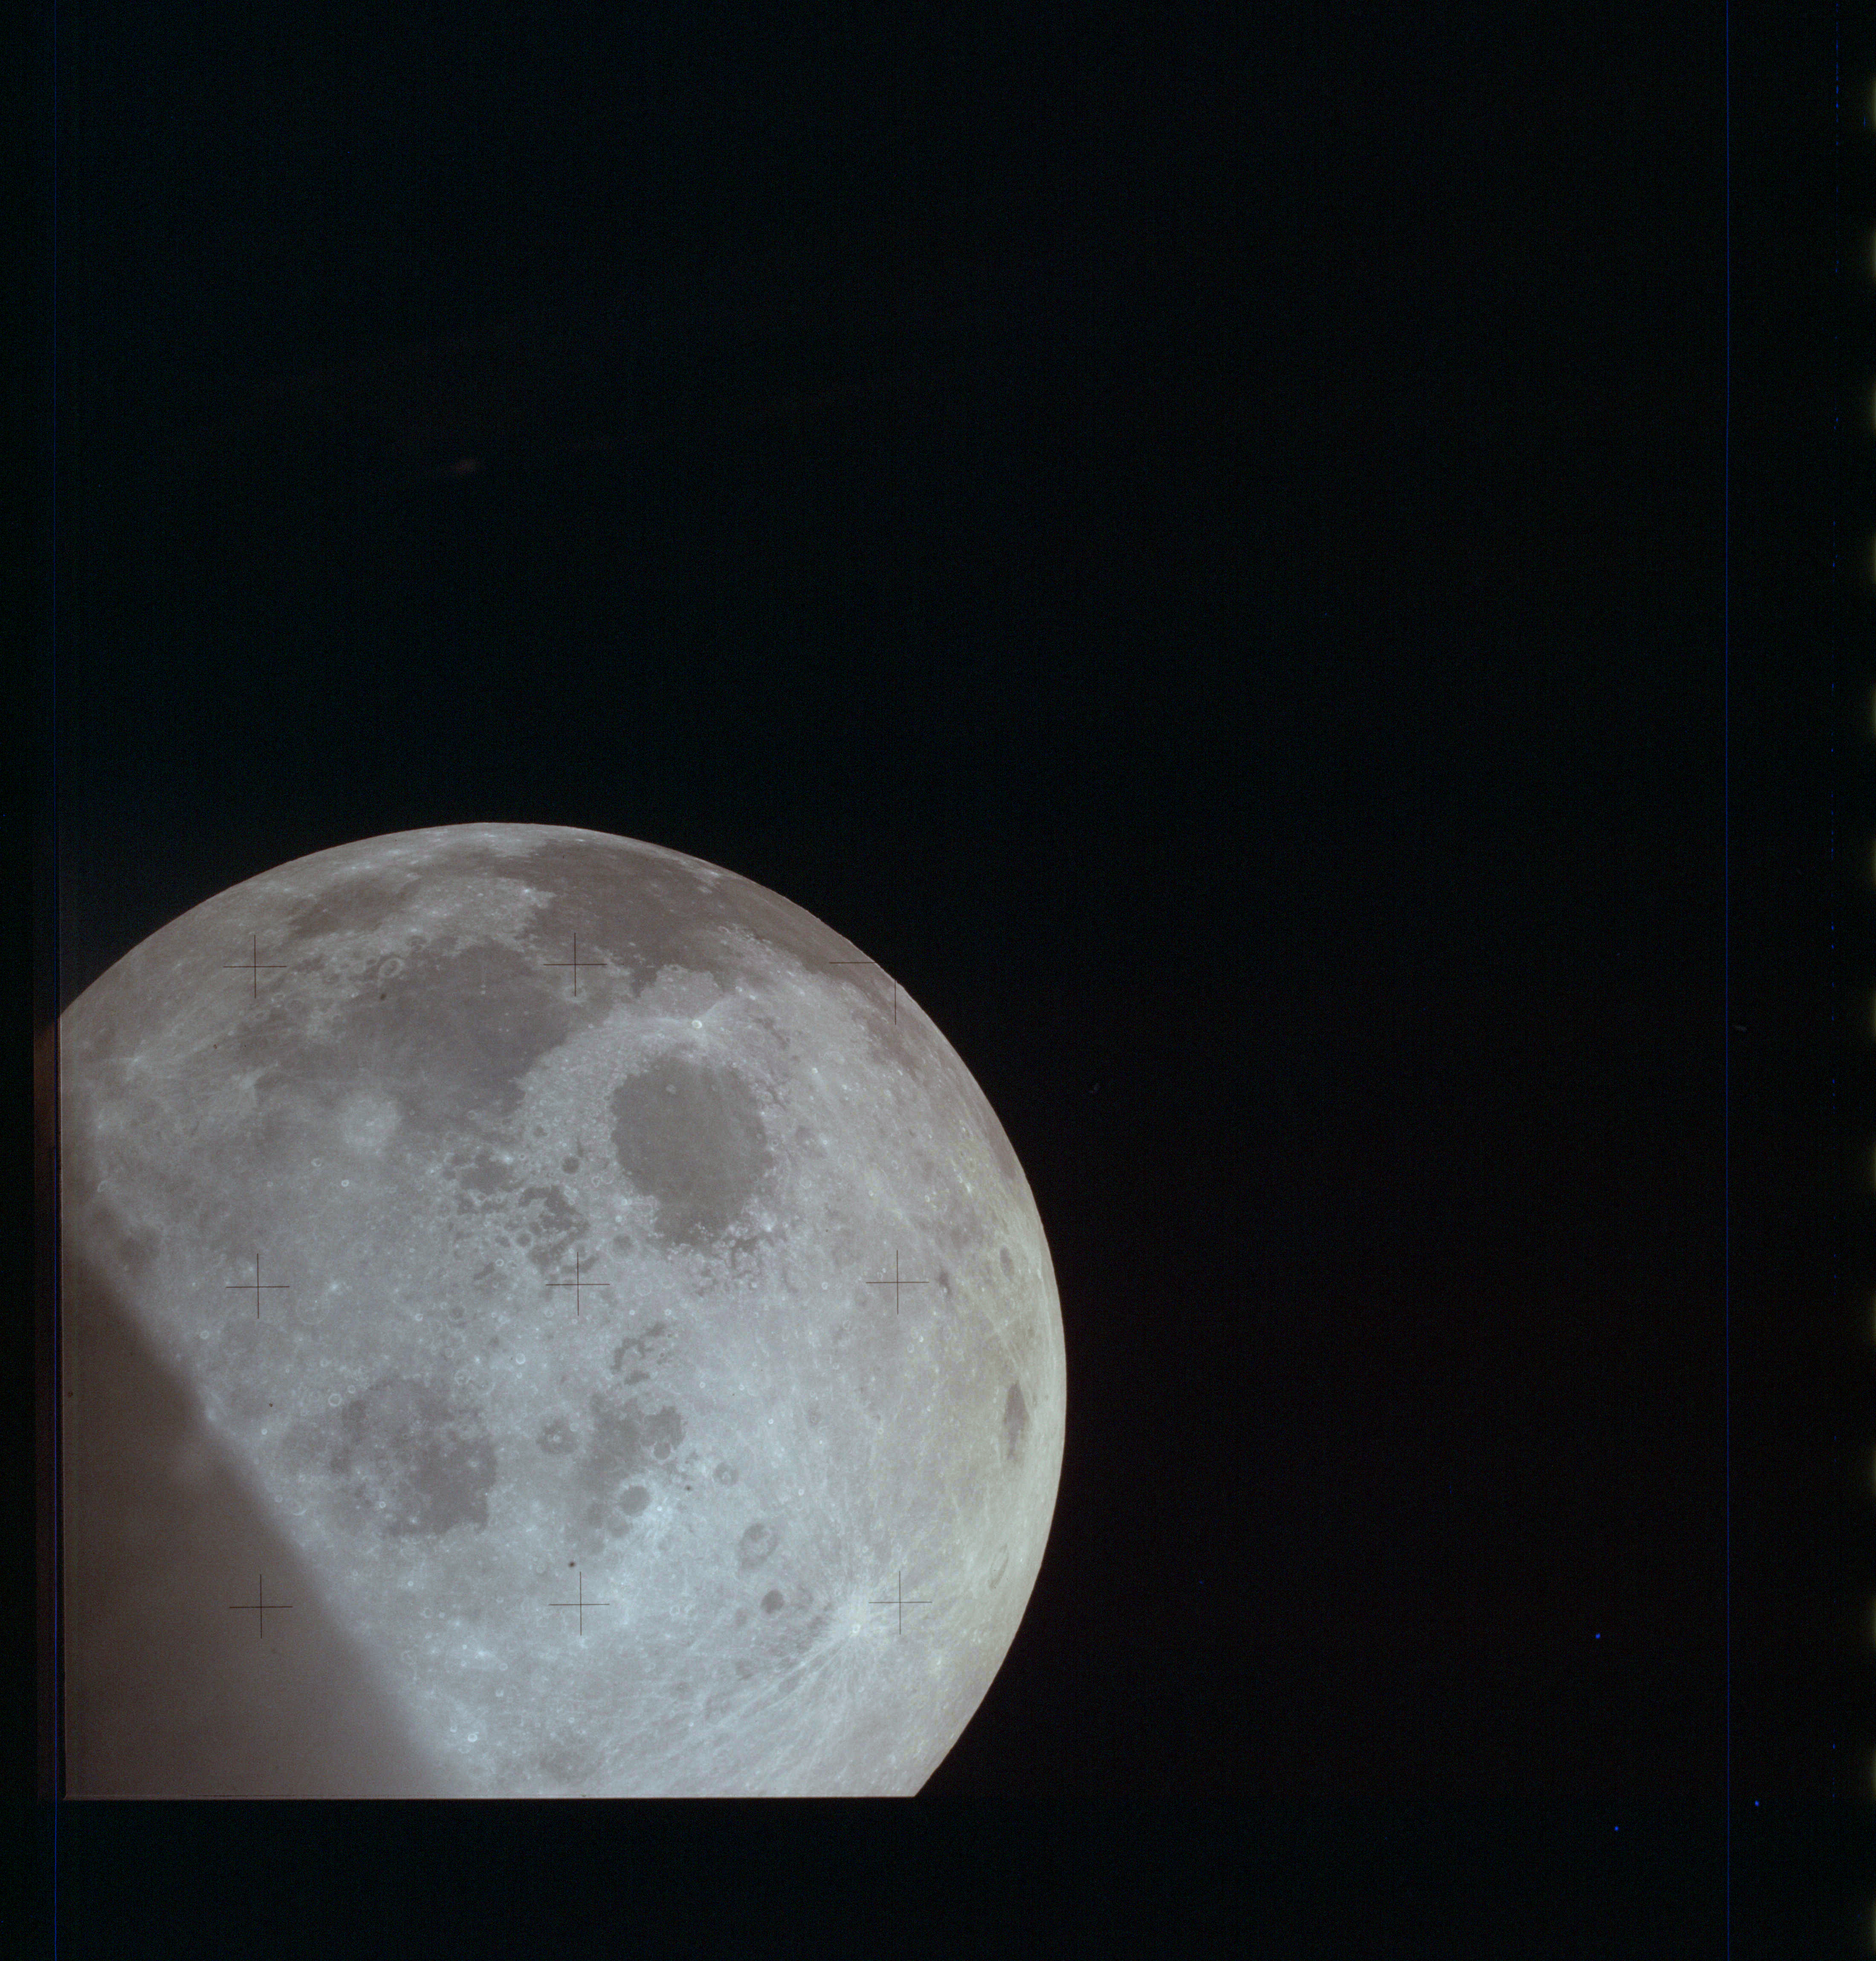
AS13-61-8768 Browse or print resolution. Moon from Apollo 13. Image credit: Image Science and Analysis Laboratory, NASA-Johnson Space Center. |
|
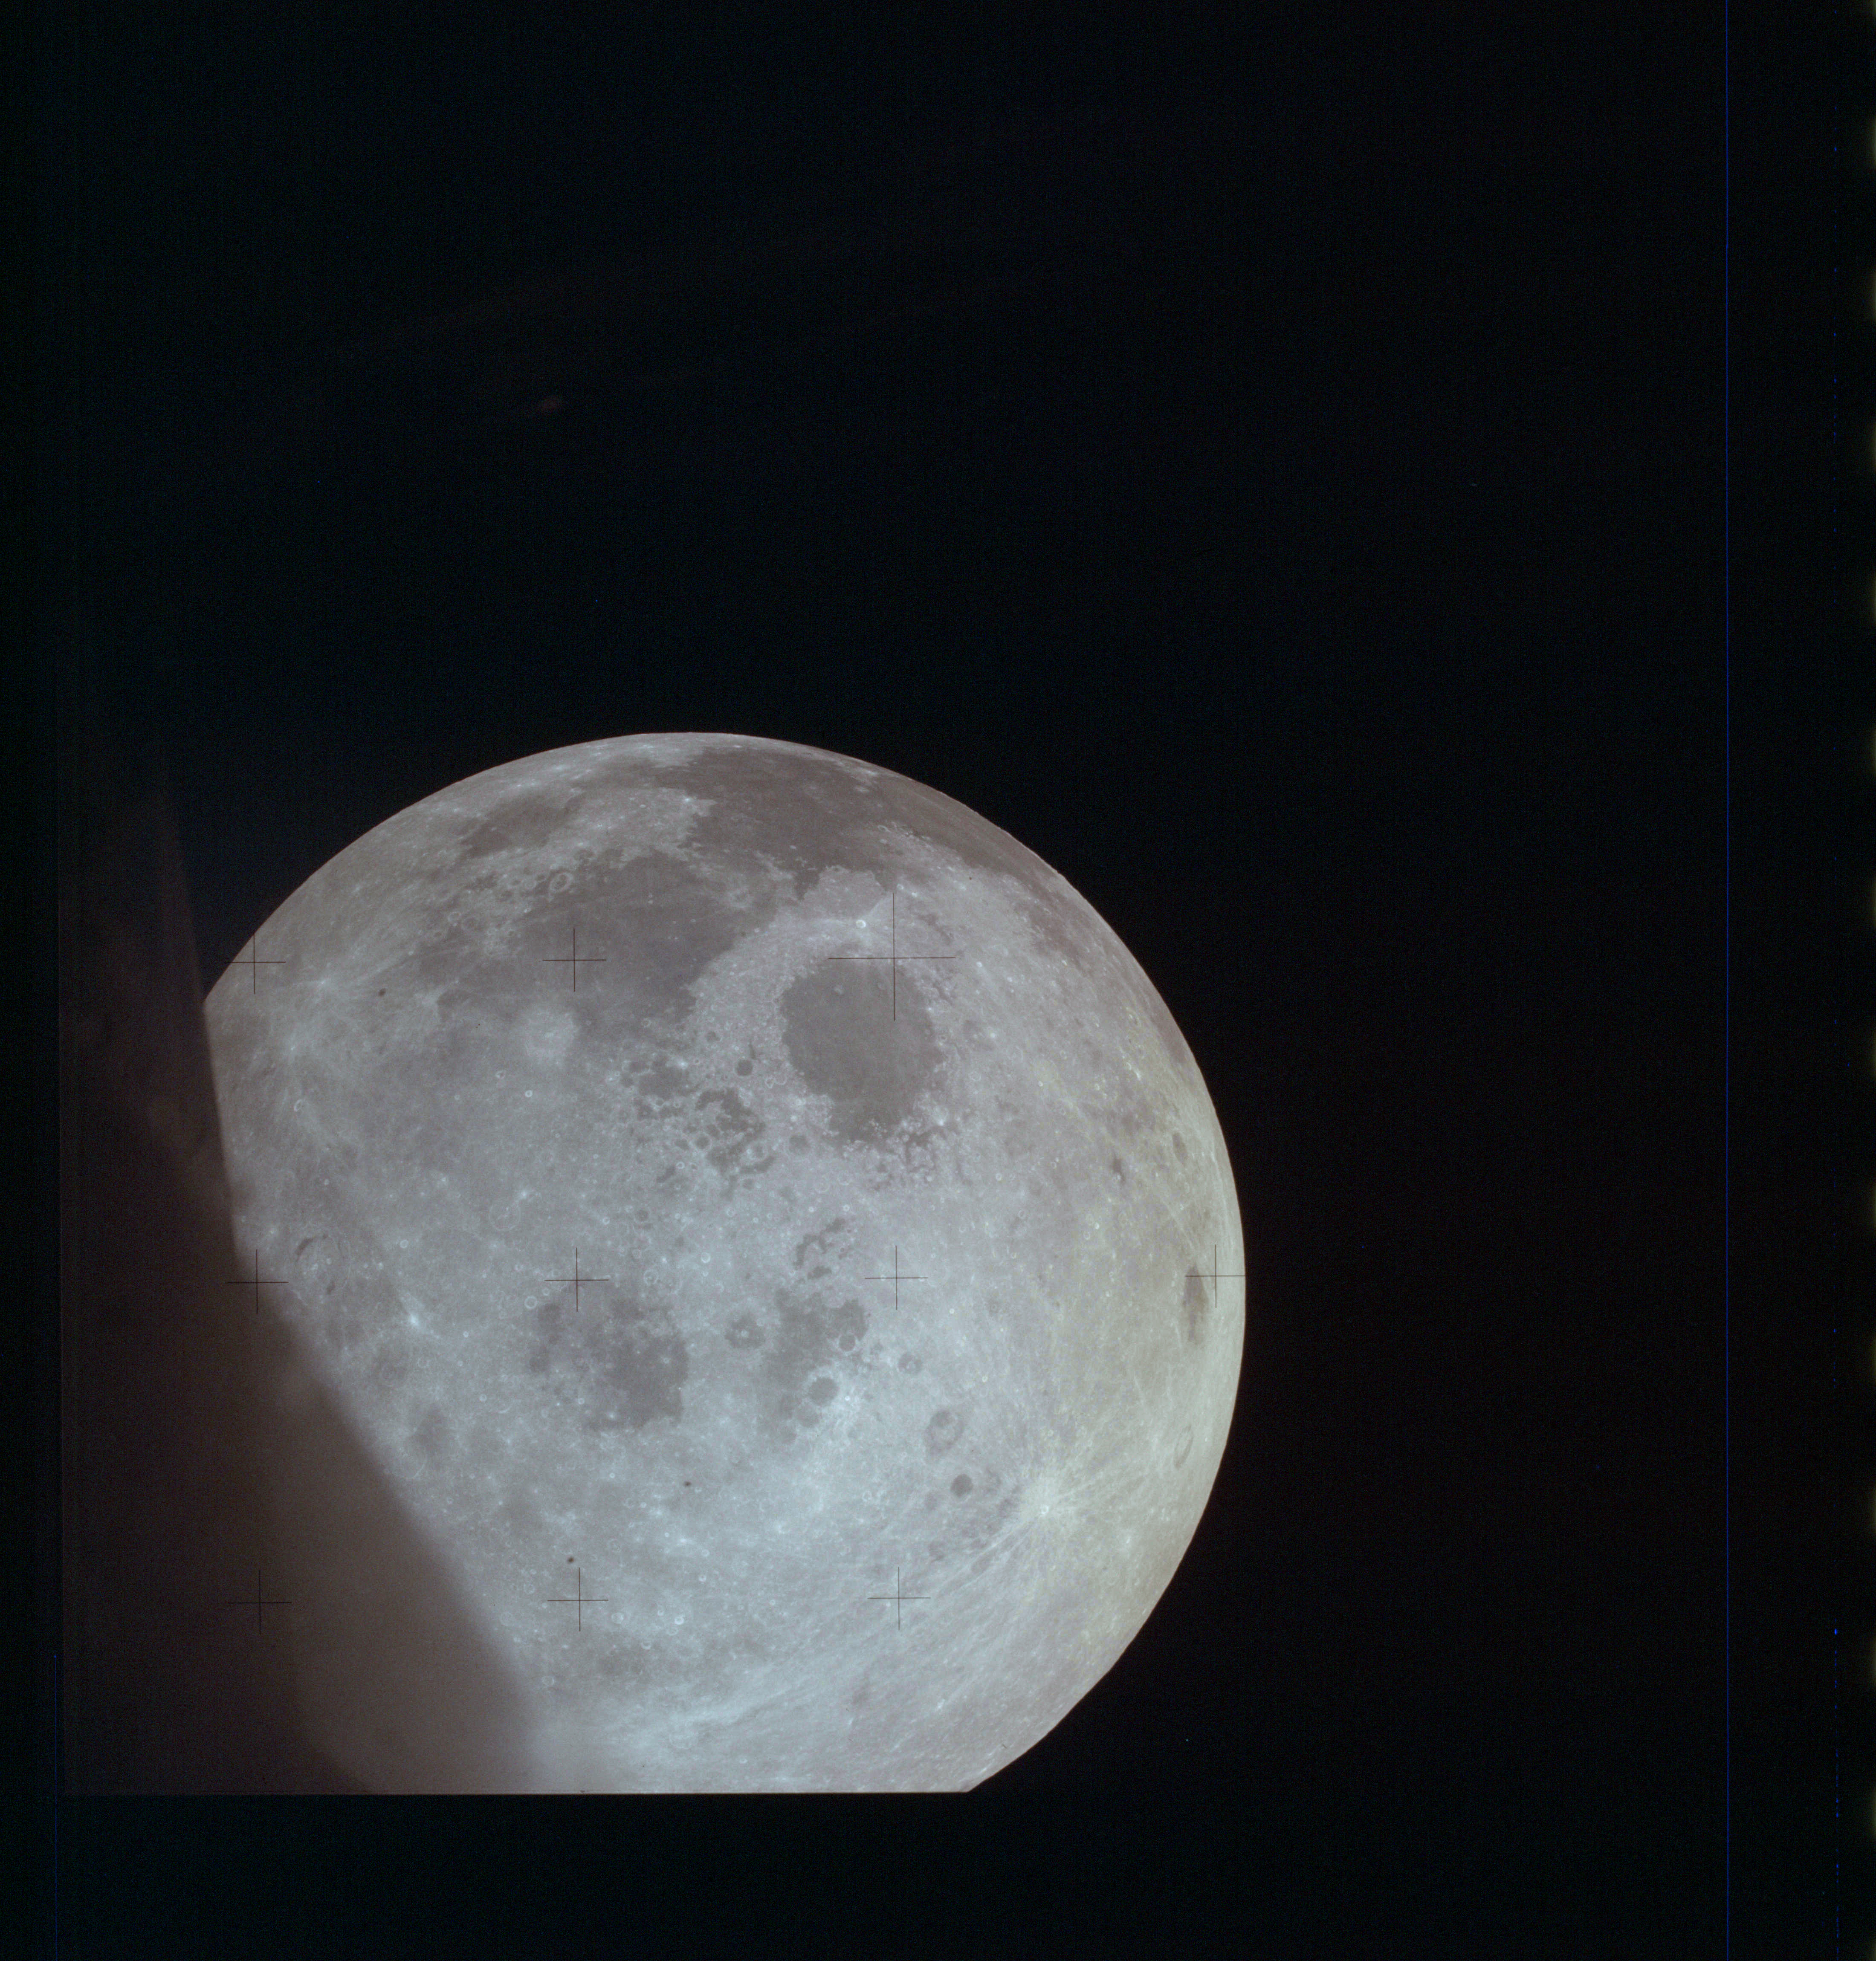
AS13-61-8769 Browse or print resolution. Moon from Apollo 13. Image credit: Image Science and Analysis Laboratory, NASA-Johnson Space Center. |
|
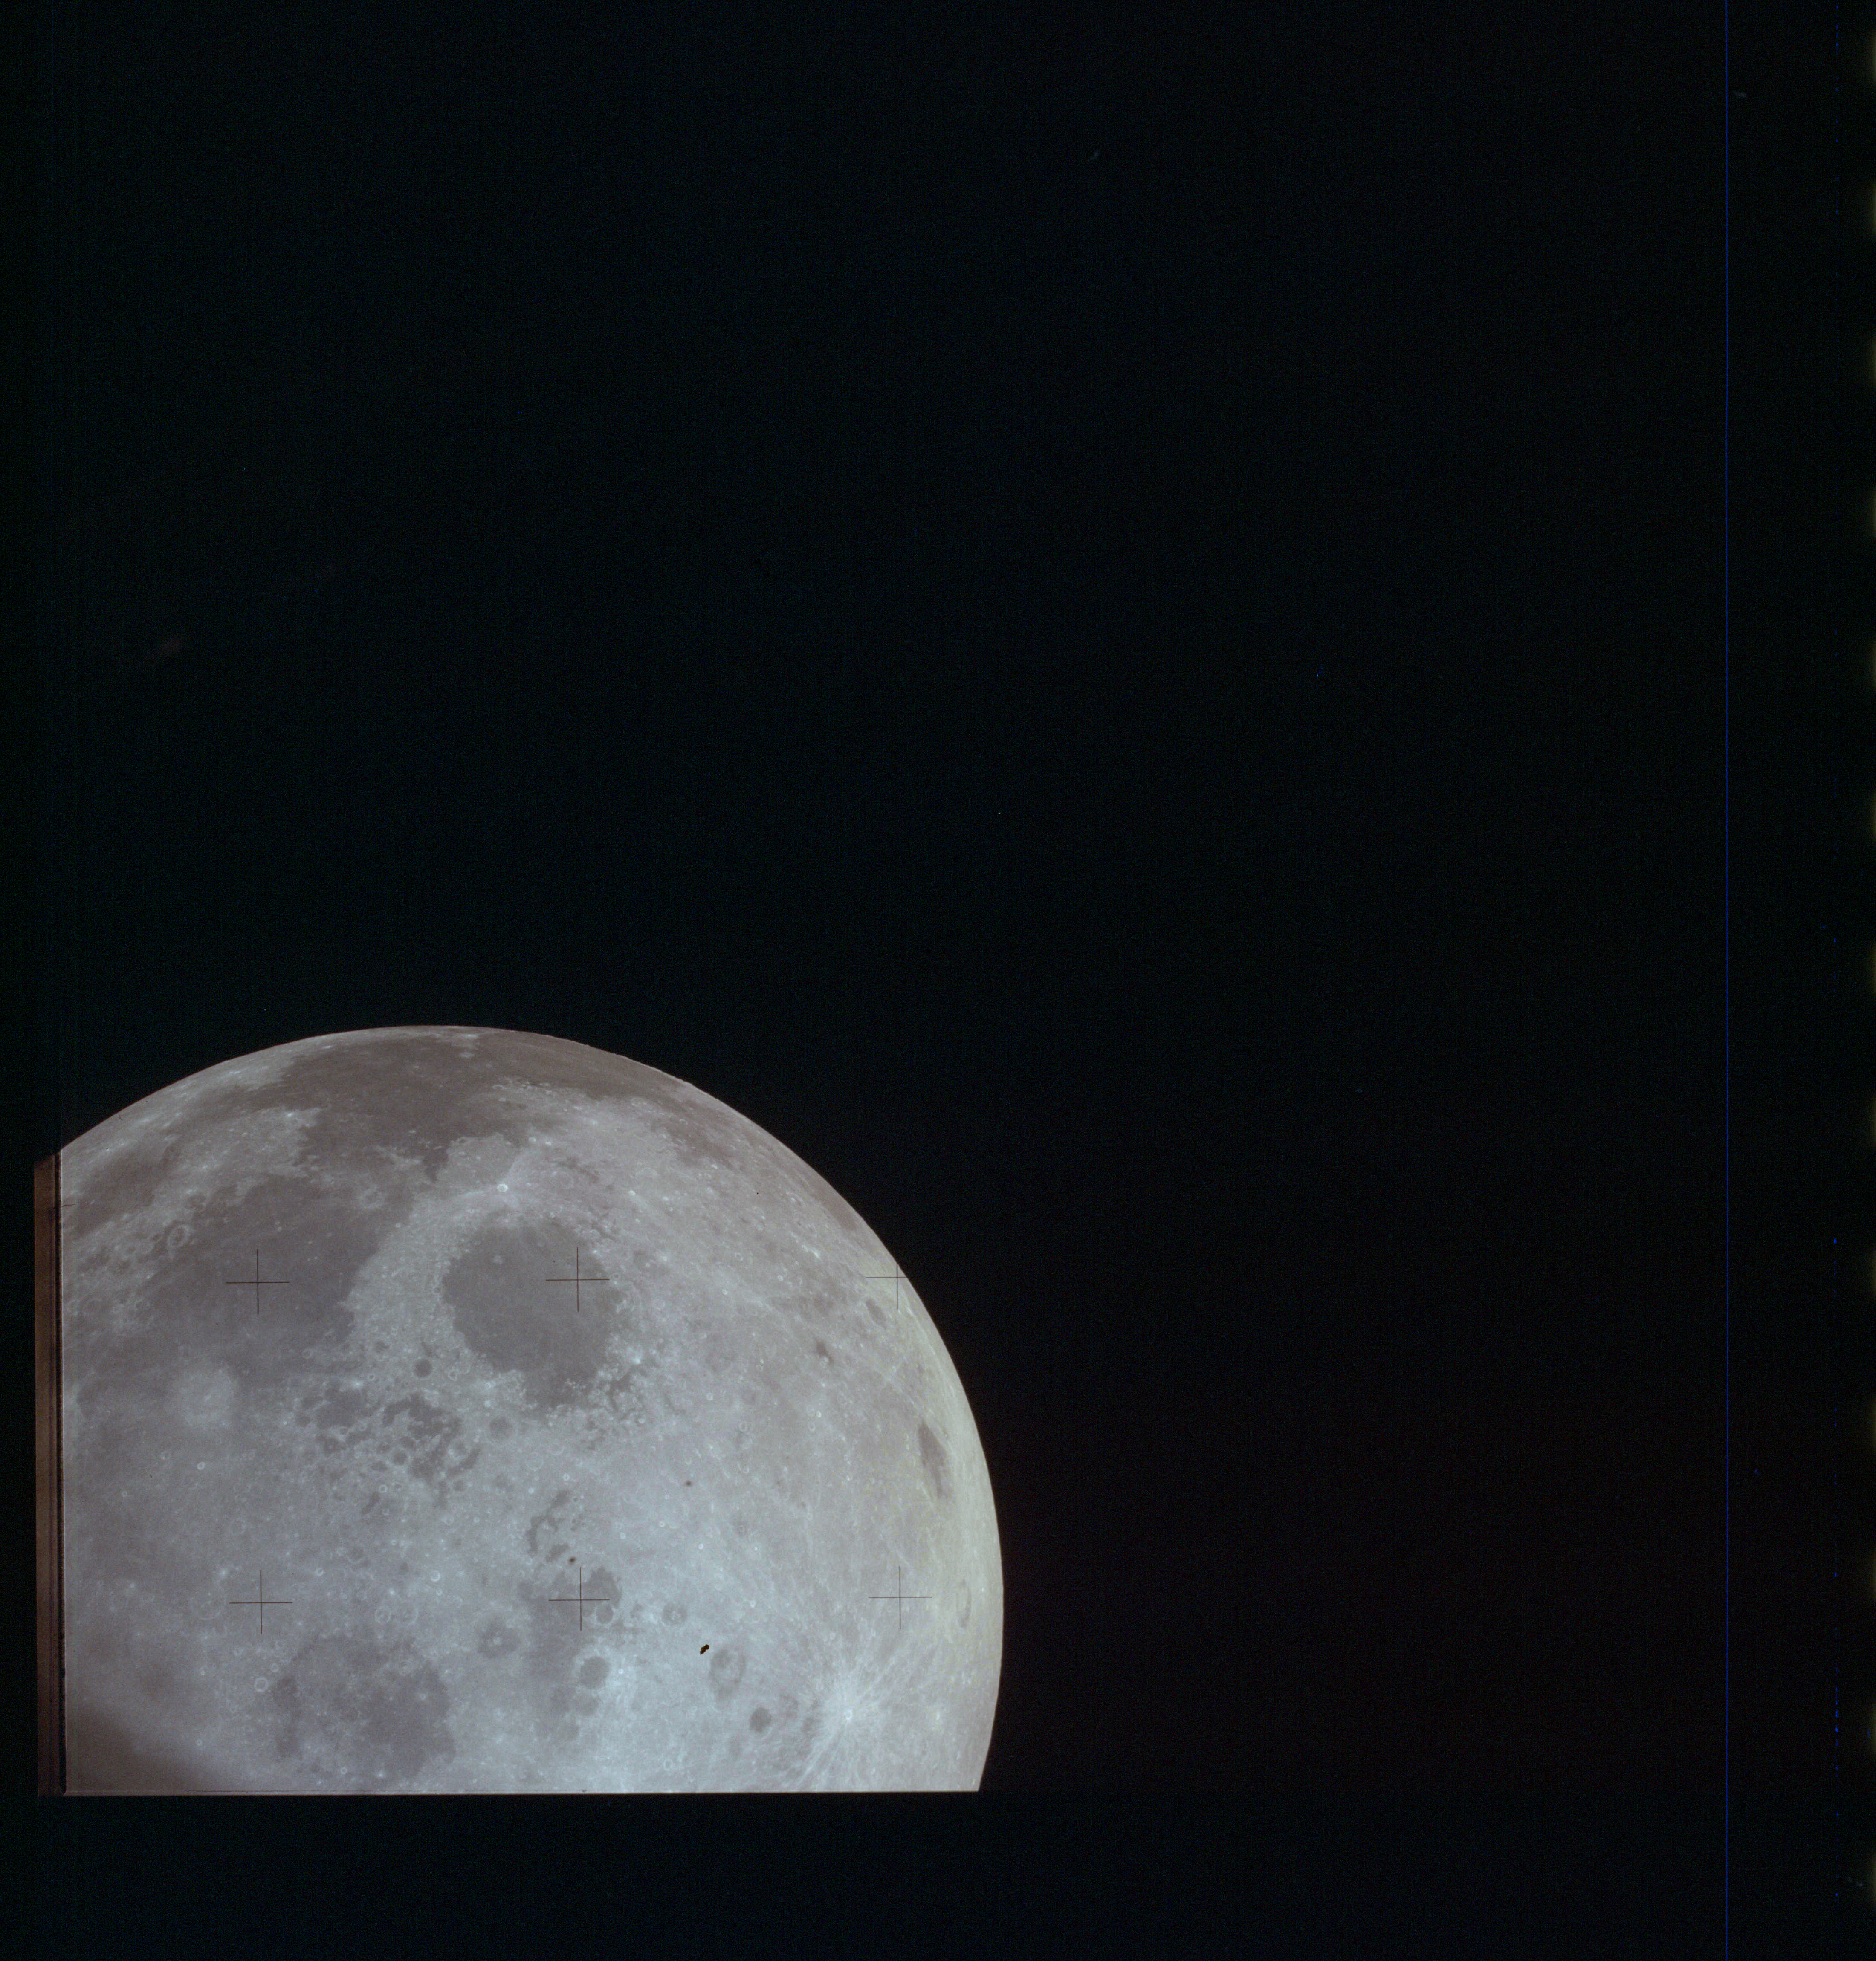
AS13-61-8770 Browse or print resolution. Moon from Apollo 13. Image credit: Image Science and Analysis Laboratory, NASA-Johnson Space Center. |
|
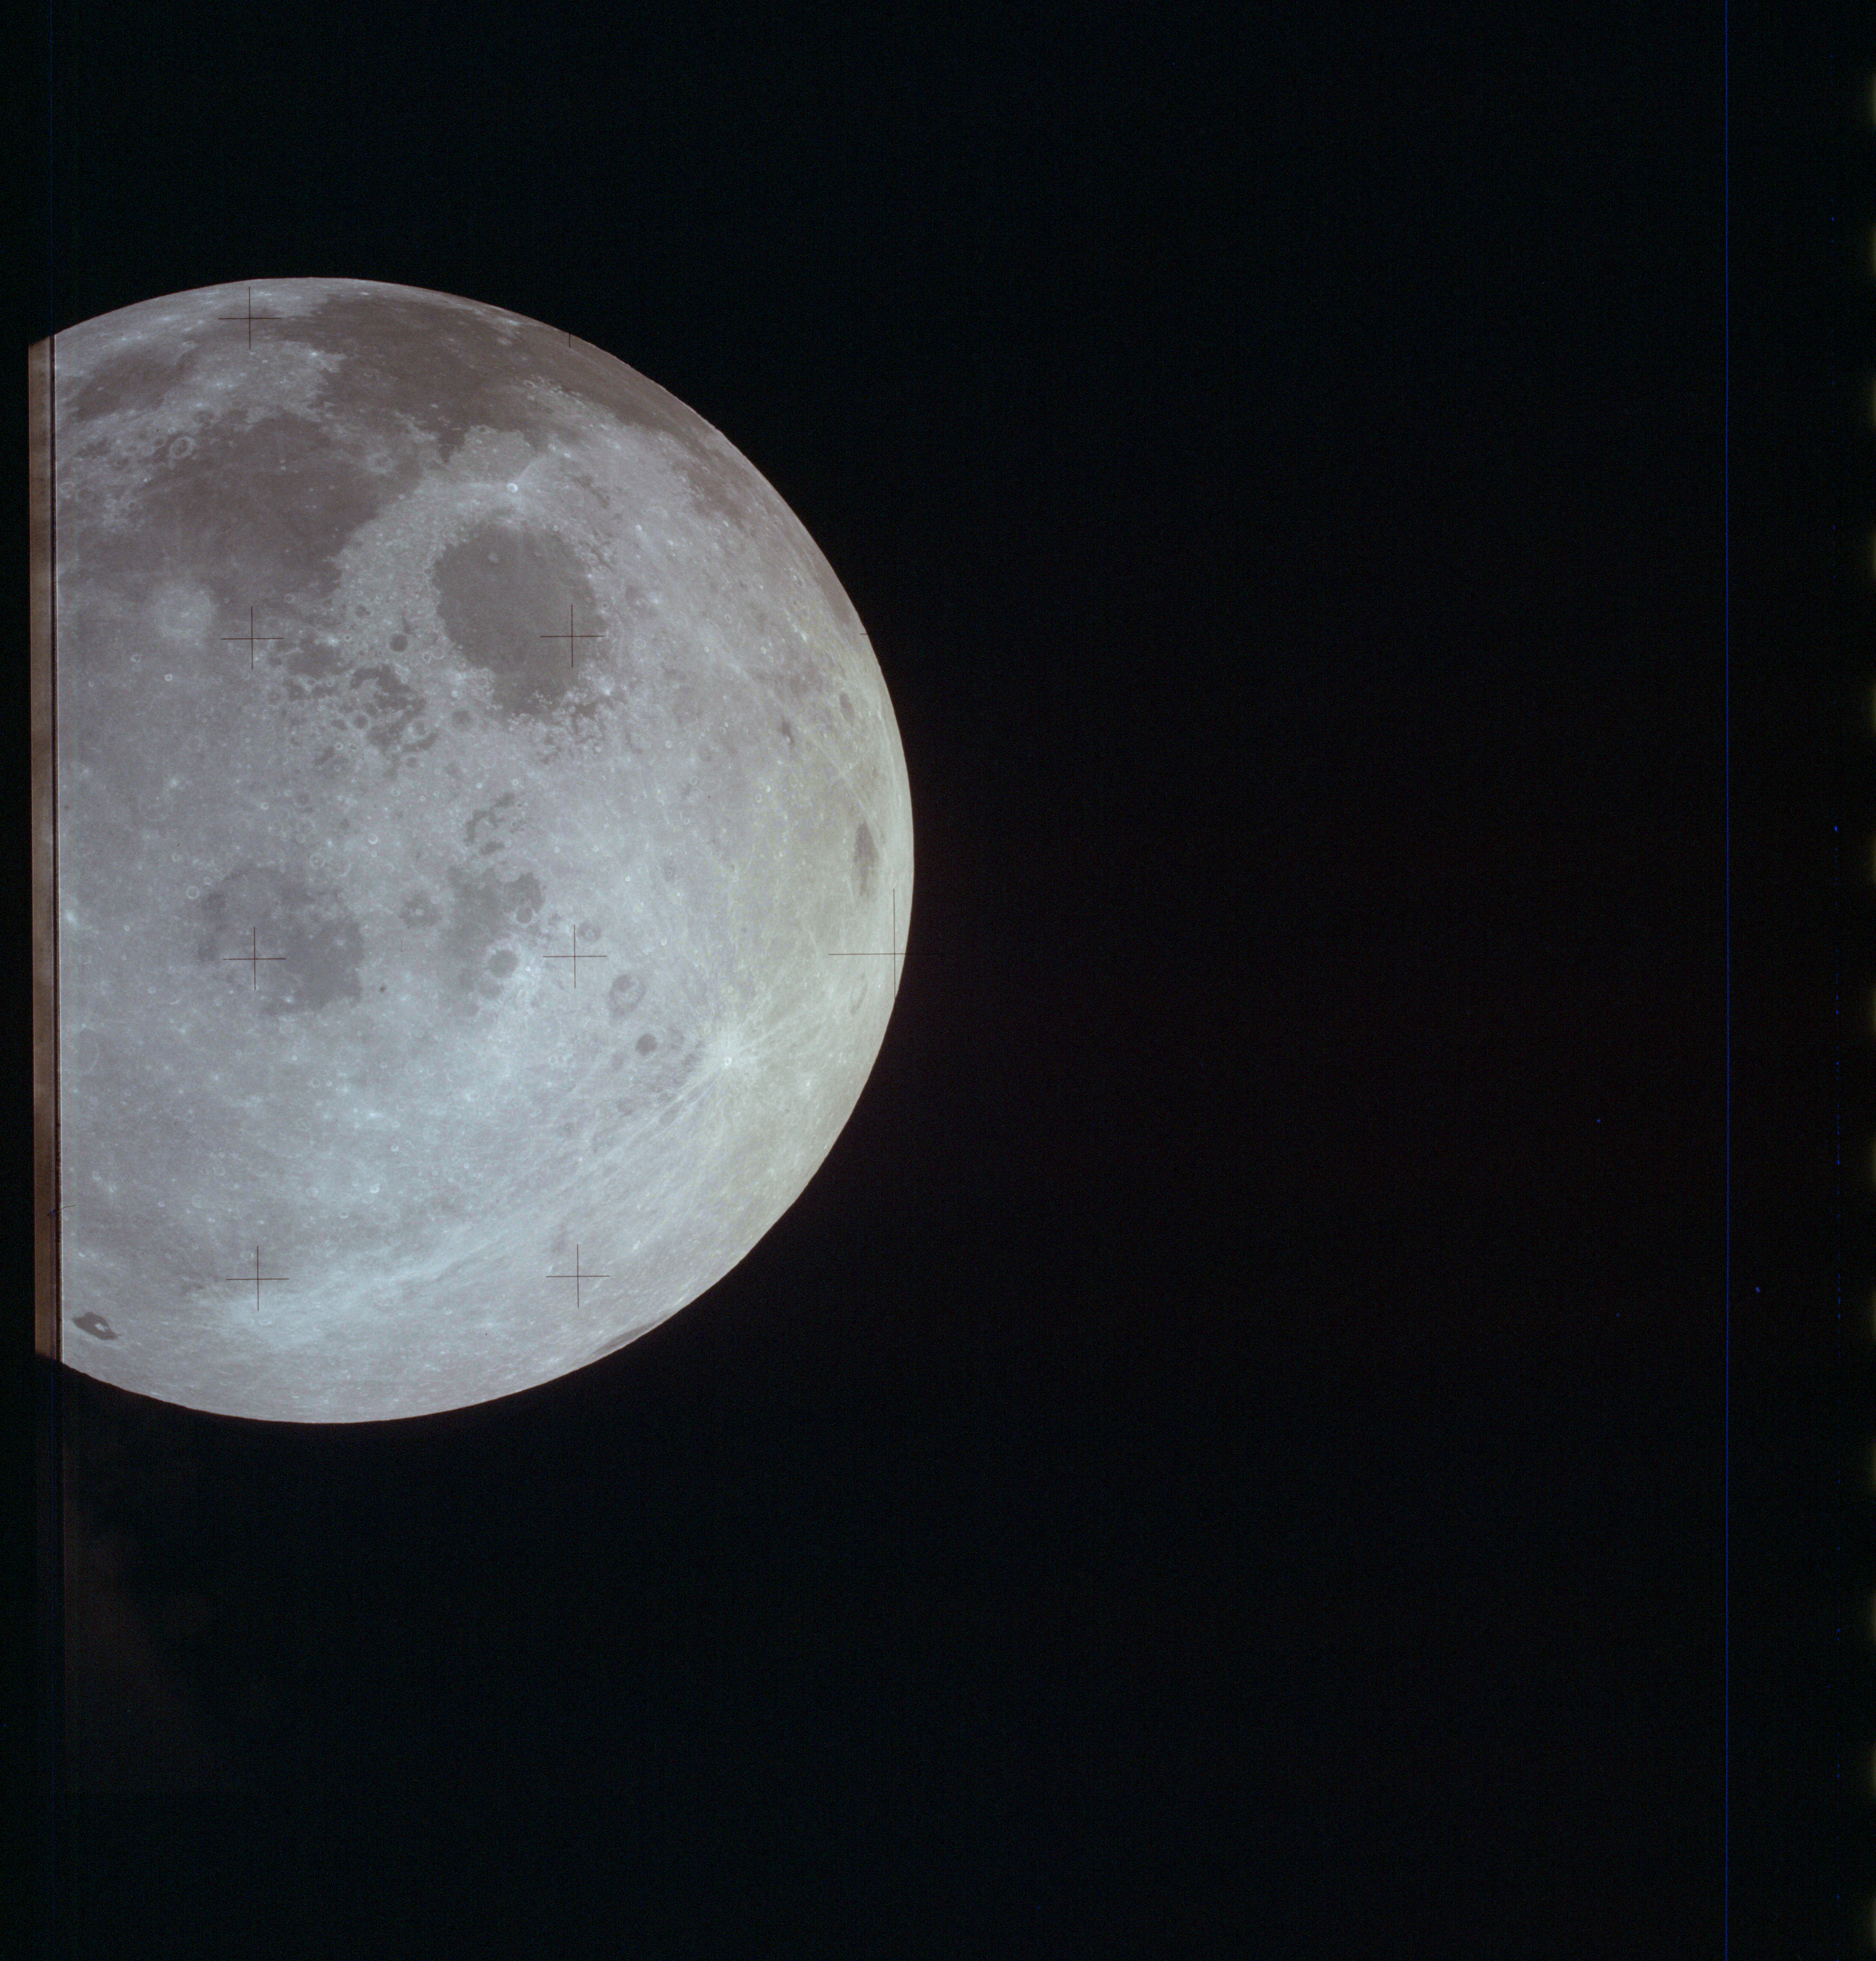
AS13-61-8771 Browse or print resolution. Moon from Apollo 13. Image credit: Image Science and Analysis Laboratory, NASA-Johnson Space Center. |
|
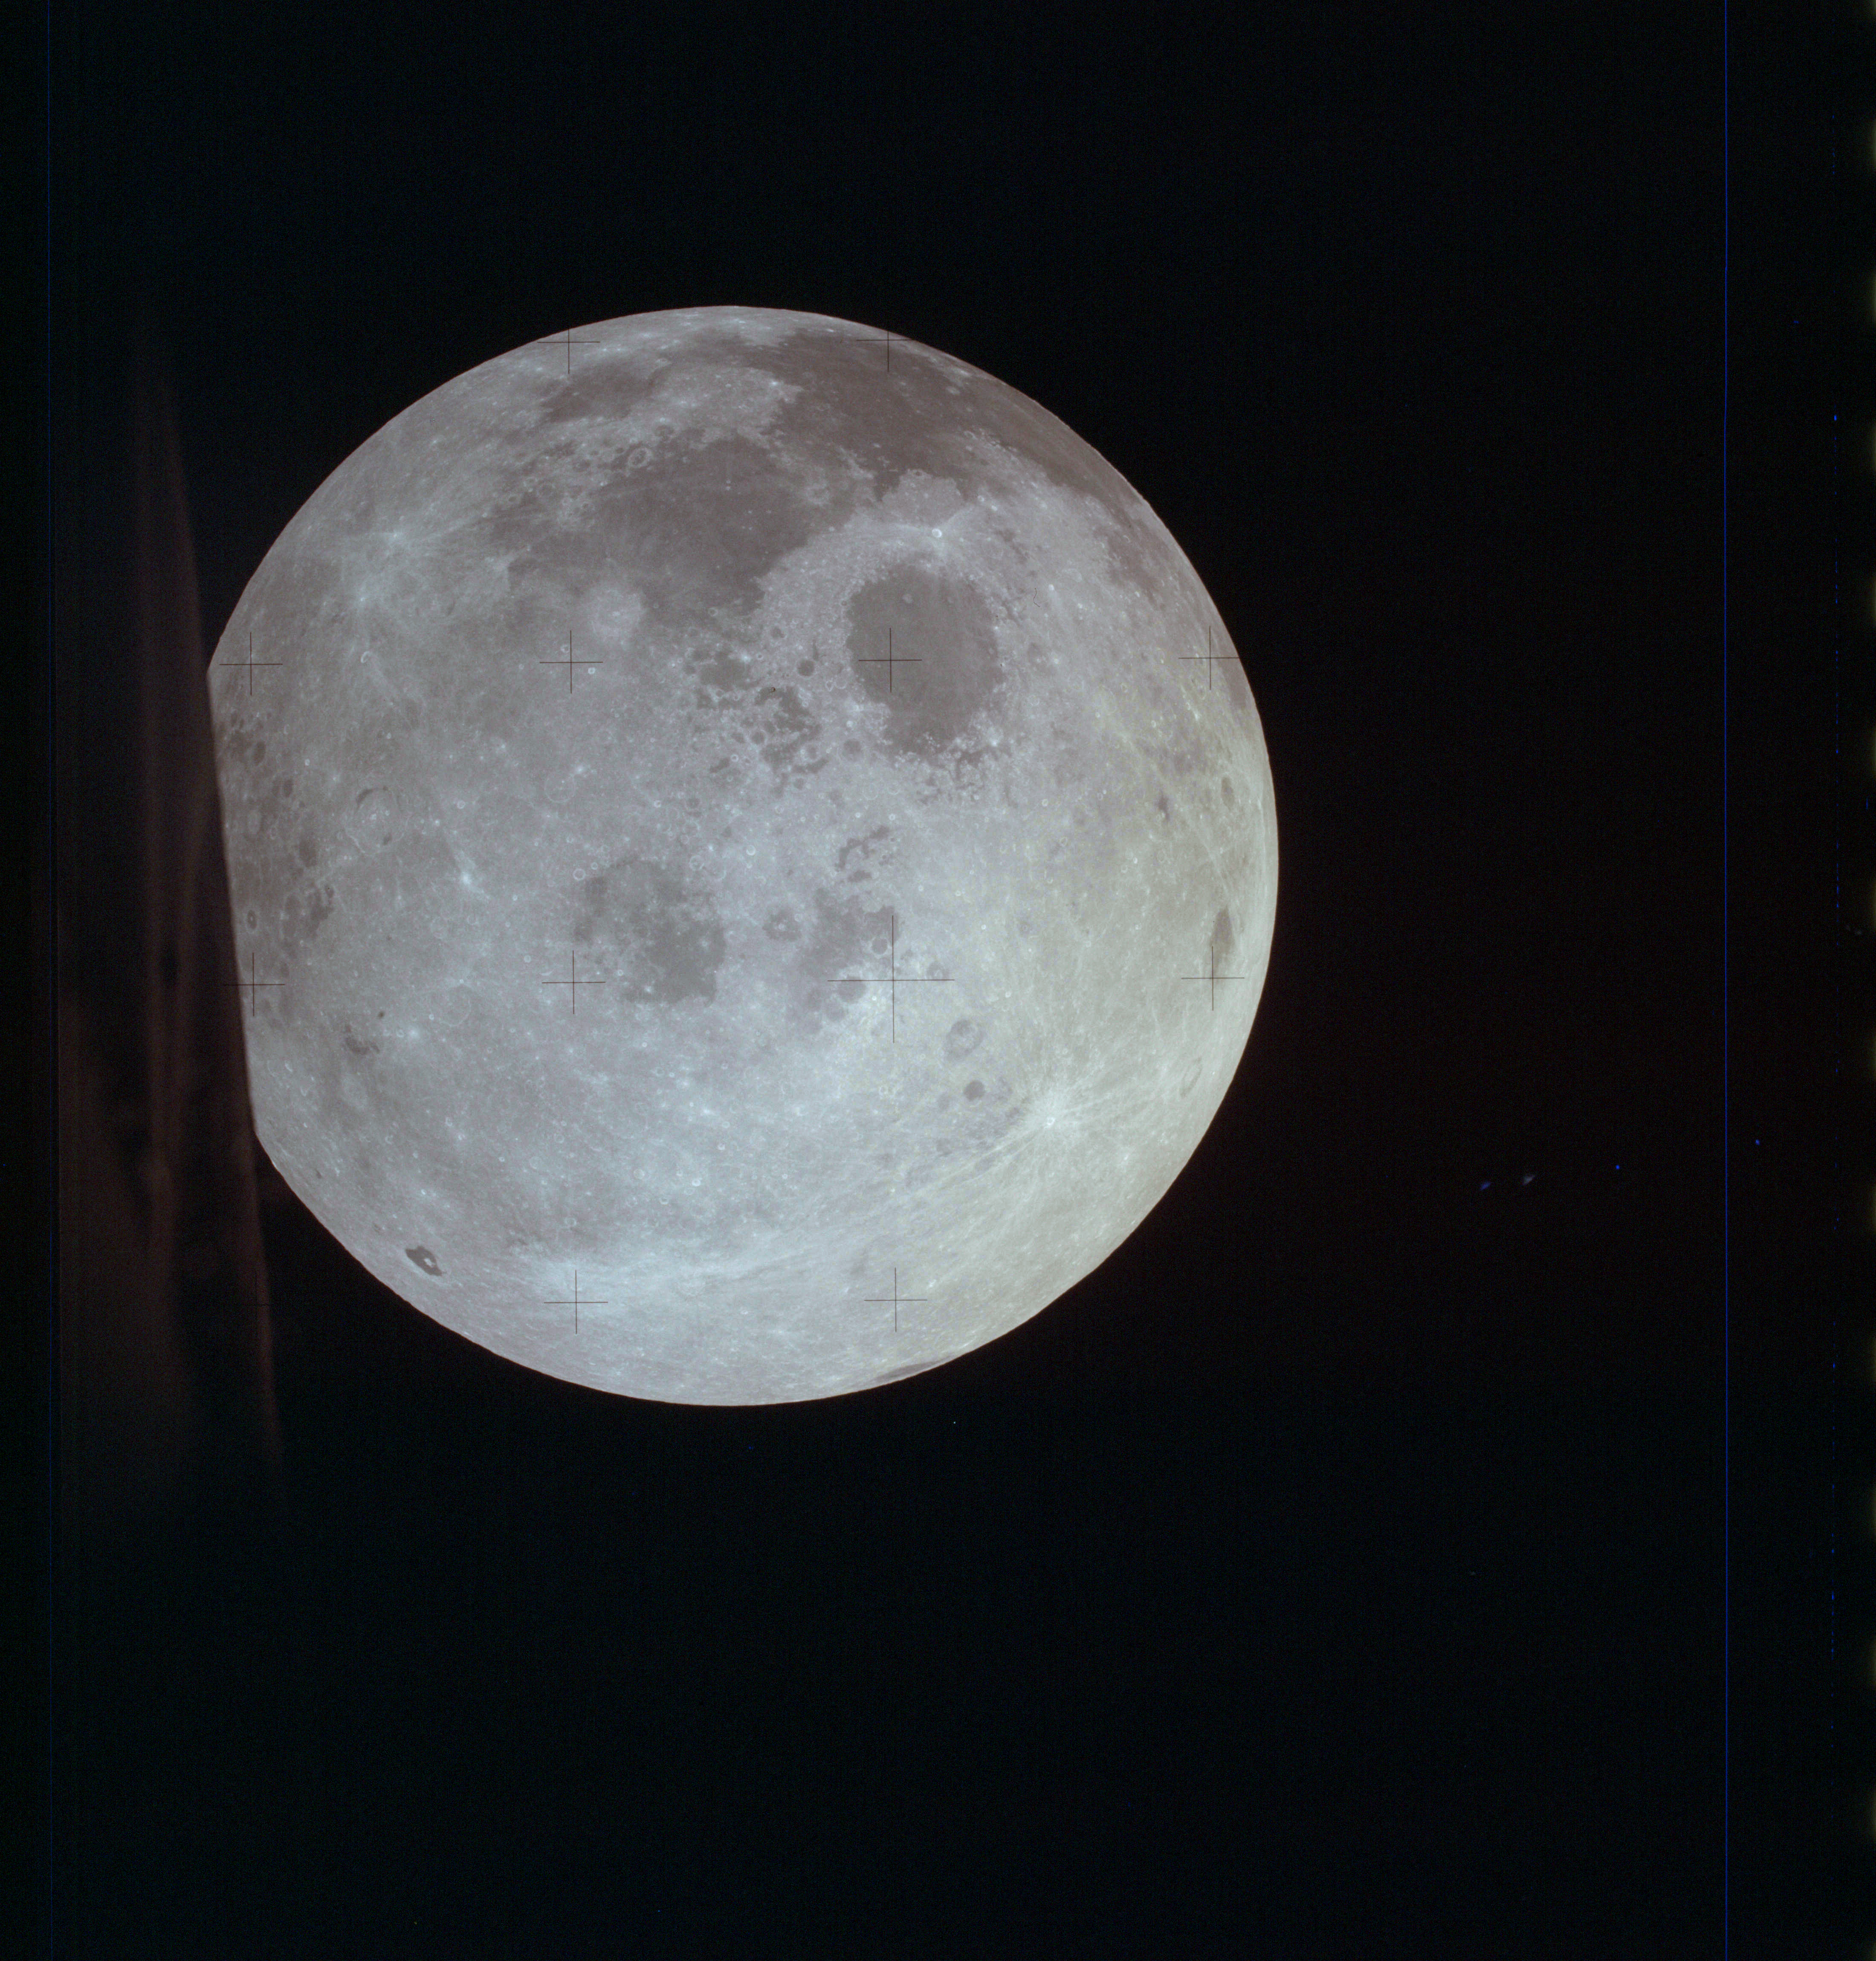
AS13-61-8772 Browse or print resolution. Moon from Apollo 13. Image credit: Image Science and Analysis Laboratory, NASA-Johnson Space Center. |
|
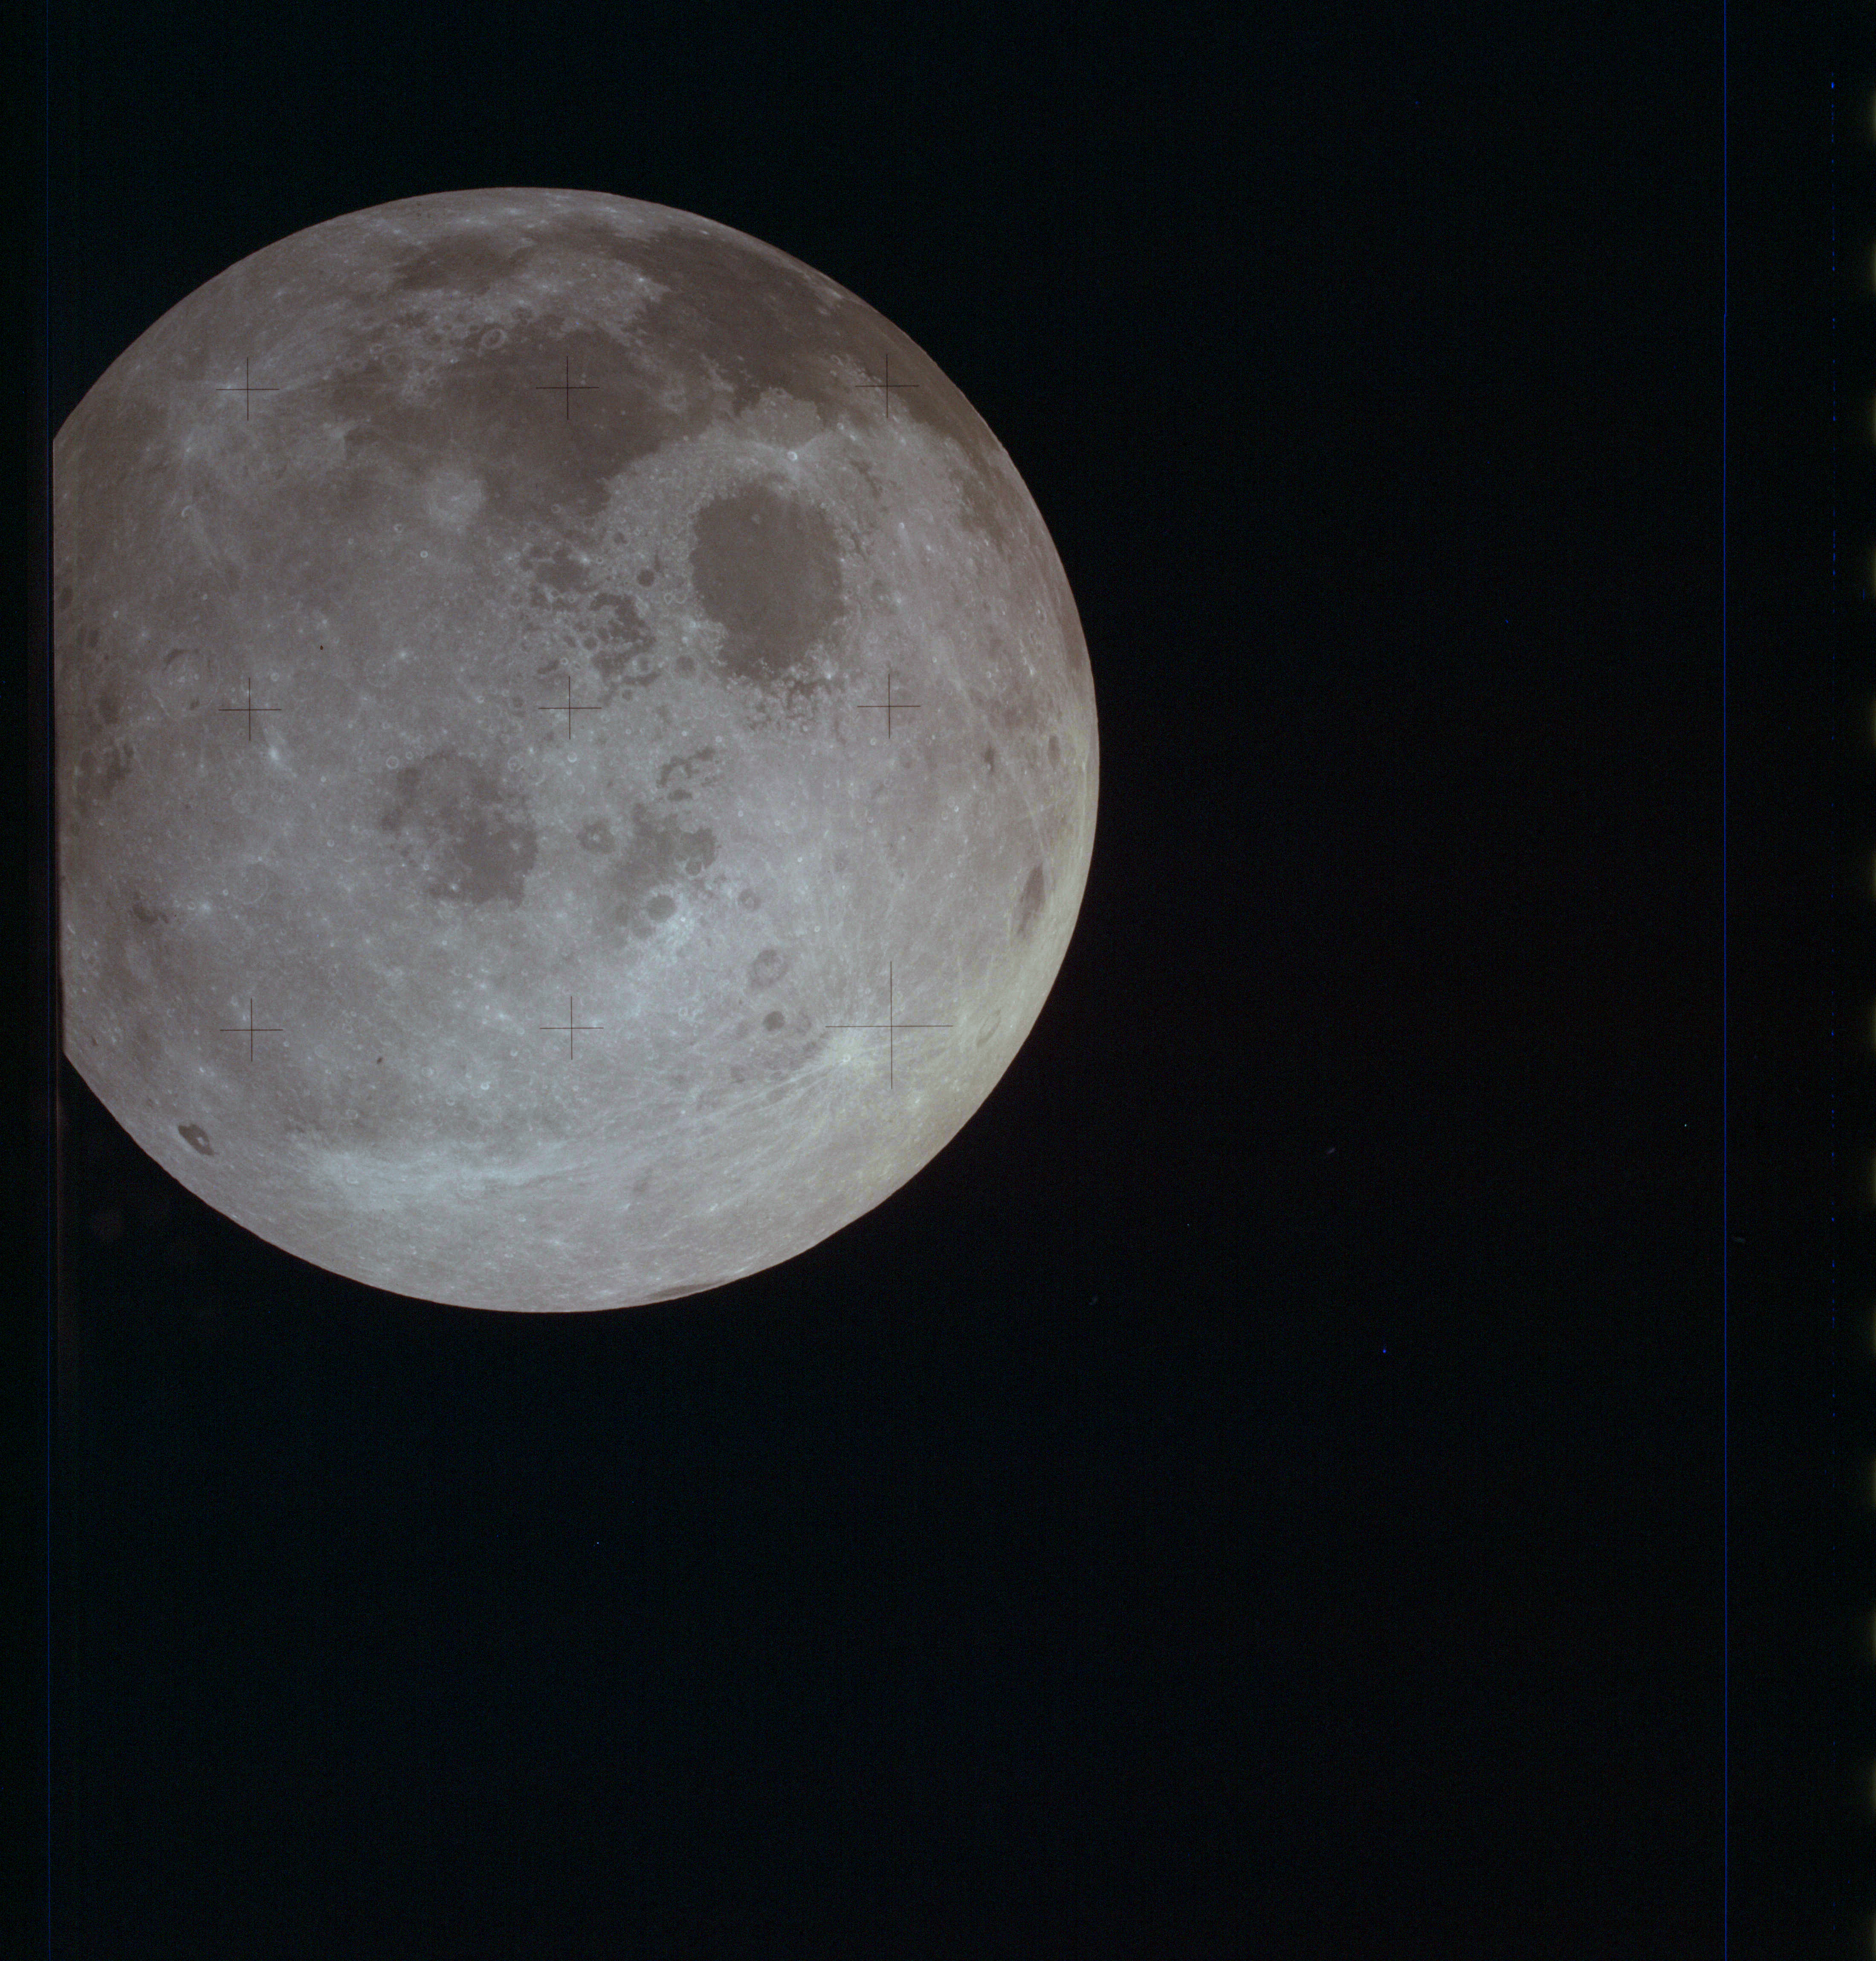
AS13-61-8773 Browse or print resolution. Moon from Apollo 13. Image credit: Image Science and Analysis Laboratory, NASA-Johnson Space Center. |
|
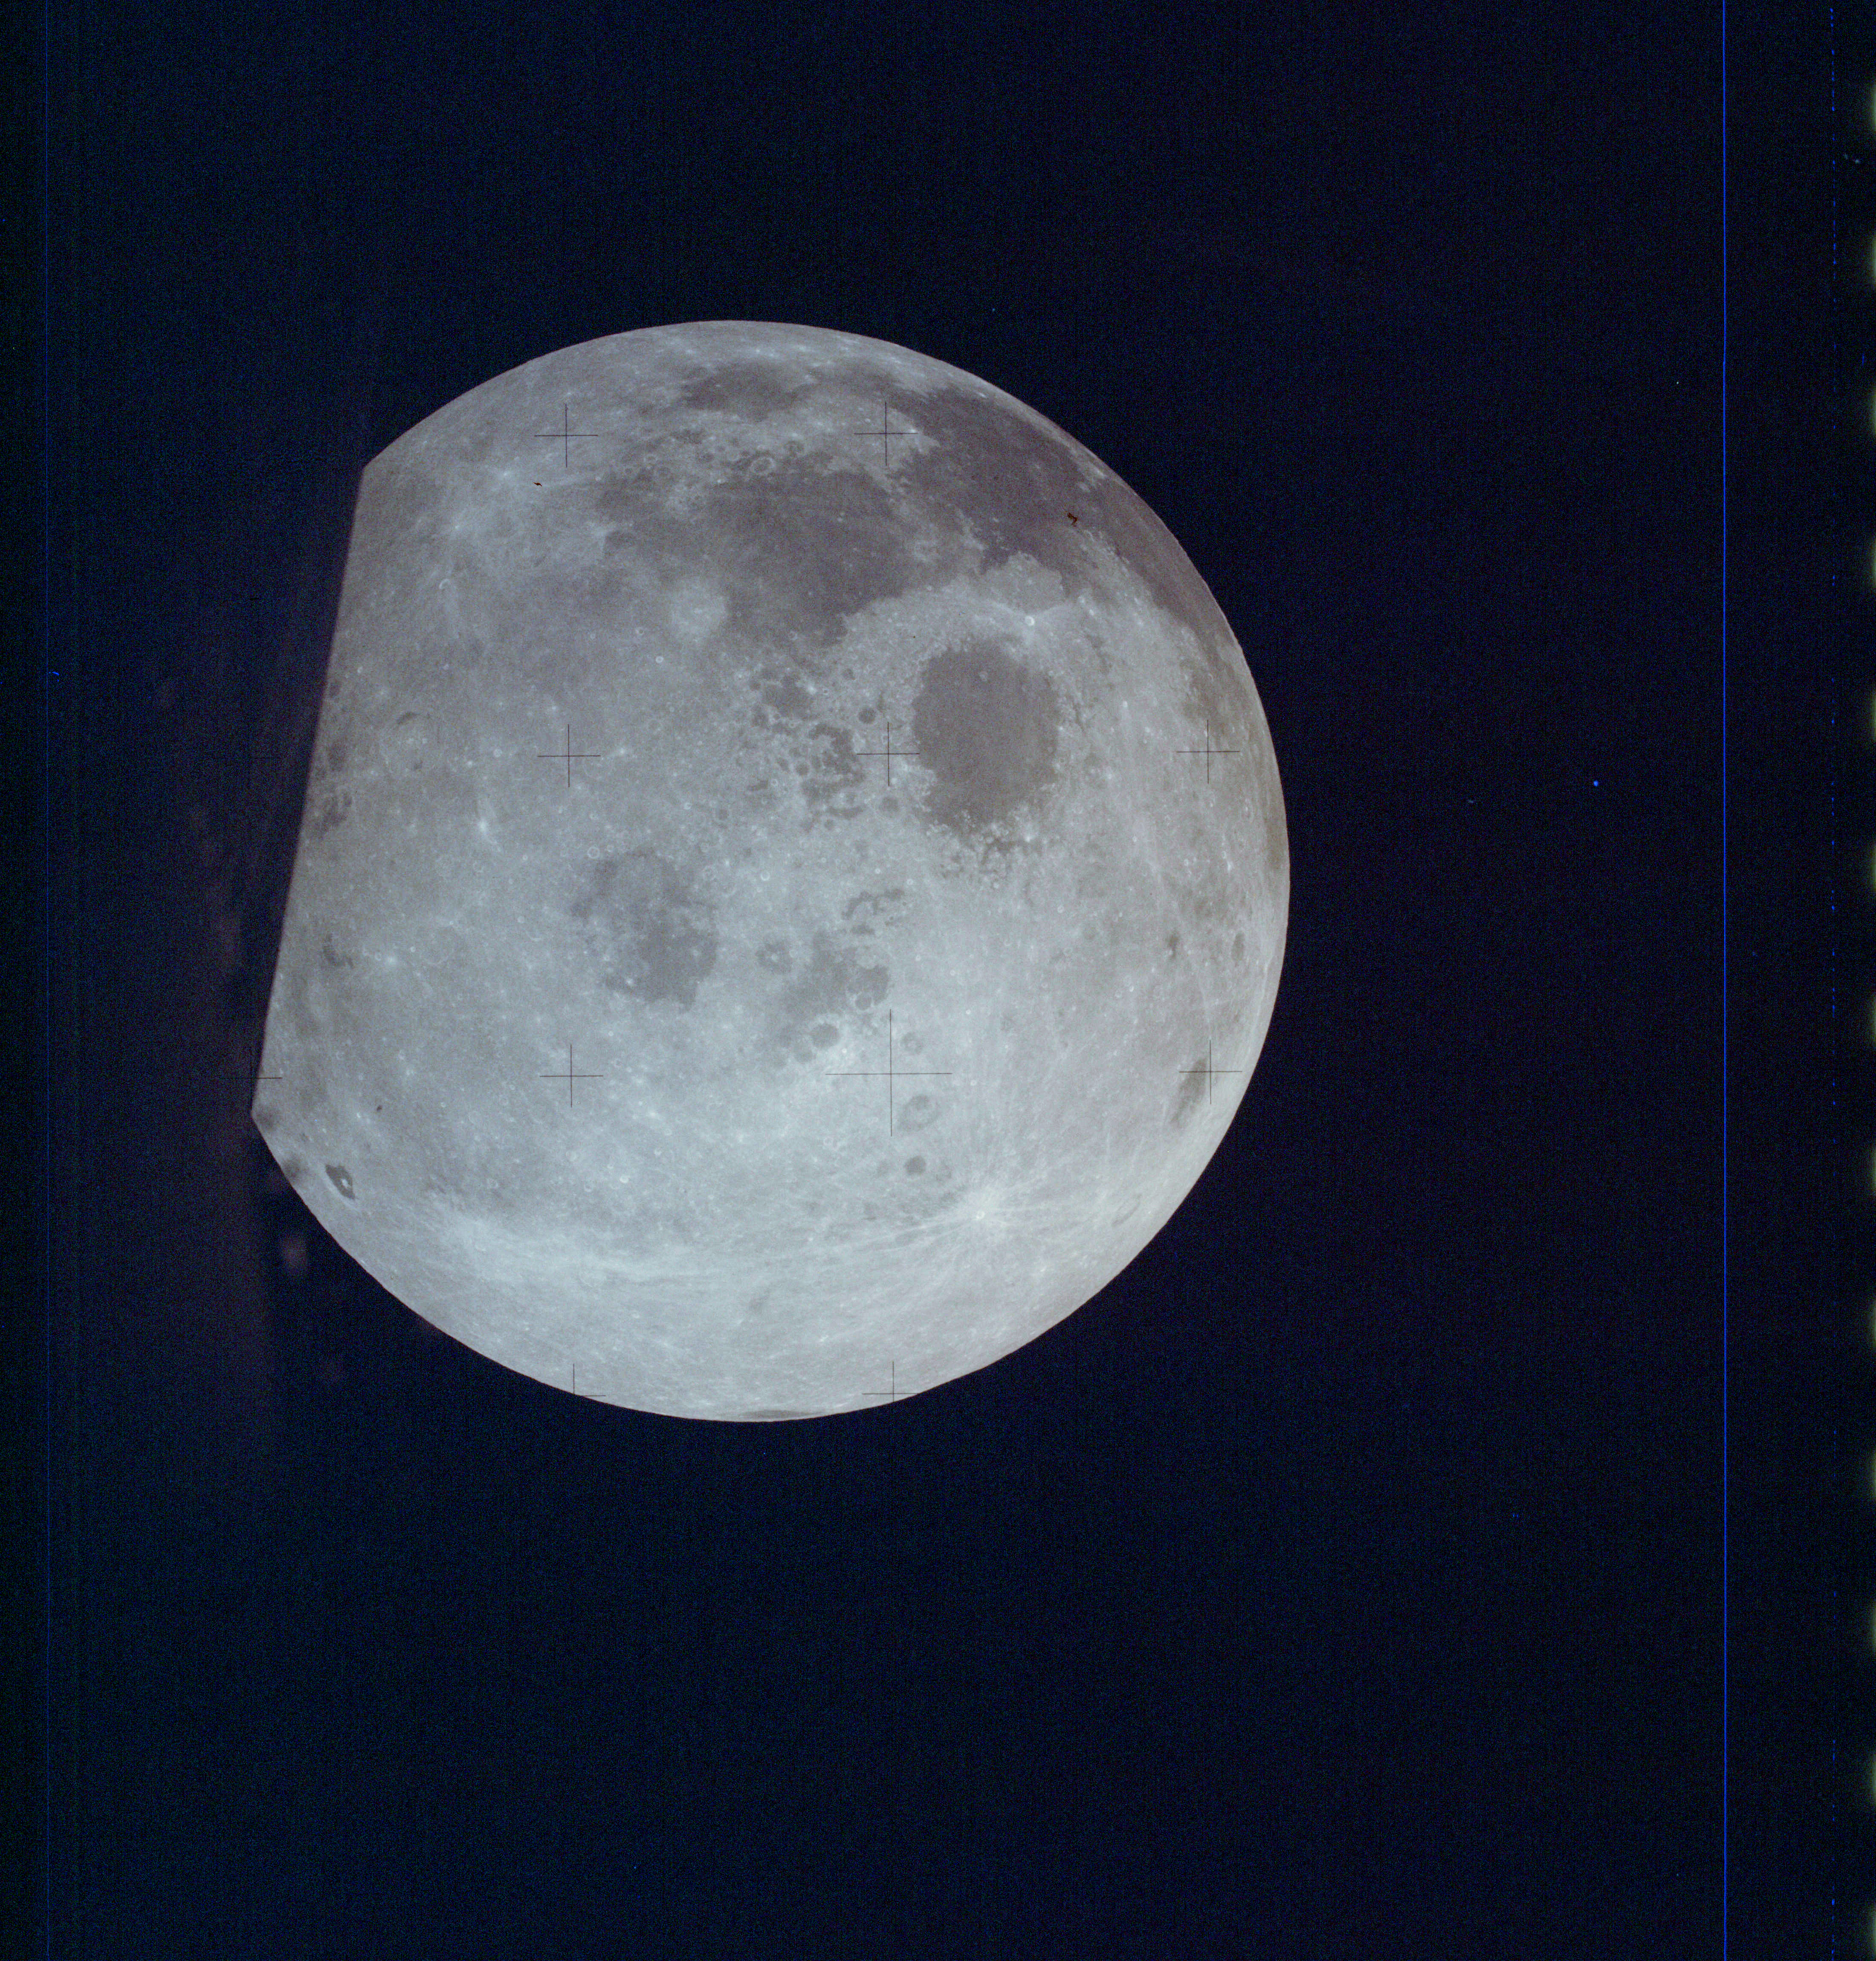
AS13-61-8774 Browse or print resolution. Moon from Apollo 13. Image credit: Image Science and Analysis Laboratory, NASA-Johnson Space Center. |
|
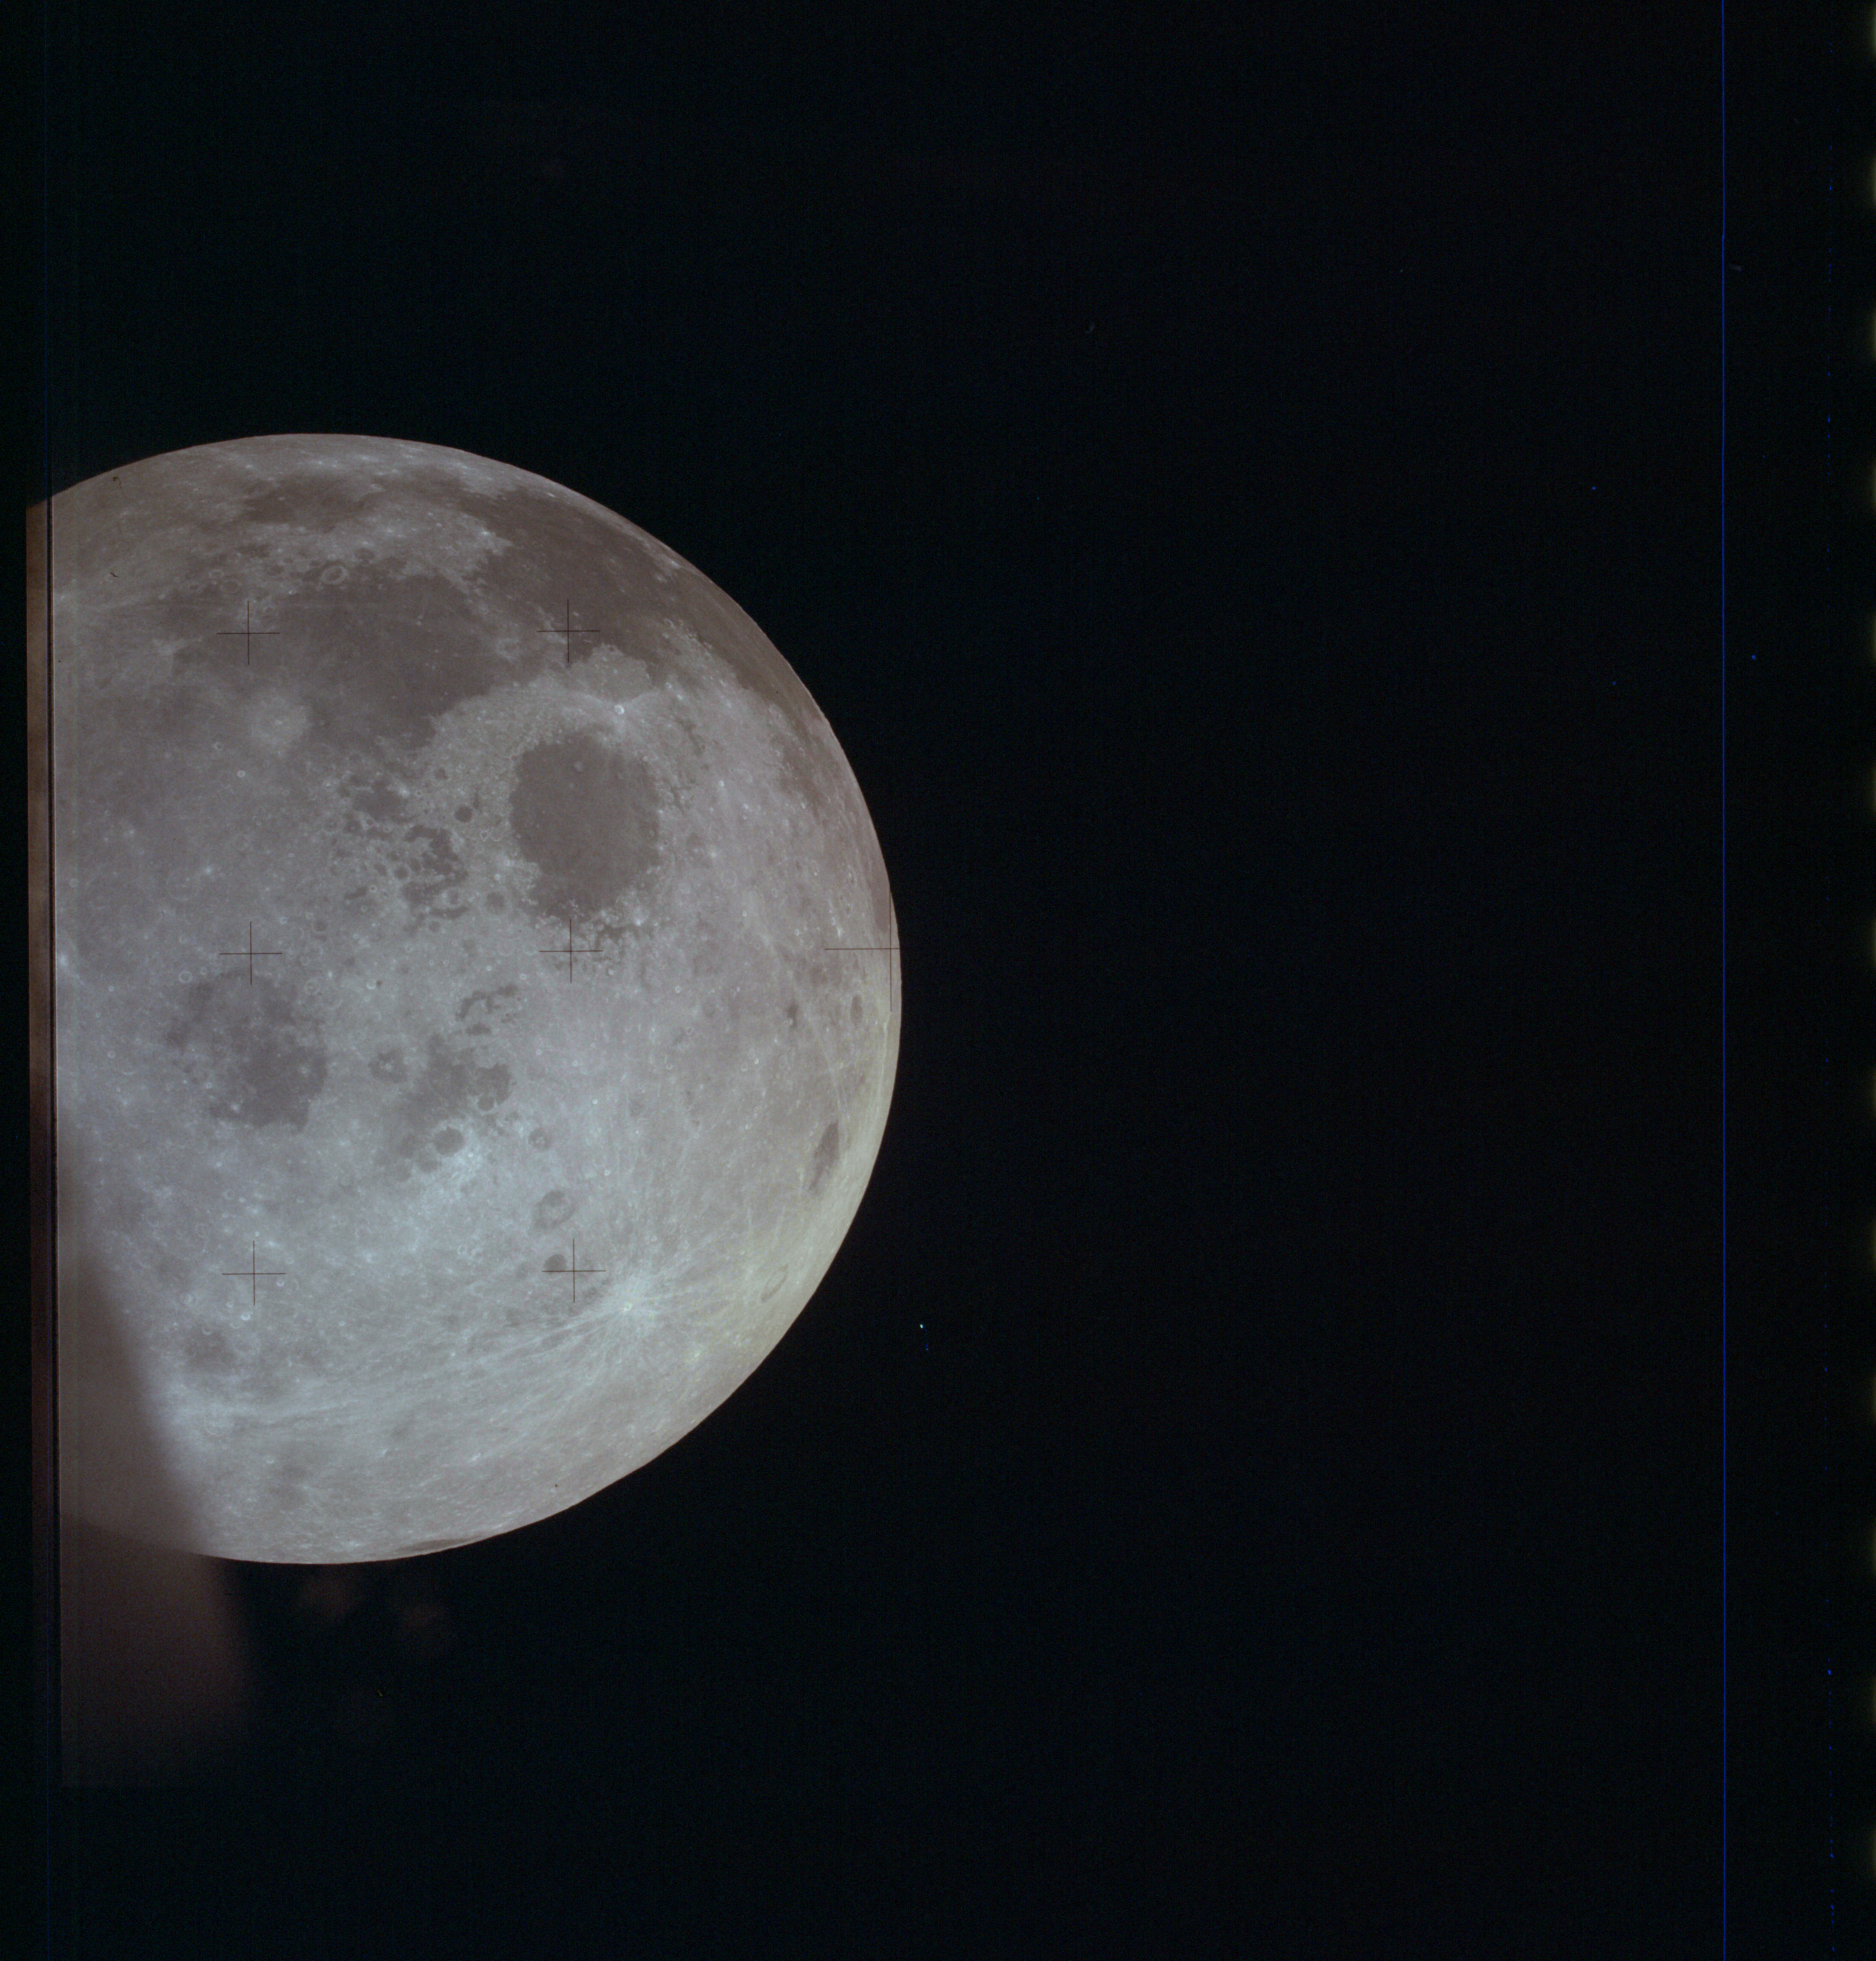
AS13-61-8775 Browse or print resolution. Moon from Apollo 13. Image credit: Image Science and Analysis Laboratory, NASA-Johnson Space Center. |
|
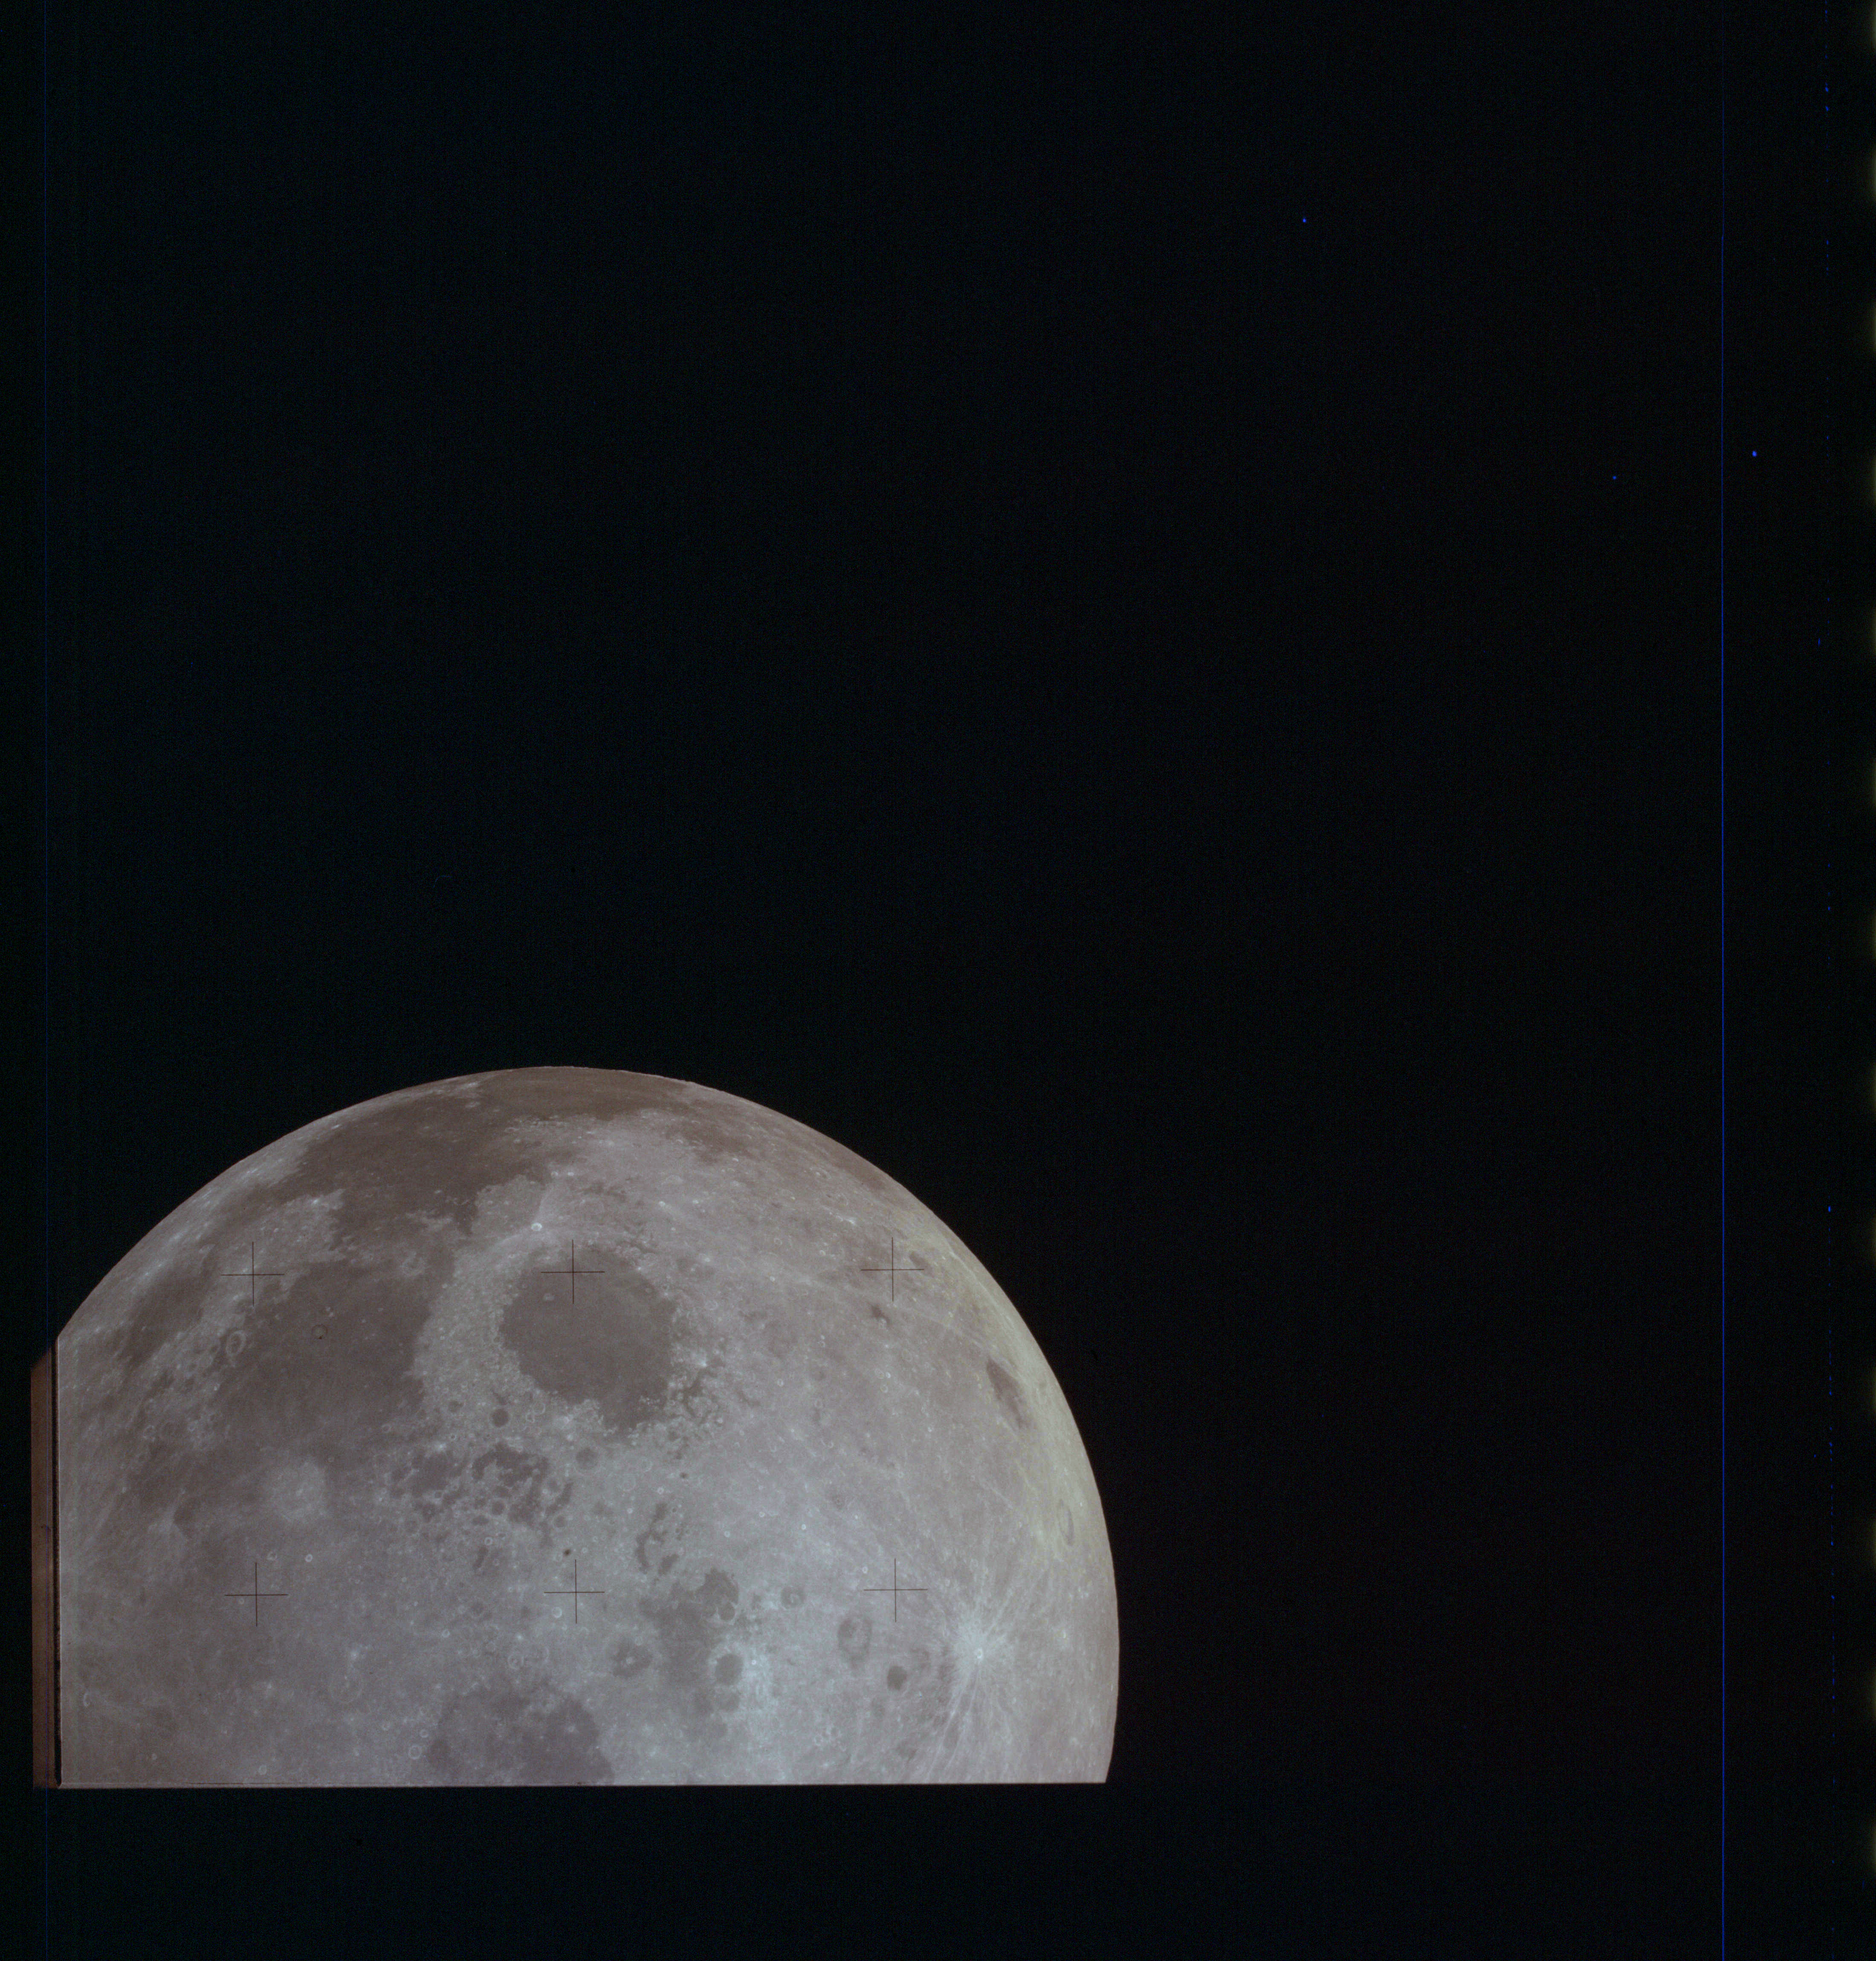
AS13-61-8776 Browse or print resolution. Moon from Apollo 13. Image credit: Image Science and Analysis Laboratory, NASA-Johnson Space Center. |
|
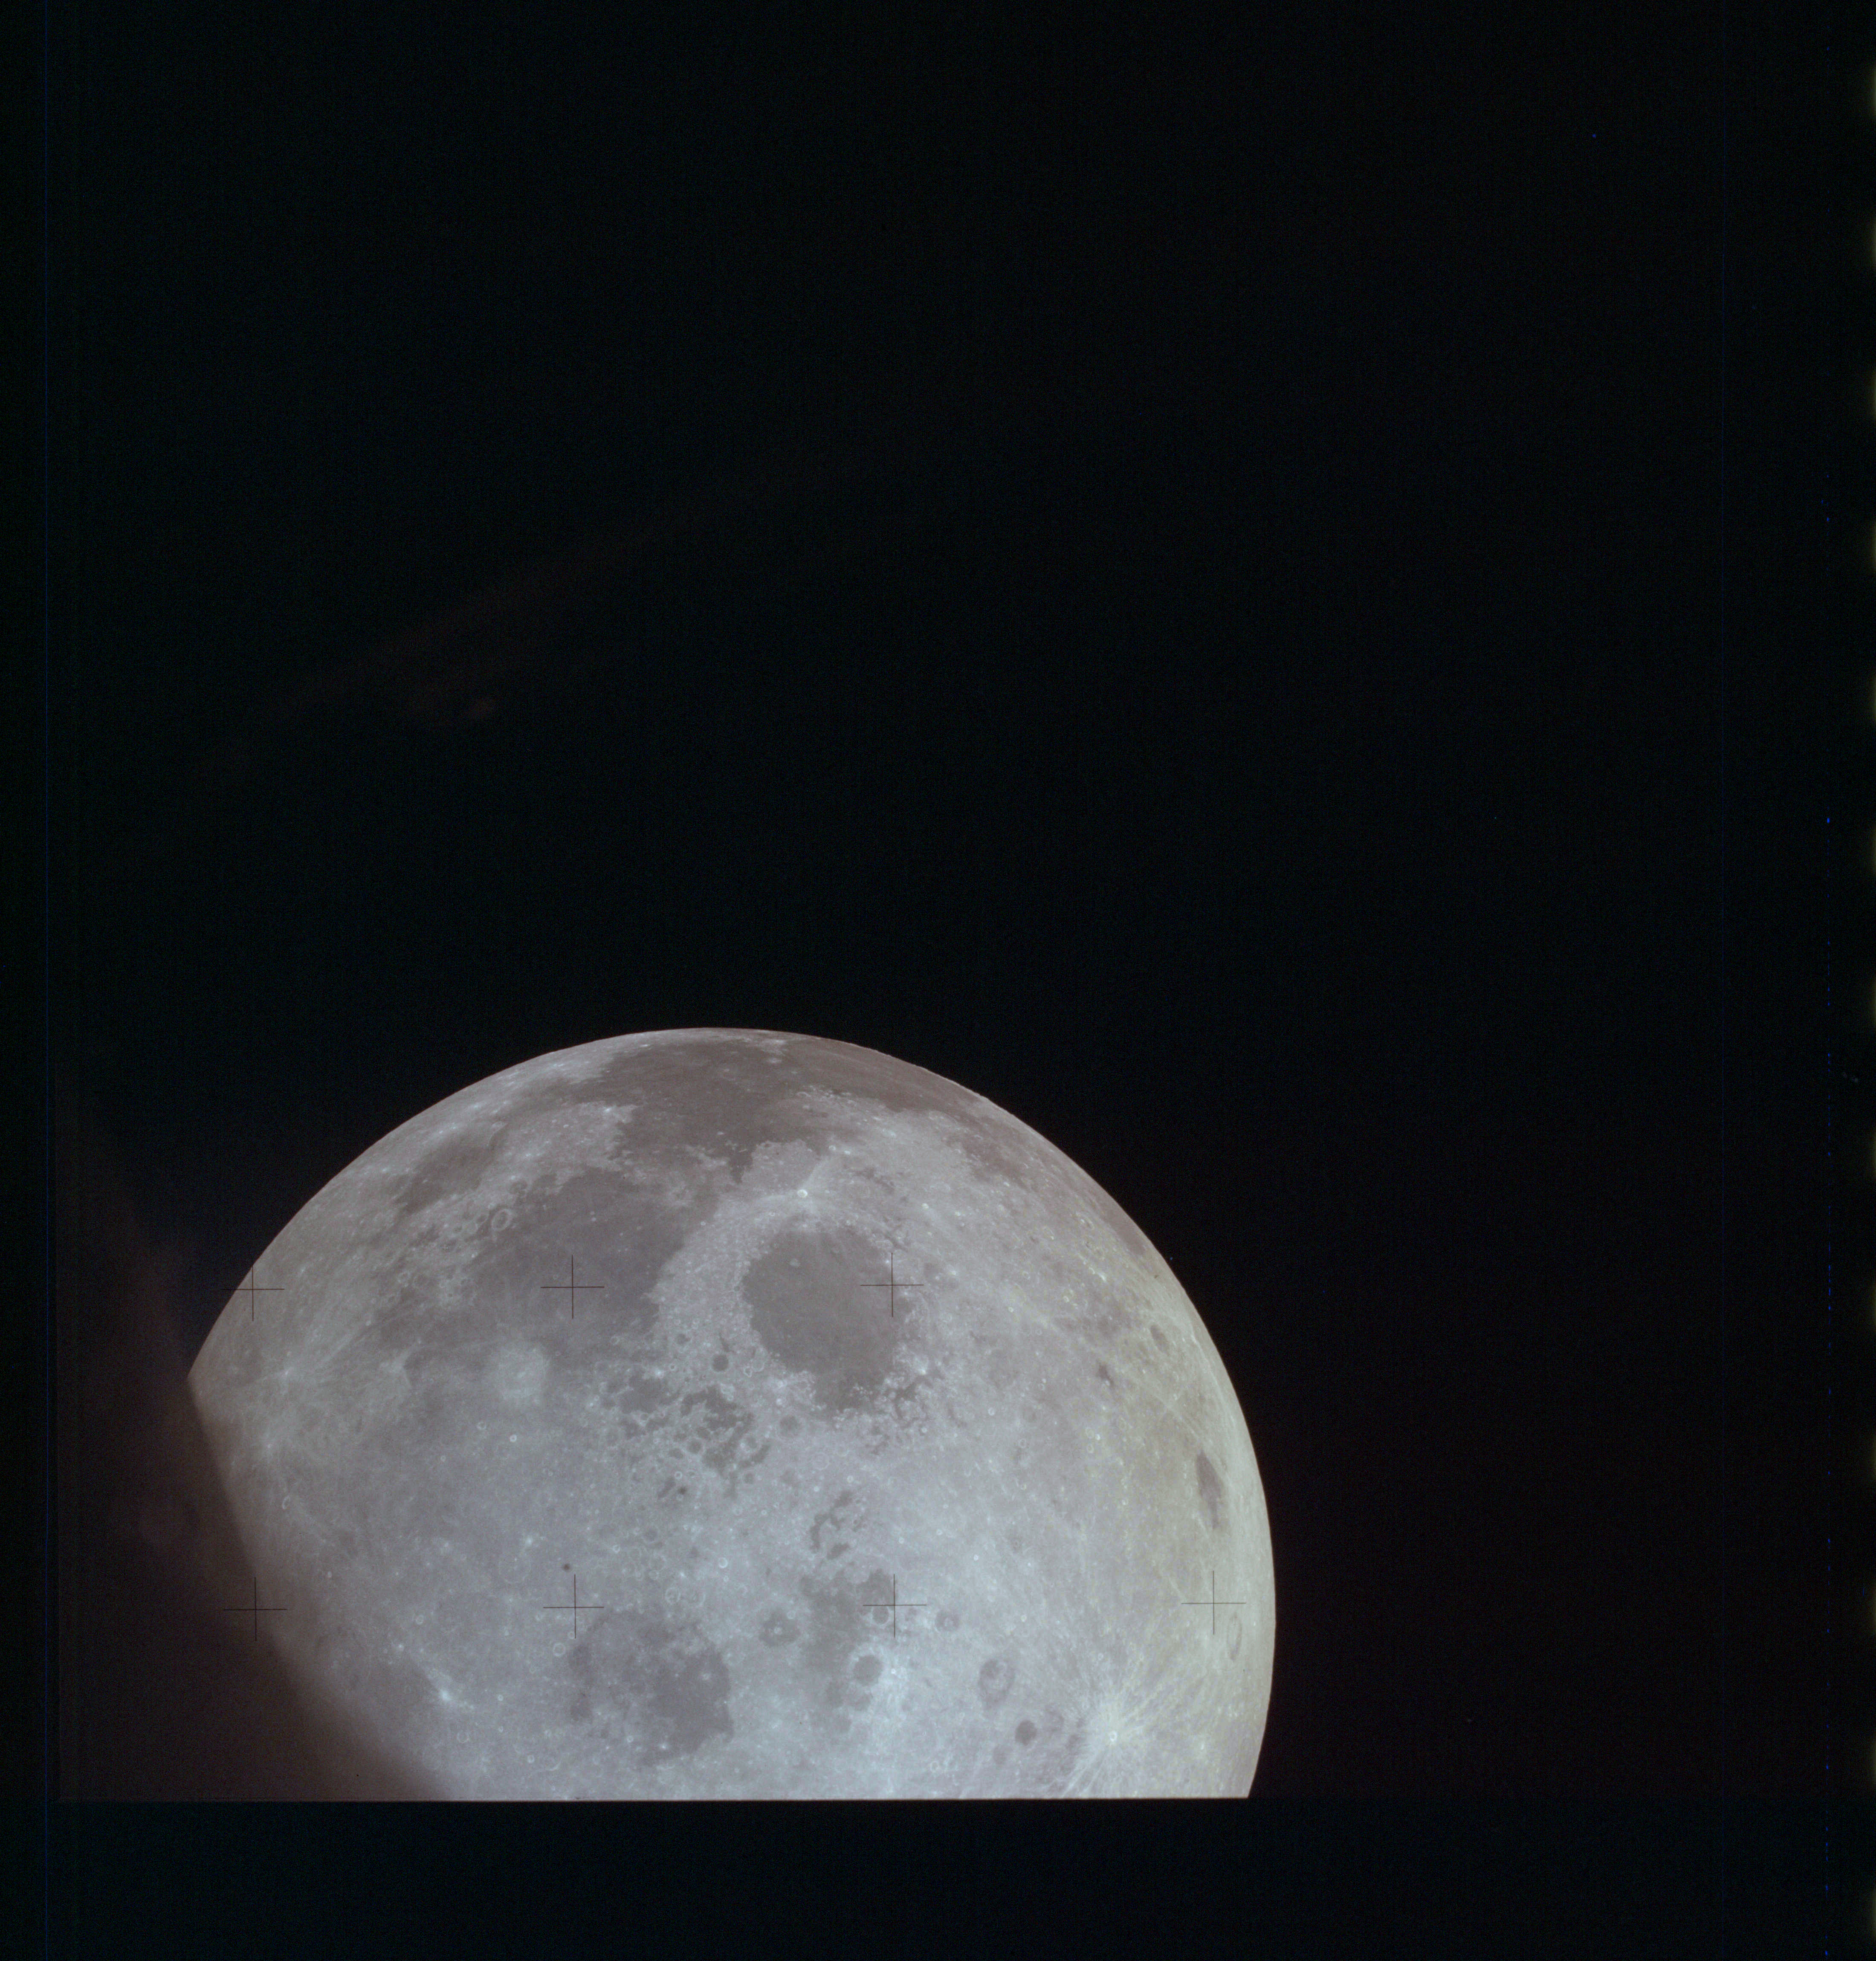
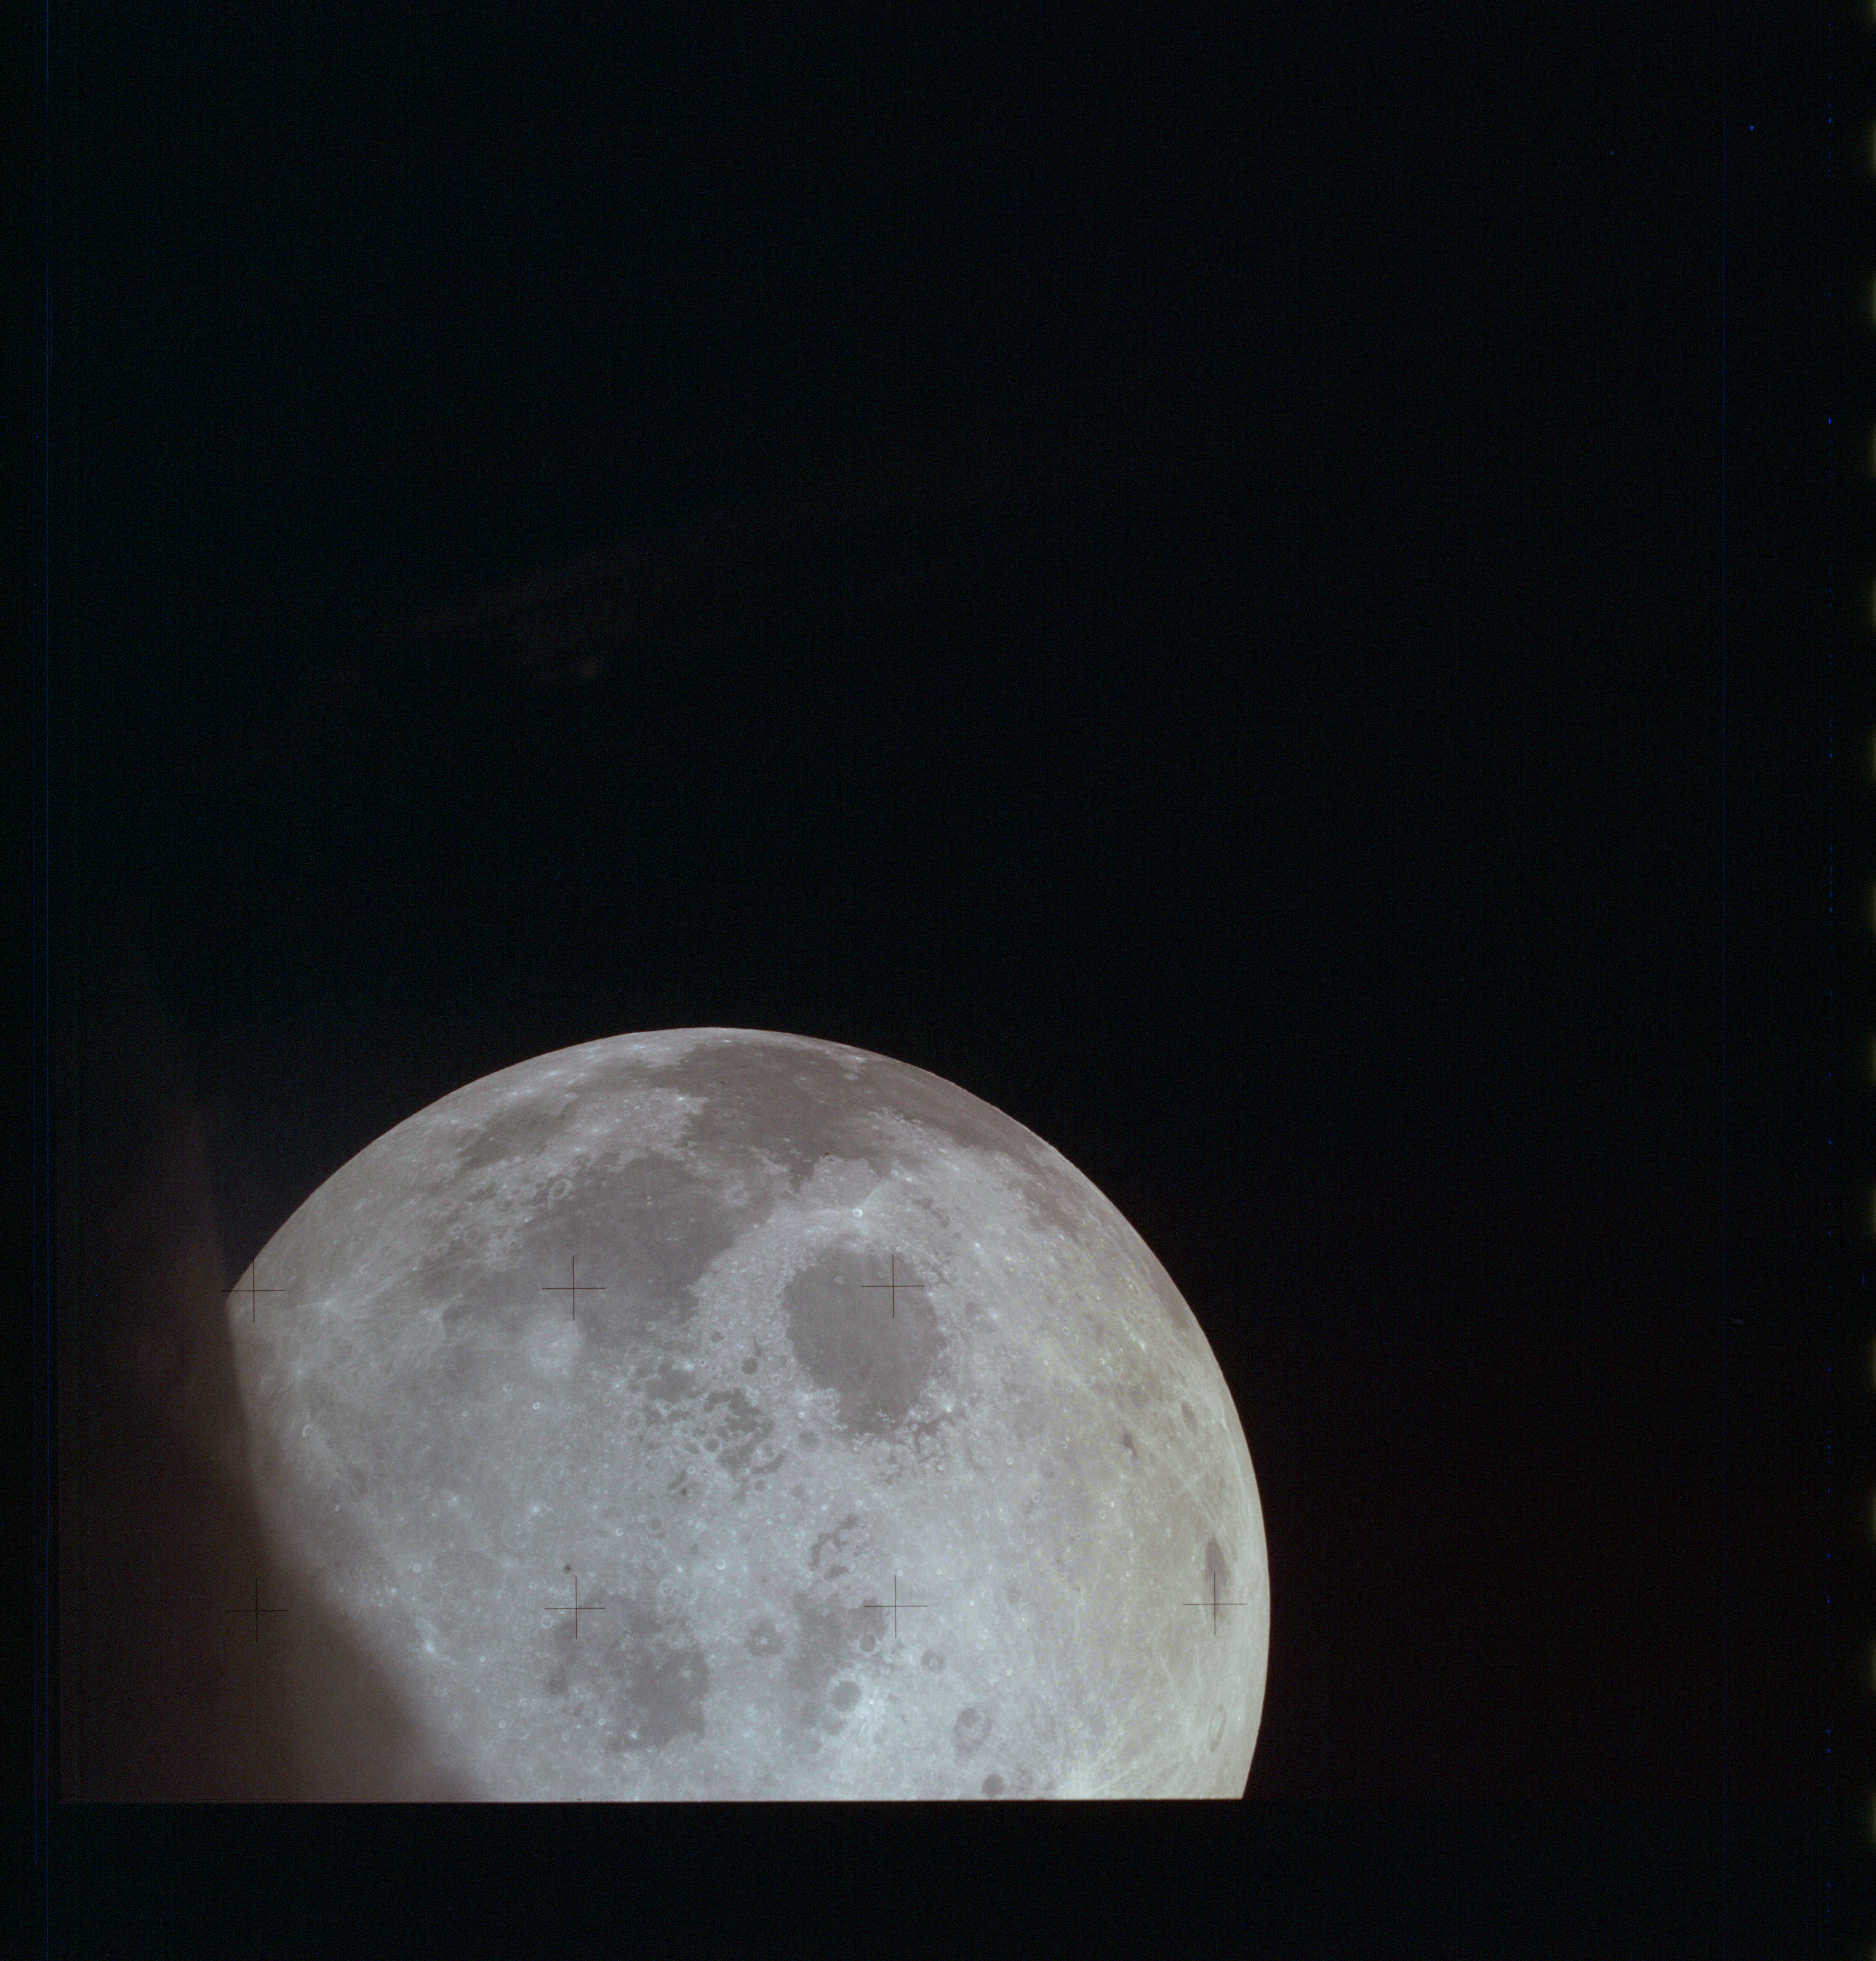
AS13-61-8777 Browse or print resolution. Moon from Apollo 13. Image credit: Image Science and Analysis Laboratory, NASA-Johnson Space Center. |
|
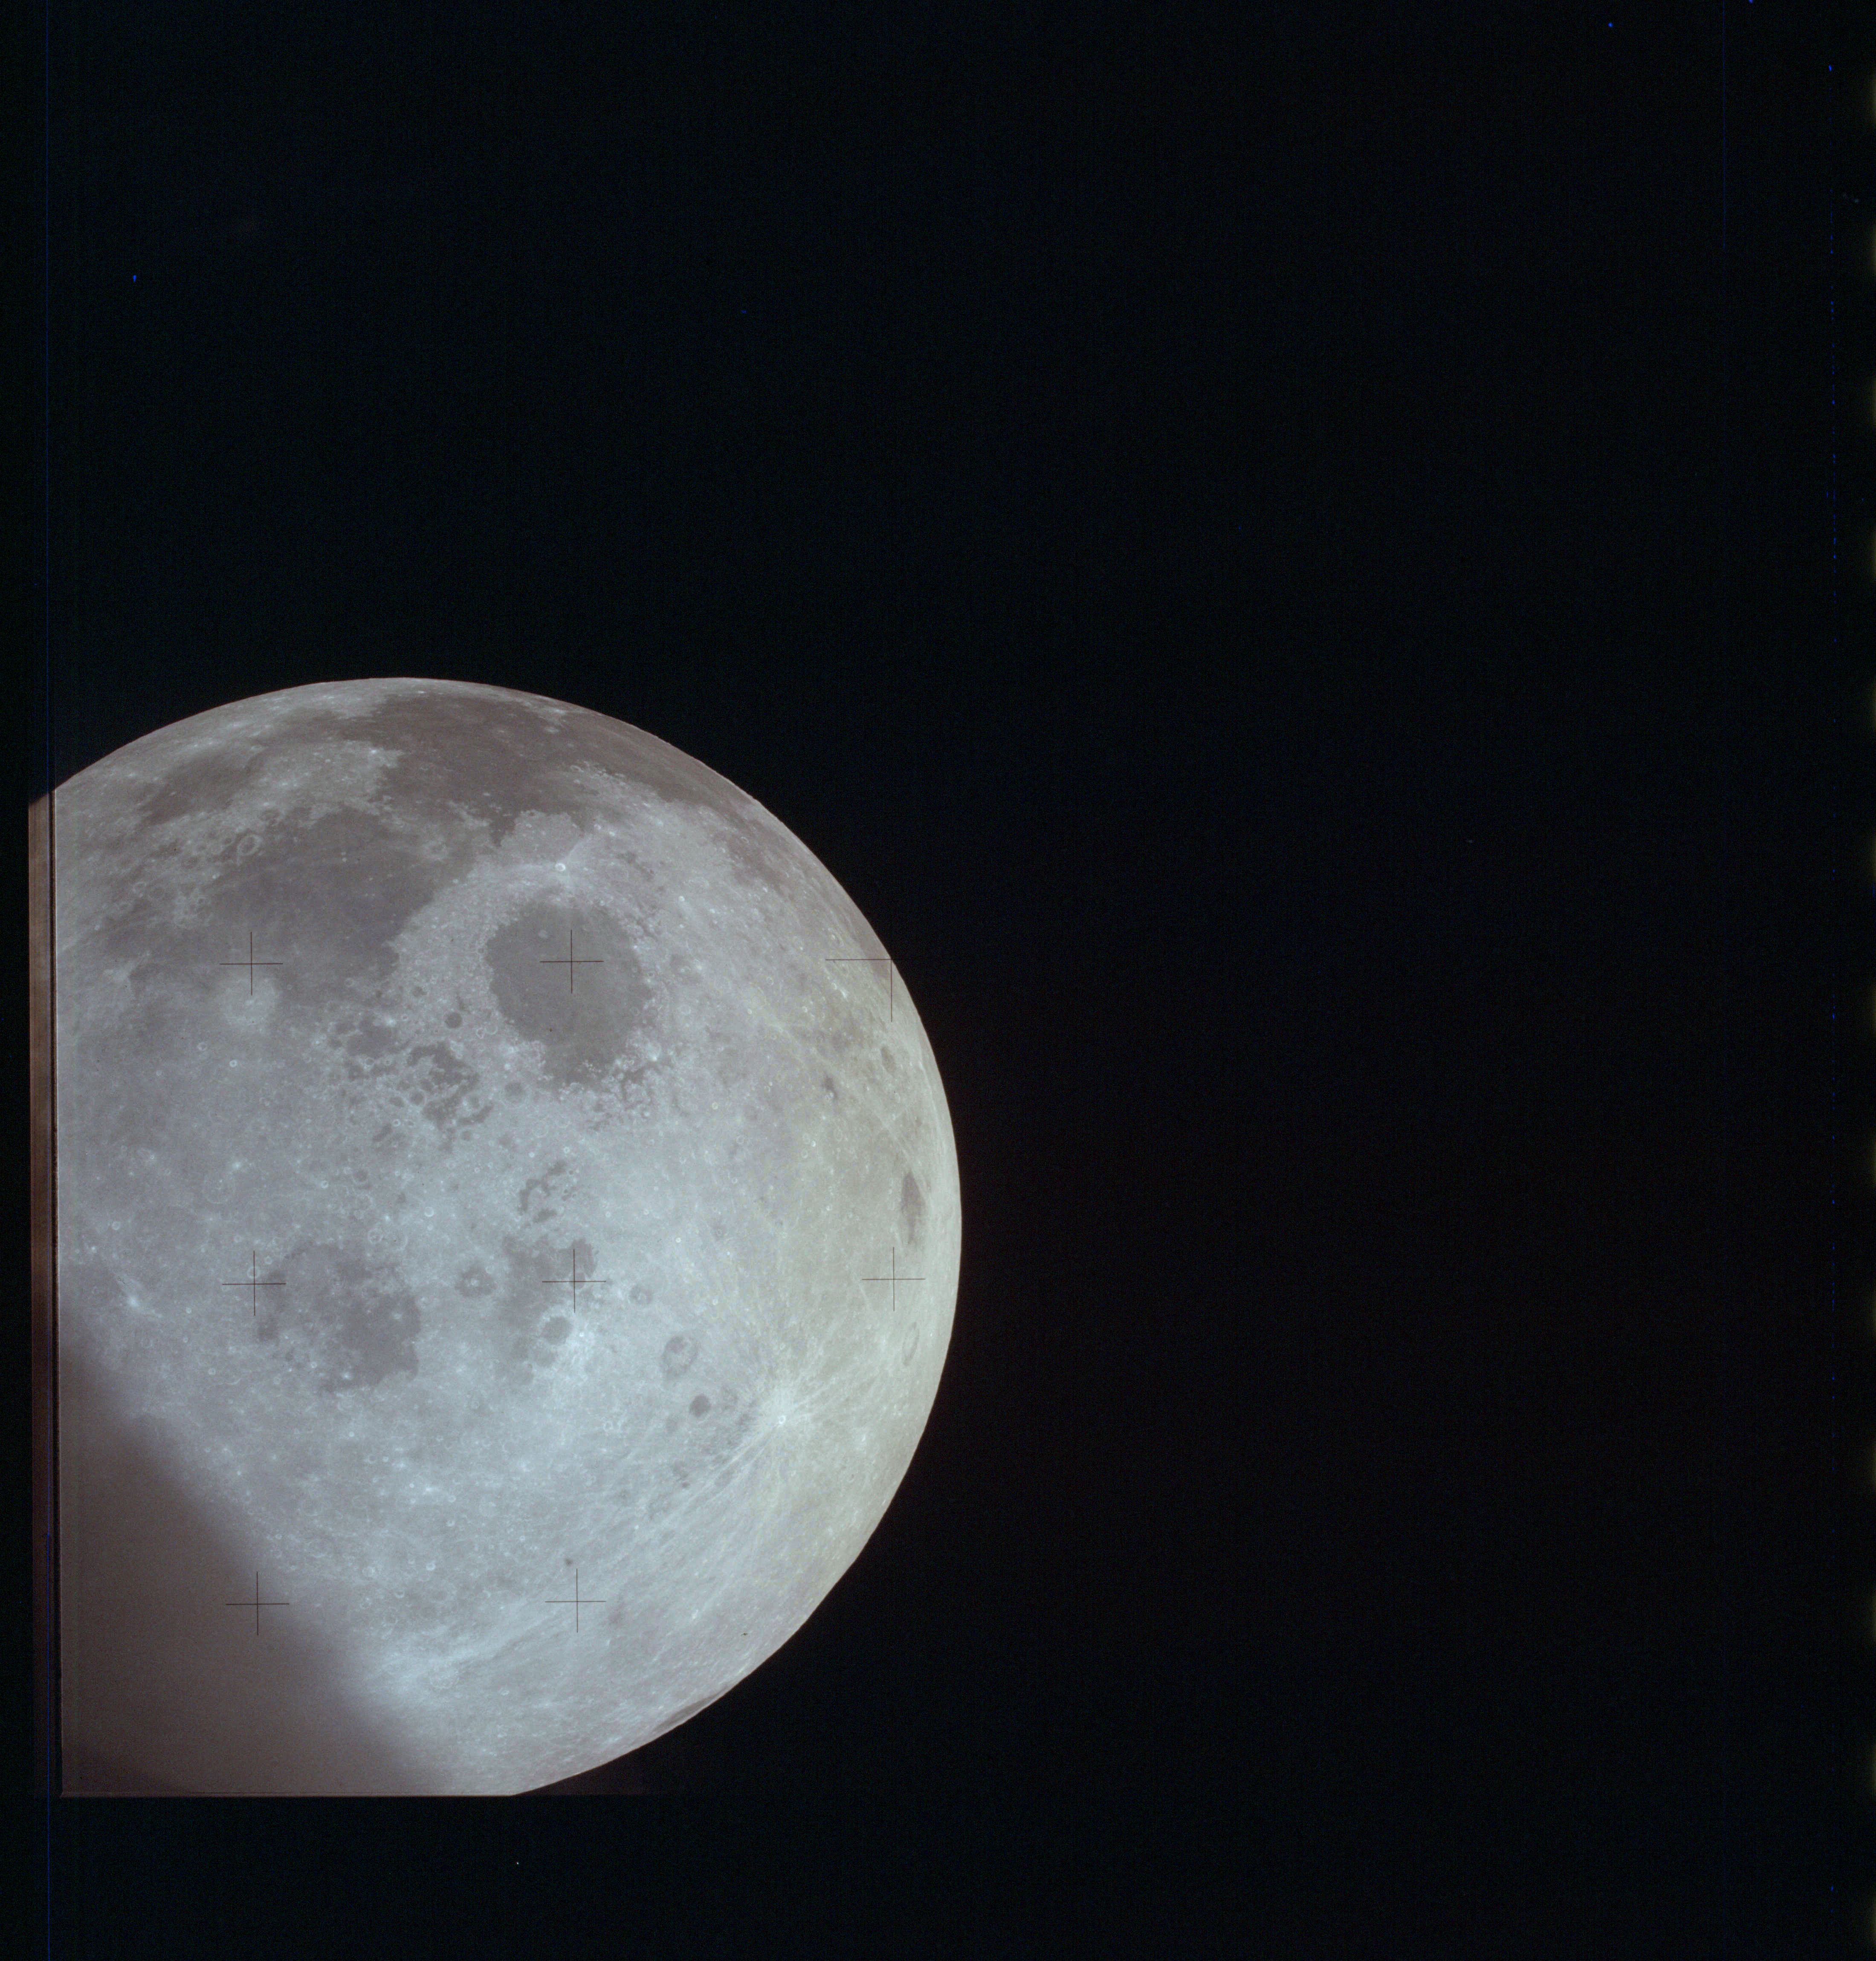
AS13-61-8778 Browse or print resolution. Moon from Apollo 13. Image credit: Image Science and Analysis Laboratory, NASA-Johnson Space Center. |
|
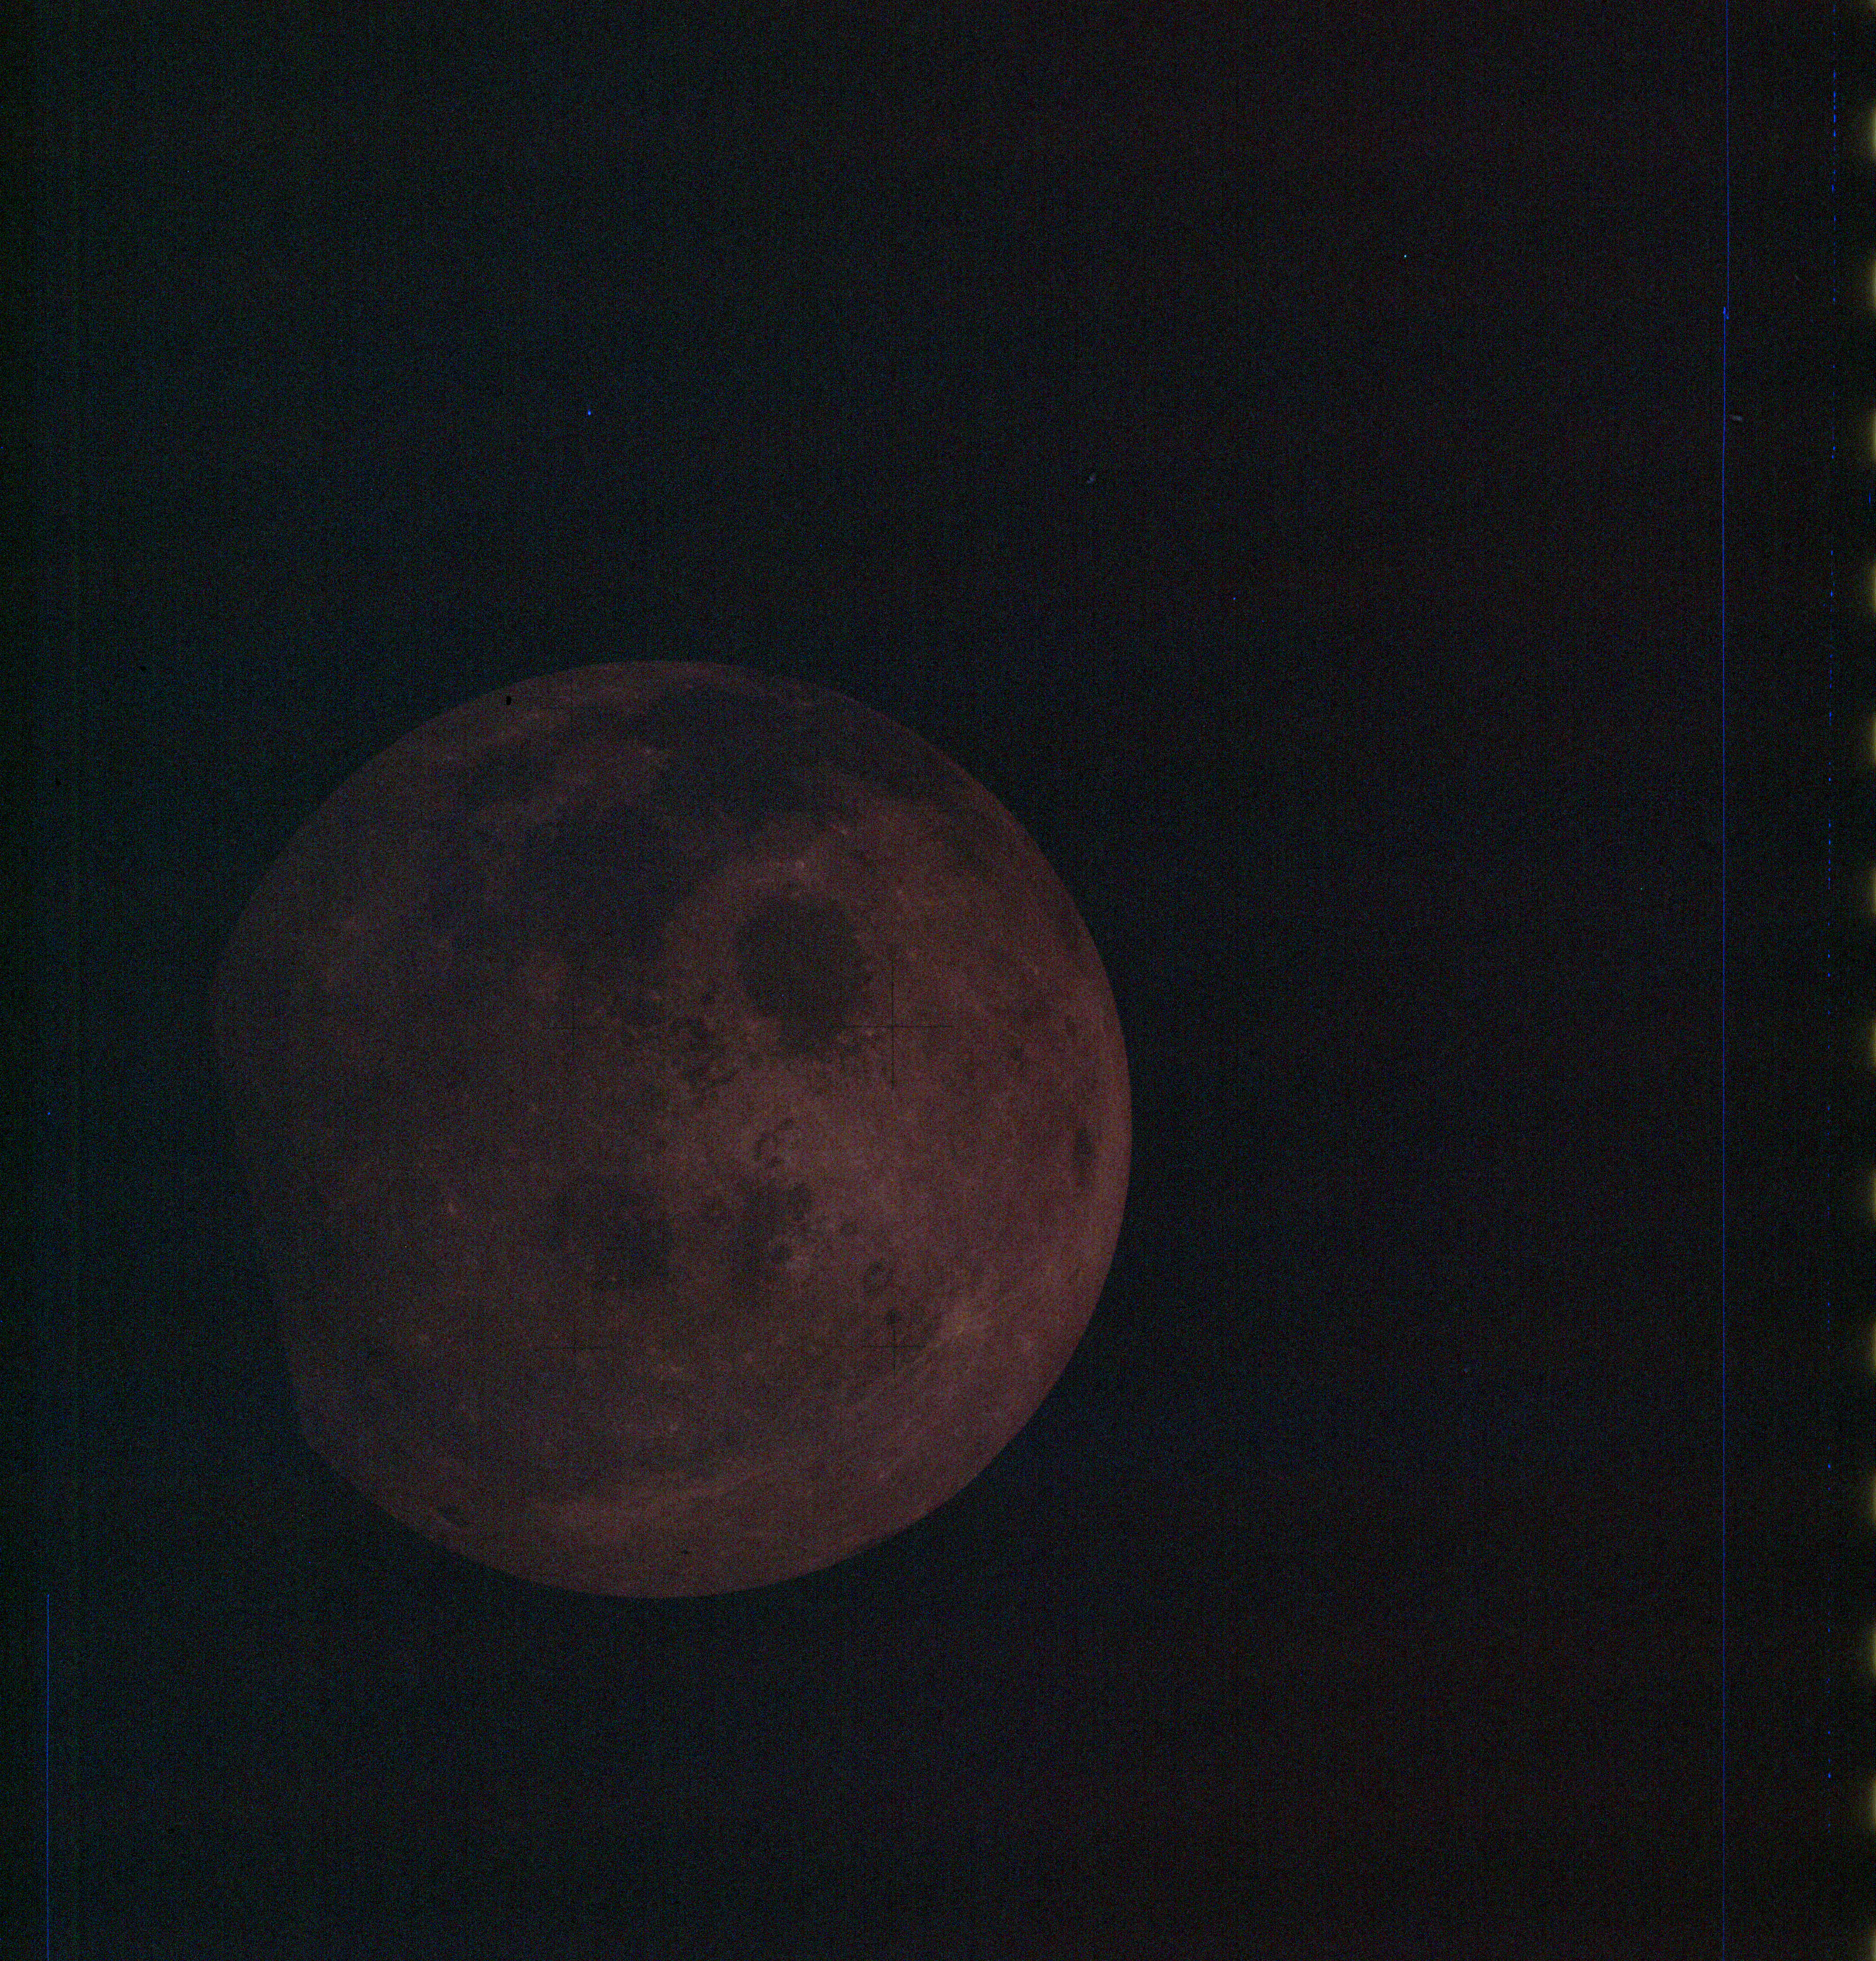
AS13-61-8779 Browse or print resolution. Moon from Apollo 13. Image credit: Image Science and Analysis Laboratory, NASA-Johnson Space Center. |
|
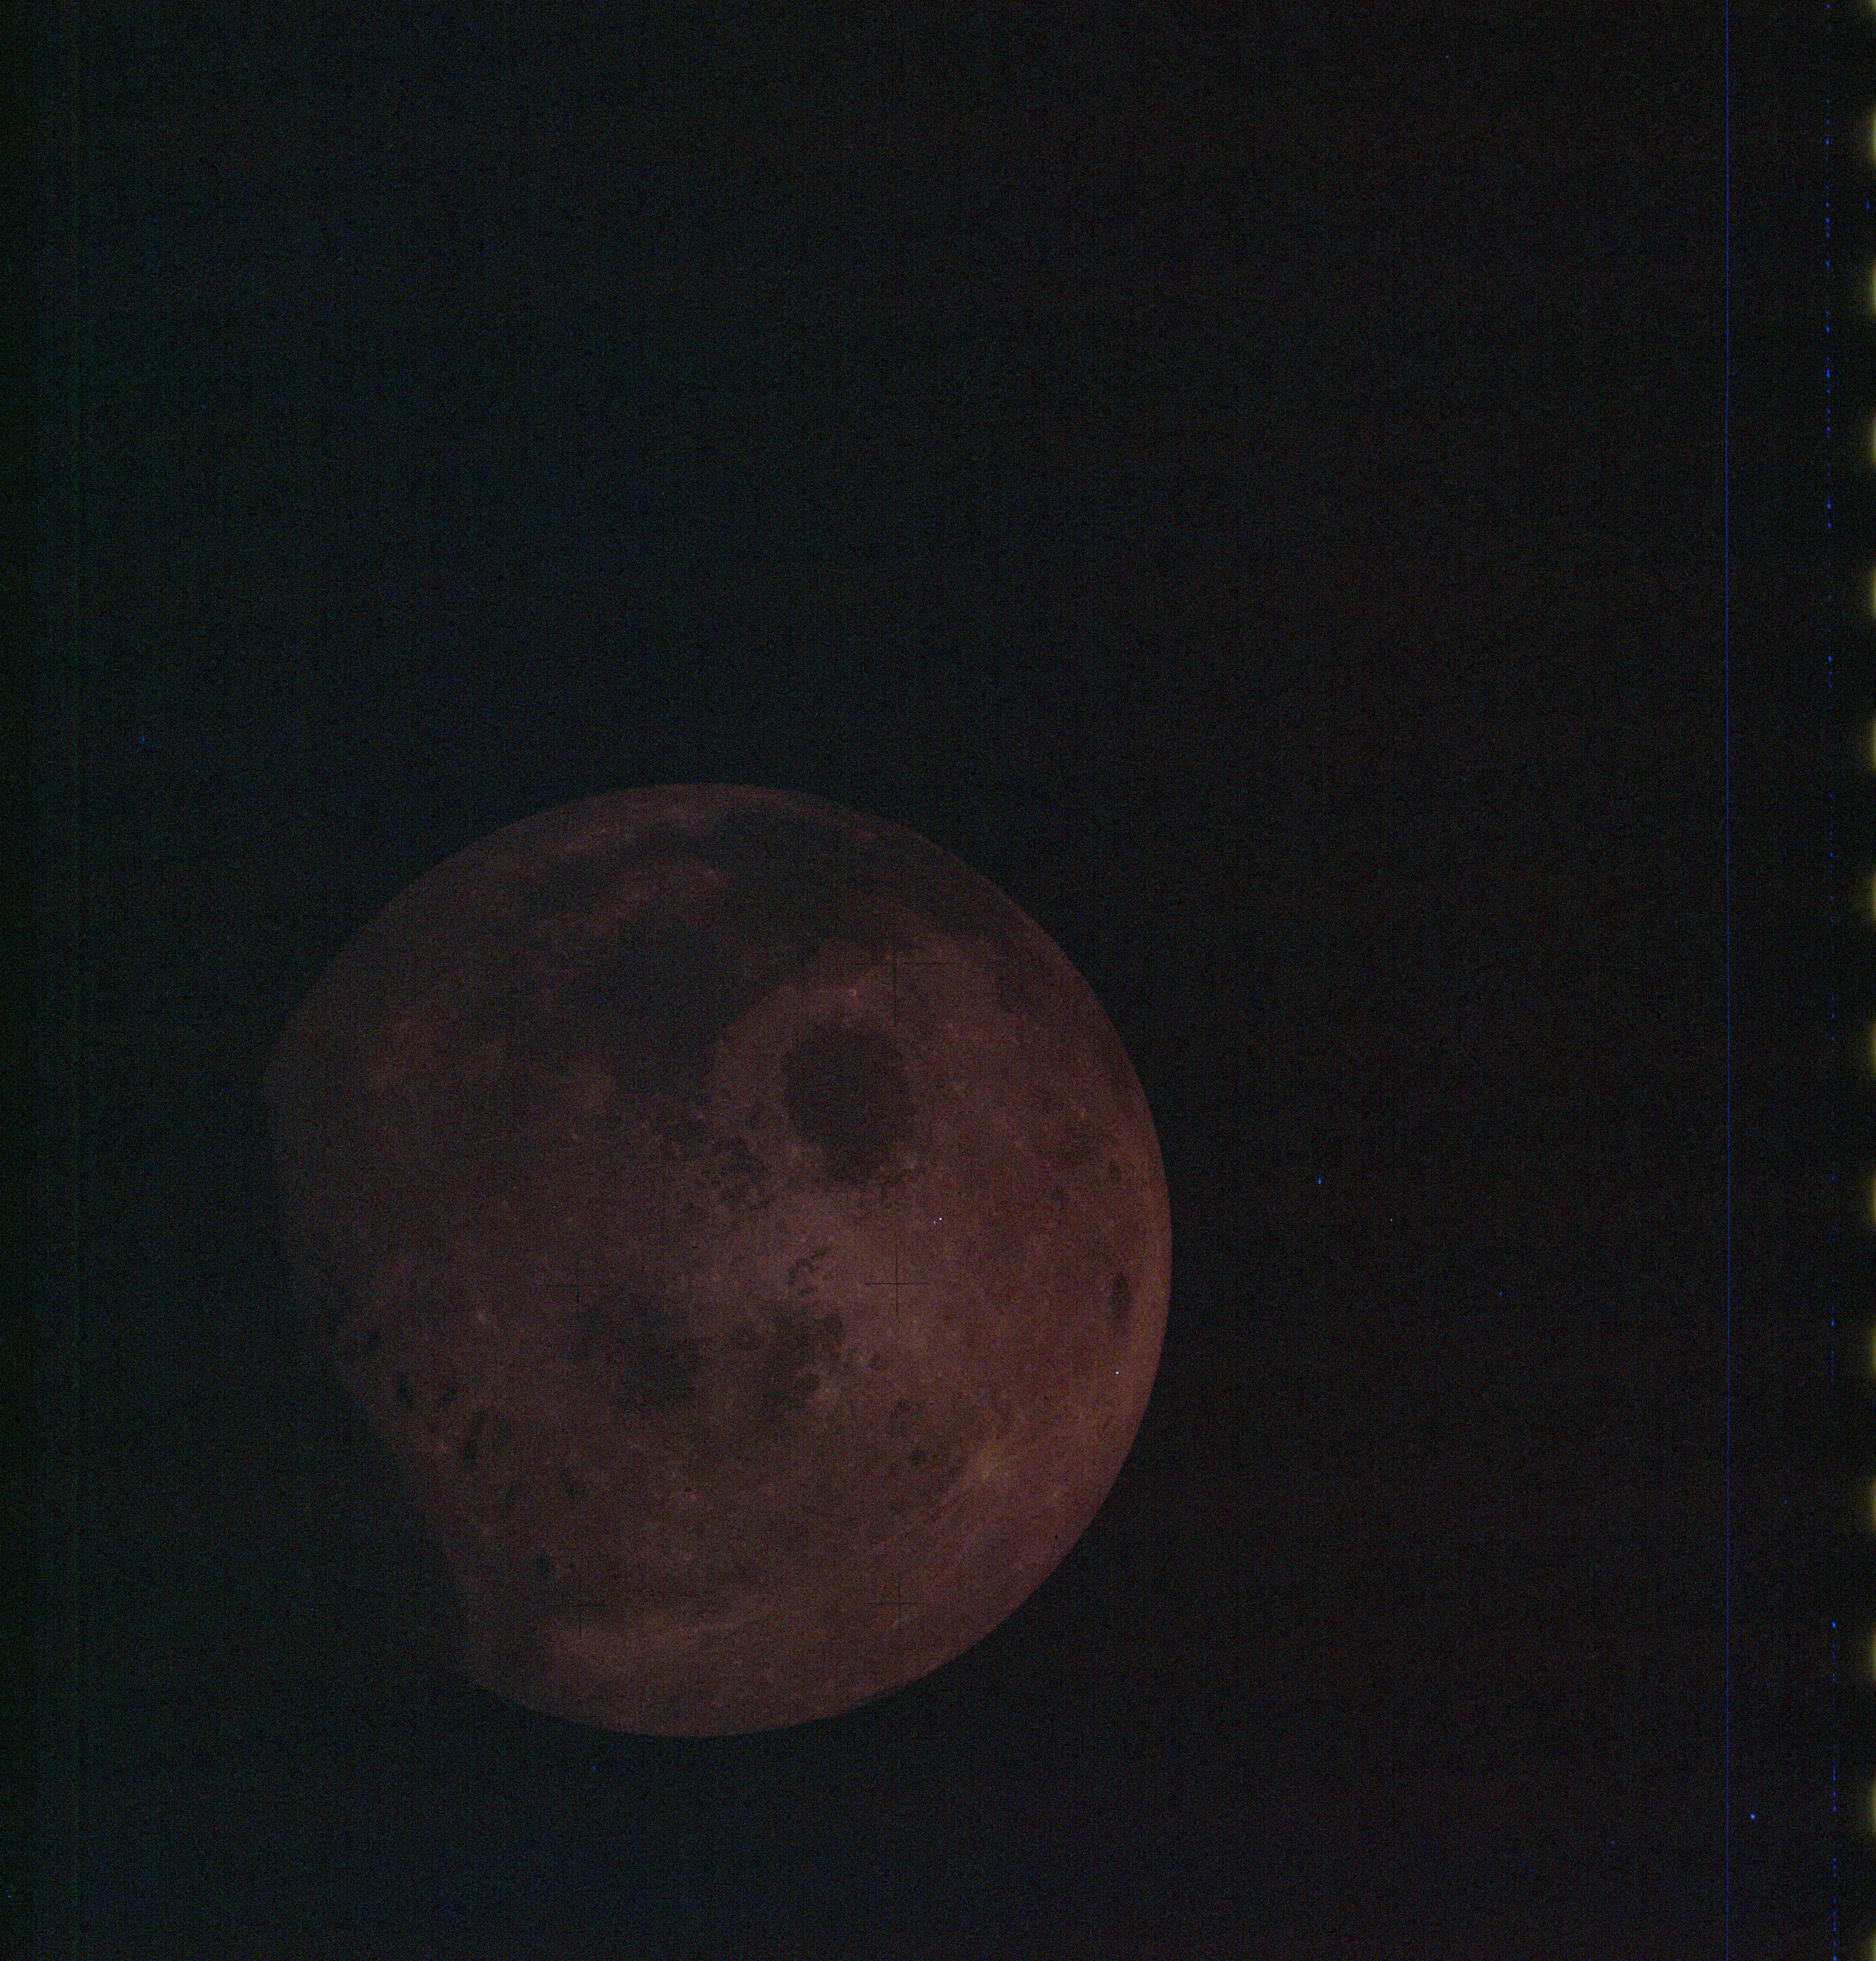
AS13-61-8779a Browse or print resolution. Underexposed Moon from Apollo 13. Image credit: Image Science and Analysis Laboratory, NASA-Johnson Space Center. |
|
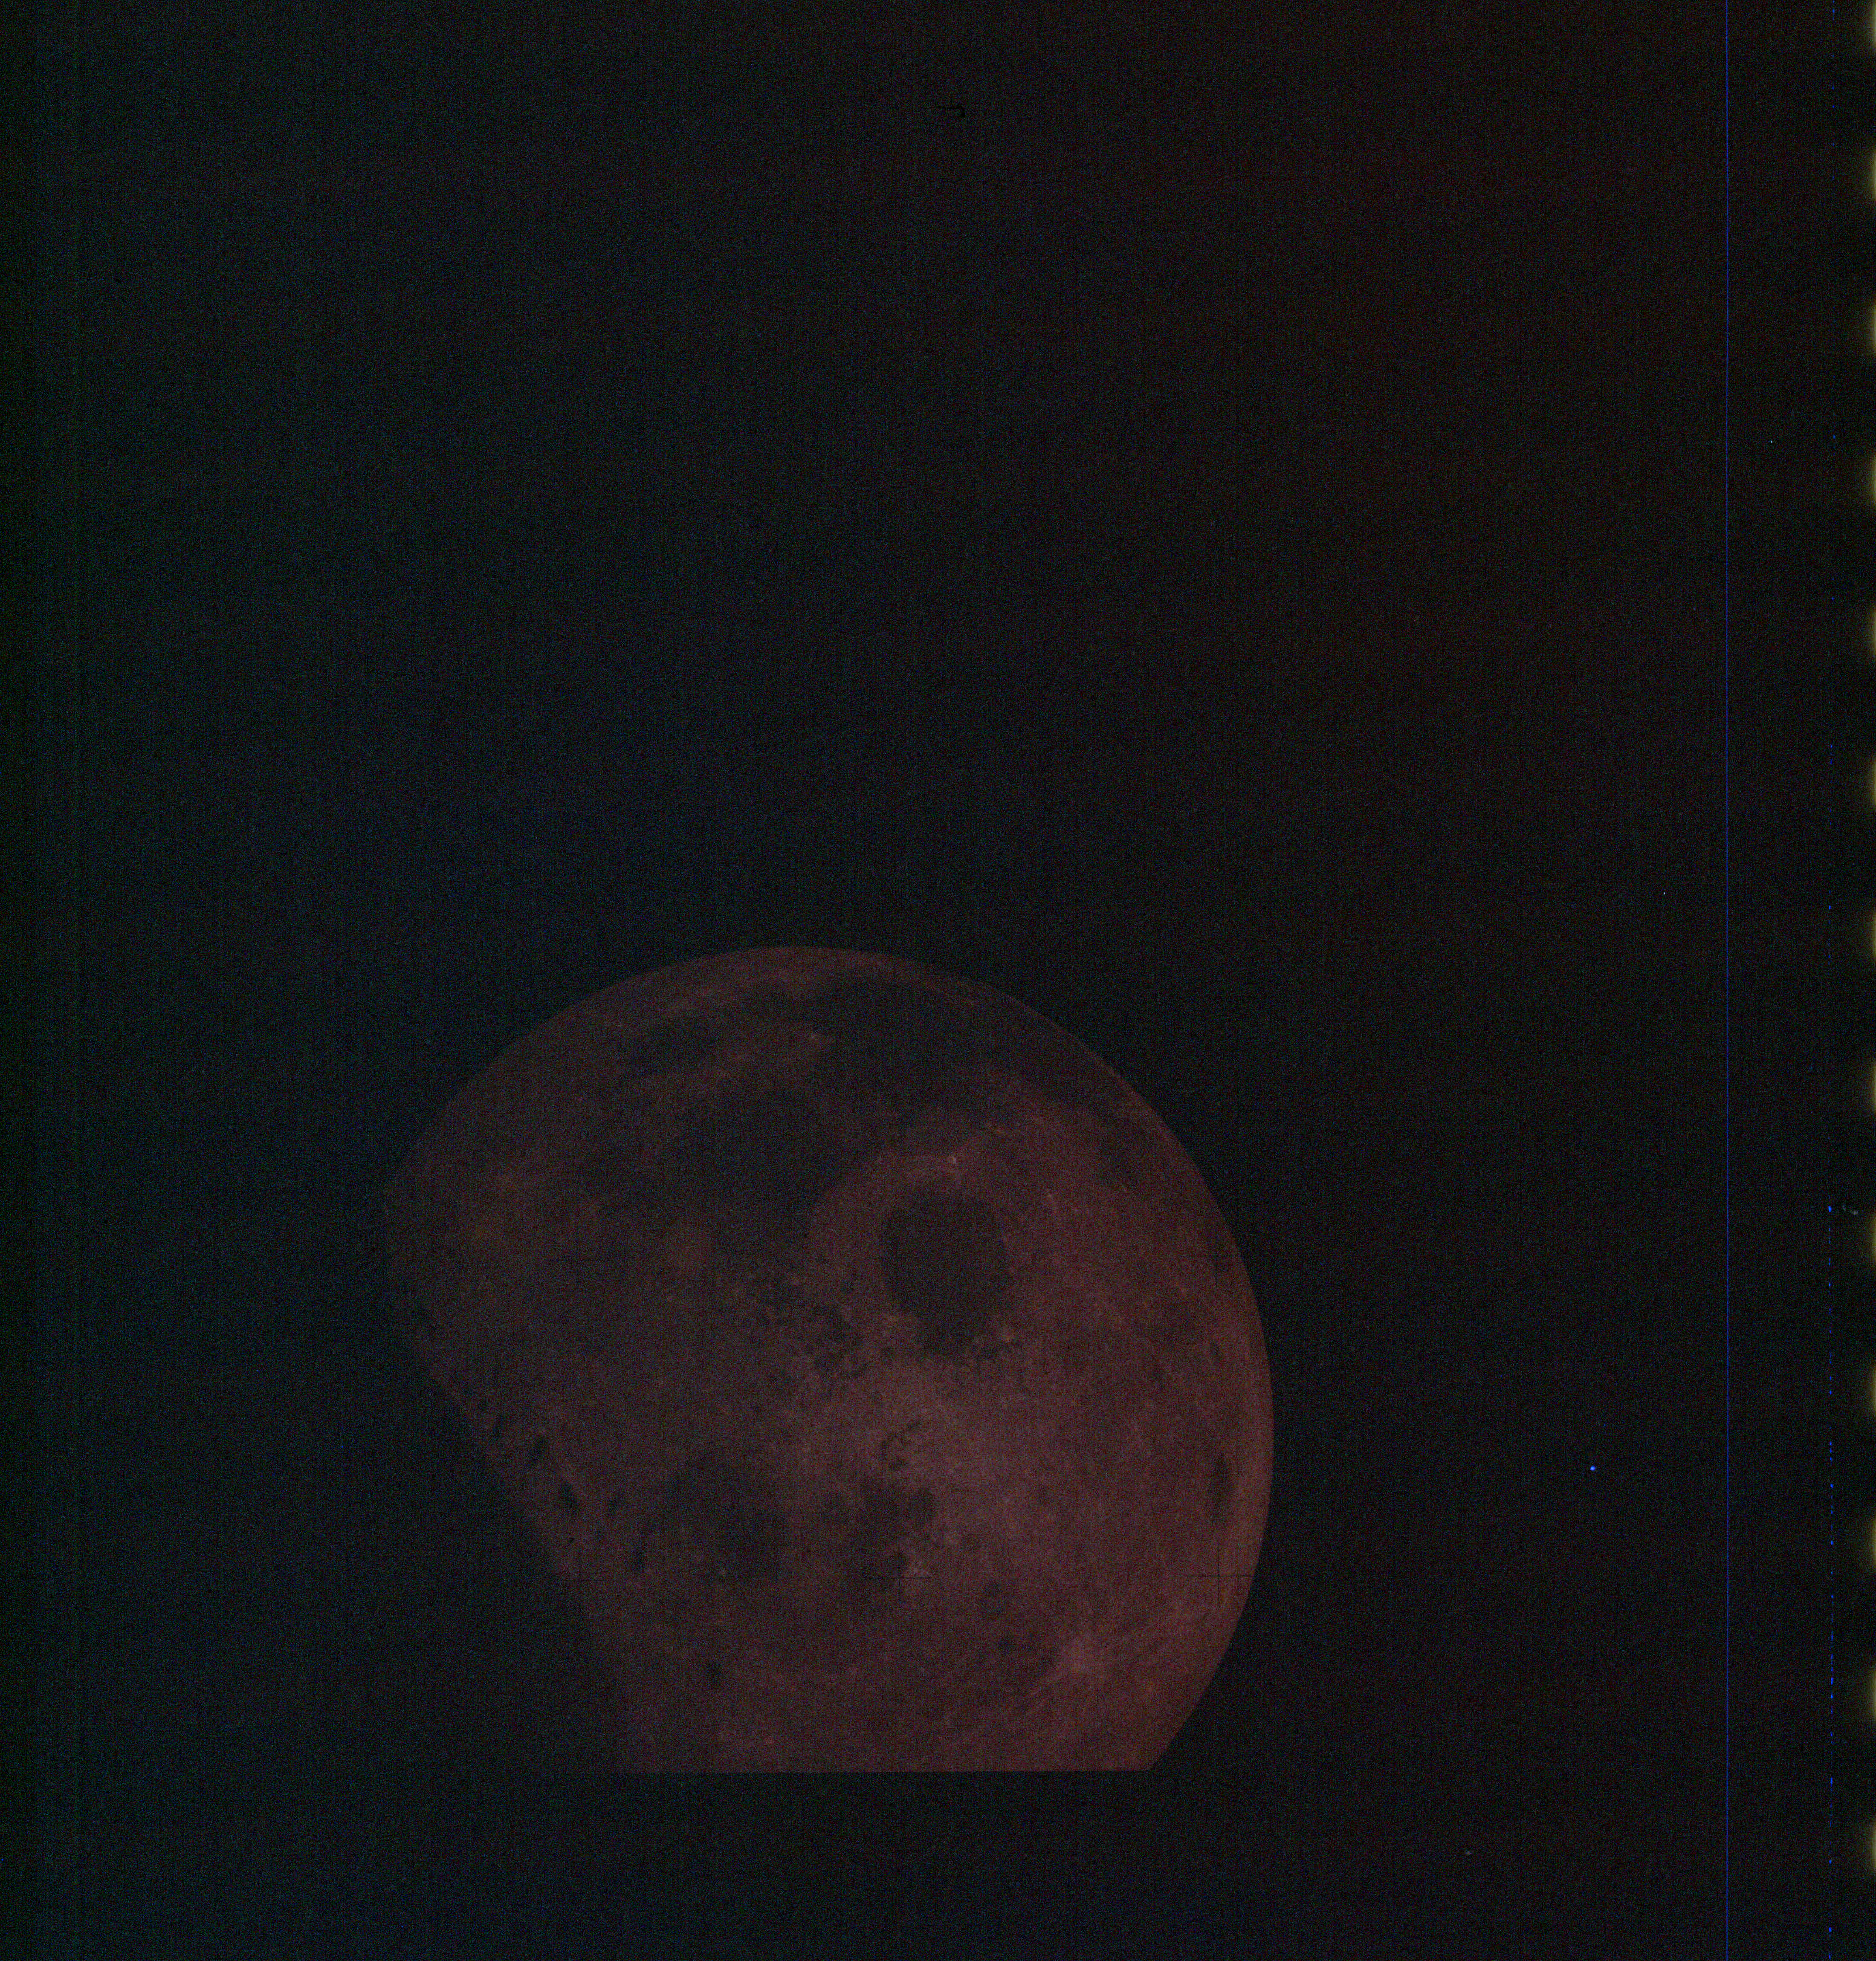
AS13-61-8779b Browse or print resolution. Underexposed Moon from Apollo 13. Image credit: Image Science and Analysis Laboratory, NASA-Johnson Space Center. |
|
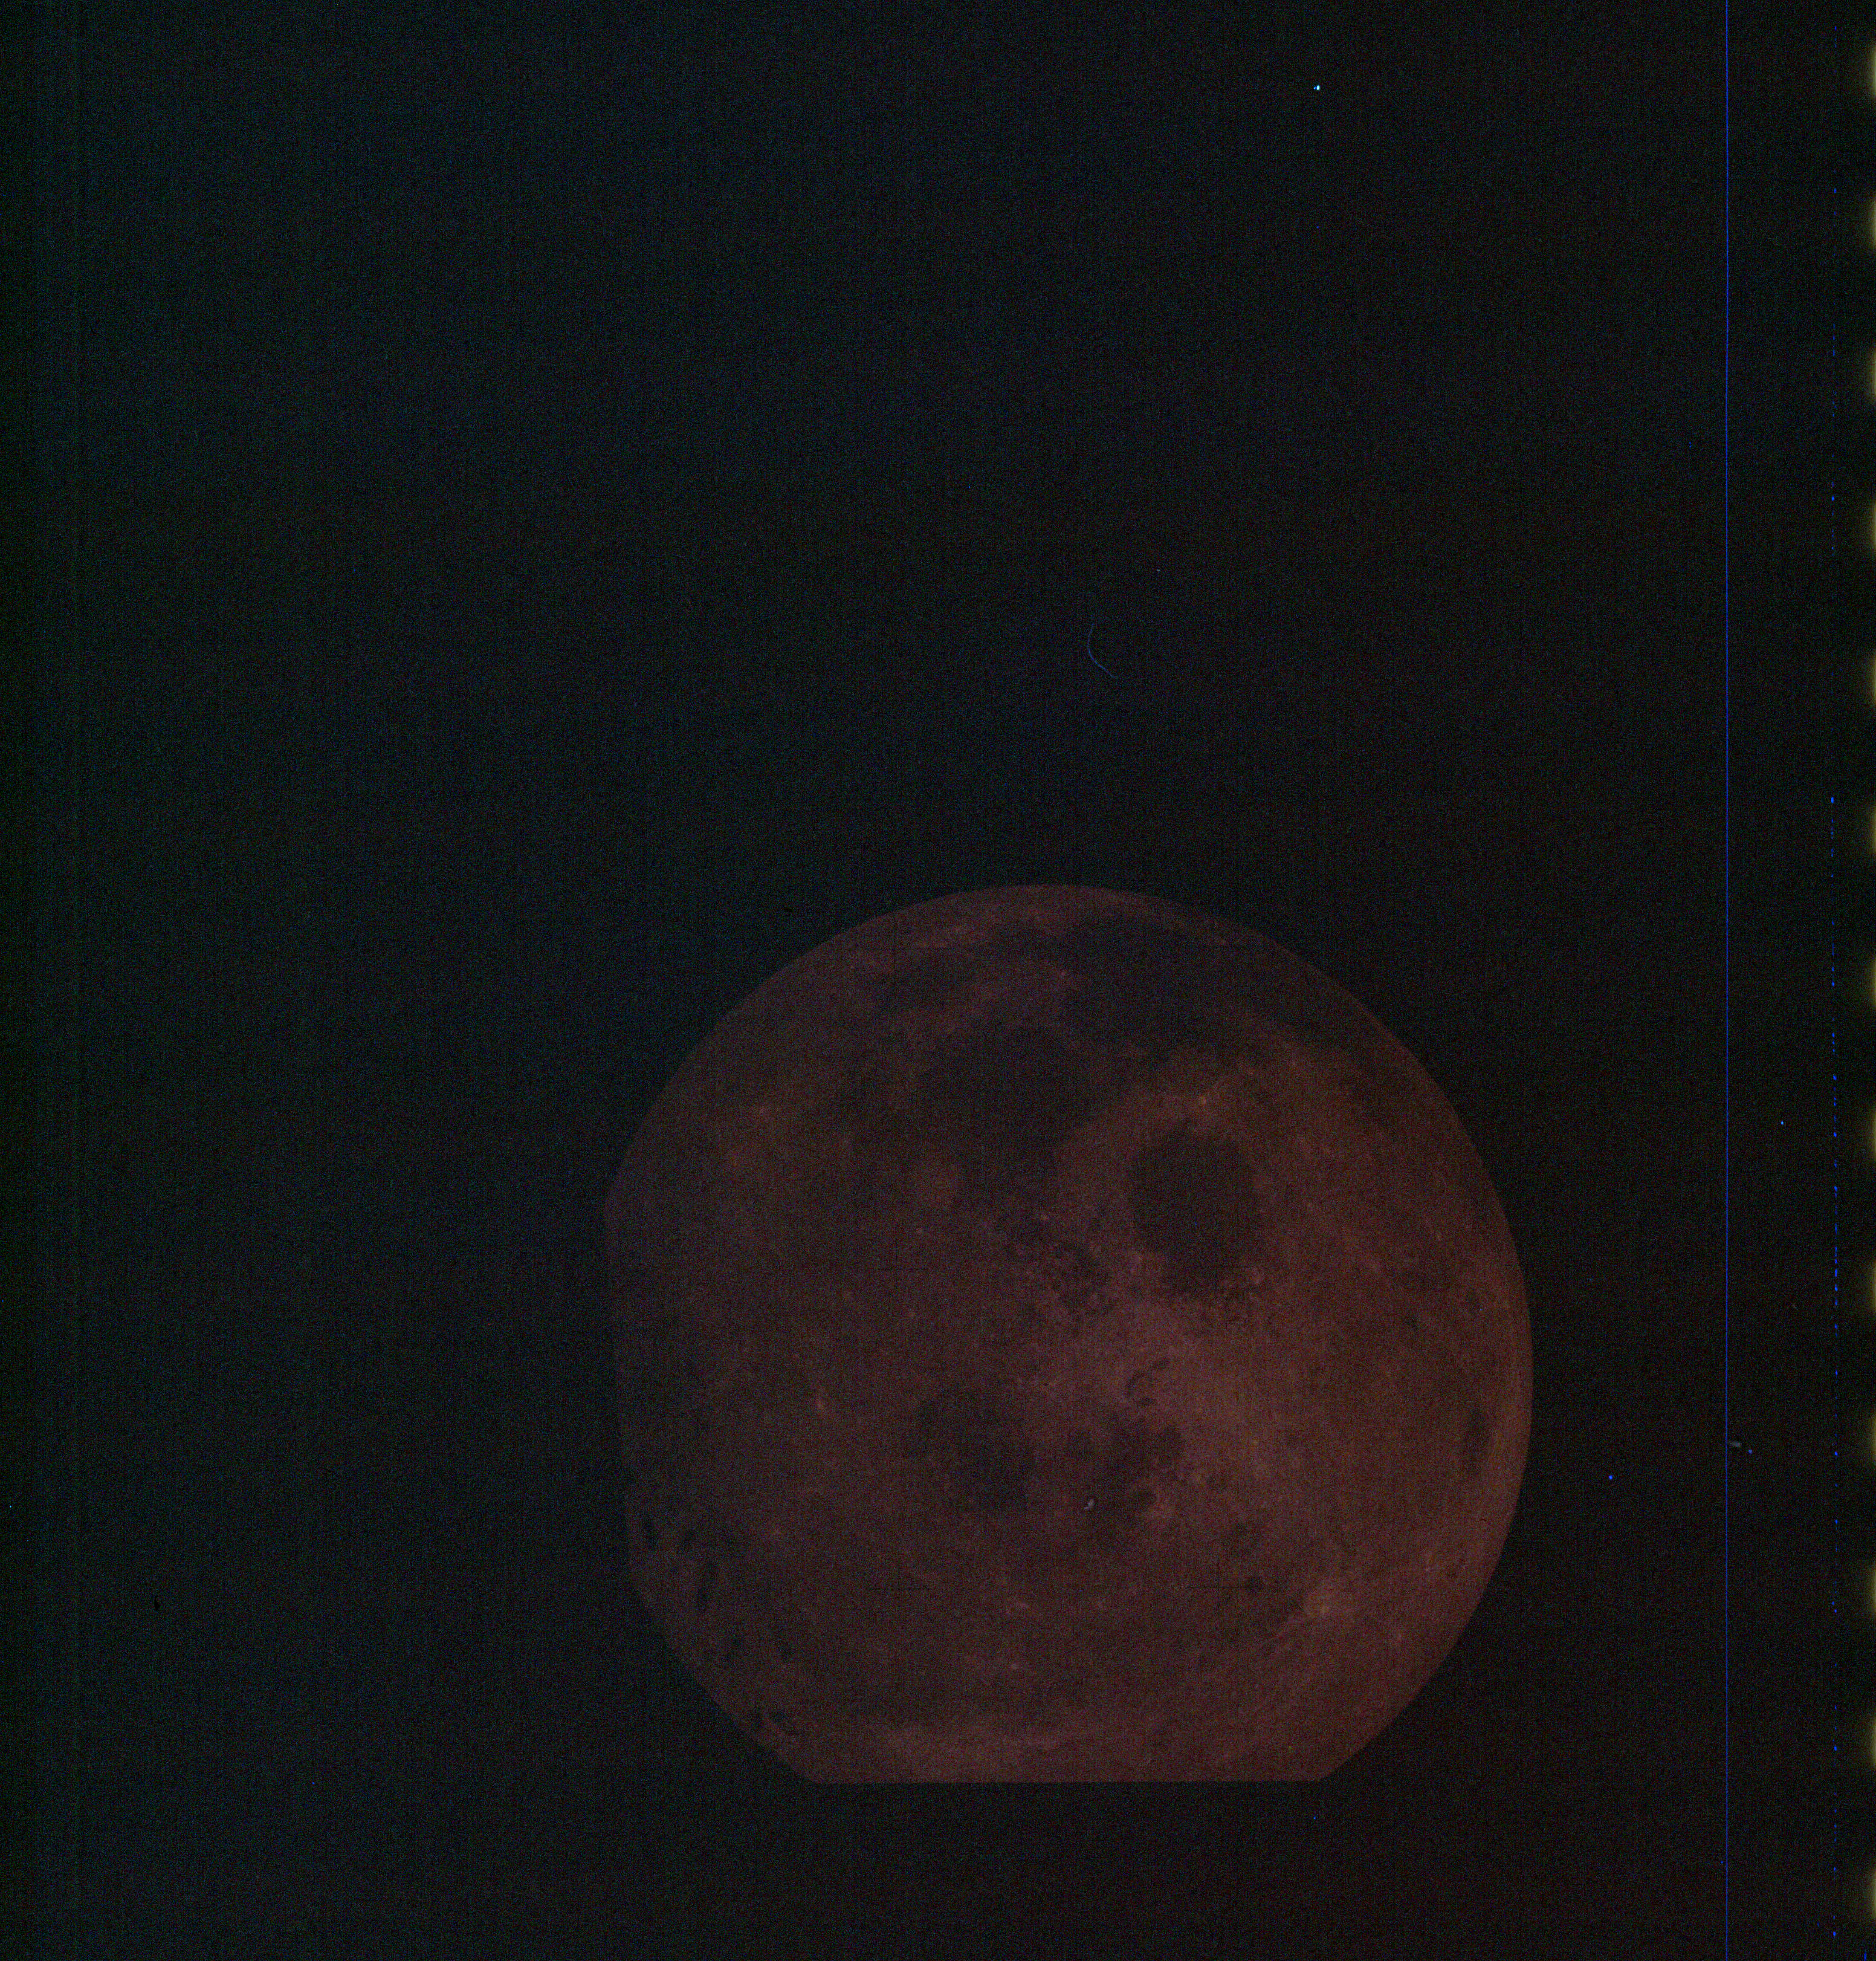
AS13-61-8779c Browse or print resolution. Underexposed Moon from Apollo 13. Image credit: Image Science and Analysis Laboratory, NASA-Johnson Space Center. |
|
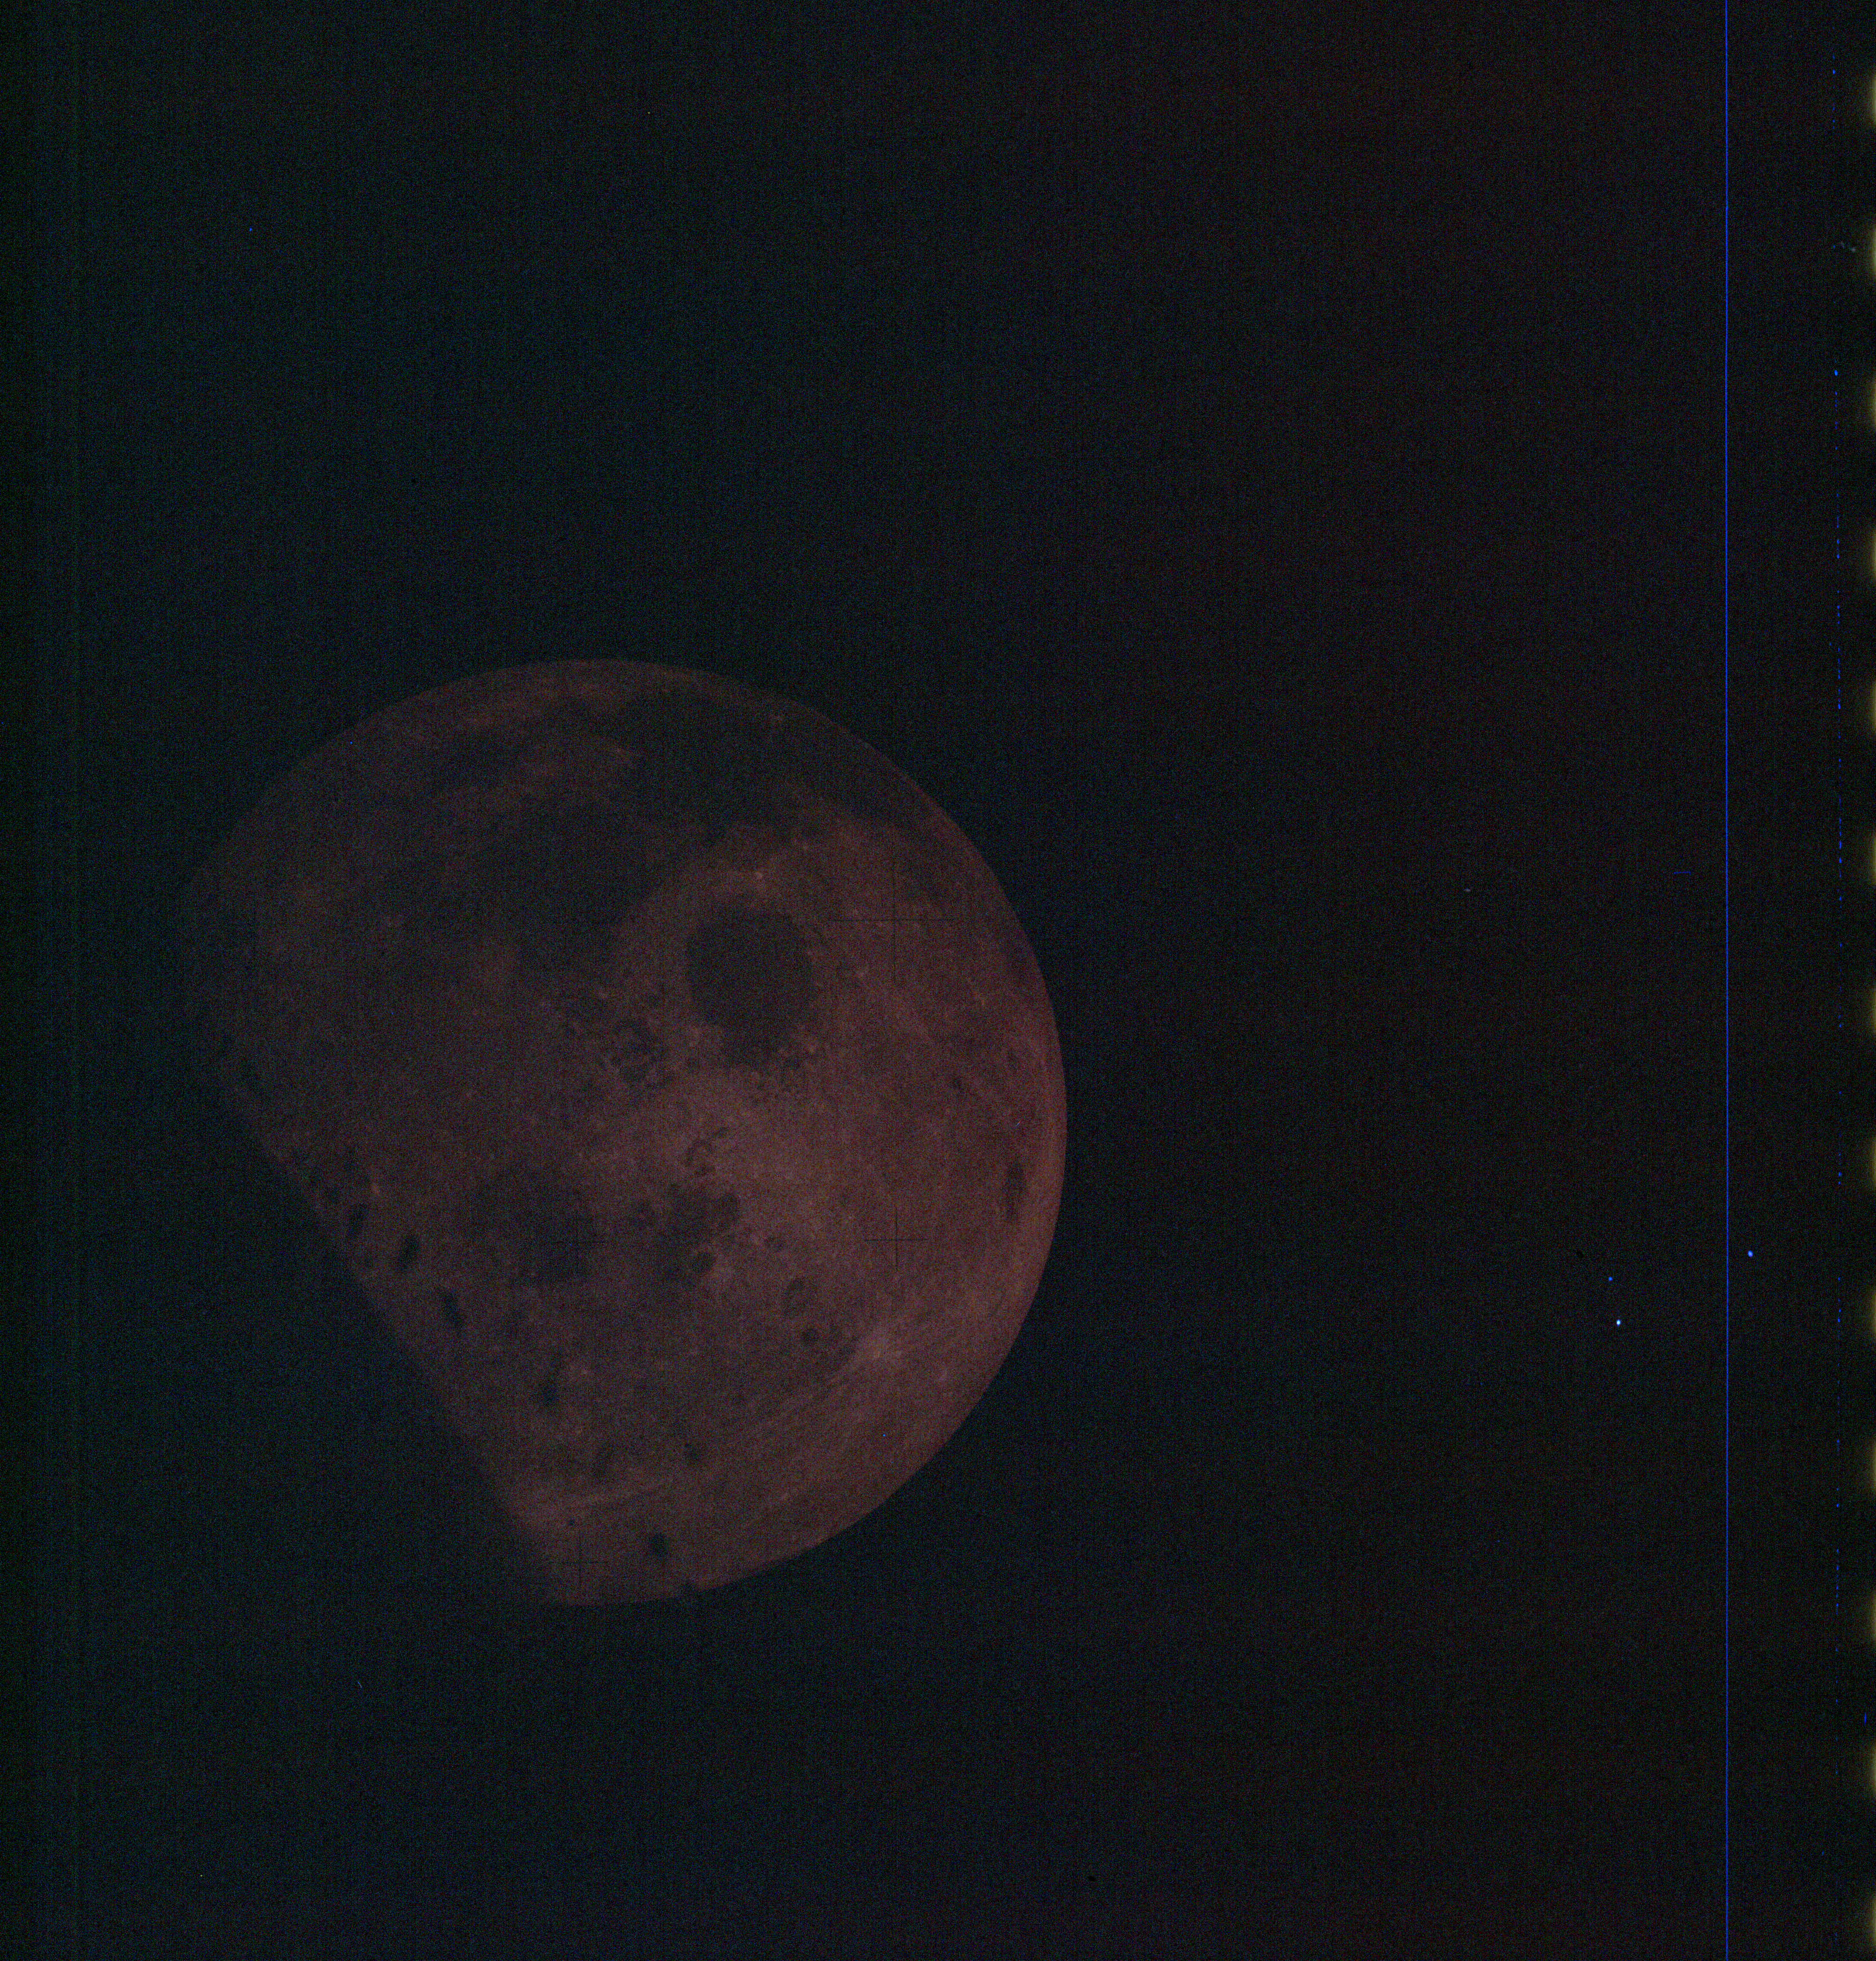
AS13-61-8779d Browse or print resolution. Underexposed Moon from Apollo 13. Image credit: Image Science and Analysis Laboratory, NASA-Johnson Space Center. |
|
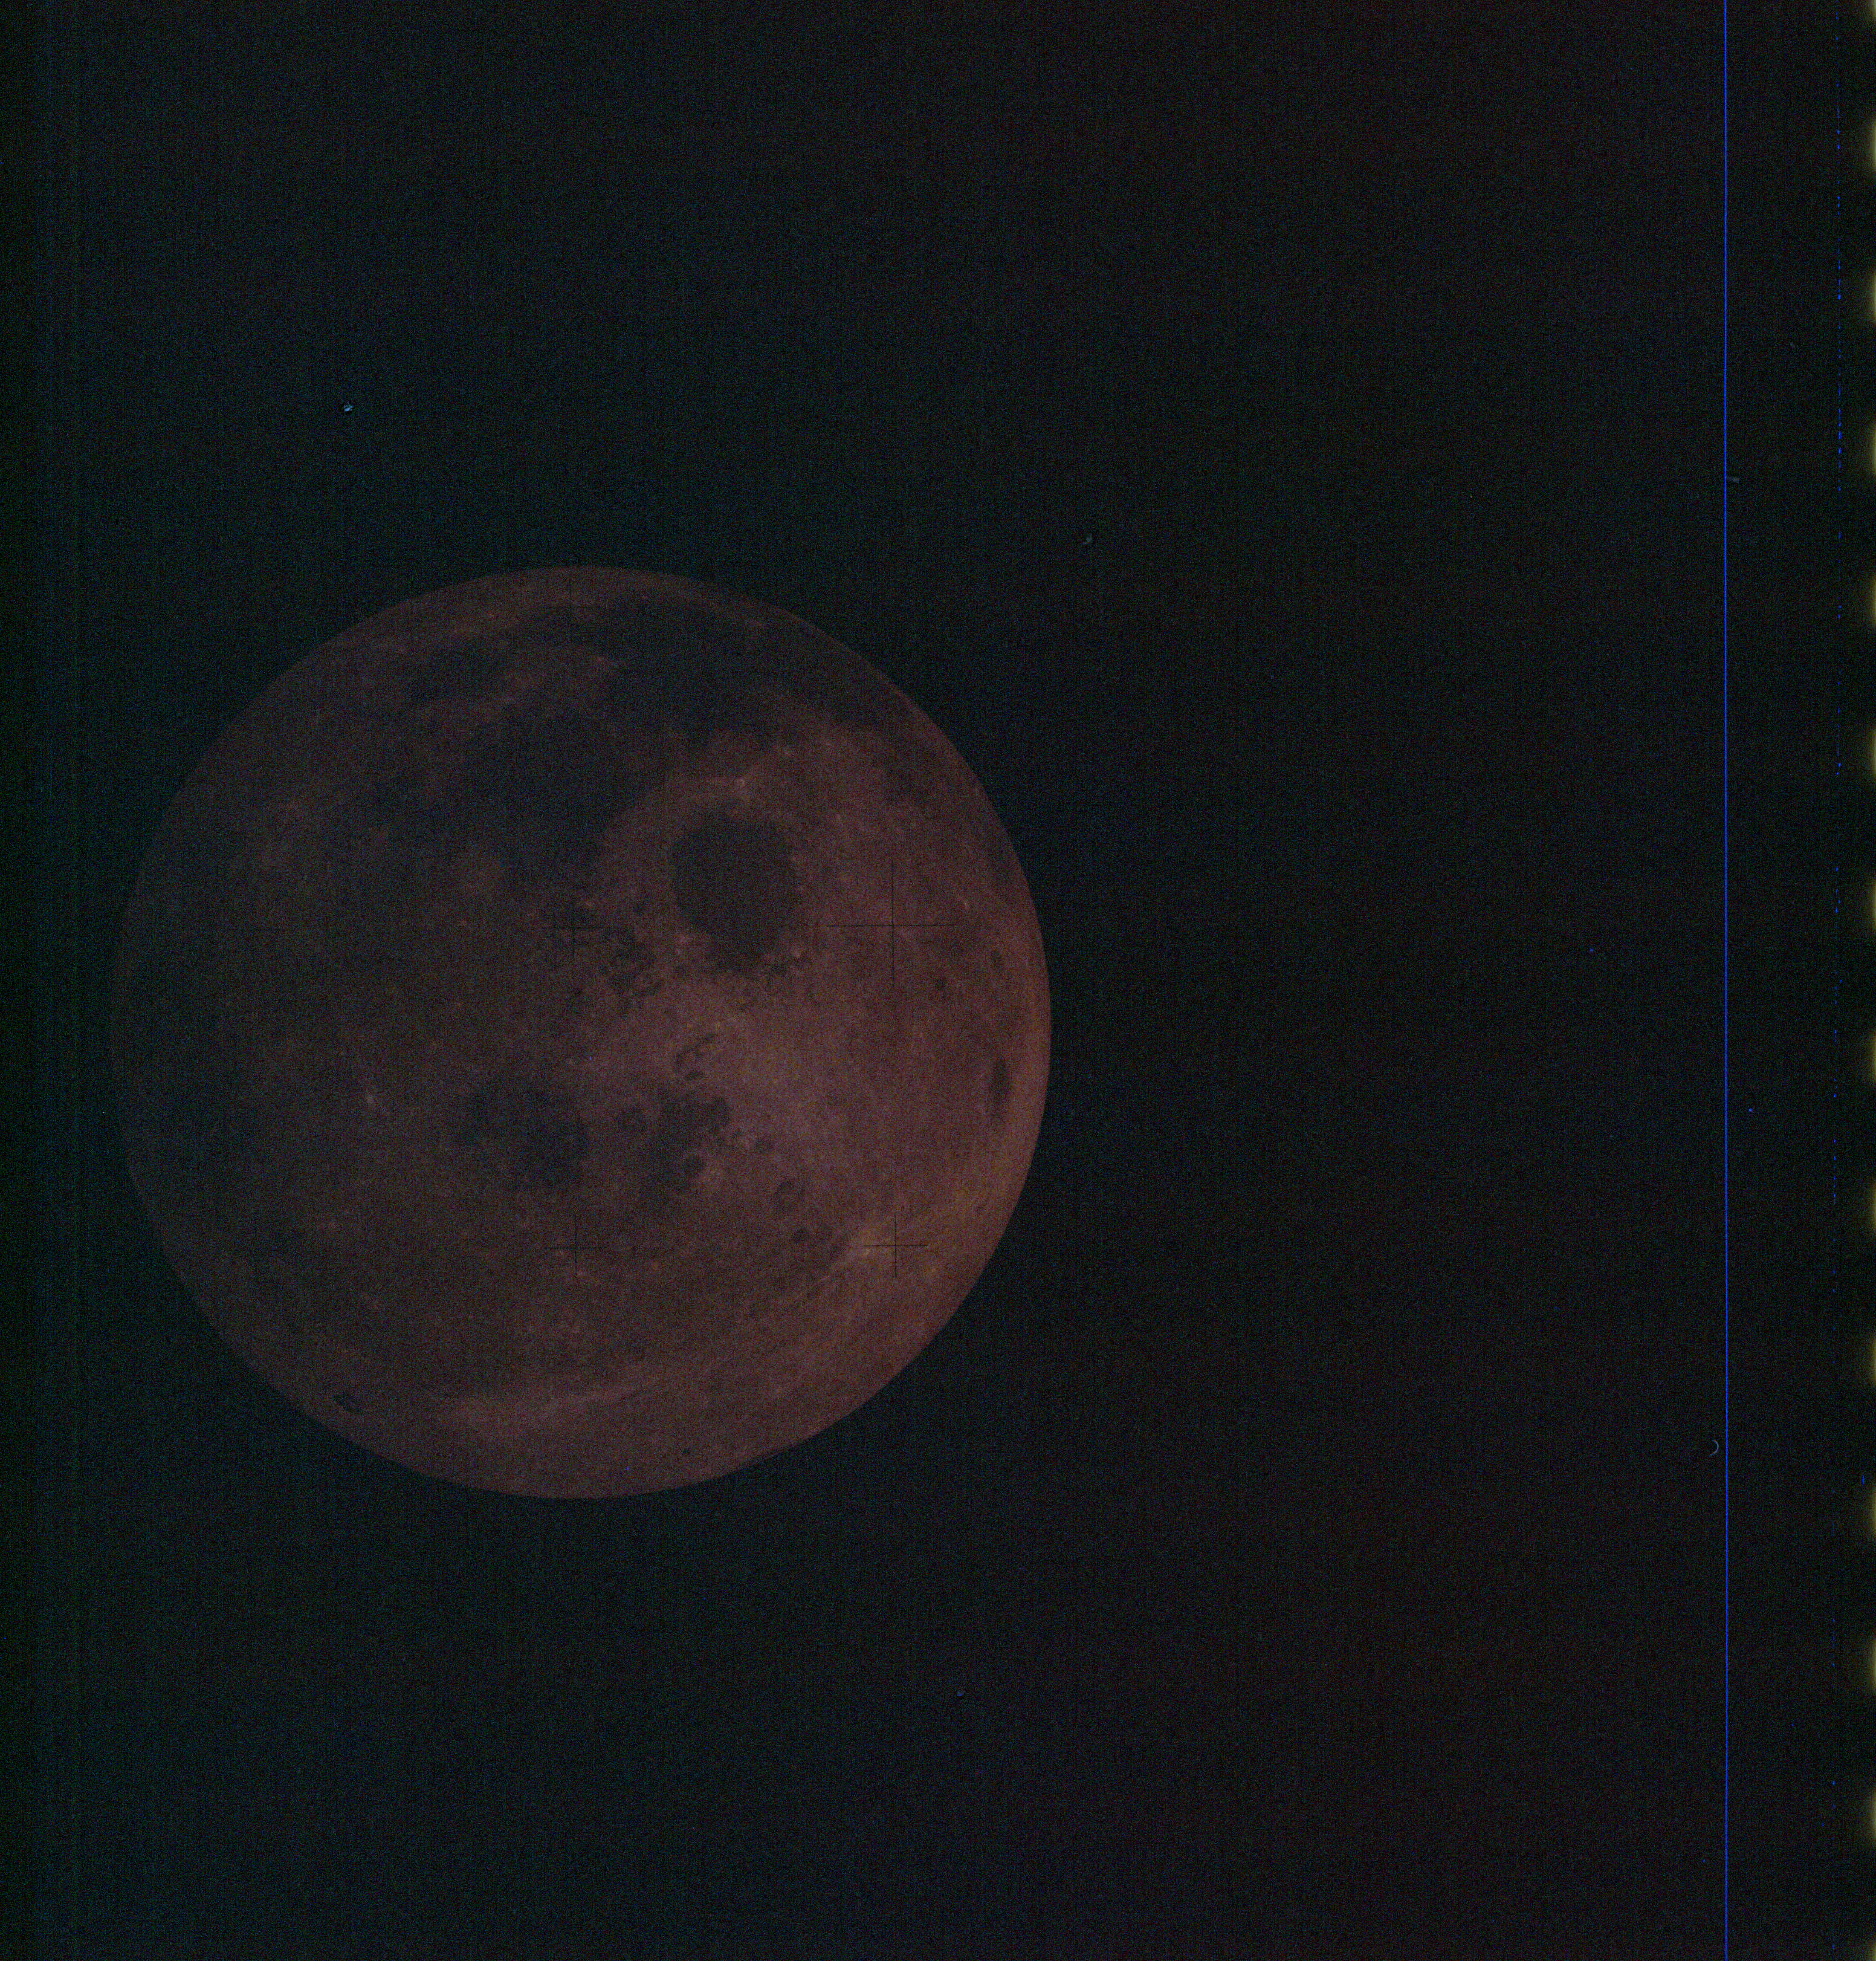
AS13-61-8779e Browse or print resolution. Underexposed Moon from Apollo 13. Image credit: Image Science and Analysis Laboratory, NASA-Johnson Space Center. |
|
AS13-61-8779f Browse or print resolution. Underexposed Moon from Apollo 13. Image credit: Image Science and Analysis Laboratory, NASA-Johnson Space Center. |
|
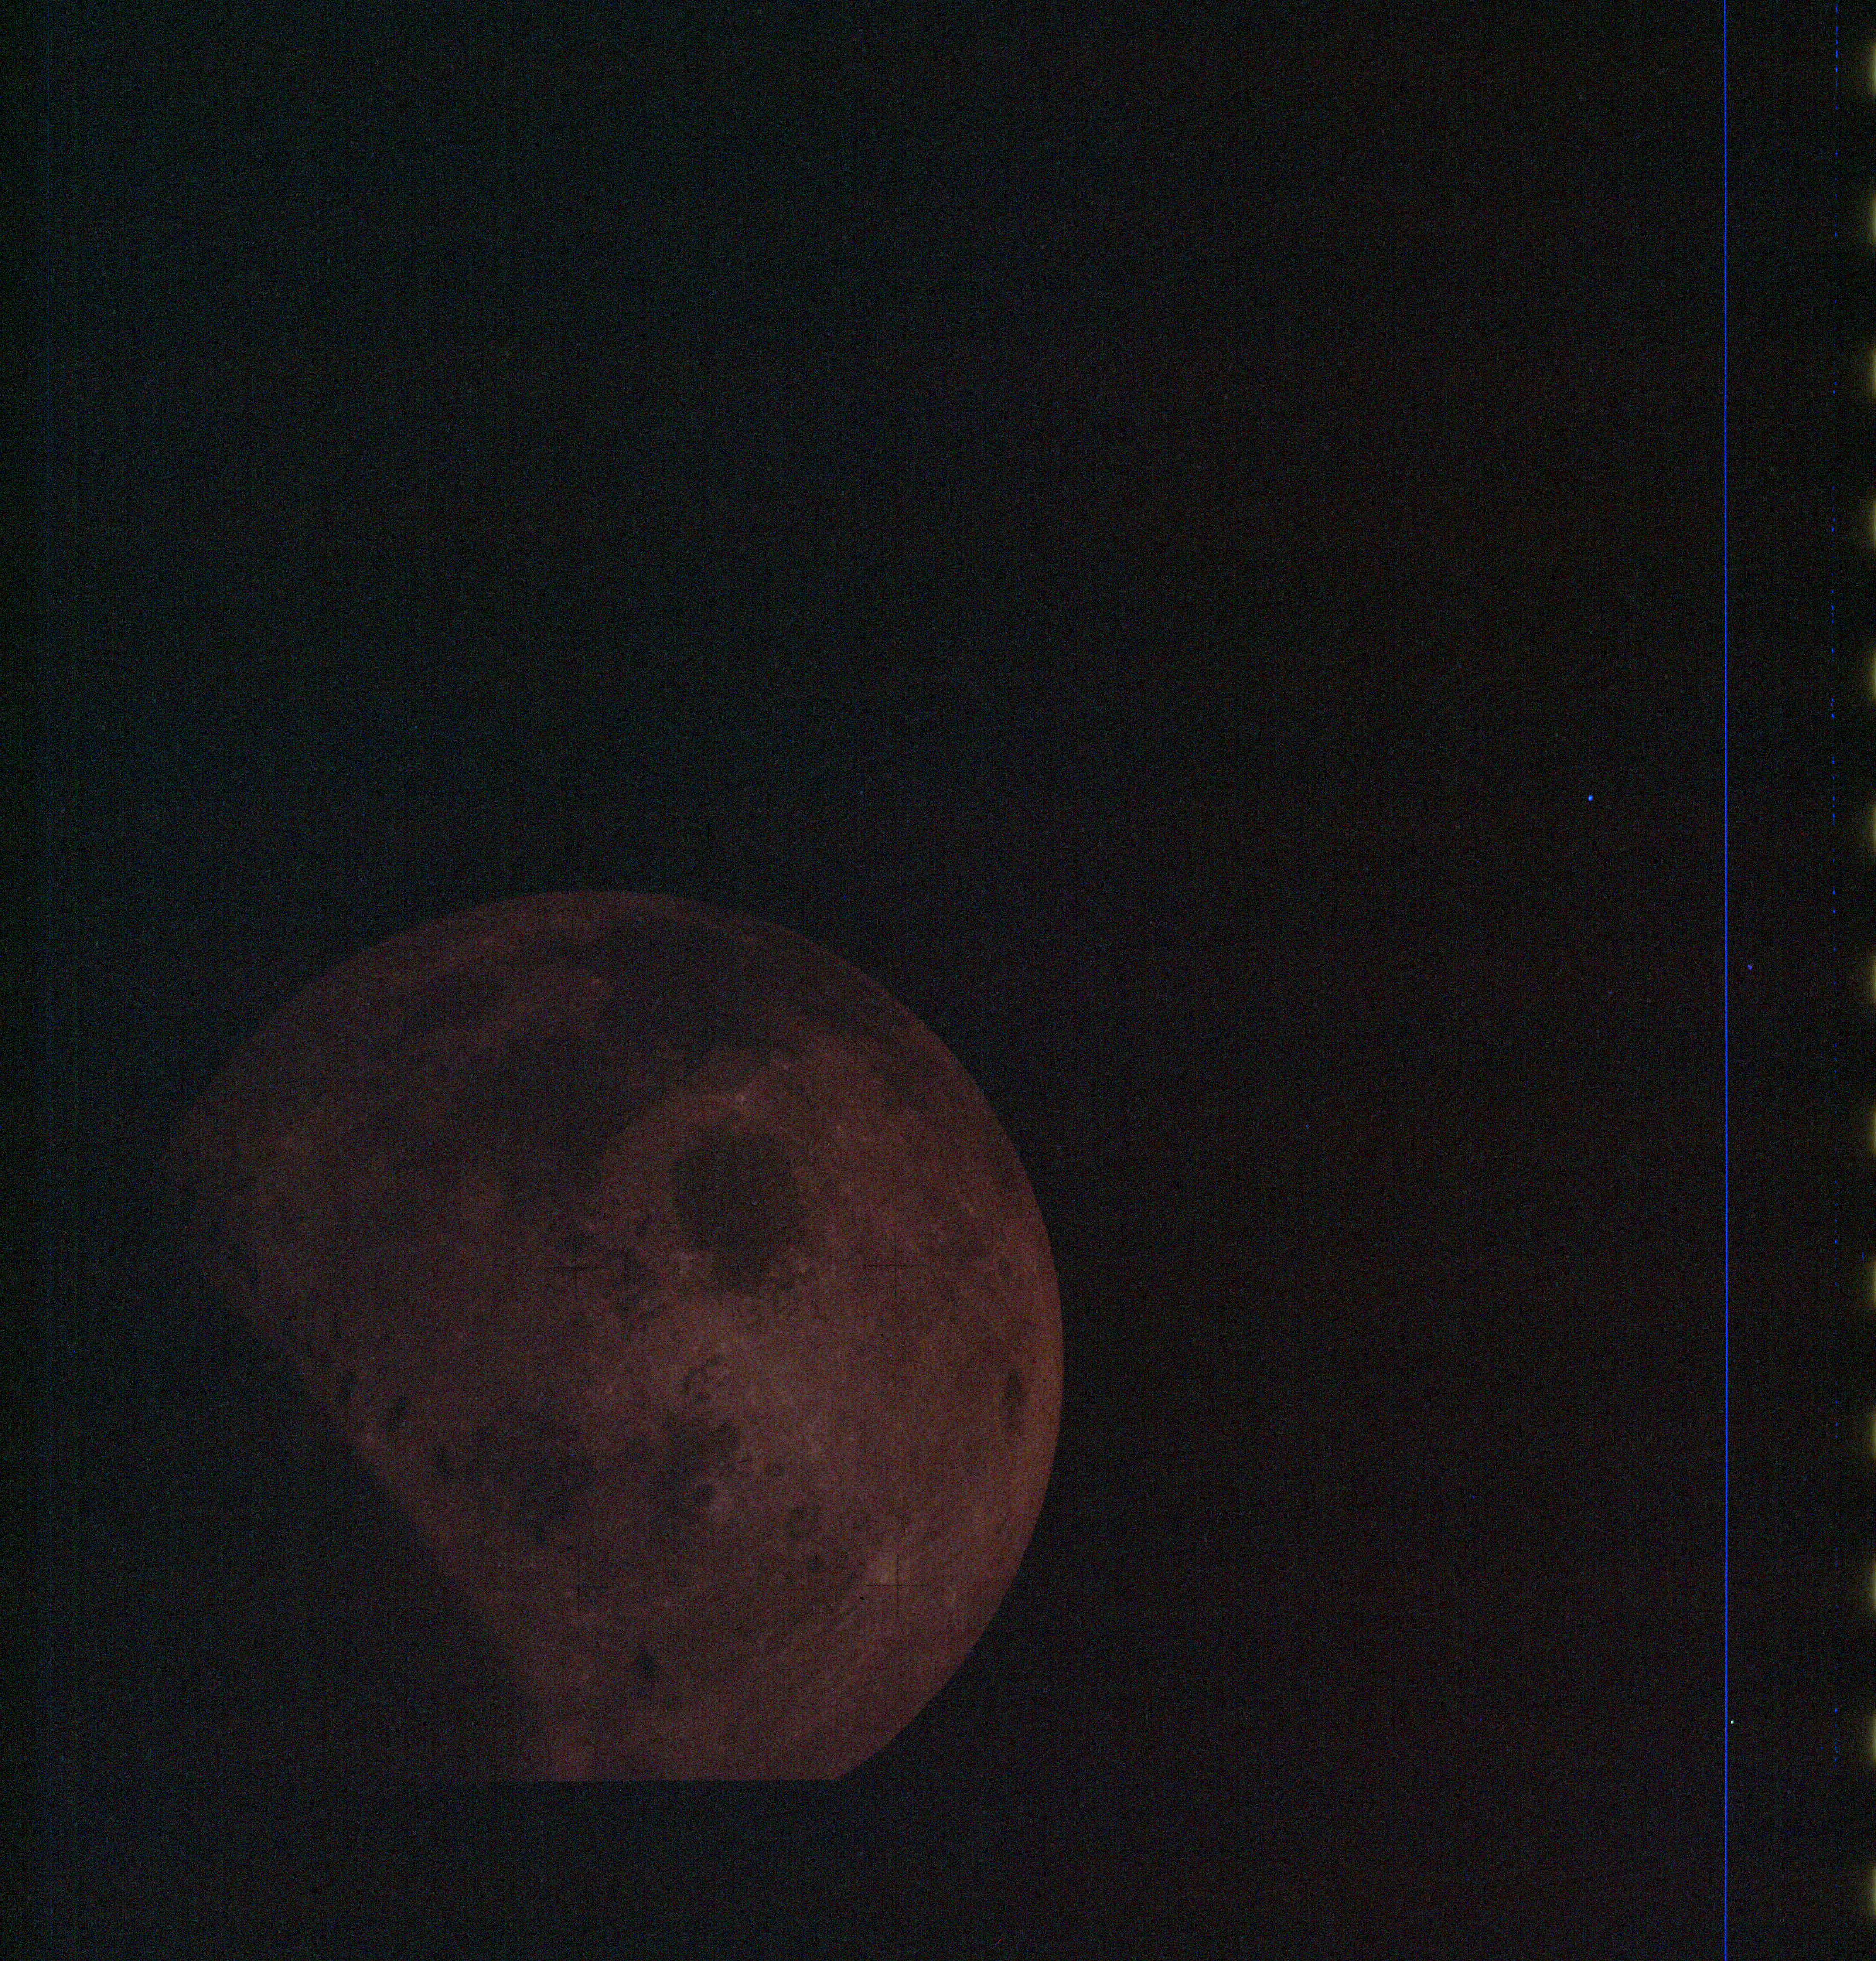
AS13-61-8779g Browse or print resolution. Underexposed Moon from Apollo 13. Image credit: Image Science and Analysis Laboratory, NASA-Johnson Space Center. |
|
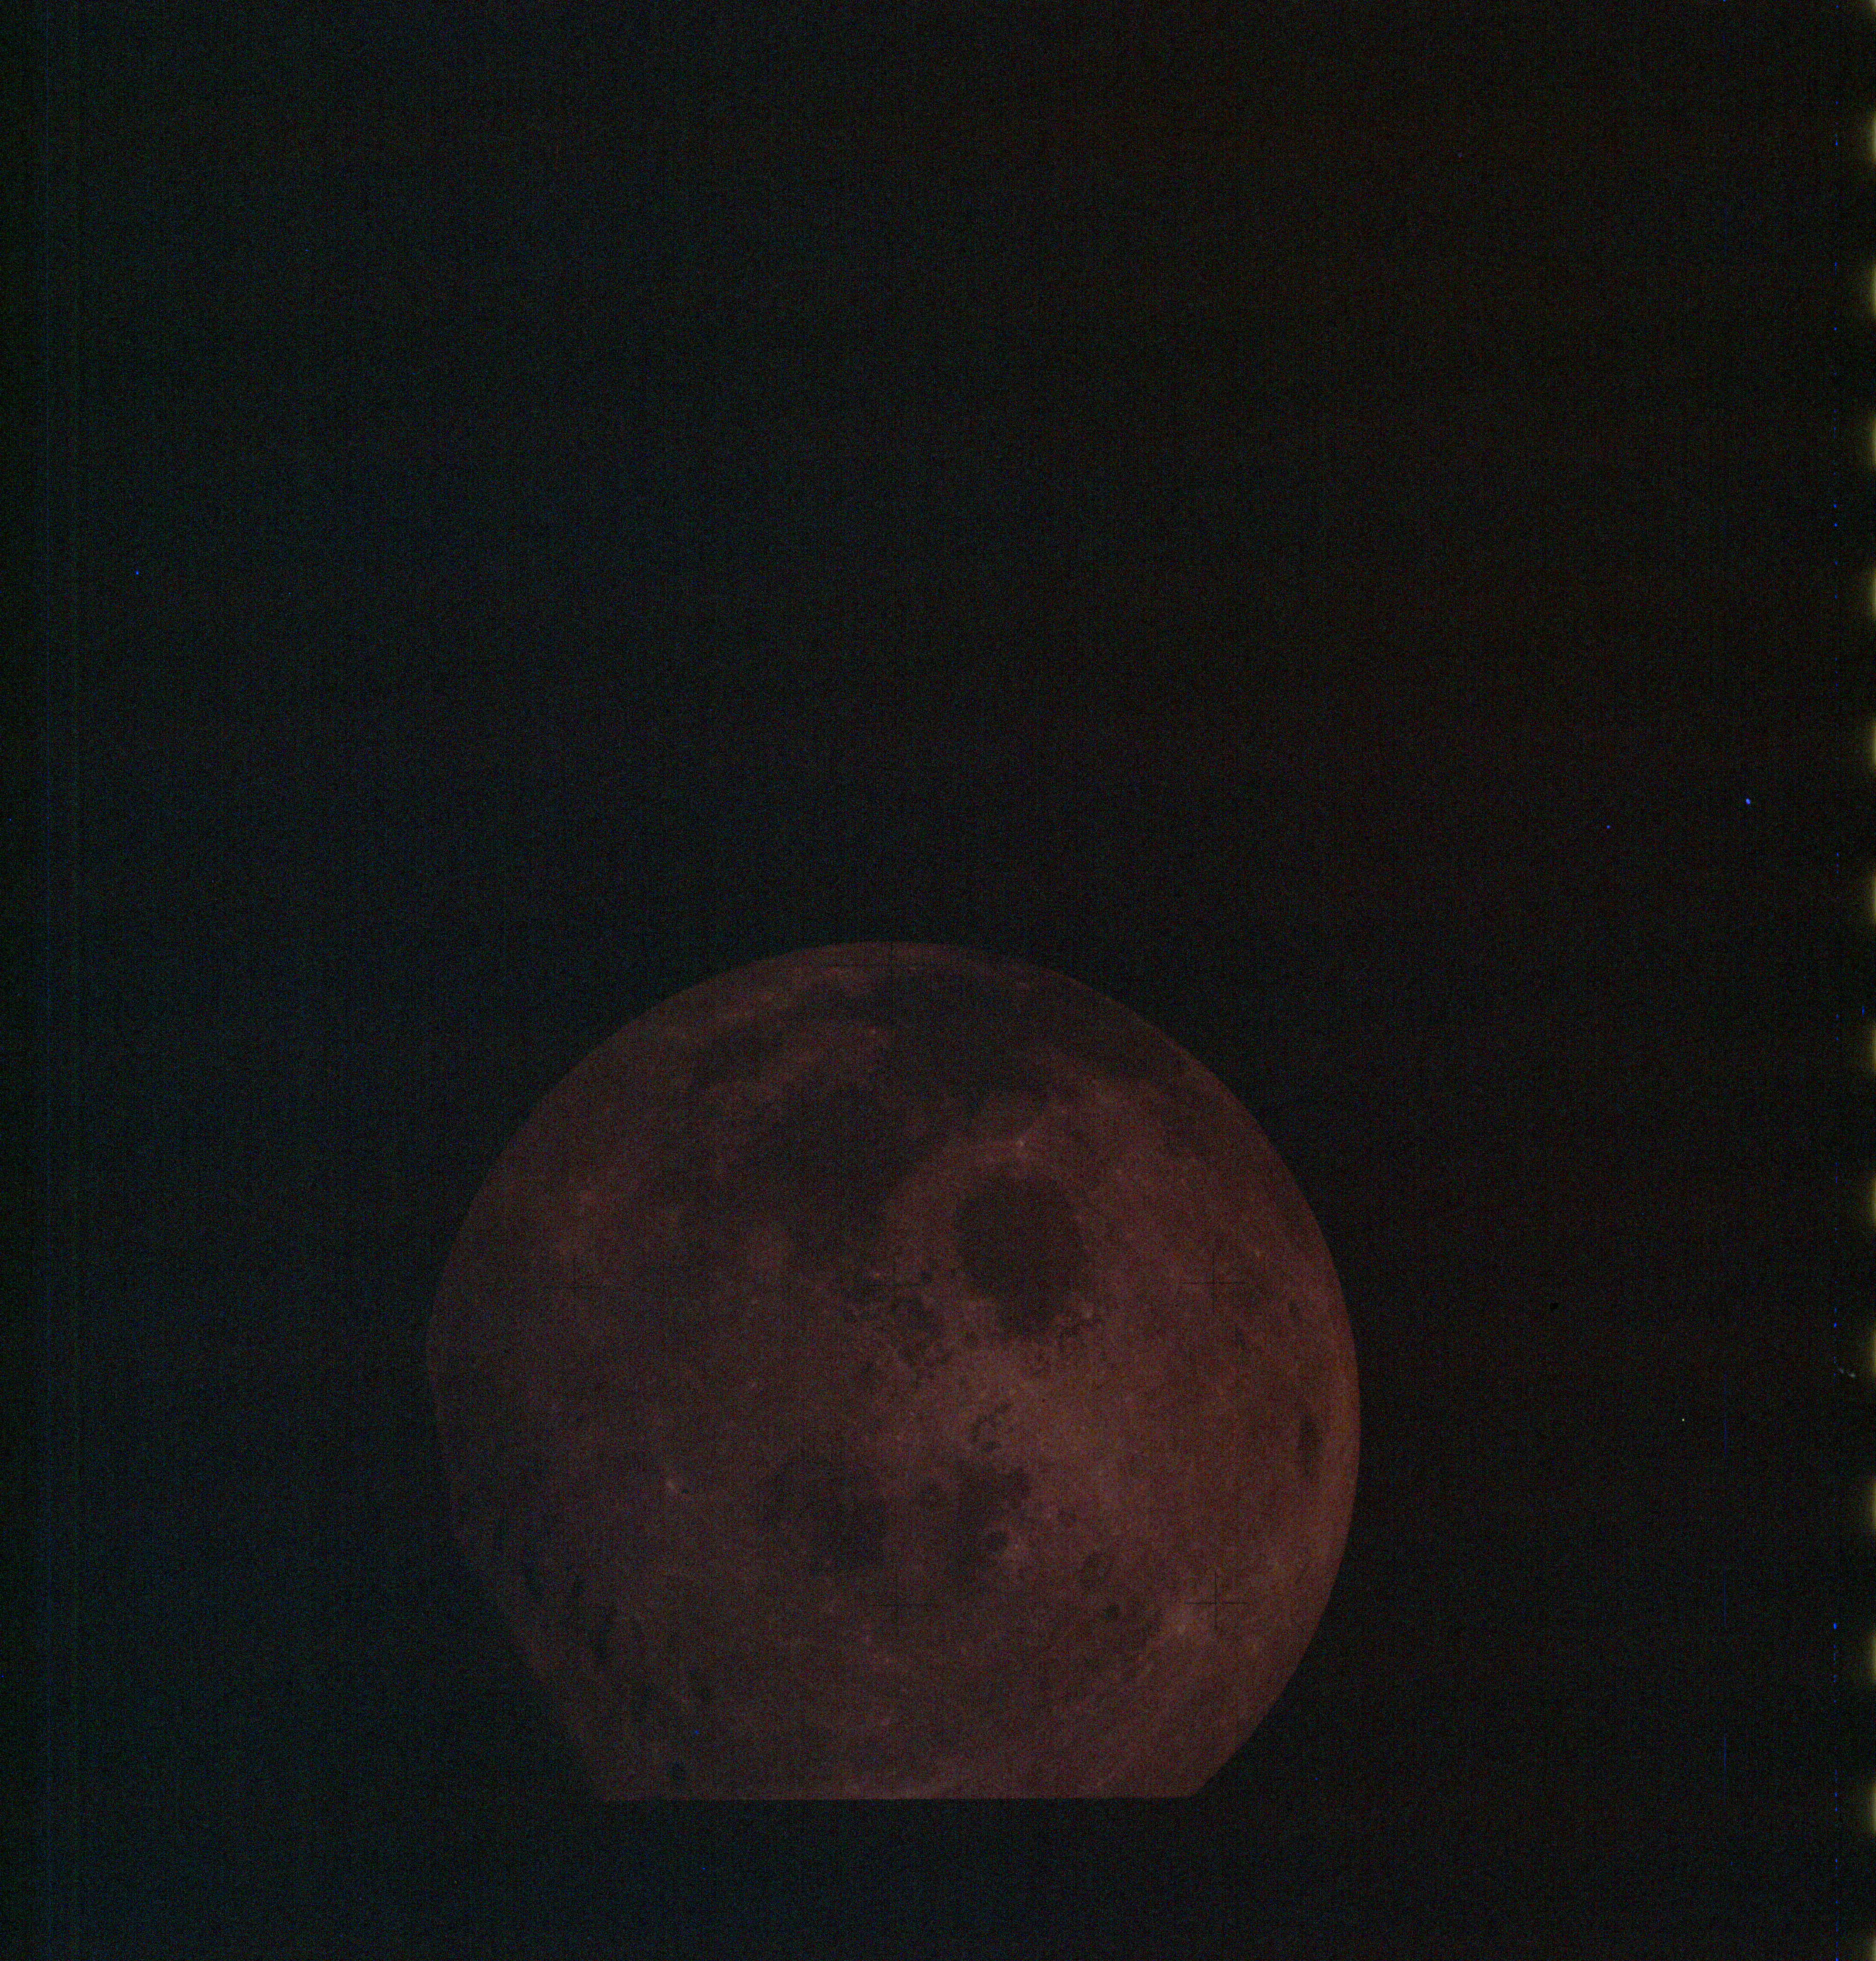
AS13-61-8779h Browse or print resolution. Underexposed Moon from Apollo 13. Image credit: Image Science and Analysis Laboratory, NASA-Johnson Space Center. |
|
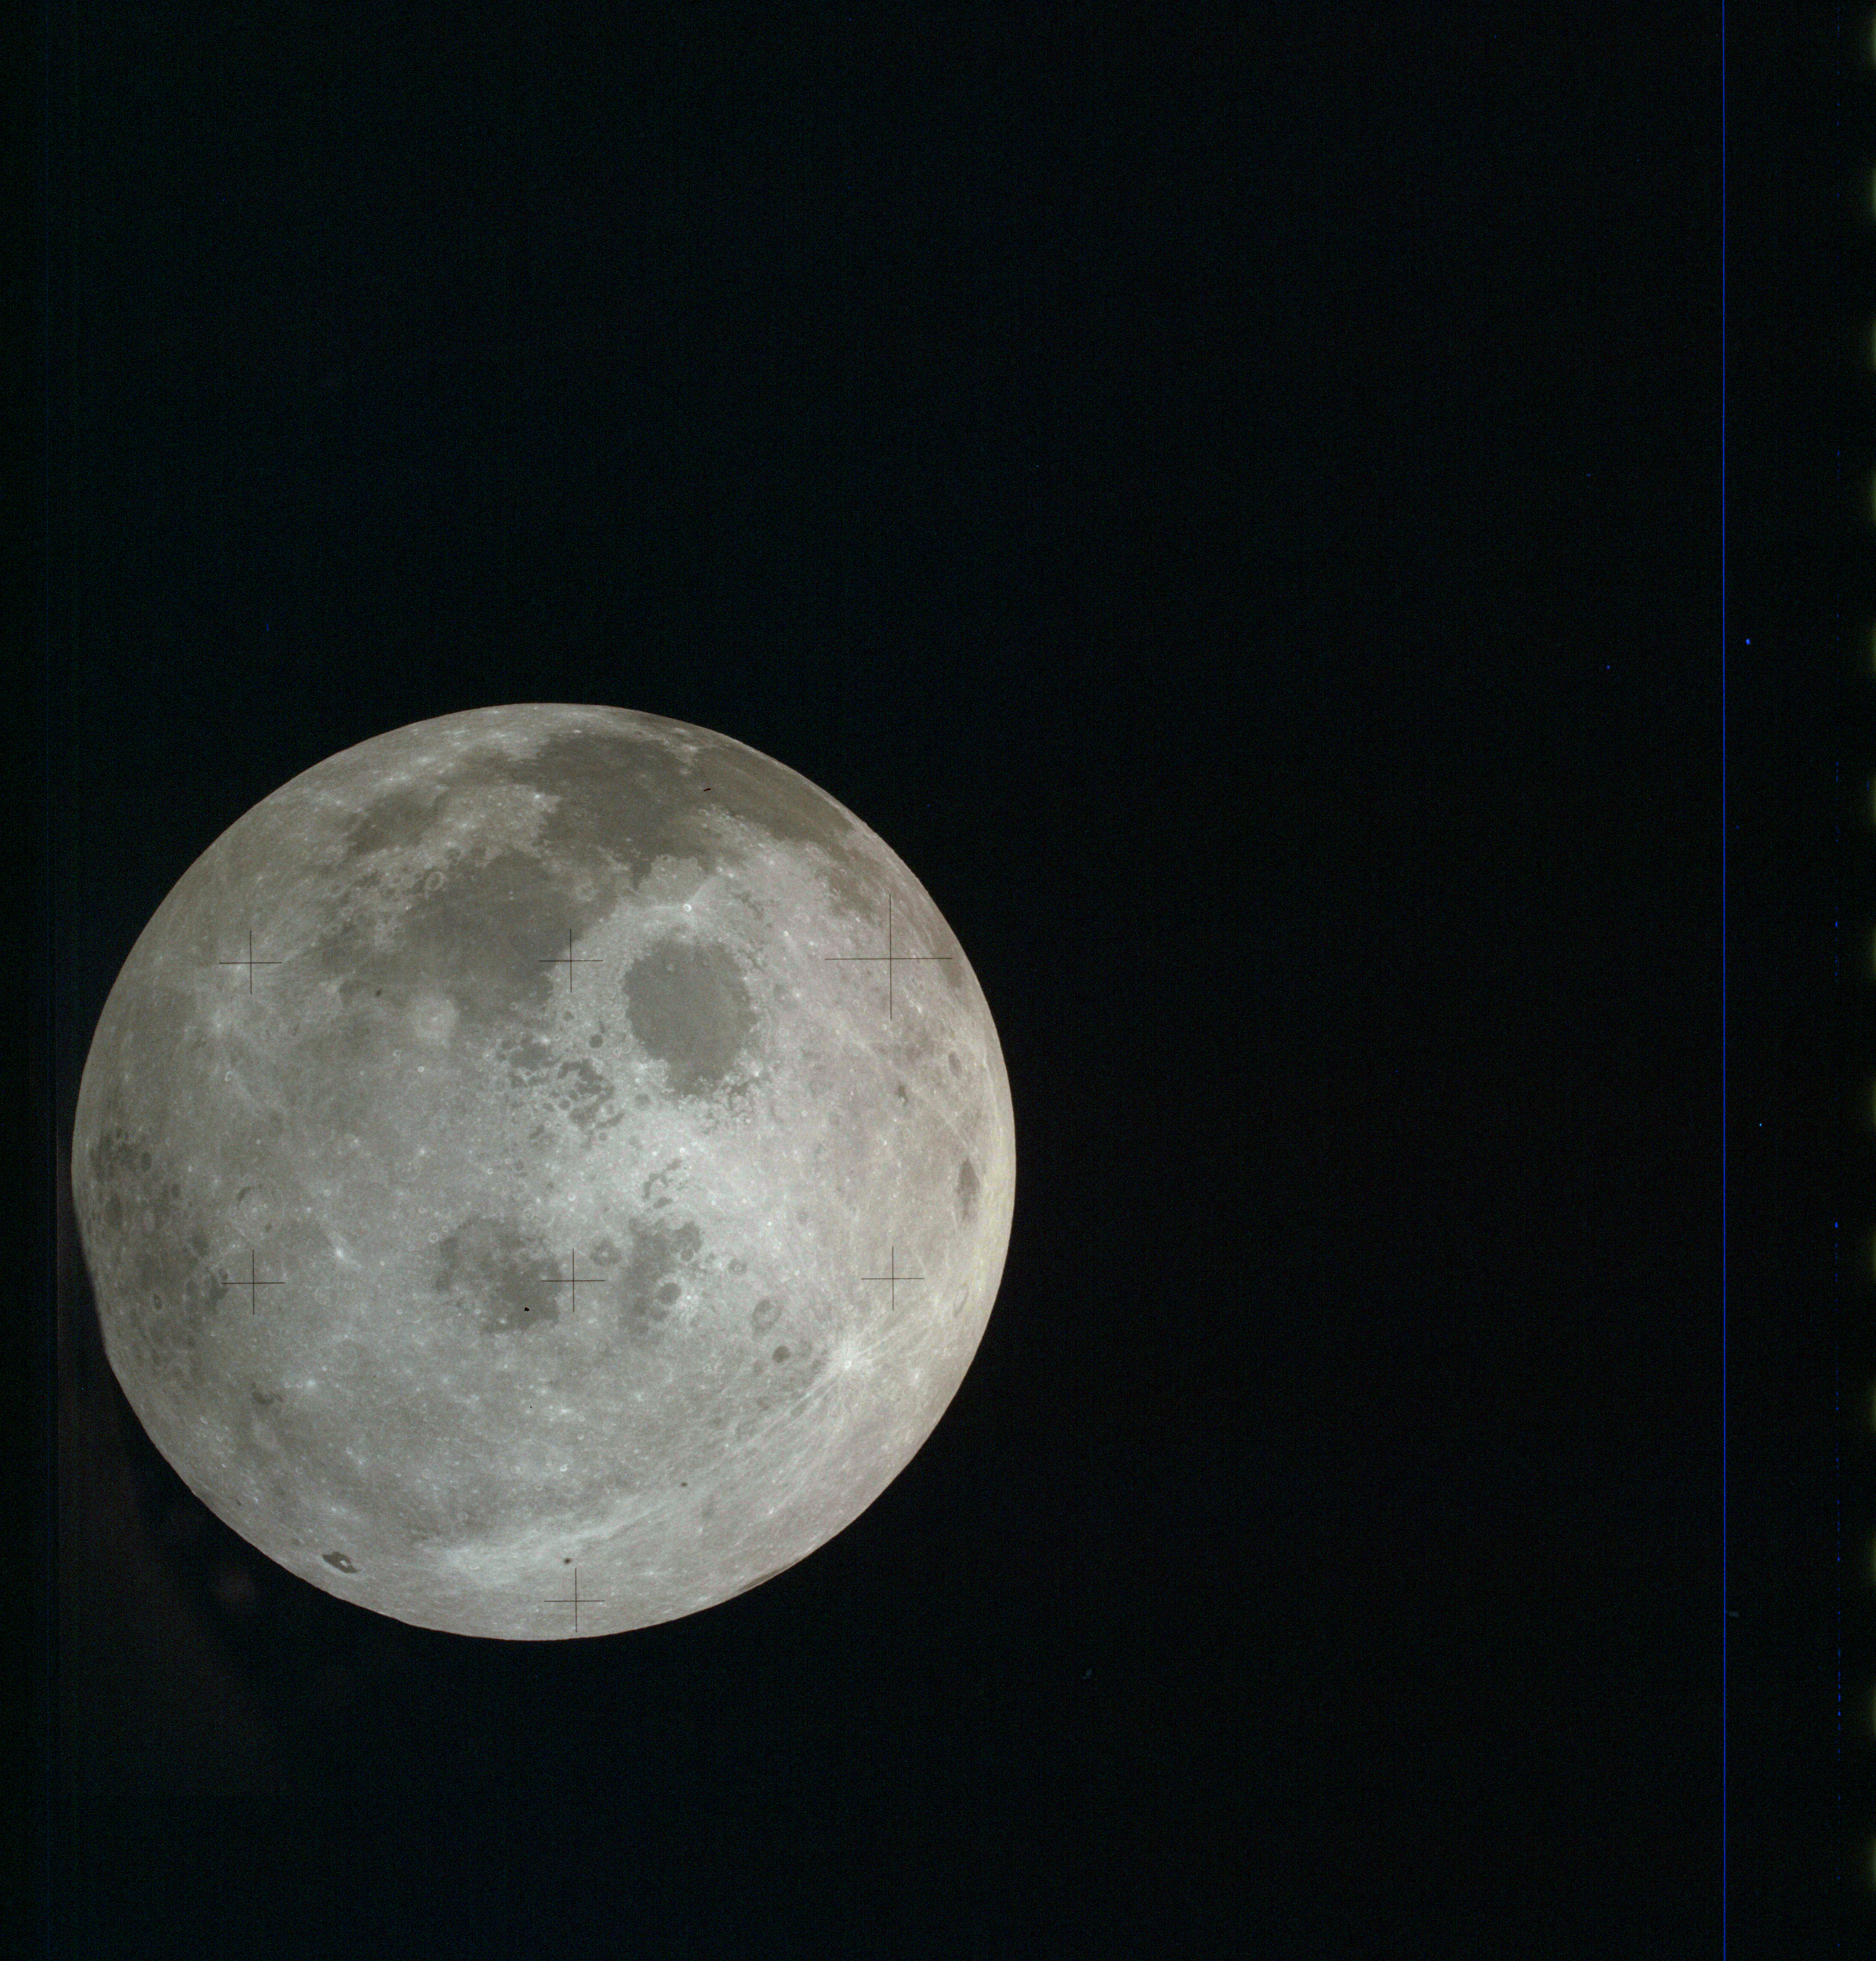
AS13-61-8780 Browse or print resolution. Moon from Apollo 13. Image credit: Image Science and Analysis Laboratory, NASA-Johnson Space Center. |
|
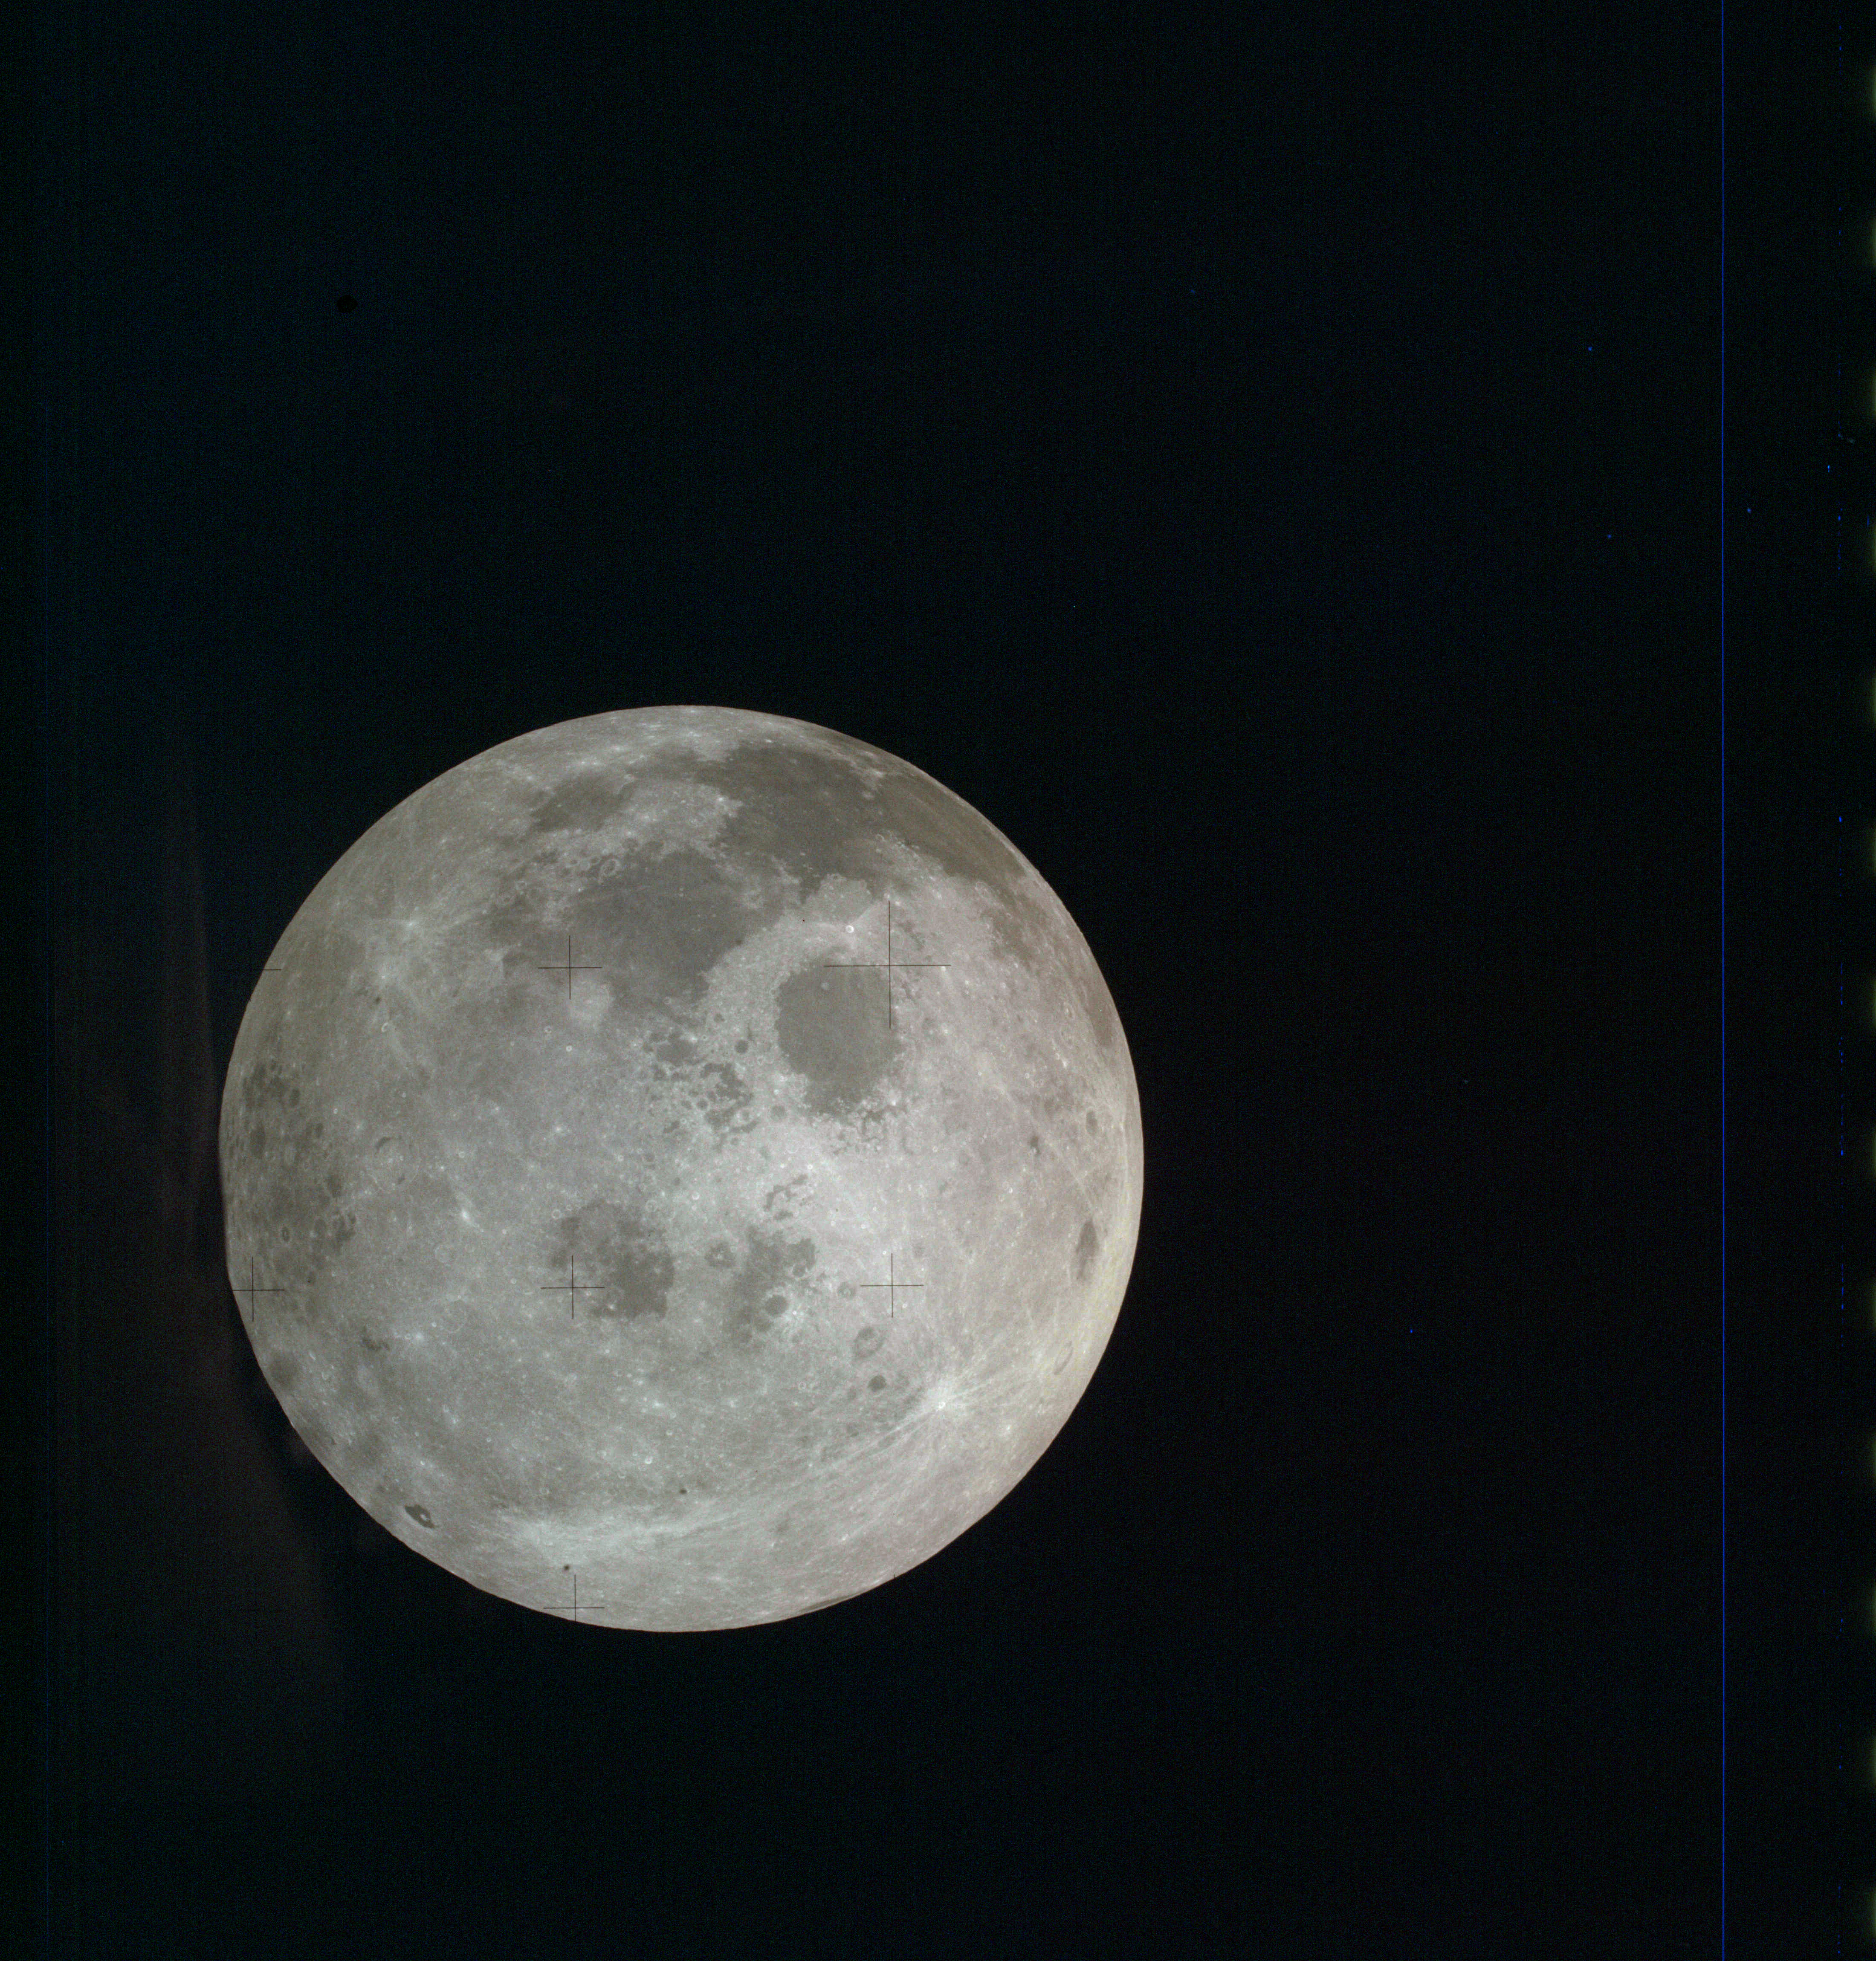
AS13-61-8781 Browse or print resolution. Moon from Apollo 13. Image credit: Image Science and Analysis Laboratory, NASA-Johnson Space Center. |
|
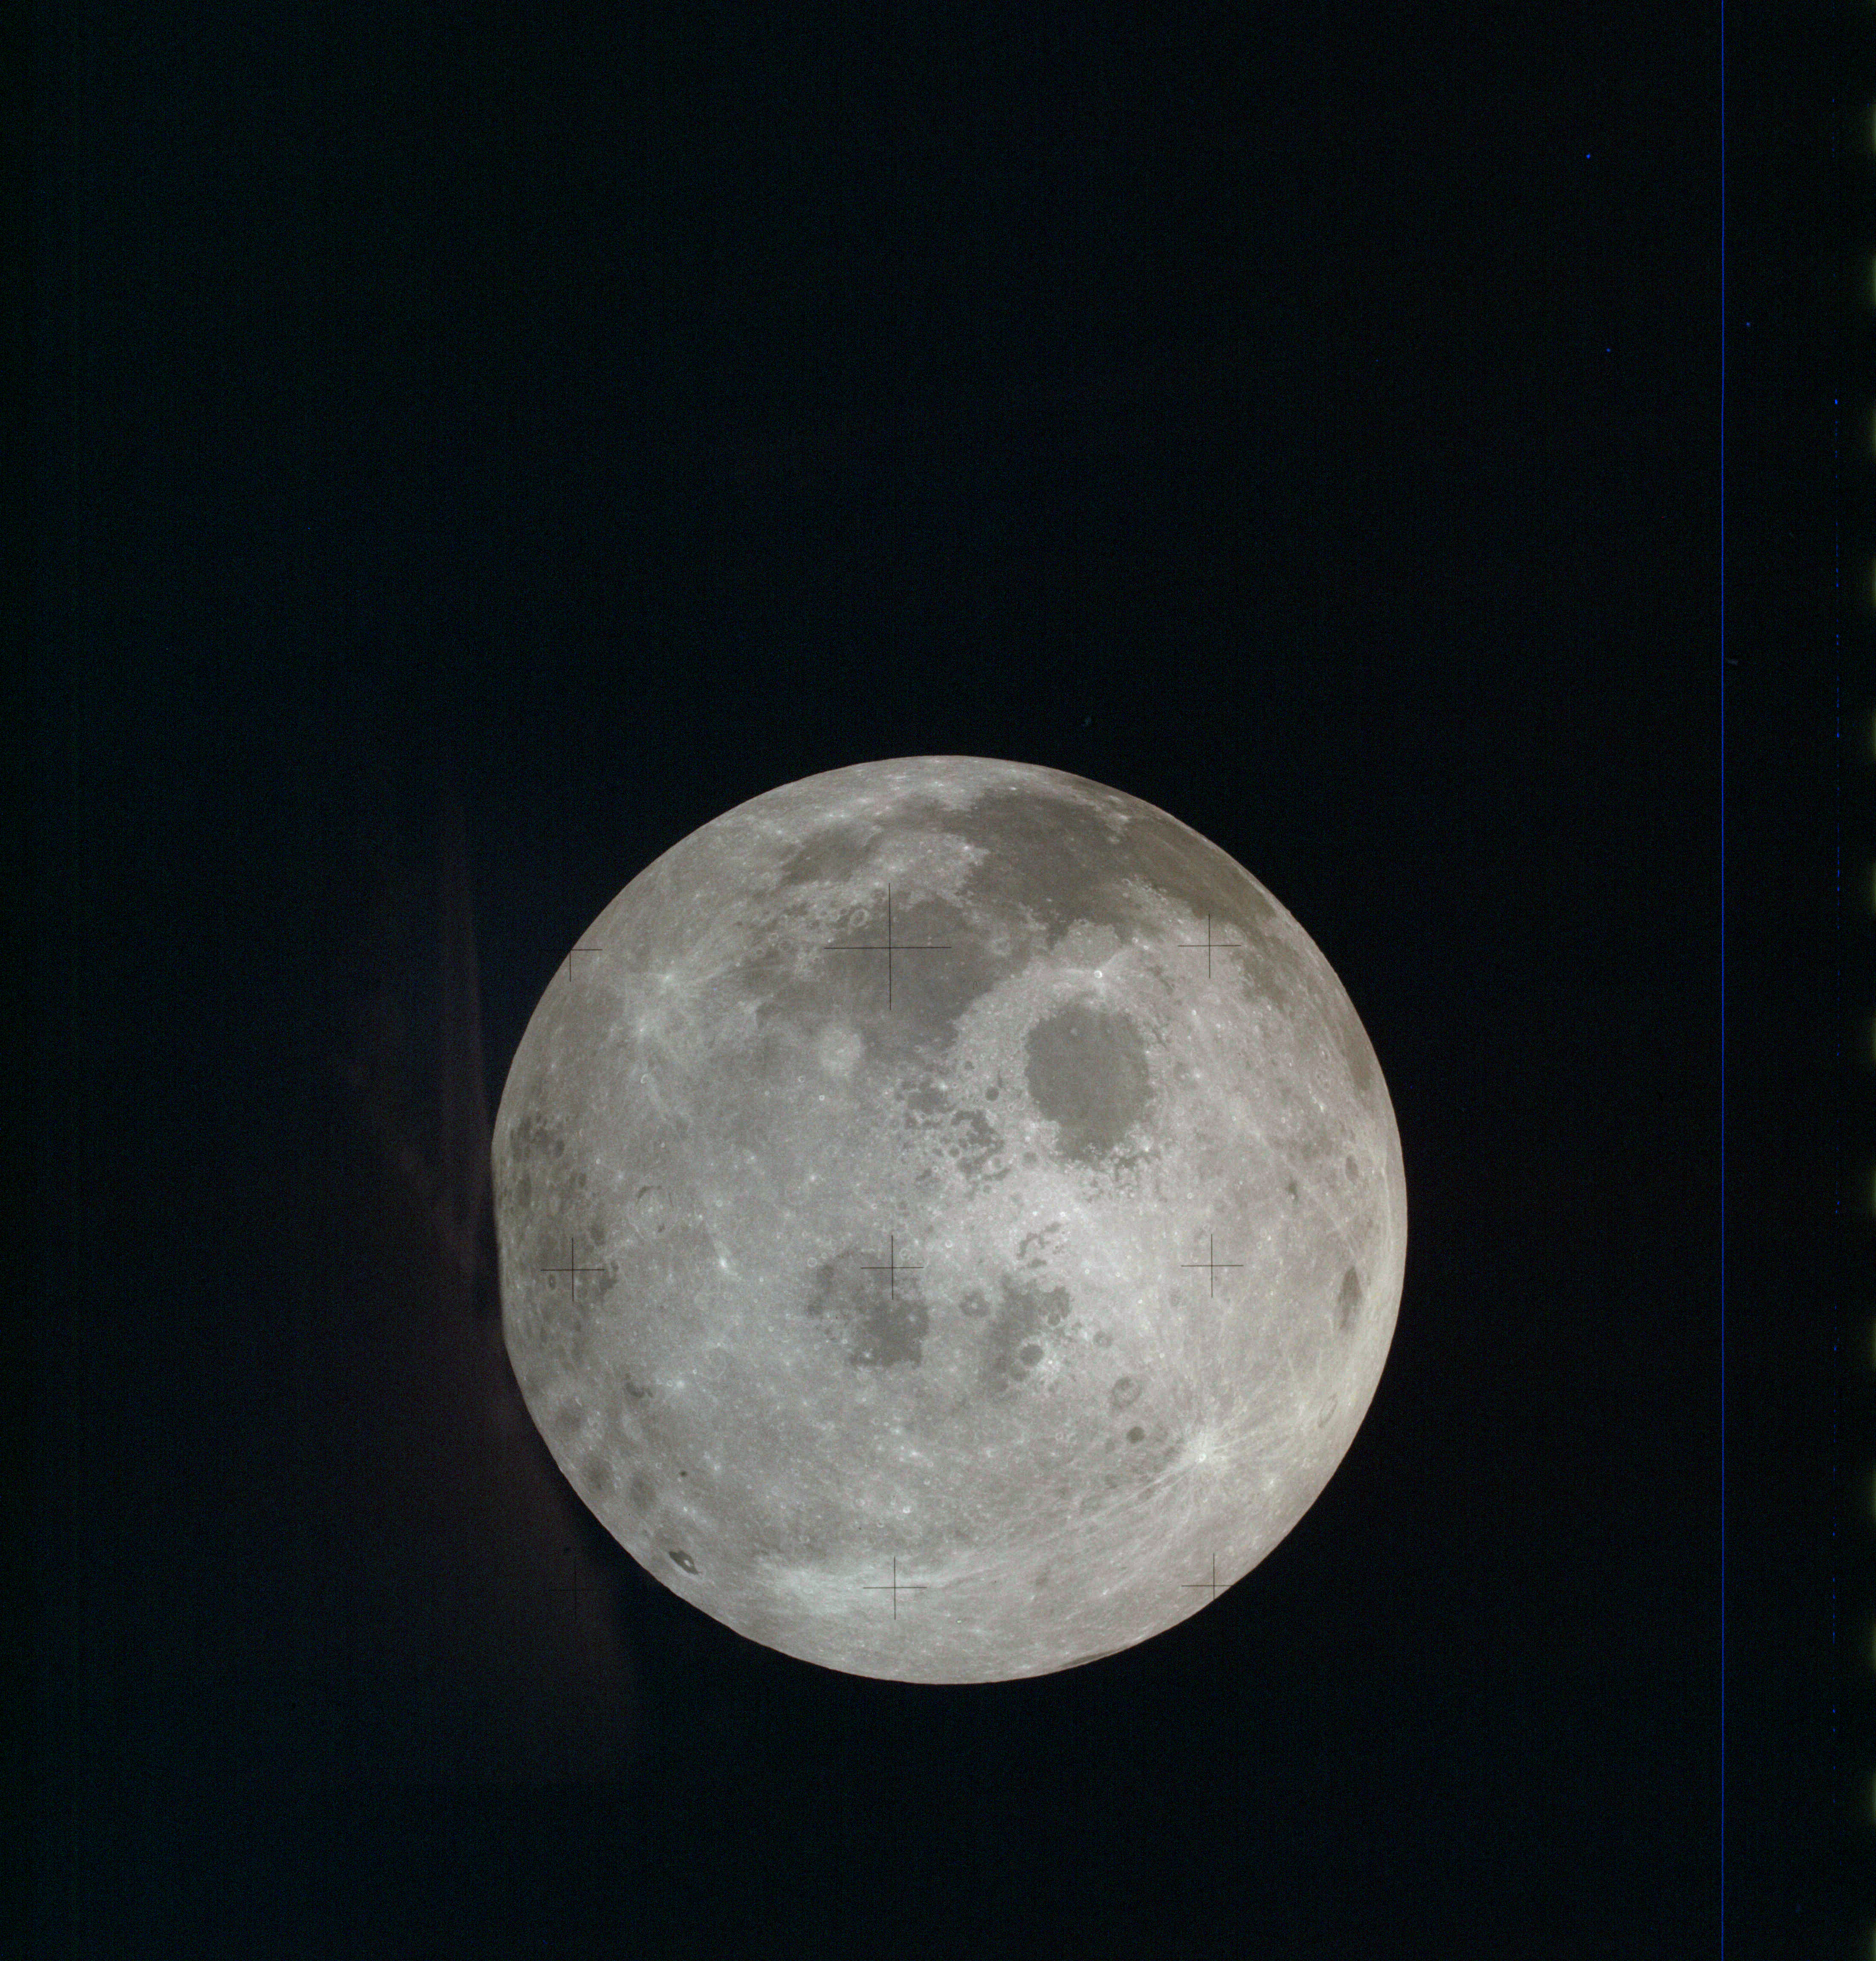
AS13-61-8782 Browse or print resolution. Moon from Apollo 13. Image credit: Image Science and Analysis Laboratory, NASA-Johnson Space Center. |
|
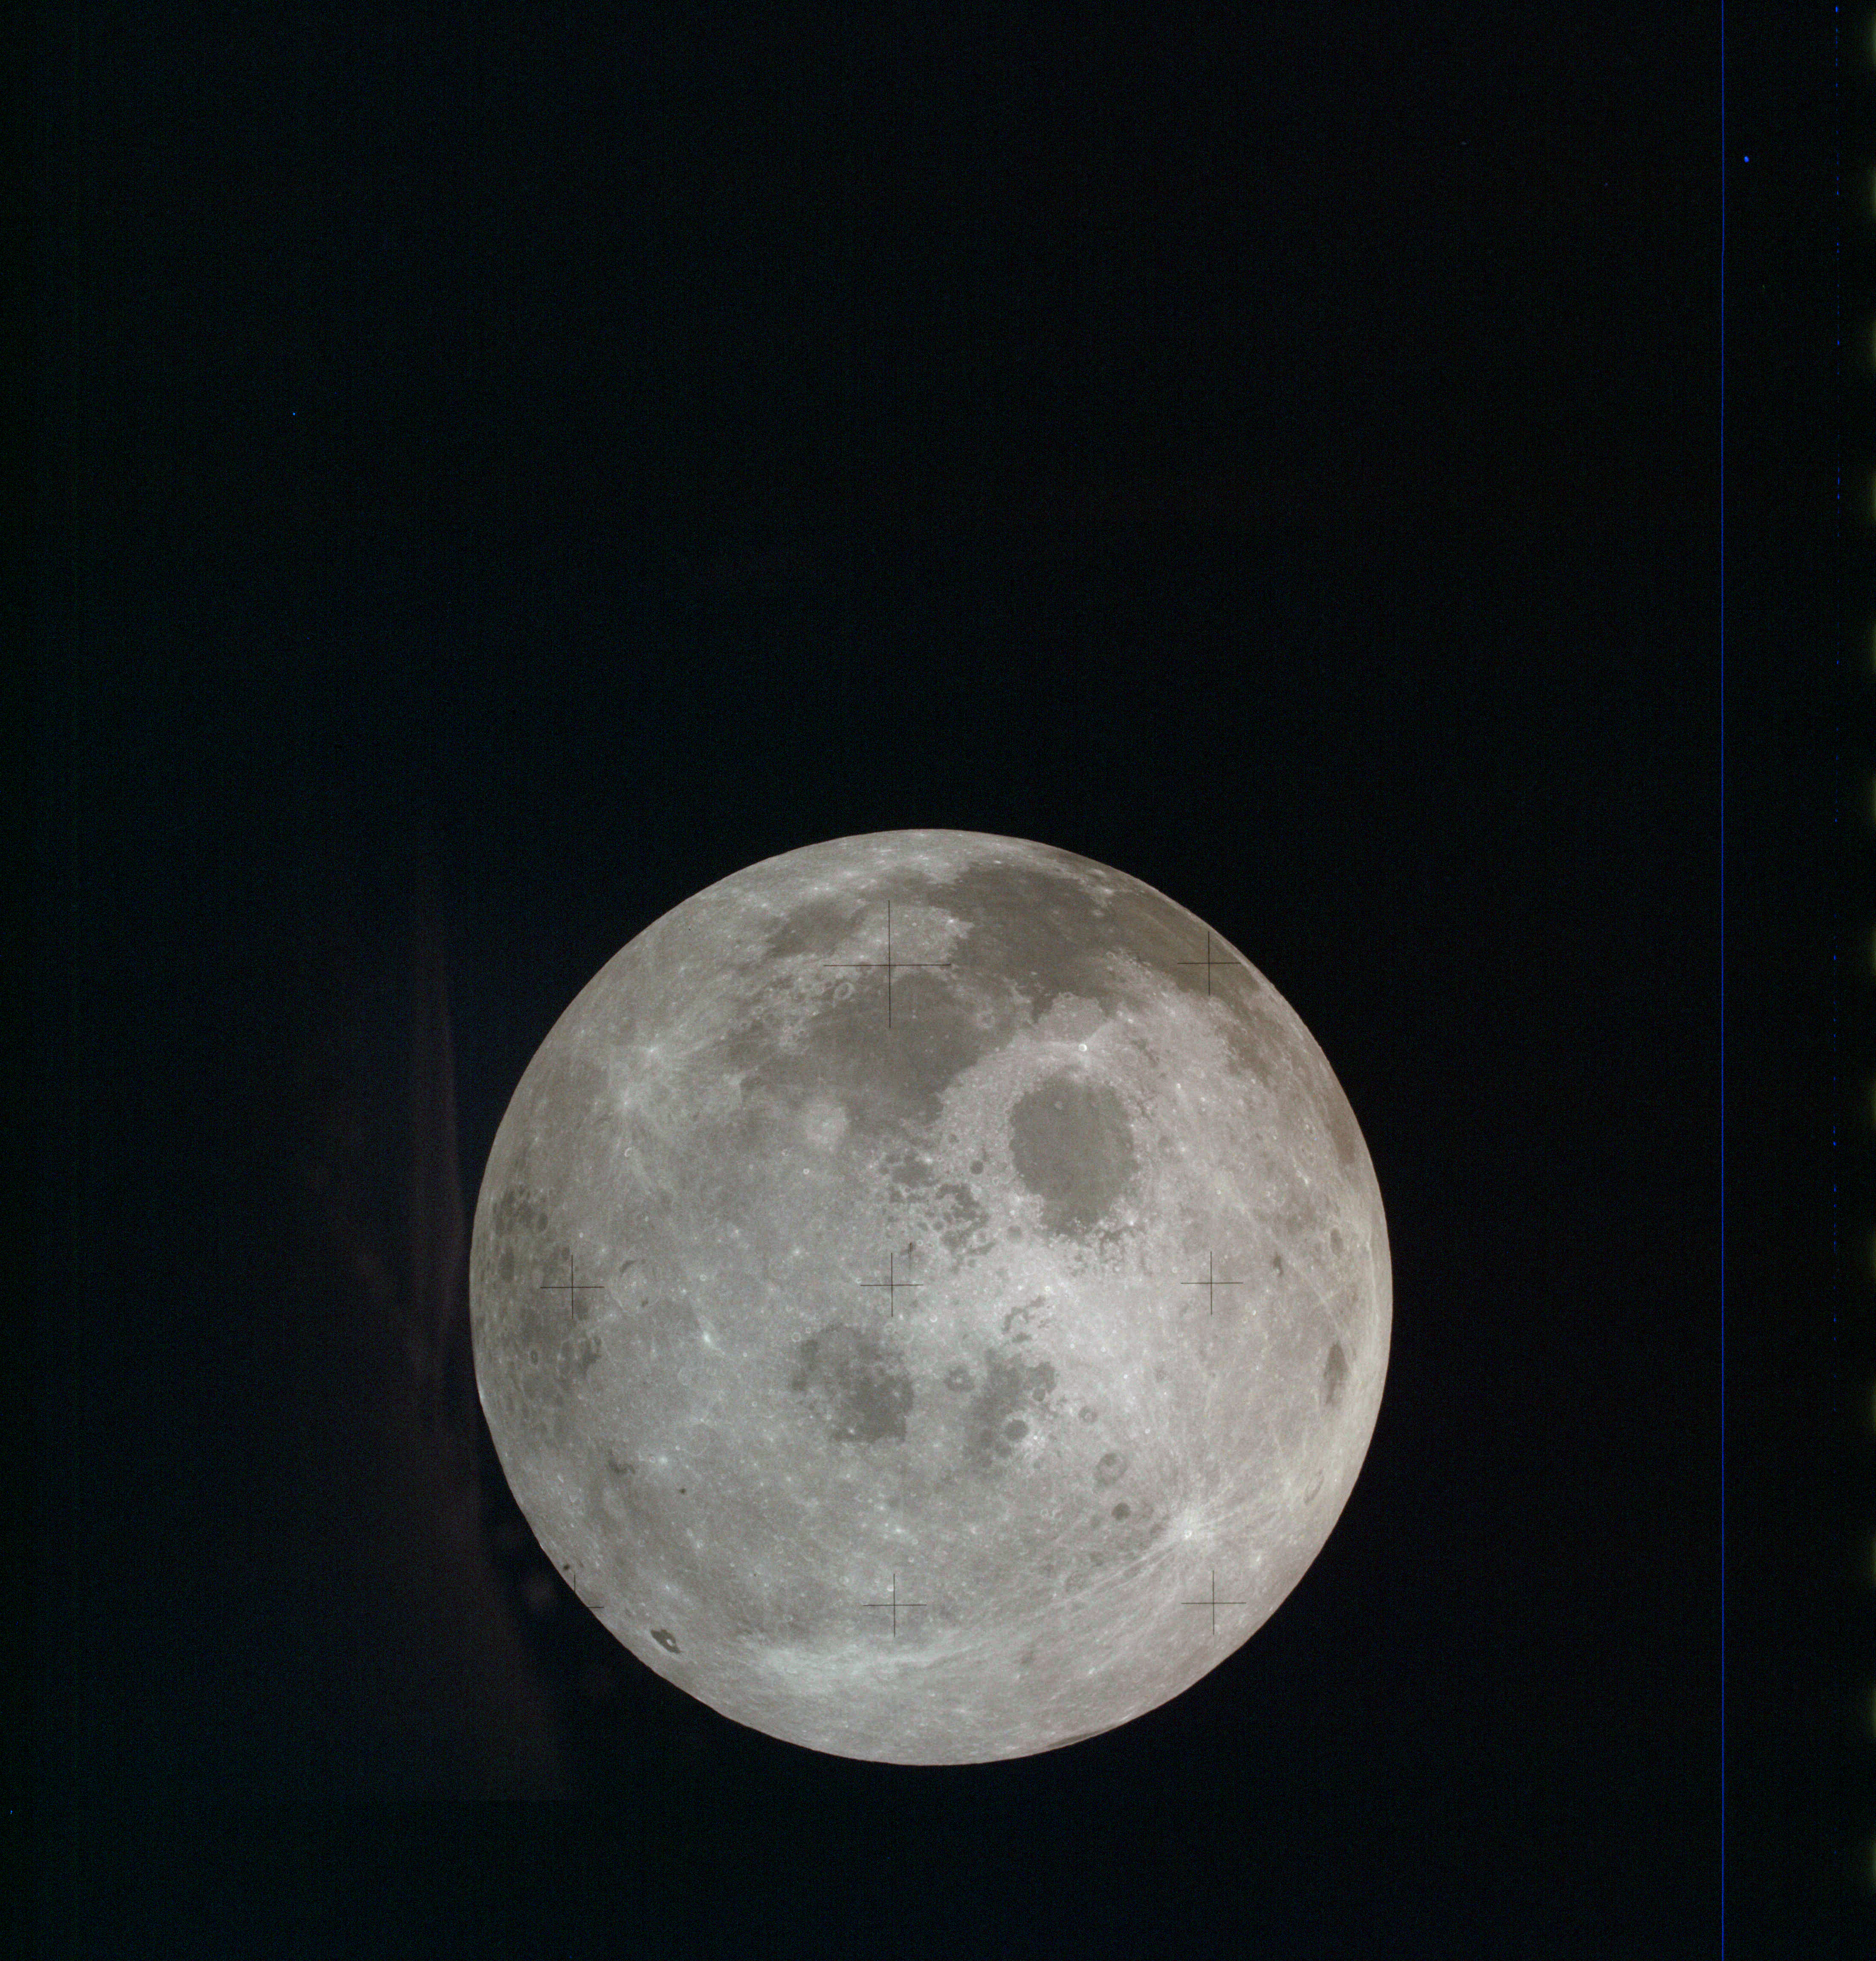
AS13-61-8783 Browse or print resolution. Moon from Apollo 13. Image credit: Image Science and Analysis Laboratory, NASA-Johnson Space Center. |
|
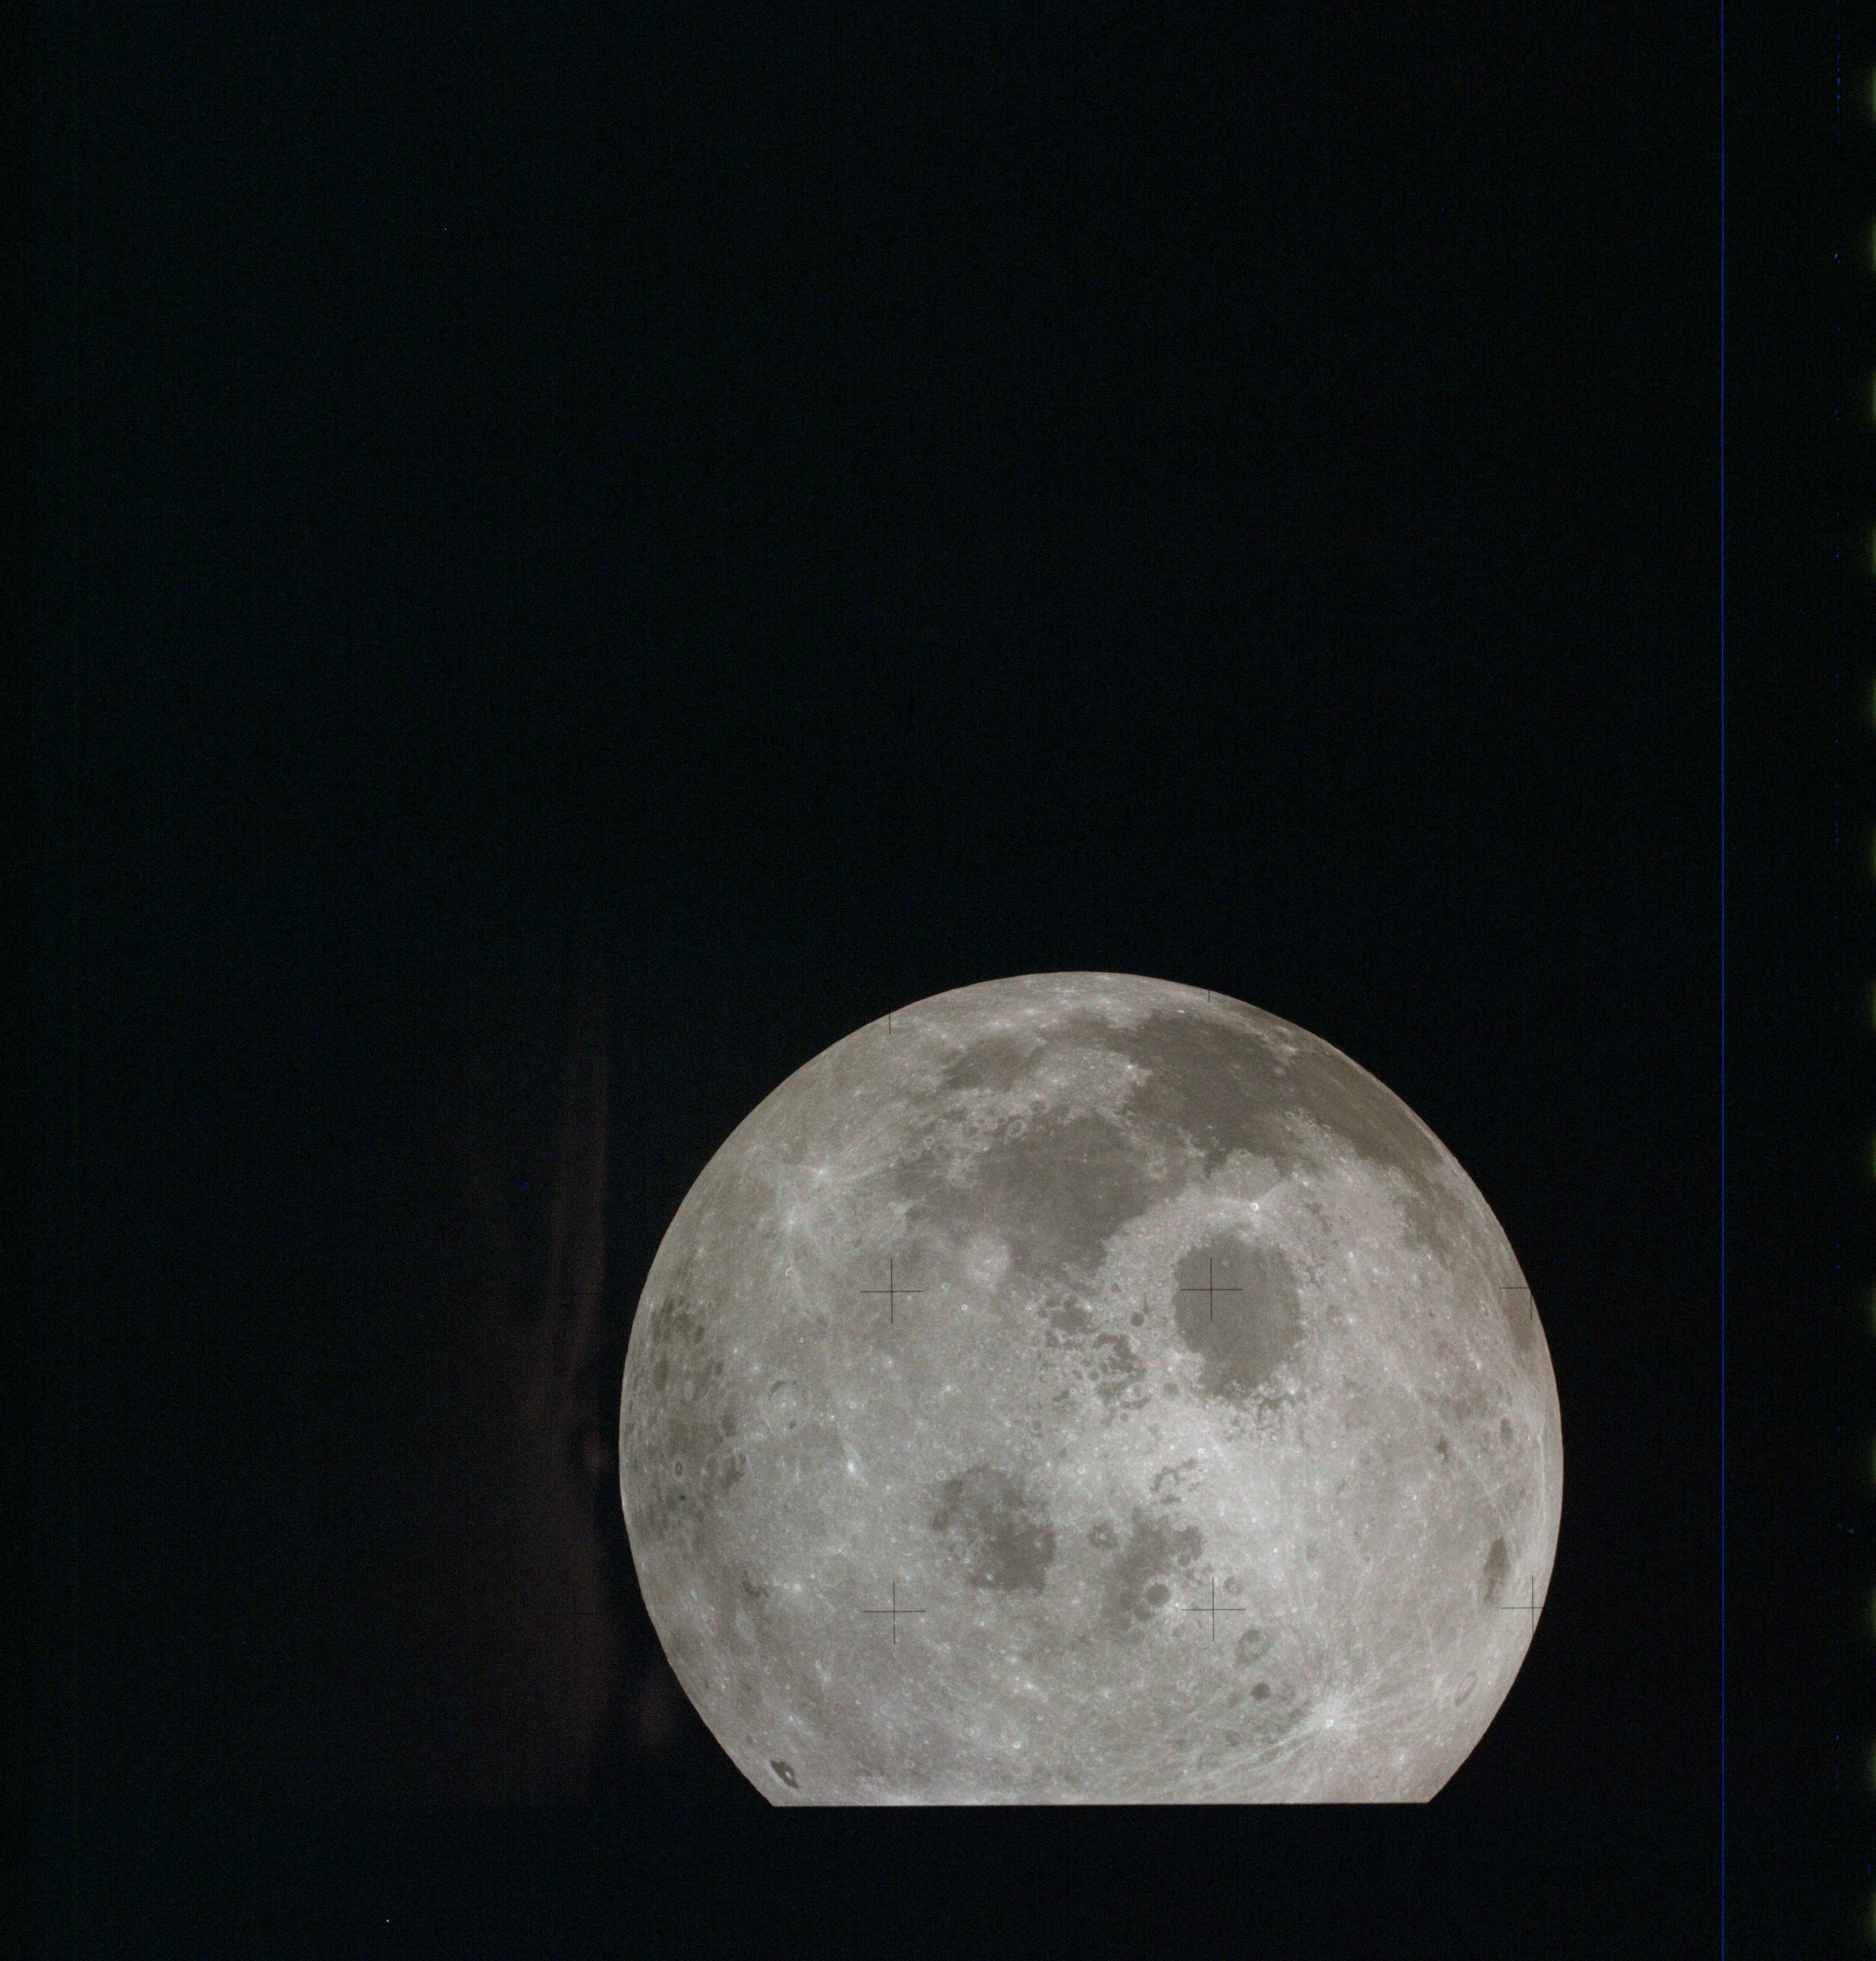
AS13-61-8784 Browse or print resolution. Moon from Apollo 13. Image credit: Image Science and Analysis Laboratory, NASA-Johnson Space Center. |
|
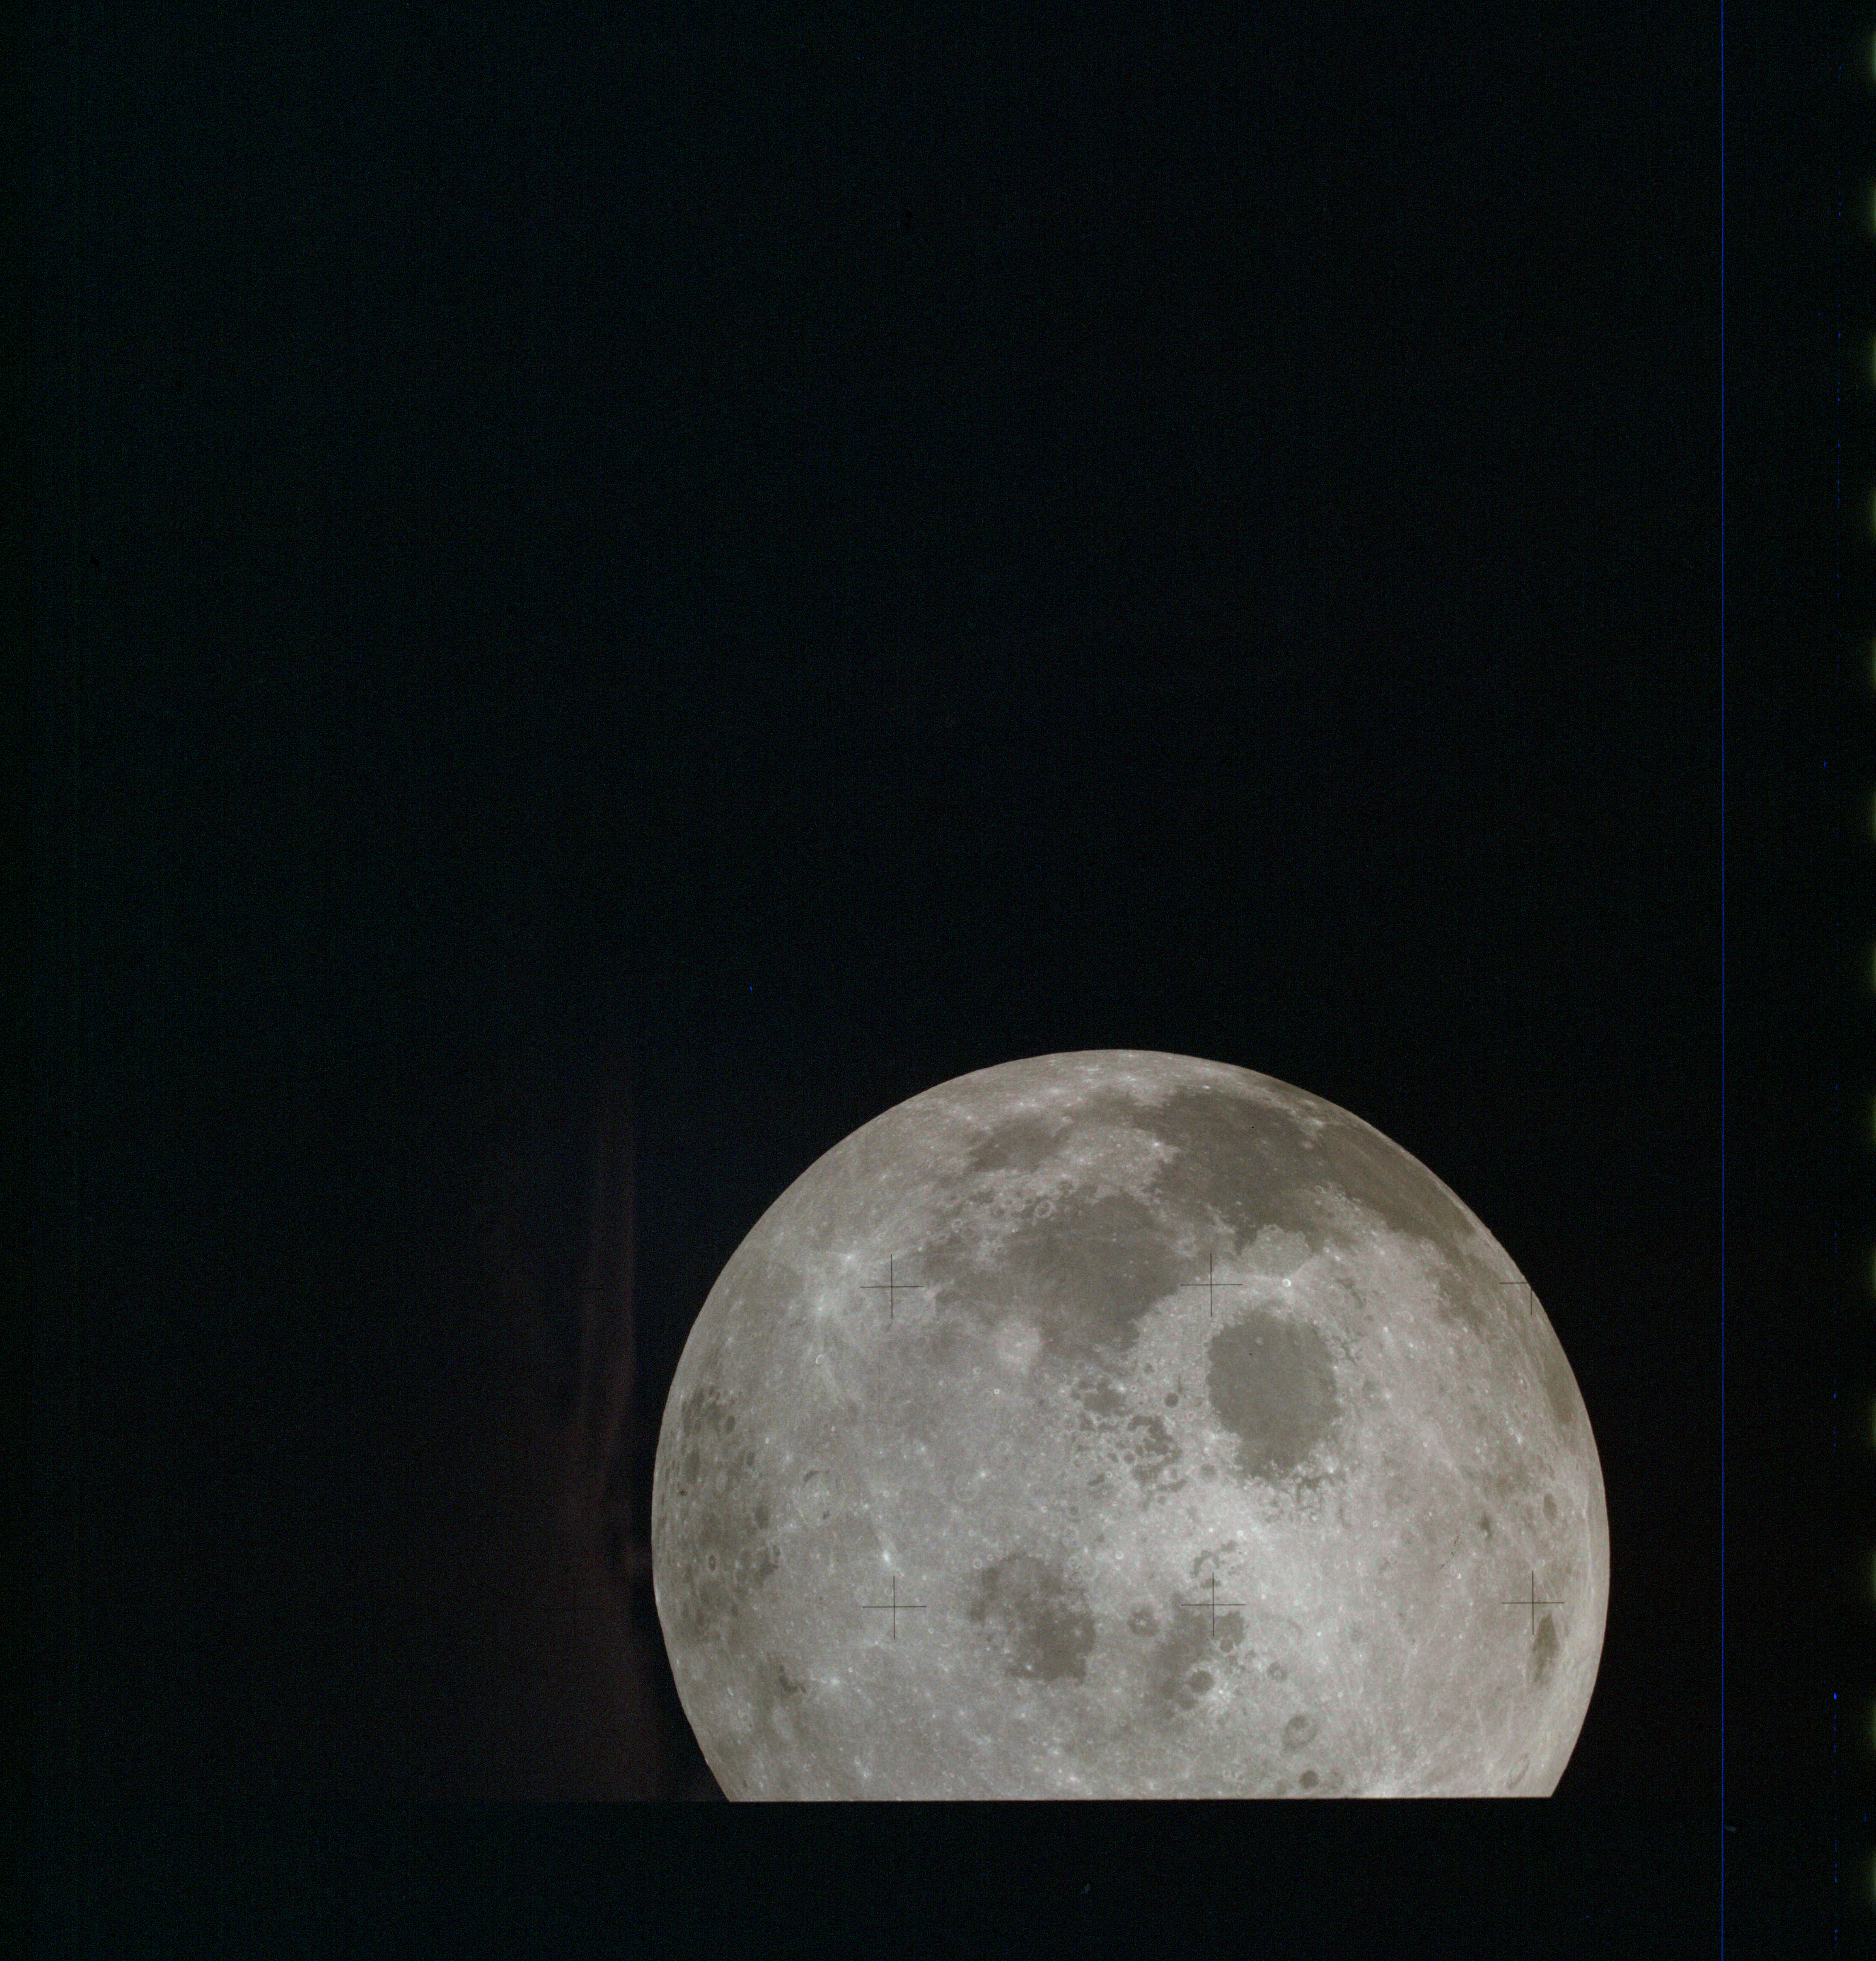
AS13-61-8785 Browse or print resolution. Moon from Apollo 13. Image credit: Image Science and Analysis Laboratory, NASA-Johnson Space Center. |
|
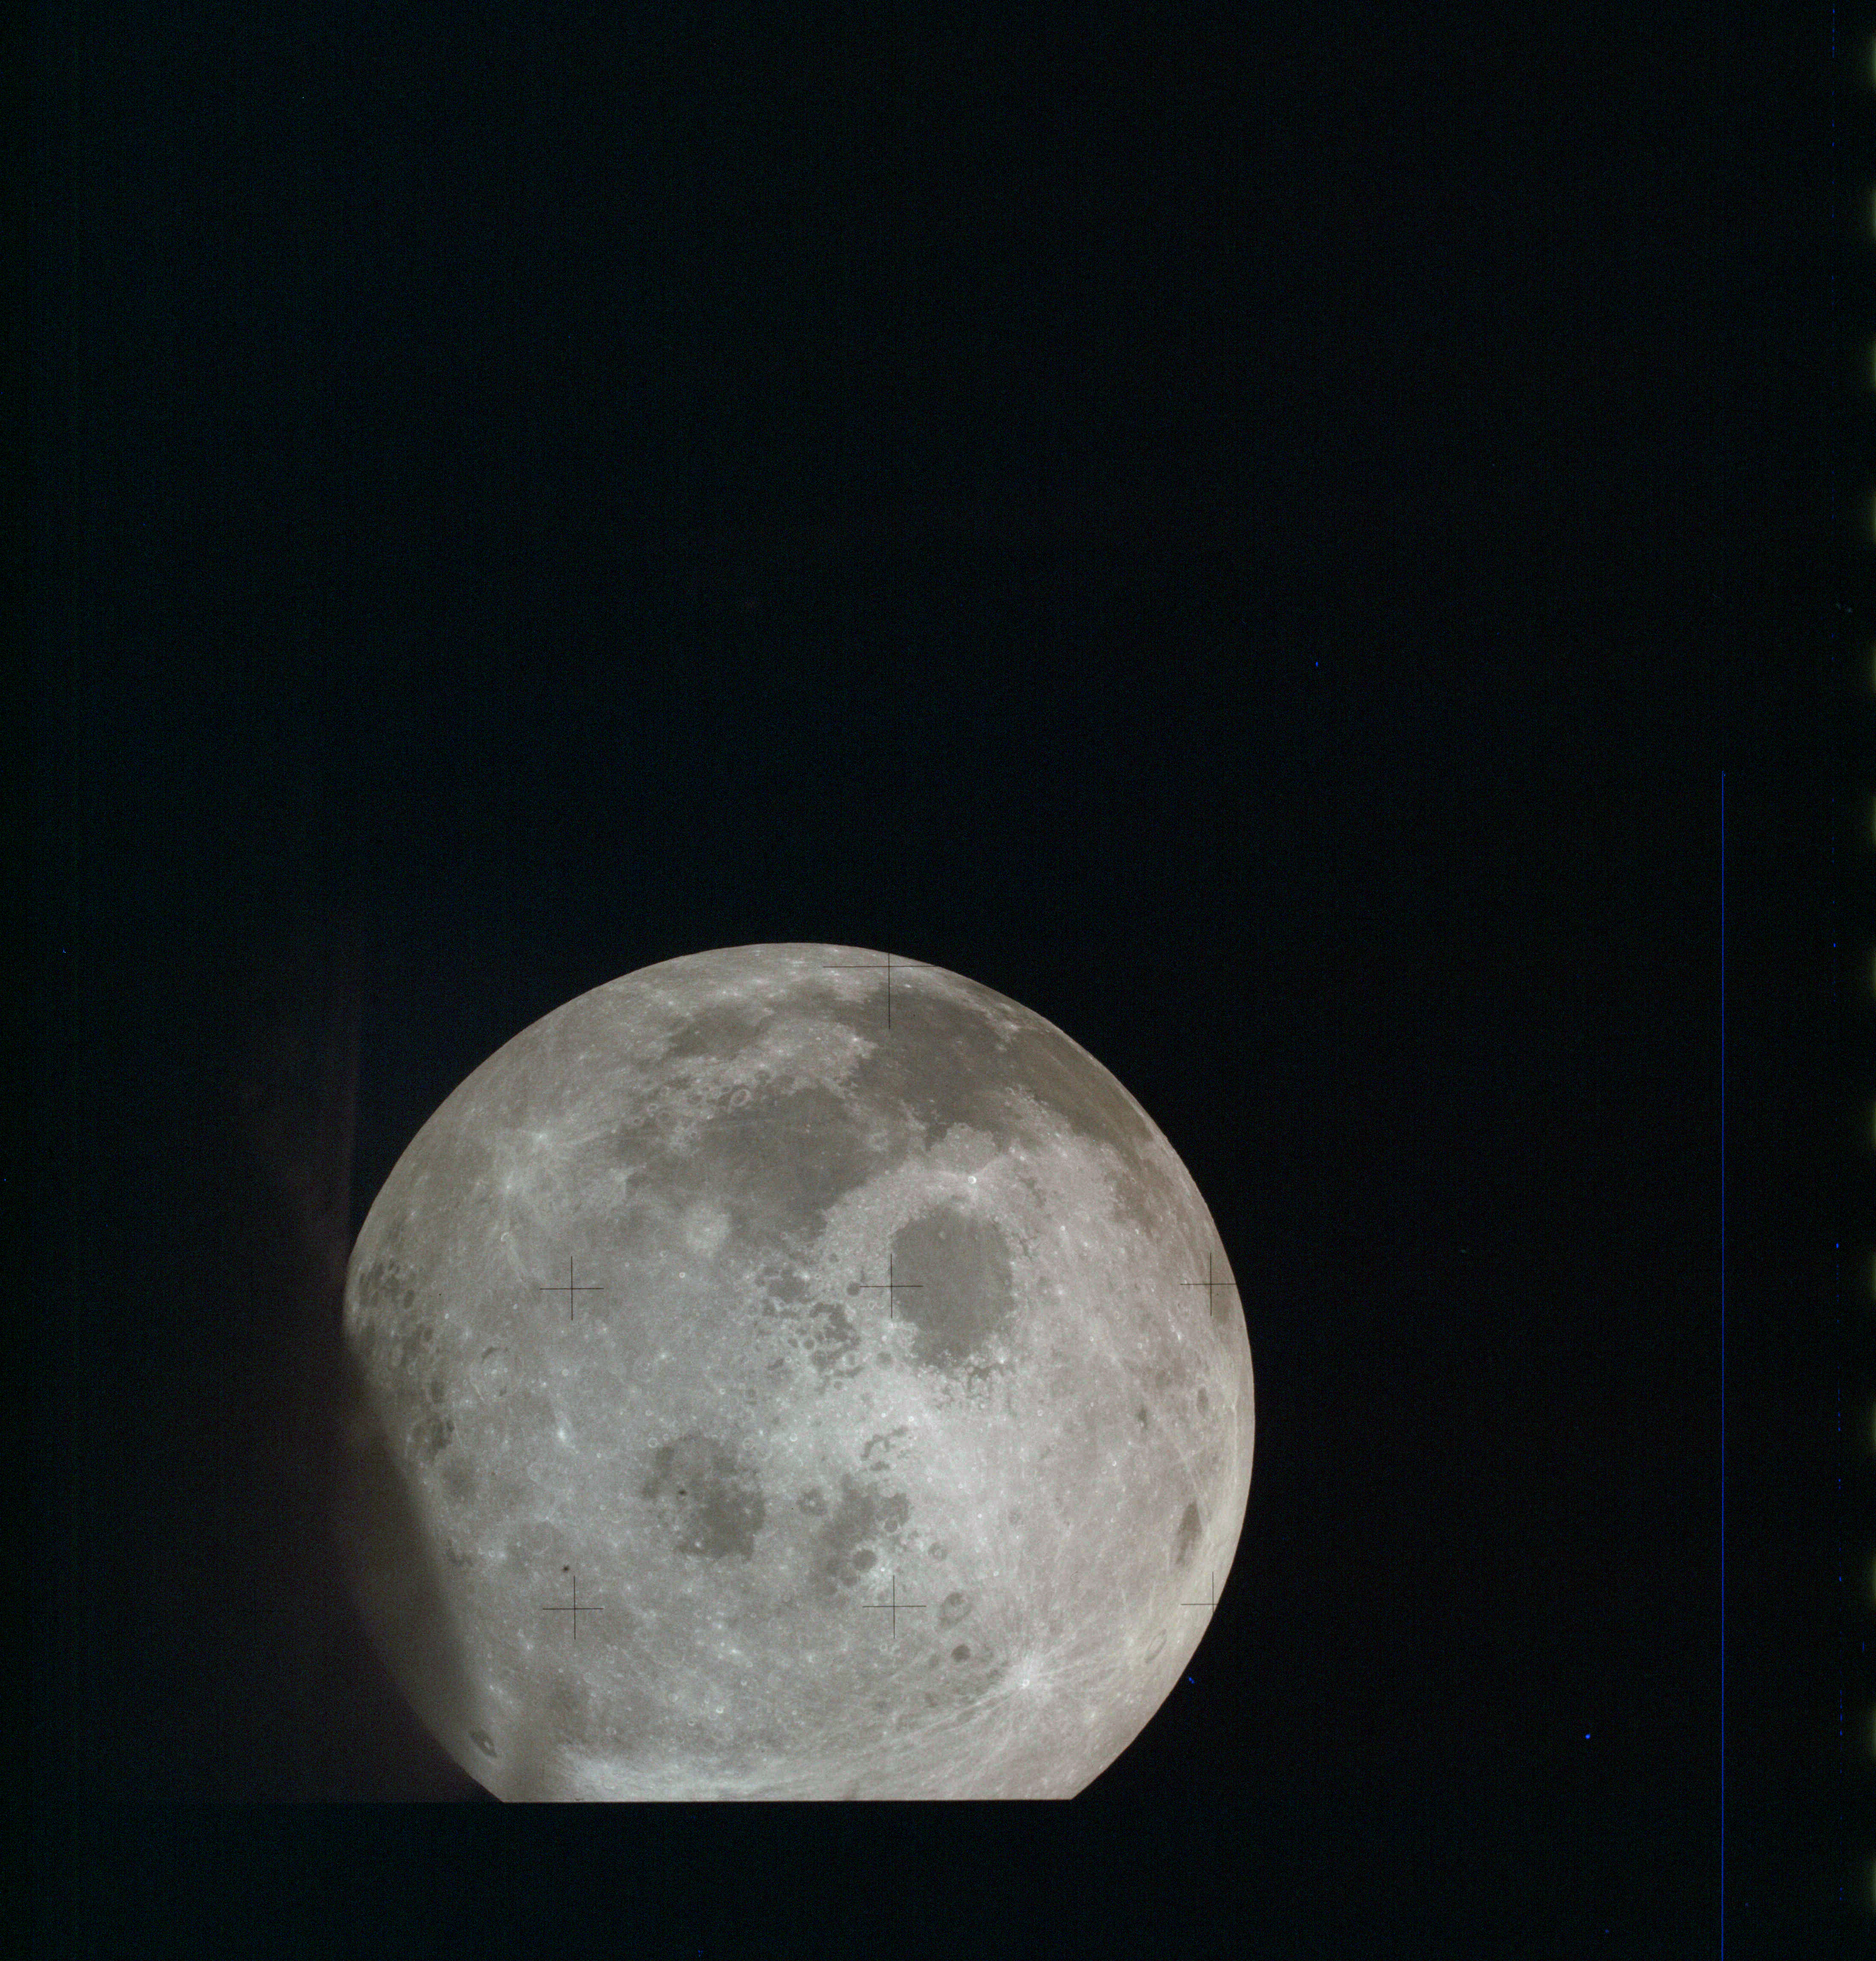
AS13-61-8786 Browse or print resolution. Moon from Apollo 13. Image credit: Image Science and Analysis Laboratory, NASA-Johnson Space Center. |
|
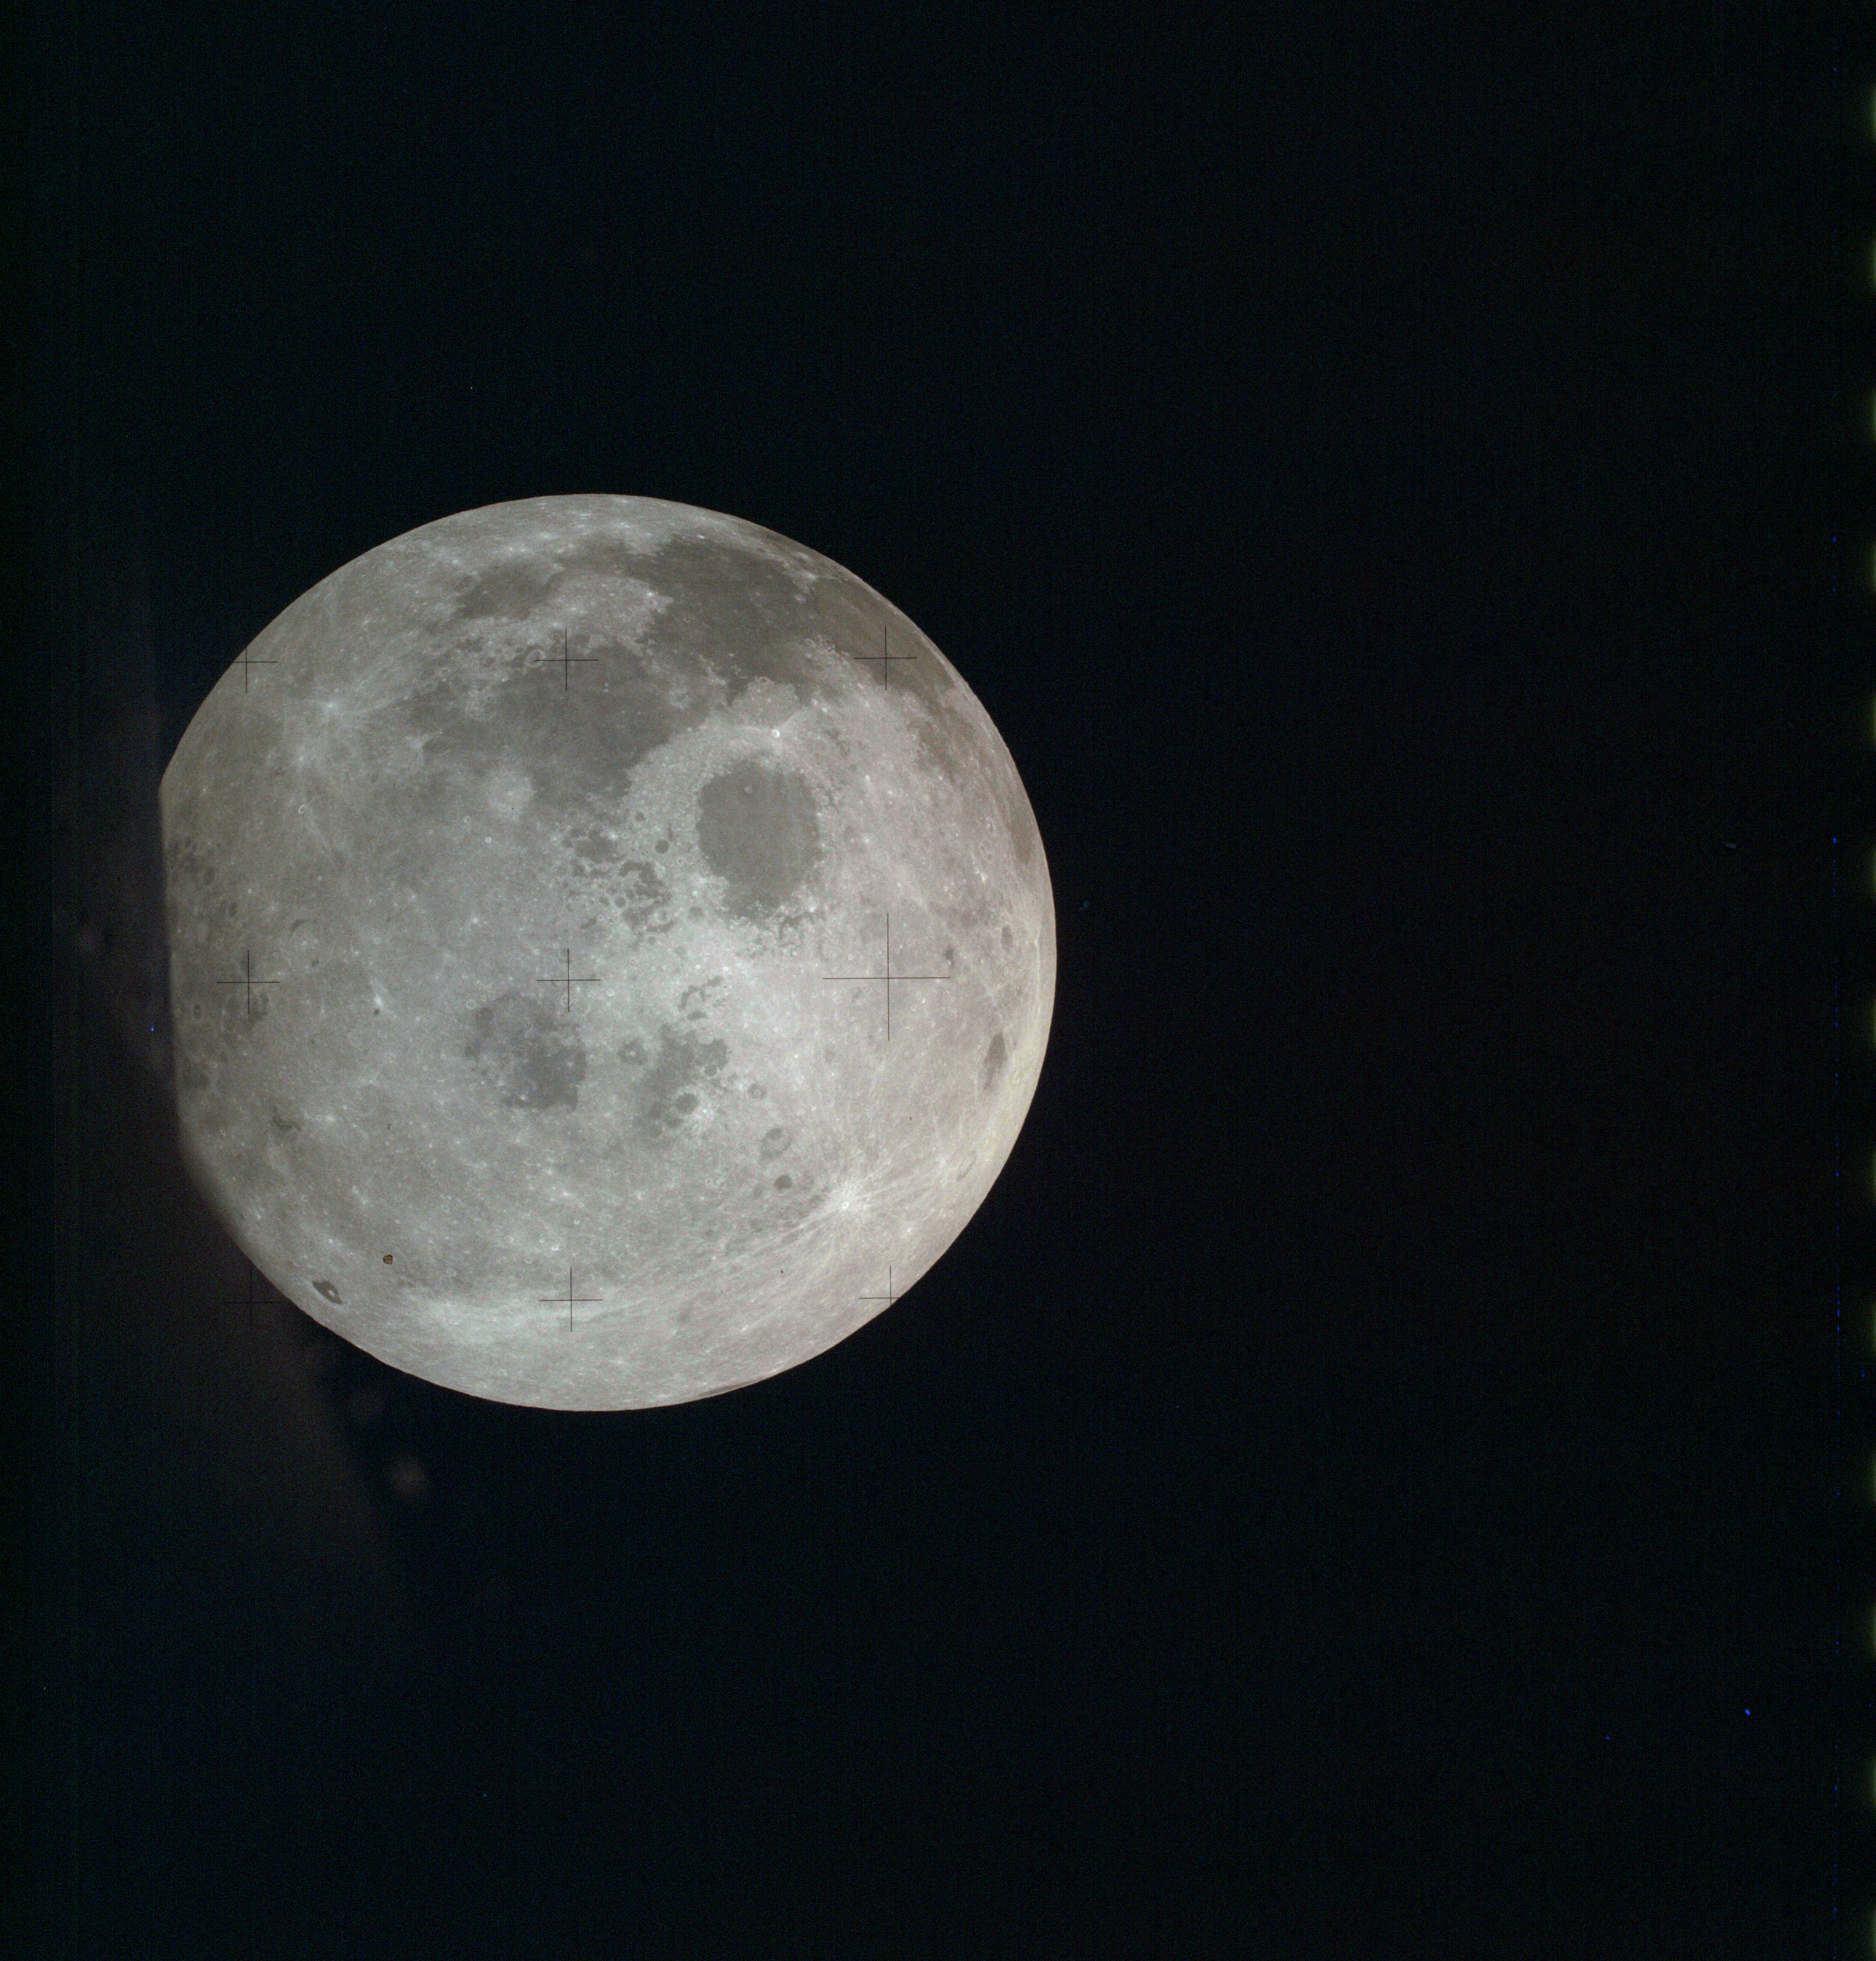
AS13-61-8787 Browse or print resolution. Moon from Apollo 13. Image credit: Image Science and Analysis Laboratory, NASA-Johnson Space Center. |
|
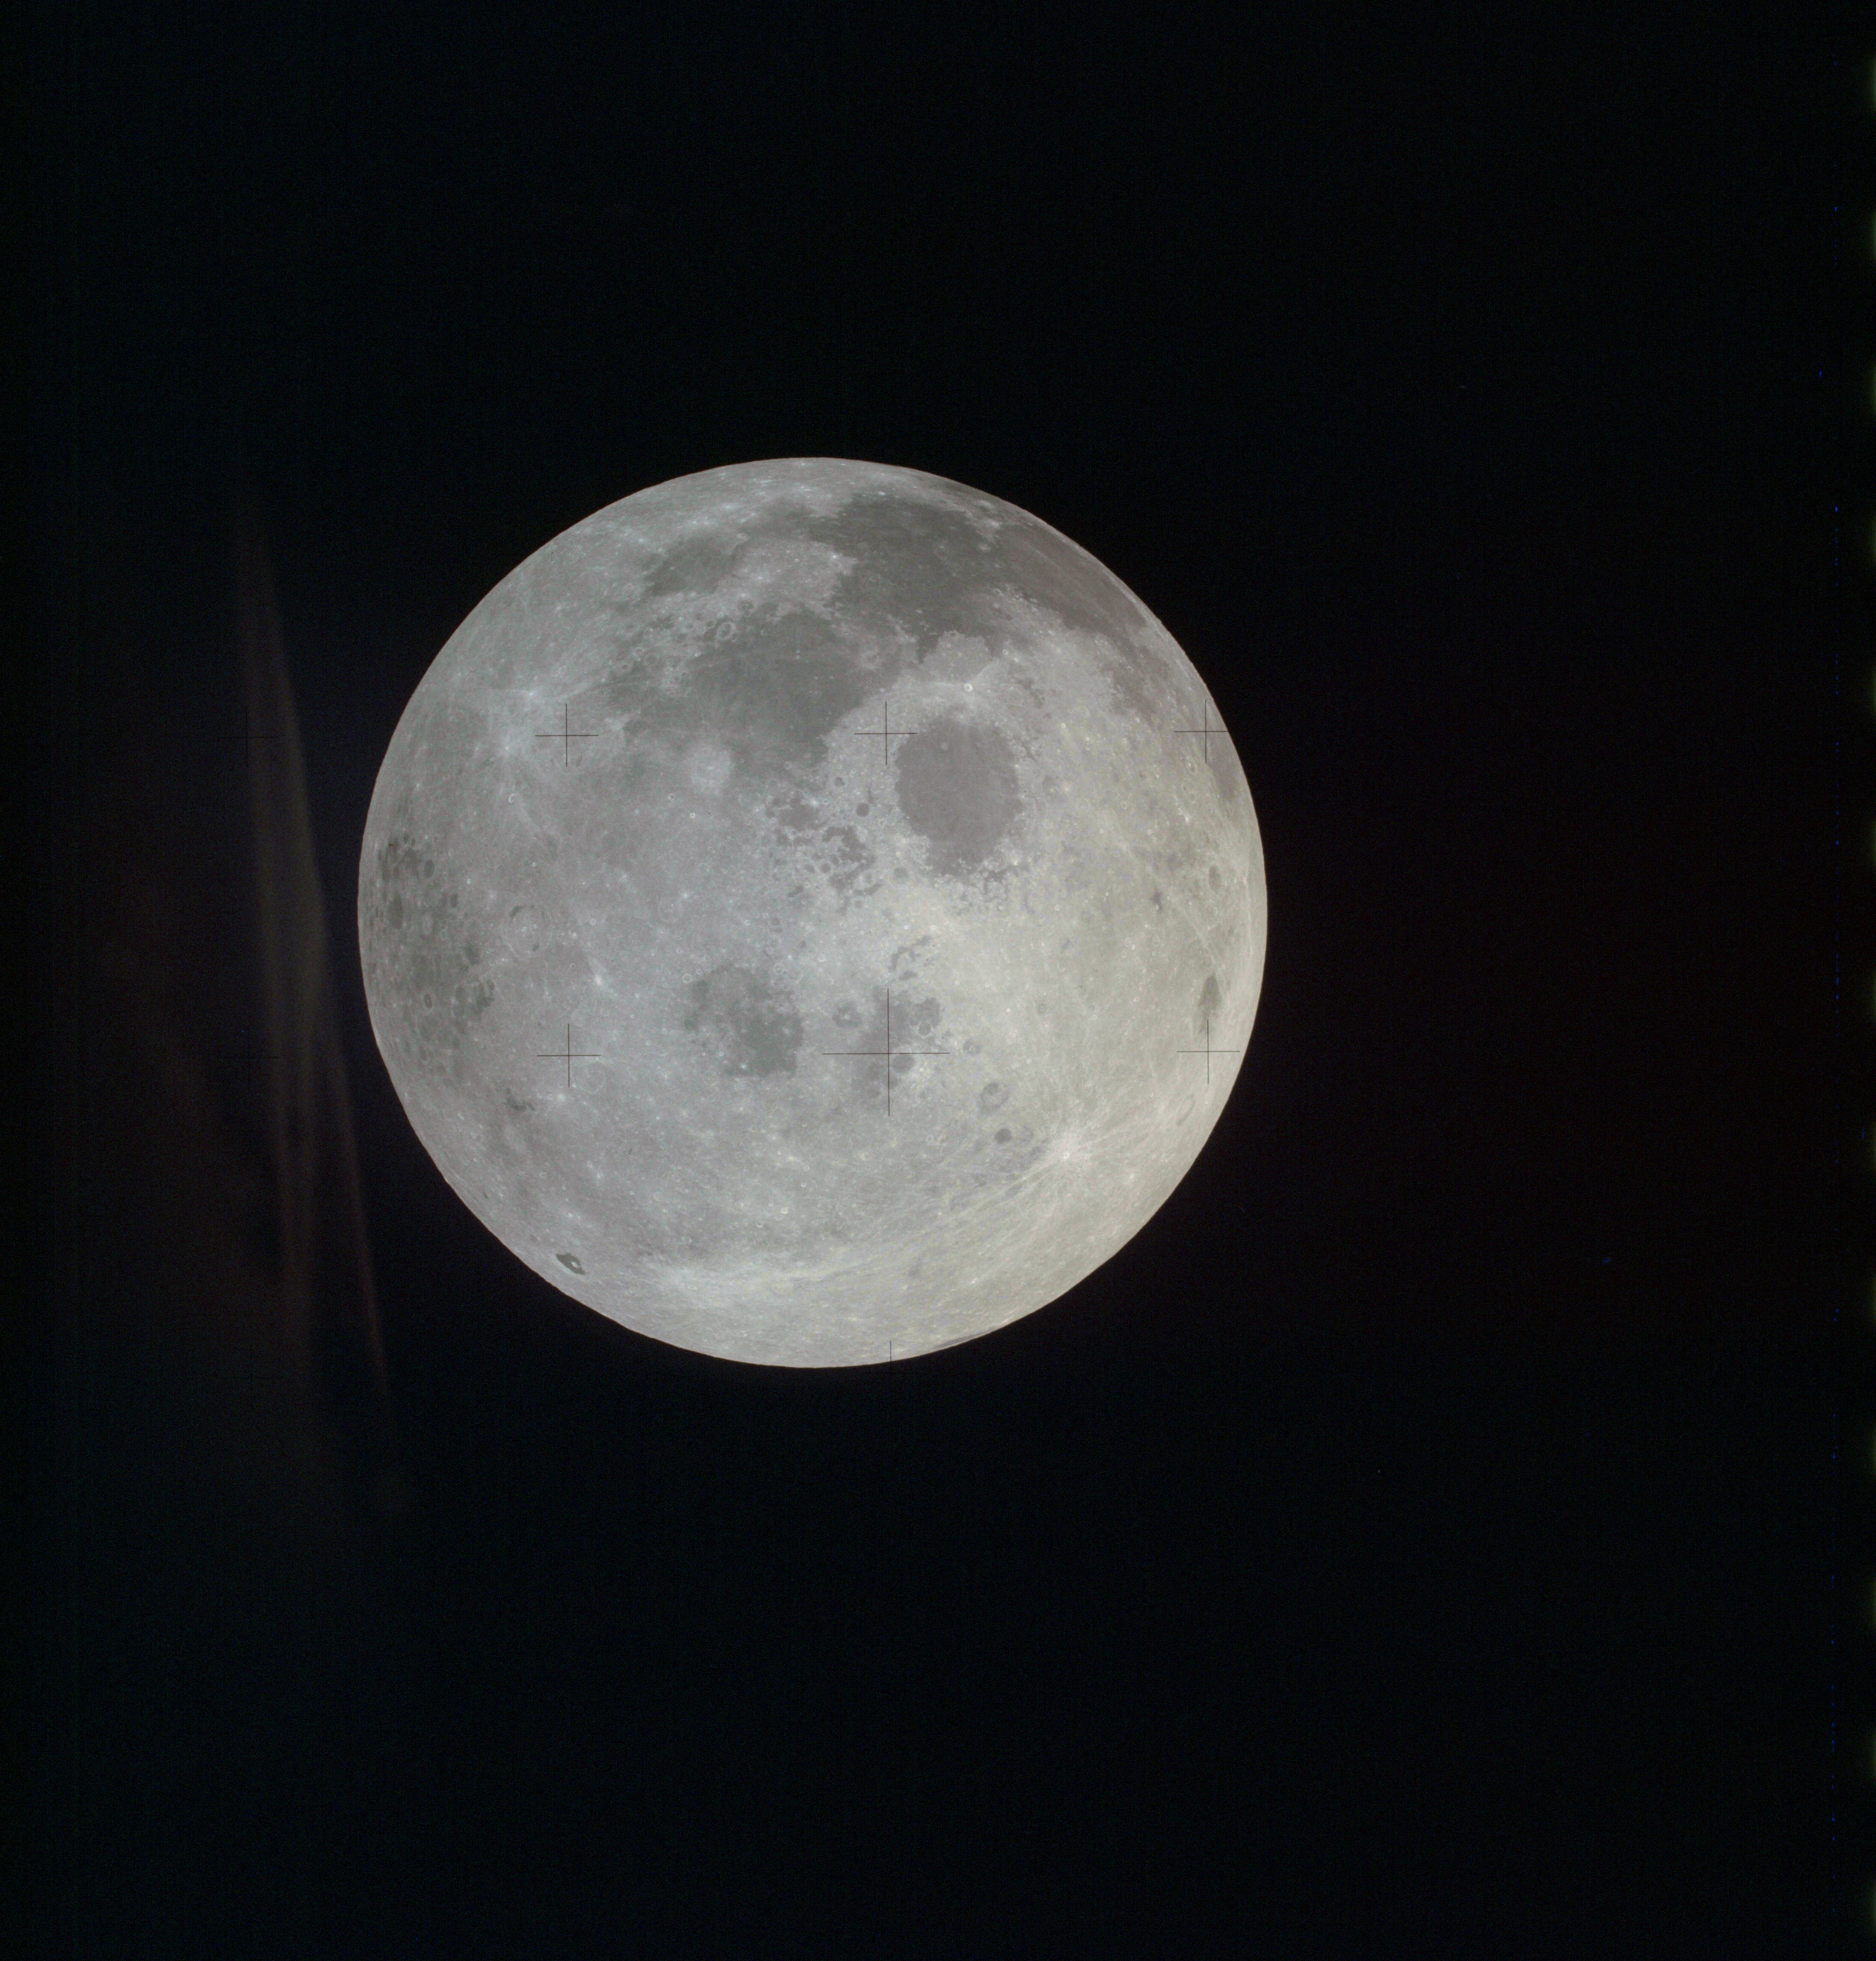
AS13-61-8788 Browse or print resolution. Moon from Apollo 13. Image credit: Image Science and Analysis Laboratory, NASA-Johnson Space Center. |
|
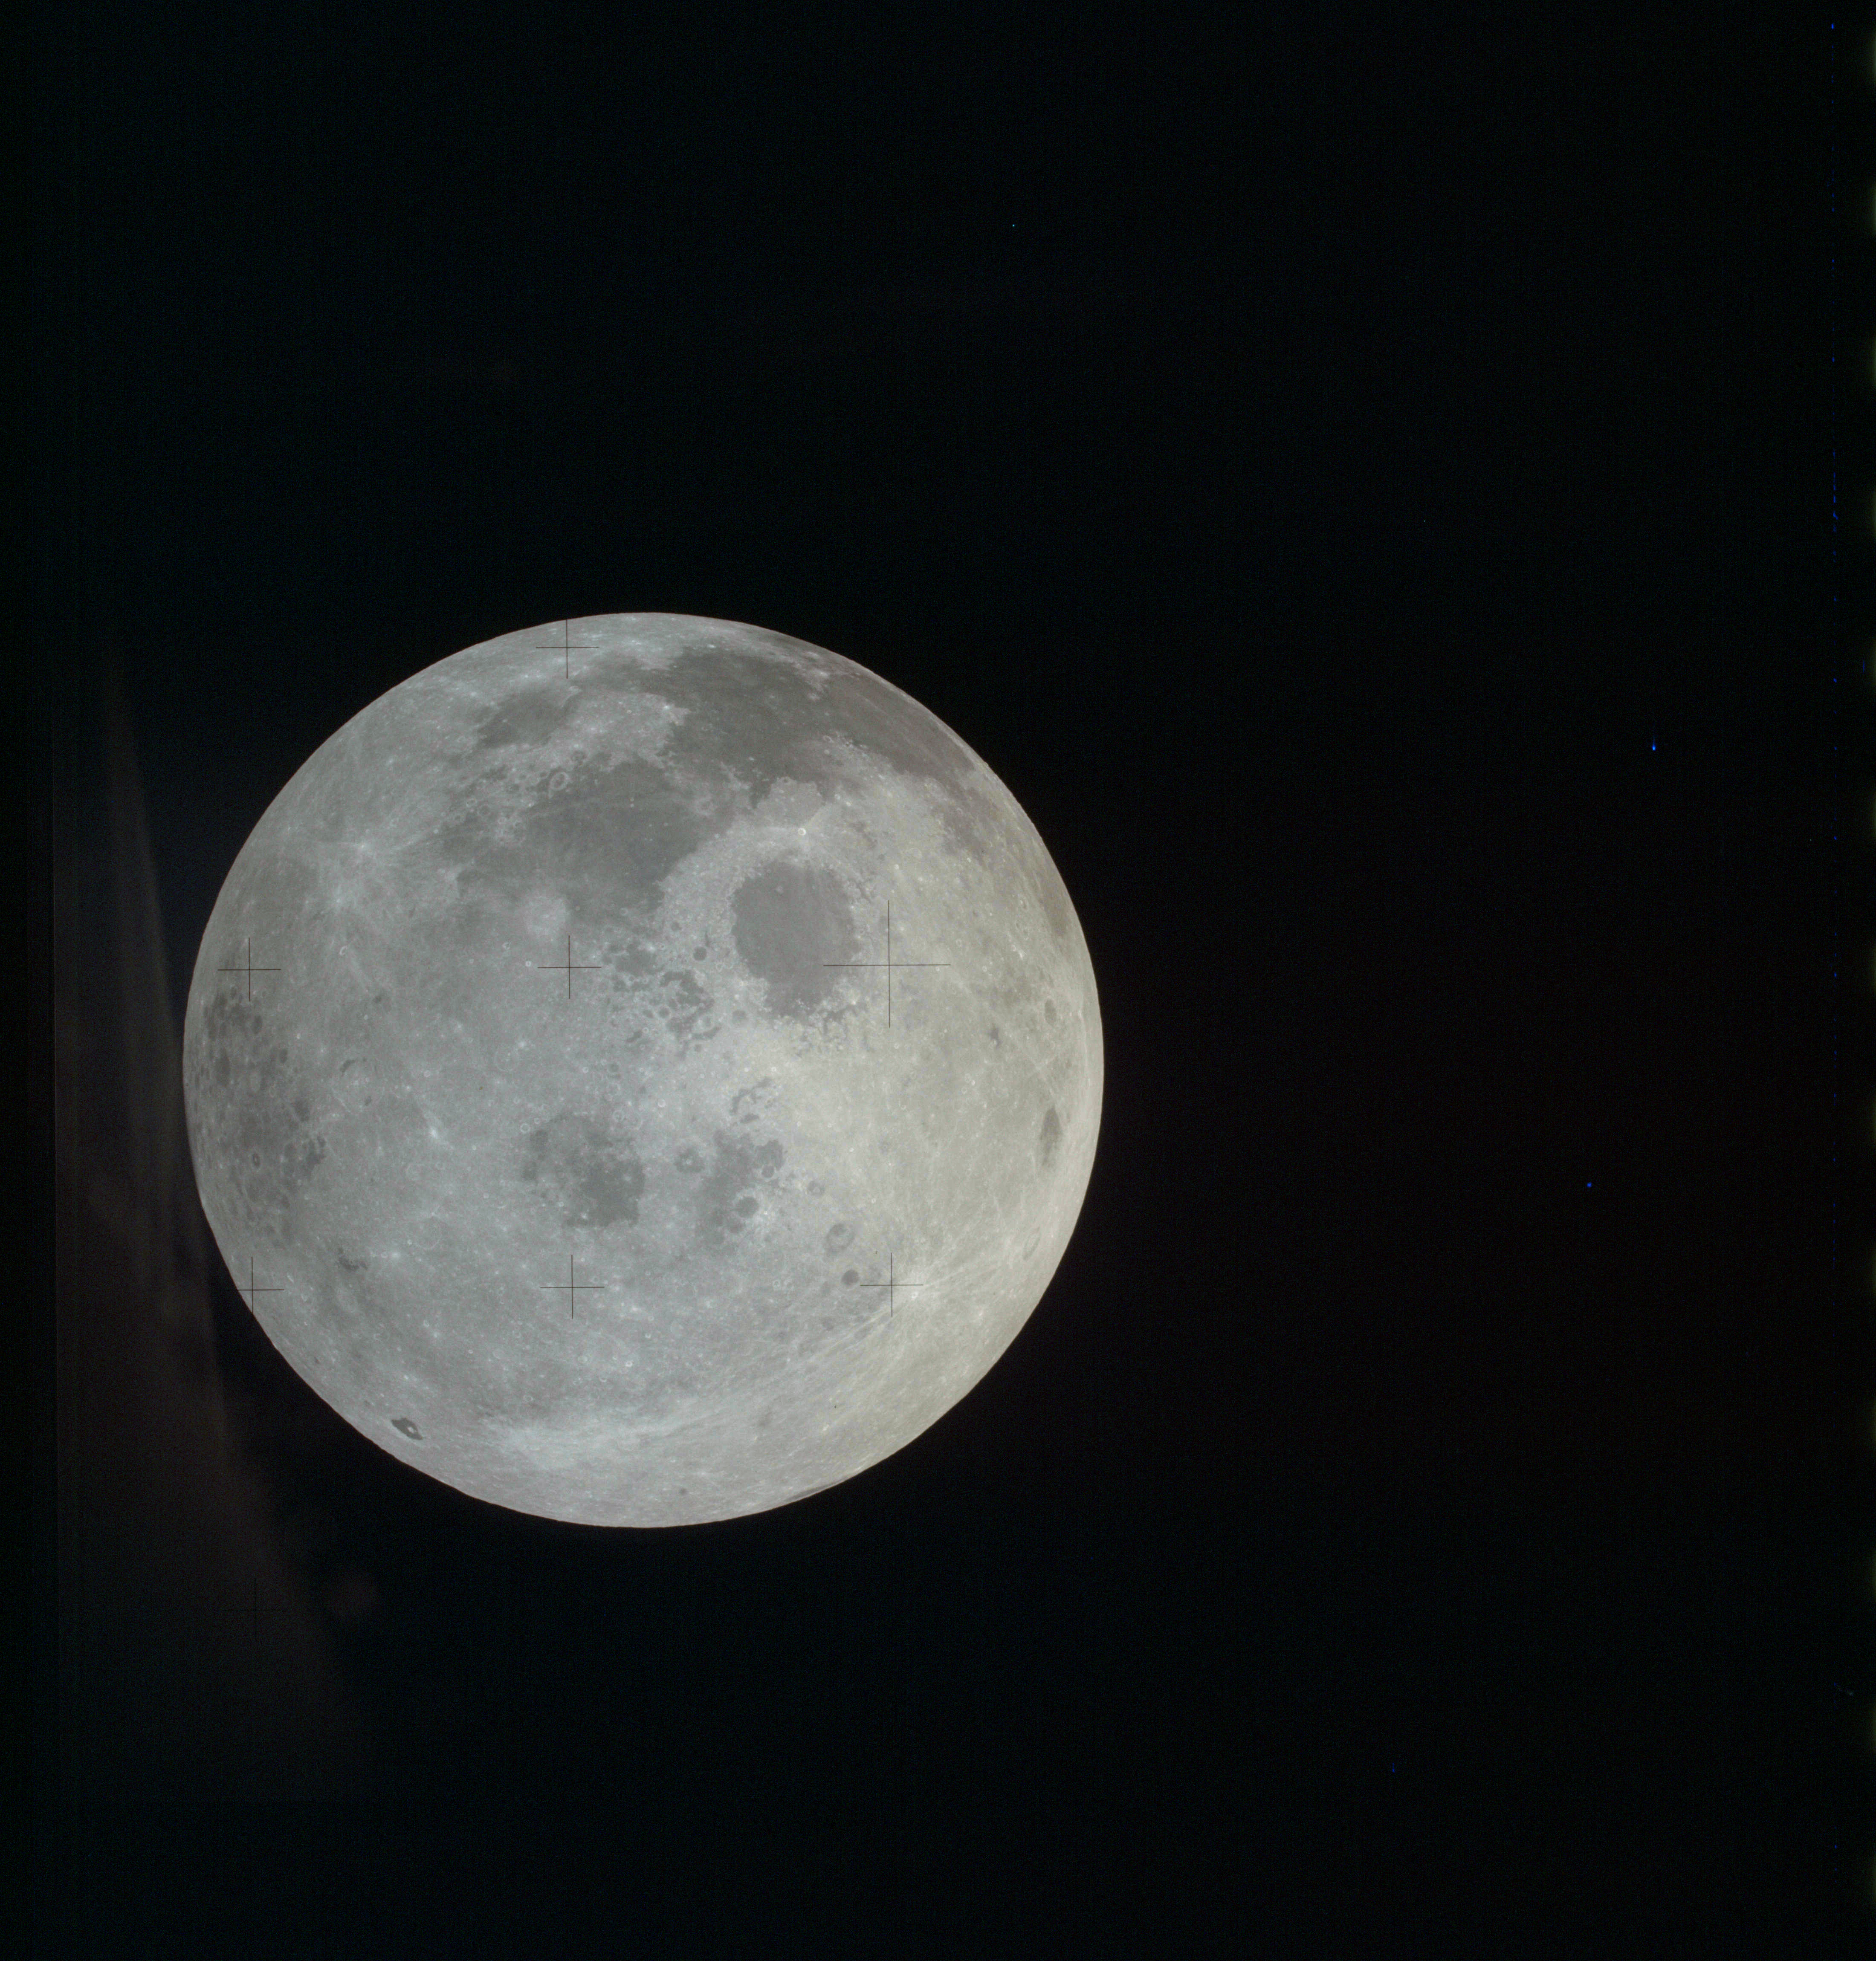
AS13-61-8789 Browse or print resolution. Moon from Apollo 13. Image credit: Image Science and Analysis Laboratory, NASA-Johnson Space Center. |
|
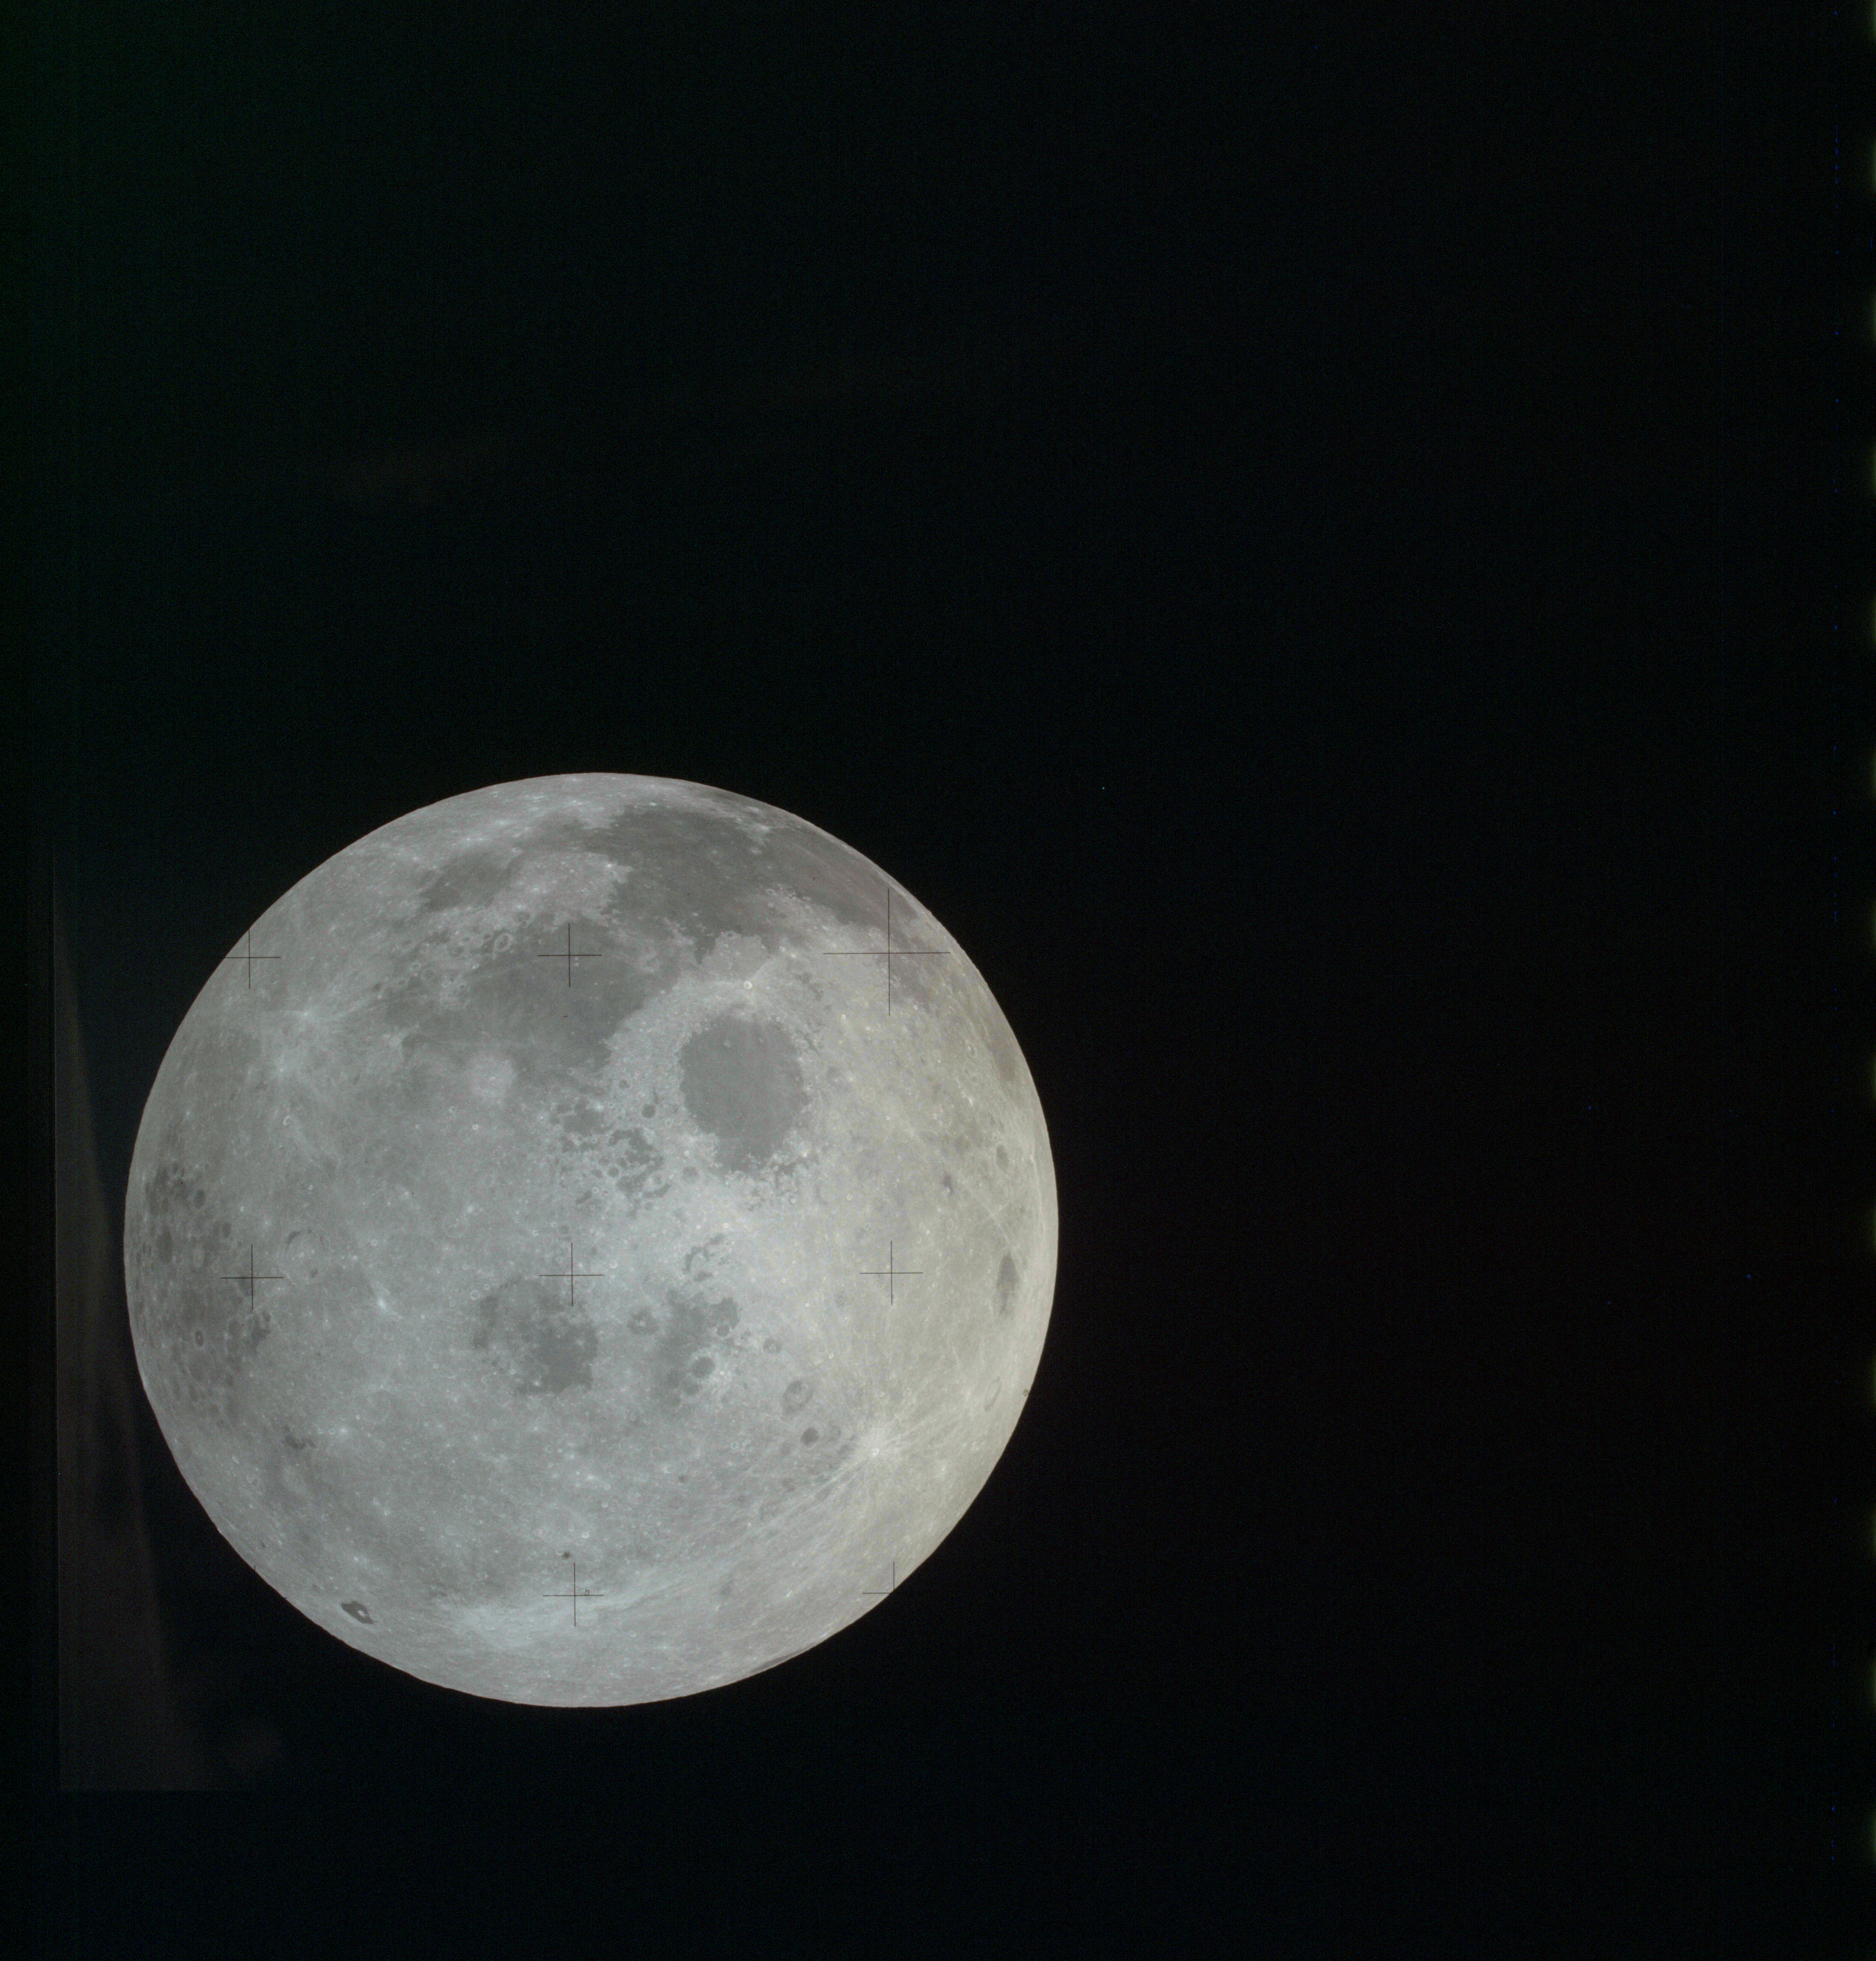
AS13-61-8790 Browse or print resolution. Moon from Apollo 13. Image credit: Image Science and Analysis Laboratory, NASA-Johnson Space Center. |
|
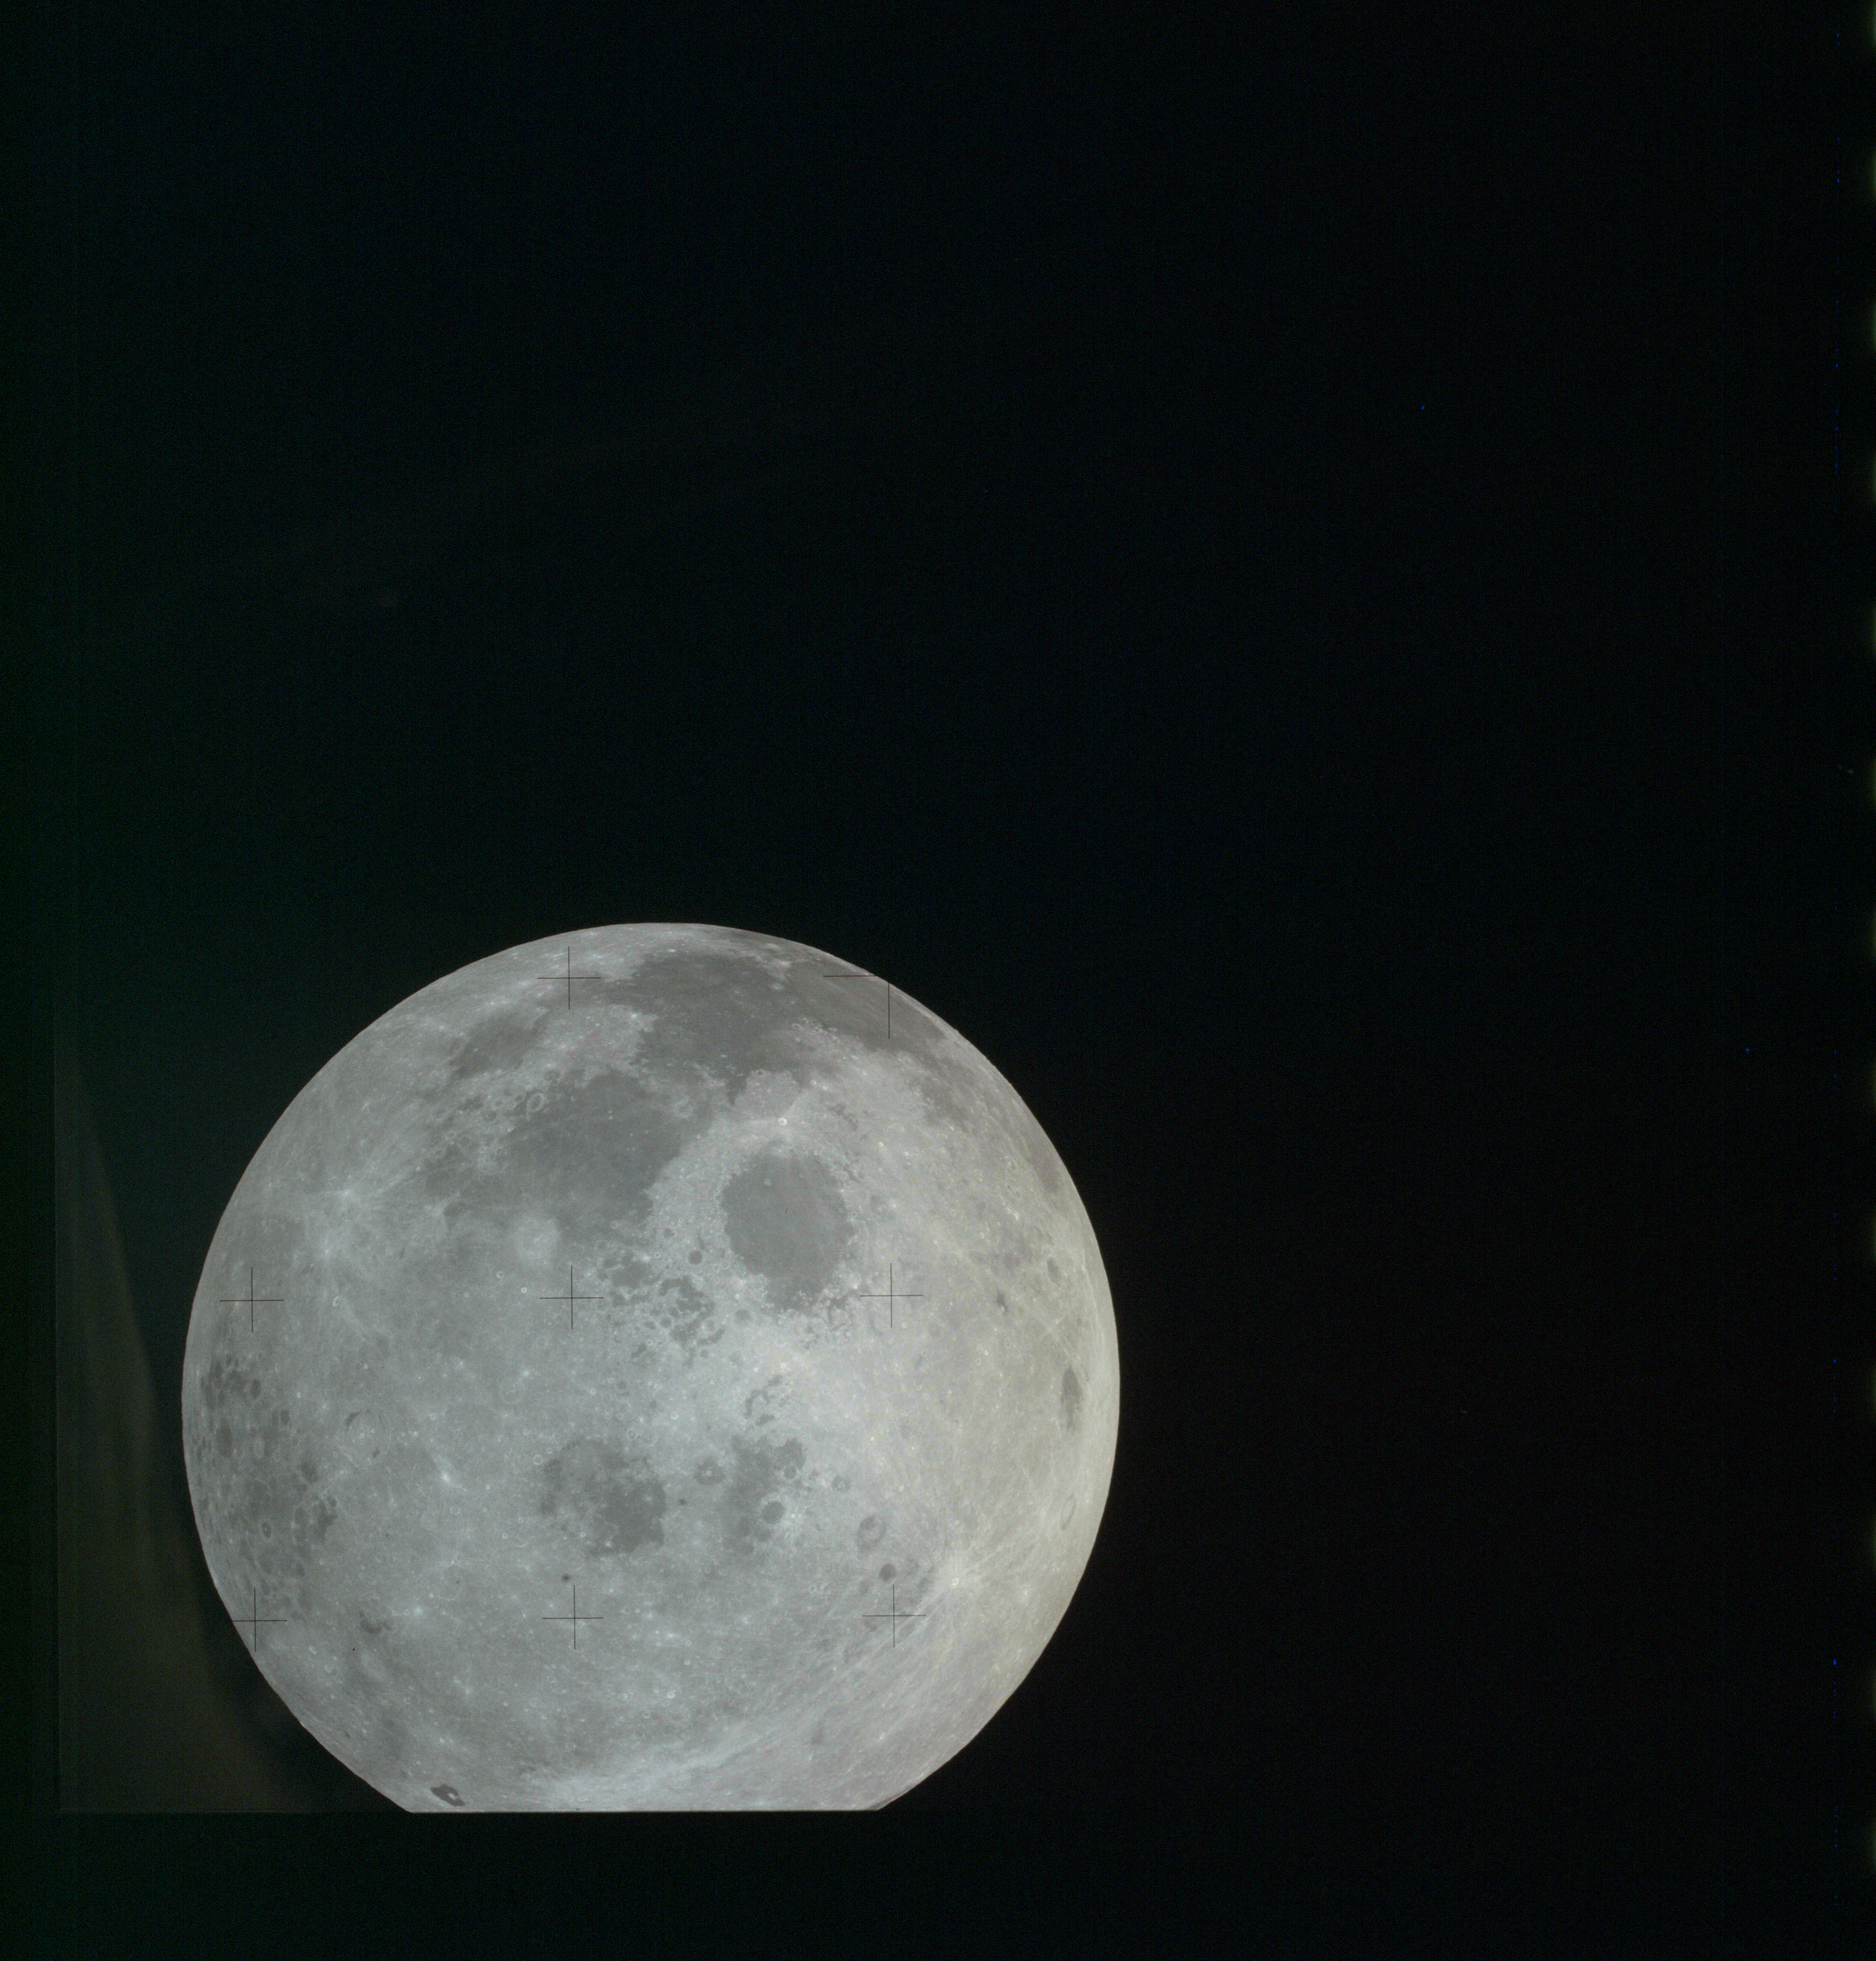
AS13-61-8791 Browse or print resolution. Moon from Apollo 13. Image credit: Image Science and Analysis Laboratory, NASA-Johnson Space Center. |
|
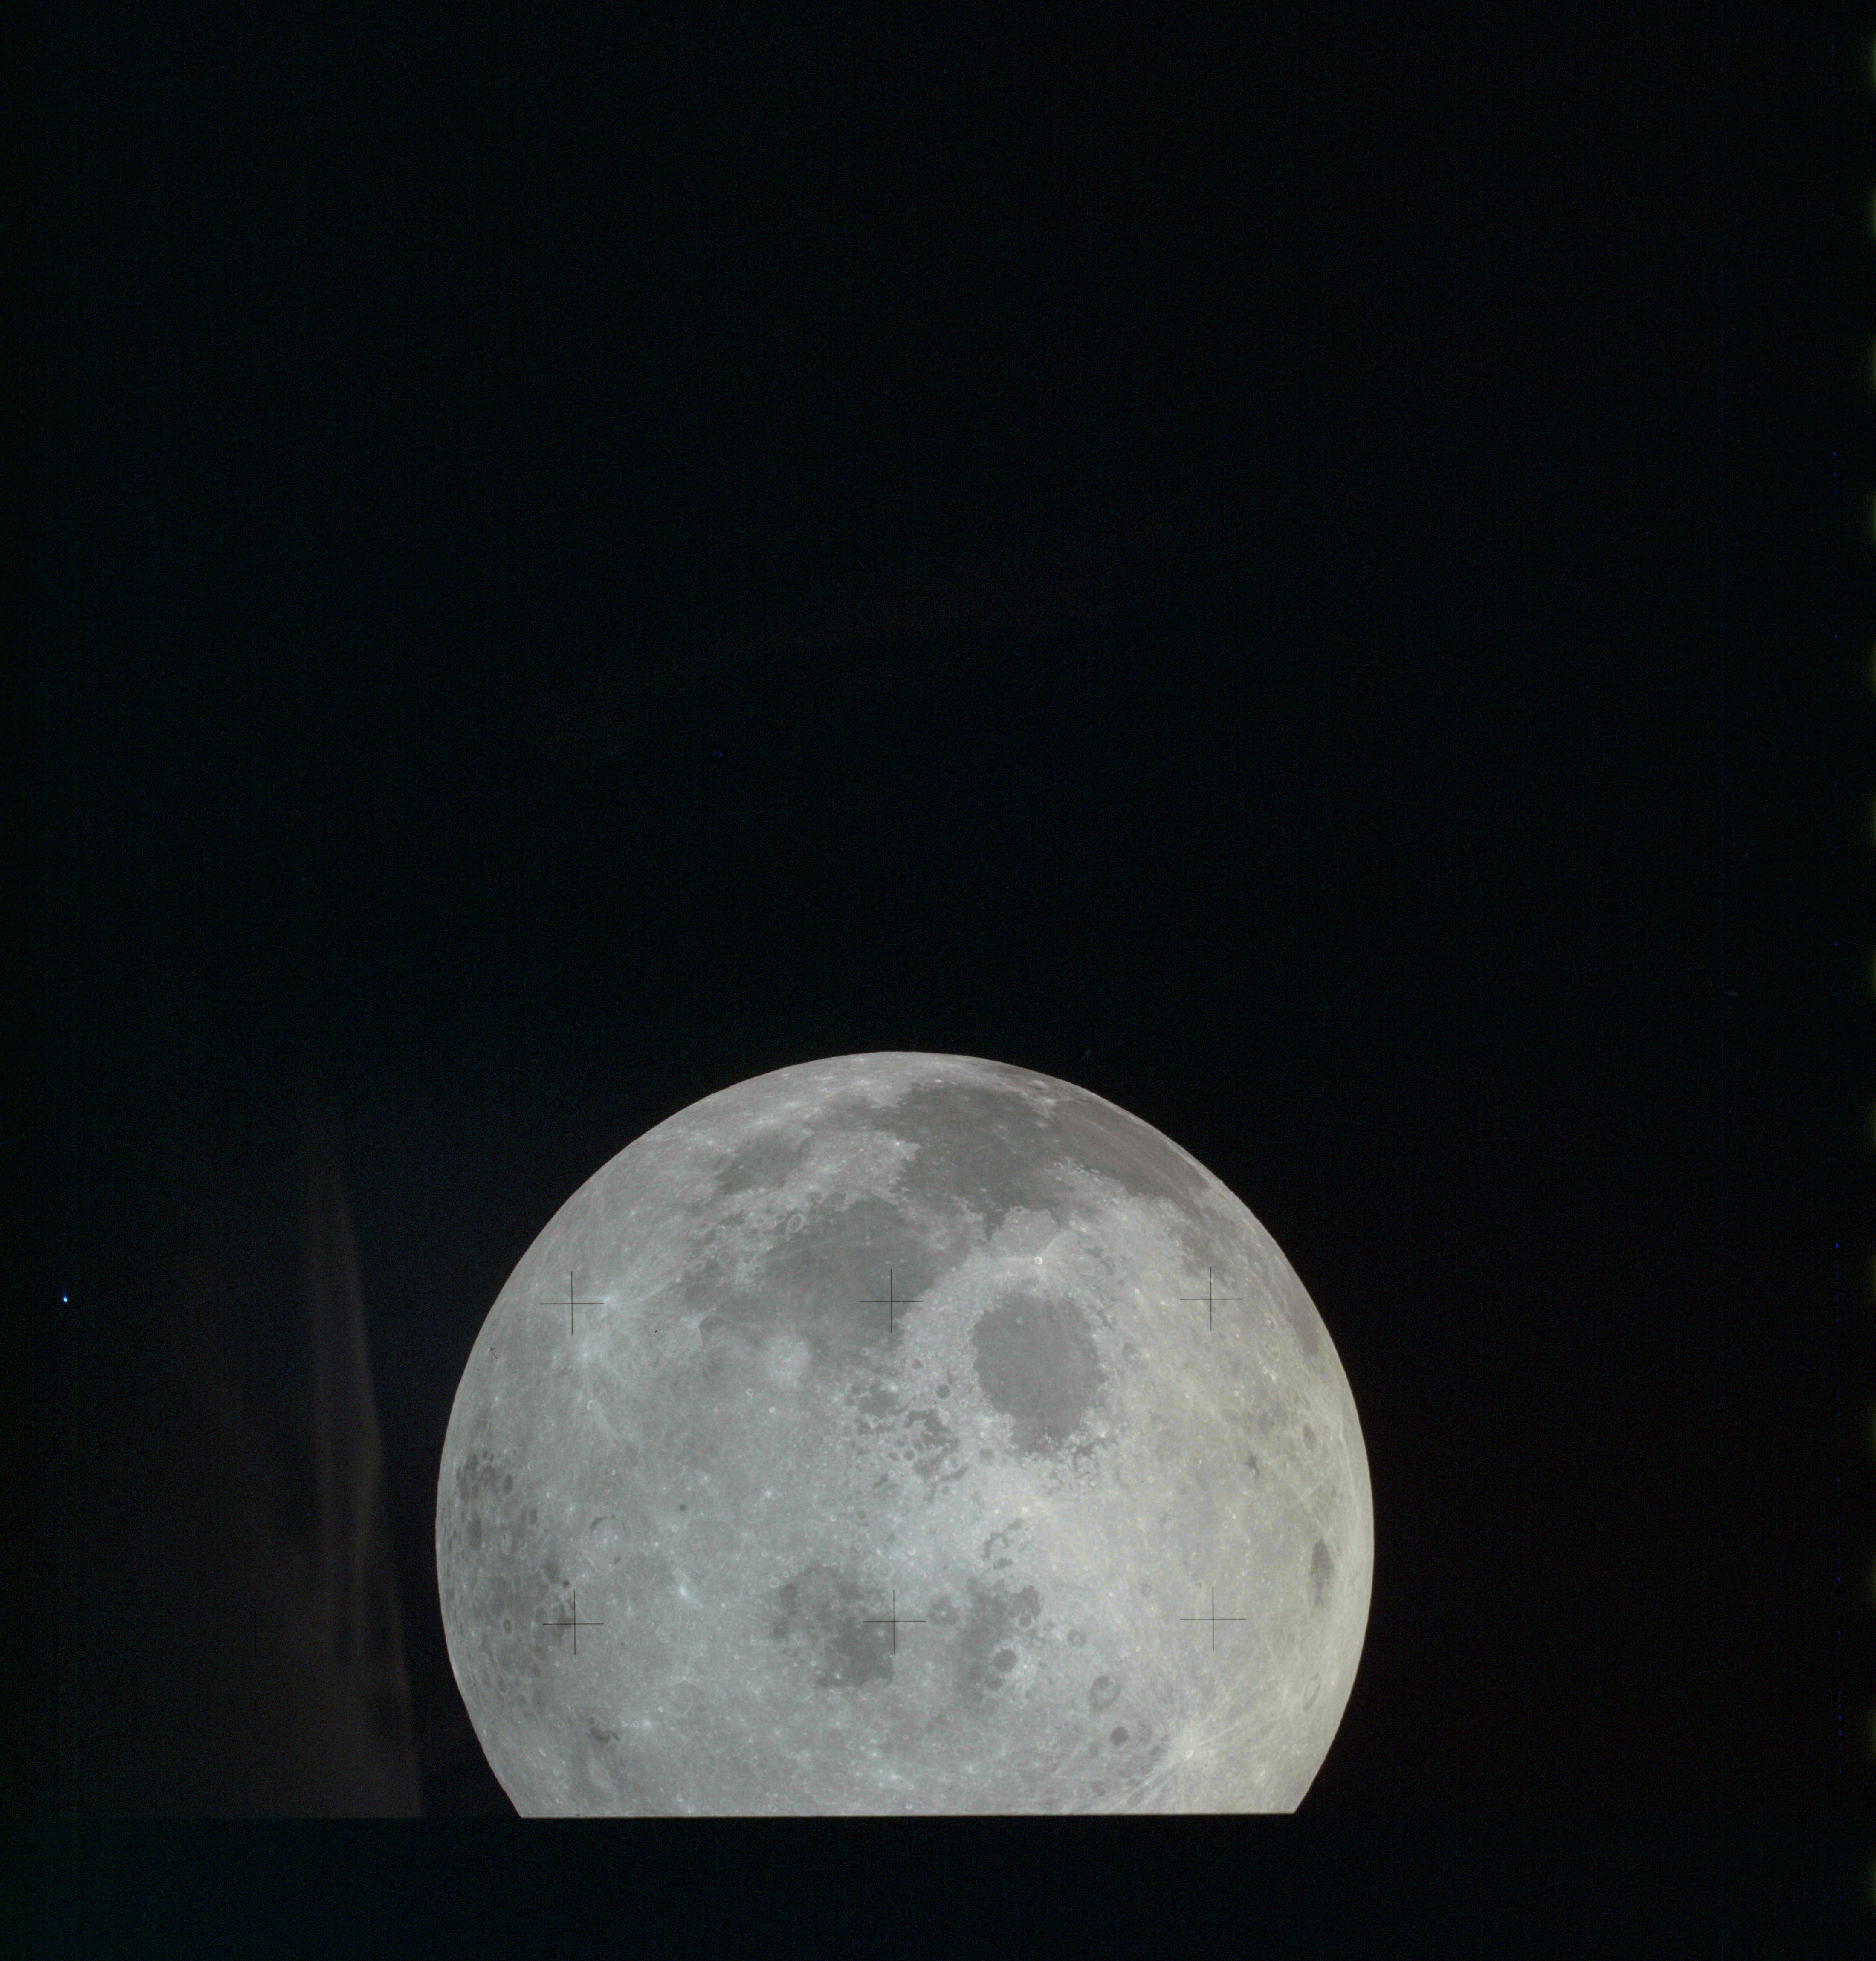
AS13-61-8792 Browse or print resolution. Moon from Apollo 13. Image credit: Image Science and Analysis Laboratory, NASA-Johnson Space Center. |
|
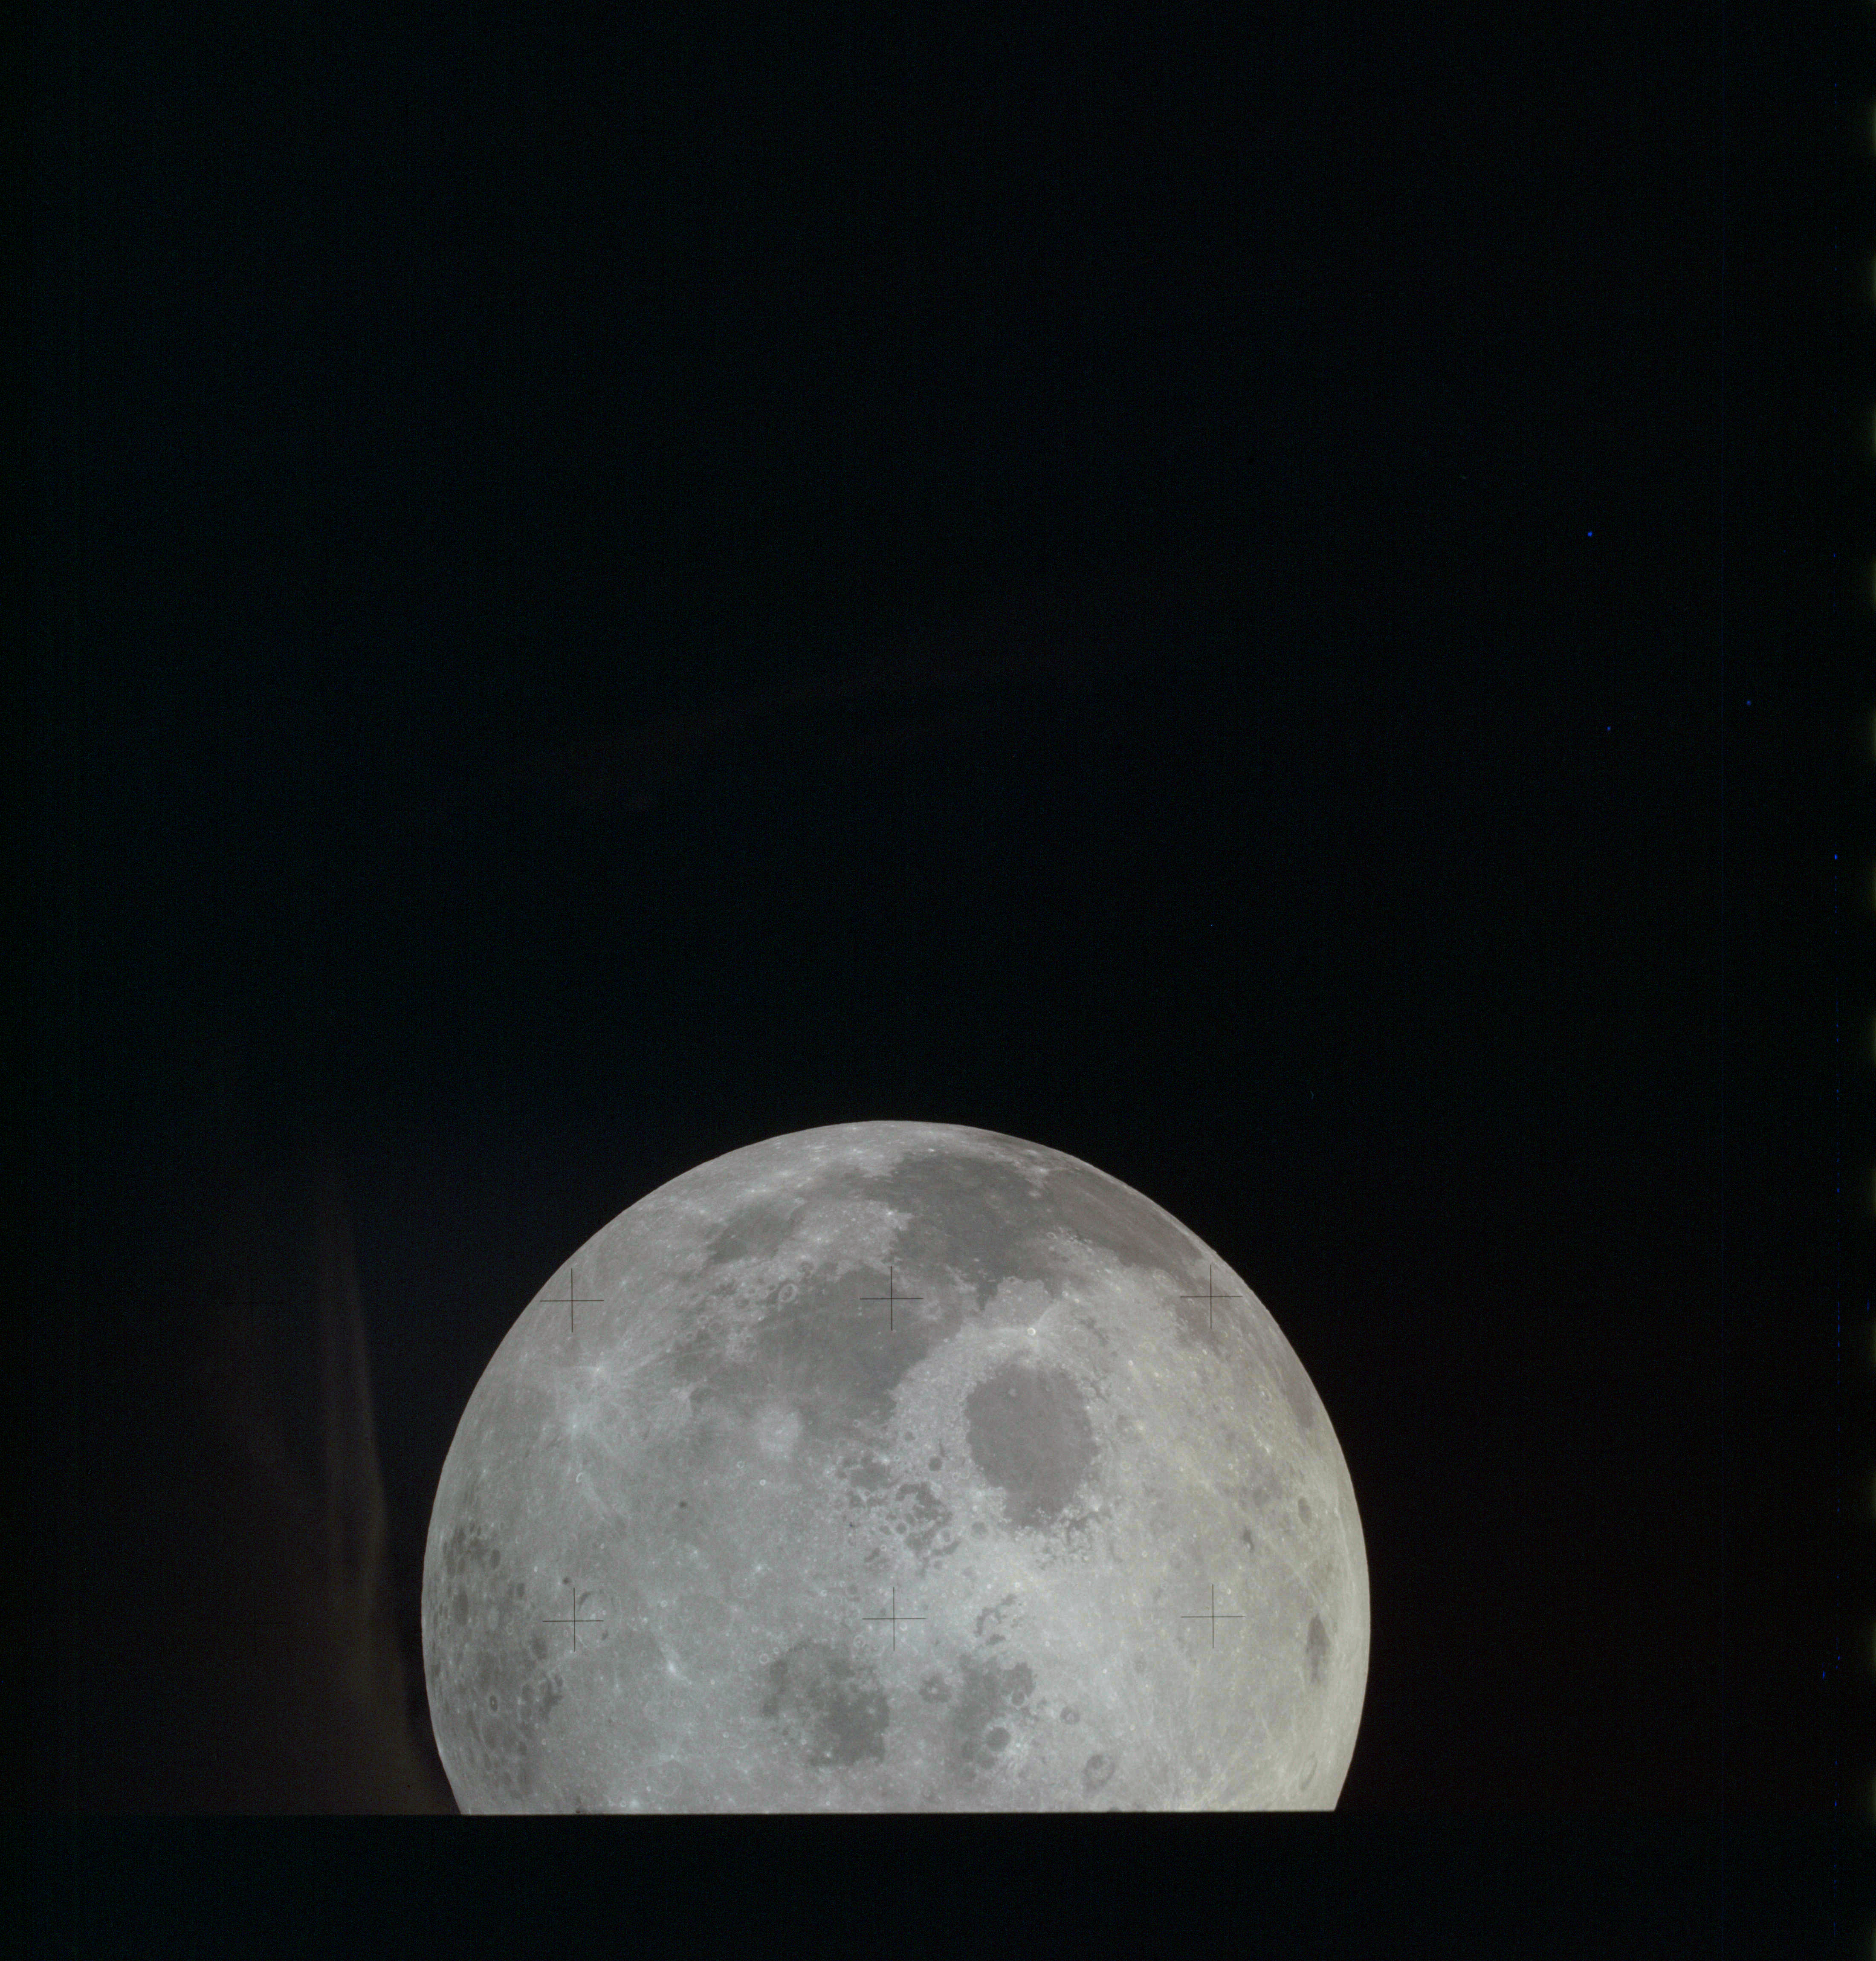
AS13-61-8793 Browse or print resolution. Moon from Apollo 13. Image credit: Image Science and Analysis Laboratory, NASA-Johnson Space Center. |
|
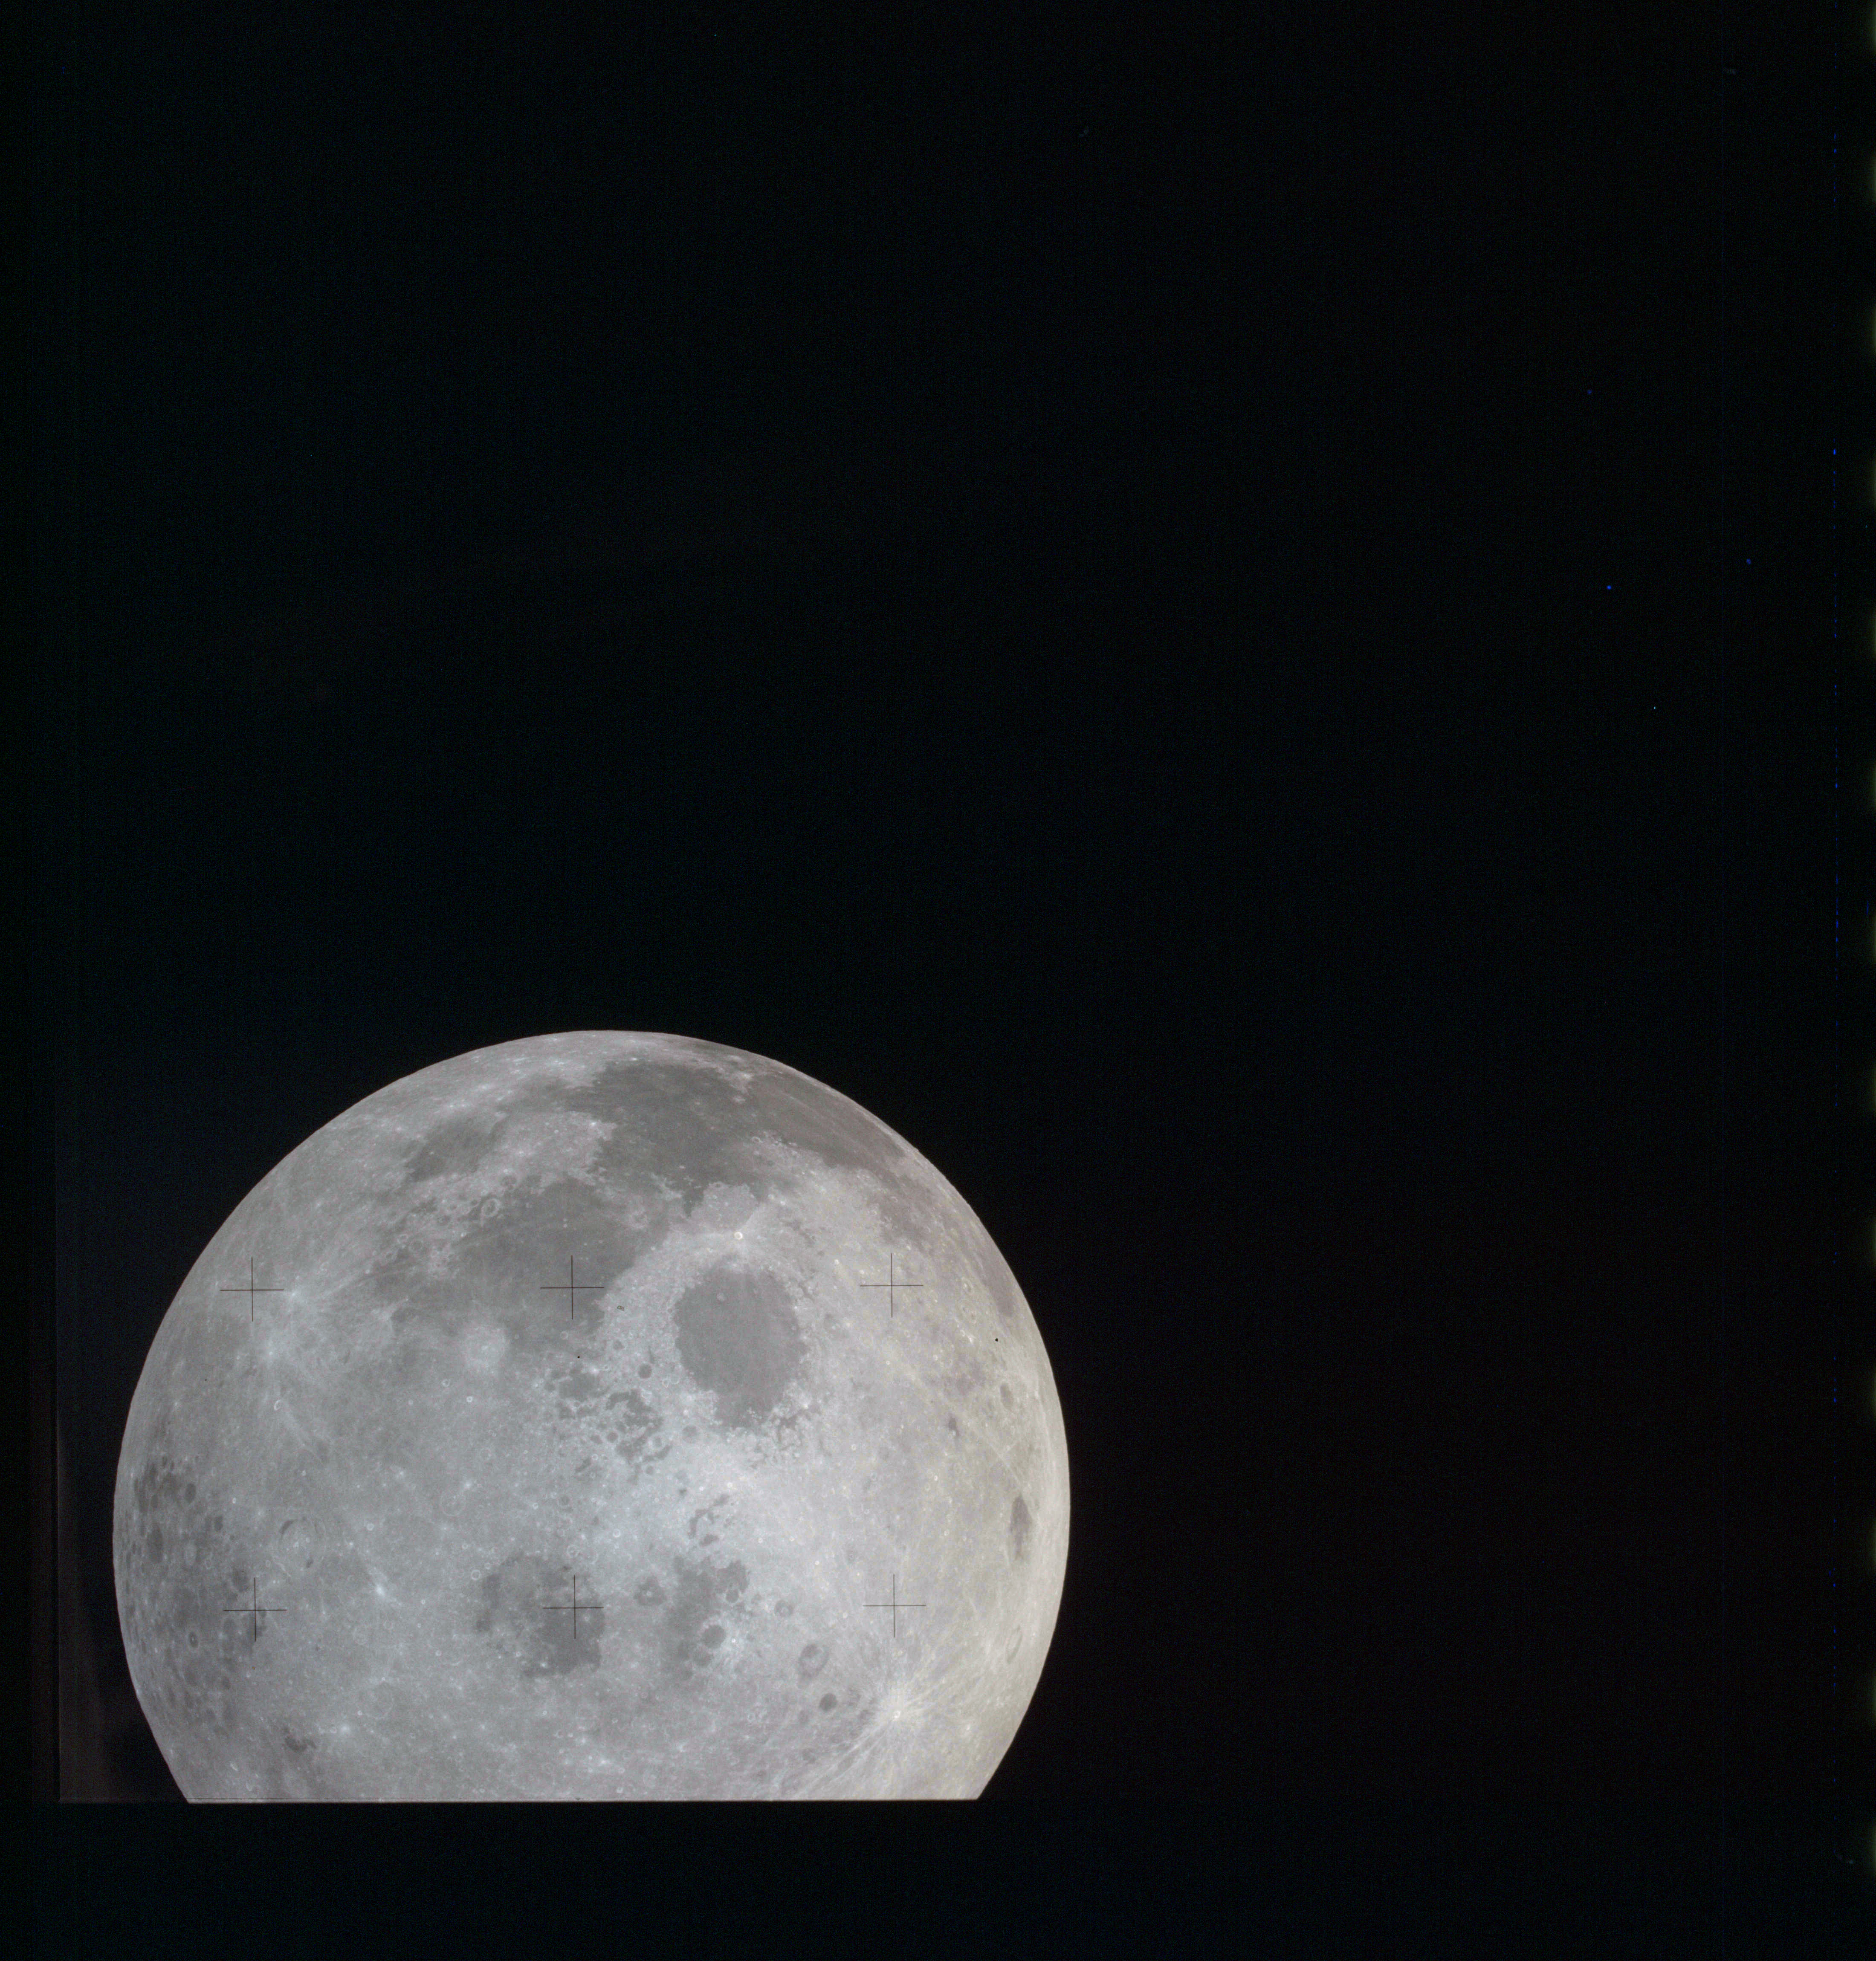
AS13-61-8794 Browse or print resolution. Moon from Apollo 13. Image credit: Image Science and Analysis Laboratory, NASA-Johnson Space Center. |
|
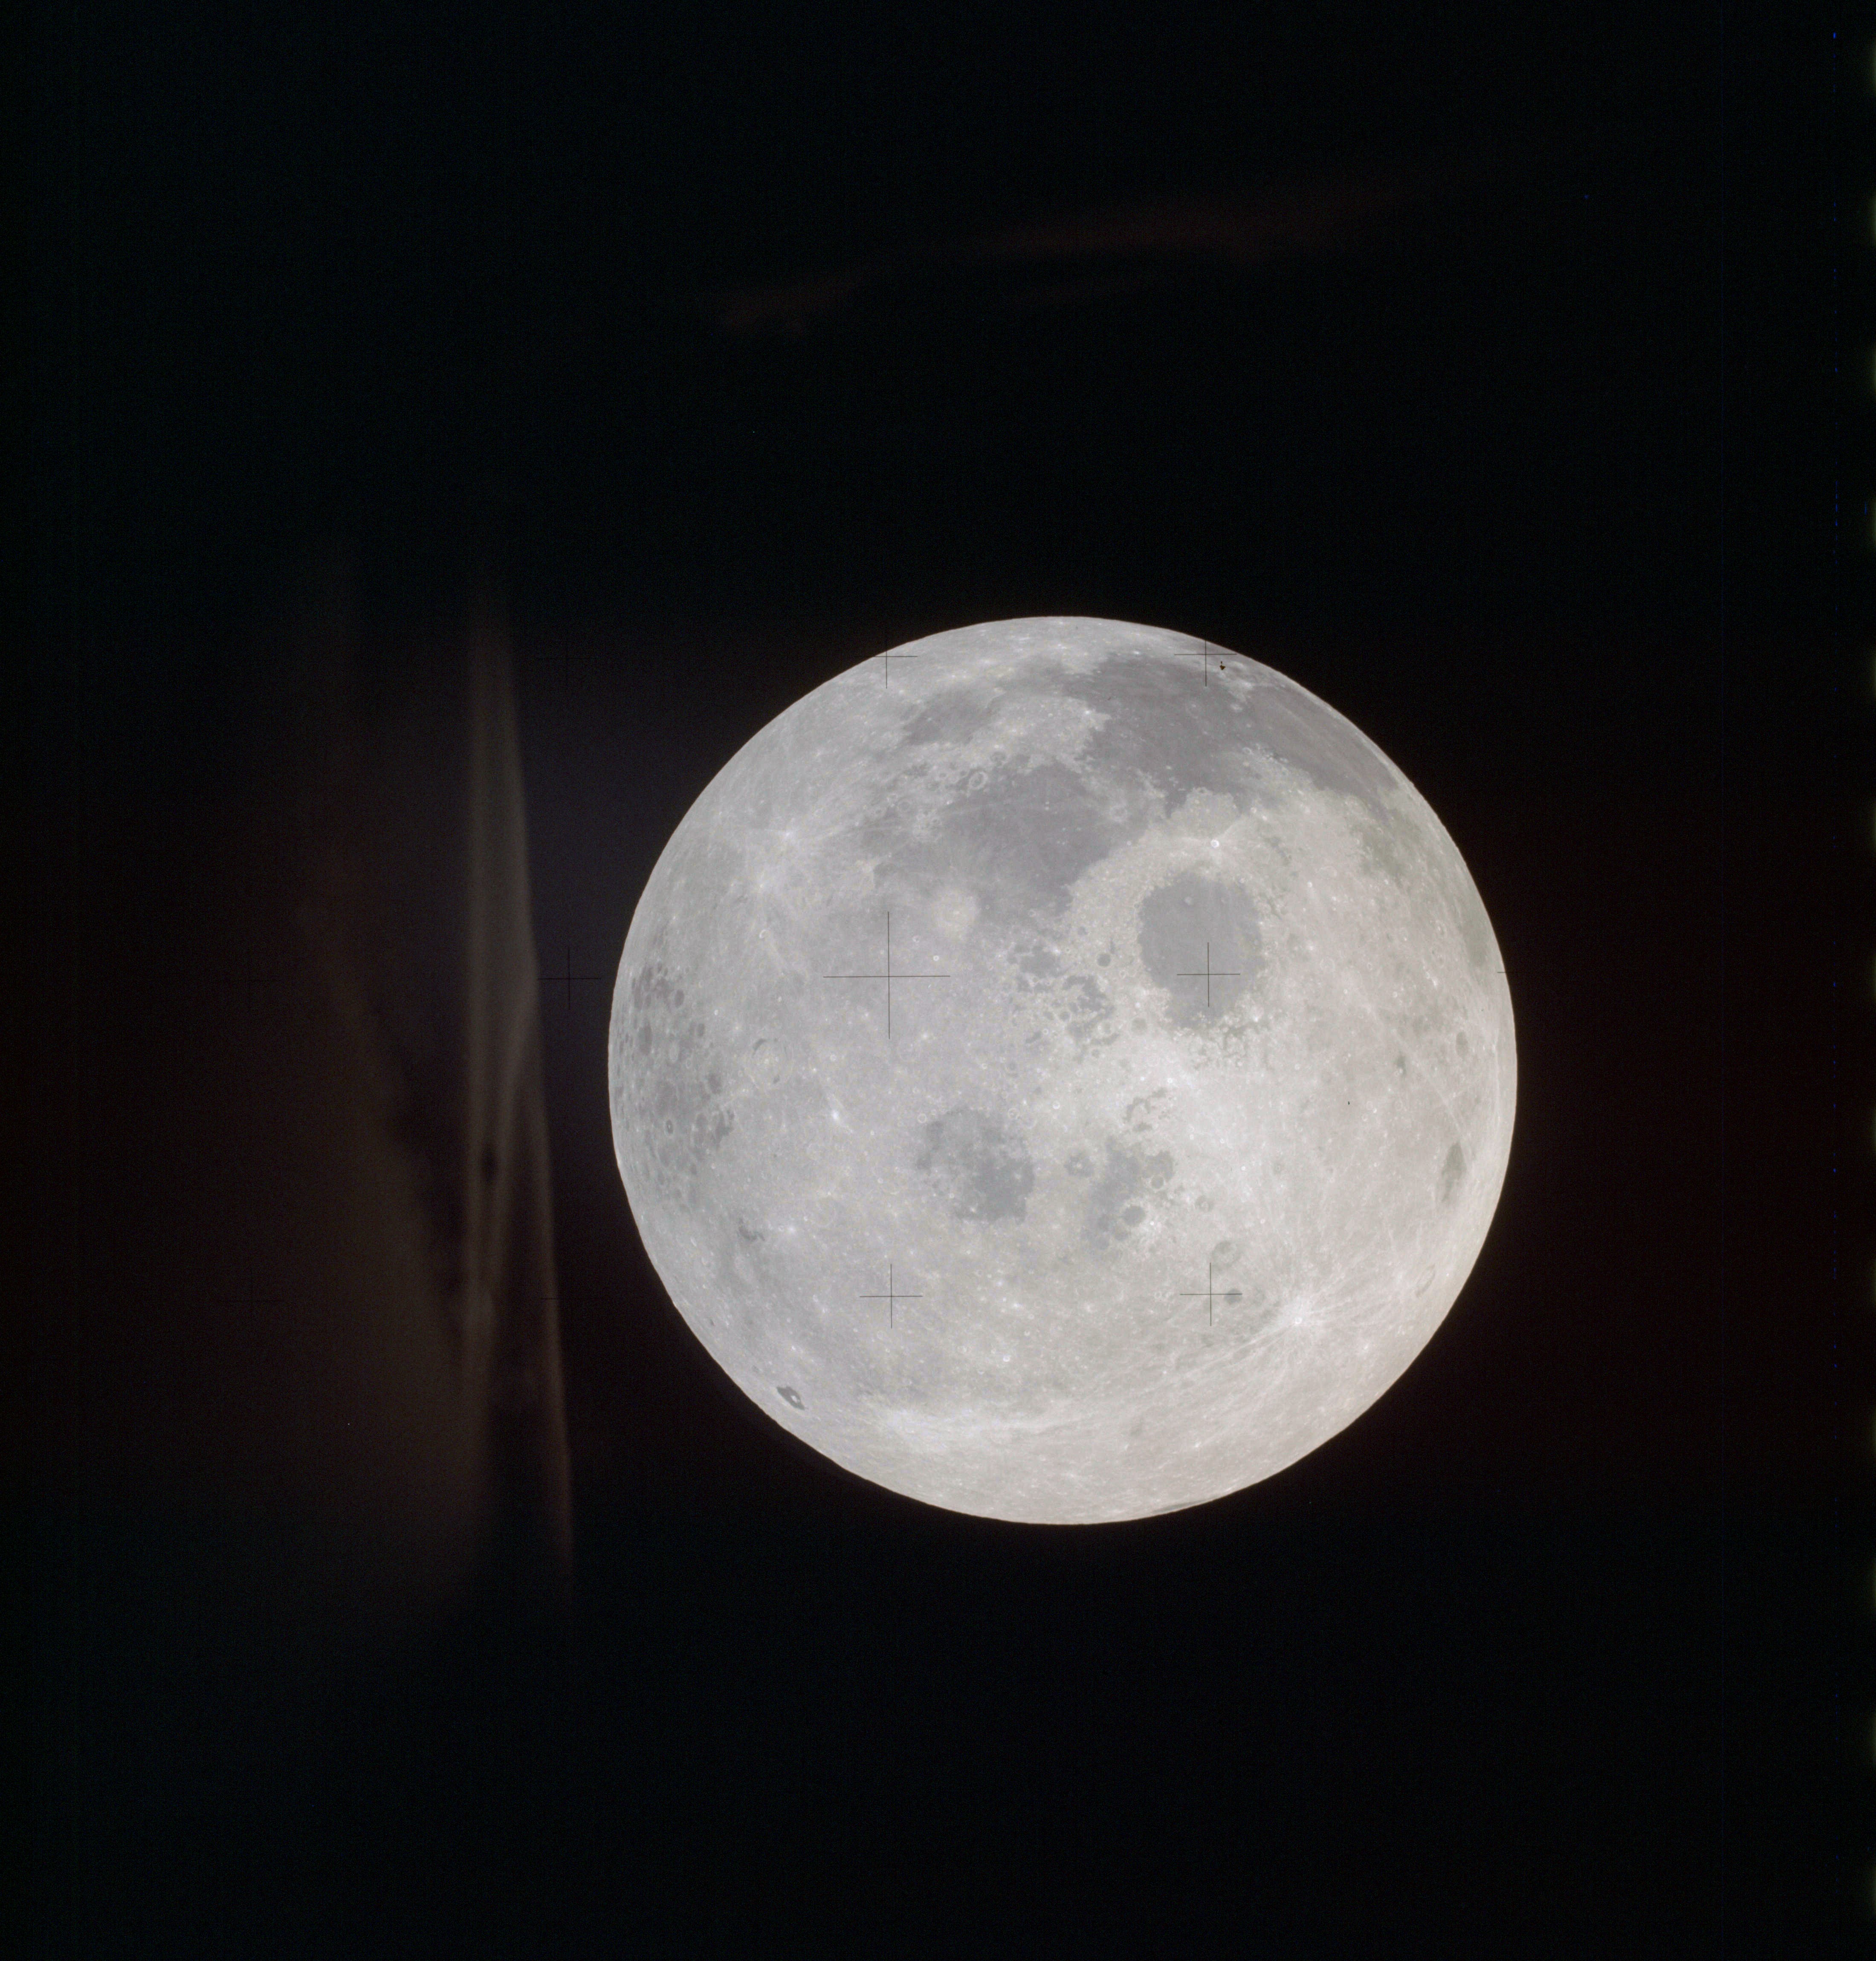
AS13-61-8795 Browse or print resolution. Moon from Apollo 13. Image credit: Image Science and Analysis Laboratory, NASA-Johnson Space Center. |
|
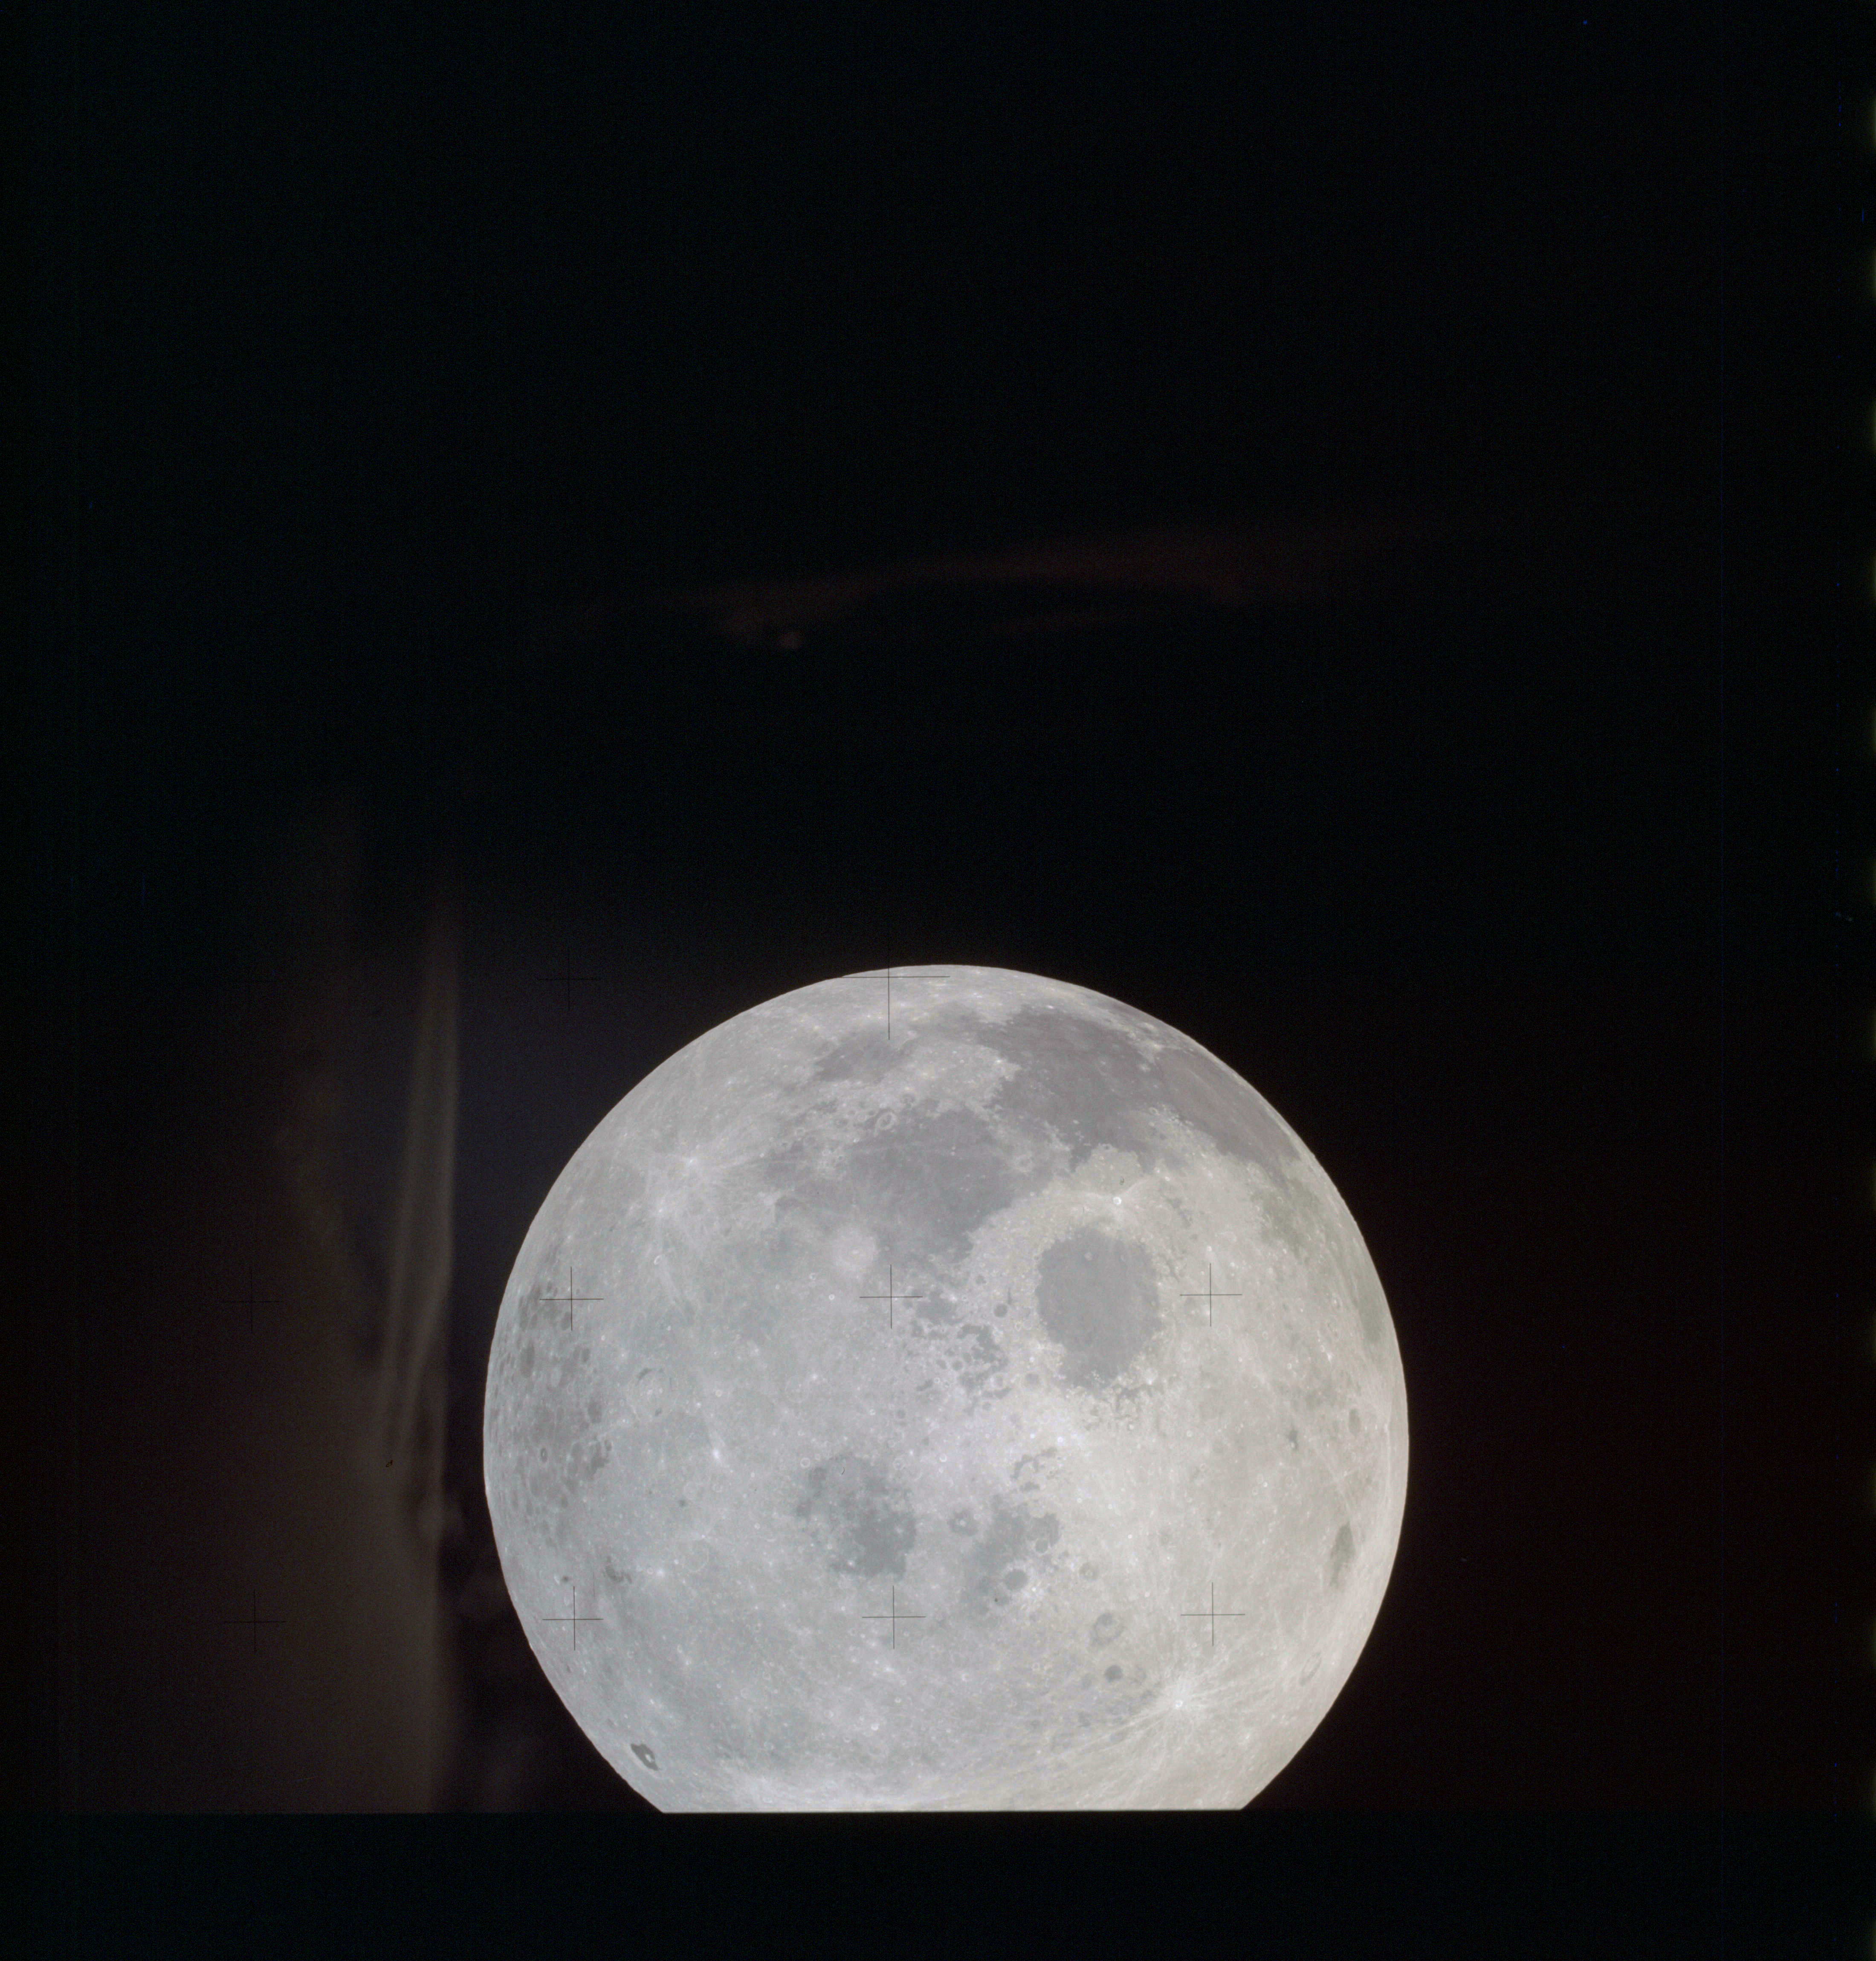
AS13-61-8796 Browse or print resolution. Moon from Apollo 13. Image credit: Image Science and Analysis Laboratory, NASA-Johnson Space Center. |
|
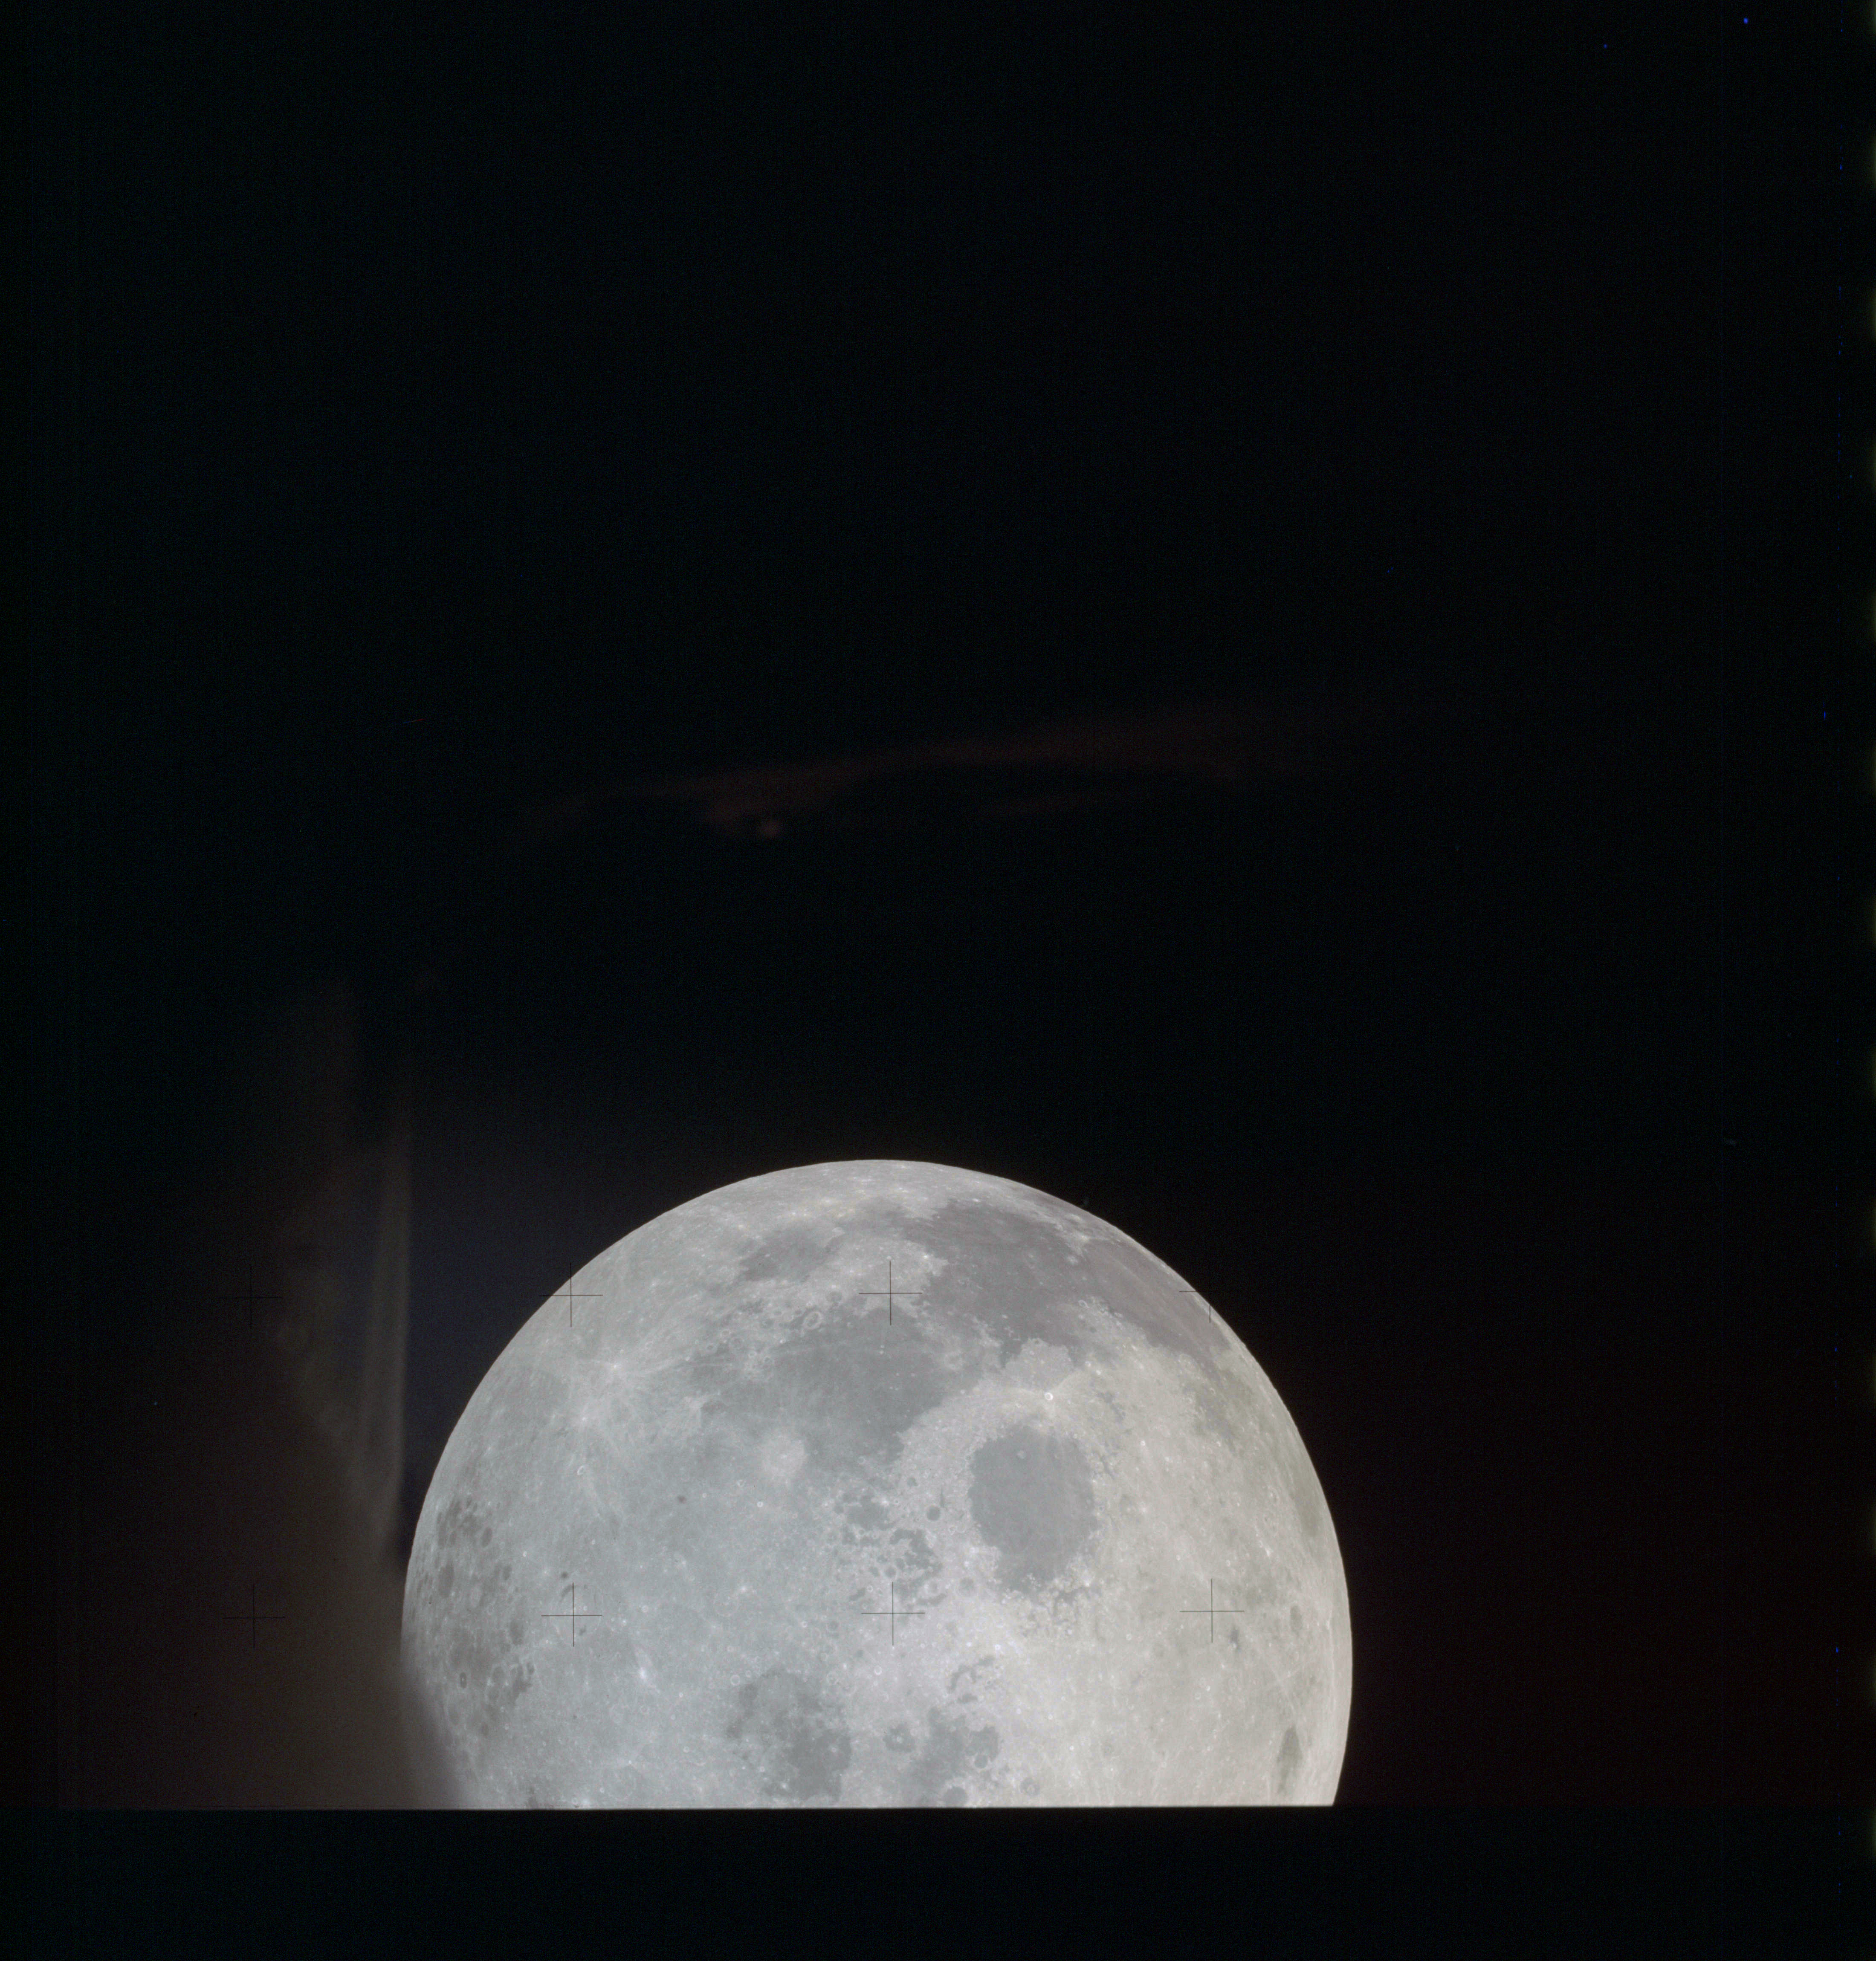
AS13-61-8797 Browse or print resolution. Moon from Apollo 13. Image credit: Image Science and Analysis Laboratory, NASA-Johnson Space Center. |
|
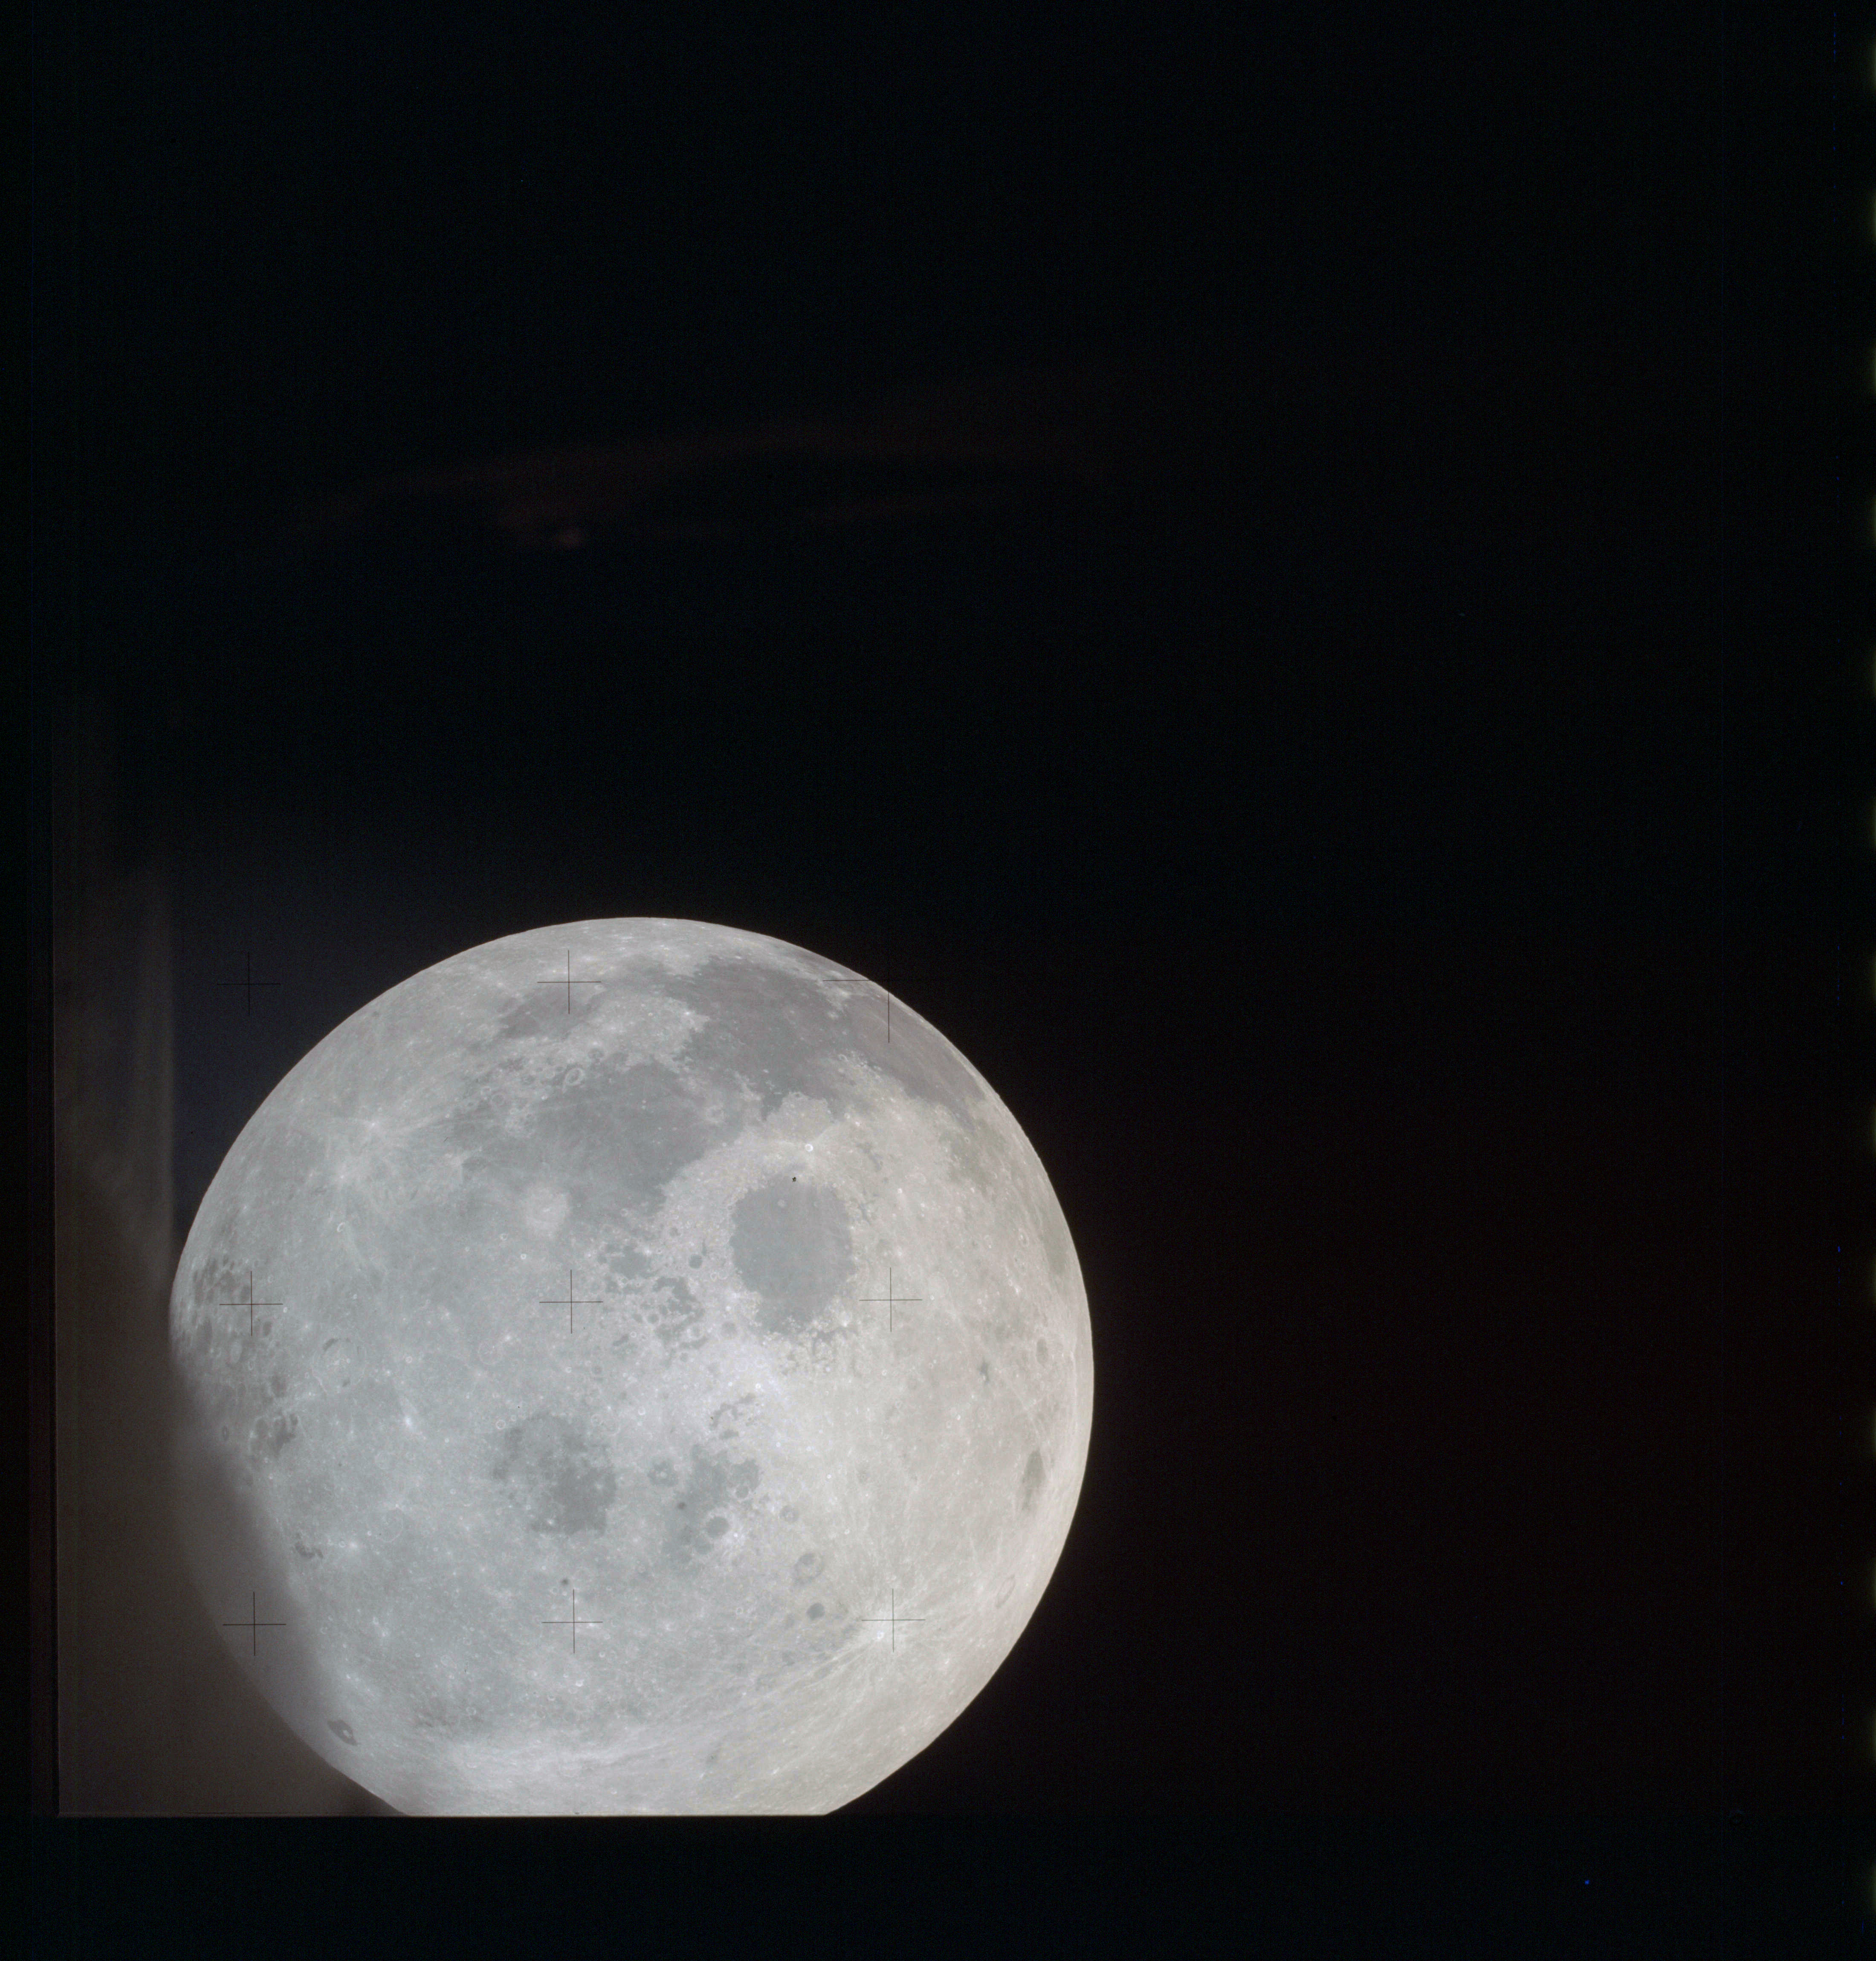
AS13-61-8798 Browse or print resolution. Moon from Apollo 13. Image credit: Image Science and Analysis Laboratory, NASA-Johnson Space Center. |
|
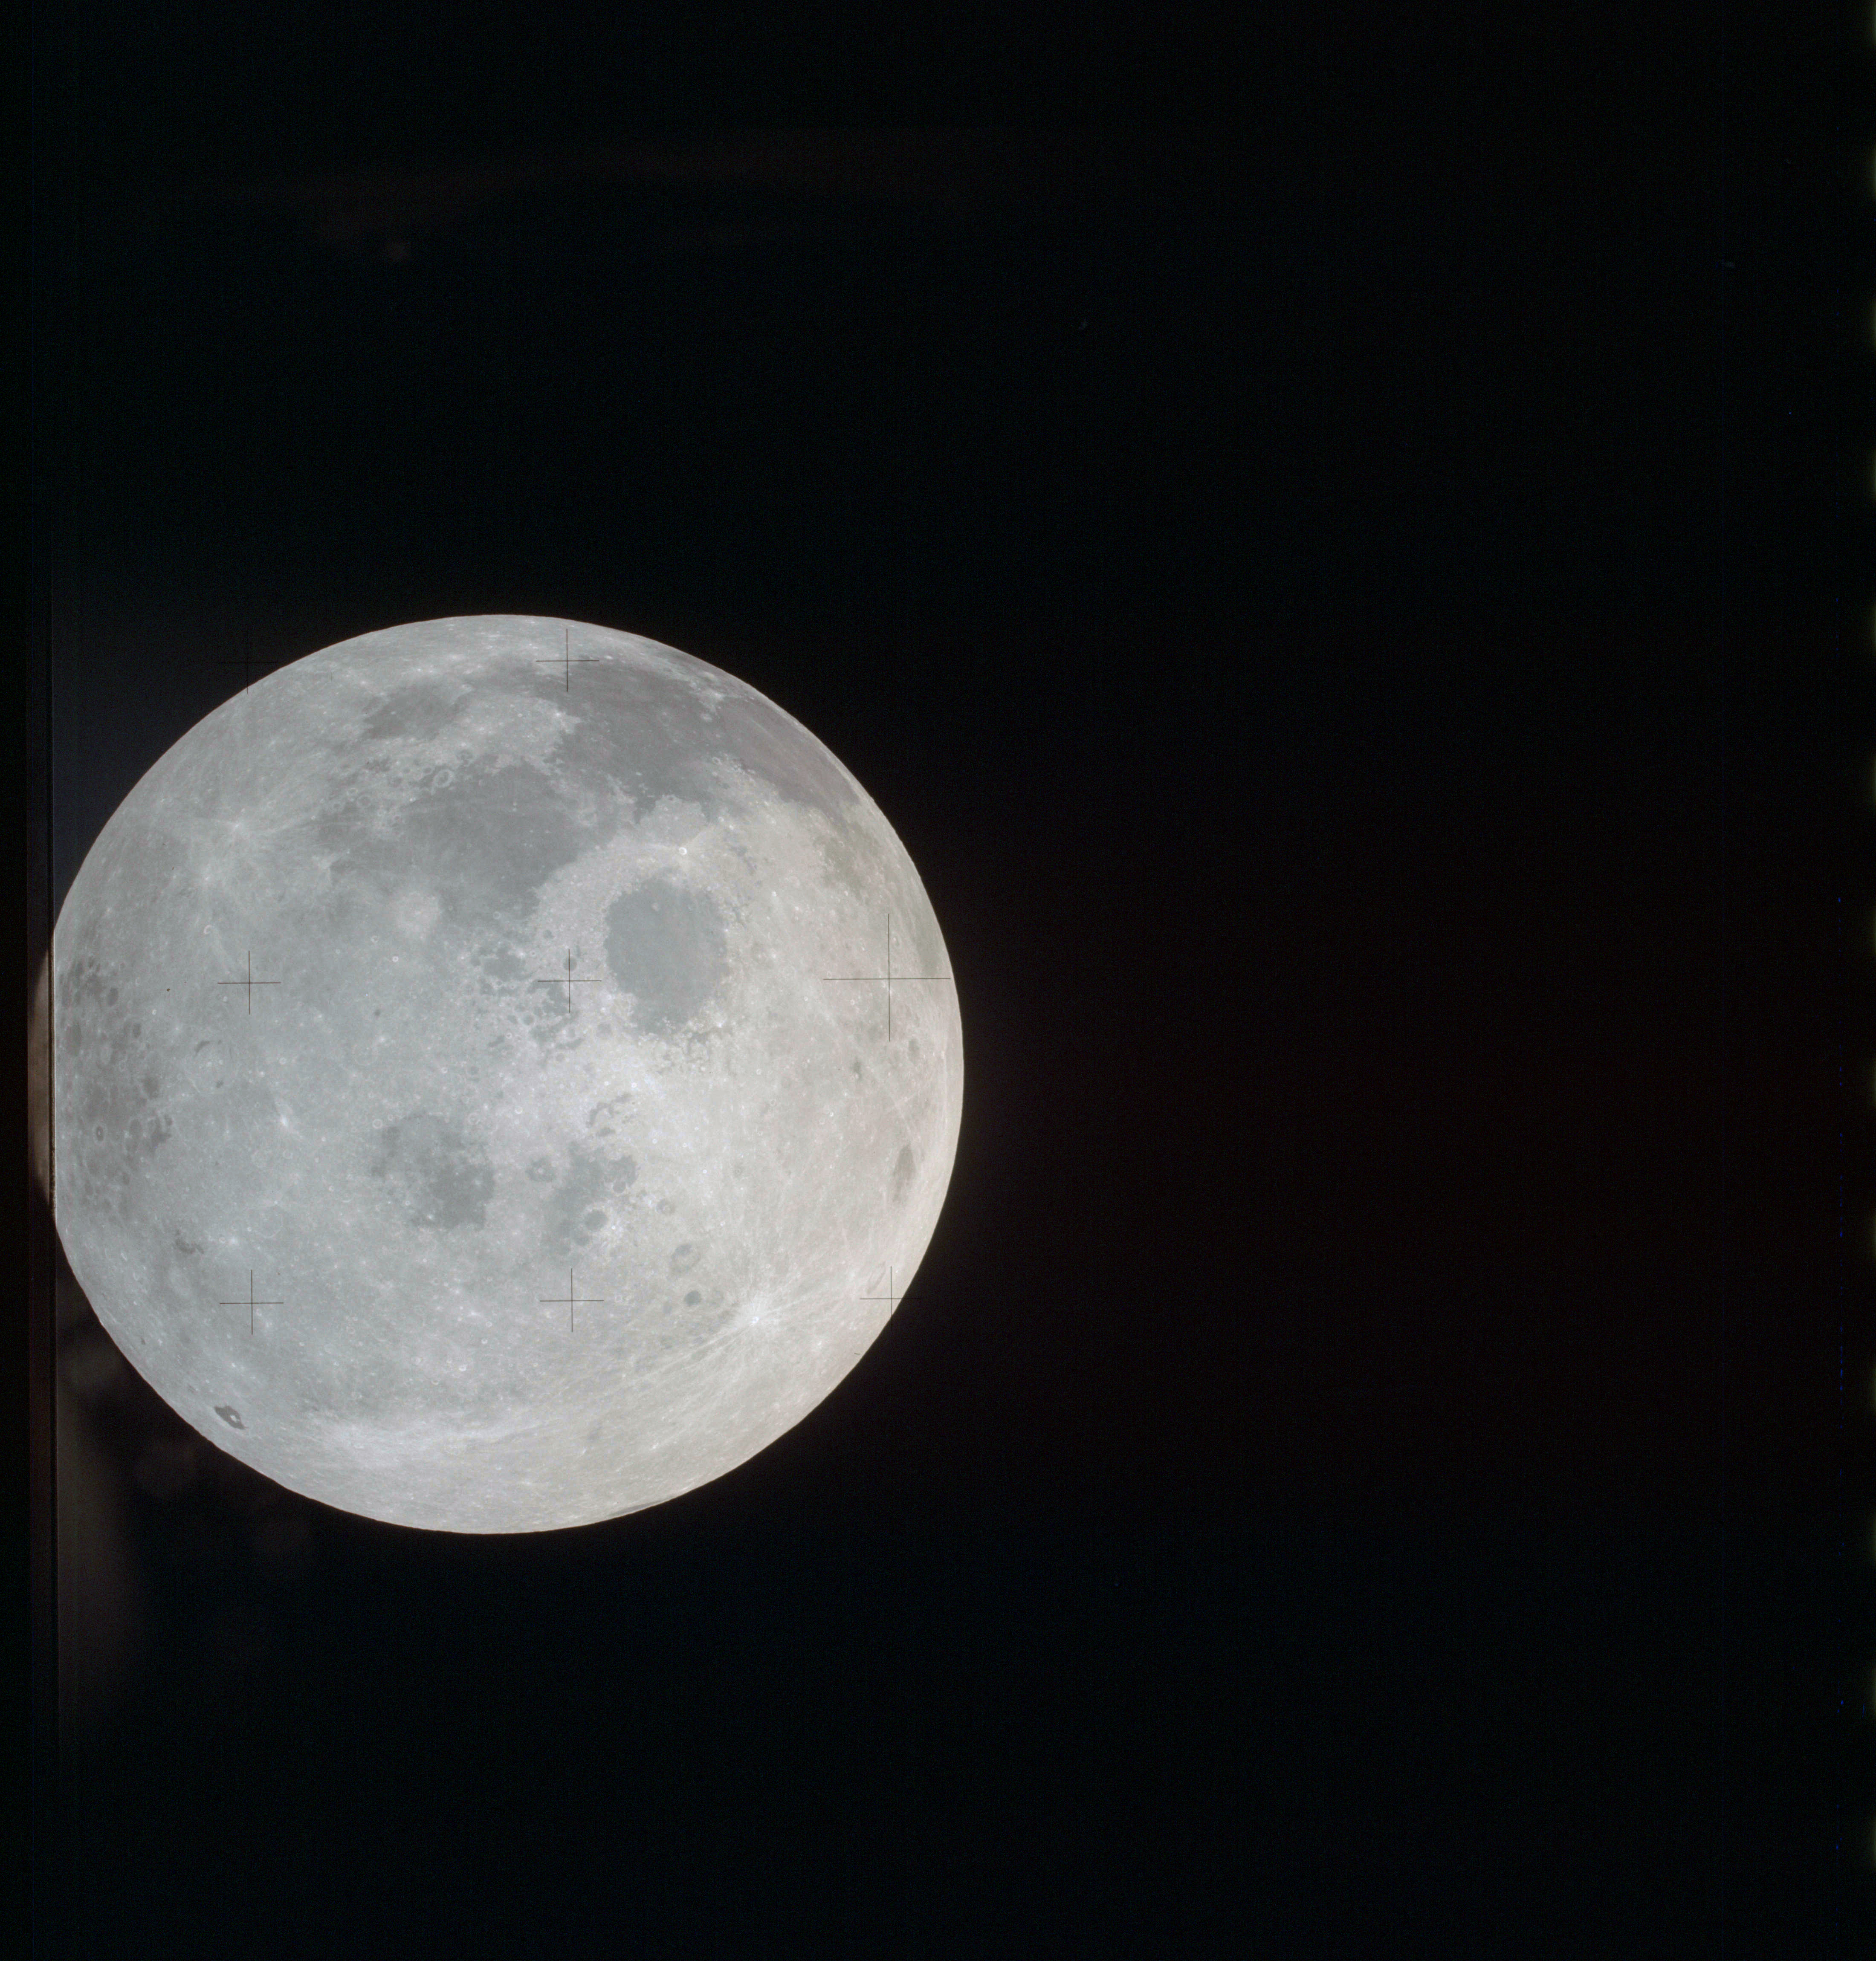
AS13-61-8799 Browse or print resolution. Moon from Apollo 13. Image credit: Image Science and Analysis Laboratory, NASA-Johnson Space Center. |
|
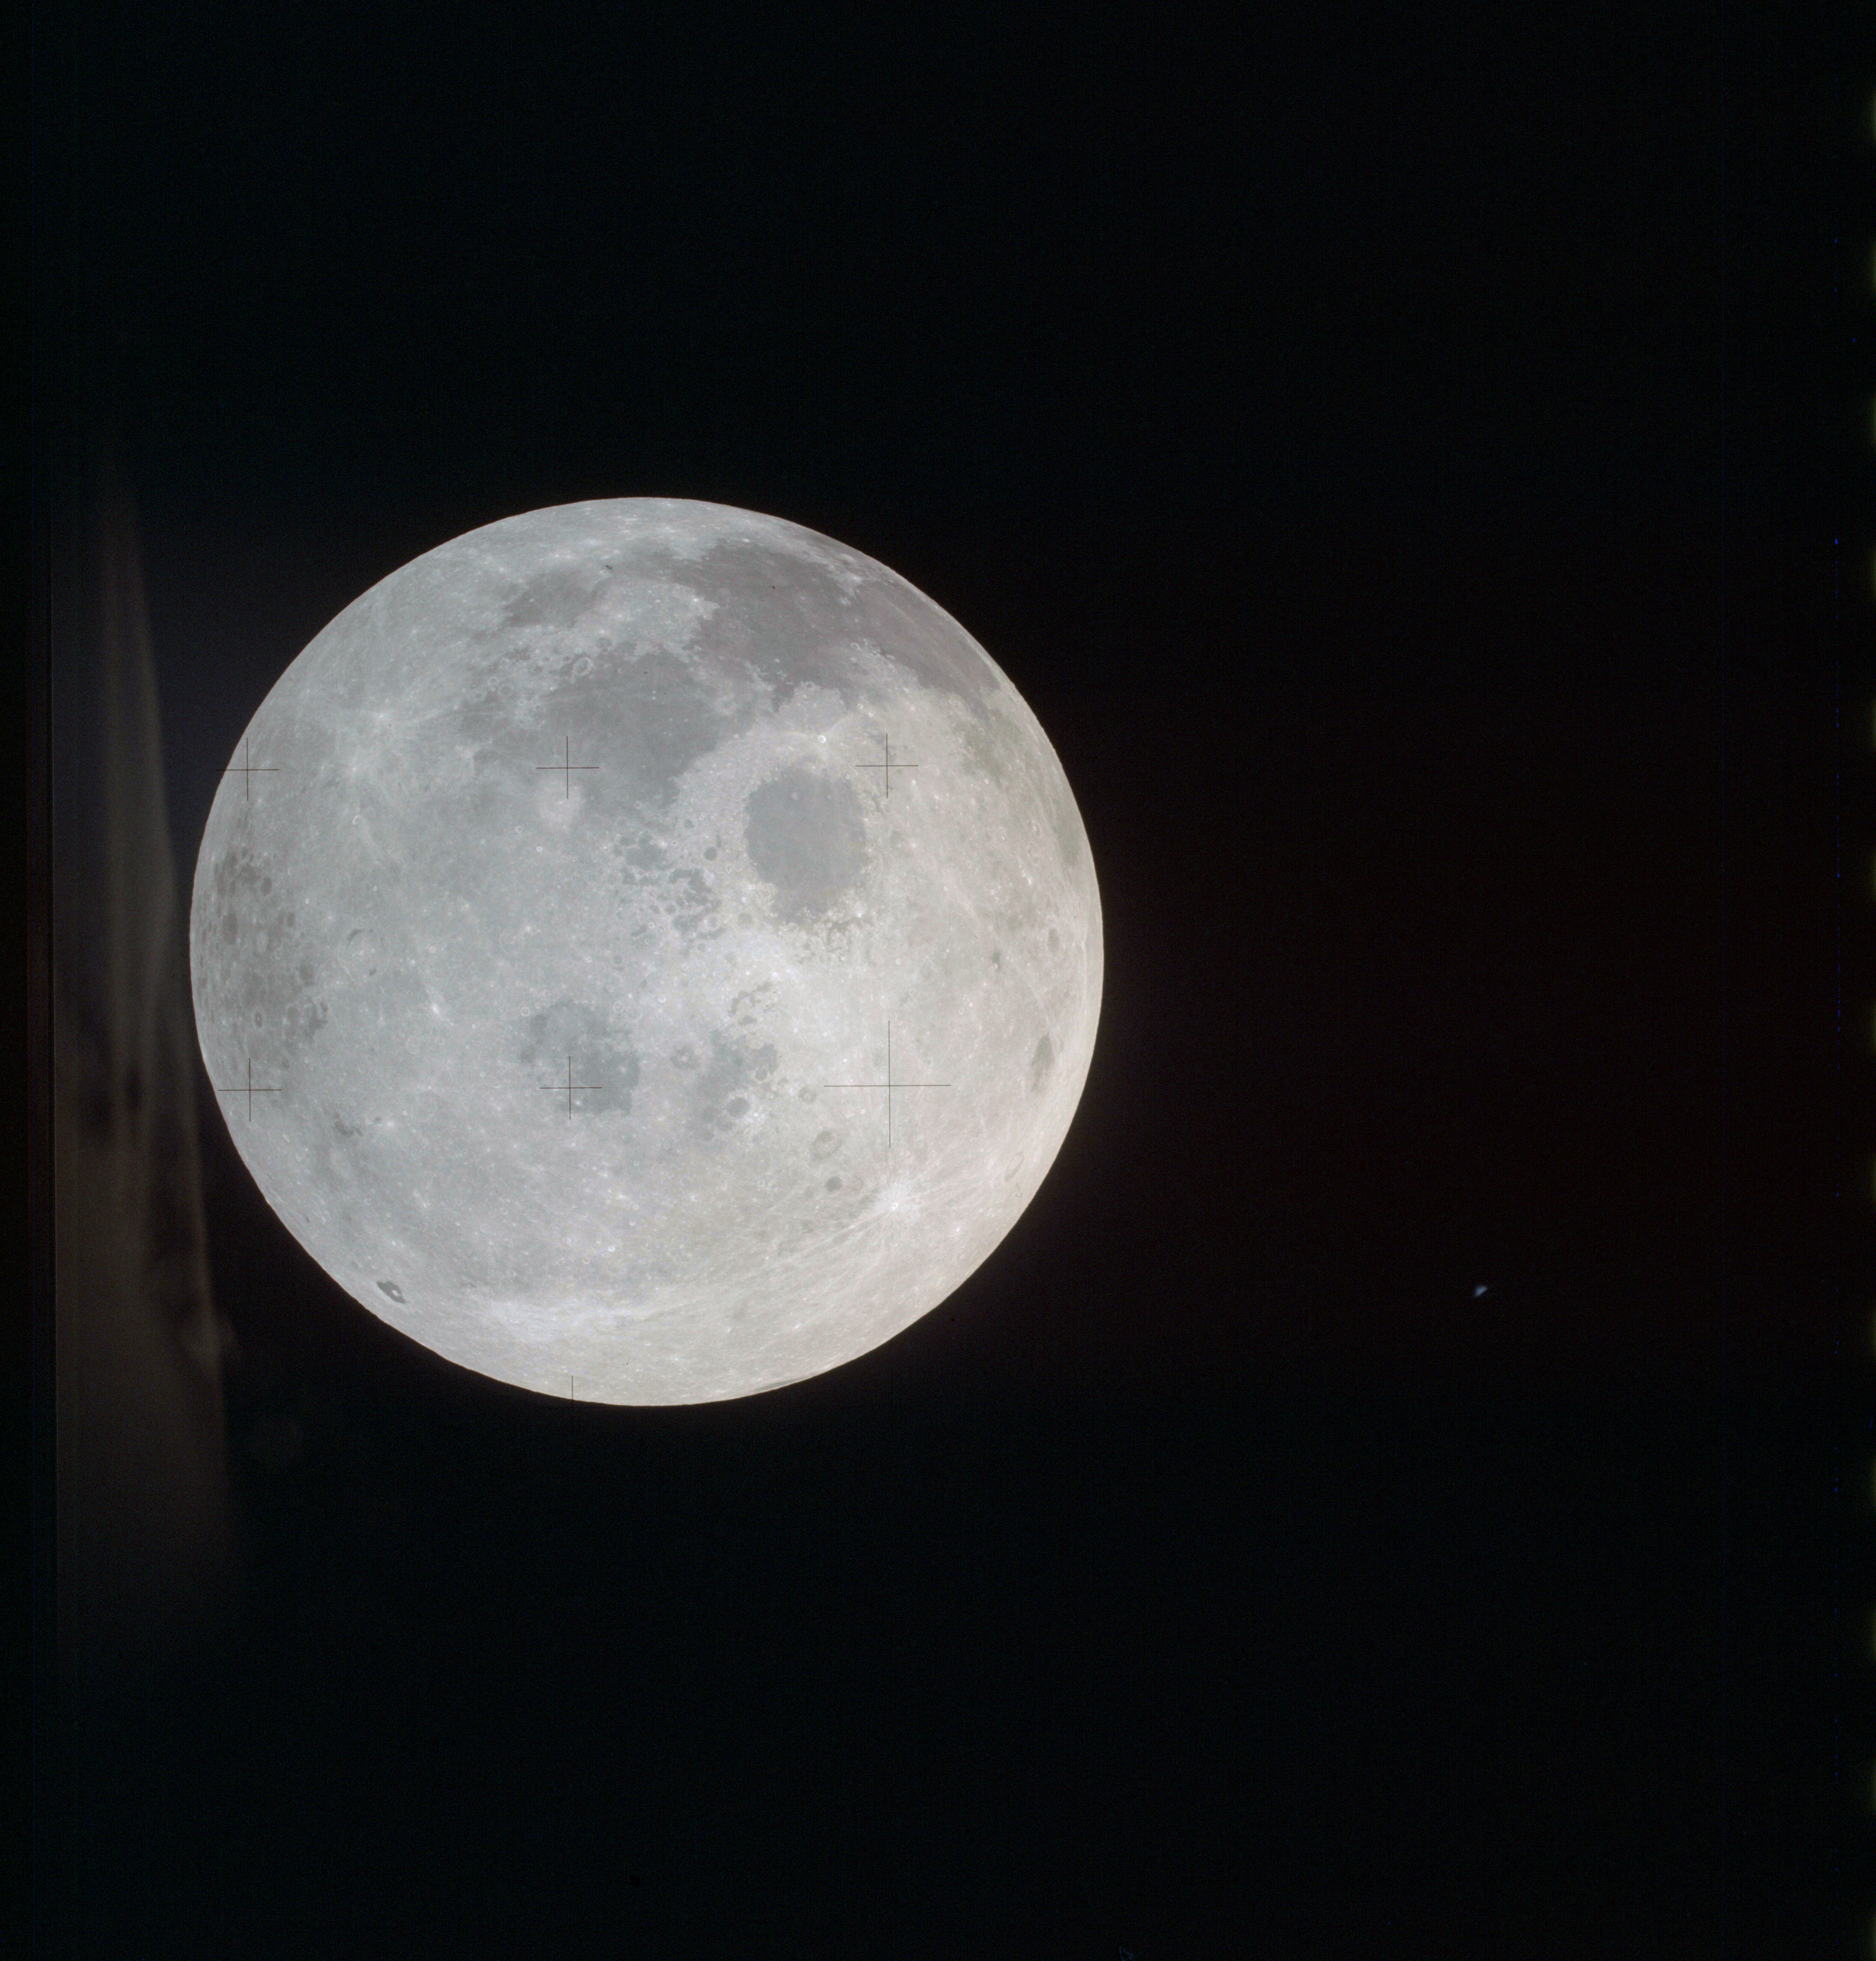
AS13-61-8800 Browse or print resolution. Moon from Apollo 13. Image credit: Image Science and Analysis Laboratory, NASA-Johnson Space Center. |
|
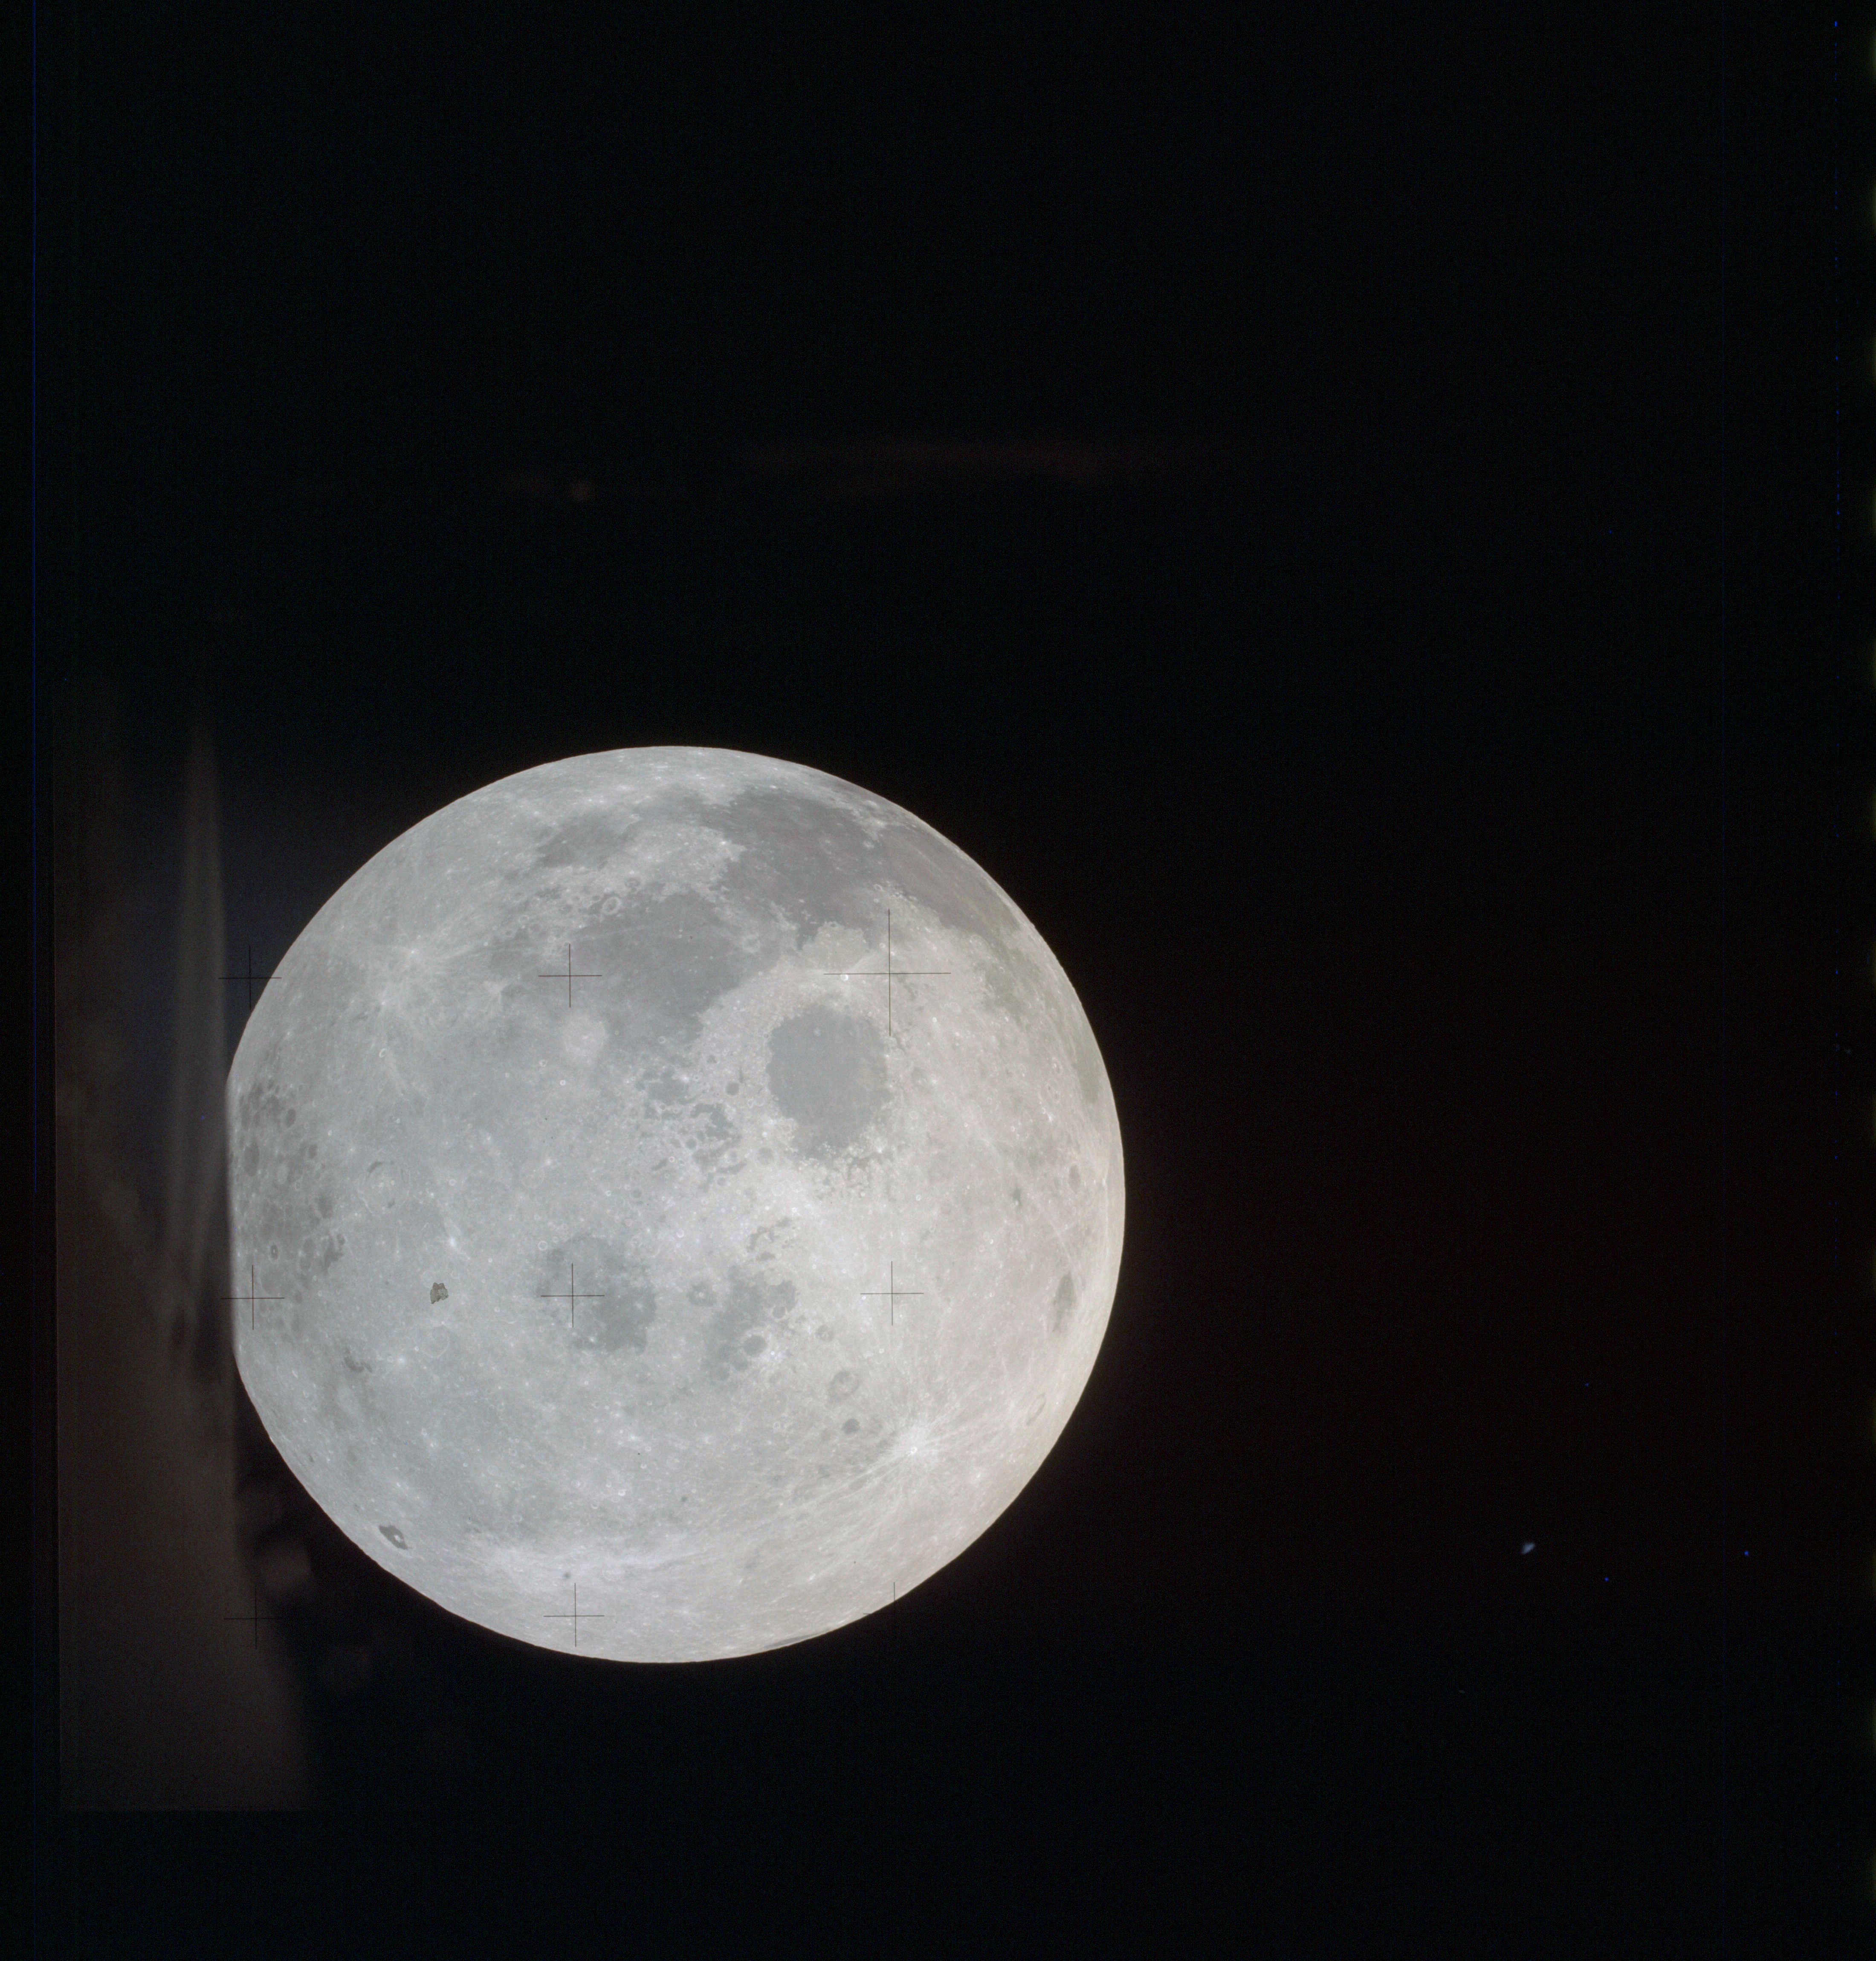
AS13-61-8801 Browse or print resolution. Moon from Apollo 13. Image credit: Image Science and Analysis Laboratory, NASA-Johnson Space Center. |
|
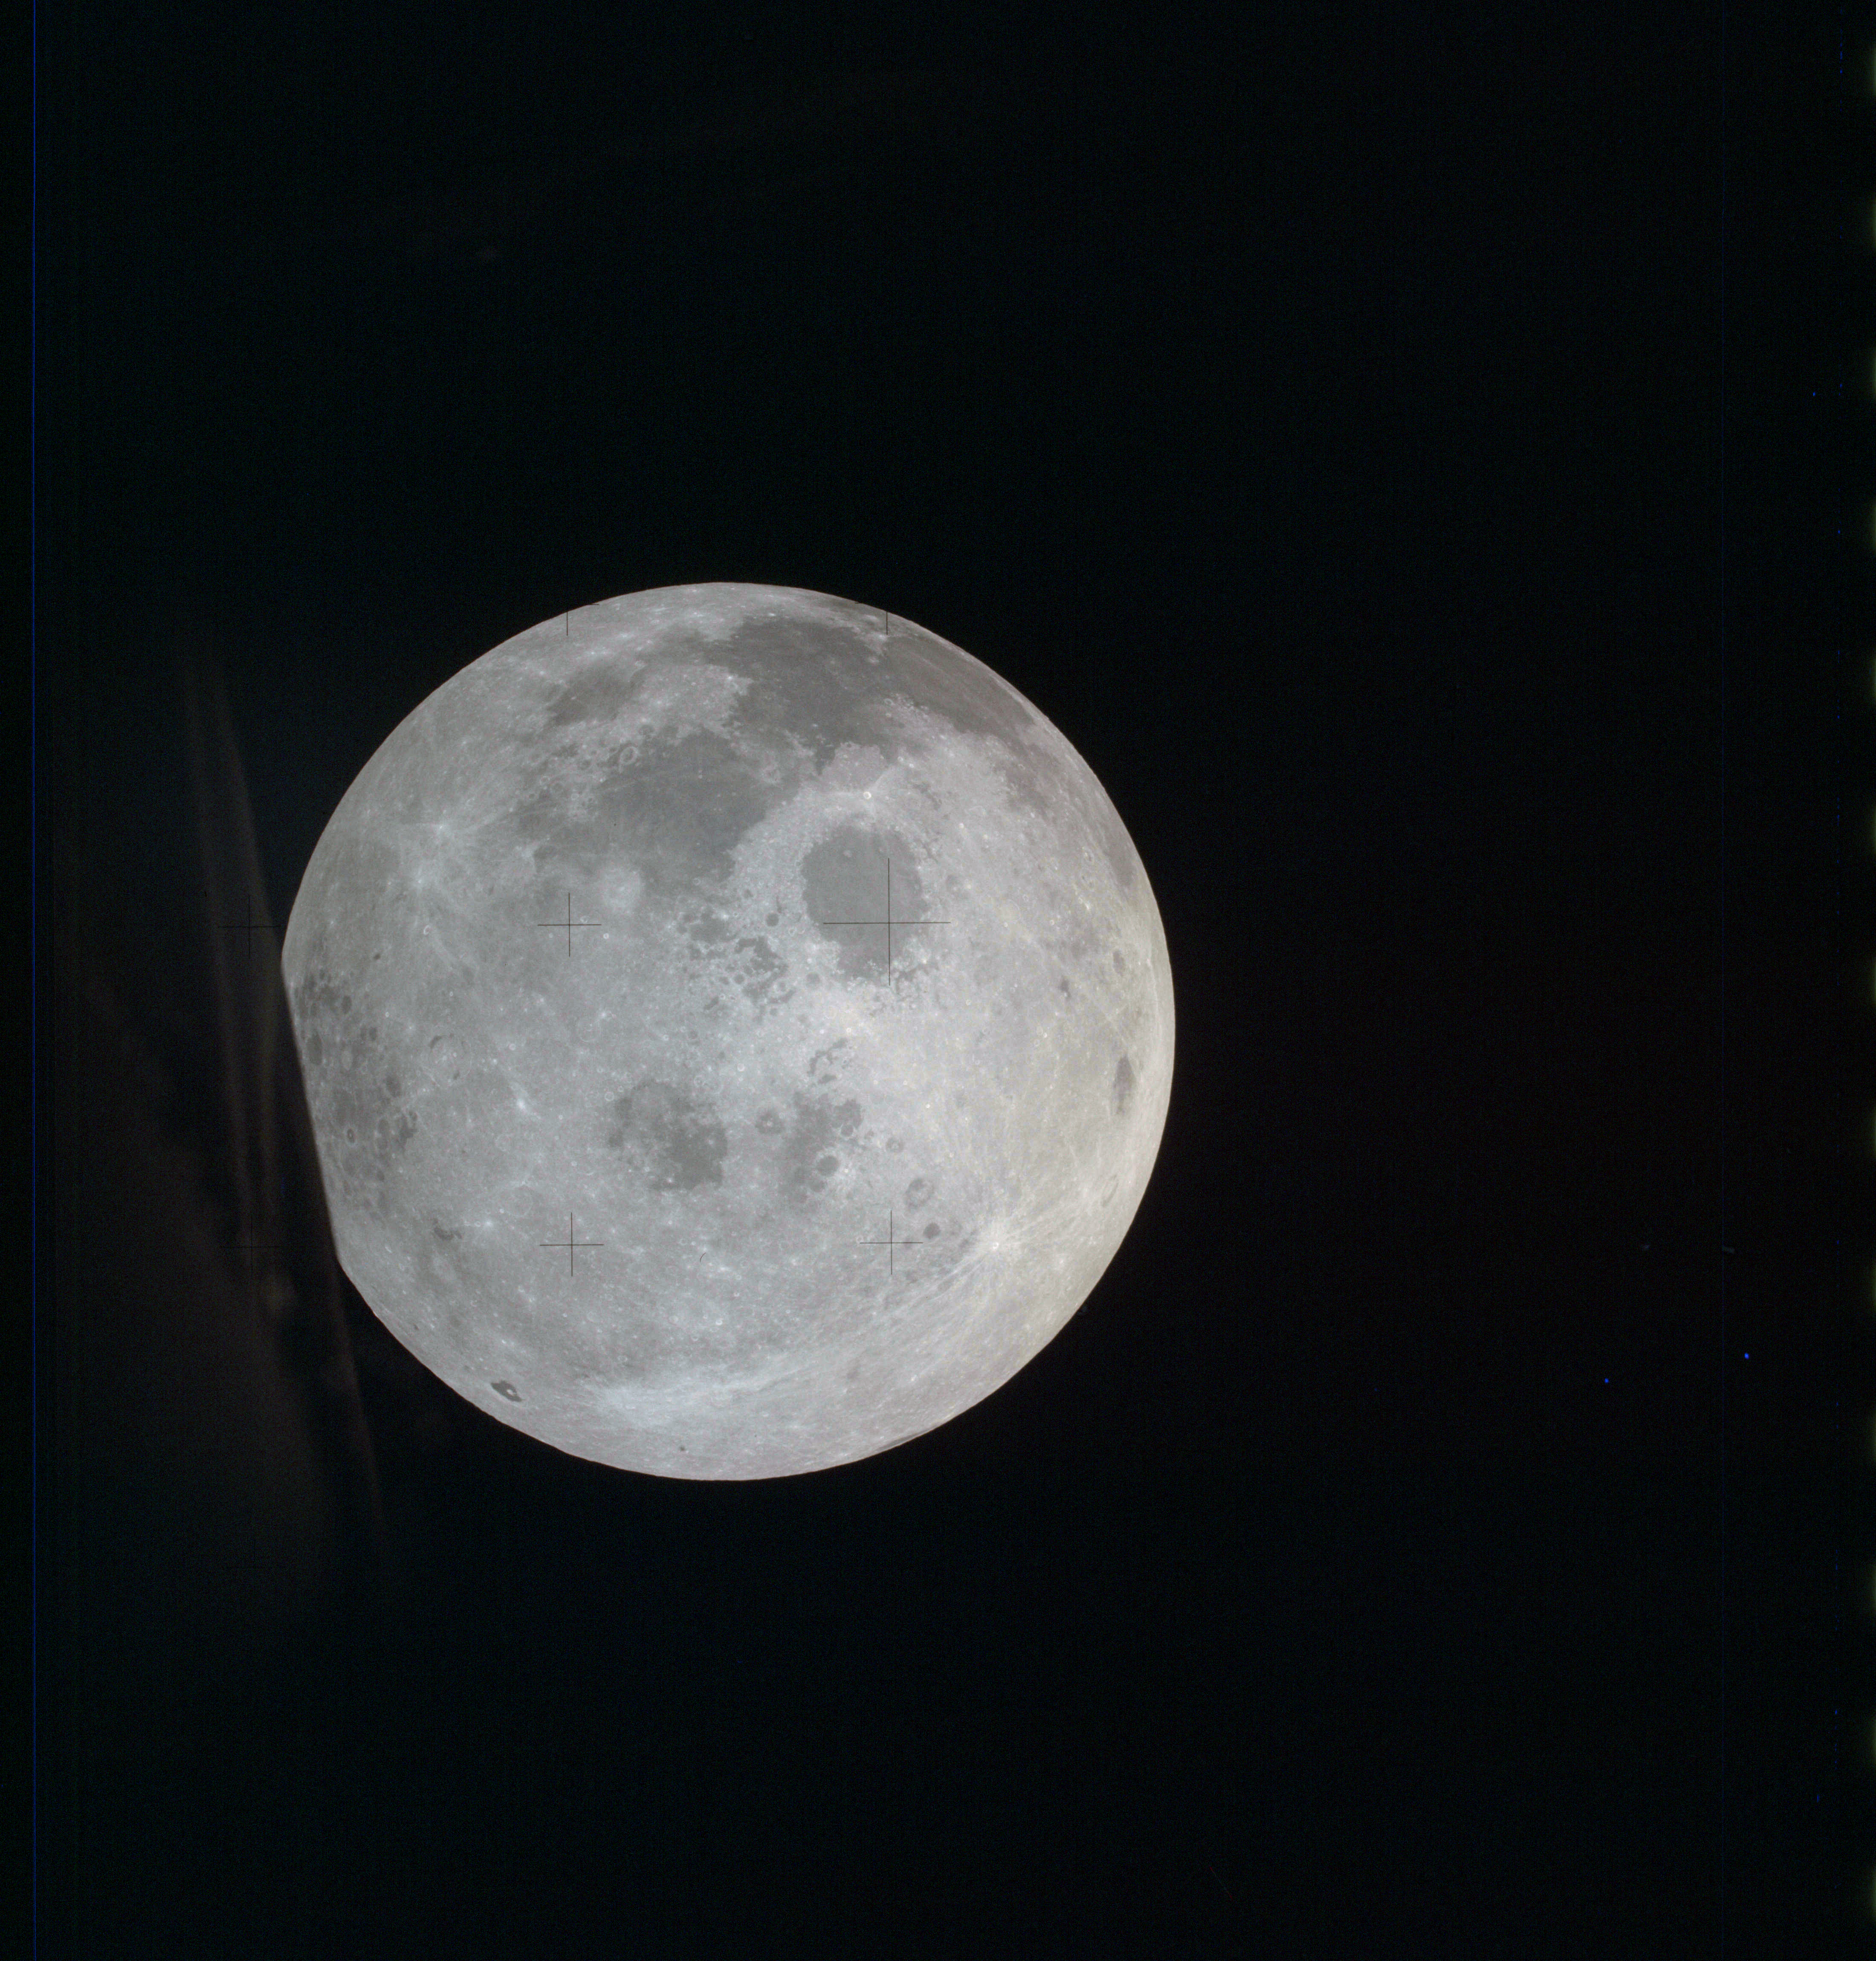
AS13-61-8802 Browse or print resolution. Moon from Apollo 13. Image credit: Image Science and Analysis Laboratory, NASA-Johnson Space Center. |
|
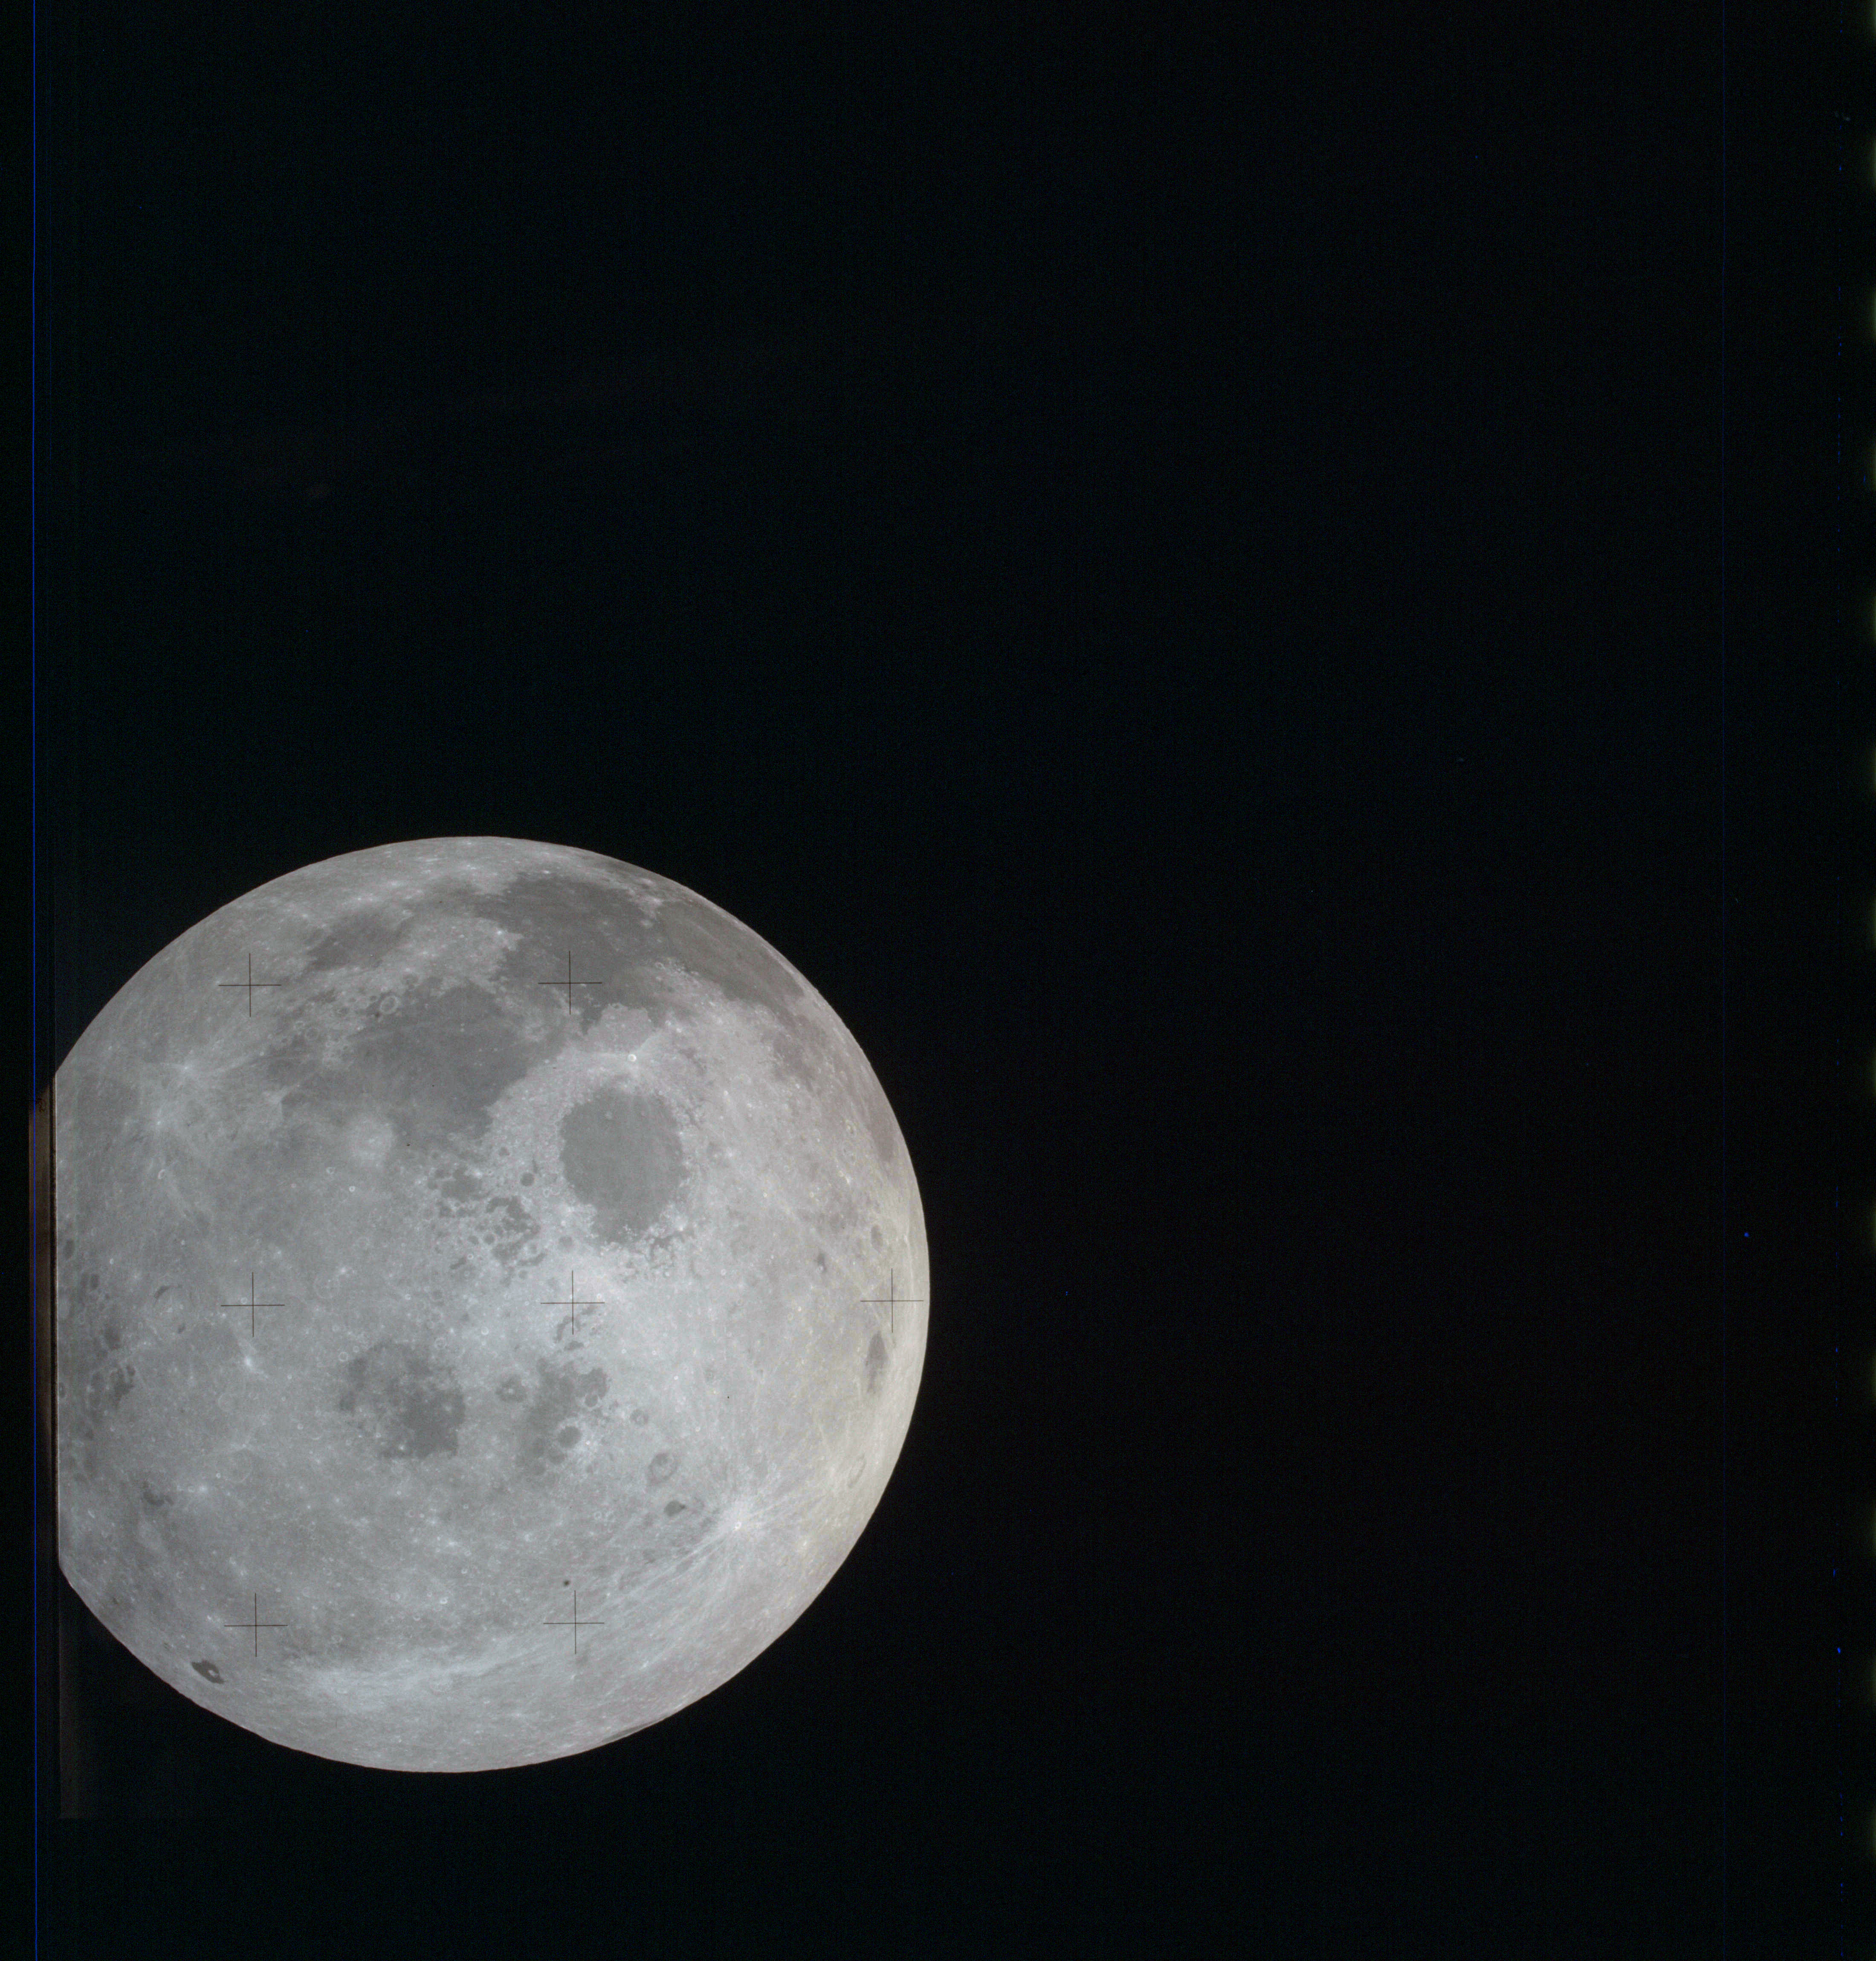
AS13-61-8803 Browse or print resolution. Moon from Apollo 13. Image credit: Image Science and Analysis Laboratory, NASA-Johnson Space Center. |
|
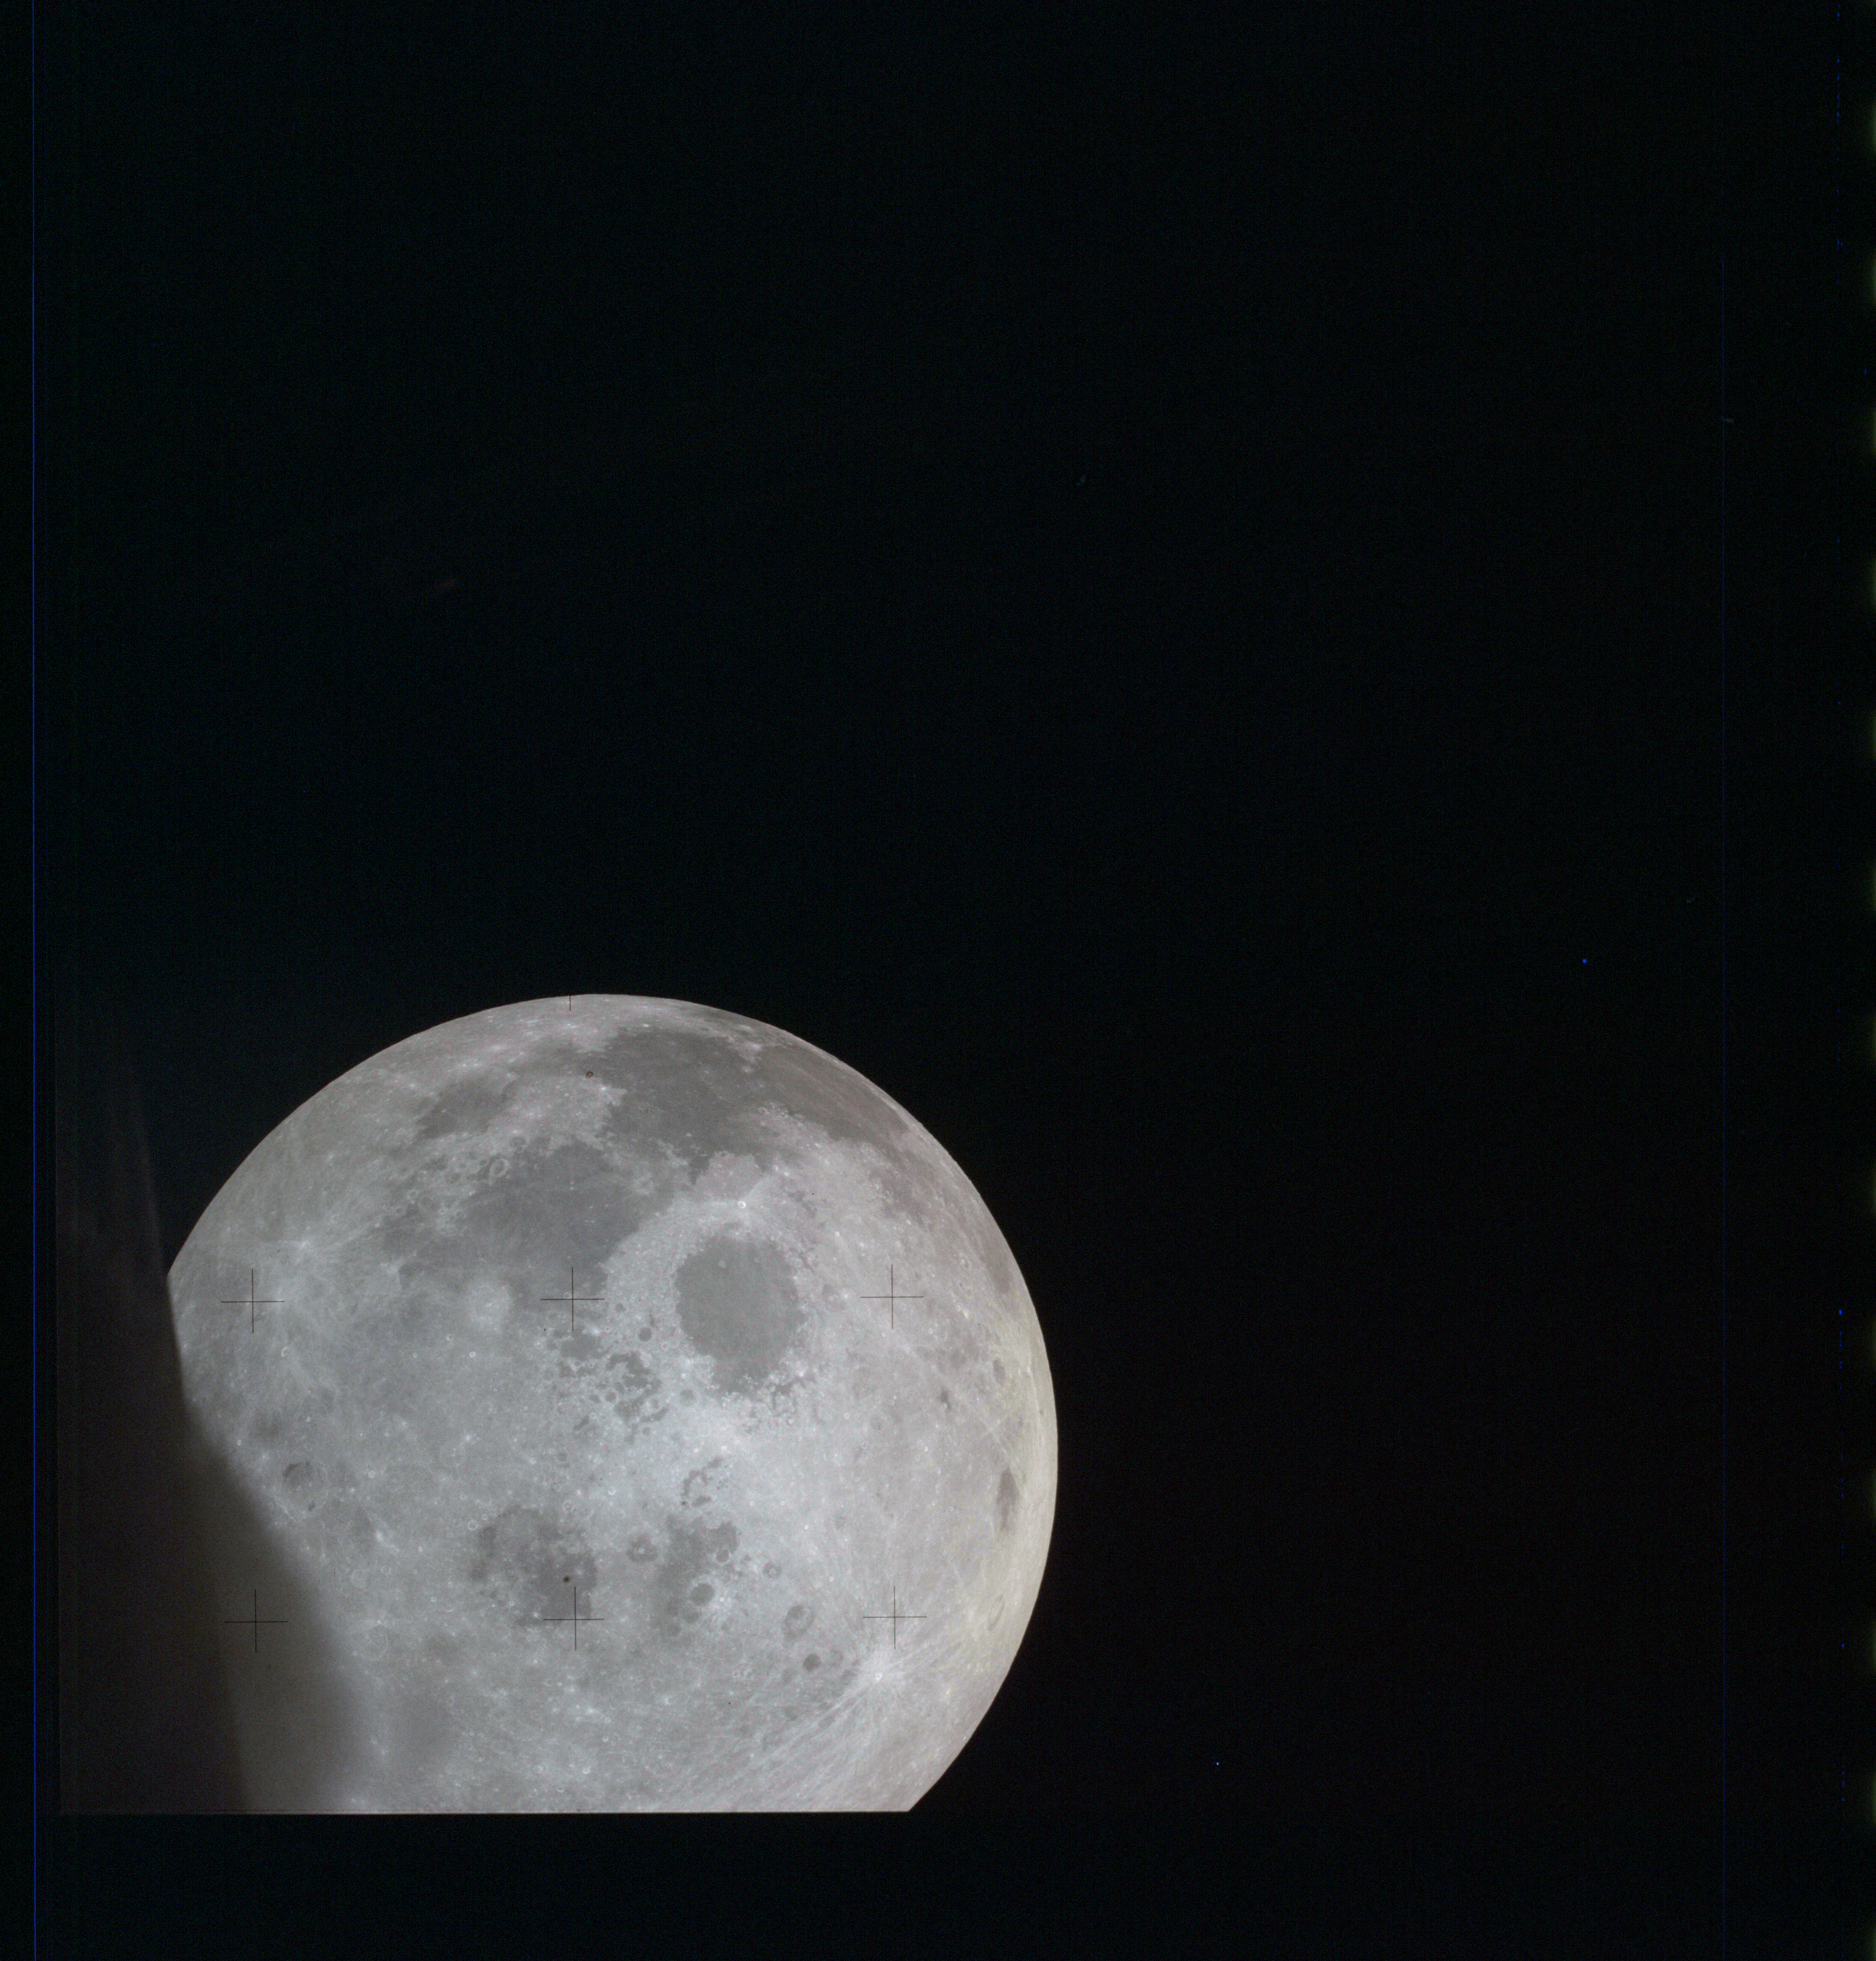
AS13-61-8804 Browse or print resolution. Moon from Apollo 13. Image credit: Image Science and Analysis Laboratory, NASA-Johnson Space Center. |
|
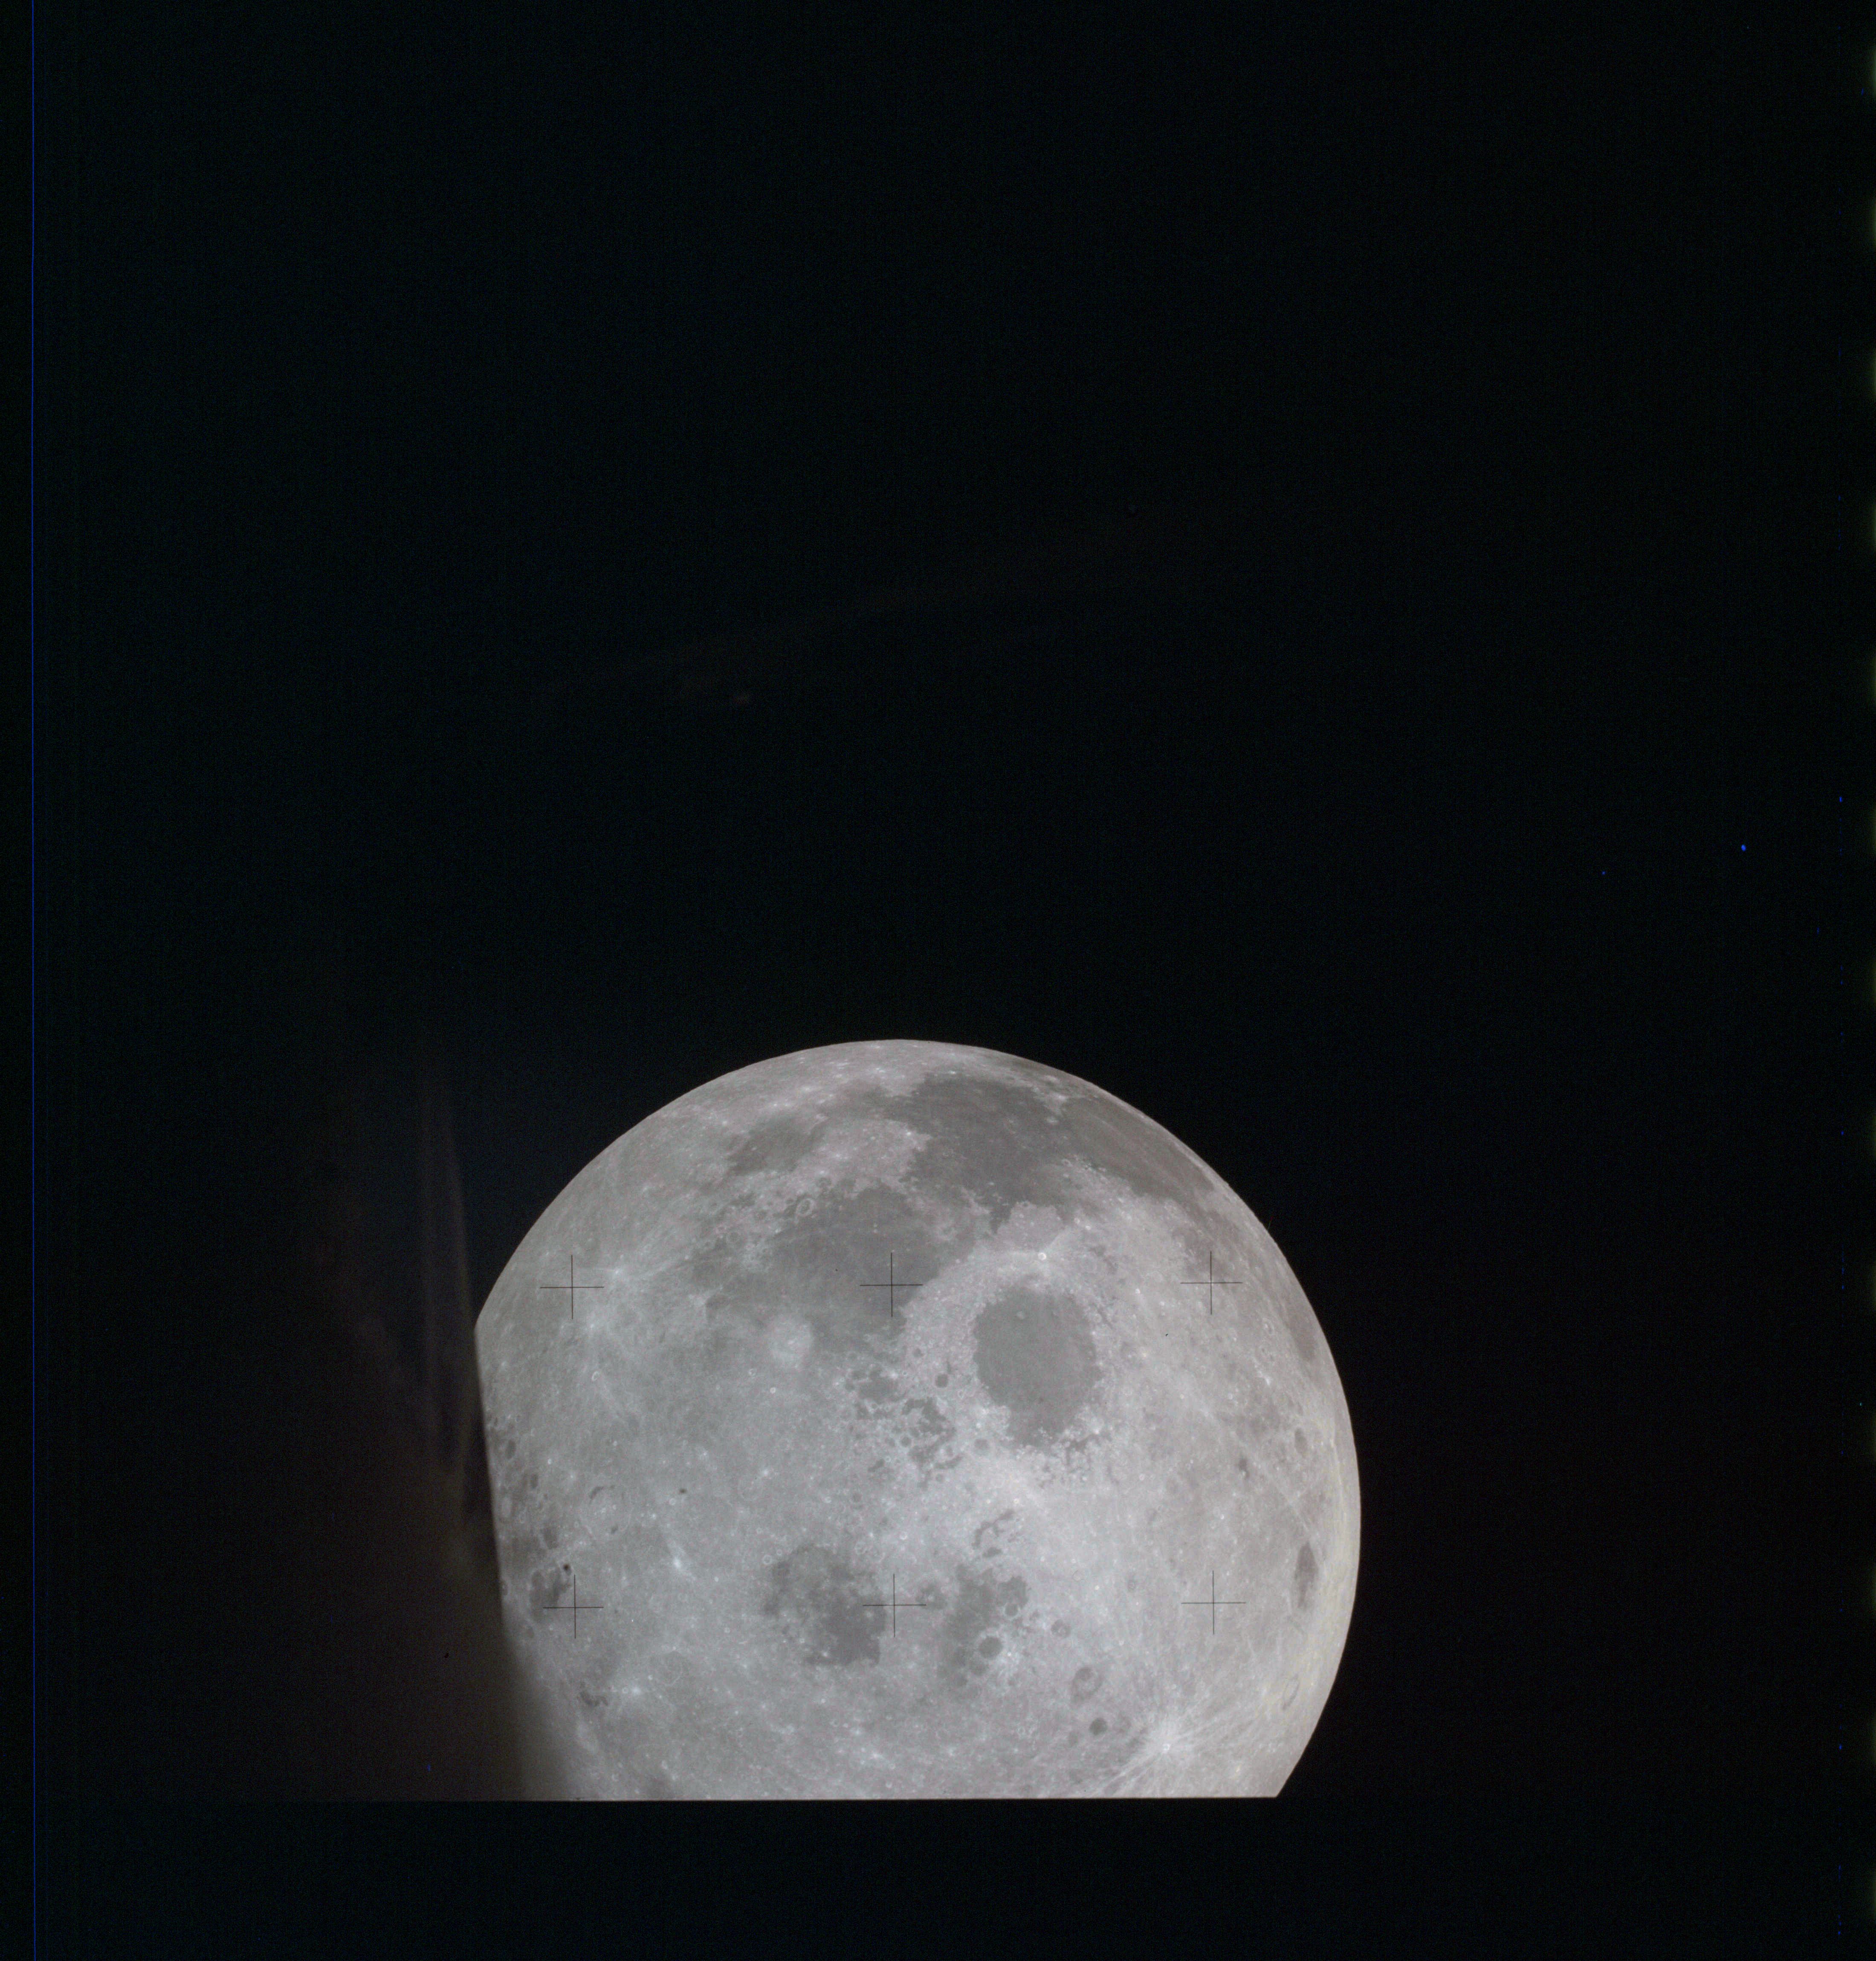
AS13-61-8805 Browse or print resolution. Moon from Apollo 13. Image credit: Image Science and Analysis Laboratory, NASA-Johnson Space Center. |
|
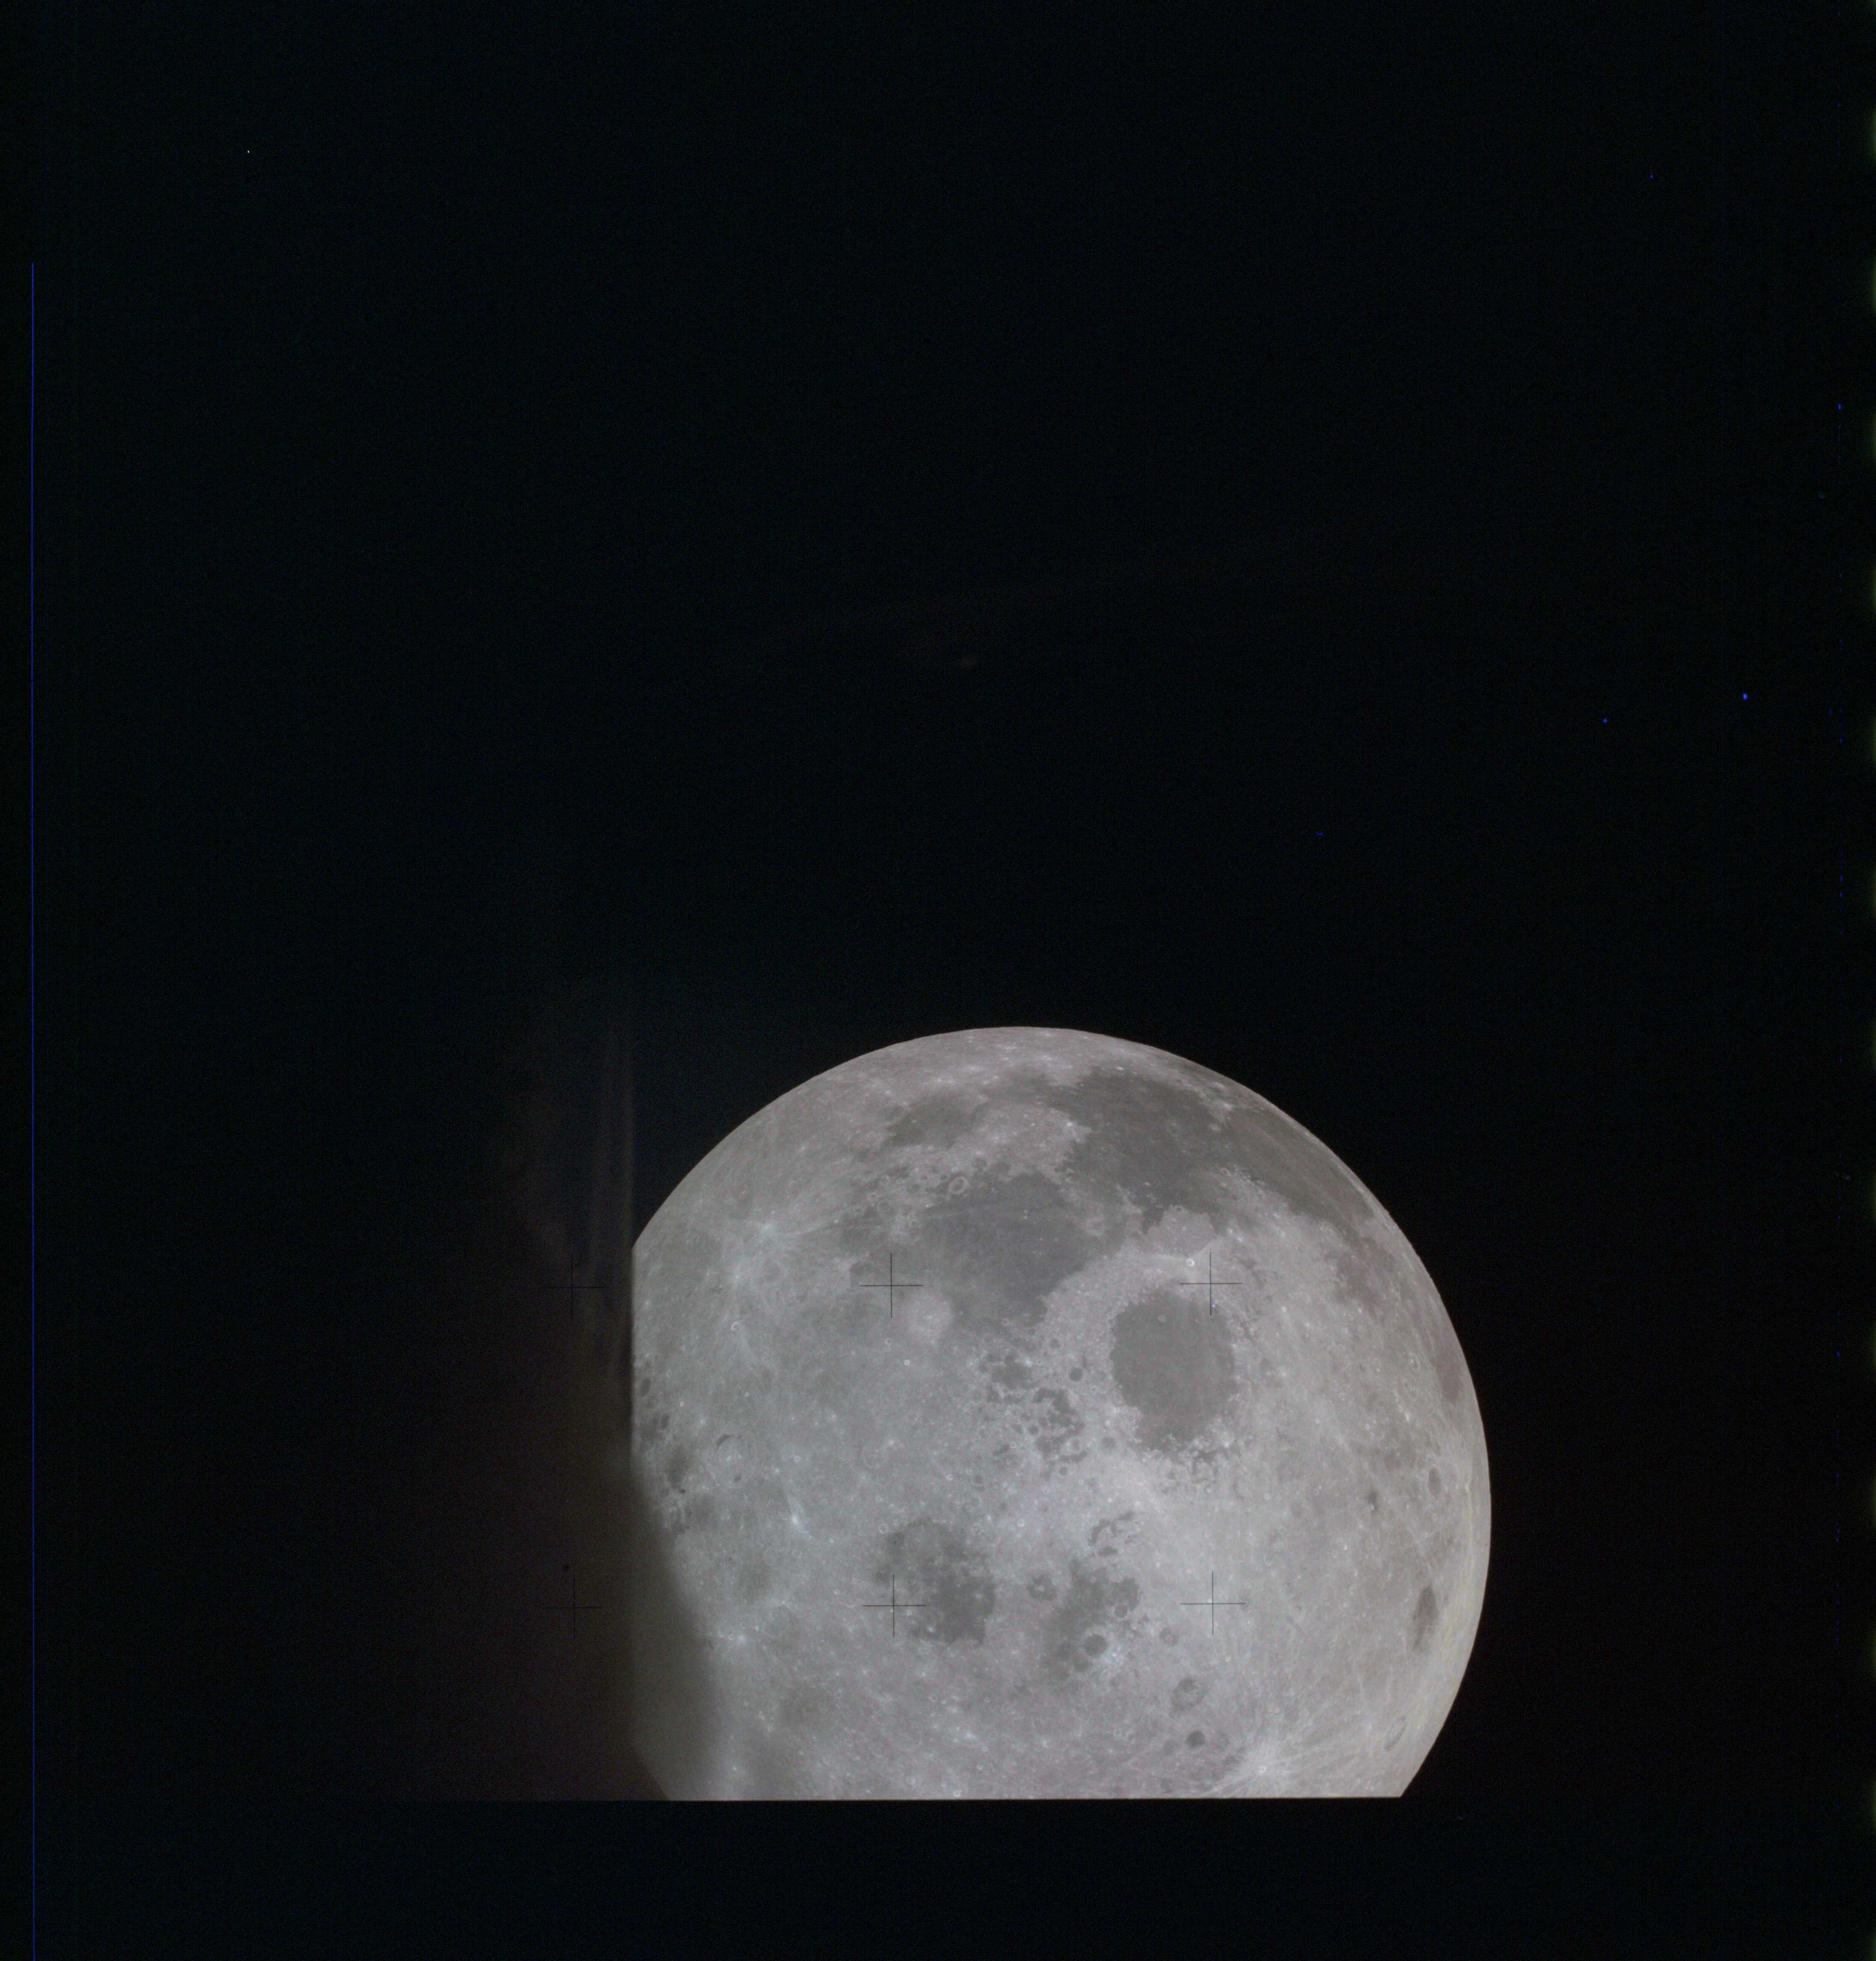
AS13-61-8806 Browse or print resolution. Moon from Apollo 13. Image credit: Image Science and Analysis Laboratory, NASA-Johnson Space Center. |
|
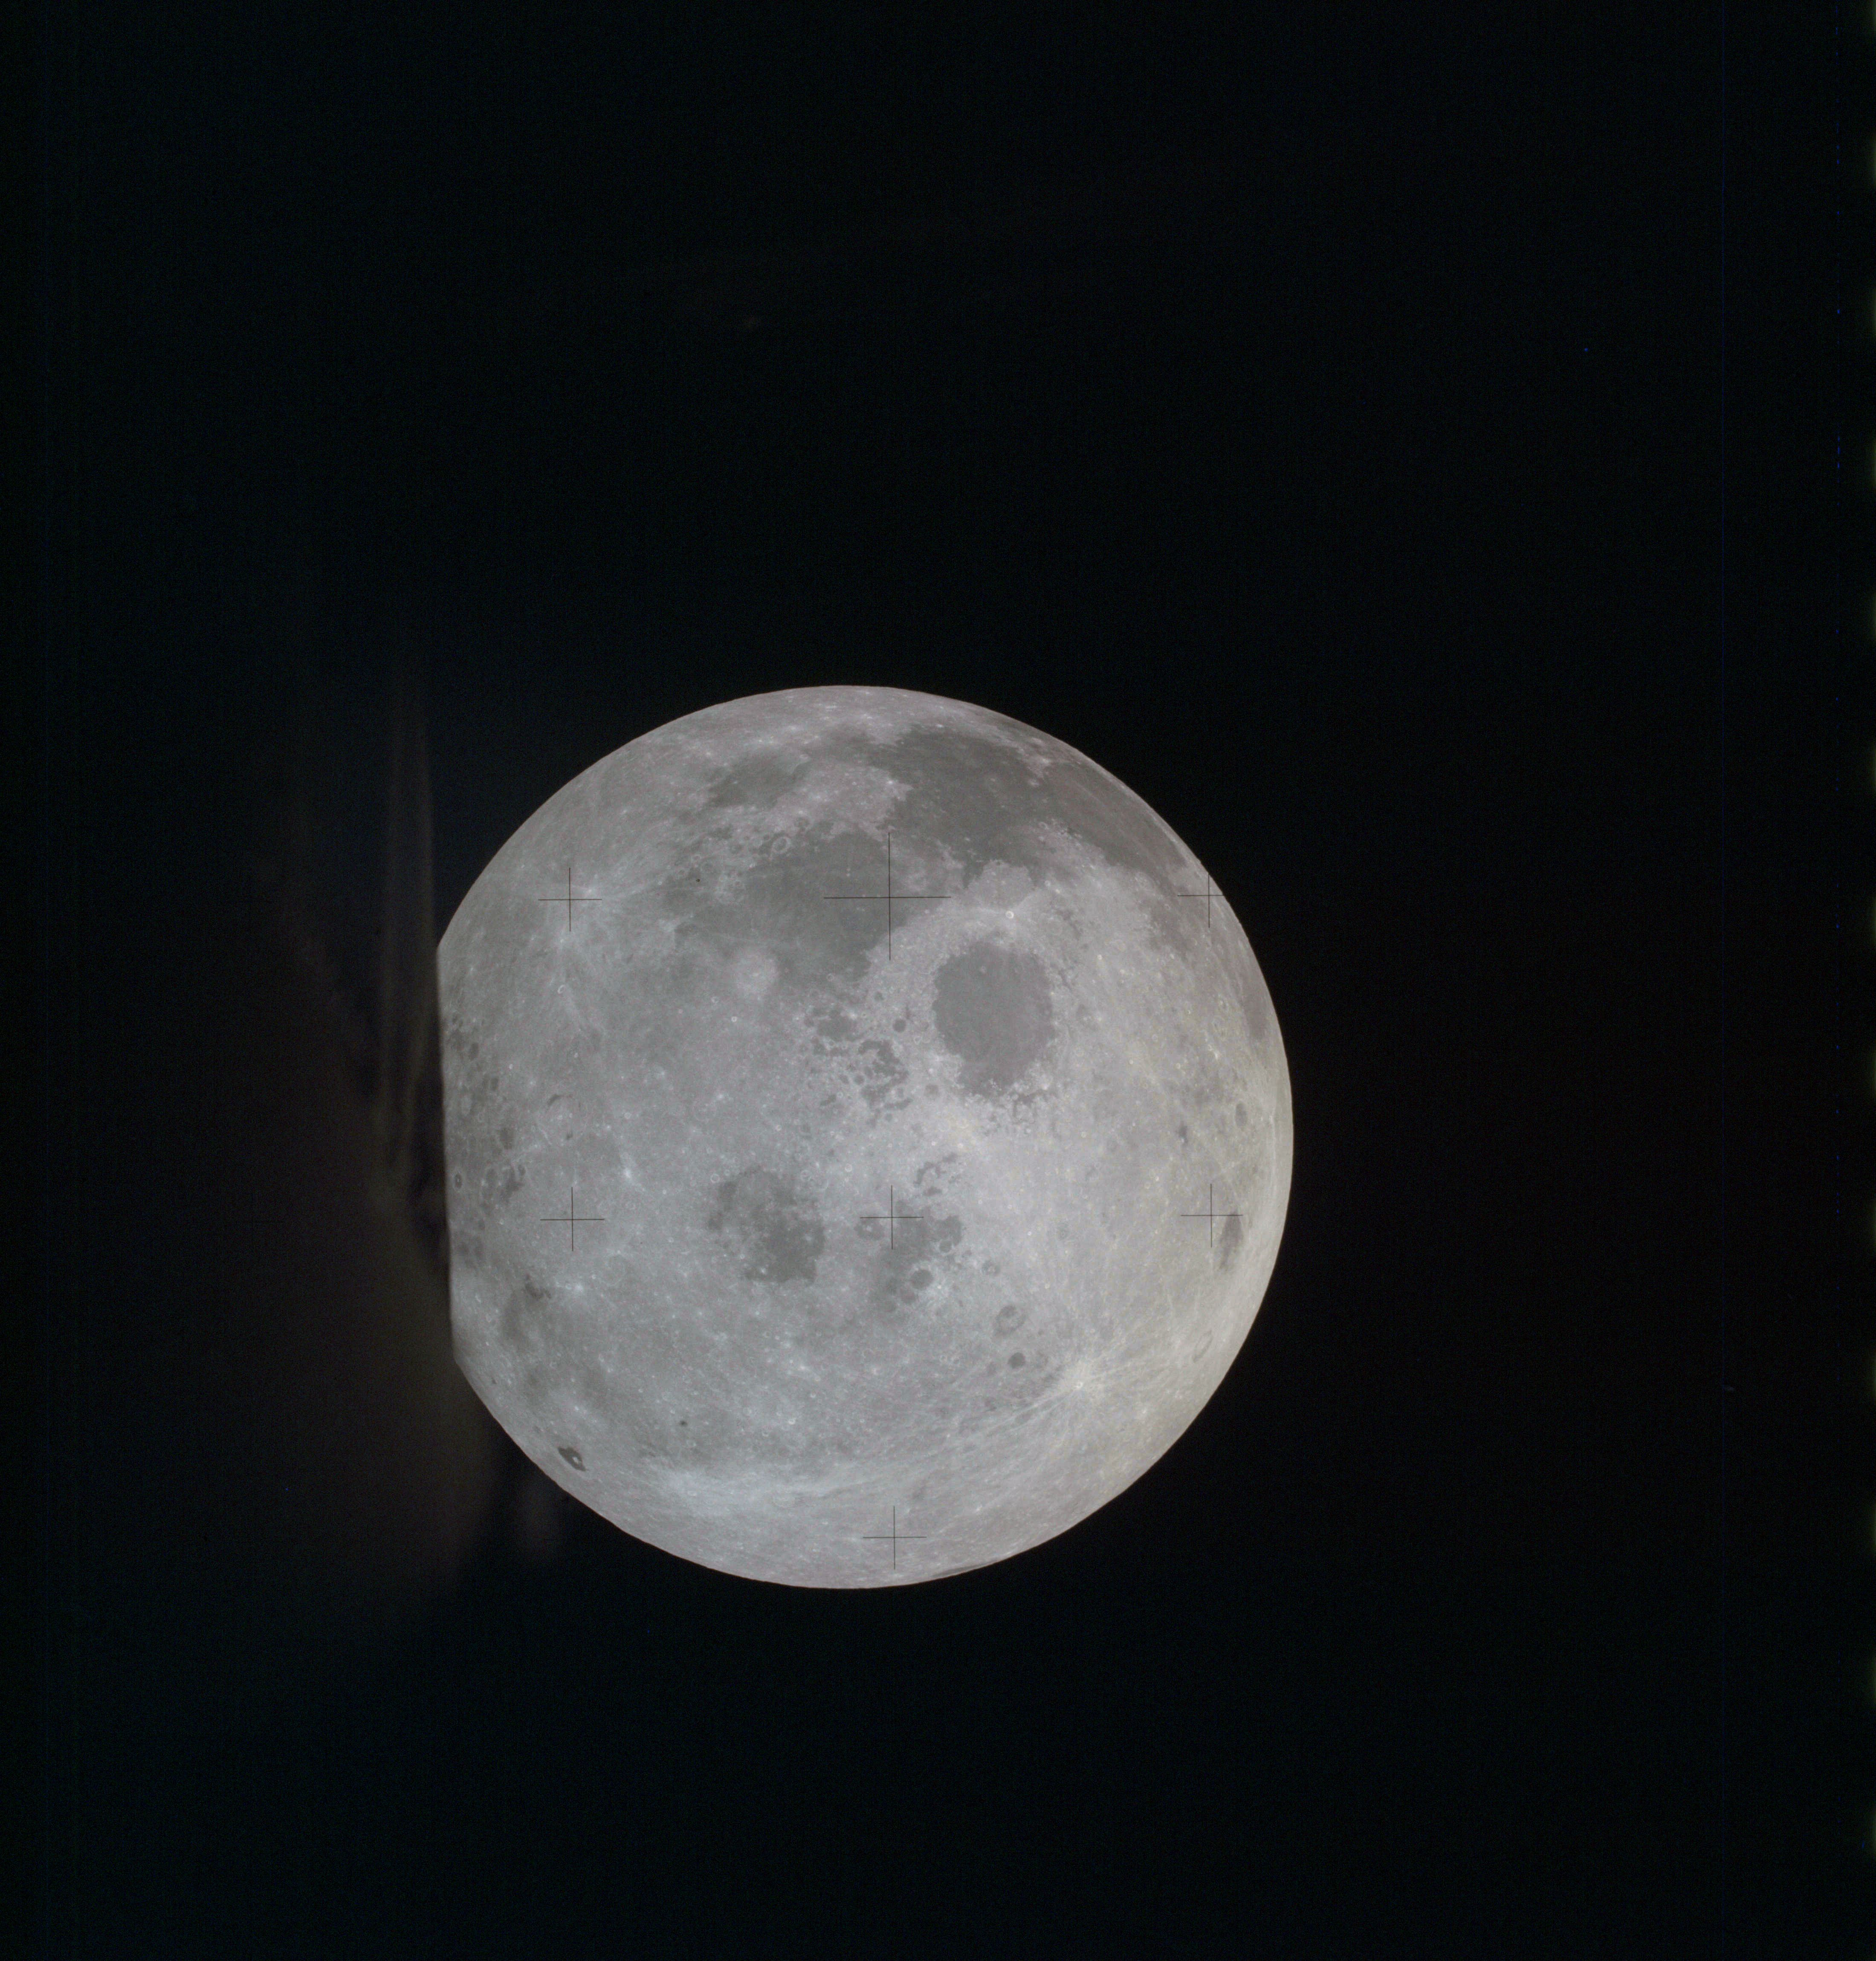
AS13-61-8807 Browse or print resolution. Moon from Apollo 13. Image credit: Image Science and Analysis Laboratory, NASA-Johnson Space Center. |
|
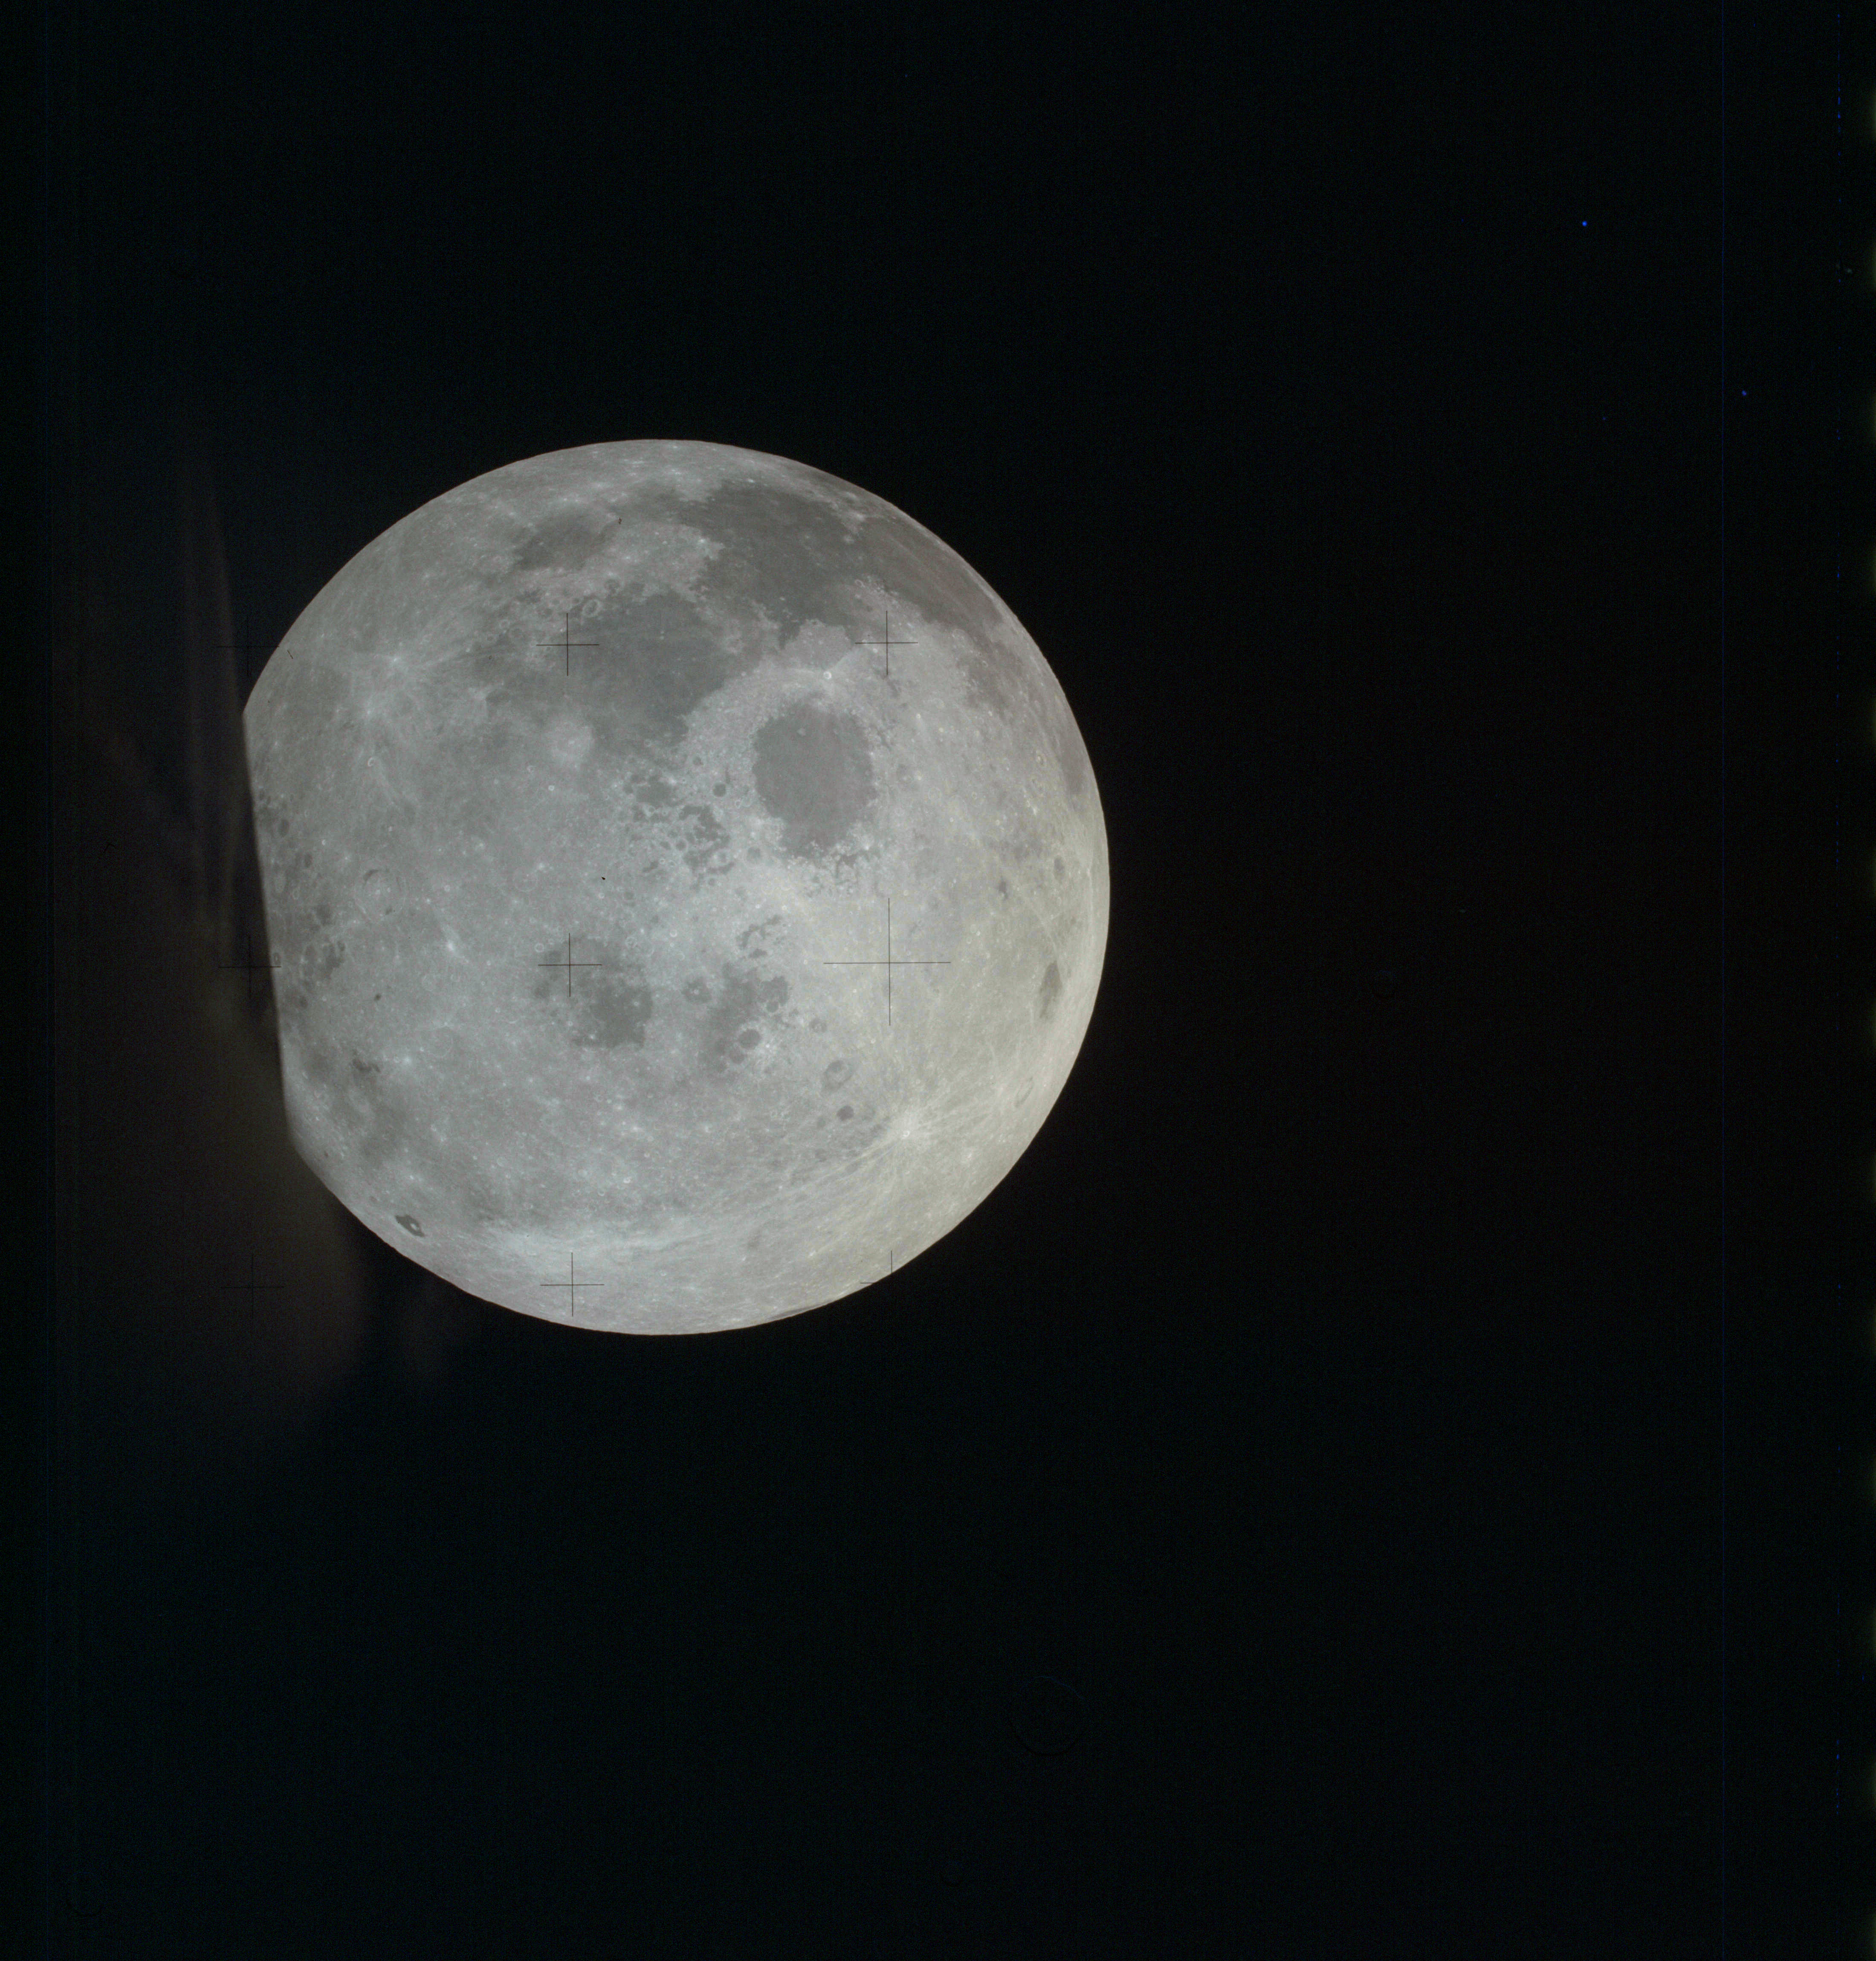
AS13-61-8808 Browse or print resolution. Moon from Apollo 13. Image credit: Image Science and Analysis Laboratory, NASA-Johnson Space Center. |
|
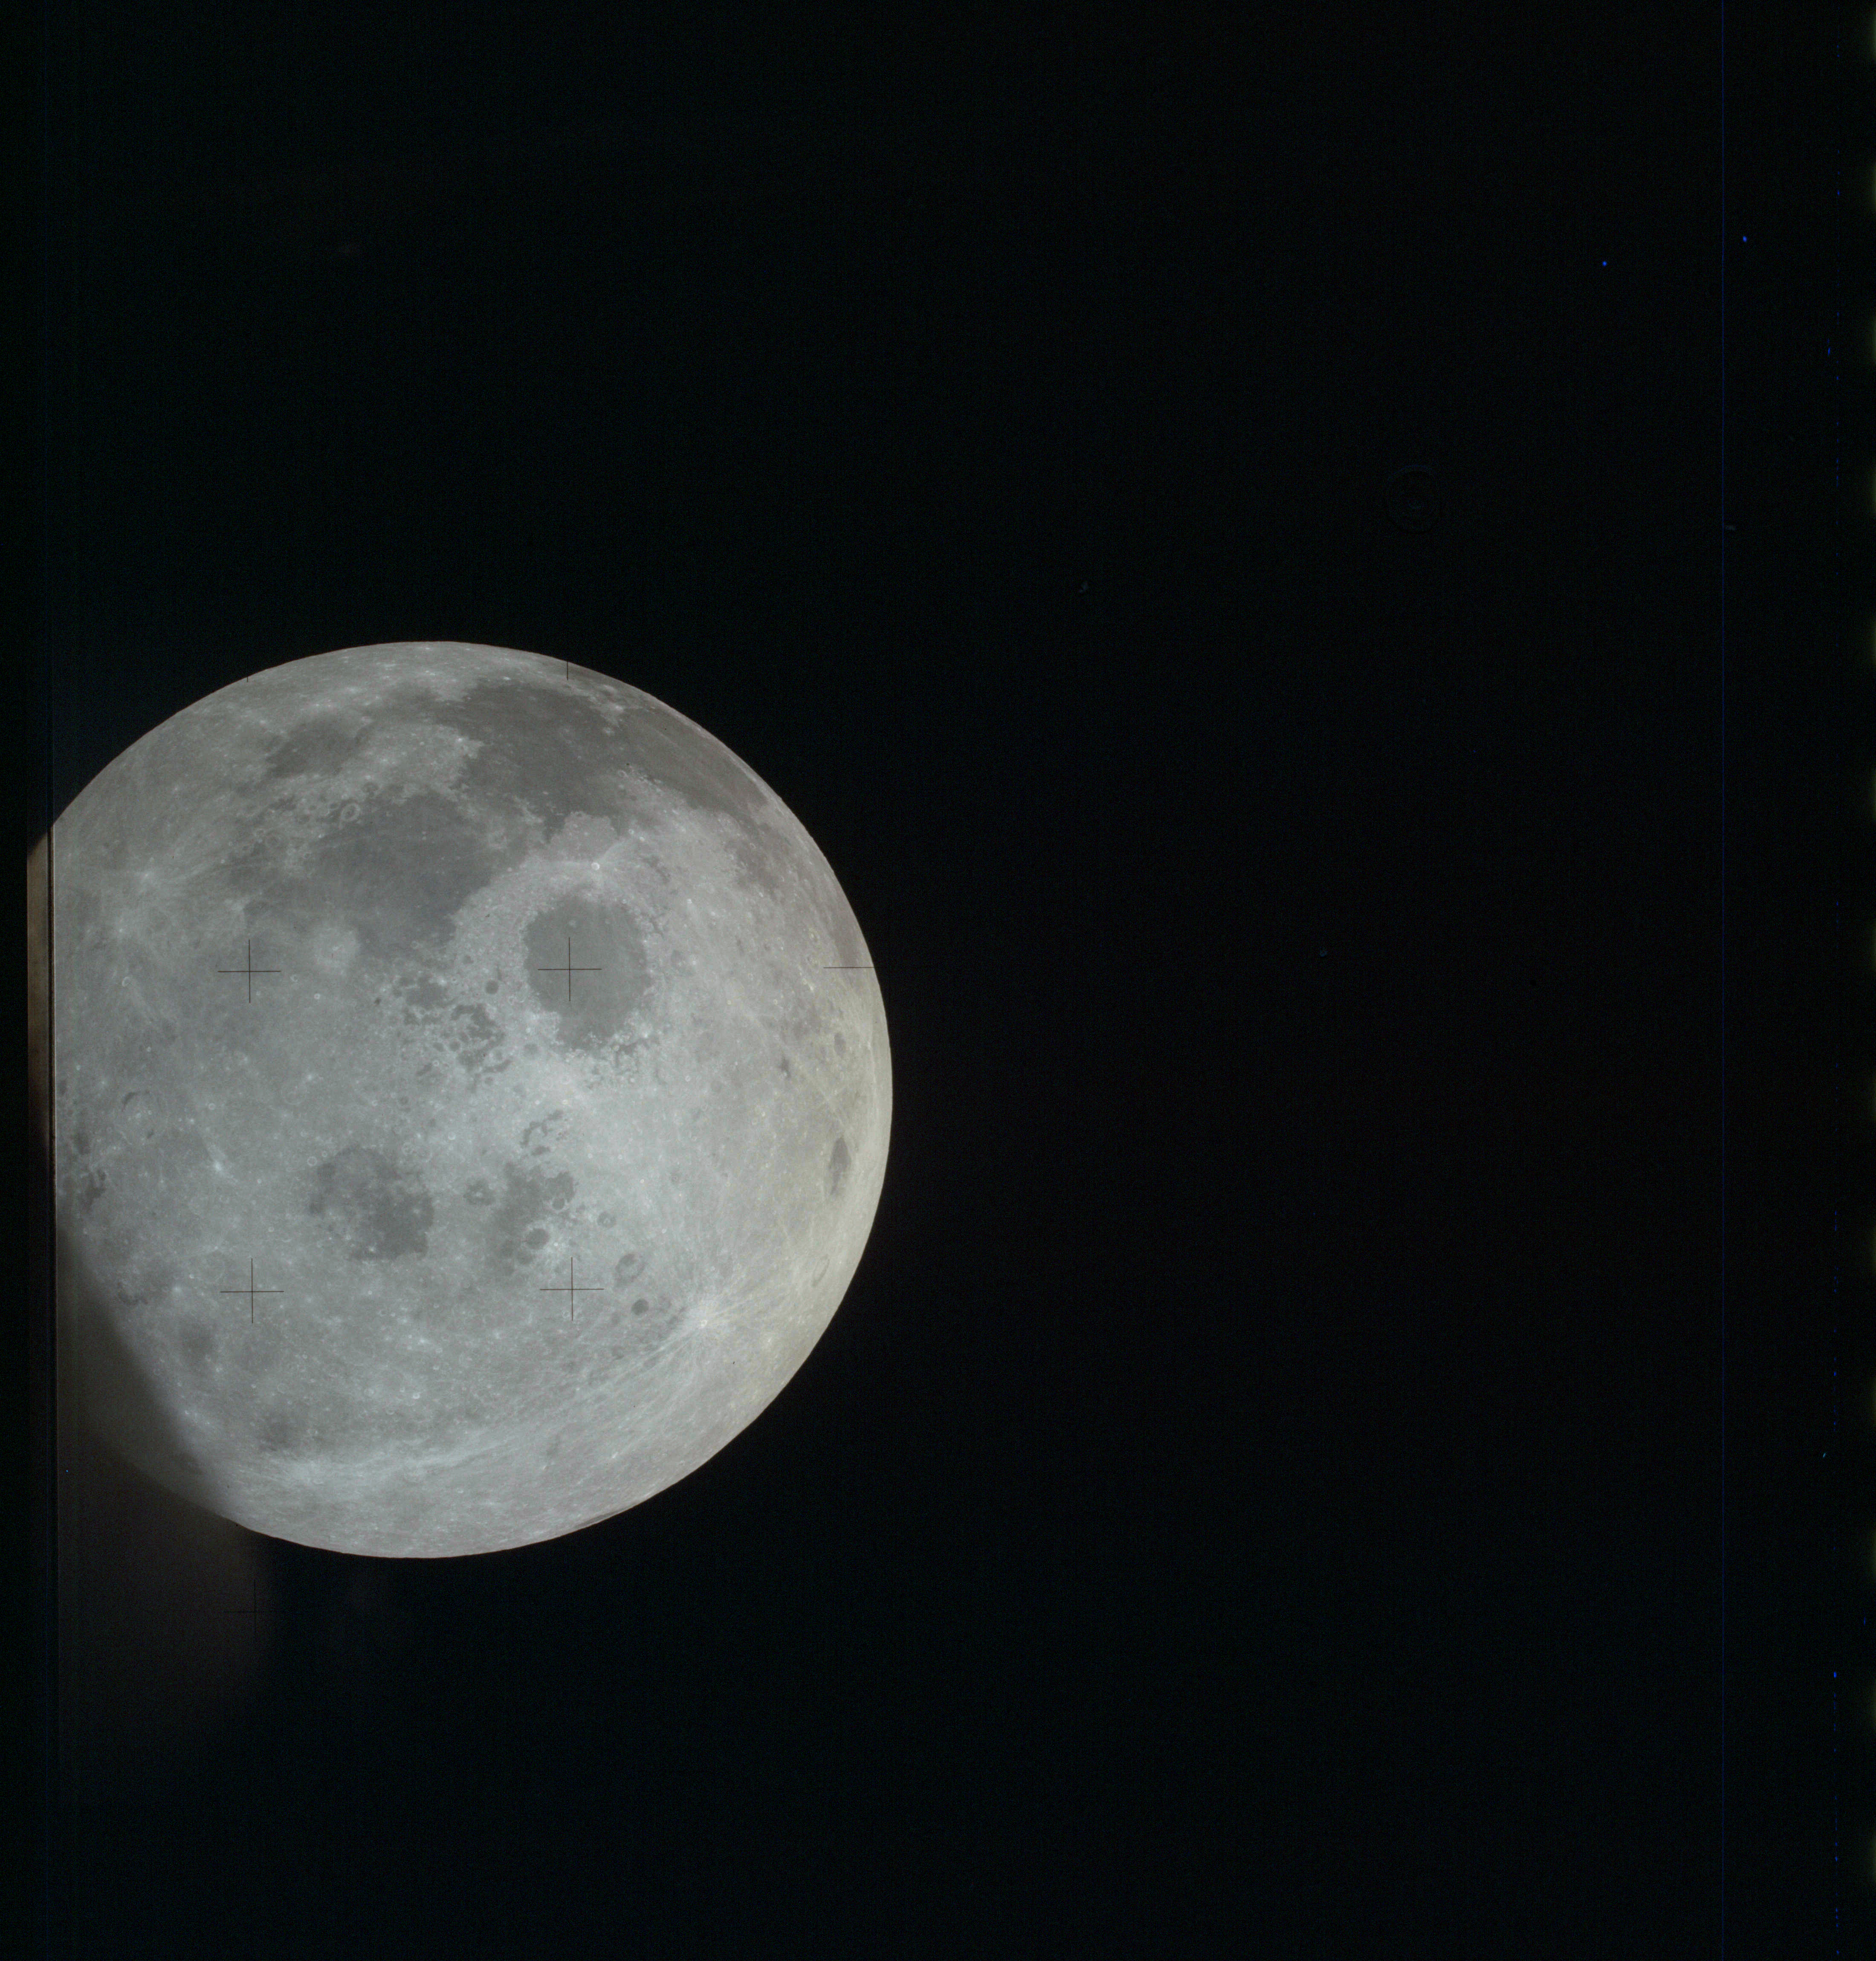
AS13-61-8809 Browse or print resolution. Moon from Apollo 13. Image credit: Image Science and Analysis Laboratory, NASA-Johnson Space Center. |
|
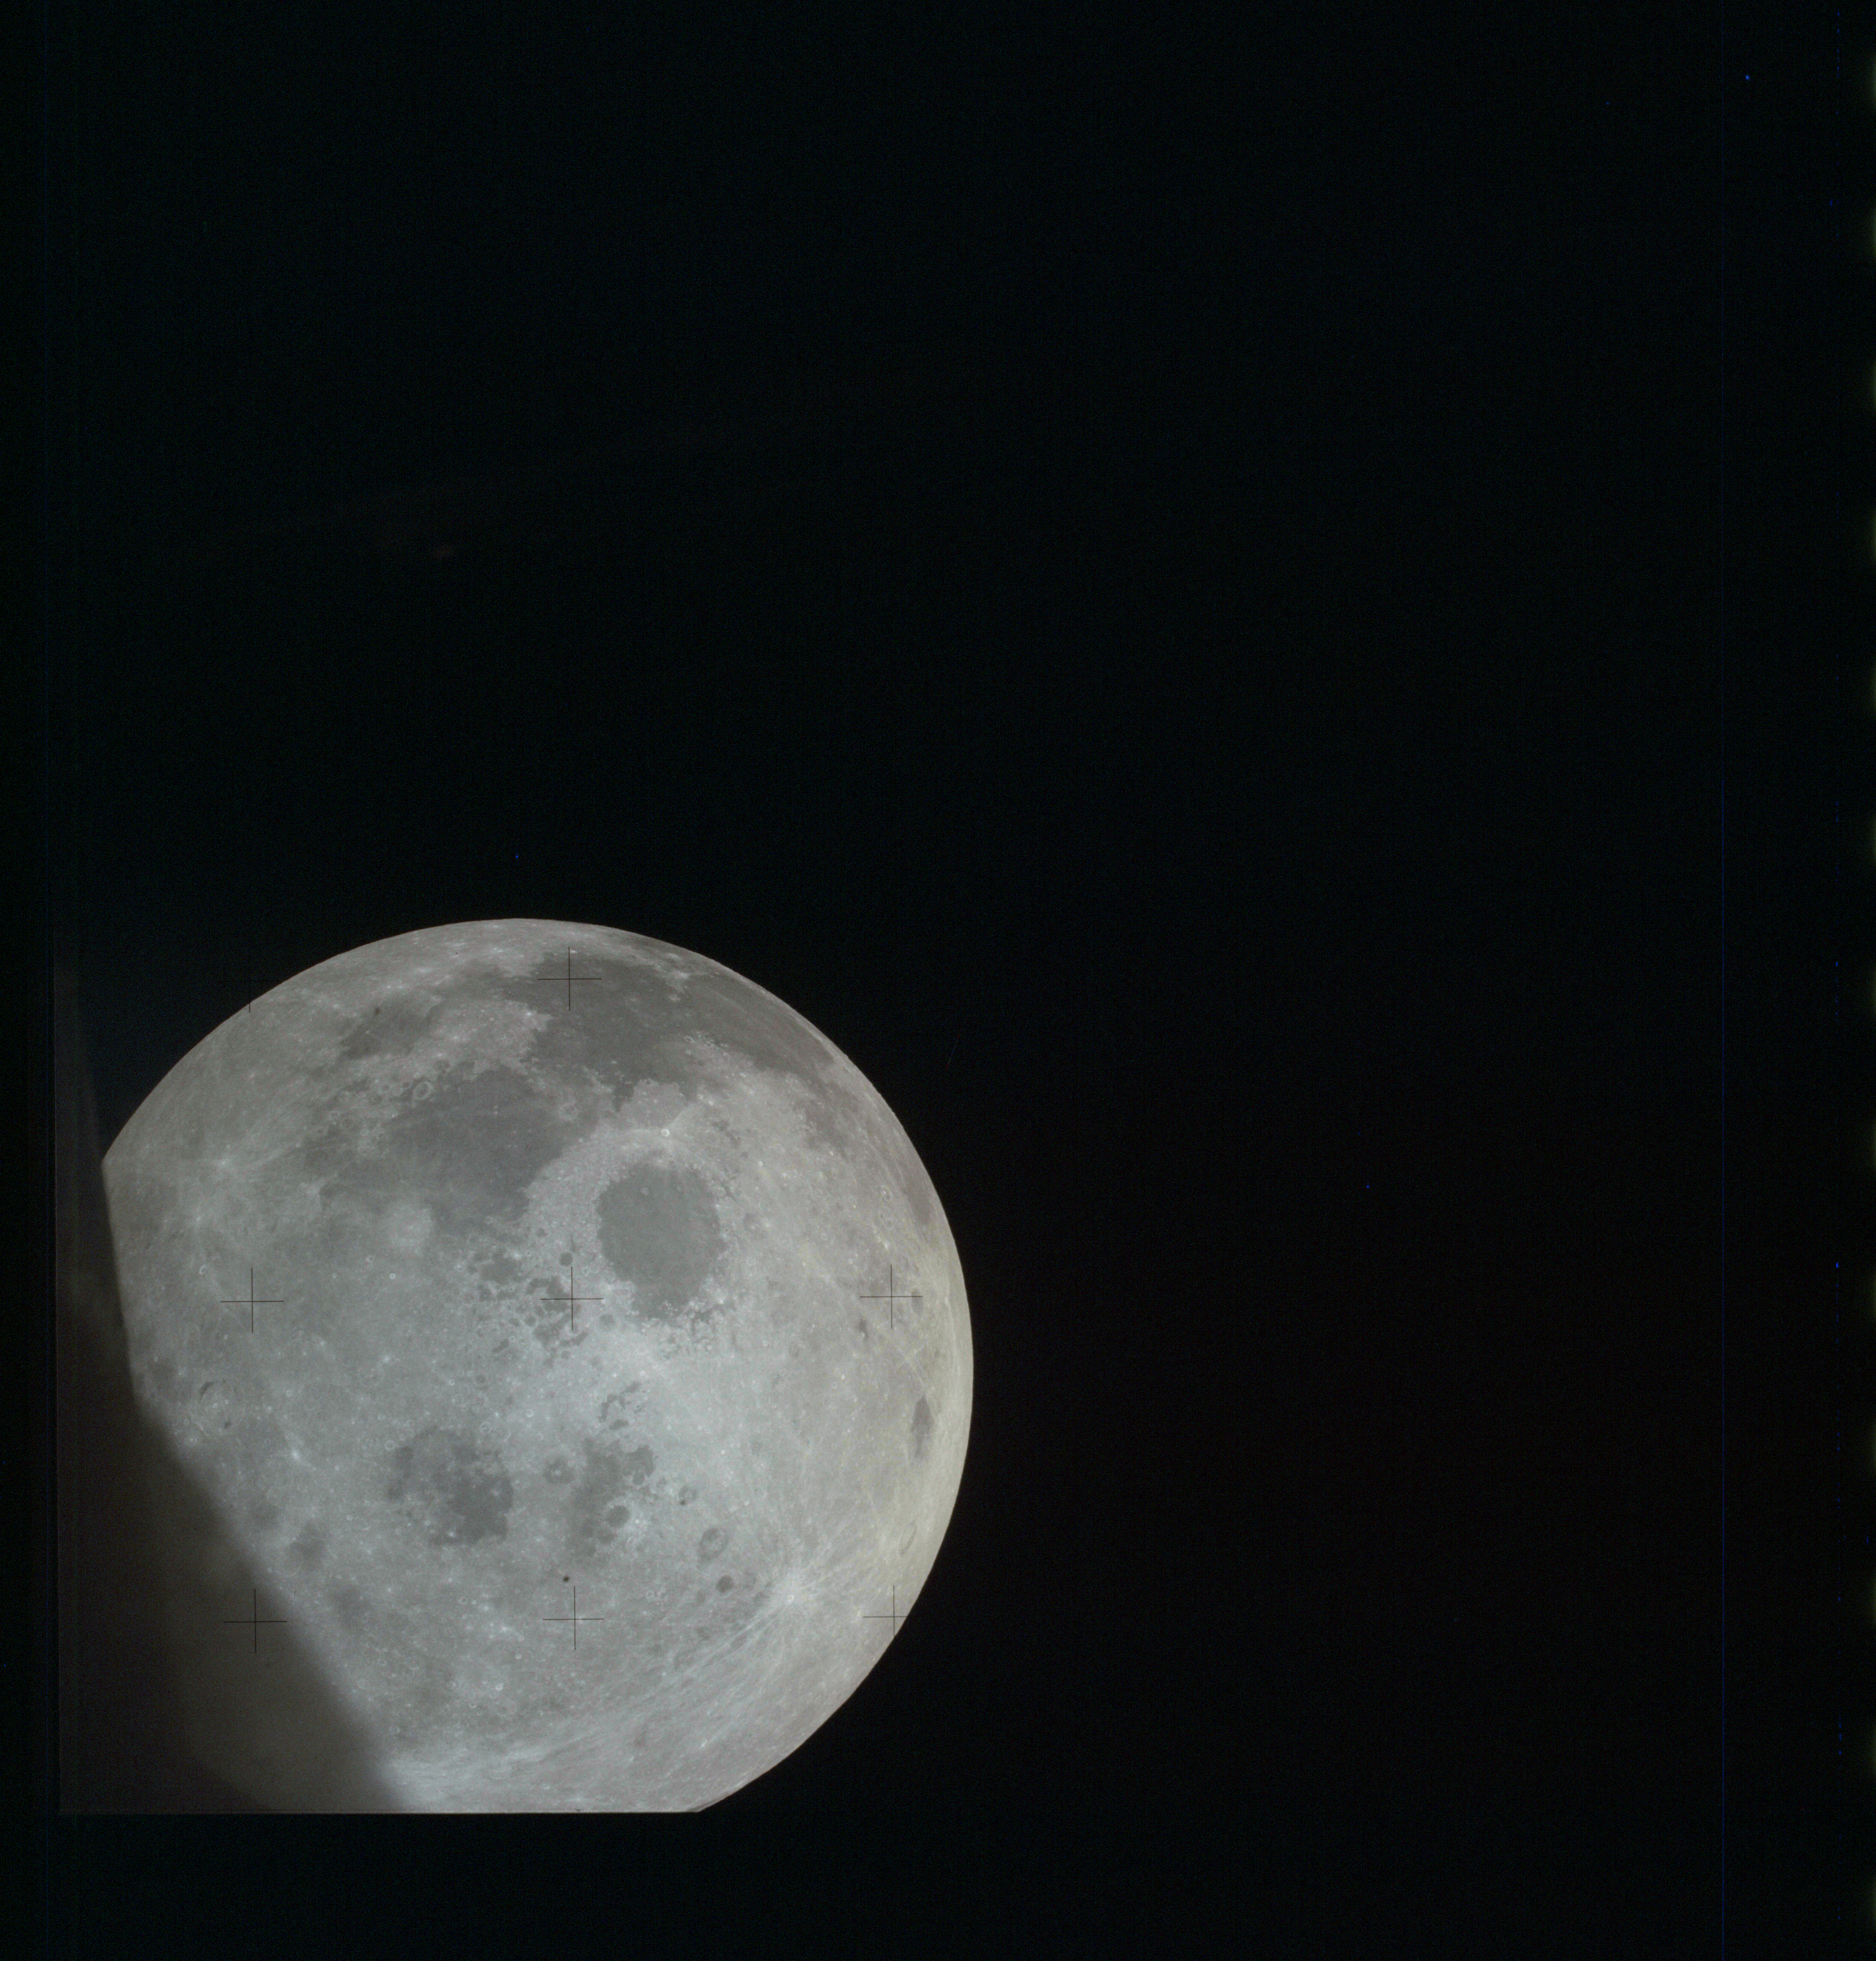
AS13-61-8810 Browse or print resolution. Moon from Apollo 13. Image credit: Image Science and Analysis Laboratory, NASA-Johnson Space Center. |
|
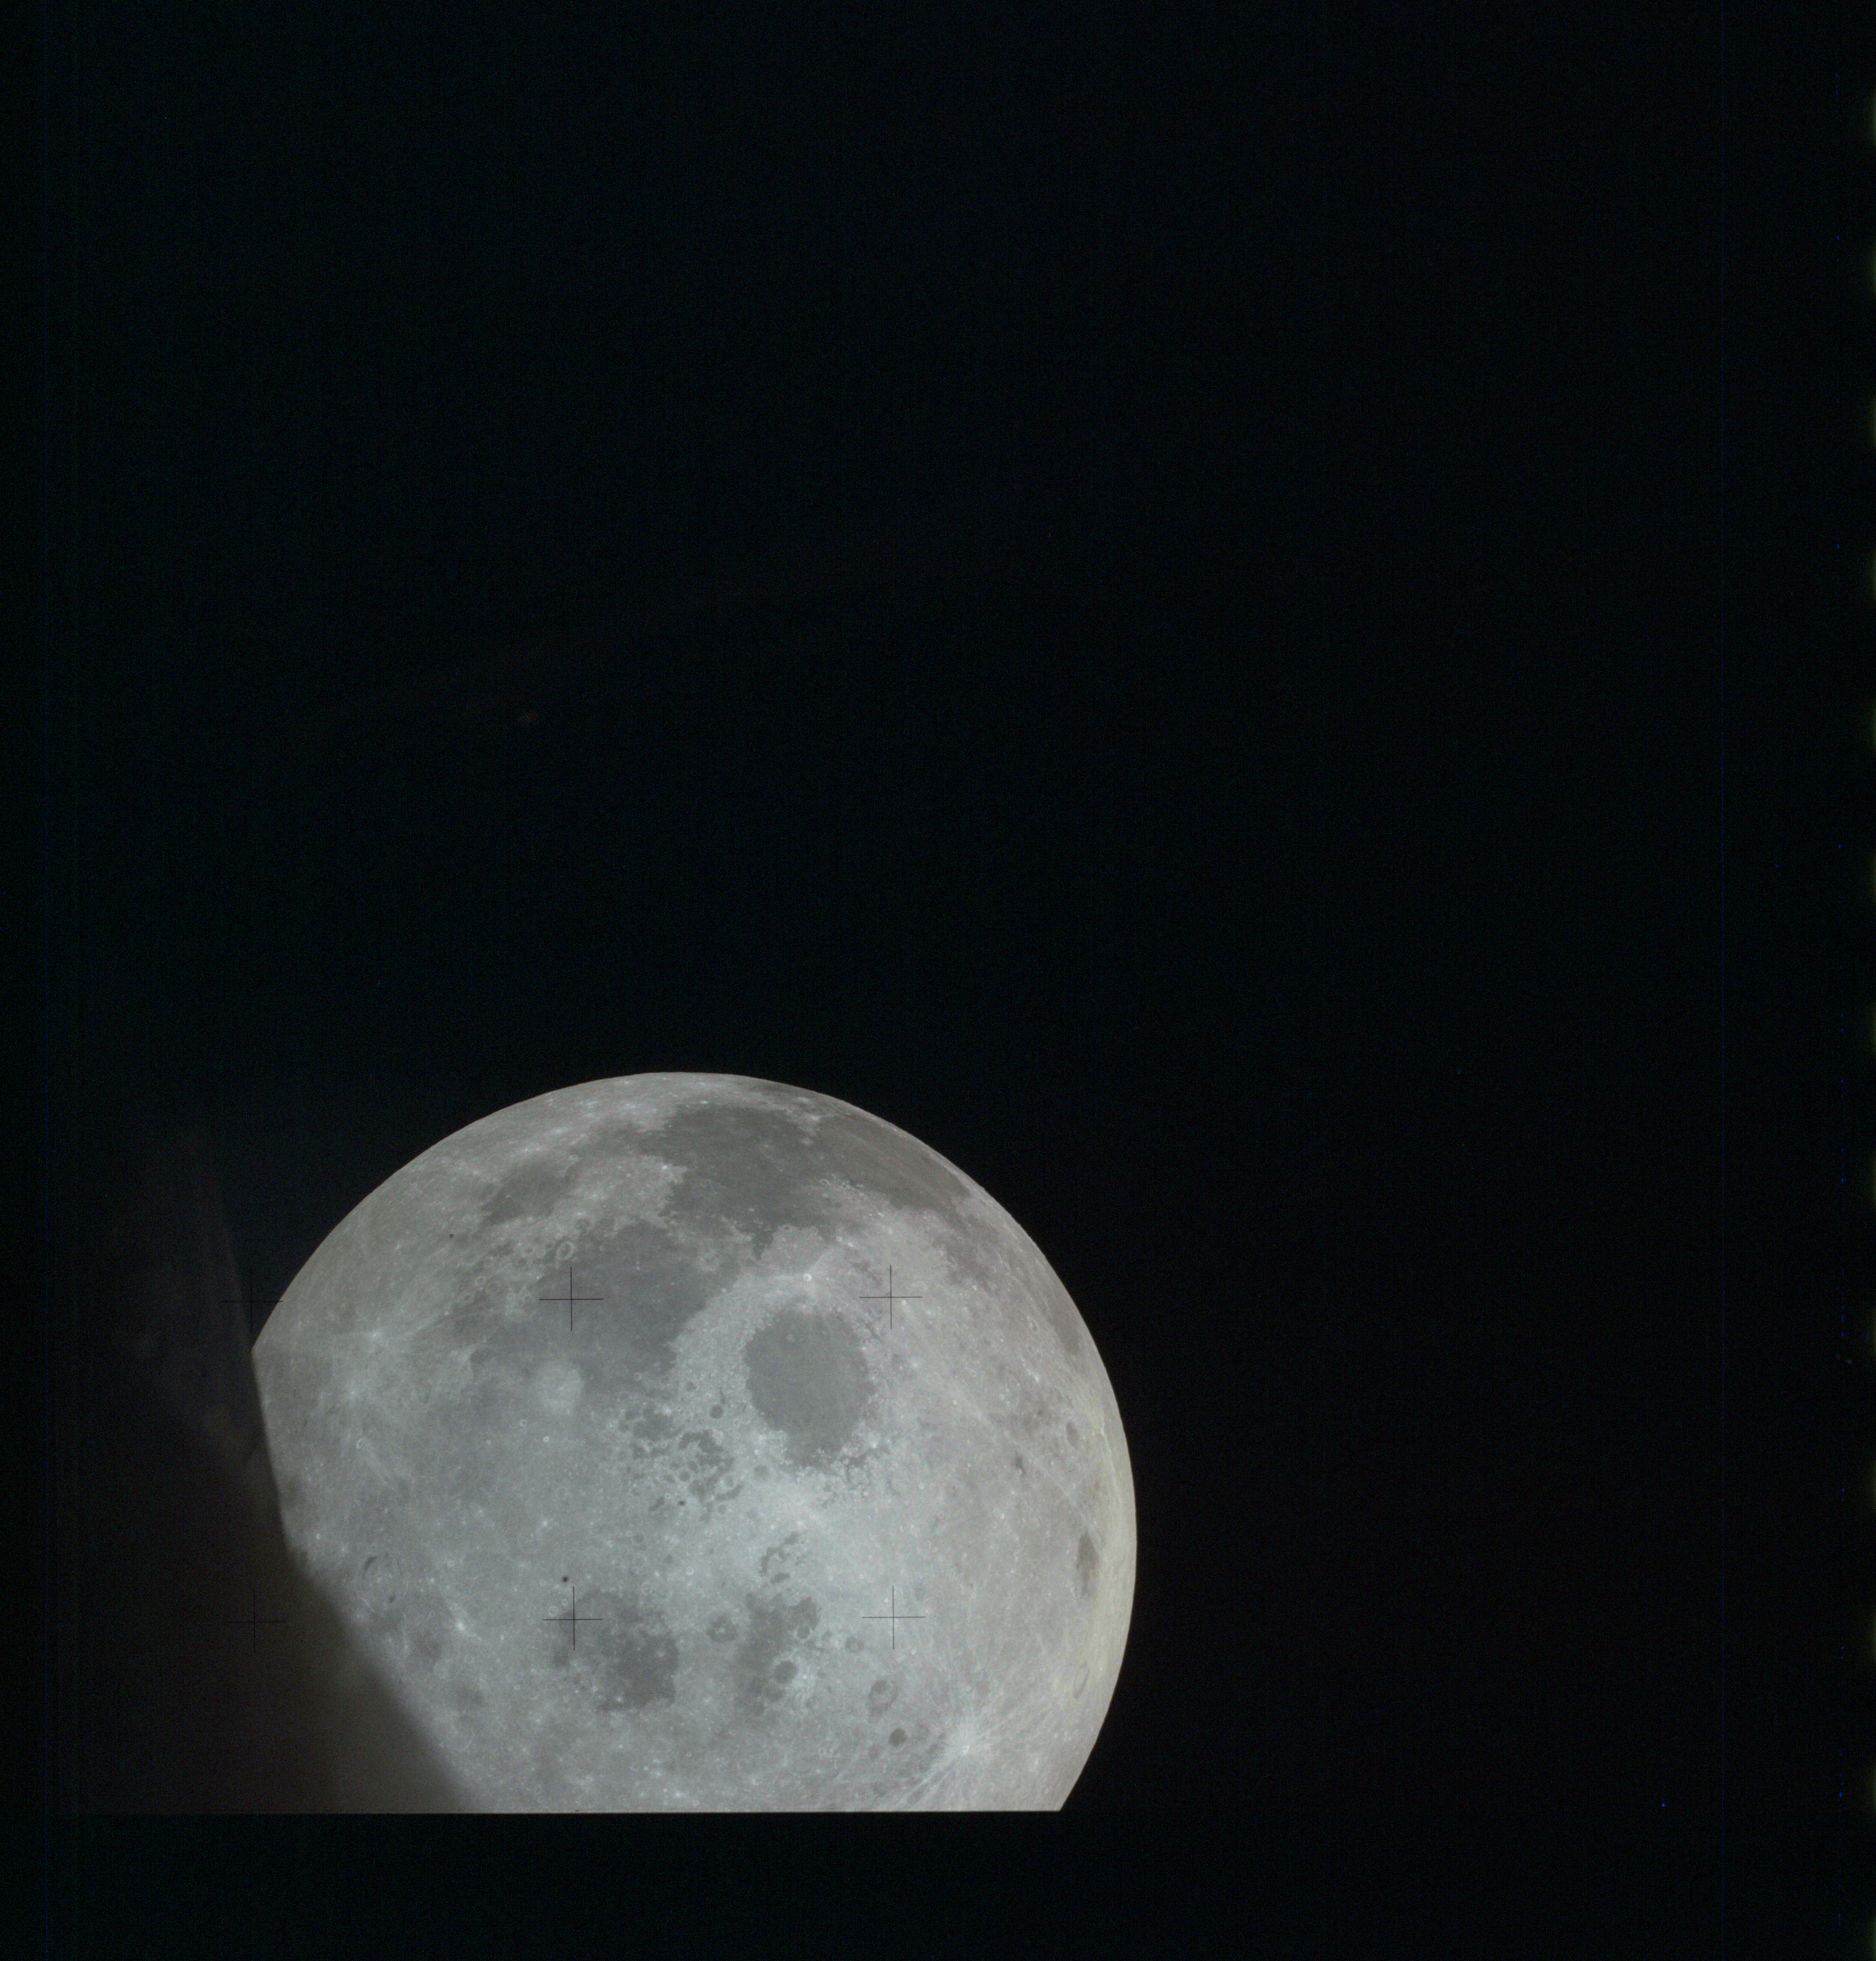
AS13-61-8811 Browse or print resolution. Moon from Apollo 13. Image credit: Image Science and Analysis Laboratory, NASA-Johnson Space Center. |
|
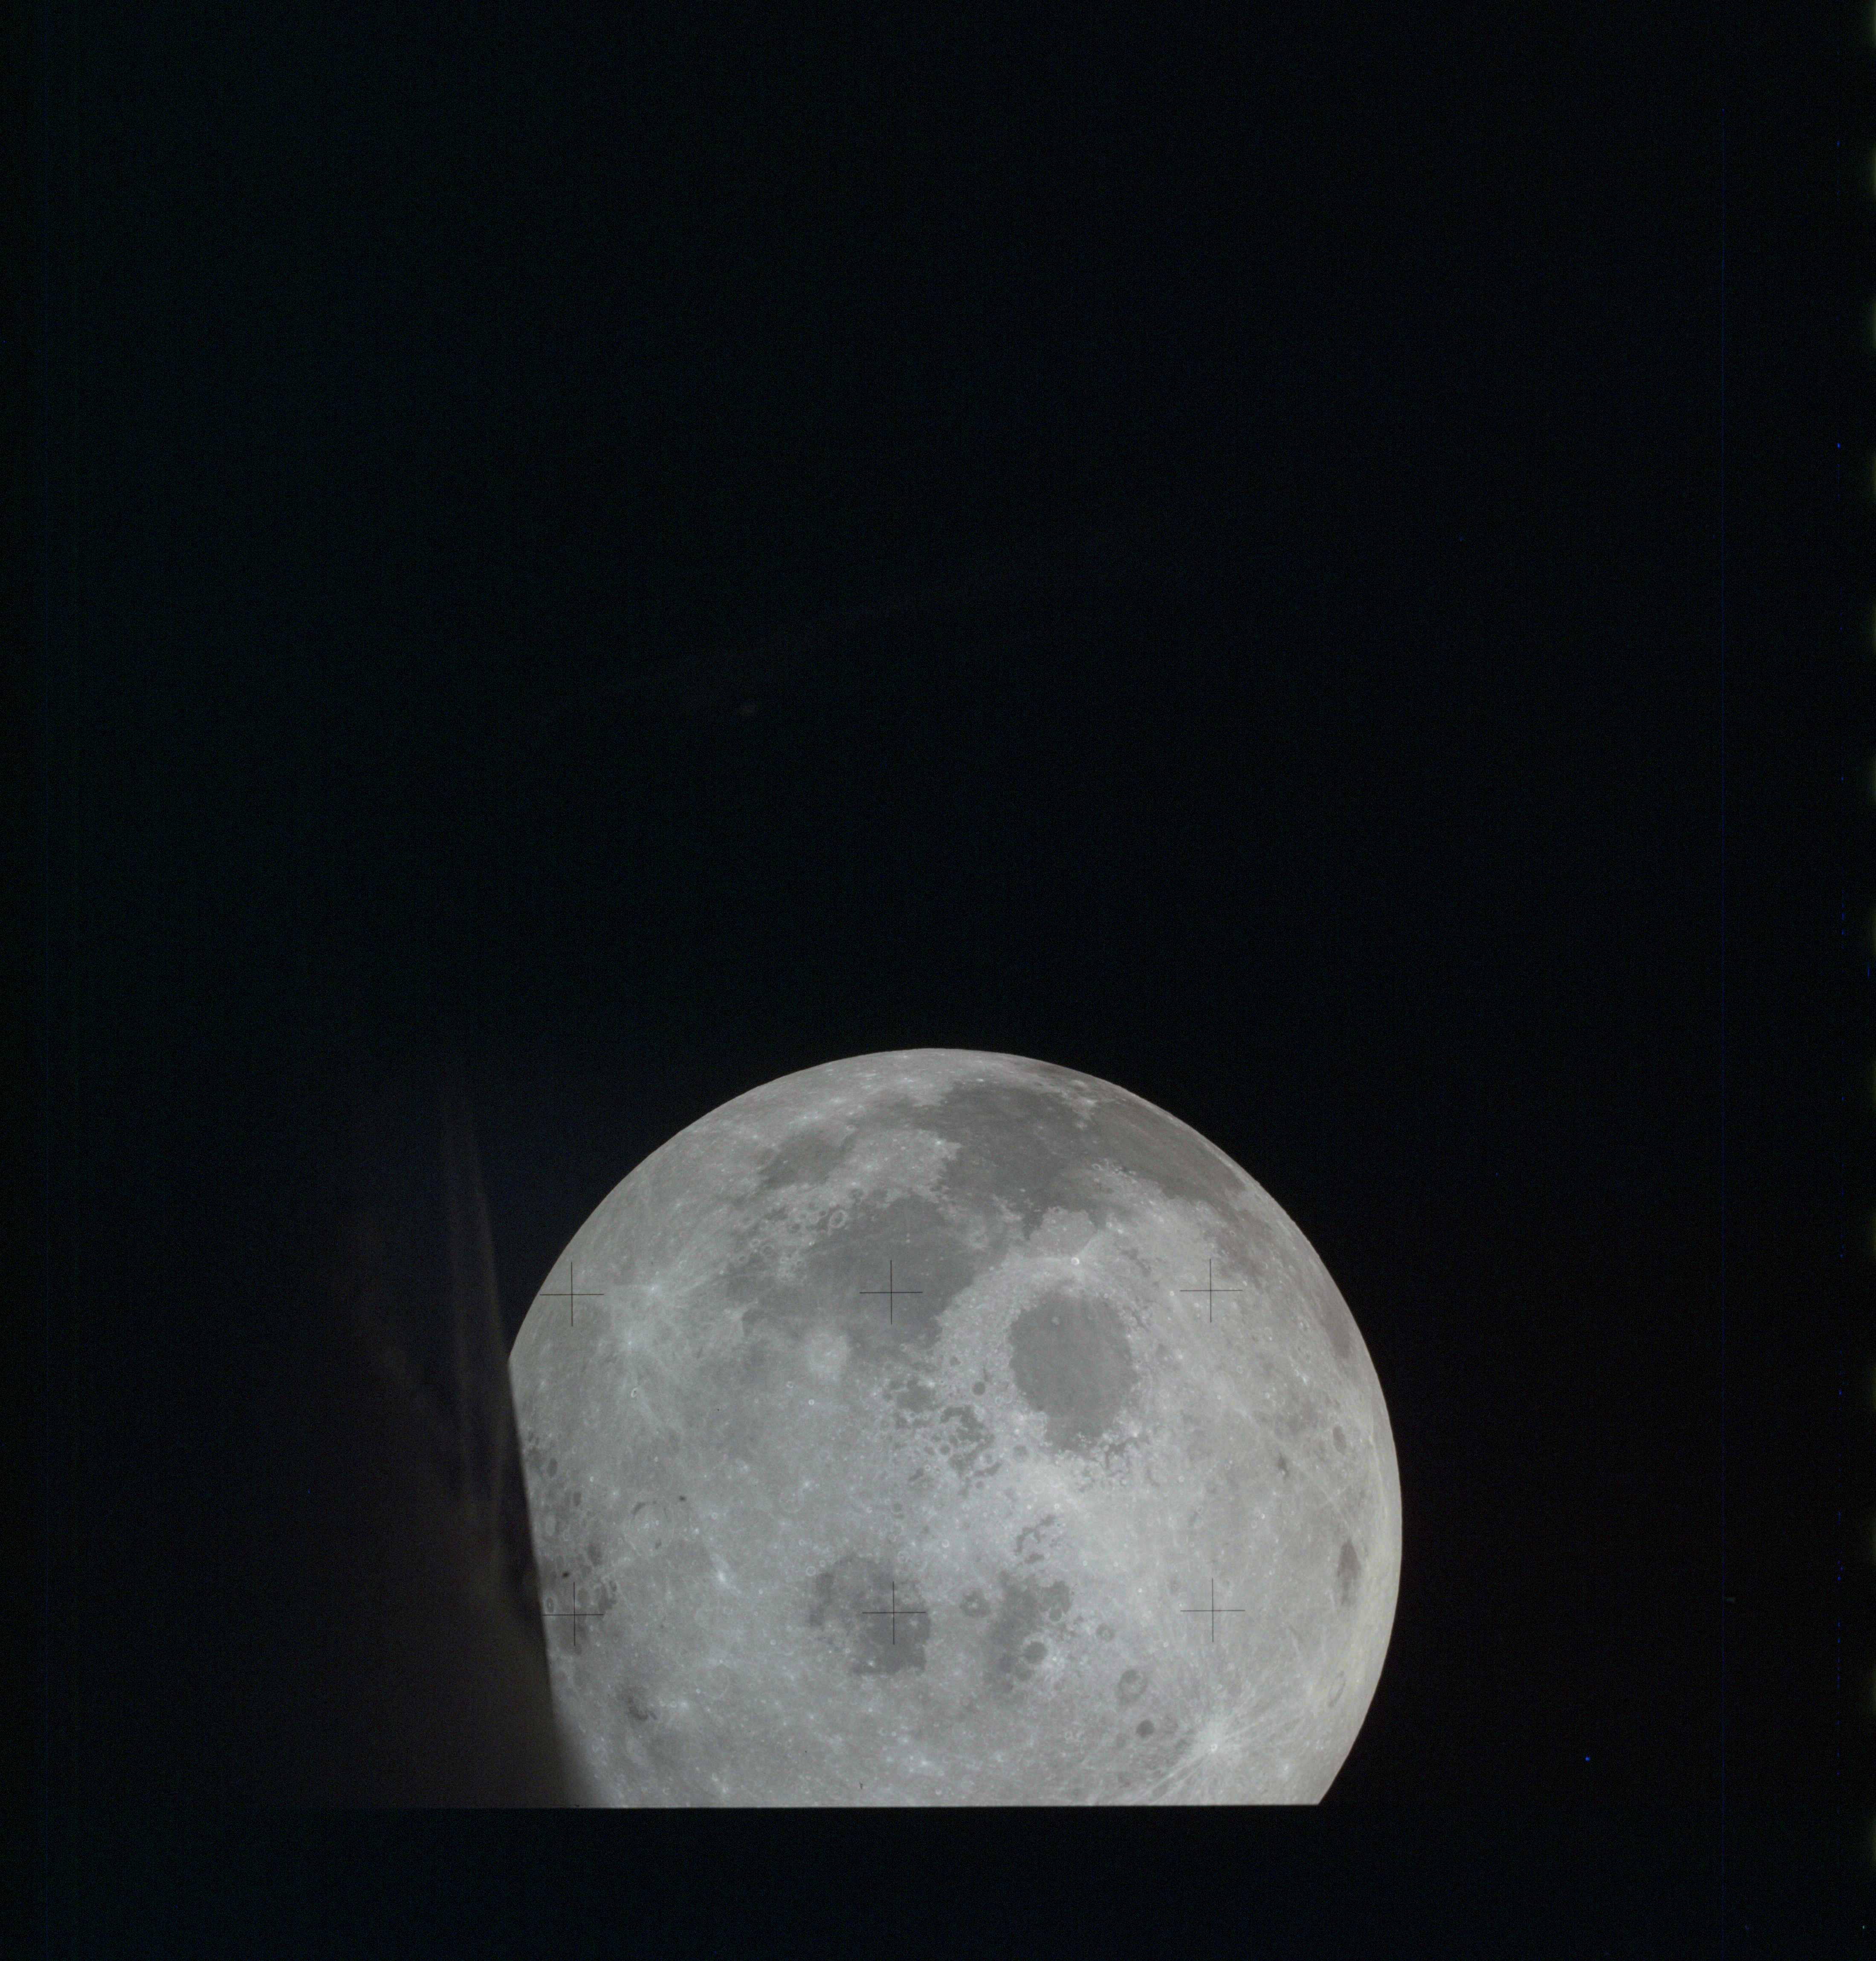
AS13-61-8812 Browse or print resolution. Moon from Apollo 13. Image credit: Image Science and Analysis Laboratory, NASA-Johnson Space Center. |
|
AS13-61-8813 Browse or print resolution. Underexposed Lunar Module interior. Image credit: Image Science and Analysis Laboratory, NASA-Johnson Space Center. |
|
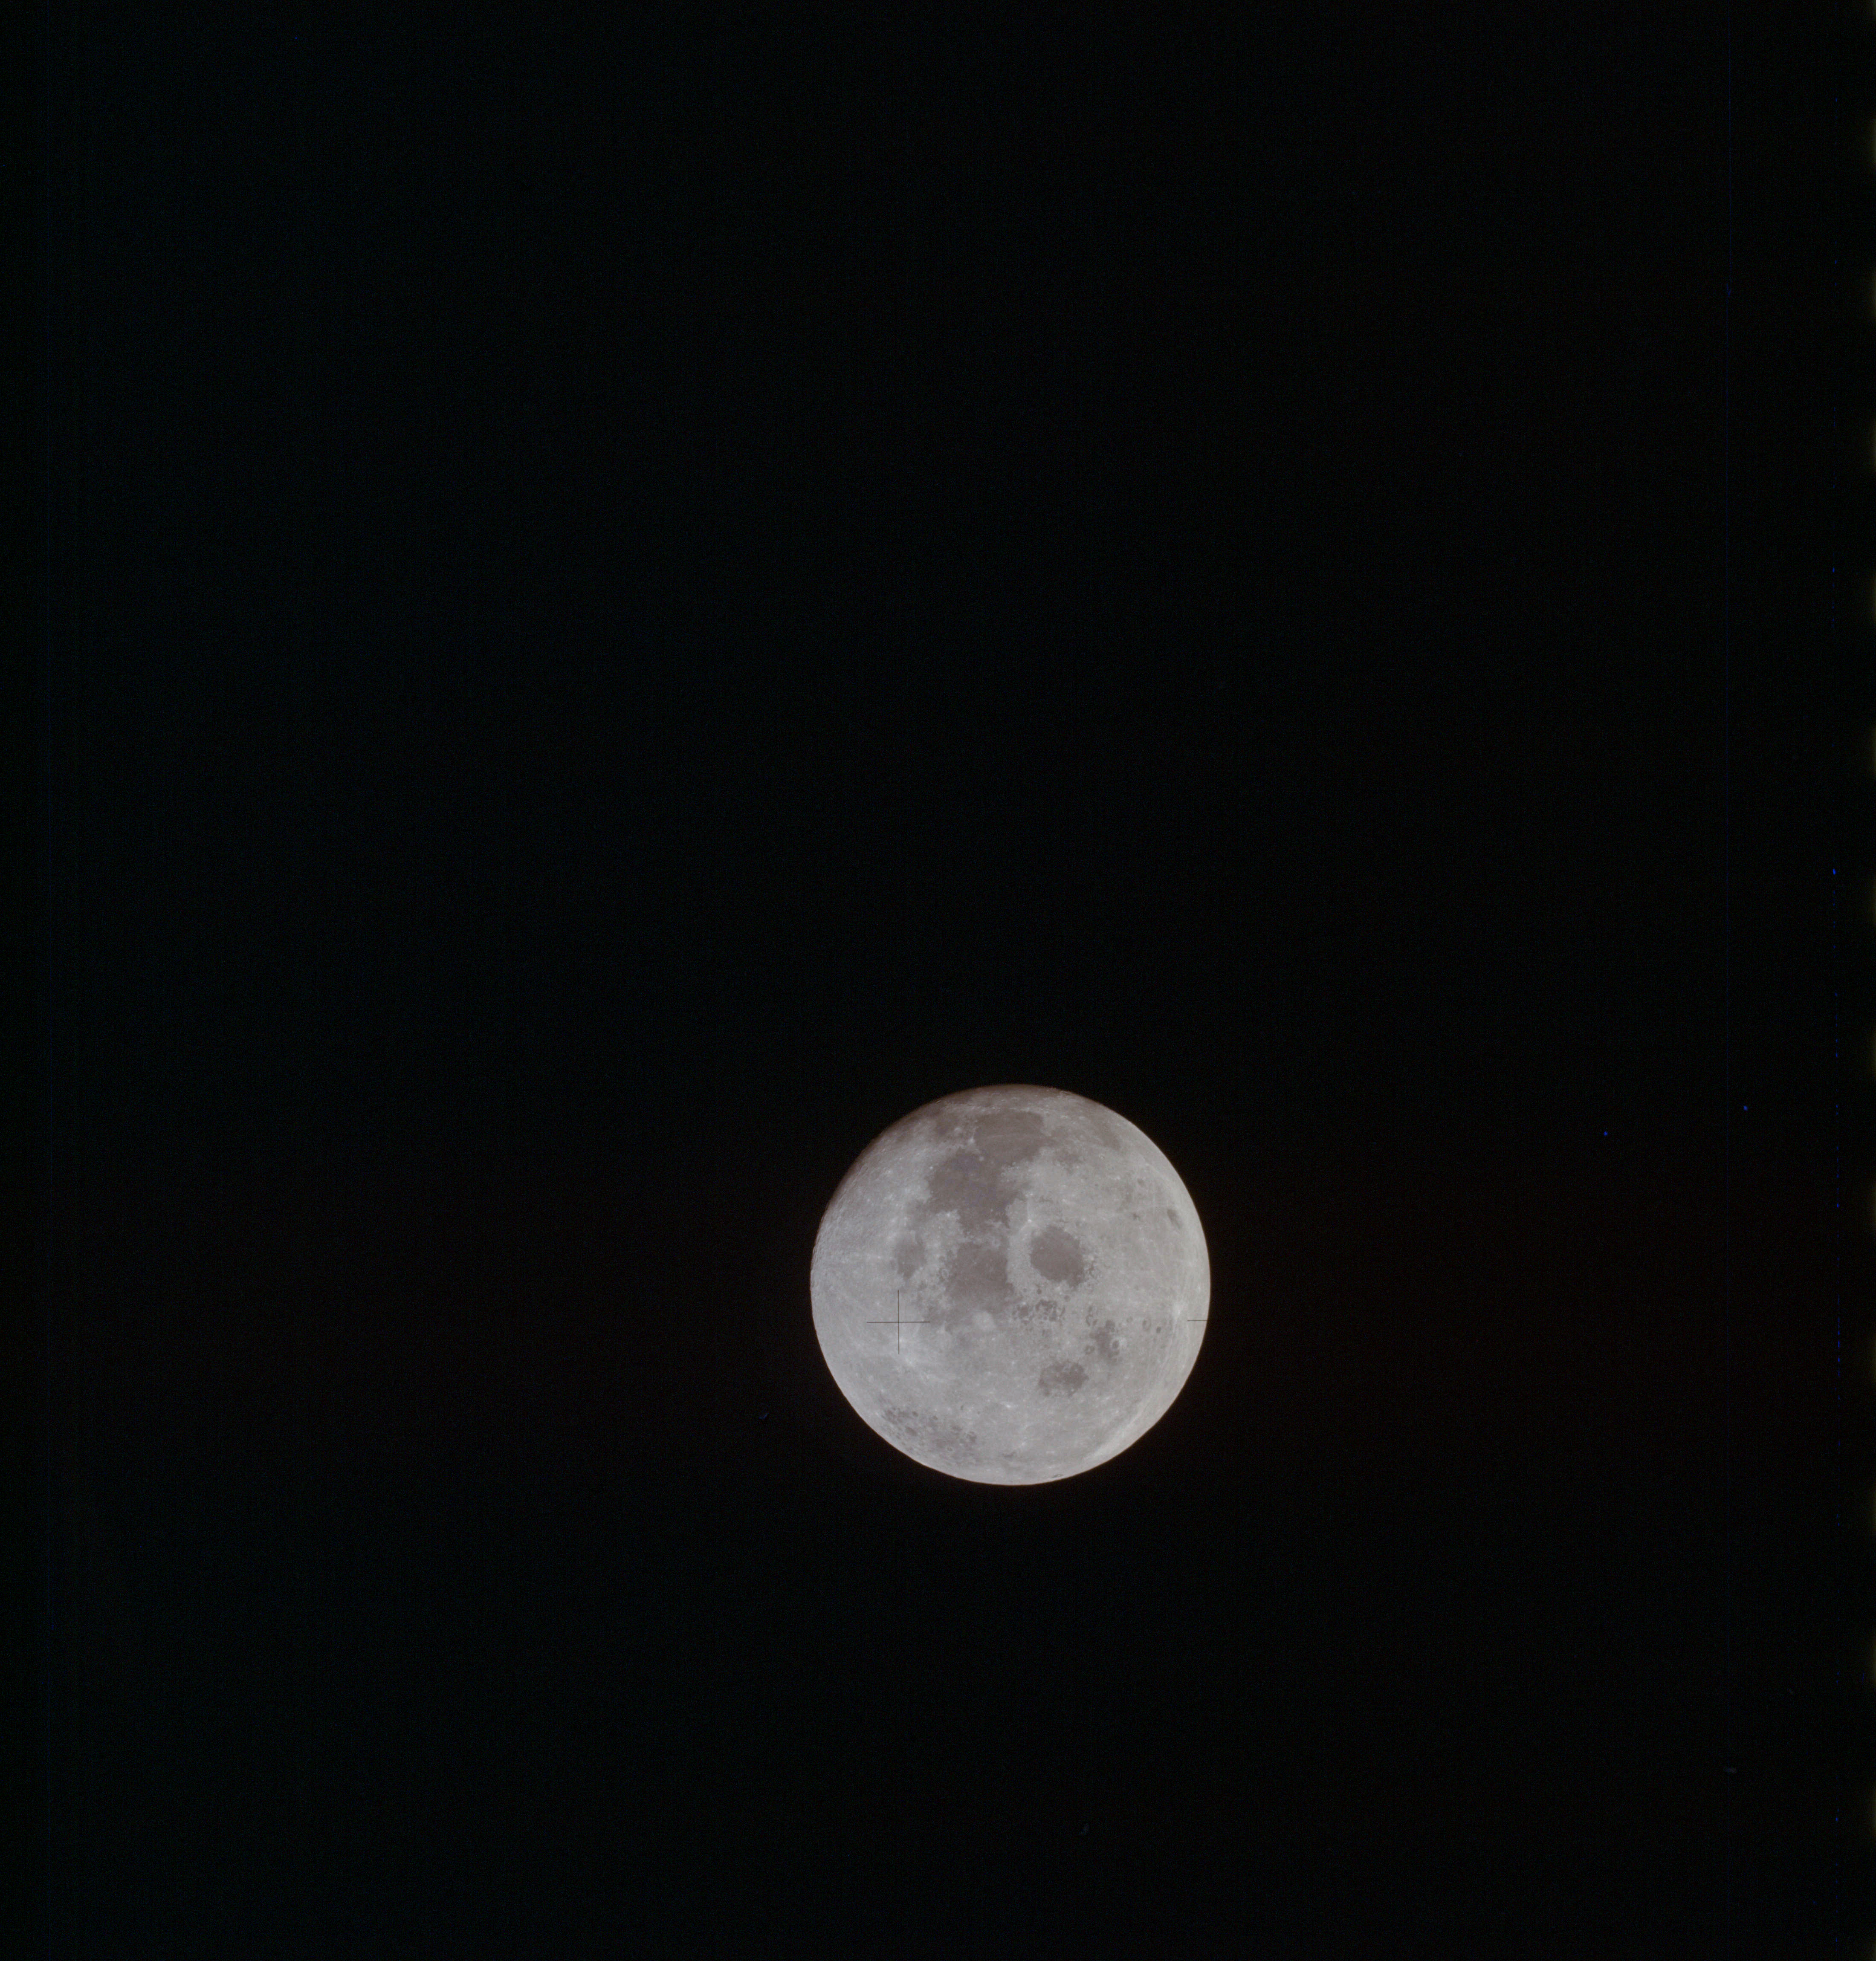
AS13-61-8813a Browse or print resolution. Underexposed Lunar Module interior. Image credit: Image Science and Analysis Laboratory, NASA-Johnson Space Center. |
|
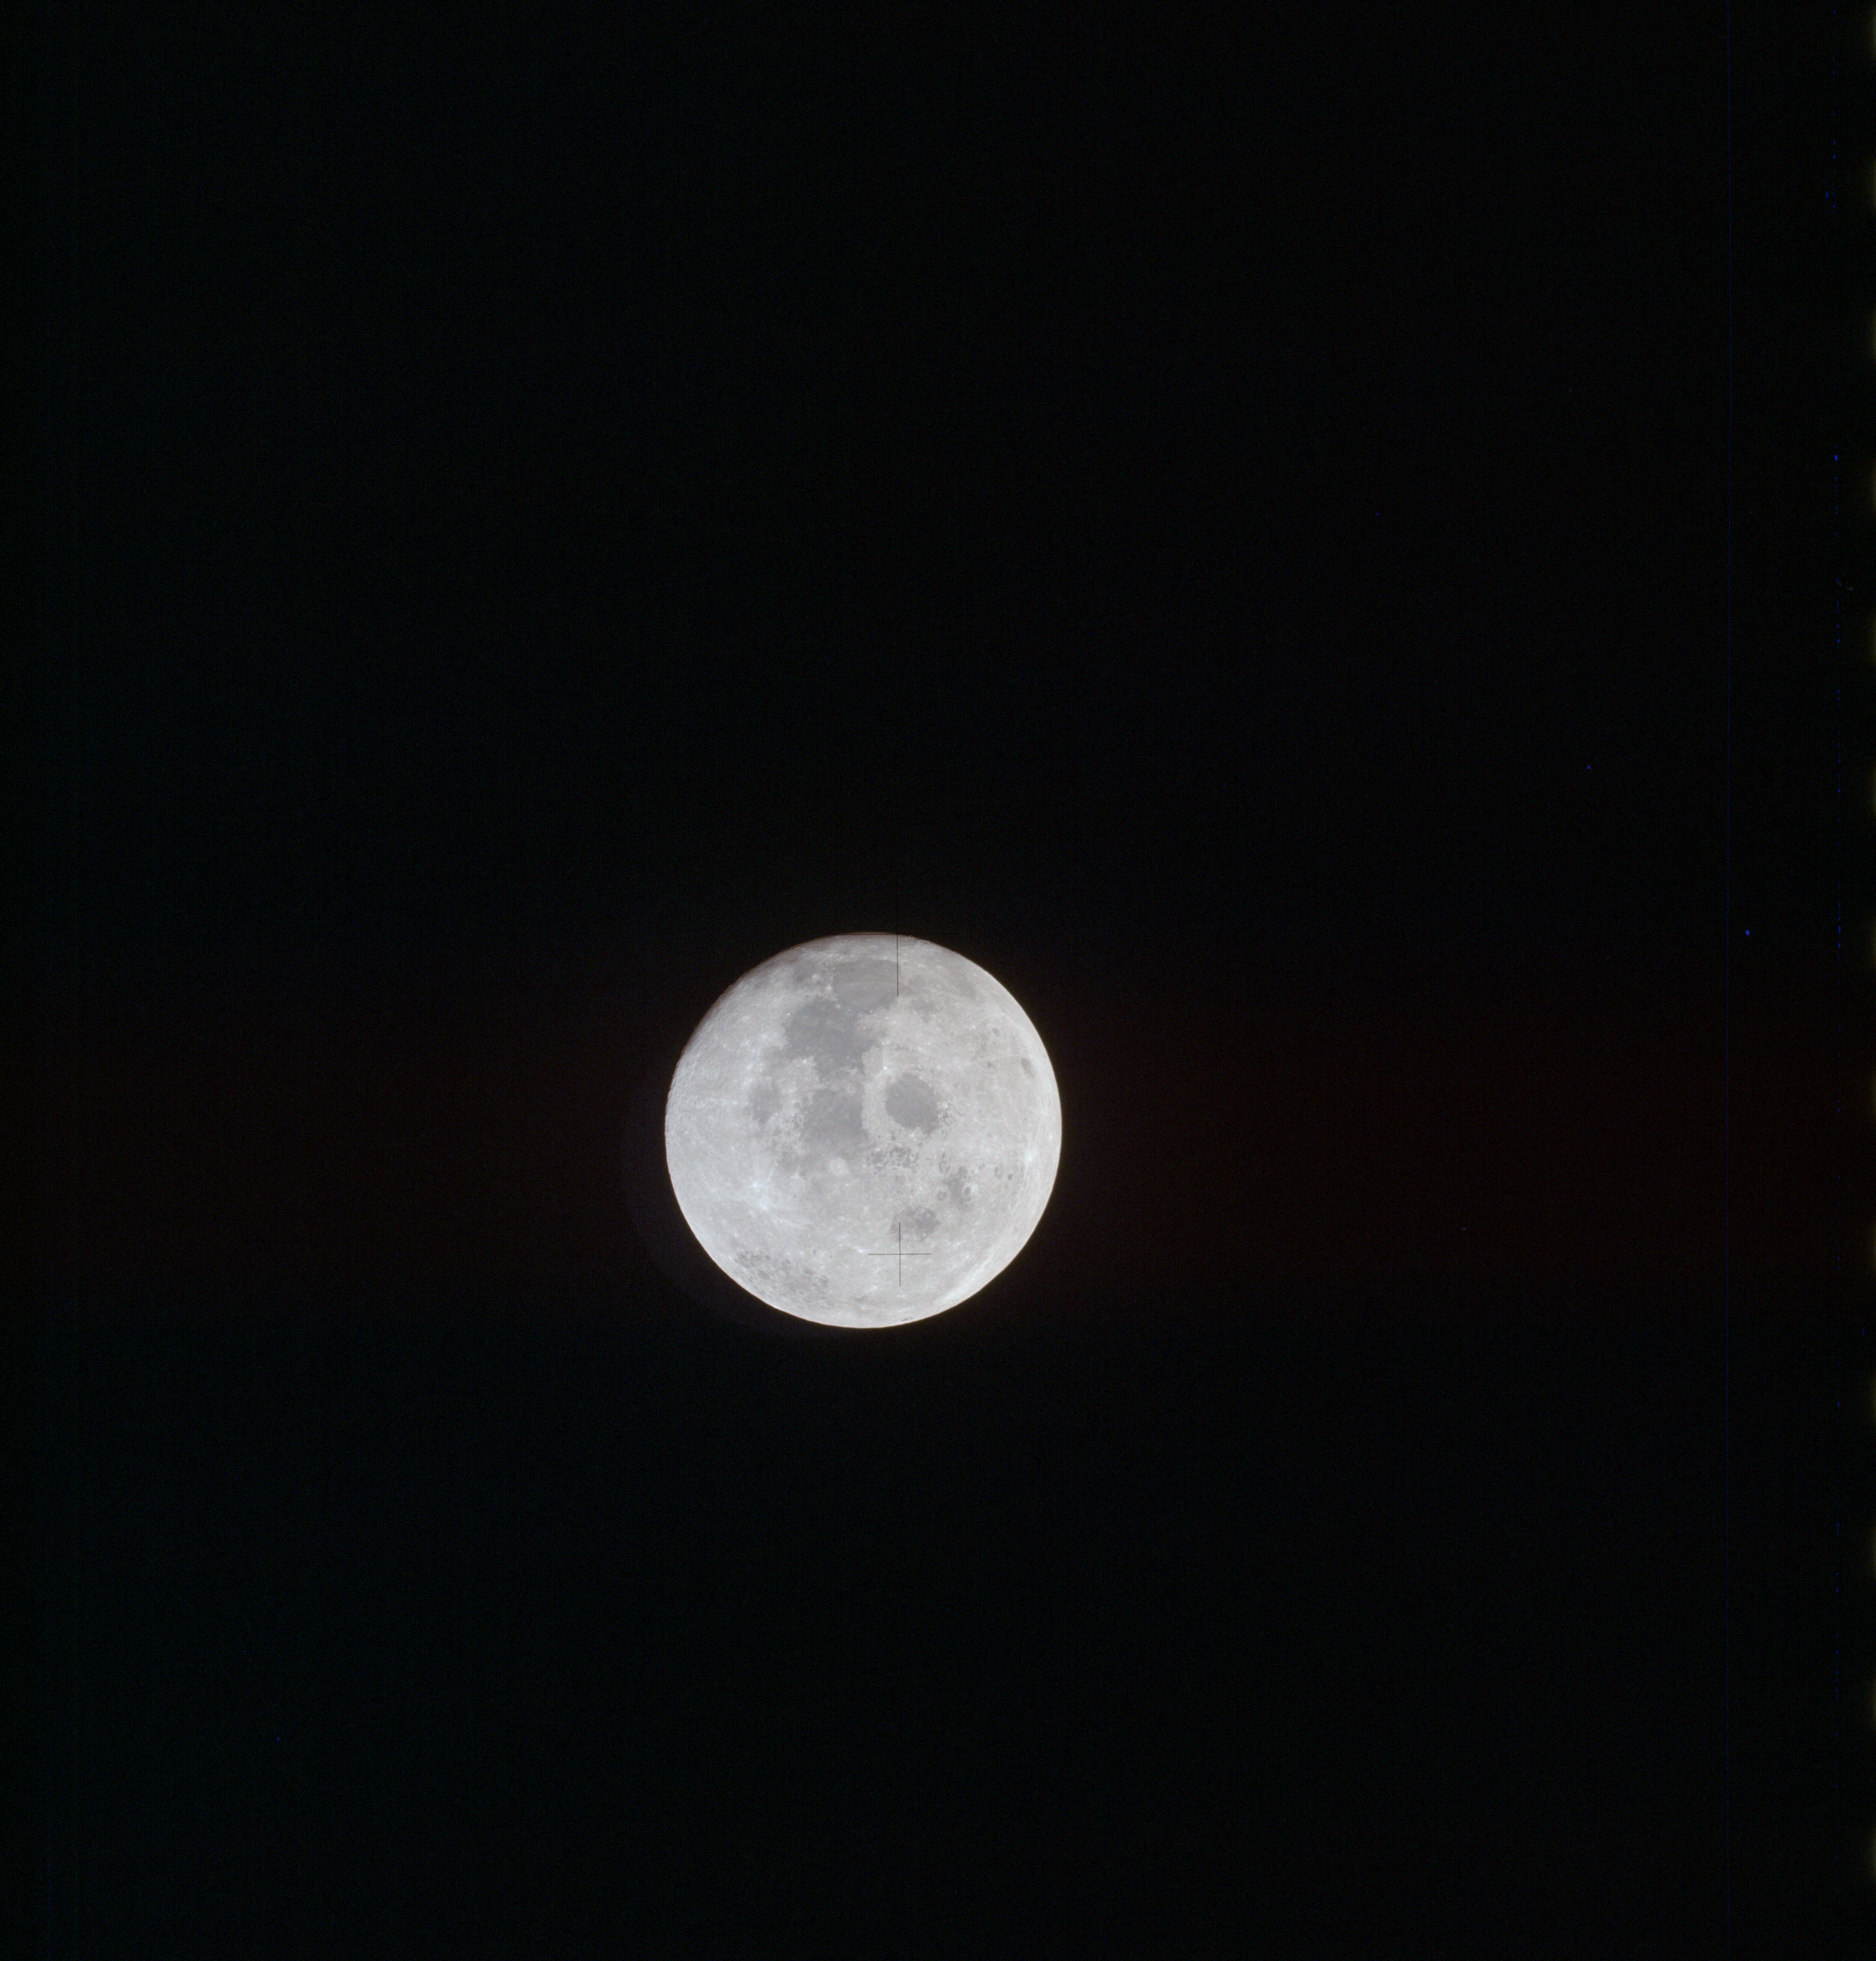
AS13-61-8814 Browse or print resolution. Moon from Apollo 13. Image credit: Image Science and Analysis Laboratory, NASA-Johnson Space Center. |
|
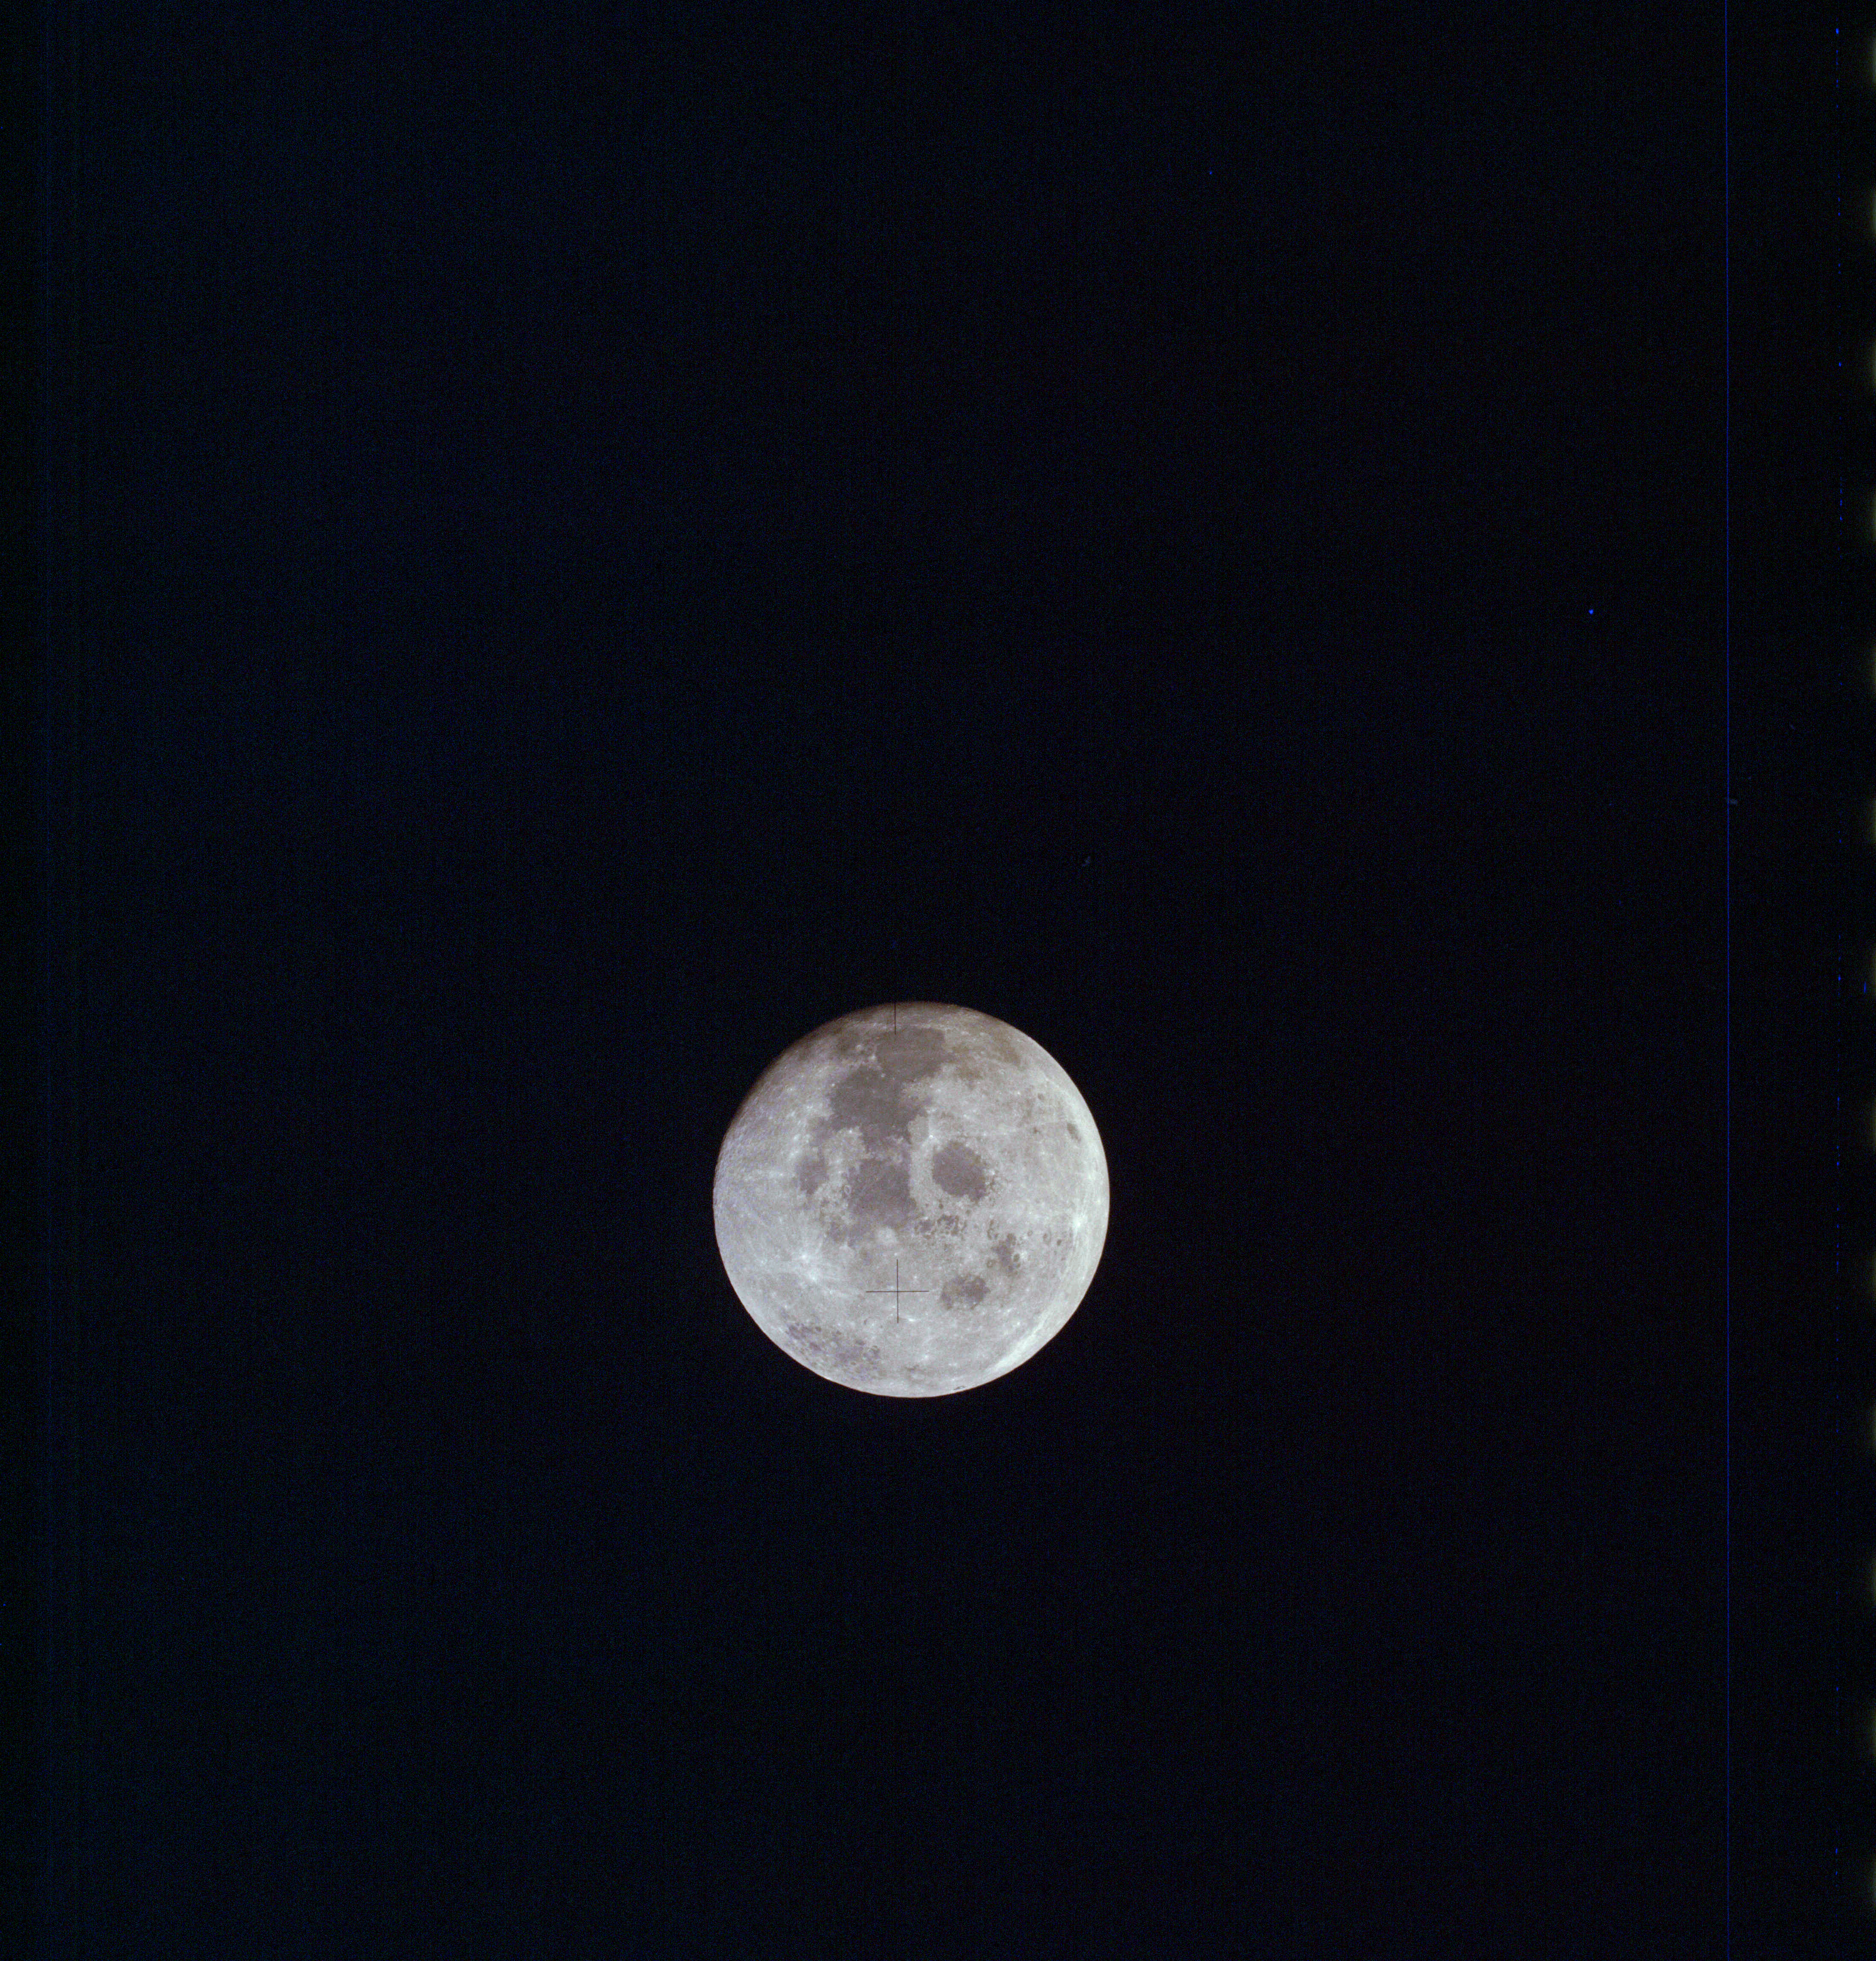
AS13-61-8815 Browse or print resolution. Moon from Apollo 13. Image credit: Image Science and Analysis Laboratory, NASA-Johnson Space Center. |
|
AS13-61-8816 Browse or print resolution. Moon from Apollo 13. Image credit: Image Science and Analysis Laboratory, NASA-Johnson Space Center. |
|
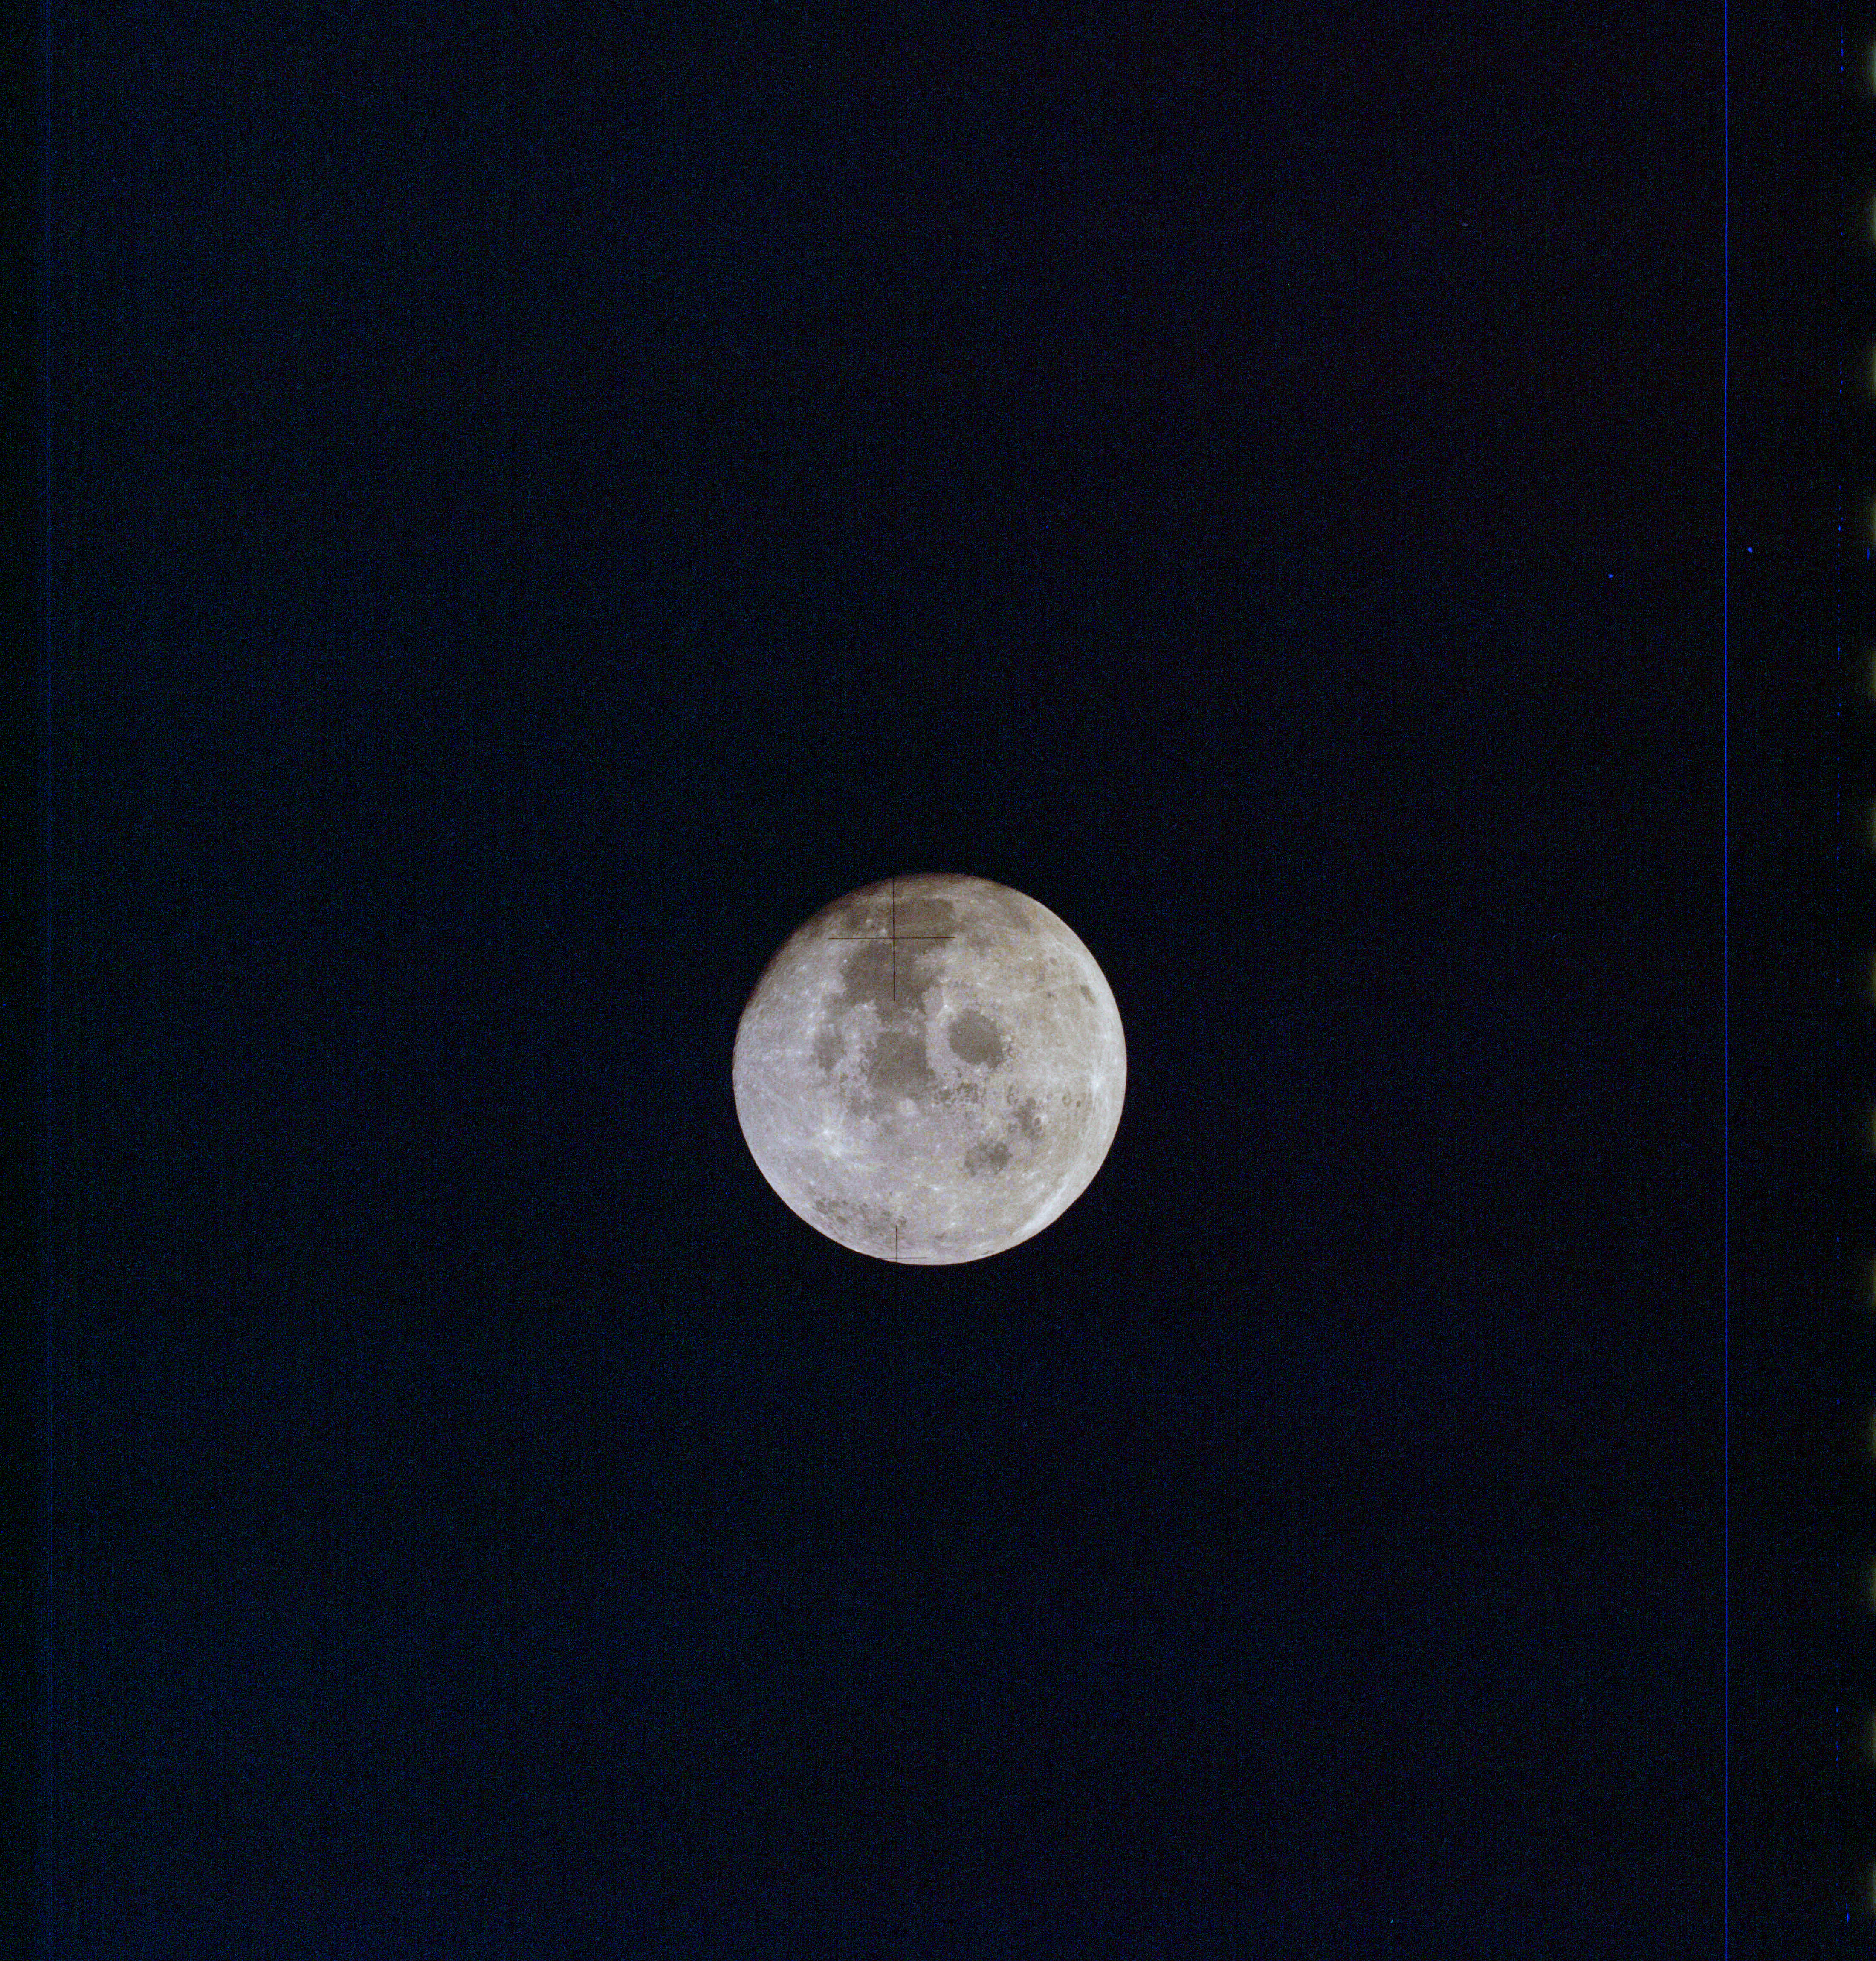
AS13-61-8817 Browse or print resolution. Moon from Apollo 13. Image credit: Image Science and Analysis Laboratory, NASA-Johnson Space Center. |
|
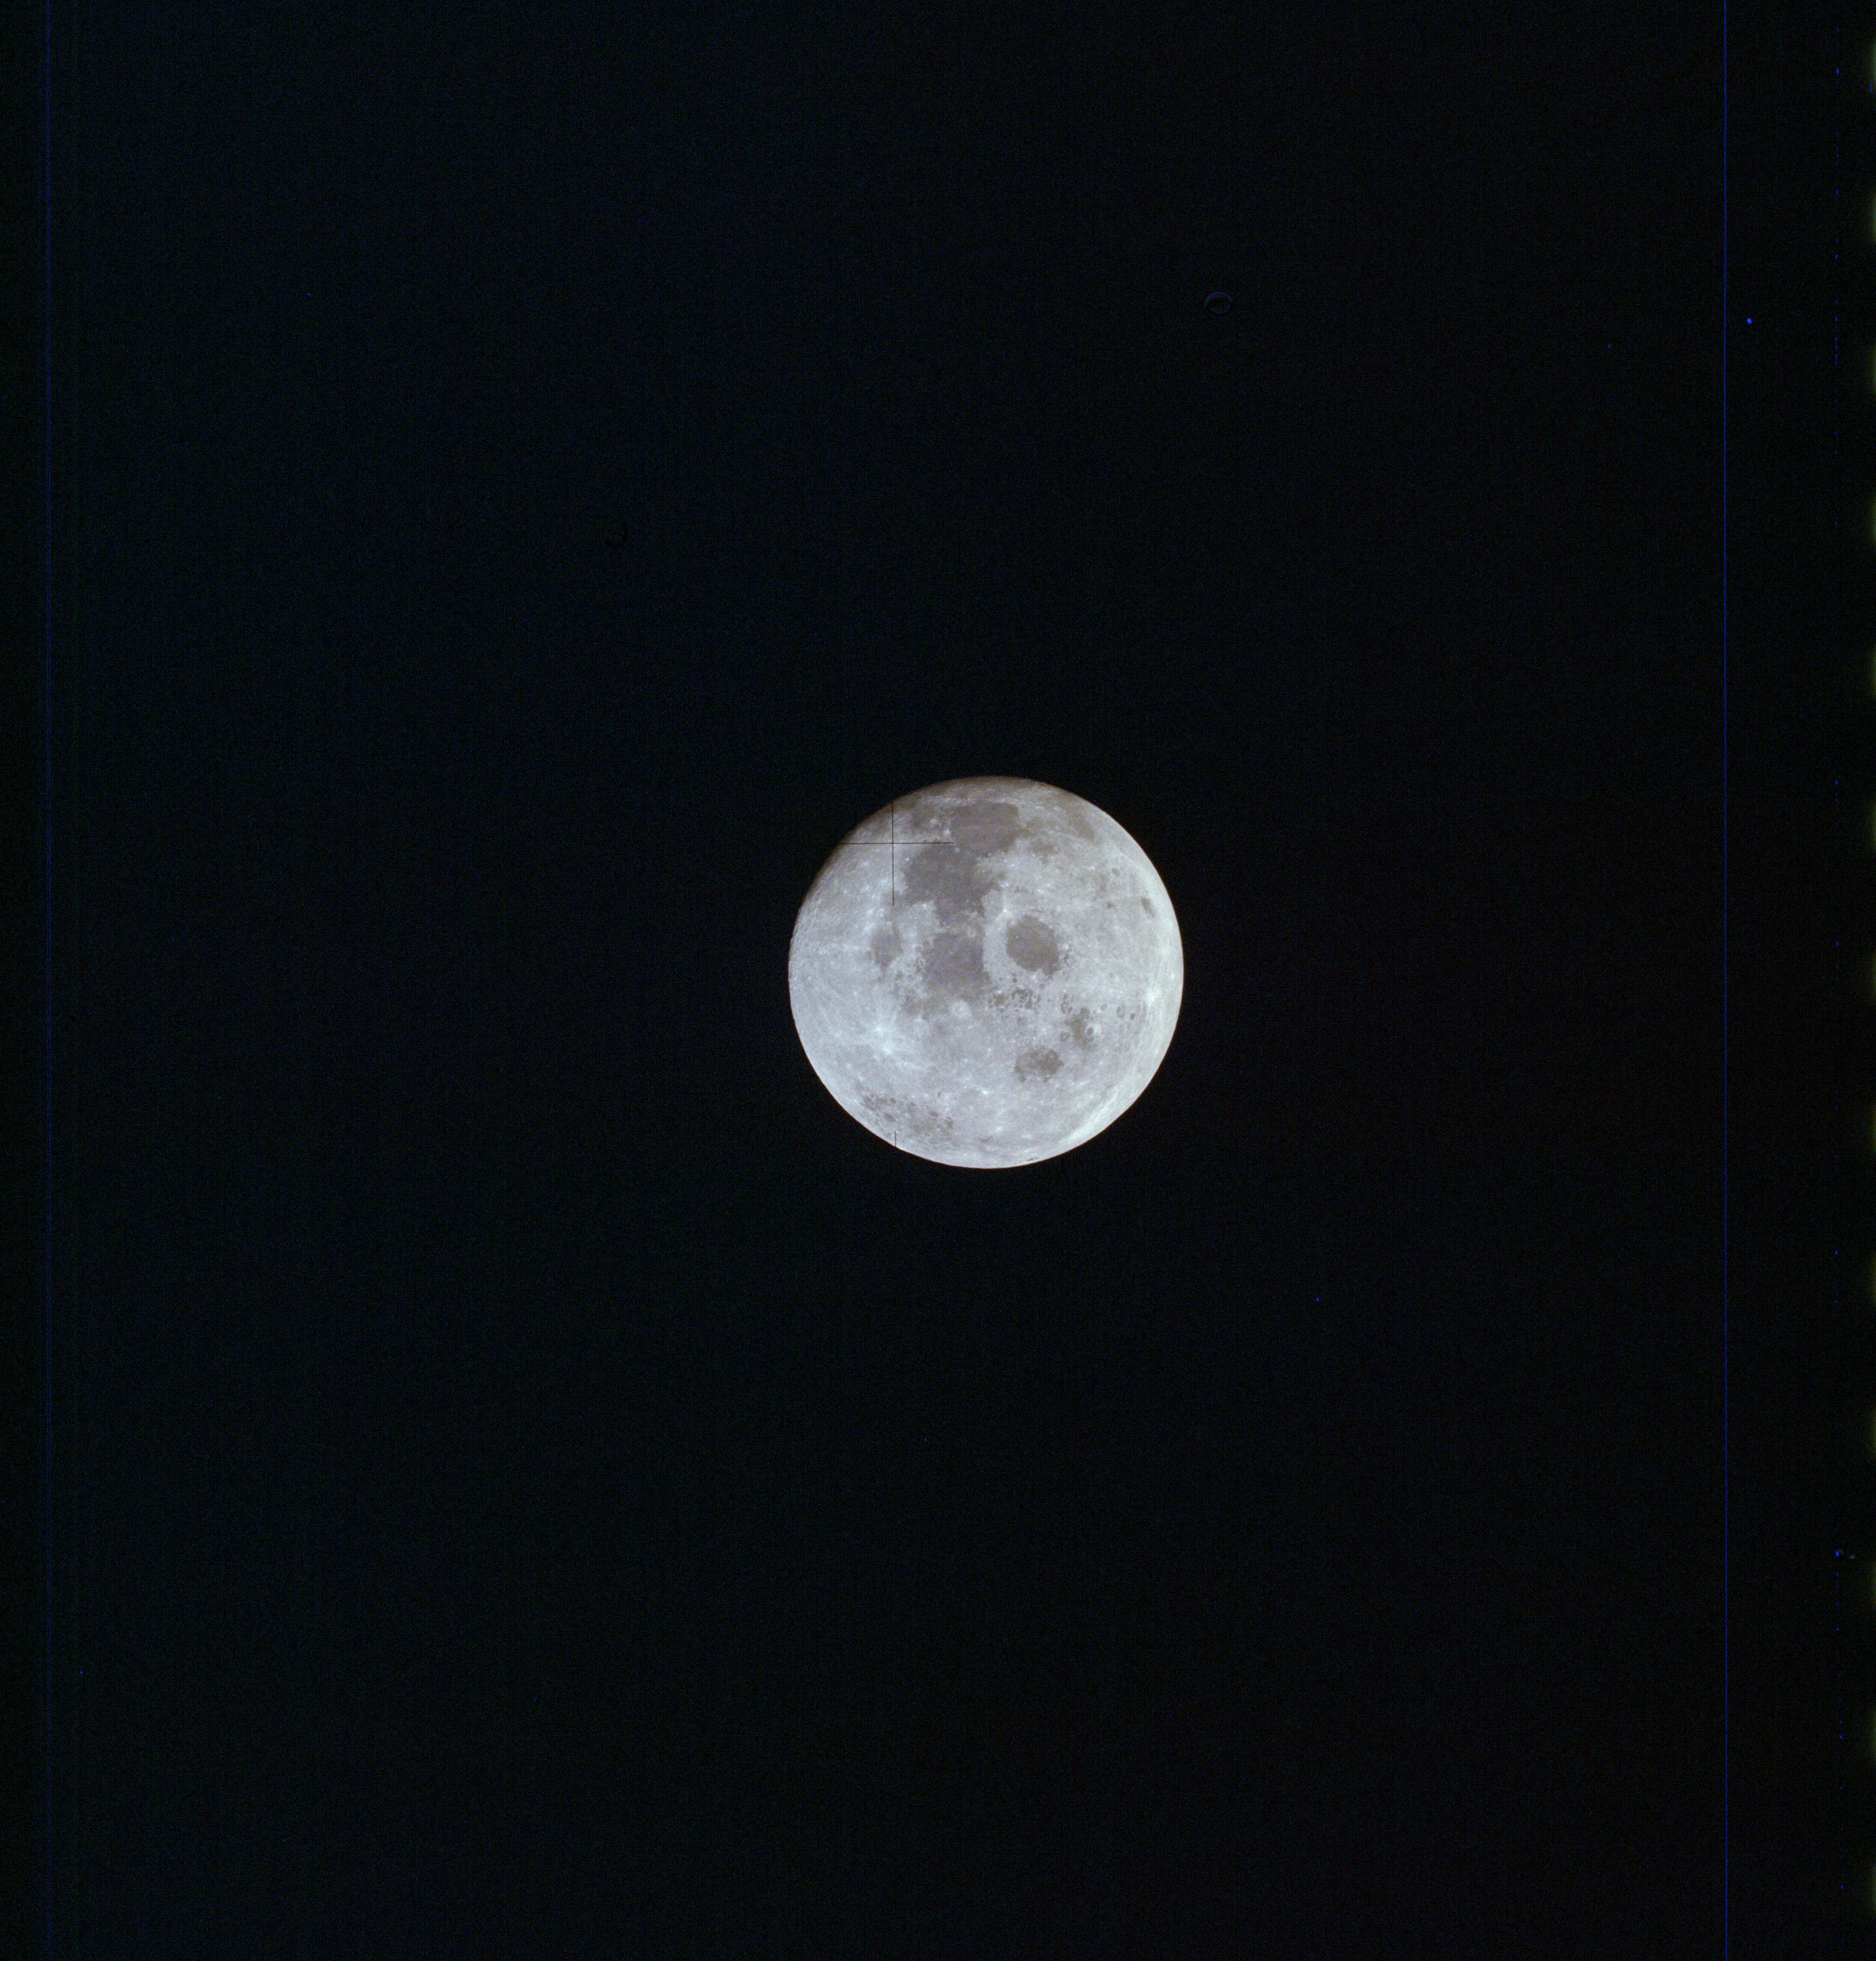
AS13-61-8818 Browse or print resolution. Moon from Apollo 13. Image credit: Image Science and Analysis Laboratory, NASA-Johnson Space Center. |
|
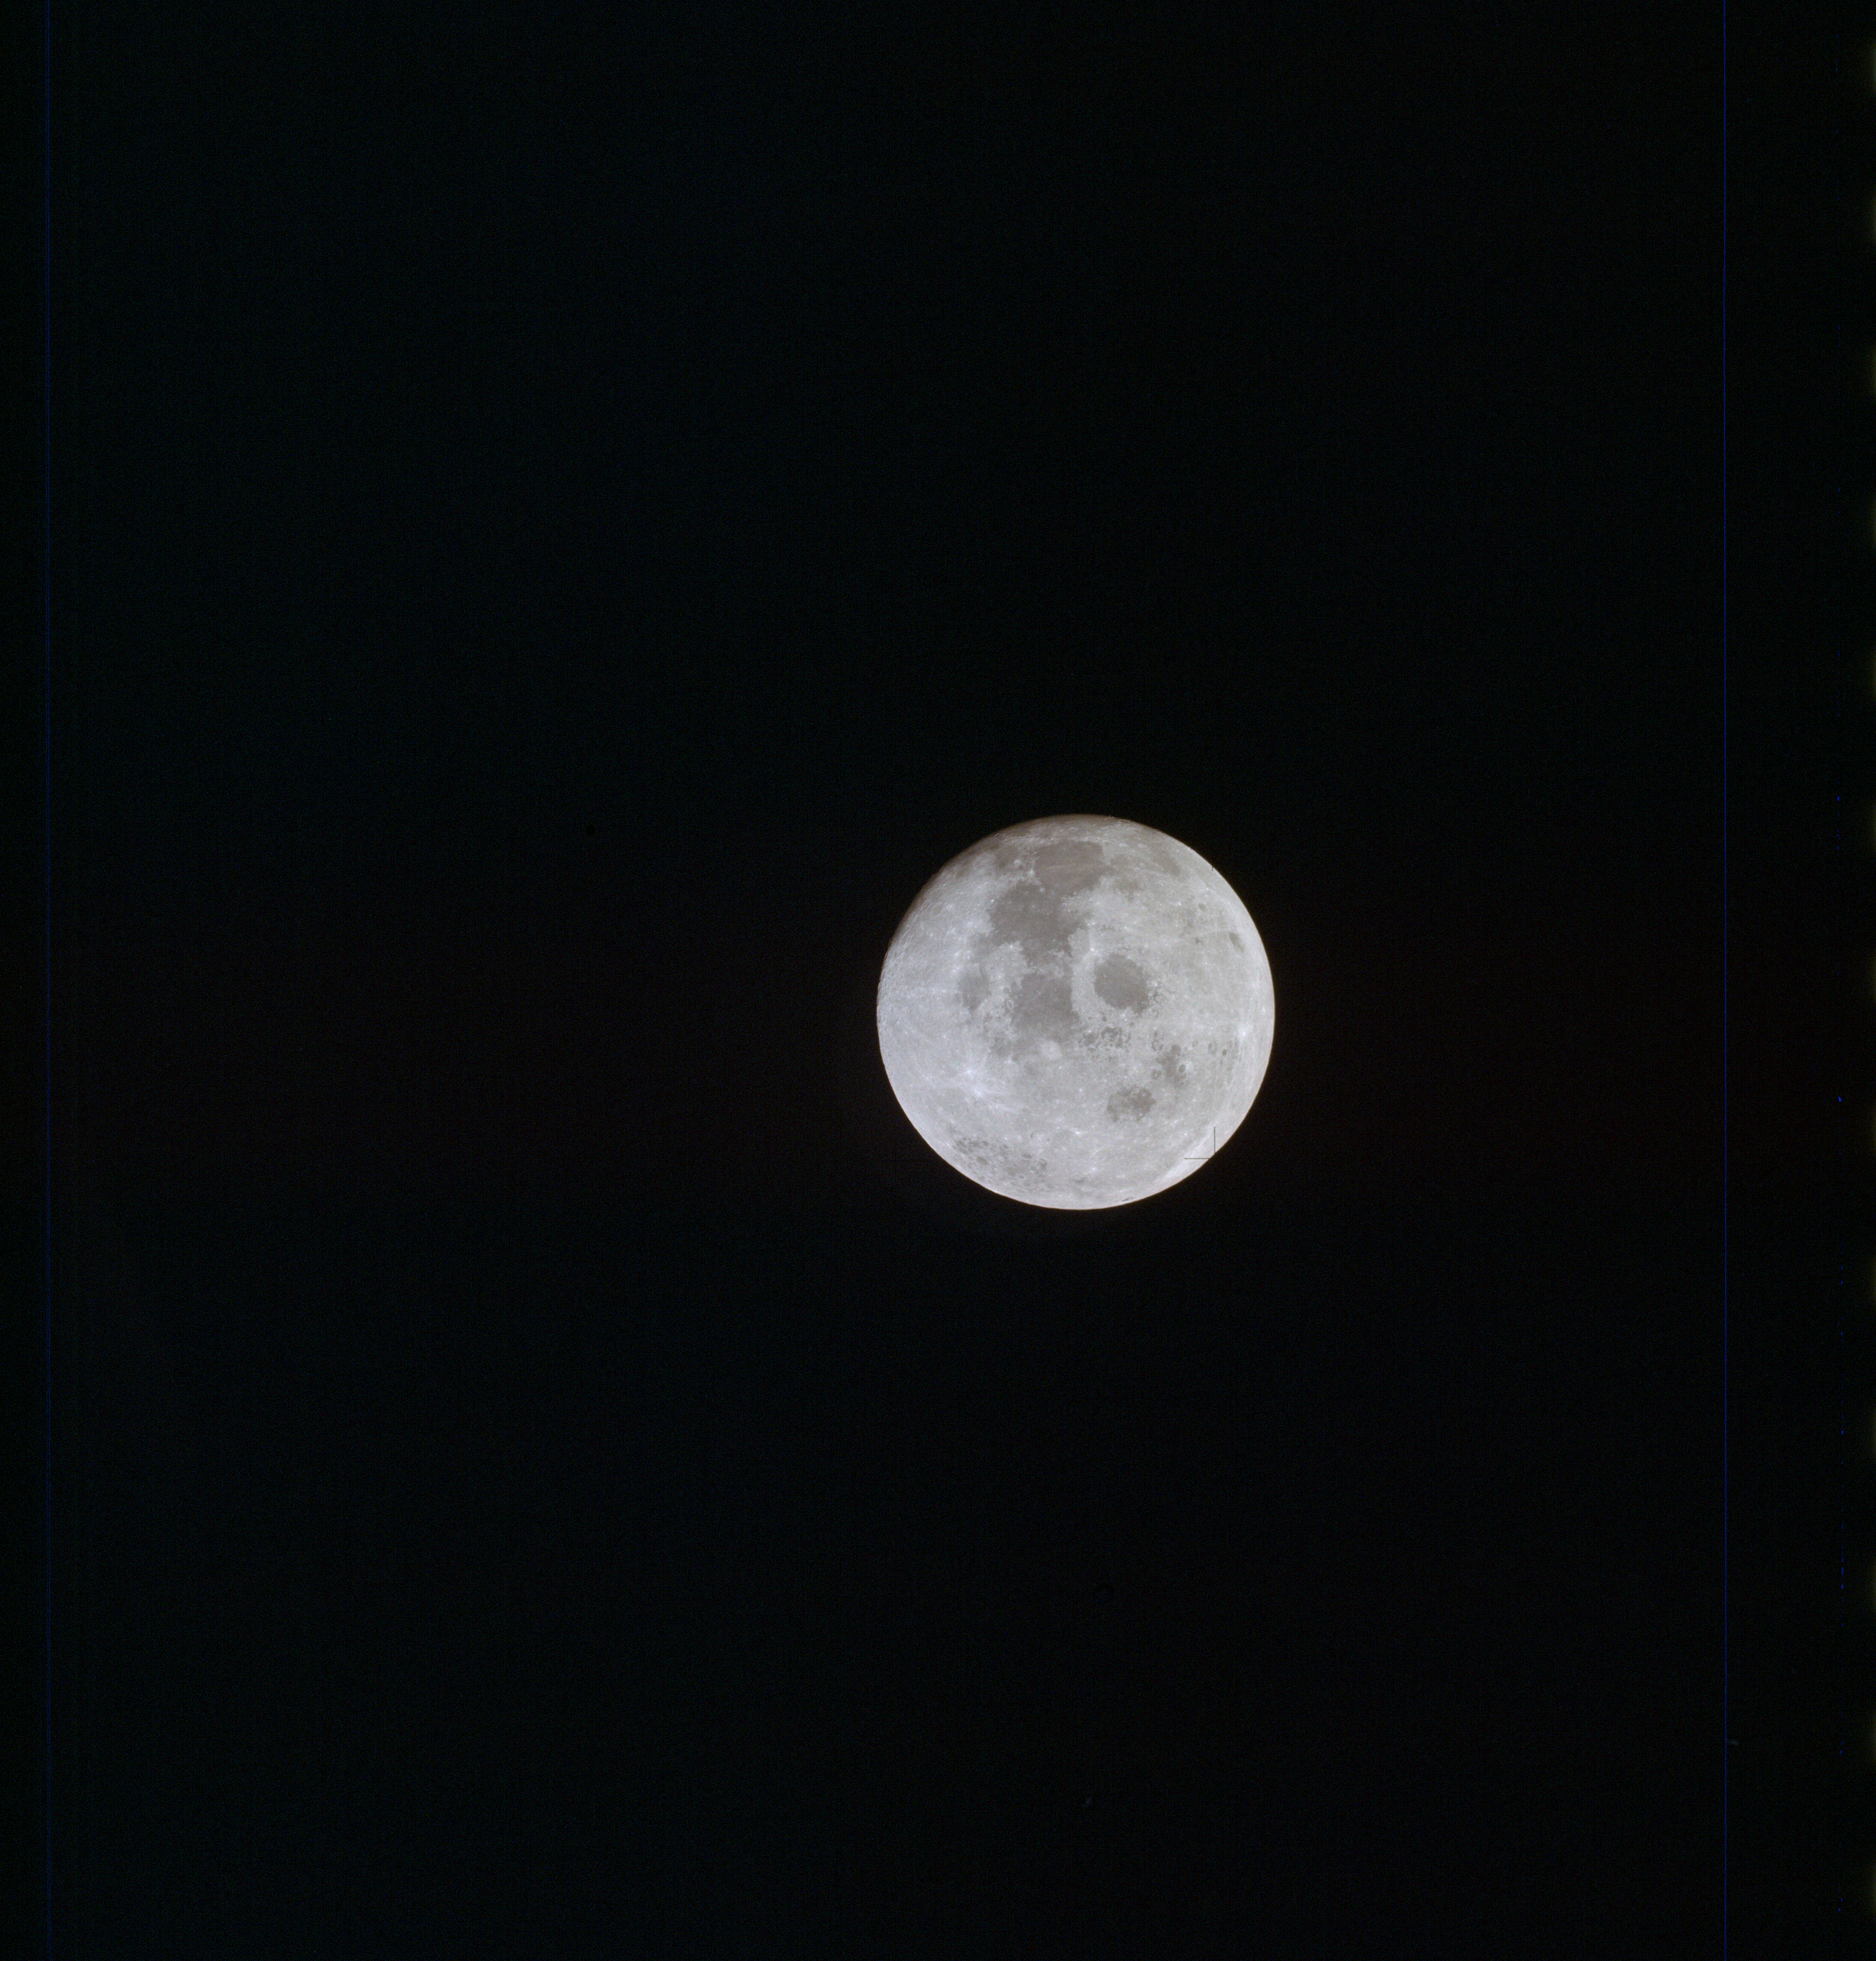
AS13-61-8819 Browse or print resolution. Moon from Apollo 13. Image credit: Image Science and Analysis Laboratory, NASA-Johnson Space Center. |

|
AS13-61-8819a Browse or print resolution. Blank frame. Image credit: Image Science and Analysis Laboratory, NASA-Johnson Space Center. |
|
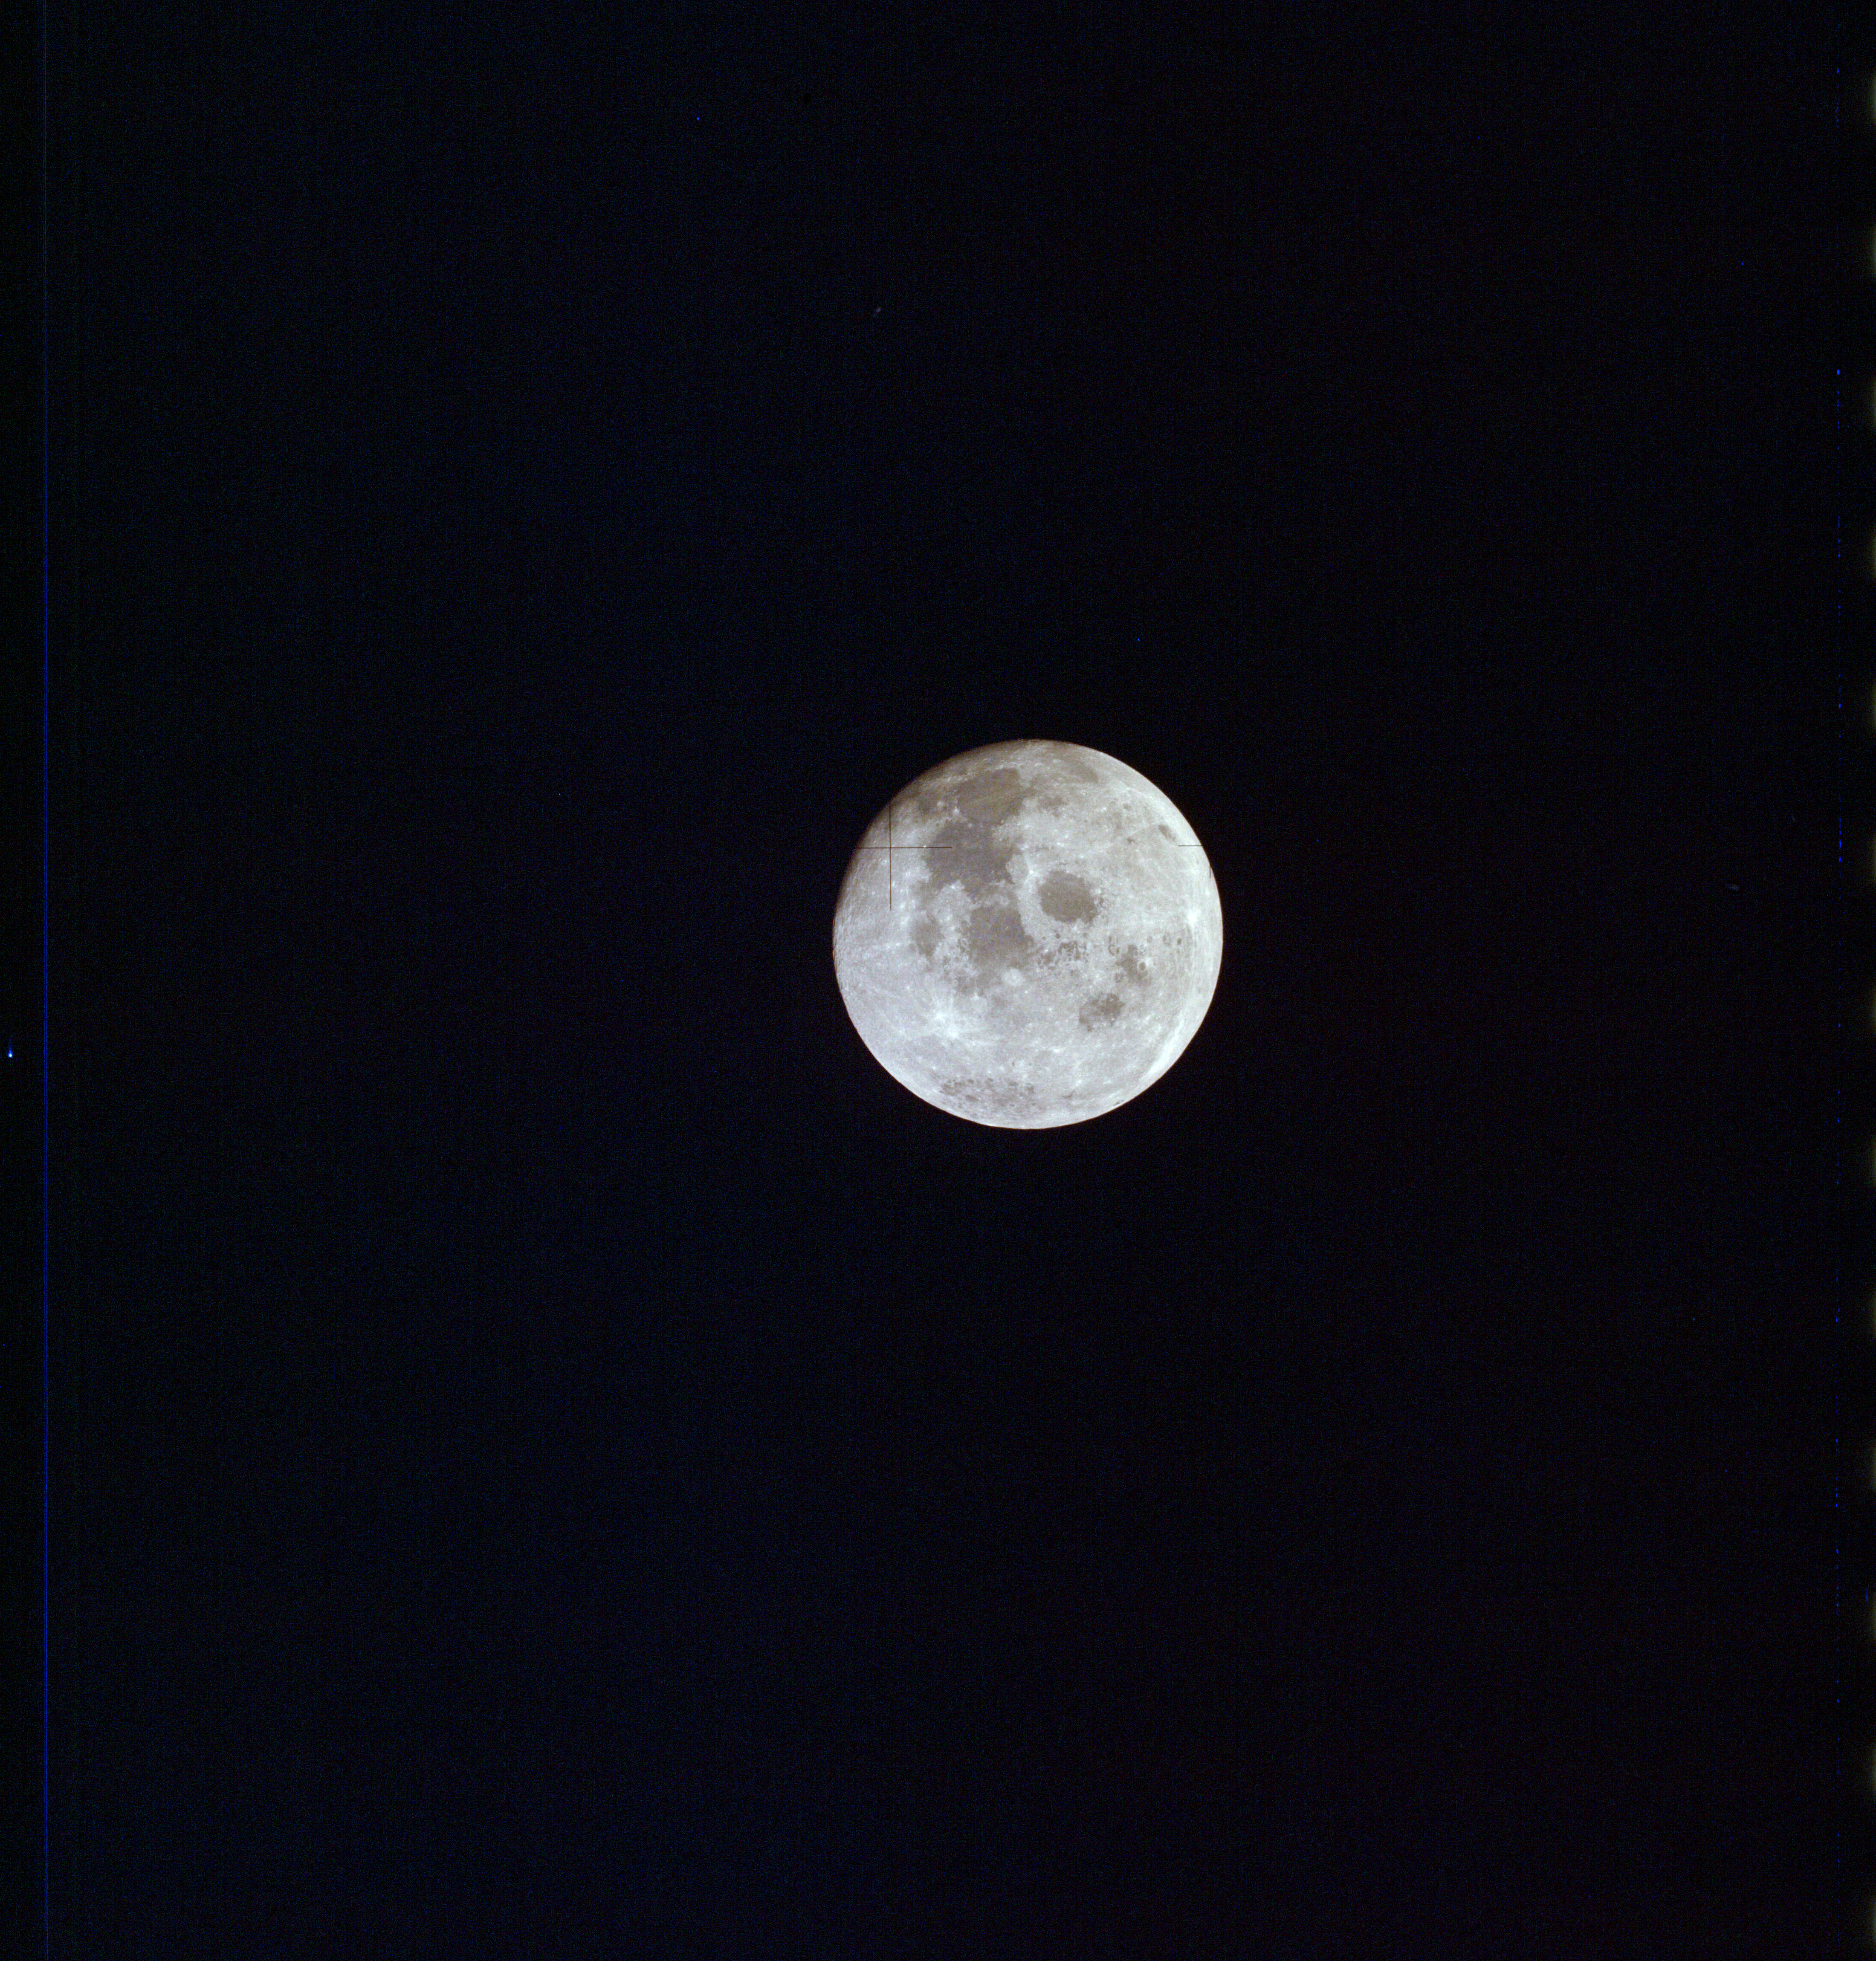
AS13-61-8820 Browse or print resolution. Moon from Apollo 13. Image credit: Image Science and Analysis Laboratory, NASA-Johnson Space Center. |
|
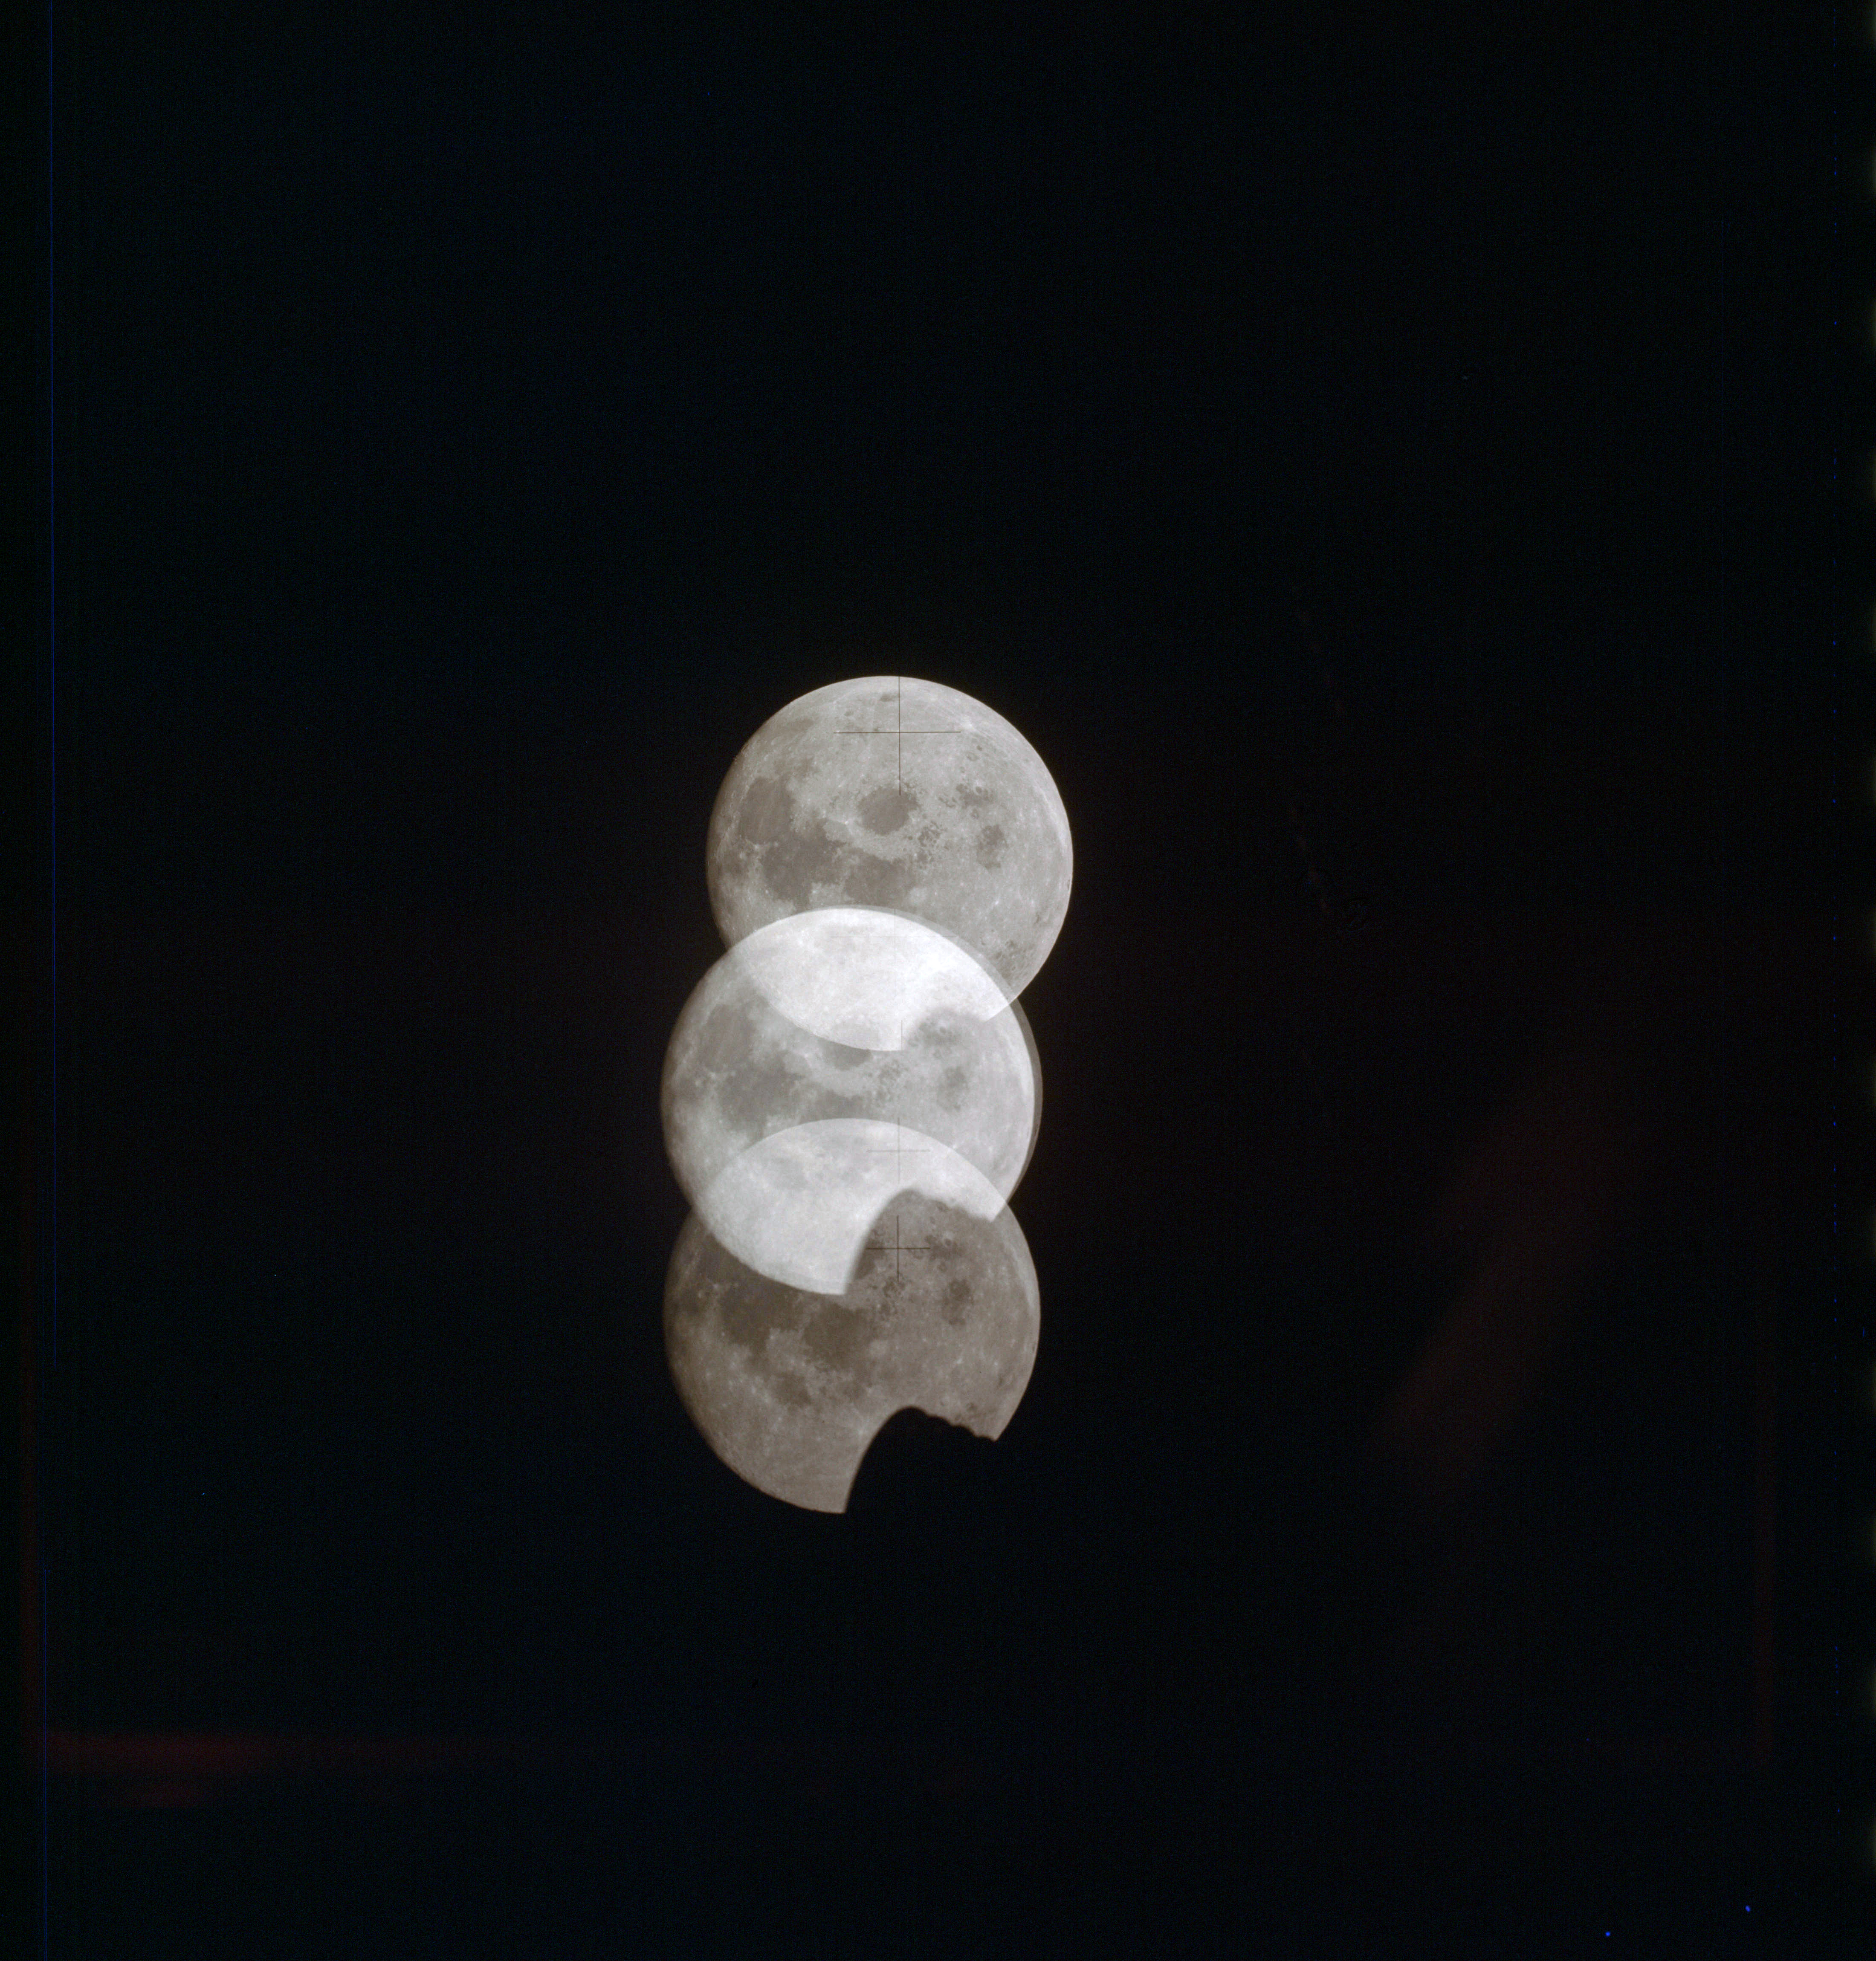
AS13-61-8821 Browse or print resolution. Multiple exposure of the Moon. Image credit: Image Science and Analysis Laboratory, NASA-Johnson Space Center. |
|
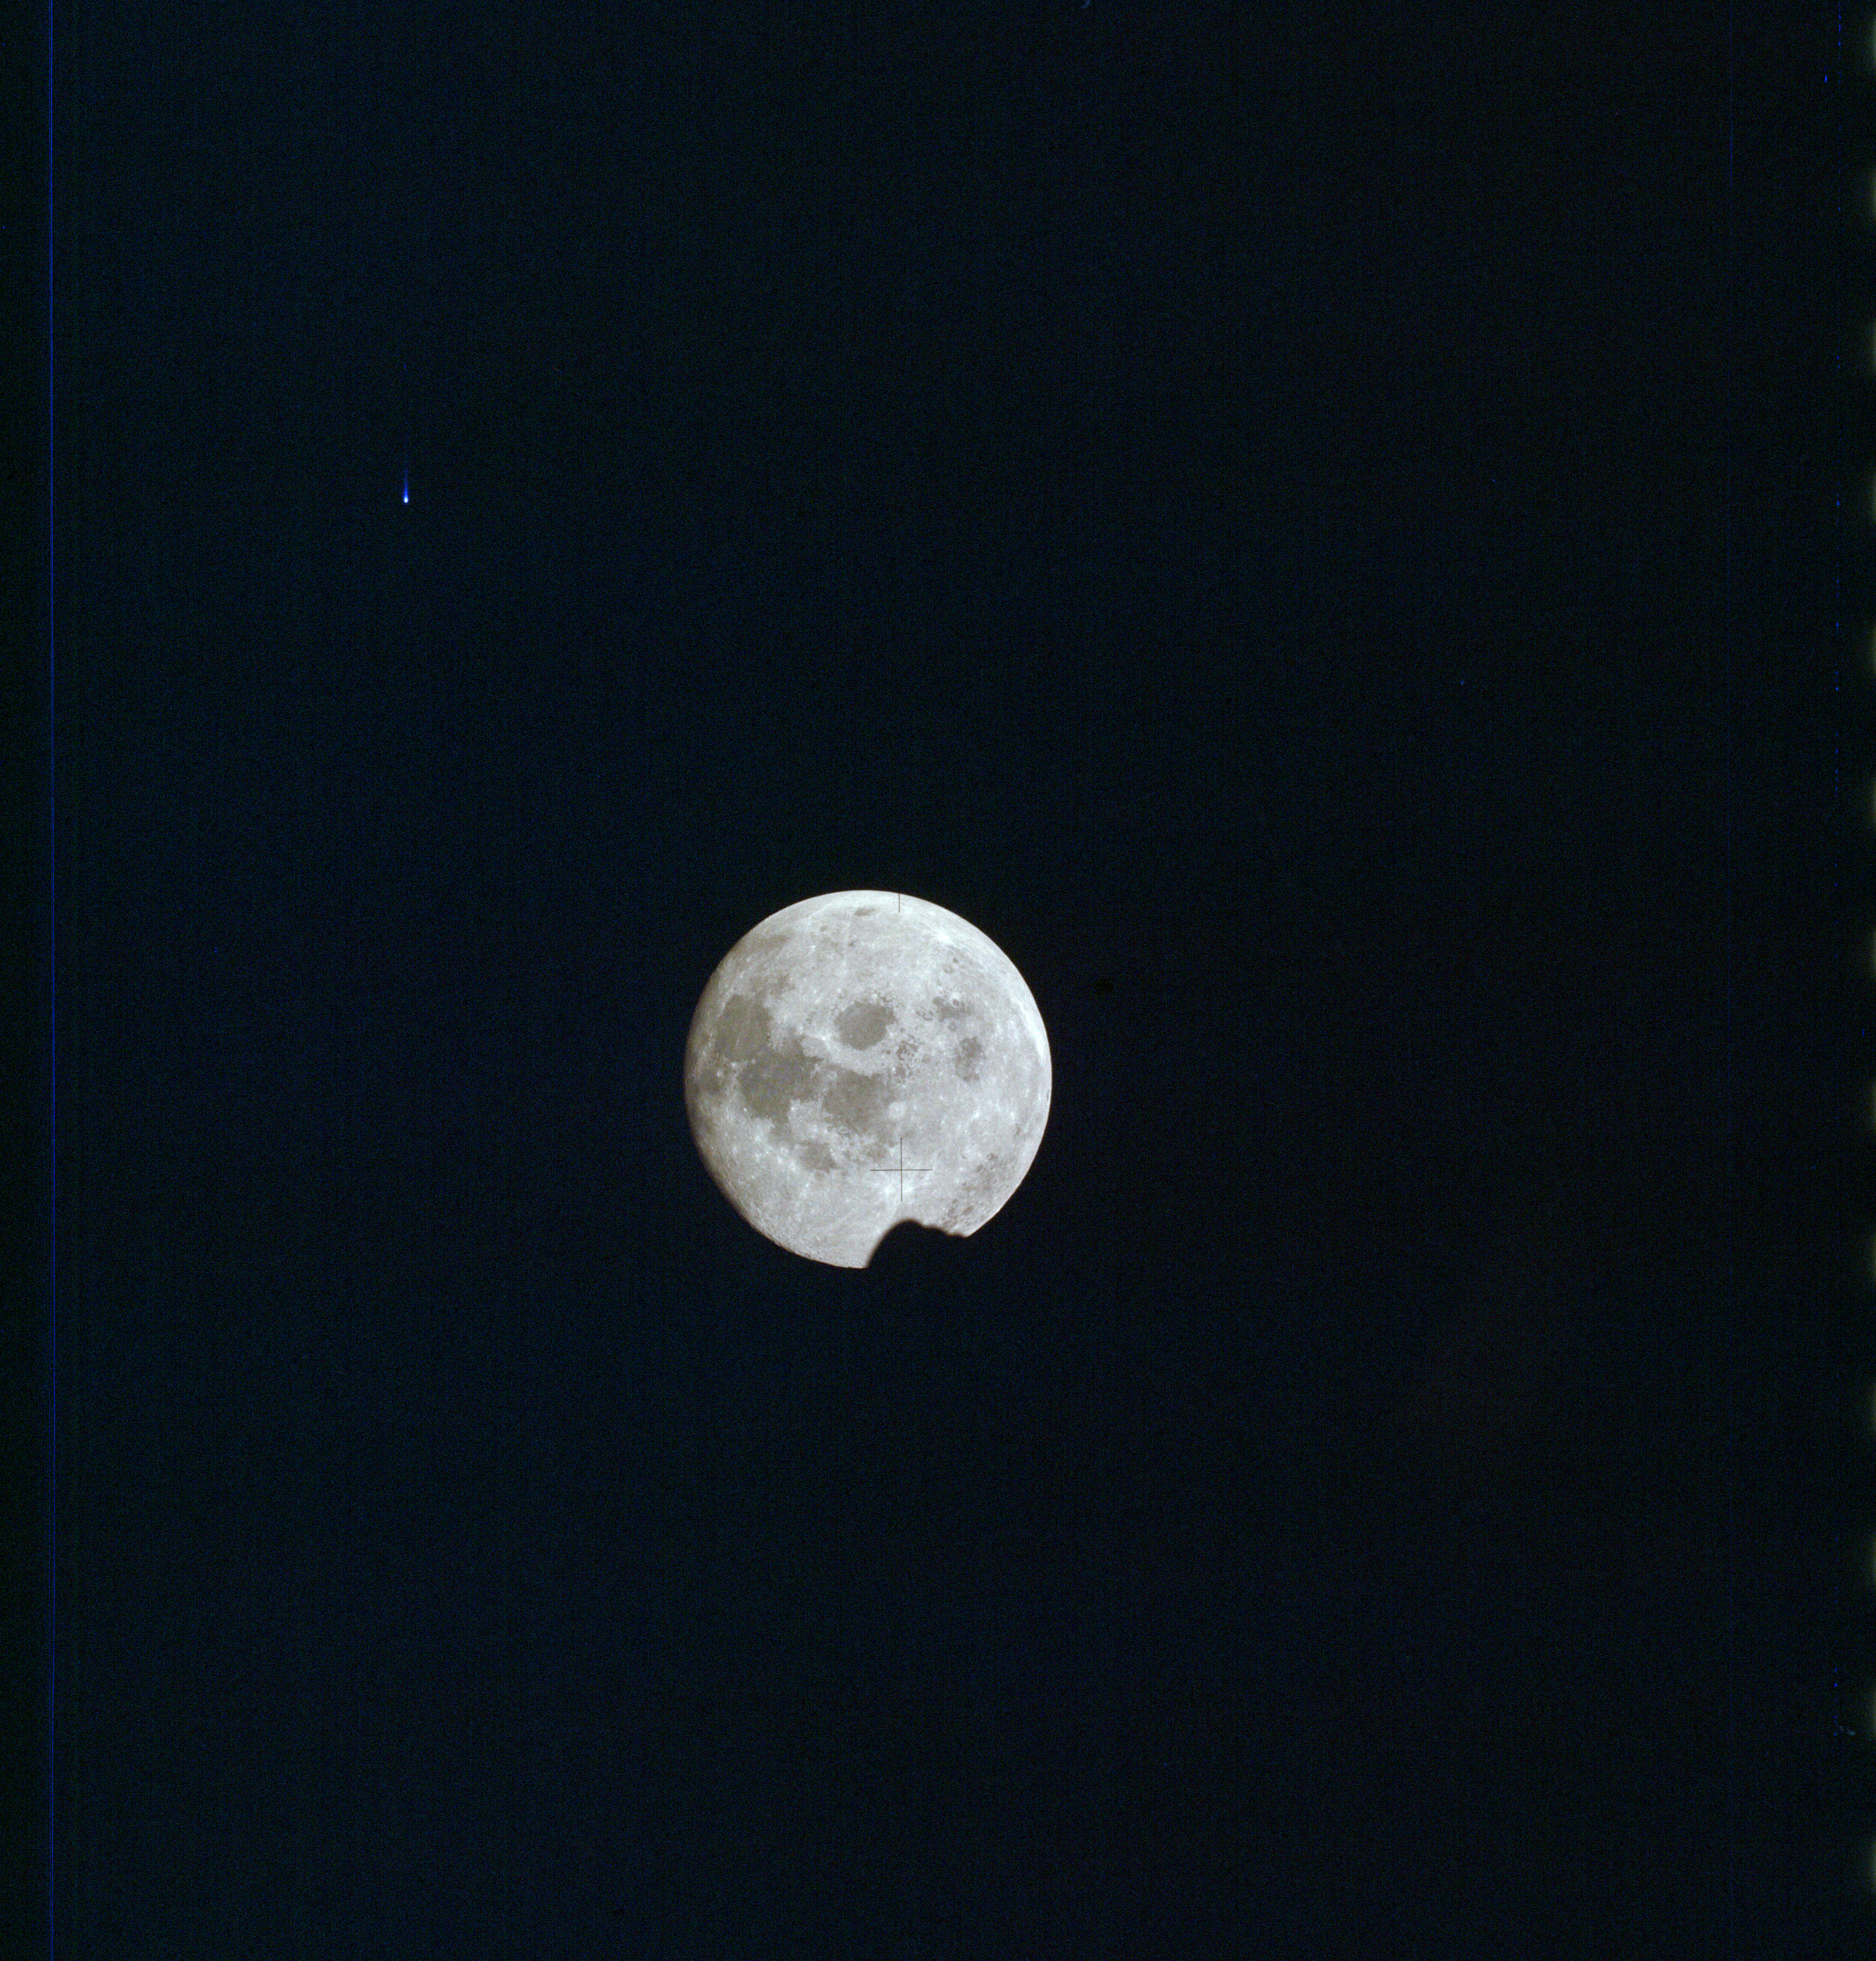
AS13-61-8822 Browse or print resolution. Moon from Apollo 13. Image credit: Image Science and Analysis Laboratory, NASA-Johnson Space Center. |
|
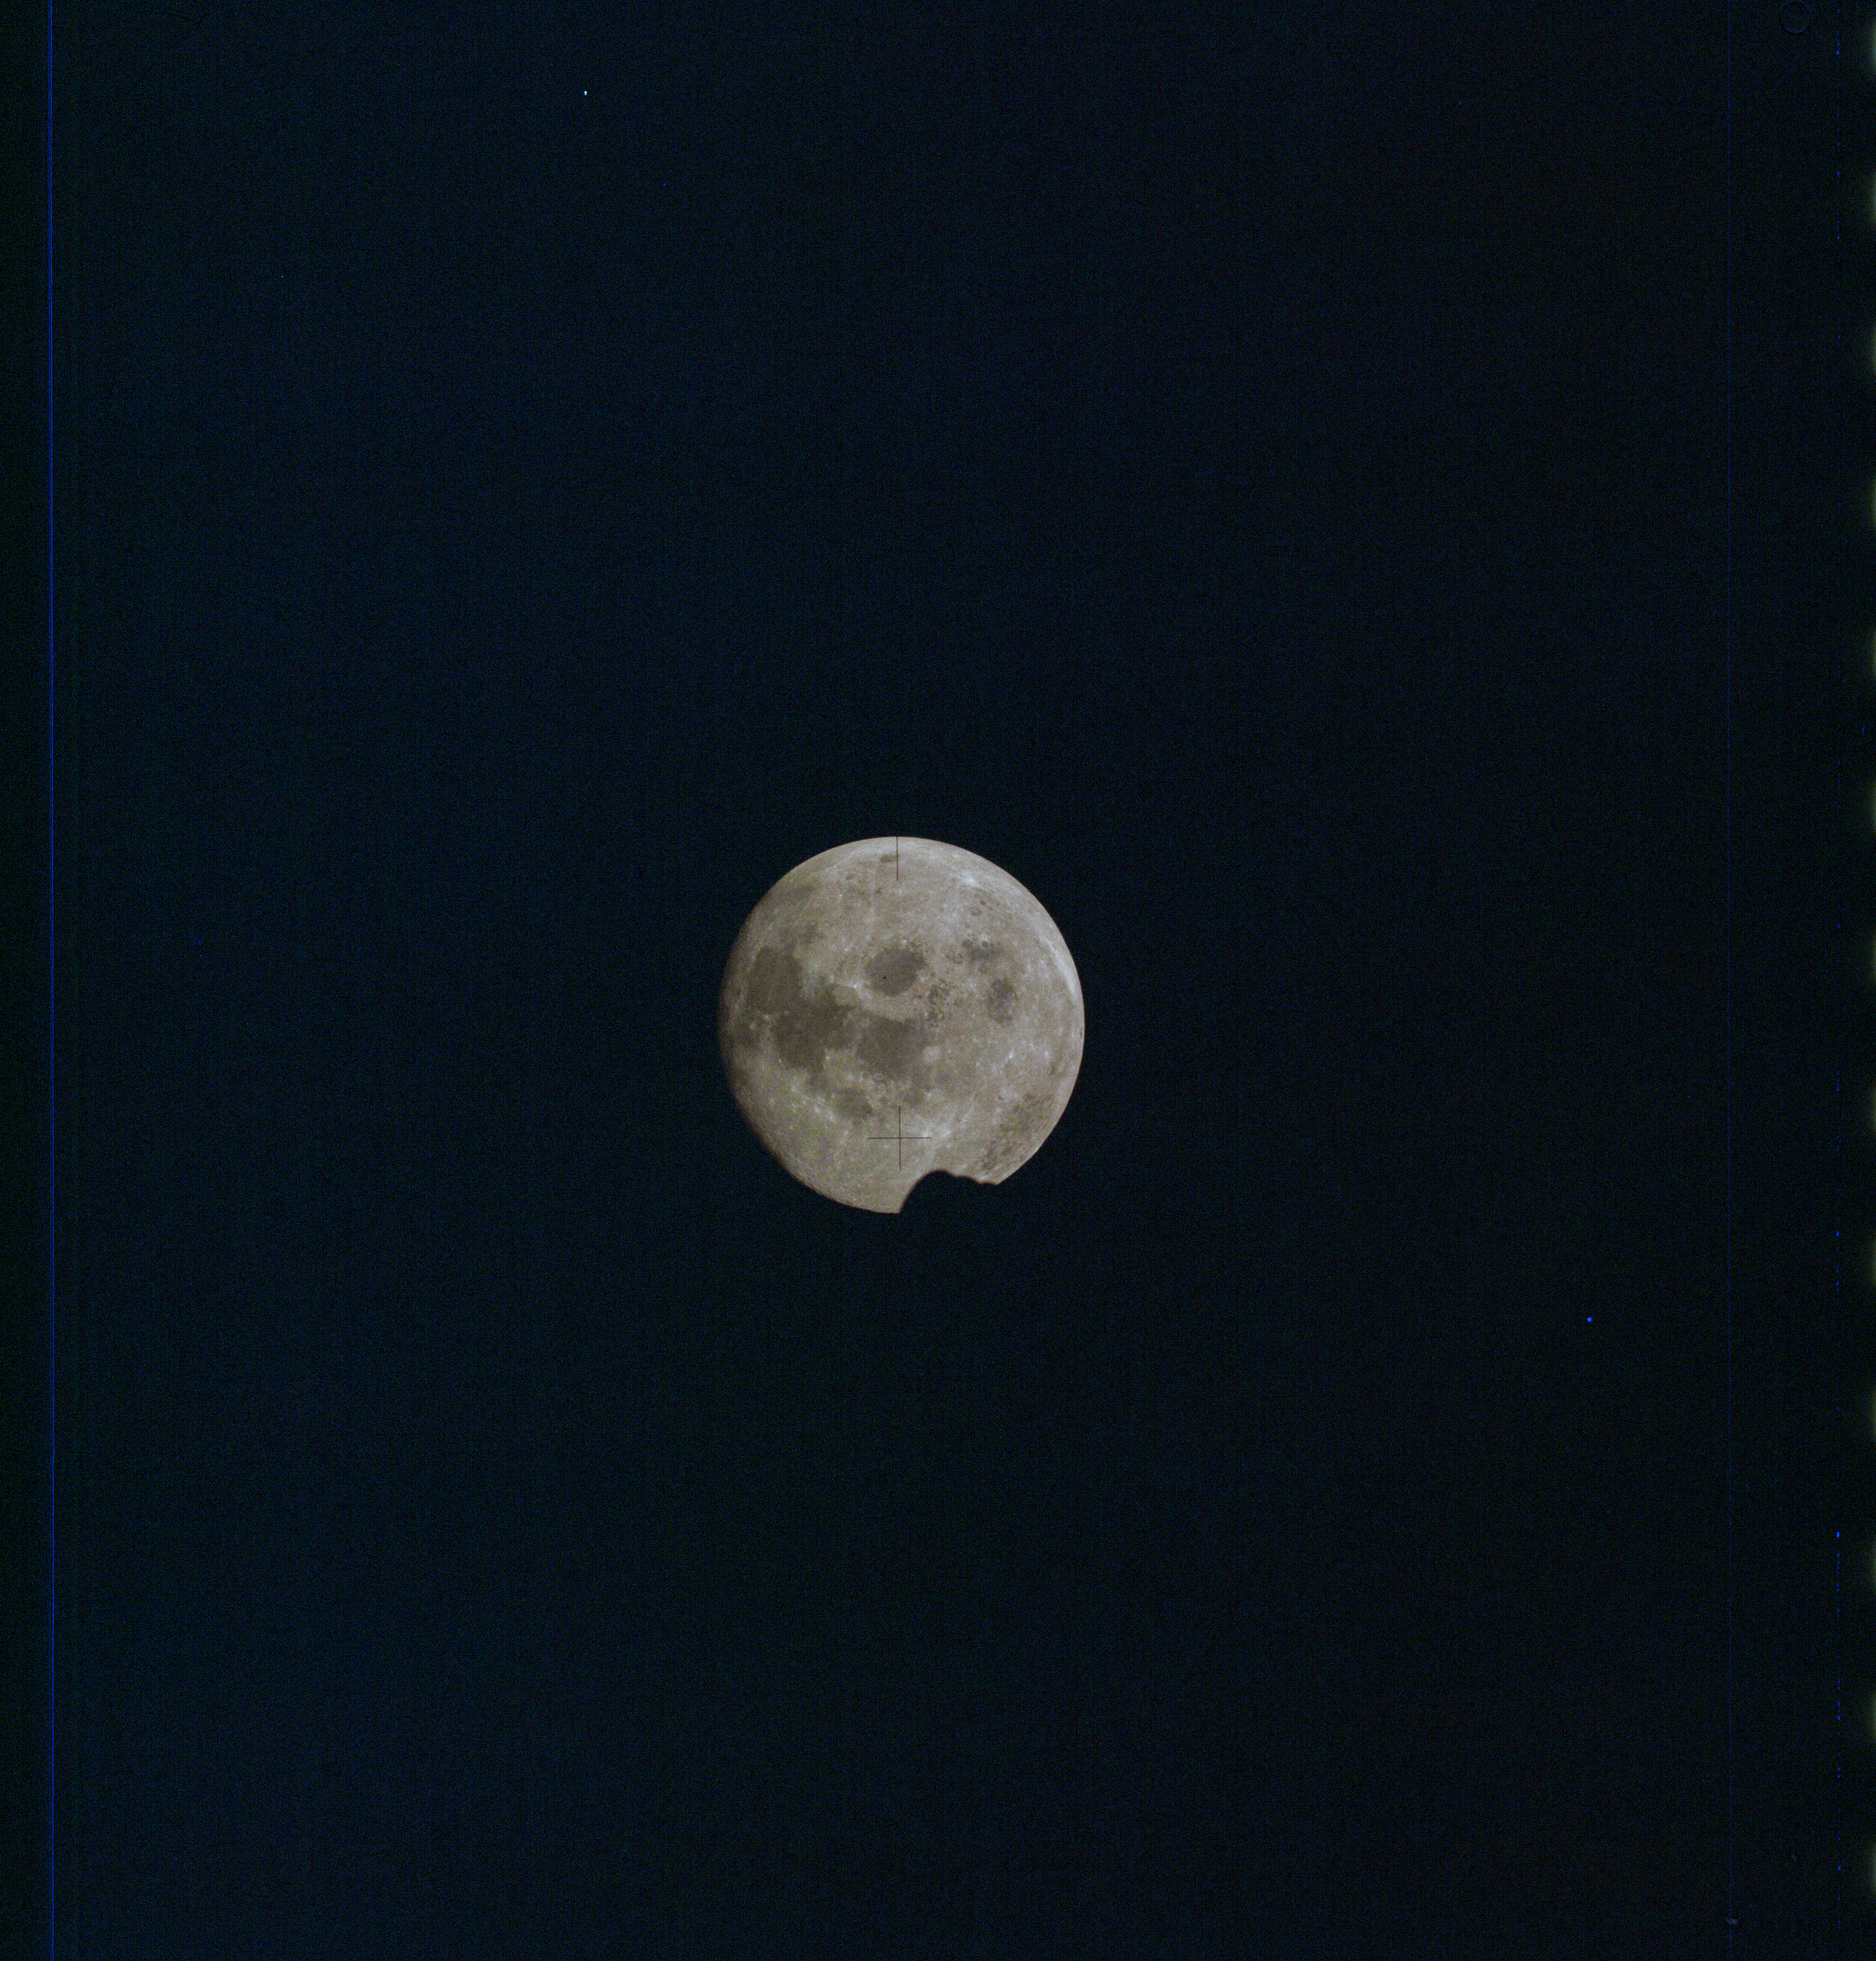
AS13-61-8823 Browse or print resolution. Moon from Apollo 13. Image credit: Image Science and Analysis Laboratory, NASA-Johnson Space Center. |
|
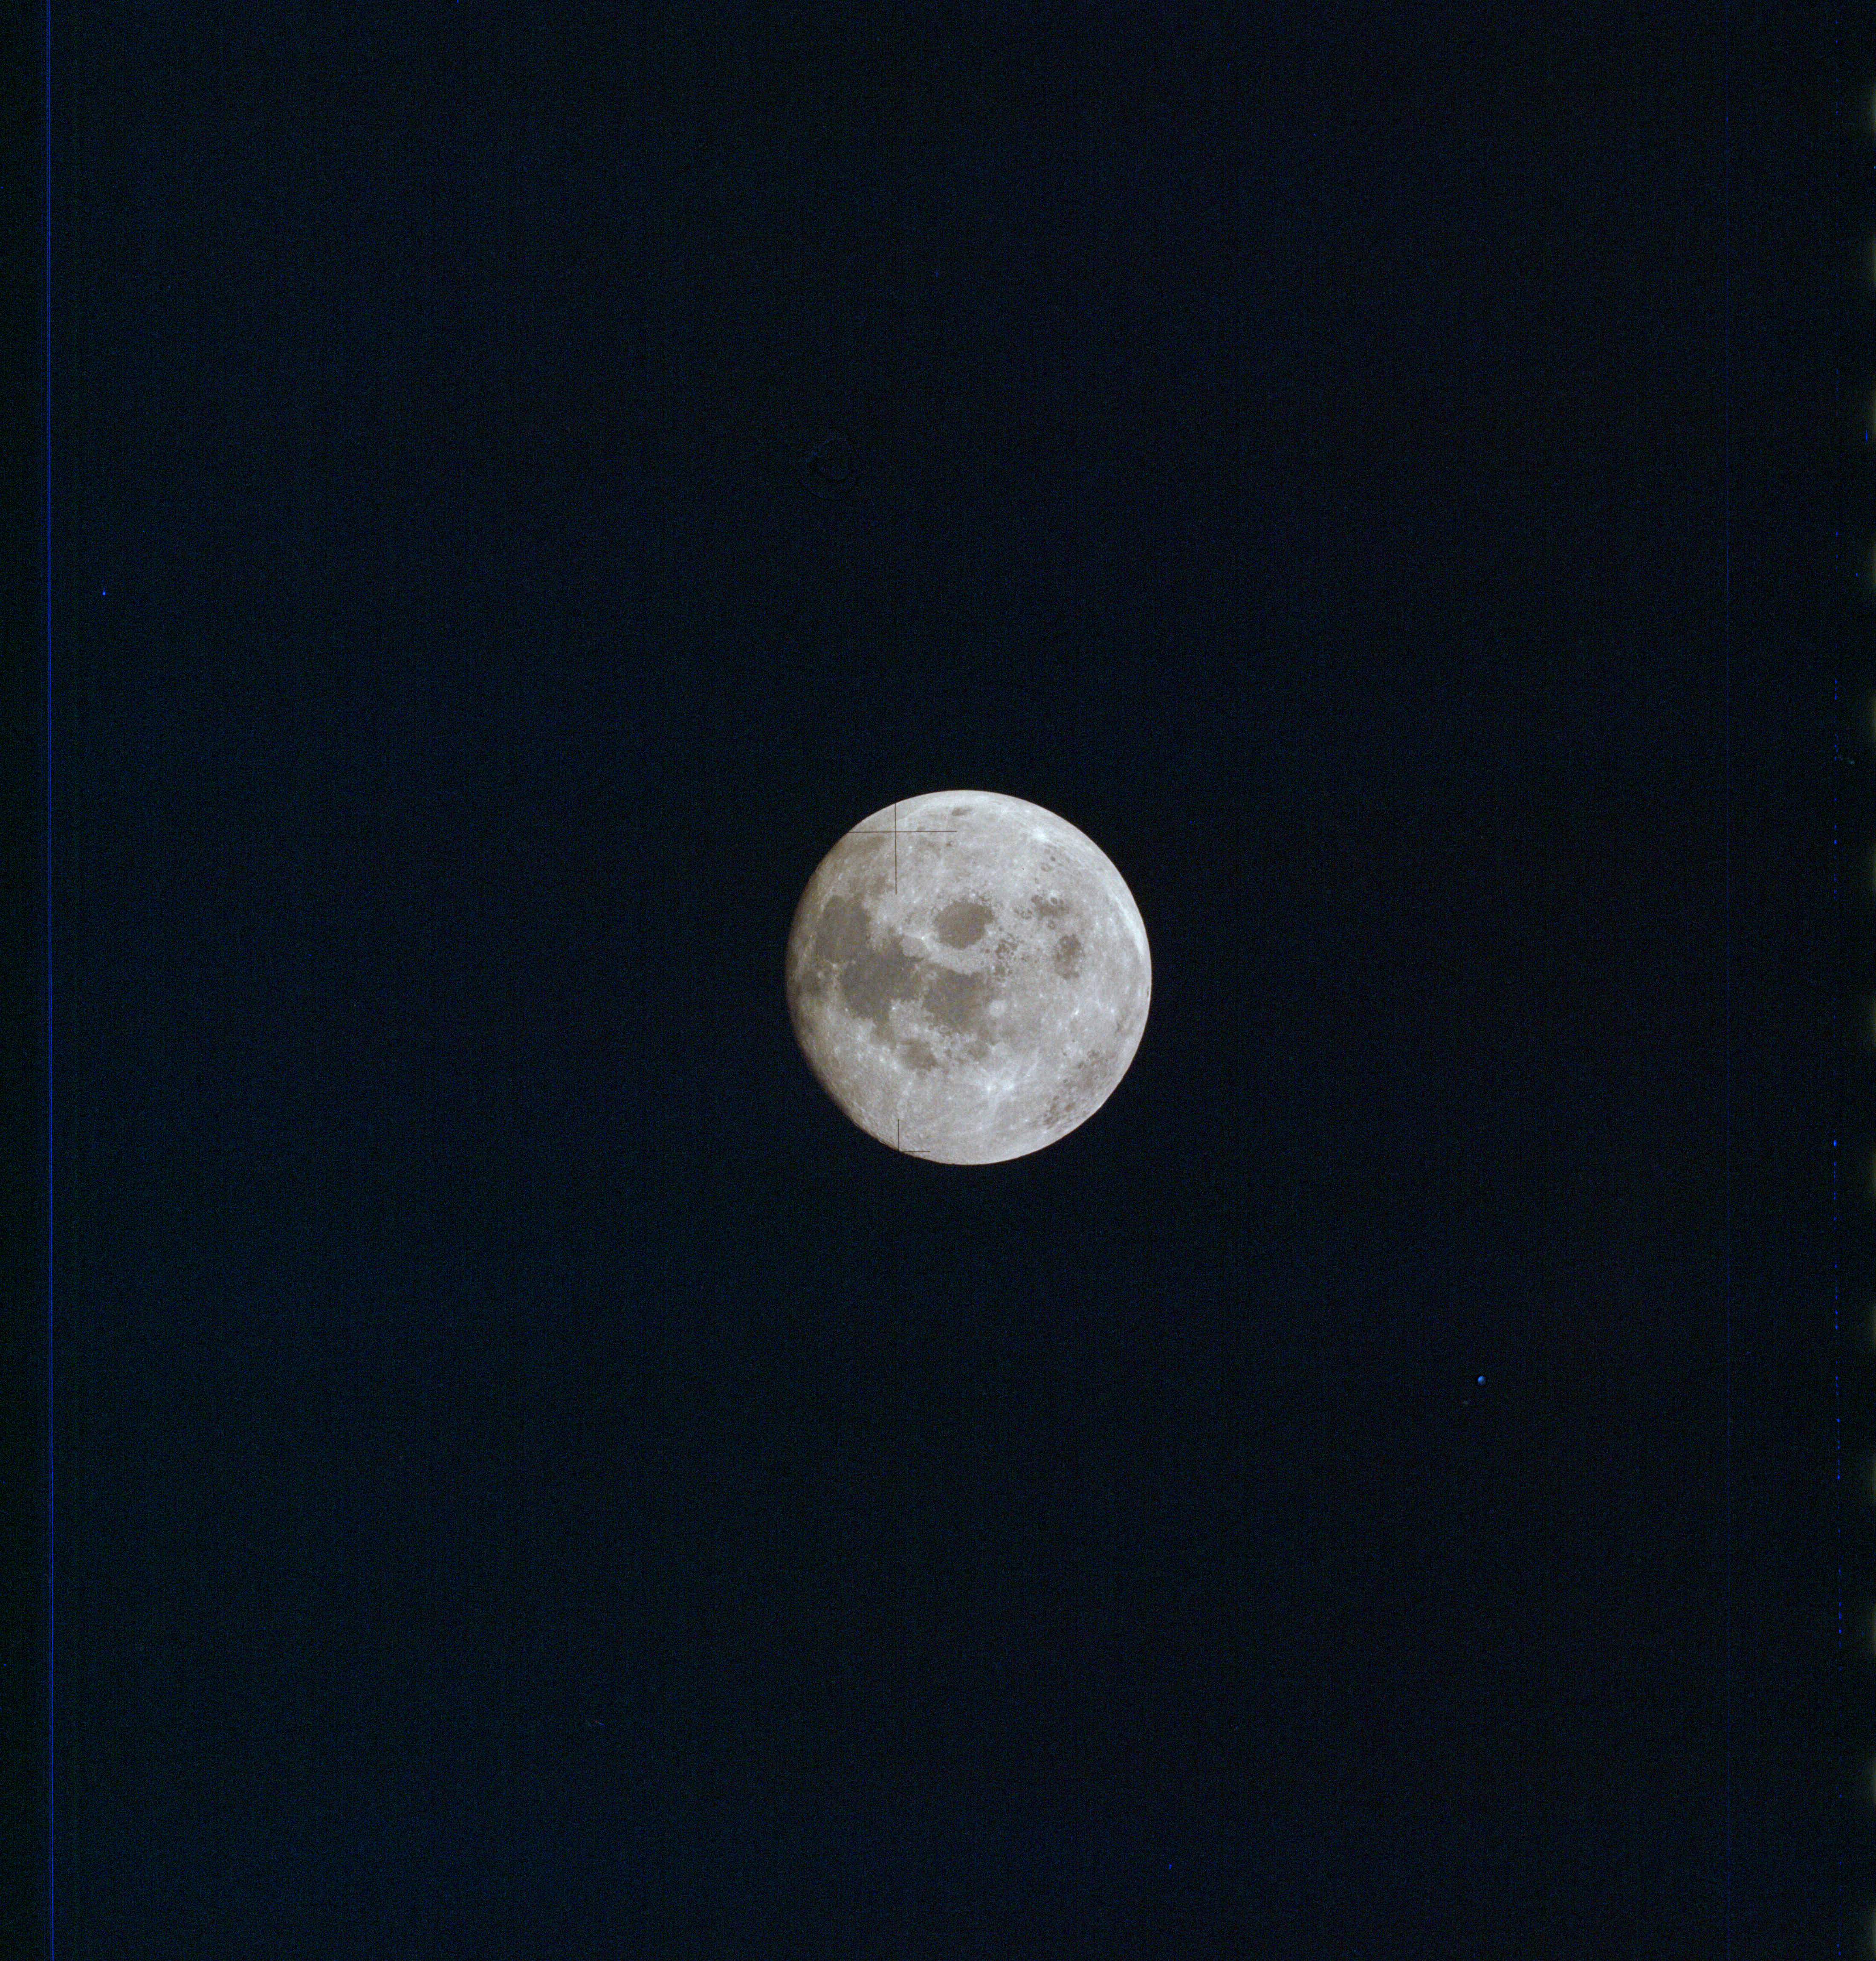
AS13-61-8824 Browse or print resolution. Moon from Apollo 13. Image credit: Image Science and Analysis Laboratory, NASA-Johnson Space Center. |
|
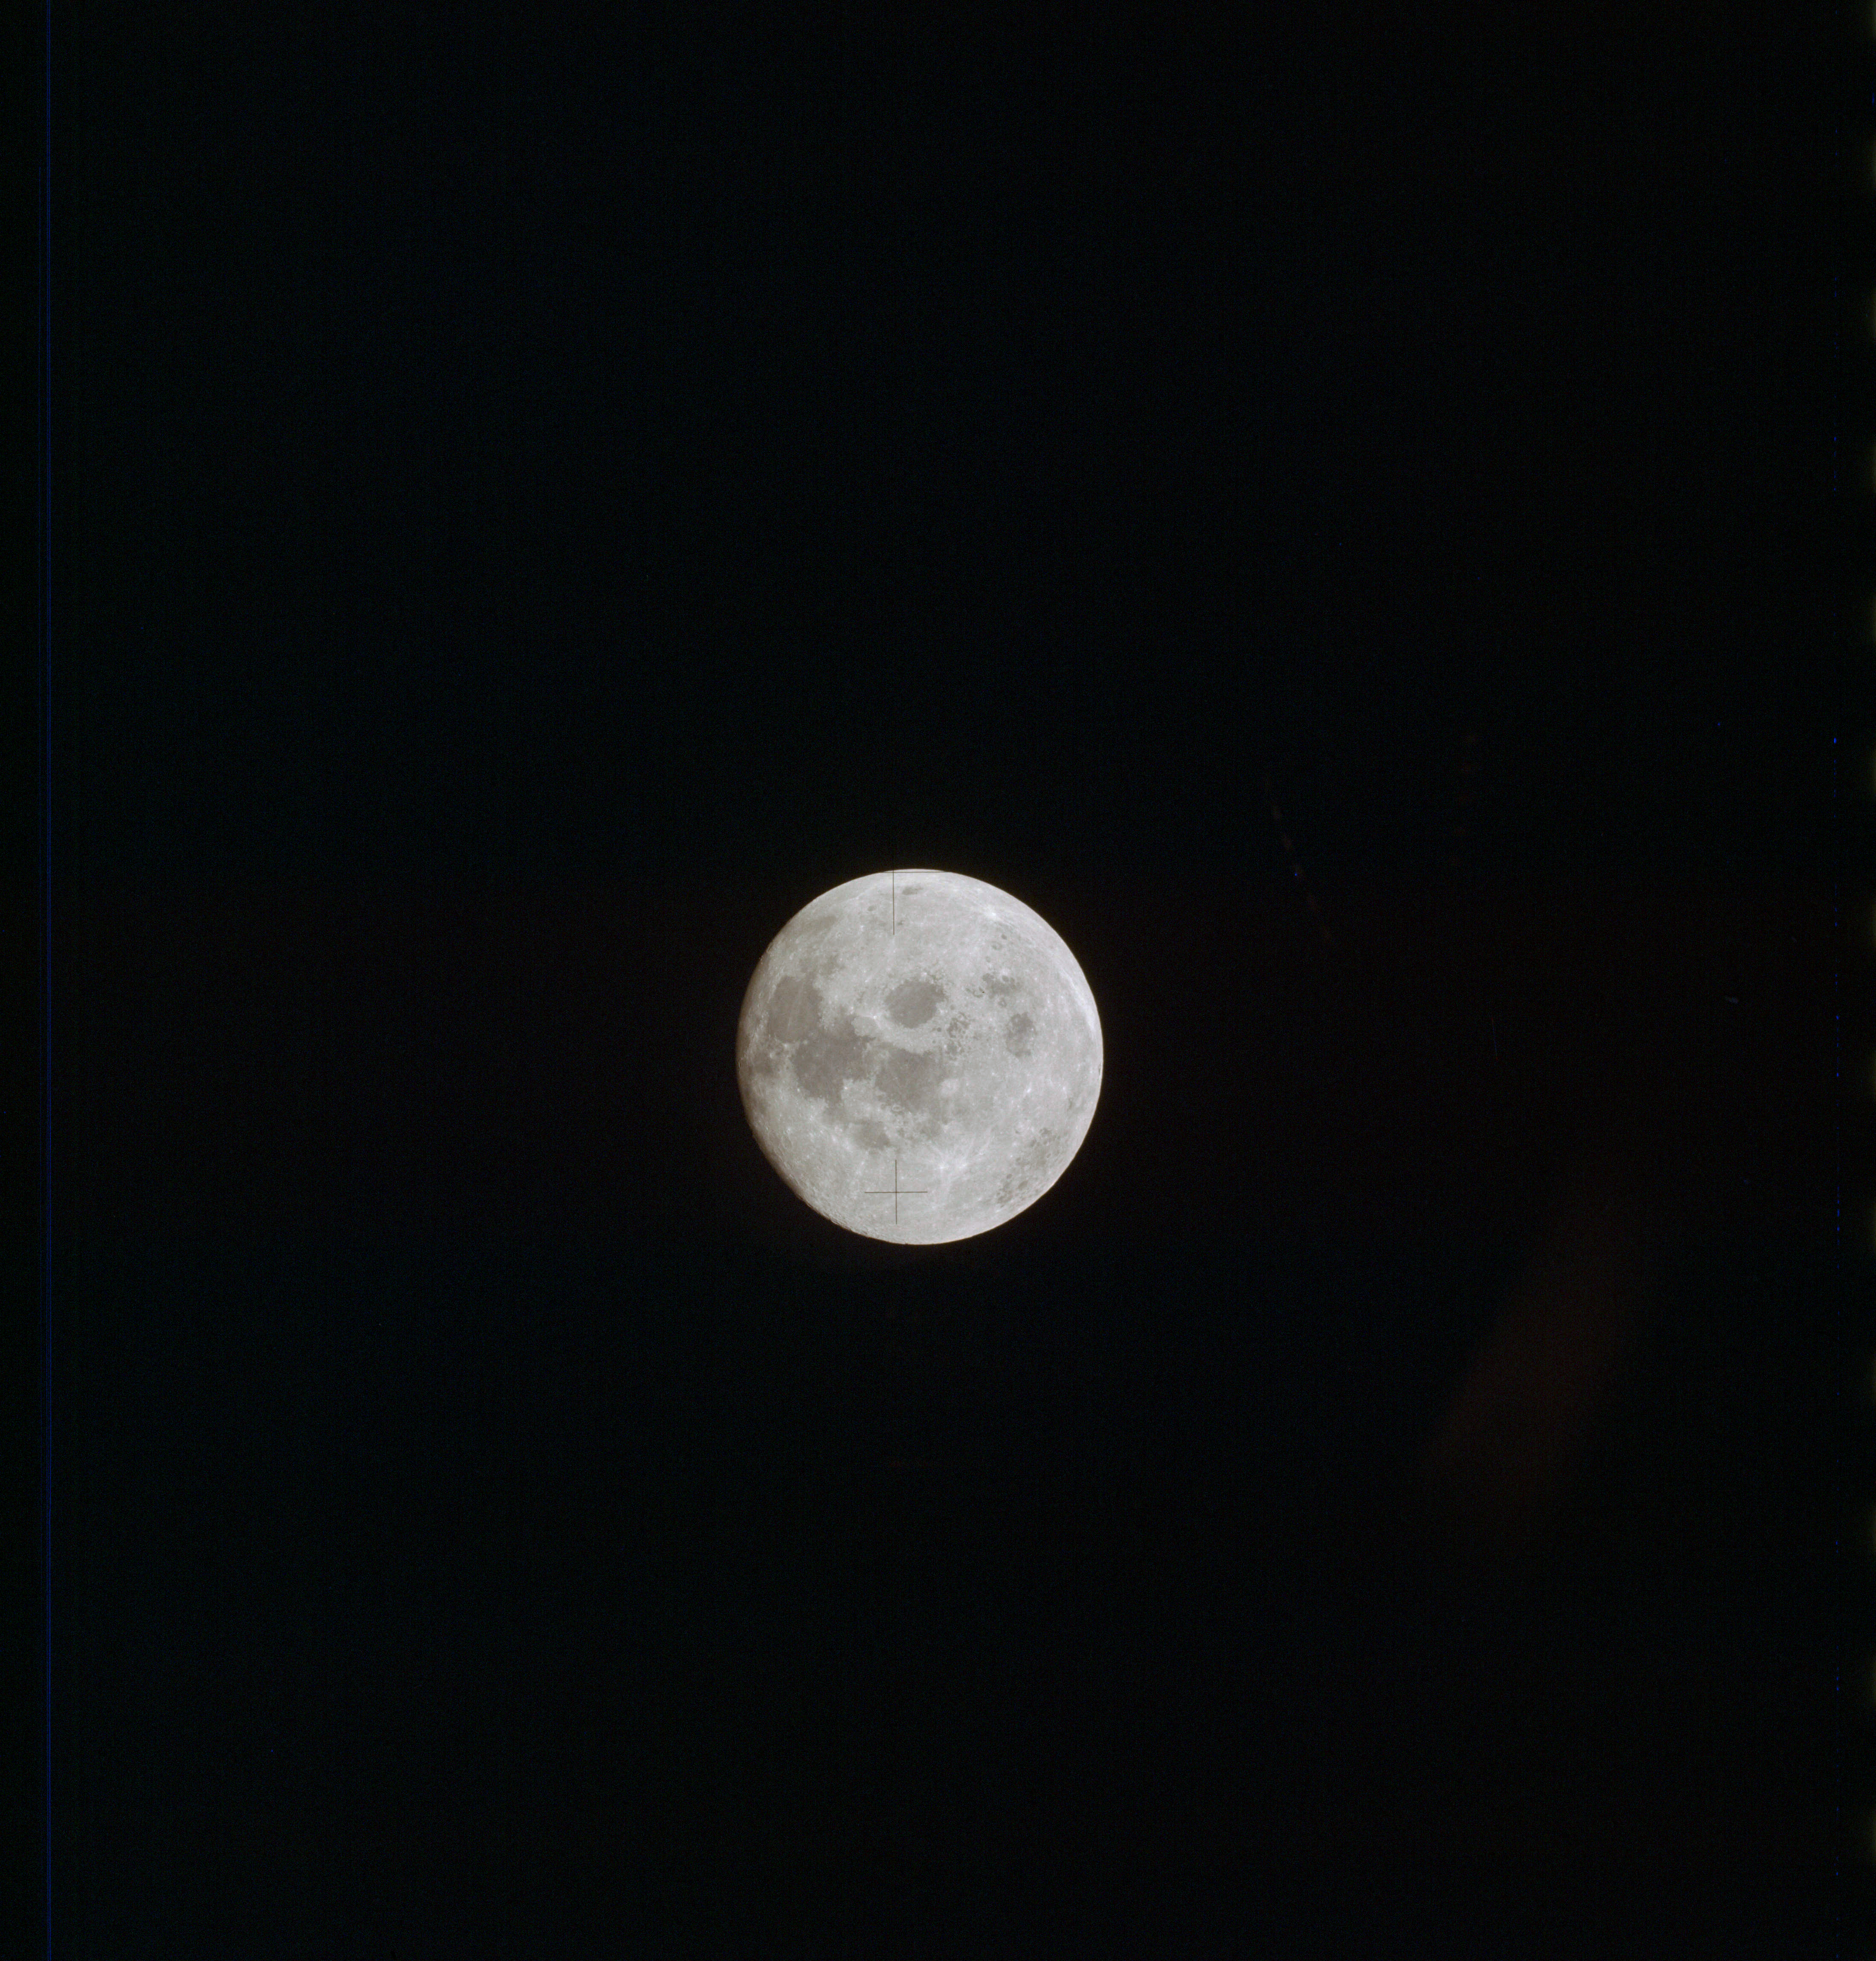
AS13-61-8825 Browse or print resolution. Moon from Apollo 13. Image credit: Image Science and Analysis Laboratory, NASA-Johnson Space Center. |
|
AS13-61-8825a Browse or print resolution. Blank frame. Image credit: Image Science and Analysis Laboratory, NASA-Johnson Space Center. |
|
AS13-61-8825b Browse or print resolution. Blank frame. Image credit: Image Science and Analysis Laboratory, NASA-Johnson Space Center. |
|
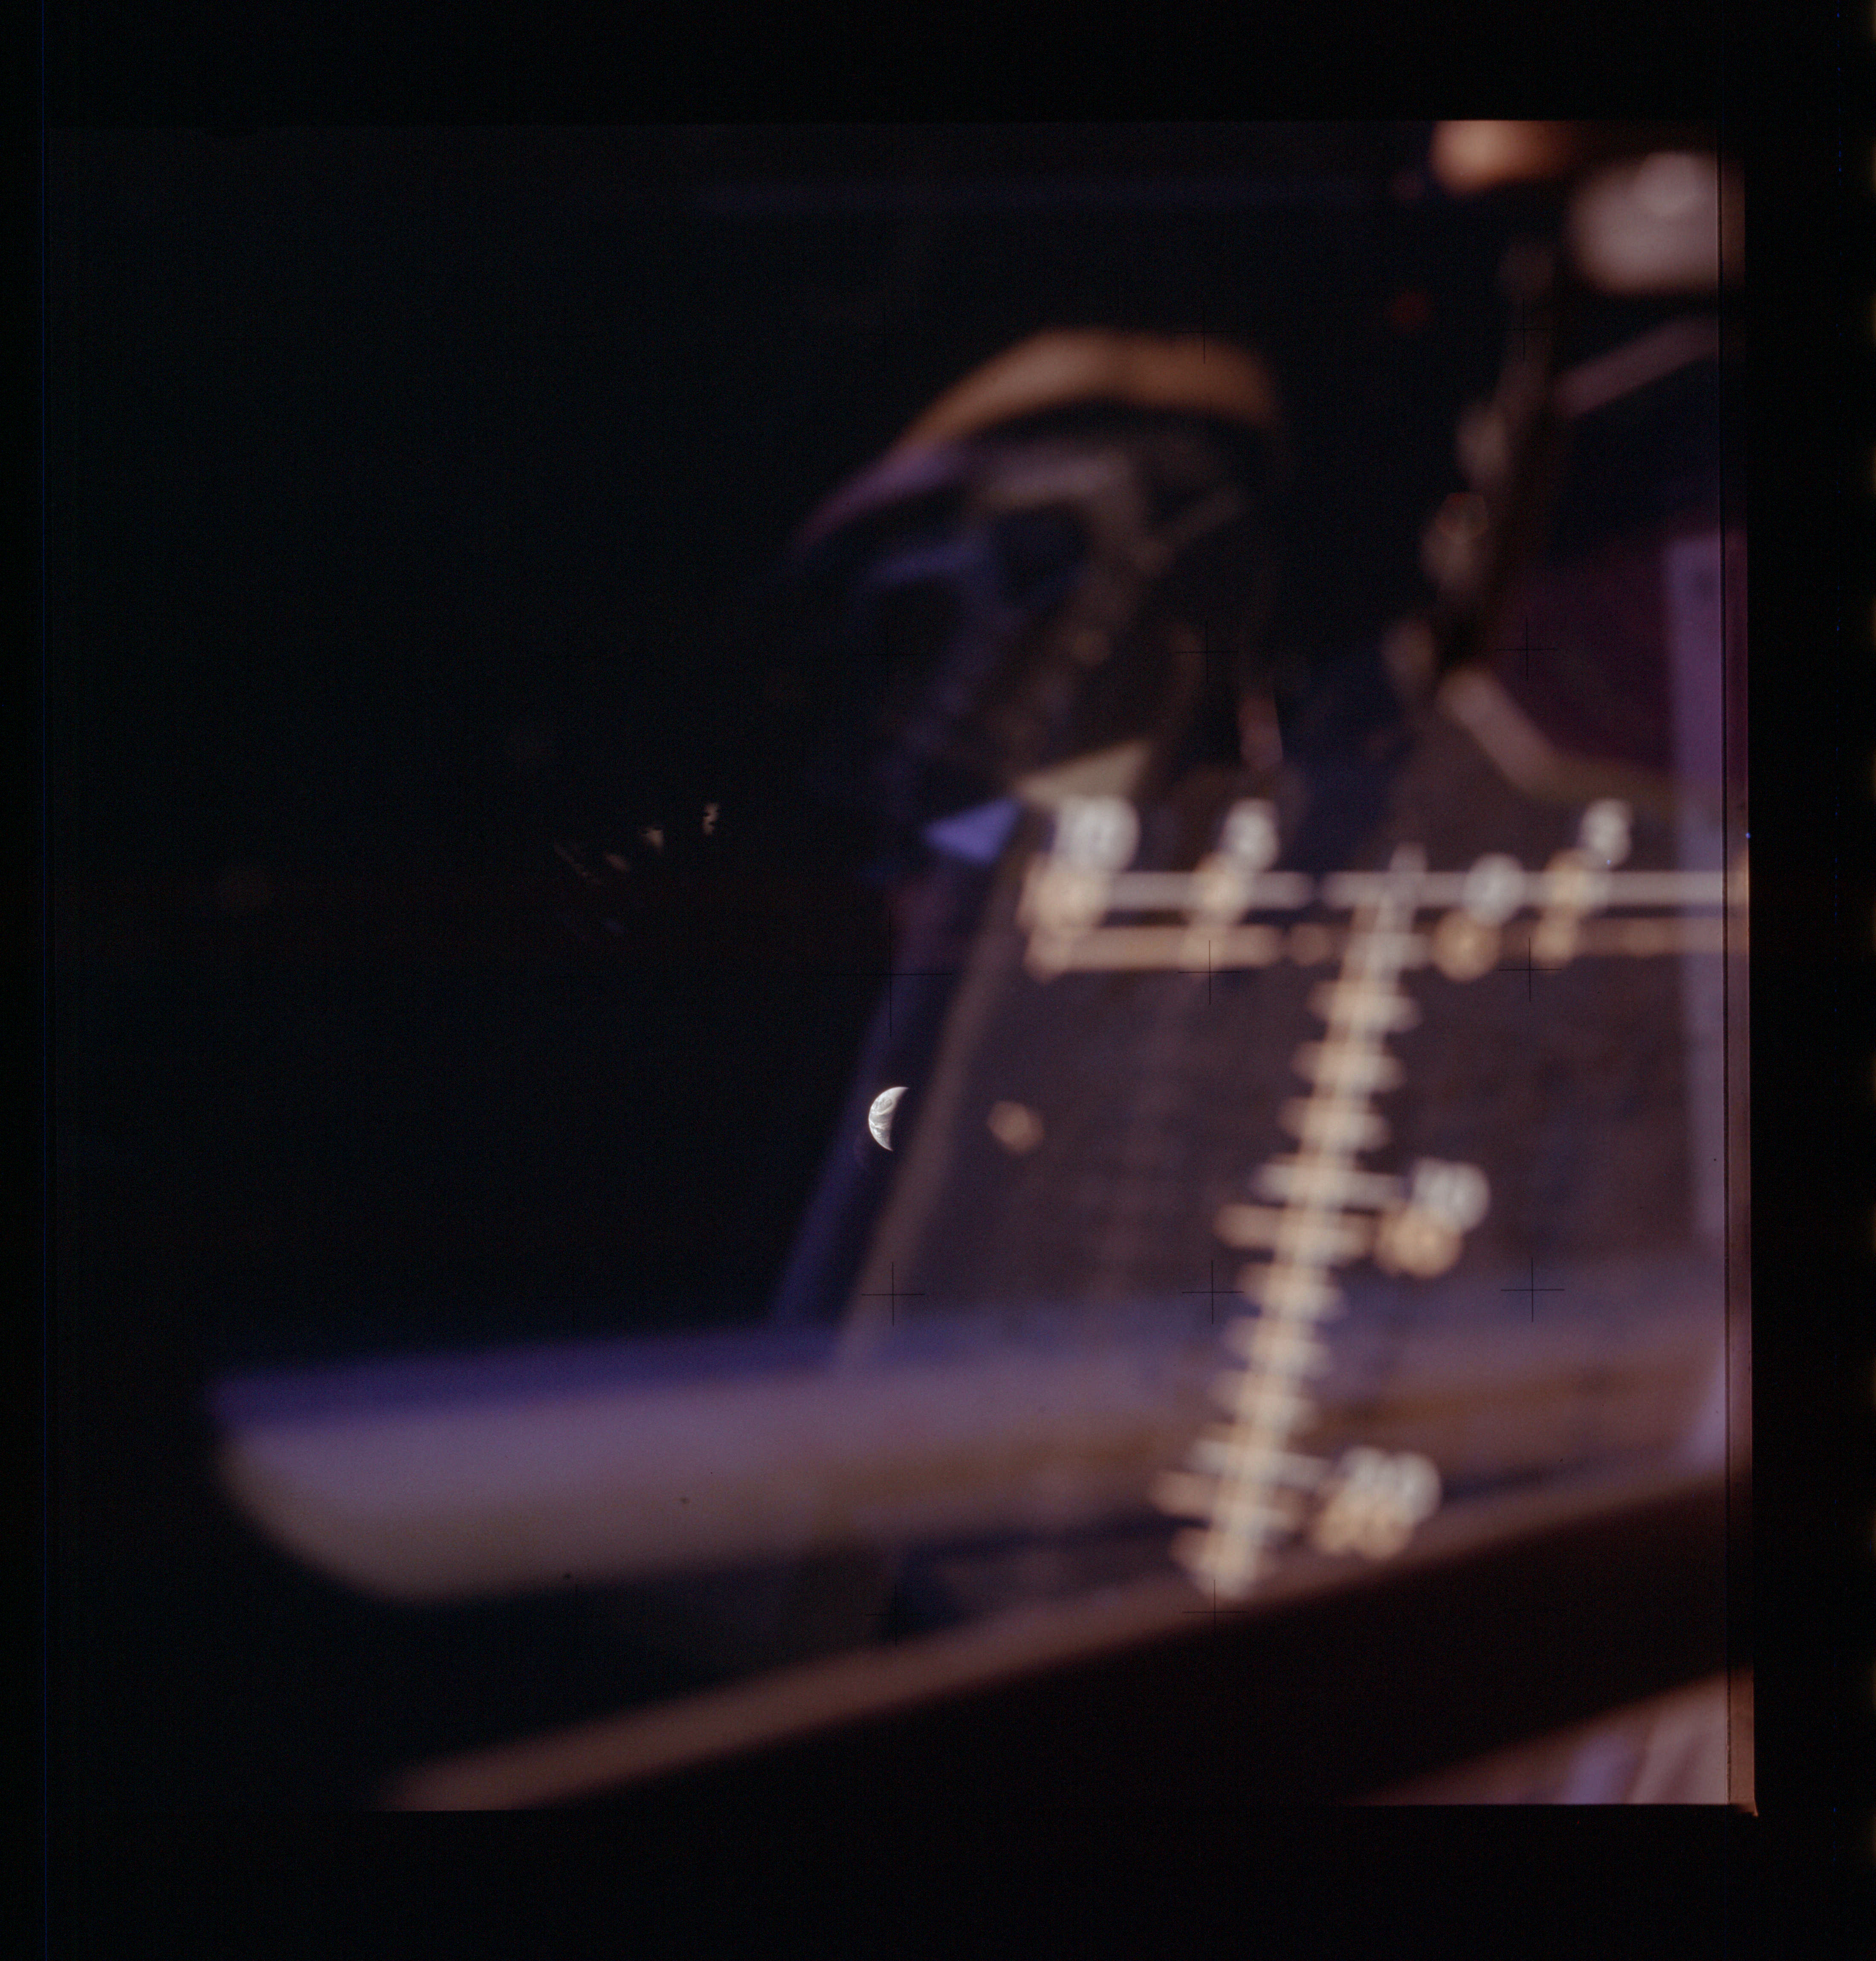
AS13-61-8826 Browse or print resolution. Earth from Lunar Module. Image credit: Image Science and Analysis Laboratory, NASA-Johnson Space Center. |
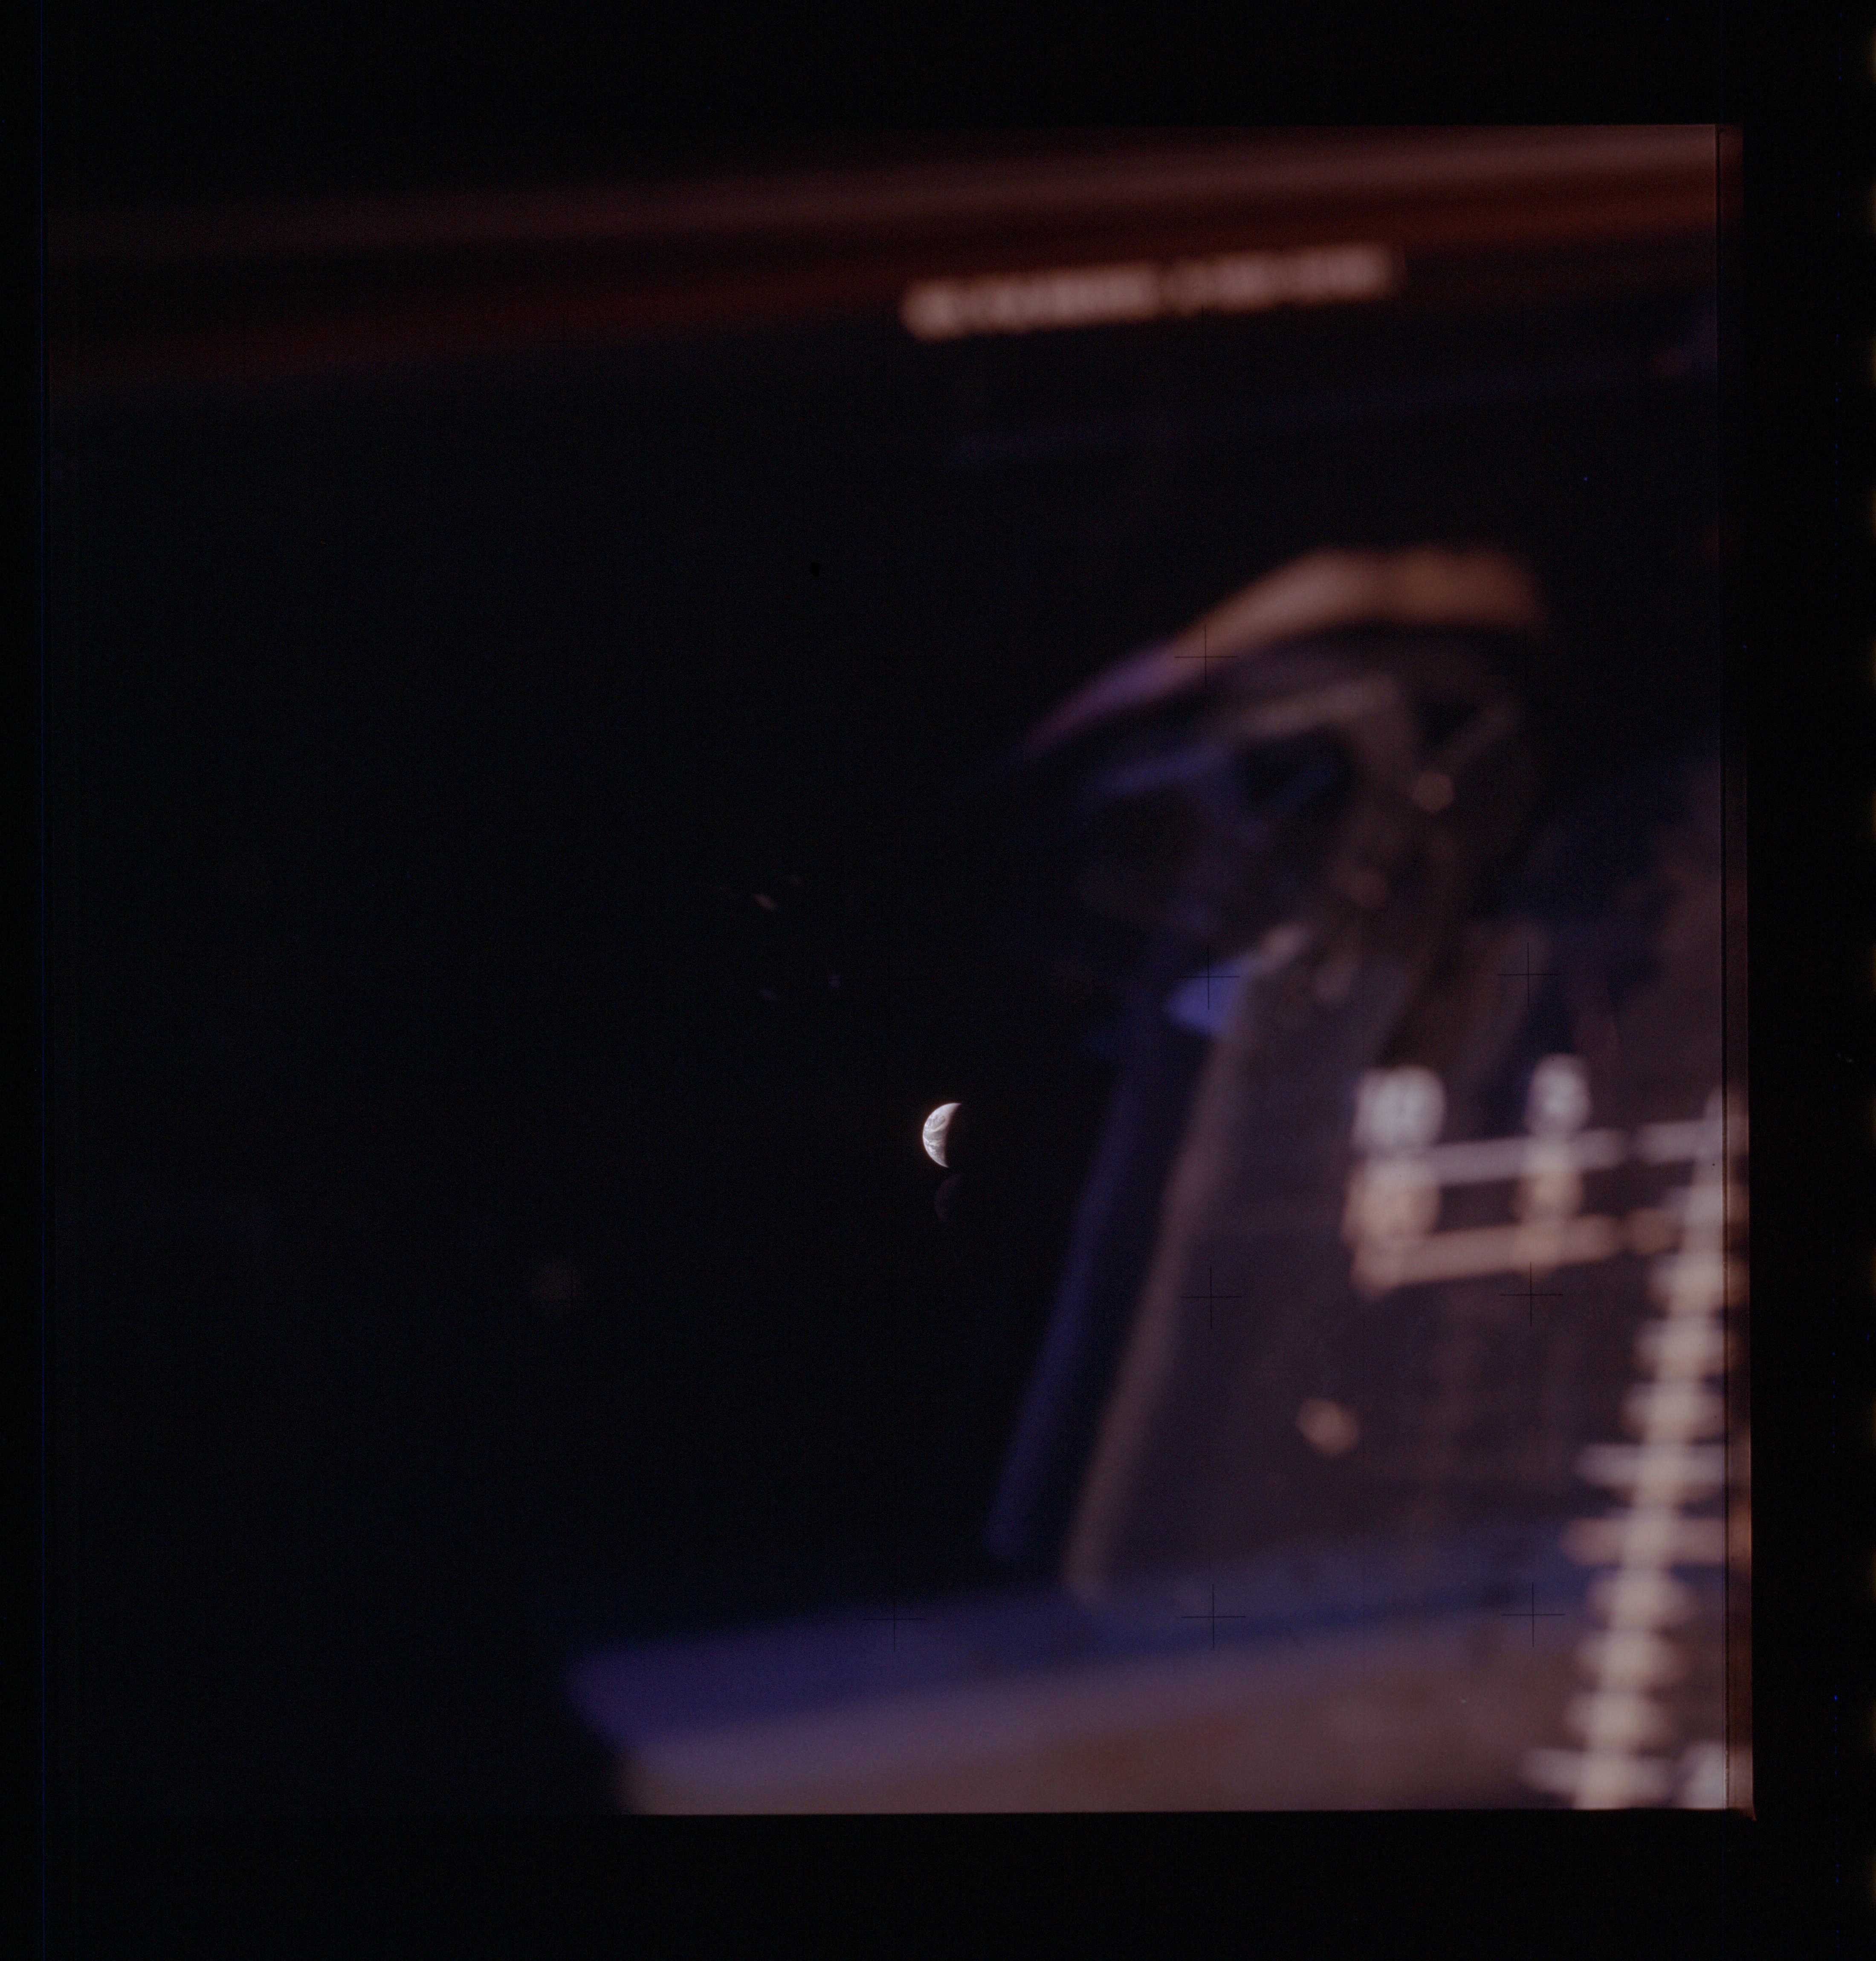
|
AS13-61-8827 Browse or print resolution. Earth from Lunar Module. Image credit: Image Science and Analysis Laboratory, NASA-Johnson Space Center. |
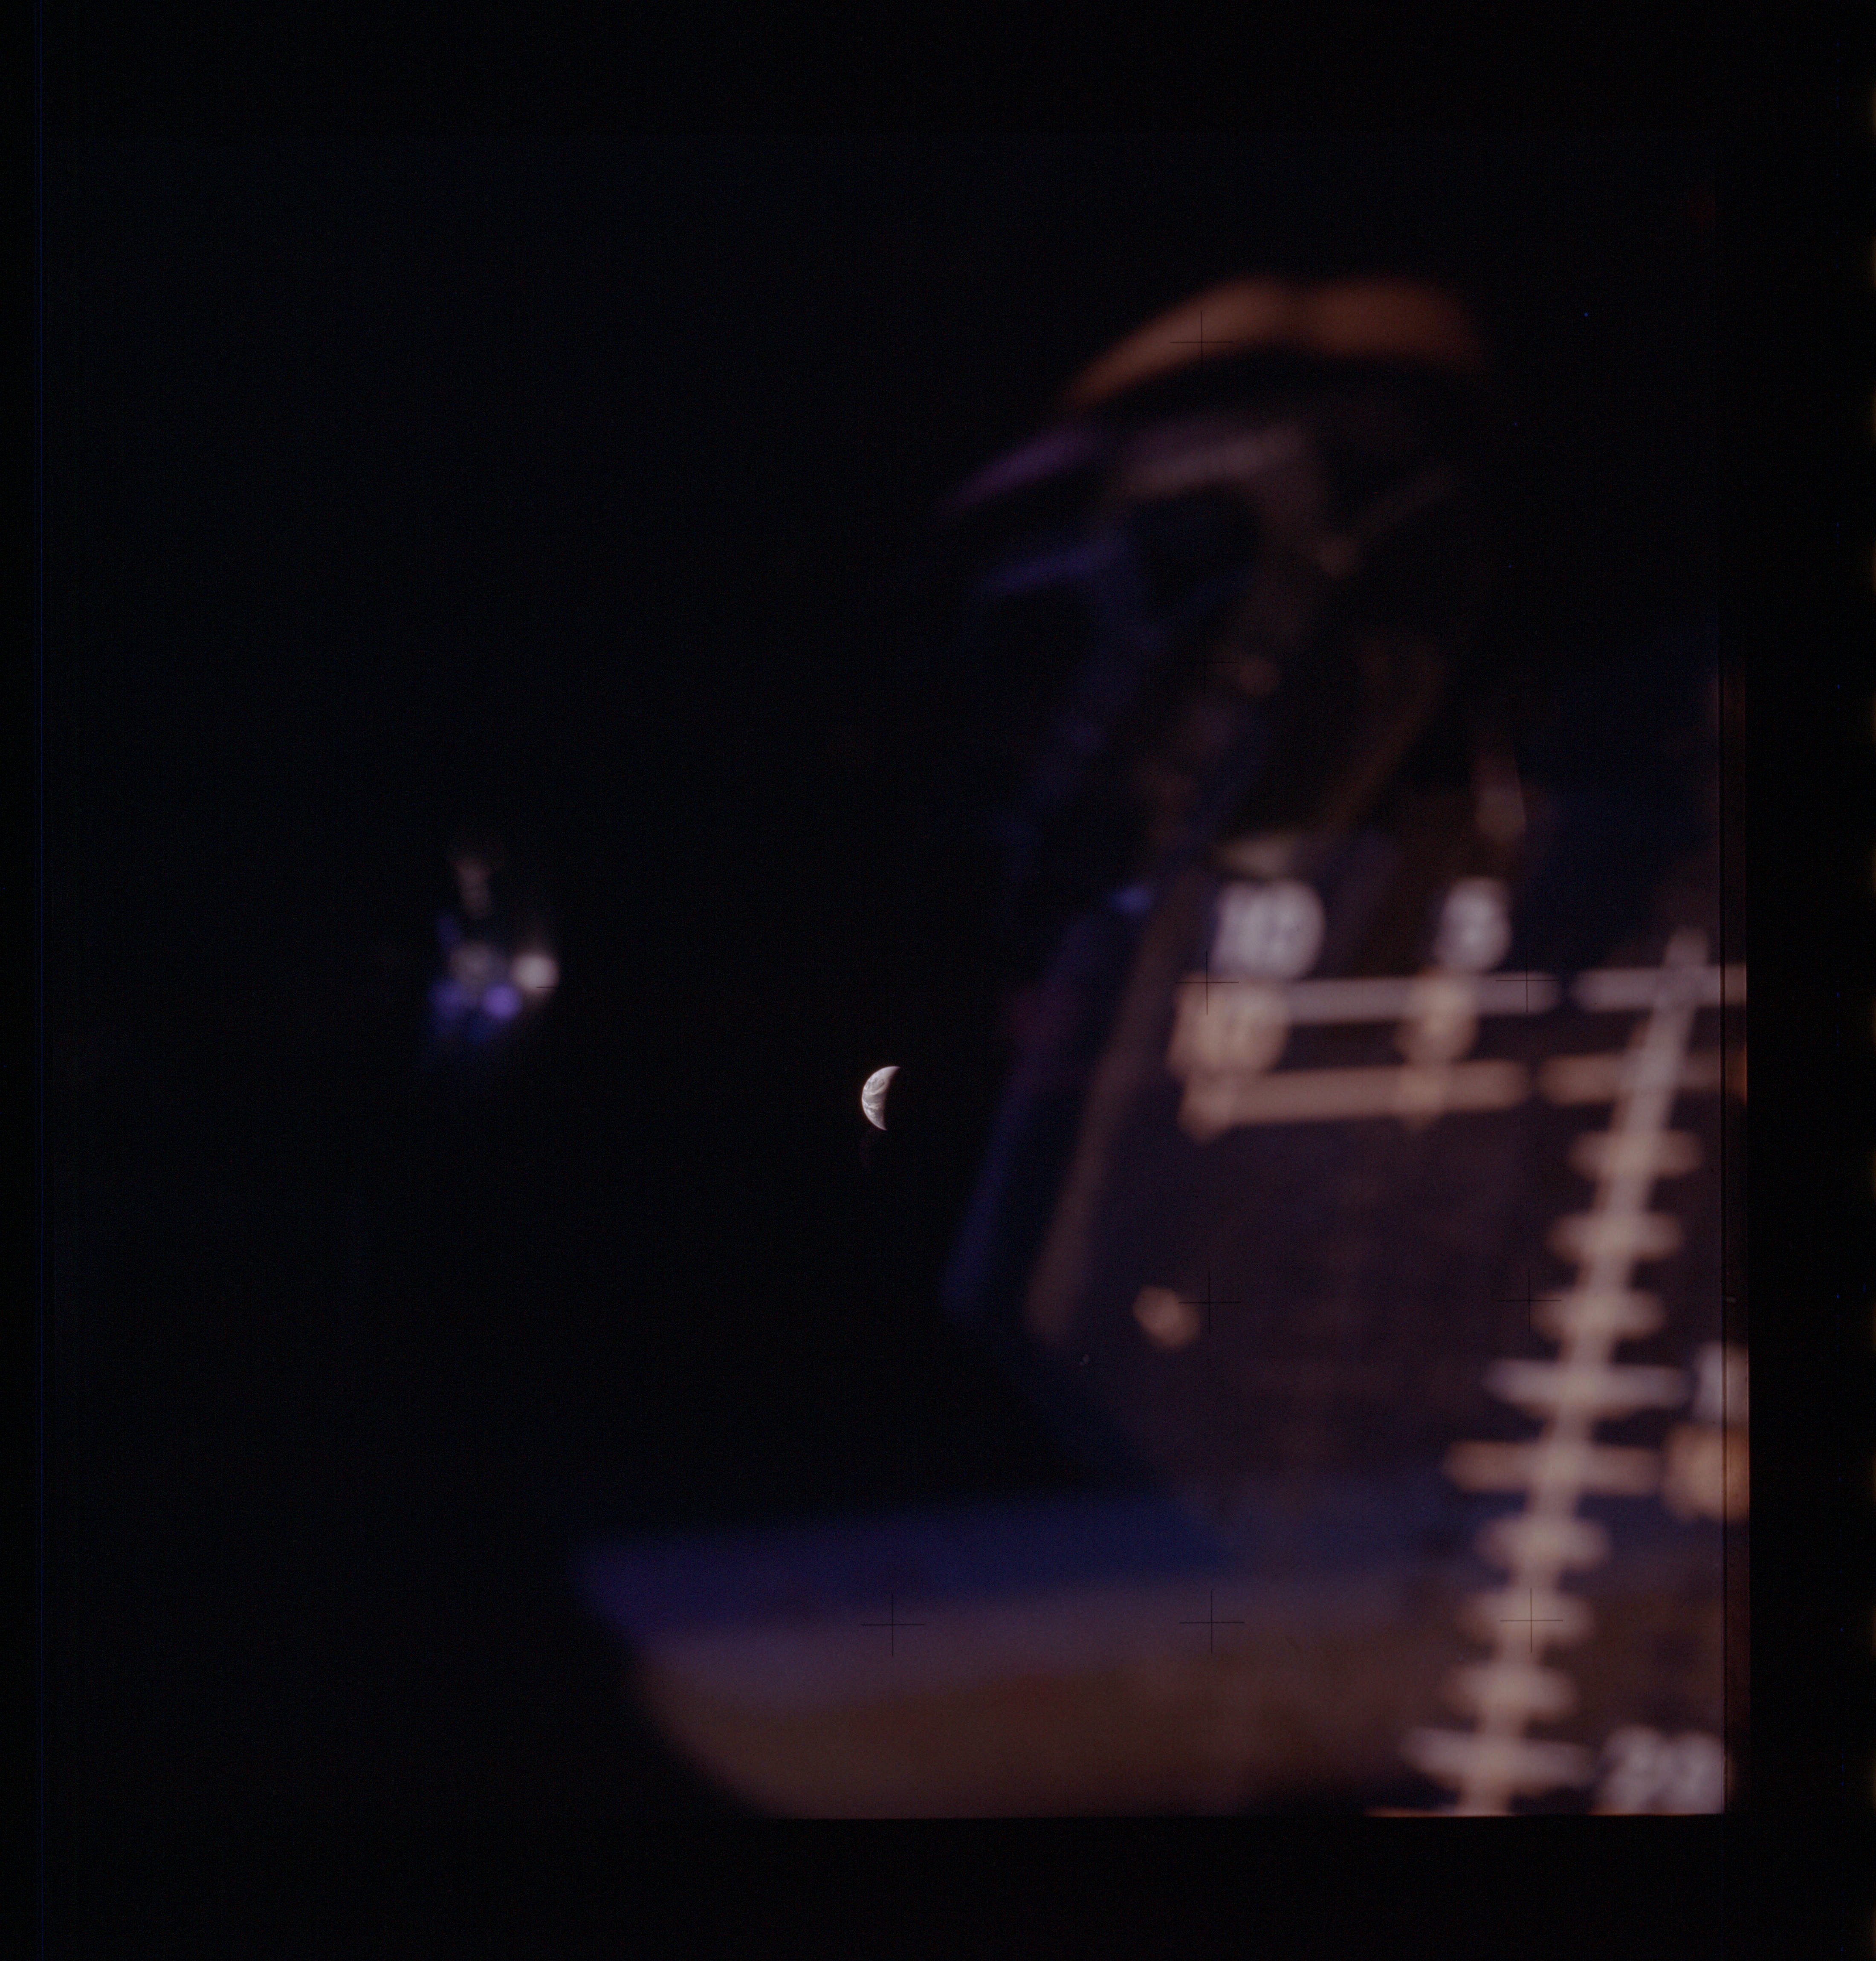
|
AS13-61-8828 Browse or print resolution. Earth from Lunar Module. Image credit: Image Science and Analysis Laboratory, NASA-Johnson Space Center. |
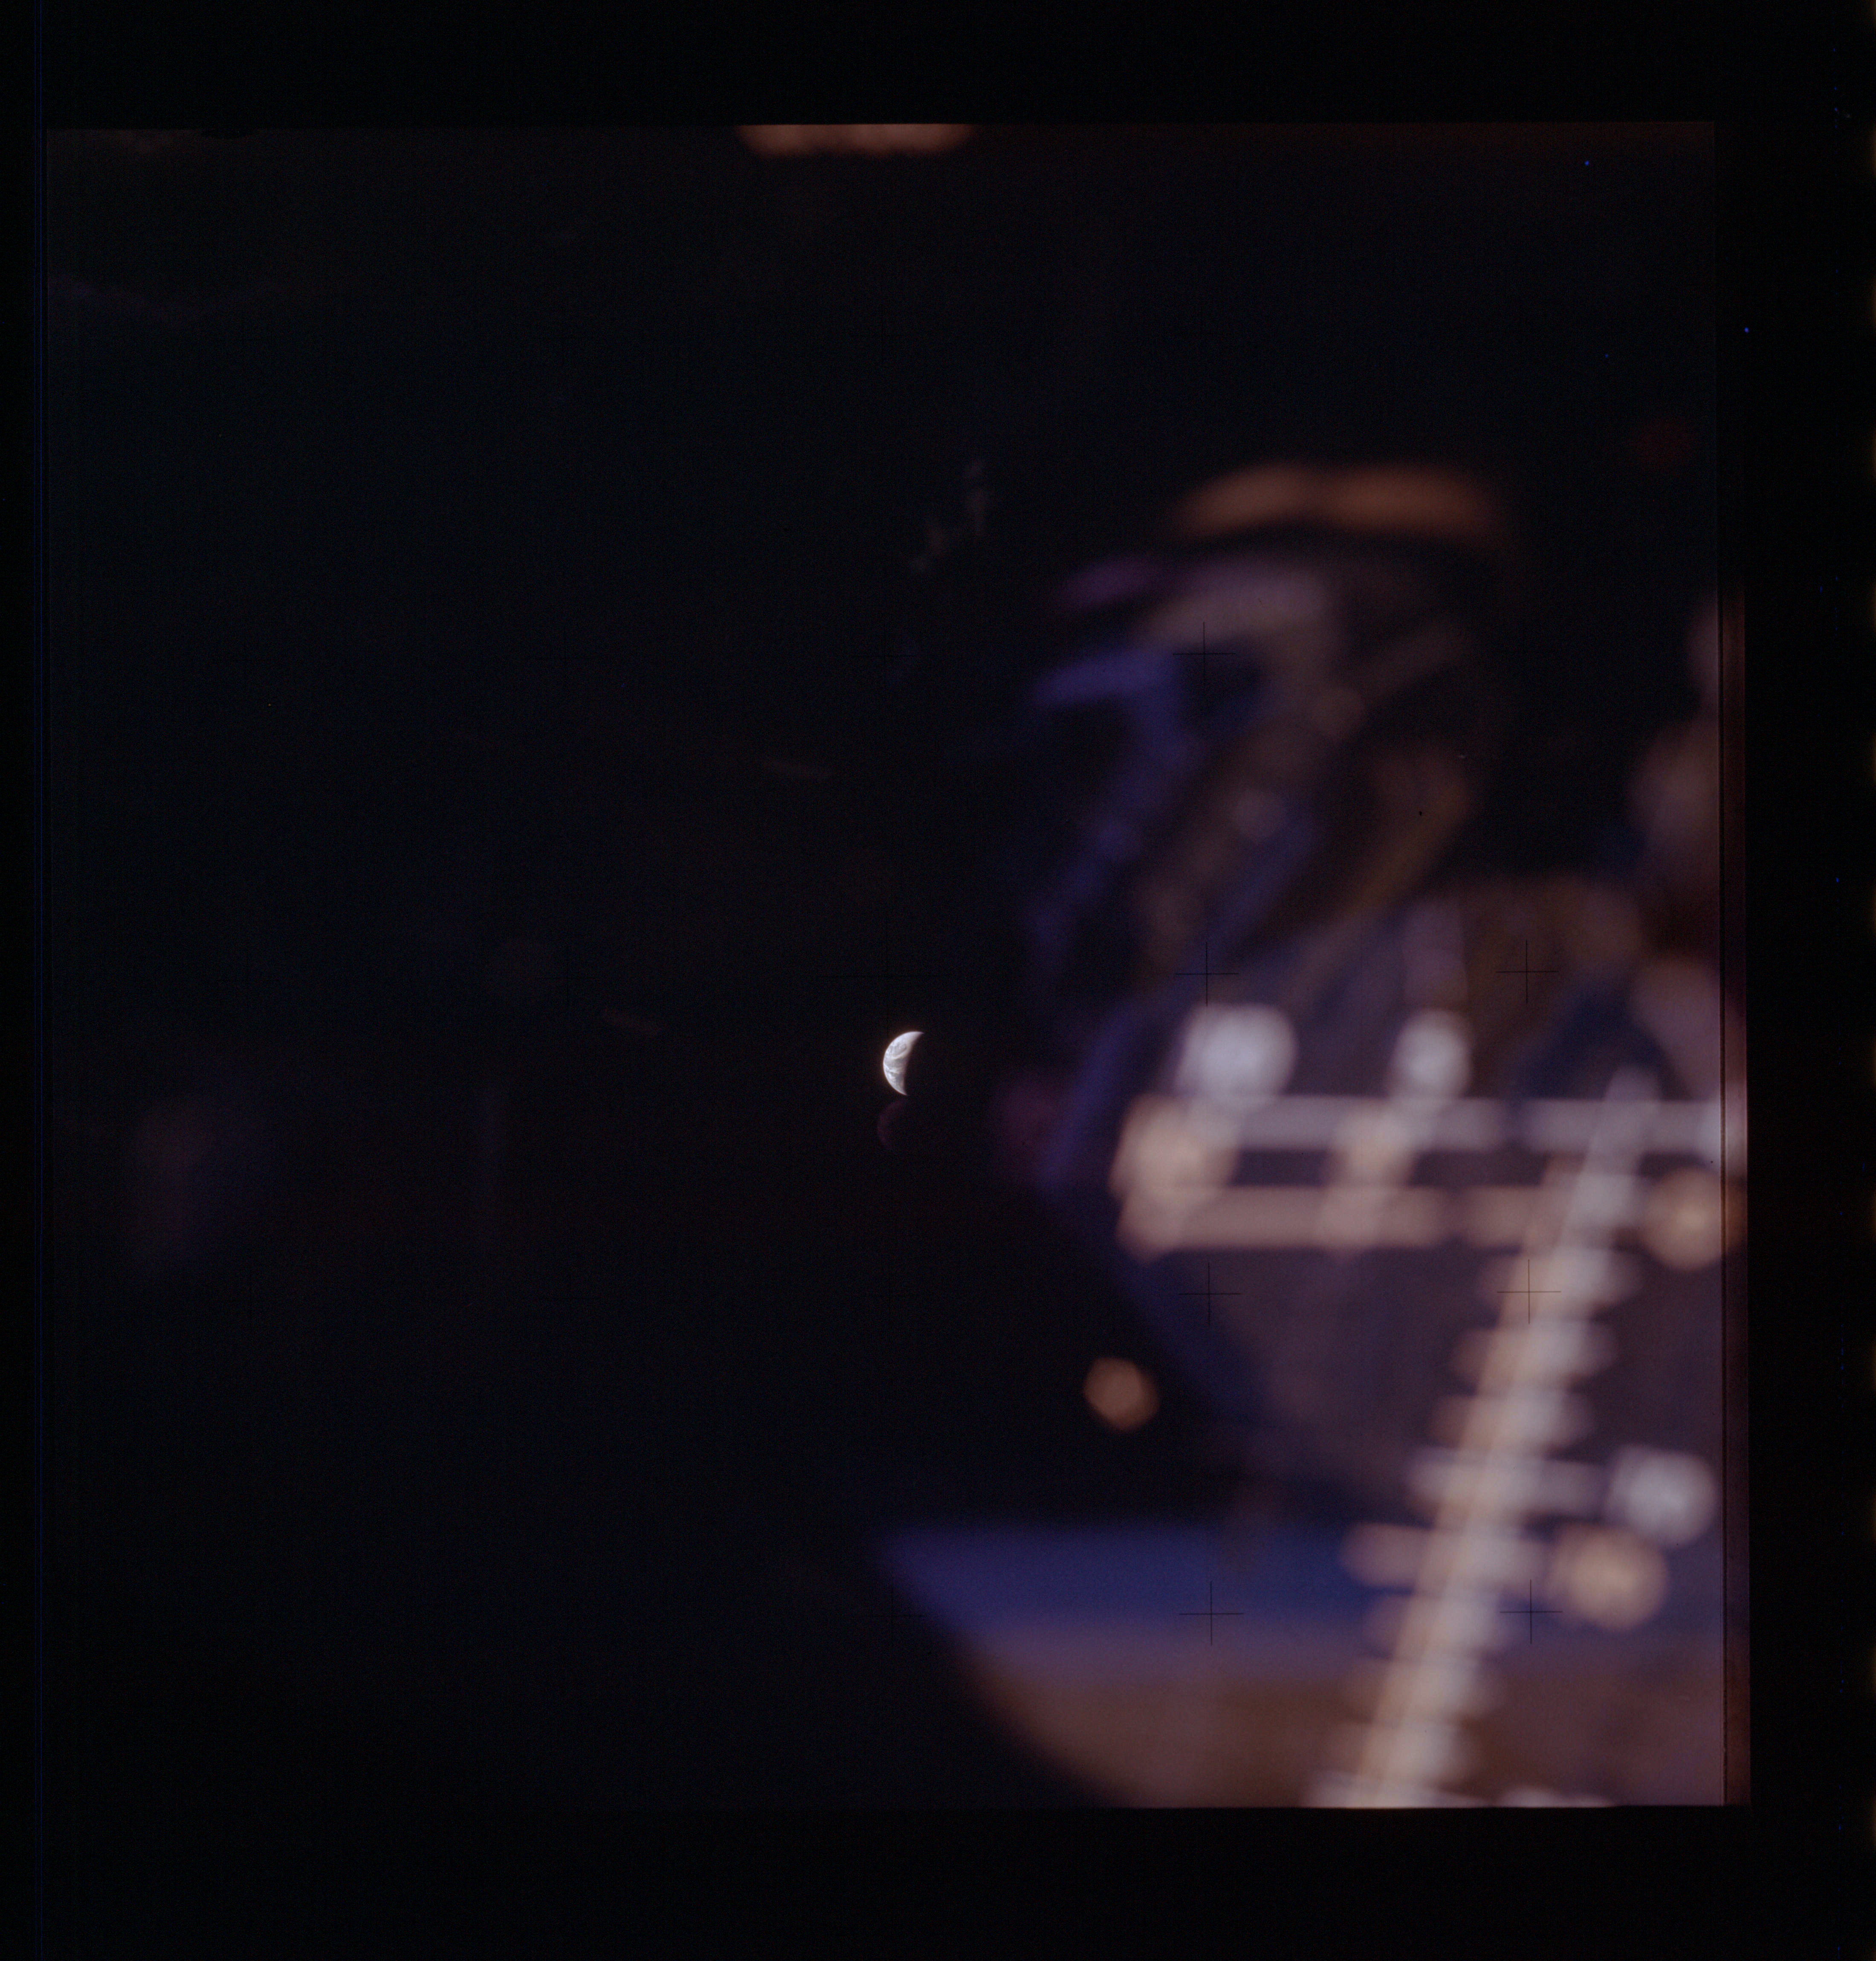
|
AS13-61-8829 Browse or print resolution. Earth from Lunar Module. Image credit: Image Science and Analysis Laboratory, NASA-Johnson Space Center. |
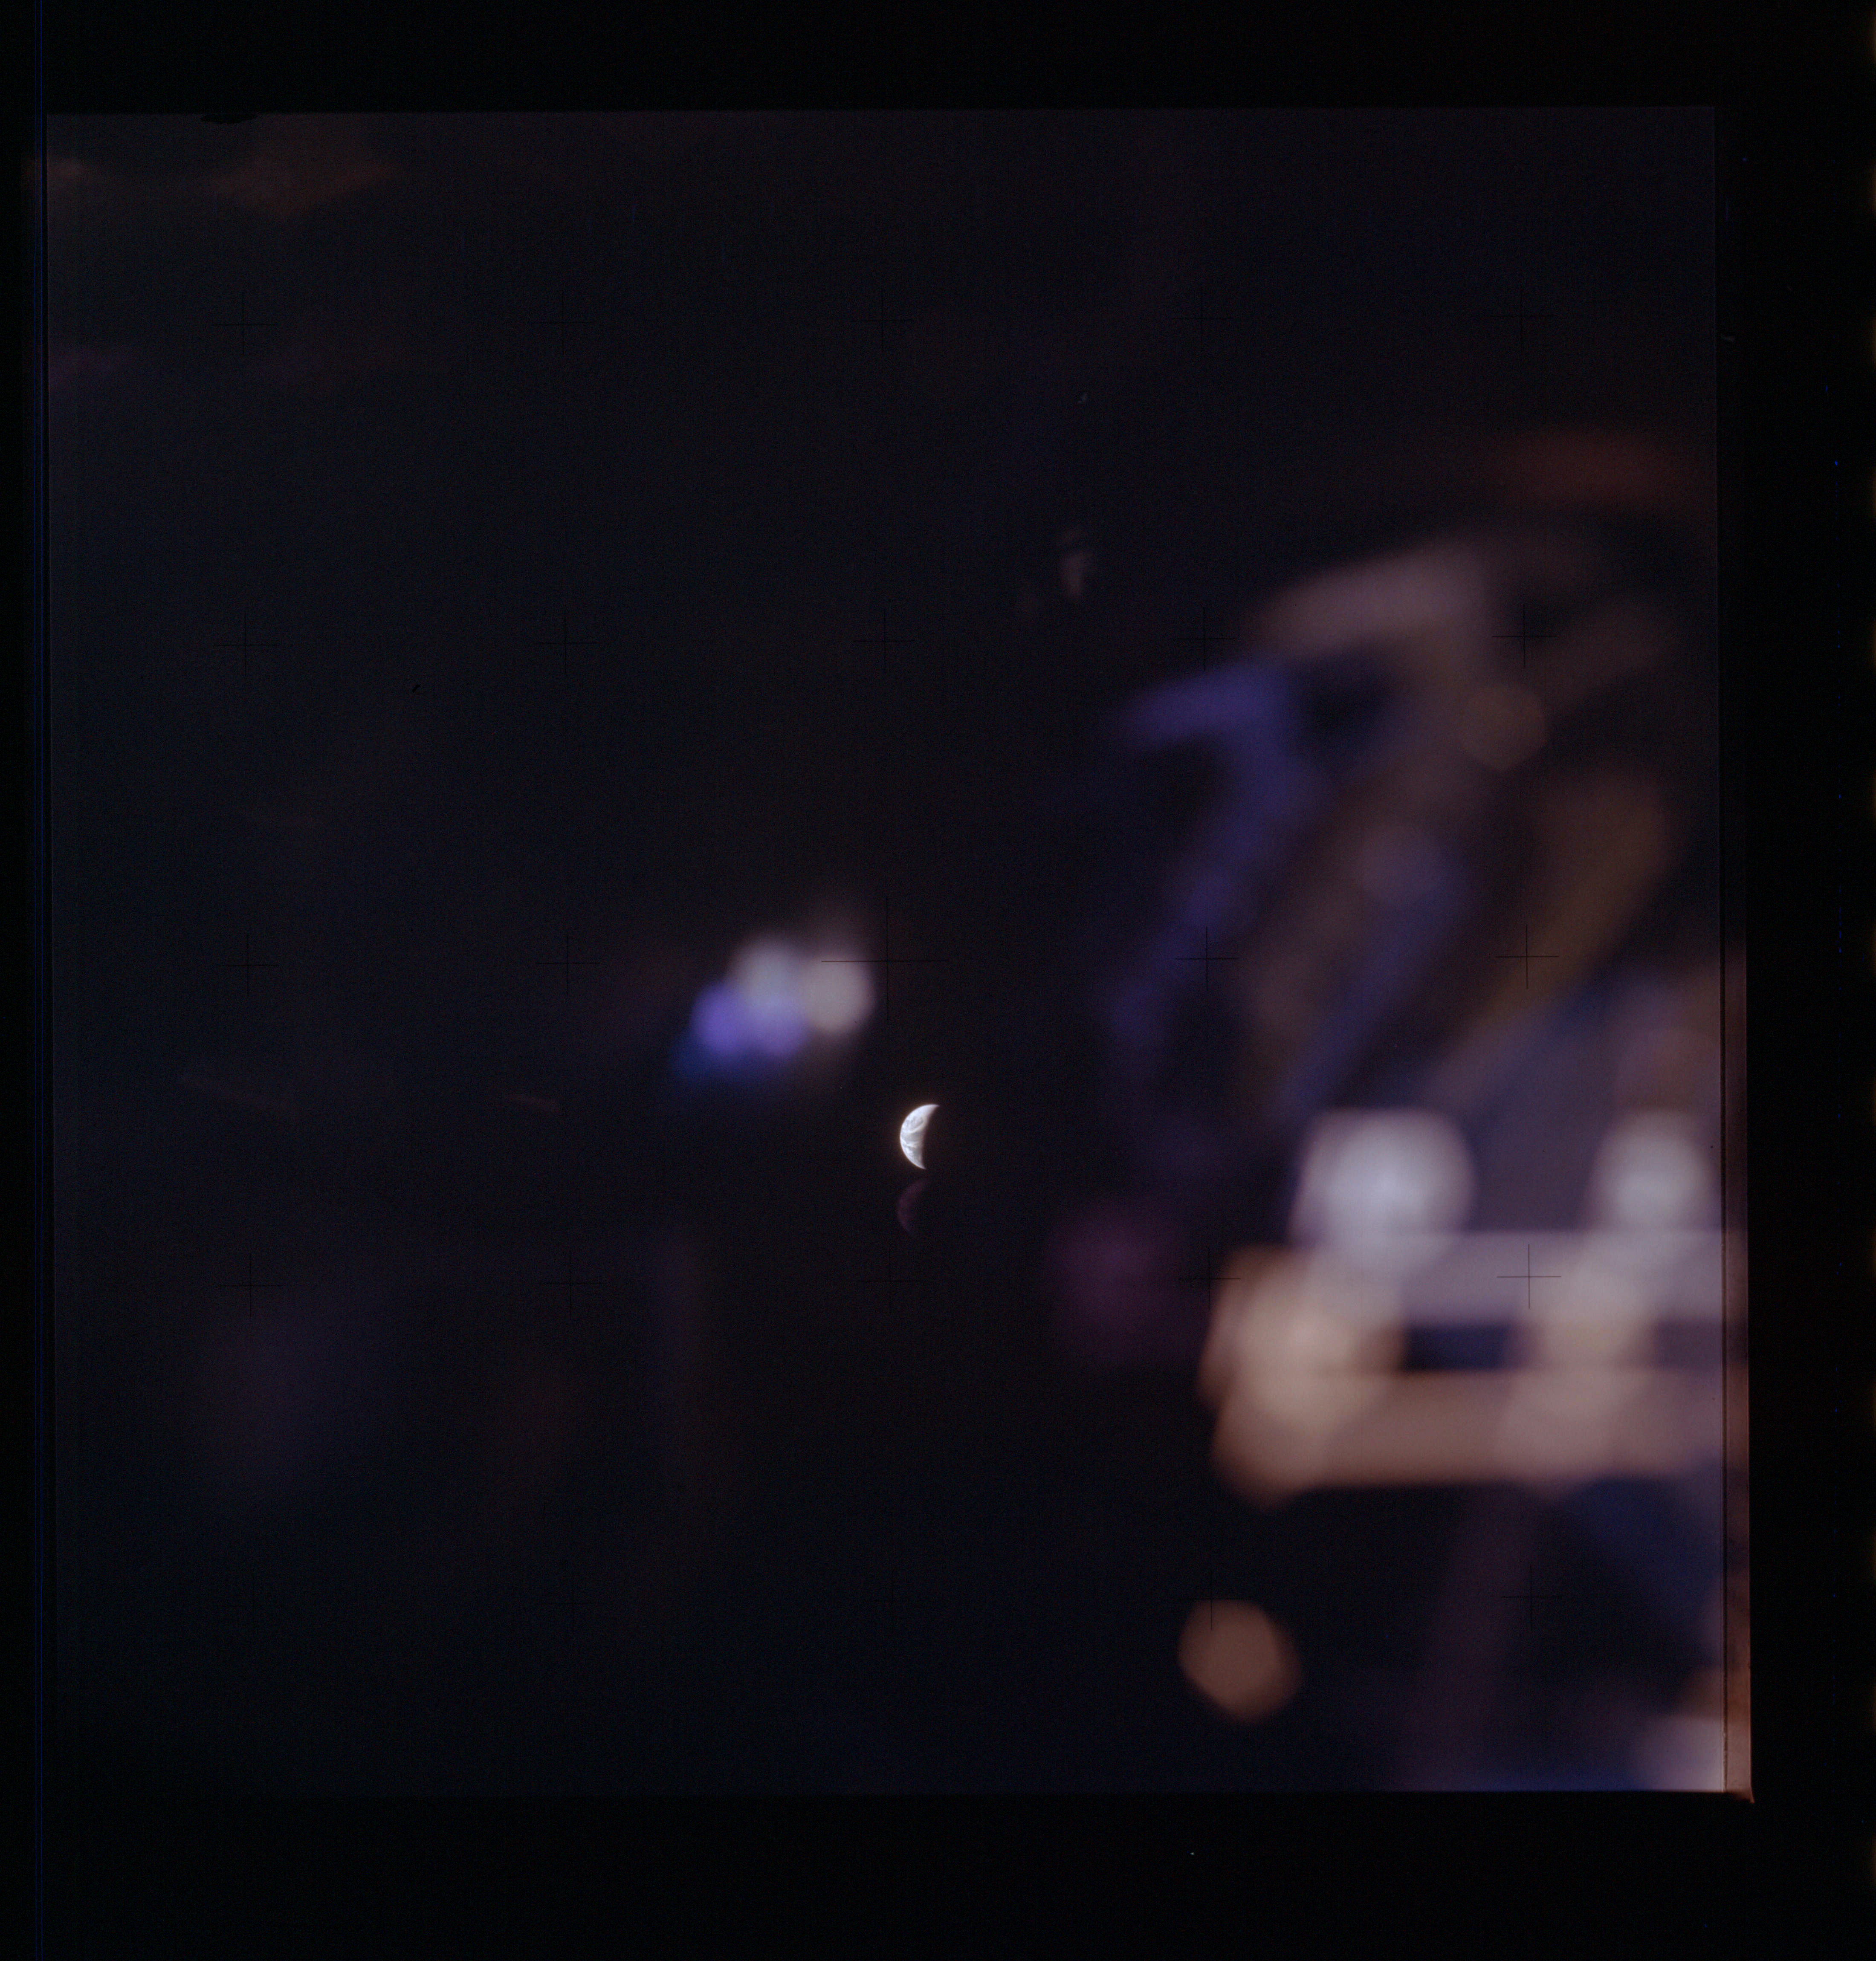
|
AS13-61-8830 Browse or print resolution. Earth from Lunar Module. Image credit: Image Science and Analysis Laboratory, NASA-Johnson Space Center. |
|
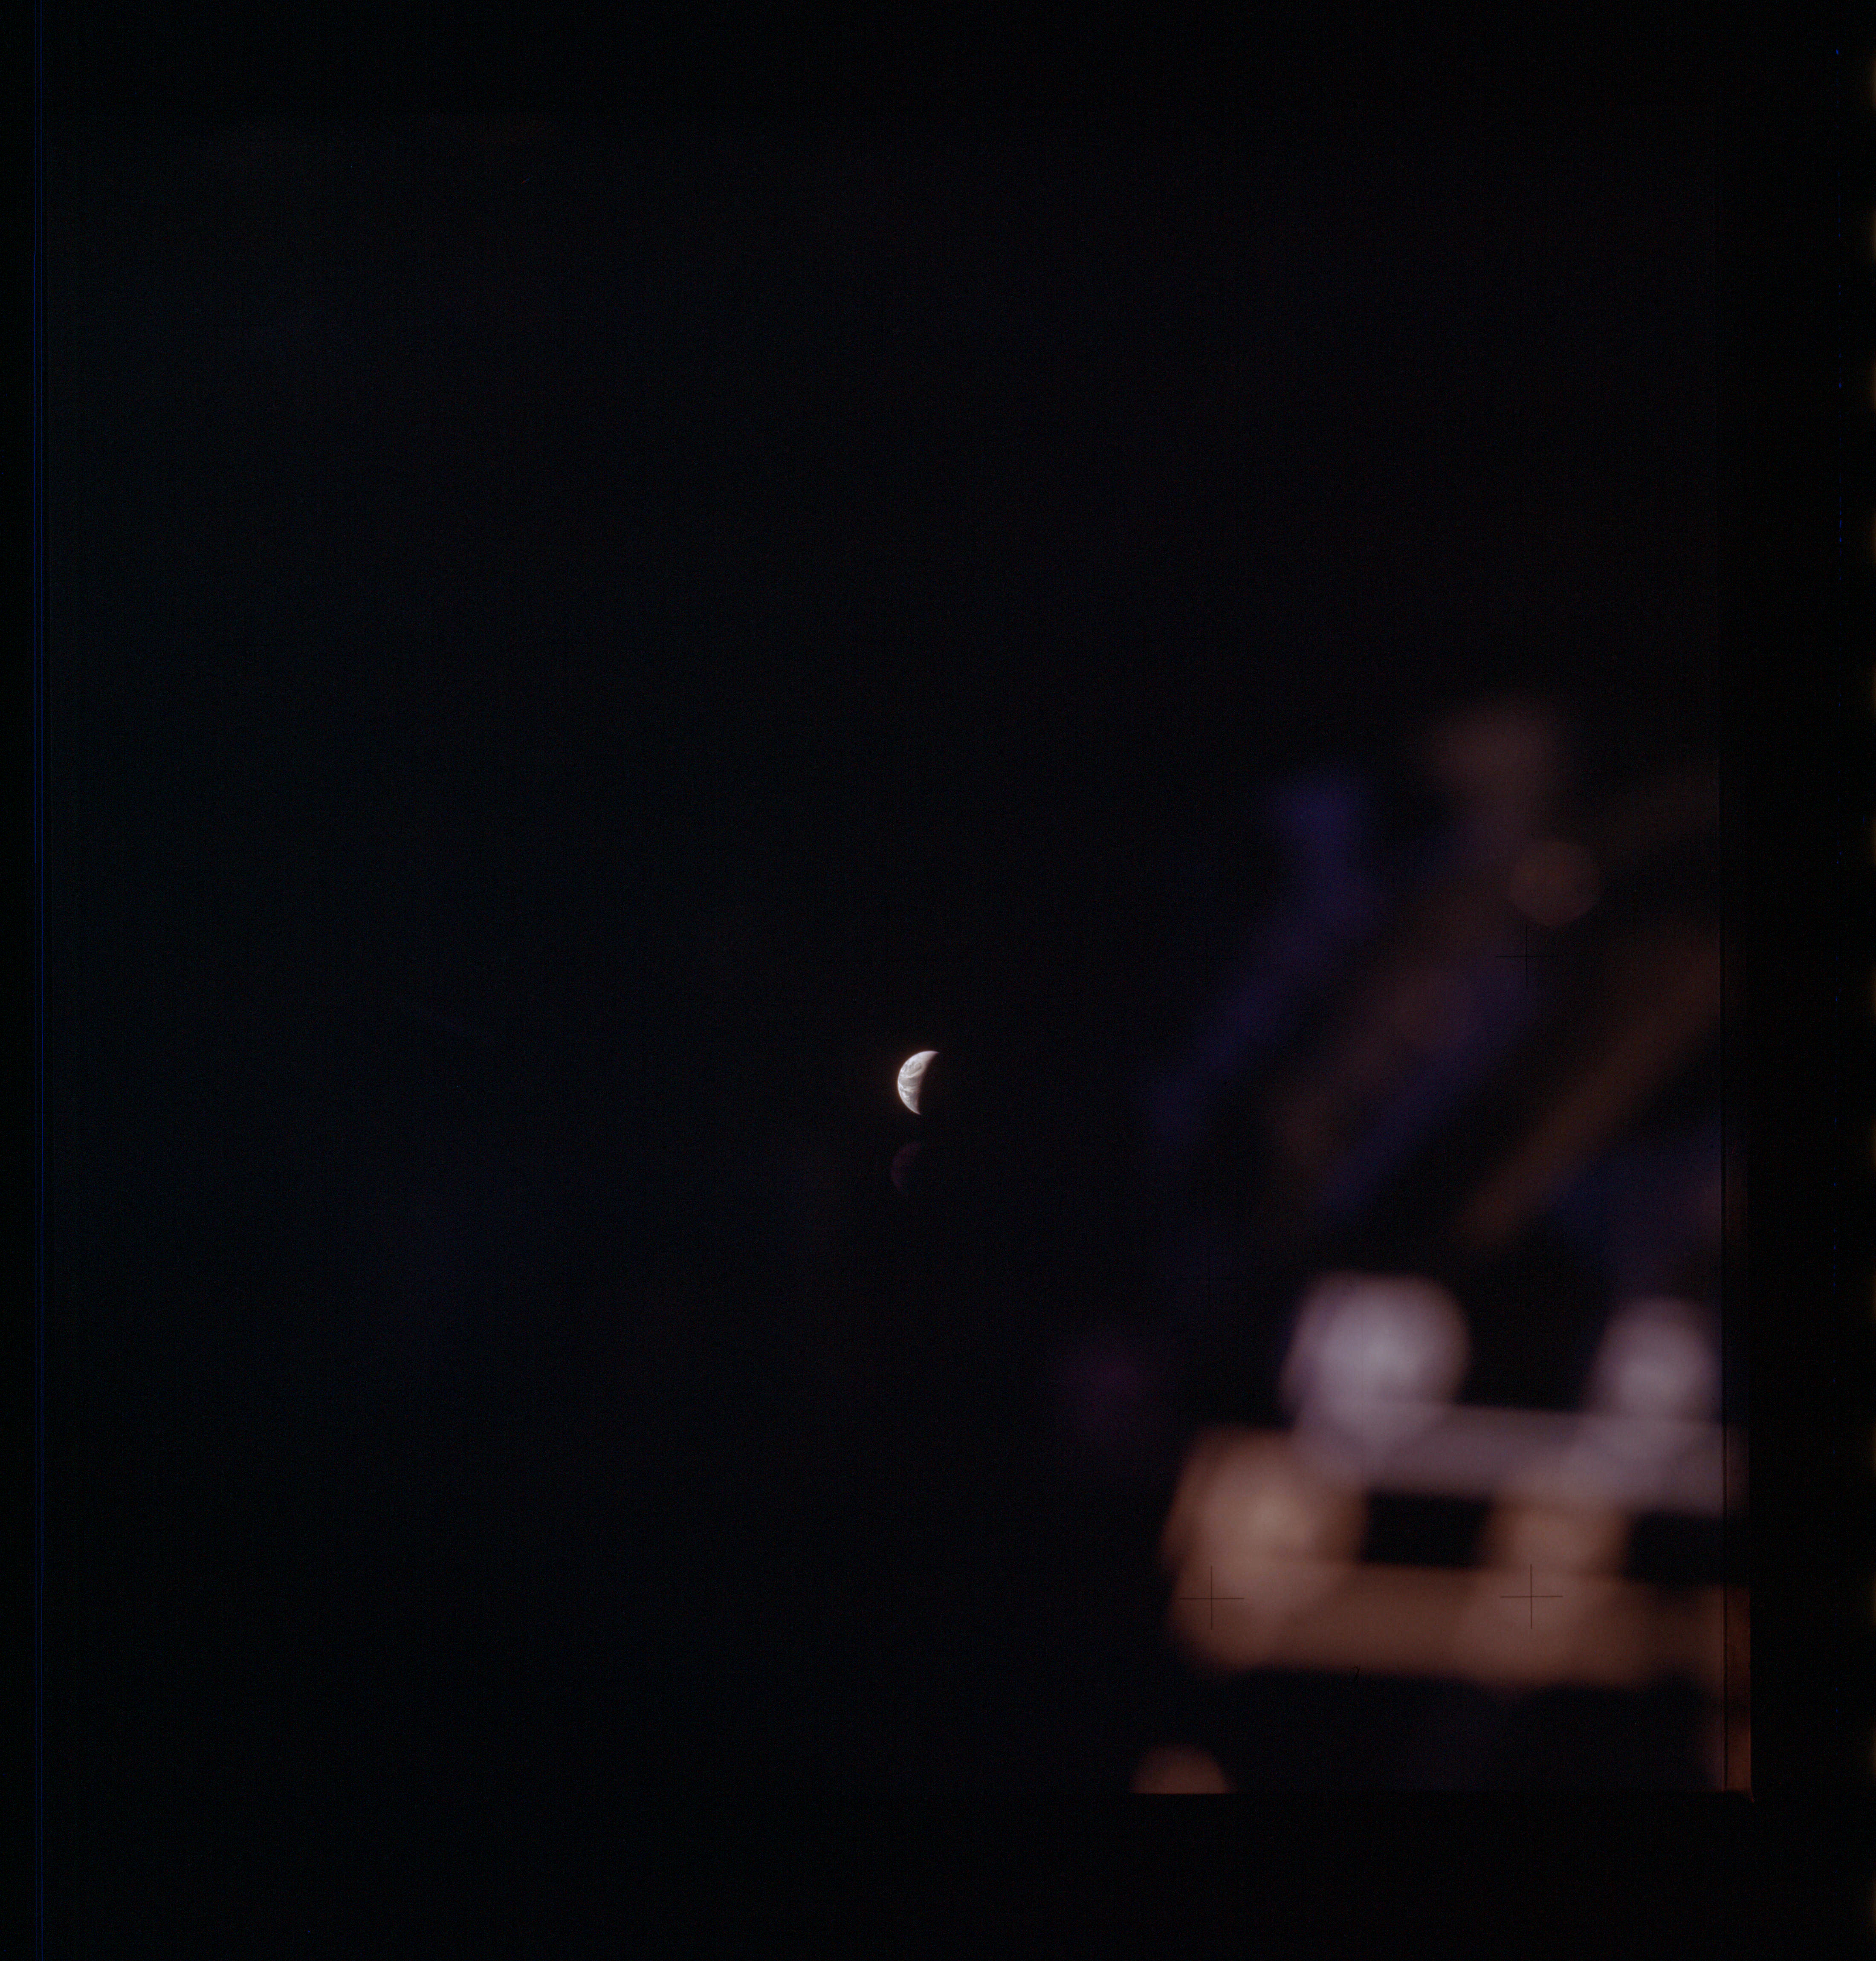
AS13-61-8831 Browse or print resolution. Earth from Lunar Module. Image credit: Image Science and Analysis Laboratory, NASA-Johnson Space Center. |
|
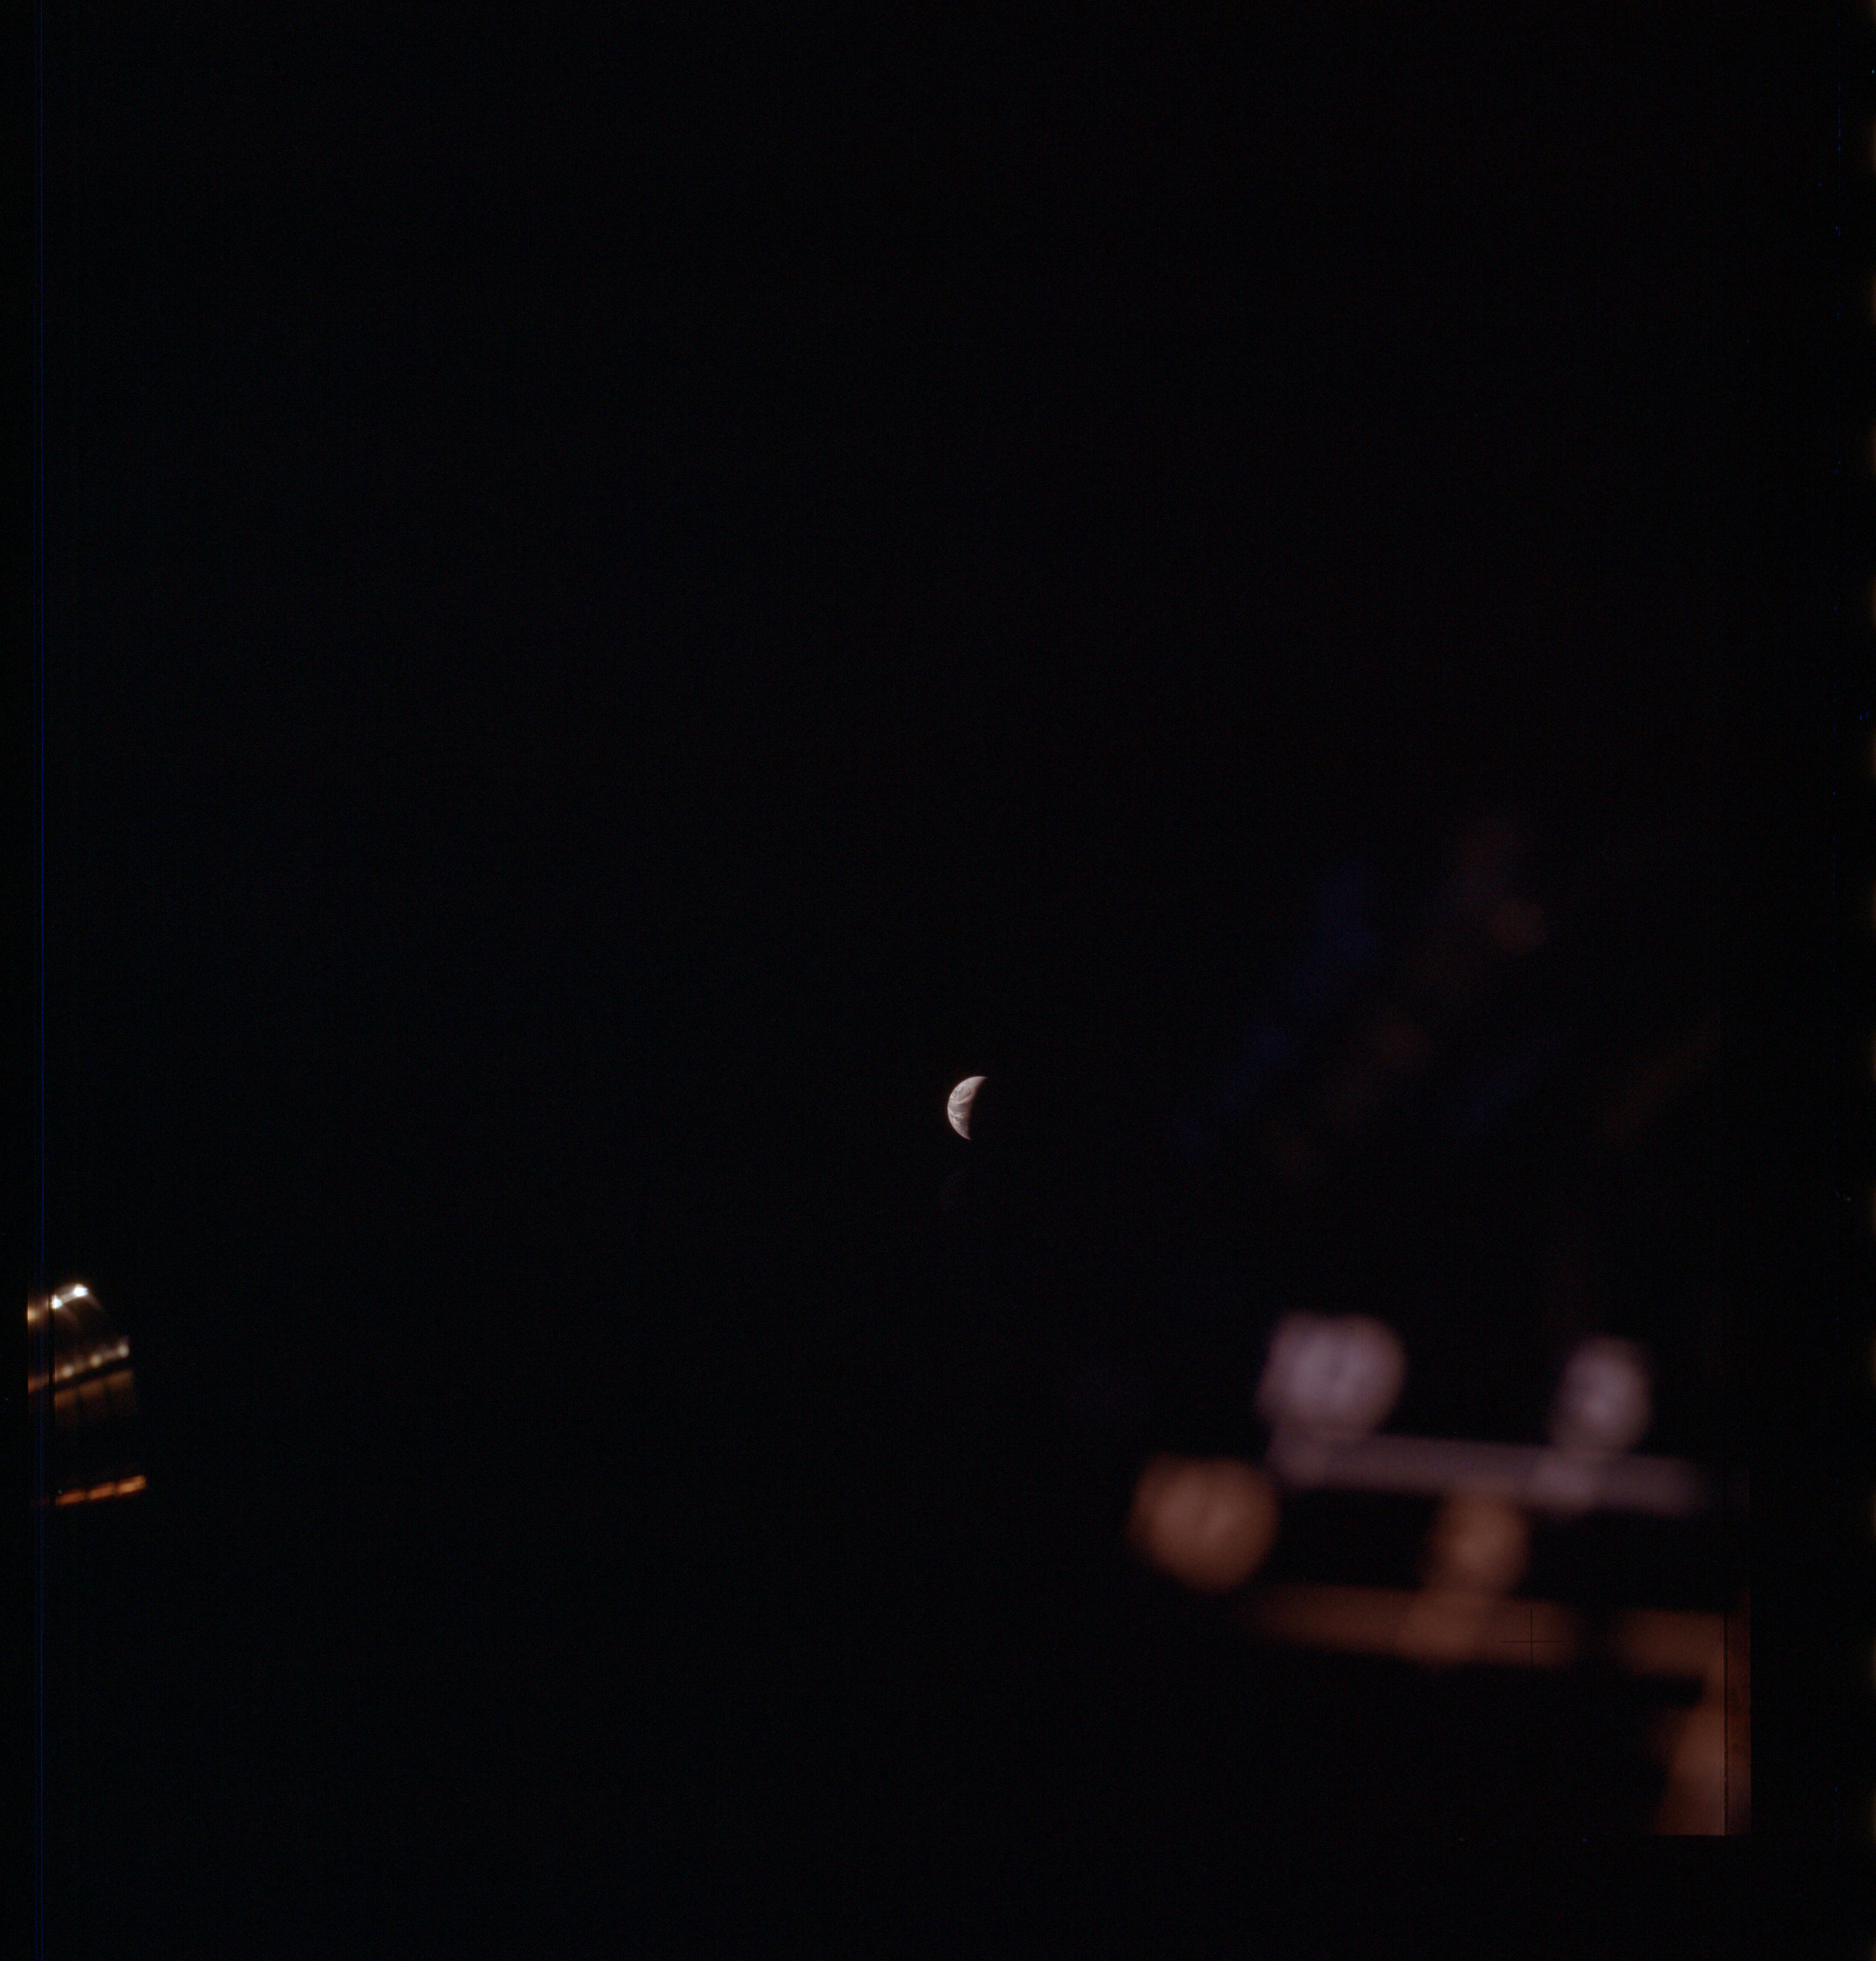
AS13-61-8832 Browse or print resolution. Earth from Lunar Module with RCS thruster. Image credit: Image Science and Analysis Laboratory, NASA-Johnson Space Center. |
|
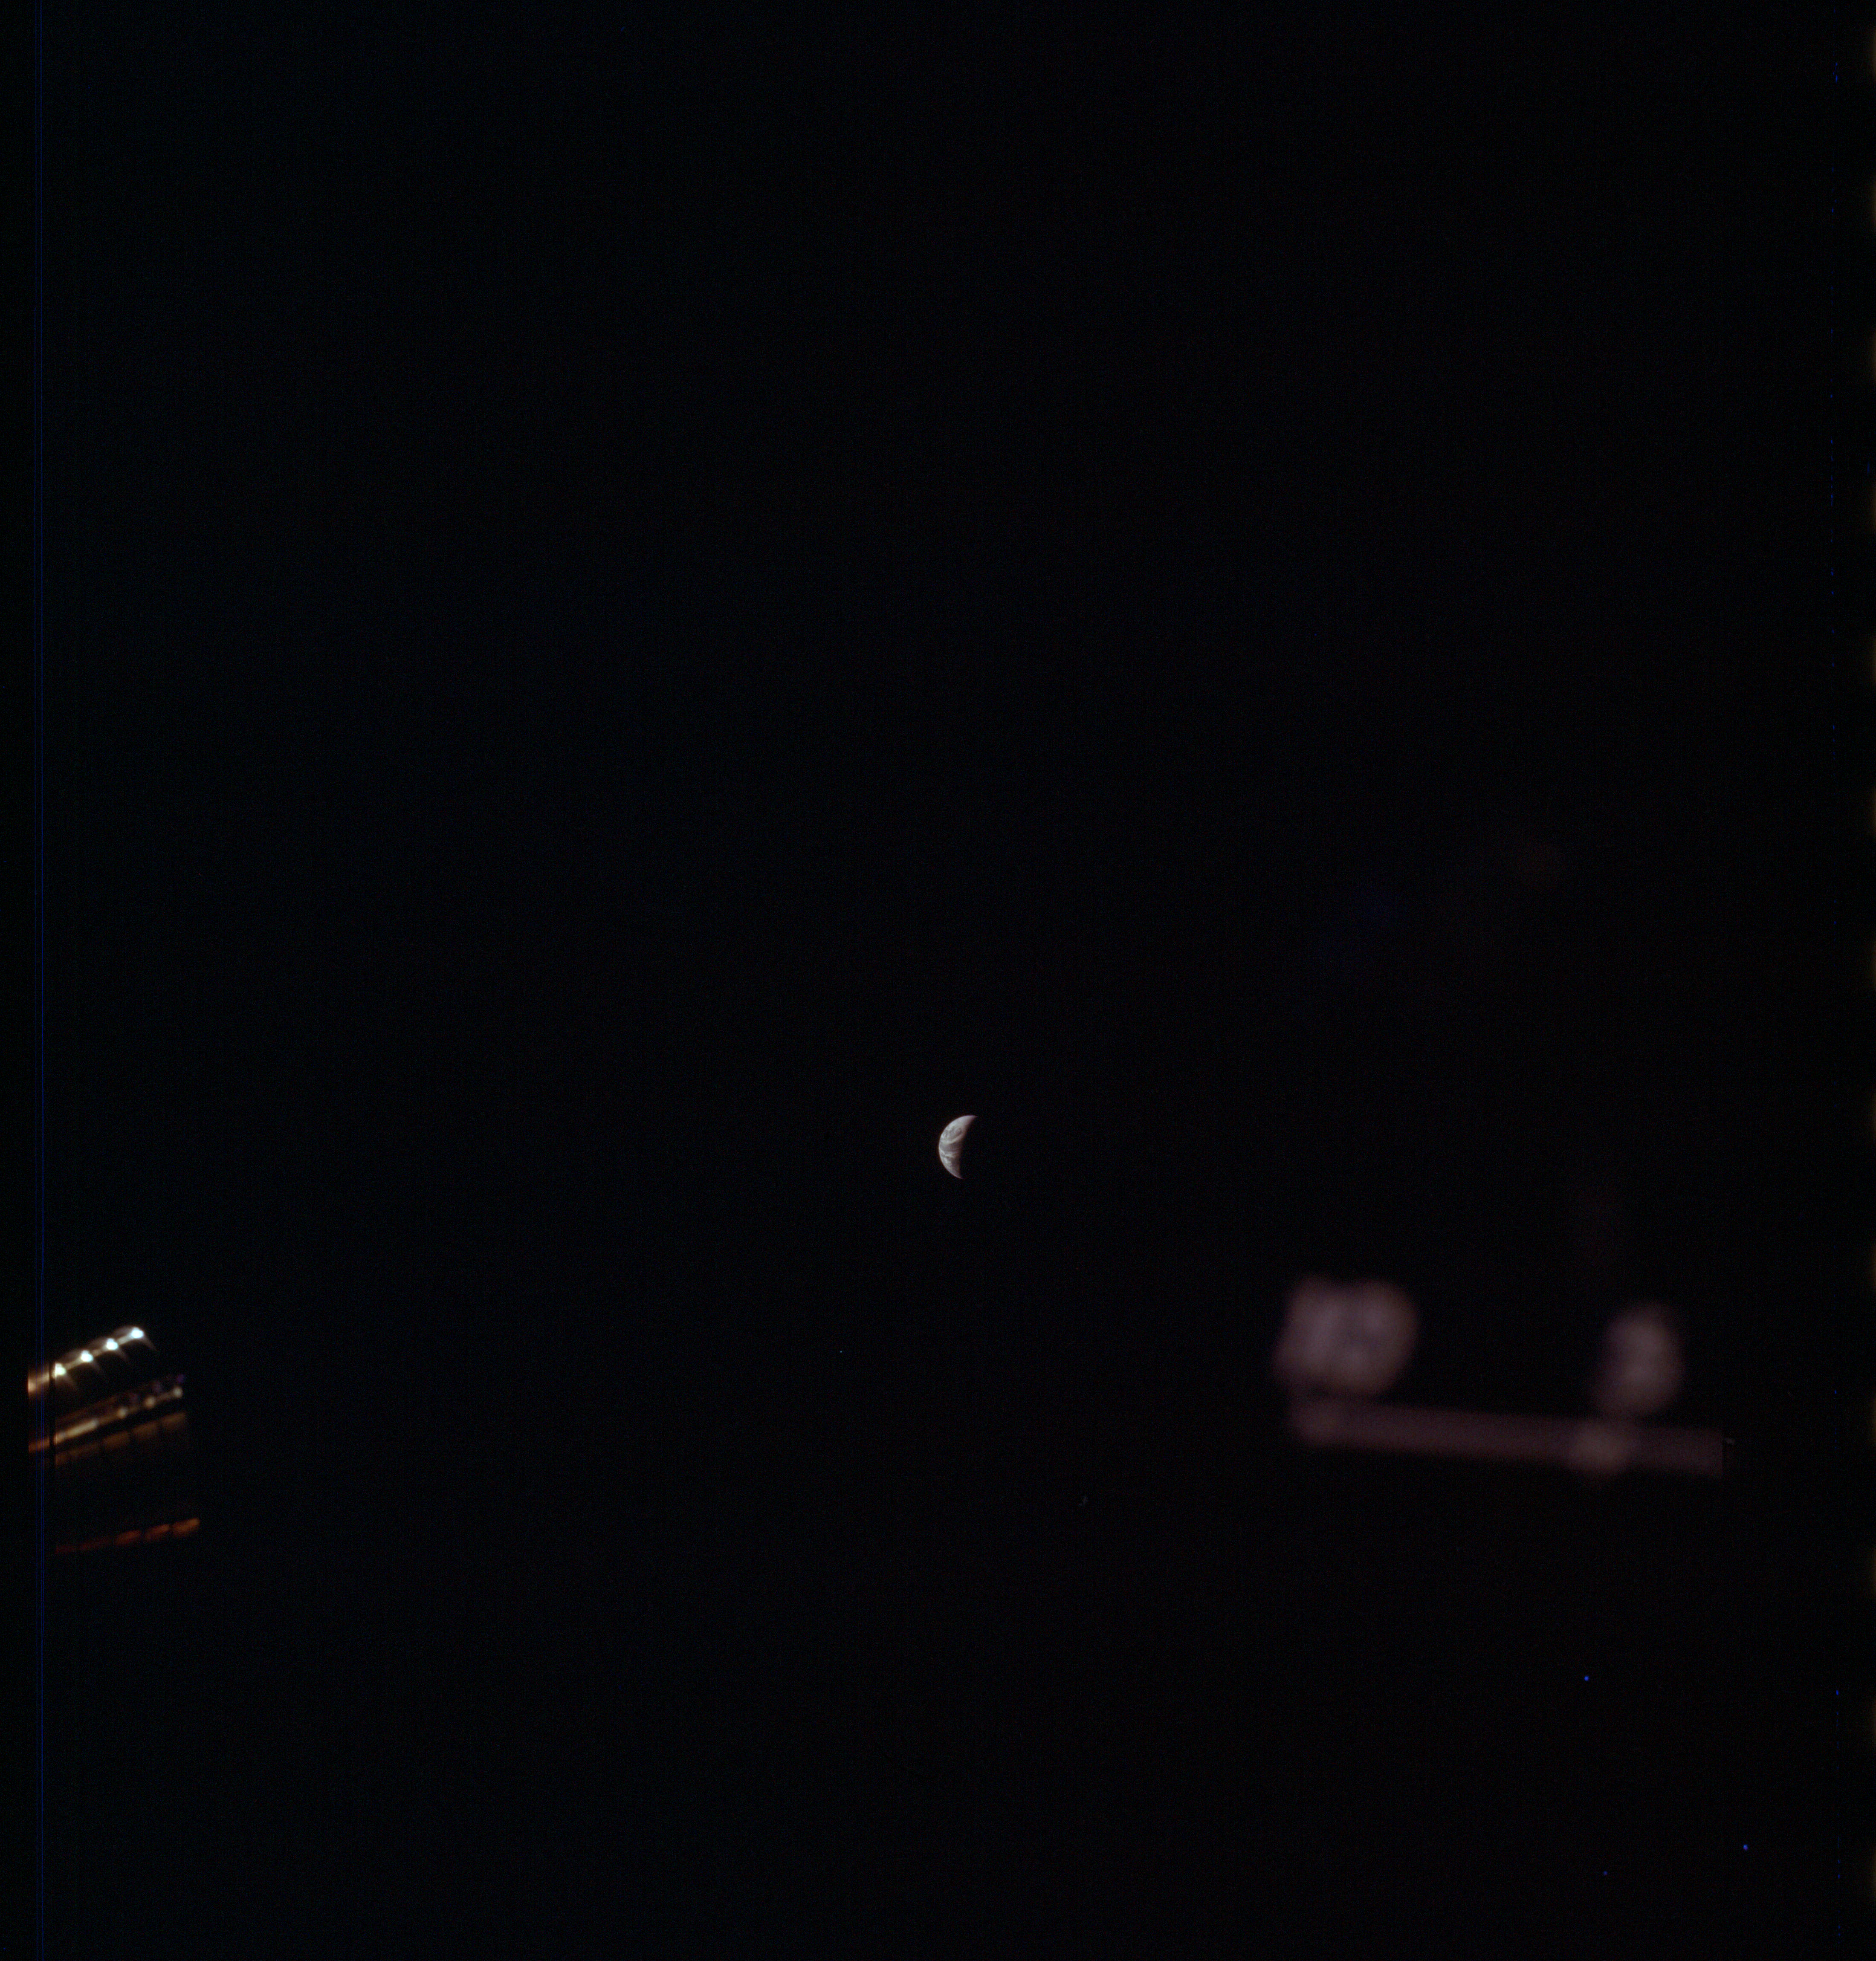
AS13-61-8833 Browse or print resolution. Earth from Lunar Module with RCS thruster. Image credit: Image Science and Analysis Laboratory, NASA-Johnson Space Center. |
|
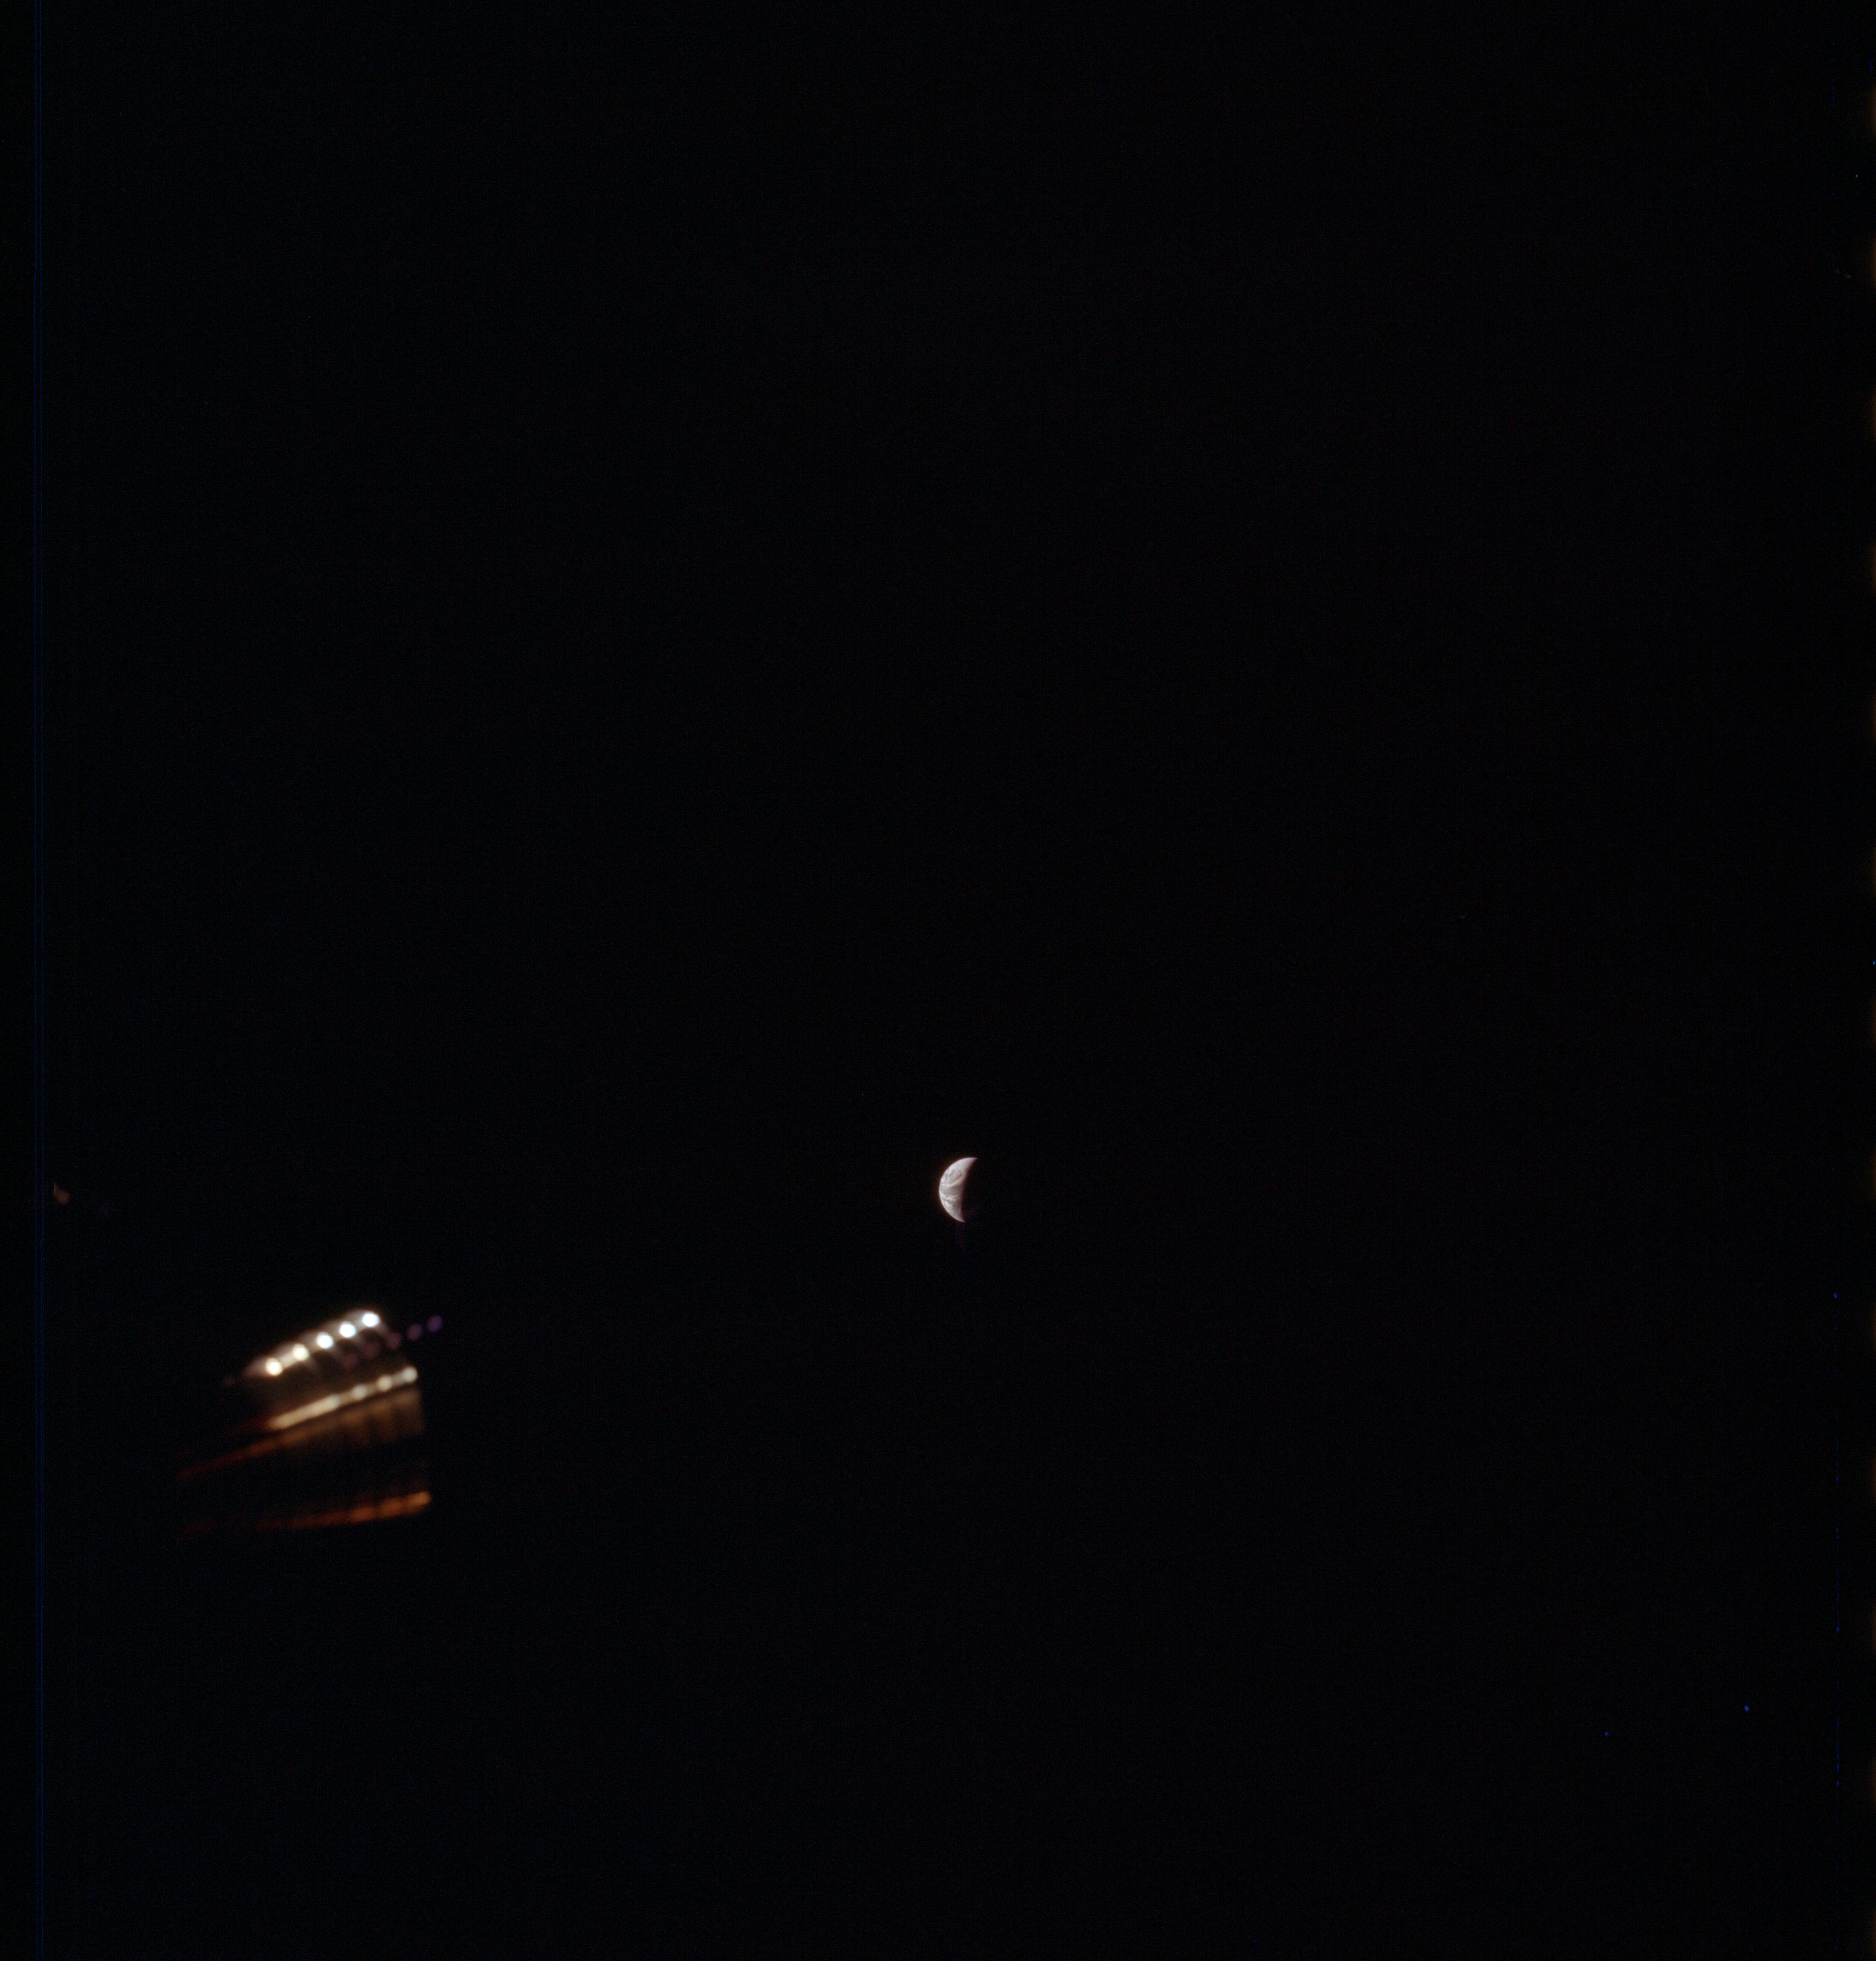
AS13-61-8834 Browse or print resolution. Earth from Lunar Module with RCS thruster. Image credit: Image Science and Analysis Laboratory, NASA-Johnson Space Center. |
|
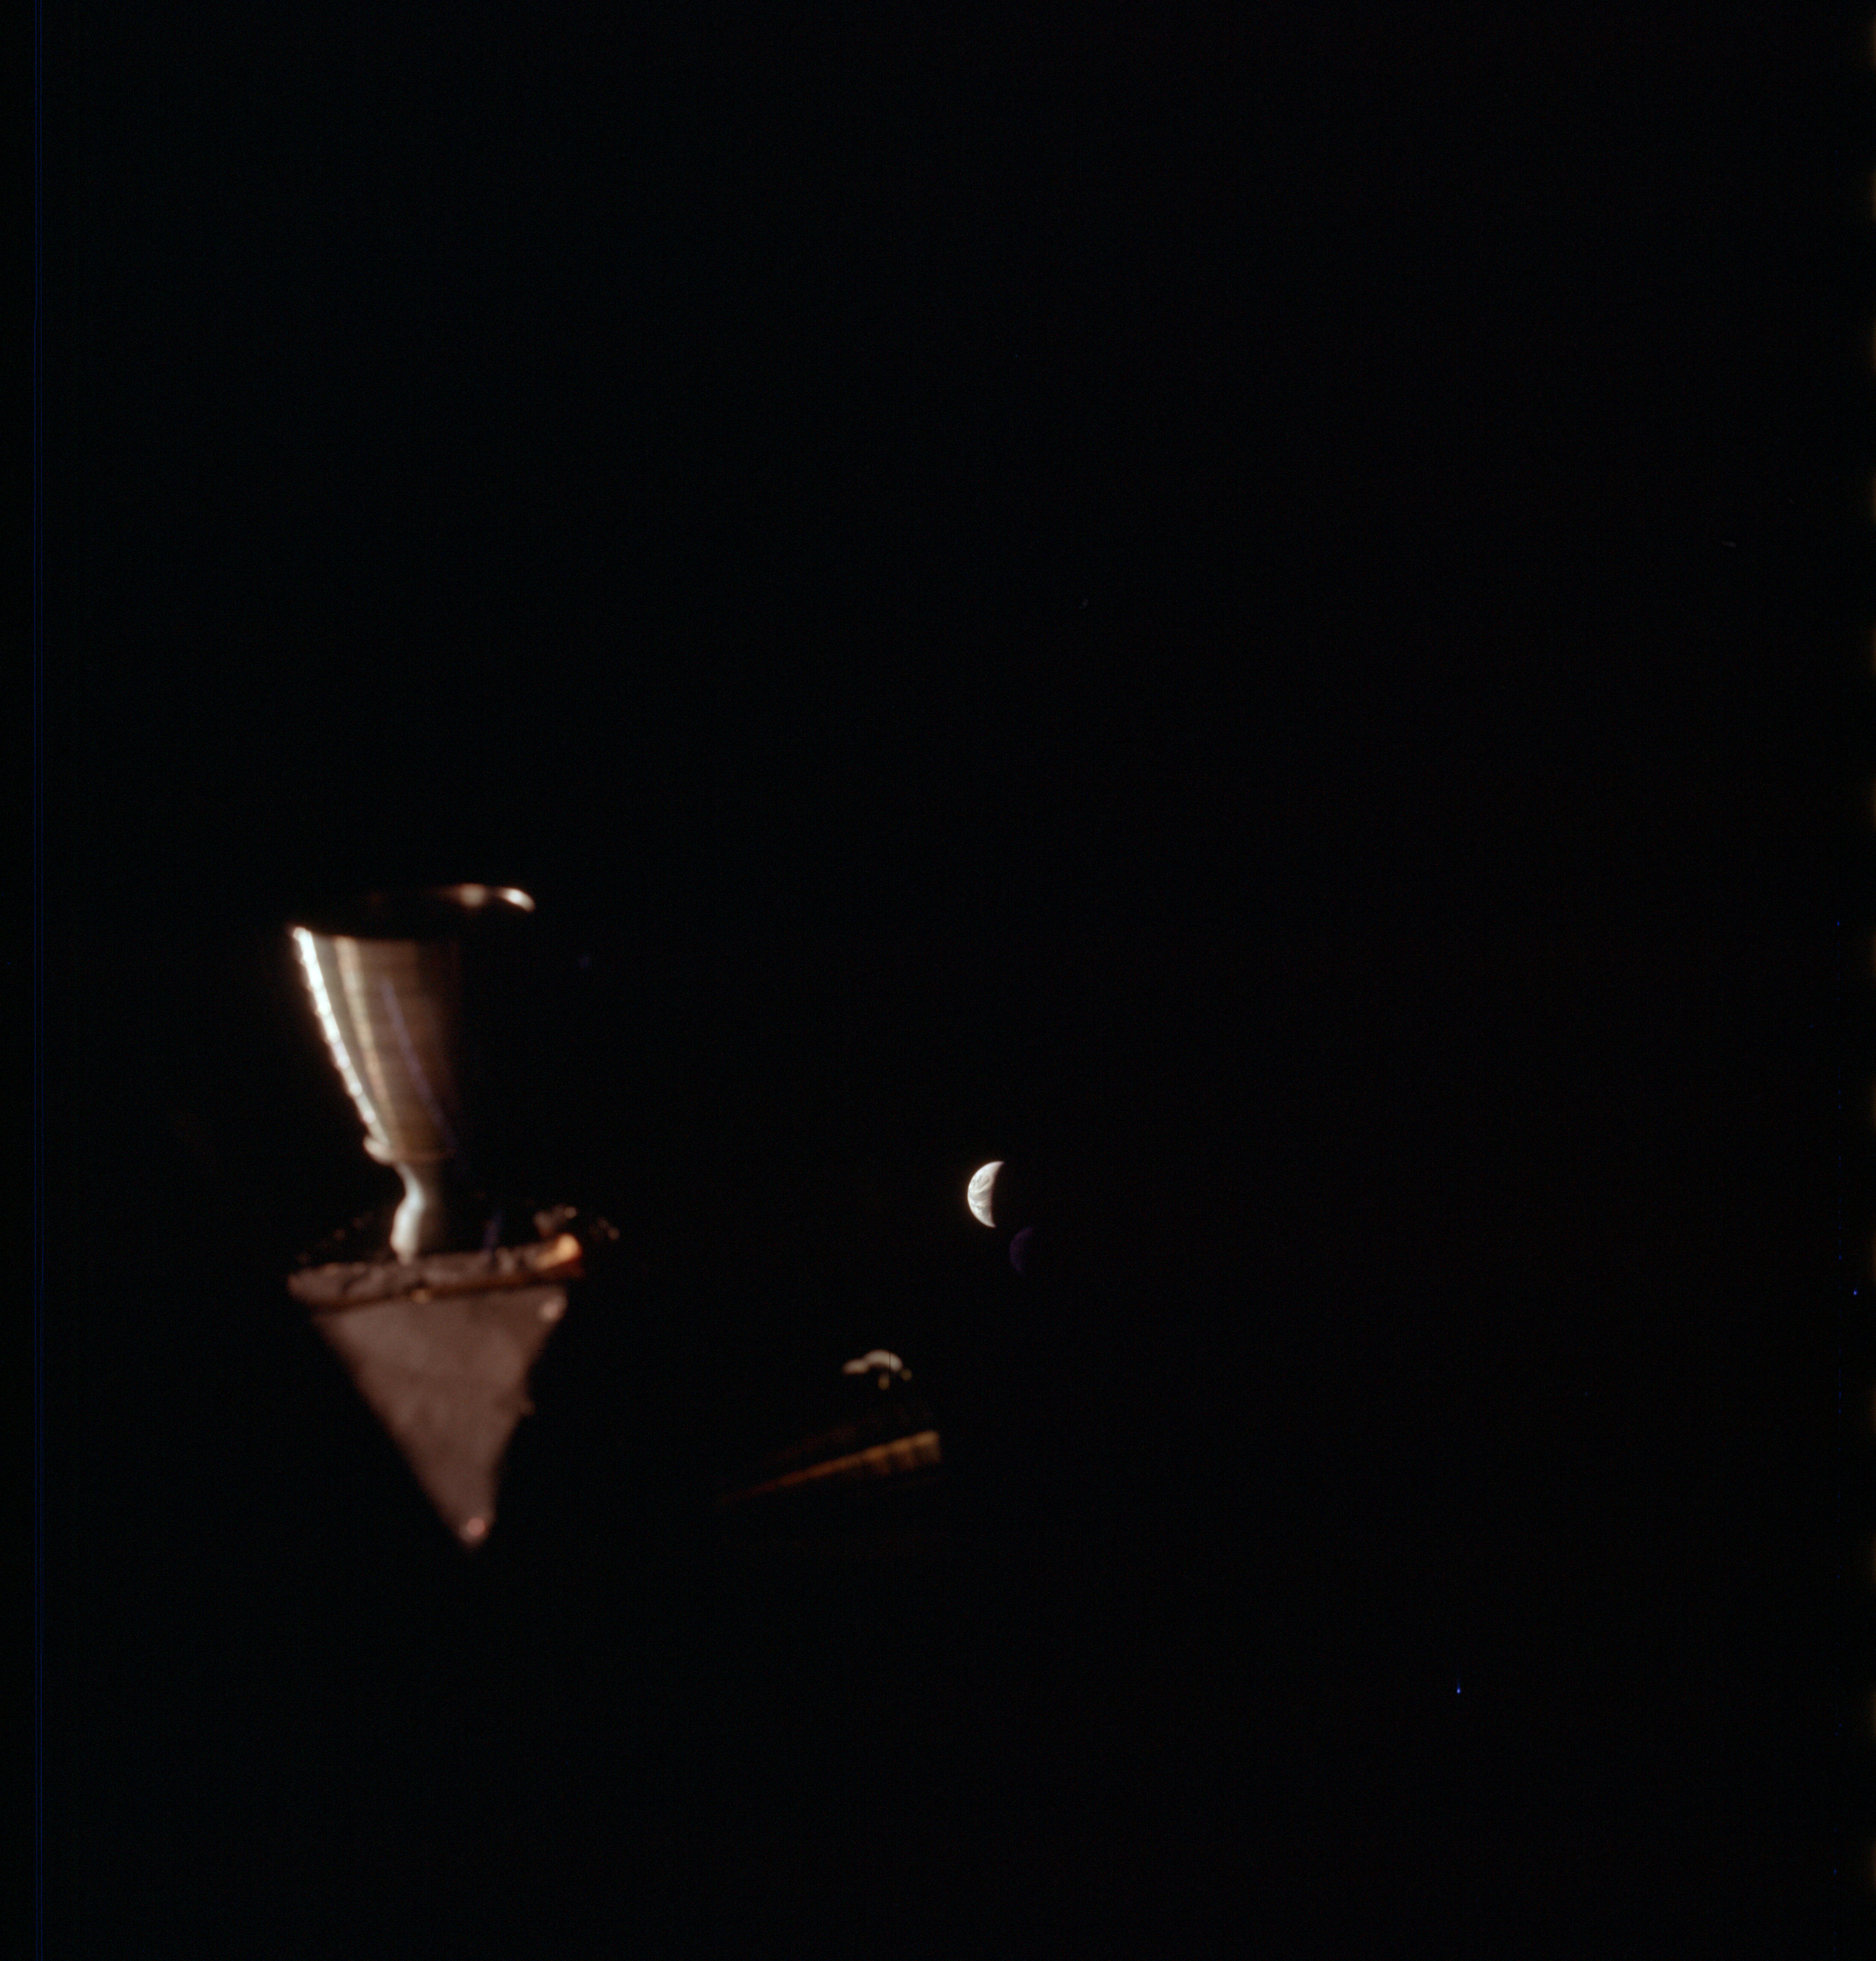
AS13-61-8835 Browse or print resolution. Earth from Lunar Module with RCS thruster. Image credit: Image Science and Analysis Laboratory, NASA-Johnson Space Center. |
|
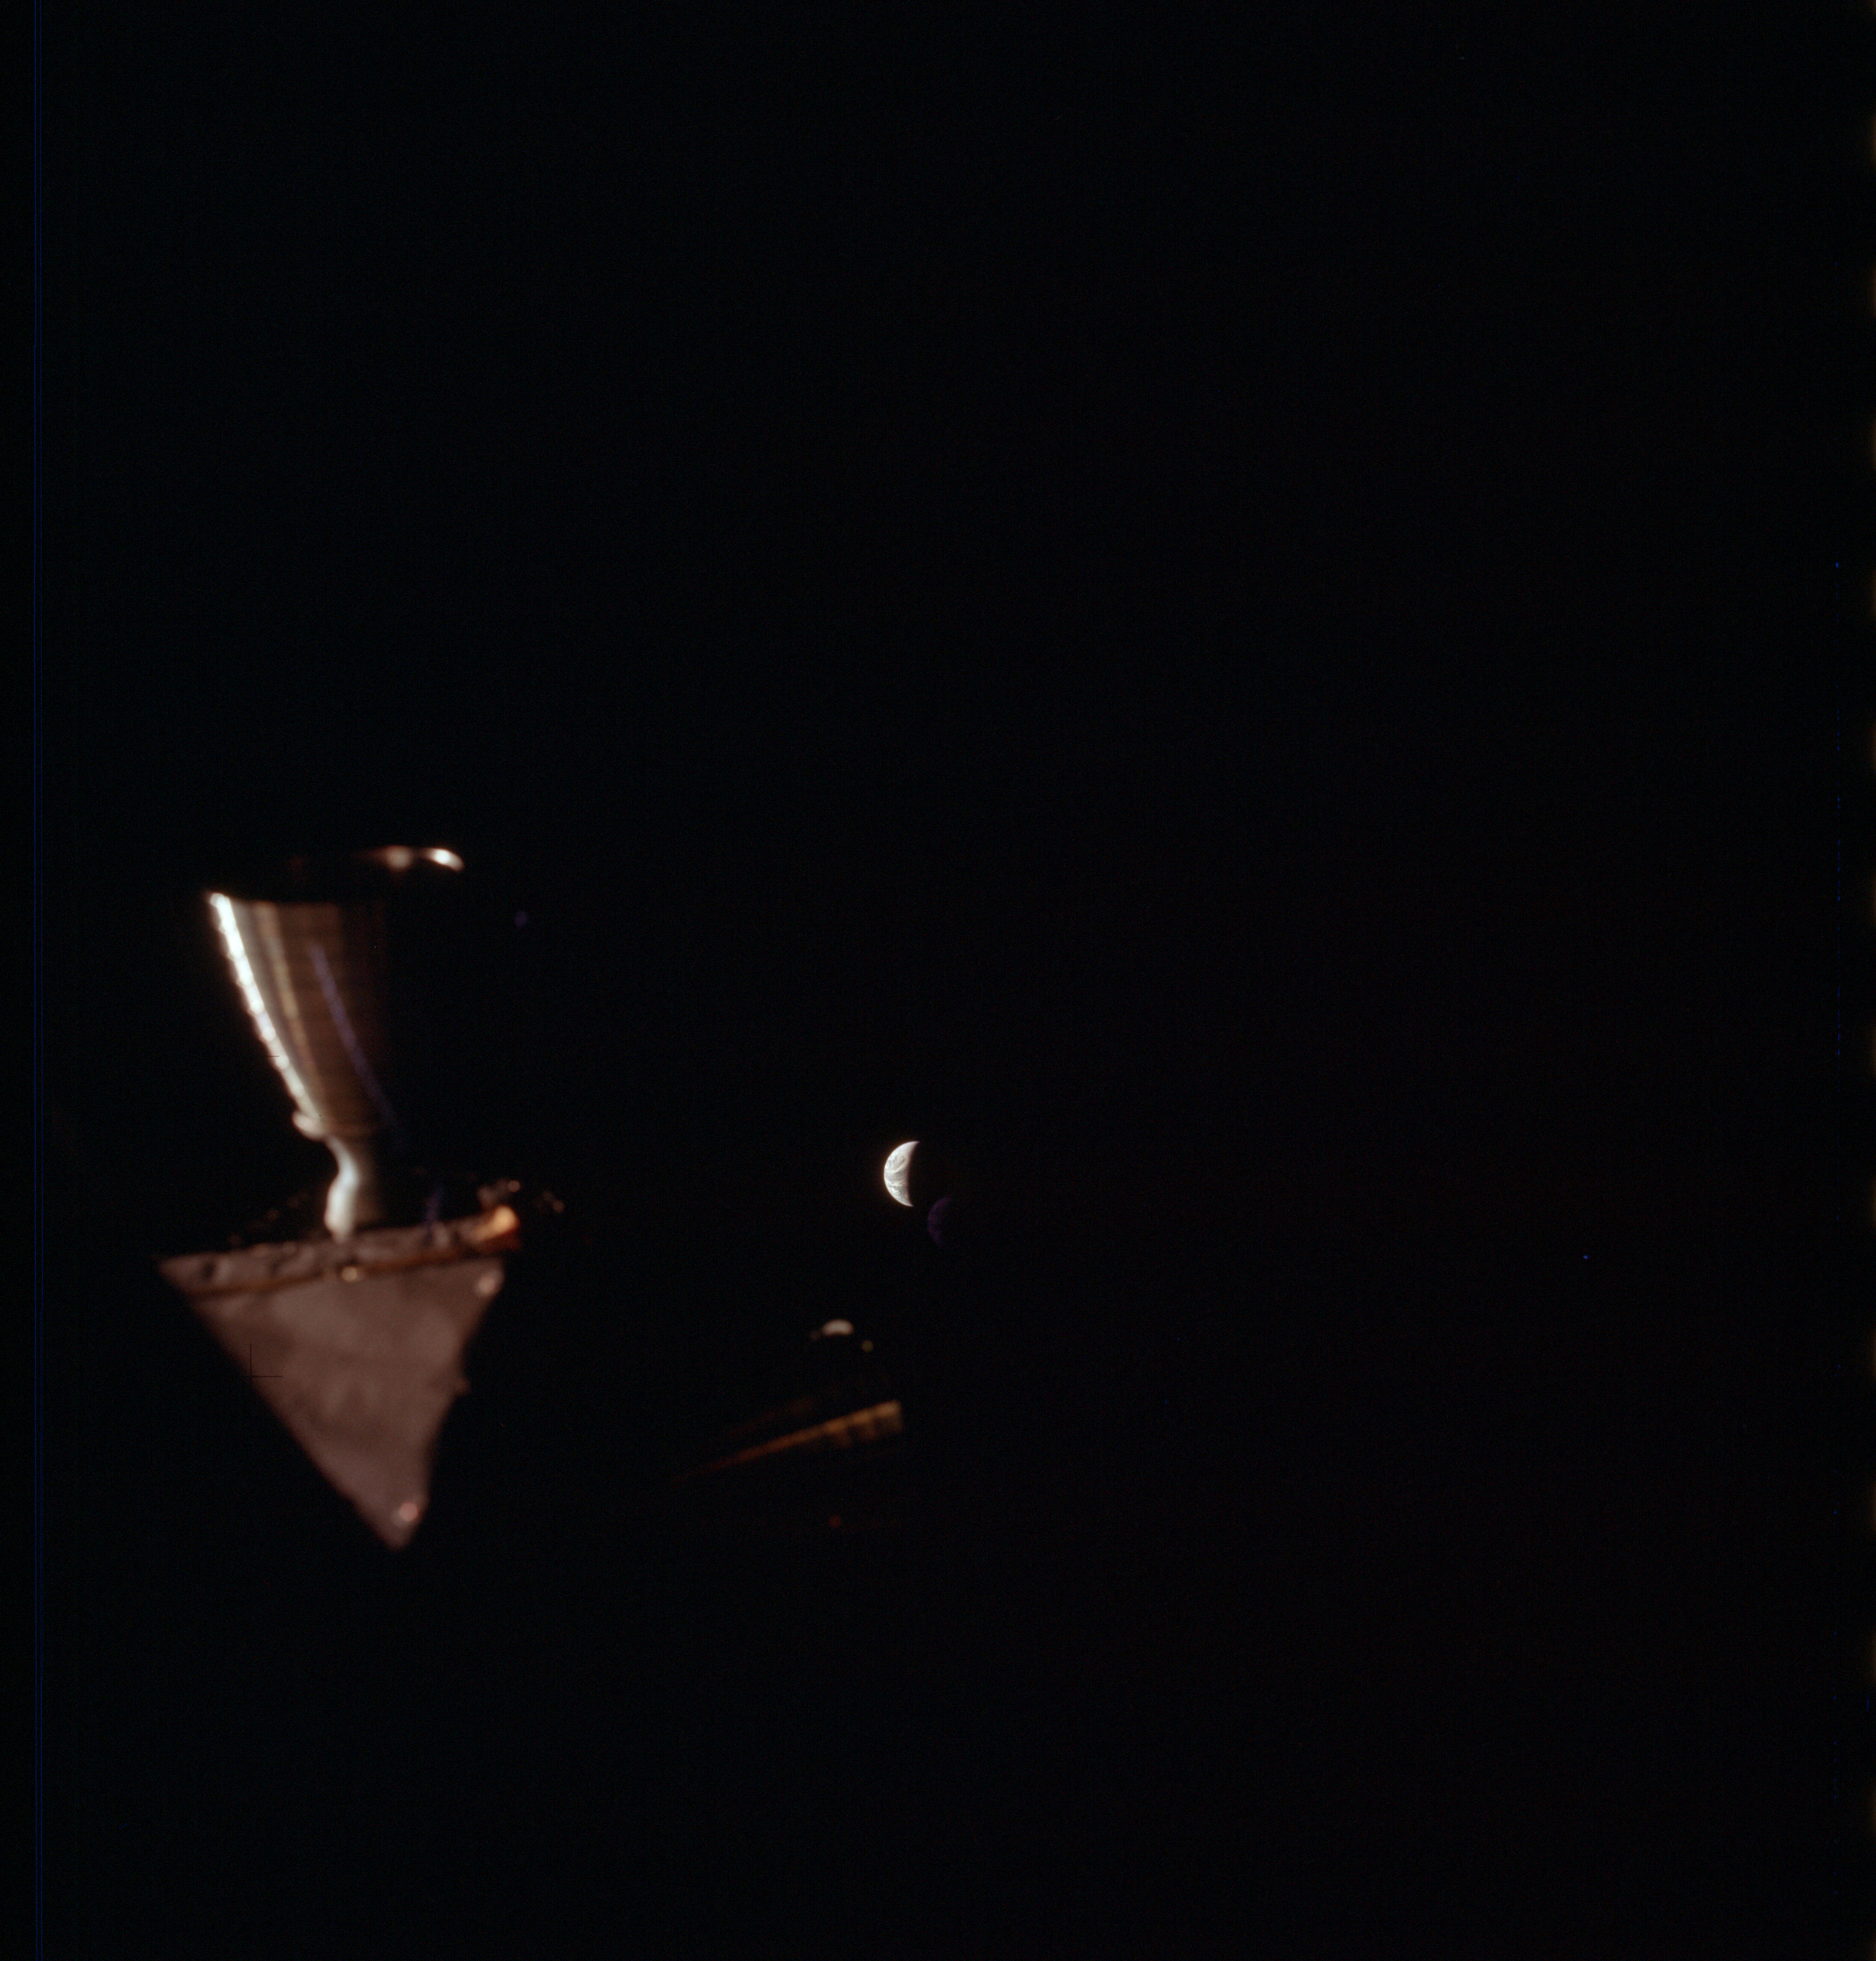
AS13-61-8836 Browse or print resolution. Earth from Lunar Module with RCS thruster. Image credit: Image Science and Analysis Laboratory, NASA-Johnson Space Center. |
|
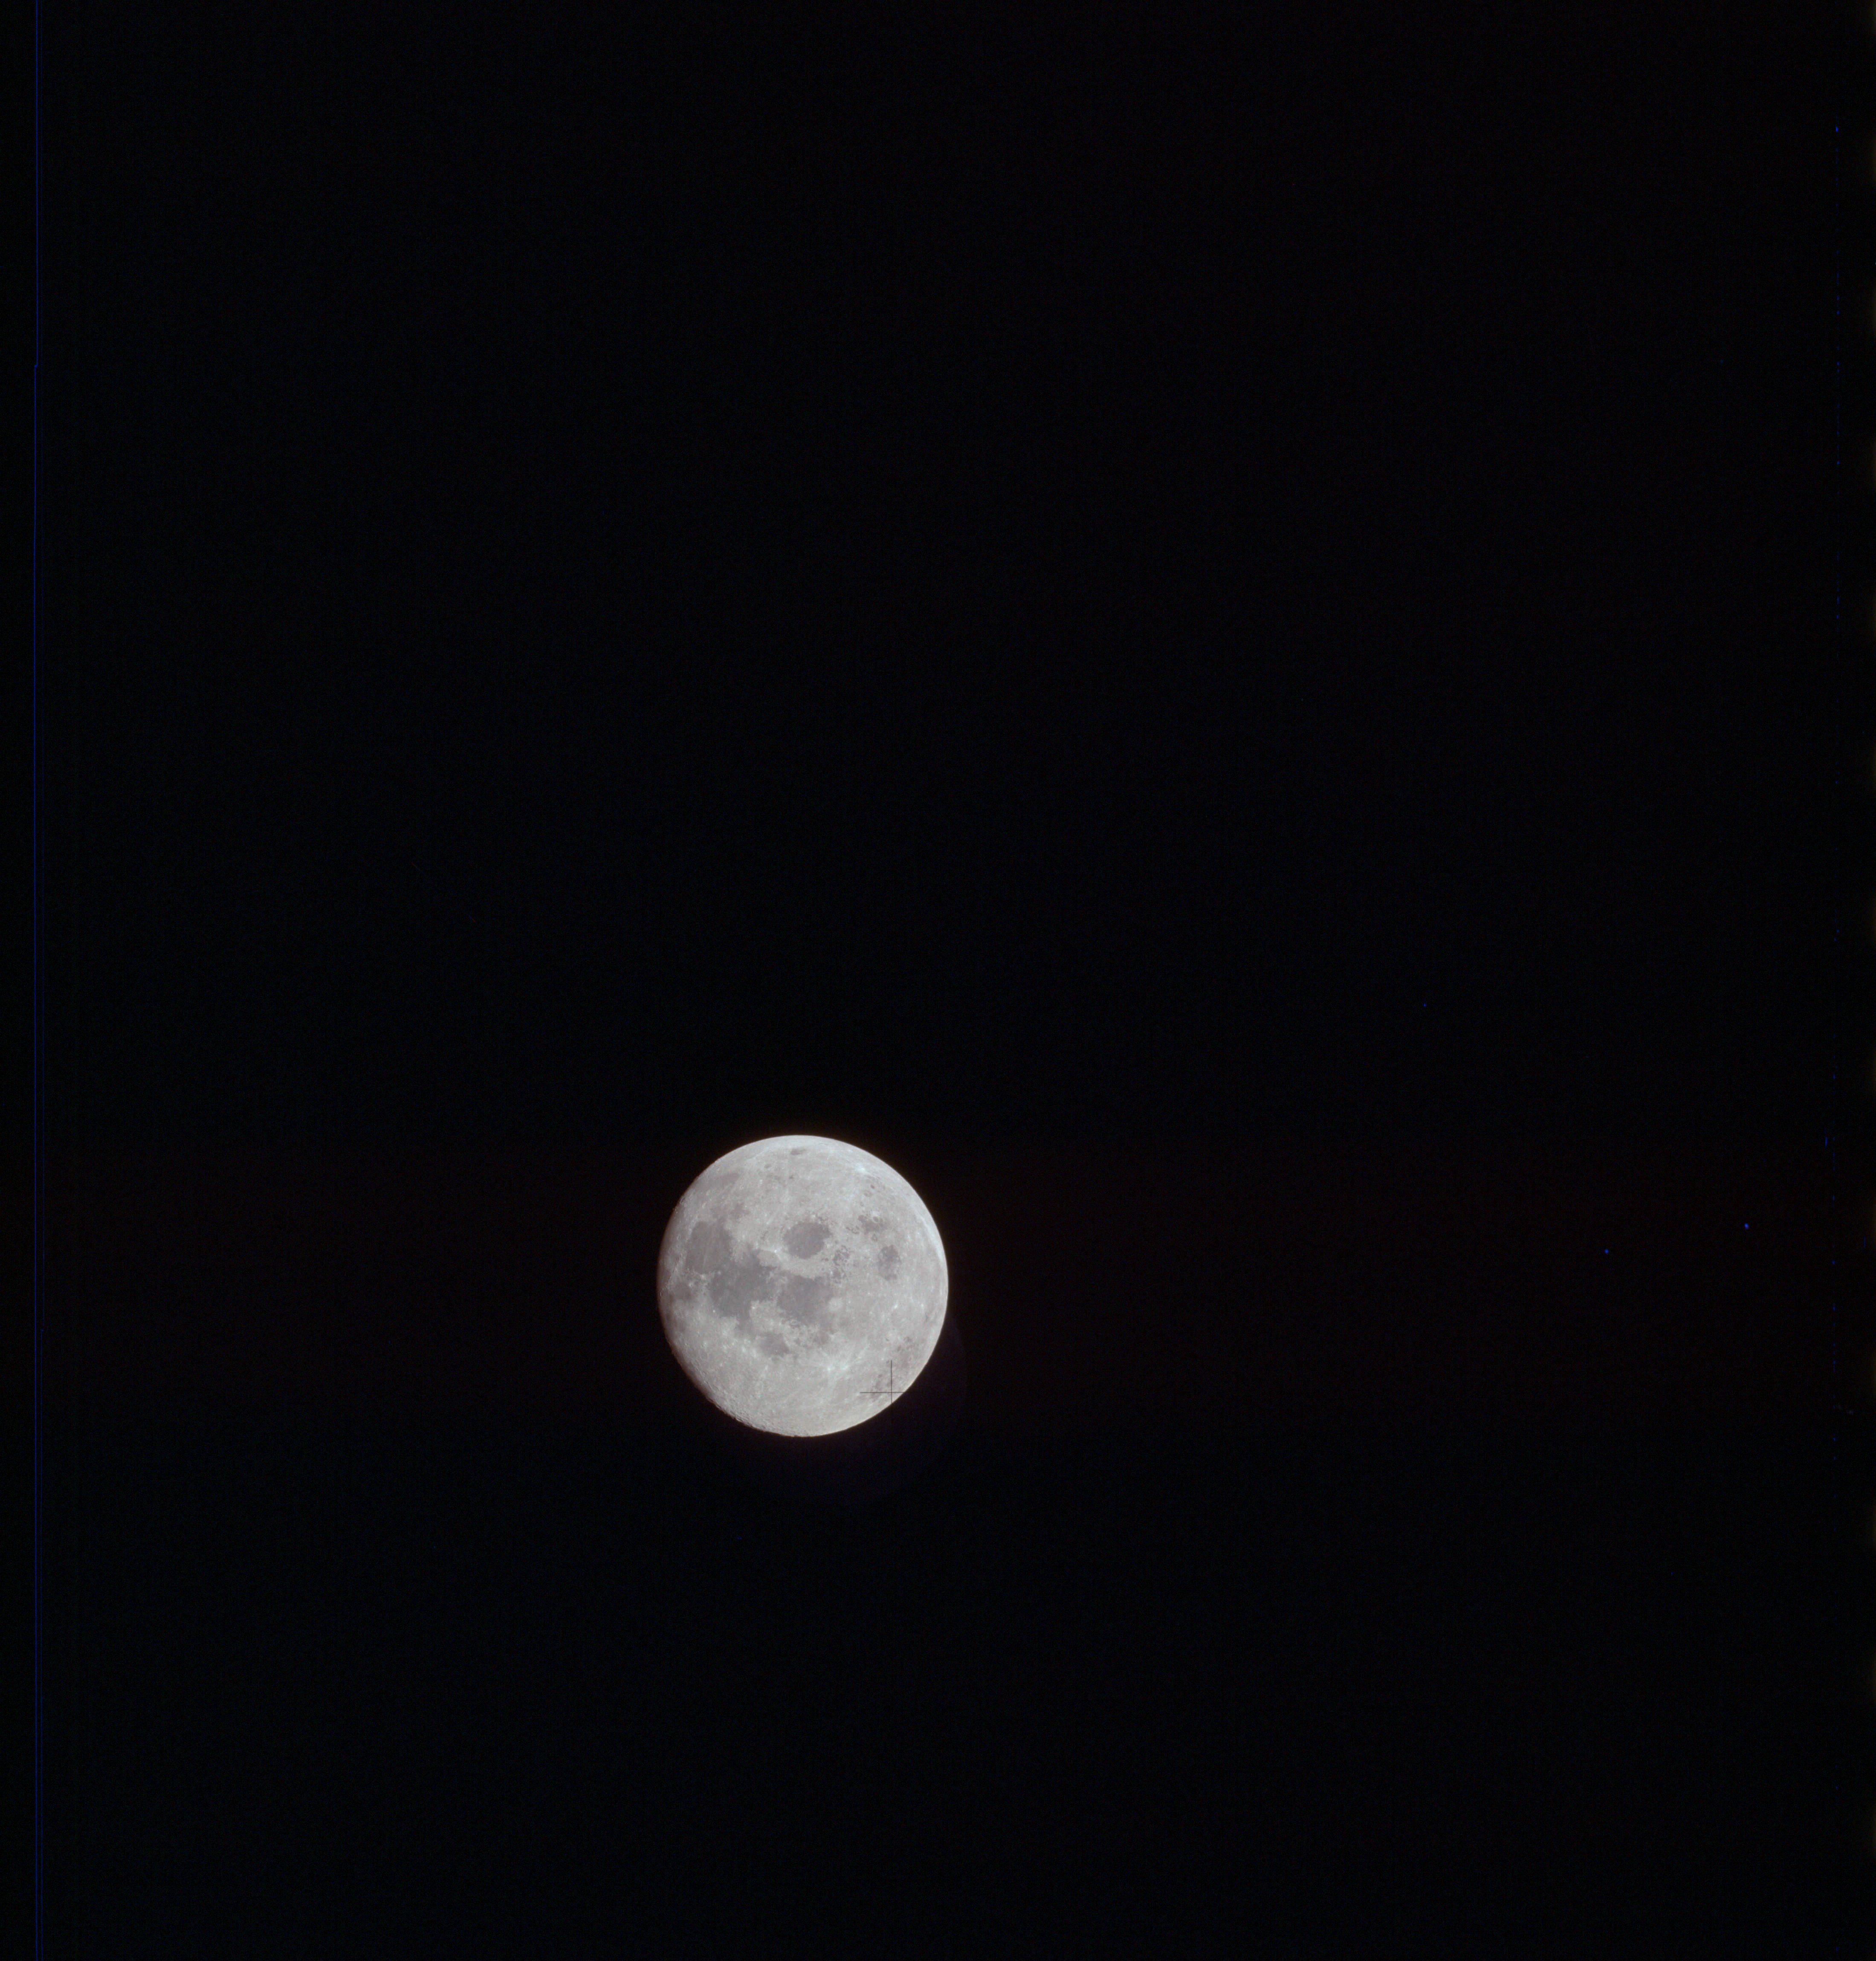
AS13-61-8837 Browse or print resolution. Moon from Apollo 13. Image credit: Image Science and Analysis Laboratory, NASA-Johnson Space Center. |
|
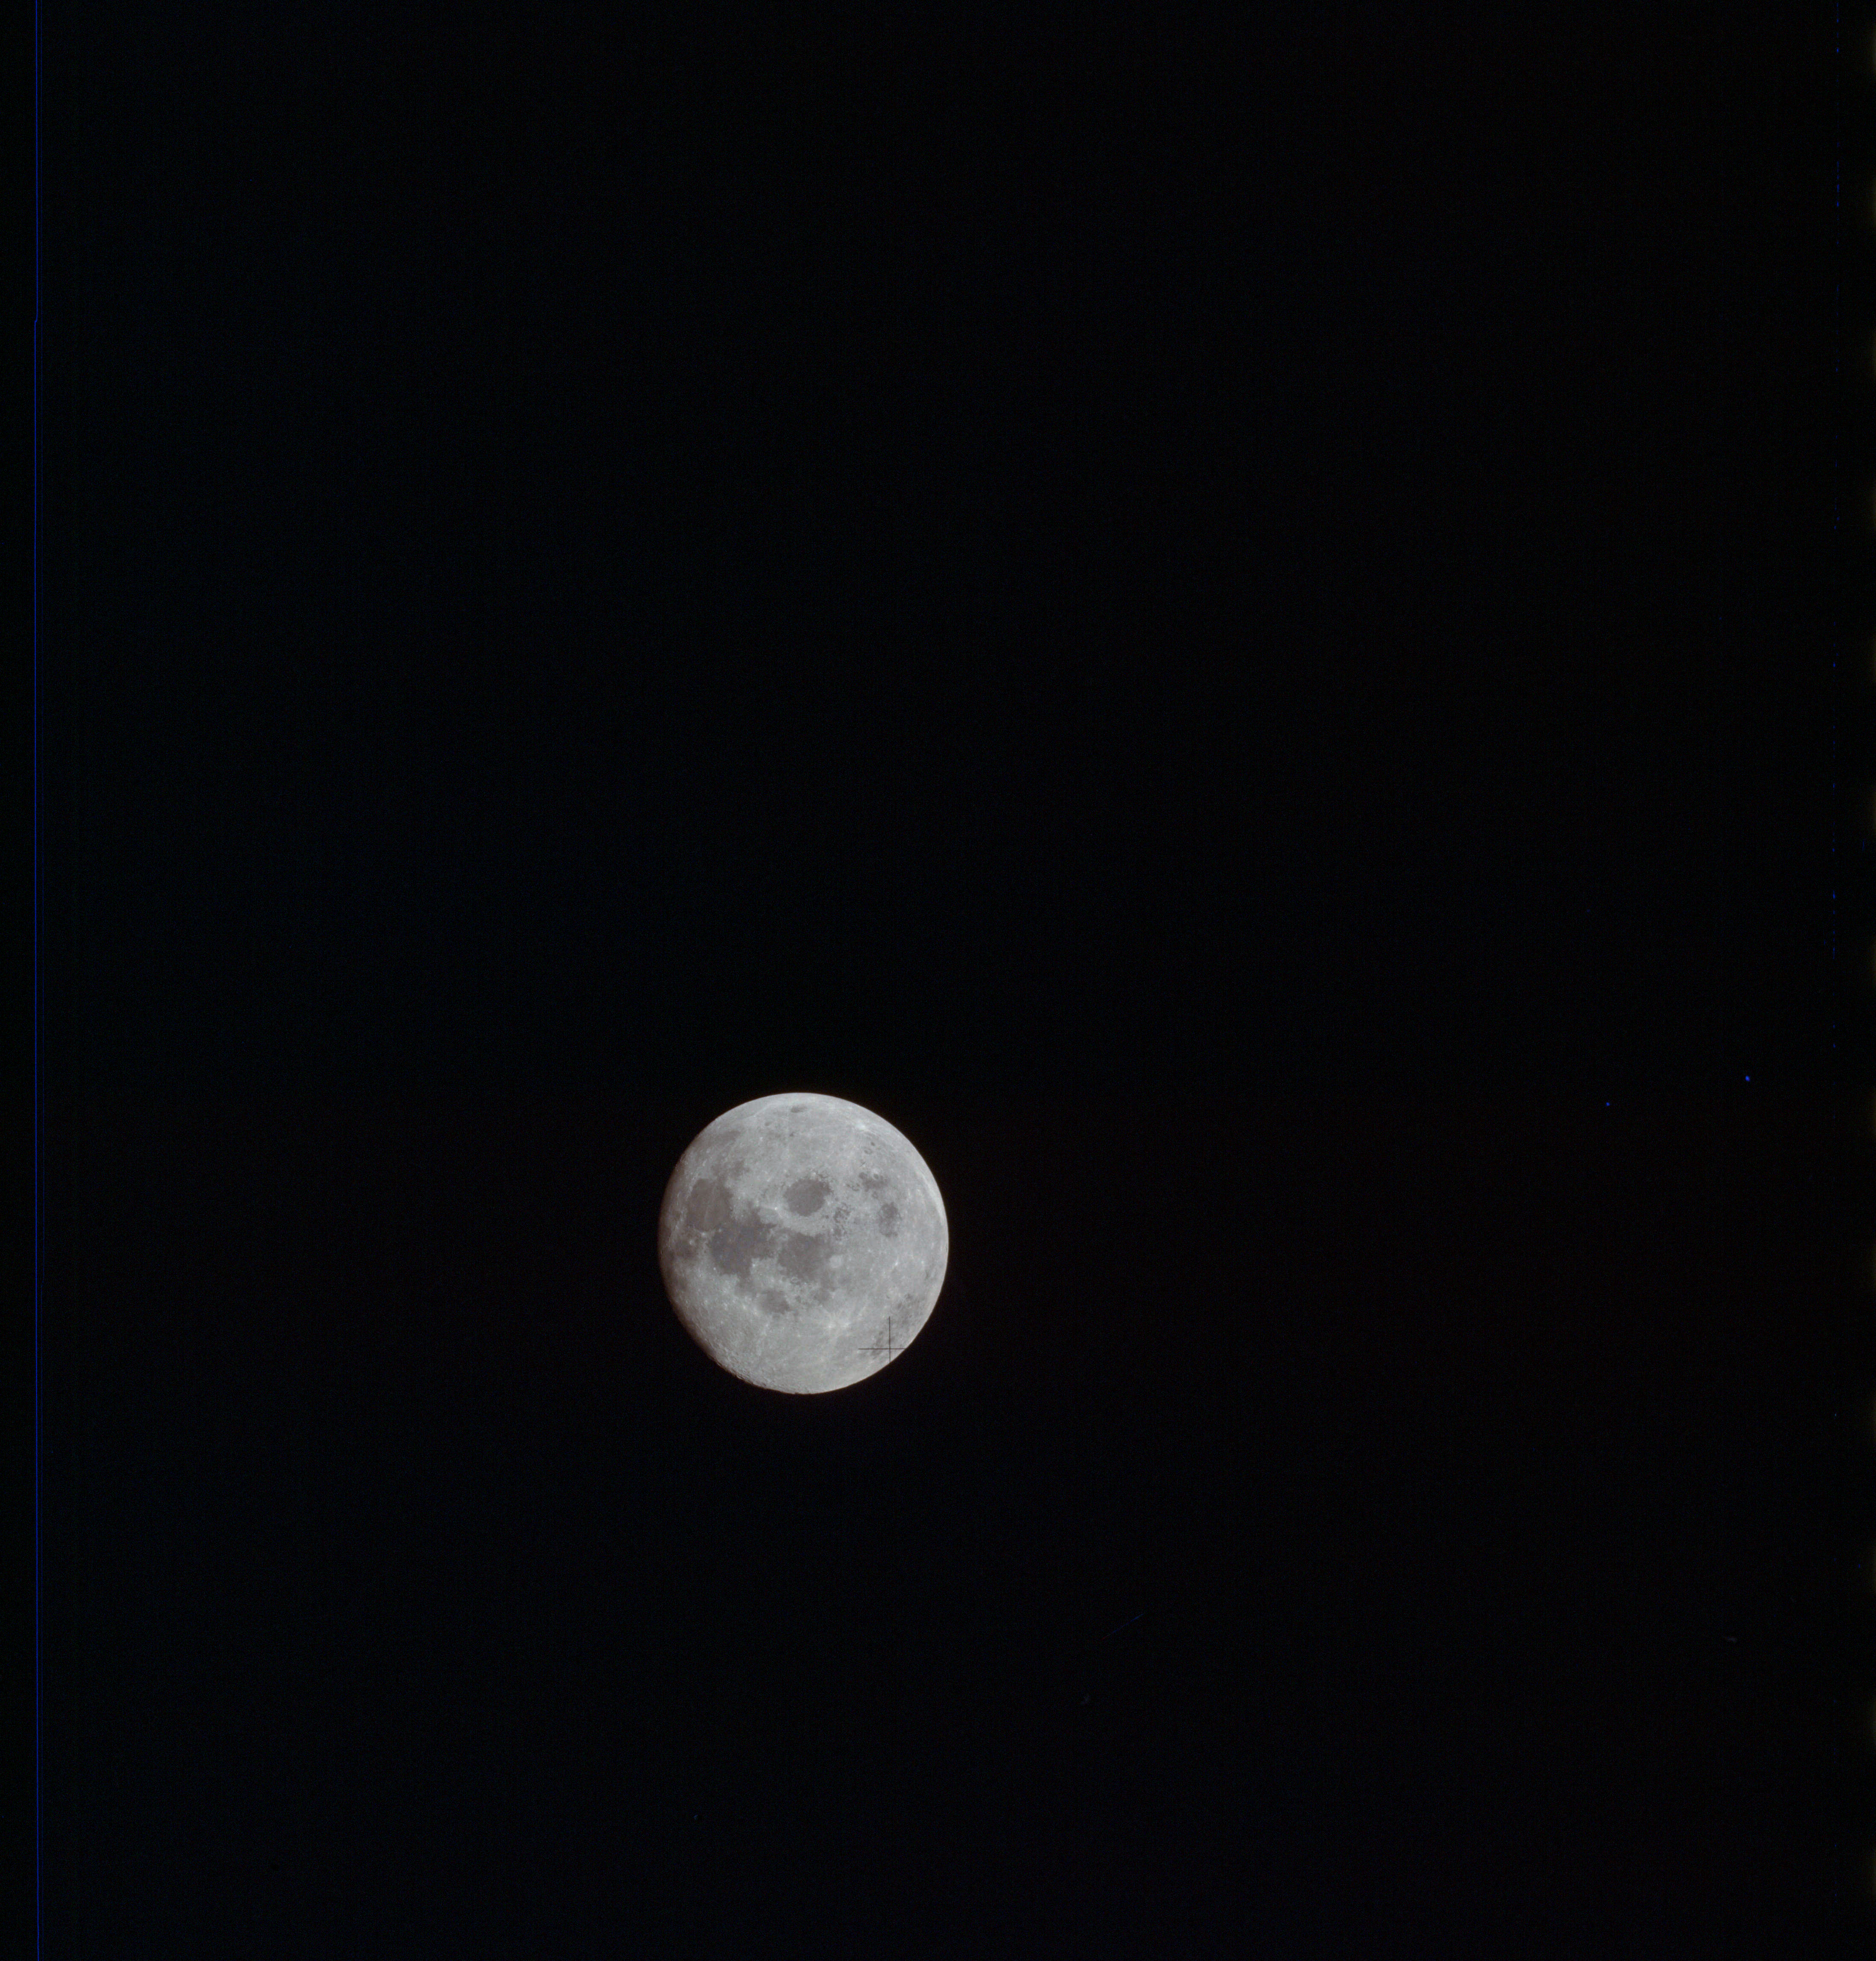
AS13-61-8838 Browse or print resolution. Moon from Apollo 13. Image credit: Image Science and Analysis Laboratory, NASA-Johnson Space Center. |
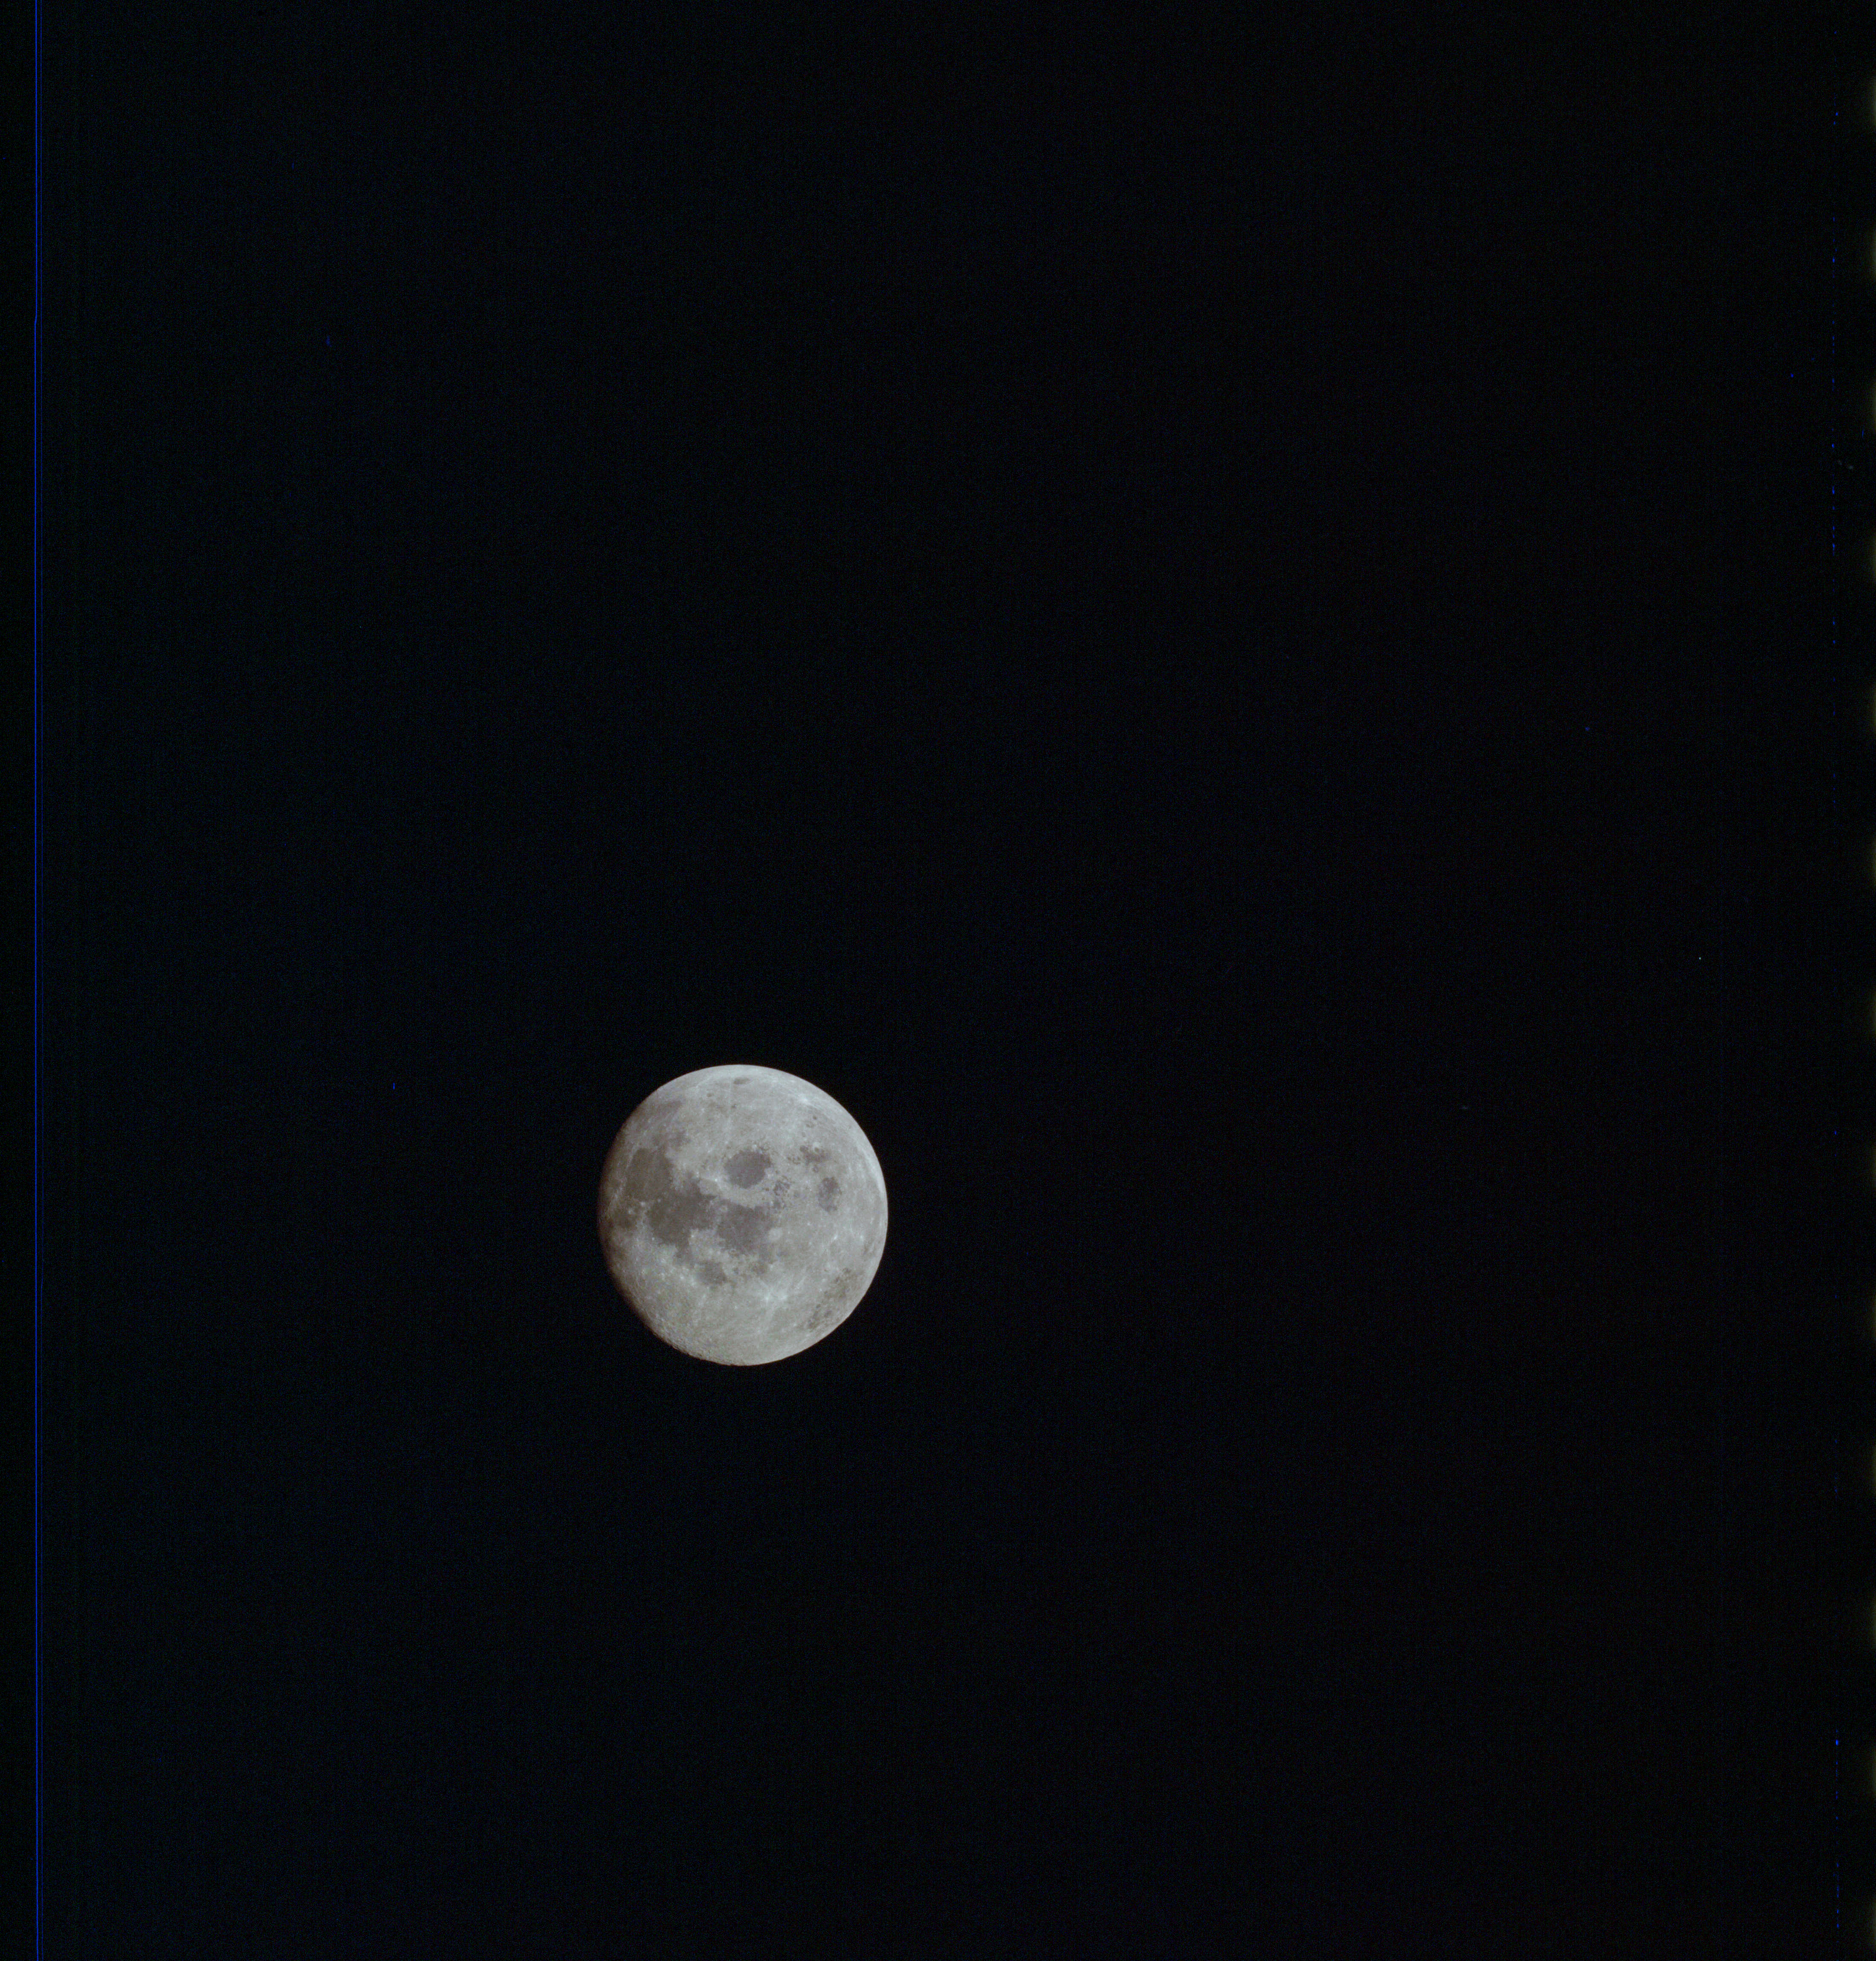
|
AS13-61-8839 Browse or print resolution. Moon from Apollo 13. Image credit: Image Science and Analysis Laboratory, NASA-Johnson Space Center. |
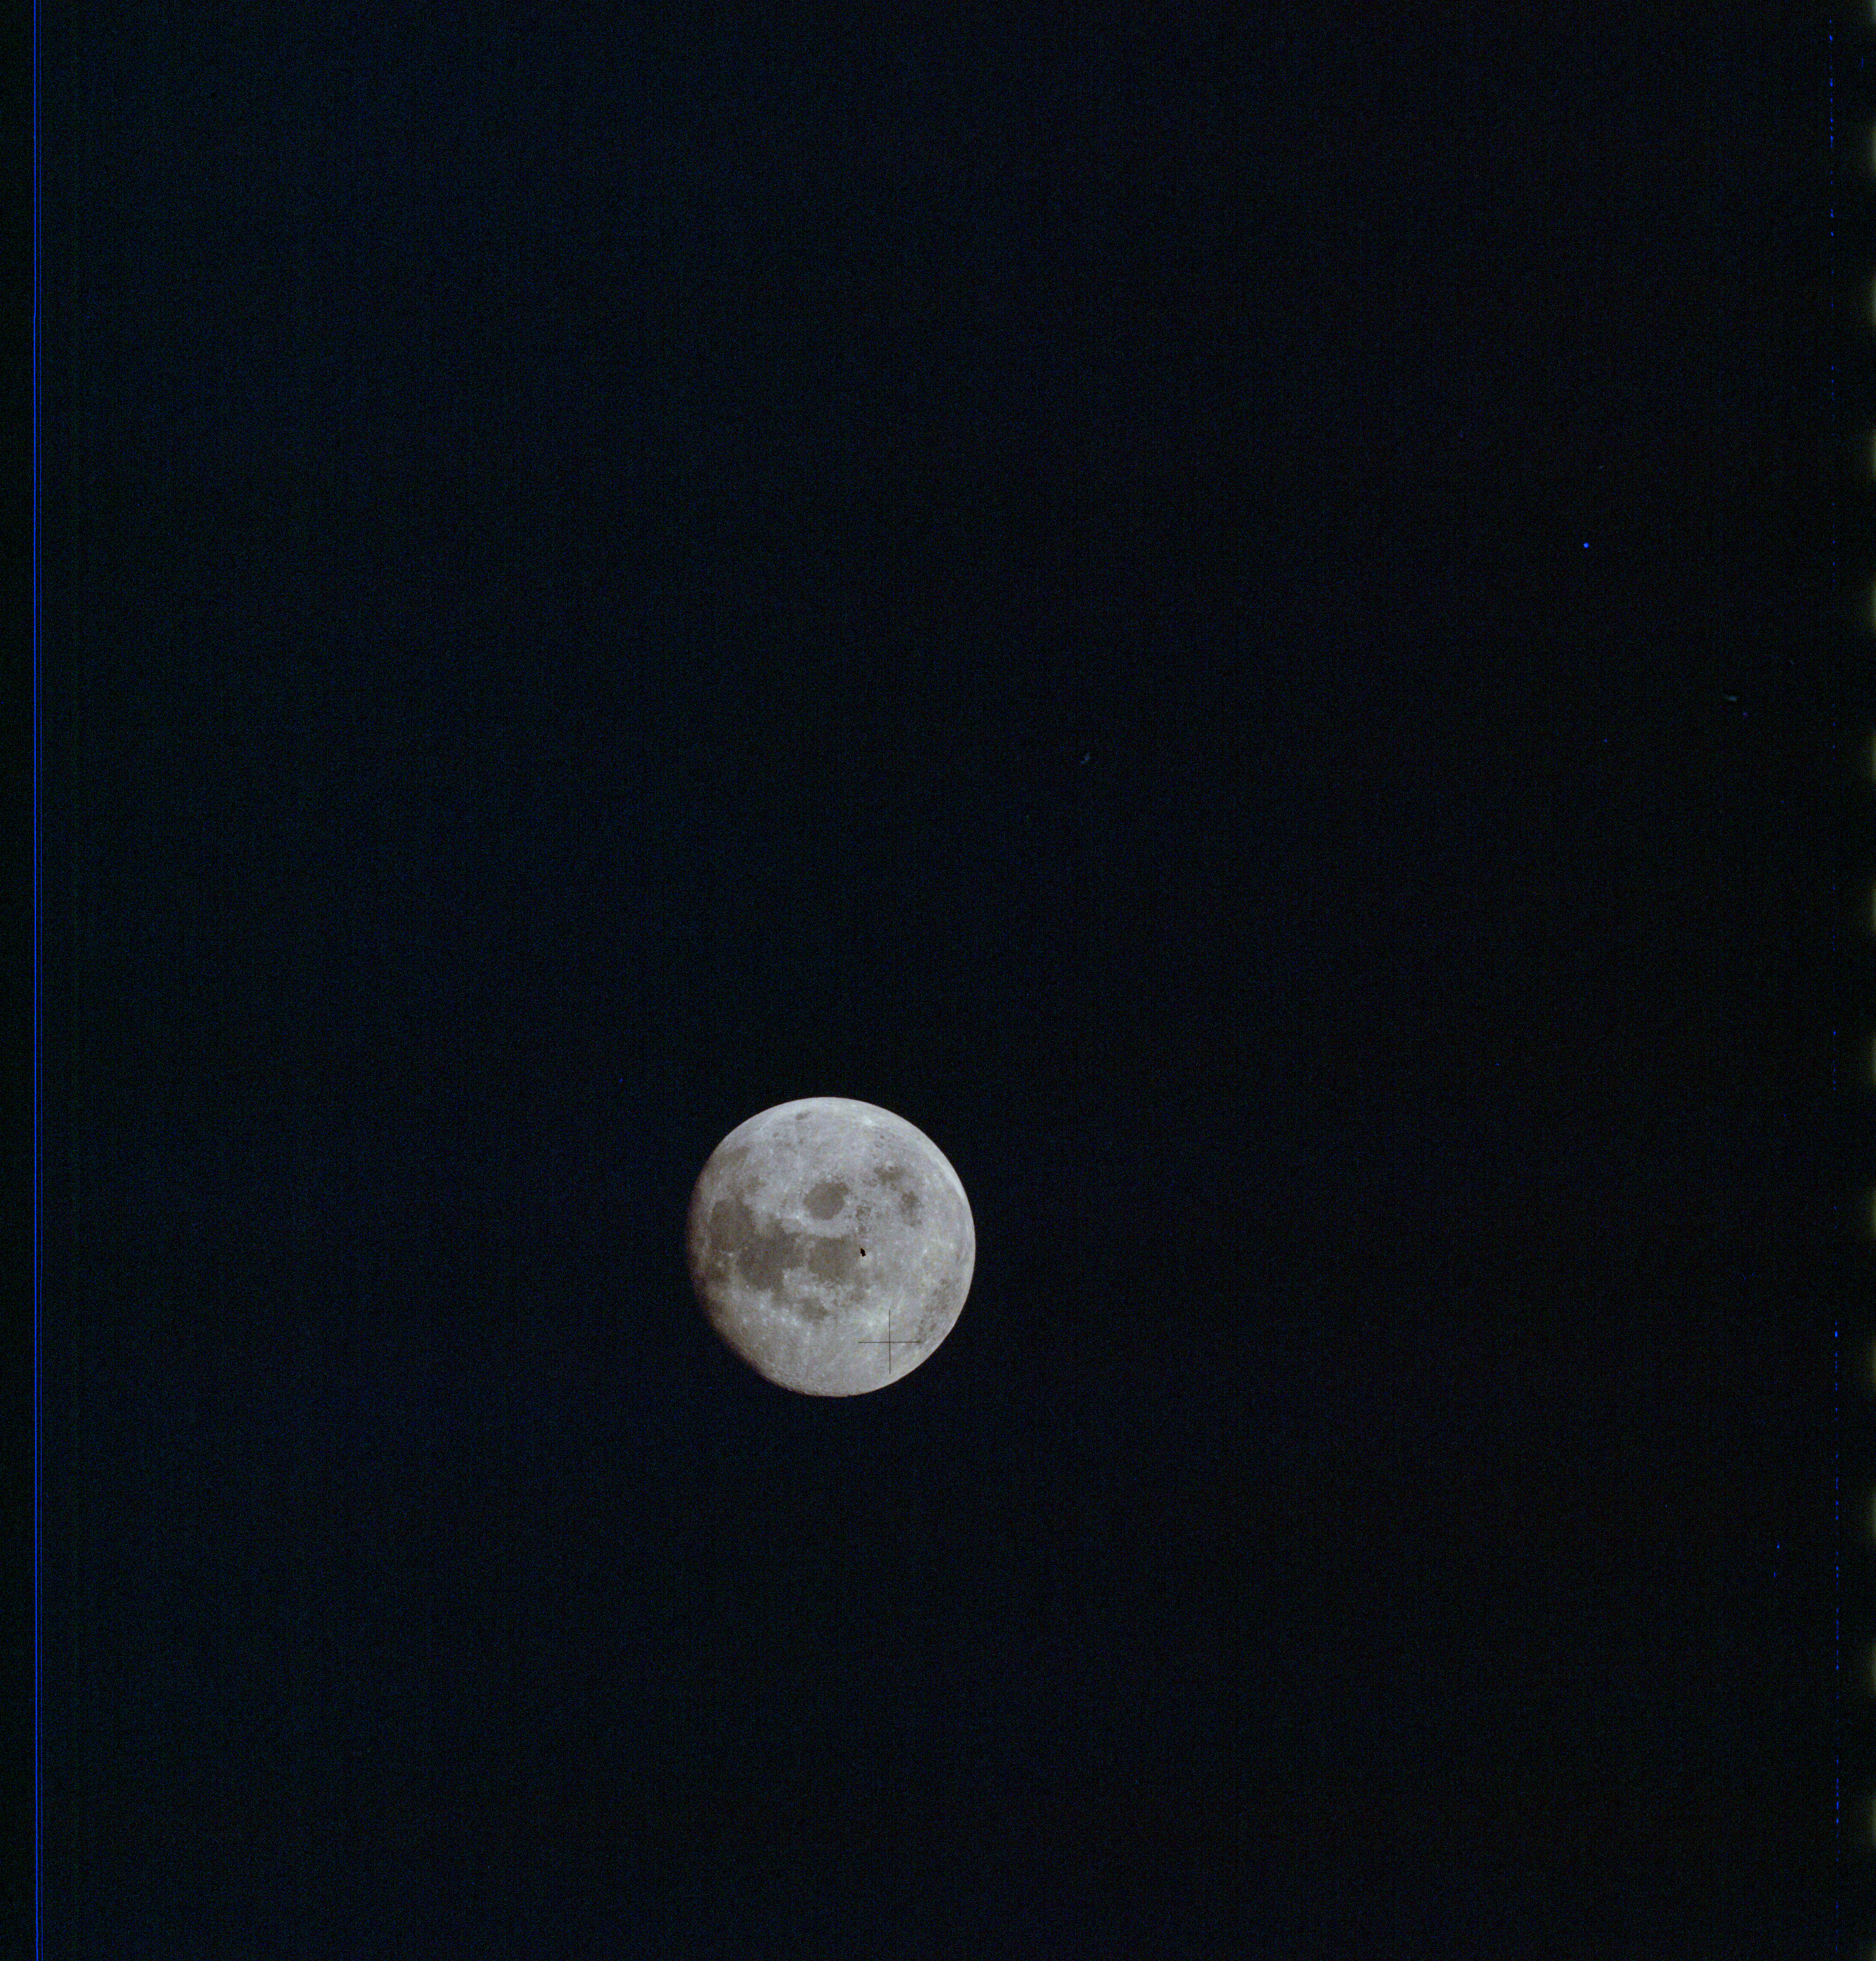
|
AS13-61-8840 Browse or print resolution. Moon from Apollo 13. Image credit: Image Science and Analysis Laboratory, NASA-Johnson Space Center. |
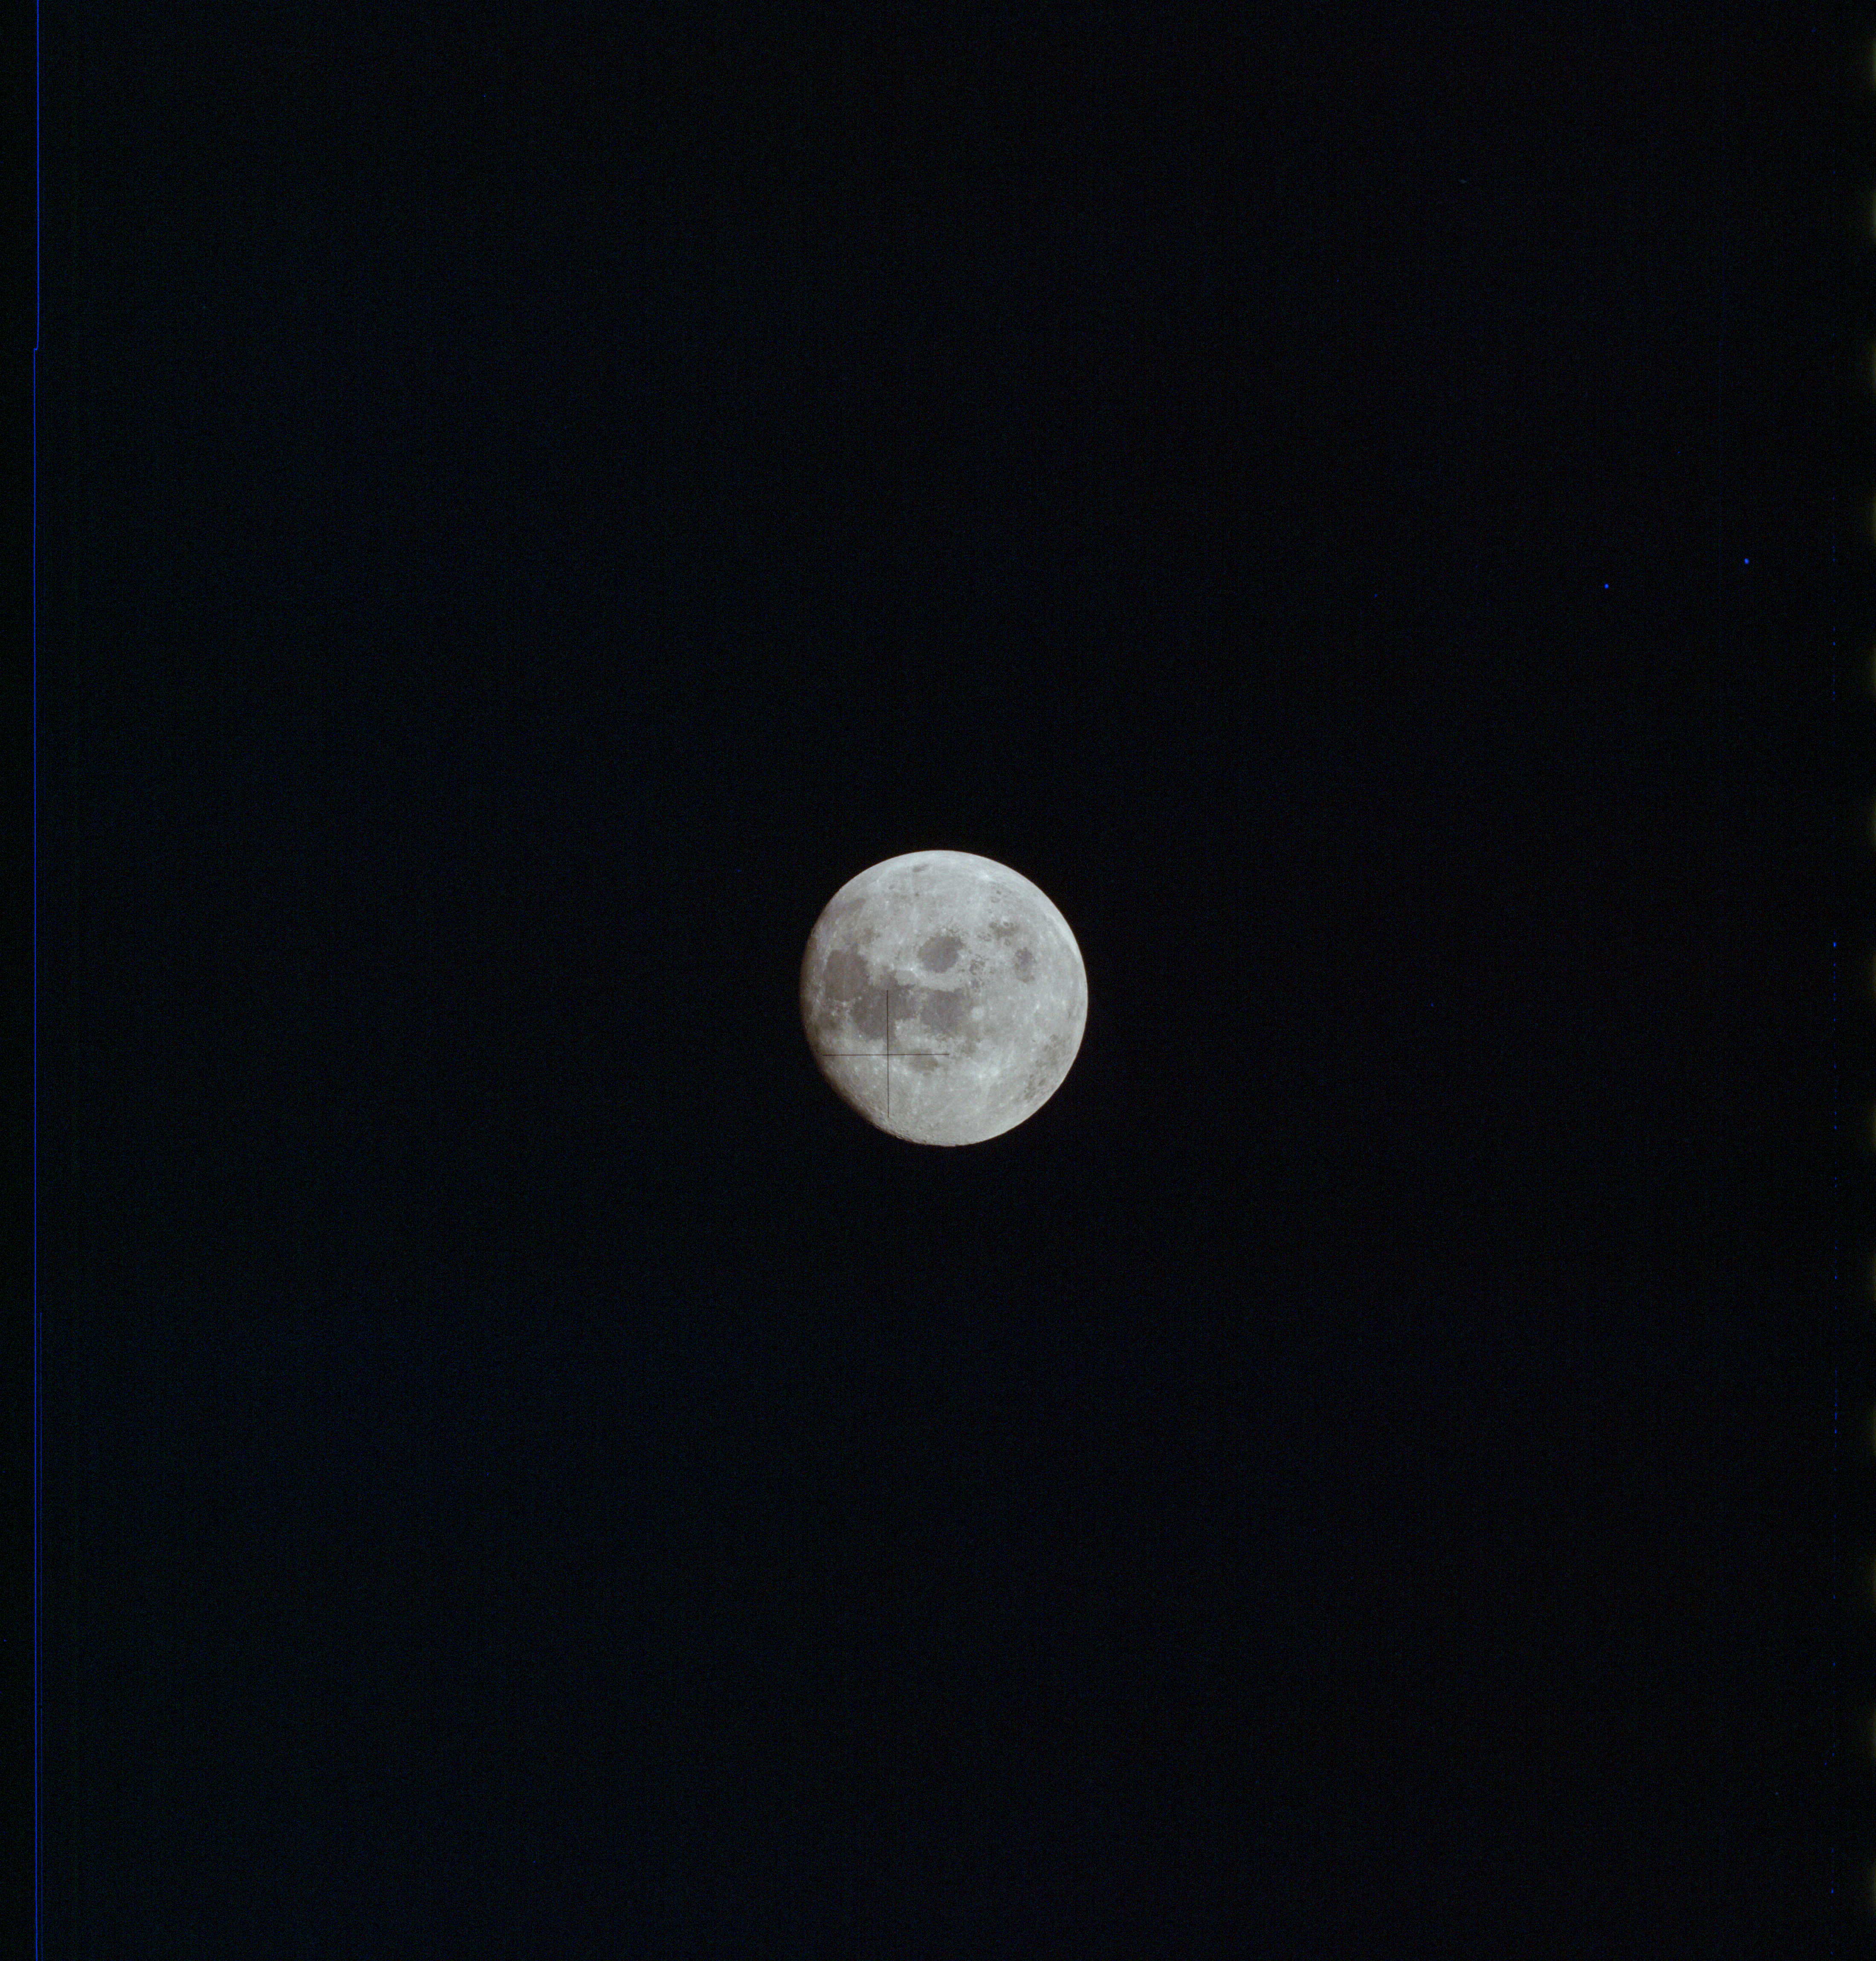
|
AS13-61-8841 Browse or print resolution. Moon from Apollo 13. Image credit: Image Science and Analysis Laboratory, NASA-Johnson Space Center. |
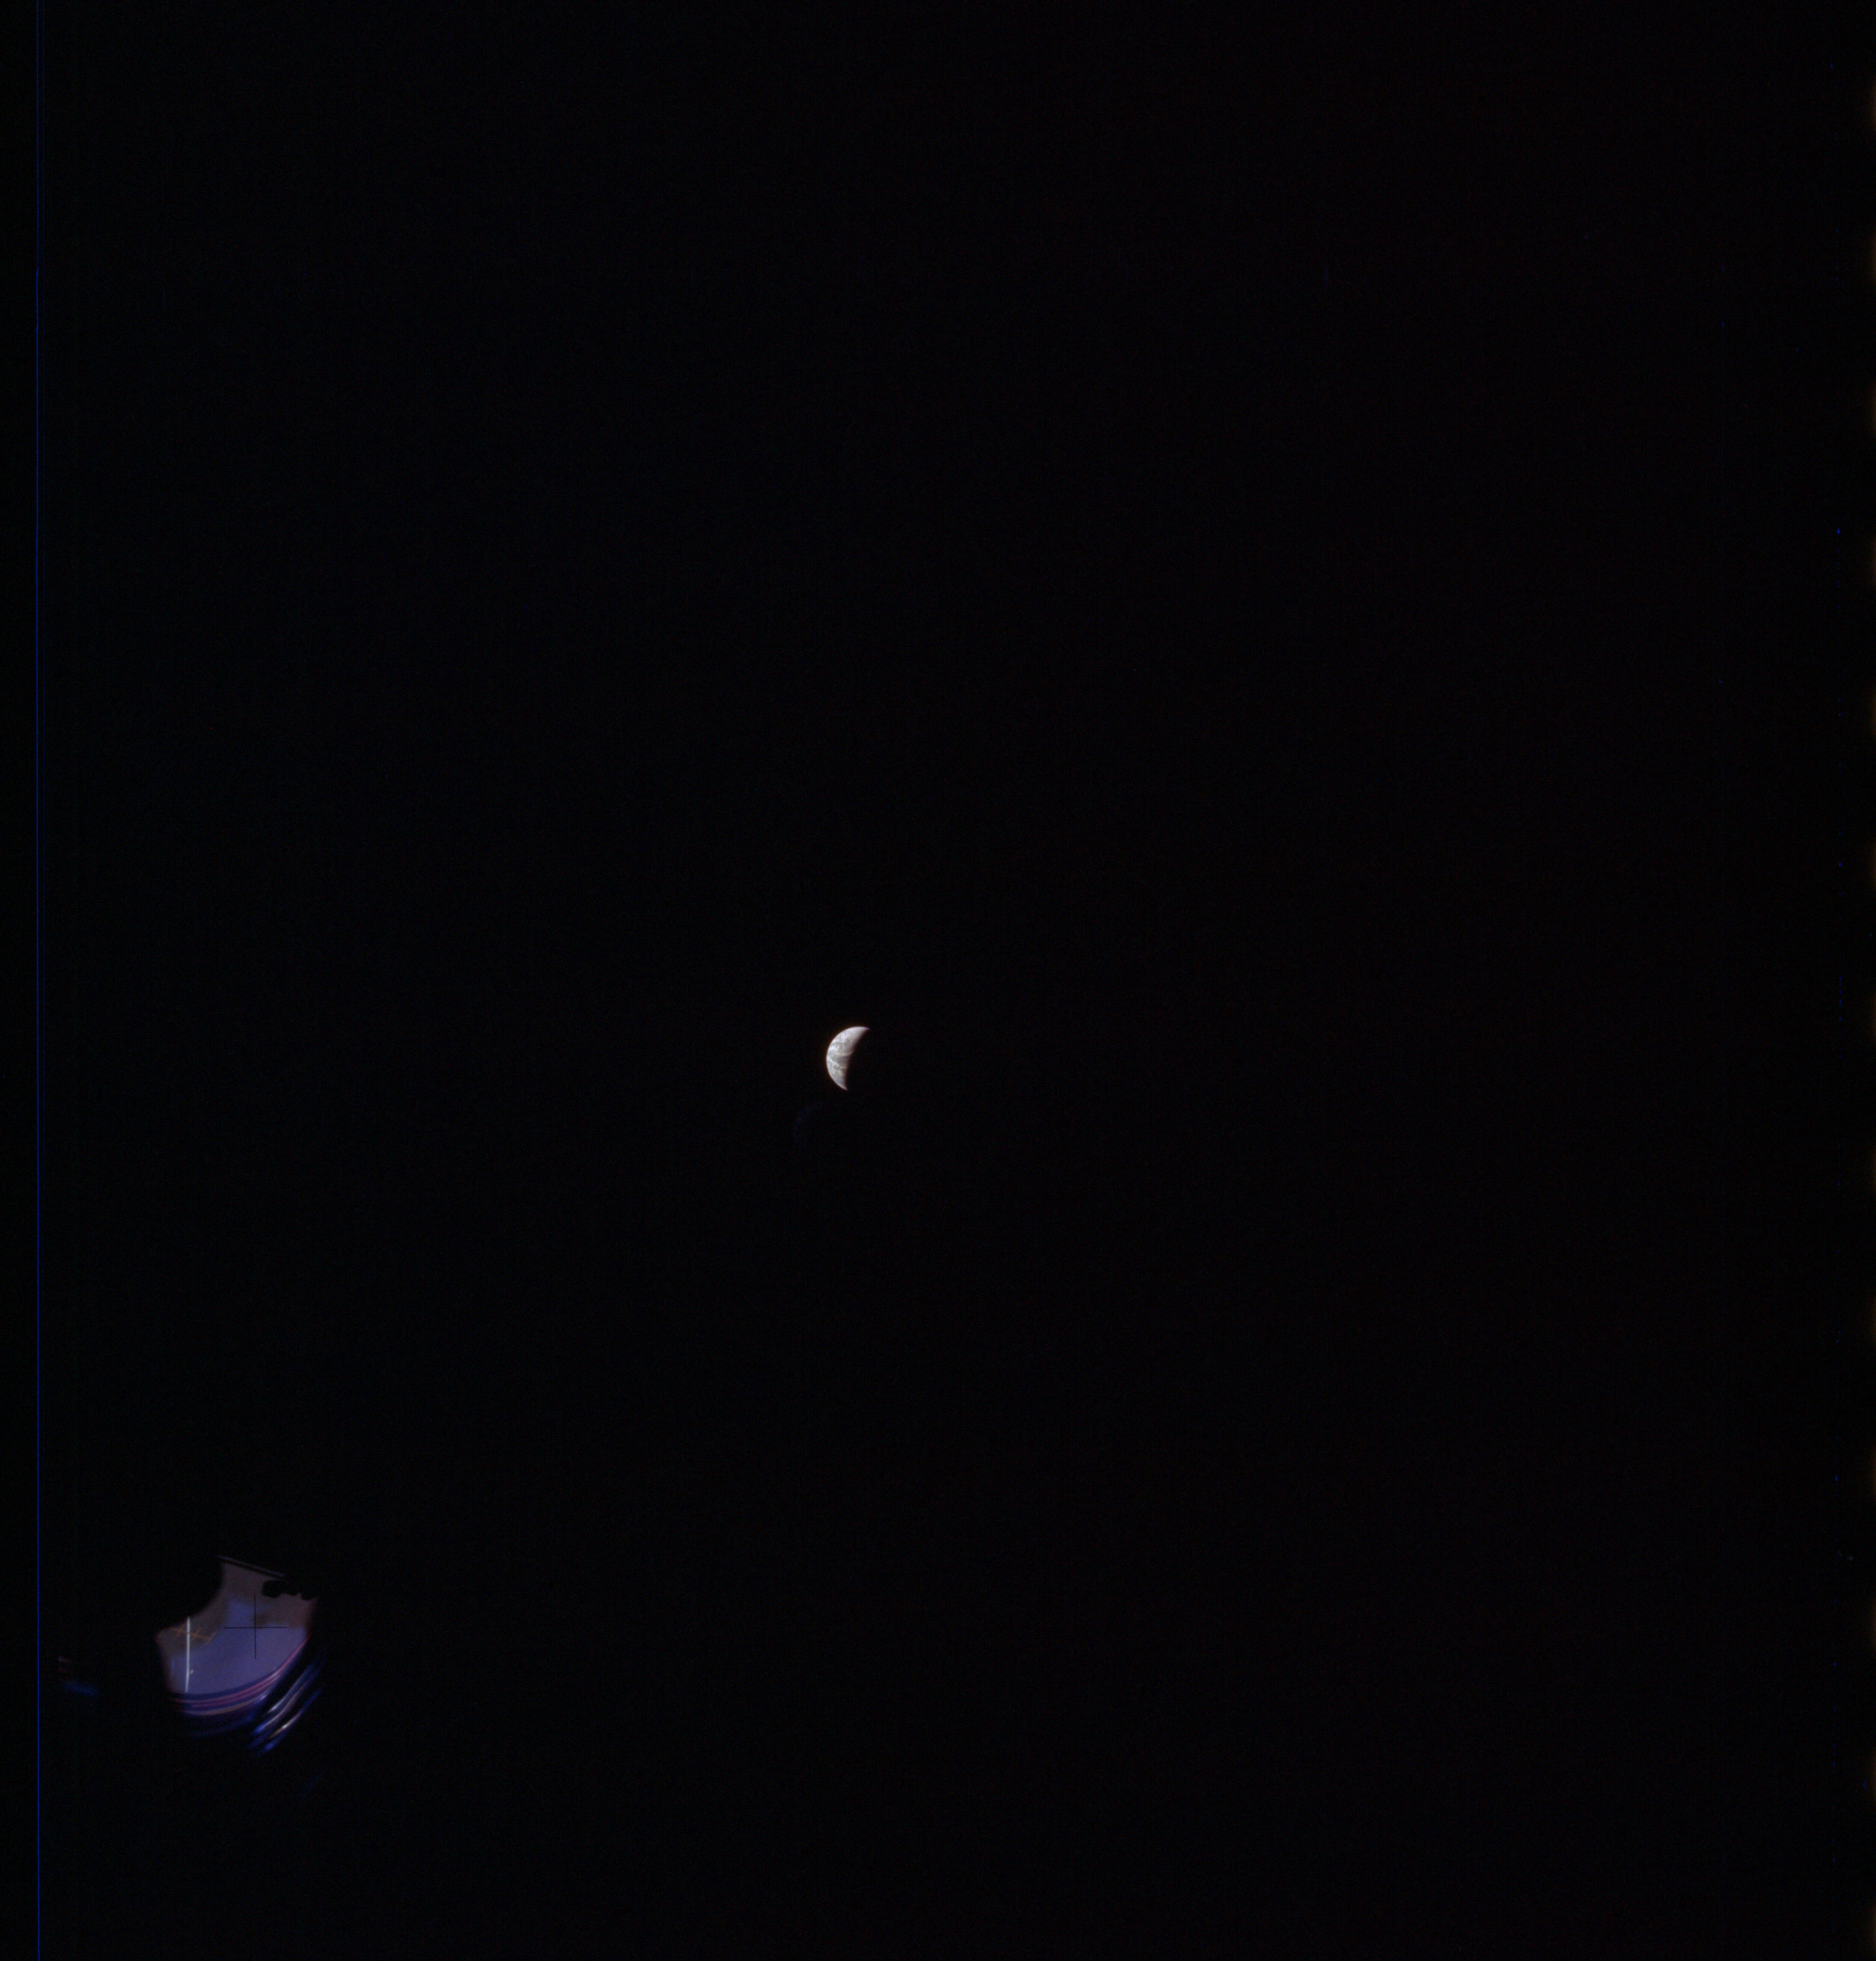
|
AS13-61-8842 Browse or print resolution. Earth from Apollo 13. Image credit: Image Science and Analysis Laboratory, NASA-Johnson Space Center. |
|
AS13-61-8843 Browse or print resolution. Earth from Apollo 13. Image credit: Image Science and Analysis Laboratory, NASA-Johnson Space Center. |
|
AS13-61-8844 Browse or print resolution. Earth from Apollo 13. Image credit: Image Science and Analysis Laboratory, NASA-Johnson Space Center. |
|
AS13-61-8845 Browse or print resolution. Earth from Apollo 13. Image credit: Image Science and Analysis Laboratory, NASA-Johnson Space Center. |
|
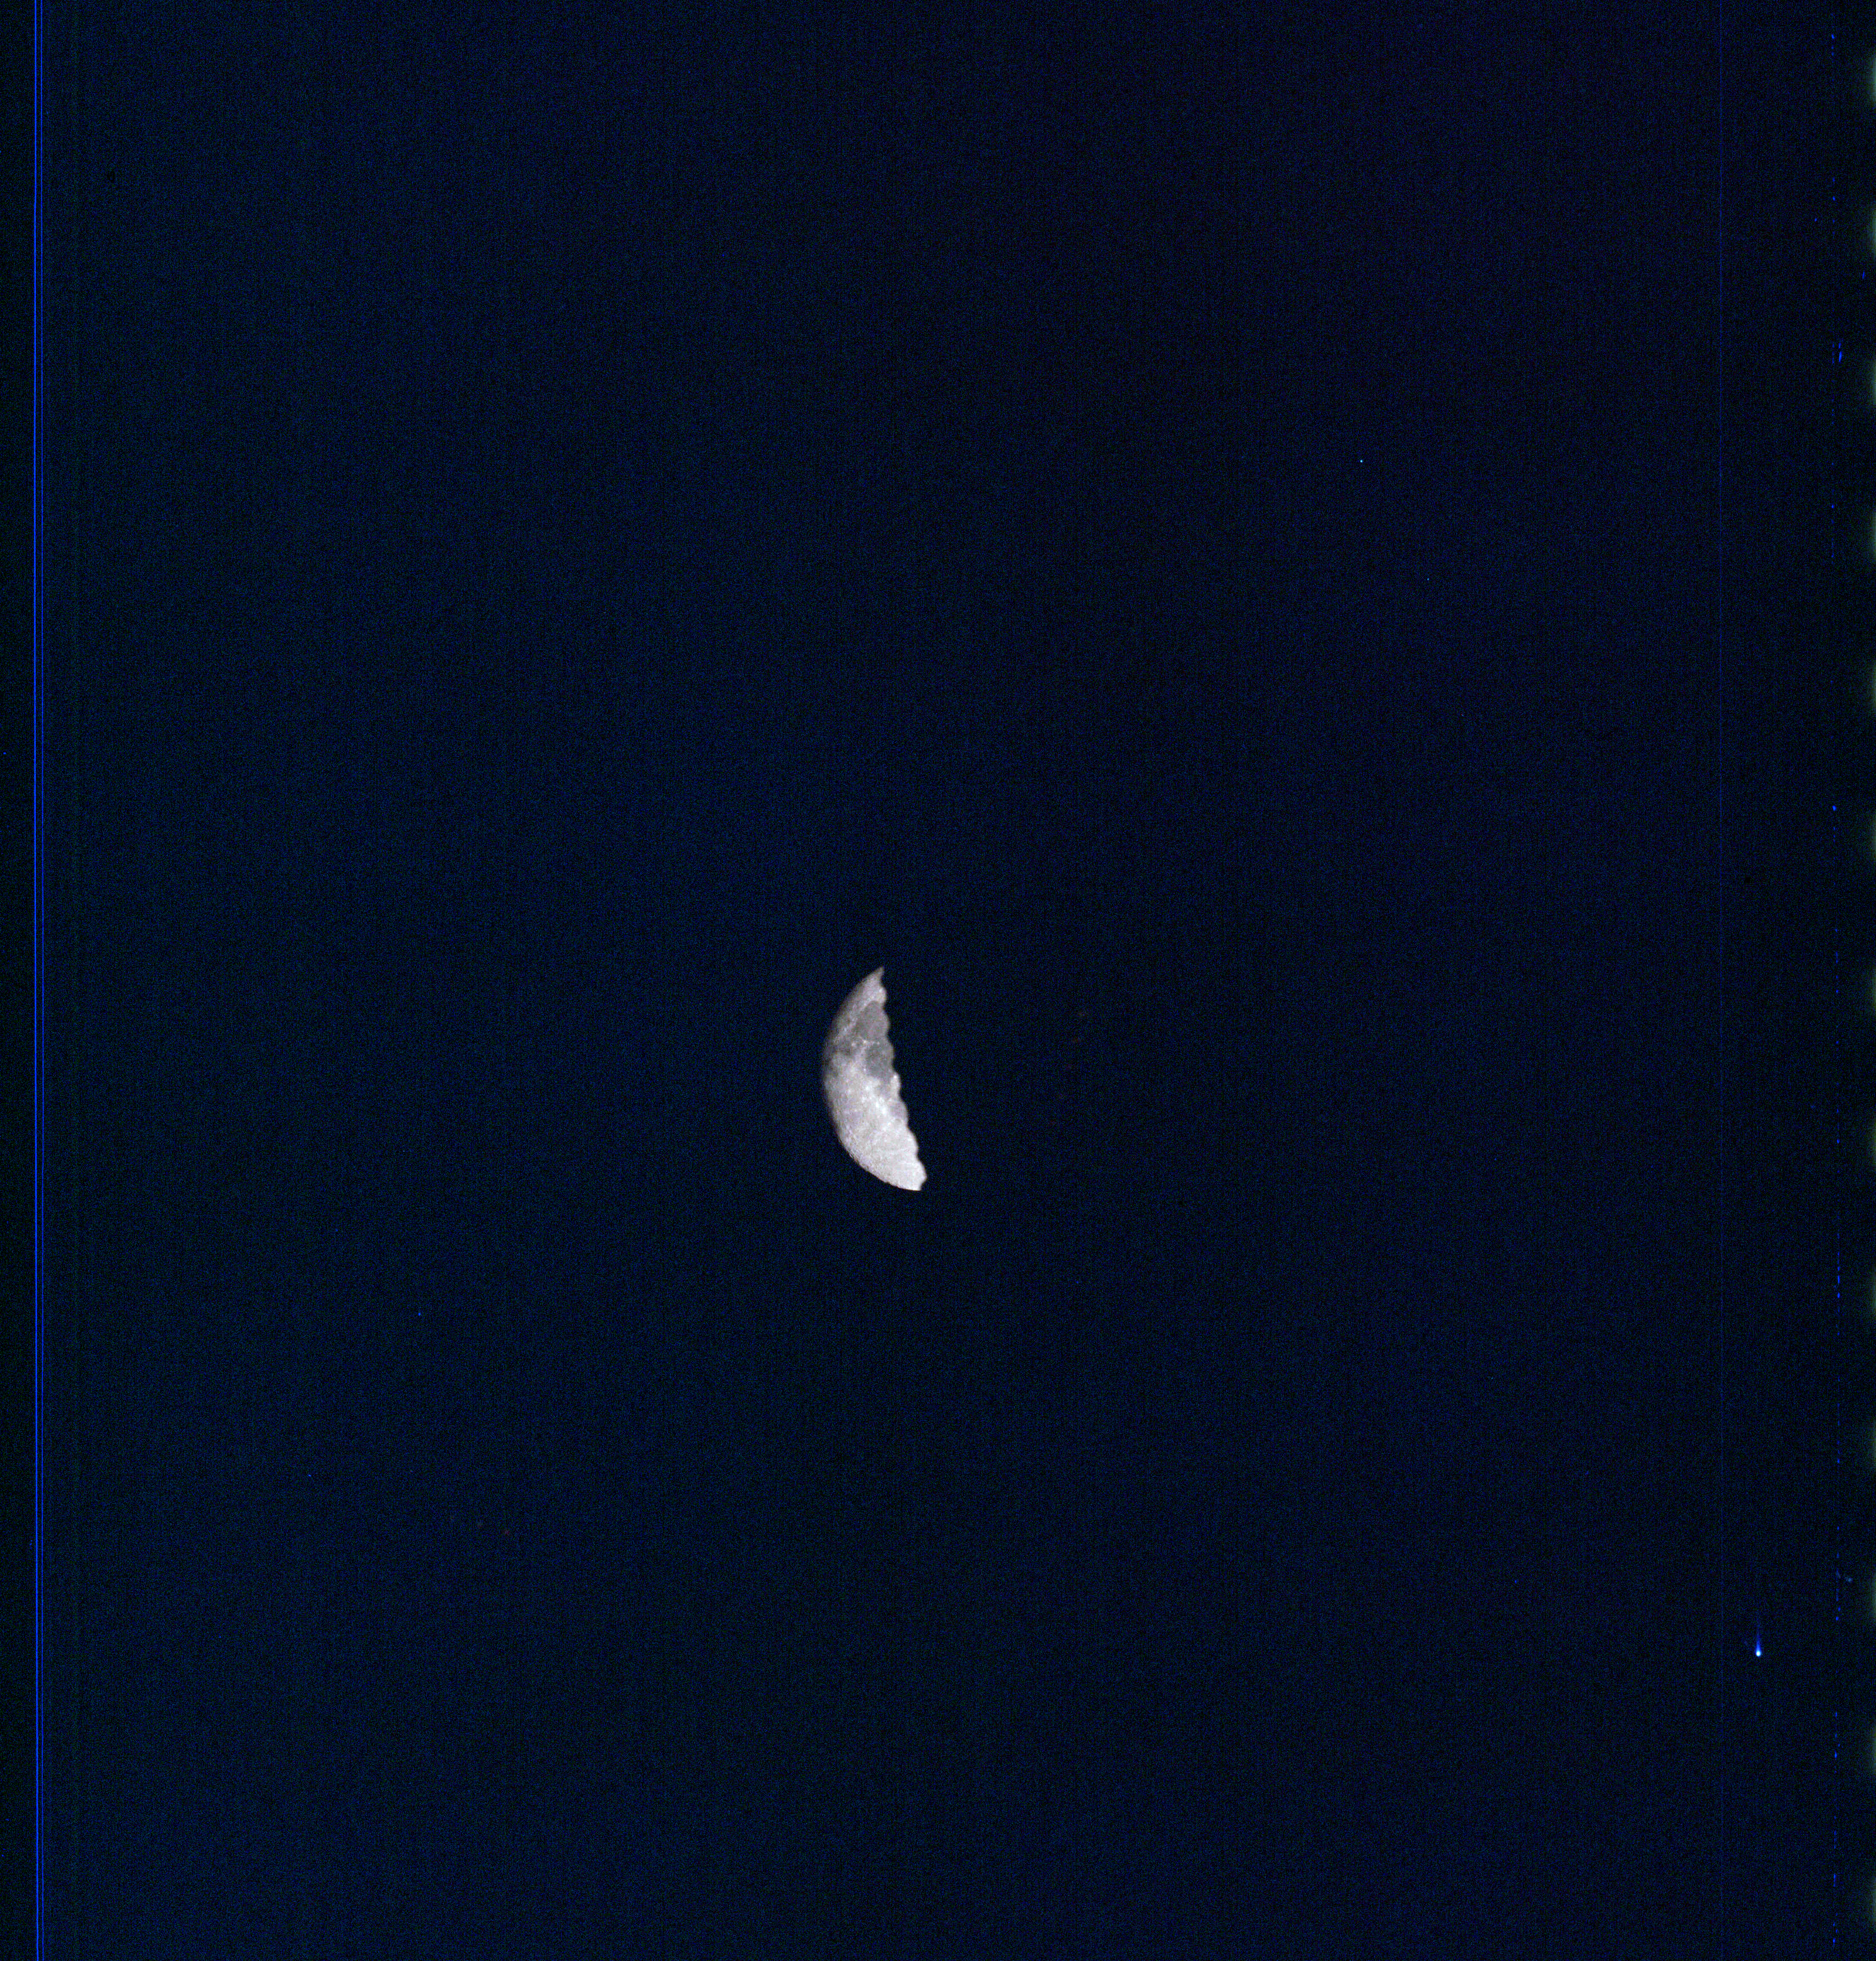
AS13-61-8846 Browse or print resolution. Moon eclipsed by spacecraft. Image credit: Image Science and Analysis Laboratory, NASA-Johnson Space Center. |
|
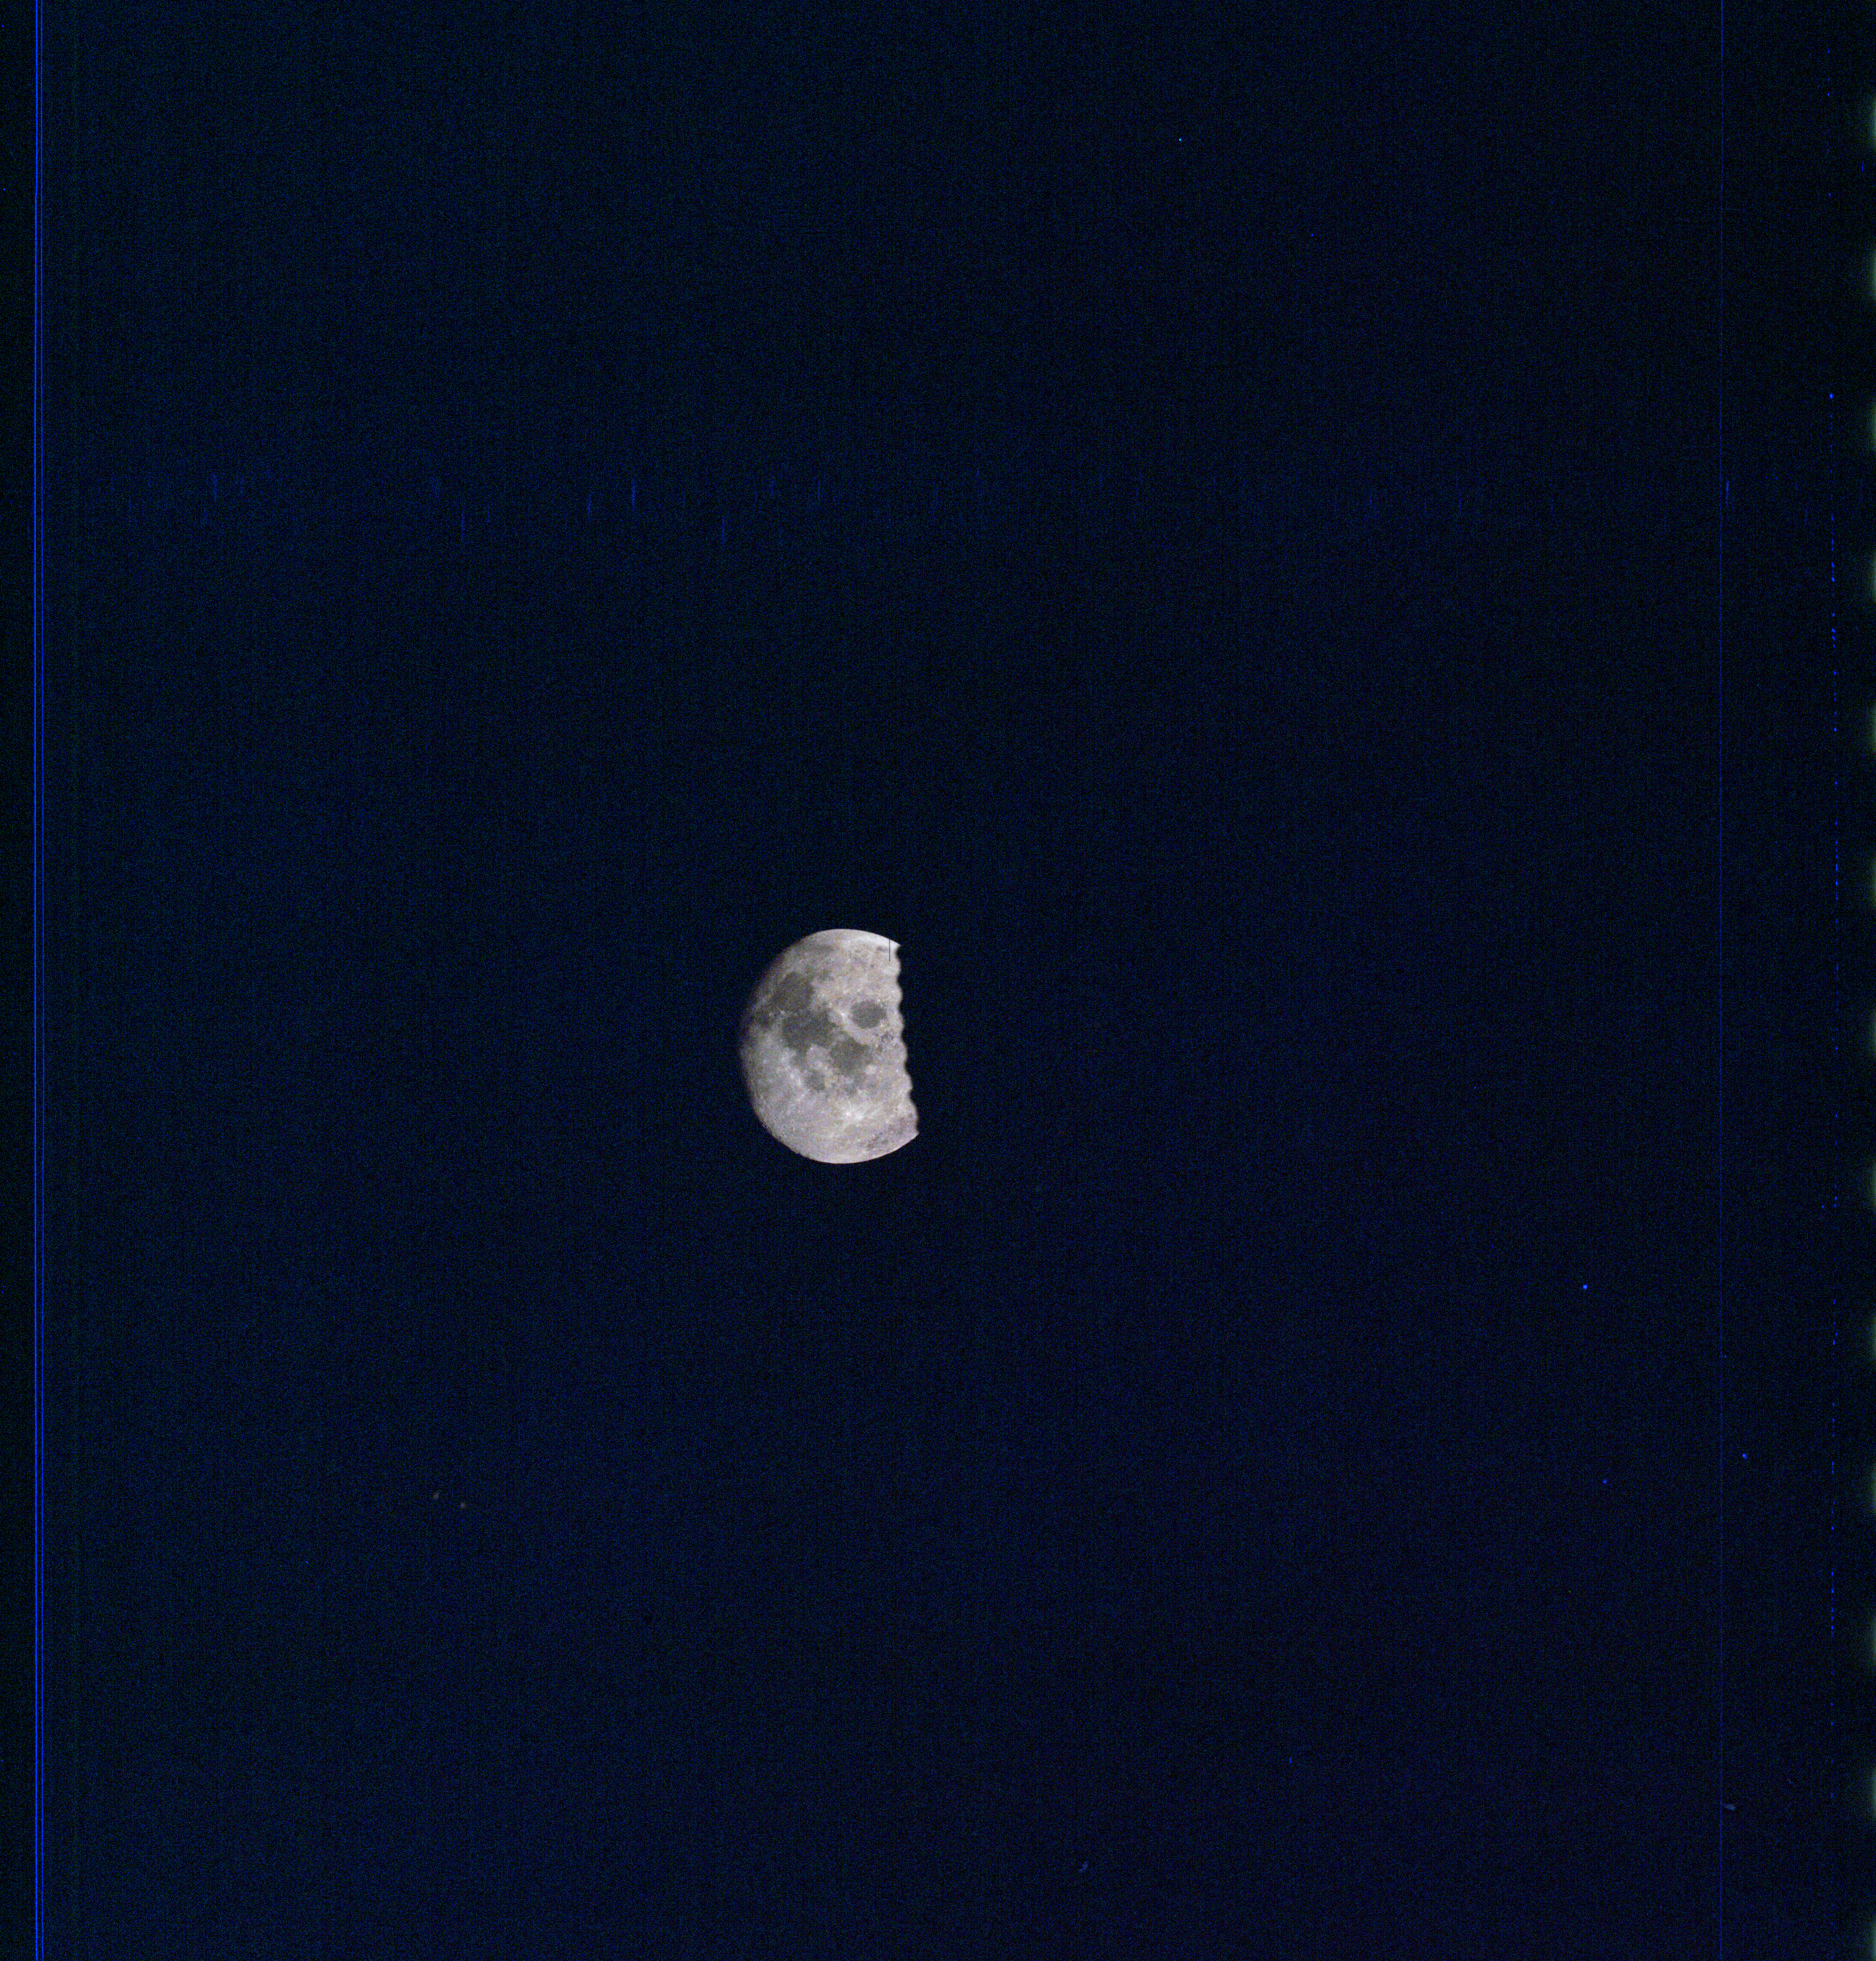
AS13-61-8847 Browse or print resolution. Moon eclipsed by spacecraft. Image credit: Image Science and Analysis Laboratory, NASA-Johnson Space Center. |
|
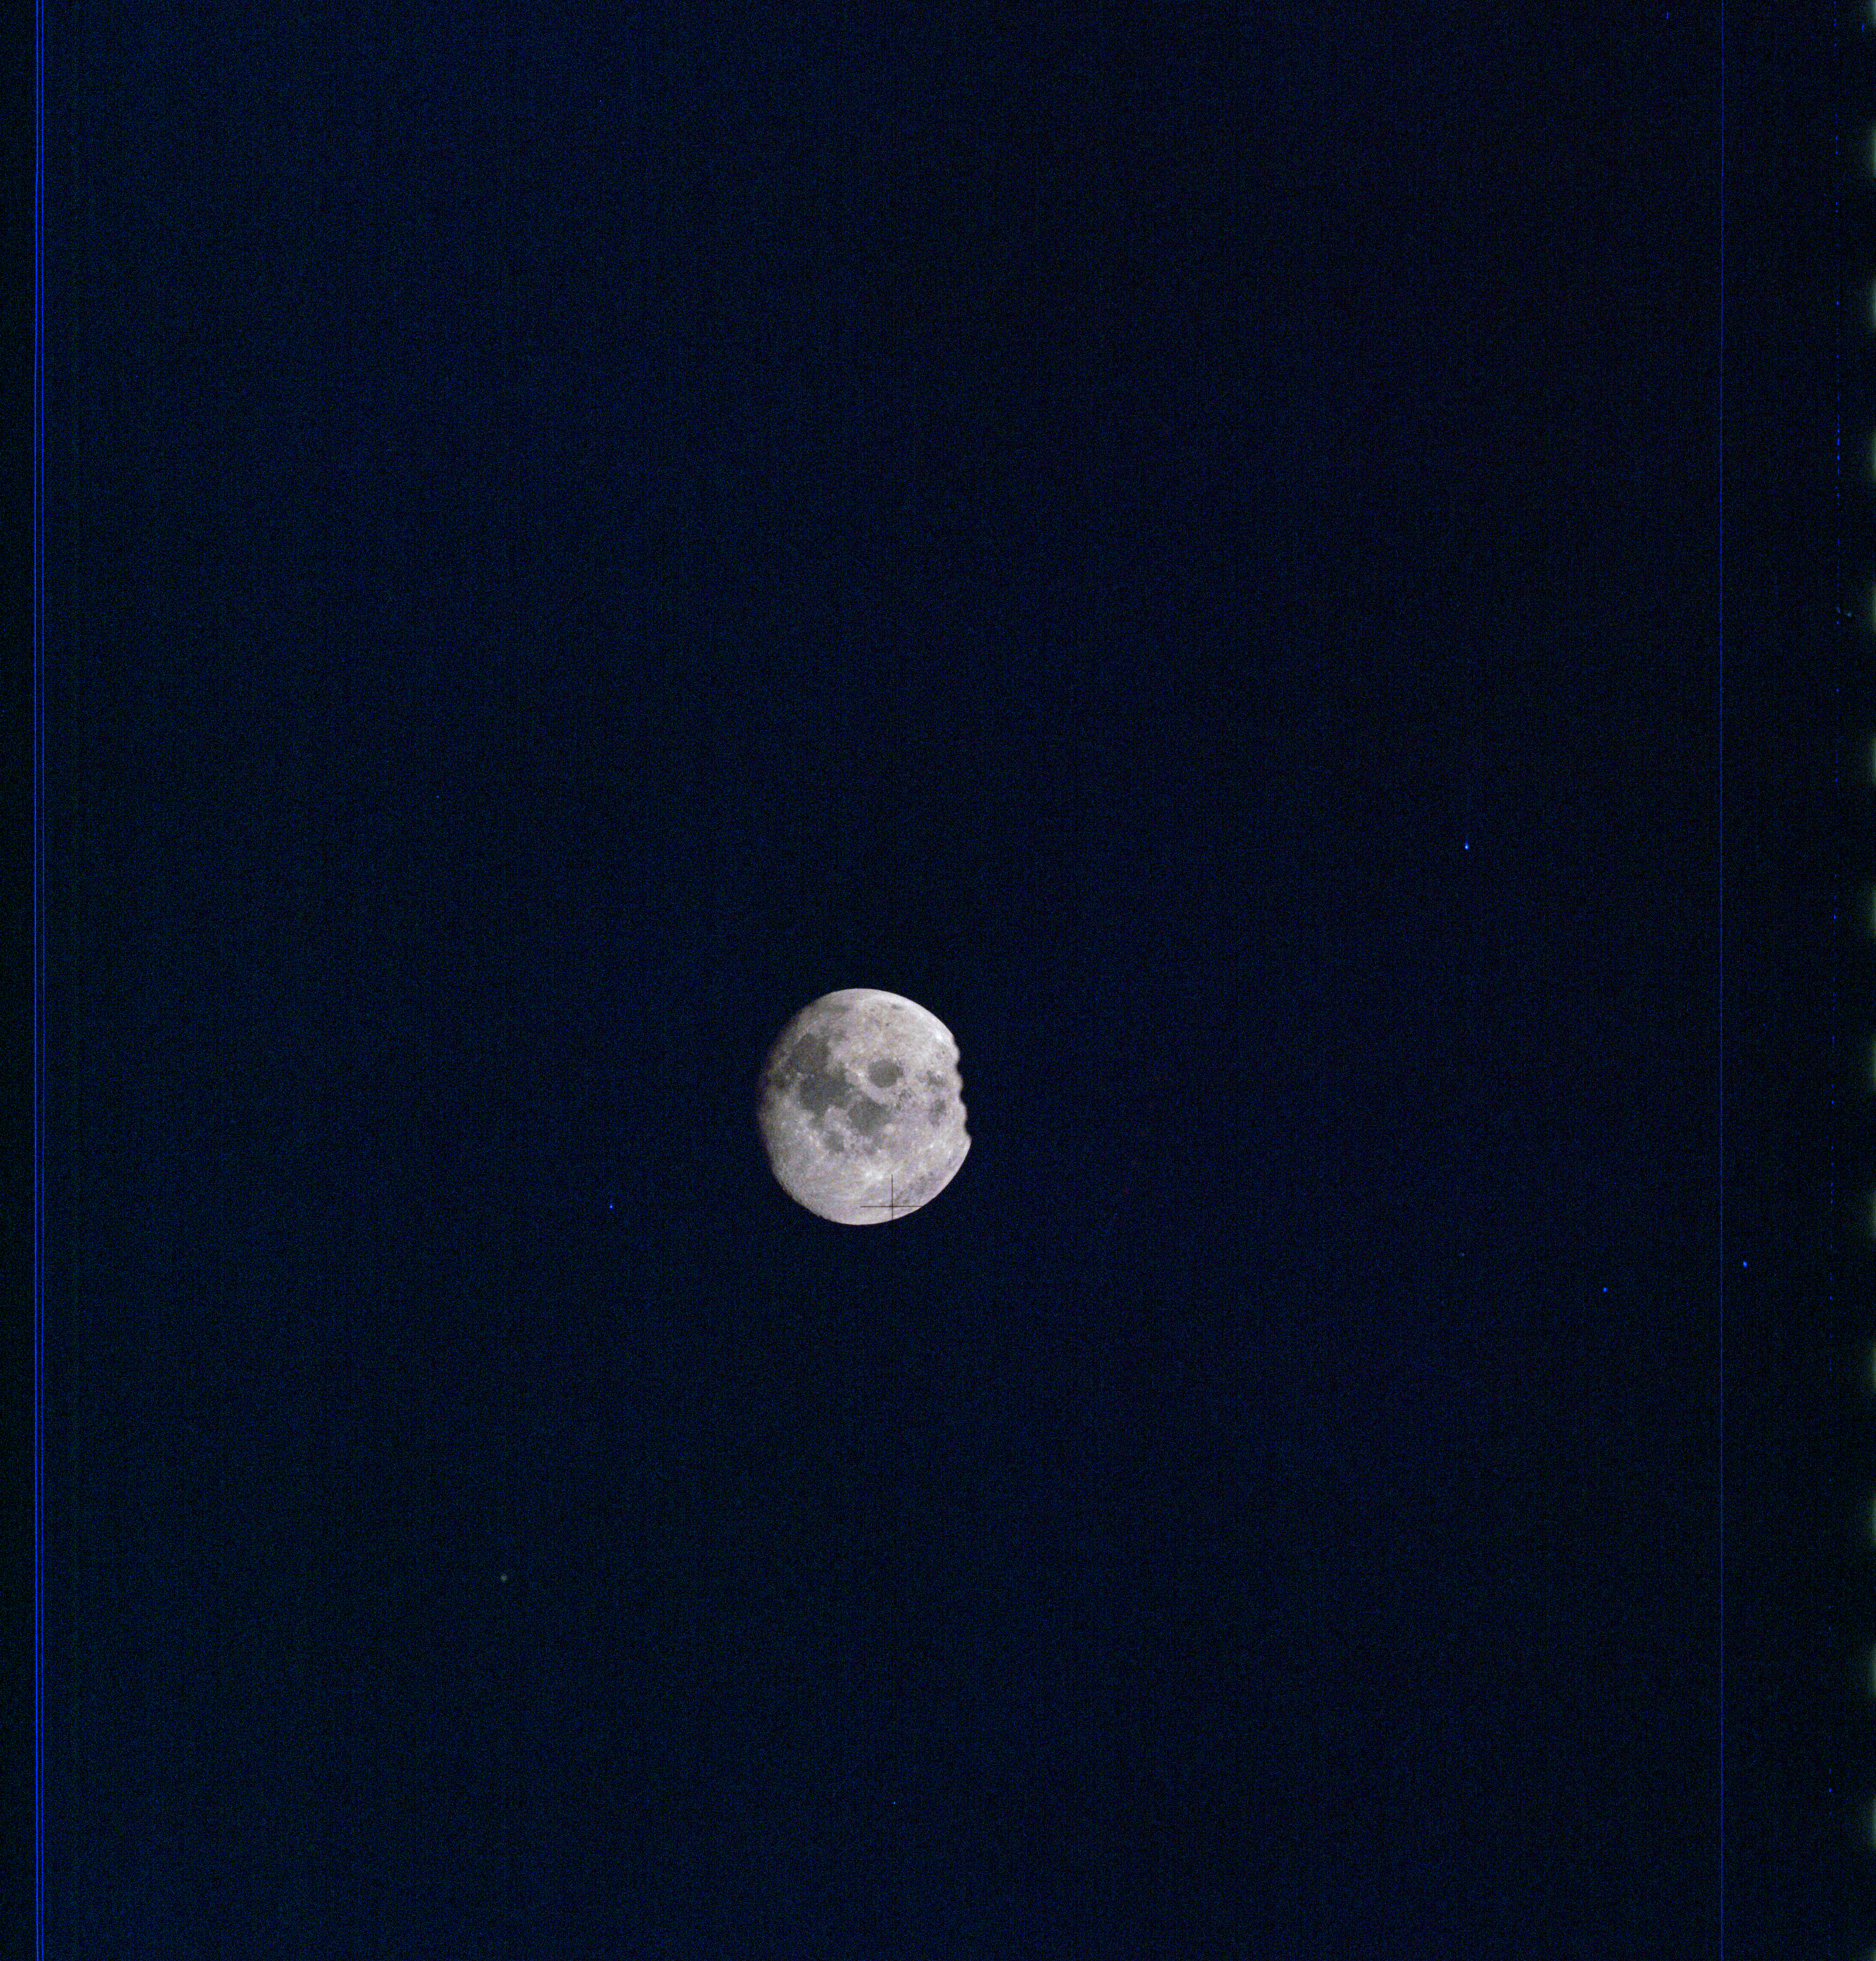
AS13-61-8848 Browse or print resolution. Moon partially eclipsed by spacecraft. Image credit: Image Science and Analysis Laboratory, NASA-Johnson Space Center. |
|
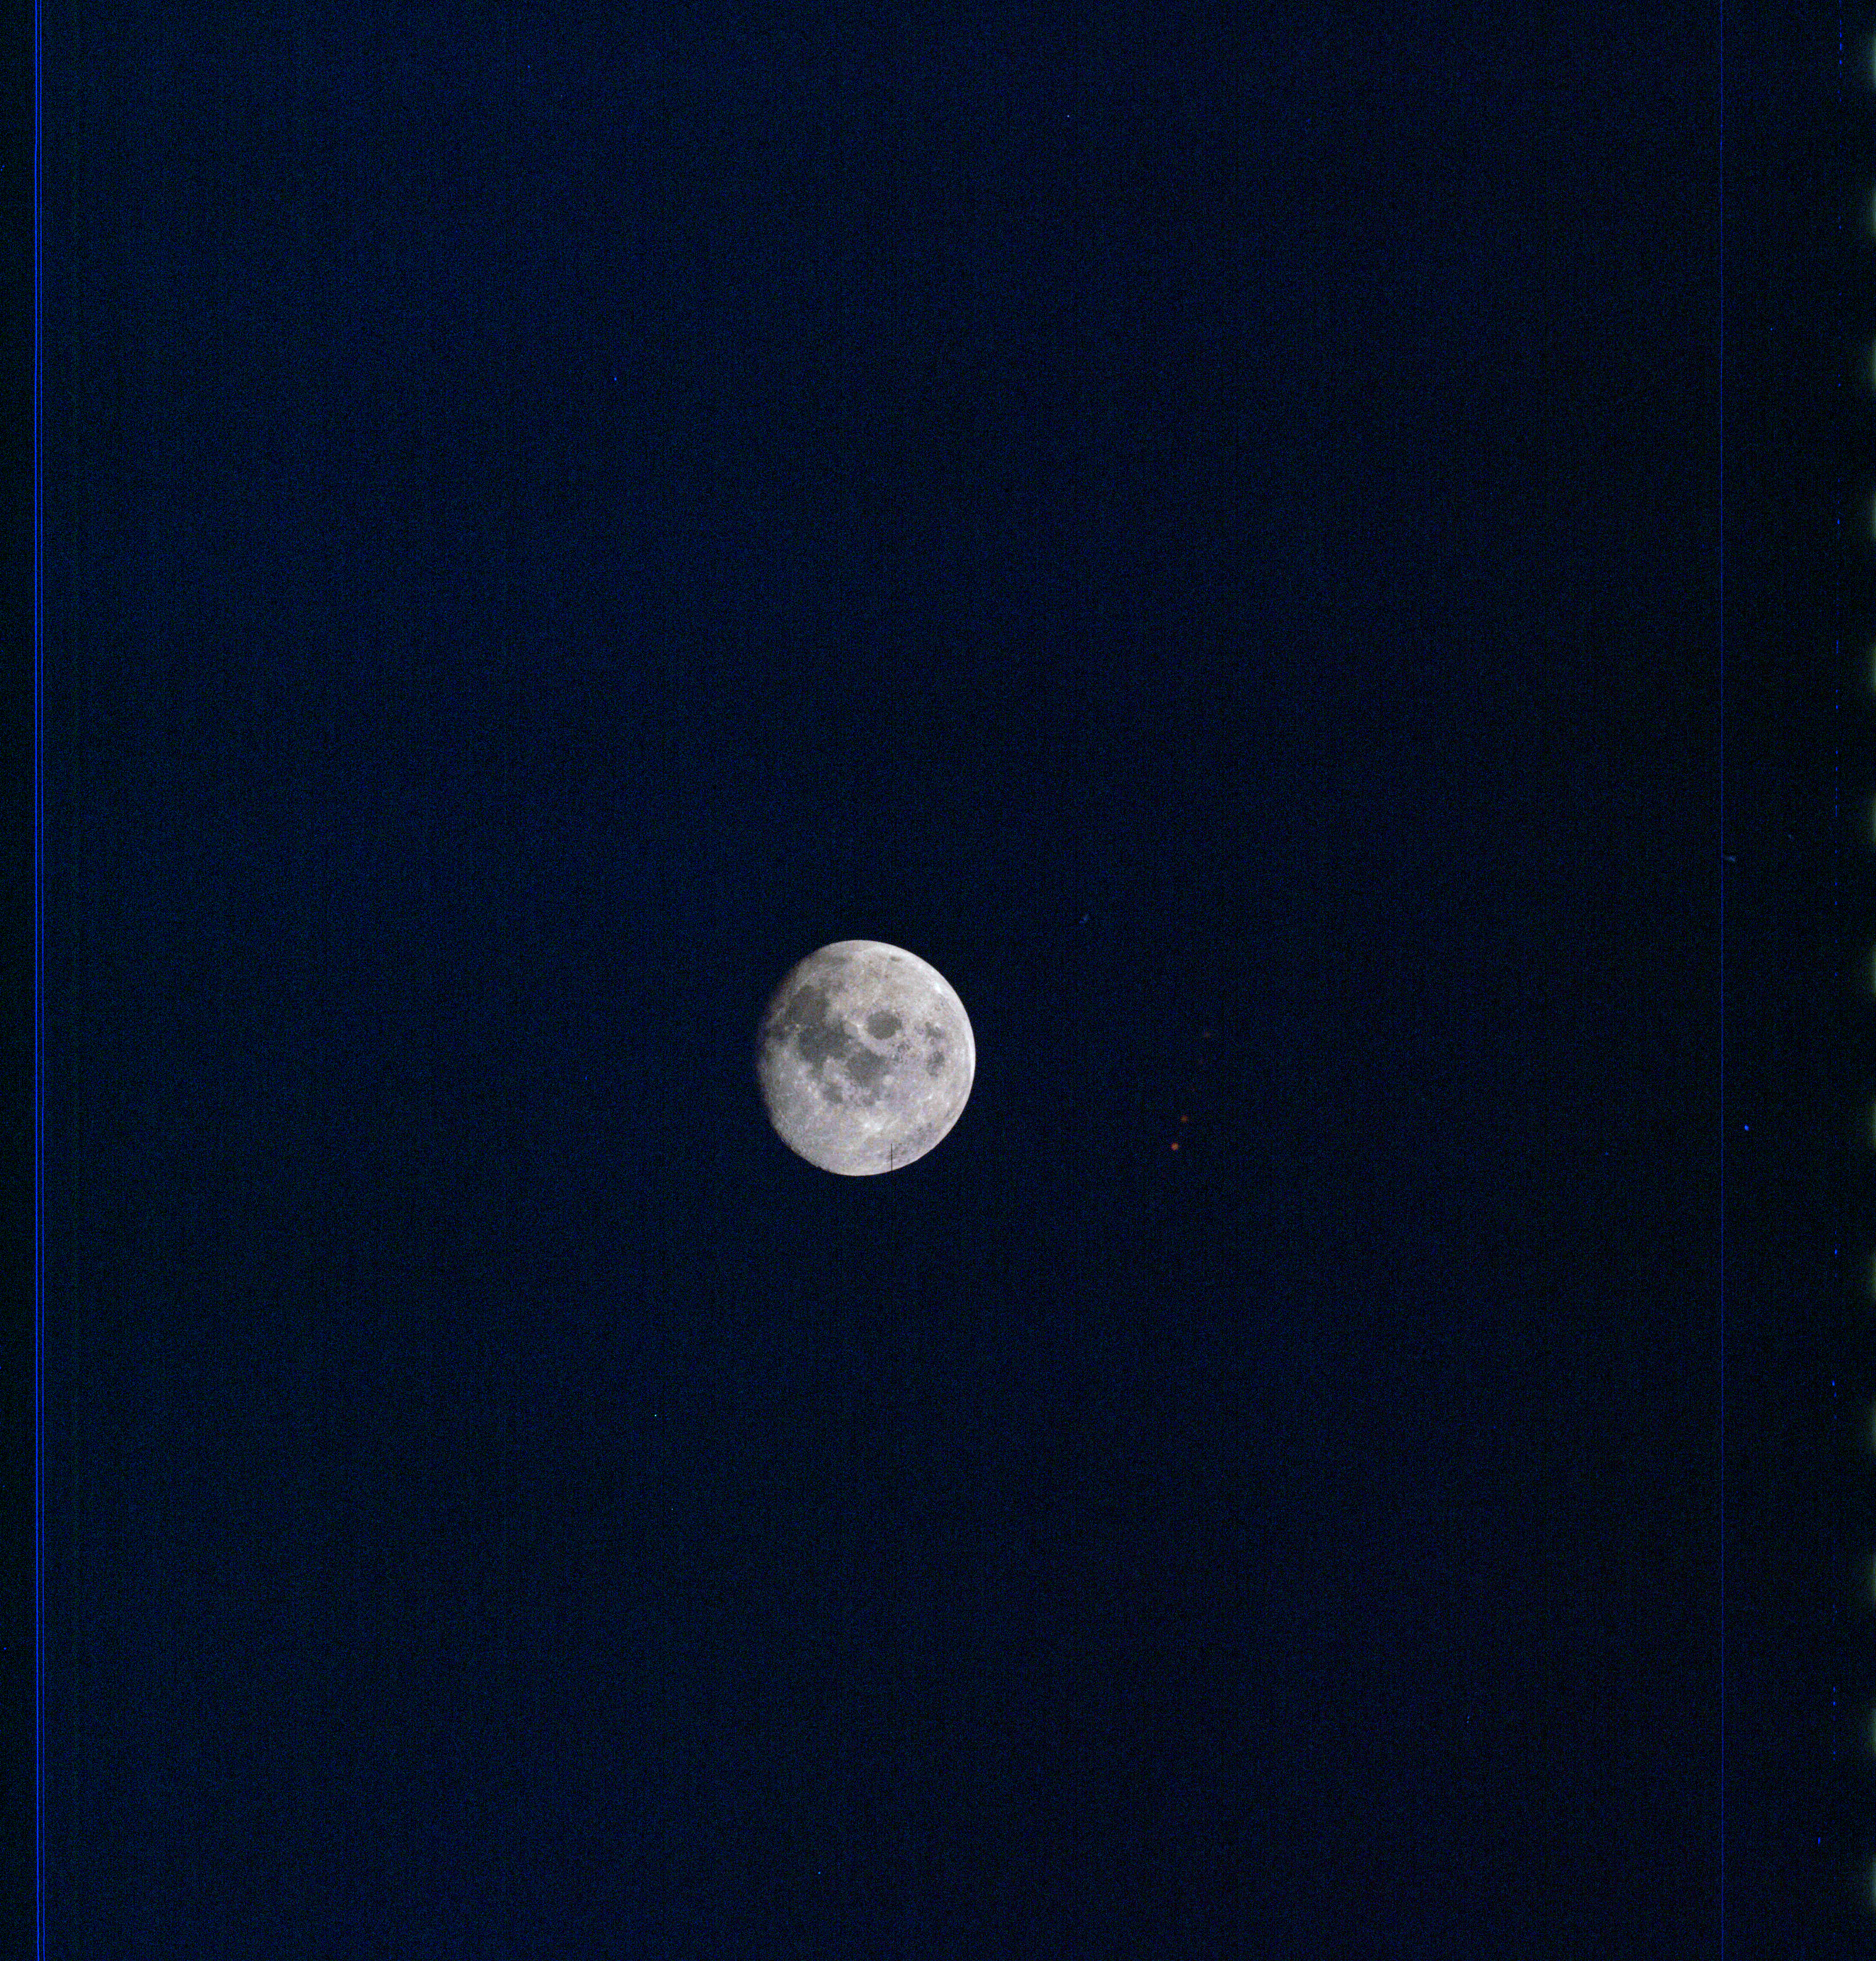
AS13-61-8849 Browse or print resolution. Moon partially eclipsed by spacecraft. Image credit: Image Science and Analysis Laboratory, NASA-Johnson Space Center. |
|
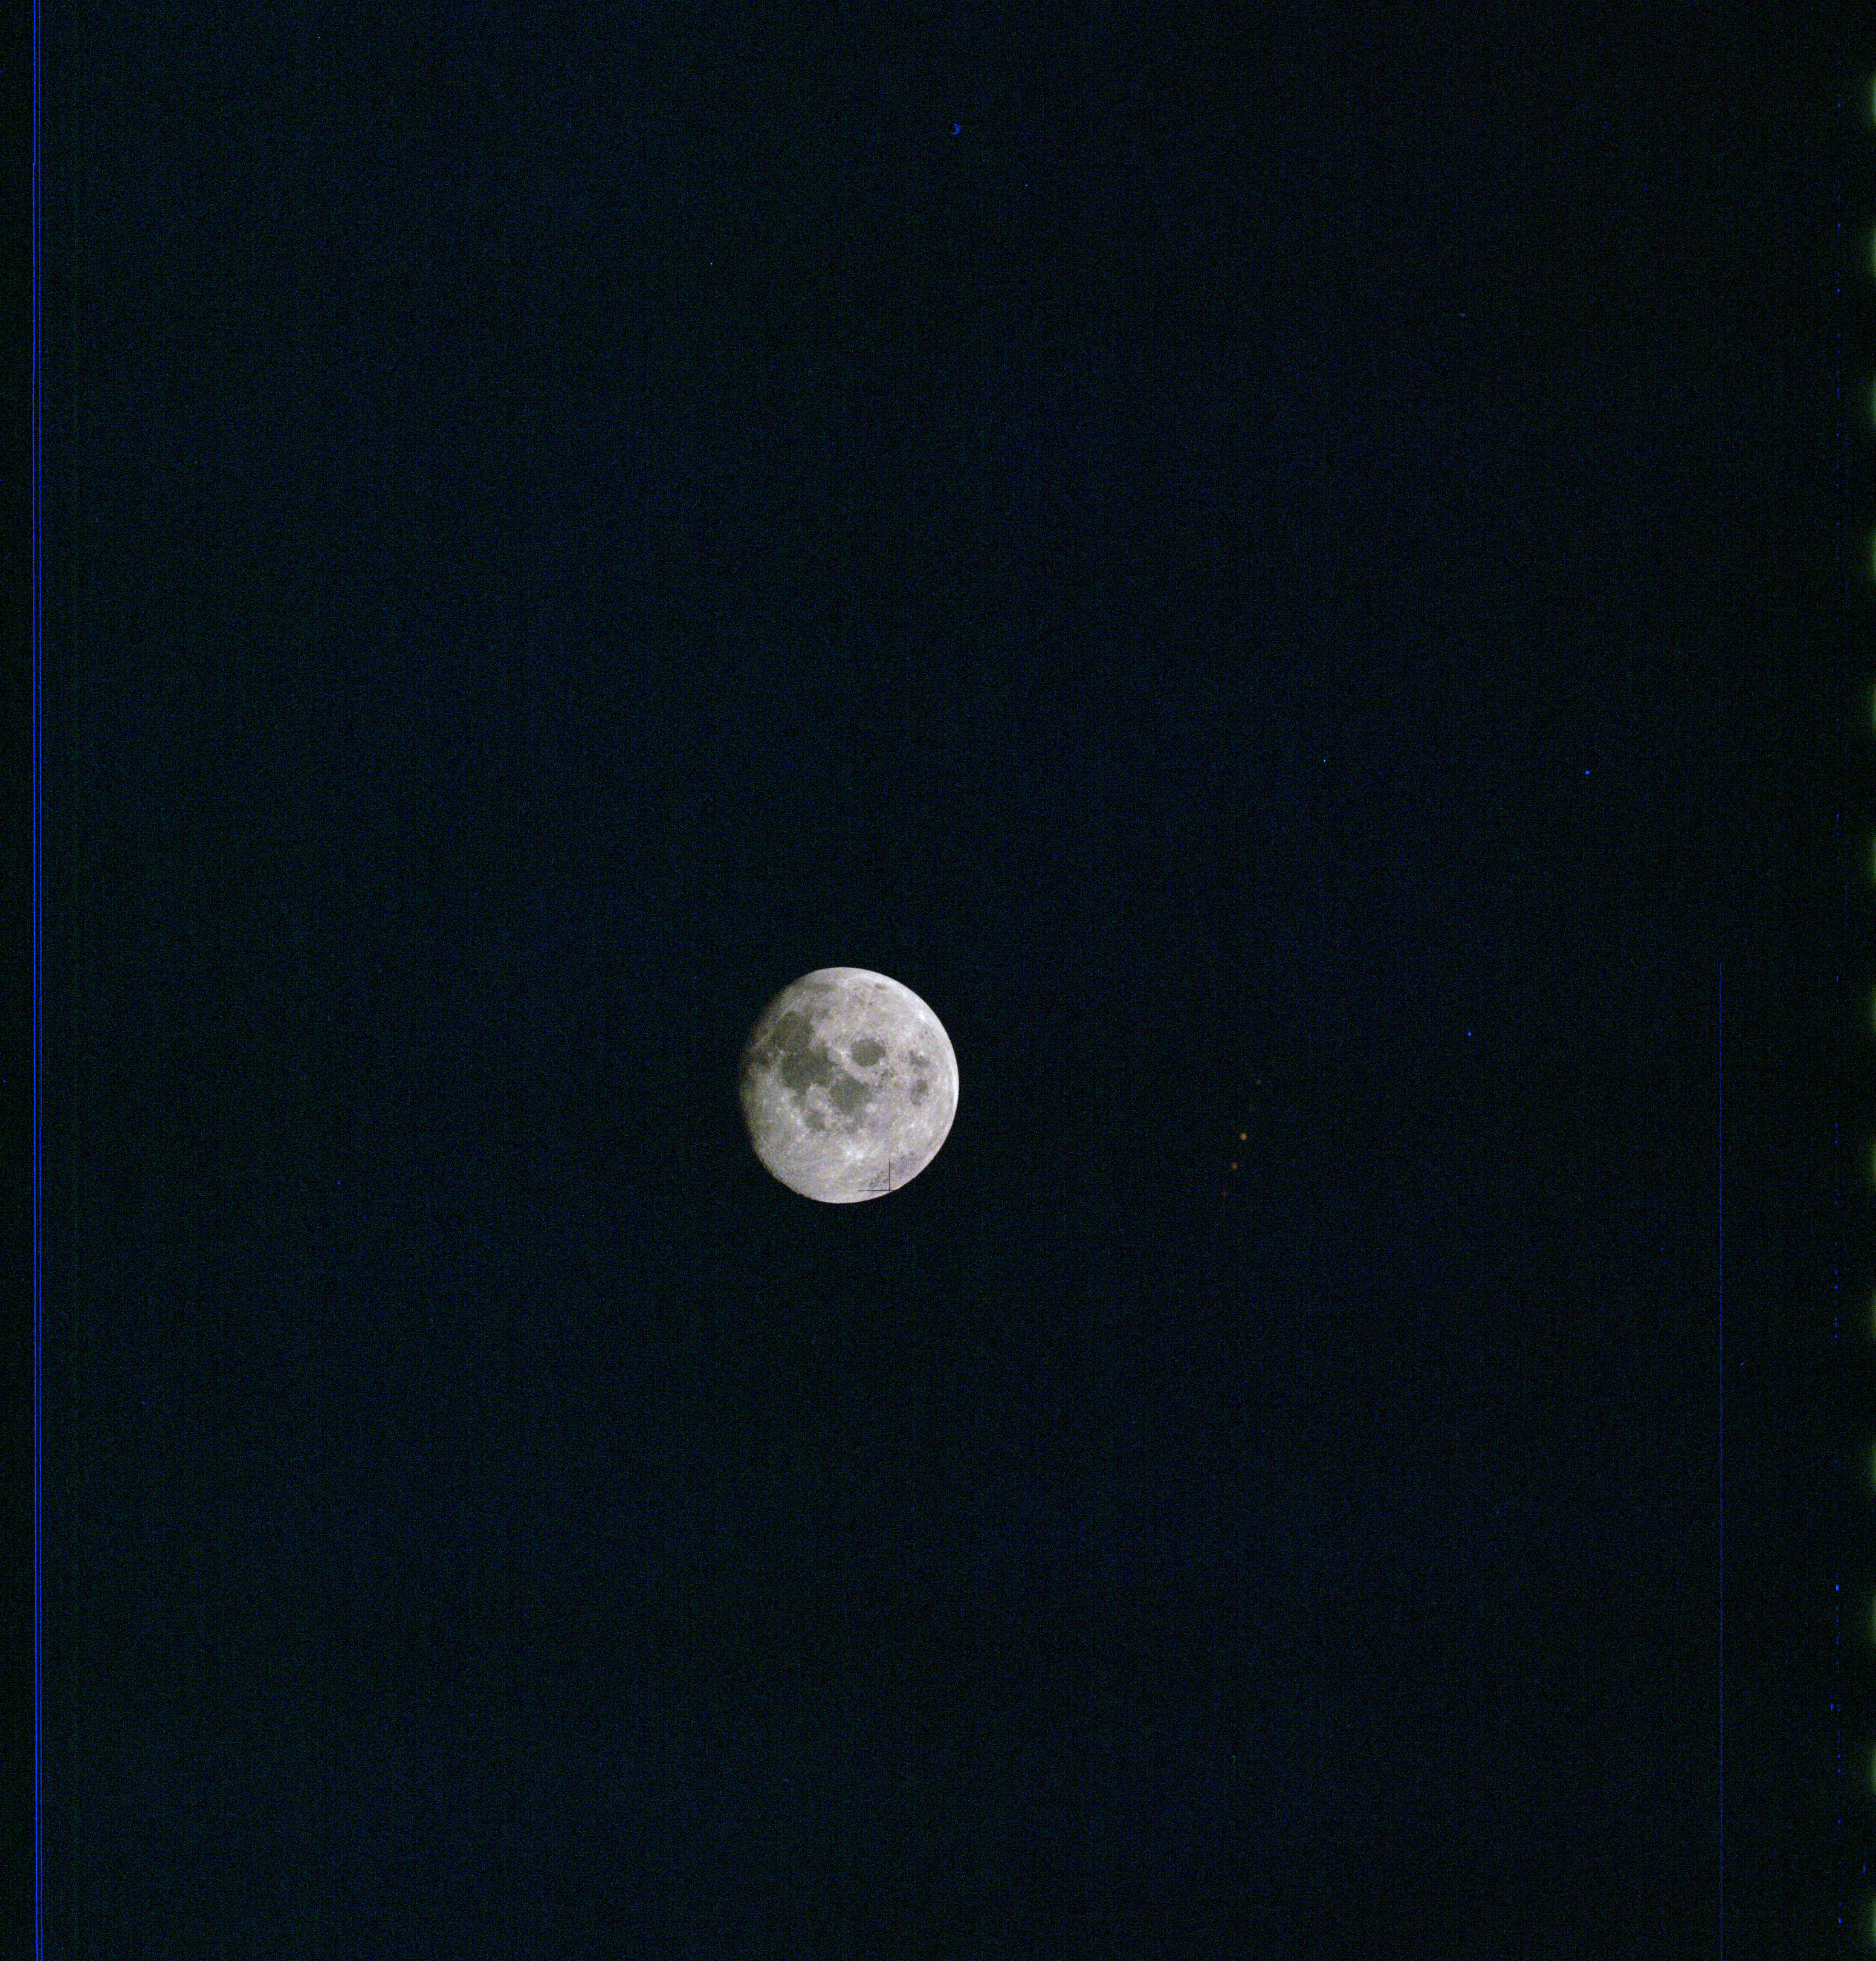
AS13-61-8850 Browse or print resolution. Moon from Apollo 13. Image credit: Image Science and Analysis Laboratory, NASA-Johnson Space Center. |
|
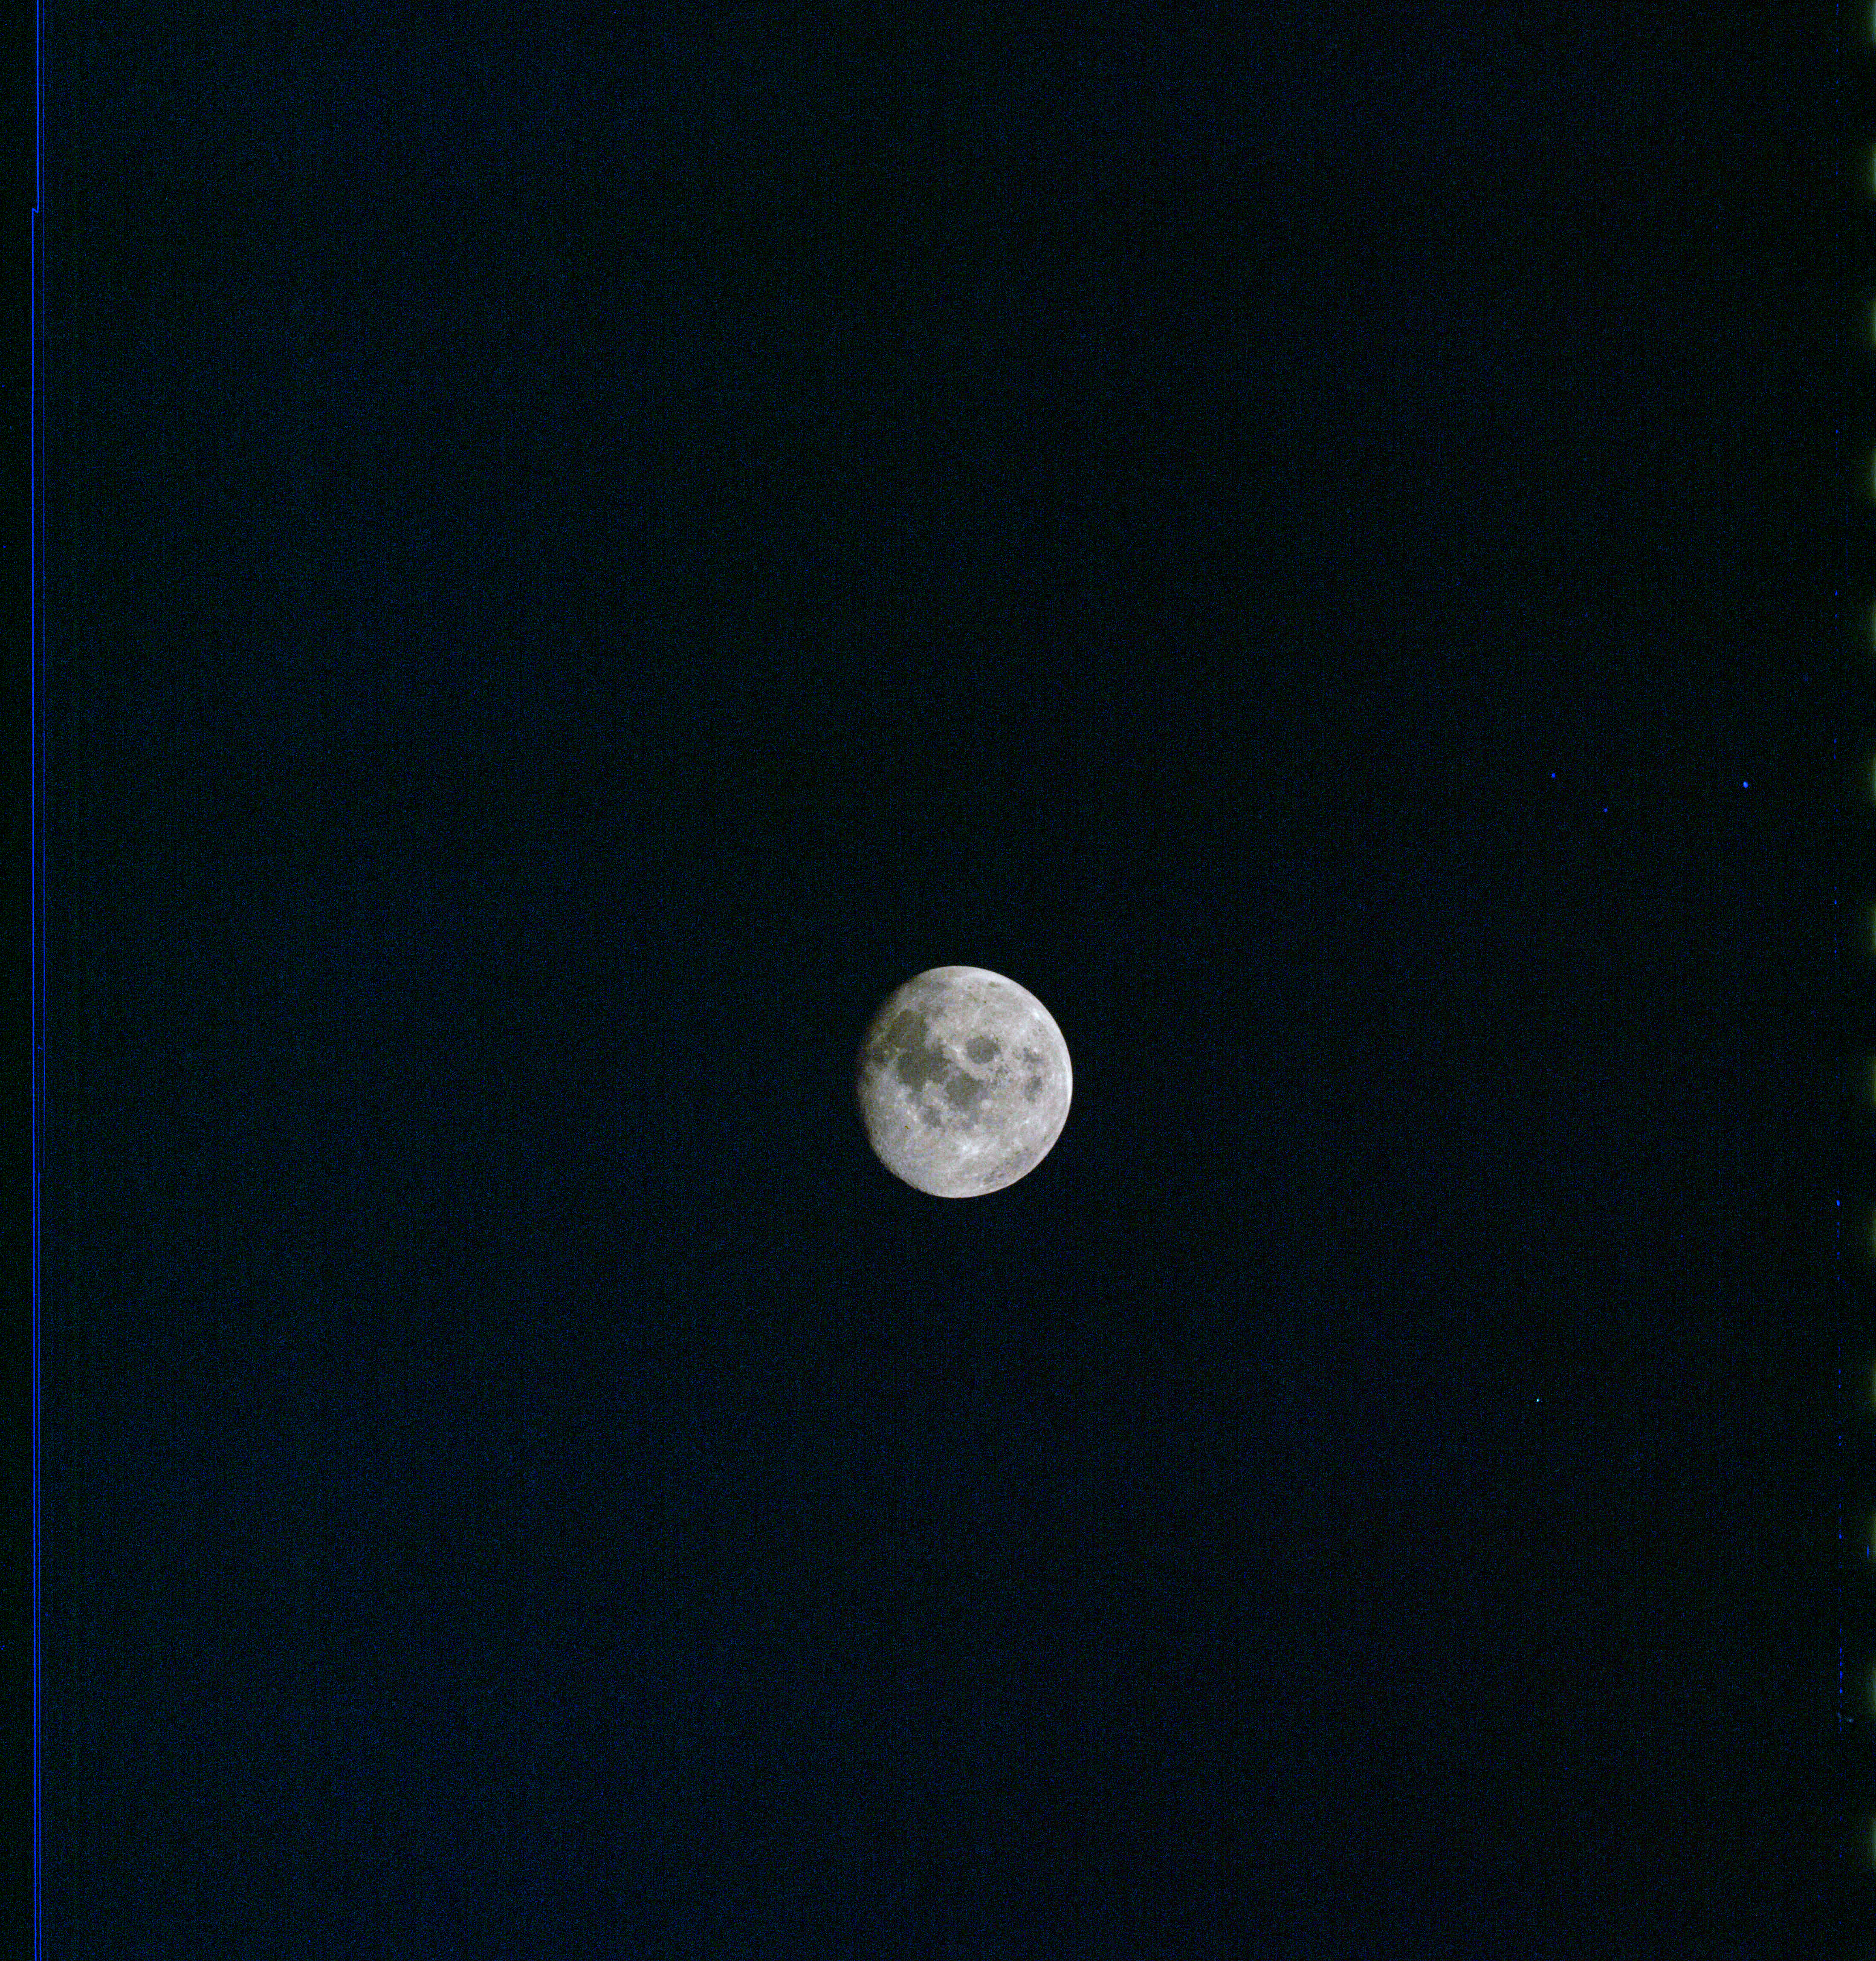
AS13-61-8851 Browse or print resolution. Moon from Apollo 13. Image credit: Image Science and Analysis Laboratory, NASA-Johnson Space Center. |
|
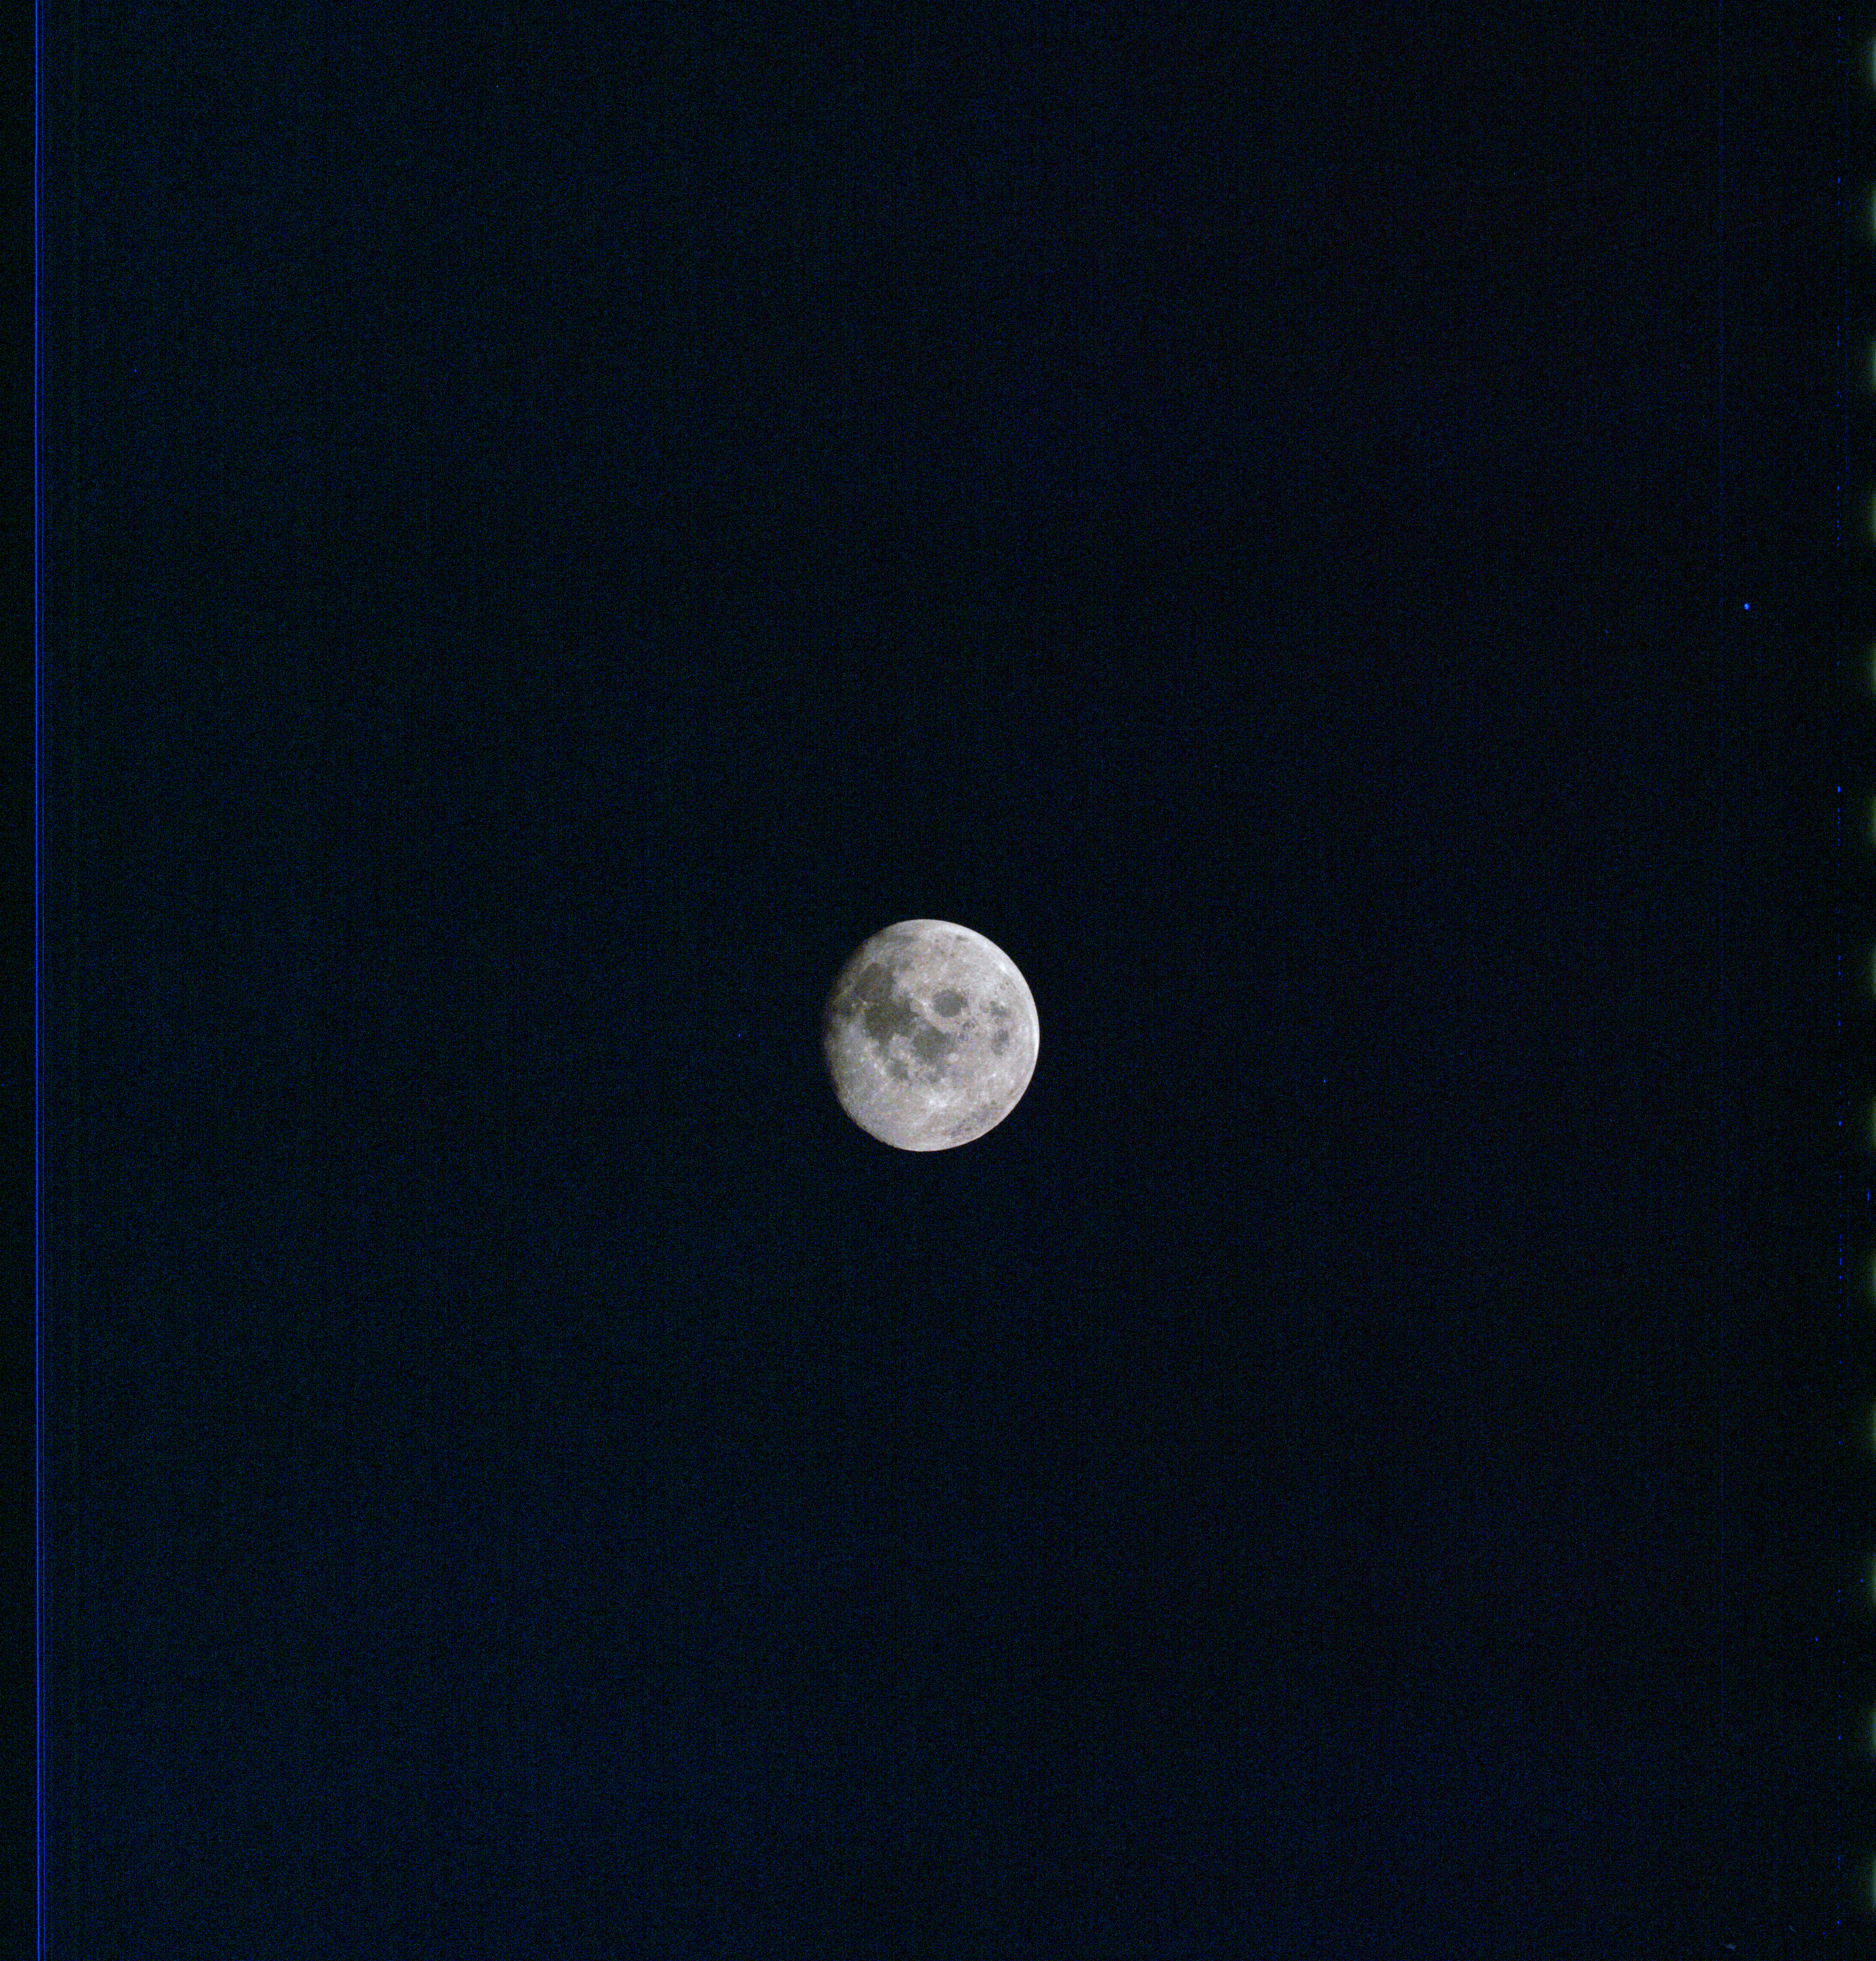
AS13-61-8852 Browse or print resolution. Moon from Apollo 13. Image credit: Image Science and Analysis Laboratory, NASA-Johnson Space Center. |
|
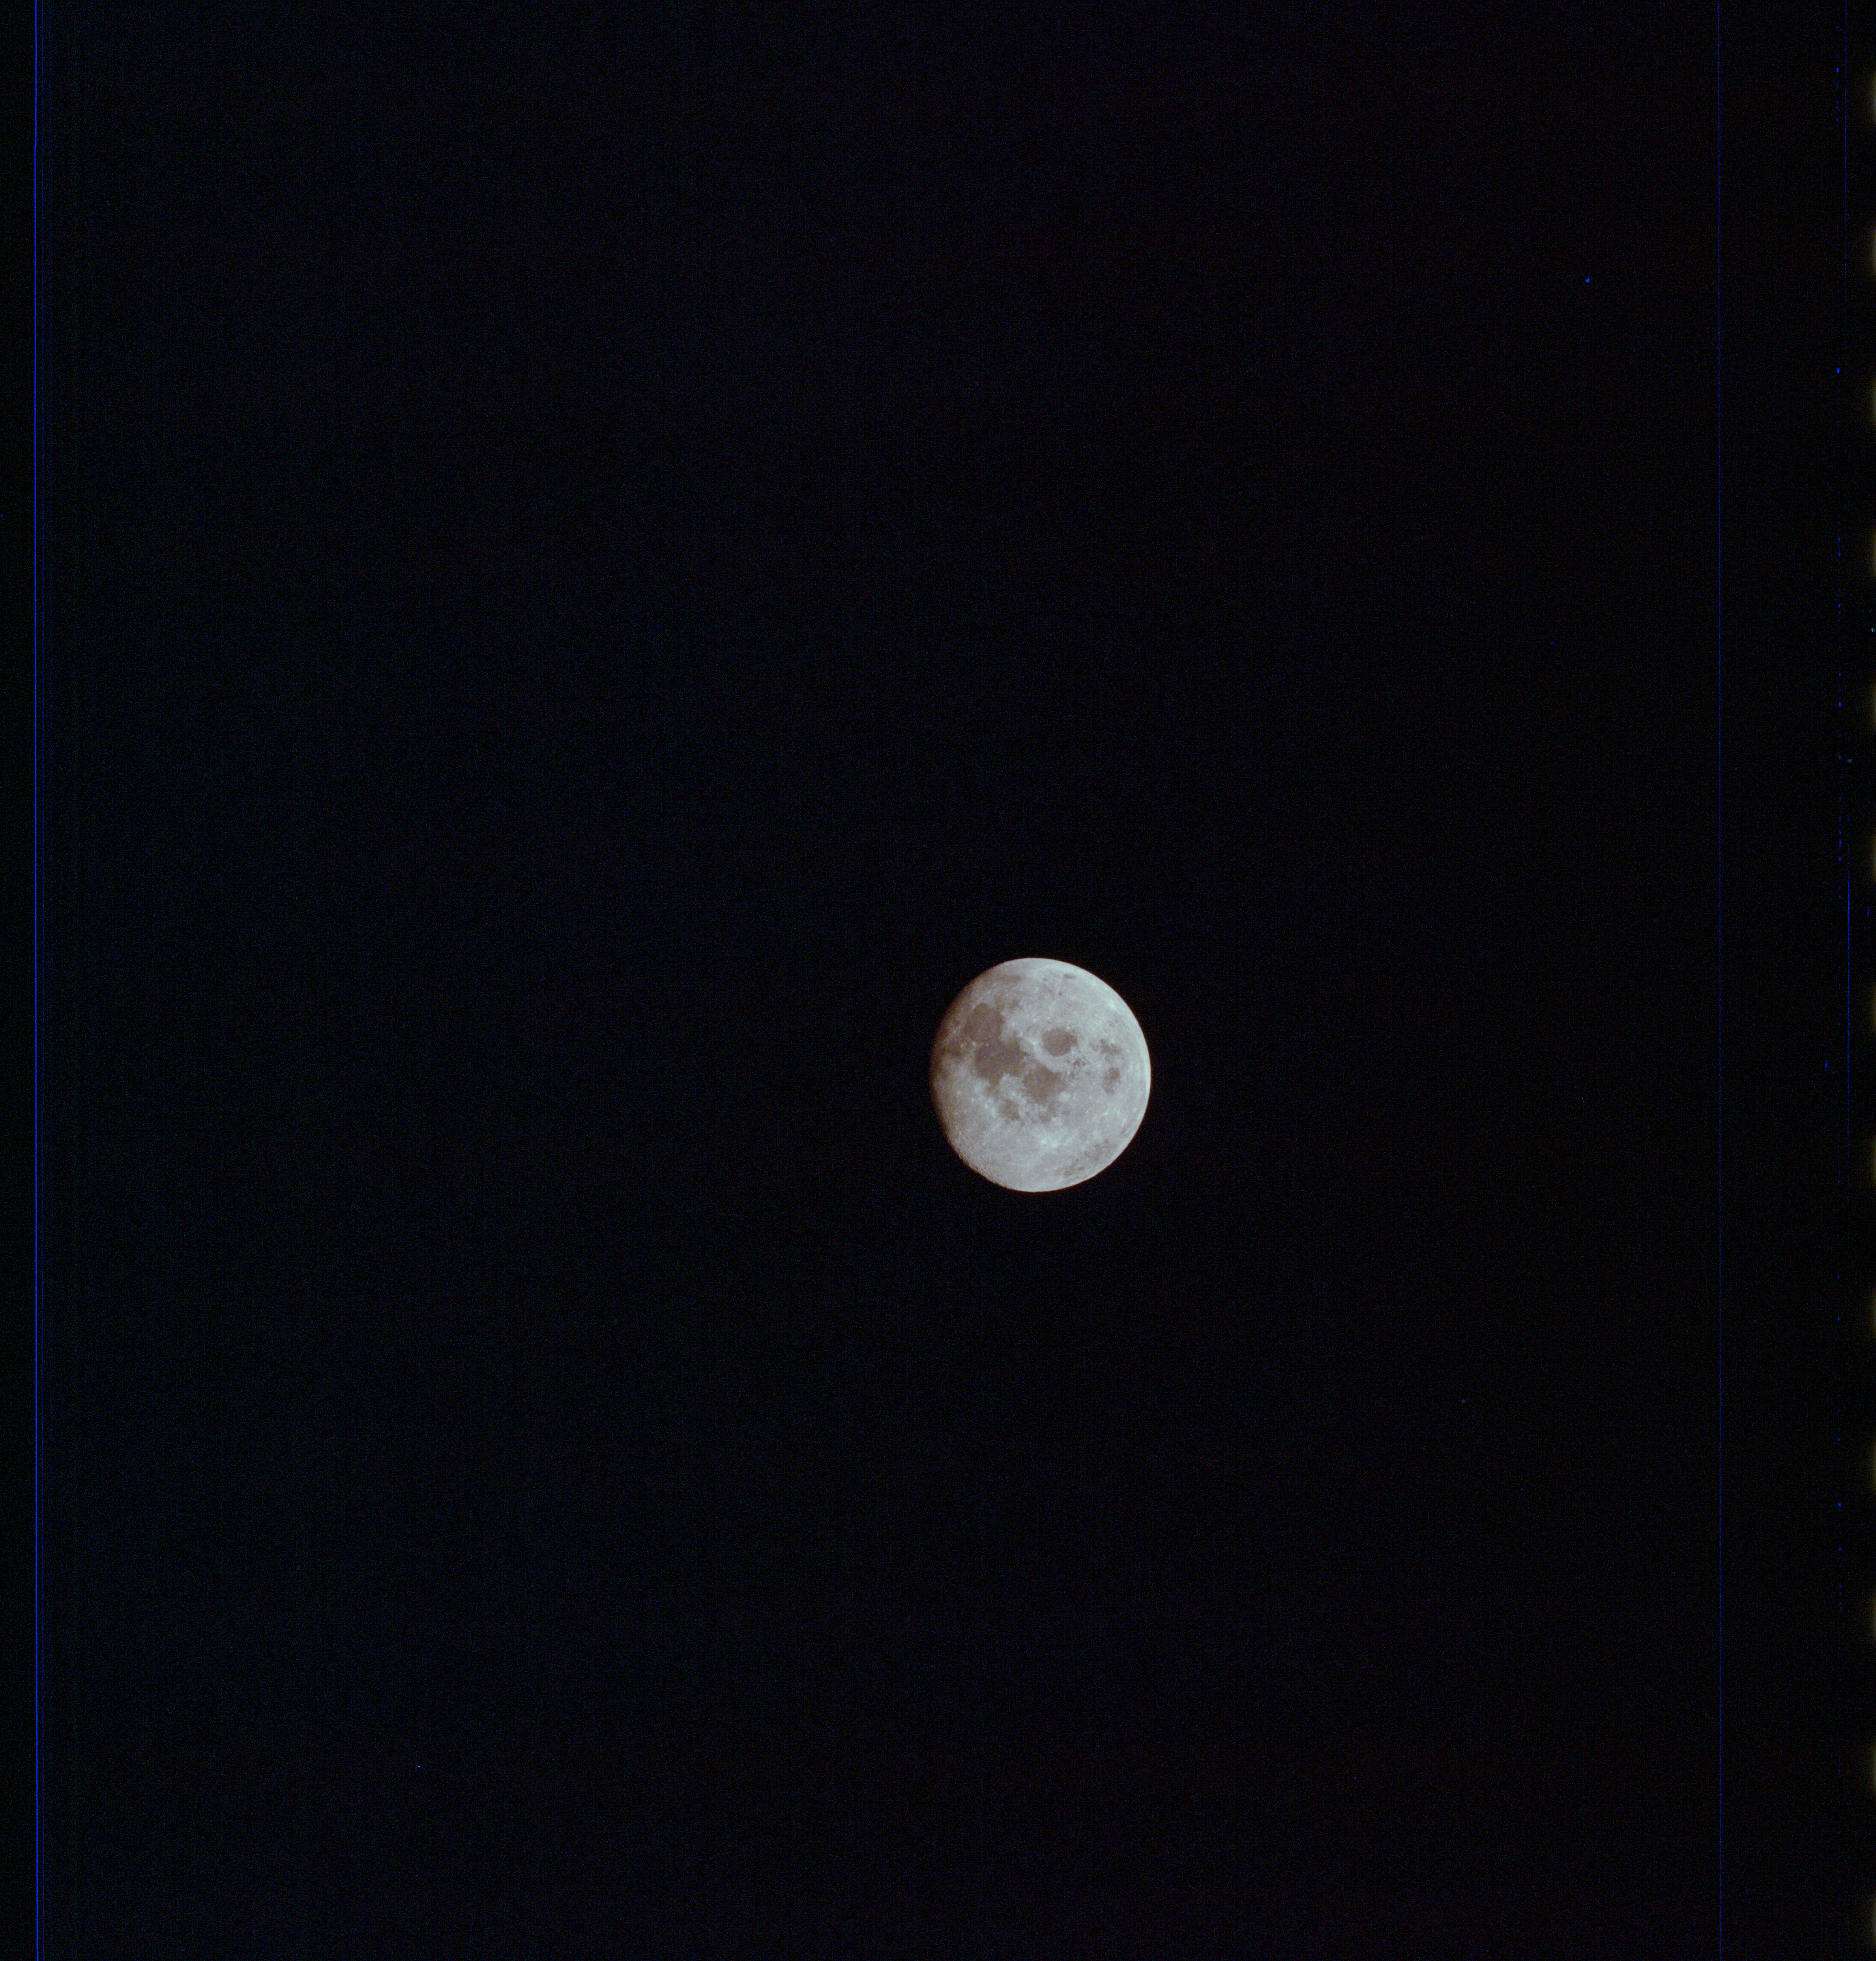
AS13-61-8853 Browse or print resolution. Moon from Apollo 13. Image credit: Image Science and Analysis Laboratory, NASA-Johnson Space Center. |
|
AS13-61-8854 Browse or print resolution. Moon from Apollo 13. Image credit: Image Science and Analysis Laboratory, NASA-Johnson Space Center. |
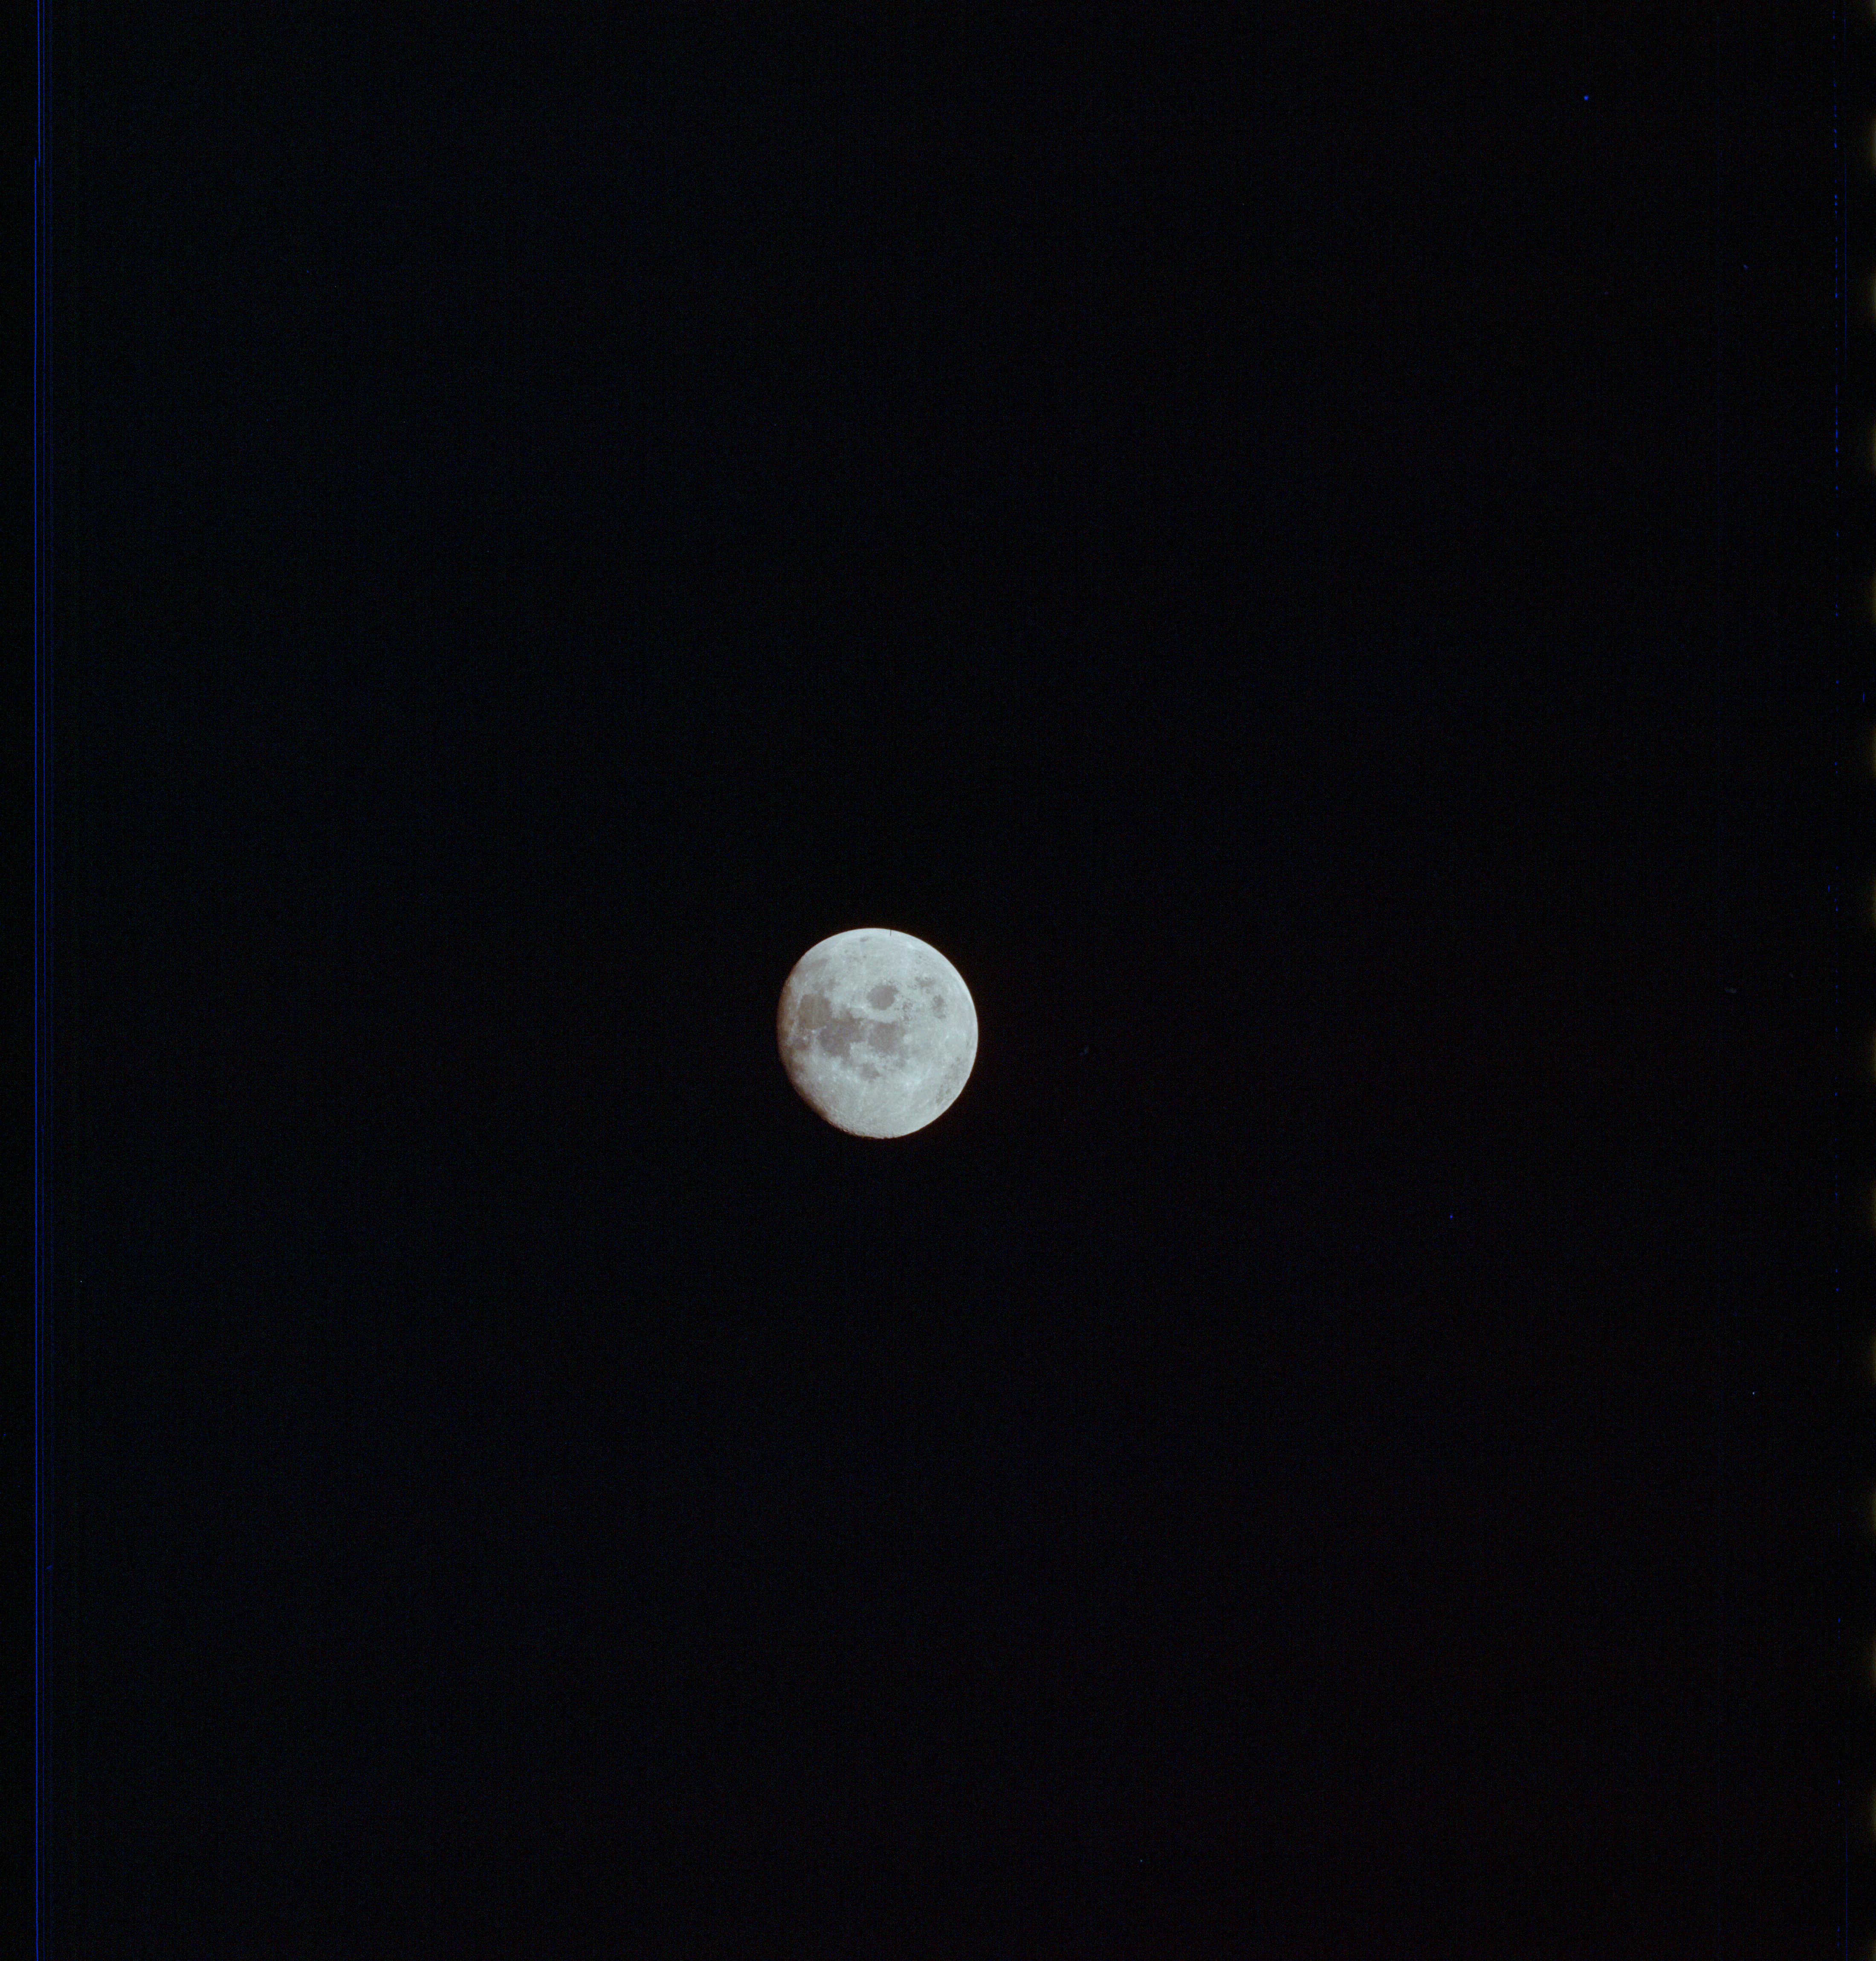
|
AS13-61-8855 Browse or print resolution. Moon from Apollo 13. Image credit: Image Science and Analysis Laboratory, NASA-Johnson Space Center. |
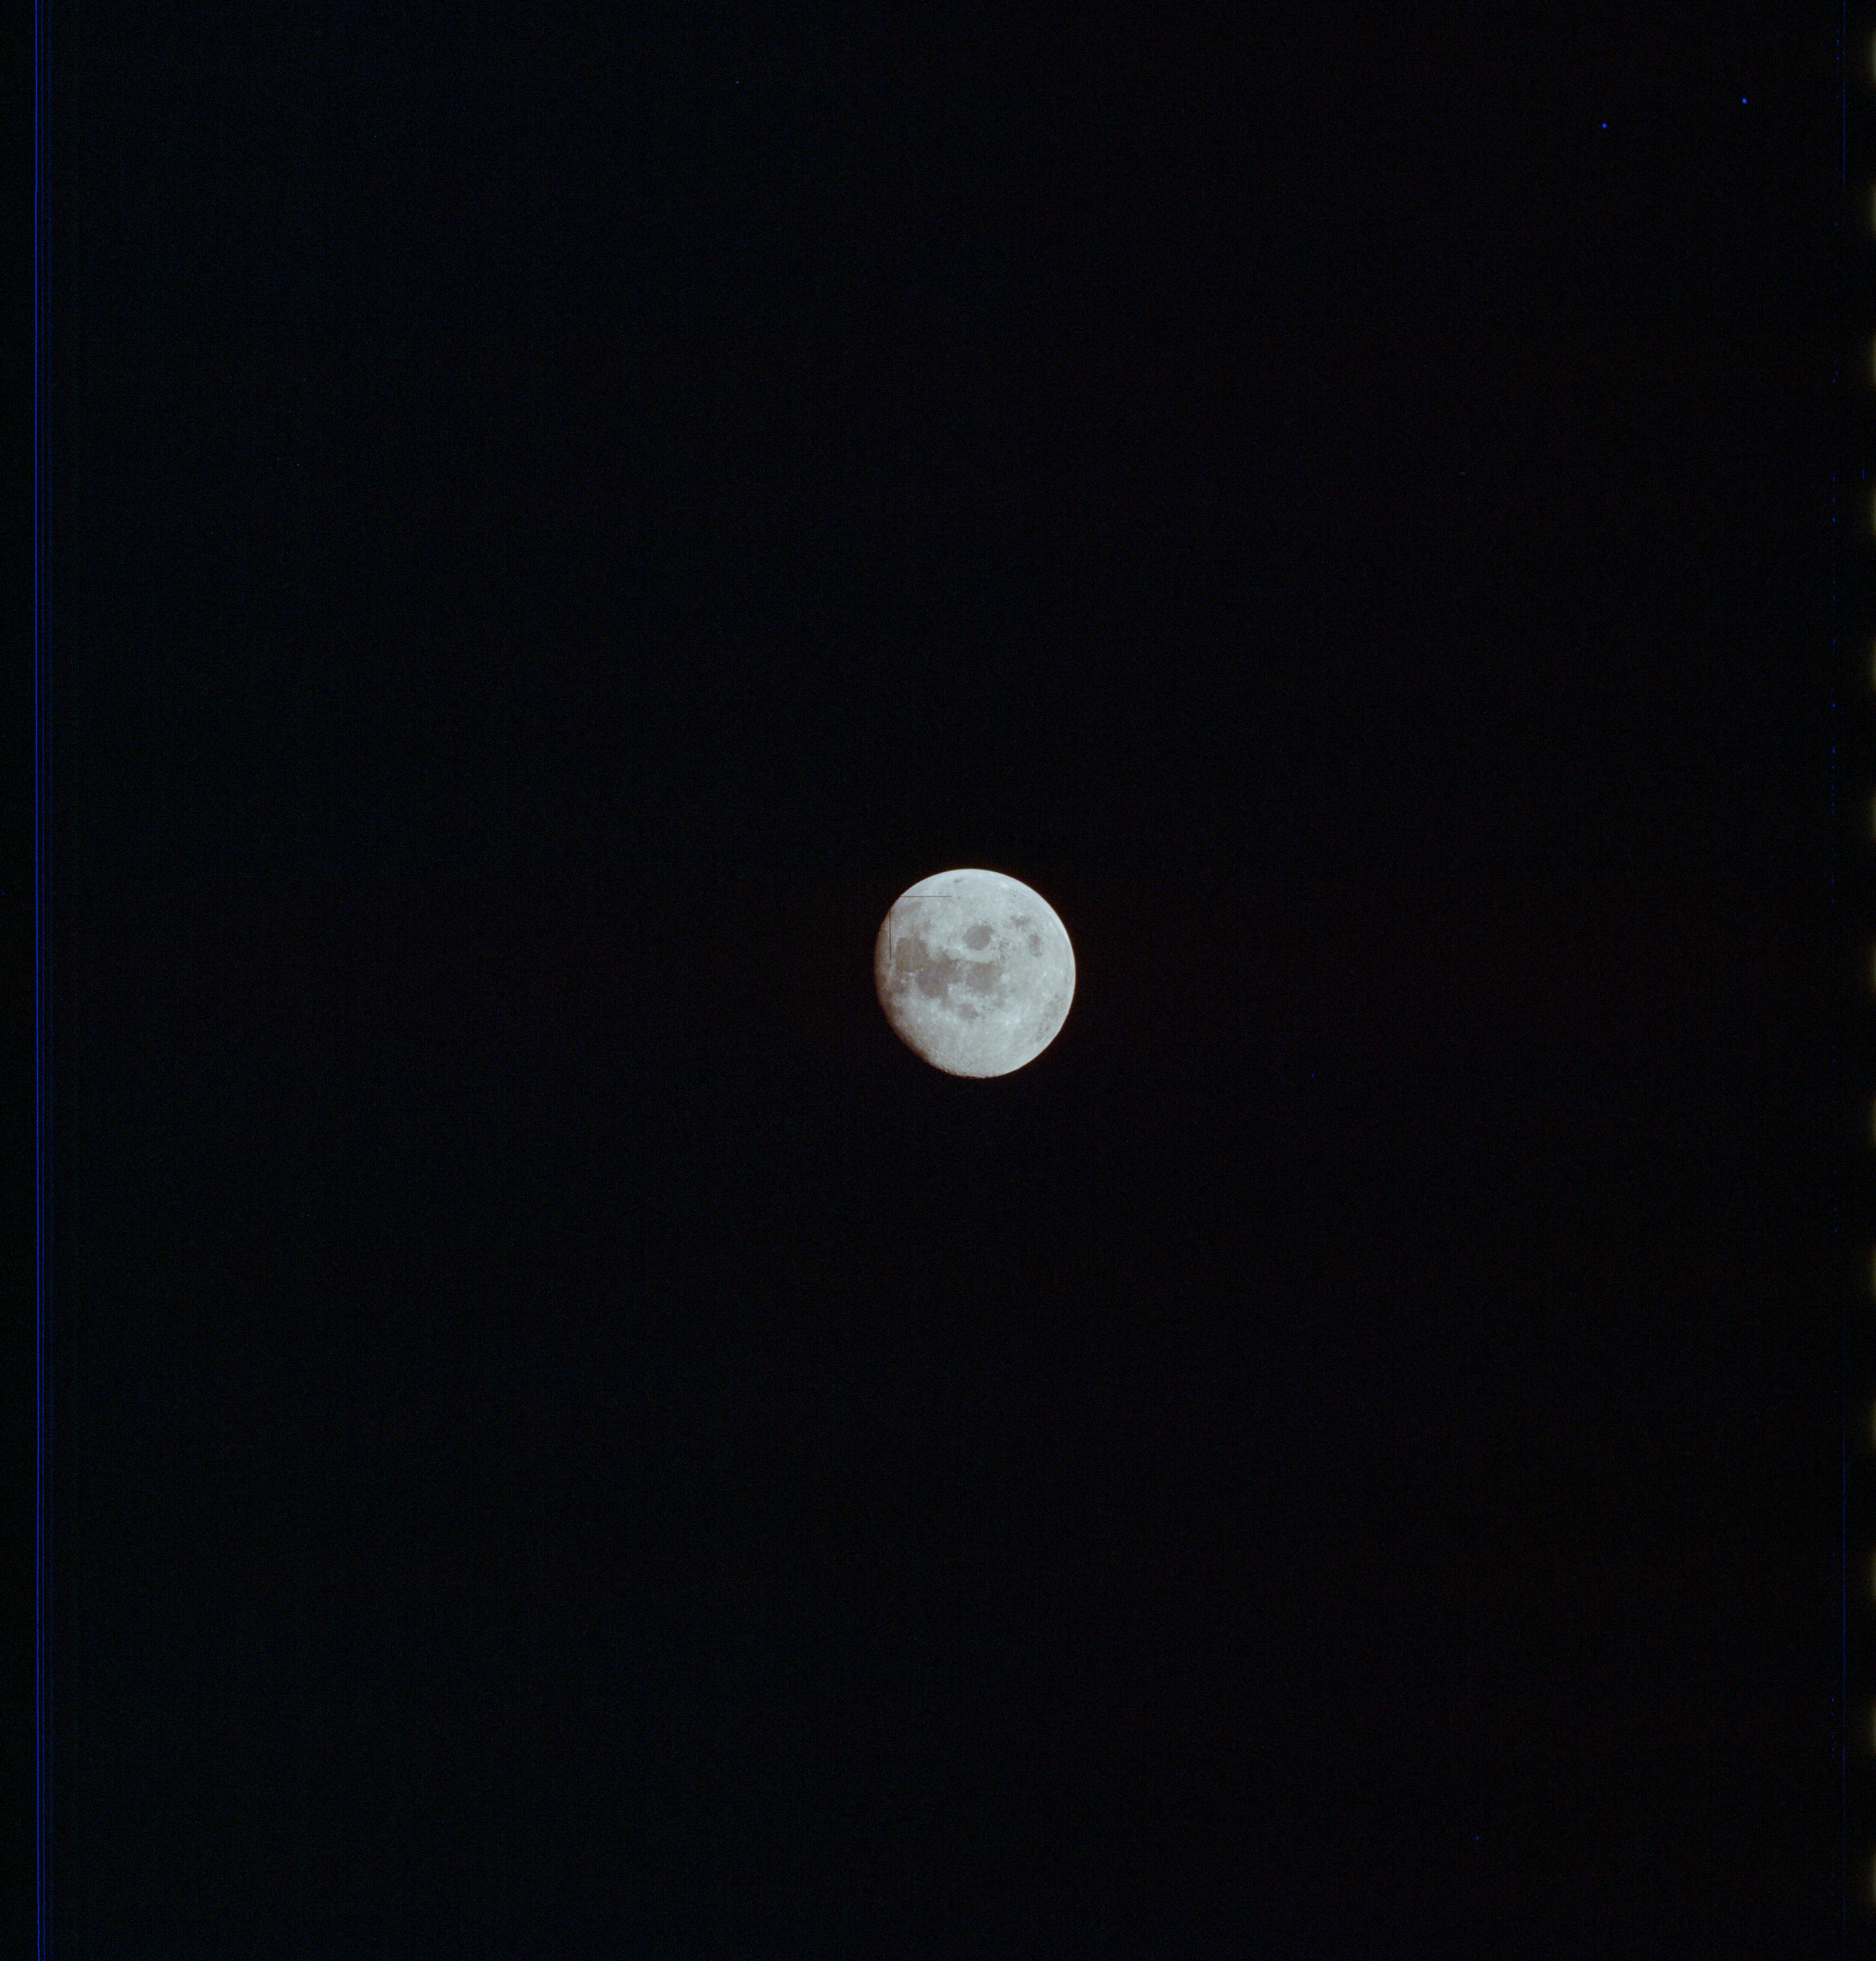
|
AS13-61-8856 Browse or print resolution. Moon from Apollo 13. Image credit: Image Science and Analysis Laboratory, NASA-Johnson Space Center. |
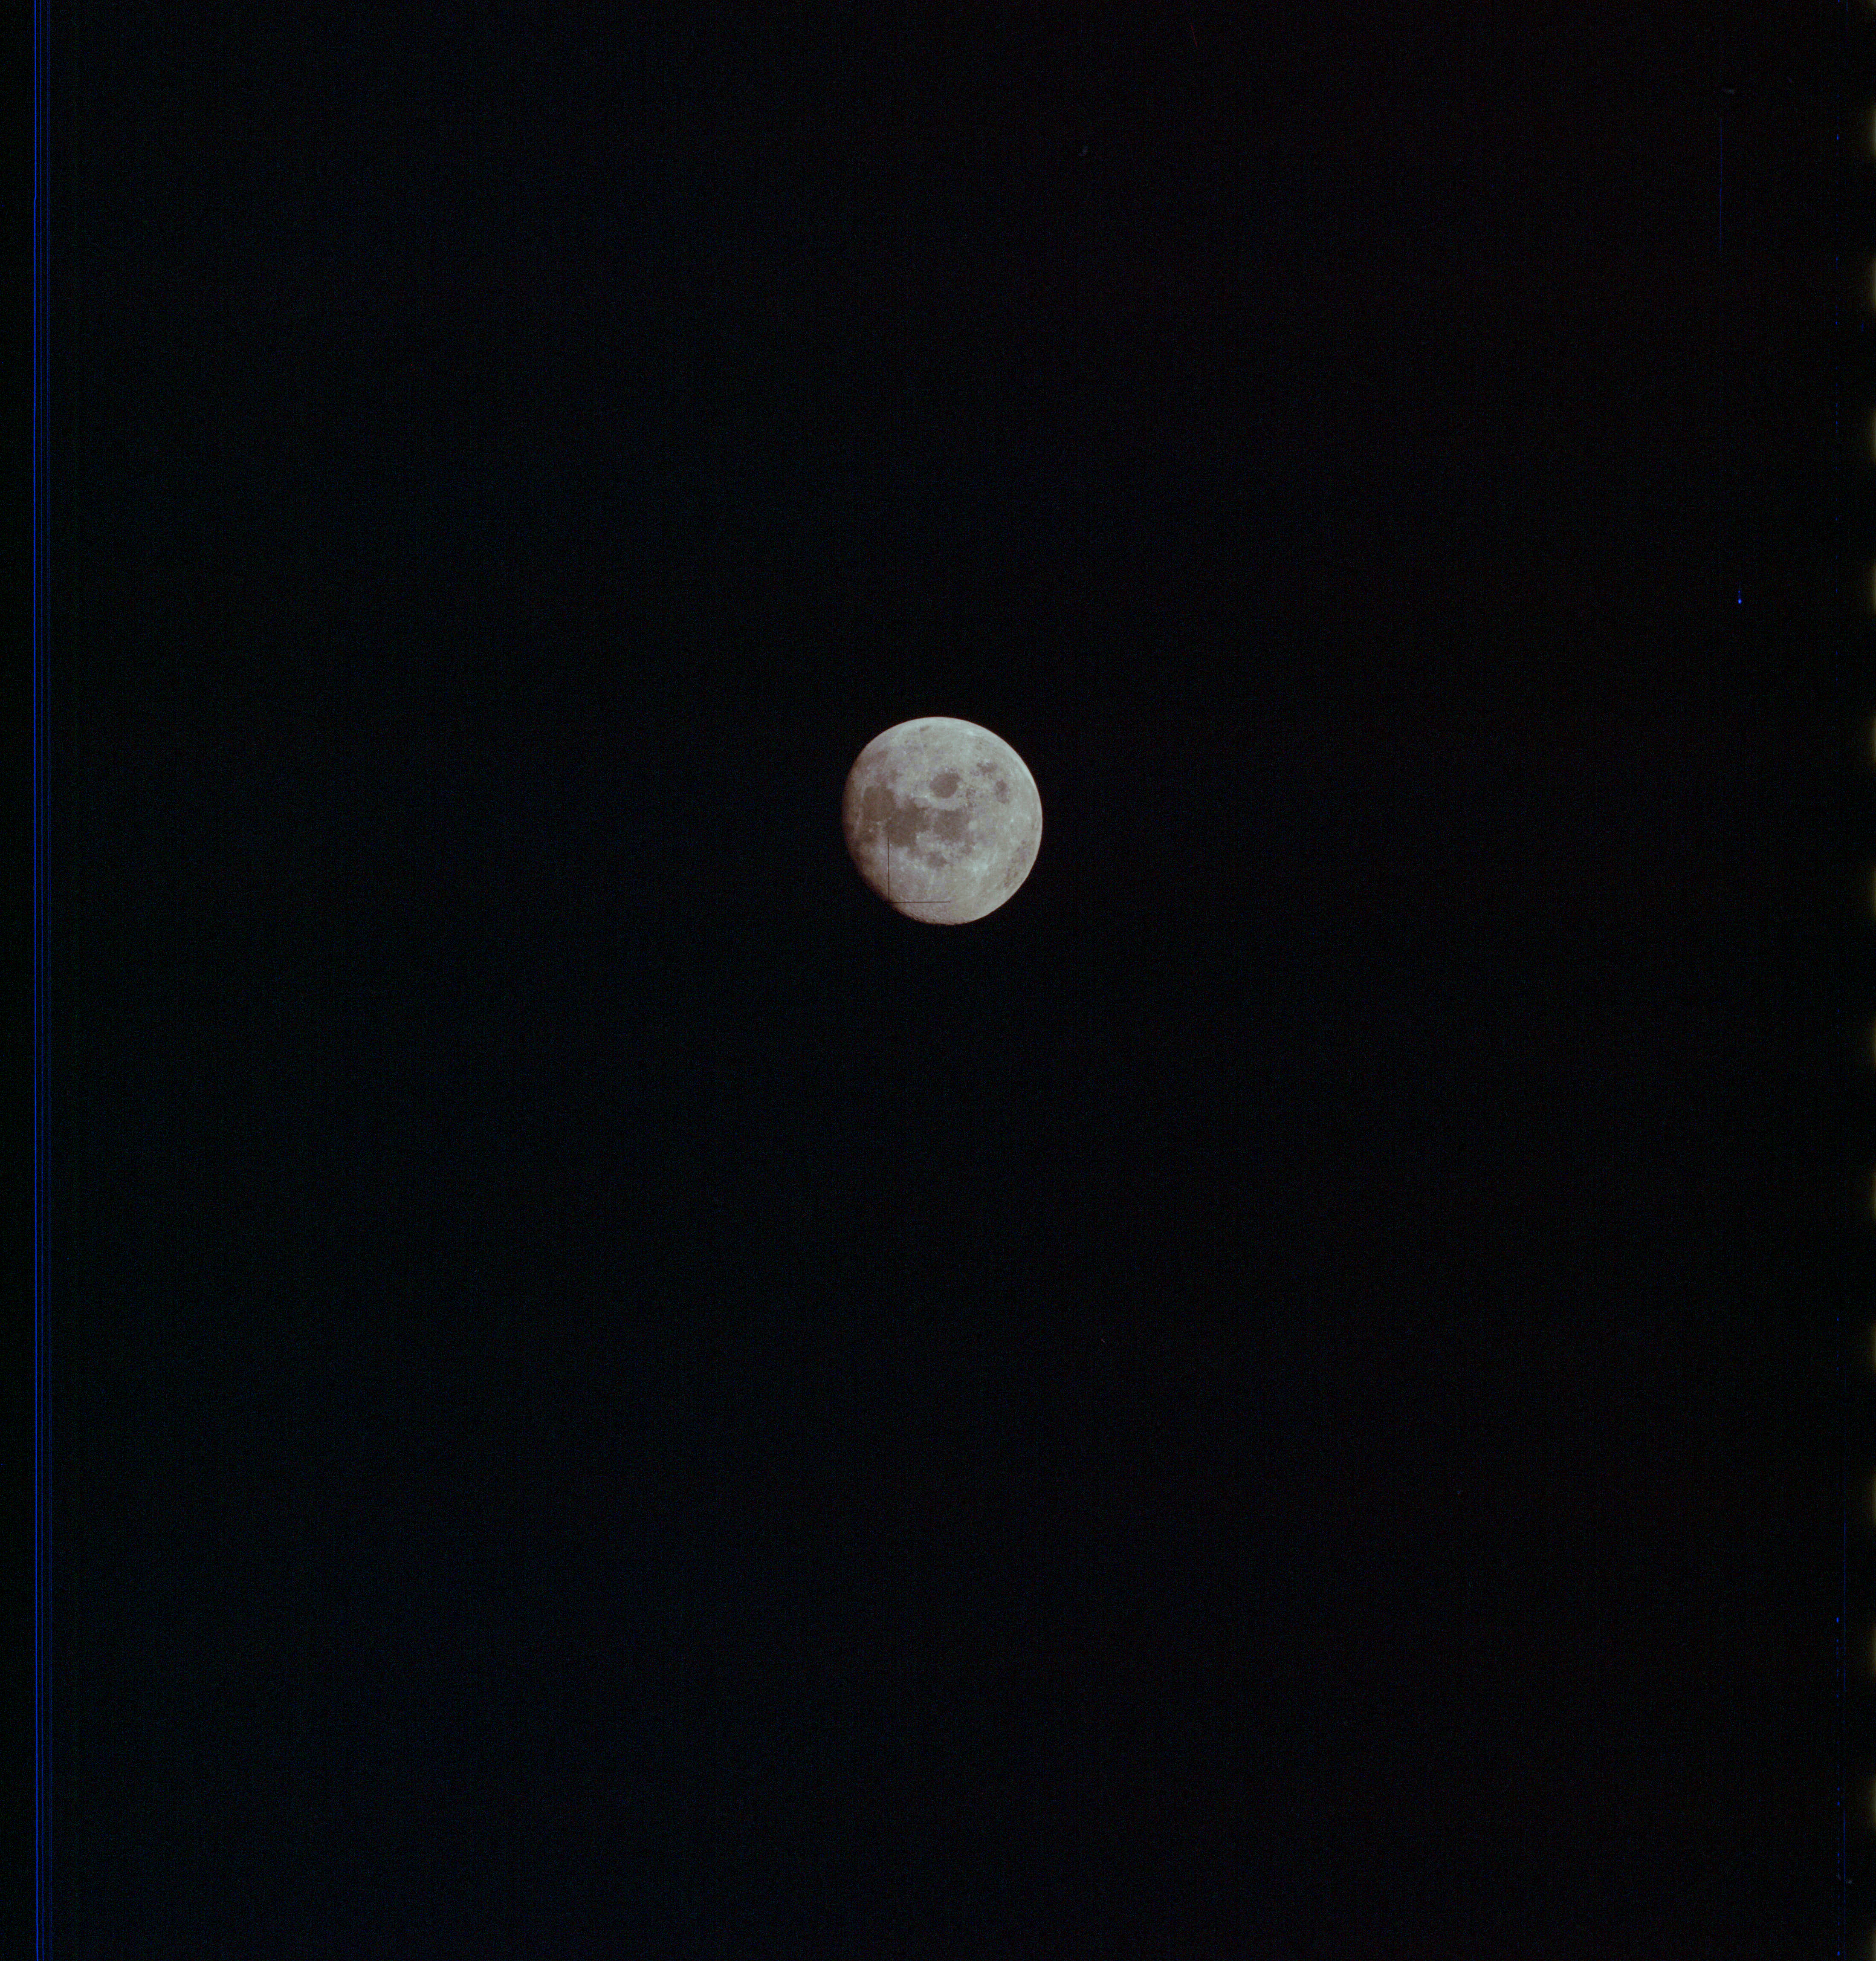
|
AS13-61-8857 Browse or print resolution. Moon from Apollo 13. Image credit: Image Science and Analysis Laboratory, NASA-Johnson Space Center. |
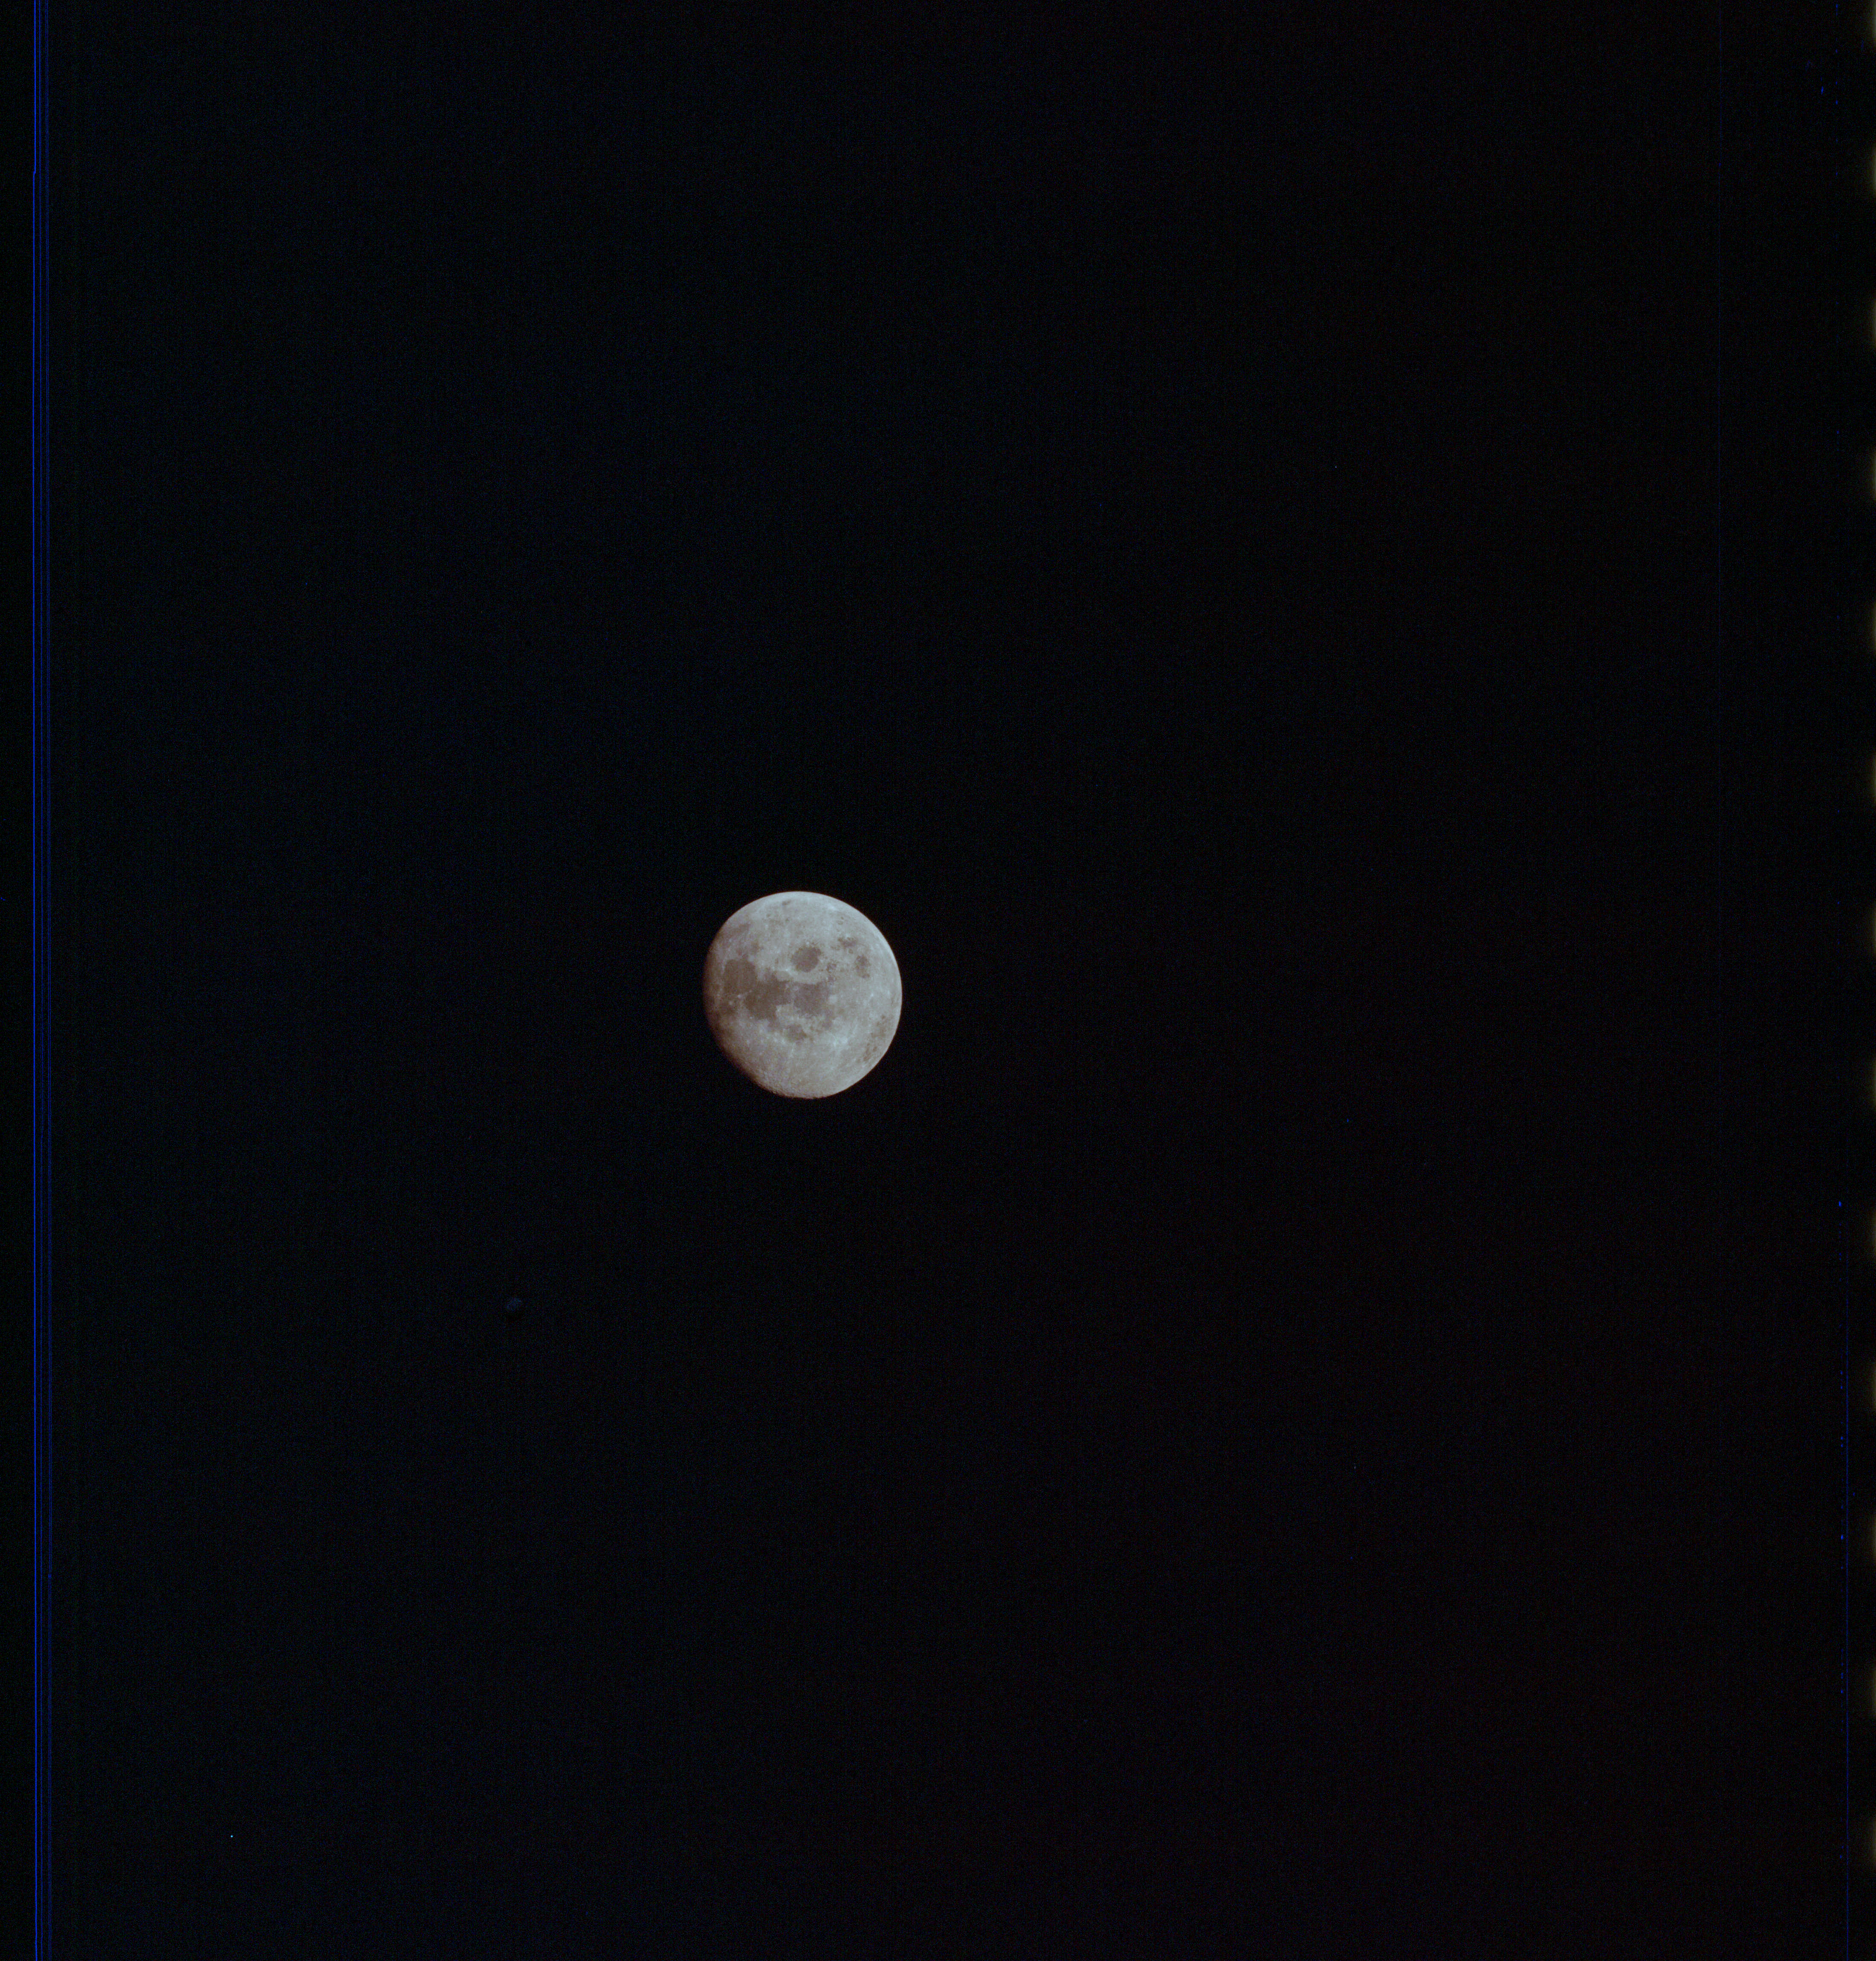
|
AS13-61-8858 Browse or print resolution. Moon from Apollo 13. Image credit: Image Science and Analysis Laboratory, NASA-Johnson Space Center. |
|
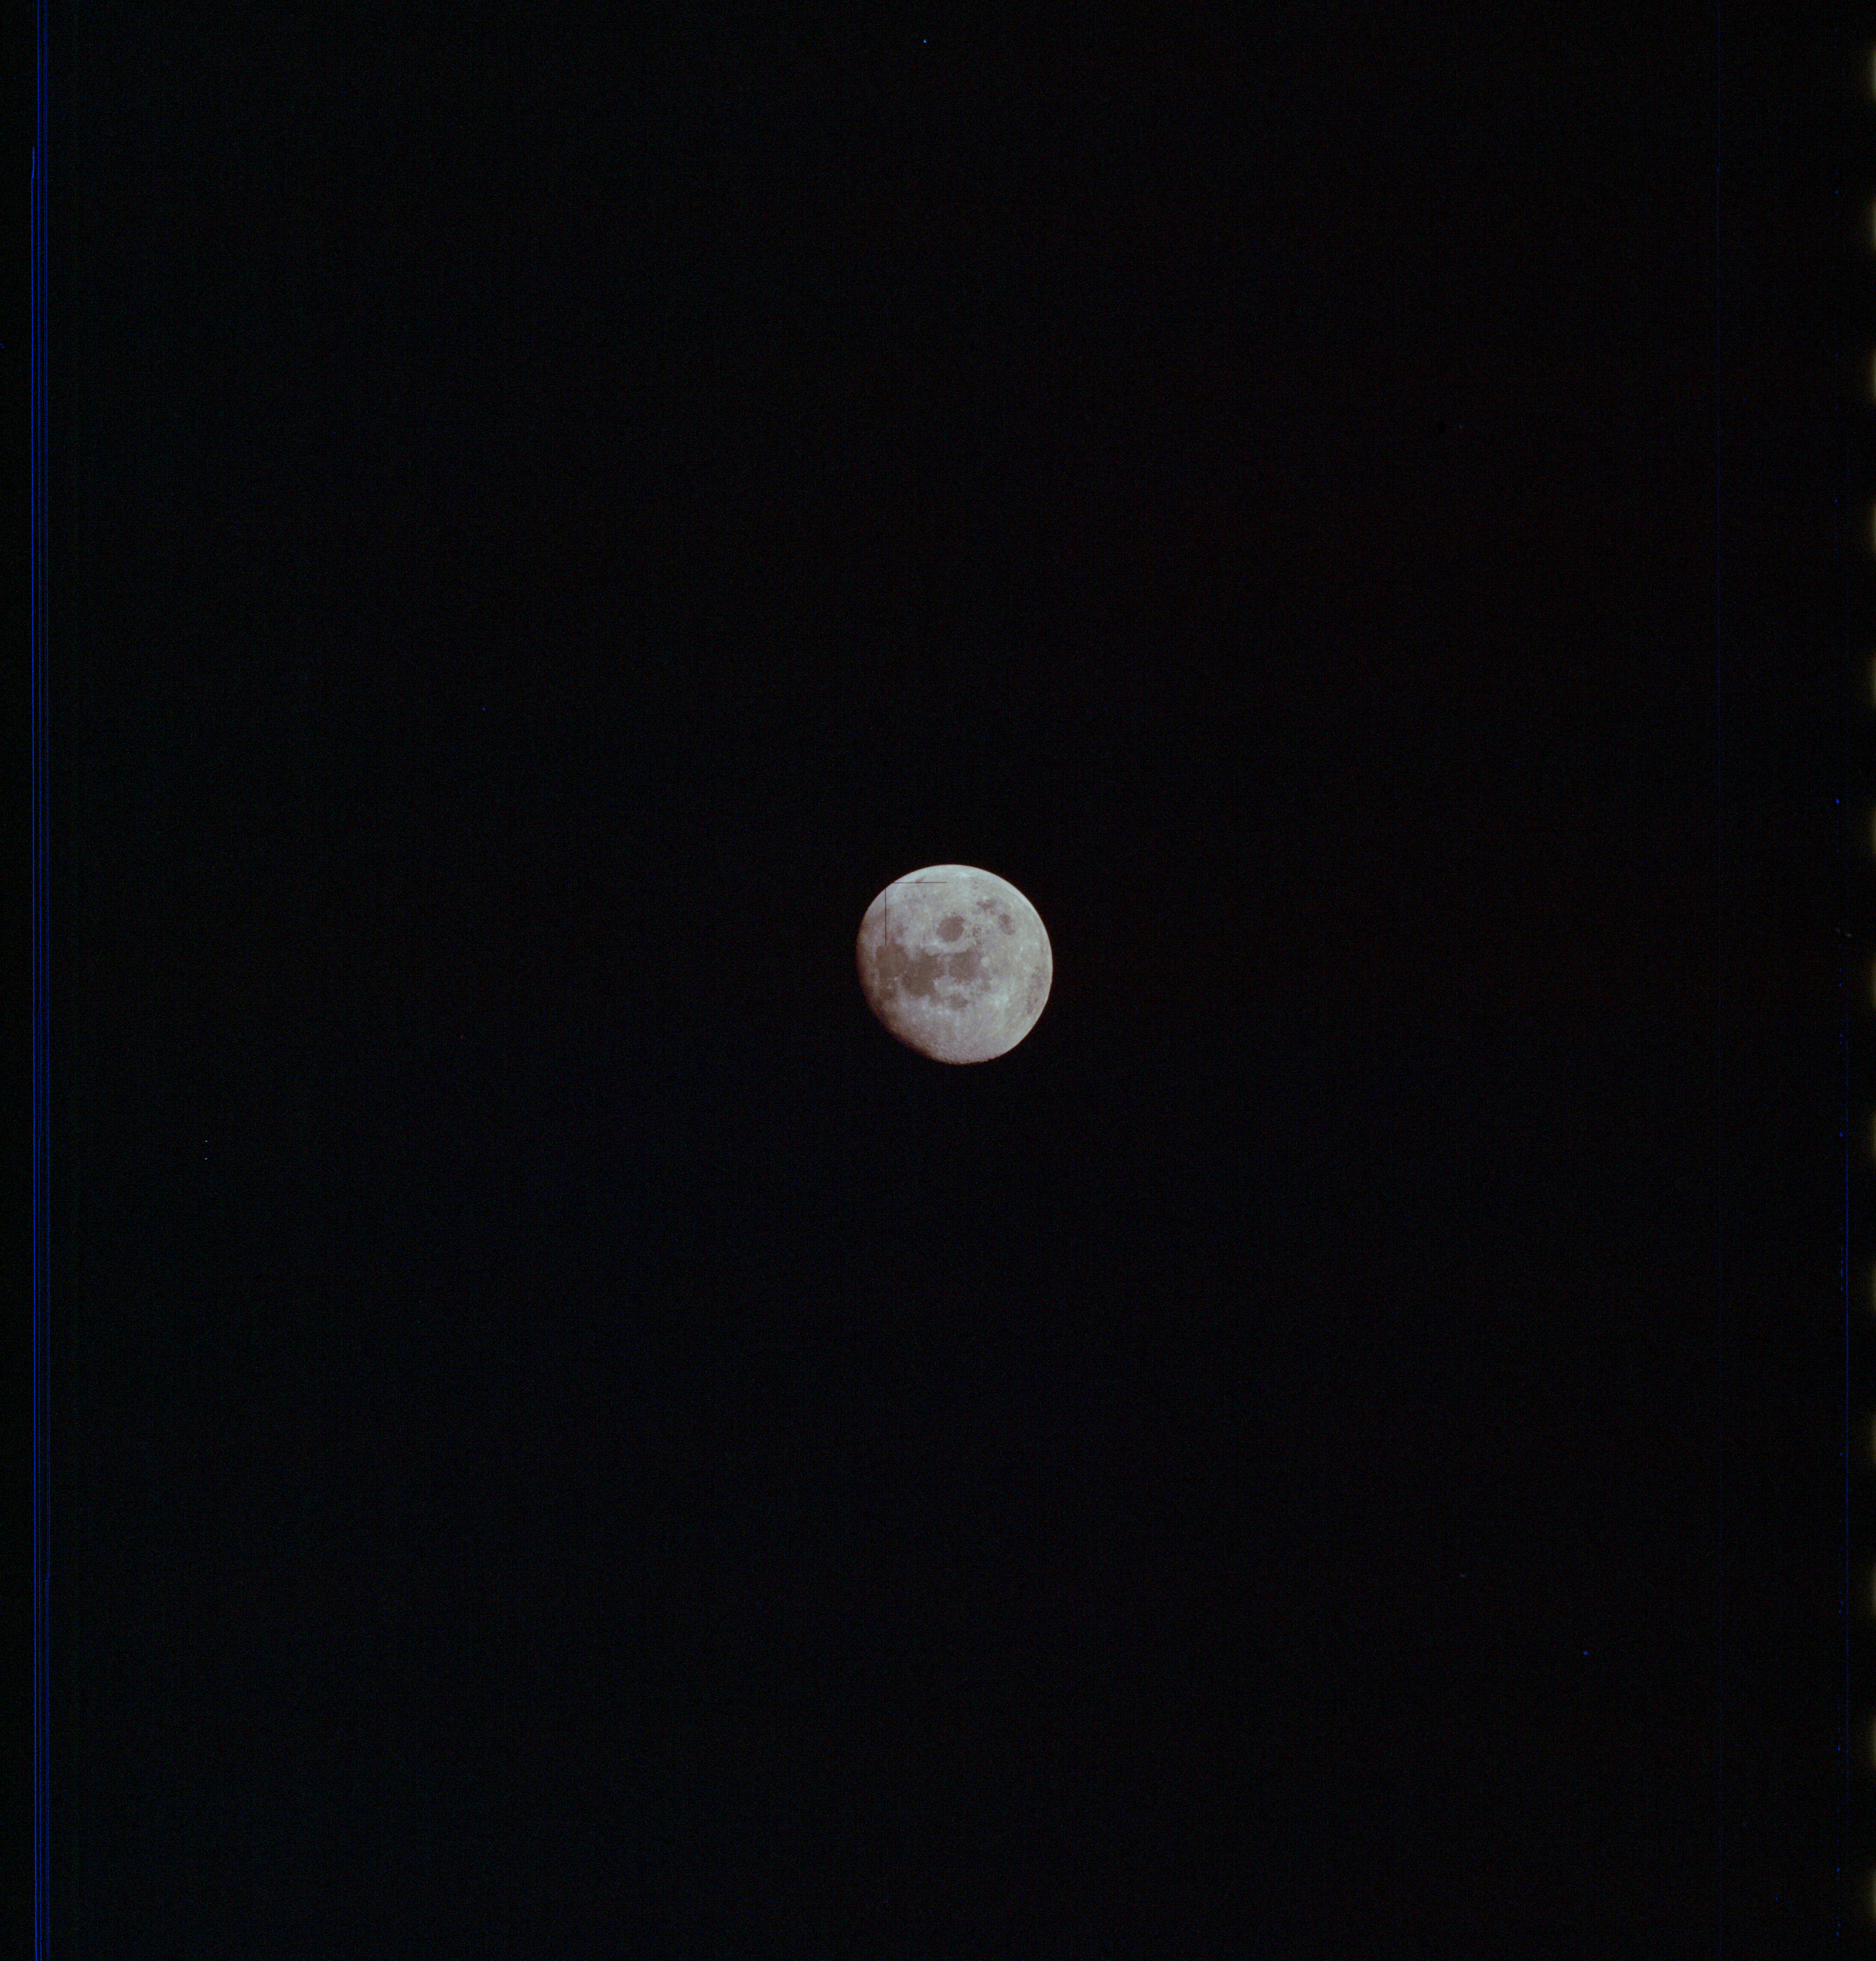
AS13-61-8859 Browse or print resolution. Moon from Apollo 13. Image credit: Image Science and Analysis Laboratory, NASA-Johnson Space Center. |
|
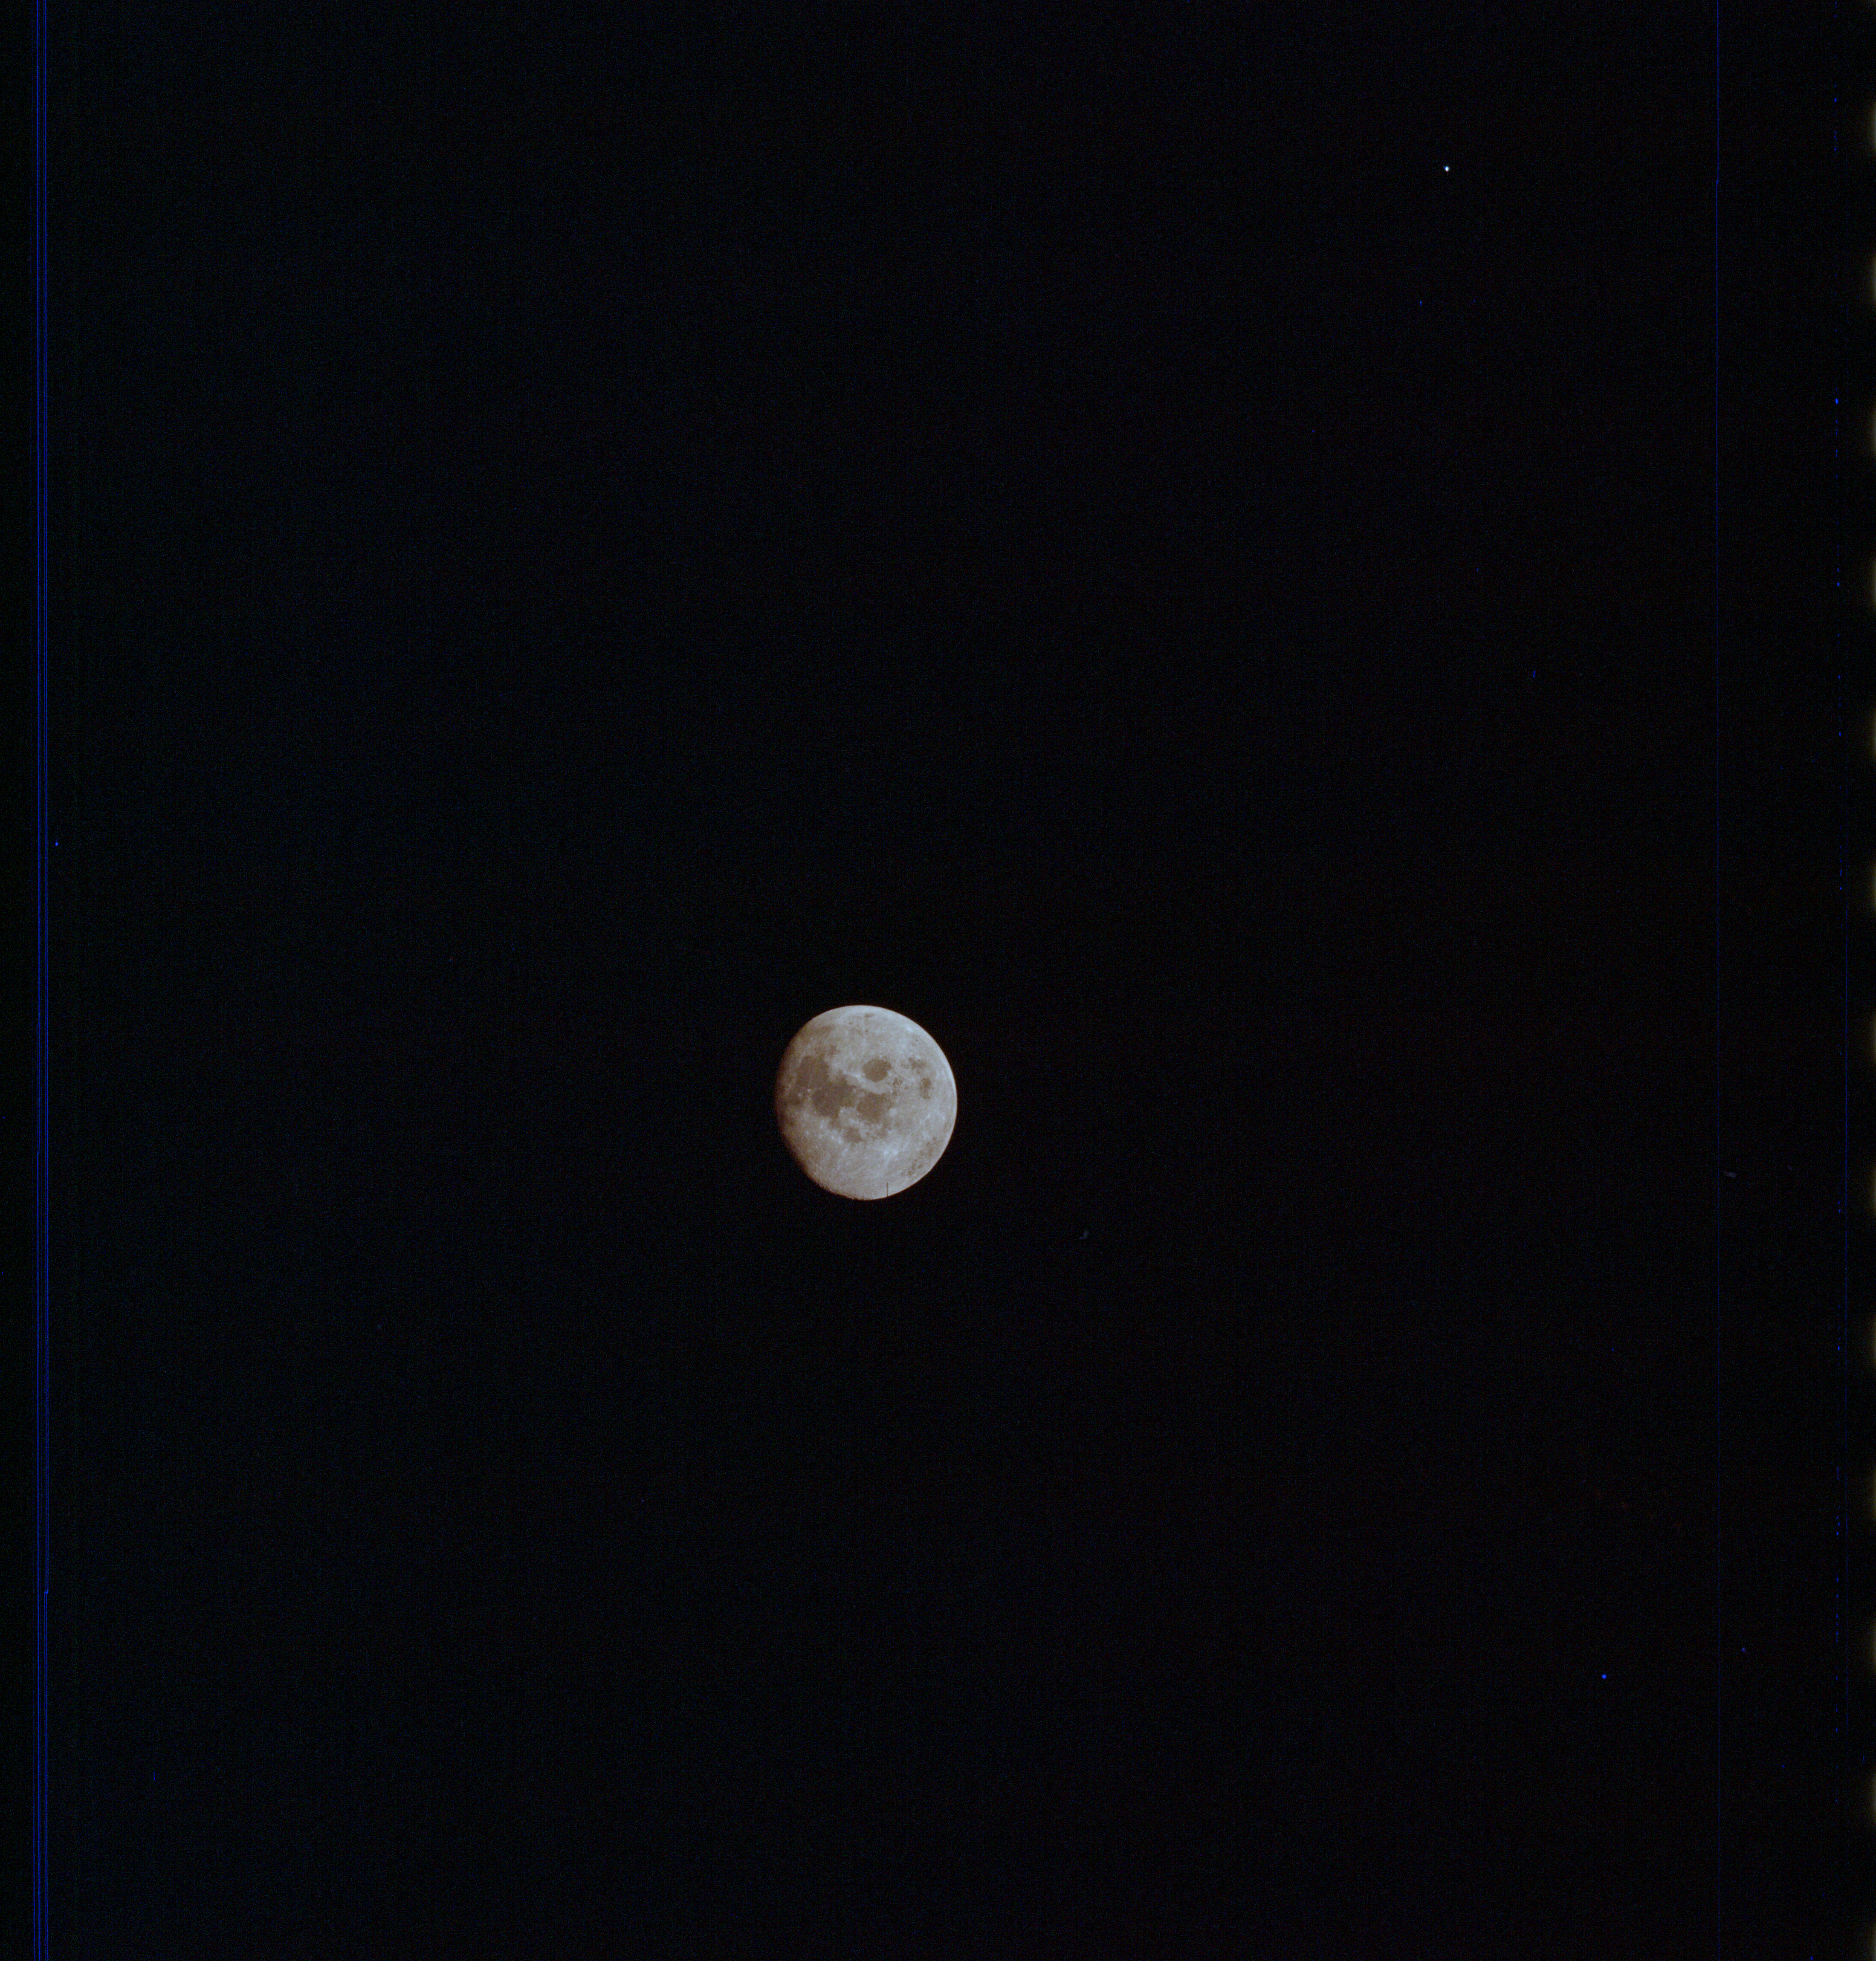
AS13-61-8860 Browse or print resolution. Moon from Apollo 13. Image credit: Image Science and Analysis Laboratory, NASA-Johnson Space Center. |
|
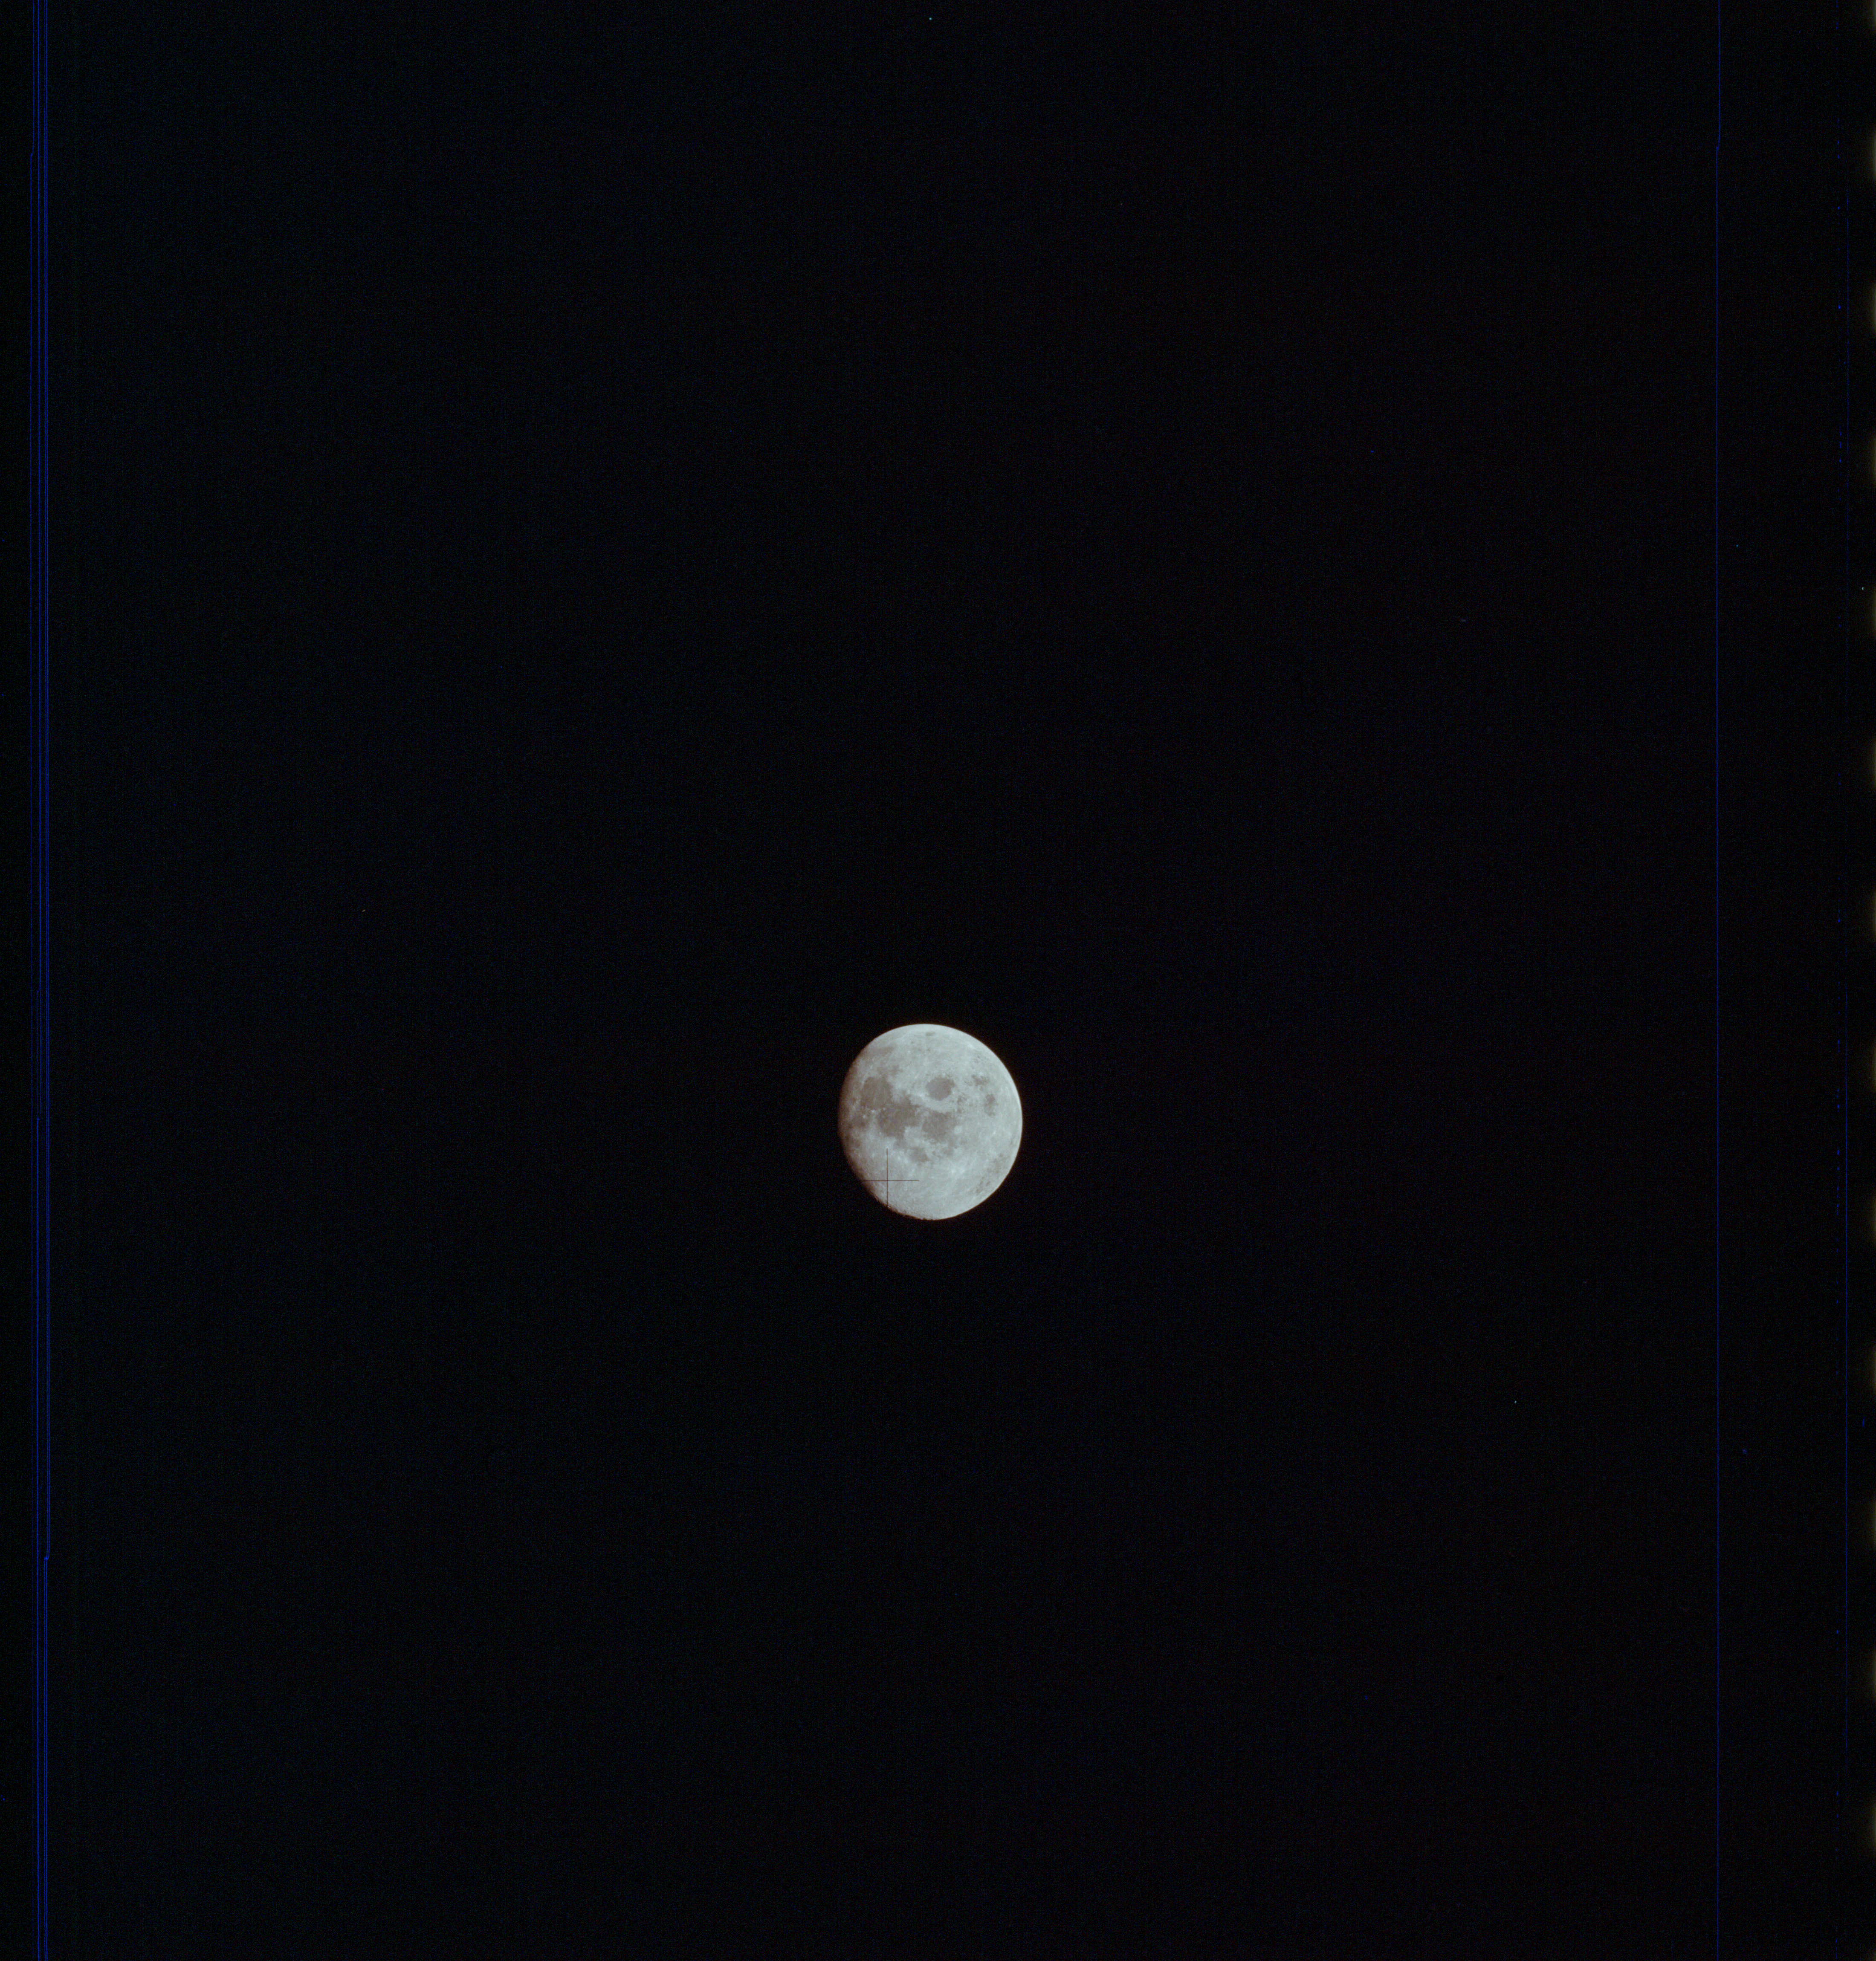
AS13-61-8861 Browse or print resolution. Moon from Apollo 13. Image credit: Image Science and Analysis Laboratory, NASA-Johnson Space Center. |
|
AS13-61-8862 Browse or print resolution. Indistinct, underexposed frame. Image credit: Image Science and Analysis Laboratory, NASA-Johnson Space Center. |
|
AS13-61-8862a Browse or print resolution. Underexposed frame. Image credit: Image Science and Analysis Laboratory, NASA-Johnson Space Center. |
|
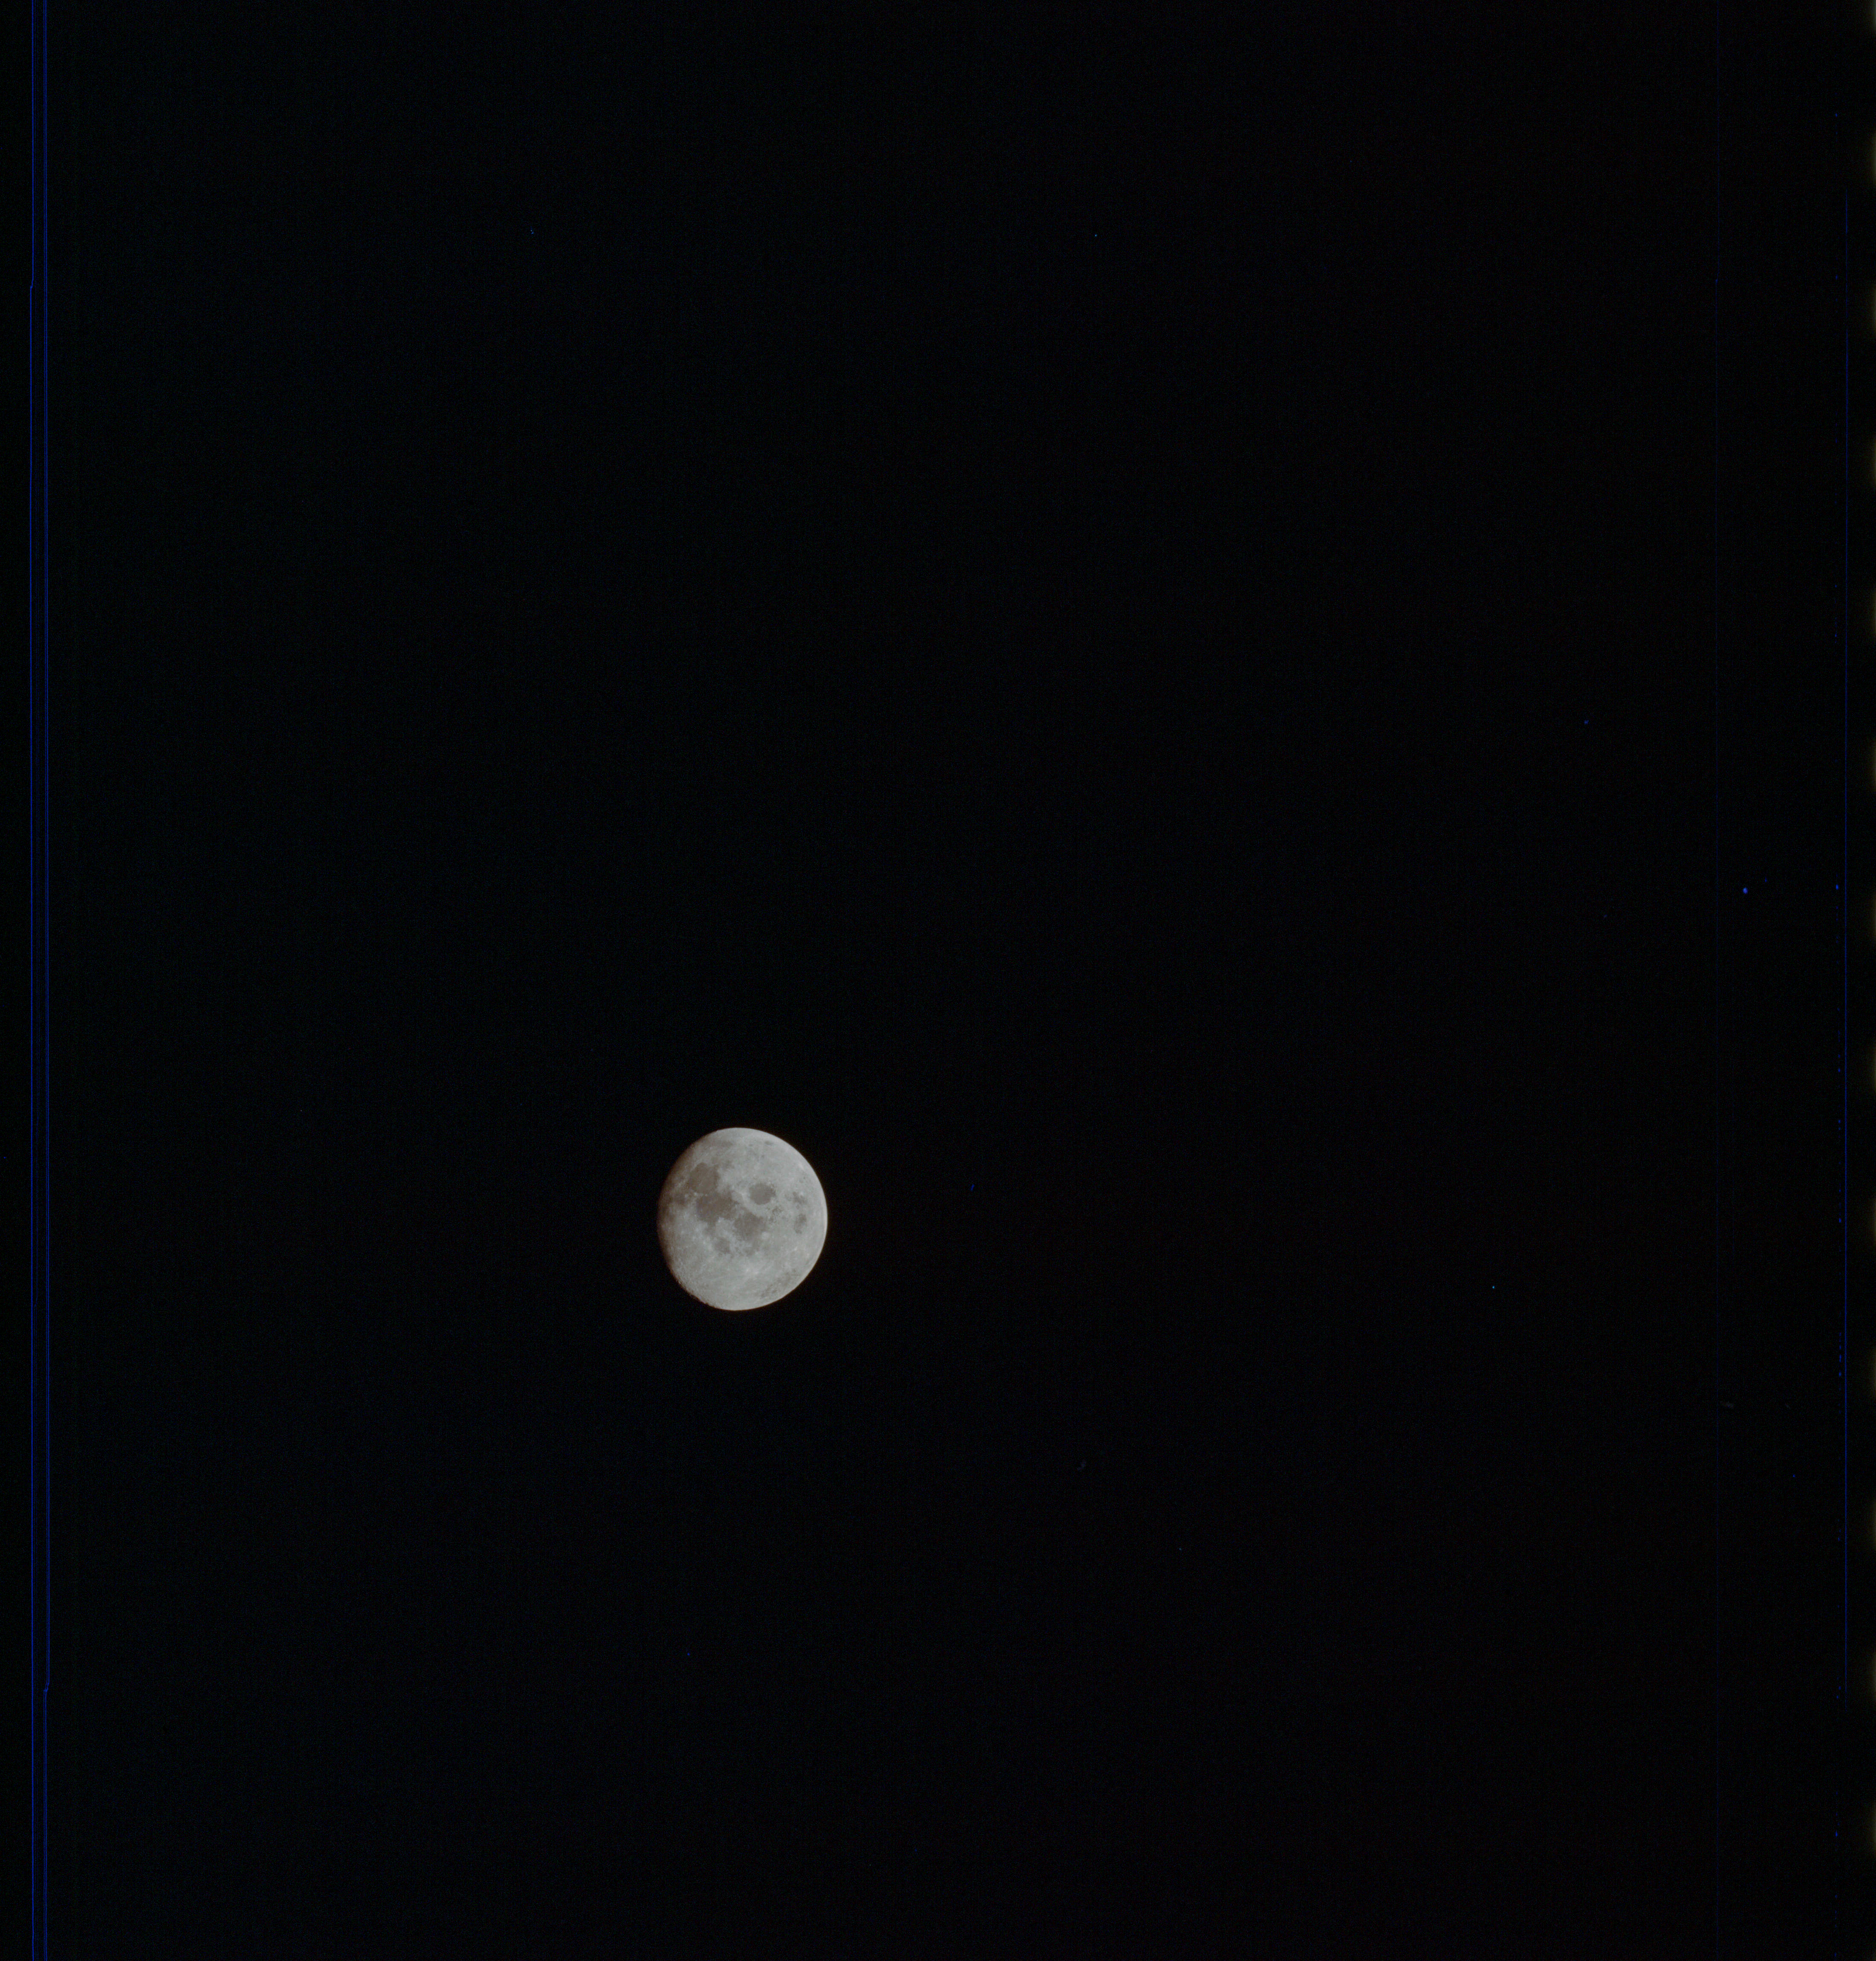
AS13-61-8862b Browse or print resolution. Blank frame. Image credit: Image Science and Analysis Laboratory, NASA-Johnson Space Center. |
|
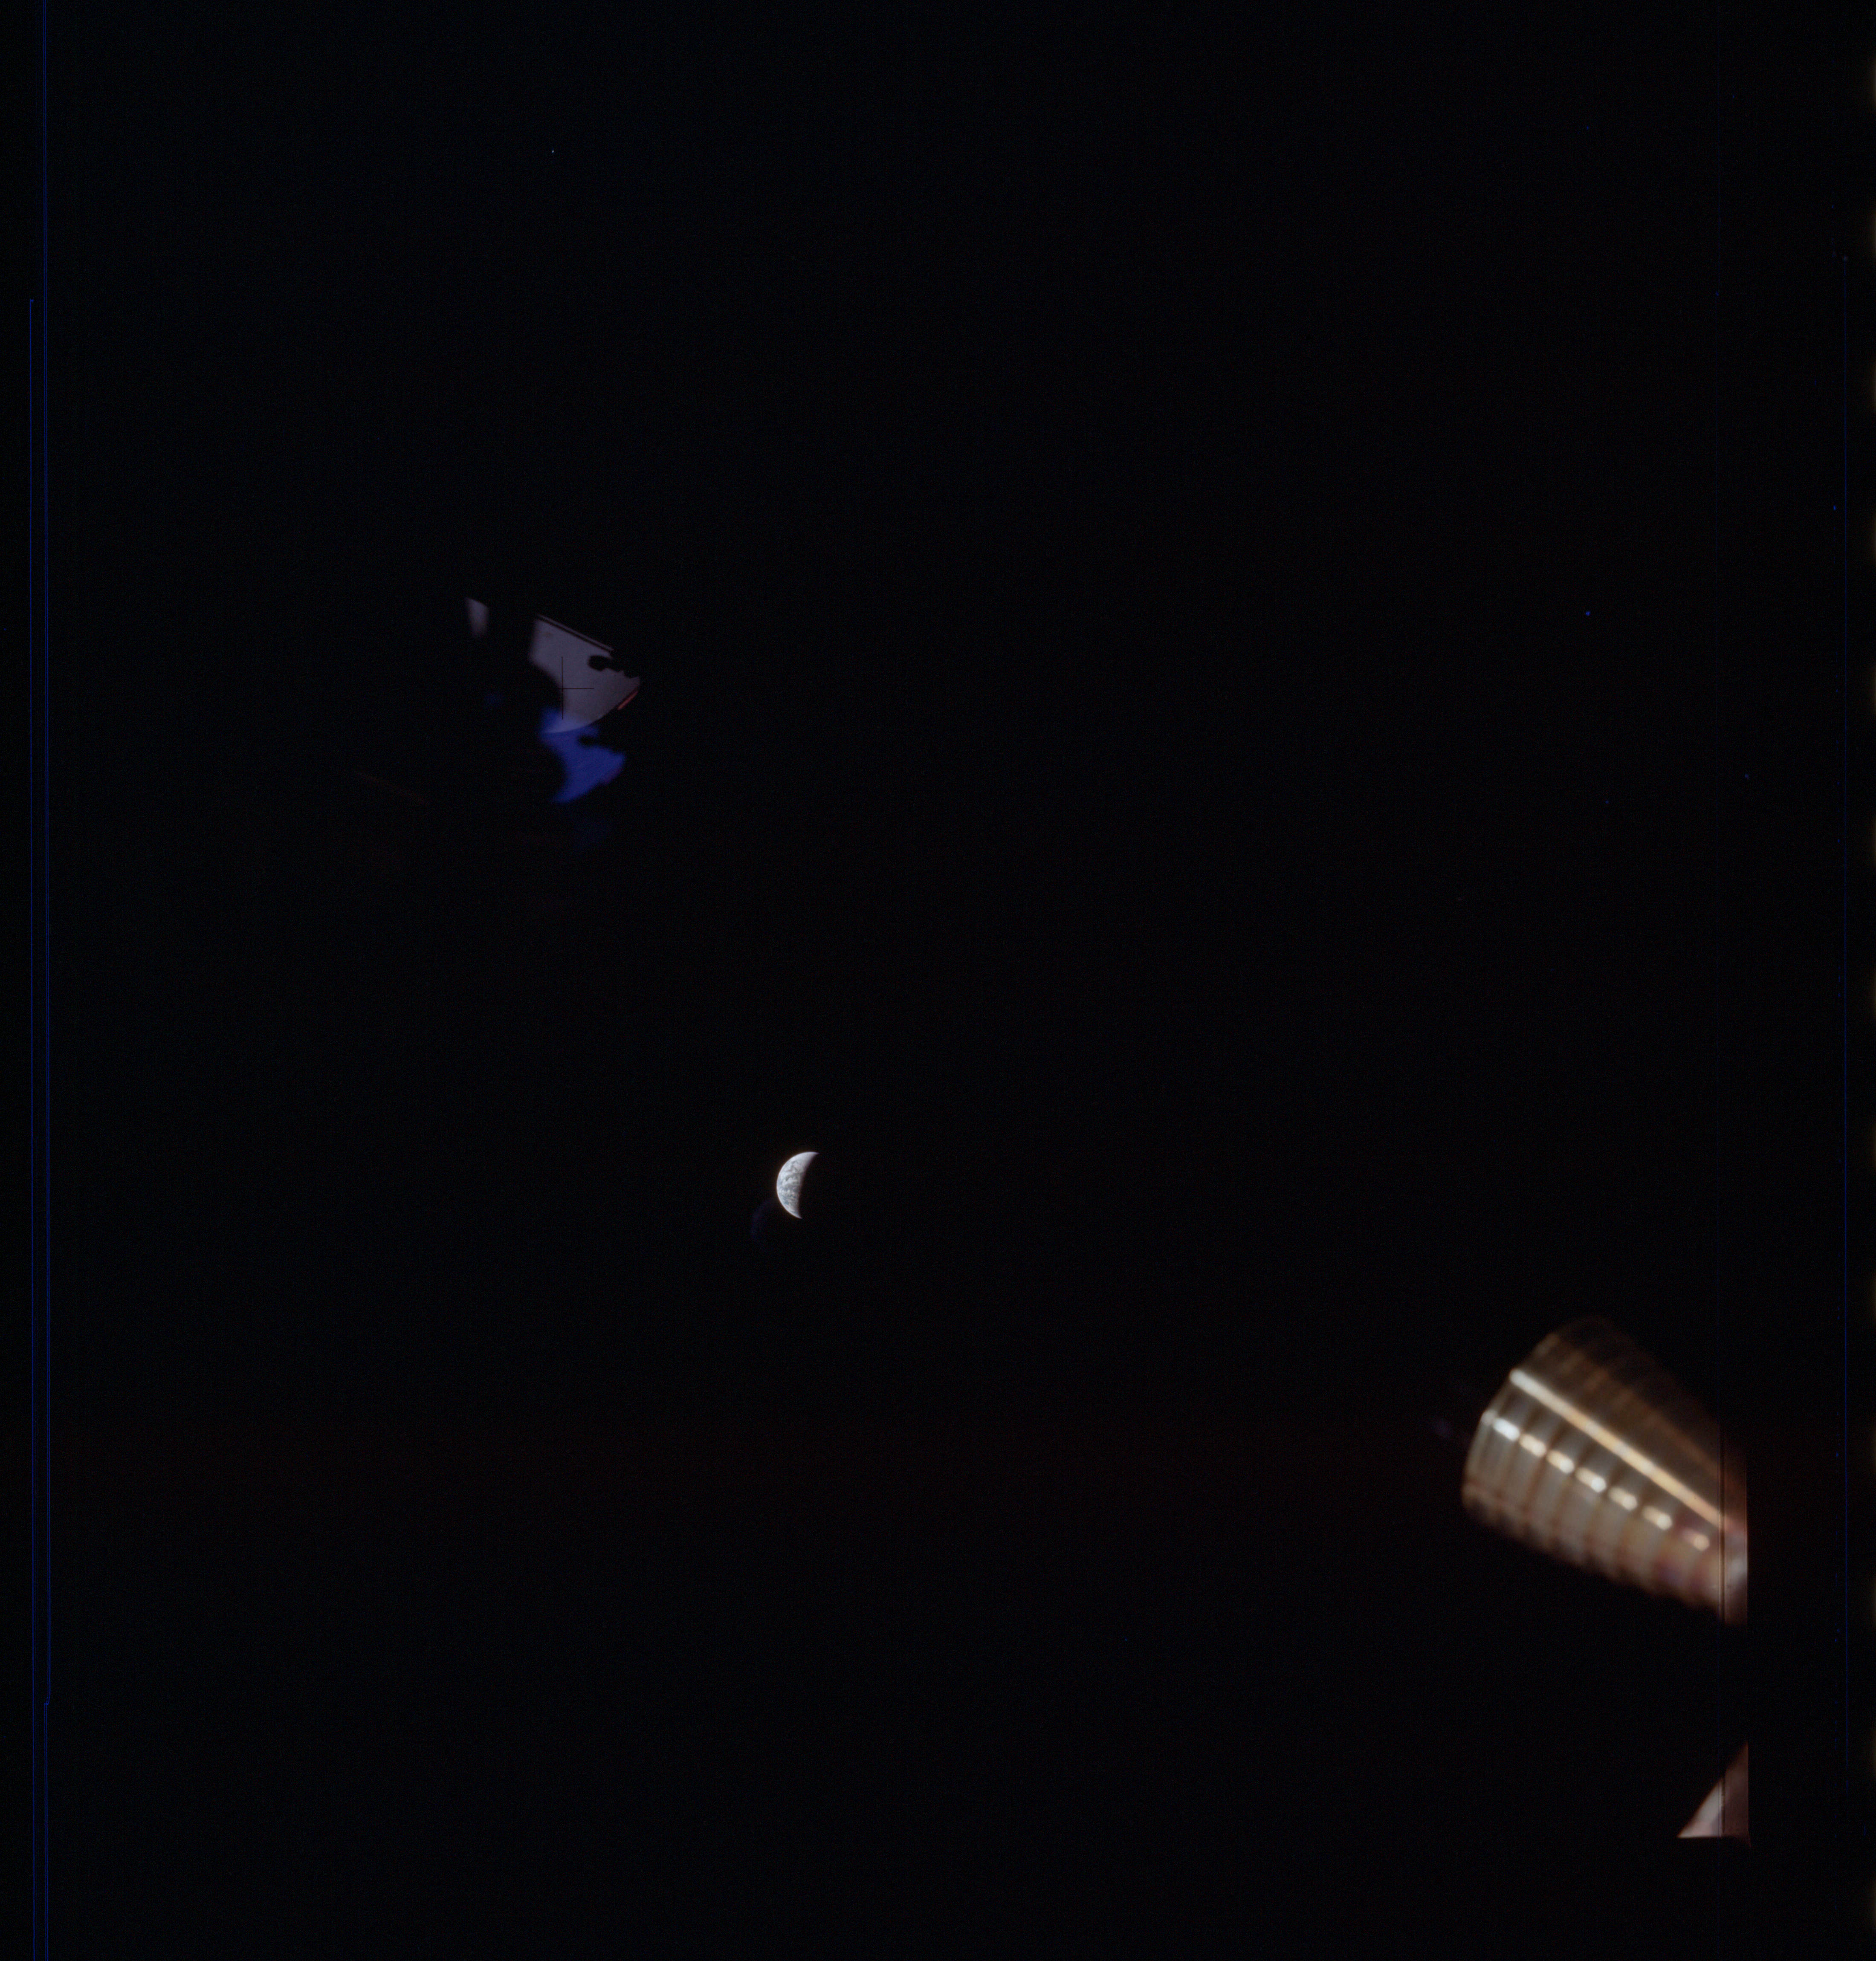
AS13-61-8863 Browse or print resolution. Moon from Apollo 13. Image credit: Image Science and Analysis Laboratory, NASA-Johnson Space Center. |
|
AS13-61-8864 Browse or print resolution. Earth from Lunar Module with RCS thruster. Image credit: Image Science and Analysis Laboratory, NASA-Johnson Space Center. |
|
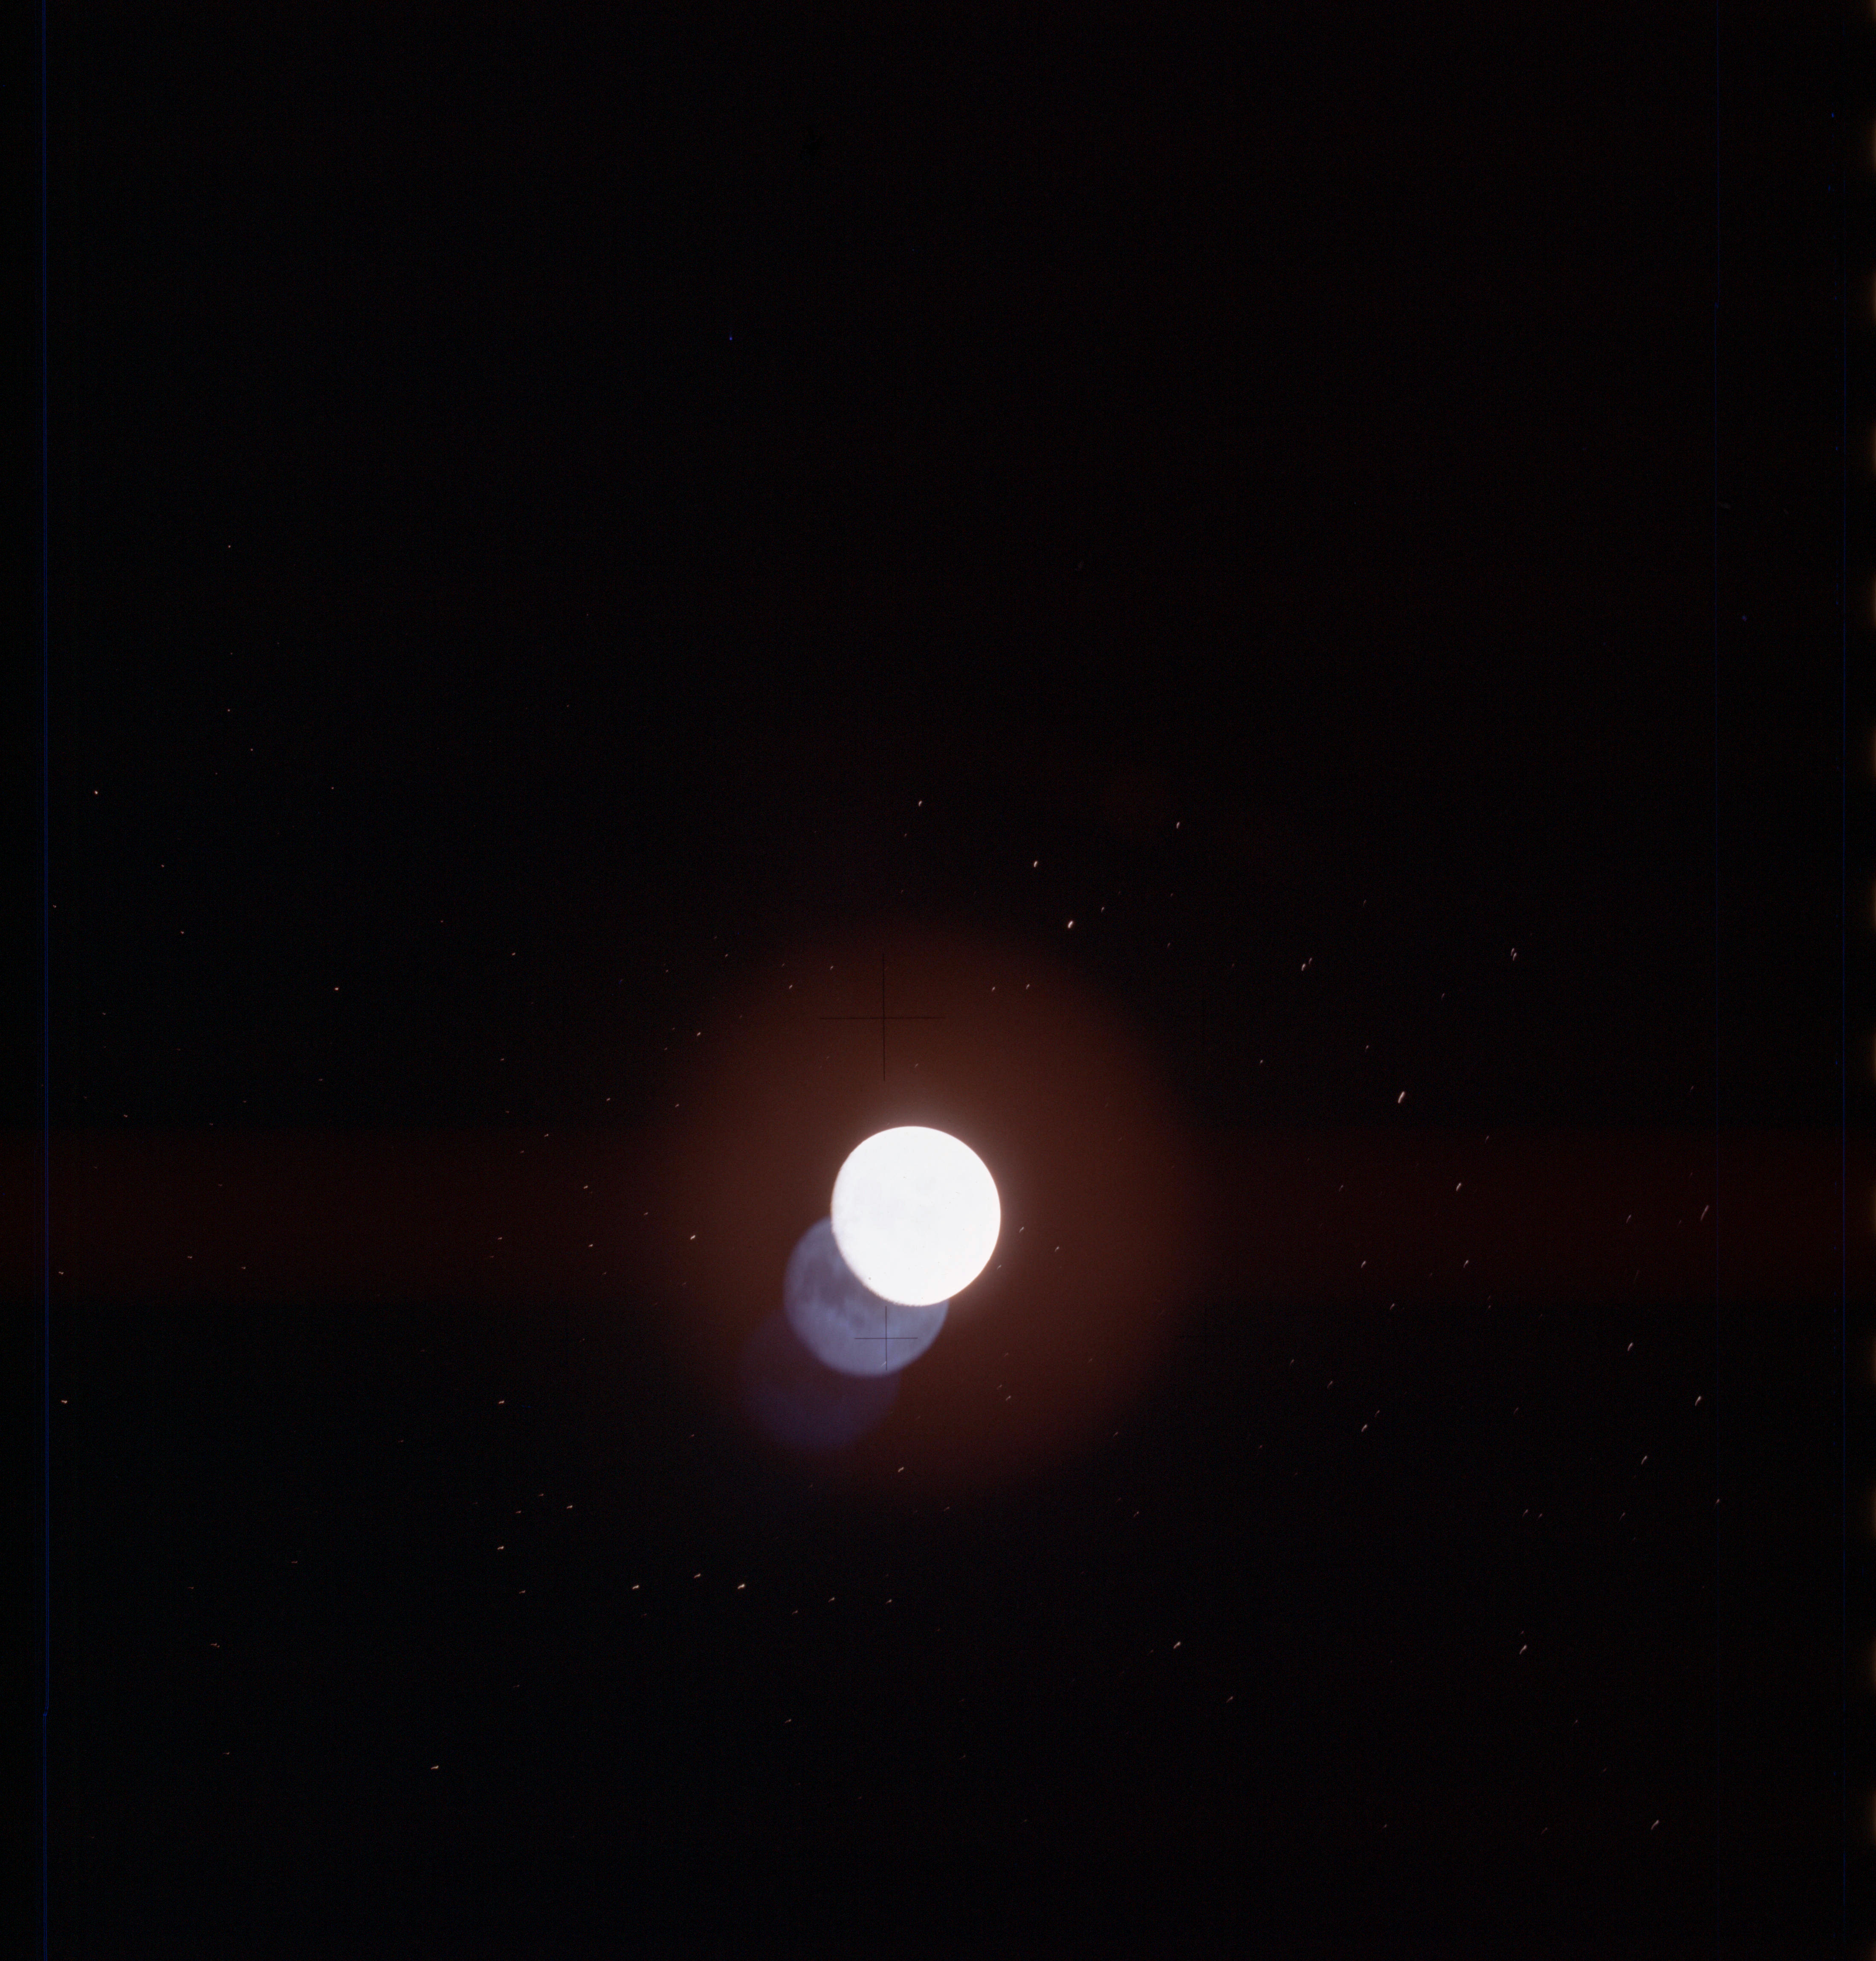
AS13-61-8865 Browse or print resolution. Overexposed Moon. Image credit: Image Science and Analysis Laboratory, NASA-Johnson Space Center. |
|
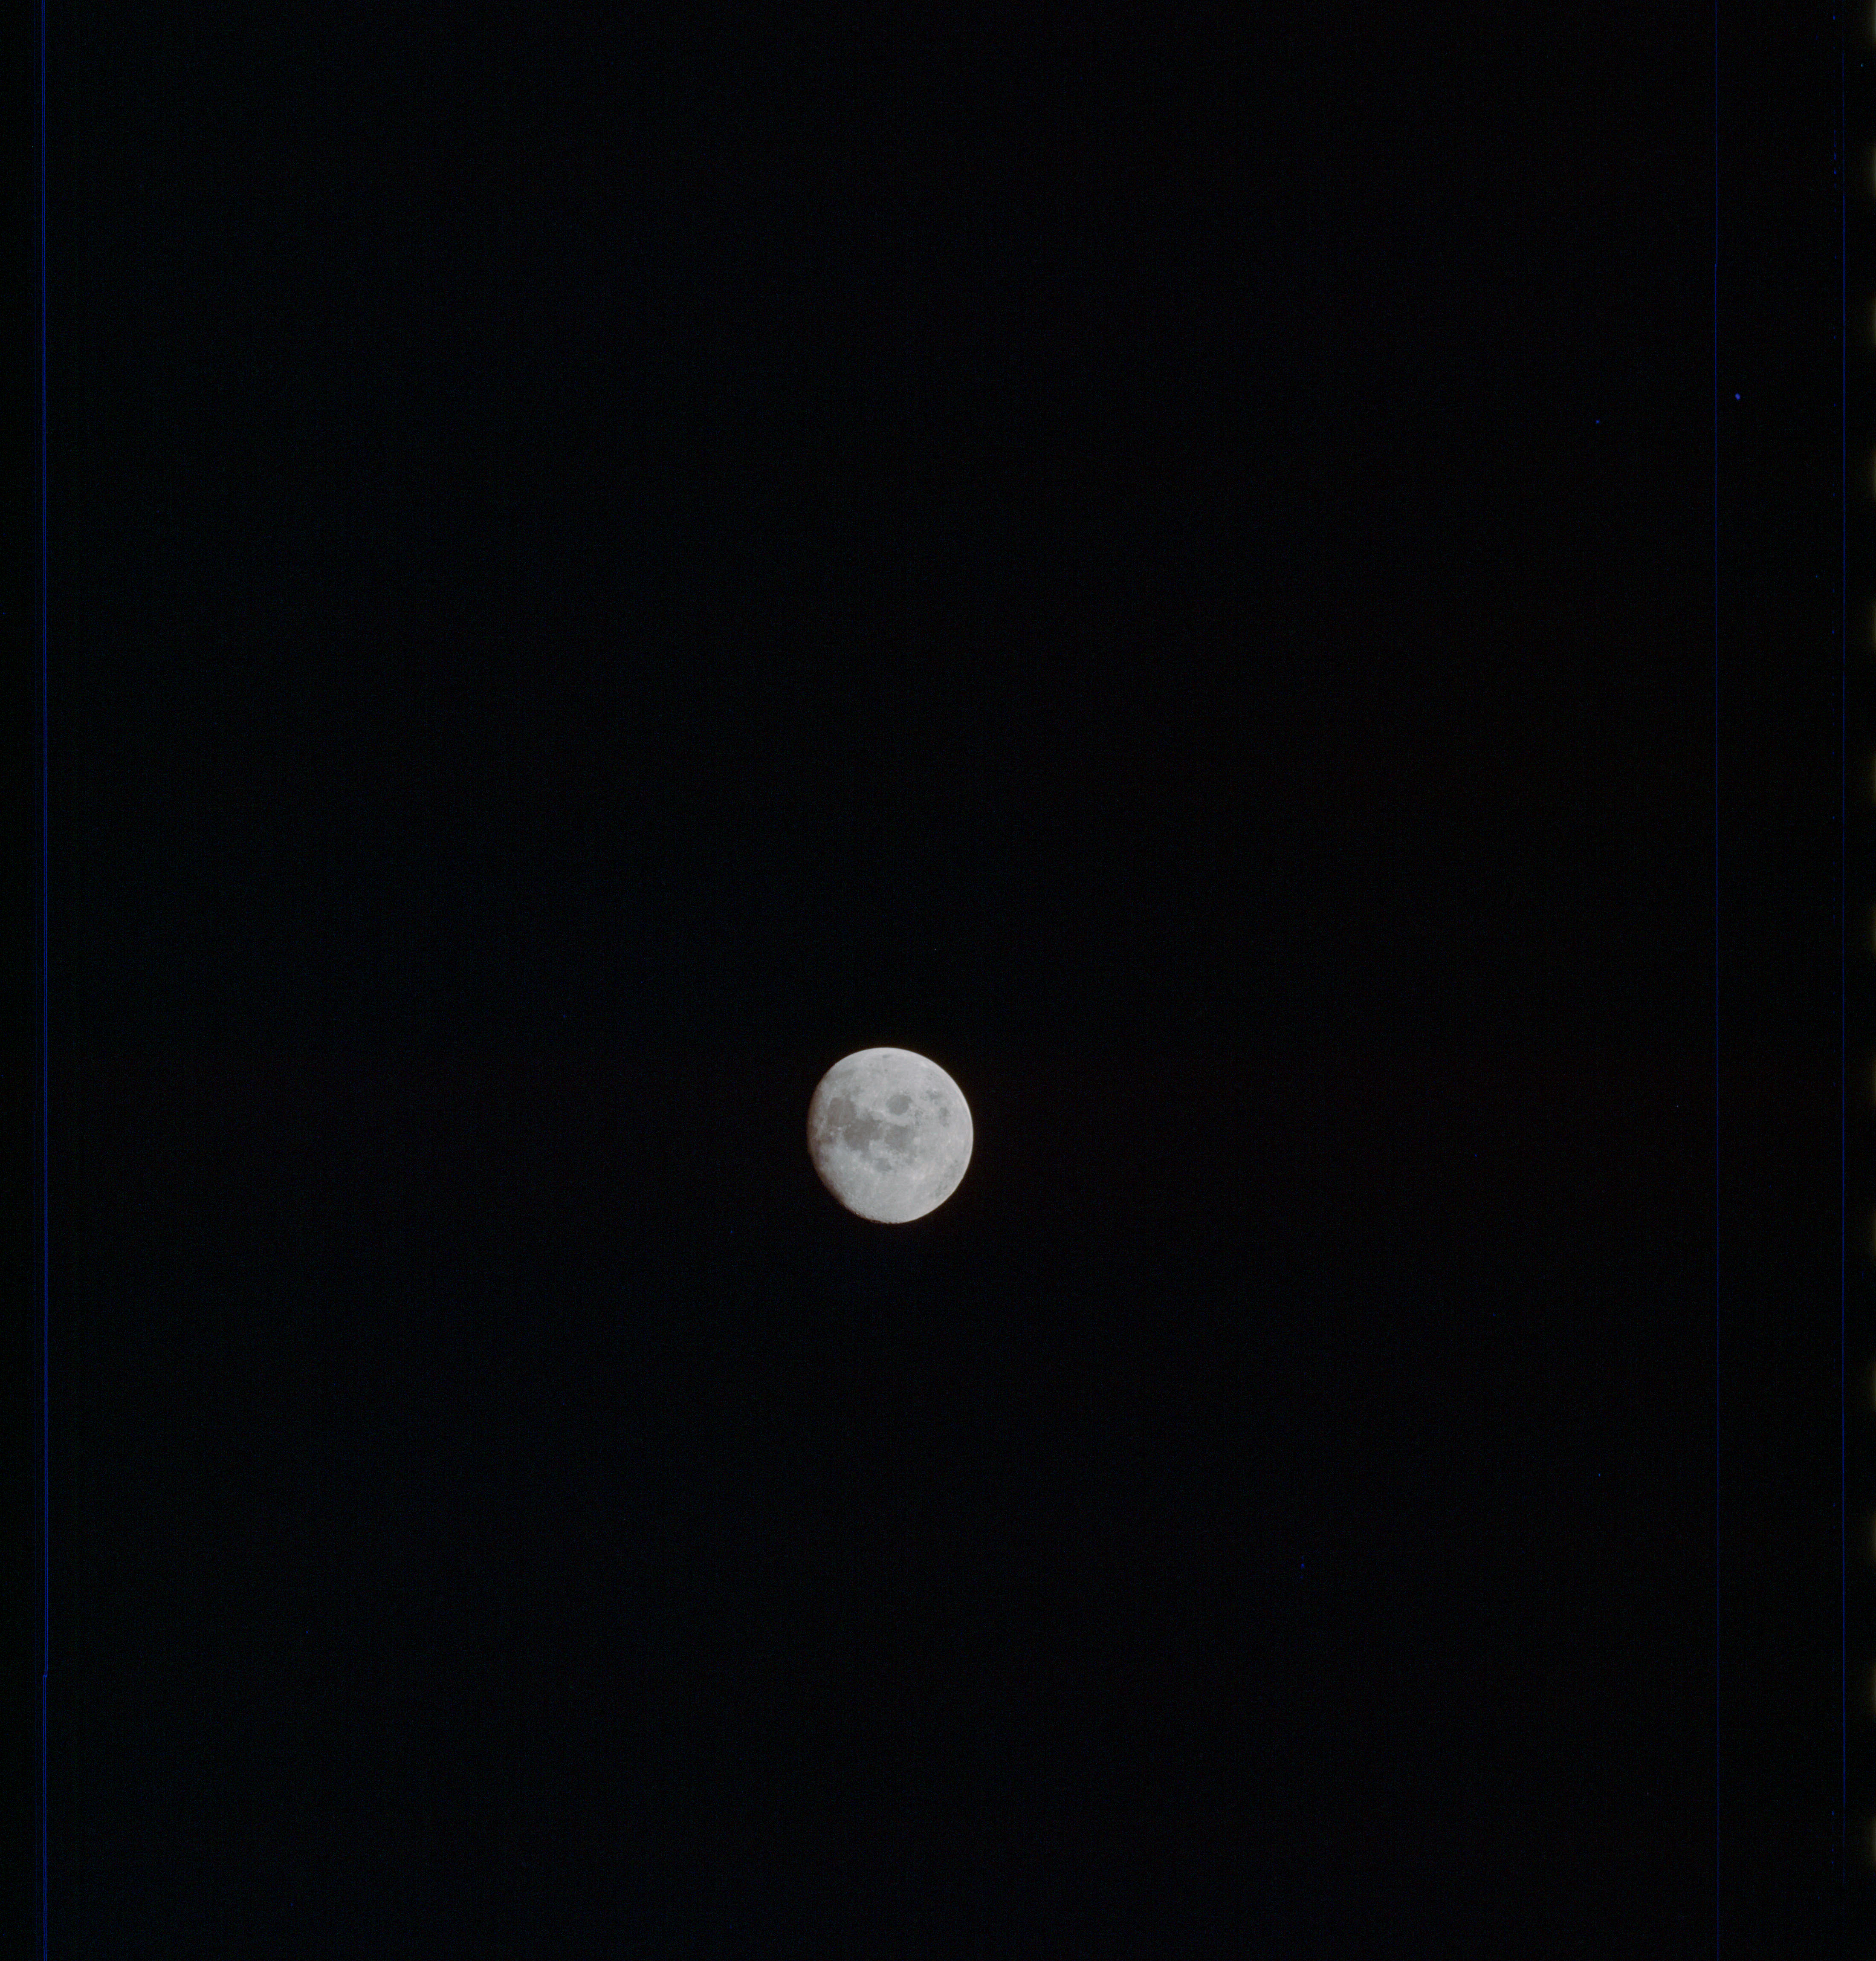
AS13-61-8866 Browse or print resolution. Moon from Apollo 13. Image credit: Image Science and Analysis Laboratory, NASA-Johnson Space Center. |
|
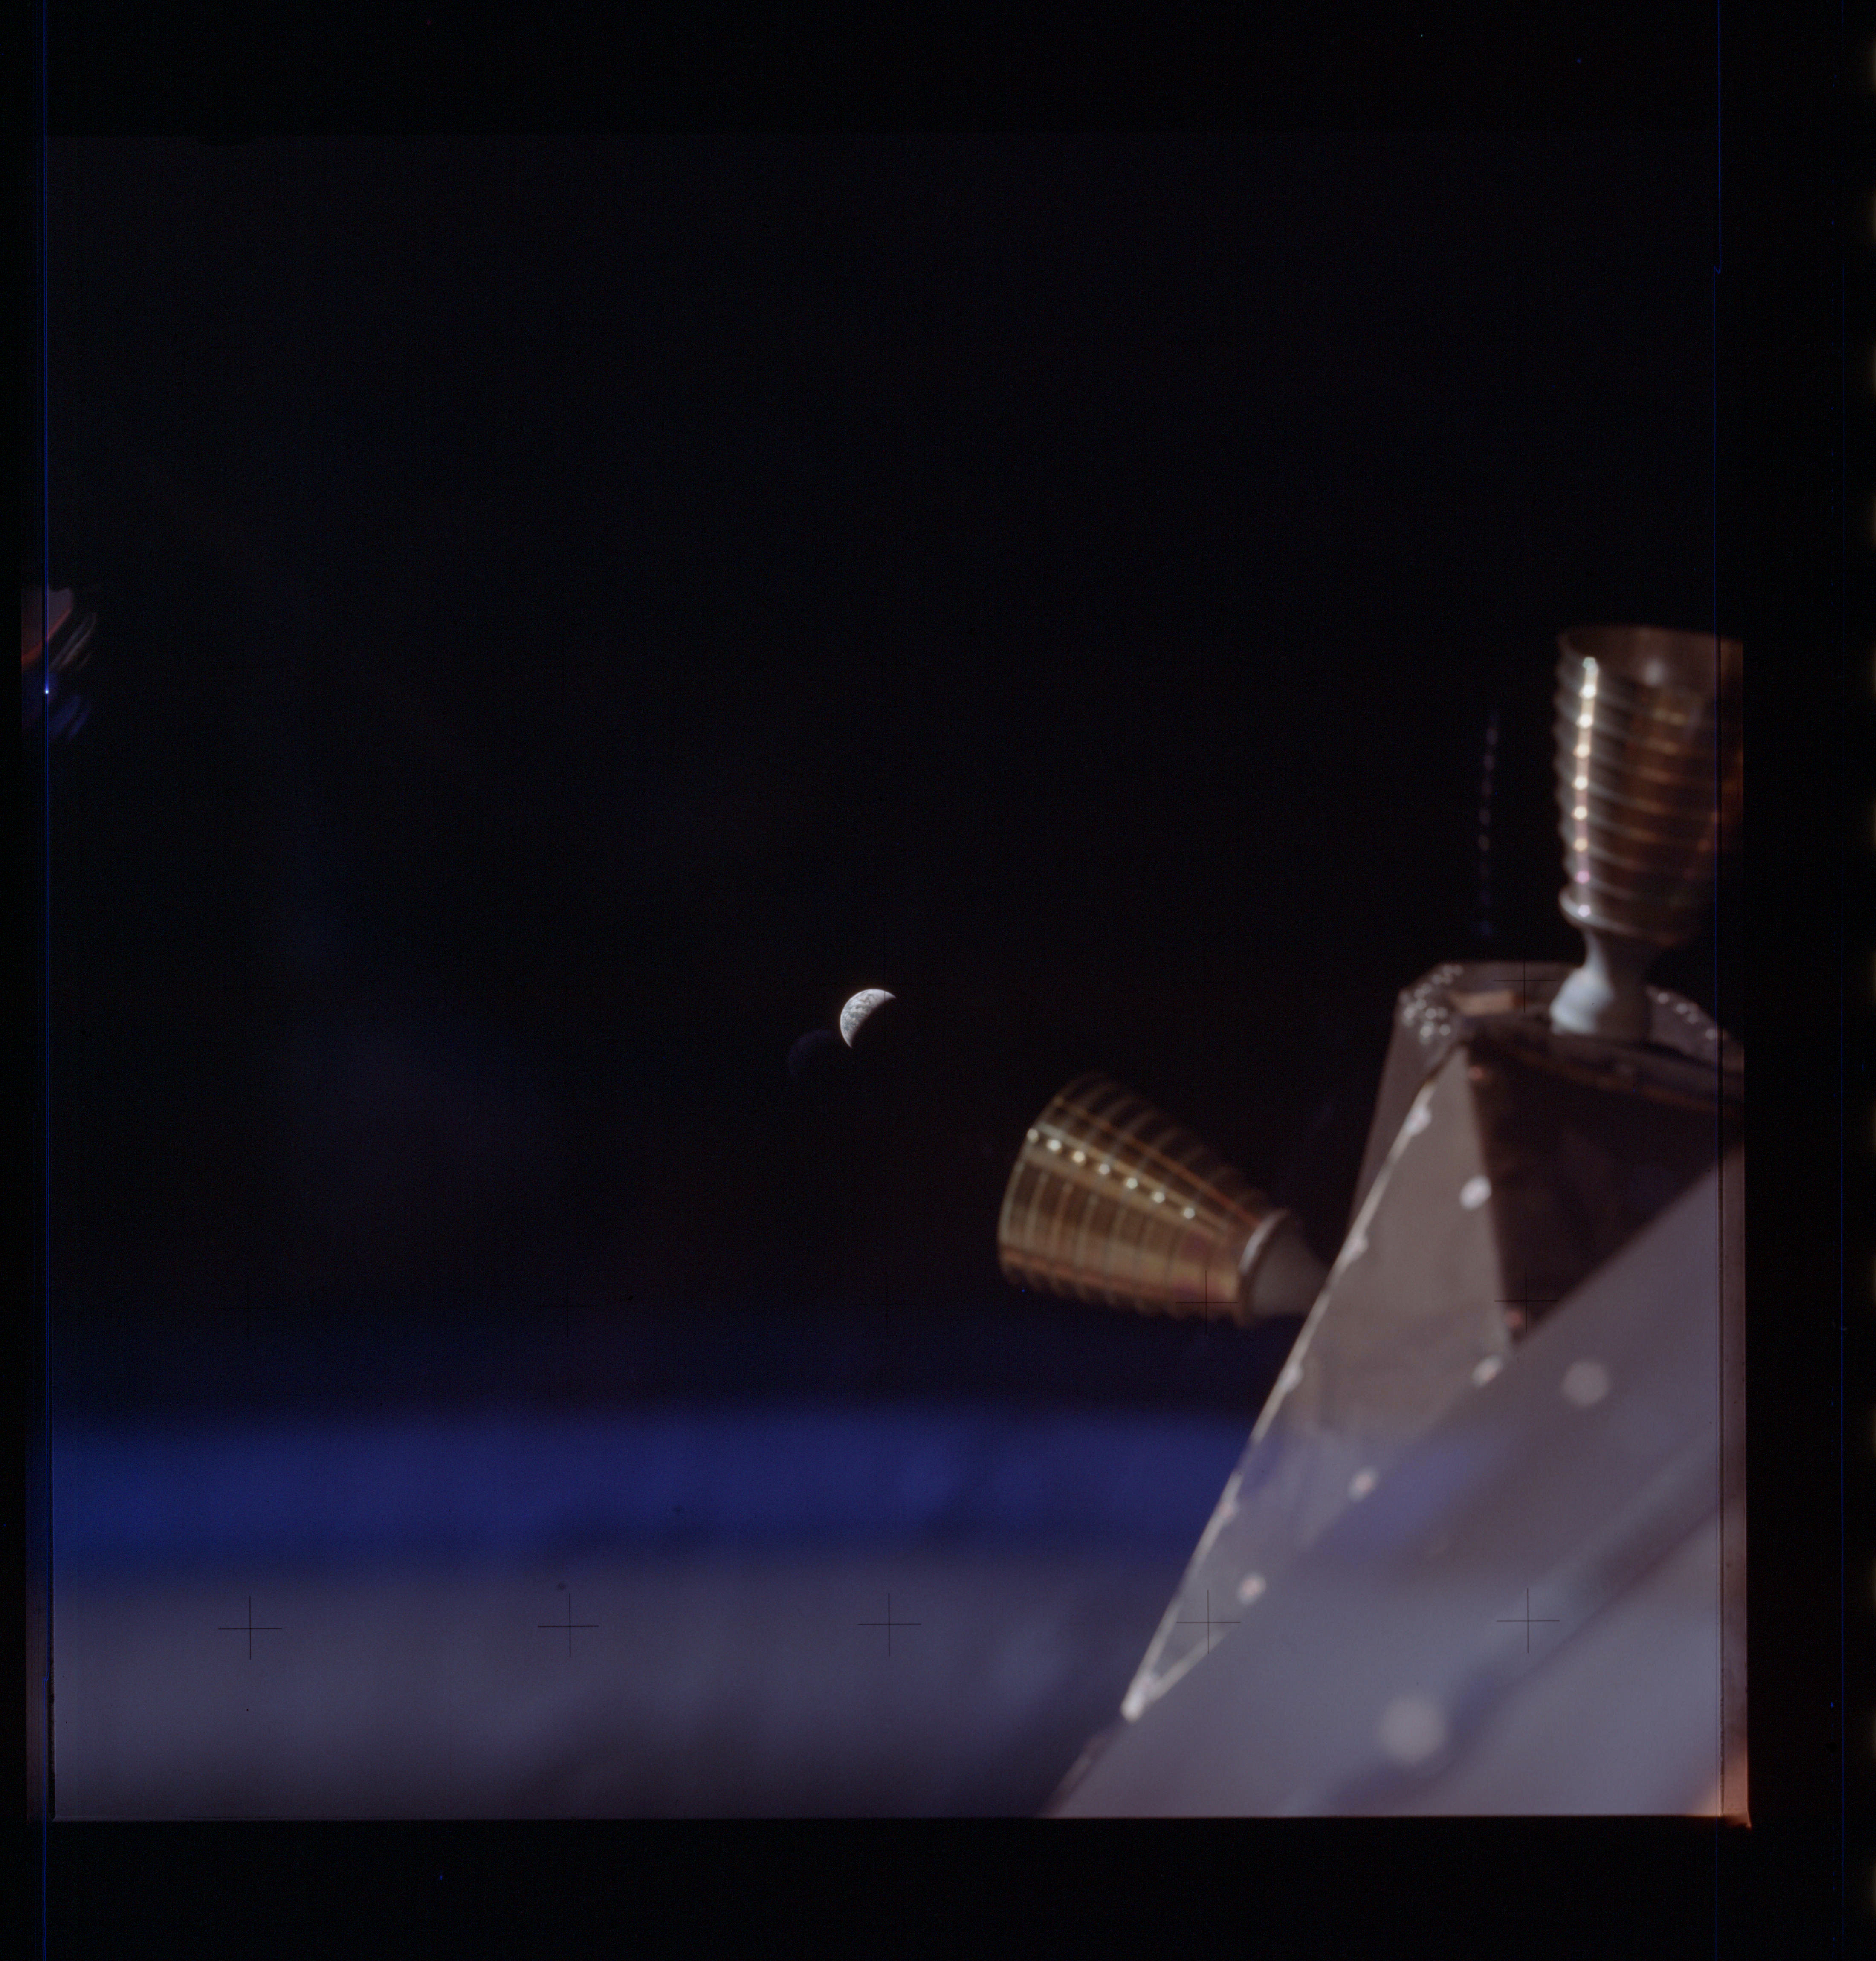
AS13-61-8867 Browse or print resolution. Earth from Lunar Module with RCS thruster quad. Image credit: Image Science and Analysis Laboratory, NASA-Johnson Space Center. |
|
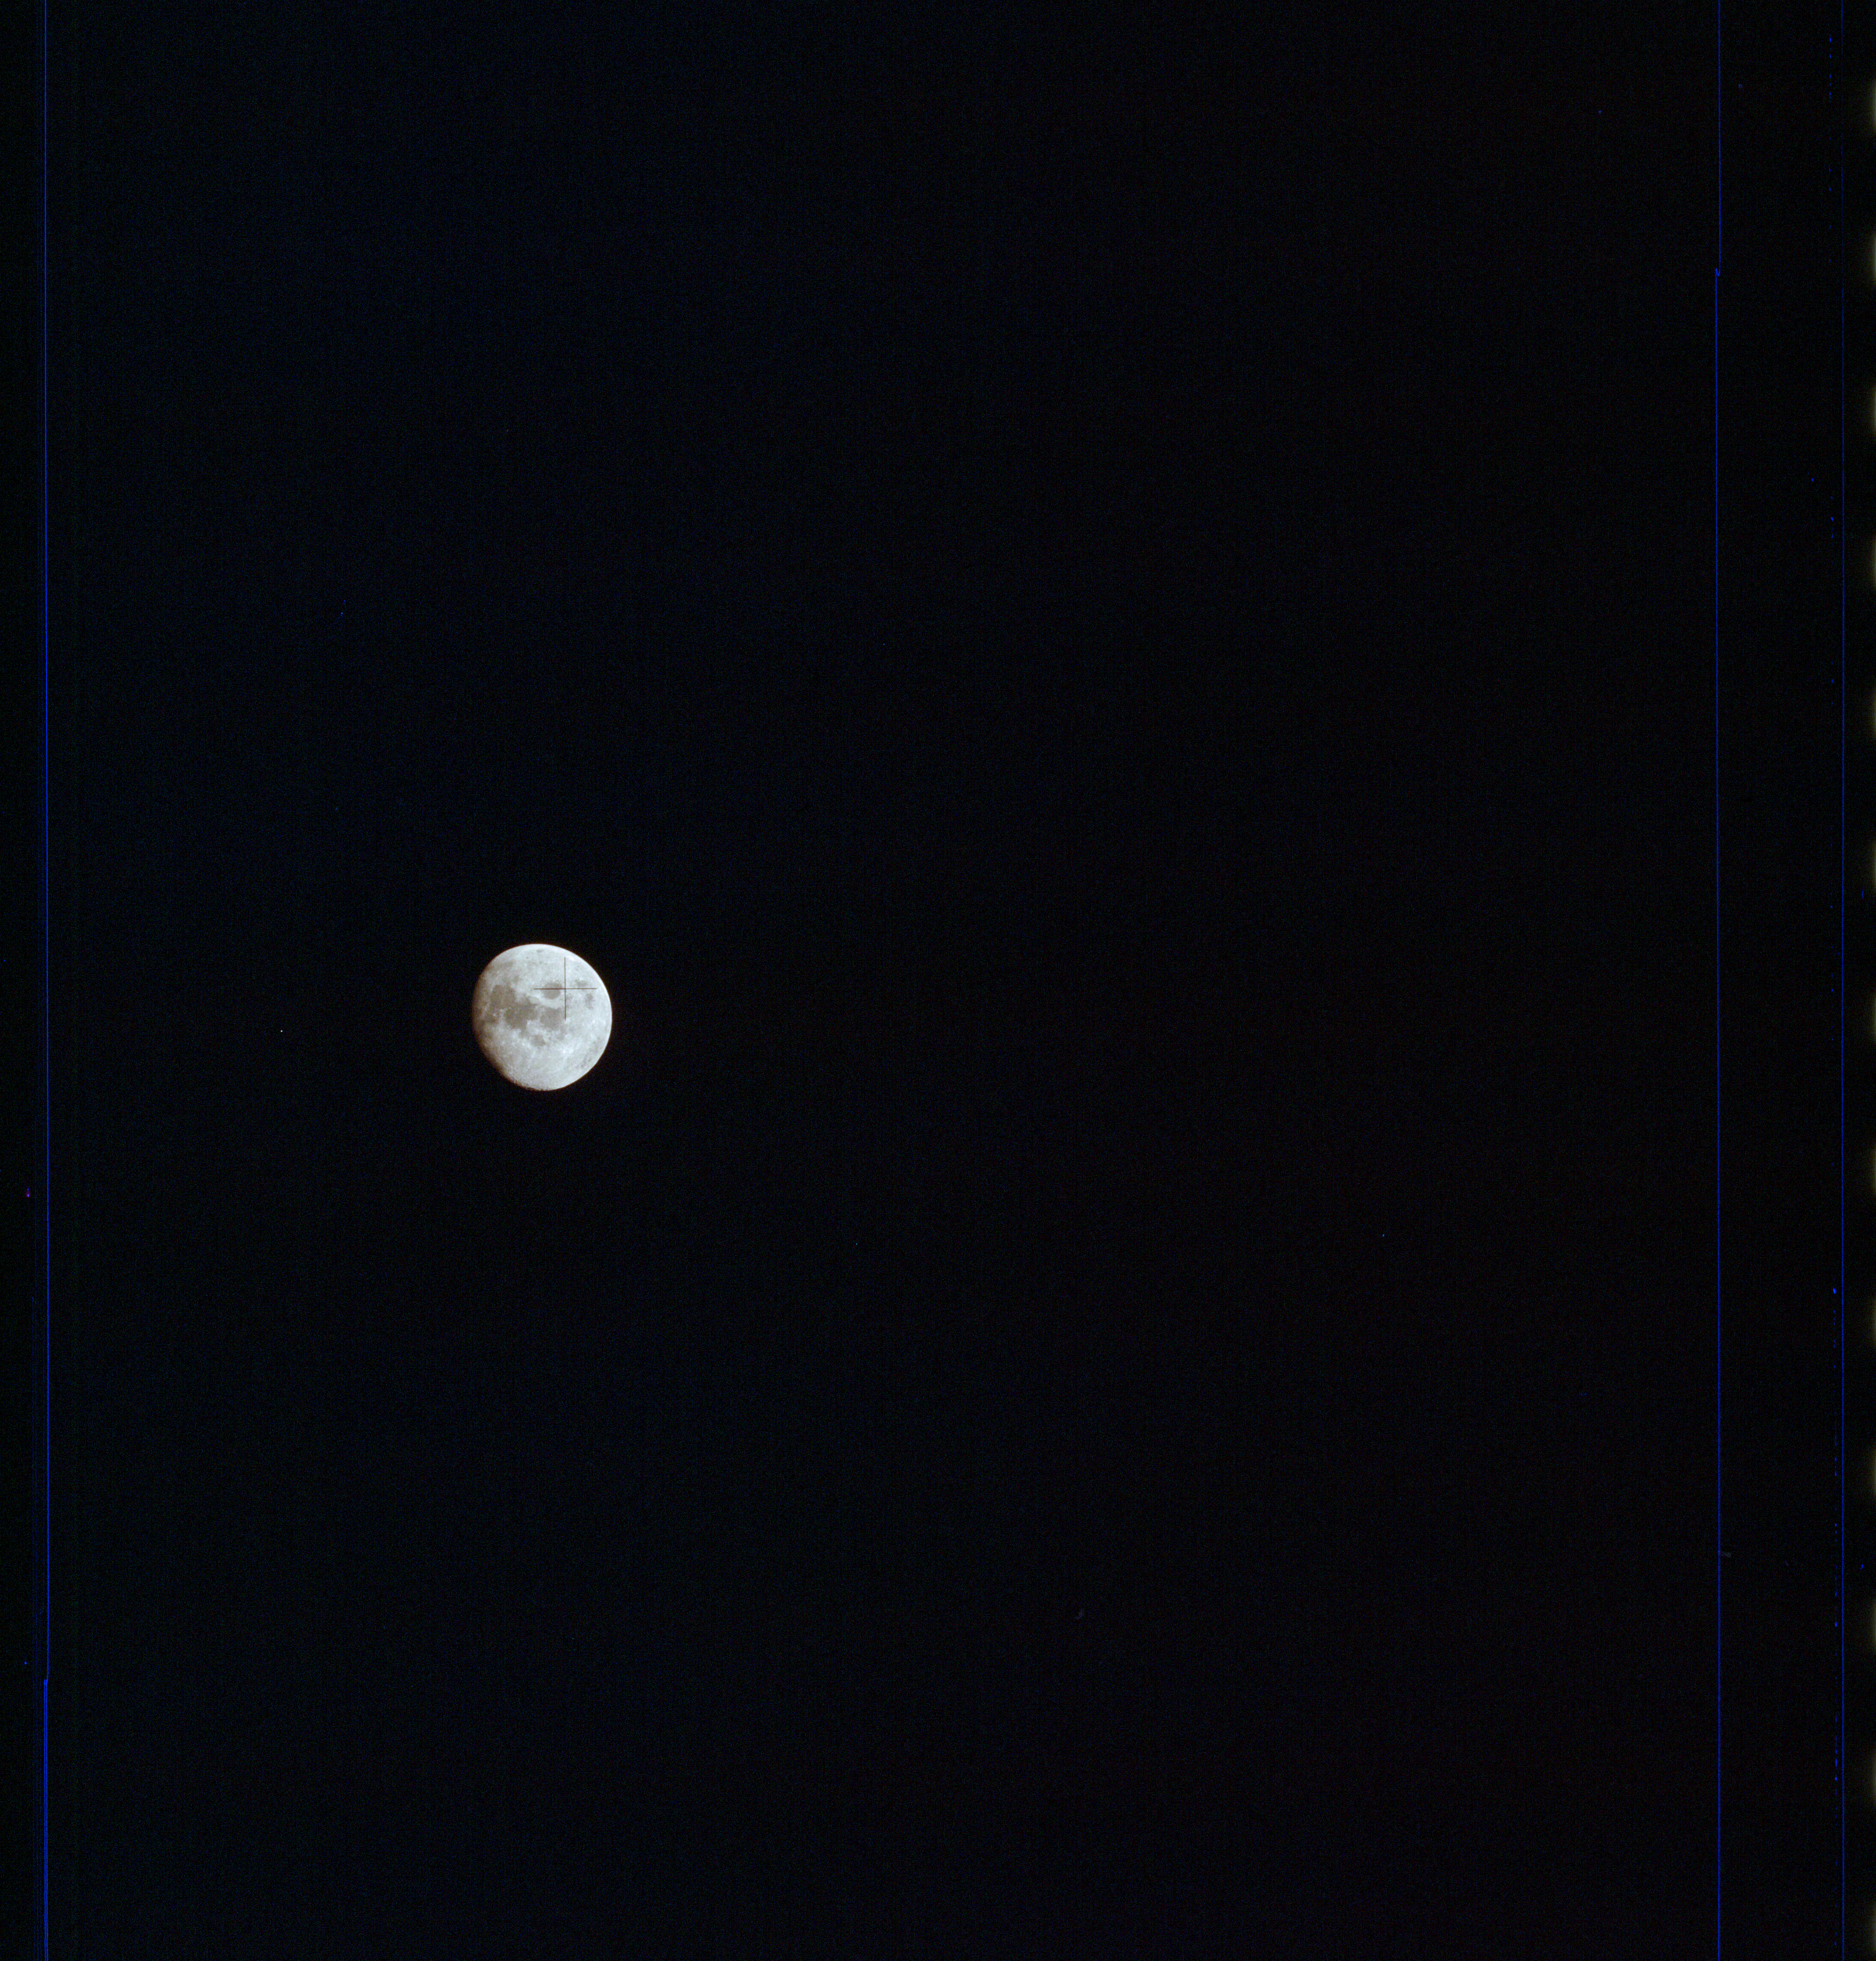
AS13-61-8868 Browse or print resolution. Moon from Apollo 13. Image credit: Image Science and Analysis Laboratory, NASA-Johnson Space Center. |
|
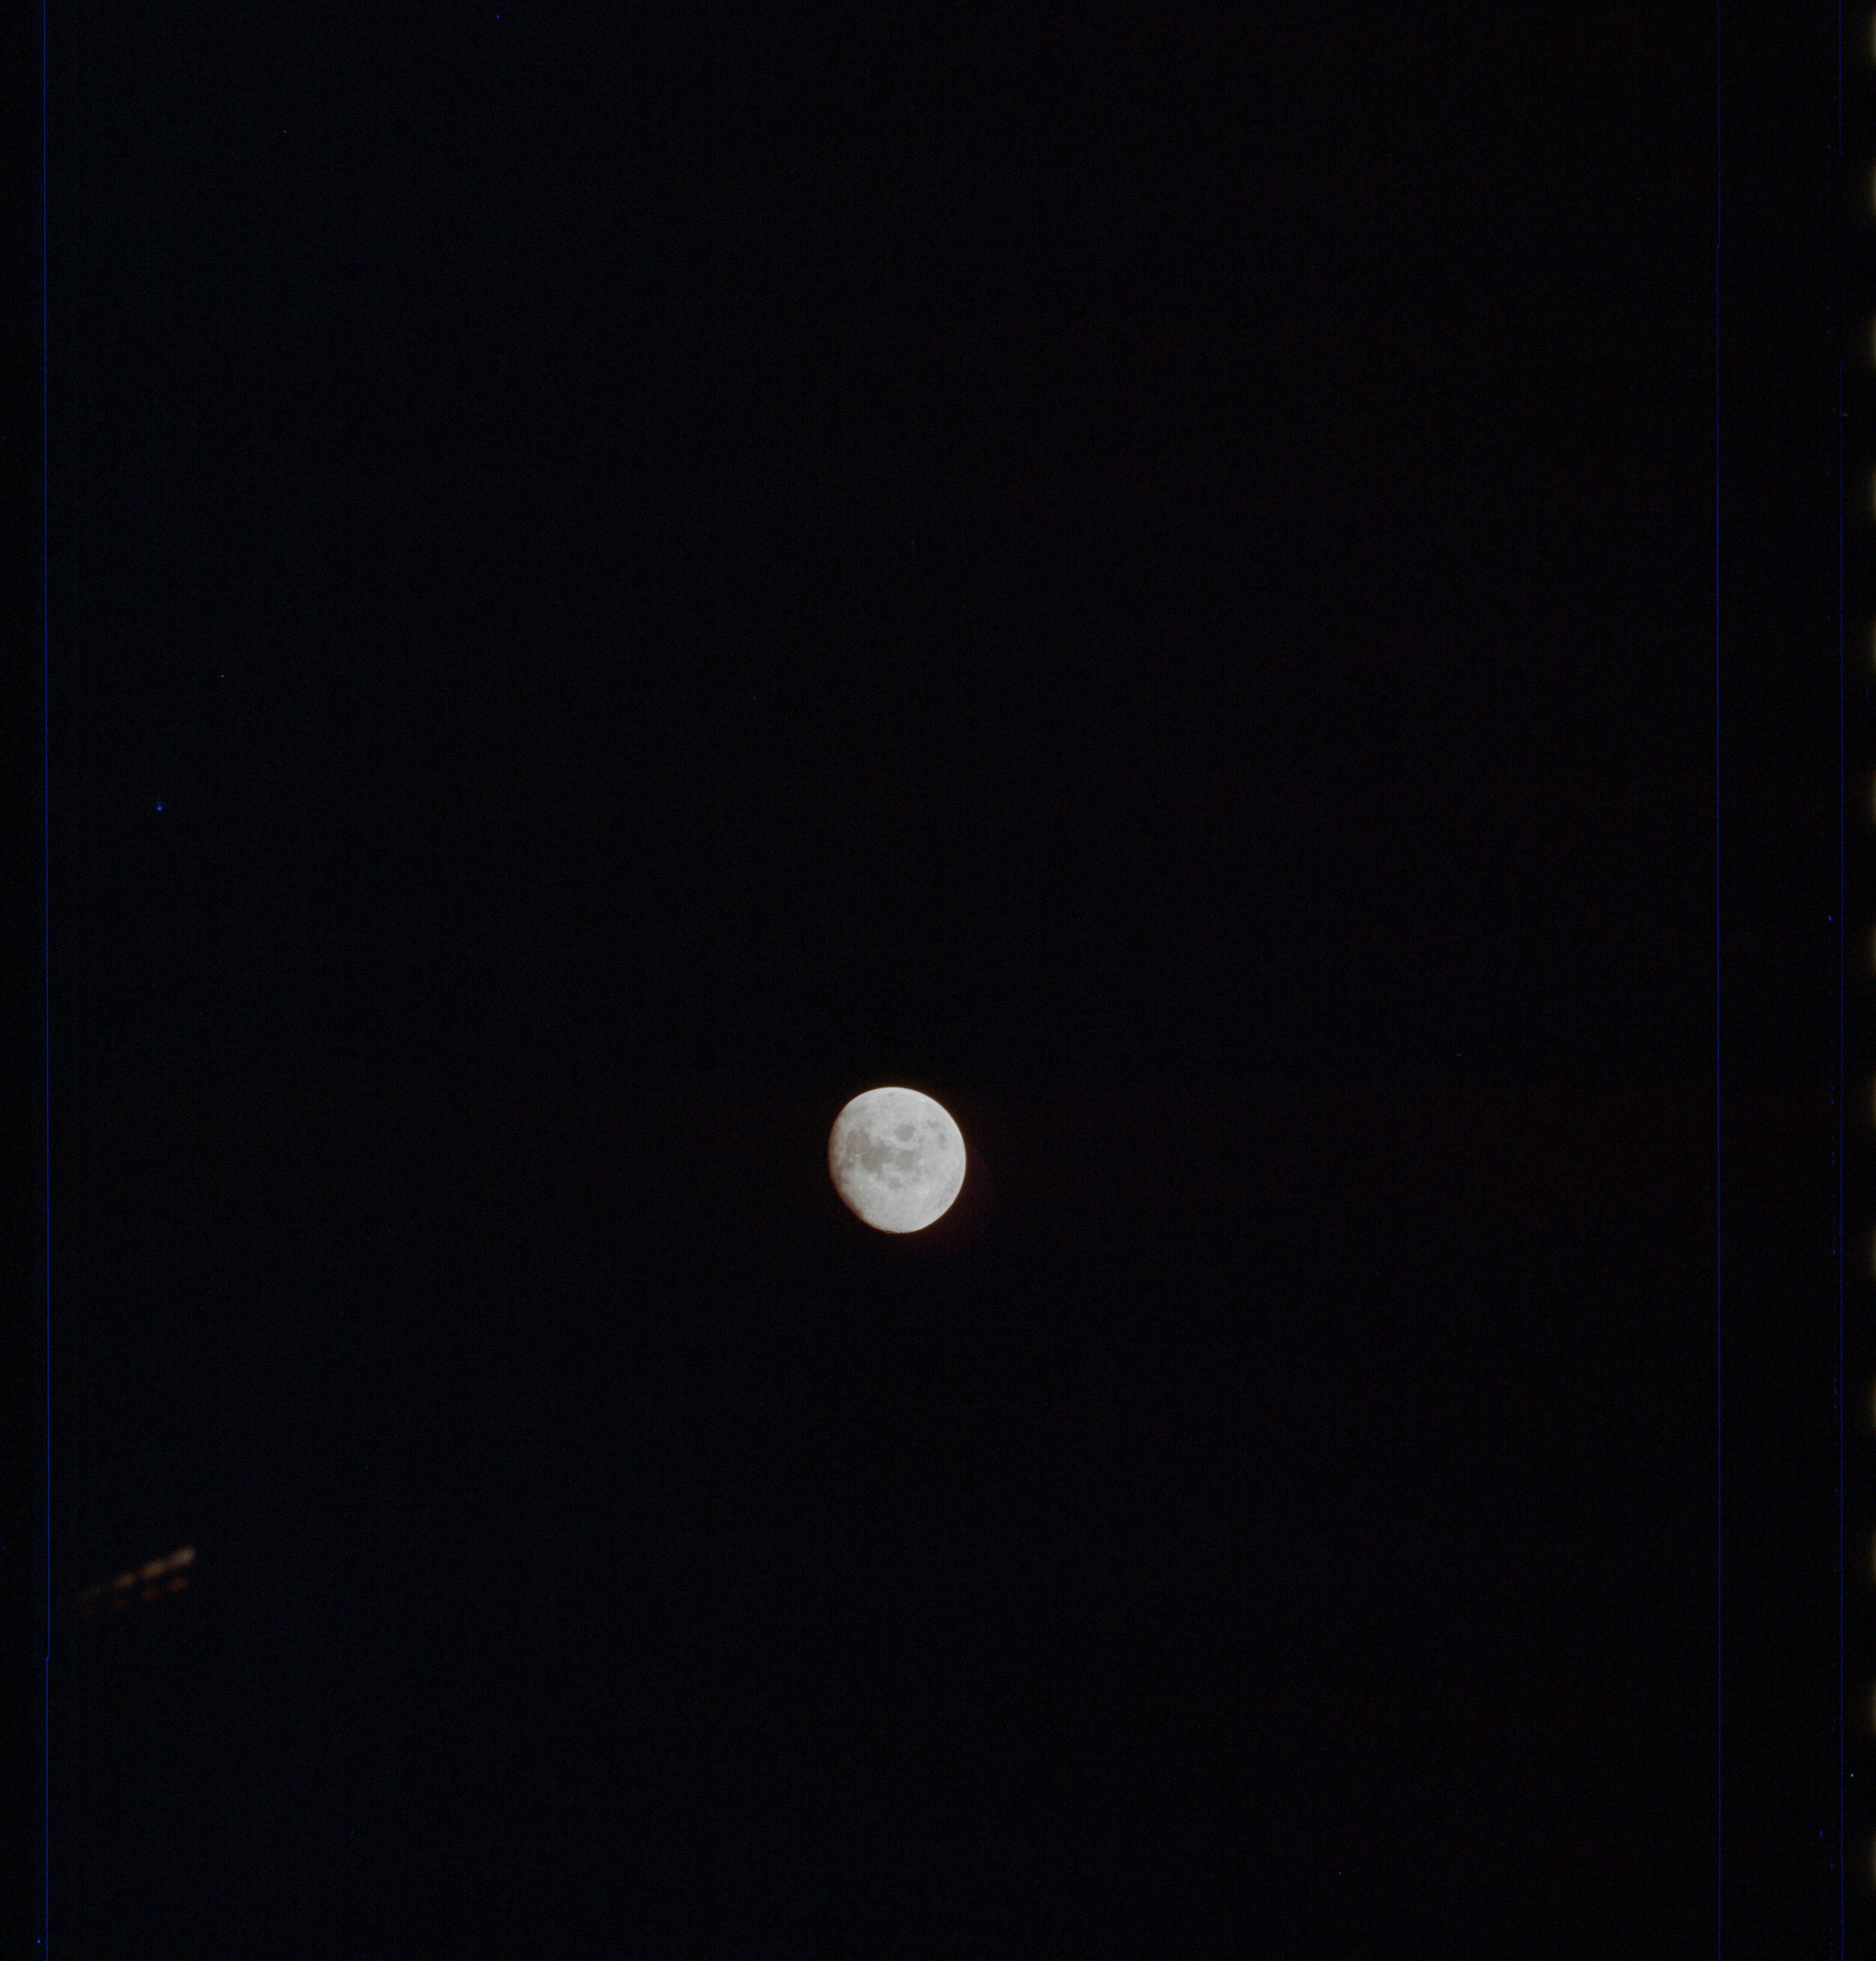
AS13-61-8869 Browse or print resolution. Moon from Apollo 13. Image credit: Image Science and Analysis Laboratory, NASA-Johnson Space Center. |
|
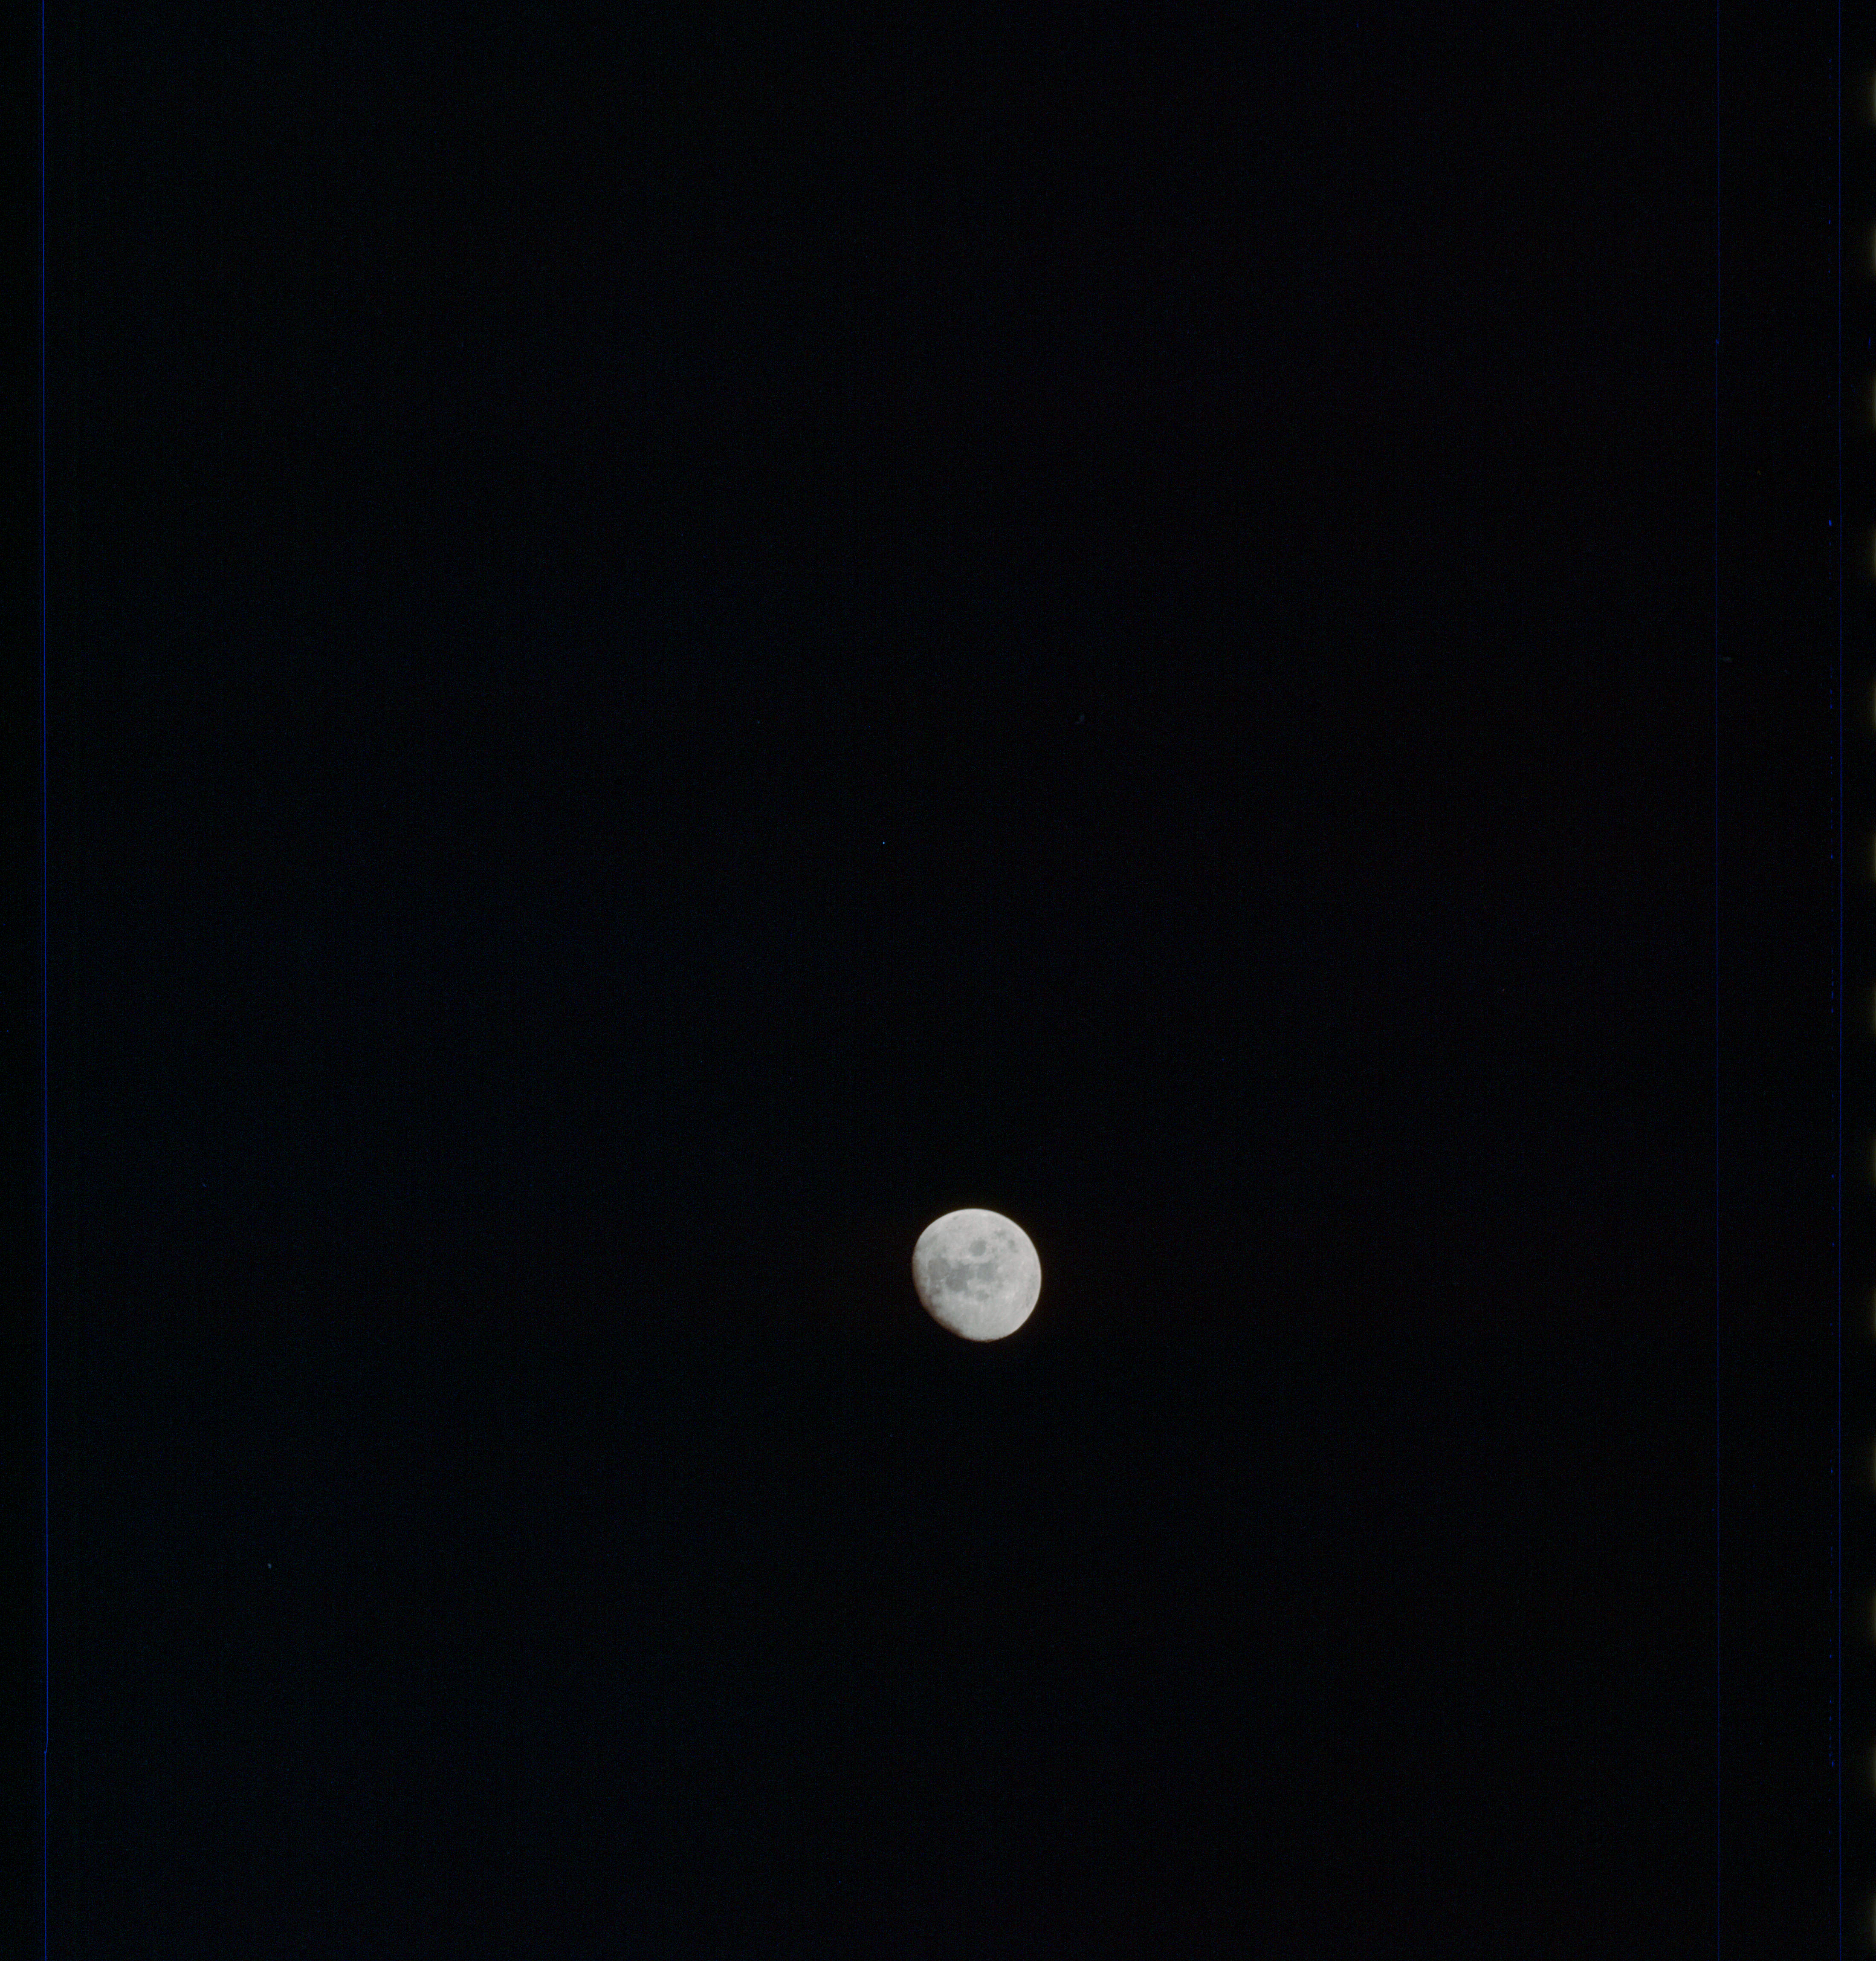
AS13-61-8870 Browse or print resolution. Moon from Apollo 13. Image credit: Image Science and Analysis Laboratory, NASA-Johnson Space Center. |
|
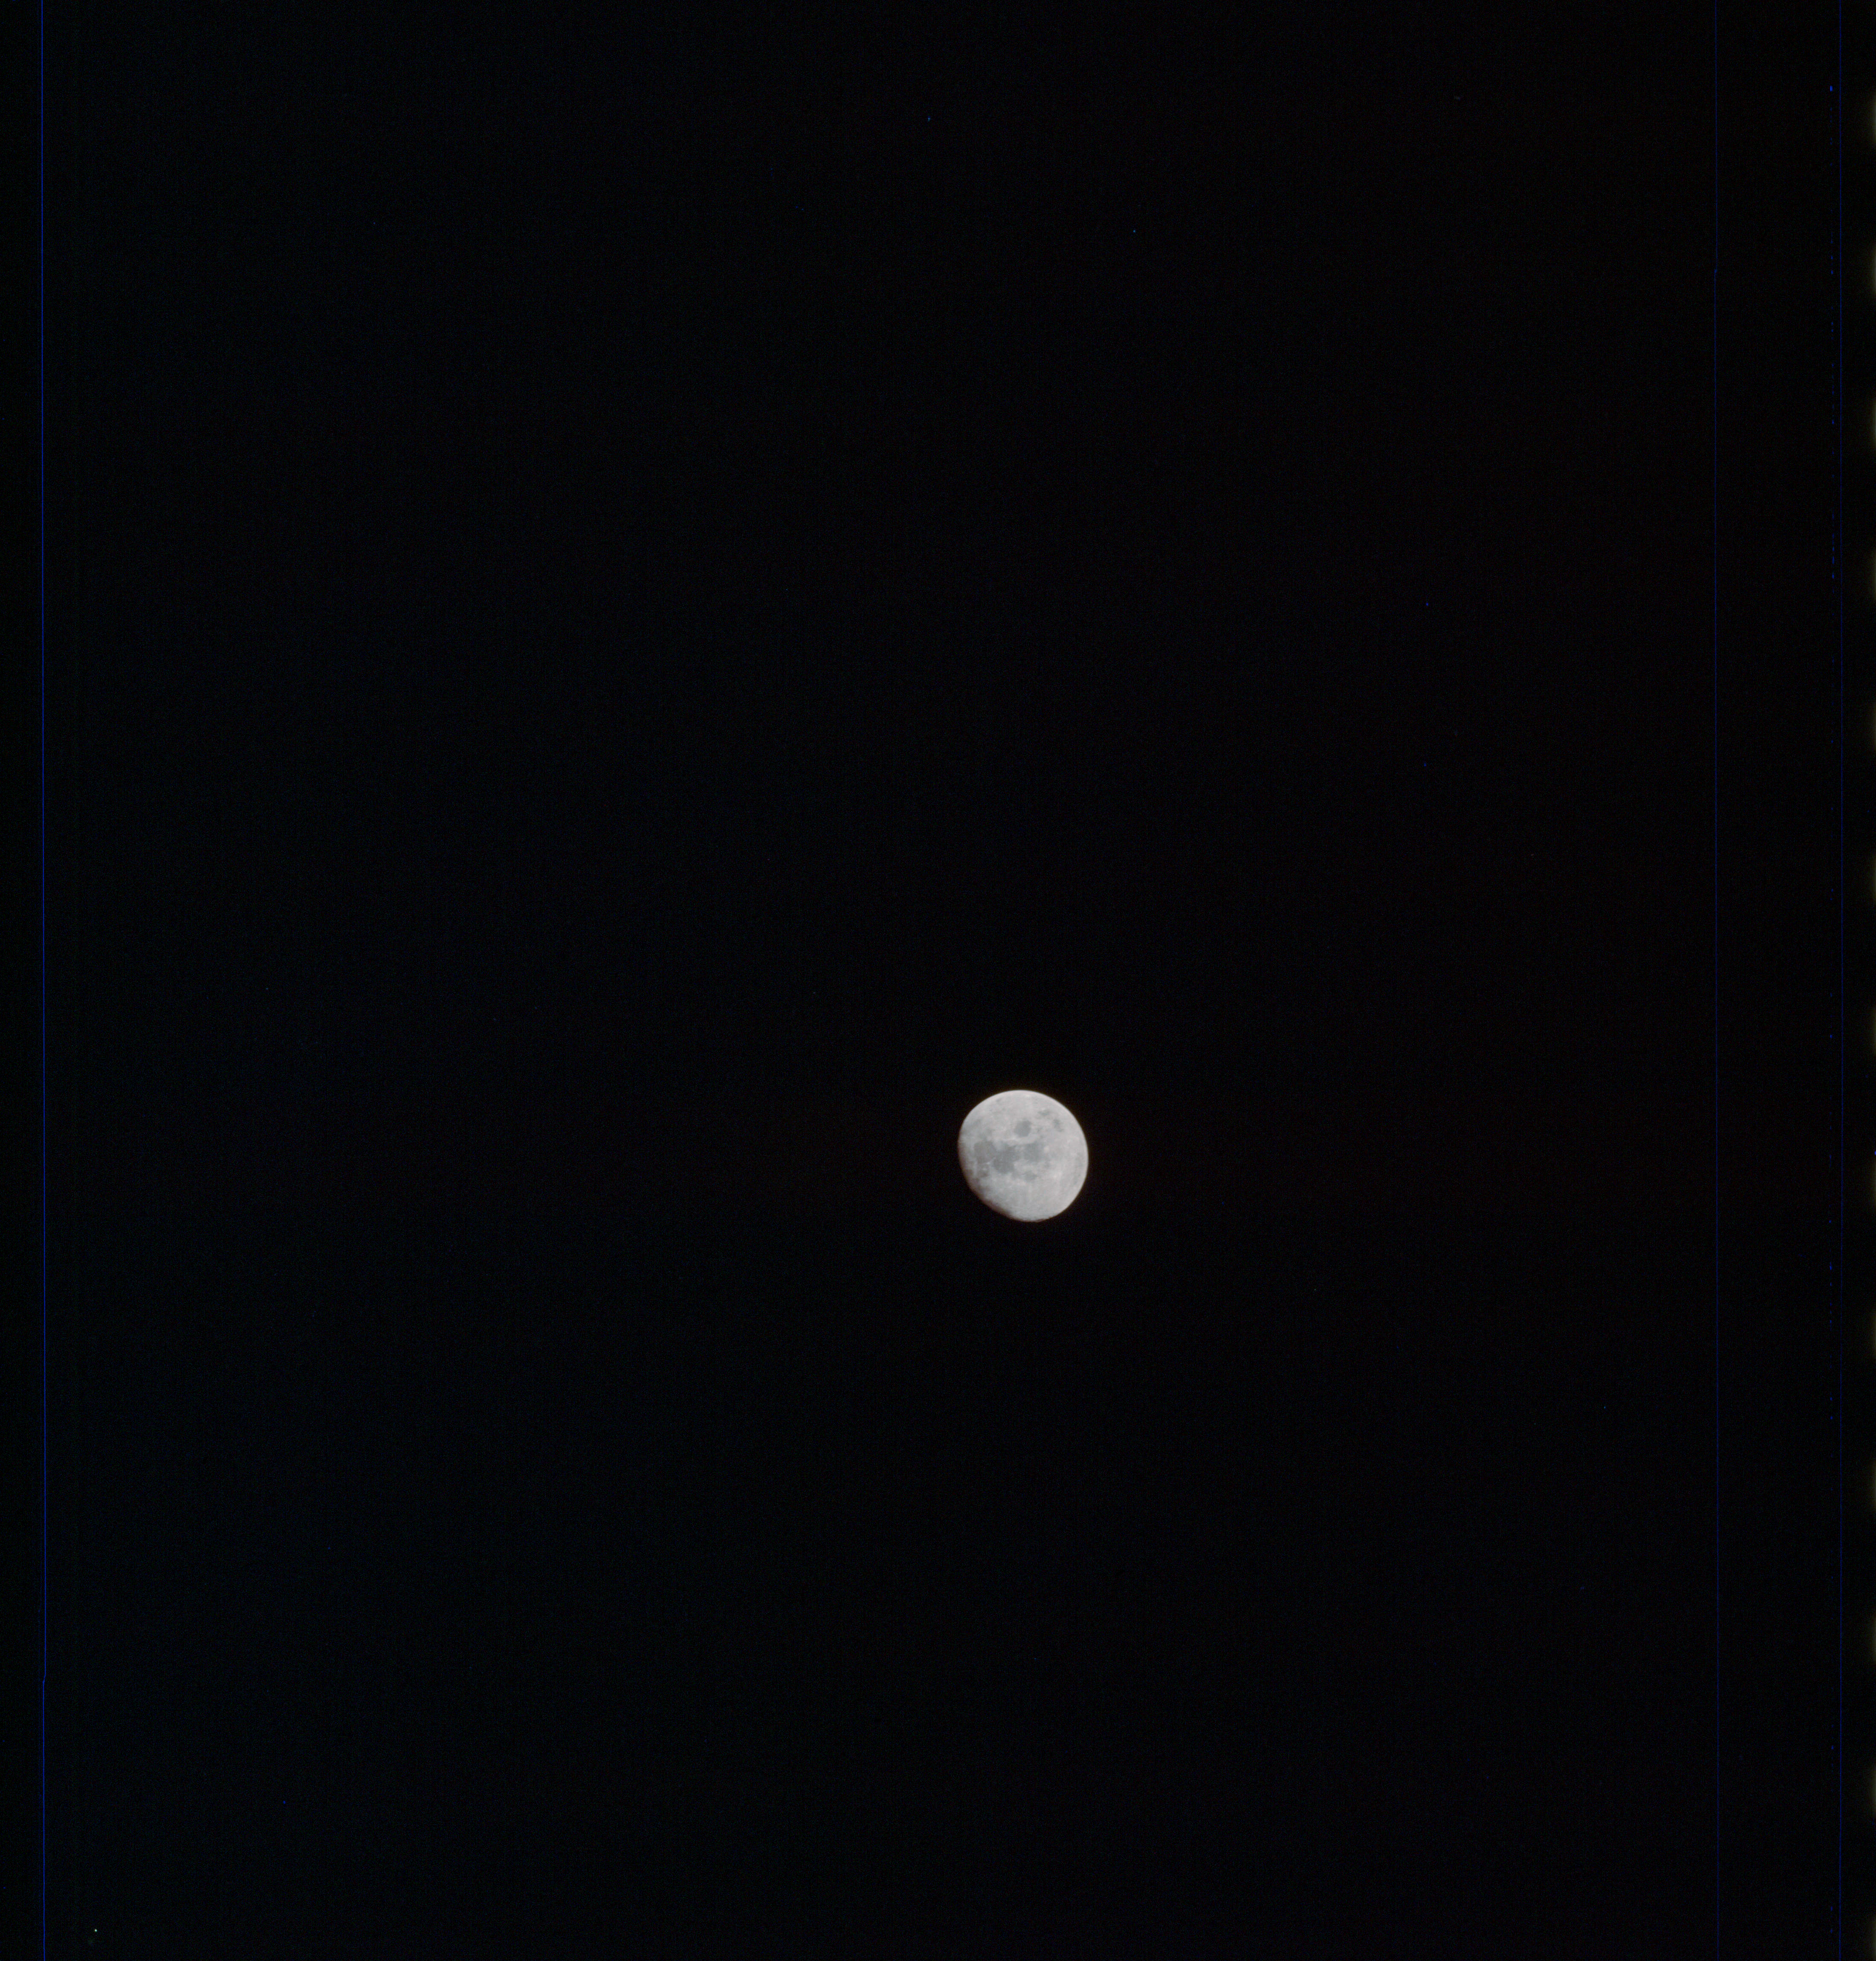
AS13-61-8871 Browse or print resolution. Moon from Apollo 13. Image credit: Image Science and Analysis Laboratory, NASA-Johnson Space Center. |
|
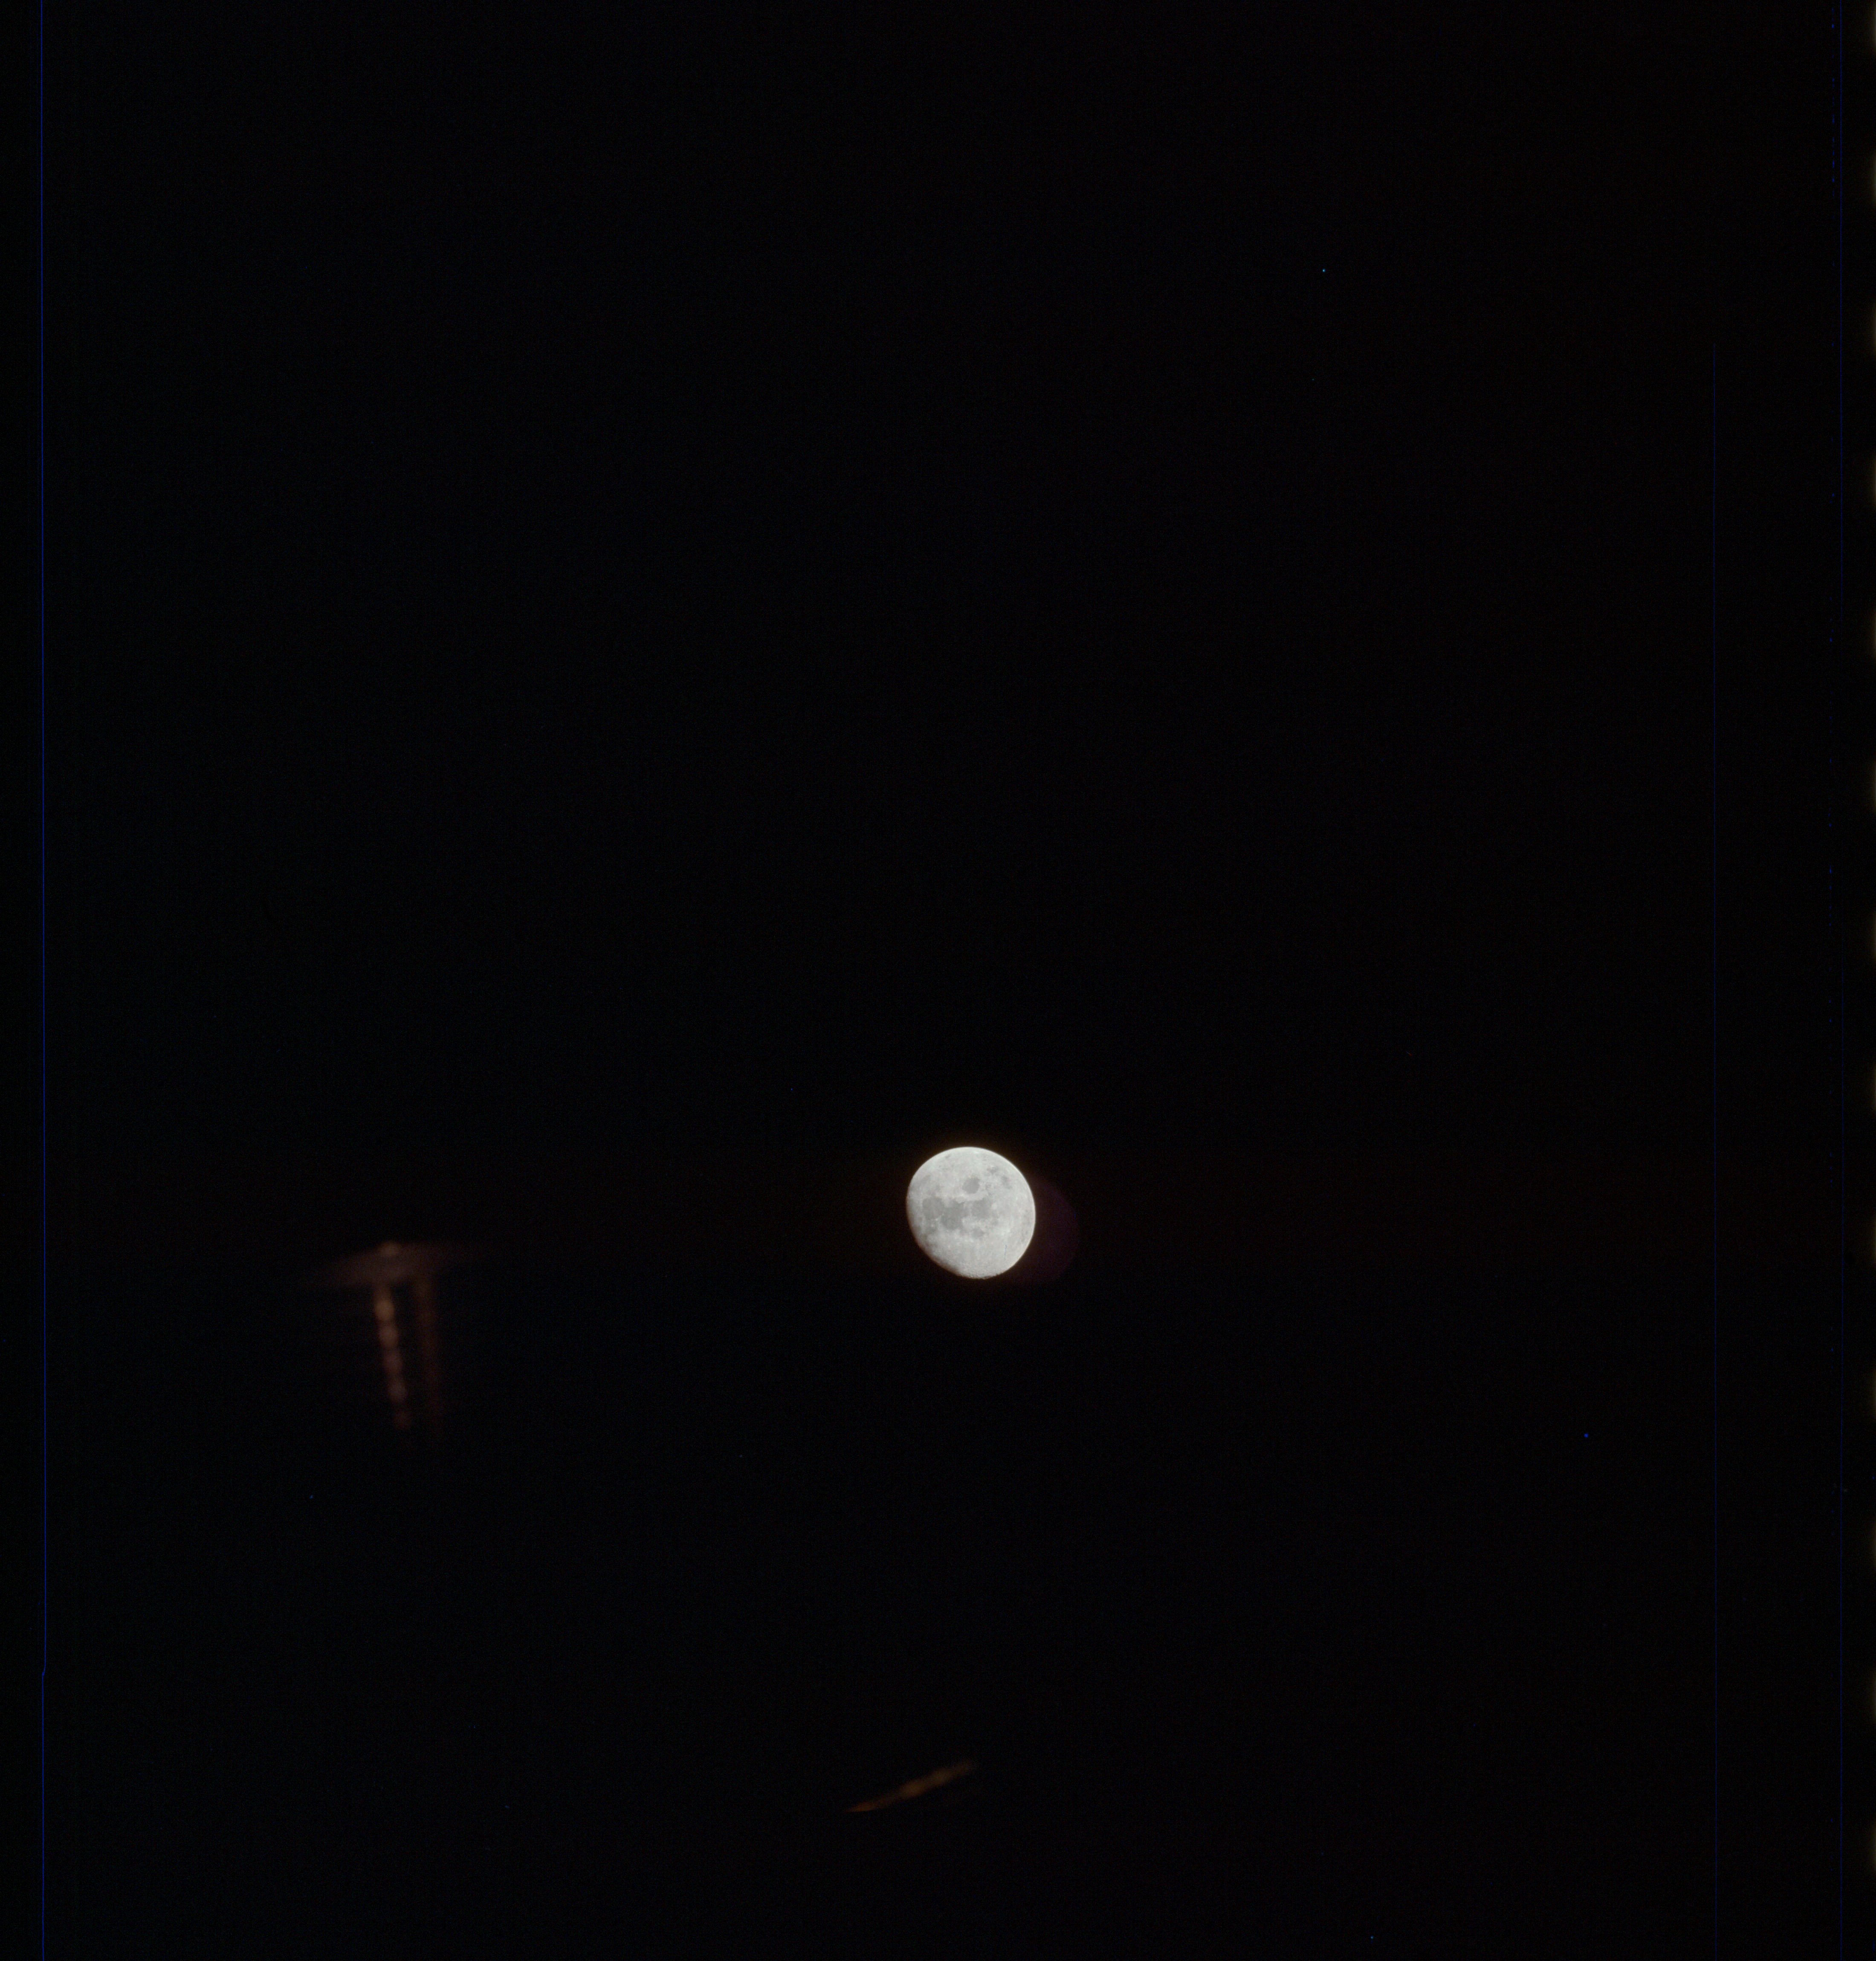
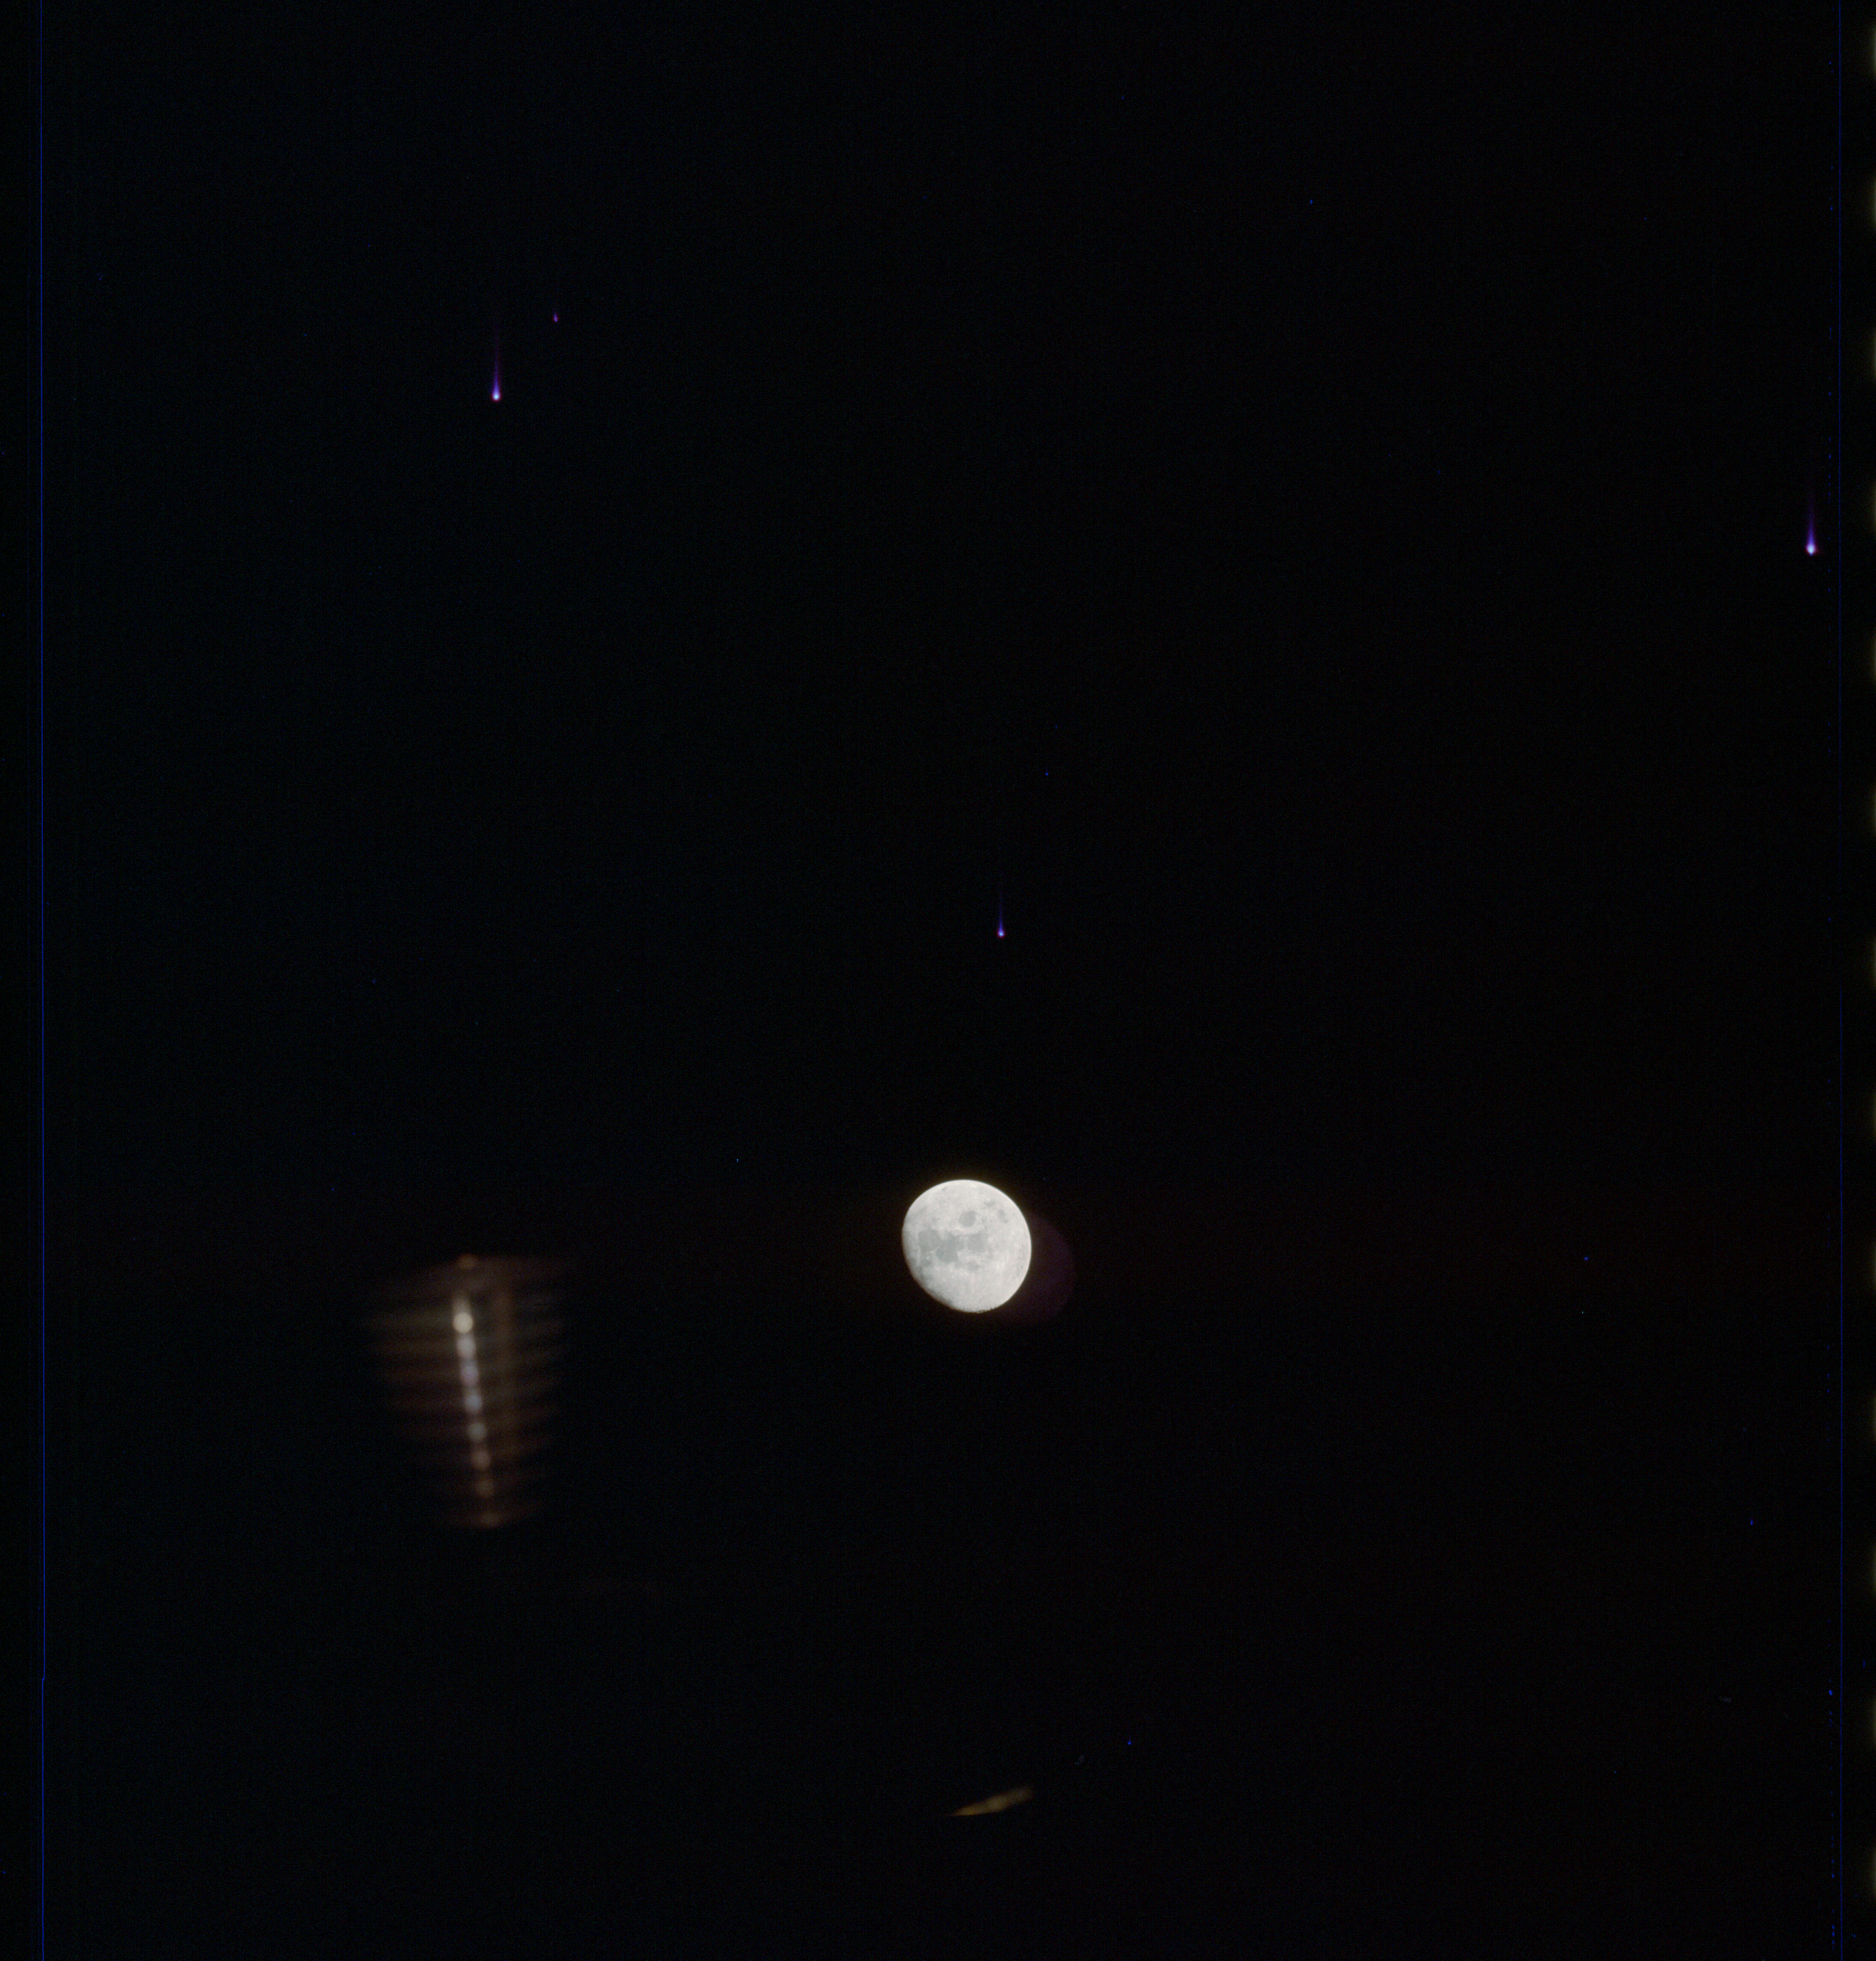
AS13-61-8872 Browse or print resolution. Moon with RCS thruster in foreground. Image credit: Image Science and Analysis Laboratory, NASA-Johnson Space Center. |
|
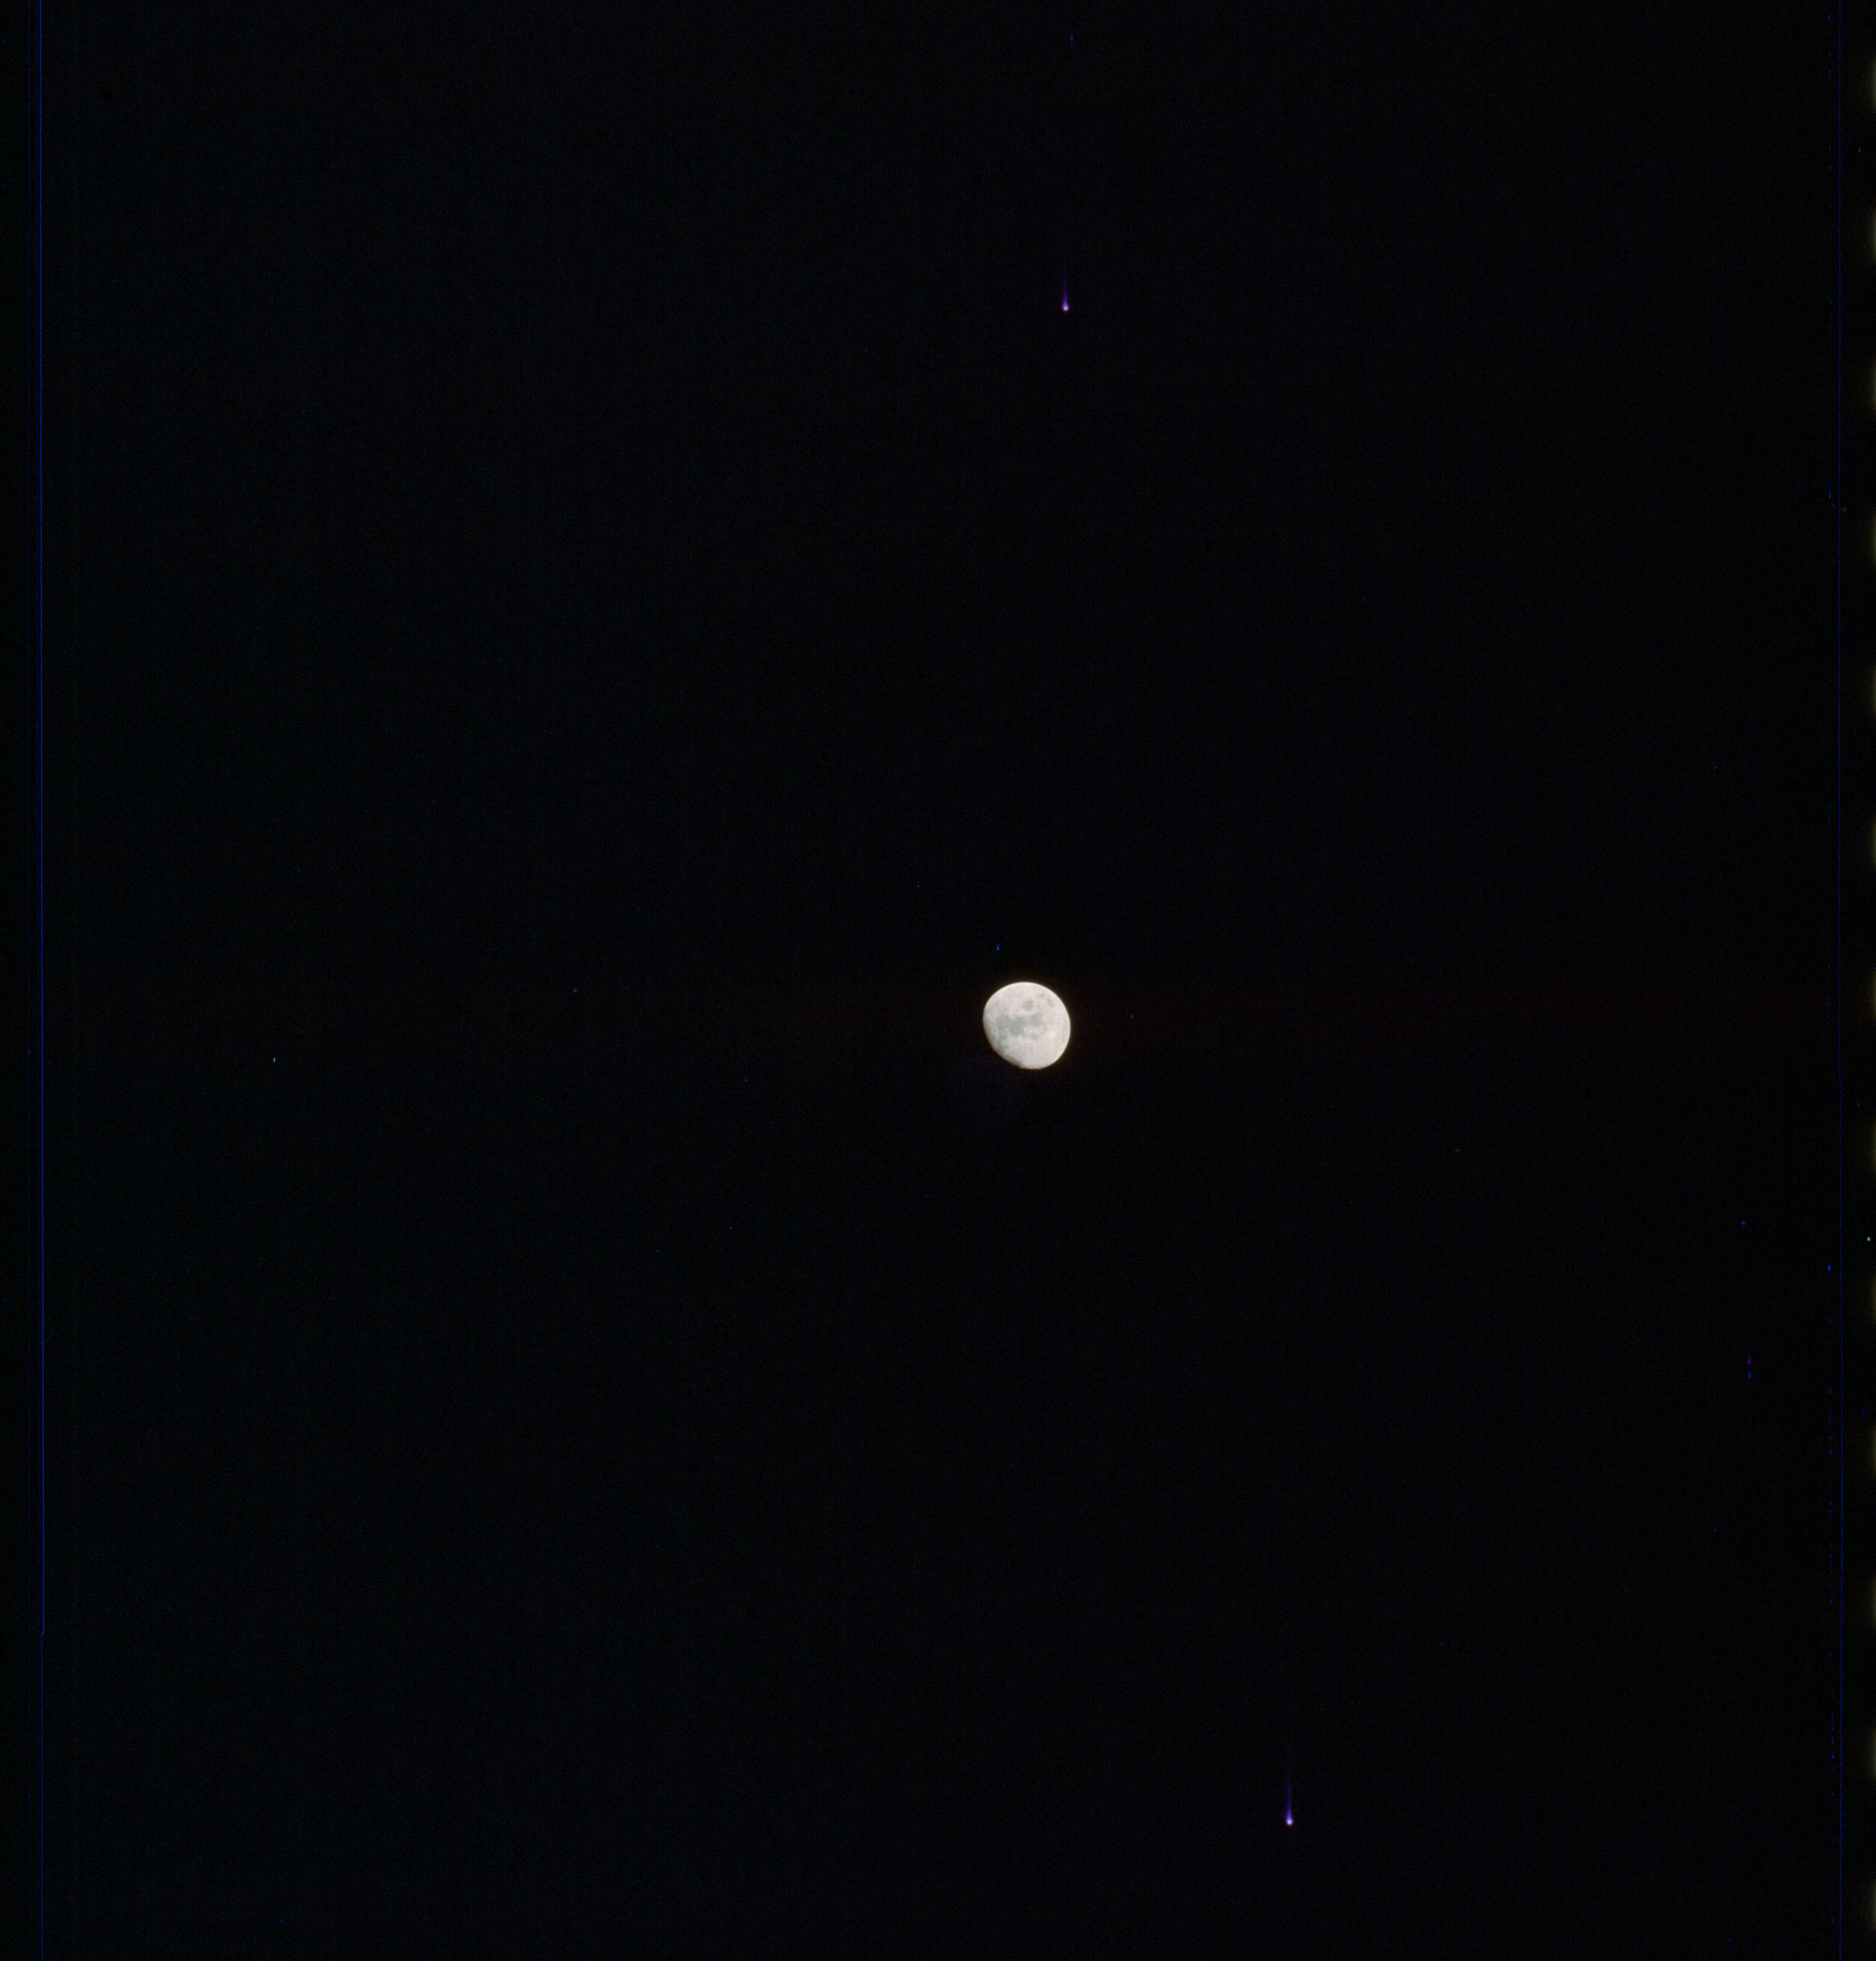
AS13-61-8873 Browse or print resolution. Moon with RCS thruster in foreground. Image credit: Image Science and Analysis Laboratory, NASA-Johnson Space Center. |
|
AS13-61-8874 Browse or print resolution. Moon from Apollo 13. Image credit: Image Science and Analysis Laboratory, NASA-Johnson Space Center. |
|
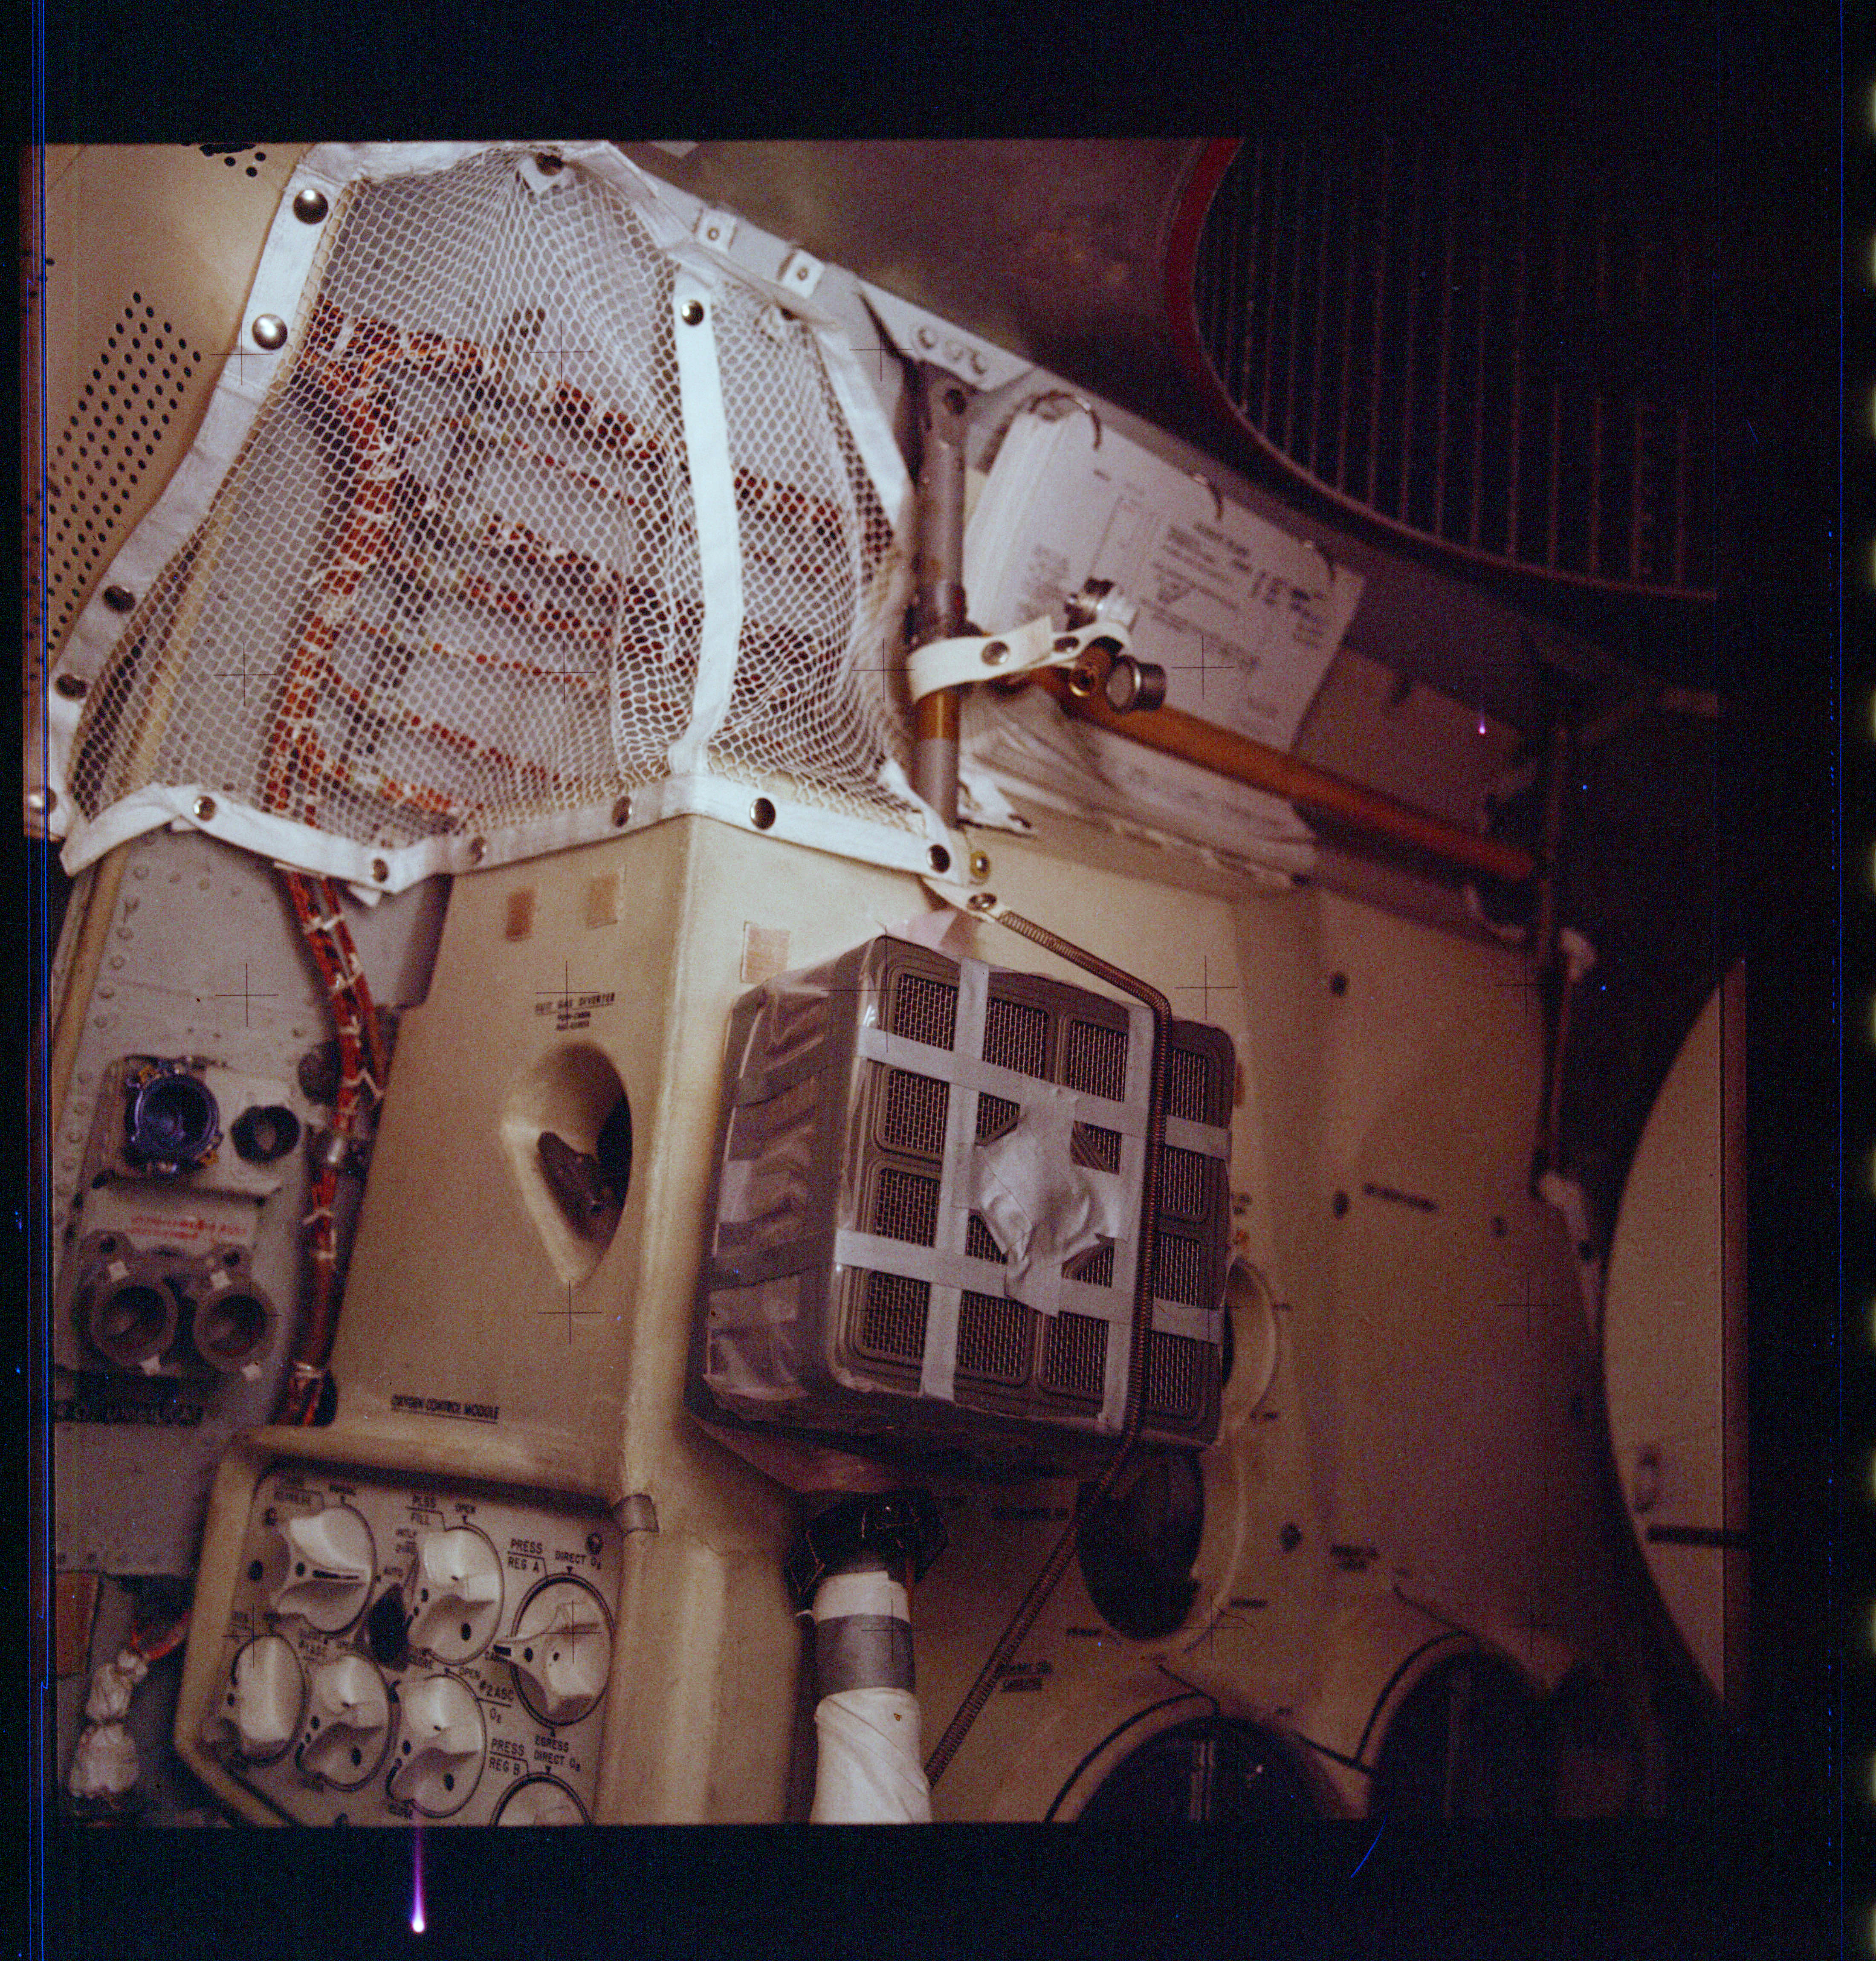
AS13-61-8875 Browse or print resolution. Moon from Apollo 13. Image credit: Image Science and Analysis Laboratory, NASA-Johnson Space Center. |
|
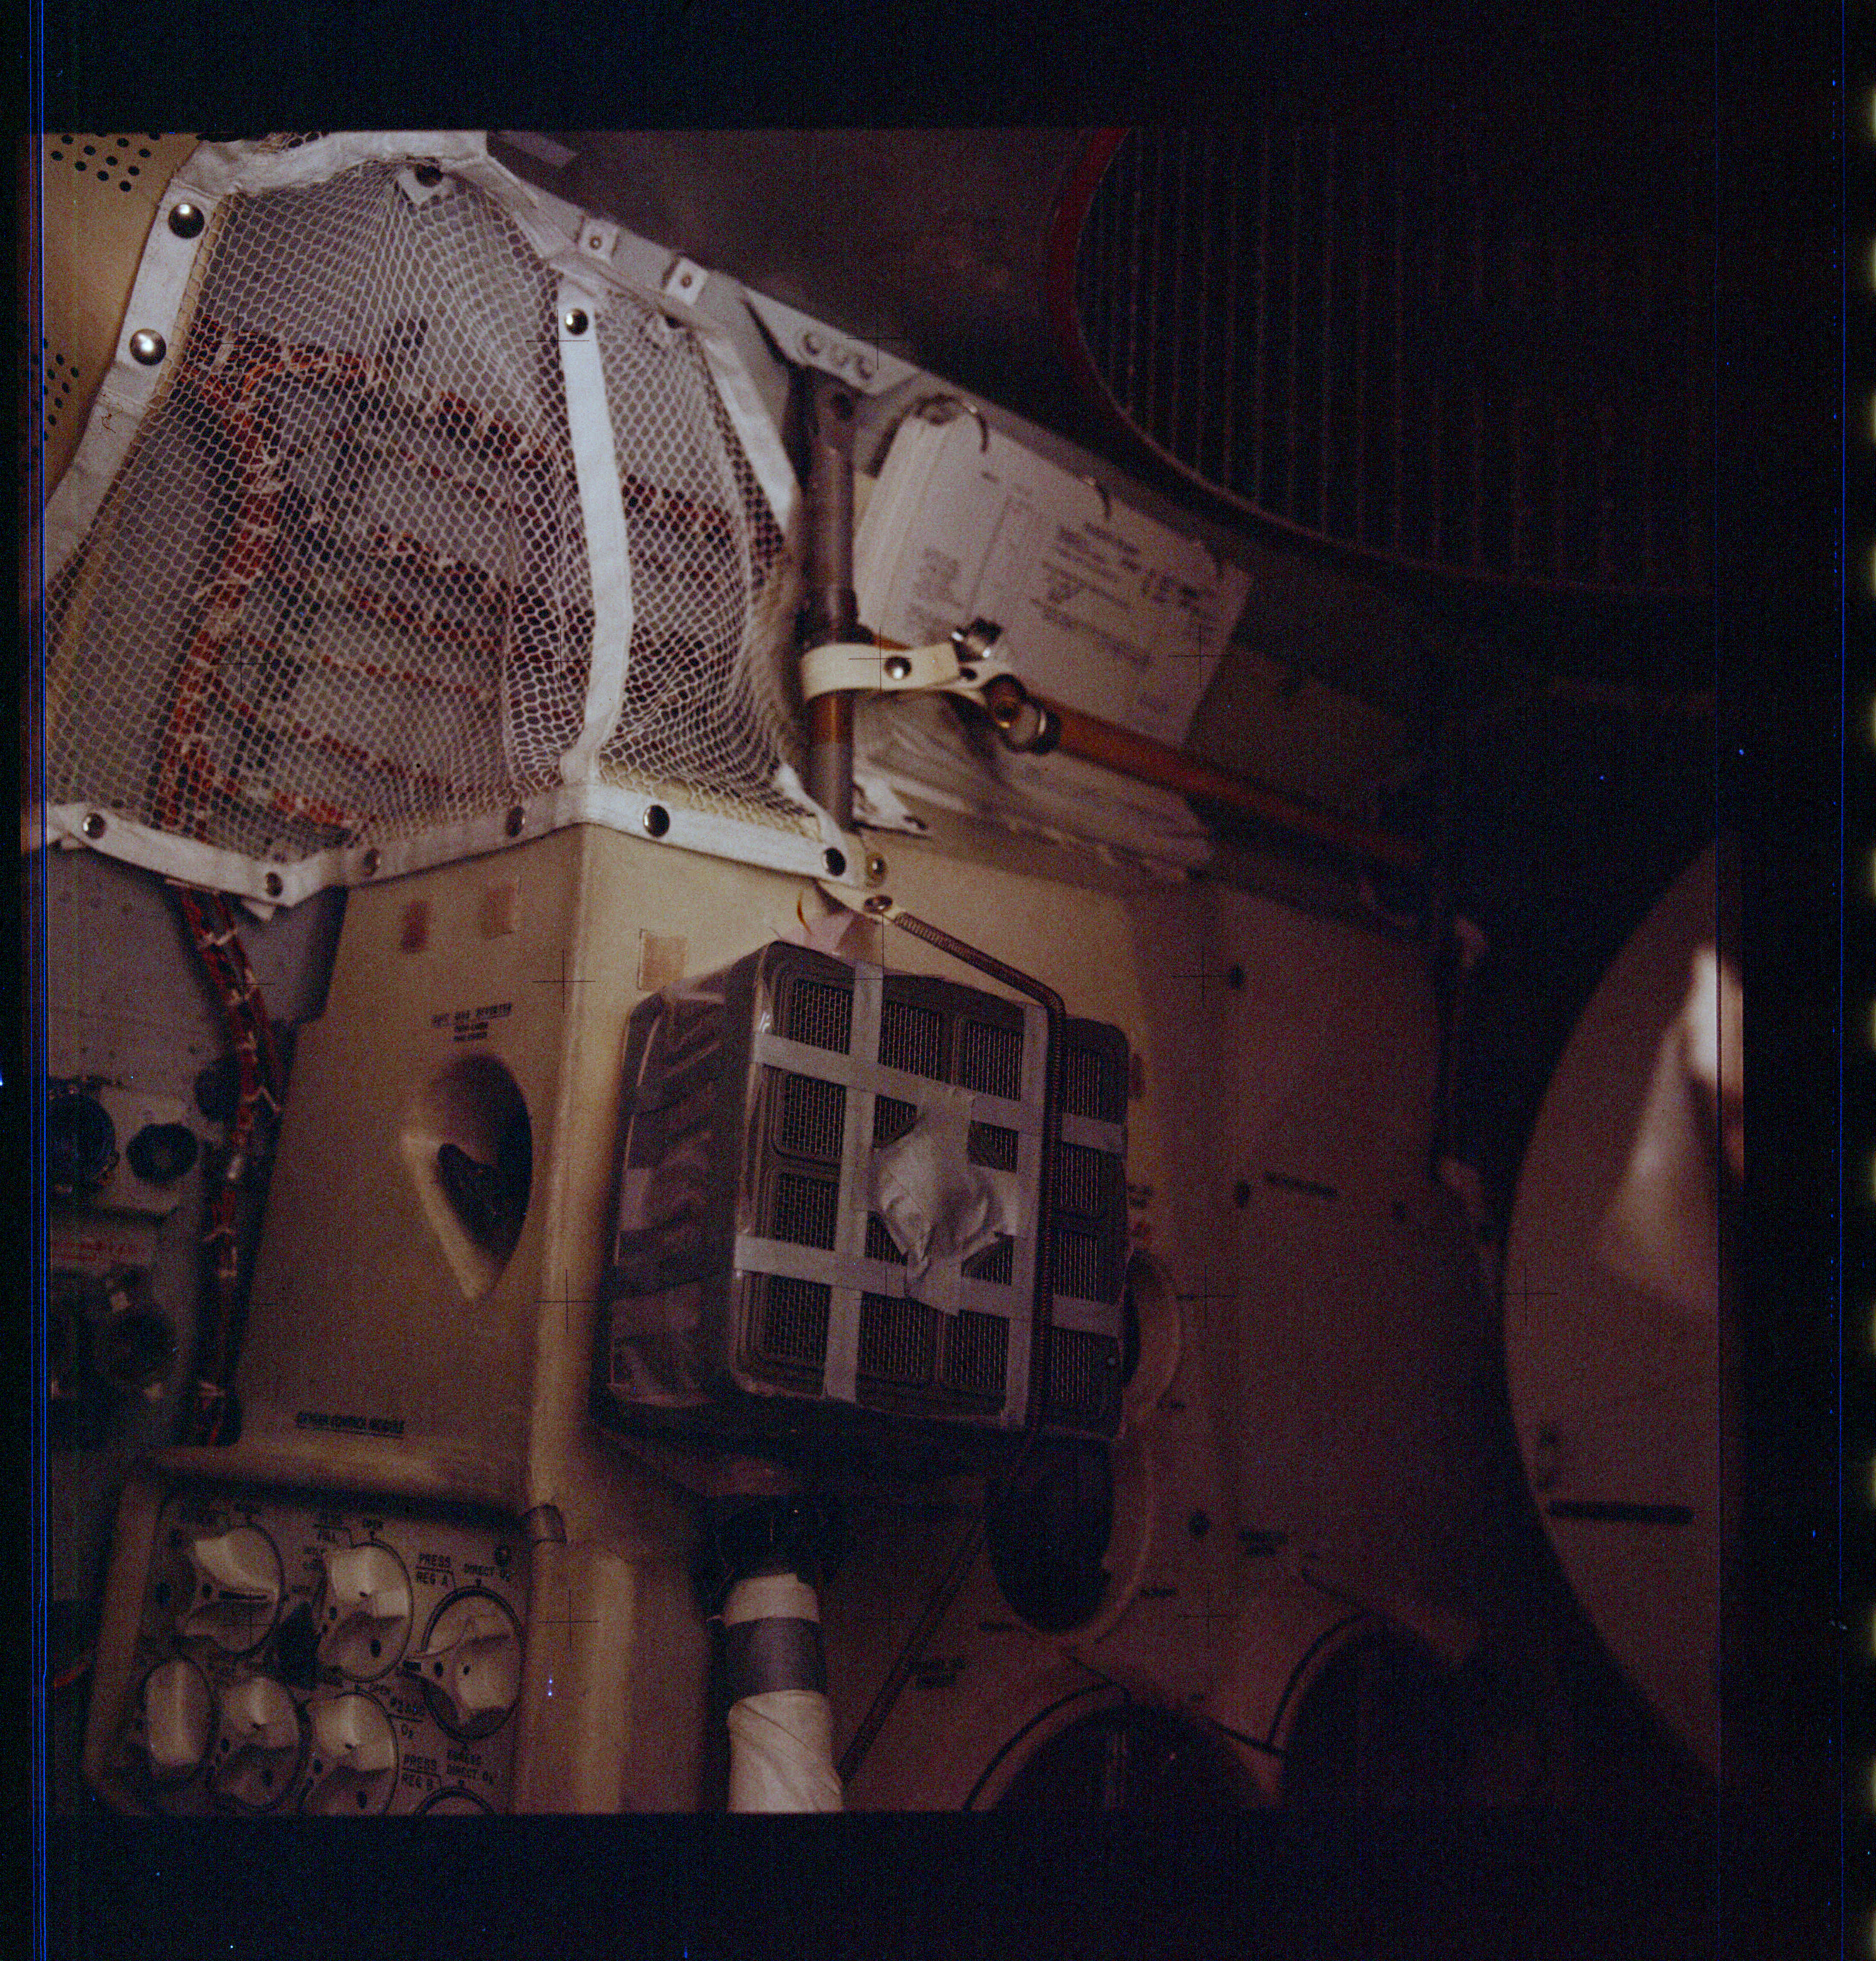
AS13-61-8876 Browse or print resolution. Carbon dioxide scrubber lash-up in Lunar Module. Image credit: Image Science and Analysis Laboratory, NASA-Johnson Space Center. |
|
AS13-61-8877 Browse or print resolution. Carbon dioxide scrubber lash-up in Lunar Module. Image credit: Image Science and Analysis Laboratory, NASA-Johnson Space Center. |
|
AS13-61-8878 Browse or print resolution. Indistinct interior image. Image credit: Image Science and Analysis Laboratory, NASA-Johnson Space Center. |
|
AS13-61-8879 Browse or print resolution. Indistinct interior image. Image credit: Image Science and Analysis Laboratory, NASA-Johnson Space Center. |
|
|
|
| 70-mm magazine L - AS13-60-8577 to 8726 |
Photography Index | 70-mm magazine JJ - AS13-62-8880 to 9039a |