
 |
 |
 |
| 70-mm magazine R - AS13-59-8482 to 59-8576 |
Photography Index | 70-mm magazine II - AS13-61-8727 to 8879 |
No copyright is asserted for NASA photographs. If a recognizable person appears in a photo, use for commercial purposes may infringe a right of privacy or publicity. Photos may not be used to state or imply the endorsement by NASA or by any NASA employee of a commercial product, process or service, or used in any other manner that might mislead. Accordingly, it is requested that if a NASA photograph is used in advertising and other commercial promotion, layout and copy be submitted to NASA prior to release.
NASA photos reproduced from this archive should include photo credit to "NASA" or "National Aeronautics and Space Administration" and should include scanning credit to the appropriate individuals or agencies as noted in the captions.
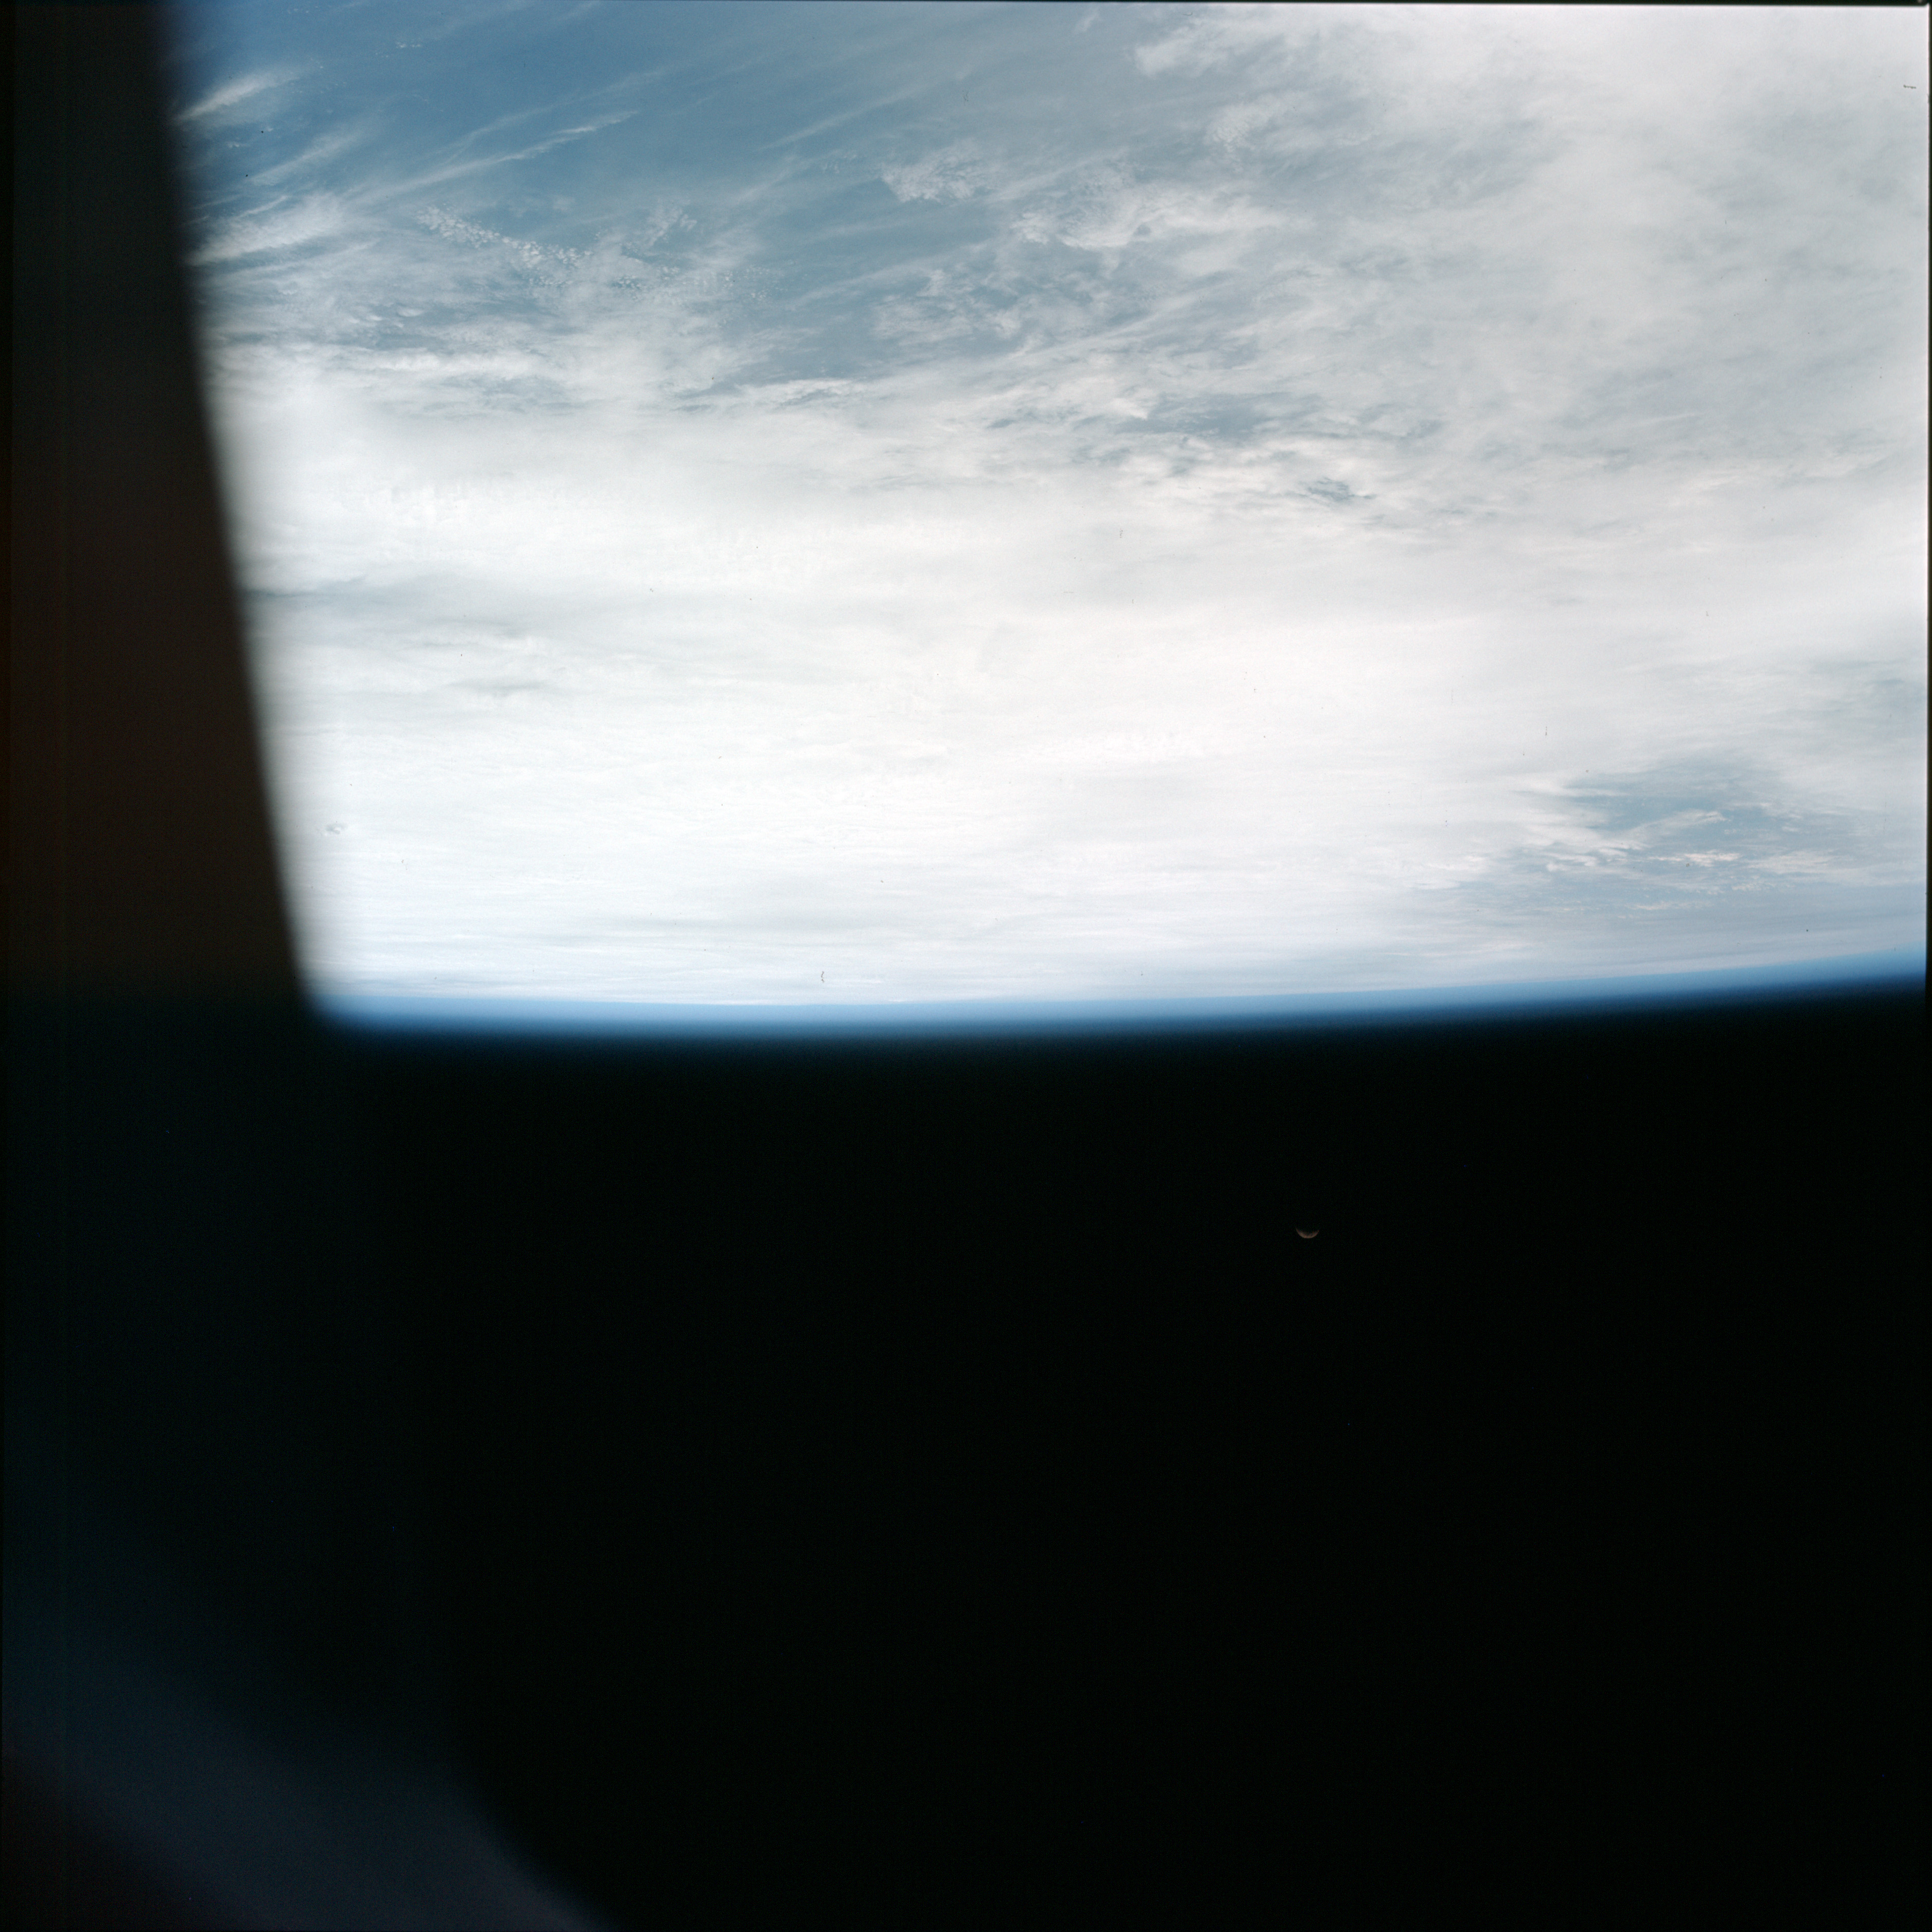 | AS13-60-8577 Cloud over the Pacific Ocean, taken durig the first orbit around Earth. Image credit: Image Science and Analysis Laboratory, NASA-Johnson Space Center. |
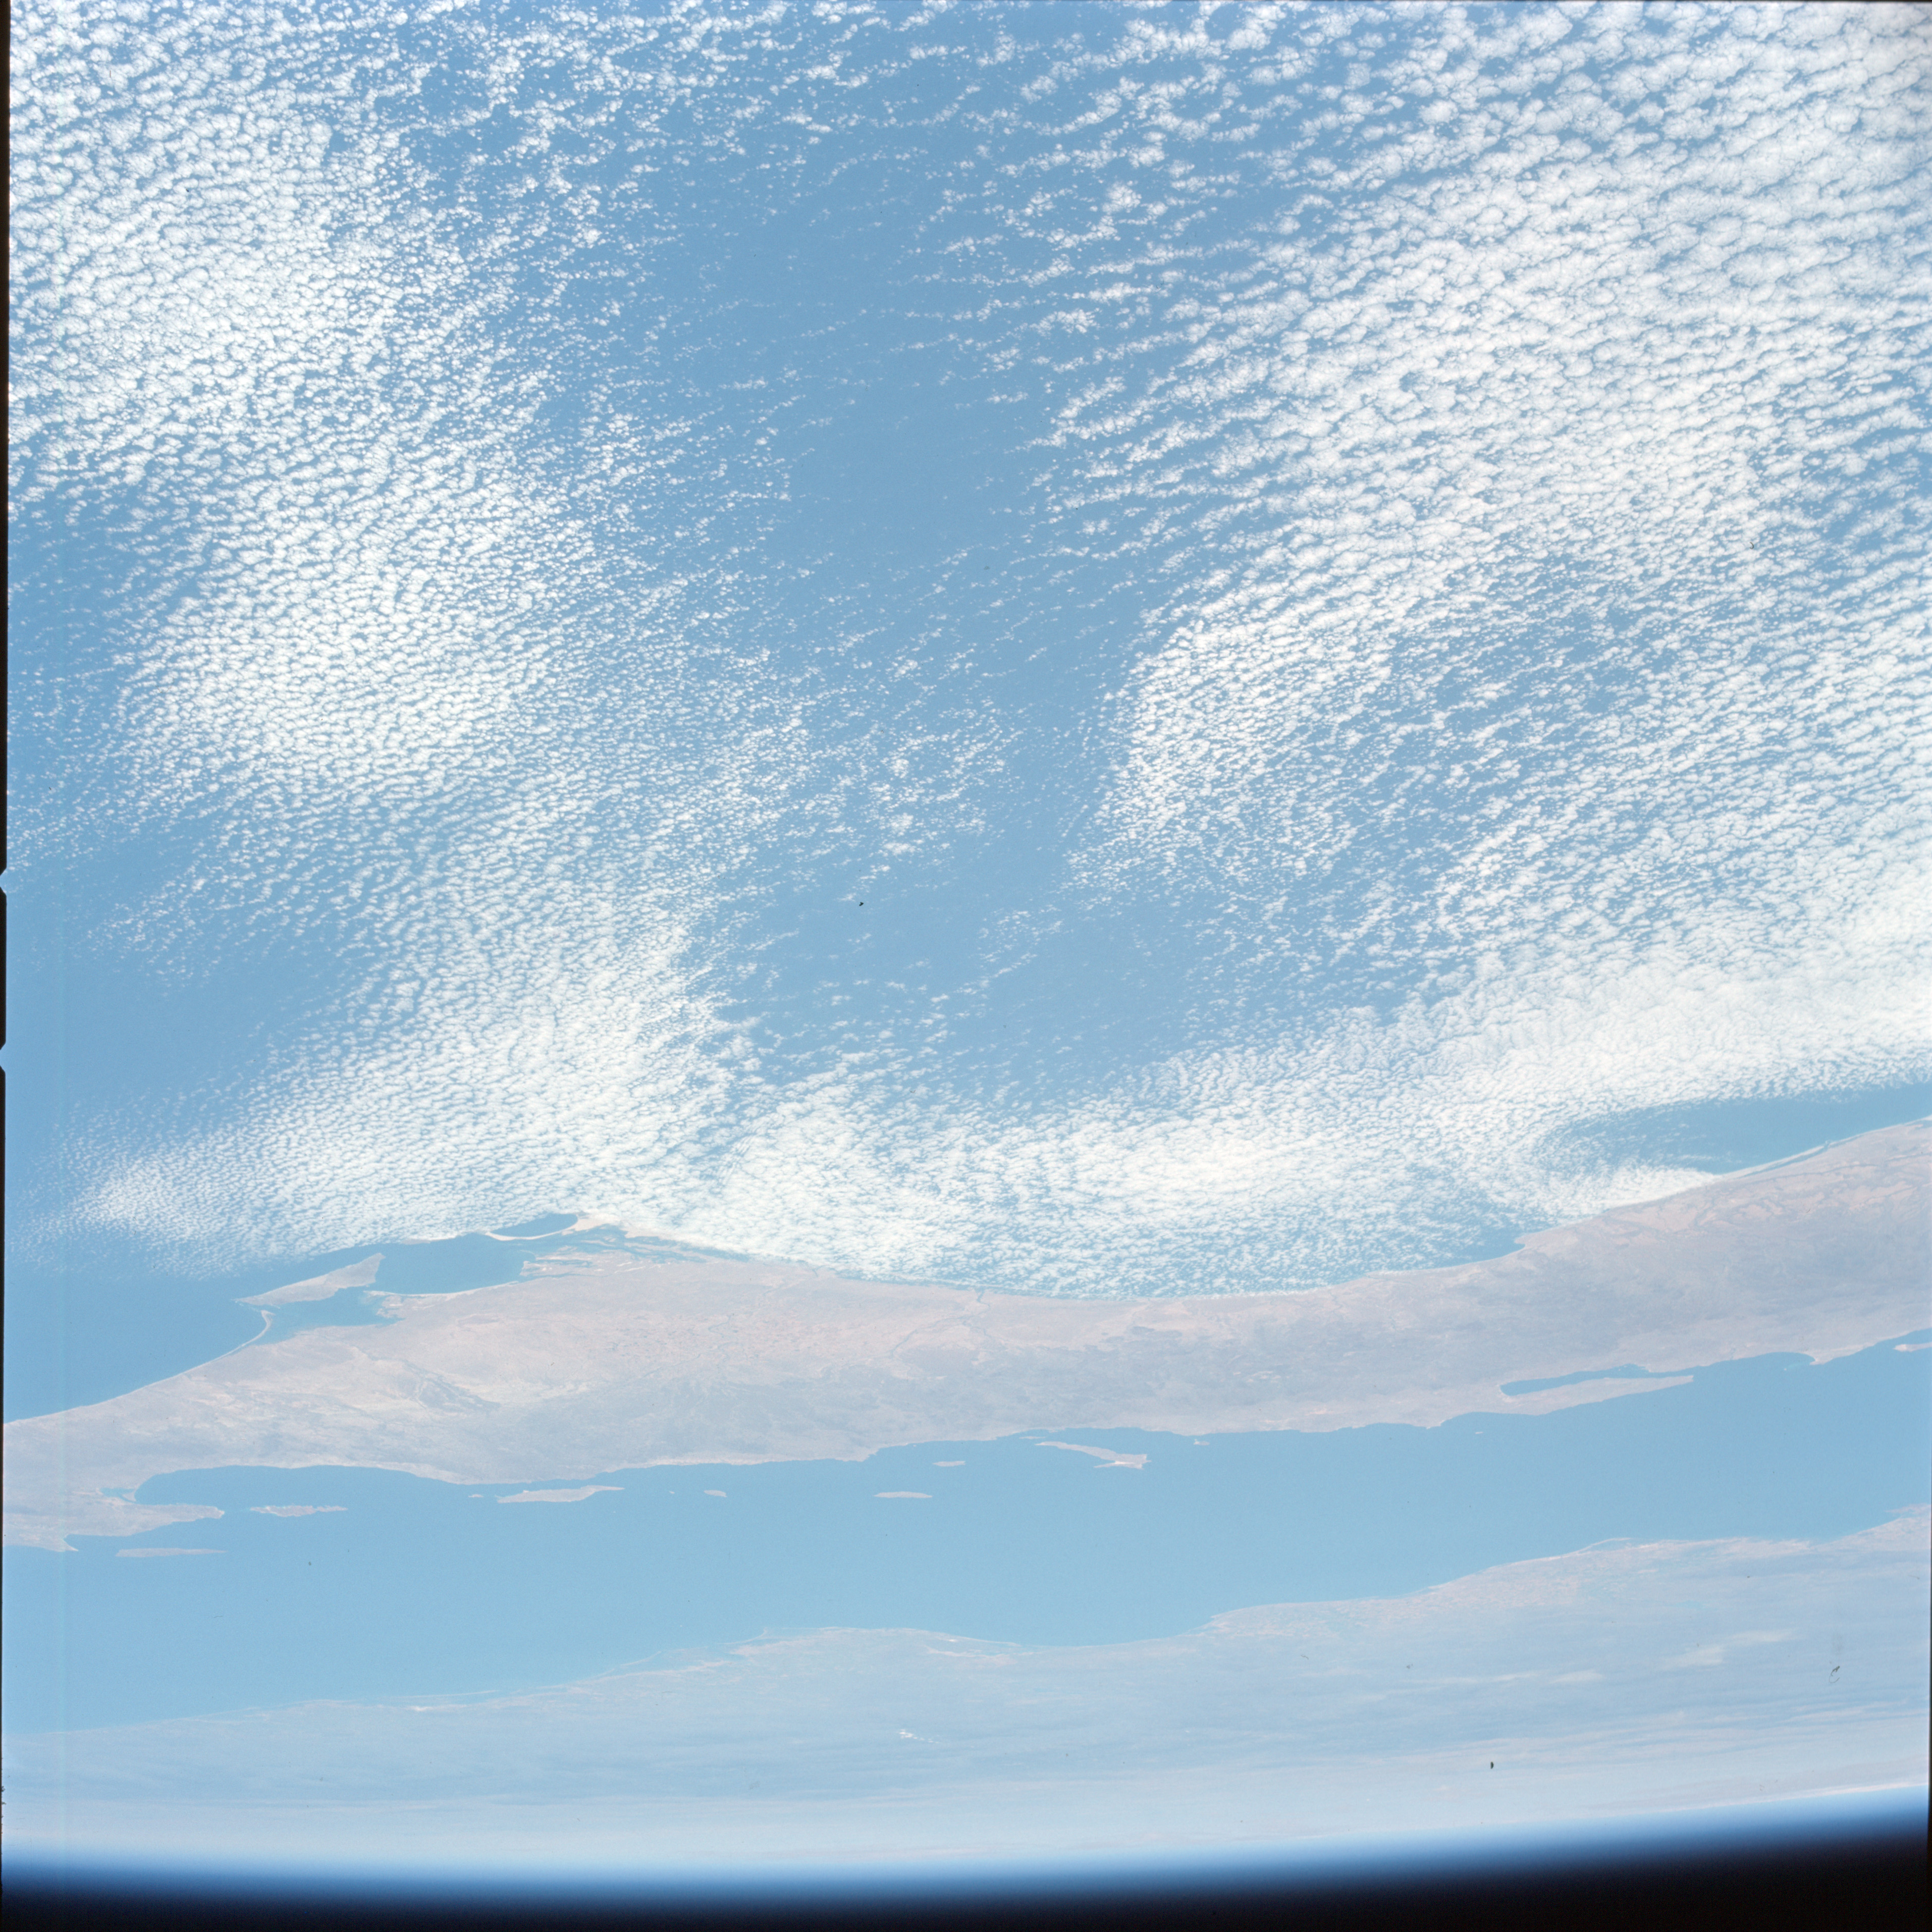 | AS13-60-8578 The peninsula of Baja California and, beyond, the mainland of Mexico, taken towards the end of the first orbit of Earth. Image credit: Image Science and Analysis Laboratory, NASA-Johnson Space Center. |
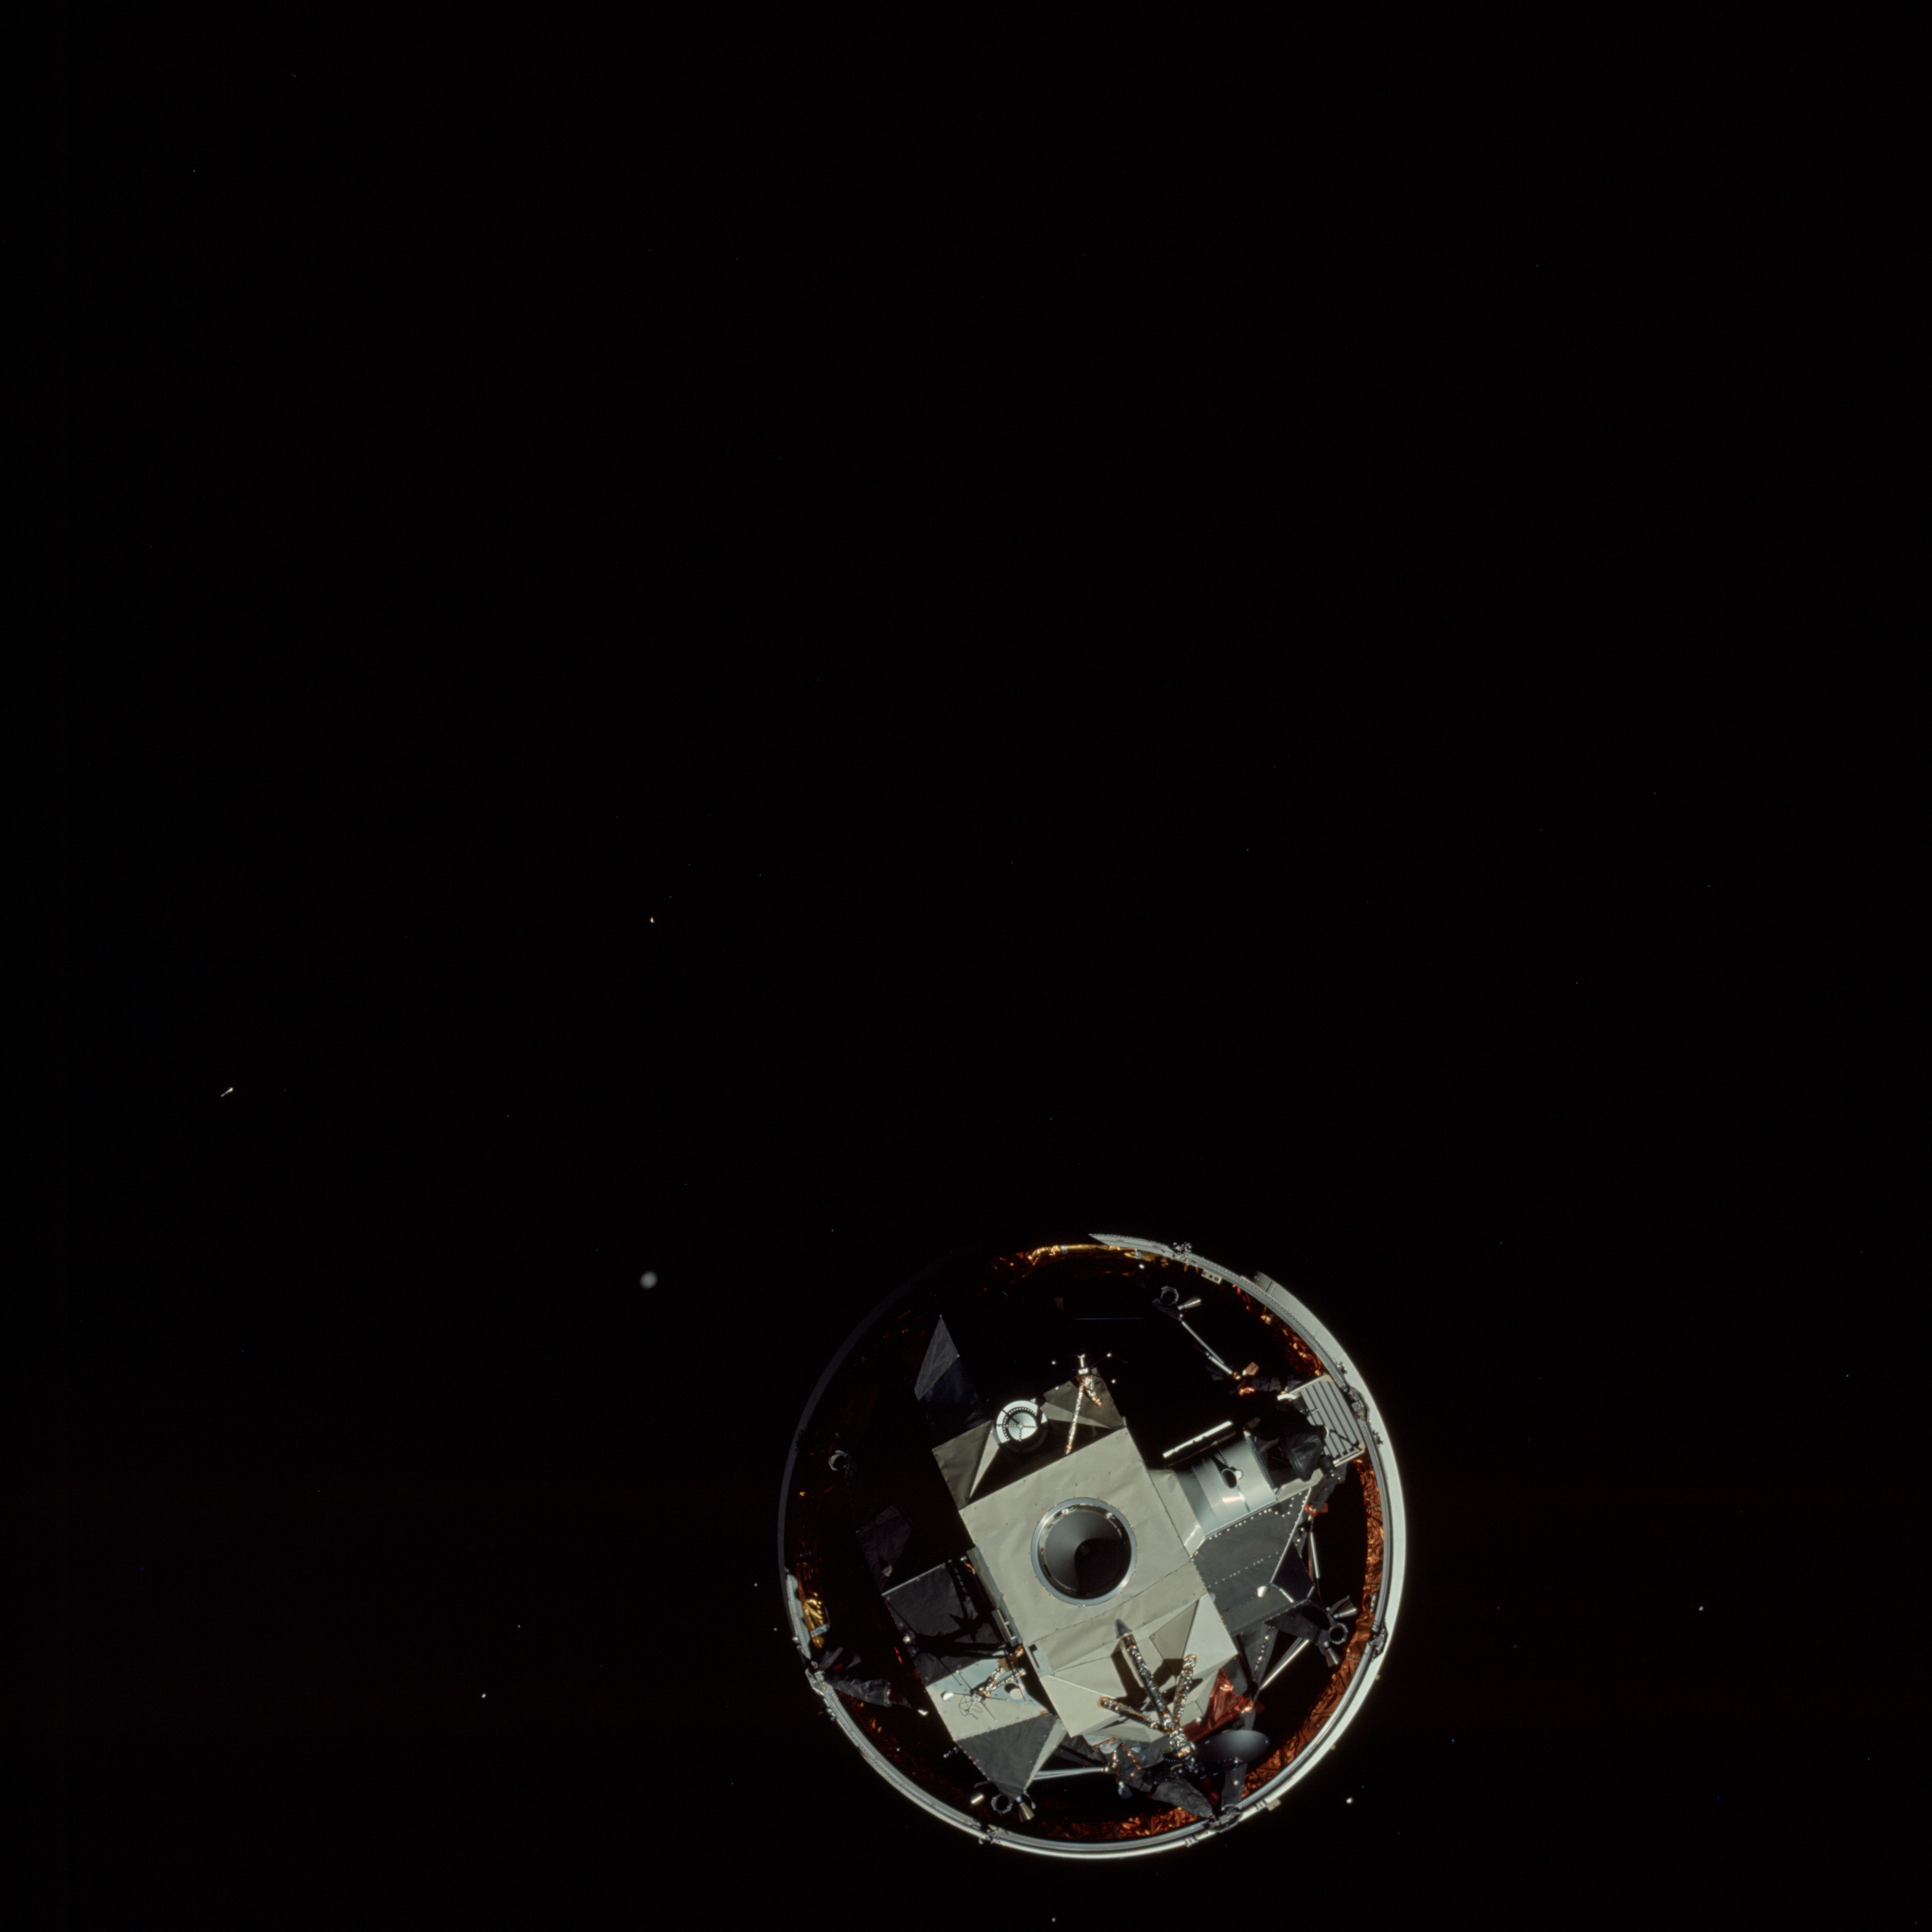 | AS13-60-8579 The Lunar Module, Aquarius at the top of the S-IVB stage of the Saturn launch vehicle. Taken during the approach of the CSM during the Transposition, Docking and Extraction manoeuvres. Image credit: Image Science and Analysis Laboratory, NASA-Johnson Space Center. |
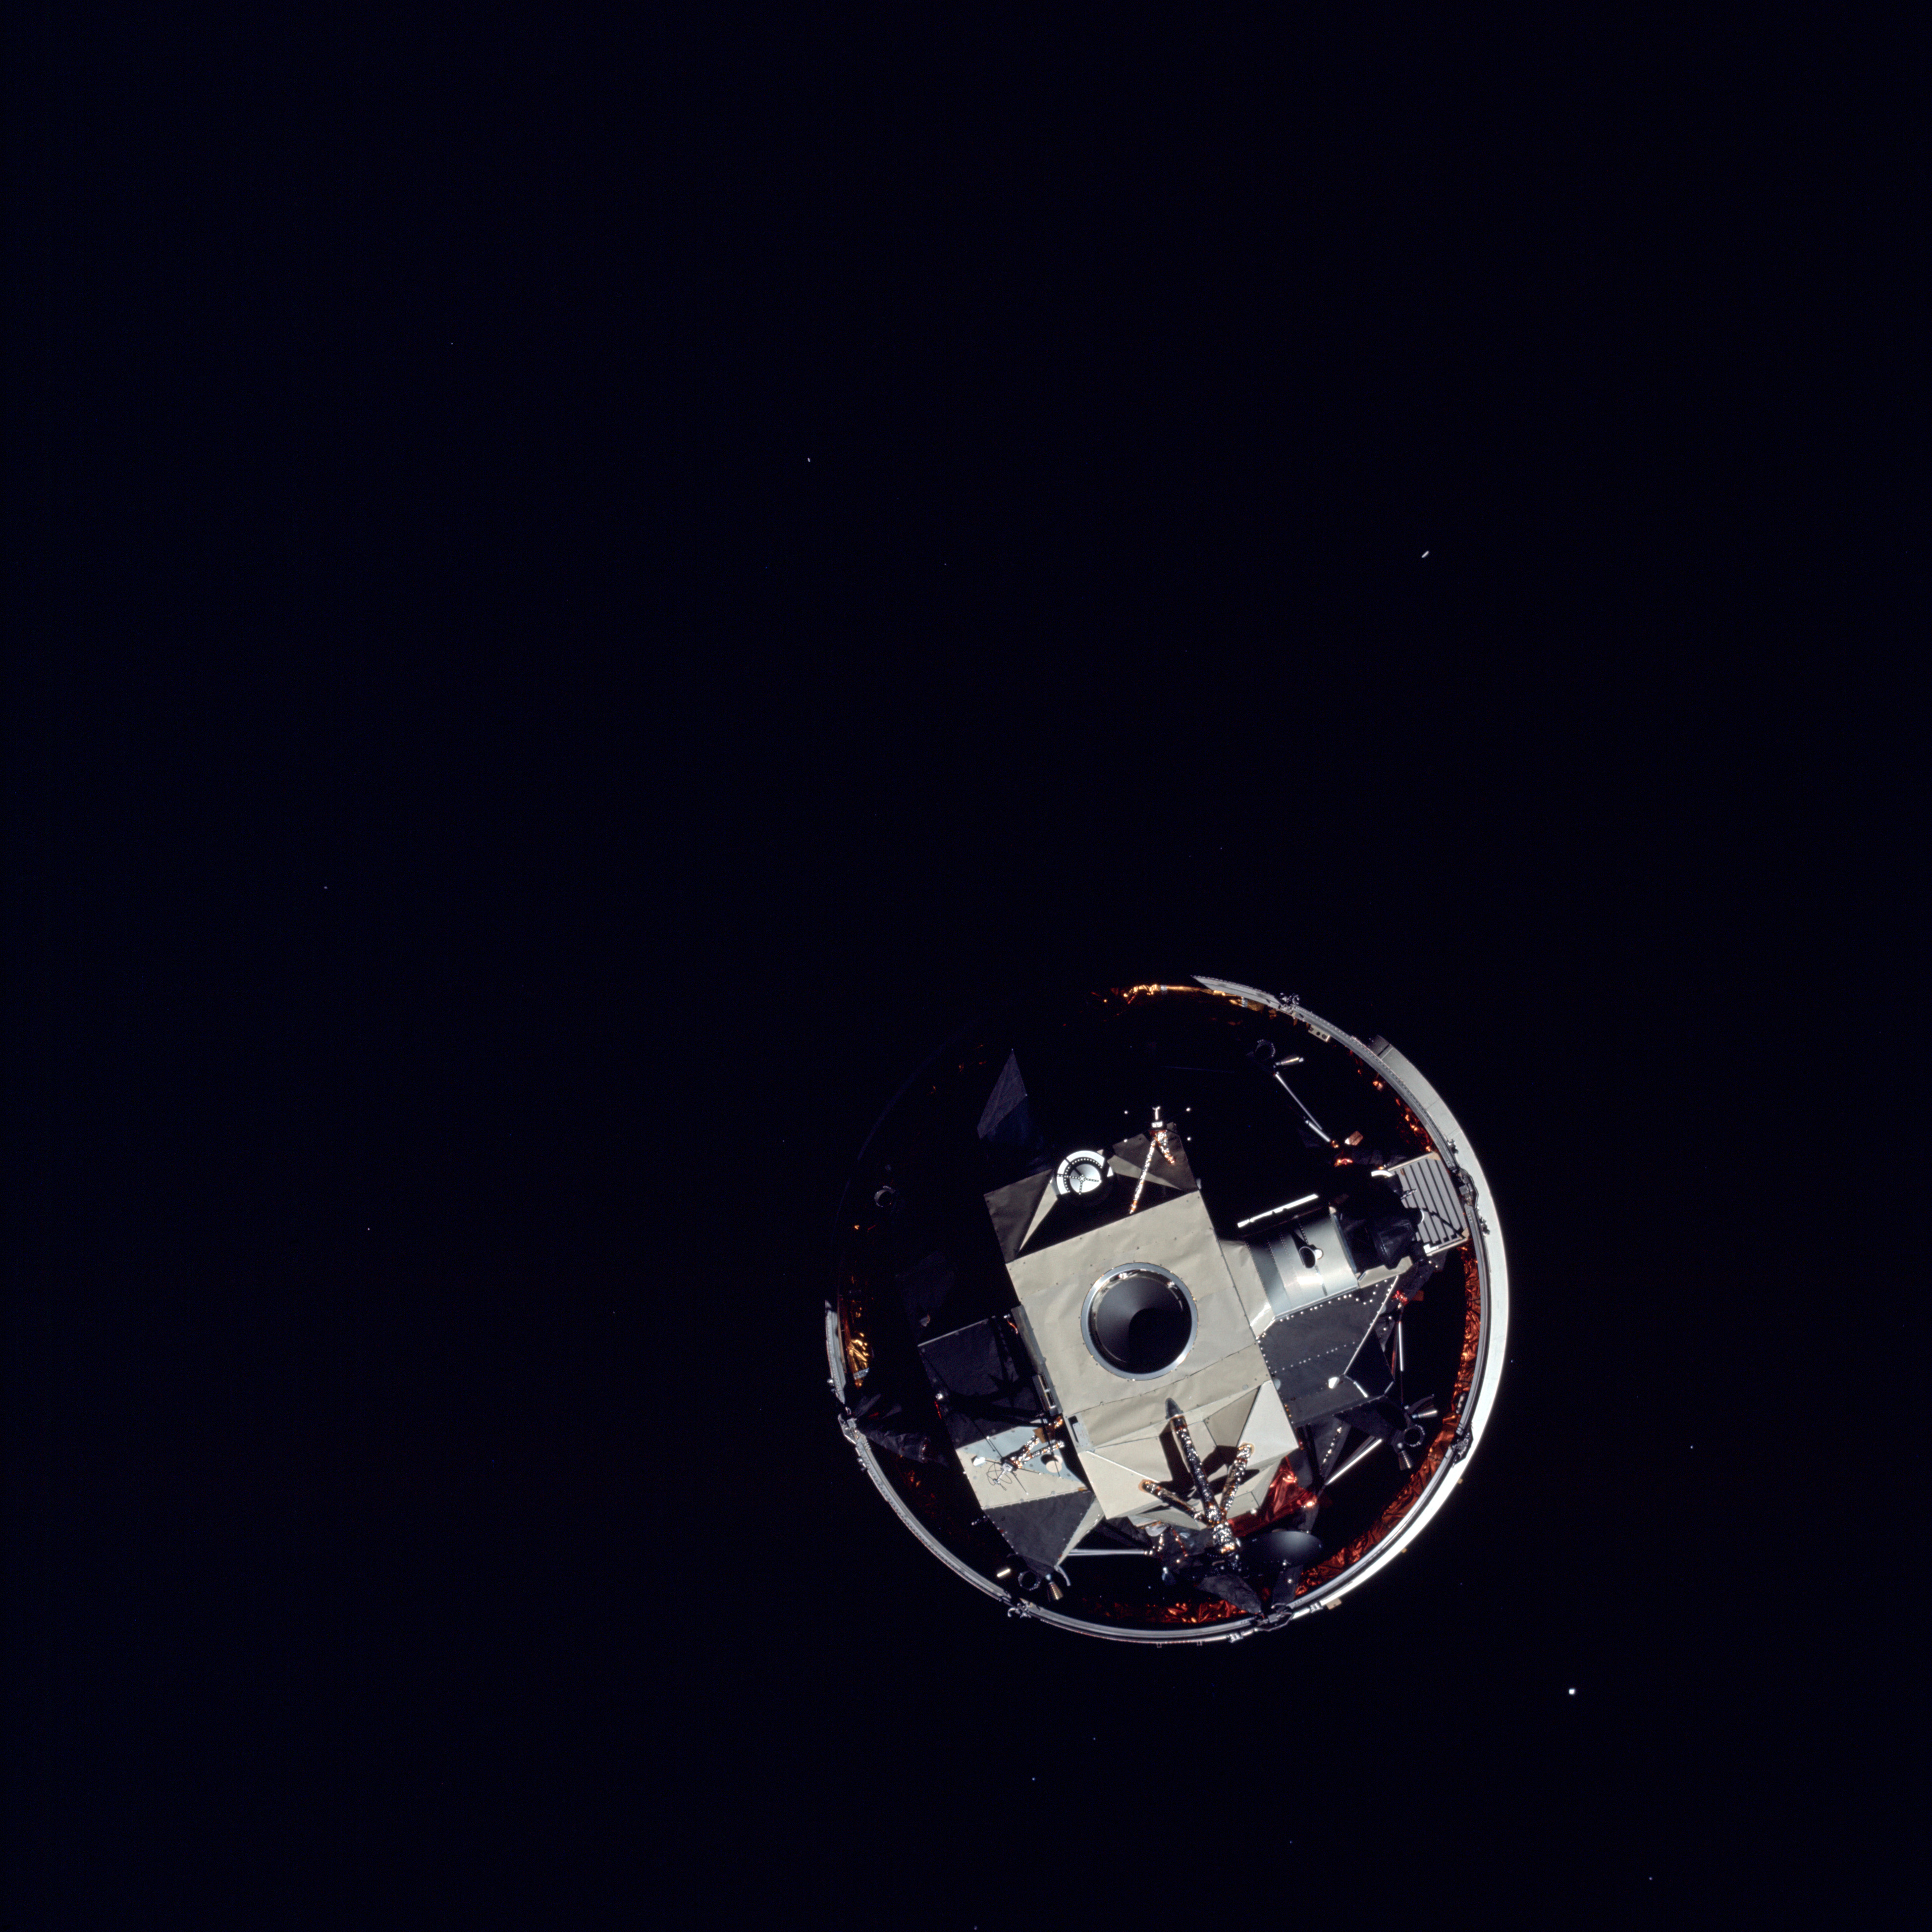 | AS13-60-8580 The Lunar Module, Aquarius at the top of the S-IVB stage of the Saturn launch vehicle. Taken during the approach of the CSM during the Transposition, Docking and Extraction manoeuvres. Image credit: Image Science and Analysis Laboratory, NASA-Johnson Space Center. |
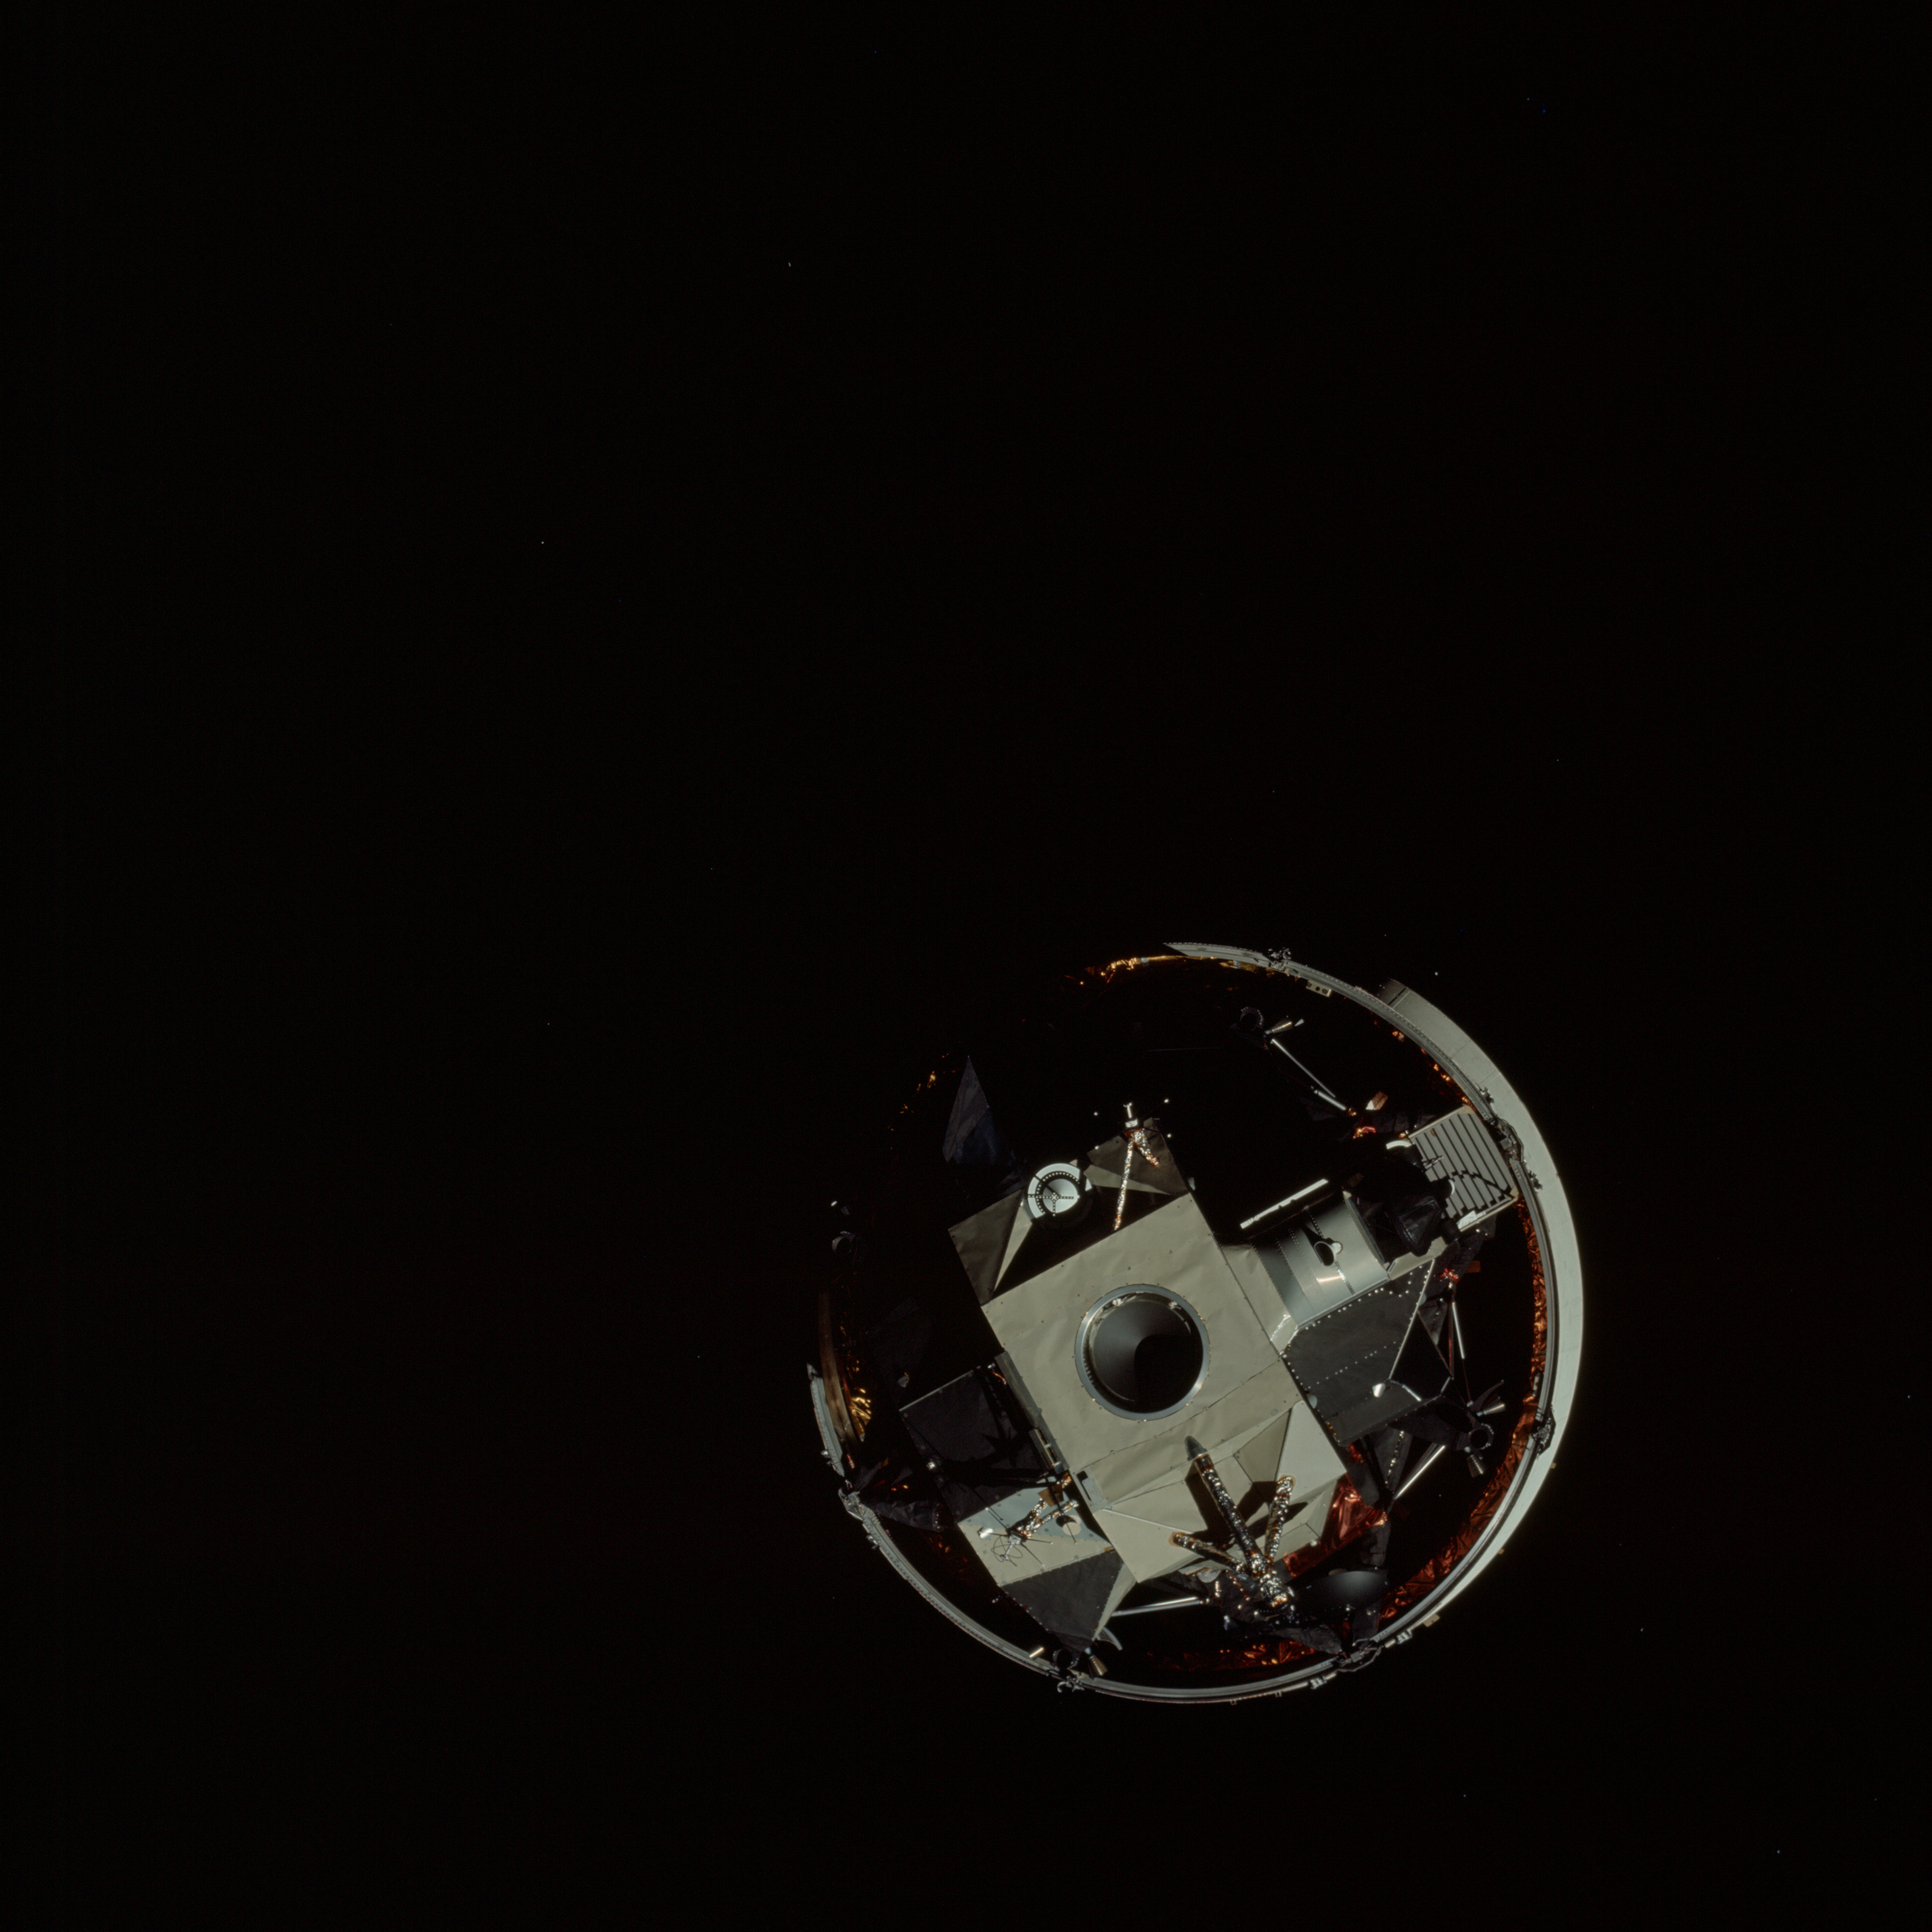 | AS13-60-8581 The Lunar Module, Aquarius at the top of the S-IVB stage of the Saturn launch vehicle. Taken during the approach of the CSM during the Transposition, Docking and Extraction manoeuvres. Image credit: Image Science and Analysis Laboratory, NASA-Johnson Space Center. |
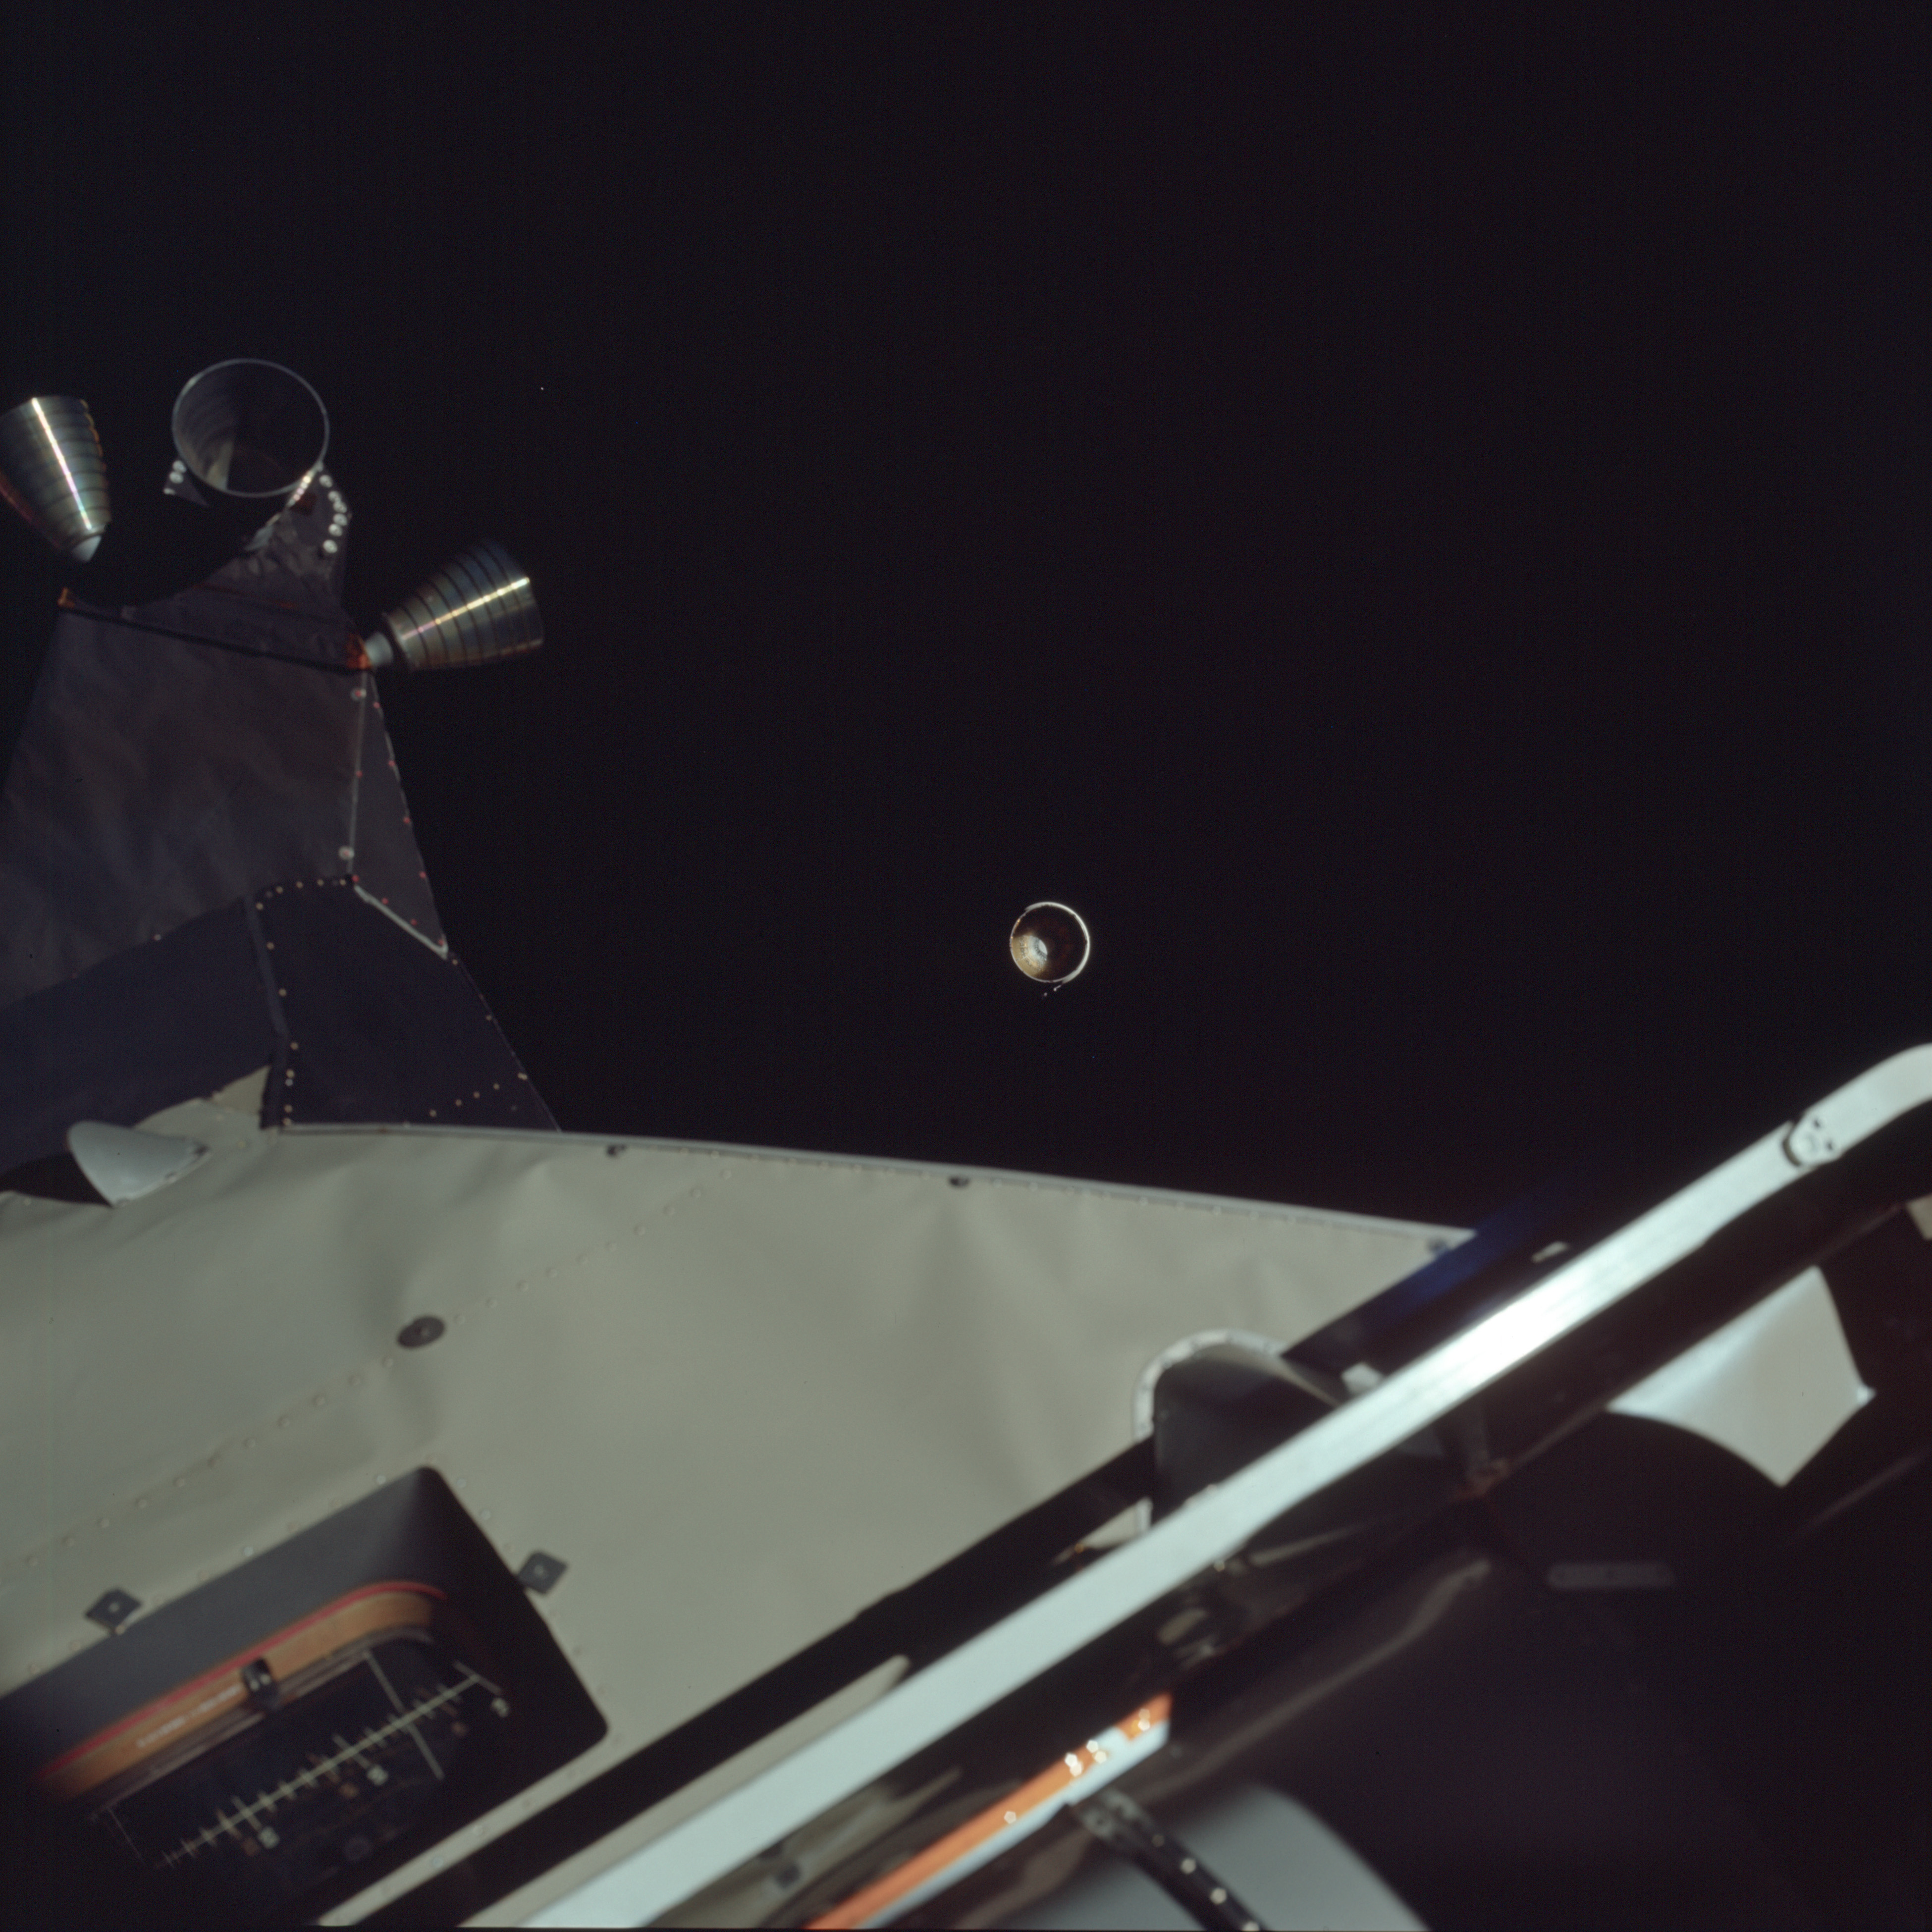 | AS13-60-8582 The Lunar Module, Aquarius is in the foreground, docked with the CSM Odyssey soon after extraction from the top of the S-IVB of the Saturn launch vehicle. The S-IVB is in the centre of the frame. It is about to be manoeuvred to impact the Moon three days later. Image credit: Image Science and Analysis Laboratory, NASA-Johnson Space Center. |
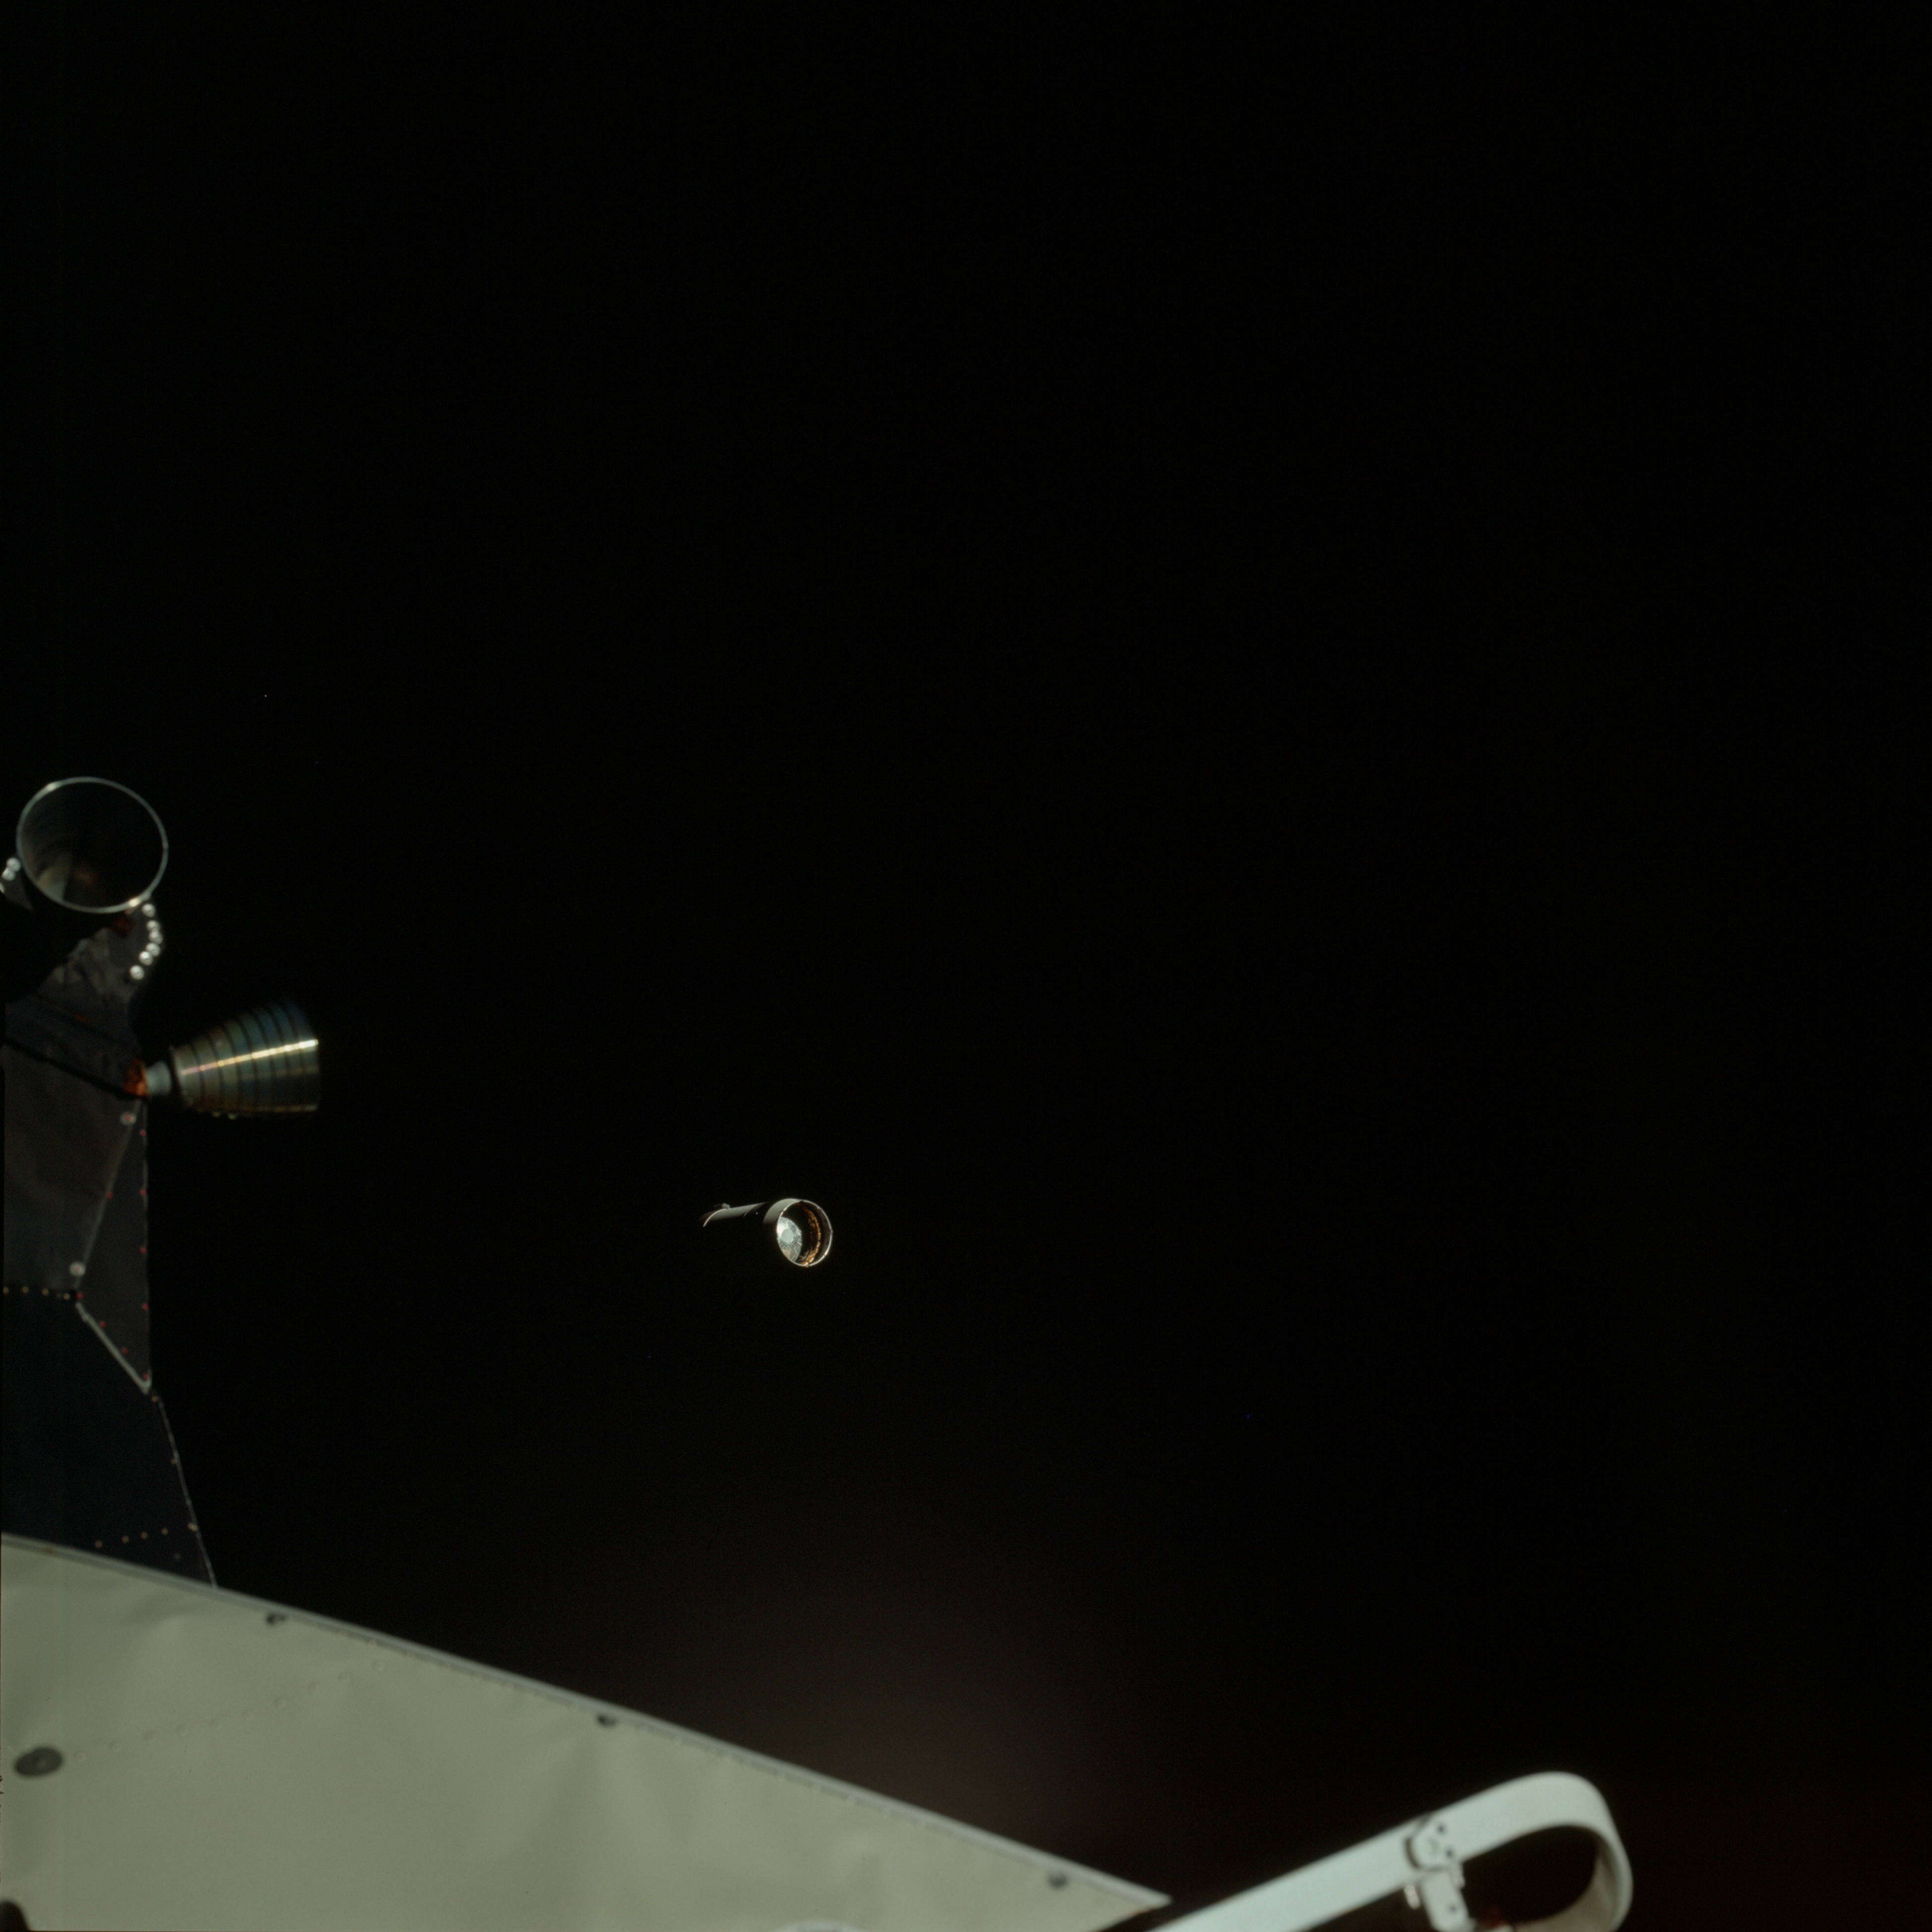 | AS13-60-8583 The Lunar Module, Aquarius is in the foreground, docked with the CSM Odyssey soon after extraction from the top of the S-IVB of the Saturn launch vehicle. The S-IVB is in the centre of the frame. It is about to be manoeuvred to impact the Moon three days later. Image credit: Image Science and Analysis Laboratory, NASA-Johnson Space Center. |
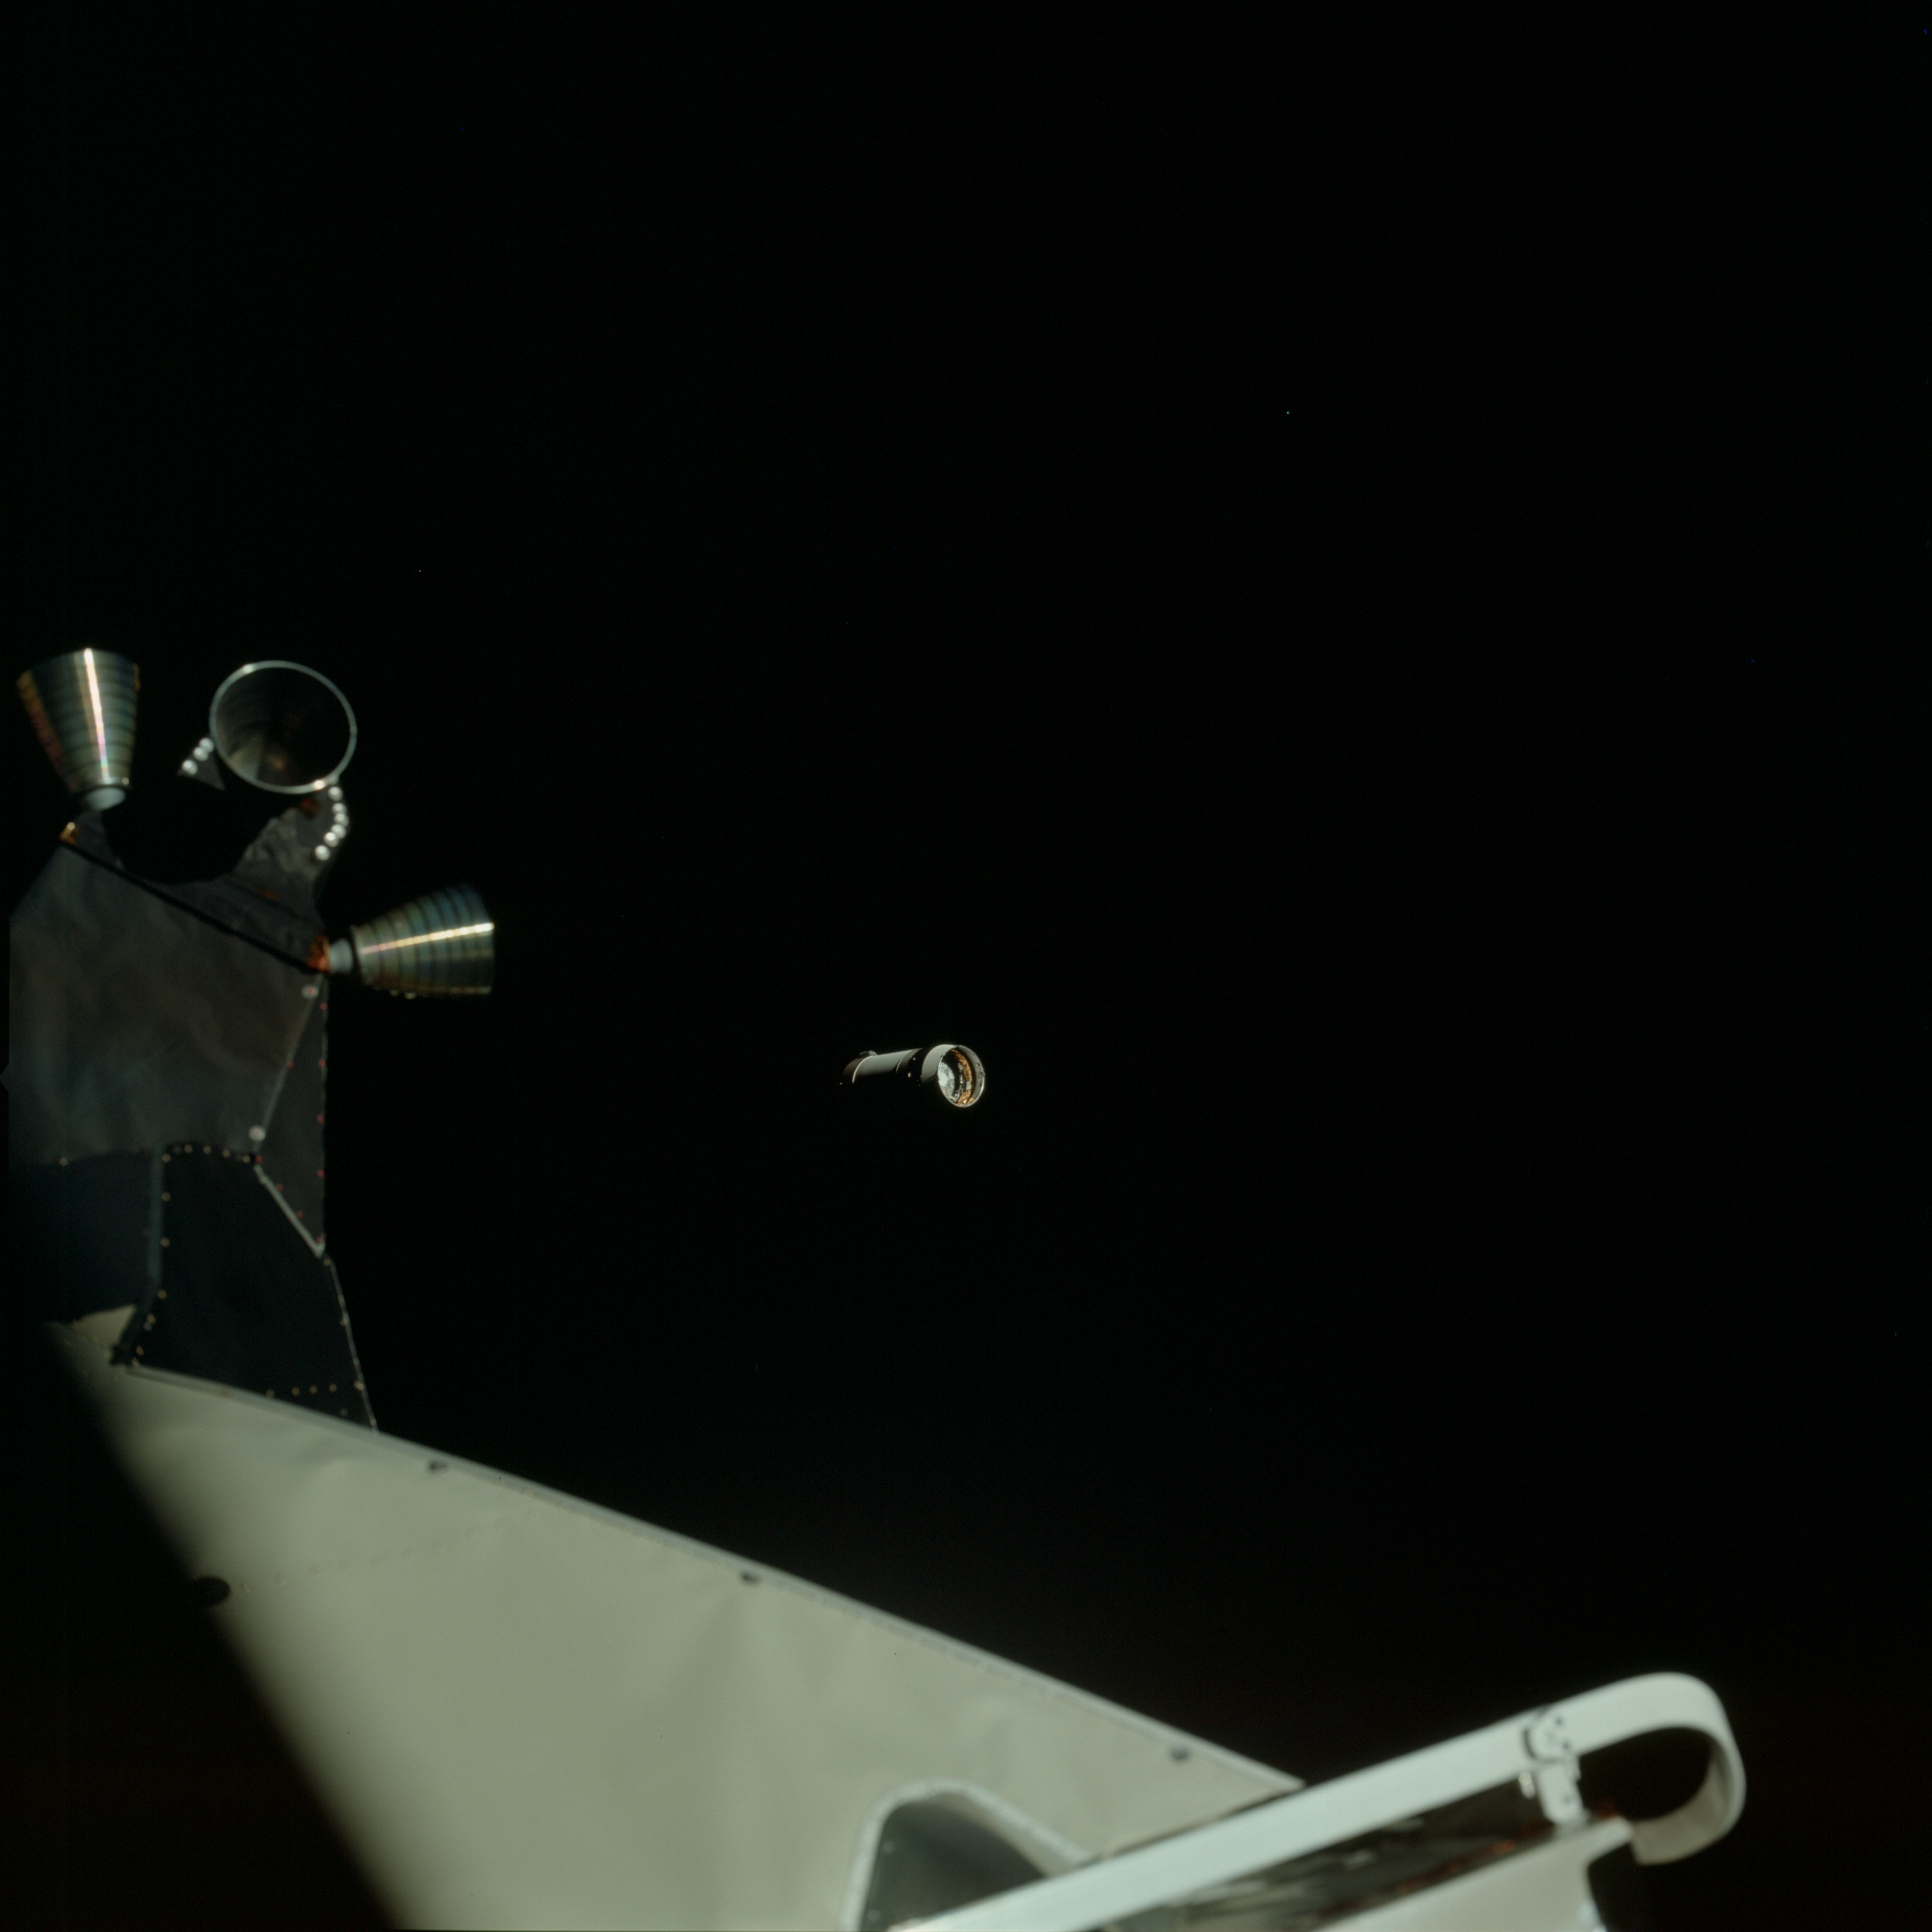 | AS13-60-8584 The Lunar Module, Aquarius is in the foreground, docked with the CSM Odyssey soon after extraction from the top of the S-IVB of the Saturn launch vehicle. The S-IVB is in the centre of the frame. It is about to be manoeuvred to impact the Moon three days later. Image credit: Image Science and Analysis Laboratory, NASA-Johnson Space Center. |
 | AS13-60-8585 The S-IVB of the Saturn launch vehicle, side-on. It is being manoeuvred to impact the Moon three days later. In the foreground is one the the thruster quad clusters belonging to the Lunar Module, Aquarius. Image credit: Image Science and Analysis Laboratory, NASA-Johnson Space Center. |
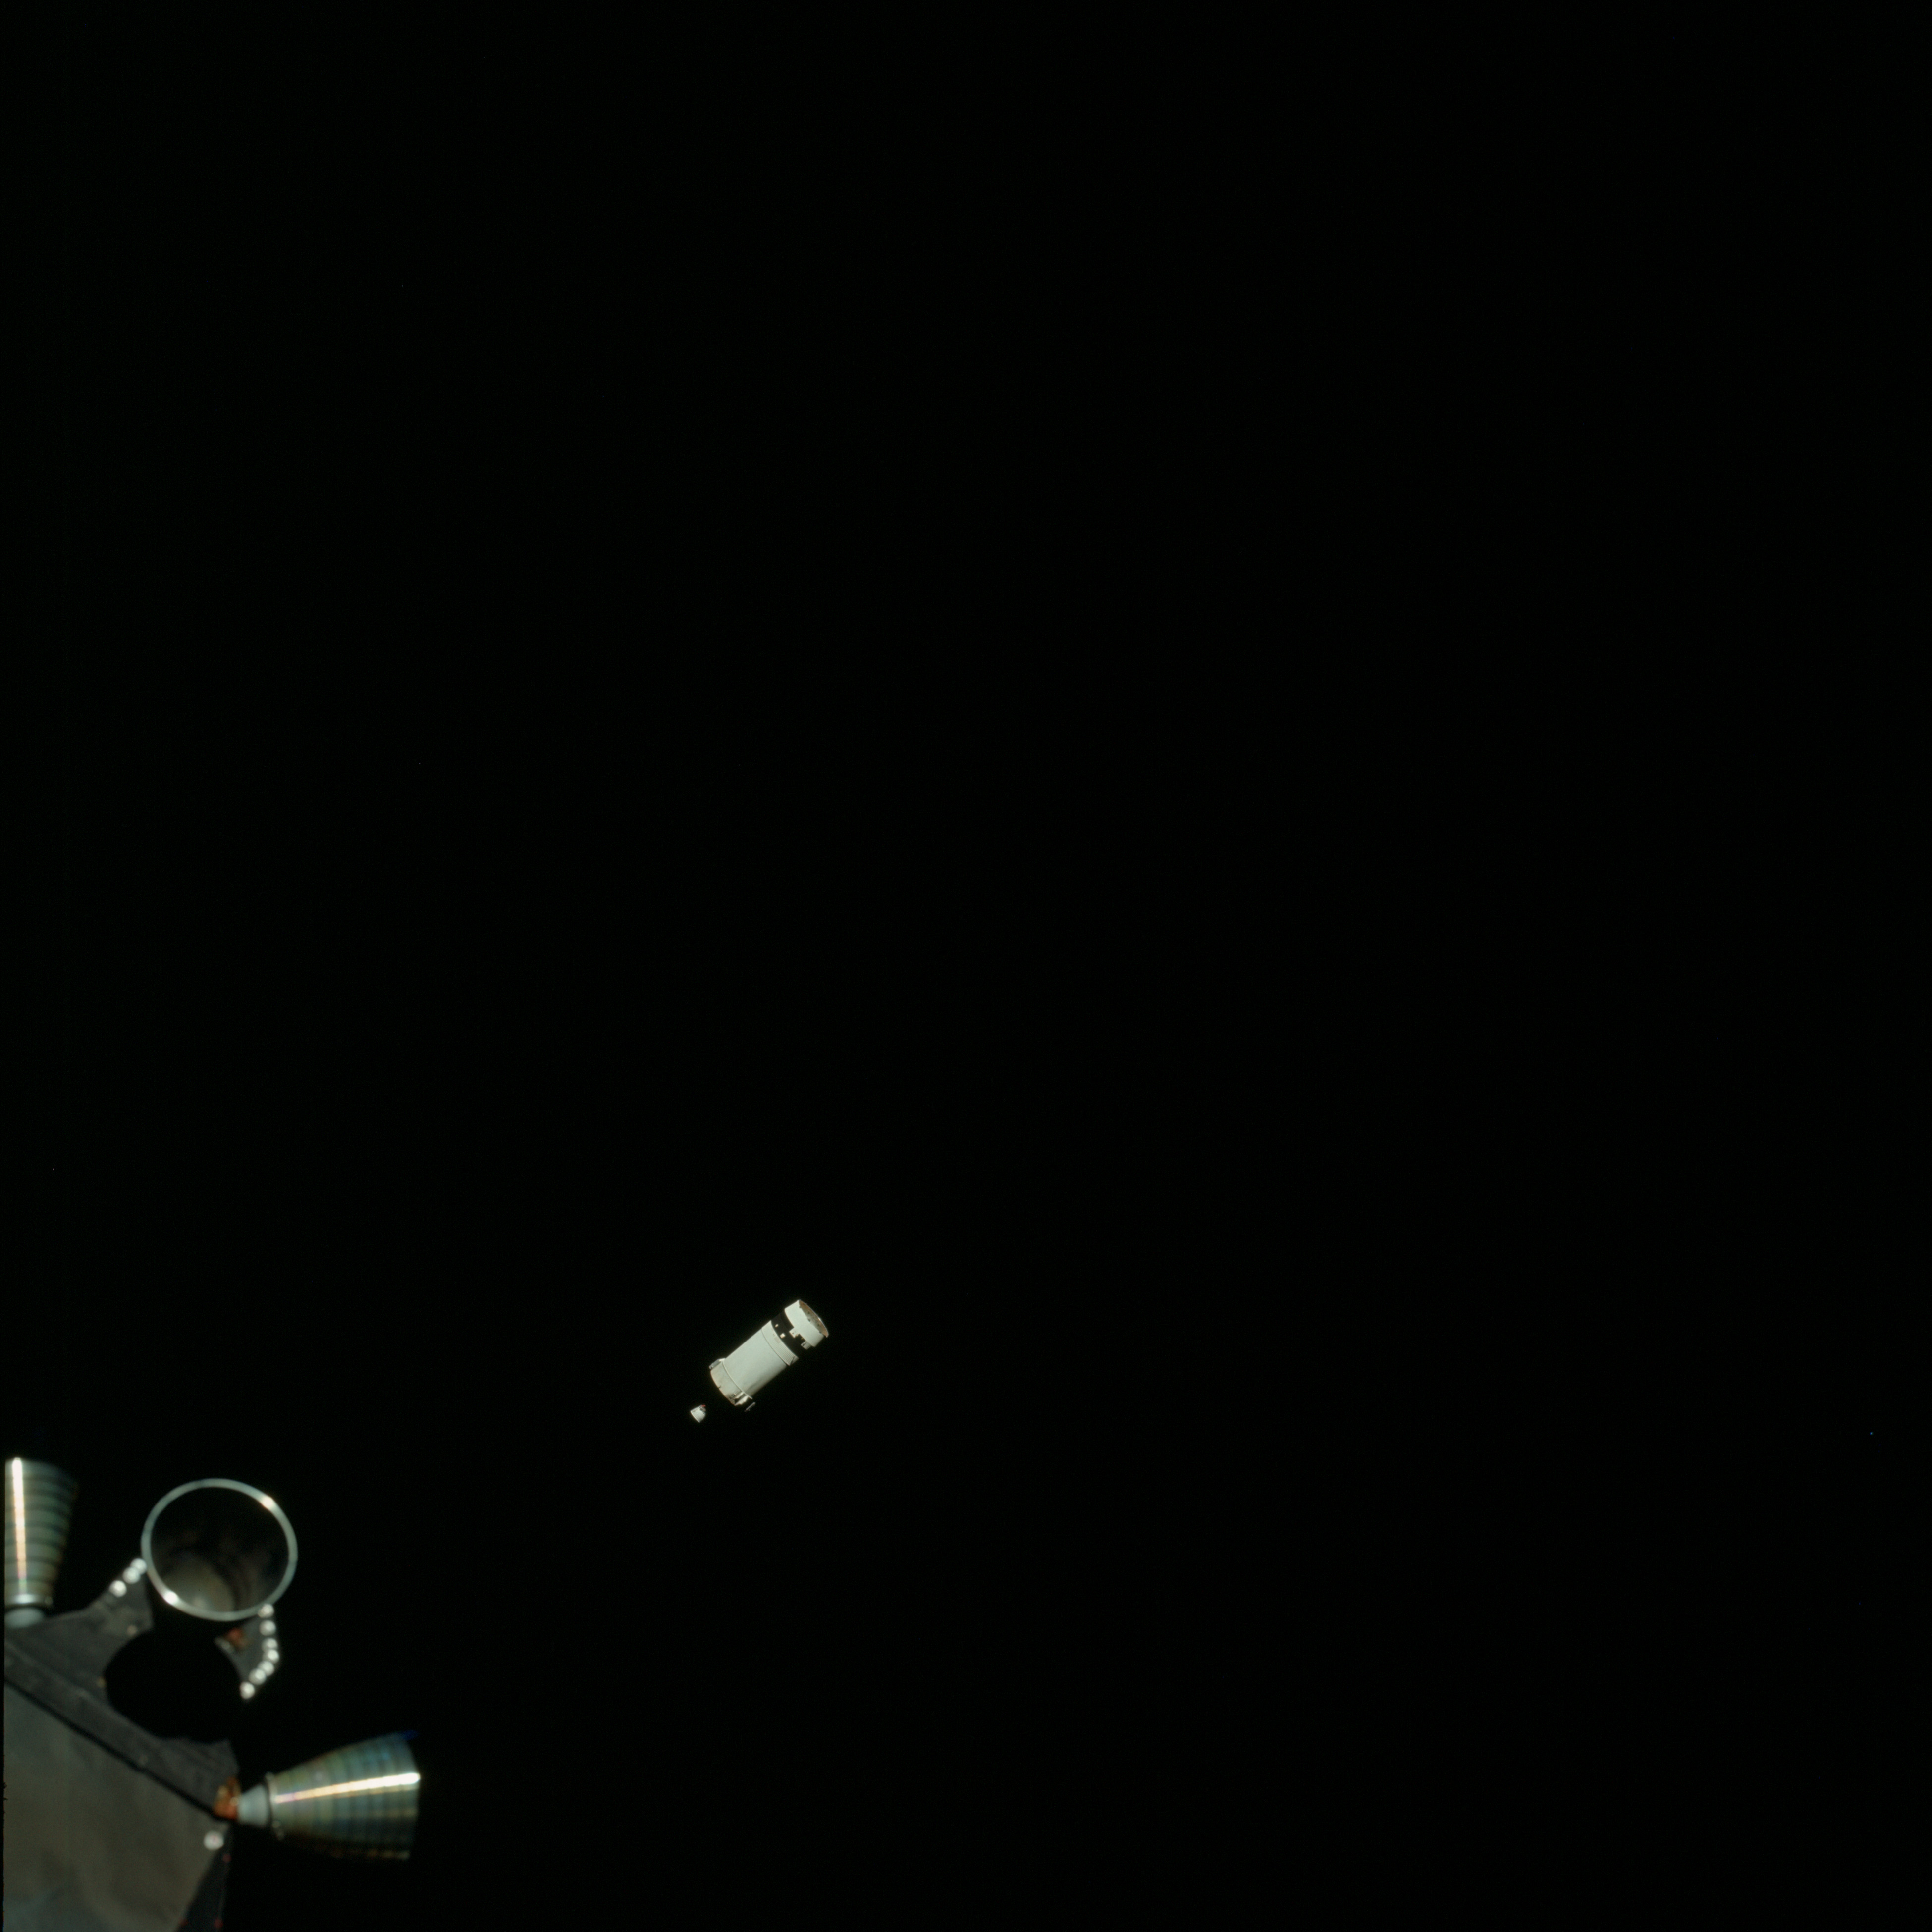 | AS13-60-8586 The S-IVB of the Saturn launch vehicle, side-on. It is being manoeuvred to impact the Moon three days later. In the foreground is one the the thruster quad clusters belonging to the Lunar Module, Aquarius. Image credit: Image Science and Analysis Laboratory, NASA-Johnson Space Center. |
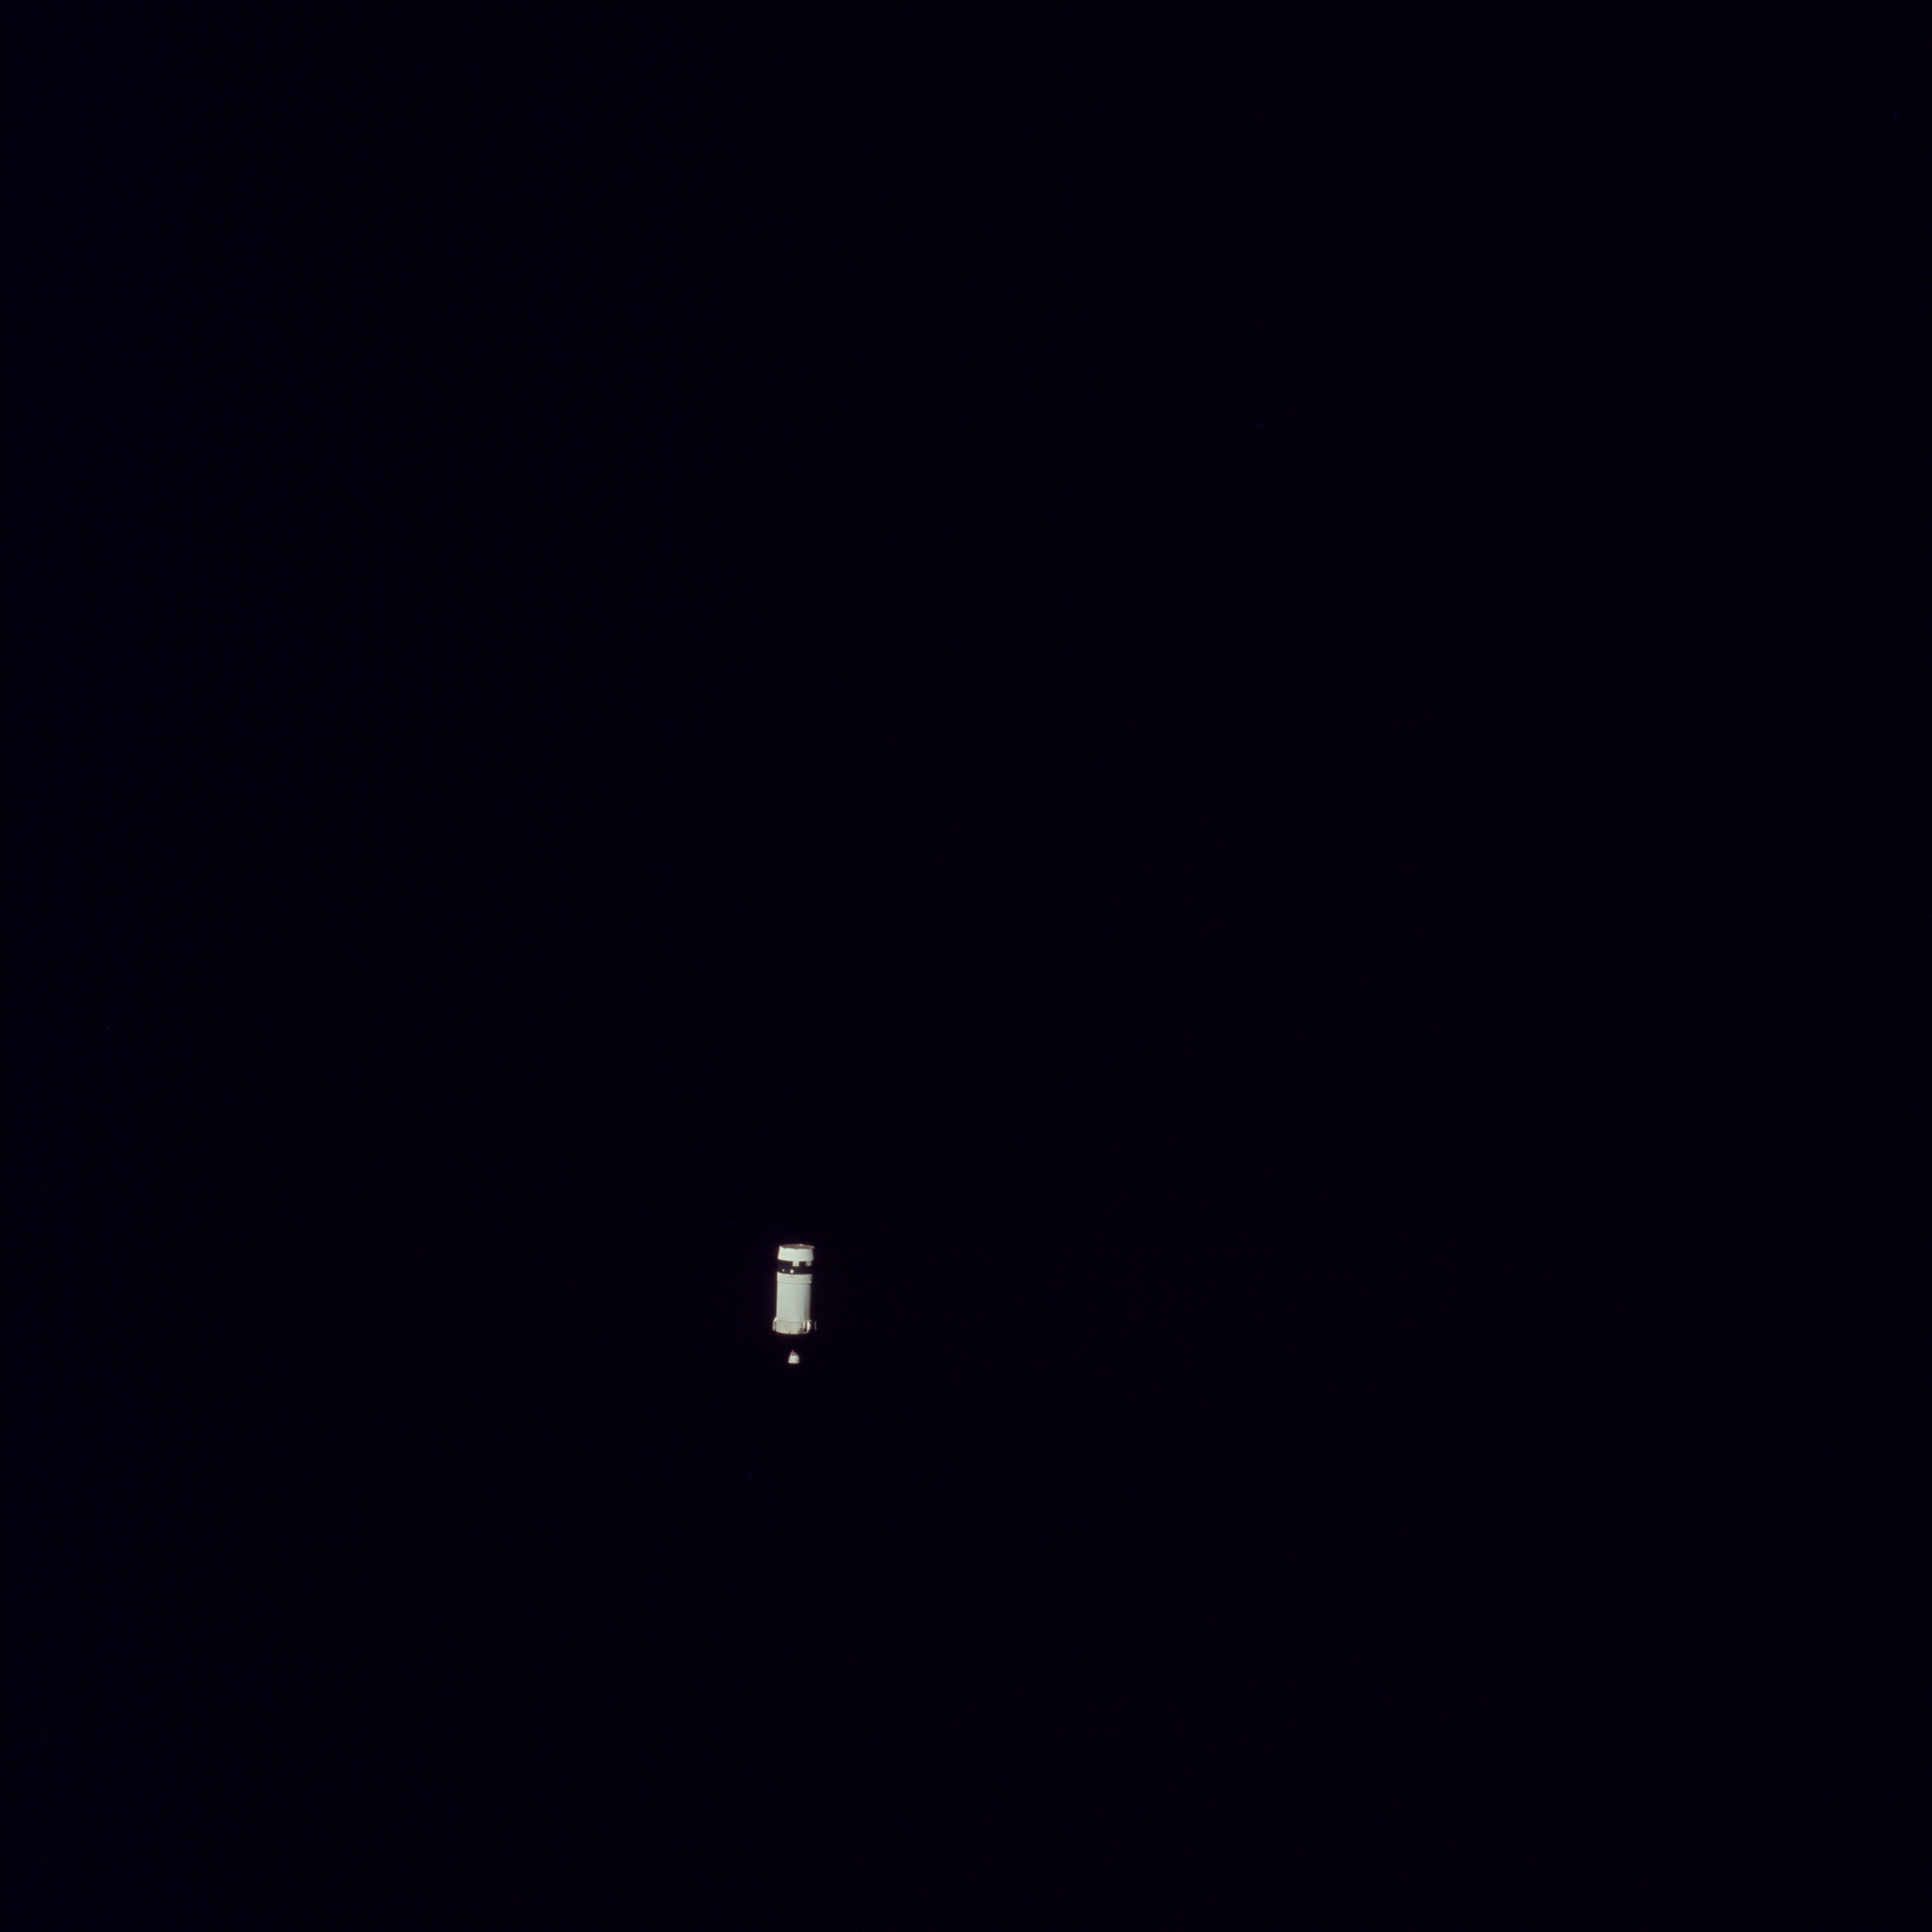 | AS13-60-8587 The S-IVB of the Saturn launch vehicle, side-on. It is being manoeuvred to impact the Moon three days later. Image credit: Image Science and Analysis Laboratory, NASA-Johnson Space Center. |
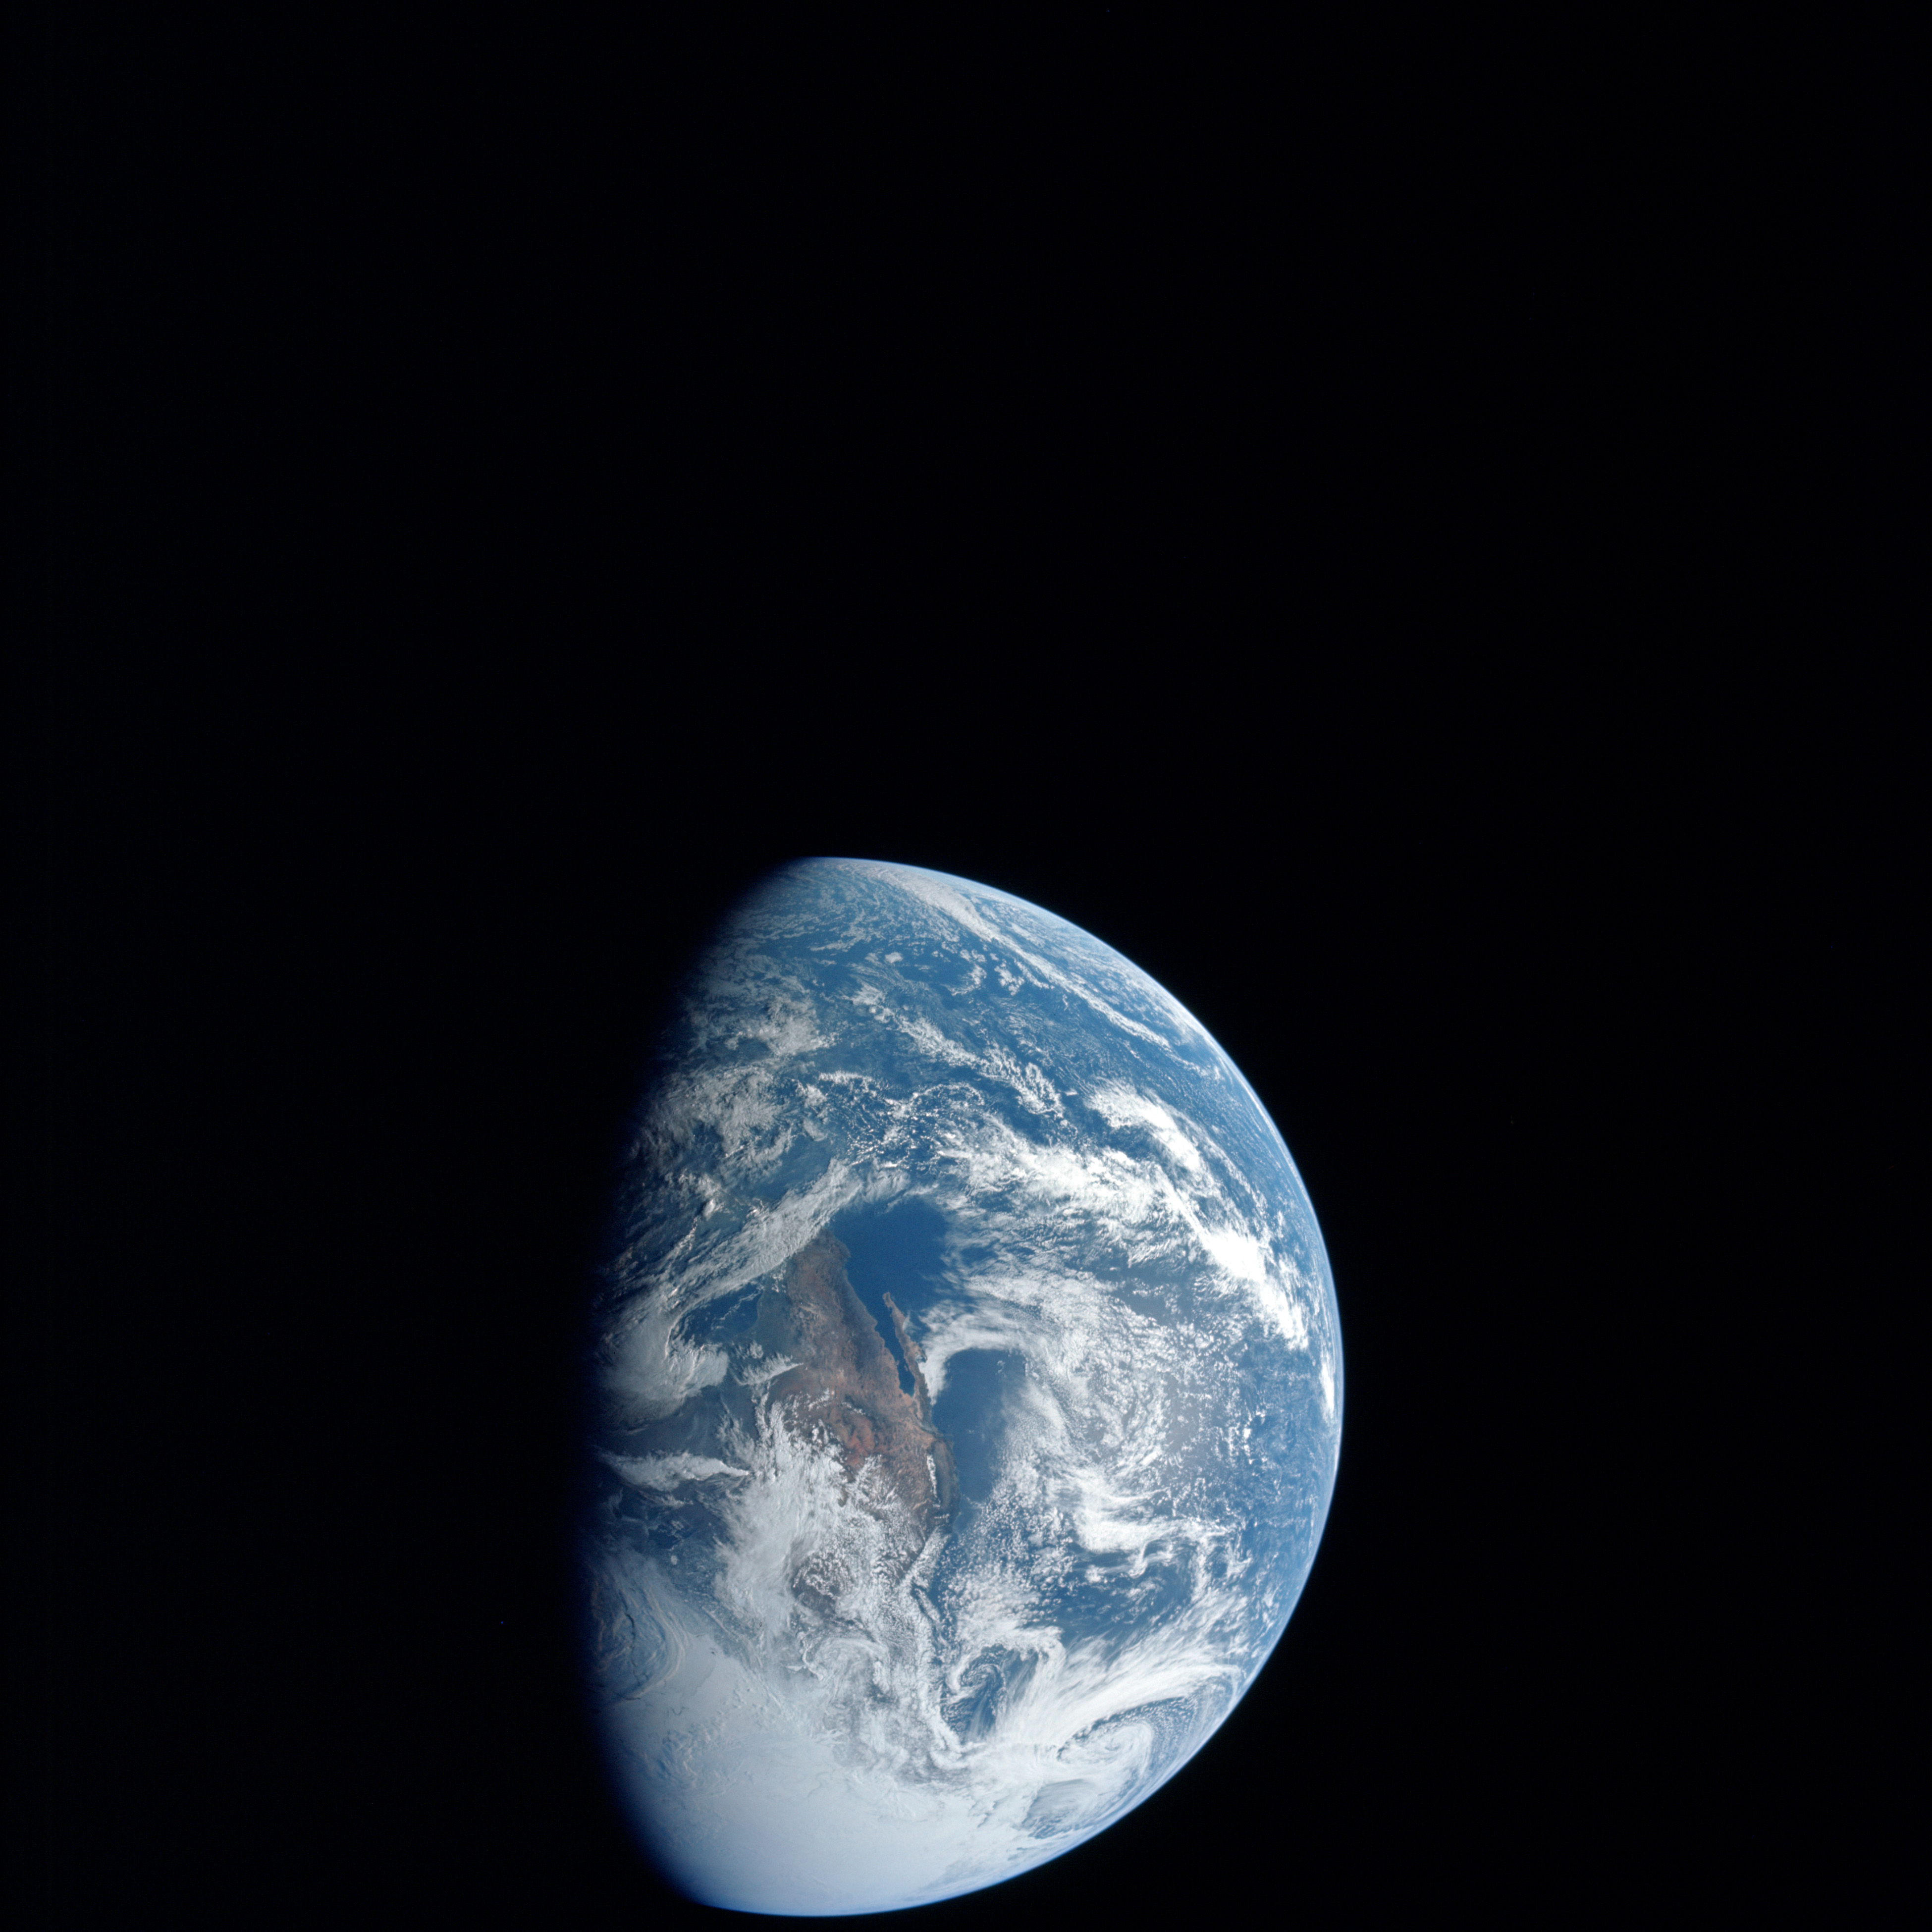 | AS13-60-8588 Earth, taken with the 80-mm lens. North is to the bottom and the west coast of the North American continent is clearly visible, including the peninsula of Baja California. Image credit: Image Science and Analysis Laboratory, NASA-Johnson Space Center. |
 | AS13-60-8589 Most of this frame is black. However, below centre, plumes are visible from manoeuvres by the S-IVB as it fires its APS thrusters and dumps LOX to set itself on a course to impact the Moon three days later. Image credit: Image Science and Analysis Laboratory, NASA-Johnson Space Center. |
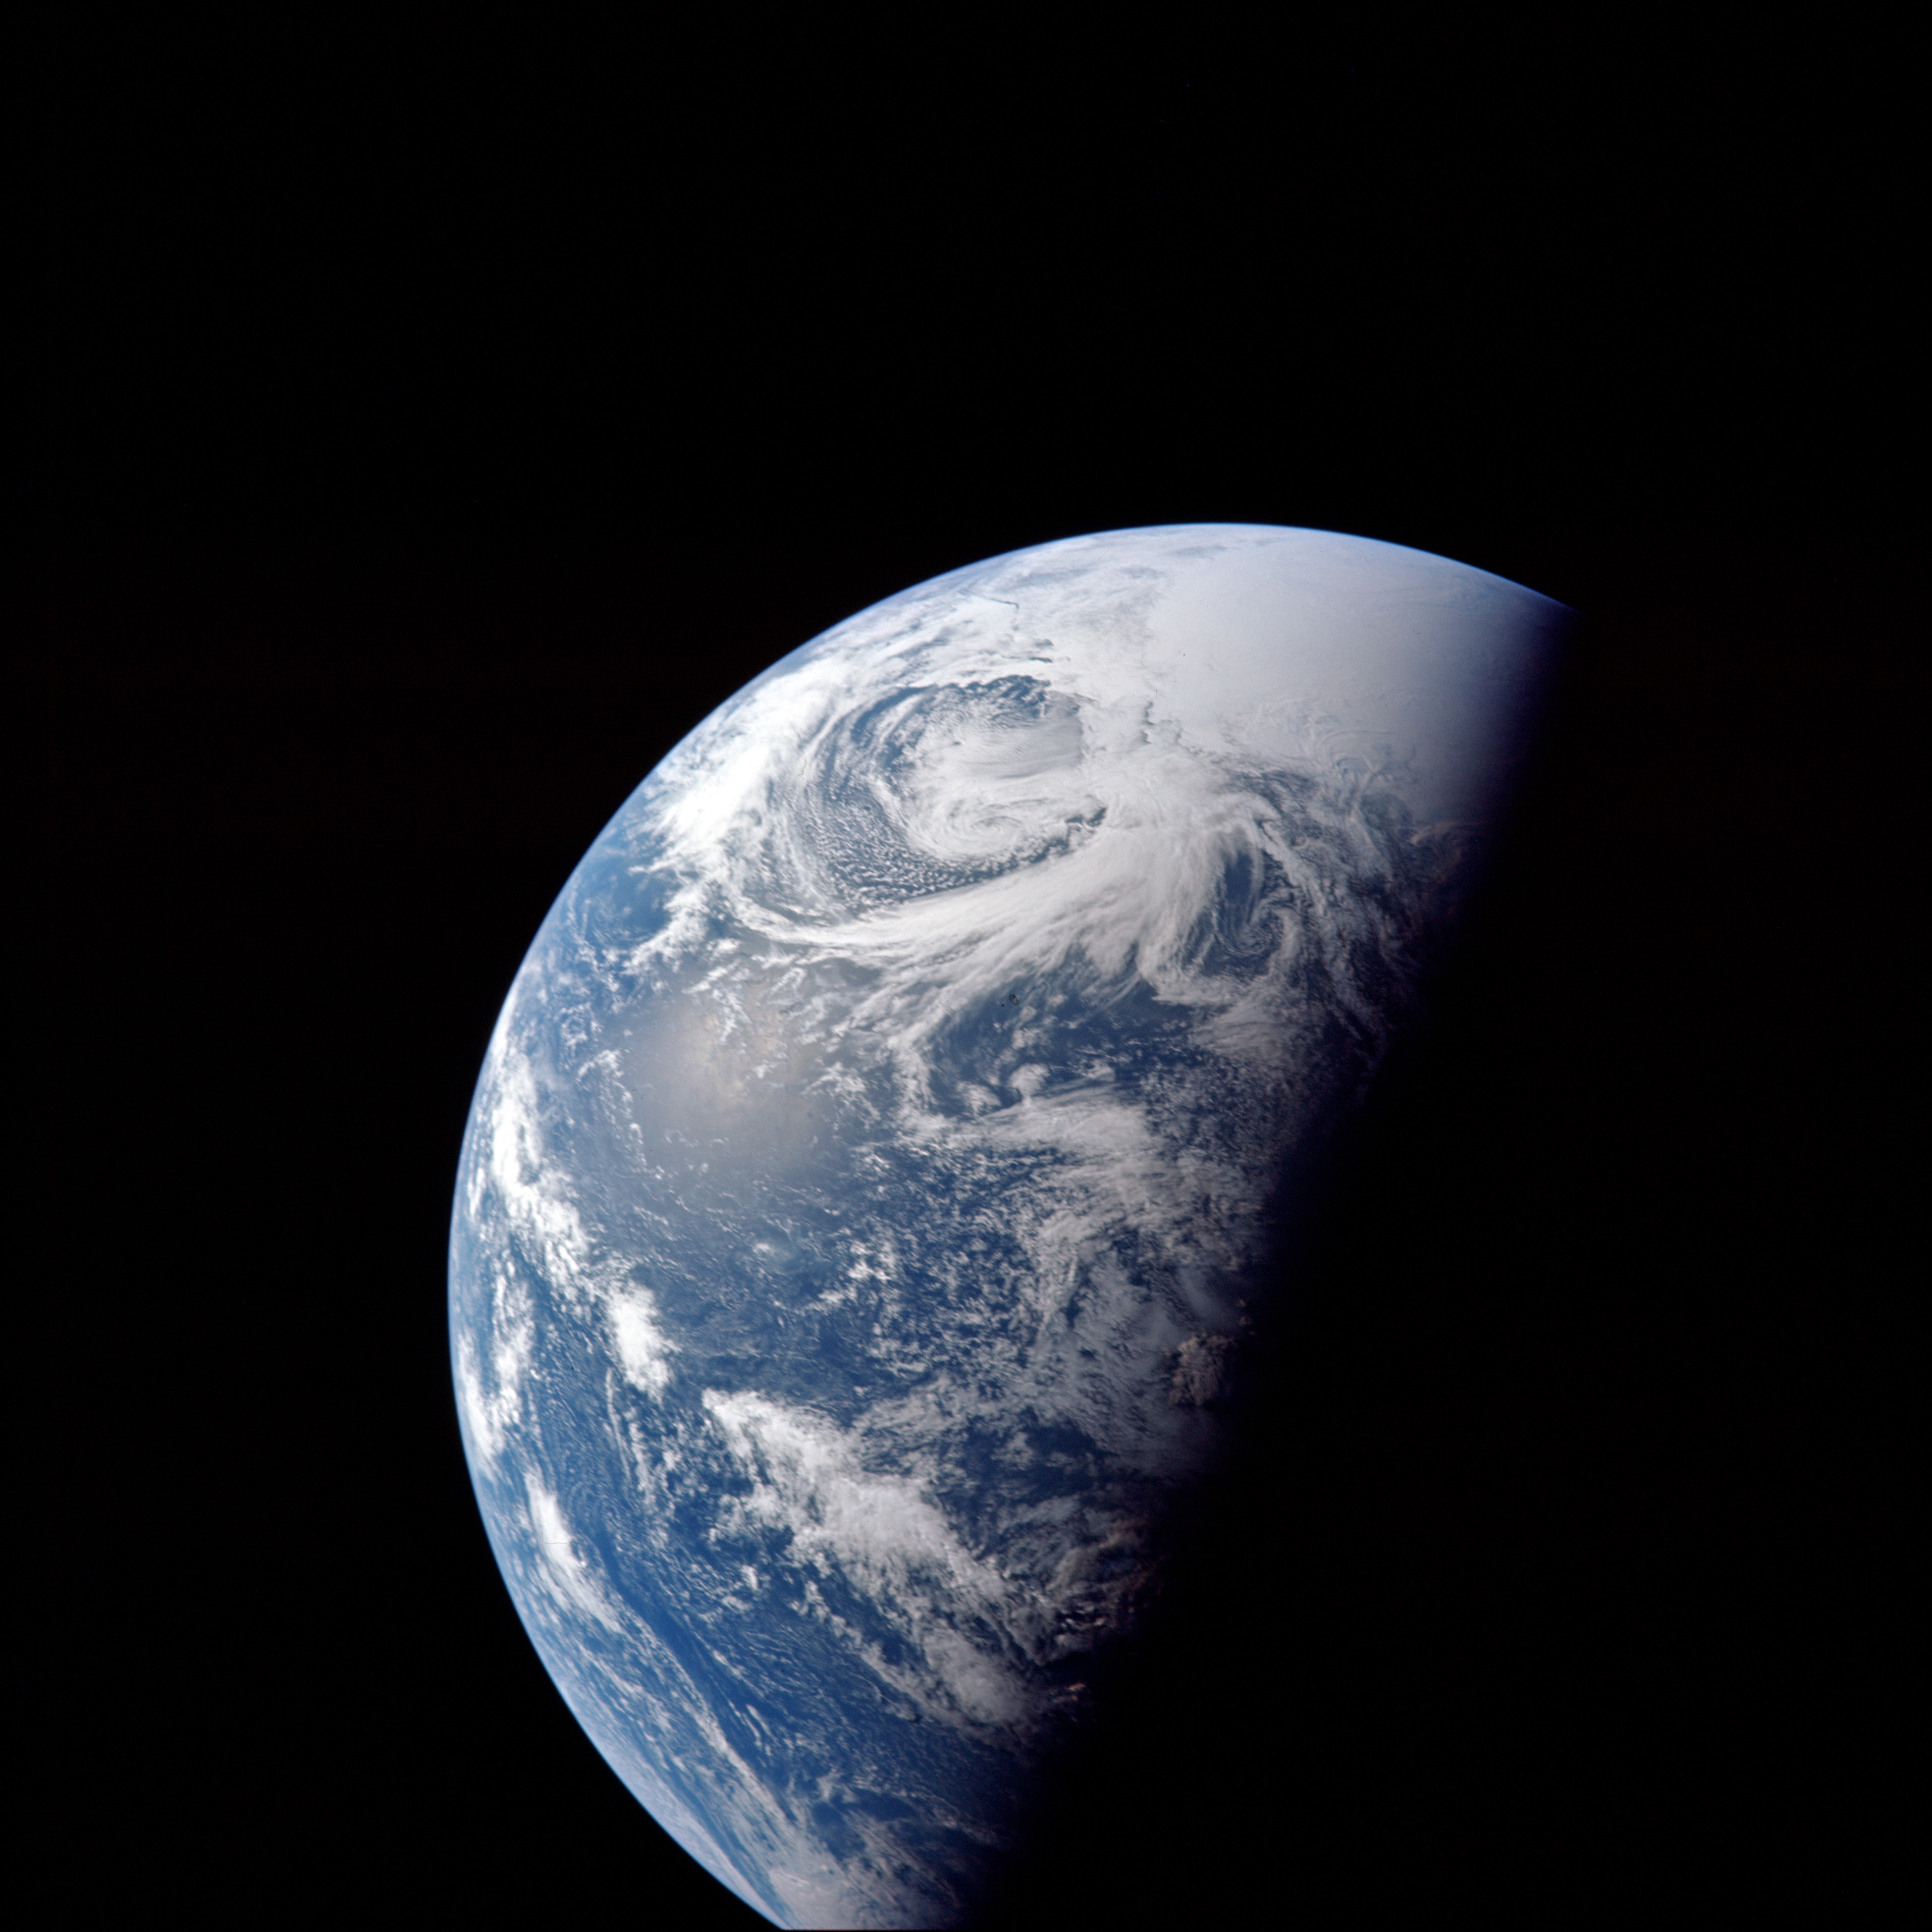 | AS13-60-8590 Image number 1 in an 11-photo sequence taken with a 250-mm lens to study weather photography at a distance. Taken at 007:17:45 GET. Image credit: Image Science and Analysis Laboratory, NASA-Johnson Space Center. |
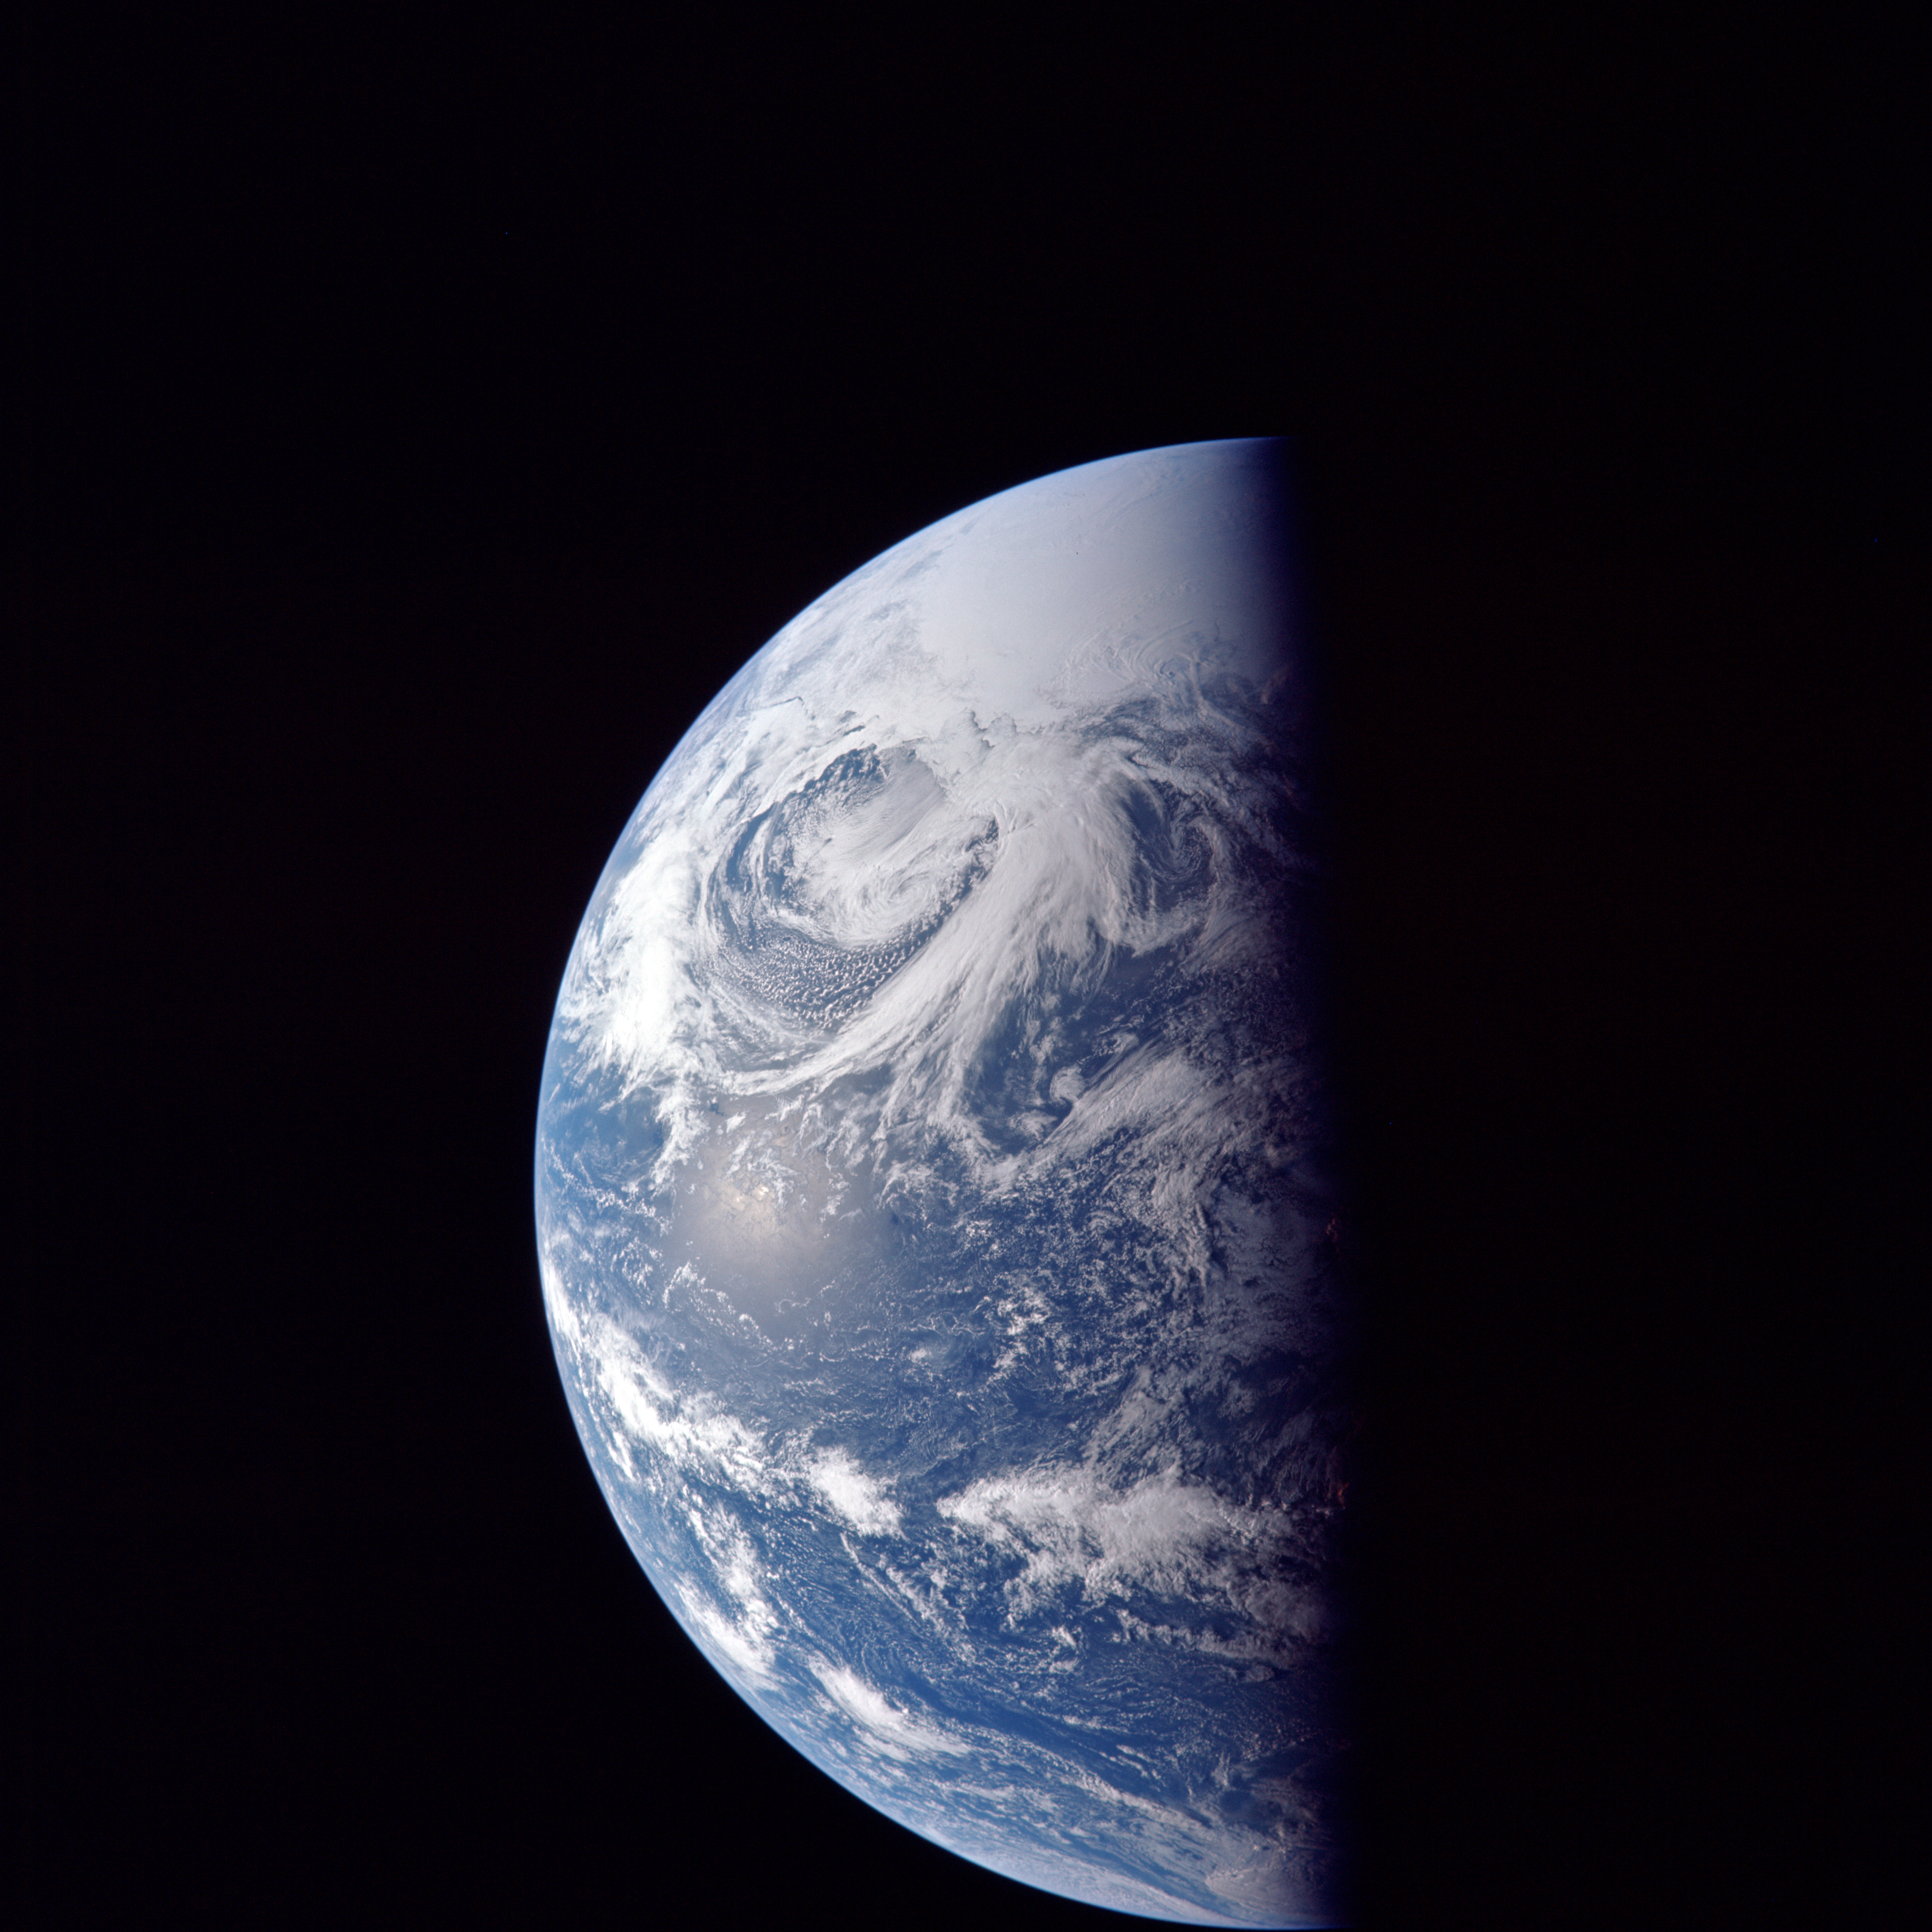 | AS13-60-8591 Image number 2 in an 11-photo sequence taken with a 250-mm lens to study weather photography at a distance. Taken at 007:39:49 GET. Image credit: Image Science and Analysis Laboratory, NASA-Johnson Space Center. |
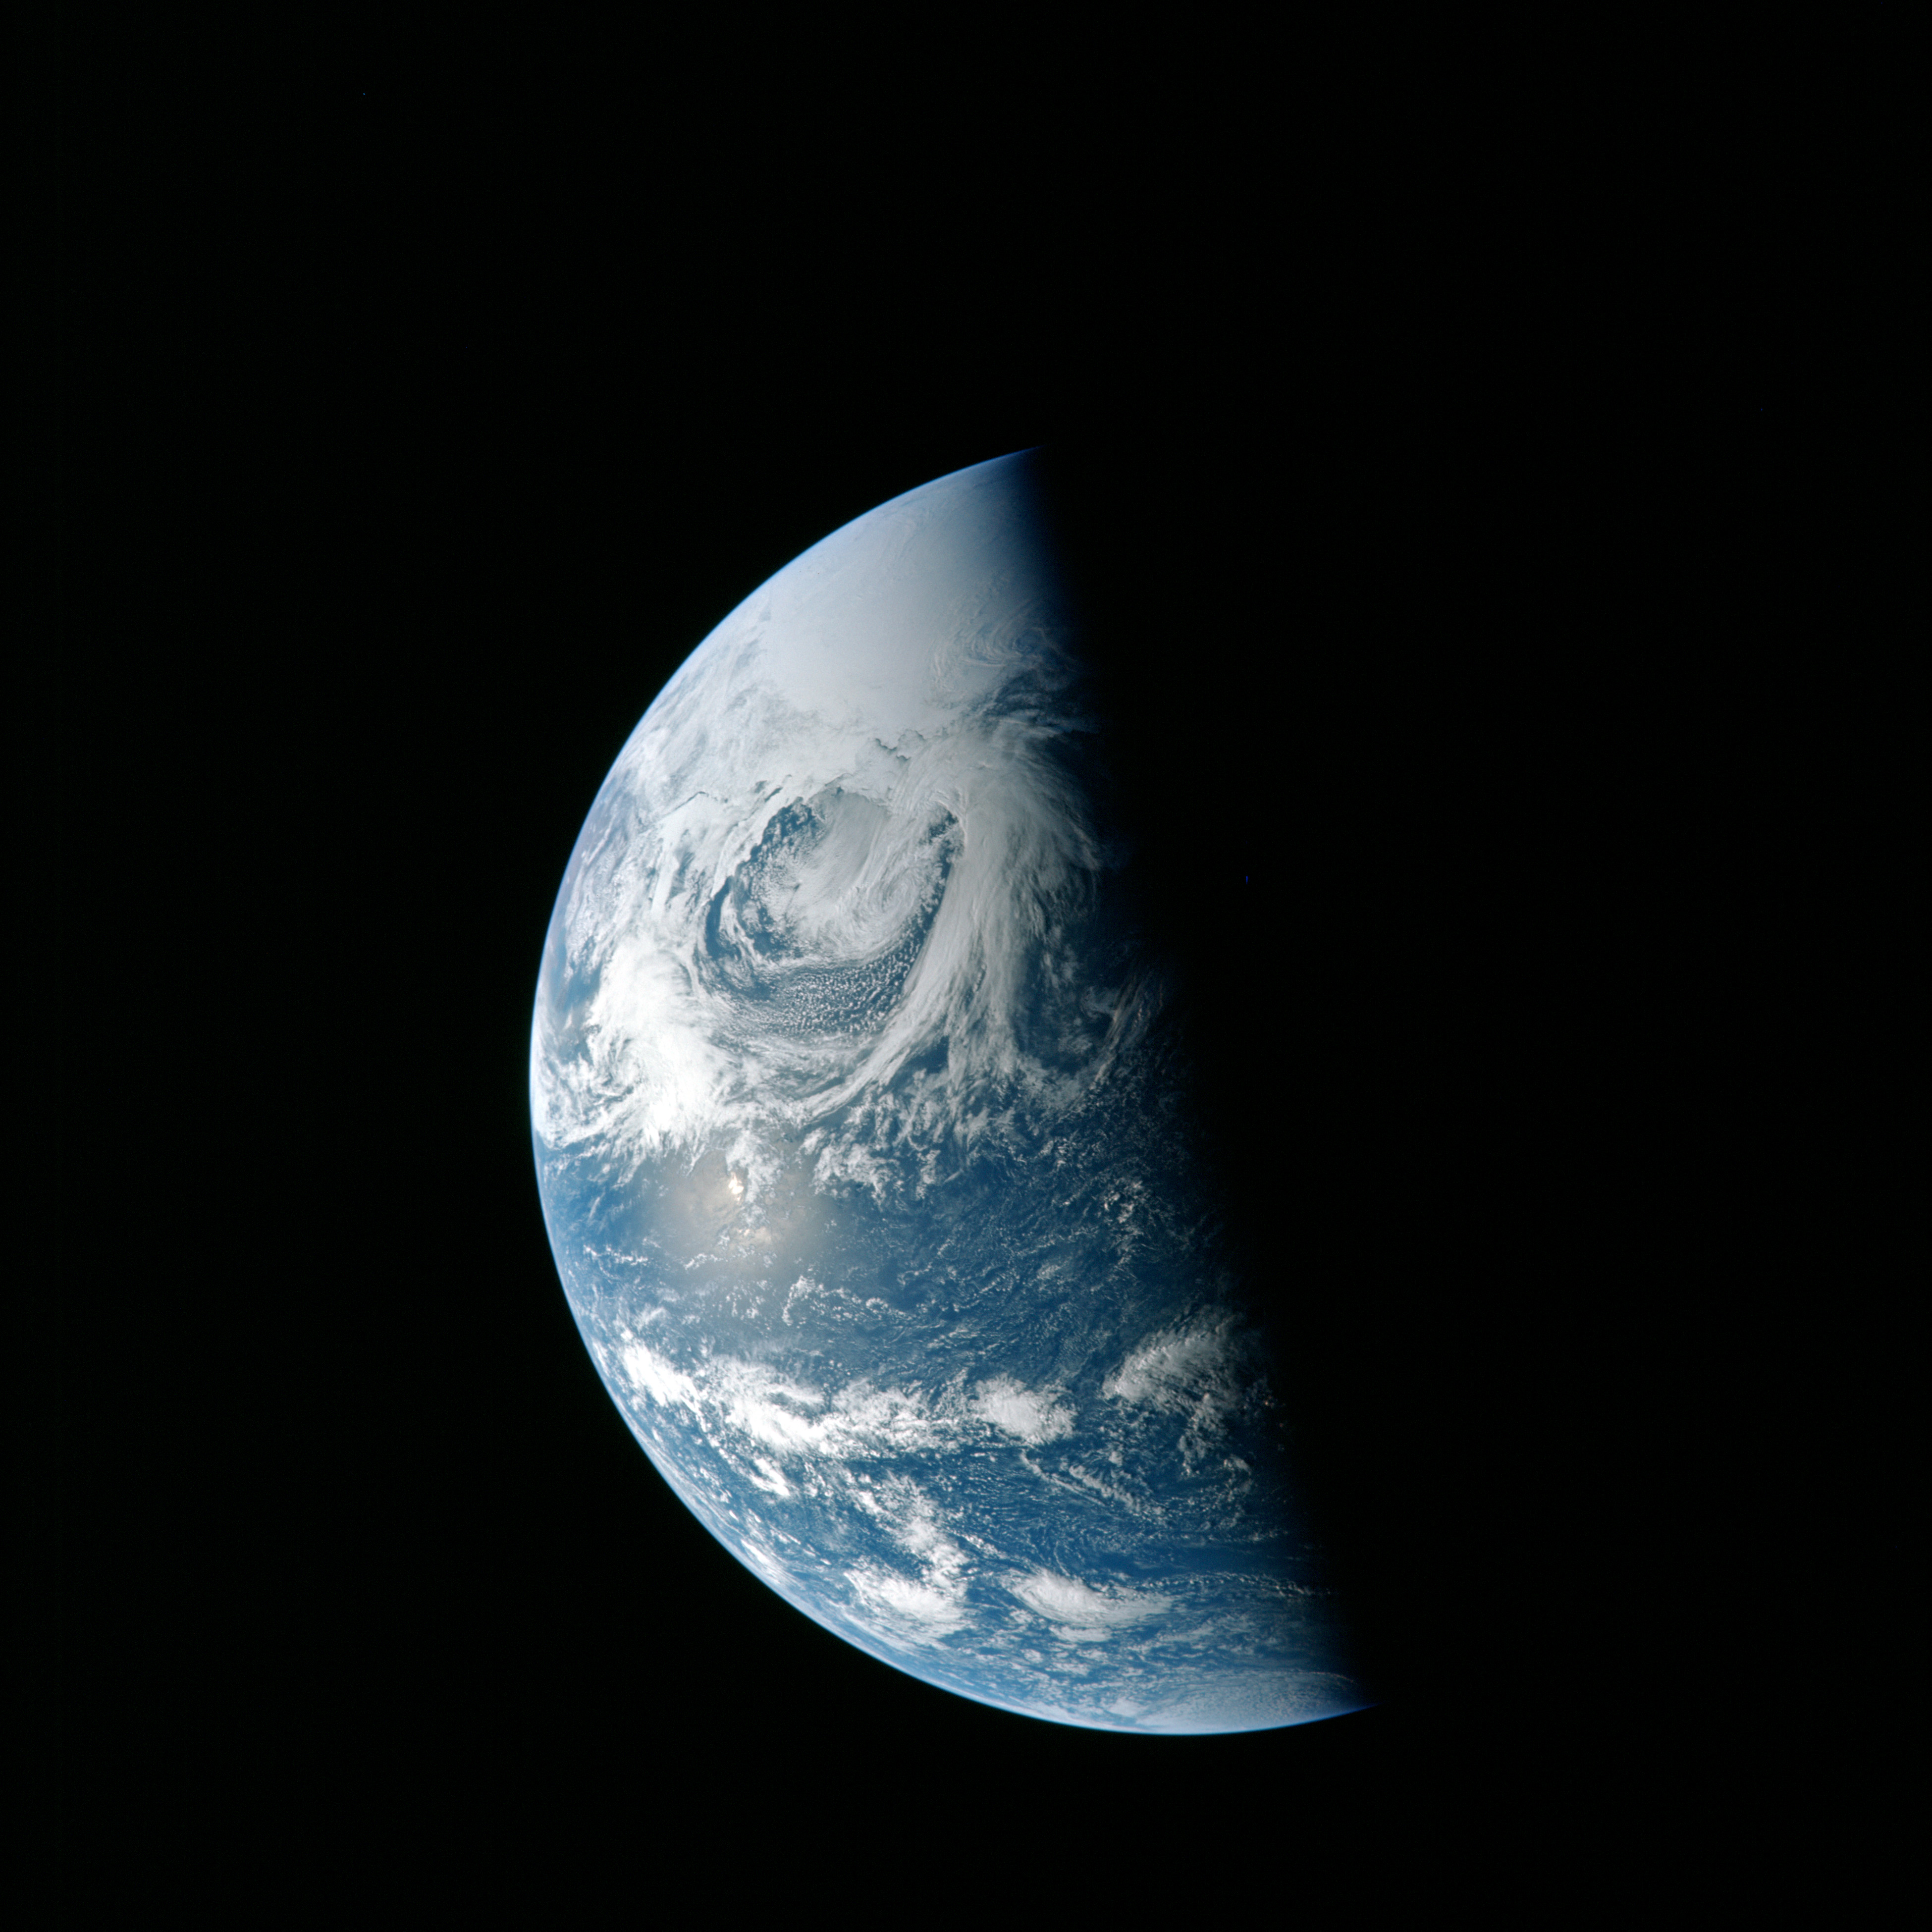 | AS13-60-8592 Image number 3 in an 11-photo sequence taken with a 250-mm lens to study weather photography at a distance. Taken at 008:42:11 GET. Note that whereas the other images were taken at 22-minute intervals, there was a gap of an hour before this was taken. This was due to disruption of the passive thermal control roll that had been set to bring Earth into view of the spacecraft's windows at regular intervals. Image credit: Image Science and Analysis Laboratory, NASA-Johnson Space Center. |
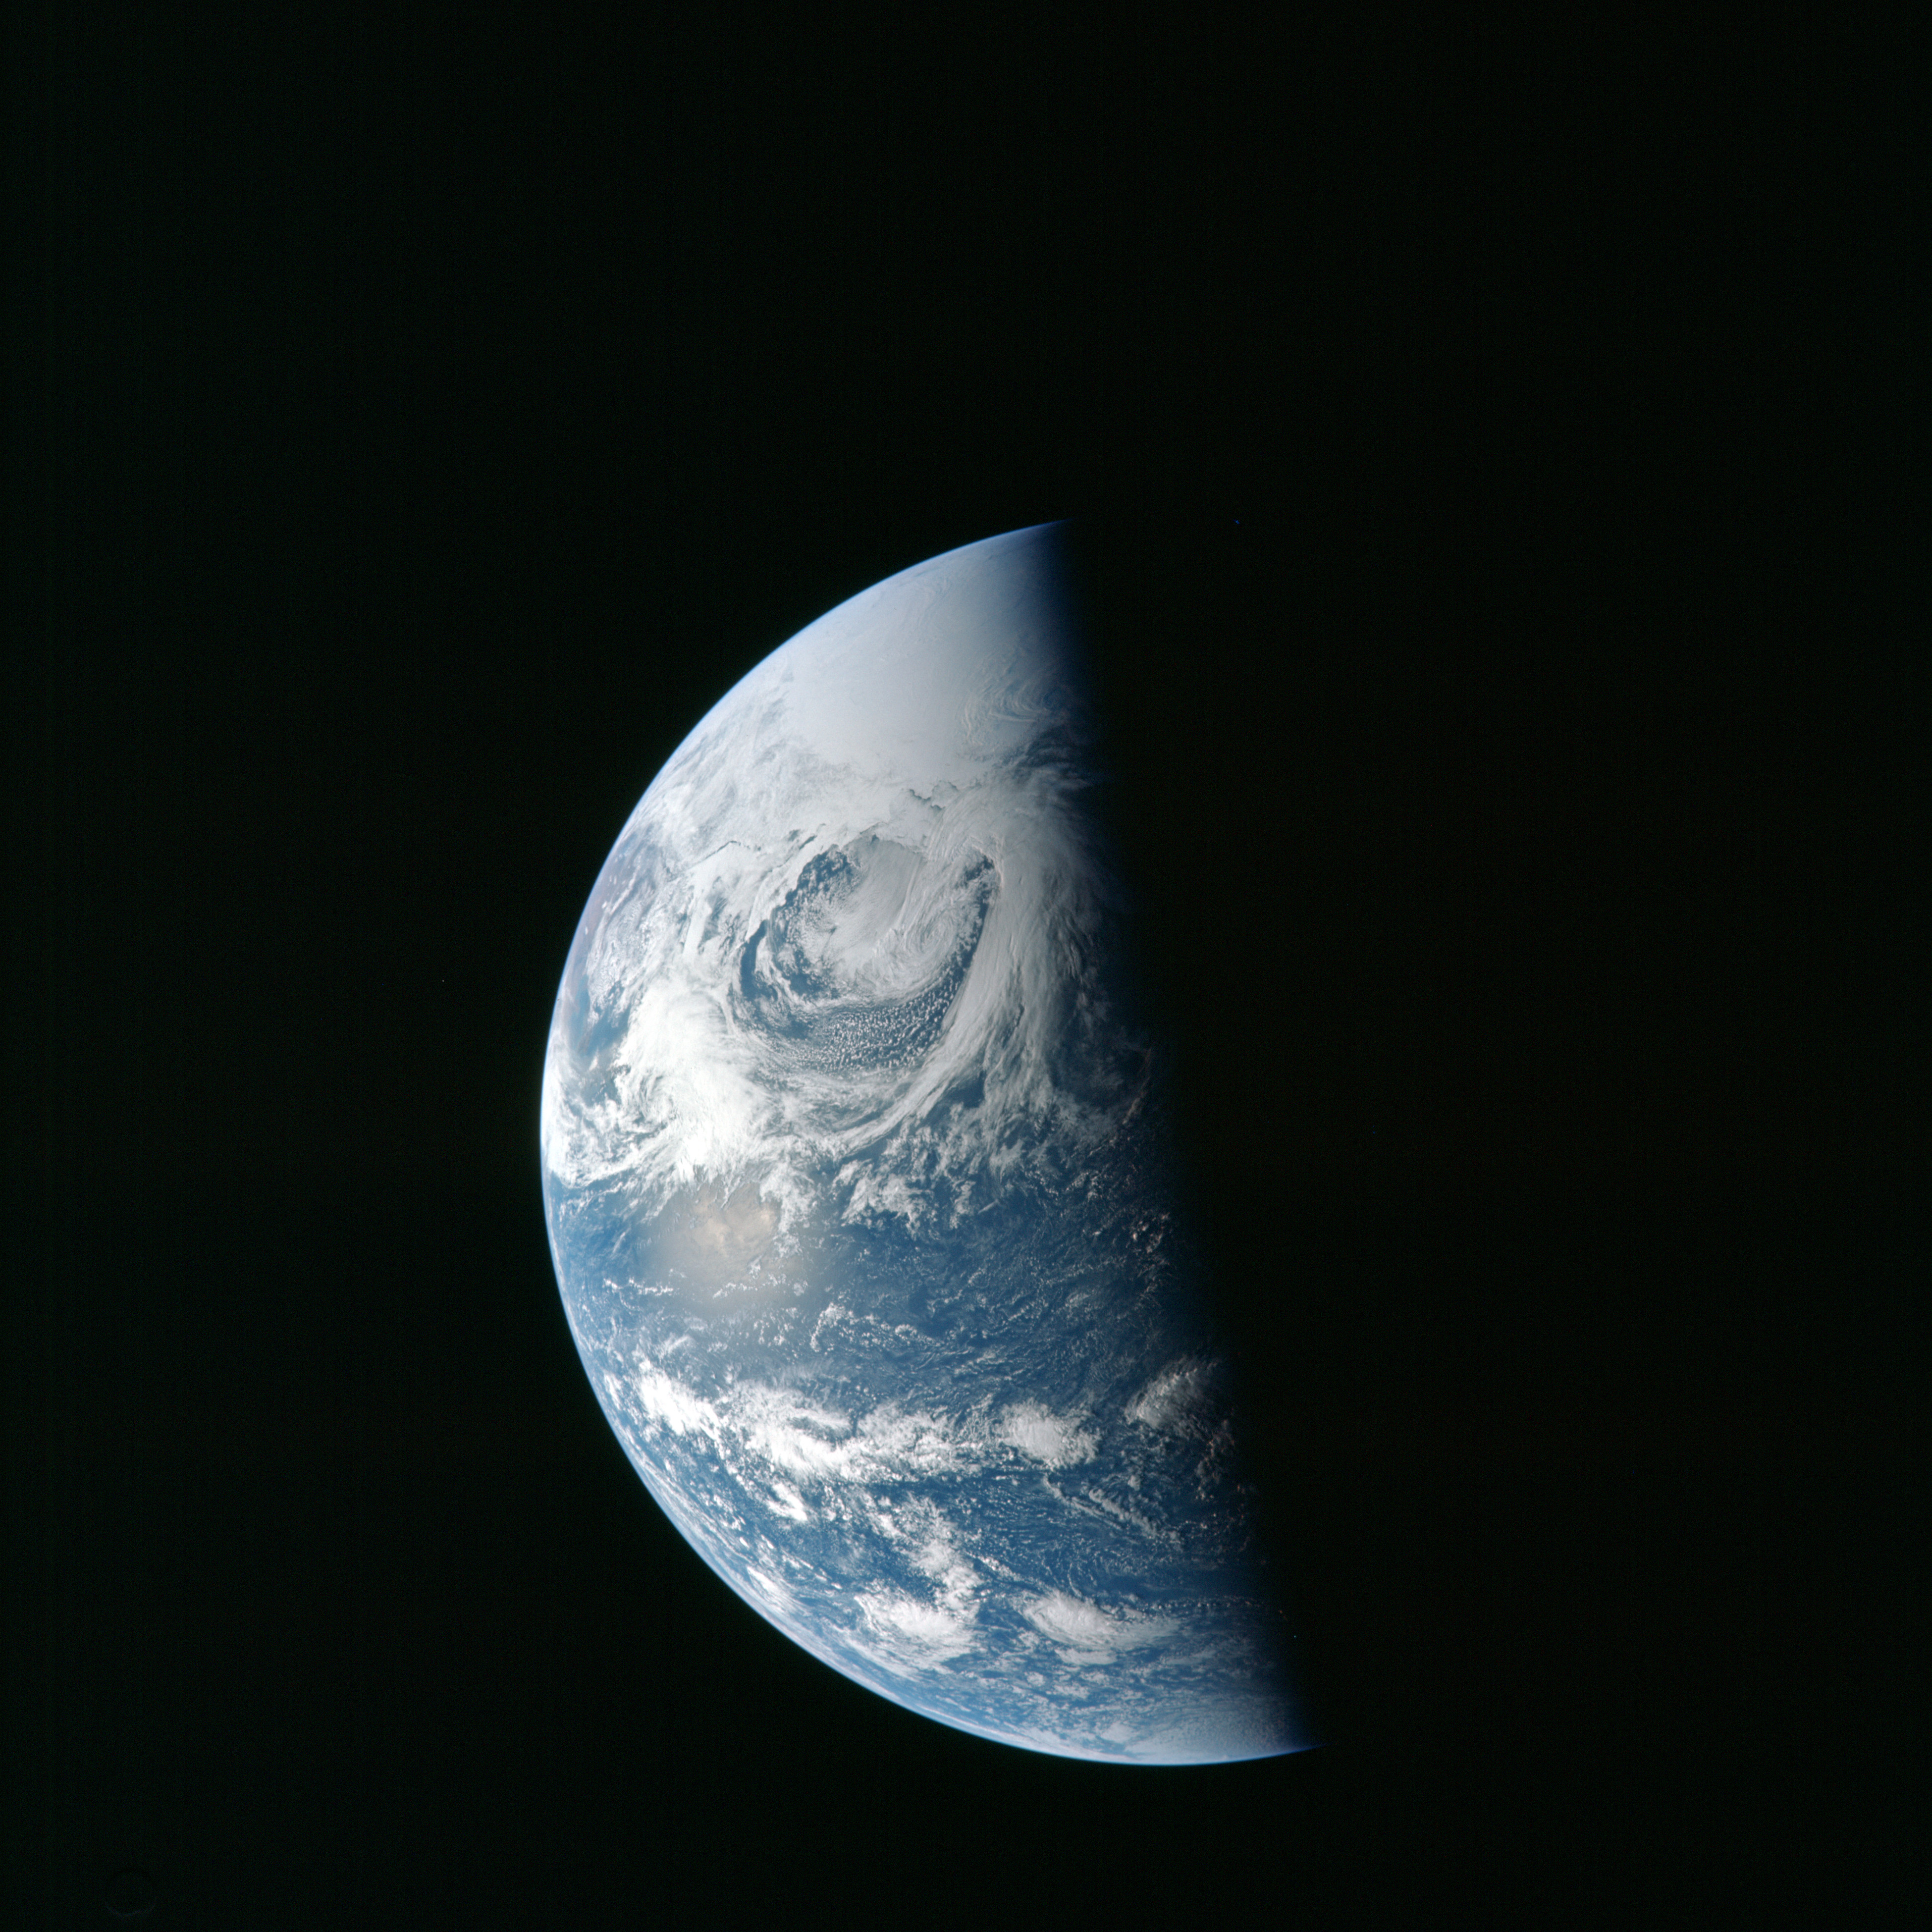 | AS13-60-8593 Image number 4 in an 11-photo sequence taken with a 250-mm lens to study weather photography at a distance. Taken at 009:03:17 GET. Image credit: Image Science and Analysis Laboratory, NASA-Johnson Space Center. |
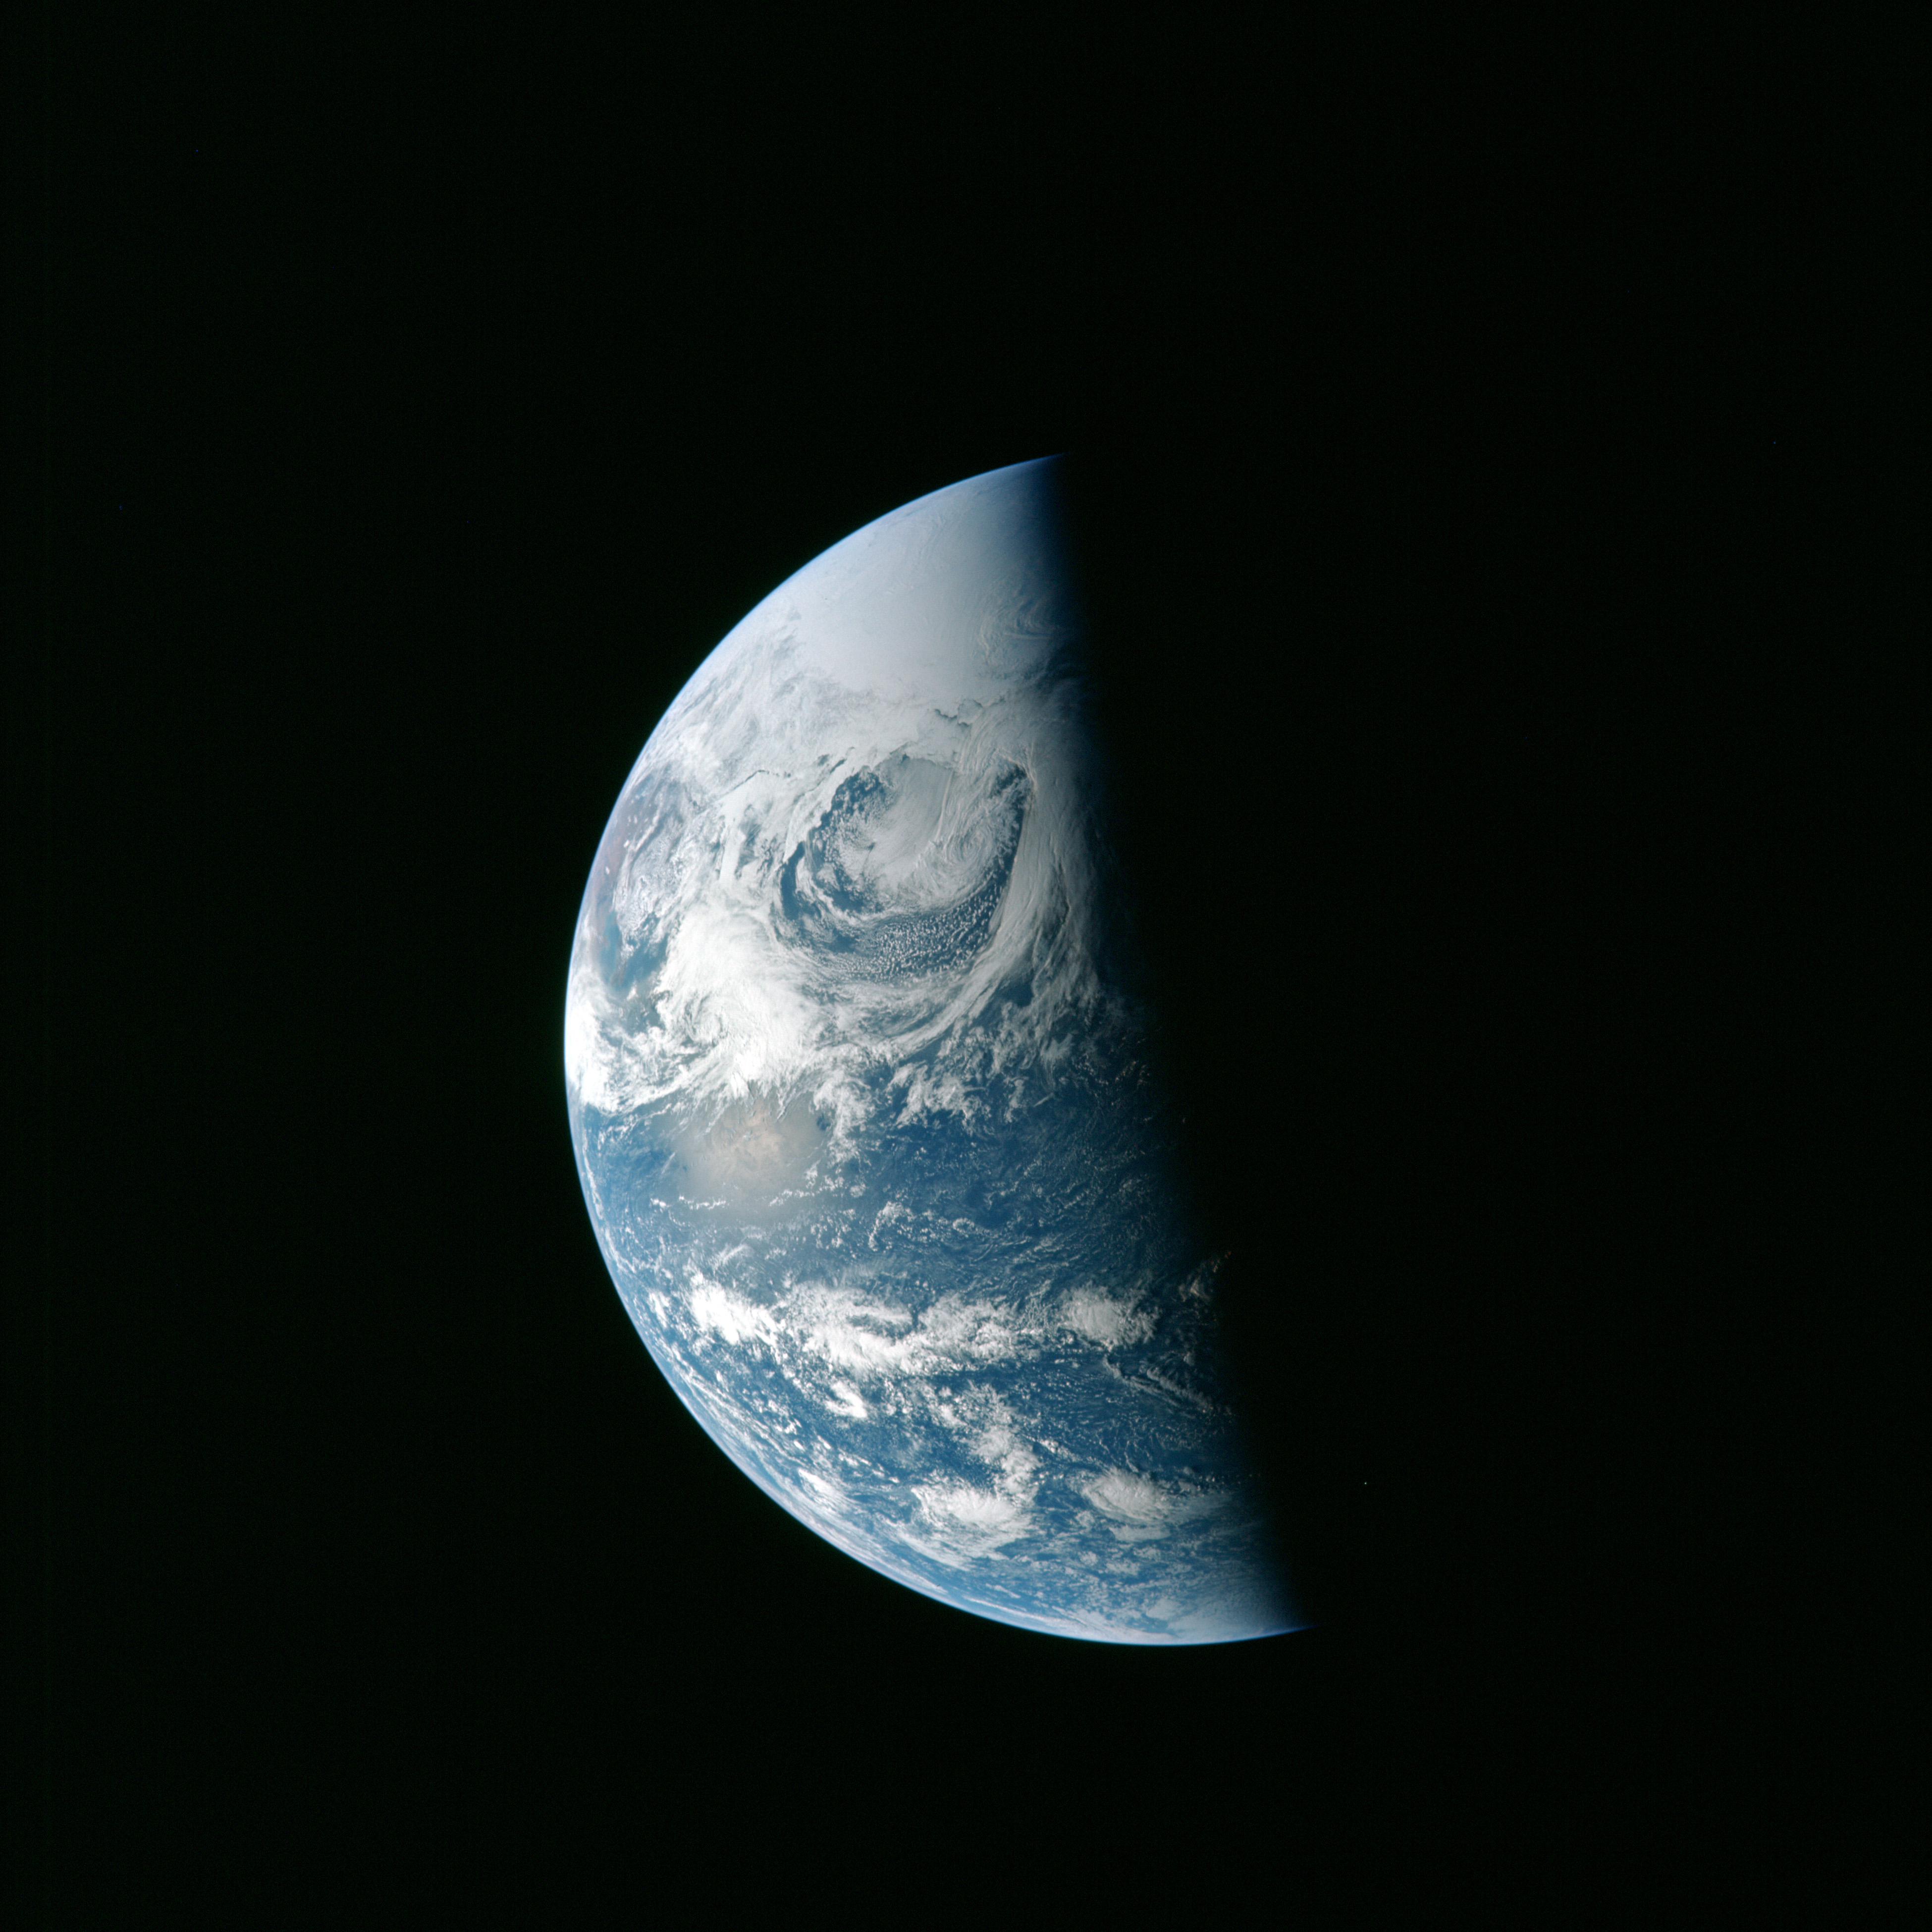 | AS13-60-8594 Image number 5 in an 11-photo sequence taken with a 250-mm lens to study weather photography at a distance. Taken at 009:26:39 GET. Image credit: Image Science and Analysis Laboratory, NASA-Johnson Space Center. |
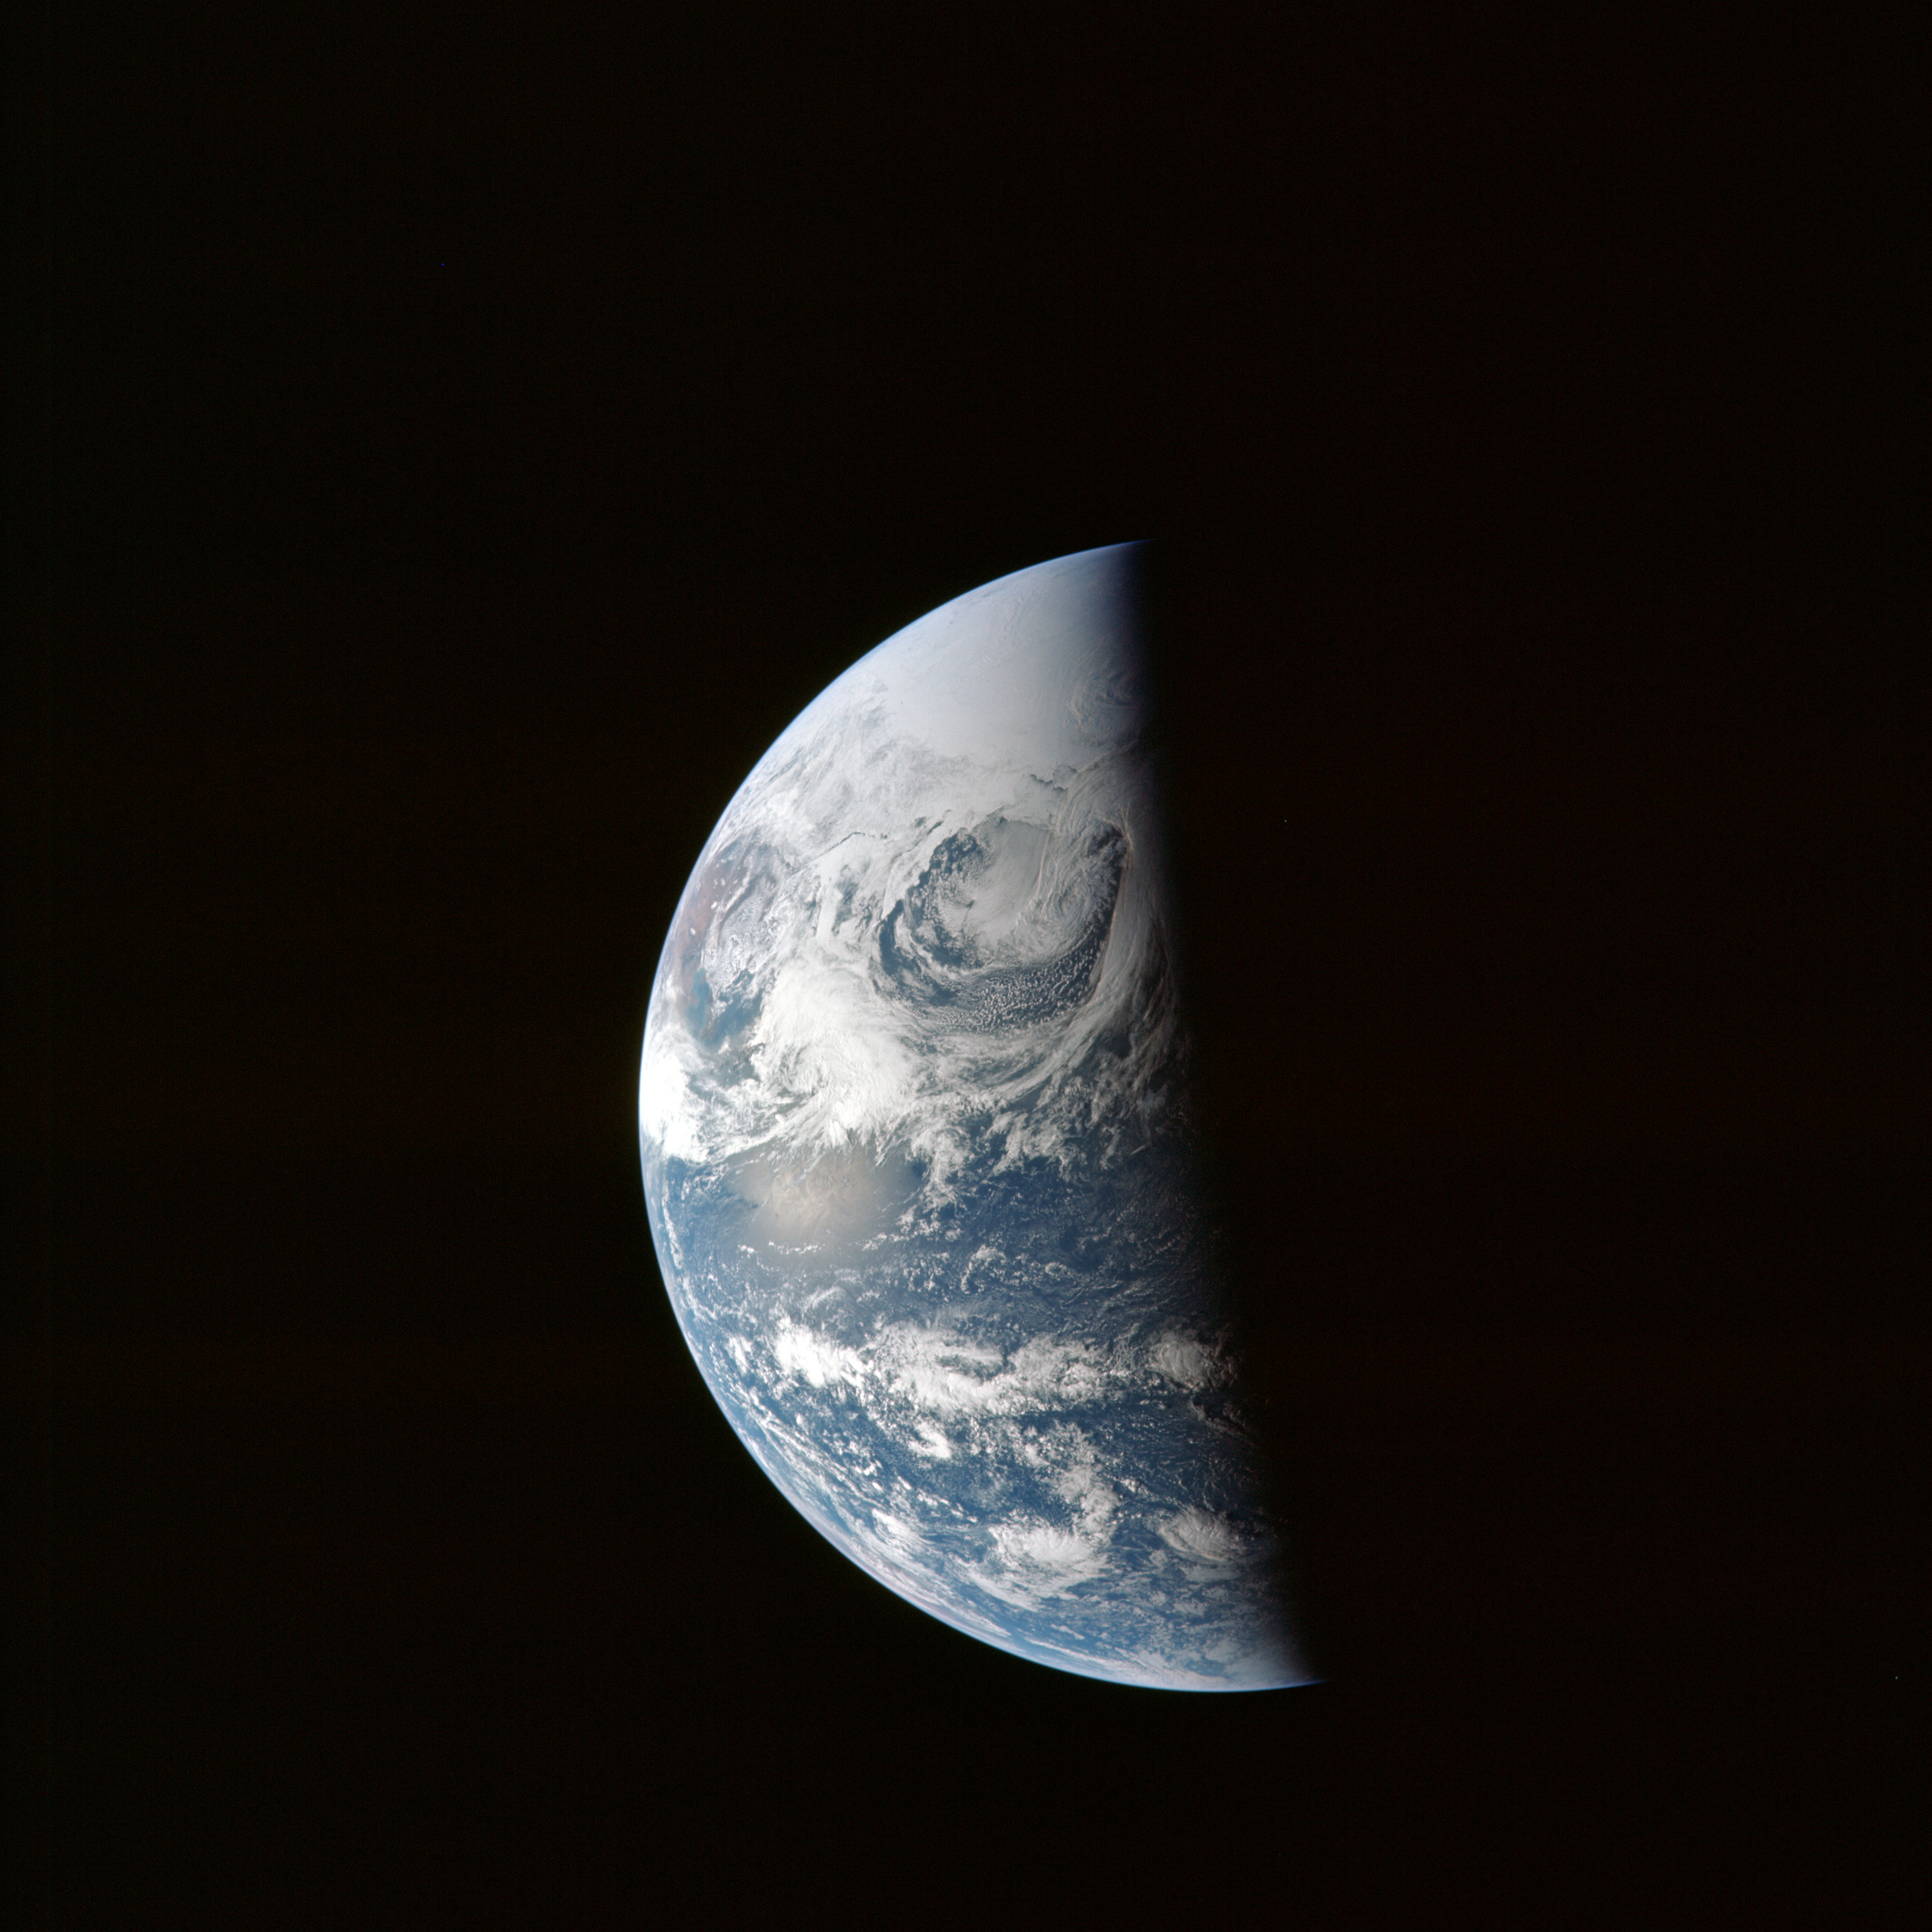 | AS13-60-8595 Image number 6 in an 11-photo sequence taken with a 250-mm lens to study weather photography at a distance. Taken at 009:47:15 GET. Image credit: Image Science and Analysis Laboratory, NASA-Johnson Space Center. |
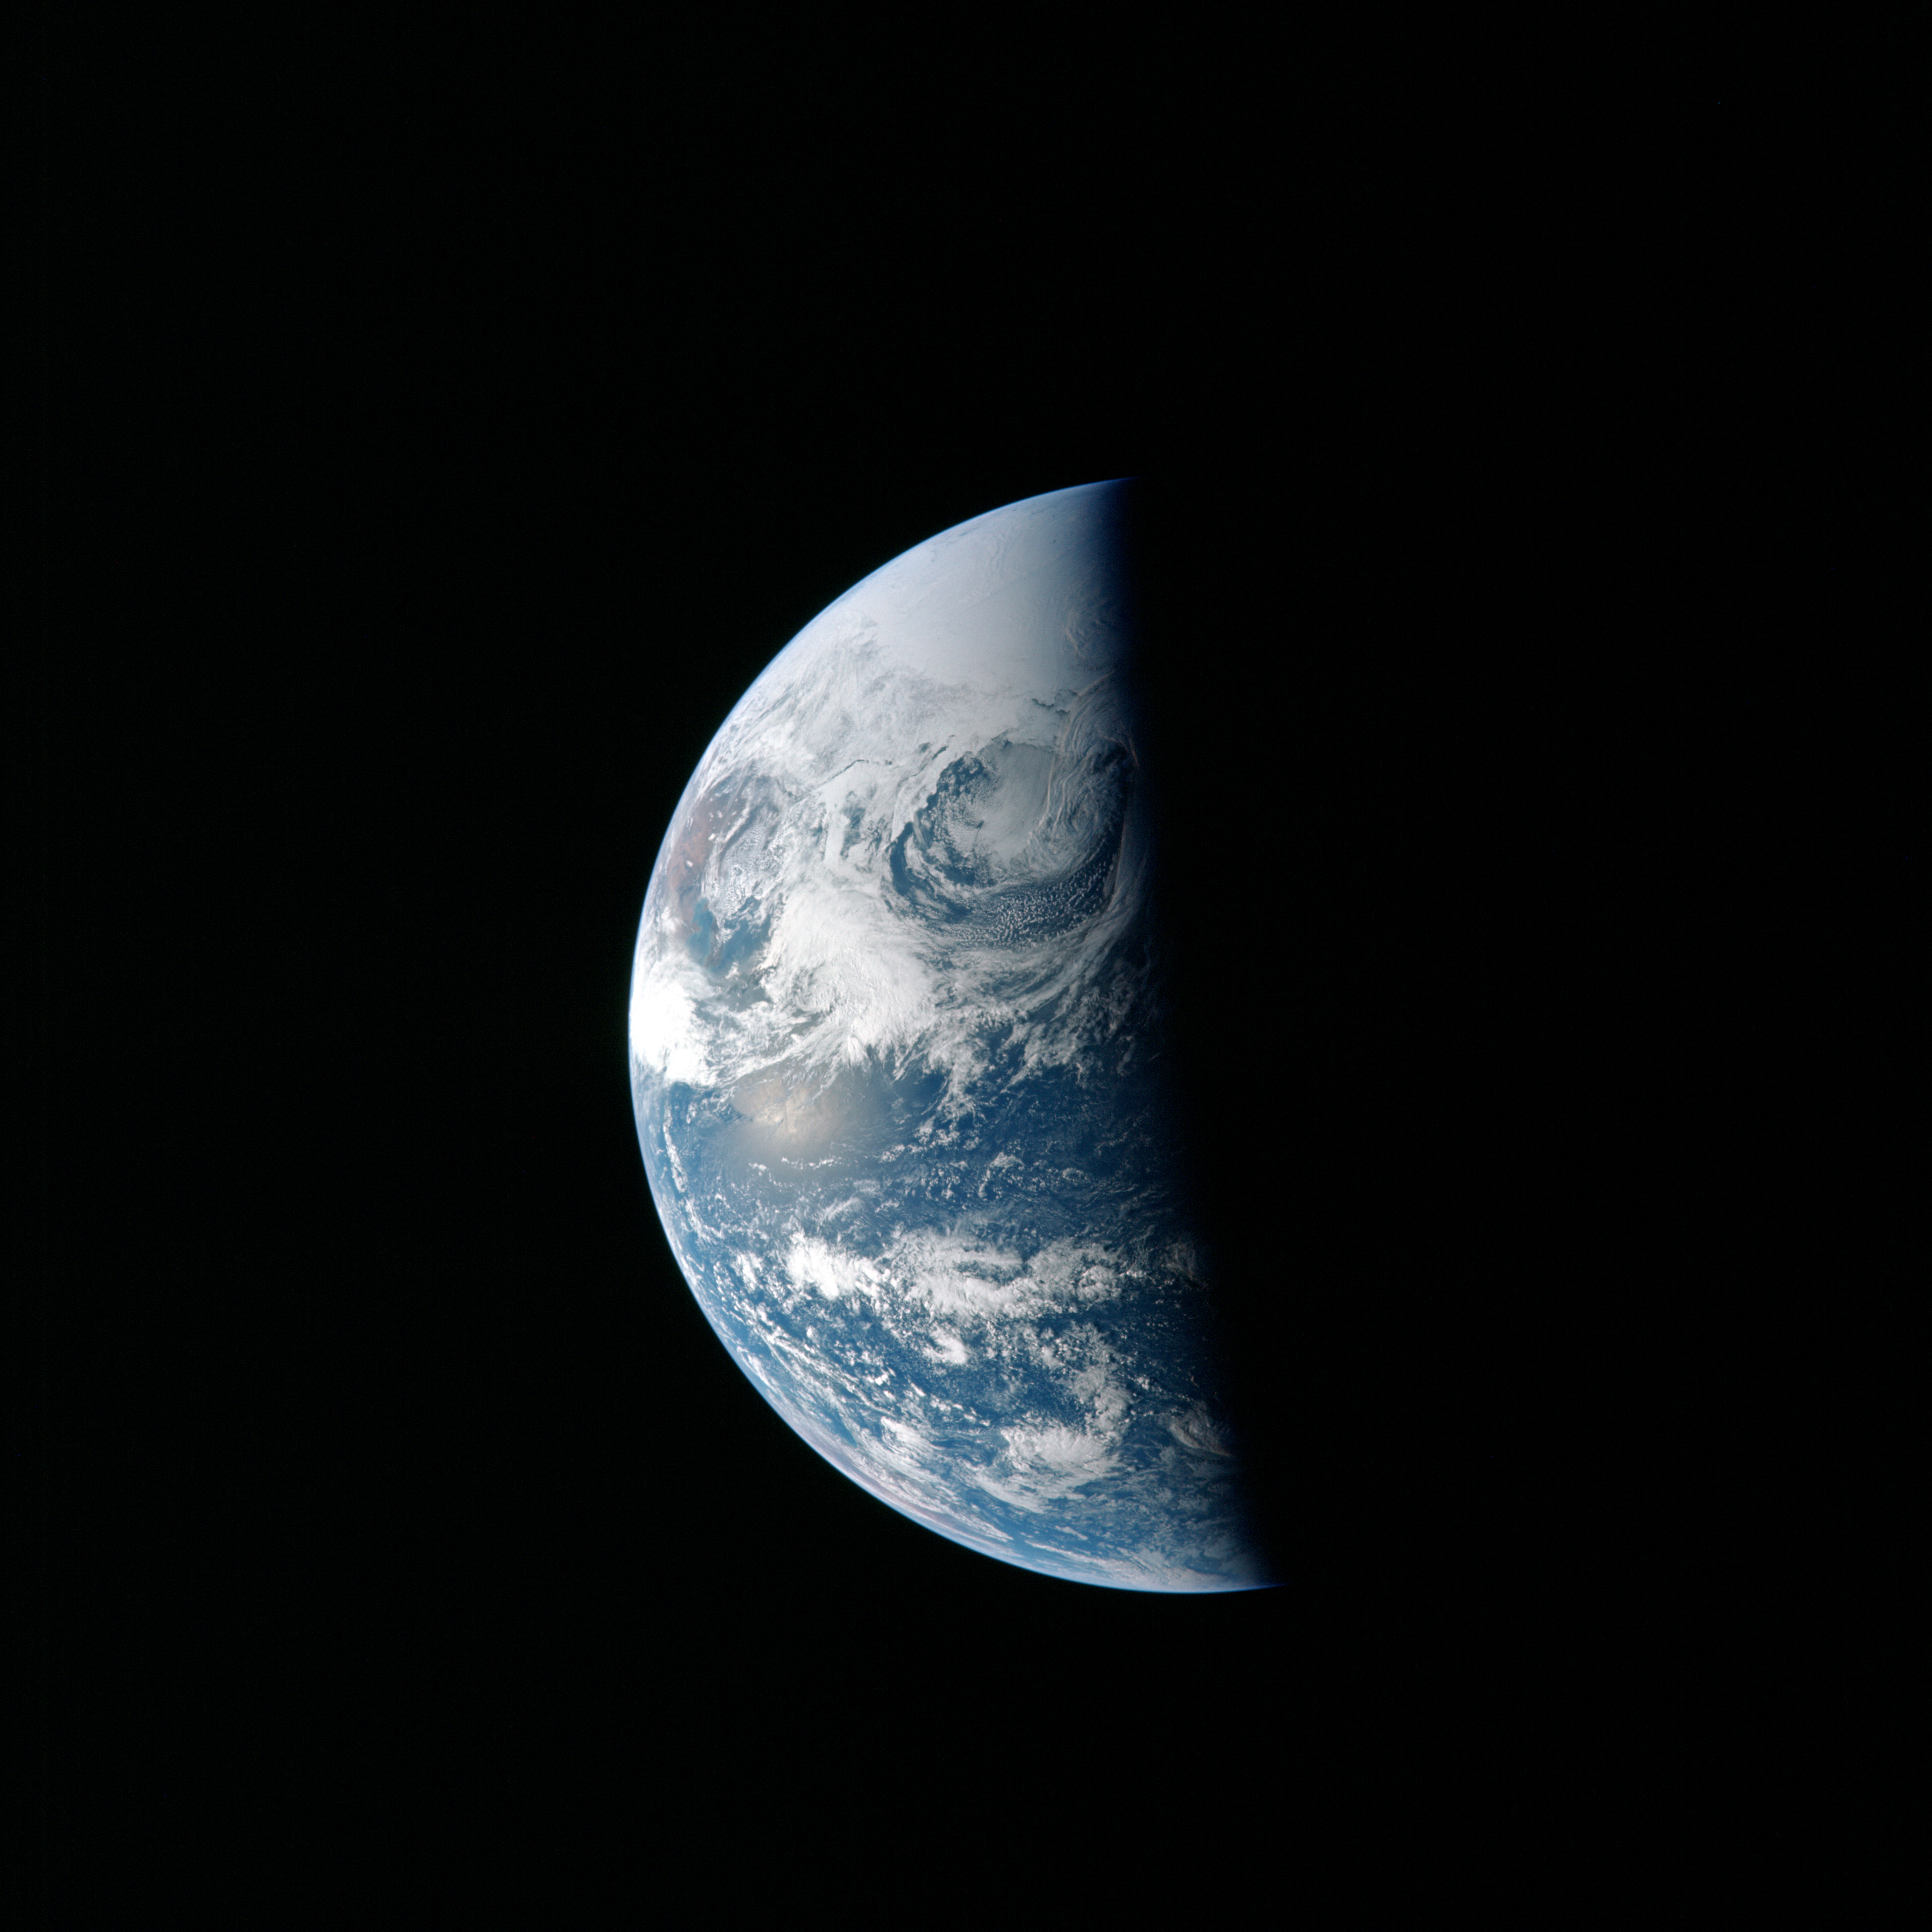 | AS13-60-8596 Image number 7 in an 11-photo sequence taken with a 250-mm lens to study weather photography at a distance. Taken at 010:08:42 GET. Image credit: Image Science and Analysis Laboratory, NASA-Johnson Space Center. |
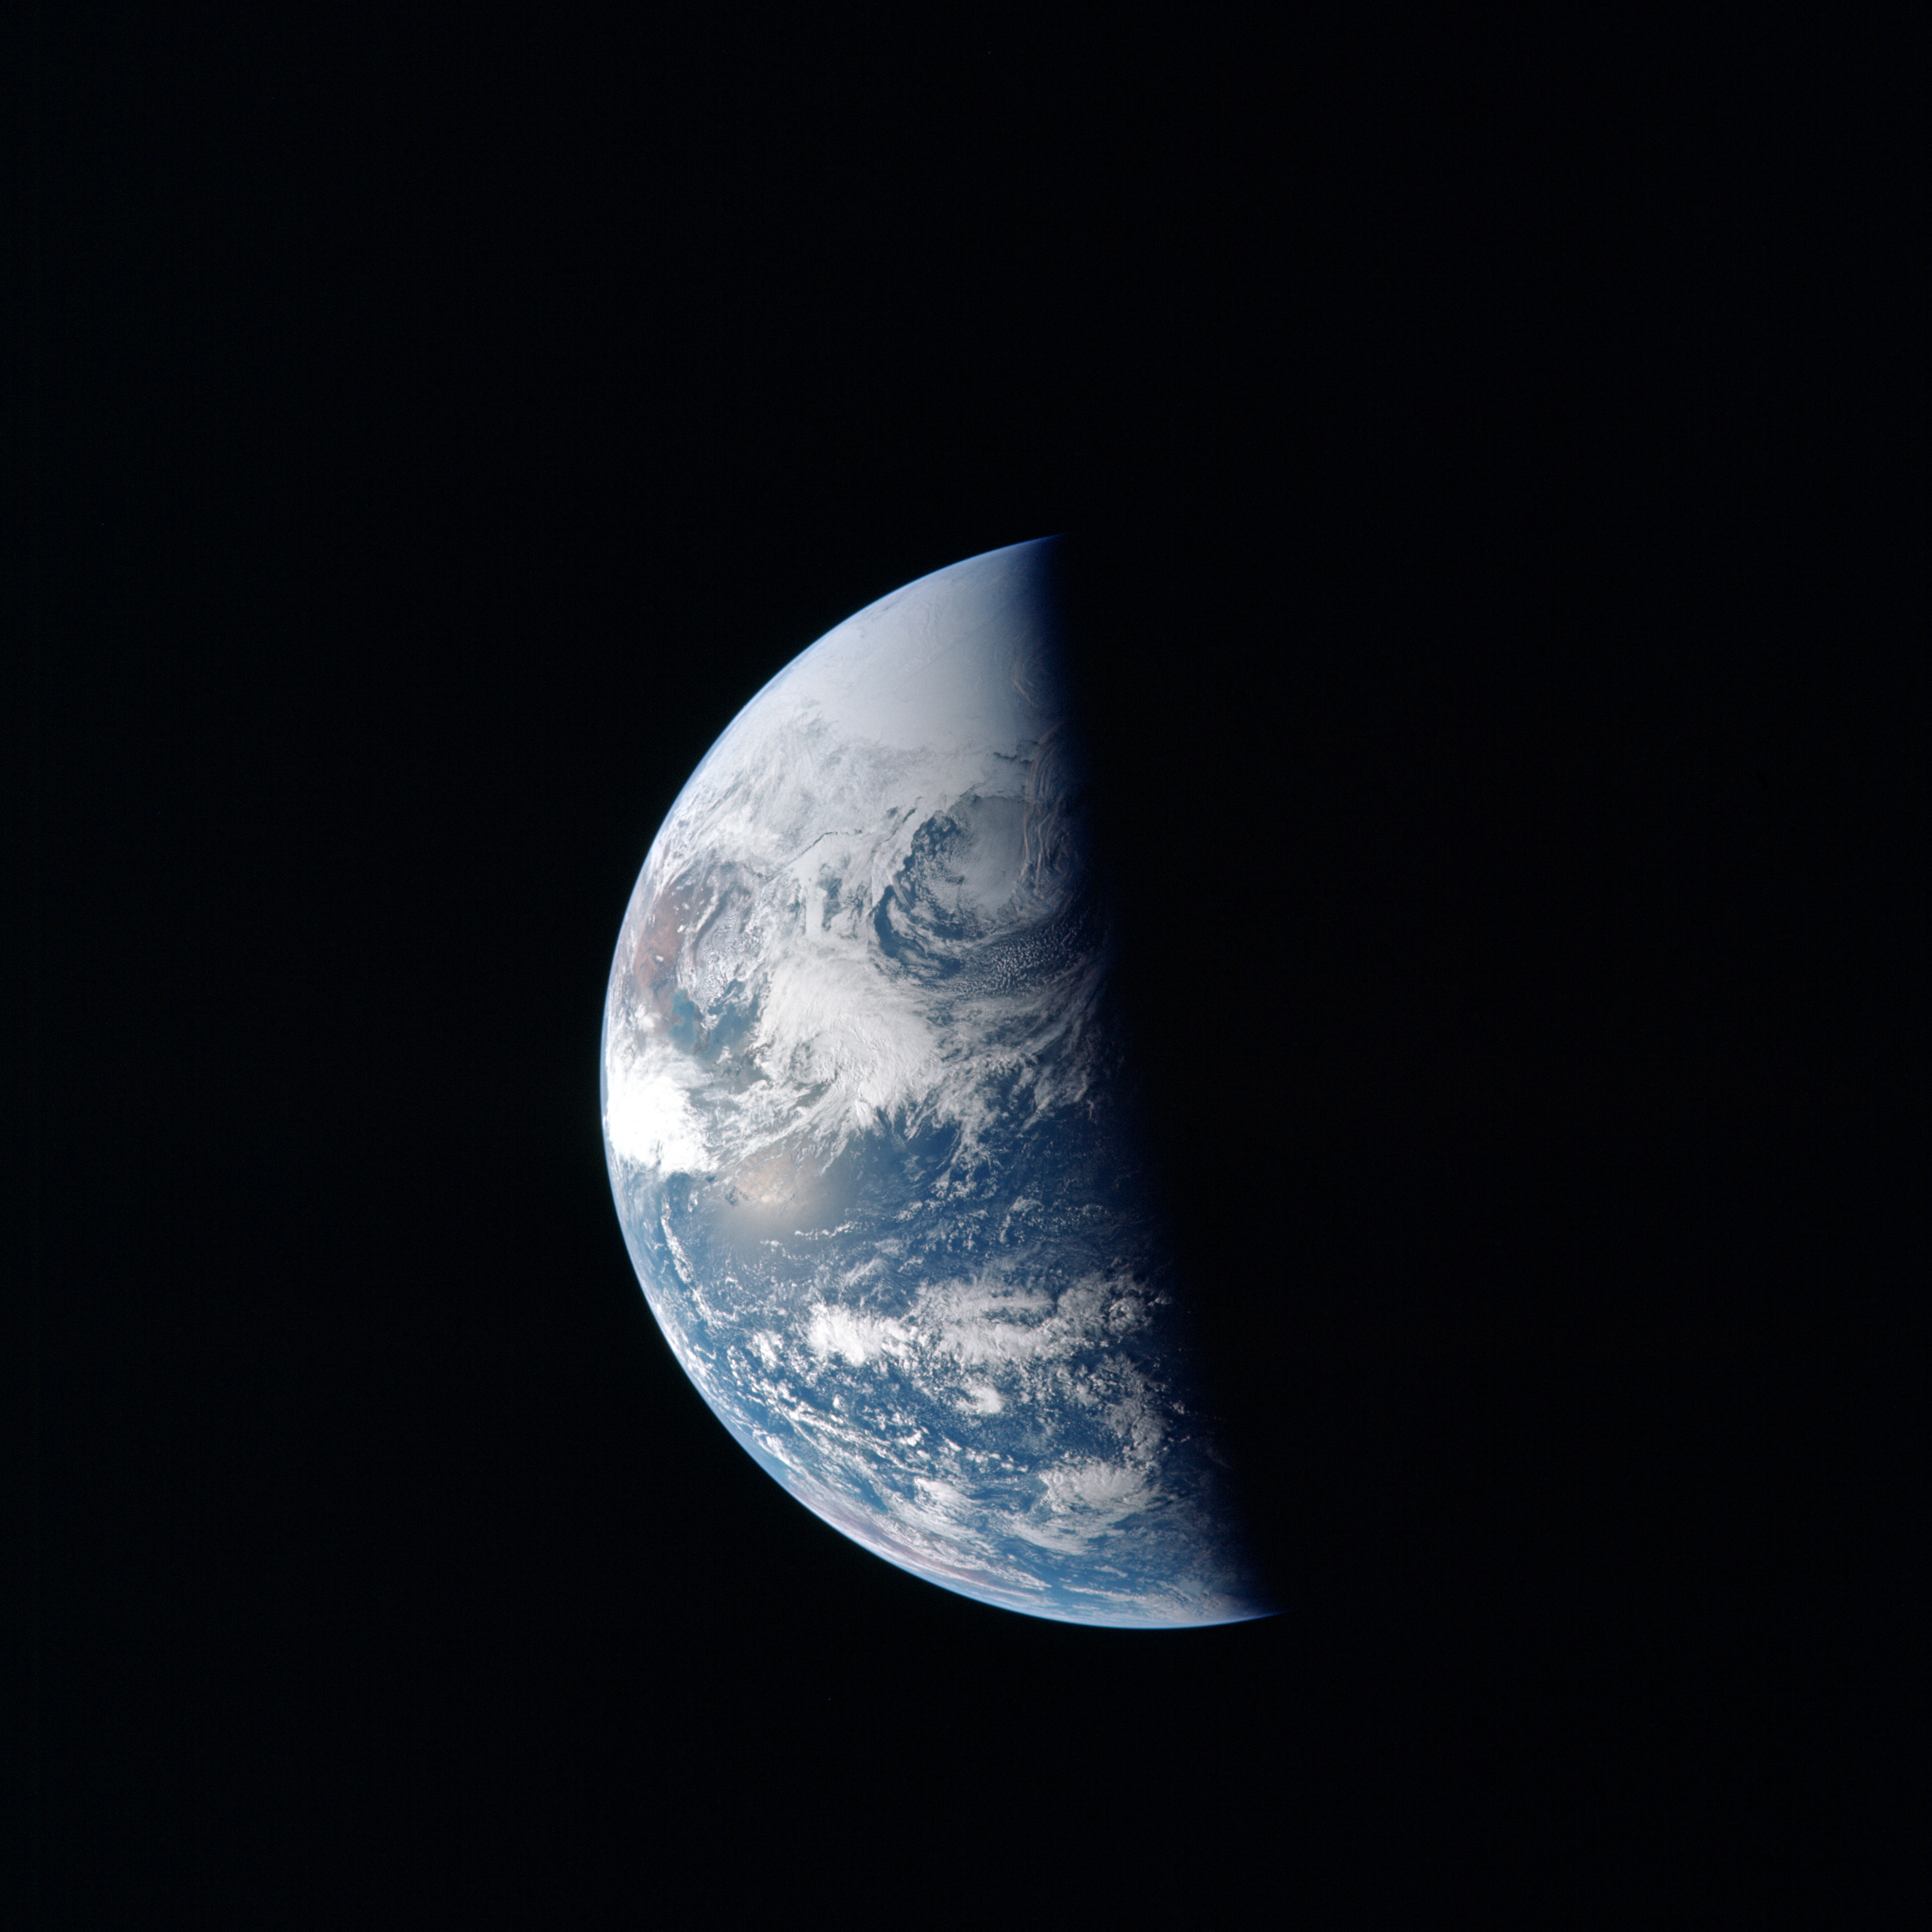 | AS13-60-8597 Image number 8 in an 11-photo sequence taken with a 250-mm lens to study weather photography at a distance. Taken at 010:31:03 GET. Image credit: Image Science and Analysis Laboratory, NASA-Johnson Space Center. |
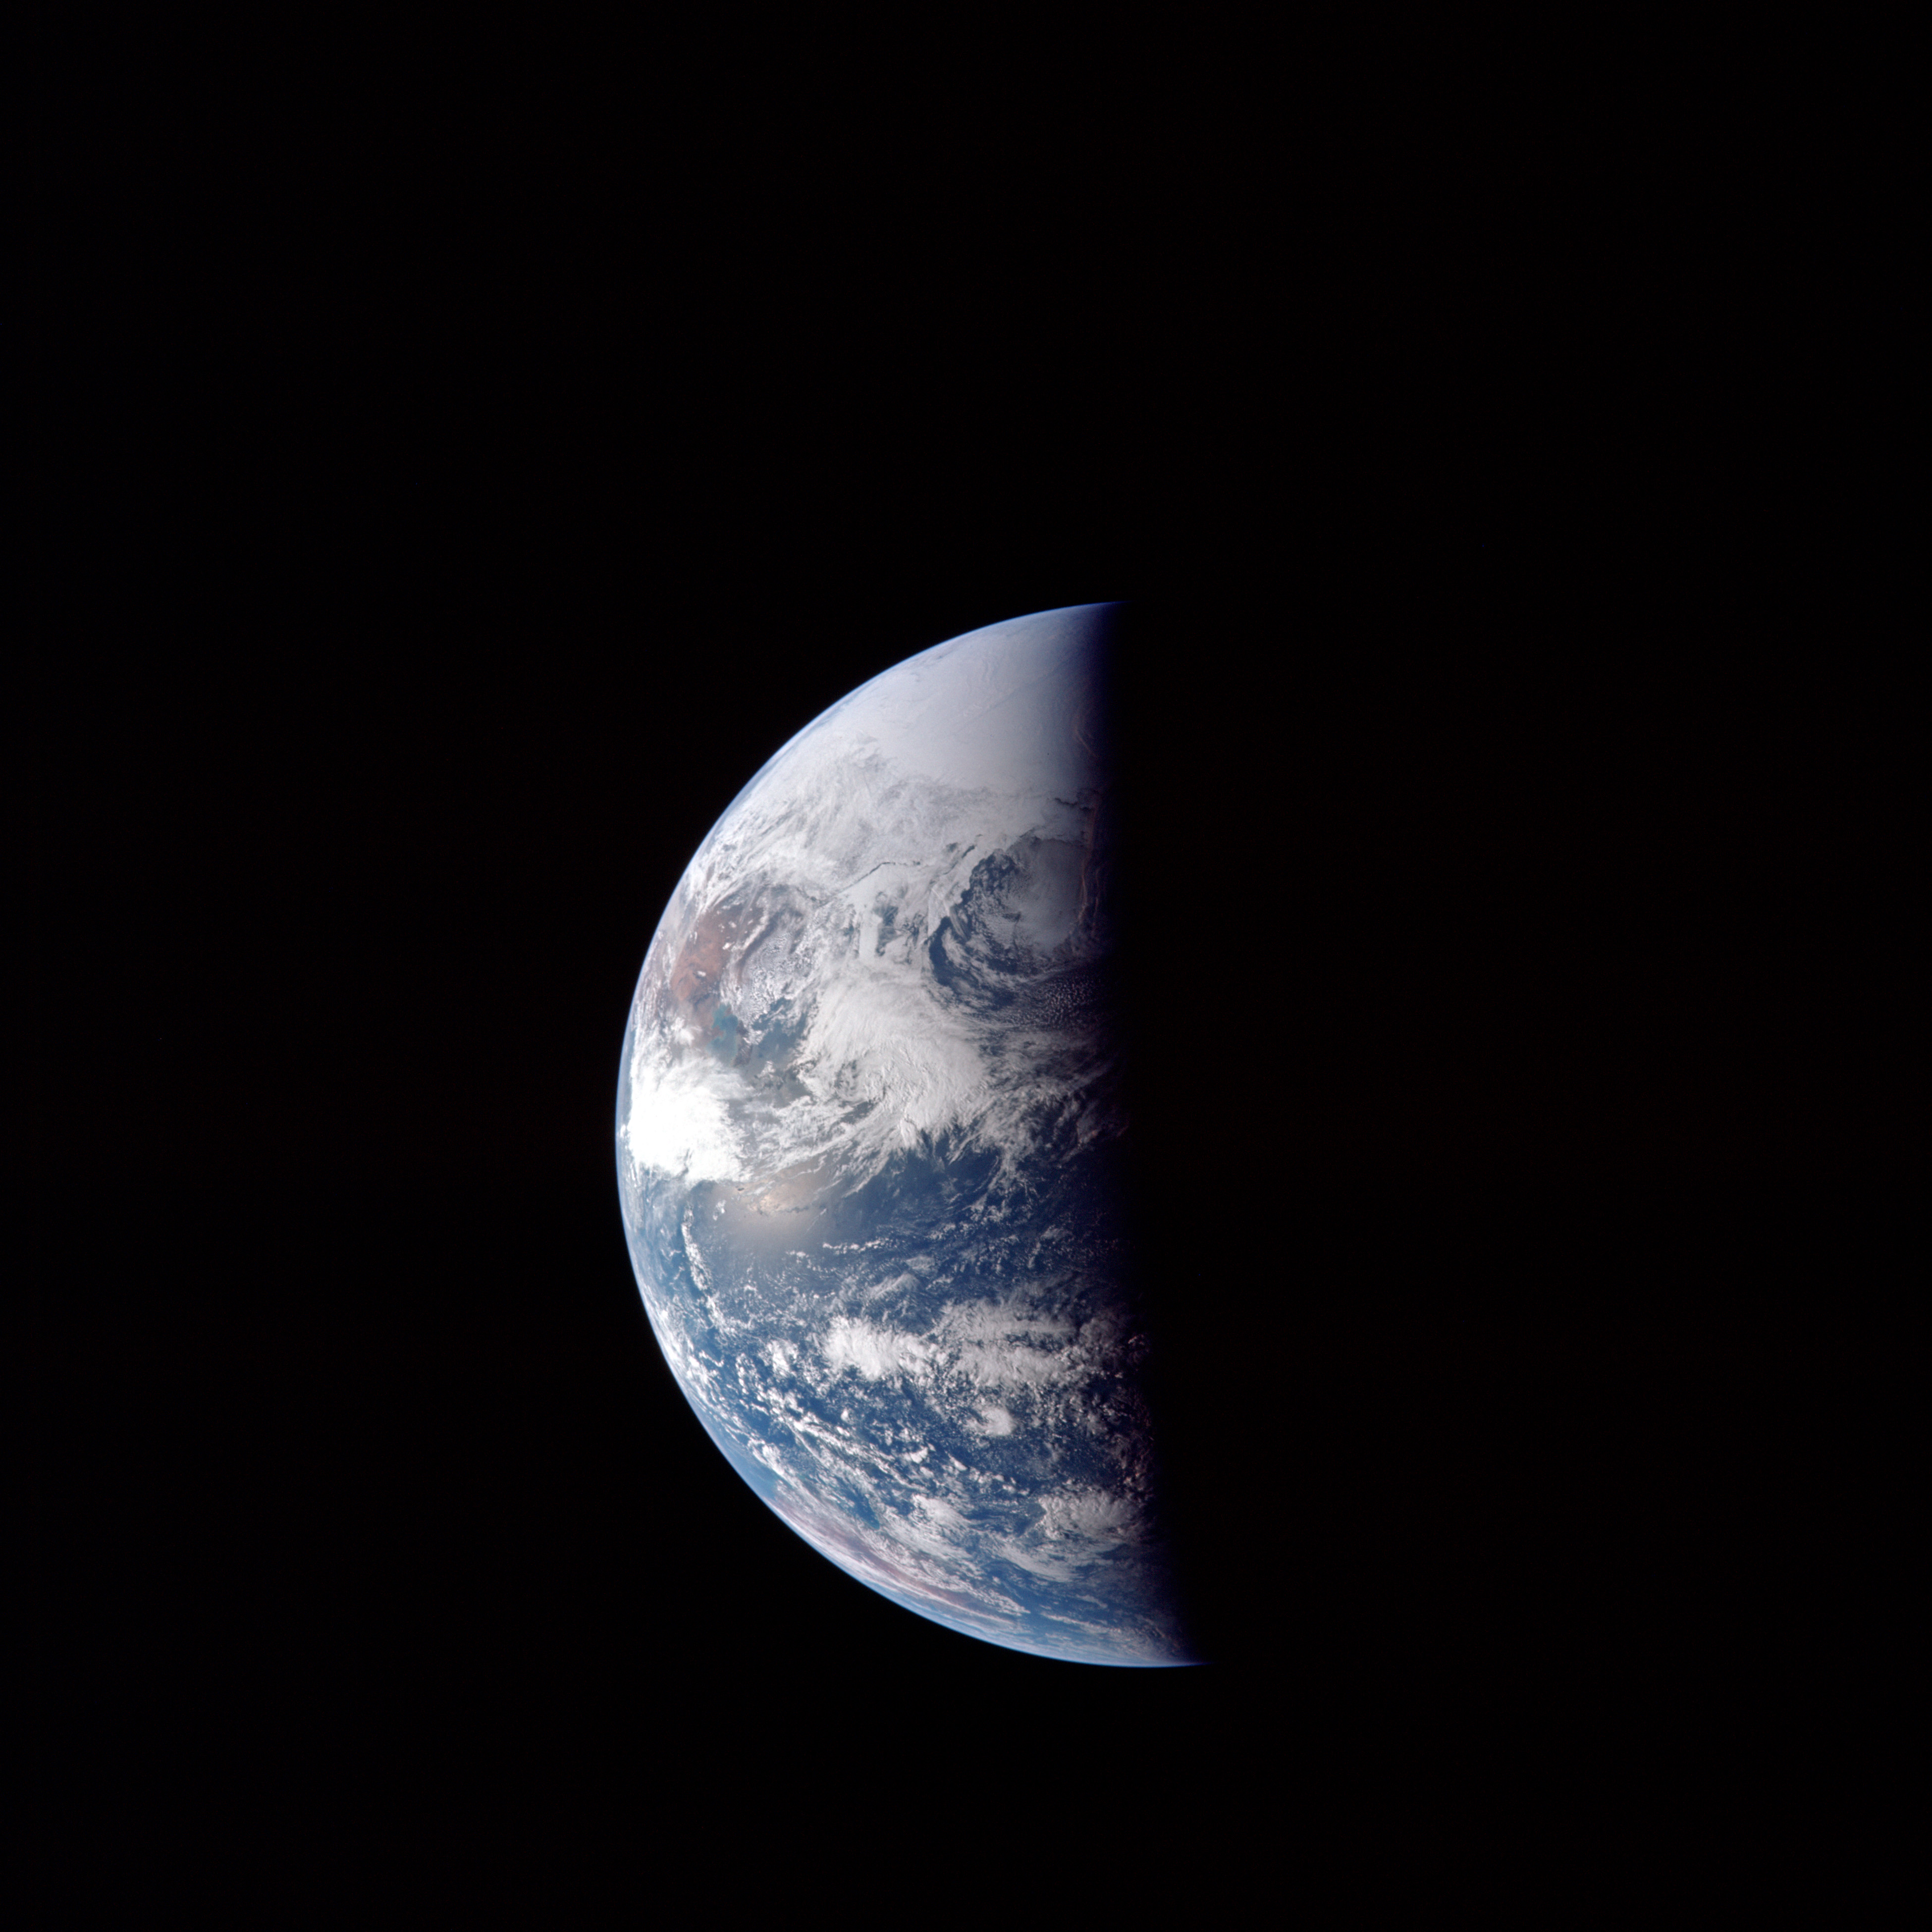 | AS13-60-8598 Image number 9 in an 11-photo sequence taken with a 250-mm lens to study weather photography at a distance. Taken at 010:53:03 GET. Image credit: Image Science and Analysis Laboratory, NASA-Johnson Space Center. |
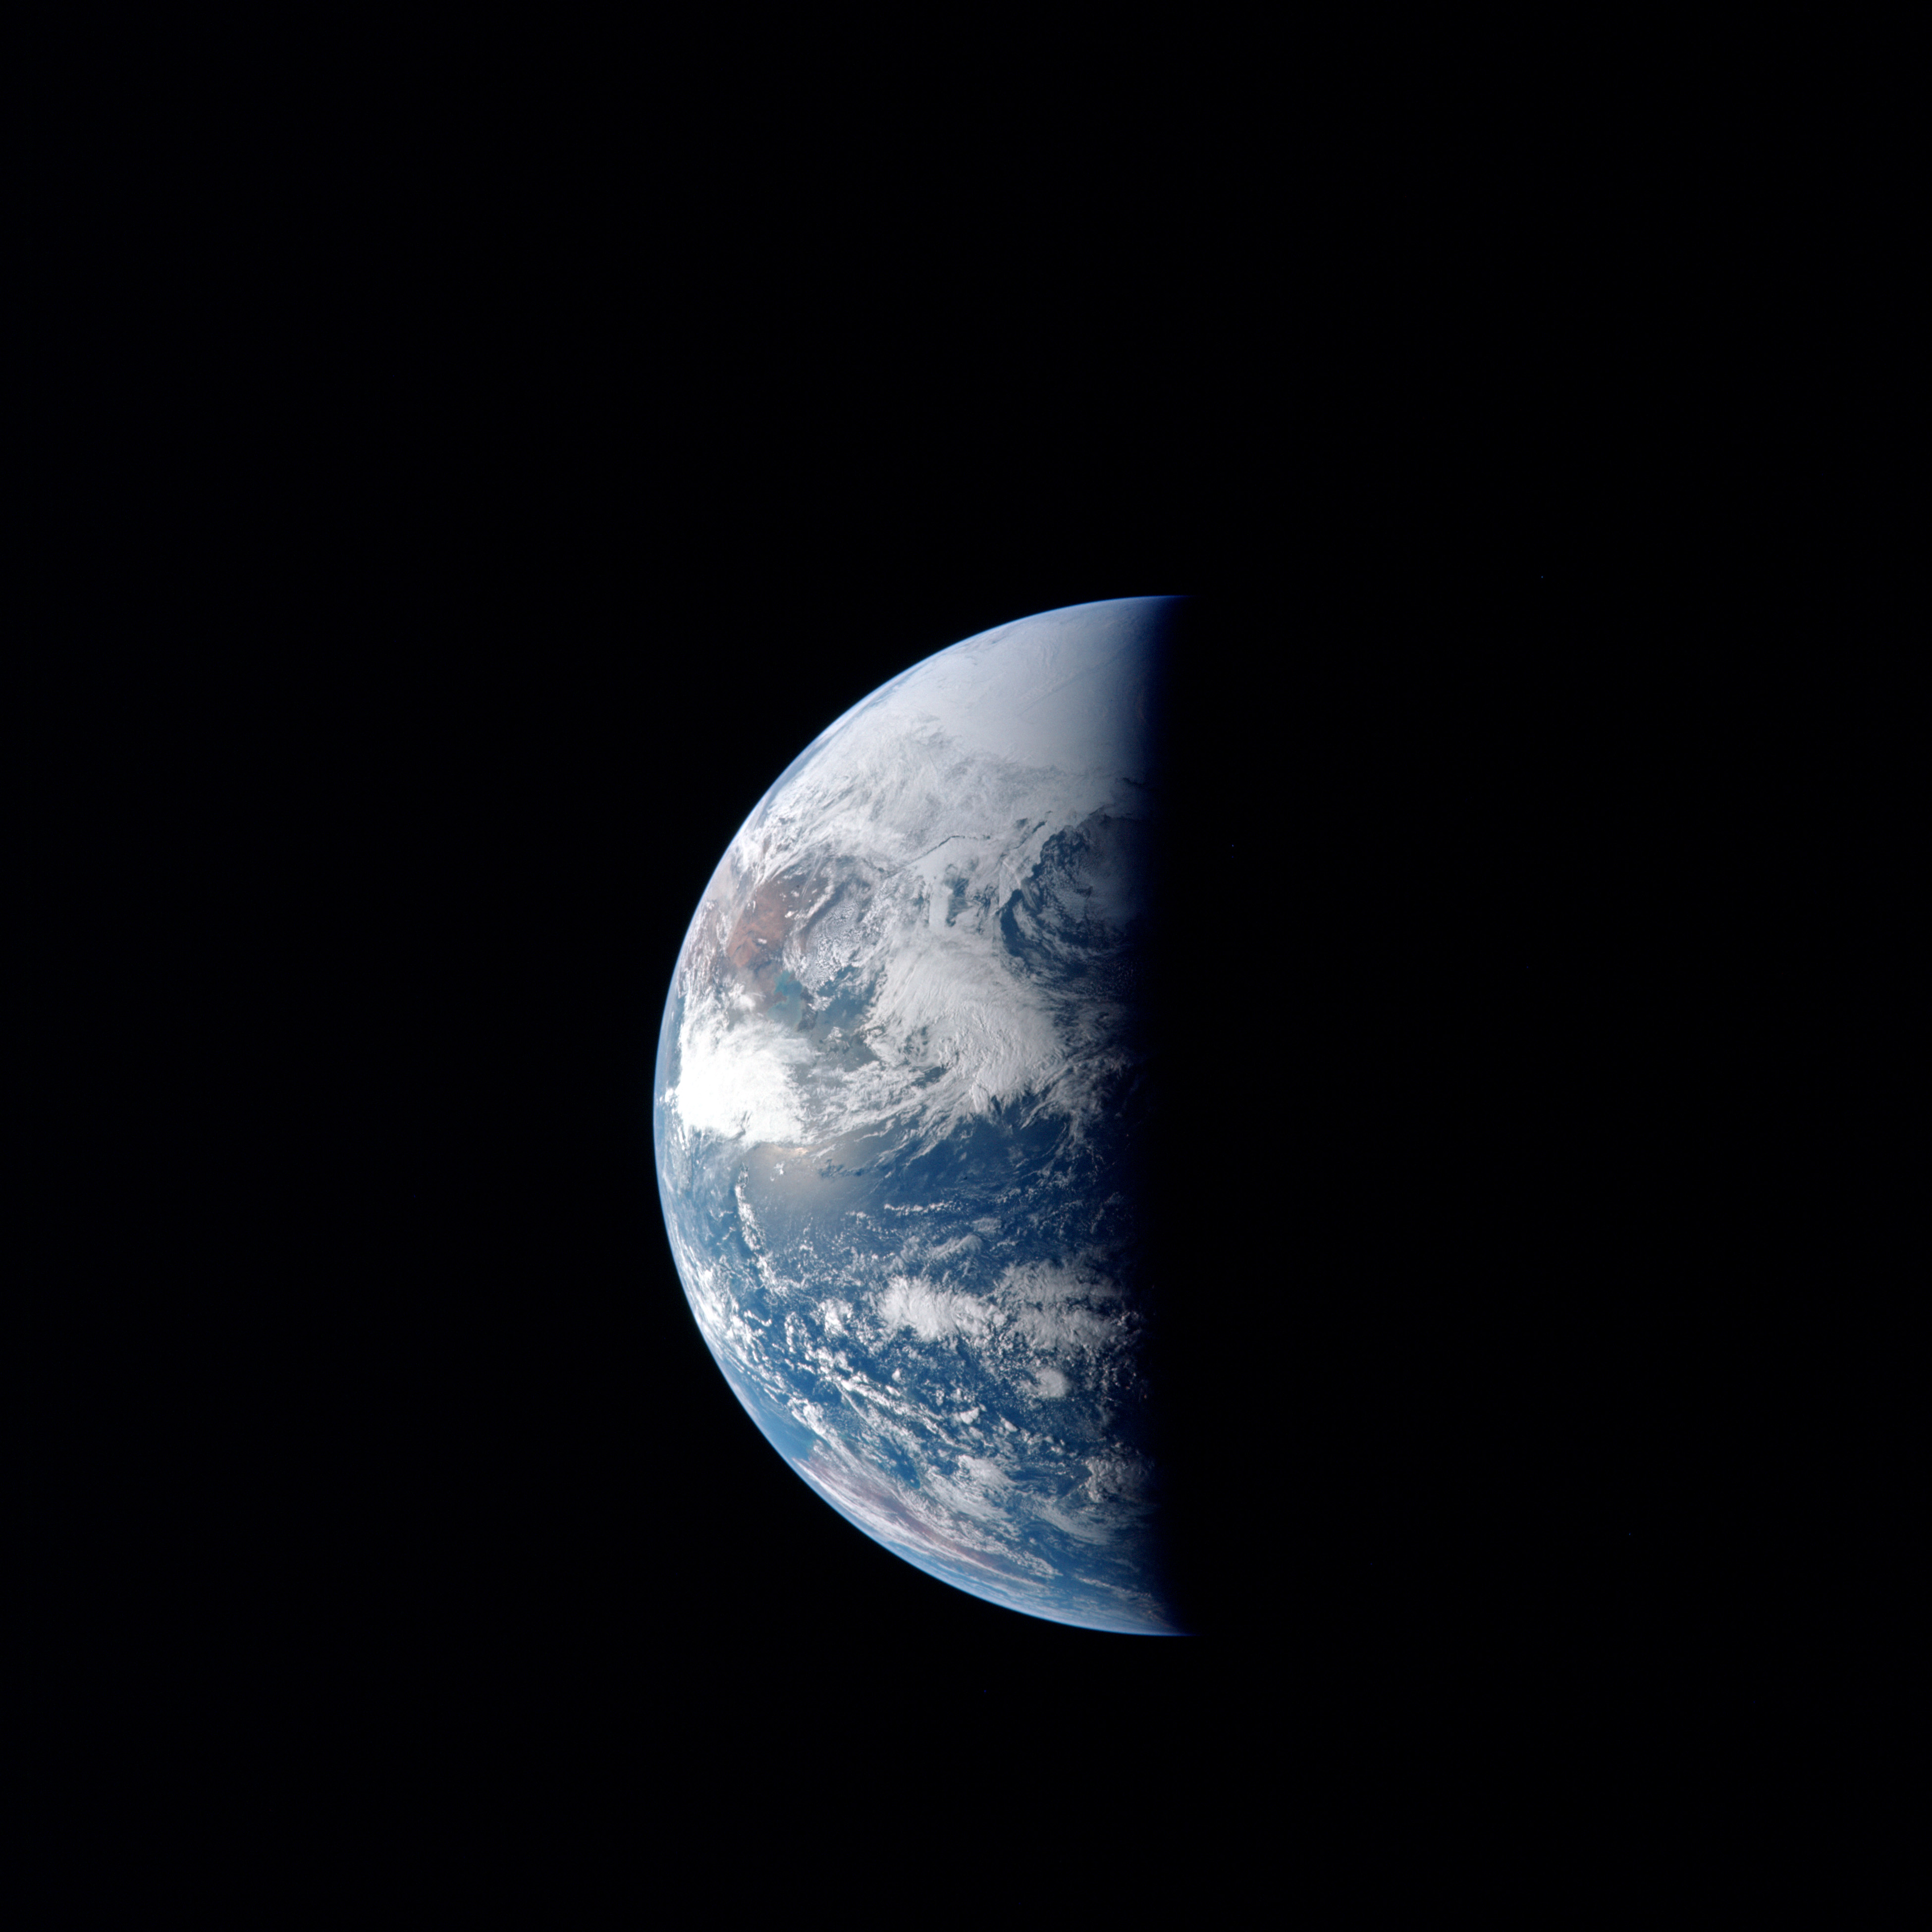 | AS13-60-8599 Image number 10 in an 11-photo sequence taken with a 250-mm lens to study weather photography at a distance. Taken at 011:15:01 GET. Image credit: Image Science and Analysis Laboratory, NASA-Johnson Space Center. |
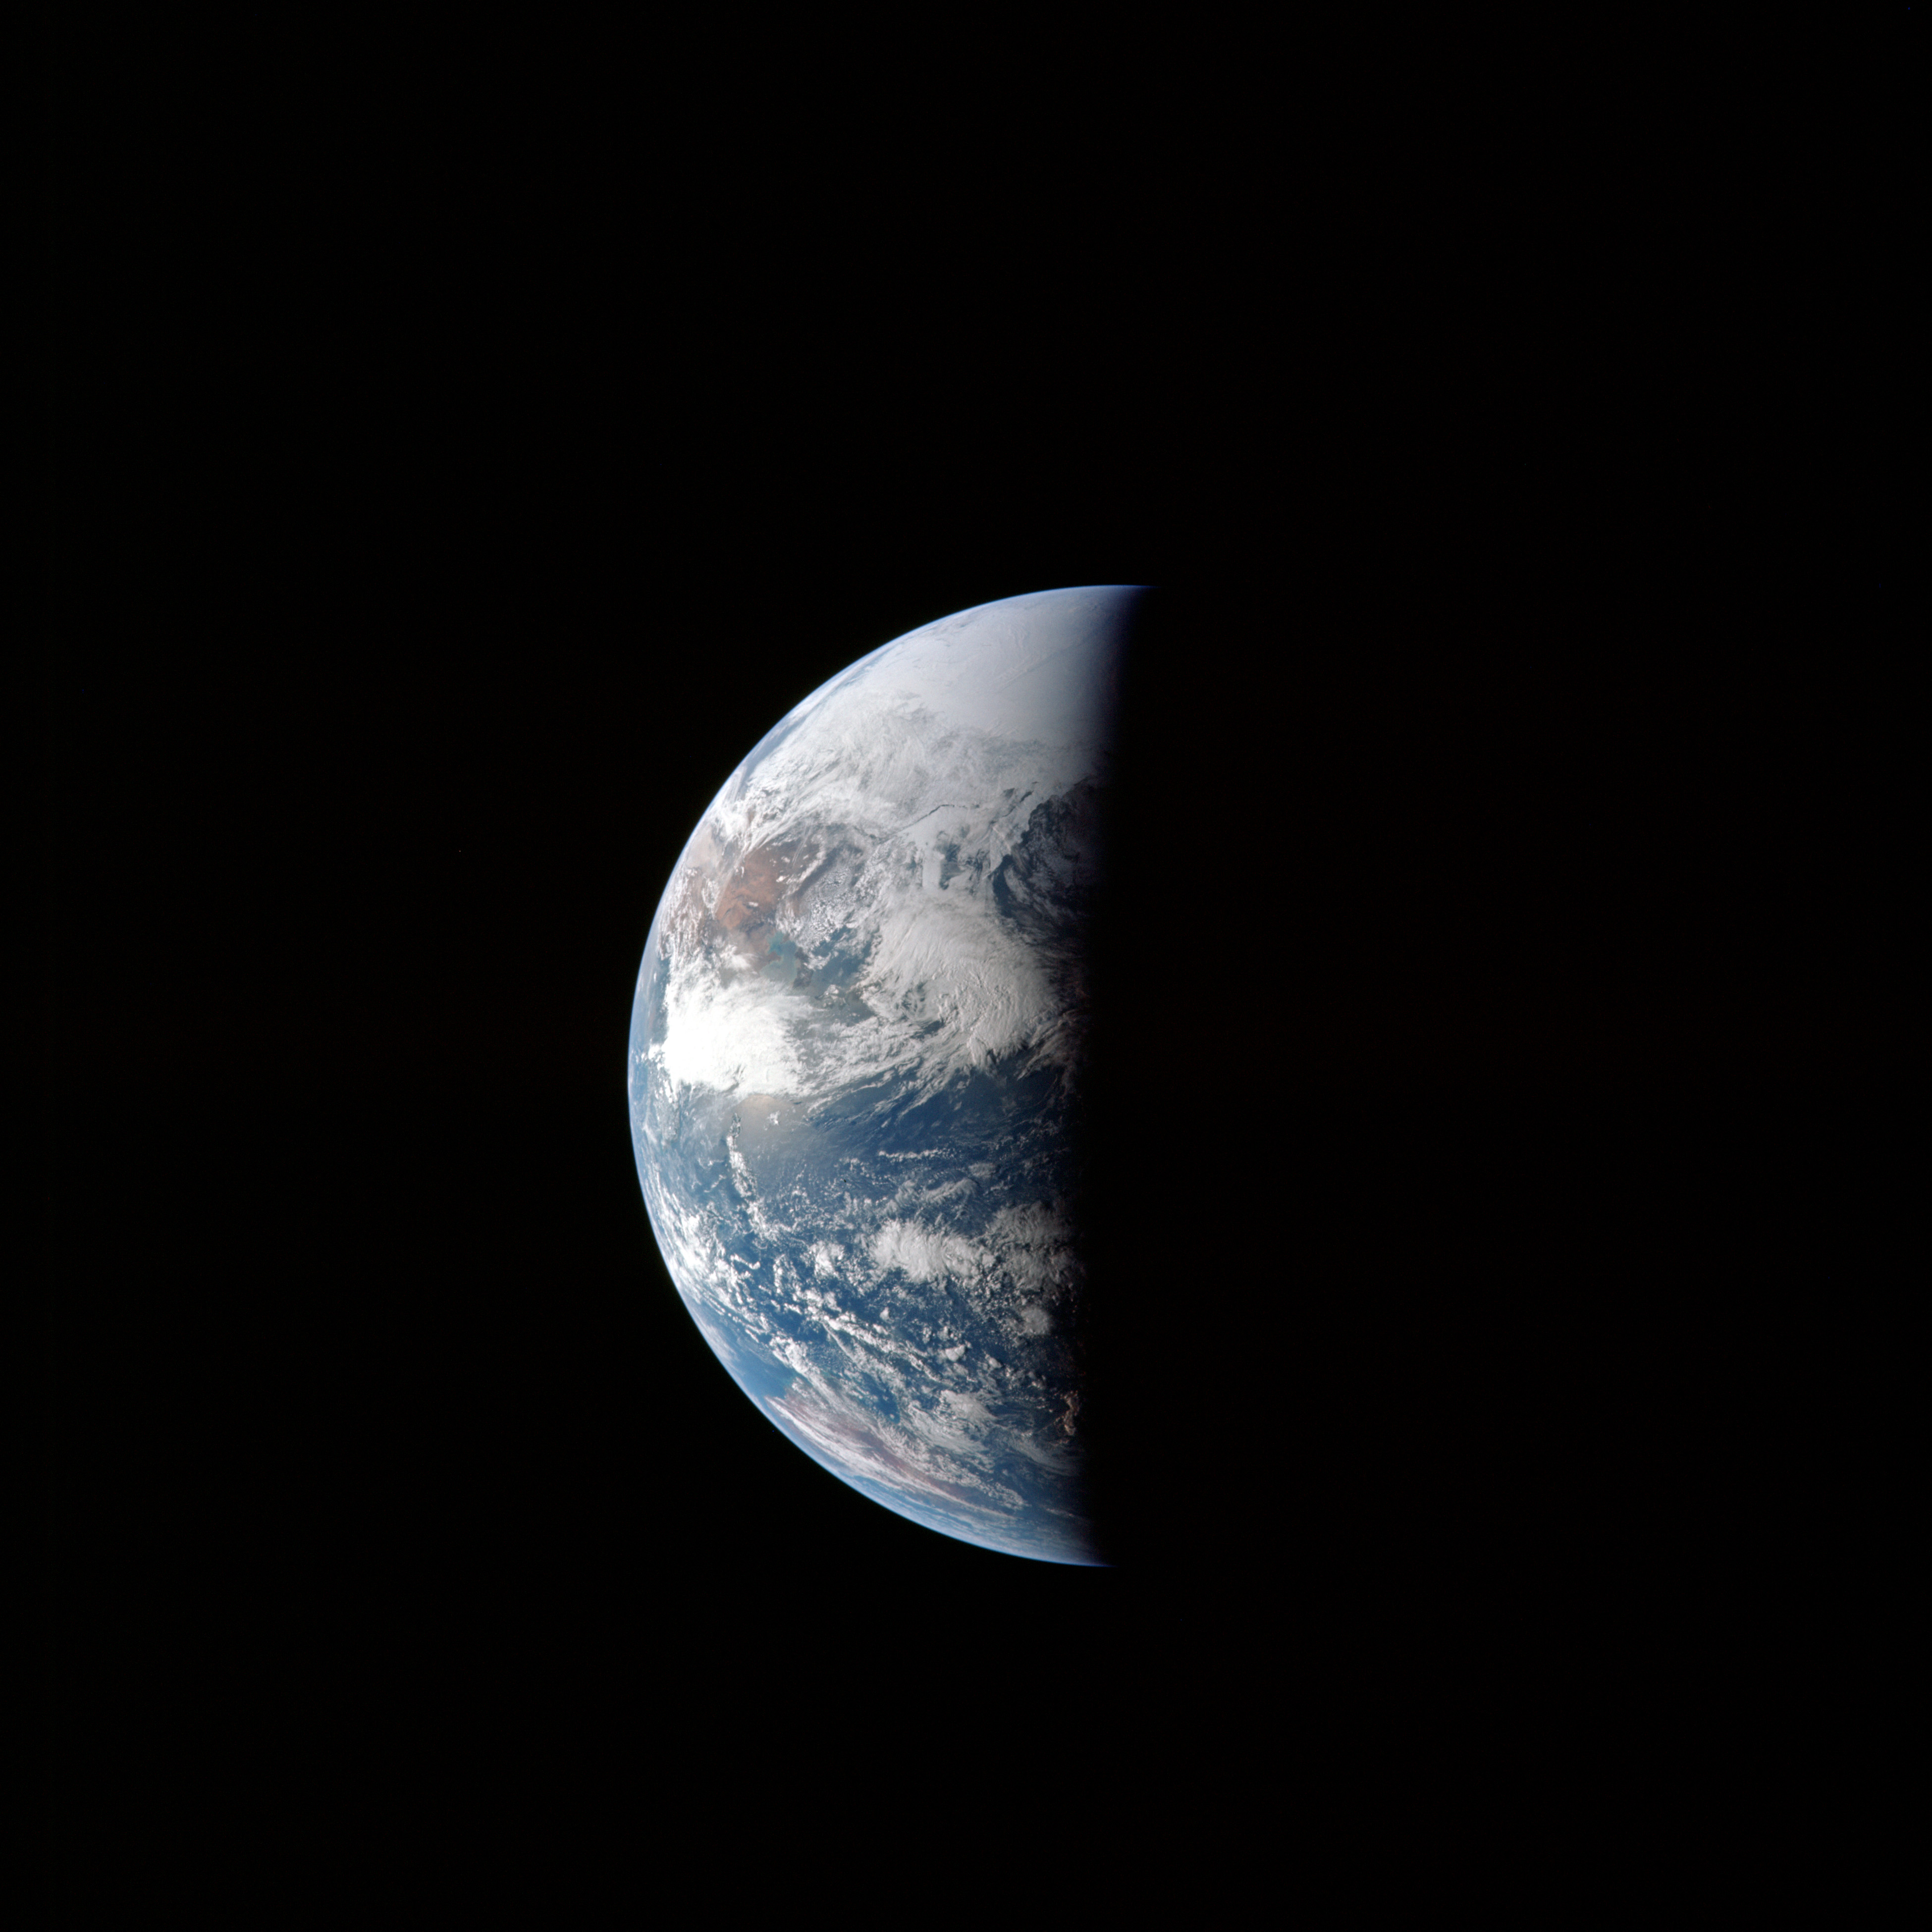 | AS13-60-8600 Image number 11 in an 11-photo sequence taken with a 250-mm lens to study weather photography at a distance. Taken at 011:37:20 GET. Image credit: Image Science and Analysis Laboratory, NASA-Johnson Space Center. |
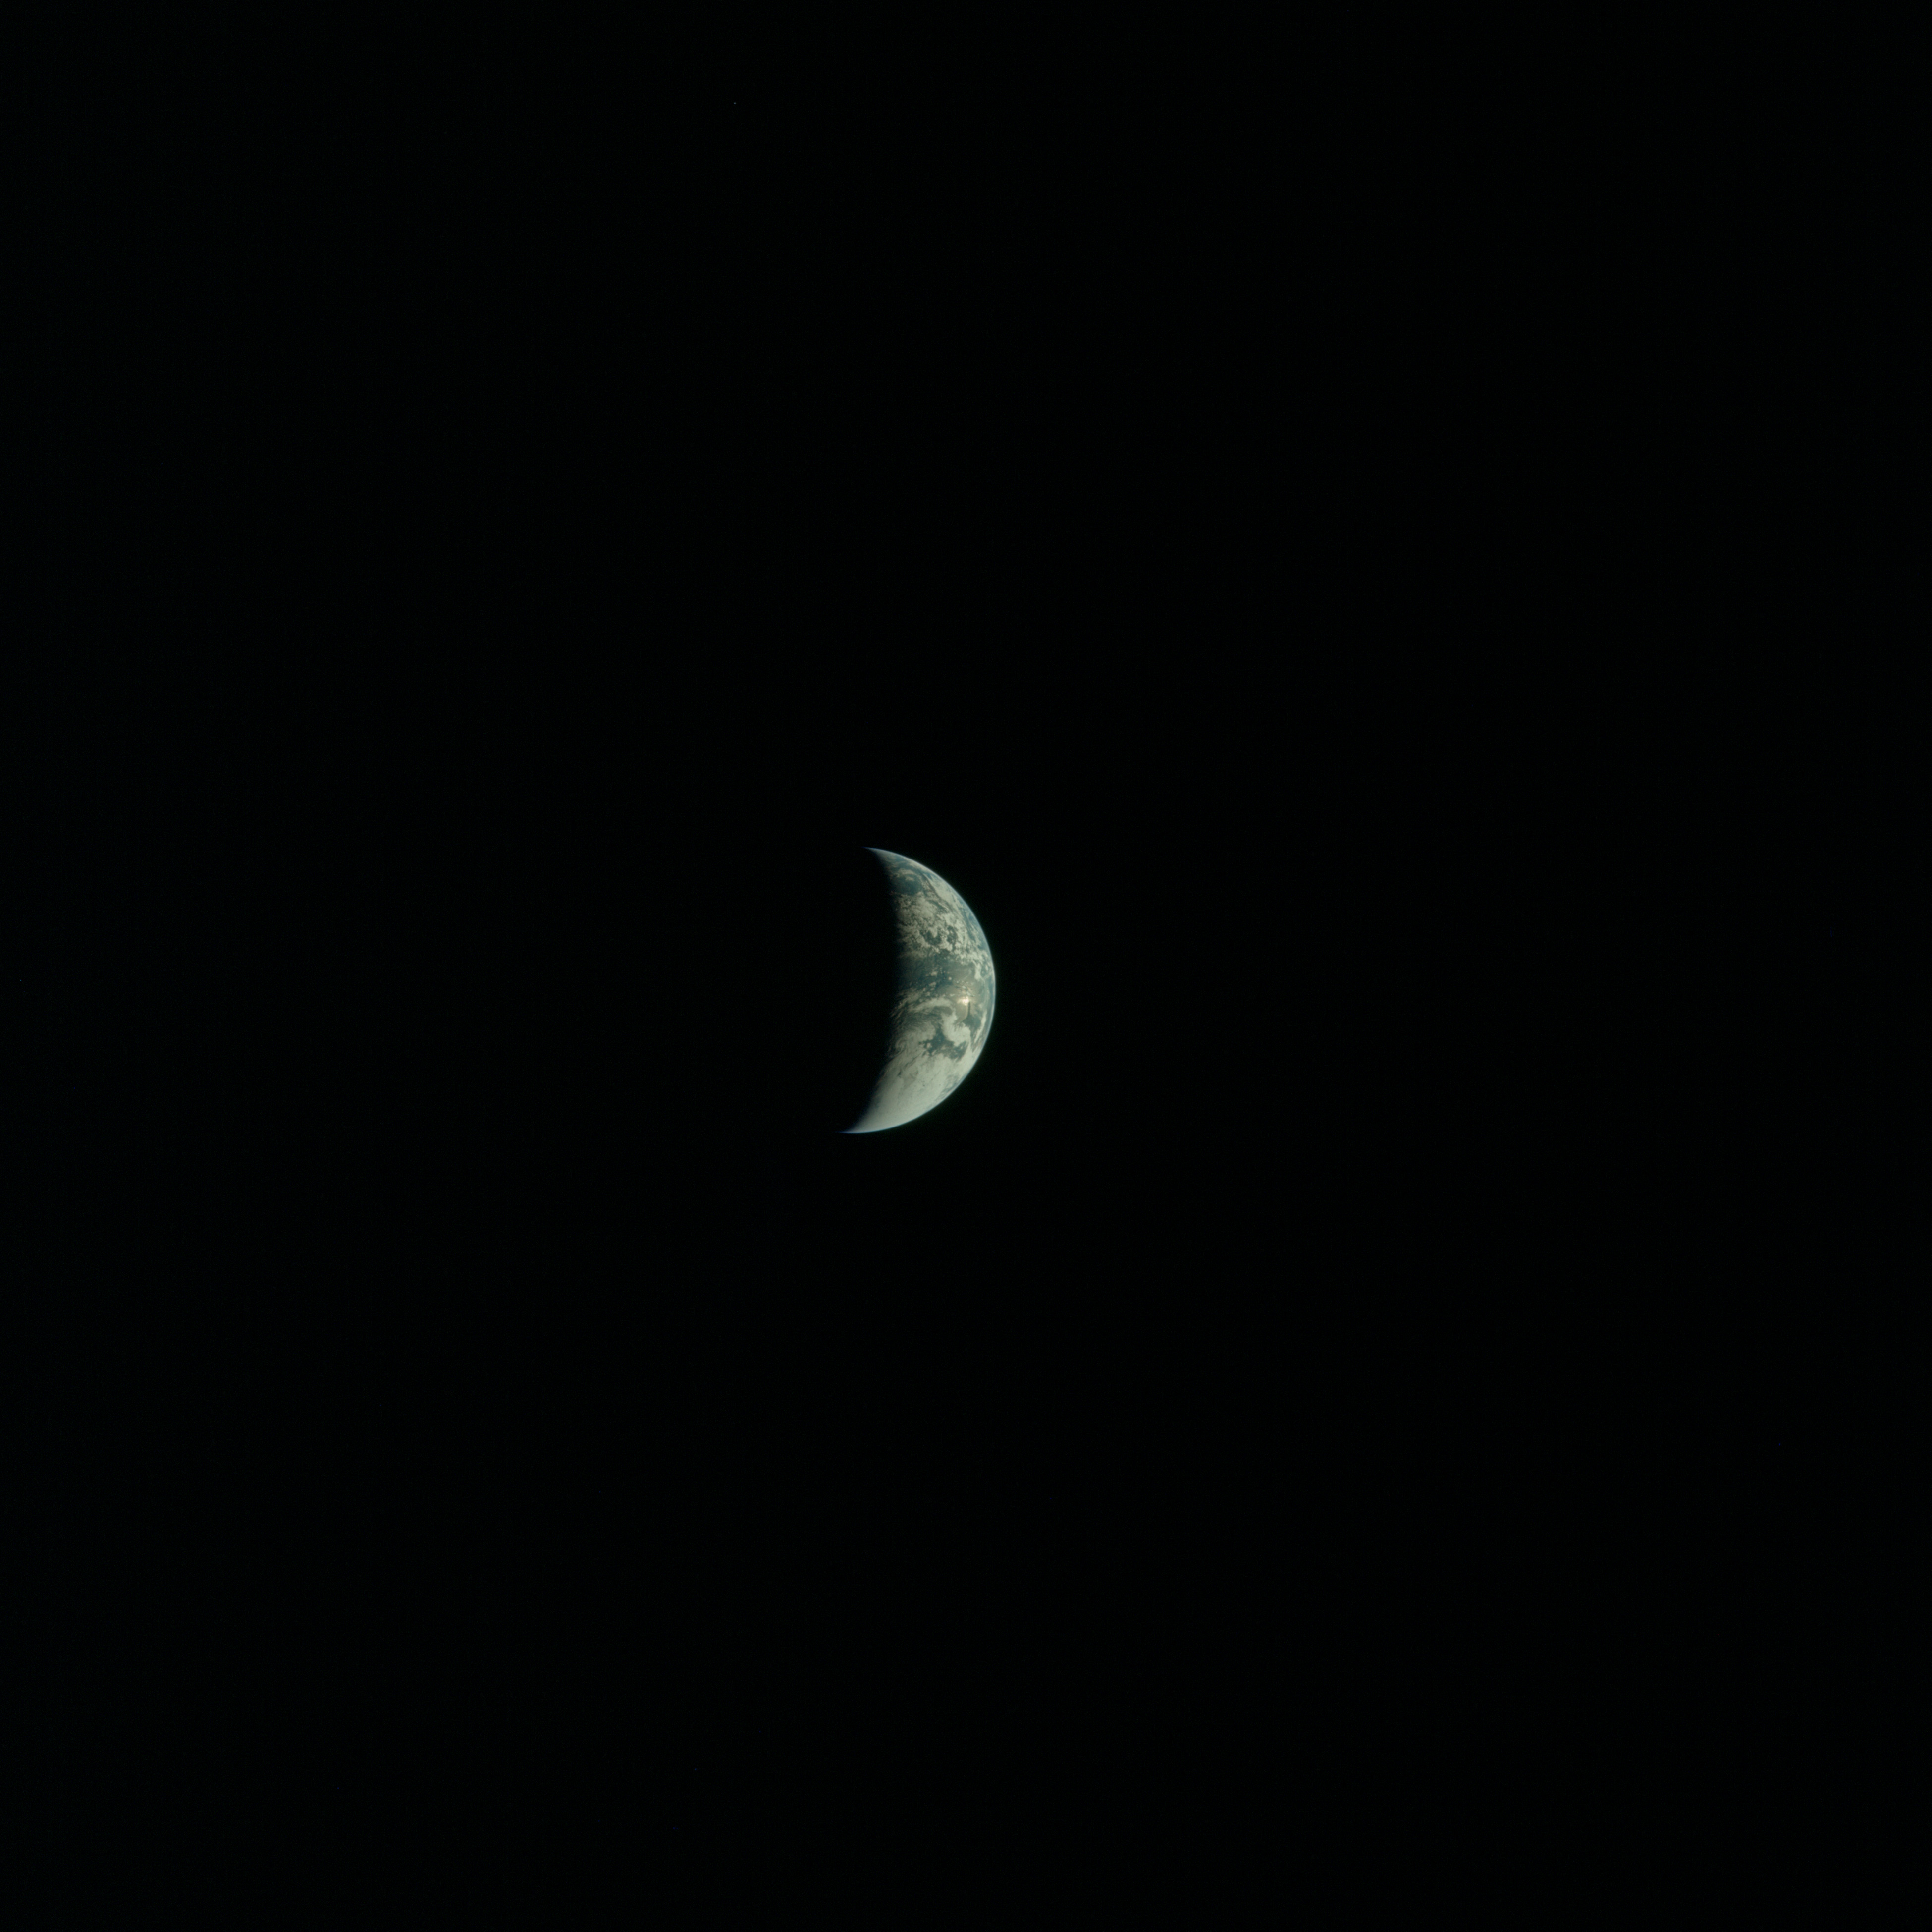 | AS13-60-8601 Crescent Earth, taken during the Translunar Coast. Image credit: Image Science and Analysis Laboratory, NASA-Johnson Space Center. |
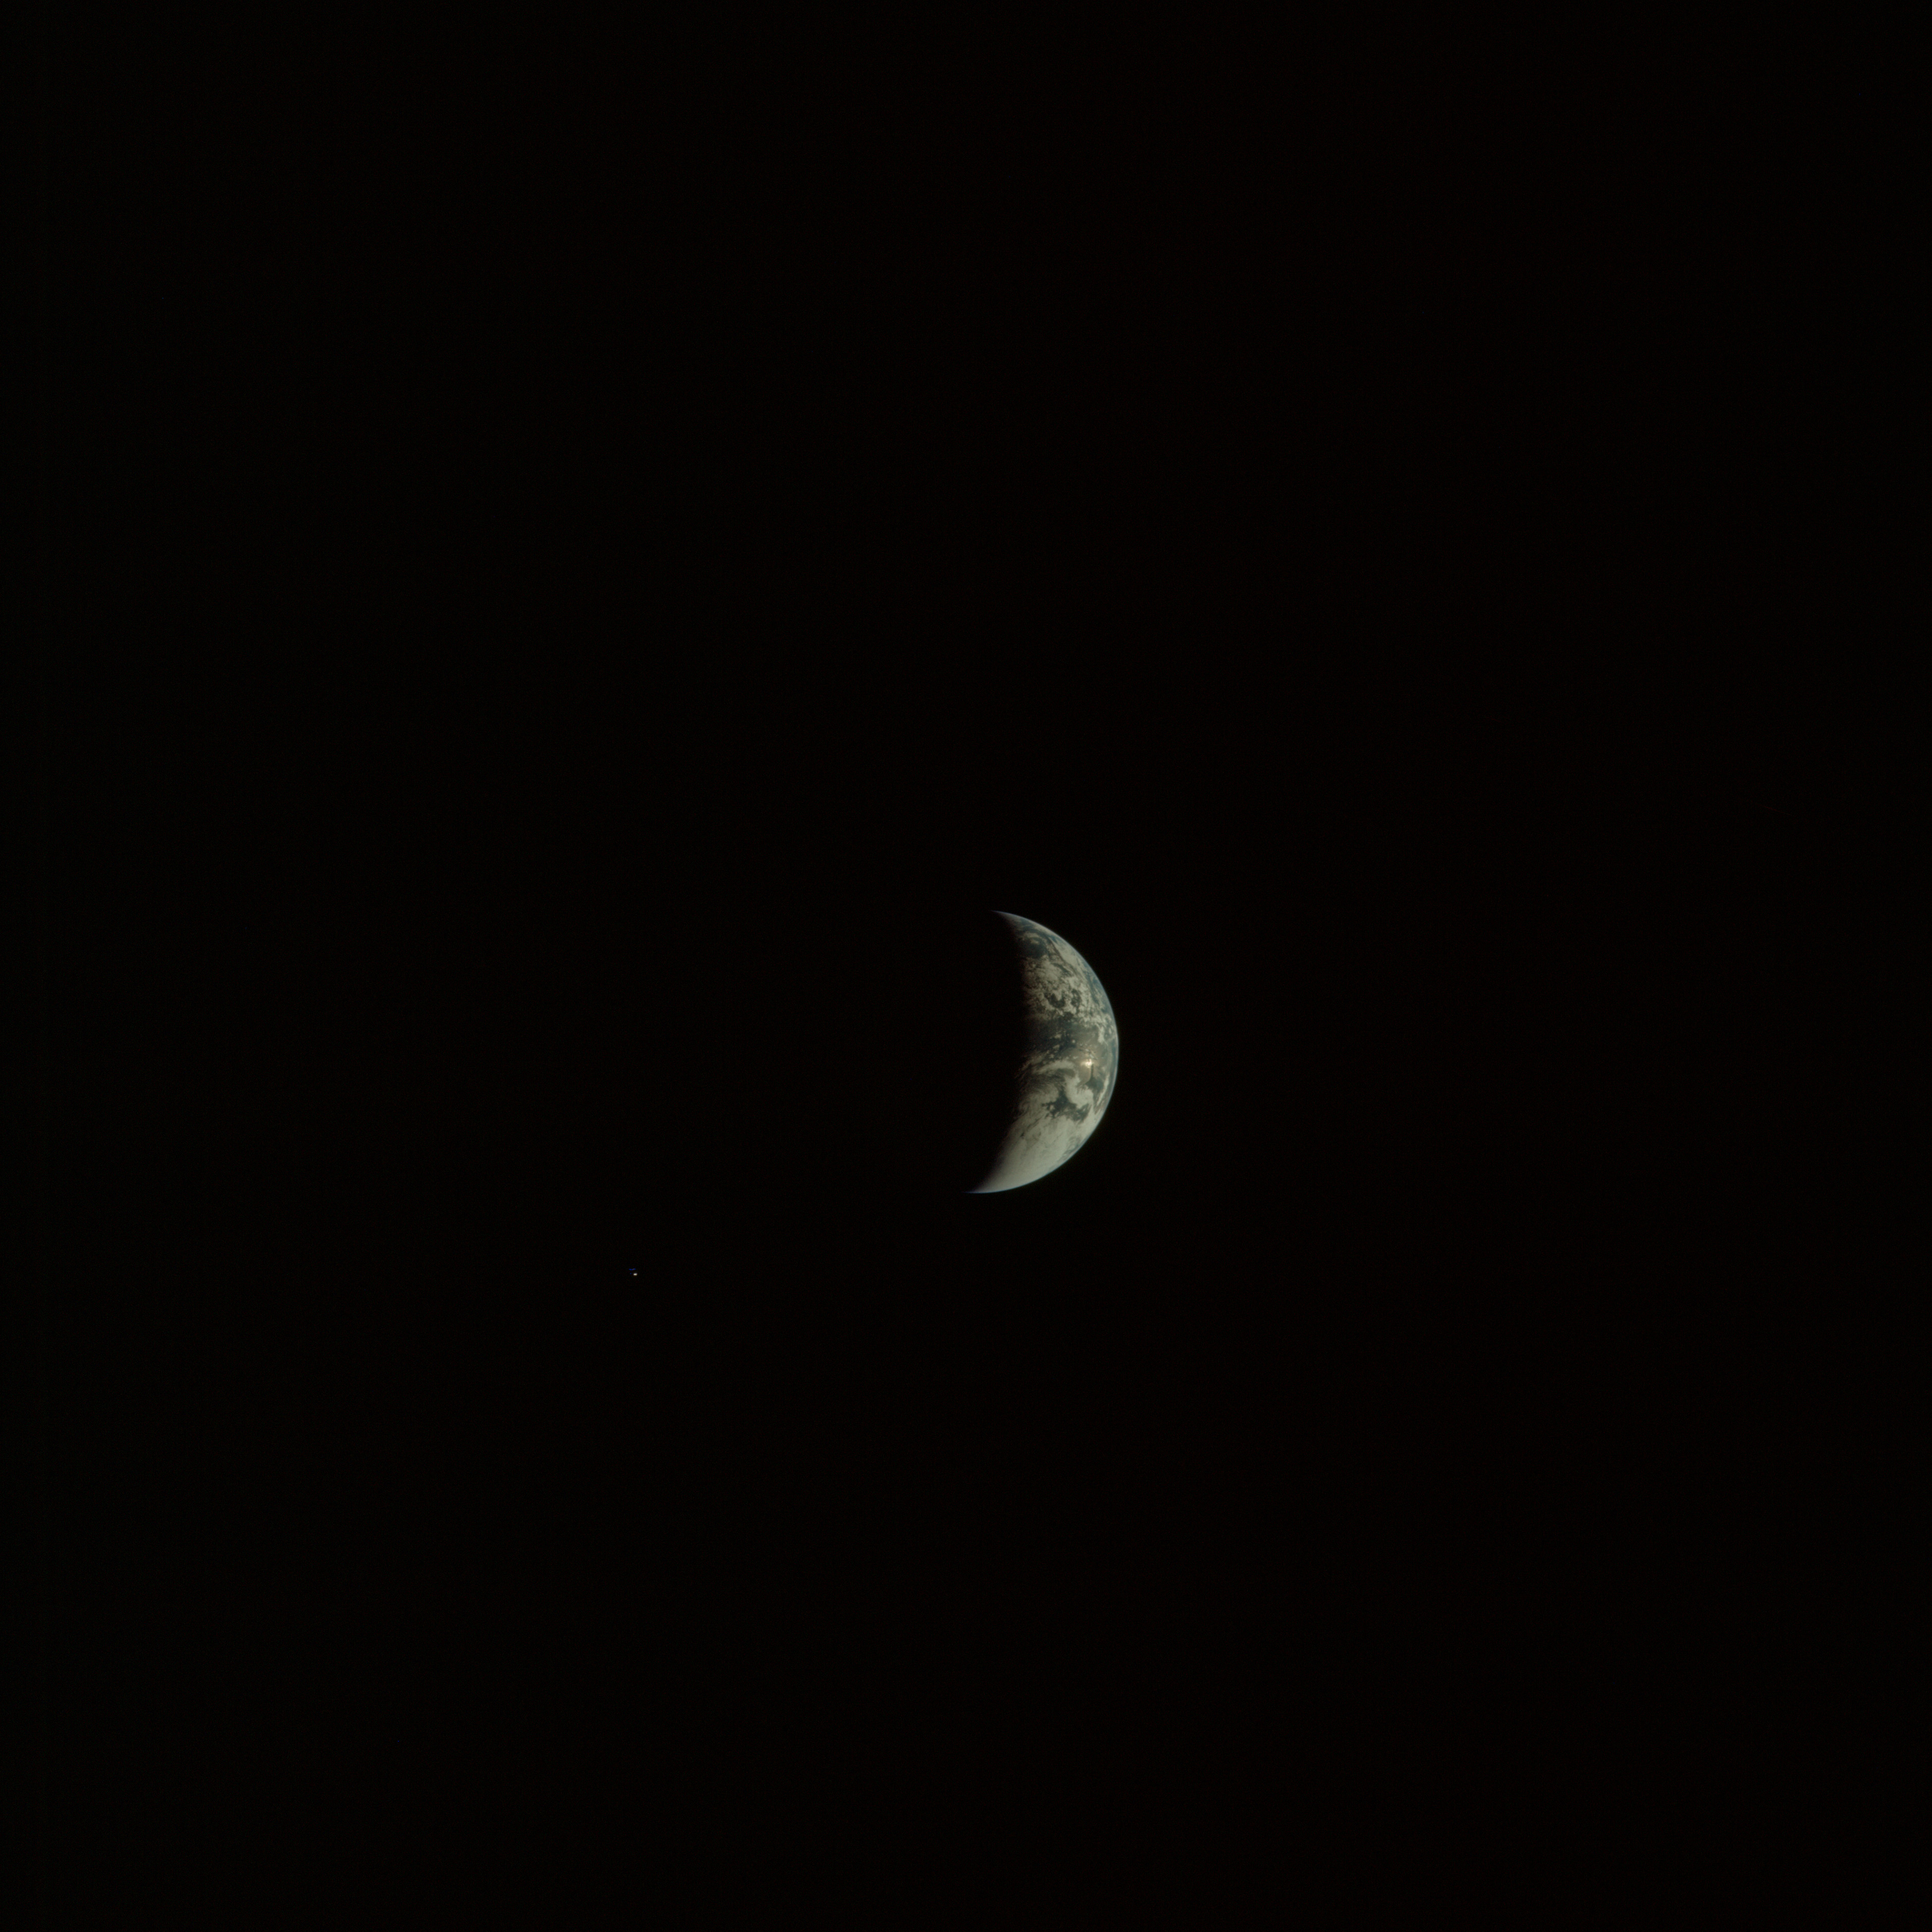 | AS13-60-8602 Crescent Earth, taken during the Translunar Coast. Image credit: Image Science and Analysis Laboratory, NASA-Johnson Space Center. |
 | AS13-60-8603 Image almost completely black apart from a slight glow upper left. Based on following sequence. Based on subsequent images, this was probably taken as the crew was about to enter the Moon's shadow while approaching the lunar far side. Image credit: Image Science and Analysis Laboratory, NASA-Johnson Space Center. |
 | AS13-60-8604 In addition to the glow on upper left, there is a faint sliver of obliqely-lit lunar landscape. South is top of frame and the large crater Deslandres can be discerned with difficulty. Image credit: Image Science and Analysis Laboratory, NASA-Johnson Space Center. |
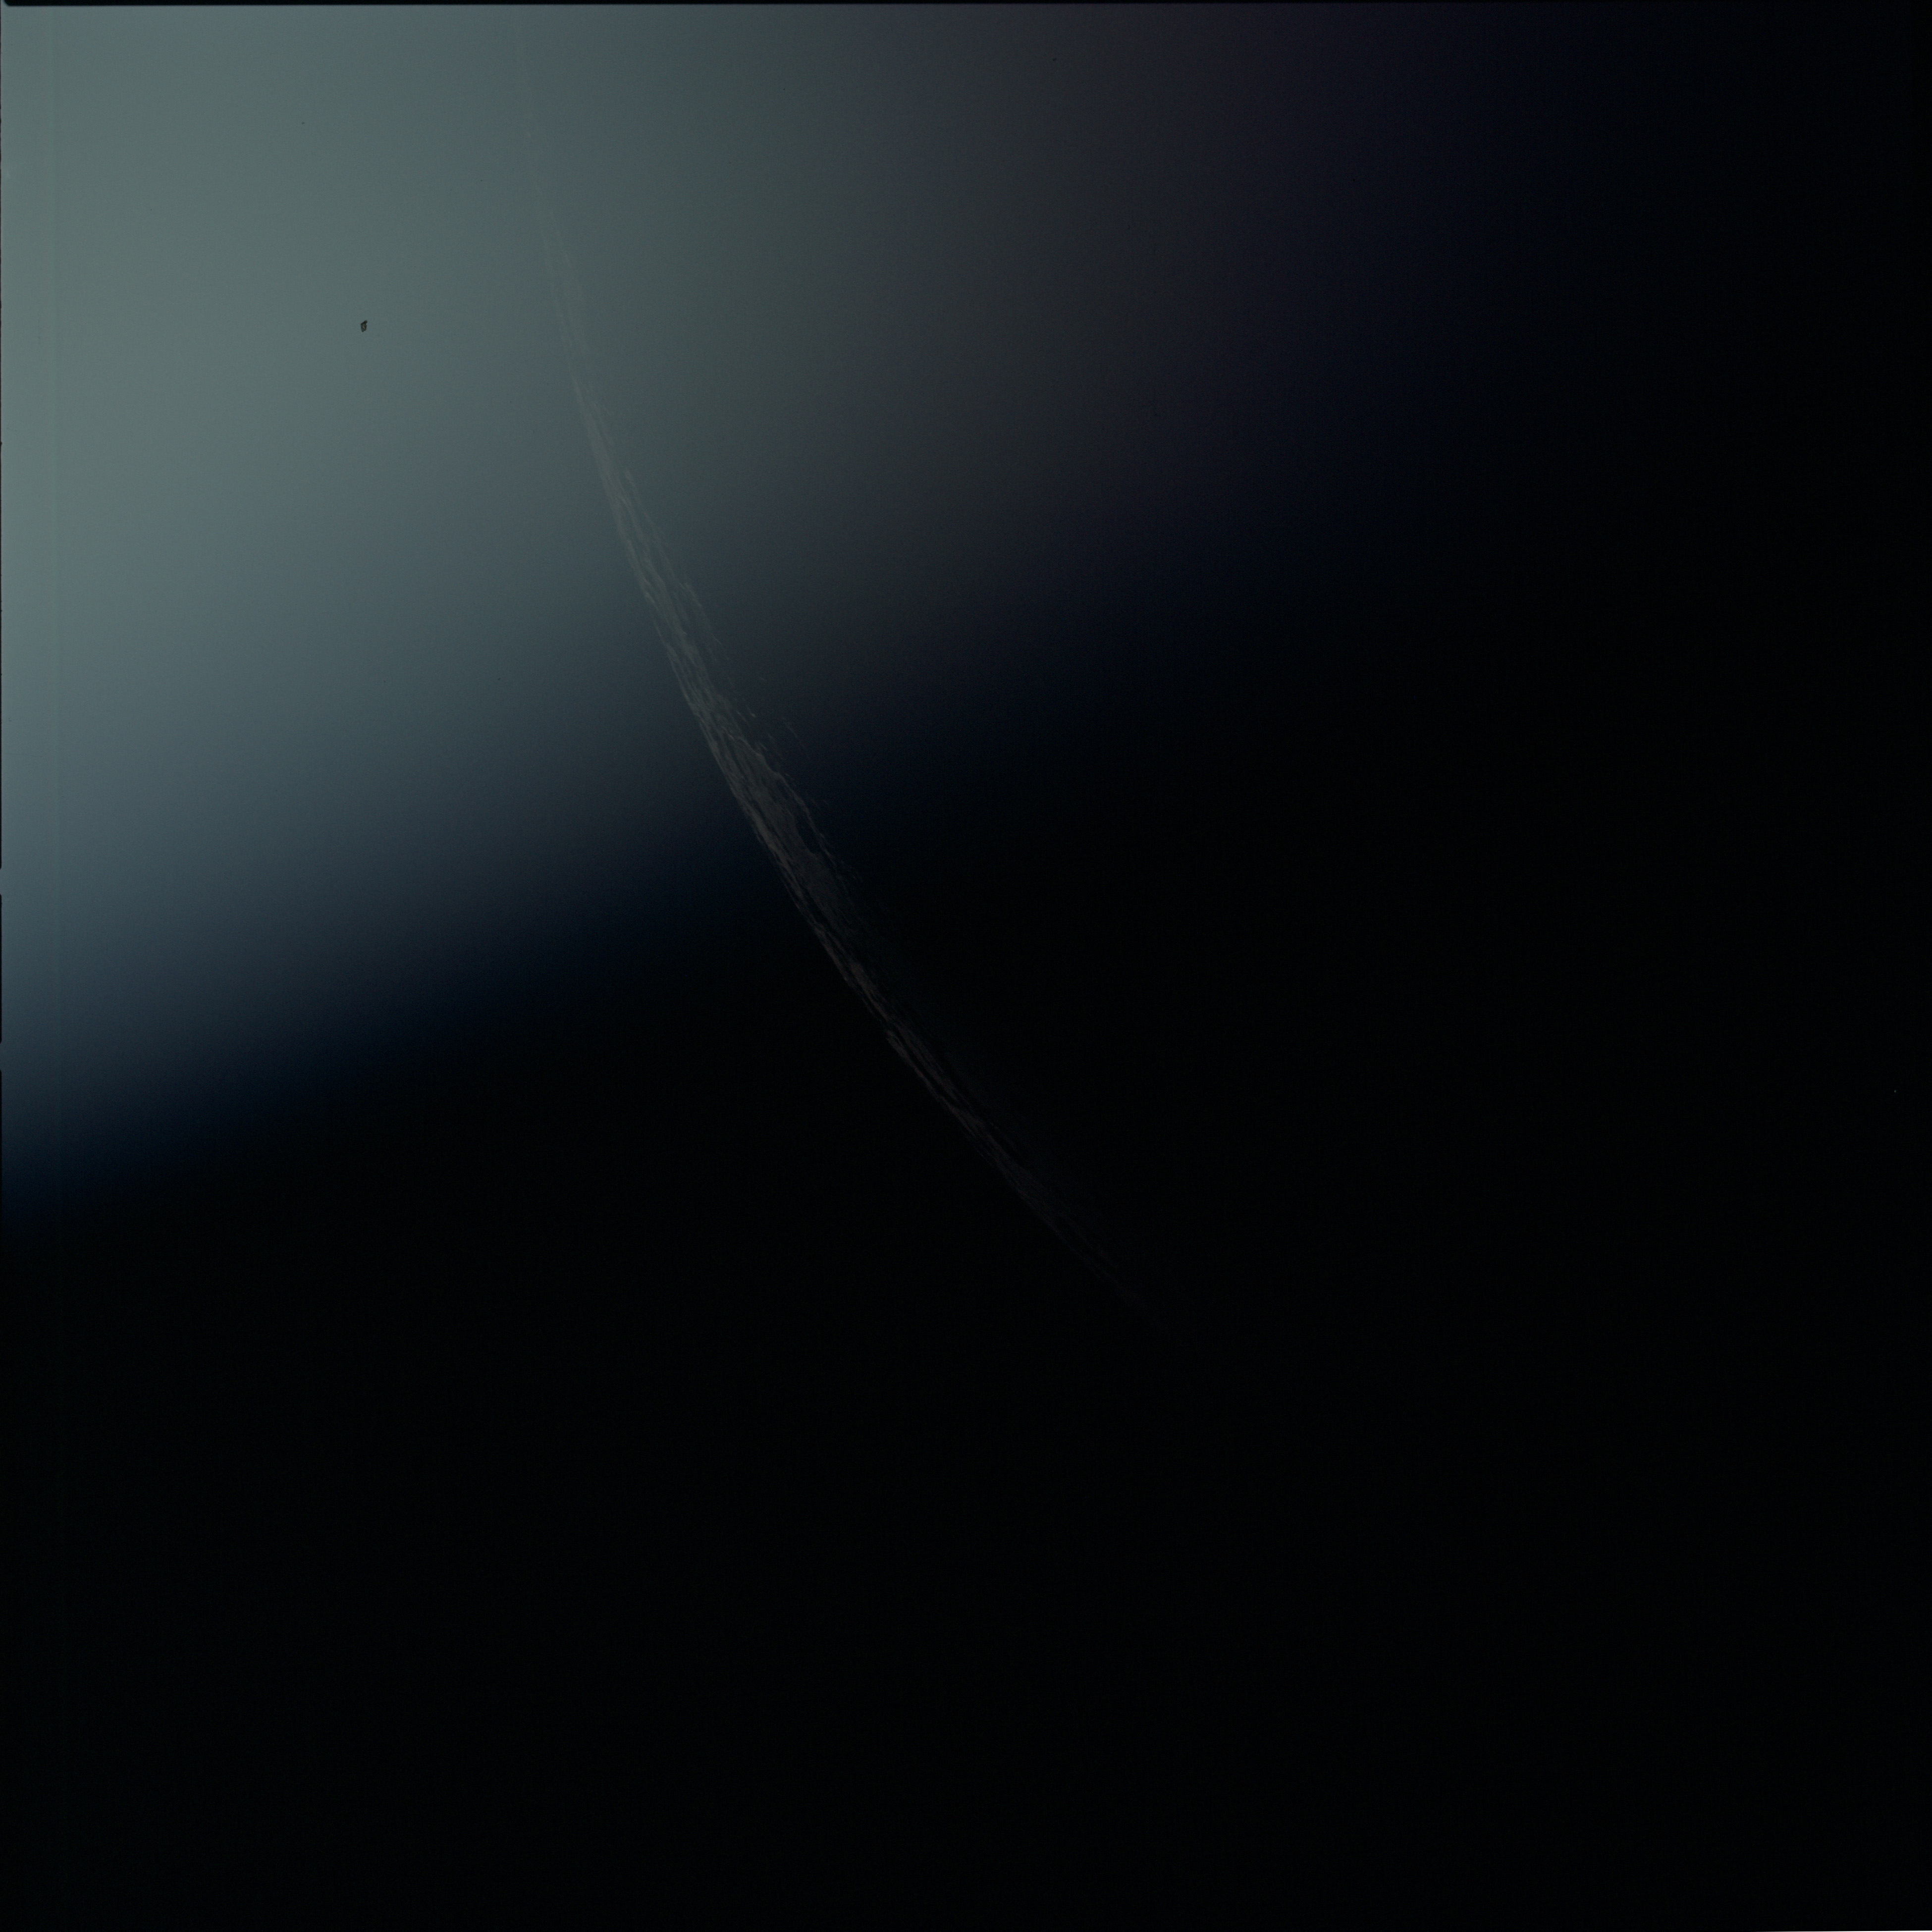 | AS13-60-8605 In addition to the glow on upper left, there is a faint sliver of obliqely-lit lunar landscape. South is top of frame and the crater Deslandres can be discerned. Image credit: Image Science and Analysis Laboratory, NASA-Johnson Space Center. |
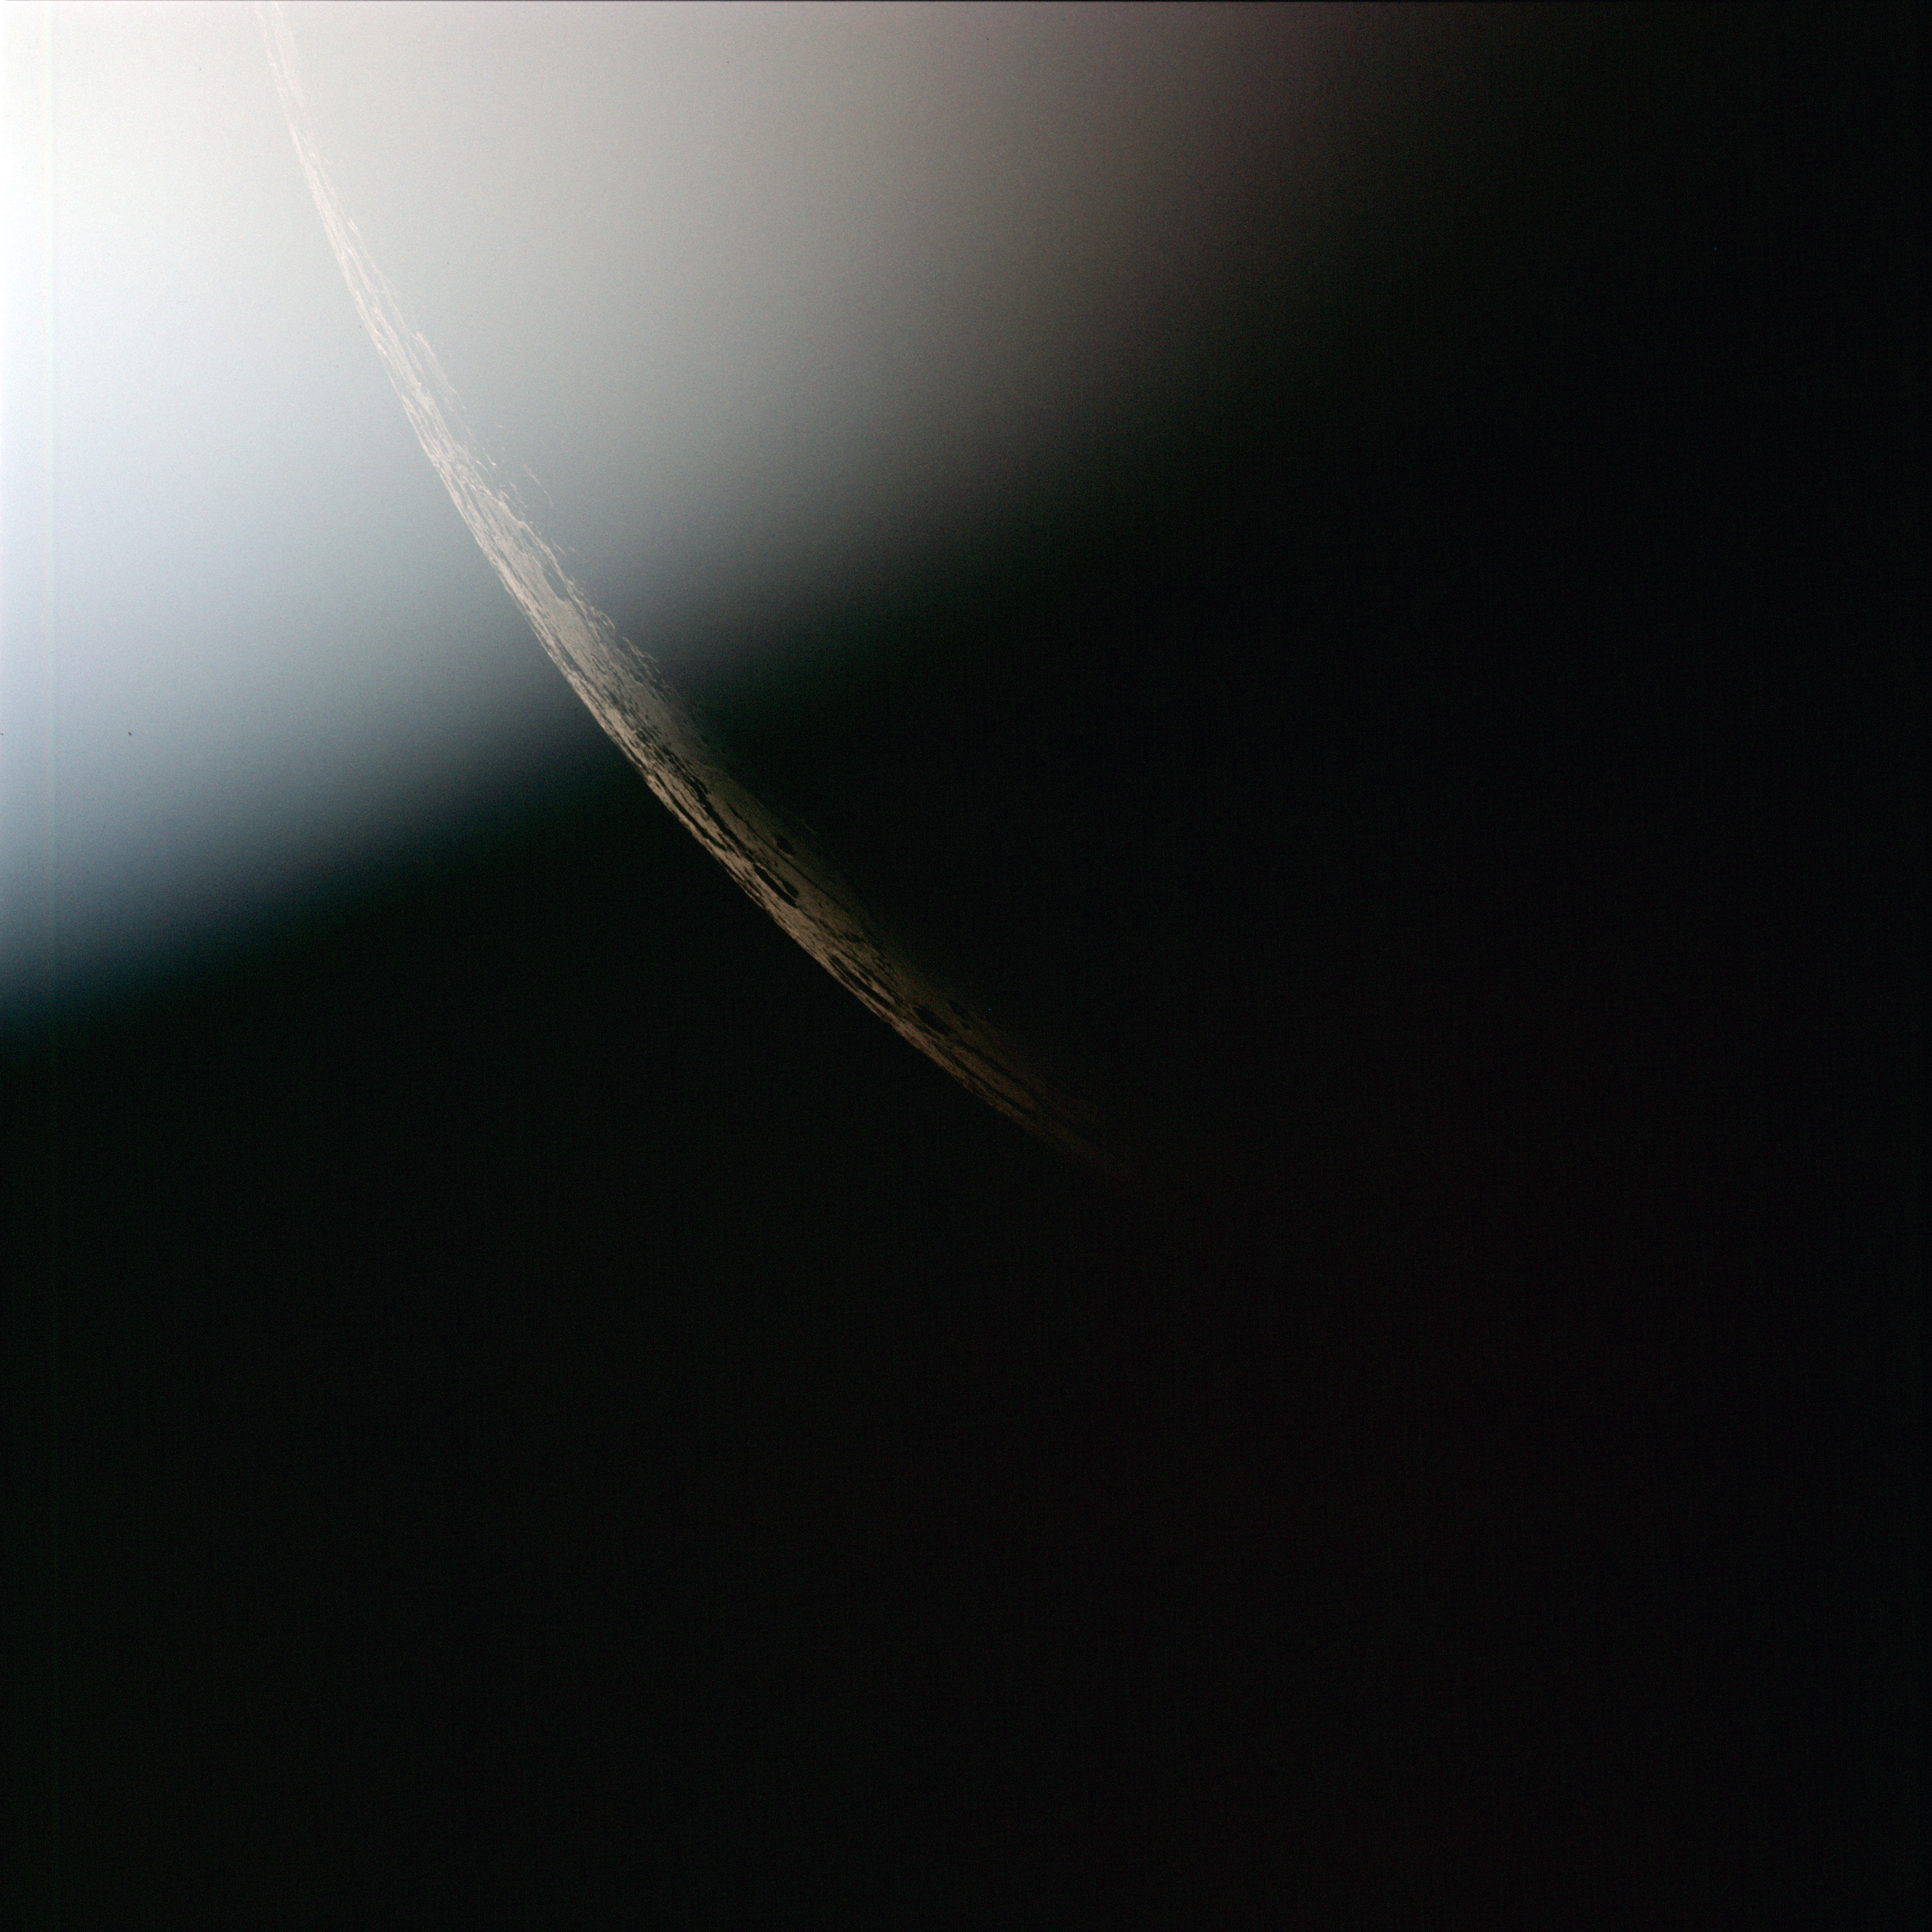 | AS13-60-8606 In addition to the glow on upper left, there is a sliver of obliqely-lit lunar landscape. South is top of frame and the visible area is mainly Mare Nubium, including the Straight Wall (Rupes Recta) and the large crater Deslandres with the smaller crater Hell apparent. Image credit: Image Science and Analysis Laboratory, NASA-Johnson Space Center. |
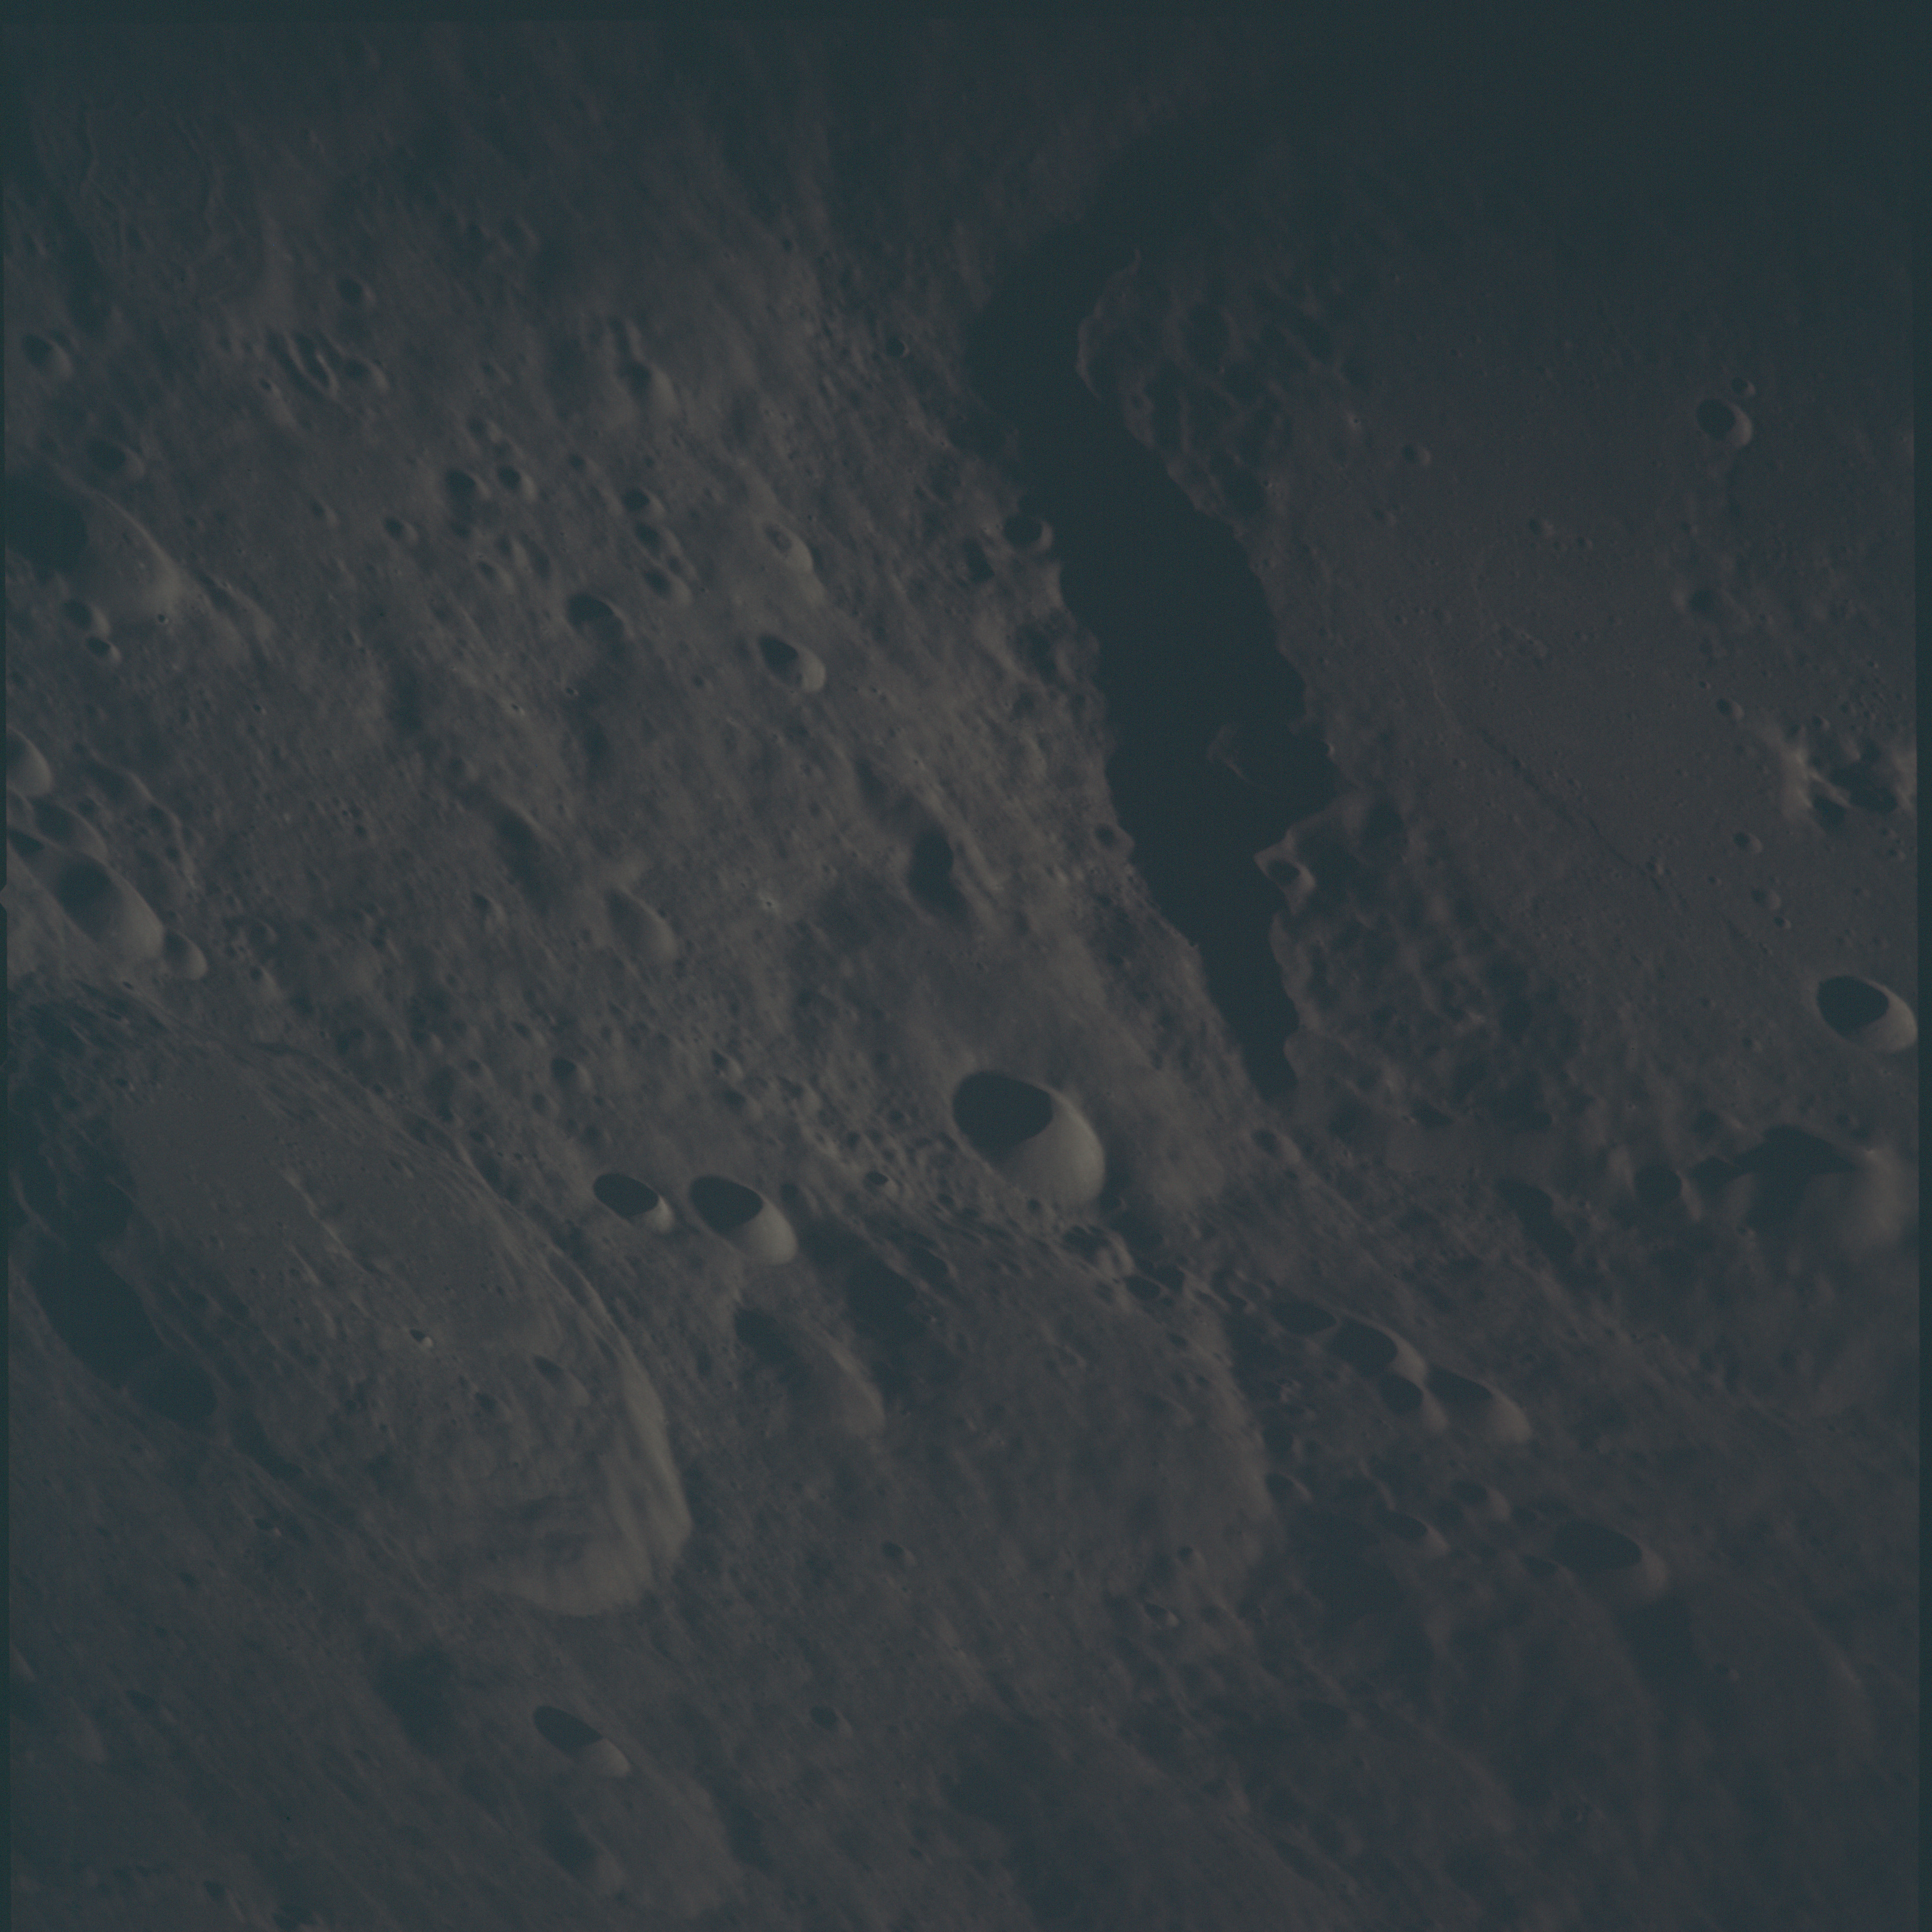 | AS13-60-8607 Underexposed view southwest from near the lunar equator. In the foreground dominating the right side is the 137-km crater Chaplygin. Beyond it, on the lower left of the image is Marconi, 73 km in diameter. Image credit: Image Science and Analysis Laboratory, NASA-Johnson Space Center. |
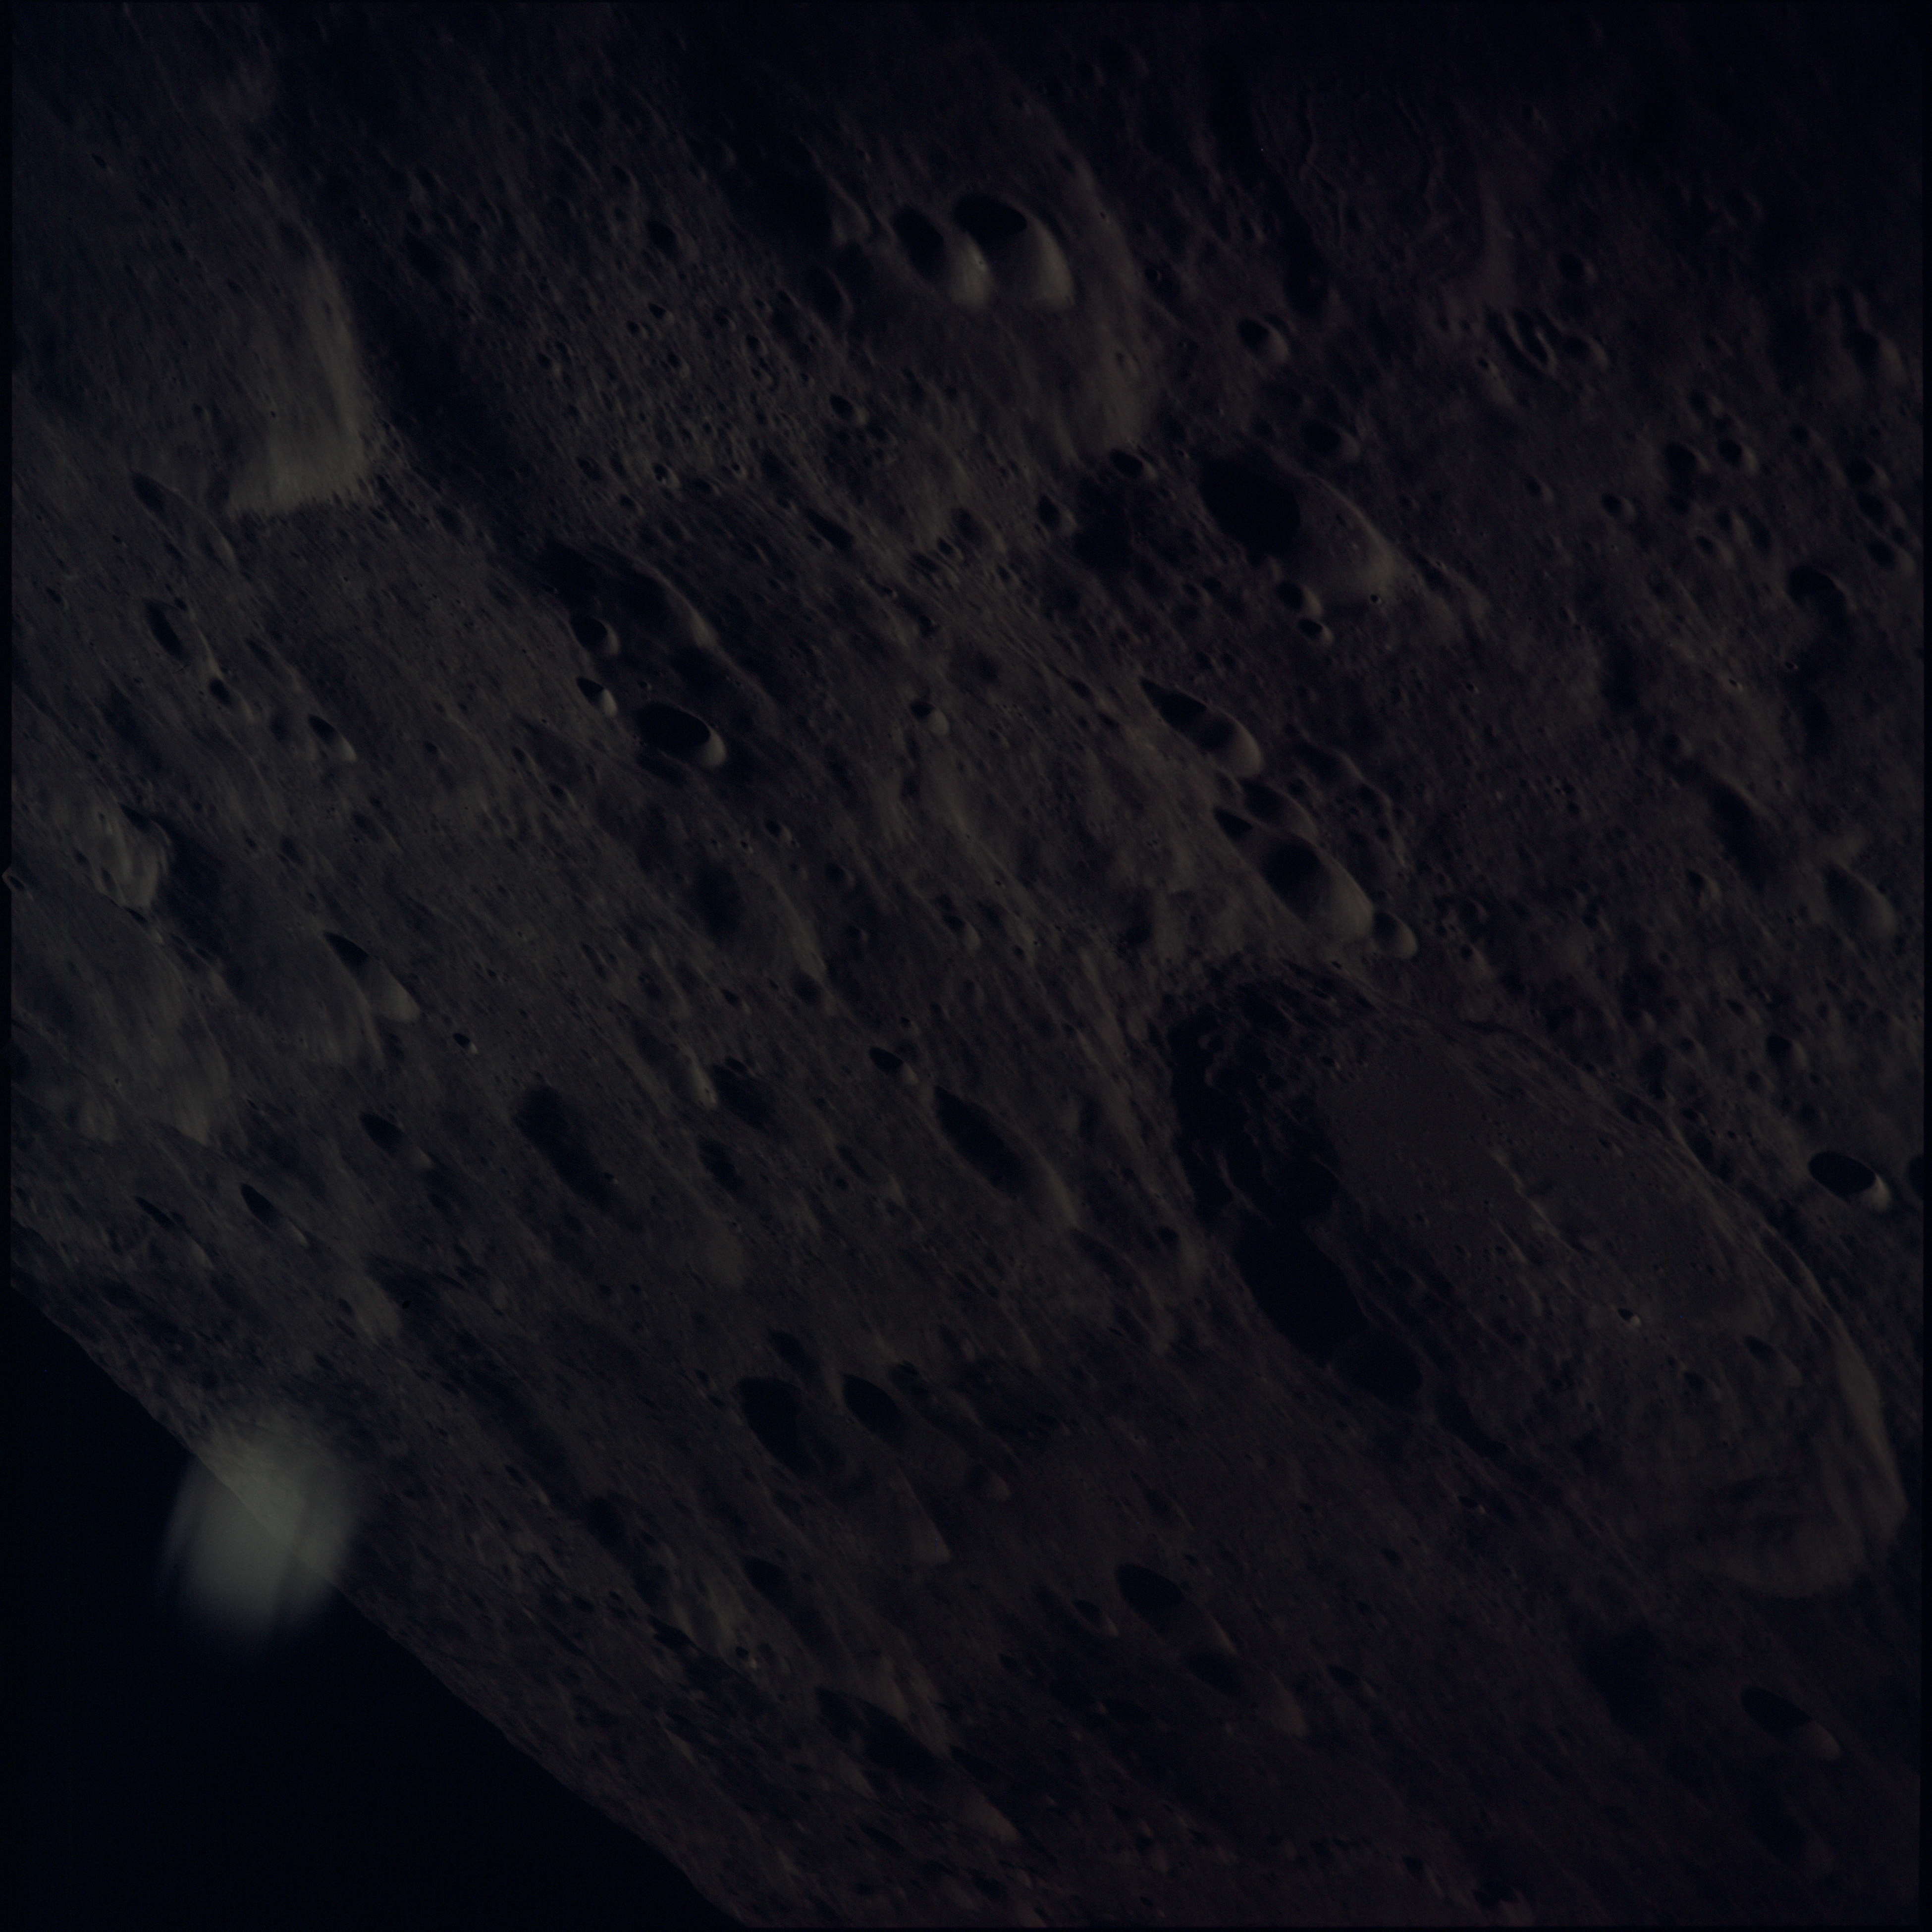 | AS13-60-8608 Underexposed view west-southwest over the lunar far side. Marconi is the prominent 73-km crater on the lower right of image. At top-centre, with two distinctive craters within its rim, is the 45-km eroded crater Vil'ev. Image credit: Image Science and Analysis Laboratory, NASA-Johnson Space Center. |
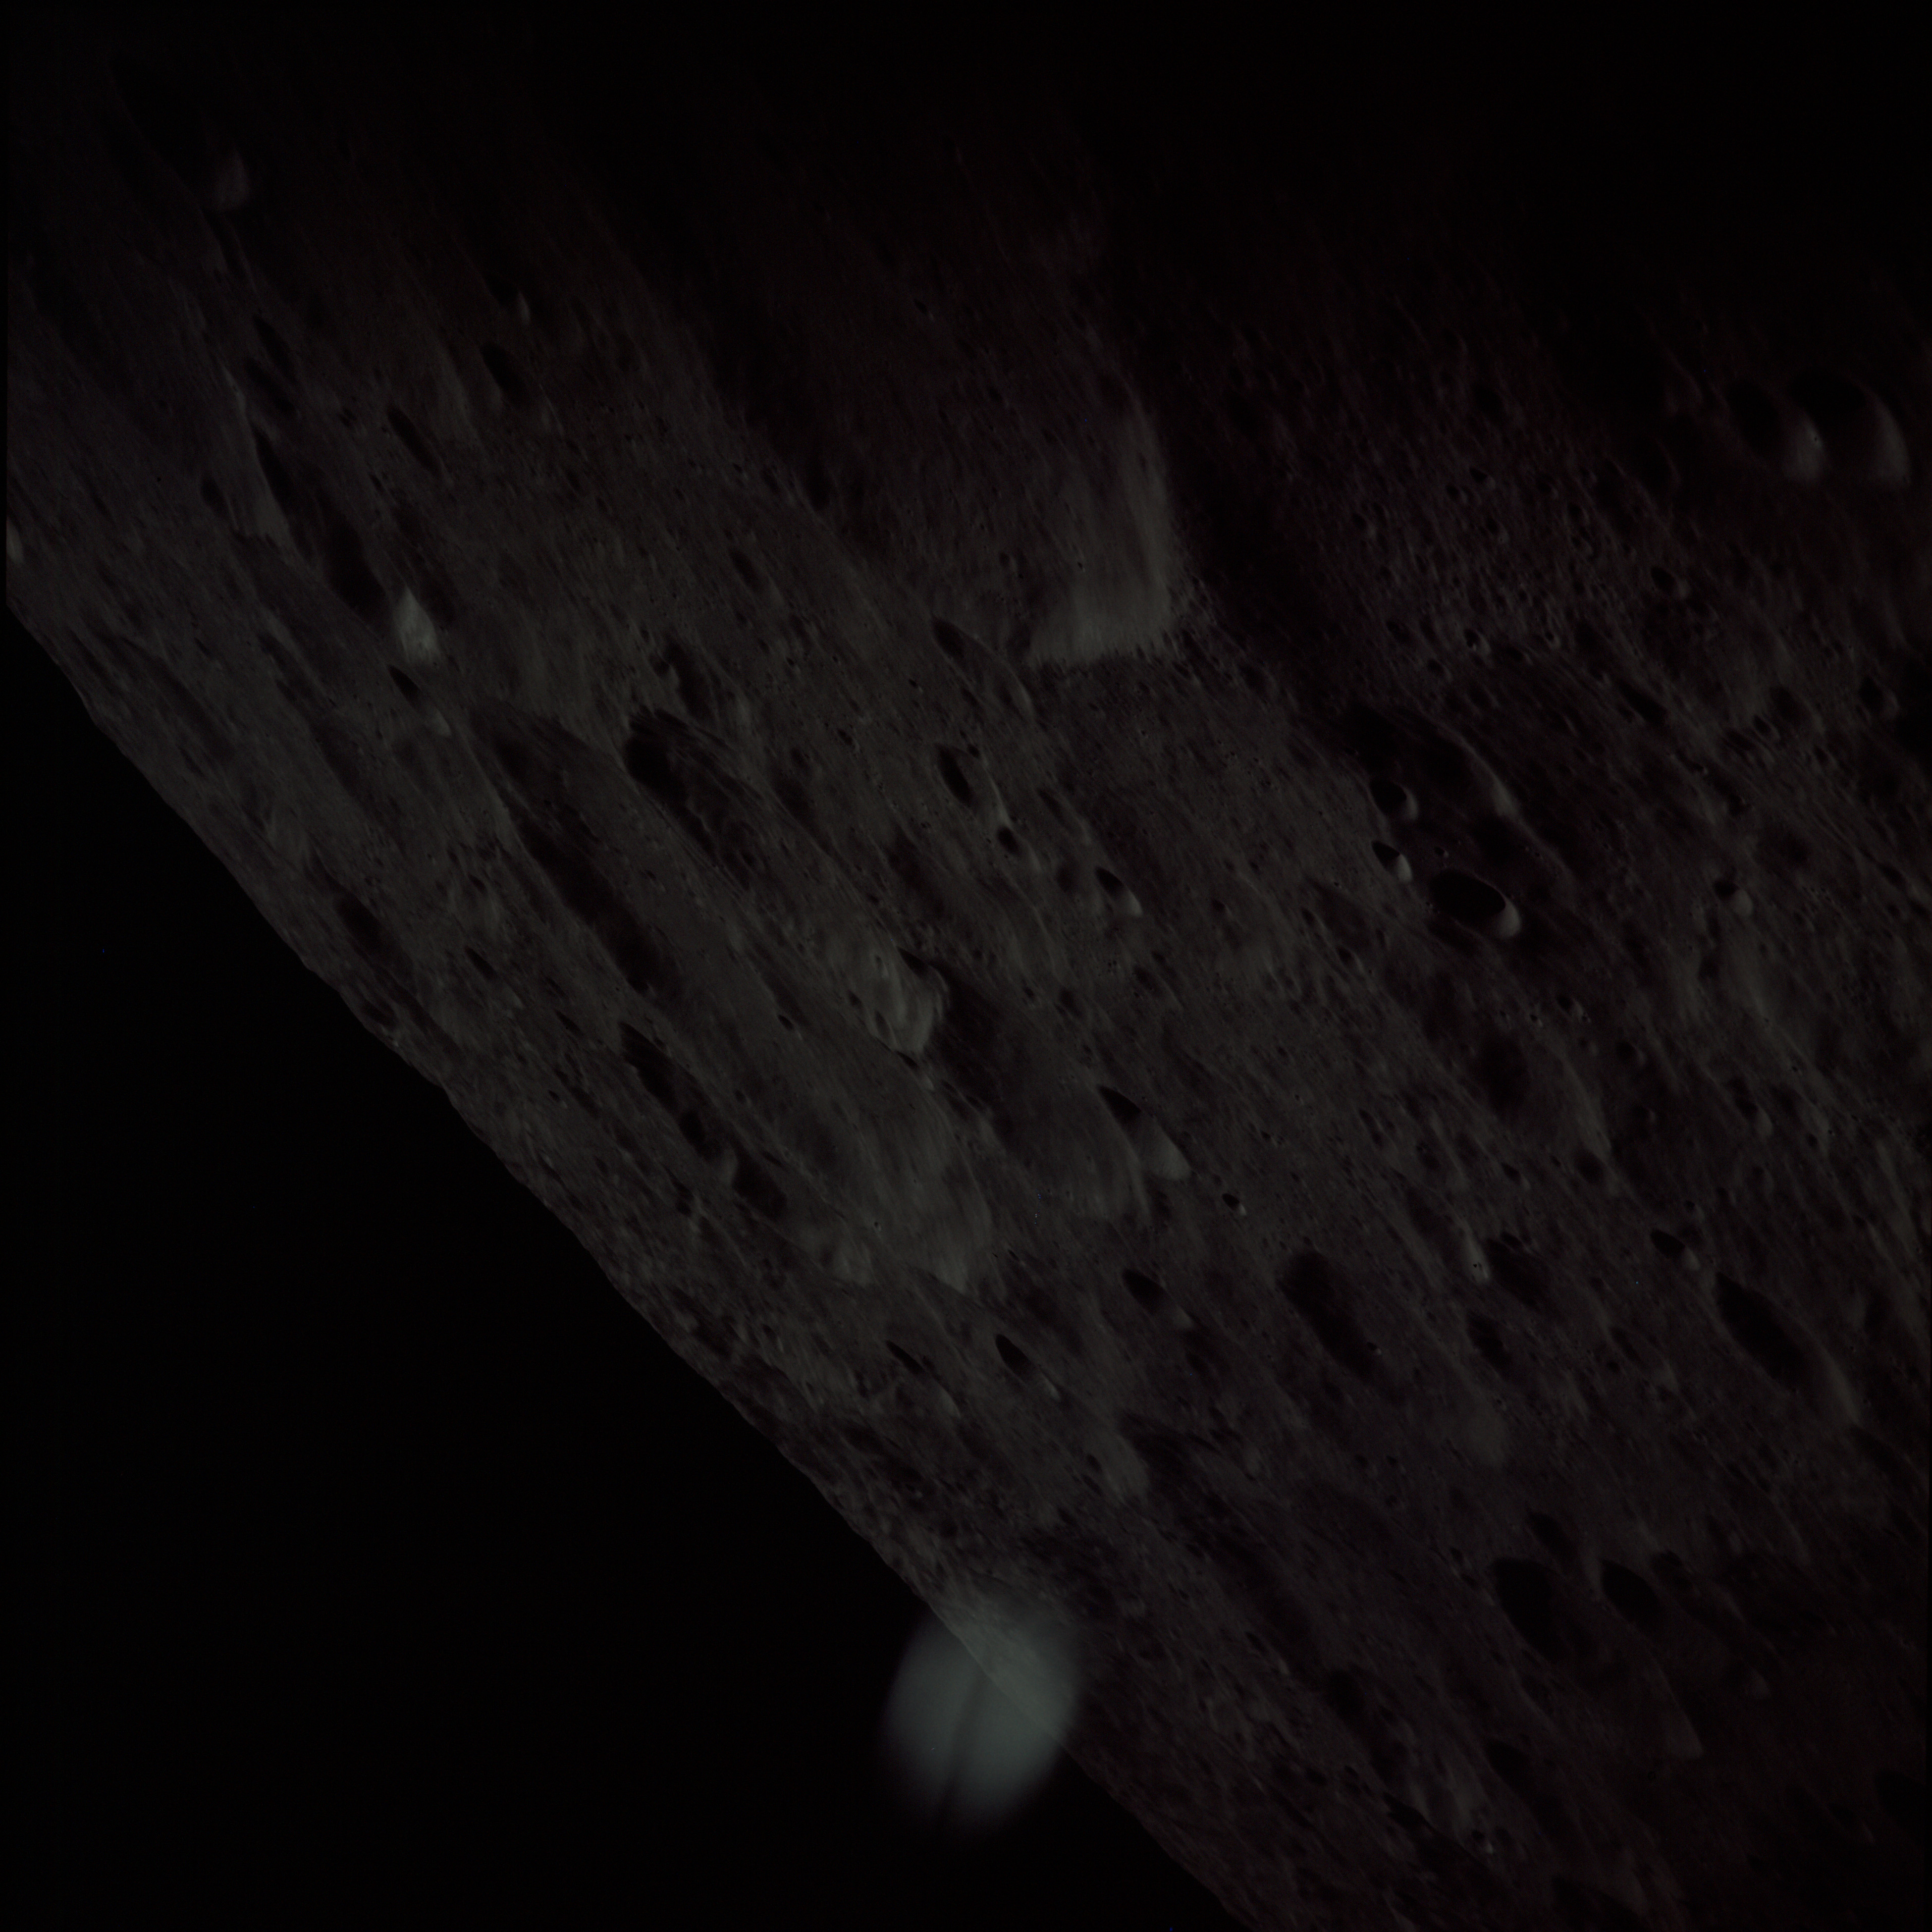 | AS13-60-8609 Underexposed view southwest from near the lunar equator. In the upper foreground is crater Dellinger. Beyond is Chauvenet with the slight central peak. Image credit: Image Science and Analysis Laboratory, NASA-Johnson Space Center. |
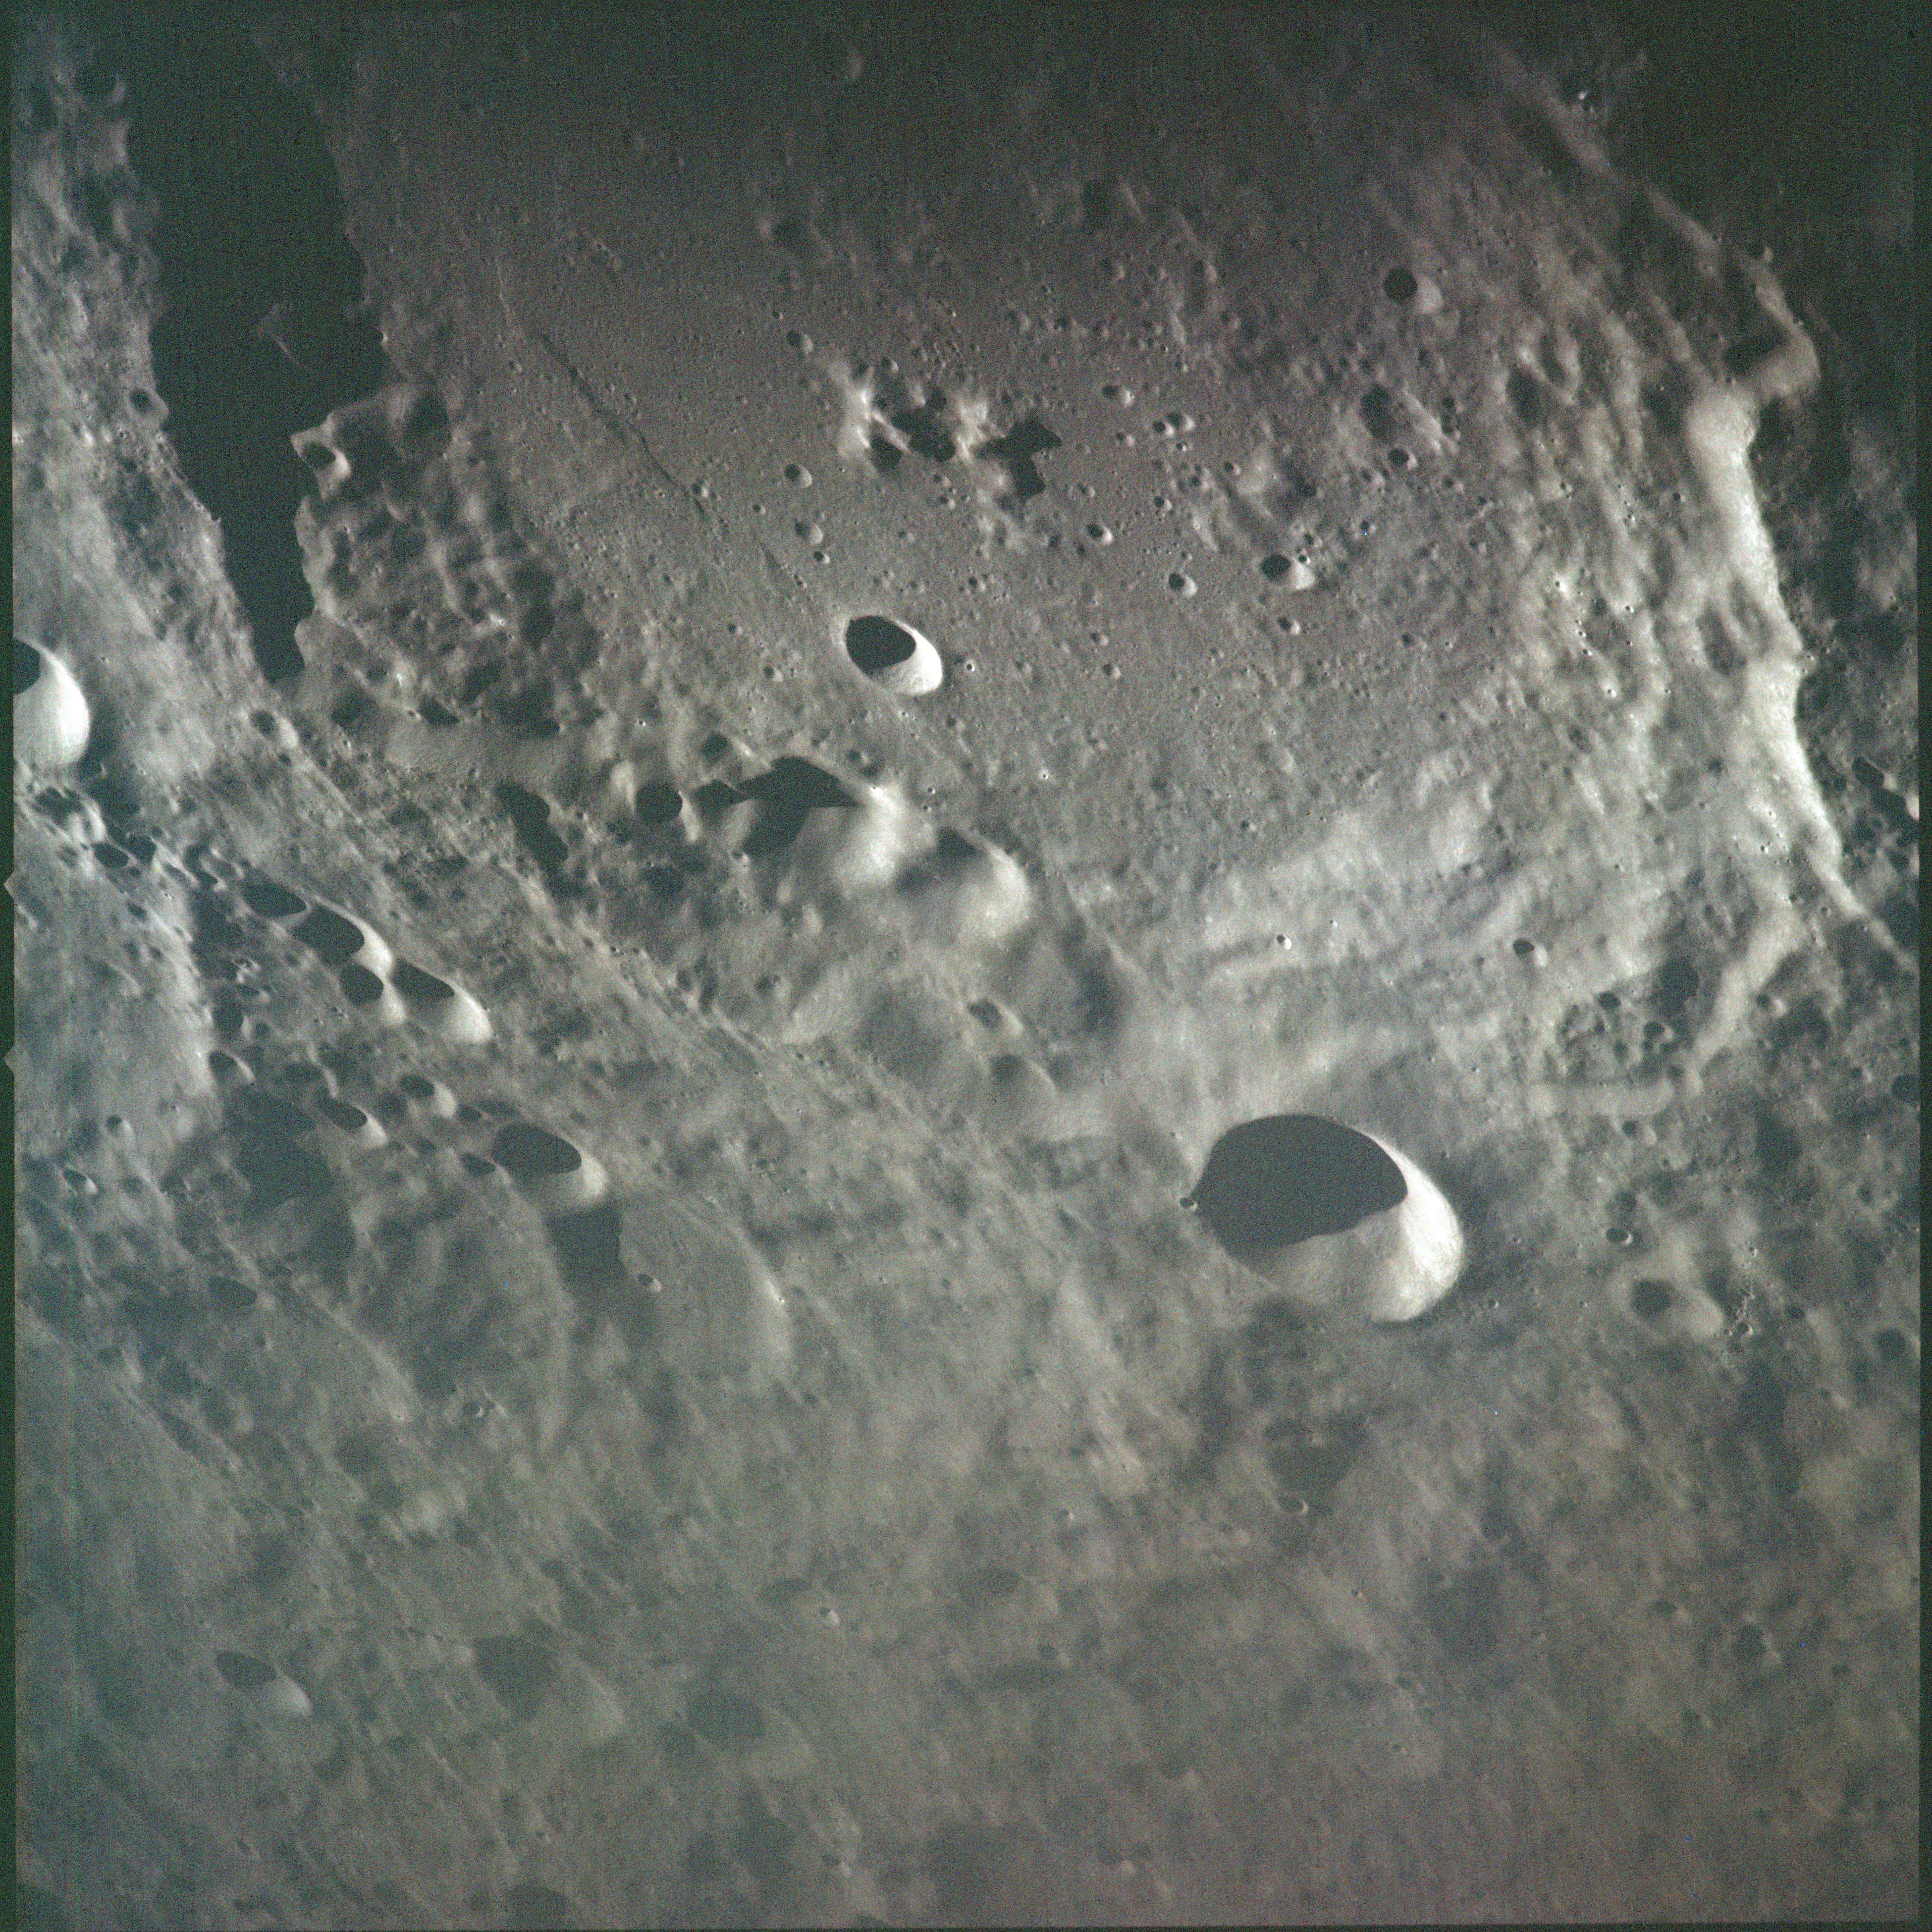 | AS13-60-8610 Chaplygin, a 137-km crater on the lunar far side, photographed after closest approach. Judging by the grain in this image, this image is underexposed but this was compensated for during scanning. Image credit: Image Science and Analysis Laboratory, NASA-Johnson Space Center. |
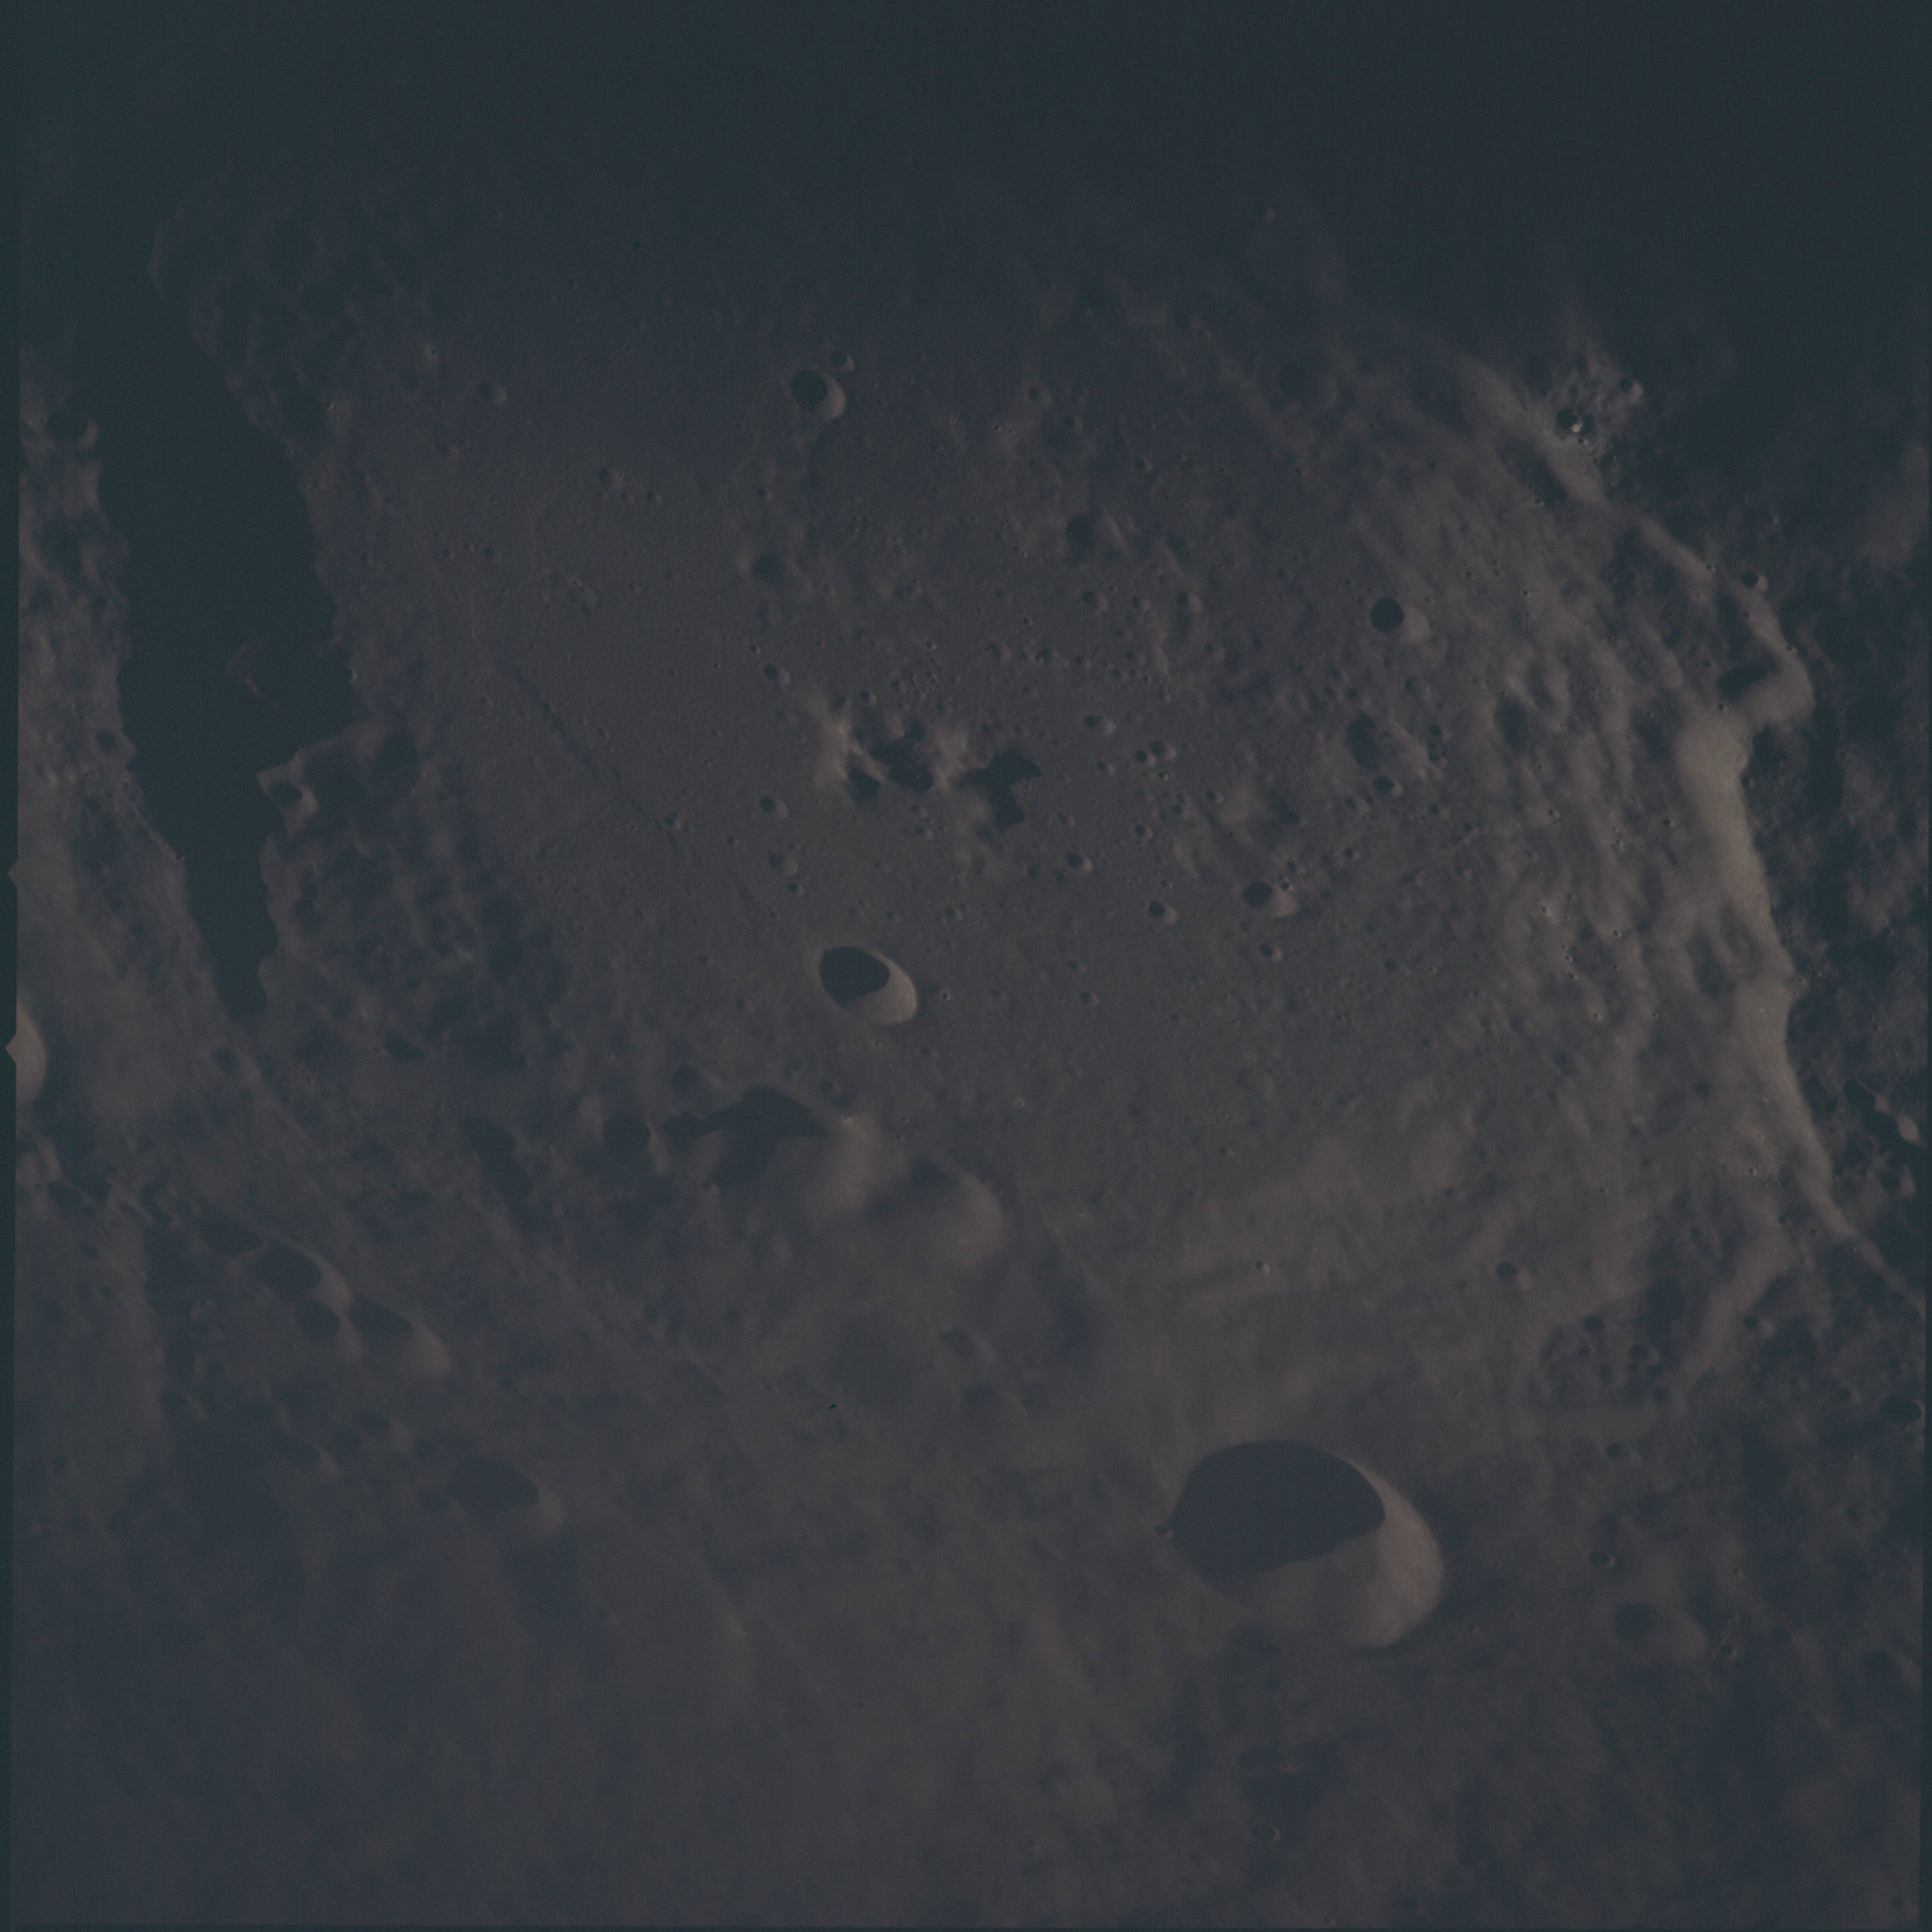 | AS13-60-8611 Underexposed view of Chaplygin, a 137-km crater on the lunar far side. Image credit: Image Science and Analysis Laboratory, NASA-Johnson Space Center. |
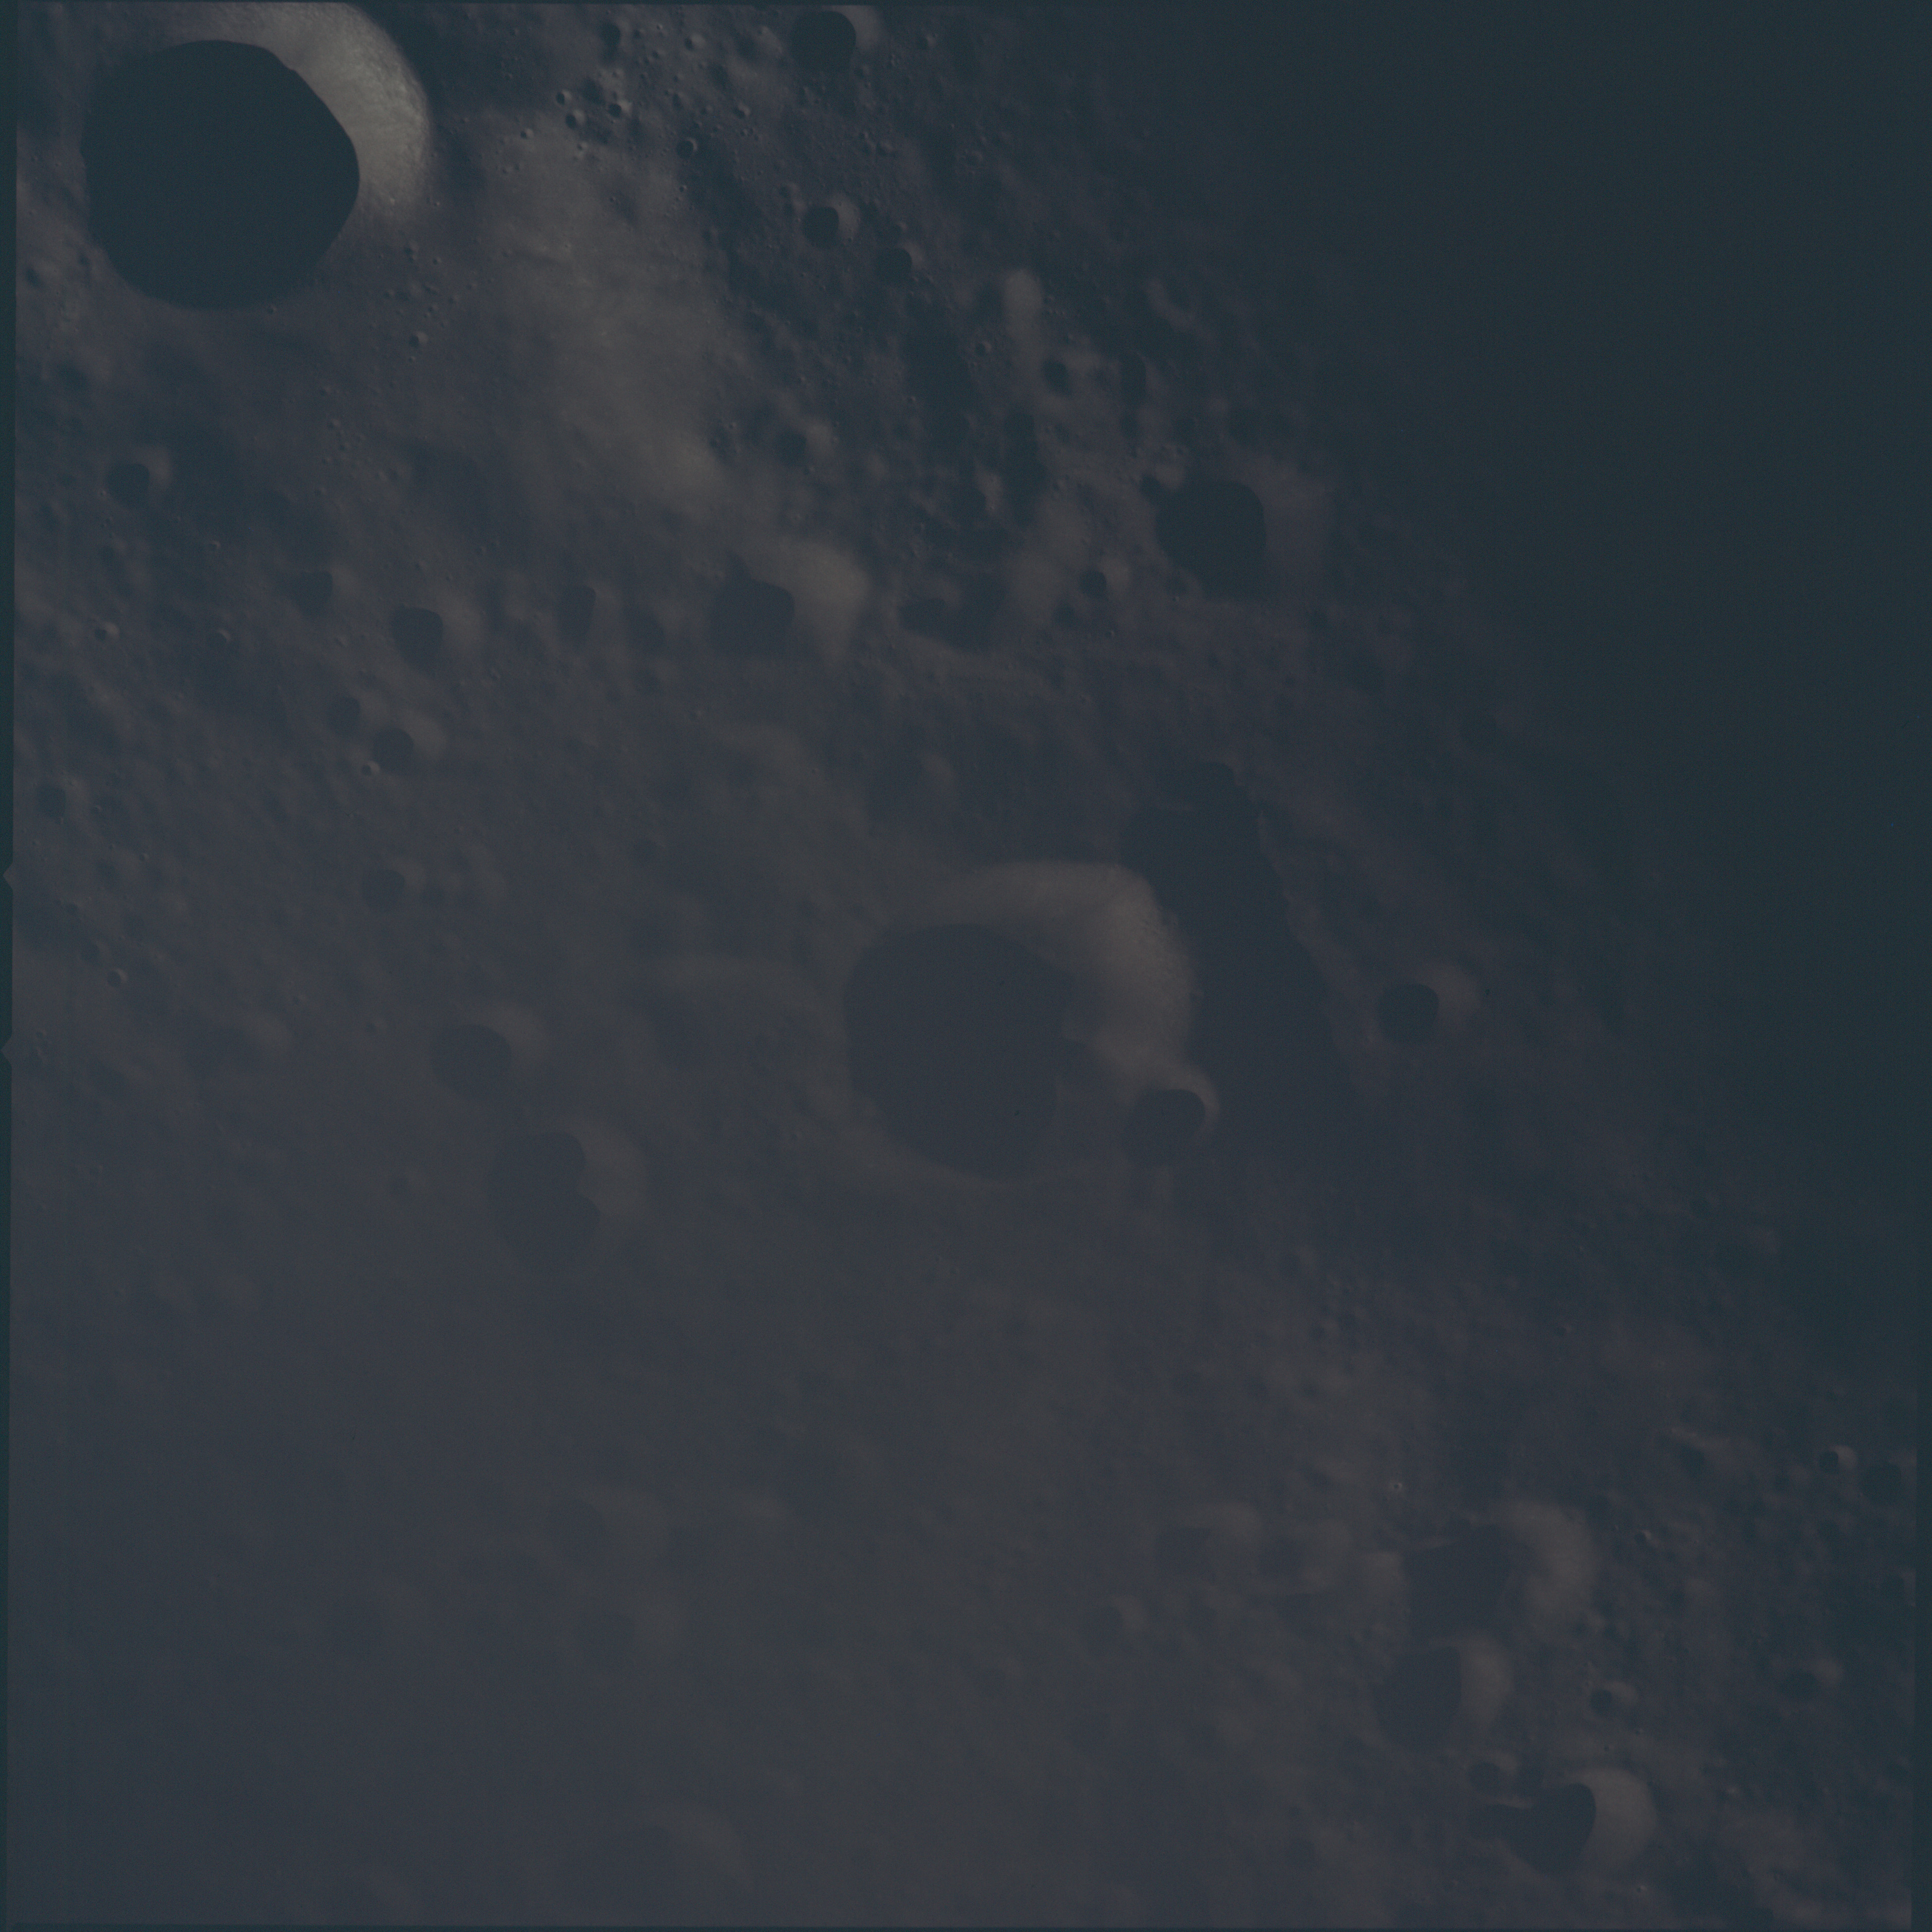 | AS13-60-8612 Underexposed image of two unnamed craters west of Schliemann and south of Henderson on the lunar far side. Image credit: Image Science and Analysis Laboratory, NASA-Johnson Space Center. |
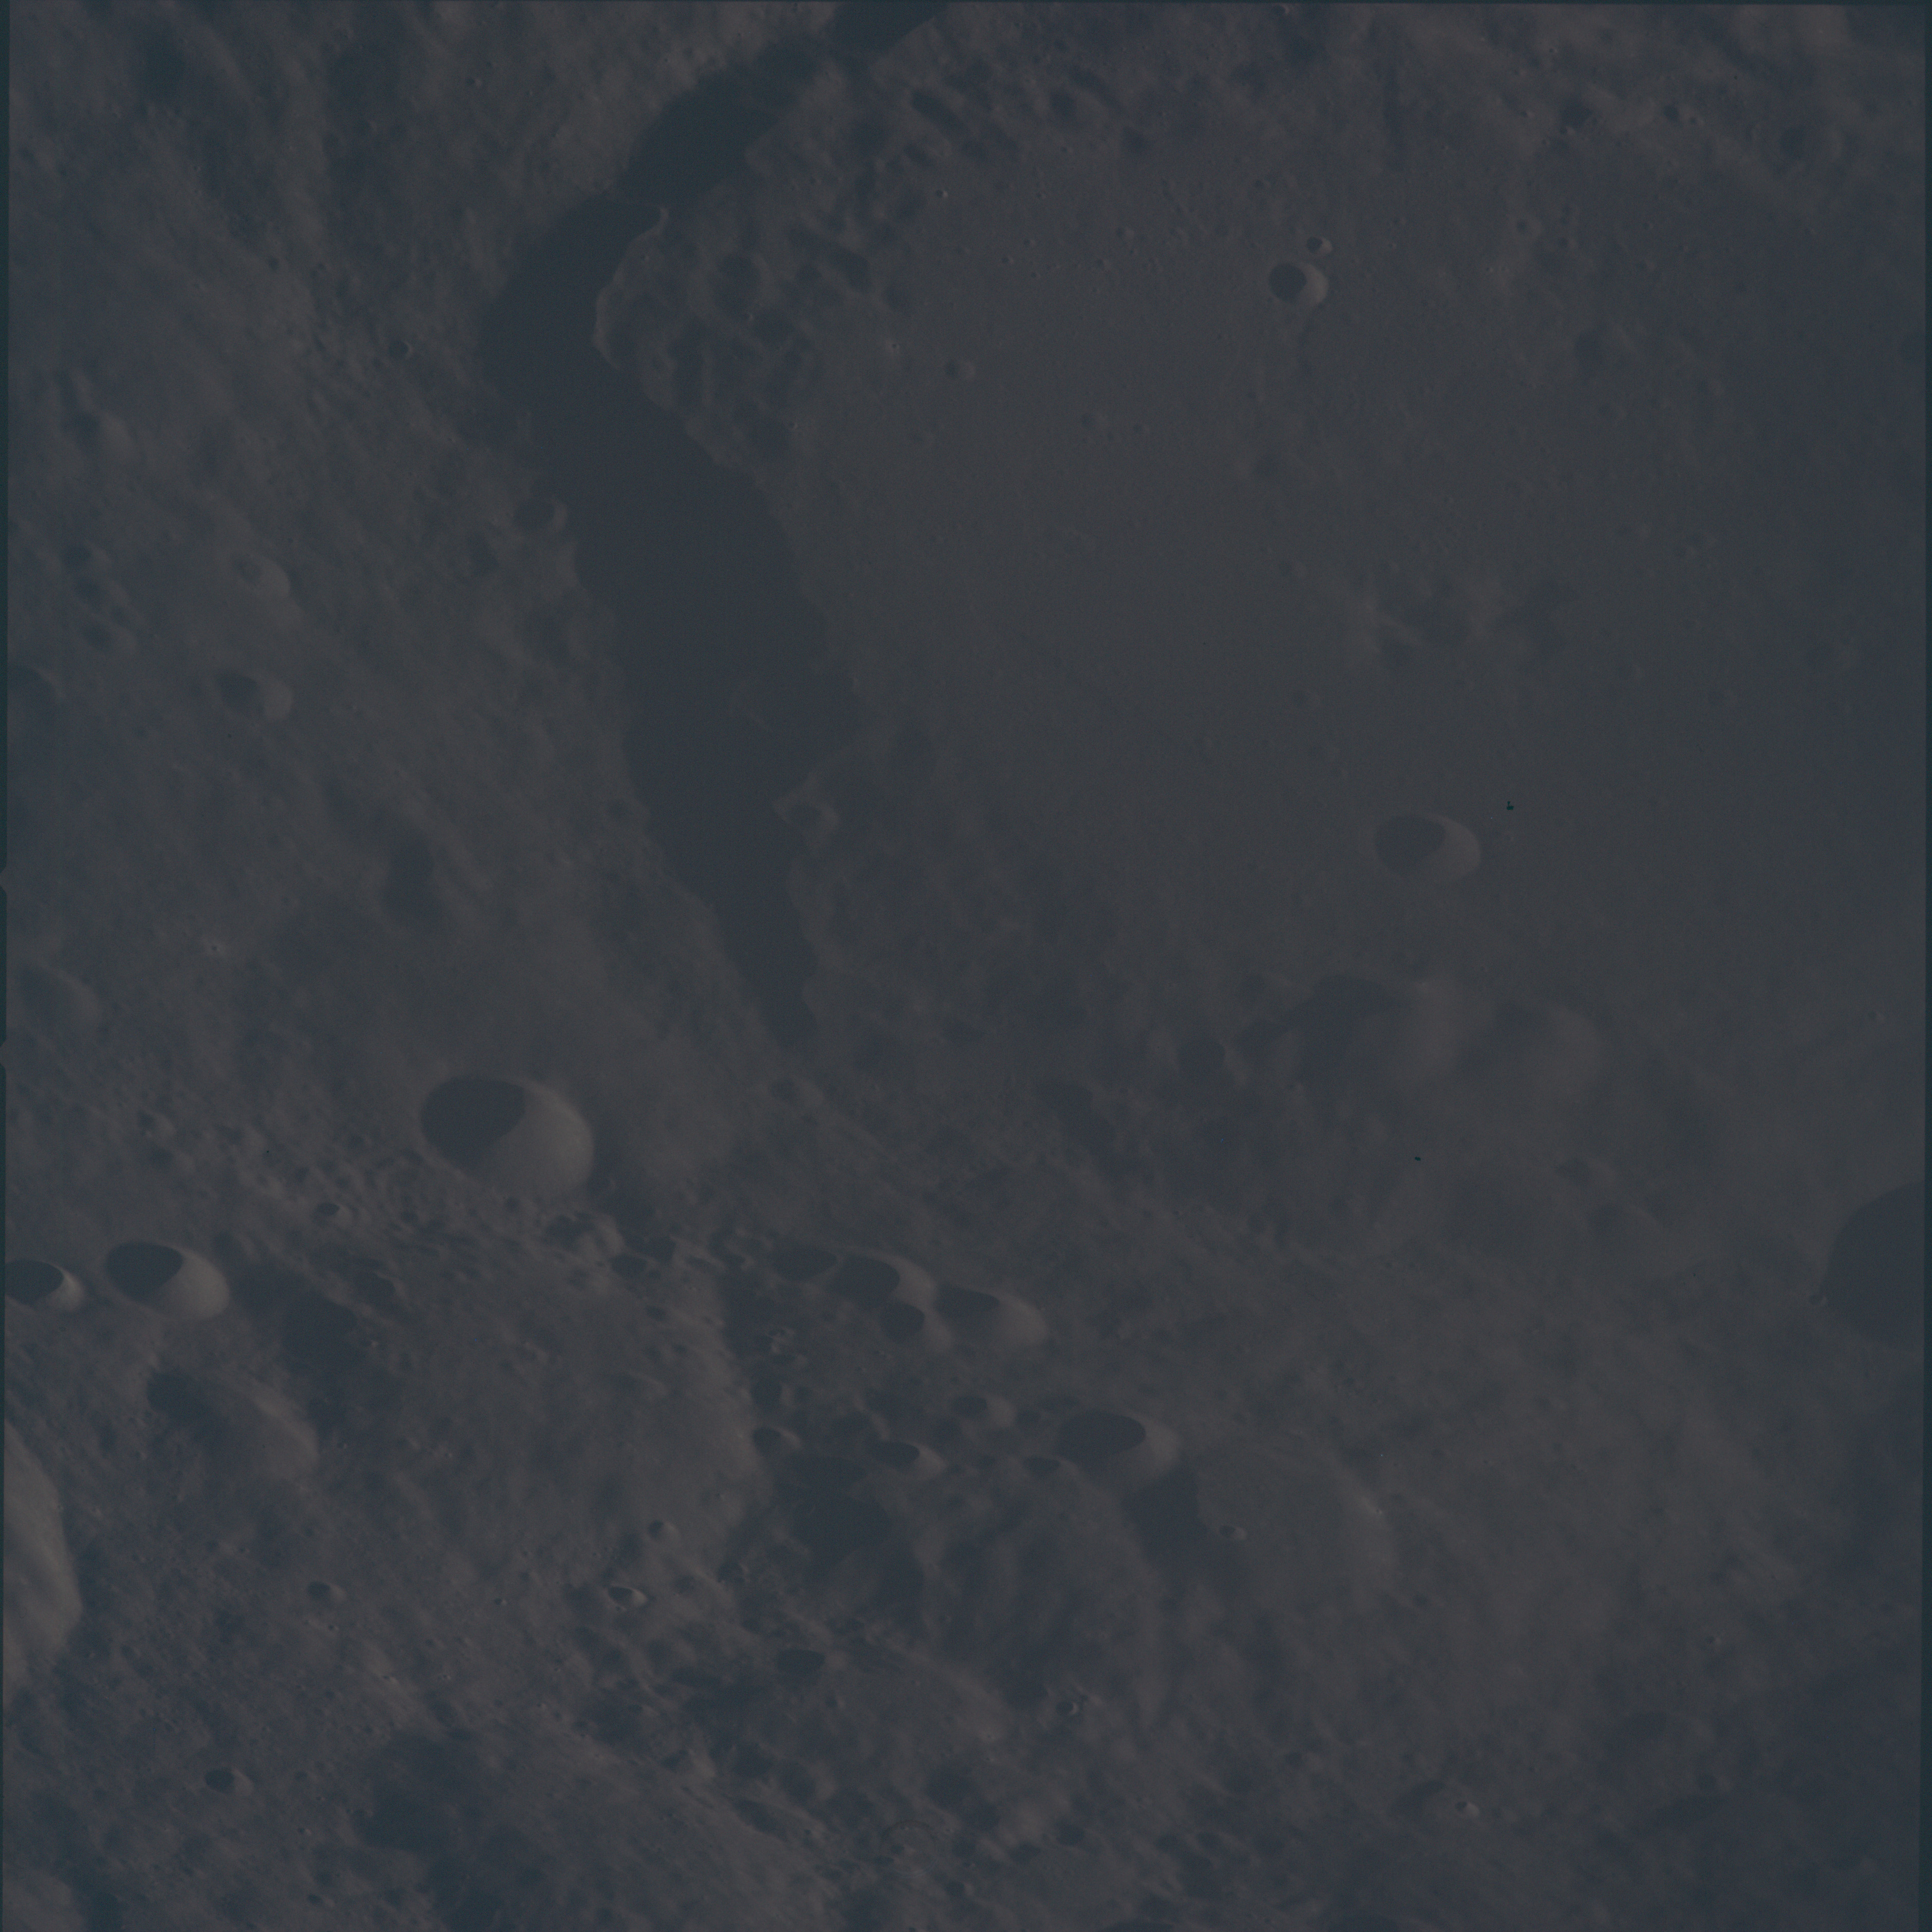 | AS13-60-8613 Underexposed view of Chaplygin, a 137-km crater on the lunar far side. Image credit: Image Science and Analysis Laboratory, NASA-Johnson Space Center. |
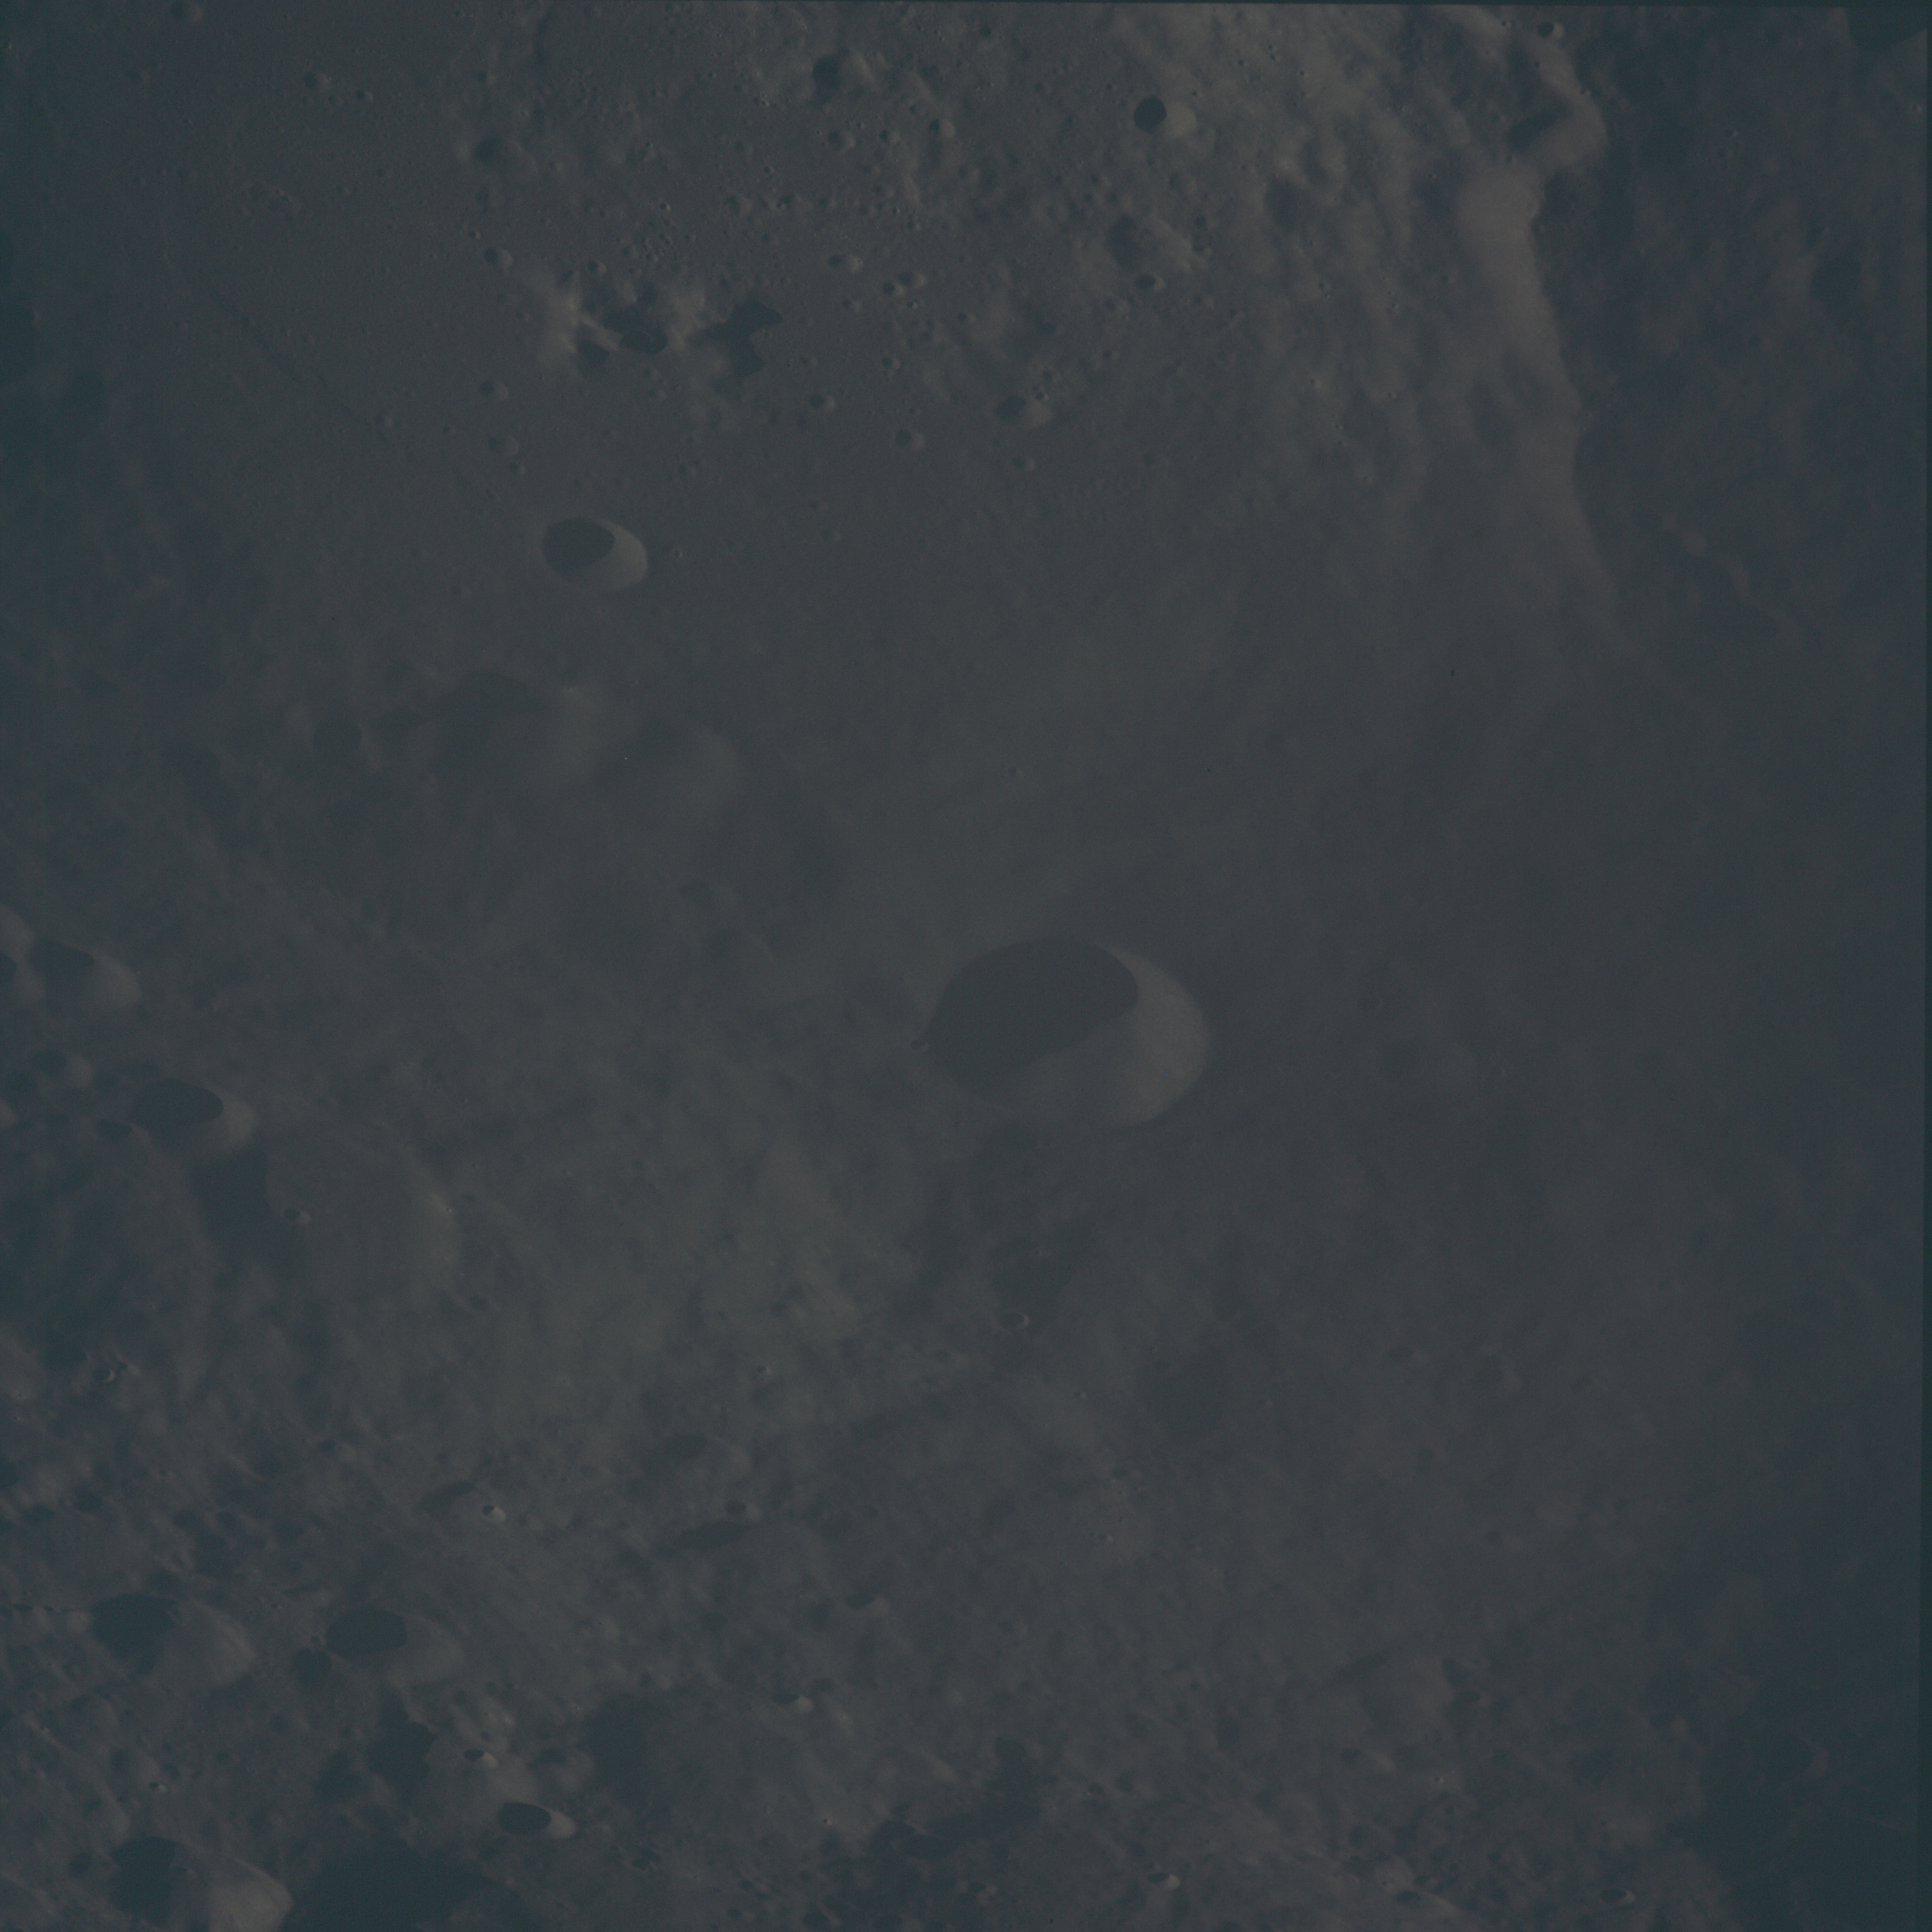 | AS13-60-8614 Underexposed view of Chaplygin, a 137-km crater on the lunar far side. Image credit: Image Science and Analysis Laboratory, NASA-Johnson Space Center. |
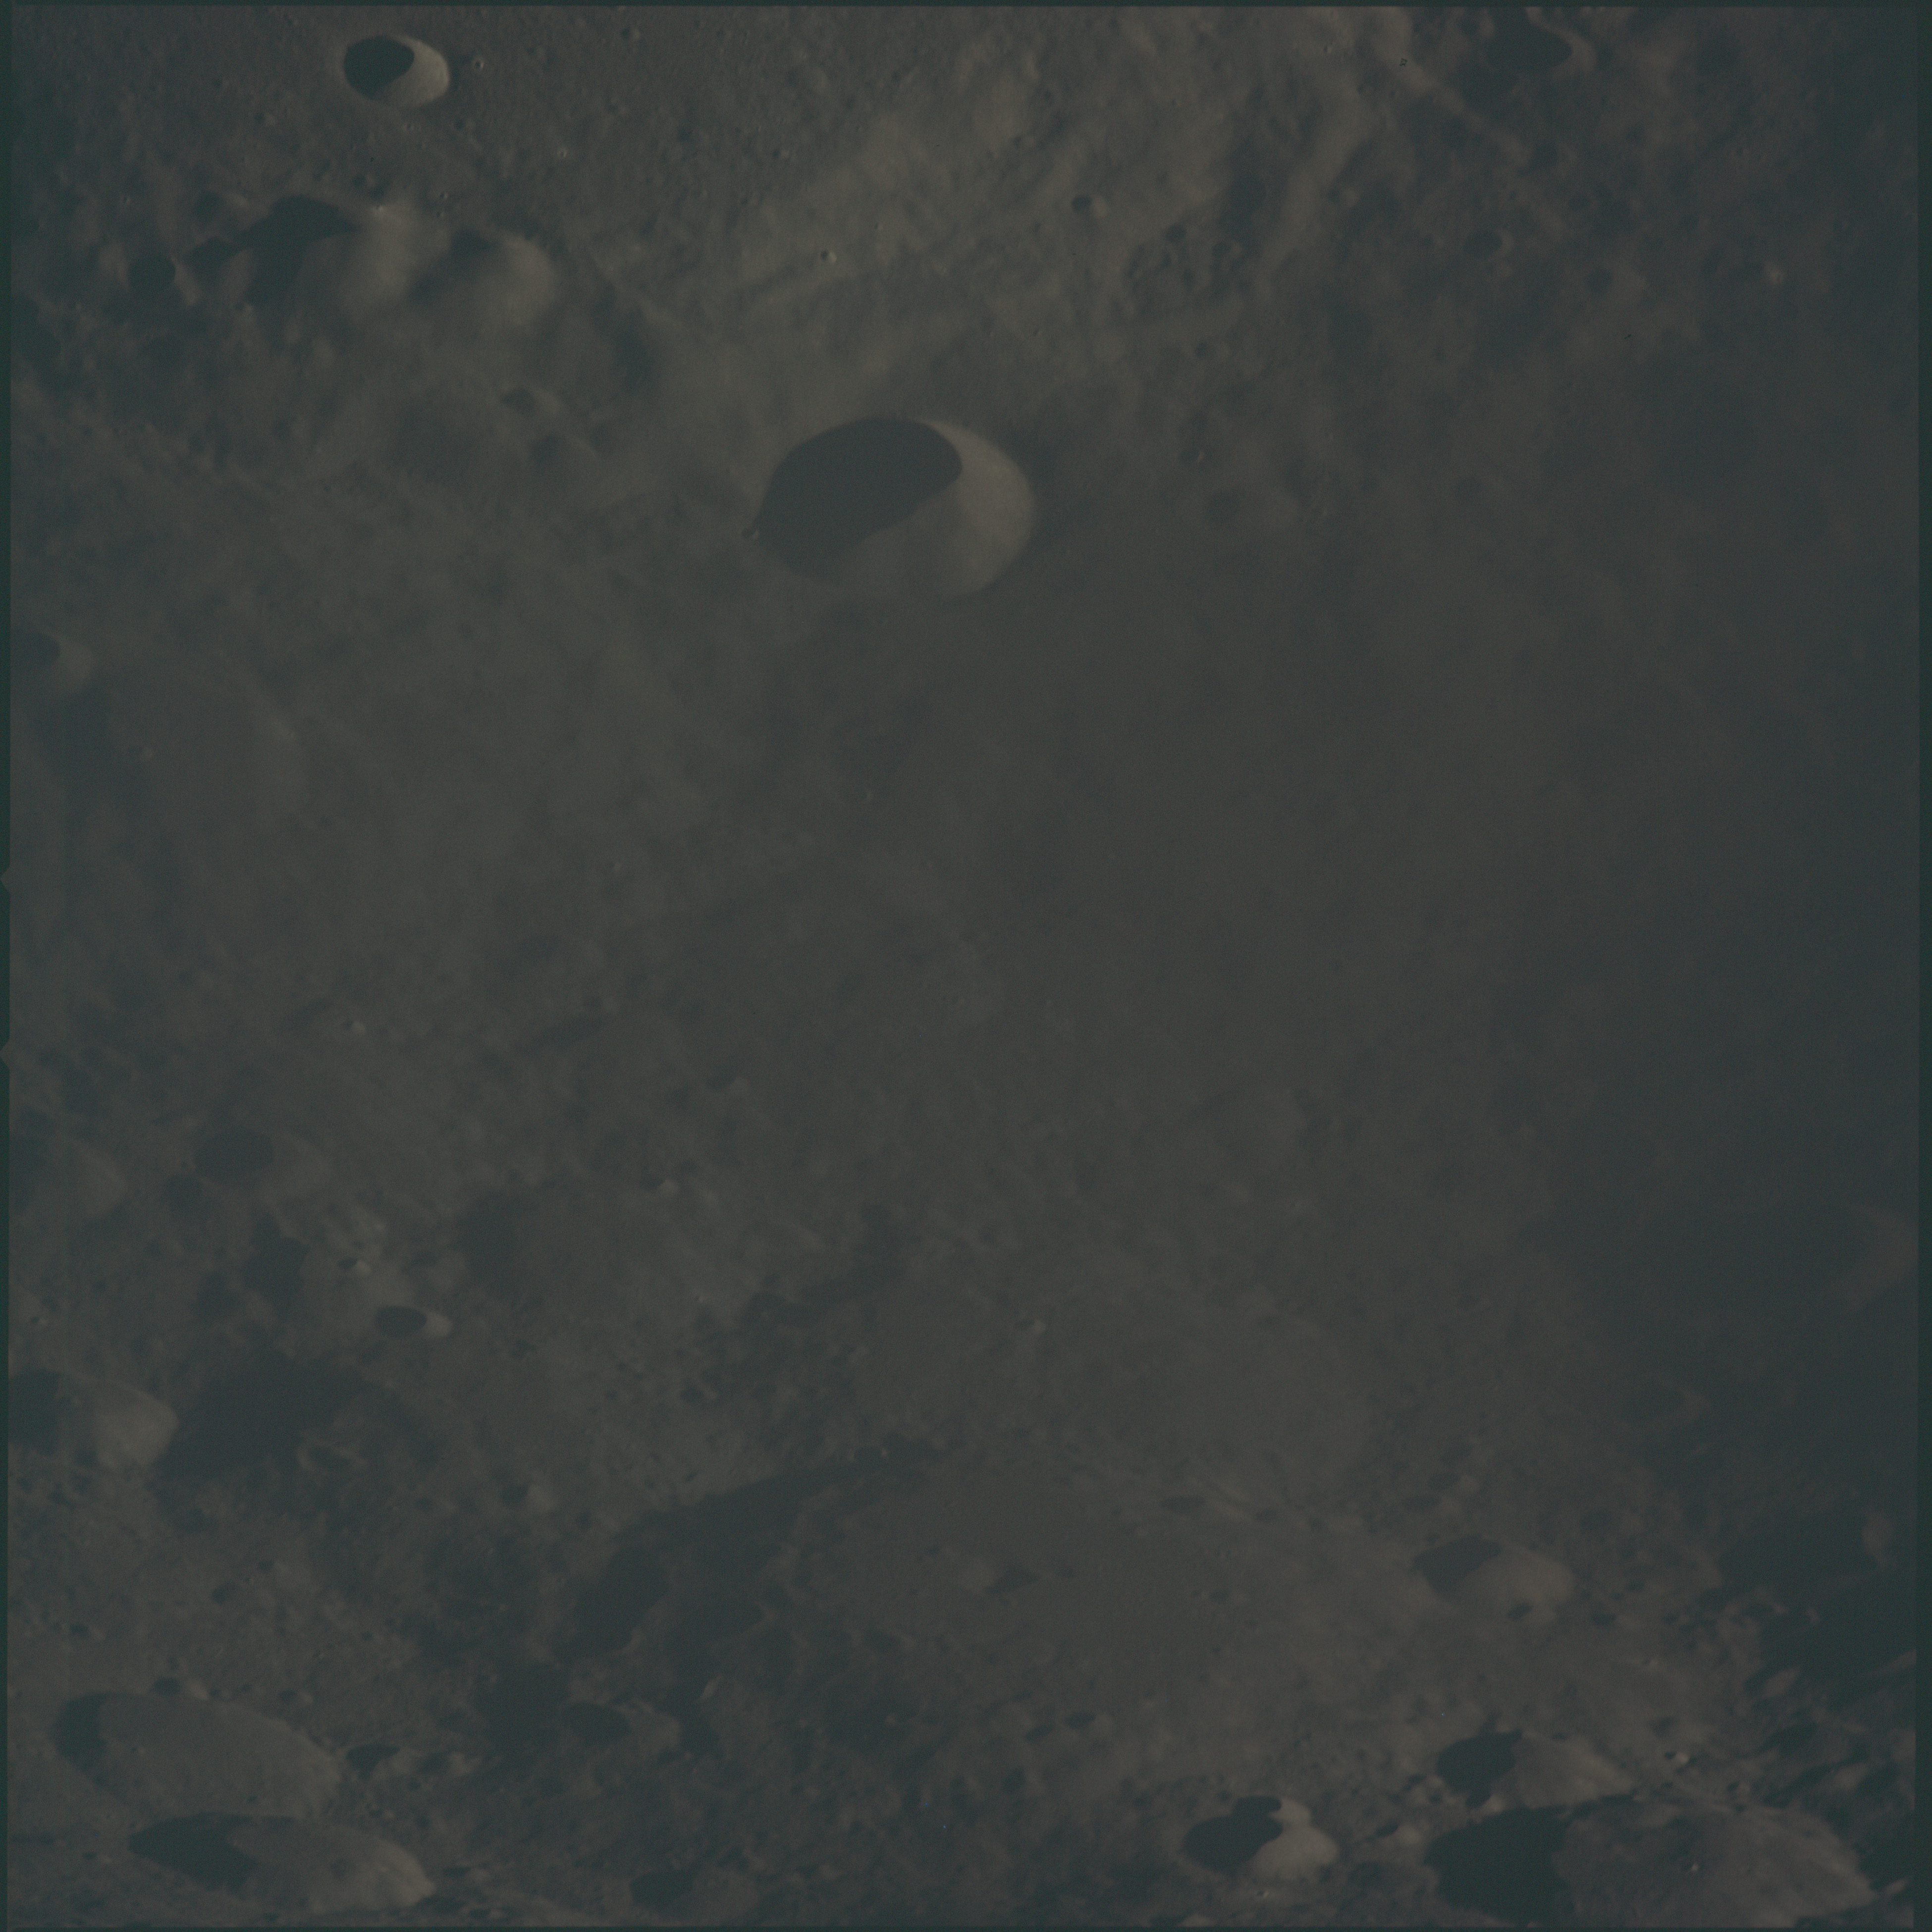 | AS13-60-8615 Underexposed shot of the lunar far side. Top of frame is the southern rim of Chaplygin. Crater at the bottom of the frame is 70-km crater Beijerinck Image credit: Image Science and Analysis Laboratory, NASA-Johnson Space Center. |
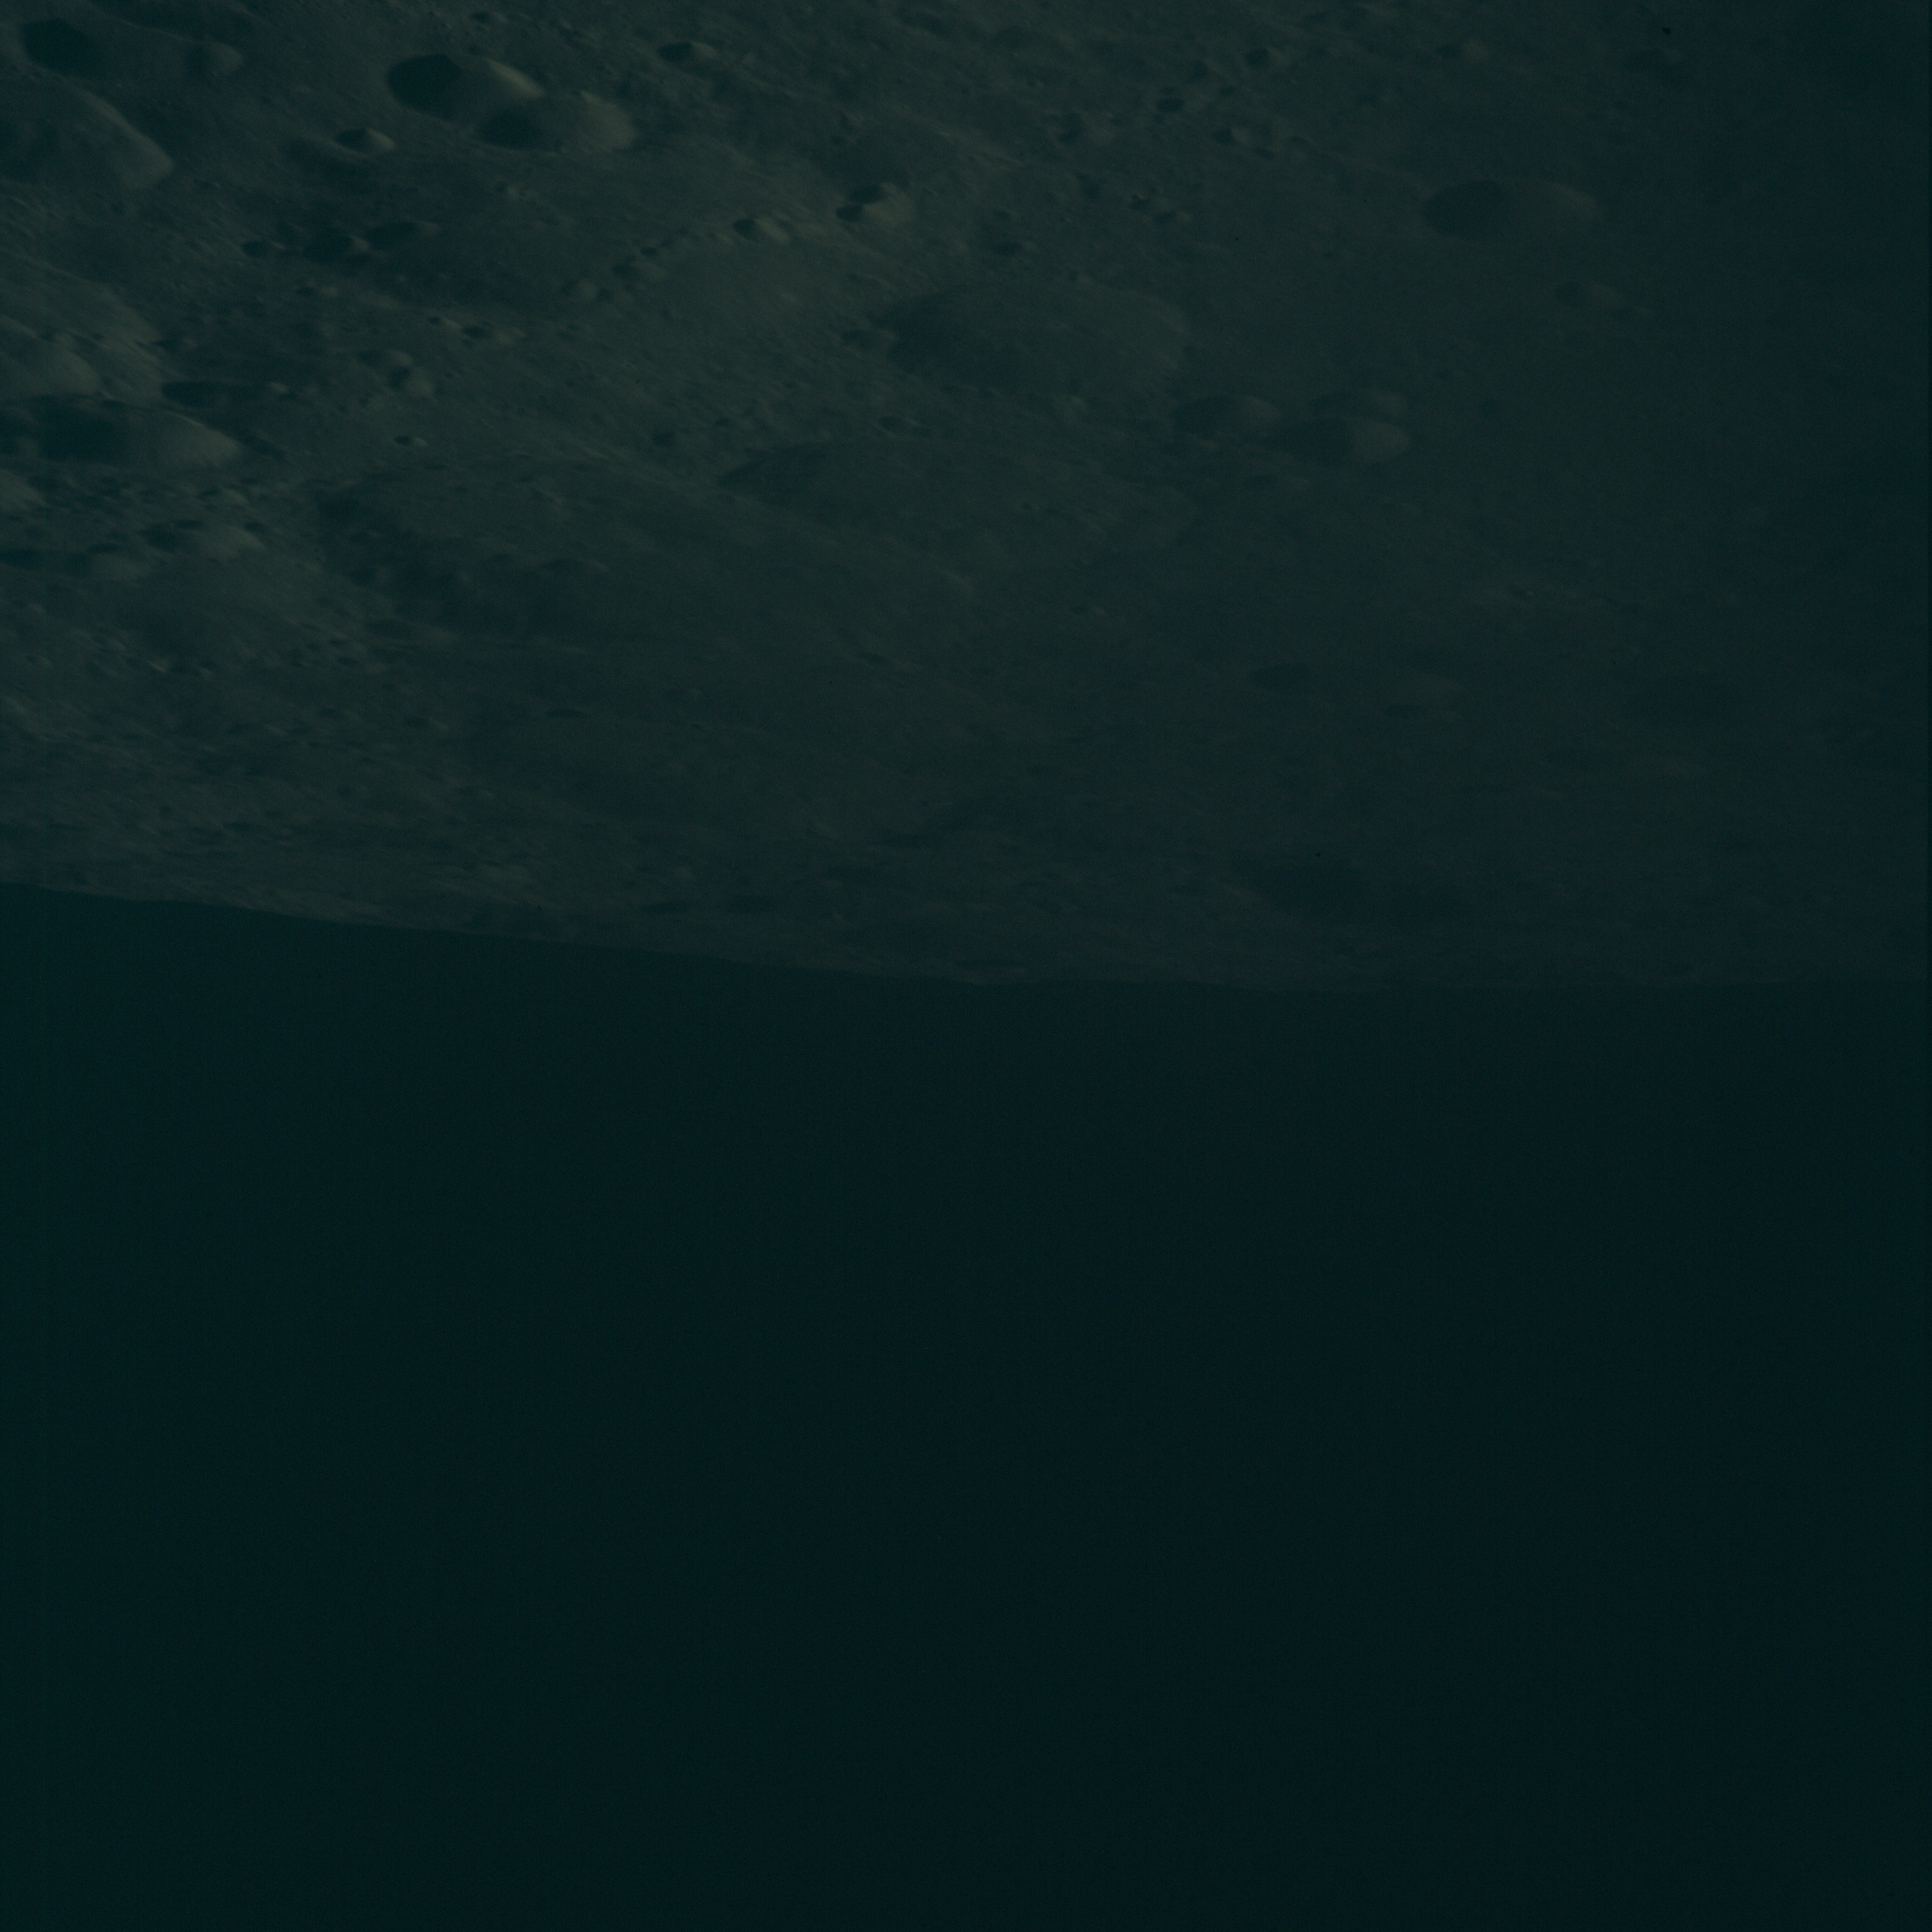 | AS13-60-8616 Underexposed view southwest from above Chaplygin. Just lower left of the tight triplet of craters is the 44-km crater Denning. Image credit: Image Science and Analysis Laboratory, NASA-Johnson Space Center. |
 | AS13-60-8617 Extremely underexposed image looking southwest beyond Dellinger. At the upper left of the frame is Chauvenet C overlying the 81-km crater Chauvenet (with the linear central peak). Image credit: Image Science and Analysis Laboratory, NASA-Johnson Space Center. |
 | AS13-60-8618 Hight underexposed image of the lunar far side. Looking west-southwest from somwhere just north of Dellinger. Prominent crater top of frame is just east of crater Love. Image credit: Image Science and Analysis Laboratory, NASA-Johnson Space Center. |
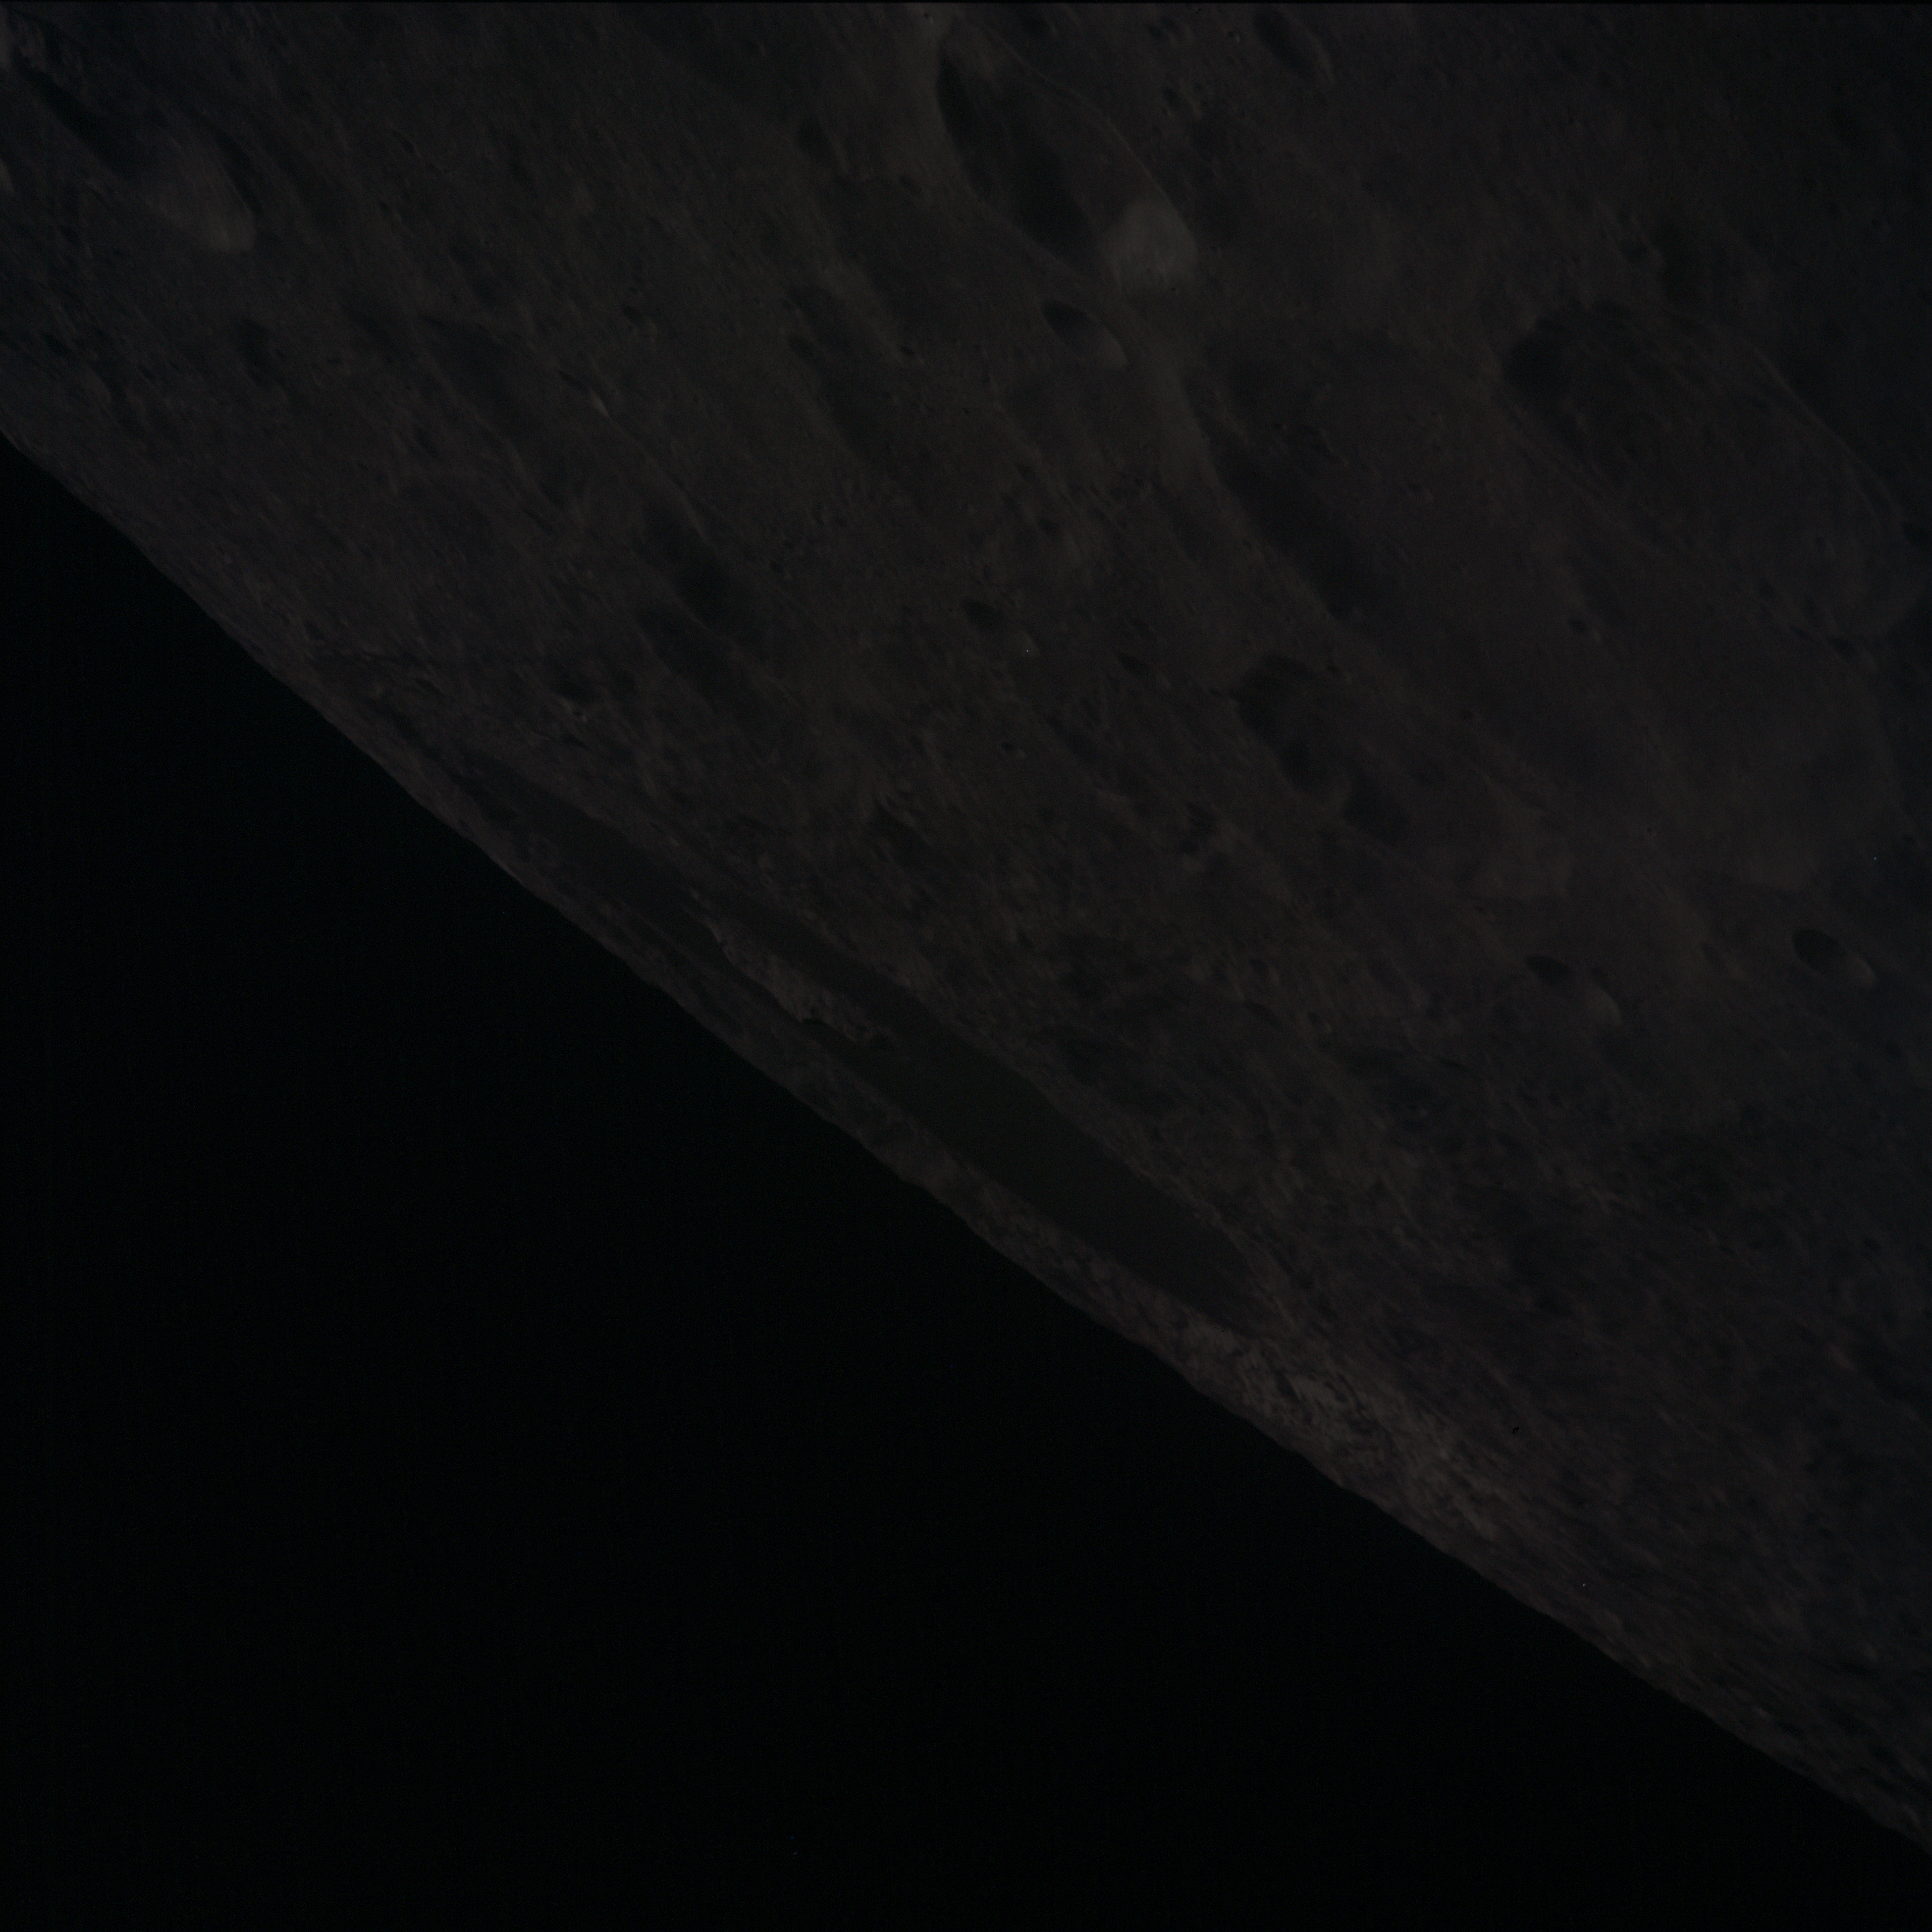 | AS13-60-8619 Underexposed view southwest across crater Chauvenet (upper right with the slight central peak) towards the 180-km crater Tsiolkovsky with its prominent dark floor. Image credit: Image Science and Analysis Laboratory, NASA-Johnson Space Center. |
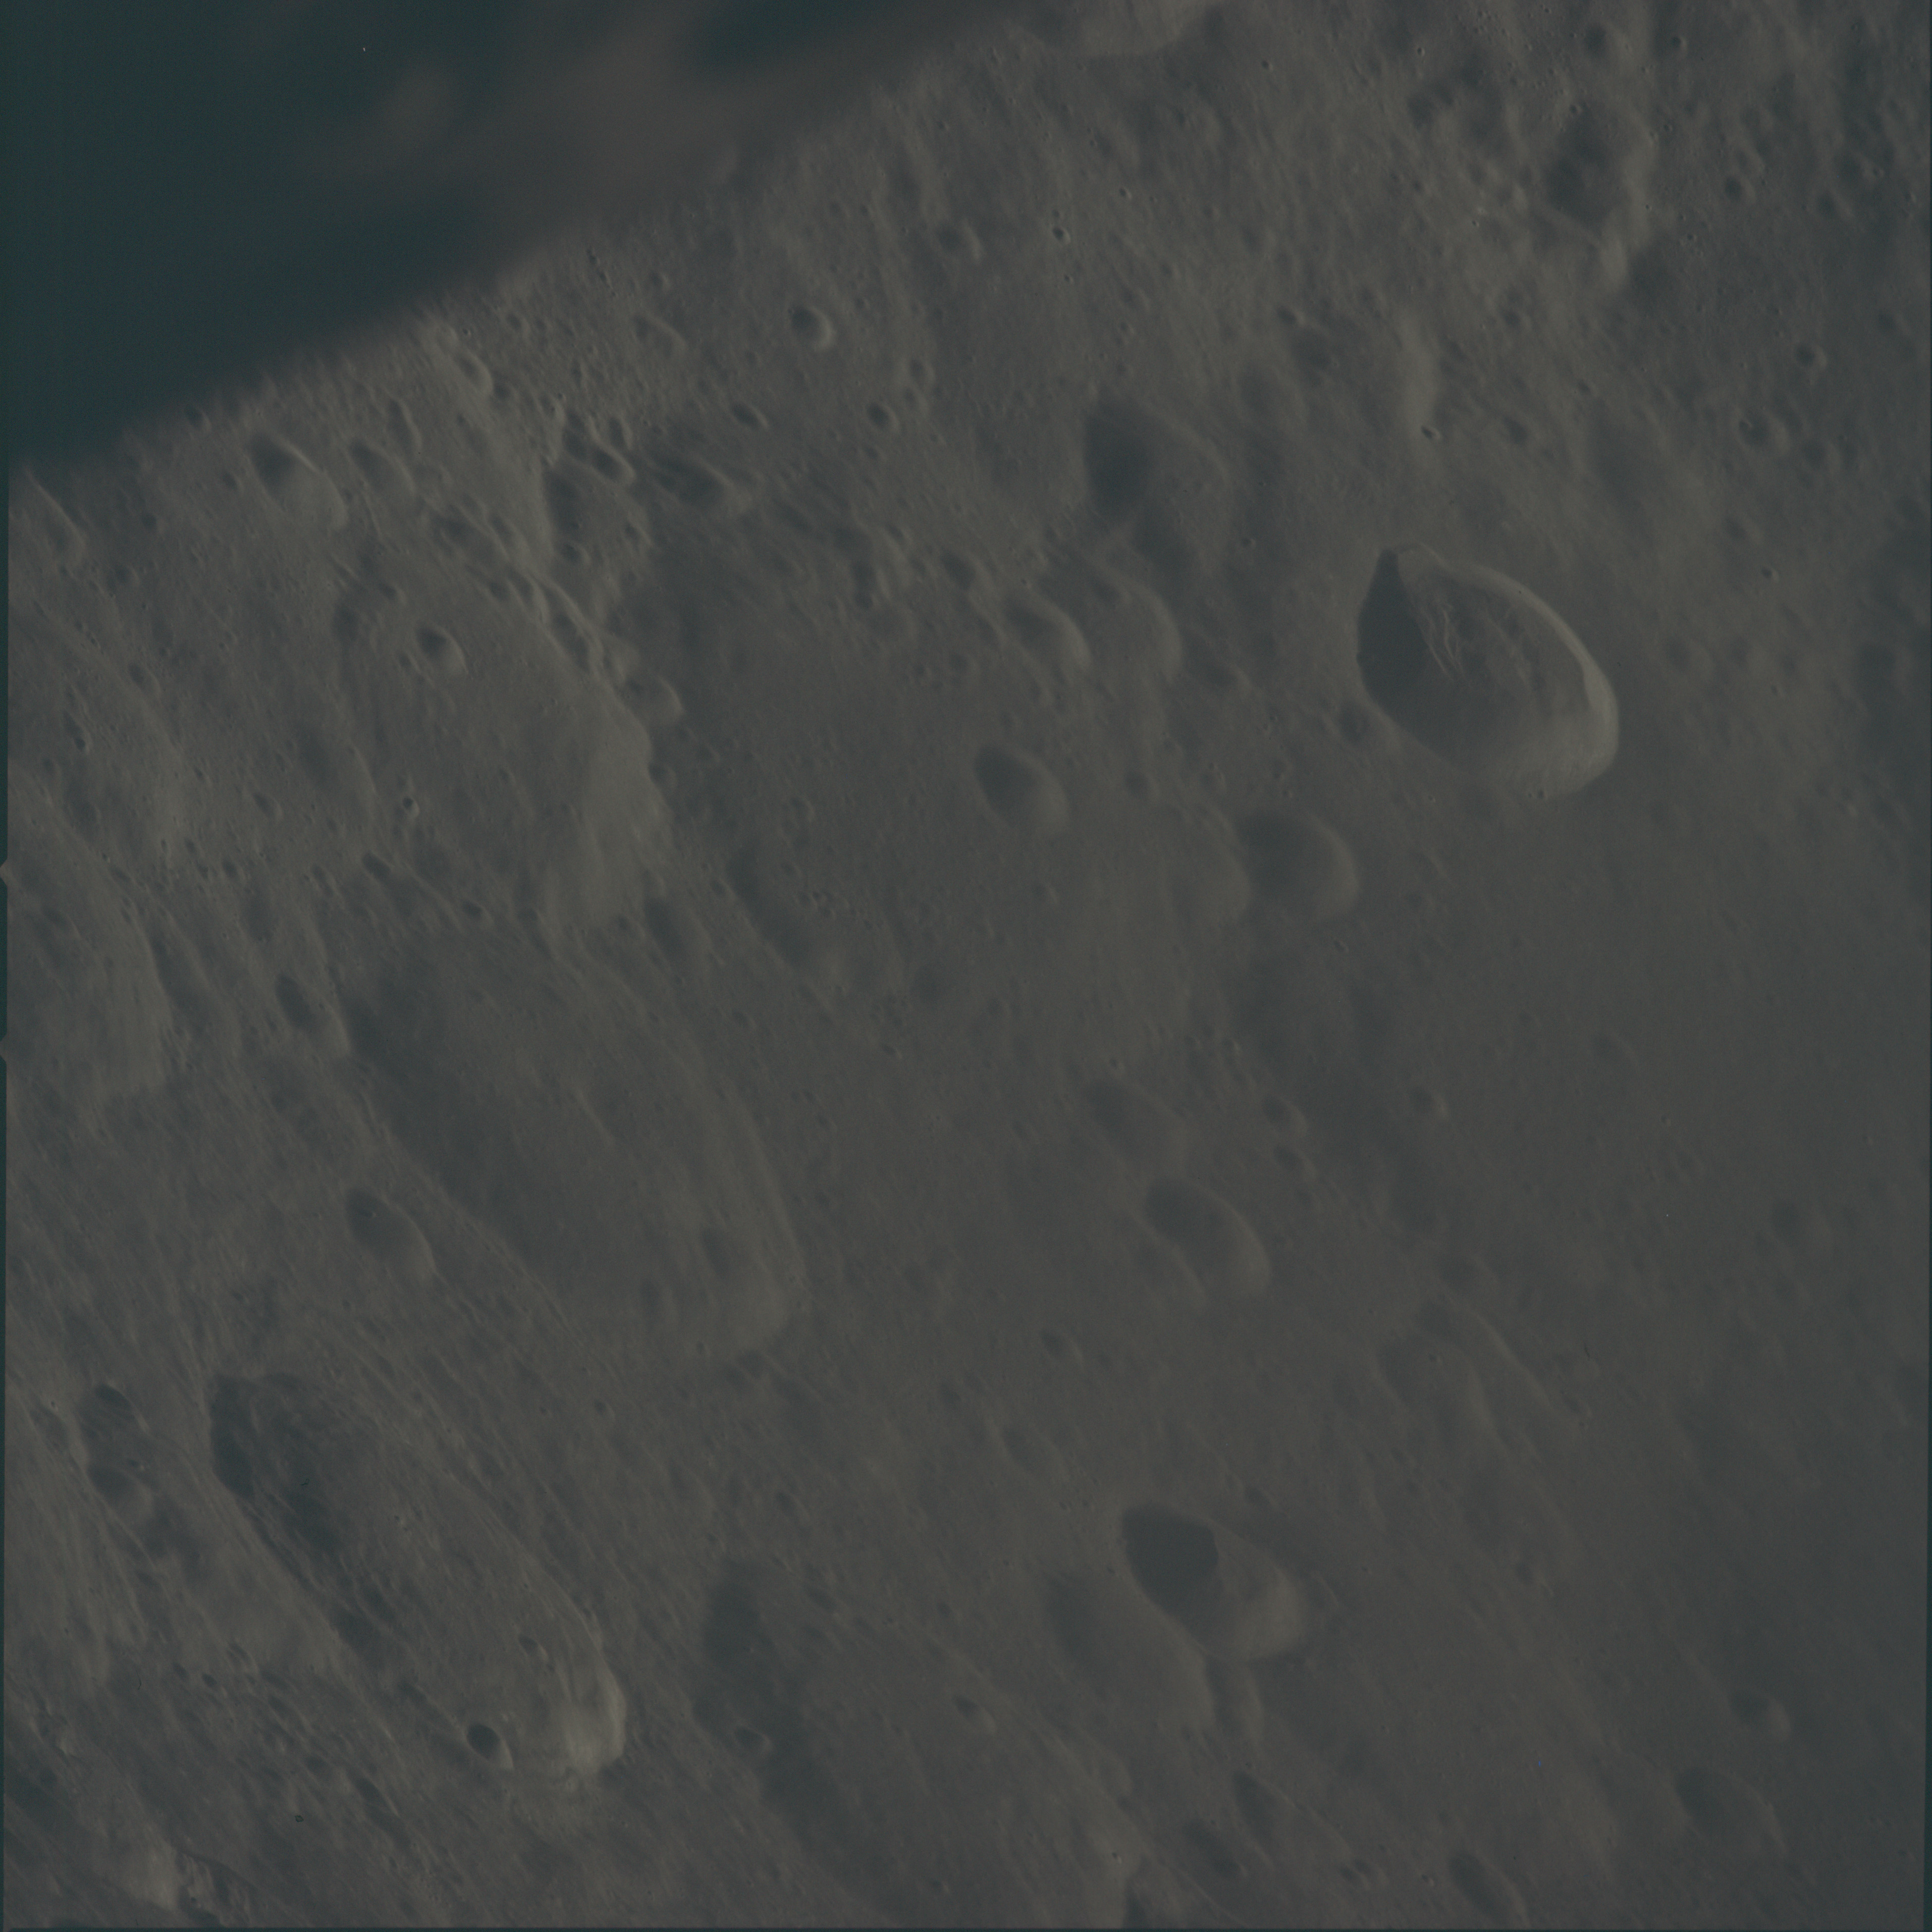 | AS13-60-8620 Underexposed view southwest across landscape just west of Dellinger and Pannekoek. Image credit: Image Science and Analysis Laboratory, NASA-Johnson Space Center. |
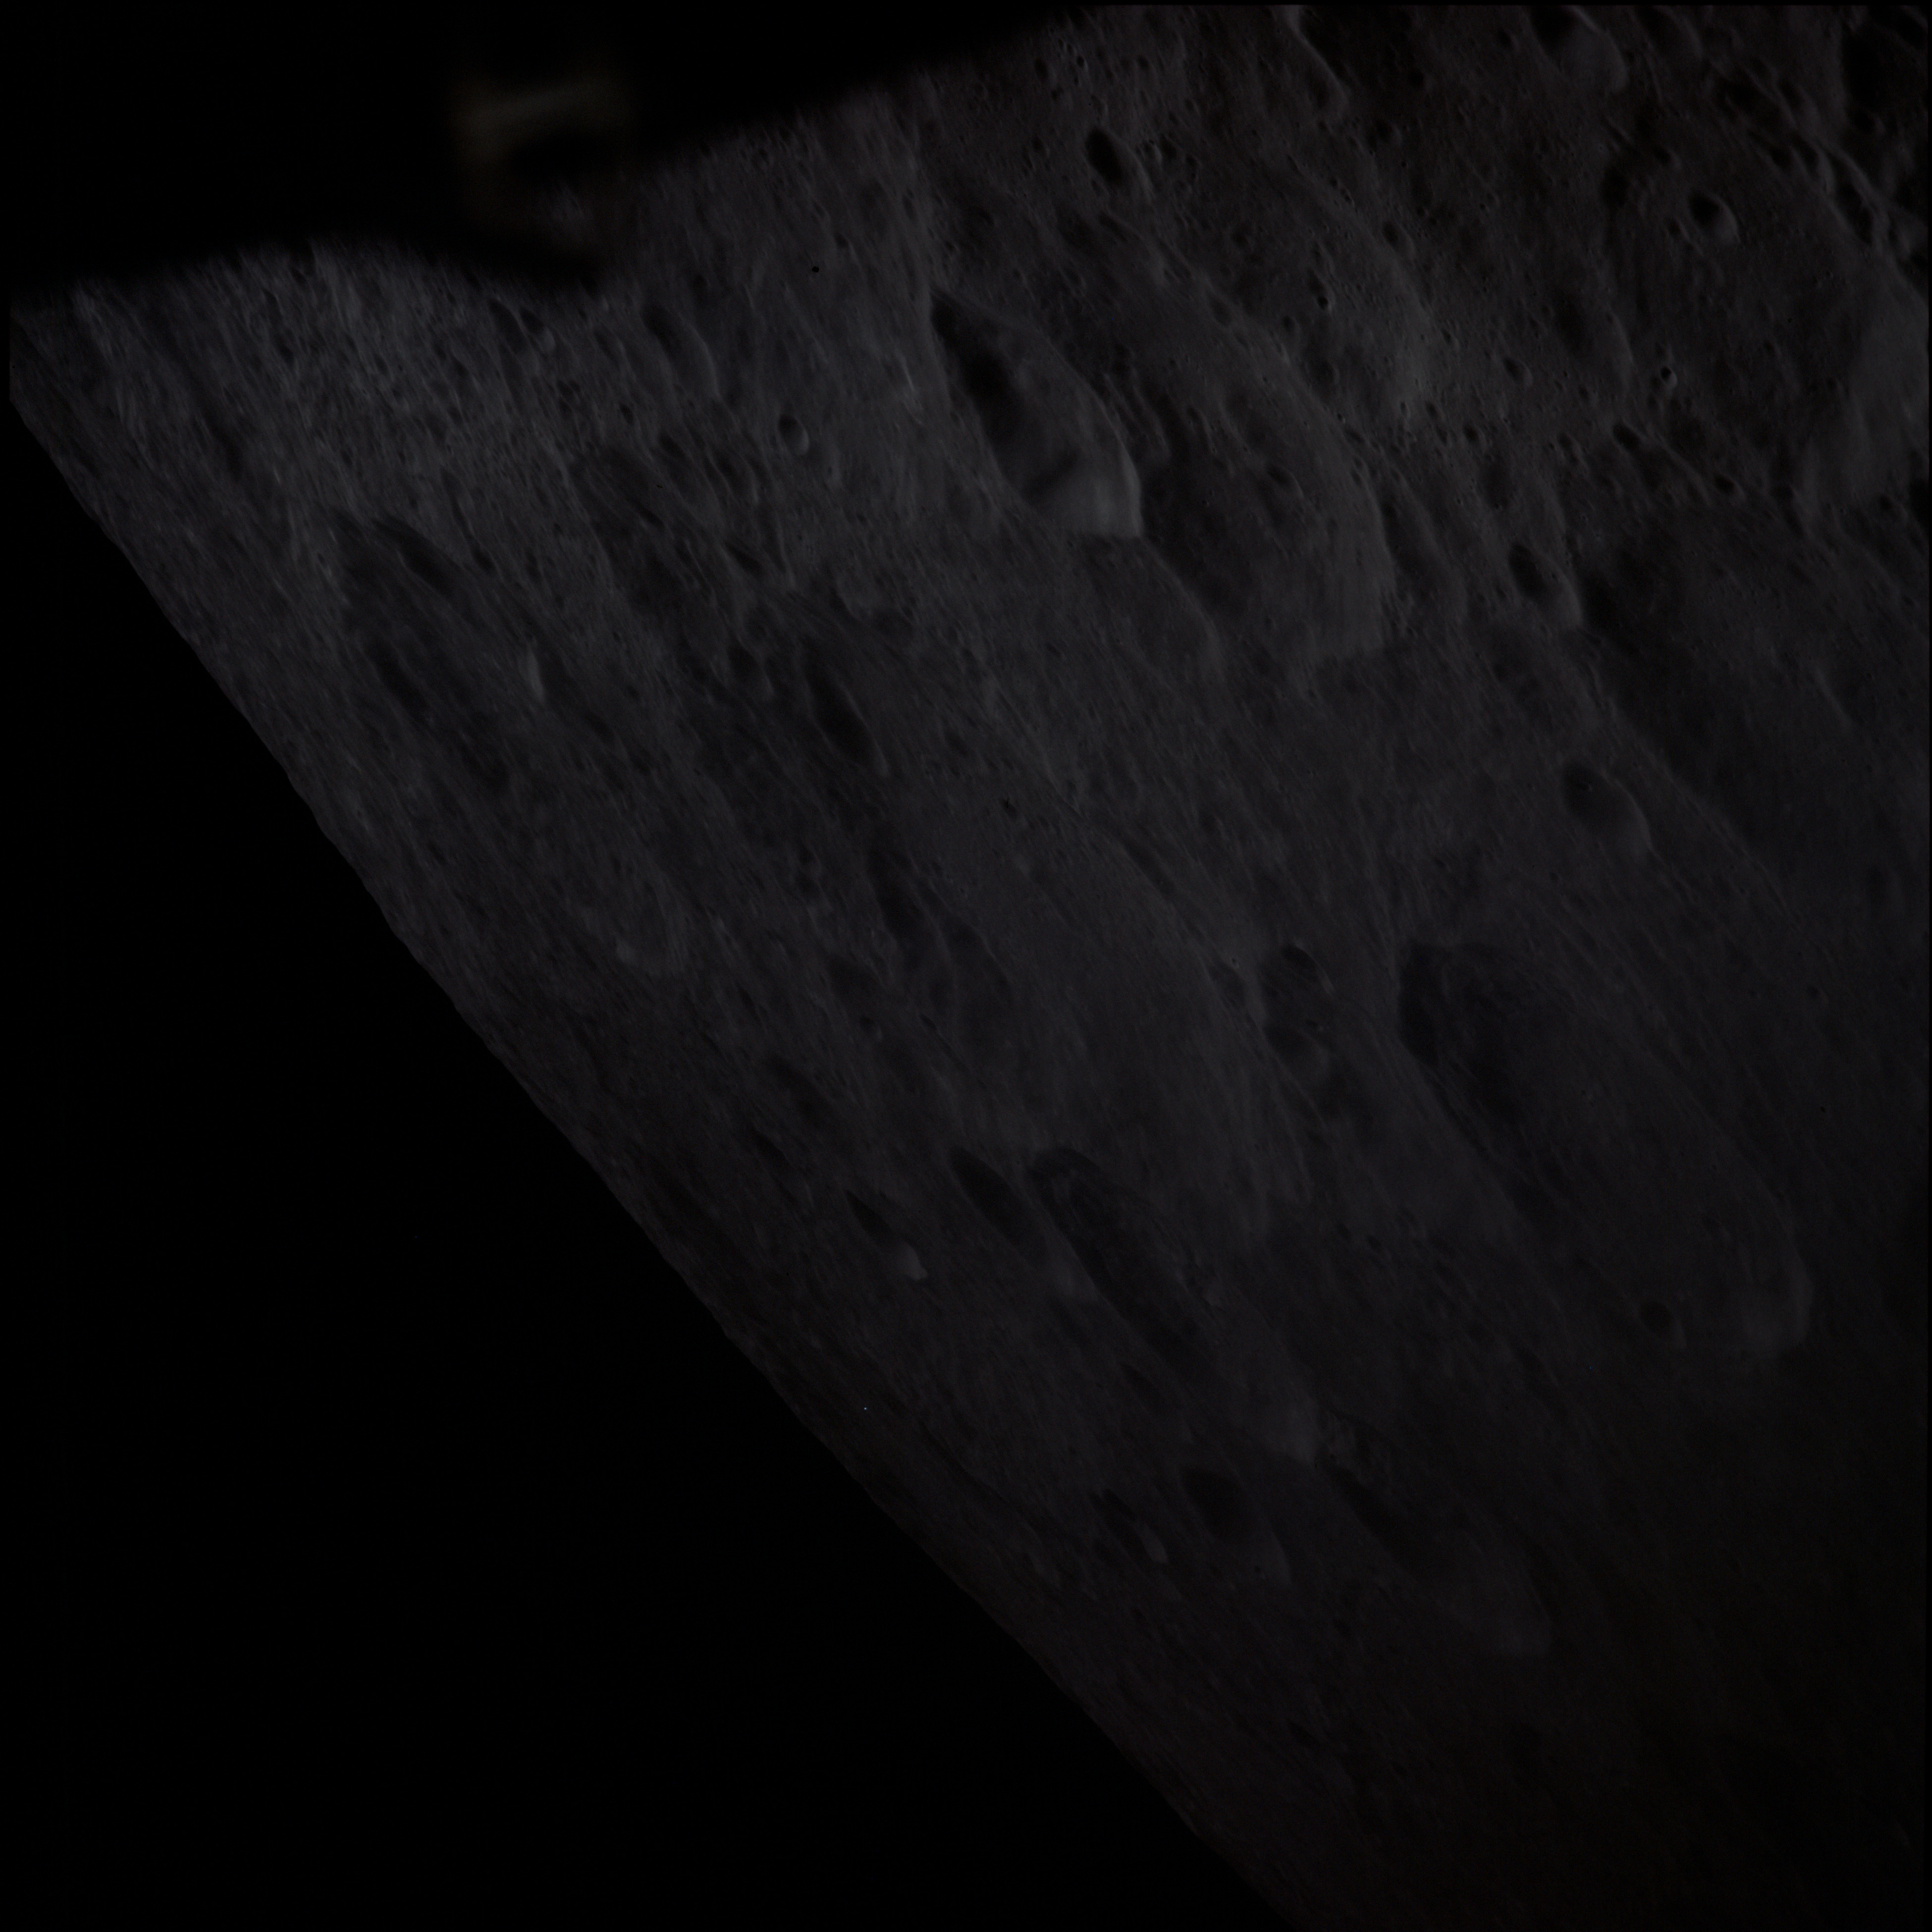 | AS13-60-8621 Underexposed view southwest across crater Peripelkin and Danjon. Prominent crater upper center is just west of crater Love. Image credit: Image Science and Analysis Laboratory, NASA-Johnson Space Center. |
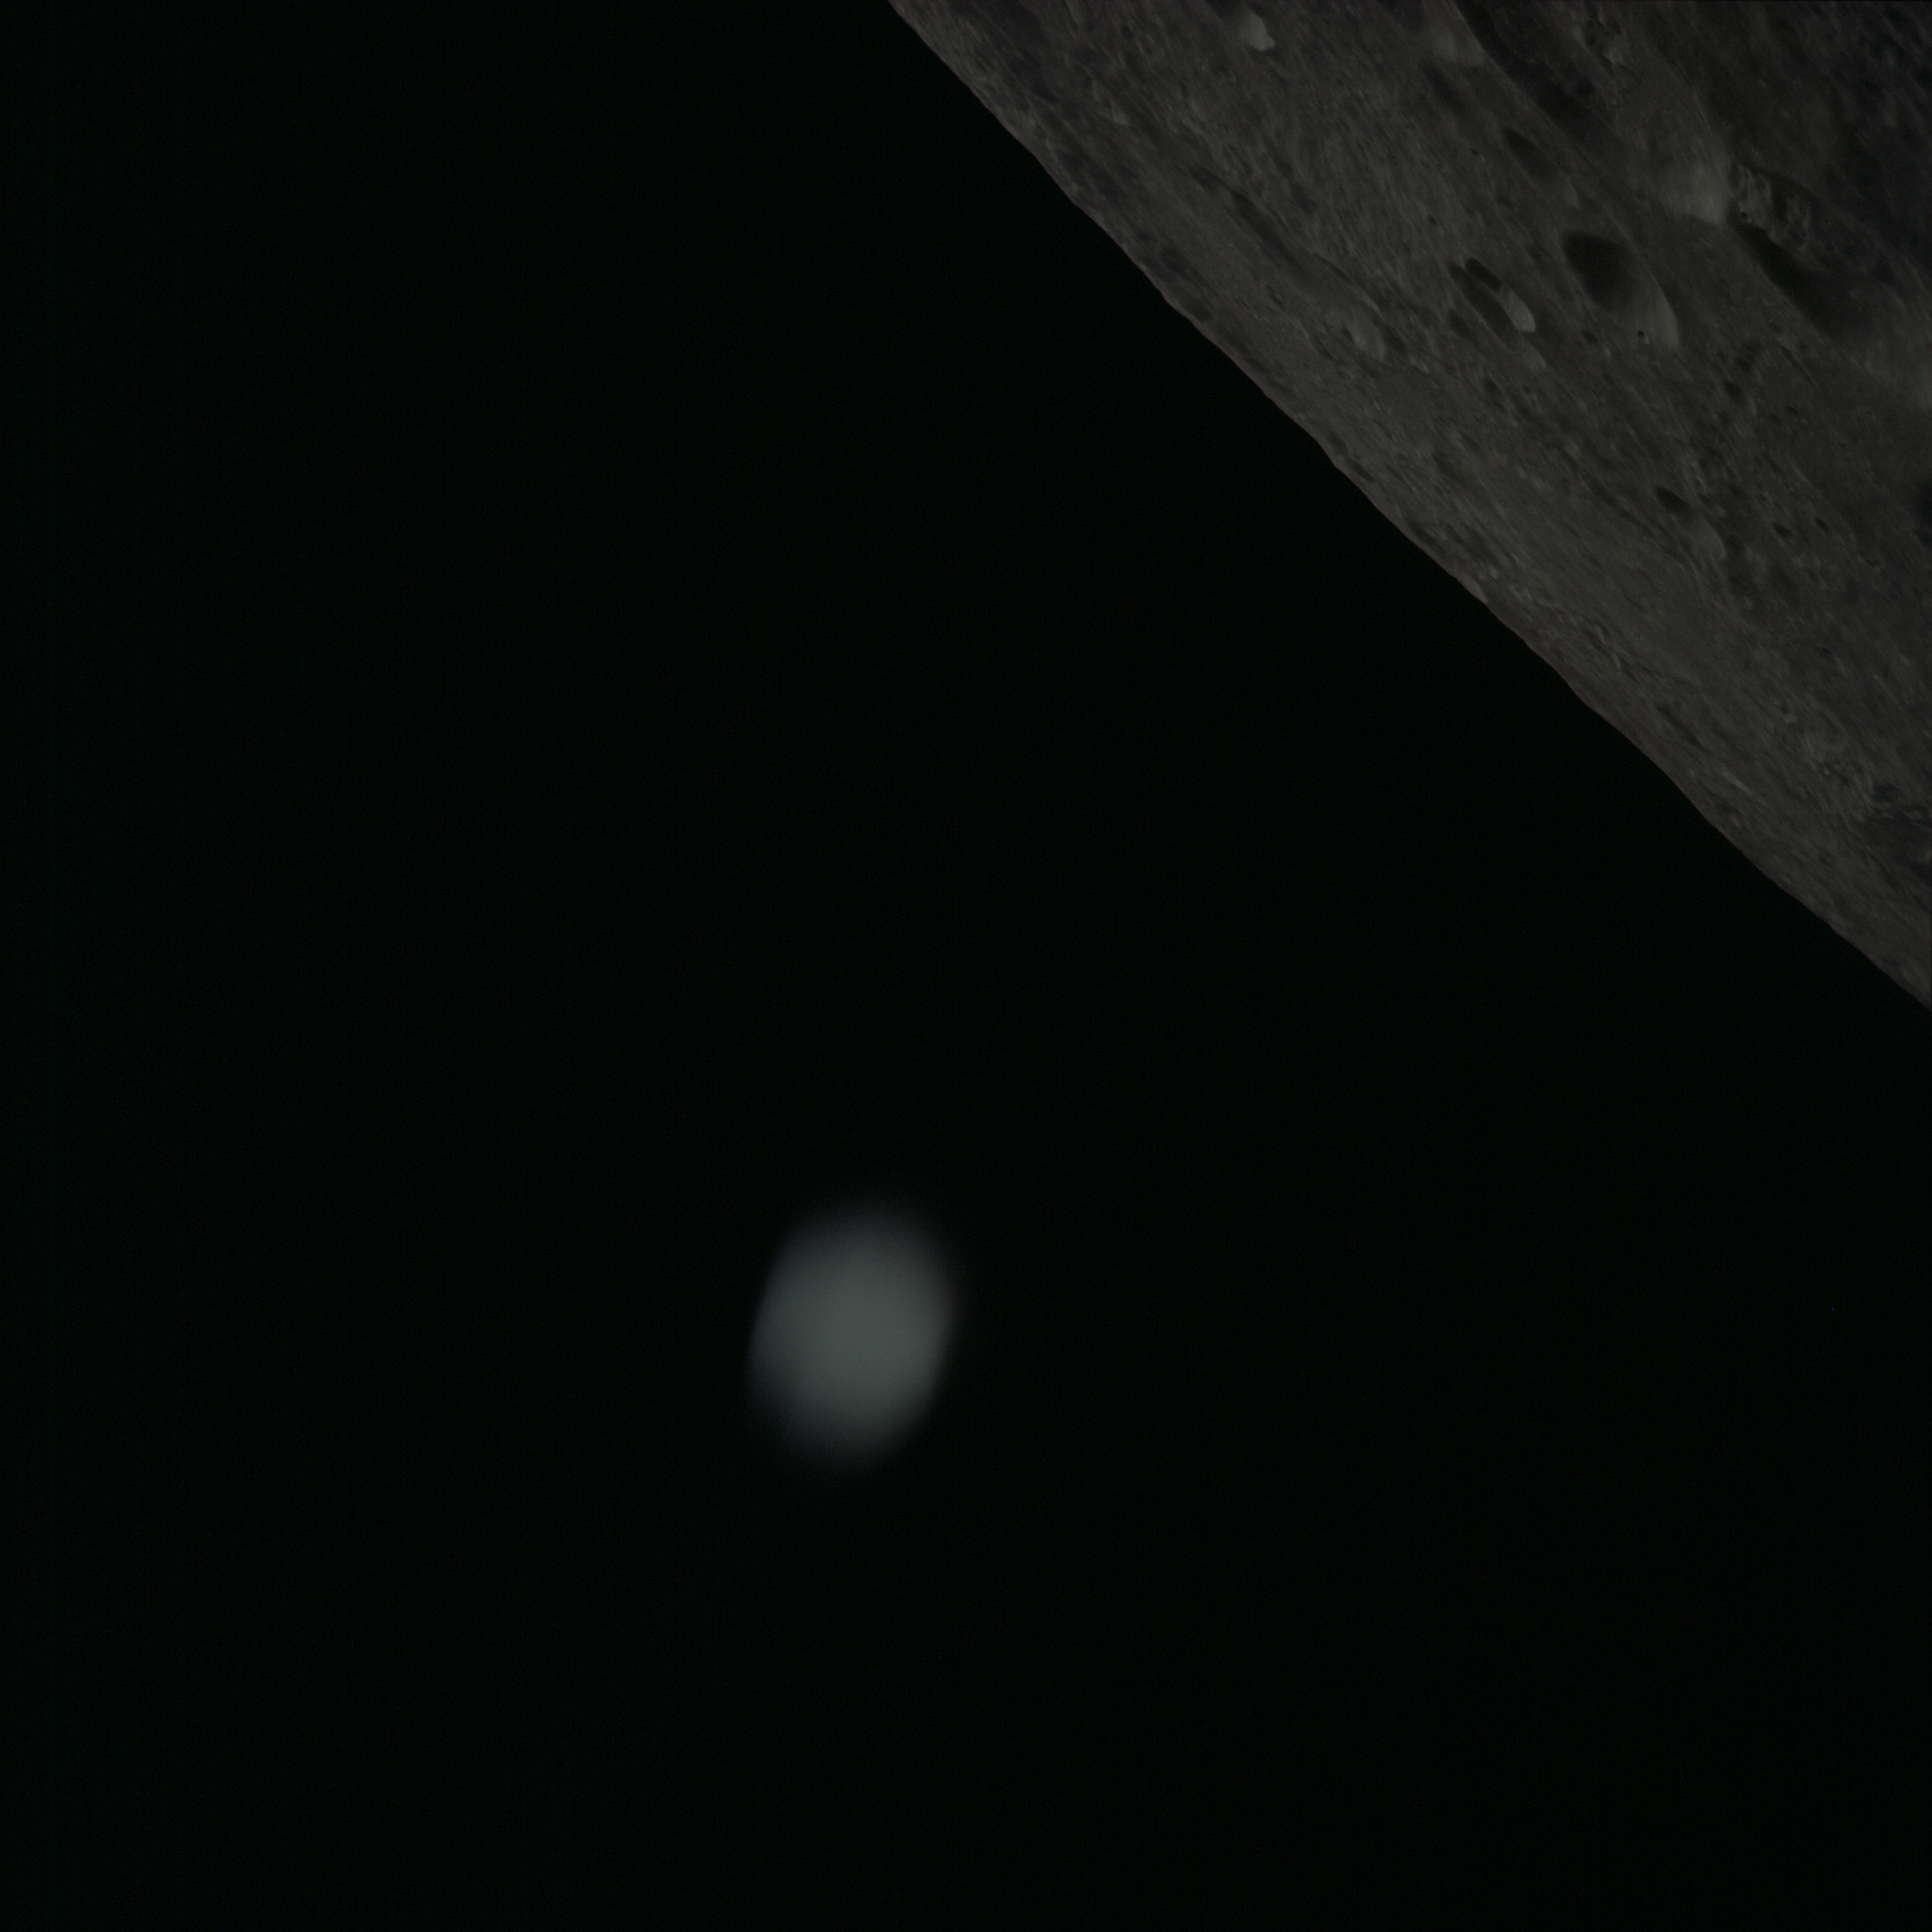 | AS13-60-8622 Underexposed view southwest towards lunar horizon. There are two joined craters at upper right of image. the upper crater is Shirakatsi (51 km) and the lower is Dobrovol'skiy (38 km). An impressive landslide from Shirakatsi has intruded into Dobrovol'skiy's northwest rim. The out-of-focus object lower centre is either a reflection from the cabin window of a internal light, or it is an object near the camera in its field of view but well out of the focal plane. Image credit: Image Science and Analysis Laboratory, NASA-Johnson Space Center. |
 | AS13-60-8623 Underexposed view southwest across craters Peripelkin and Danjon (centre of frame). Crater Love is upper right. It is heavily degraded with two distinctive small craters on its west rim (top centre). Image credit: Image Science and Analysis Laboratory, NASA-Johnson Space Center. |
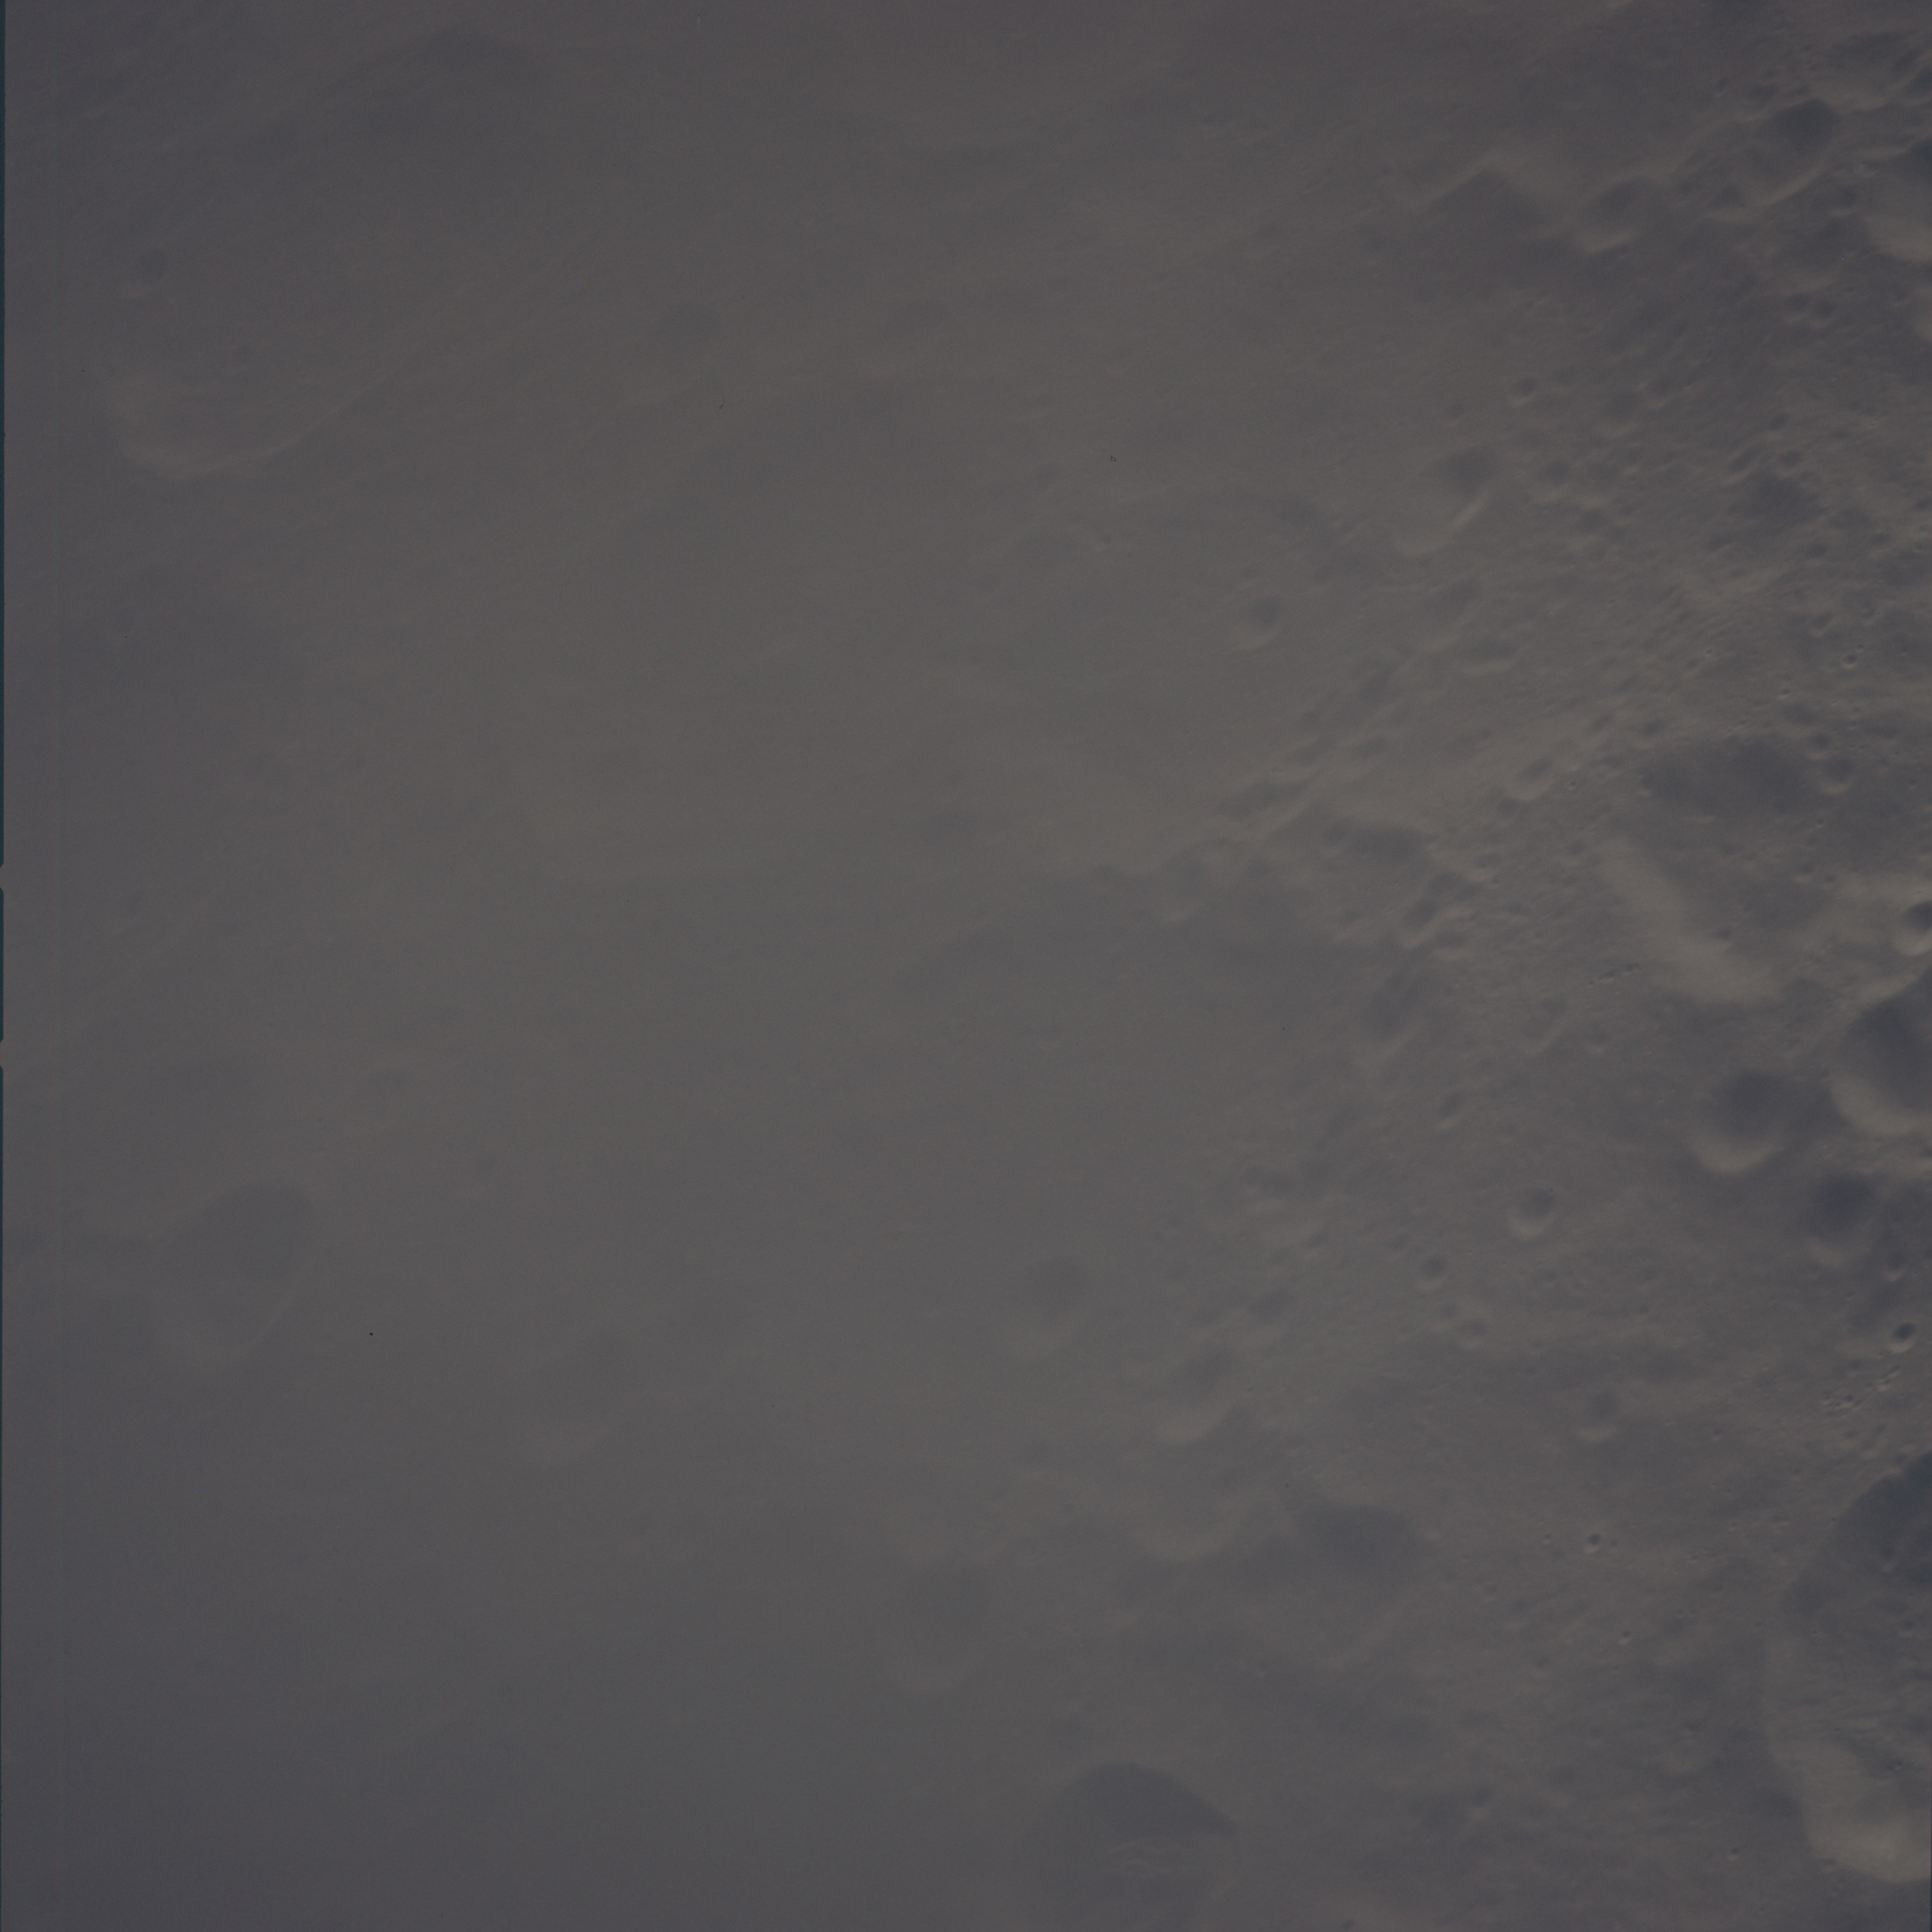 | AS13-60-8624 Underexposed view southwest towards crater Lane (upper left, 55-km diameter). It is distinctive with a crater on its southern rim. Image credit: Image Science and Analysis Laboratory, NASA-Johnson Space Center. |
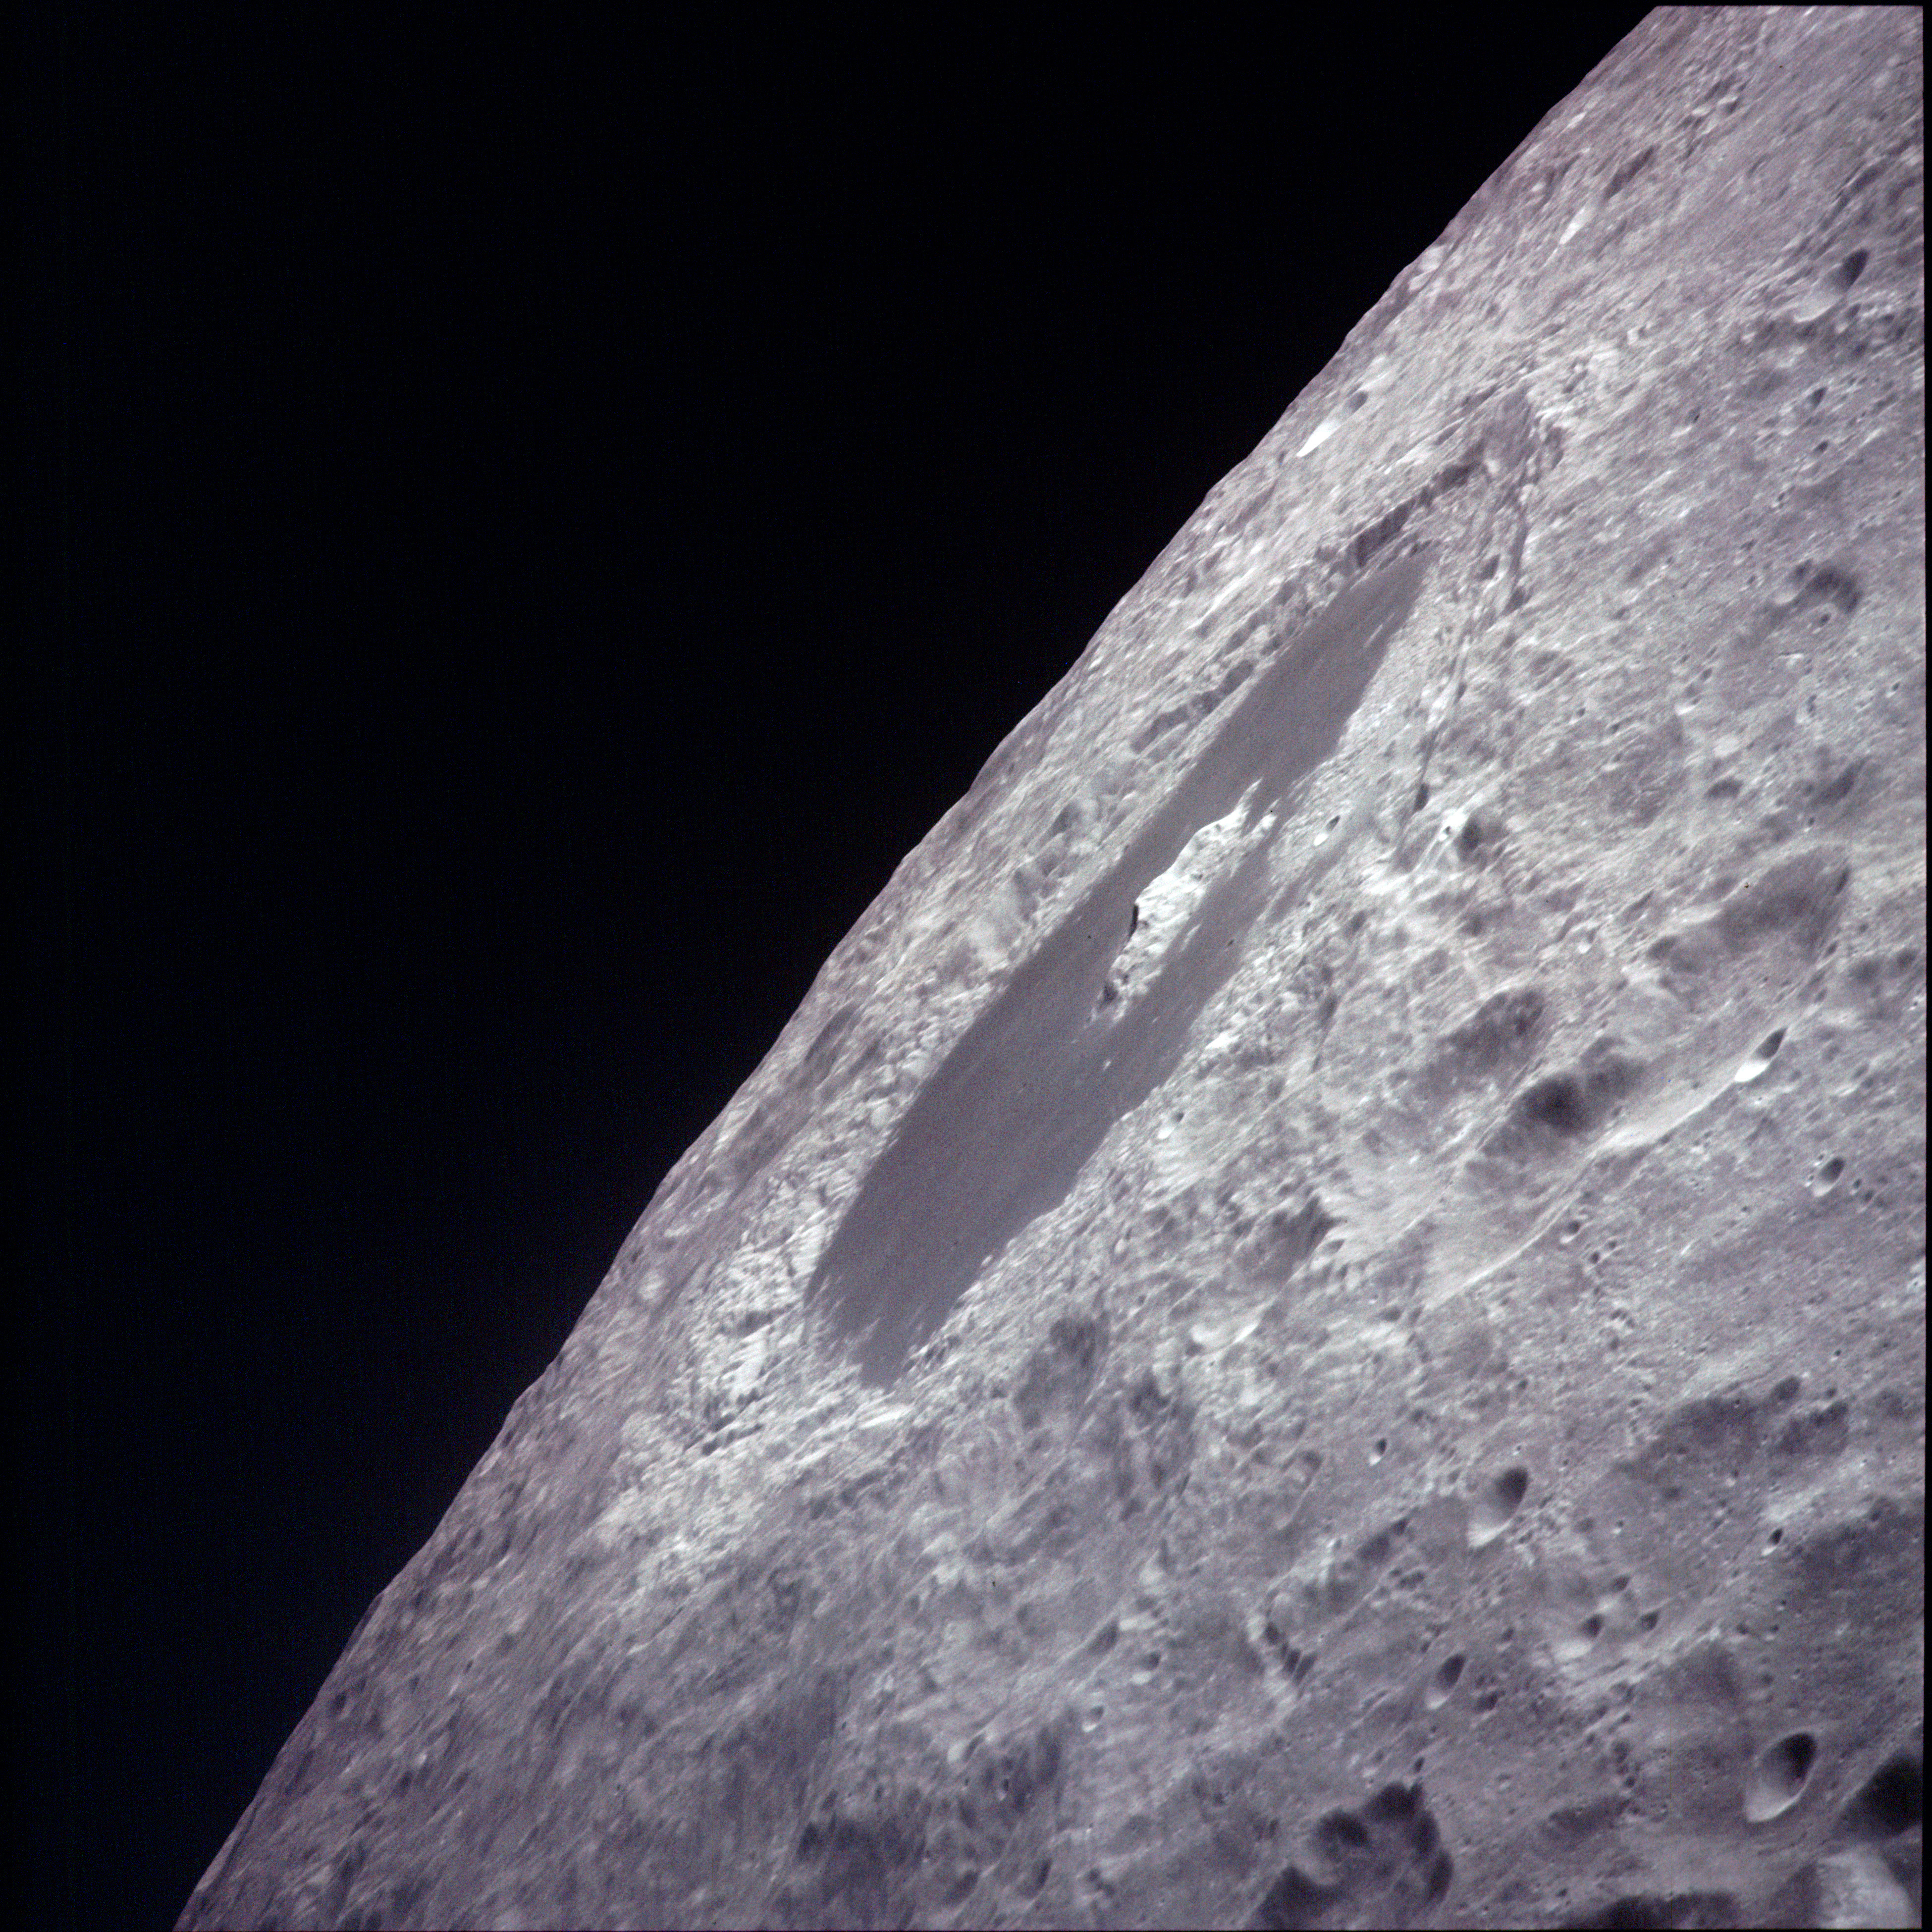 | AS13-60-8625 View southwest towards the distinctive 180-km crater Tsiolkovsky with its prominent dark floor and spectacular central peak. Image credit: Image Science and Analysis Laboratory, NASA-Johnson Space Center. |
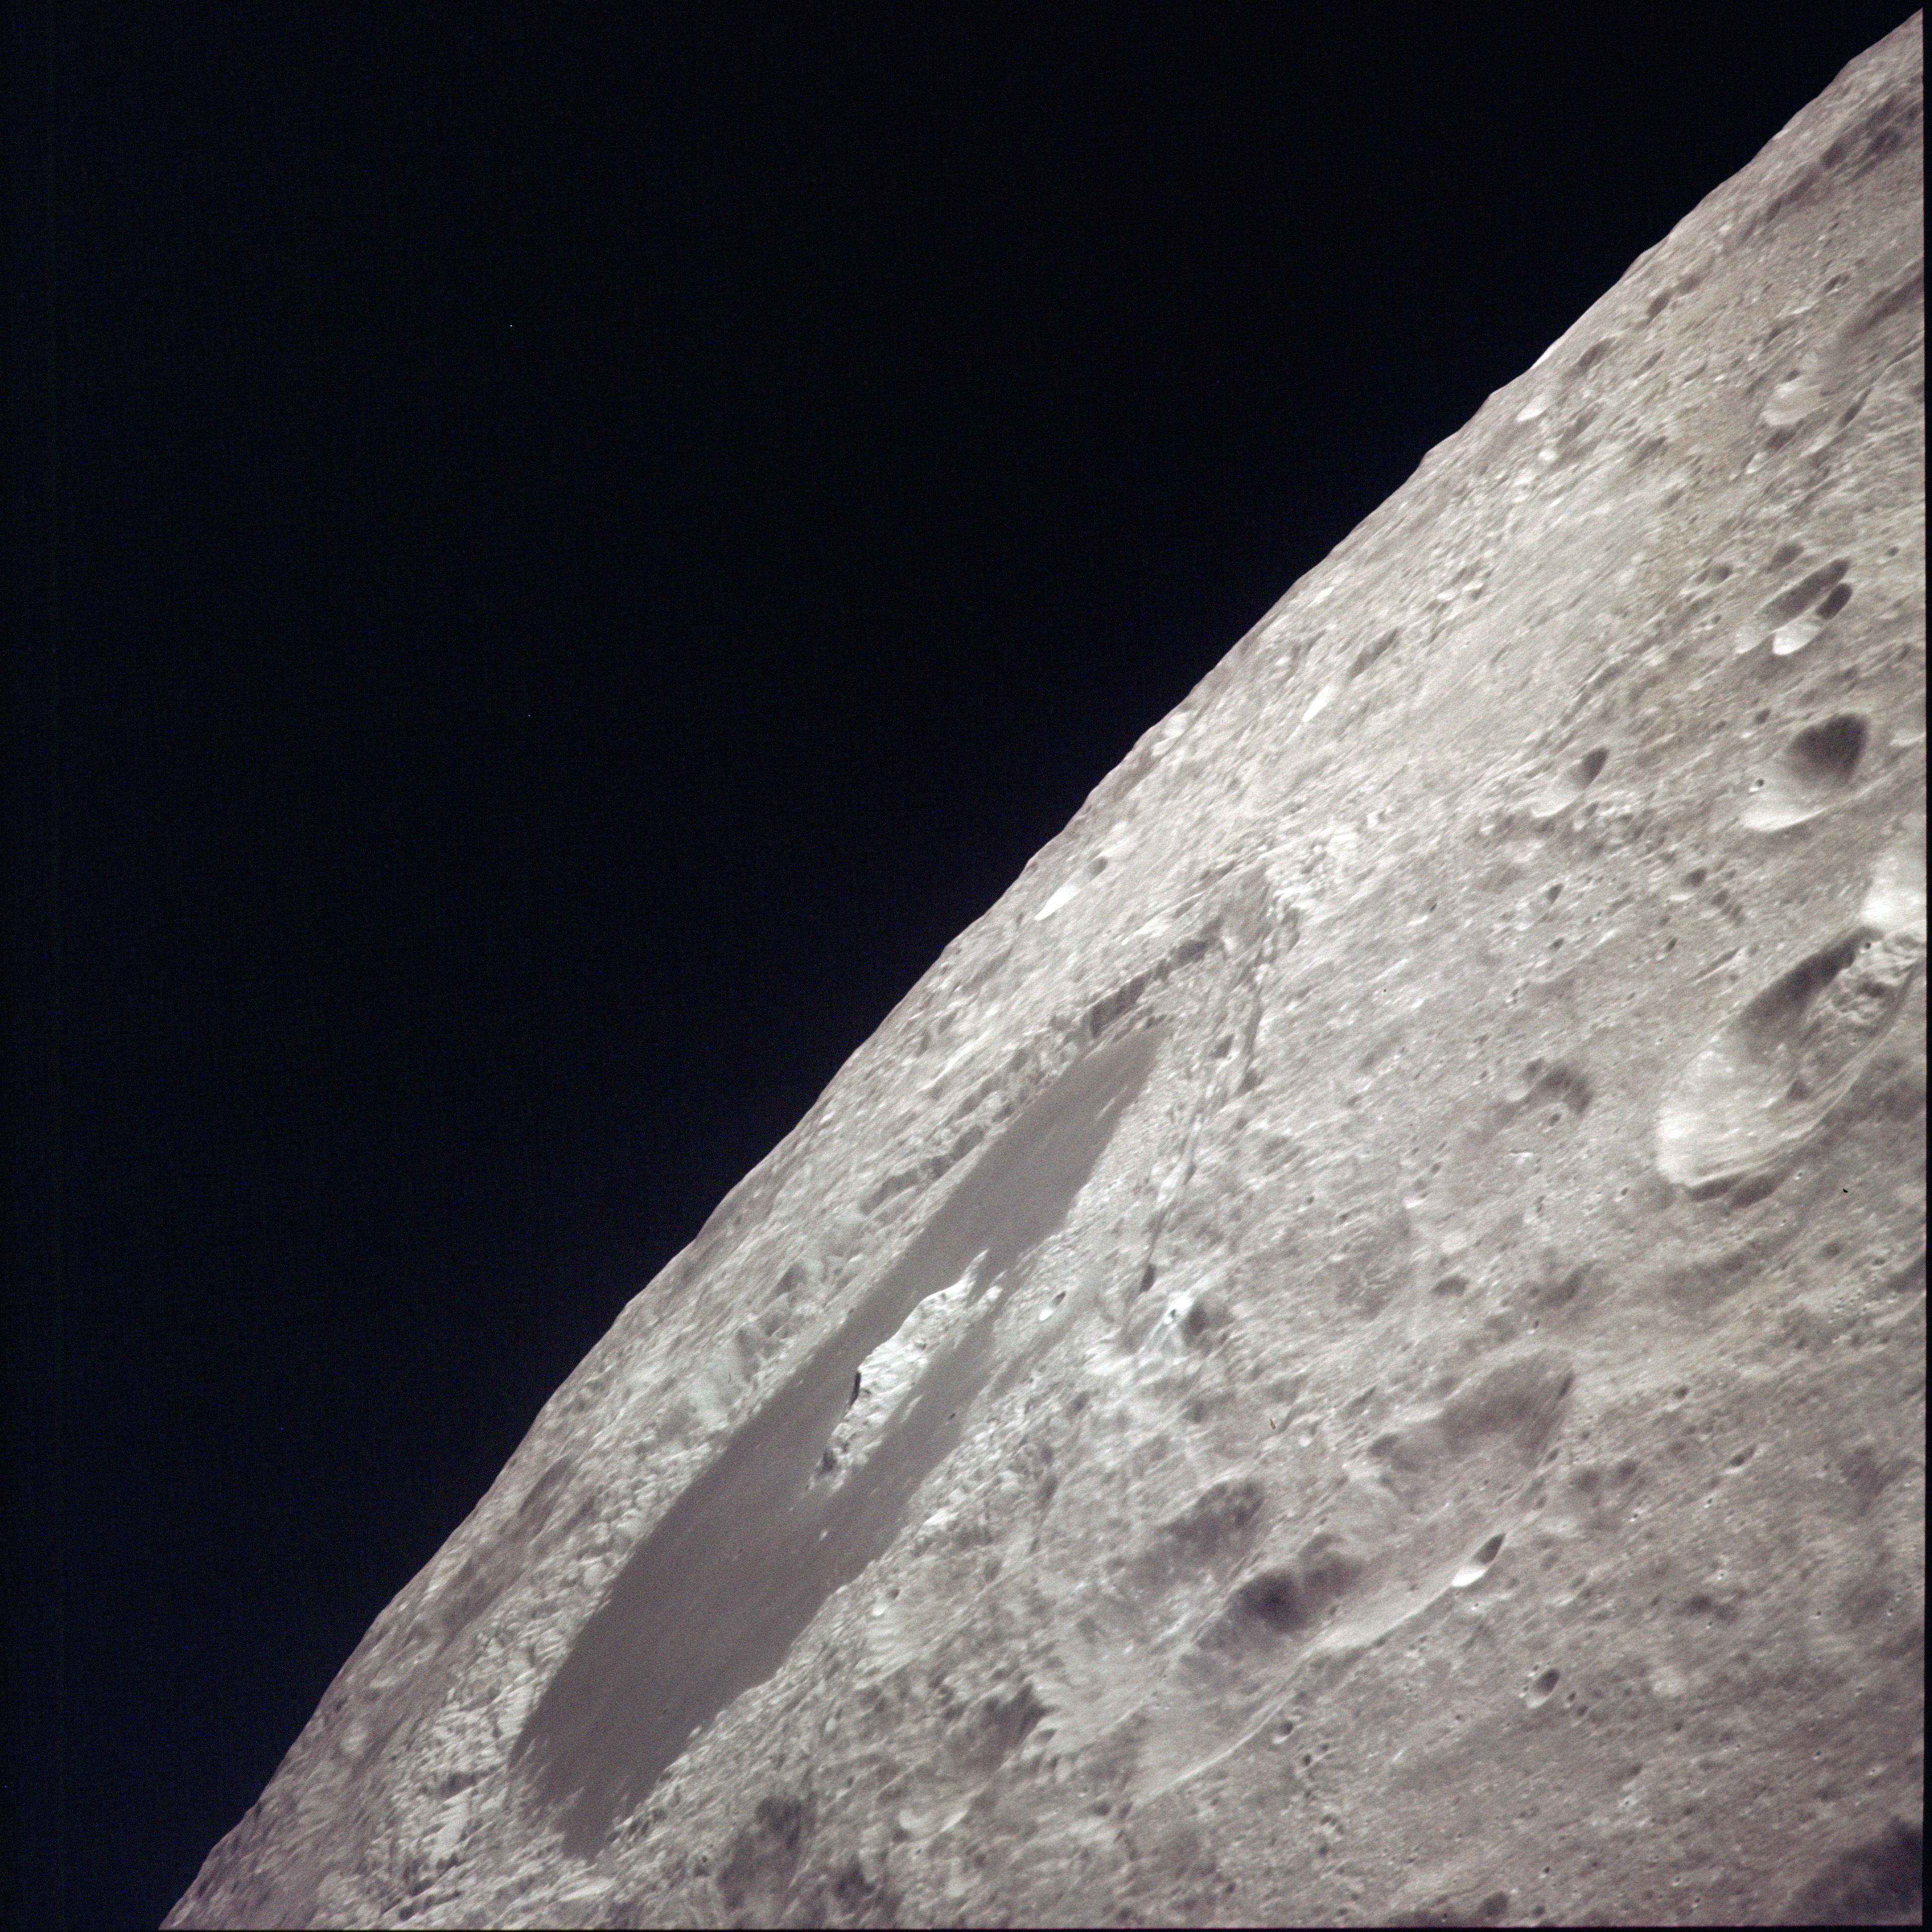 | AS13-60-8626 View southwest towards the distinctive 180-km crater Tsiolkovsky with its prominent dark floor and spectacular central peak. Image credit: Image Science and Analysis Laboratory, NASA-Johnson Space Center. |
 | AS13-60-8627 Underexposed view south. Crater Pirquet (65 km) is at bottom right. Image credit: Image Science and Analysis Laboratory, NASA-Johnson Space Center. |
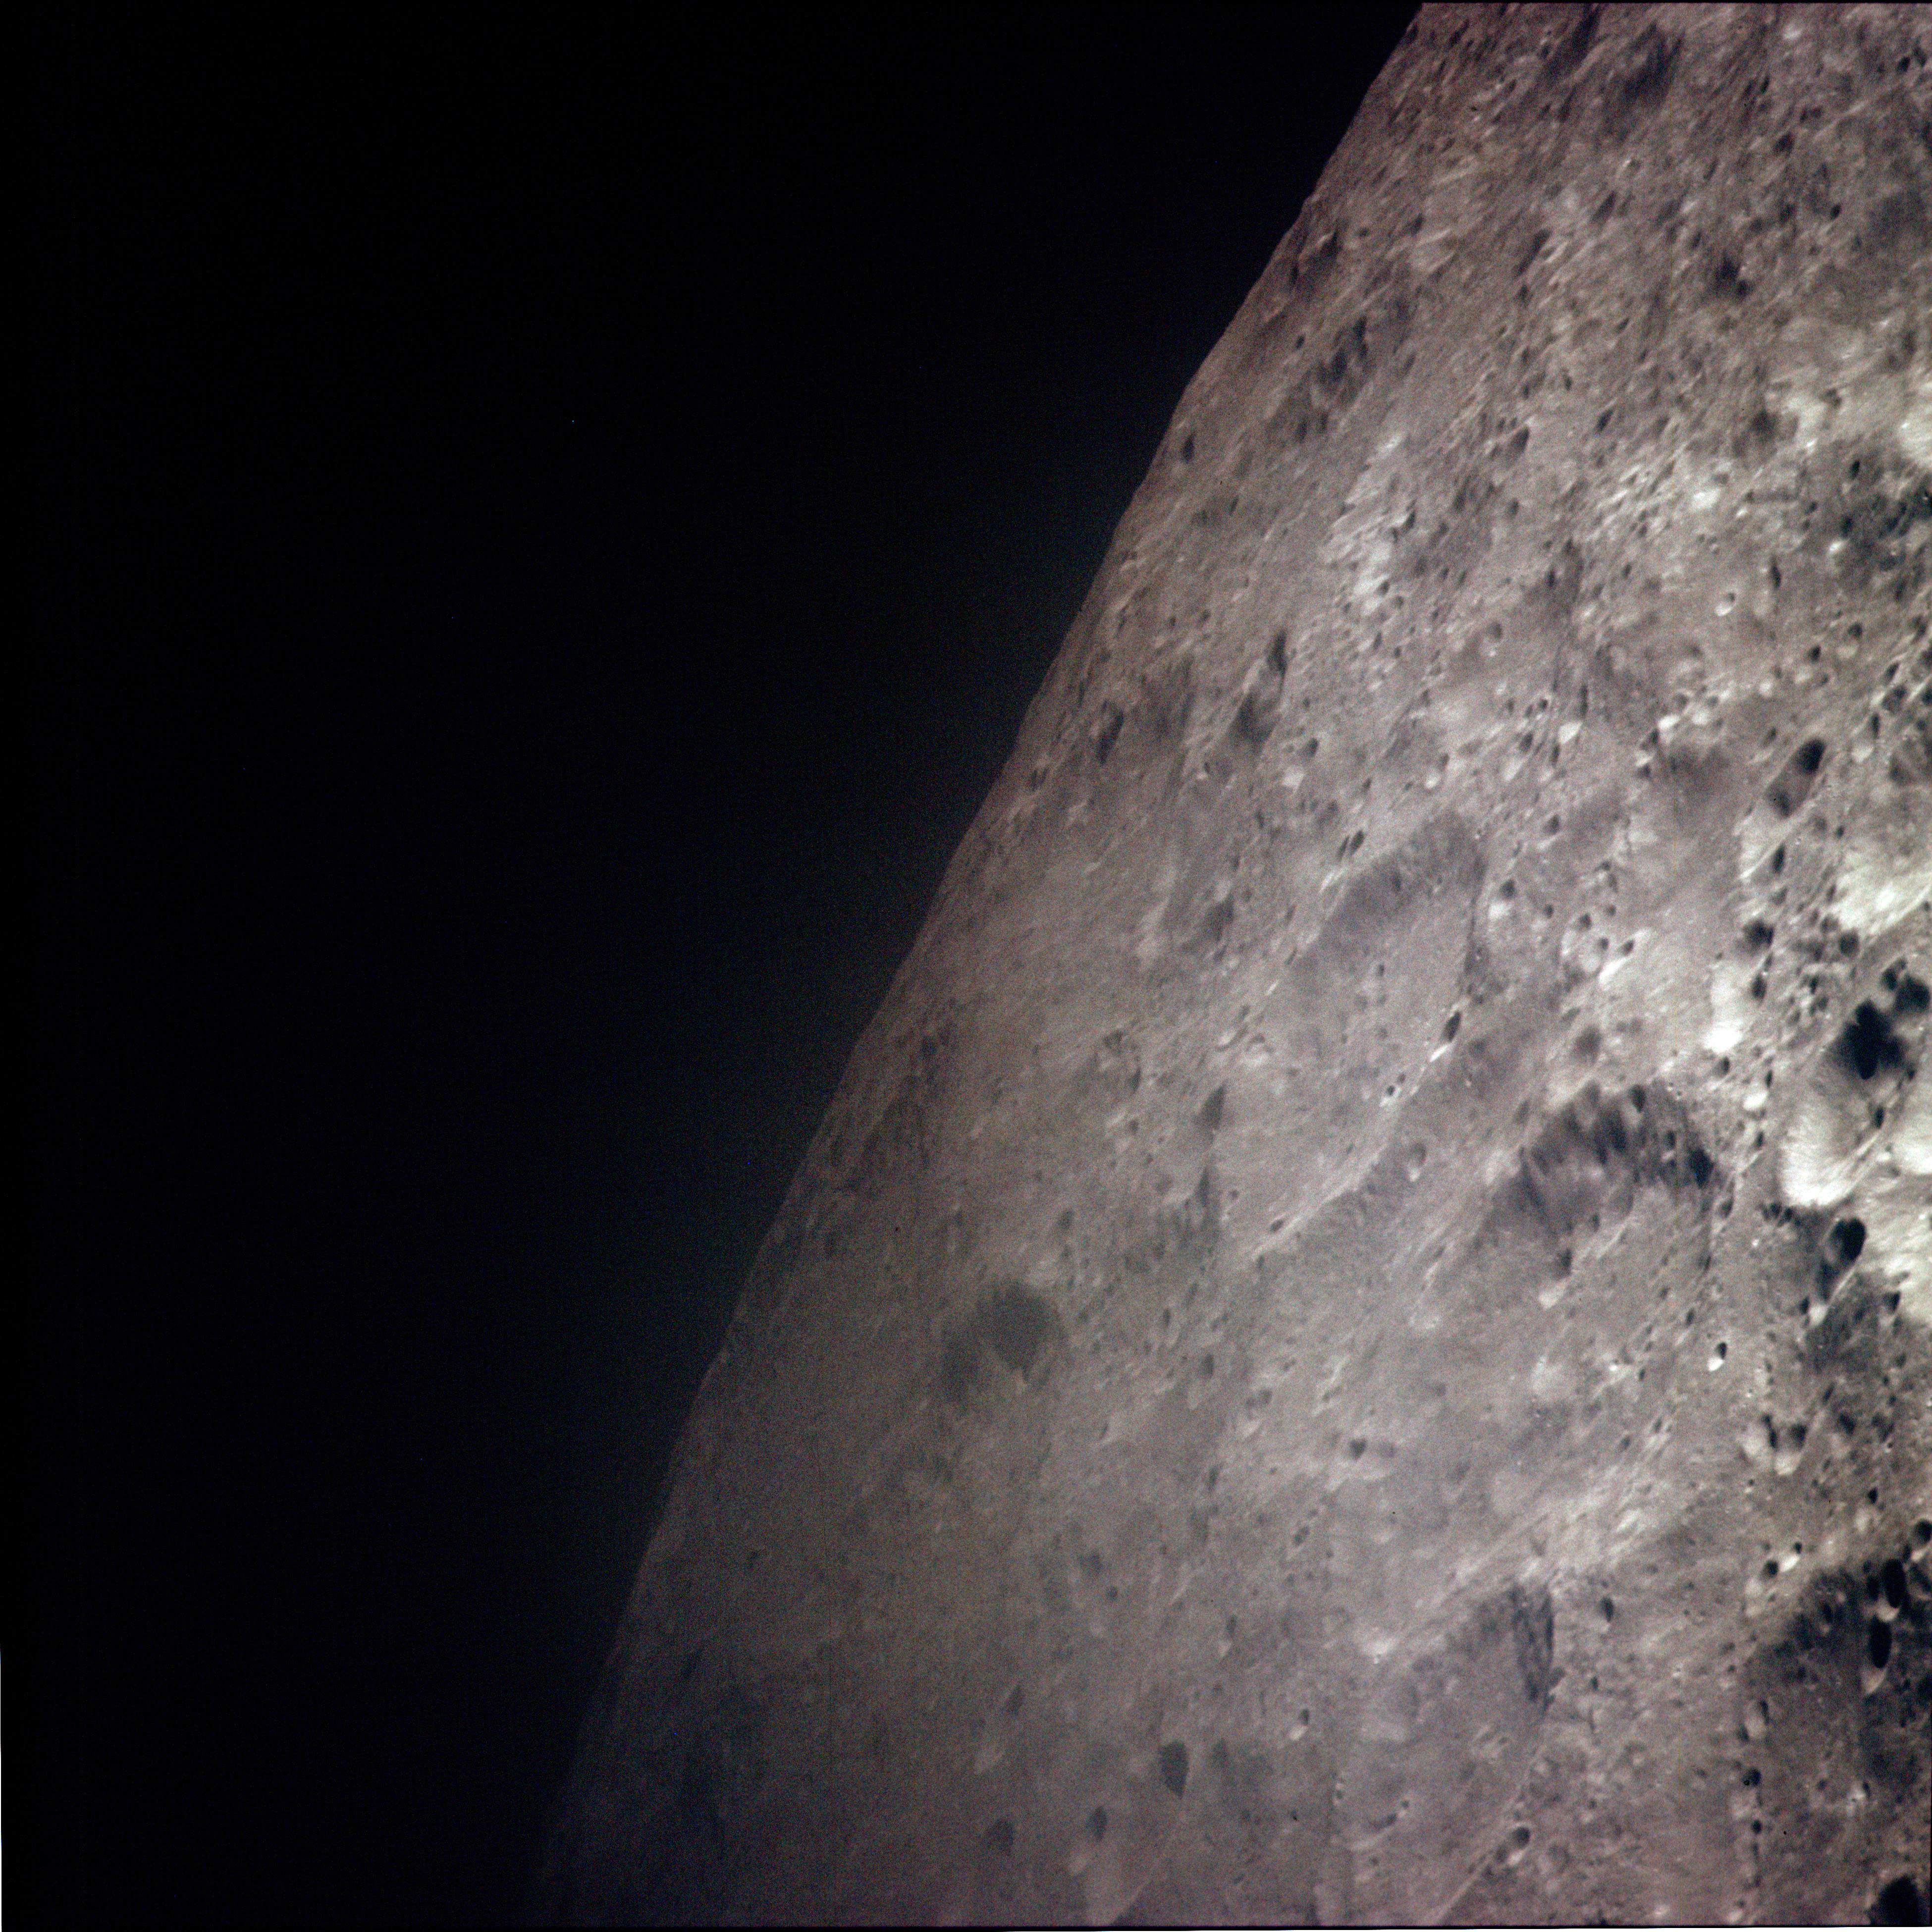 | AS13-60-8628 View south with crater Denning (44 km) on bottom right and crater Pirquet (65 km) right of centre. Judging by the grain in this image, it was probably underexposed. This may have been compensated for during scanning. Image credit: Image Science and Analysis Laboratory, NASA-Johnson Space Center. |
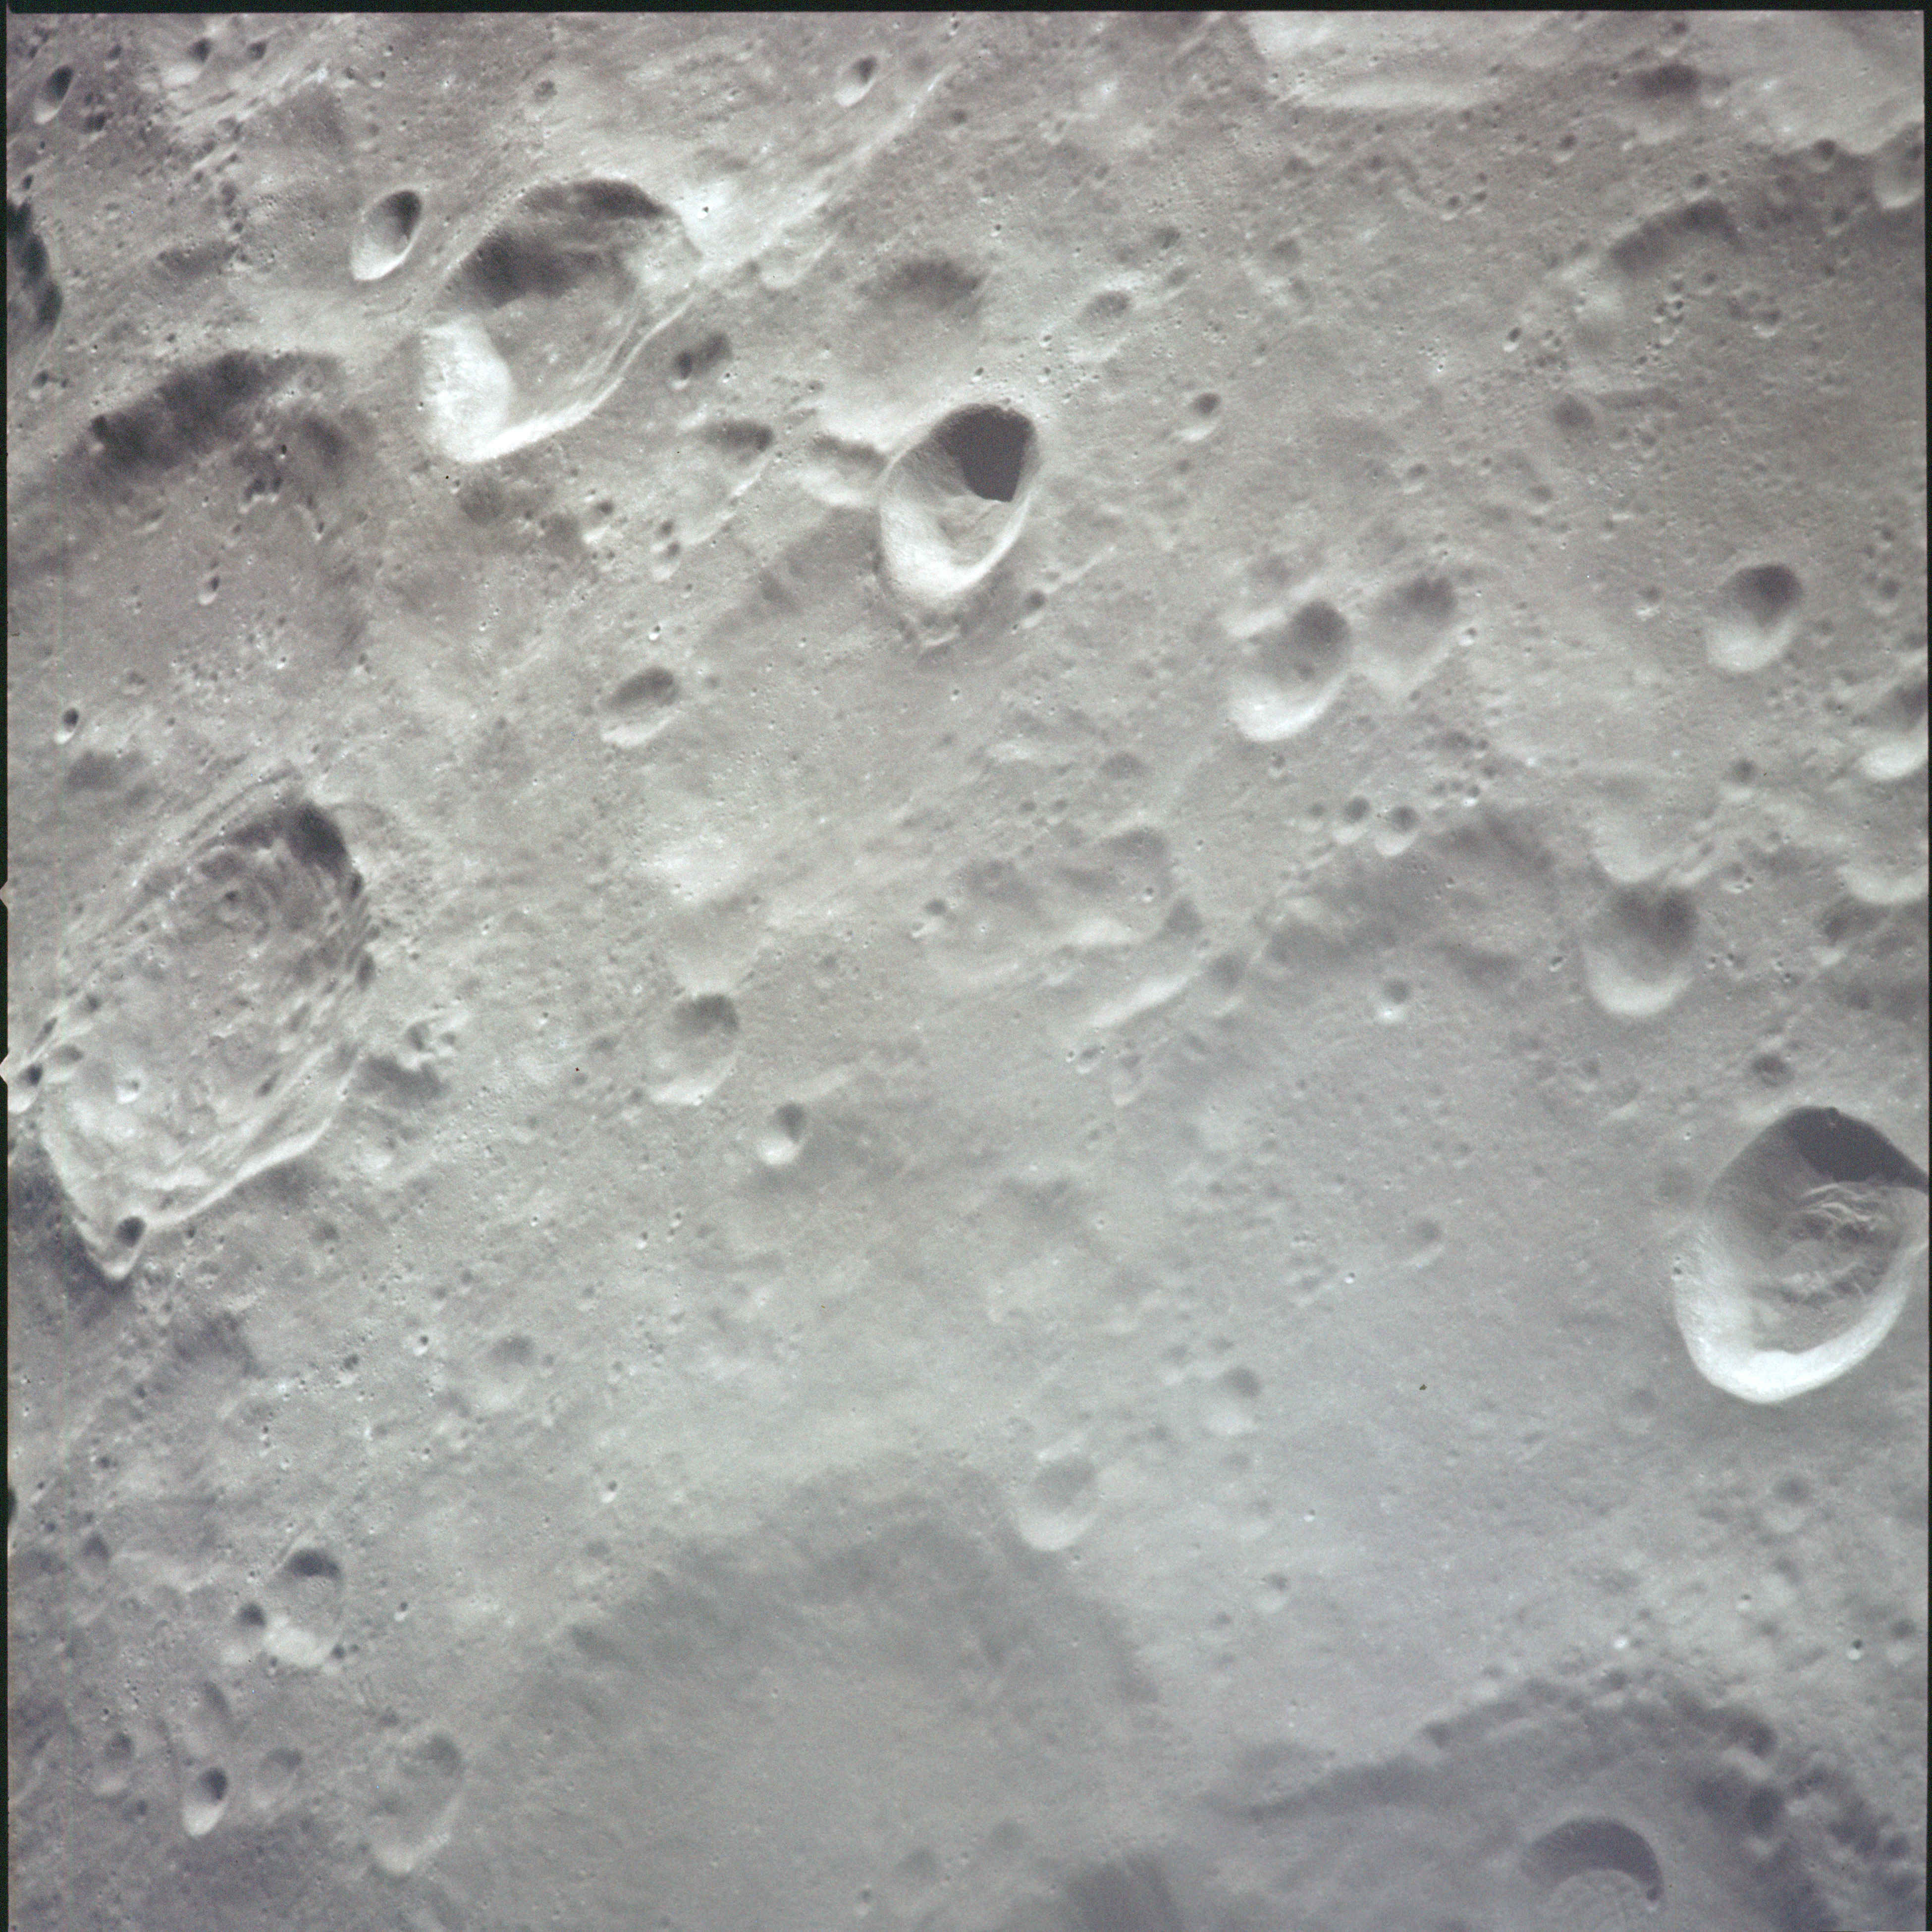 | AS13-60-8629 View south with Chauvenet and its small linear central peak at the left edge, just above centre. Image credit: Image Science and Analysis Laboratory, NASA-Johnson Space Center. |
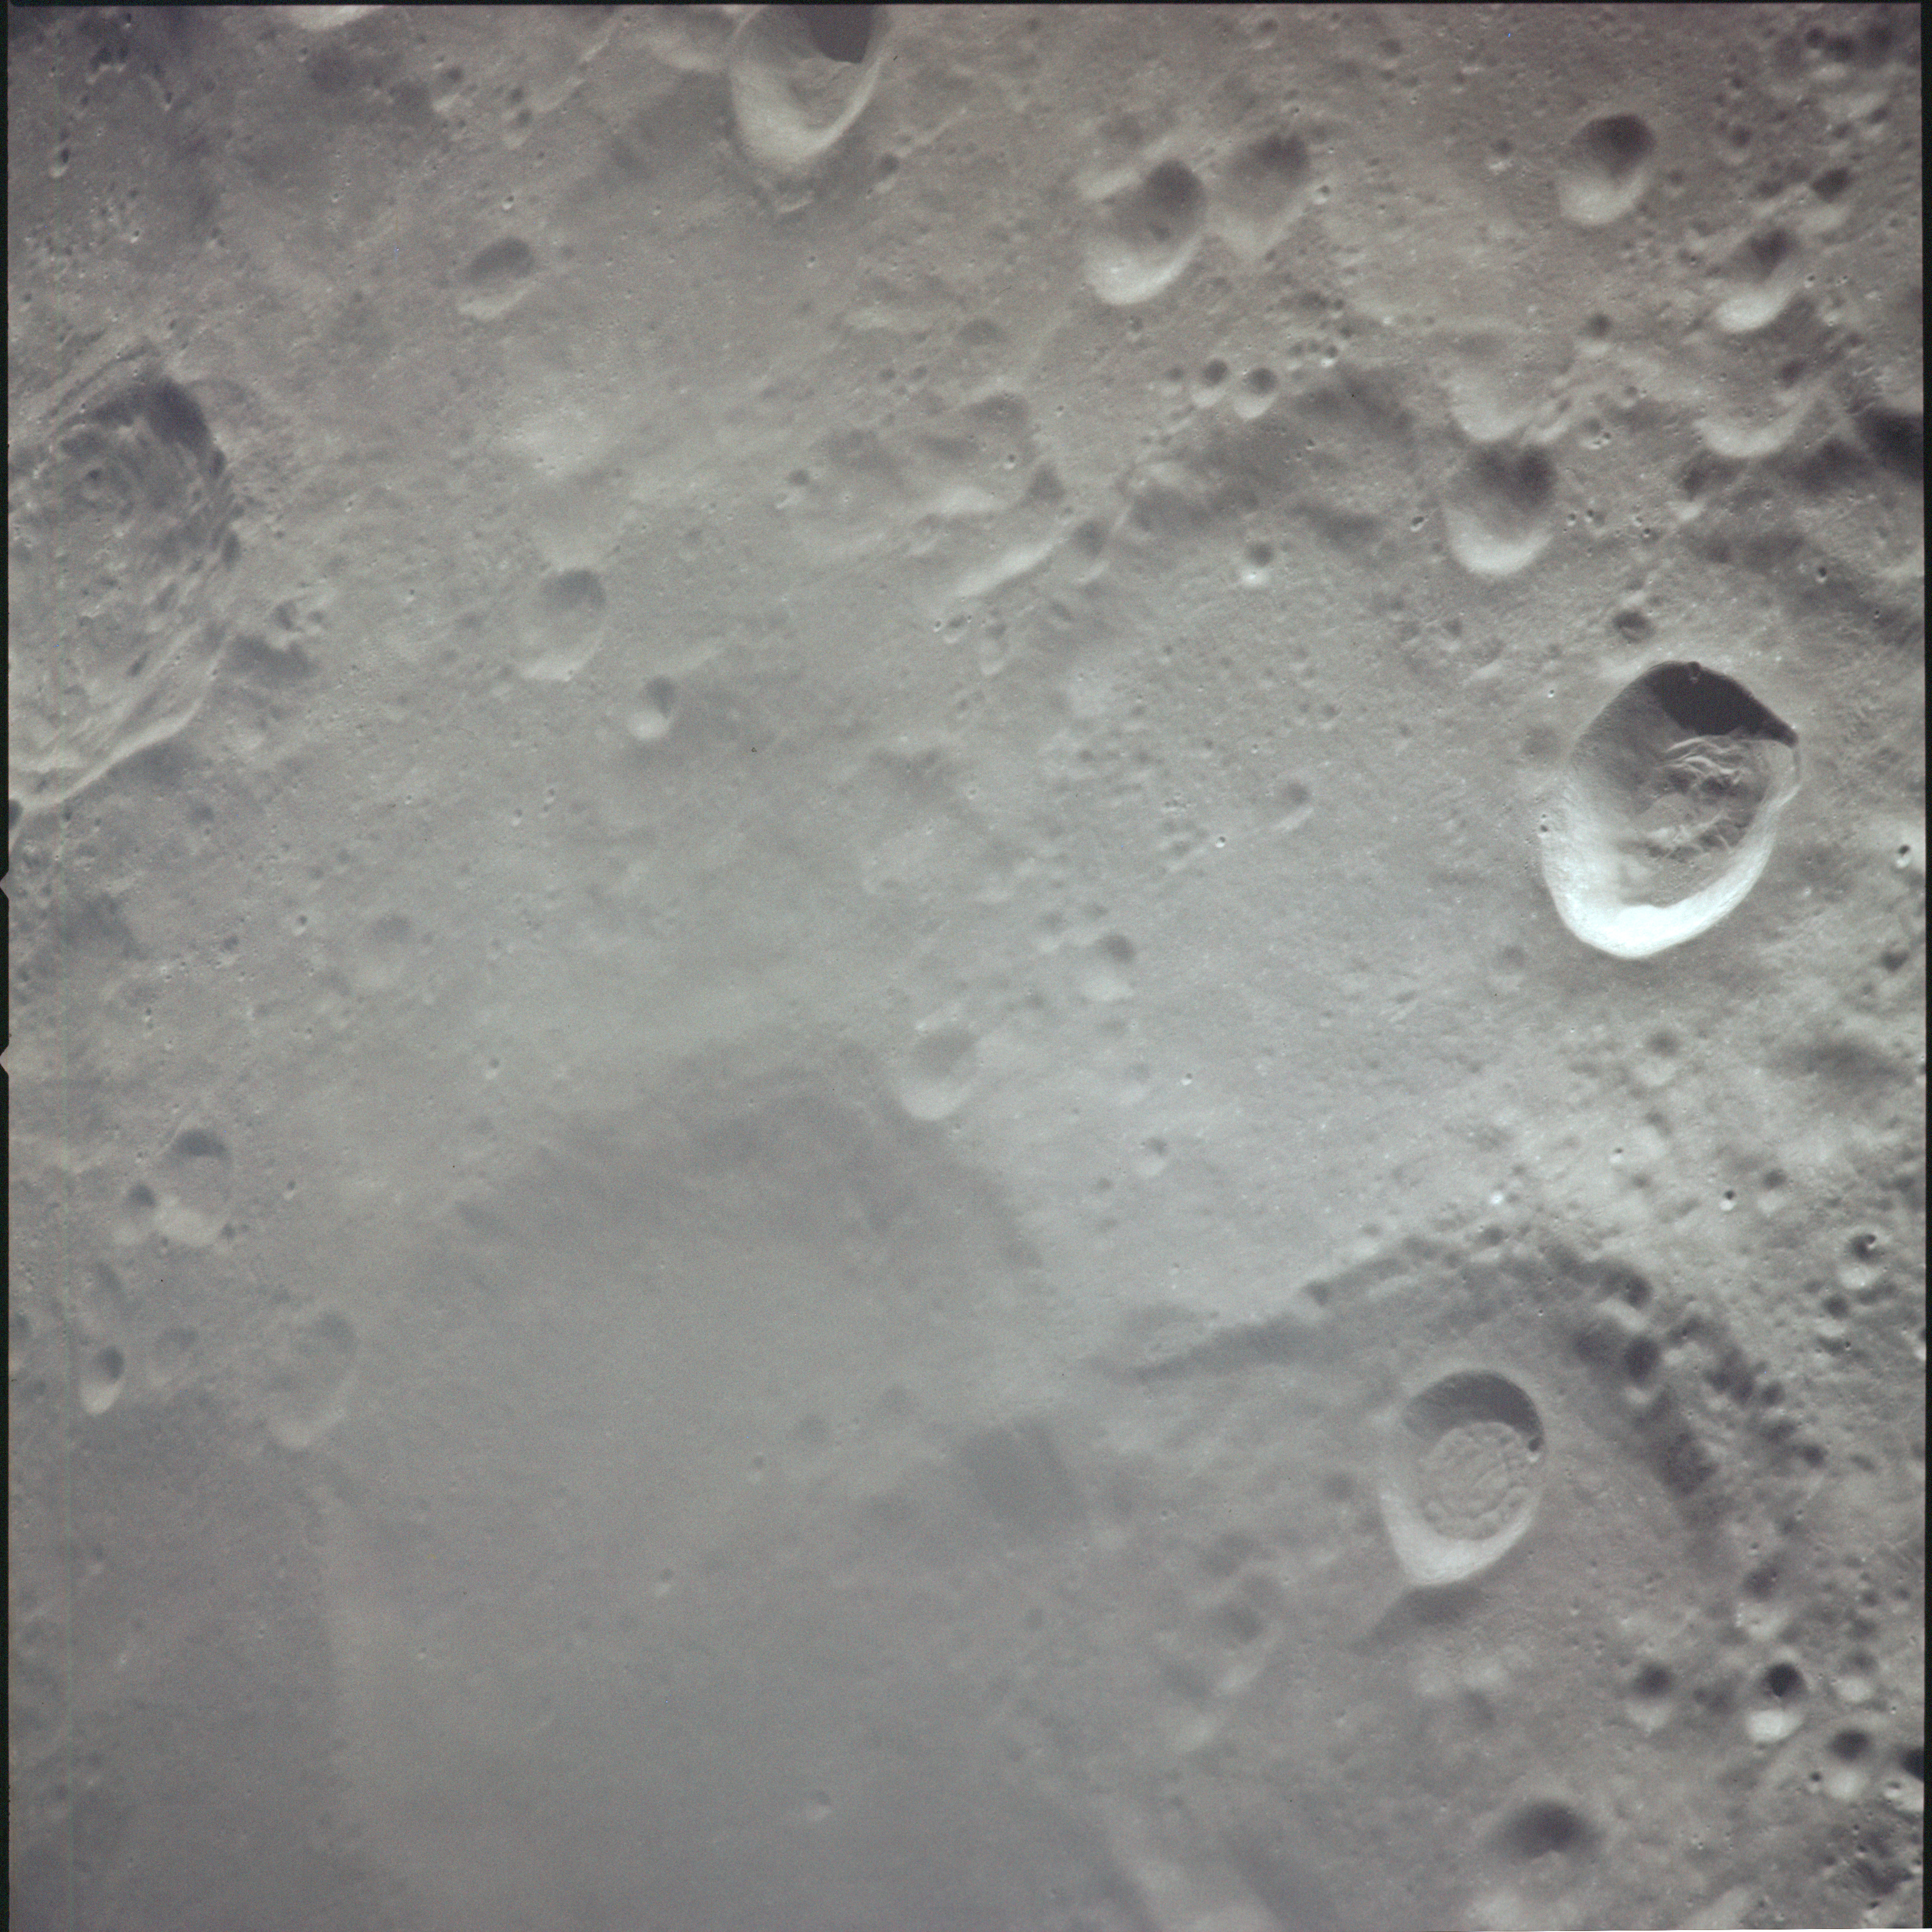 | AS13-60-8630 View south with crater Pannekoek at bottom right. Pannekoek is the large (71 km) eroded craer with the smaller flat-floor crater within its walls. To the left and further south is crater Dellinger (81 km). The image is somewhat fogged. Image credit: Image Science and Analysis Laboratory, NASA-Johnson Space Center. |
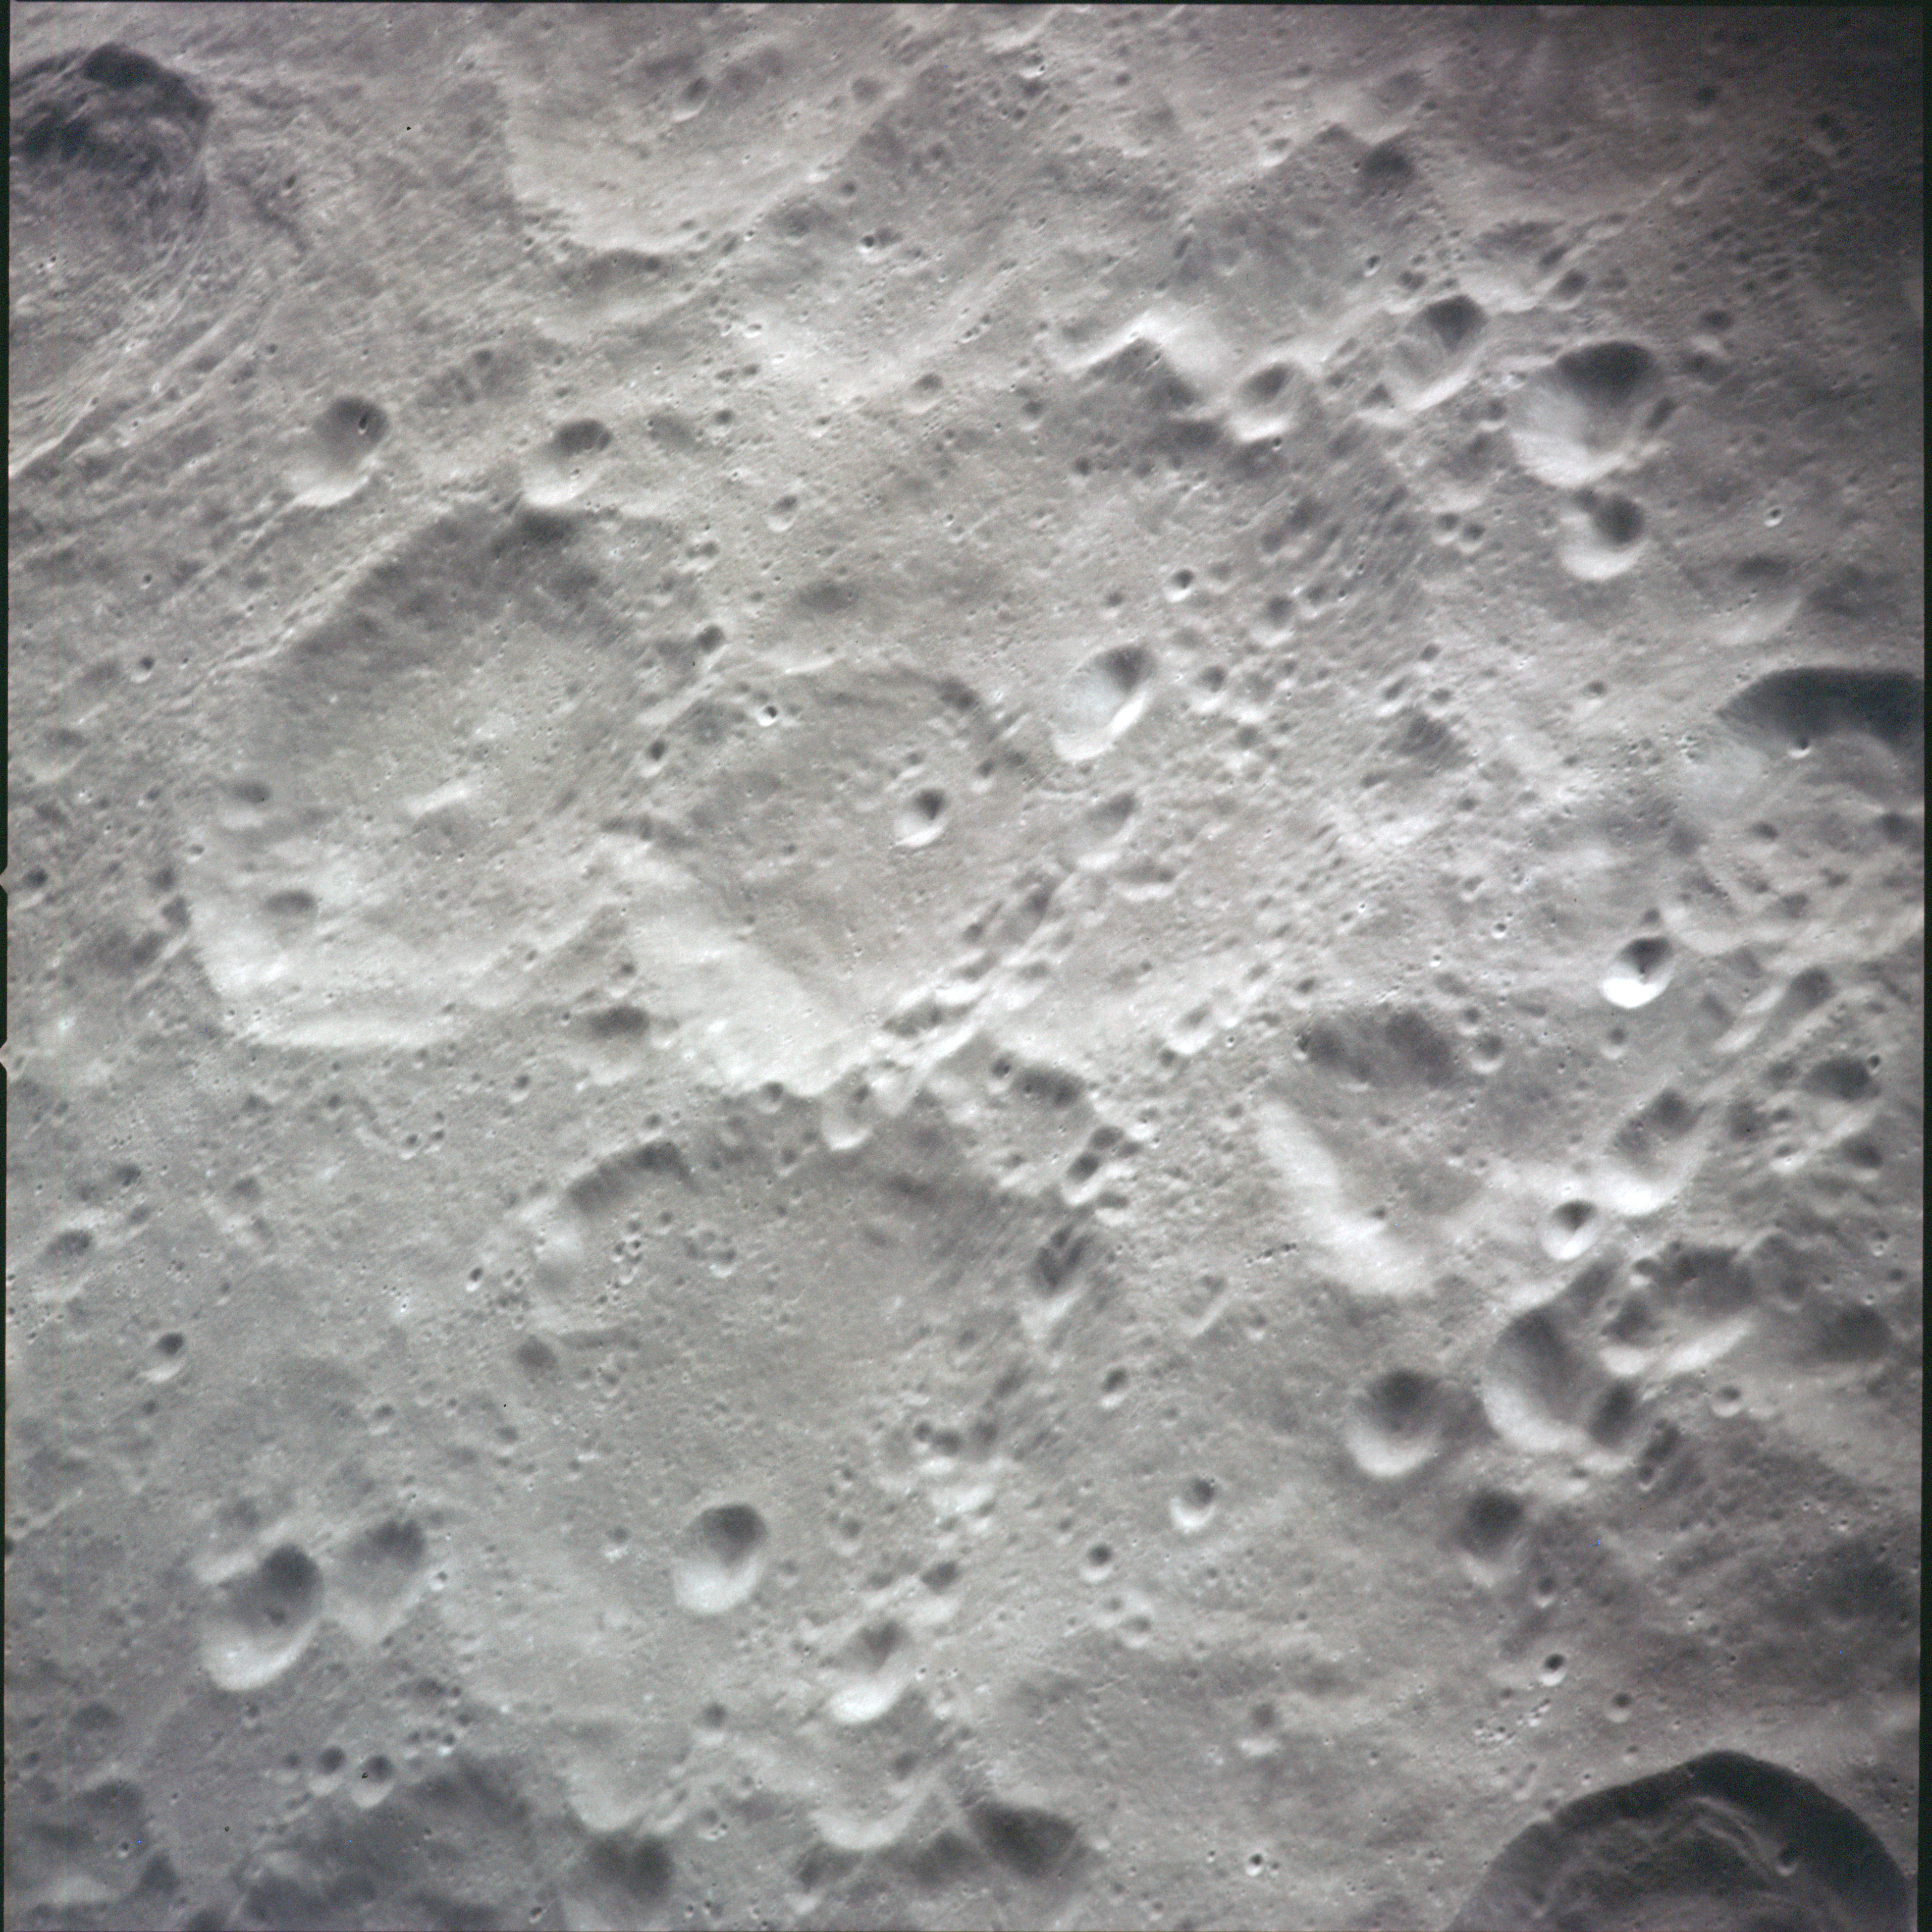 | AS13-60-8631 View southwest to crater Lane (55 km), cut-off at top left. Crater Glazenap (43 km) is cut-off at bottom right. Image credit: Image Science and Analysis Laboratory, NASA-Johnson Space Center. |
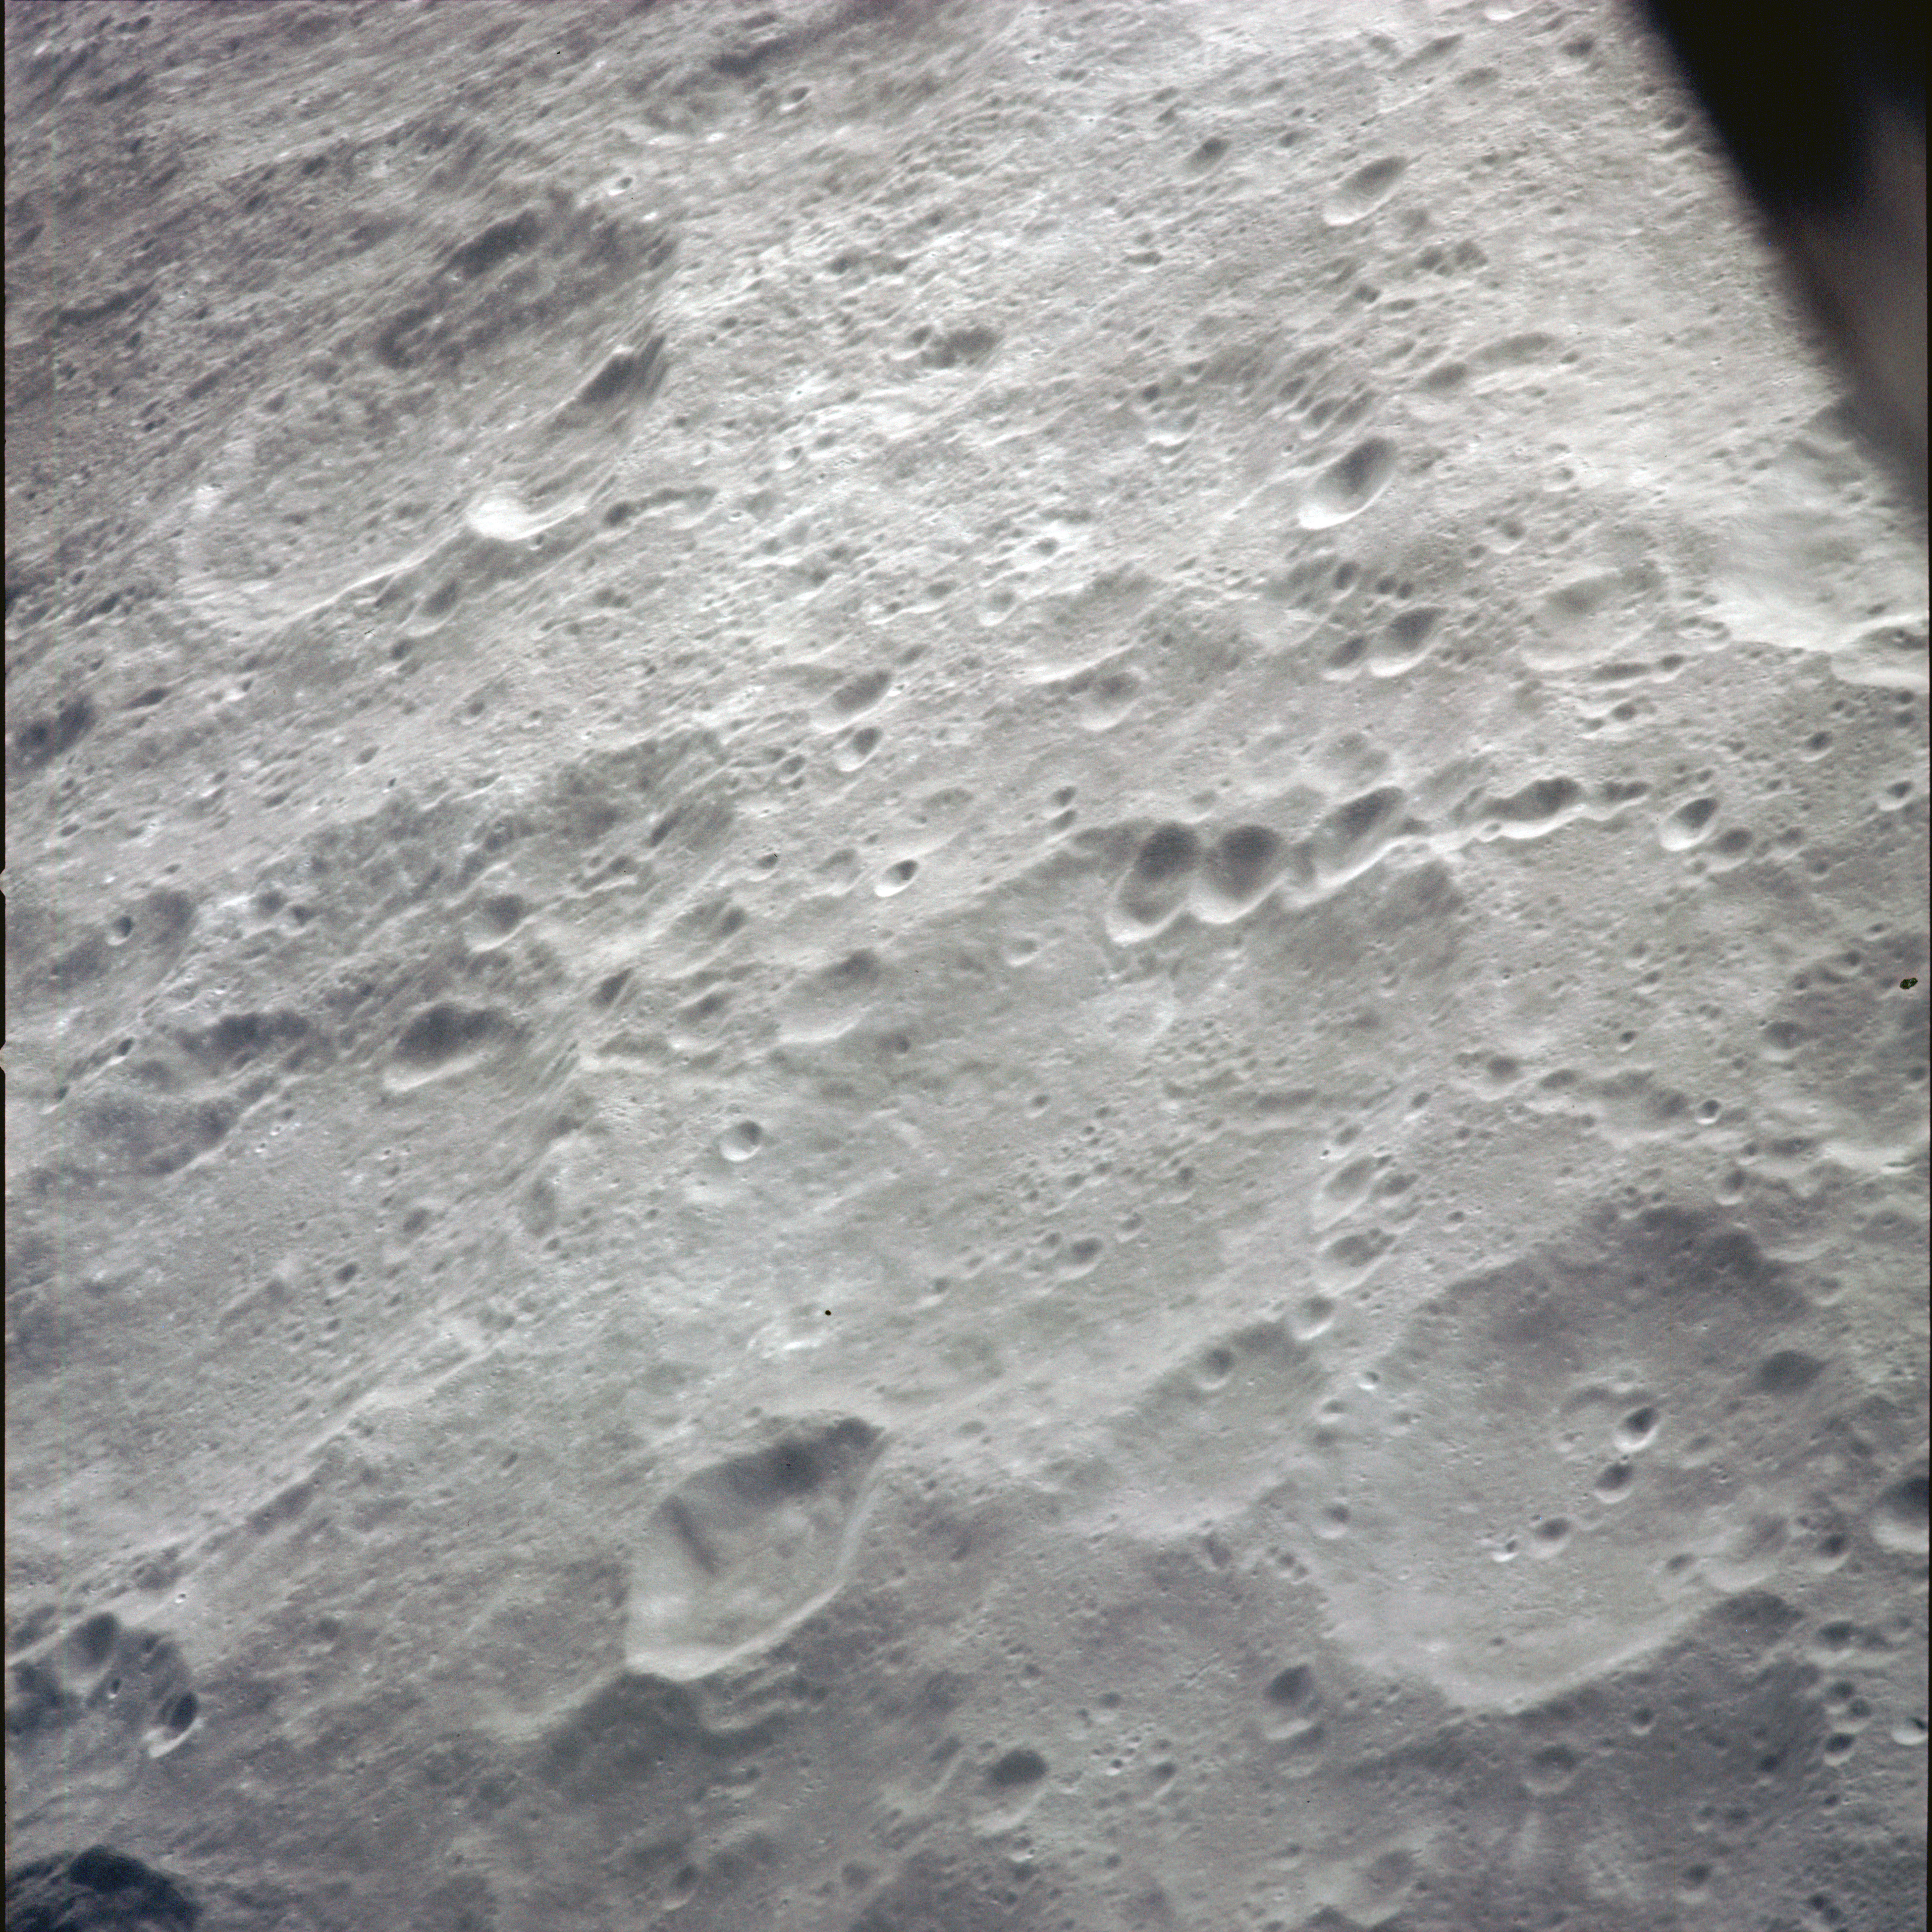 | AS13-60-8632 View southwest from crater Prager (60 km) at bottom right, to Crater Danjon (71 km) at top left. Crater D'Arsonval (28 km) intrudes onto the northeast wall of Danjon. Just beyond Prager is the highly eroded crater Love (80 km), identified by the row of craterrs along its western wall. Image credit: Image Science and Analysis Laboratory, NASA-Johnson Space Center. |
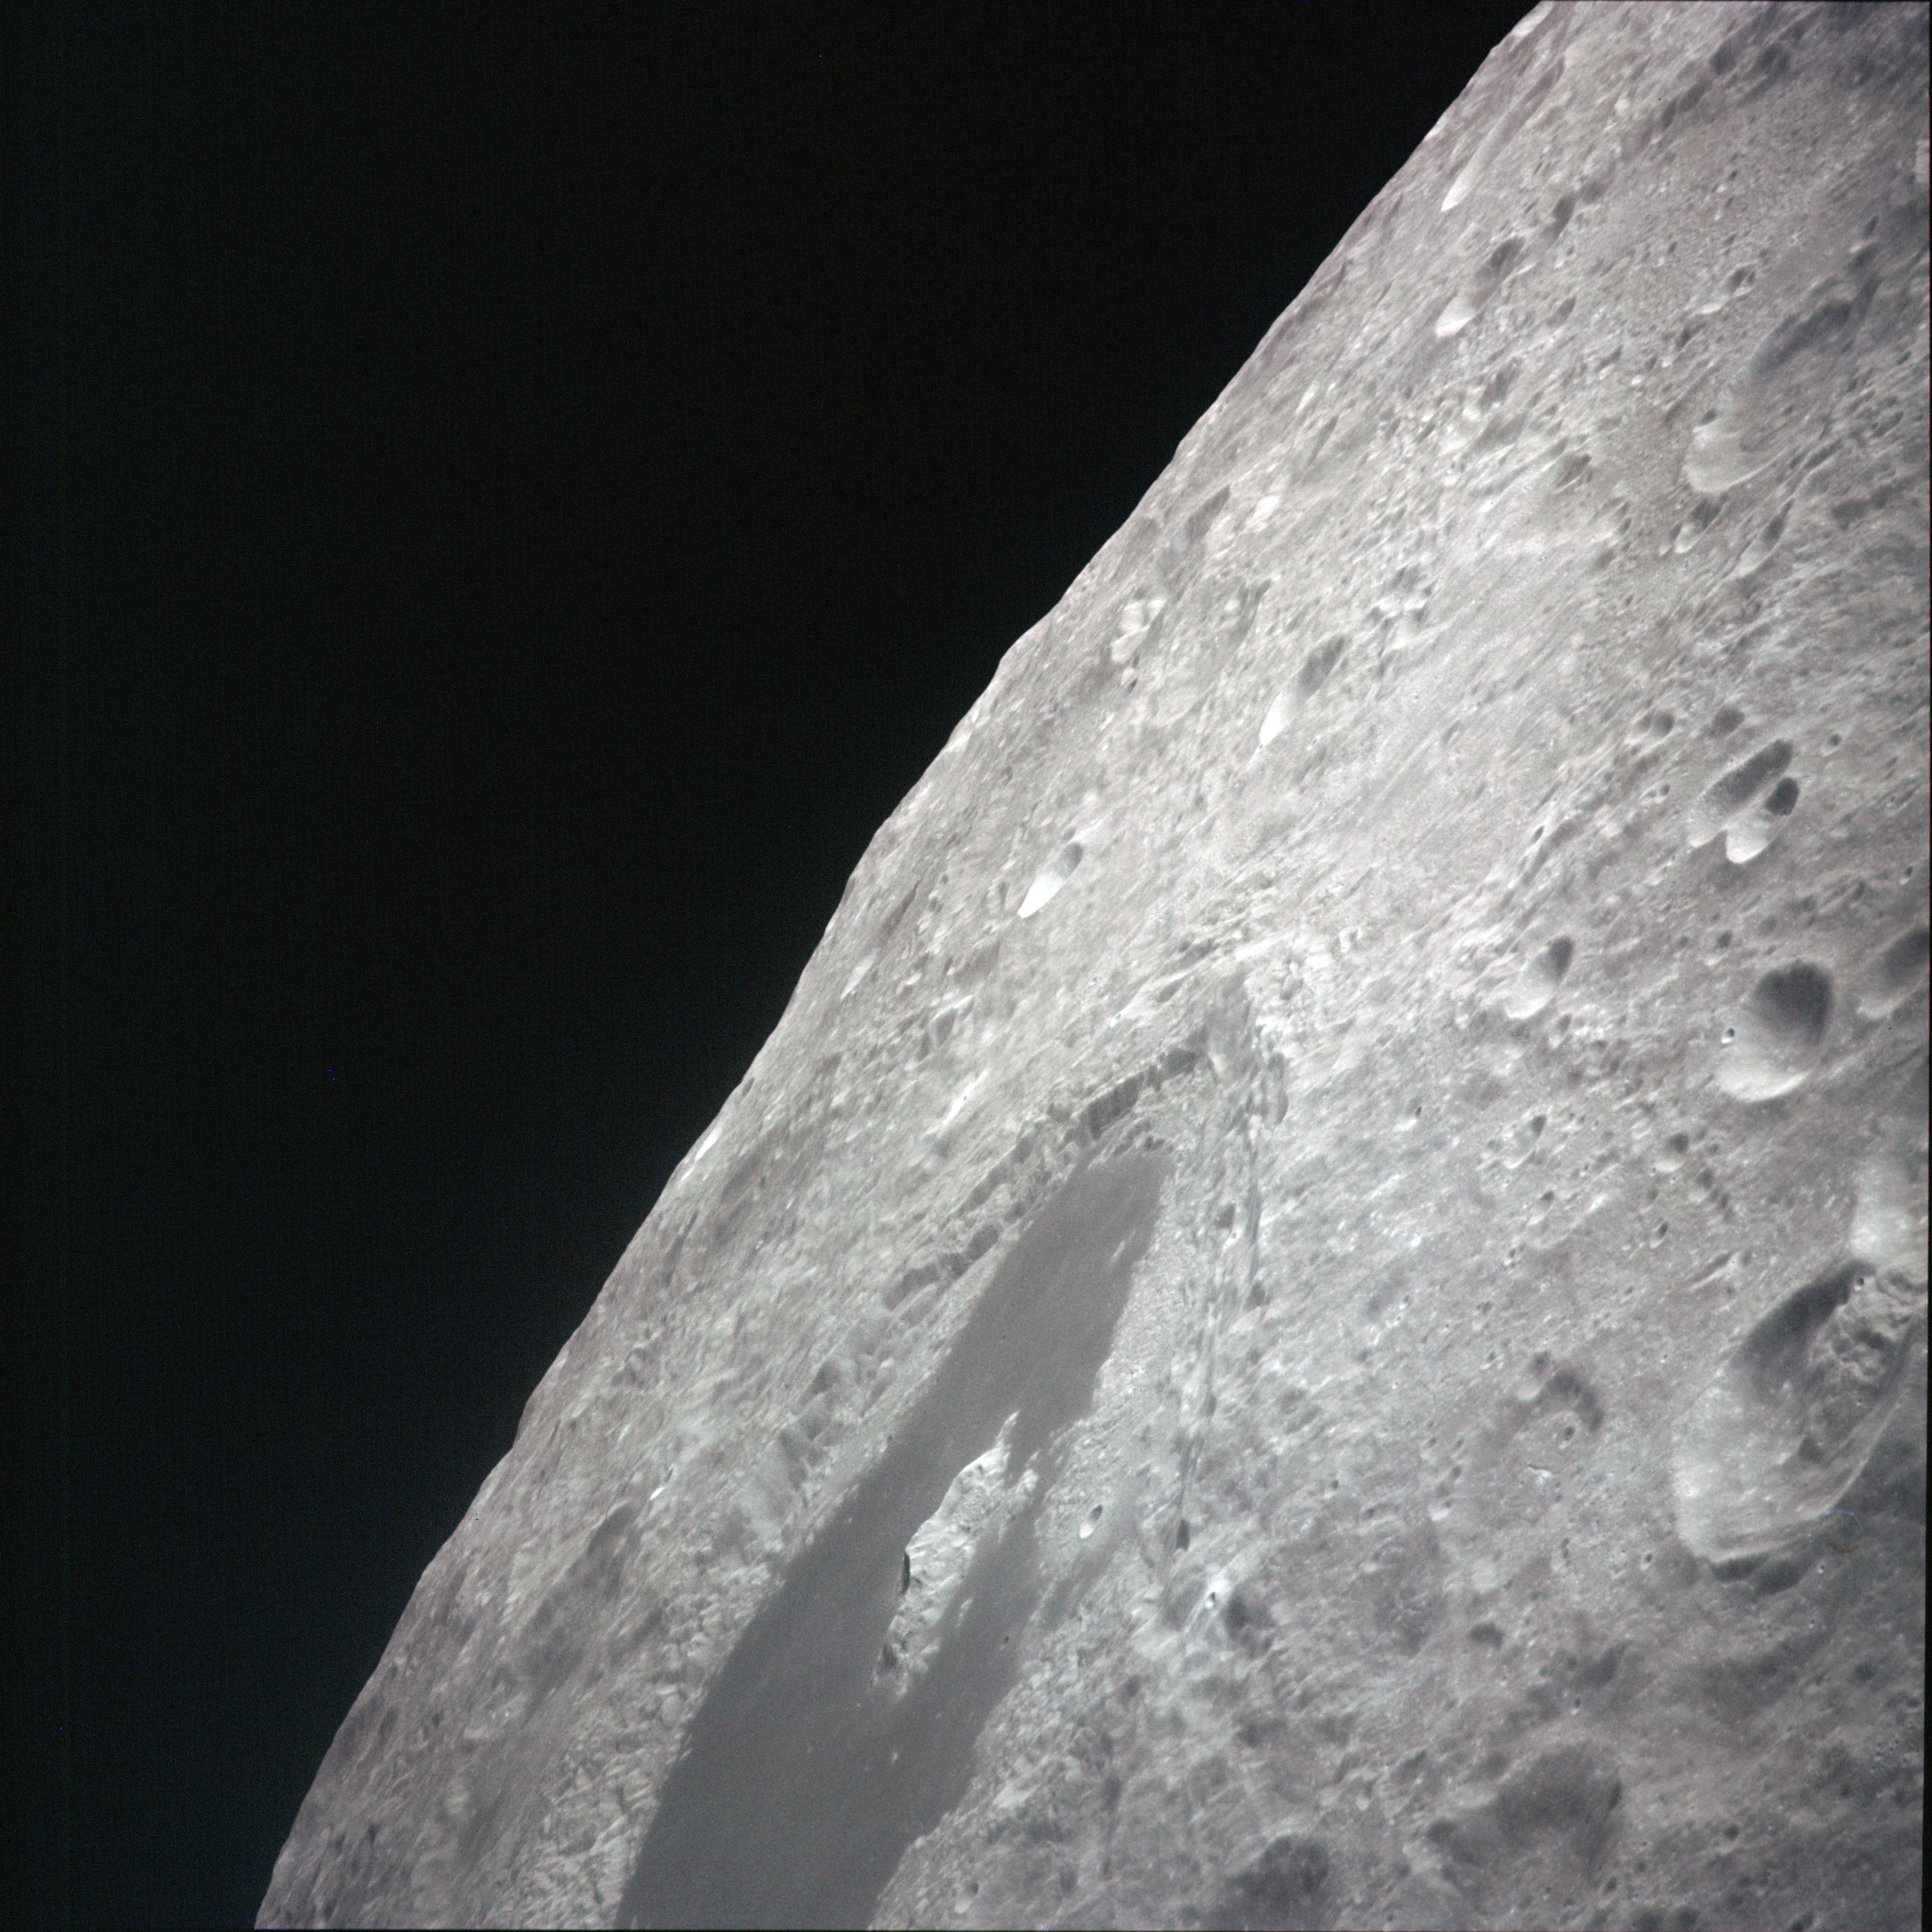 | AS13-60-8633 View southwest towards the distinctive 180-km crater Tsiolkovsky with its prominent dark floor and spectacular central peak. Image credit: Image Science and Analysis Laboratory, NASA-Johnson Space Center. |
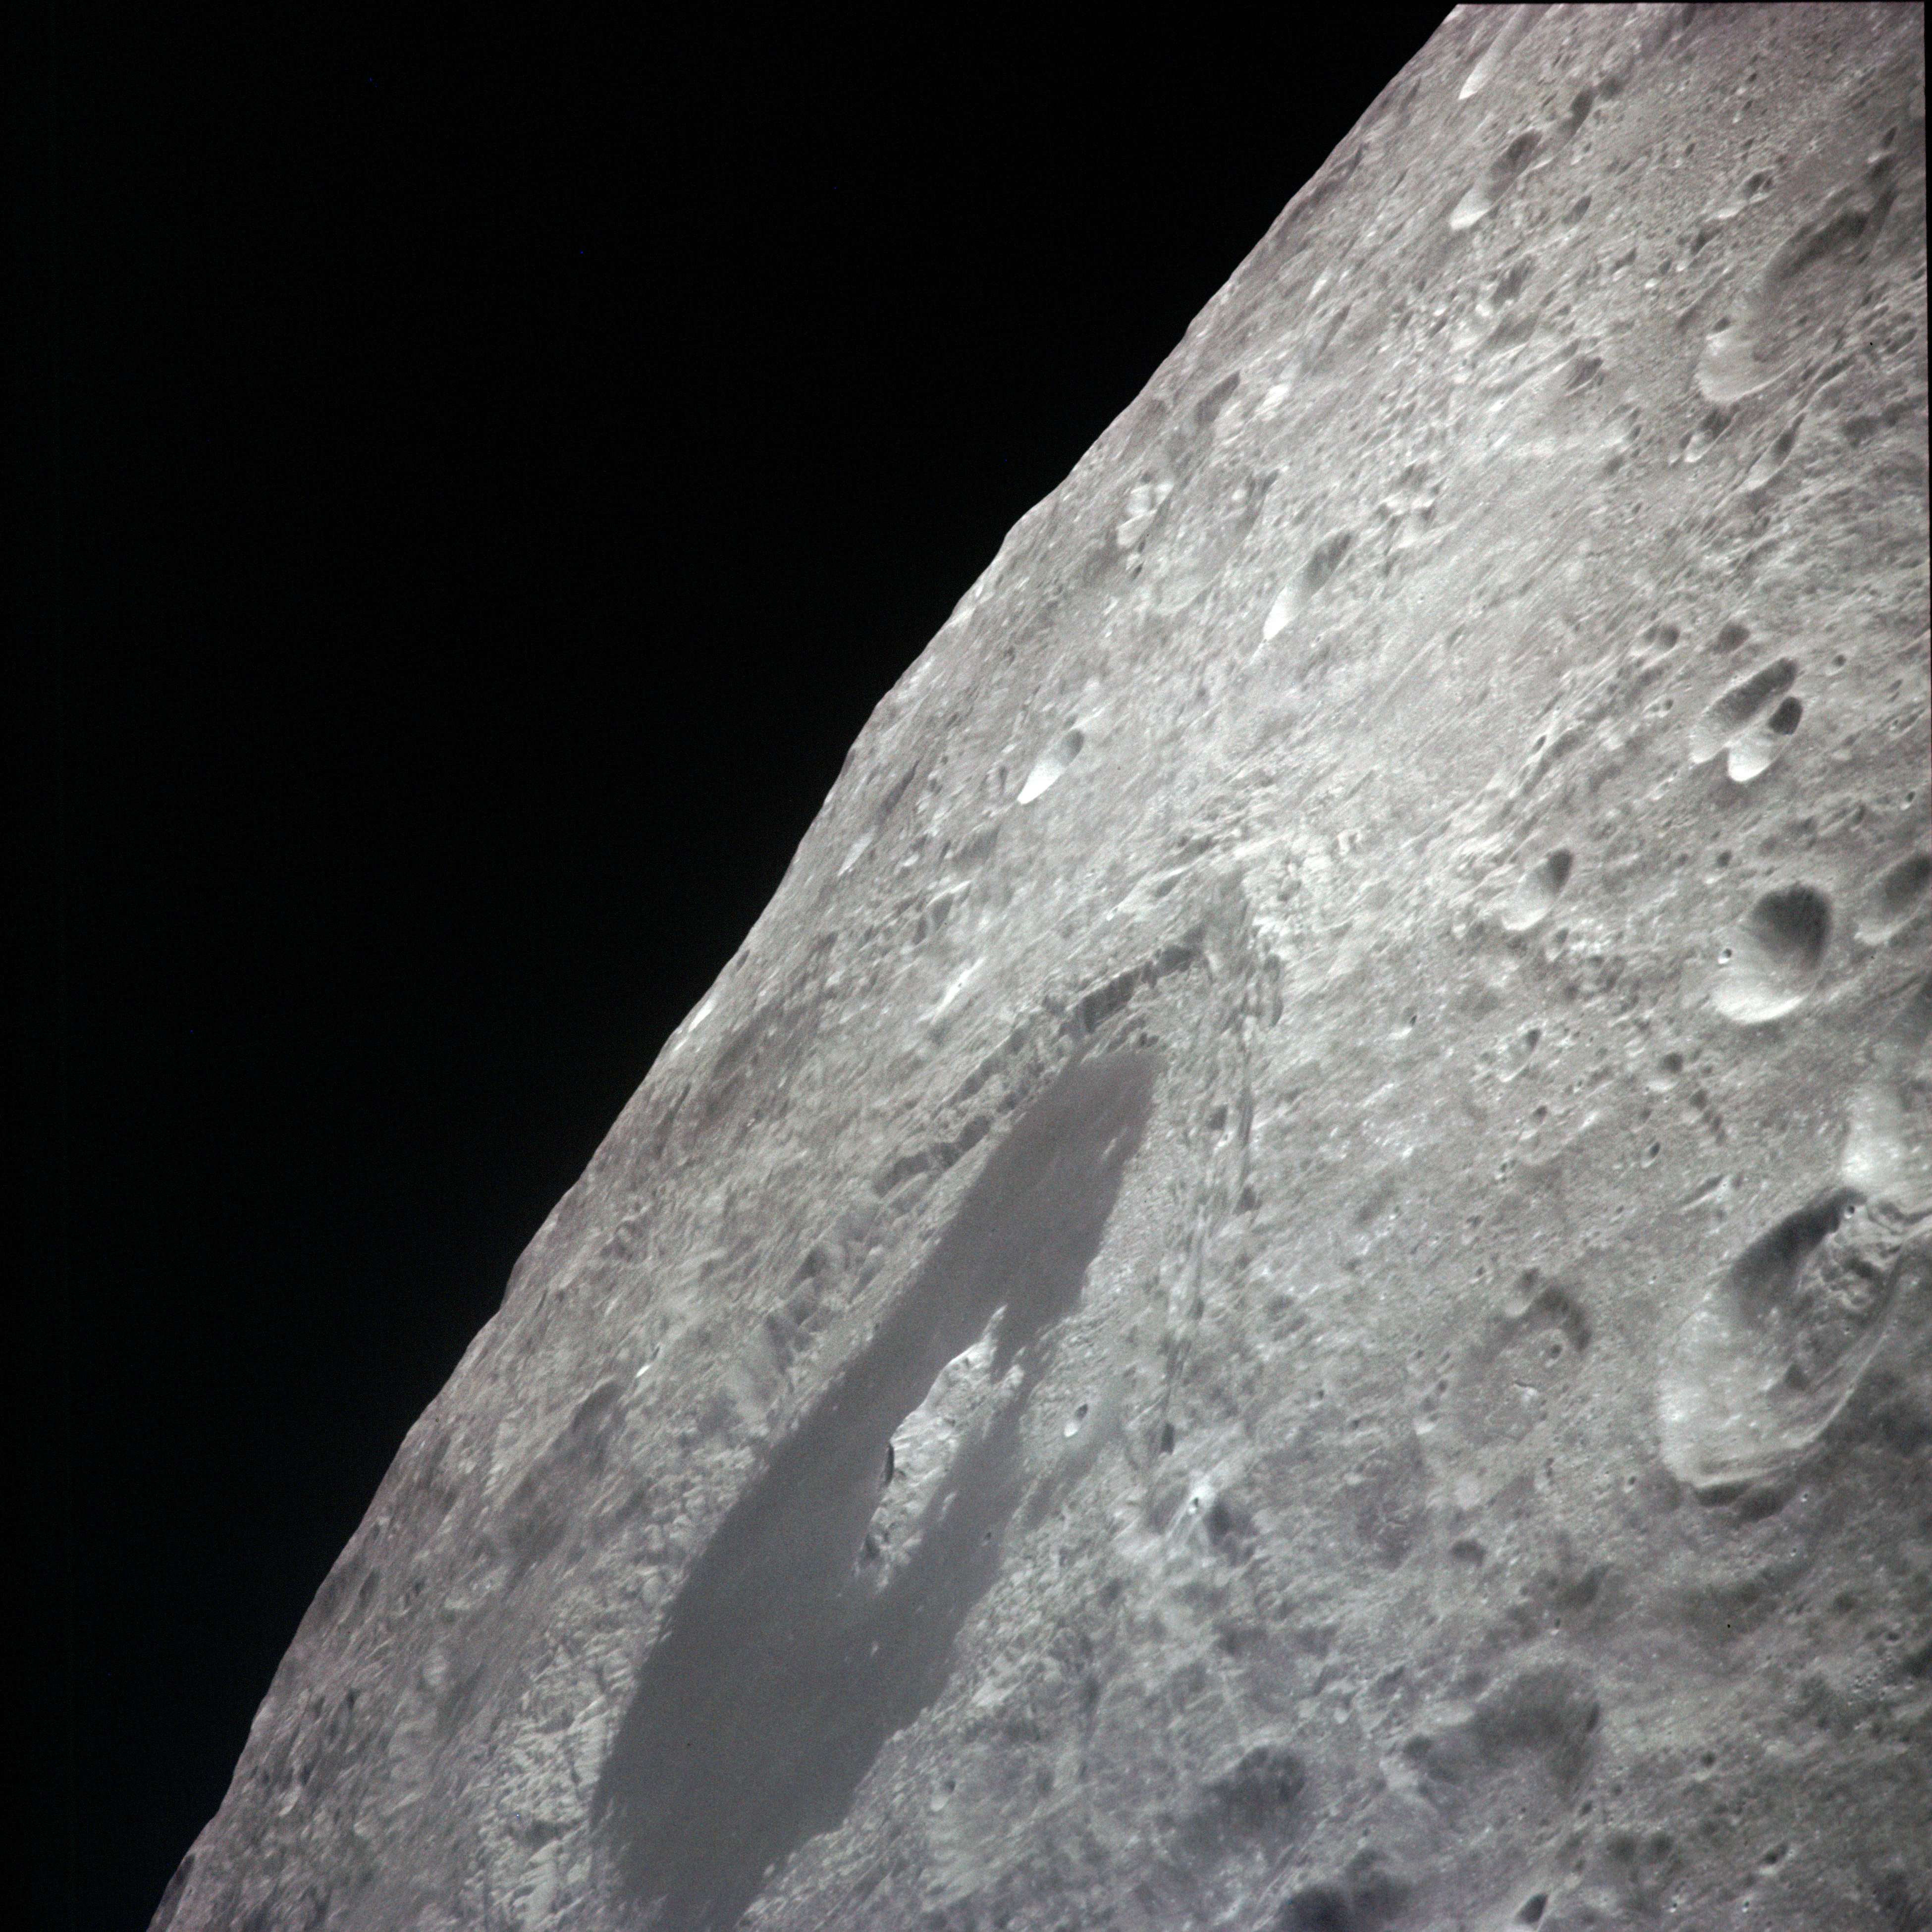 | AS13-60-8634 View southwest towards the distinctive 180-km crater Tsiolkovsky with its prominent dark floor and spectacular central peak. Image credit: Image Science and Analysis Laboratory, NASA-Johnson Space Center. |
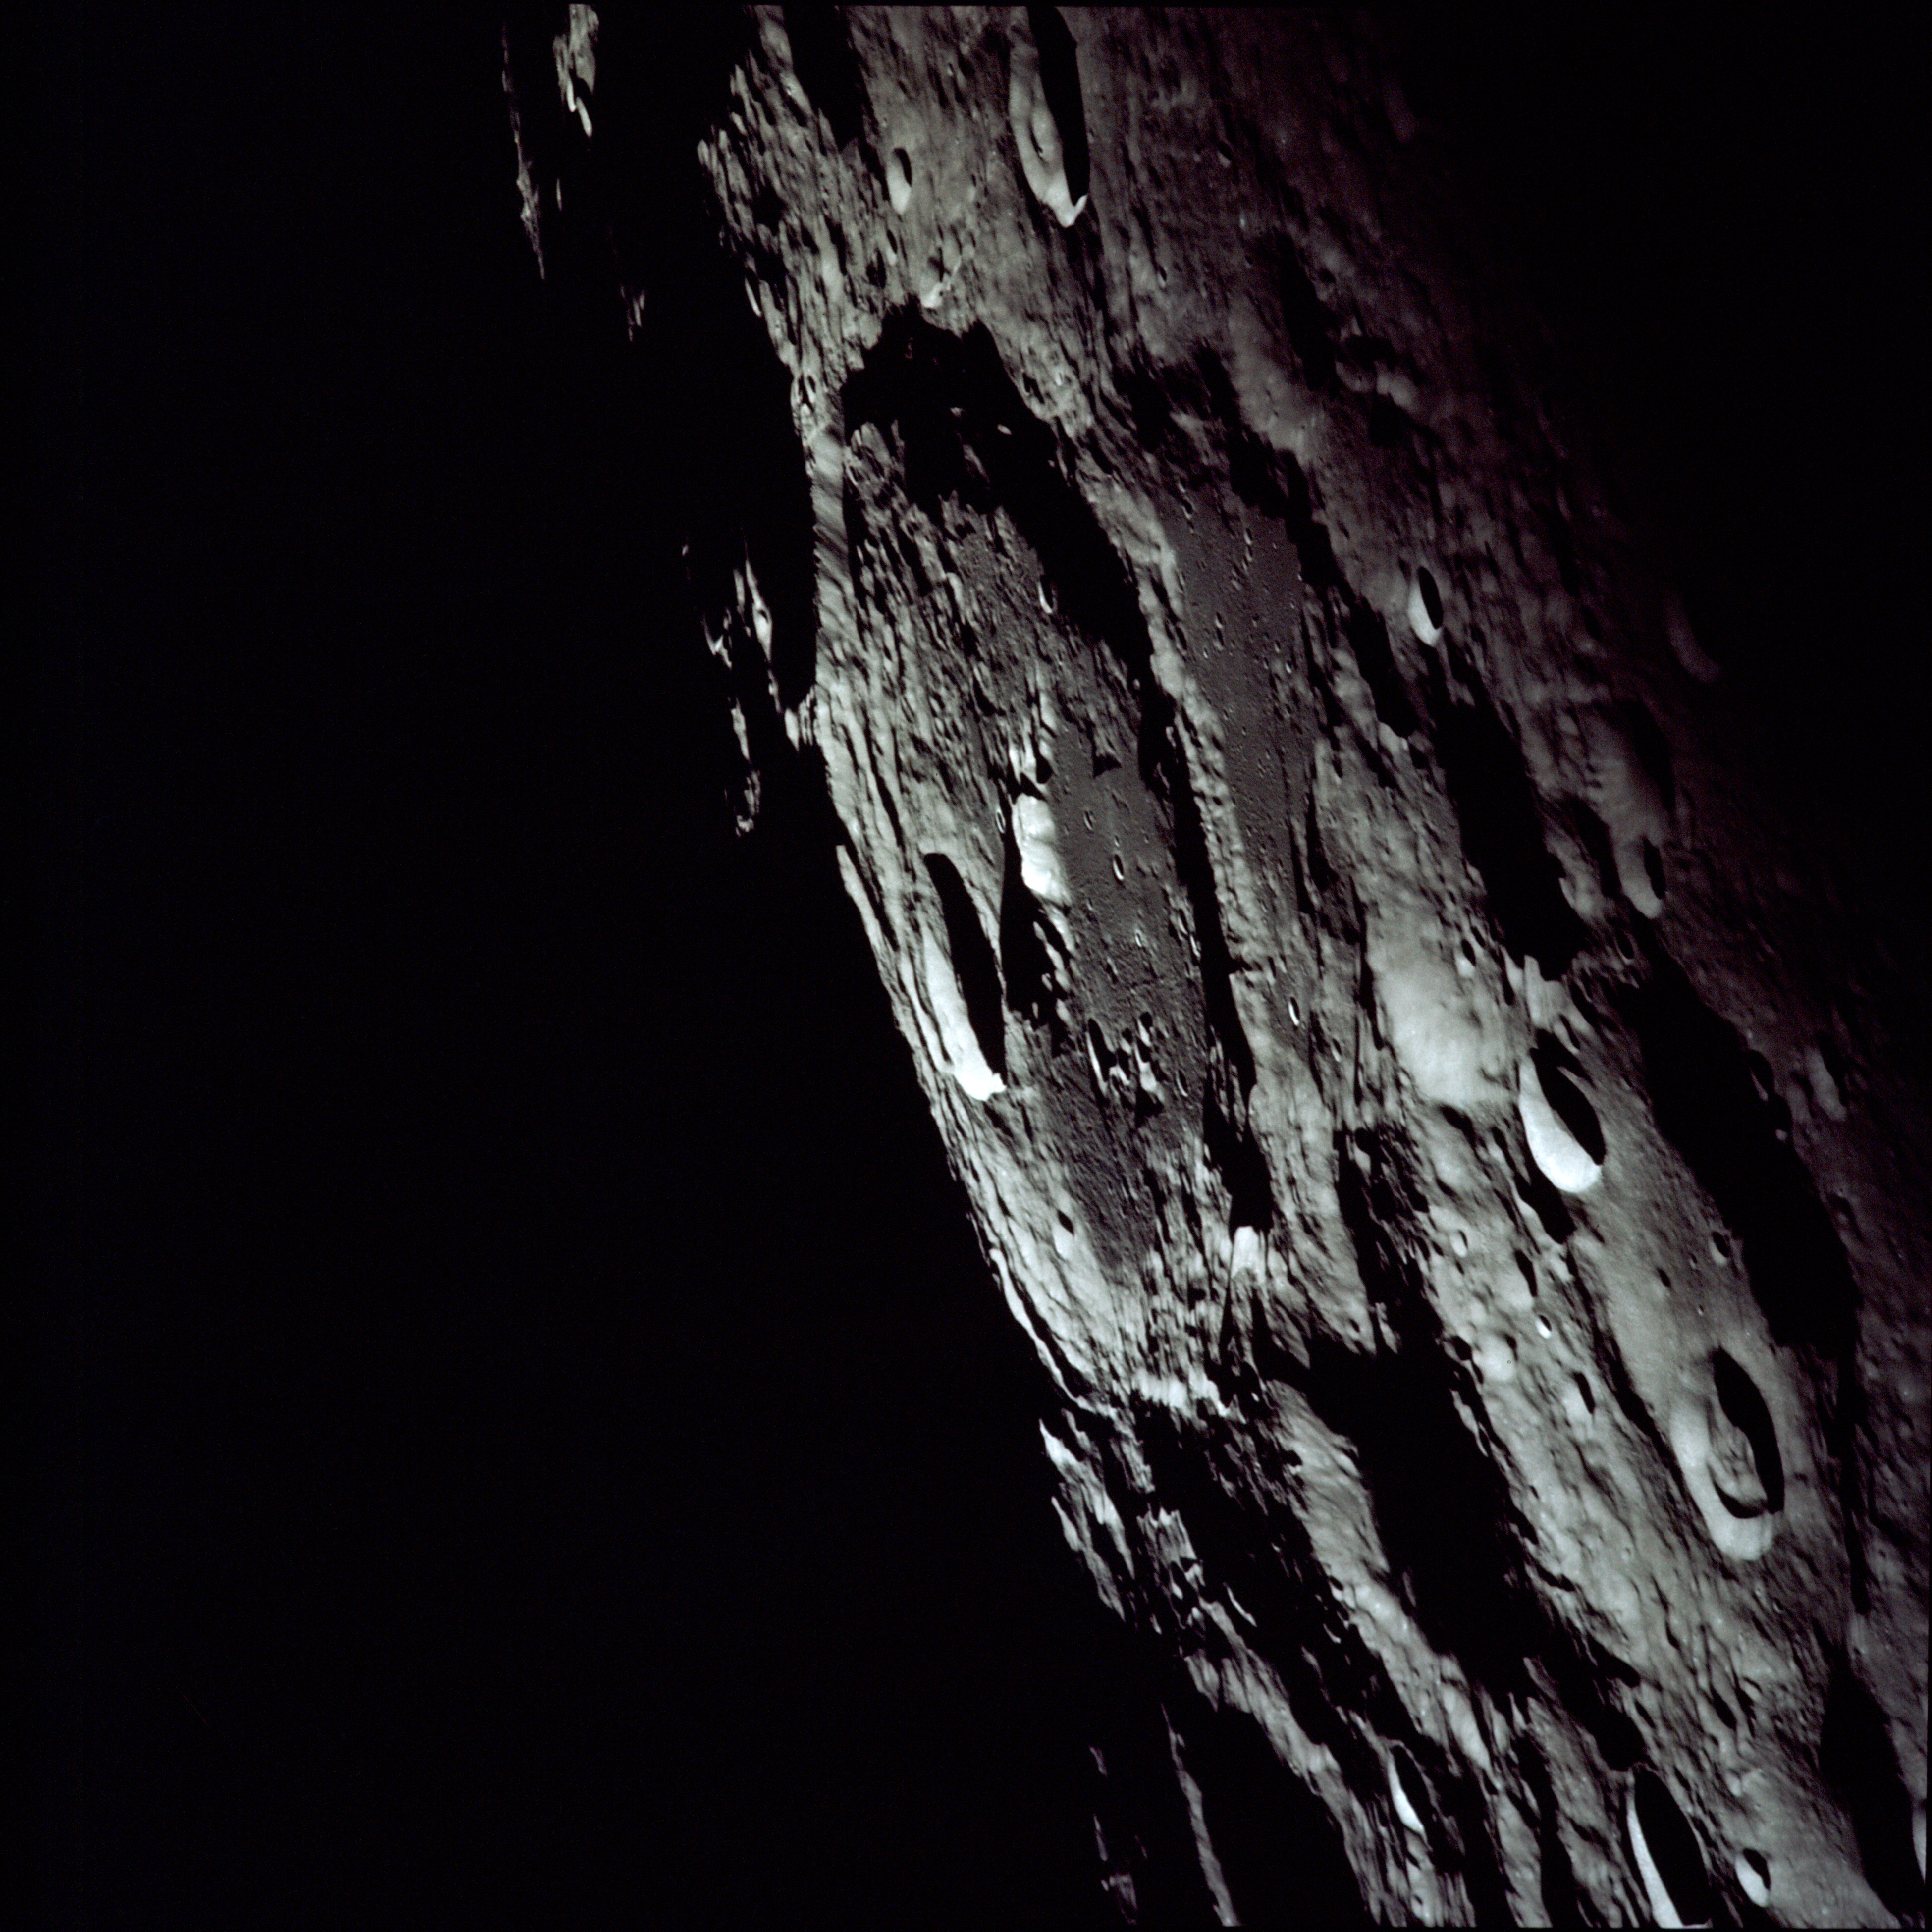 | AS13-60-8635 View east-northeast towards the terminator (looking back along their path). The image is dominated by the large crater Keeler (160 km), its central peak and the 37-km Planté within its walls on the eastern side. Image credit: Image Science and Analysis Laboratory, NASA-Johnson Space Center. |
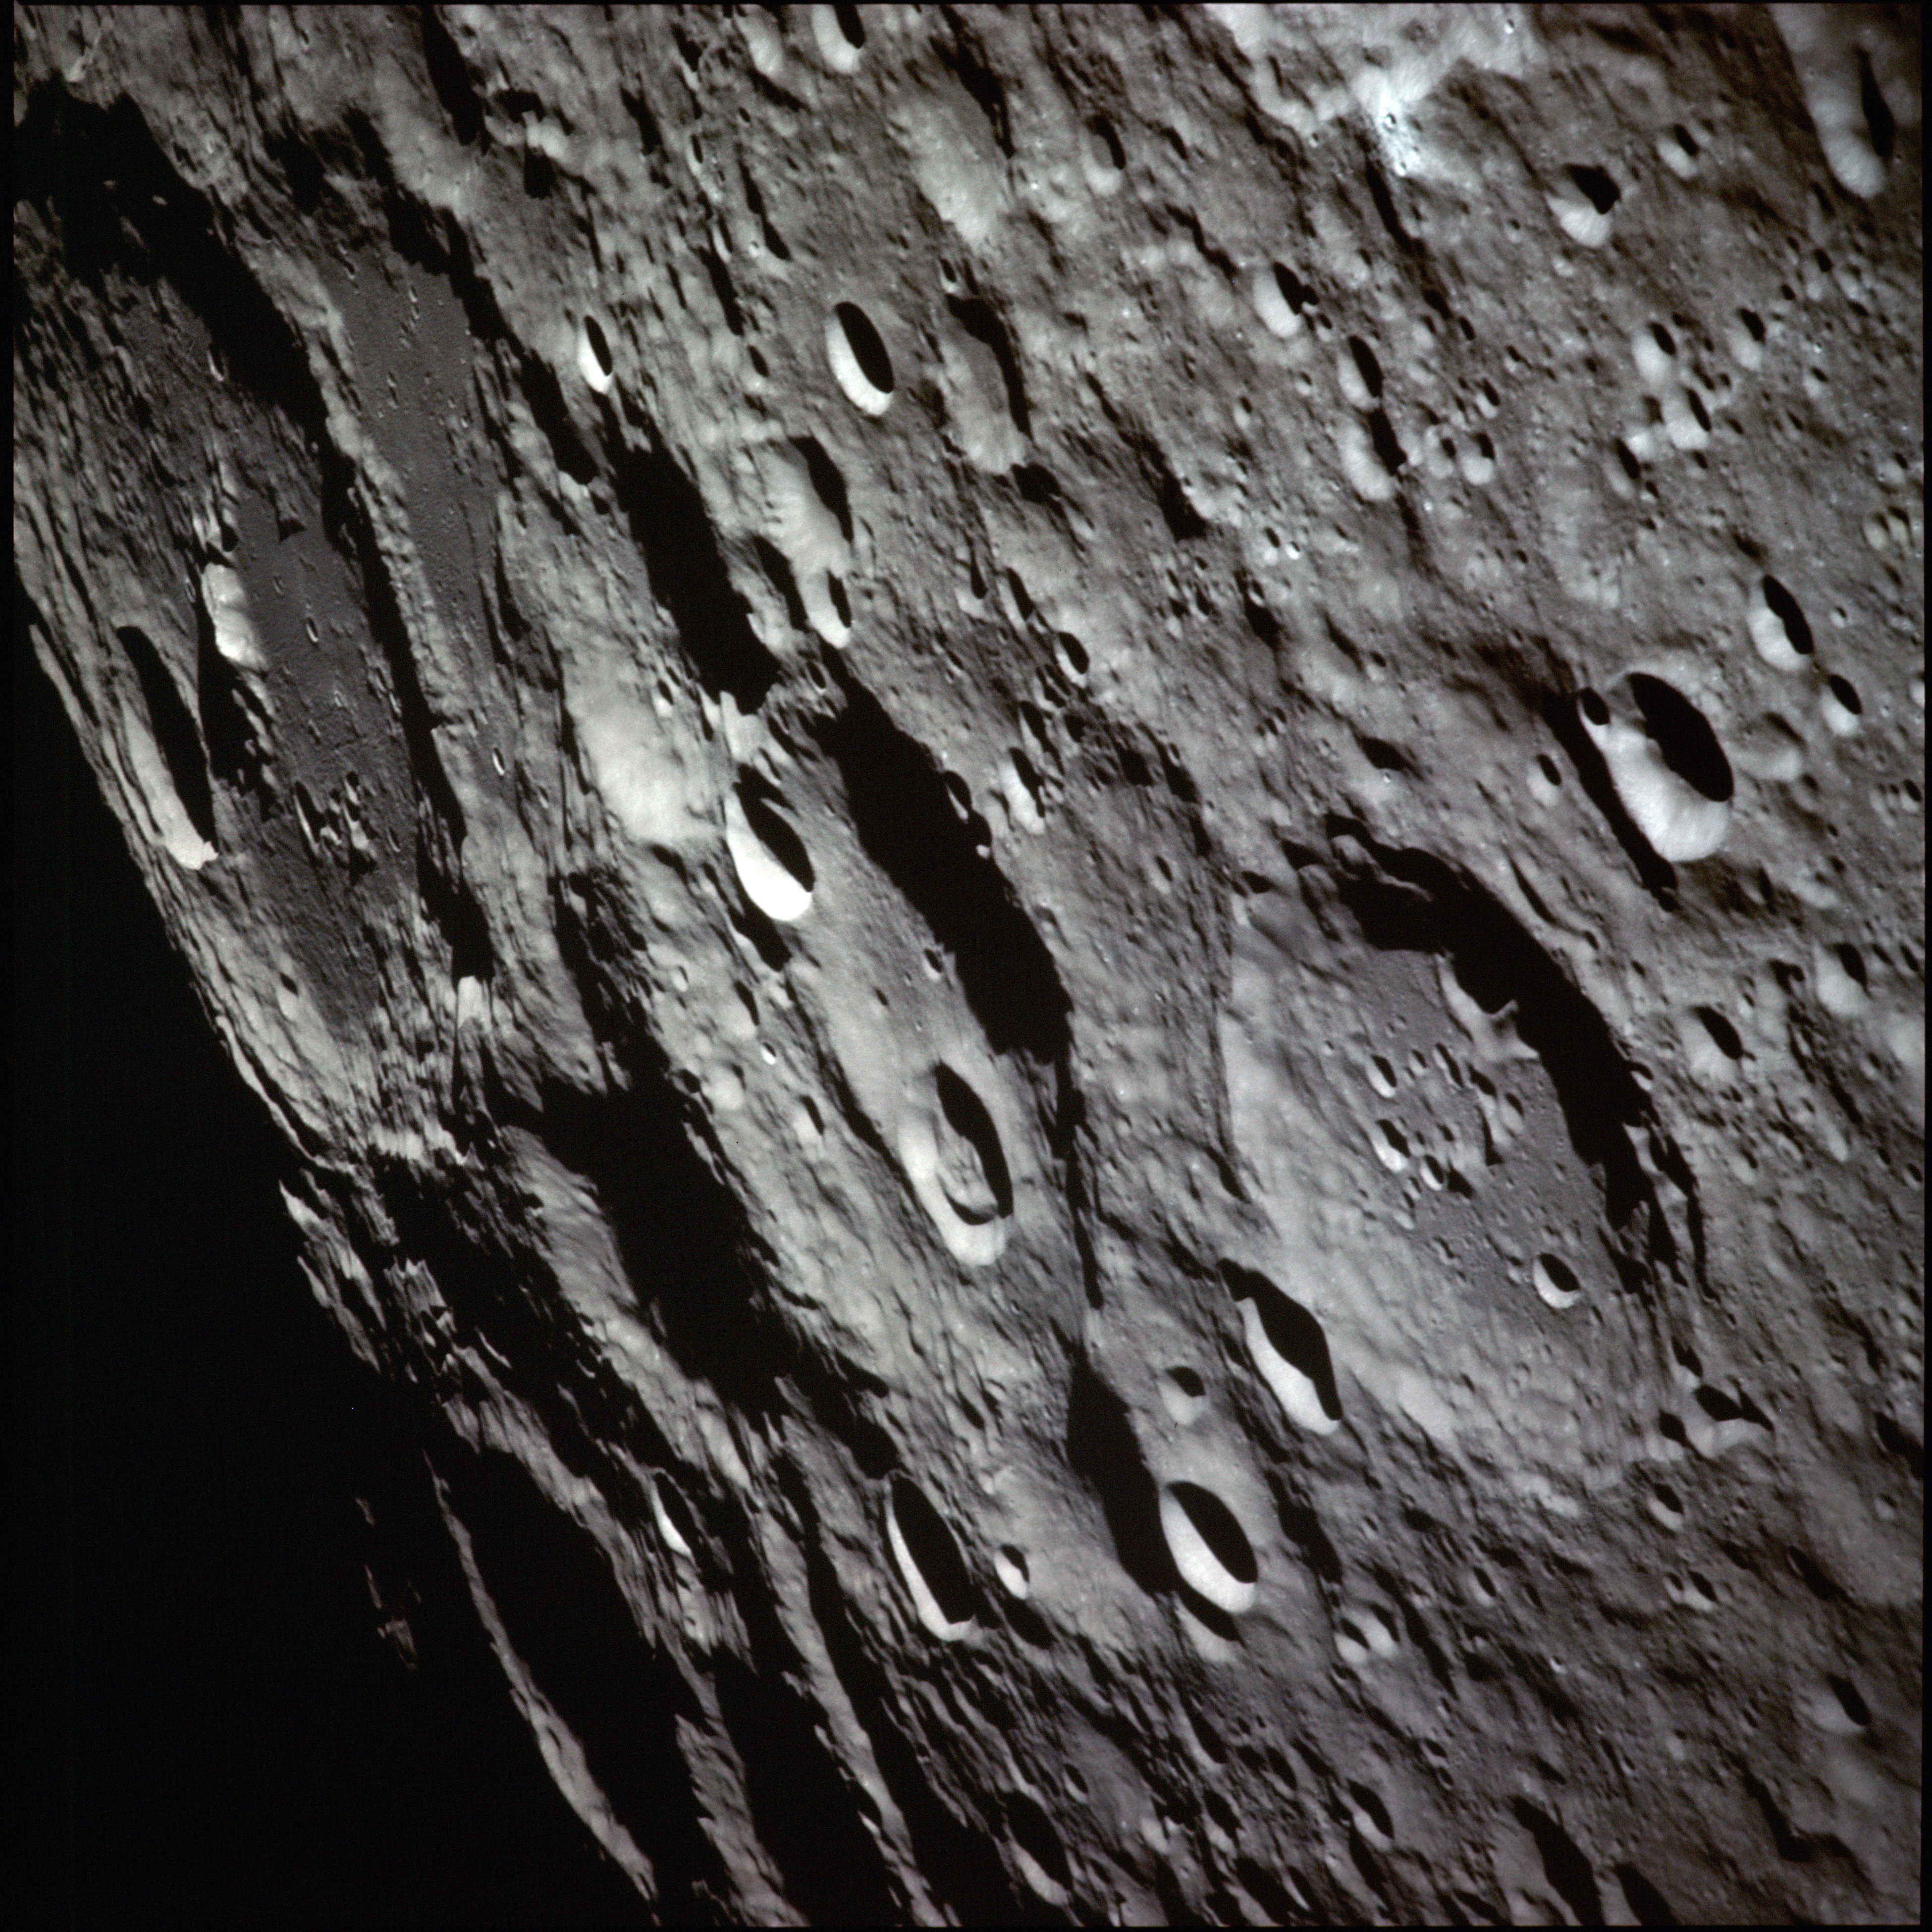 | AS13-60-8636 View east-northeast towards the terminator (looking back along their path). At the upper left is the large crater Keeler (160 km), its central peak and the 37-km Planté within its walls on the eastern side. The highly eroded crater Ventris (95 km) is in the centre of the frame, identifiable by two smaller craters, Ventris C and M. In the foreground is crater Schliemann (80 km). Image credit: Image Science and Analysis Laboratory, NASA-Johnson Space Center. |
 | AS13-60-8637 View south towards the distinctive 180-km crater Tsiolkovsky with its prominent dark floor and spectacular central peak. In the foreground are the crater pair, Shirakatsi and Dobrovol'skiy, the latter's eastern wall having been heavily intruded by the formation of the former. Image credit: Image Science and Analysis Laboratory, NASA-Johnson Space Center. |
 | AS13-60-8638 View southwest towards the distinctive 180-km crater Tsiolkovsky with its prominent dark floor and spectacular central peak. Image credit: Image Science and Analysis Laboratory, NASA-Johnson Space Center. |
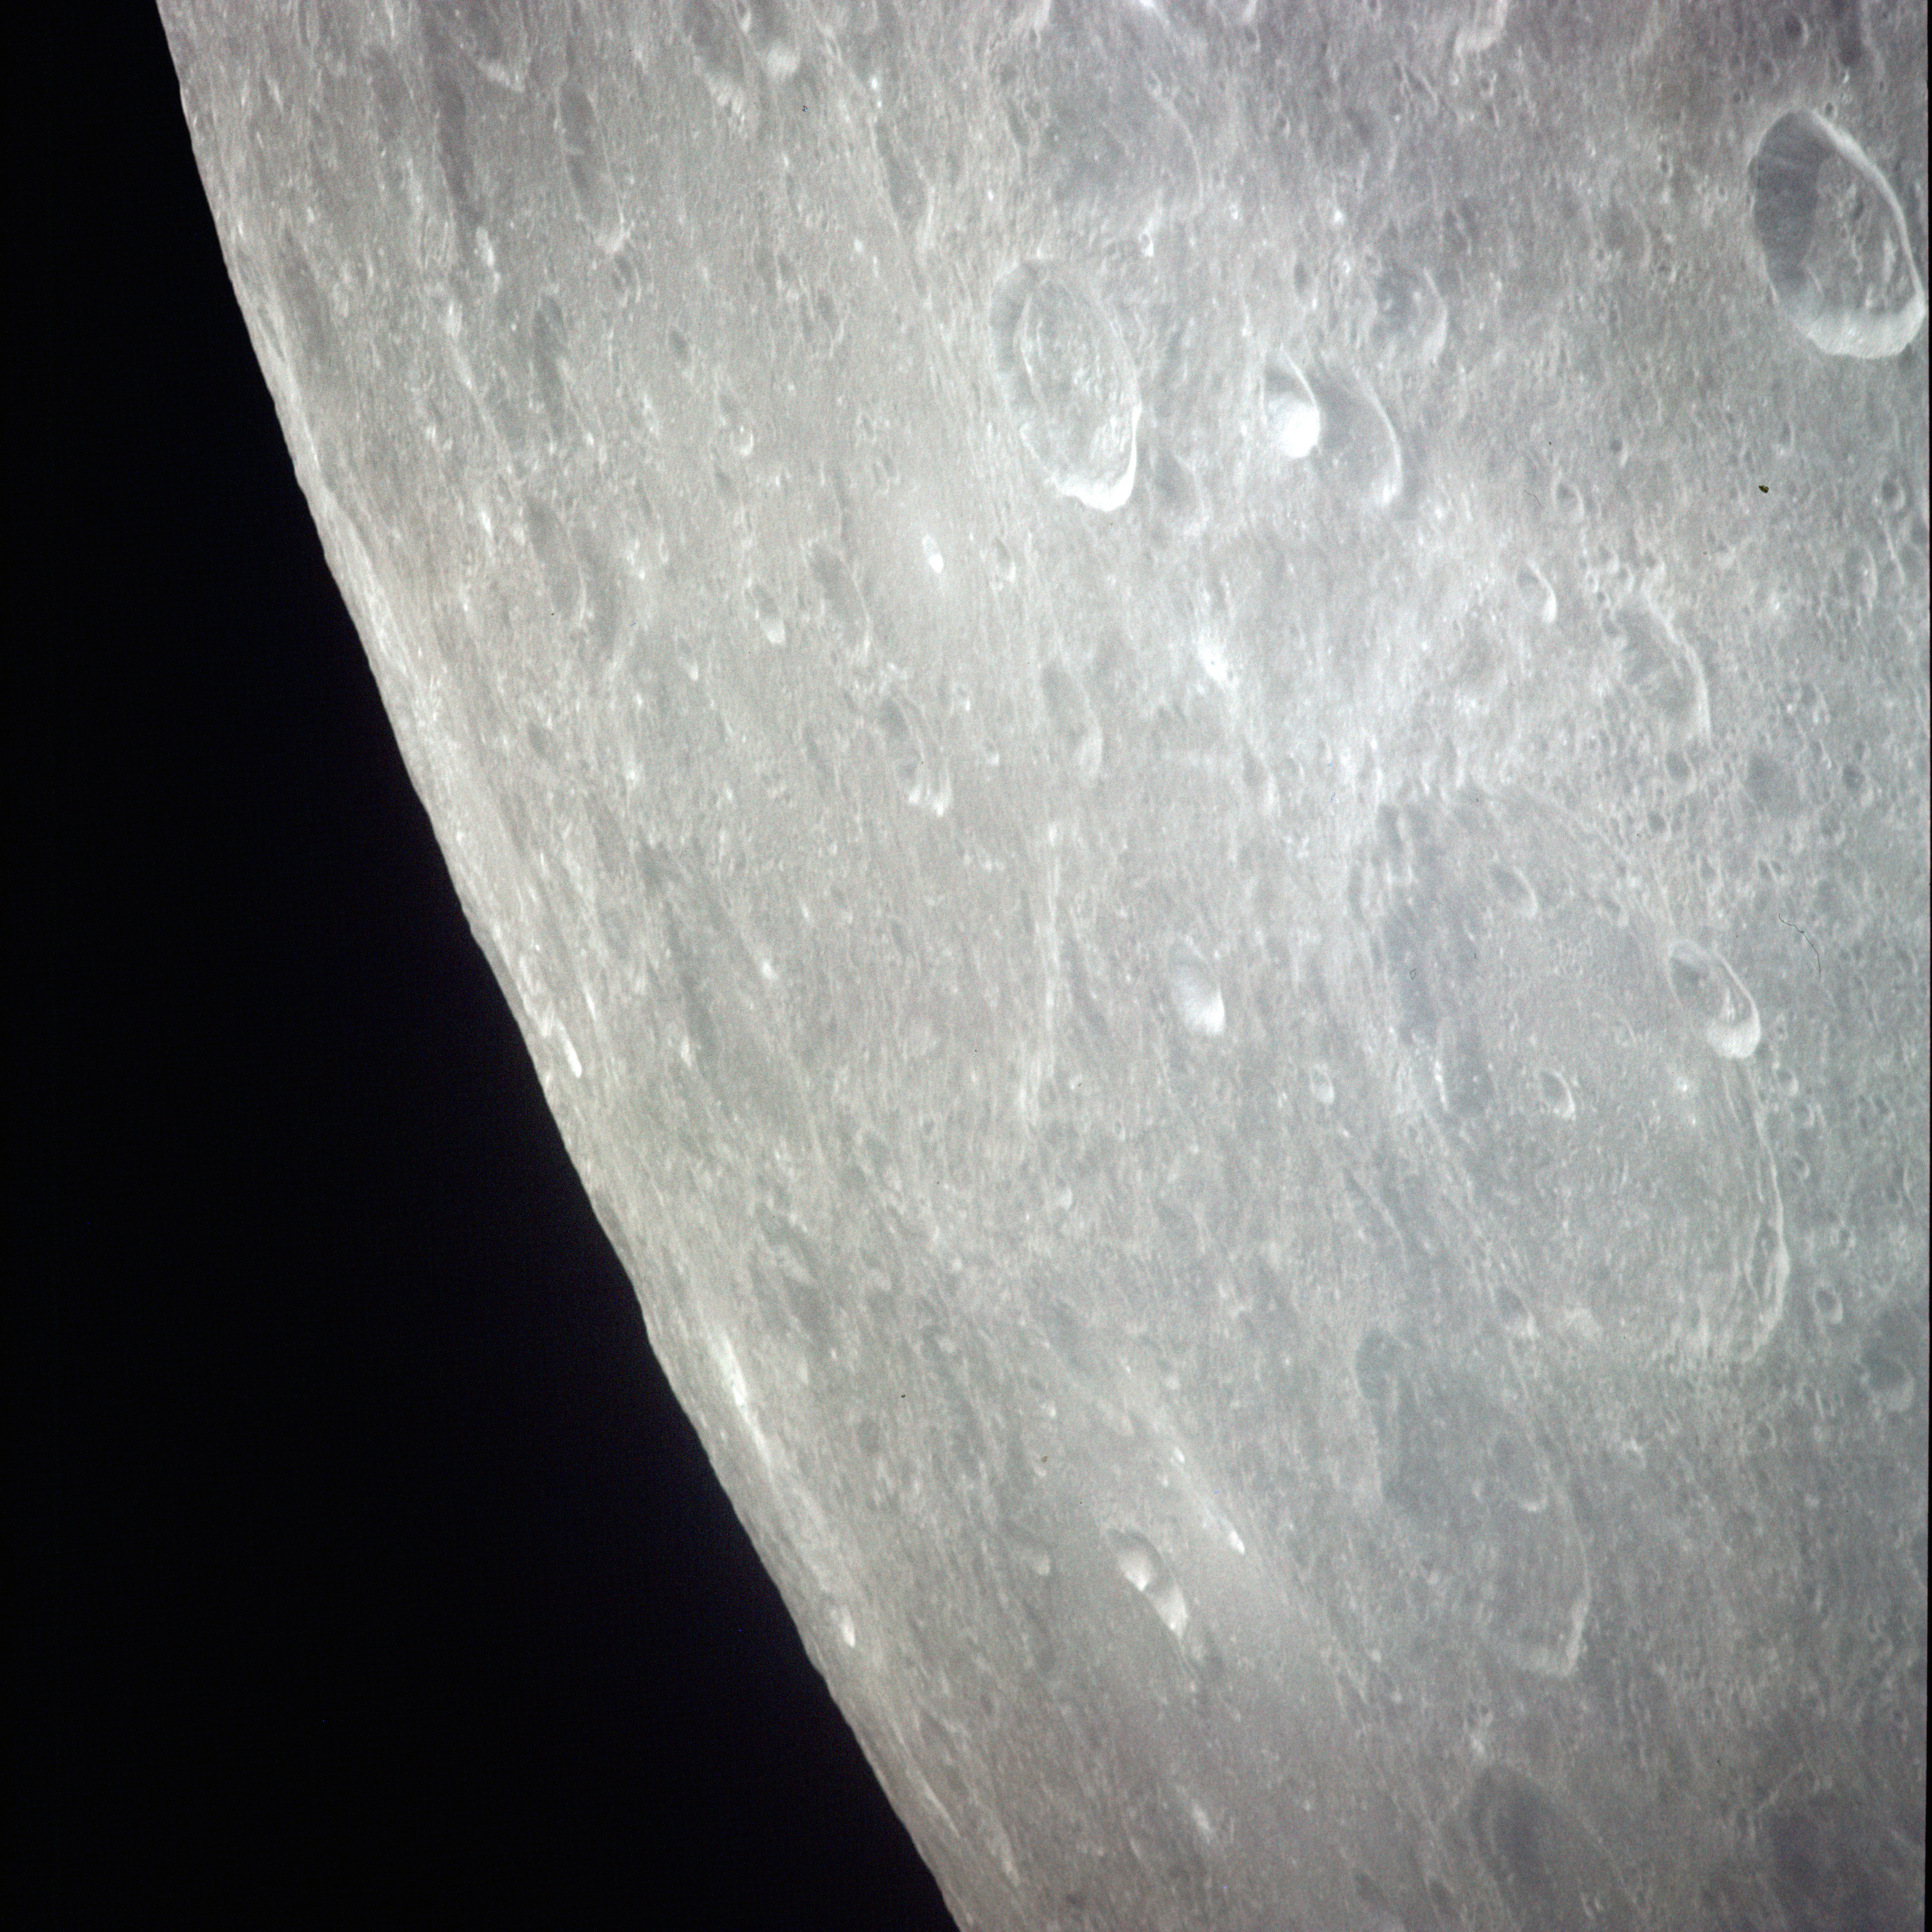 | AS13-60-8639 View east-southeast towards the large walled plain/crater, 224-km Pasteur which runs from centre of frame to the upper left of centre. Crater Meitner (87 km) is in the foreground (right of frame). It's rim nearest the camera is cut by the small crater, Meitner C. Image credit: Image Science and Analysis Laboratory, NASA-Johnson Space Center. |
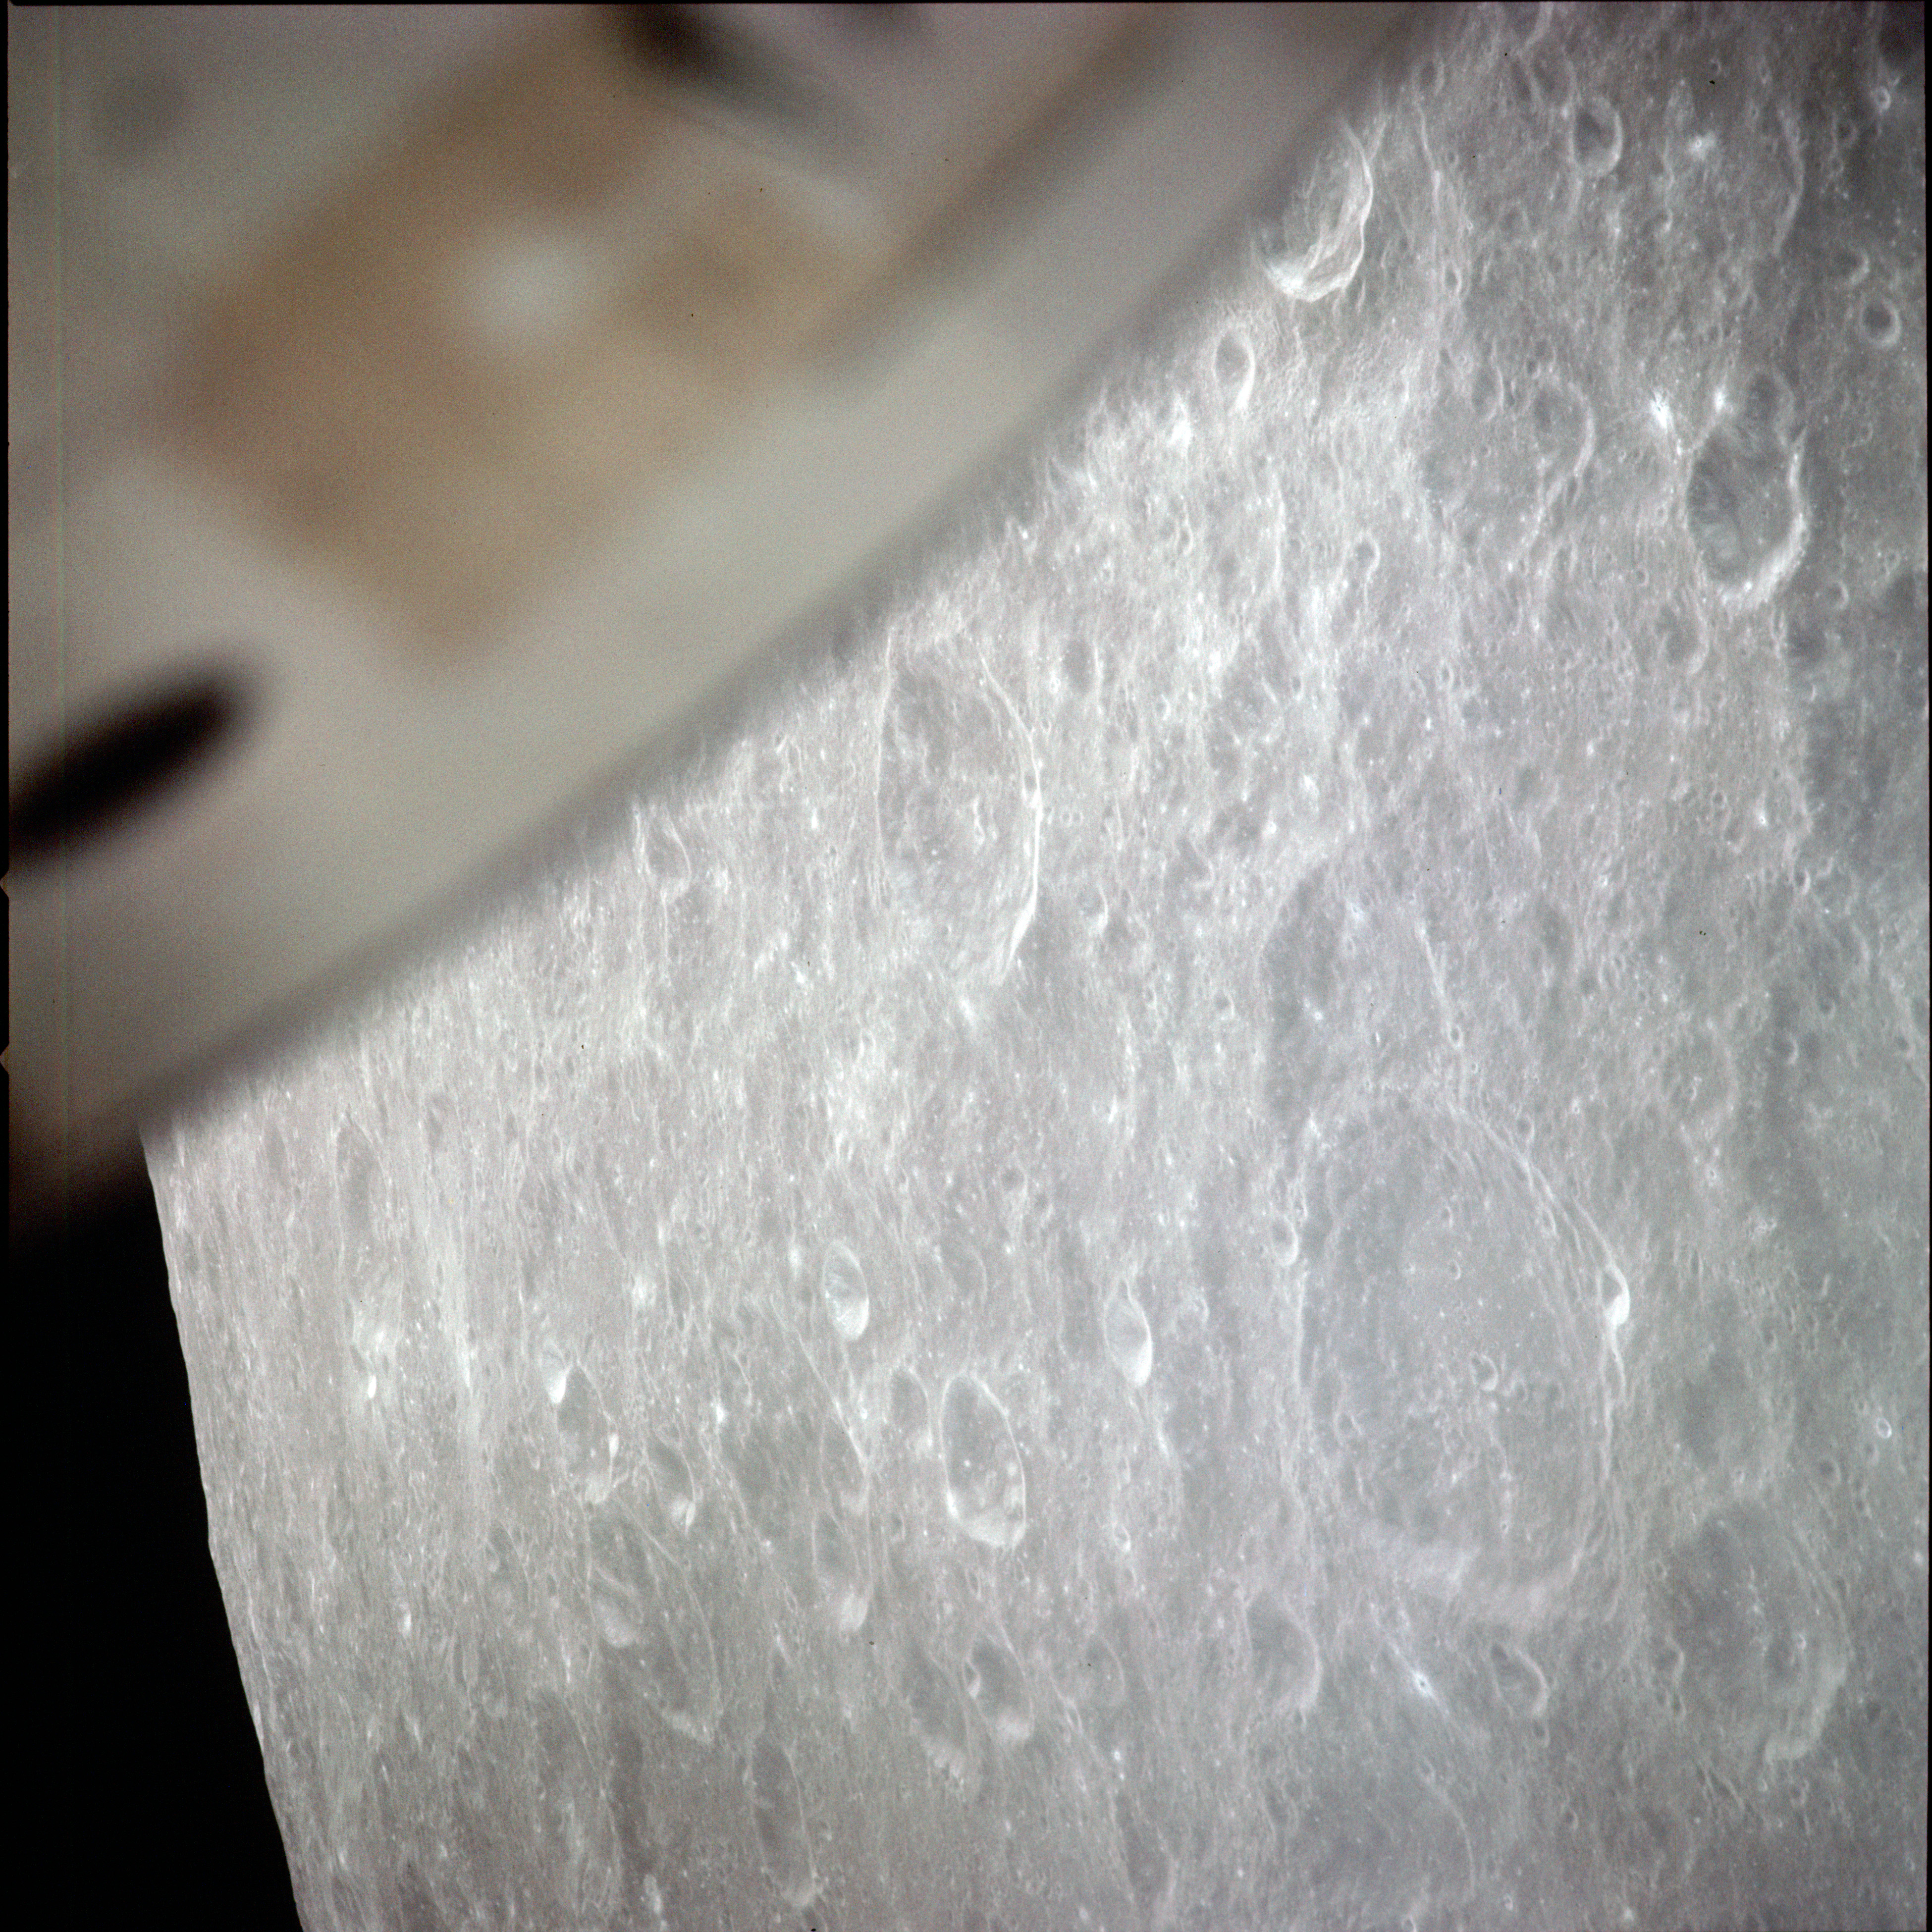 | AS13-60-8640 View east-southeast with crater Einthoven (69 km) in the foreground (lower right). The north rim of the 224-km Pasteur is at bottom centre of frame. The Command Module obscures the upper left of the frame. Image credit: Image Science and Analysis Laboratory, NASA-Johnson Space Center. |
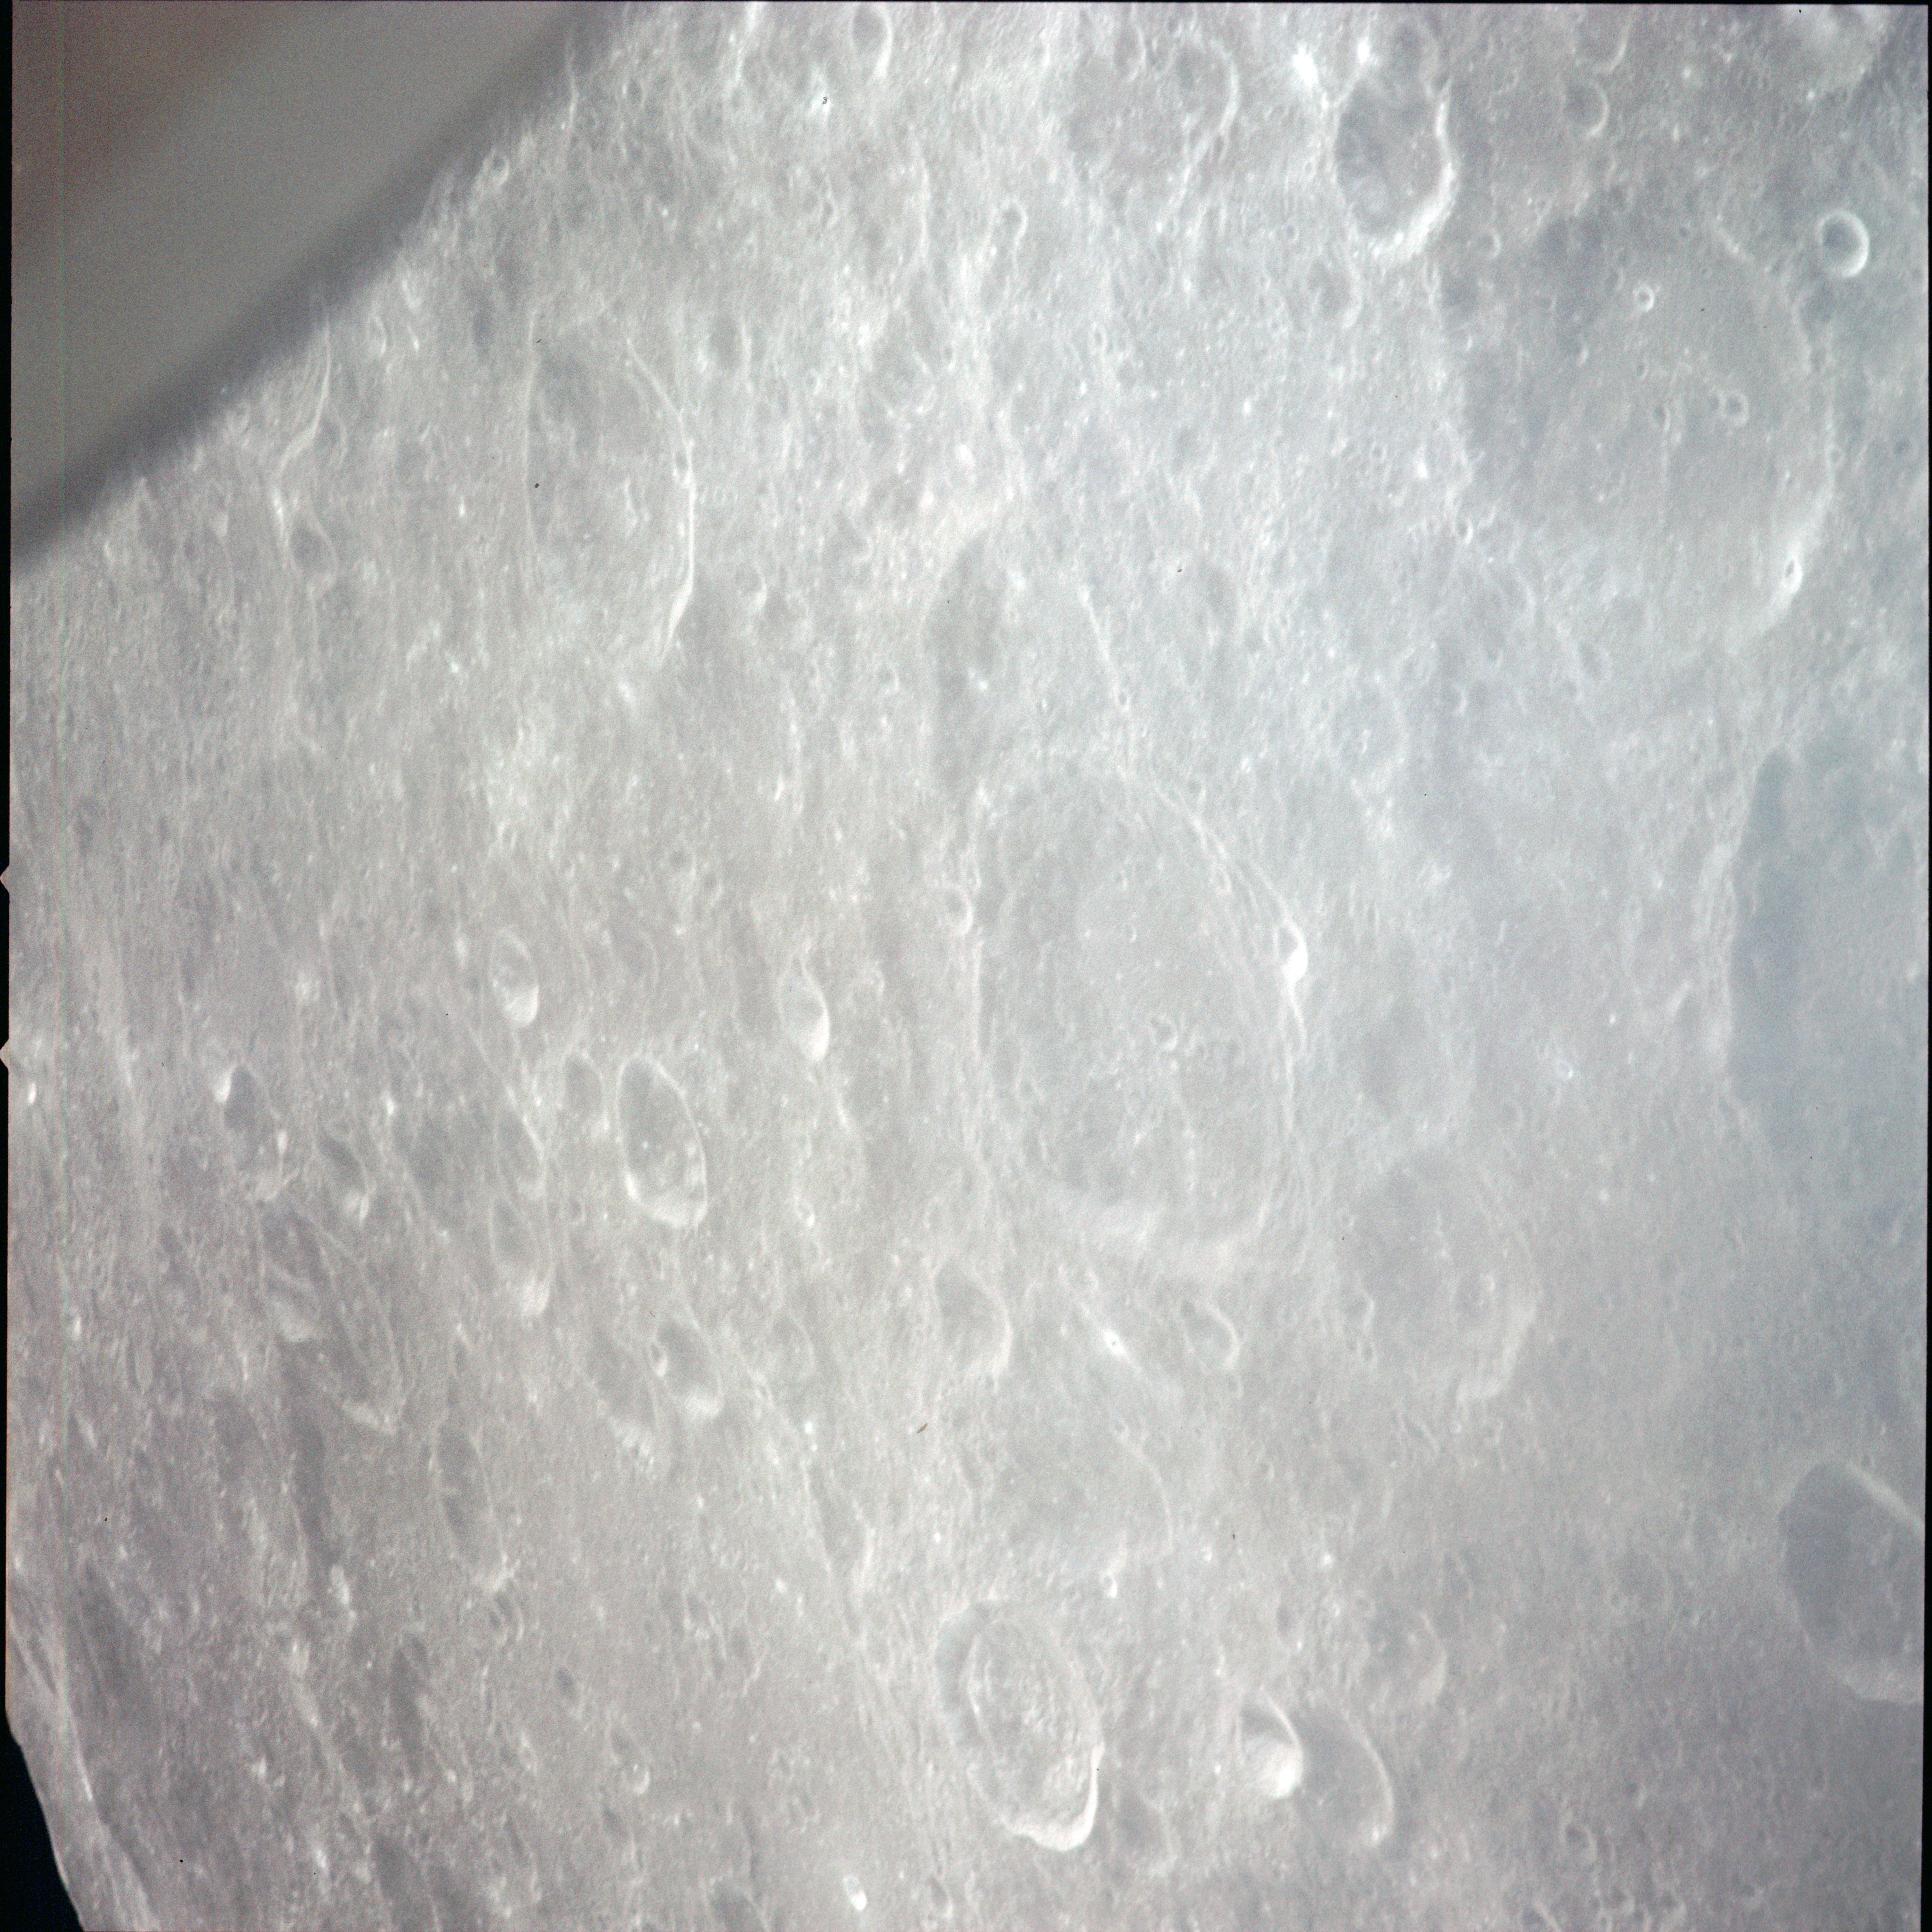 | AS13-60-8641 View east-southeast with crater Einthoven (69 km) in the foreground (right of centre). The northern half of the 224-km Pasteur is at bottom left of frame. The Command Module obscures the upper left of the frame. Image credit: Image Science and Analysis Laboratory, NASA-Johnson Space Center. |
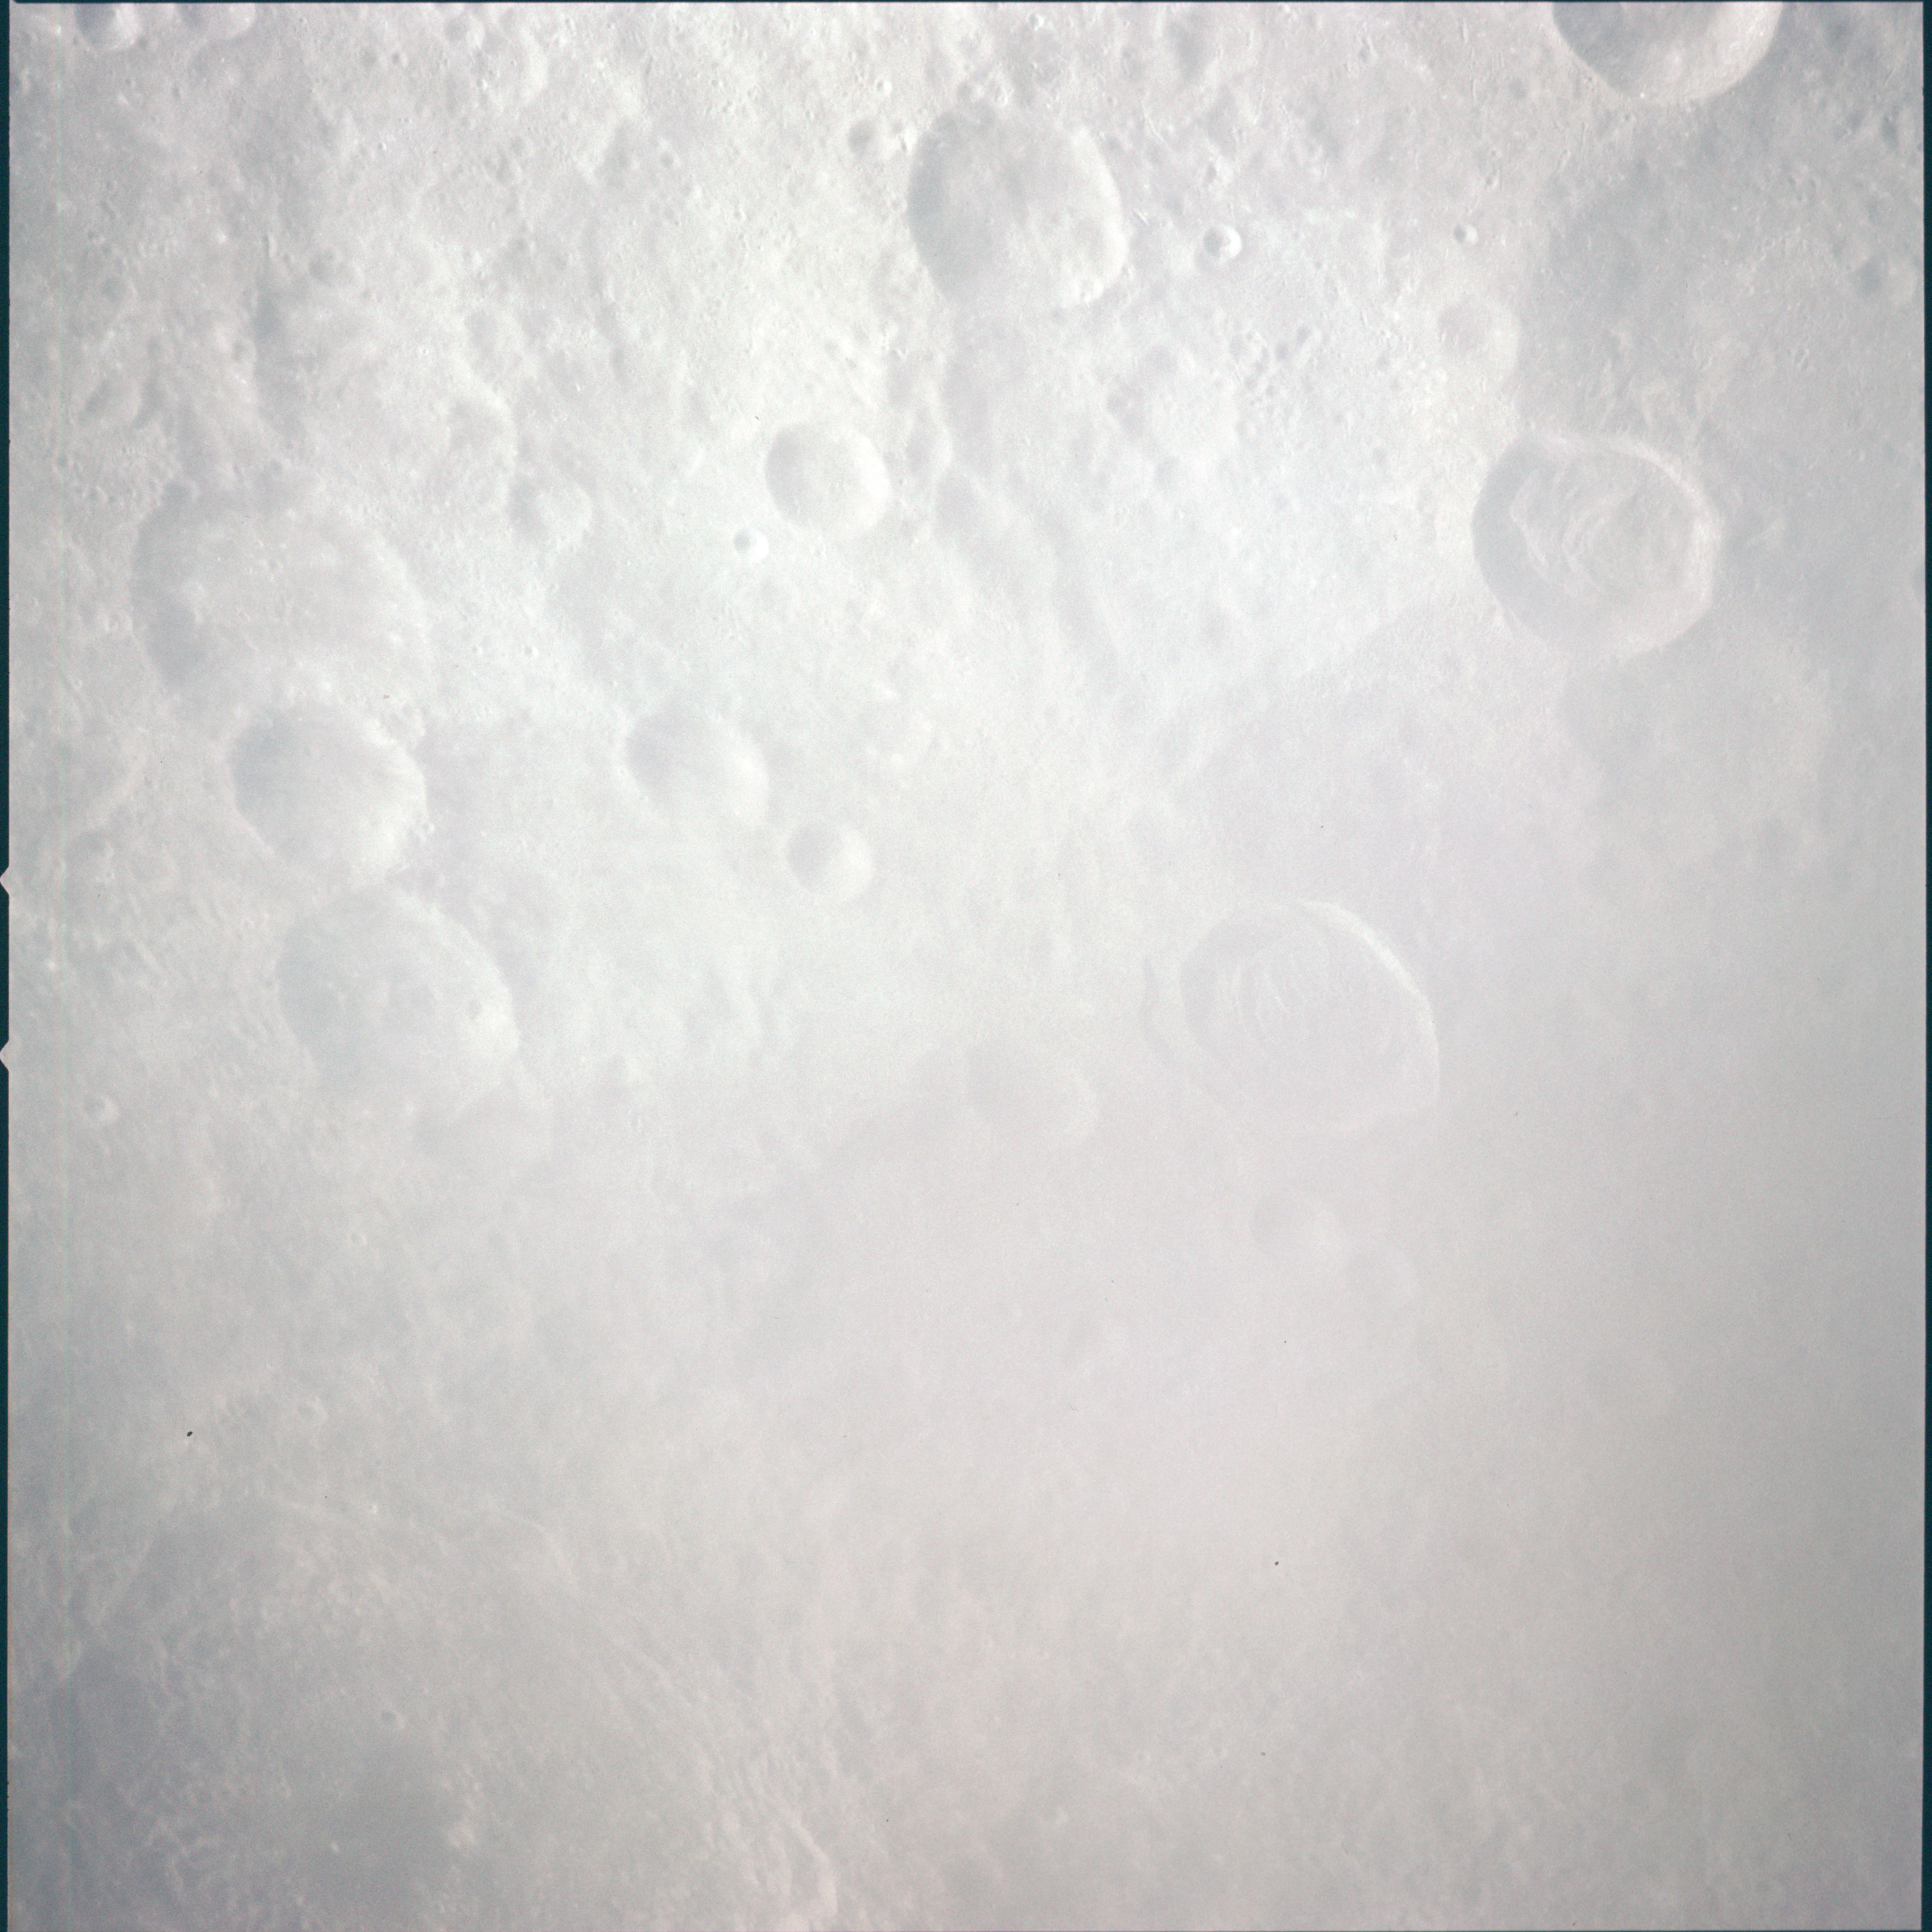 | AS13-60-8642 Heavily fogged image of landscape south of crater Gregory on the lunar far side. Right of centre is the 30-km crater Necho. Image credit: Image Science and Analysis Laboratory, NASA-Johnson Space Center. |
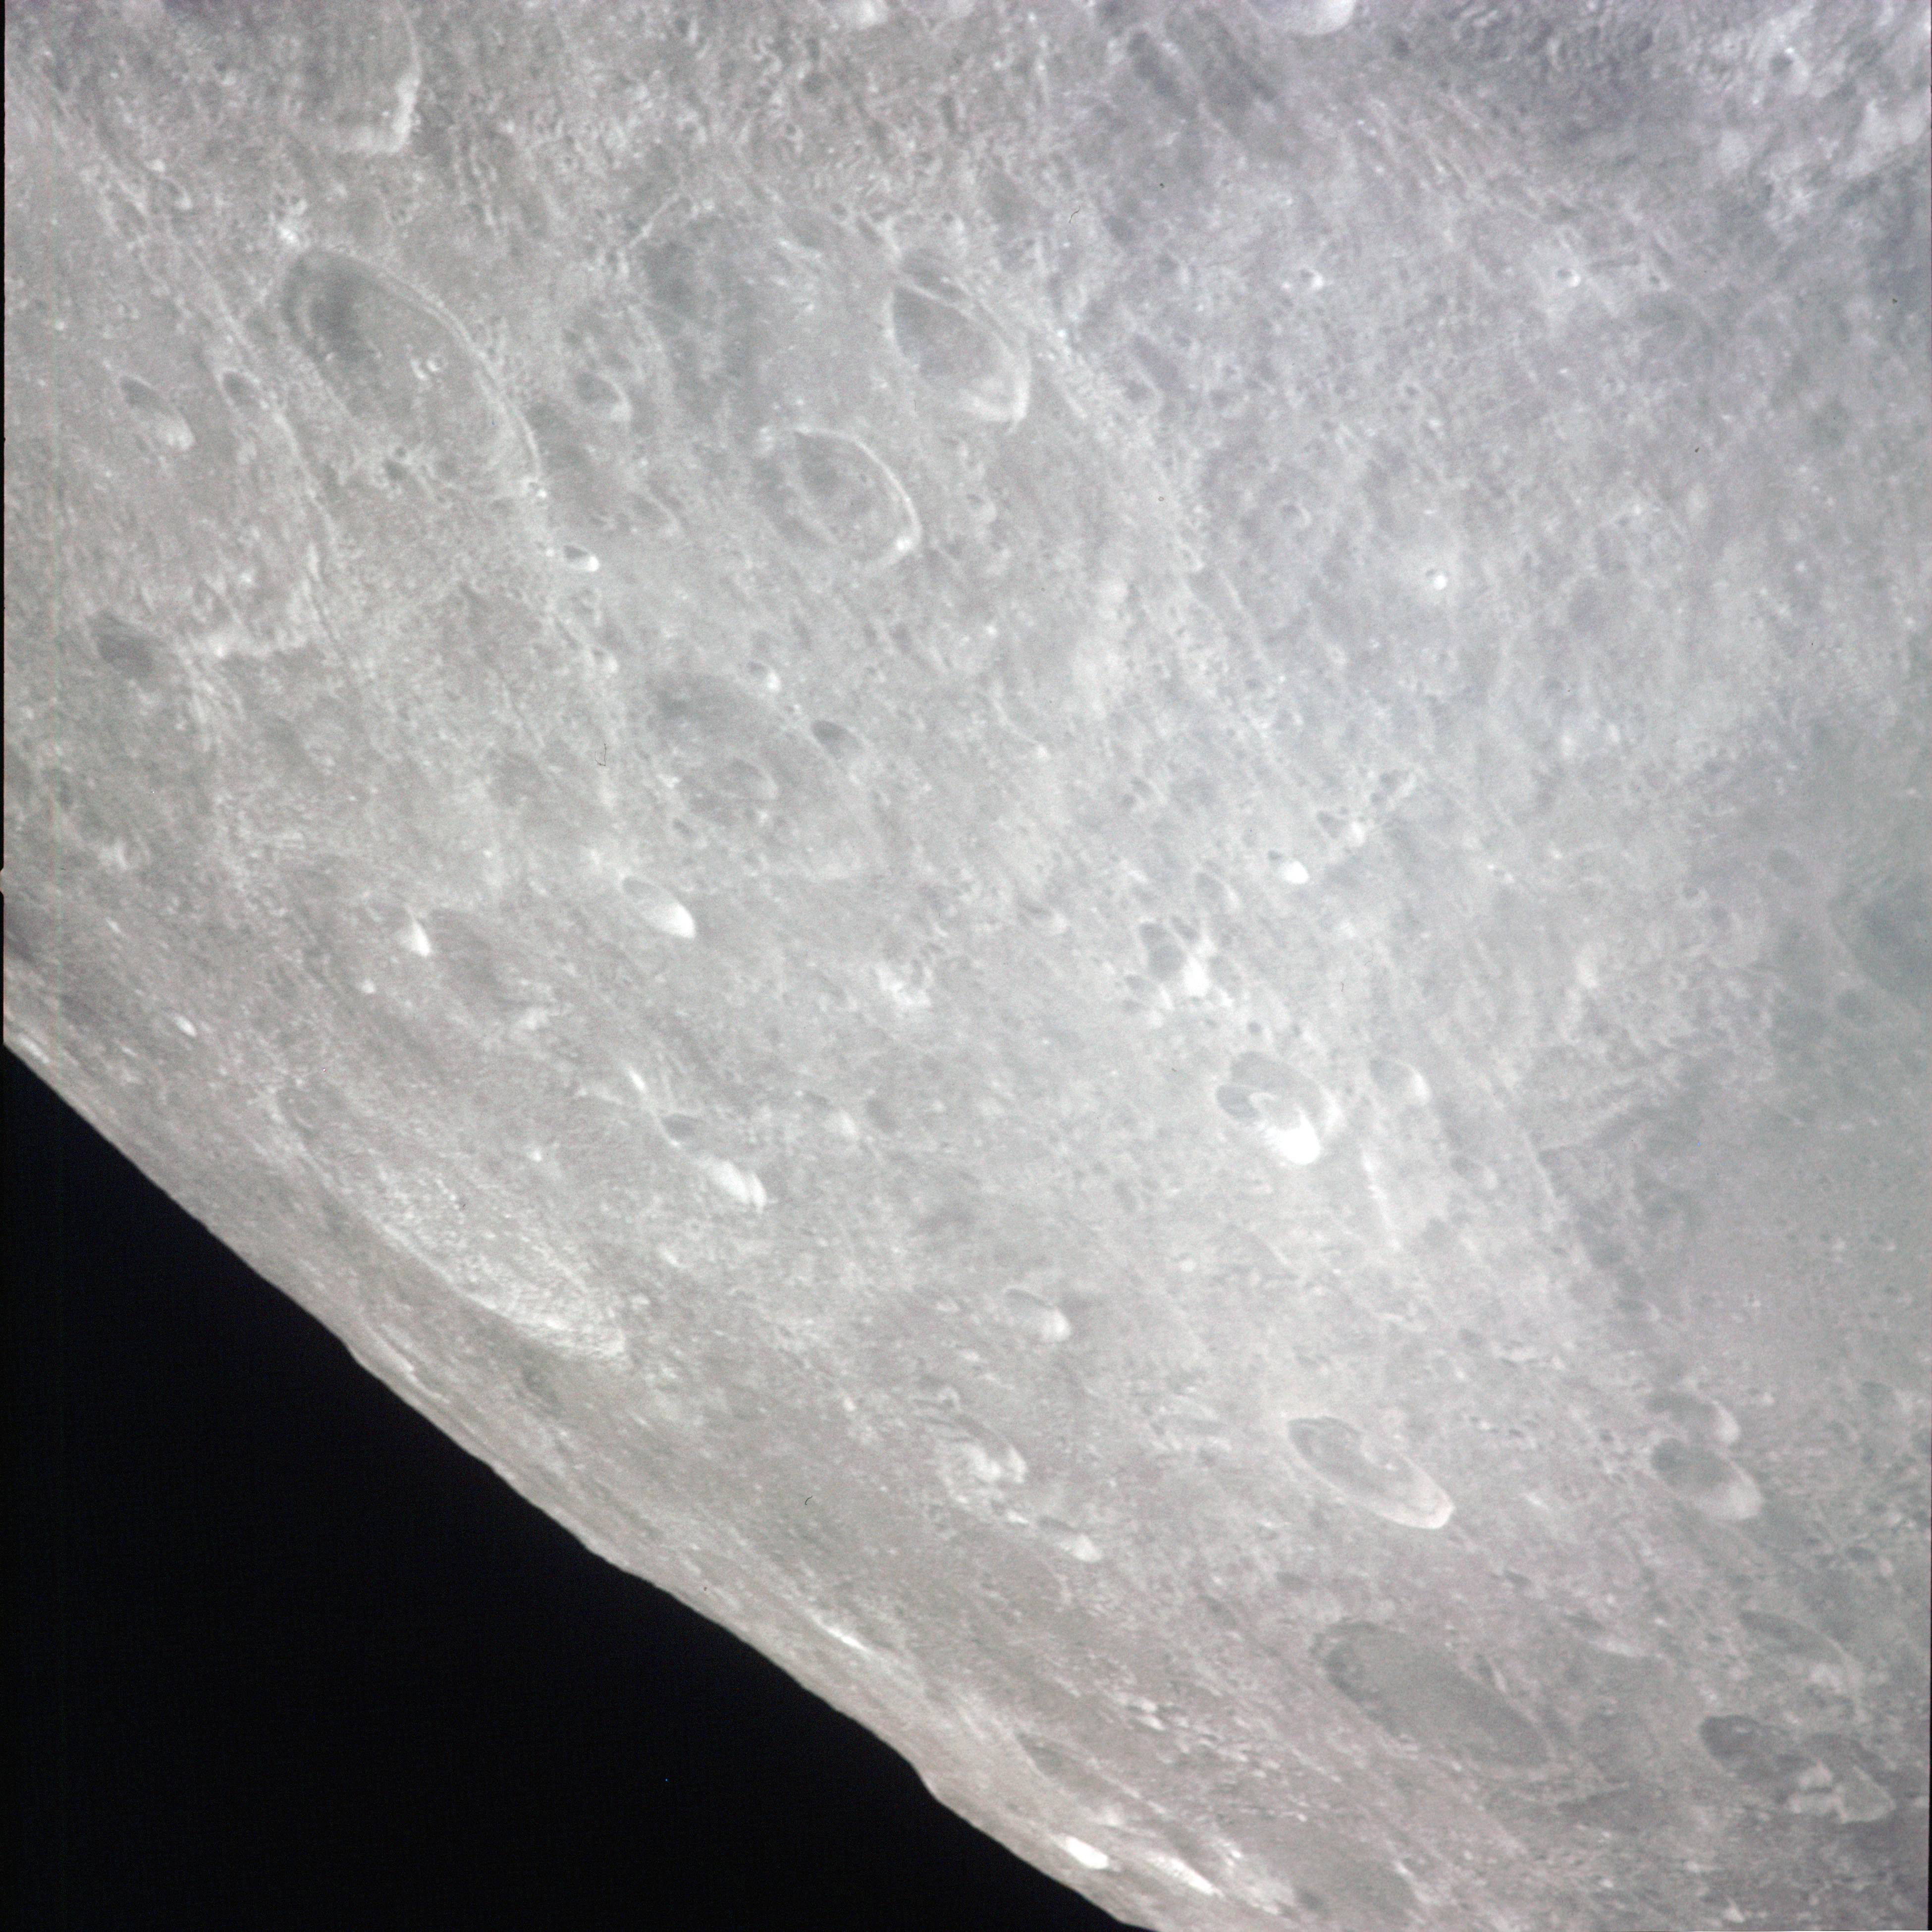 | AS13-60-8643 View south-southwest taken approximateley from above Gregory. Dark-floored crater bottom right is crater Schaeberle (62 km), above it is crater Izsak (30 km) and right in the corner is crater Zhiritskiy (30 km). Top centre of frame is a large, eroded crater, Kondratyuk (90 km), identifiable by the two smaller craters across its floor. Image credit: Image Science and Analysis Laboratory, NASA-Johnson Space Center. |
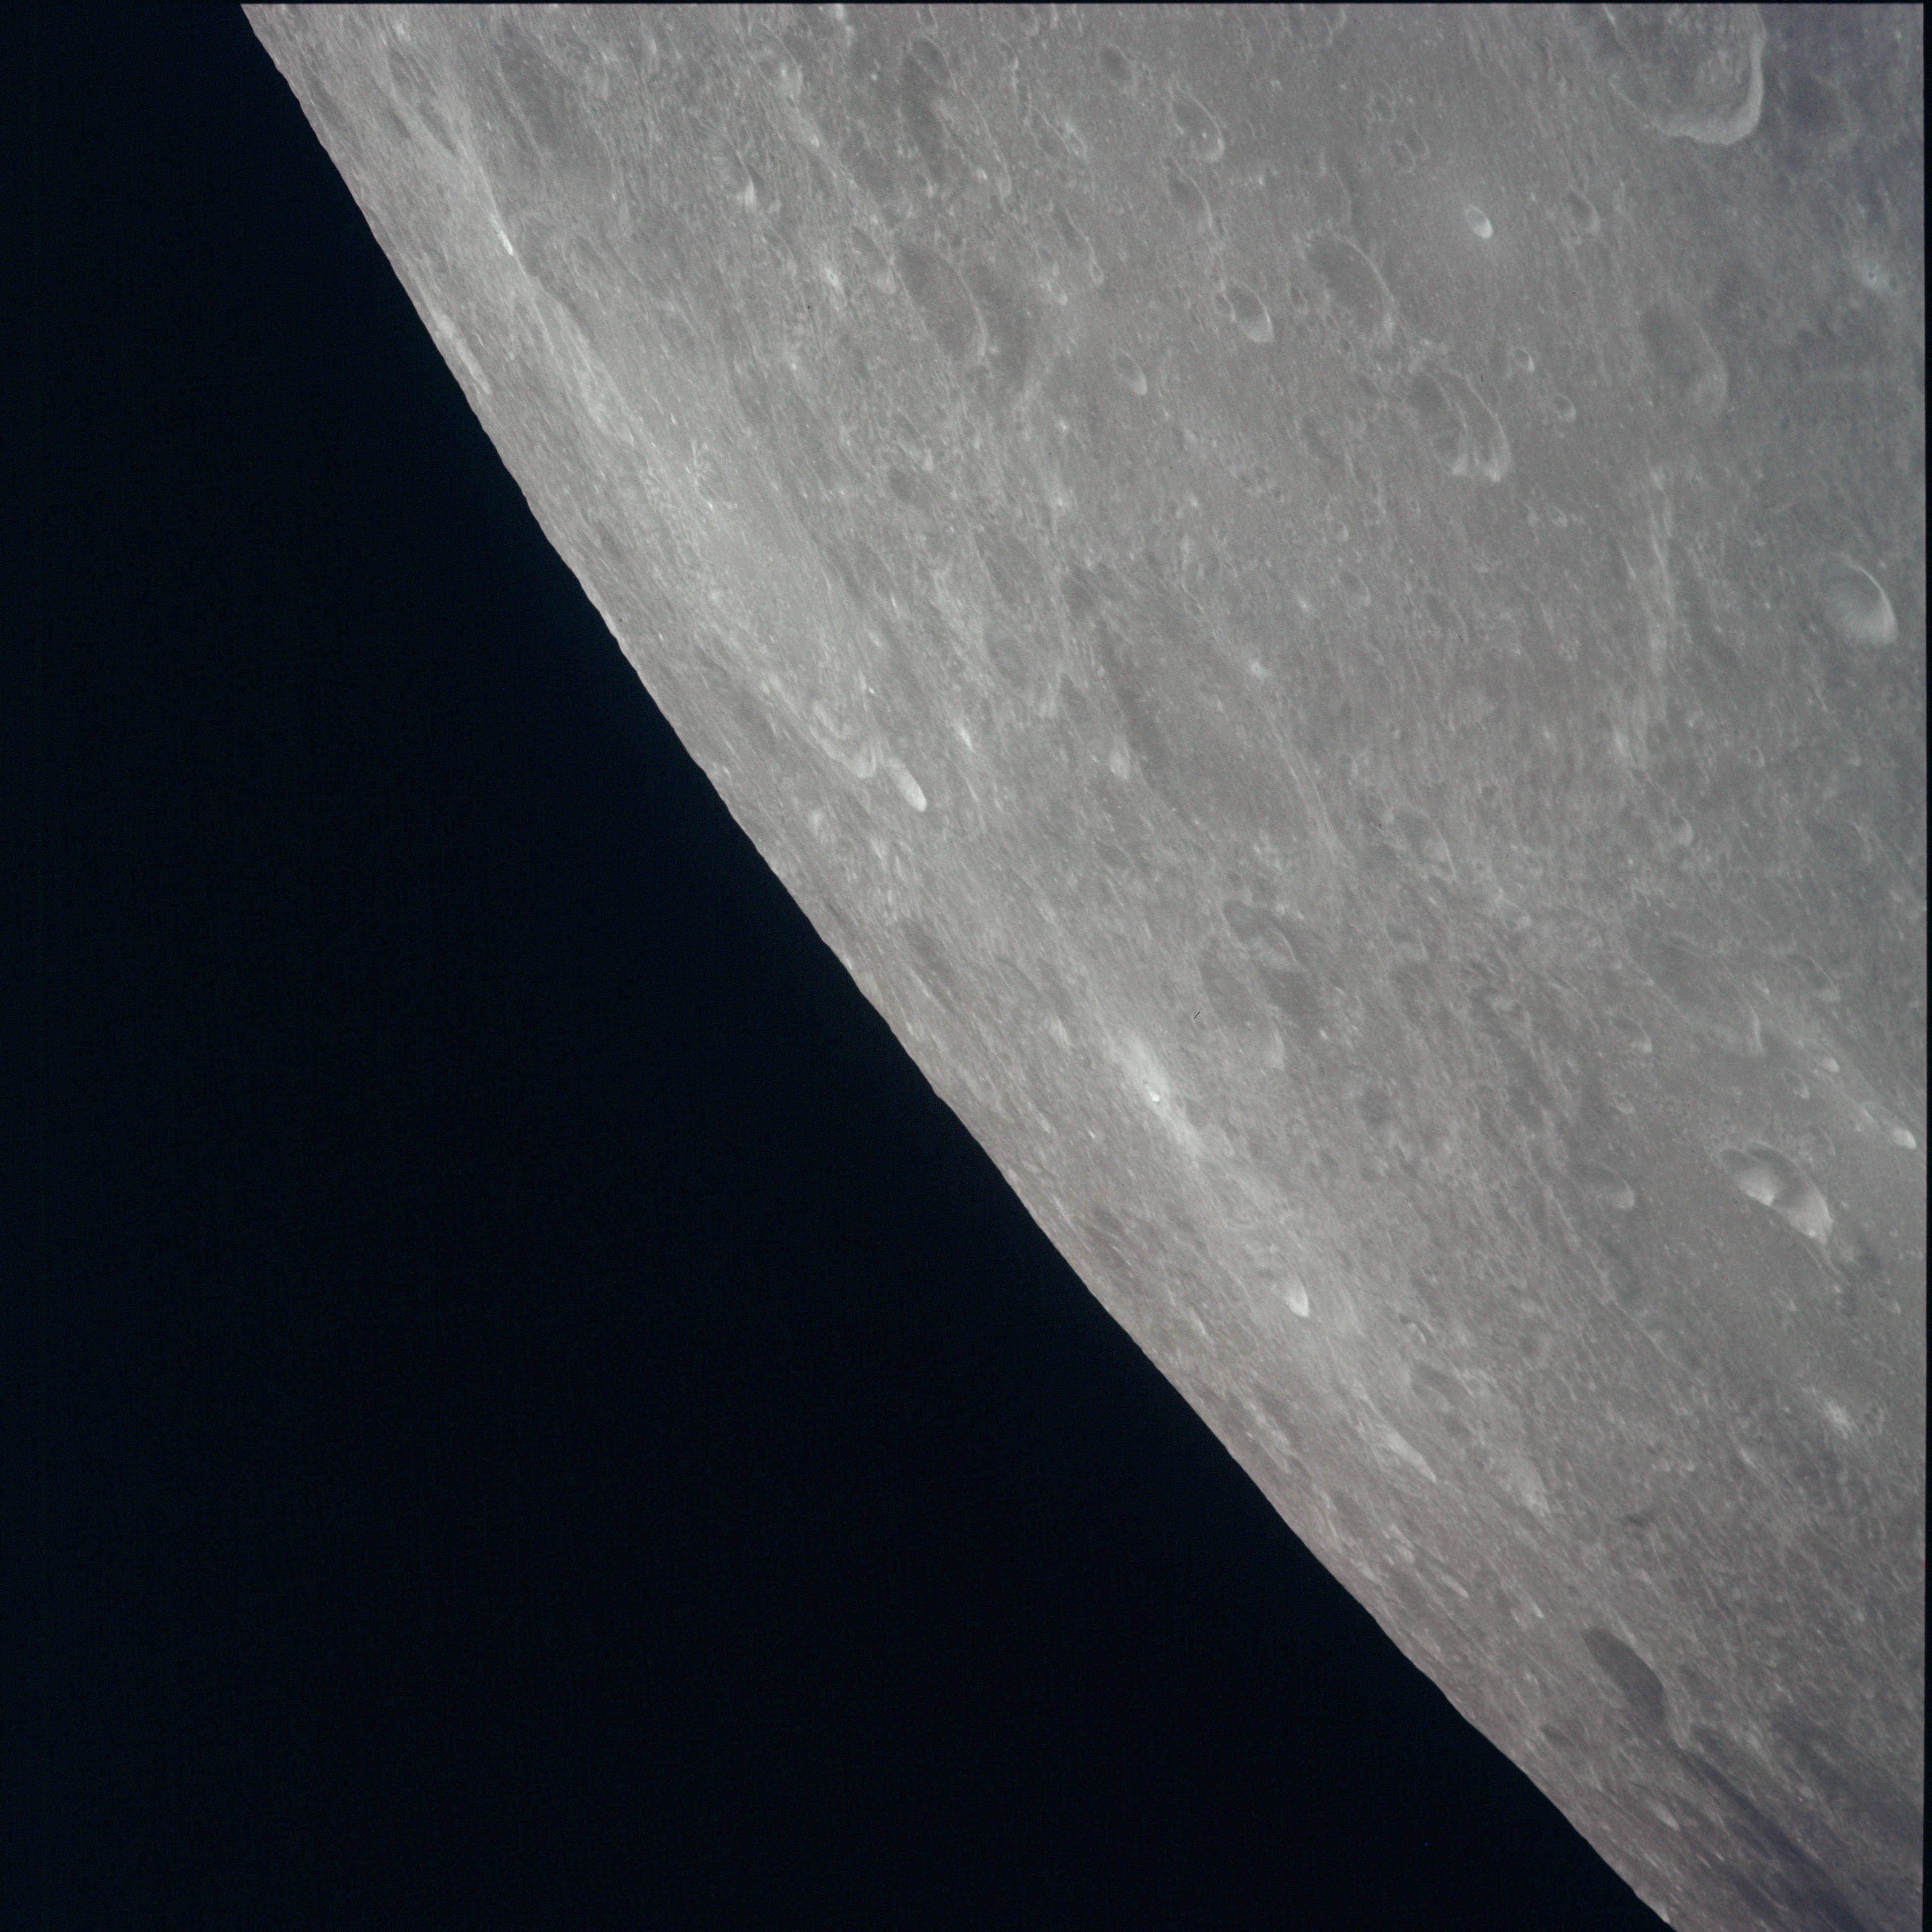 | AS13-60-8644 View southwest taken from the equator near 120°E. At the top edge of frame on the right is the large walled plain, crater Pasteur (224 km), difficult to see in the high Sun. At the lower right edge of frame is the 173-km Hilbert, recognisable by having two overlapping small craters within its floor. Image credit: Image Science and Analysis Laboratory, NASA-Johnson Space Center. |
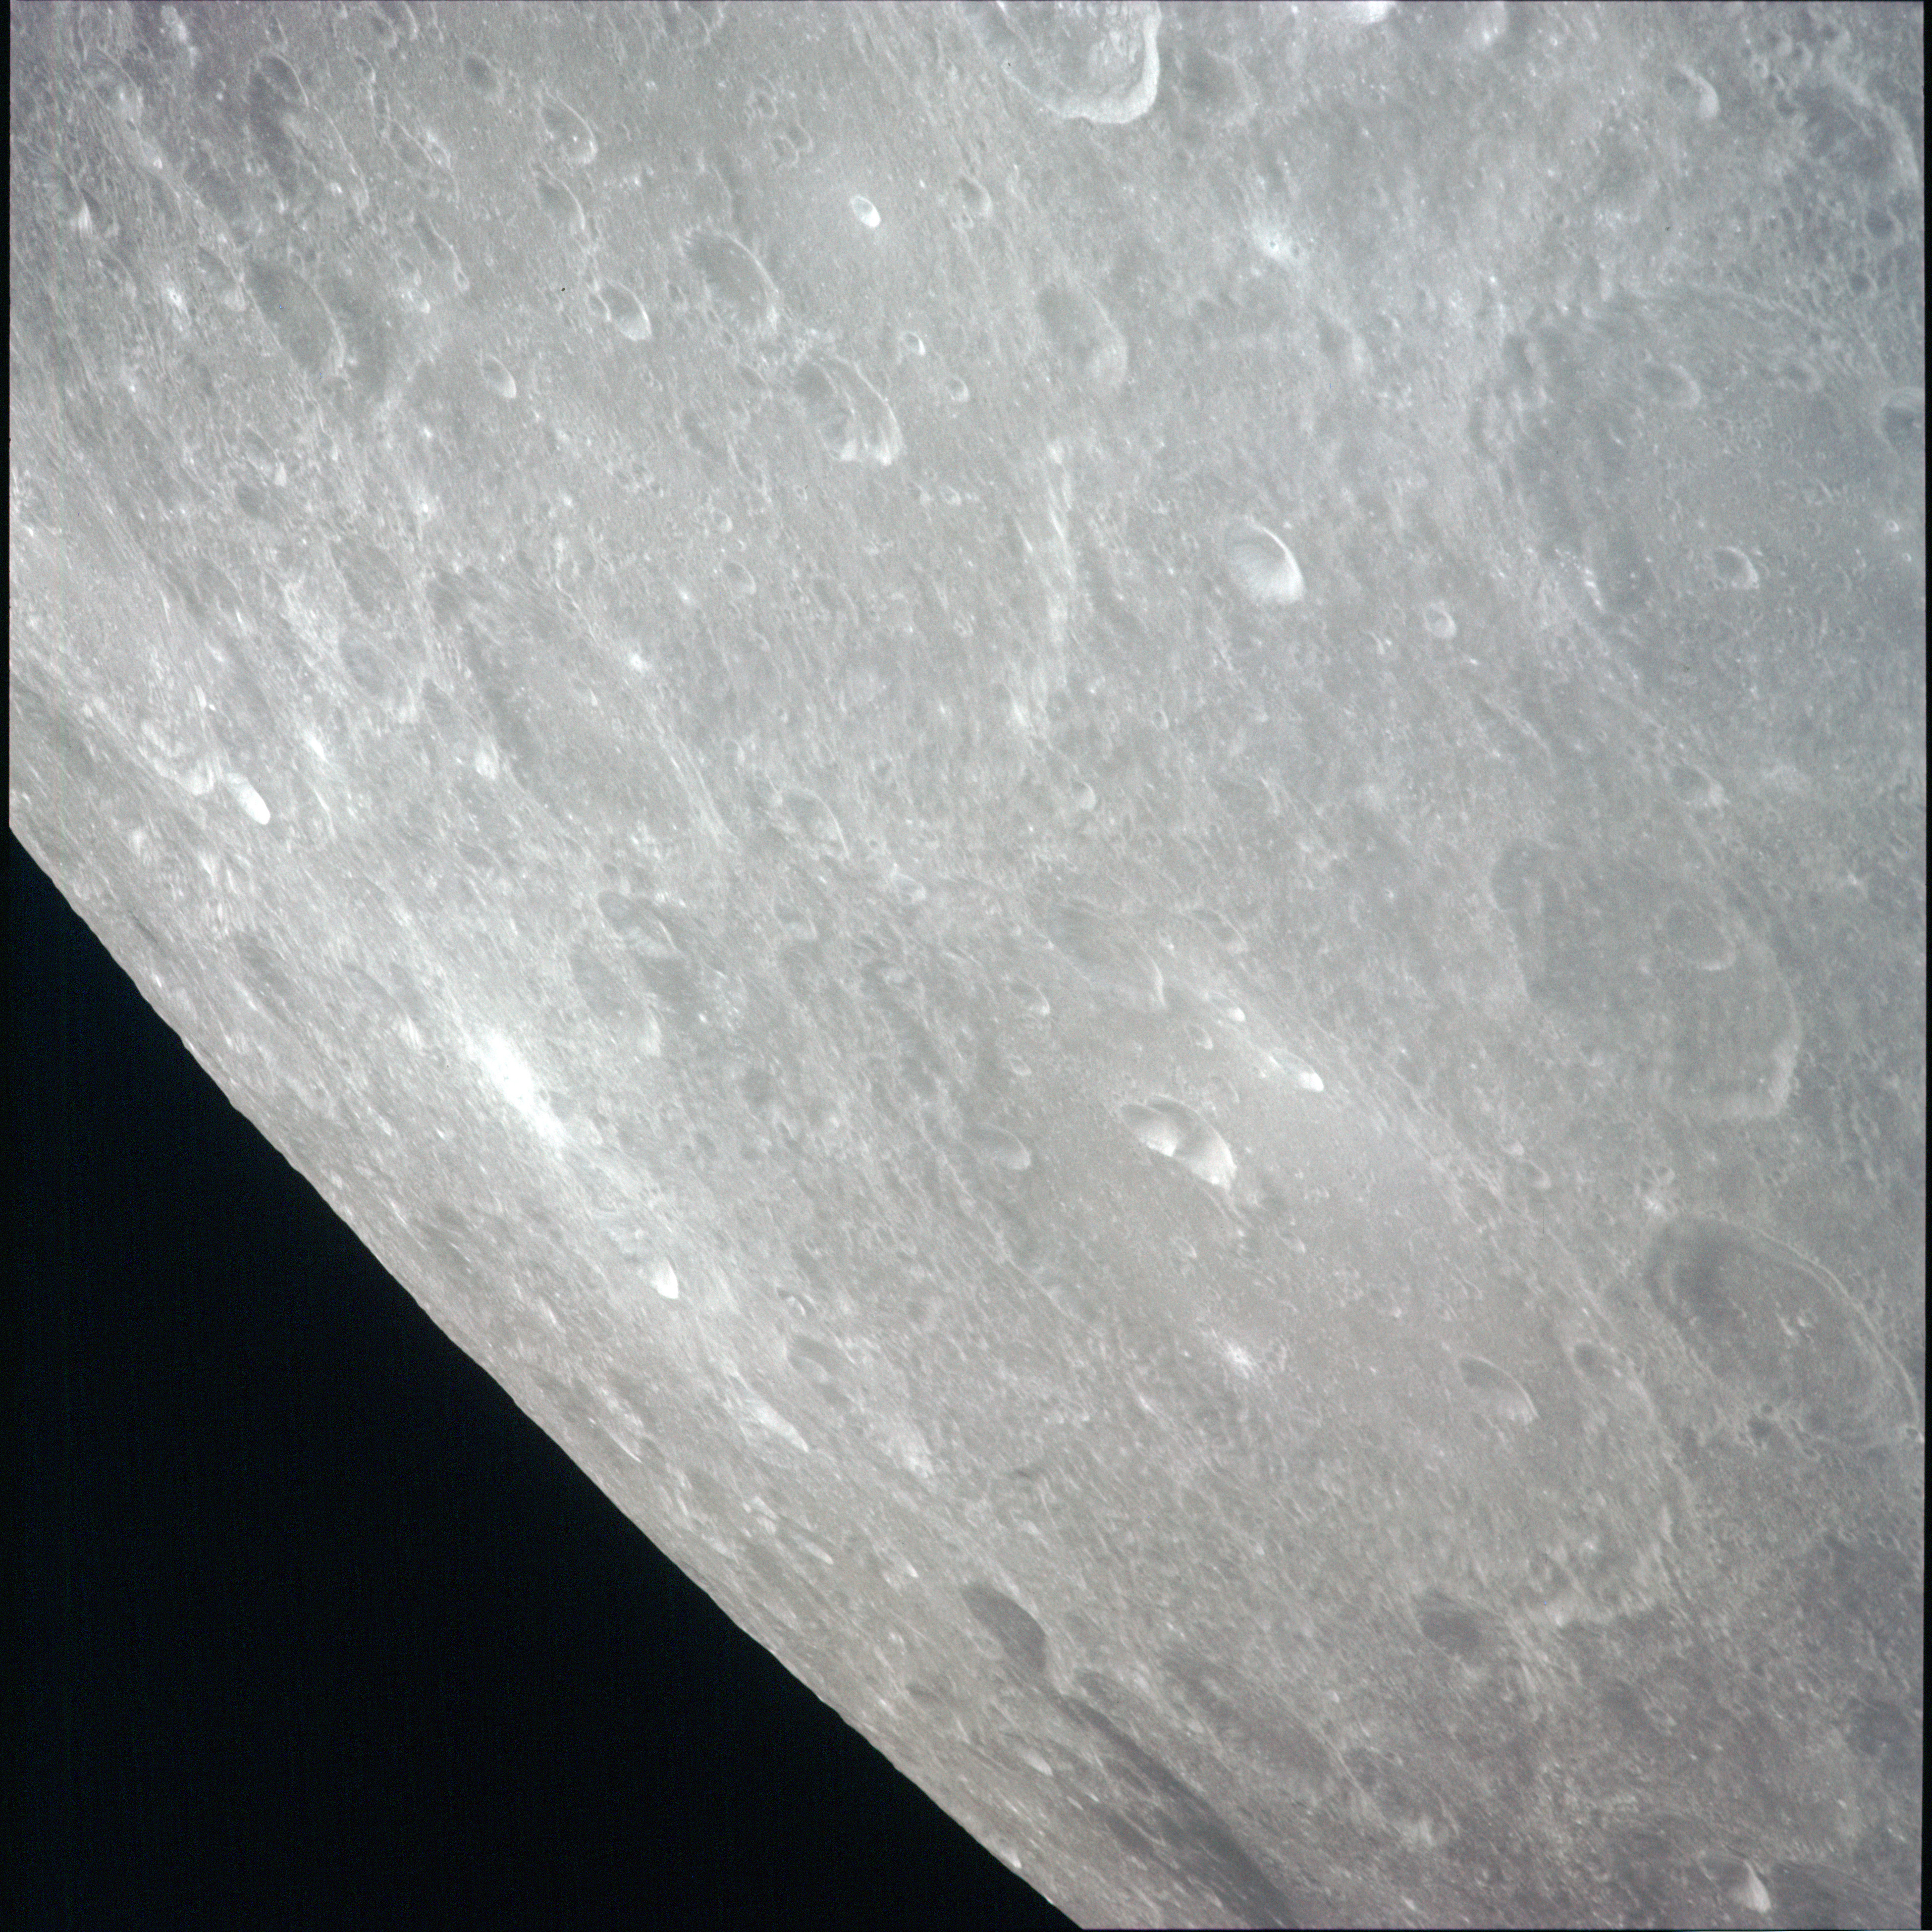 | AS13-60-8645 View southwest taken from the equator near 120°E. At the top edge of frame on the left is the large walled plain, crater Pasteur (224 km), difficult to see in the high Sun. Lower right of centre is the 173-km Hilbert, recognisable by having two bright overlapping small craters within its floor. Image credit: Image Science and Analysis Laboratory, NASA-Johnson Space Center. |
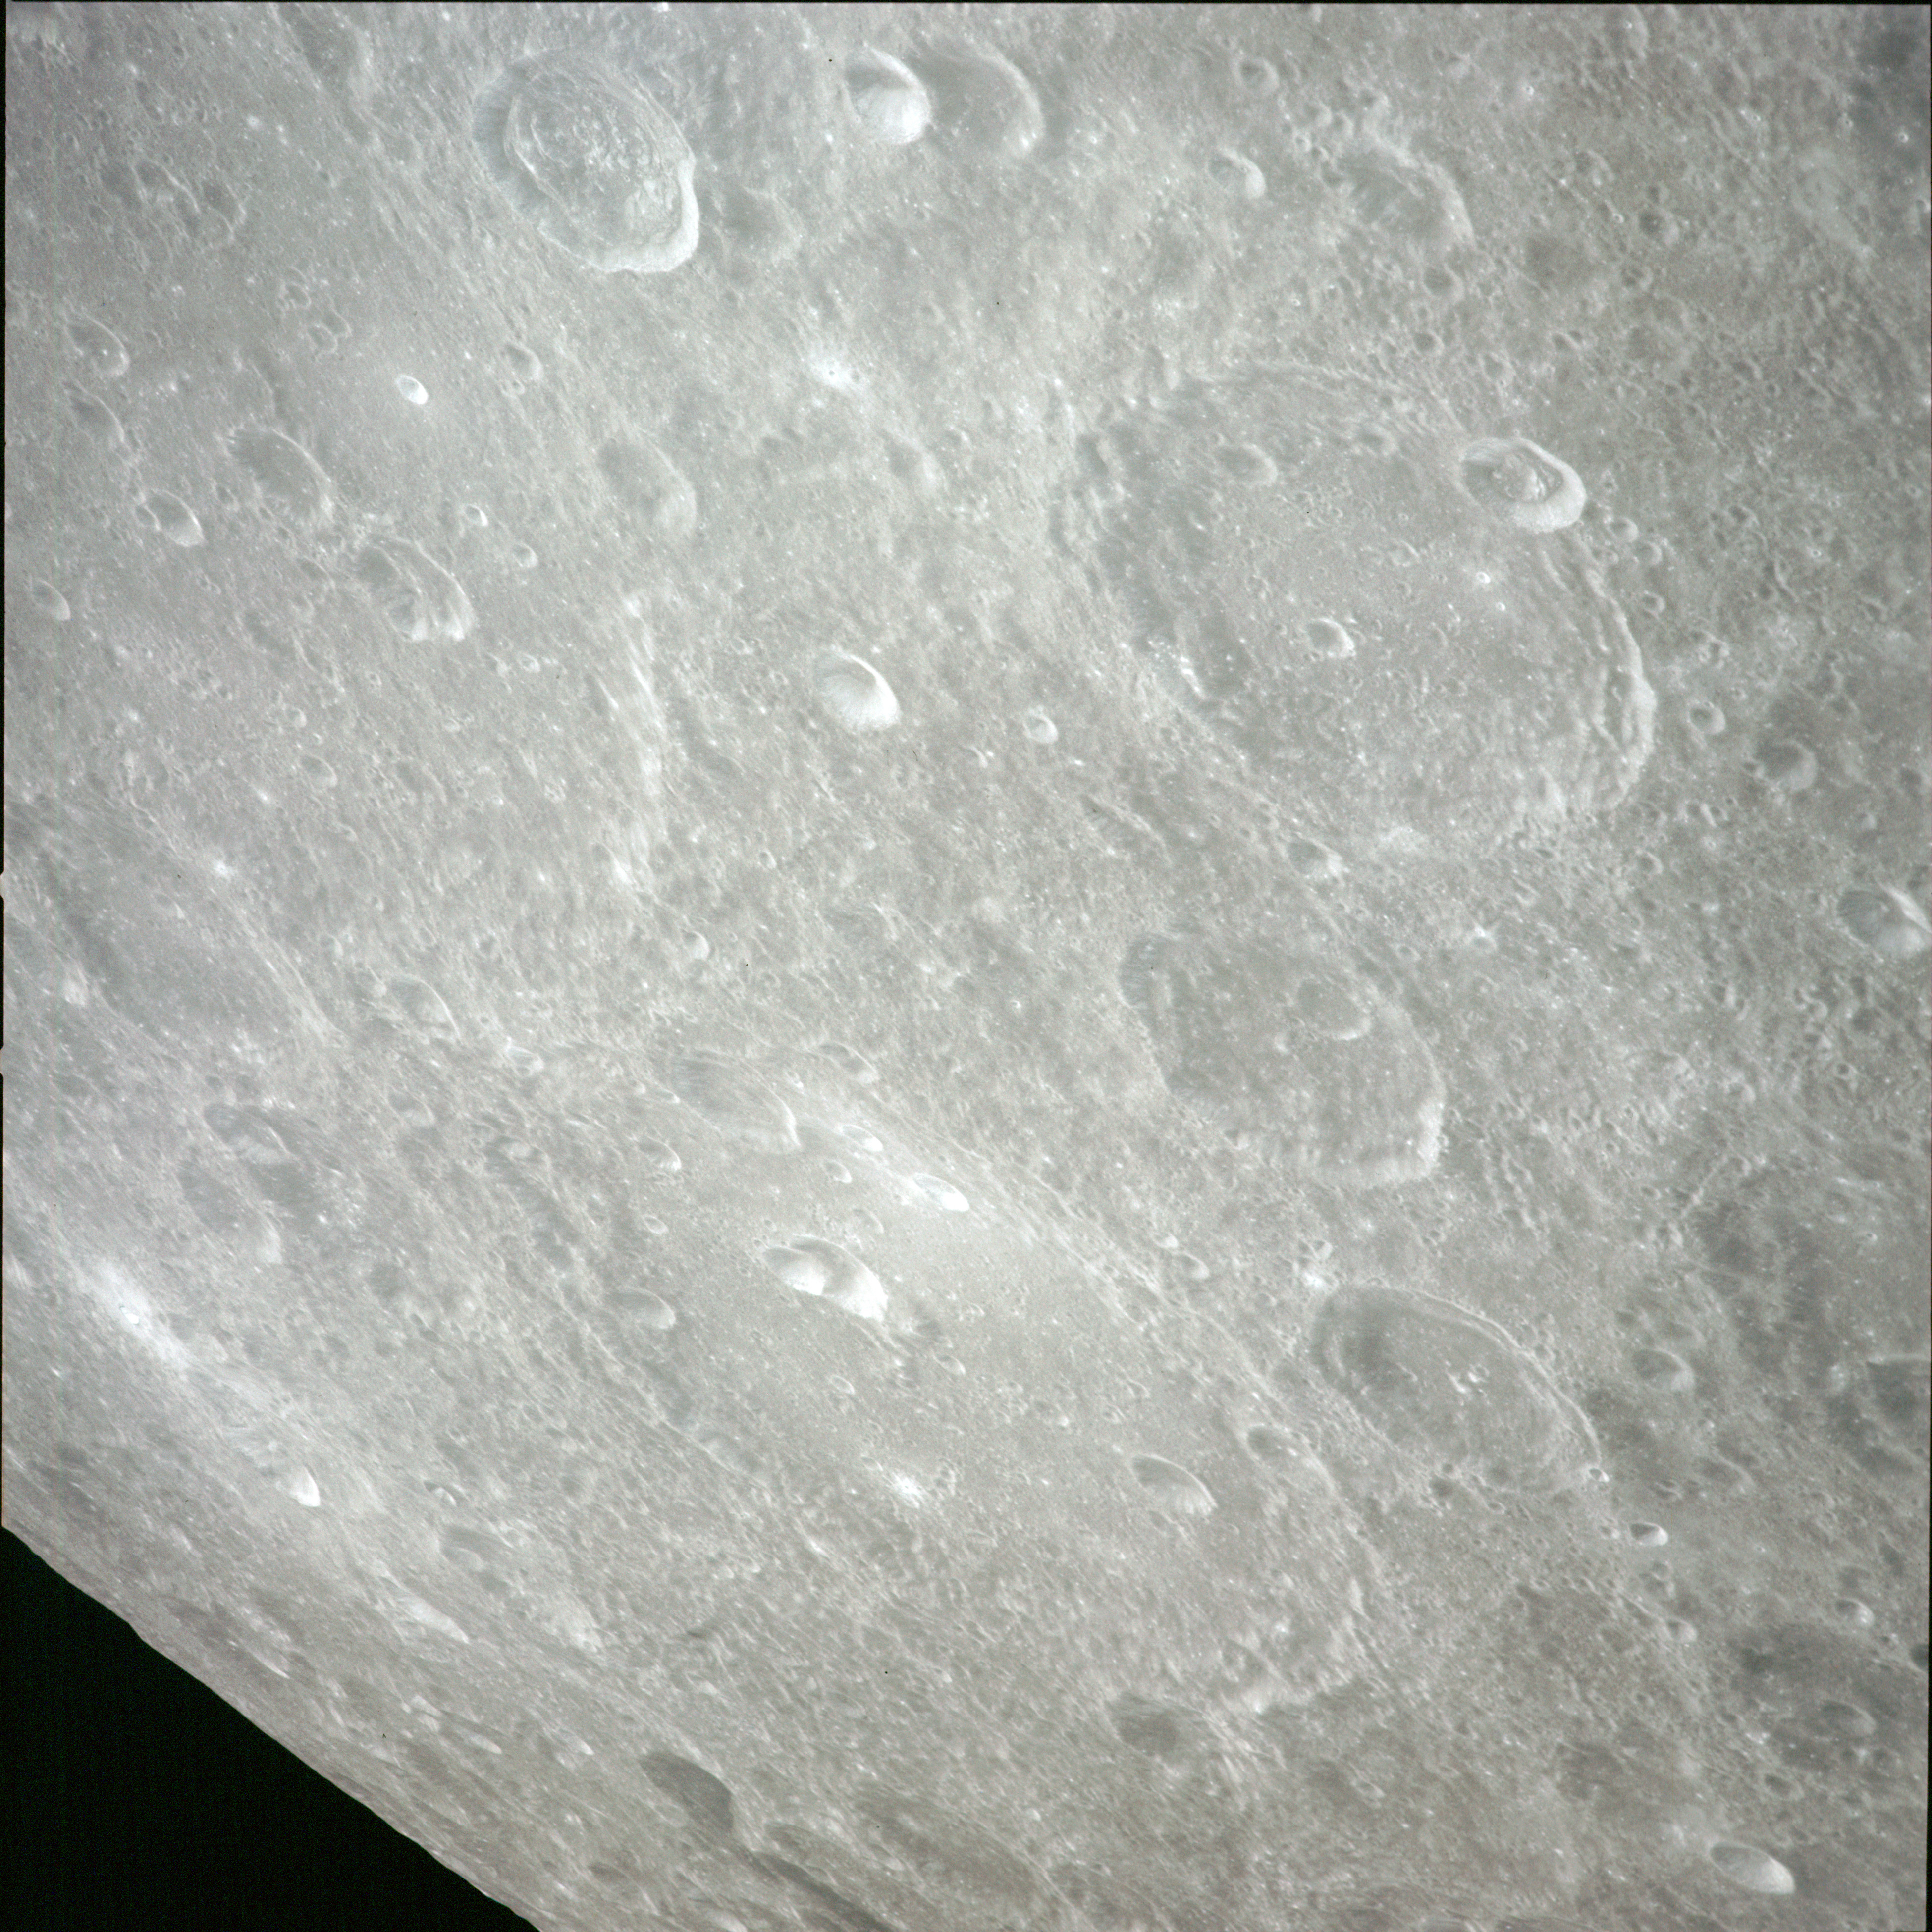 | AS13-60-8646 View southwest taken from the equator near 120°E. Crater Pasteur (224 km) is at left upper edge of frame, difficult to see in the high Sun. Below centre is the 173-km Hilbert, recognisable by having two overlapping small craters within its floor. Upper right of centre is the 87-km crater Meitner with a distinctive small crater puncturing its northeast wall. Image credit: Image Science and Analysis Laboratory, NASA-Johnson Space Center. |
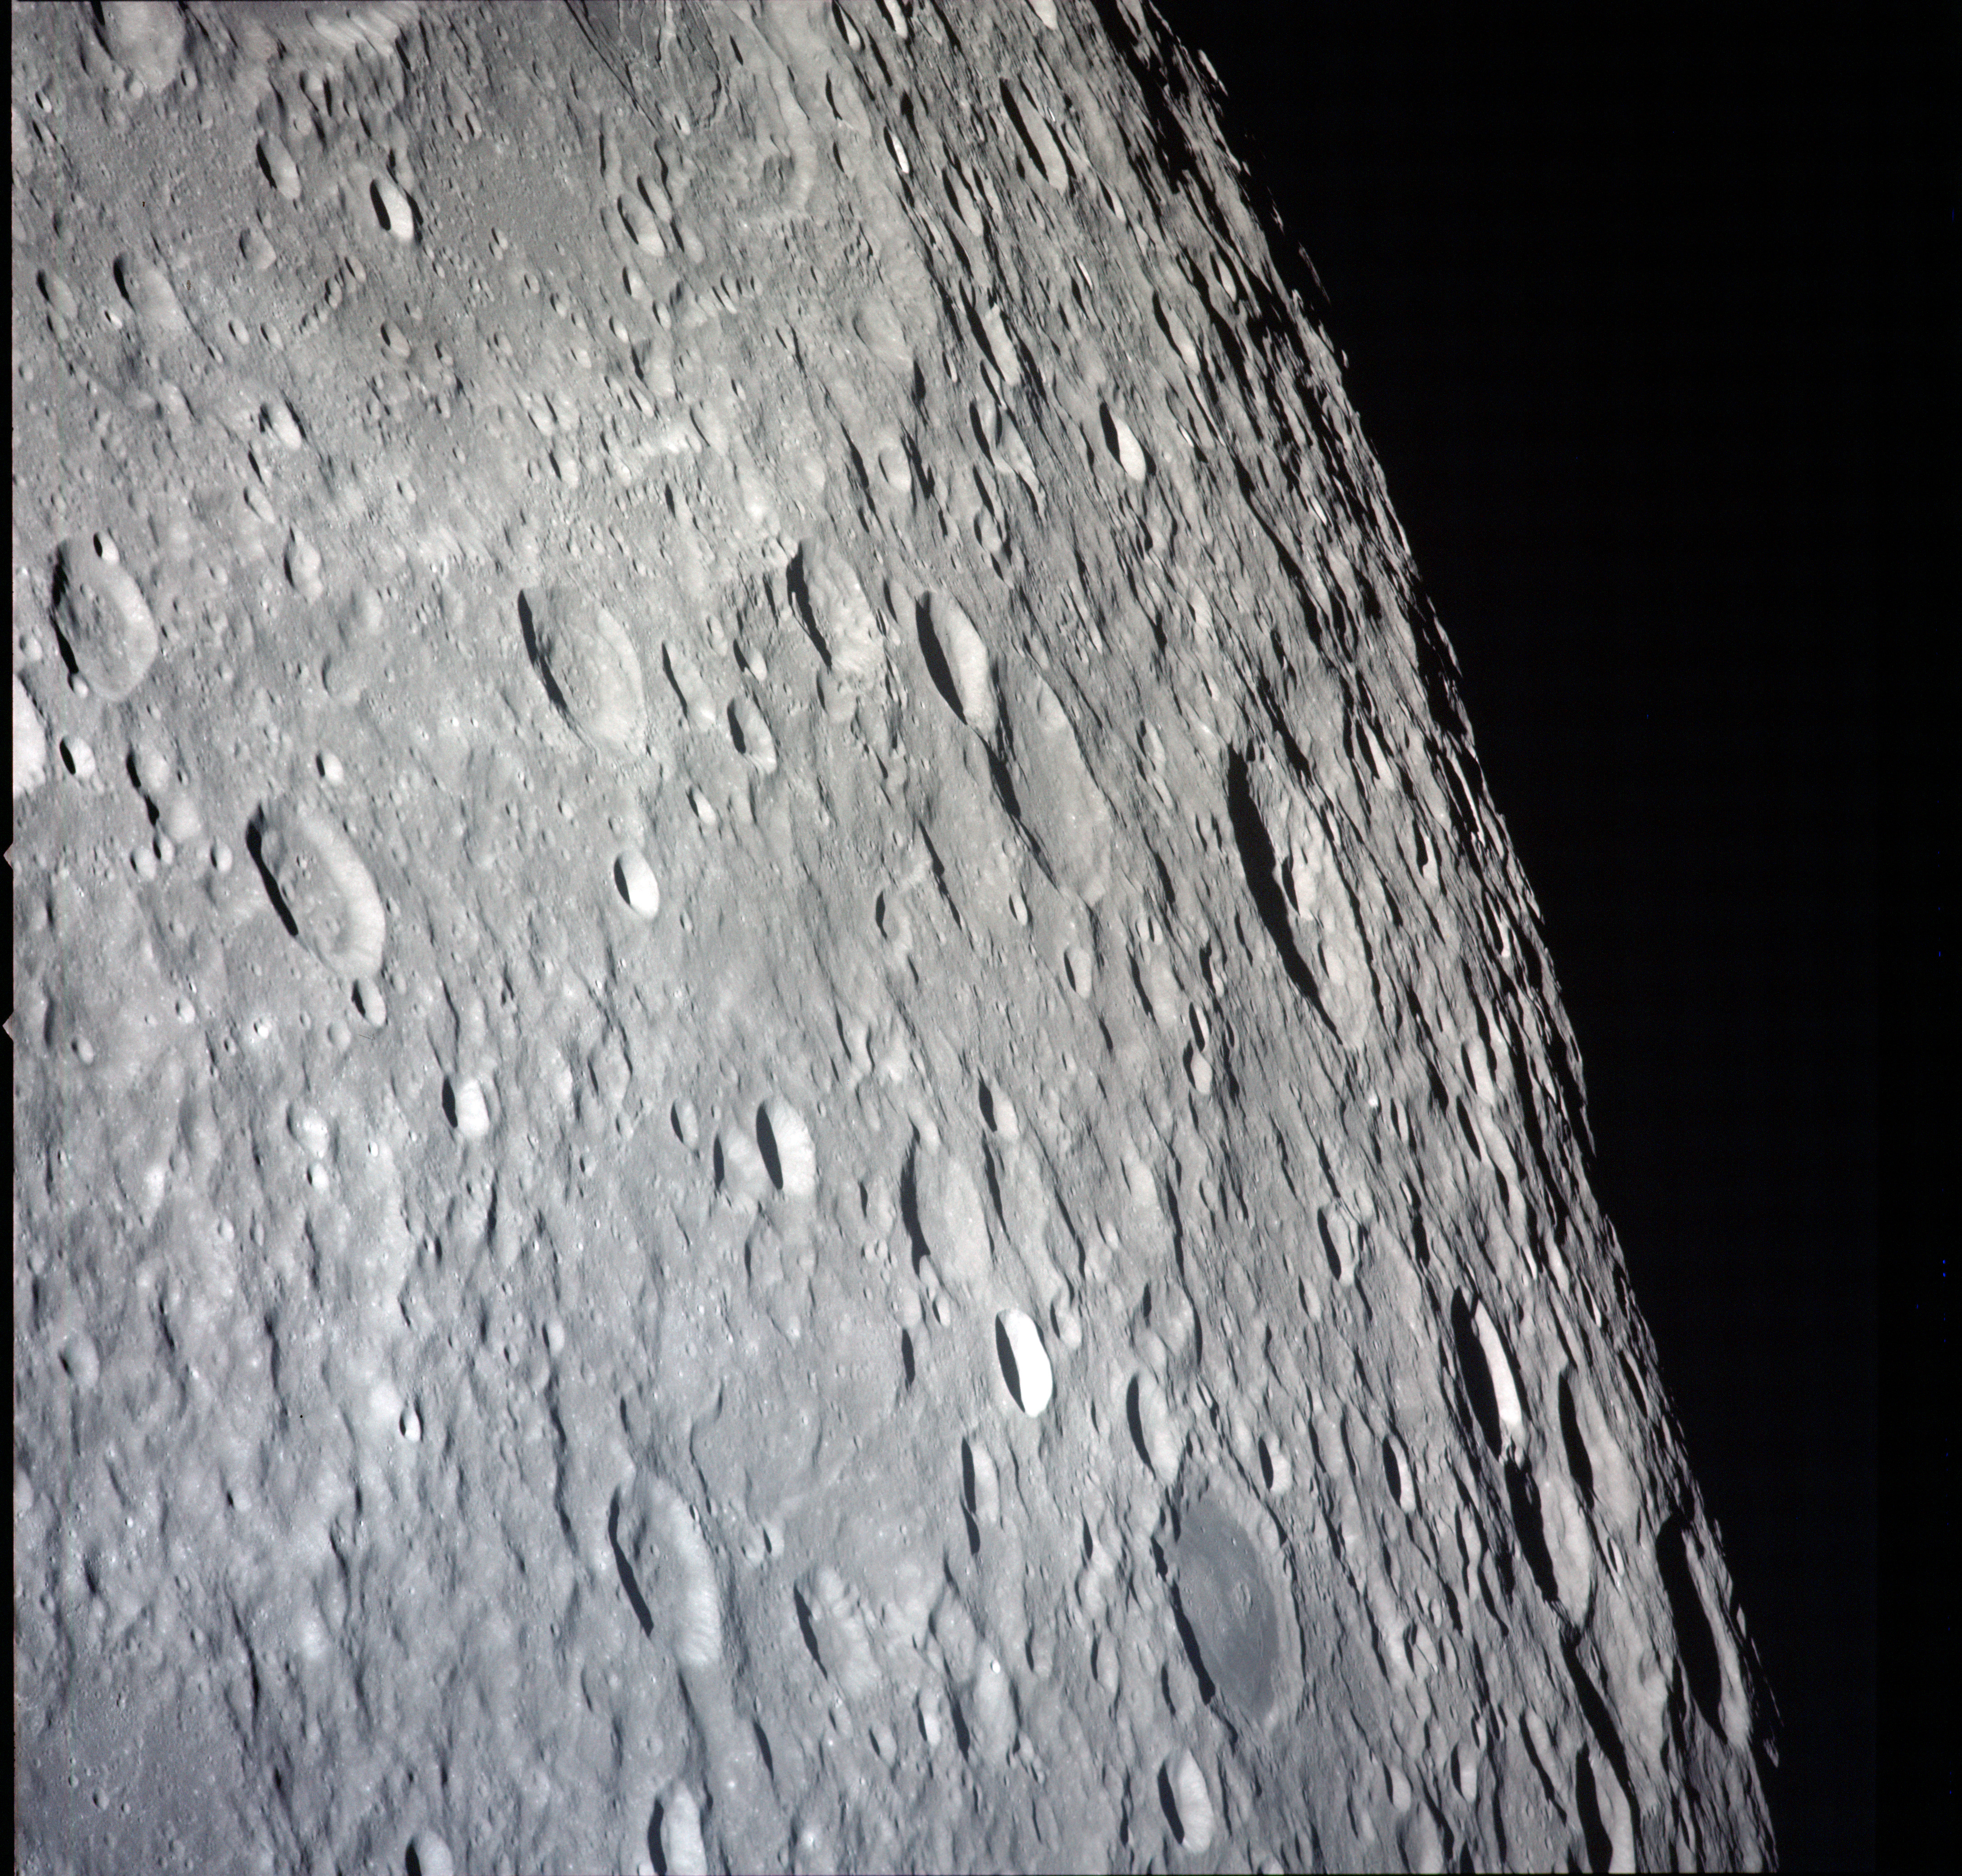 | AS13-60-8647 View east-northeast towards the sunset terminator. Prominent crater right of centre is Konstantinov (66 km). The flat-floored crater near lower edge is Kohlsch�tter (53 km). The southeastern rim of the Moscoviense Basin is at the upper left with the fractured floor crater, Komarov, cut off at the upper centre. Image credit: Image Science and Analysis Laboratory, NASA-Johnson Space Center. |
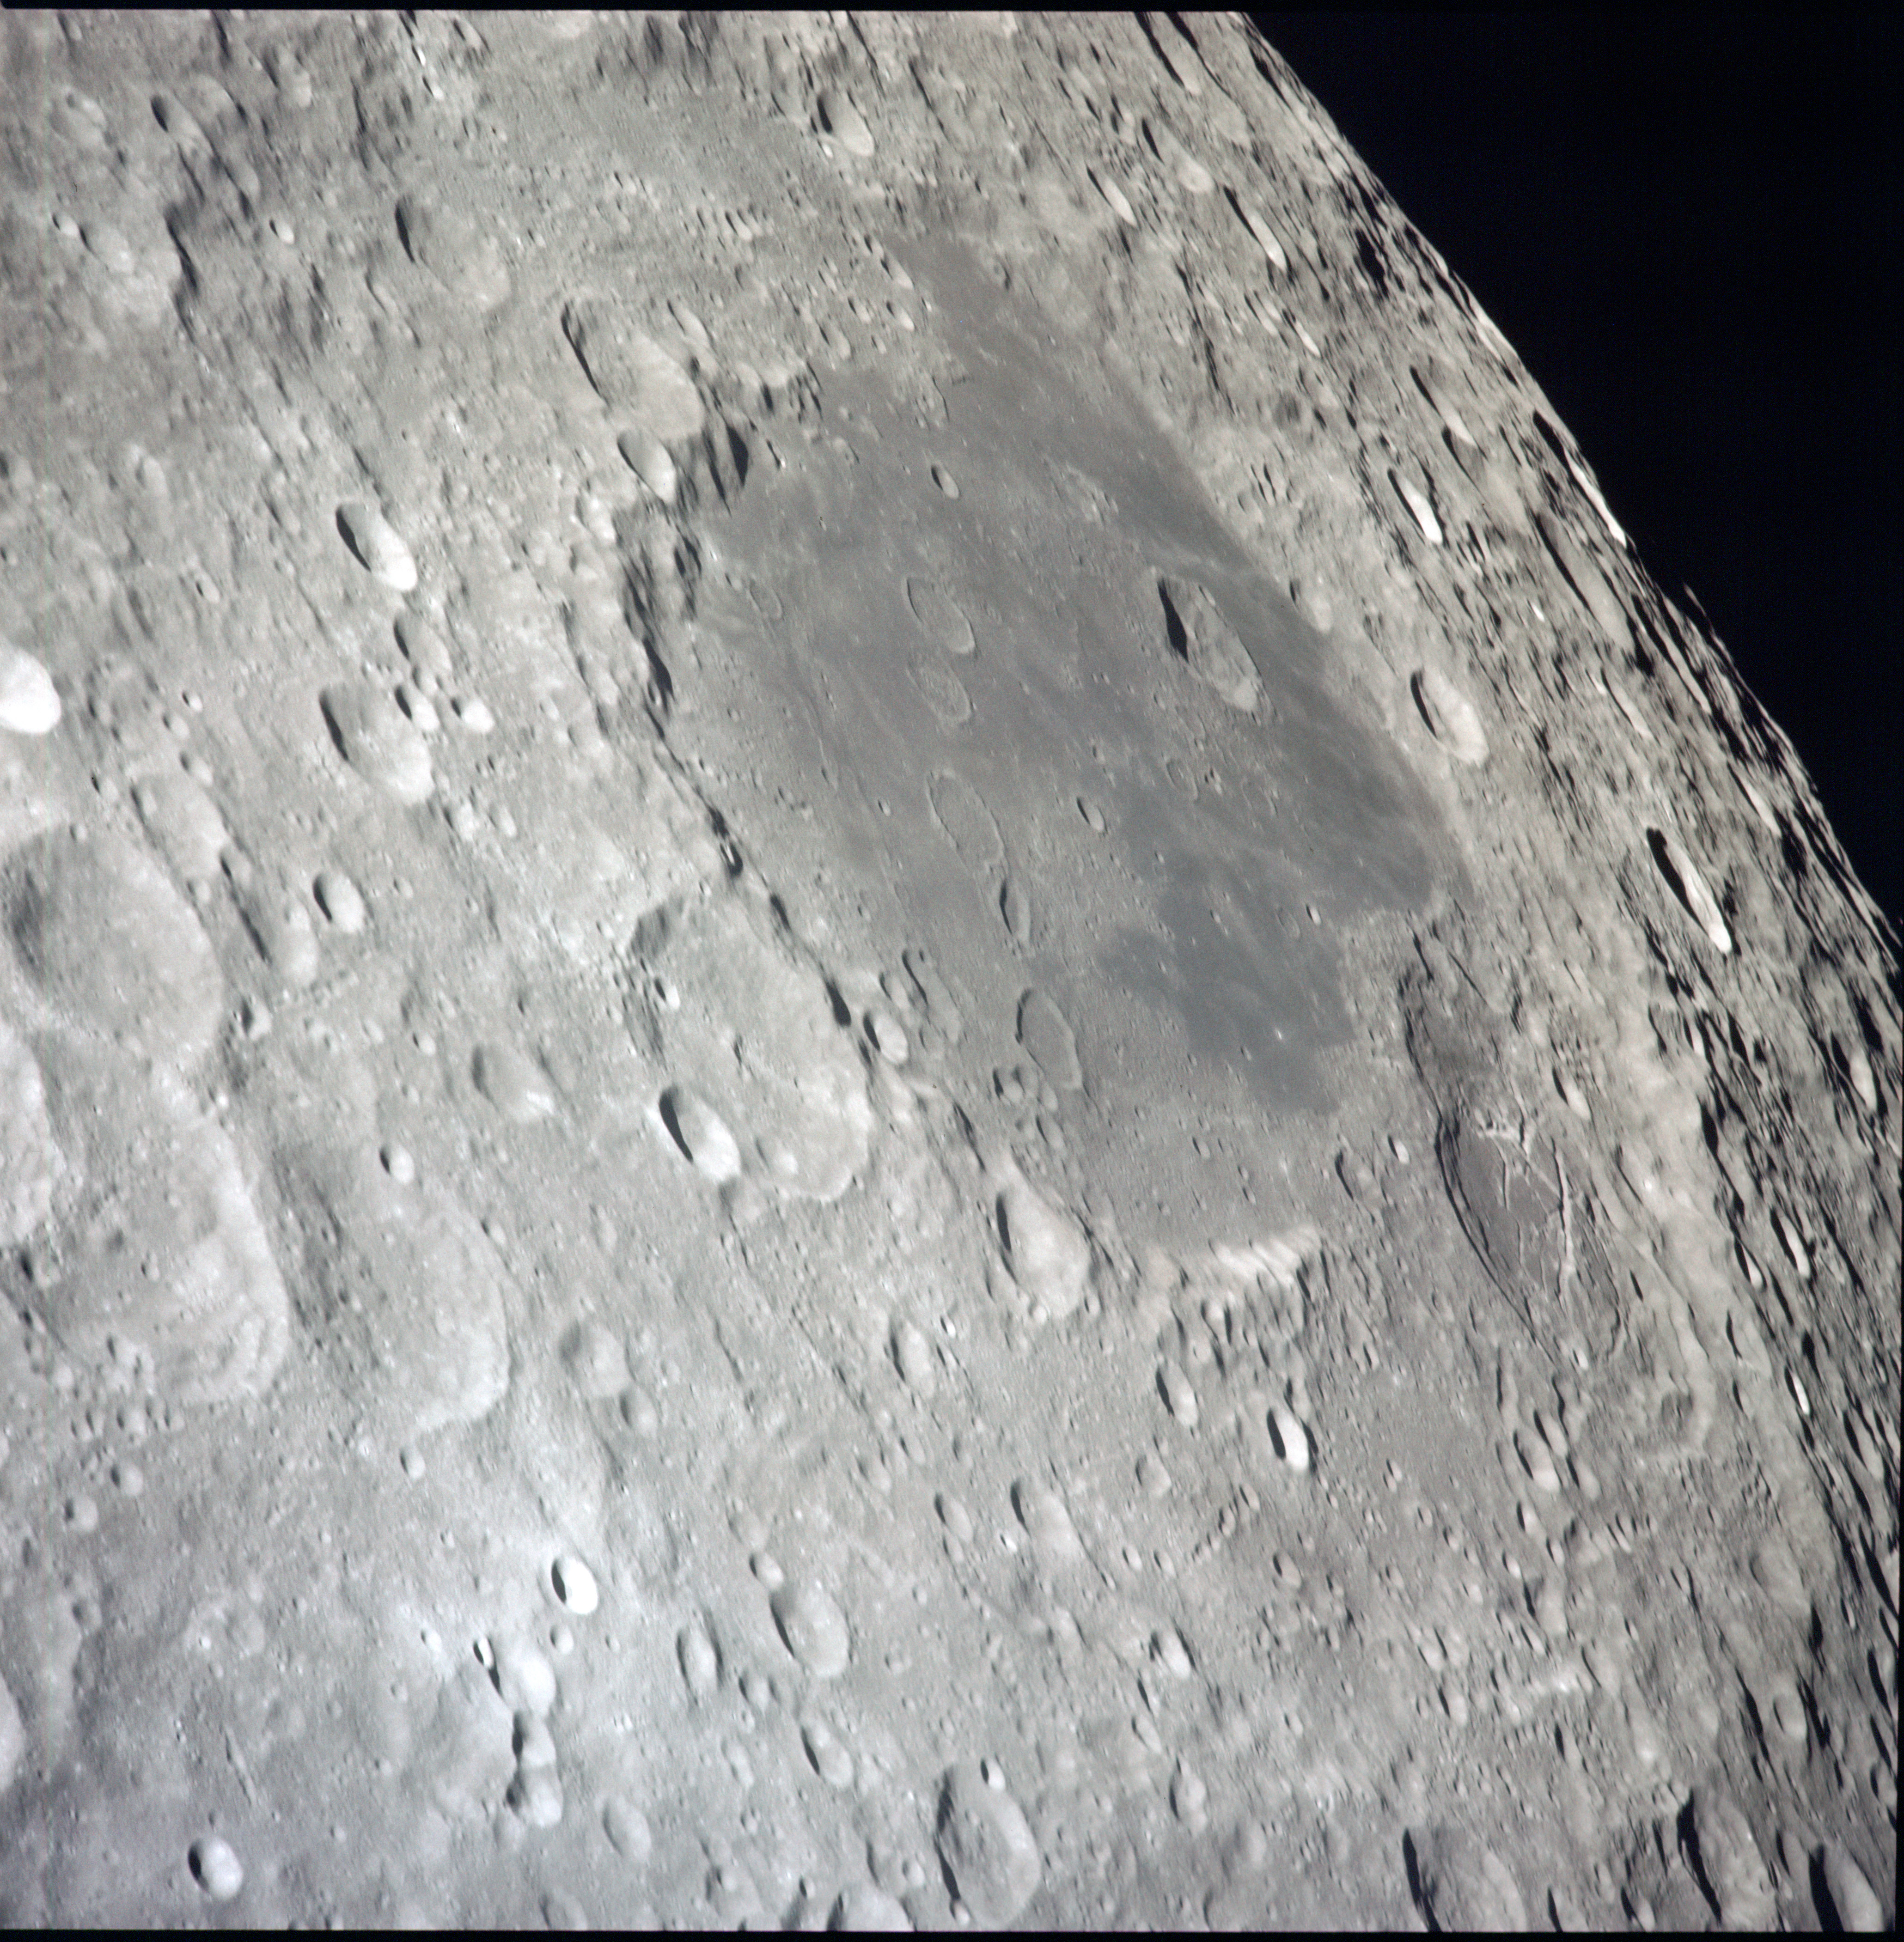 | AS13-60-8648 Mare Moscoviense and the whole of the Moscoviense Basin. The fractured floor crater, Komarov (78 km) is at the lower right of the mare.< Image credit: Image Science and Analysis Laboratory, NASA-Johnson Space Center. |
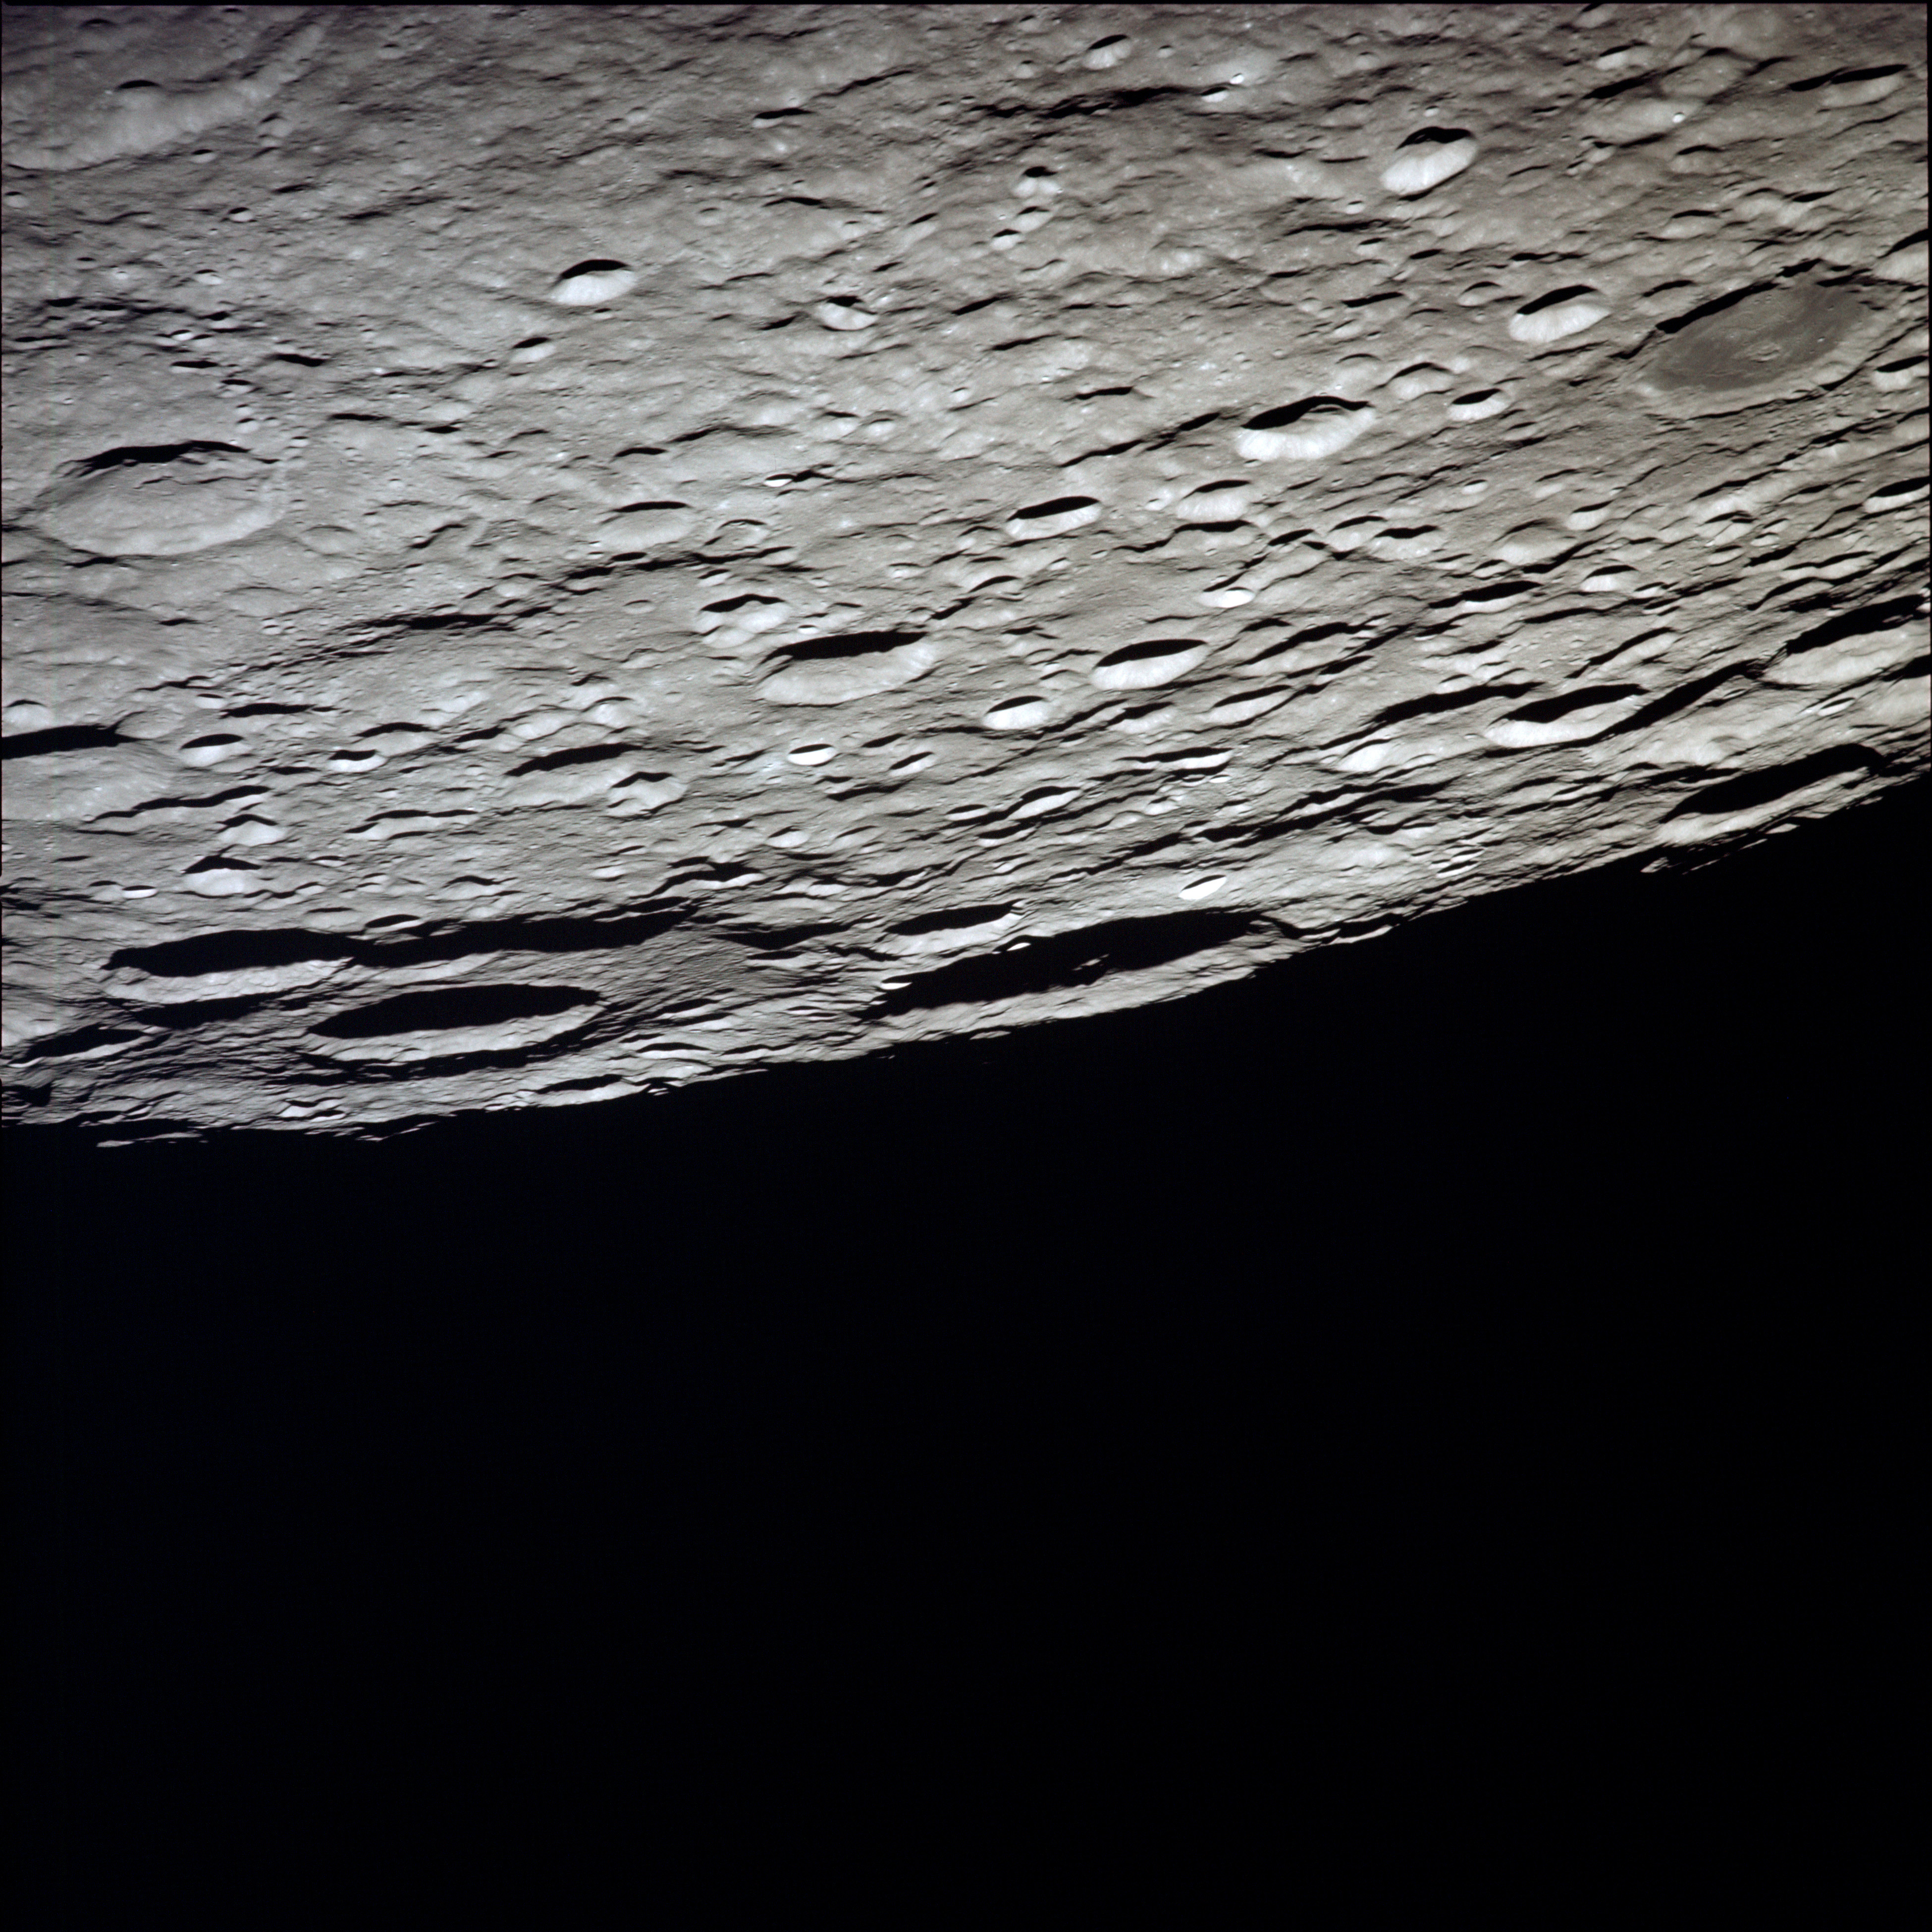 | AS13-60-8649 View east-northeast towards the sunset terminator. Prominent crater in the centre is Papaleksi (97 km). To its left is a large and very eroded 197-km crater, Mandel'shtam, whose west-southwestern rim has been obliterated by Mandel'shtam R (57 km) and its centre replaced by the 64-km Mandel'shtam A. Image credit: Image Science and Analysis Laboratory, NASA-Johnson Space Center. |
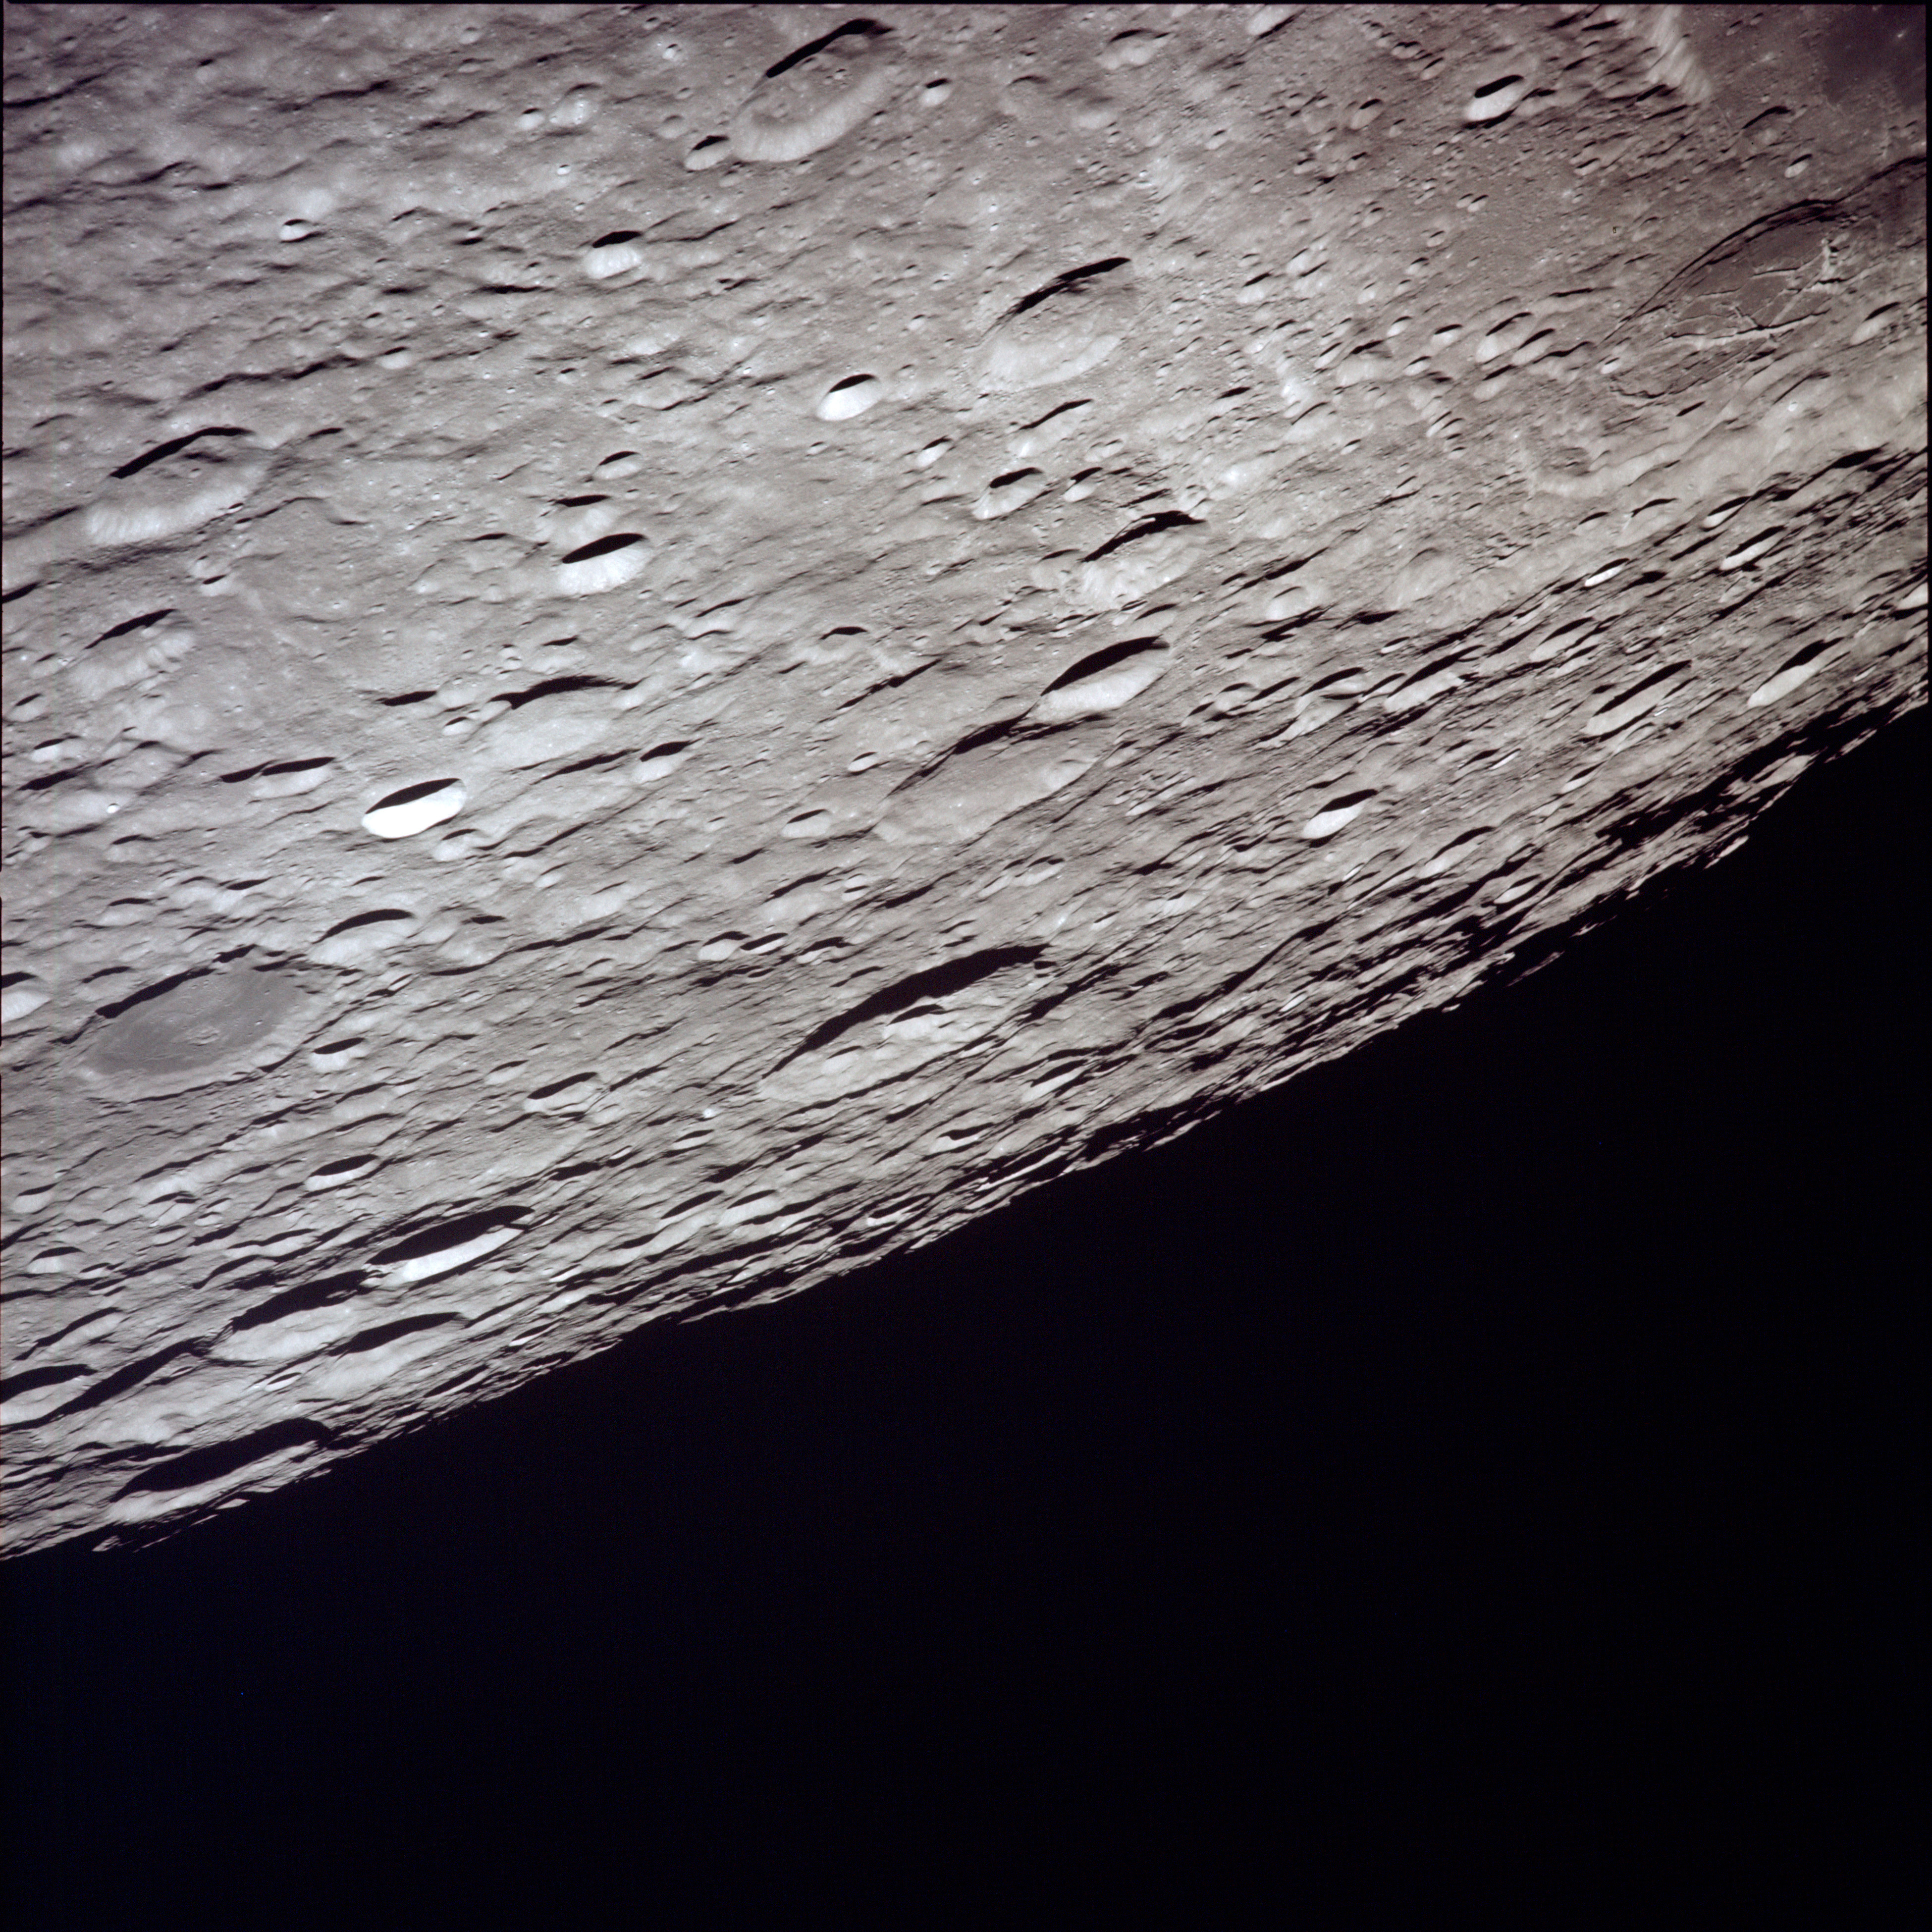 | AS13-60-8650 View east-northeast towards the sunset terminator. Prominent crater lower left of centre is Konstantinov (66 km). The flat-floored crater near the left edge is Kohlsch�tter (53 km). The southeastern rim of the Moscoviense Basin is at the upper right with the fractured floor crater, Komarov, near the upper right edge. Image credit: Image Science and Analysis Laboratory, NASA-Johnson Space Center. |
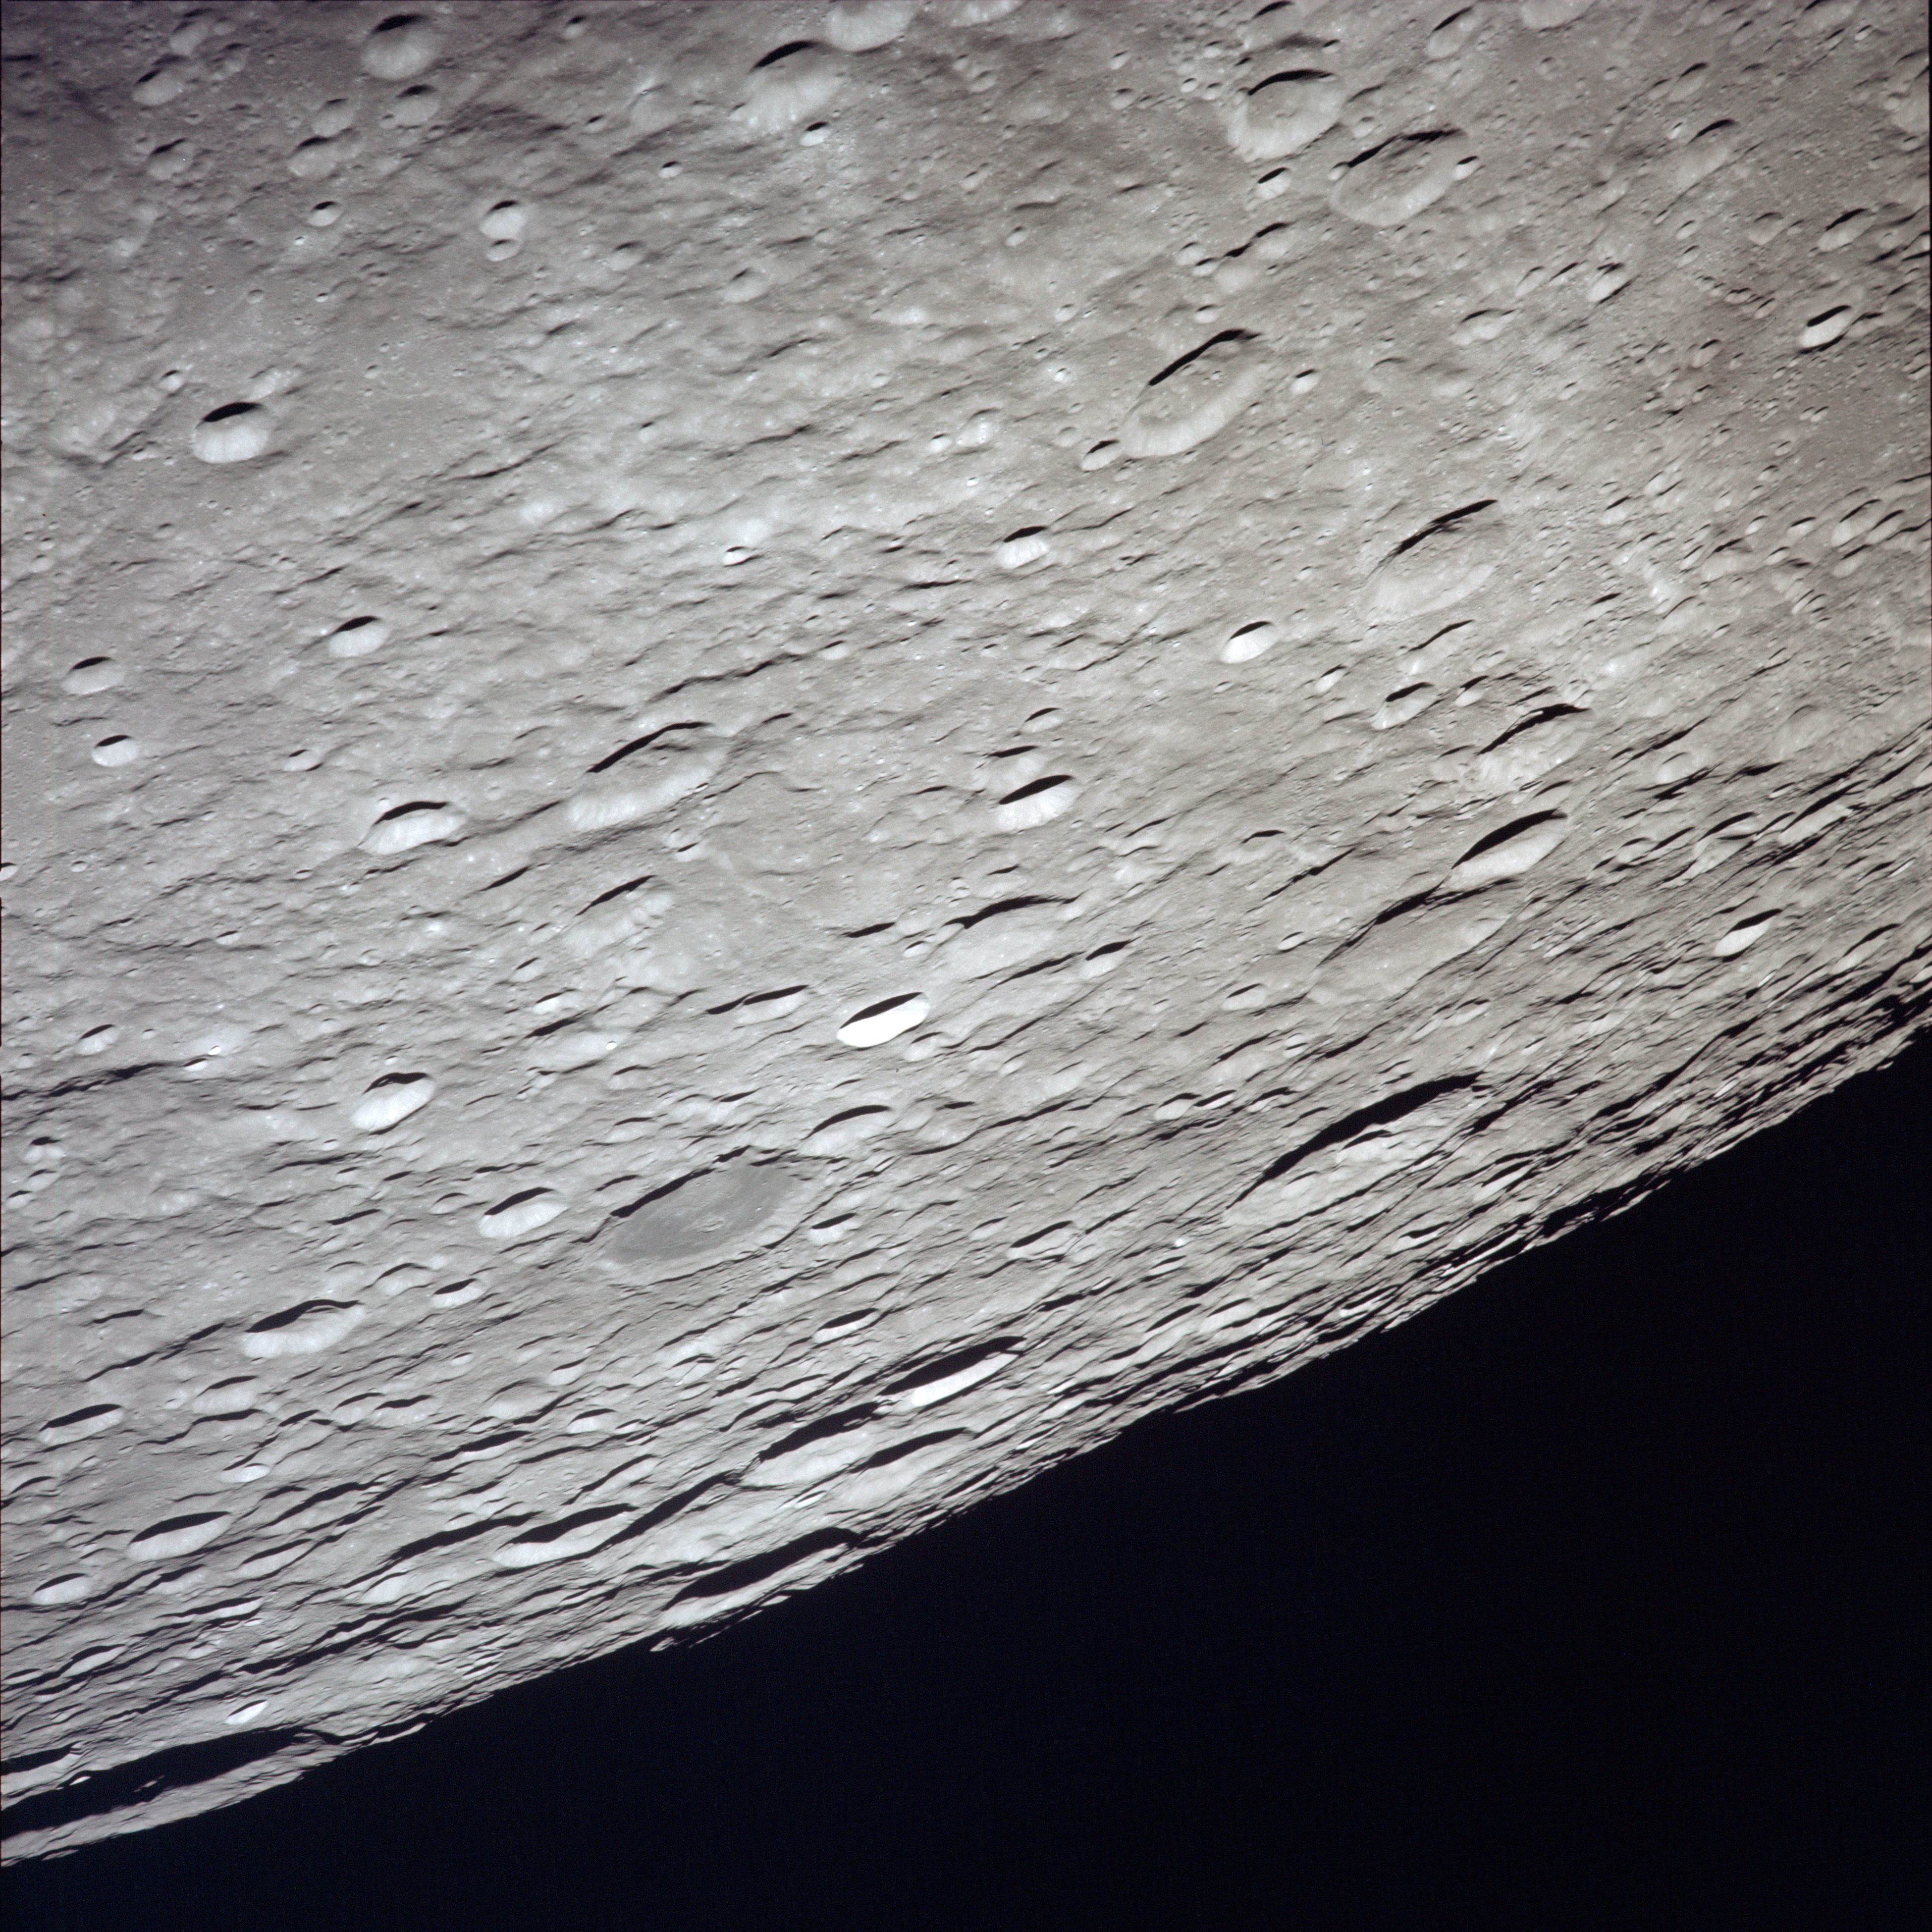 | AS13-60-8651 View east-northeast towards the sunset terminator. Prominent crater lower right of centre is Konstantinov (66 km). The flat-floored crater lower left of centre is Kohlsch�tter (53 km). The southeastern rim of the Moscoviense Basin is at the upper right. Image credit: Image Science and Analysis Laboratory, NASA-Johnson Space Center. |
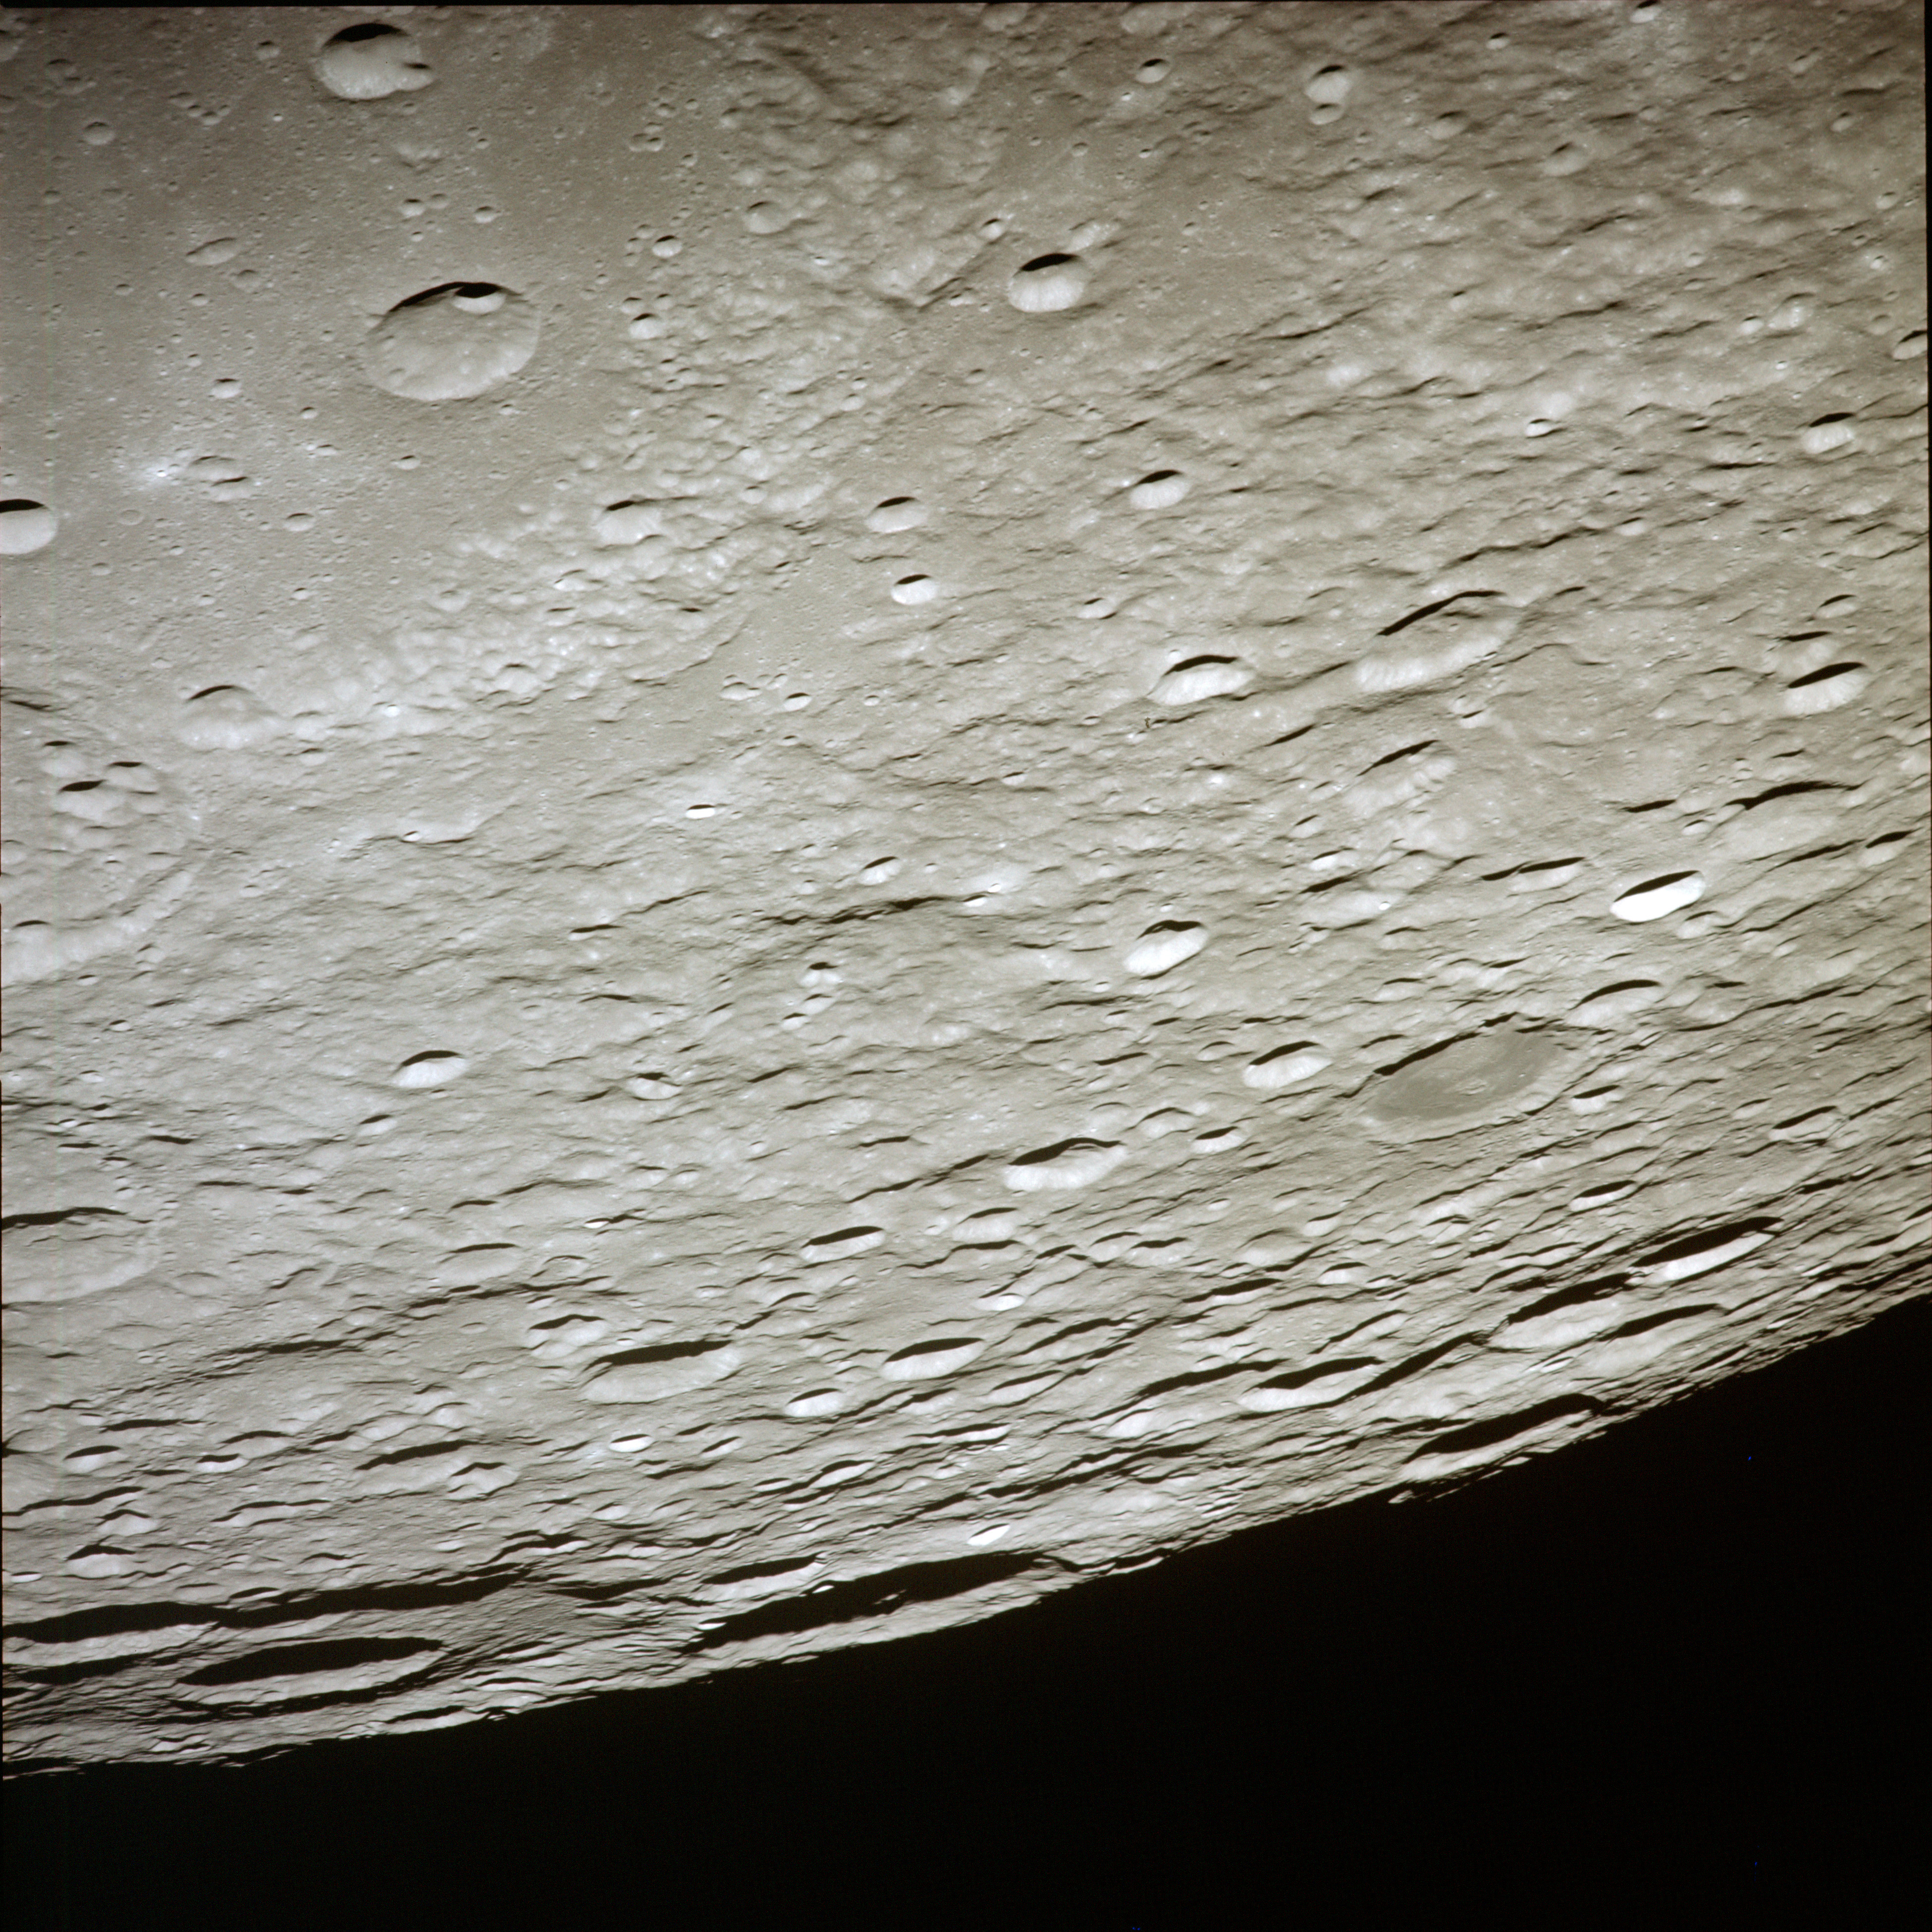 | AS13-60-8652 View east-northeast towards the sunset terminator. The flat-floored crater right of centre is Kohlsch�tter (53 km). Prominent crater at lower centre on the terminator is Papaleksi (97 km). To its left, partially cut off at the left edge is a large and very eroded 197-km crater, Mandel'shtam, whose west-southwestern rim has been obliterated by Mandel'shtam R (57 km) and its centre replaced by the 64-km Mandel'shtam A. Image credit: Image Science and Analysis Laboratory, NASA-Johnson Space Center. |
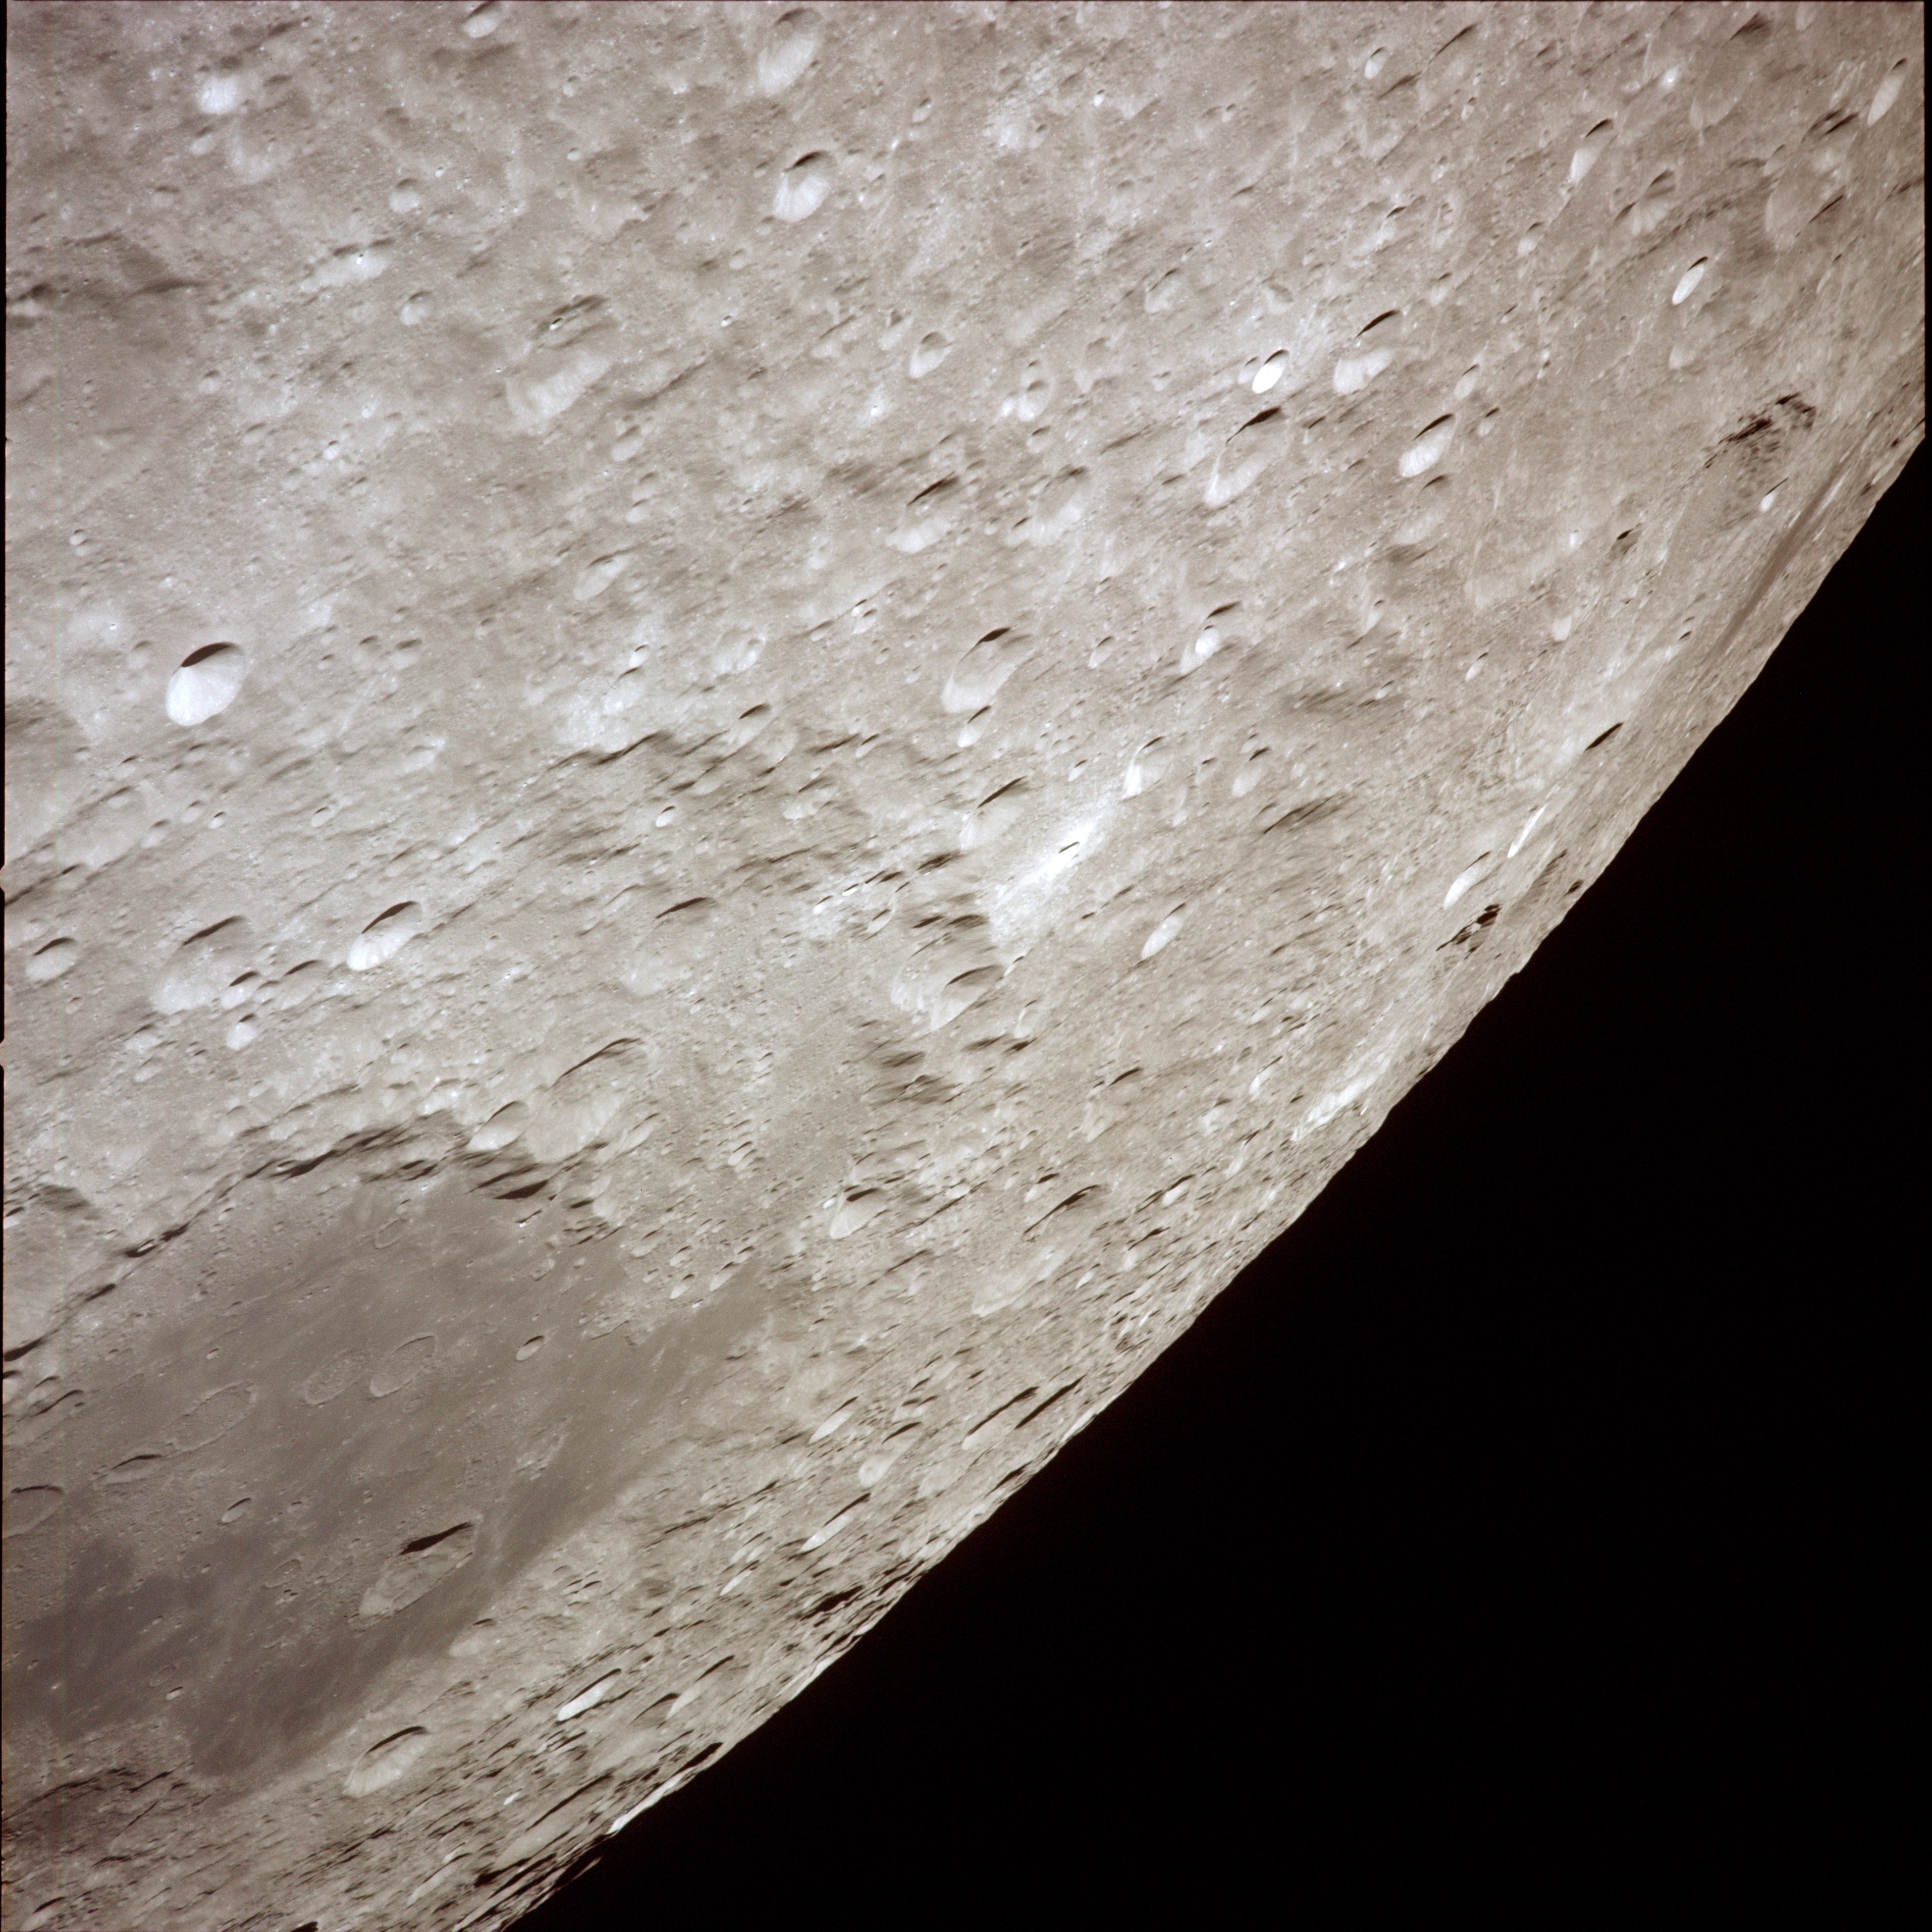 | AS13-60-8653 Mare Moscoviense is cut off at the lower left edge. The northwestern rim of the Moscoviense Basin runs through the centre of the image. Image credit: Image Science and Analysis Laboratory, NASA-Johnson Space Center. |
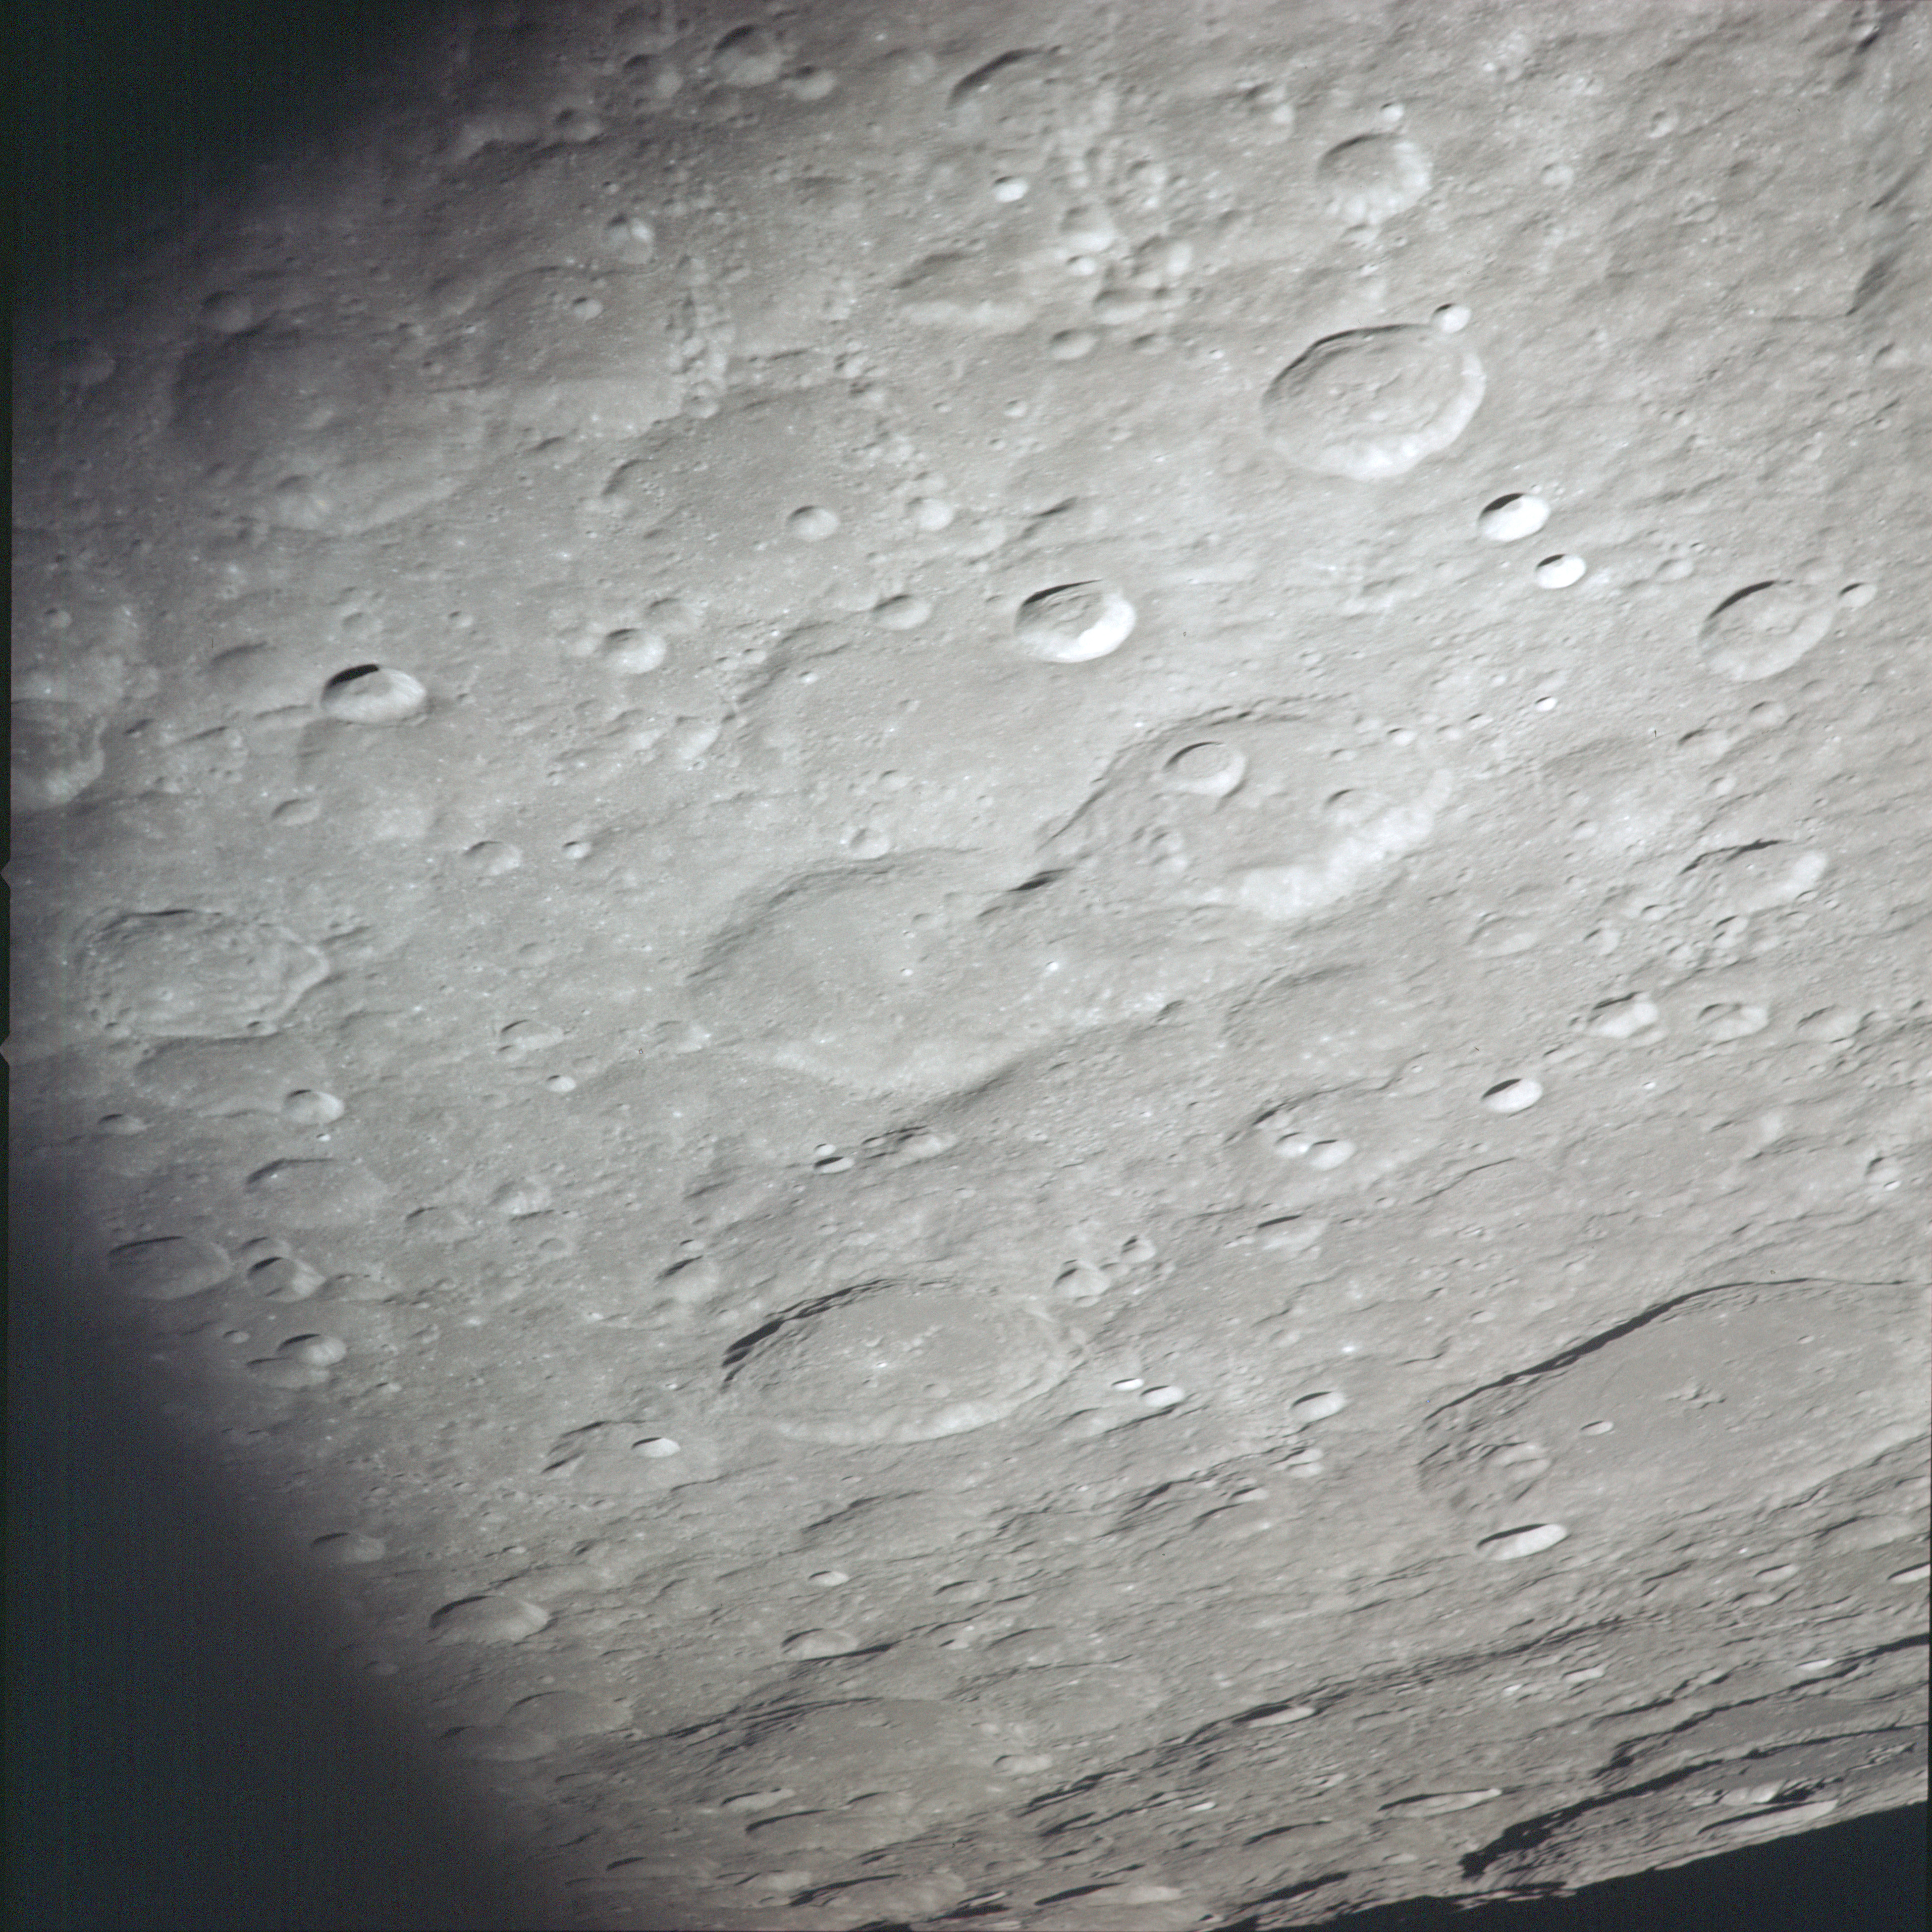 | AS13-60-8654 View east with the sunset terminator at the extreme lower right edge. Major craters visible are Dellinger (81 km) slightly left of centre, Chaplygin (137 km) cut off at lower right and Keeler (160 km) at the extreme lower right, itself containing the 37-km Planté. Image credit: Image Science and Analysis Laboratory, NASA-Johnson Space Center. |
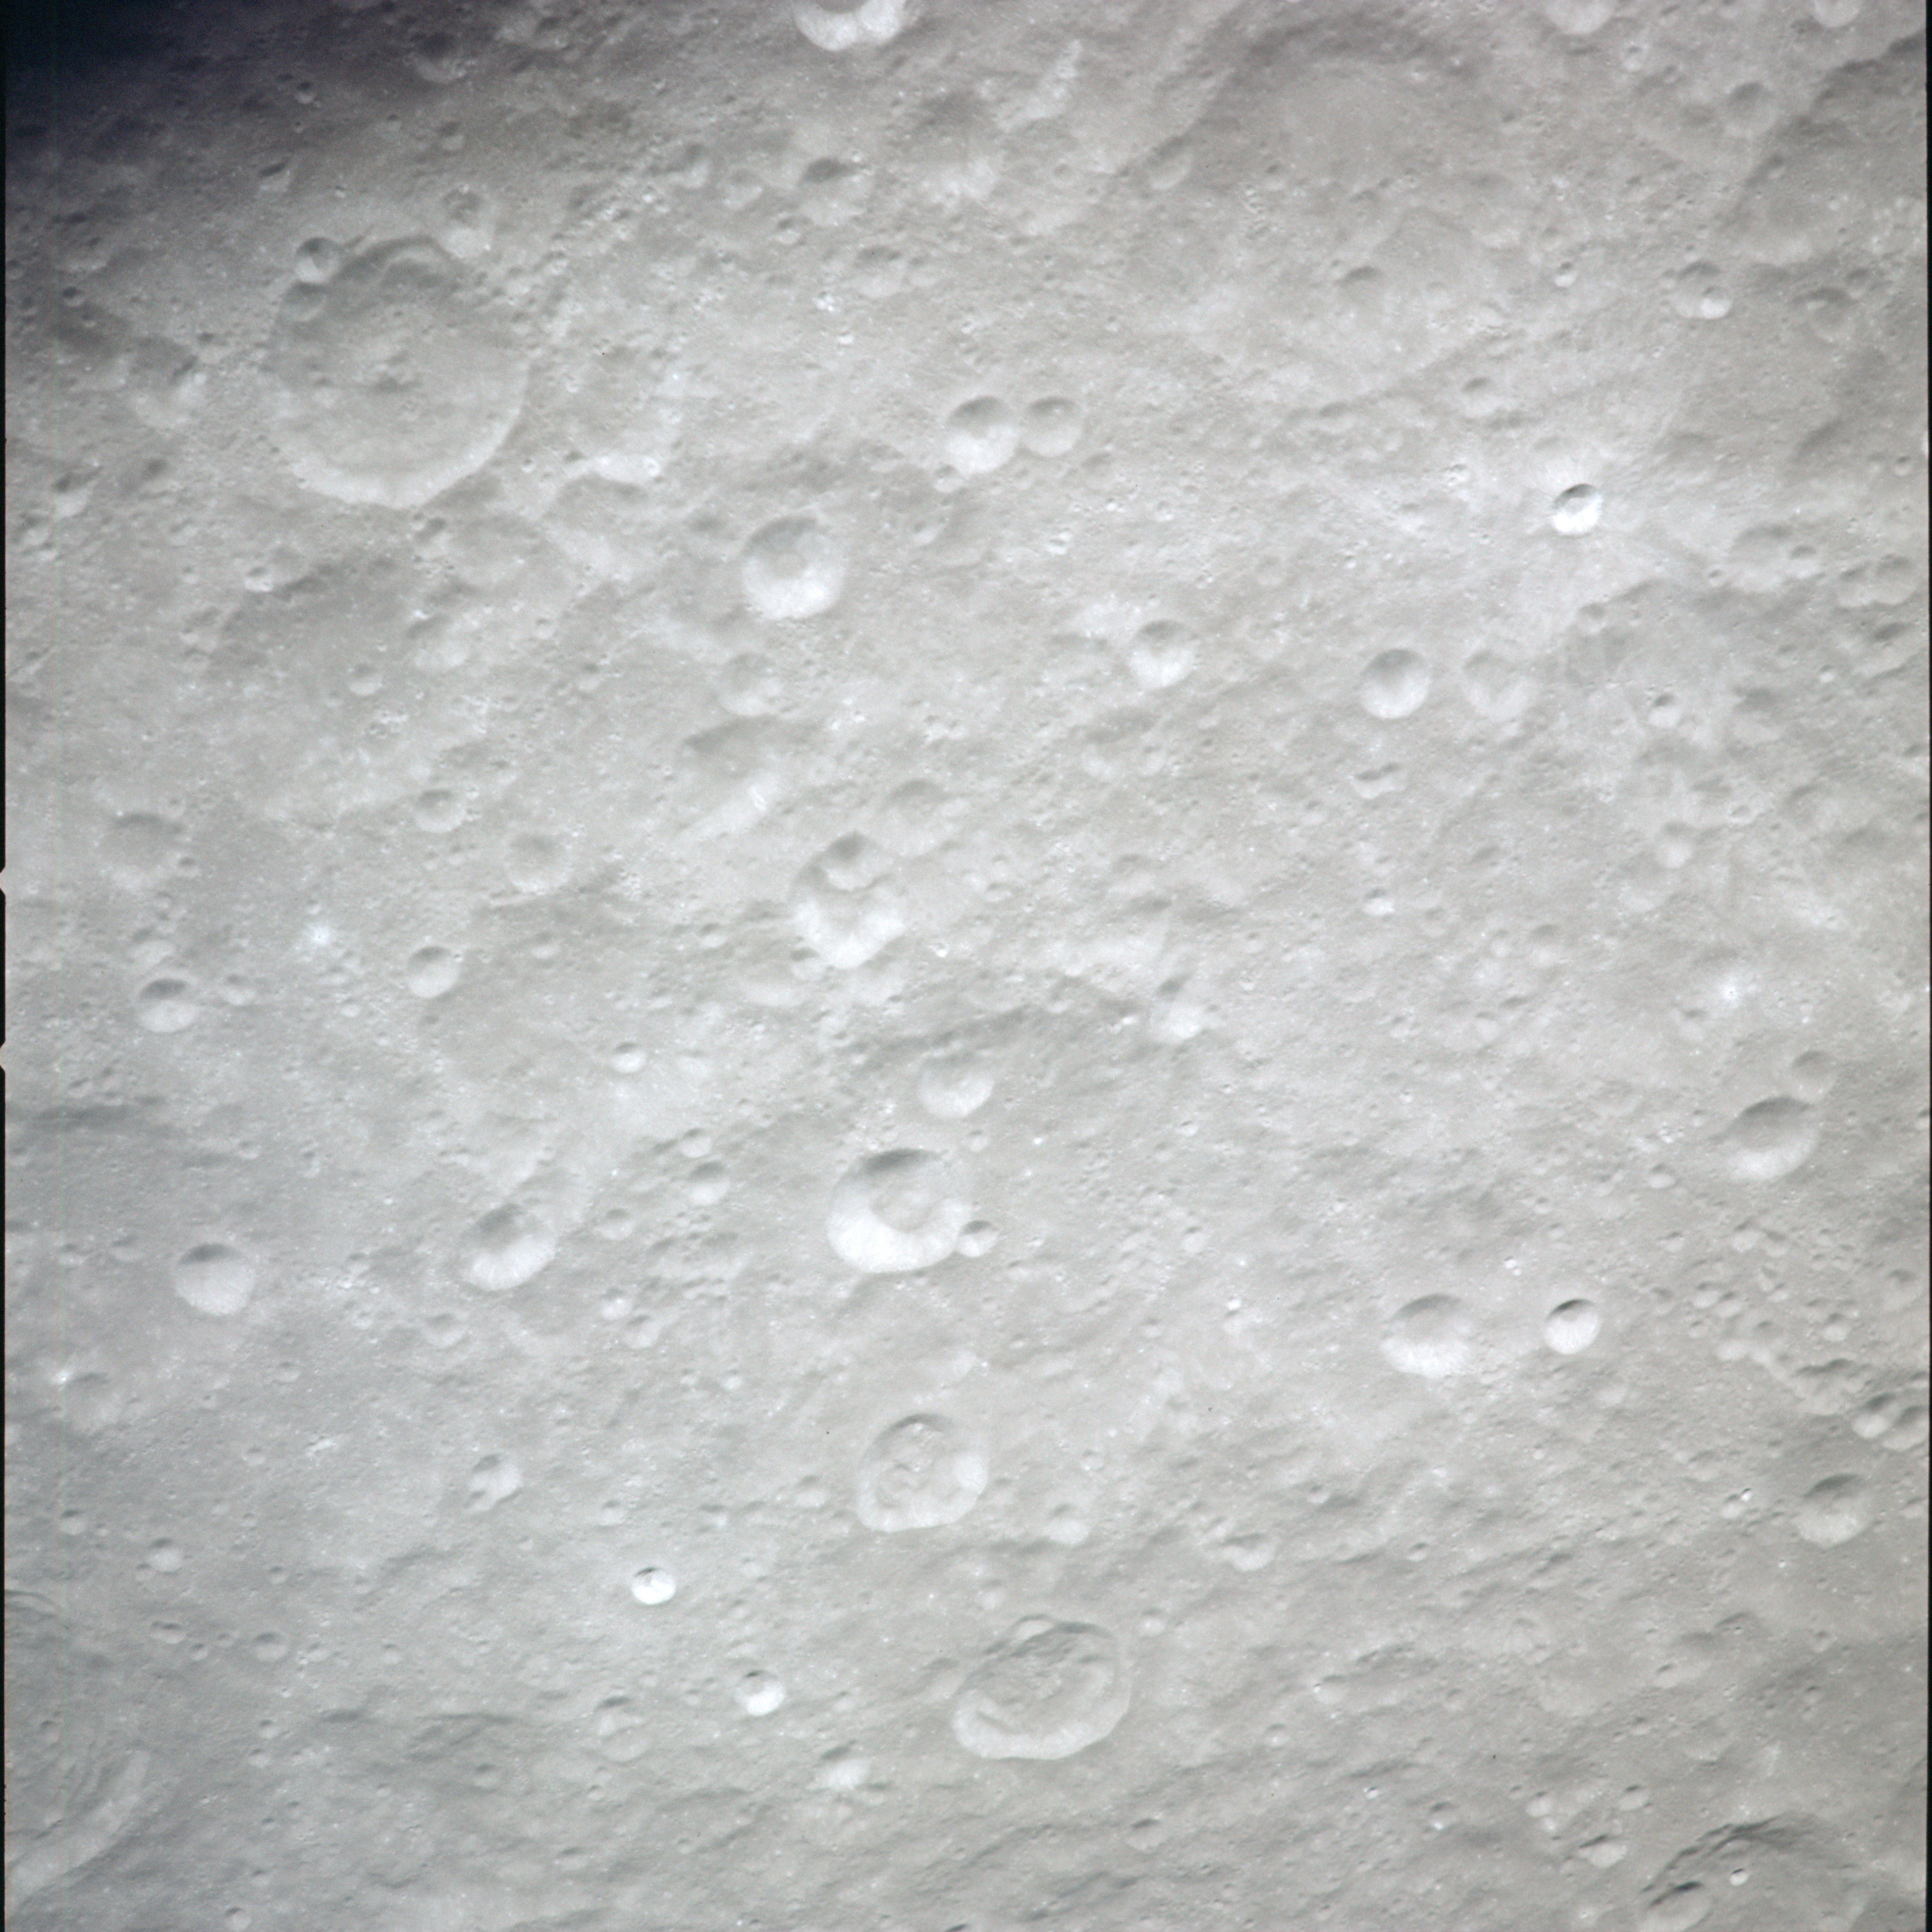 | AS13-60-8655 Nearly vertical view of region west of Mendeleev. Distinct crater at upper left is Ibn Firnas E (42 km). Just below centre but very indistinct is the highly eroded 98-km crater Vetchinkin. In this image, three of its satellite craters are more prominent, running through the lower centre of the image. These are Vetchinkin Q (23 km) with its own little satellite crater at 4 o'clock, Vetchinkin K (22 km) and Vetchinkin F (30 km). Image credit: Image Science and Analysis Laboratory, NASA-Johnson Space Center. |
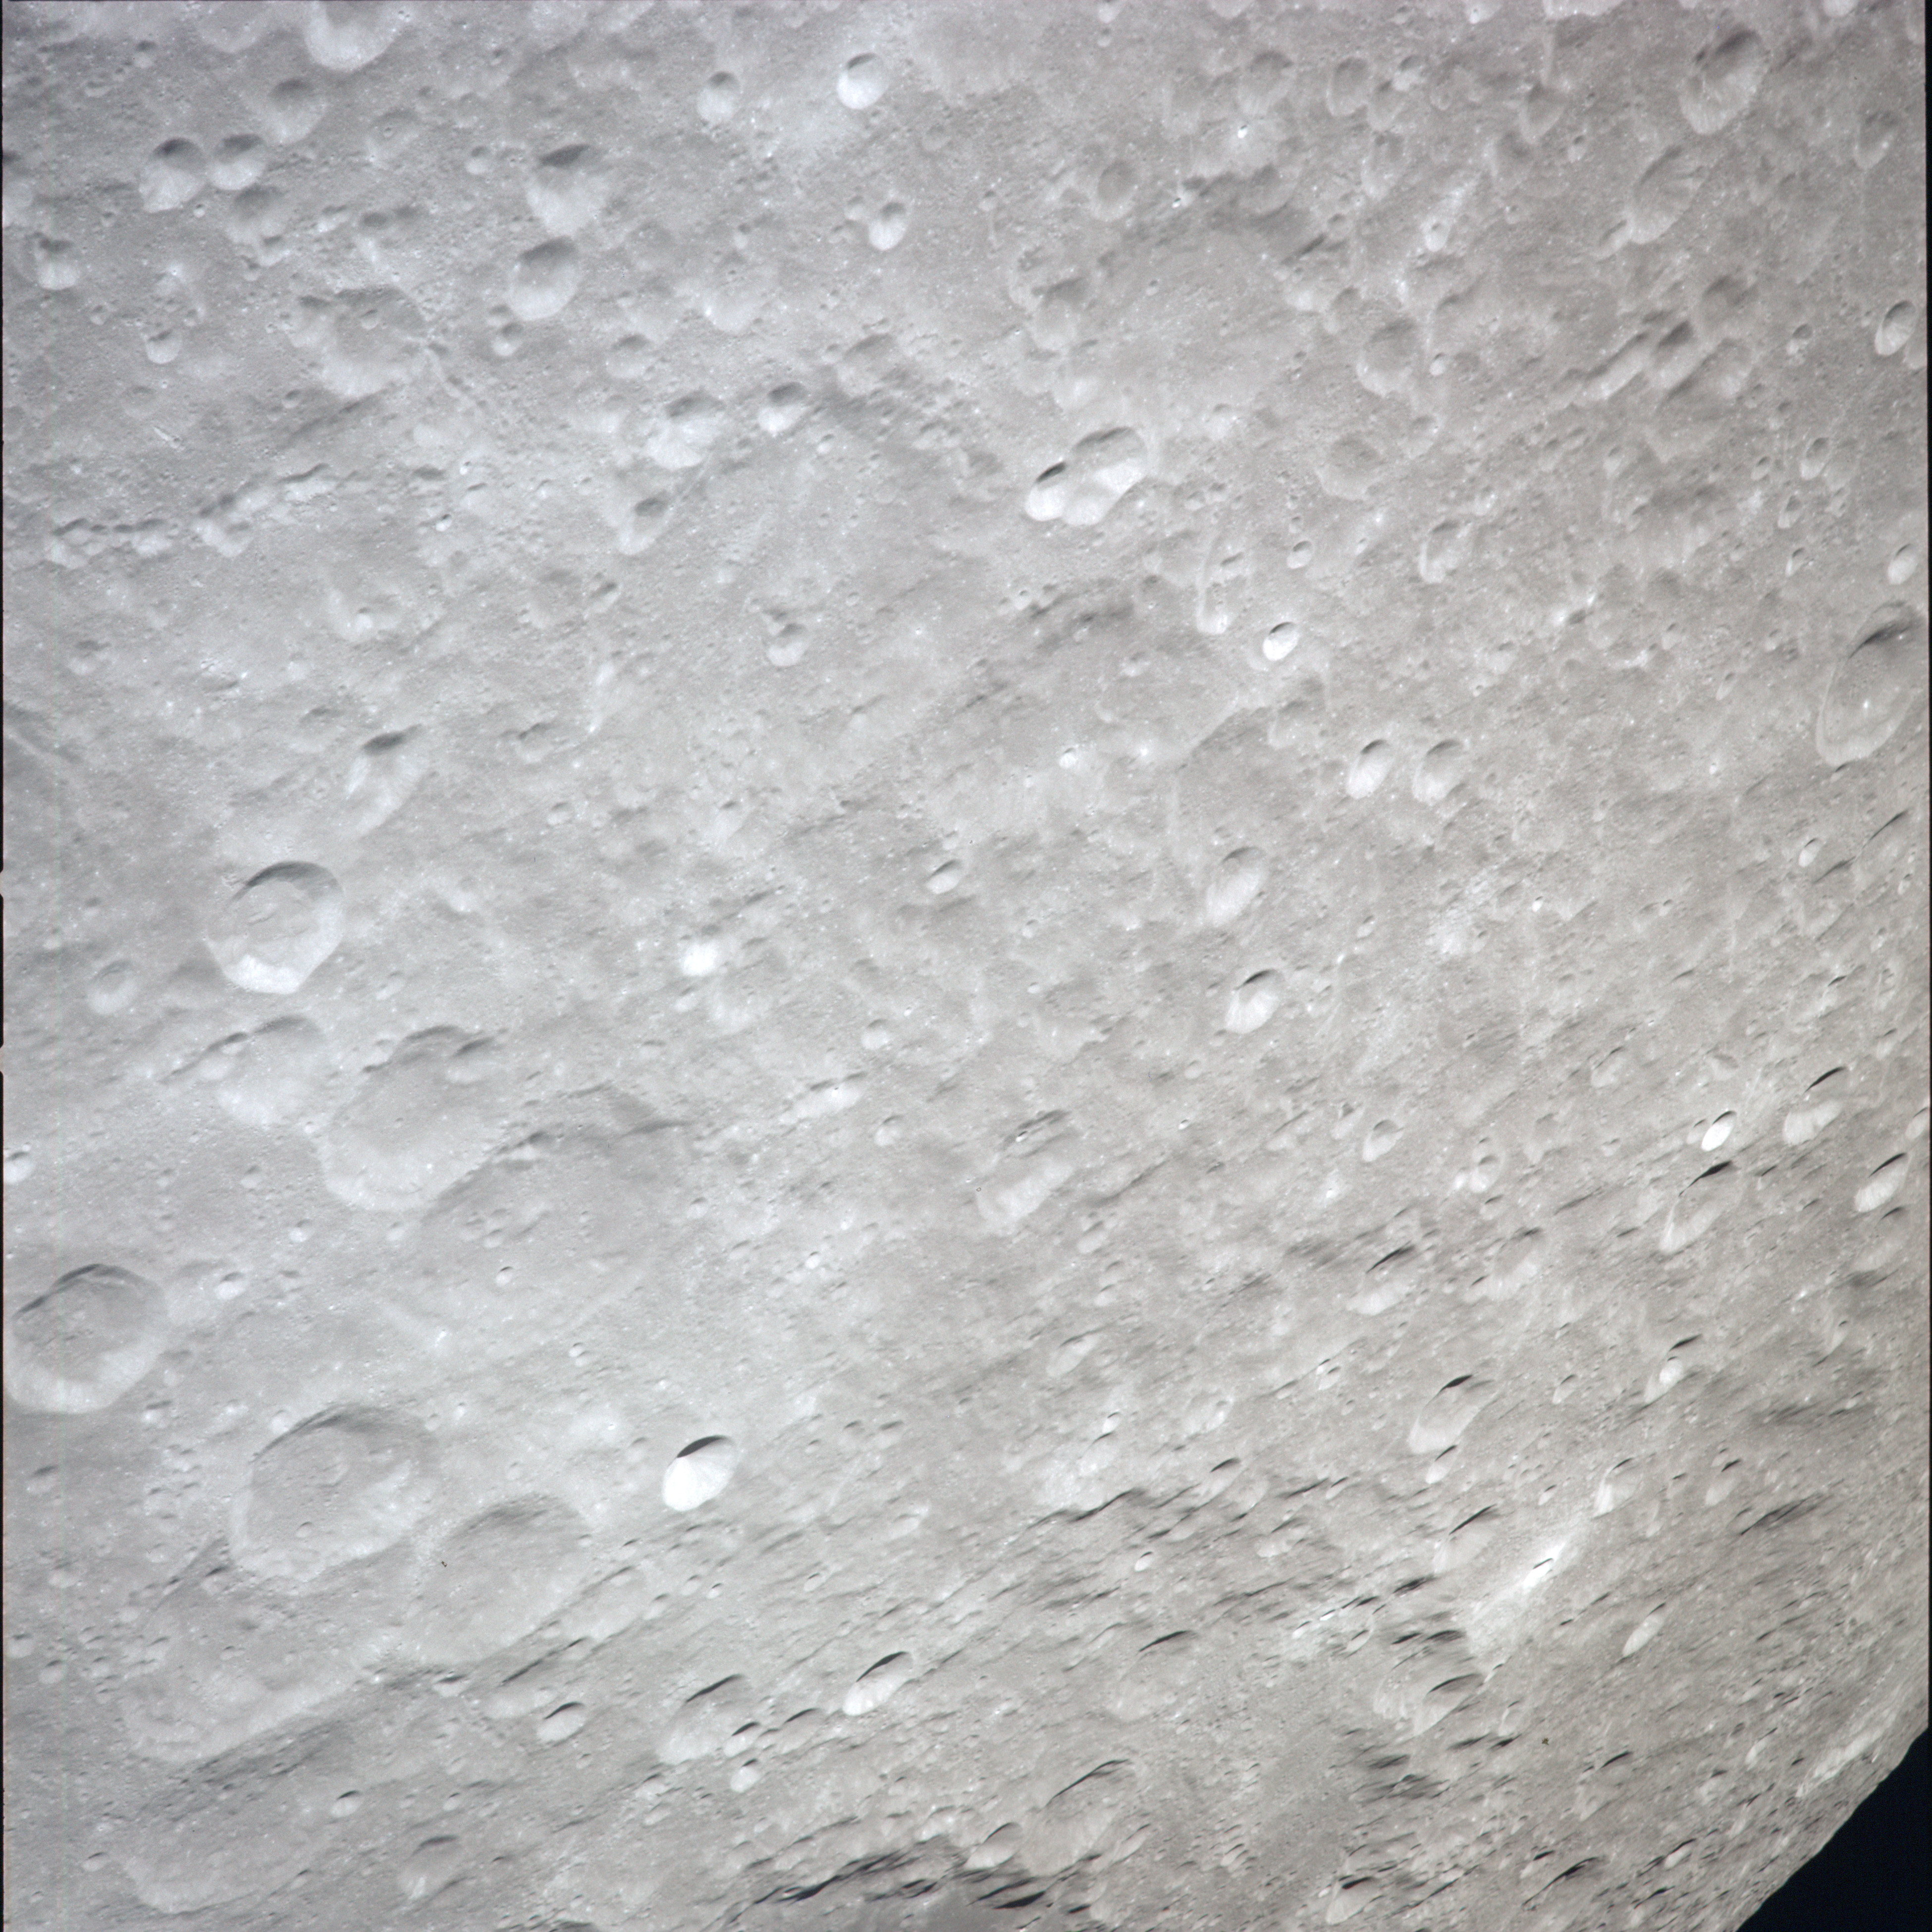 | AS13-60-8656 XXXXXXXXXXXXXXXXXXXXXXXXXXX CAPTION XXXXXXXXXXXXXXXXXXXXXXXXXXXXX Image credit: Image Science and Analysis Laboratory, NASA-Johnson Space Center. |
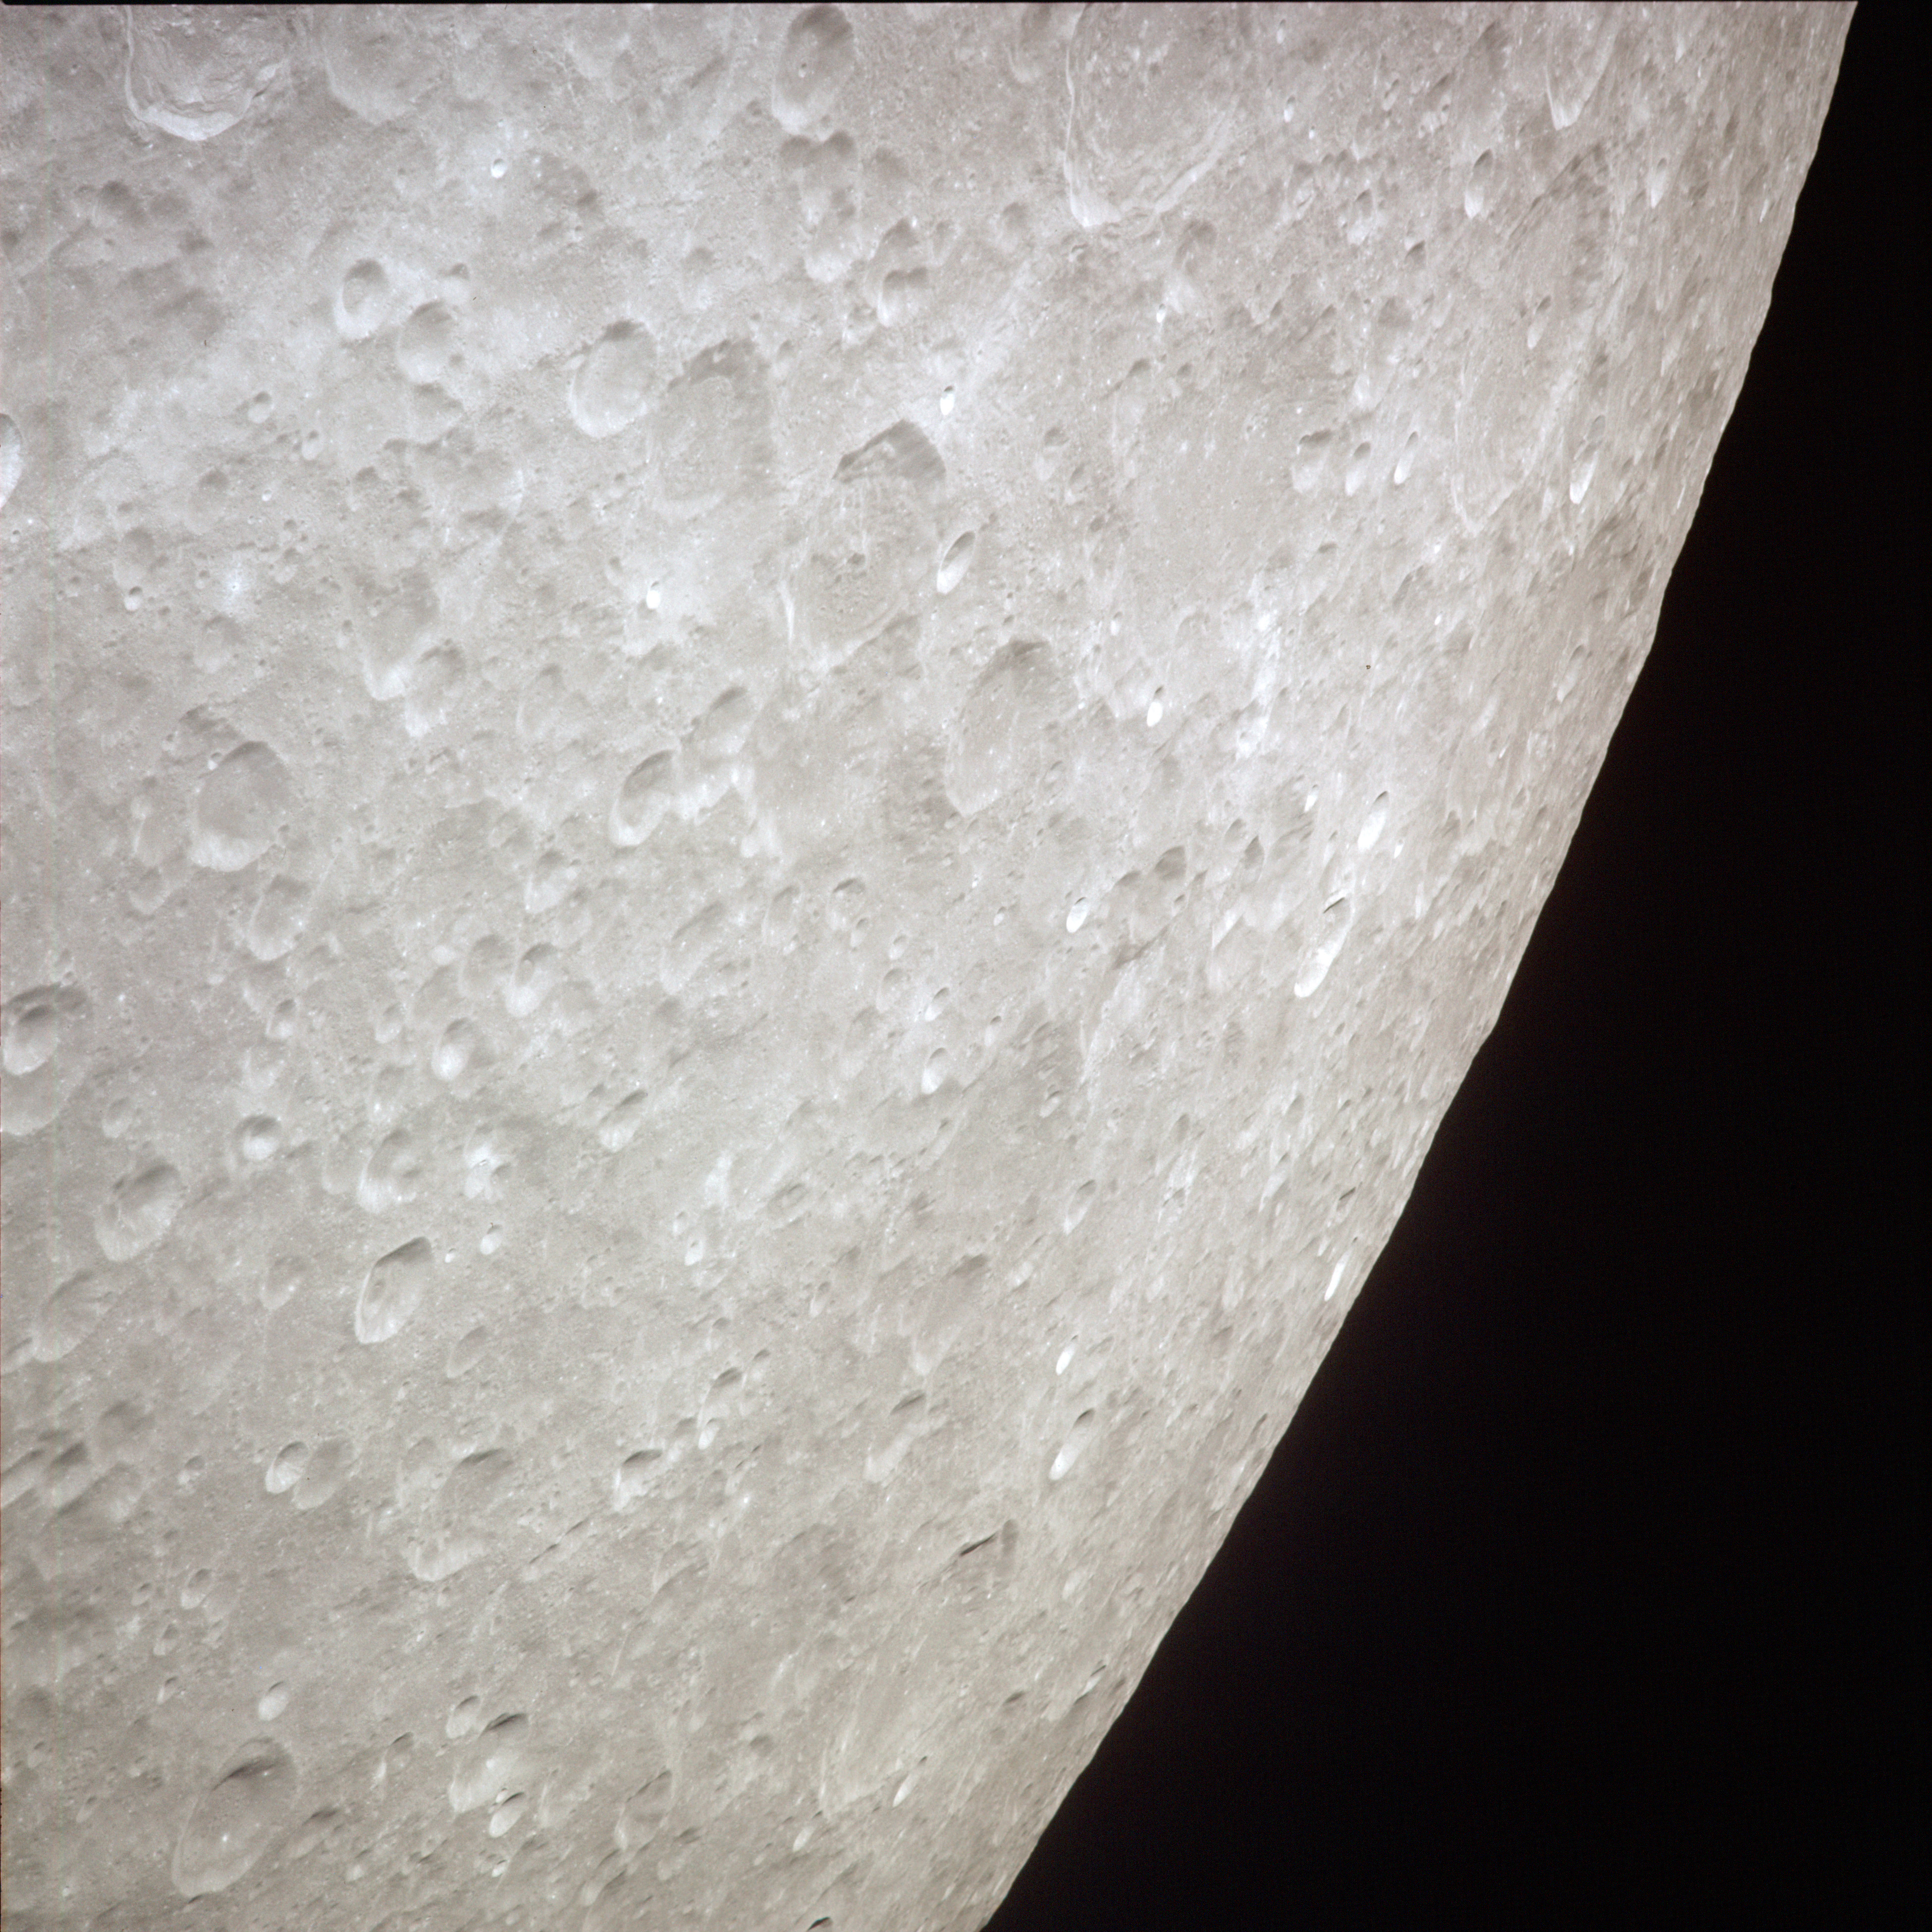 | AS13-60-8657 XXXXXXXXXXXXXXXXXXXXXXXXXXX CAPTION XXXXXXXXXXXXXXXXXXXXXXXXXXXXX Image credit: Image Science and Analysis Laboratory, NASA-Johnson Space Center. |
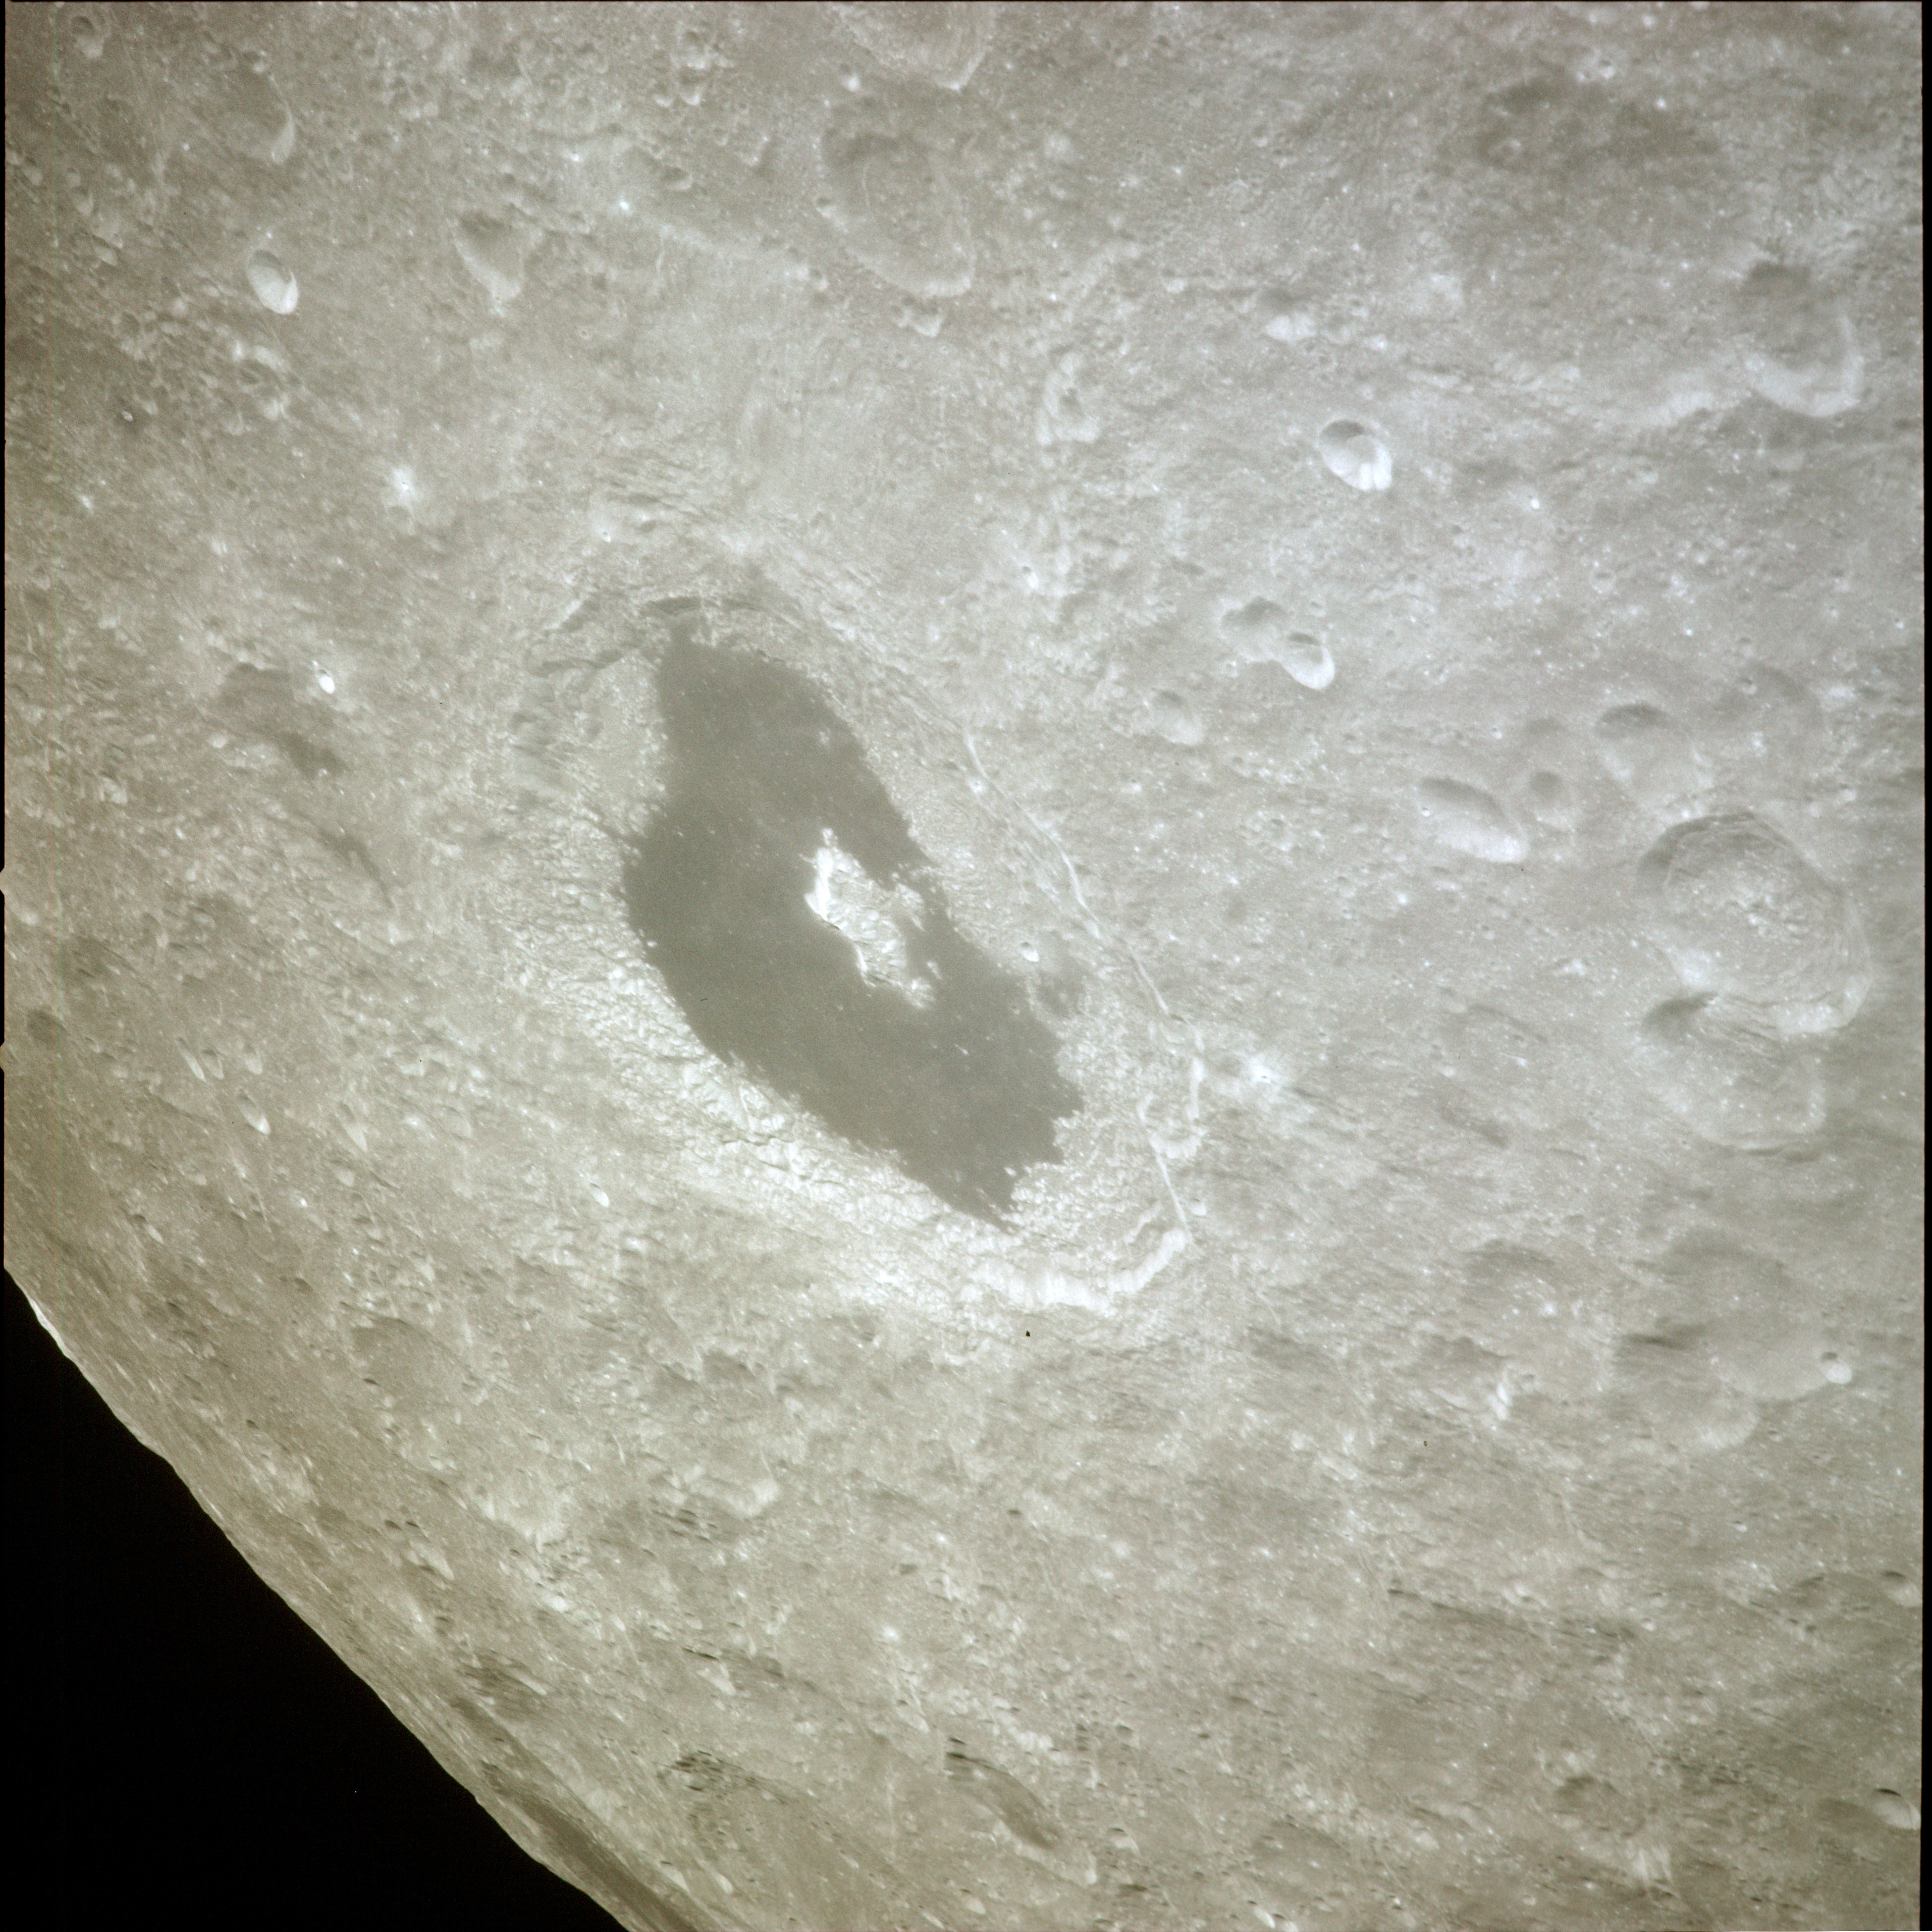 | AS13-60-8658 XXXXXXXXXXXXXXXXXXXXXXXXXXX CAPTION XXXXXXXXXXXXXXXXXXXXXXXXXXXXX Image credit: Image Science and Analysis Laboratory, NASA-Johnson Space Center. |
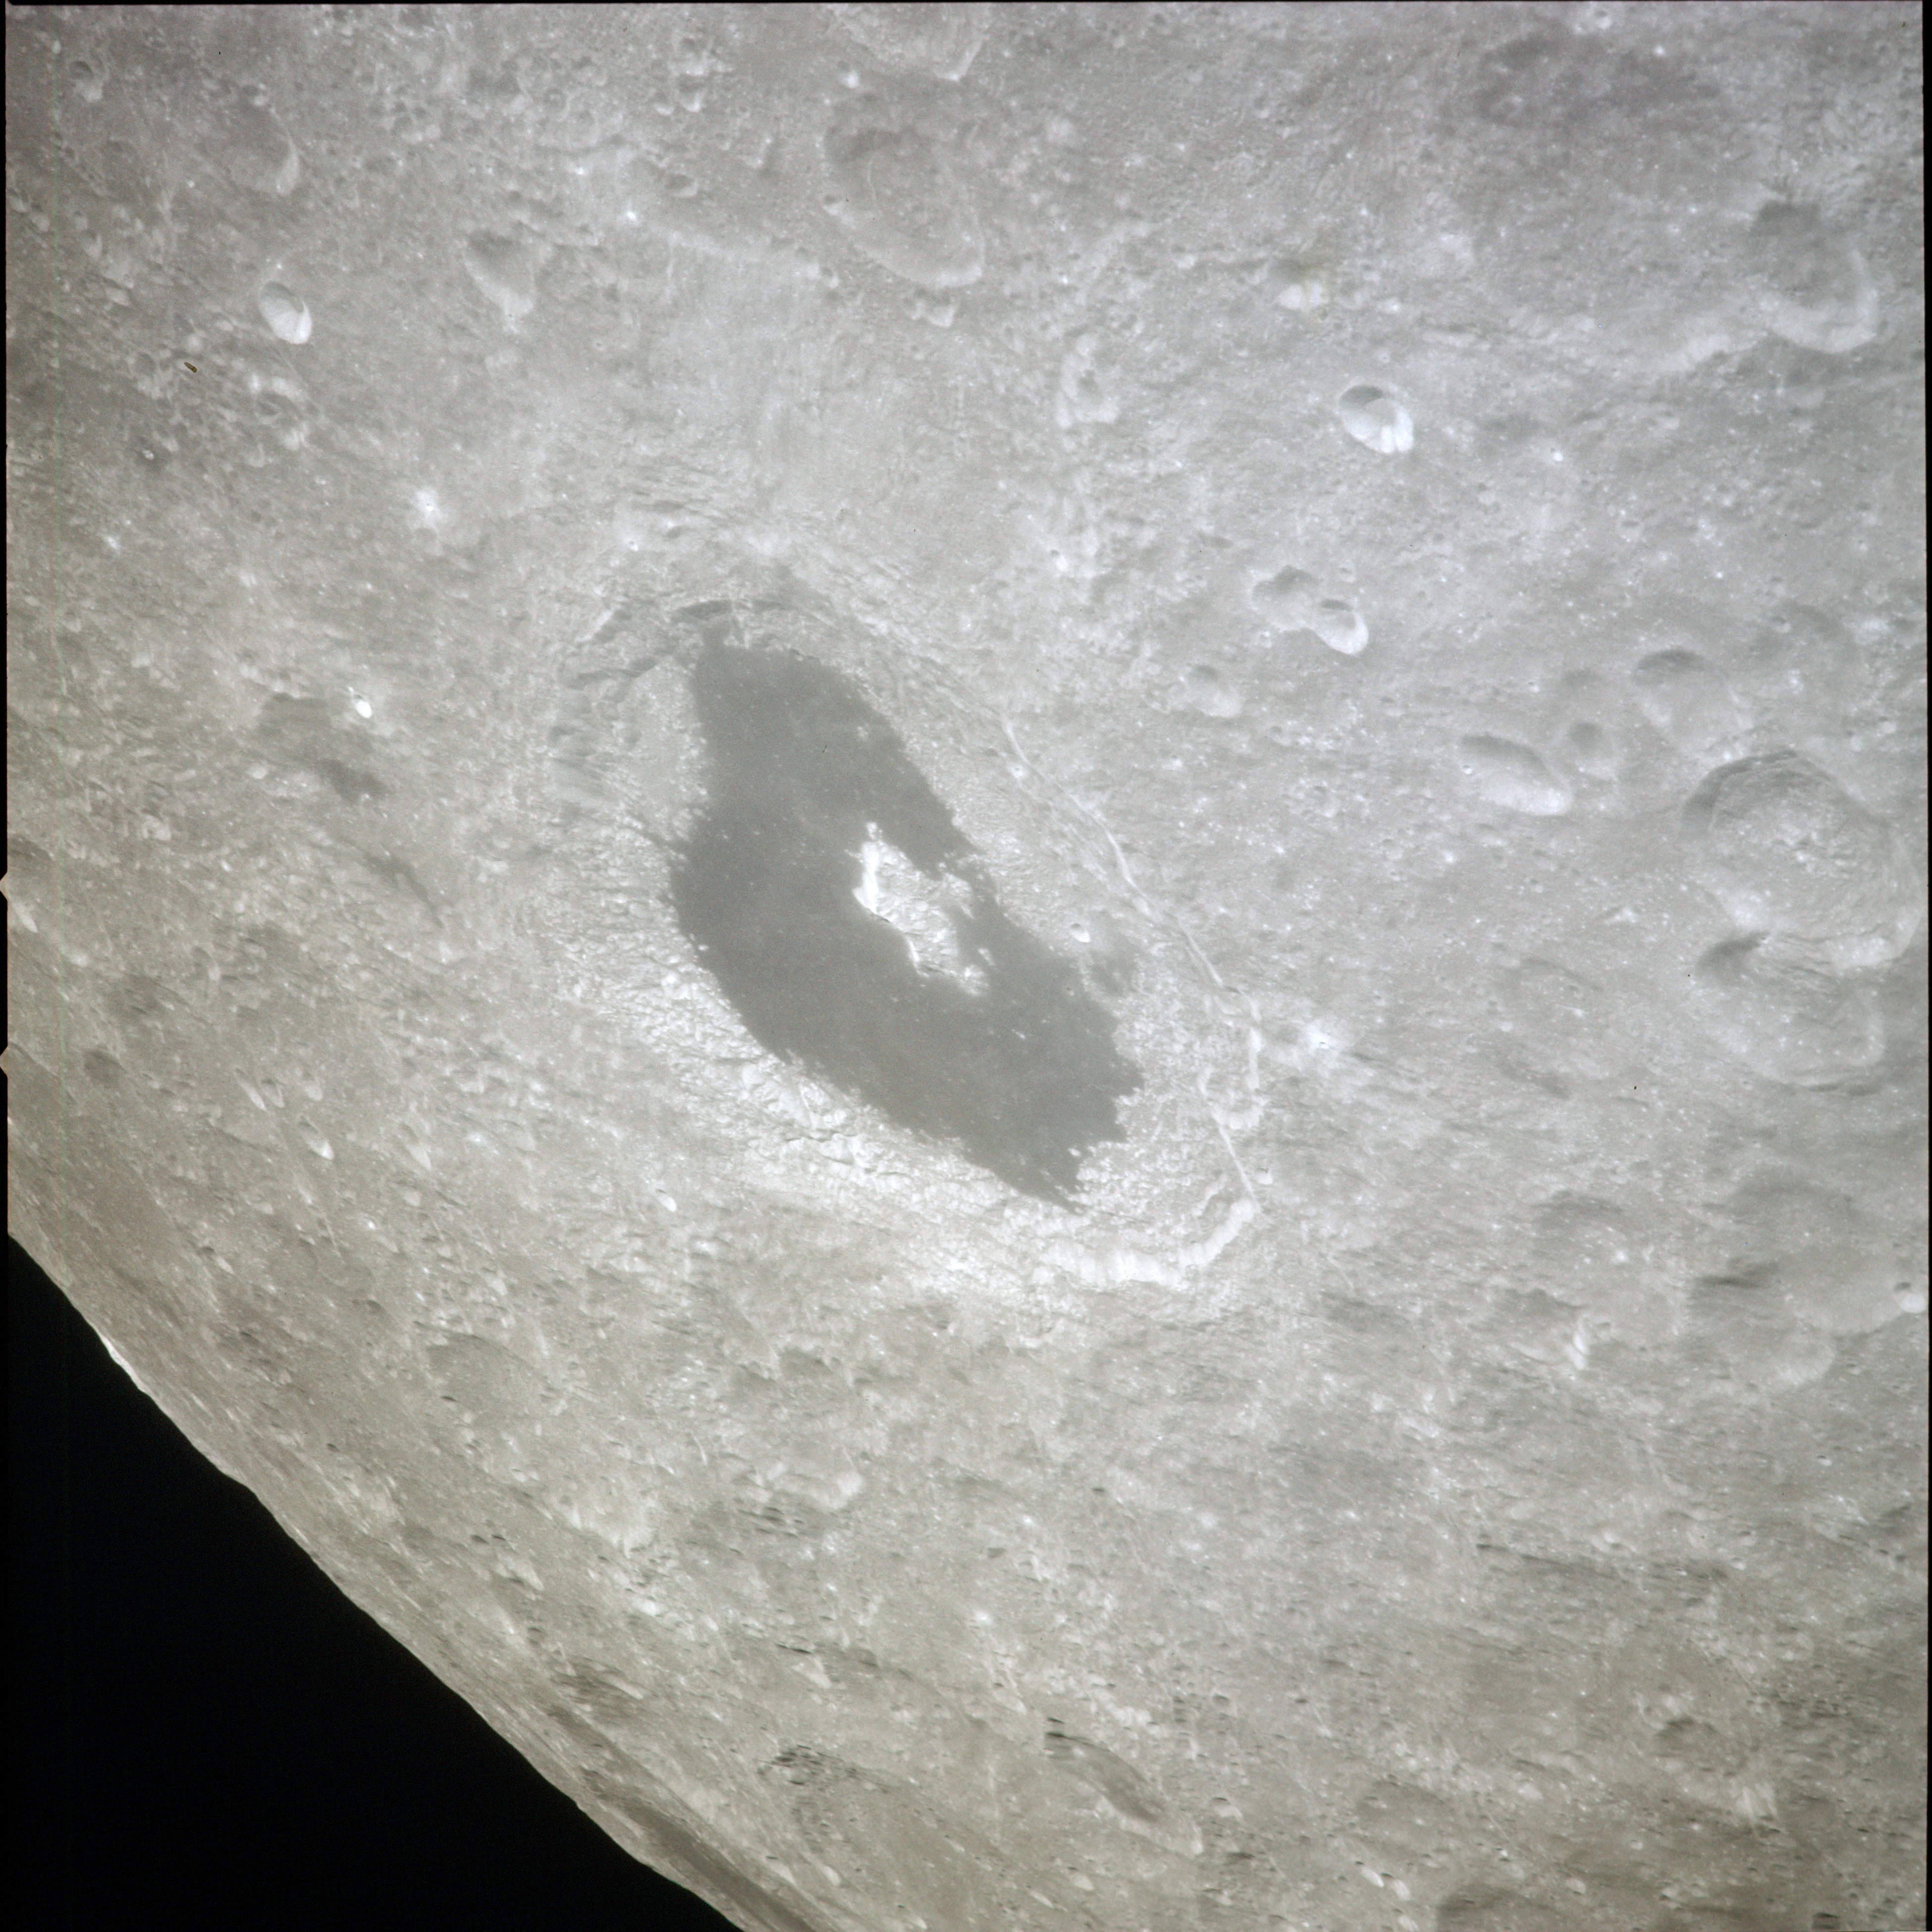 | AS13-60-8659 XXXXXXXXXXXXXXXXXXXXXXXXXXX CAPTION XXXXXXXXXXXXXXXXXXXXXXXXXXXXX Image credit: Image Science and Analysis Laboratory, NASA-Johnson Space Center. |
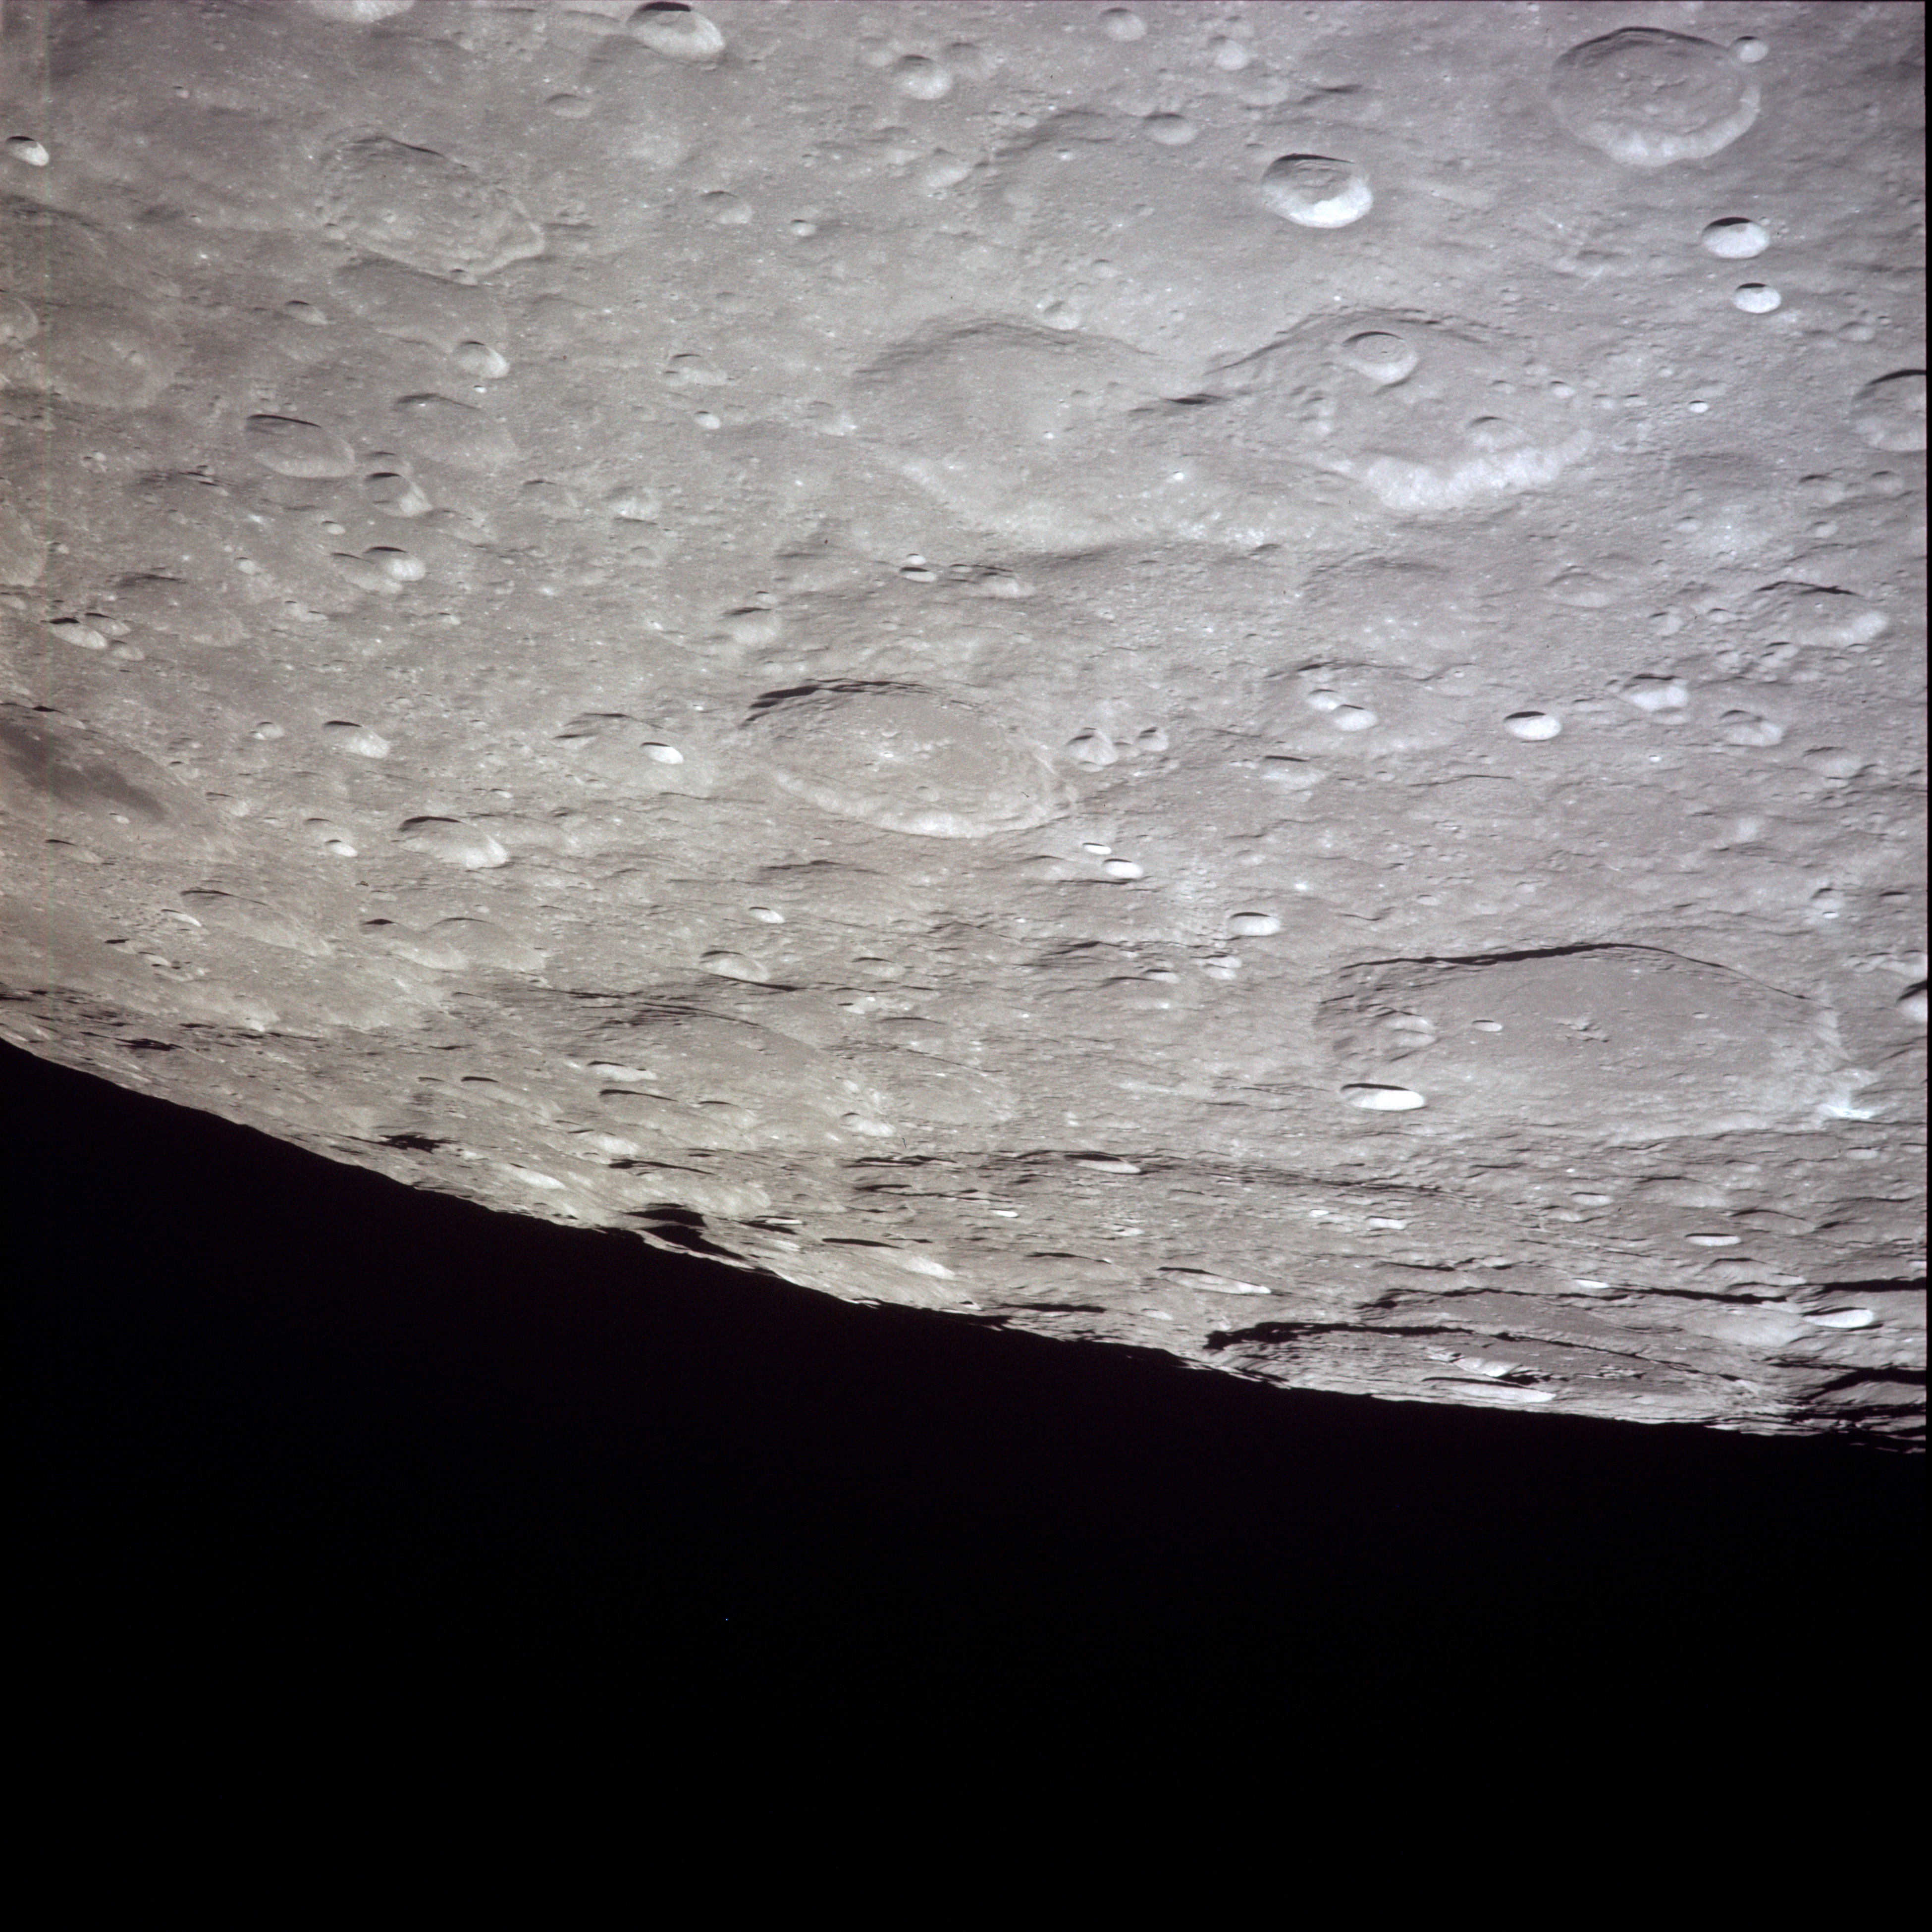 | AS13-60-8660 XXXXXXXXXXXXXXXXXXXXXXXXXXX CAPTION XXXXXXXXXXXXXXXXXXXXXXXXXXXXX Image credit: Image Science and Analysis Laboratory, NASA-Johnson Space Center. |
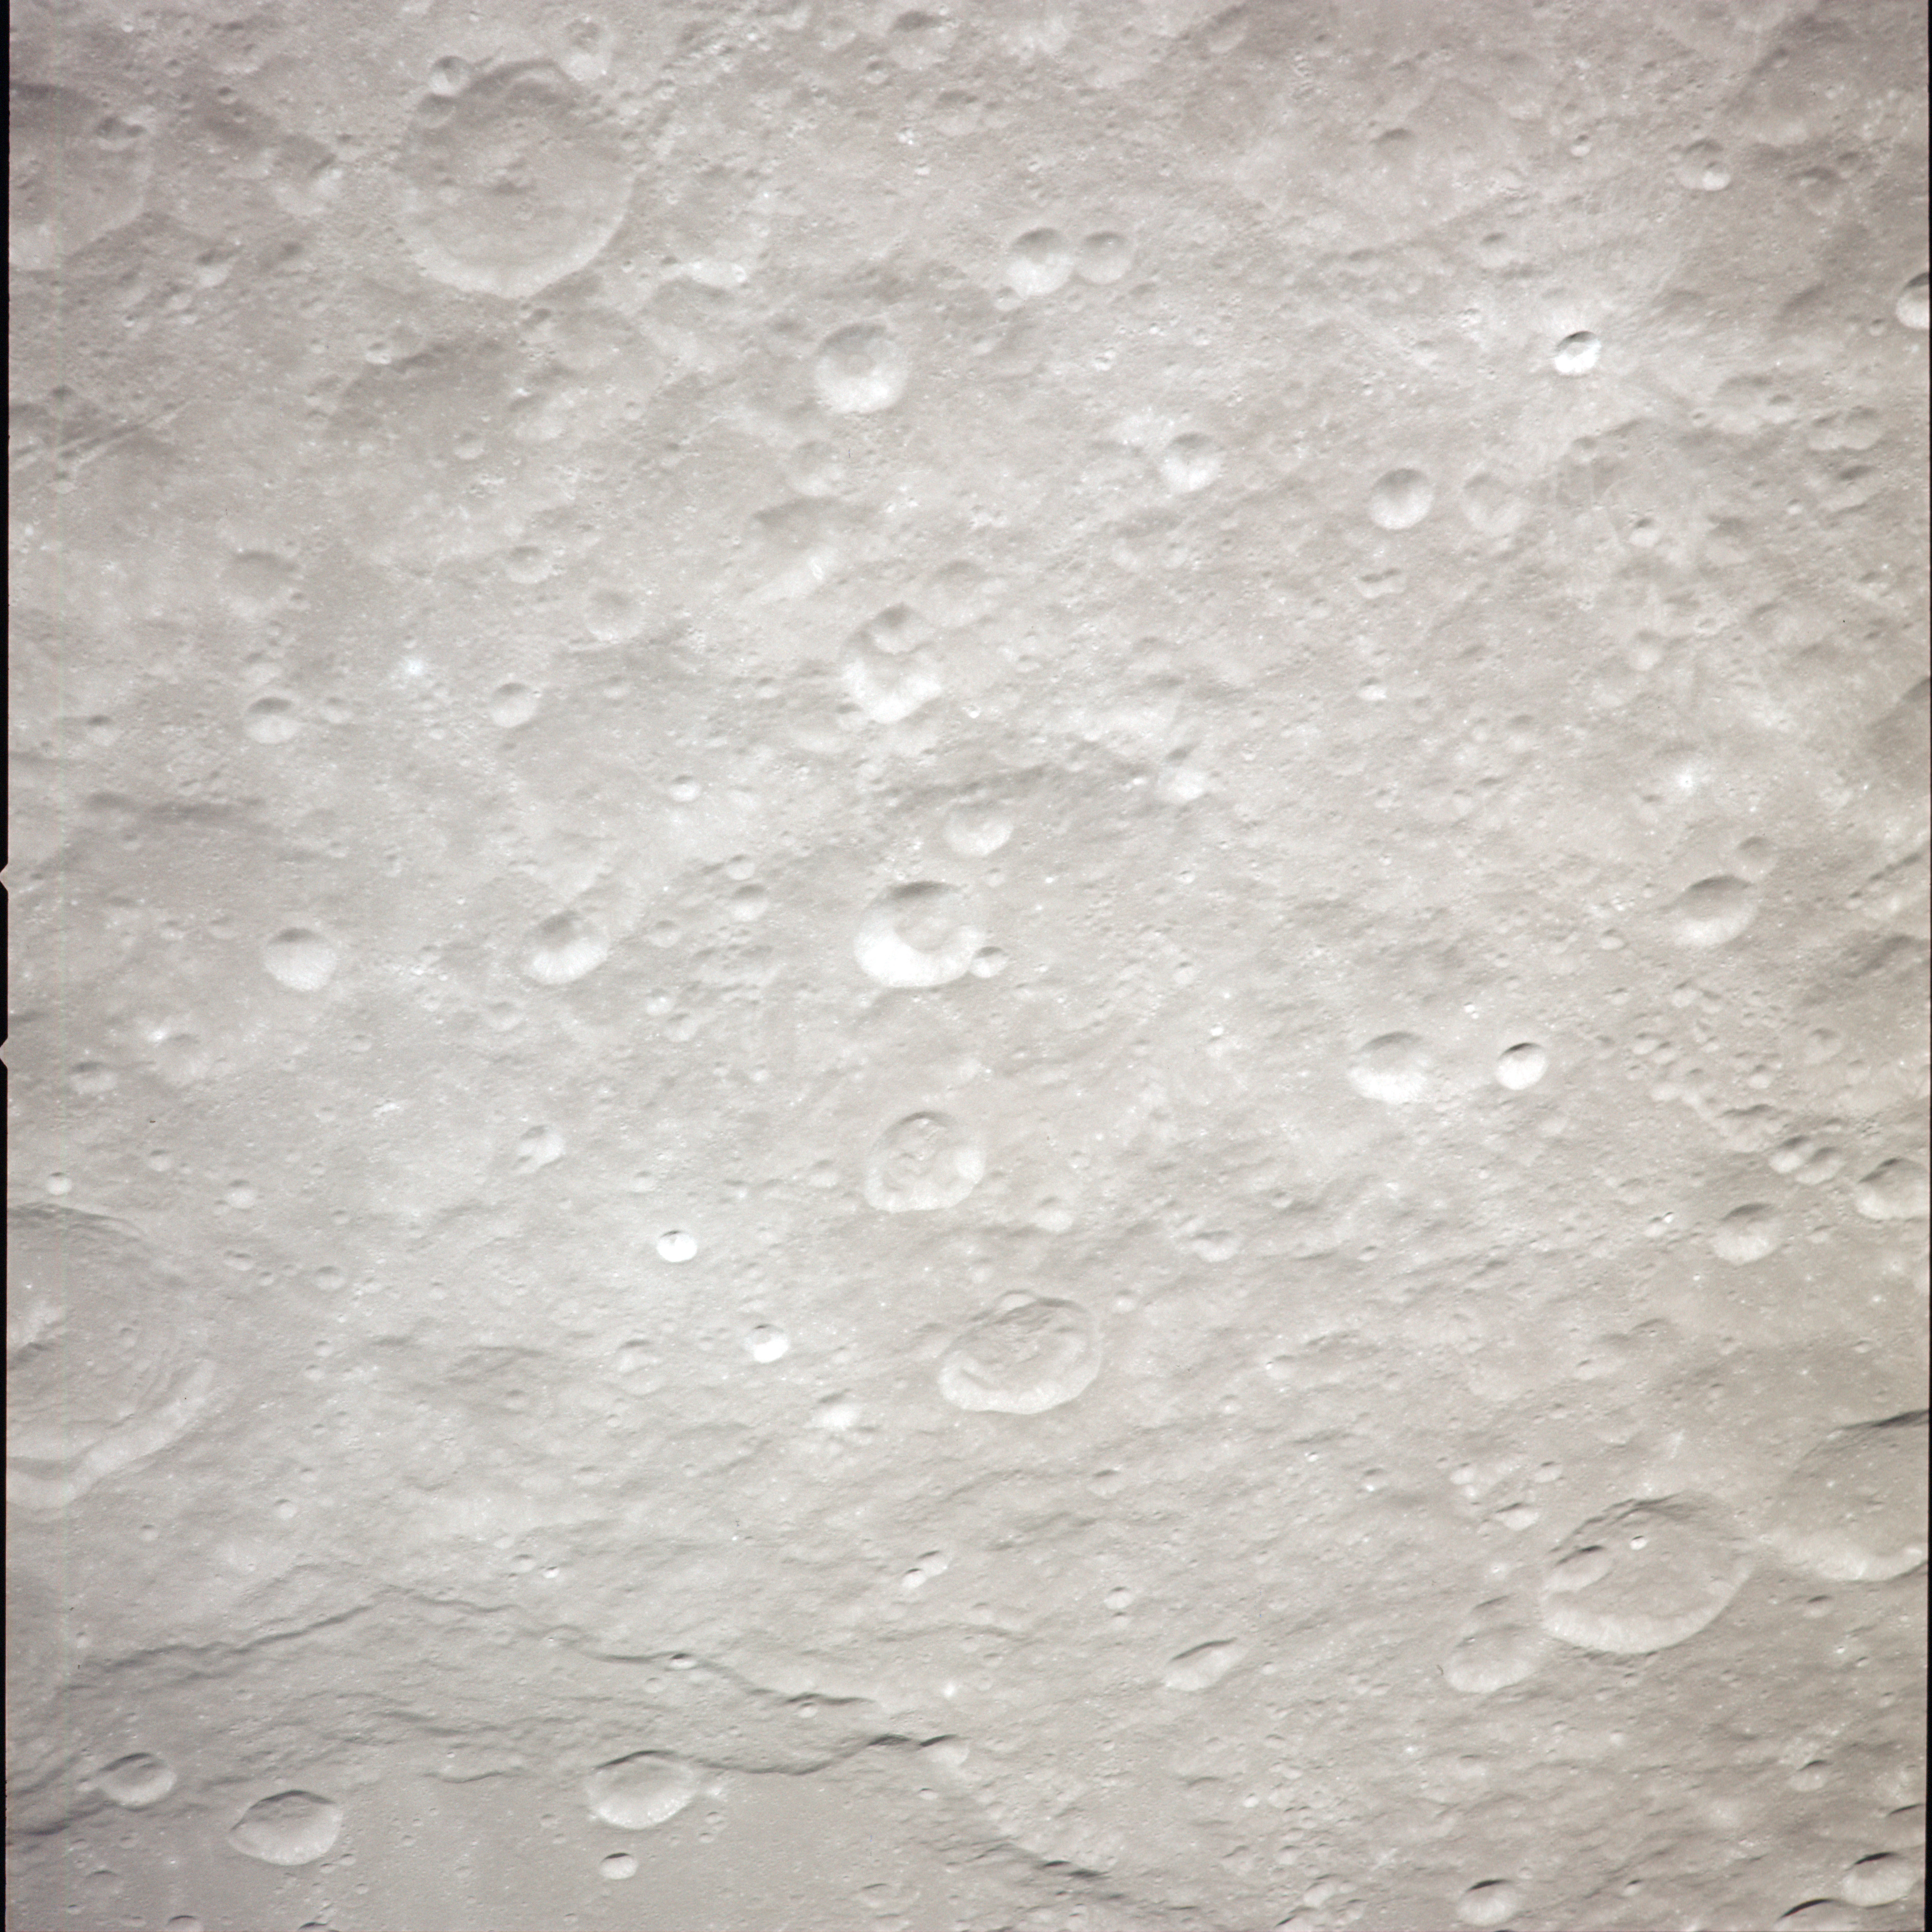 | AS13-60-8661 XXXXXXXXXXXXXXXXXXXXXXXXXXX CAPTION XXXXXXXXXXXXXXXXXXXXXXXXXXXXX Image credit: Image Science and Analysis Laboratory, NASA-Johnson Space Center. |
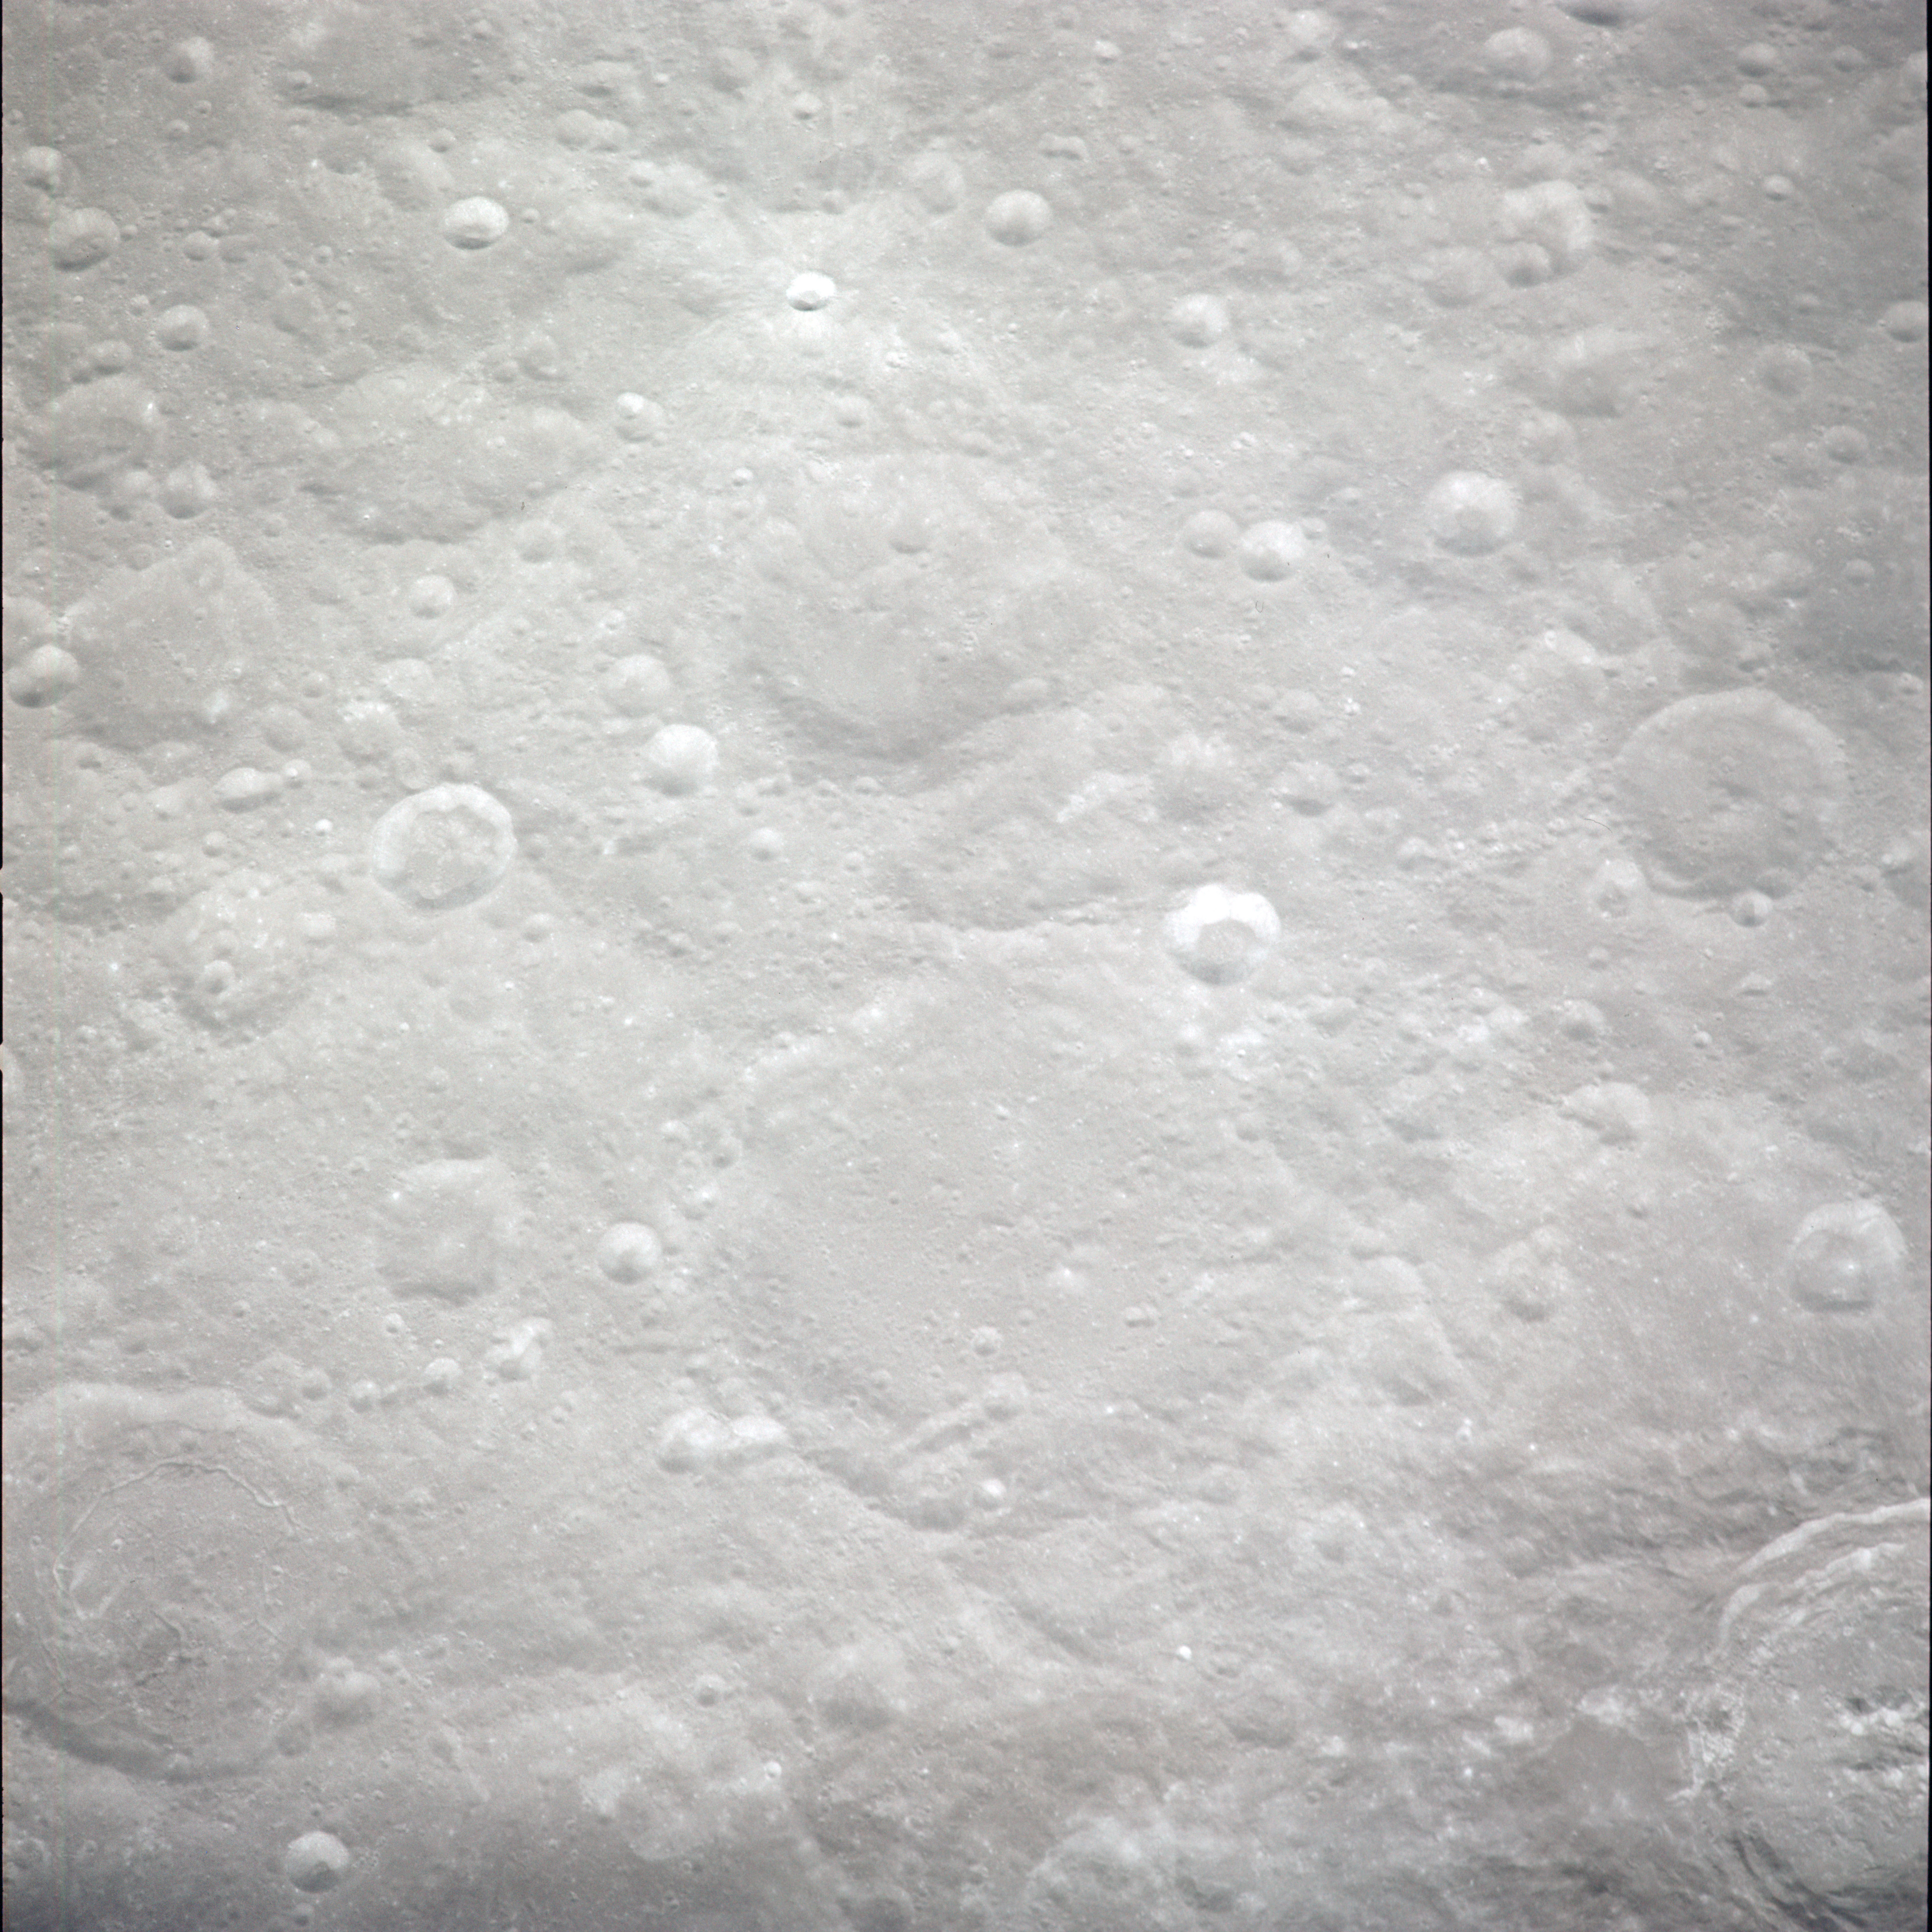
 | AS13-60-8662 XXXXXXXXXXXXXXXXXXXXXXXXXXX CAPTION XXXXXXXXXXXXXXXXXXXXXXXXXXXXX Image credit: Image Science and Analysis Laboratory, NASA-Johnson Space Center. |
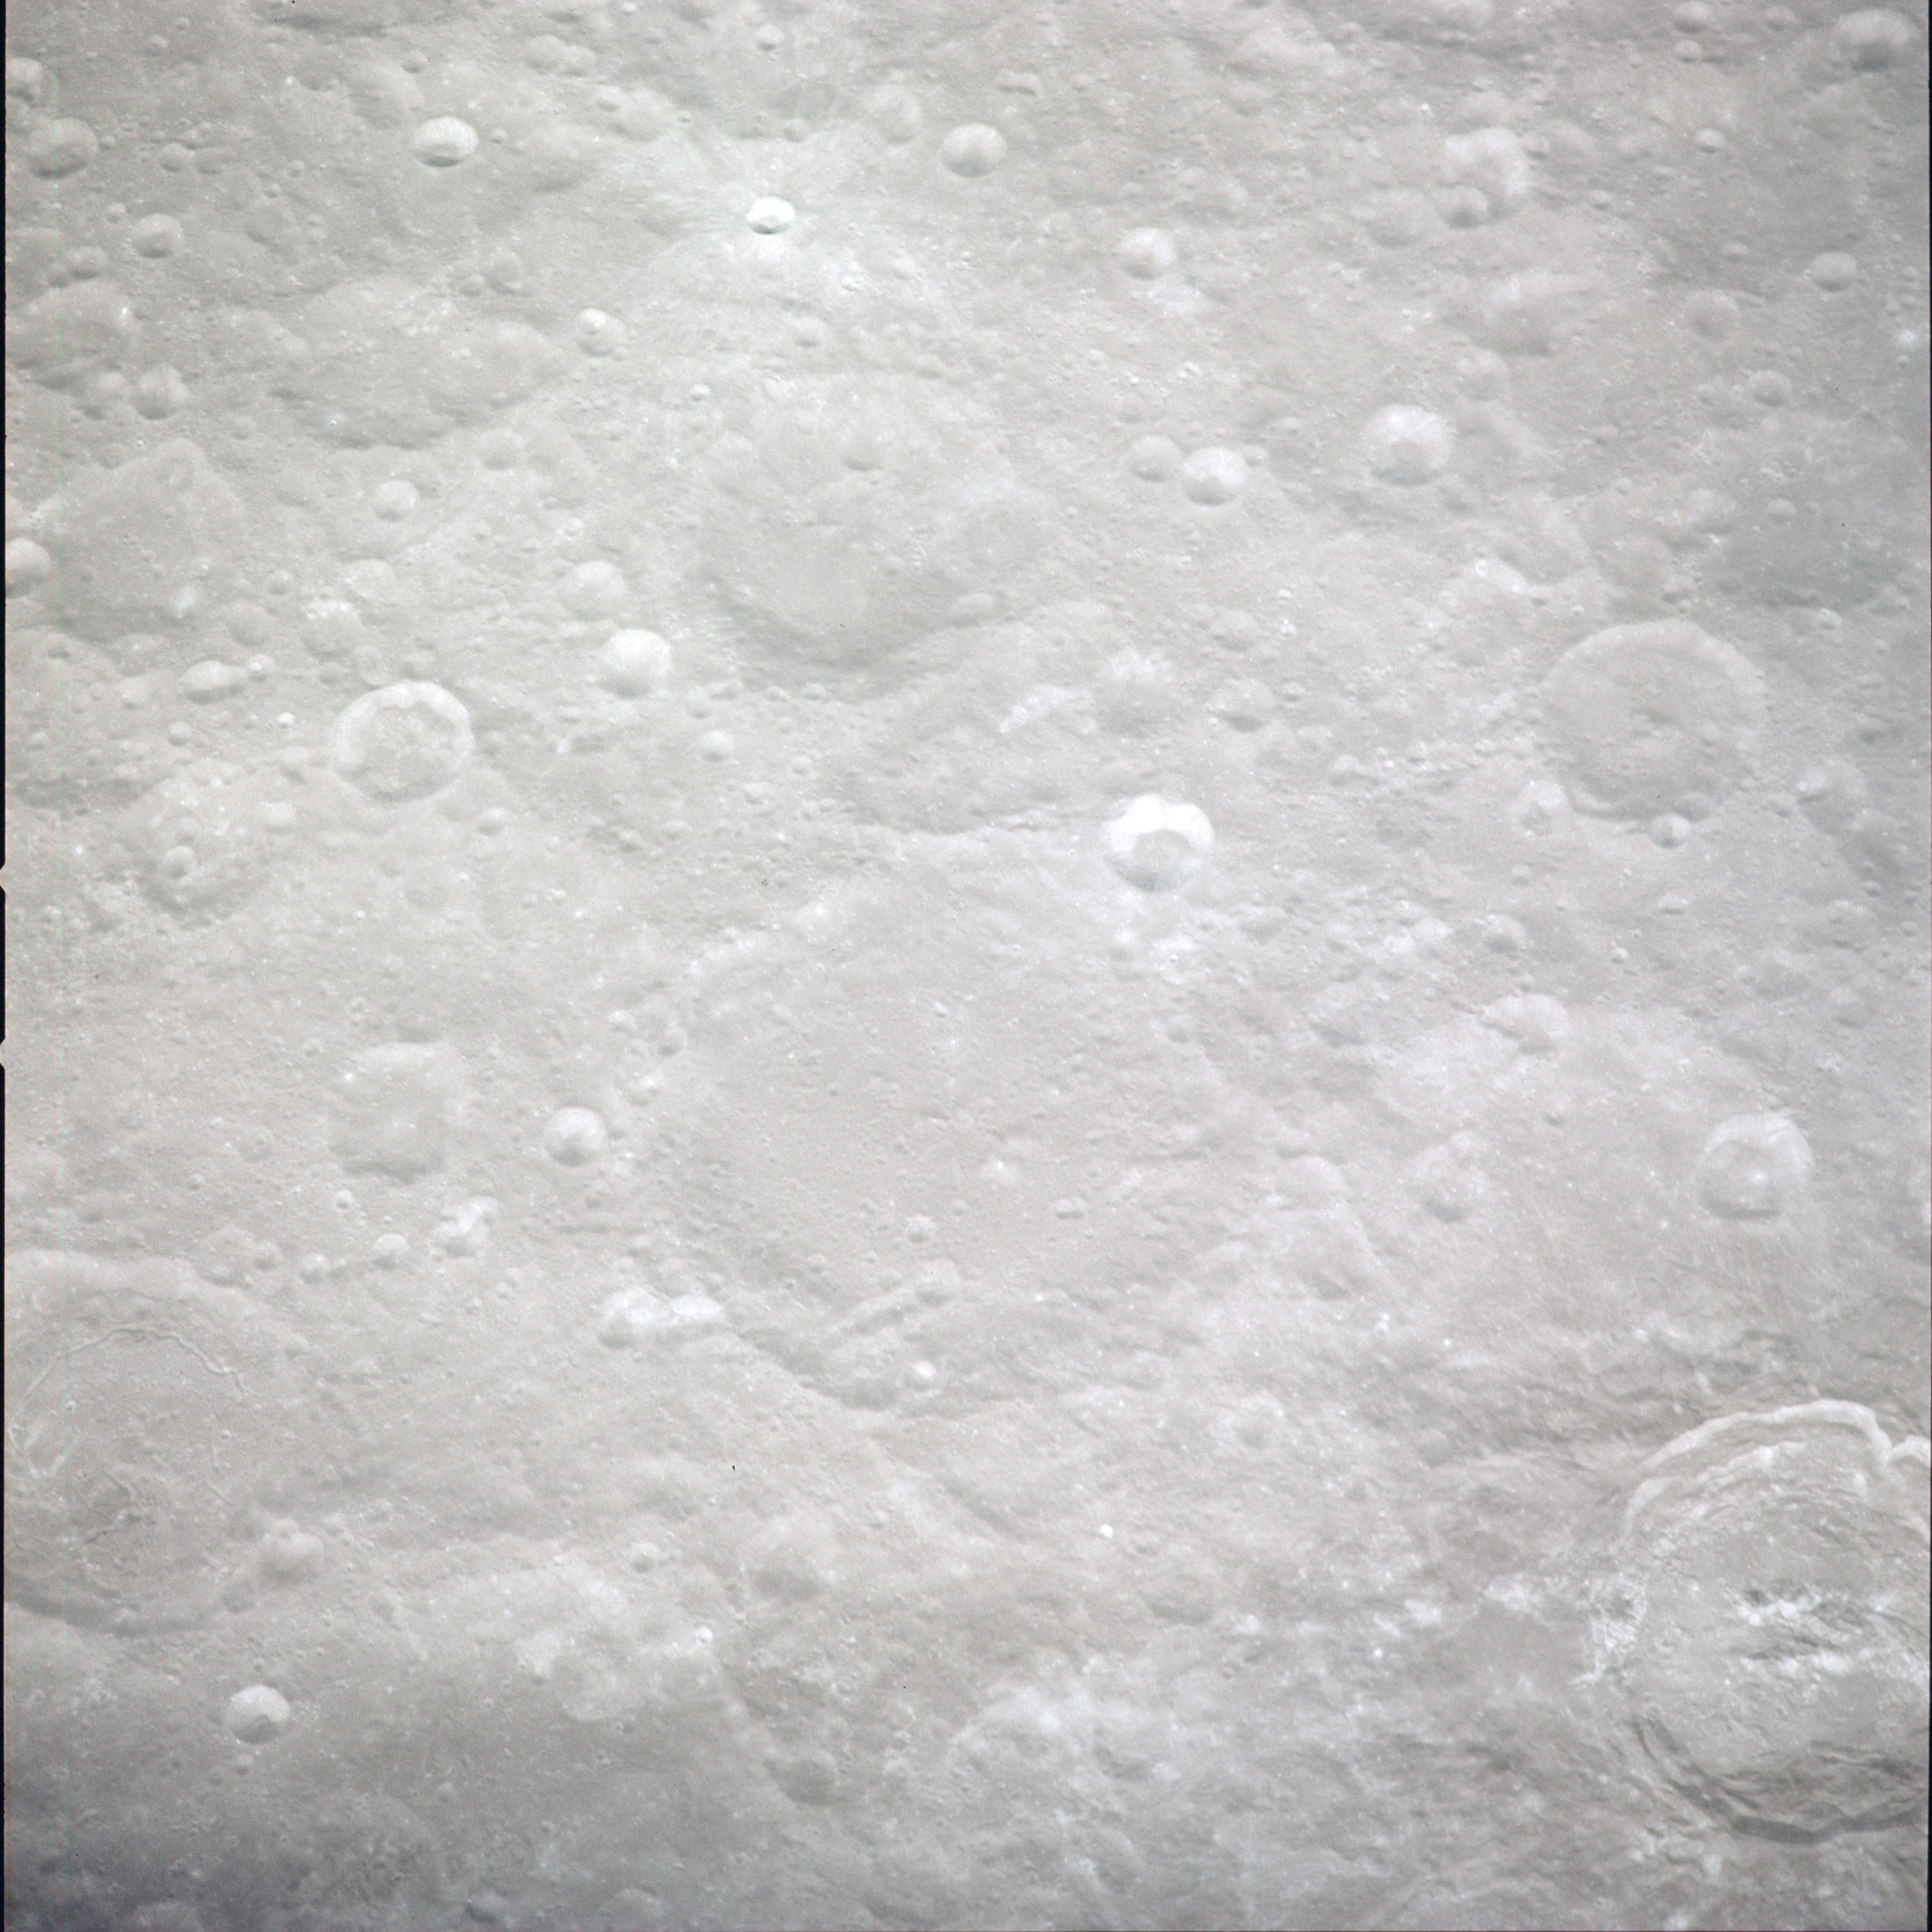
 | AS13-60-8663 XXXXXXXXXXXXXXXXXXXXXXXXXXX CAPTION XXXXXXXXXXXXXXXXXXXXXXXXXXXXX Image credit: Image Science and Analysis Laboratory, NASA-Johnson Space Center. |
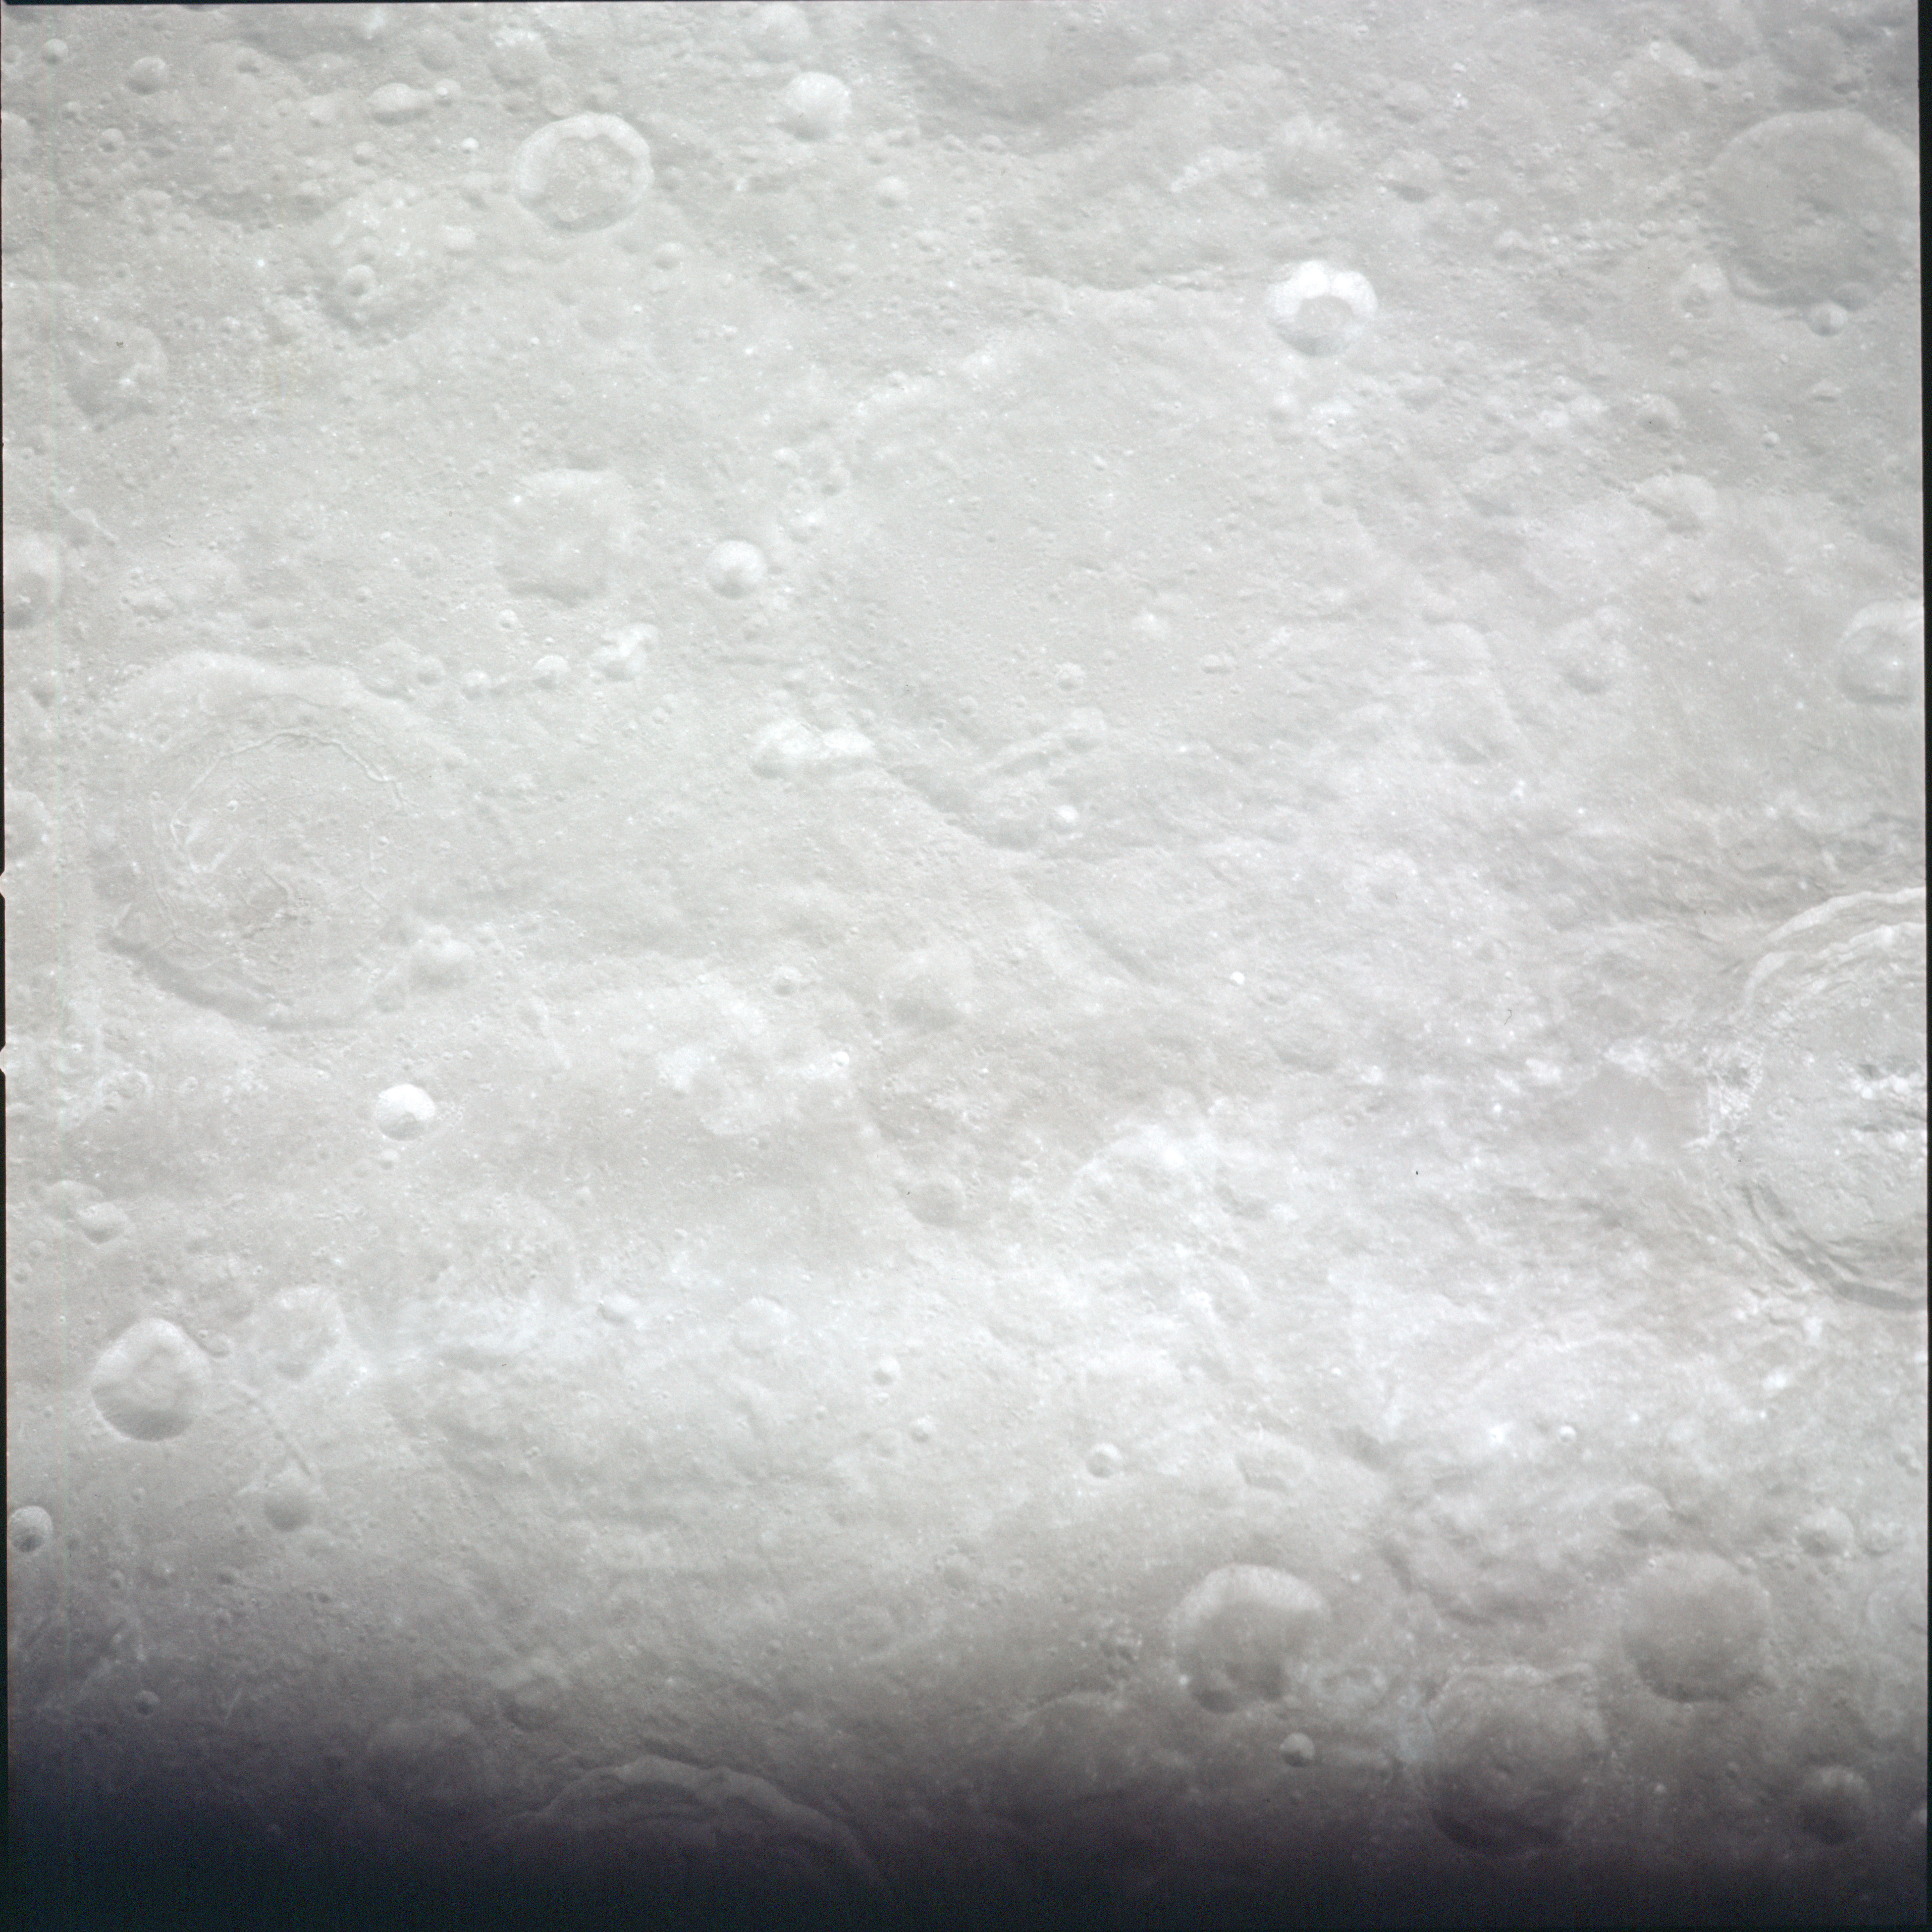
 | AS13-60-8664 XXXXXXXXXXXXXXXXXXXXXXXXXXX CAPTION XXXXXXXXXXXXXXXXXXXXXXXXXXXXX Image credit: Image Science and Analysis Laboratory, NASA-Johnson Space Center. |
 | AS13-60-8665 XXXXXXXXXXXXXXXXXXXXXXXXXXX CAPTION XXXXXXXXXXXXXXXXXXXXXXXXXXXXX Image credit: Image Science and Analysis Laboratory, NASA-Johnson Space Center. |
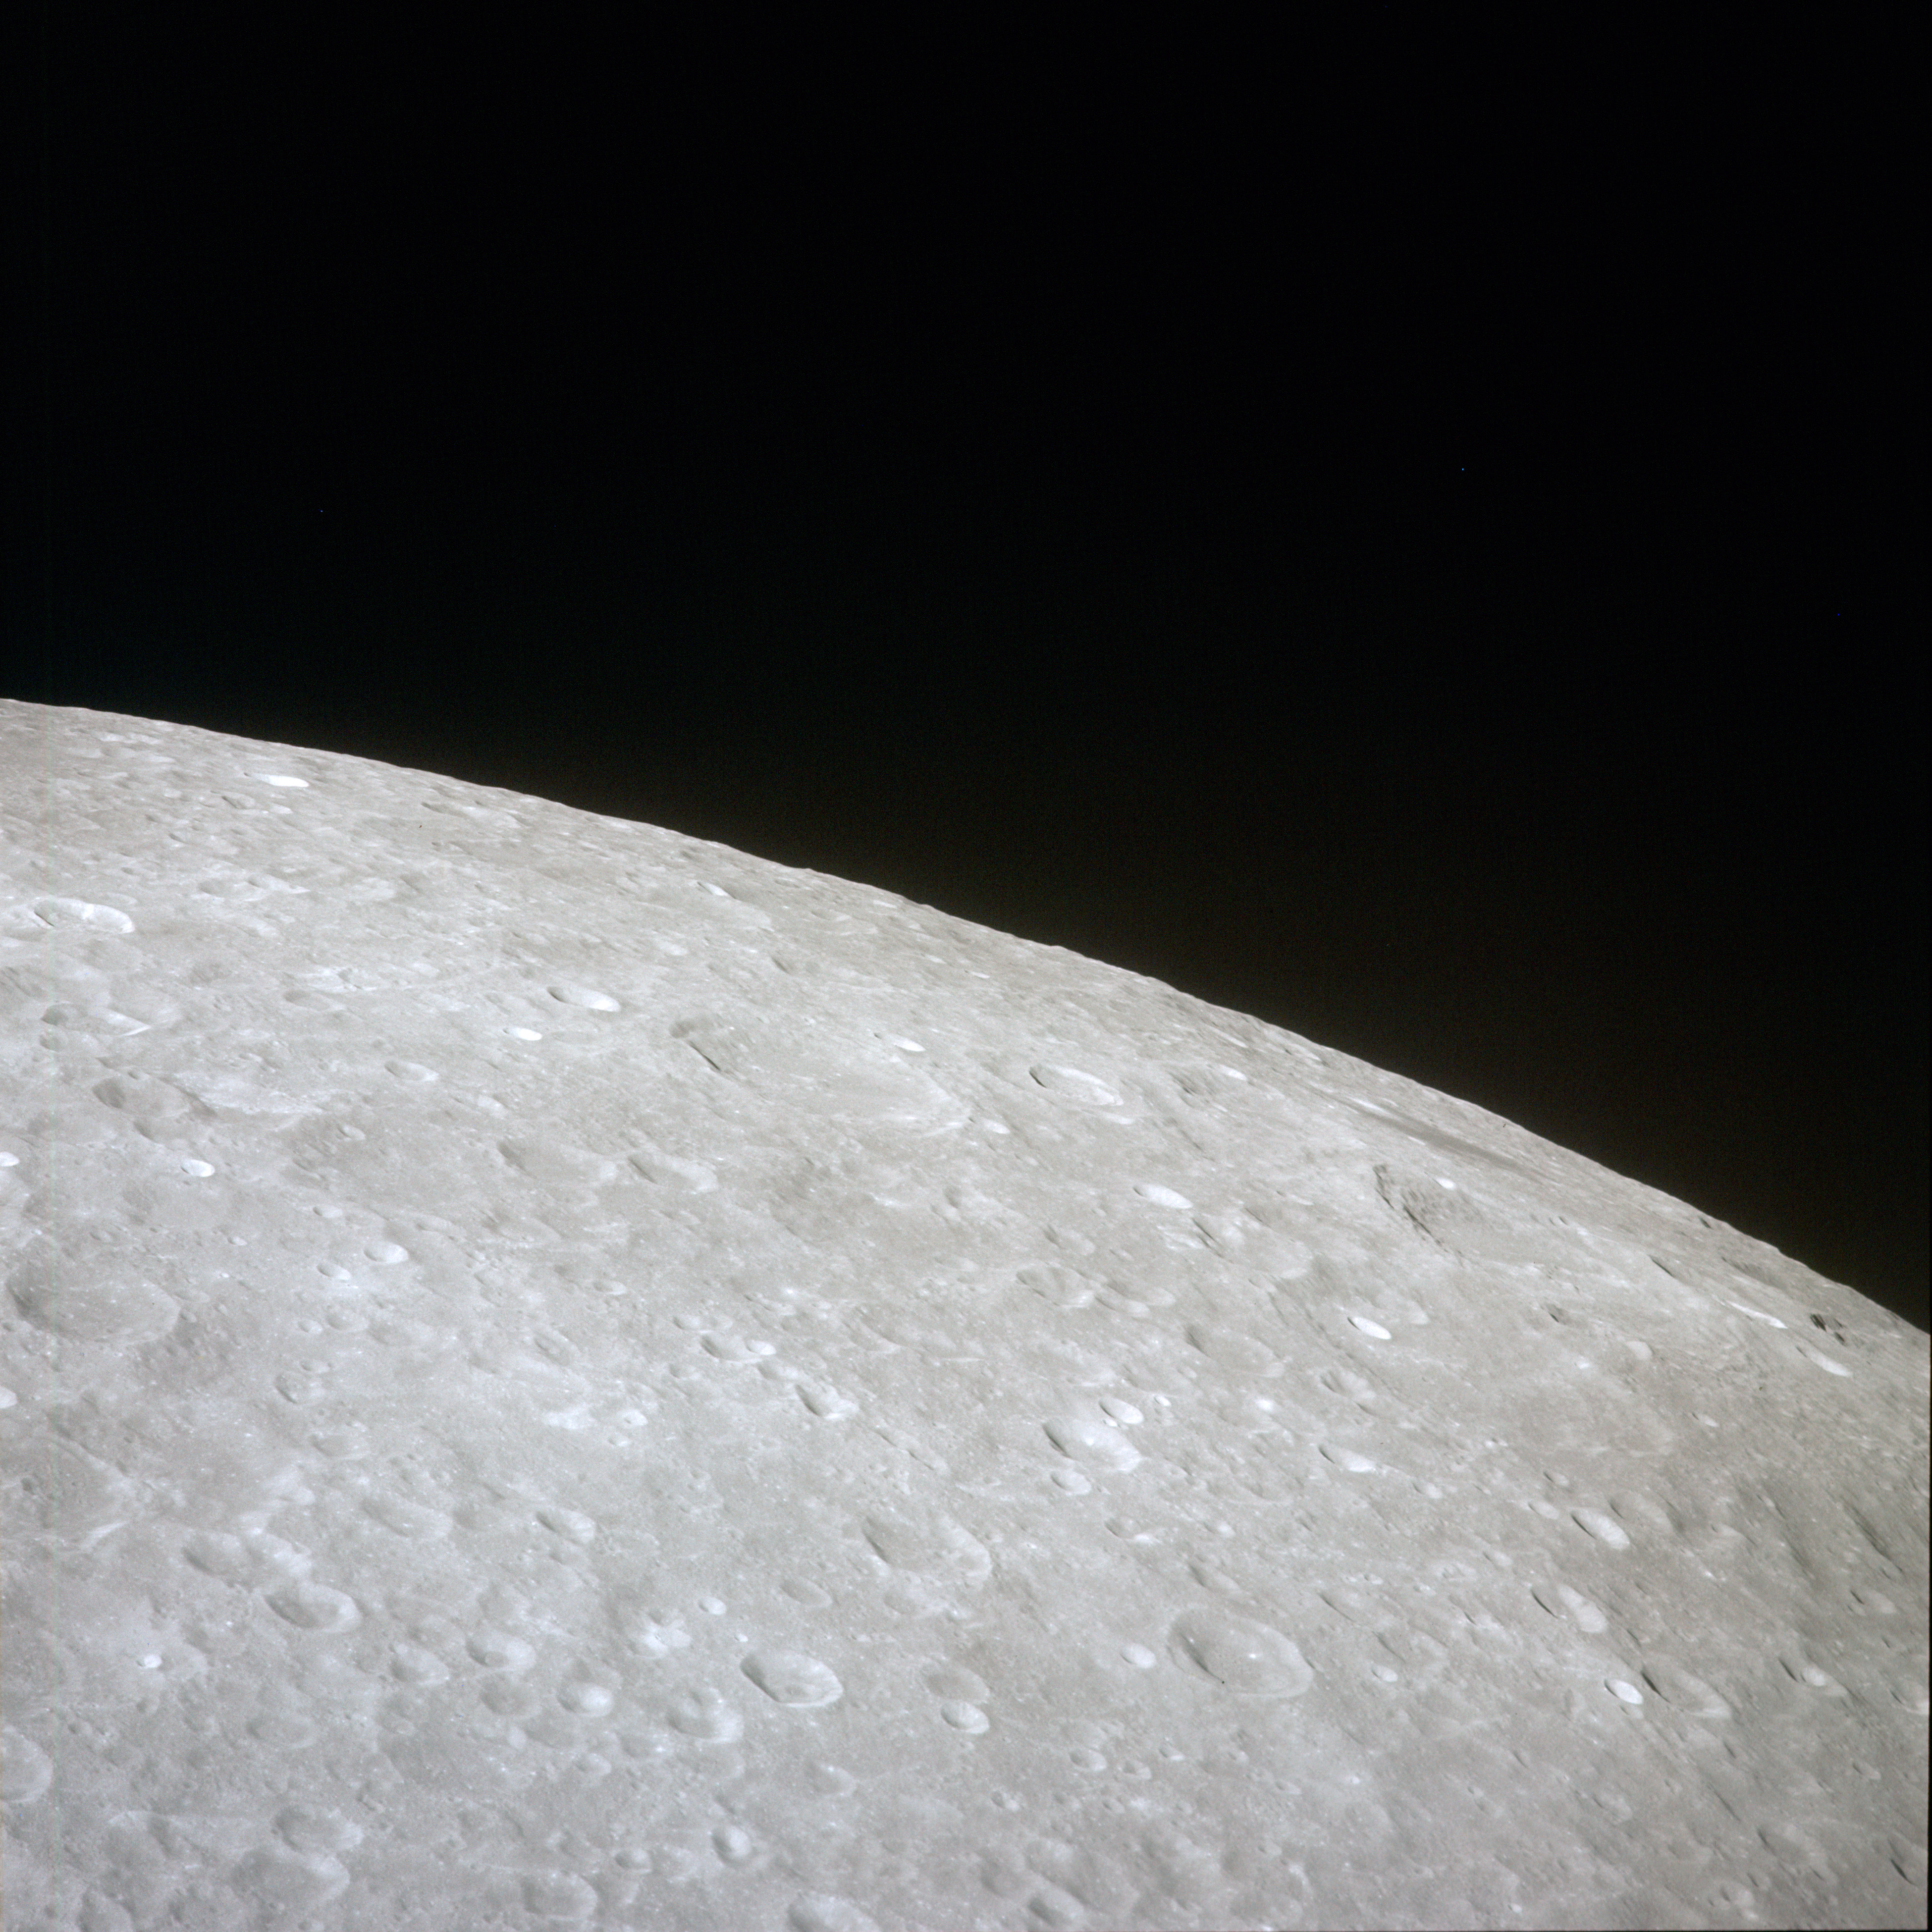 | AS13-60-8666 XXXXXXXXXXXXXXXXXXXXXXXXXXX CAPTION XXXXXXXXXXXXXXXXXXXXXXXXXXXXX Image credit: Image Science and Analysis Laboratory, NASA-Johnson Space Center. |
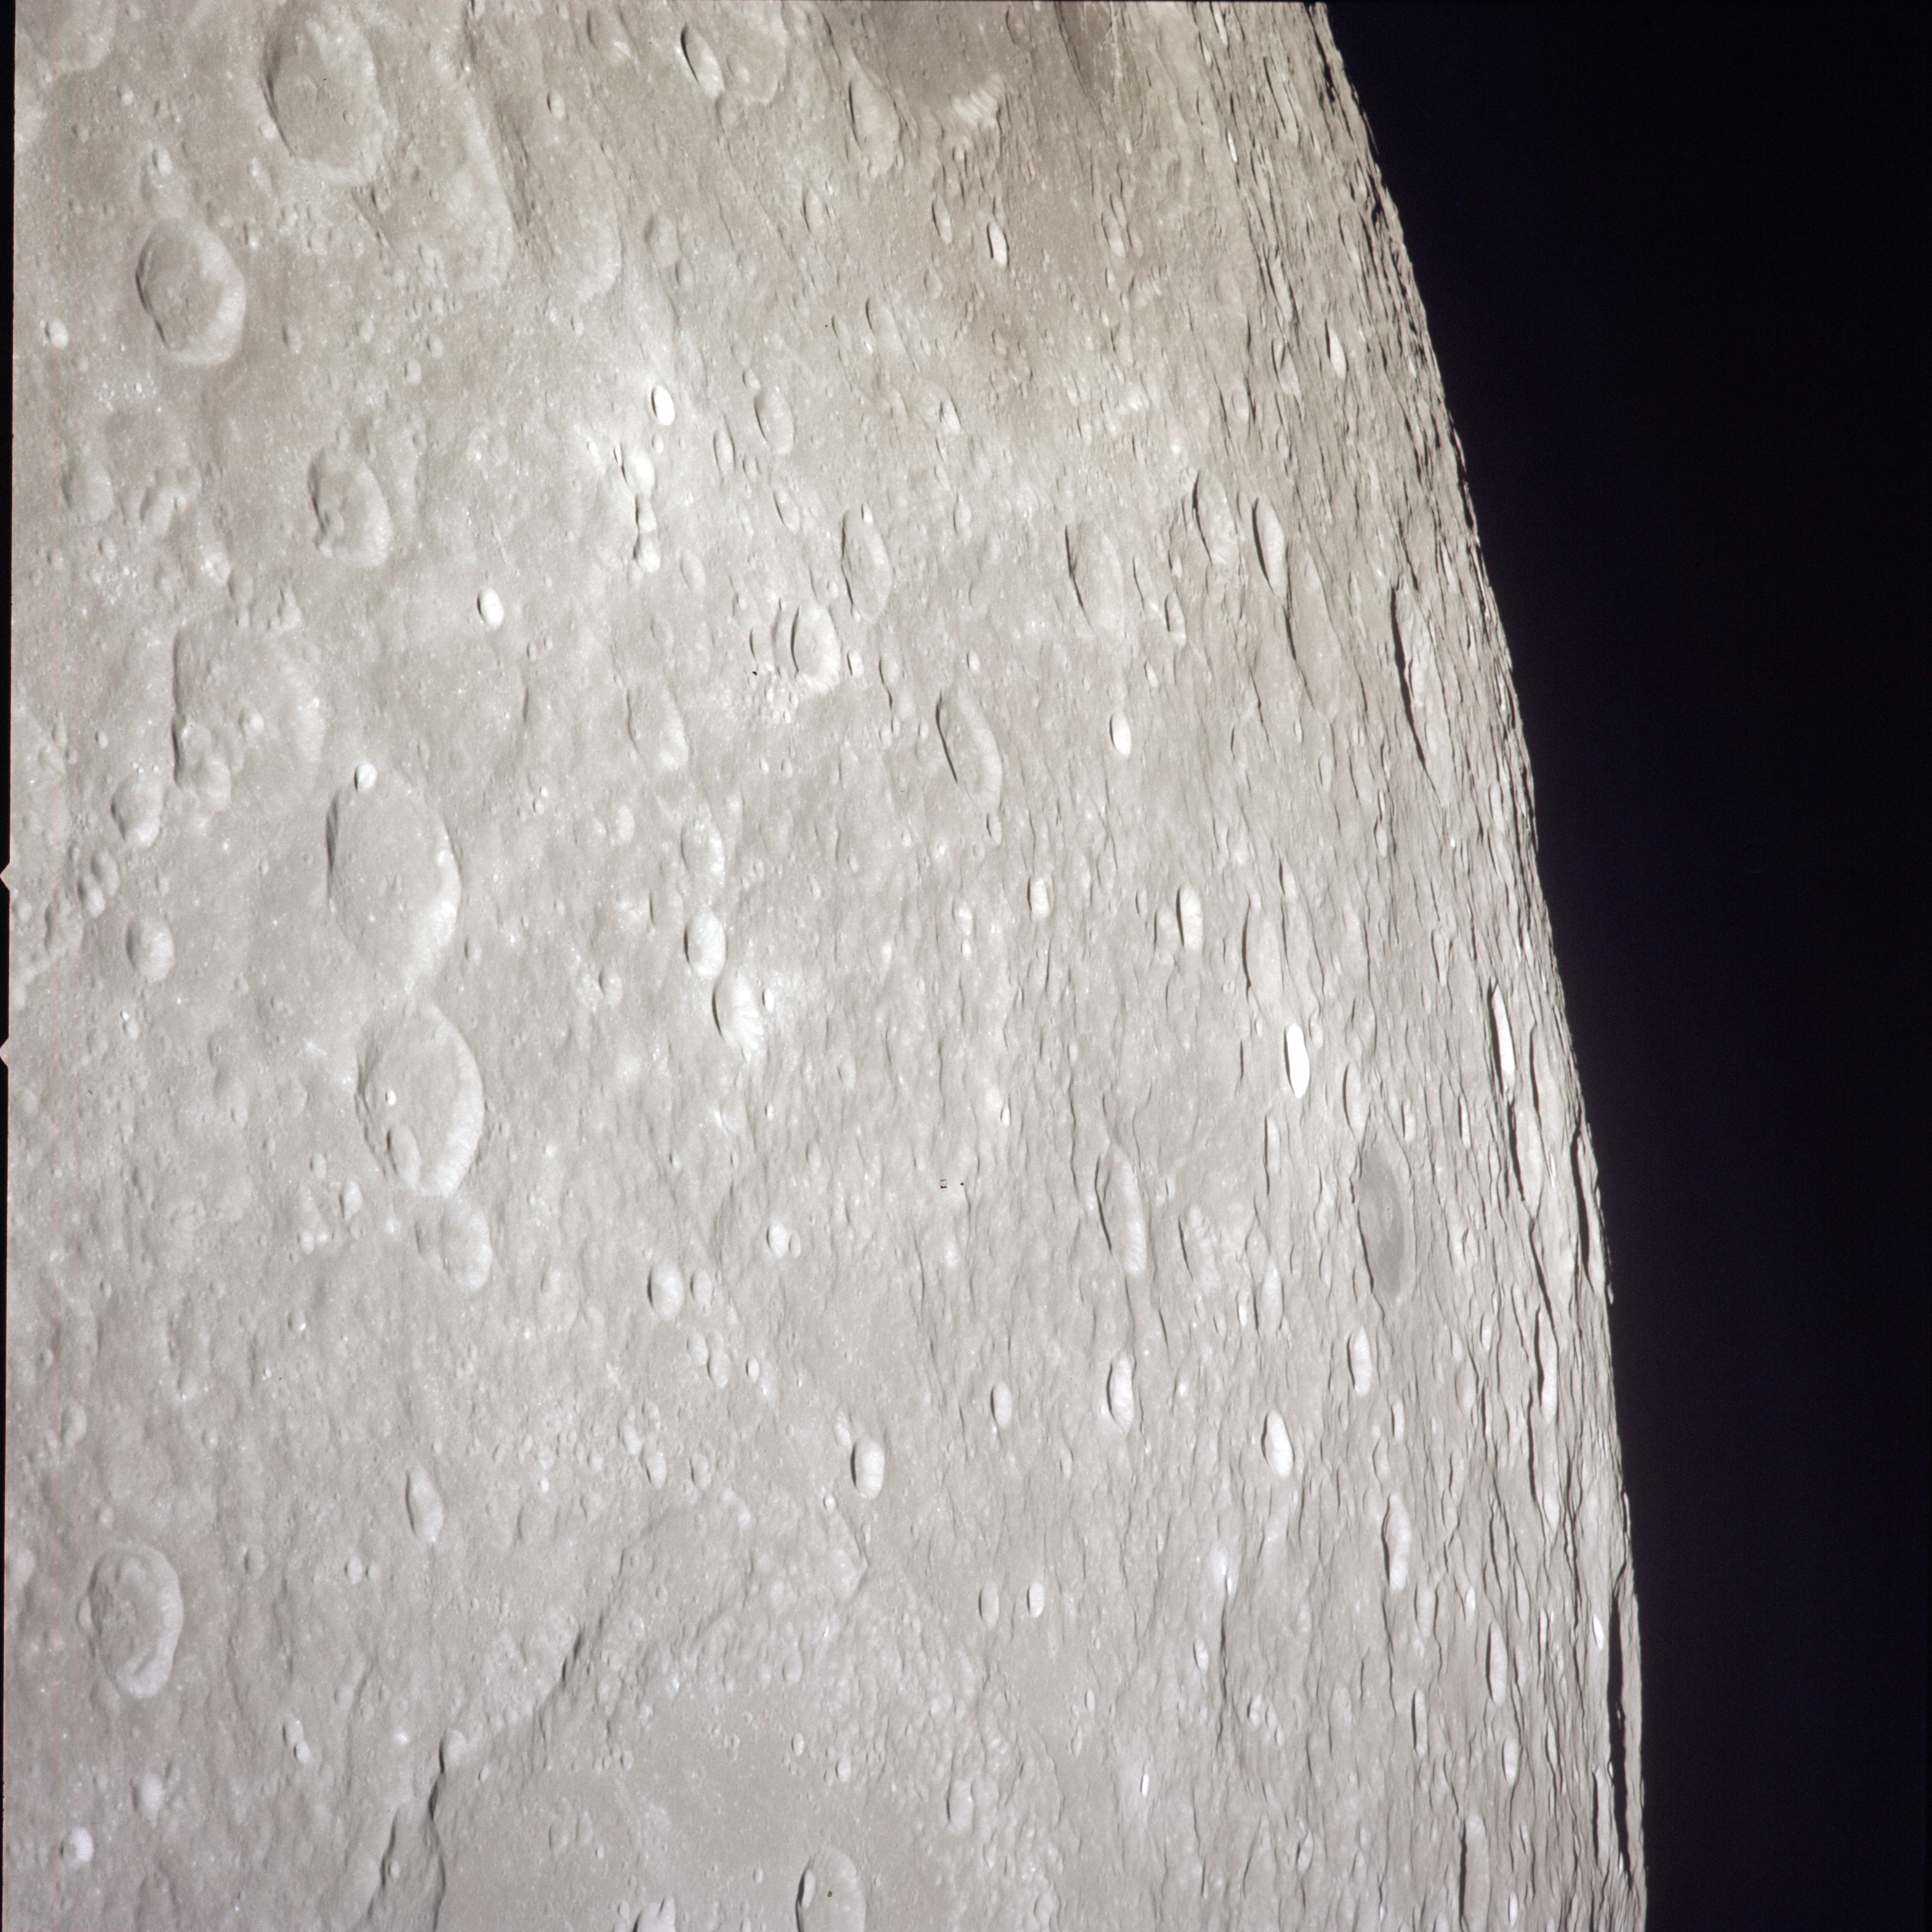 | AS13-60-8667 XXXXXXXXXXXXXXXXXXXXXXXXXXX CAPTION XXXXXXXXXXXXXXXXXXXXXXXXXXXXX Image credit: Image Science and Analysis Laboratory, NASA-Johnson Space Center. |
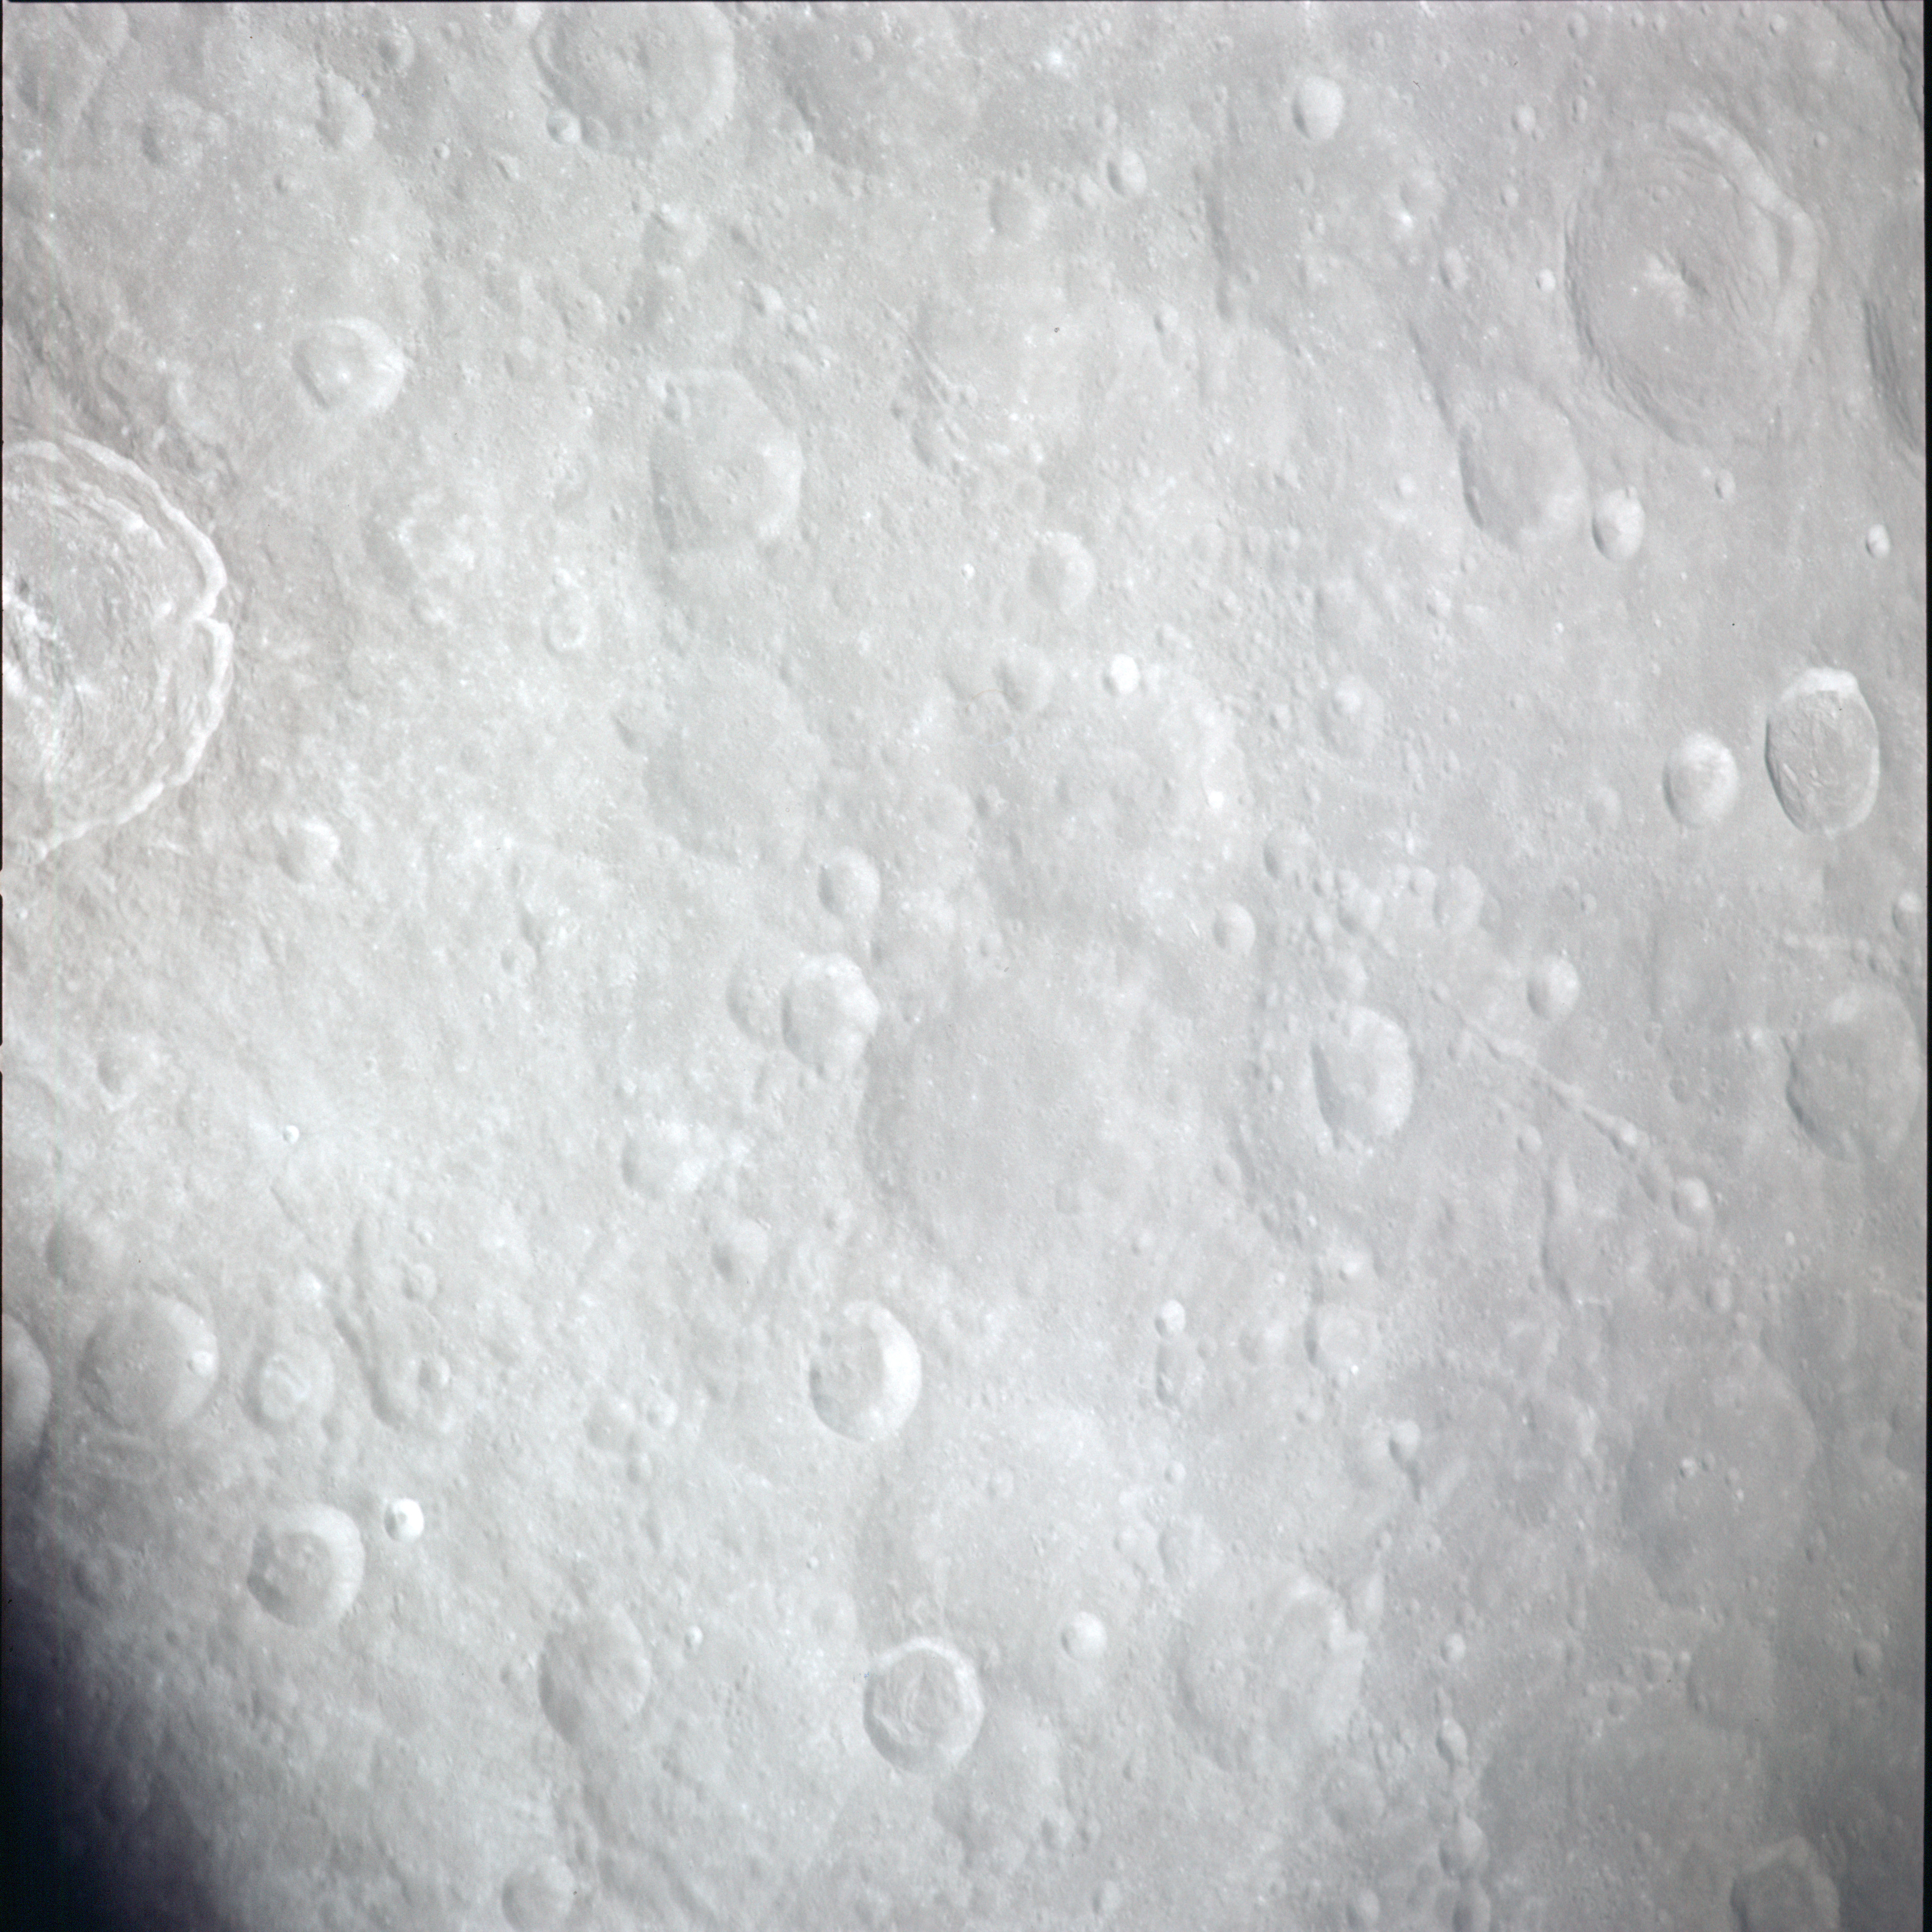 | AS13-60-8668 XXXXXXXXXXXXXXXXXXXXXXXXXXX CAPTION XXXXXXXXXXXXXXXXXXXXXXXXXXXXX Image credit: Image Science and Analysis Laboratory, NASA-Johnson Space Center. |
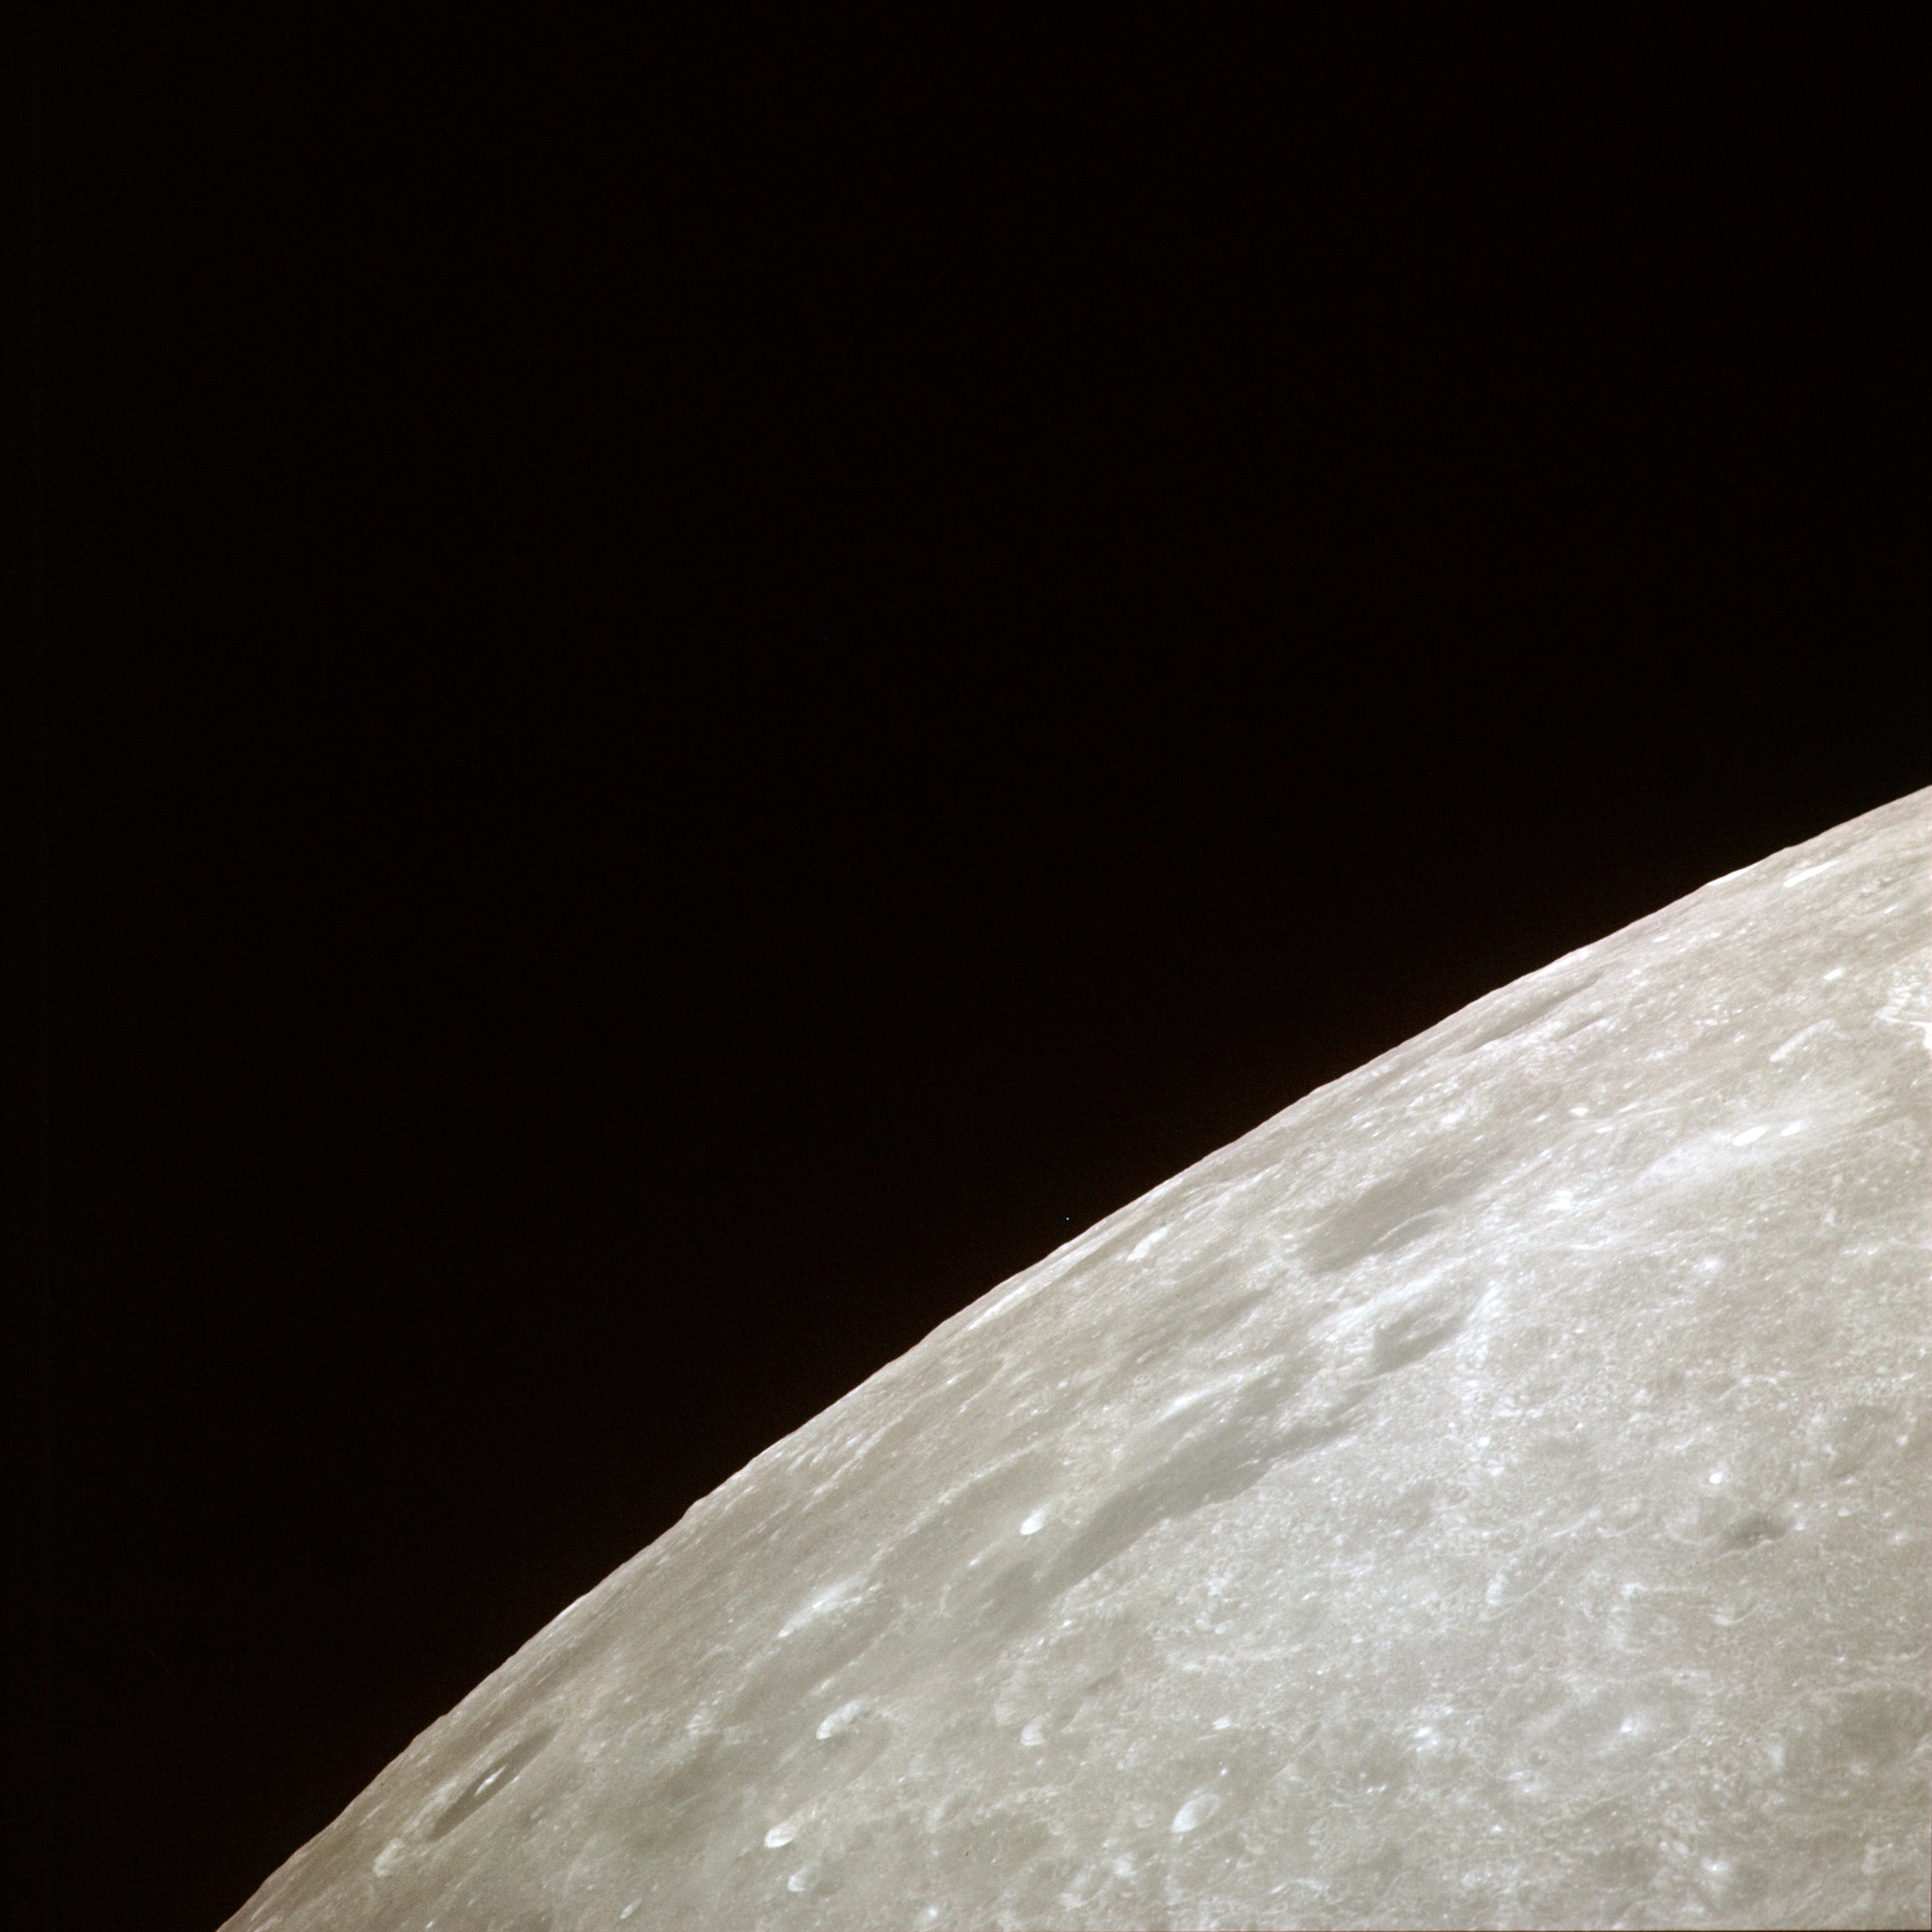 | AS13-60-8669 XXXXXXXXXXXXXXXXXXXXXXXXXXX CAPTION XXXXXXXXXXXXXXXXXXXXXXXXXXXXX Image credit: Image Science and Analysis Laboratory, NASA-Johnson Space Center. |
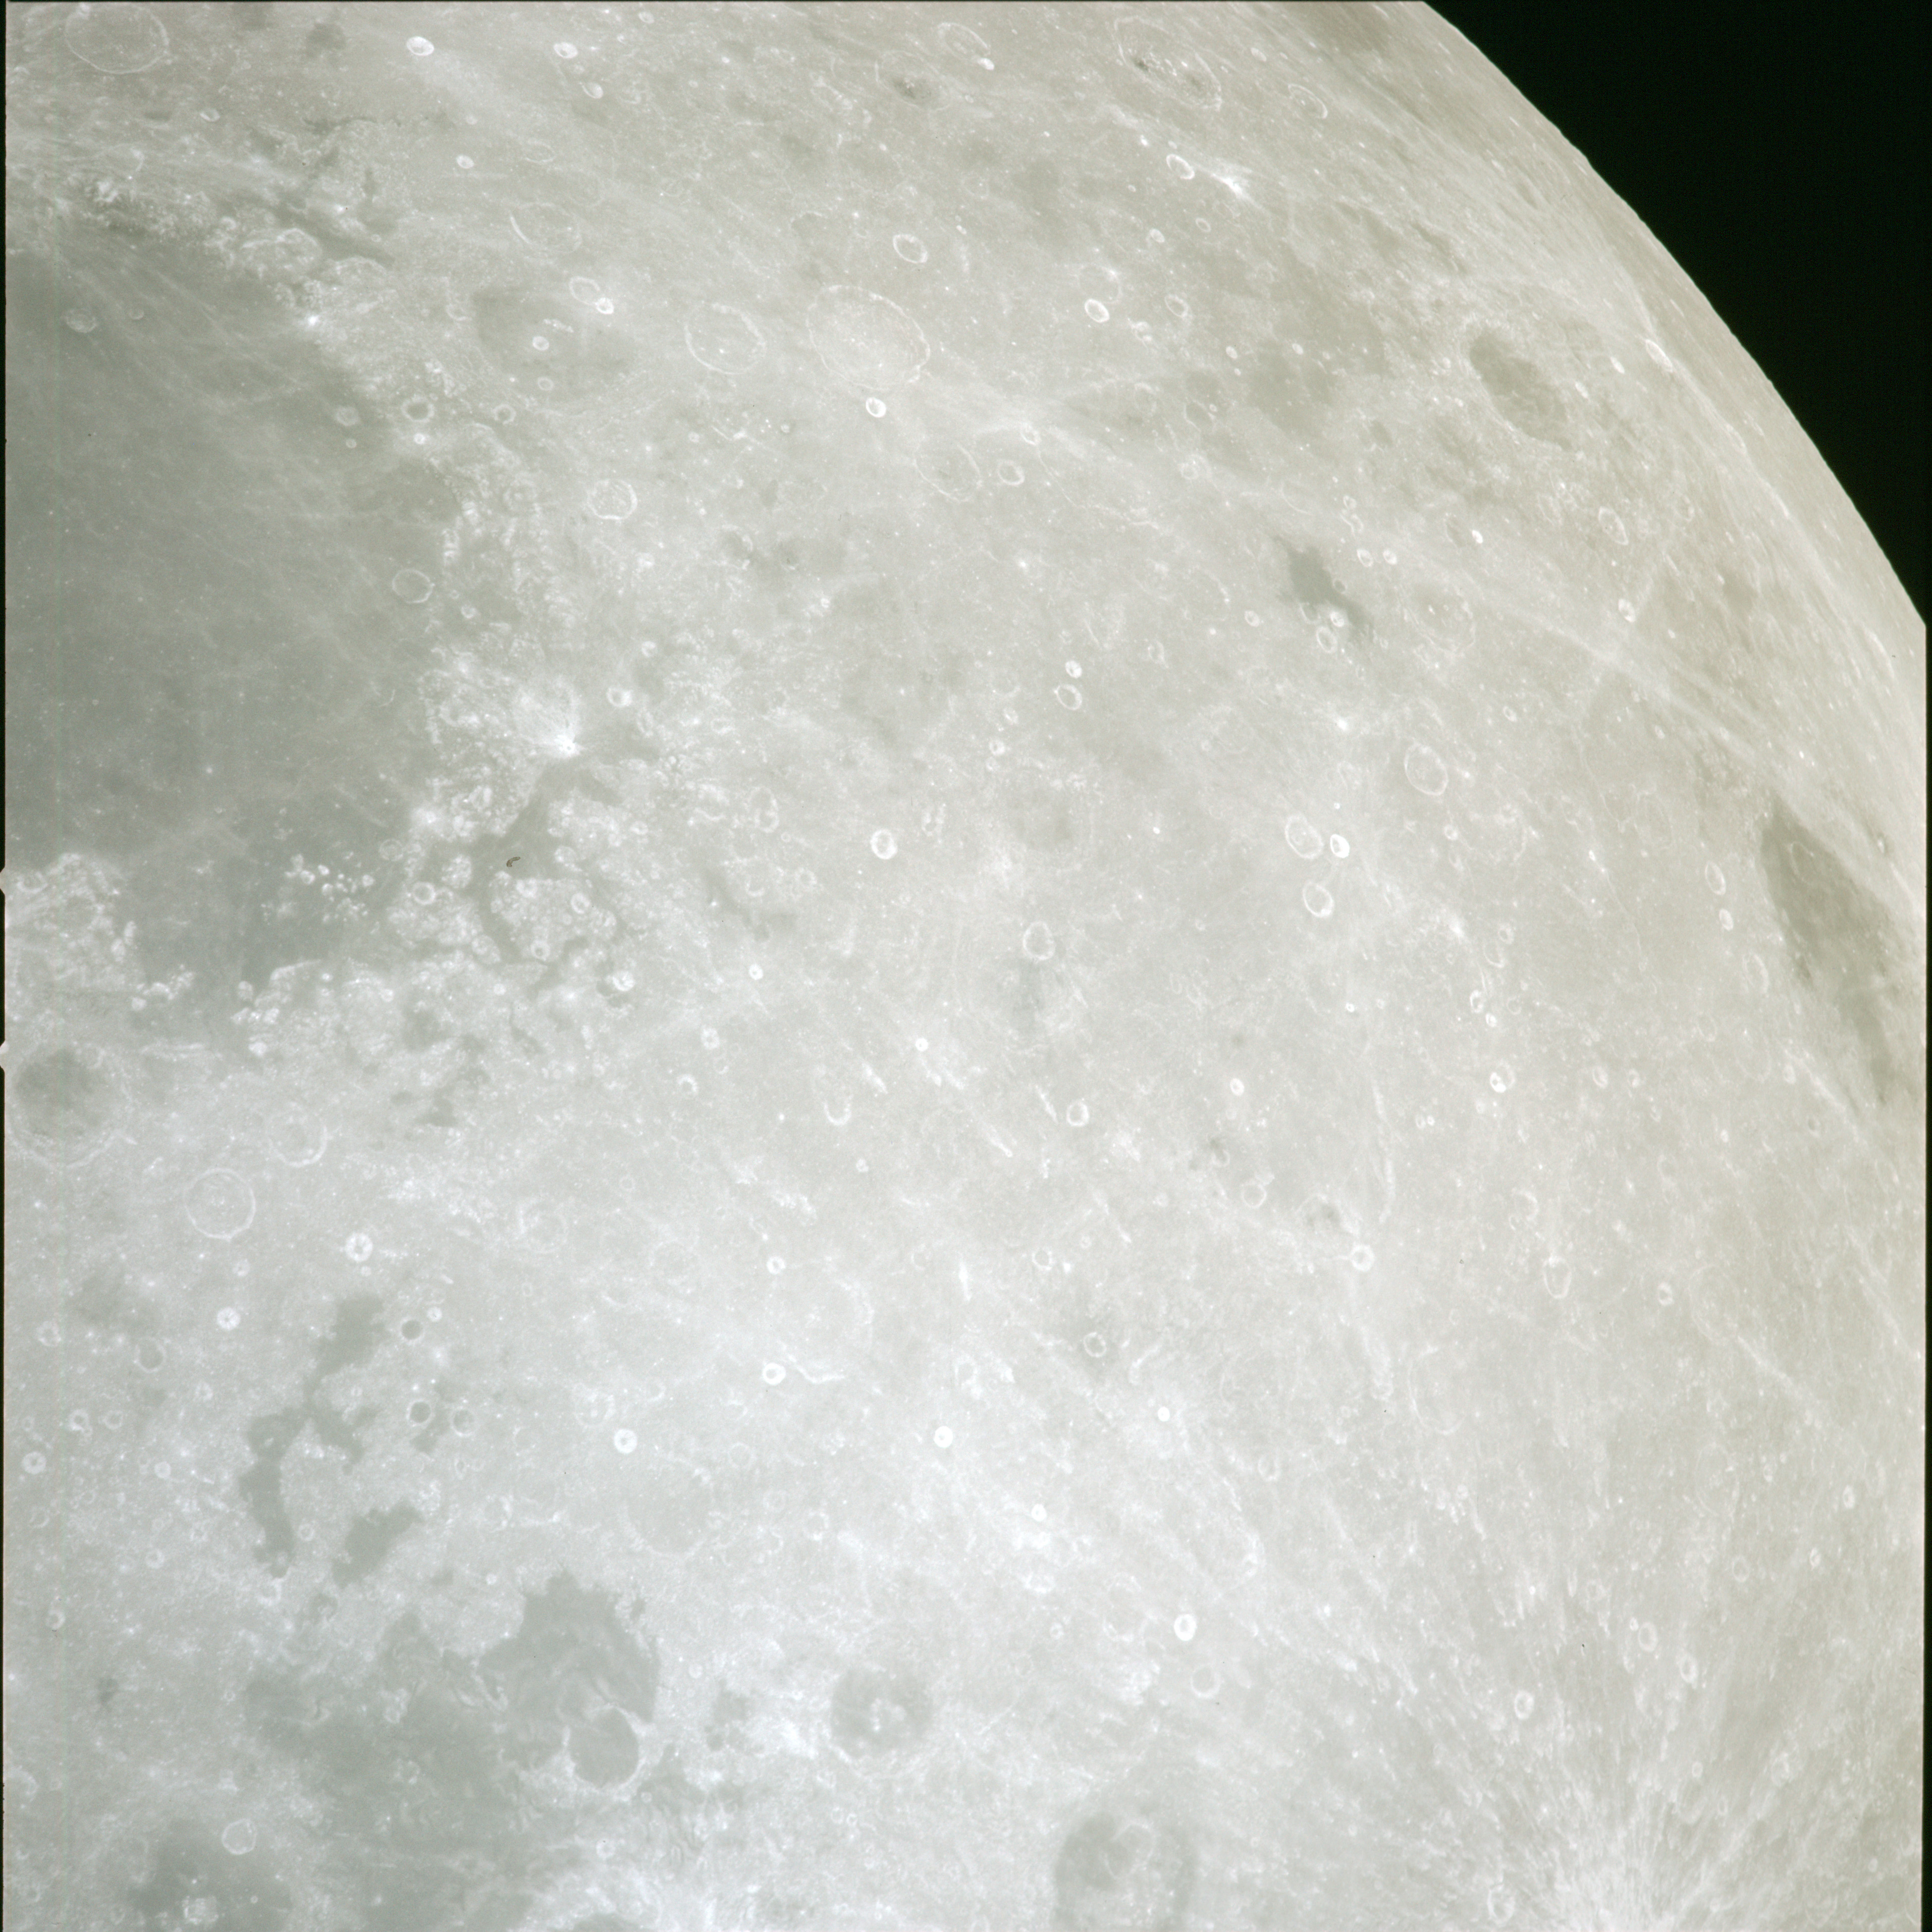 | AS13-60-8670 XXXXXXXXXXXXXXXXXXXXXXXXXXX CAPTION XXXXXXXXXXXXXXXXXXXXXXXXXXXXX Image credit: Image Science and Analysis Laboratory, NASA-Johnson Space Center. |
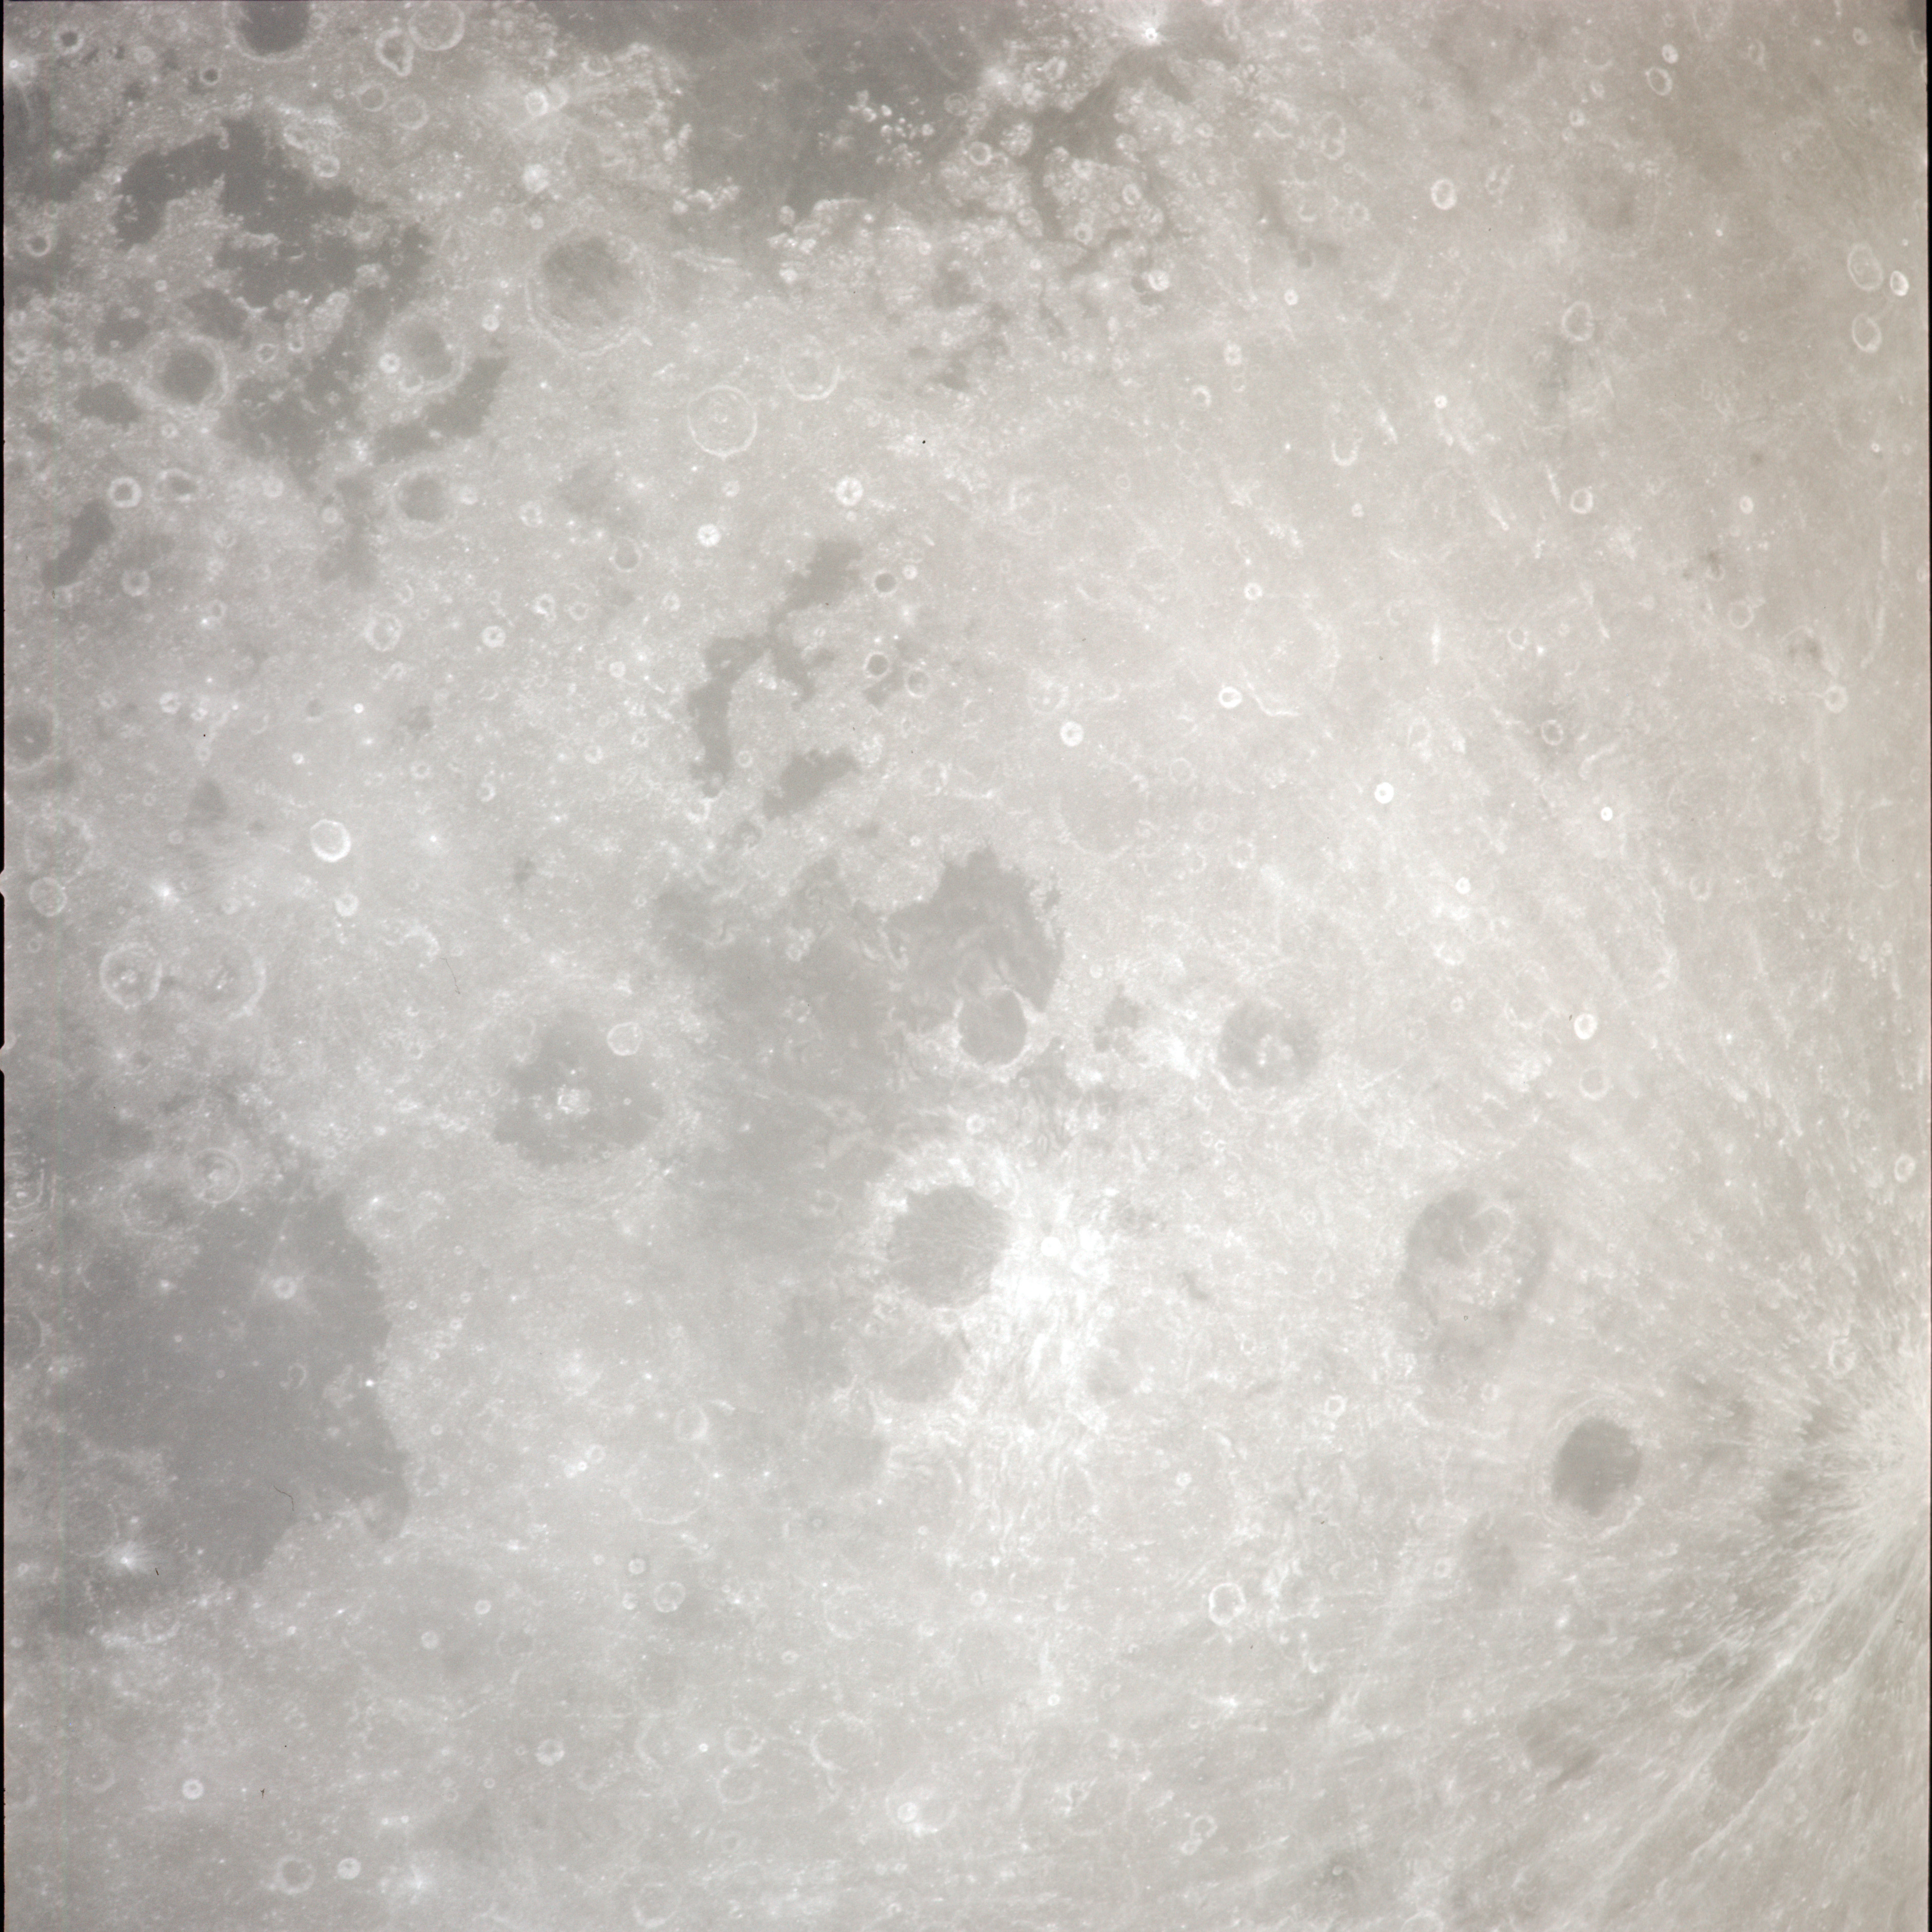 | AS13-60-8671 XXXXXXXXXXXXXXXXXXXXXXXXXXX CAPTION XXXXXXXXXXXXXXXXXXXXXXXXXXXXX Image credit: Image Science and Analysis Laboratory, NASA-Johnson Space Center. |
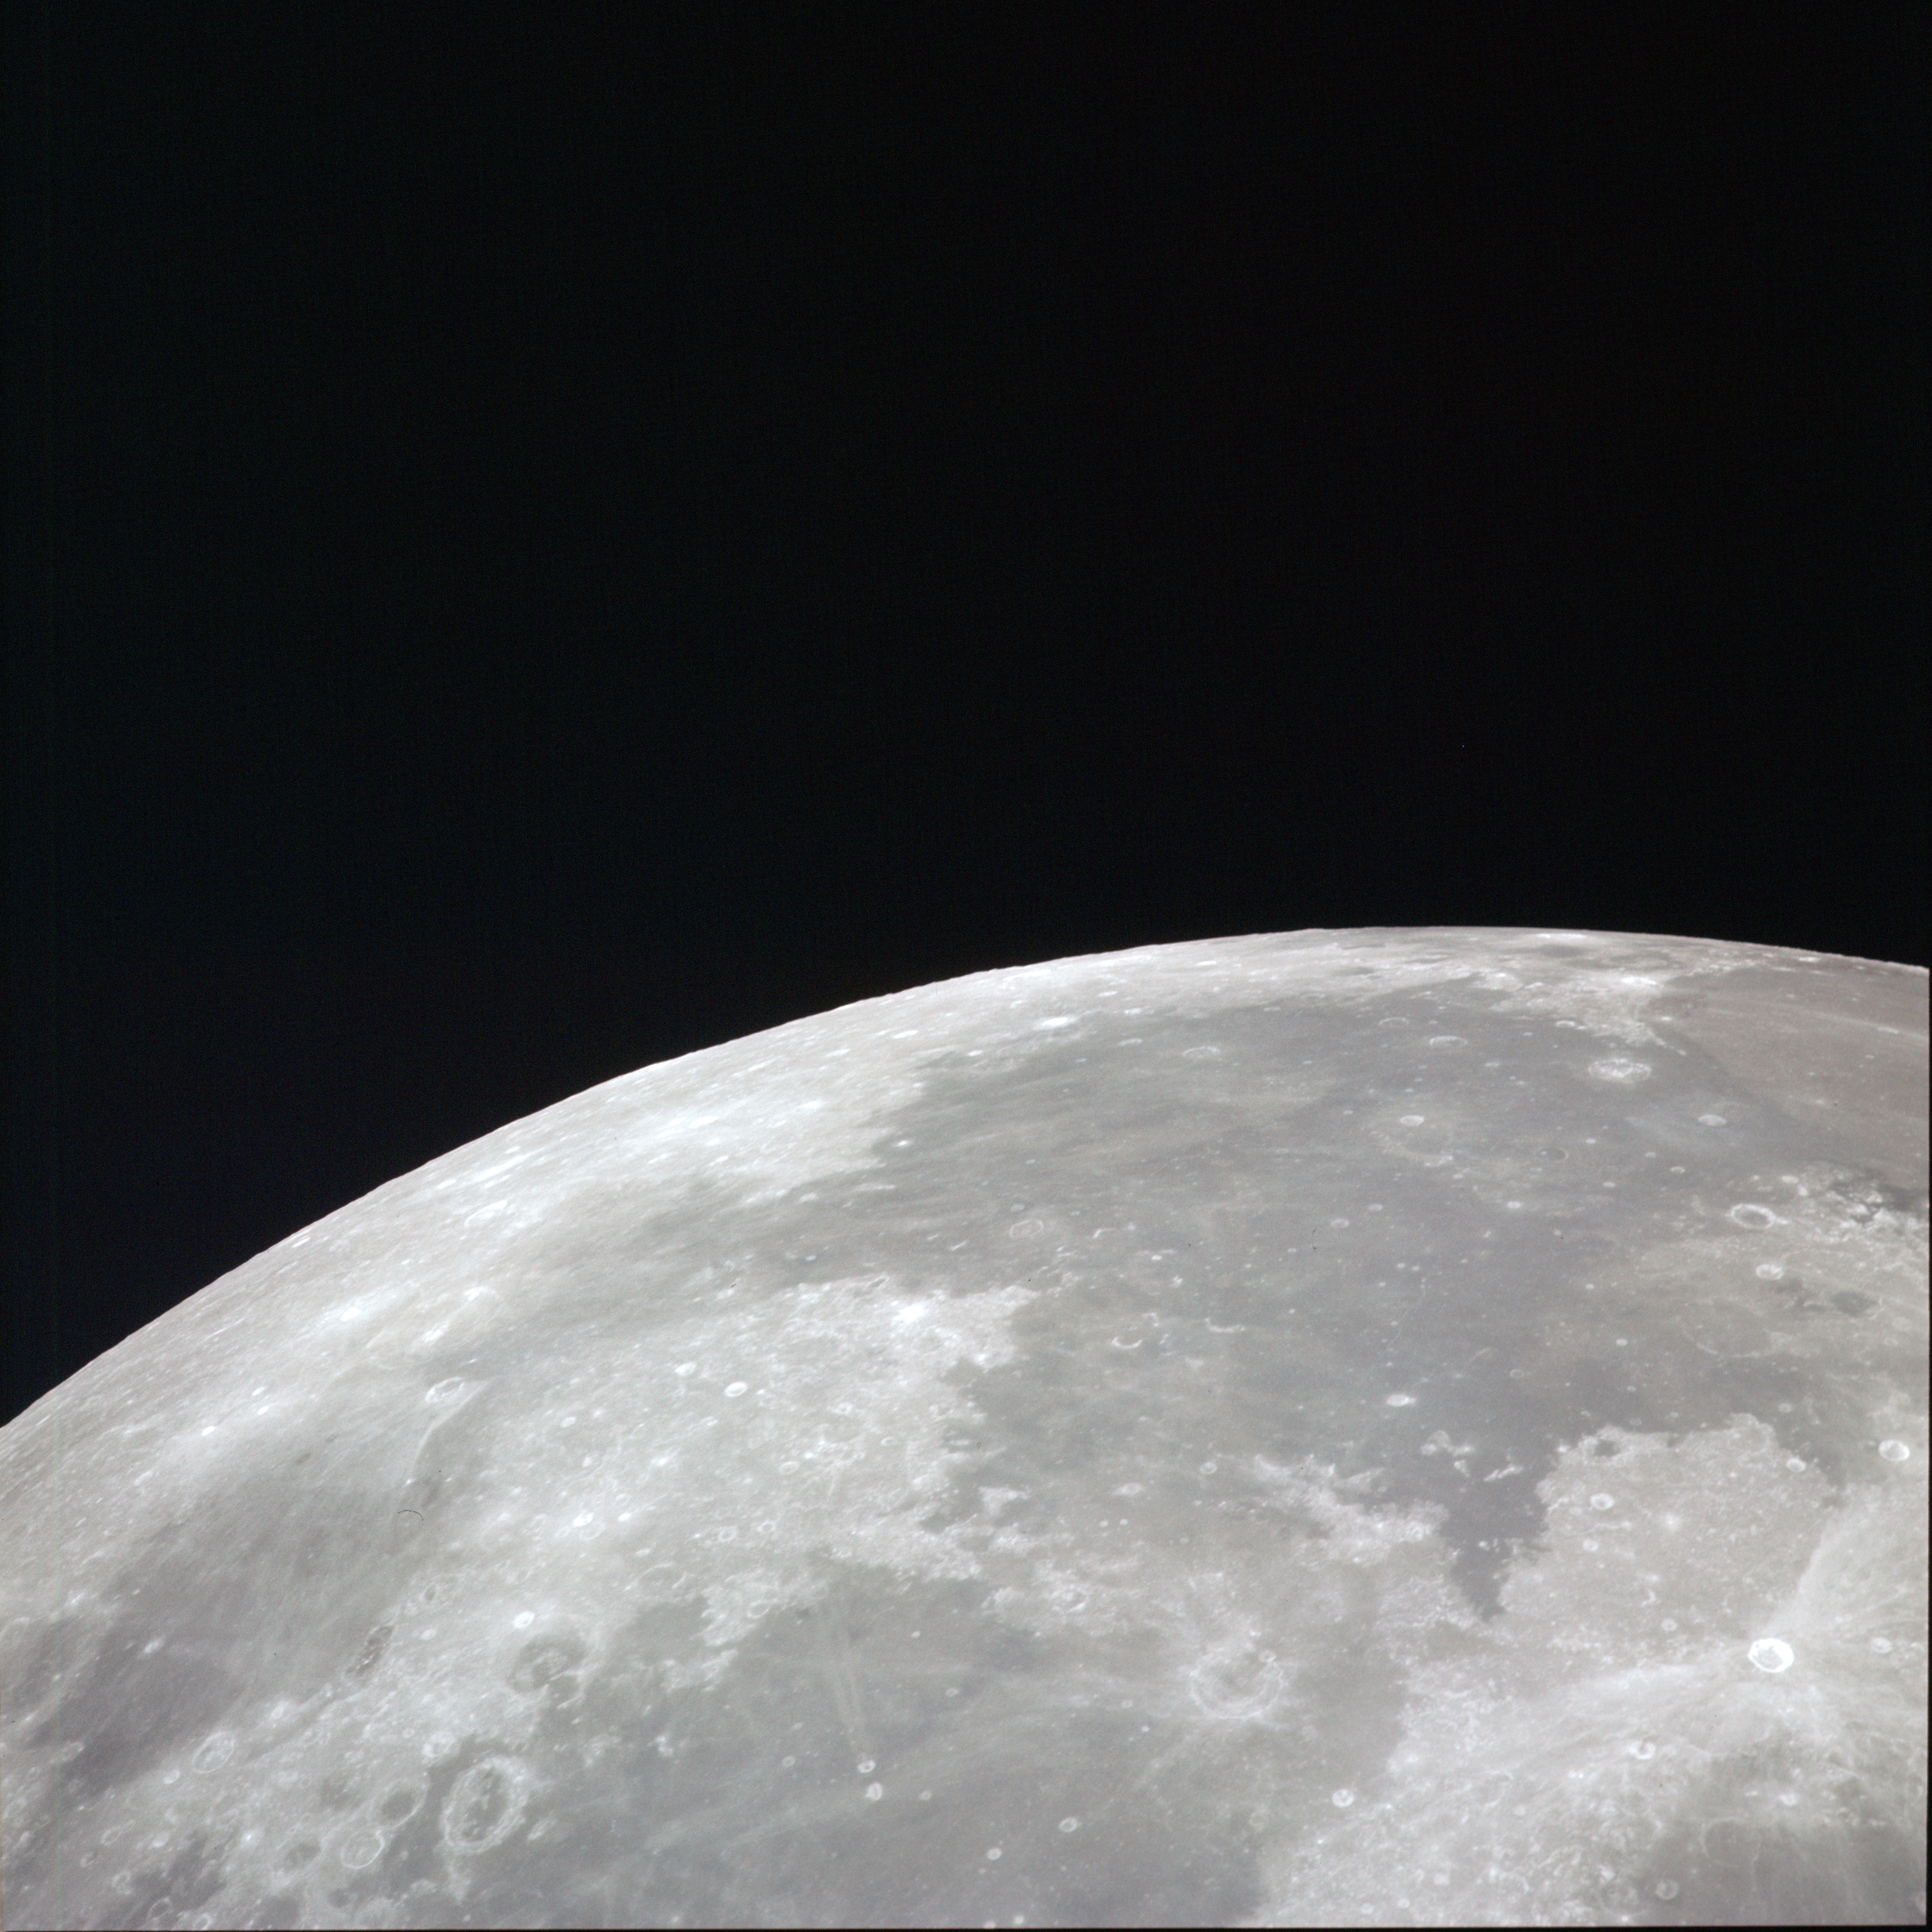 | AS13-60-8672 XXXXXXXXXXXXXXXXXXXXXXXXXXX CAPTION XXXXXXXXXXXXXXXXXXXXXXXXXXXXX Image credit: Image Science and Analysis Laboratory, NASA-Johnson Space Center. |
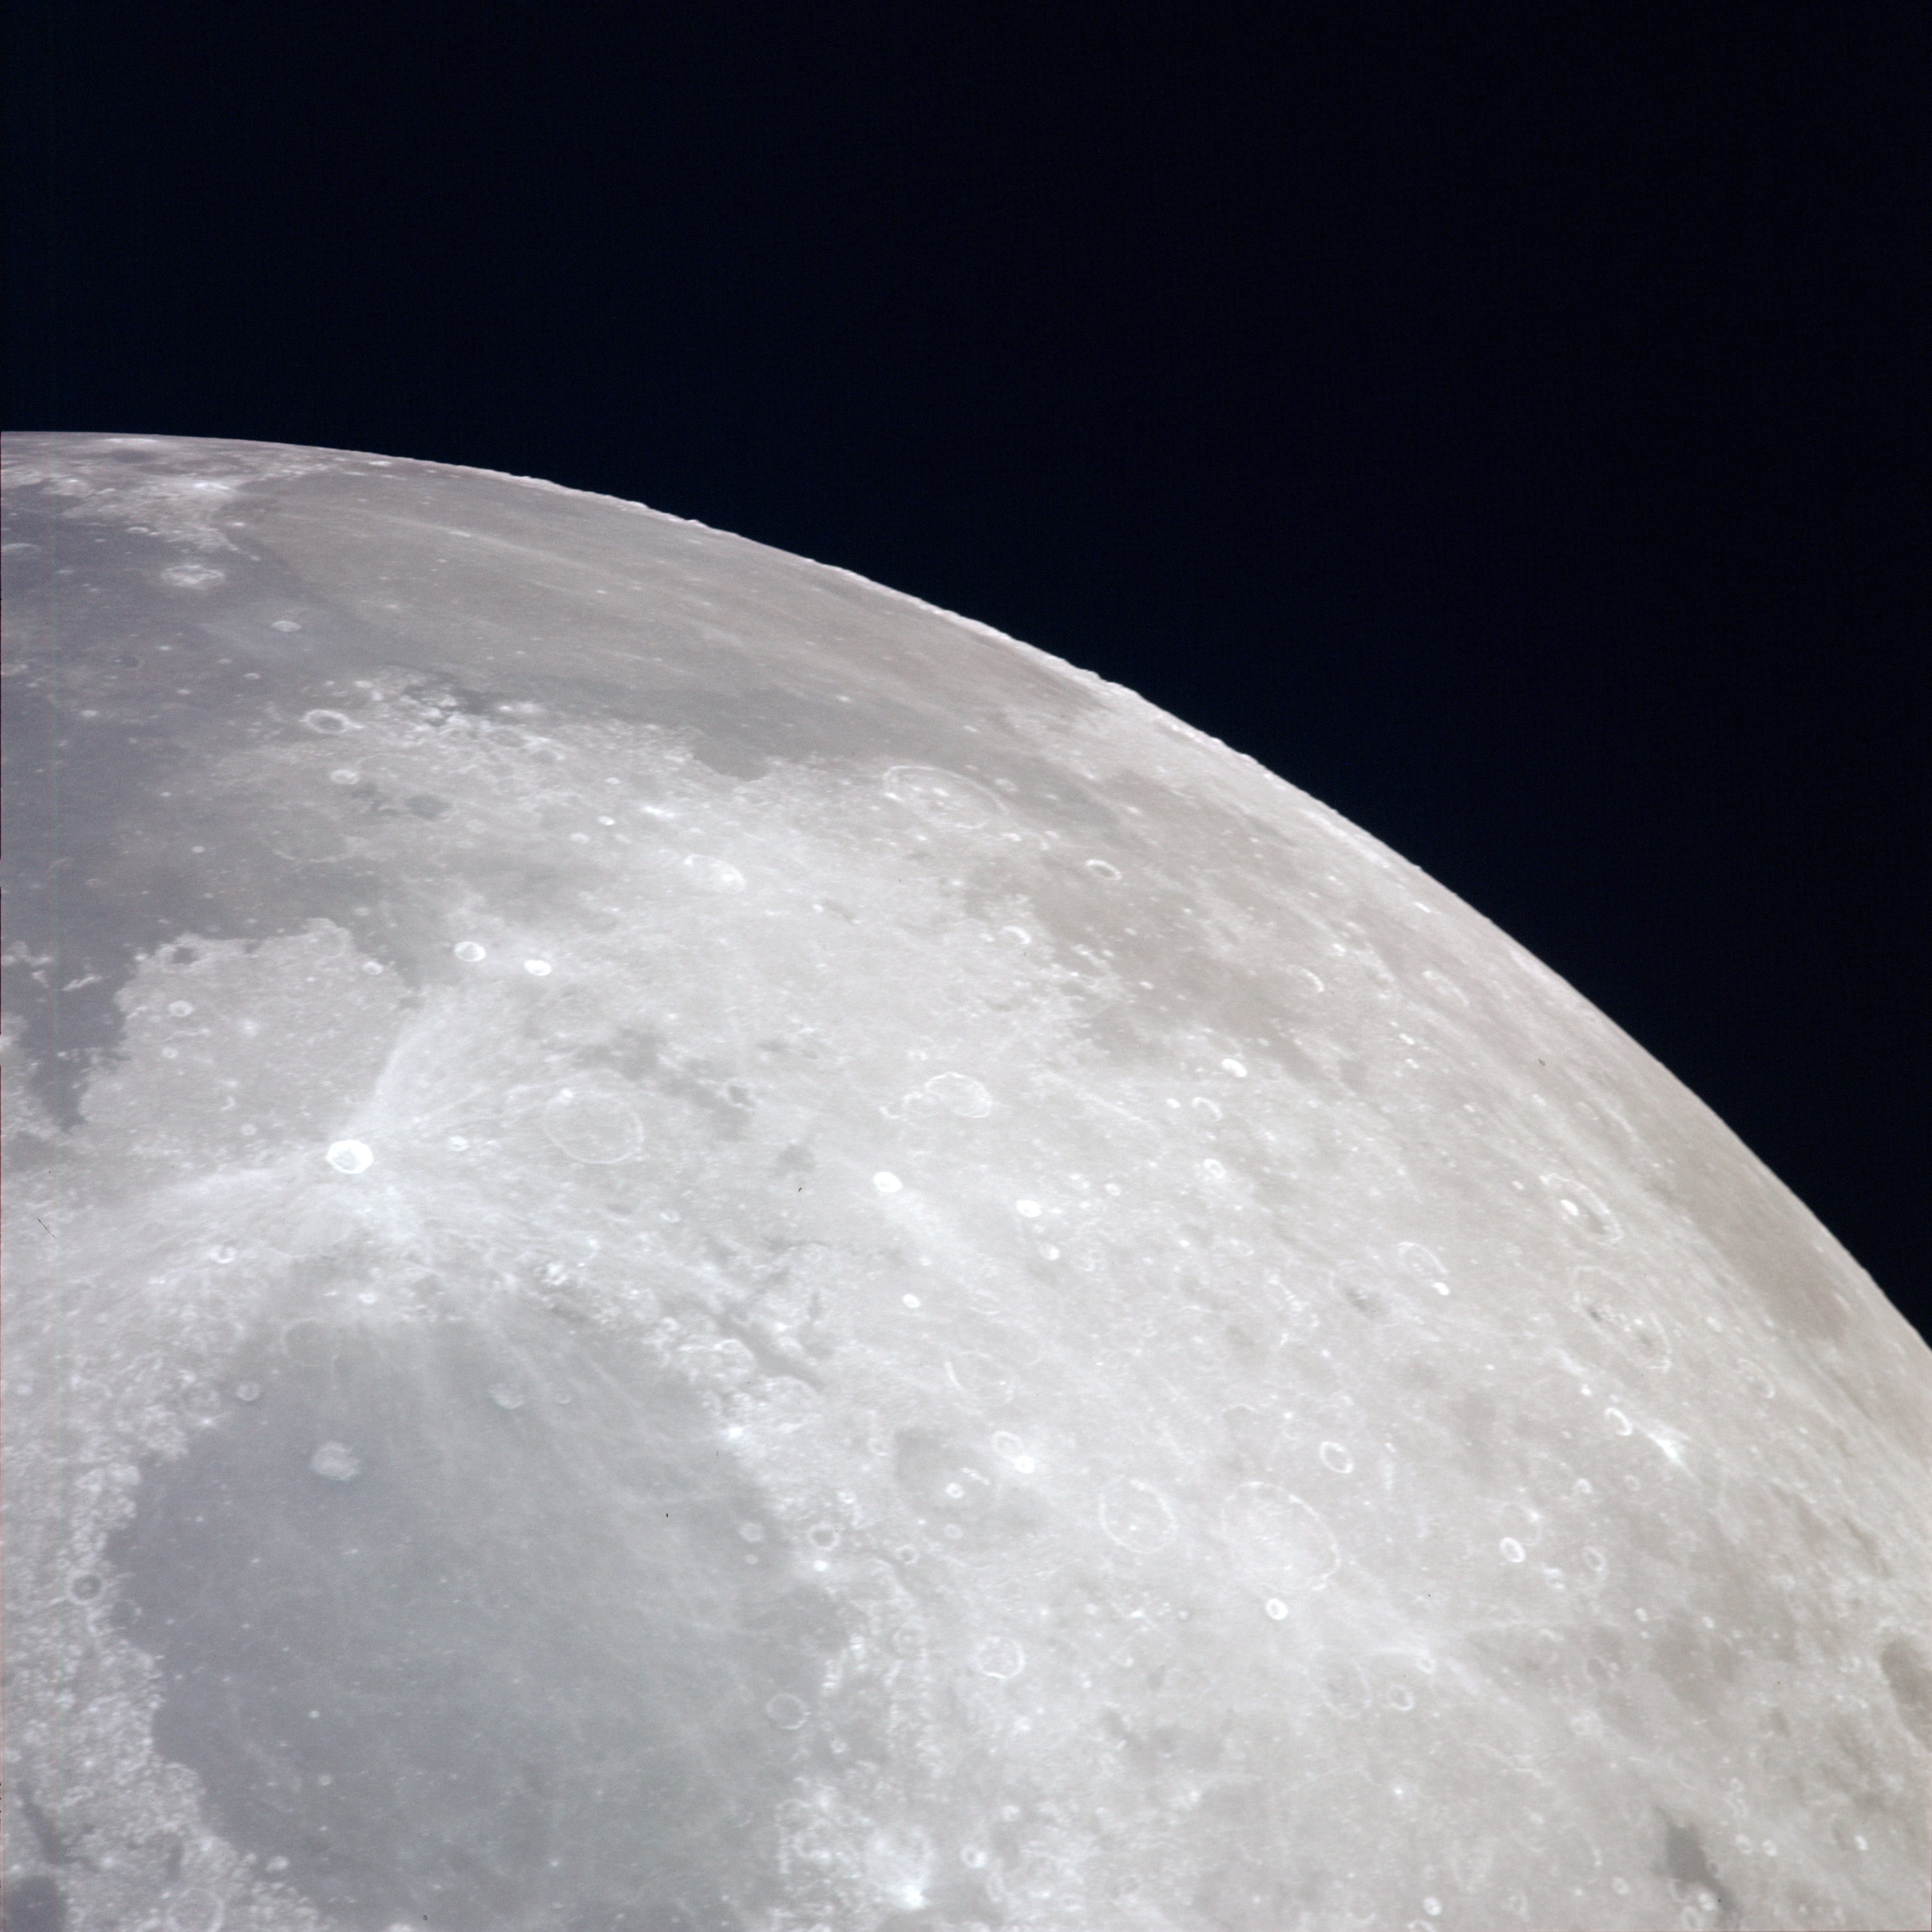 | AS13-60-8673 XXXXXXXXXXXXXXXXXXXXXXXXXXX CAPTION XXXXXXXXXXXXXXXXXXXXXXXXXXXXX Image credit: Image Science and Analysis Laboratory, NASA-Johnson Space Center. |
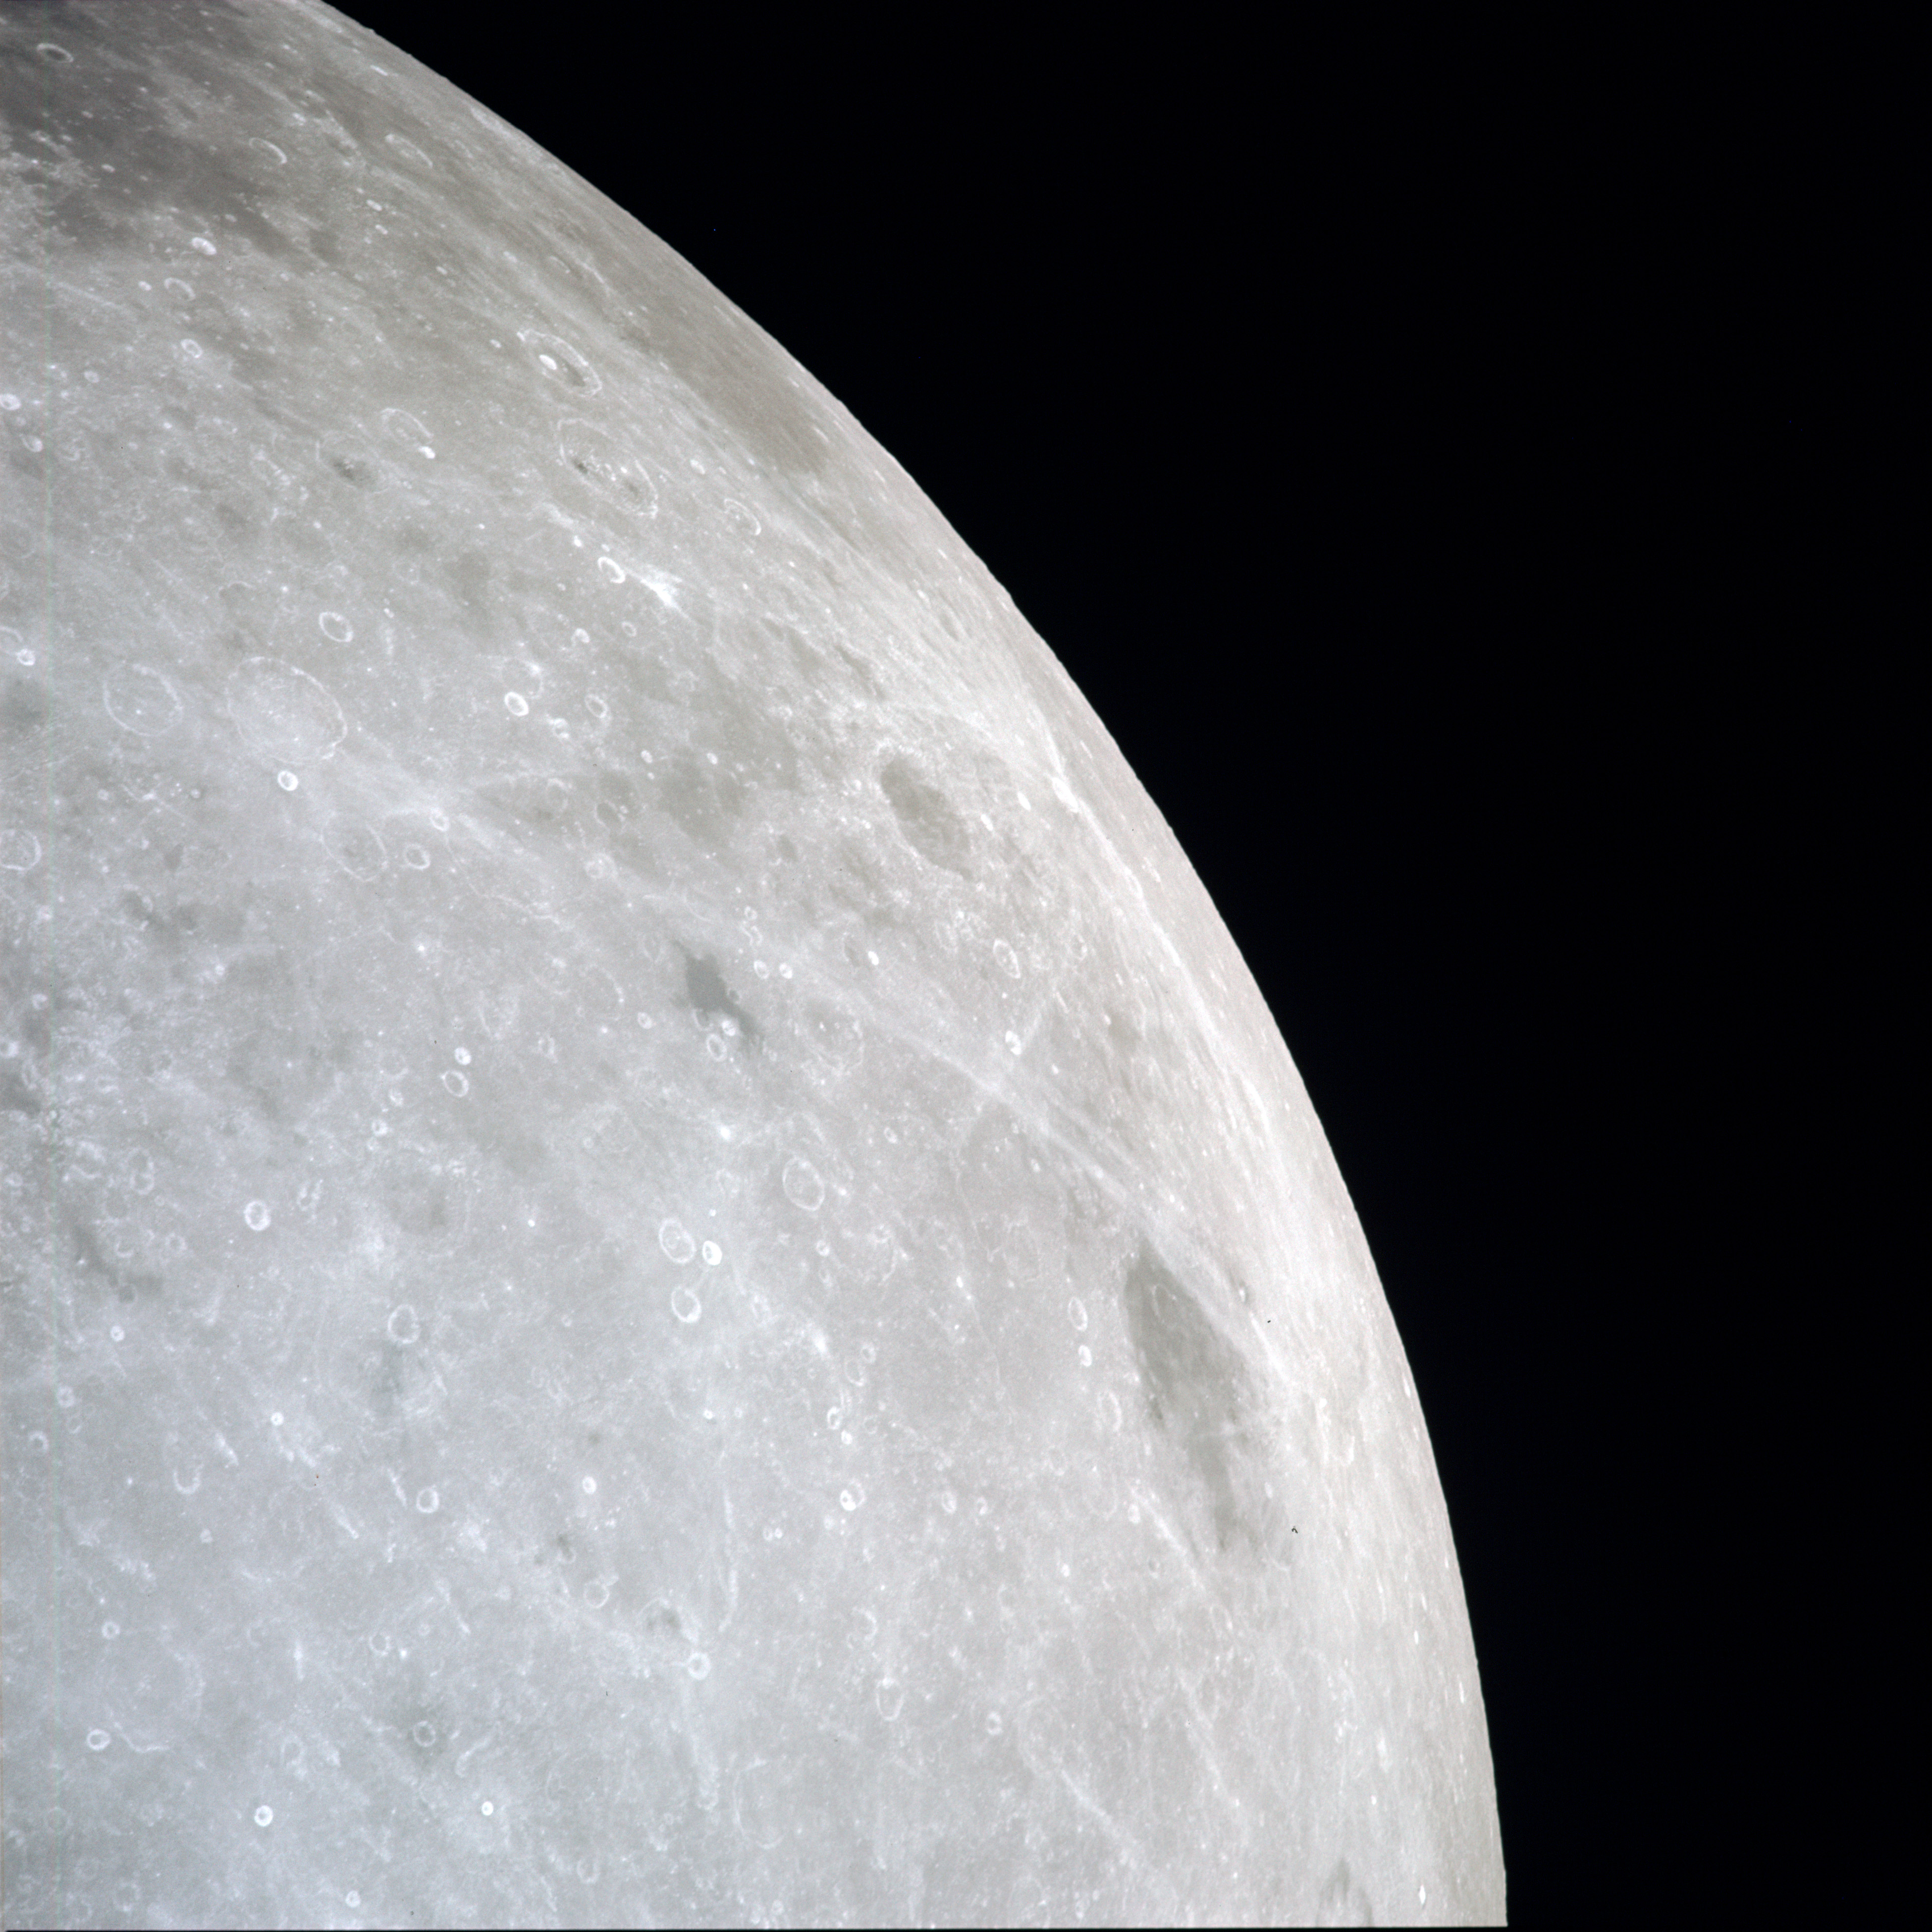 | AS13-60-8674 XXXXXXXXXXXXXXXXXXXXXXXXXXX CAPTION XXXXXXXXXXXXXXXXXXXXXXXXXXXXX Image credit: Image Science and Analysis Laboratory, NASA-Johnson Space Center. |
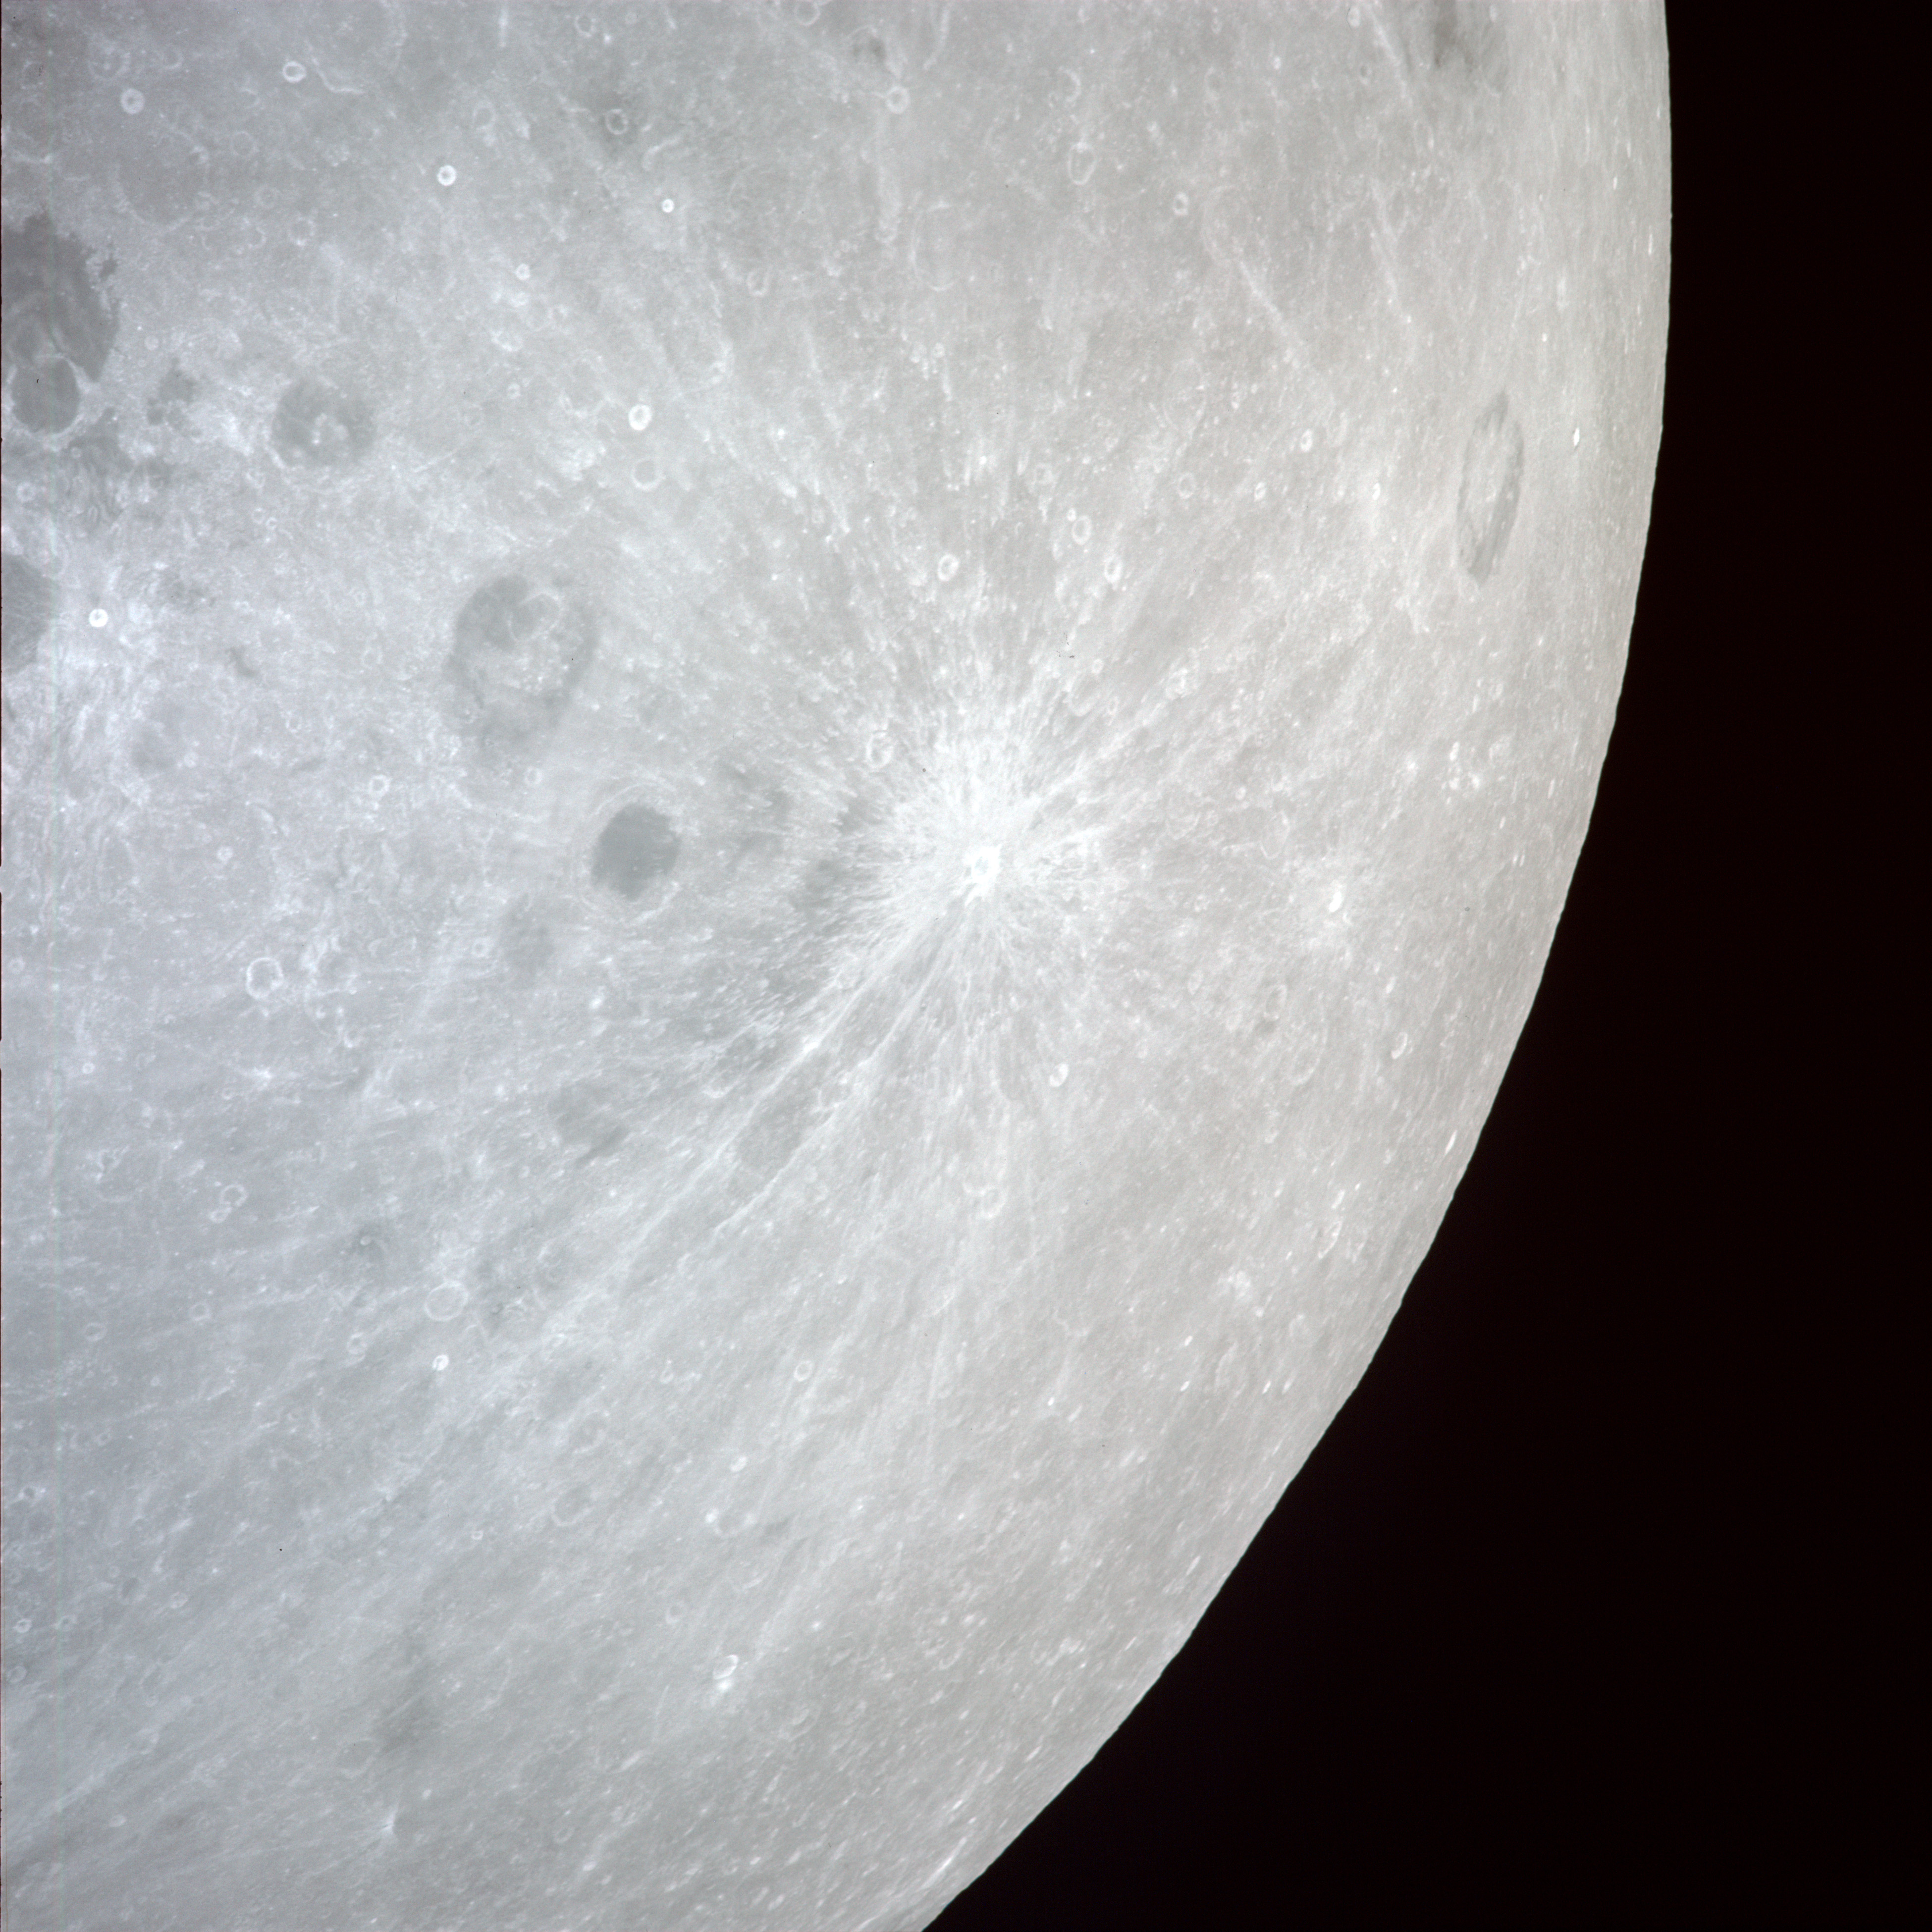 | AS13-60-8675 XXXXXXXXXXXXXXXXXXXXXXXXXXX CAPTION XXXXXXXXXXXXXXXXXXXXXXXXXXXXX Image credit: Image Science and Analysis Laboratory, NASA-Johnson Space Center. |
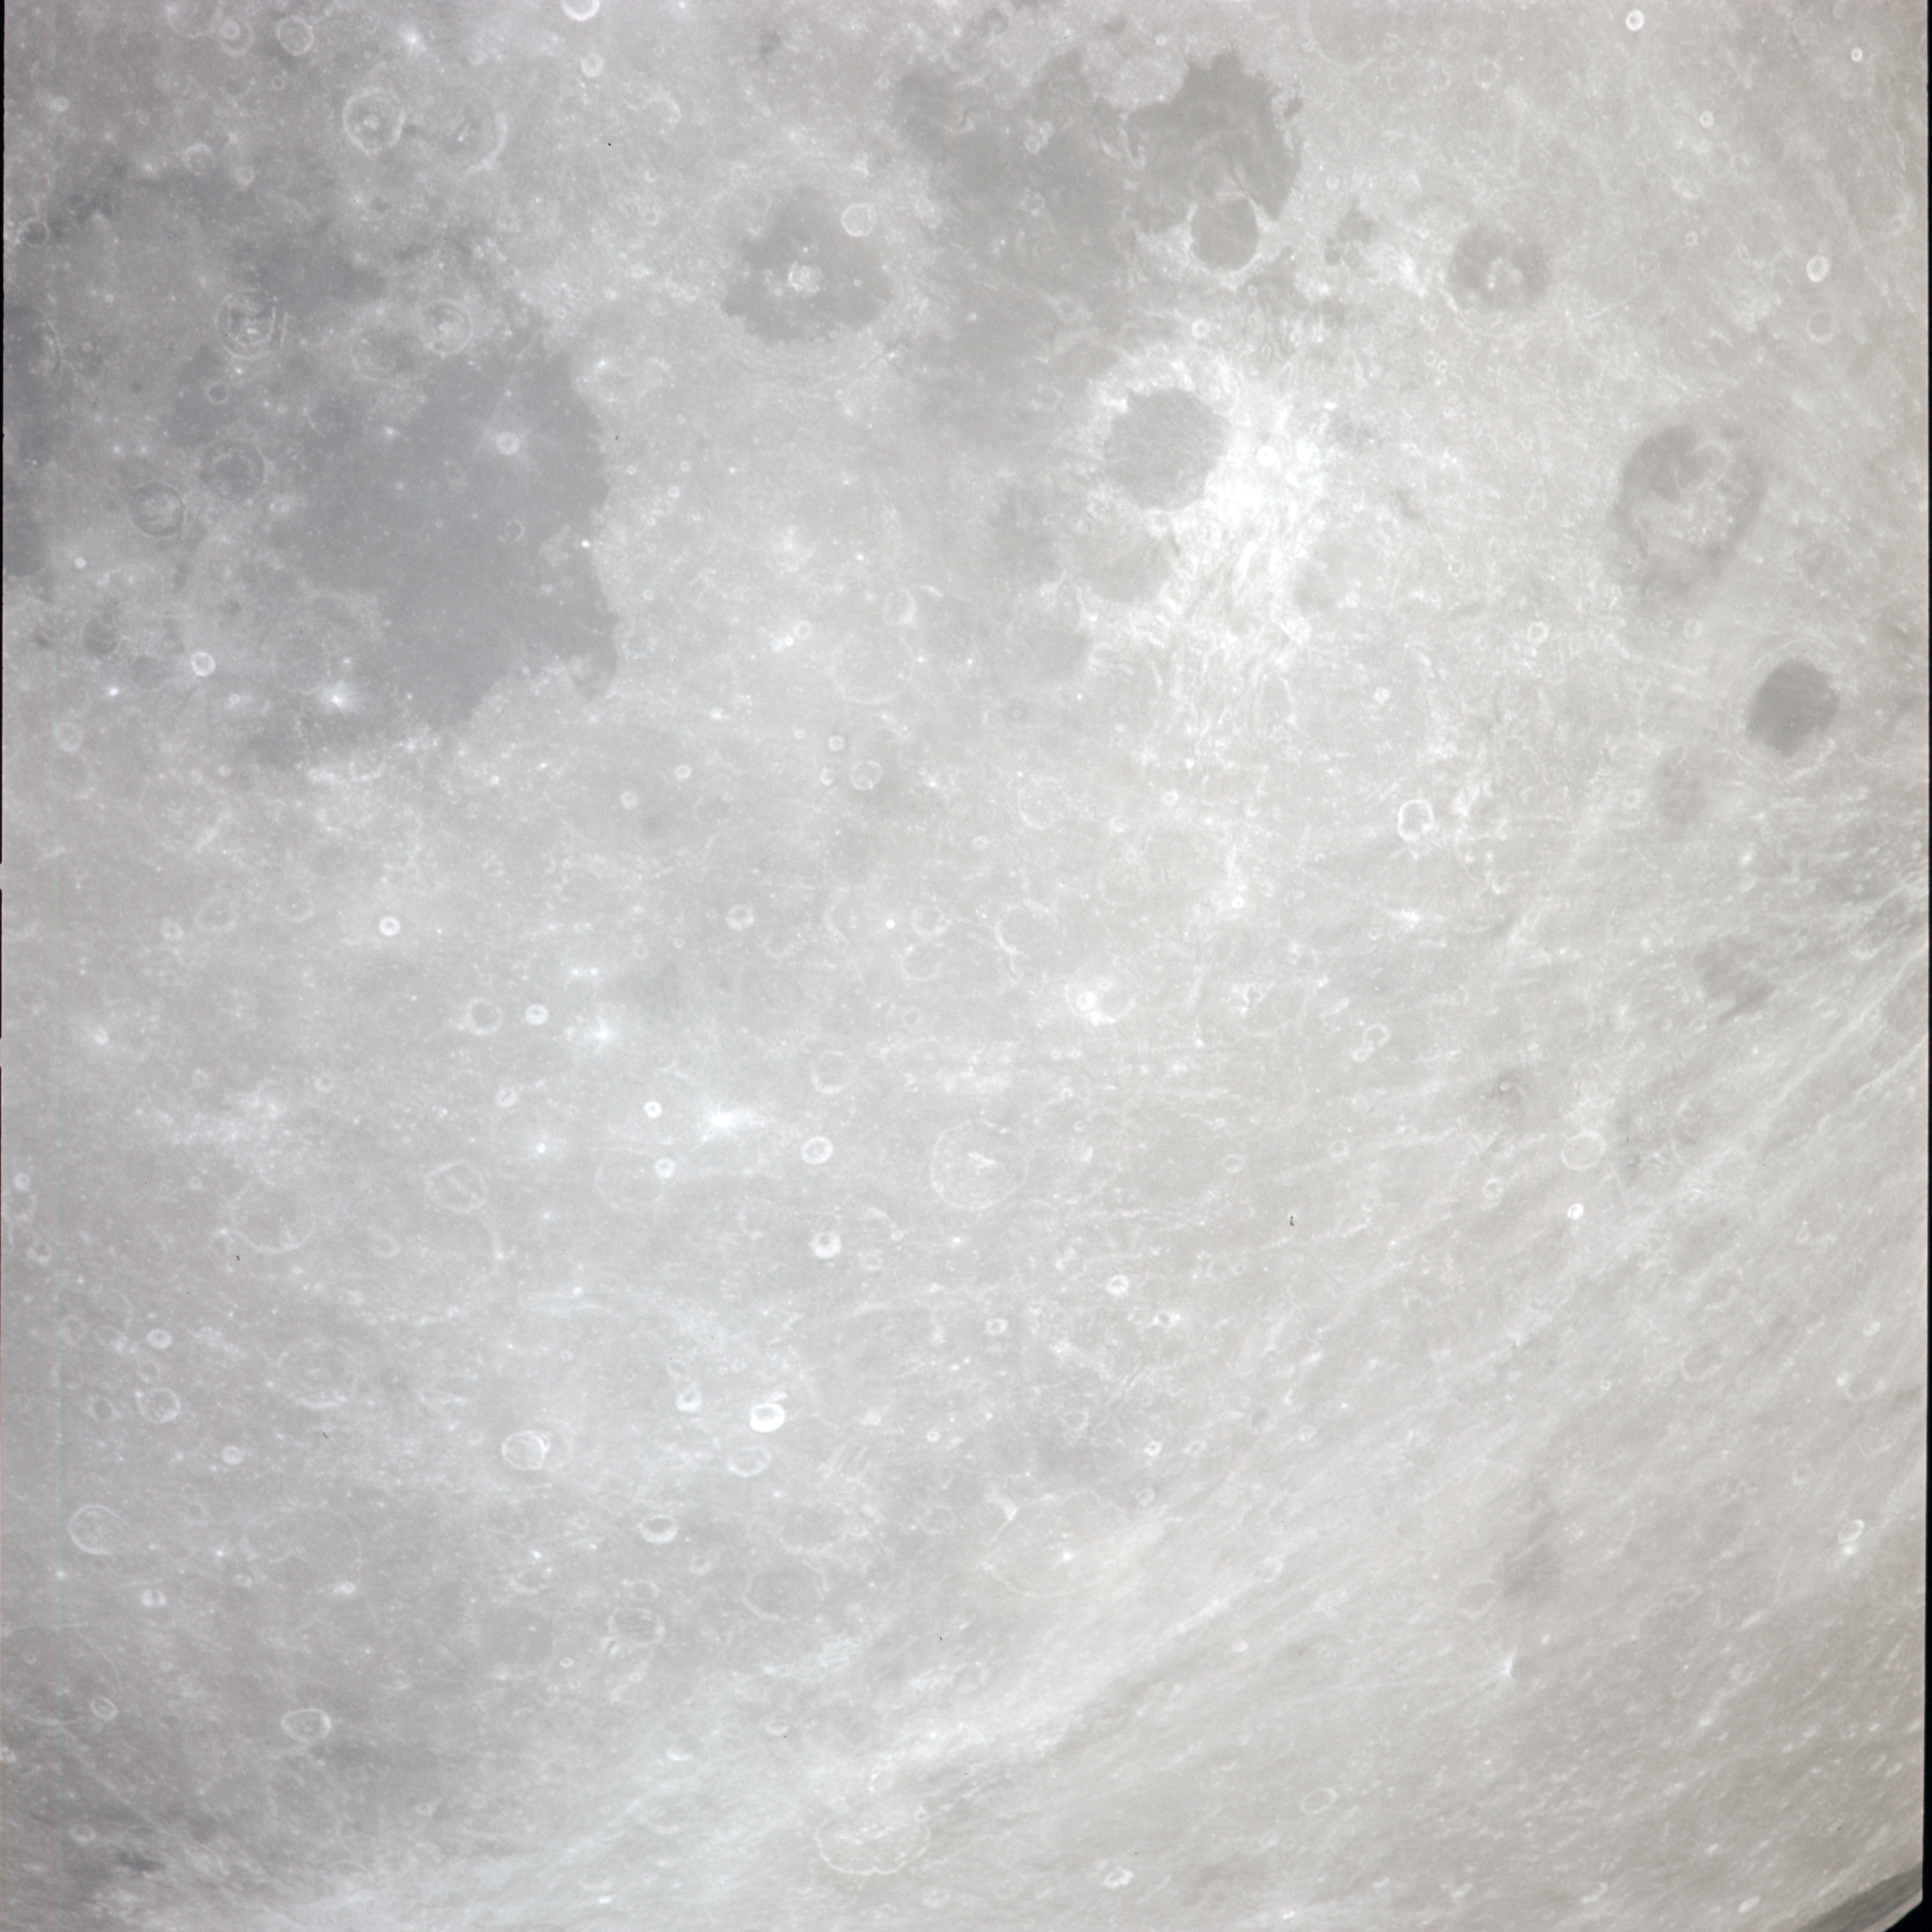 | AS13-60-8676 XXXXXXXXXXXXXXXXXXXXXXXXXXX CAPTION XXXXXXXXXXXXXXXXXXXXXXXXXXXXX Image credit: Image Science and Analysis Laboratory, NASA-Johnson Space Center. |
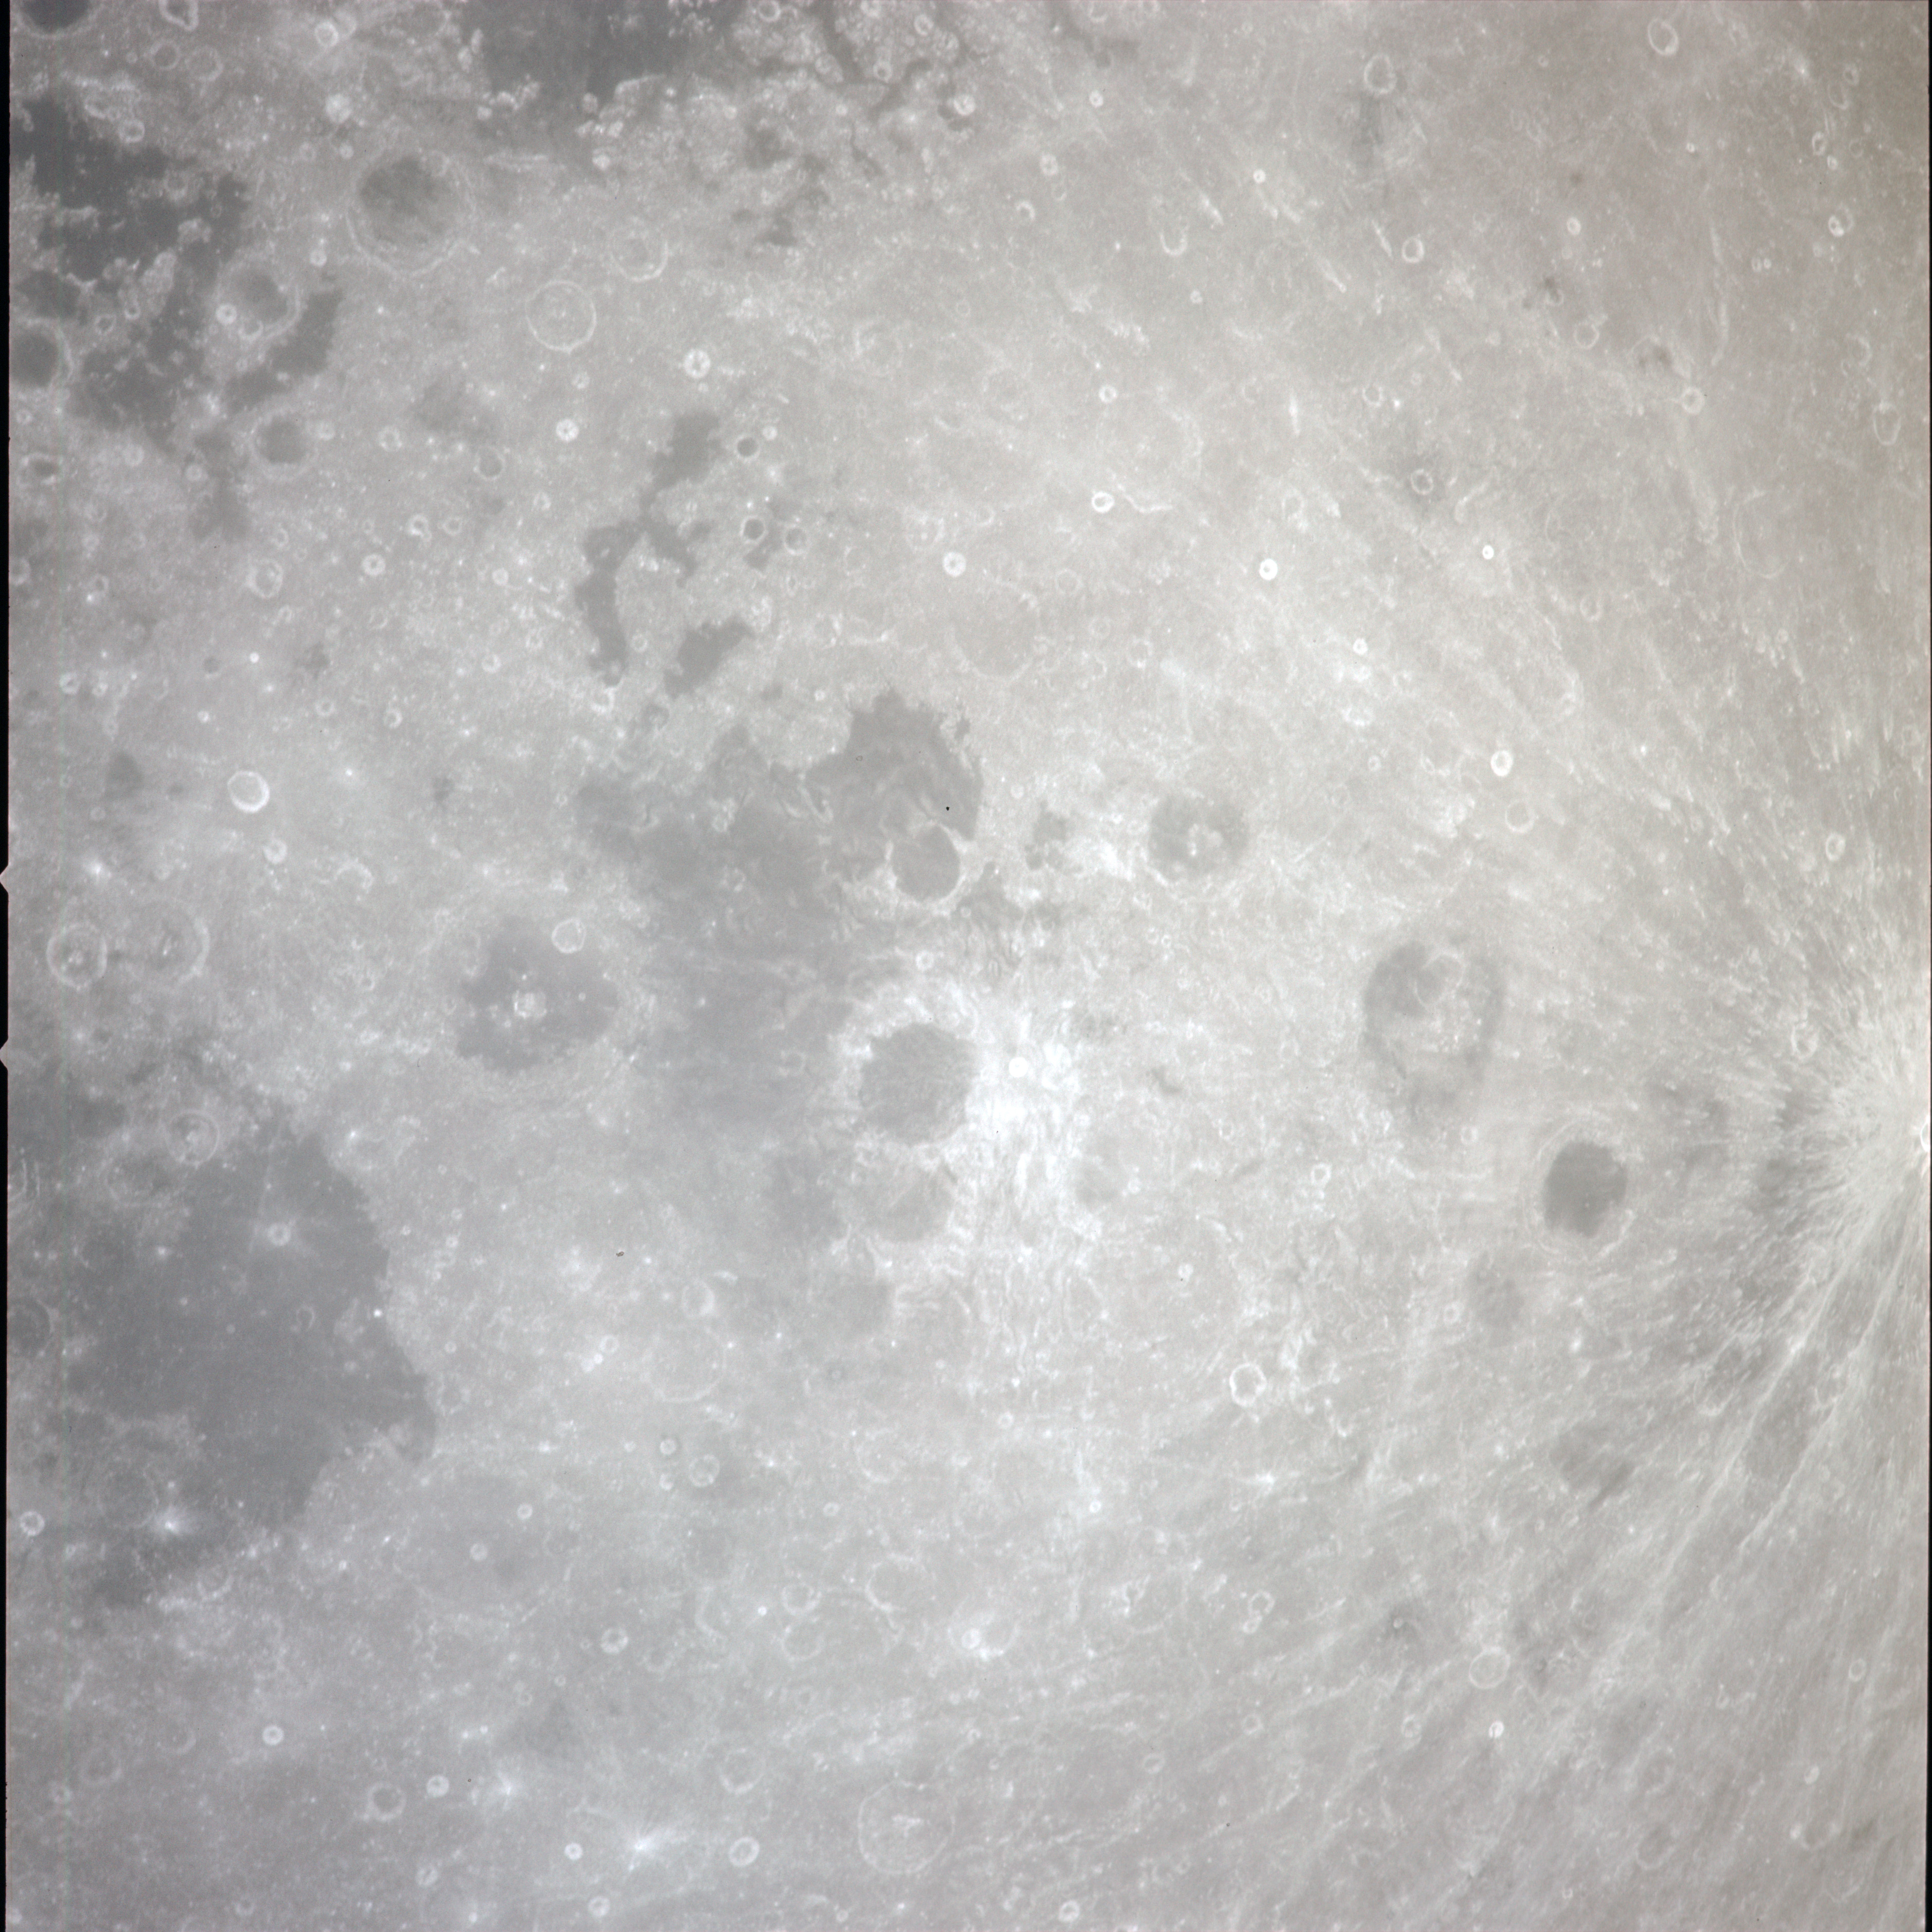 | AS13-60-8677 XXXXXXXXXXXXXXXXXXXXXXXXXXX CAPTION XXXXXXXXXXXXXXXXXXXXXXXXXXXXX Image credit: Image Science and Analysis Laboratory, NASA-Johnson Space Center. |
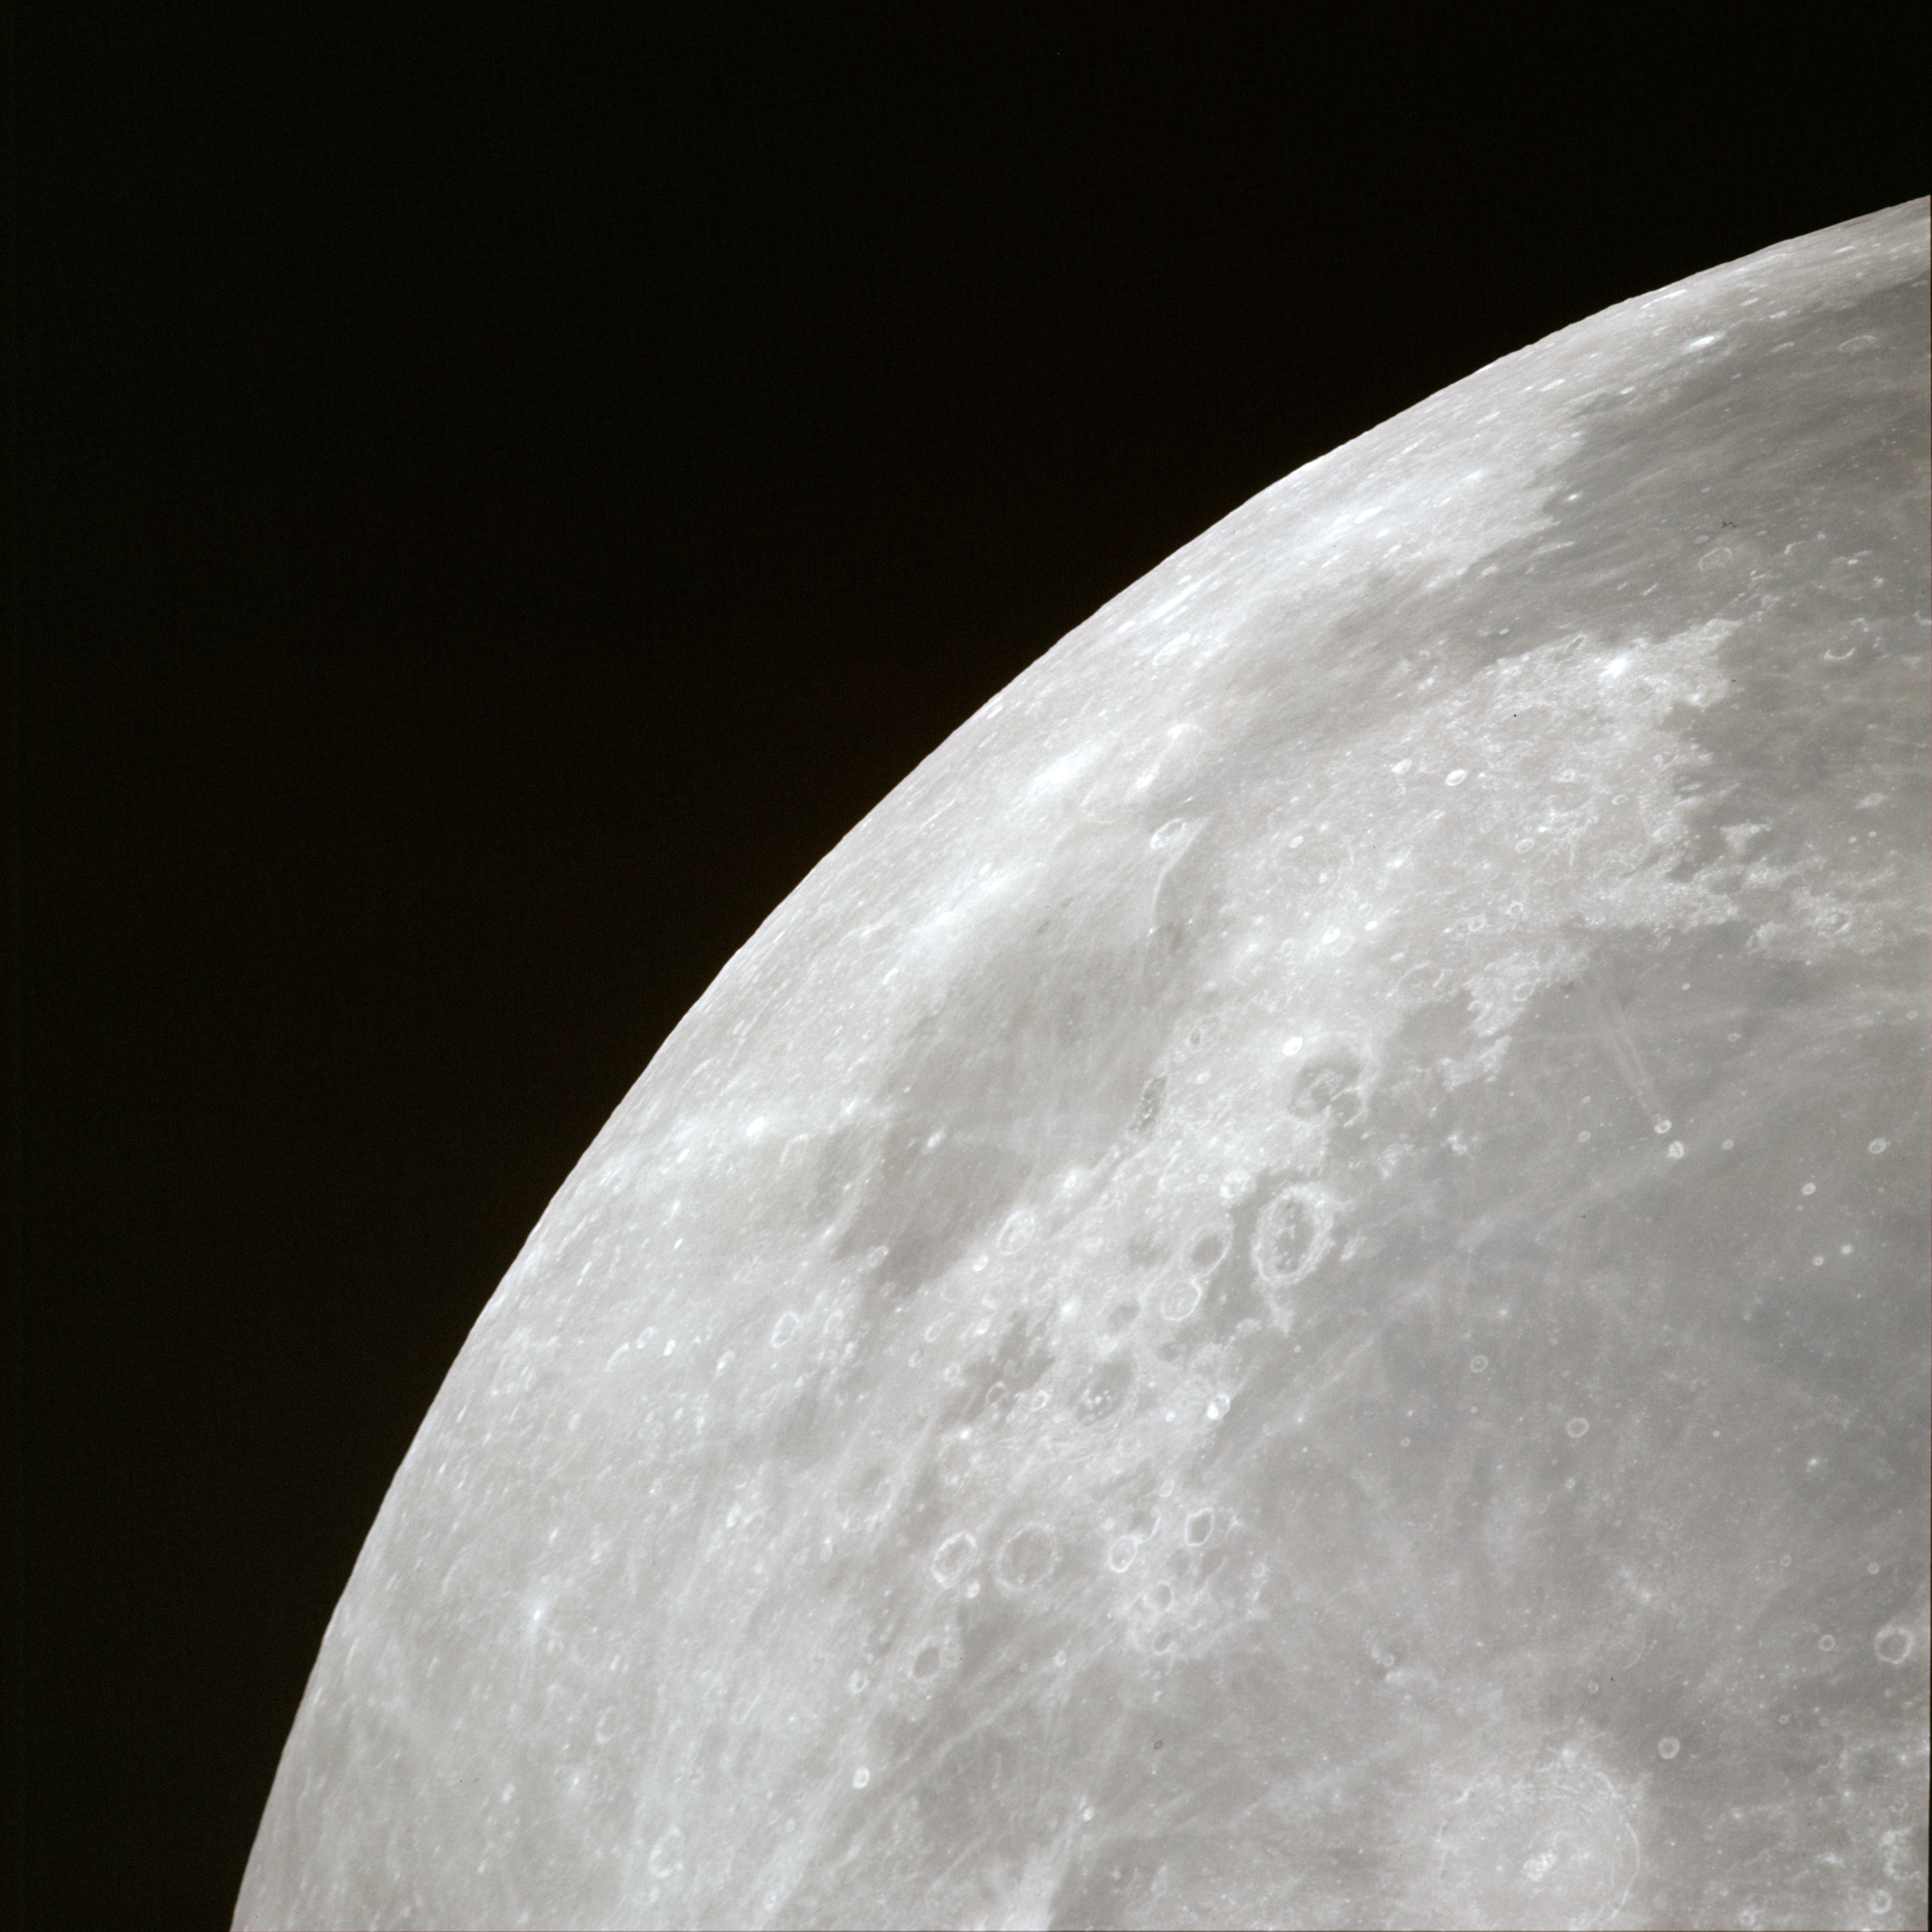 | AS13-60-8678 XXXXXXXXXXXXXXXXXXXXXXXXXXX CAPTION XXXXXXXXXXXXXXXXXXXXXXXXXXXXX Image credit: Image Science and Analysis Laboratory, NASA-Johnson Space Center. |
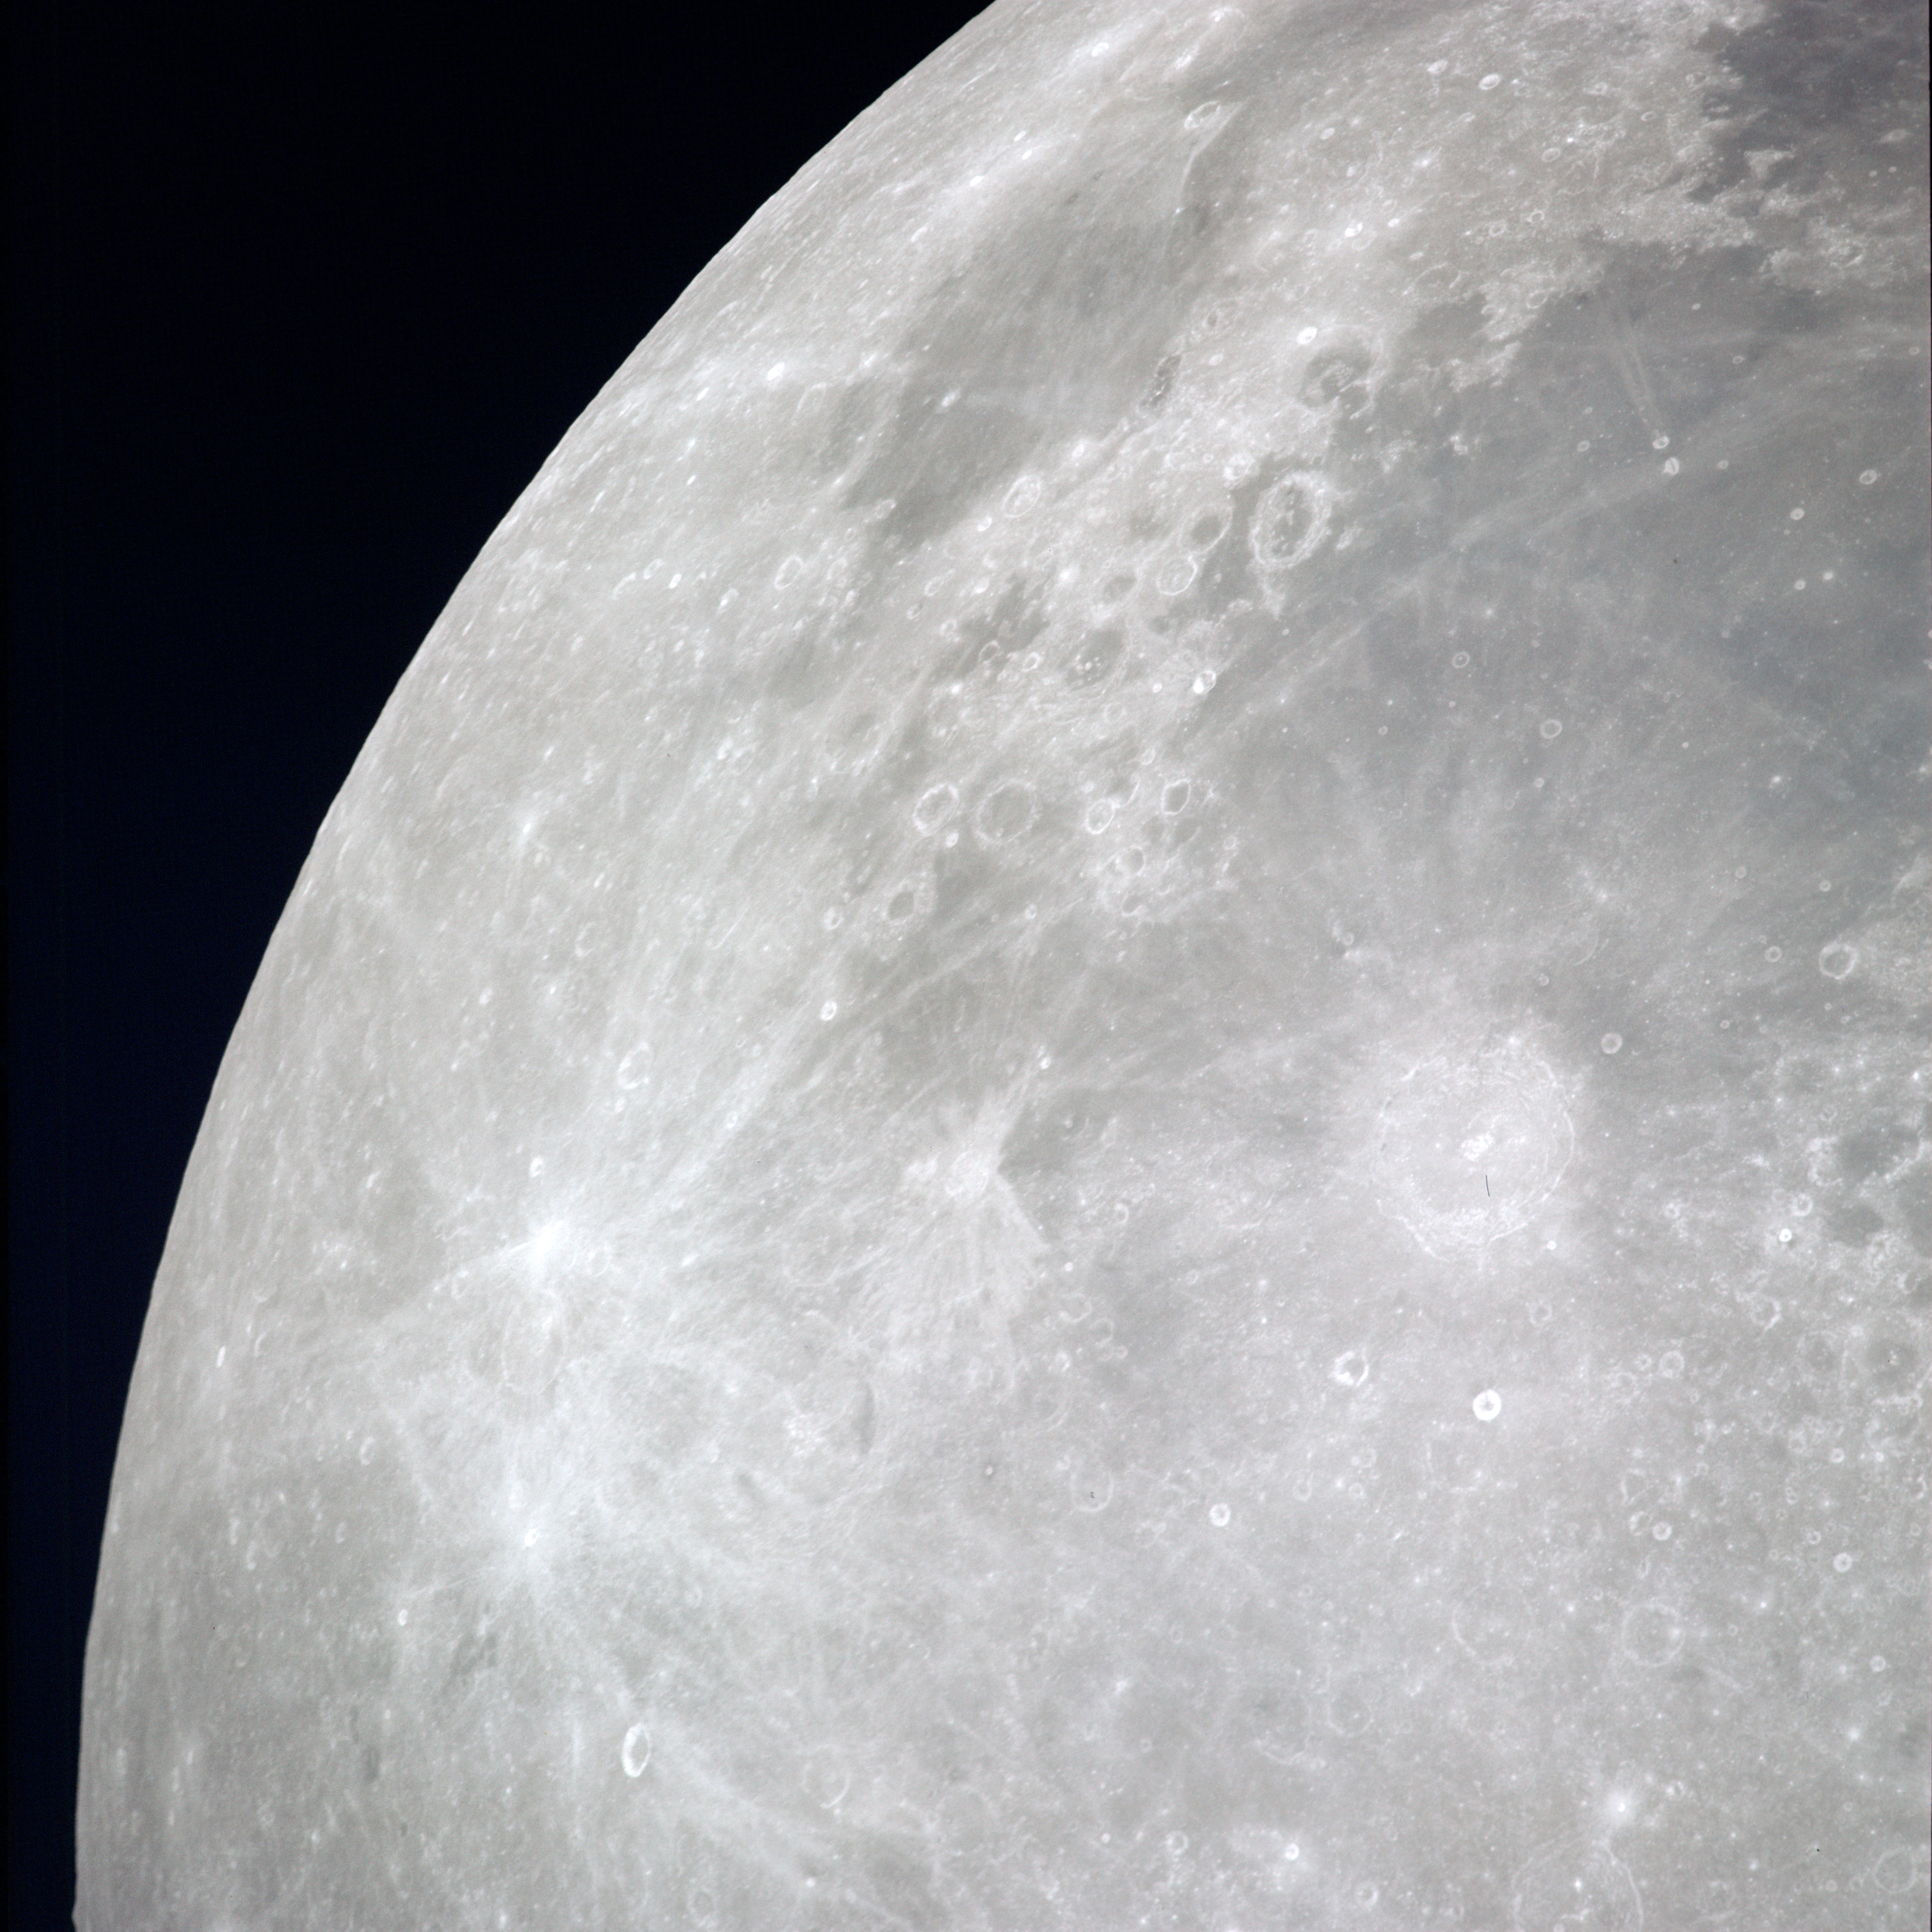 | AS13-60-8679 XXXXXXXXXXXXXXXXXXXXXXXXXXX CAPTION XXXXXXXXXXXXXXXXXXXXXXXXXXXXX Image credit: Image Science and Analysis Laboratory, NASA-Johnson Space Center. |
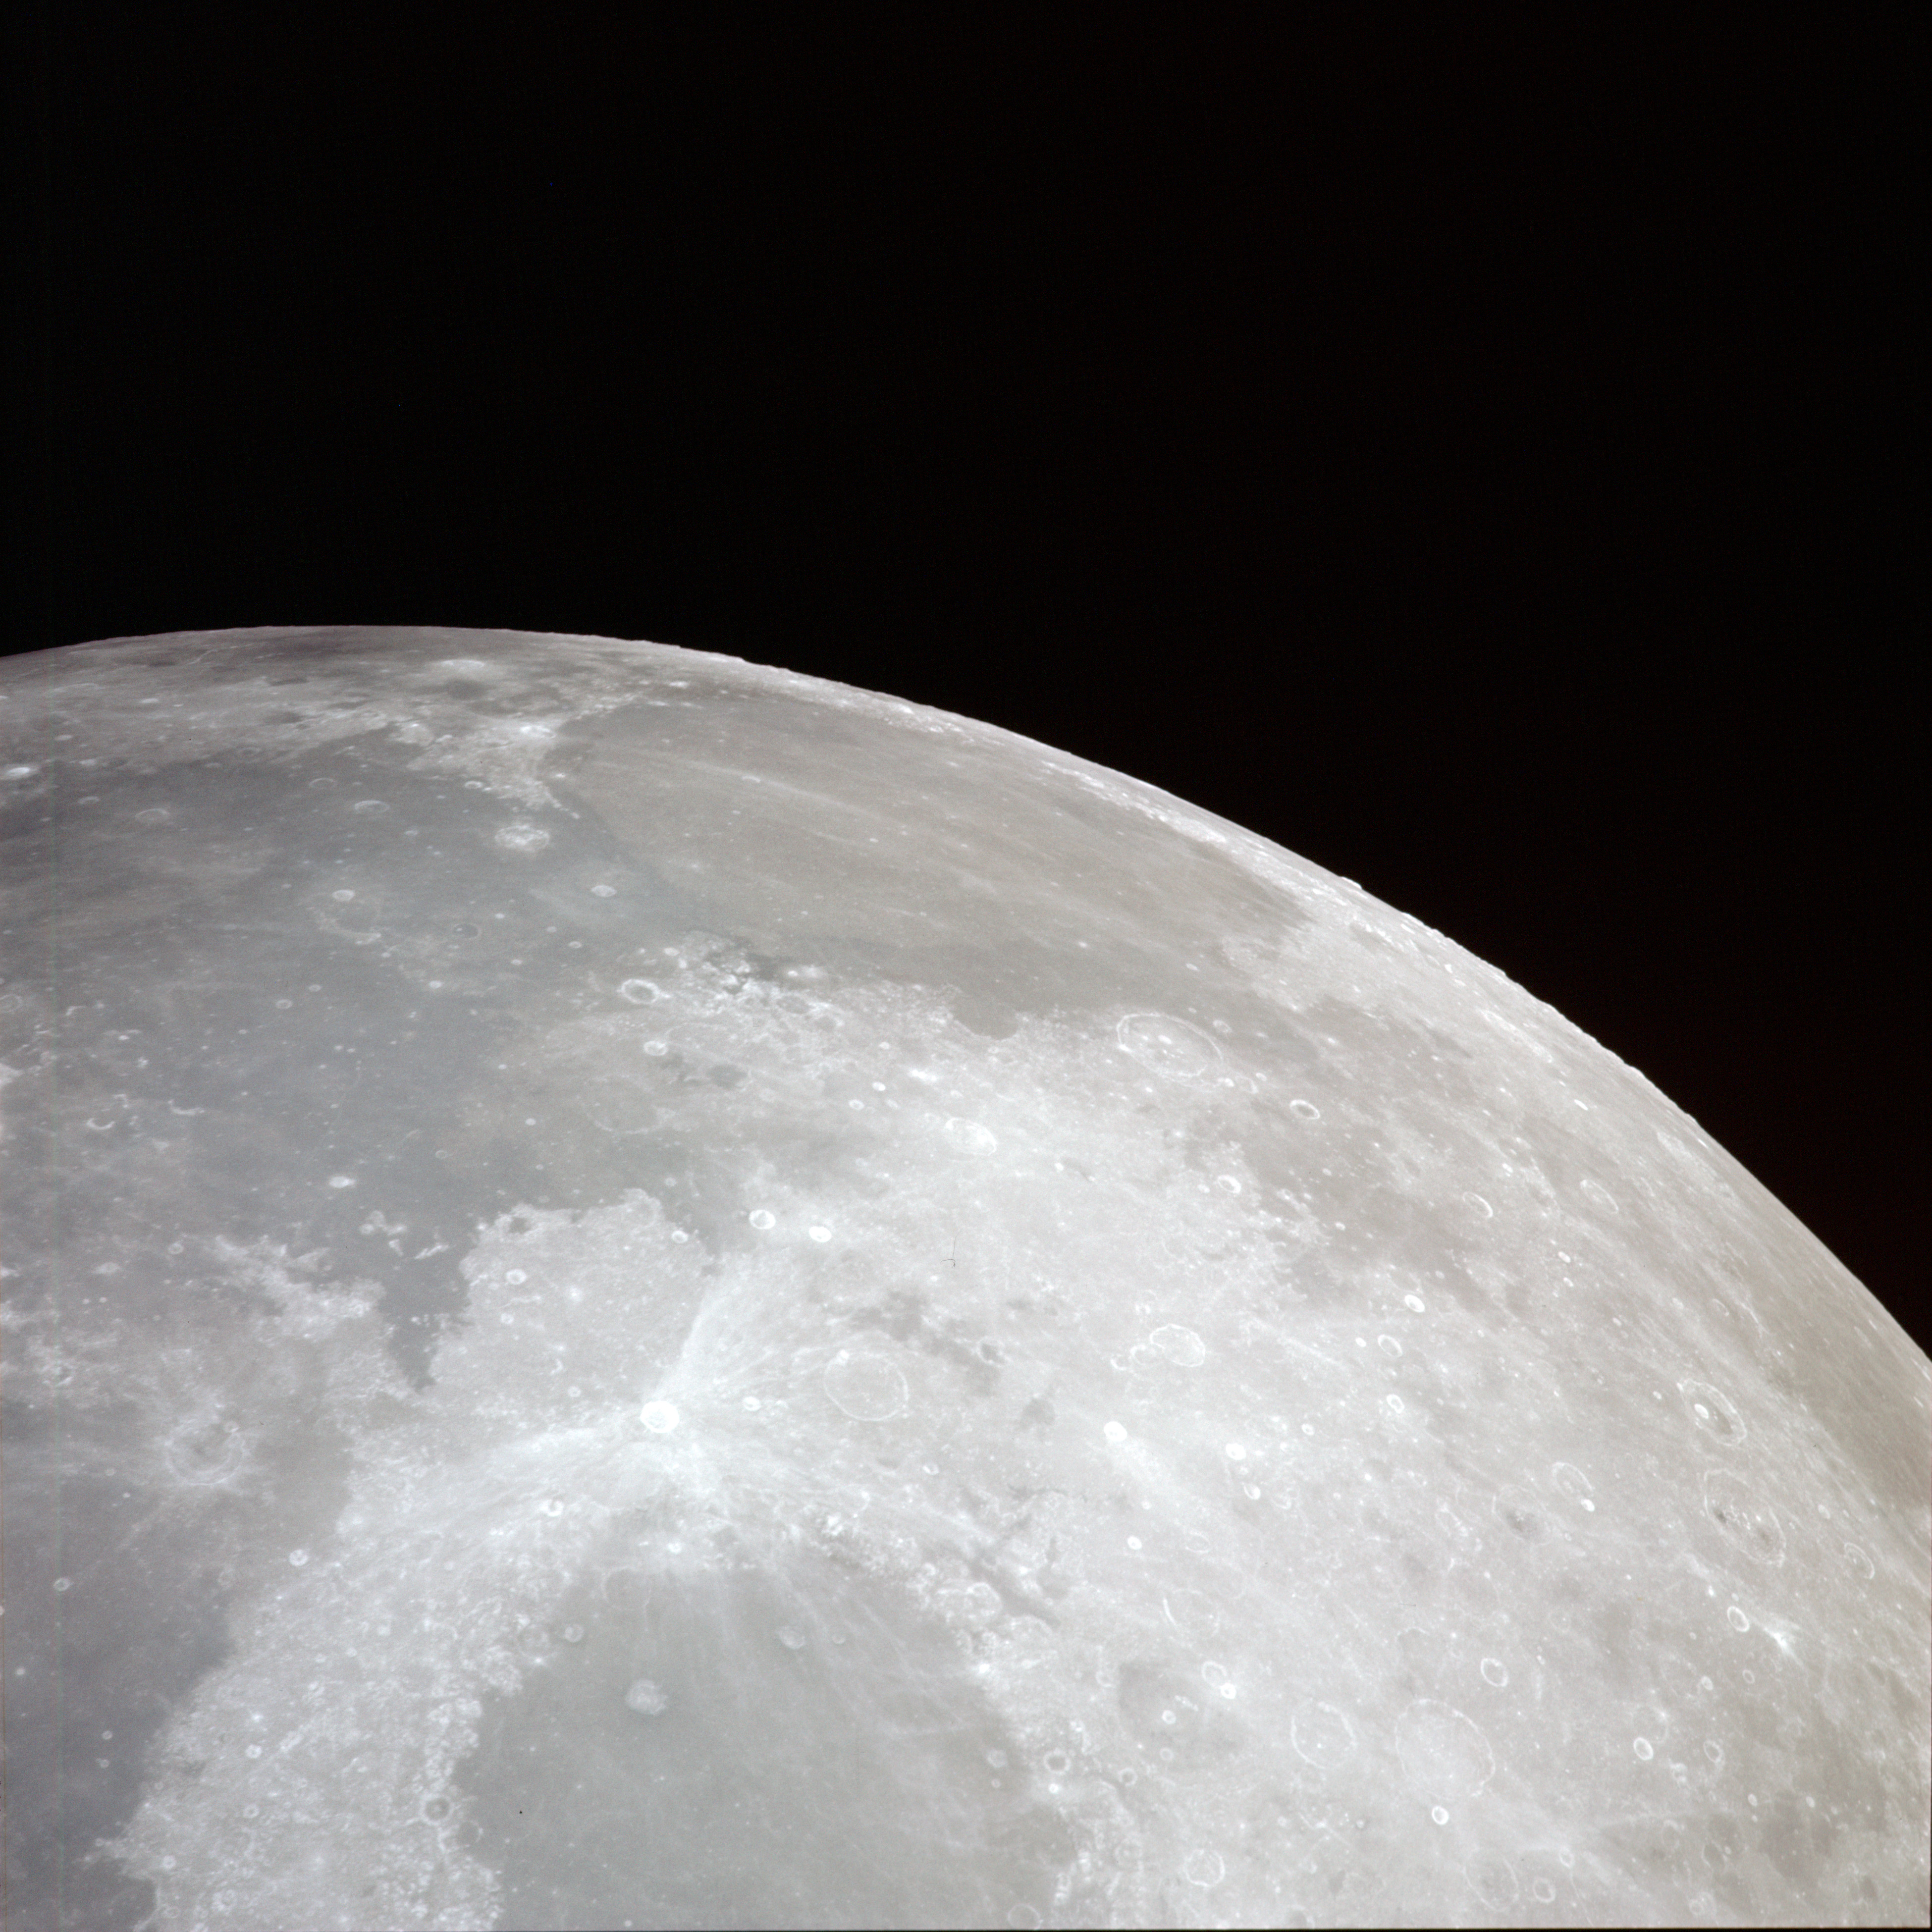 | AS13-60-8680 XXXXXXXXXXXXXXXXXXXXXXXXXXX CAPTION XXXXXXXXXXXXXXXXXXXXXXXXXXXXX Image credit: Image Science and Analysis Laboratory, NASA-Johnson Space Center. |
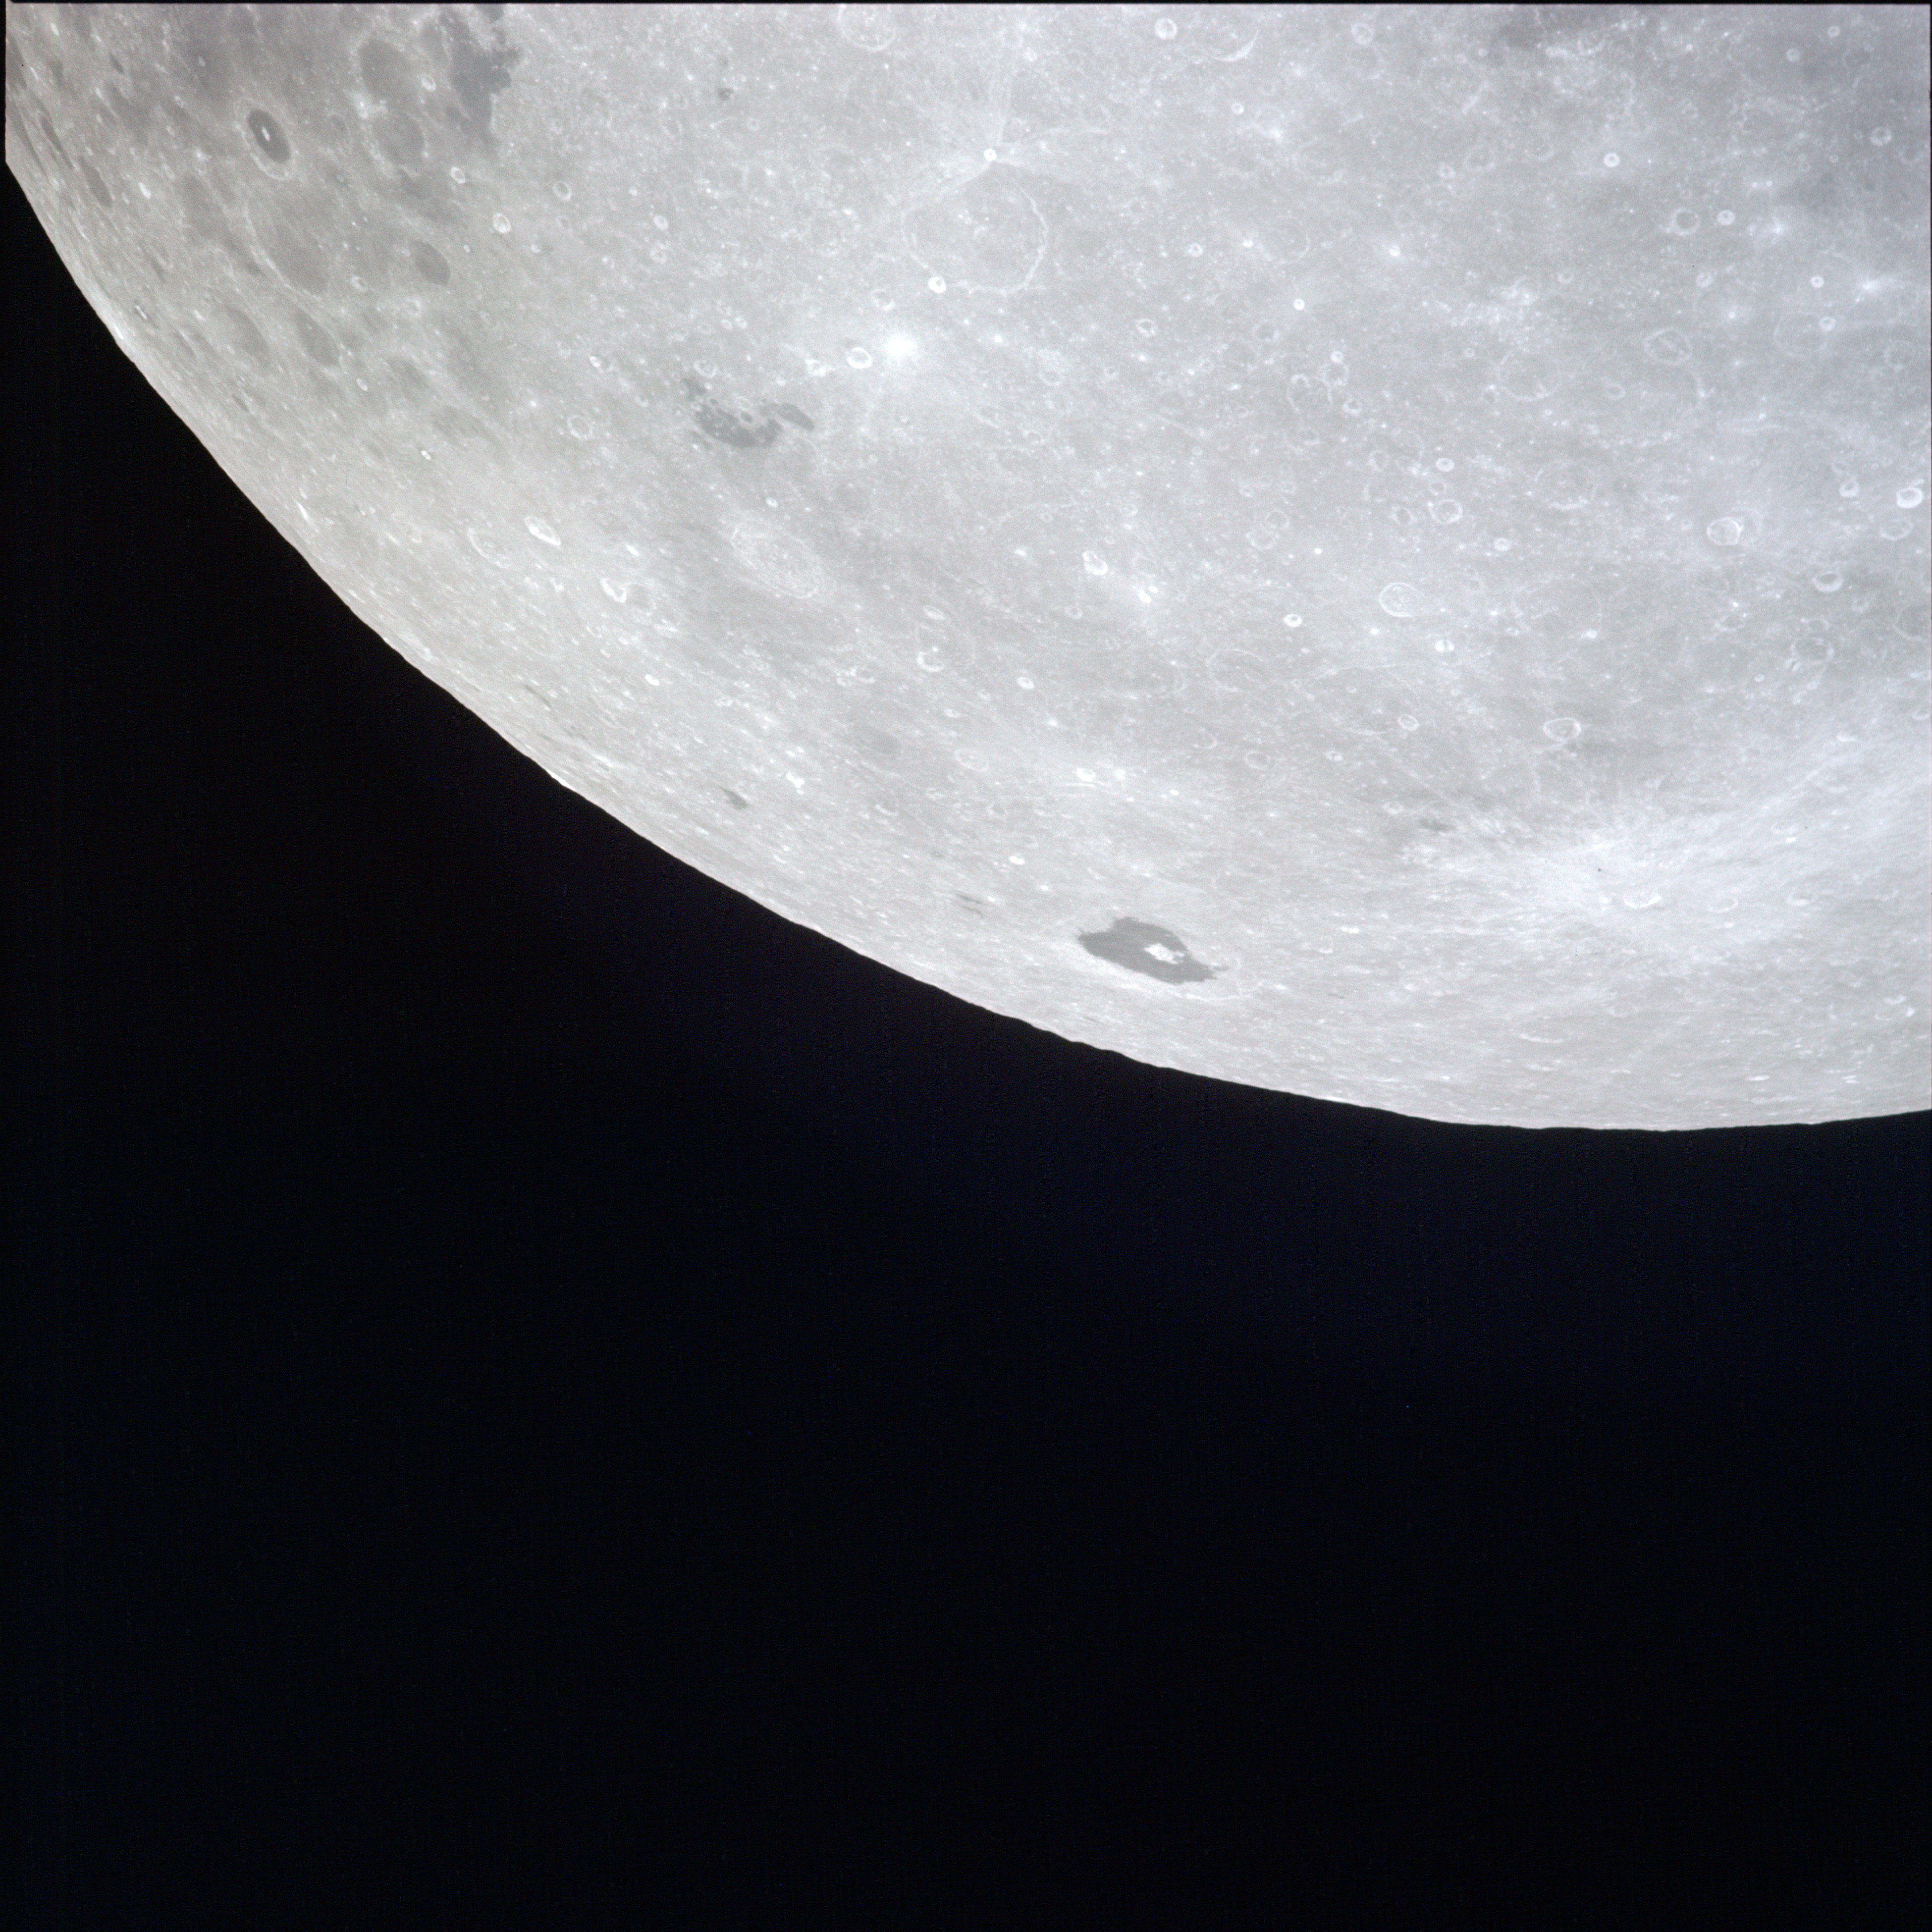 | AS13-60-8681 XXXXXXXXXXXXXXXXXXXXXXXXXXX CAPTION XXXXXXXXXXXXXXXXXXXXXXXXXXXXX Image credit: Image Science and Analysis Laboratory, NASA-Johnson Space Center. |
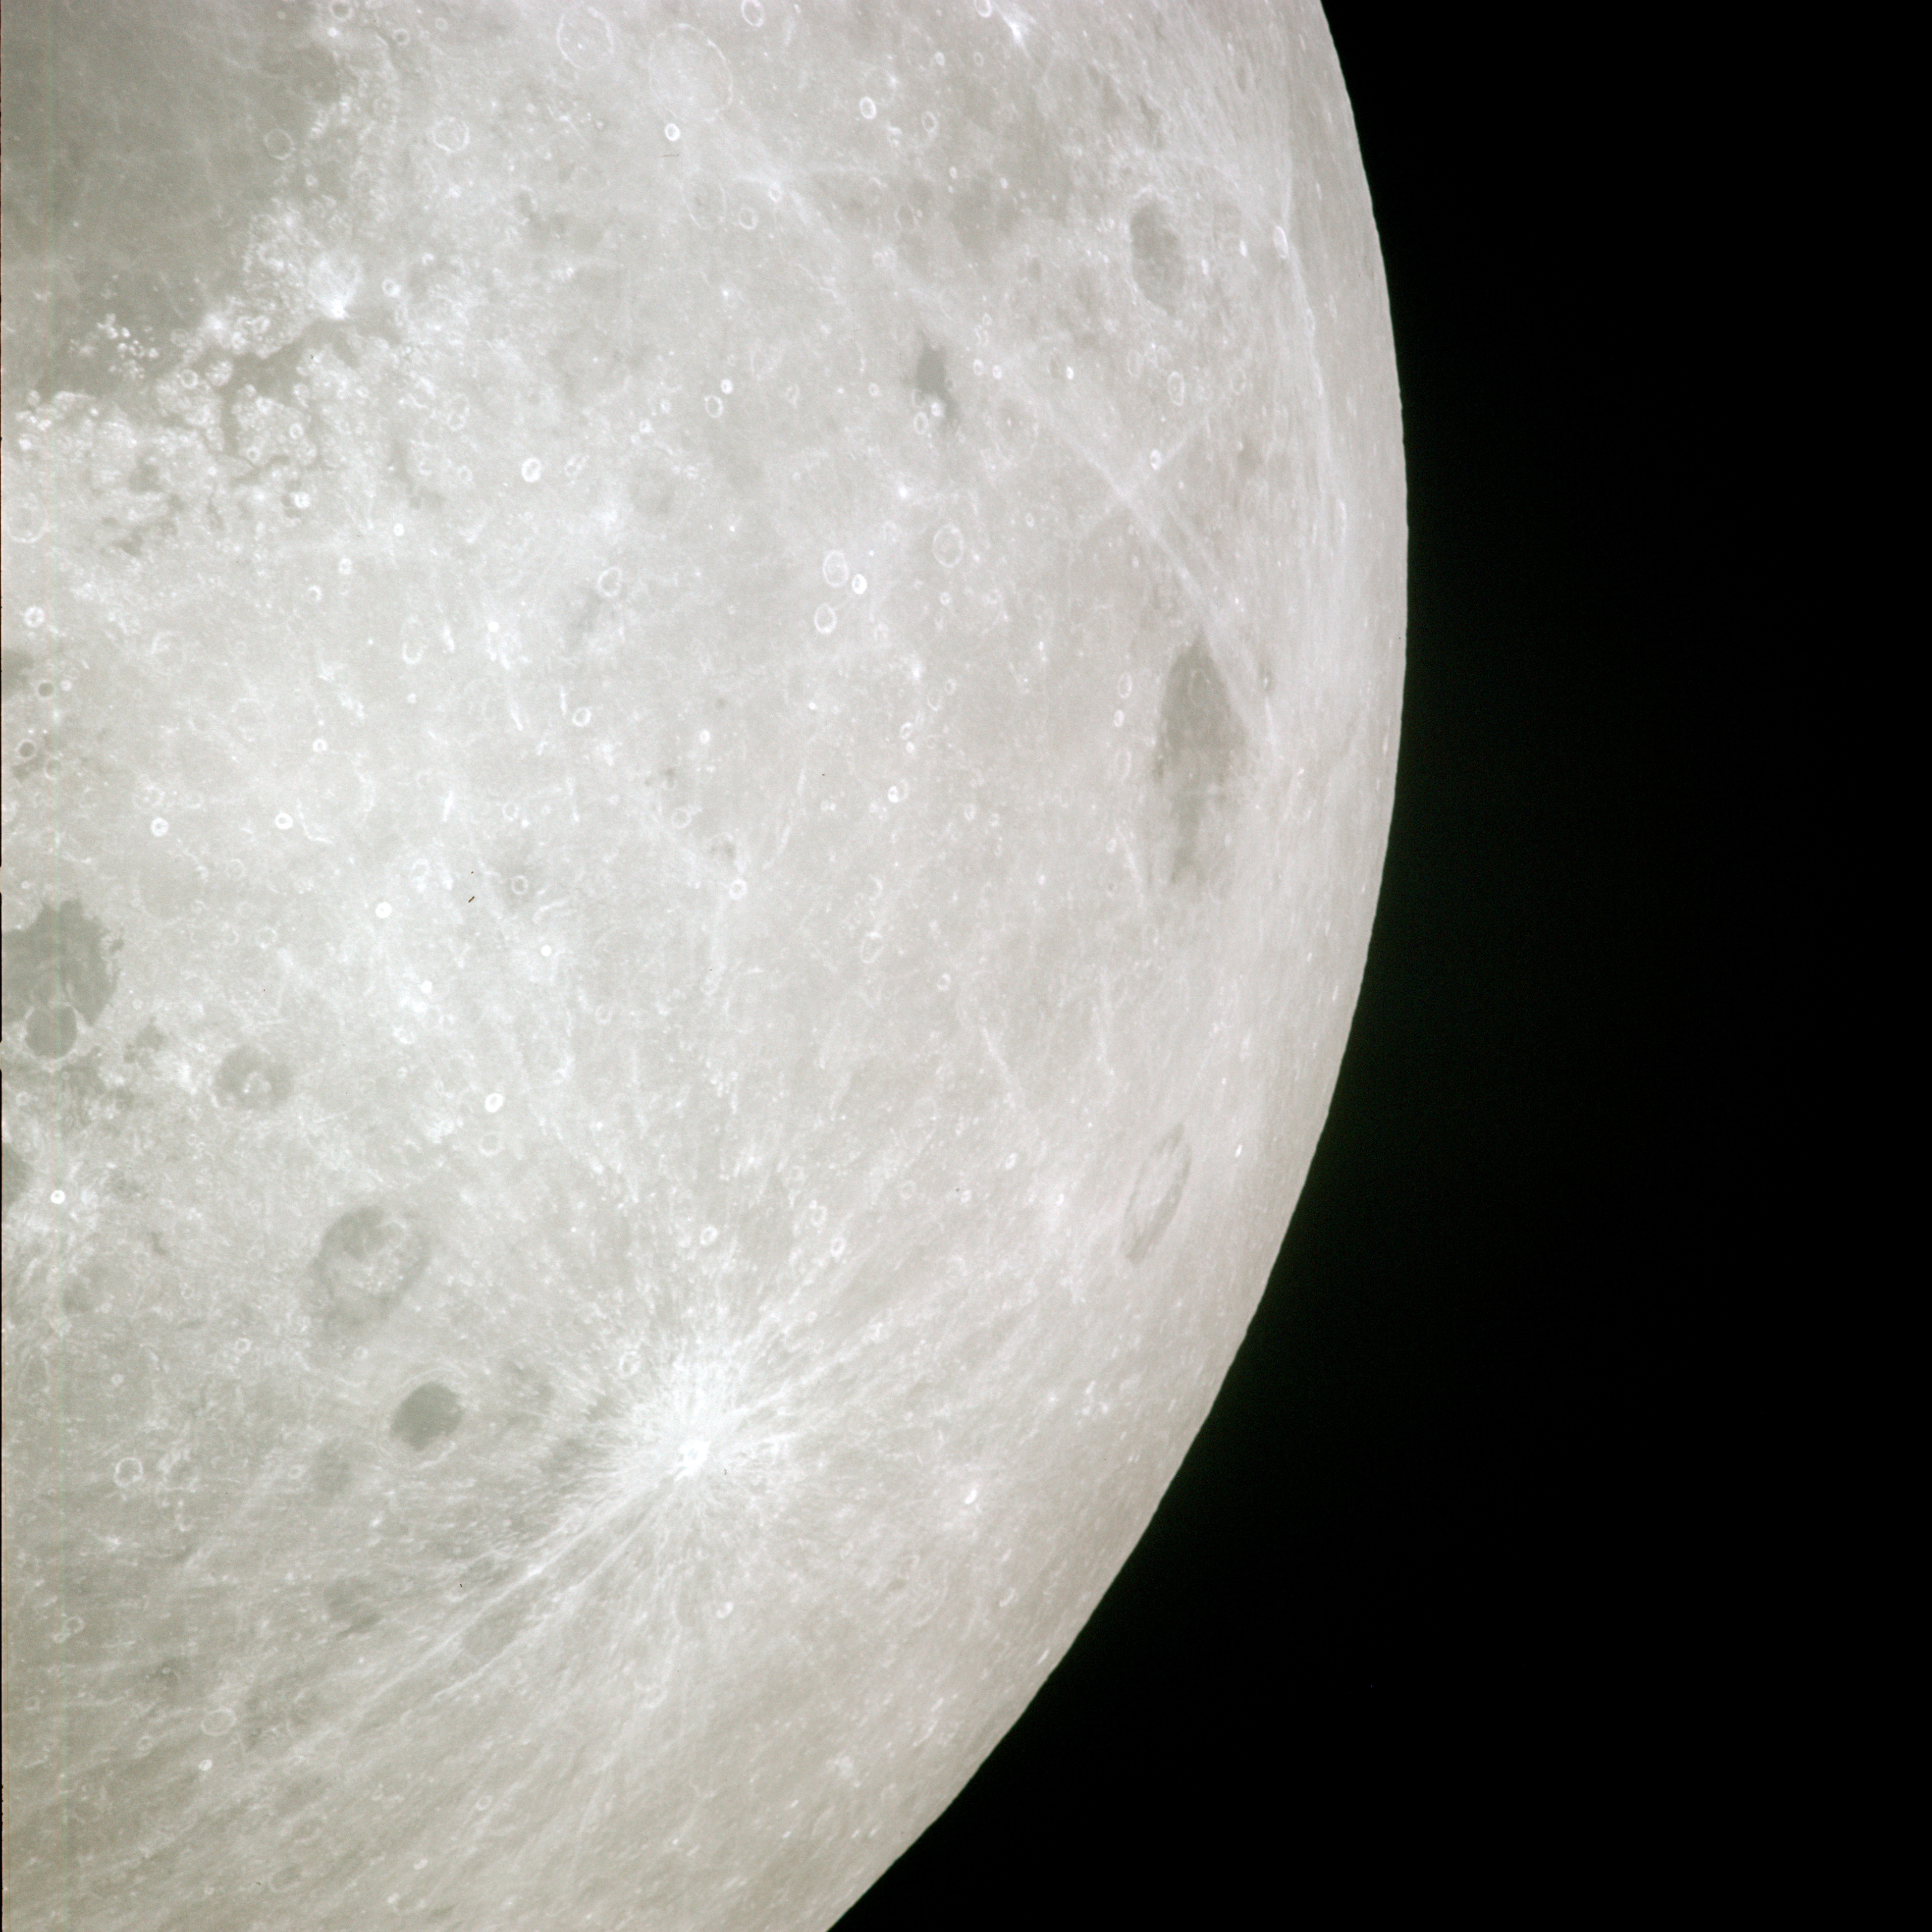 | AS13-60-8682 XXXXXXXXXXXXXXXXXXXXXXXXXXX CAPTION XXXXXXXXXXXXXXXXXXXXXXXXXXXXX Image credit: Image Science and Analysis Laboratory, NASA-Johnson Space Center. |
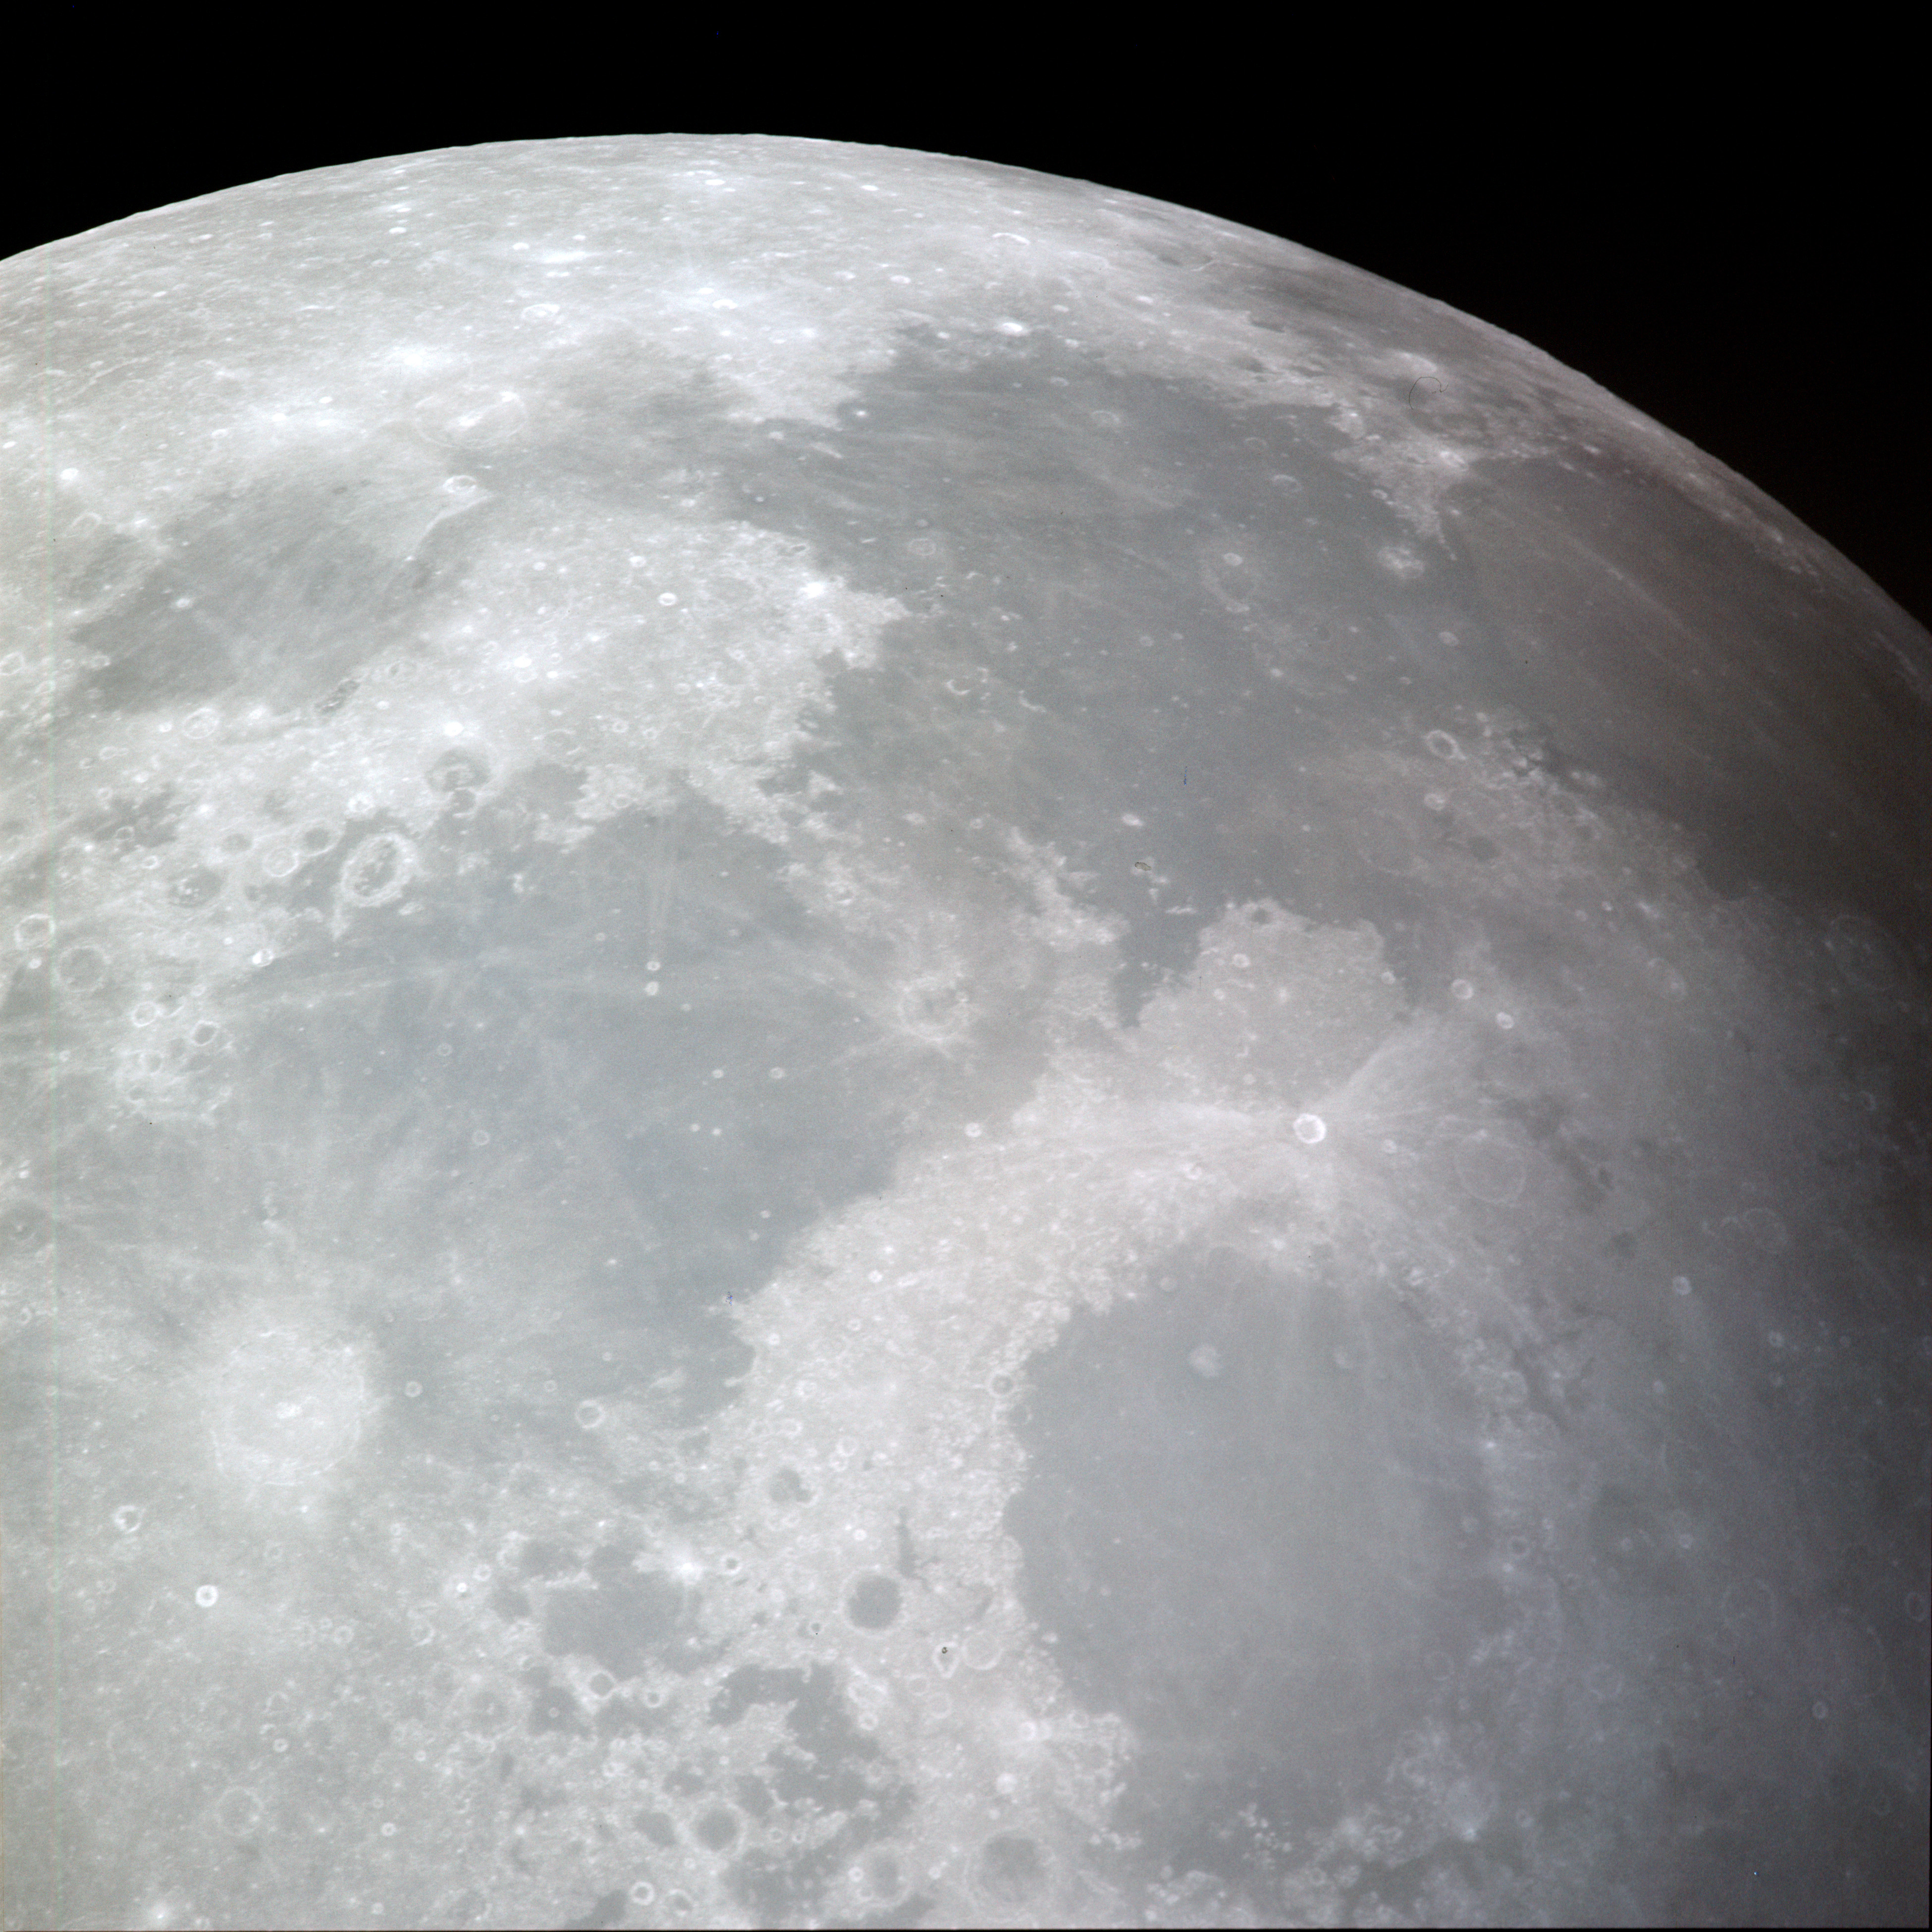 | AS13-60-8683 XXXXXXXXXXXXXXXXXXXXXXXXXXX CAPTION XXXXXXXXXXXXXXXXXXXXXXXXXXXXX Image credit: Image Science and Analysis Laboratory, NASA-Johnson Space Center. |
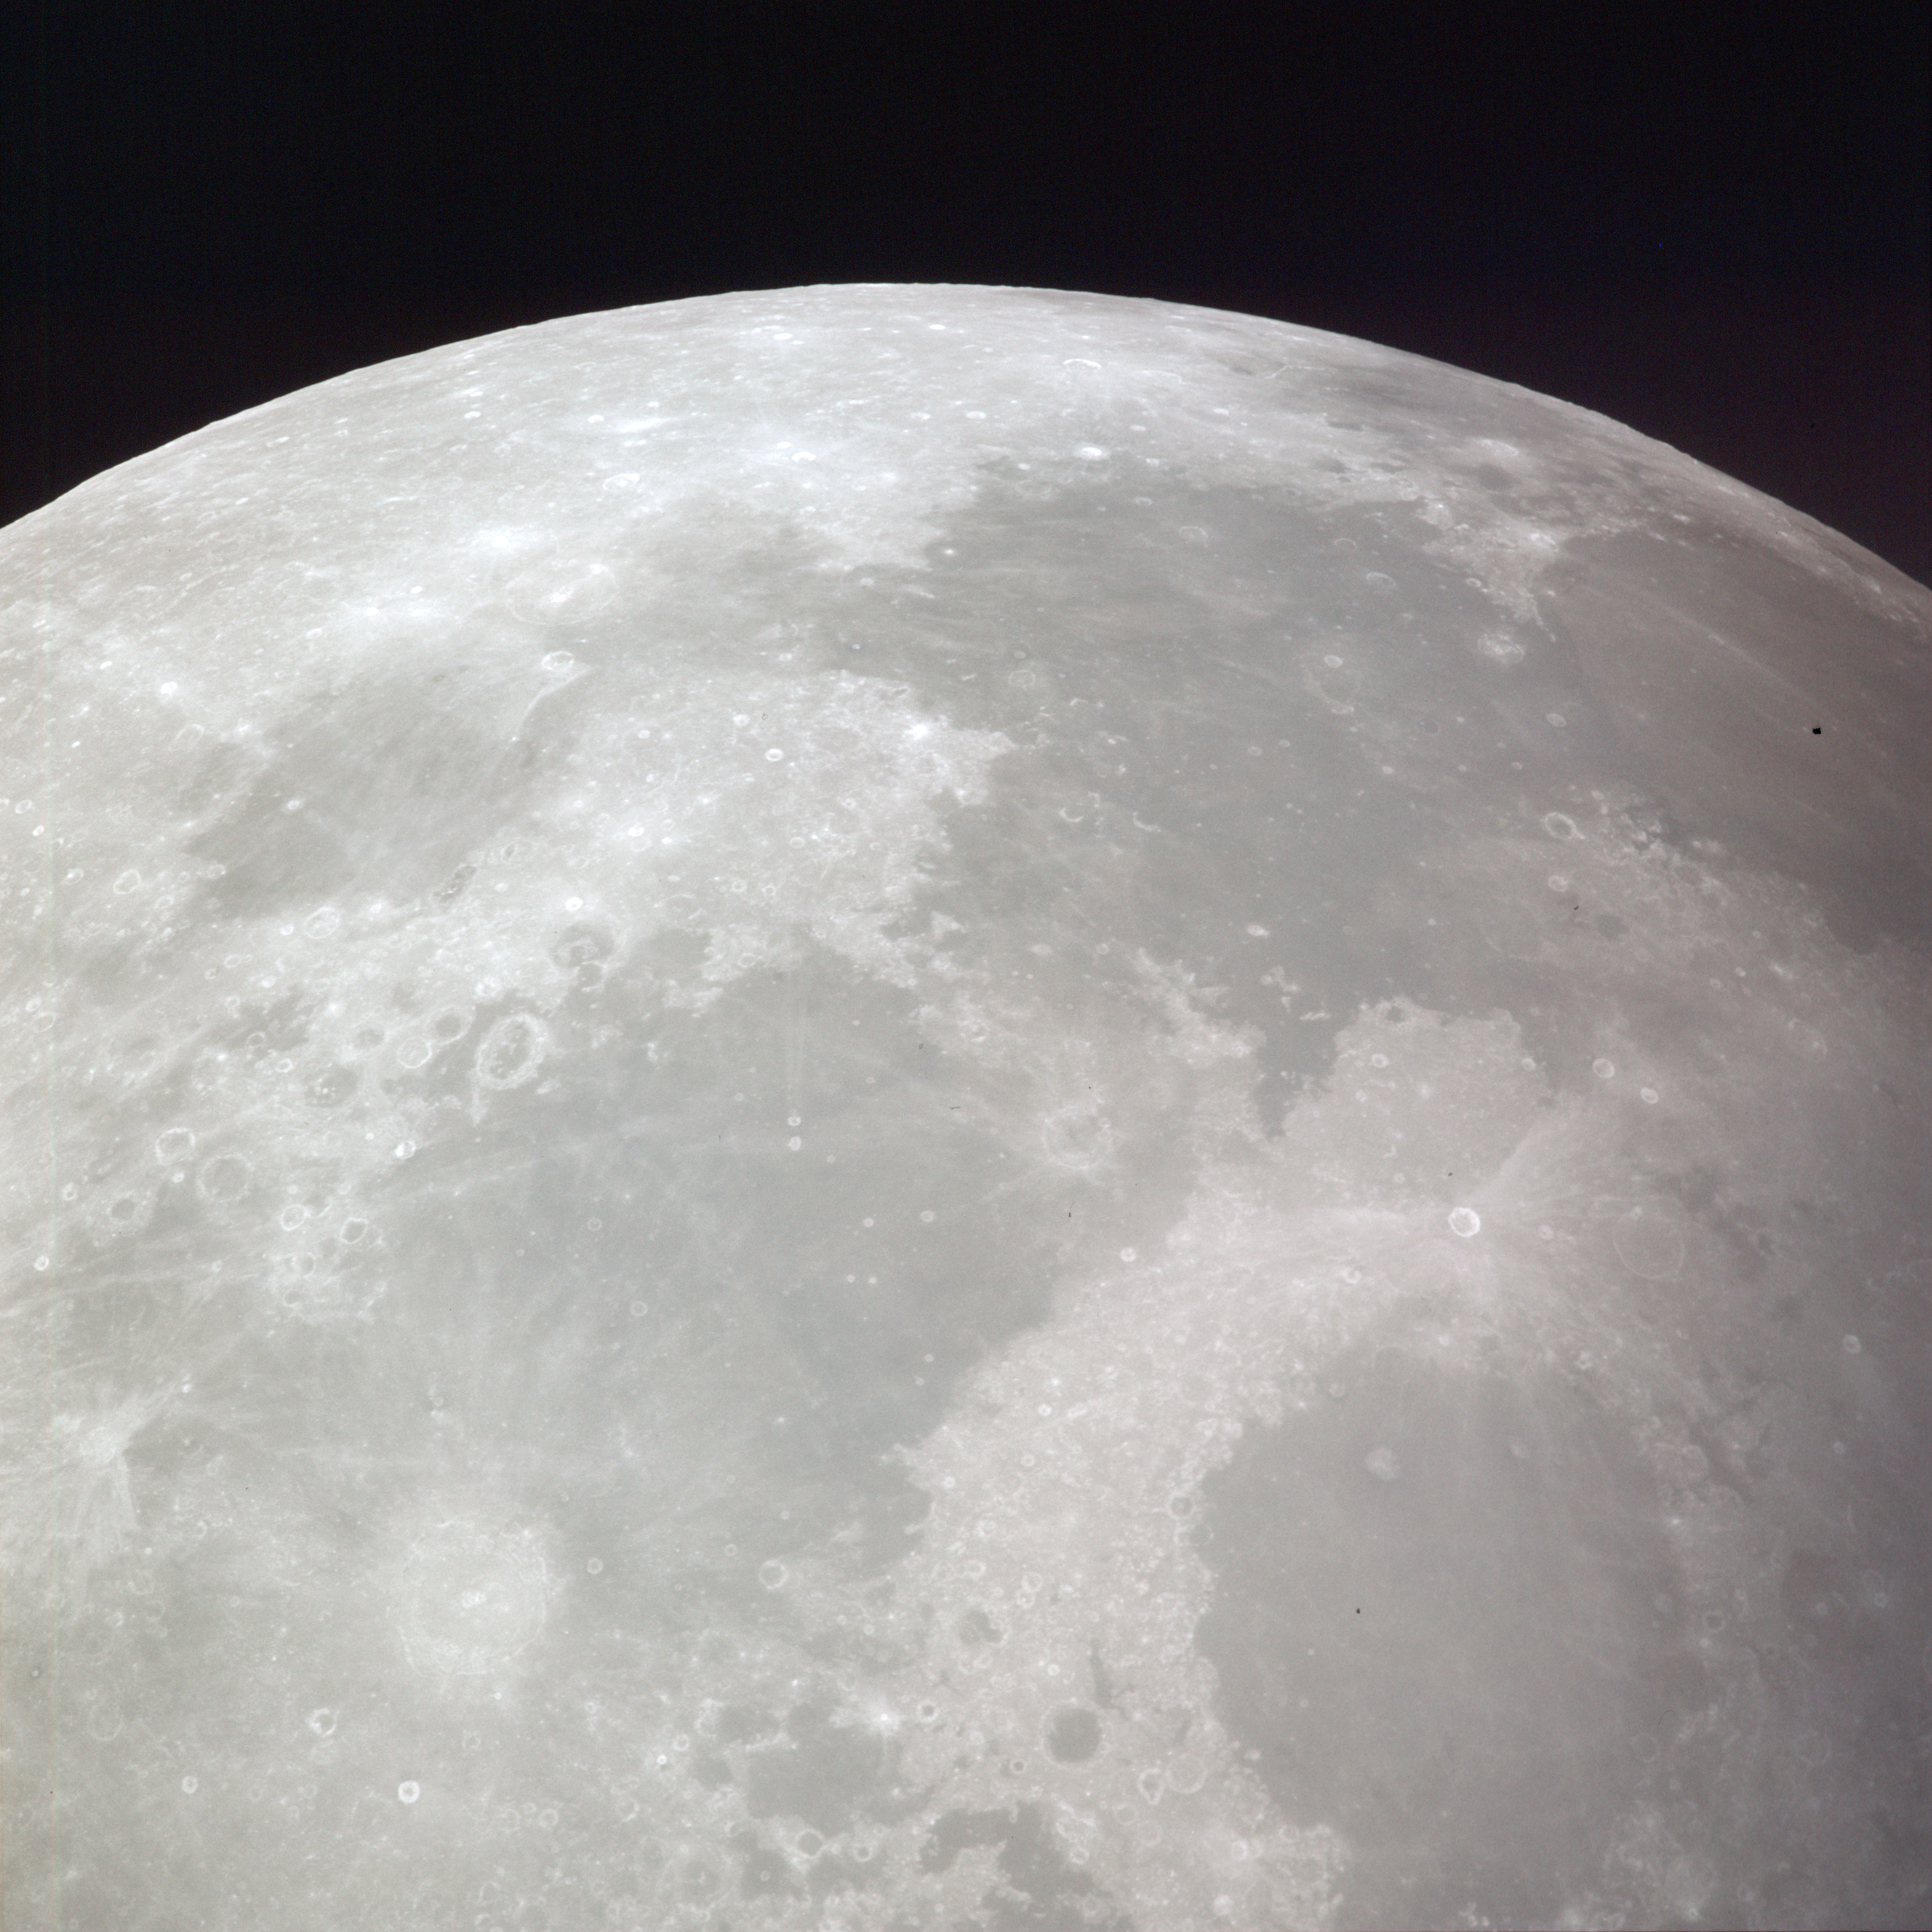 | AS13-60-8684 XXXXXXXXXXXXXXXXXXXXXXXXXXX CAPTION XXXXXXXXXXXXXXXXXXXXXXXXXXXXX Image credit: Image Science and Analysis Laboratory, NASA-Johnson Space Center. |
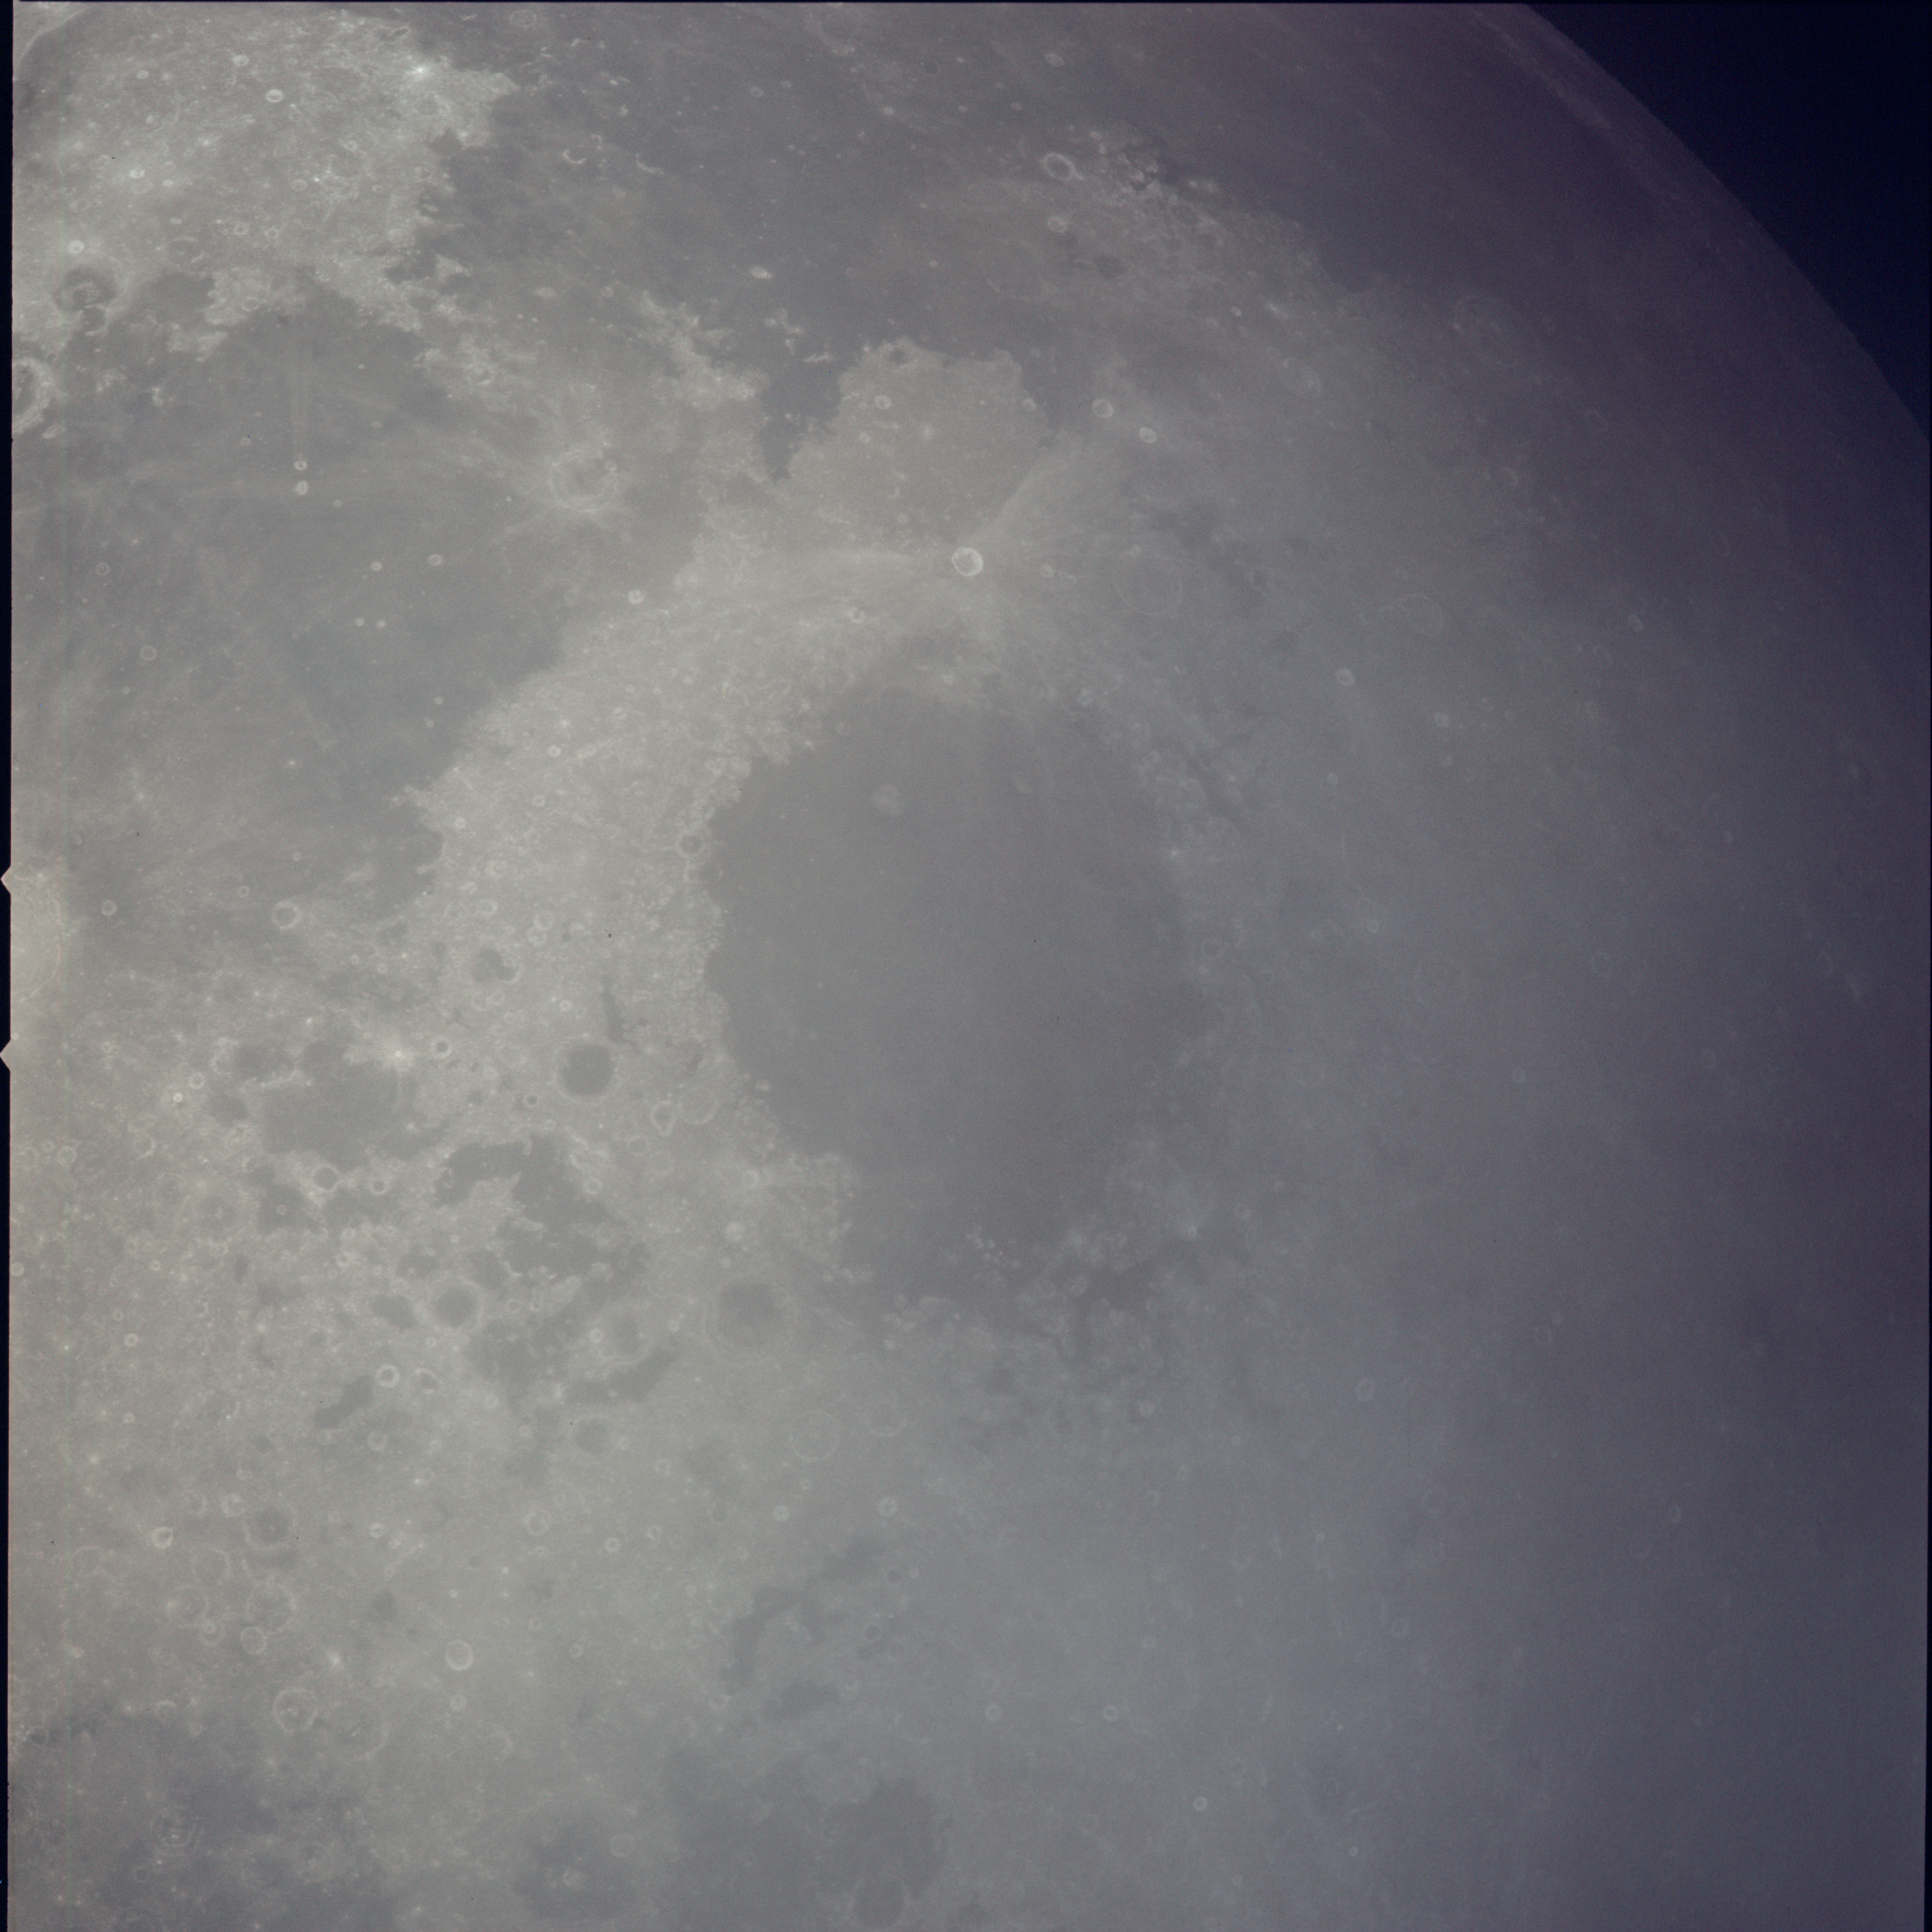 | AS13-60-8685 XXXXXXXXXXXXXXXXXXXXXXXXXXX CAPTION XXXXXXXXXXXXXXXXXXXXXXXXXXXXX Image credit: Image Science and Analysis Laboratory, NASA-Johnson Space Center. |
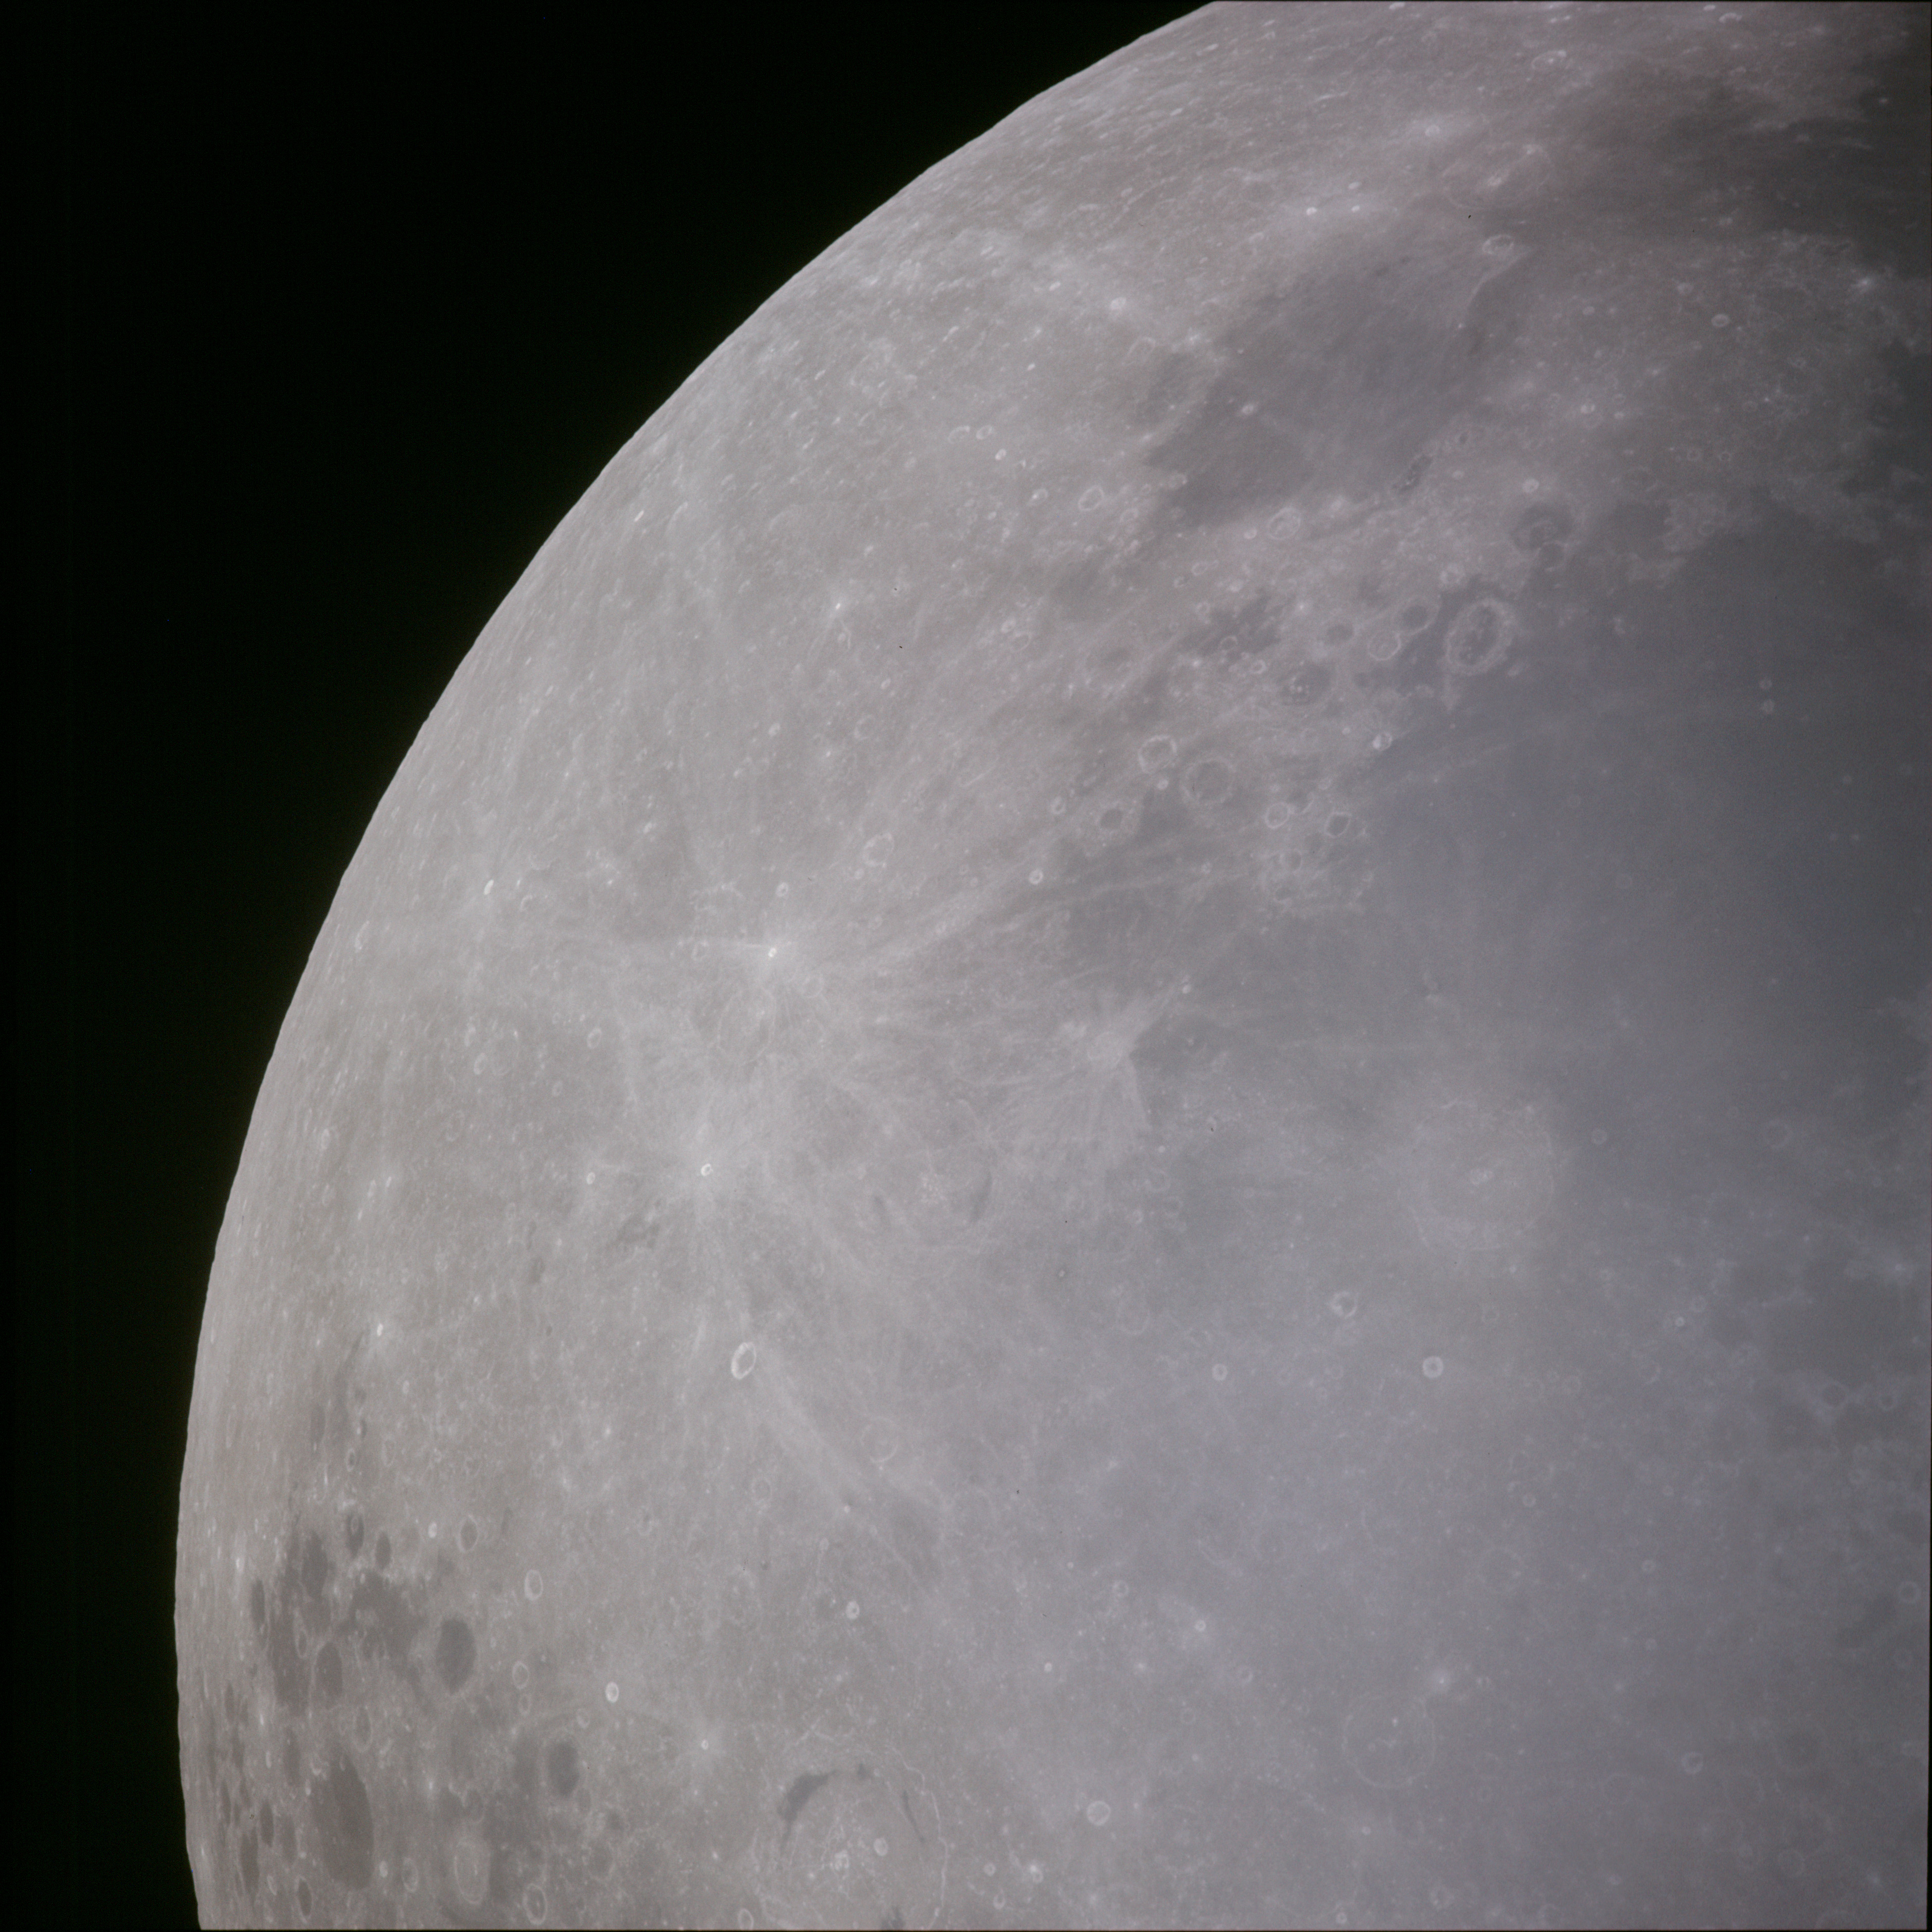 | AS13-60-8686 XXXXXXXXXXXXXXXXXXXXXXXXXXX CAPTION XXXXXXXXXXXXXXXXXXXXXXXXXXXXX Image credit: Image Science and Analysis Laboratory, NASA-Johnson Space Center. |
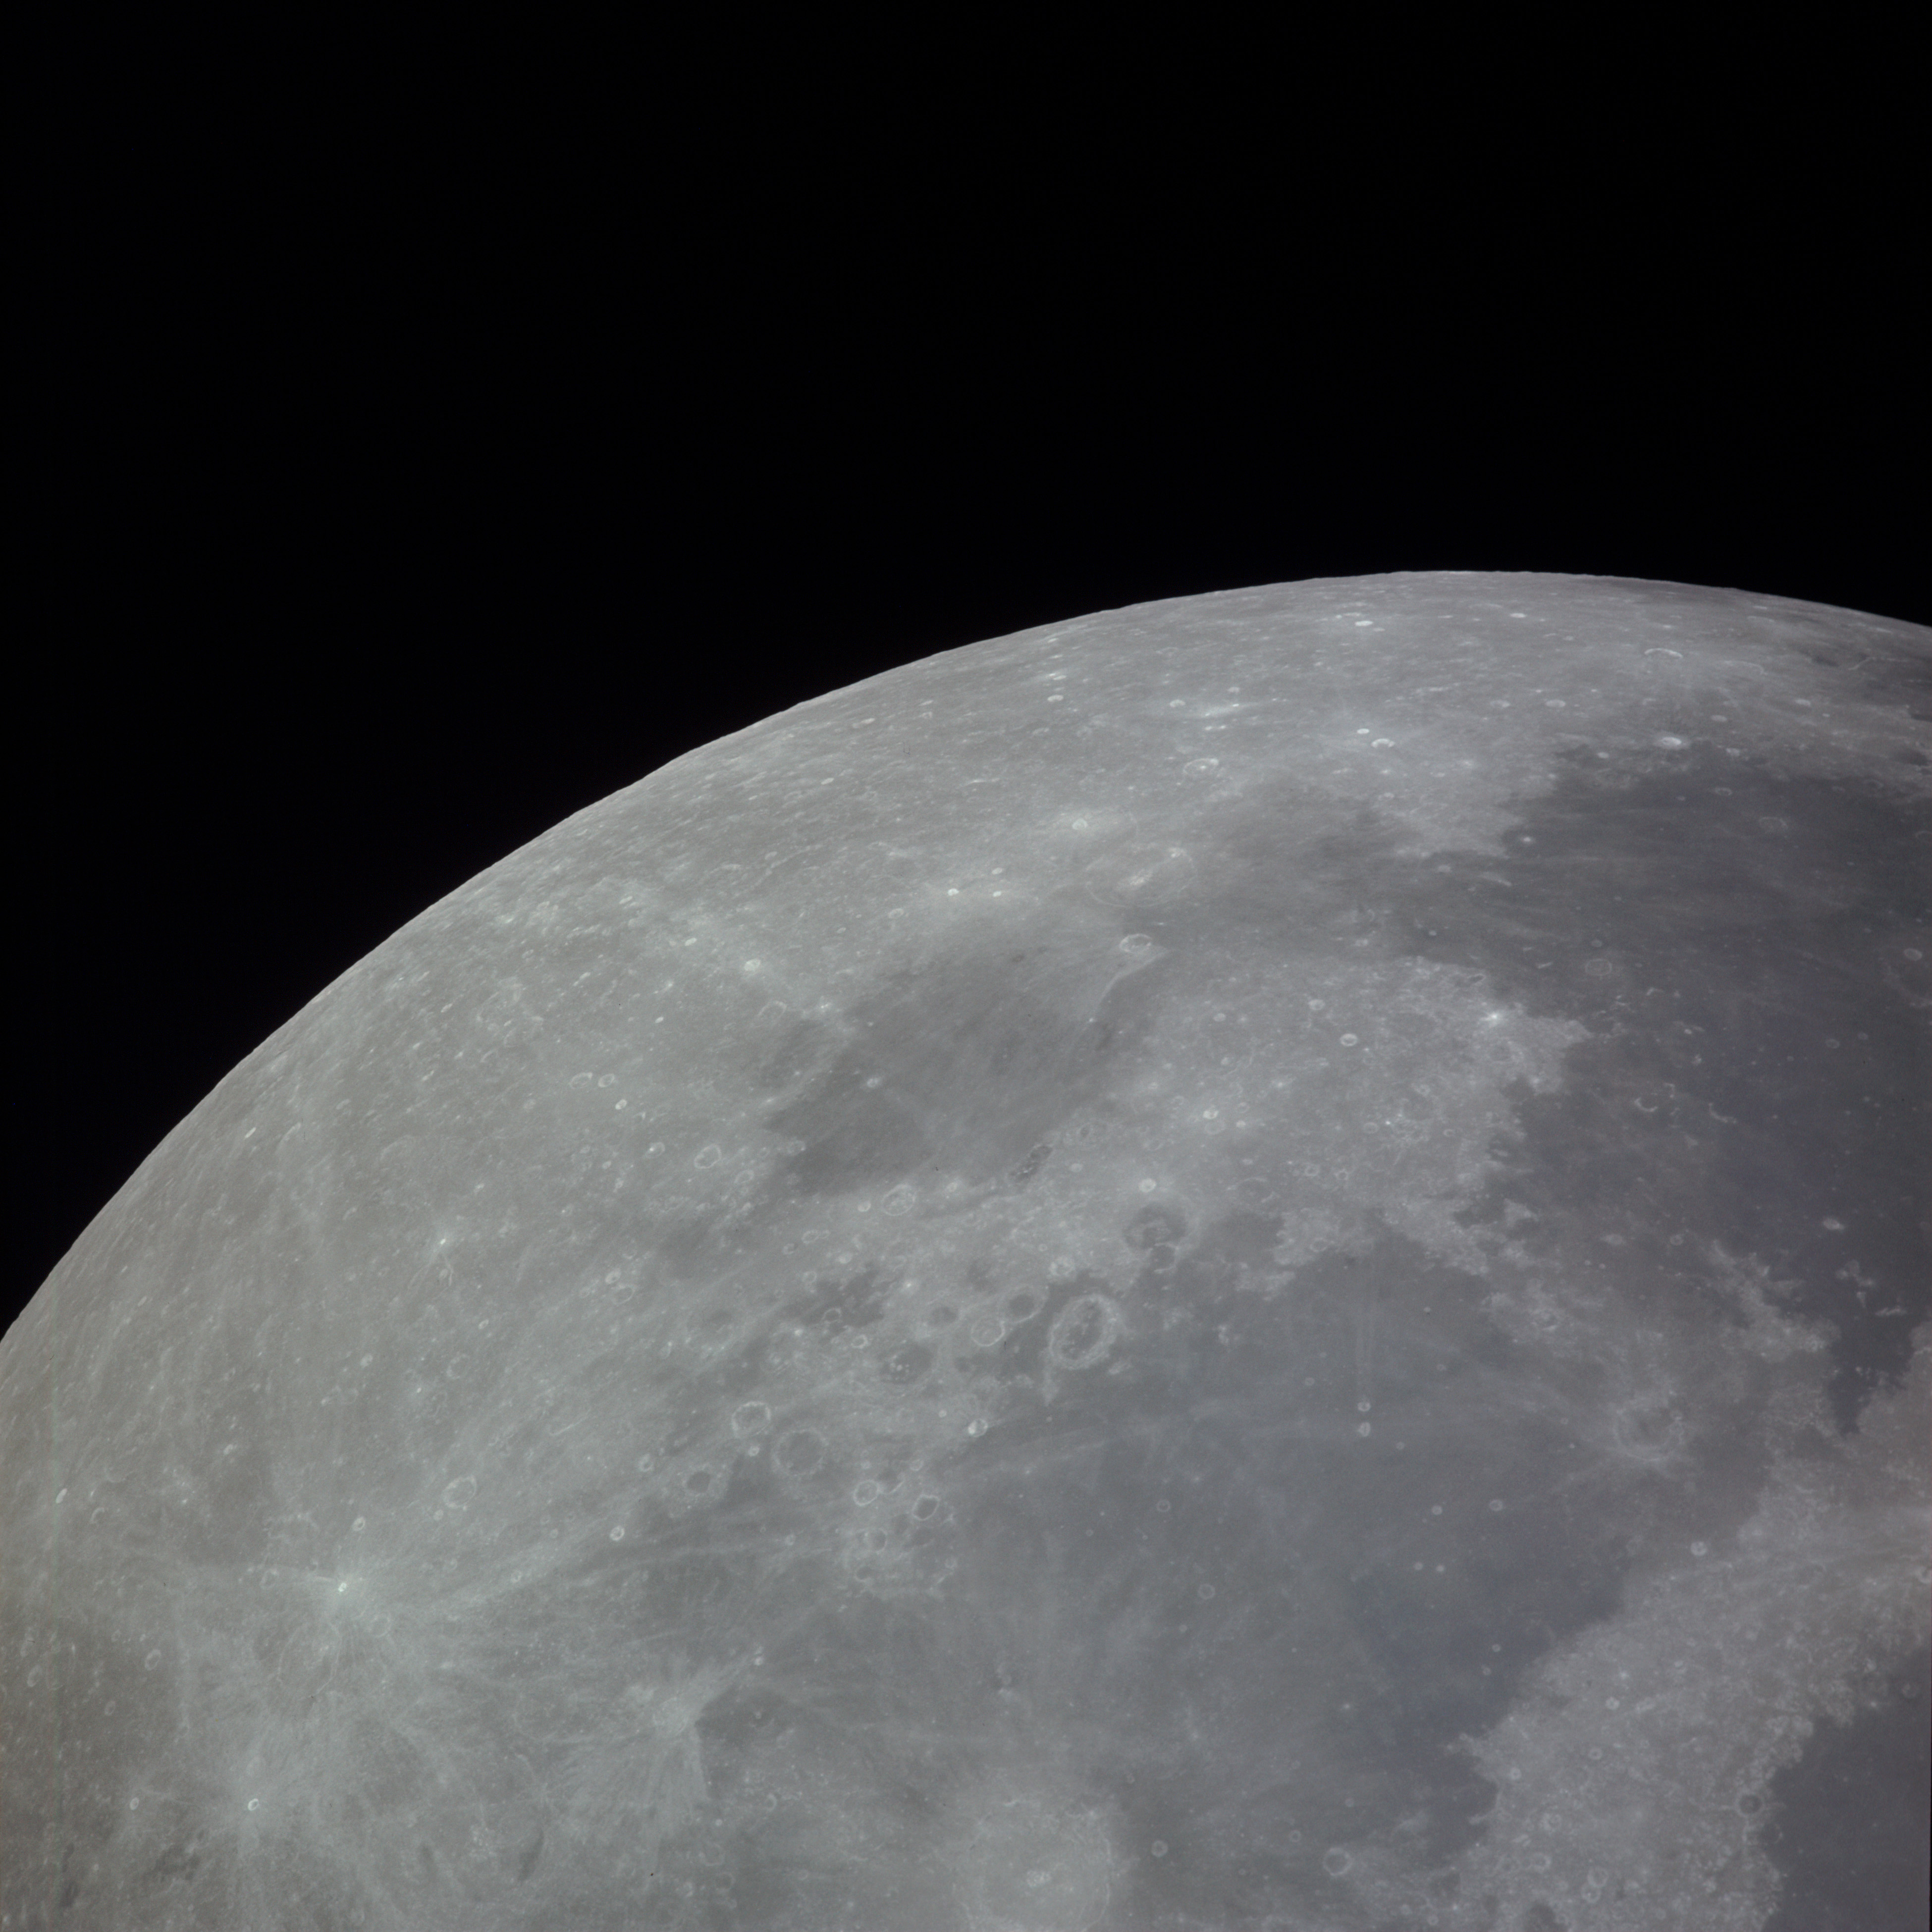 | AS13-60-8687 XXXXXXXXXXXXXXXXXXXXXXXXXXX CAPTION XXXXXXXXXXXXXXXXXXXXXXXXXXXXX Image credit: Image Science and Analysis Laboratory, NASA-Johnson Space Center. |
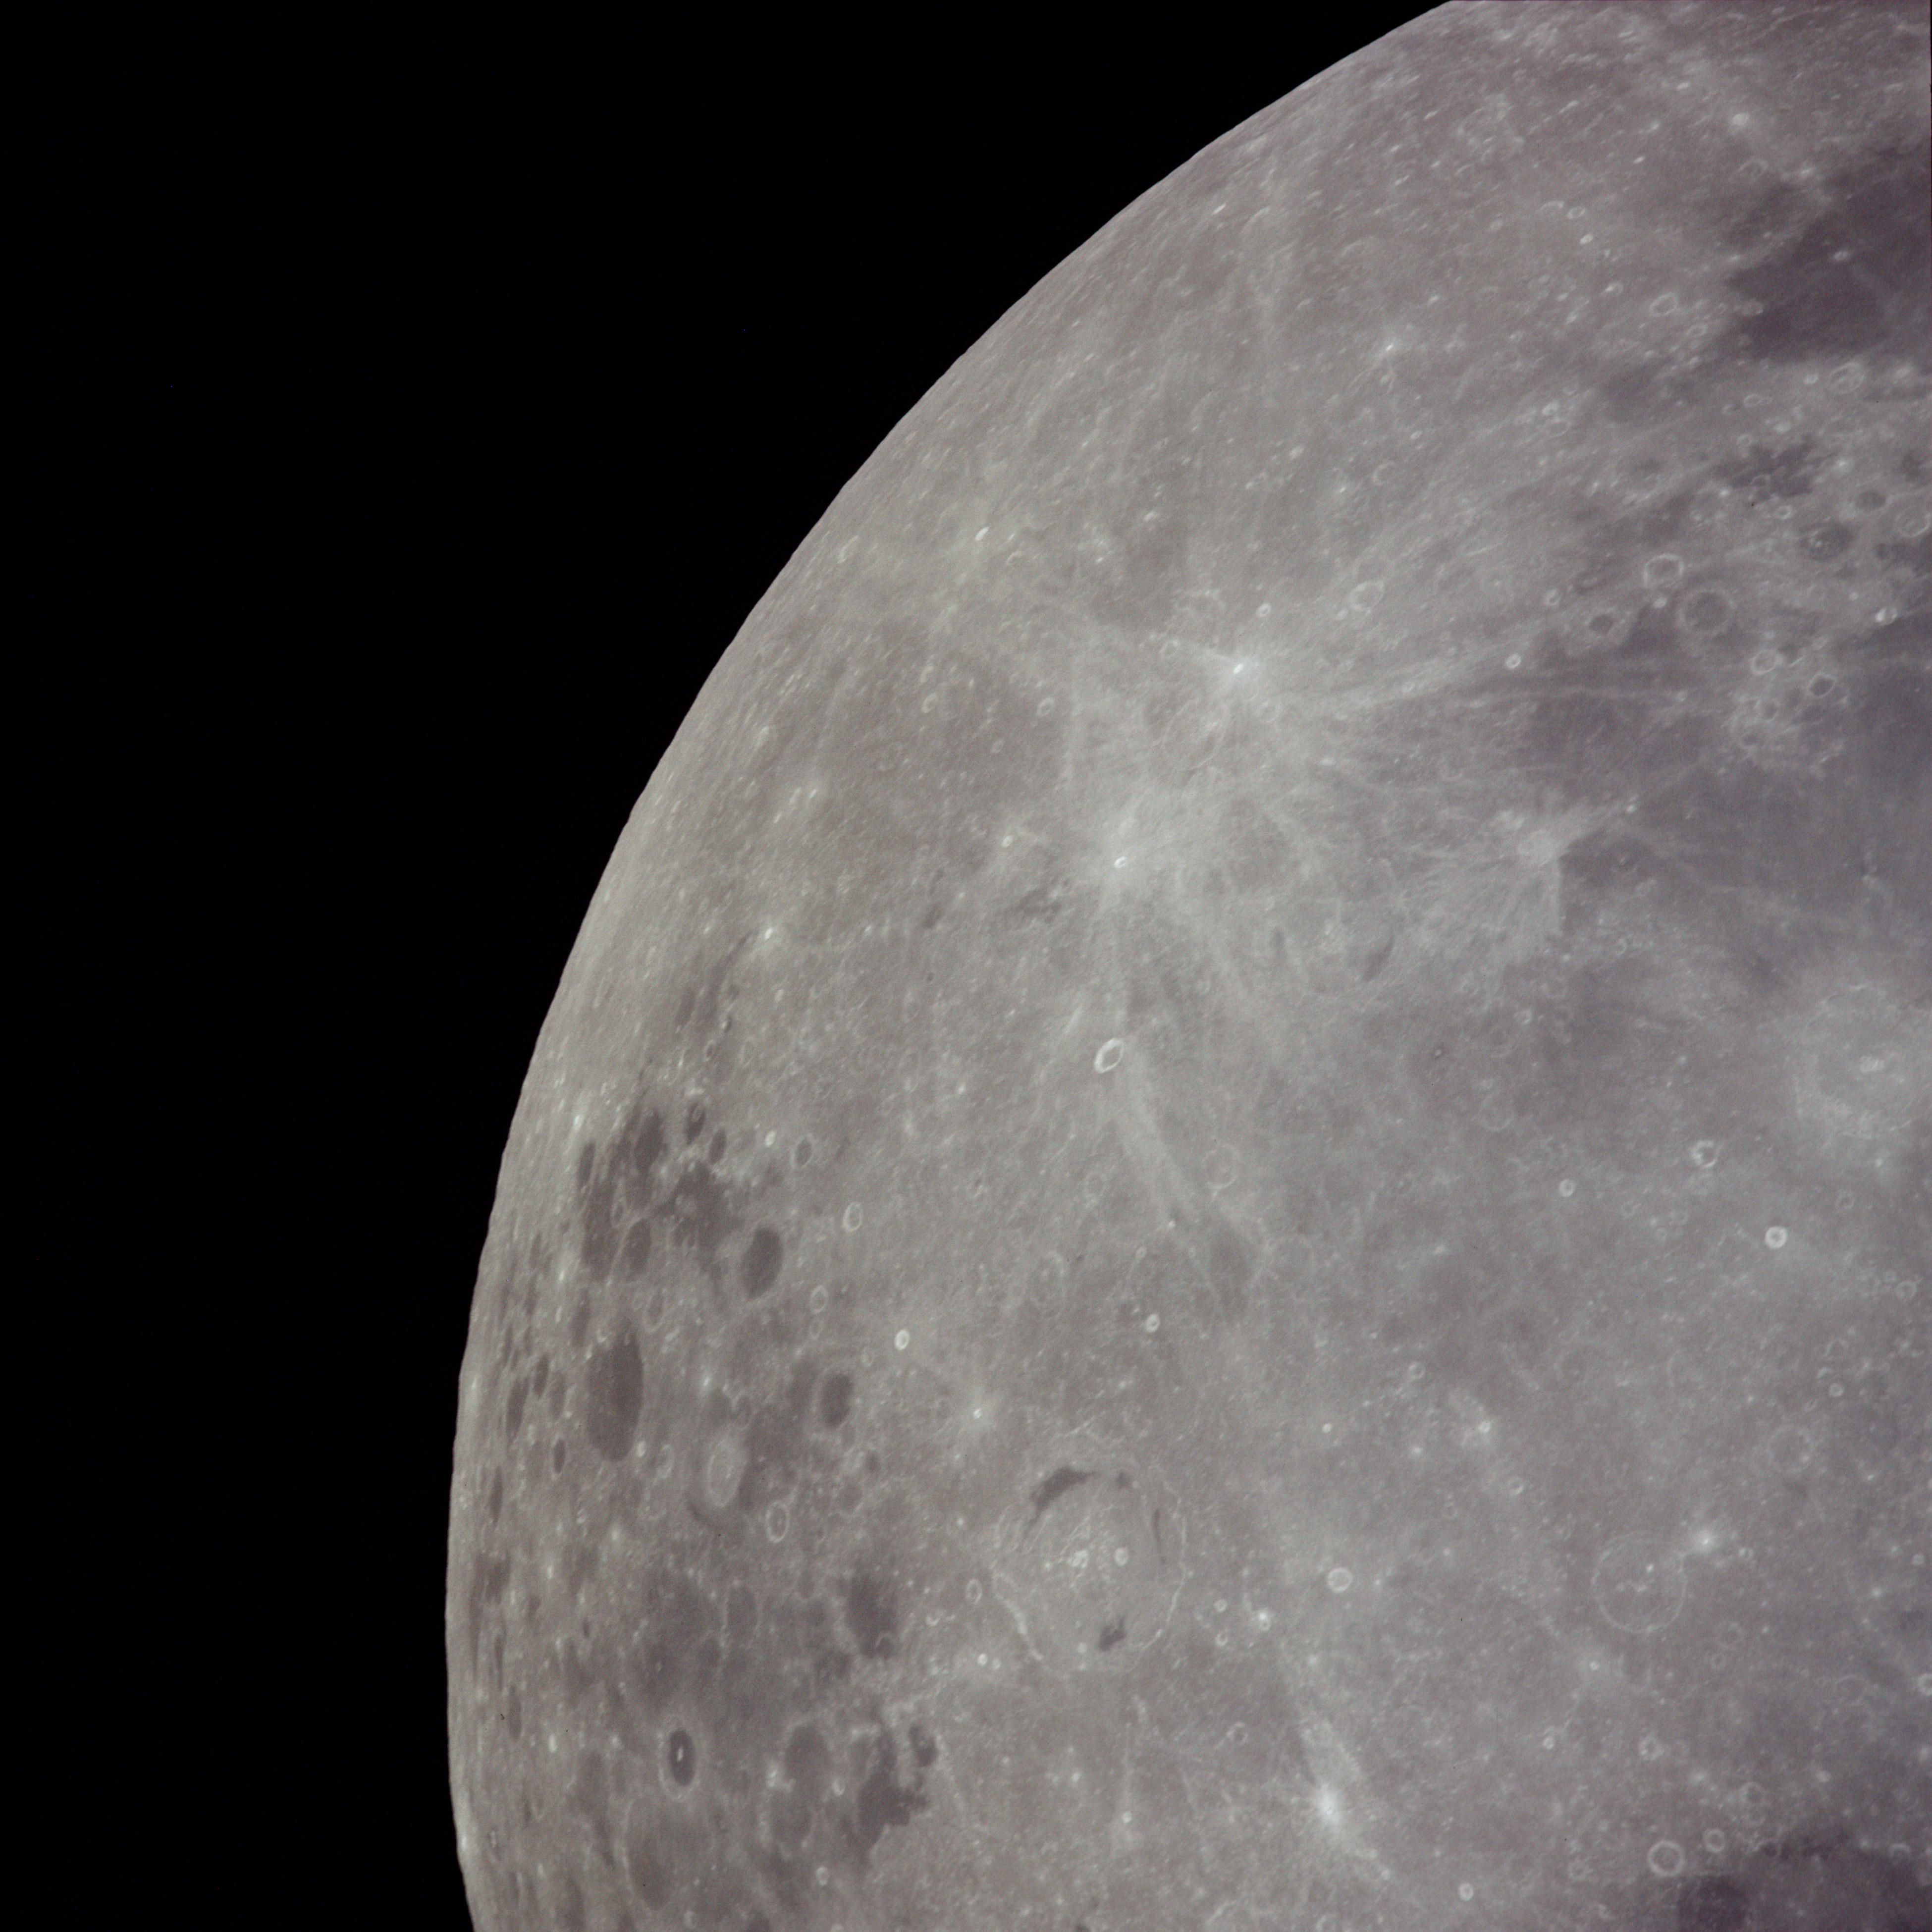 | AS13-60-8688 XXXXXXXXXXXXXXXXXXXXXXXXXXX CAPTION XXXXXXXXXXXXXXXXXXXXXXXXXXXXX Image credit: Image Science and Analysis Laboratory, NASA-Johnson Space Center. |
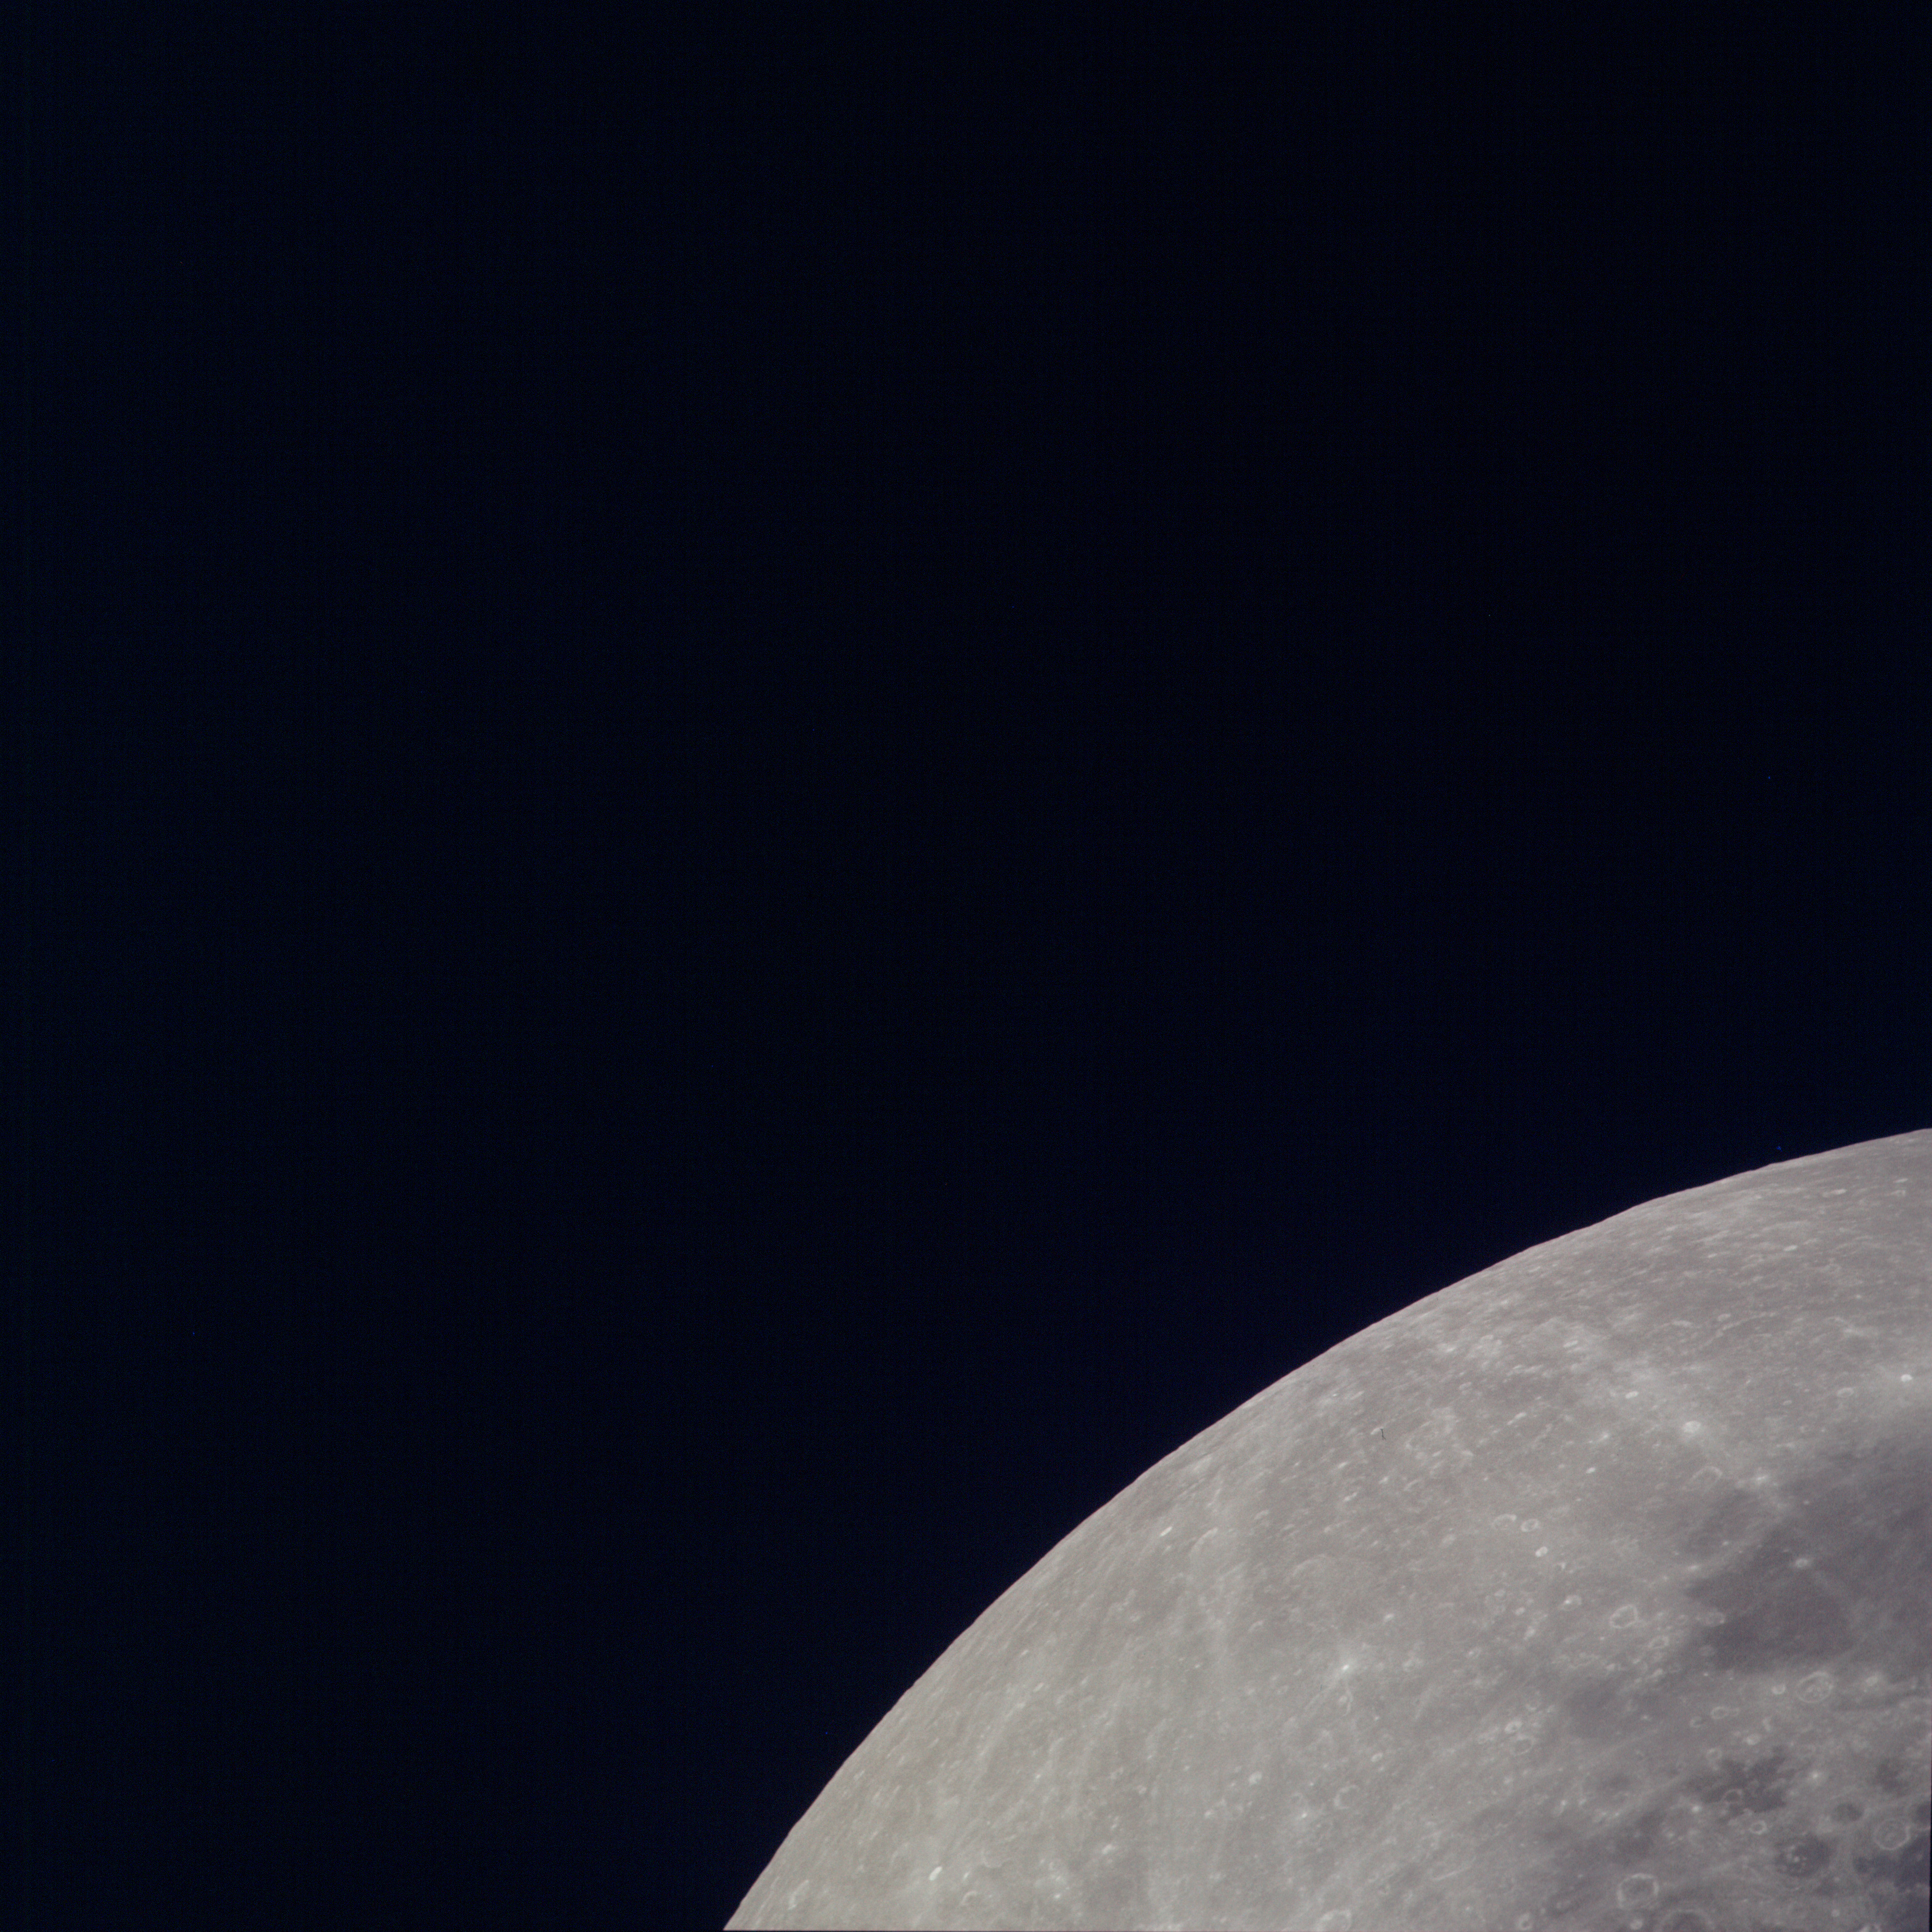 | AS13-60-8689 XXXXXXXXXXXXXXXXXXXXXXXXXXX CAPTION XXXXXXXXXXXXXXXXXXXXXXXXXXXXX Image credit: Image Science and Analysis Laboratory, NASA-Johnson Space Center. |
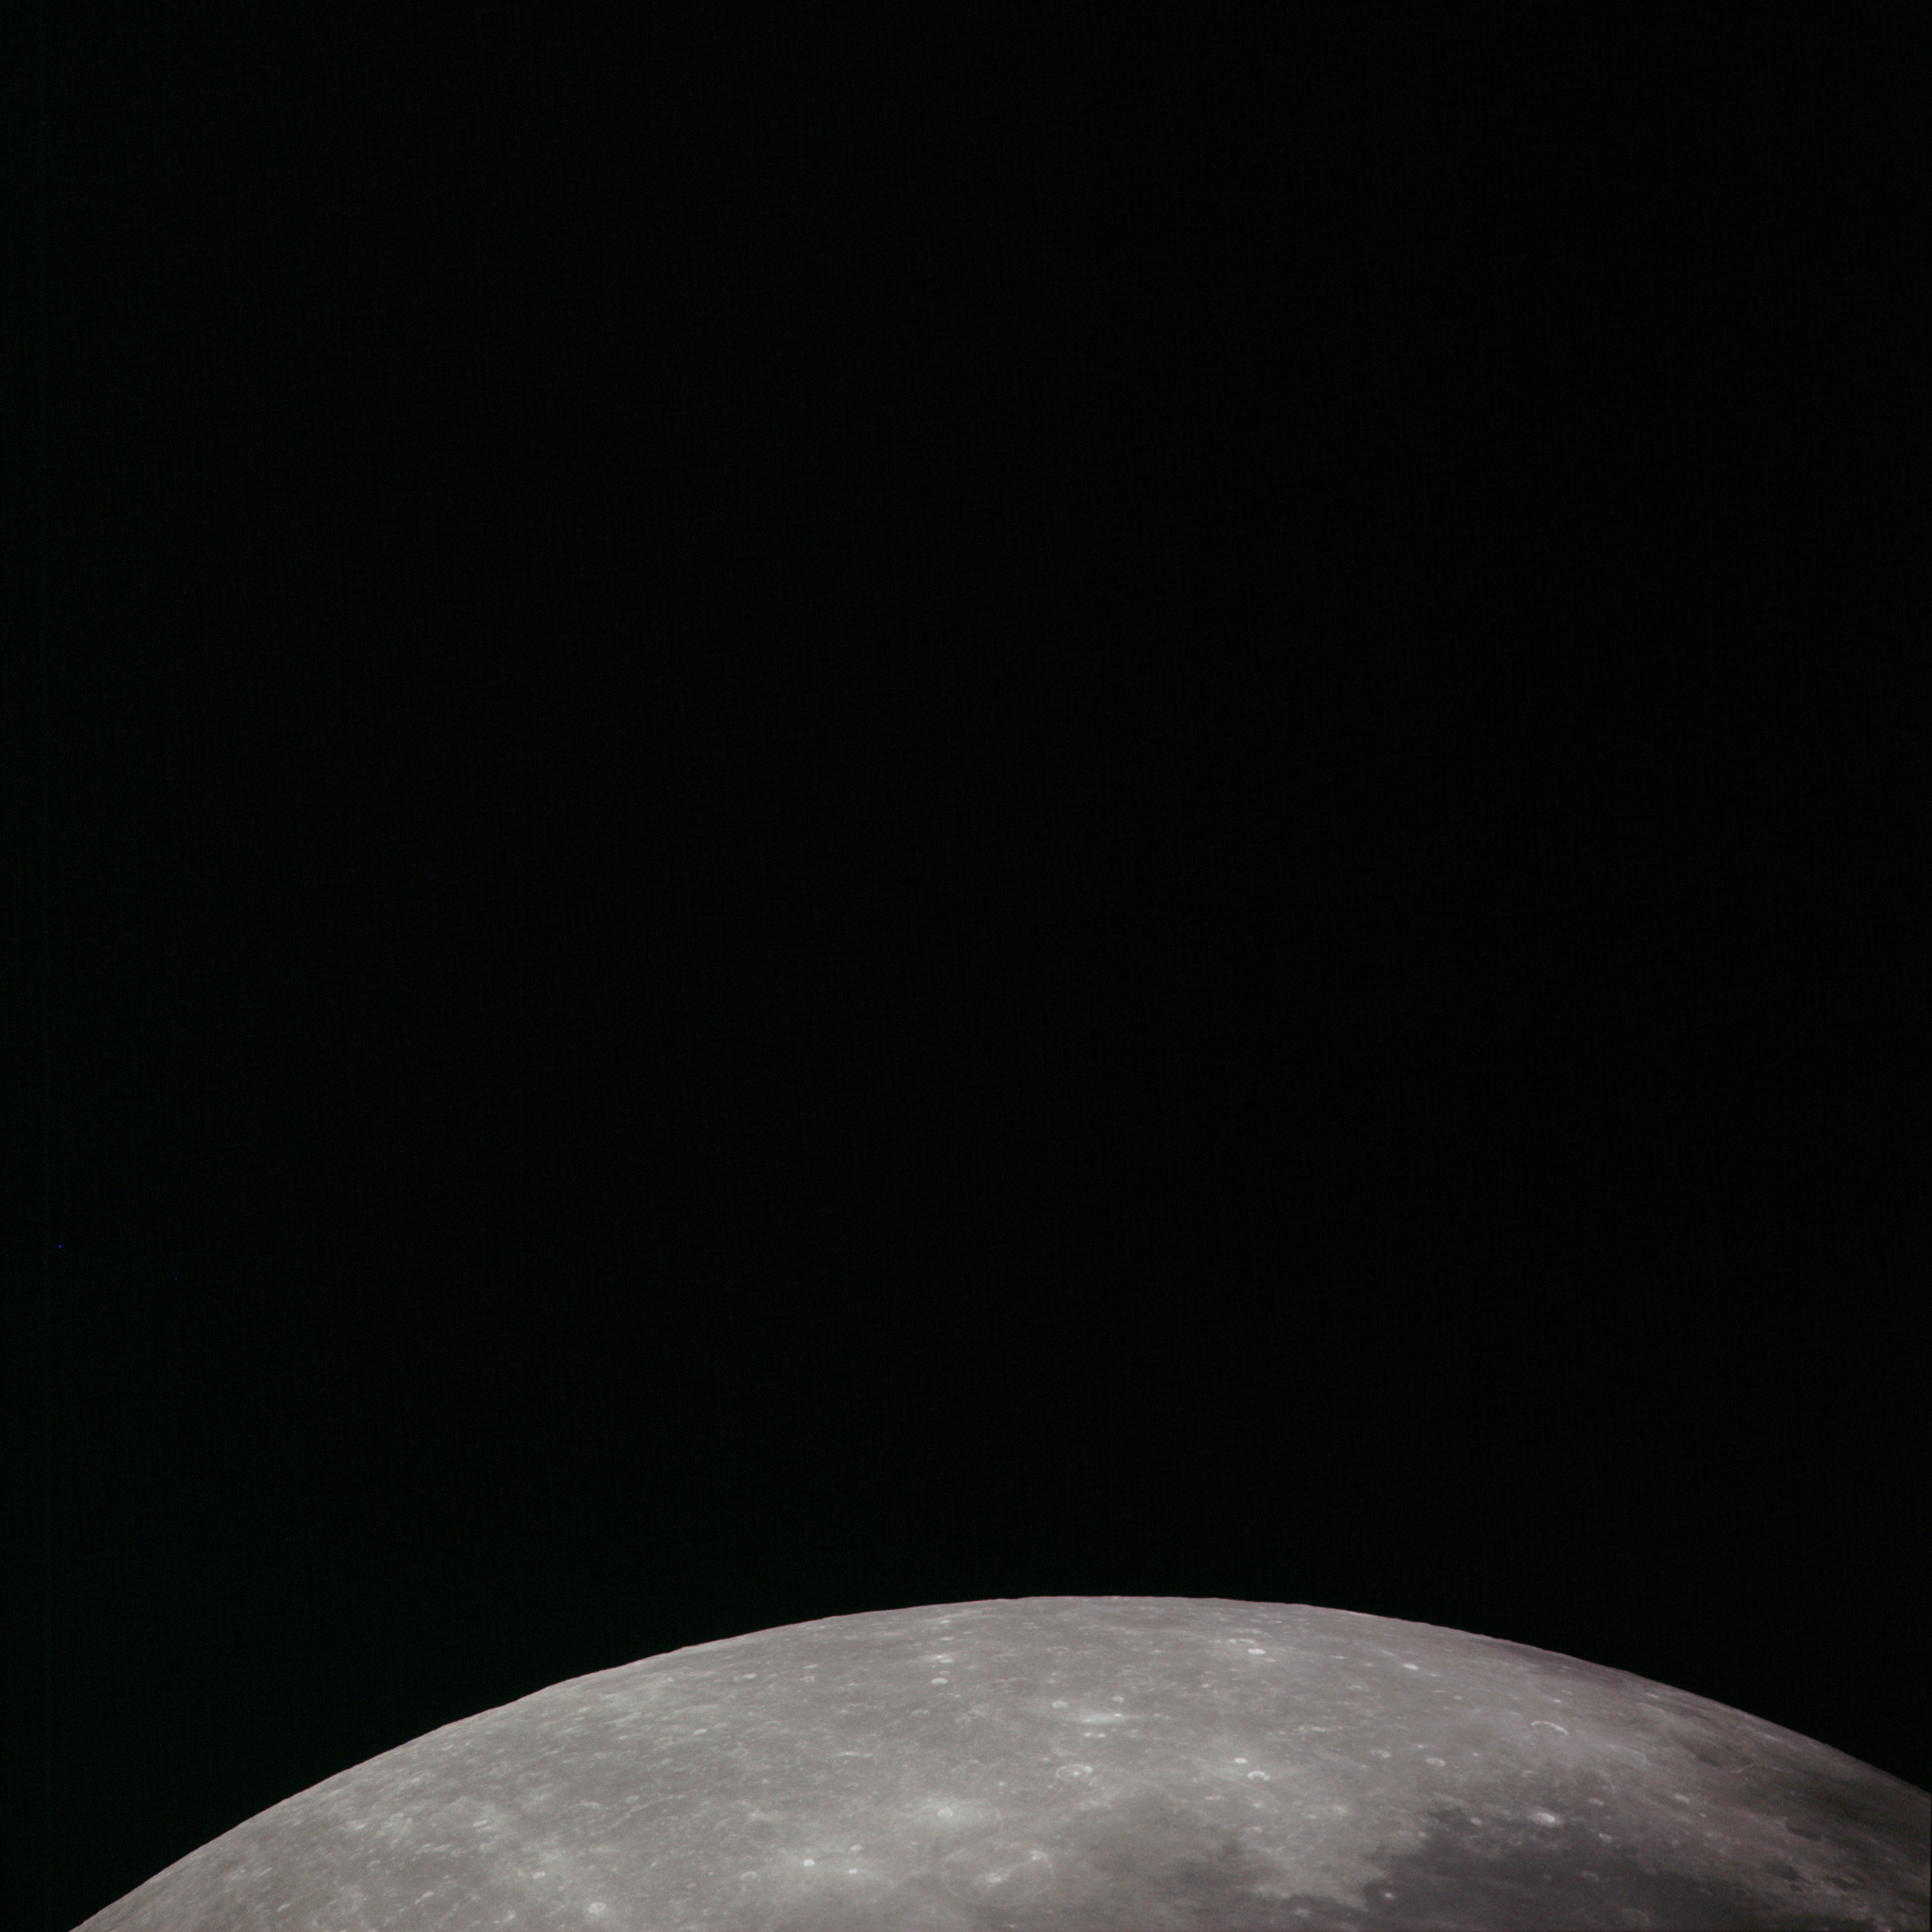 | AS13-60-8690 XXXXXXXXXXXXXXXXXXXXXXXXXXX CAPTION XXXXXXXXXXXXXXXXXXXXXXXXXXXXX Image credit: Image Science and Analysis Laboratory, NASA-Johnson Space Center. |
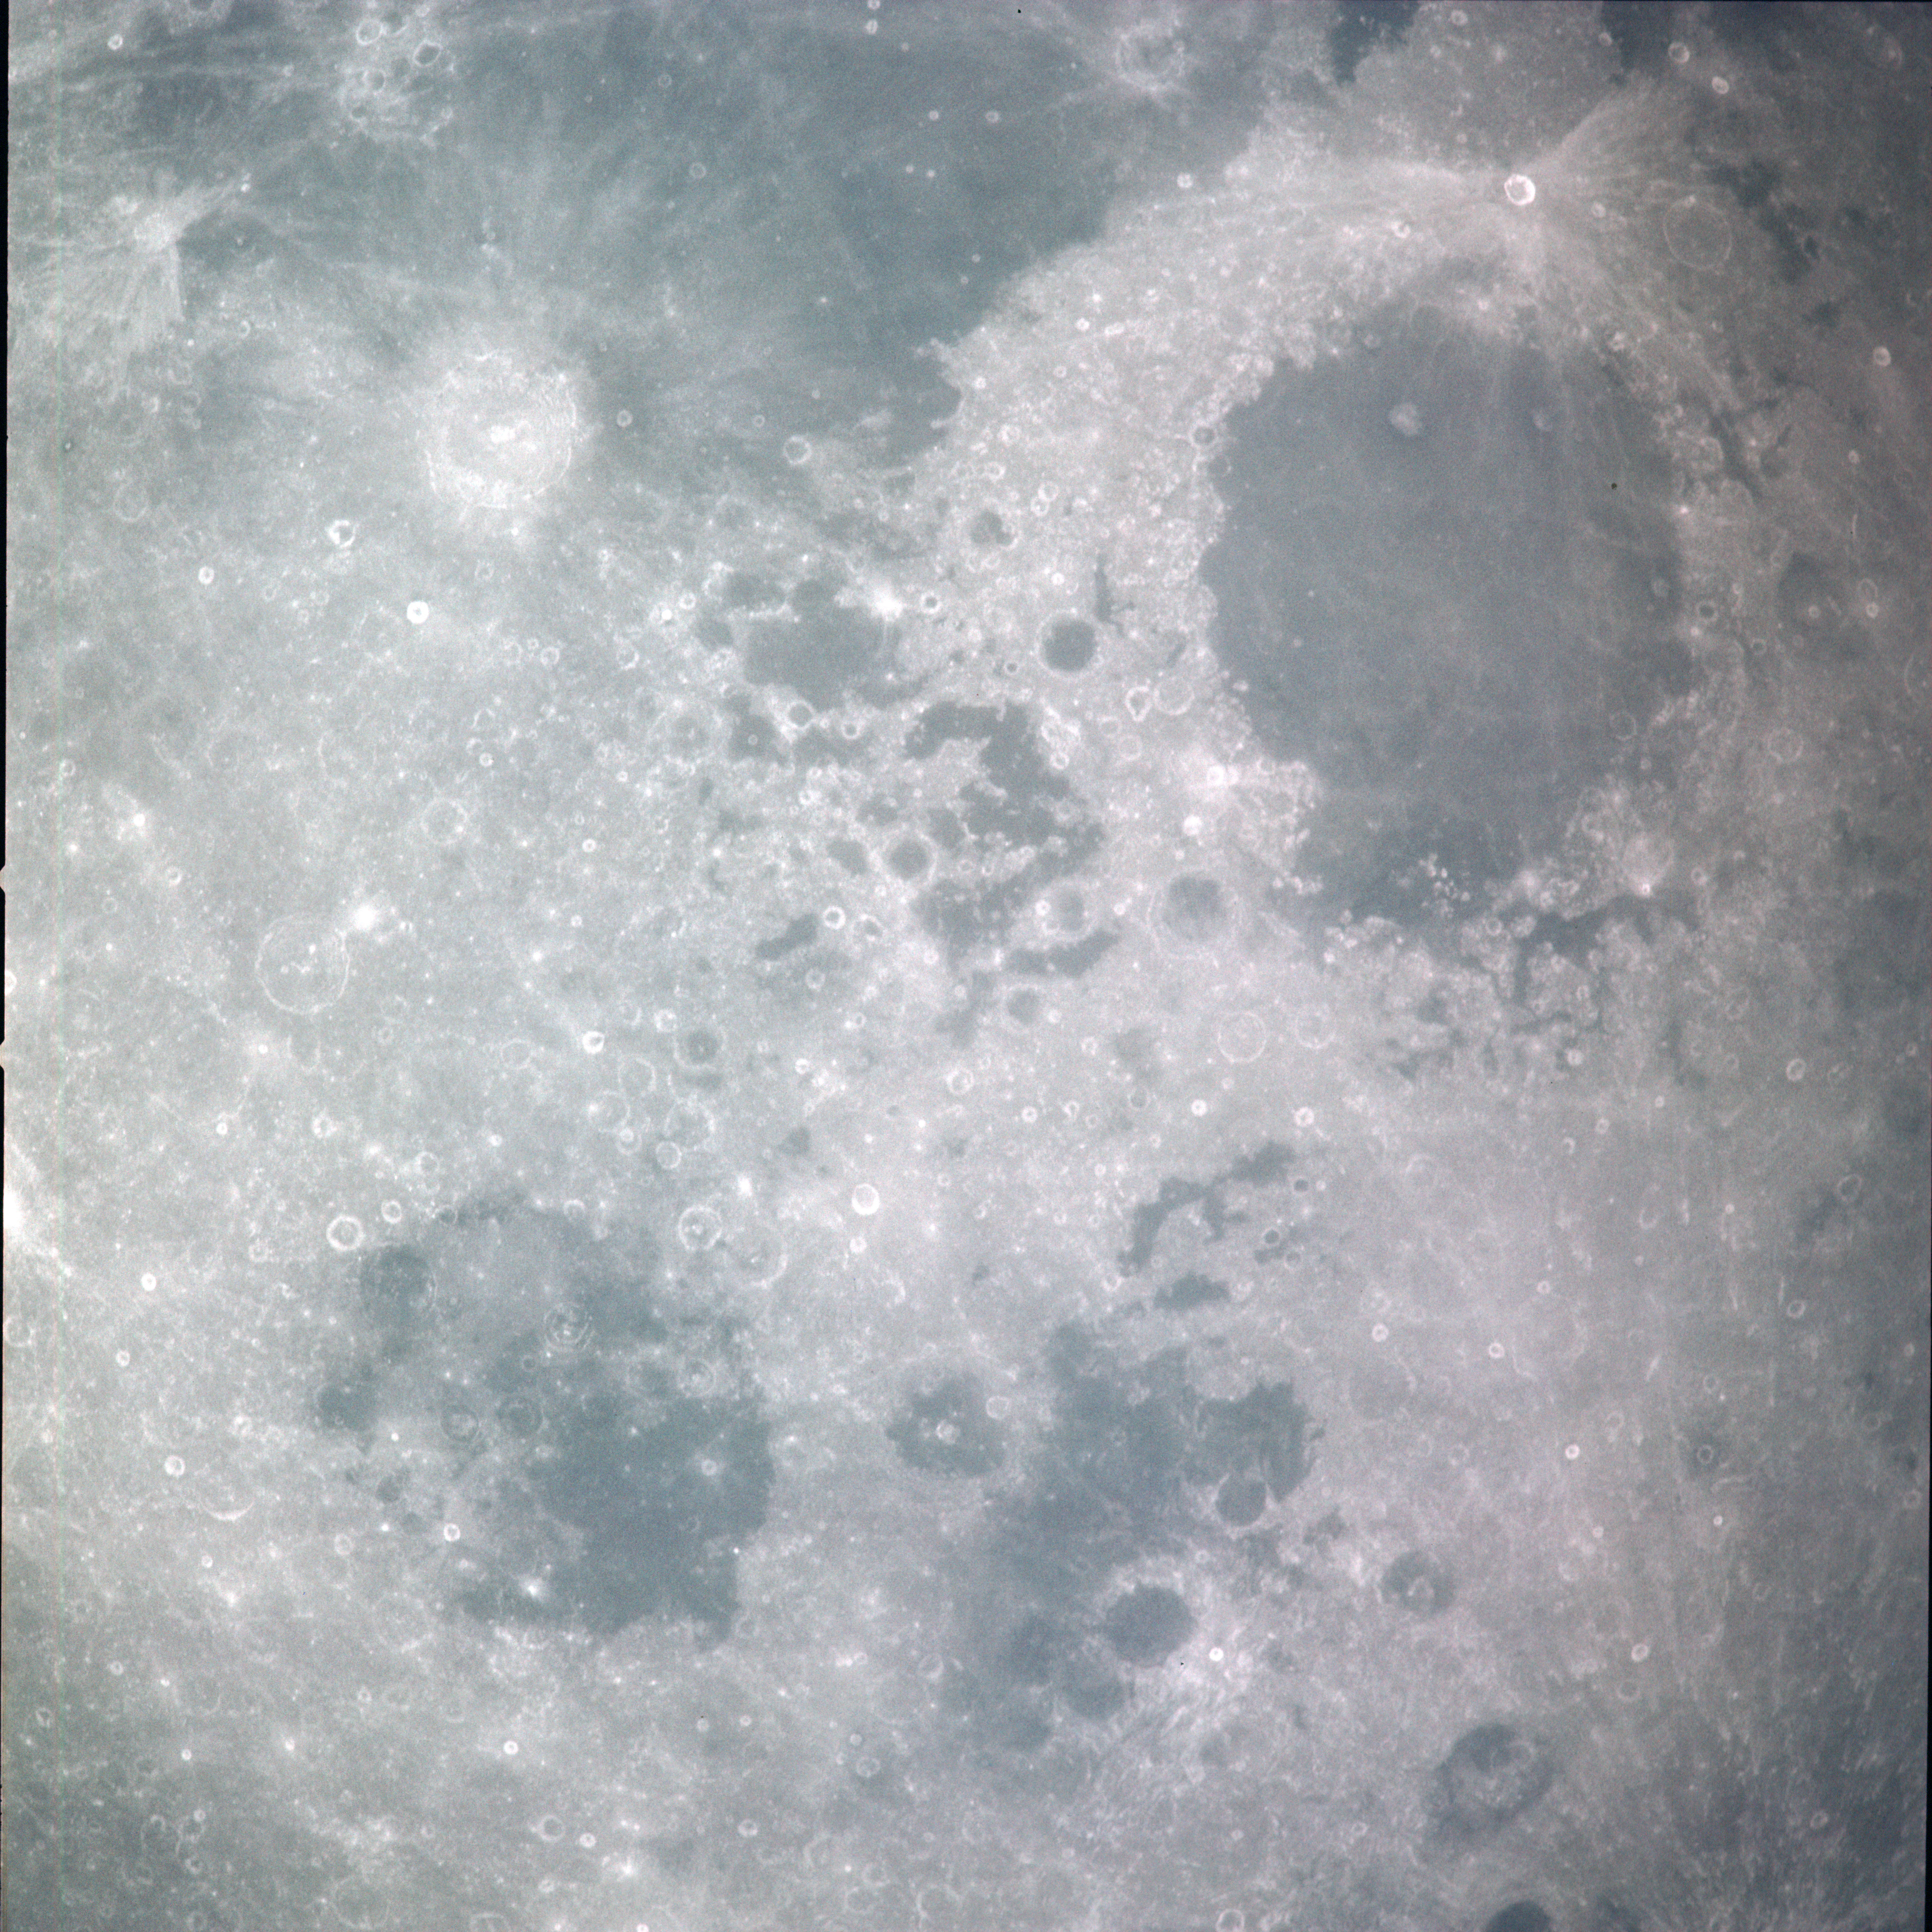 | AS13-60-8691 XXXXXXXXXXXXXXXXXXXXXXXXXXX CAPTION XXXXXXXXXXXXXXXXXXXXXXXXXXXXX Image credit: Image Science and Analysis Laboratory, NASA-Johnson Space Center. |
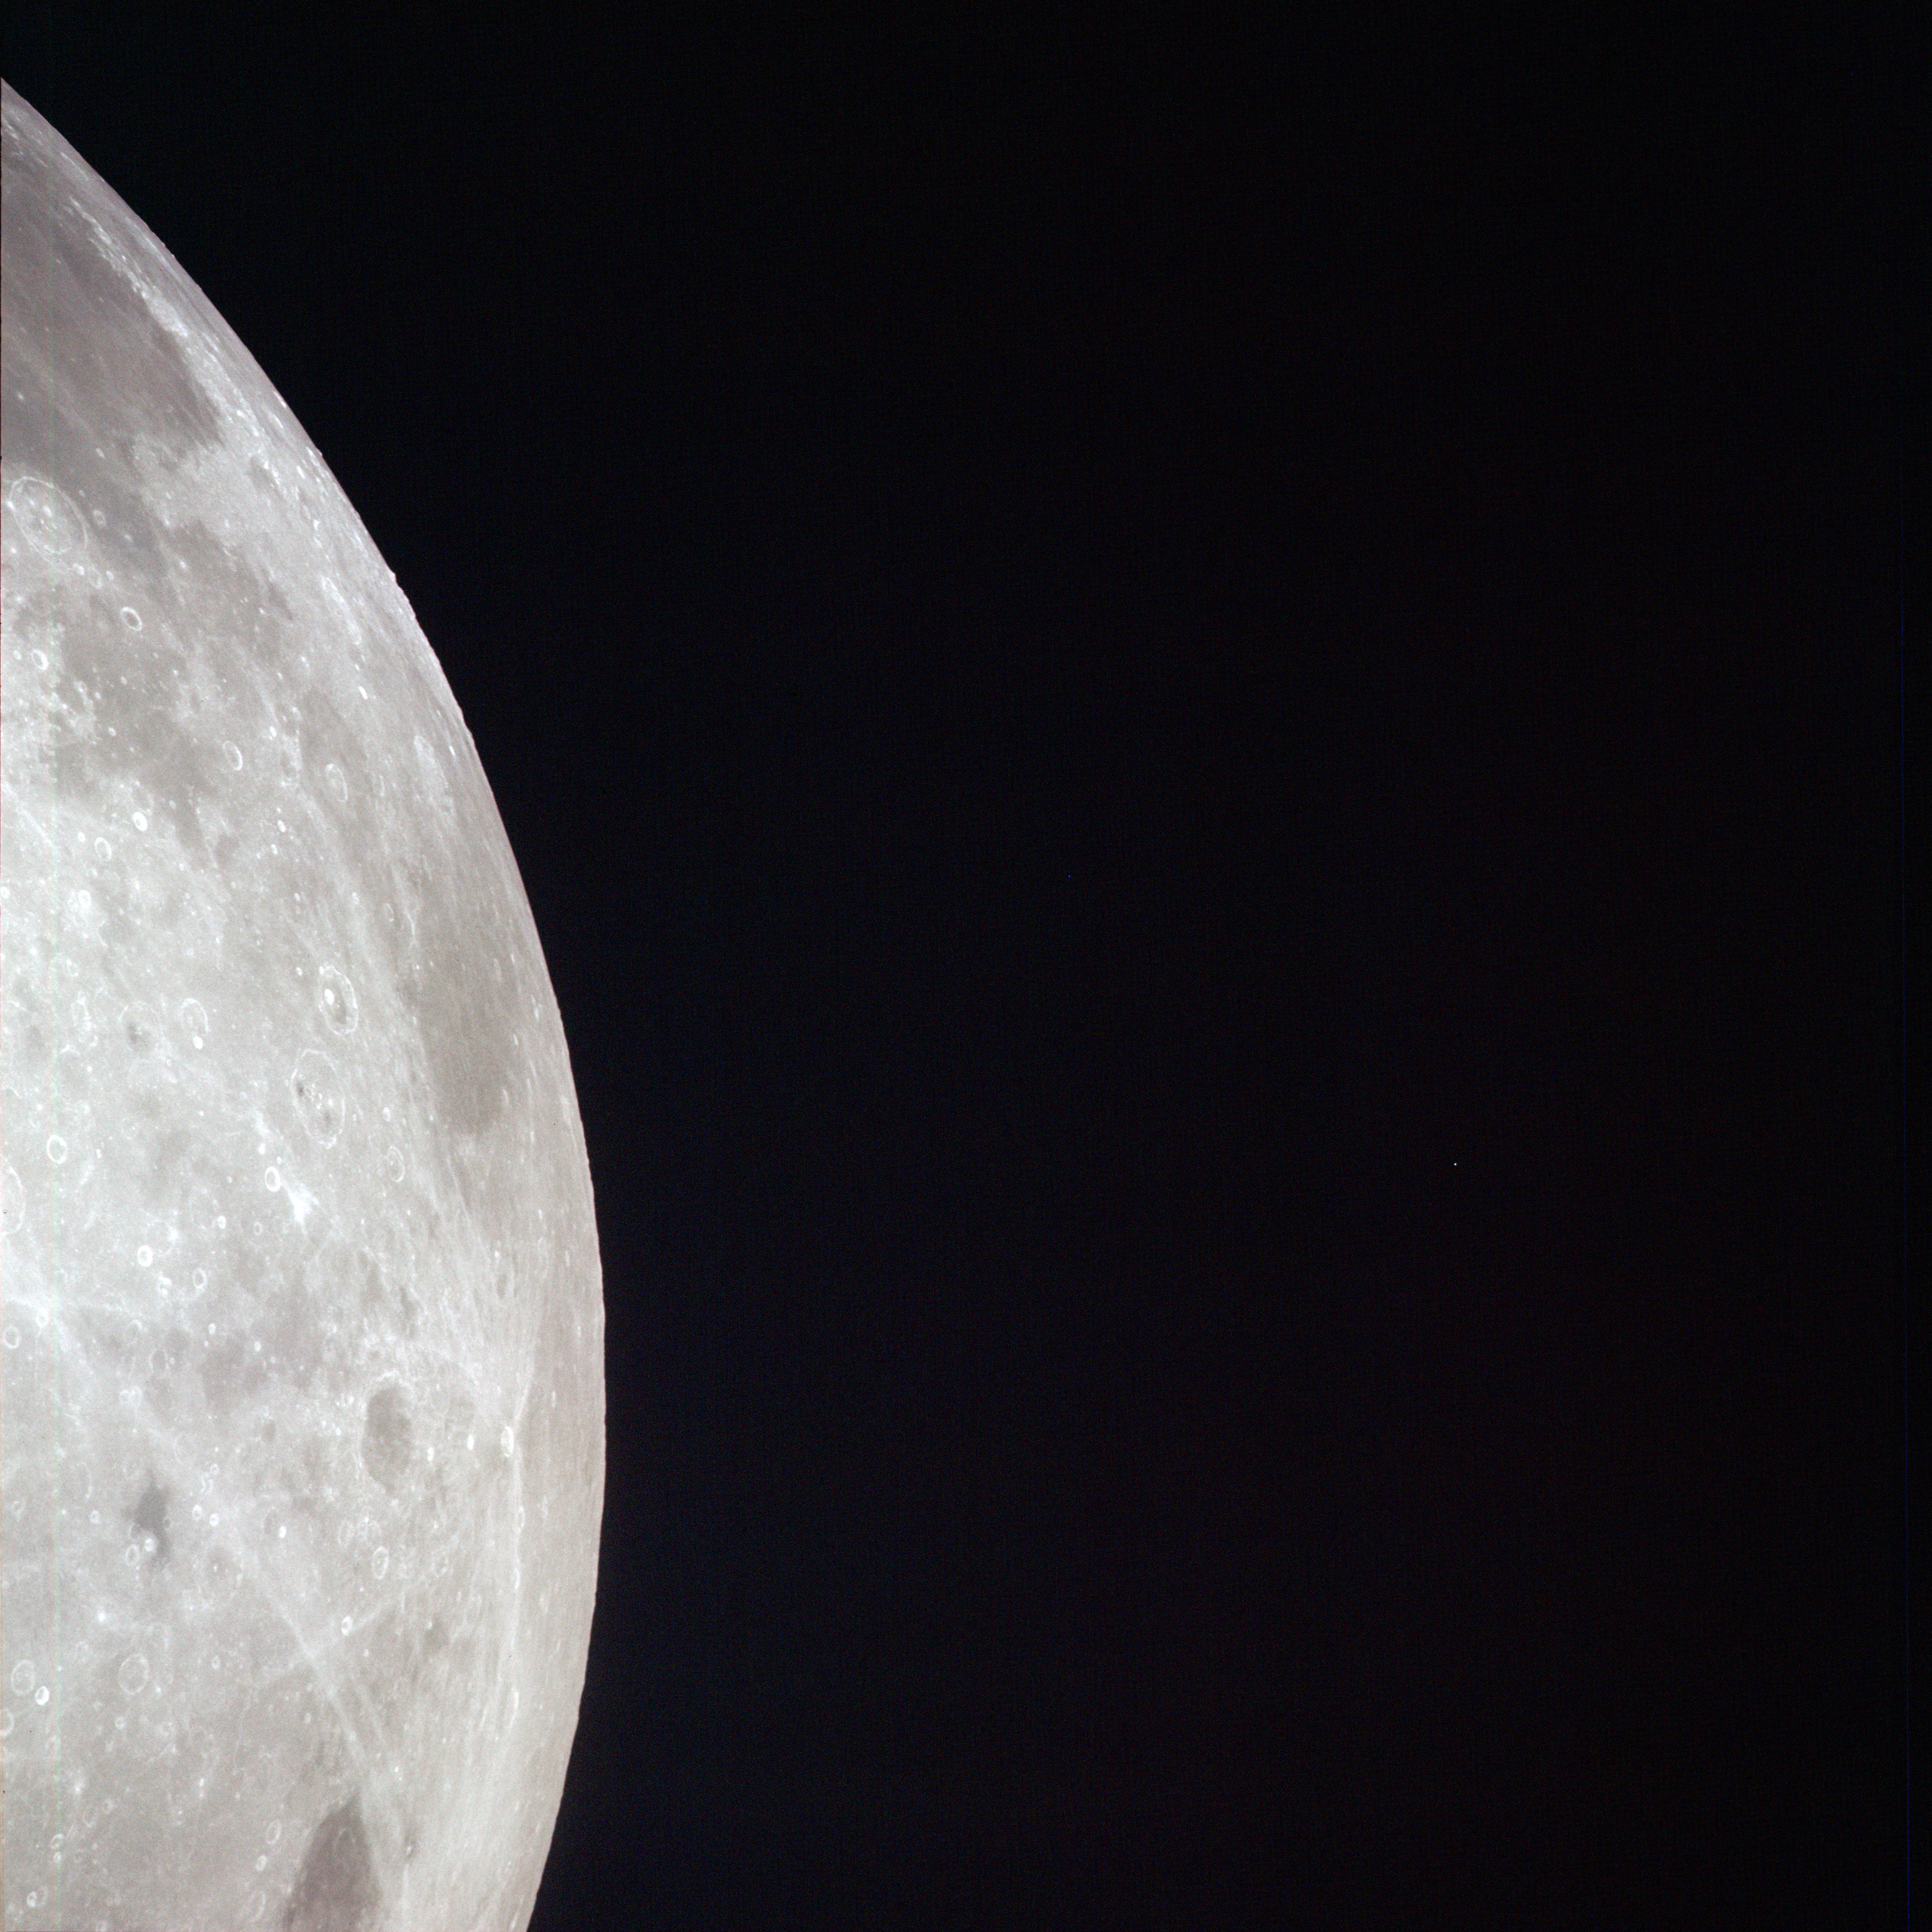 | AS13-60-8692 XXXXXXXXXXXXXXXXXXXXXXXXXXX CAPTION XXXXXXXXXXXXXXXXXXXXXXXXXXXXX Image credit: Image Science and Analysis Laboratory, NASA-Johnson Space Center. |
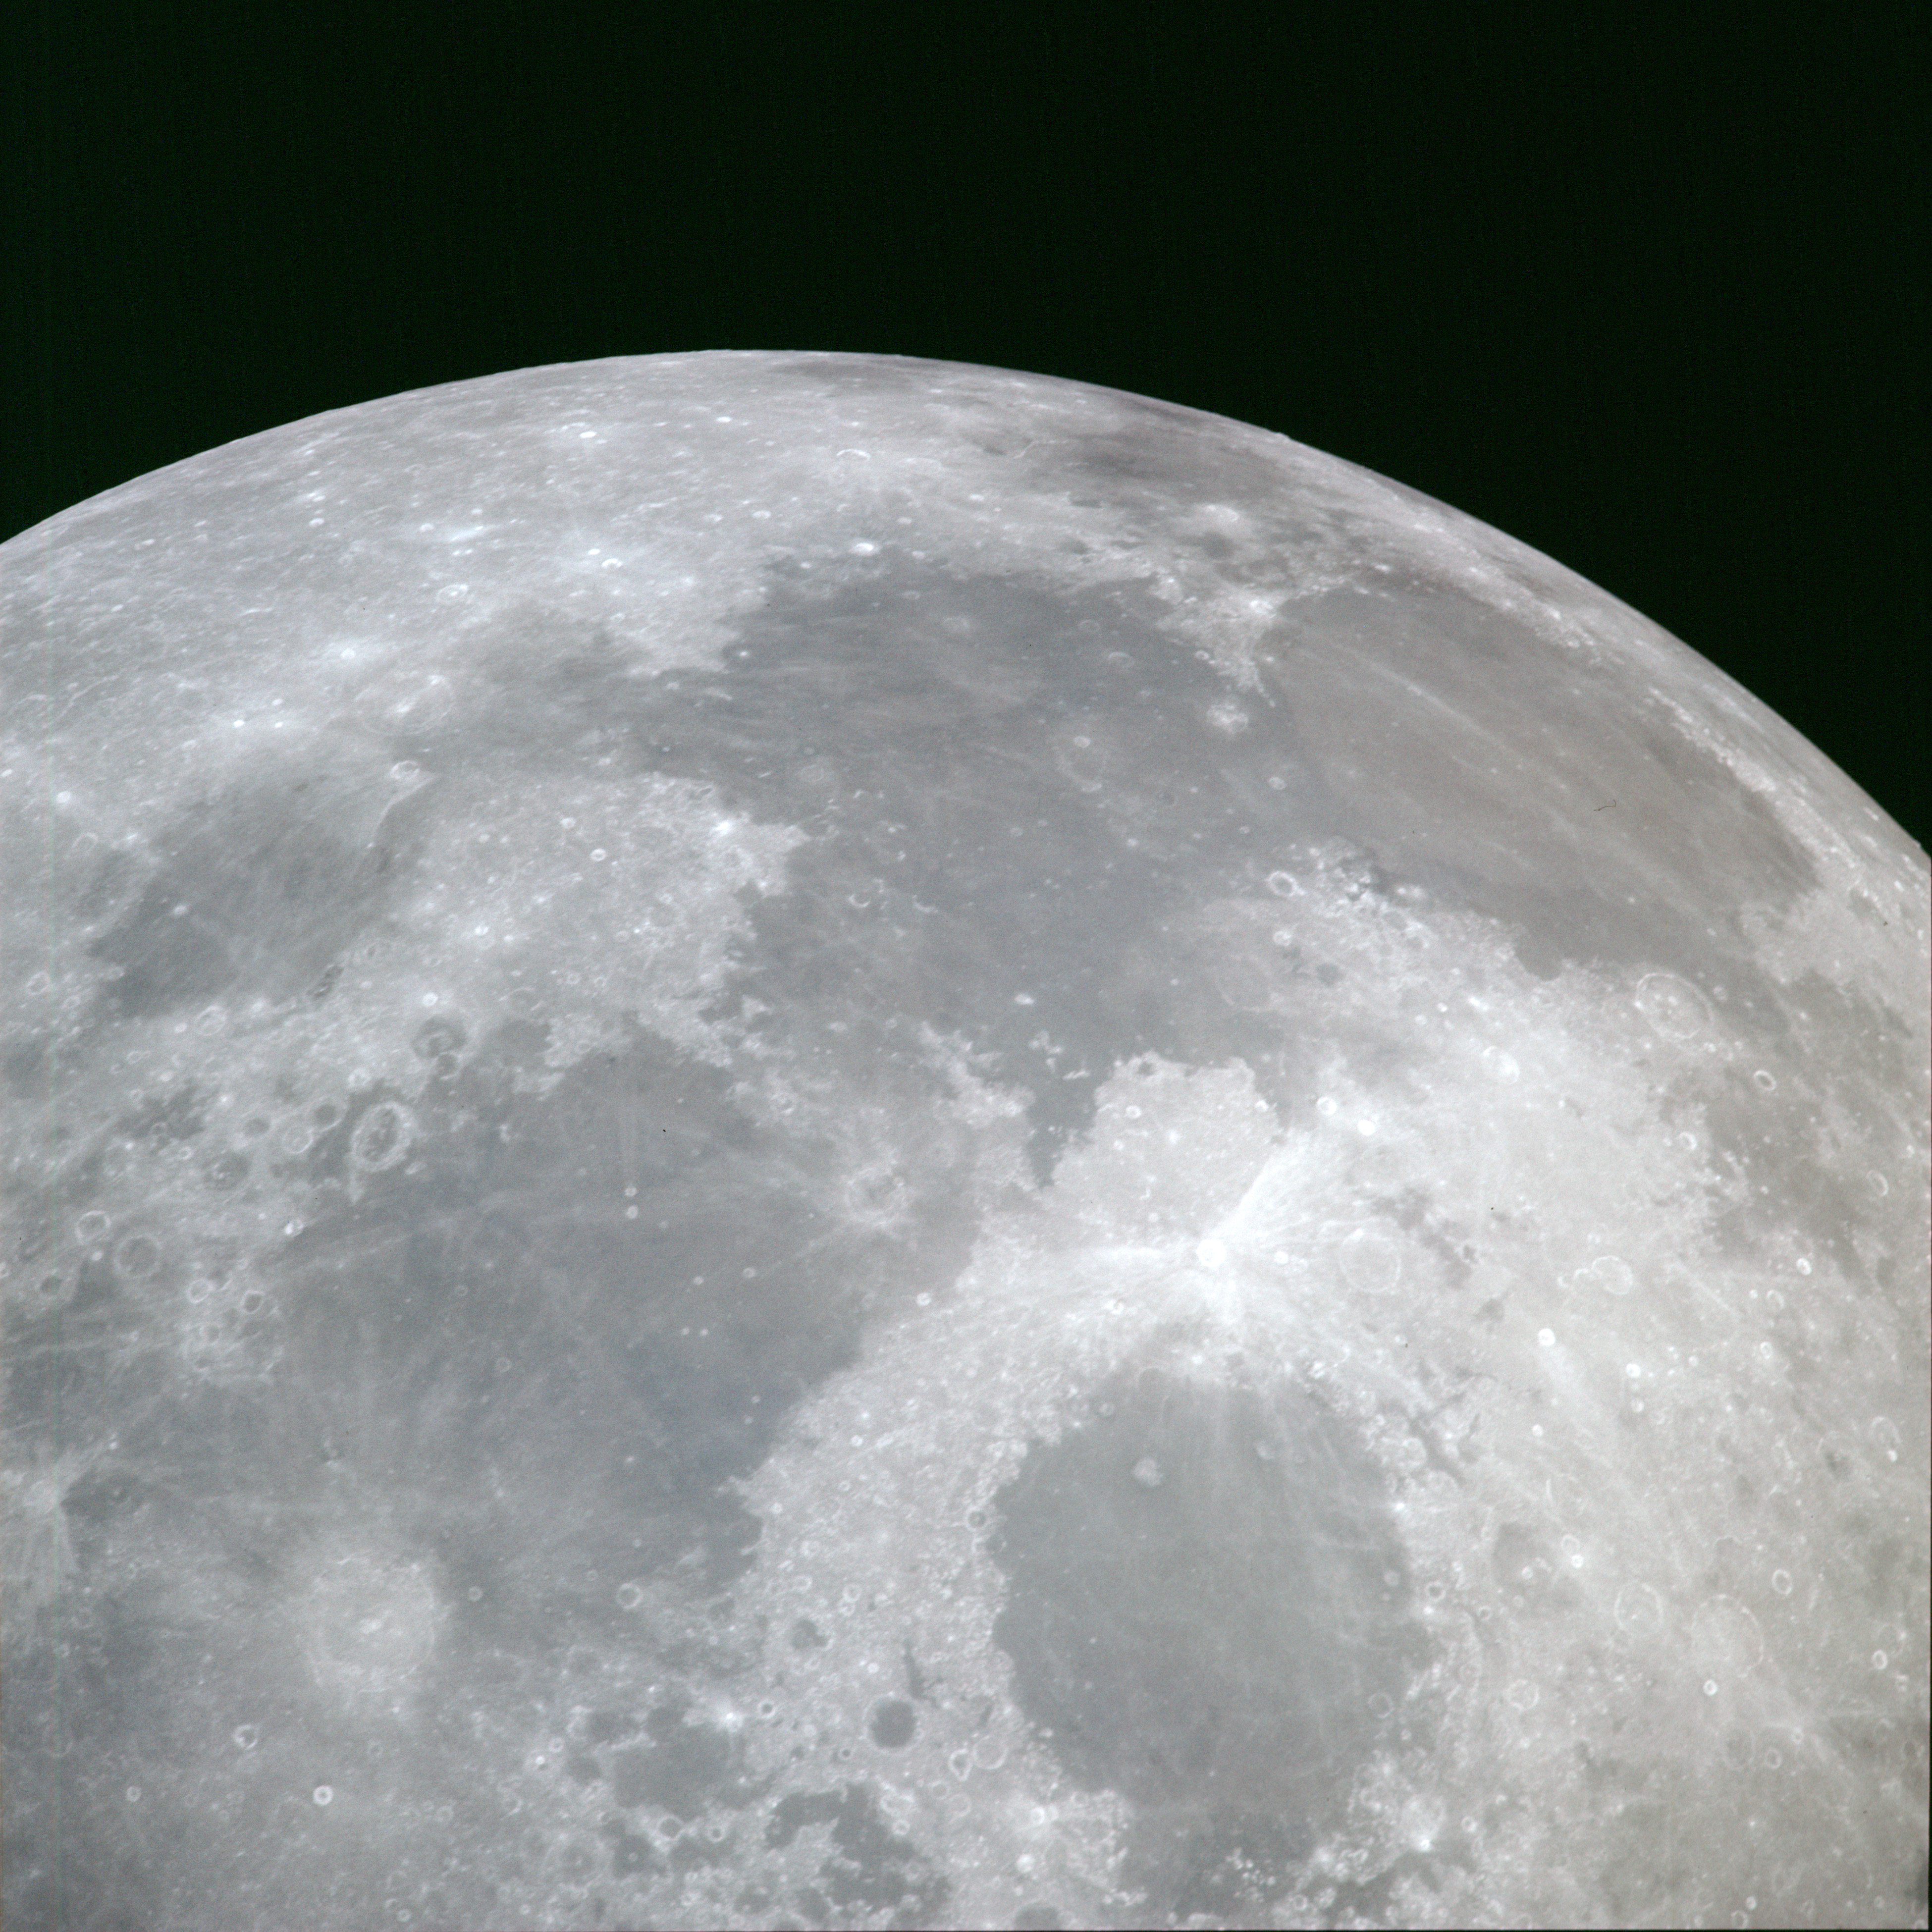 | AS13-60-8693 XXXXXXXXXXXXXXXXXXXXXXXXXXX CAPTION XXXXXXXXXXXXXXXXXXXXXXXXXXXXX Image credit: Image Science and Analysis Laboratory, NASA-Johnson Space Center. |
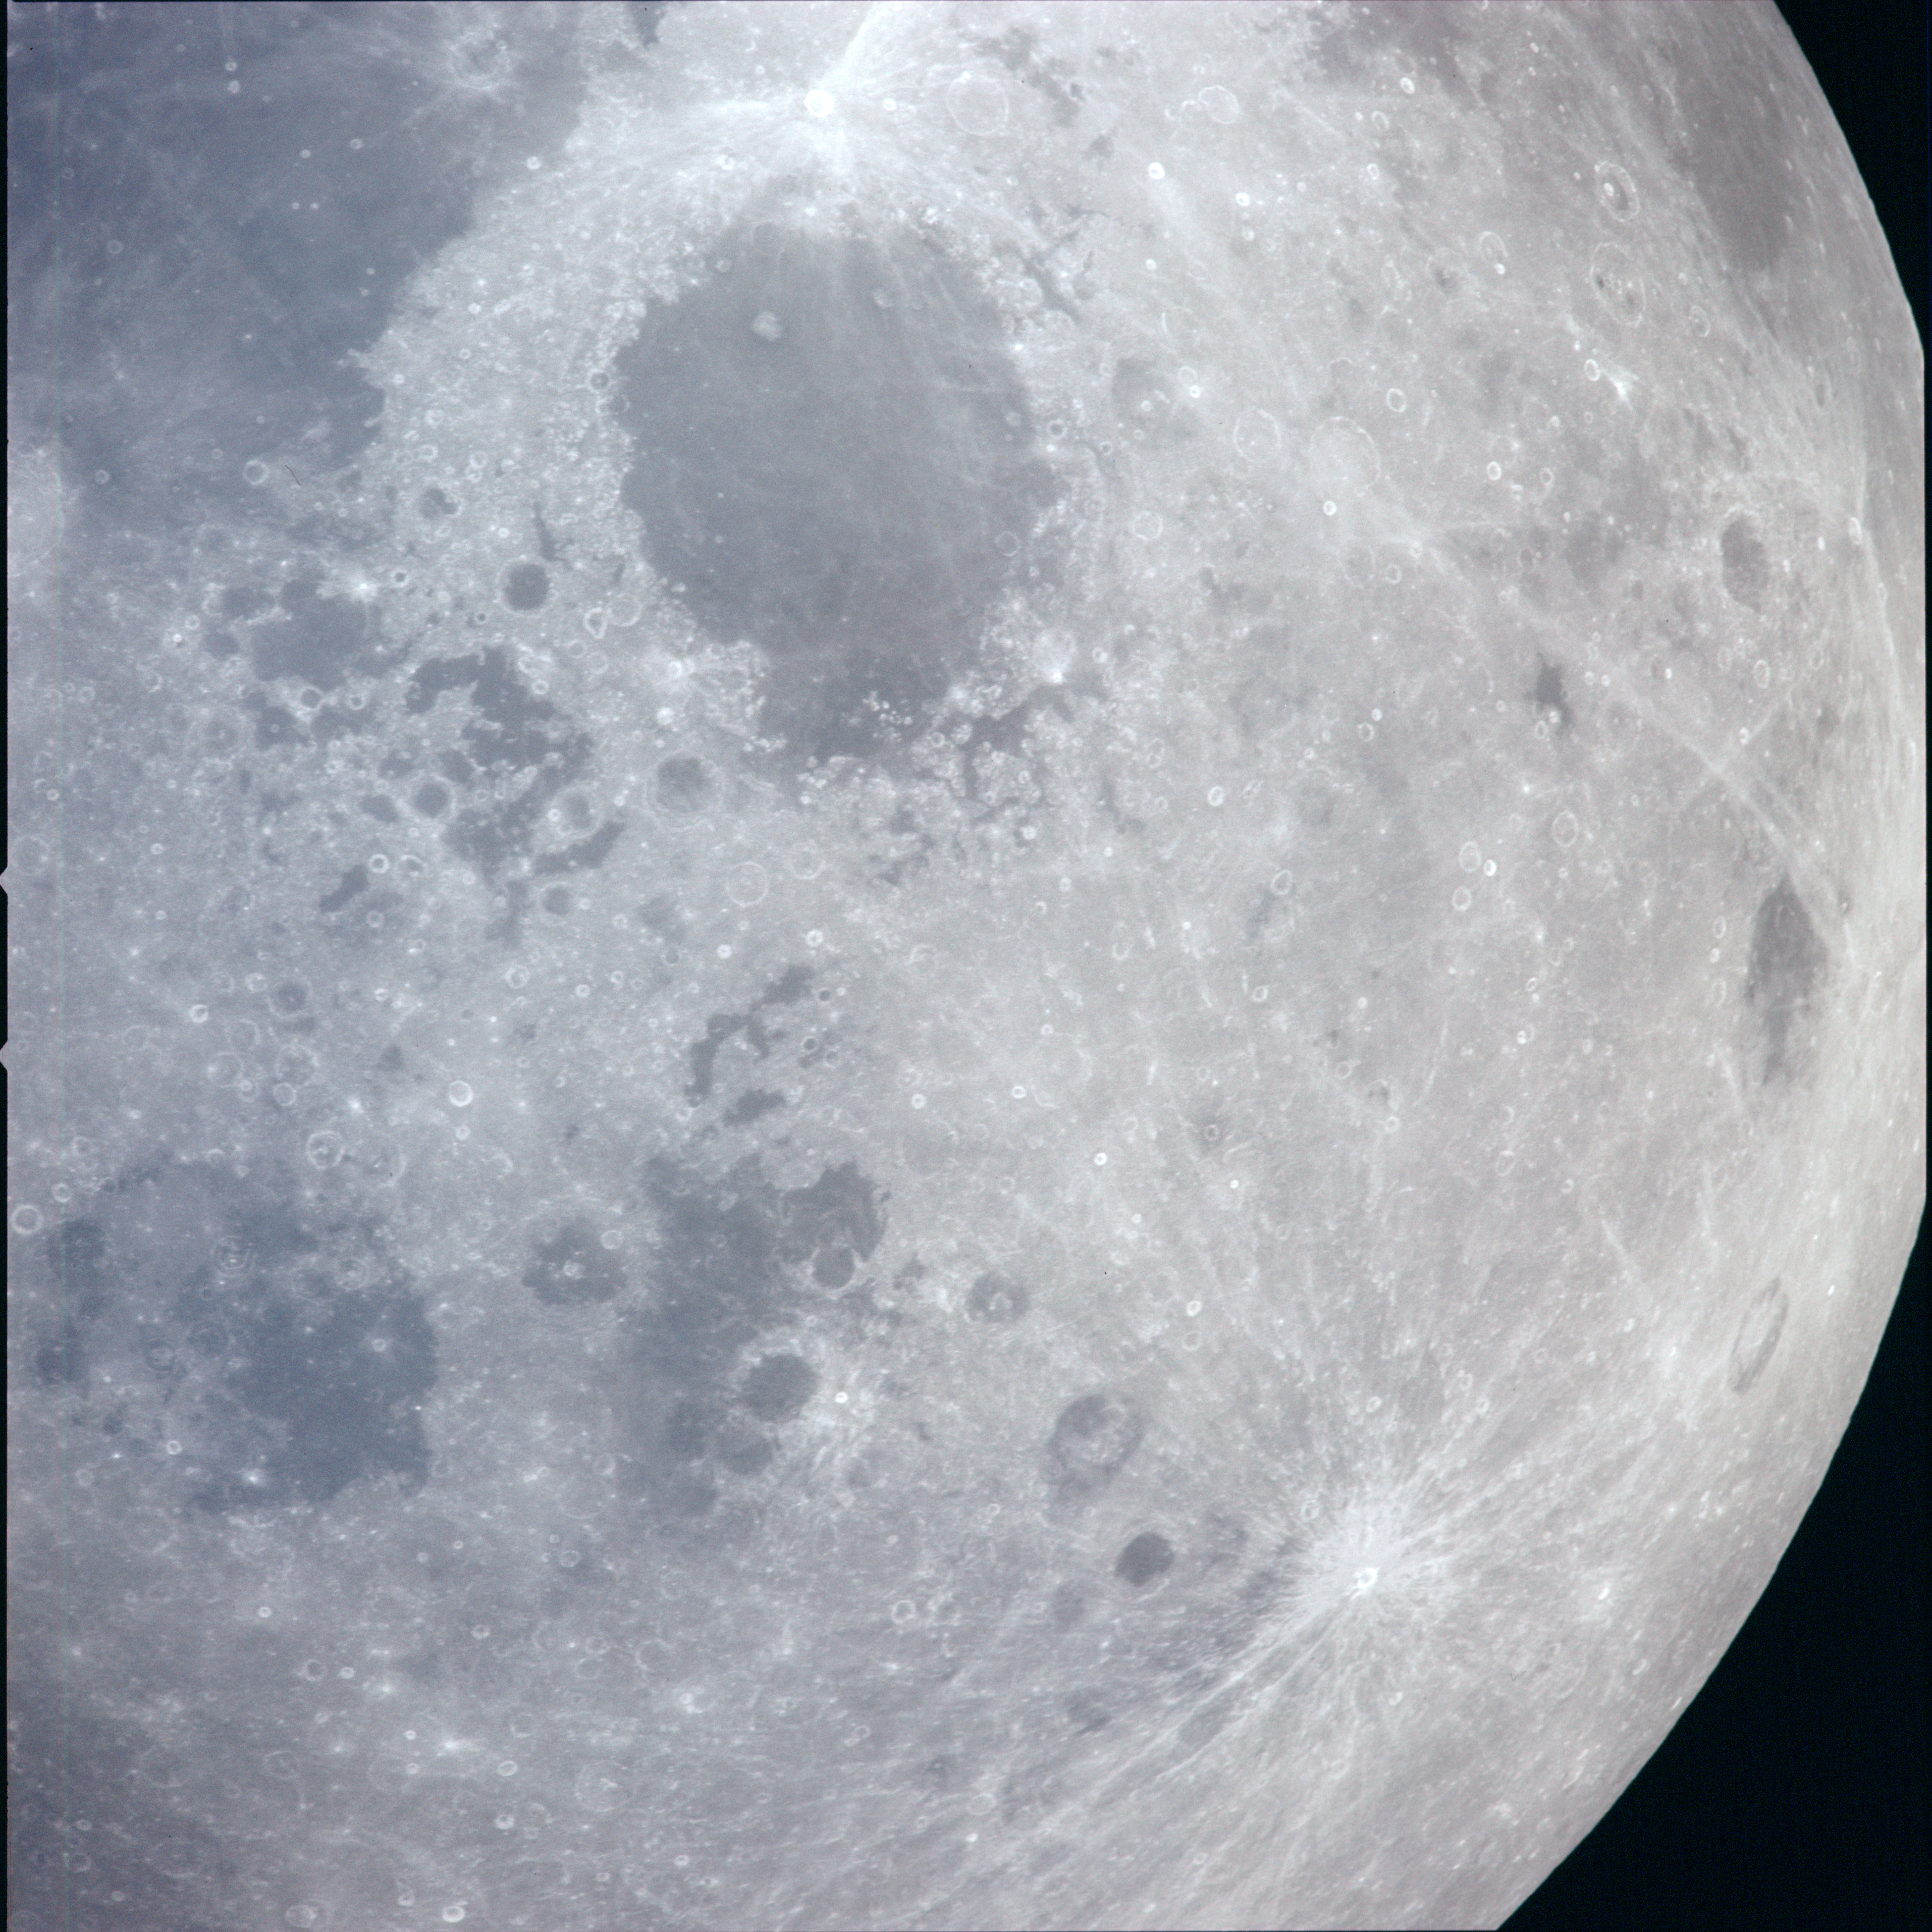 | AS13-60-8694 XXXXXXXXXXXXXXXXXXXXXXXXXXX CAPTION XXXXXXXXXXXXXXXXXXXXXXXXXXXXX Image credit: Image Science and Analysis Laboratory, NASA-Johnson Space Center. |
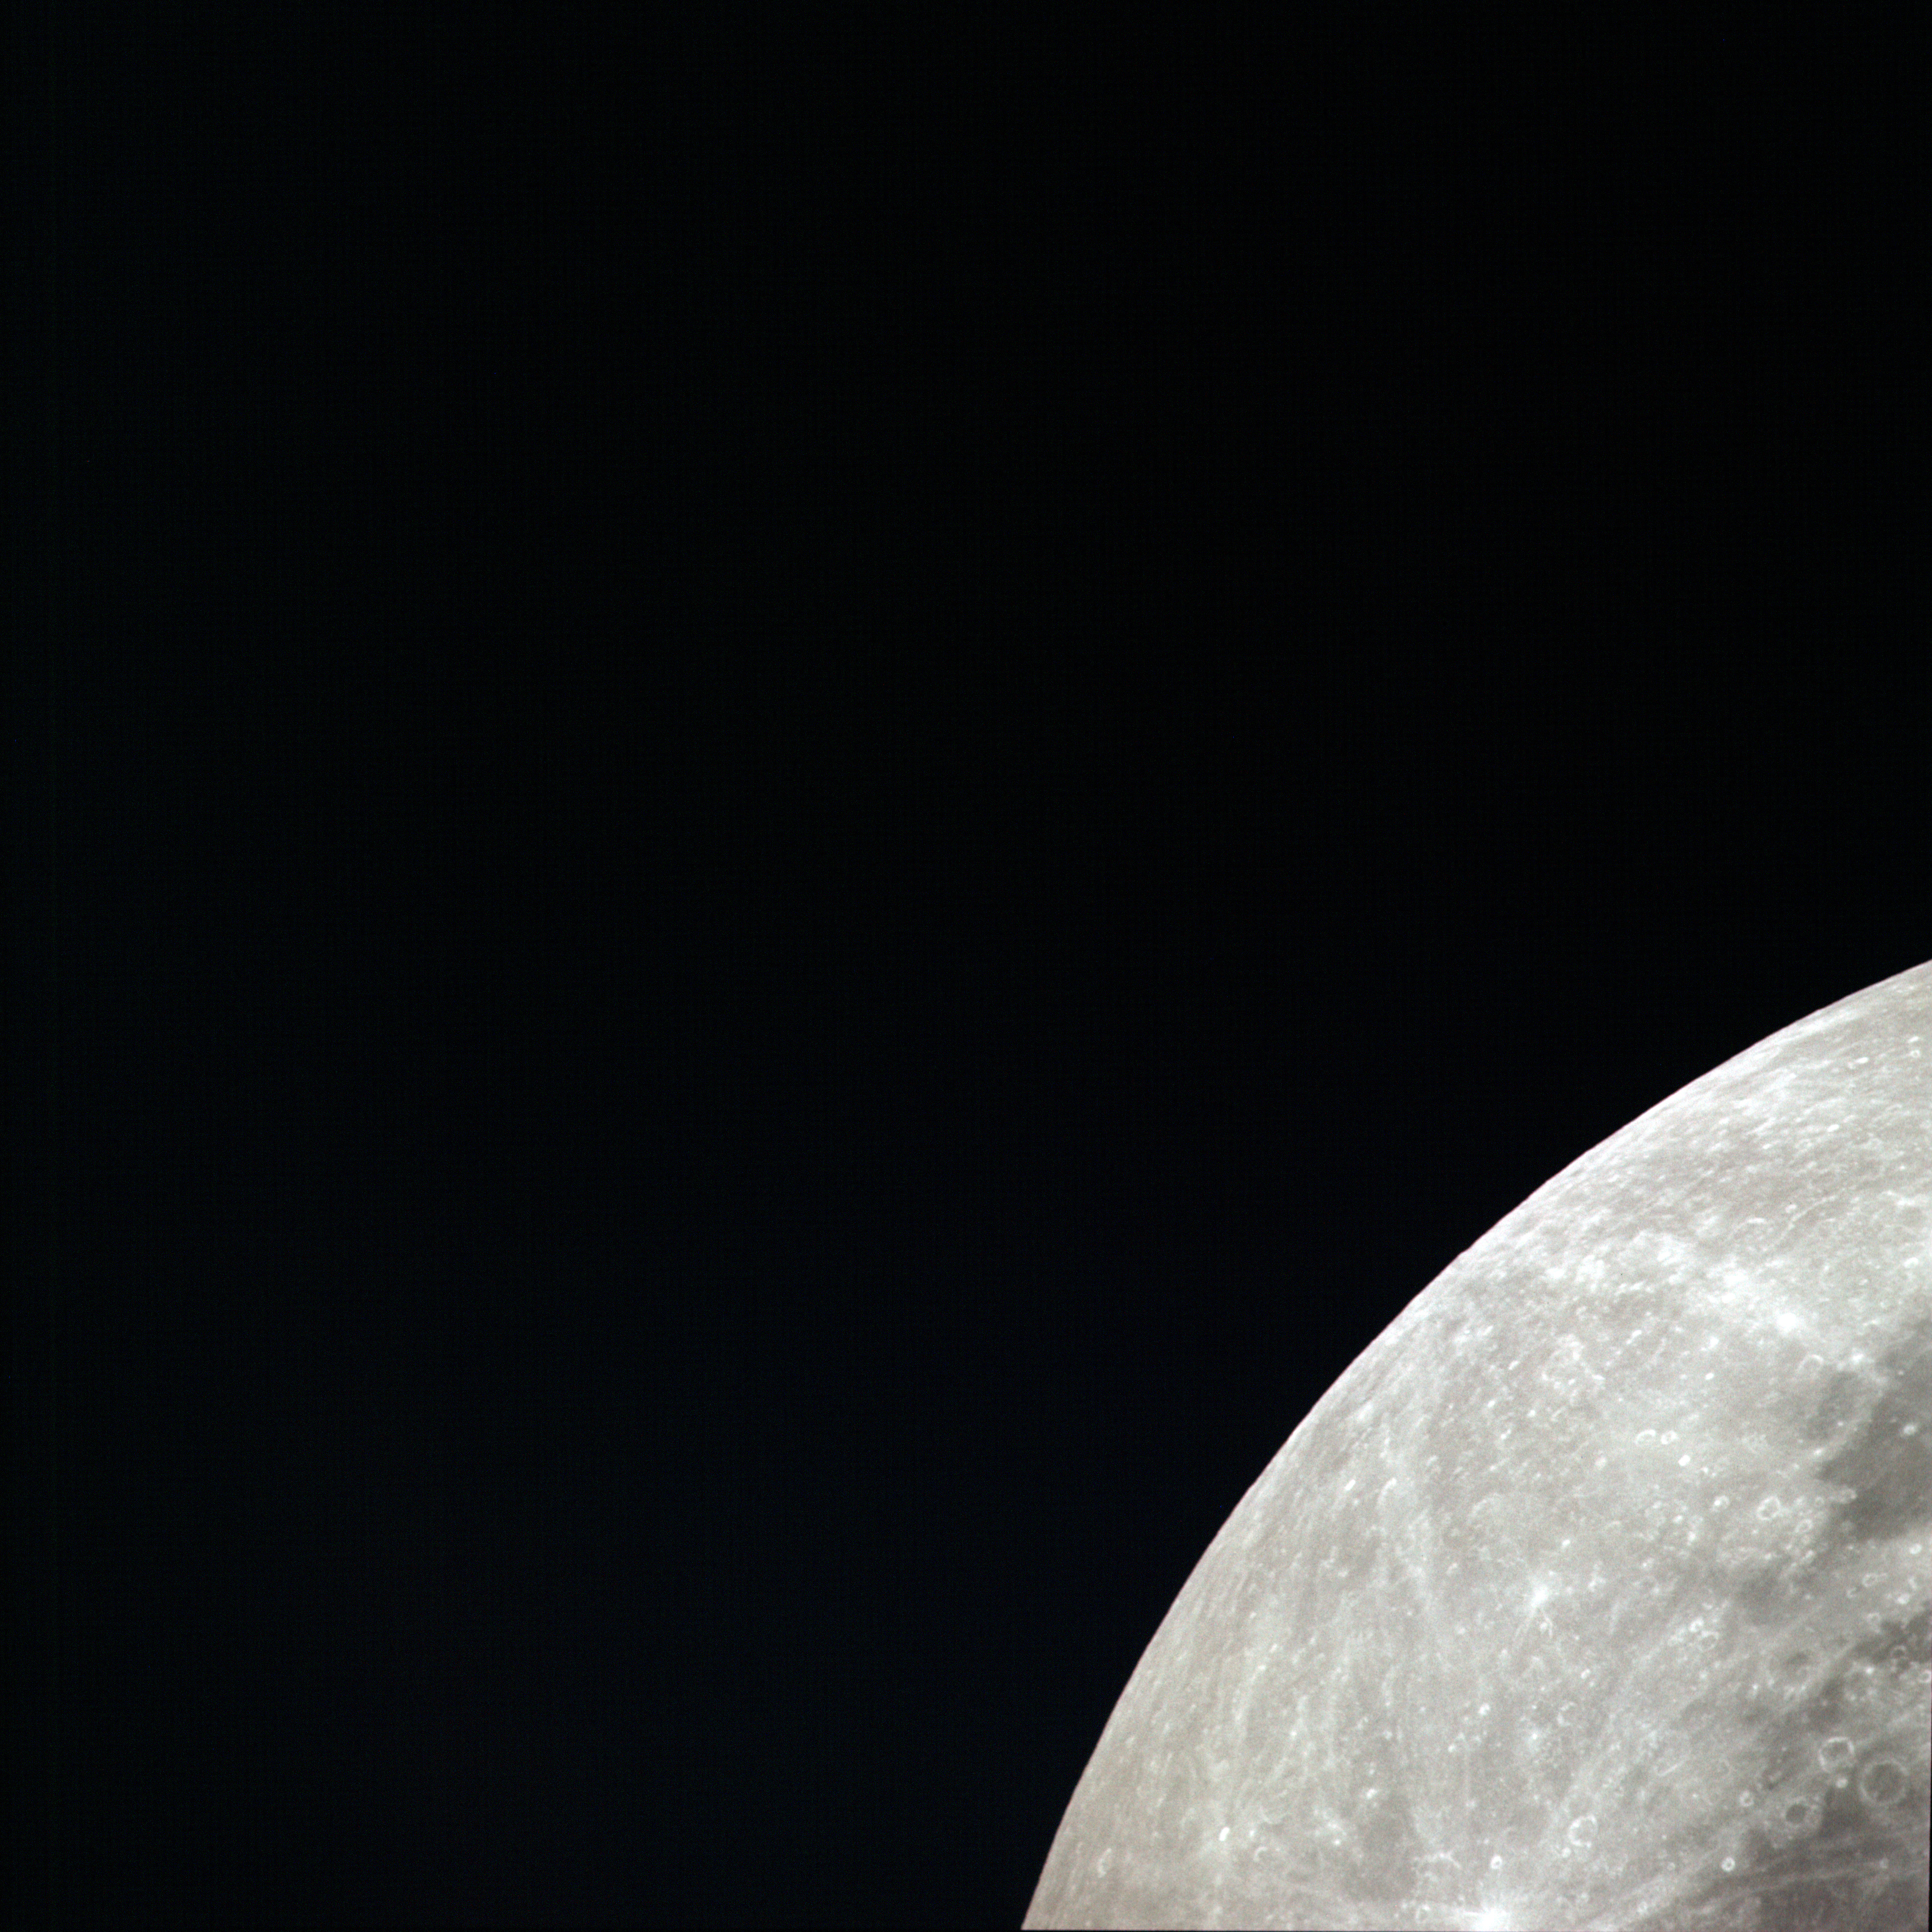 | AS13-60-8695 XXXXXXXXXXXXXXXXXXXXXXXXXXX CAPTION XXXXXXXXXXXXXXXXXXXXXXXXXXXXX Image credit: Image Science and Analysis Laboratory, NASA-Johnson Space Center. |
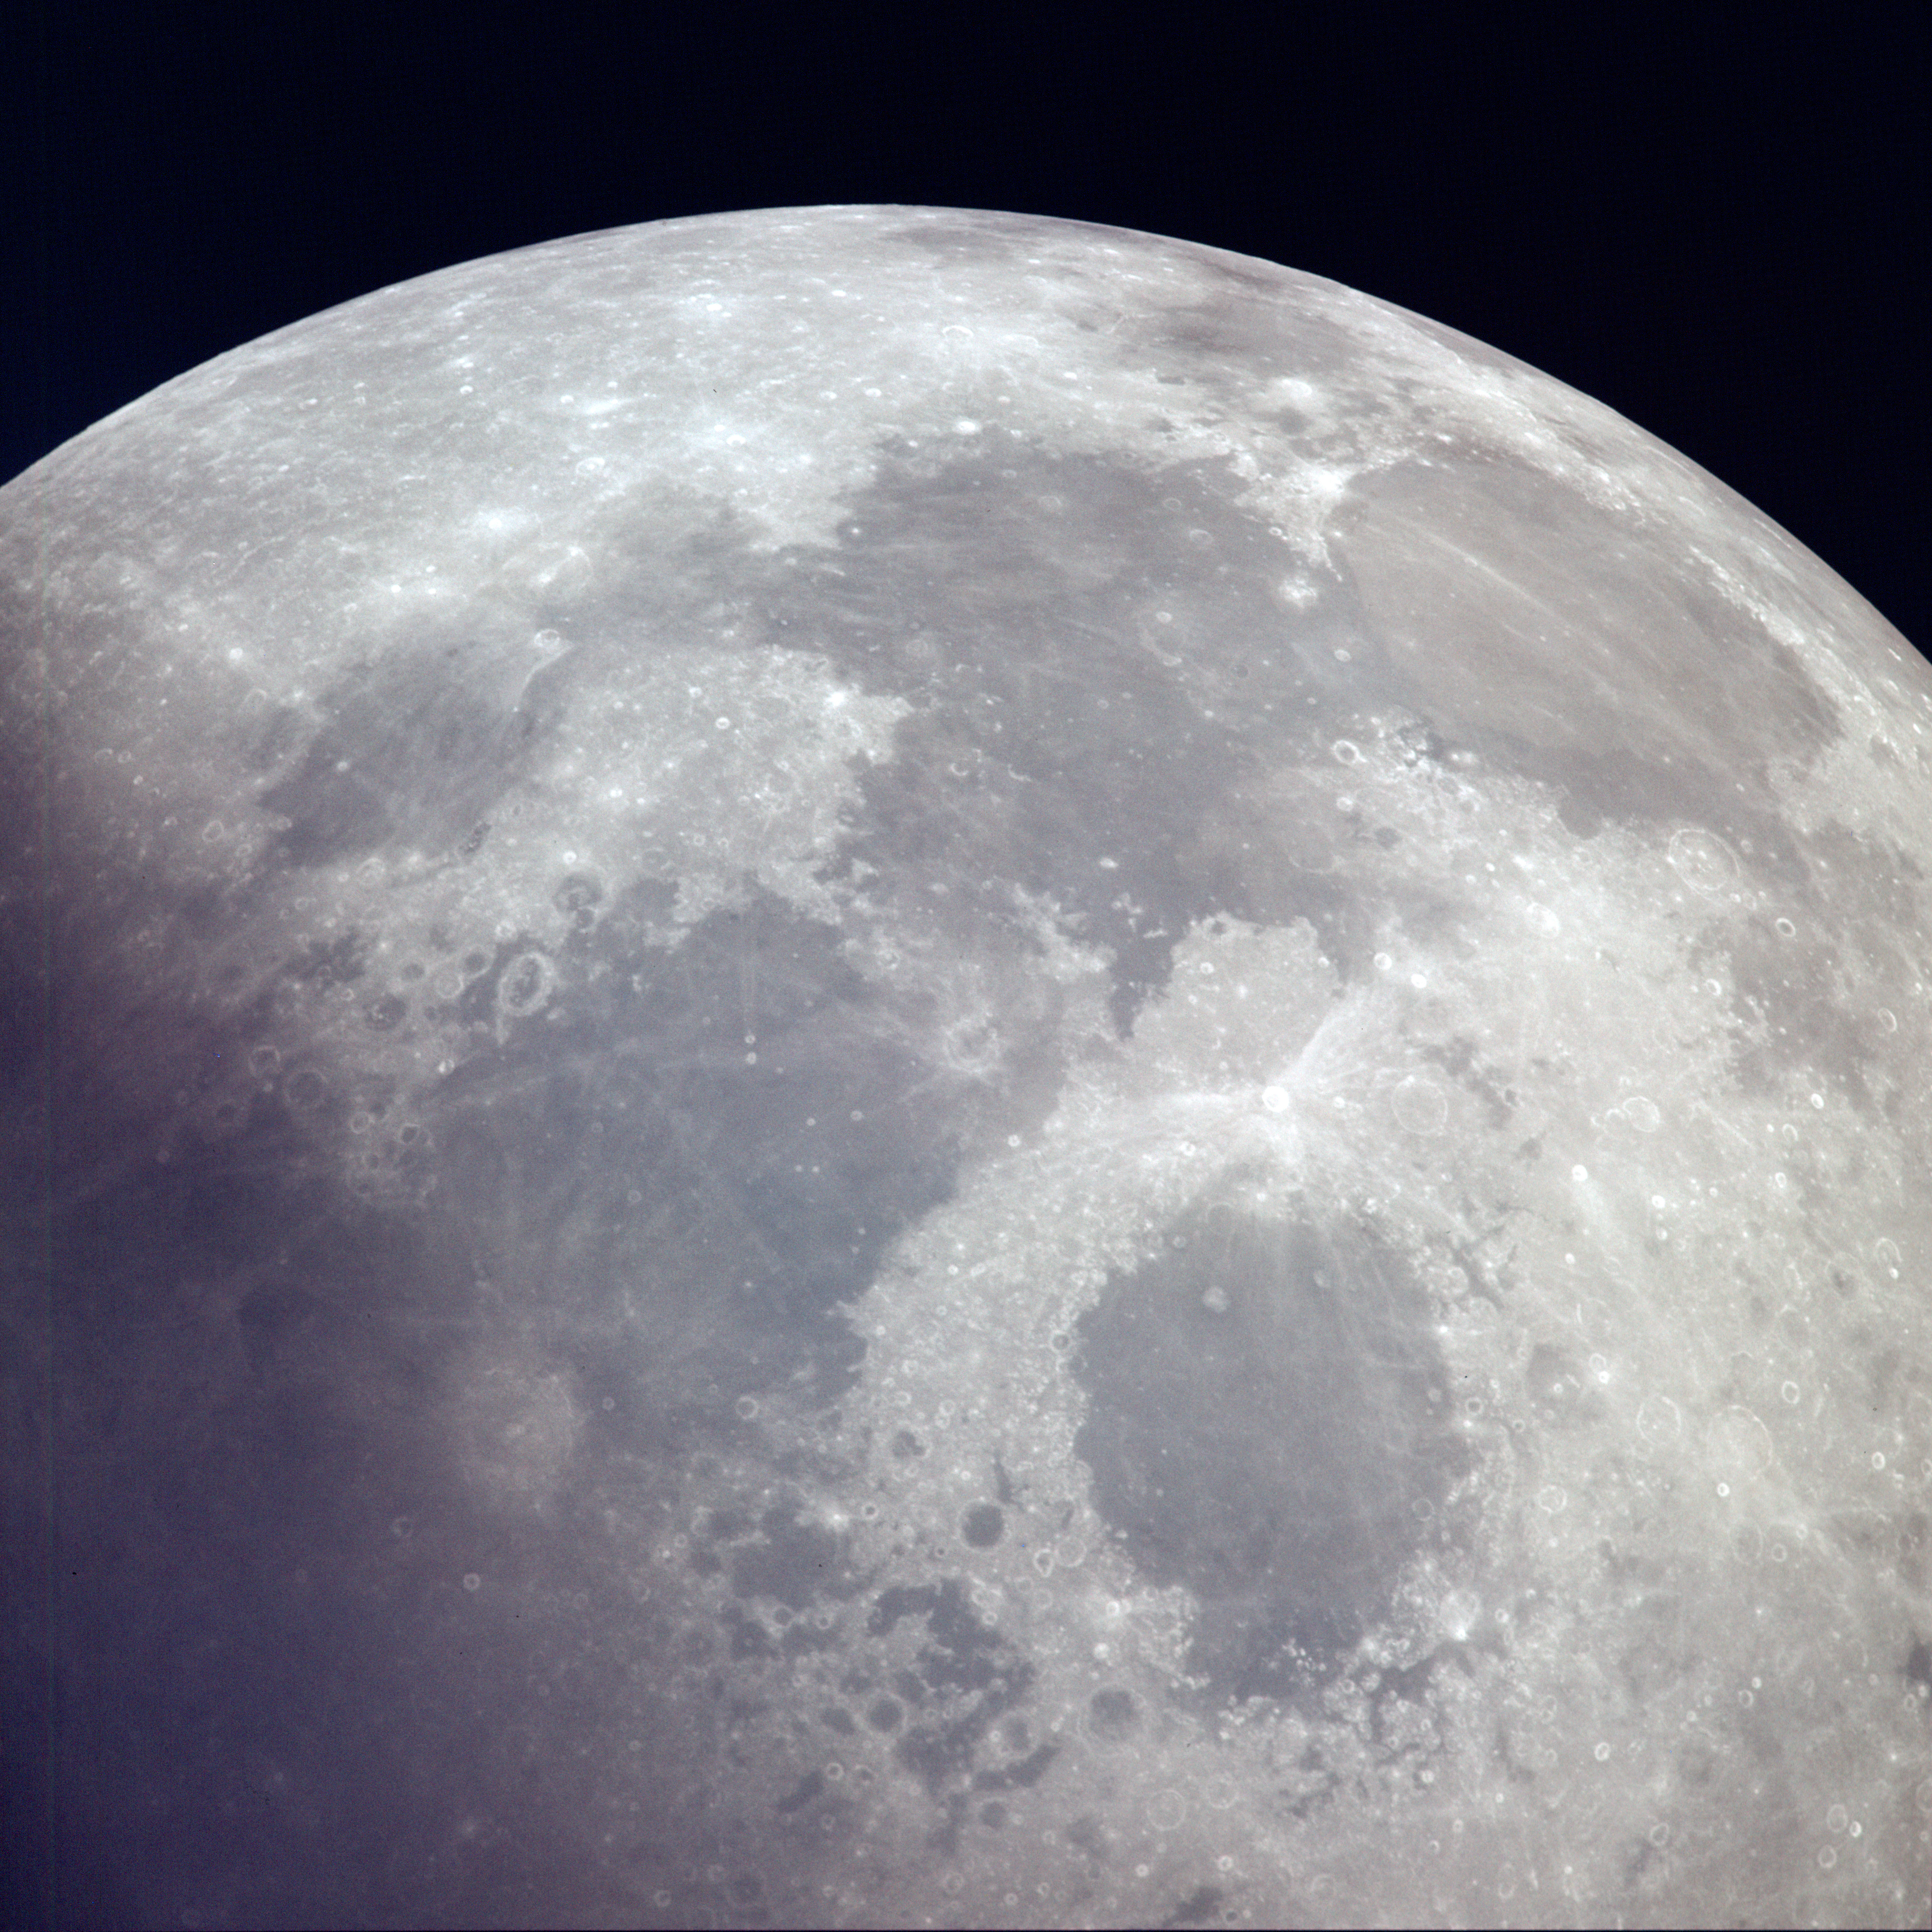 | AS13-60-8696 XXXXXXXXXXXXXXXXXXXXXXXXXXX CAPTION XXXXXXXXXXXXXXXXXXXXXXXXXXXXX Image credit: Image Science and Analysis Laboratory, NASA-Johnson Space Center. |
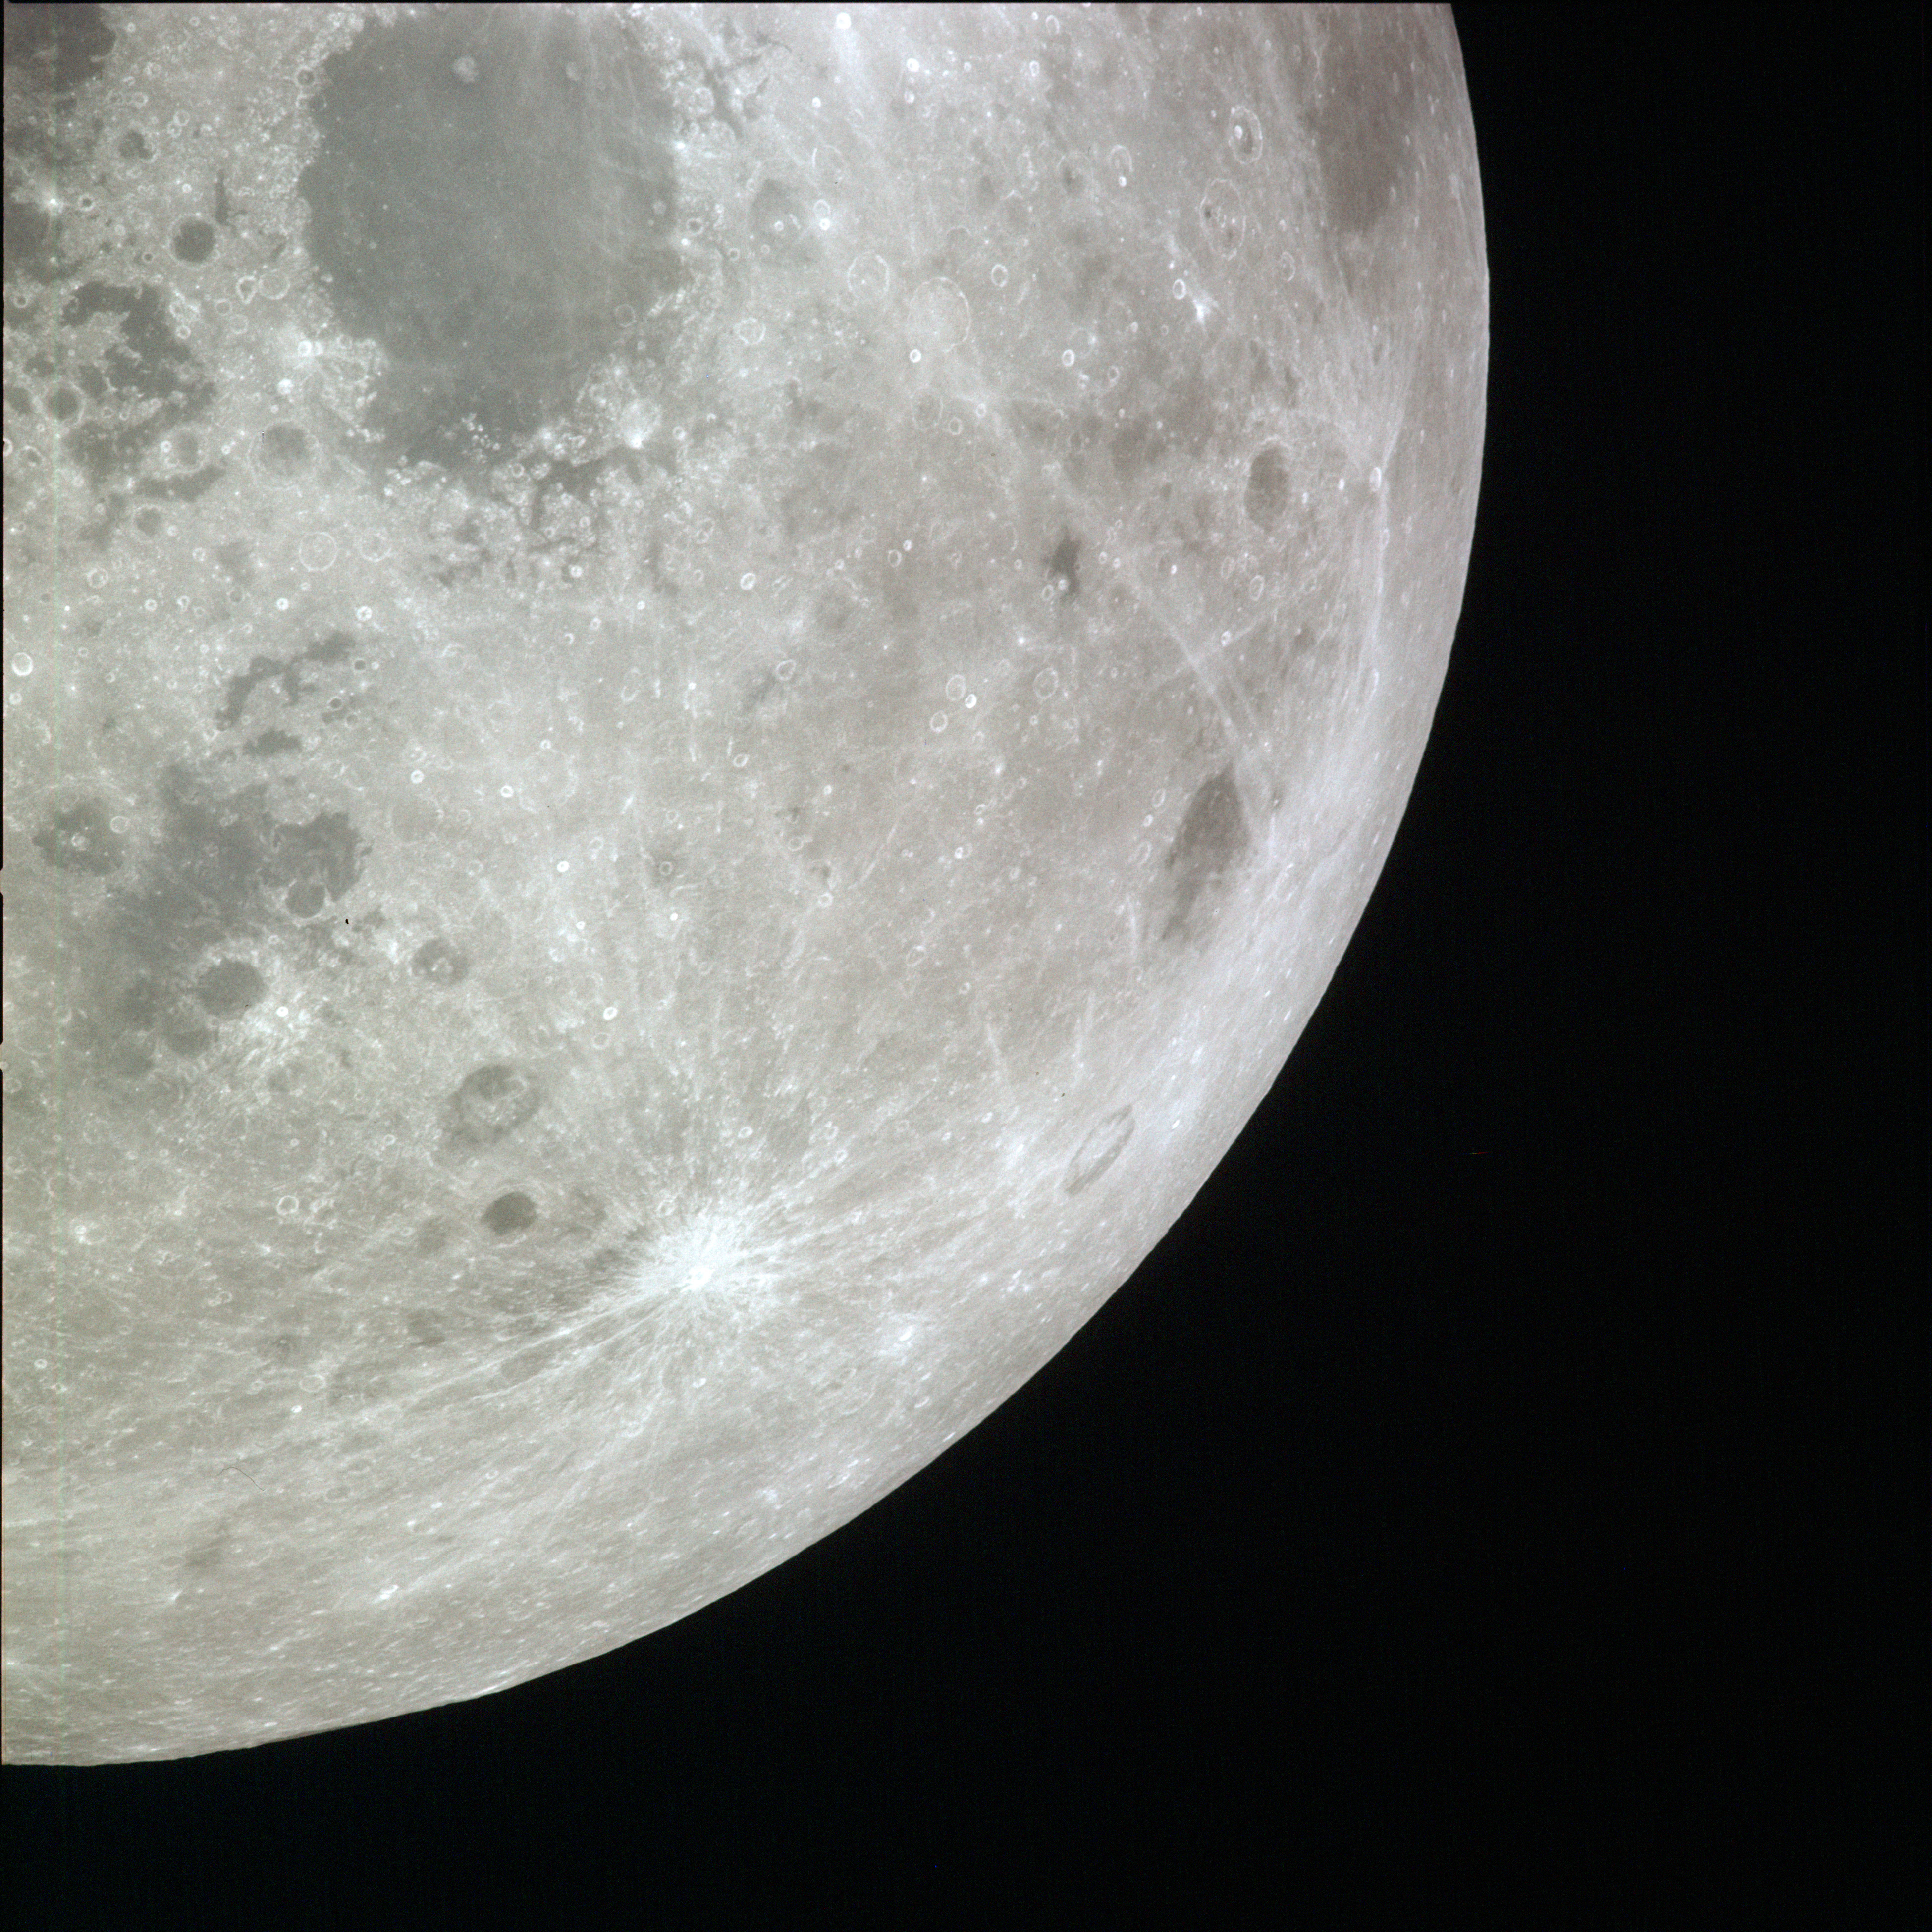 | AS13-60-8697 XXXXXXXXXXXXXXXXXXXXXXXXXXX CAPTION XXXXXXXXXXXXXXXXXXXXXXXXXXXXX Image credit: Image Science and Analysis Laboratory, NASA-Johnson Space Center. |
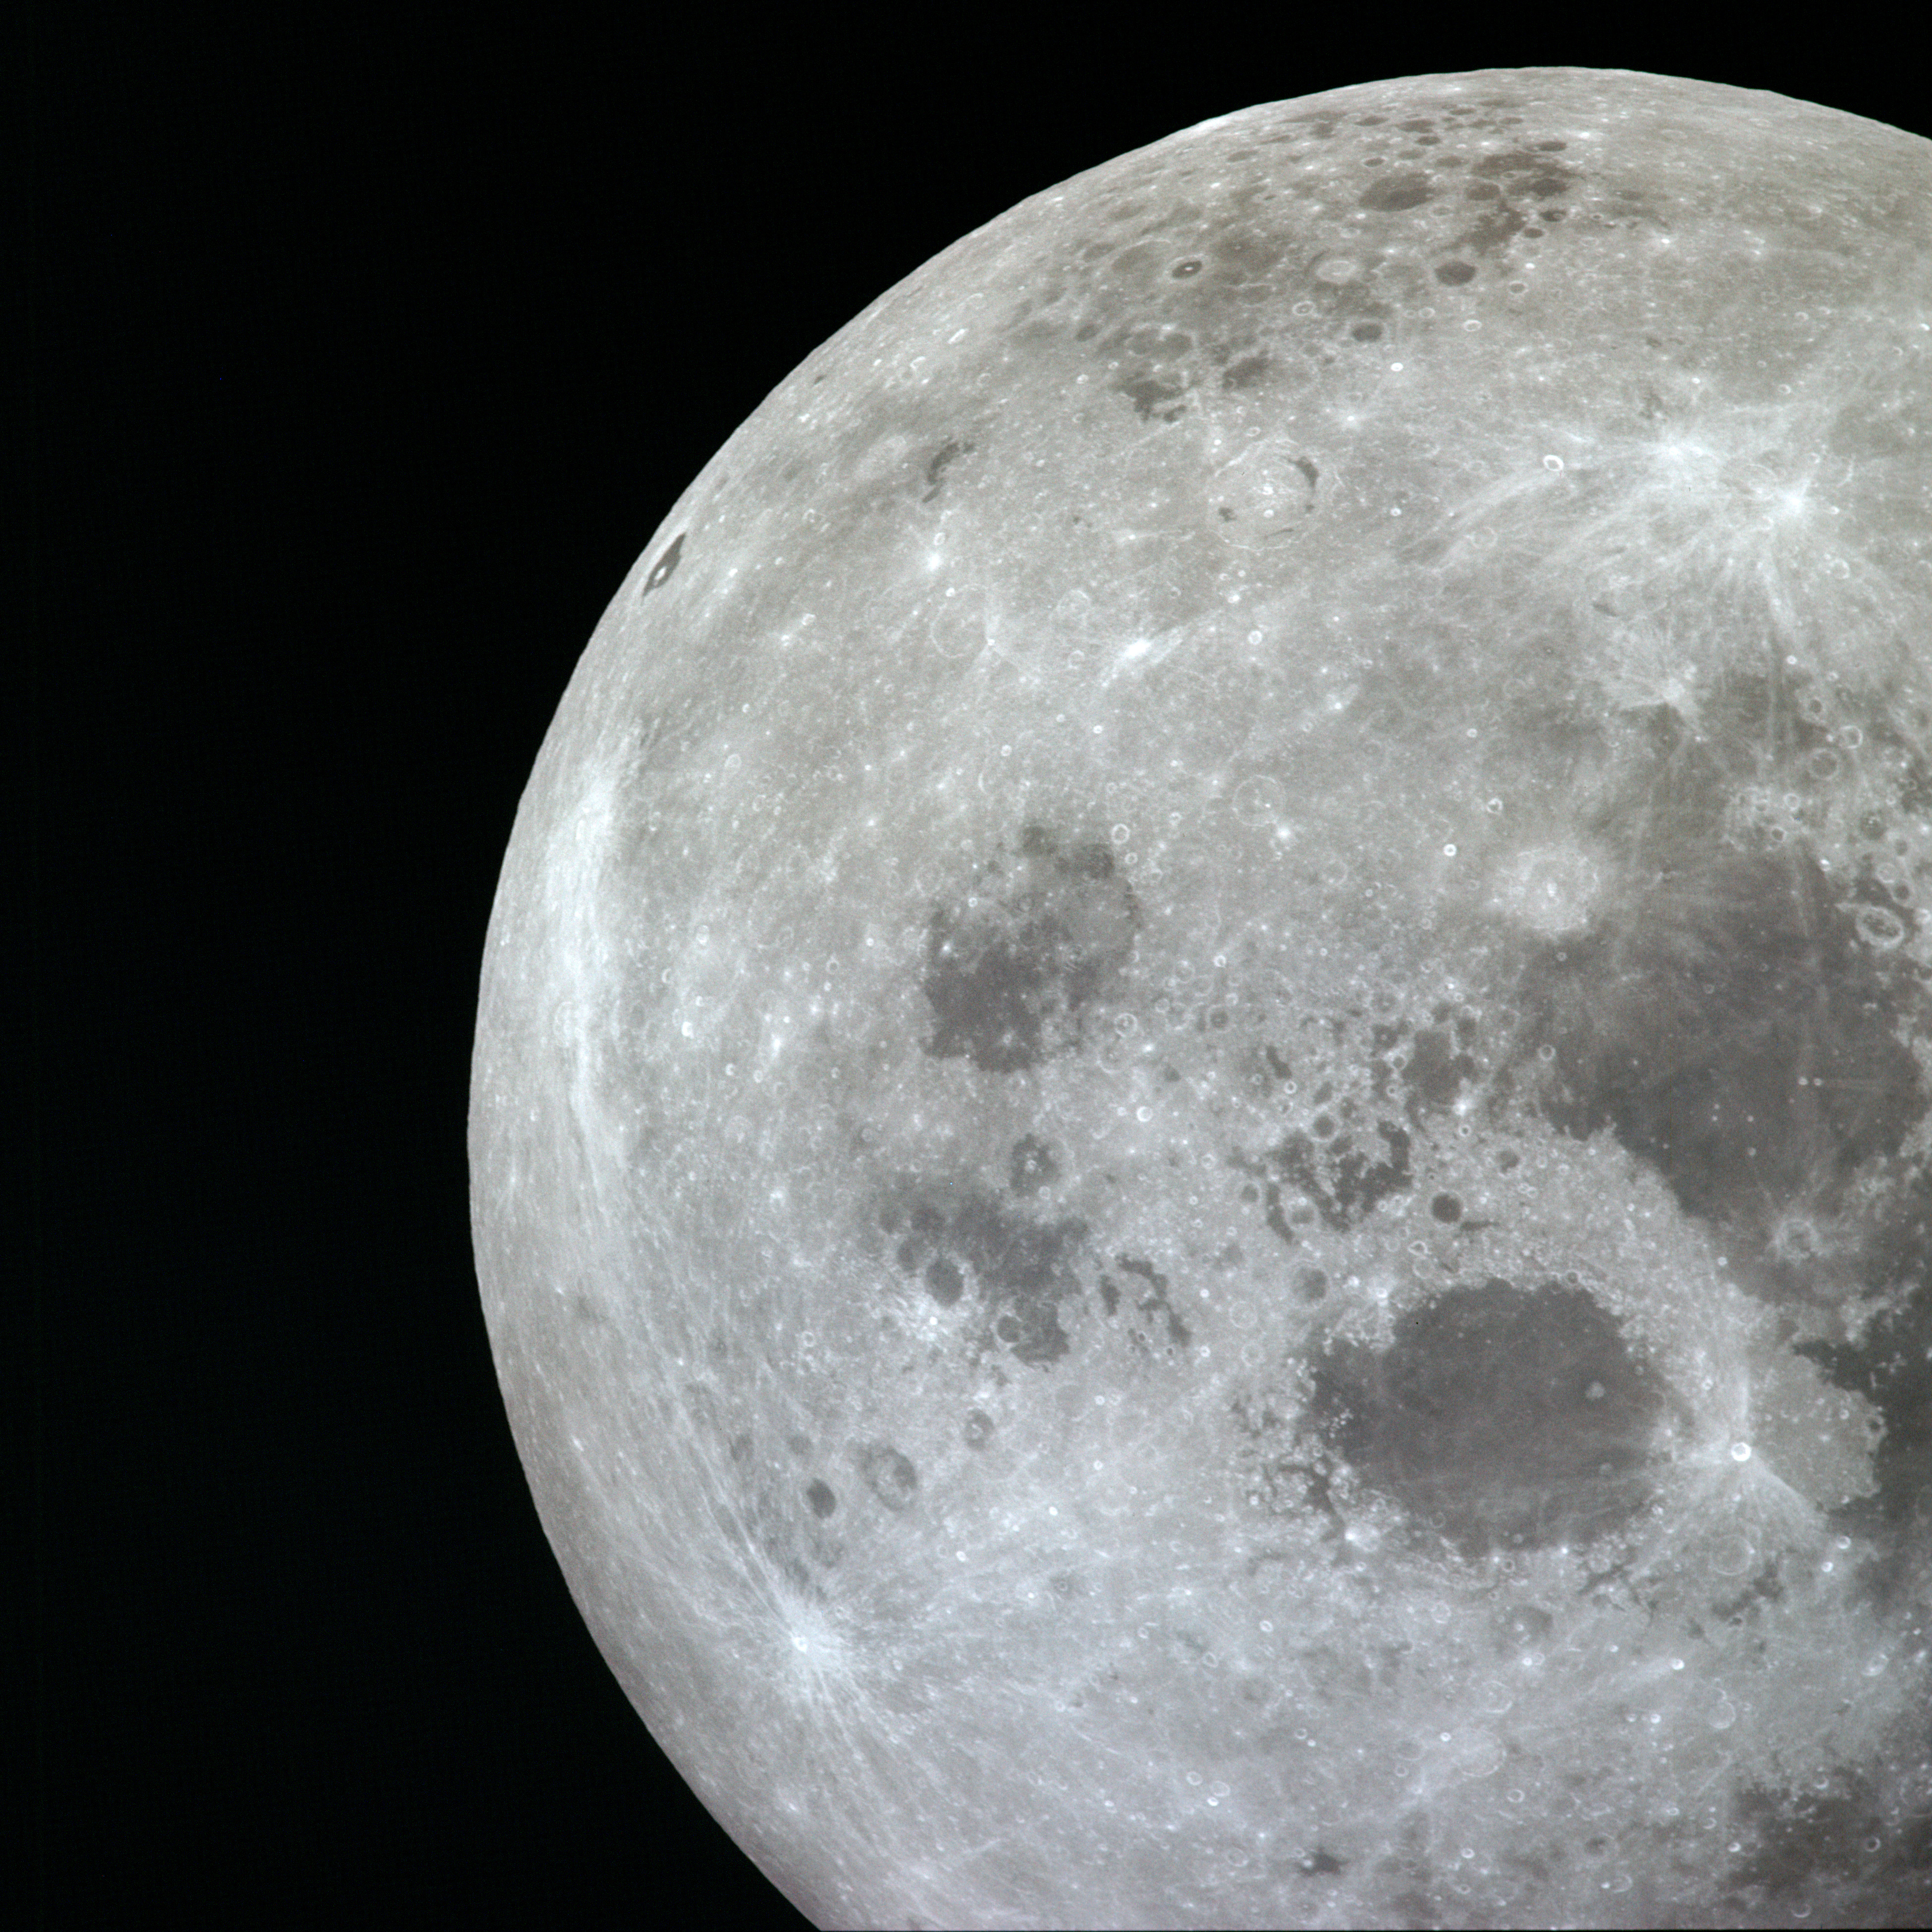 | AS13-60-8698 XXXXXXXXXXXXXXXXXXXXXXXXXXX CAPTION XXXXXXXXXXXXXXXXXXXXXXXXXXXXX Image credit: Image Science and Analysis Laboratory, NASA-Johnson Space Center. |
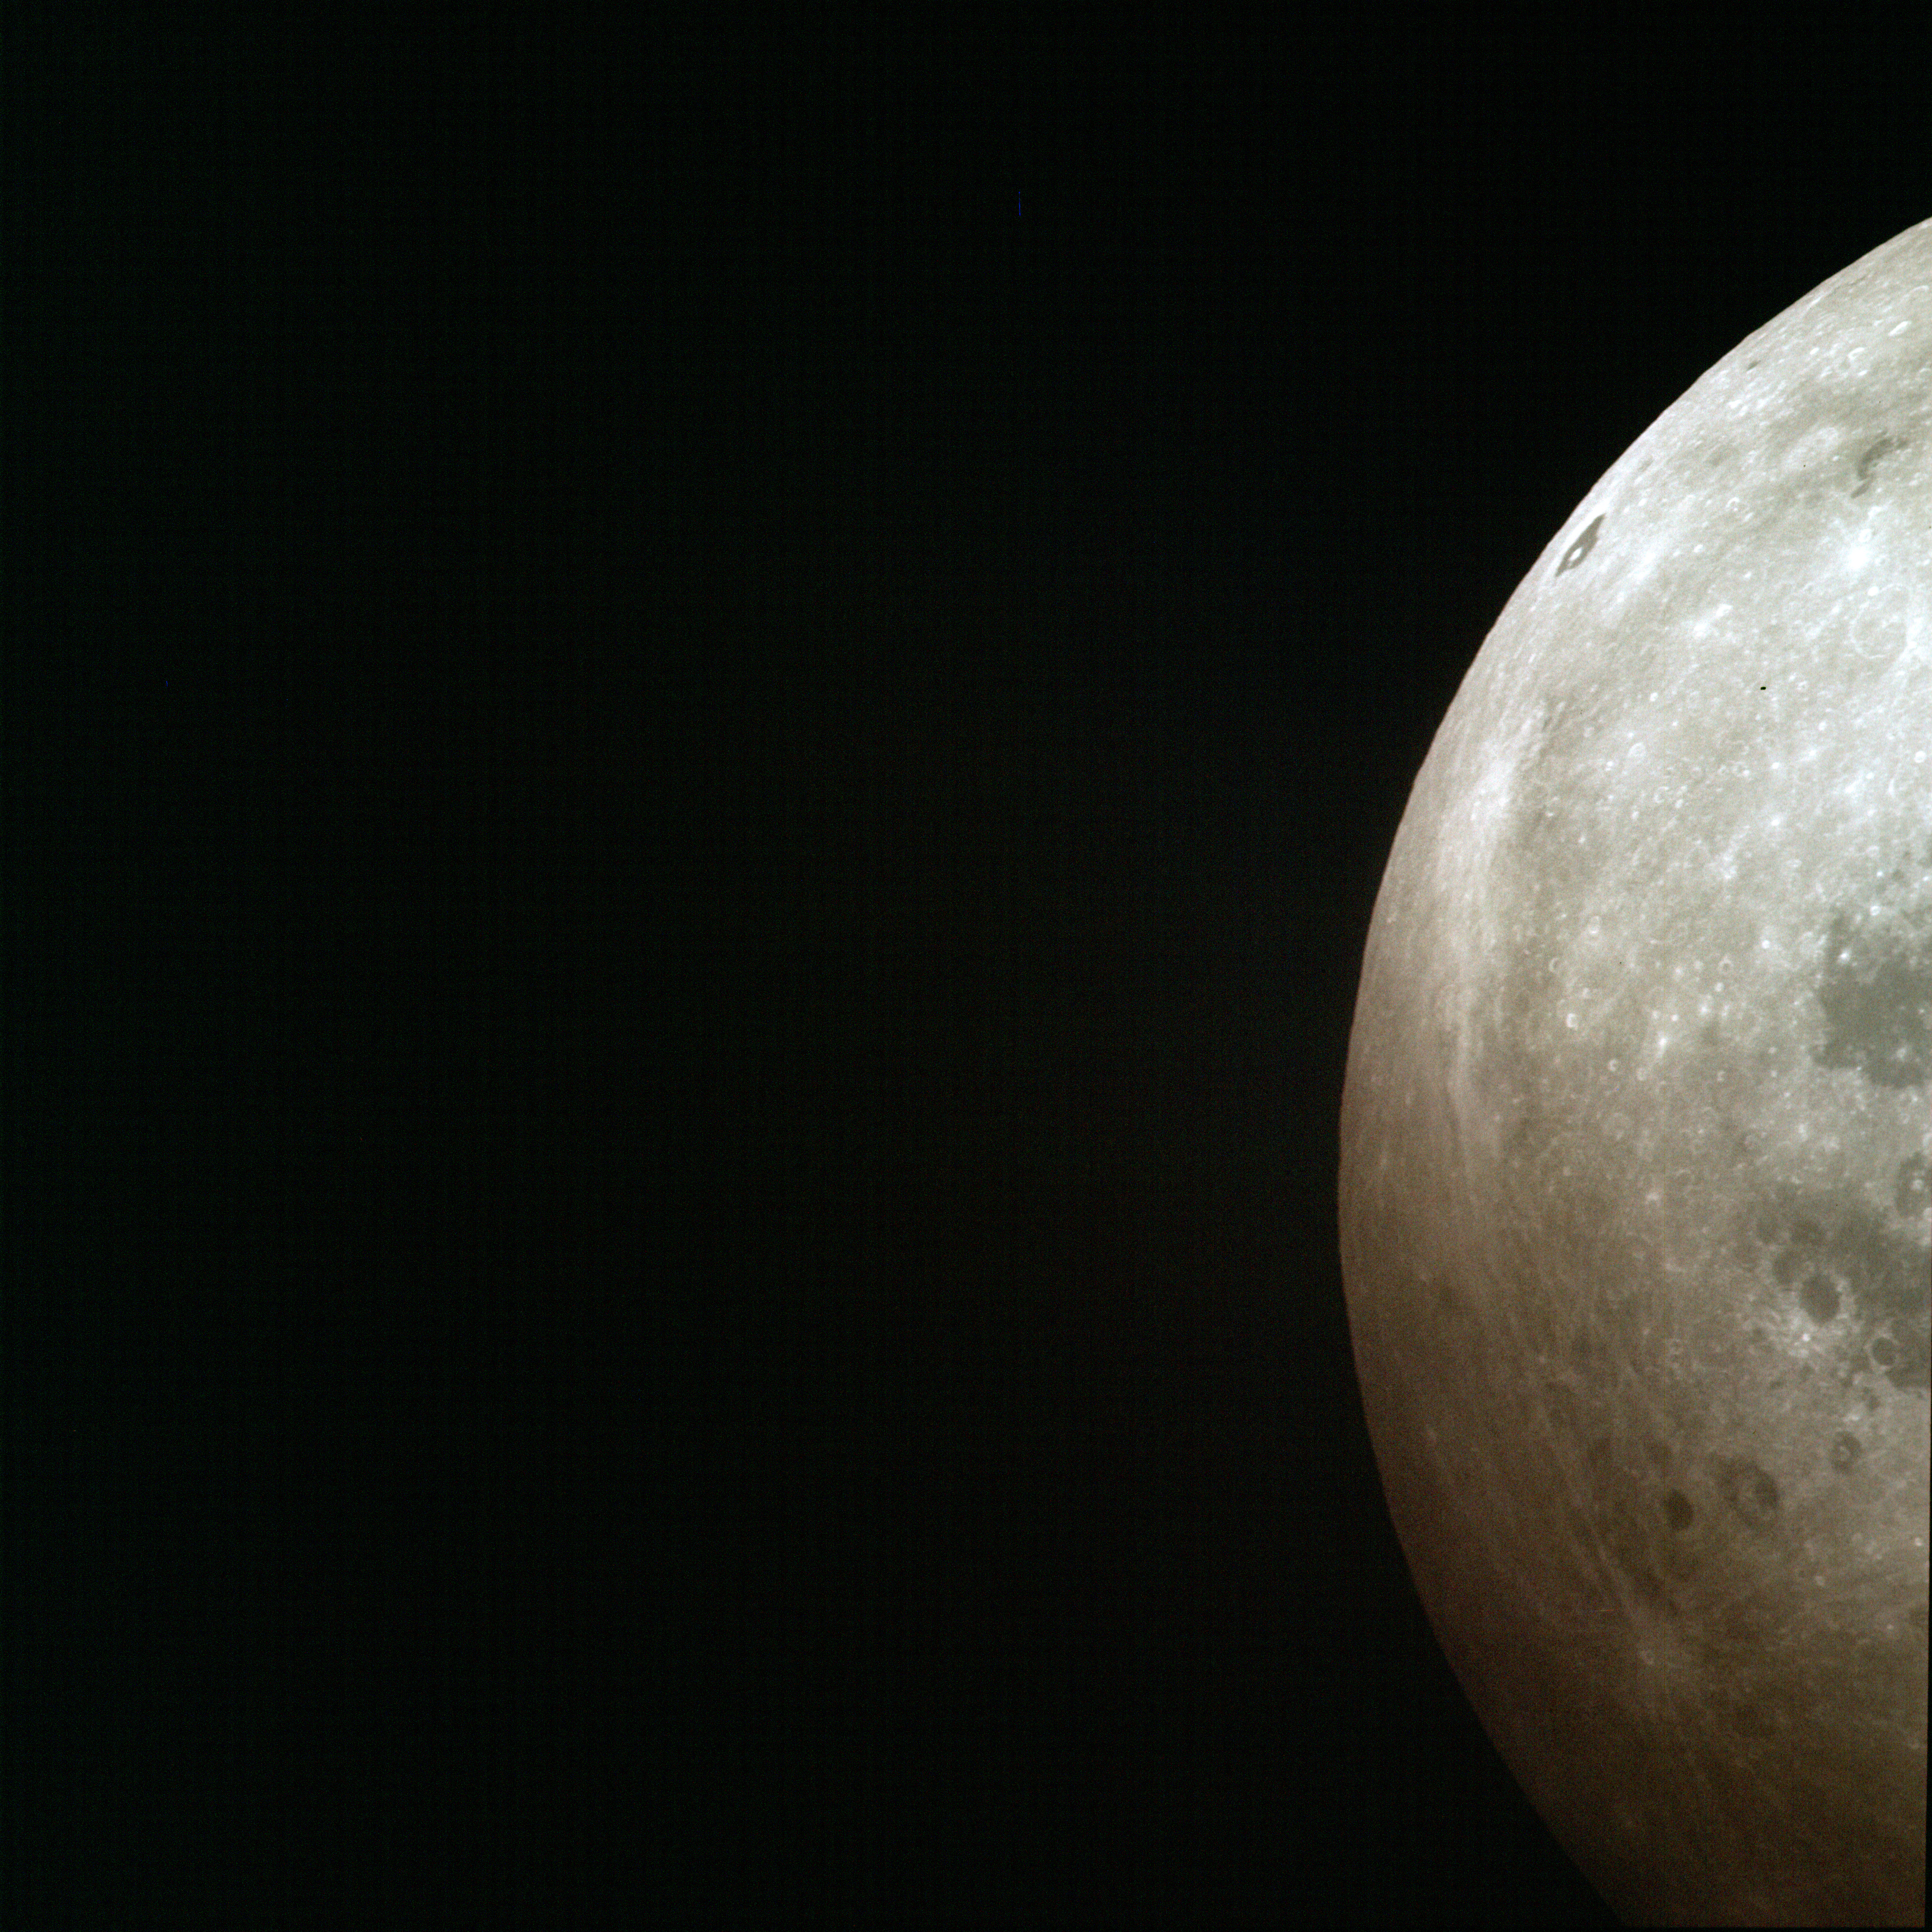 | AS13-60-8699 XXXXXXXXXXXXXXXXXXXXXXXXXXX CAPTION XXXXXXXXXXXXXXXXXXXXXXXXXXXXX Image credit: Image Science and Analysis Laboratory, NASA-Johnson Space Center. |
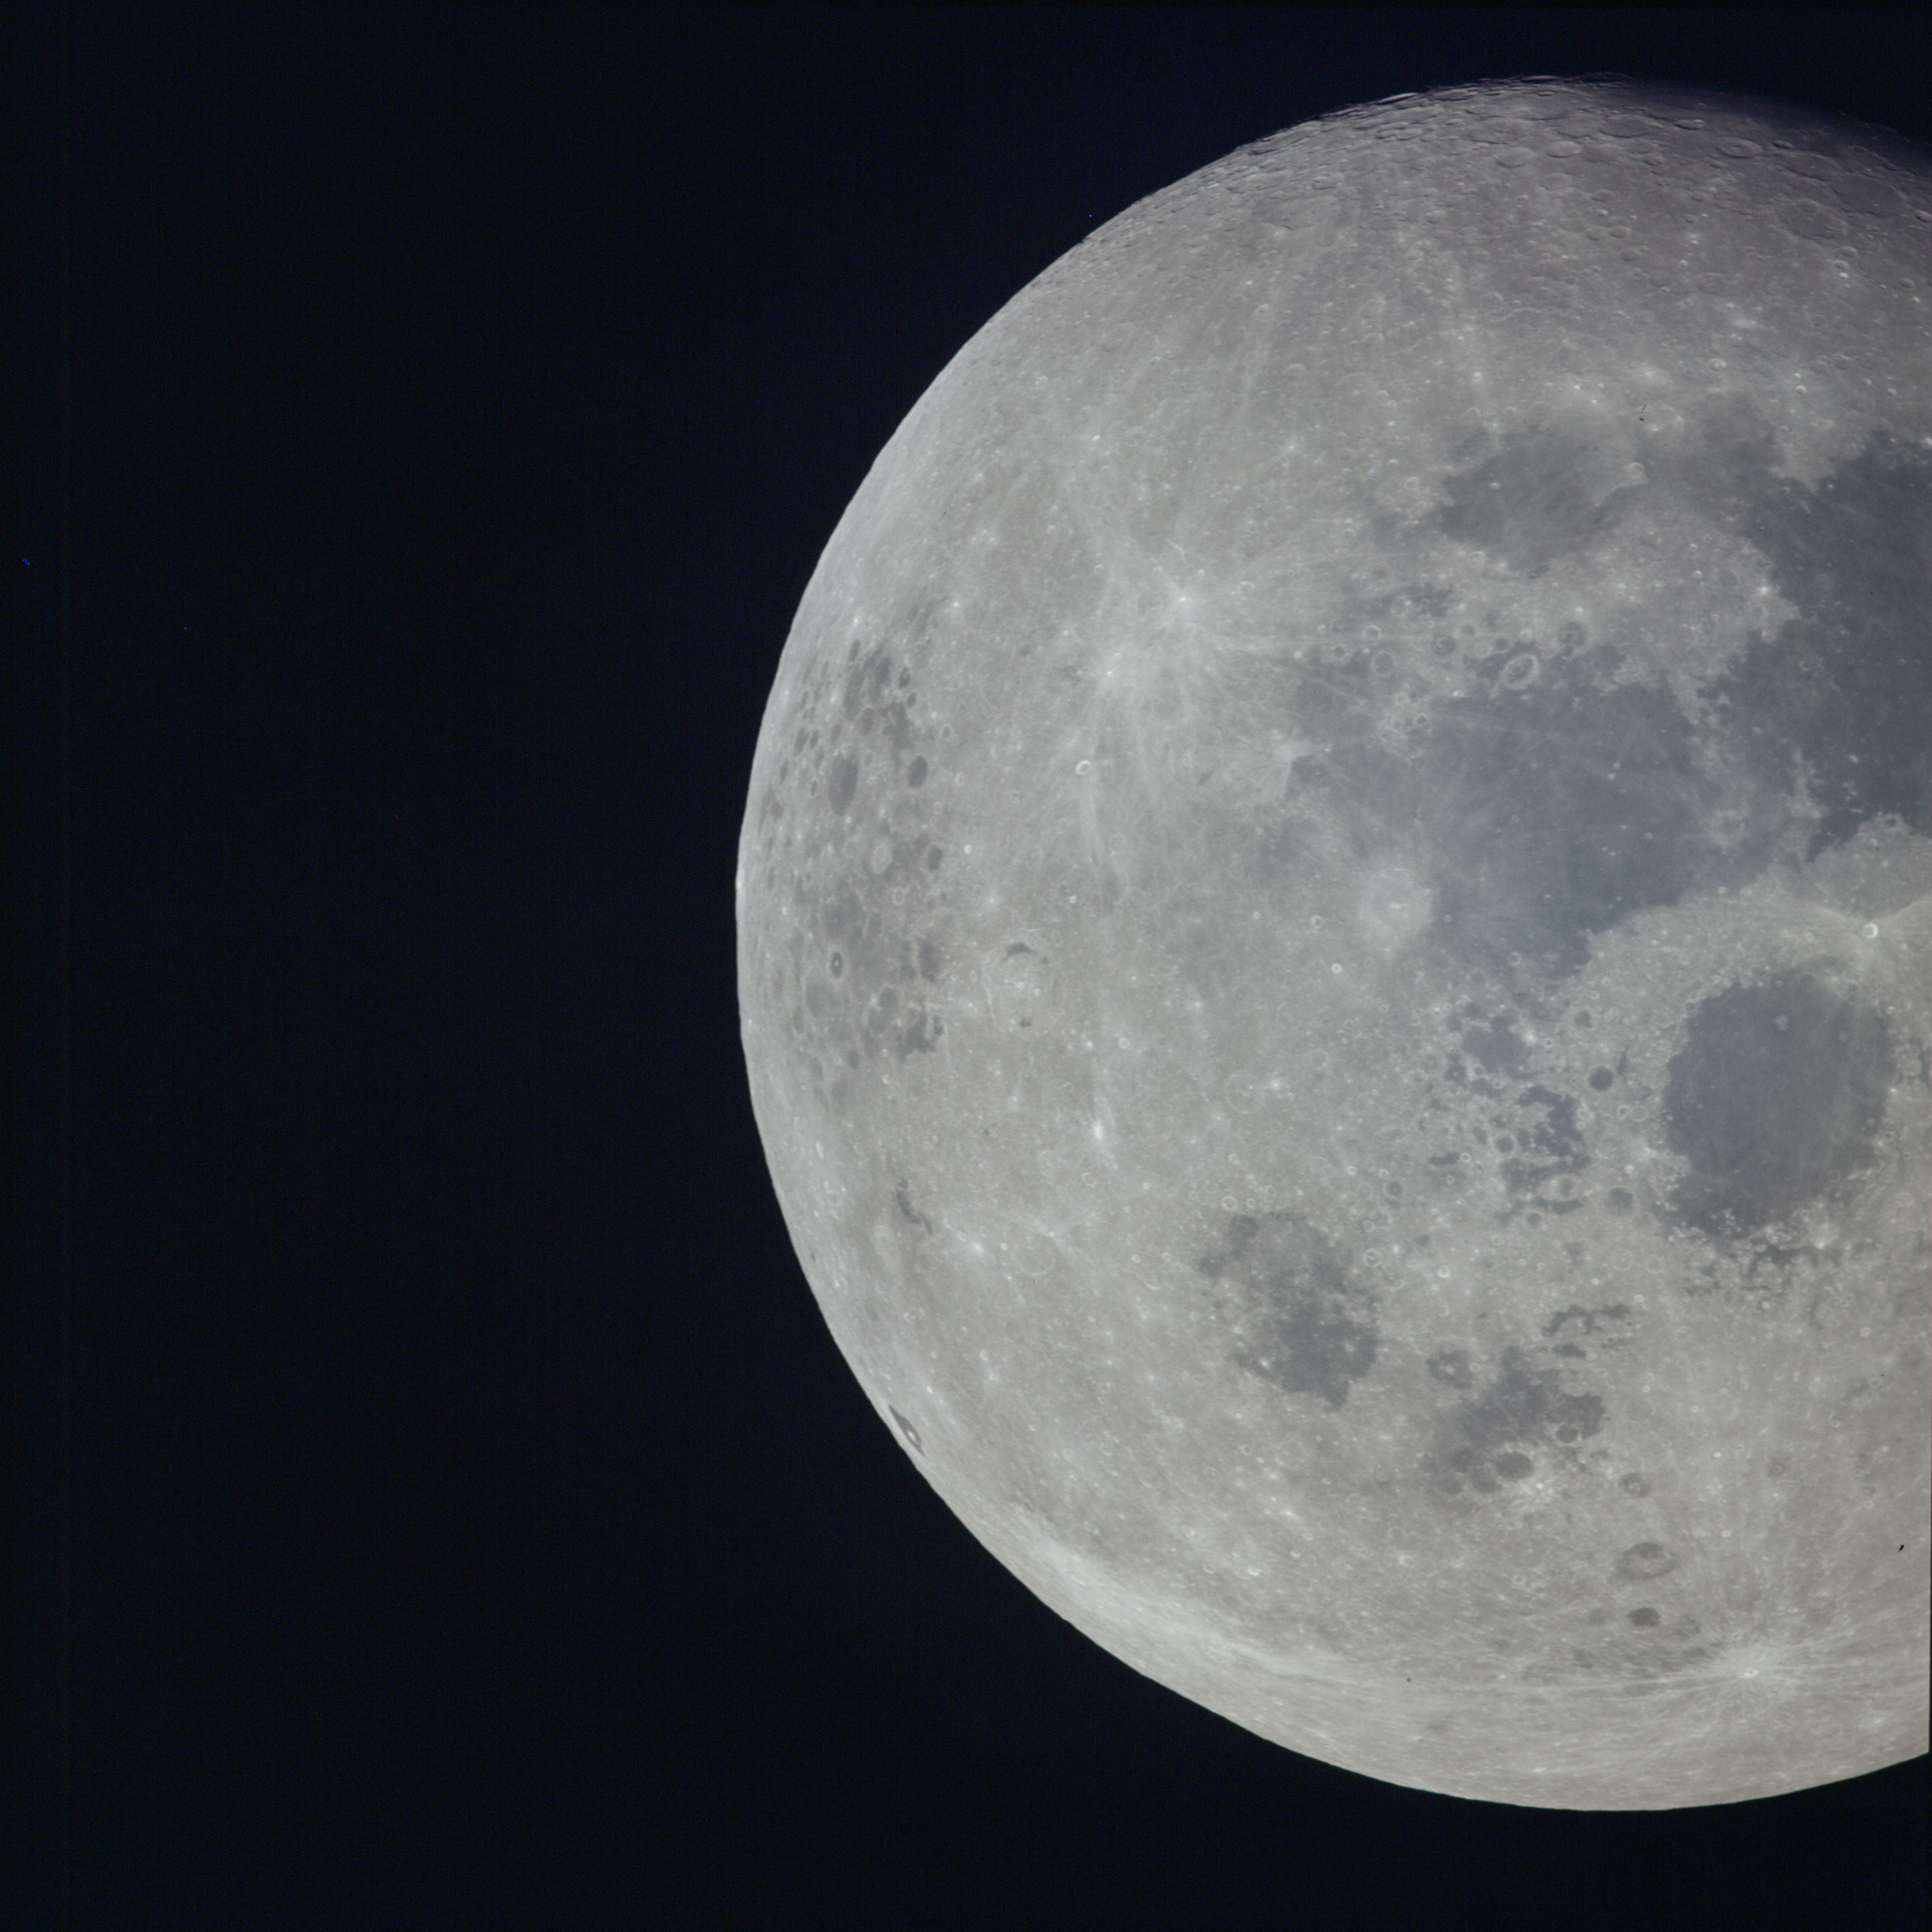 | AS13-60-8700 XXXXXXXXXXXXXXXXXXXXXXXXXXX CAPTION XXXXXXXXXXXXXXXXXXXXXXXXXXXXX Image credit: Image Science and Analysis Laboratory, NASA-Johnson Space Center. |
 | AS13-60-8701 XXXXXXXXXXXXXXXXXXXXXXXXXXX CAPTION XXXXXXXXXXXXXXXXXXXXXXXXXXXXX Image credit: Image Science and Analysis Laboratory, NASA-Johnson Space Center. |
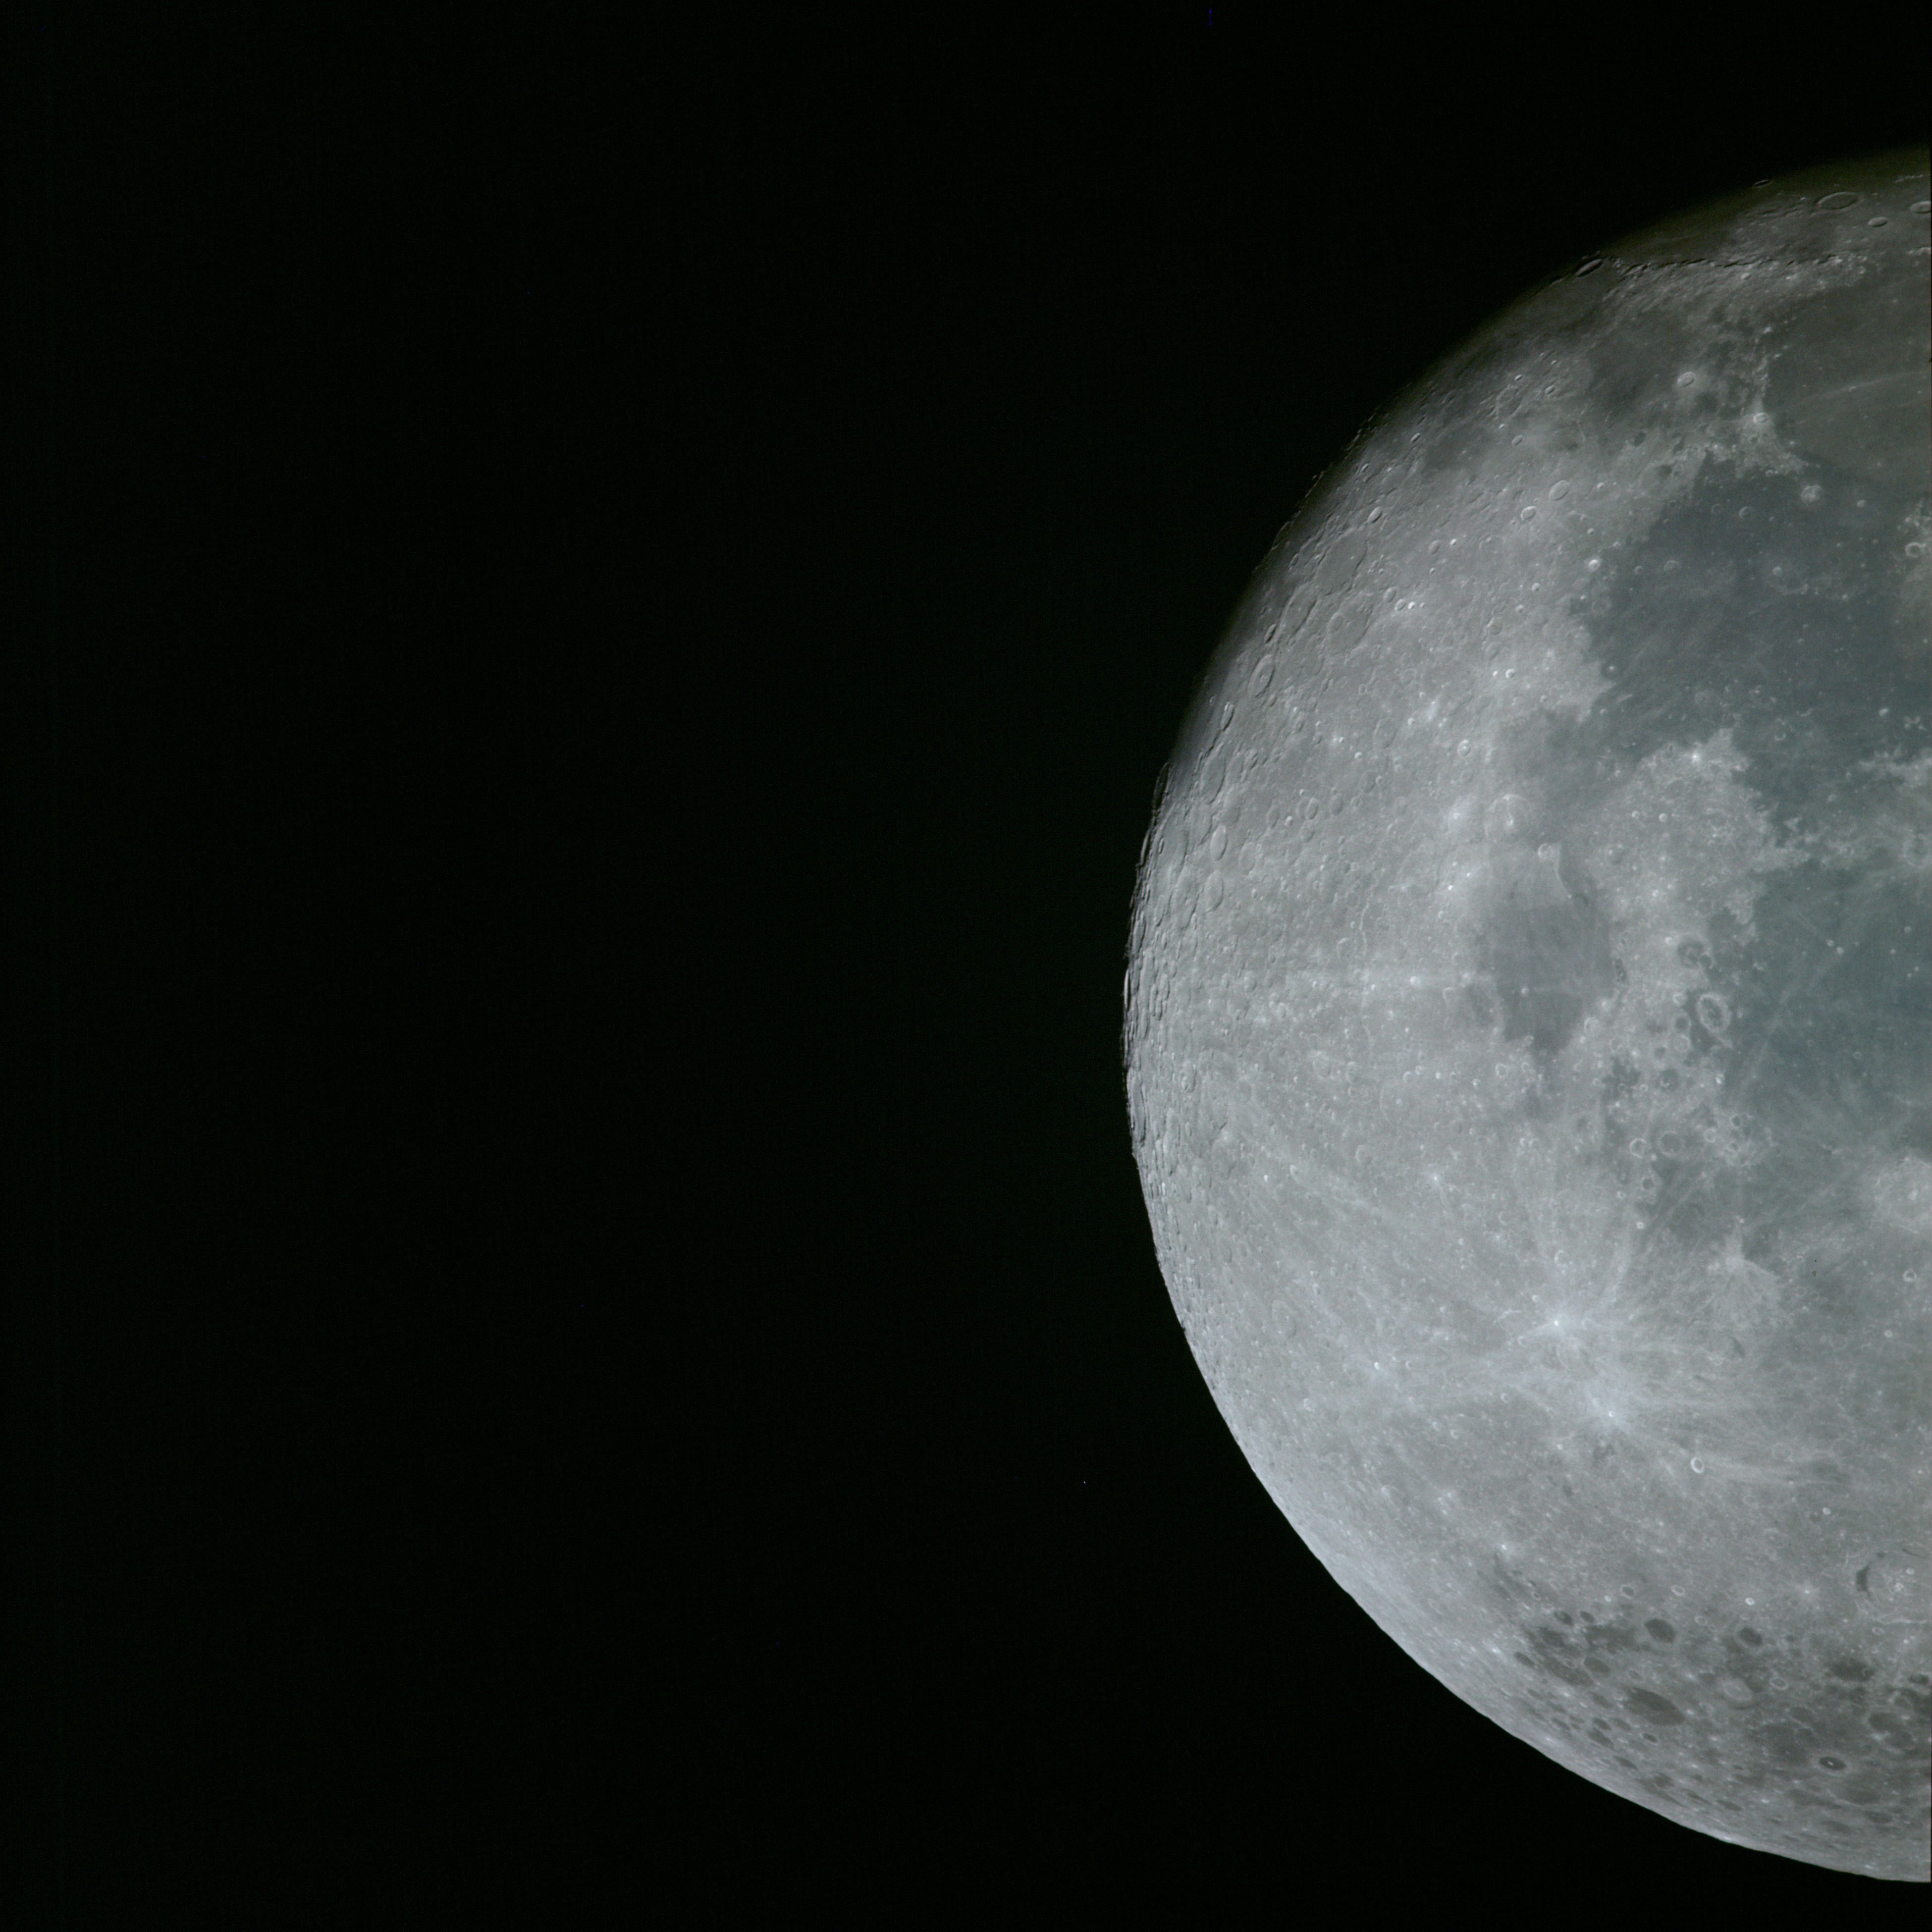 | AS13-60-8702 XXXXXXXXXXXXXXXXXXXXXXXXXXX CAPTION XXXXXXXXXXXXXXXXXXXXXXXXXXXXX Image credit: Image Science and Analysis Laboratory, NASA-Johnson Space Center. |
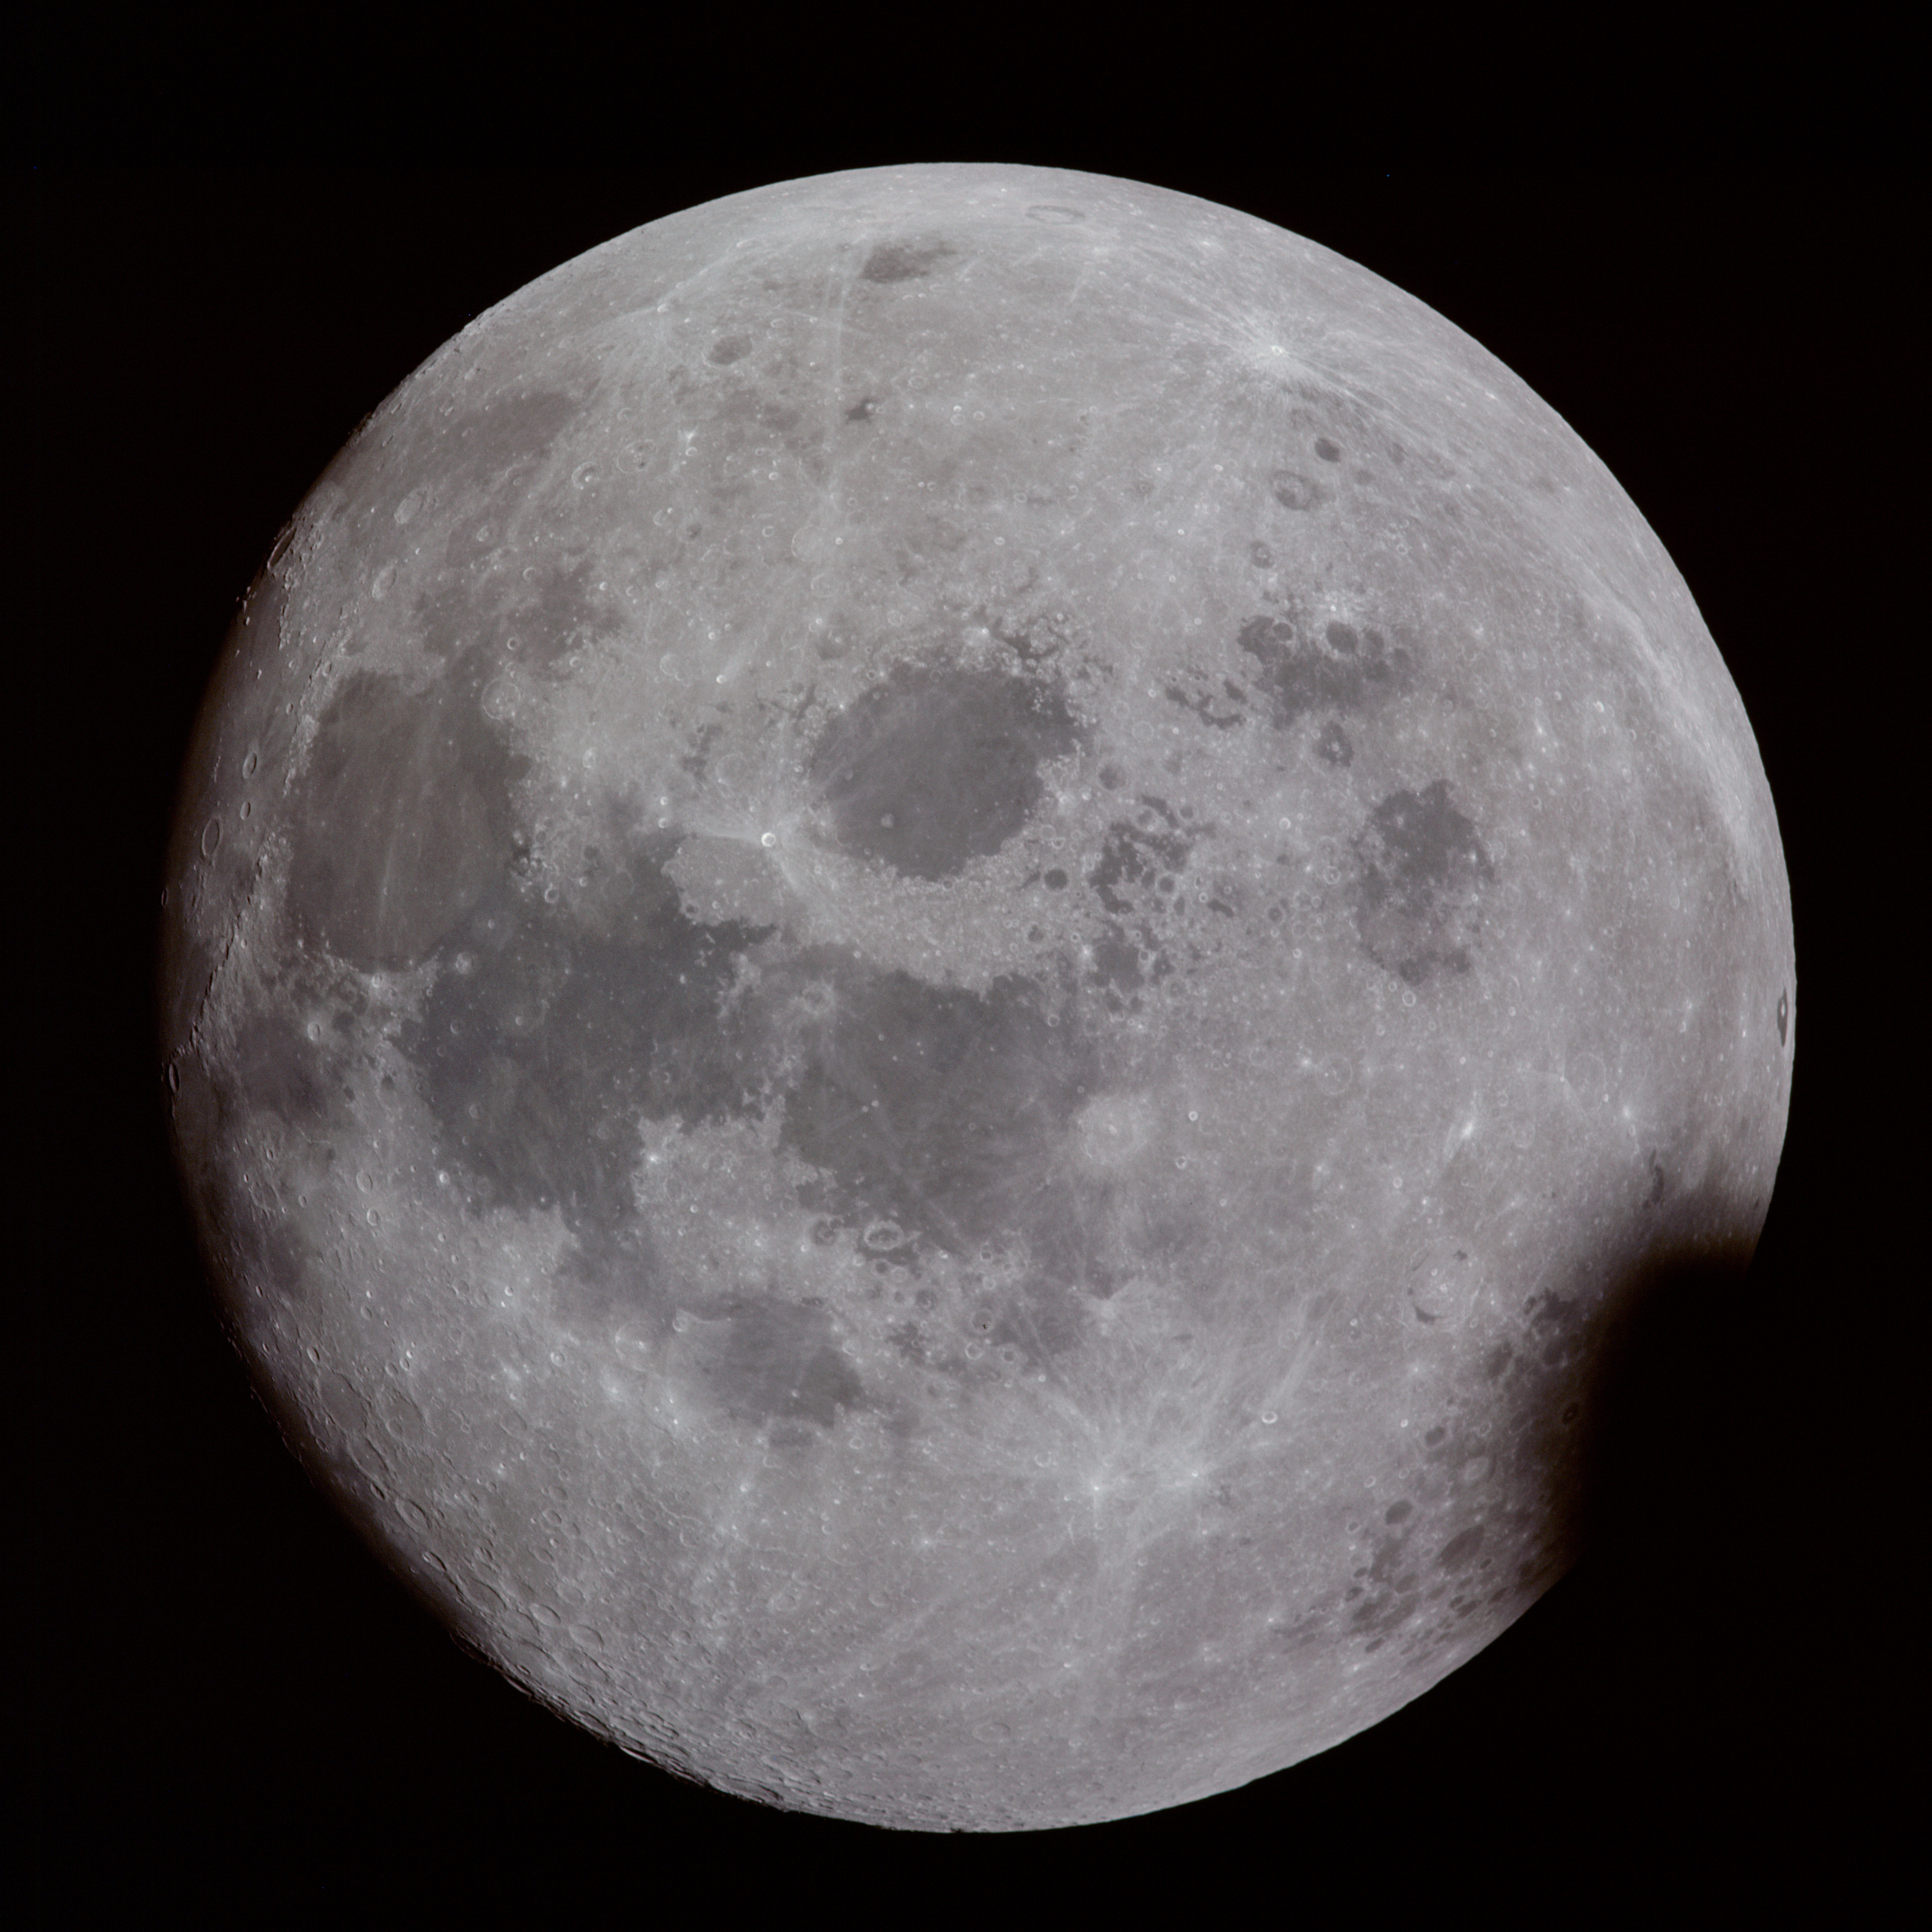 | AS13-60-8703 Partial large image of Moon taken during the early hours of the trans-Earth coast. Mare Fecunditatis and Mare Crisium are prominent in the centre of the lunar disc. The lunar far-side is on the right of the disc. Image credit: Image Science and Analysis Laboratory, NASA-Johnson Space Center. |
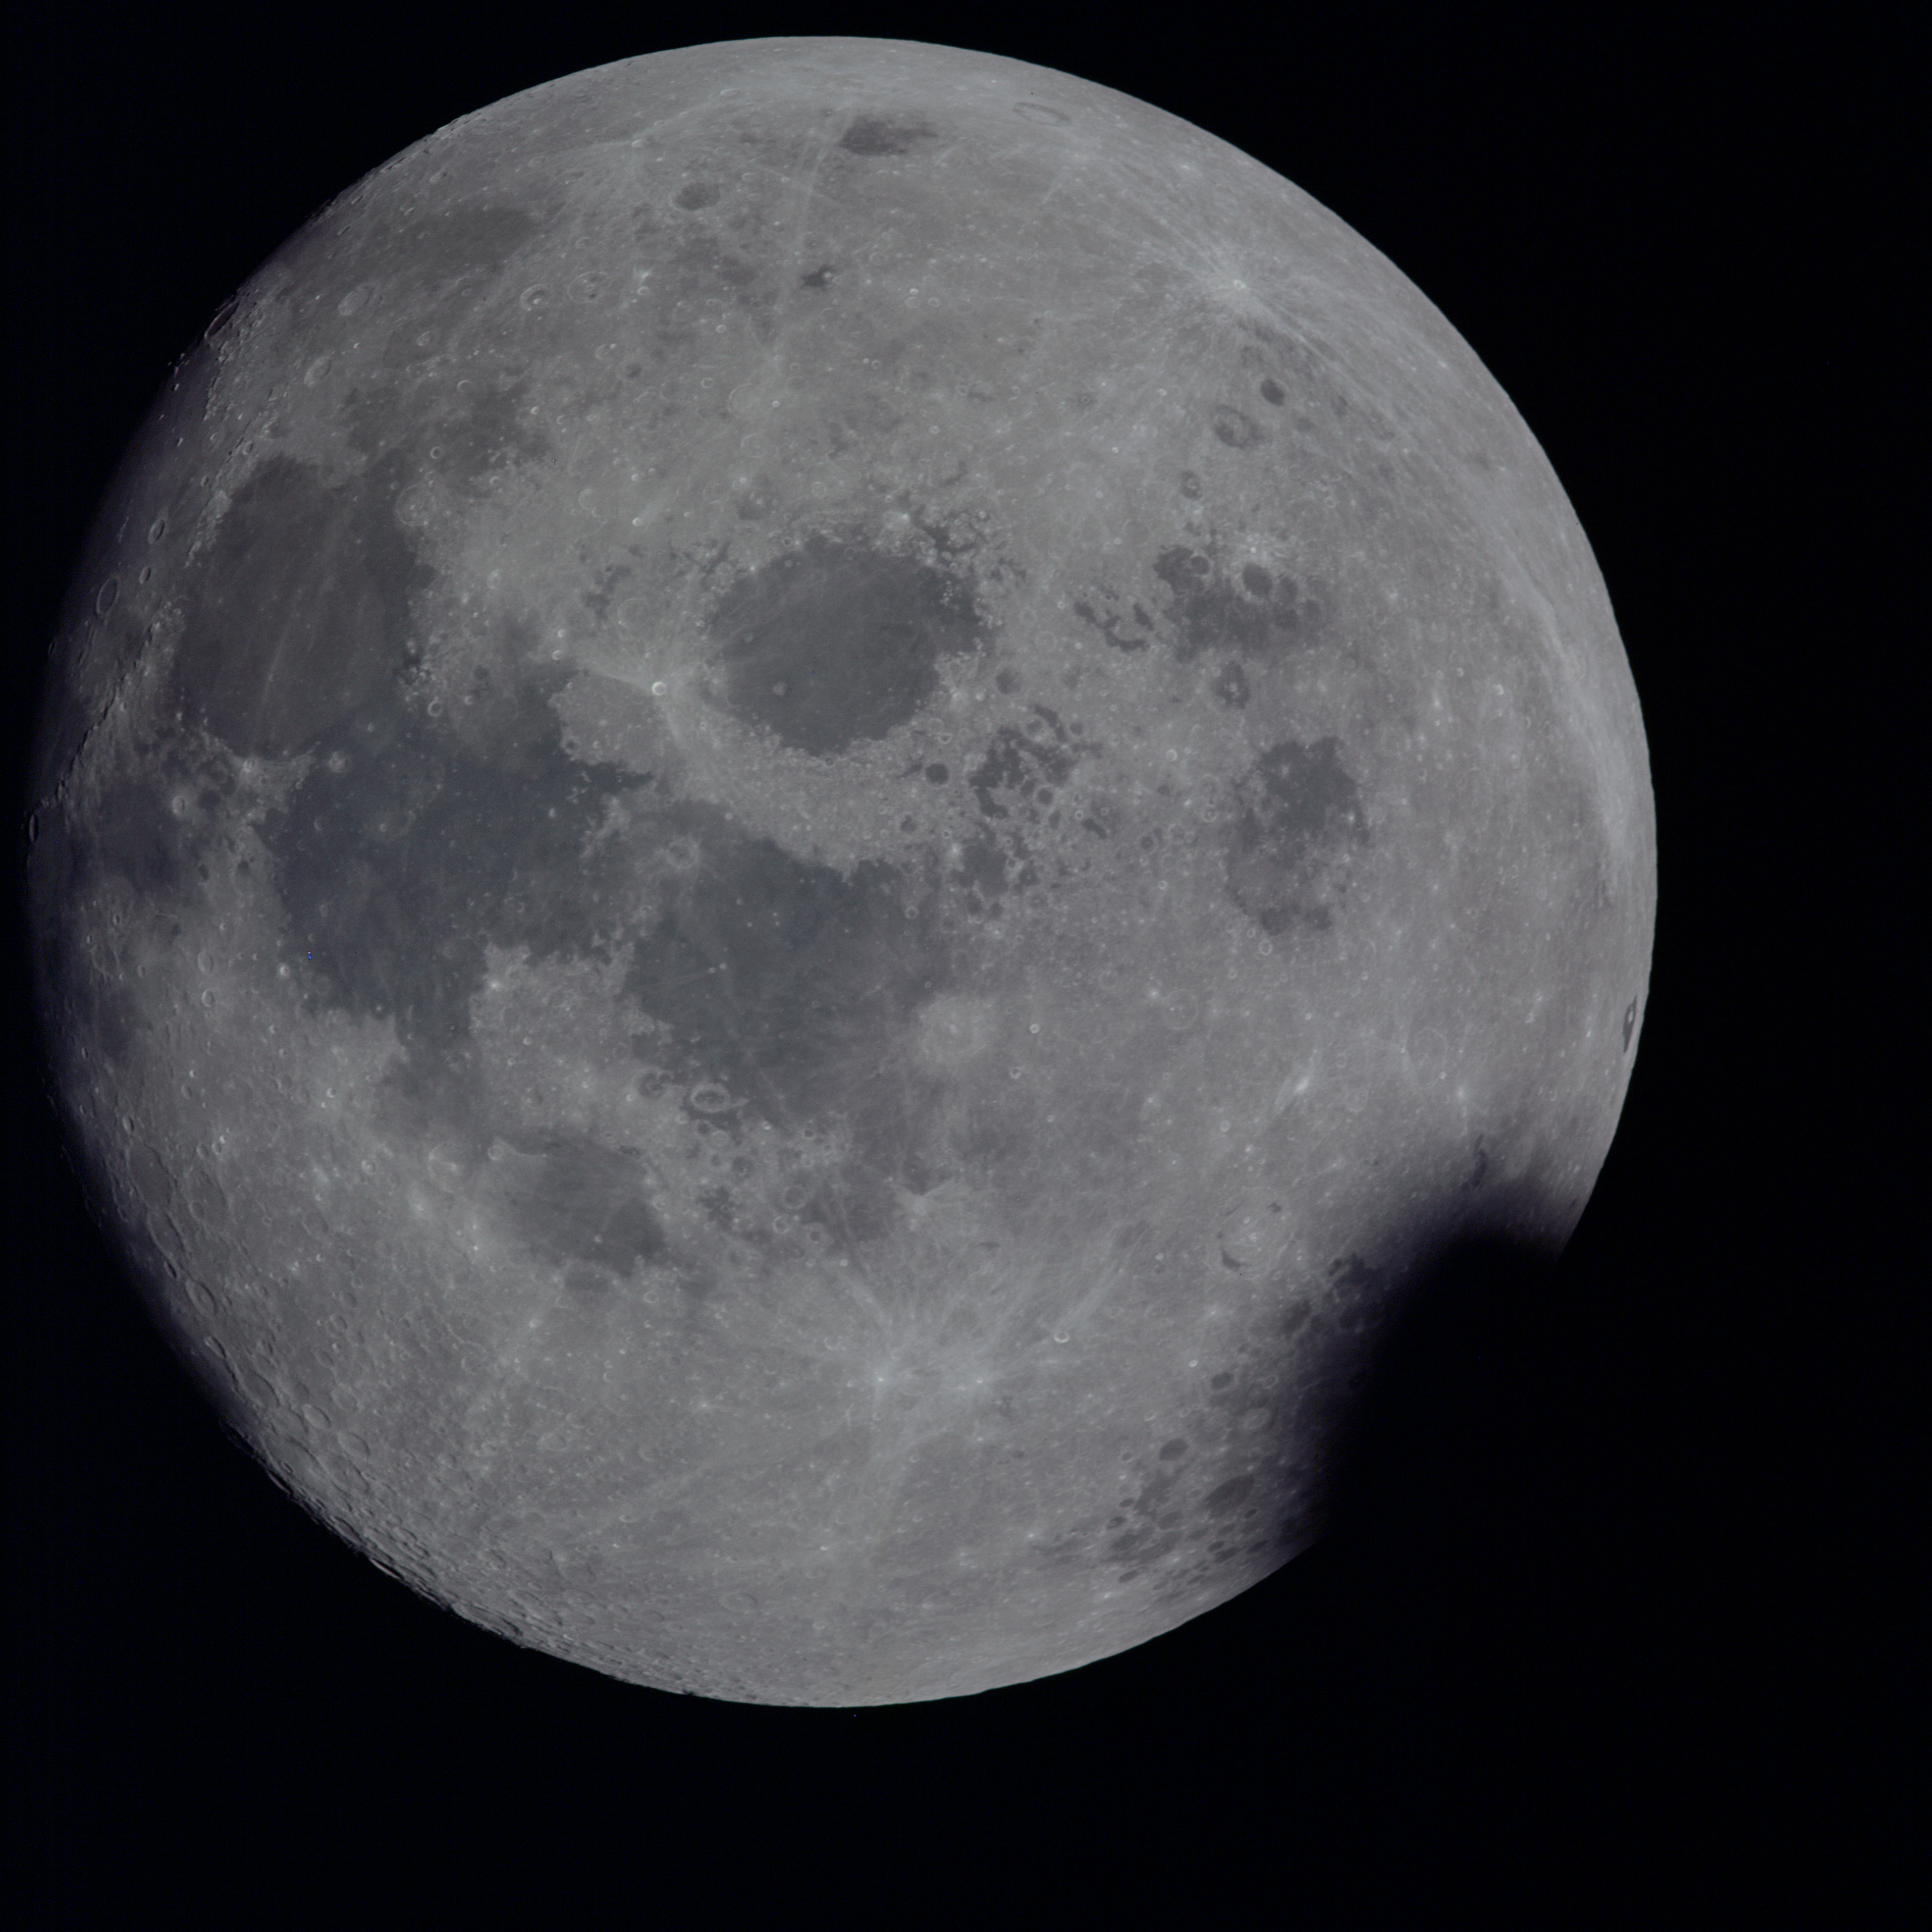 | AS13-60-8704 Partial large image of Moon taken during the early hours of the trans-Earth coast. Mare Fecunditatis and Mare Crisium are prominent in the centre of the lunar disc. The lunar far-side is on the right of the disc. Image credit: Image Science and Analysis Laboratory, NASA-Johnson Space Center. |
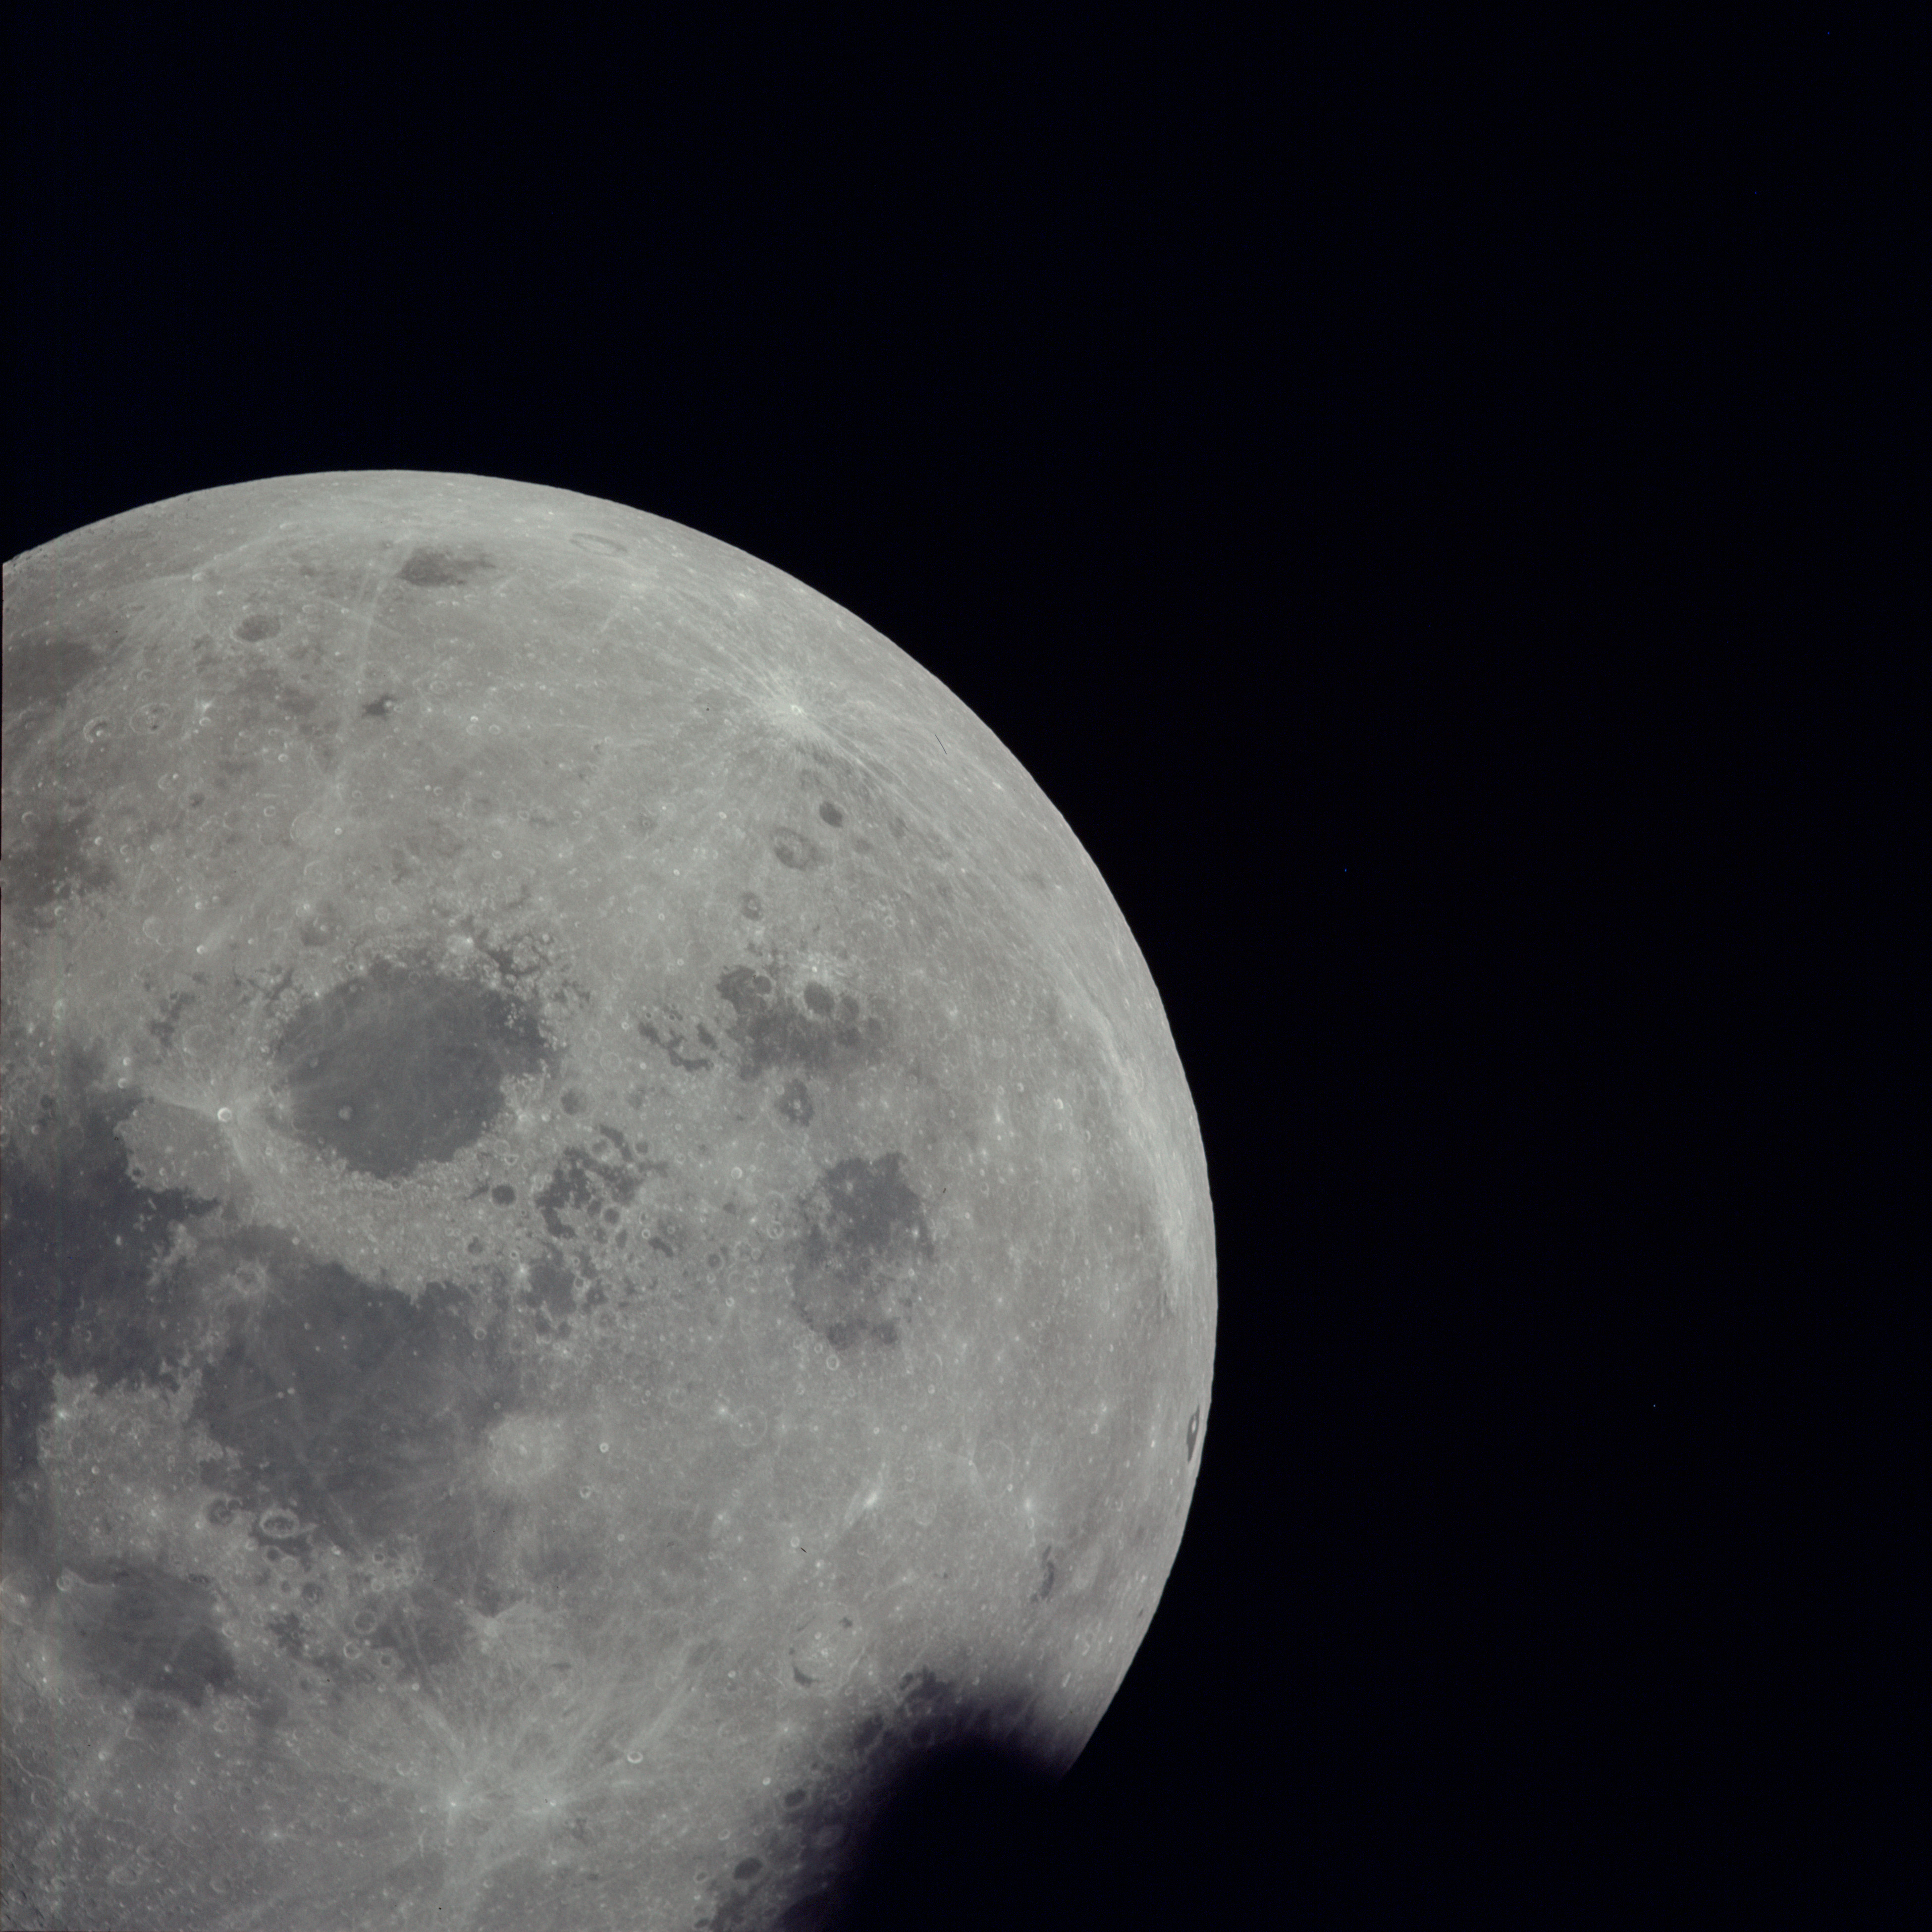 | AS13-60-8705 Partial large image of Moon taken during the early hours of the trans-Earth coast. Mare Fecunditatis and Mare Crisium are prominent in the centre of the lunar disc. The lunar far-side is on the rightt of the disc. Image credit: Image Science and Analysis Laboratory, NASA-Johnson Space Center. |
 | AS13-60-8706 Inadvertent shot taken inside the spacecraft. Image credit: Image Science and Analysis Laboratory, NASA-Johnson Space Center. |
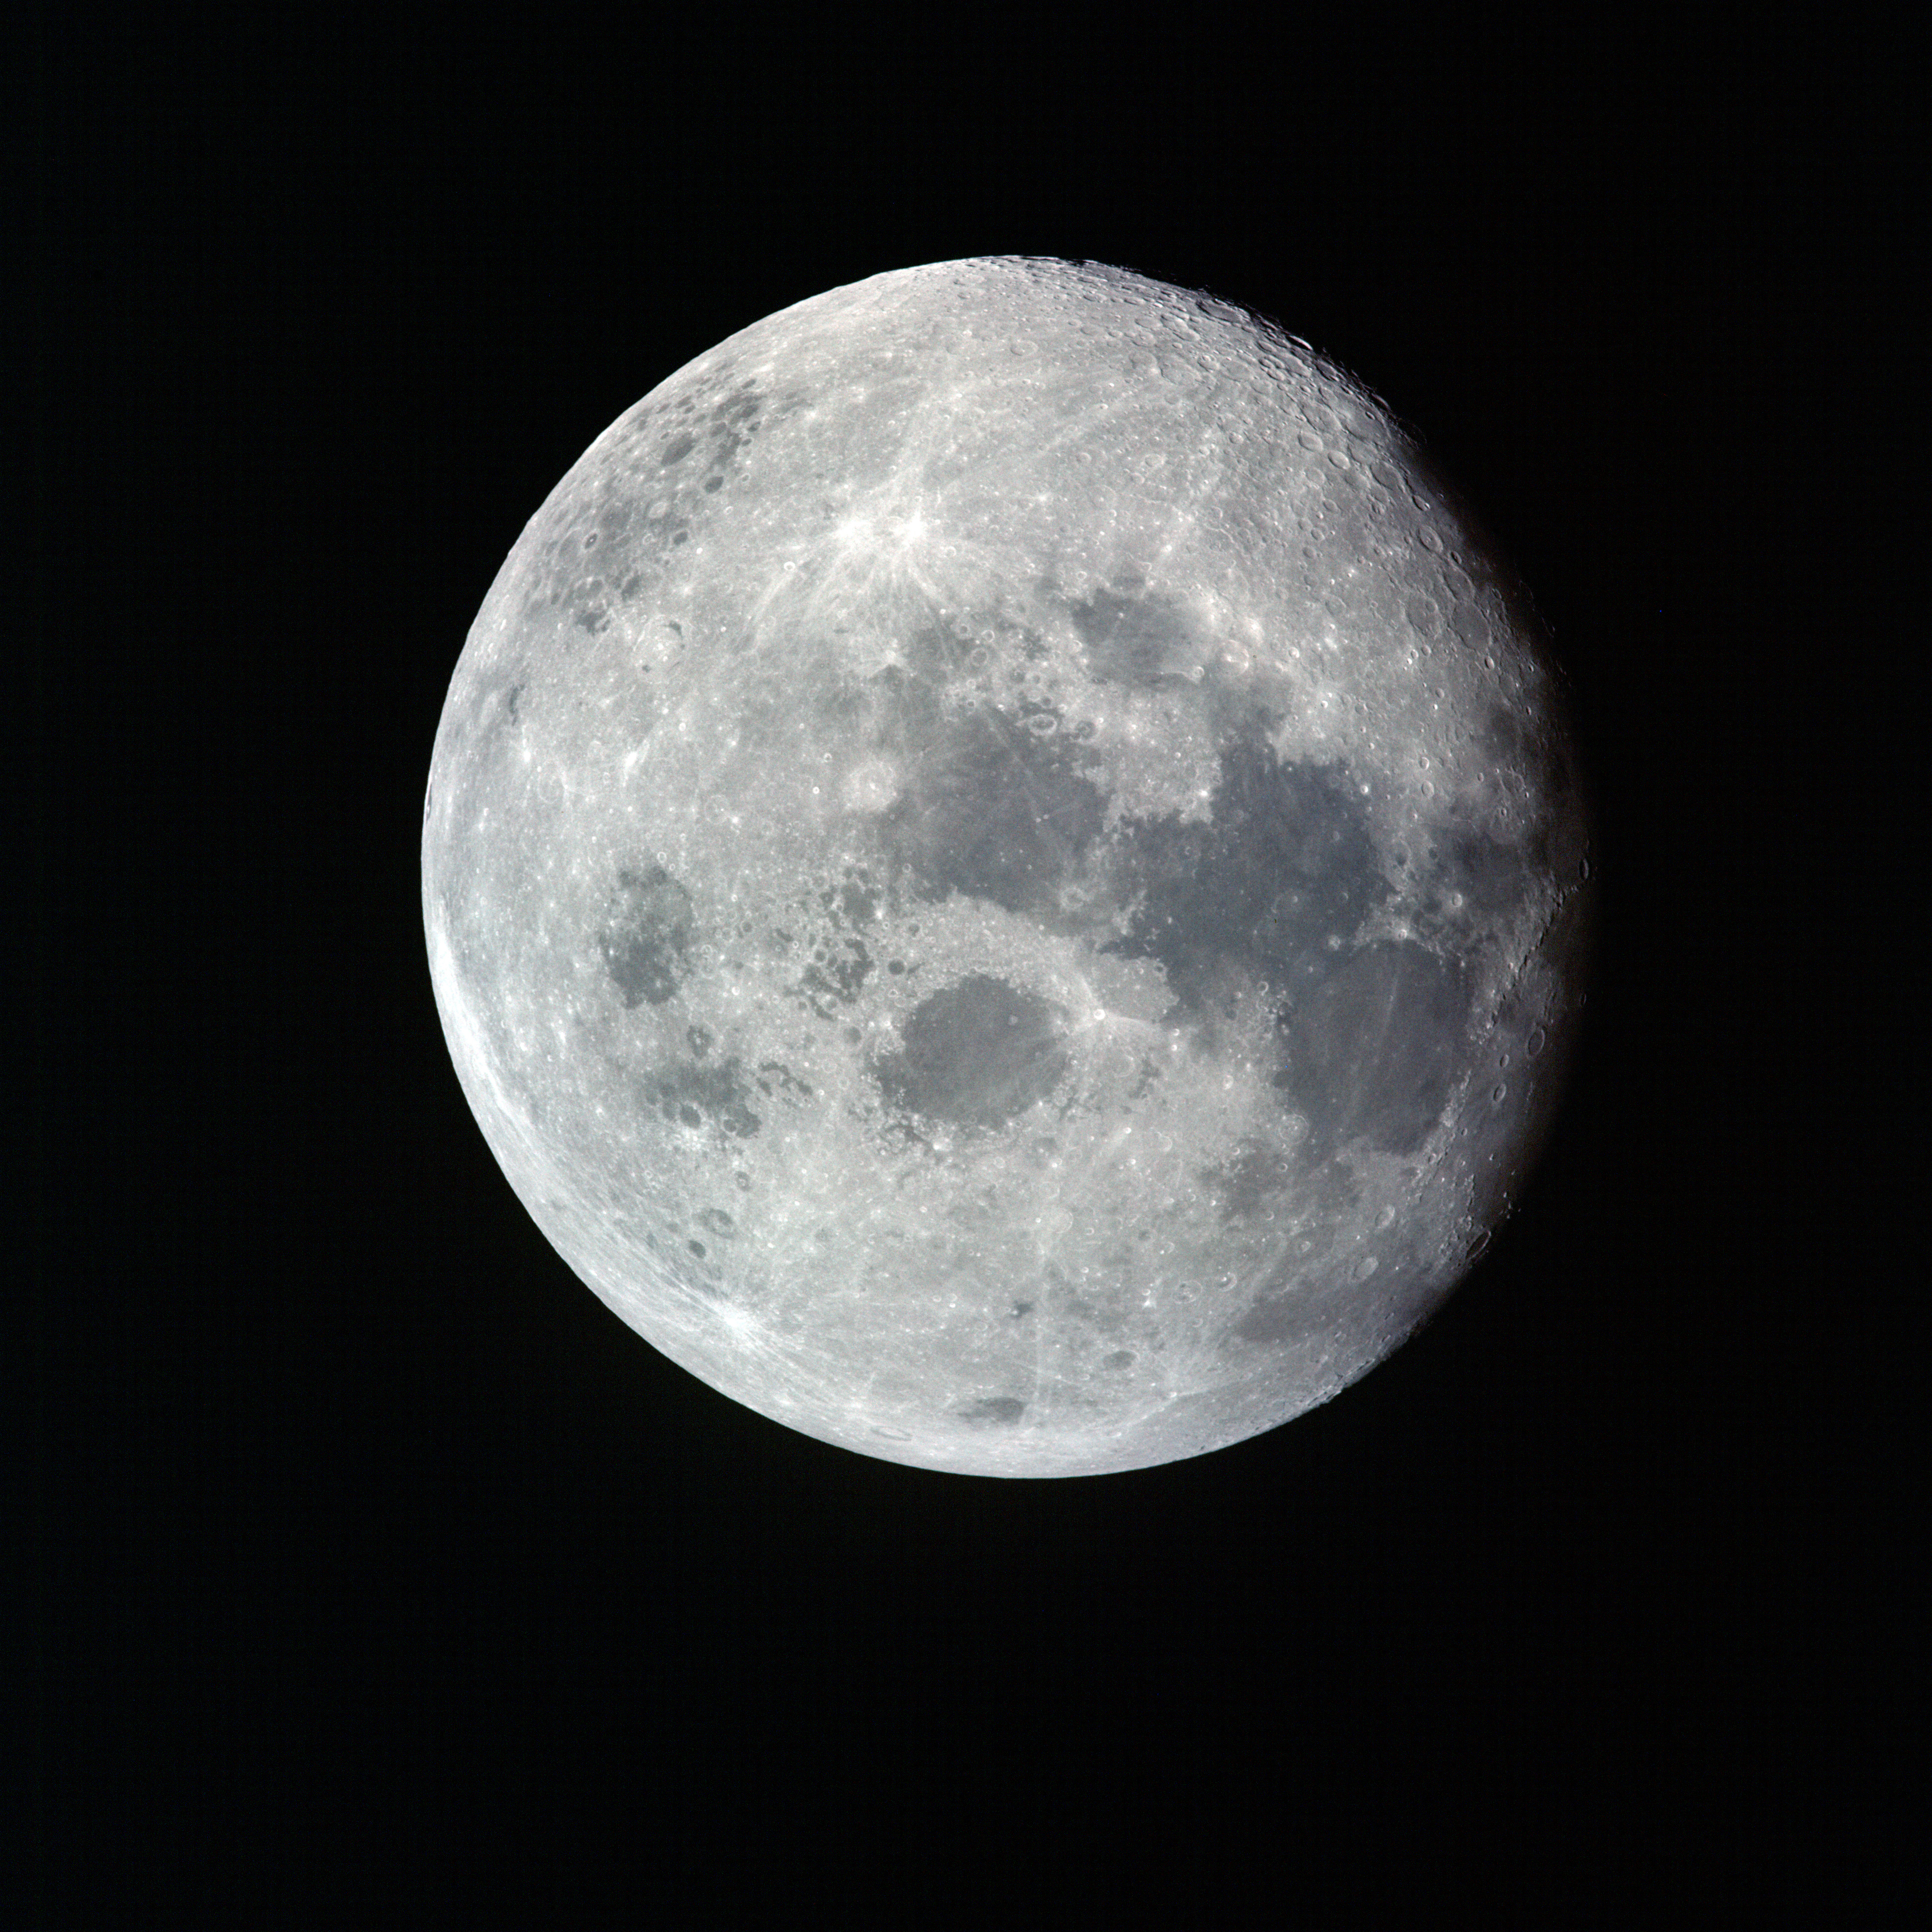 | AS13-60-8707 Large image of Moon taken during the early hours of the trans-Earth coast. Mare Fecunditatis and Mare Crisium are in the centre of the lunar disc. The lunar far-side is on the left of the disc. Image credit: Image Science and Analysis Laboratory, NASA-Johnson Space Center. |
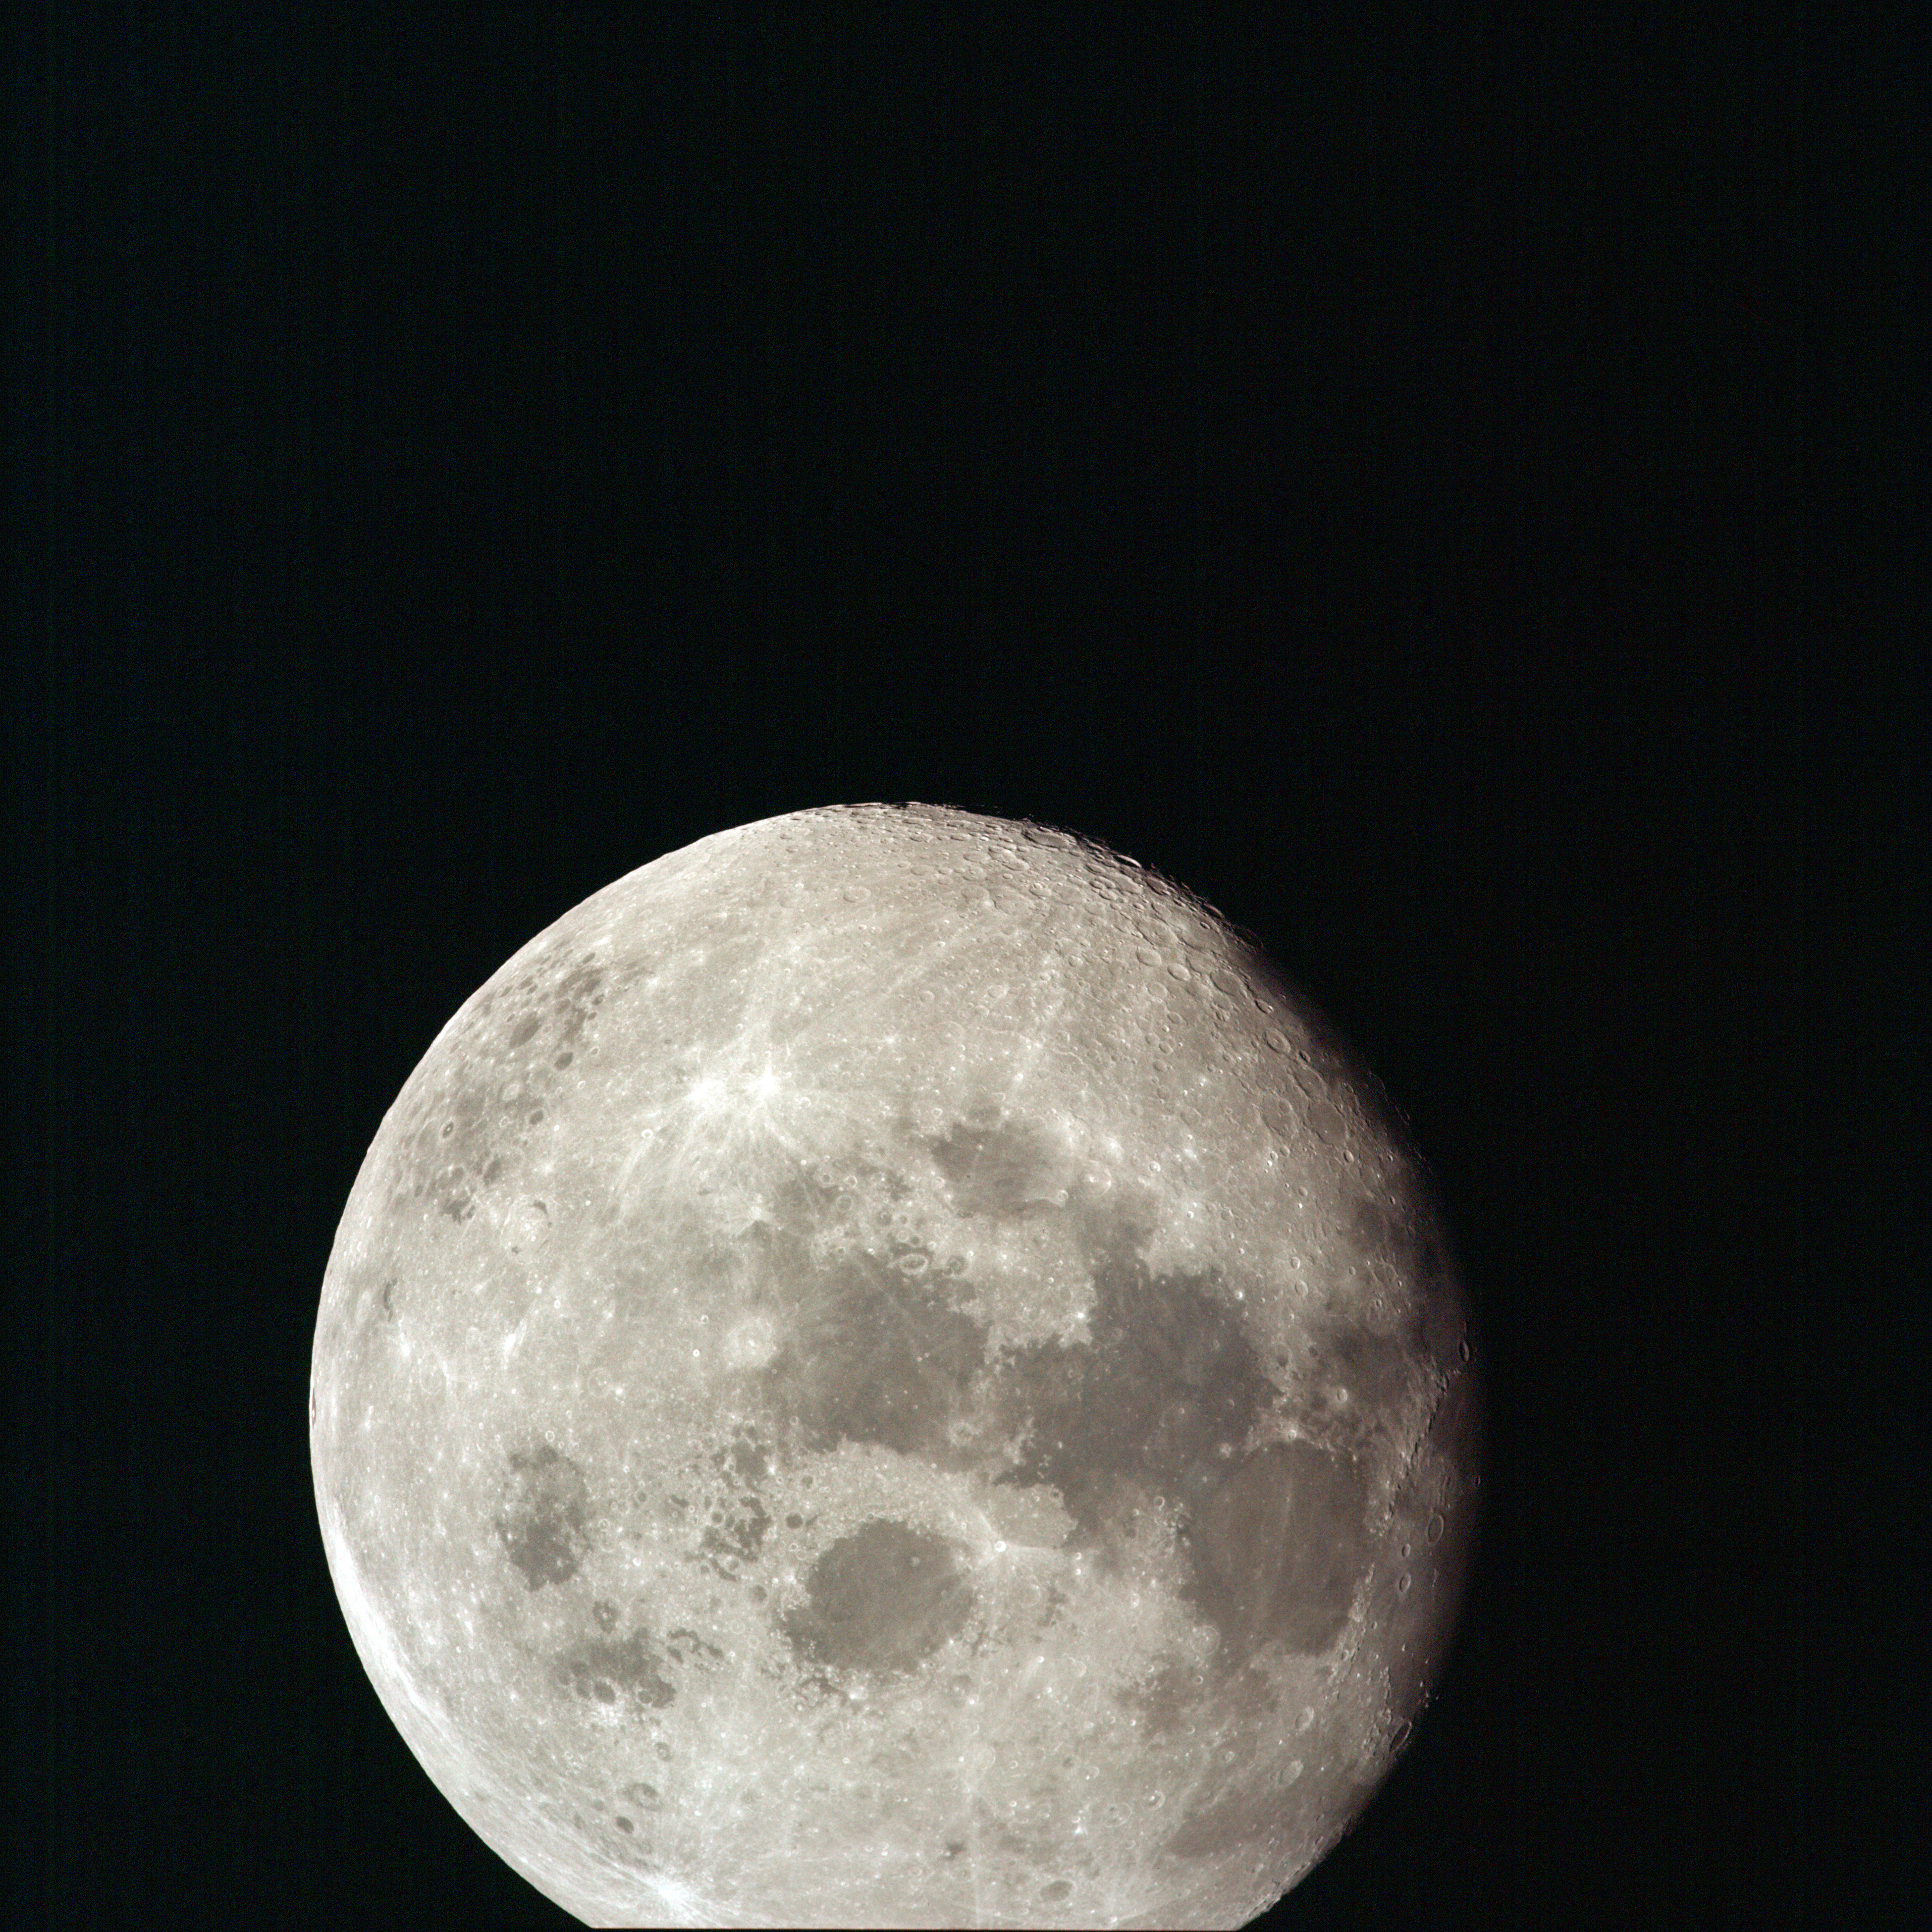 | AS13-60-8708 Partial large image of Moon taken during the early hours of the trans-Earth coast. Mare Fecunditatis and Mare Crisium are in the centre of the lunar disc. The lunar far-side is on the left of the disc. Image credit: Image Science and Analysis Laboratory, NASA-Johnson Space Center. |
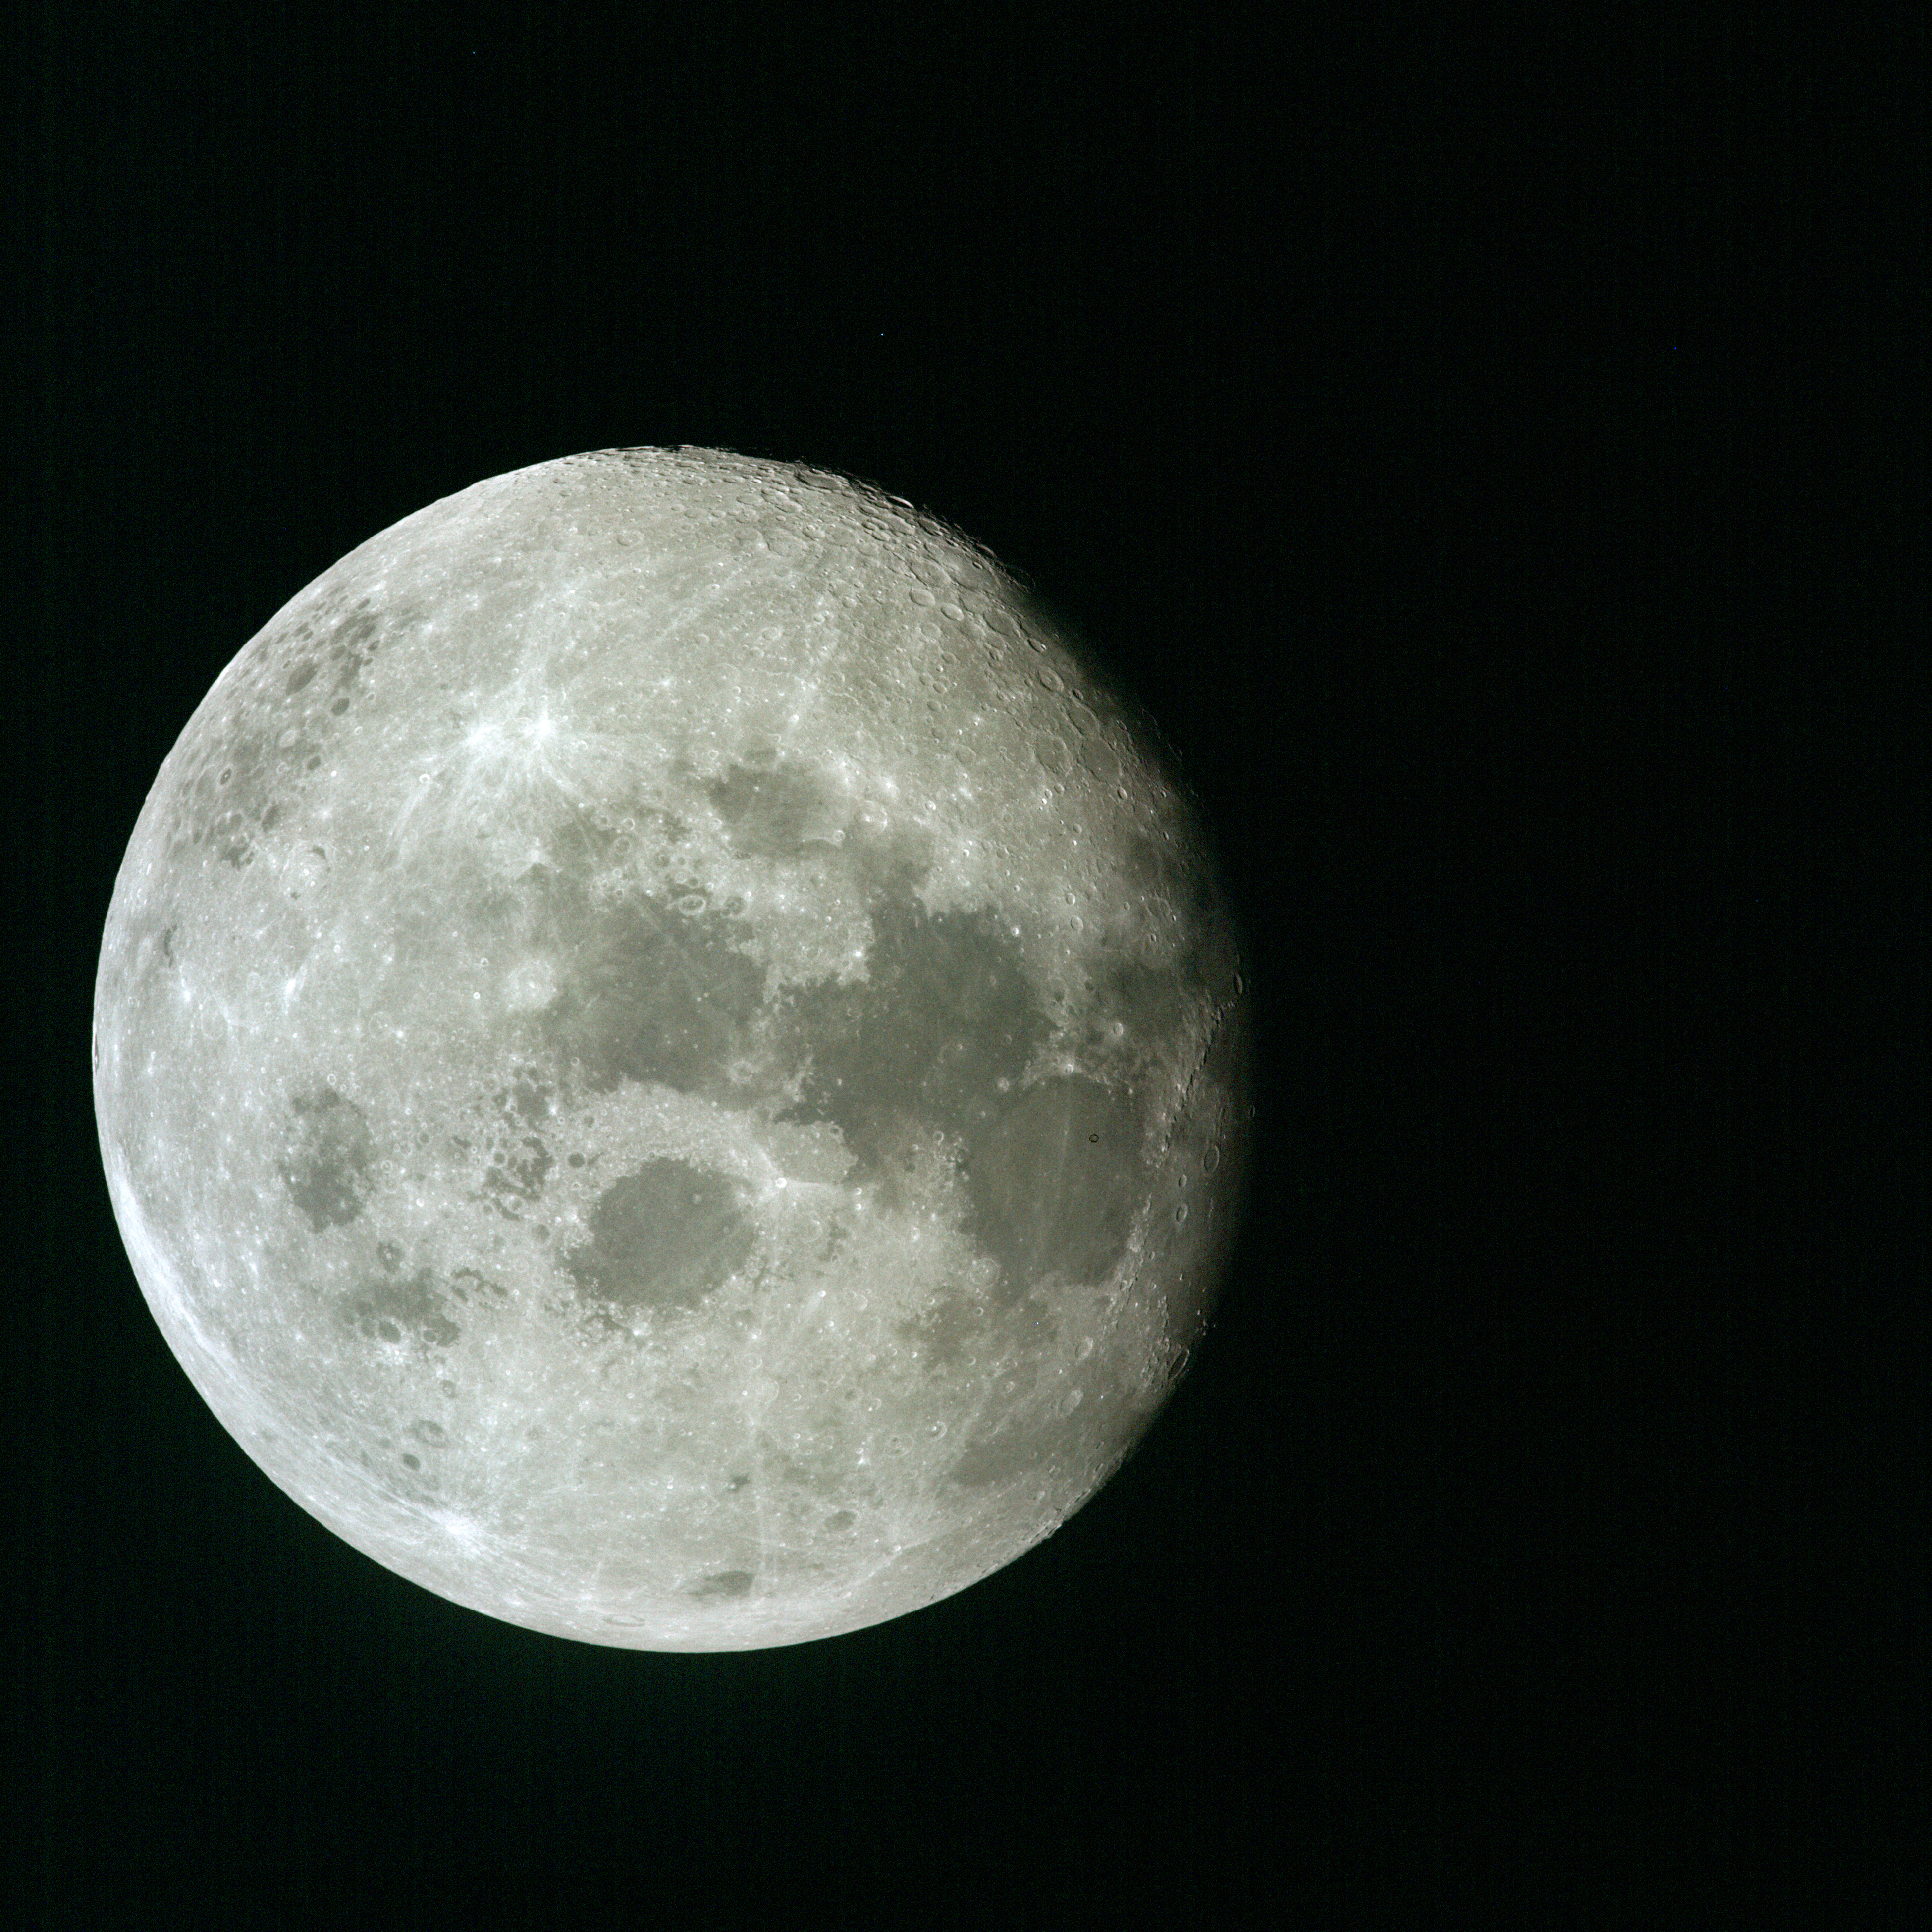 | AS13-60-8709 Large image of Moon taken during the early hours of the trans-Earth coast. Mare Fecunditatis and Mare Crisium are in the centre of the lunar disc. The lunar far-side is on the left of the disc. Image credit: Image Science and Analysis Laboratory, NASA-Johnson Space Center. |
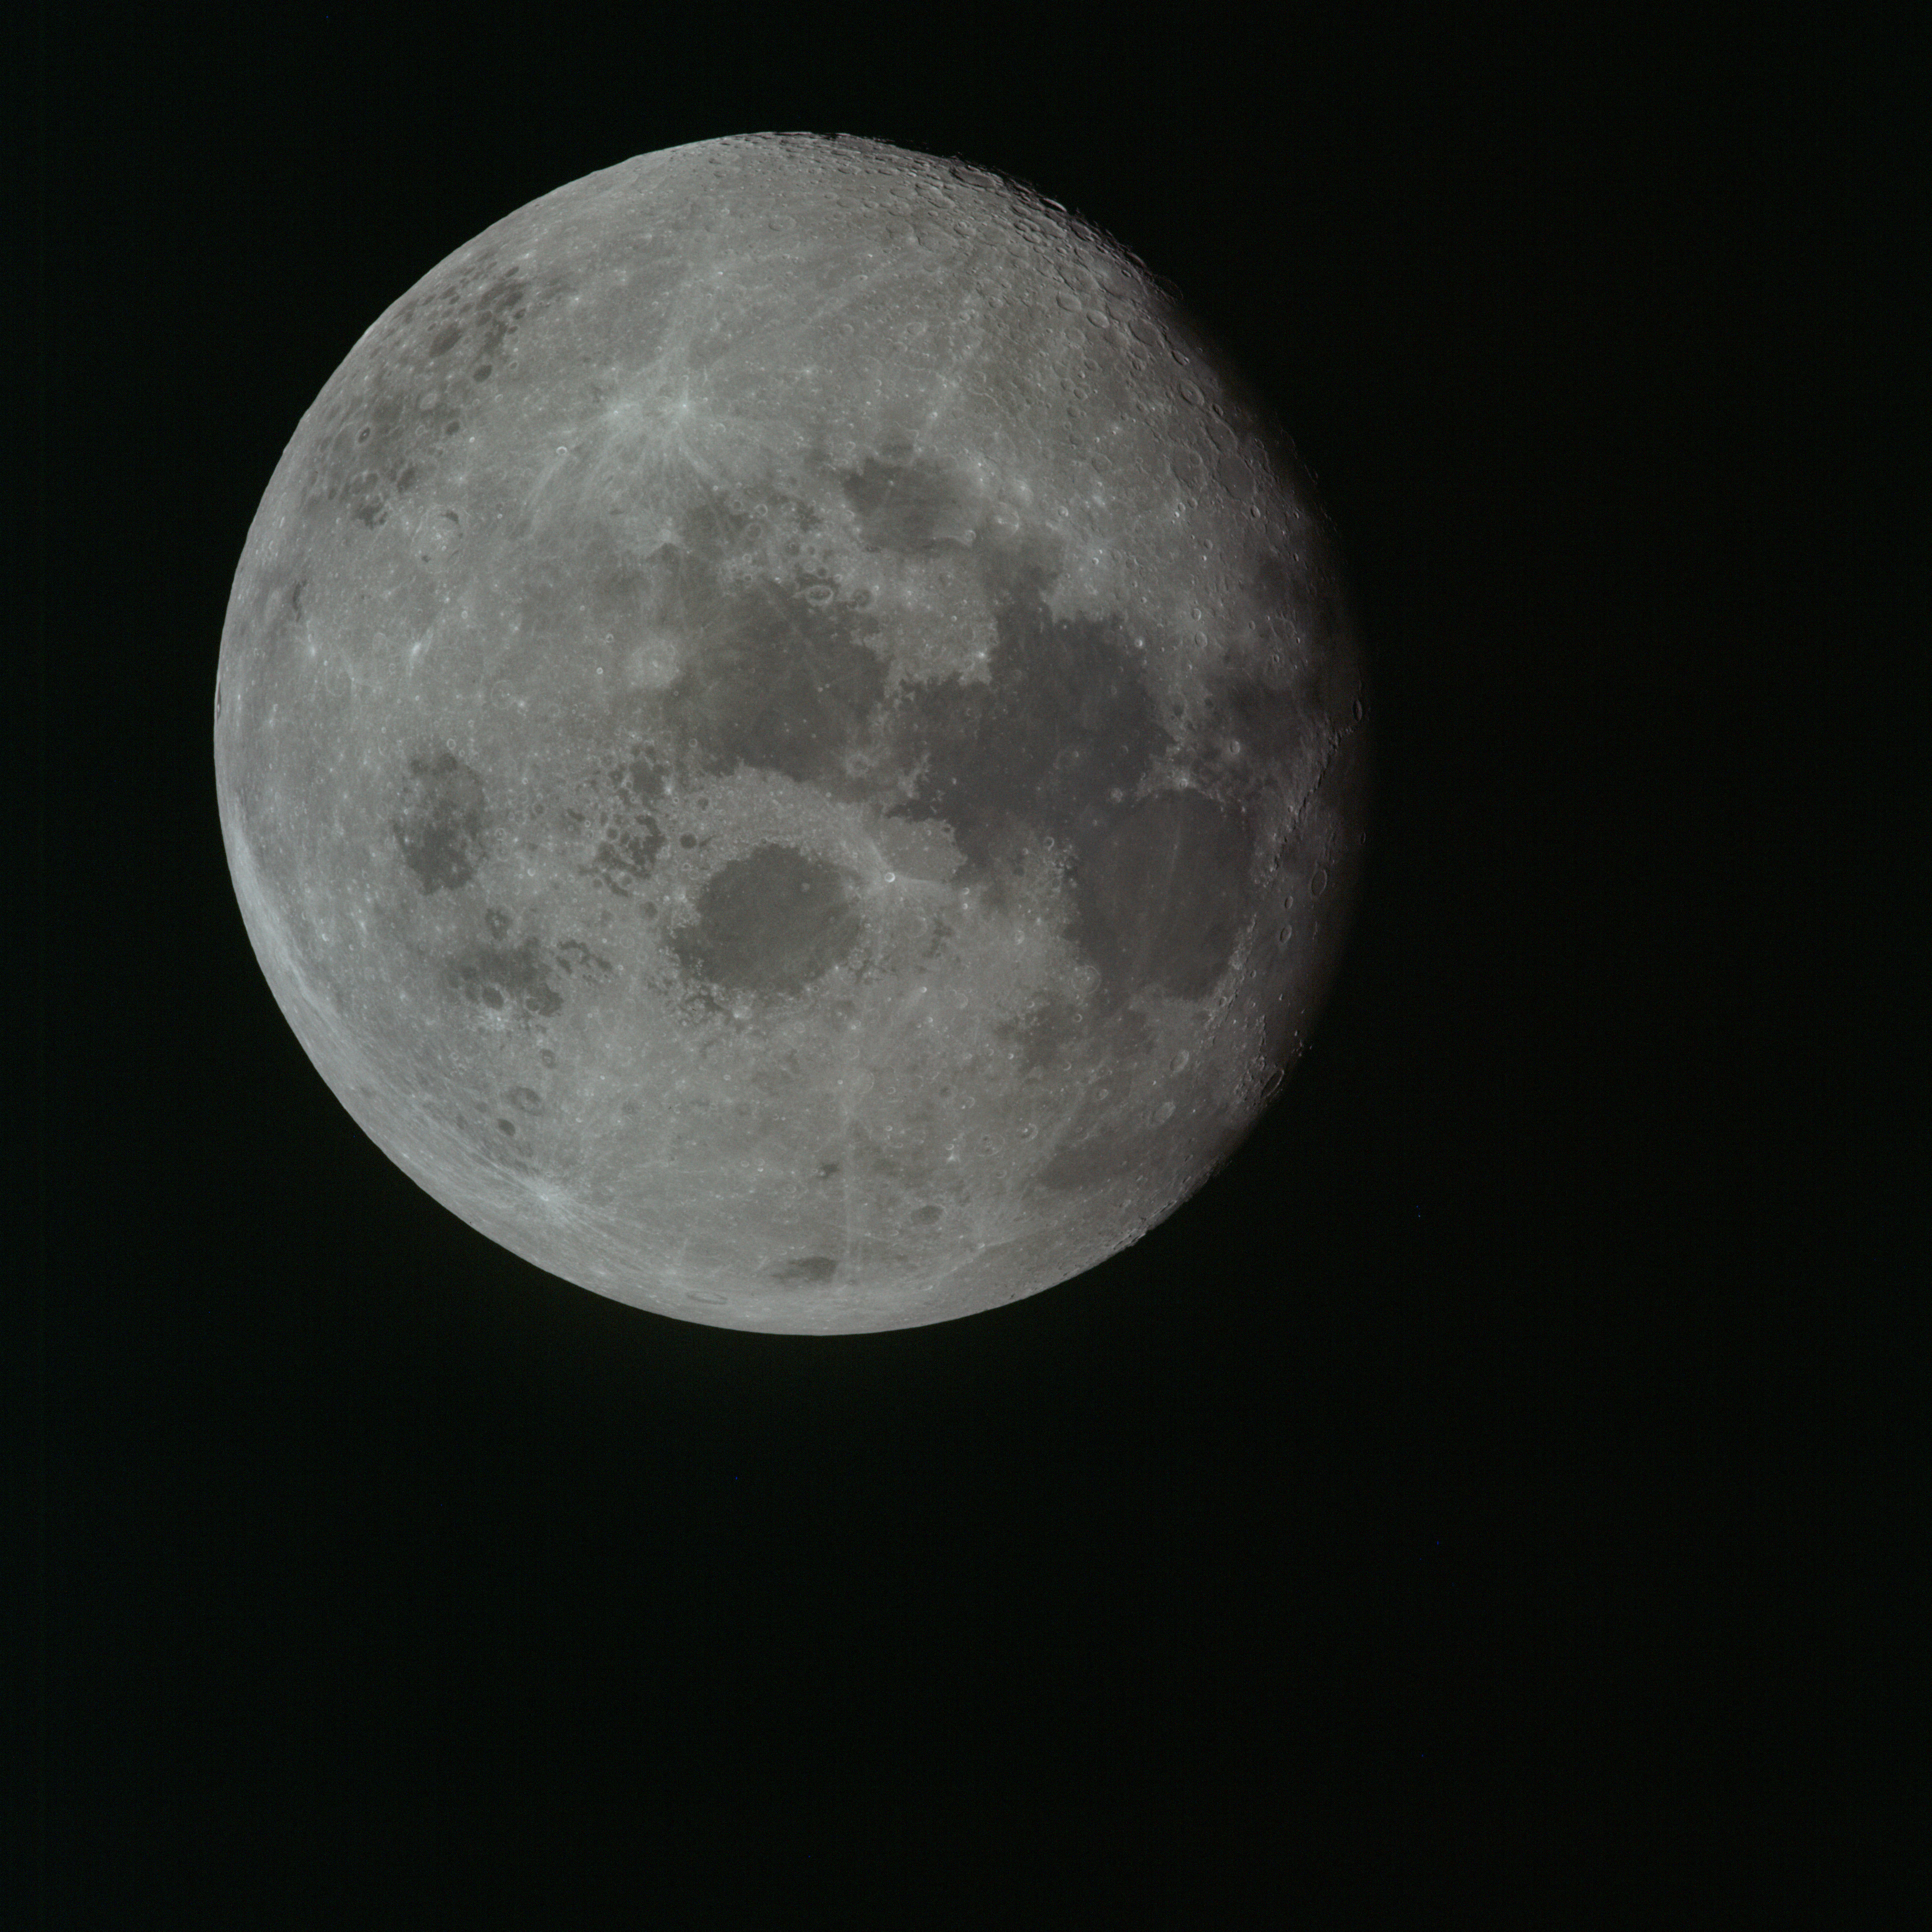 | AS13-60-8710 Large image of Moon taken during the early hours of the trans-Earth coast. Mare Fecunditatis and Mare Crisium are in the centre of the lunar disc. The lunar far-side is on the left of the disc. Image credit: Image Science and Analysis Laboratory, NASA-Johnson Space Center. |
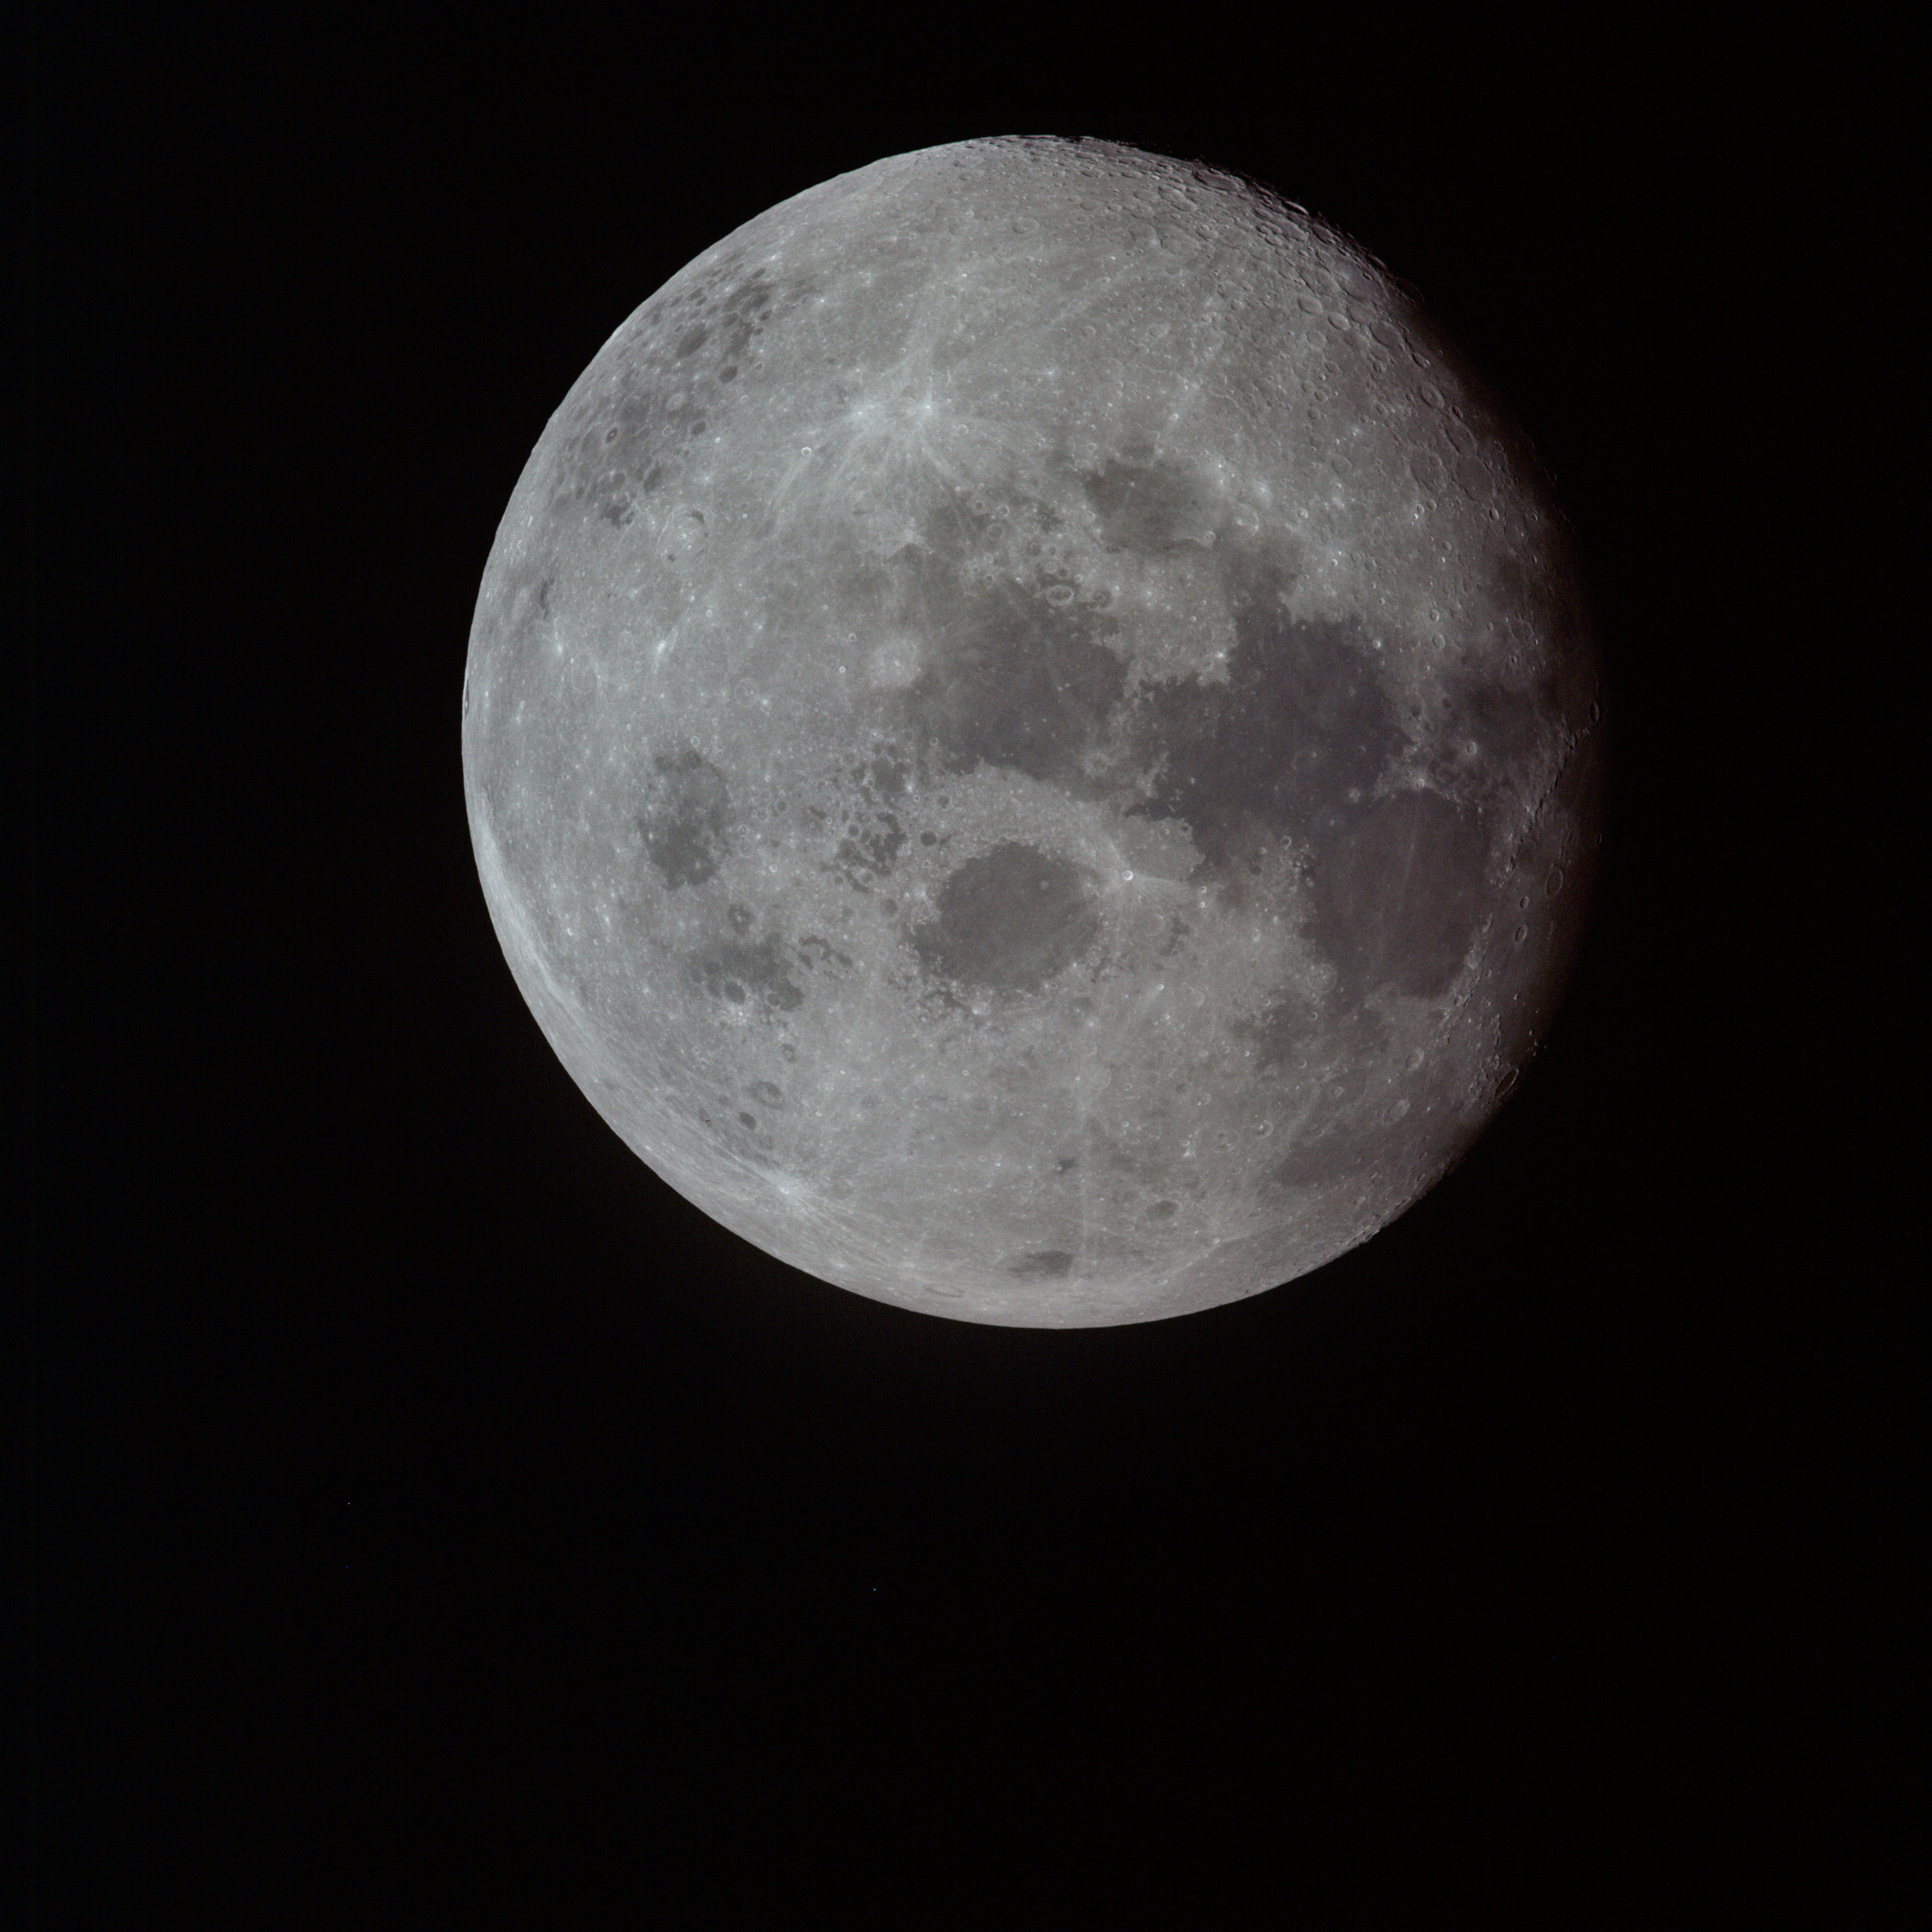 | AS13-60-8711 Large image of Moon taken during the early hours of the trans-Earth coast. Mare Fecunditatis and Mare Crisium are in the centre of the lunar disc. The lunar far-side is on the left of the disc. XXXXXXXXXXXXXXX Image credit: Image Science and Analysis Laboratory, NASA-Johnson Space Center. |
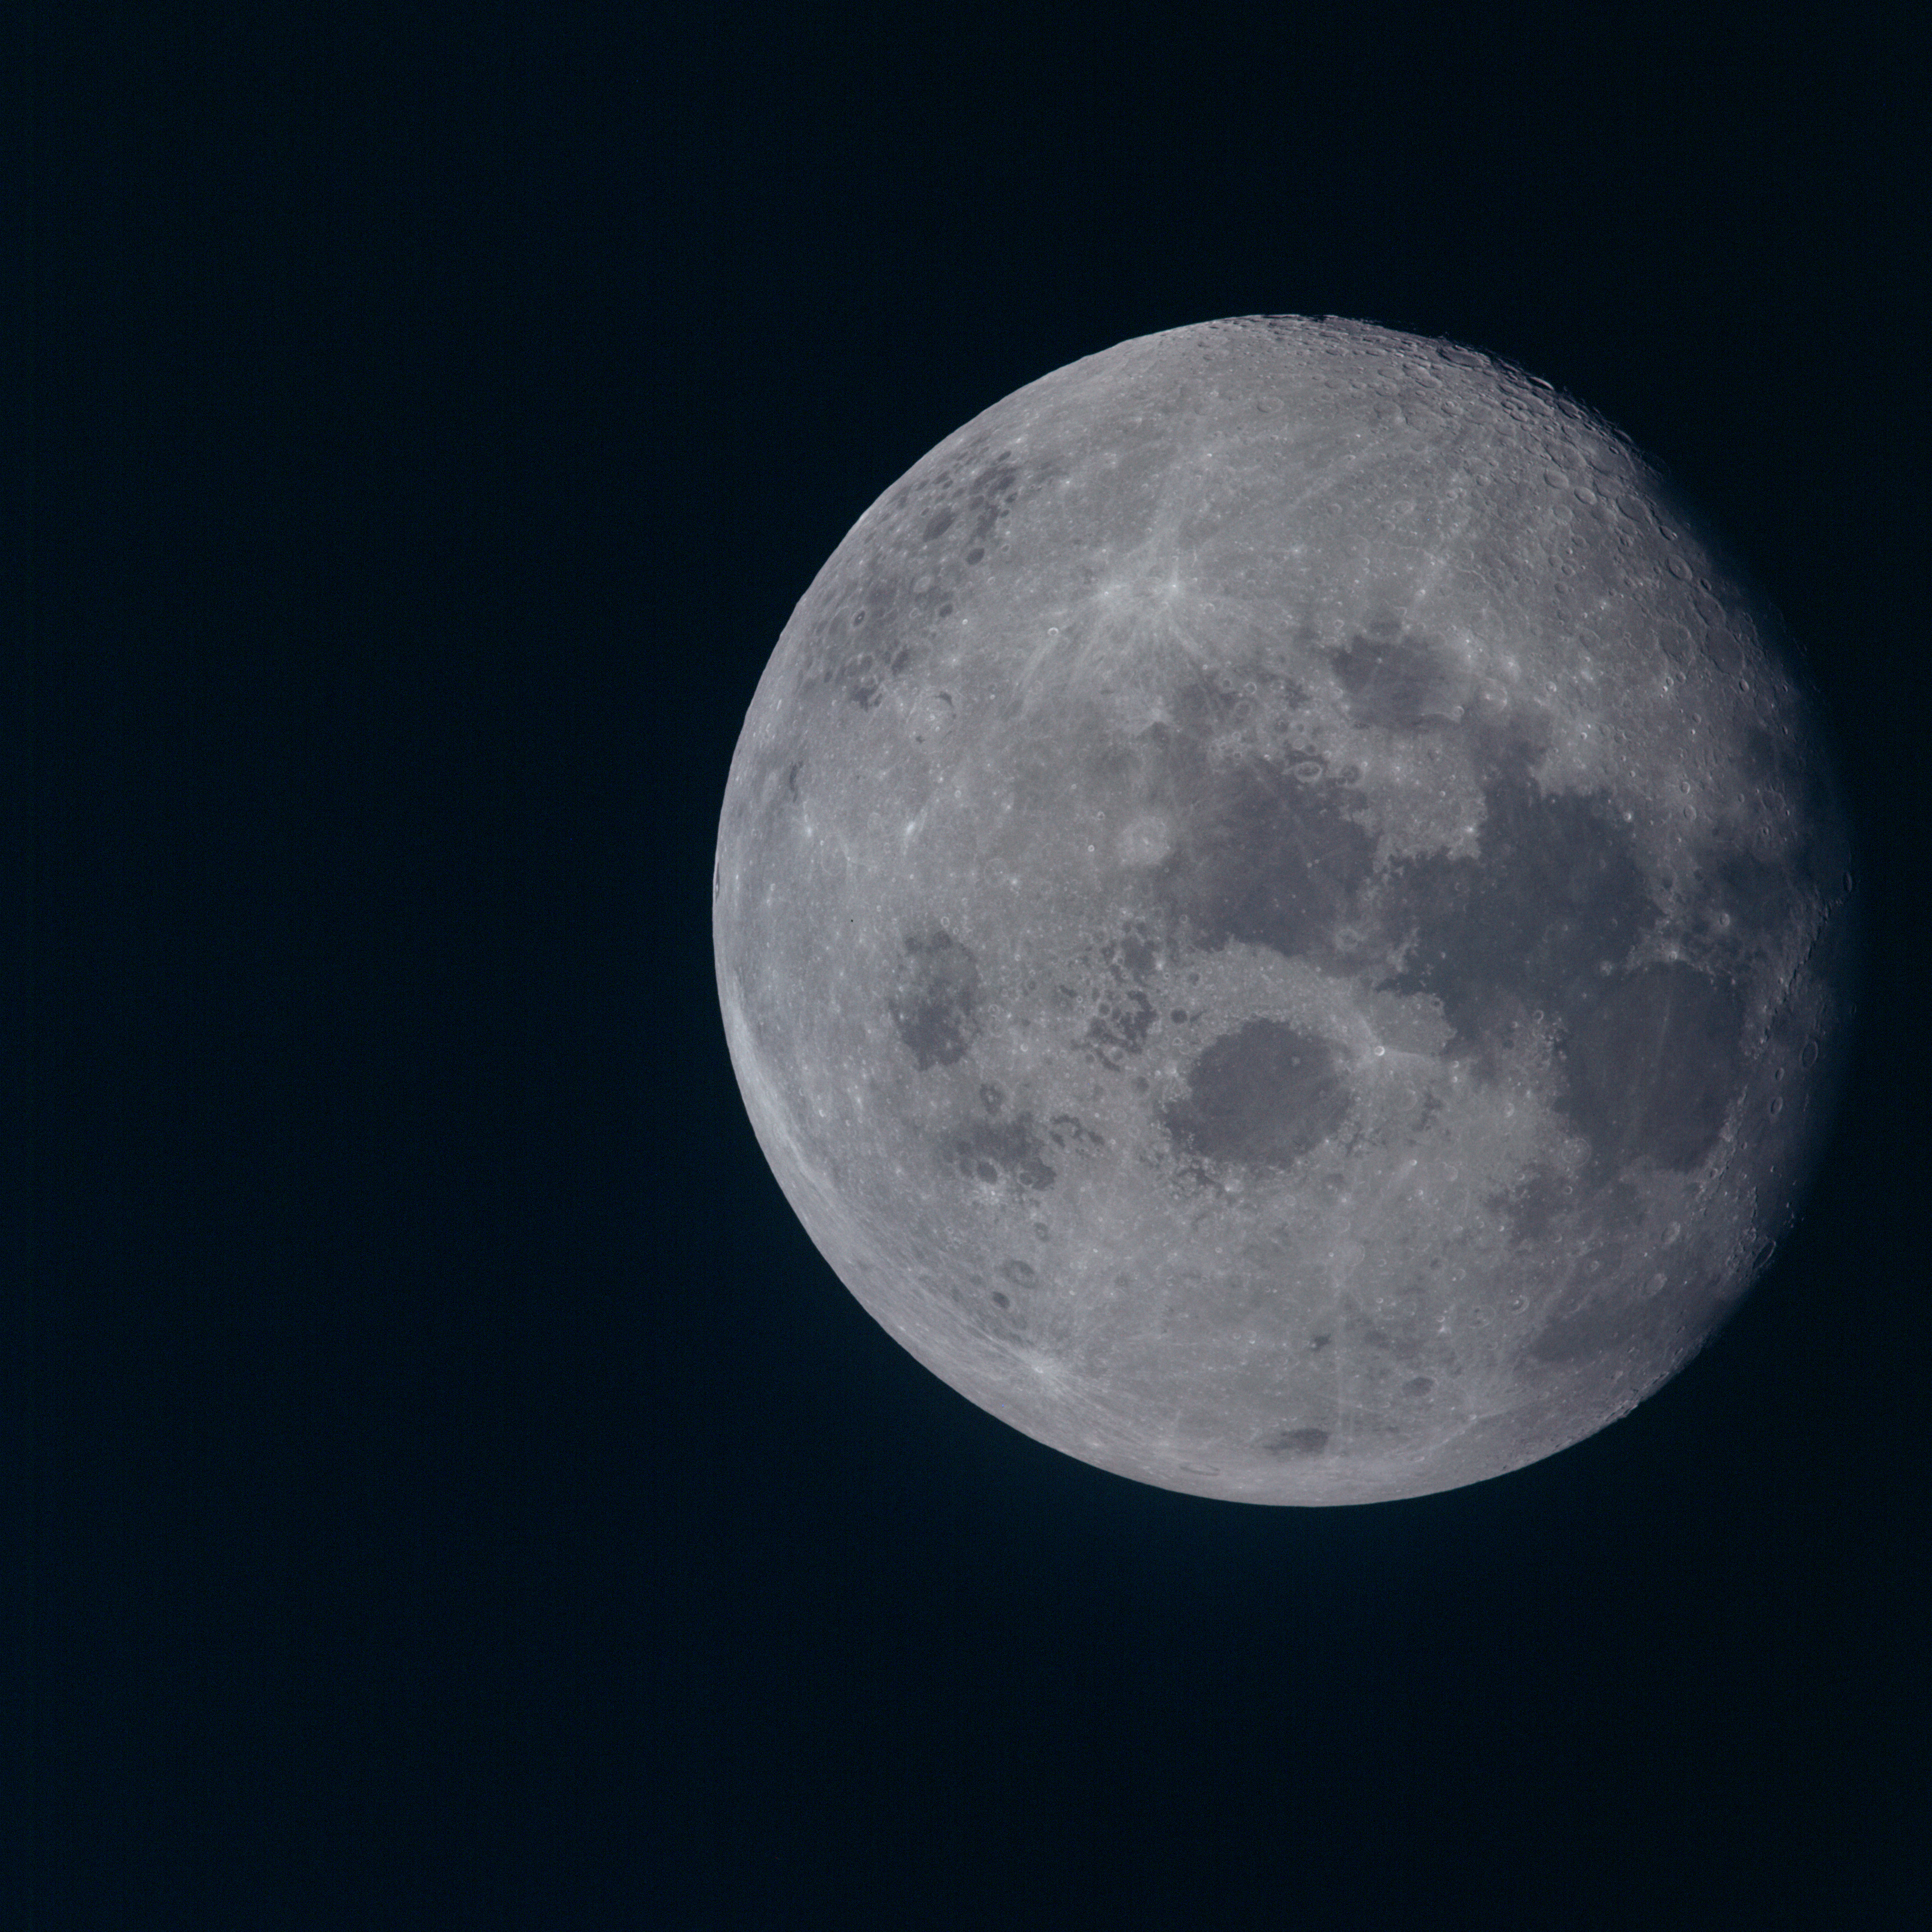 | AS13-60-8712 Large image of Moon taken during the early hours of the trans-Earth coast. Mare Fecunditatis and Mare Crisium are in the centre of the lunar disc. The lunar far-side is on the left of the disc. Image credit: Image Science and Analysis Laboratory, NASA-Johnson Space Center. |
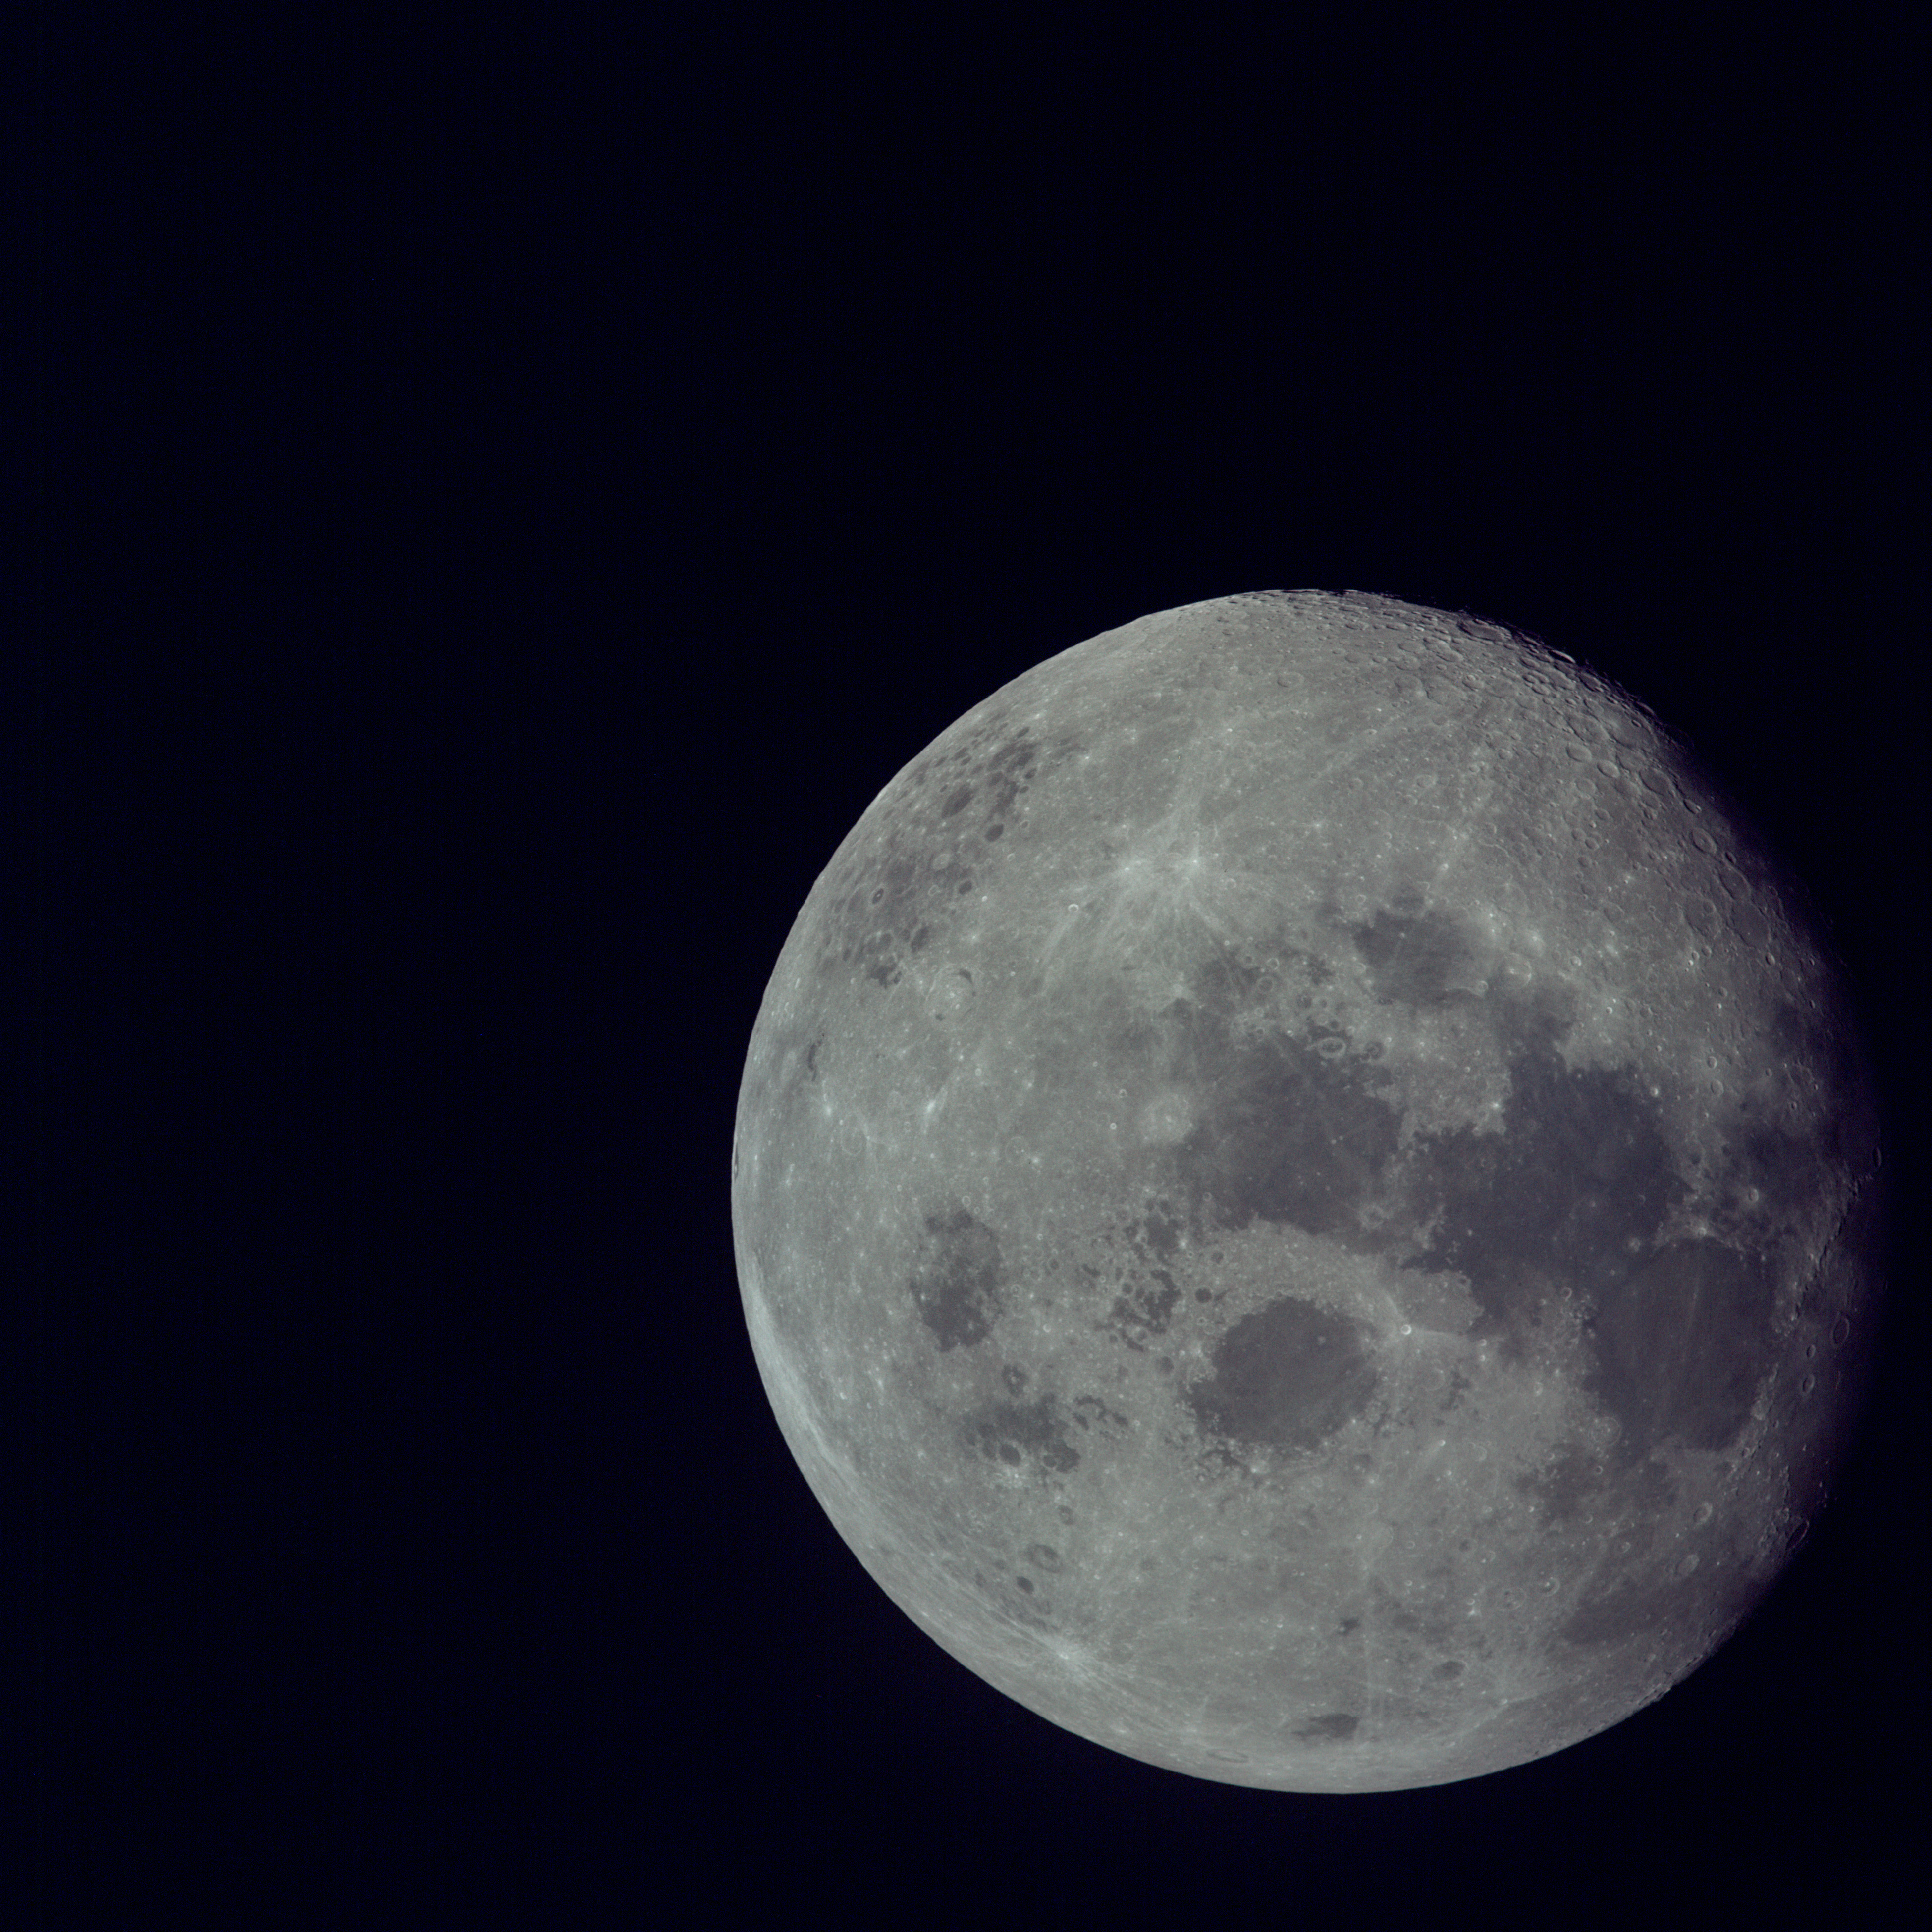 | AS13-60-8713 Large image of Moon taken during the early hours of the trans-Earth coast. Mare Fecunditatis and Mare Crisium are in the centre of the lunar disc. The lunar far-side is on the left of the disc. Image credit: Image Science and Analysis Laboratory, NASA-Johnson Space Center. |
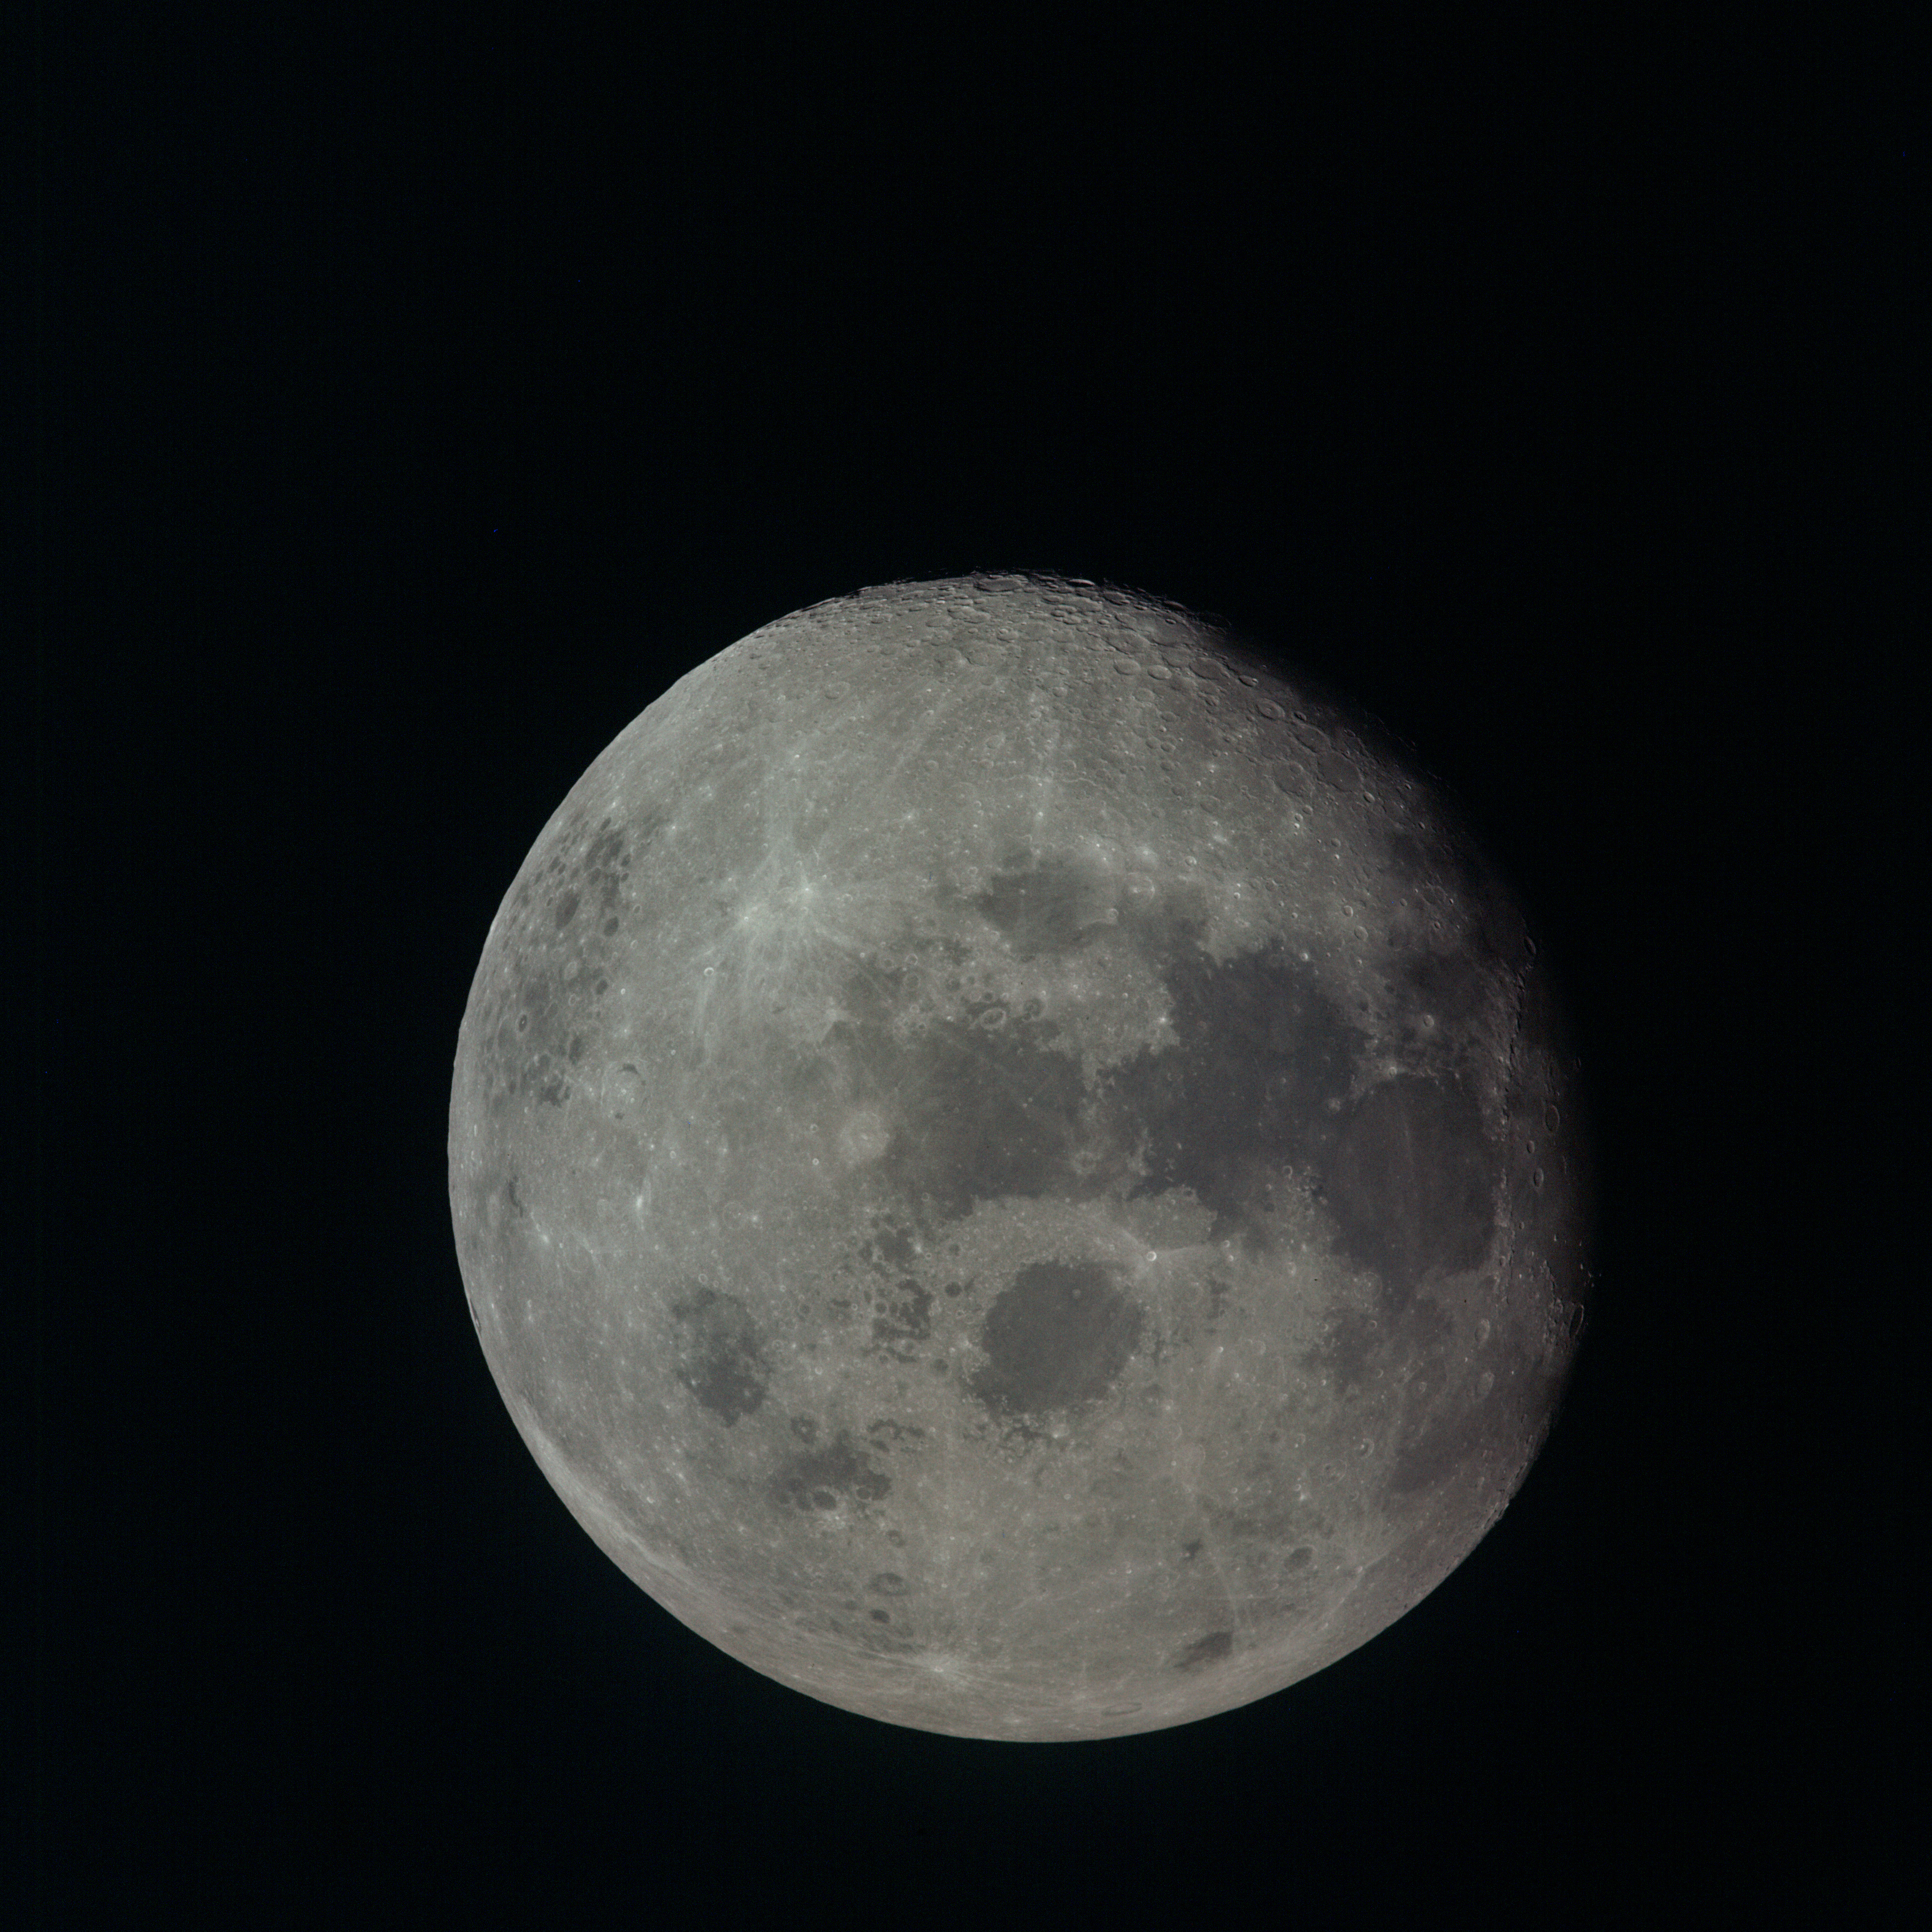 | AS13-60-8714 Large image of Moon taken during the early hours of the trans-Earth coast. Mare Fecunditatis and Mare Crisium are in the centre of the lunar disc. The lunar far-side is on the left of the disc. Image credit: Image Science and Analysis Laboratory, NASA-Johnson Space Center. |
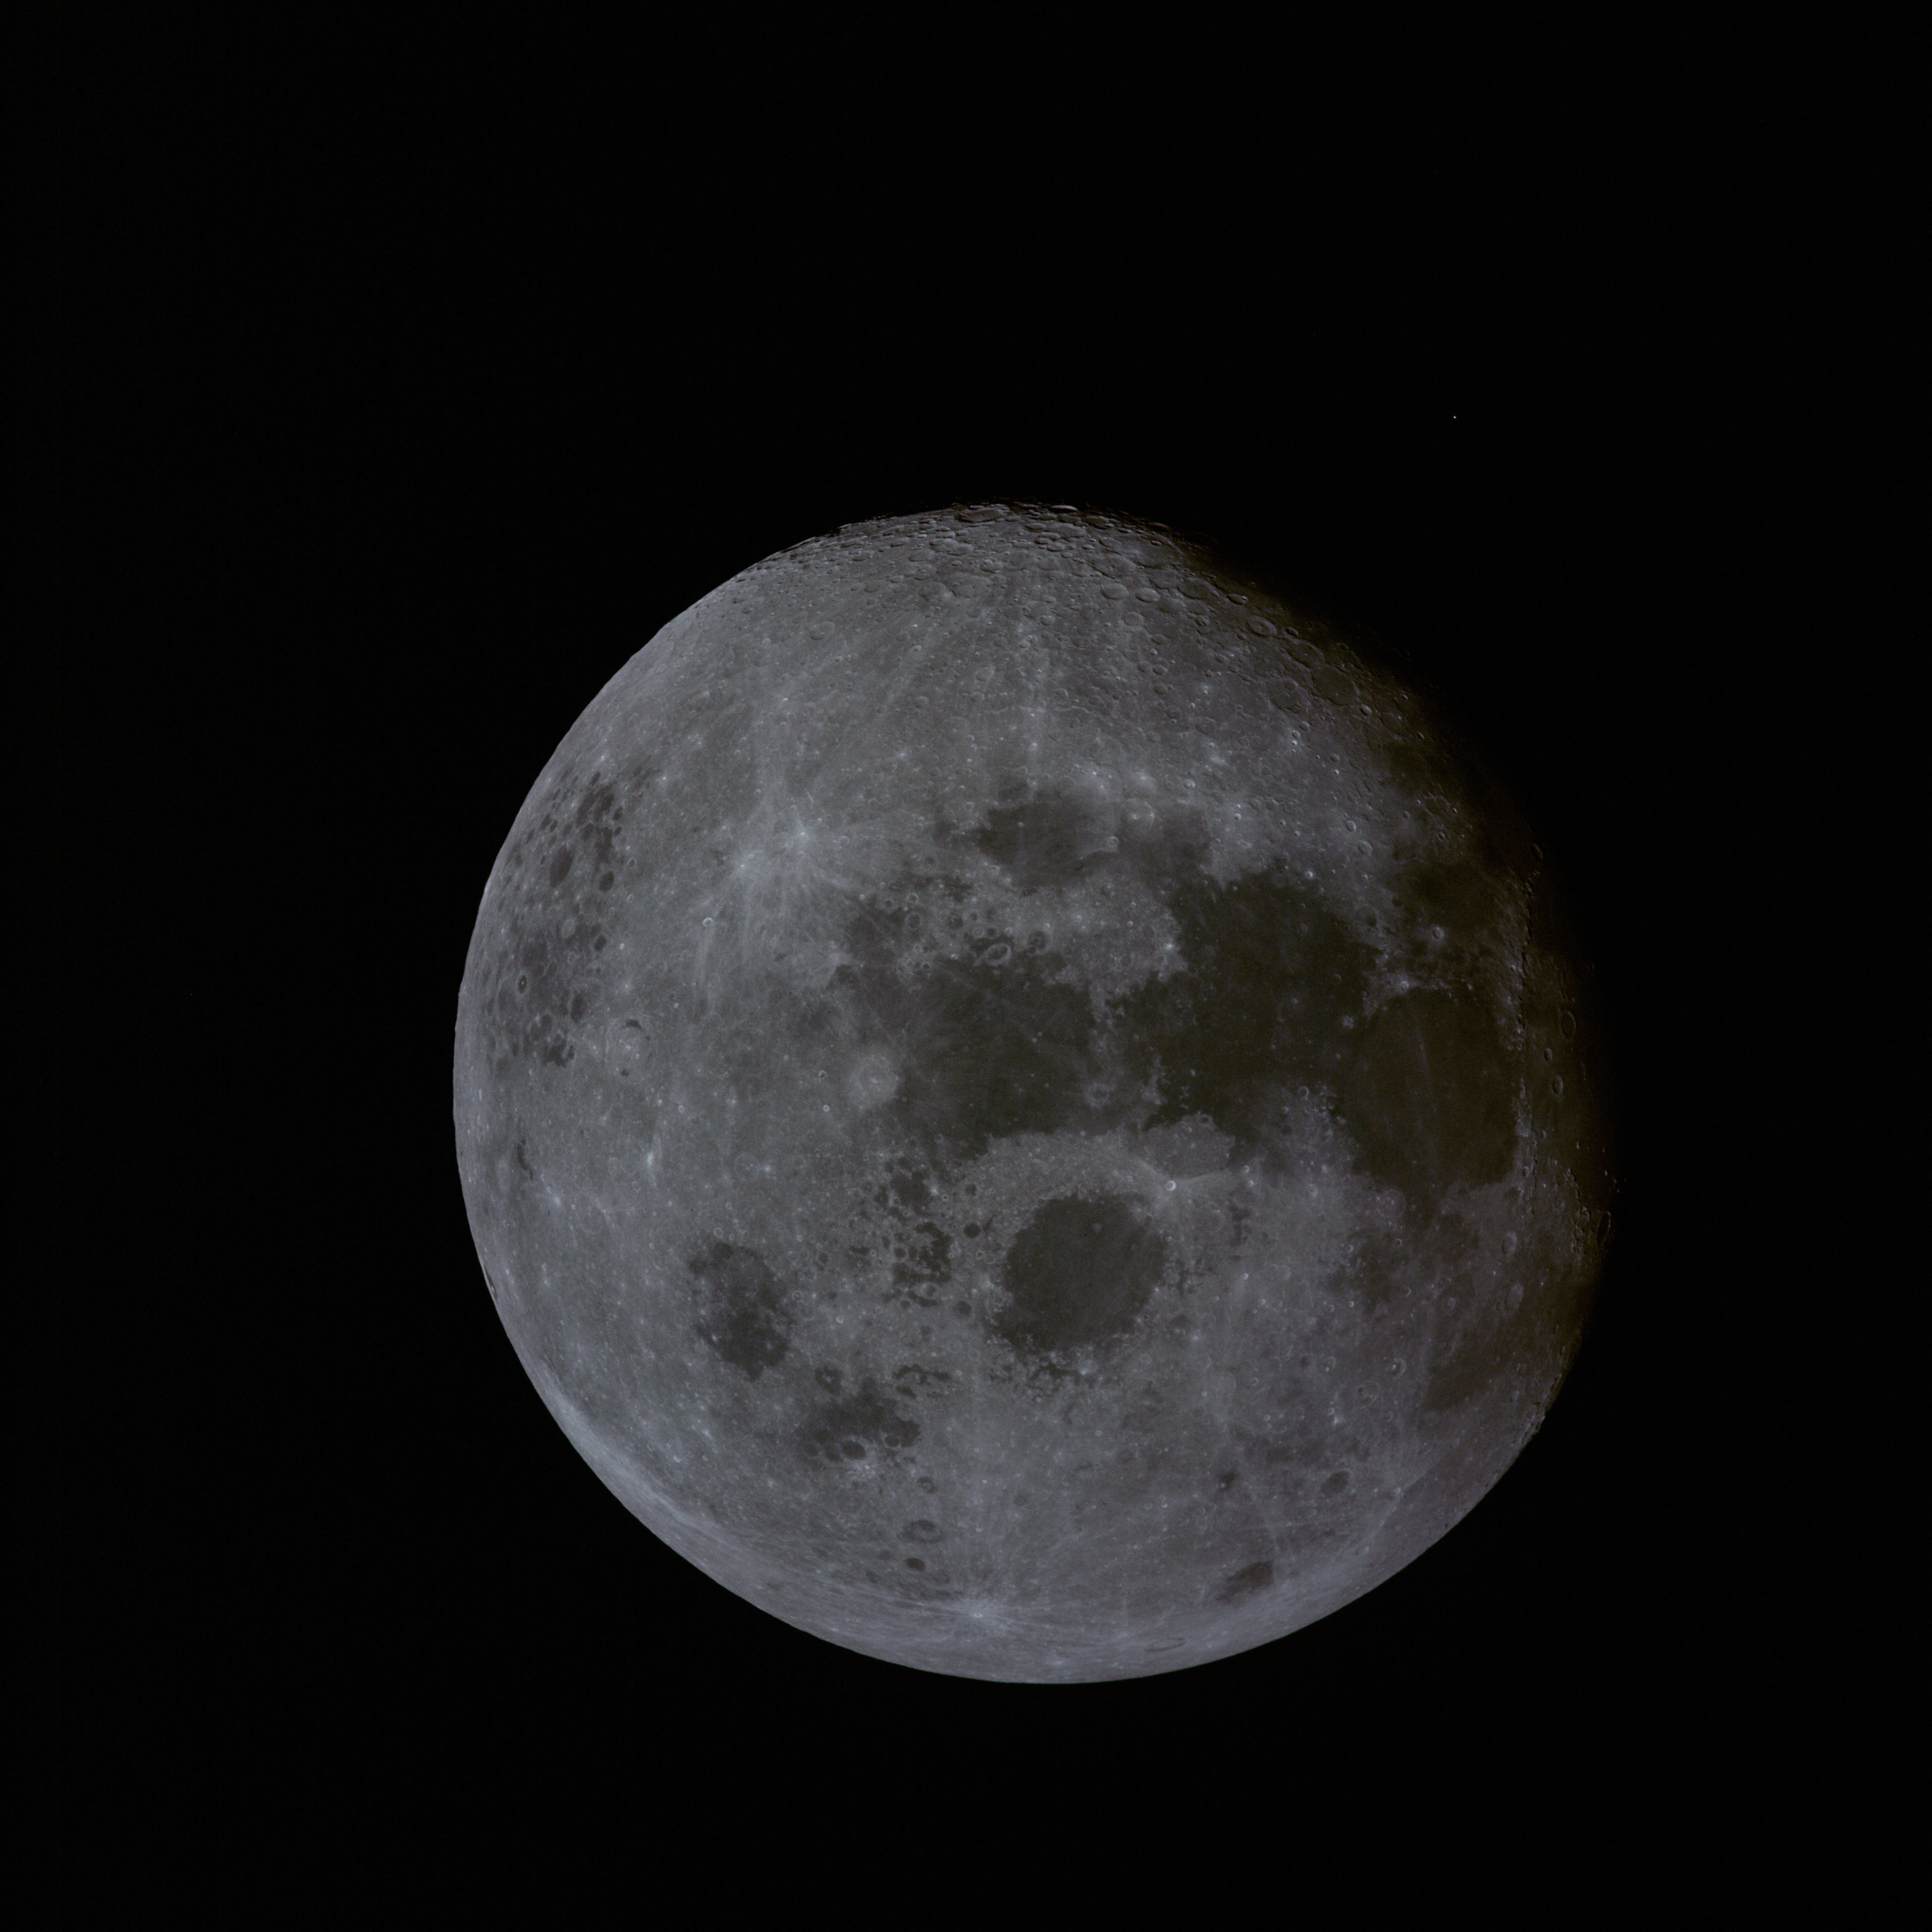 | AS13-60-8715 Large image of Moon taken during the early hours of the trans-Earth coast. Mare Fecunditatis and Mare Crisium are in the centre of the lunar disc. The lunar far-side is on the left of the disc. Image credit: Image Science and Analysis Laboratory, NASA-Johnson Space Center. |
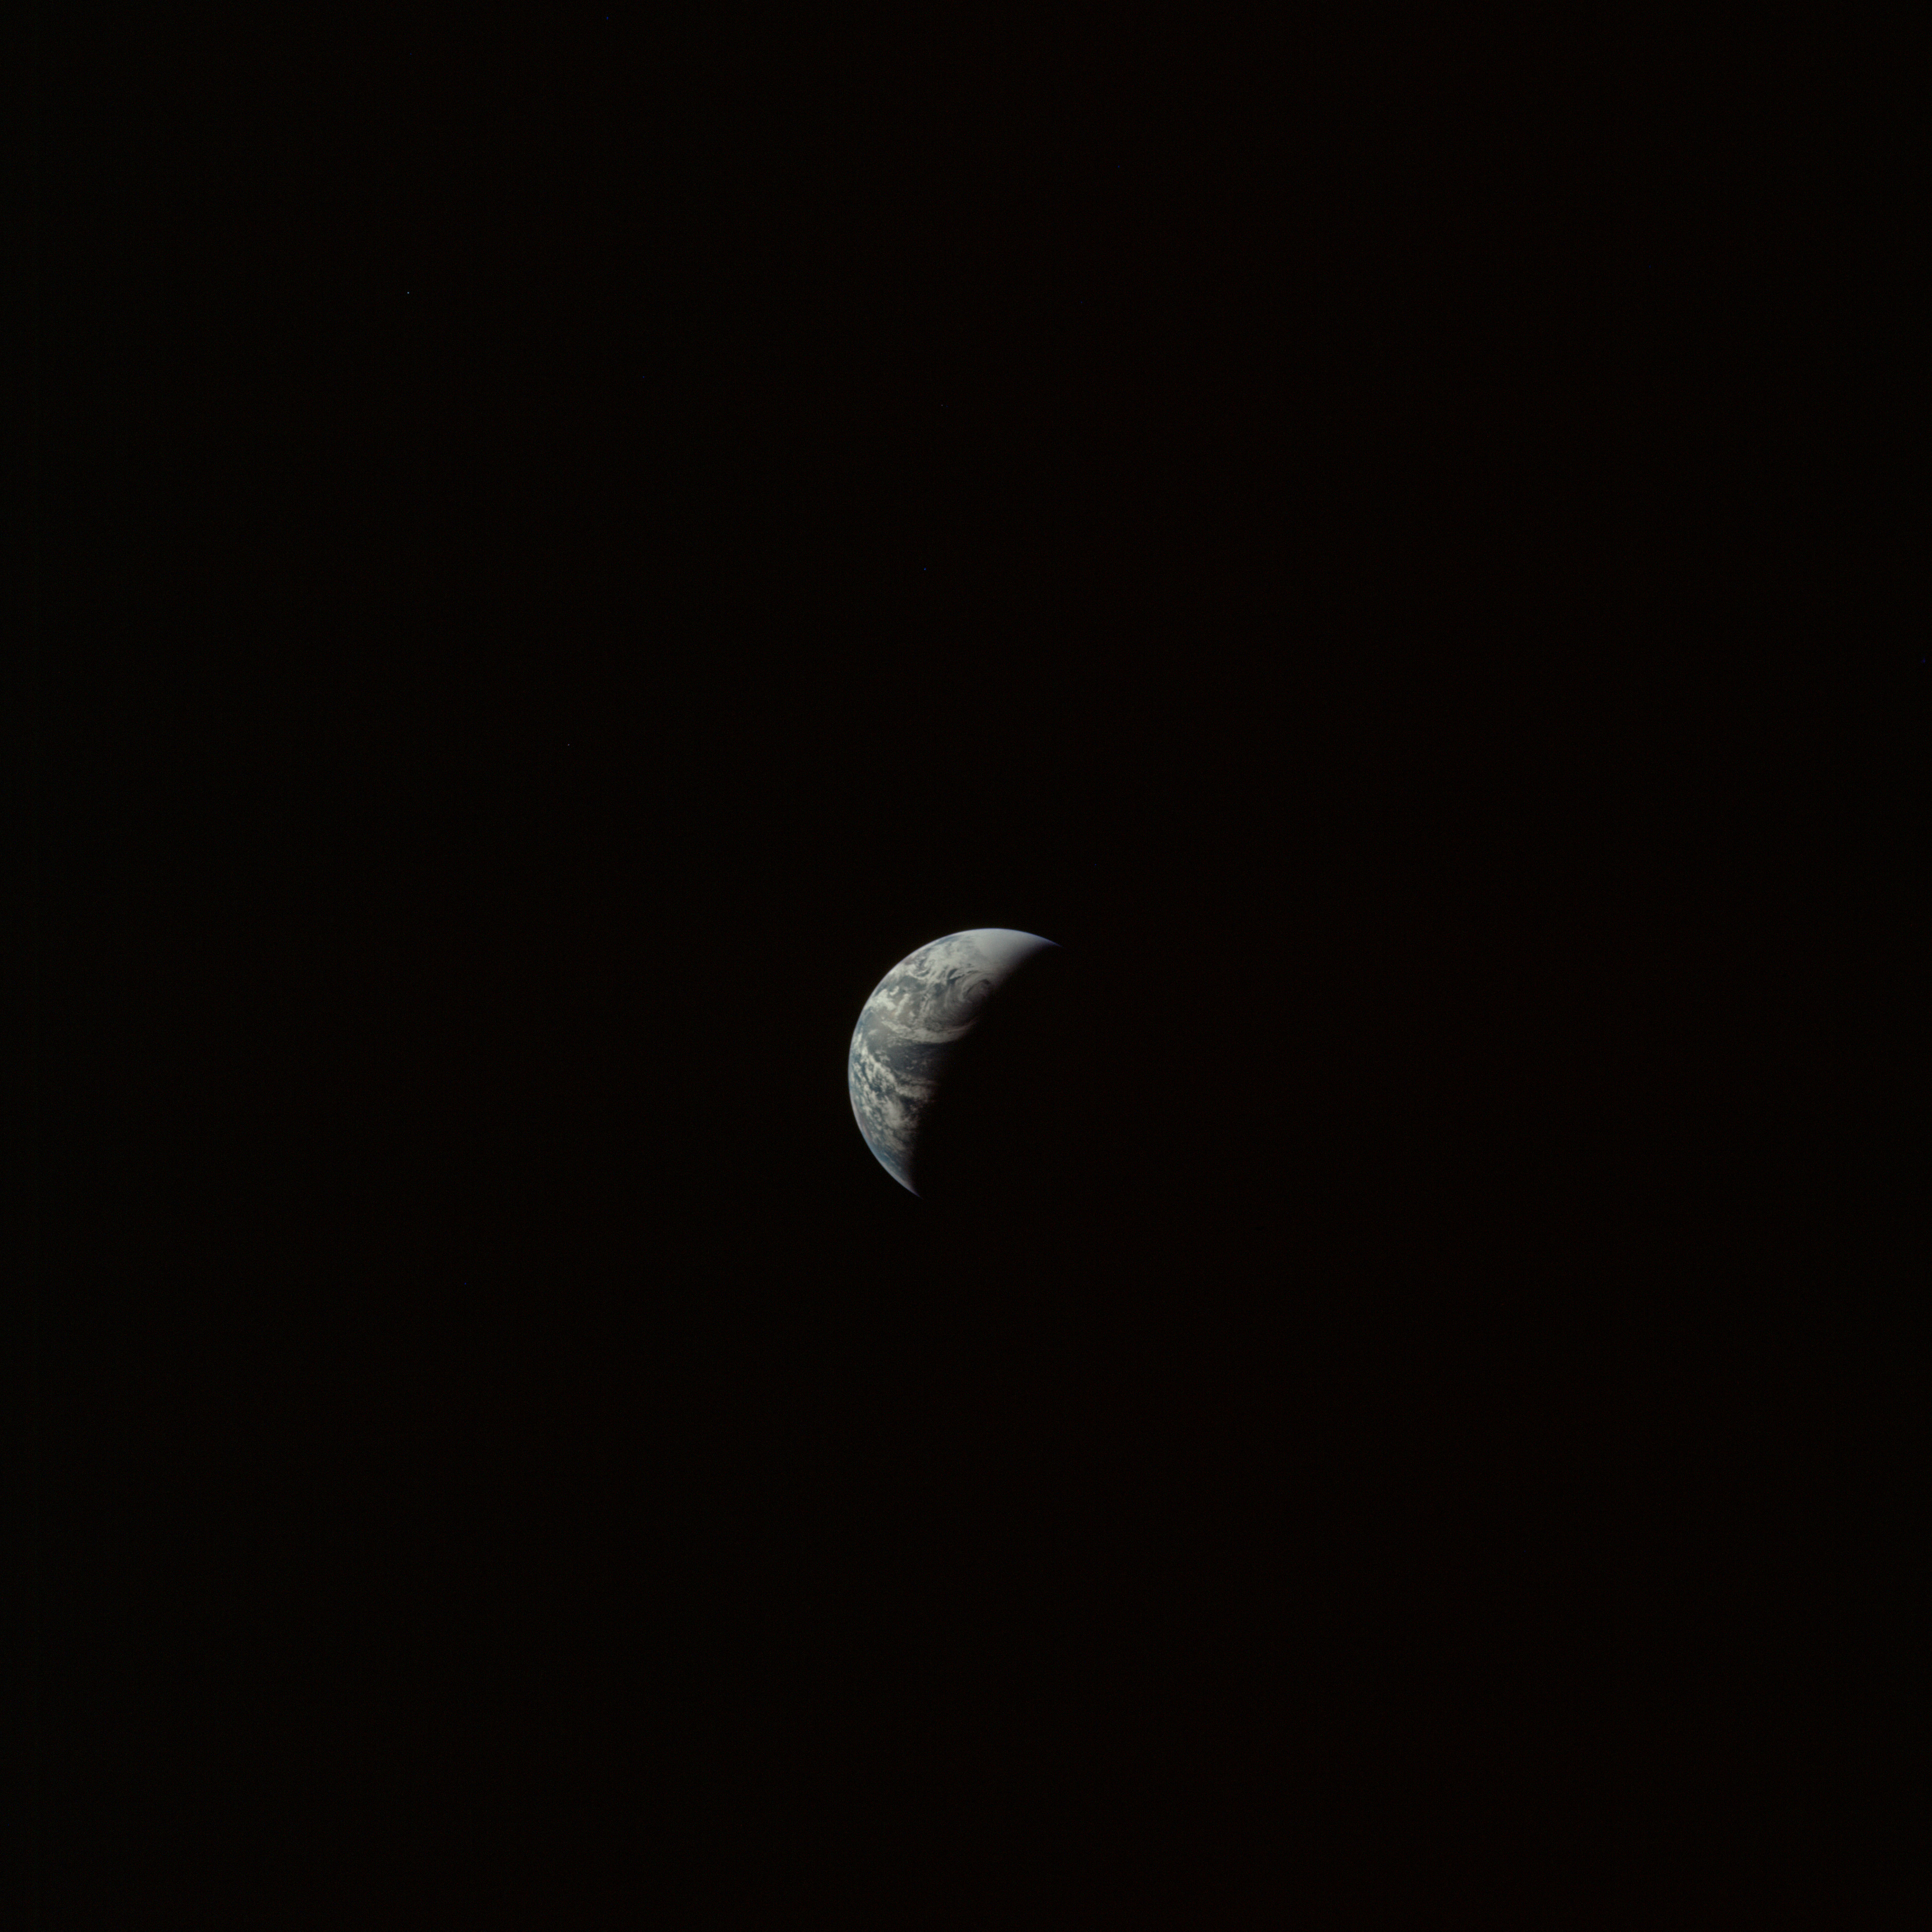 | AS13-60-8716 Crescent Earth during trans-Earth coast. Image credit: Image Science and Analysis Laboratory, NASA-Johnson Space Center. |
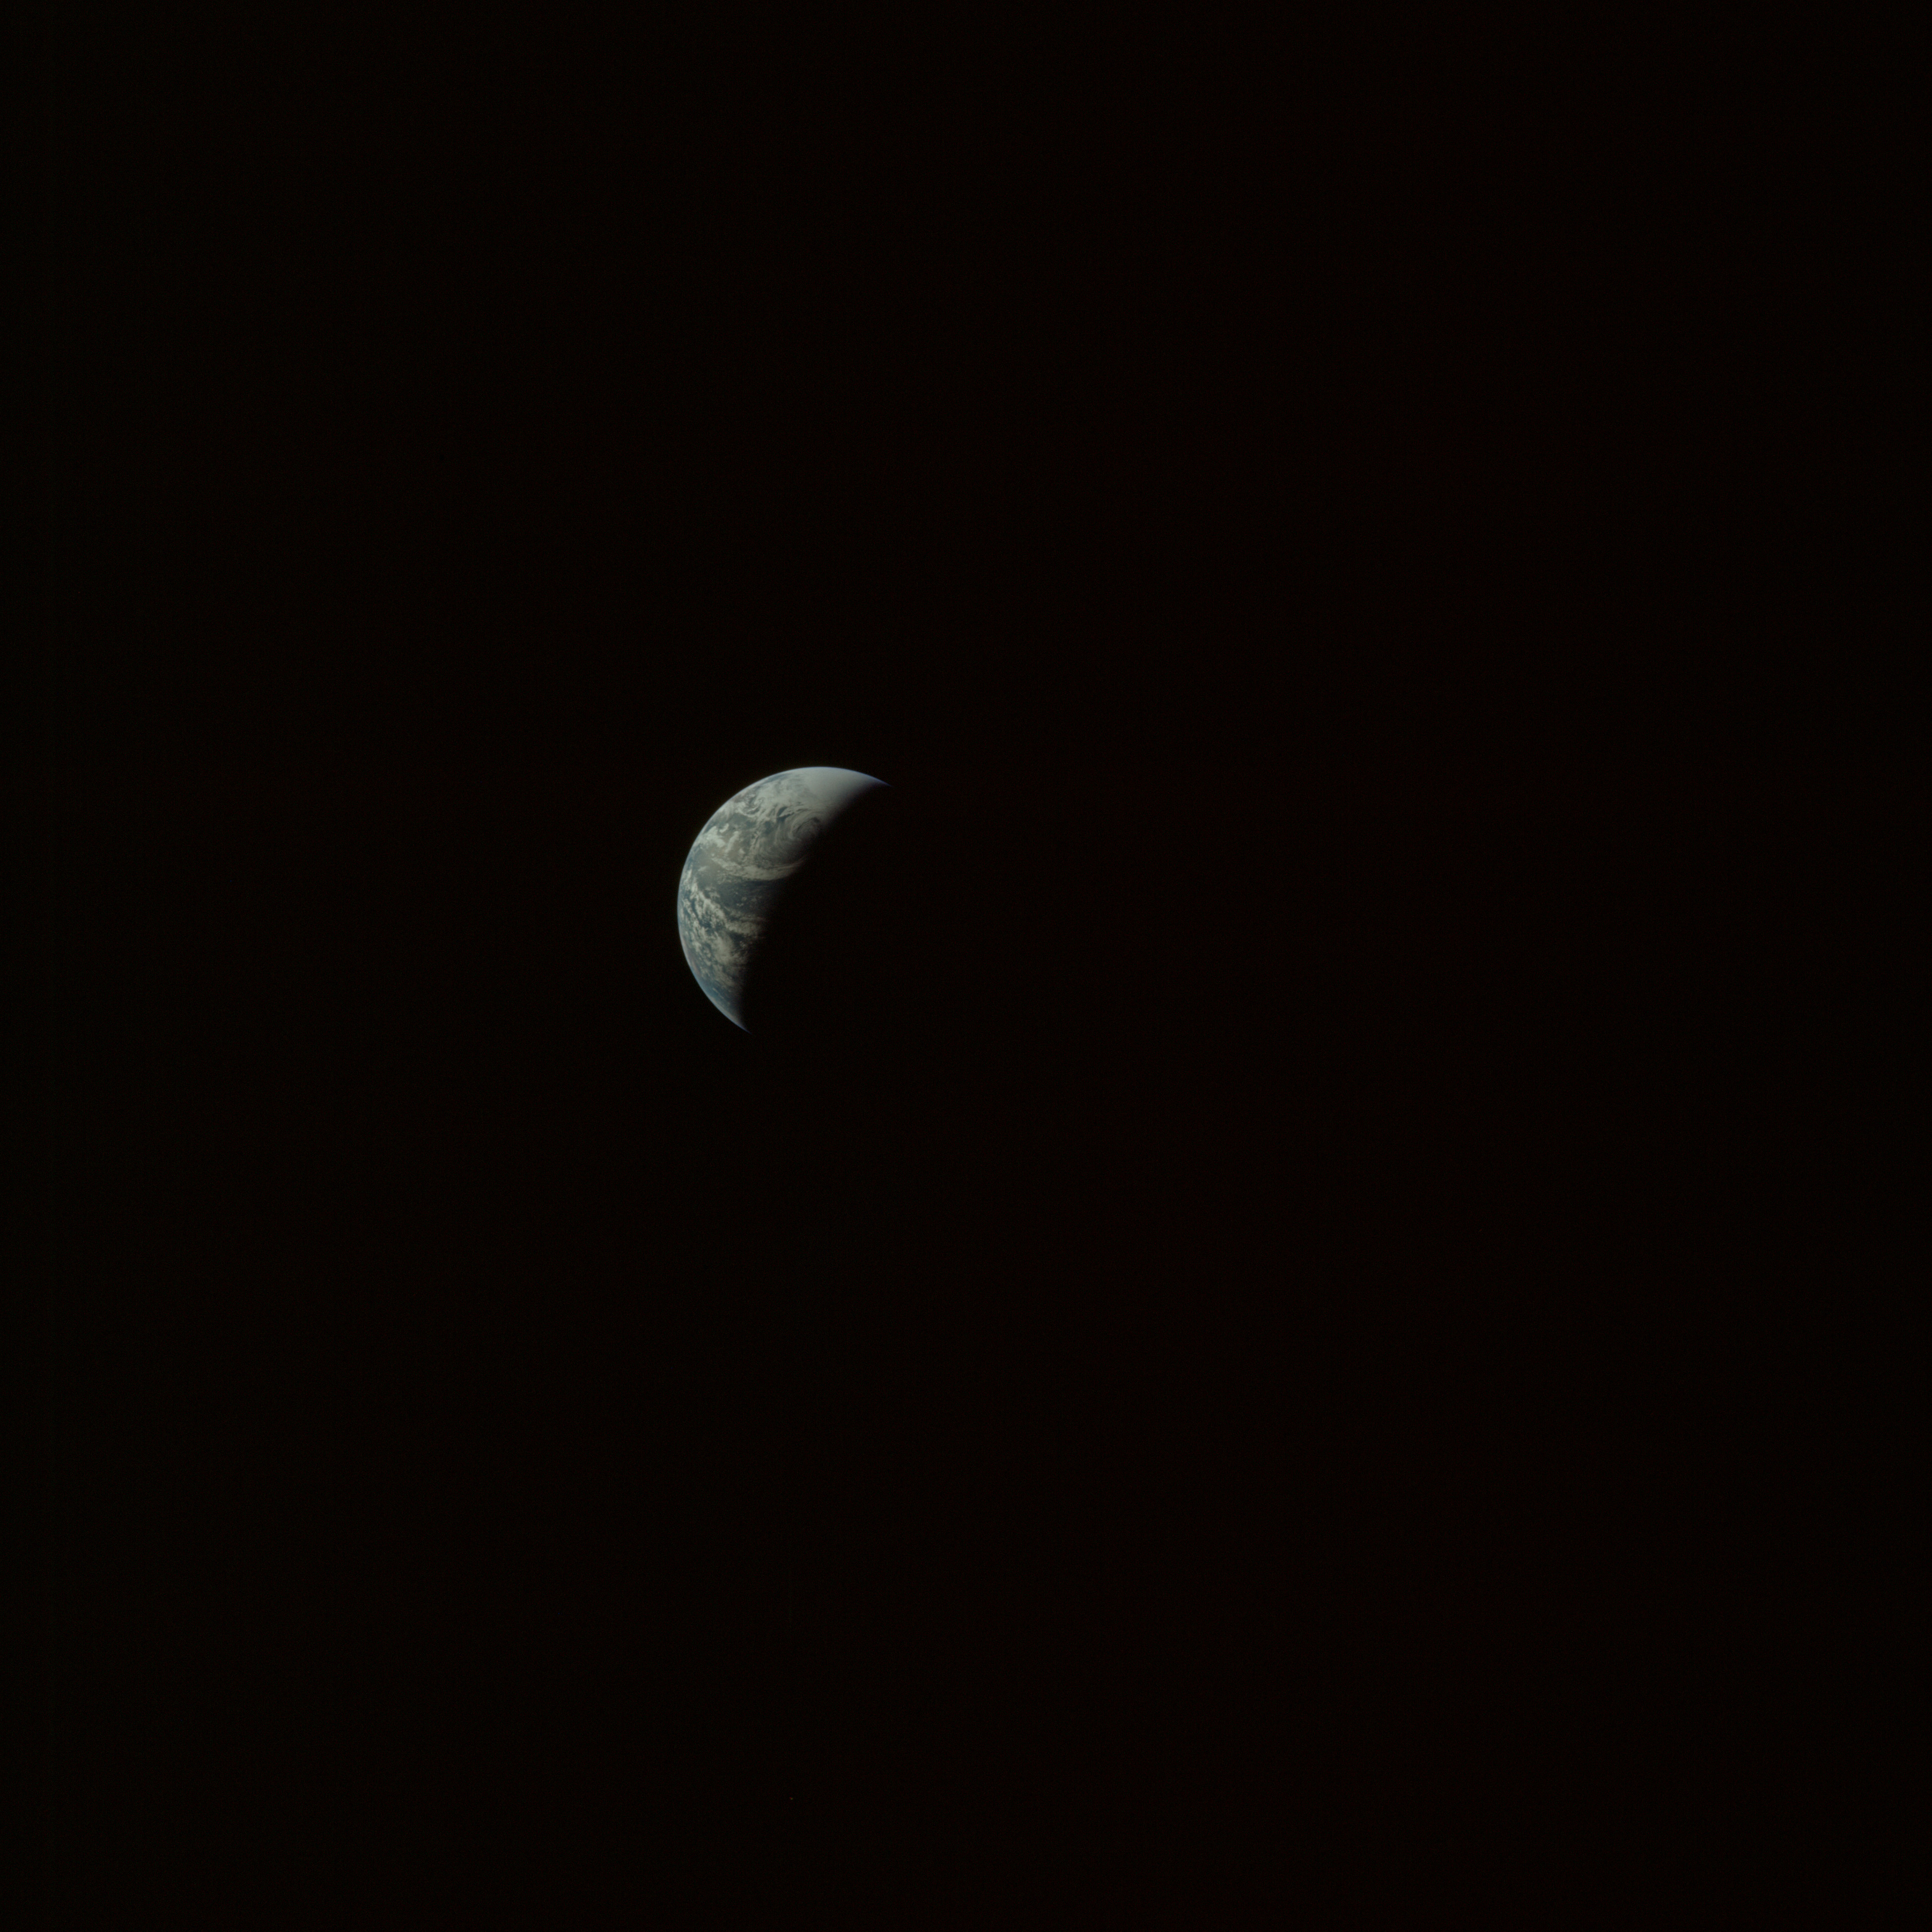 | AS13-60-8717 Crescent Earth during trans-Earth coast. Image credit: Image Science and Analysis Laboratory, NASA-Johnson Space Center. |
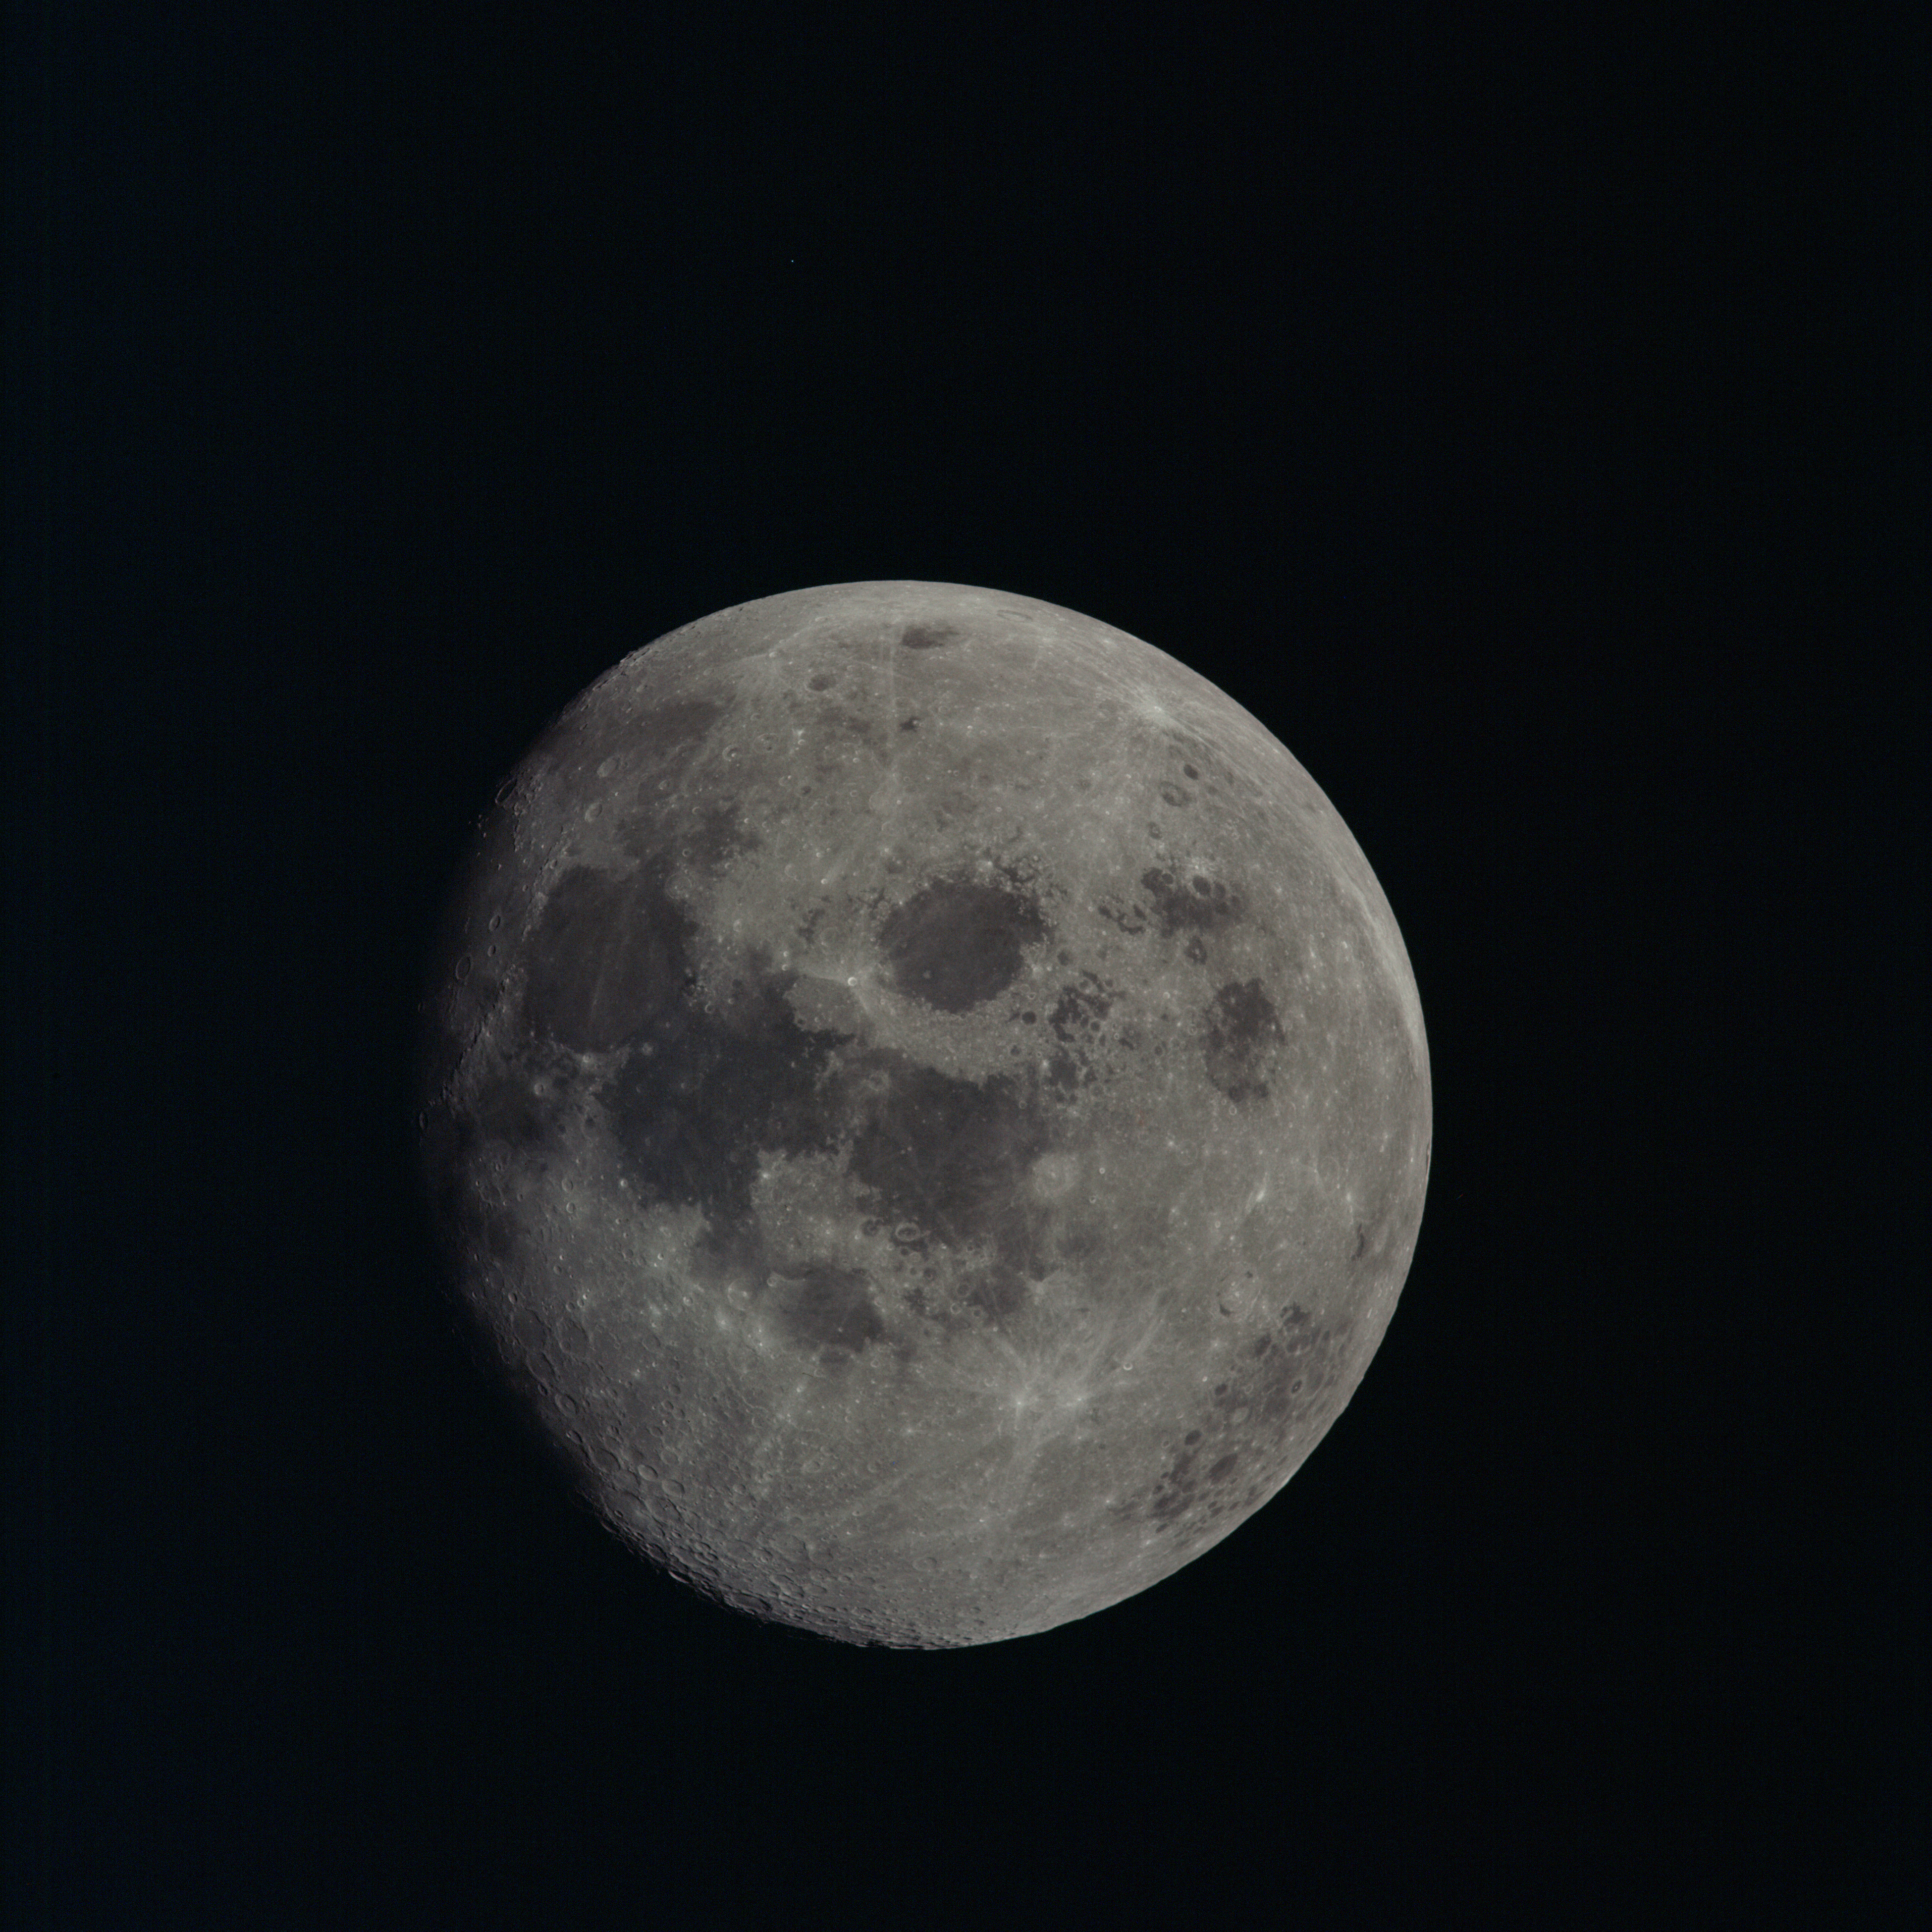 | AS13-60-8718 Large image of Moon taken during the early hours of the trans-Earth coast. Mare Fecunditatis and Mare Crisium are in the centre of the lunar disc. The lunar far-side is on the right of the disc. Image credit: Image Science and Analysis Laboratory, NASA-Johnson Space Center. |
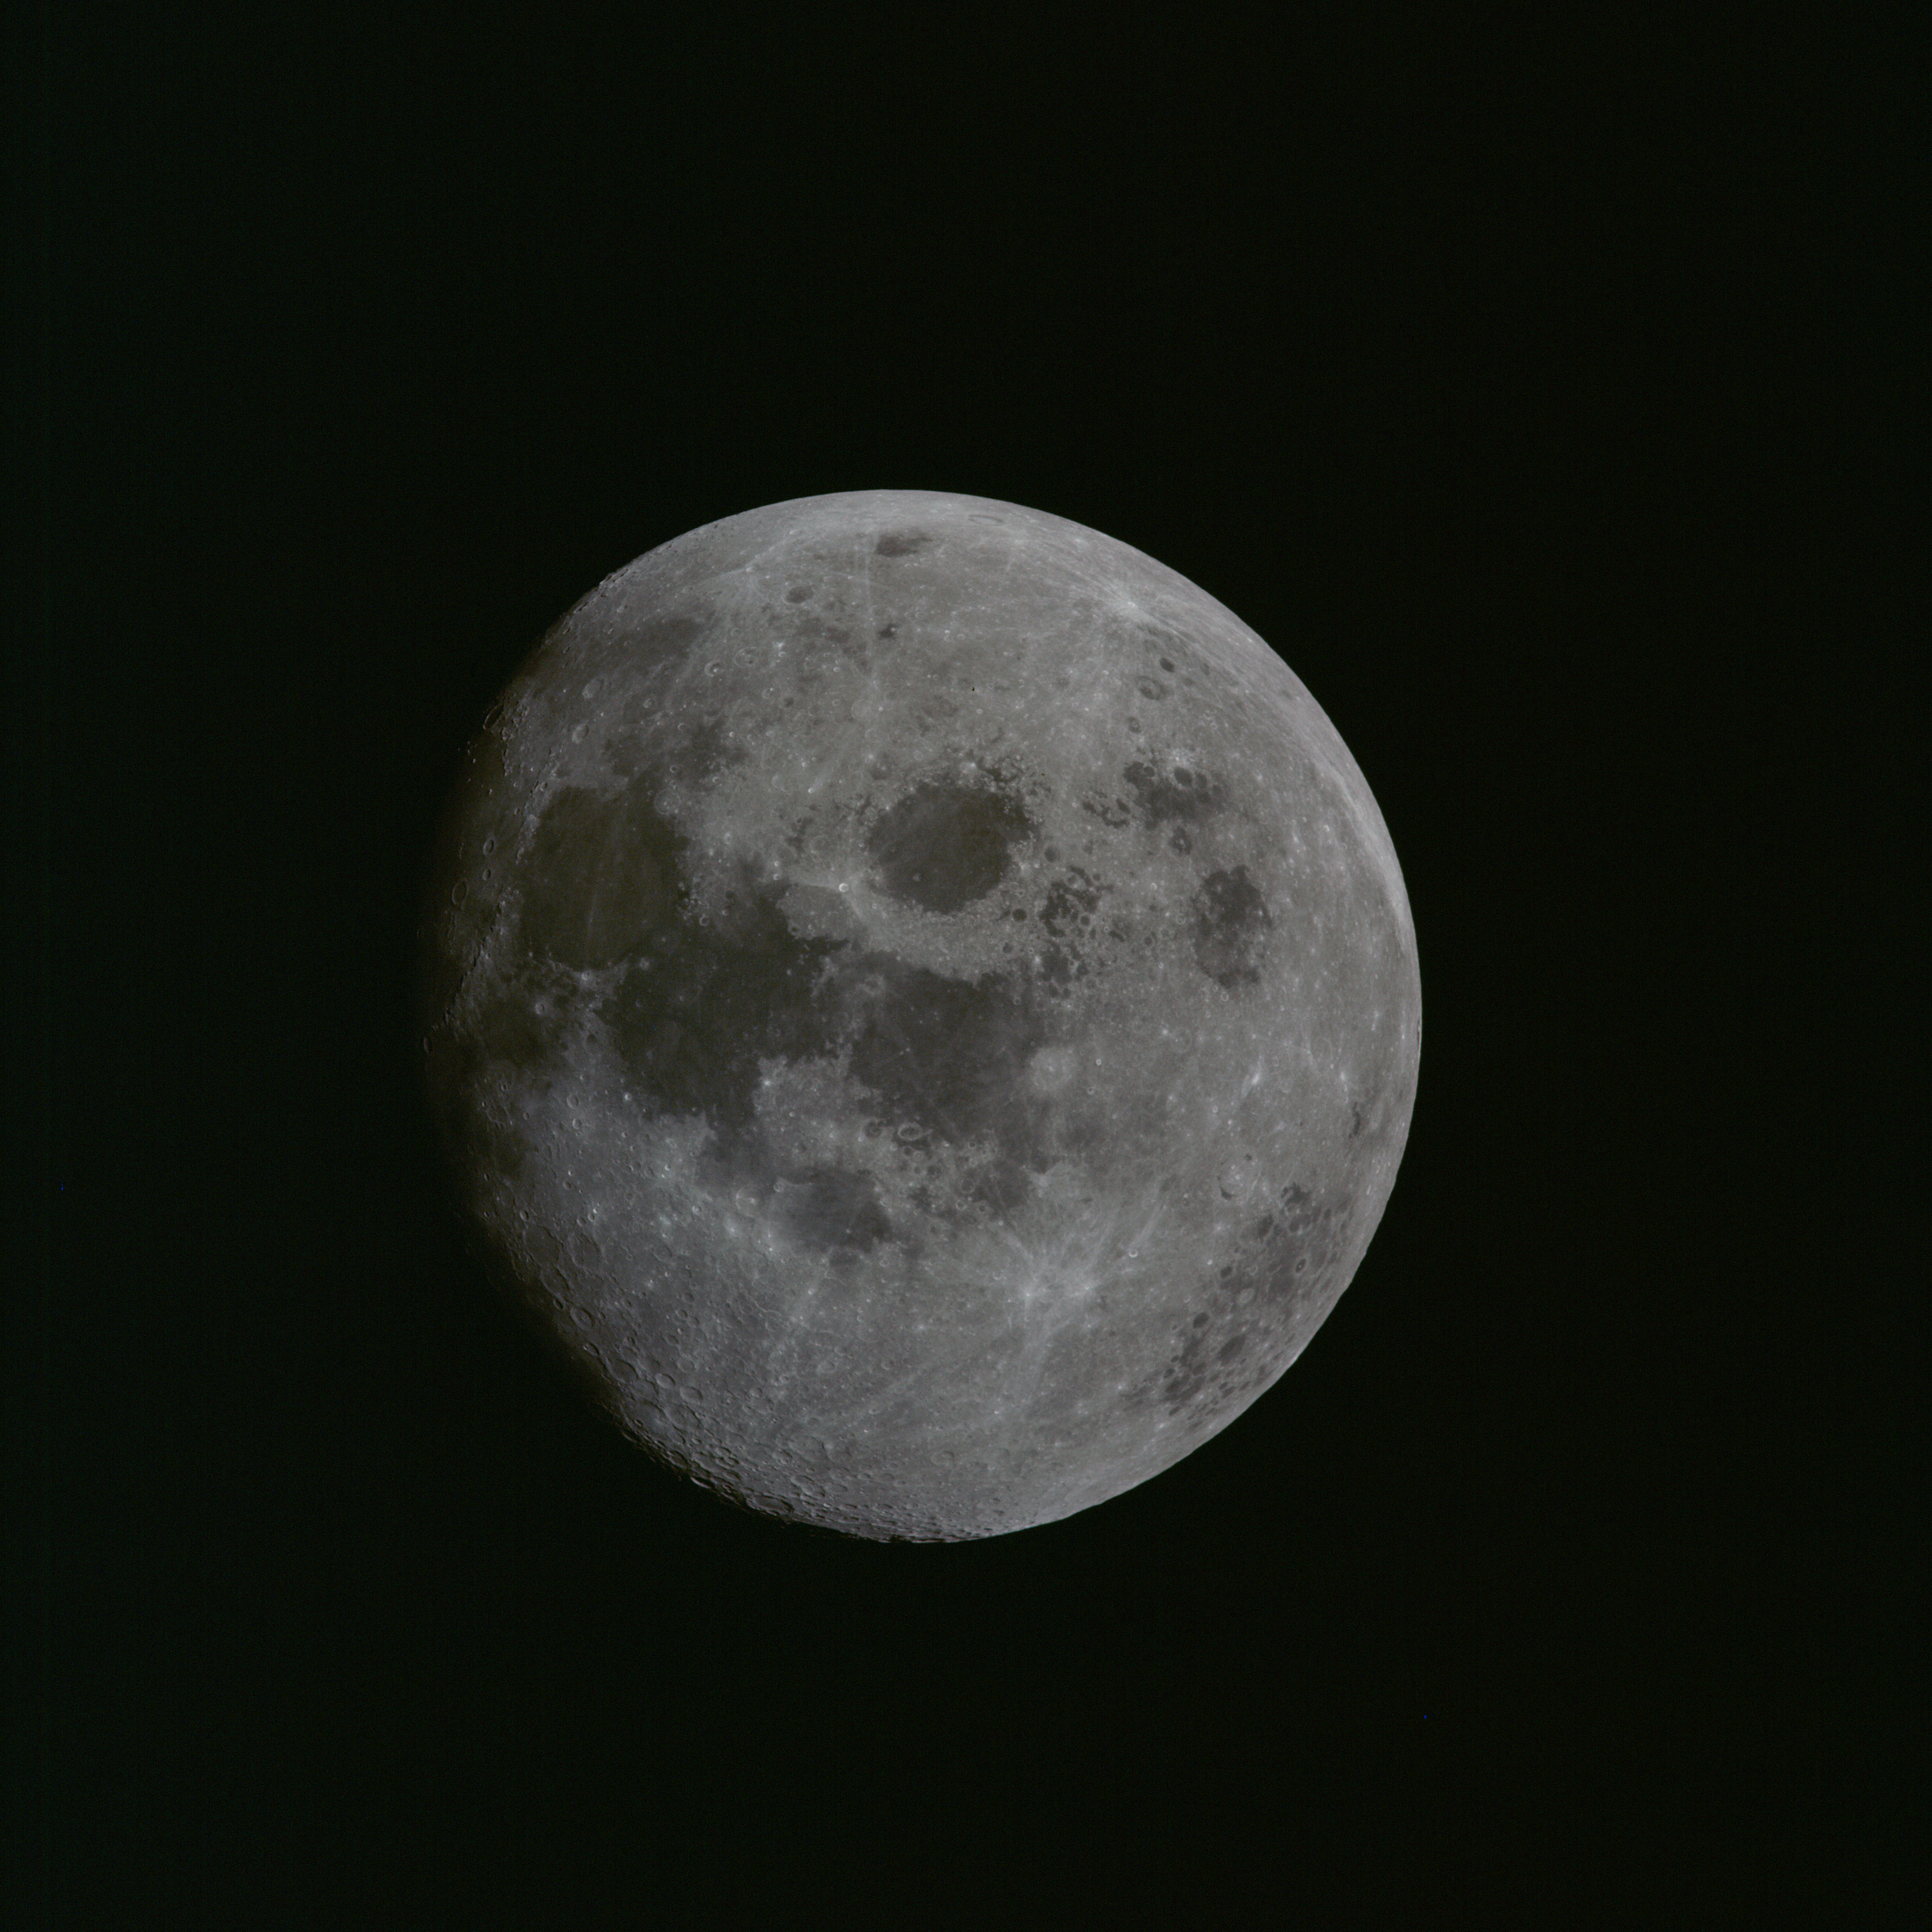 | AS13-60-8719 Large image of Moon taken during the early hours of the trans-Earth coast. Mare Fecunditatis and Mare Crisium are in the centre of the lunar disc. The lunar far-side is on the right of the disc. Image credit: Image Science and Analysis Laboratory, NASA-Johnson Space Center. |
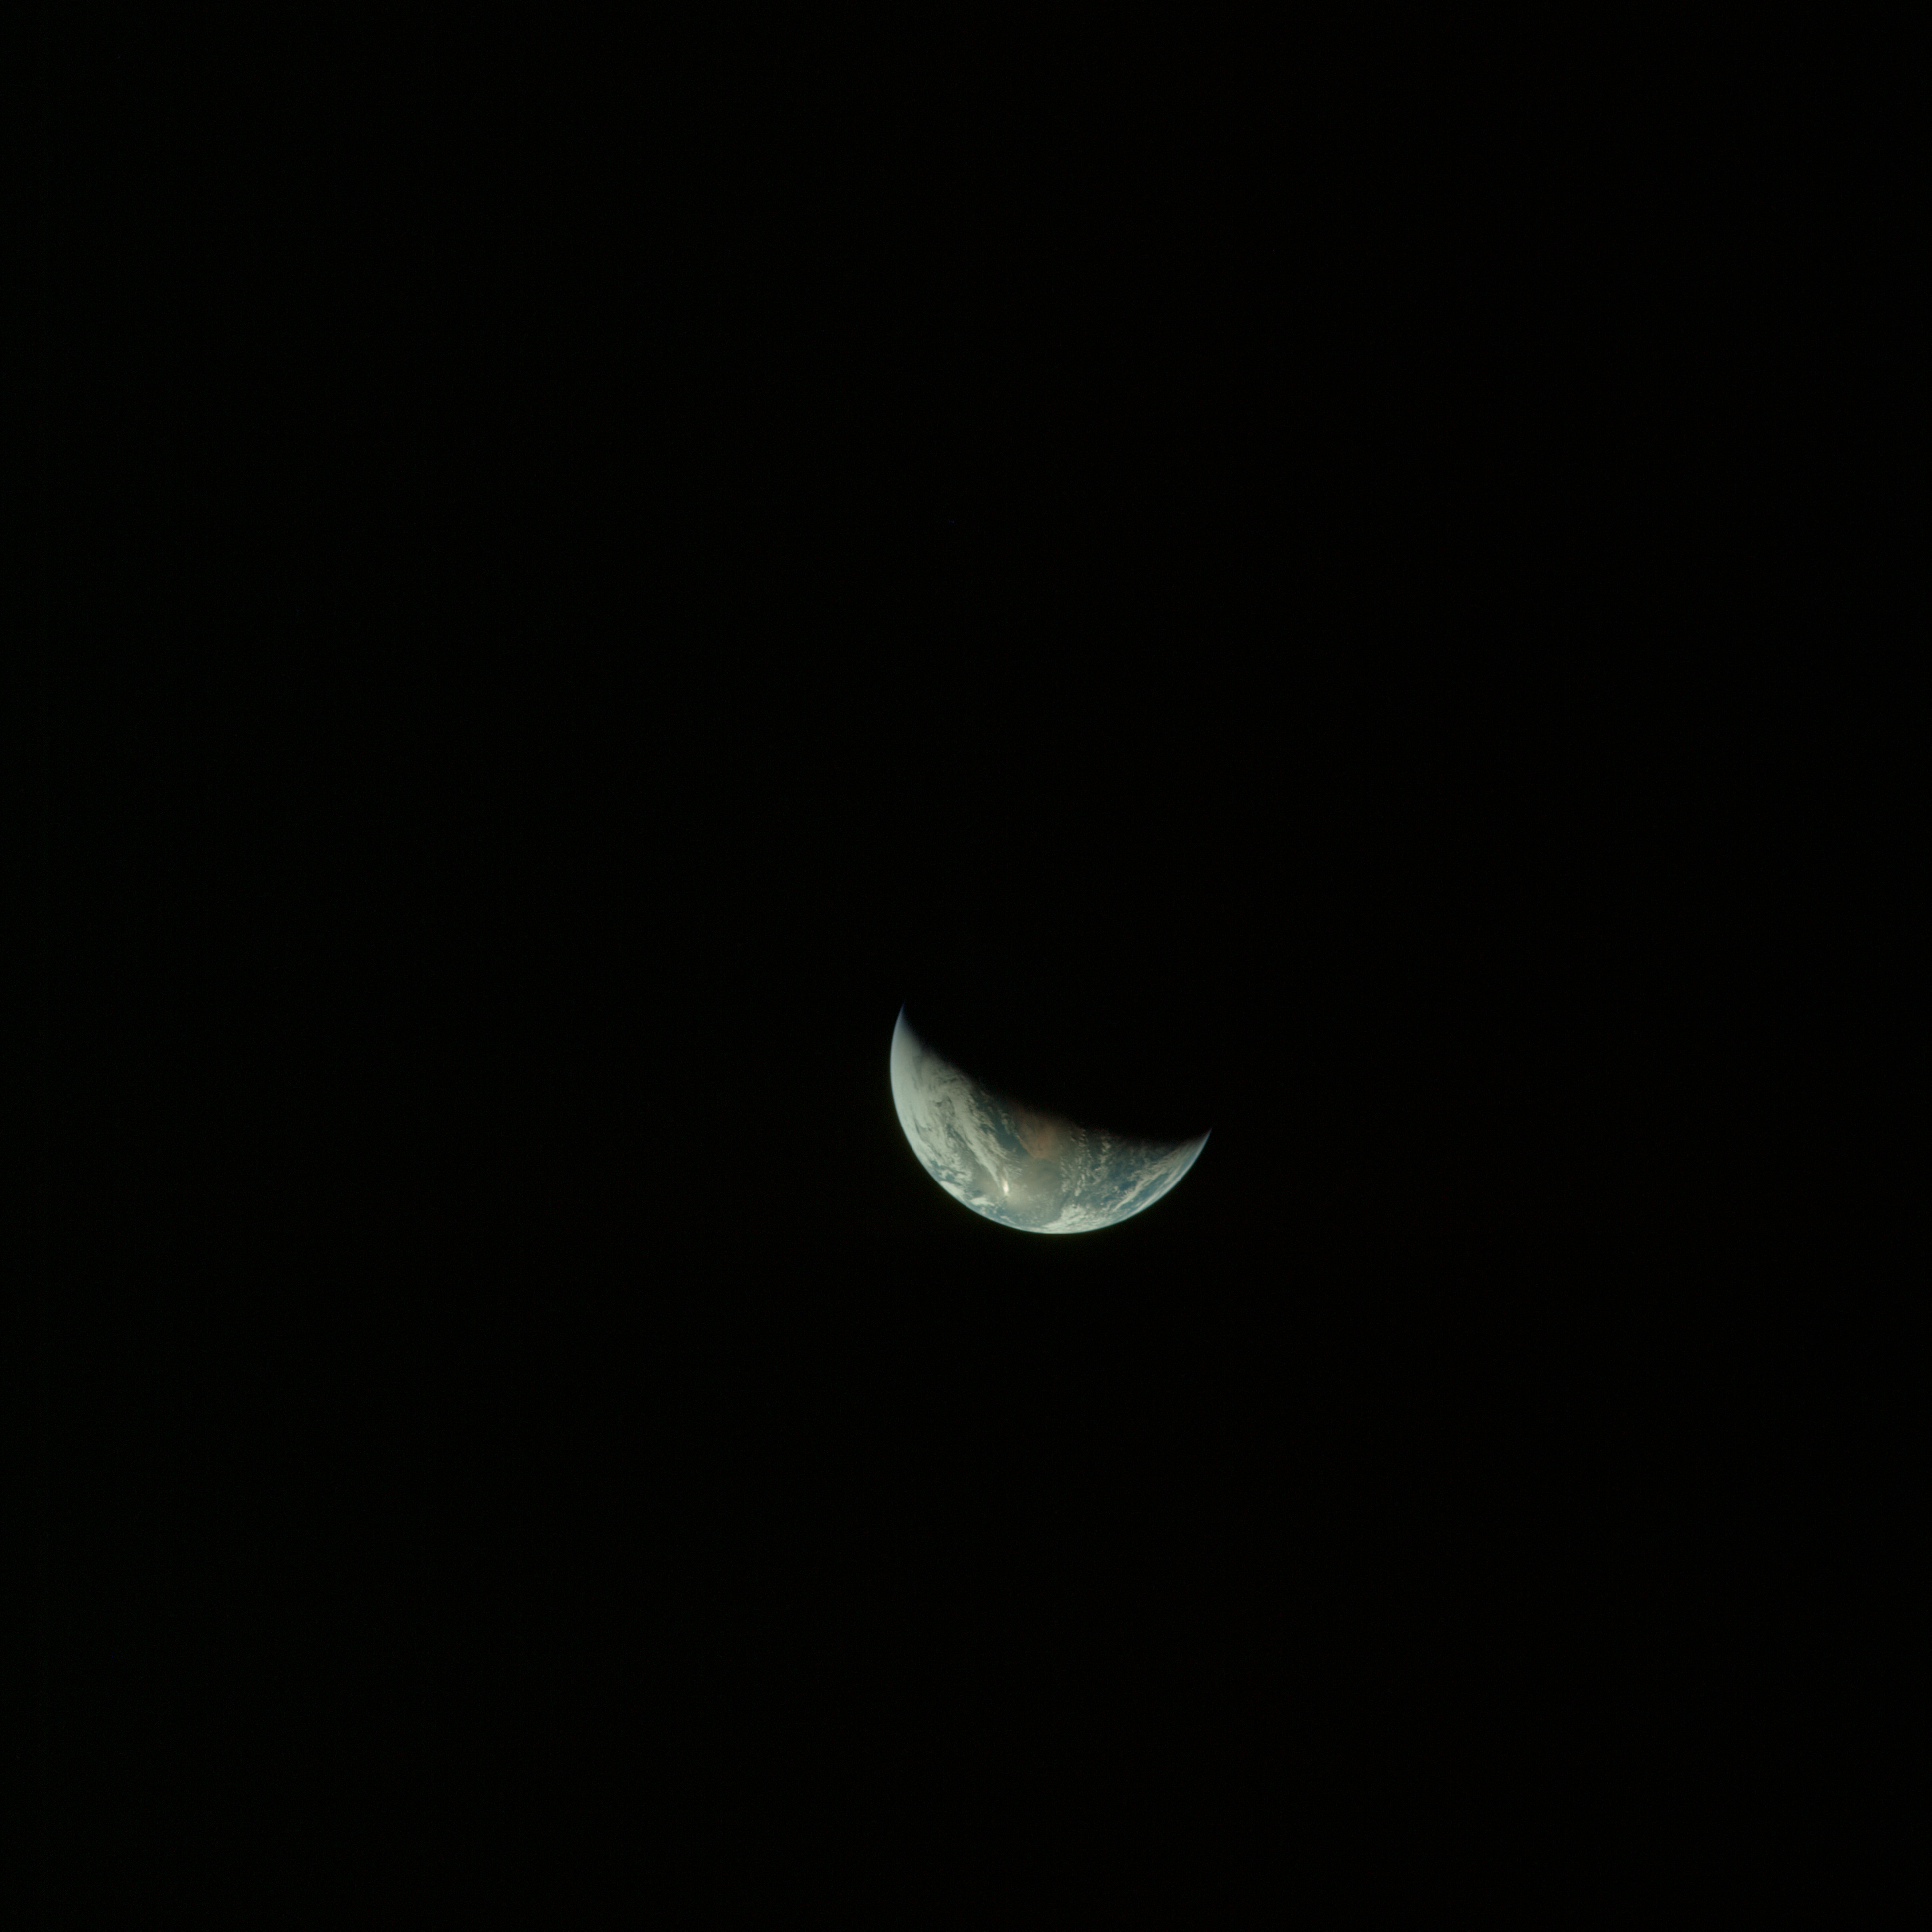 | AS13-60-8720 Crescent Earth during trans-Earth coast. Image credit: Image Science and Analysis Laboratory, NASA-Johnson Space Center. |
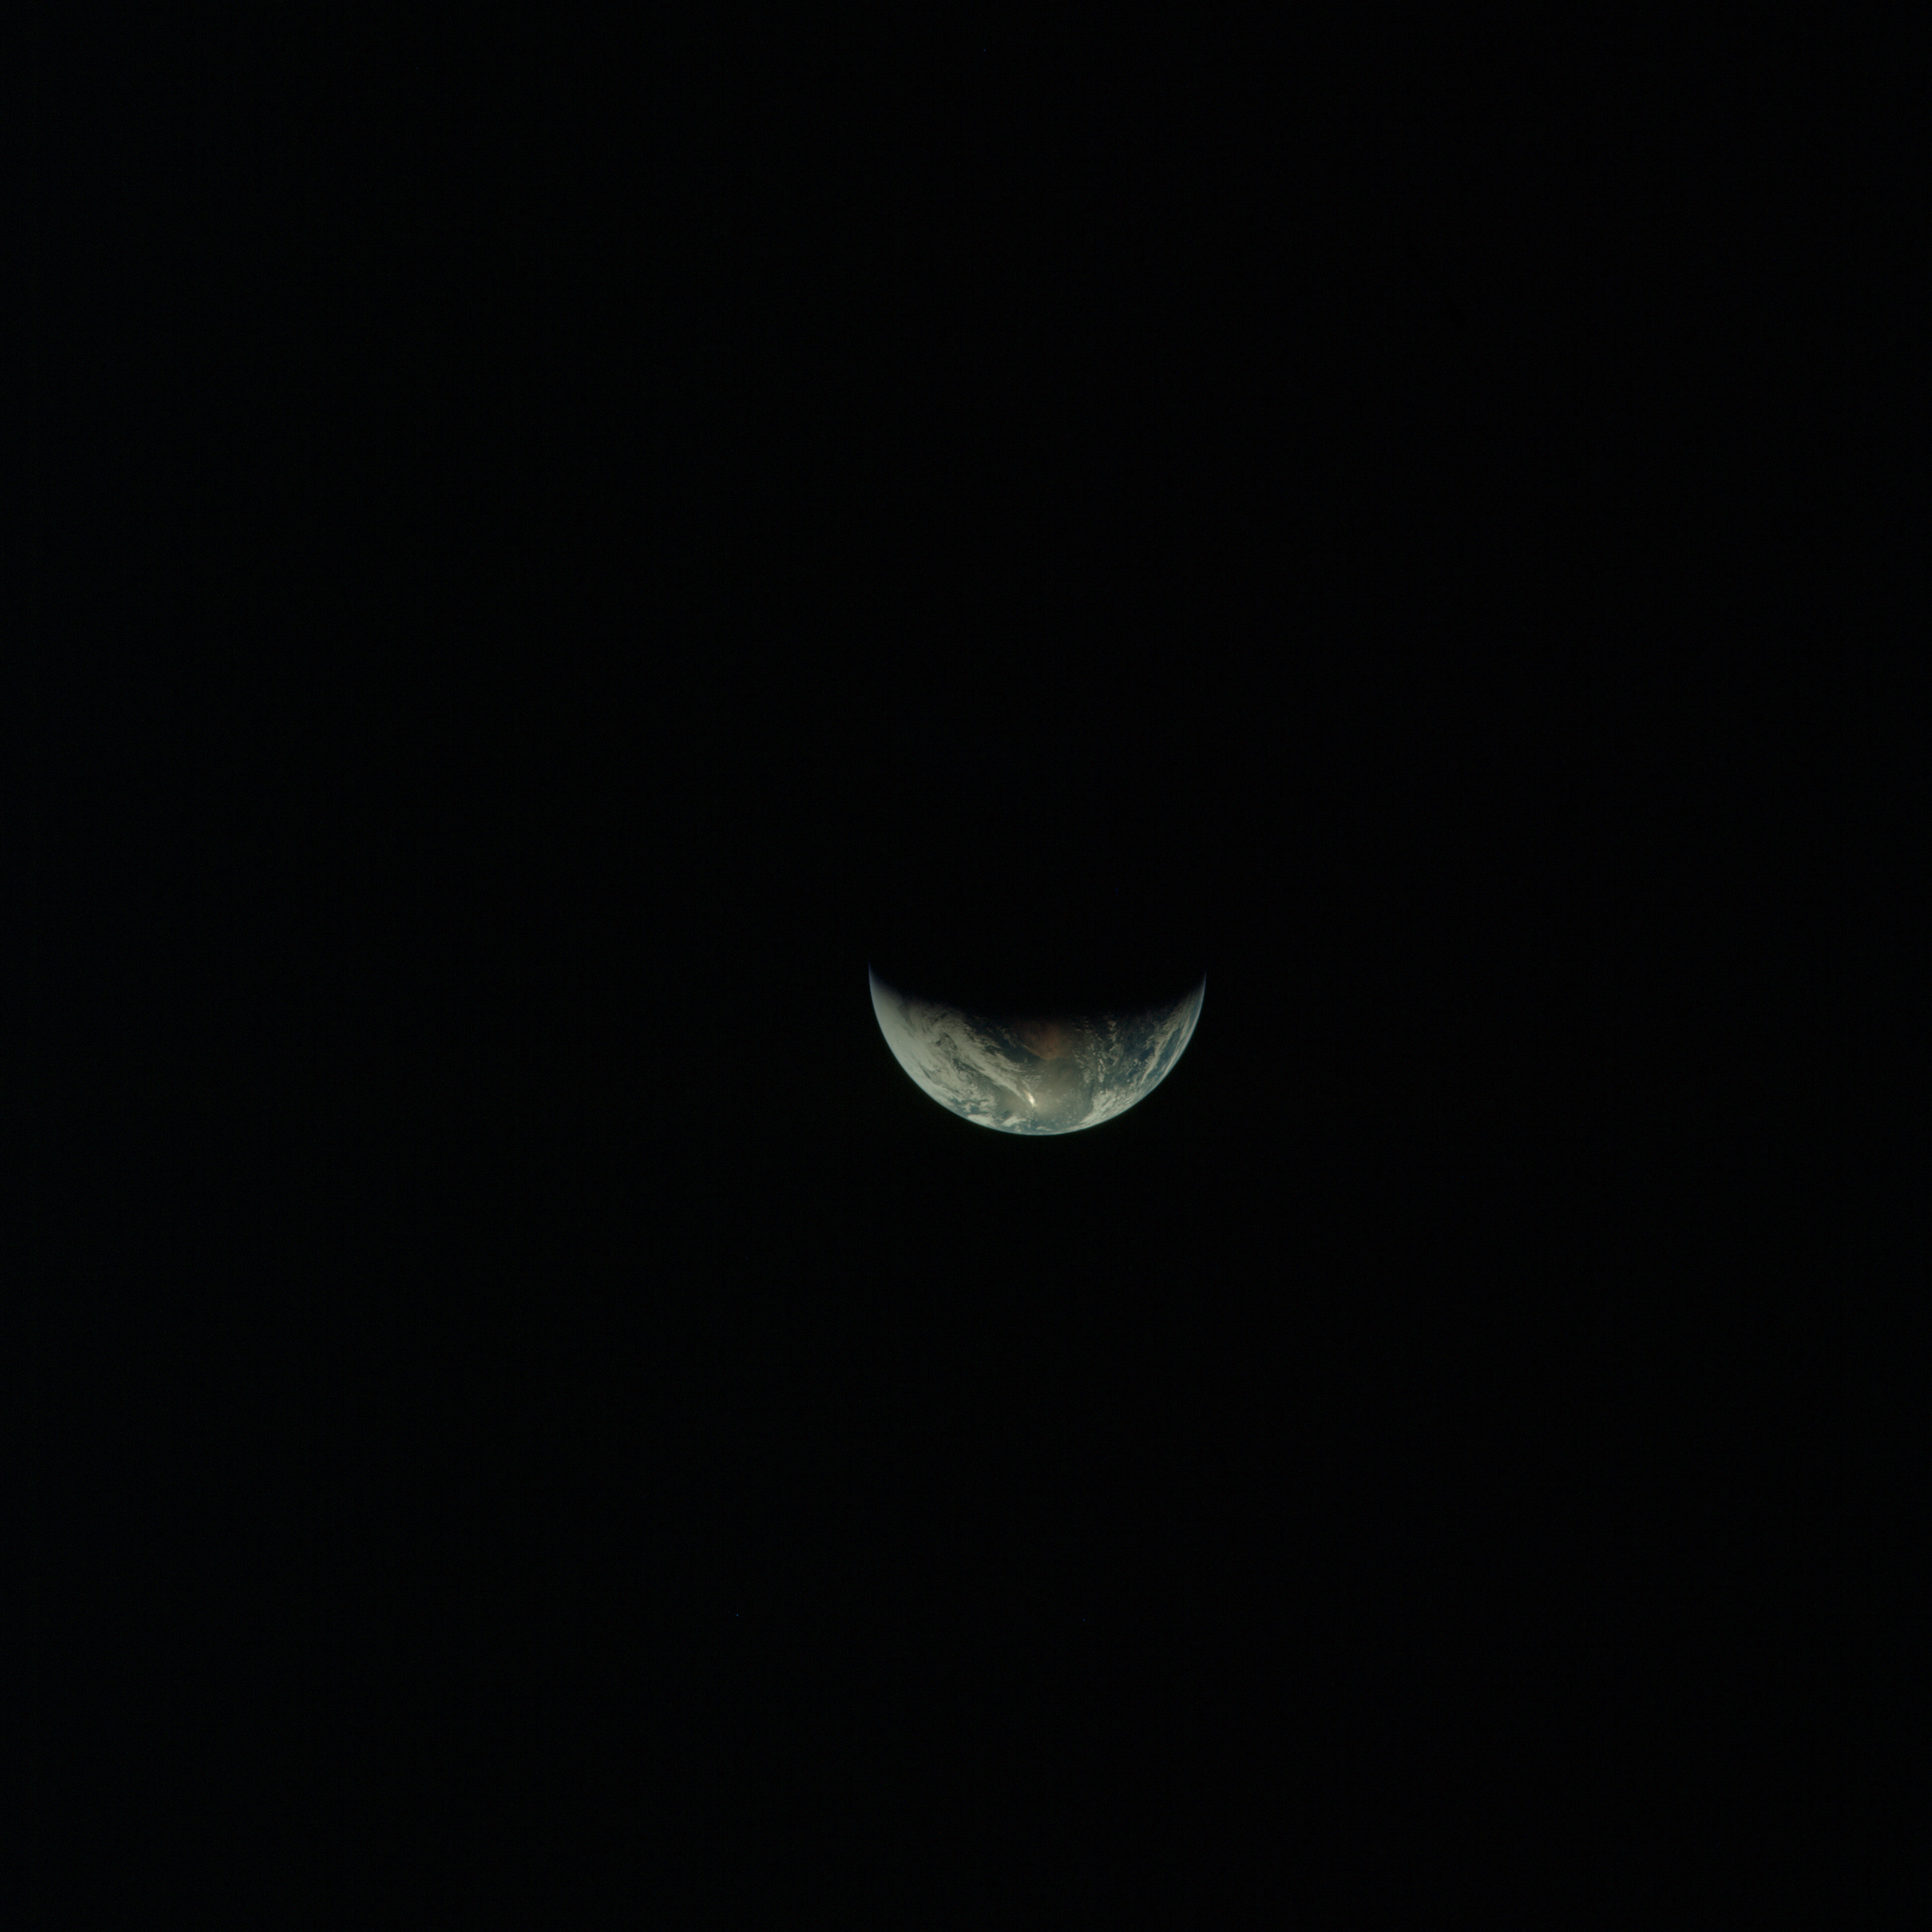 | AS13-60-8721 Crescent Earth during trans-Earth coast. Image credit: Image Science and Analysis Laboratory, NASA-Johnson Space Center. |
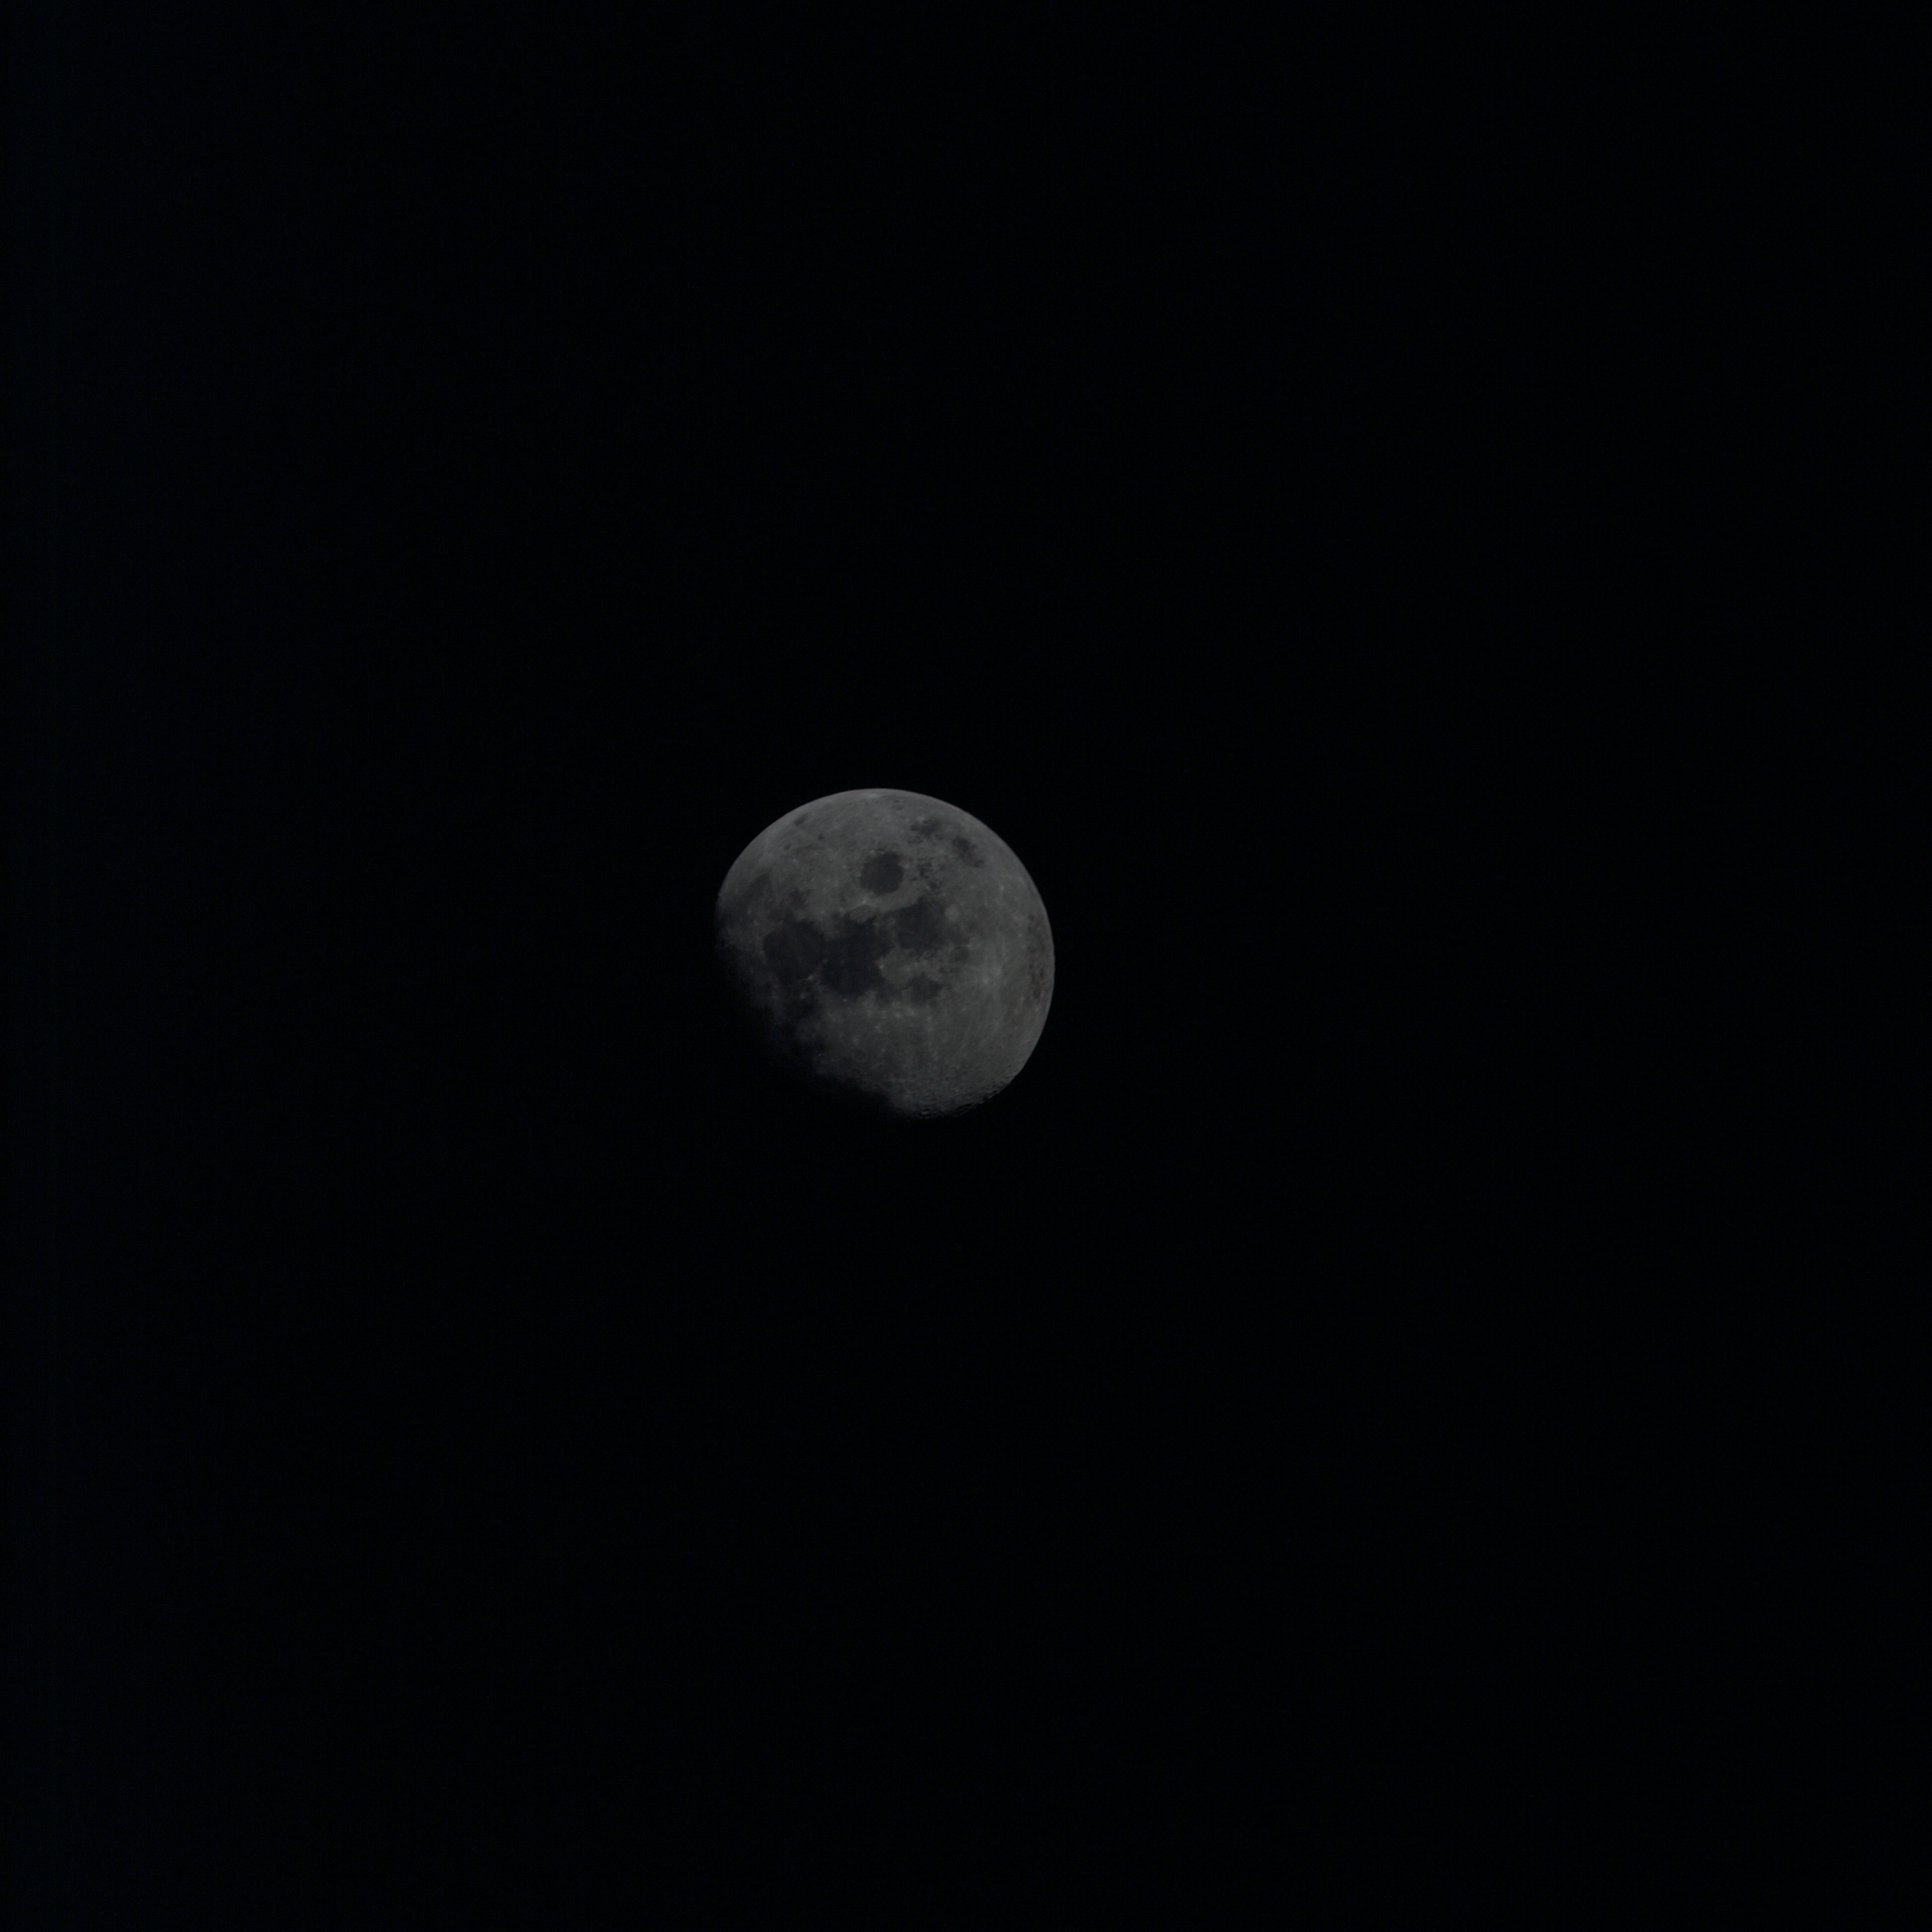 | AS13-60-8722 Moon during trans-Earth coast. Image credit: Image Science and Analysis Laboratory, NASA-Johnson Space Center. |
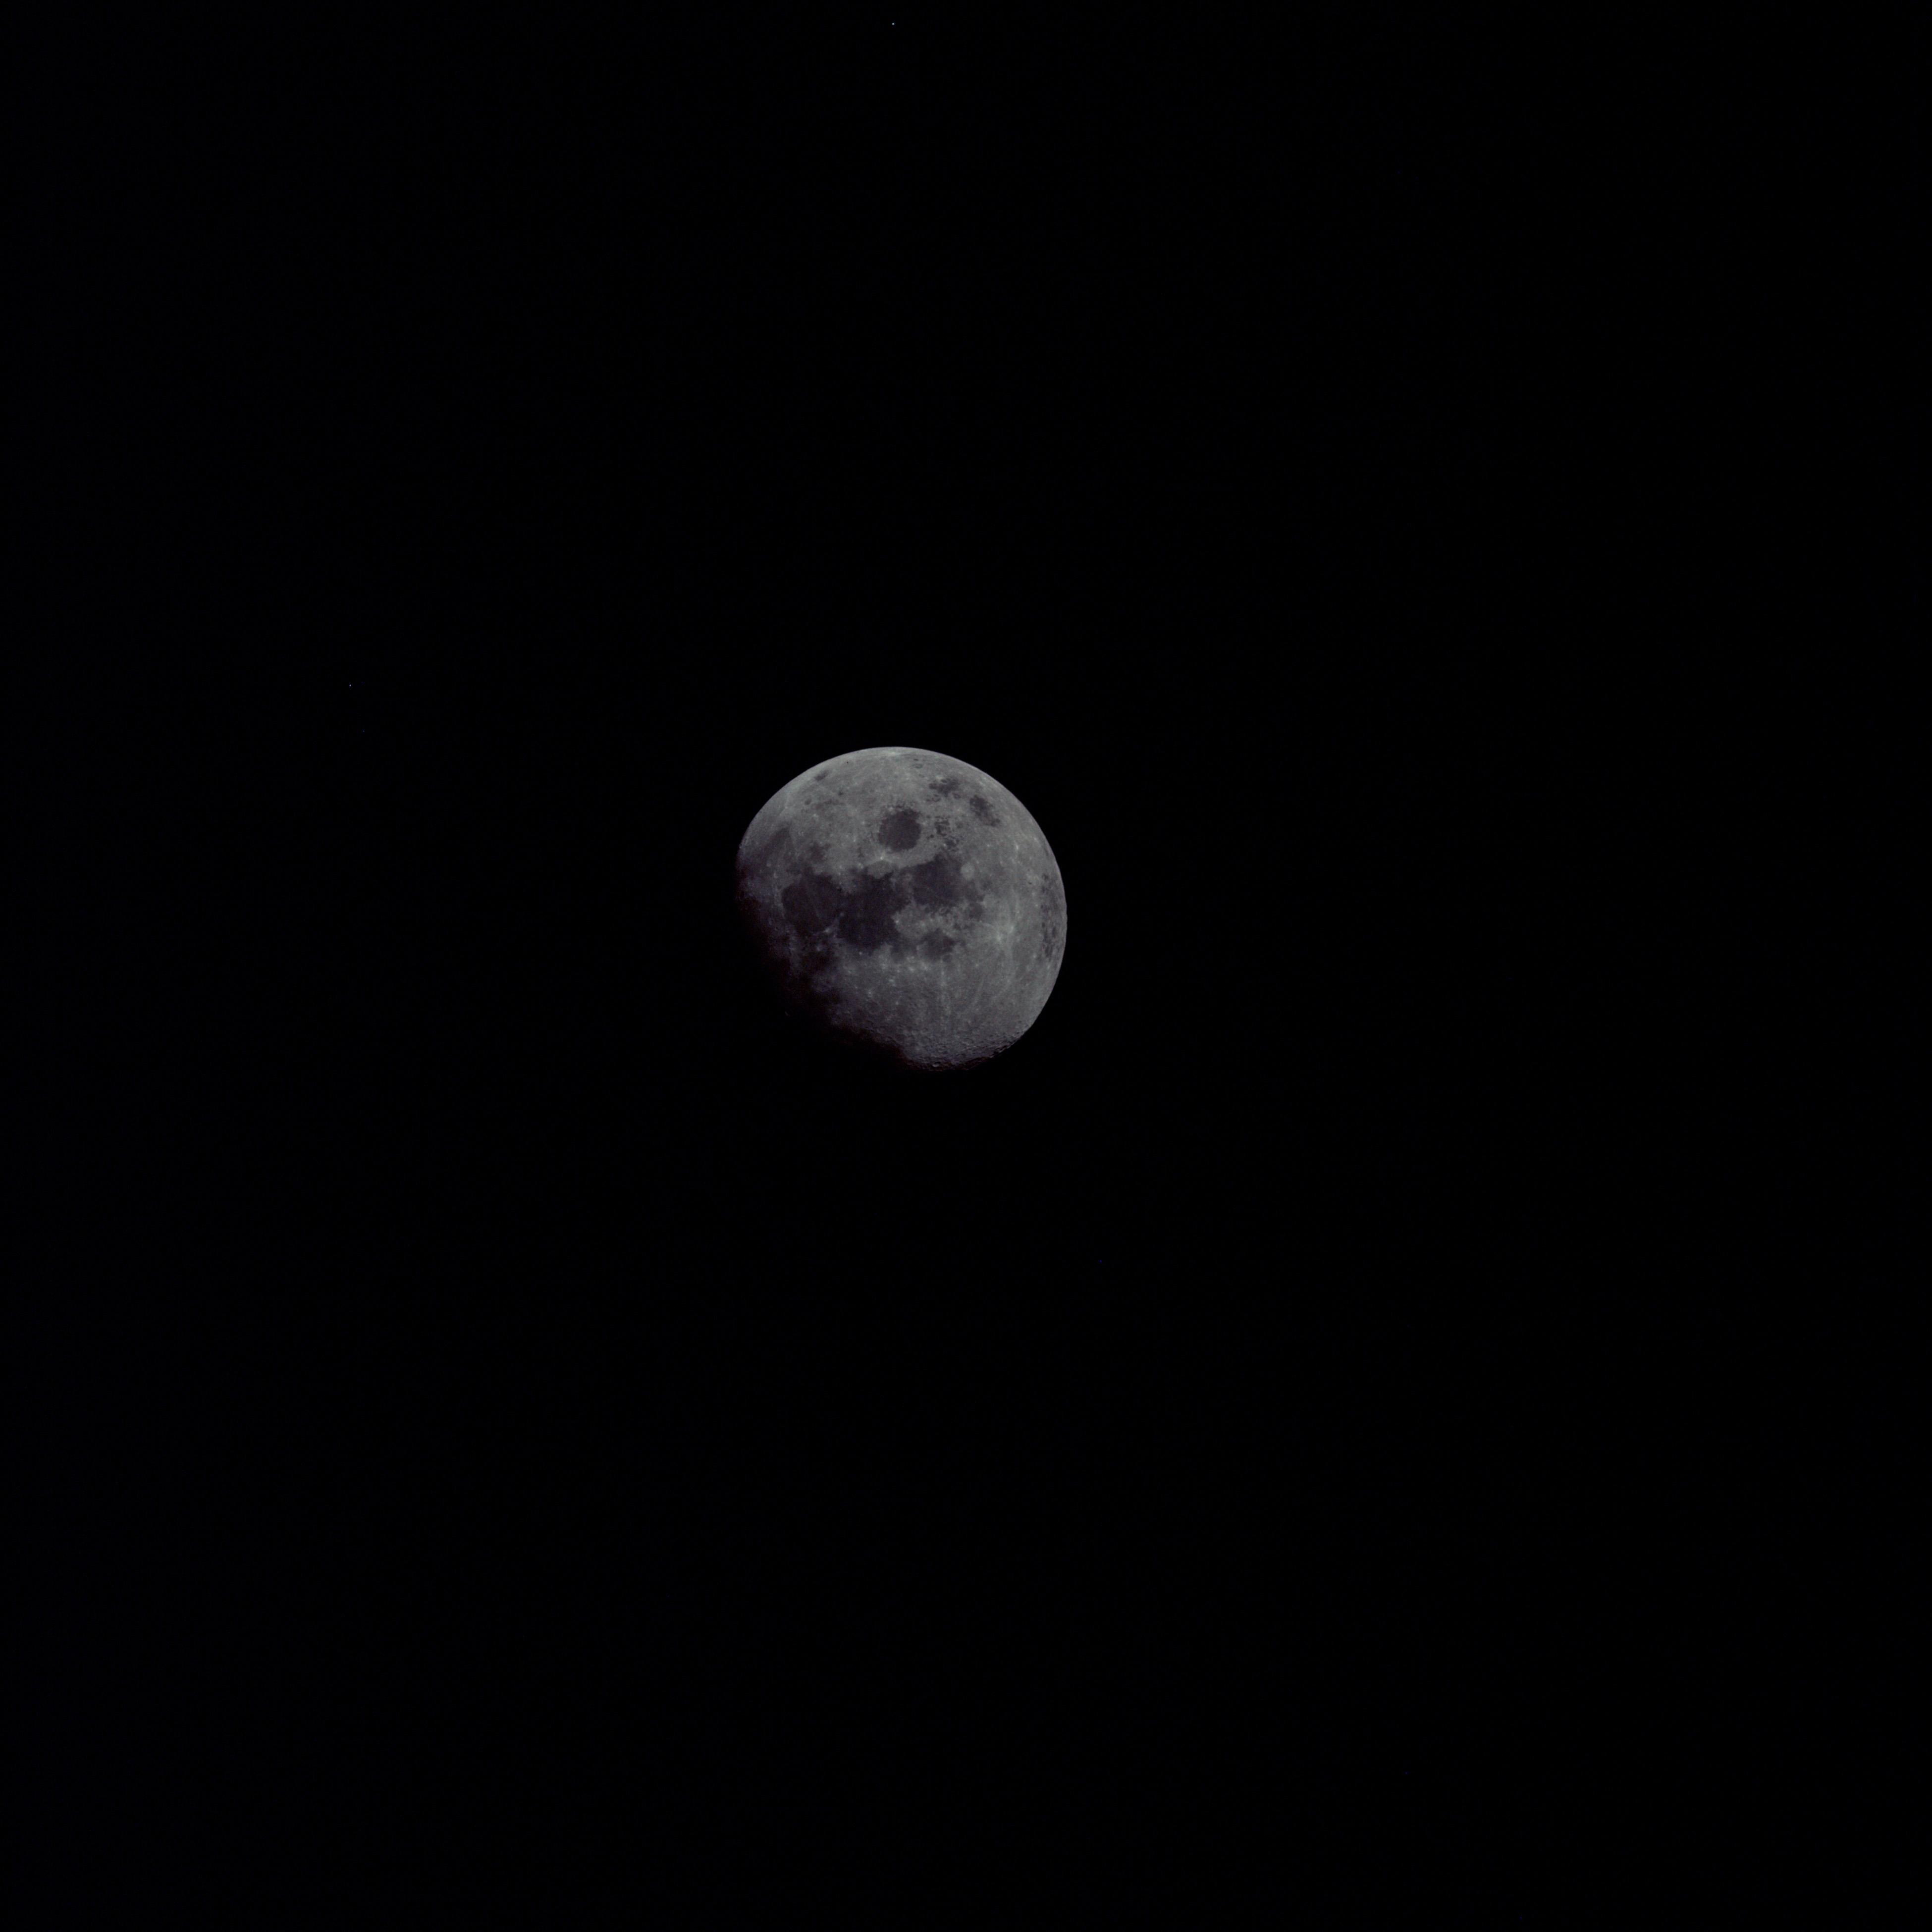 | AS13-60-8723 Moon during trans-Earth coast. Image credit: Image Science and Analysis Laboratory, NASA-Johnson Space Center. |
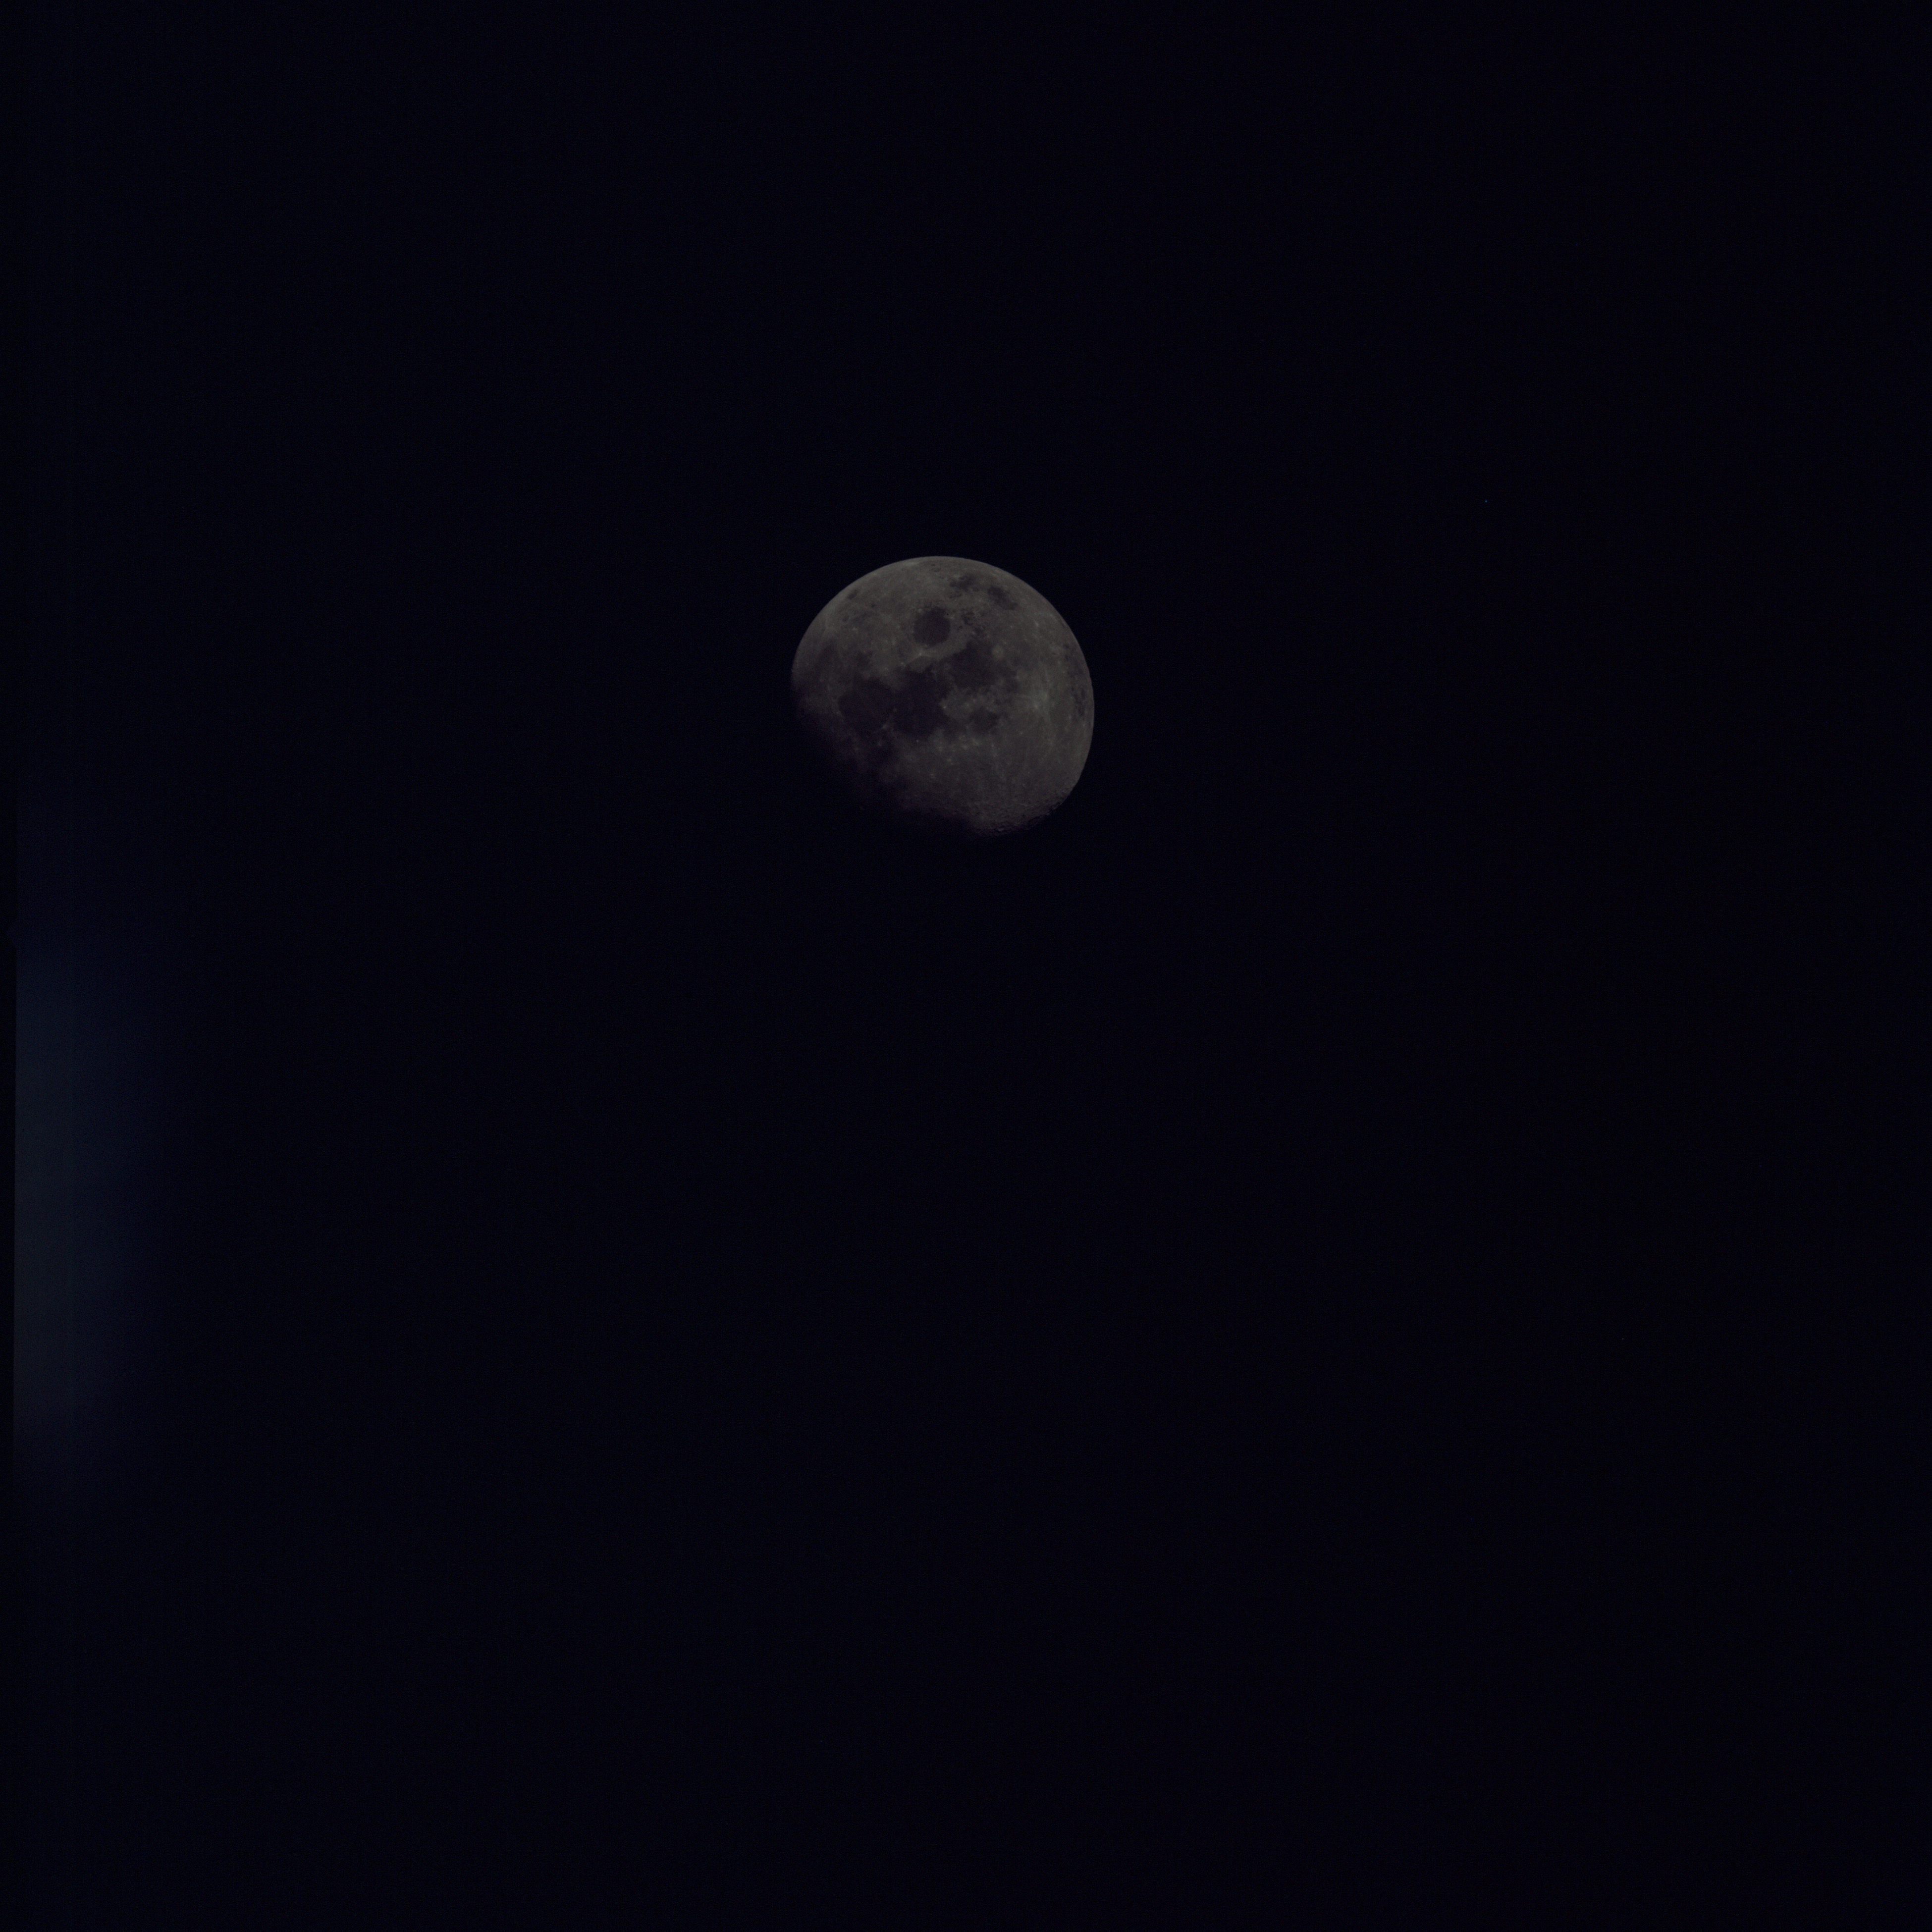 | AS13-60-8724 Moon during trans-Earth coast. Image credit: Image Science and Analysis Laboratory, NASA-Johnson Space Center. |
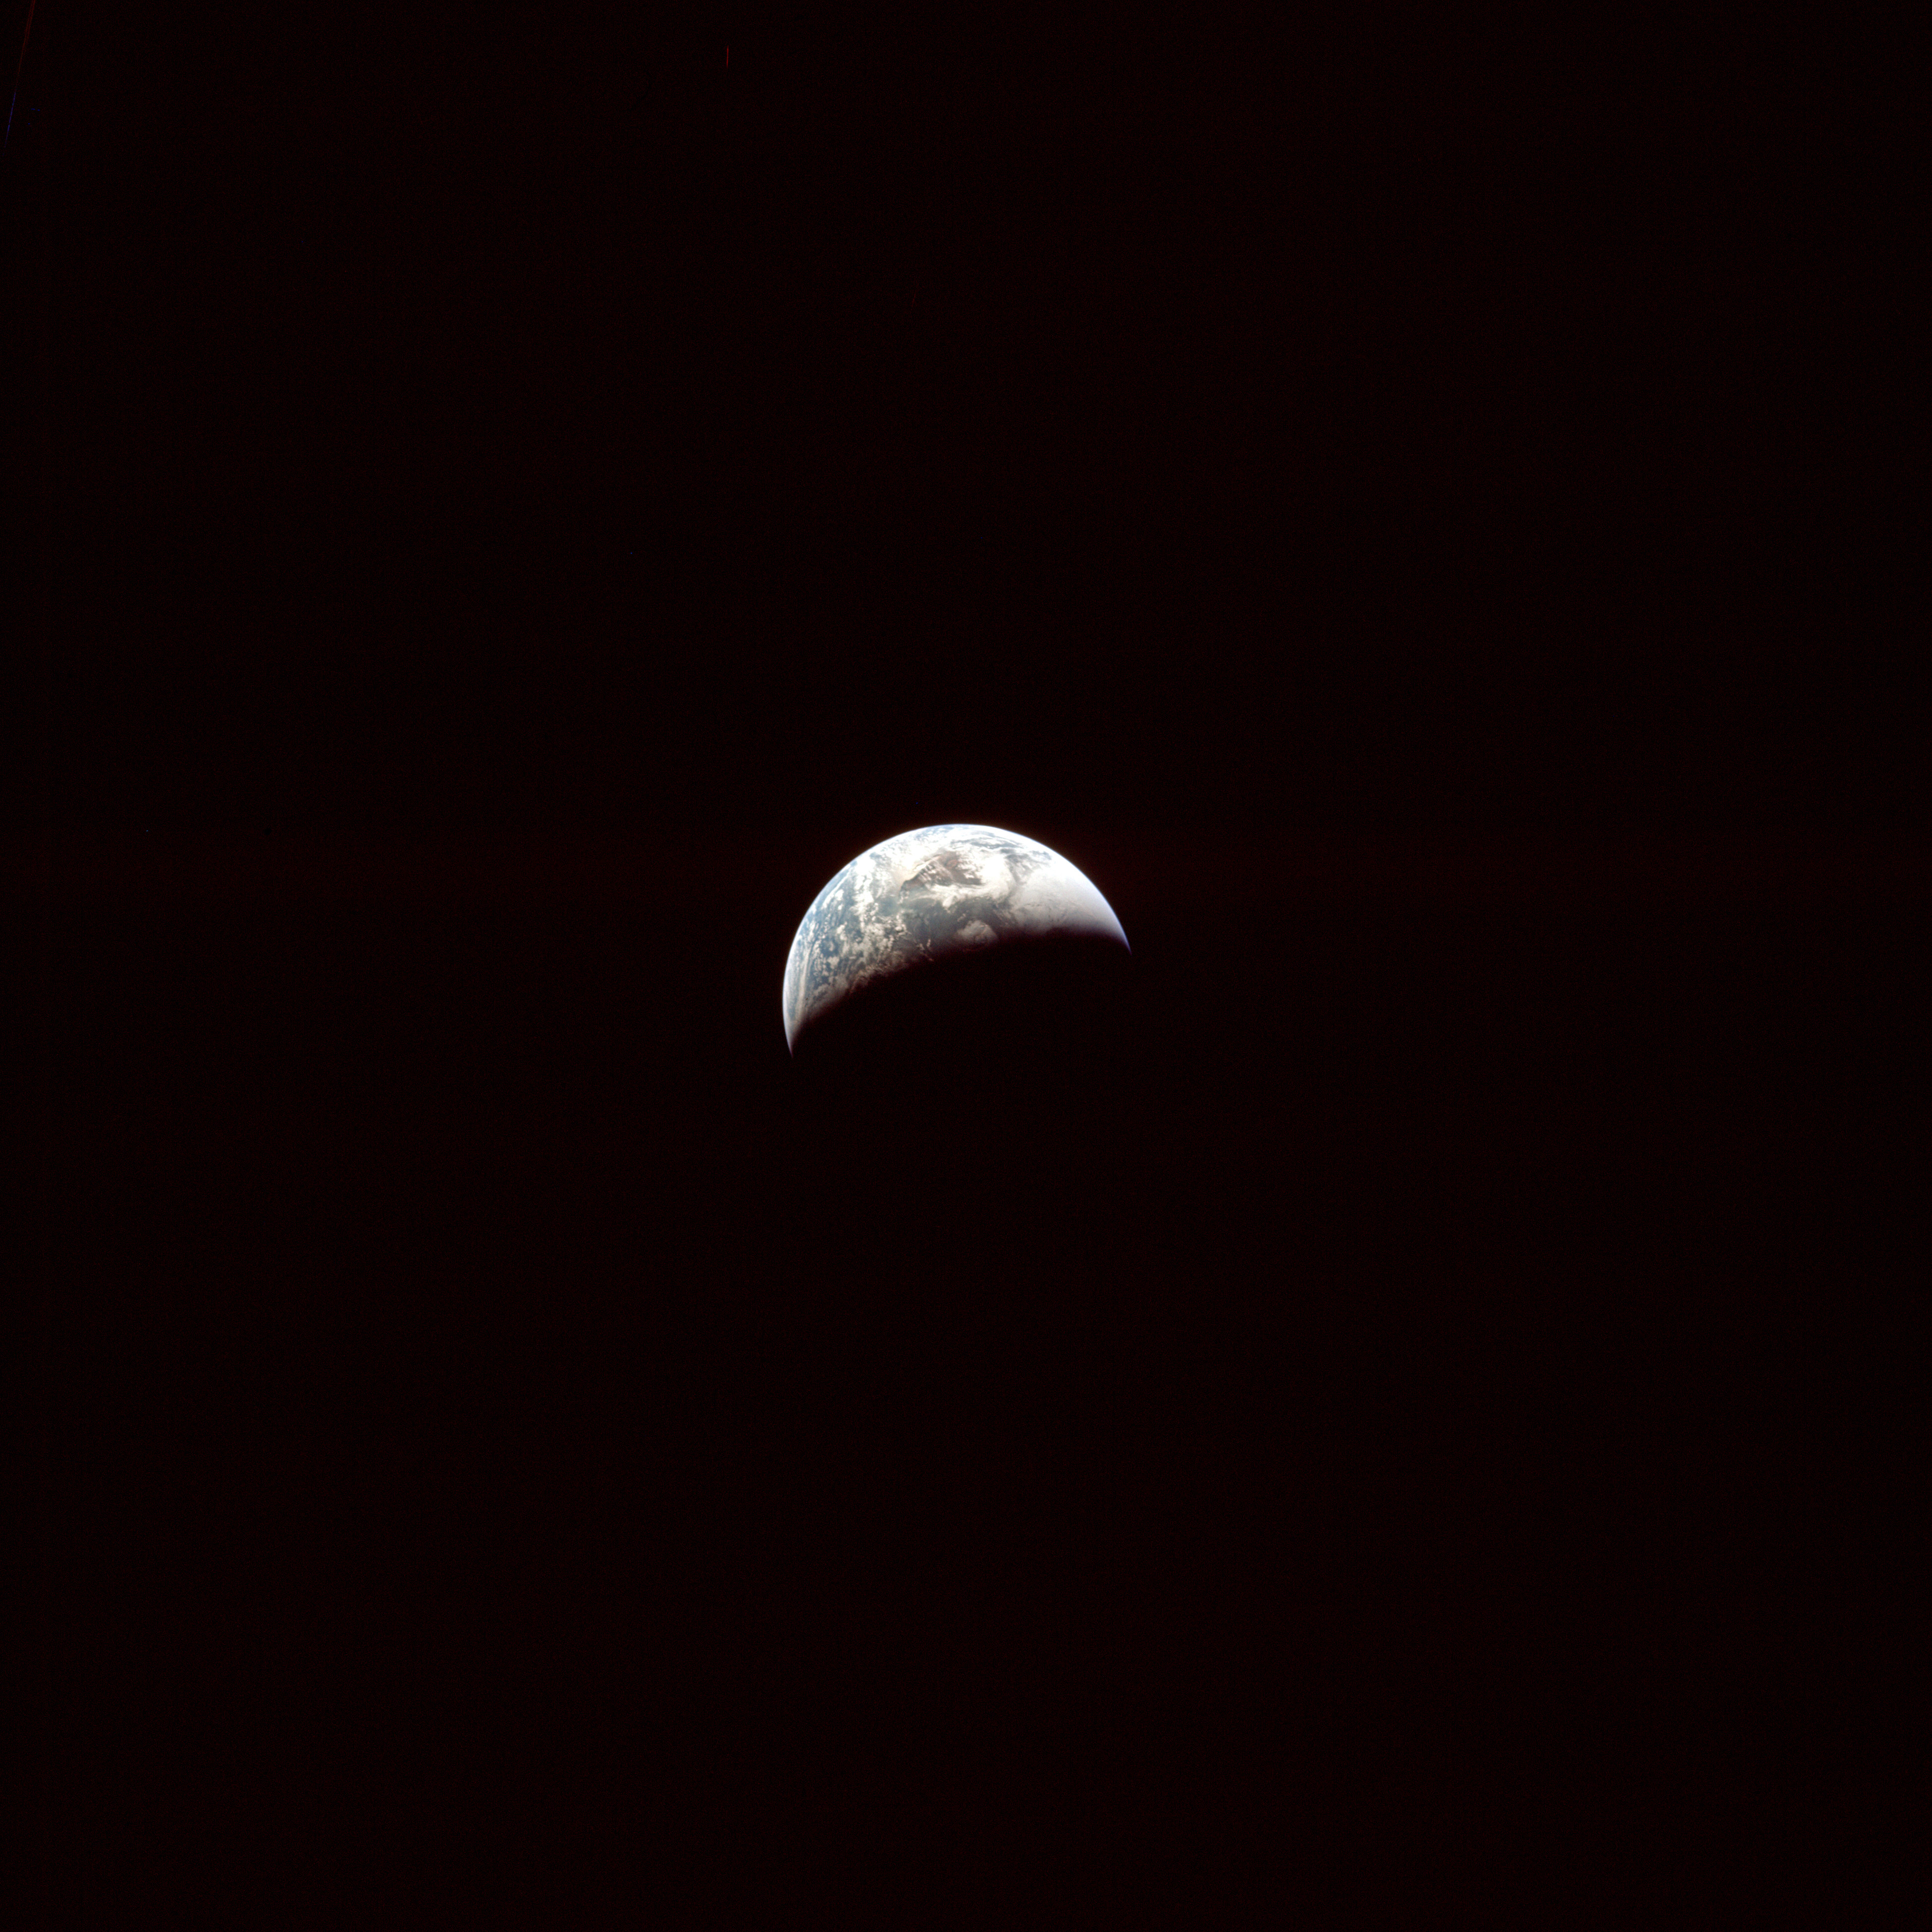 | AS13-60-8725 Crescent Earth during trans-Earth coast. Image credit: Image Science and Analysis Laboratory, NASA-Johnson Space Center. |
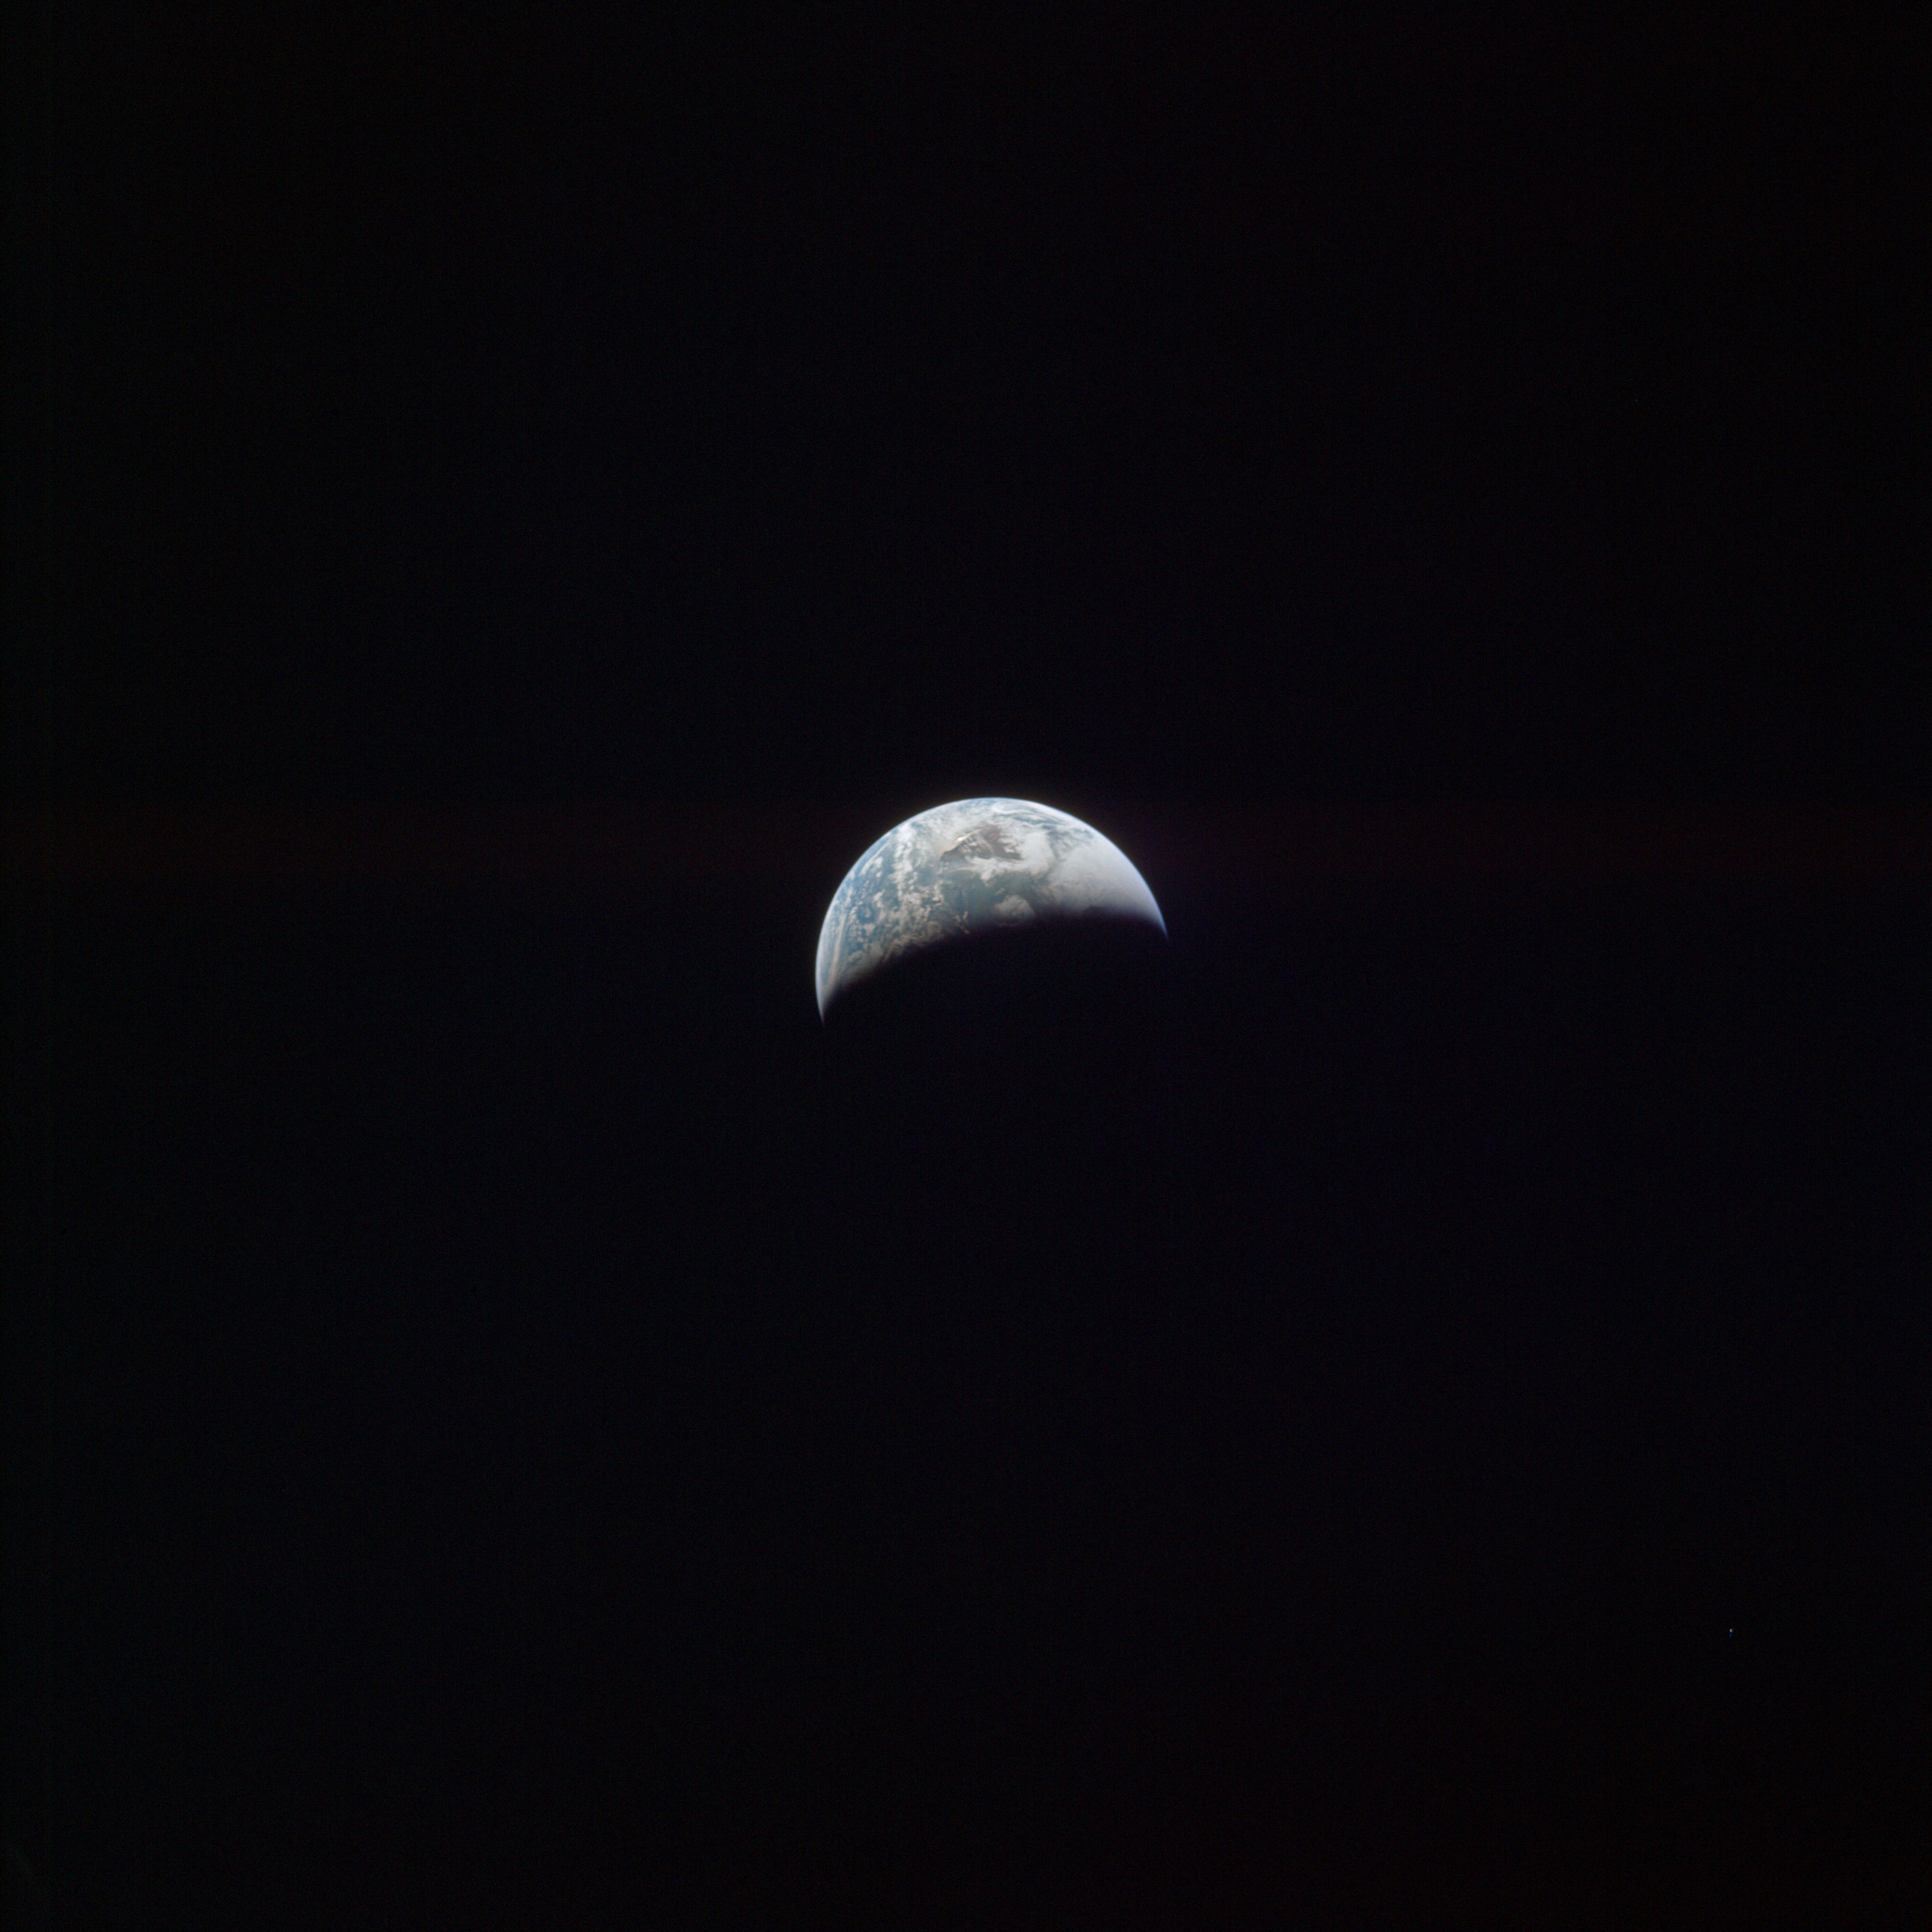 | AS13-60-8726 Crescent Earth during trans-Earth coast. Image credit: Image Science and Analysis Laboratory, NASA-Johnson Space Center. |
|
|
|
| 70-mm magazine R - AS13-59-8482 to 59-8576 |
Photography Index | 70-mm magazine II - AS13-61-8727 to 8879 |