
 |  |
| Photography Index | 70-mm magazine KK - AS14-65-9202 to 9215 |
No copyright is asserted for NASA photographs. If a recognizable person appears in a photo, use for commercial purposes may infringe a right of privacy or publicity. Photos may not be used to state or imply the endorsement by NASA or by any NASA employee of a commercial product, process or service, or used in any other manner that might mislead. Accordingly, it is requested that if a NASA photograph is used in advertising and other commercial promotion, layout and copy be submitted to NASA prior to release. NASA photos reproduced from this archive should include photo credit to "NASA" or "National Aeronautics and Space Administration" and should include scanning credit to the appropriate individuals or agencies as noted in the captions.
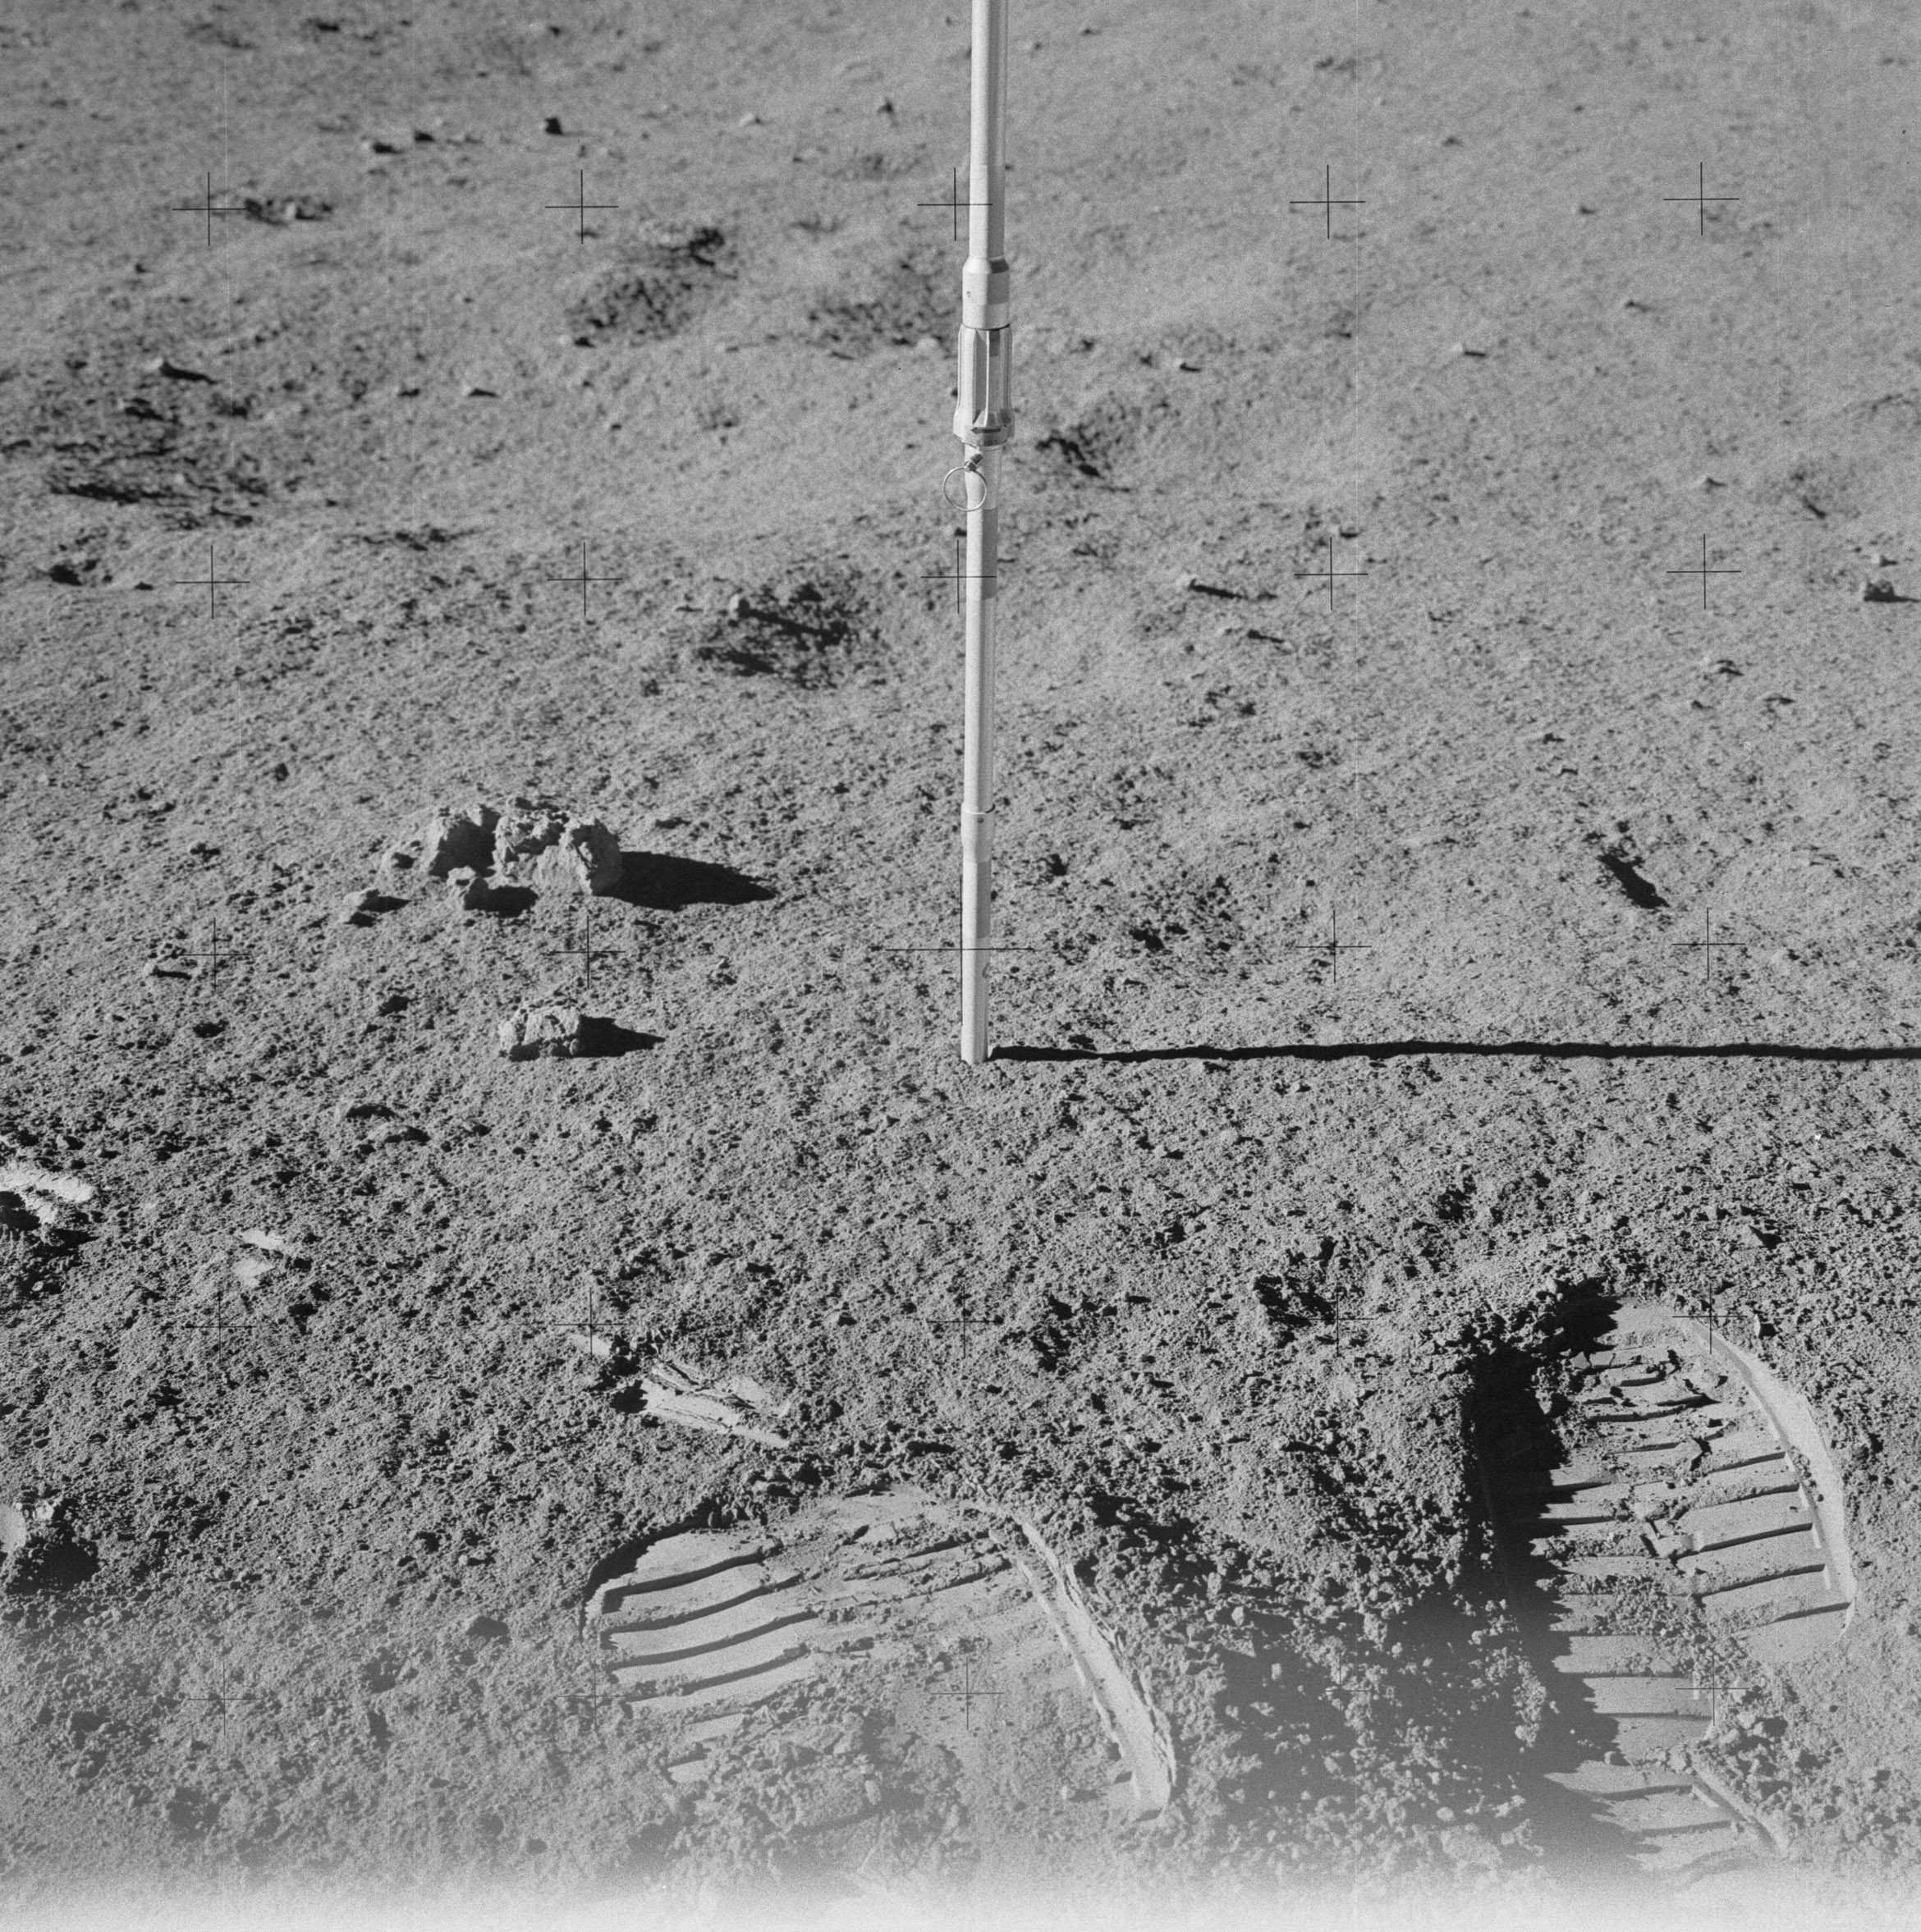 | AS14-64-9046 132:15:25 Close-up cross-Sun from the north of the double core at Station A. The double core is attached to an extension handle at the top. Image credit: Image Science and Analysis Laboratory, NASA-Johnson Space Center. |
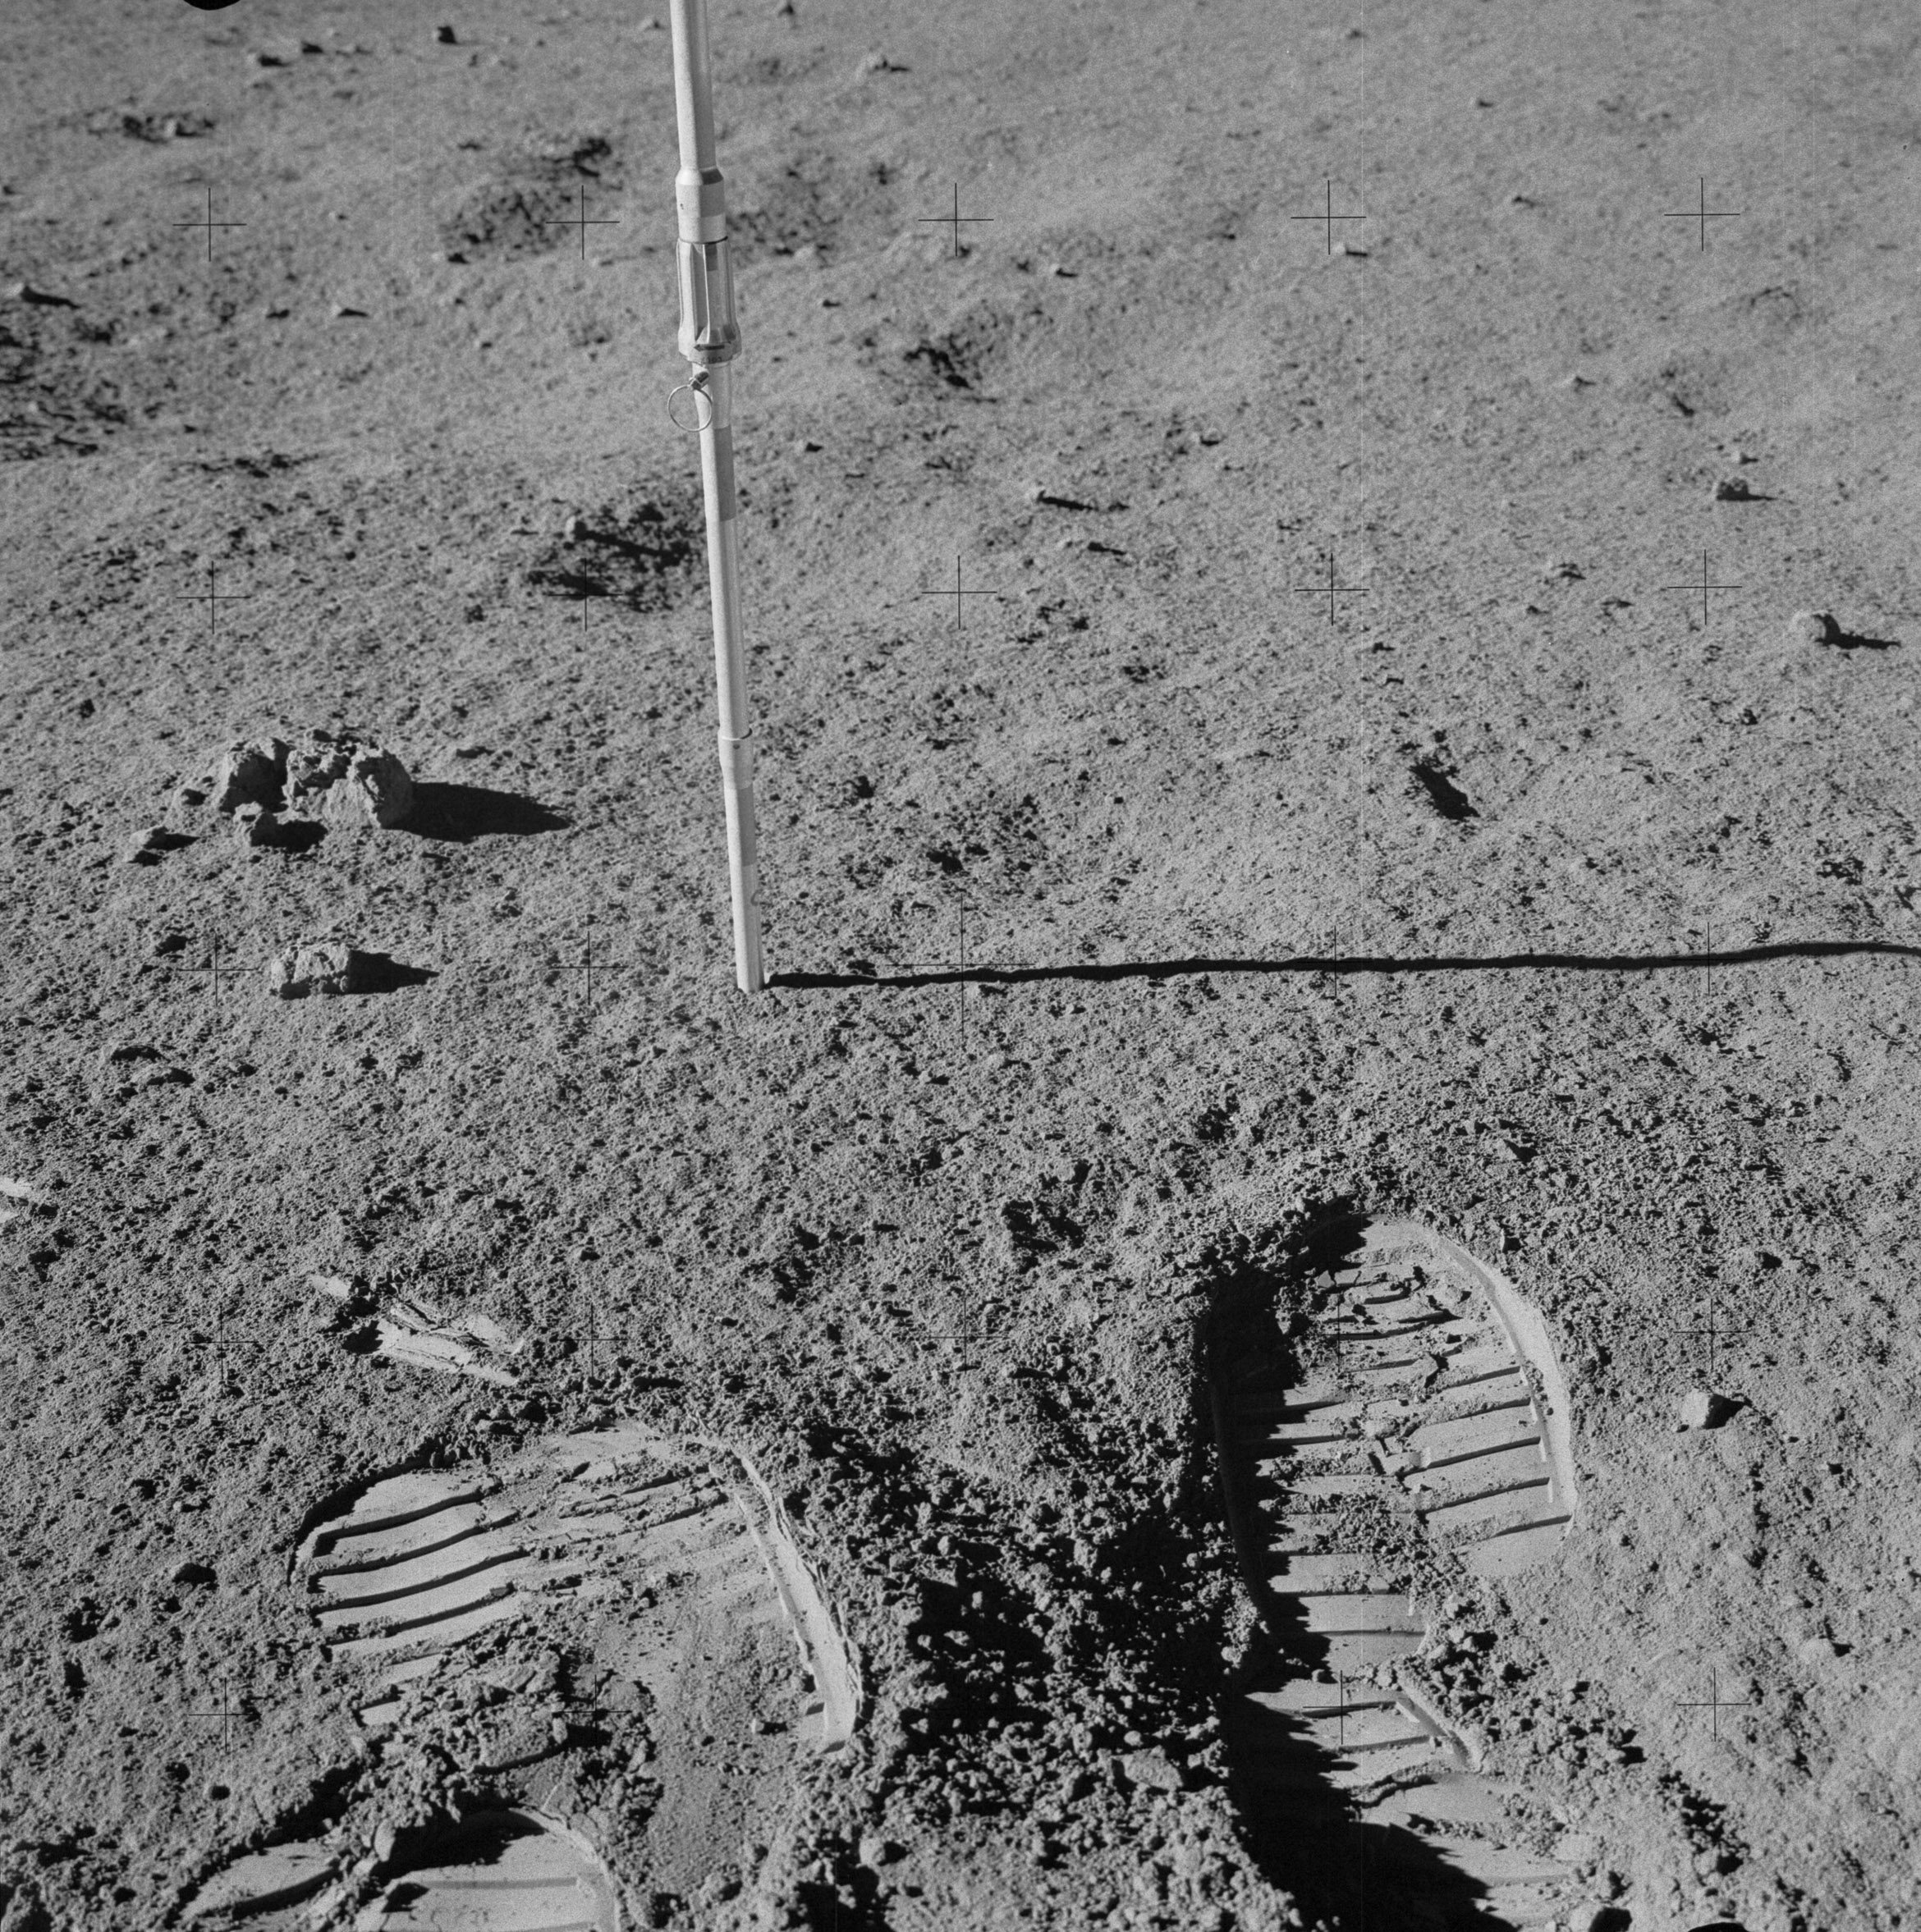 | AS14-64-9047 Al stepped to his right to take this stereo companion to 9046. Image credit: Image Science and Analysis Laboratory, NASA-Johnson Space Center. |
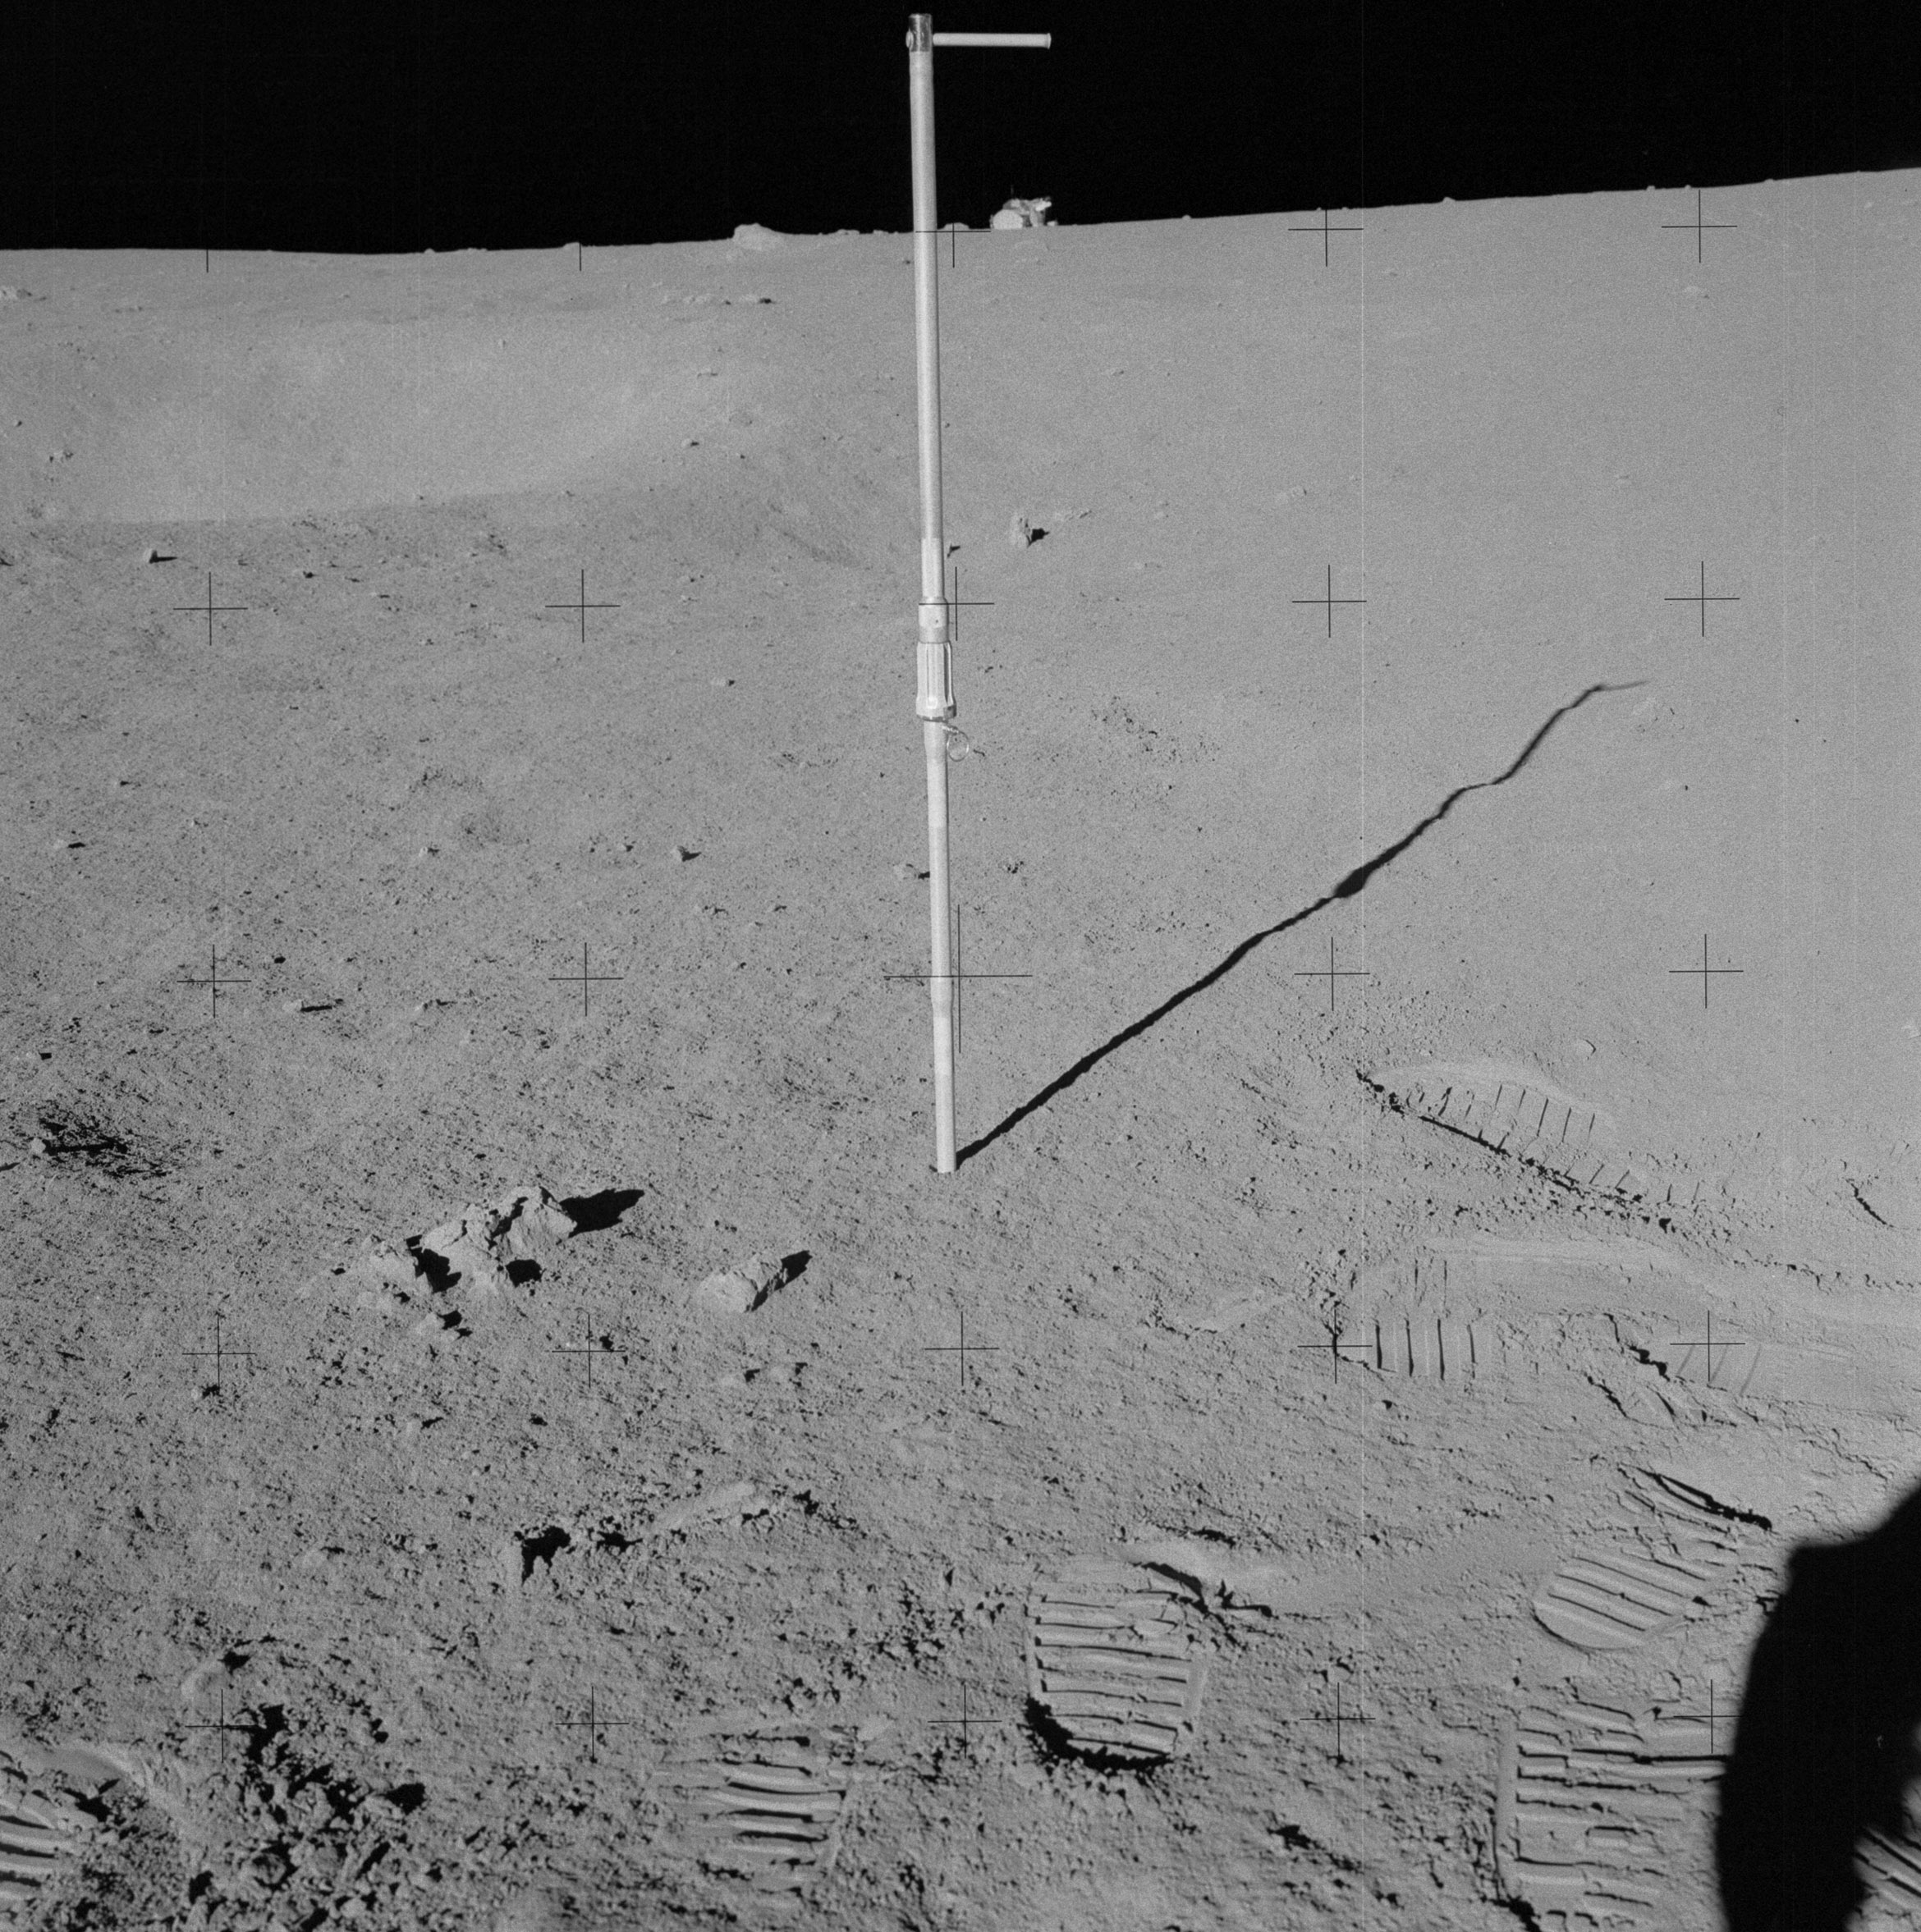 | AS14-64-9048 Al has moved around the east of the core tube and has backed up to take this "locator" of the Station A core with the LM in the background. Image credit: Image Science and Analysis Laboratory, NASA-Johnson Space Center. |
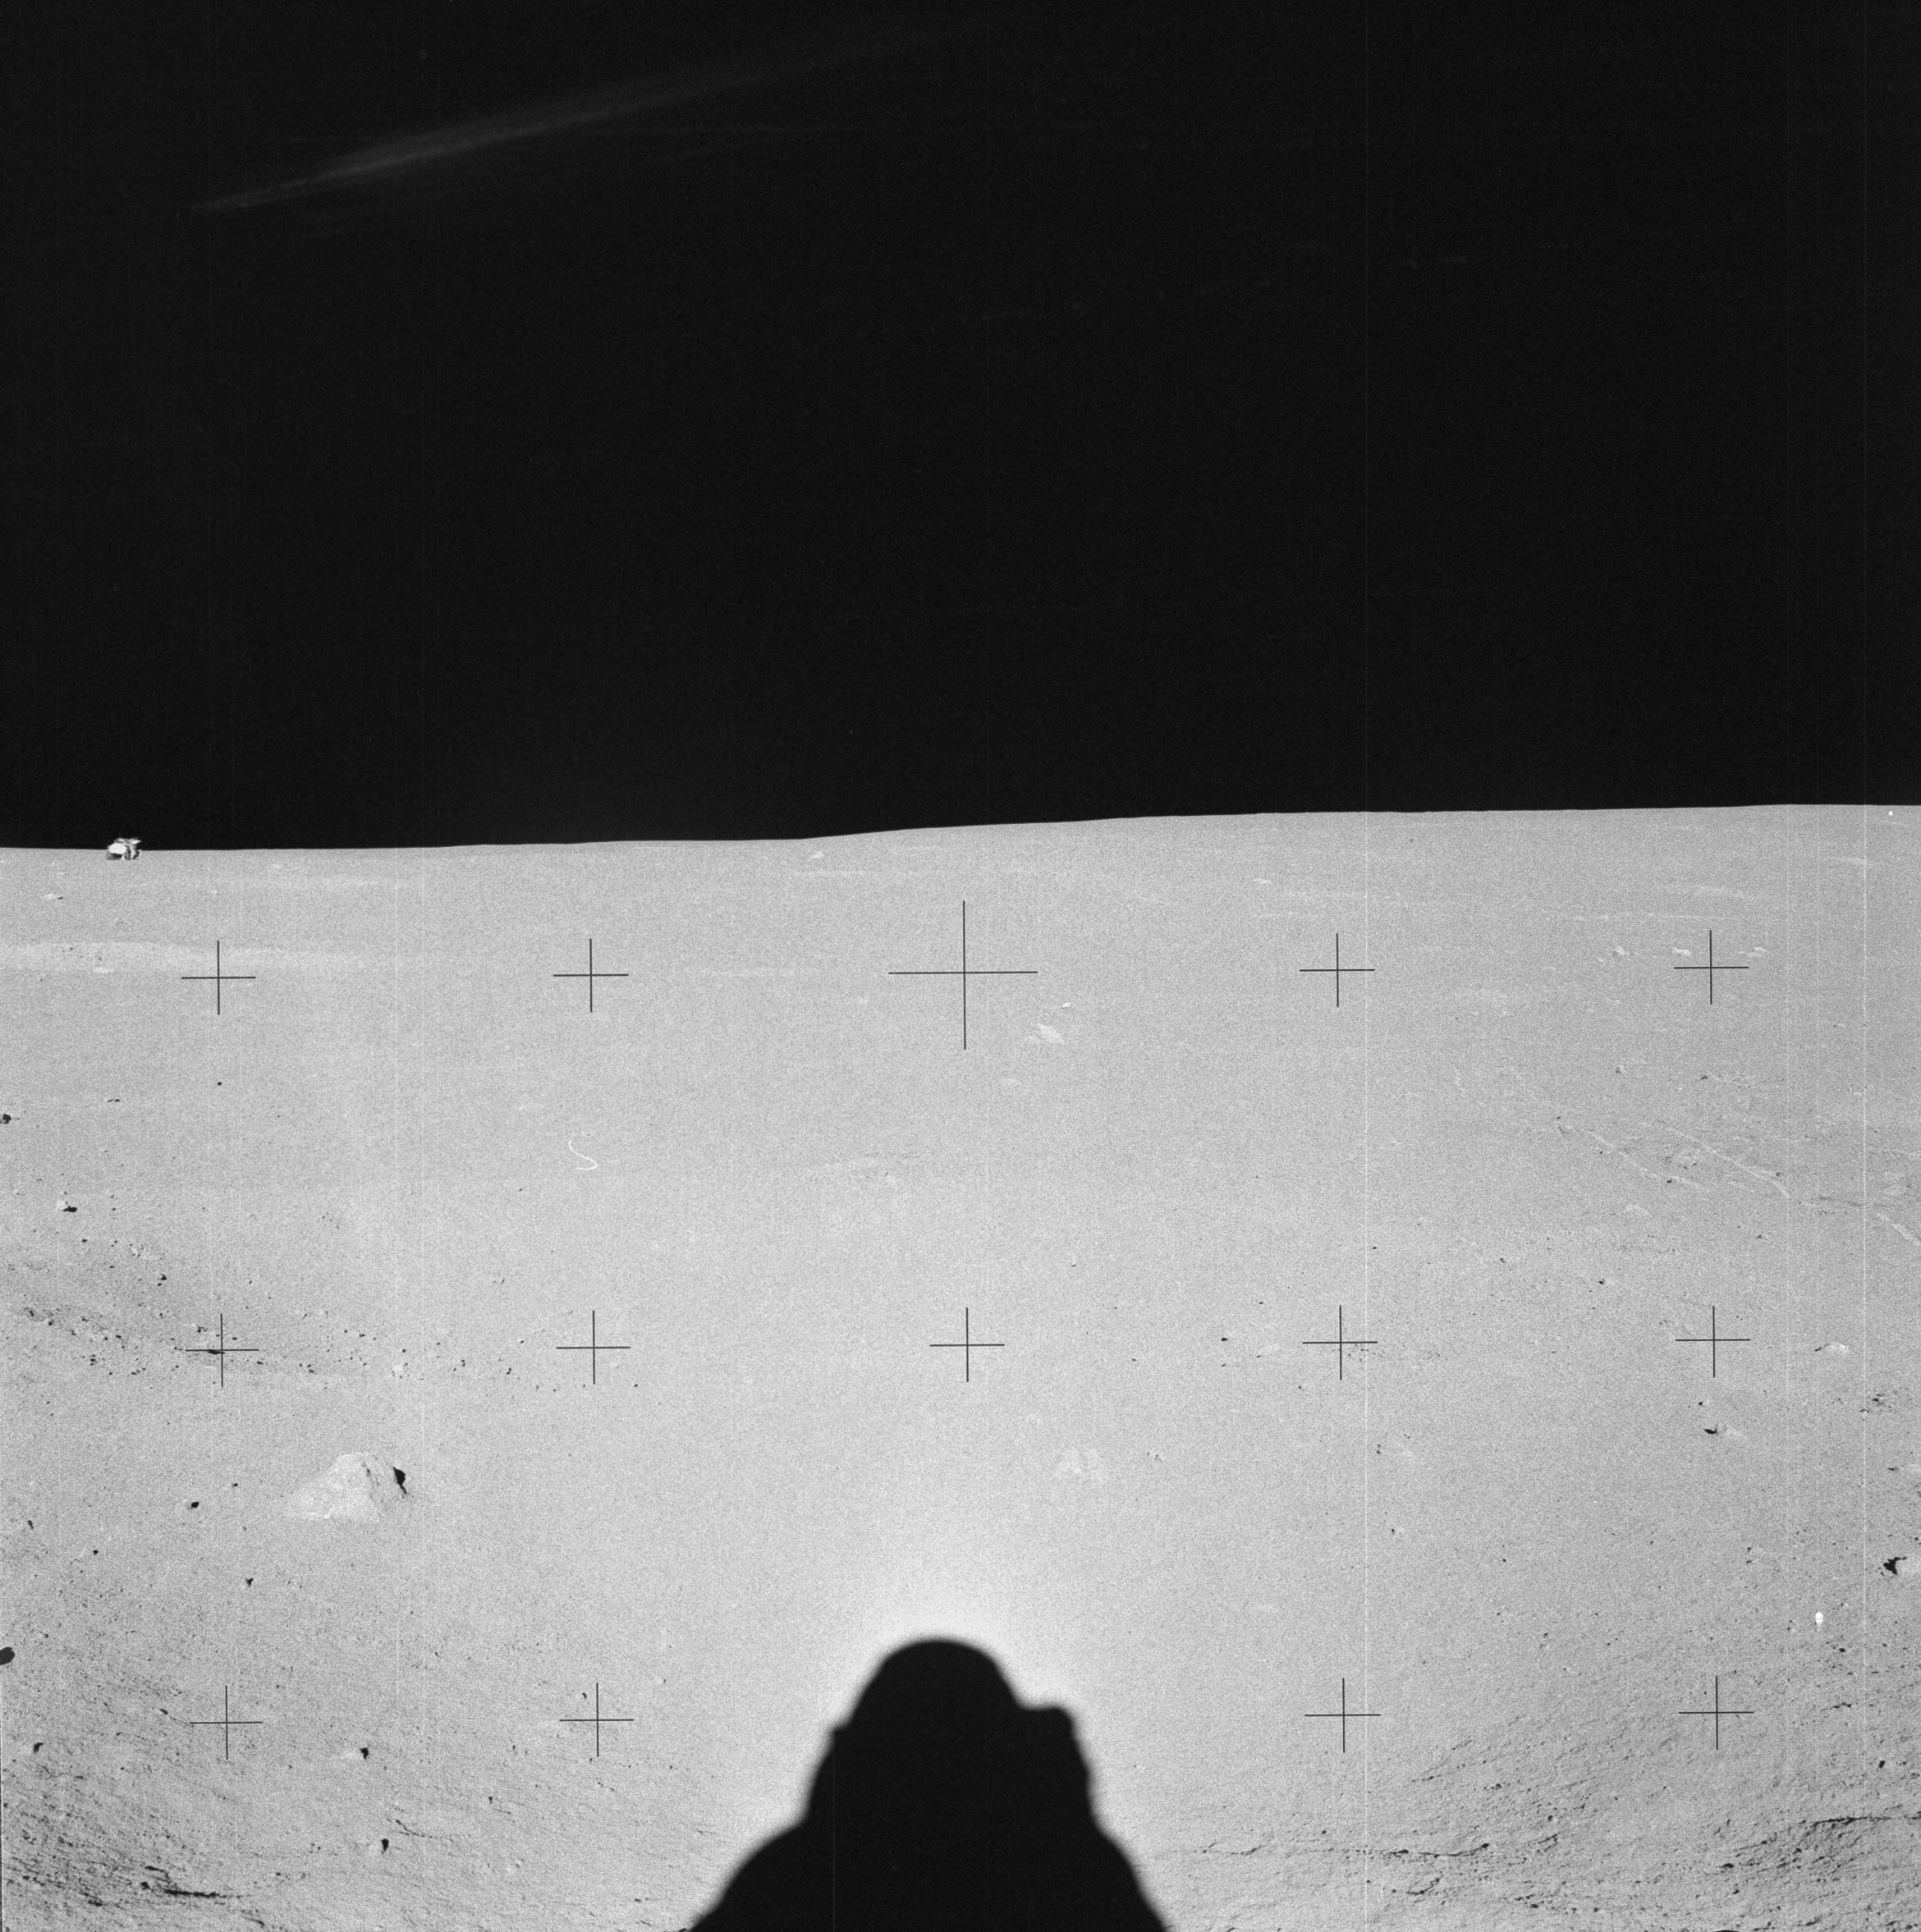 | AS14-64-9049 132:34:22 Al has started a pan at Station B, starting with this down-Sun. Image credit: Image Science and Analysis Laboratory, NASA-Johnson Space Center. |
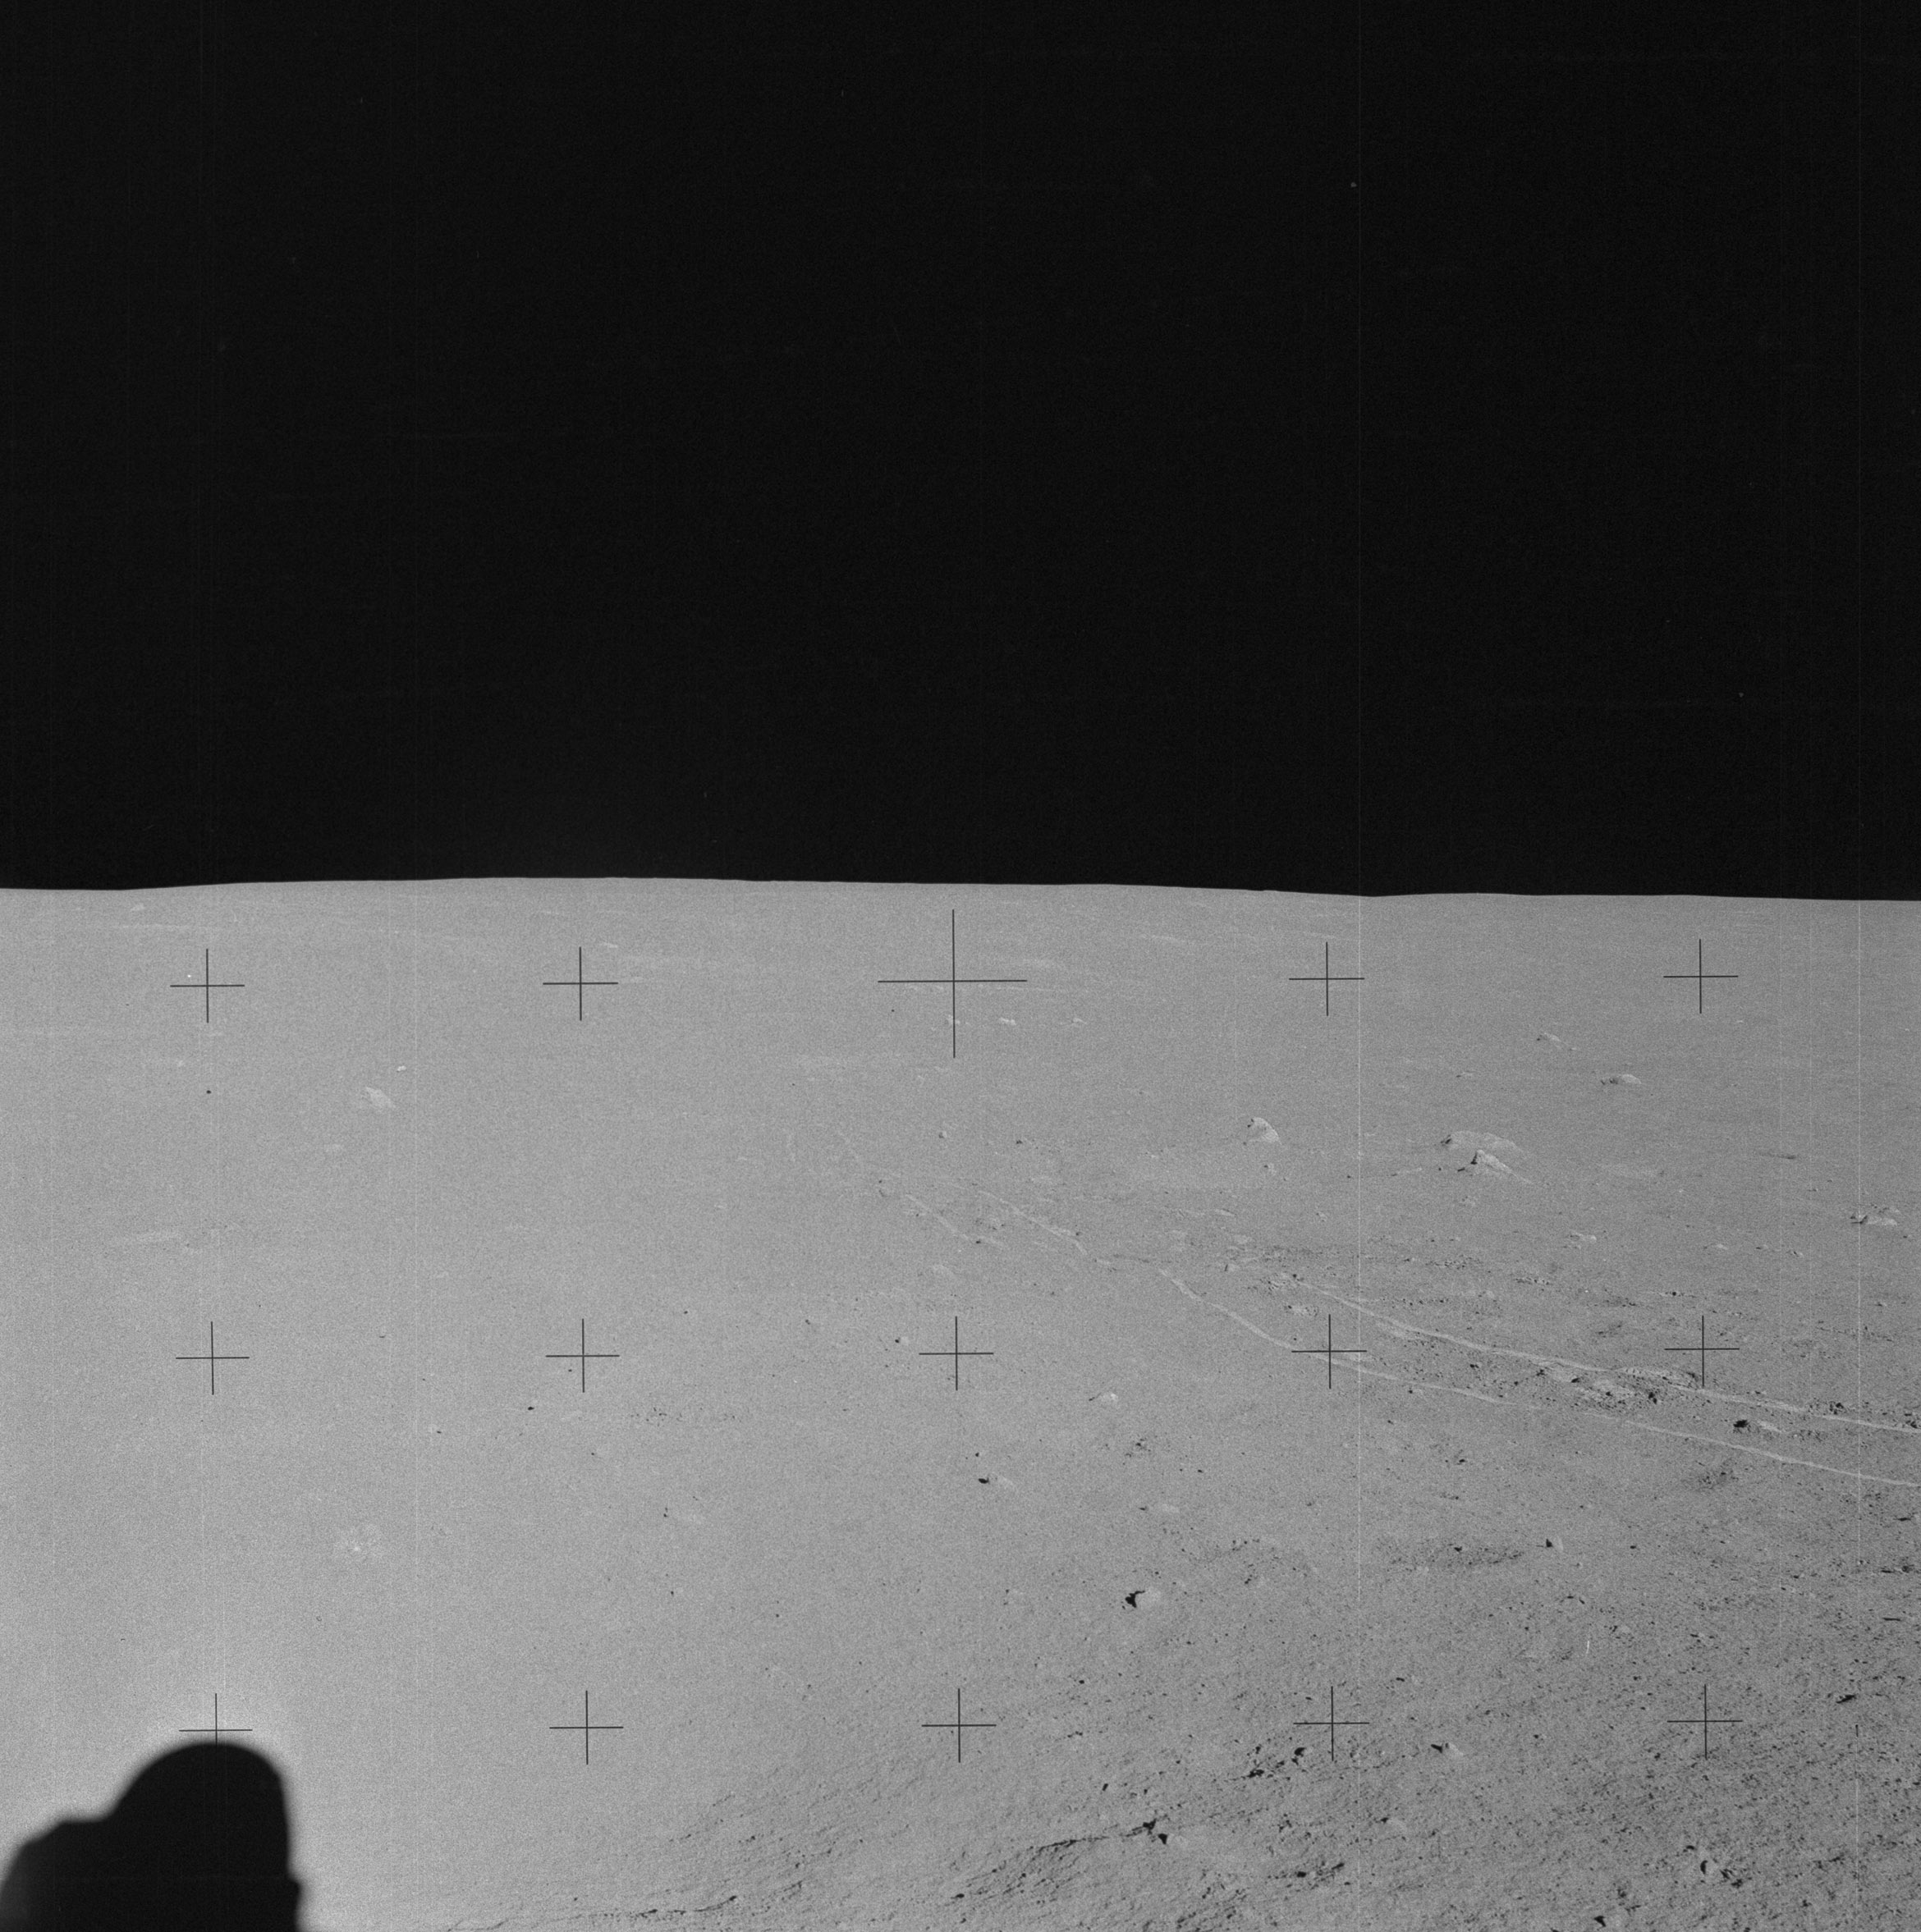 | AS14-64-9050 Rightward of 9049, showing the inbound MET tracks. Image credit: Image Science and Analysis Laboratory, NASA-Johnson Space Center. |
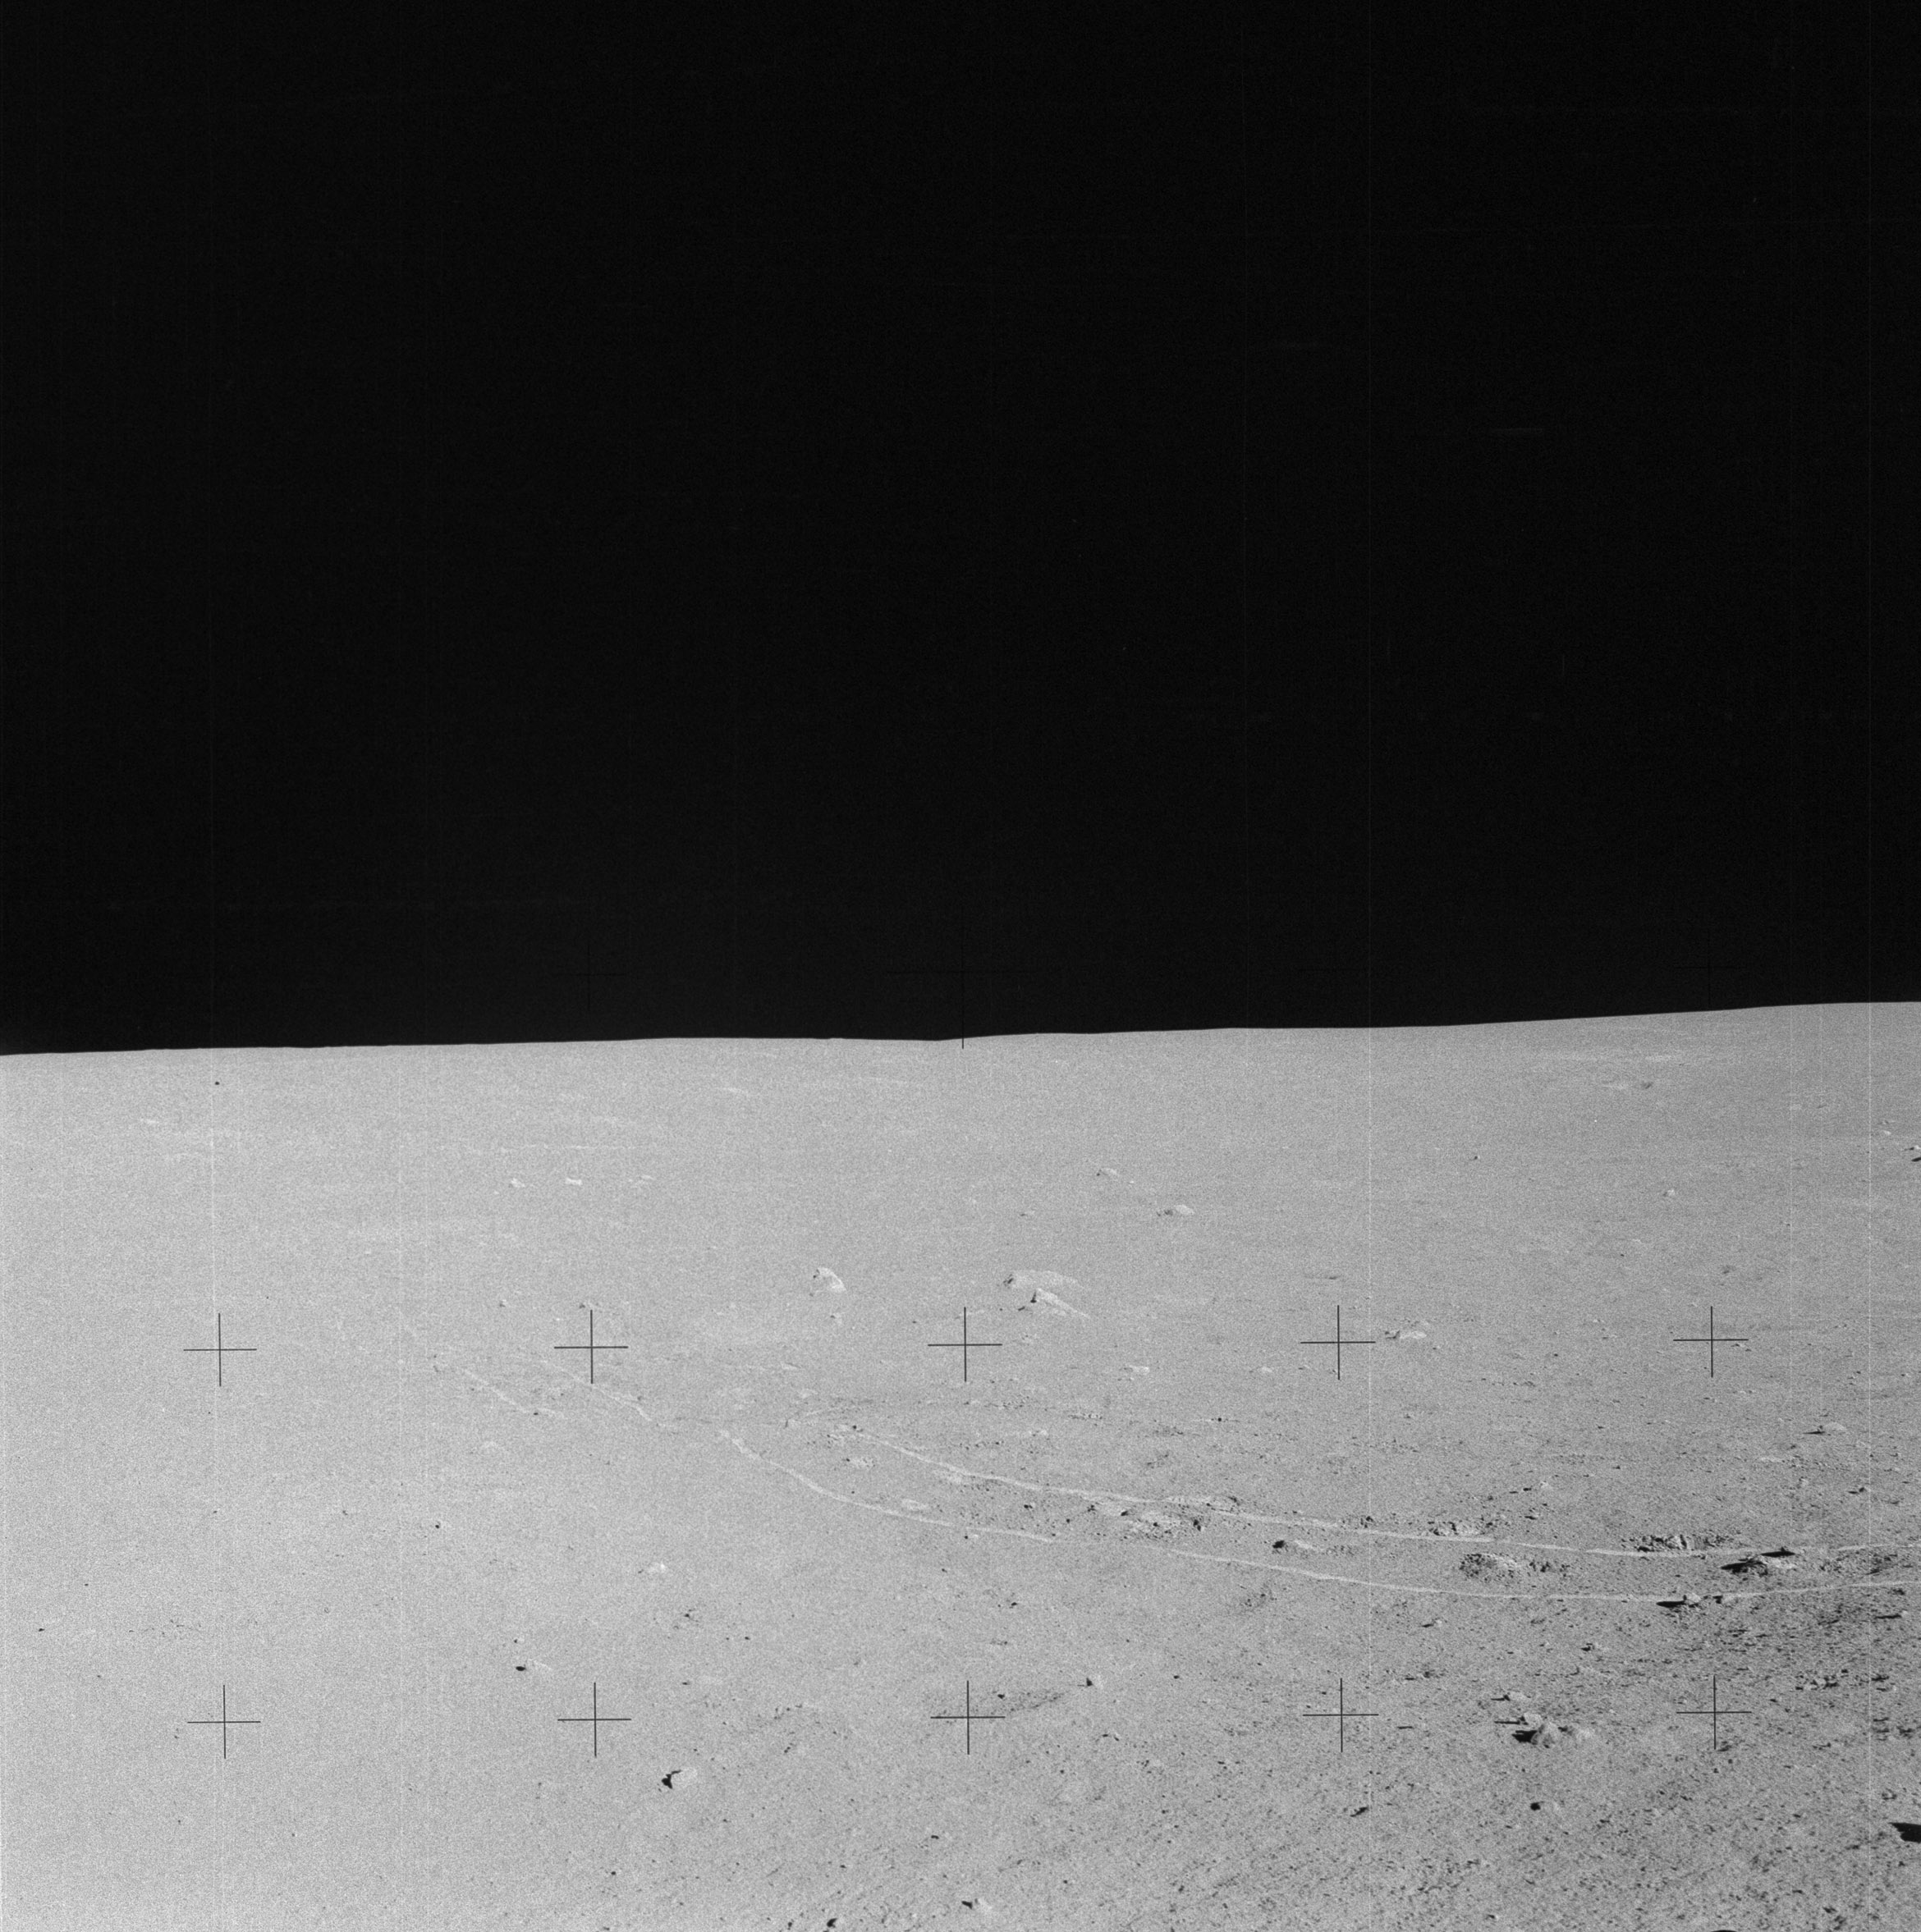 | AS14-64-9051 Rightward of 9050. Image credit: Image Science and Analysis Laboratory, NASA-Johnson Space Center. |
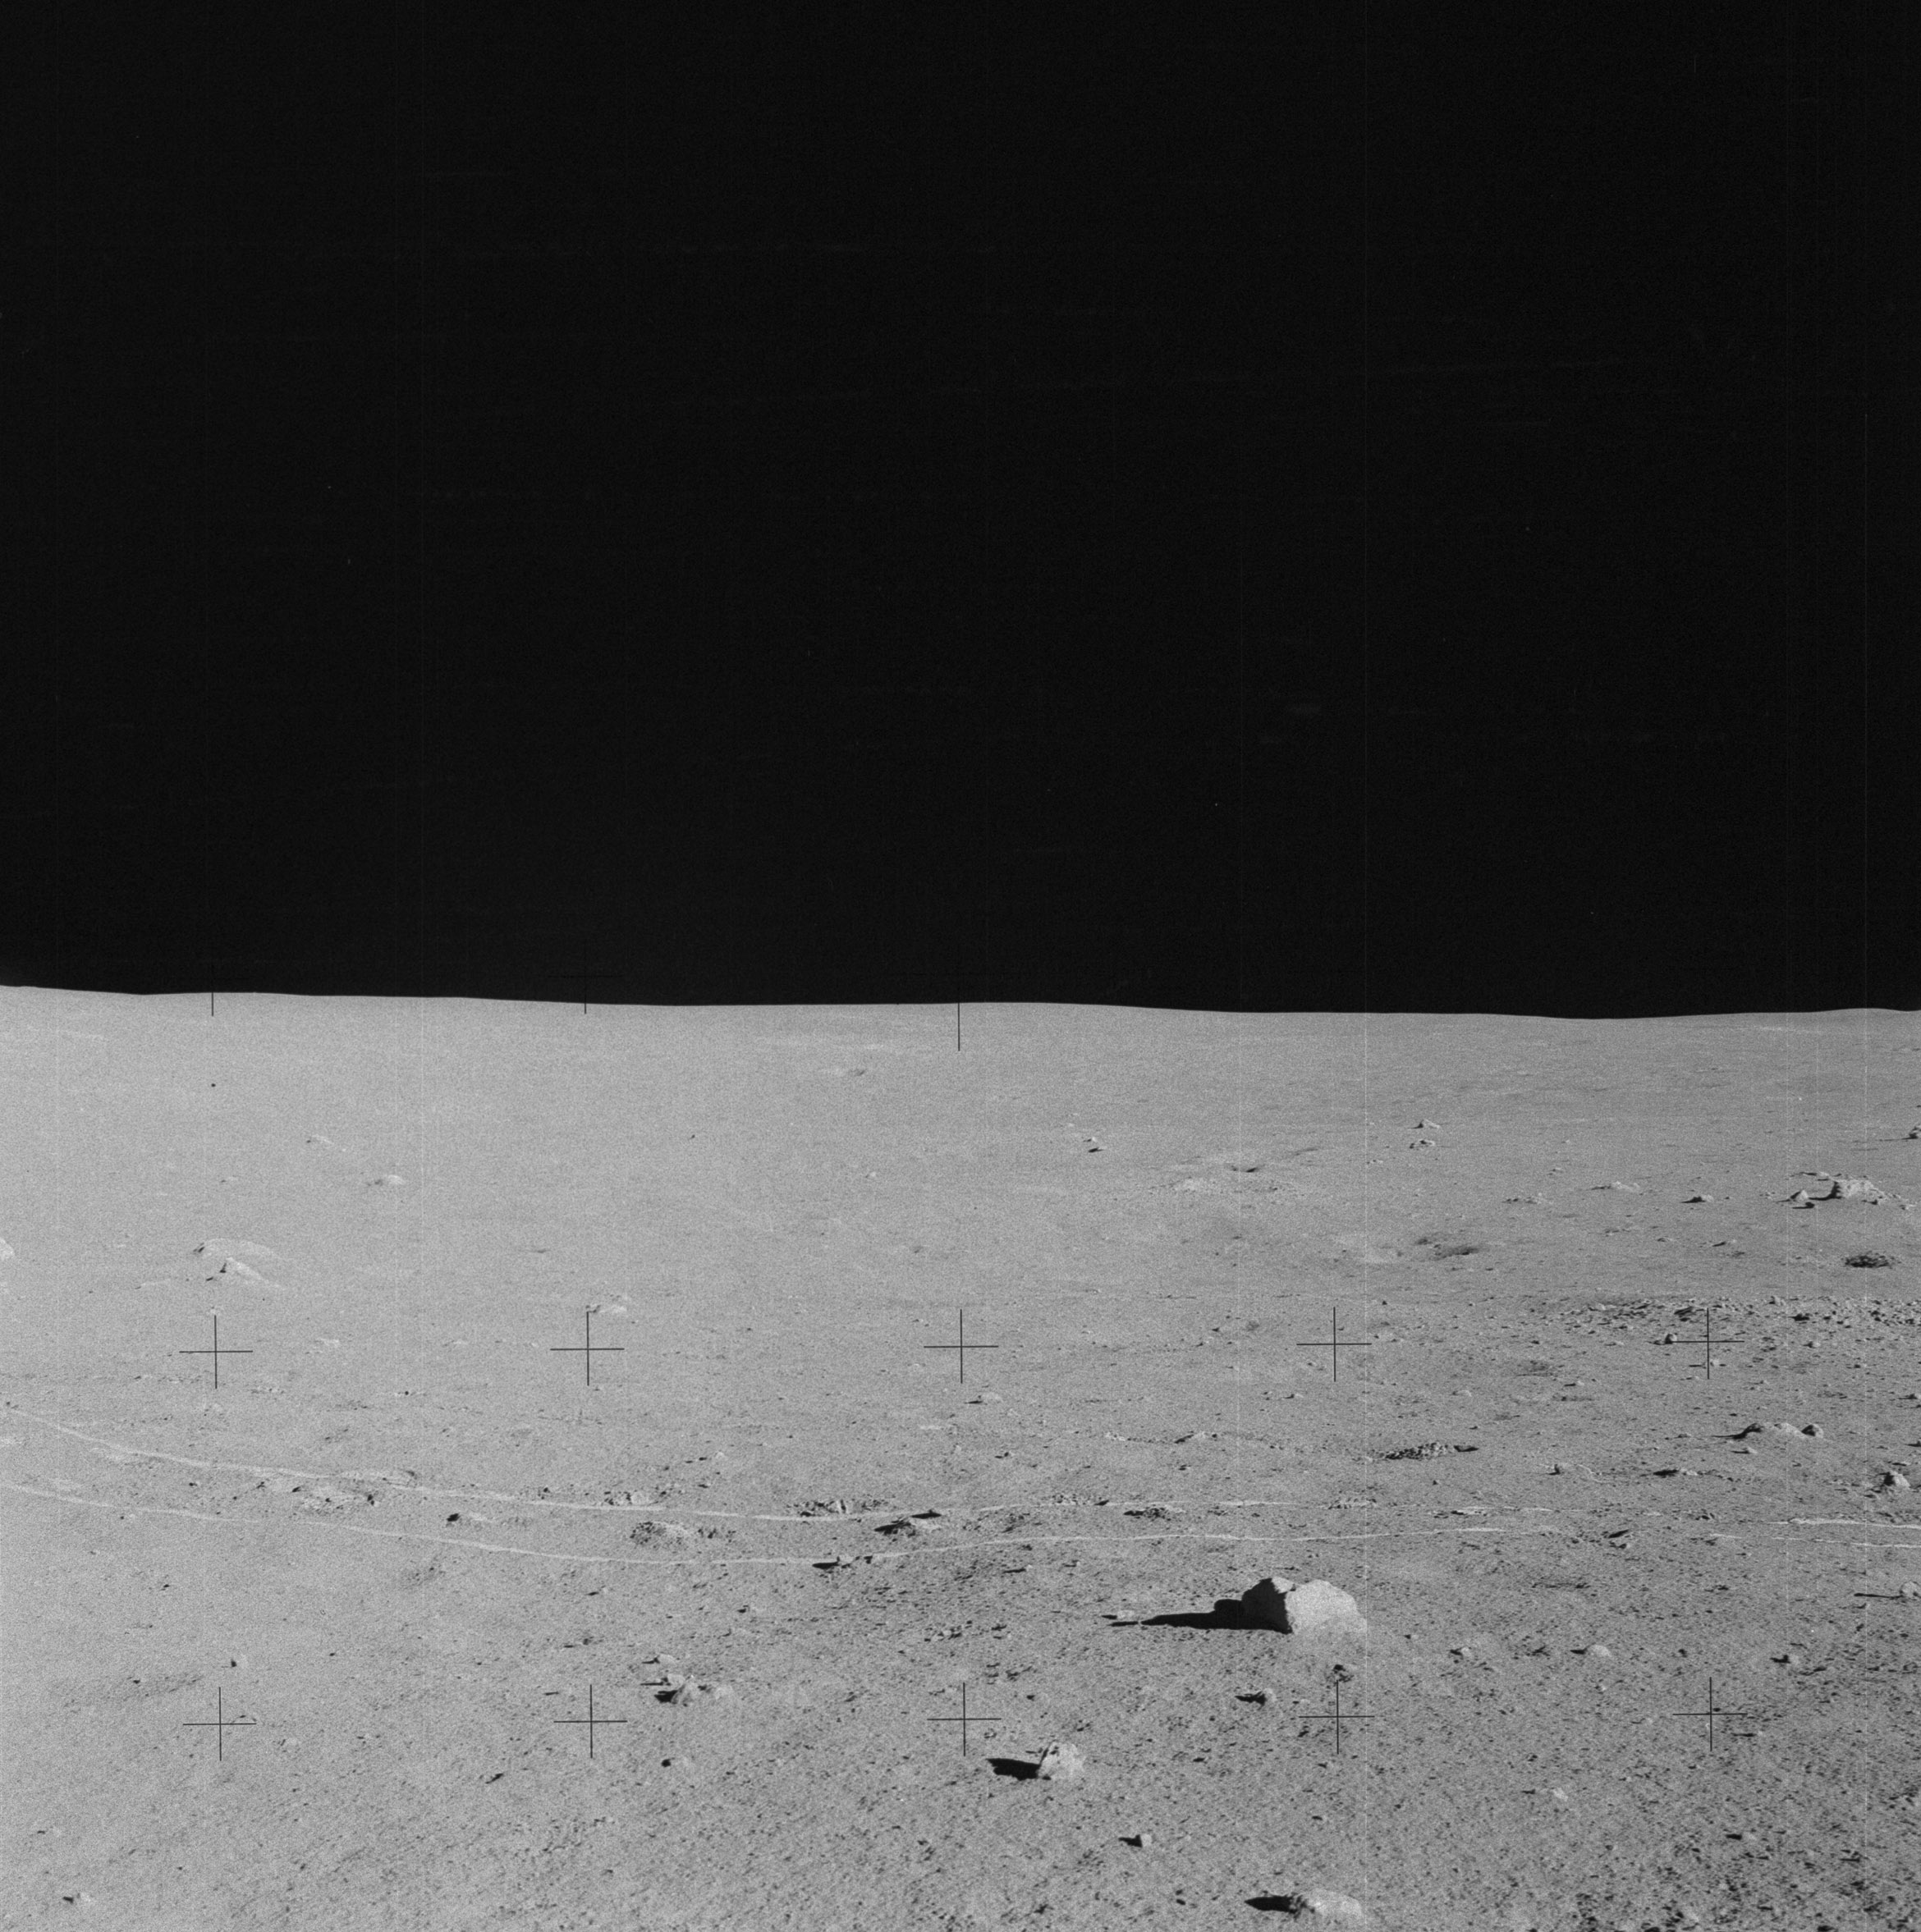 | AS14-64-9052 Rightward of 9051, toward the north. Image credit: Image Science and Analysis Laboratory, NASA-Johnson Space Center. |
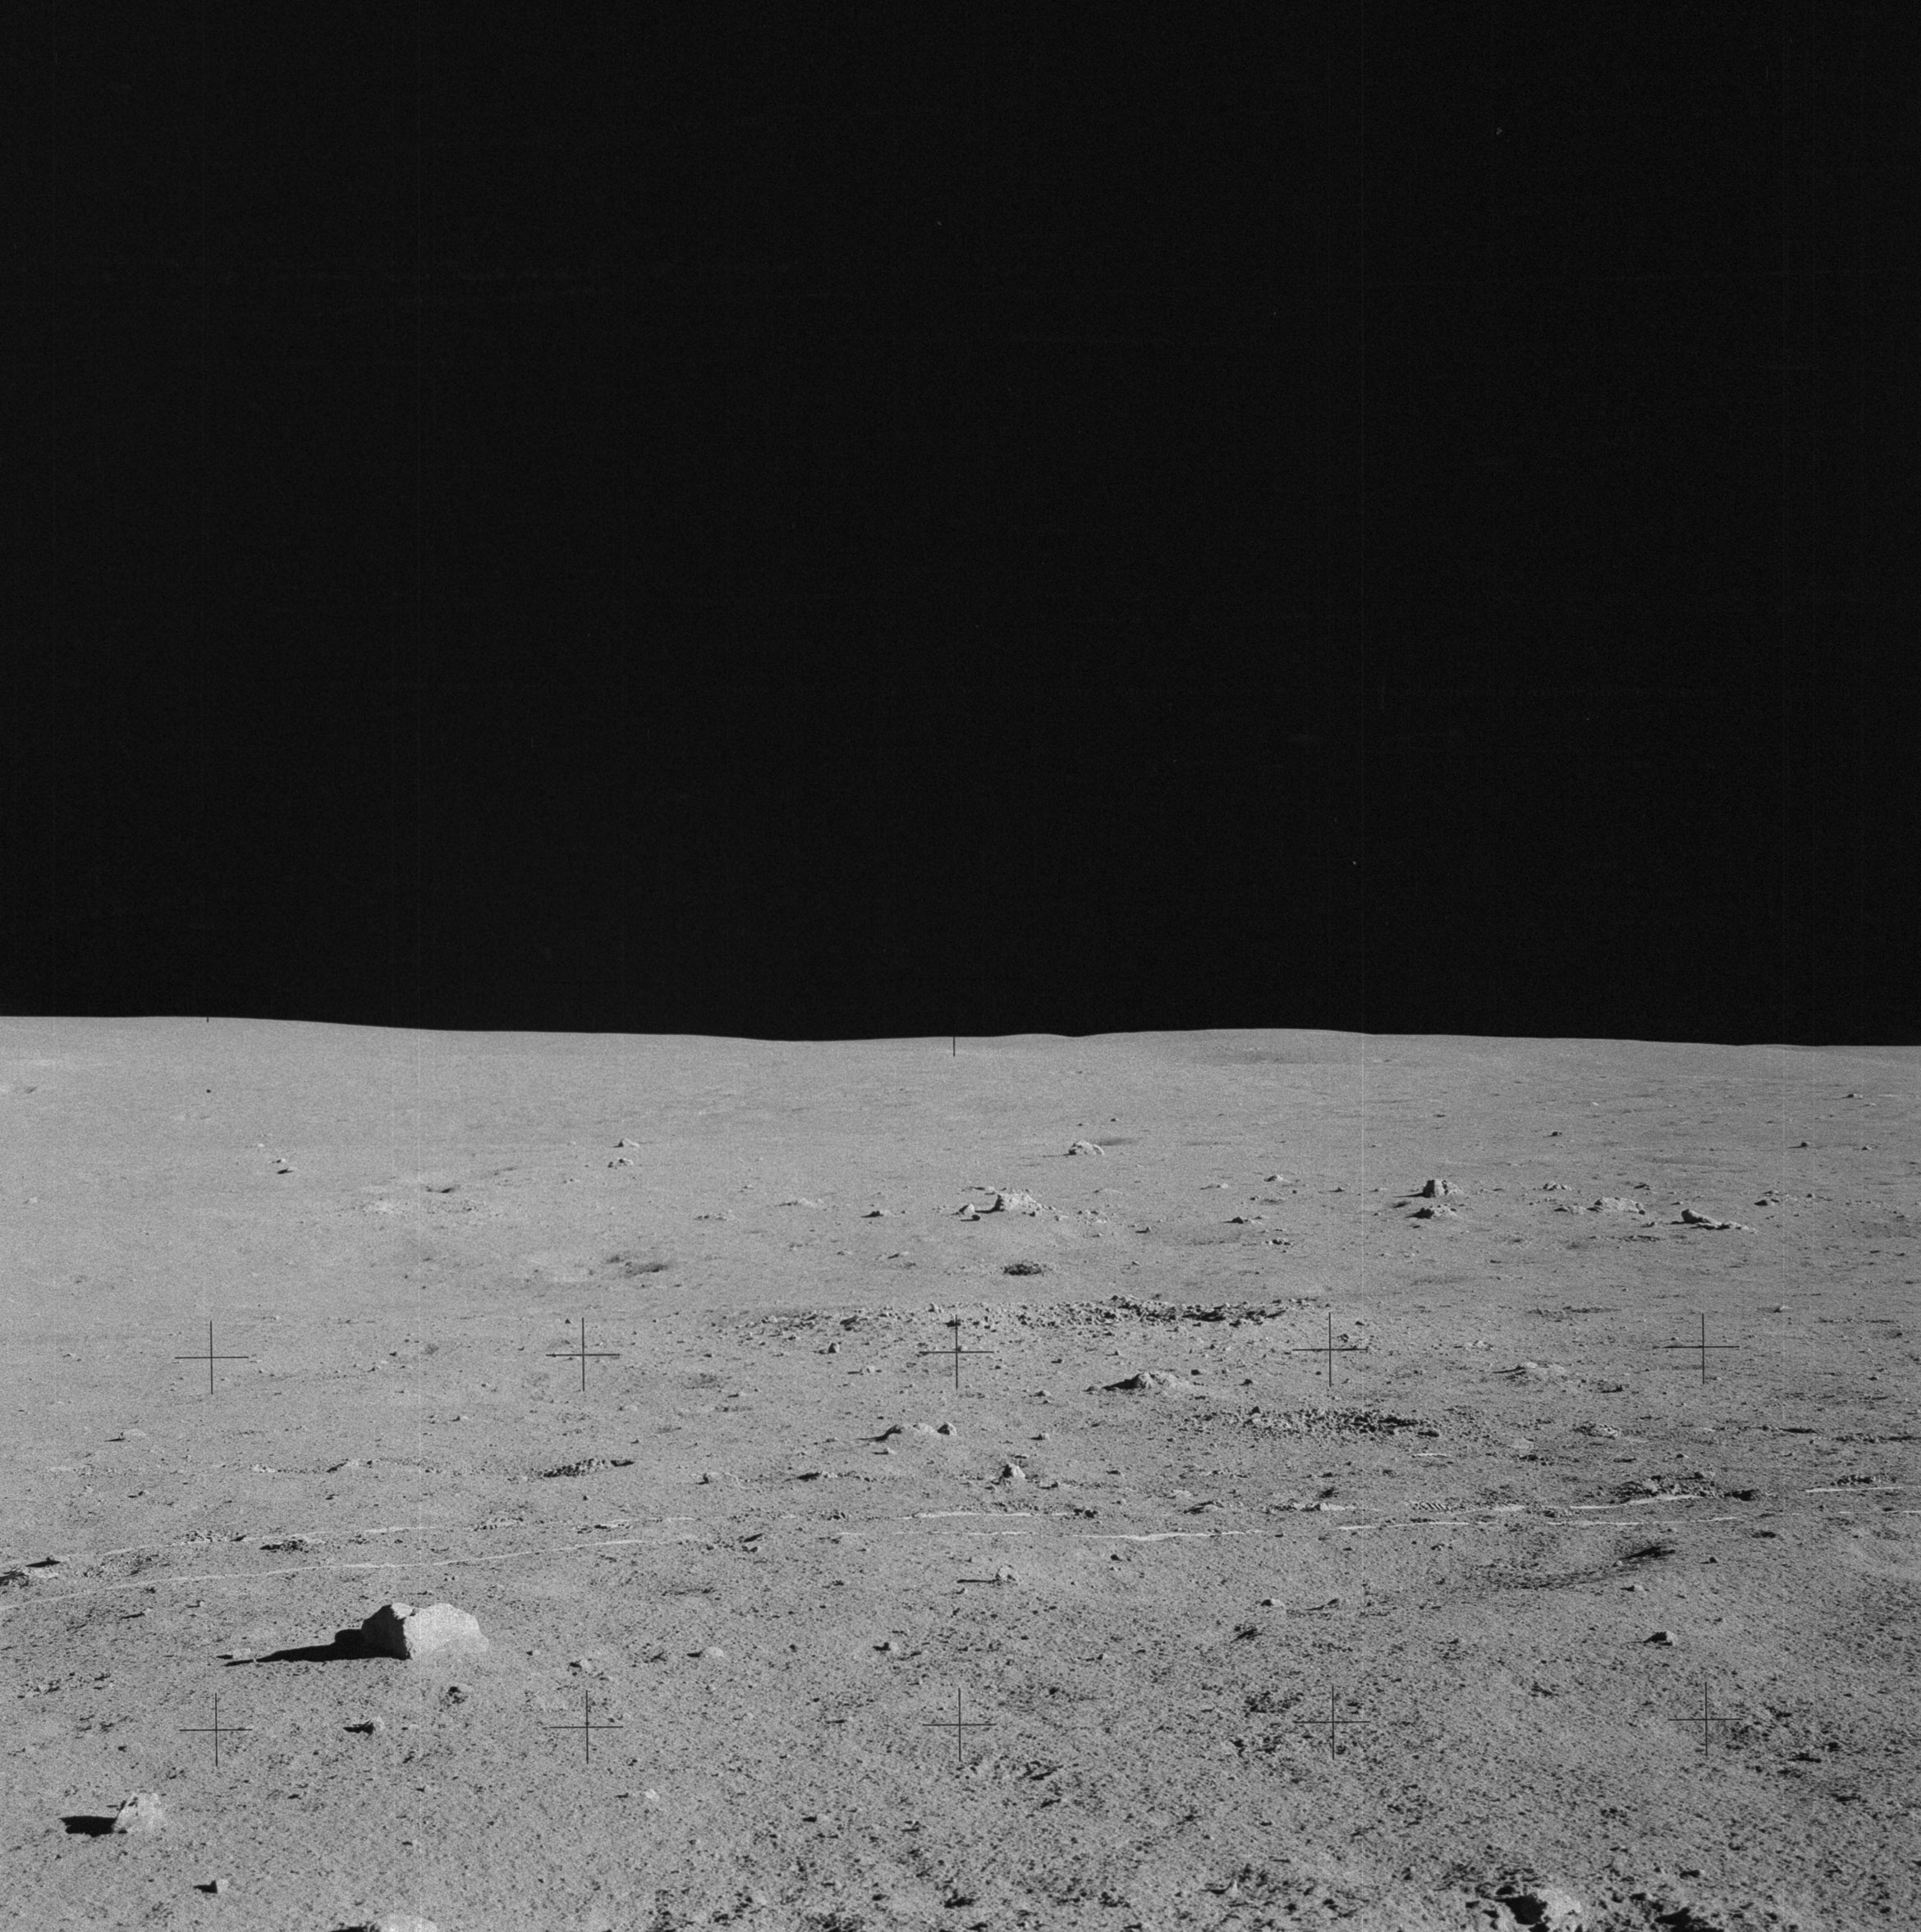 | AS14-64-9053 Rightward of 9052, centered on the small crater with fragmental ejecta. Image credit: Image Science and Analysis Laboratory, NASA-Johnson Space Center. |
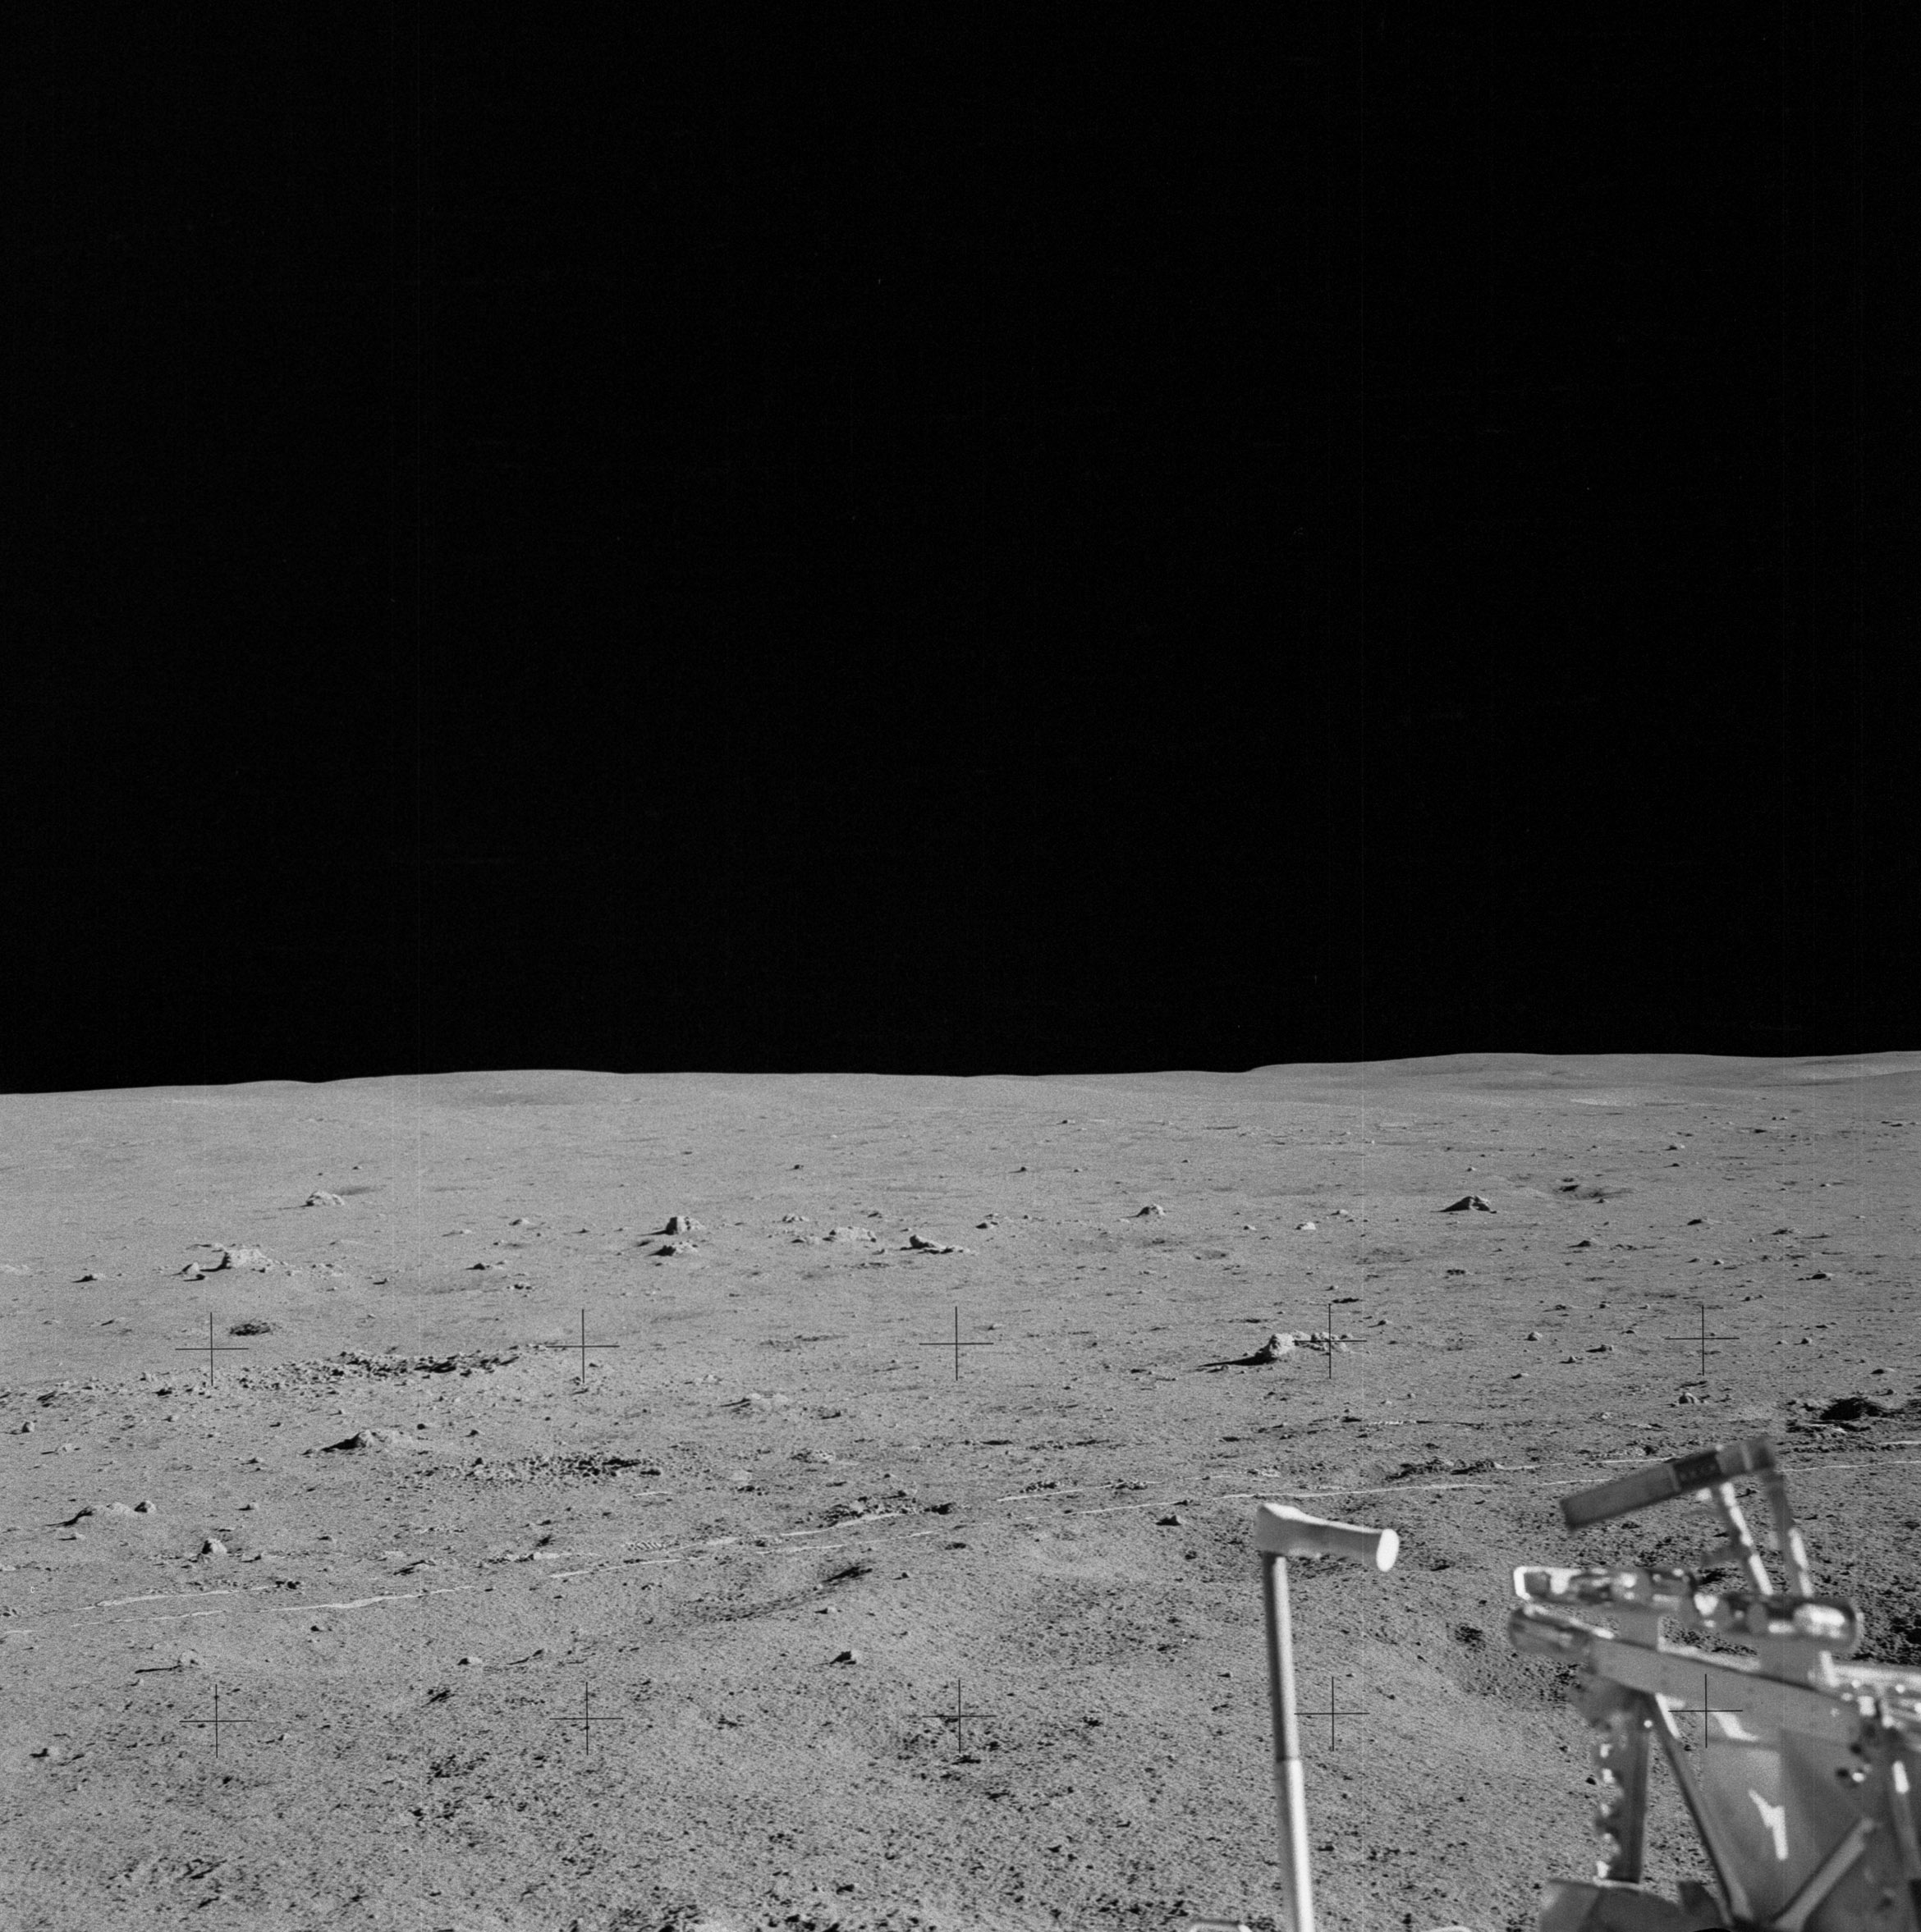 | AS14-64-9054 Rightward of 9053, showing the MET at the lower right. Image credit: Image Science and Analysis Laboratory, NASA-Johnson Space Center. |
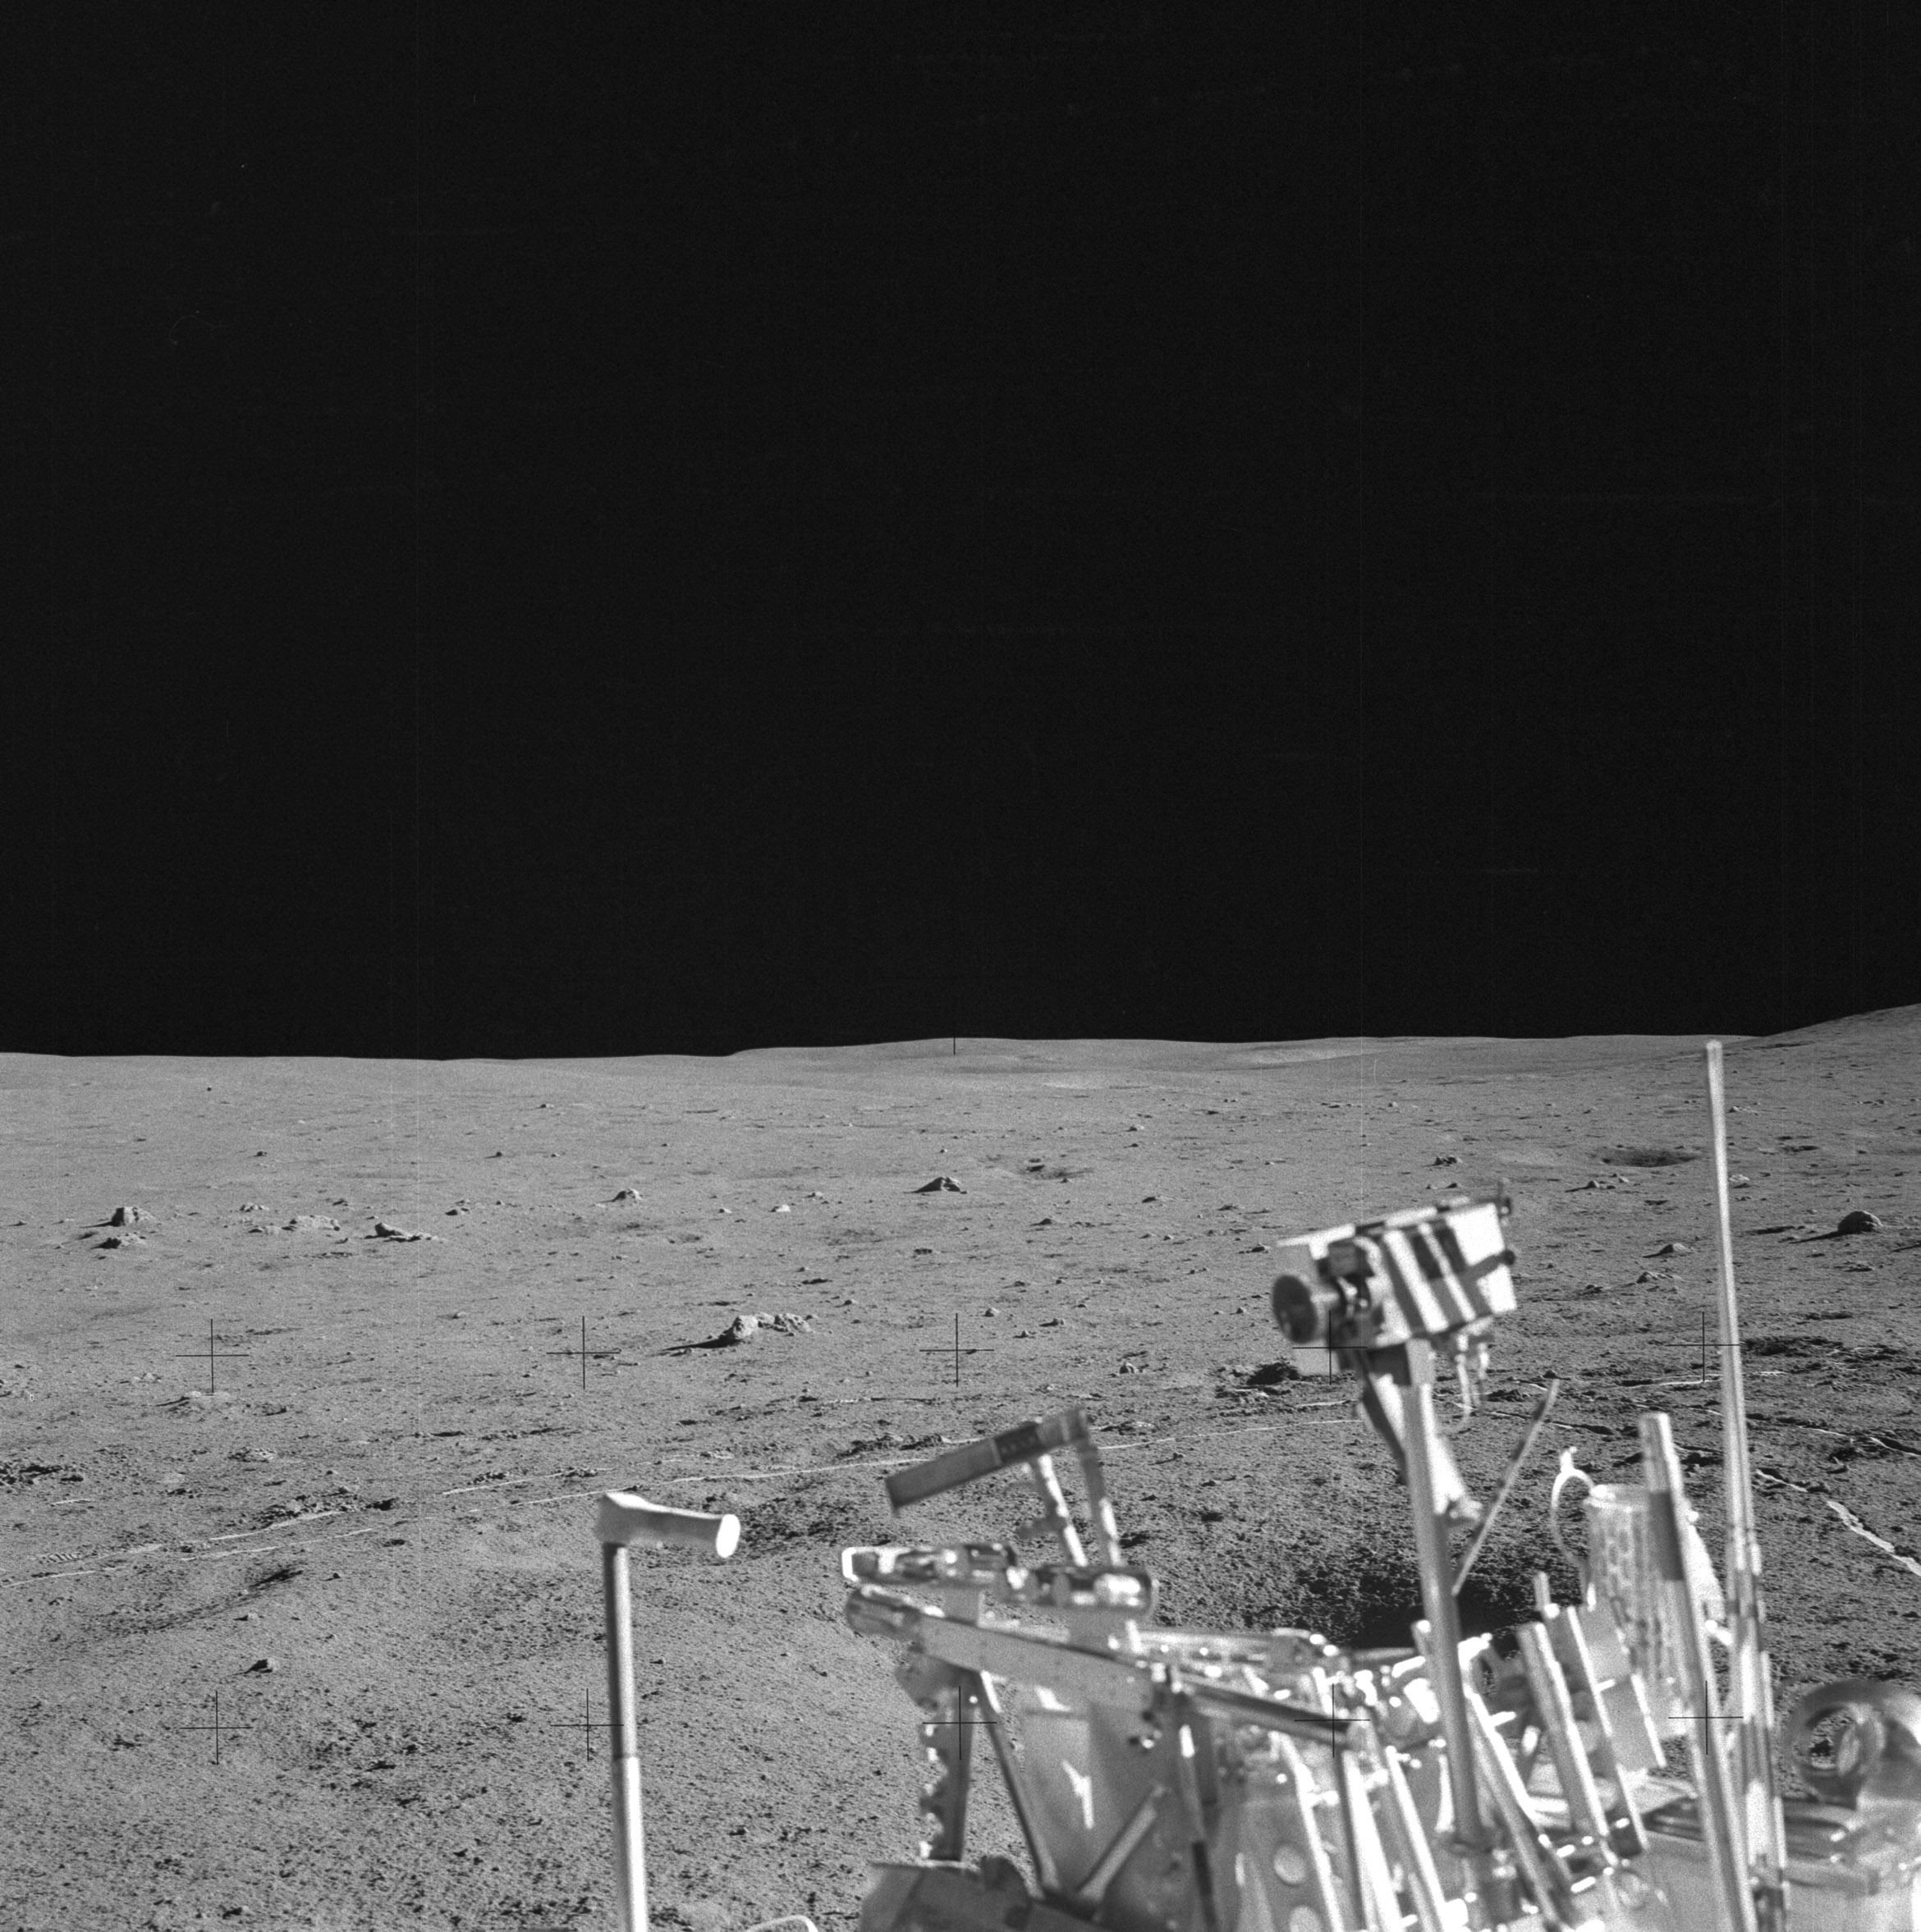 | AS14-64-9055 132:34:22 Rightward of 9054, over the top of the MET. Image credit: Image Science and Analysis Laboratory, NASA-Johnson Space Center. |
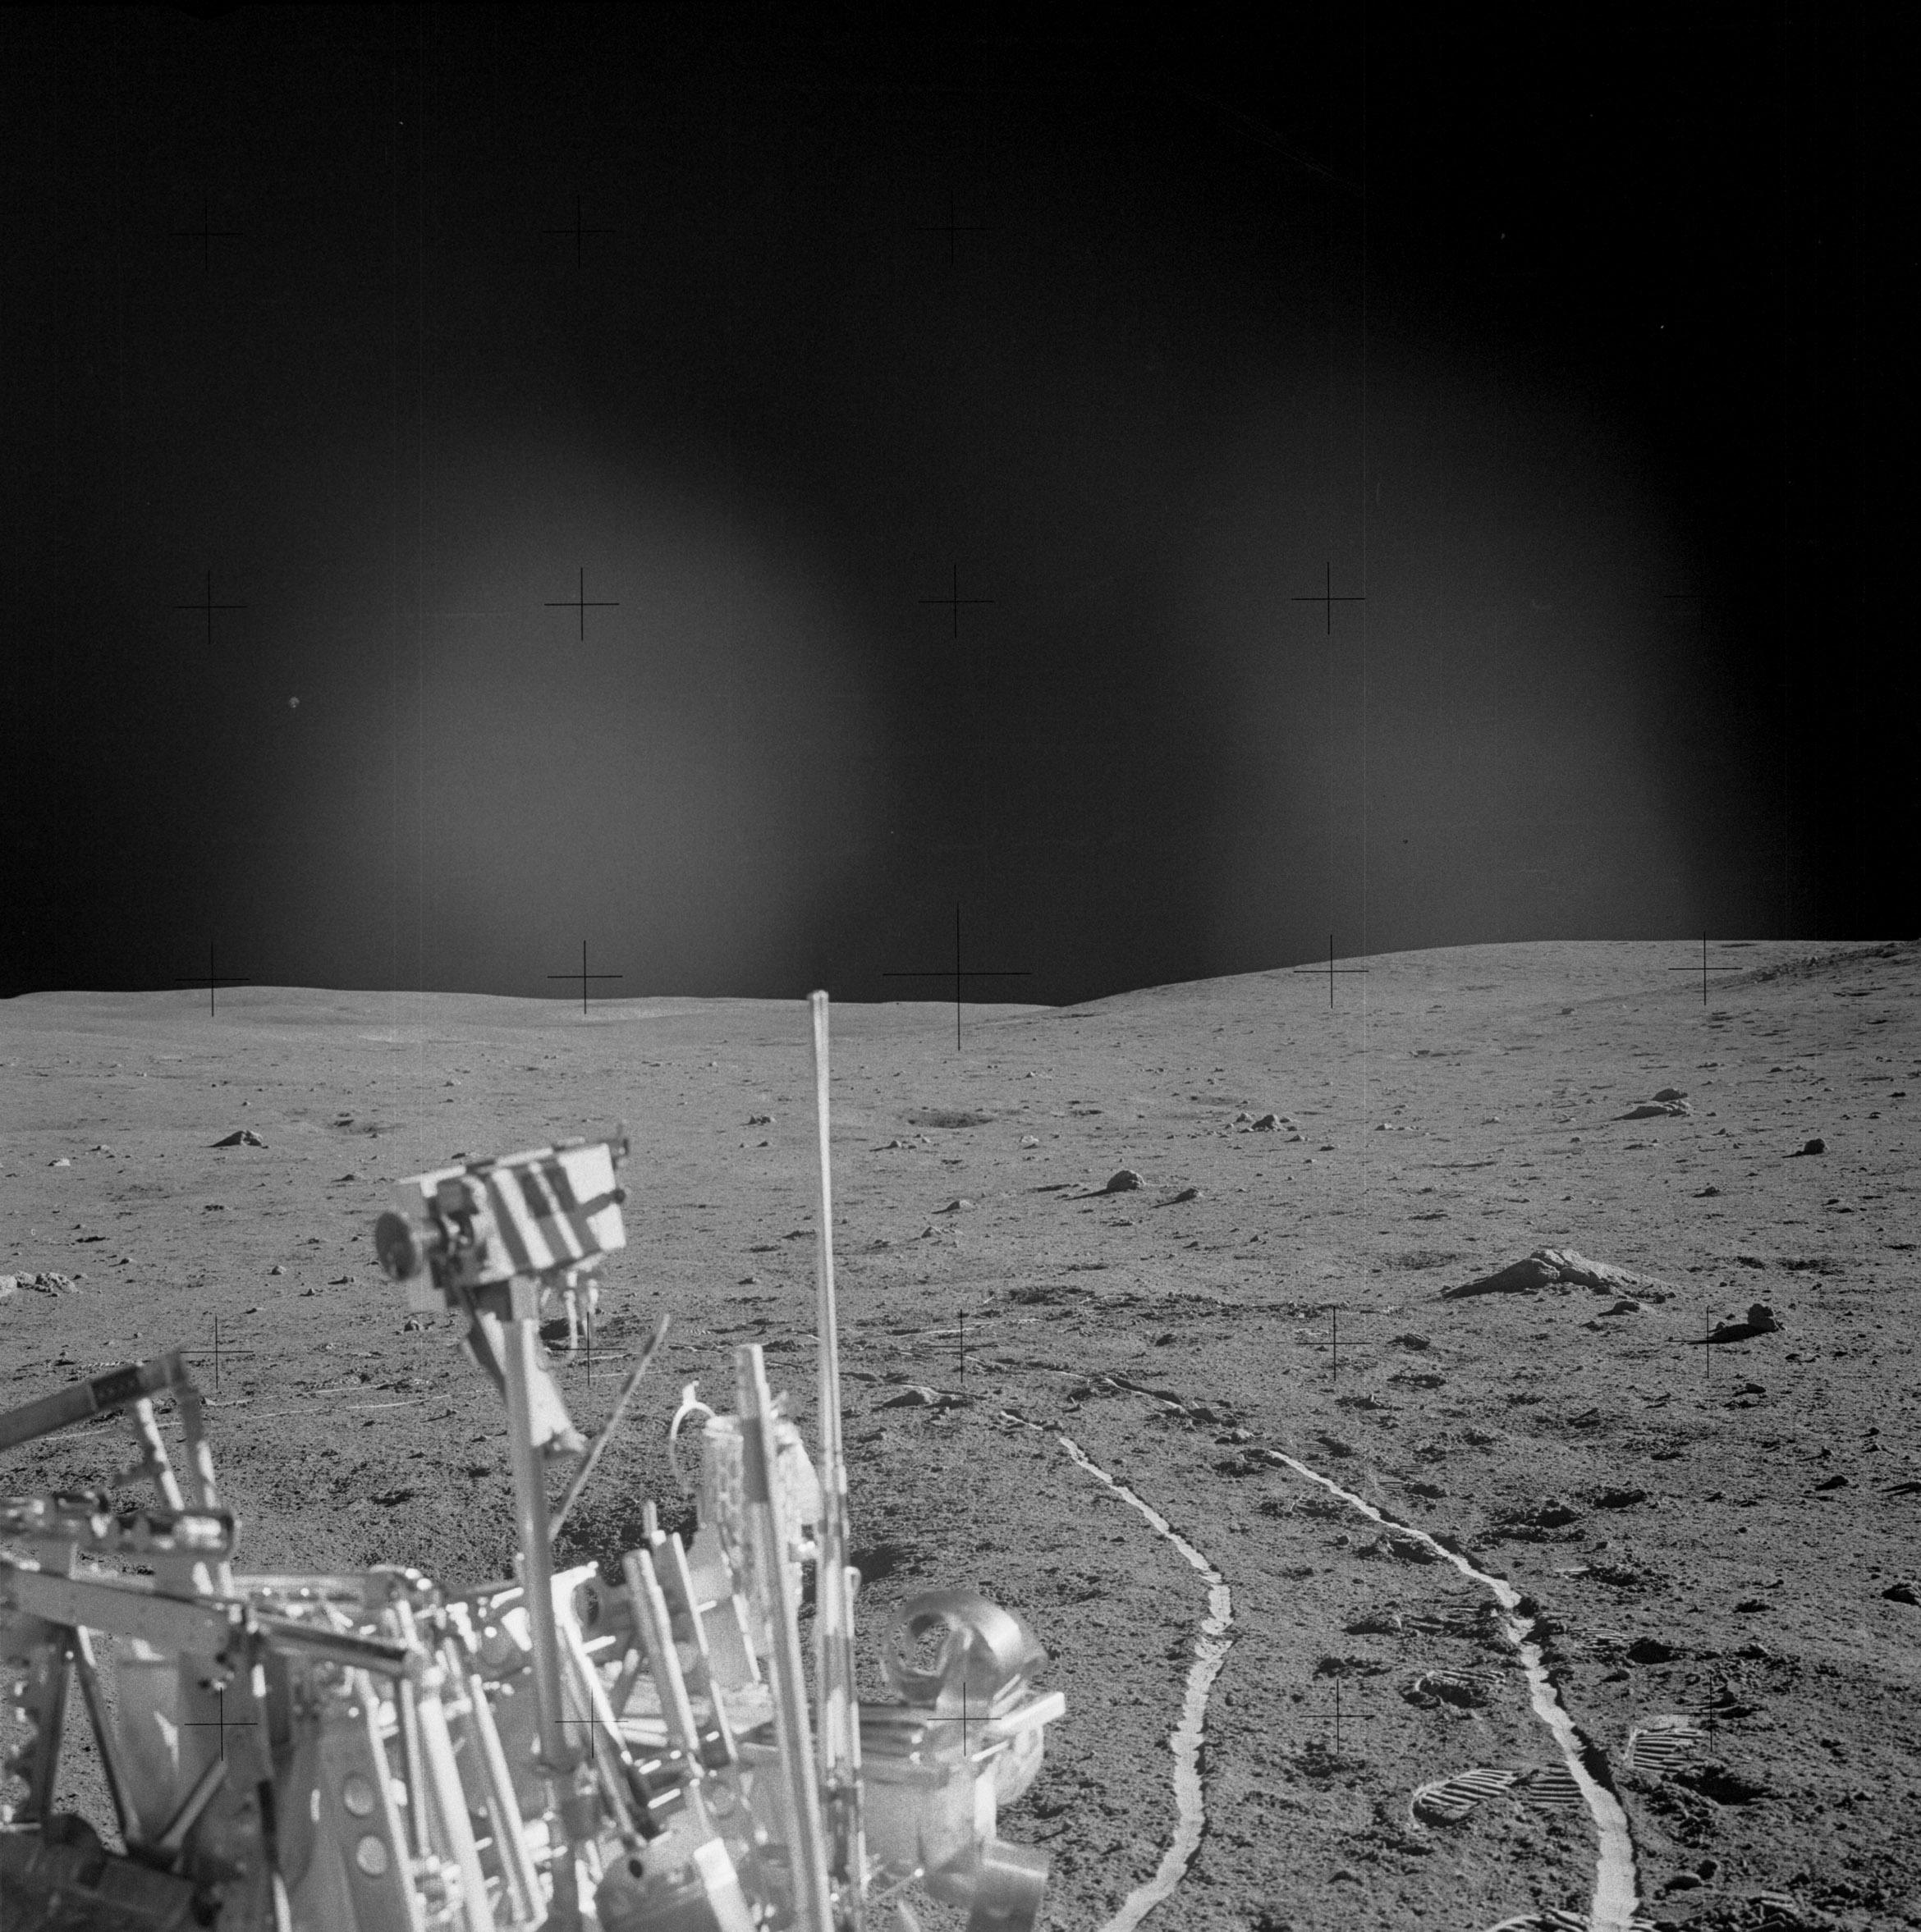 | AS14-64-9056 Rightward of 9055, over the MET, showing the smooth MET tracks near the MET's current location. Image credit: Image Science and Analysis Laboratory, NASA-Johnson Space Center. |
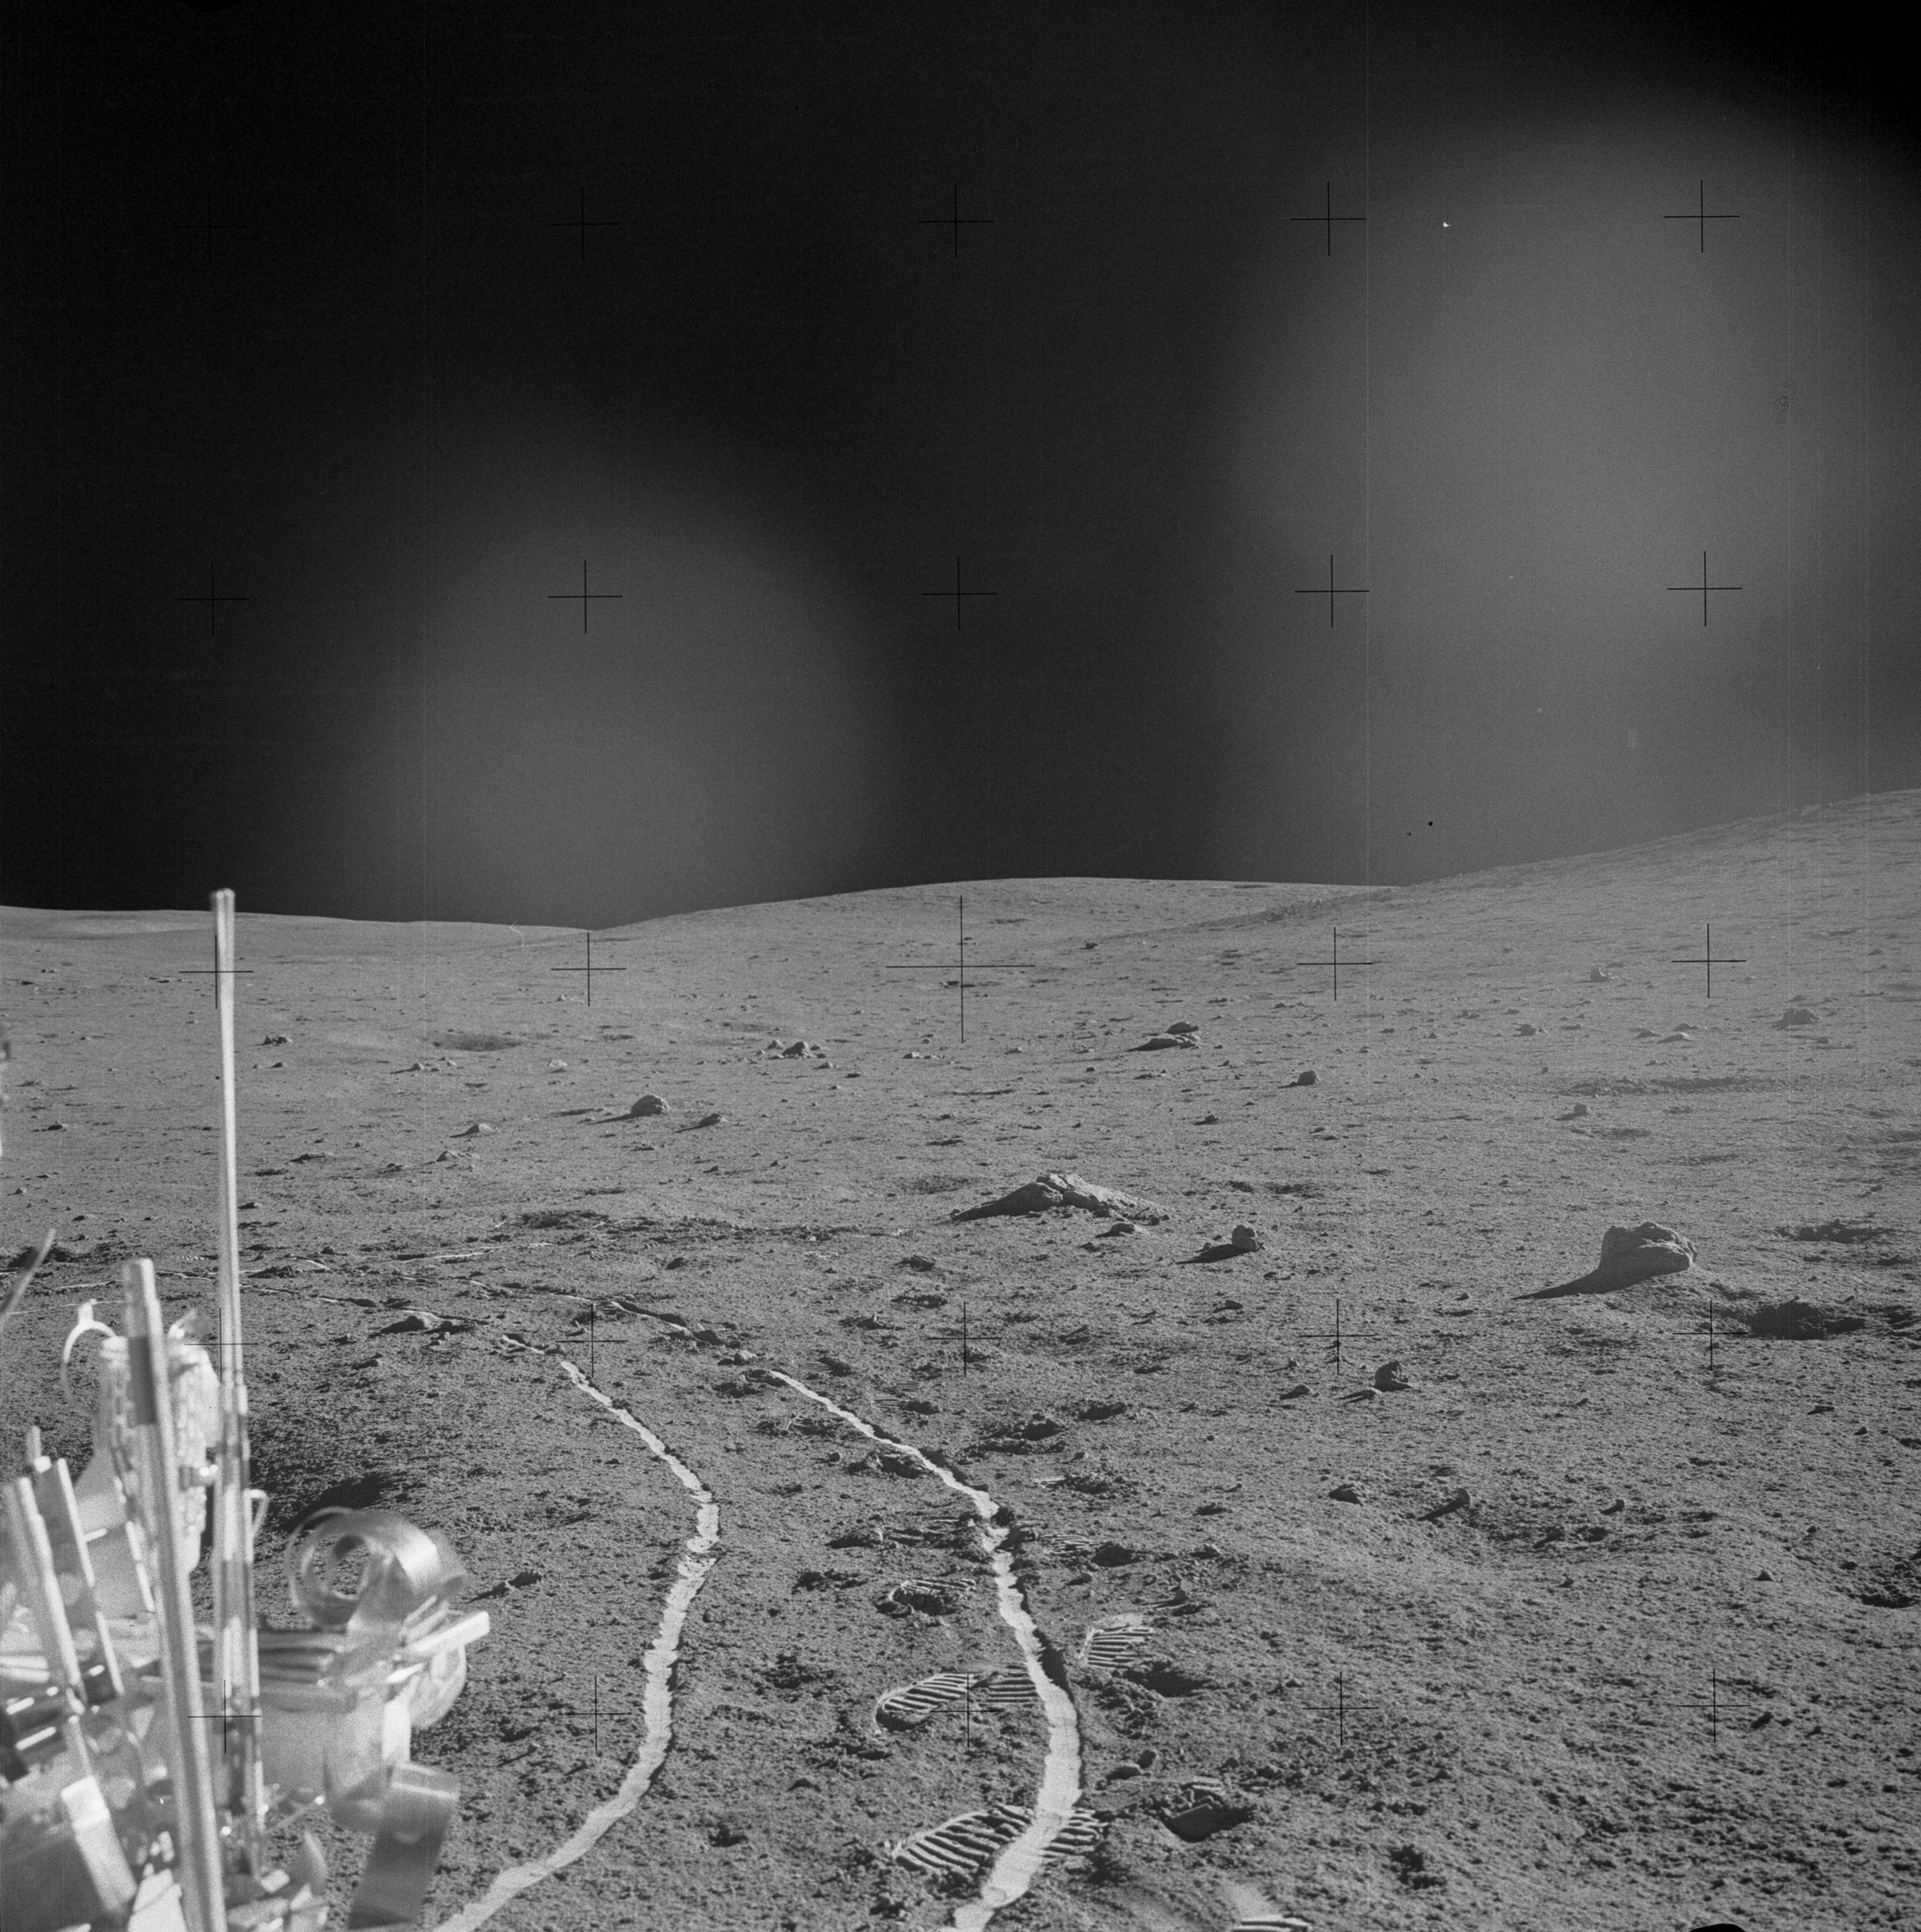 | AS14-64-9057 Rightward of 9056, MET and in-bound tracks. Image credit: Image Science and Analysis Laboratory, NASA-Johnson Space Center. |
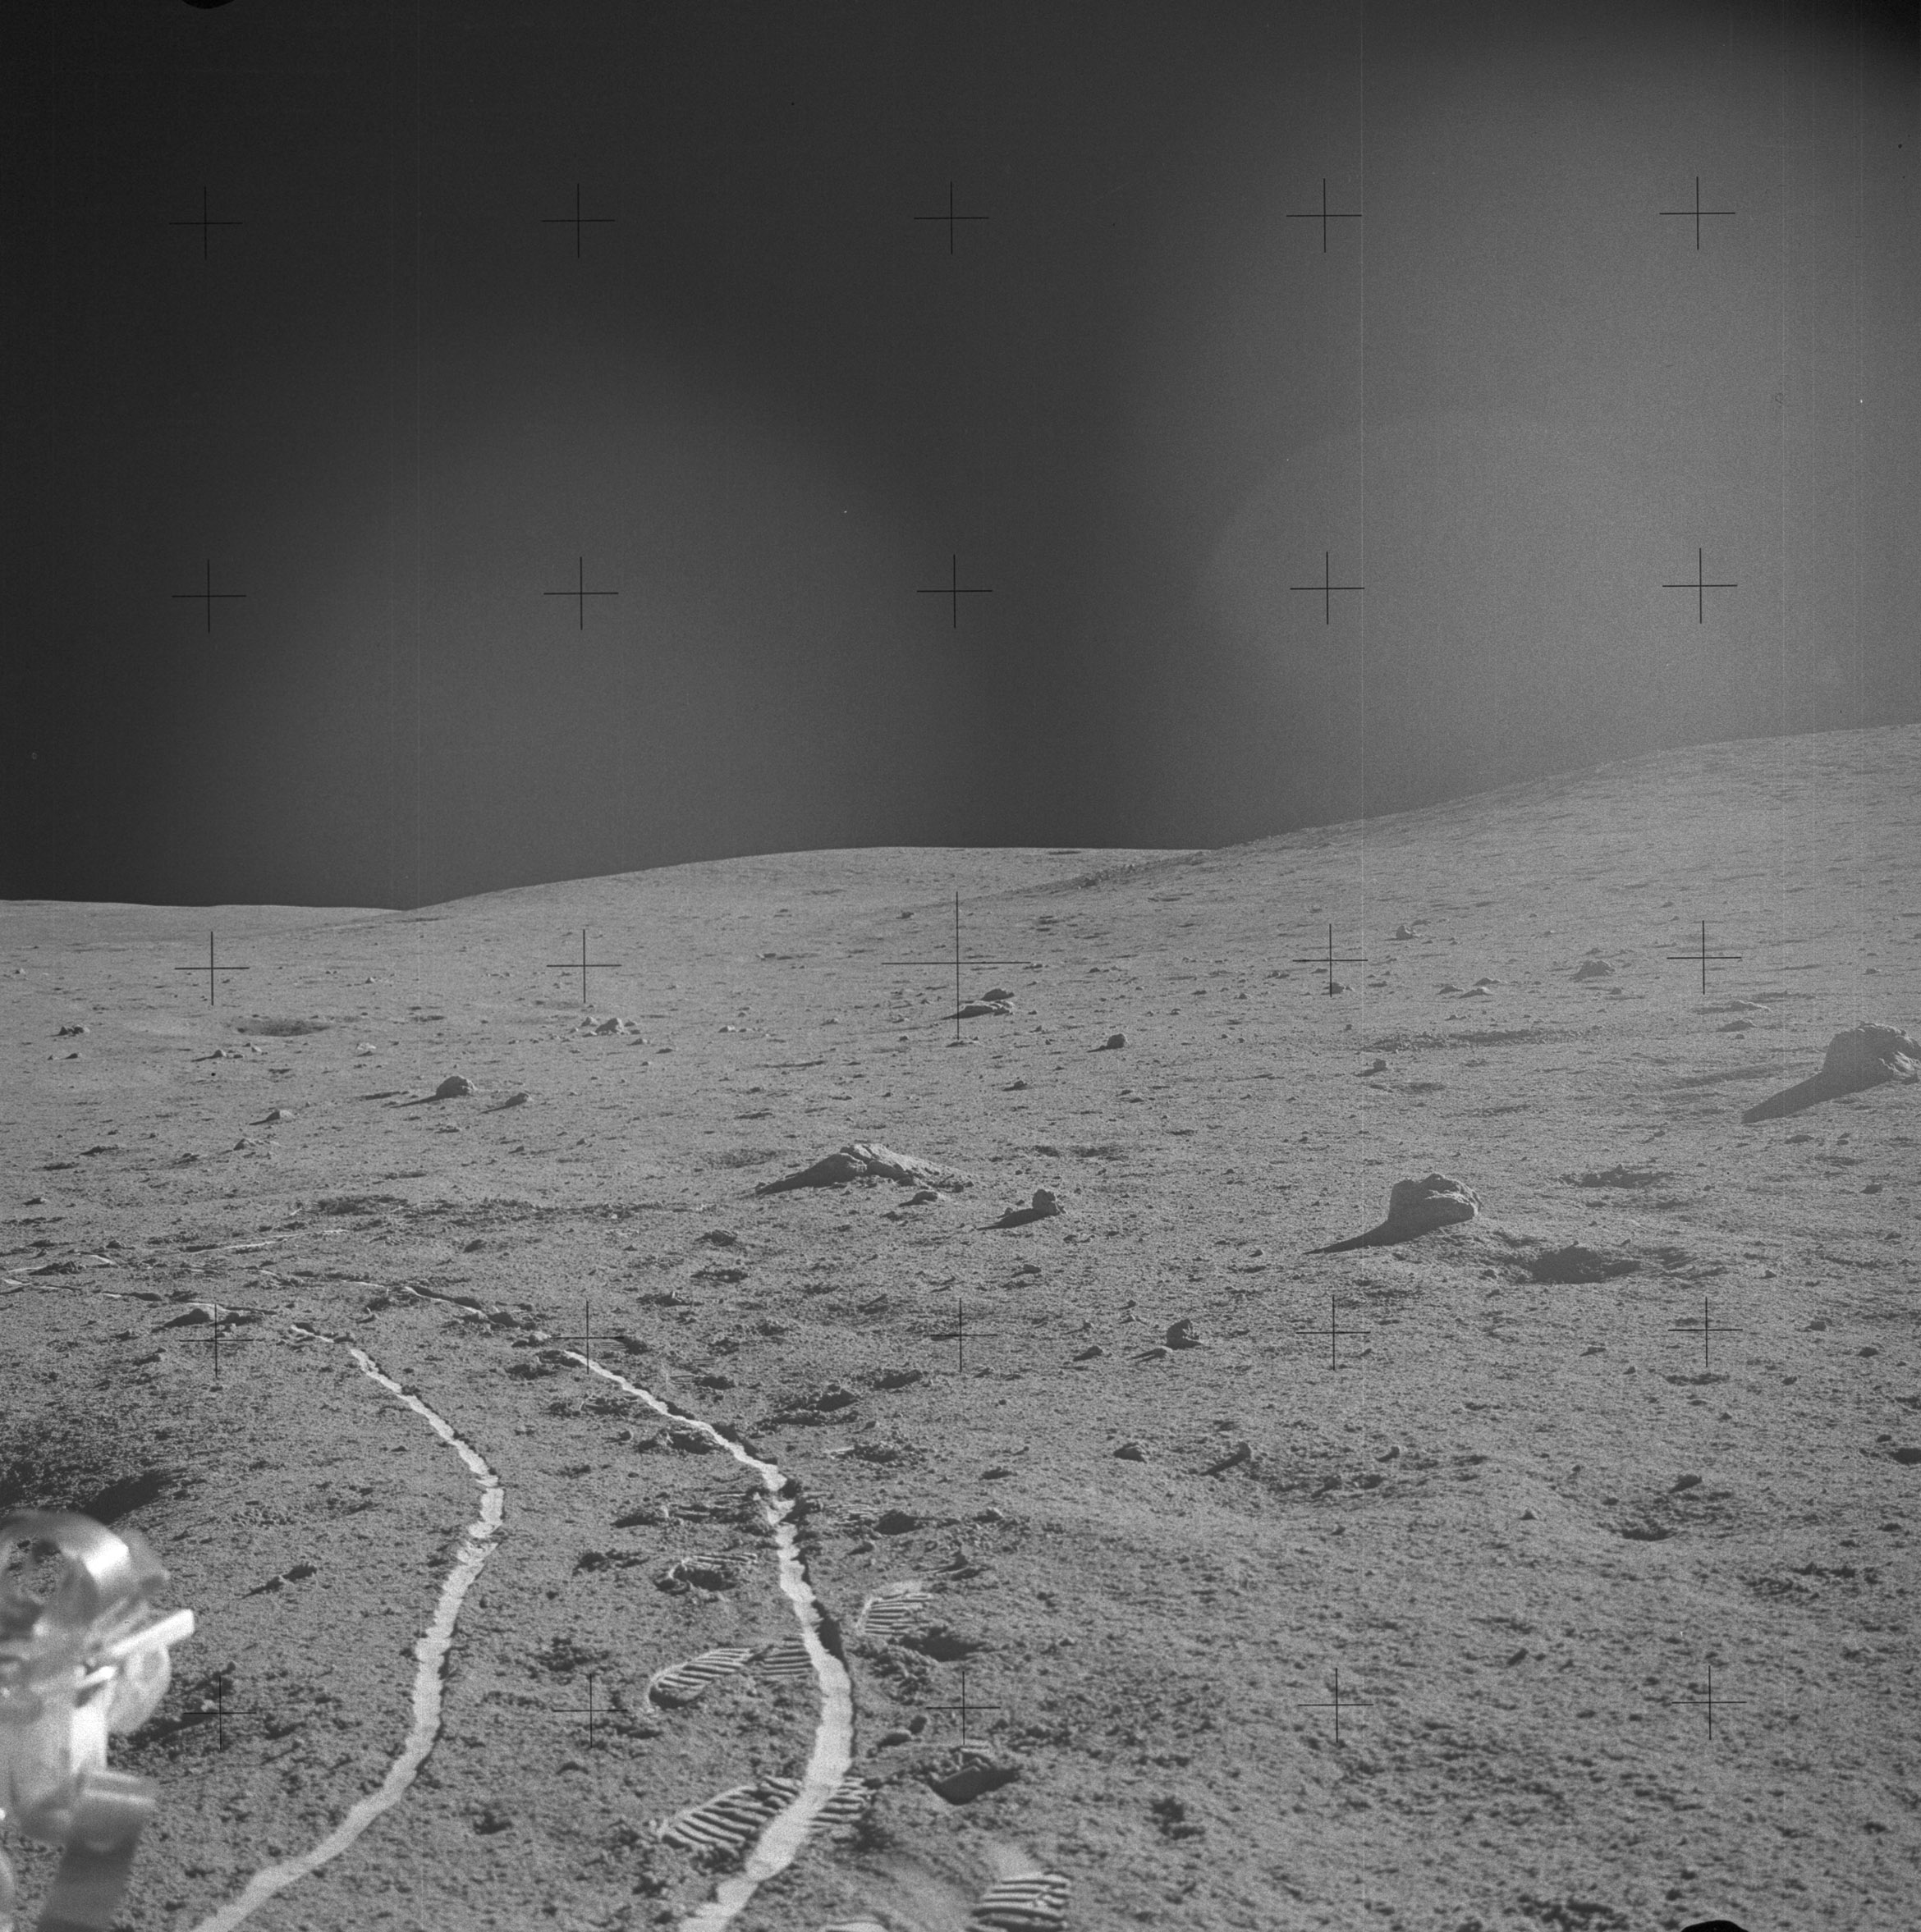 | AS14-64-9058 Rightward of 9057, in-bound tracks. Image credit: Image Science and Analysis Laboratory, NASA-Johnson Space Center. |
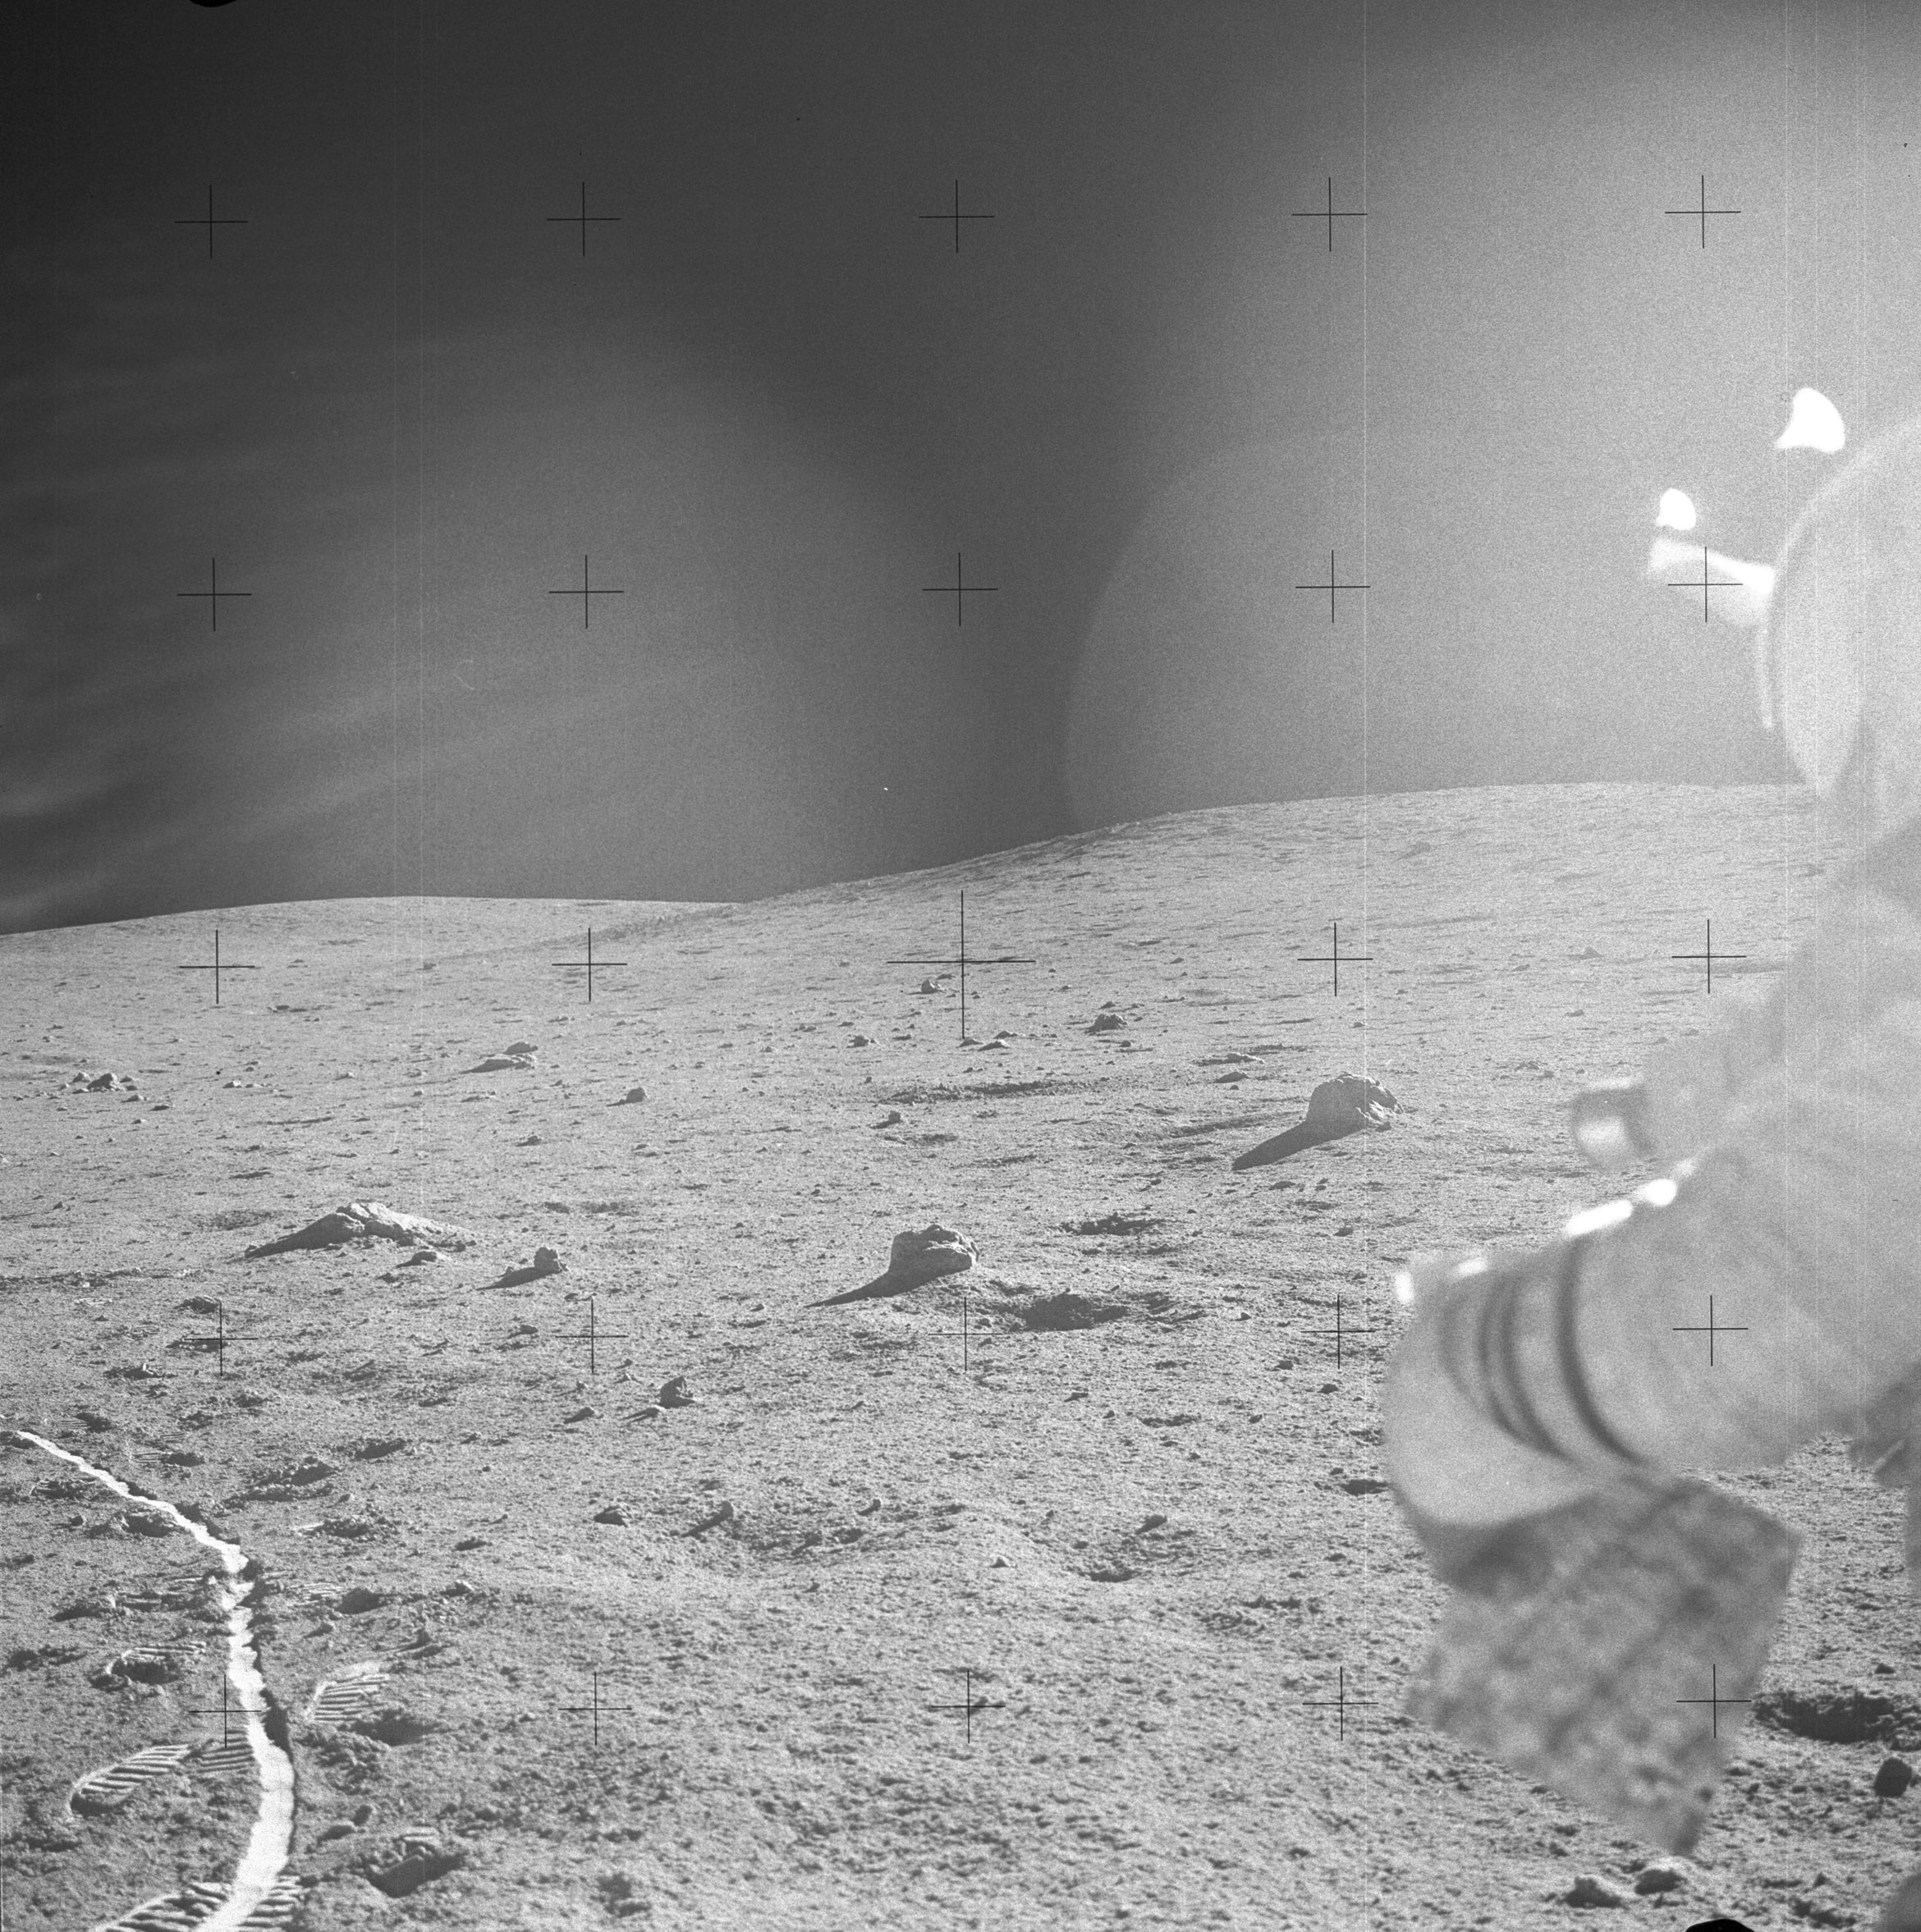 | AS14-64-9059 132:34:22 Rightward of 9058. Image credit: Image Science and Analysis Laboratory, NASA-Johnson Space Center. |
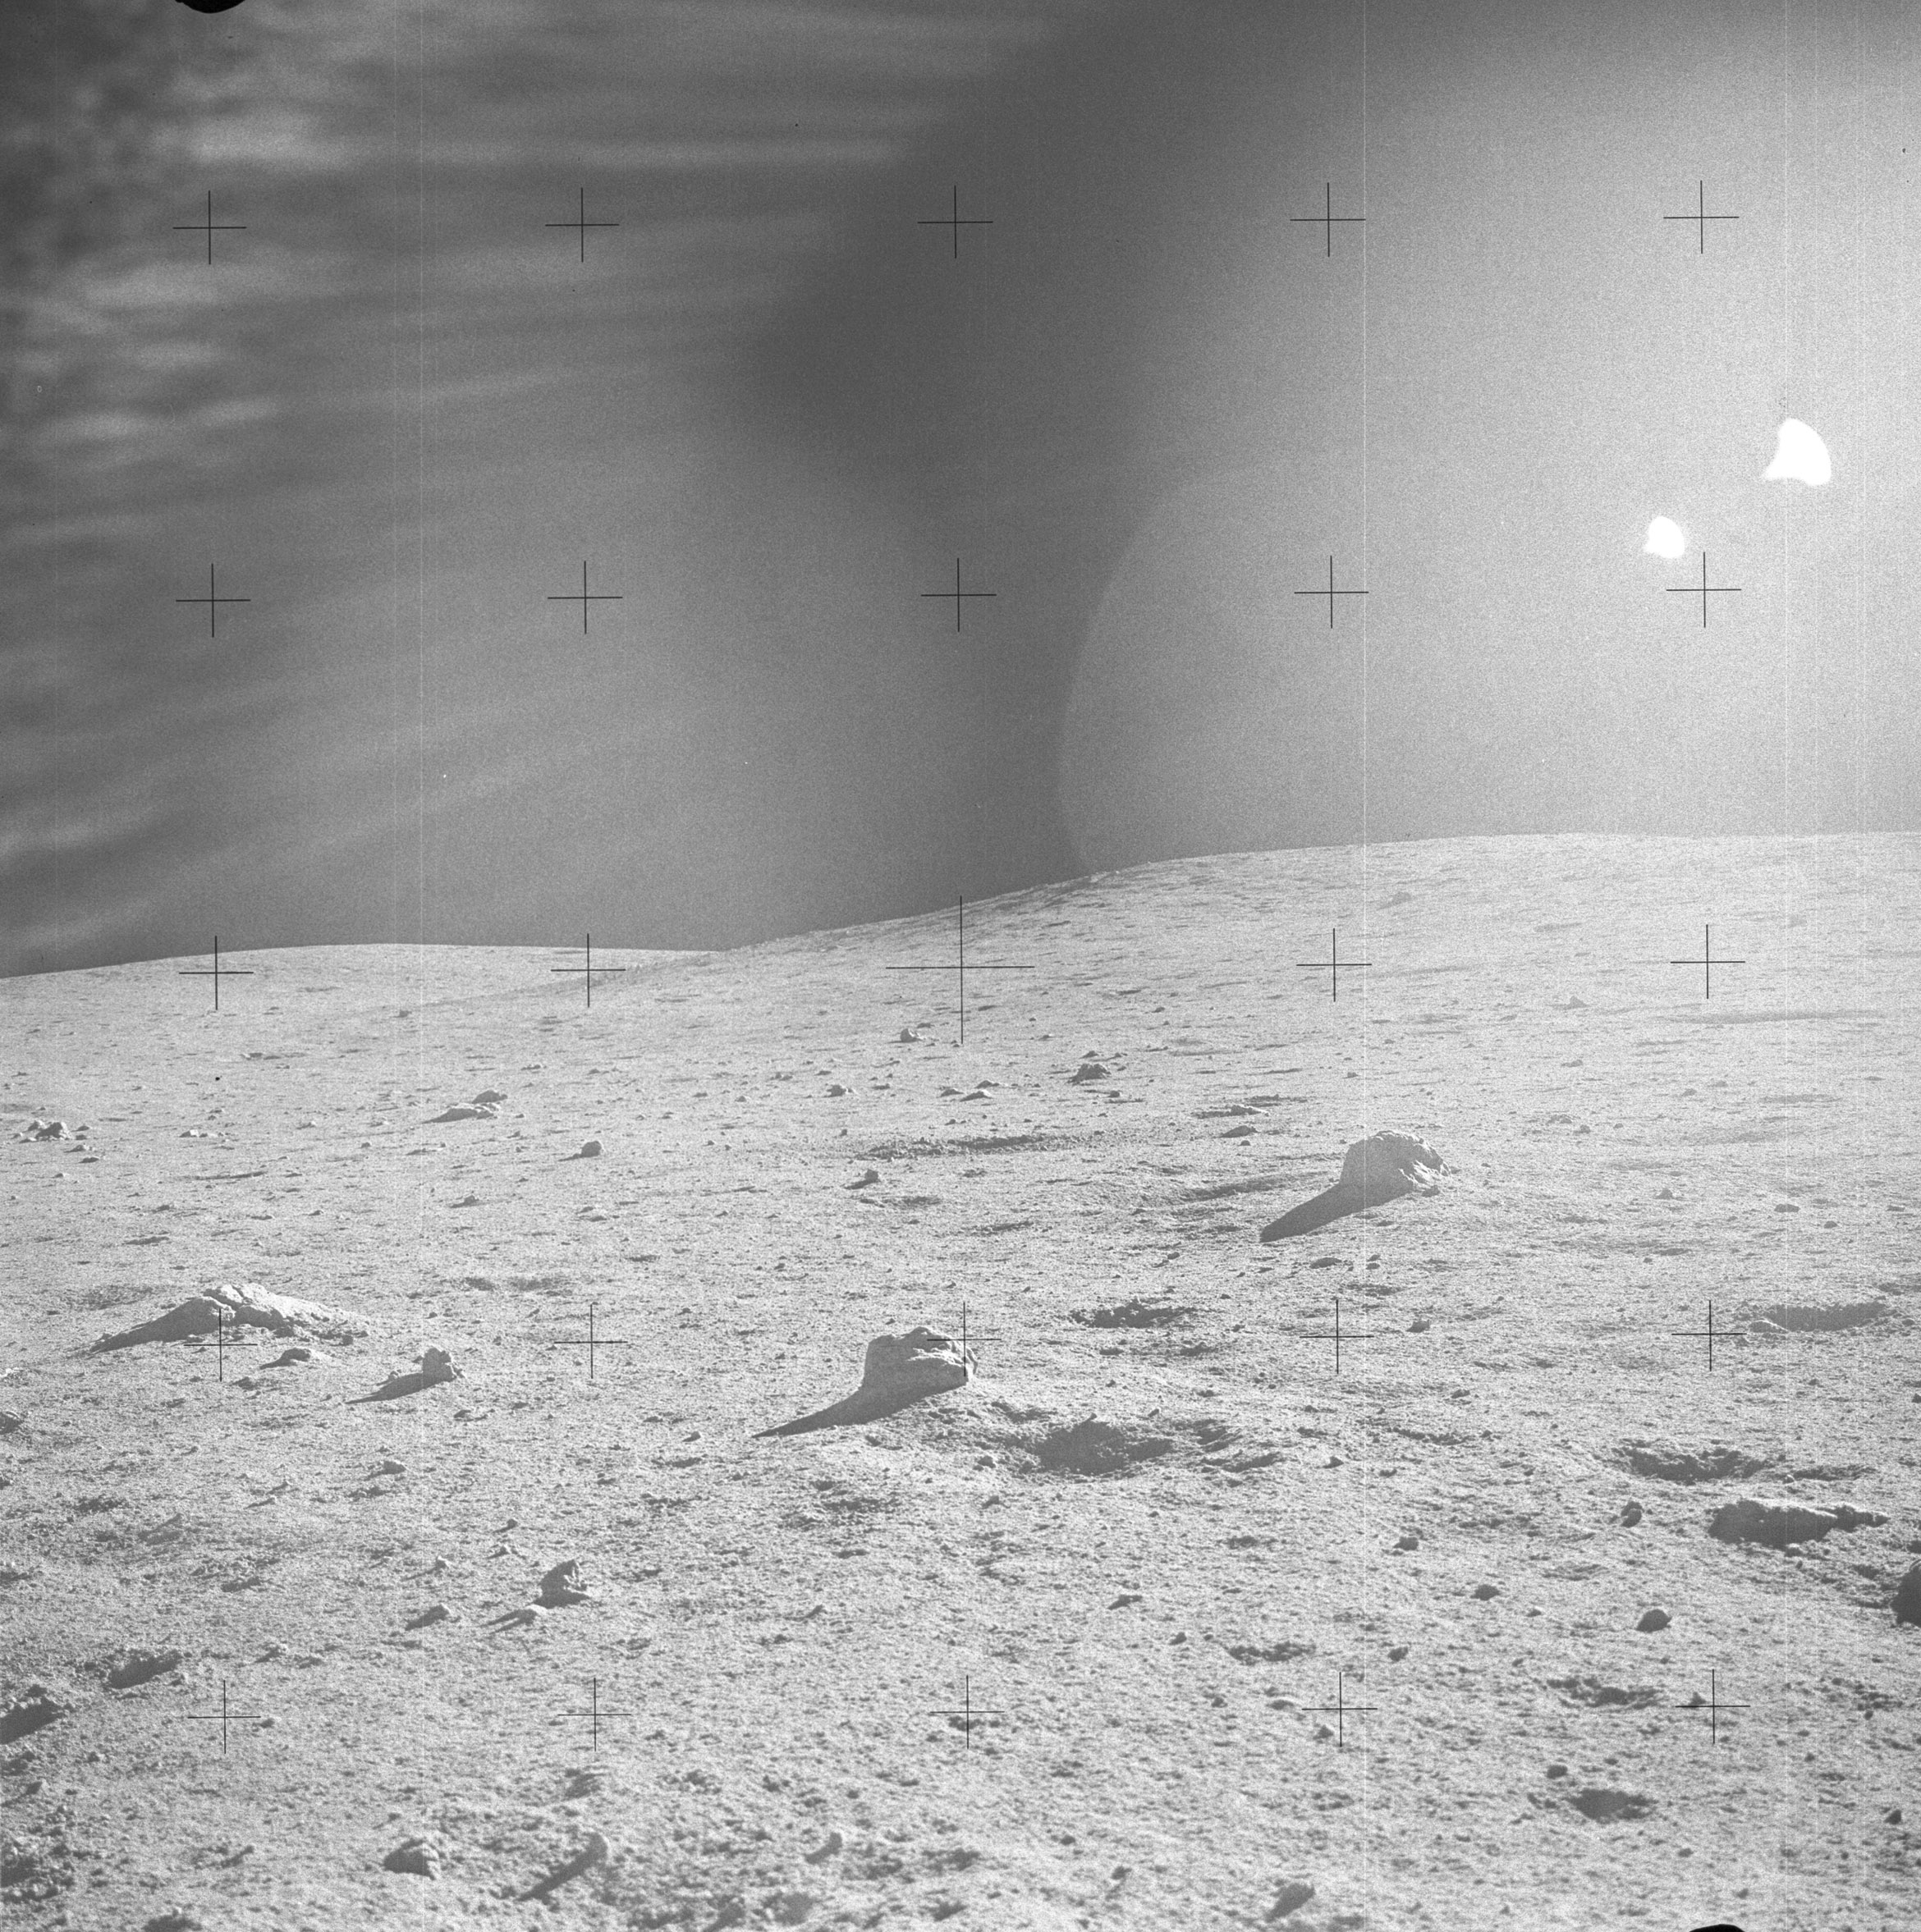 | AS14-64-9060 Rightward of 9059, almost up-Sun showing a number of boulders. Image credit: Image Science and Analysis Laboratory, NASA-Johnson Space Center. |
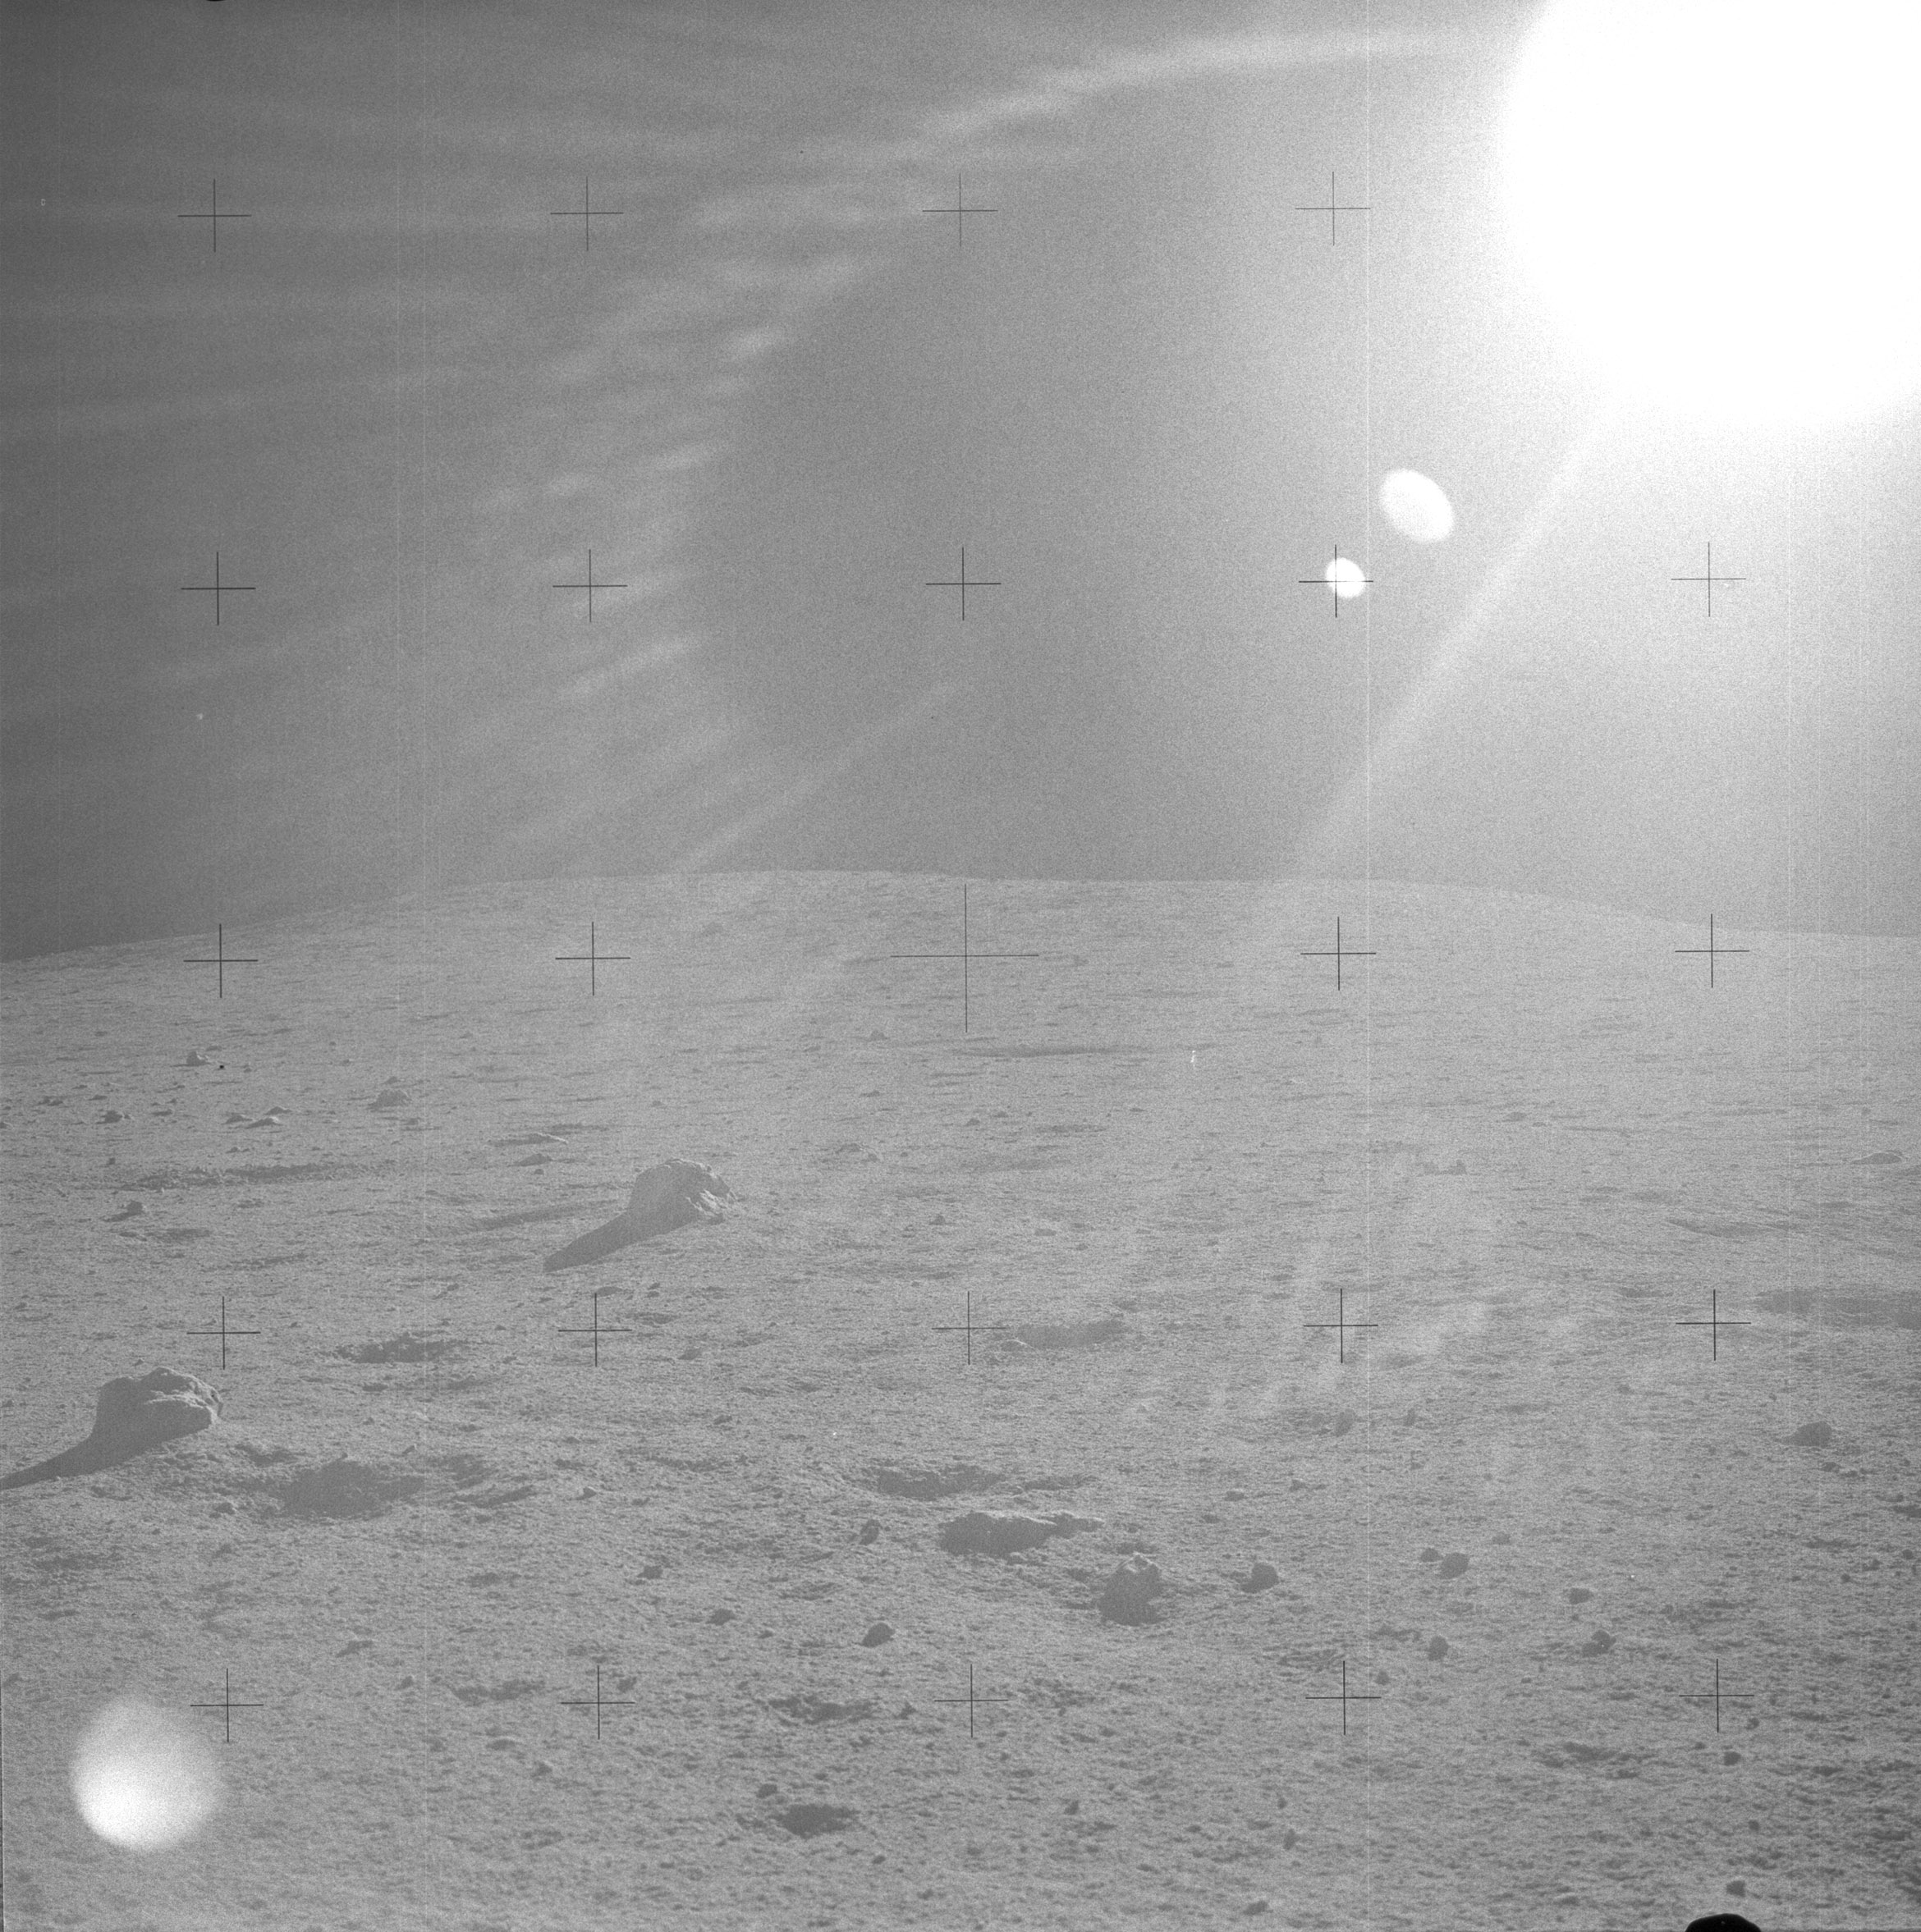 | AS14-64-9061 Rightward of 9060, with little detail visible in the up-Sun glare. Image credit: Image Science and Analysis Laboratory, NASA-Johnson Space Center. |
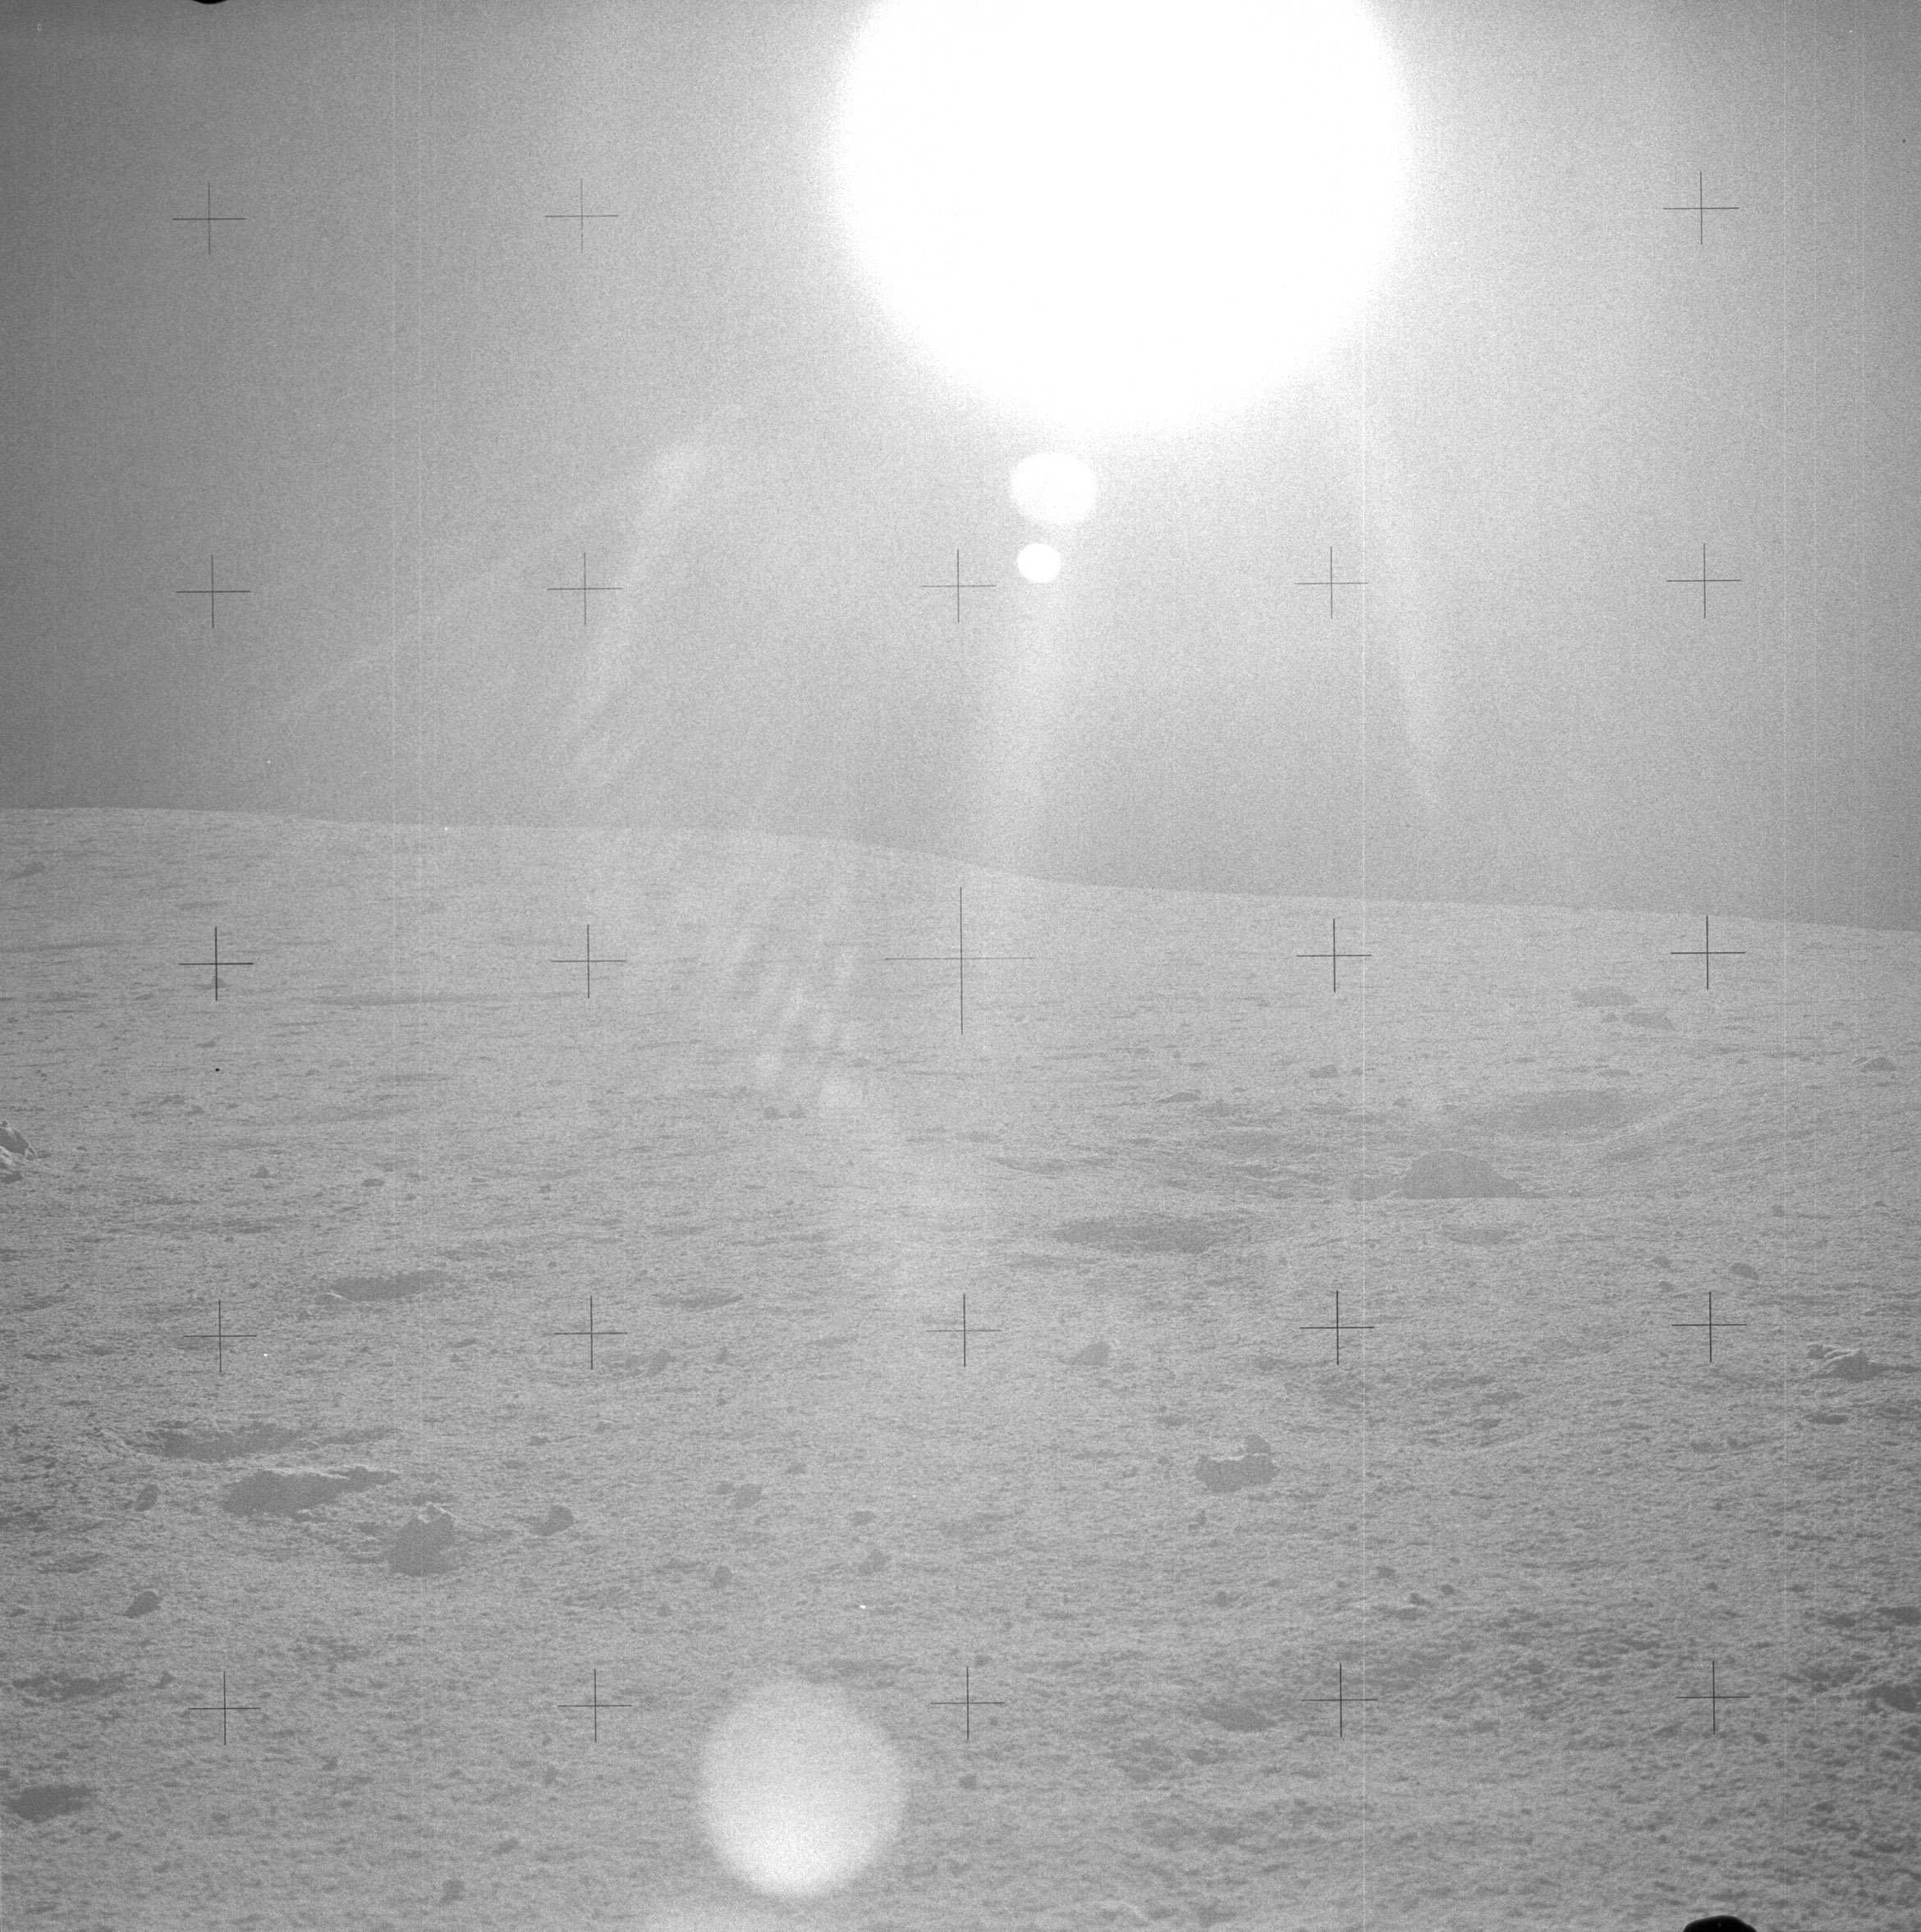 | AS14-64-9062 Rightward of 9061, showing the Cone Crater ridge. Image credit: Image Science and Analysis Laboratory, NASA-Johnson Space Center. |
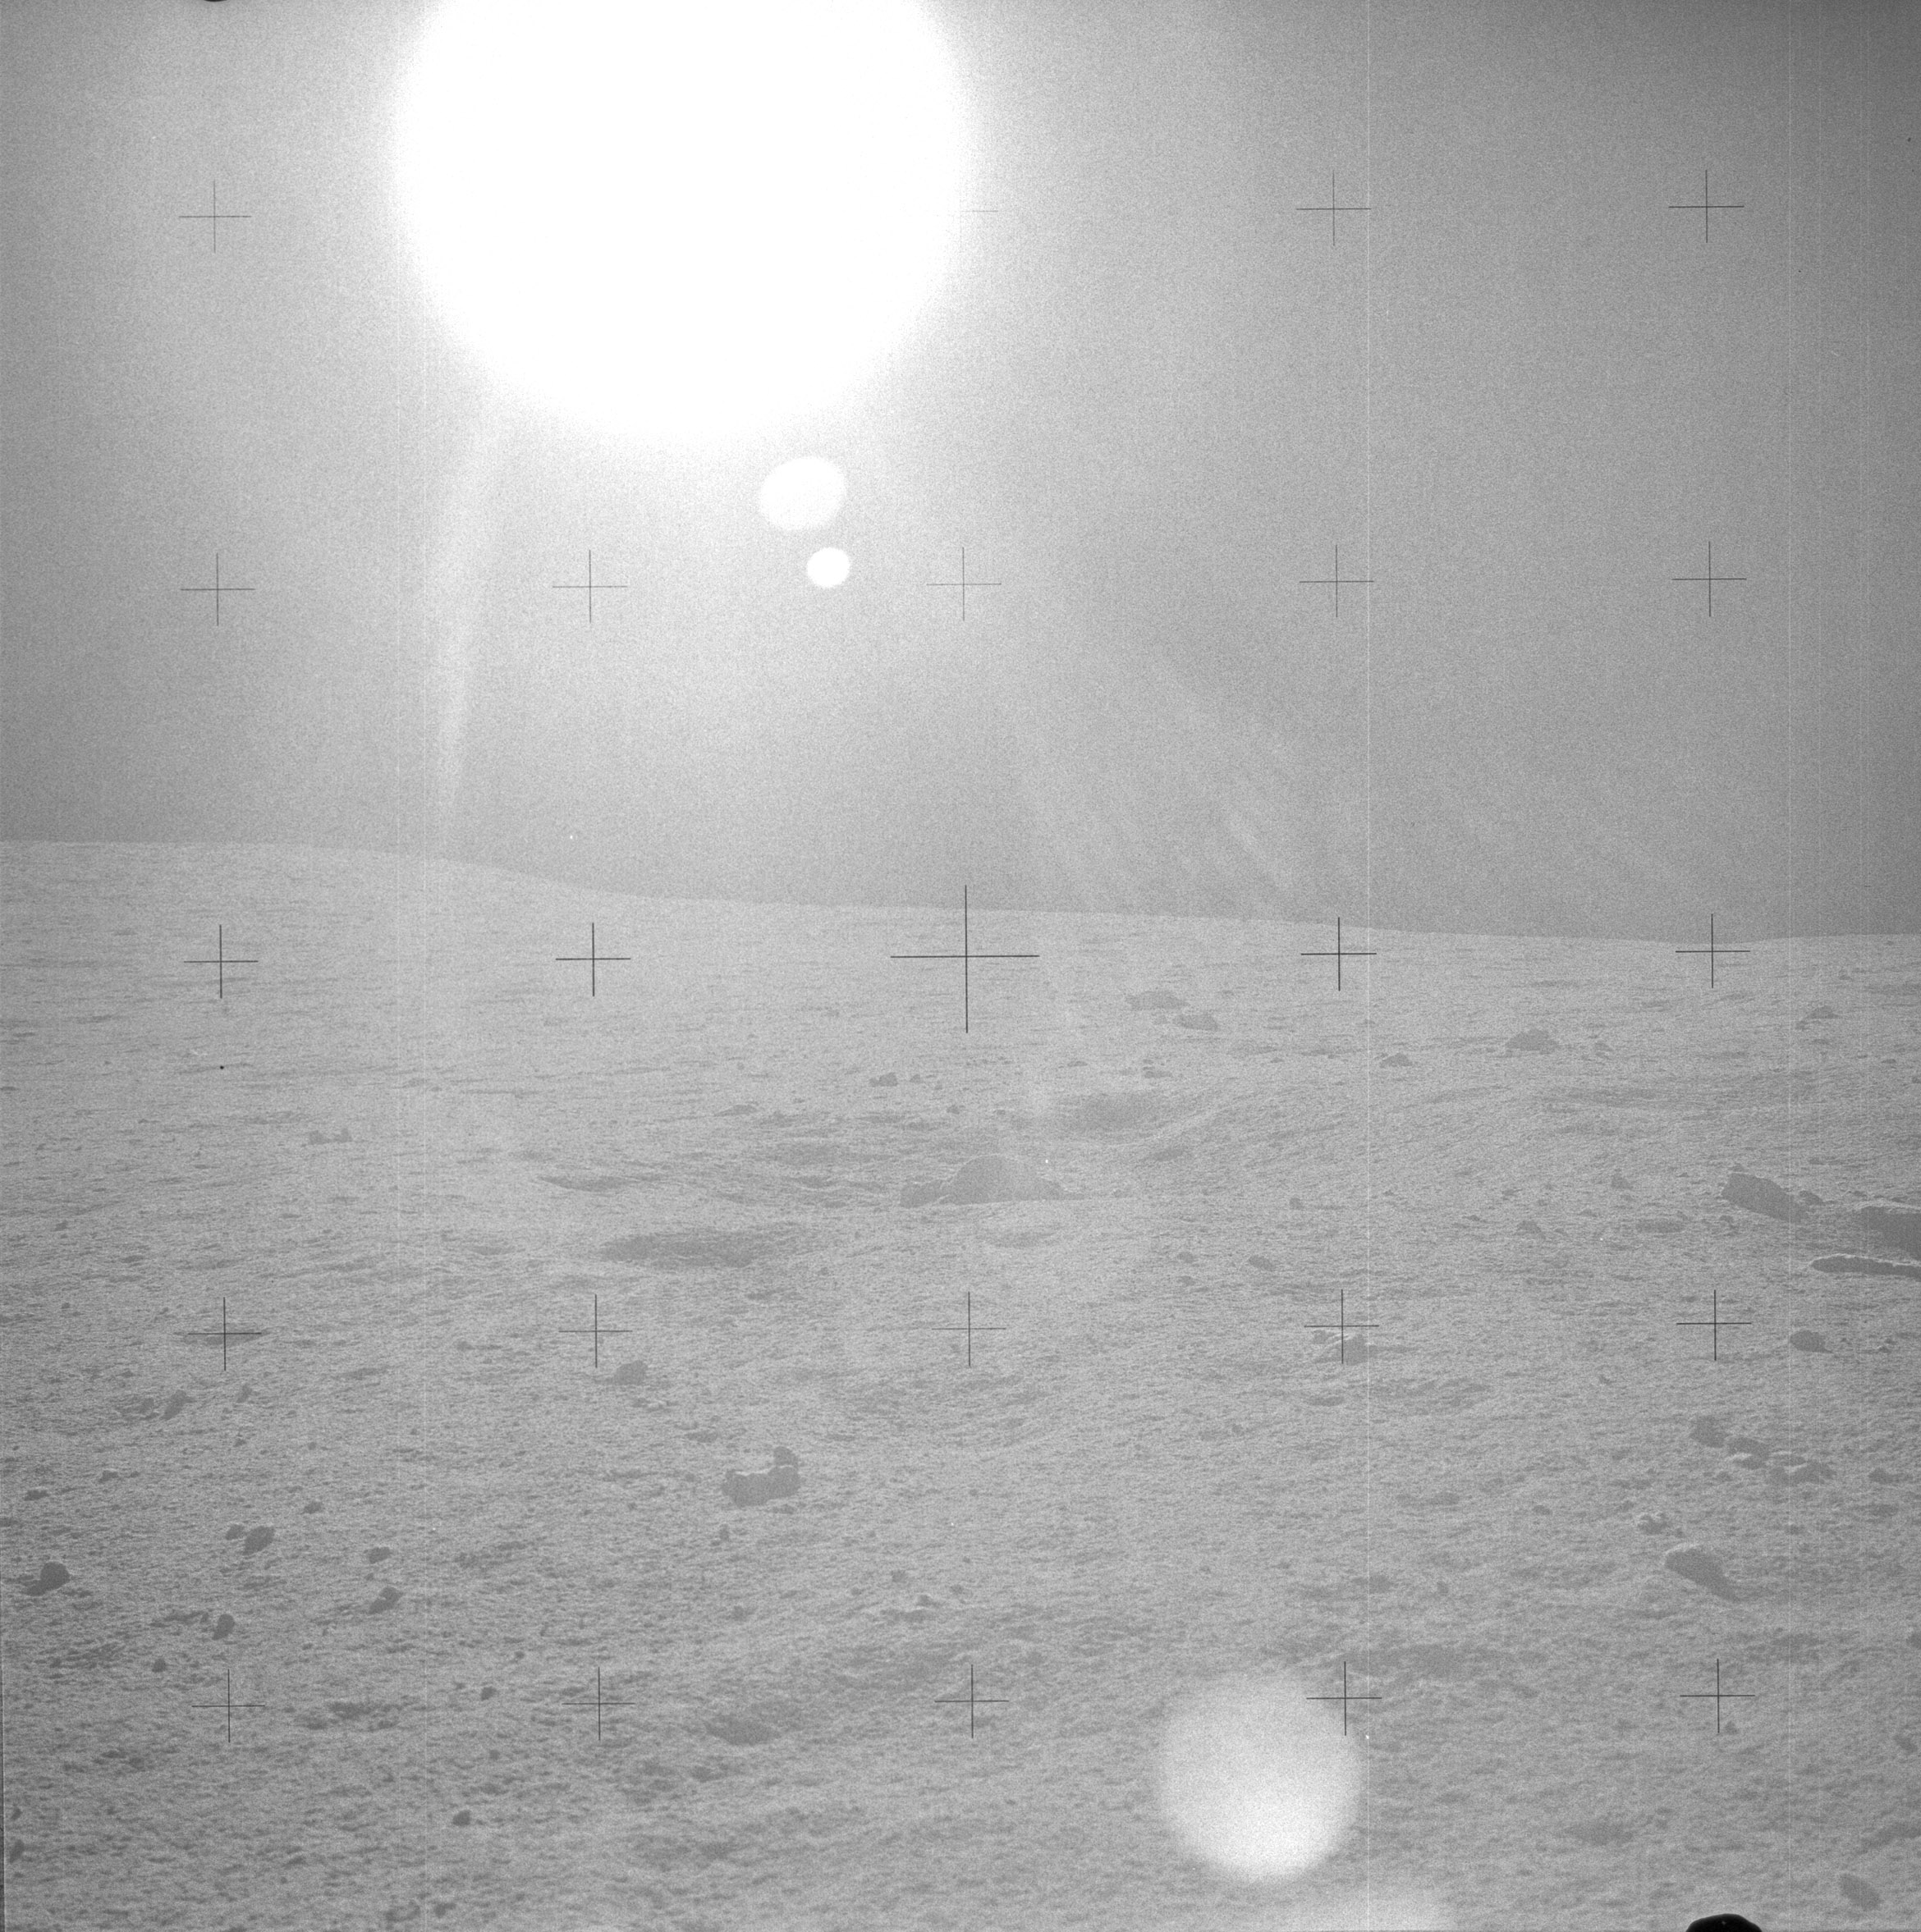 | AS14-64-9063 Rightward of 9062. Image credit: Image Science and Analysis Laboratory, NASA-Johnson Space Center. |
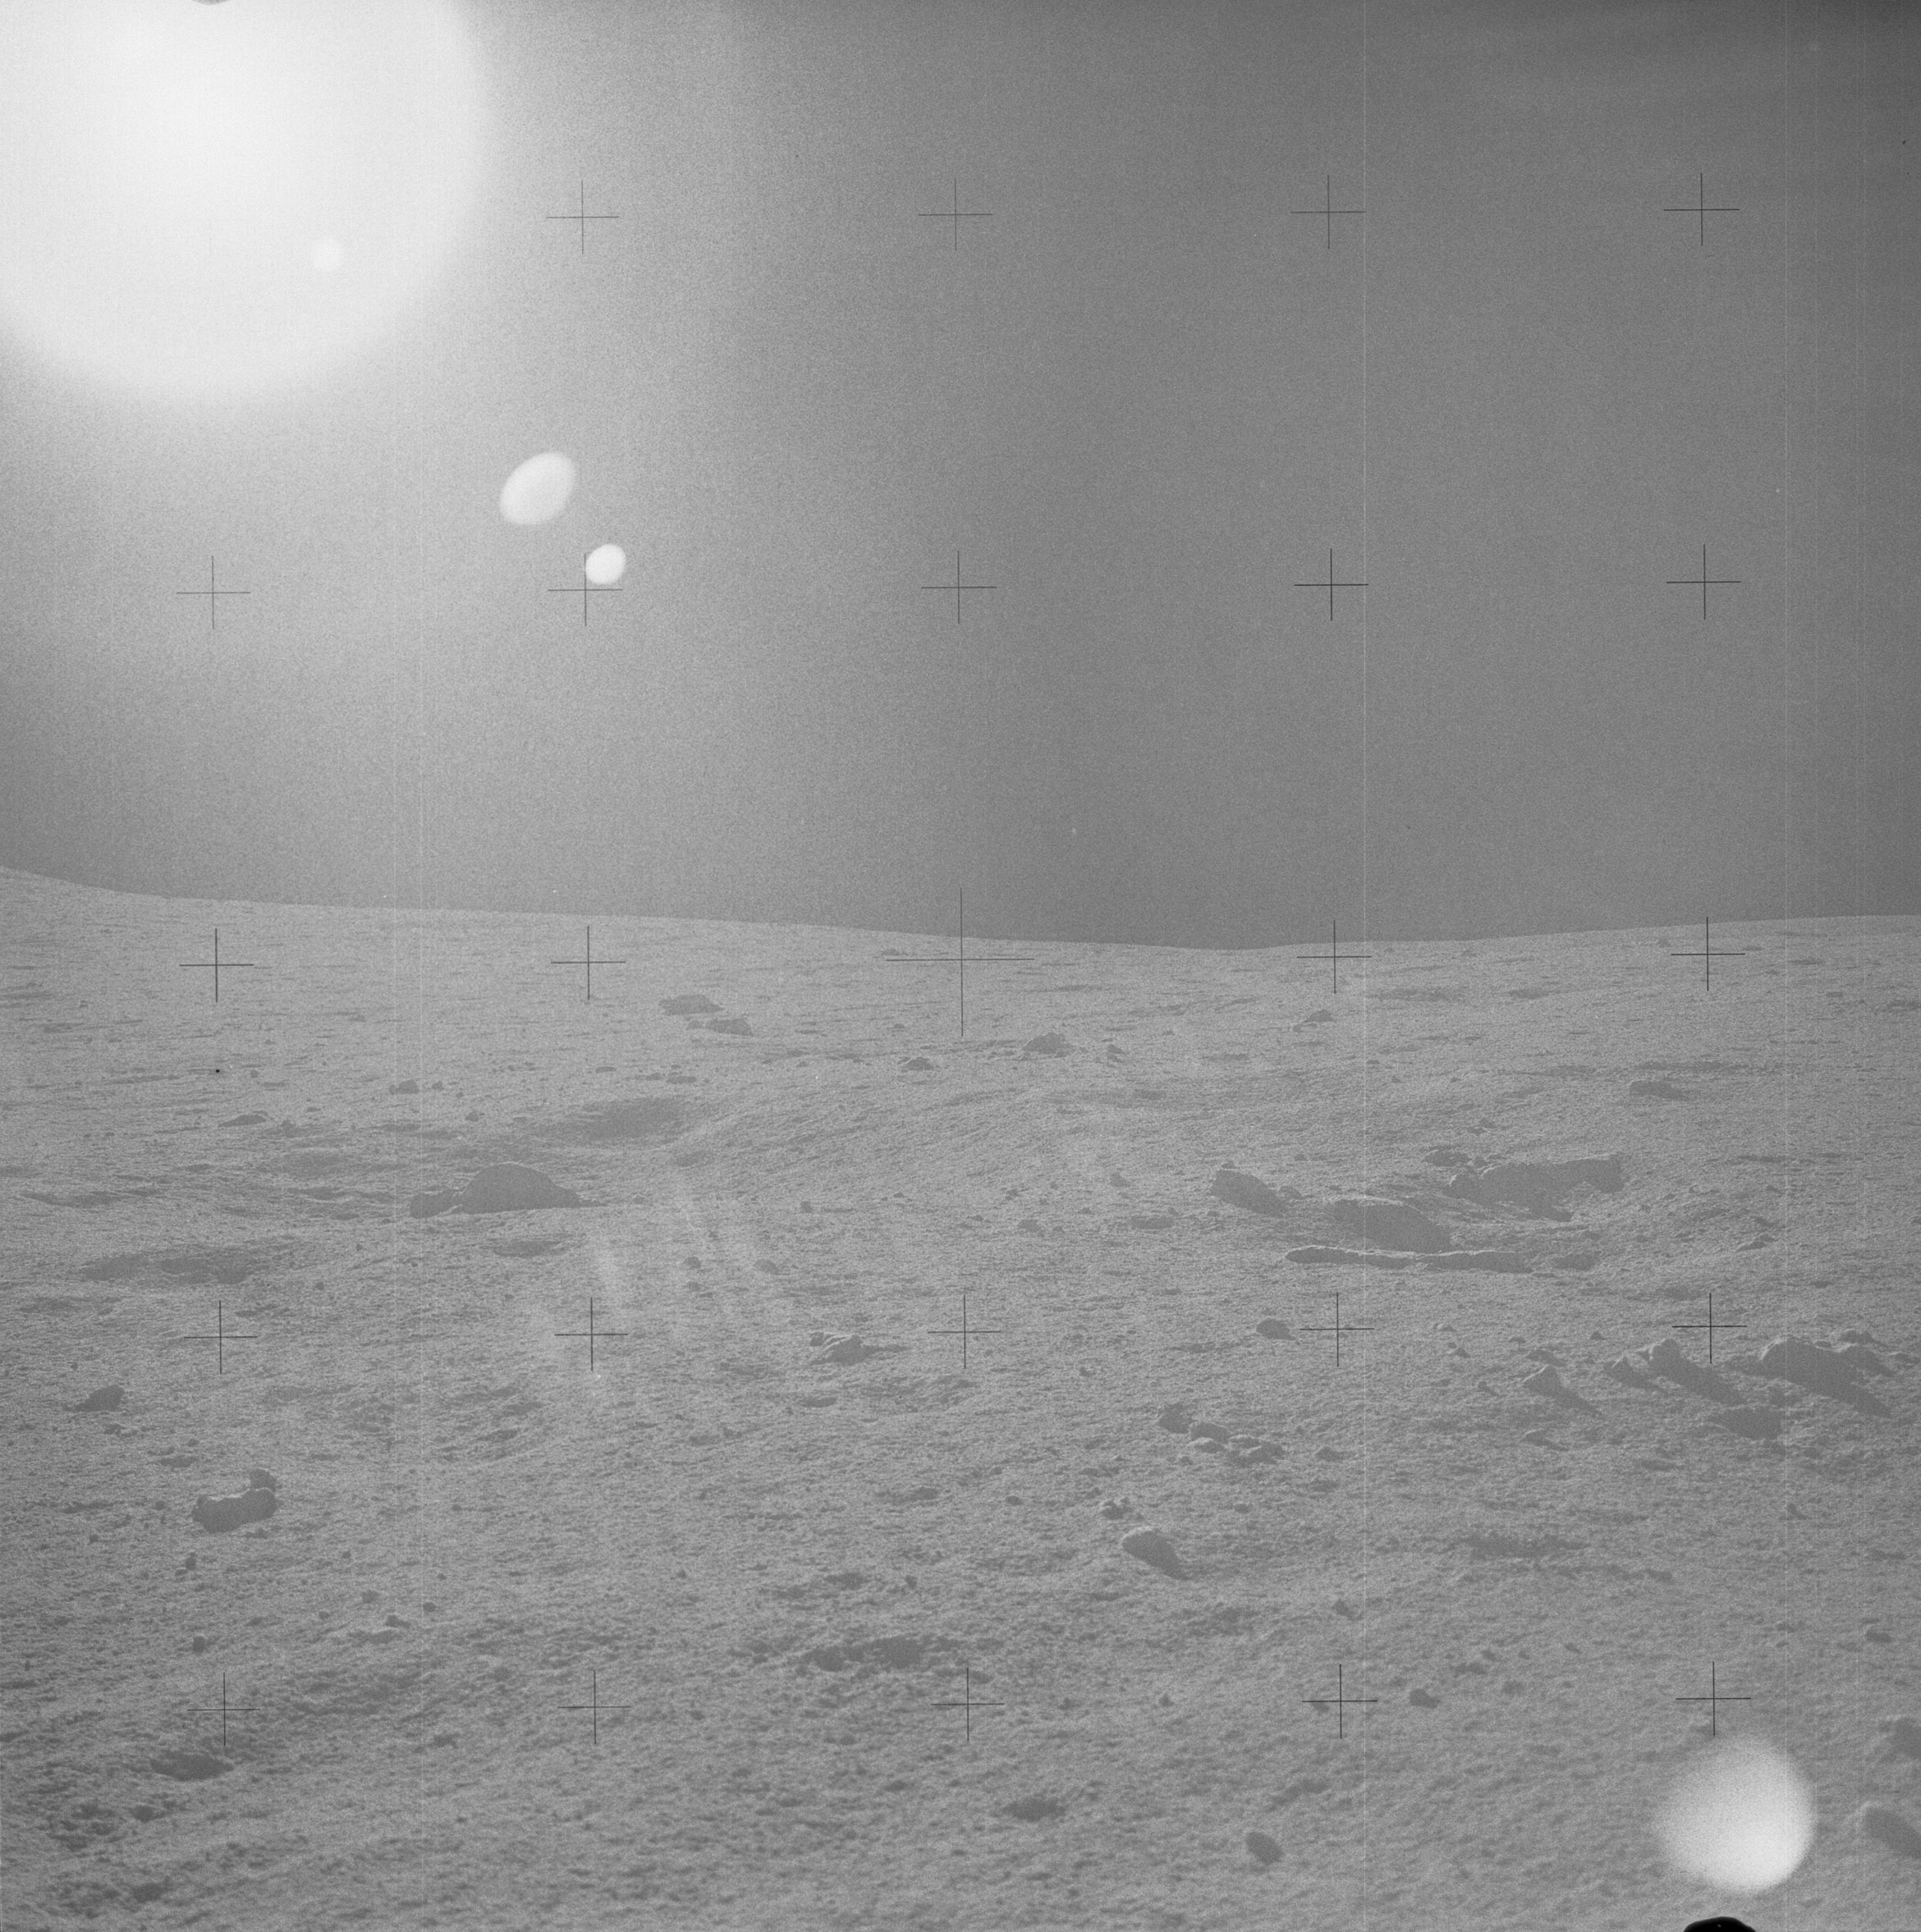 | AS14-64-9064 Rightward of 9063. Image credit: Image Science and Analysis Laboratory, NASA-Johnson Space Center. |
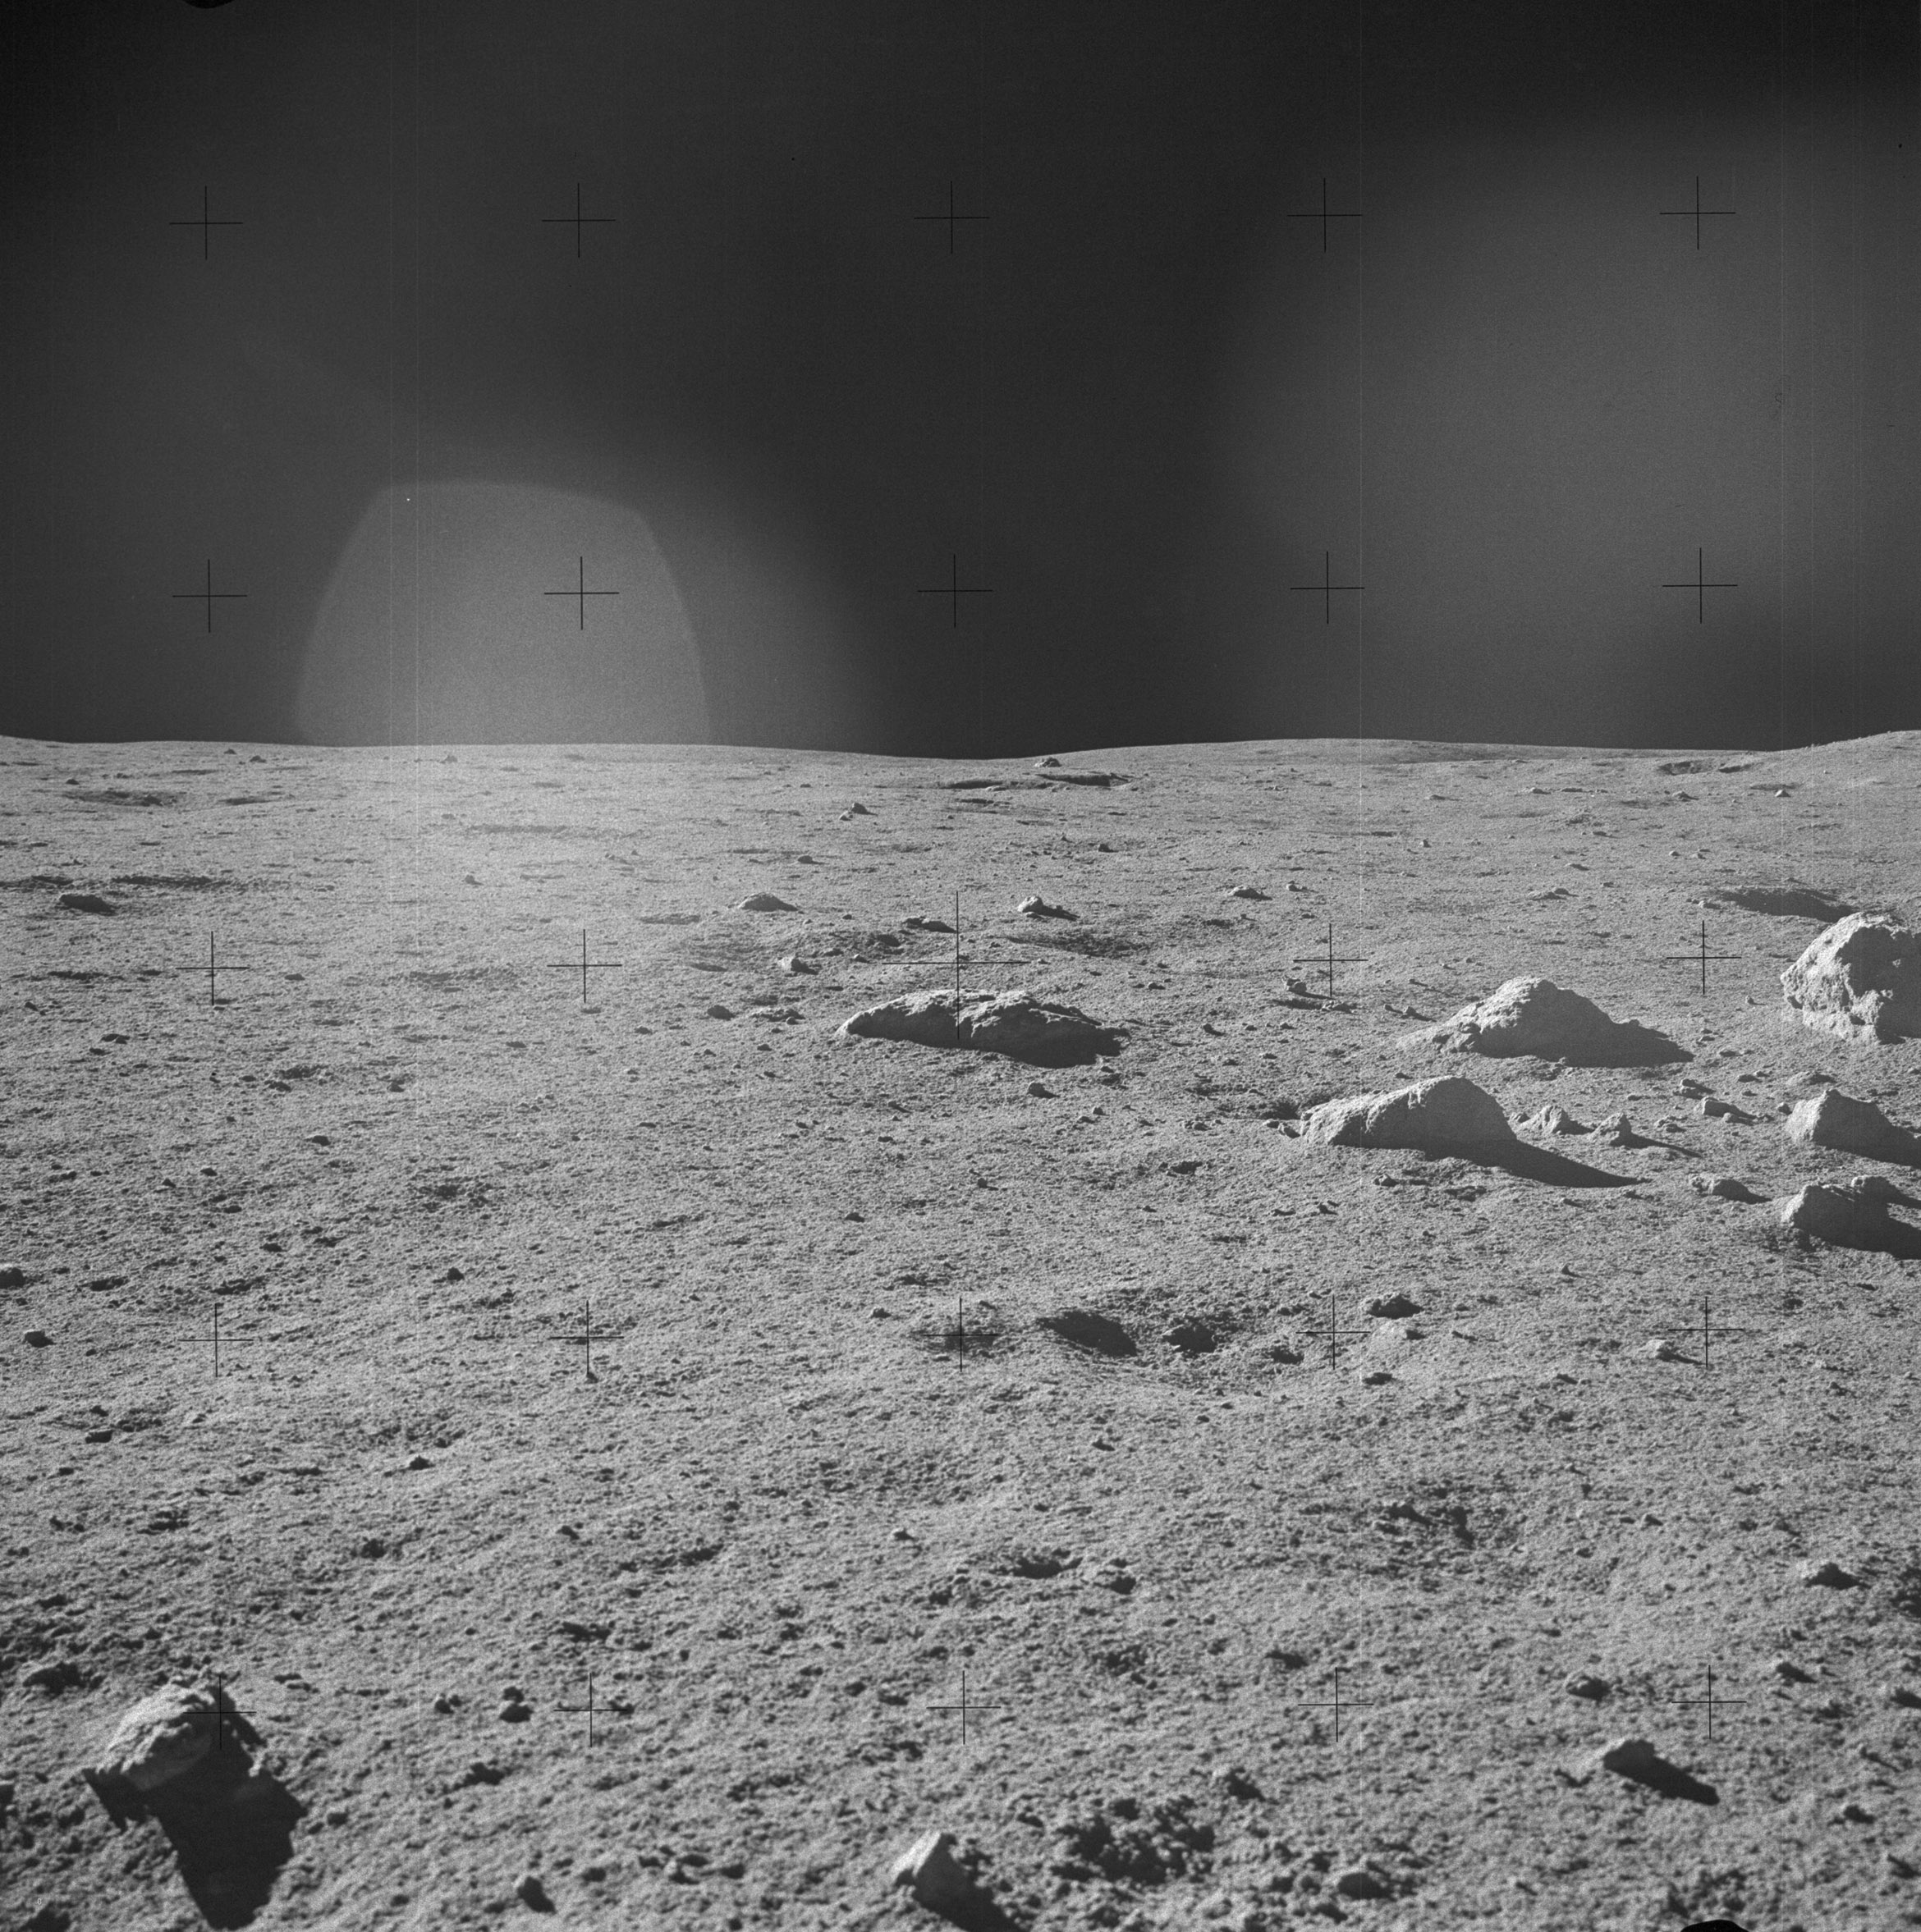 | AS14-64-9065 Rightward of 9064, showing a group of large boulders at the right edge, southeast of their current location. Image credit: Image Science and Analysis Laboratory, NASA-Johnson Space Center. |
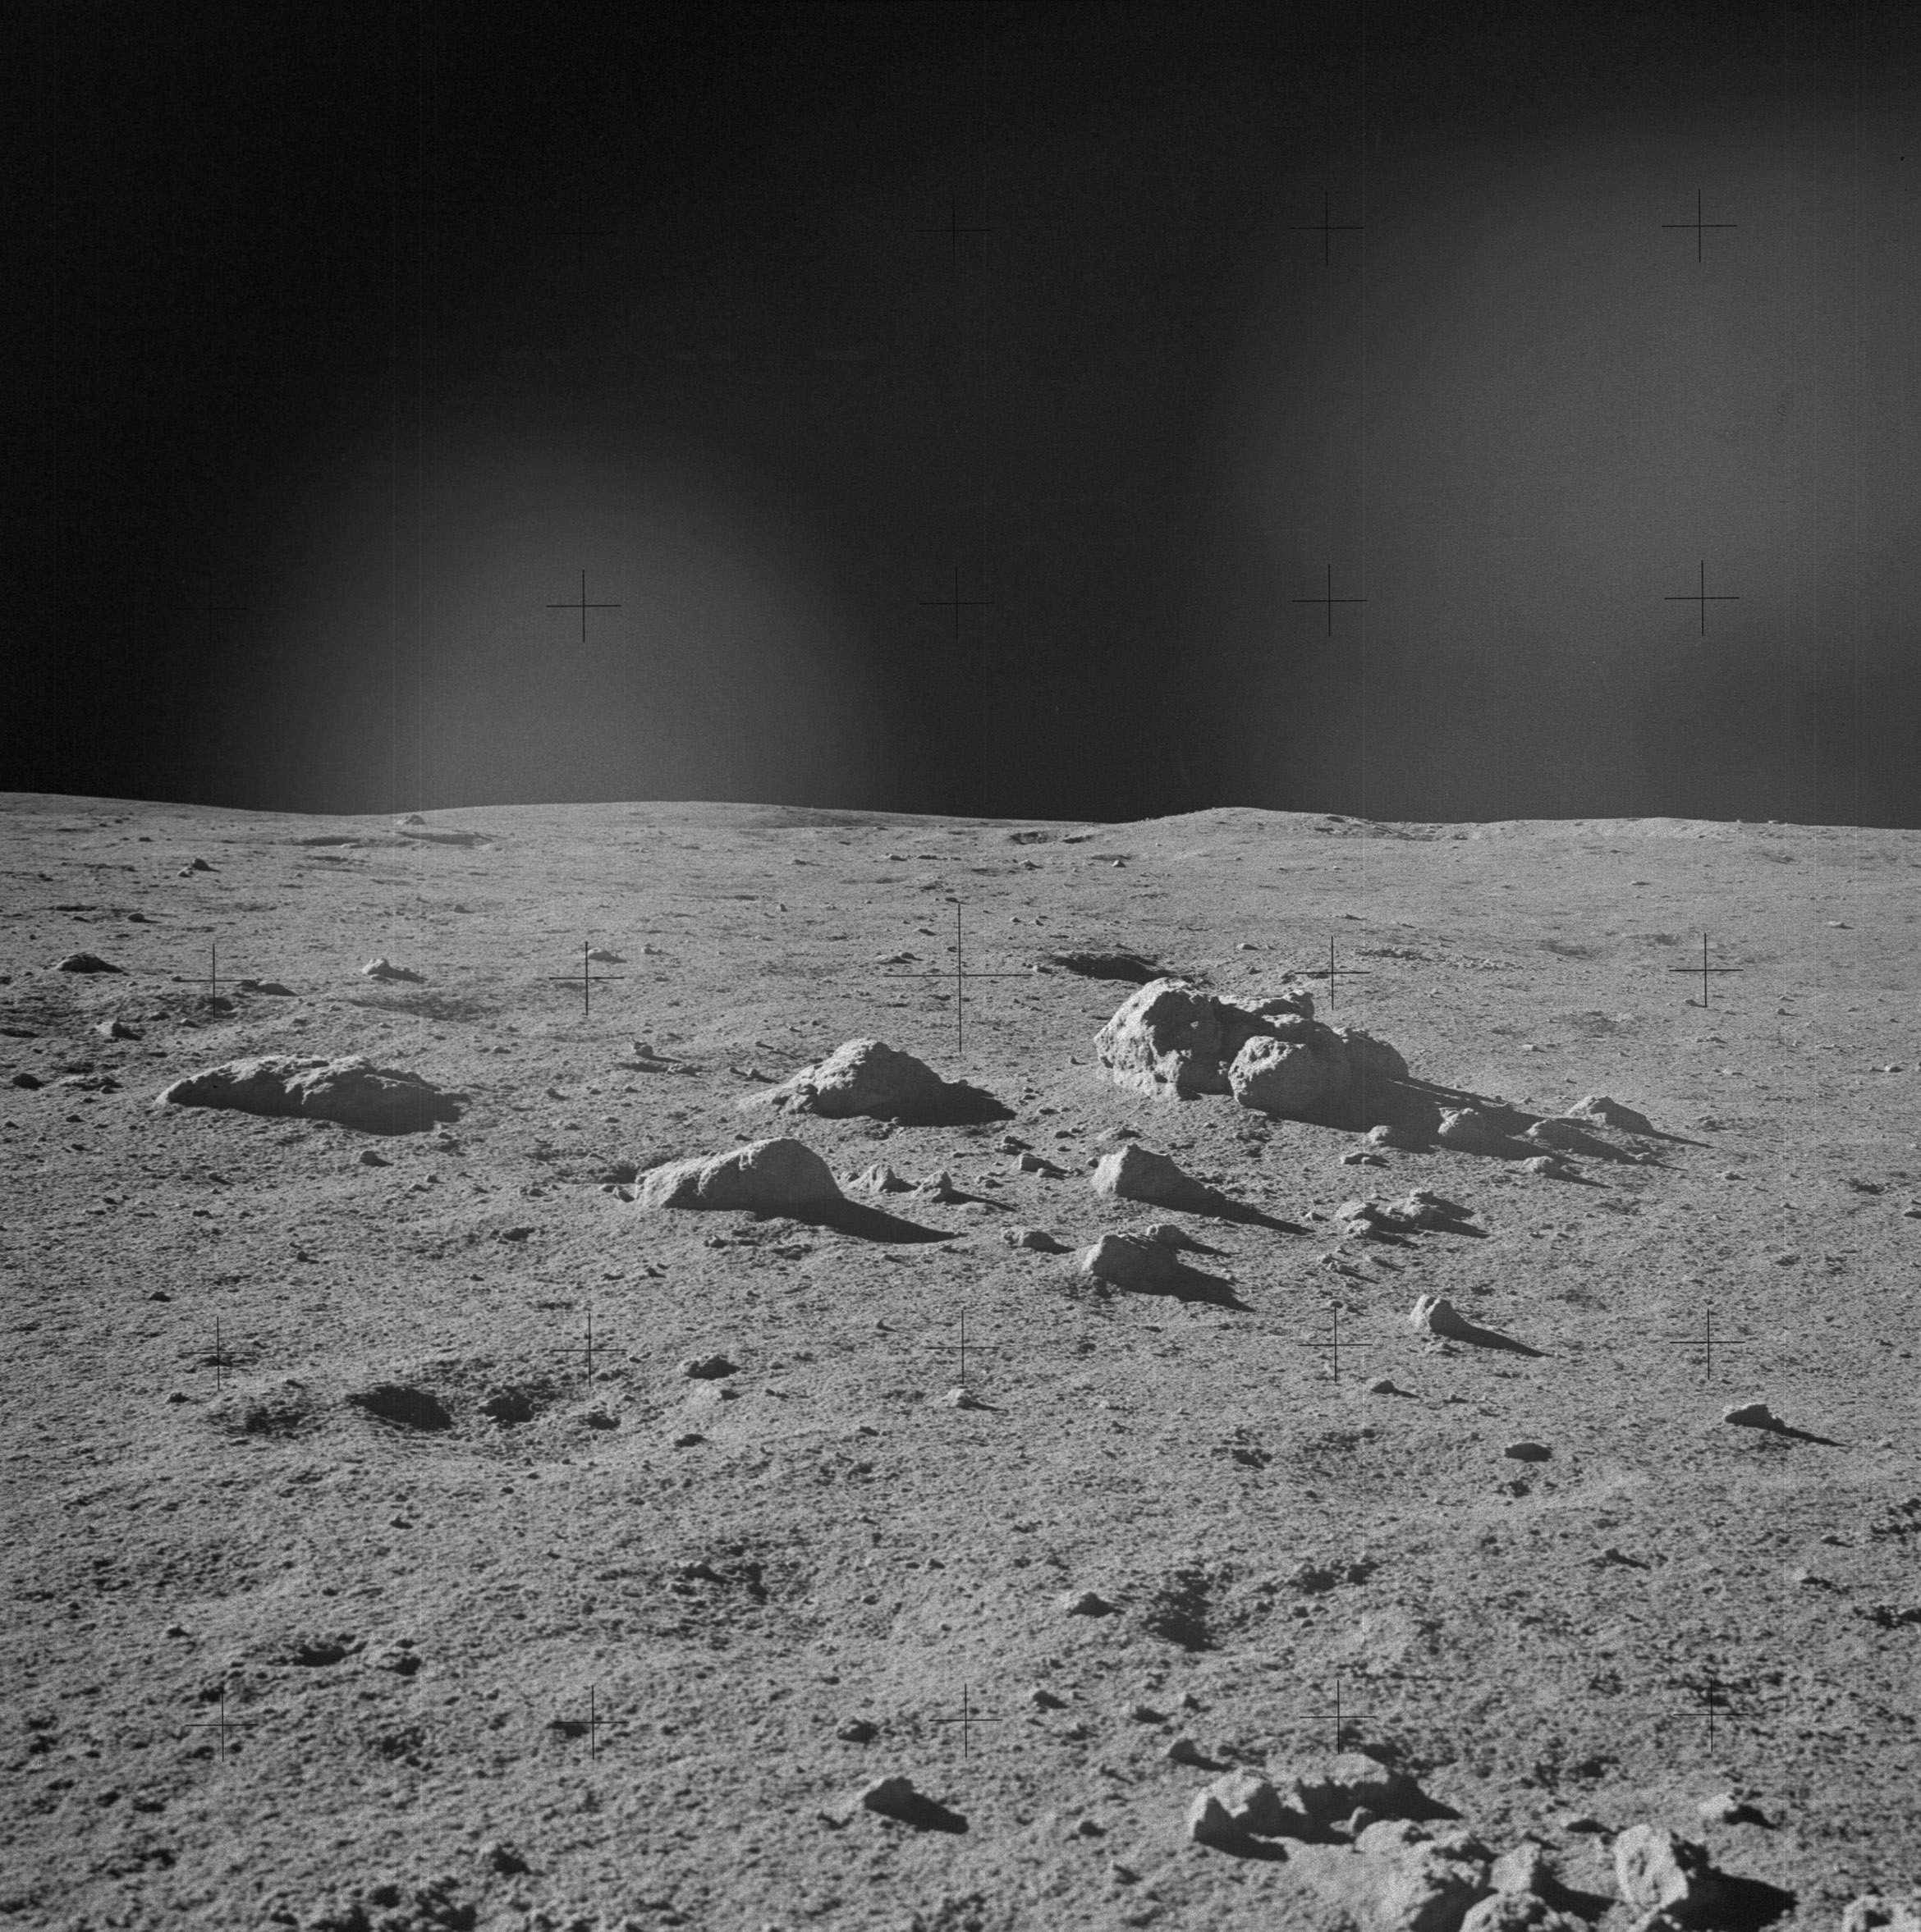 | AS14-64-9066 Rightward of 9065, showing the group of large boulders southeast of their current location. Image credit: Image Science and Analysis Laboratory, NASA-Johnson Space Center. |
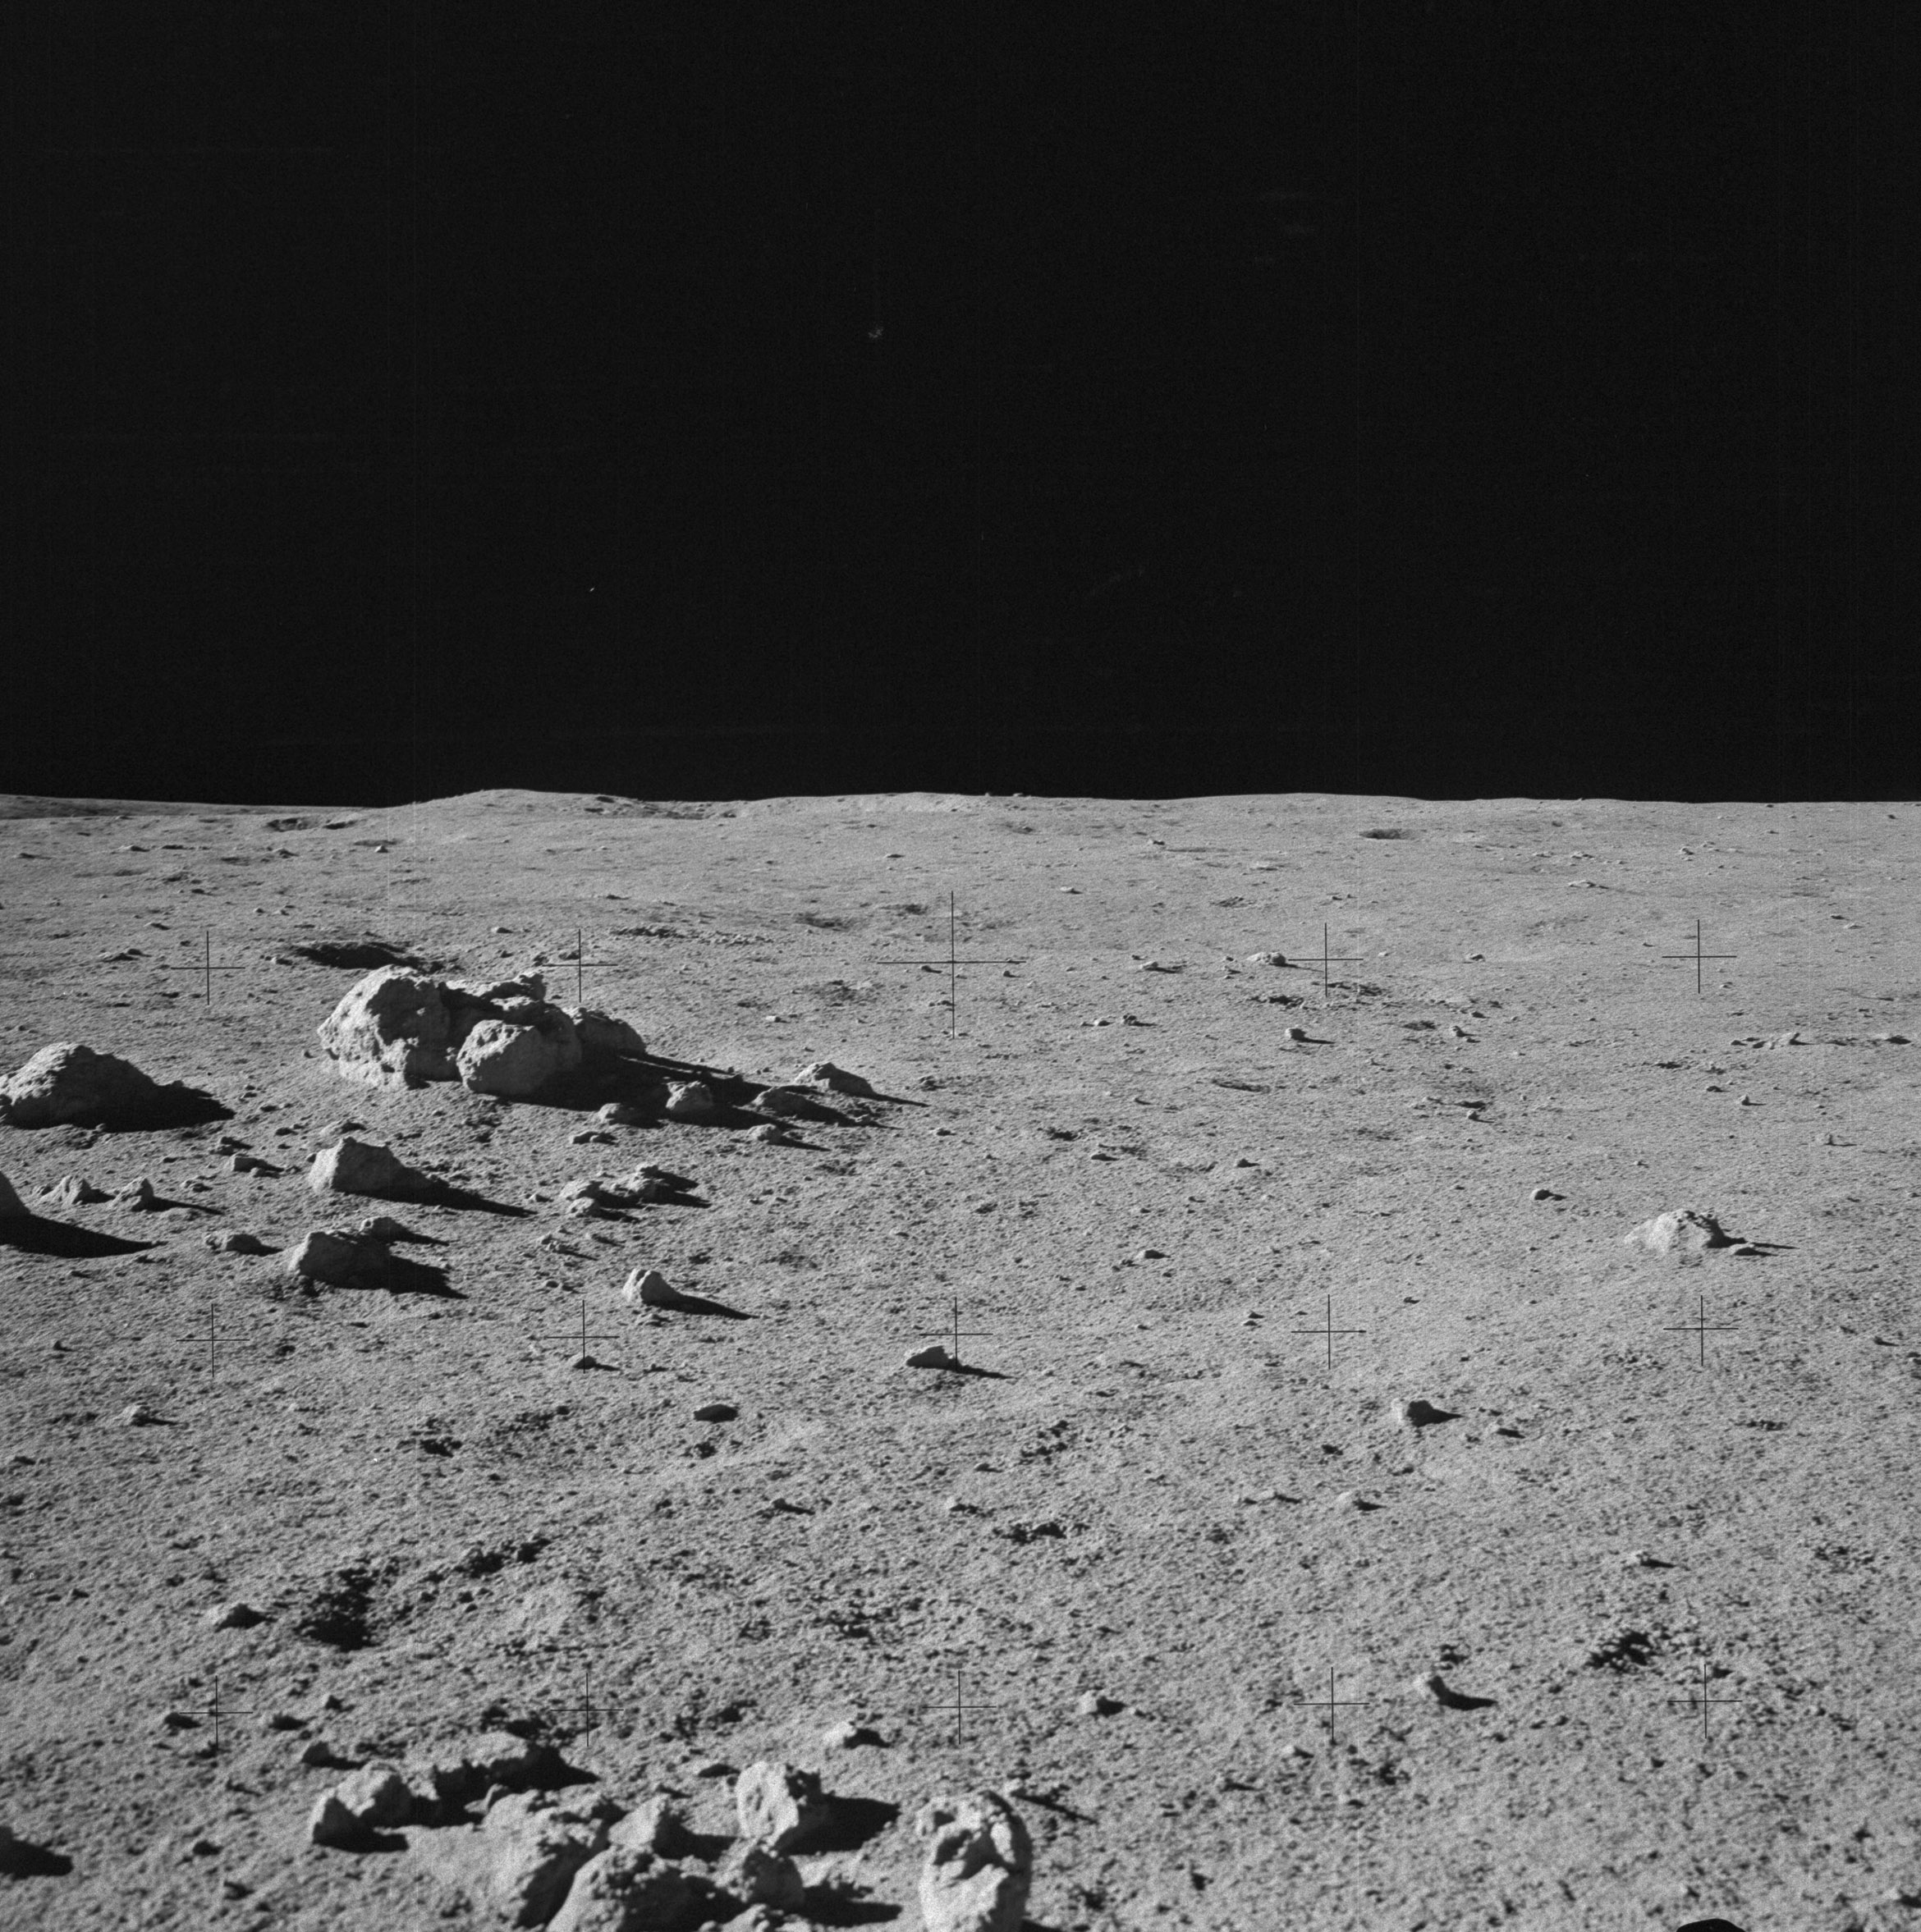 | AS14-64-9067 Rightward of 9066, showing the western portion of the boulder group at Station B, with the freshest component of Weird (USGS 1202) on the horizon above and to the left of the central reseau cross. Image credit: Image Science and Analysis Laboratory, NASA-Johnson Space Center. |
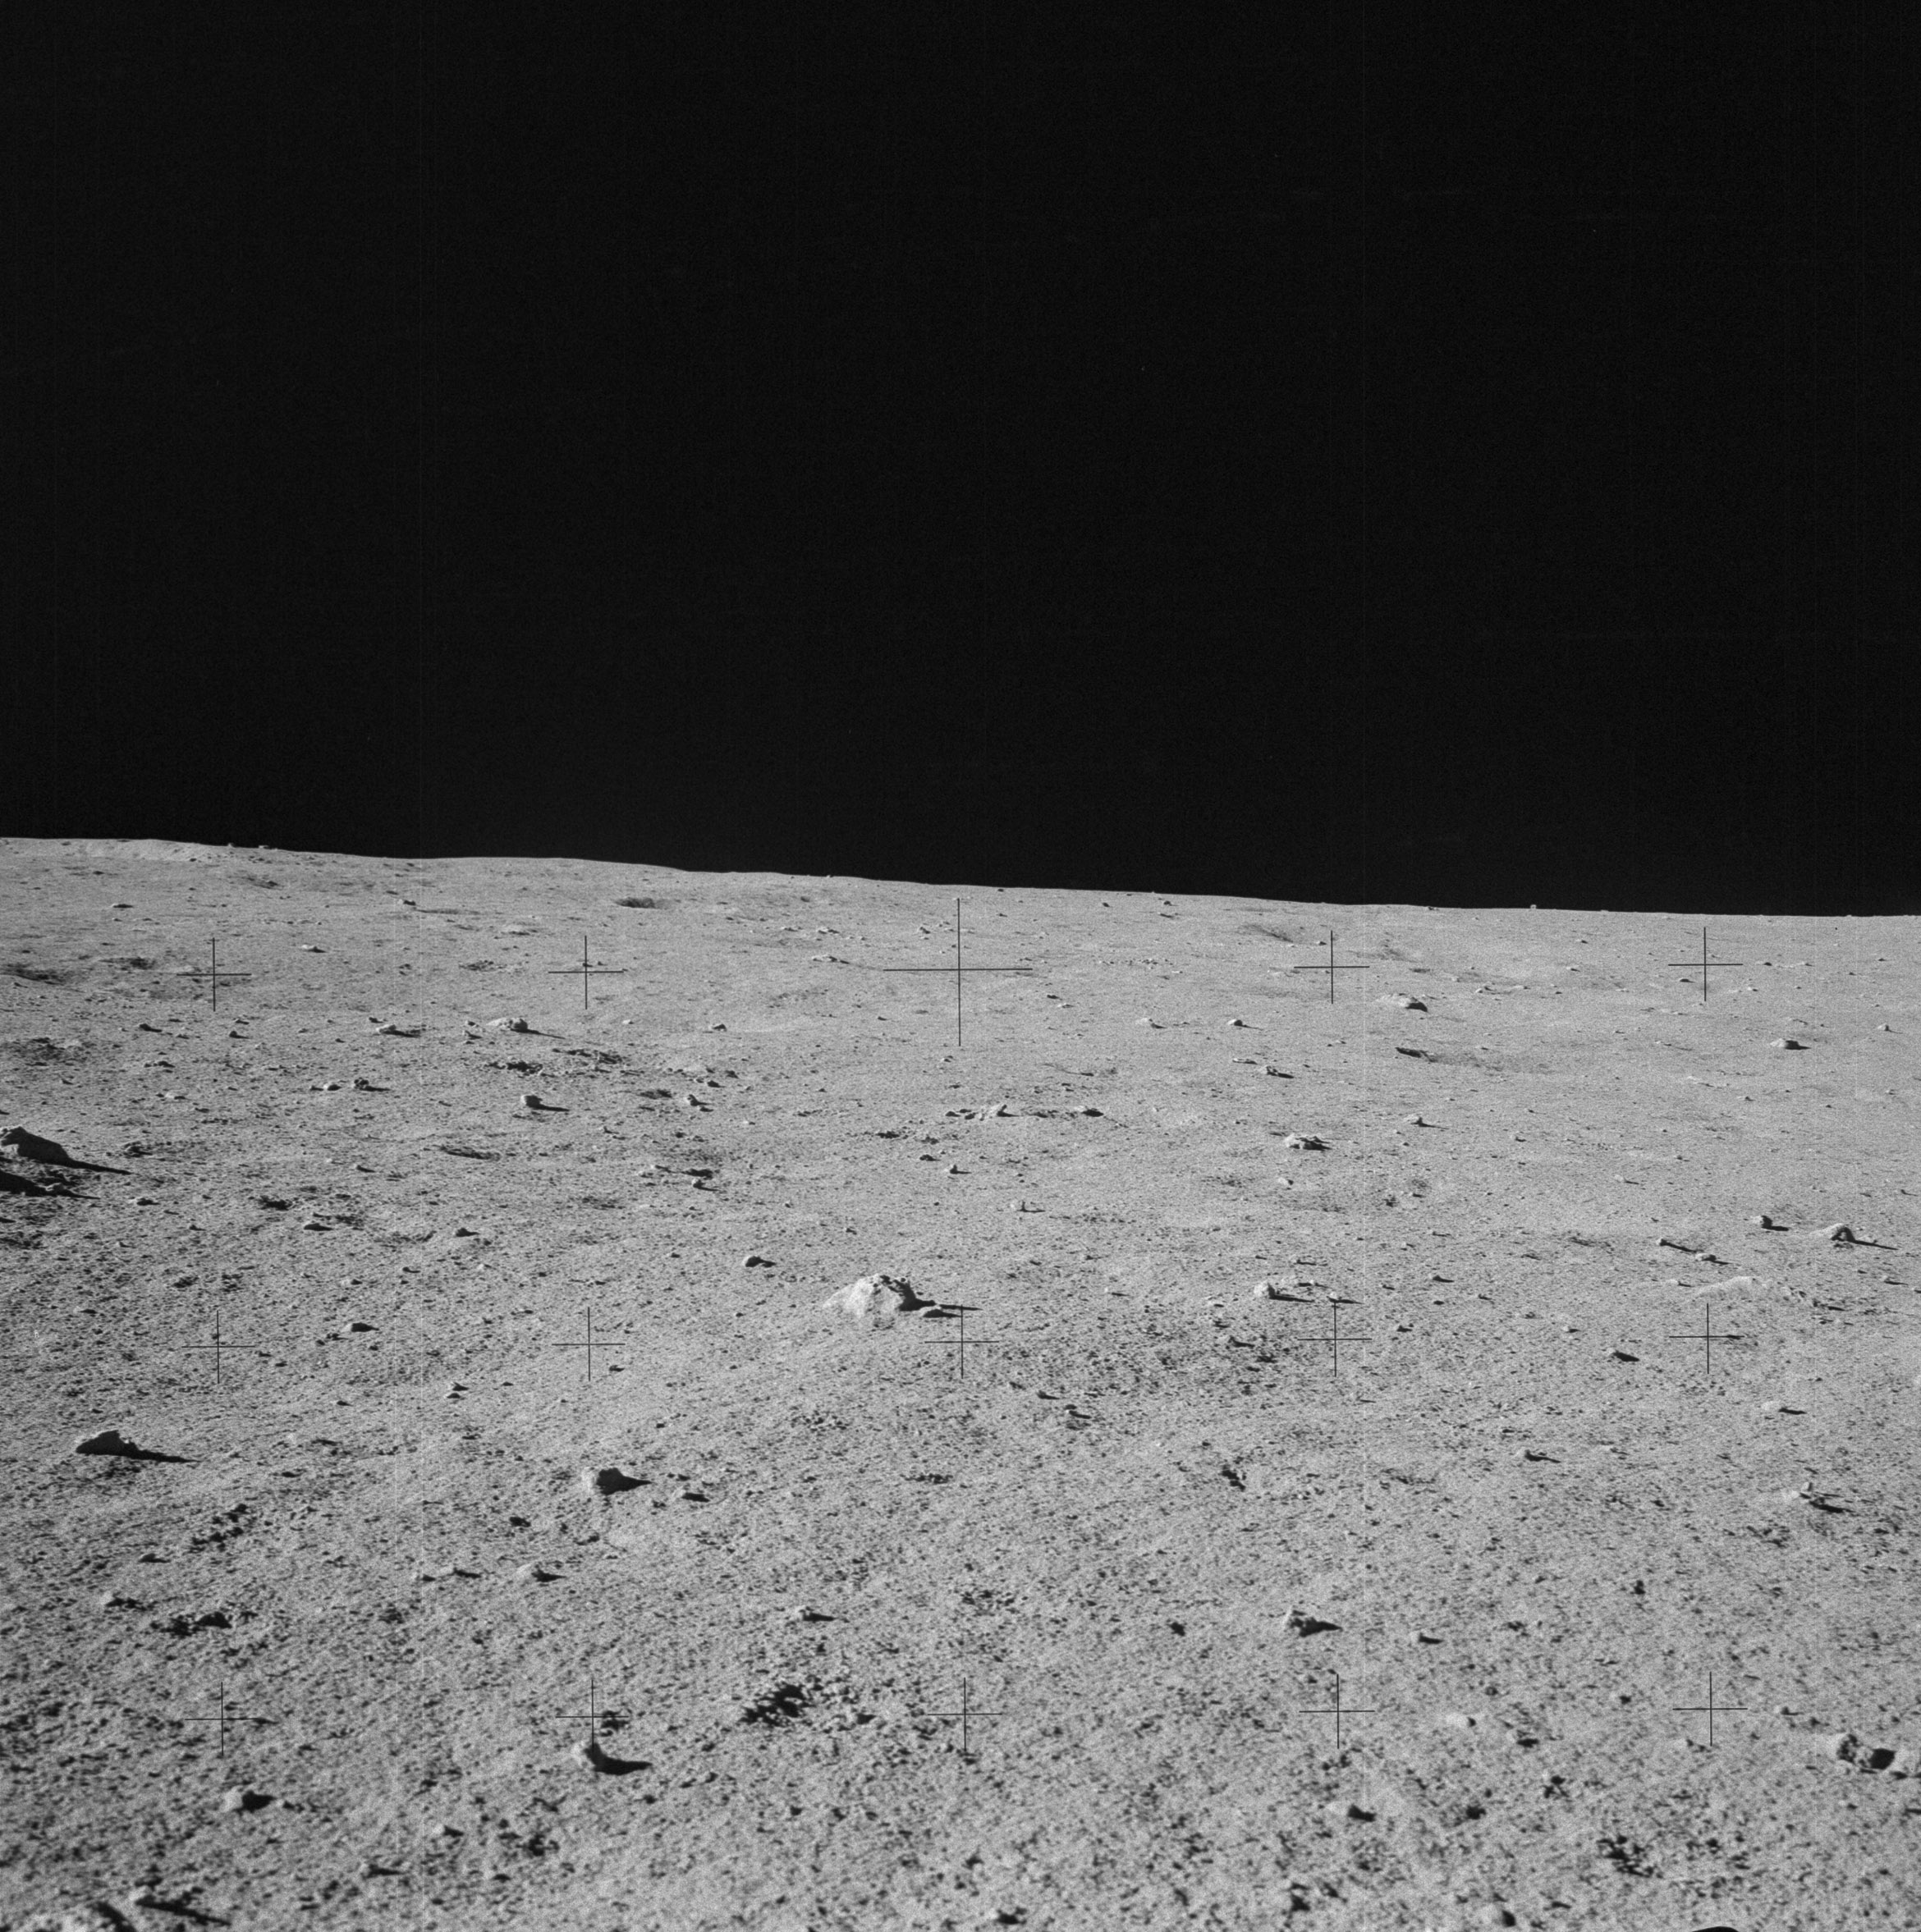 | AS14-64-9068 Rightward of 9067, toward the south. Image credit: Image Science and Analysis Laboratory, NASA-Johnson Space Center. |
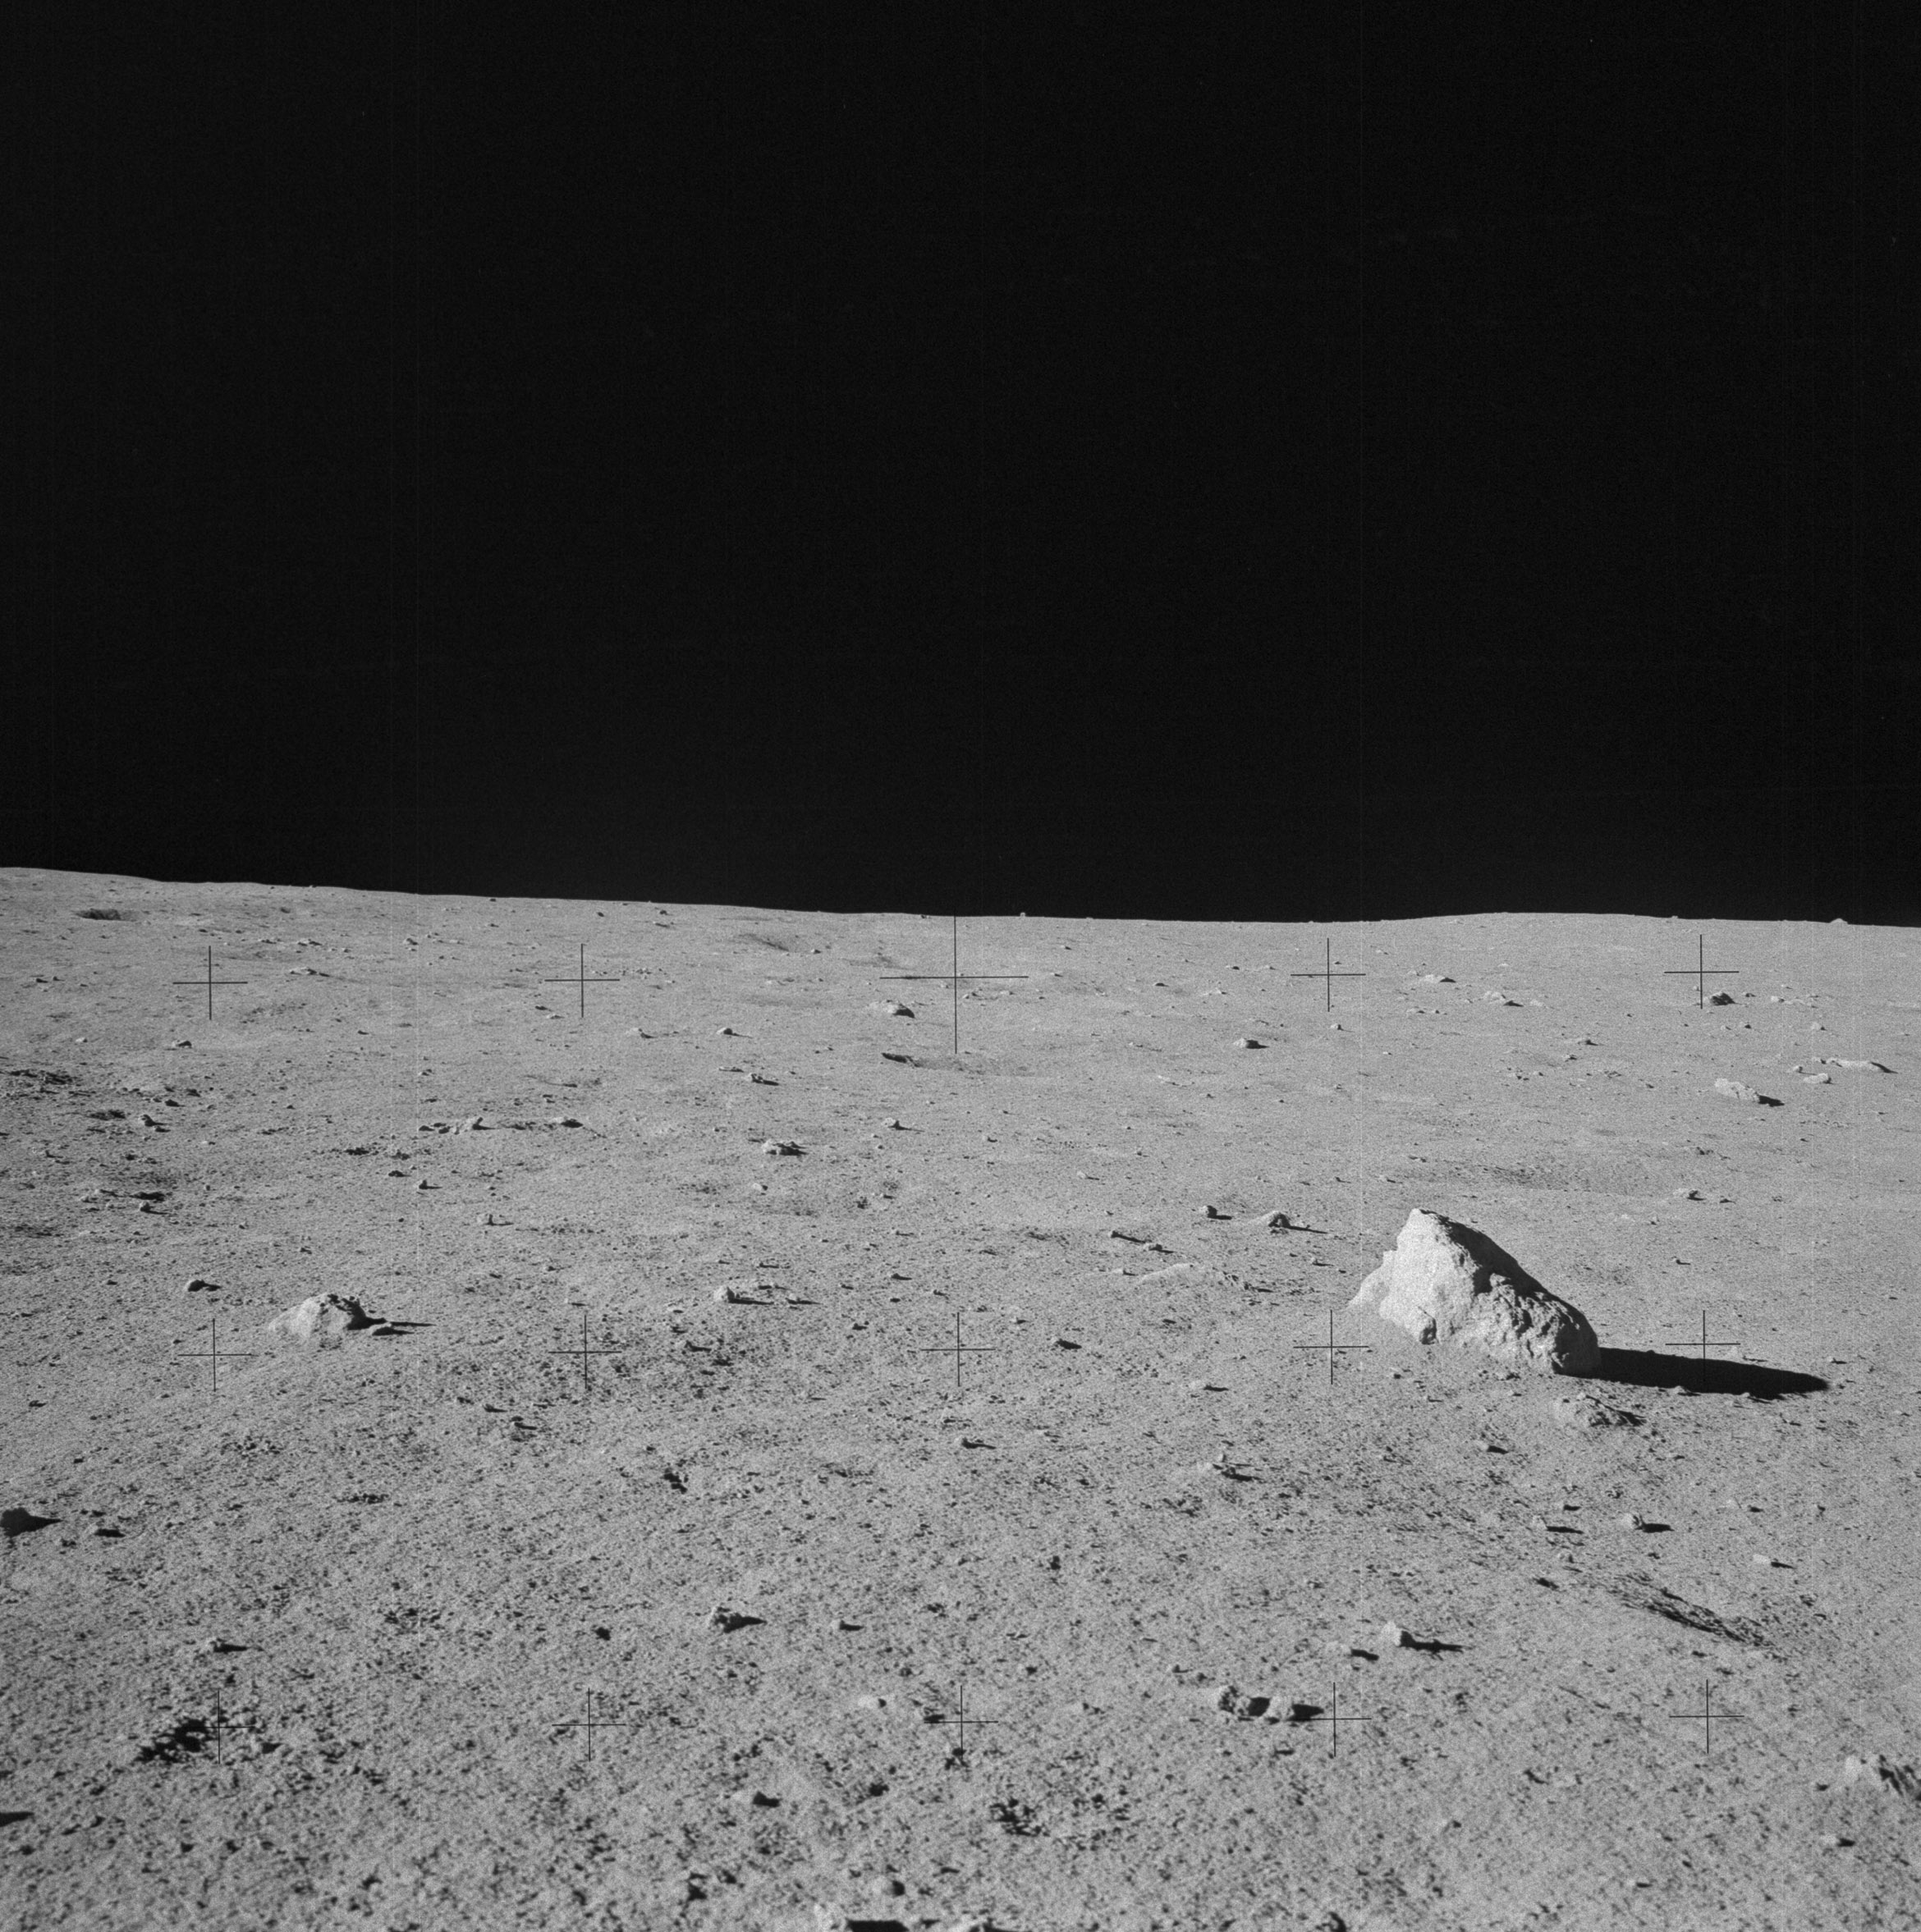 | AS14-64-9069 Rightward of 9060, showing a large, angular boulder south of the MET. Image credit: Image Science and Analysis Laboratory, NASA-Johnson Space Center. |
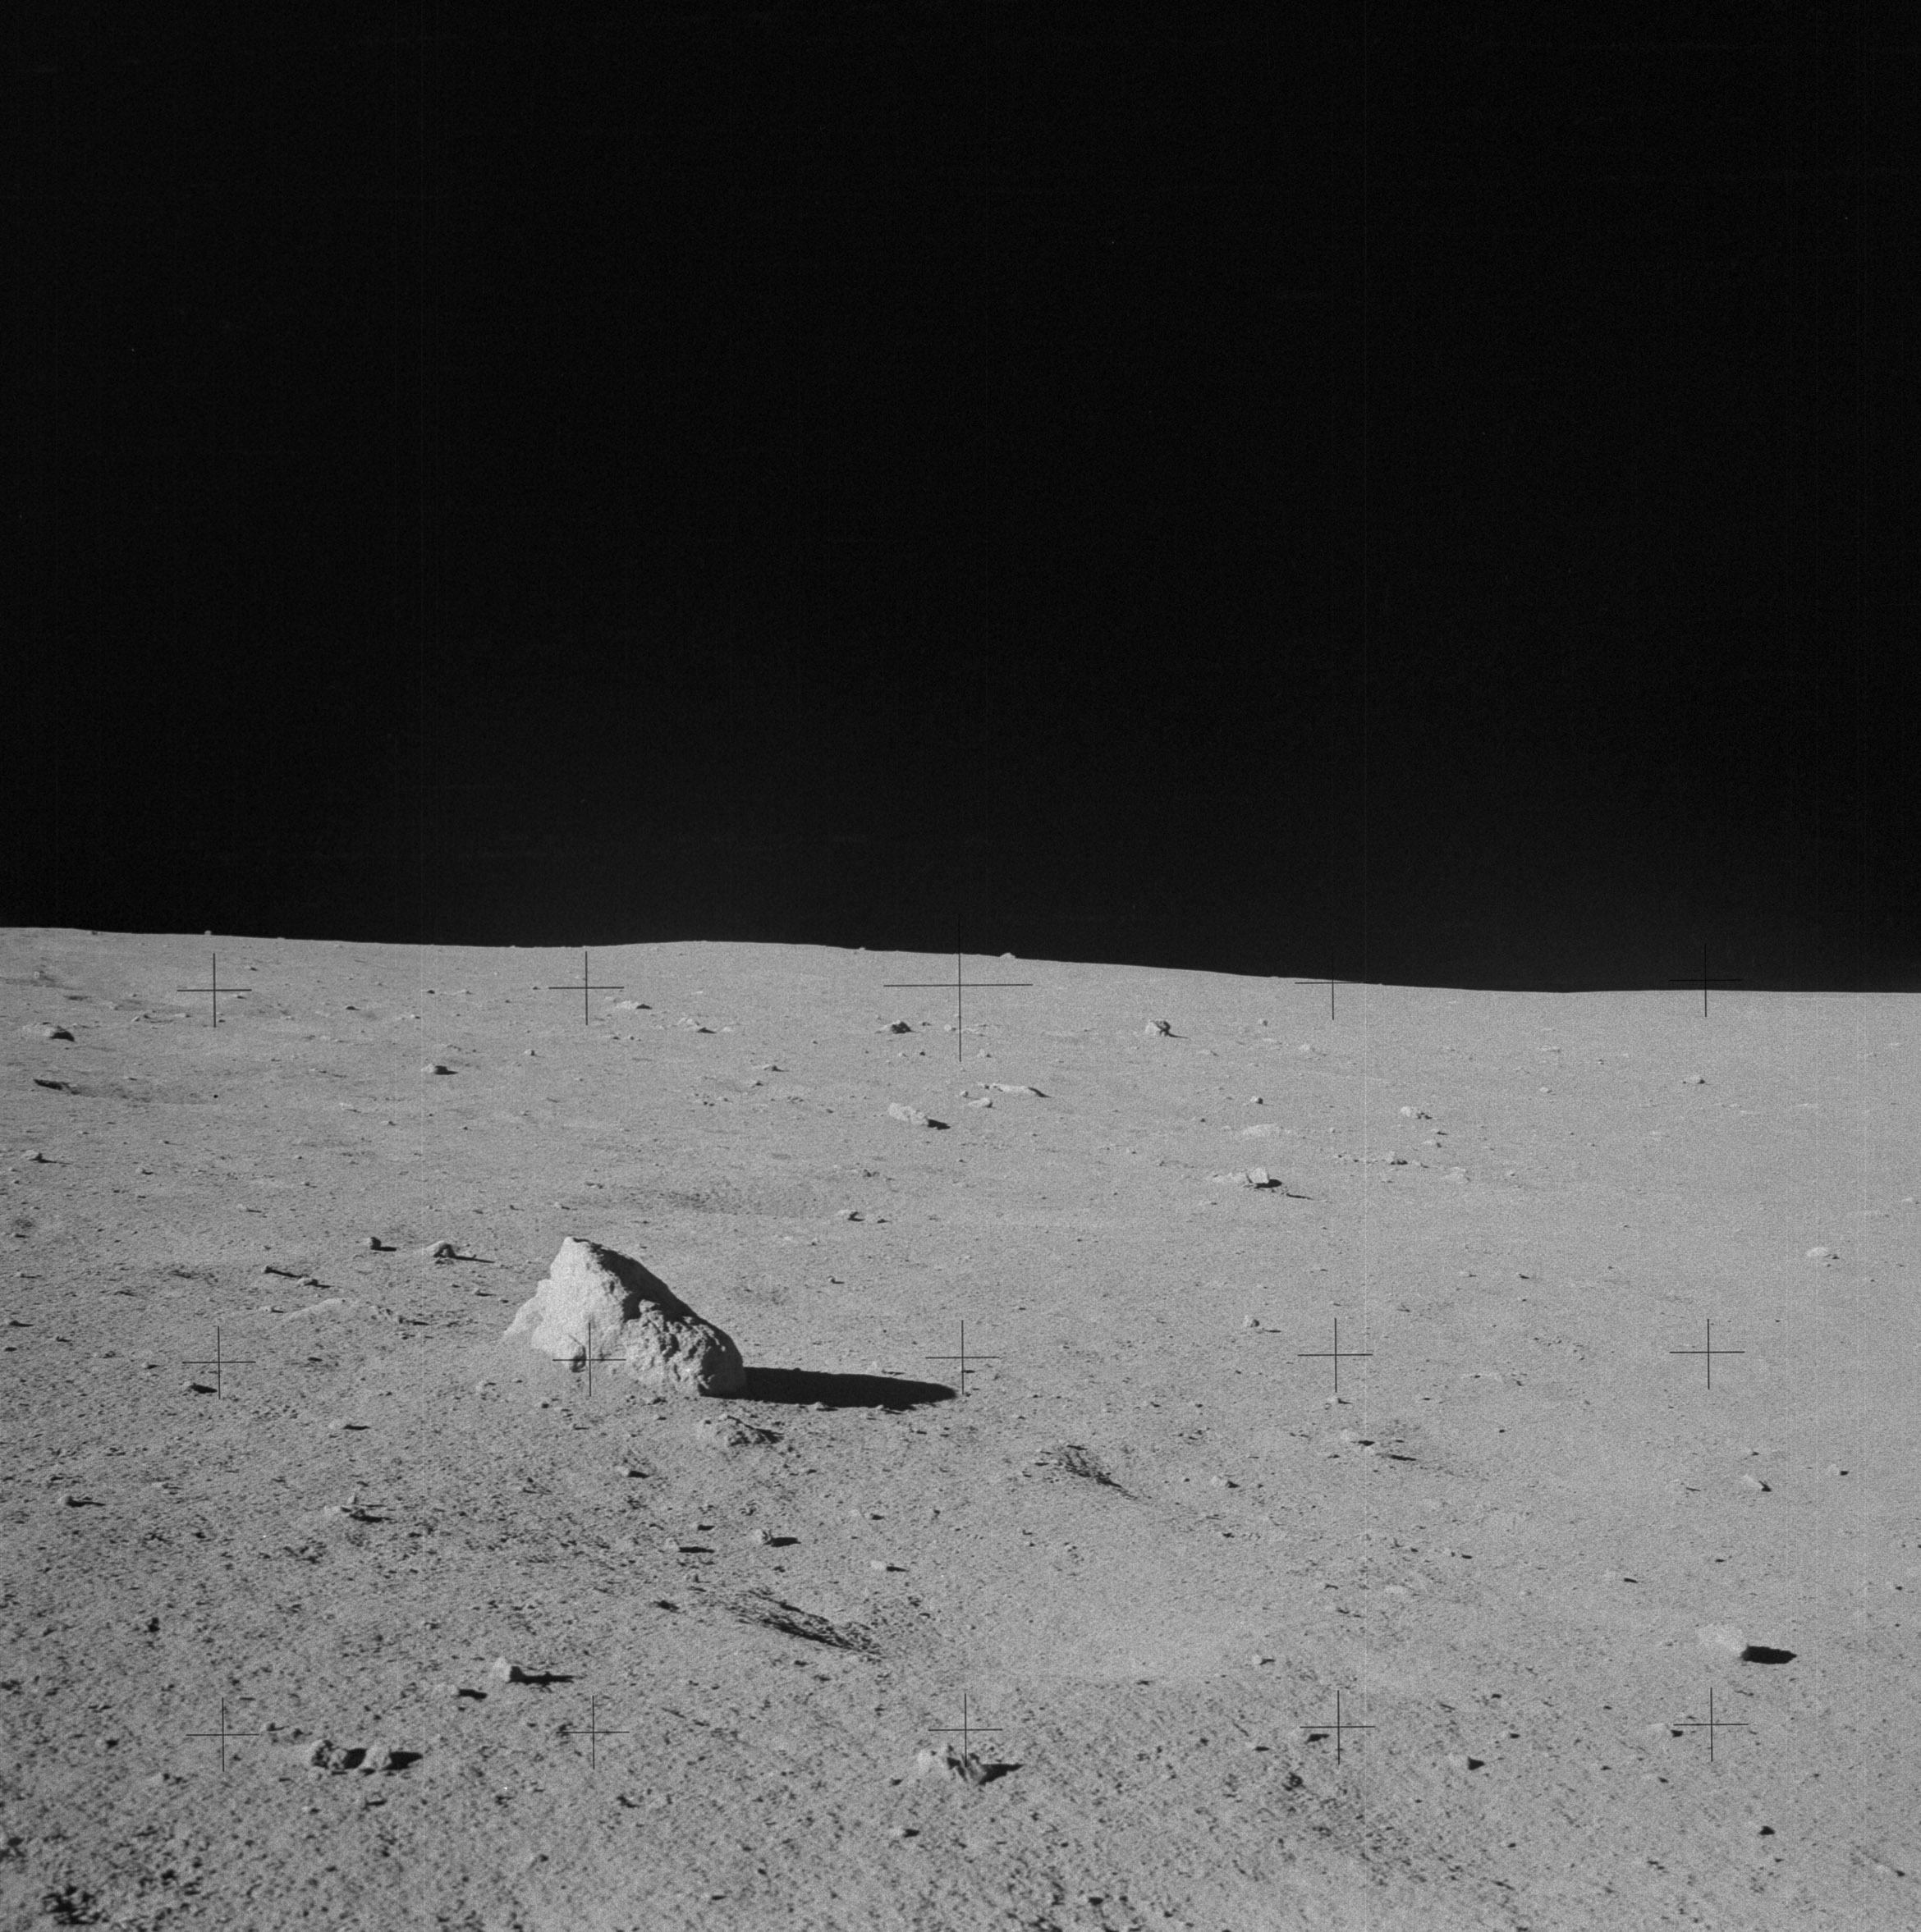 | AS14-64-9070 Rightward of 9069. Image credit: Image Science and Analysis Laboratory, NASA-Johnson Space Center. |
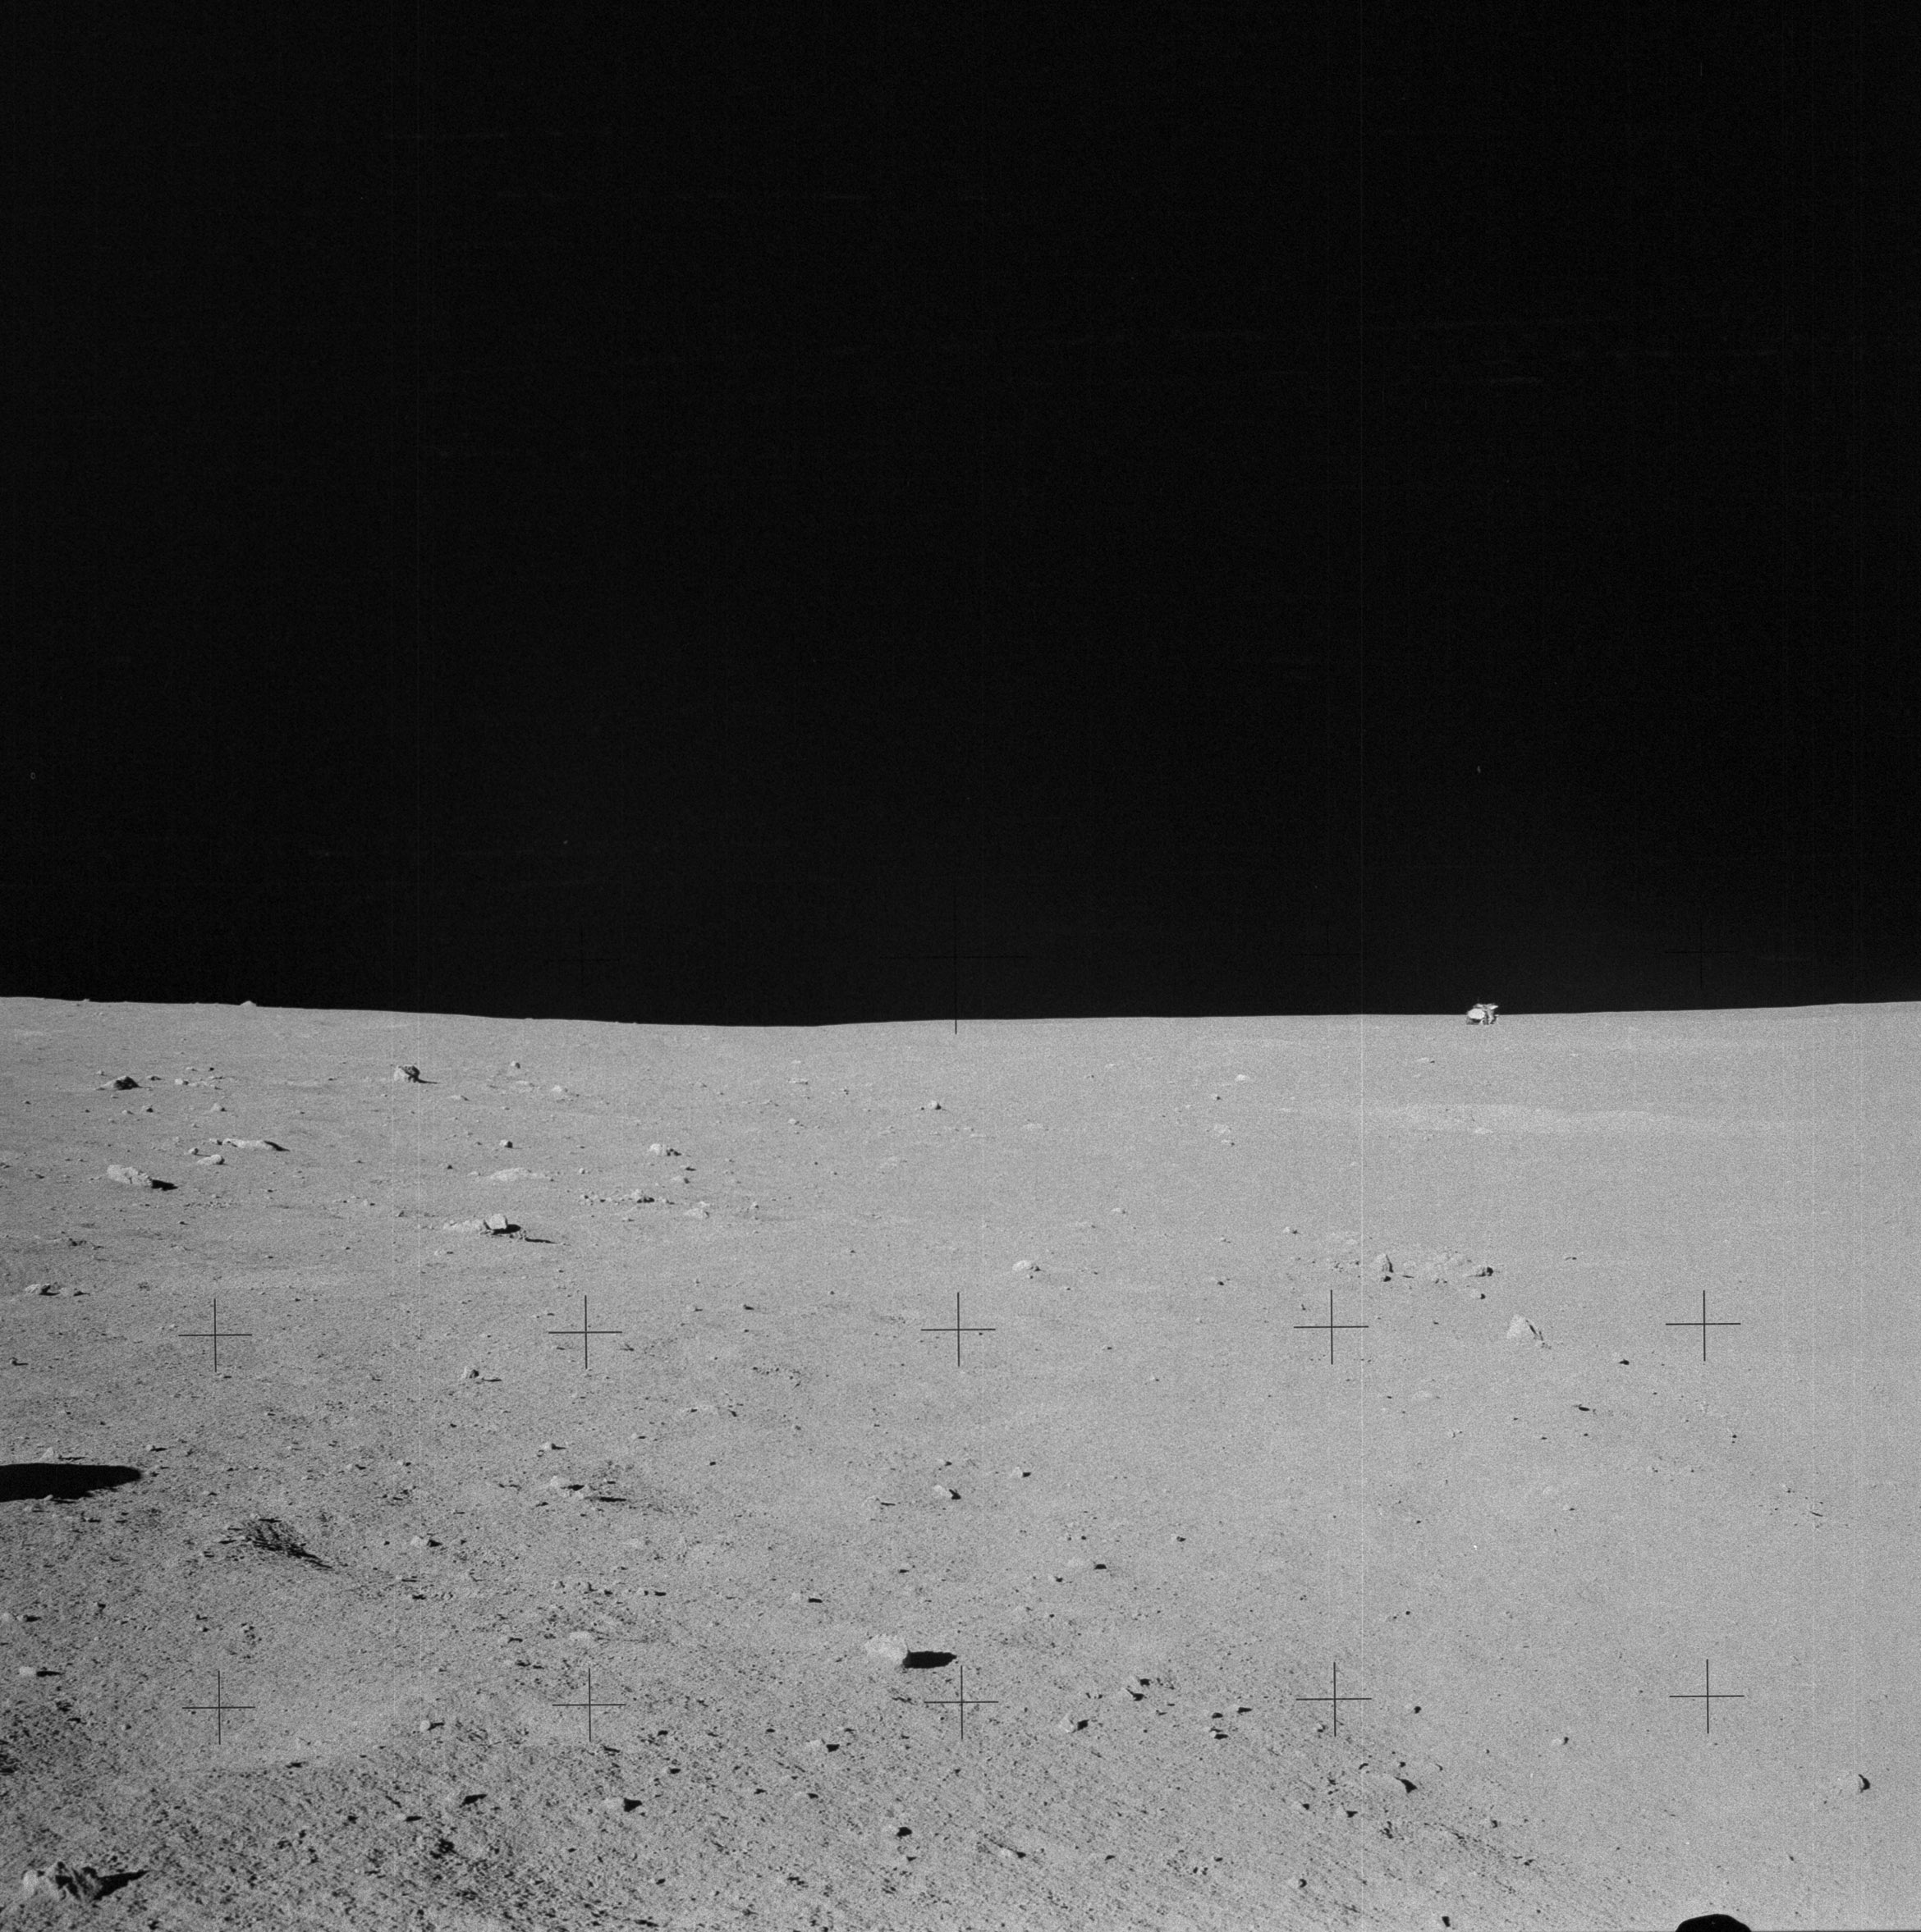 | AS14-64-9071 Rightward of 9070, showing the LM on the right. Image credit: Image Science and Analysis Laboratory, NASA-Johnson Space Center. |
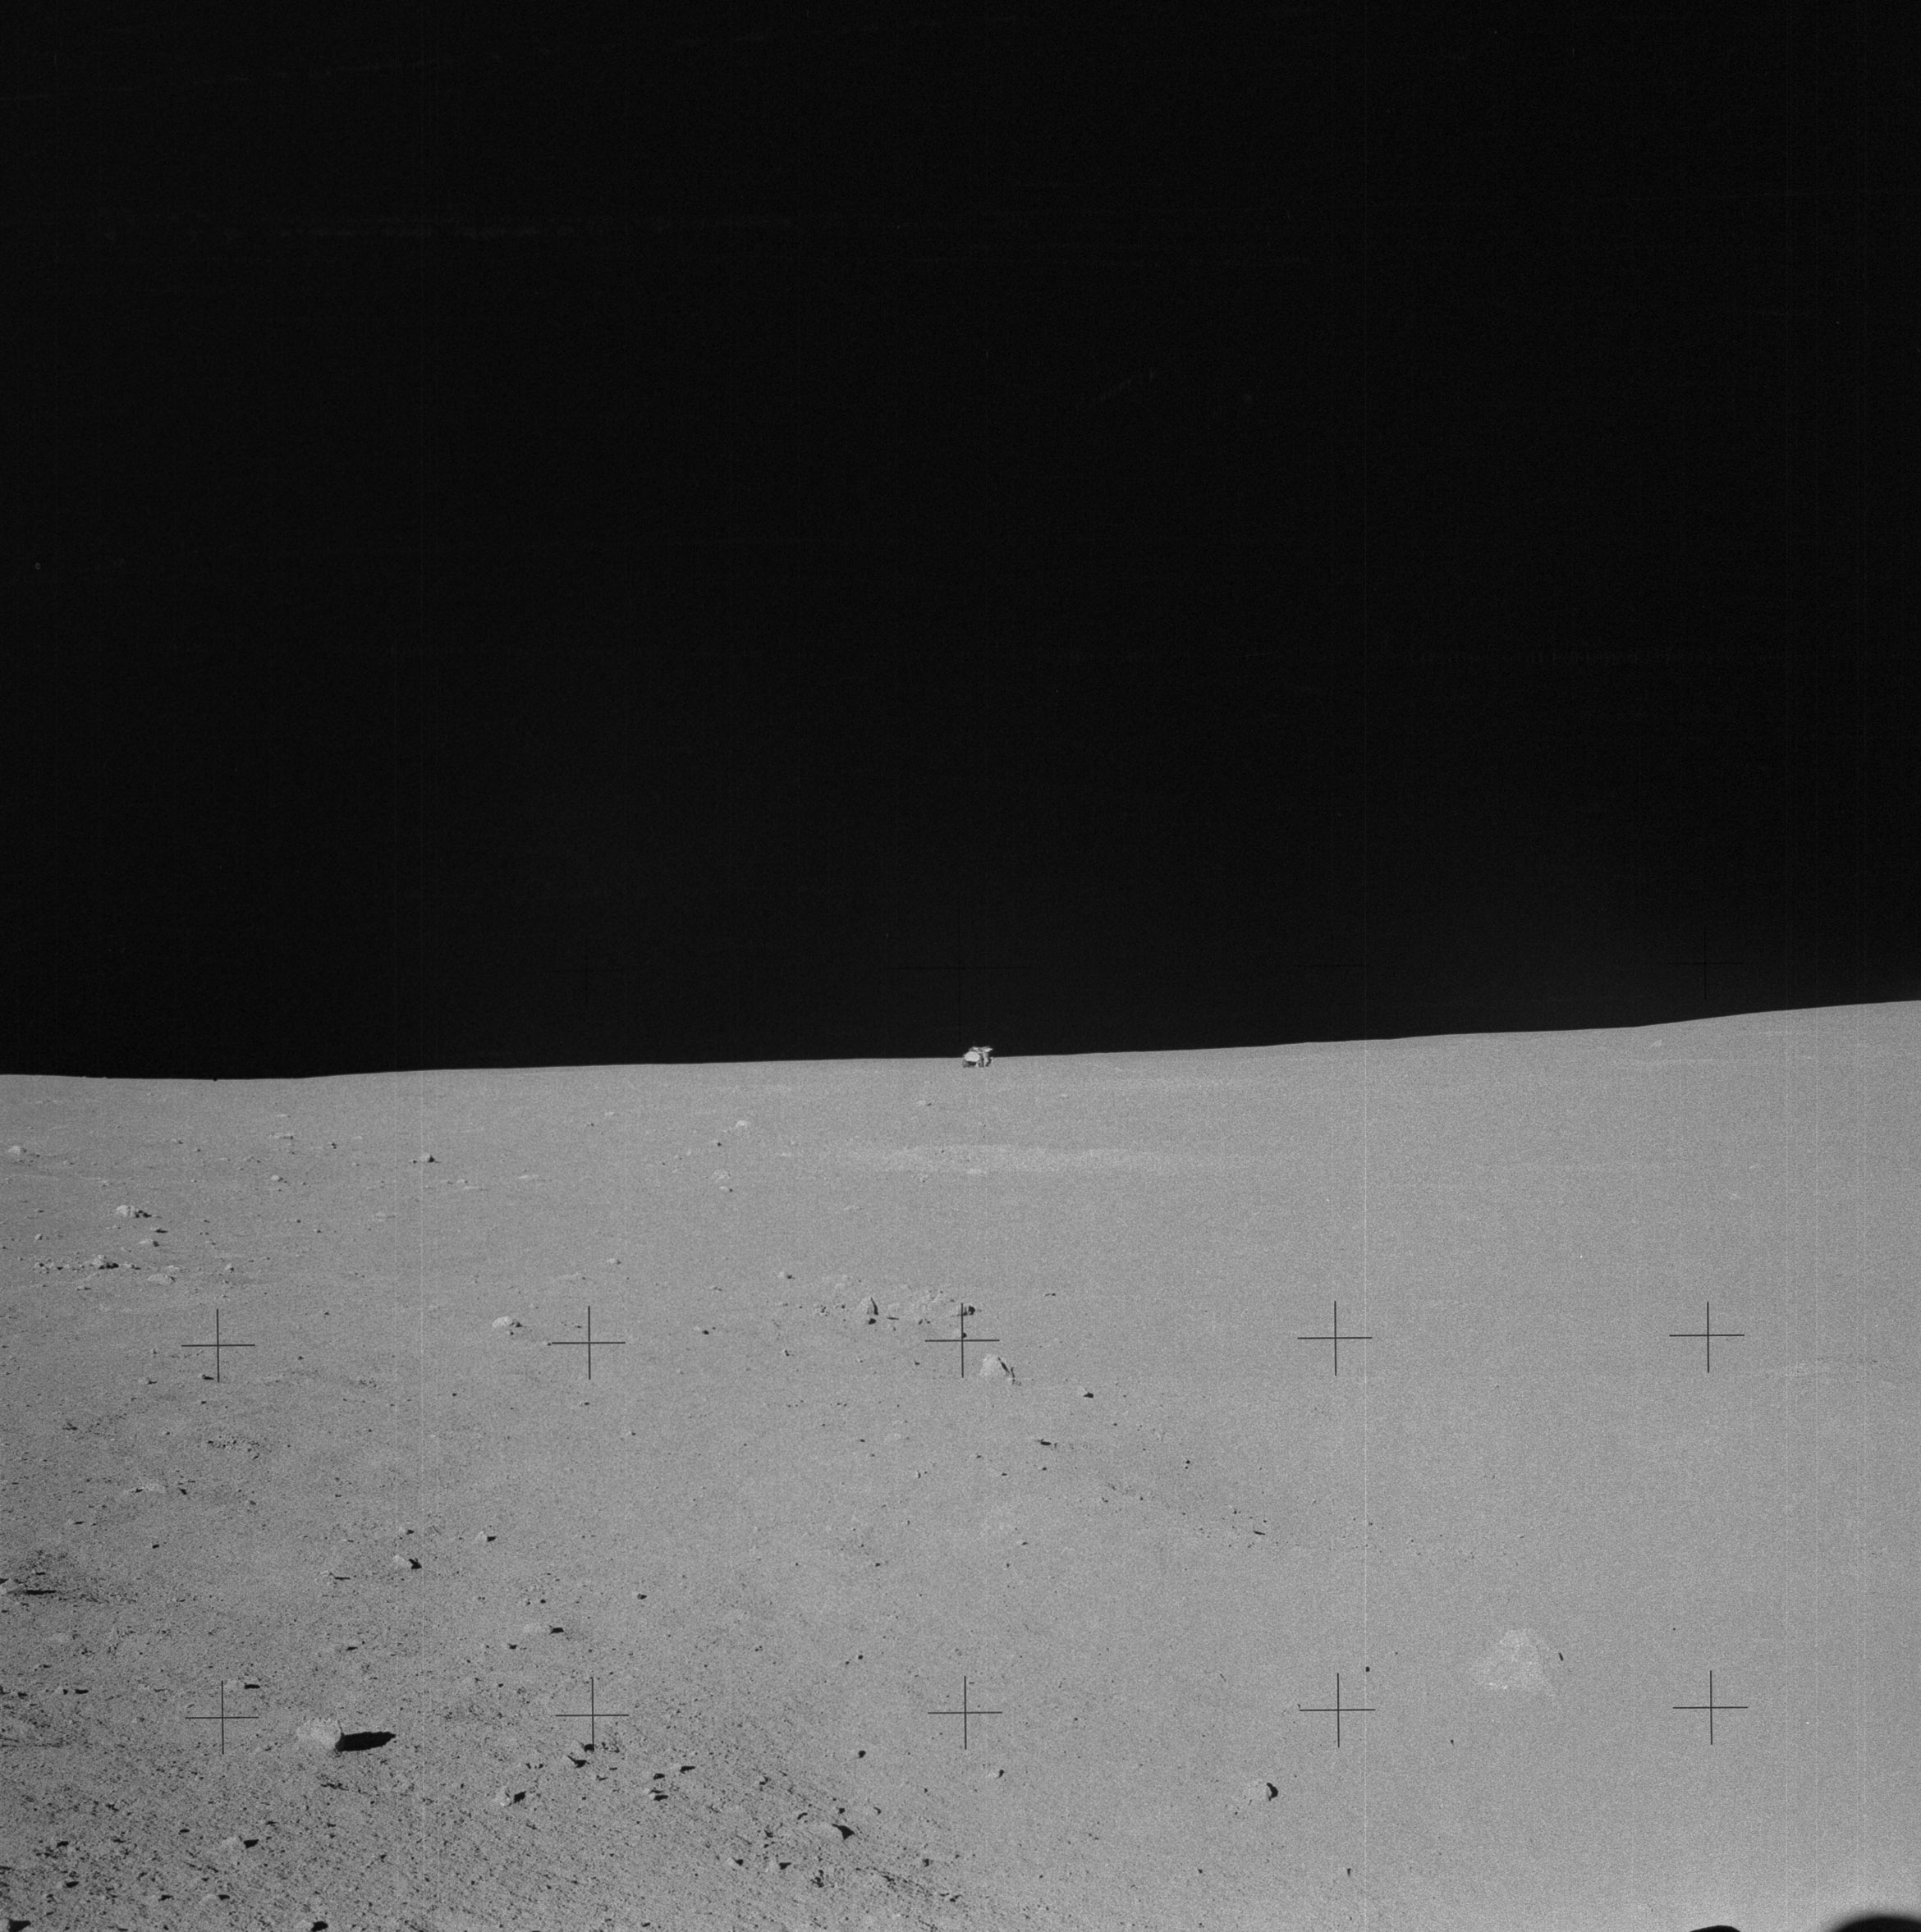 | AS14-64-9072 Rightward of 9071, toward the LM. Image credit: Image Science and Analysis Laboratory, NASA-Johnson Space Center. |
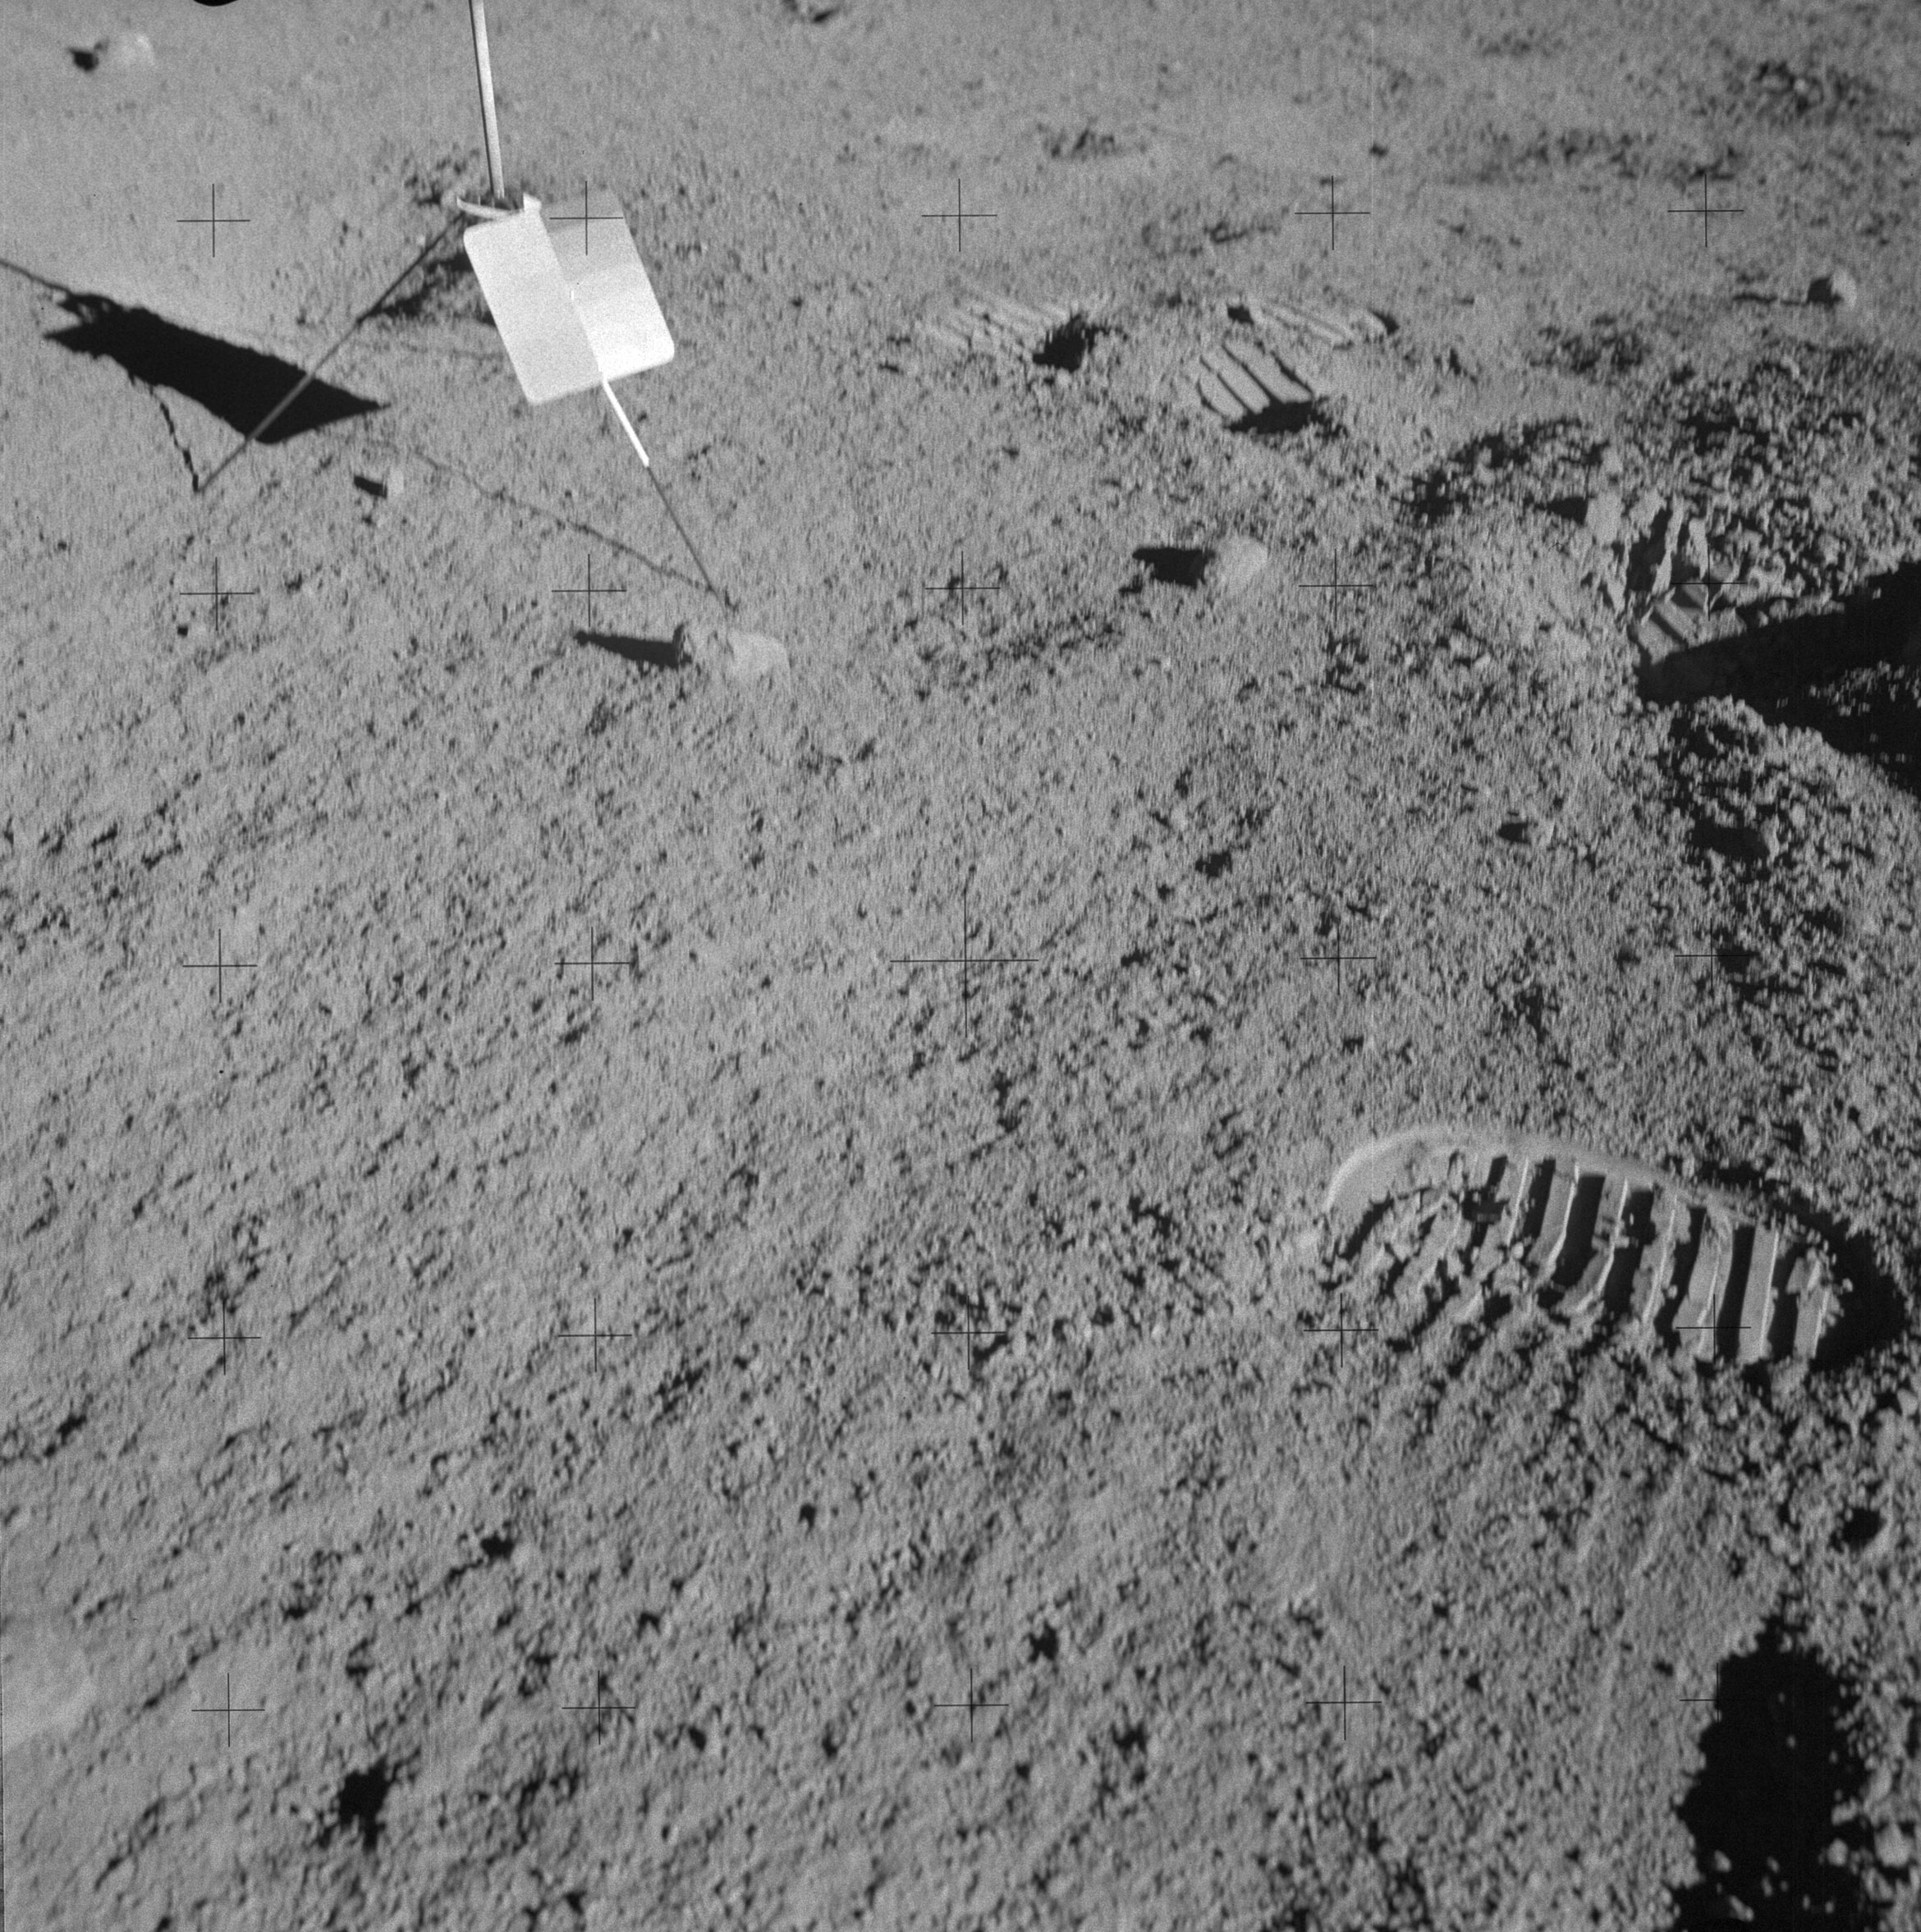 | AS14-64-9073 132:37:00 Al takes a stereopair of the grab sample at Station B. The first of the pair is out-of-focus or blurred. Image credit: Image Science and Analysis Laboratory, NASA-Johnson Space Center. |
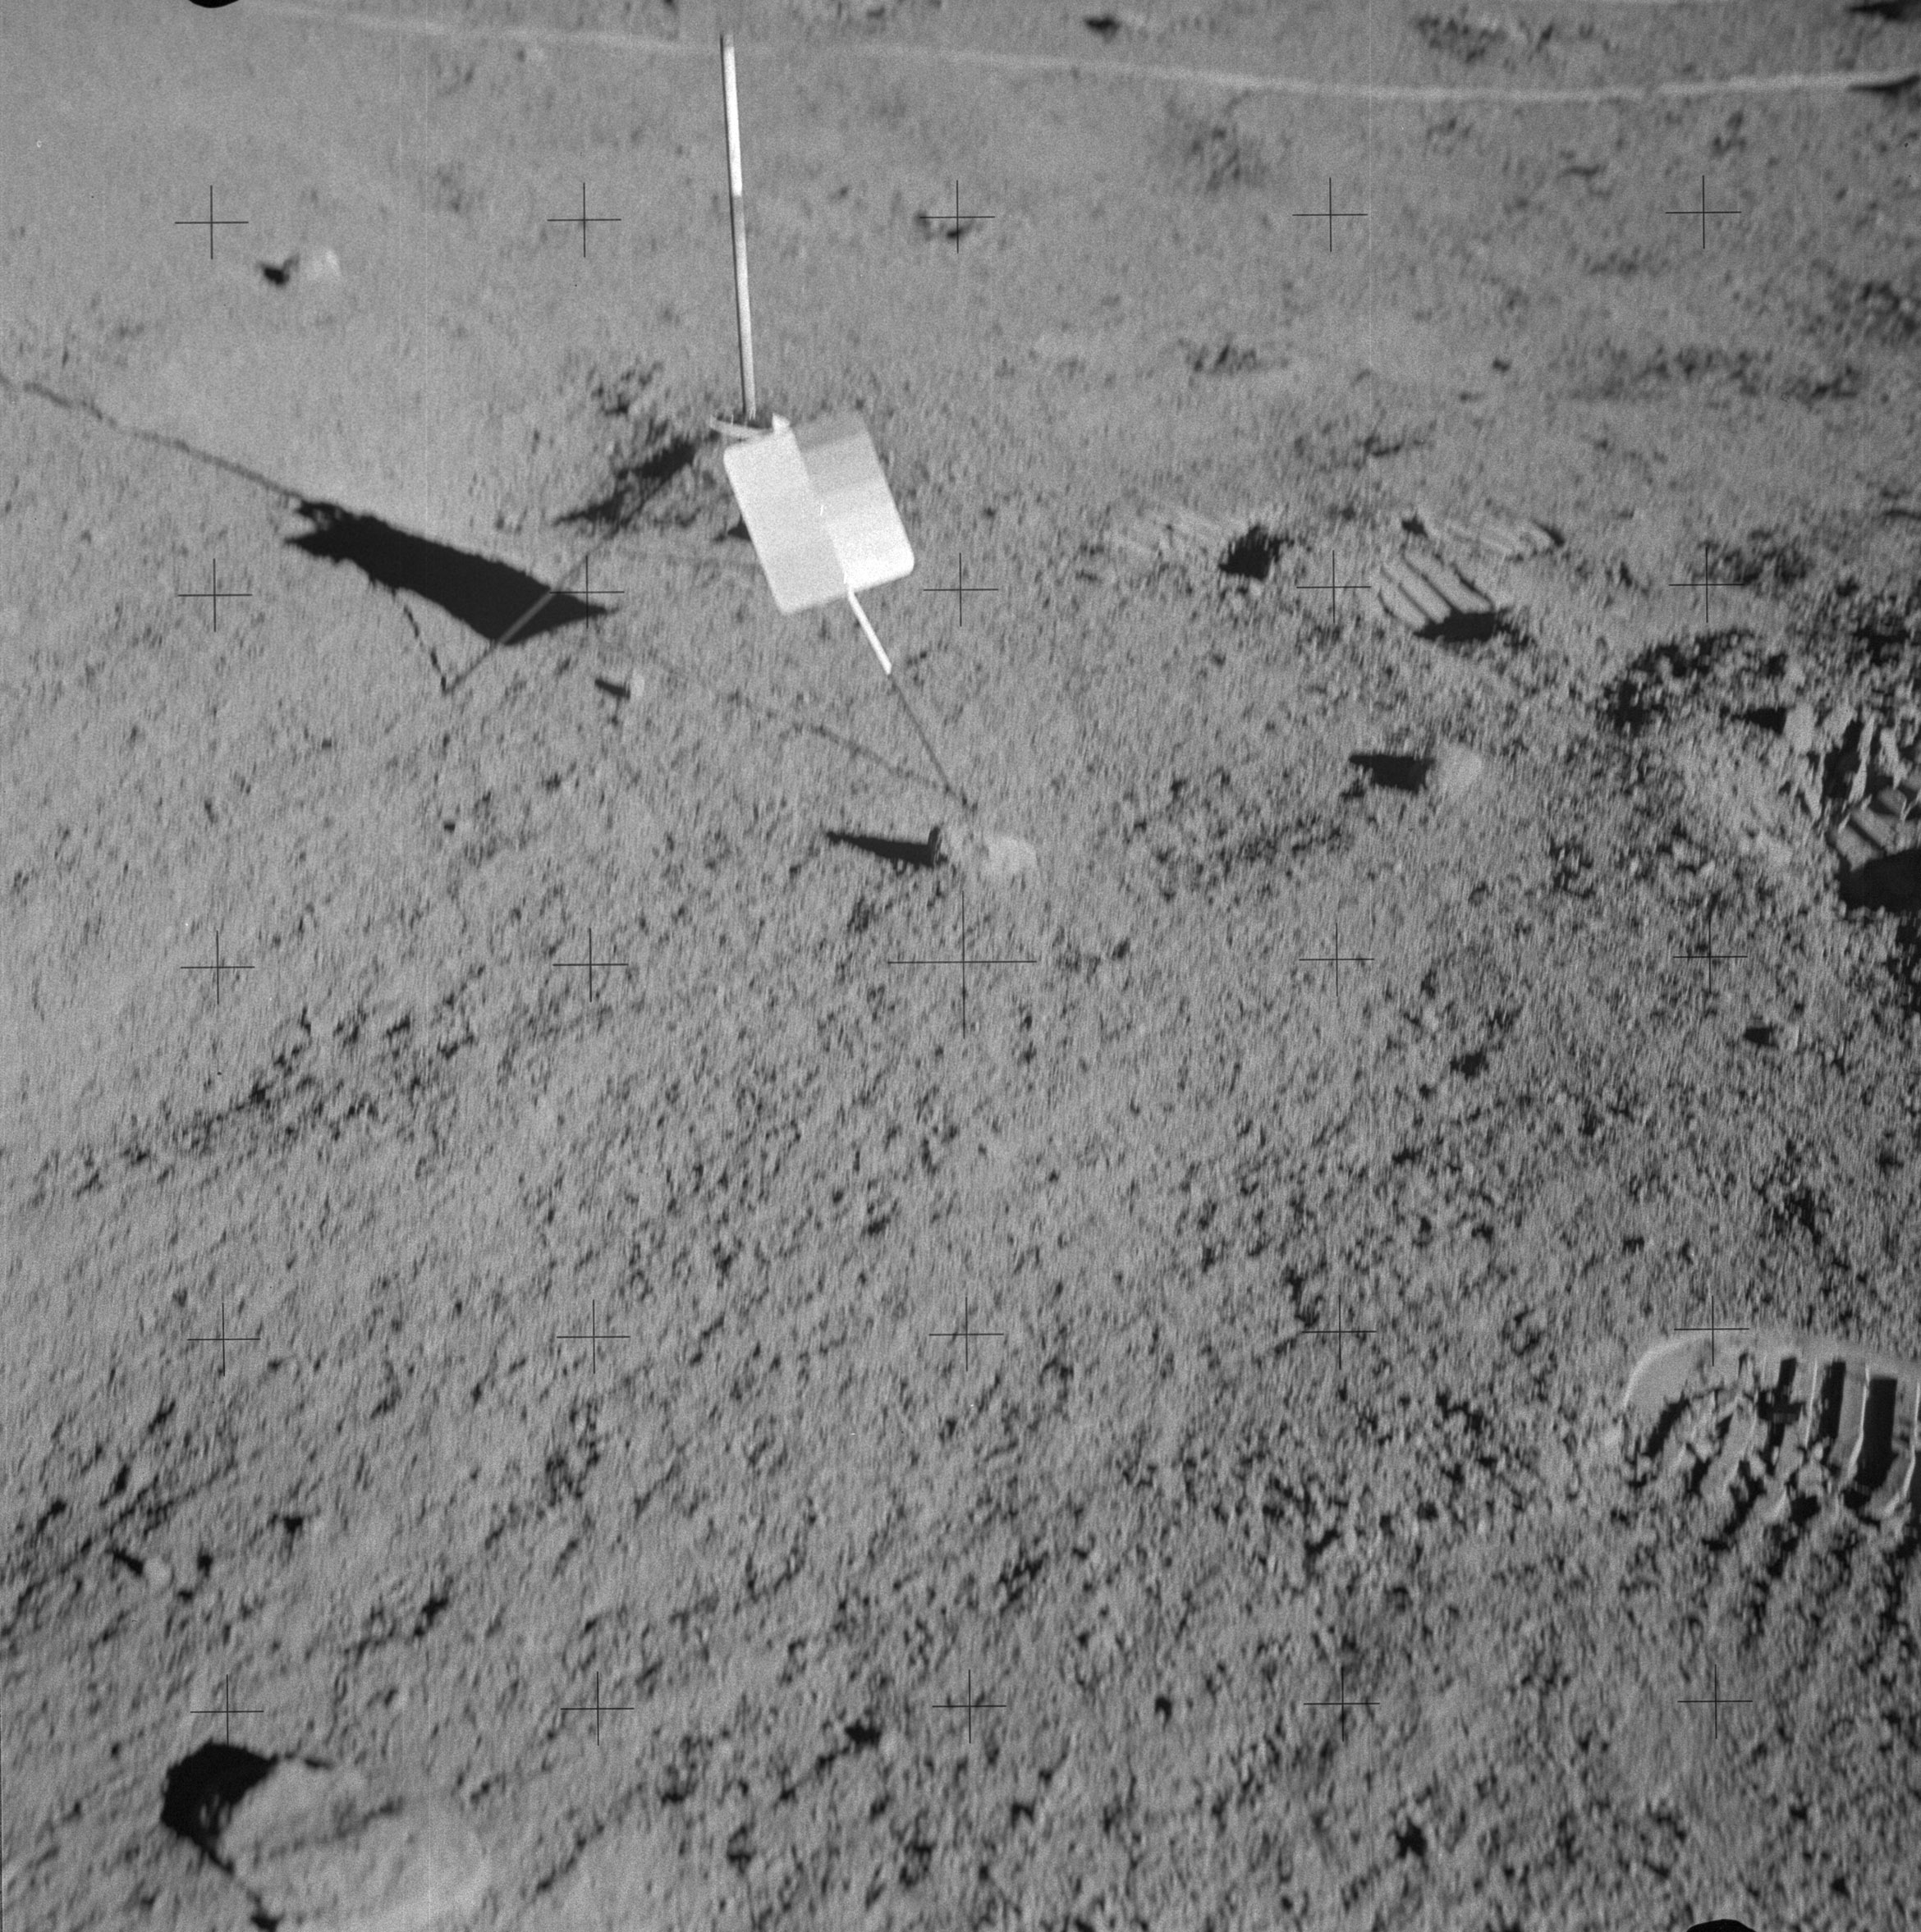 | AS14-64-9074 Stereo companion to 9073. Image credit: Image Science and Analysis Laboratory, NASA-Johnson Space Center. |
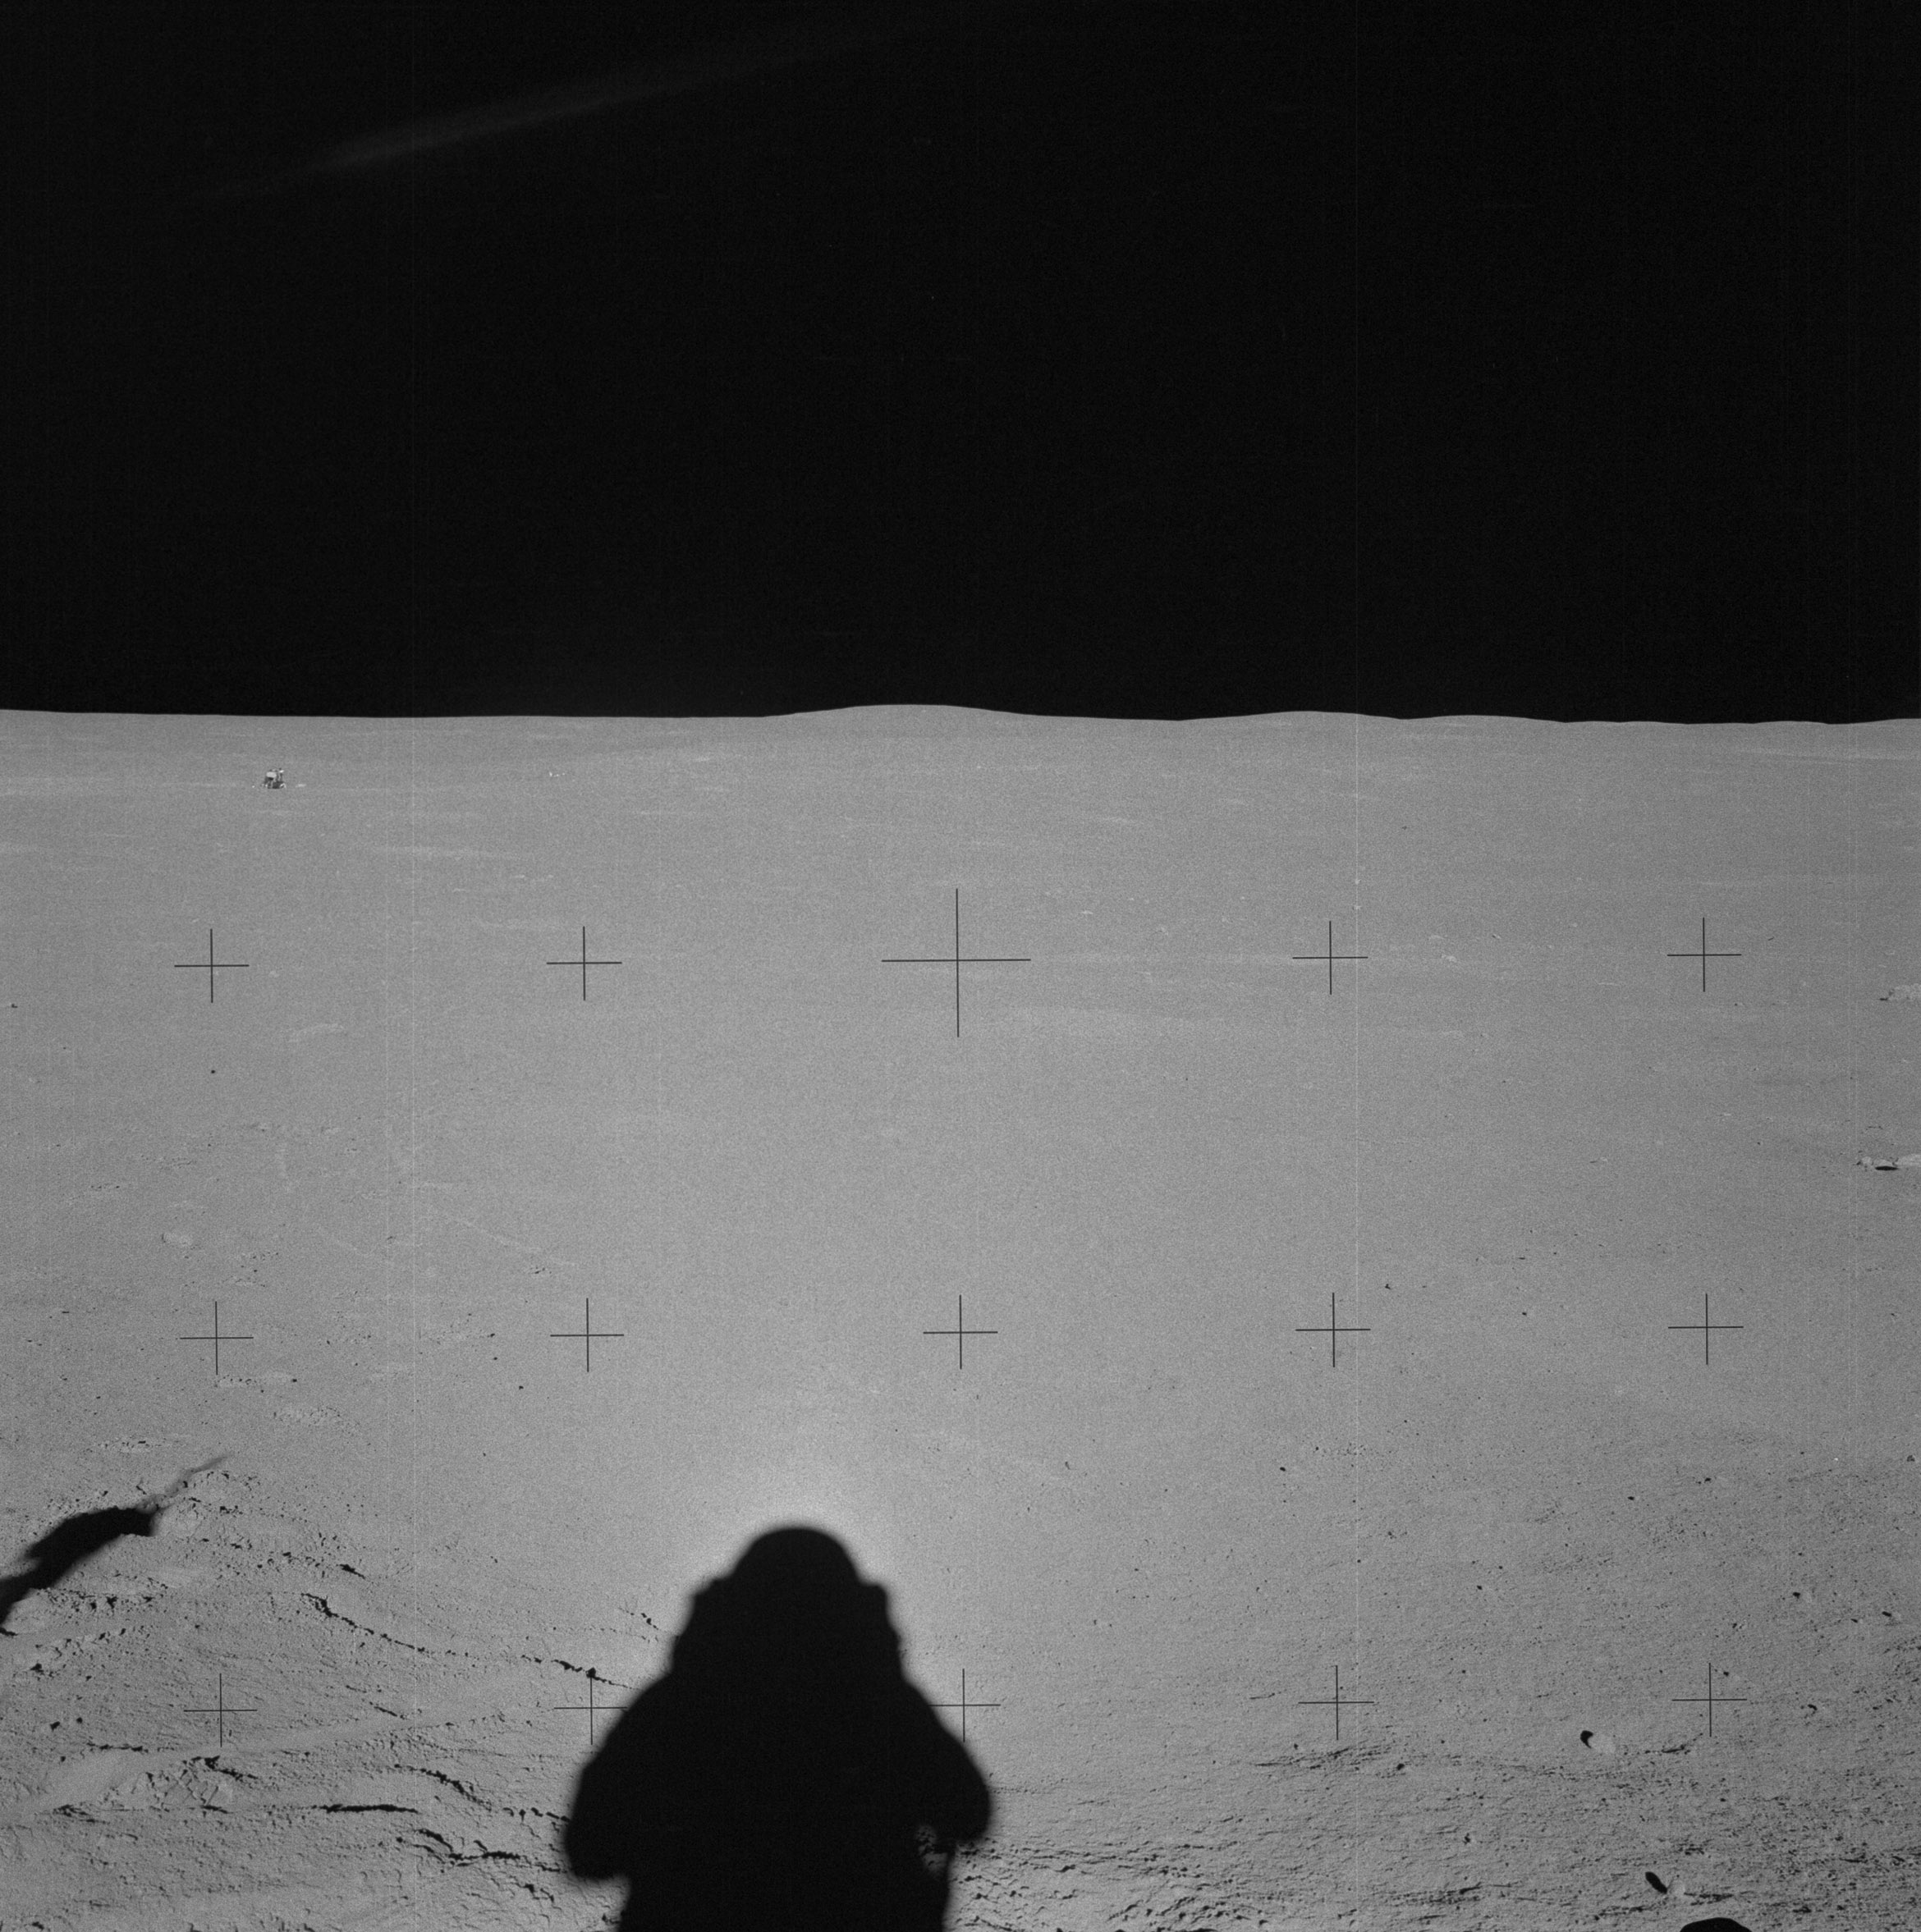 | AS14-64-9075 132:48:48 At Station B1, while Ed tries to figure out where they are, Al takes a pan, starting with this down-Sun. Image credit: Image Science and Analysis Laboratory, NASA-Johnson Space Center. |
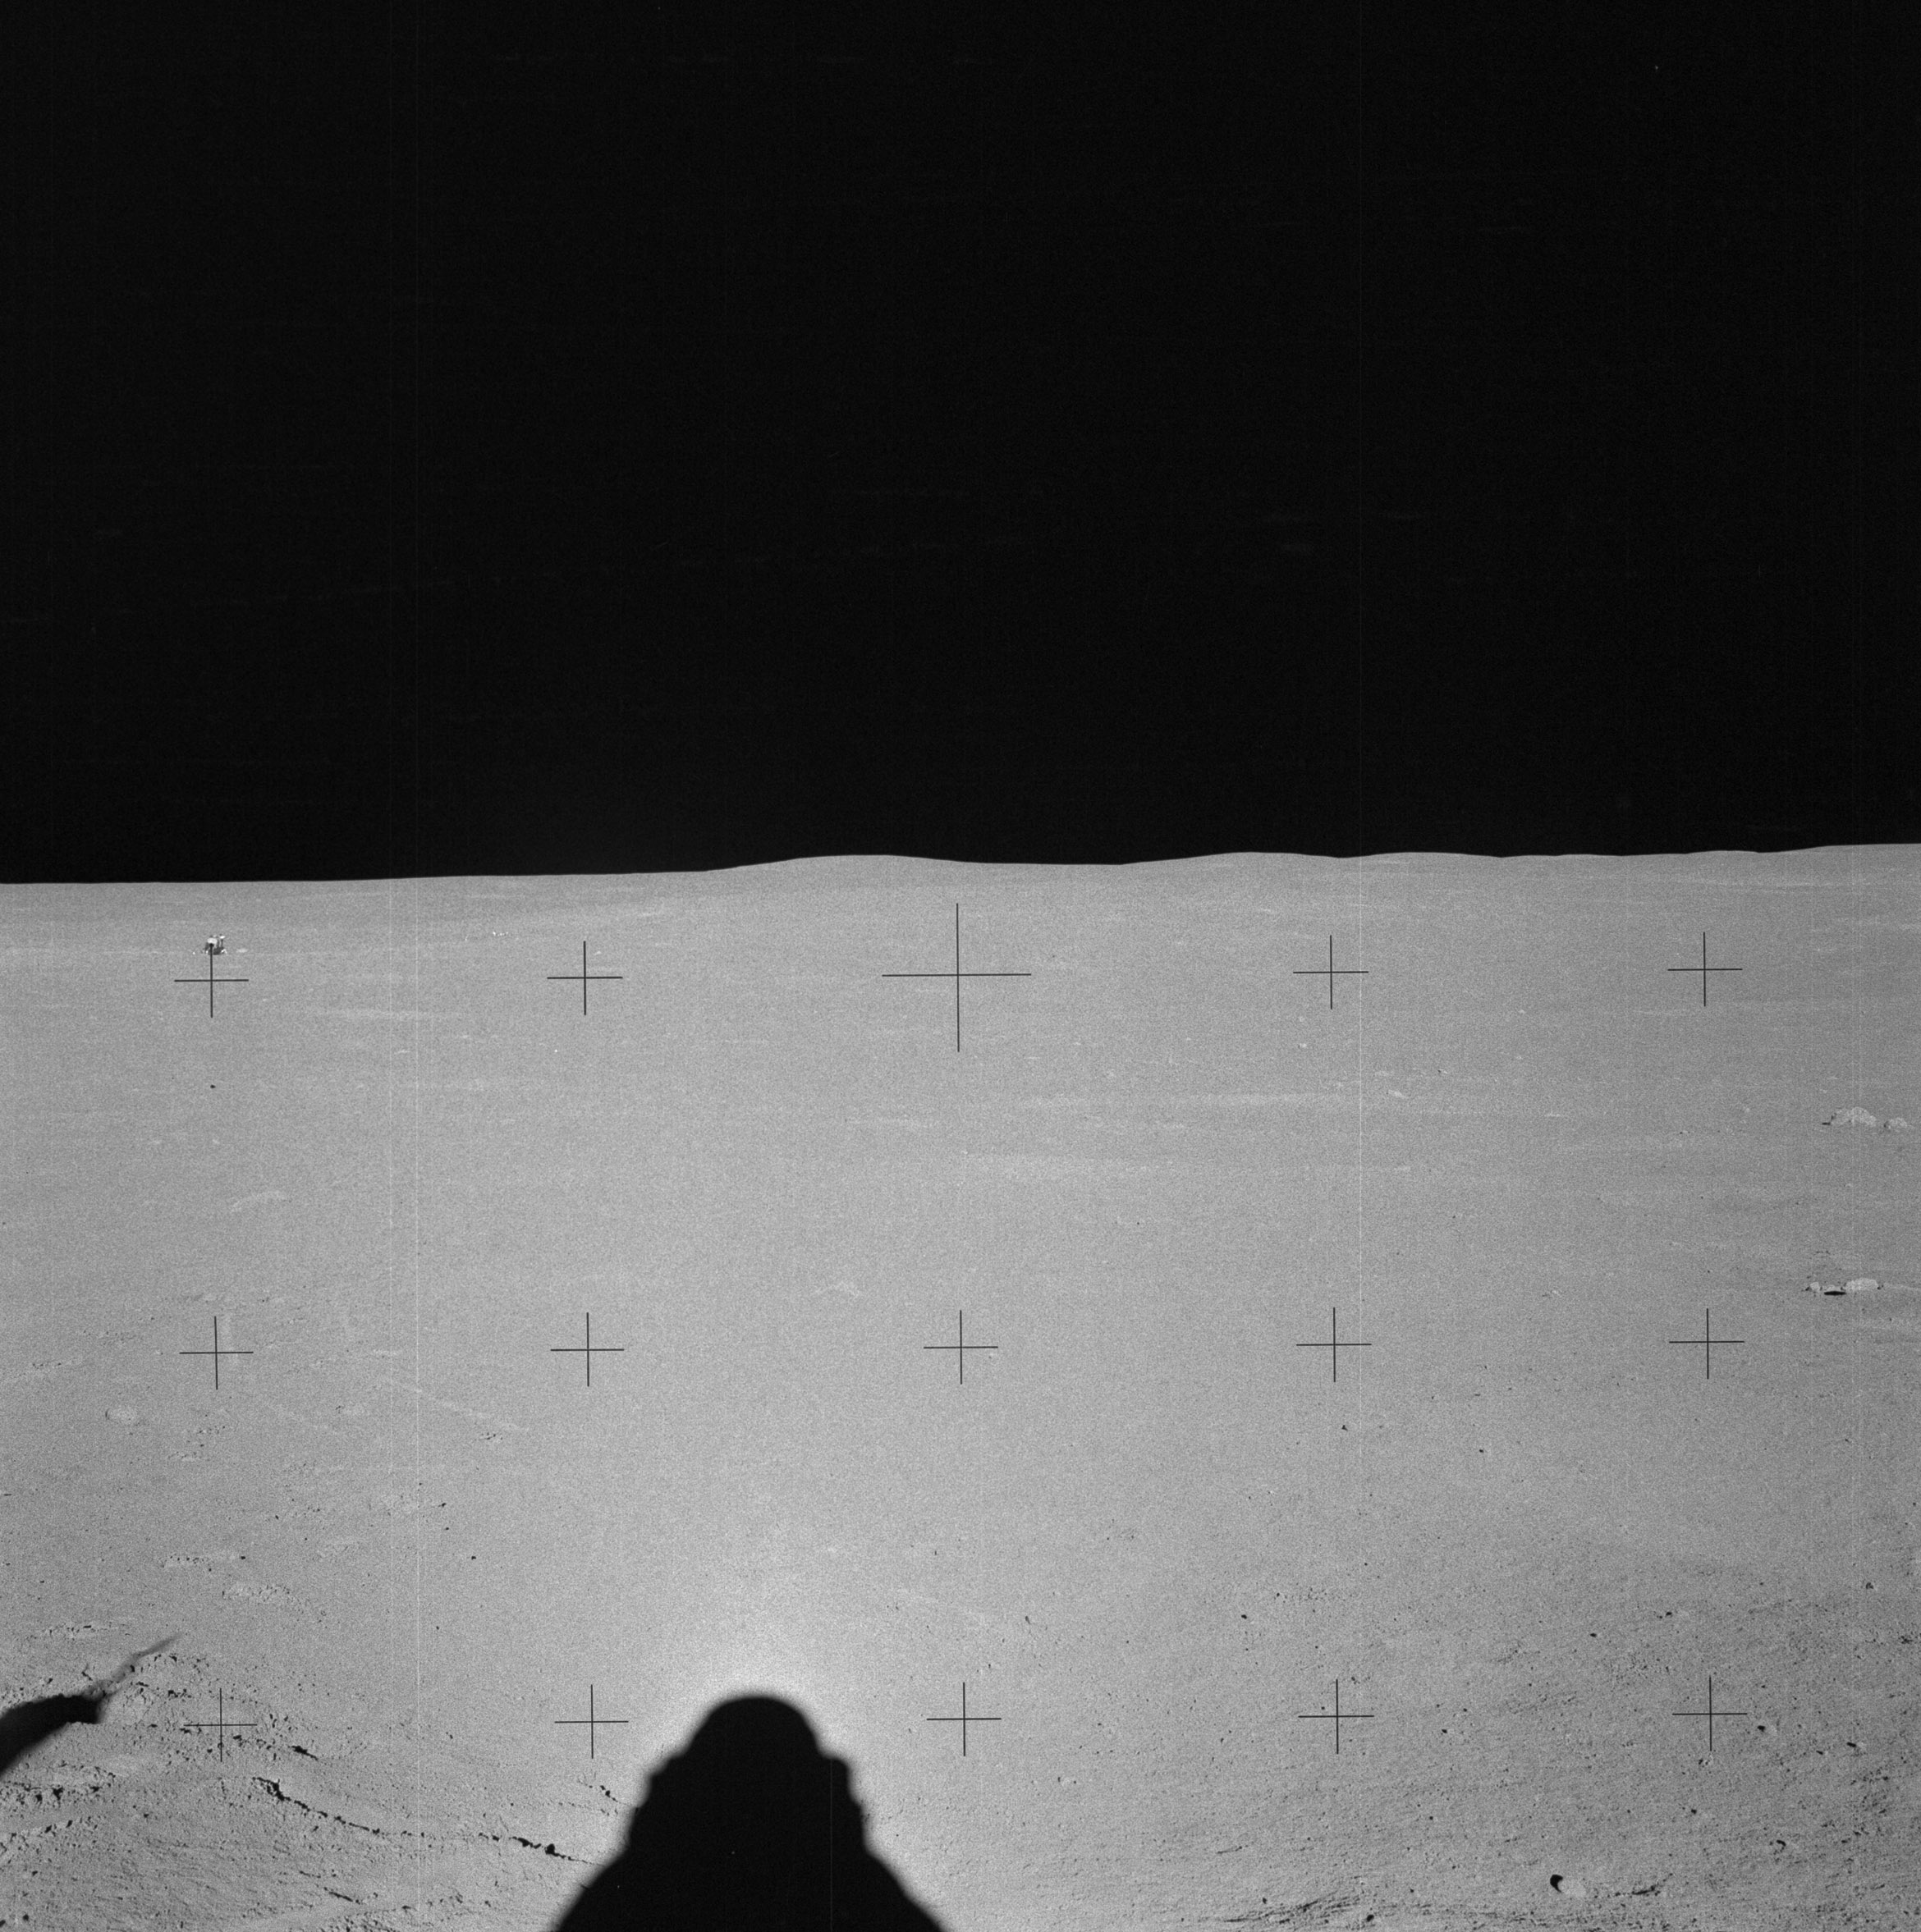 | AS14-64-9076 Down-Sun similar to 9075. Image credit: Image Science and Analysis Laboratory, NASA-Johnson Space Center. |
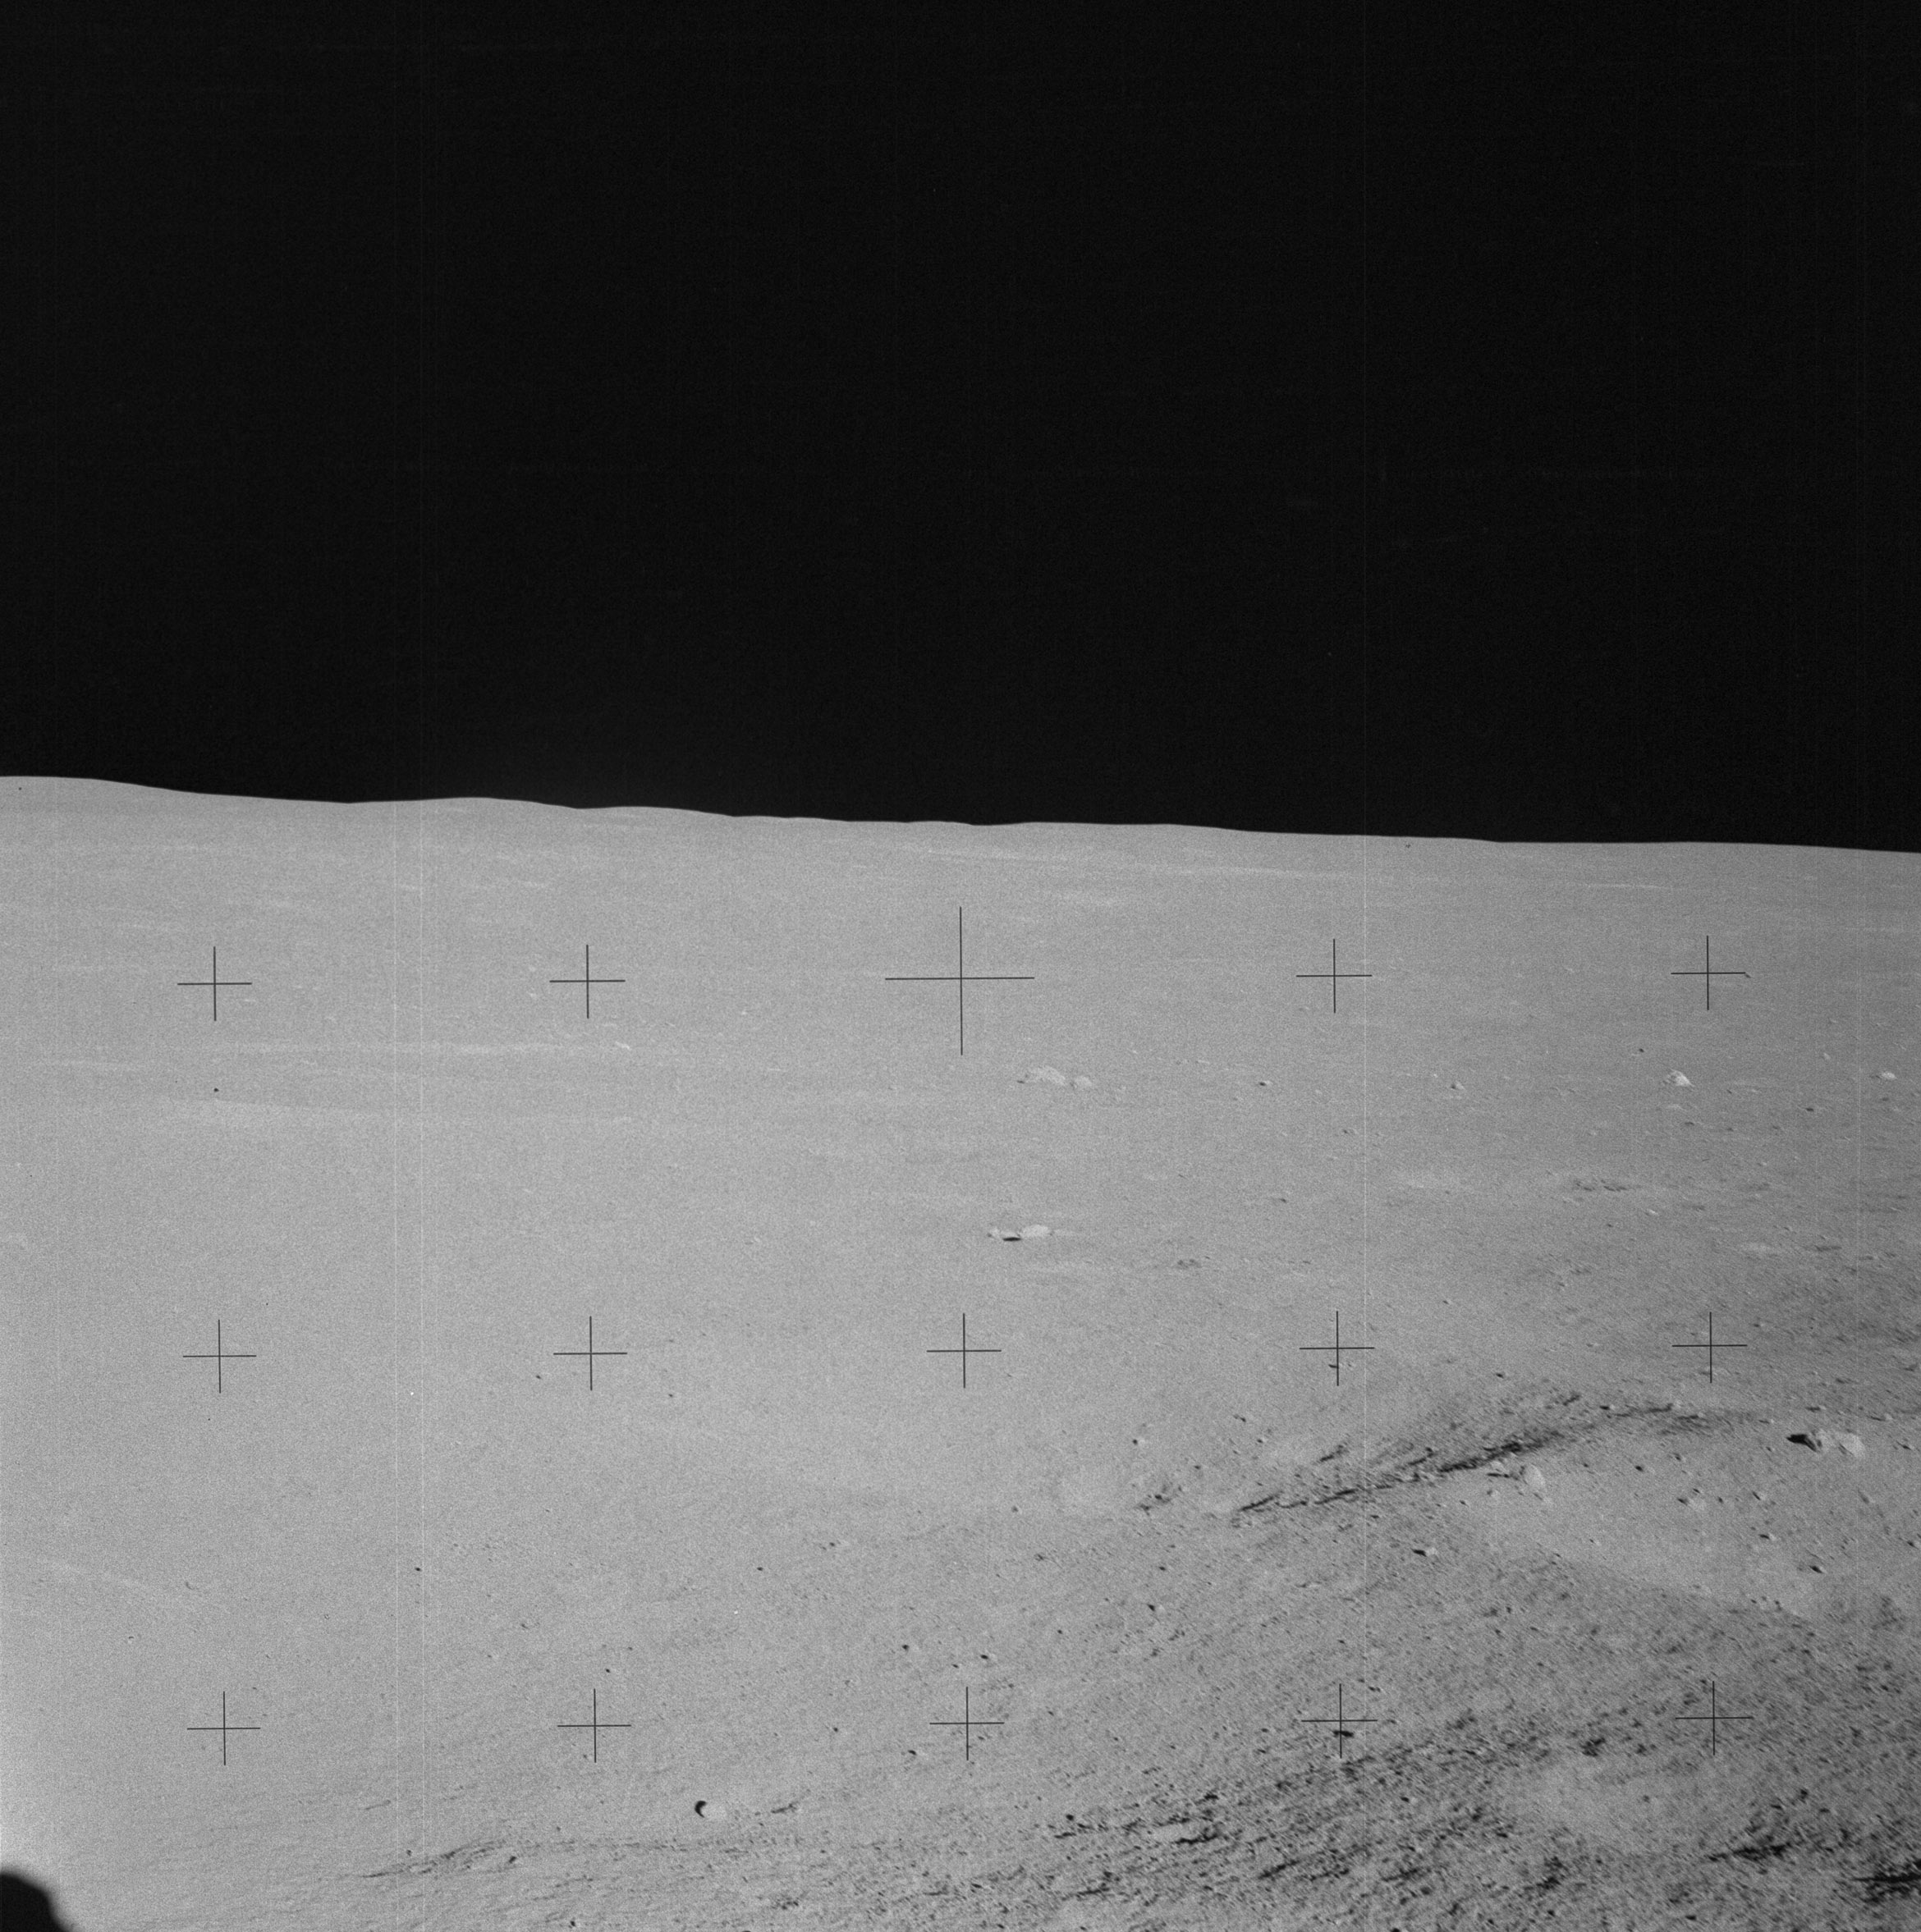 | AS14-64-9077 Rightward of 9076. Image credit: Image Science and Analysis Laboratory, NASA-Johnson Space Center. |
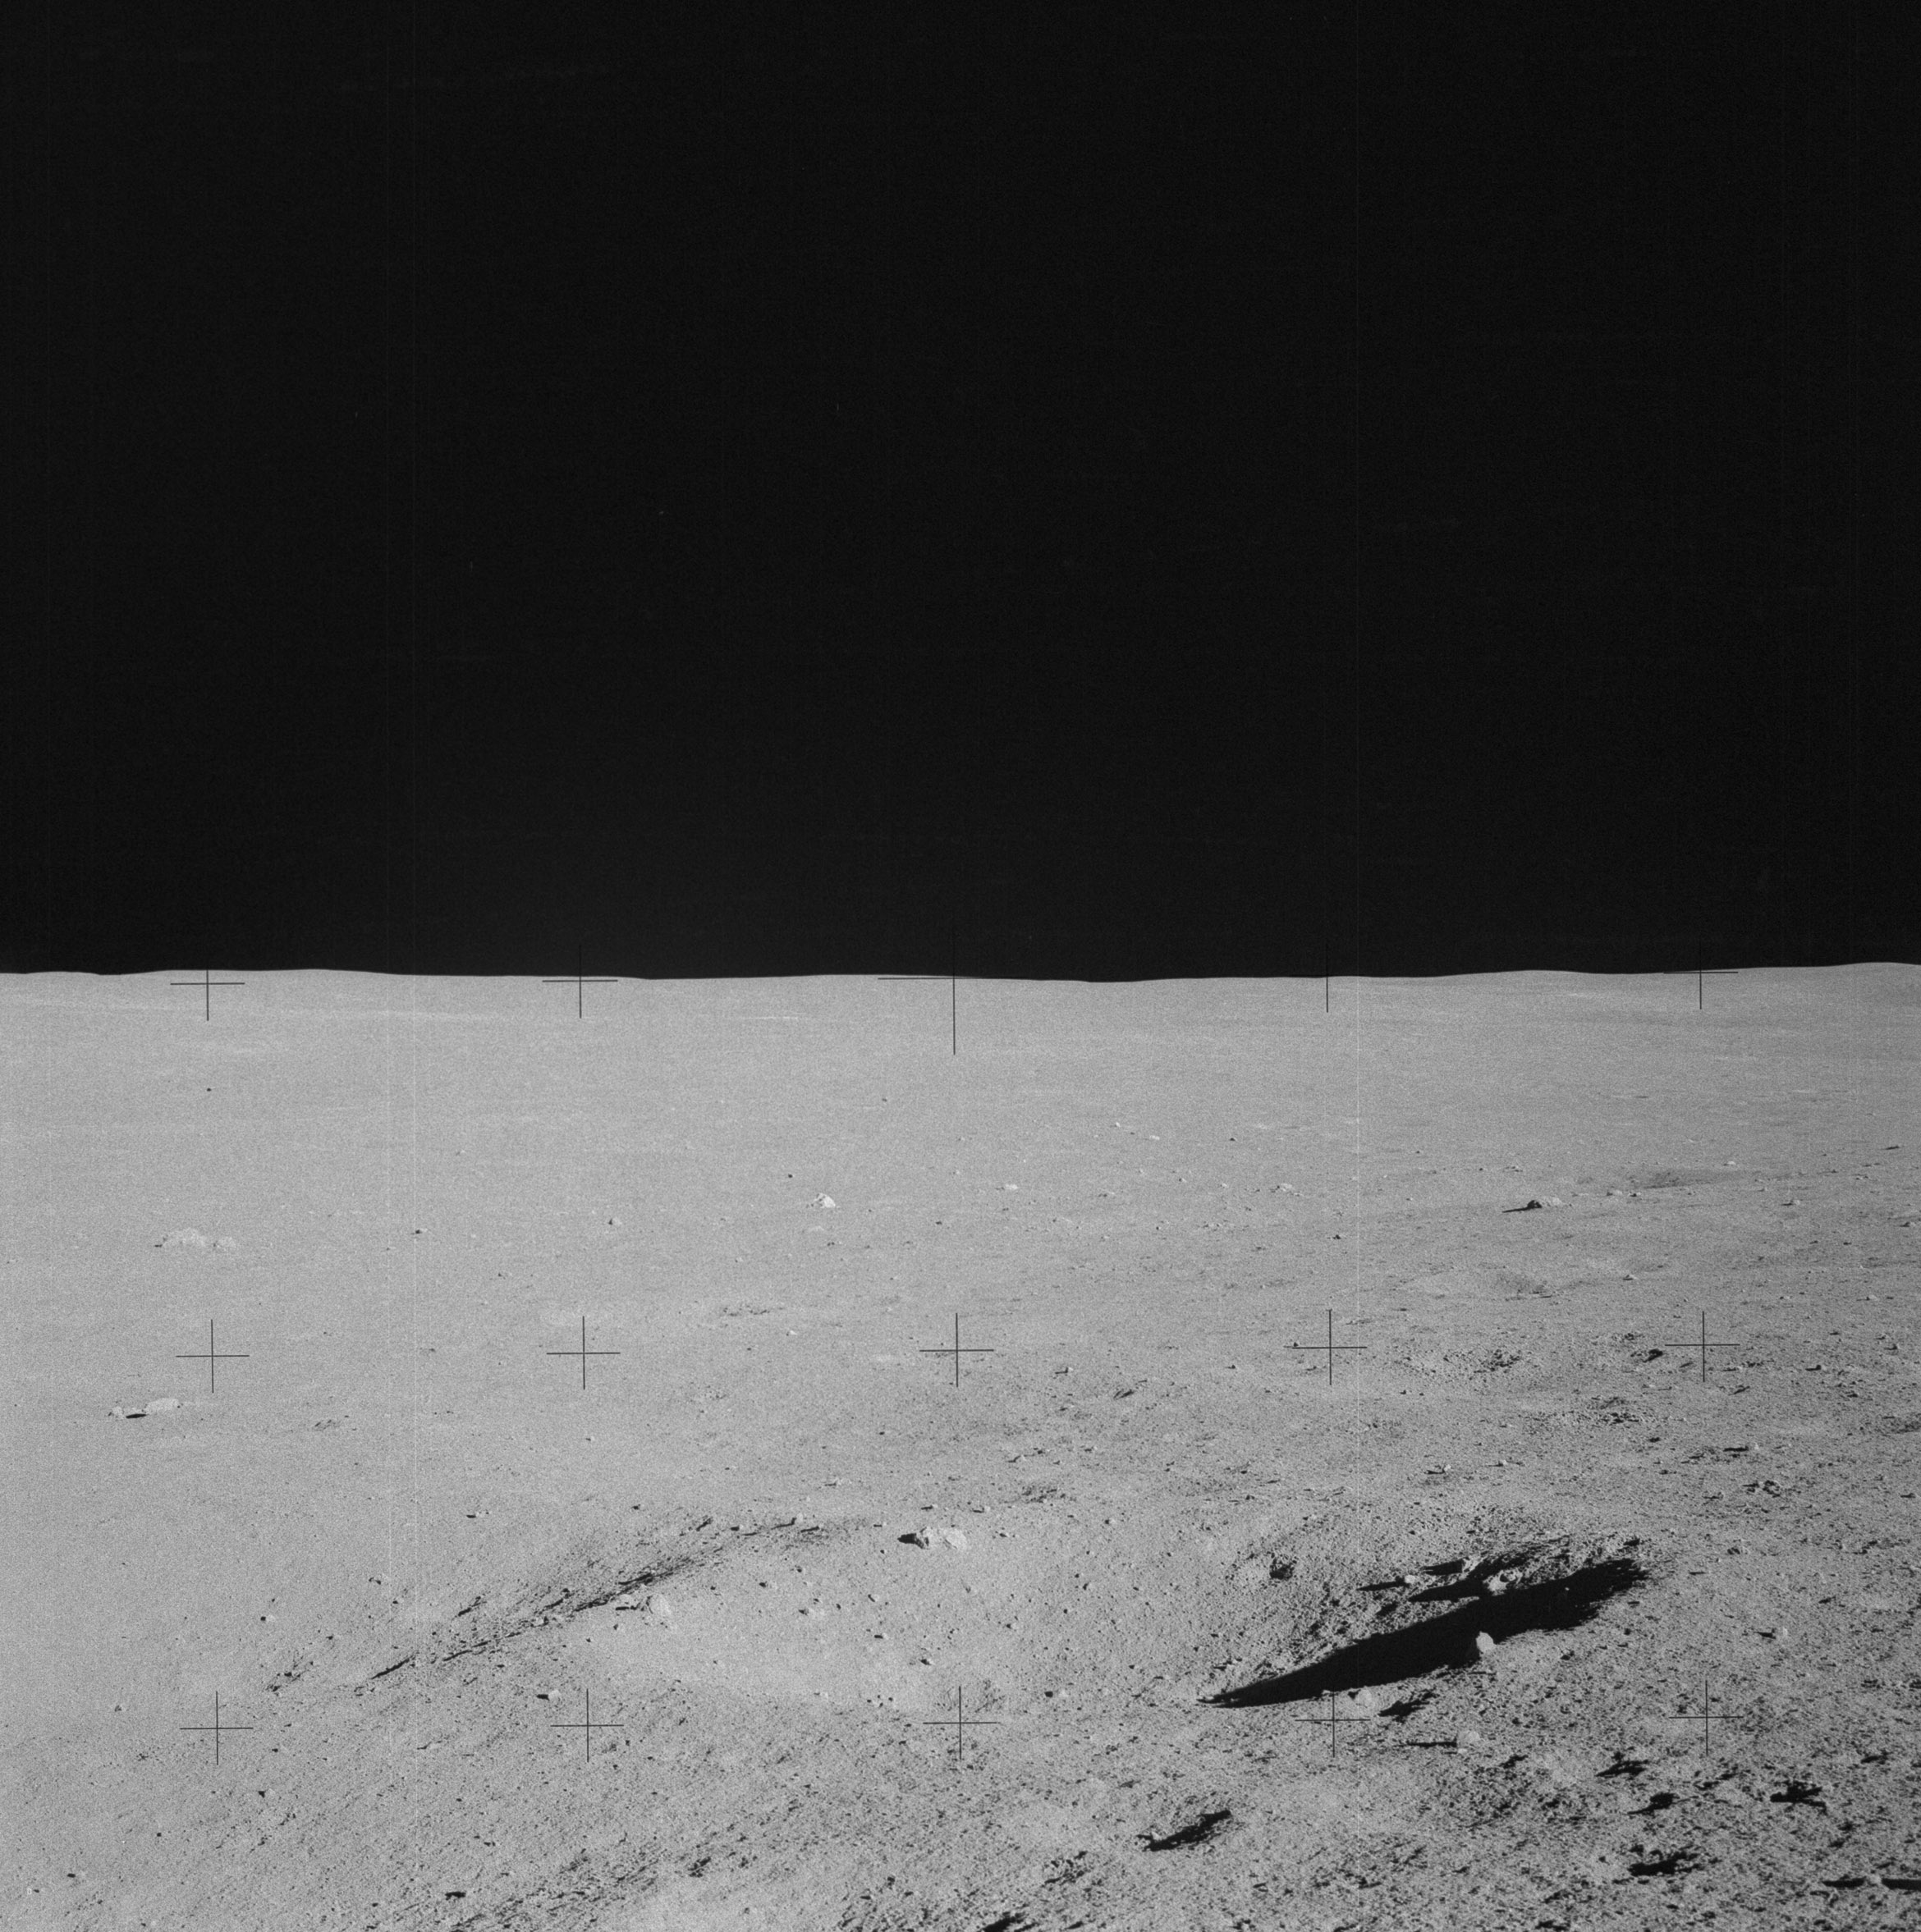 | AS14-64-9078 Rightward of 9077, centered on the rock noted in 9077. Image credit: Image Science and Analysis Laboratory, NASA-Johnson Space Center. |
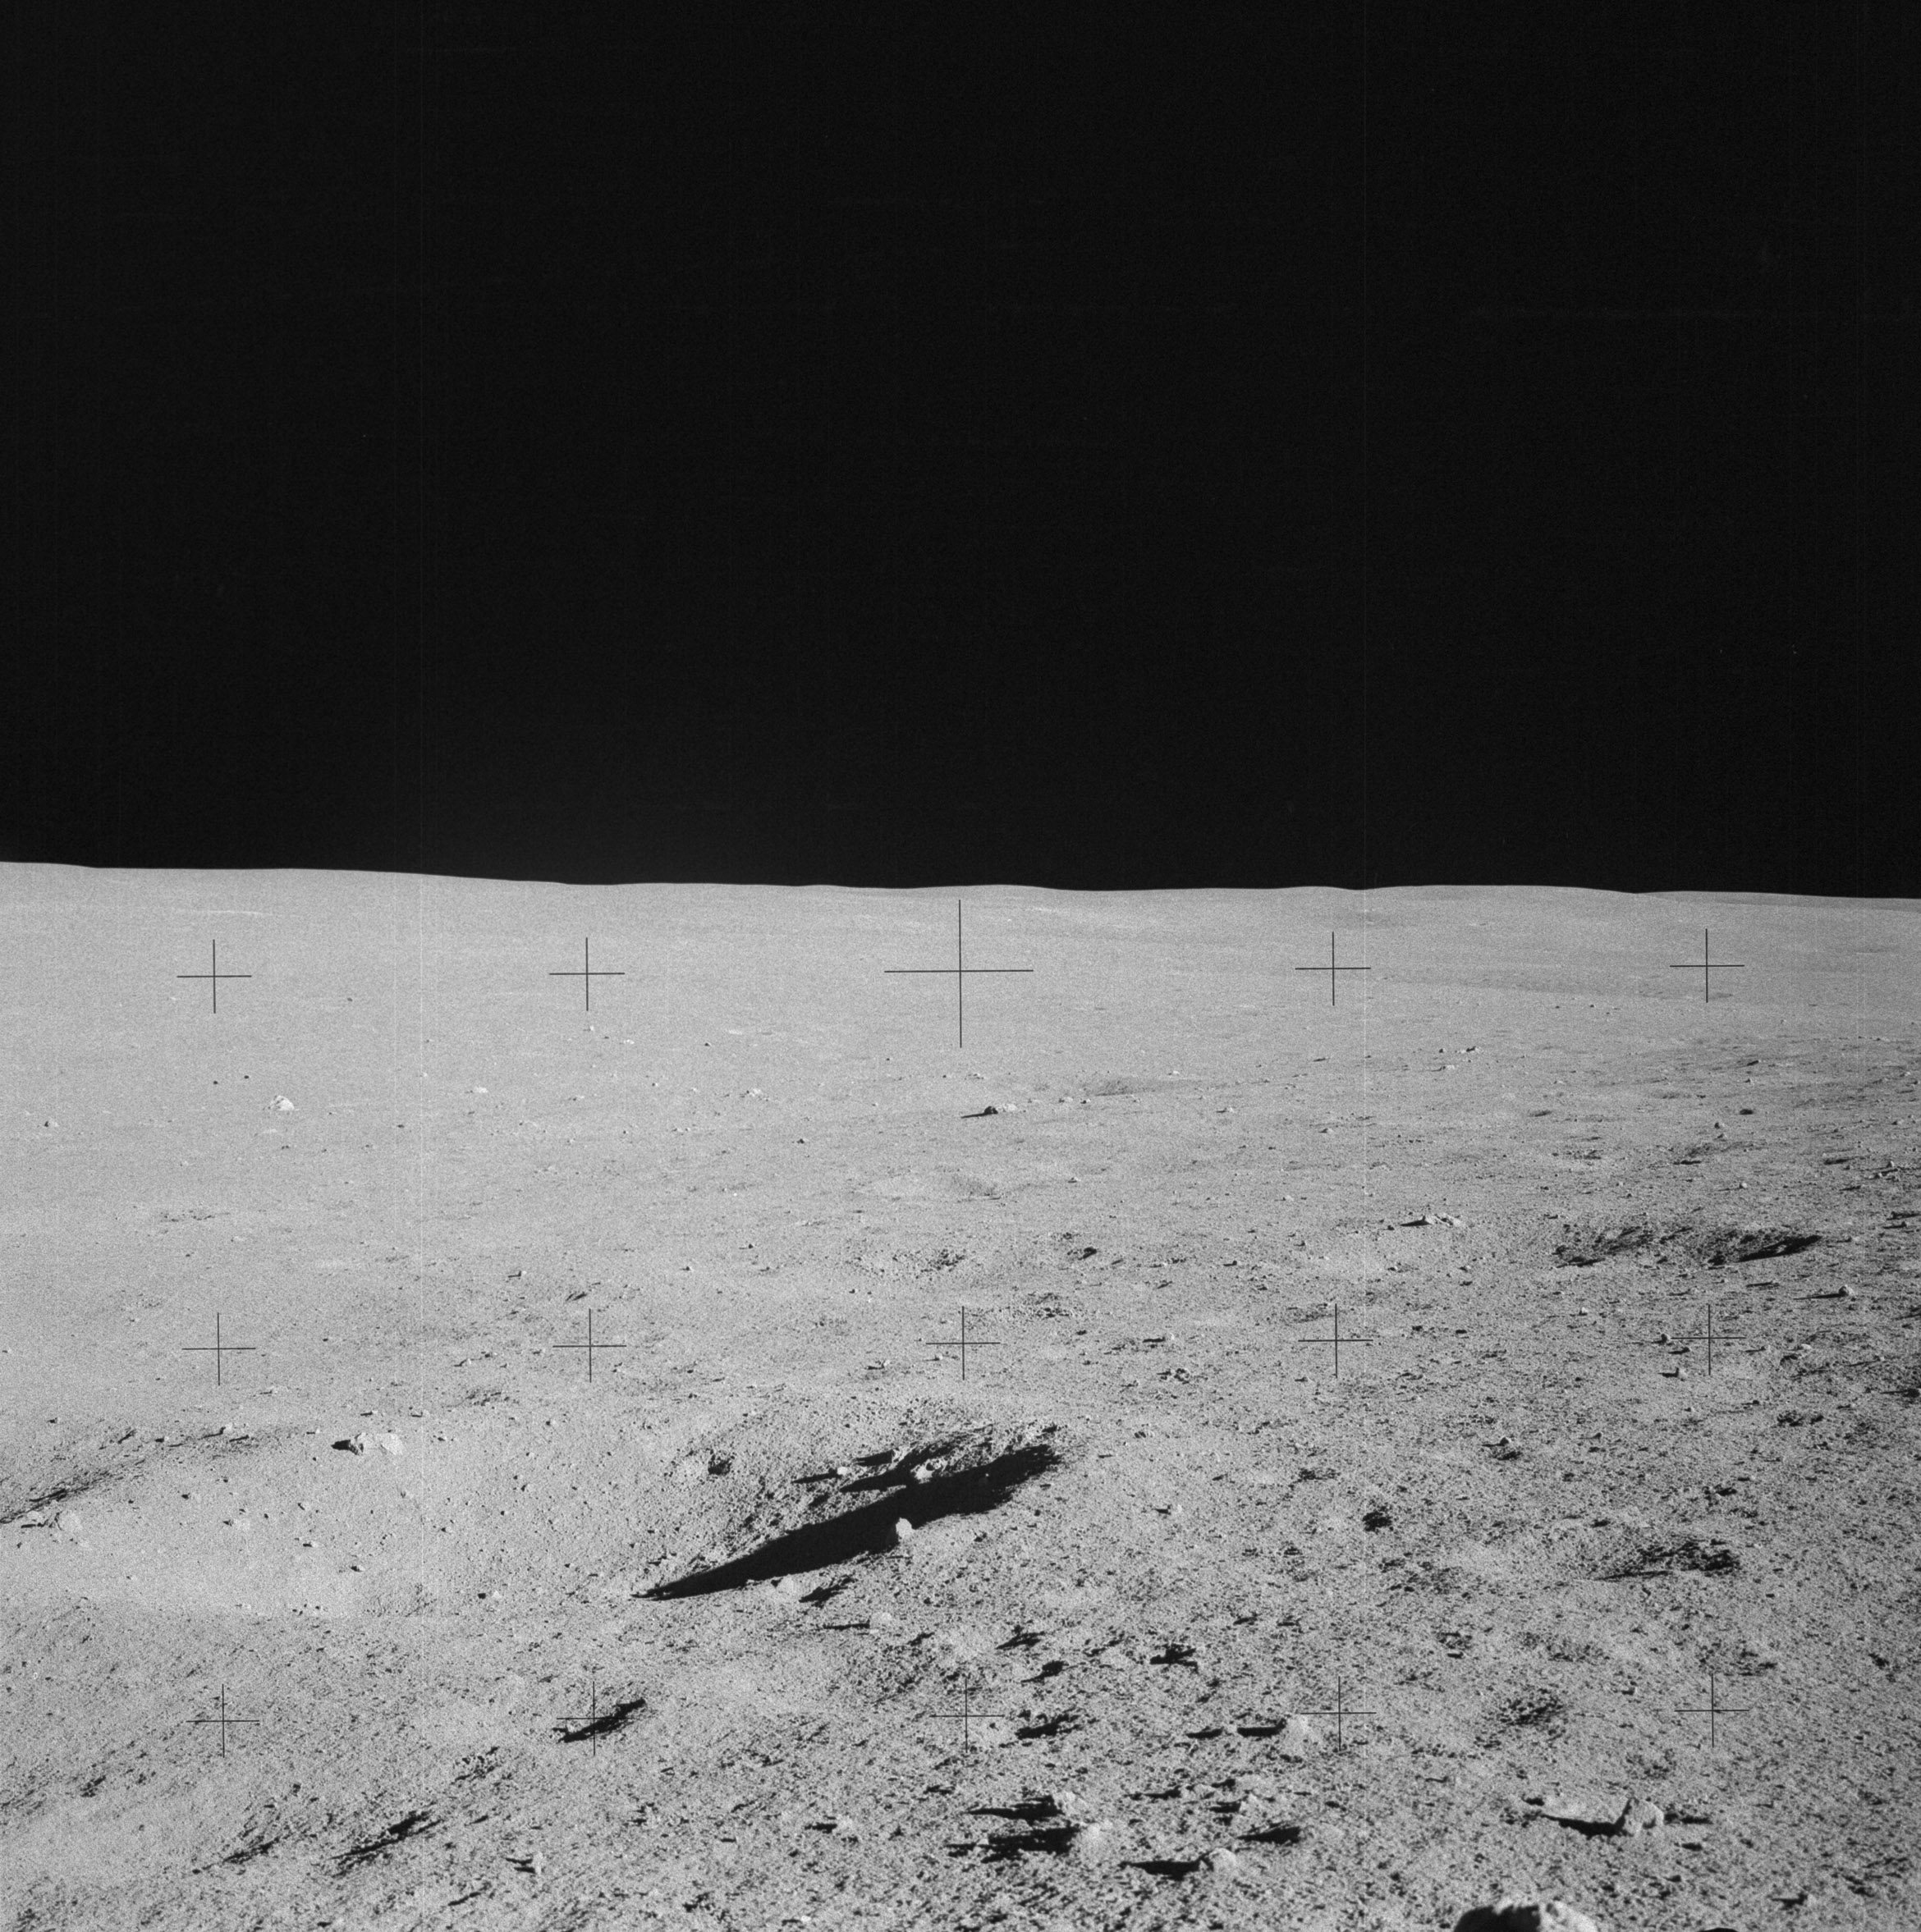 | AS14-64-9079 Rightward of 9078. Image credit: Image Science and Analysis Laboratory, NASA-Johnson Space Center. |
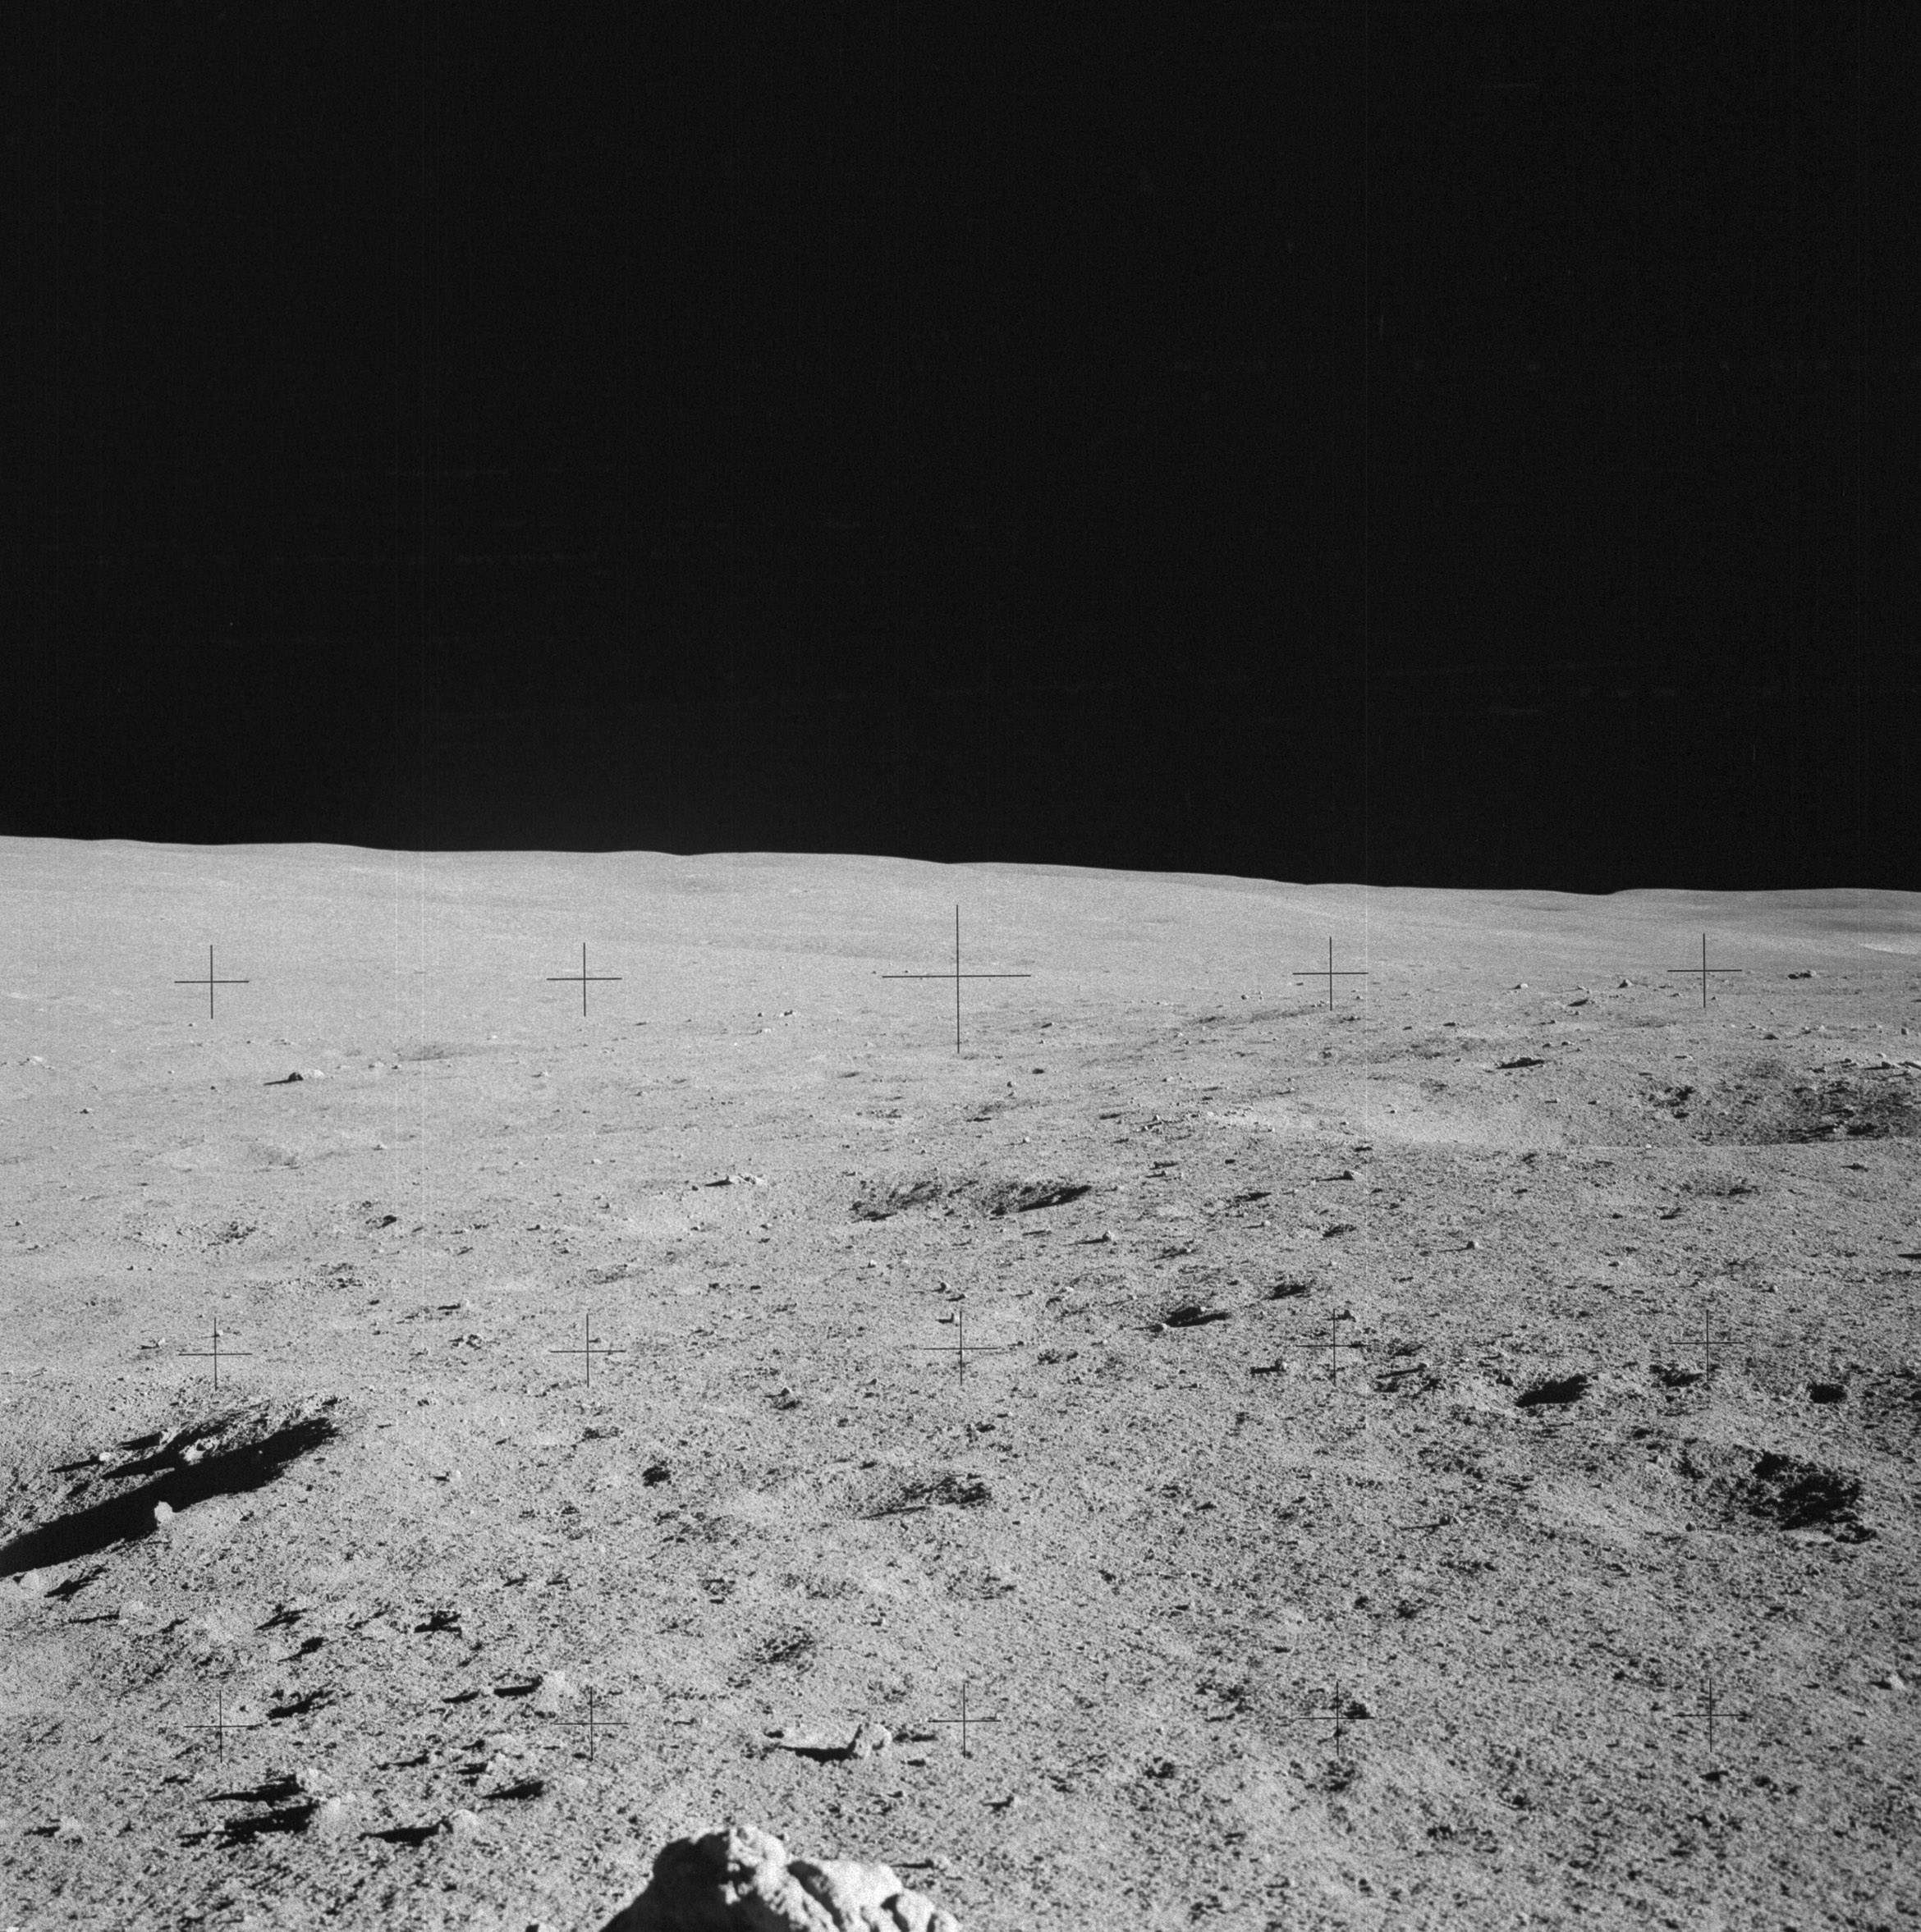 | AS14-64-9080 Rightward of 9079, toward the north. Image credit: Image Science and Analysis Laboratory, NASA-Johnson Space Center. |
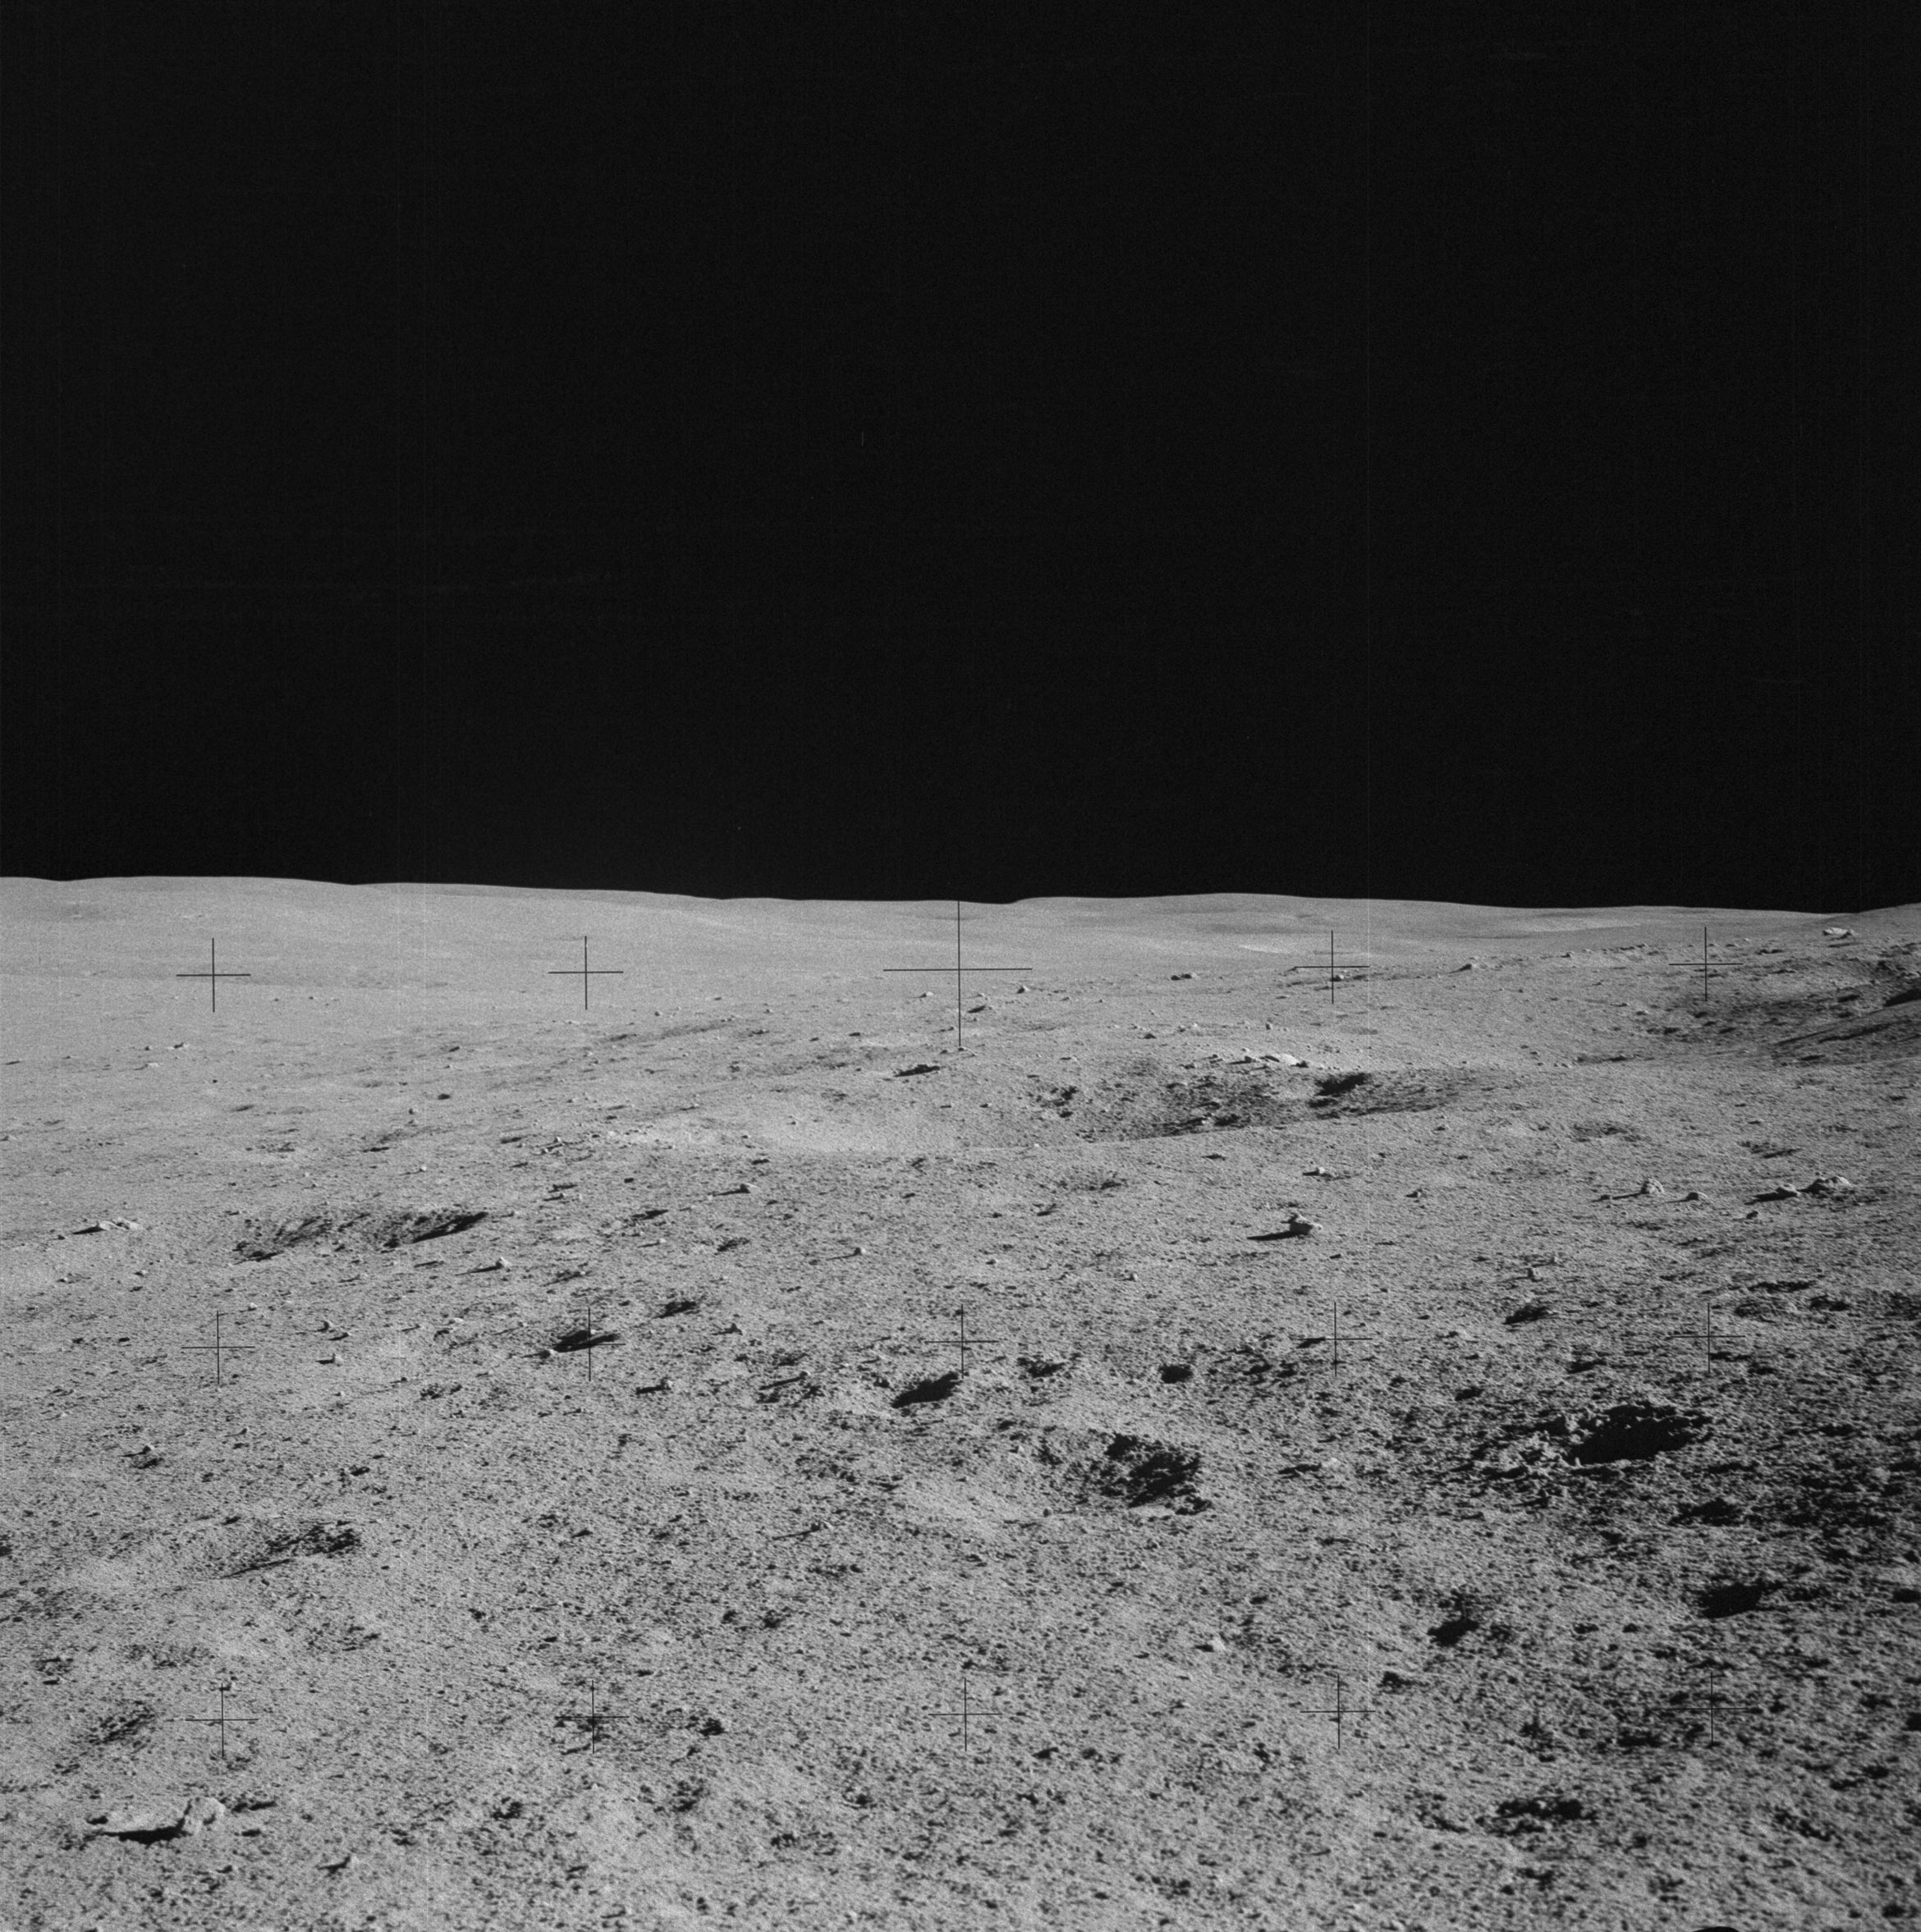 | AS14-64-9081 Rightward of 9080. Image credit: Image Science and Analysis Laboratory, NASA-Johnson Space Center. |
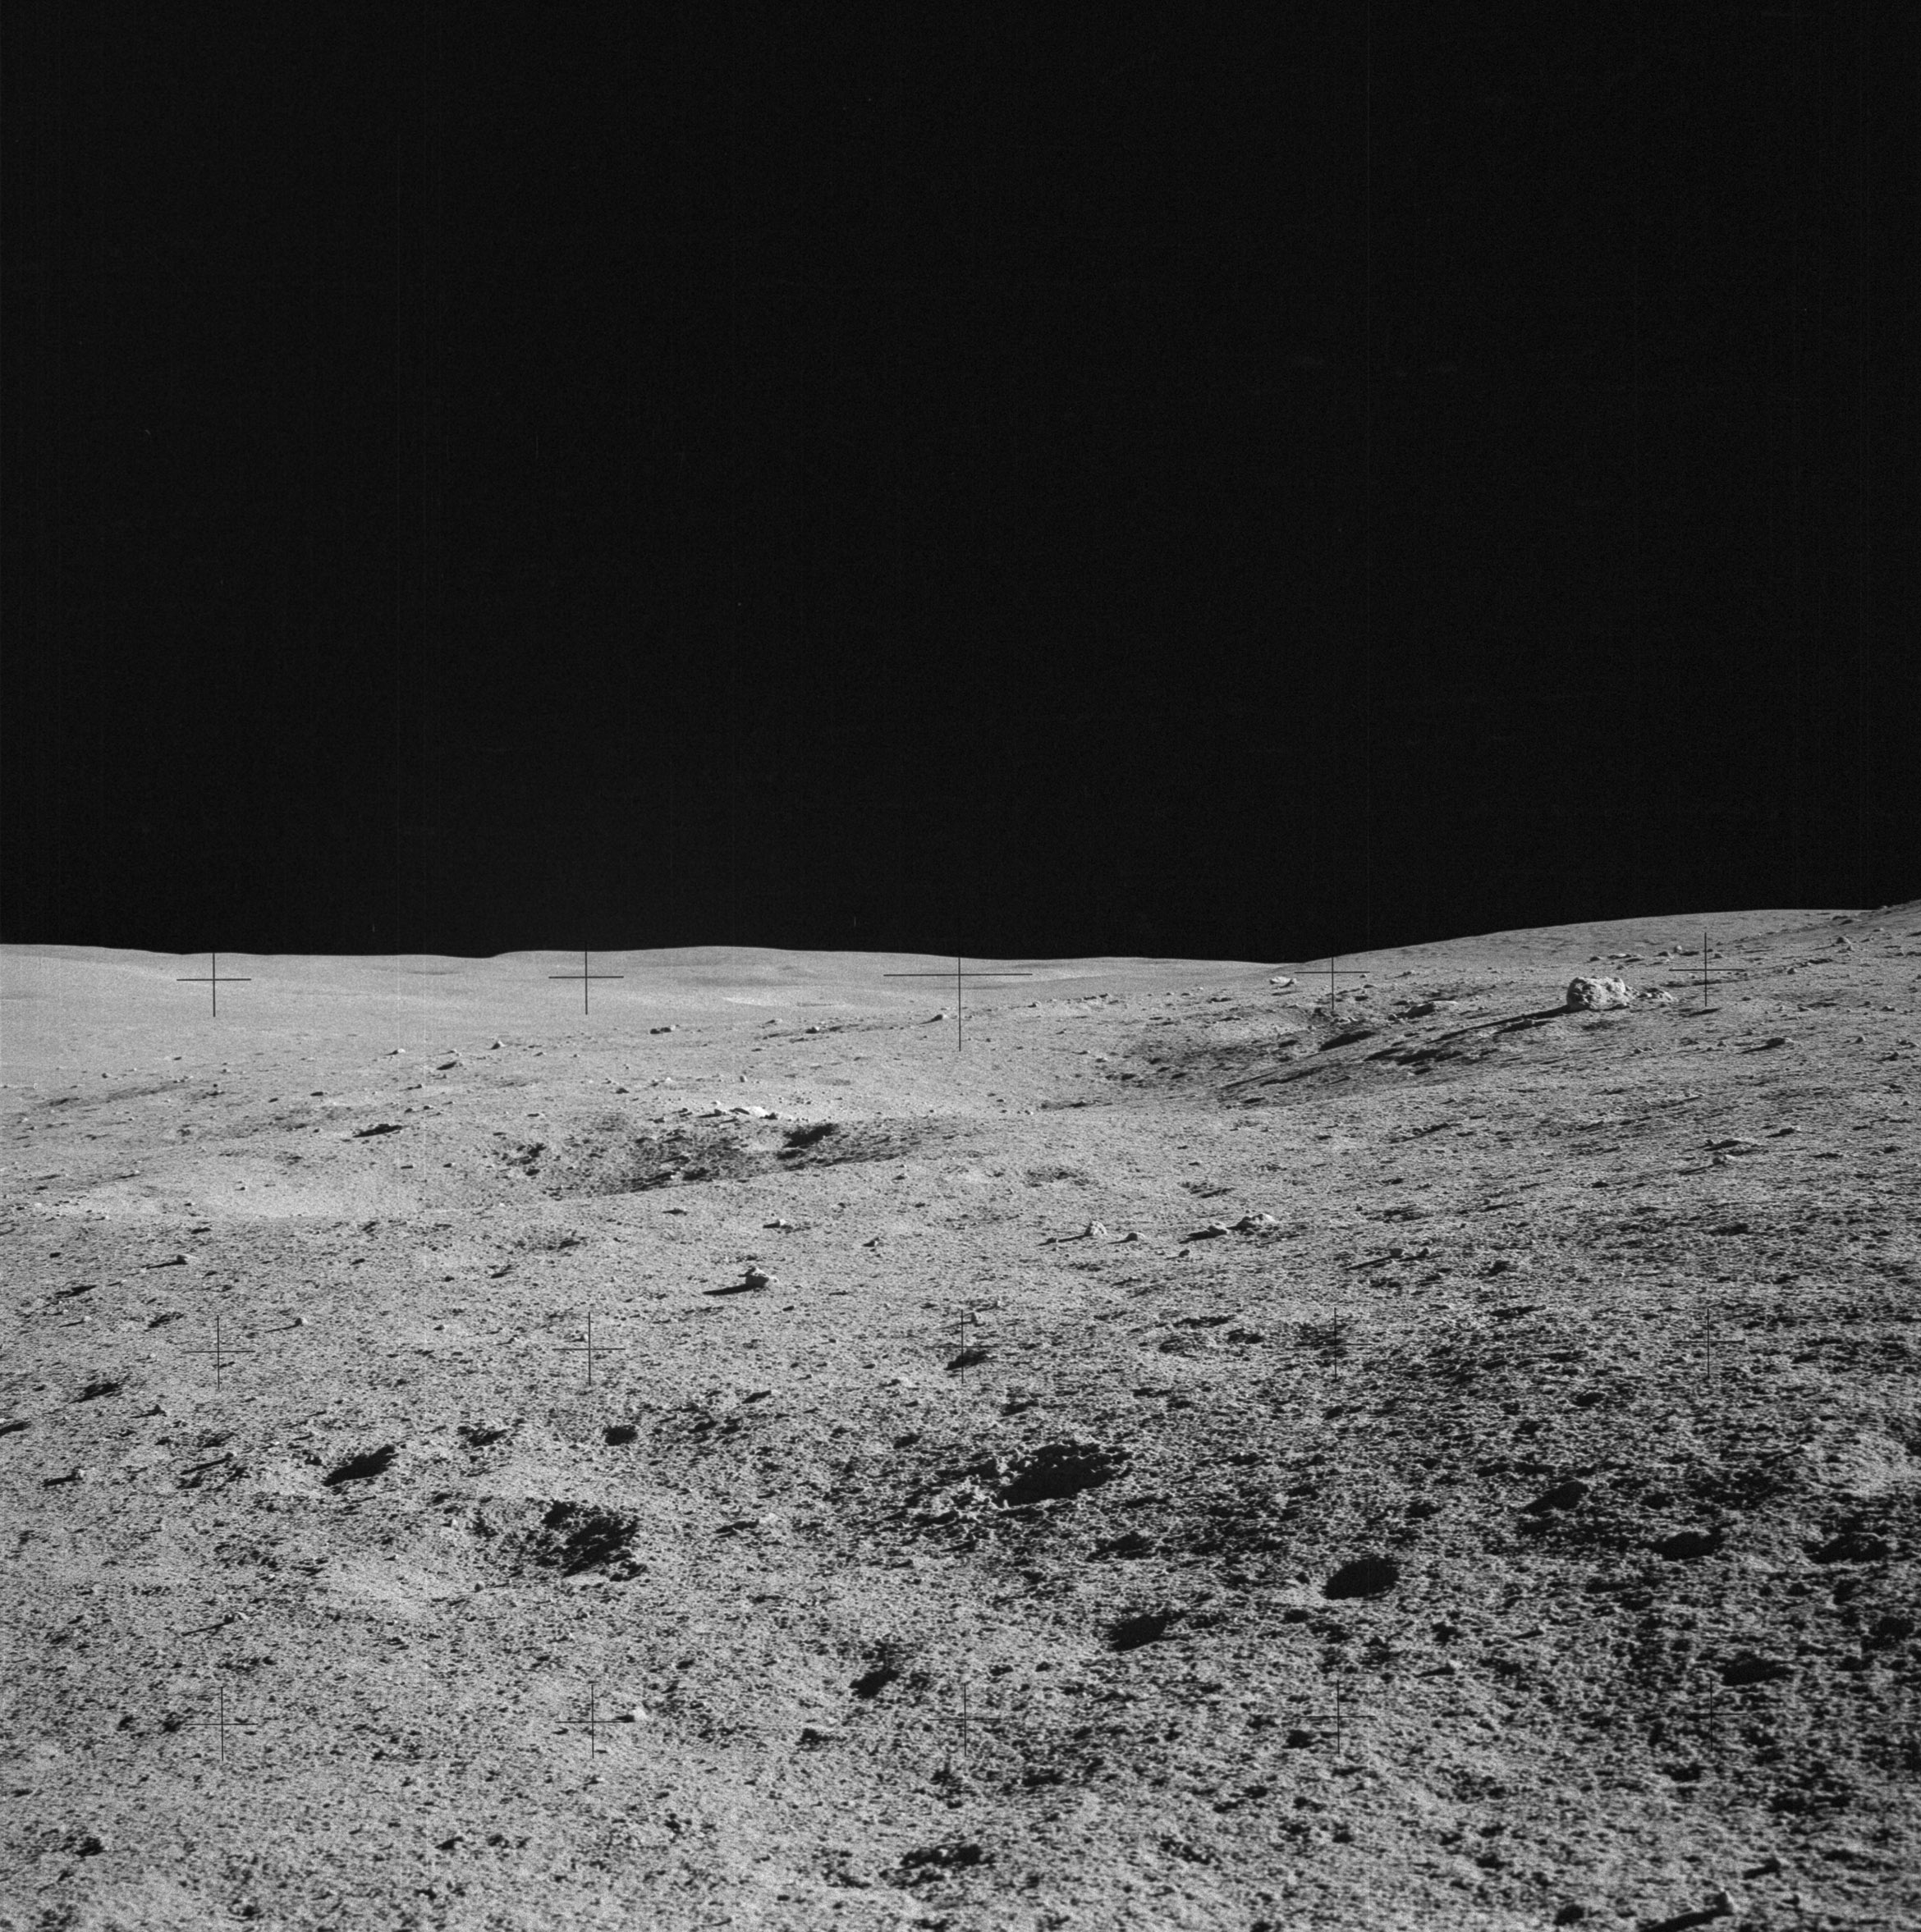 | AS14-64-9082 Rightward of 9081. Image credit: Image Science and Analysis Laboratory, NASA-Johnson Space Center. |
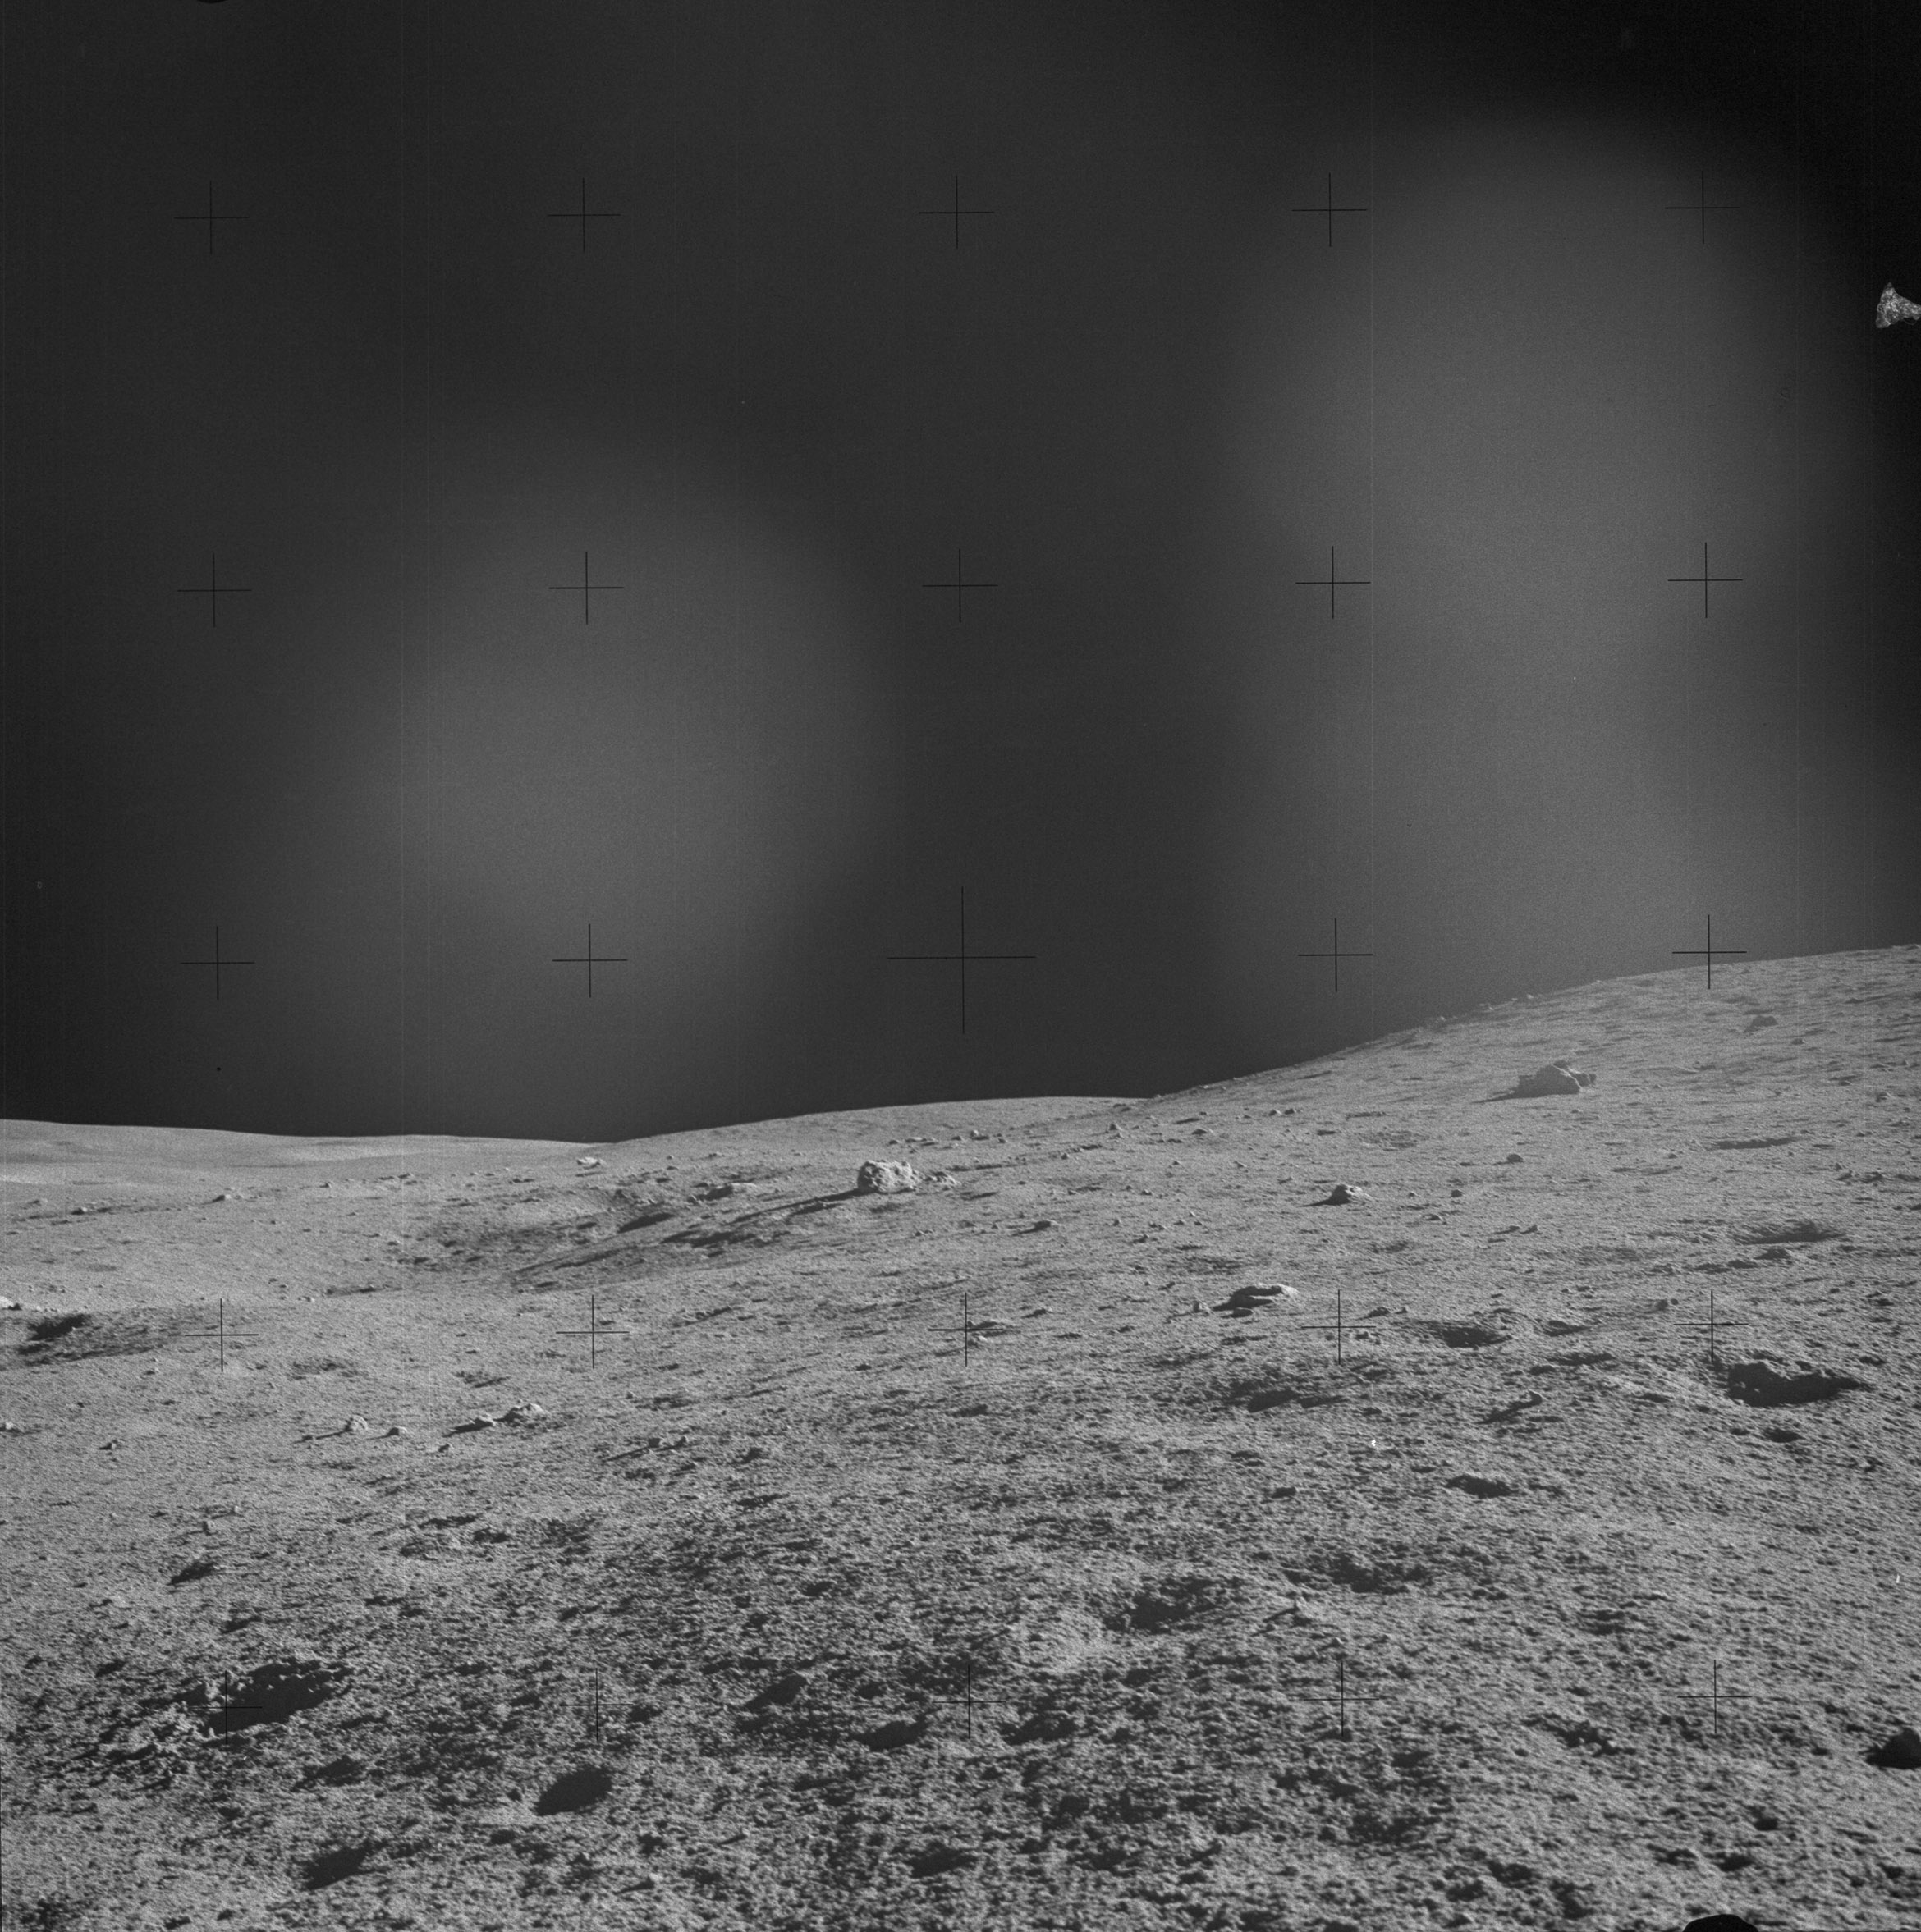 | AS14-64-9083 Rightward of 9082, showing a boulder on the right that appears even larger than the one noted in 9082. Image credit: Image Science and Analysis Laboratory, NASA-Johnson Space Center. |
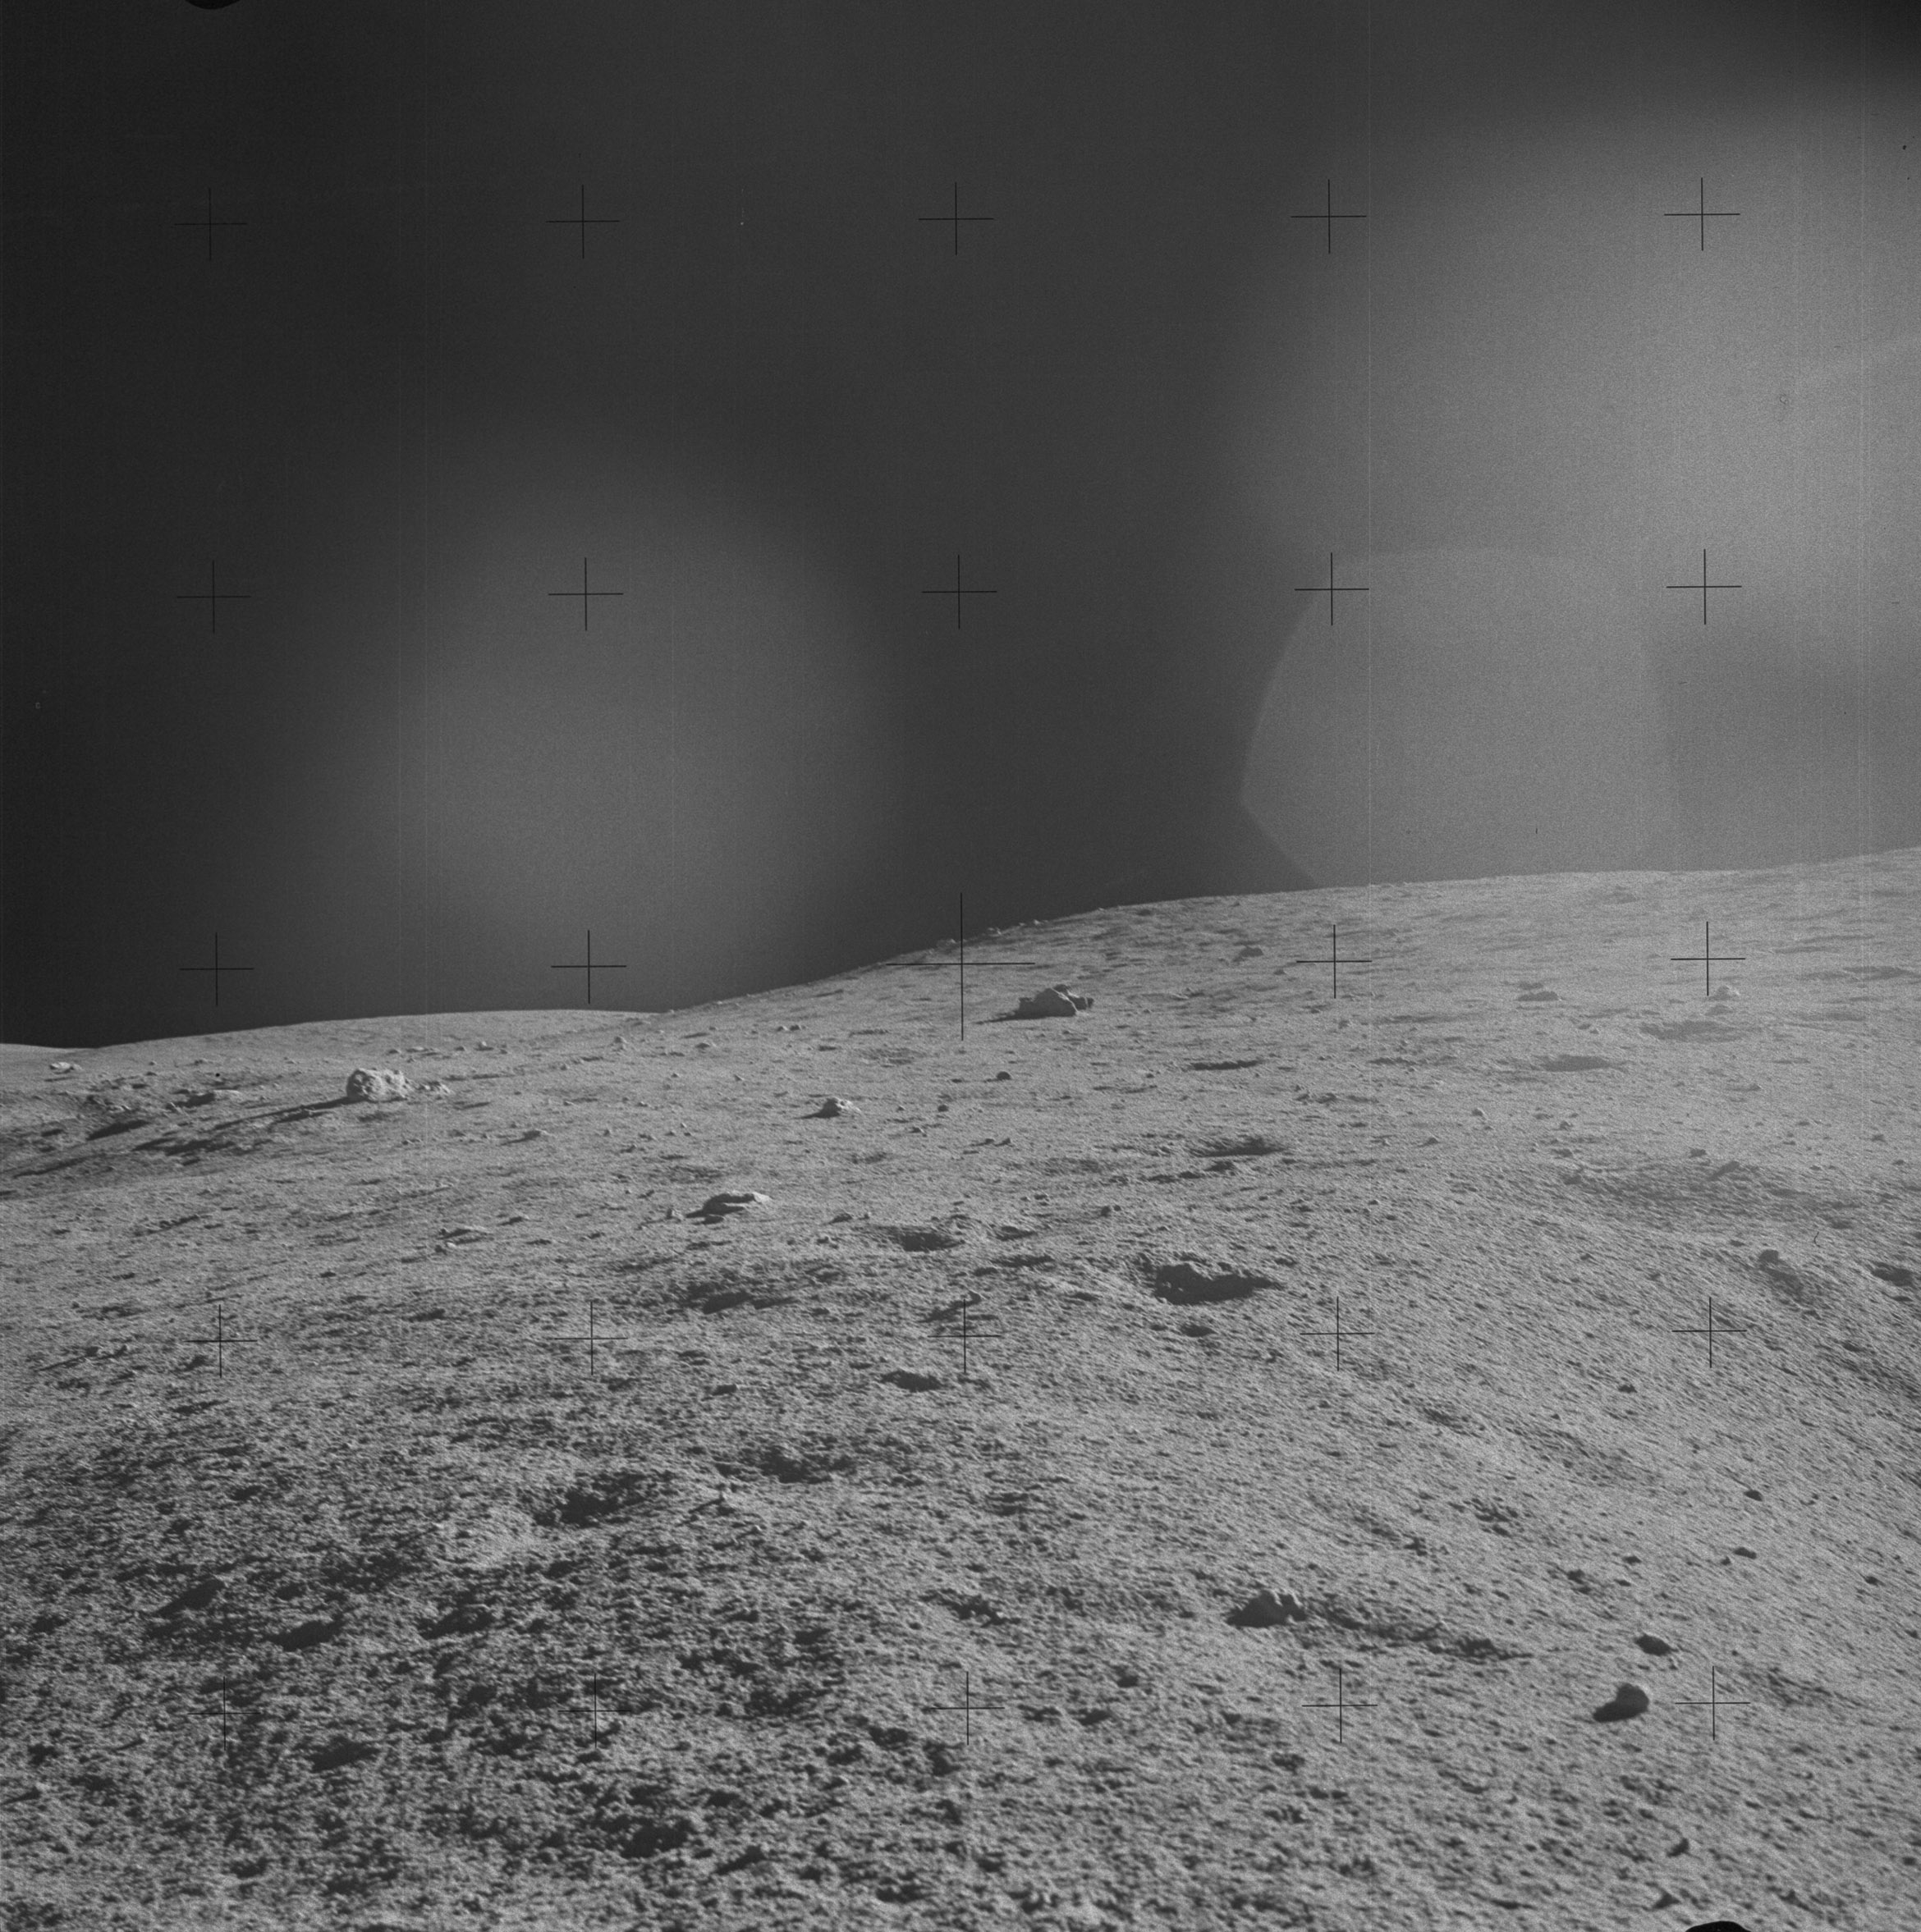 | AS14-64-9084 Rightward of 9083, with part of Cone Crater Ridge on the right. Image credit: Image Science and Analysis Laboratory, NASA-Johnson Space Center. |
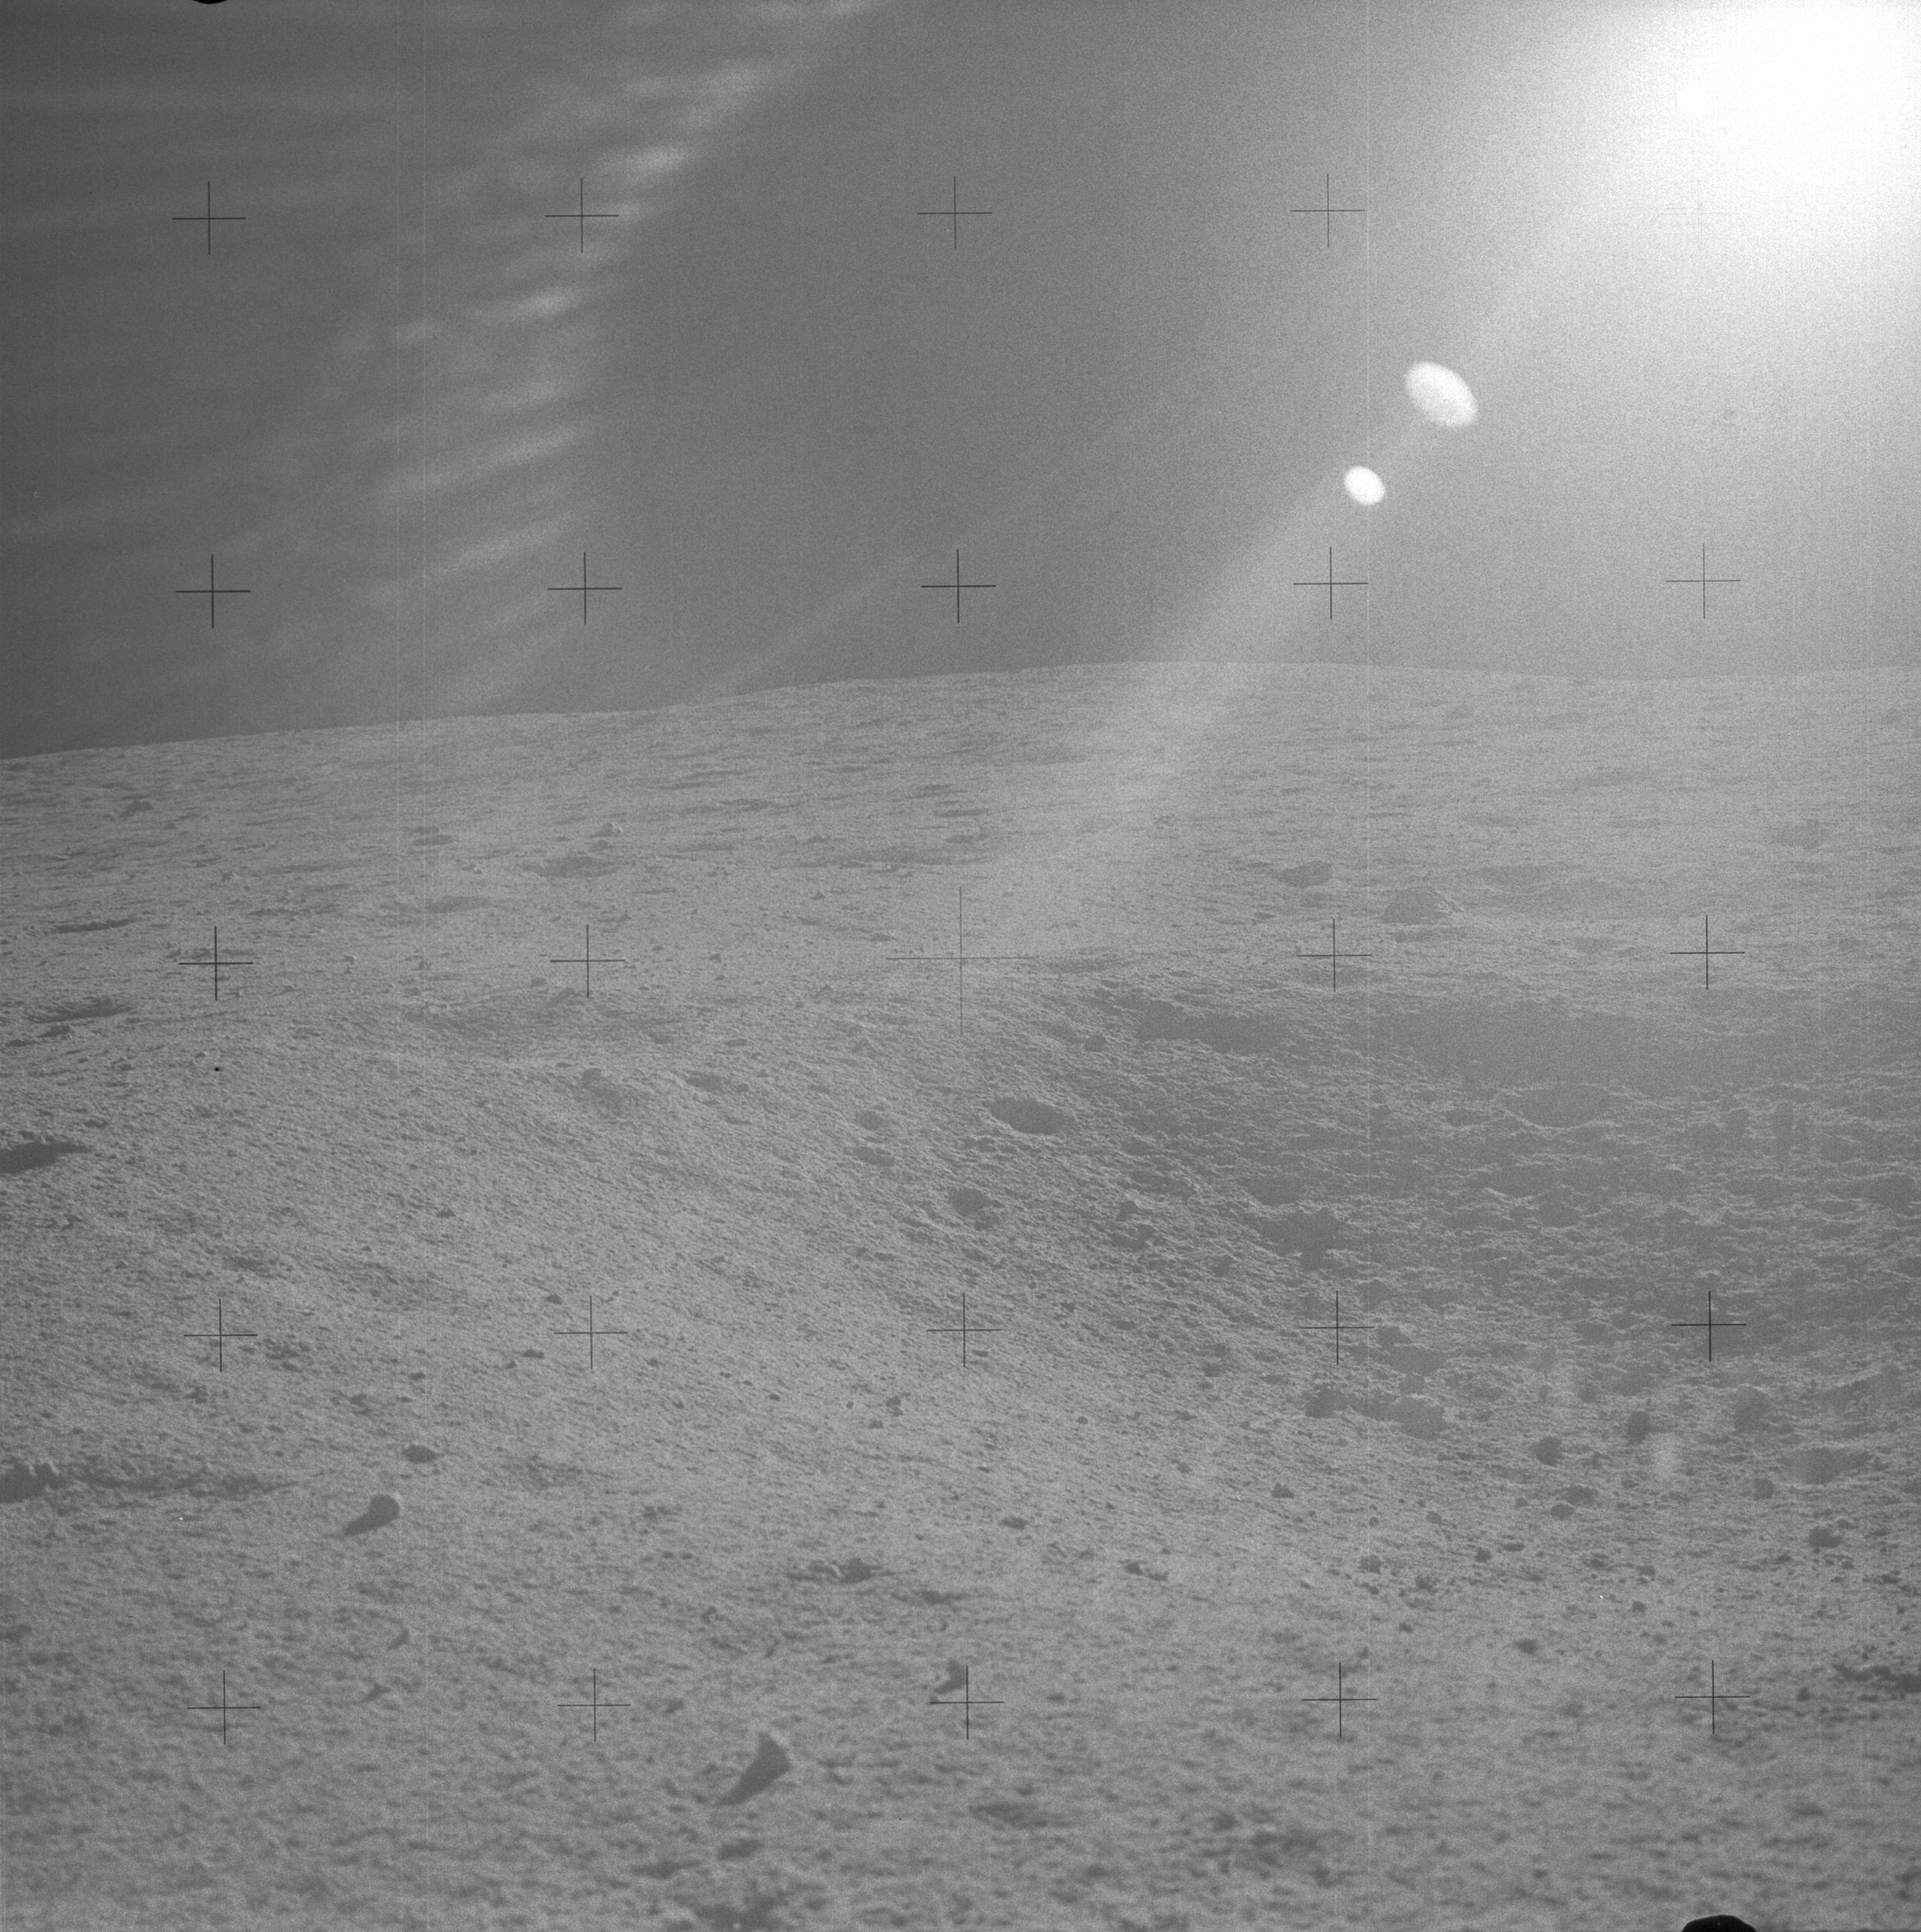 | AS14-64-9085 Rightward of 9084. Image credit: Image Science and Analysis Laboratory, NASA-Johnson Space Center. |
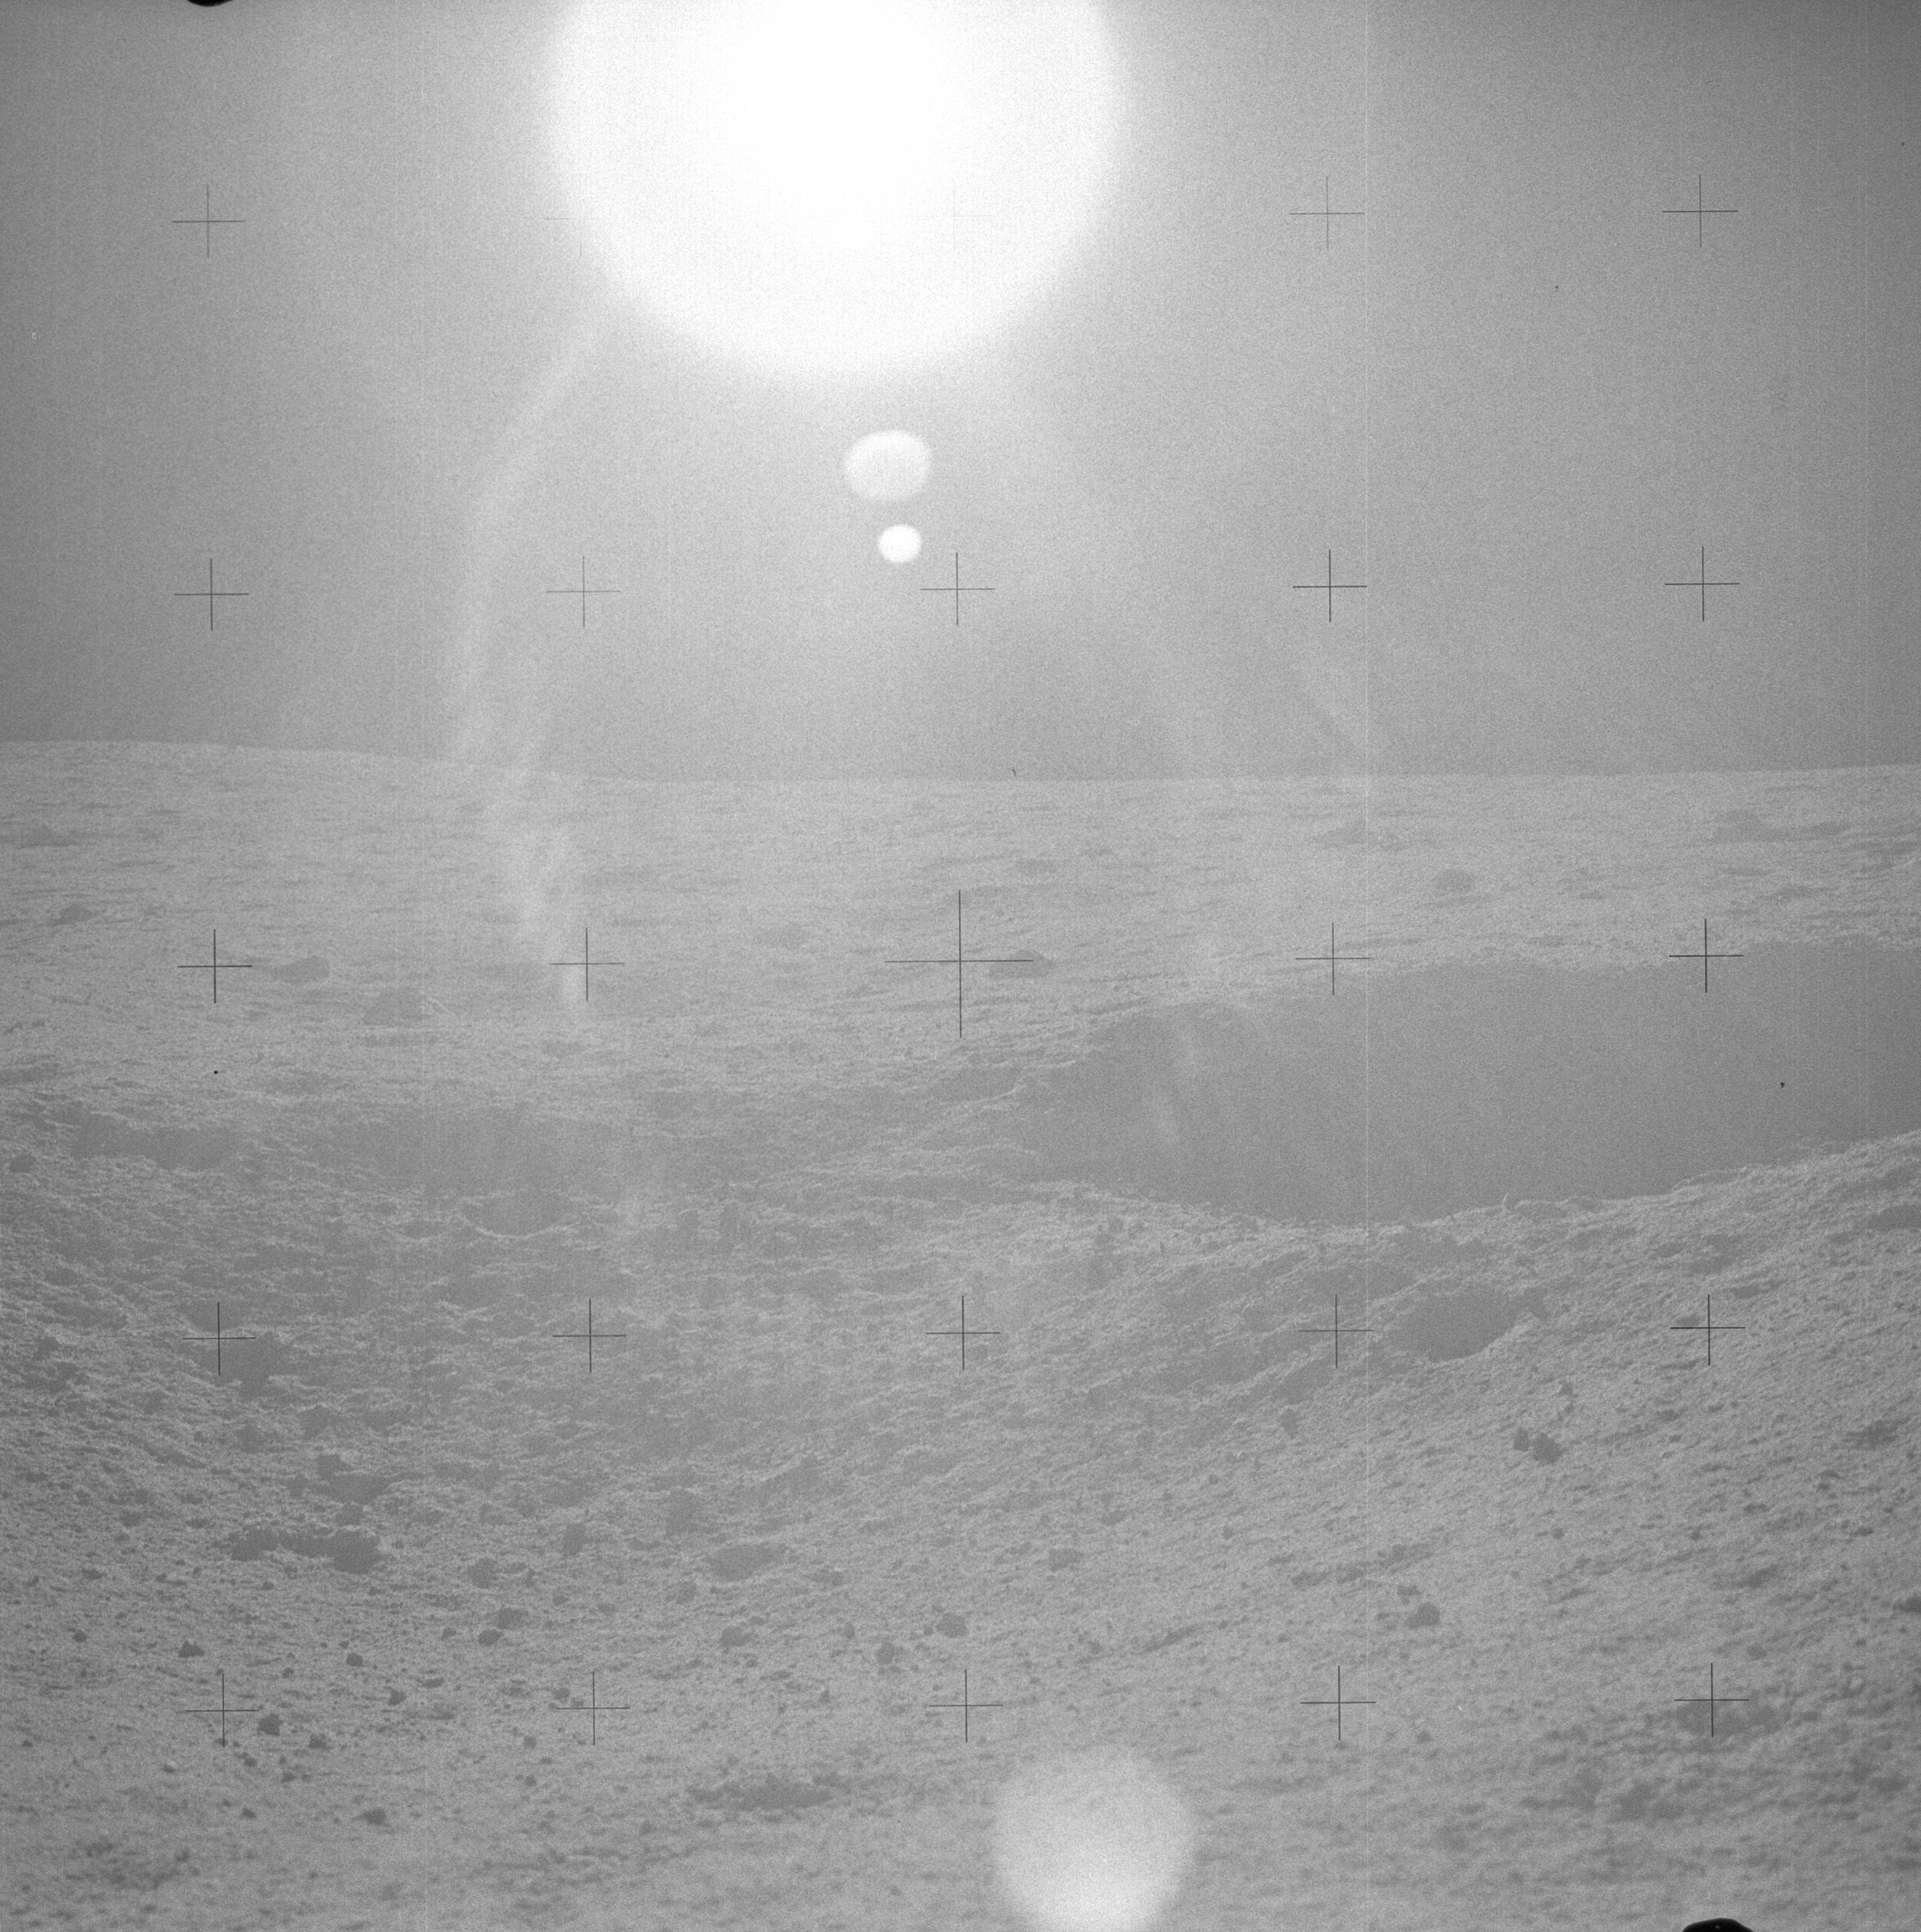 | AS14-64-9086 Rightward of 9085, up-Sun showing a crater with fragmental ejecta on the rim. Image credit: Image Science and Analysis Laboratory, NASA-Johnson Space Center. |
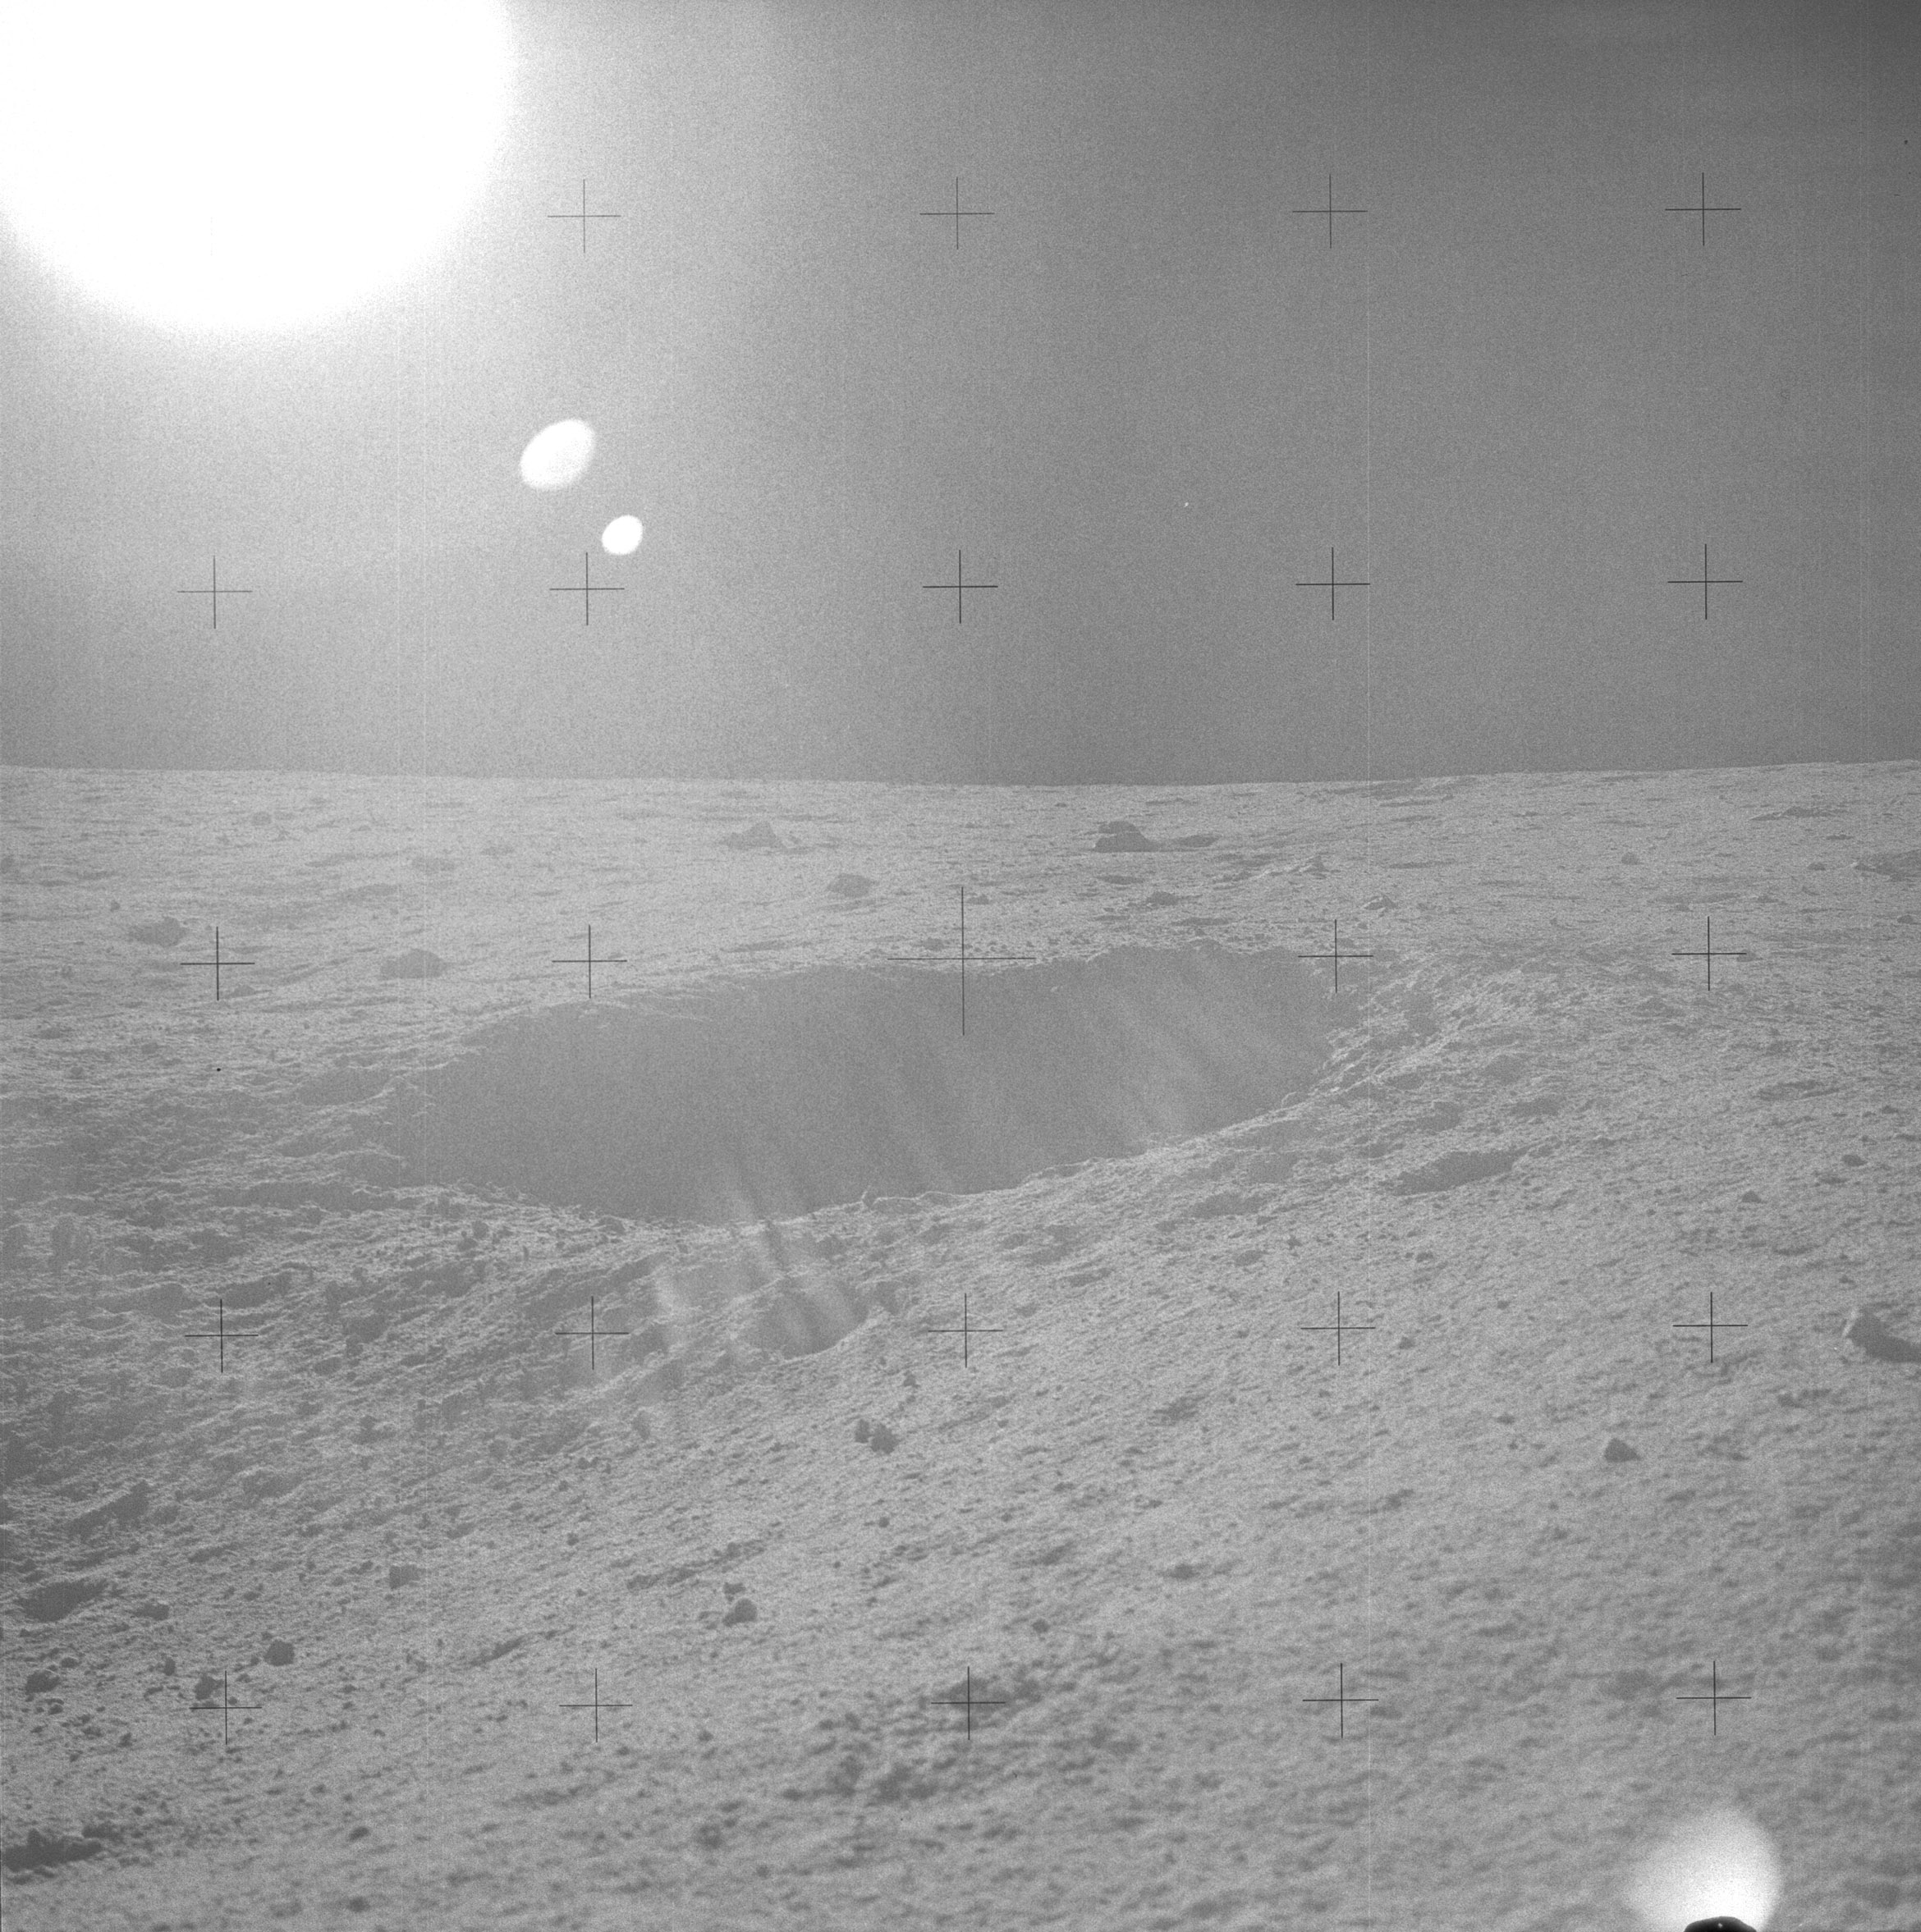 | AS14-64-9087 Rightward of 9086. Image credit: Image Science and Analysis Laboratory, NASA-Johnson Space Center. |
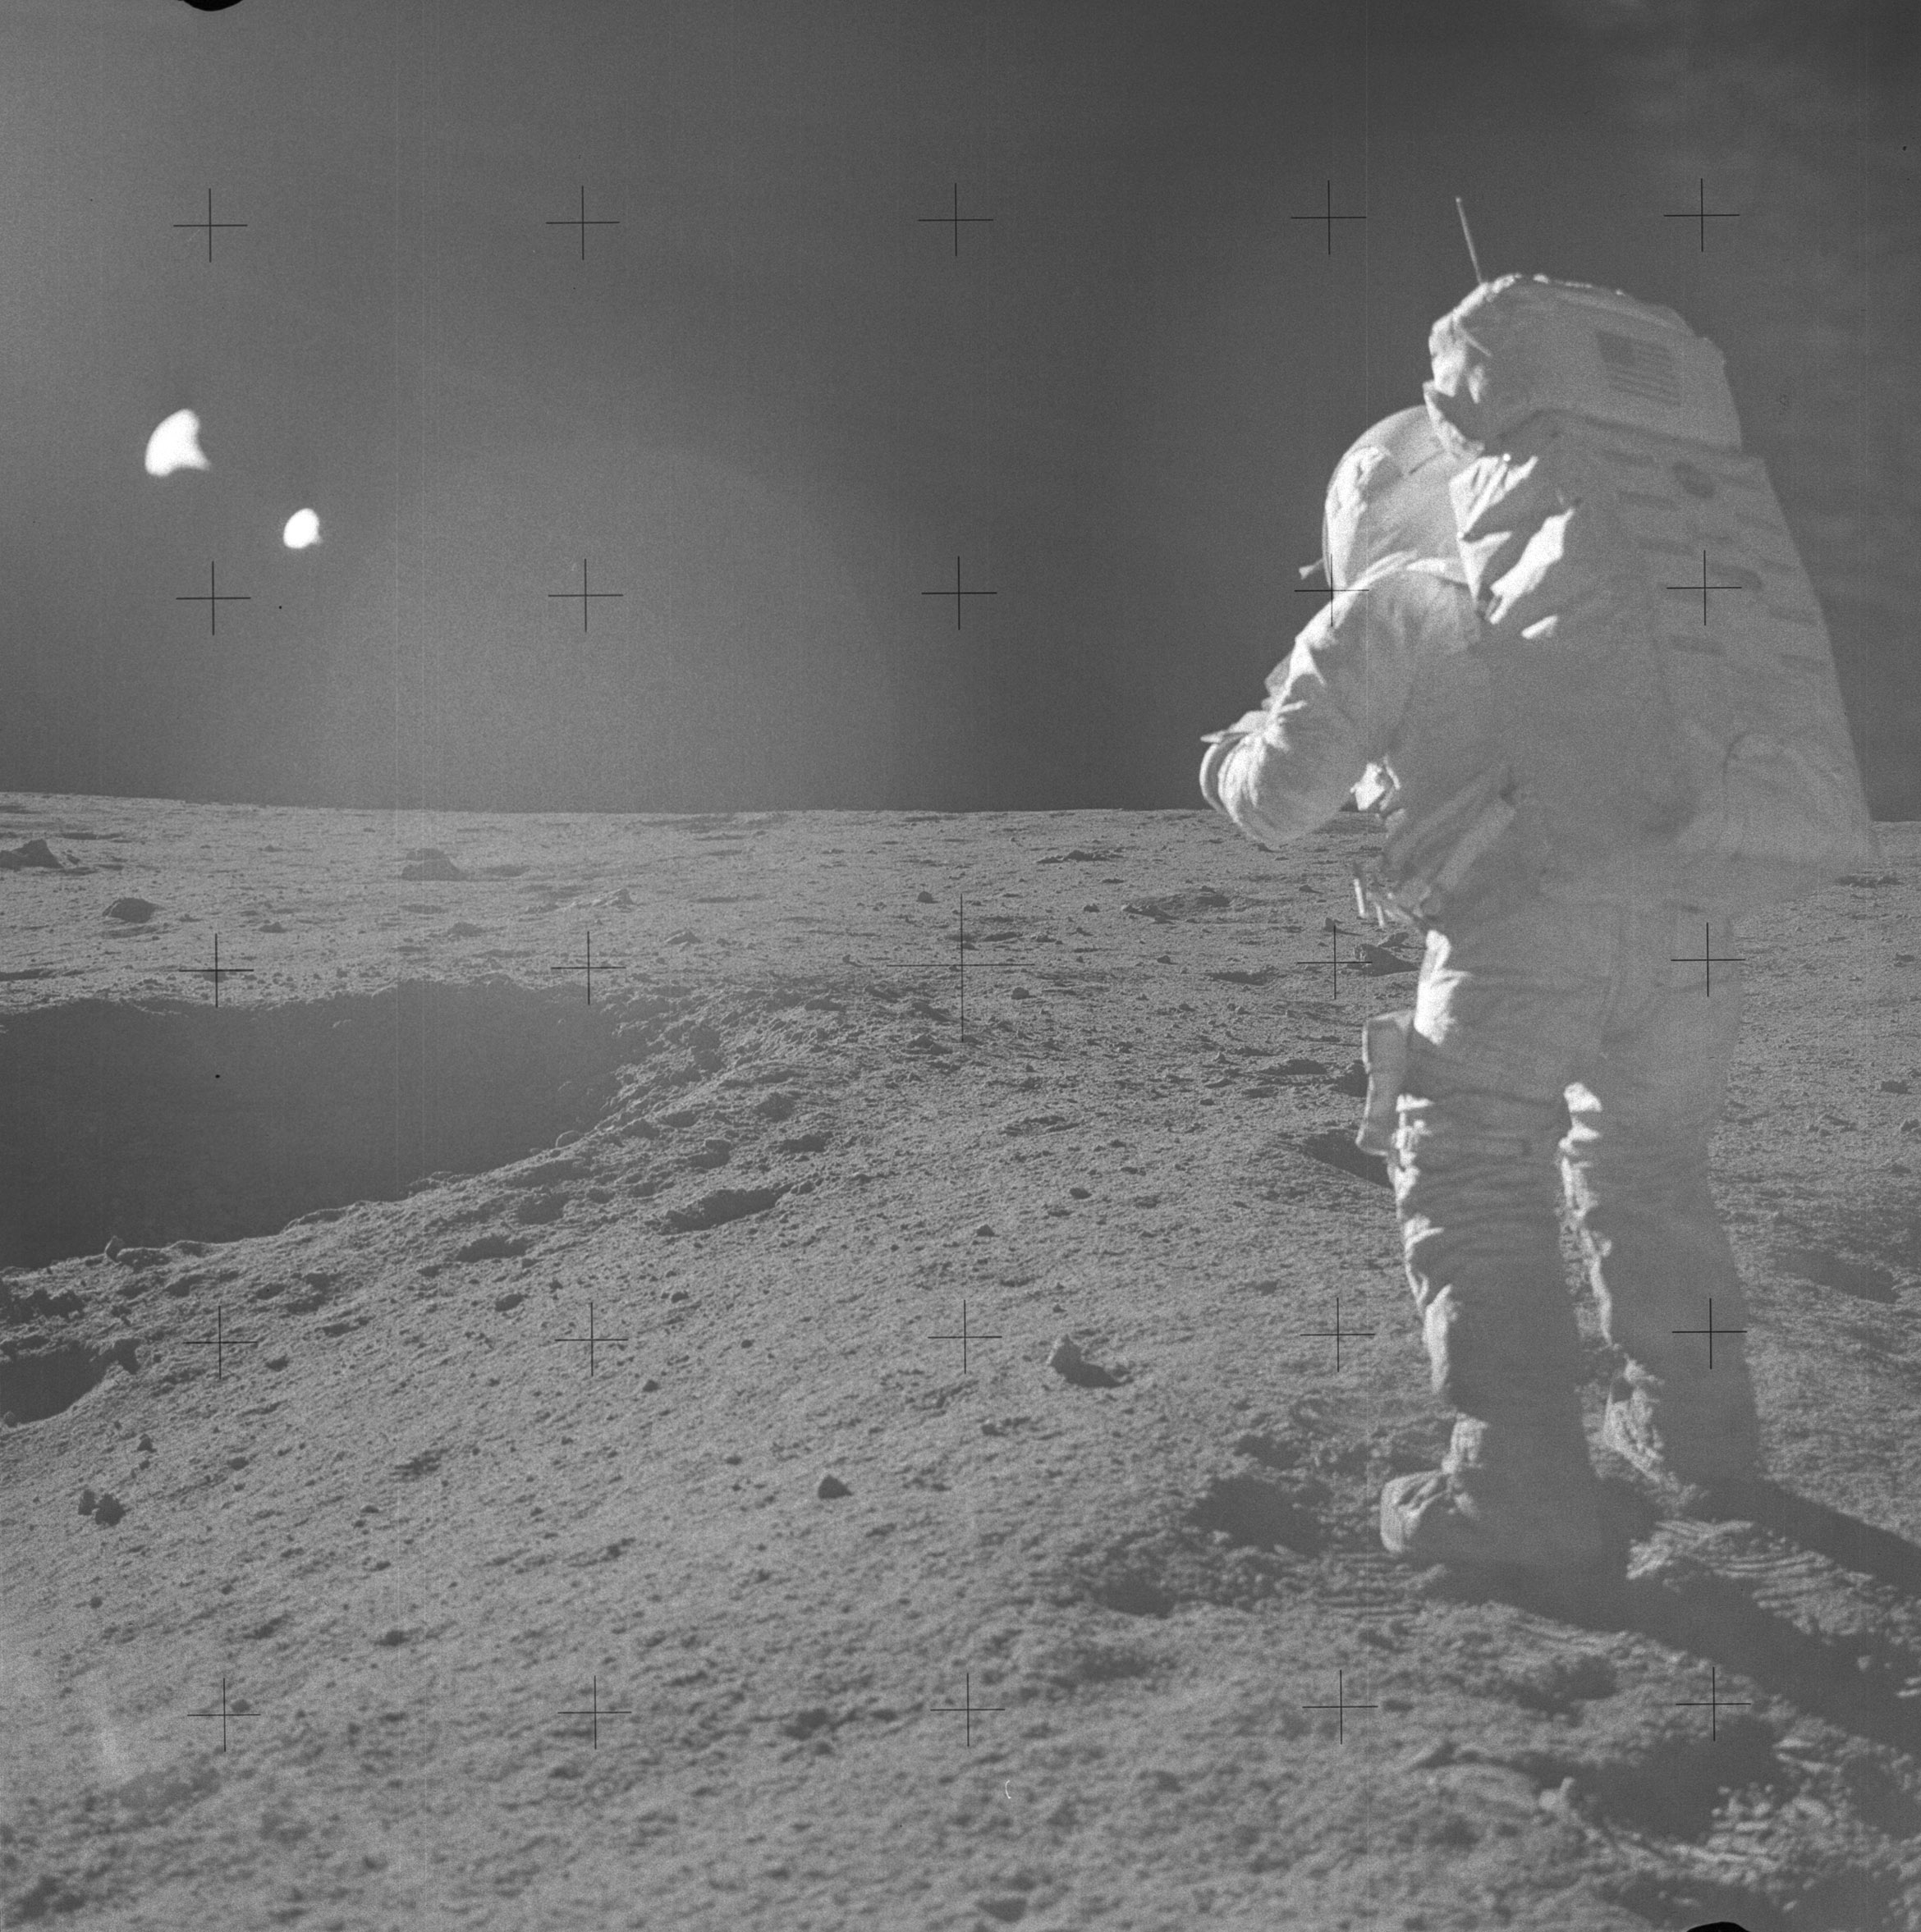 | AS14-64-9088 132:50:31 Rightward of 9087. Image credit: Image Science and Analysis Laboratory, NASA-Johnson Space Center. |
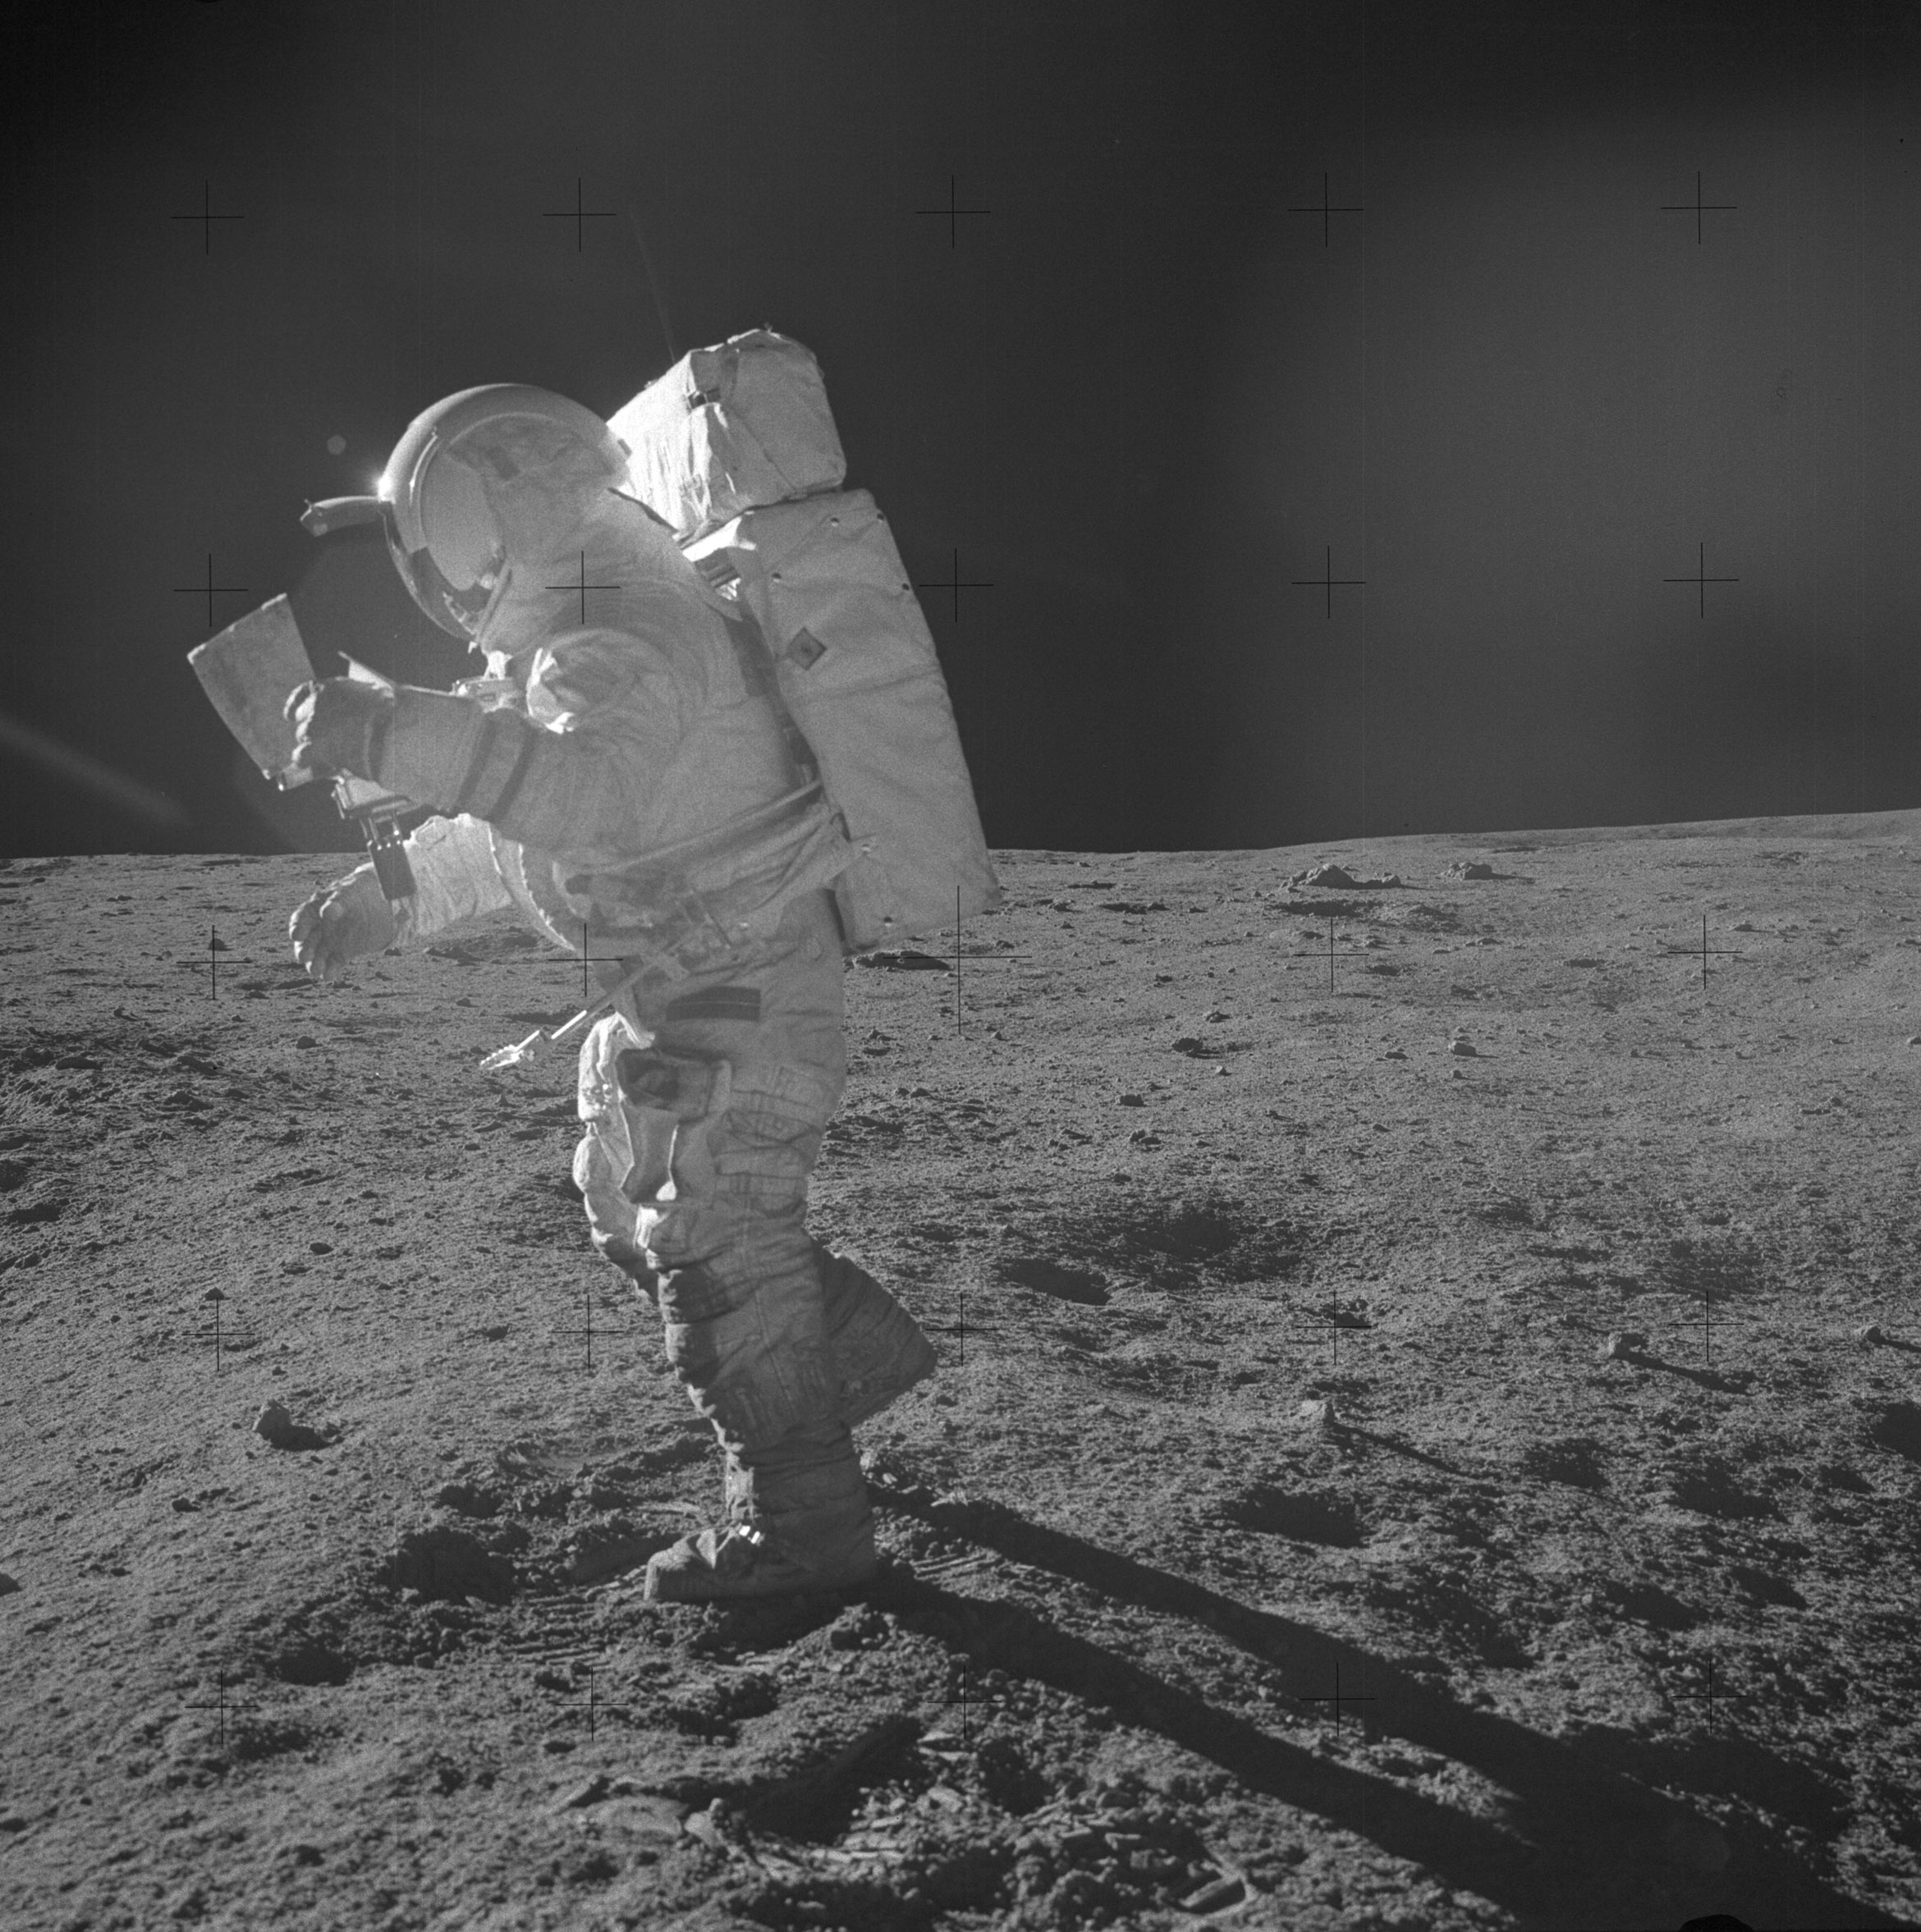 | AS14-64-9089 The next frame from Al's Station B1 pan, showing Ed studying the traverse map. Image credit: Image Science and Analysis Laboratory, NASA-Johnson Space Center. |
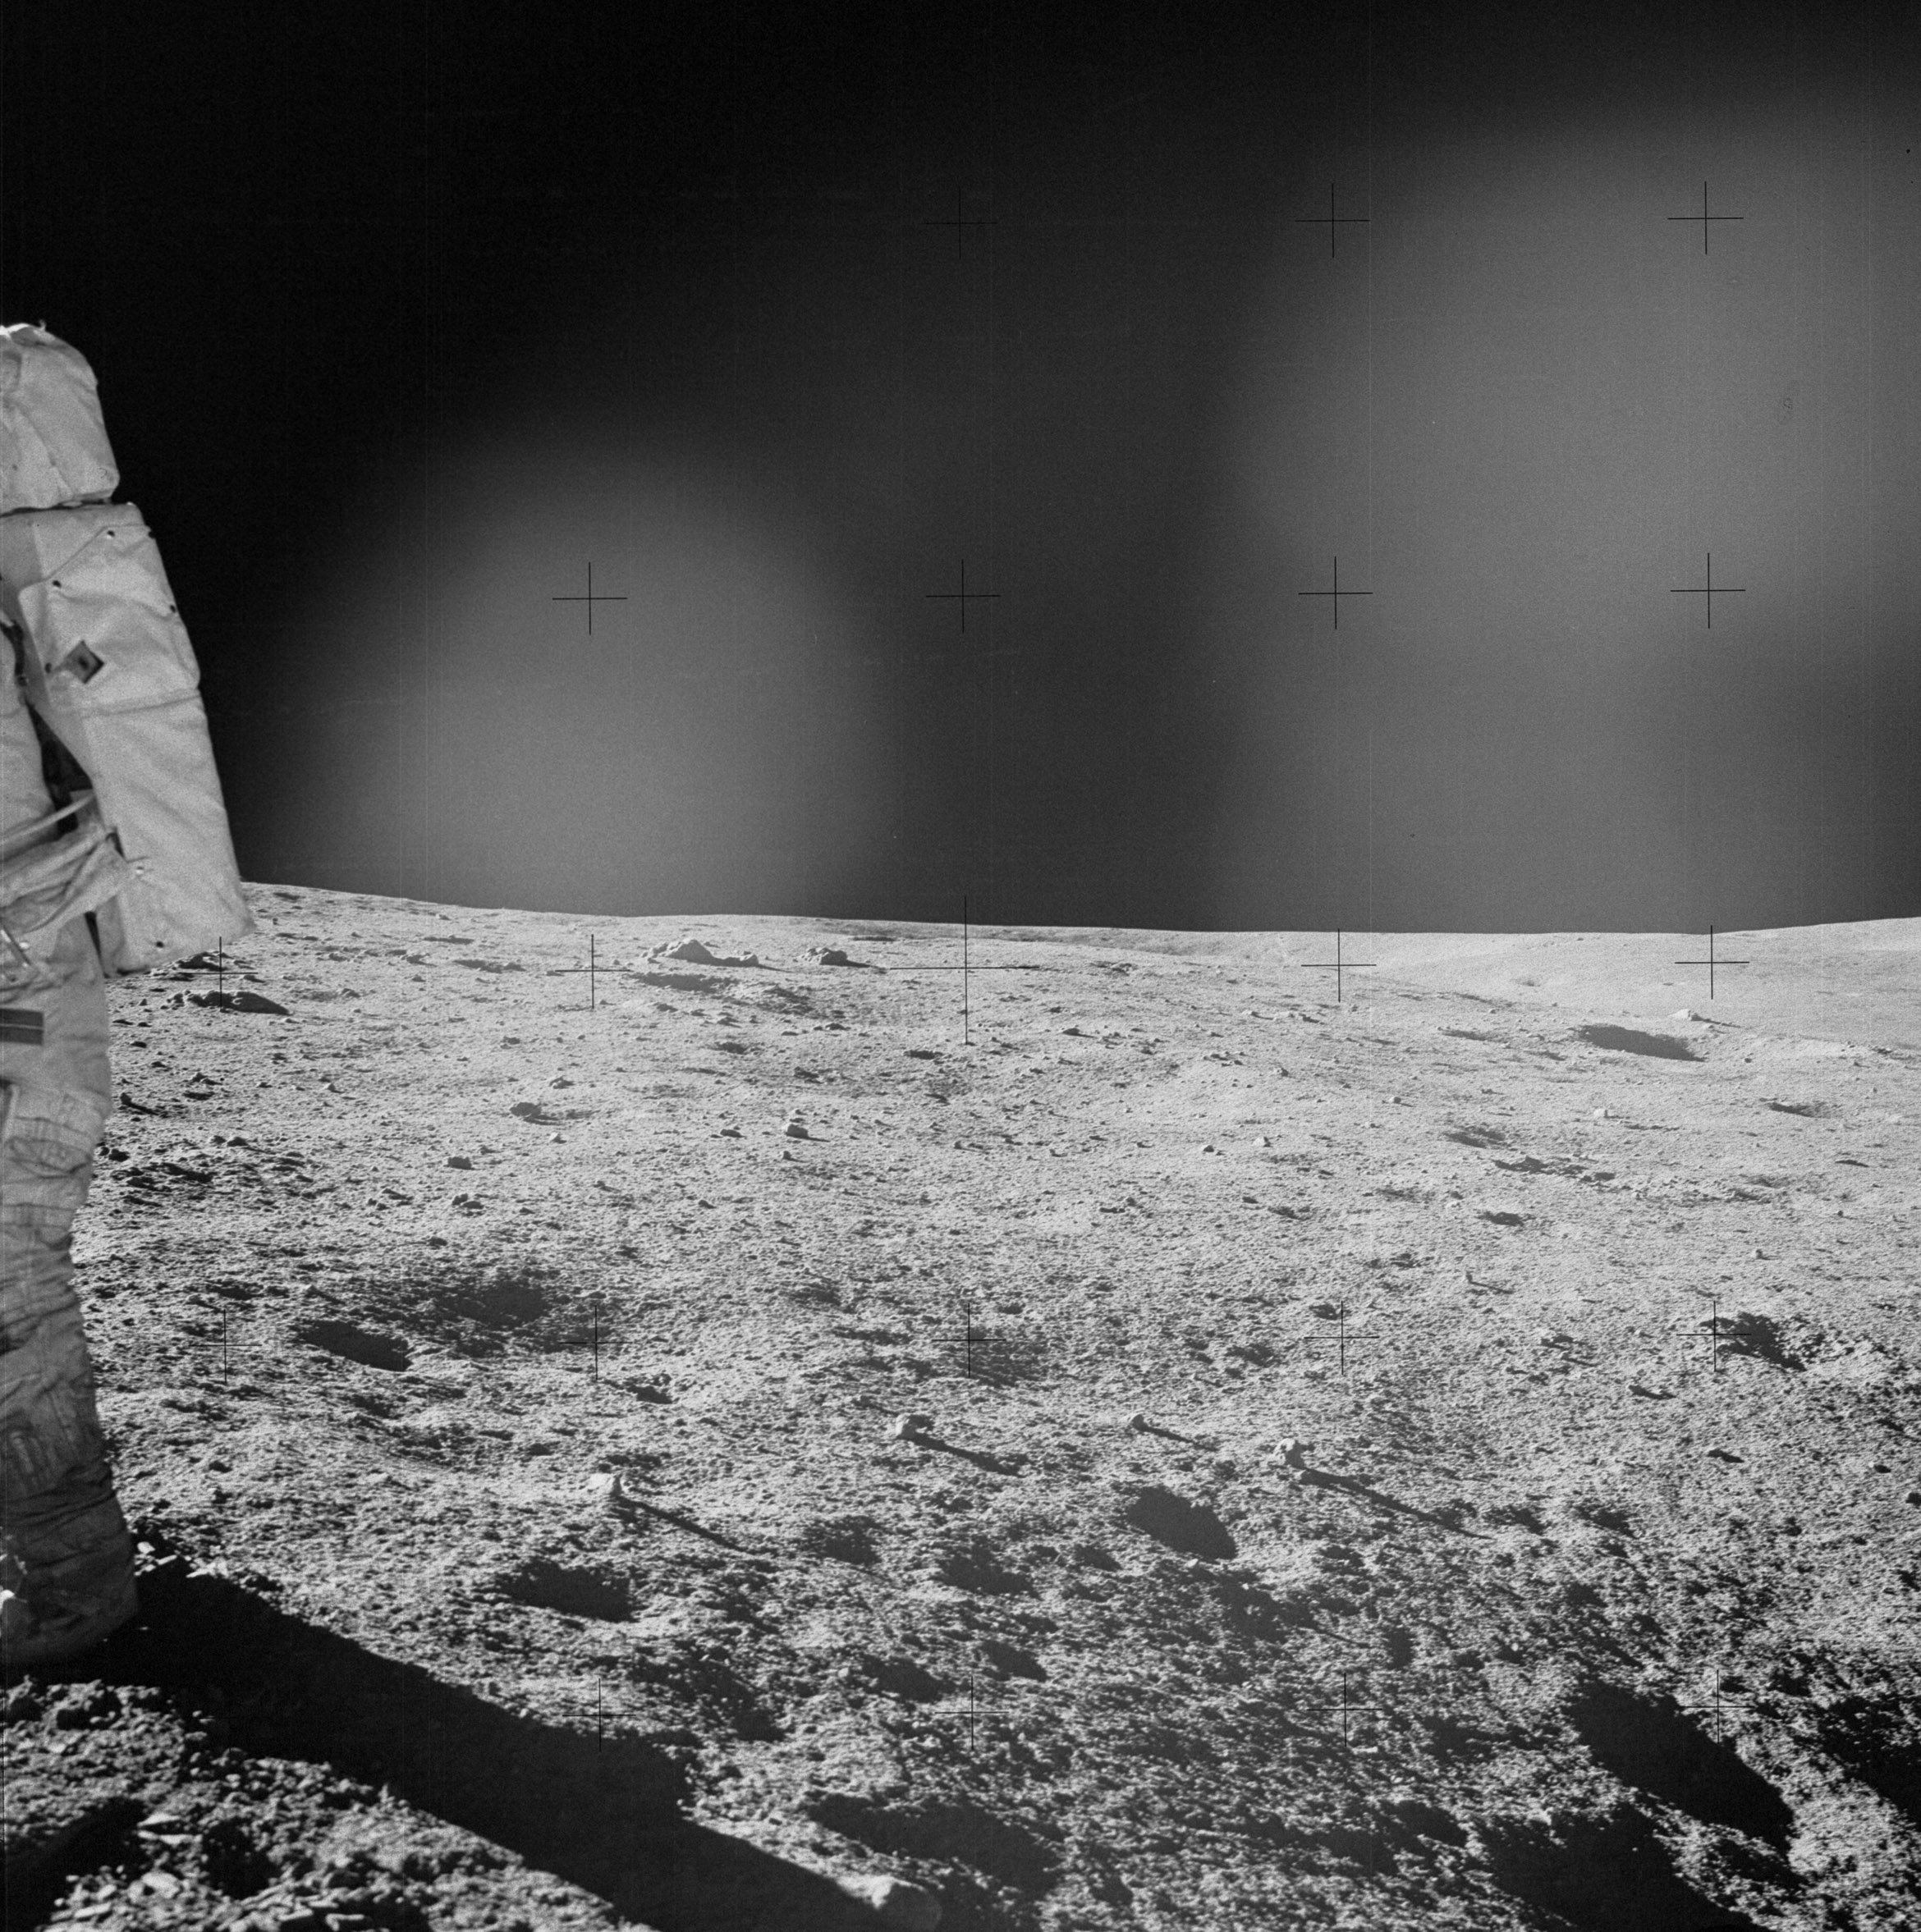 | AS14-64-9090 Rightward of 9089, showing the back of Ed's PLSS. Image credit: Image Science and Analysis Laboratory, NASA-Johnson Space Center. |
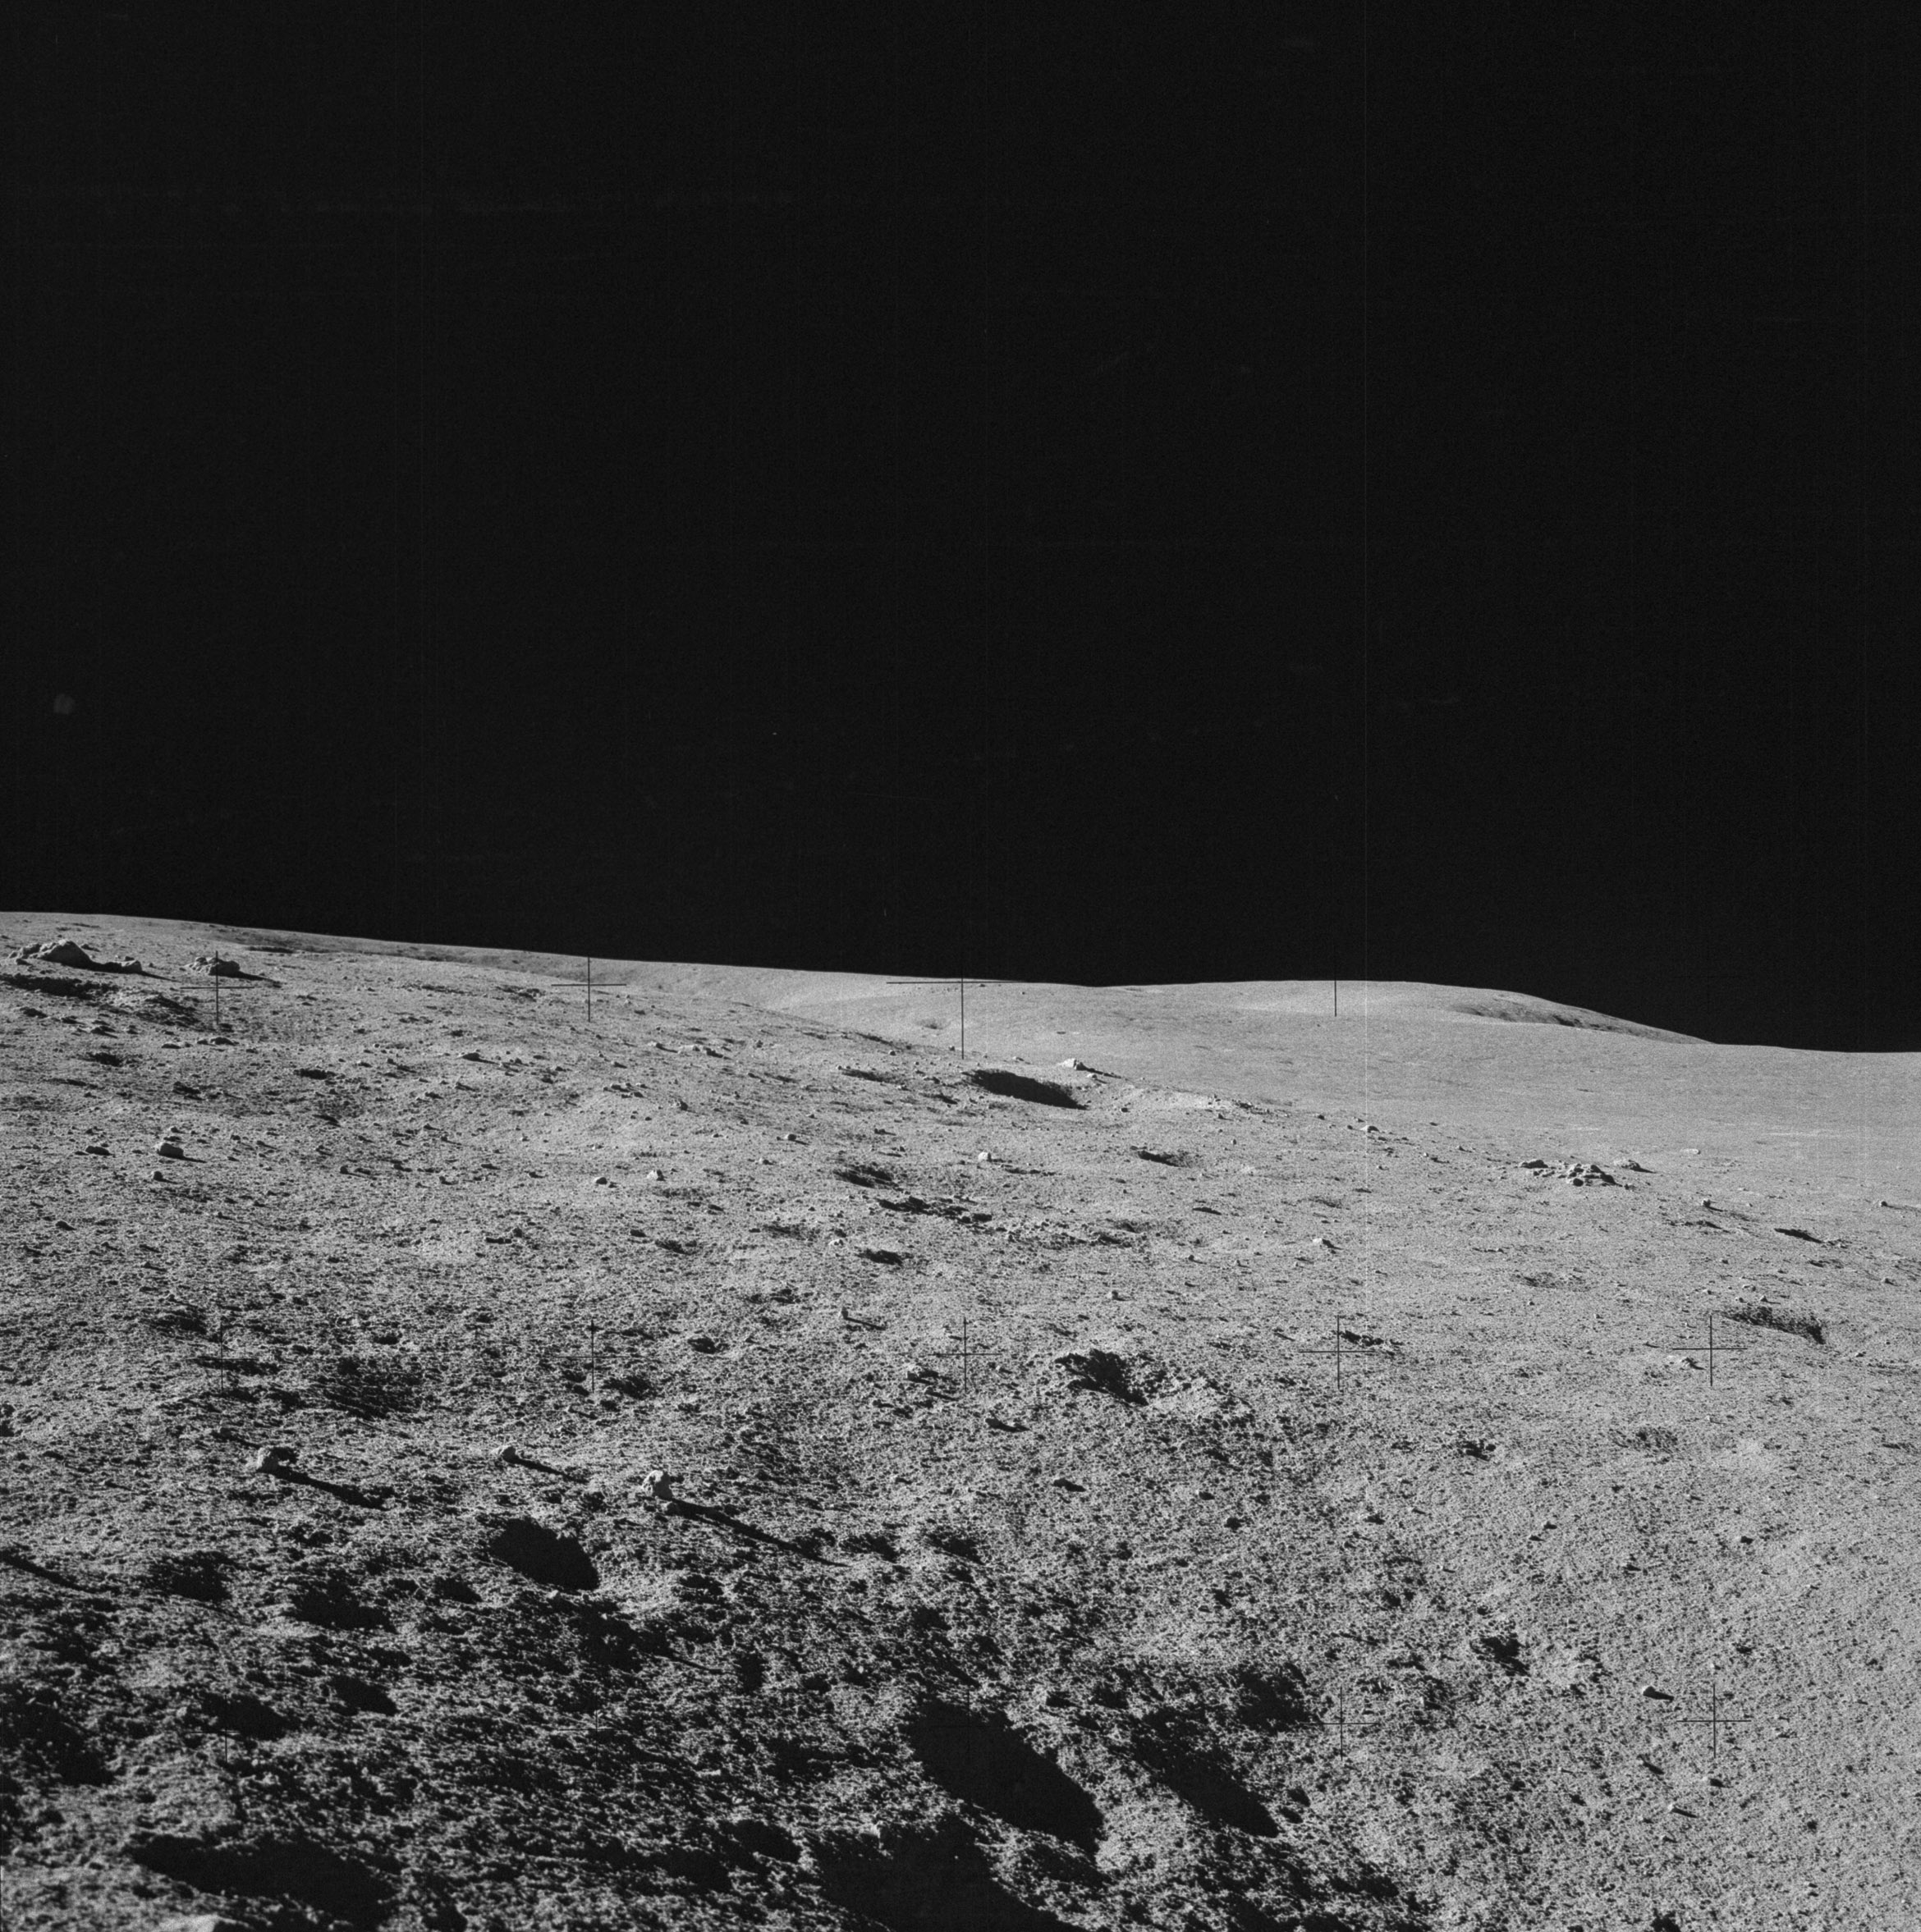 | AS14-64-9091 Rightward of 9090. Image credit: Image Science and Analysis Laboratory, NASA-Johnson Space Center. |
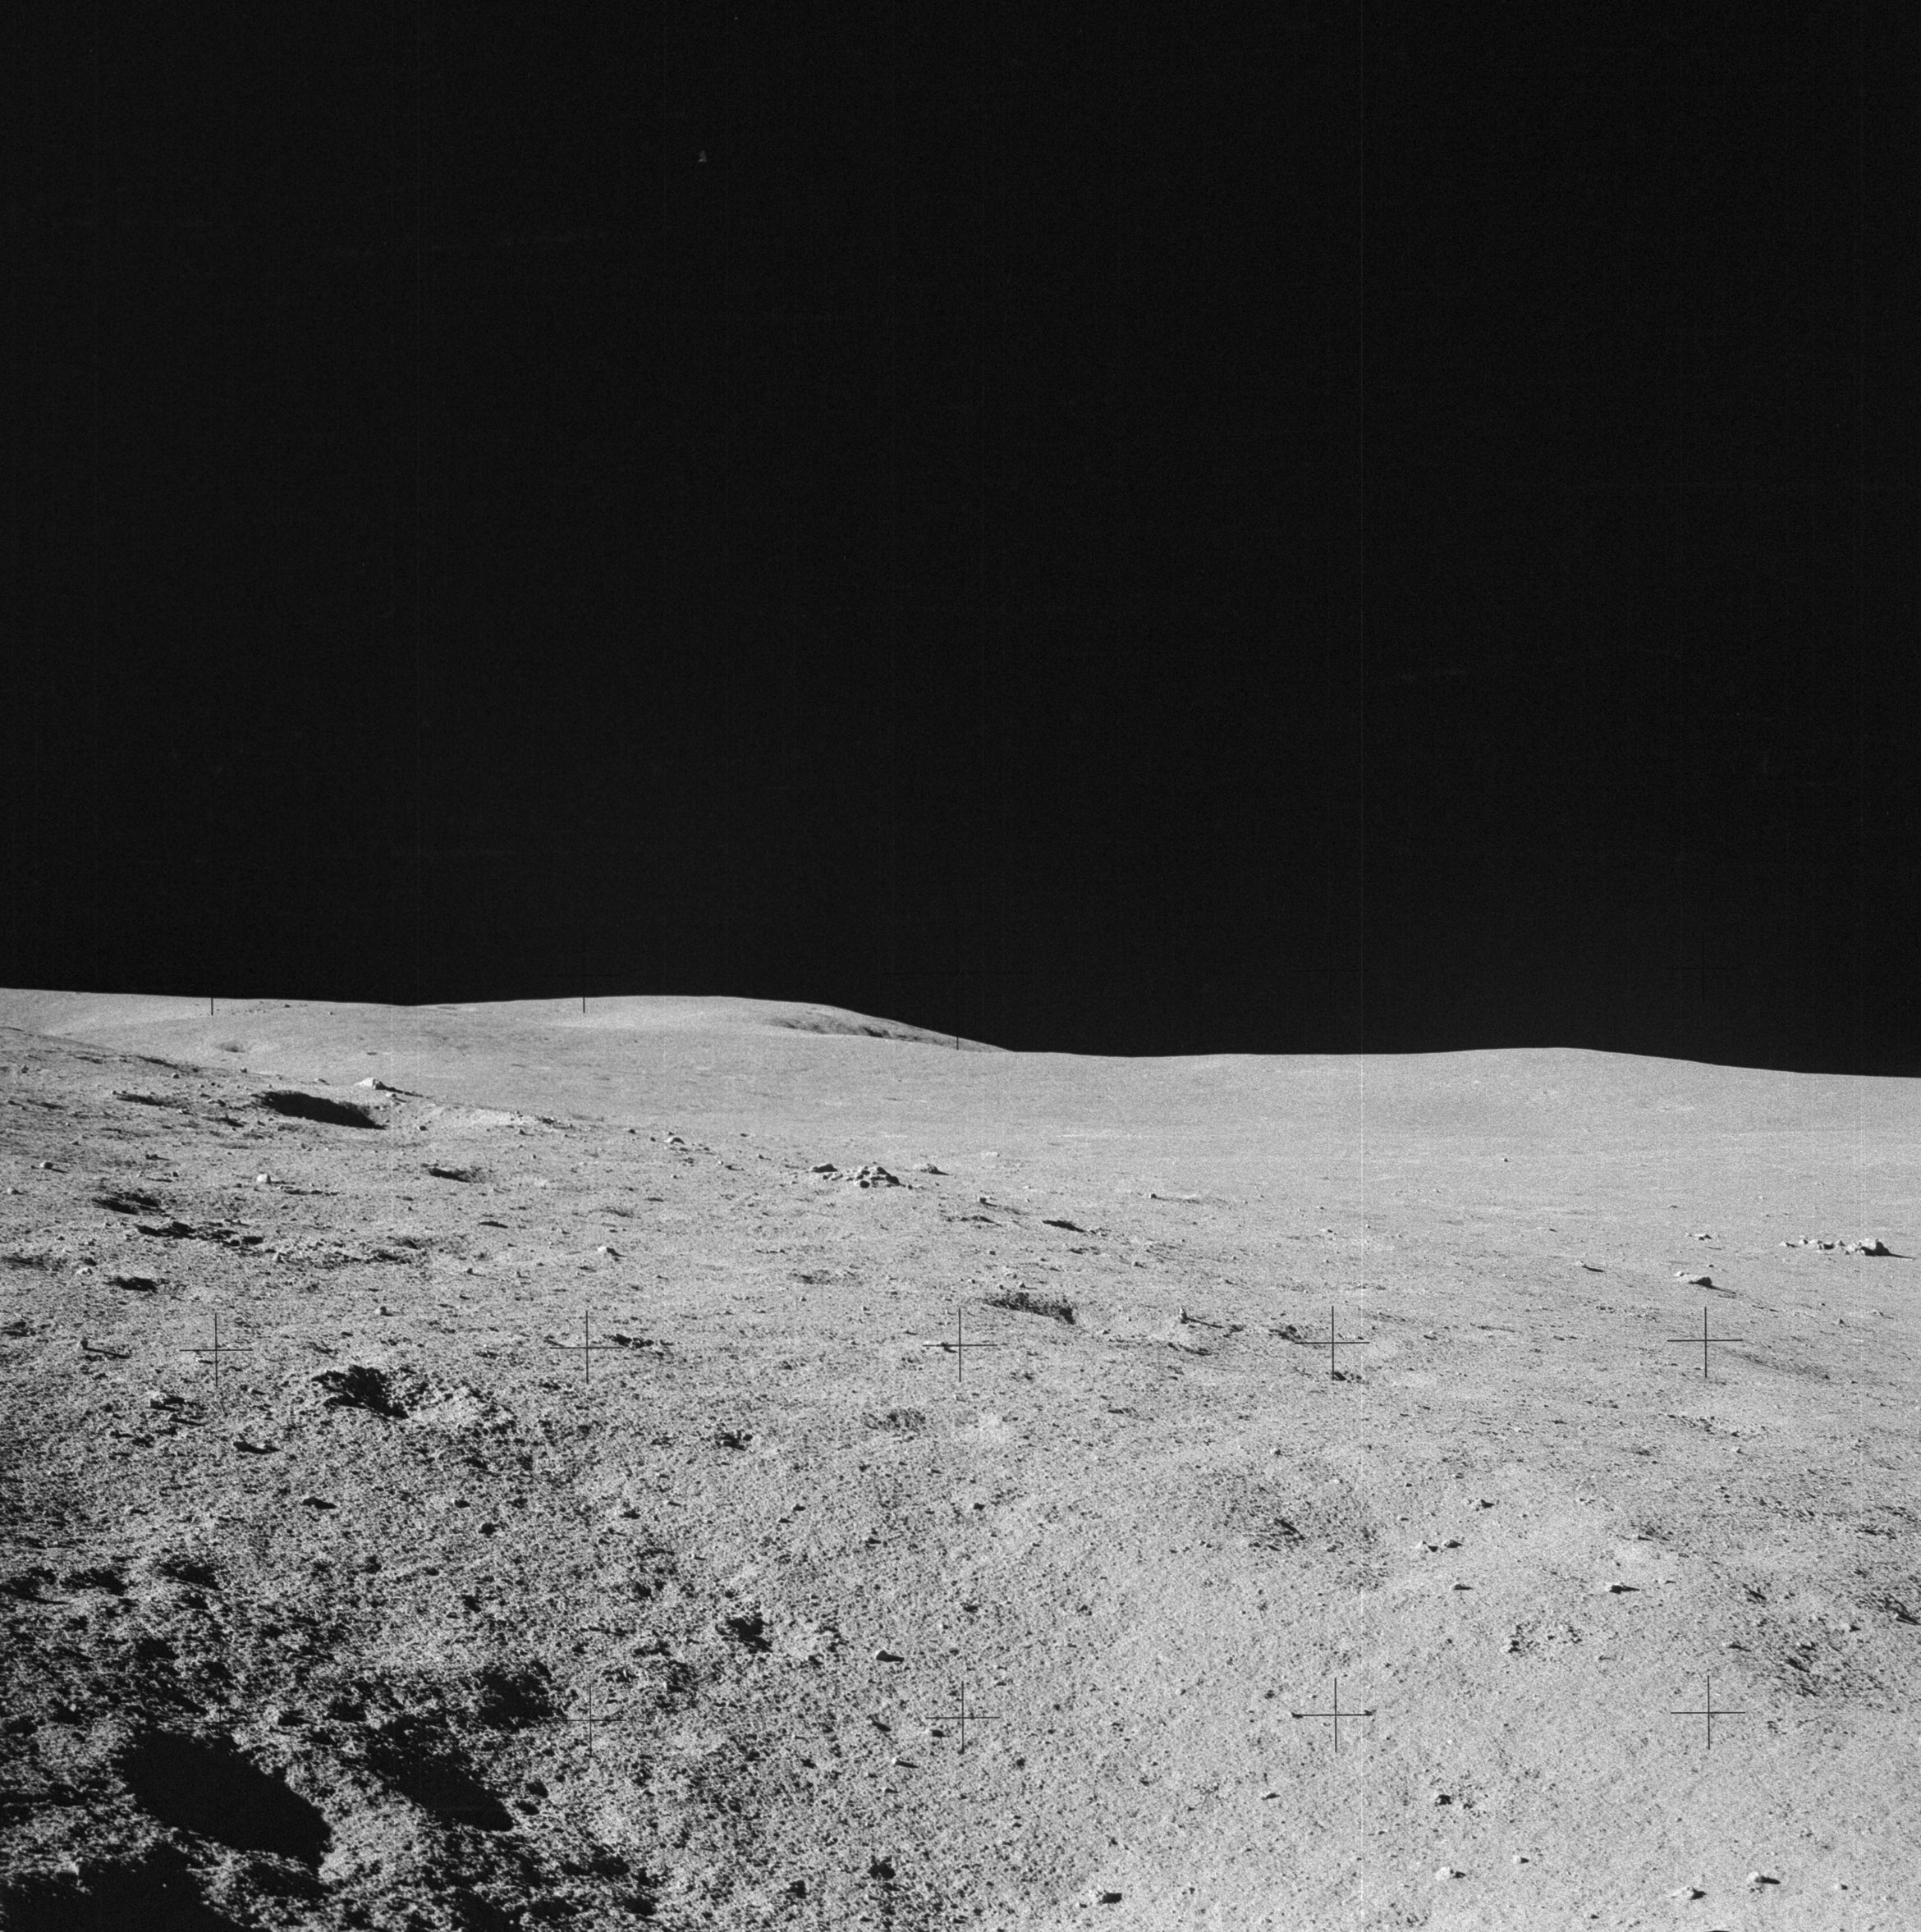 | AS14-64-9092 Rightward of 9091. Image credit: Image Science and Analysis Laboratory, NASA-Johnson Space Center. |
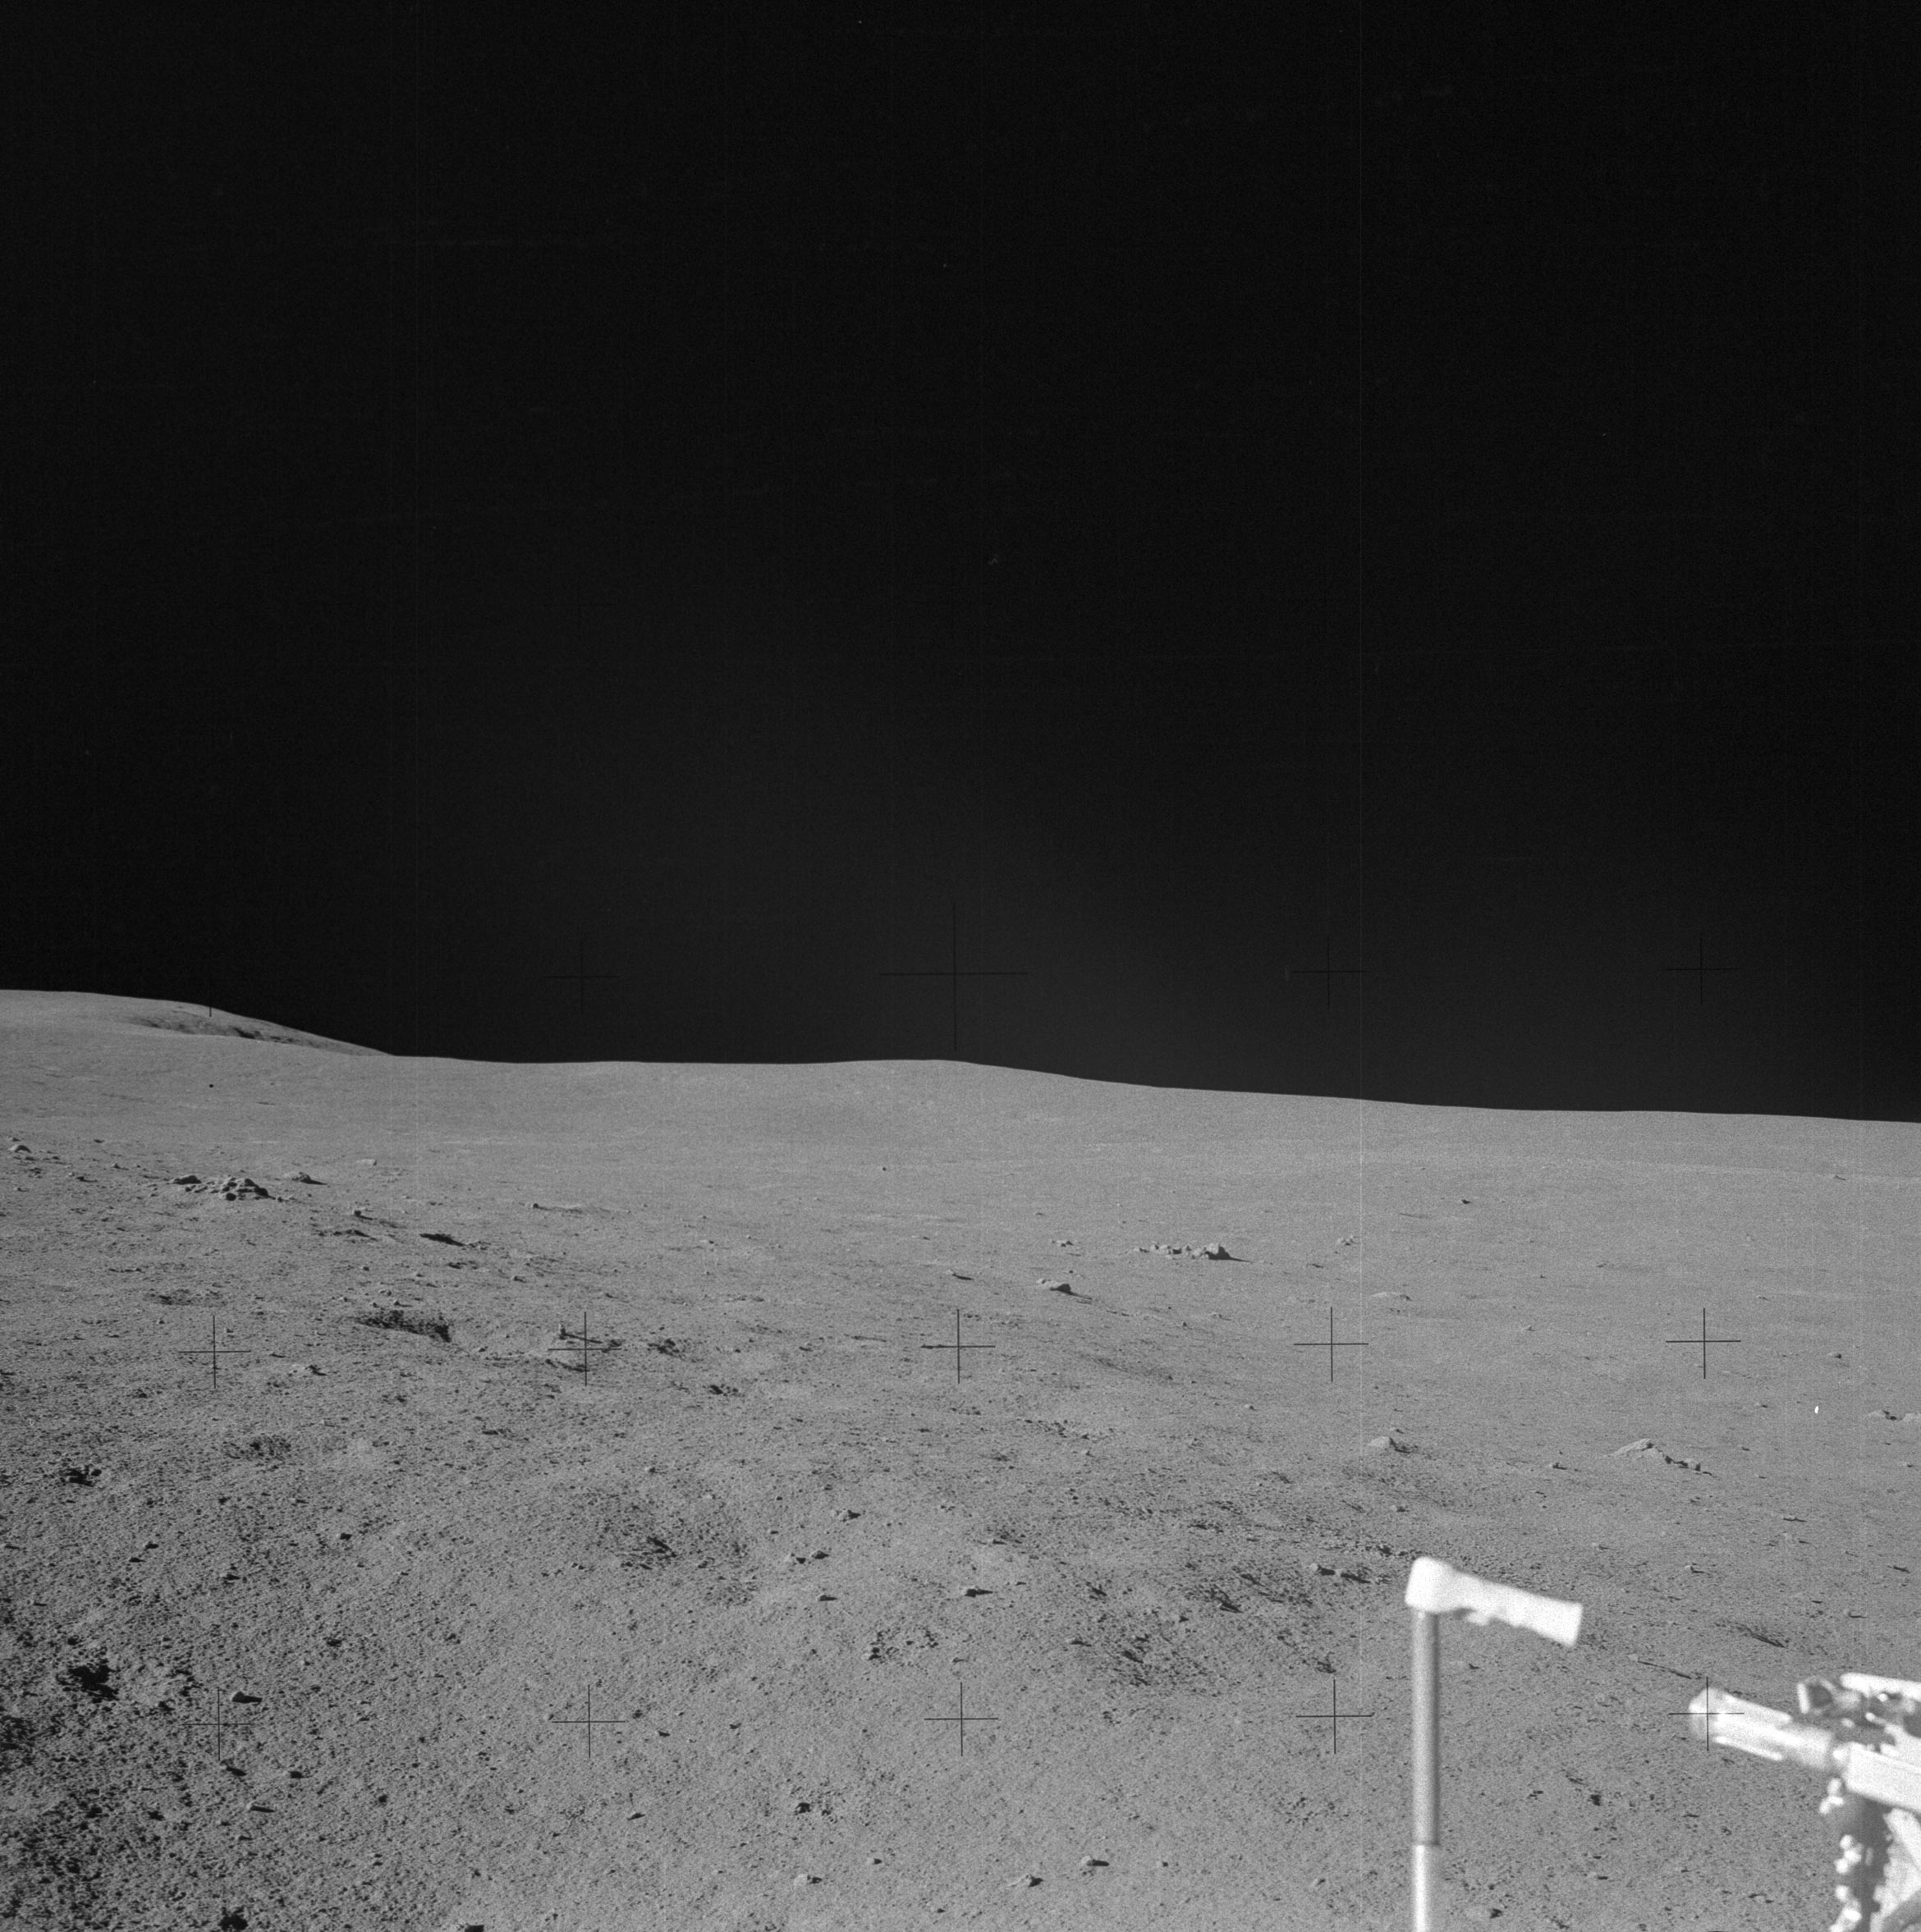 | AS14-64-9093 Rightward of 9092, looking over the MET. Image credit: Image Science and Analysis Laboratory, NASA-Johnson Space Center. |
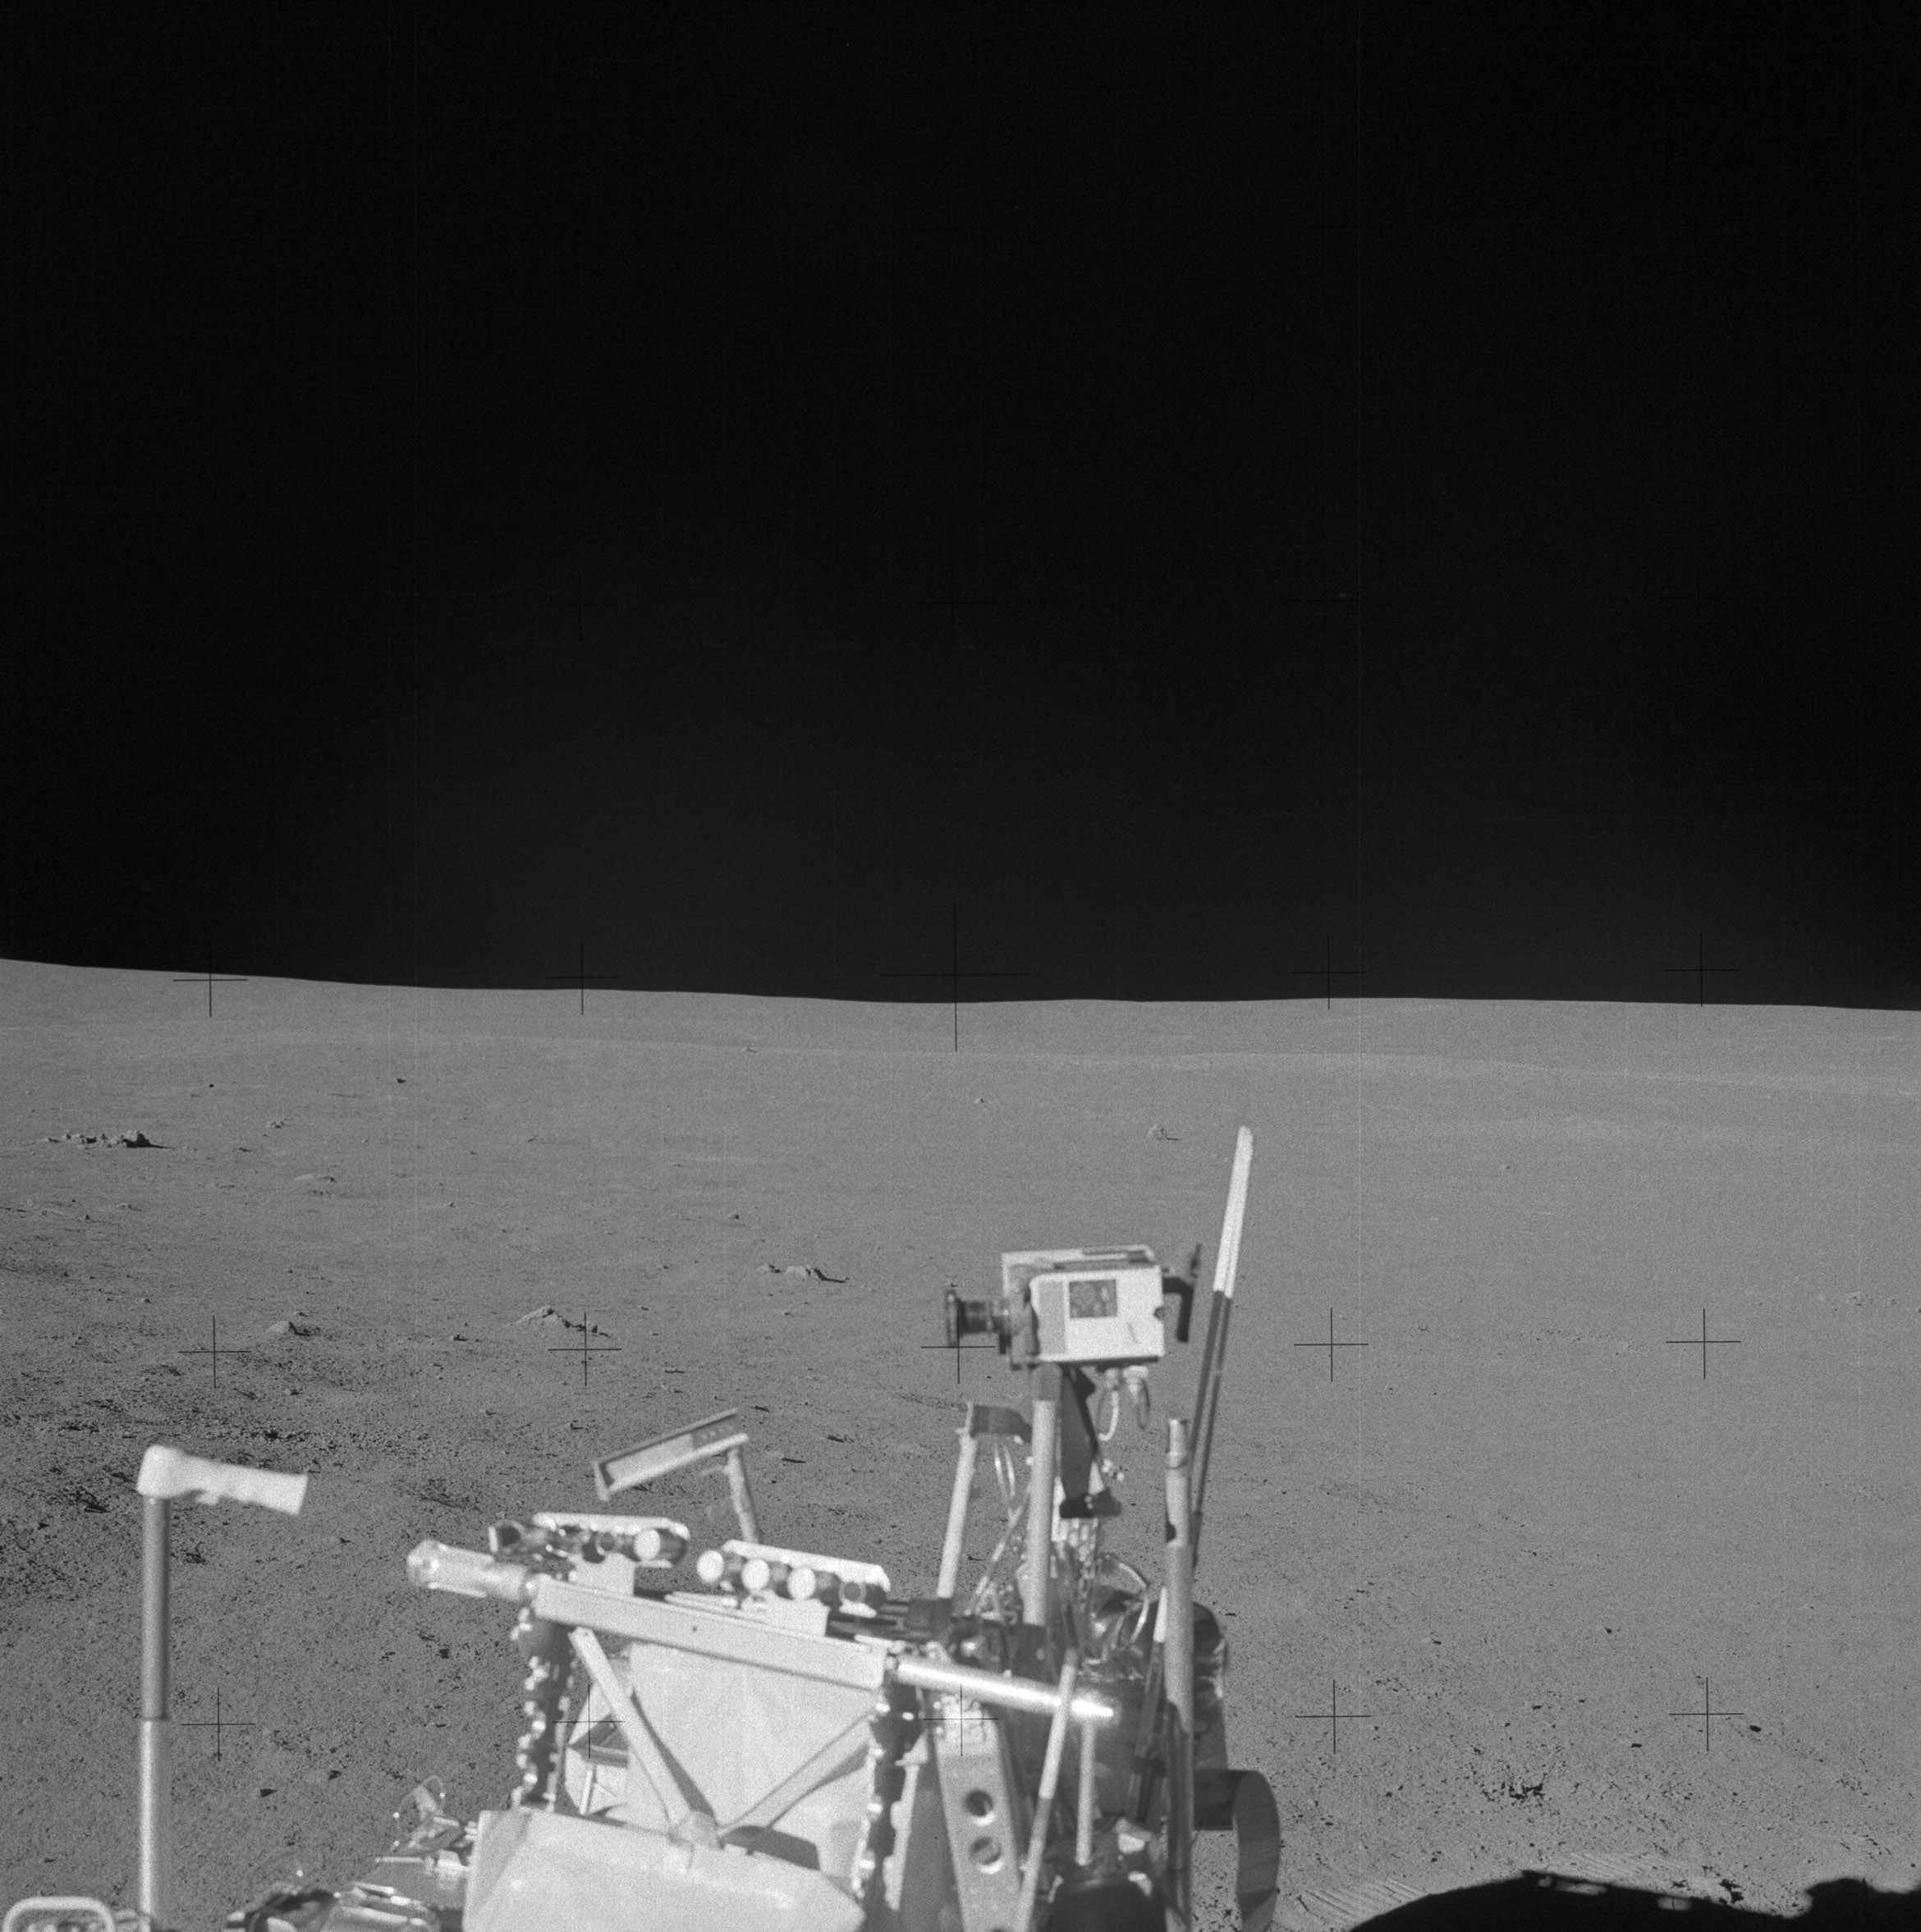 | AS14-64-9094 Rightward of 9093, across the top of the MET. Image credit: Image Science and Analysis Laboratory, NASA-Johnson Space Center. |
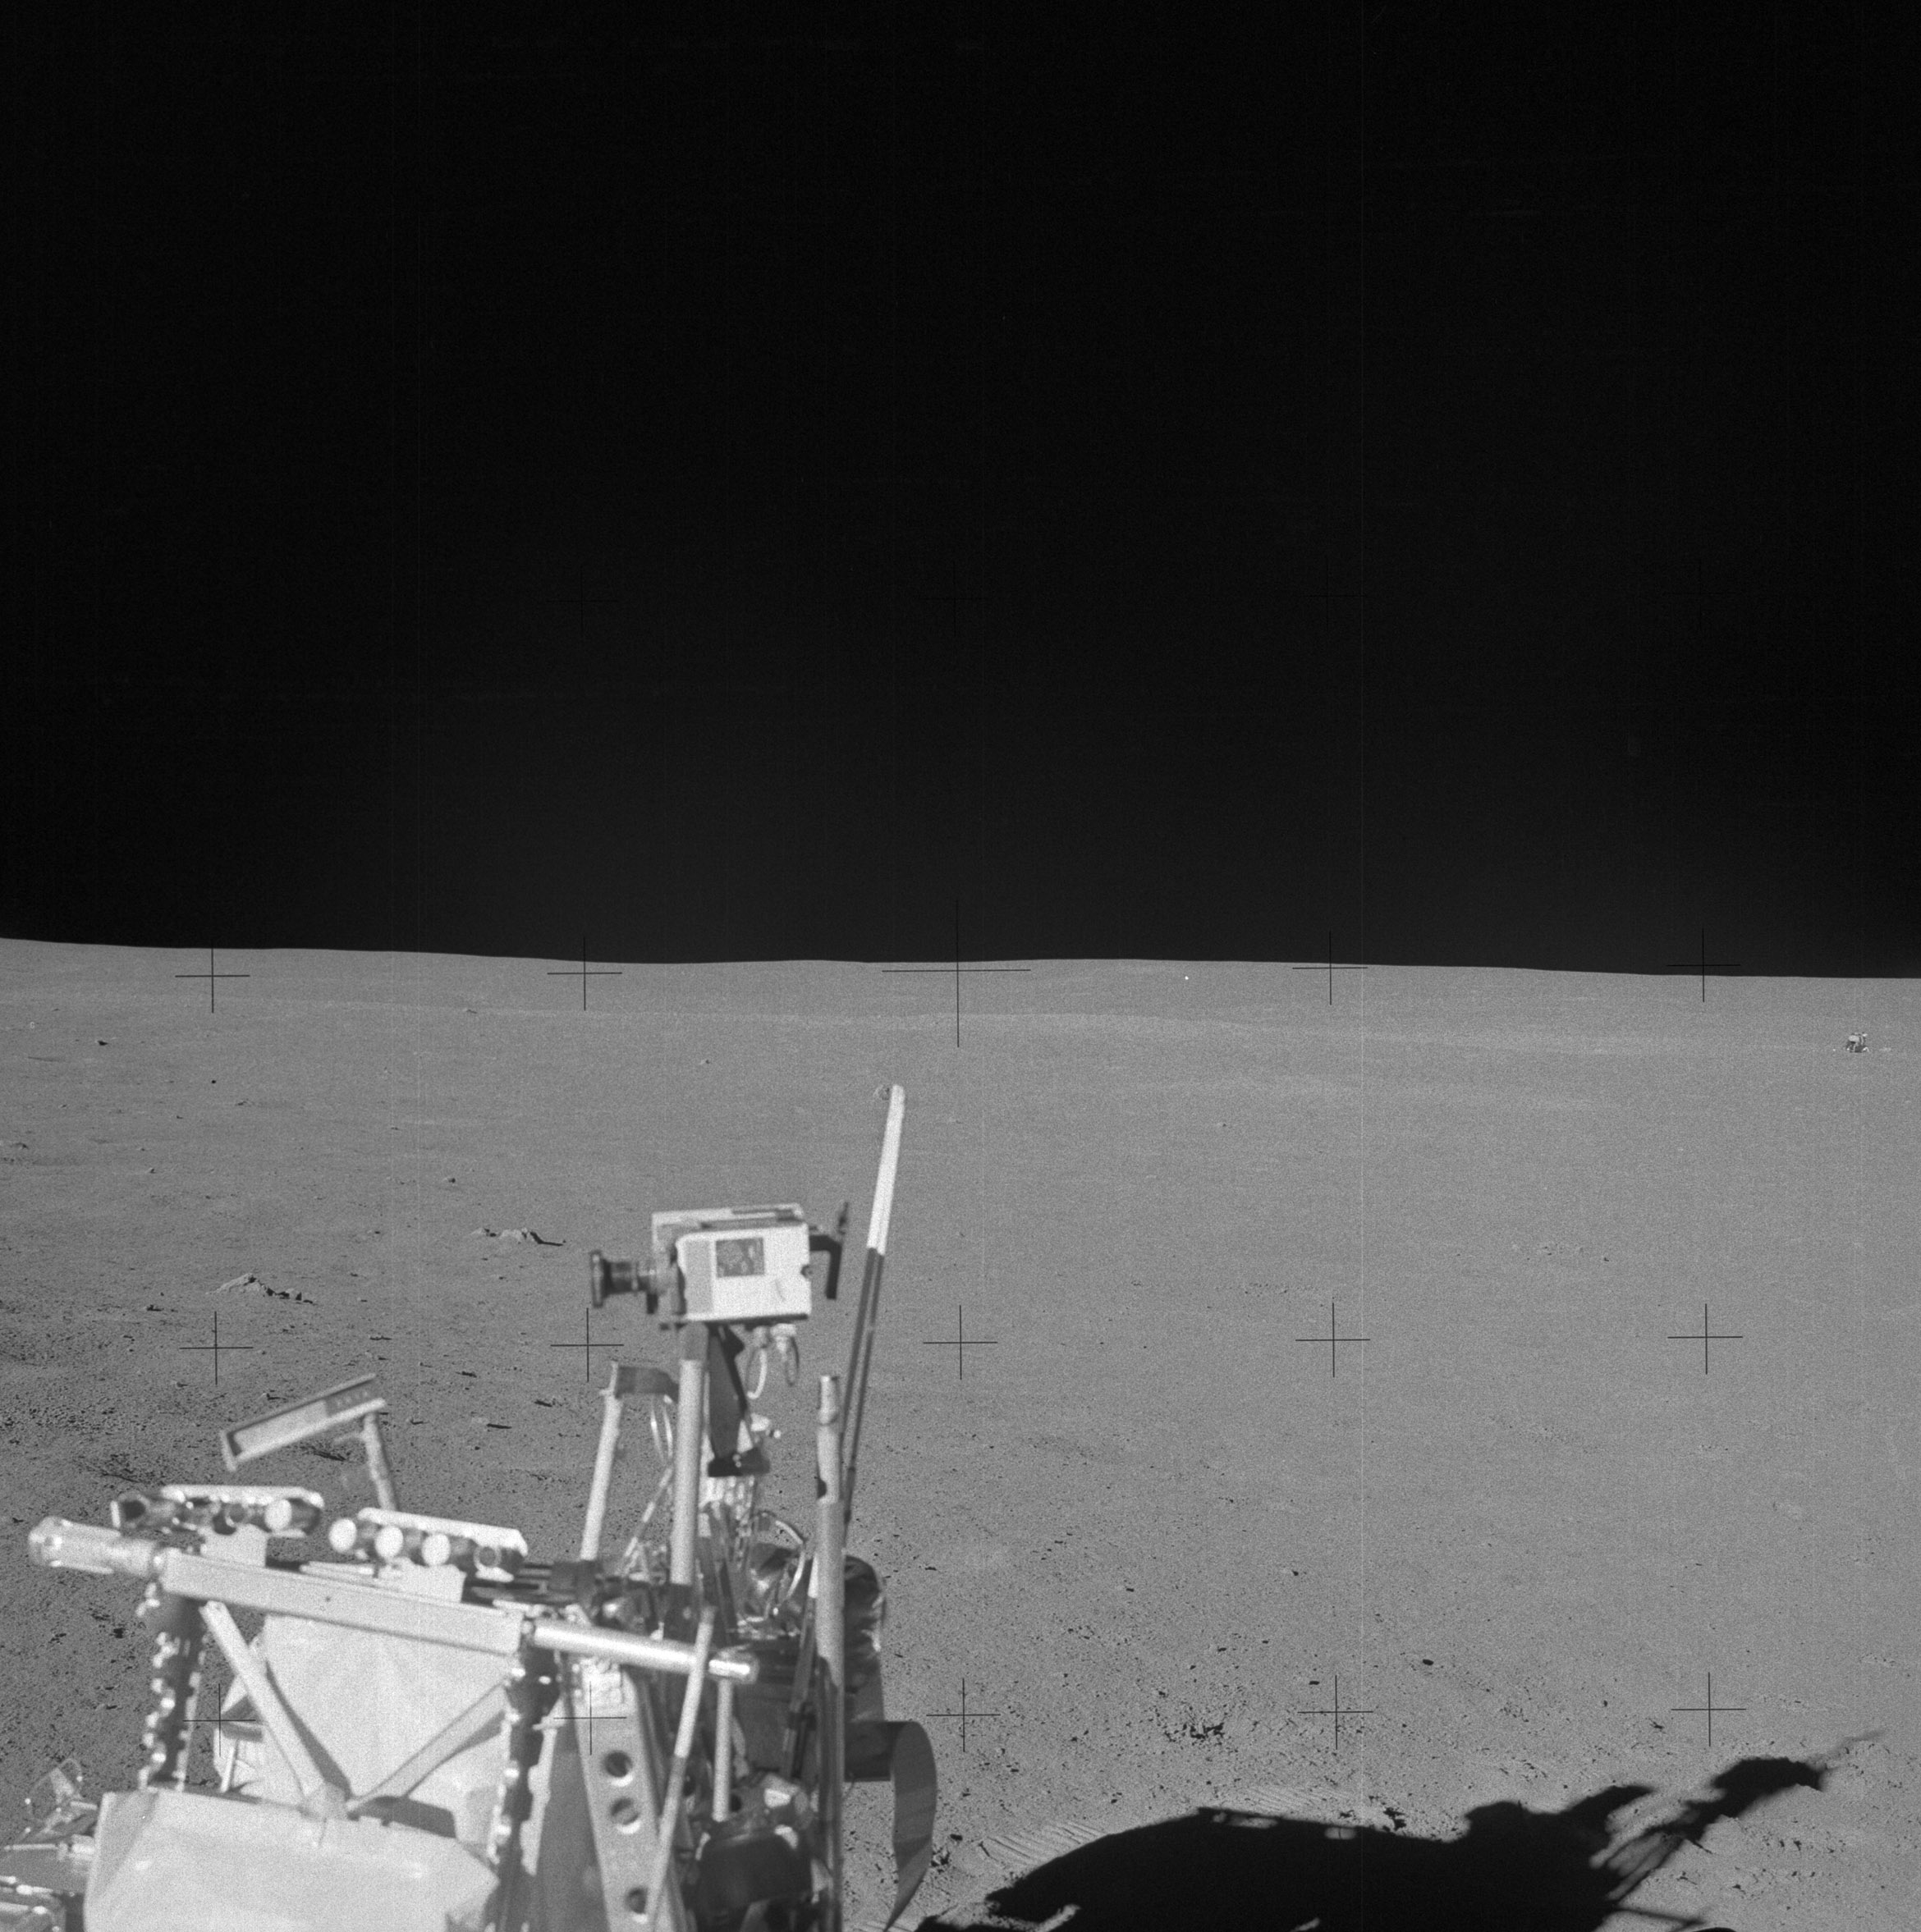 | AS14-64-9095 Rightward of 9094, over the top of the MET. Image credit: Image Science and Analysis Laboratory, NASA-Johnson Space Center. |
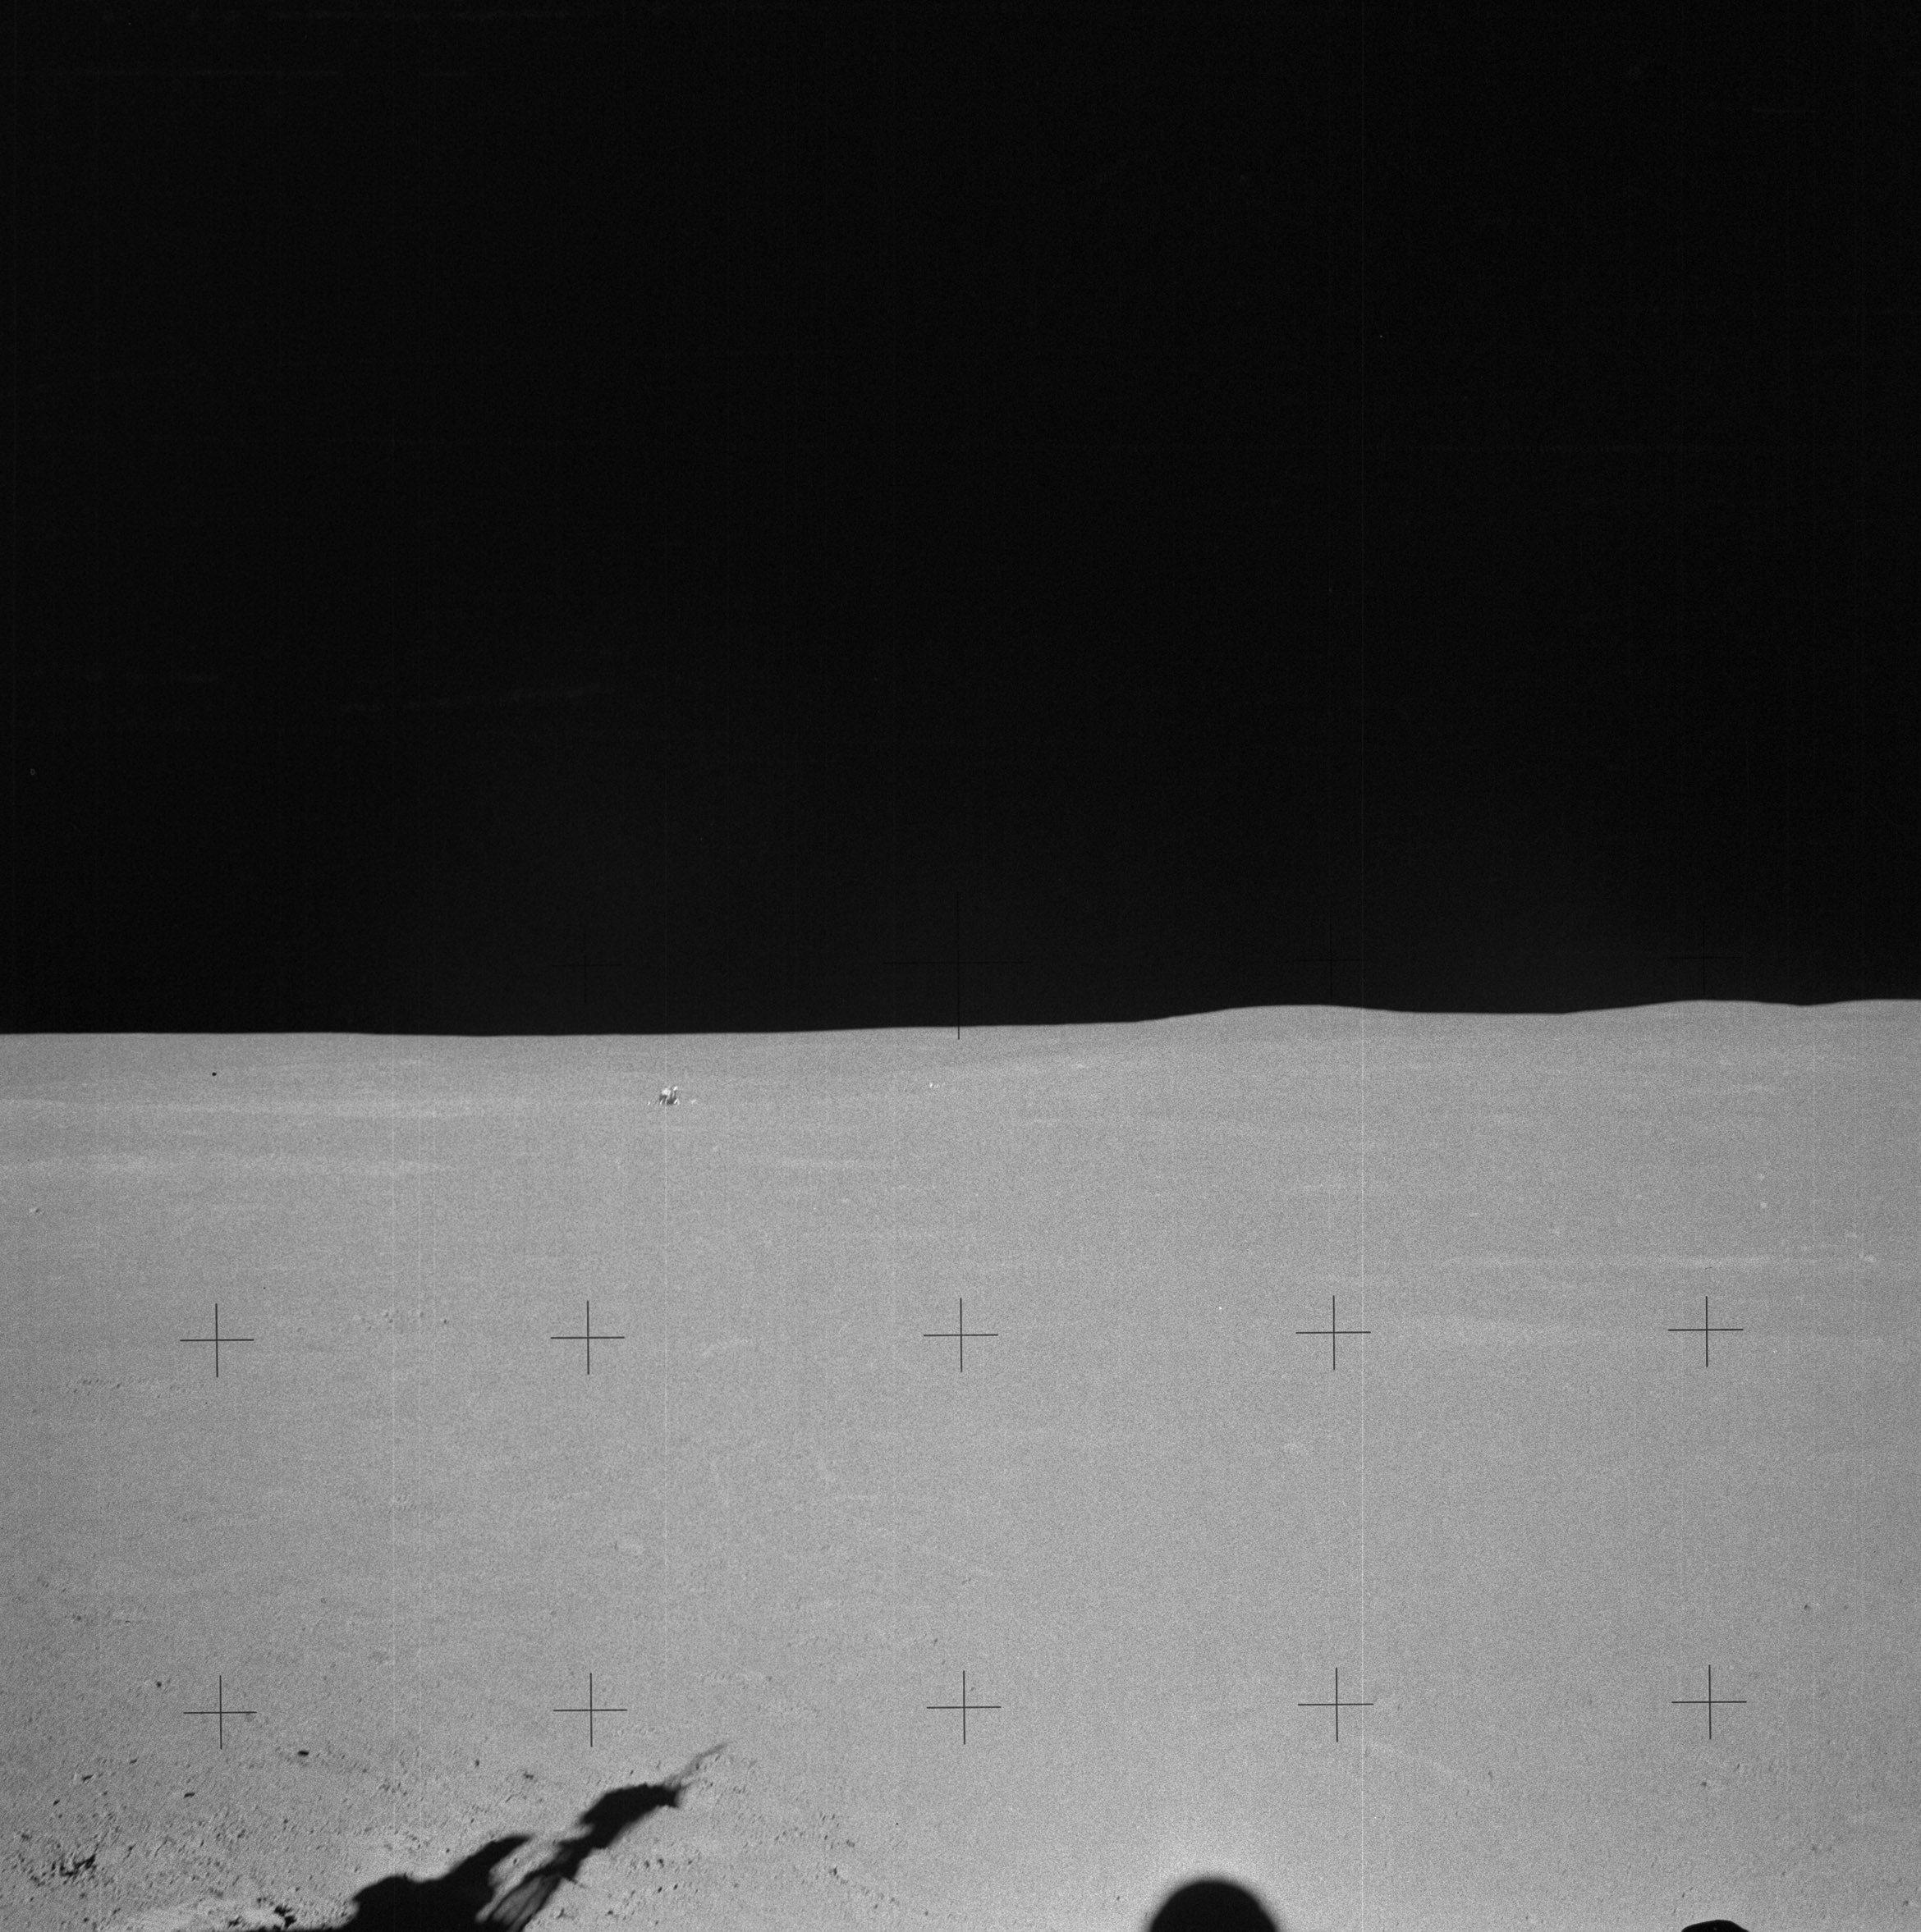 | AS14-64-9096 Rightward of 9095, centered on the LM. Image credit: Image Science and Analysis Laboratory, NASA-Johnson Space Center. |
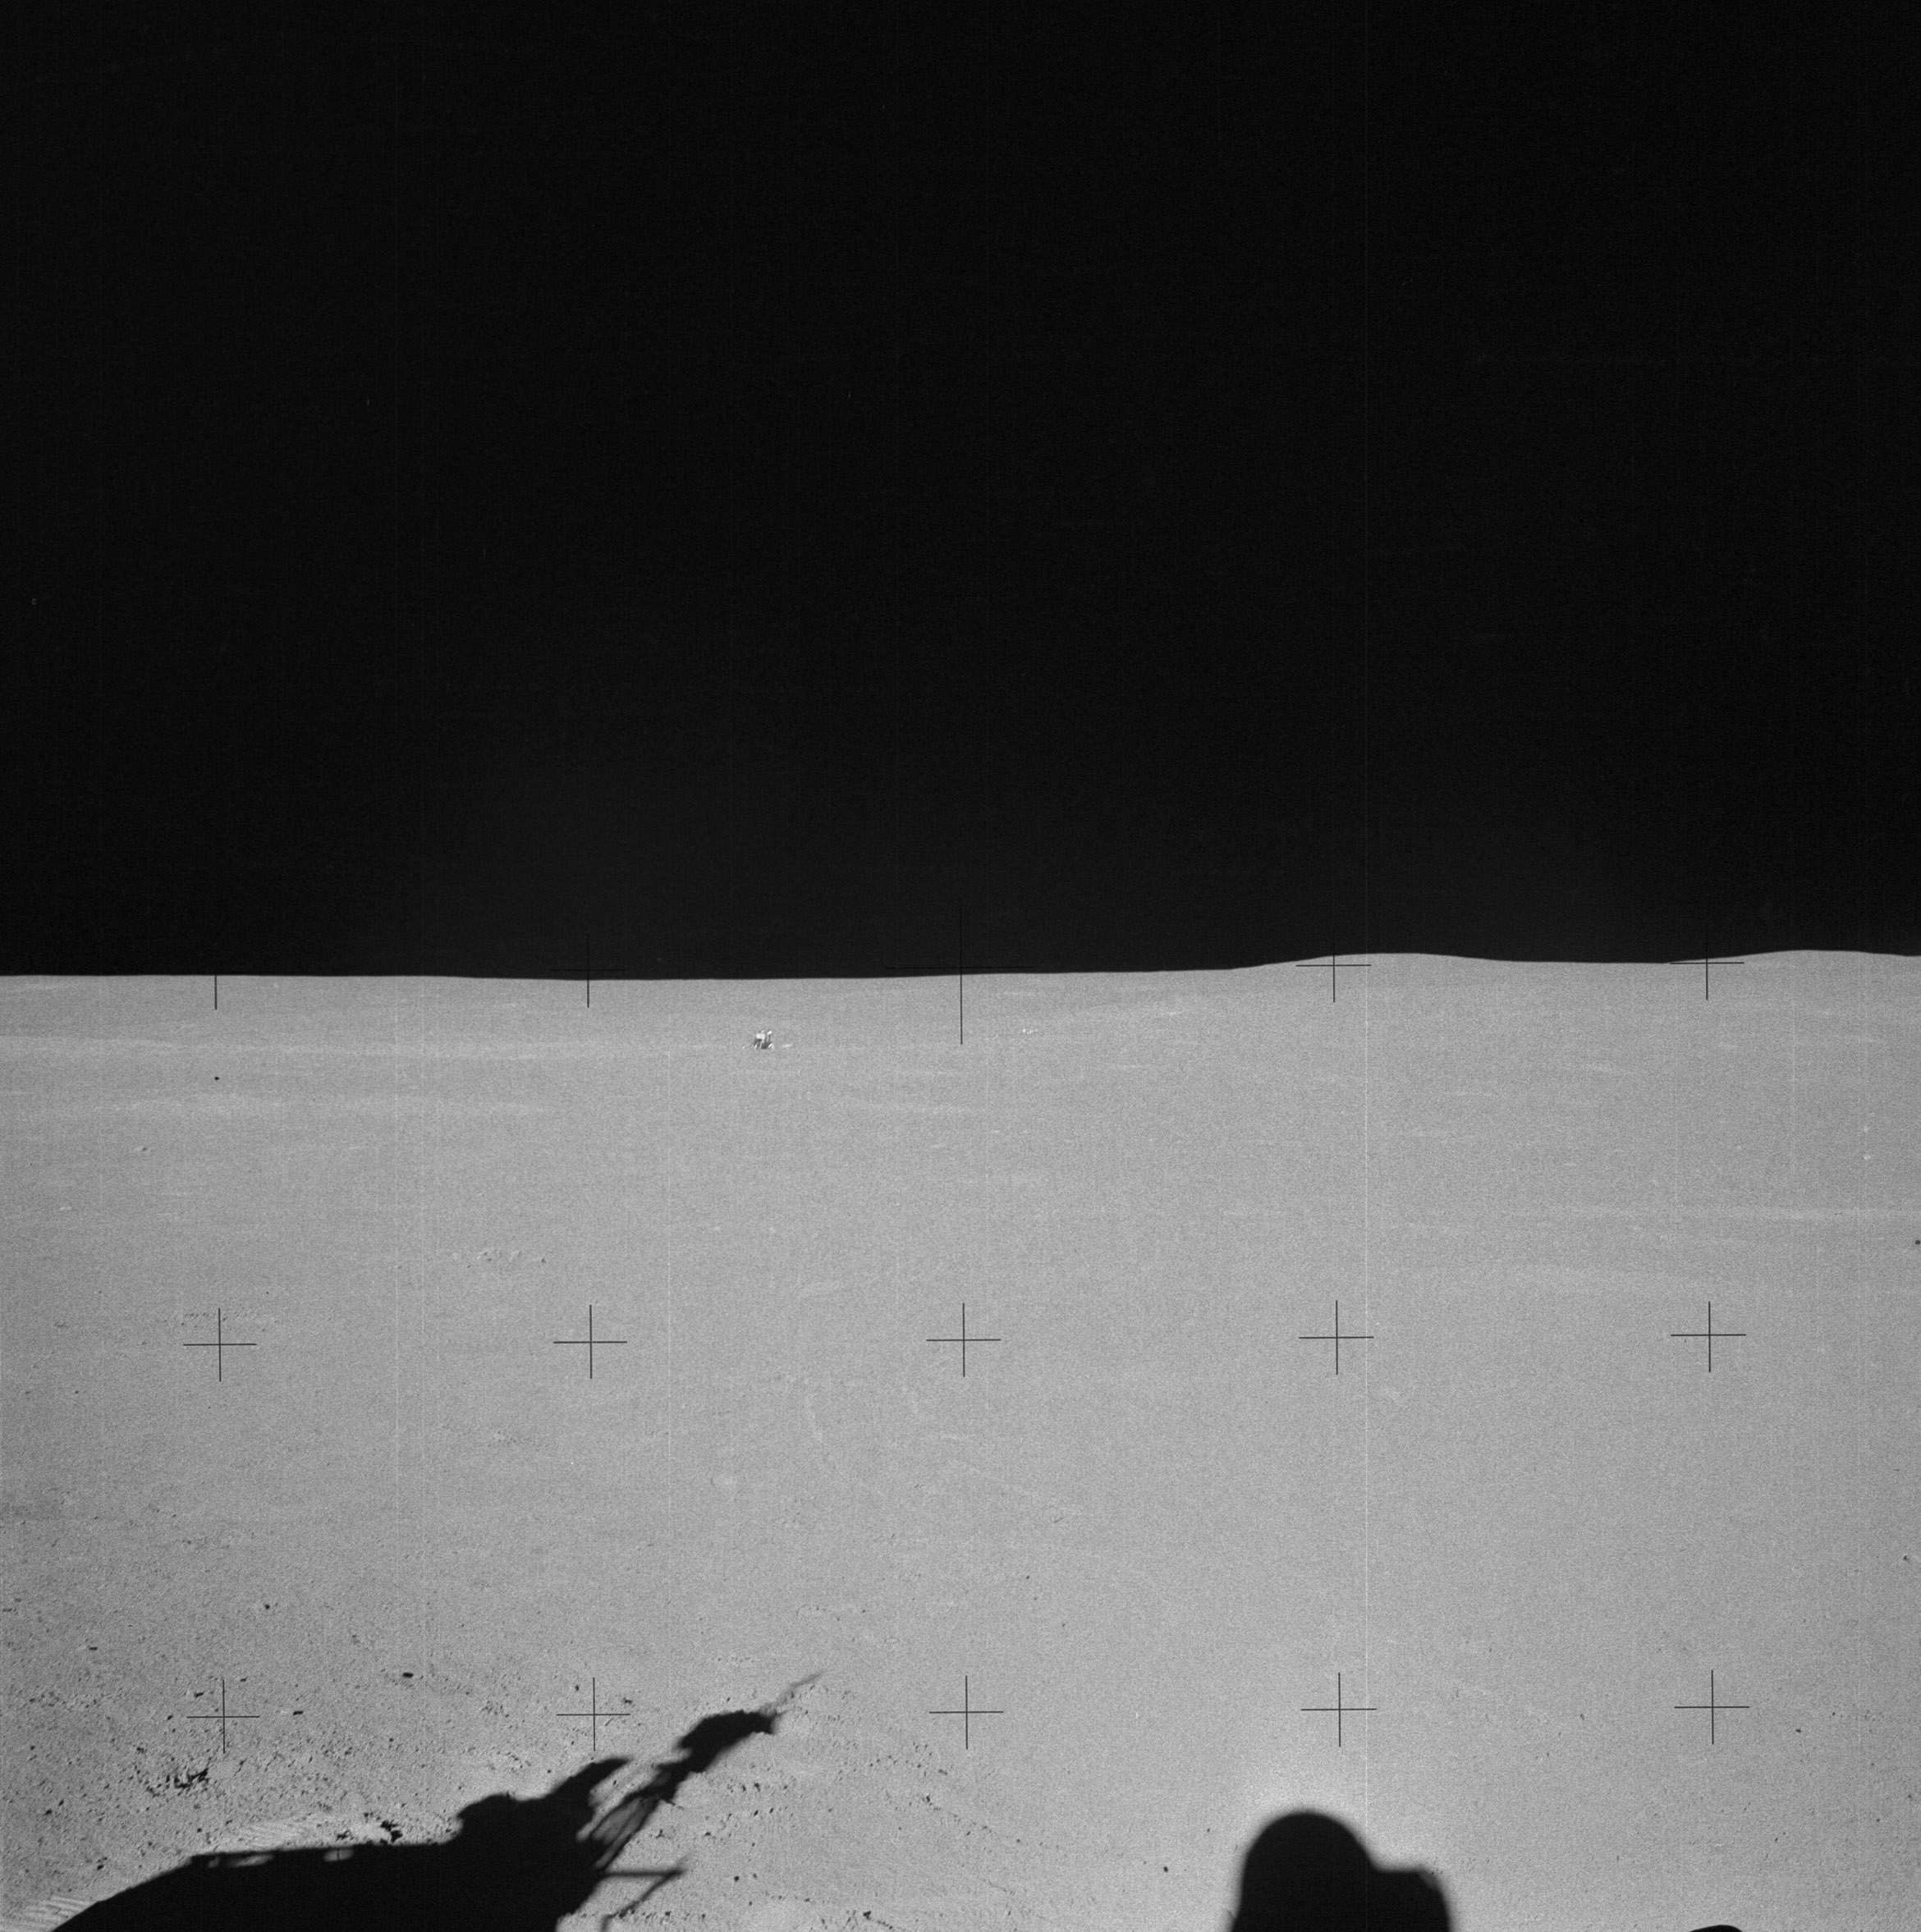 | AS14-64-9097 Rightward of 9096, down-Sun to the LM, showing the MET shadow. Image credit: Image Science and Analysis Laboratory, NASA-Johnson Space Center. |
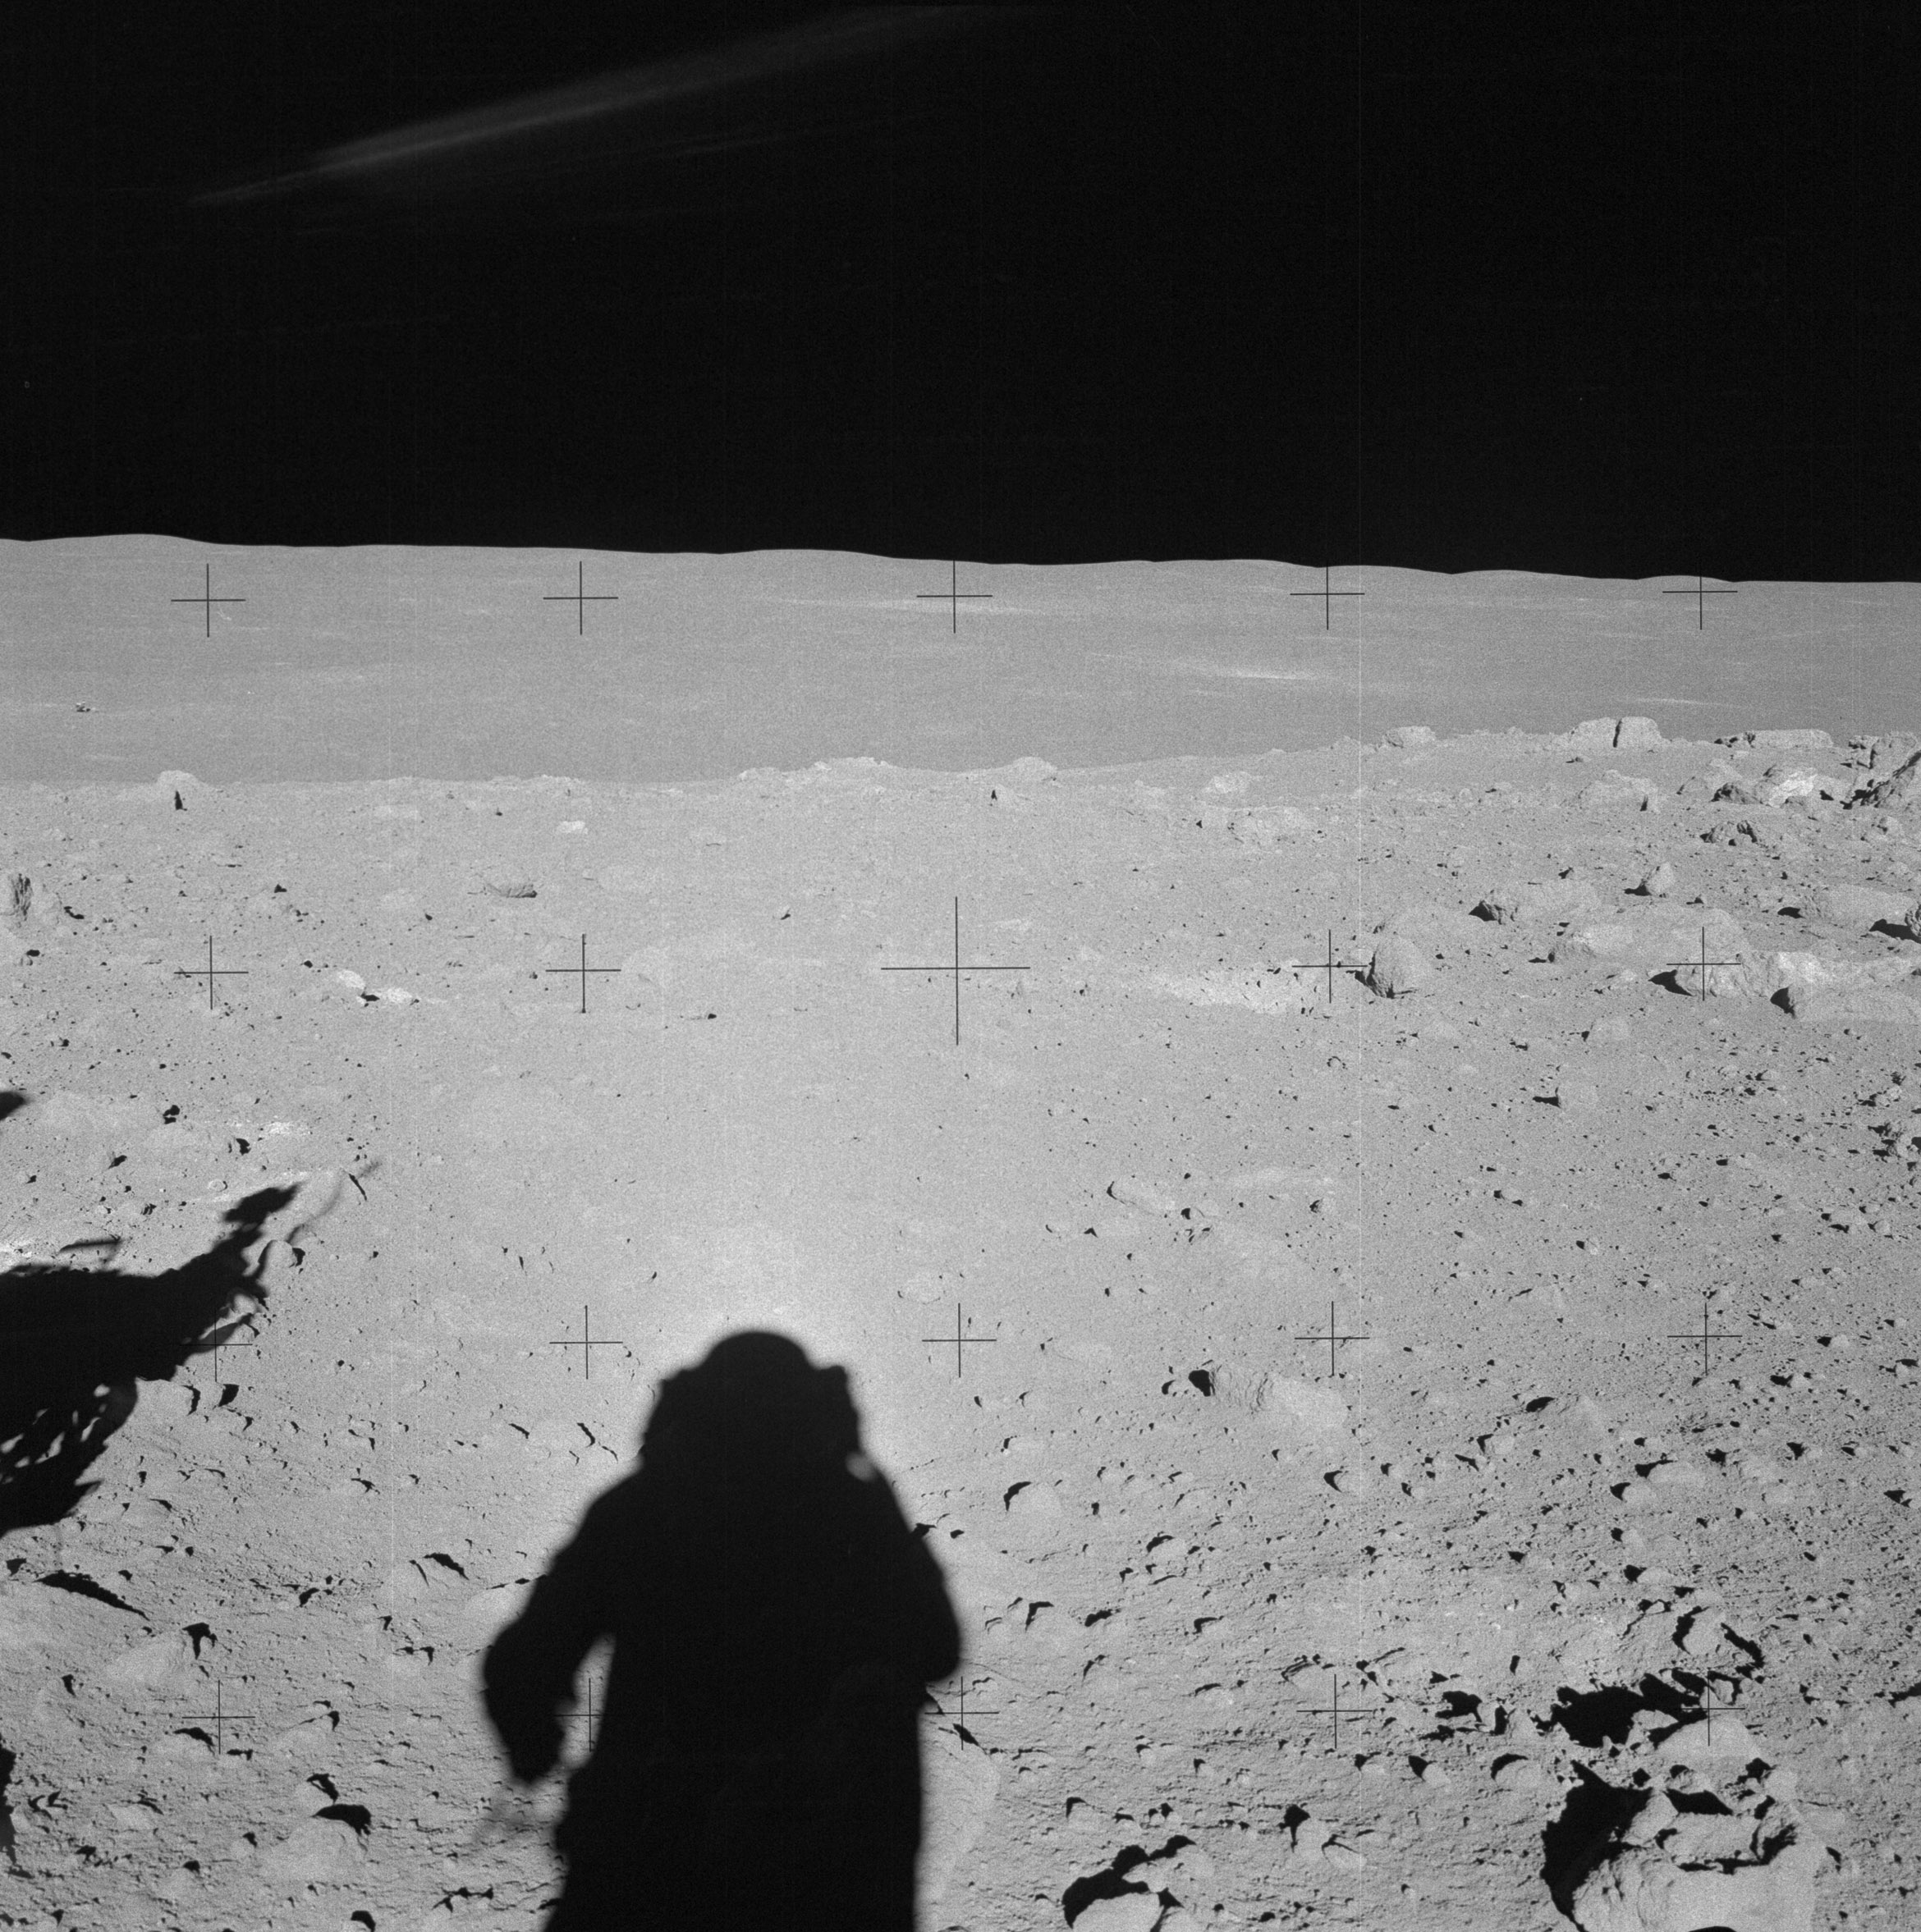 | AS14-64-9098 133:23:40 Al takes an excellent pan at Station C-Prime, starting with this down-Sun. Image credit: Image Science and Analysis Laboratory, NASA-Johnson Space Center. |
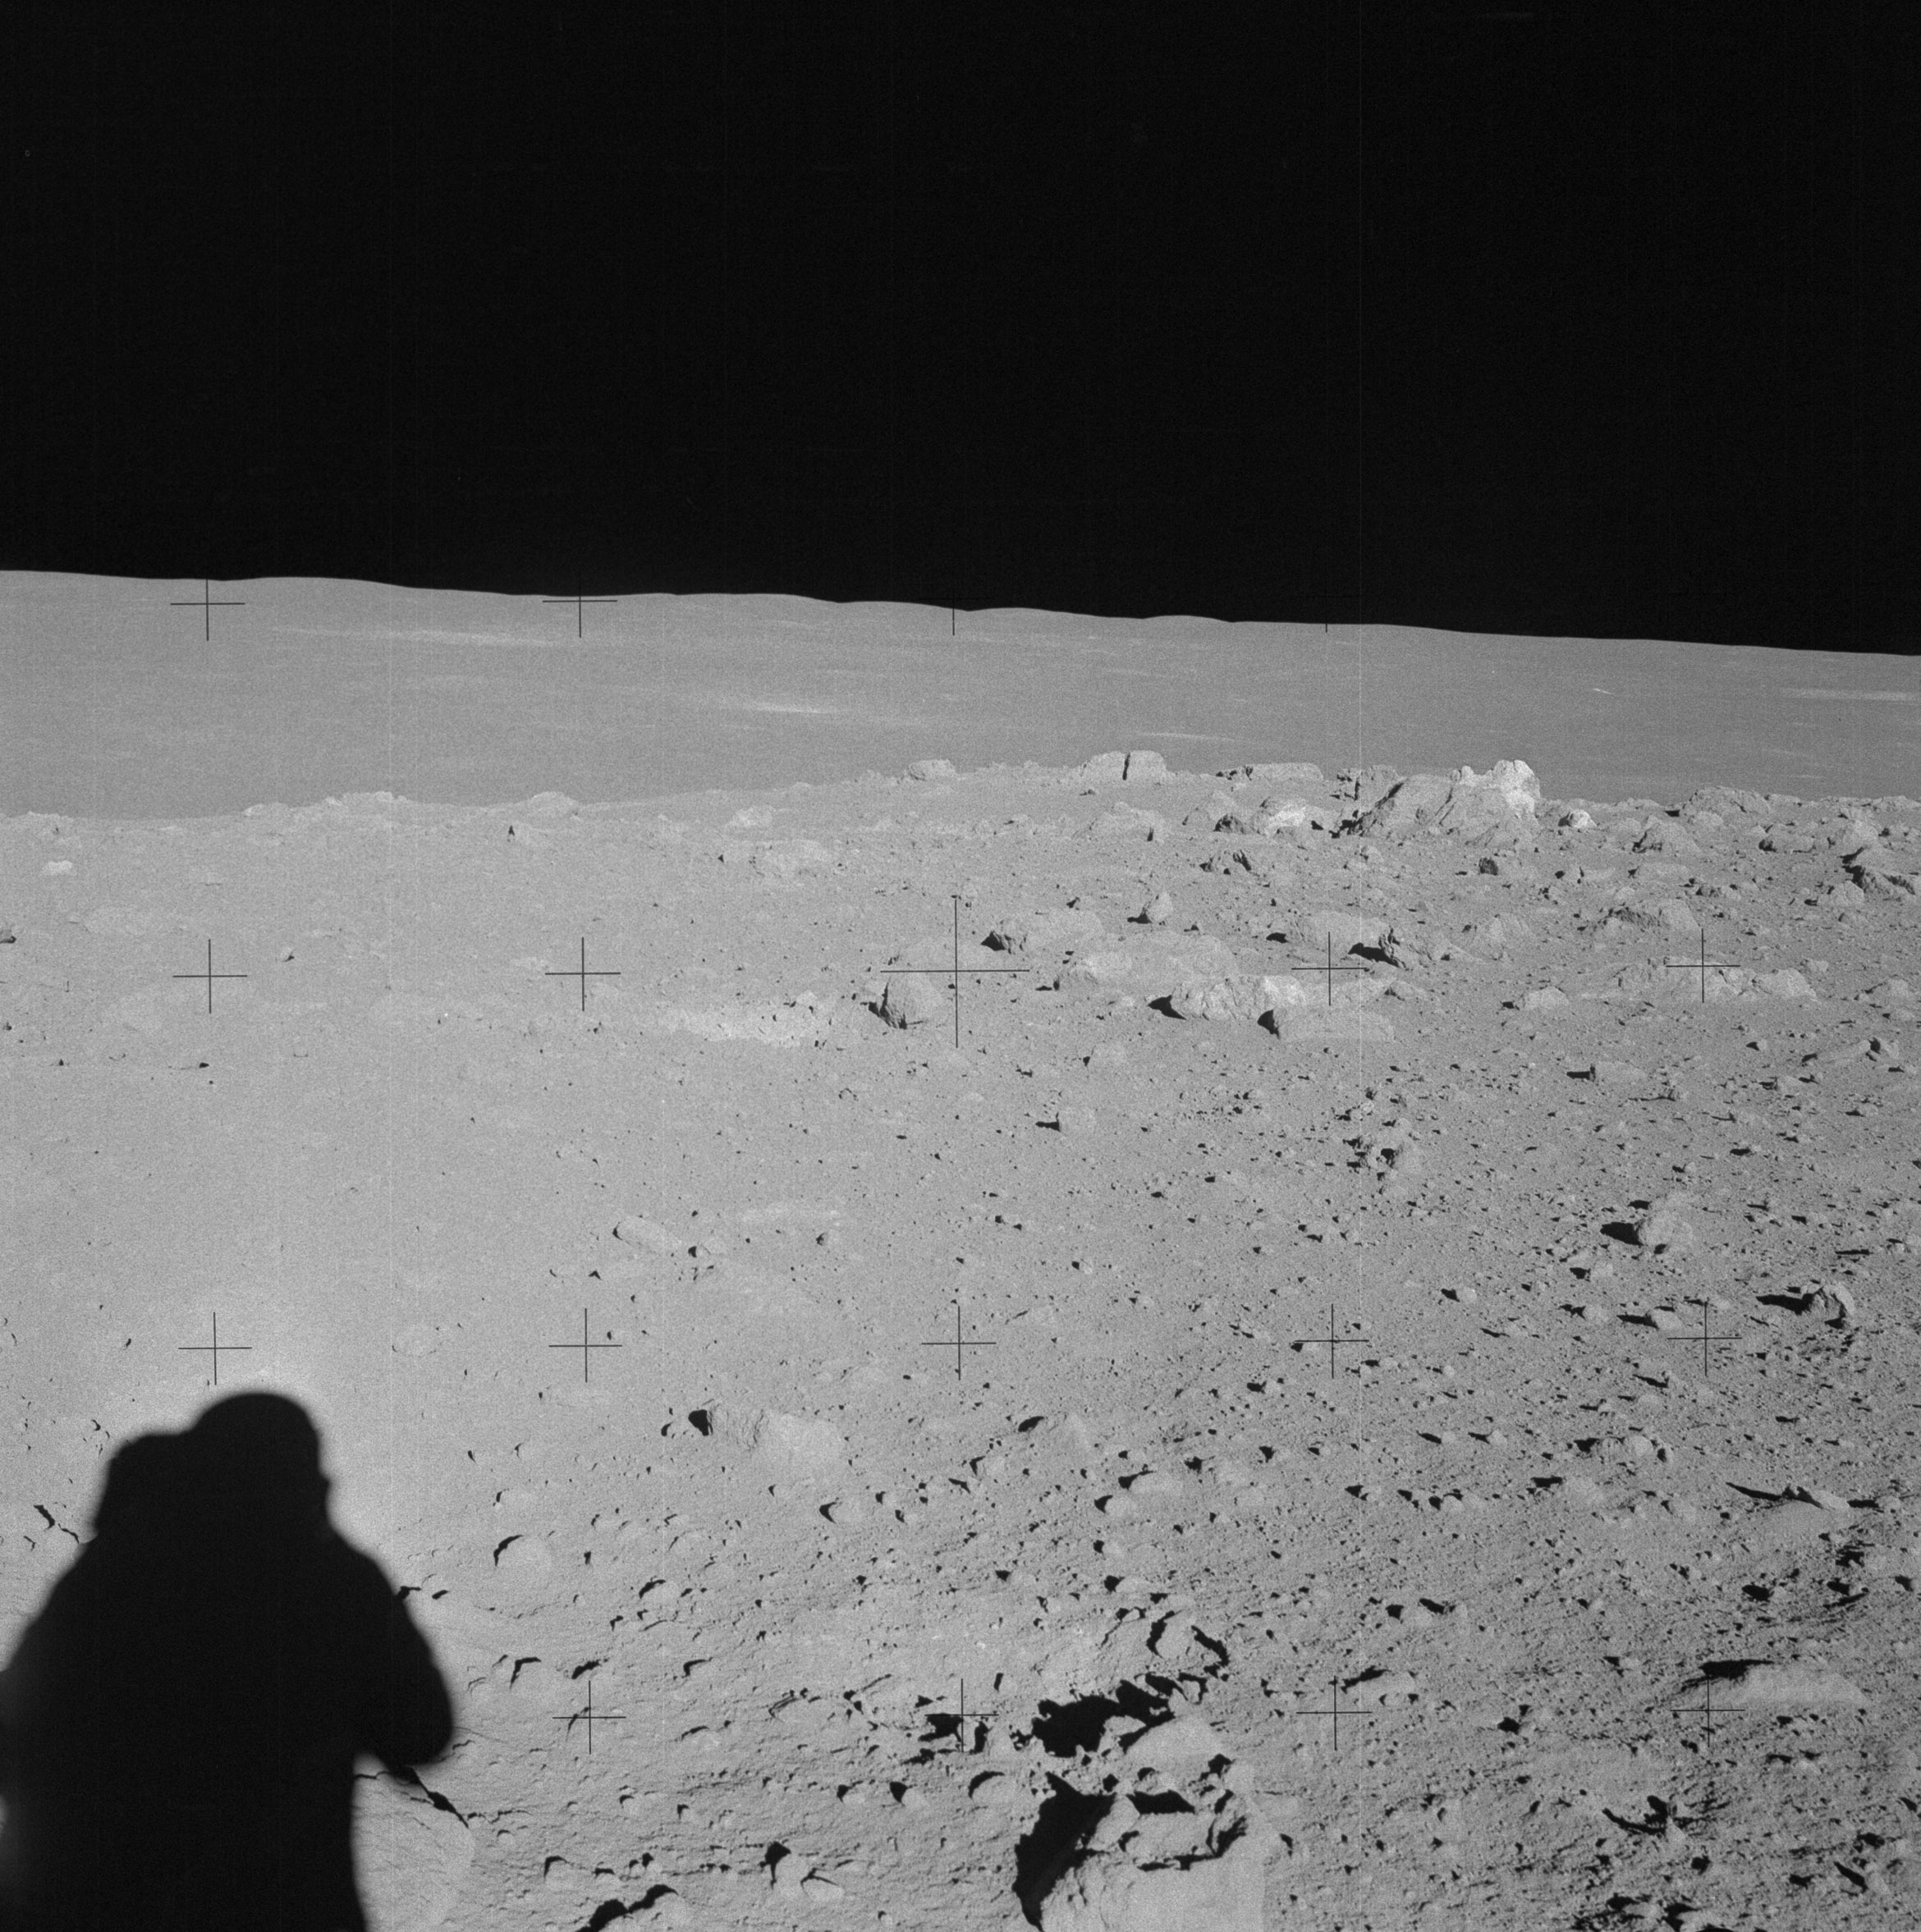 | AS14-64-9099 133:23:40 Rightward of 9098. Image credit: Image Science and Analysis Laboratory, NASA-Johnson Space Center. |
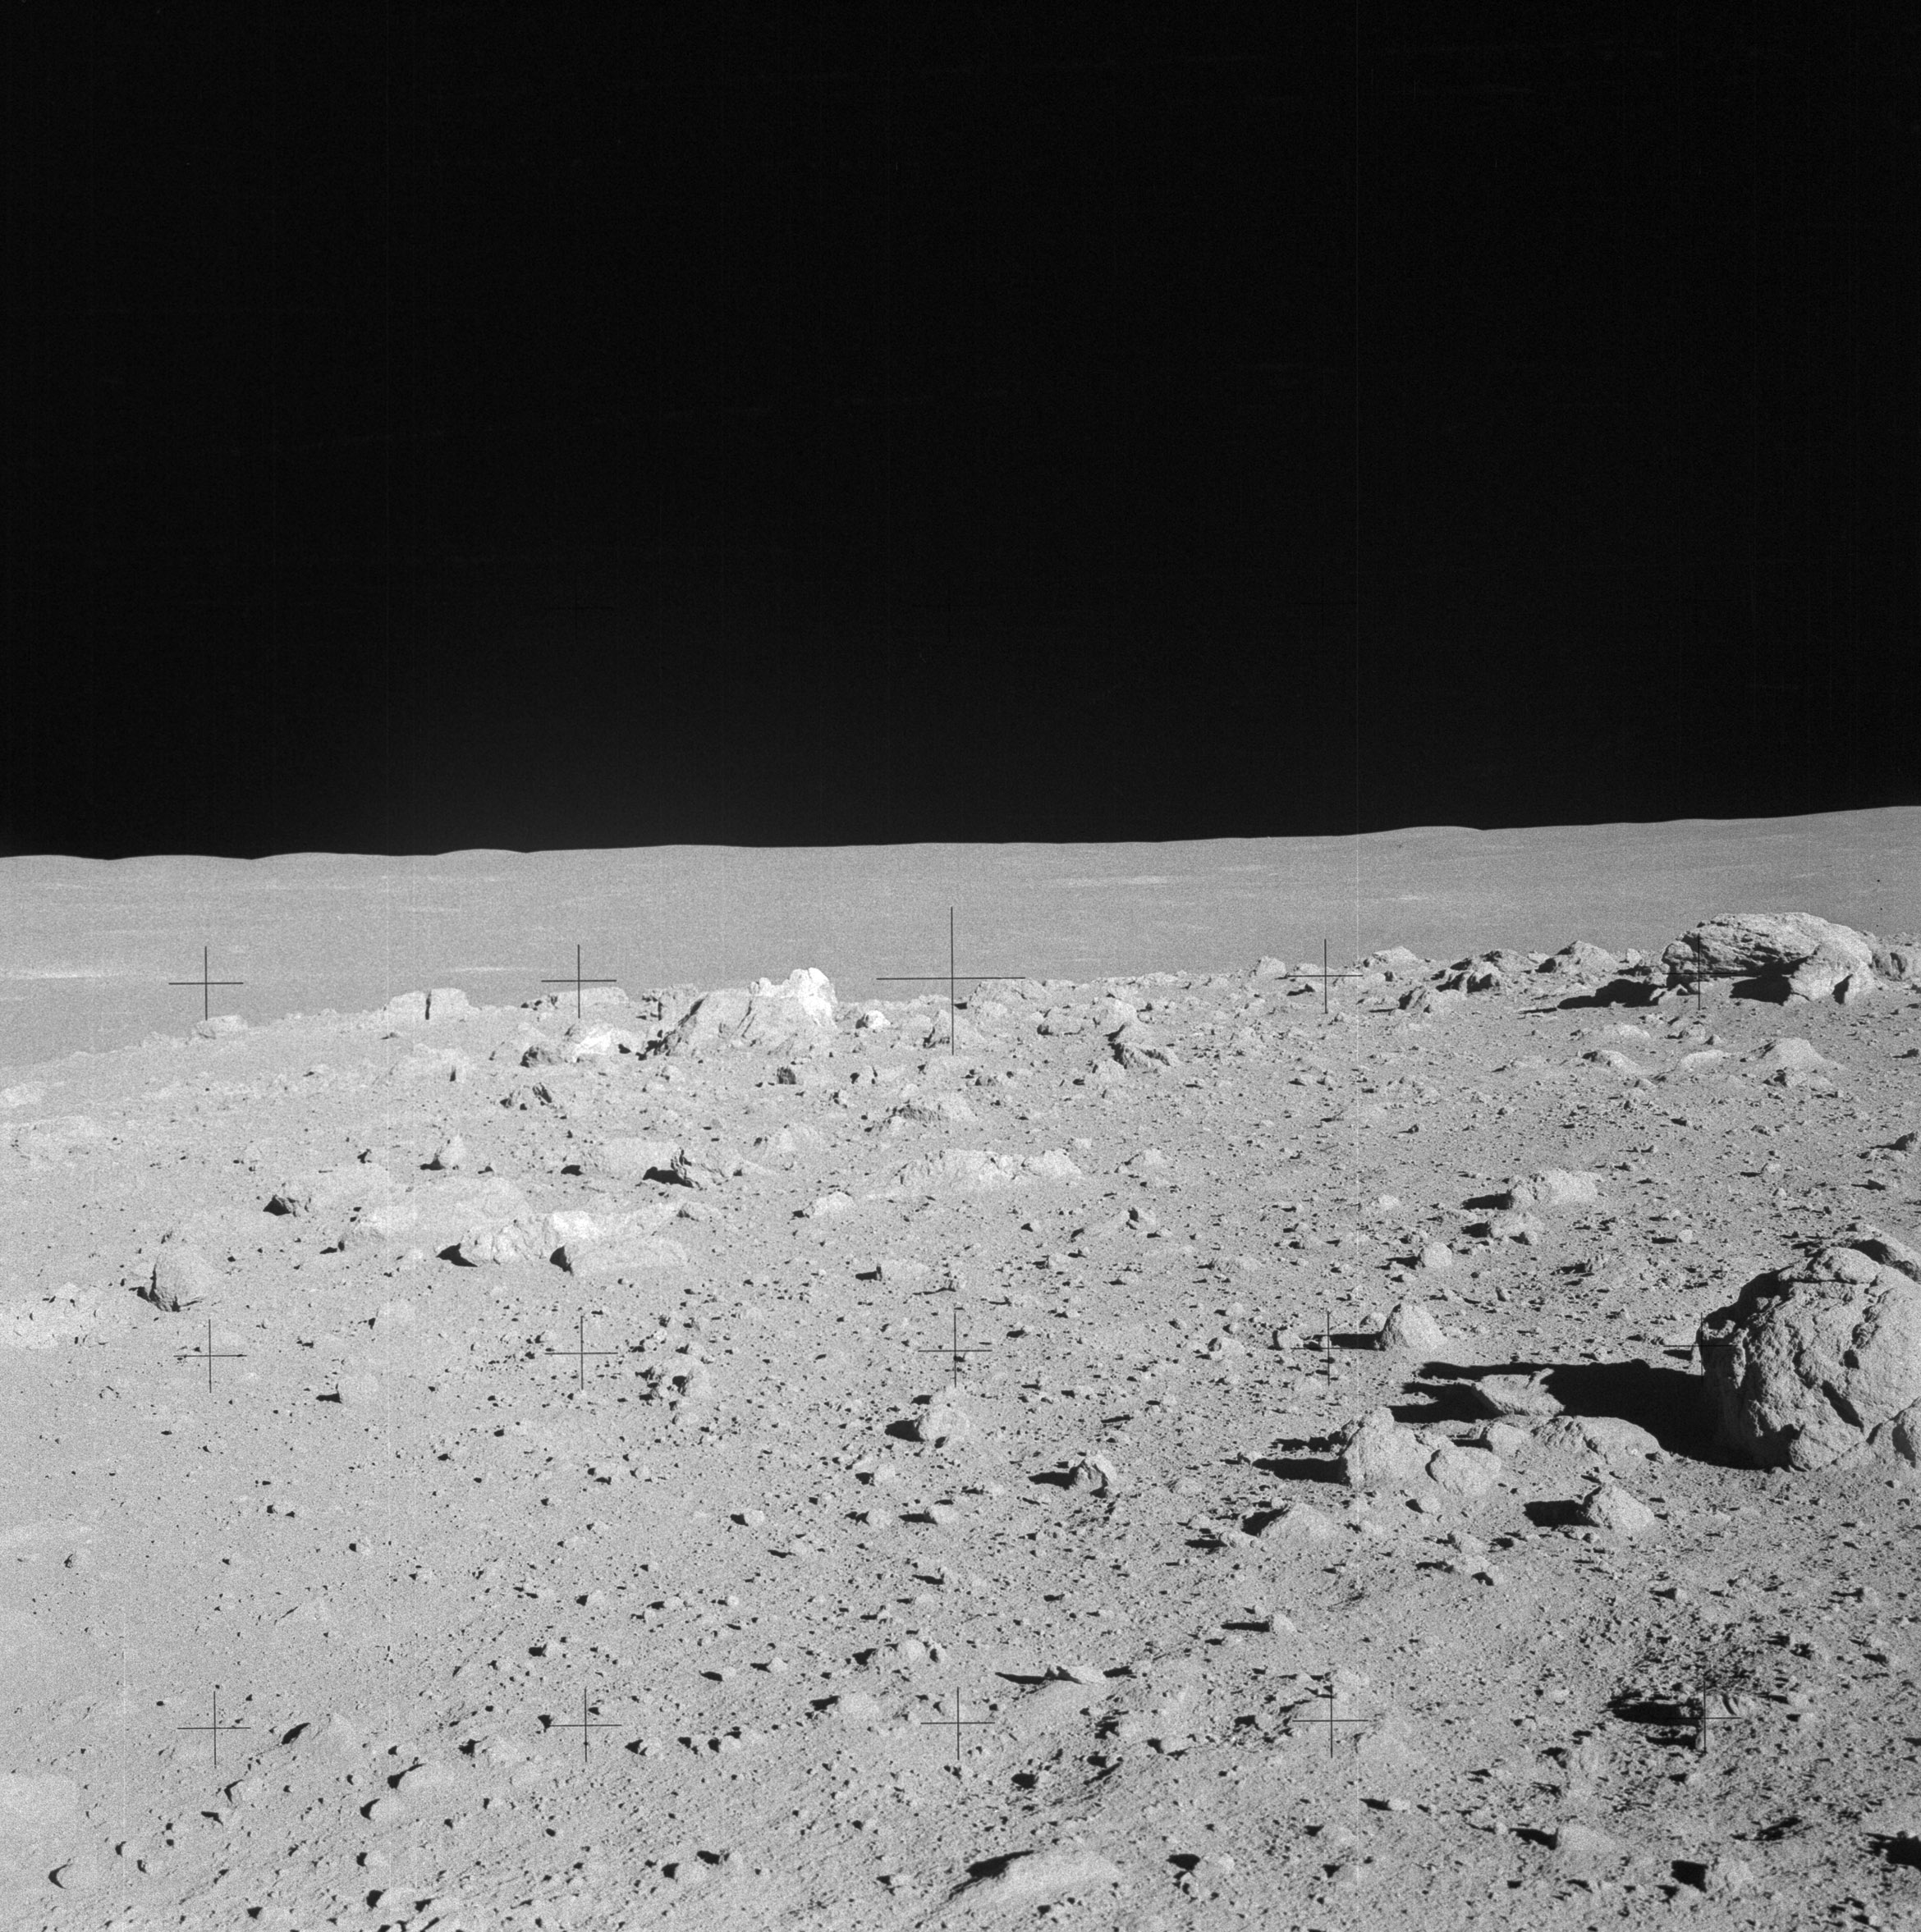 | AS14-64-9100 Rightward of 9099, showing Saddle Rock just to the left of center. Image credit: Image Science and Analysis Laboratory, NASA-Johnson Space Center. |
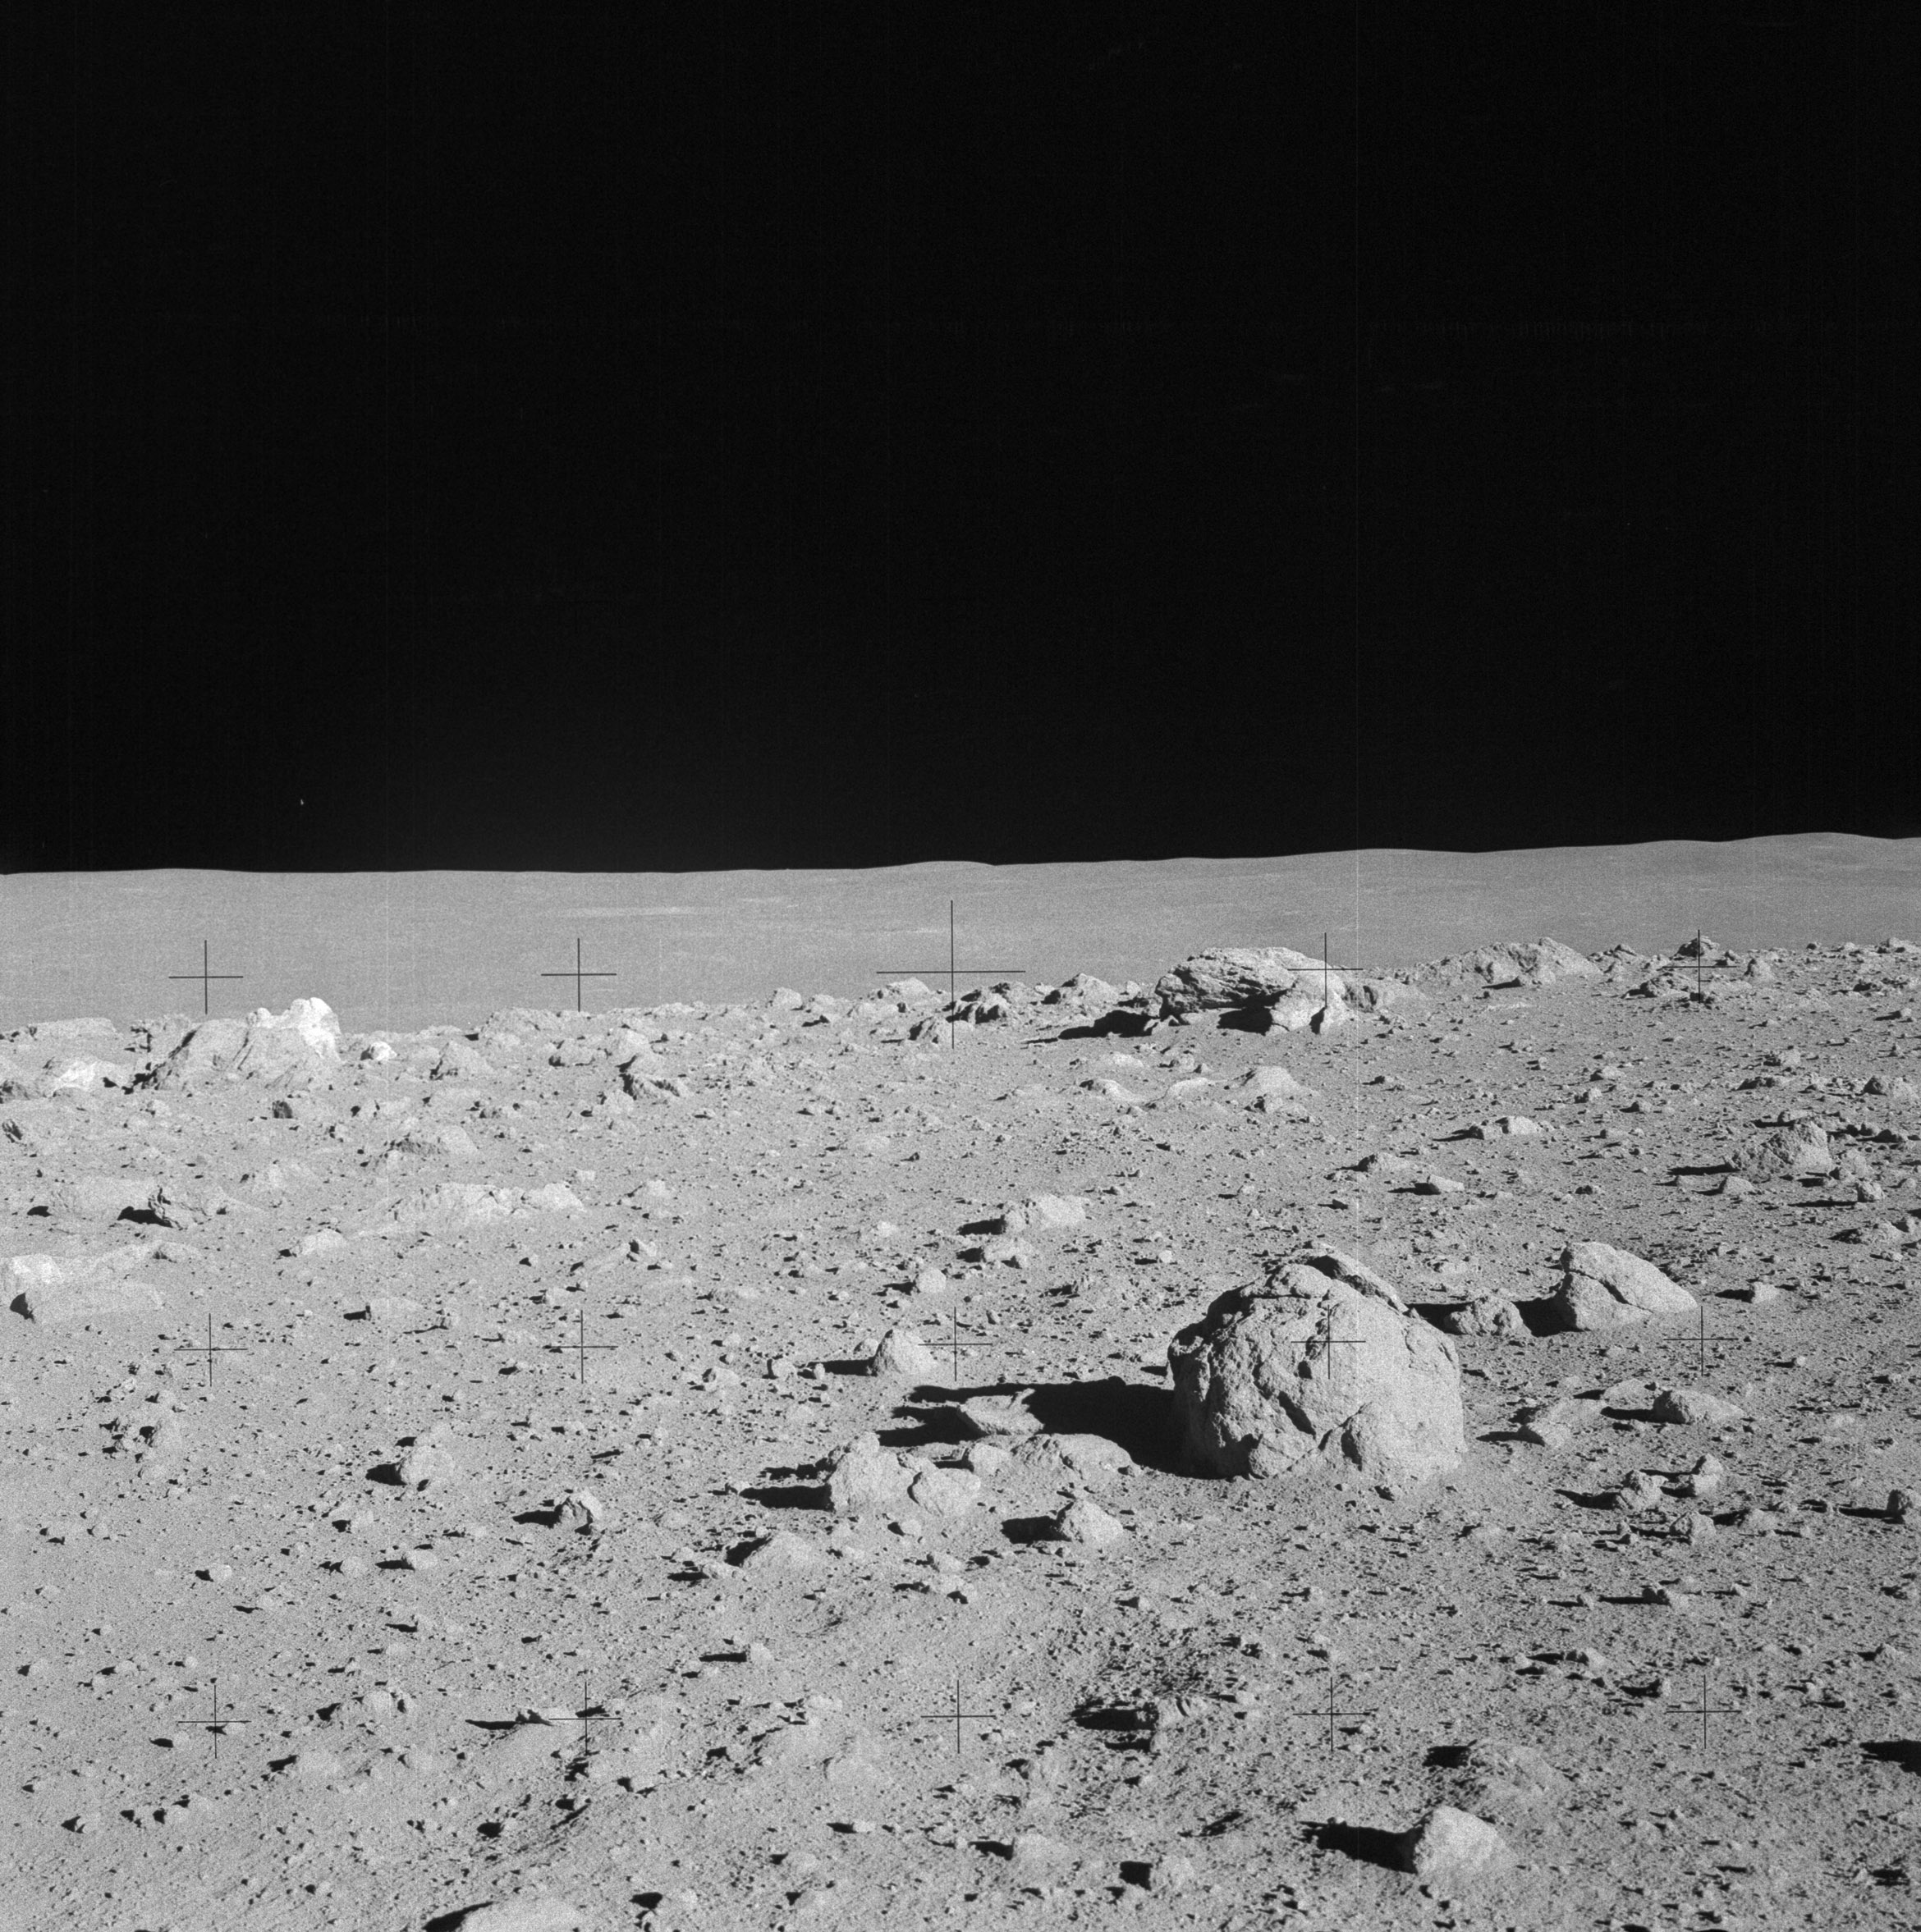 | AS14-64-9101 Rightward of 9100. Image credit: Image Science and Analysis Laboratory, NASA-Johnson Space Center. |
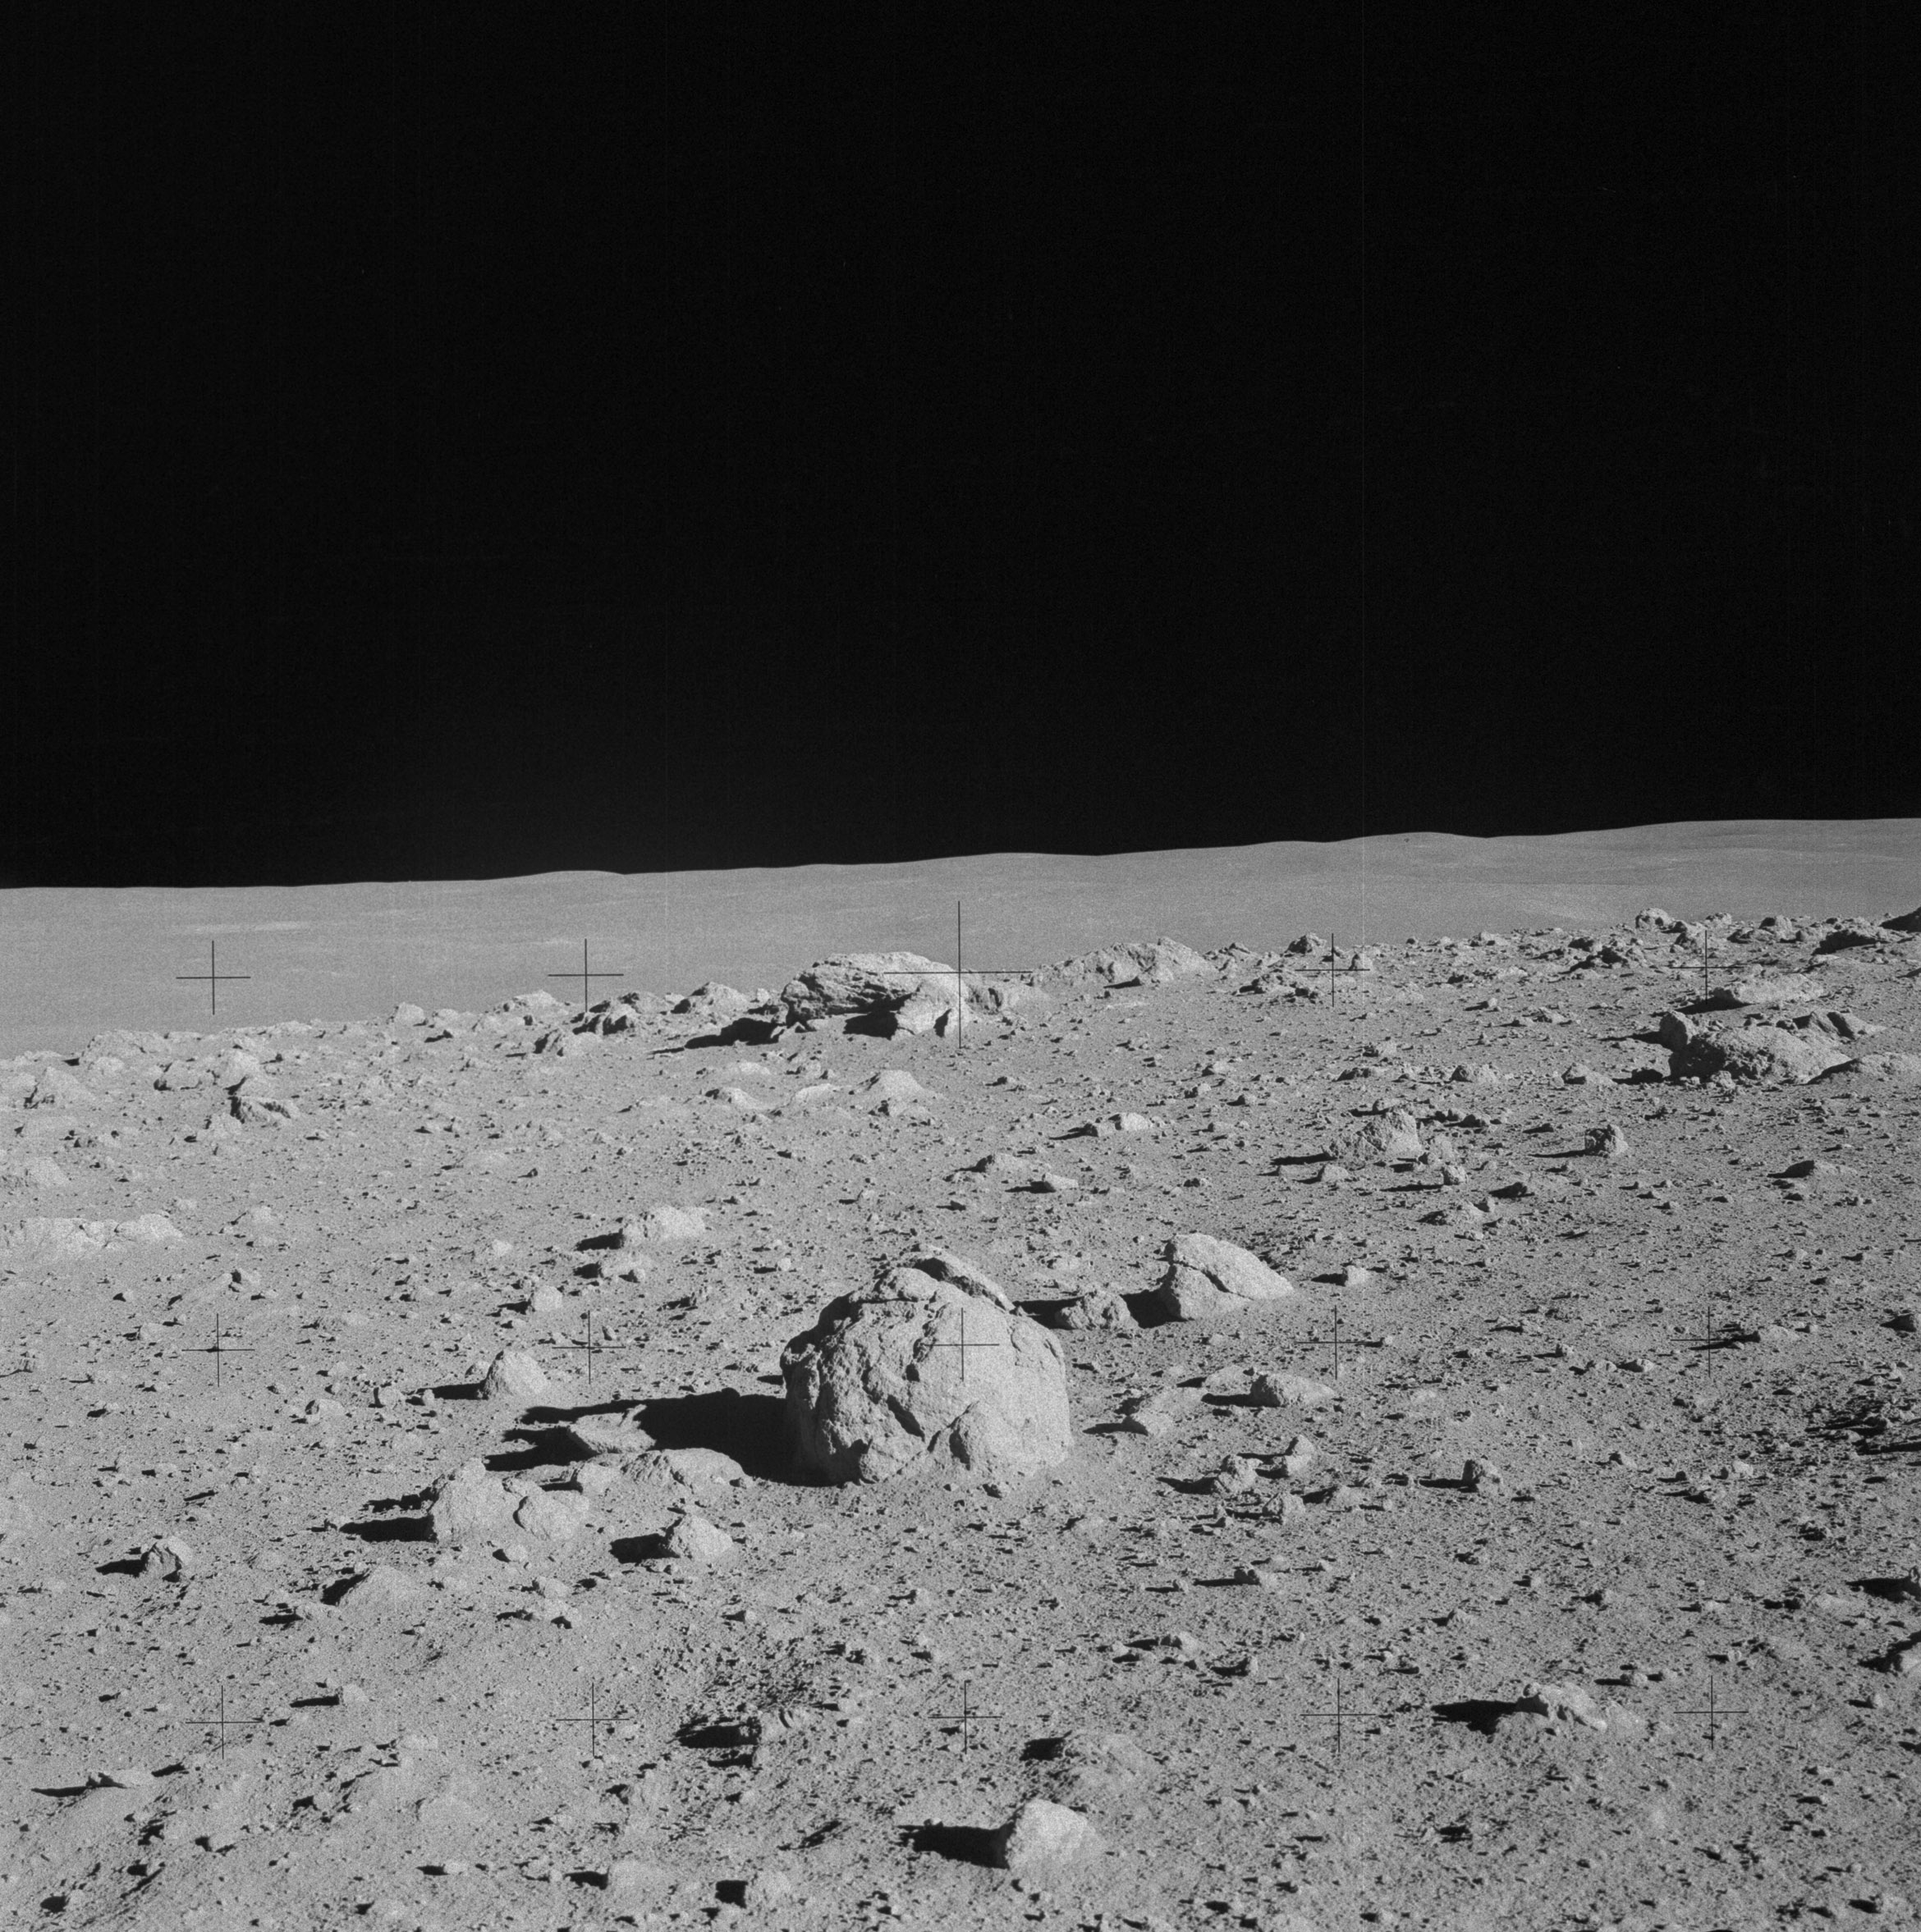 | AS14-64-9102 Rightward of 9101, showing the large boulders off in the direction of the Cone Crater rim. Image credit: Image Science and Analysis Laboratory, NASA-Johnson Space Center. |
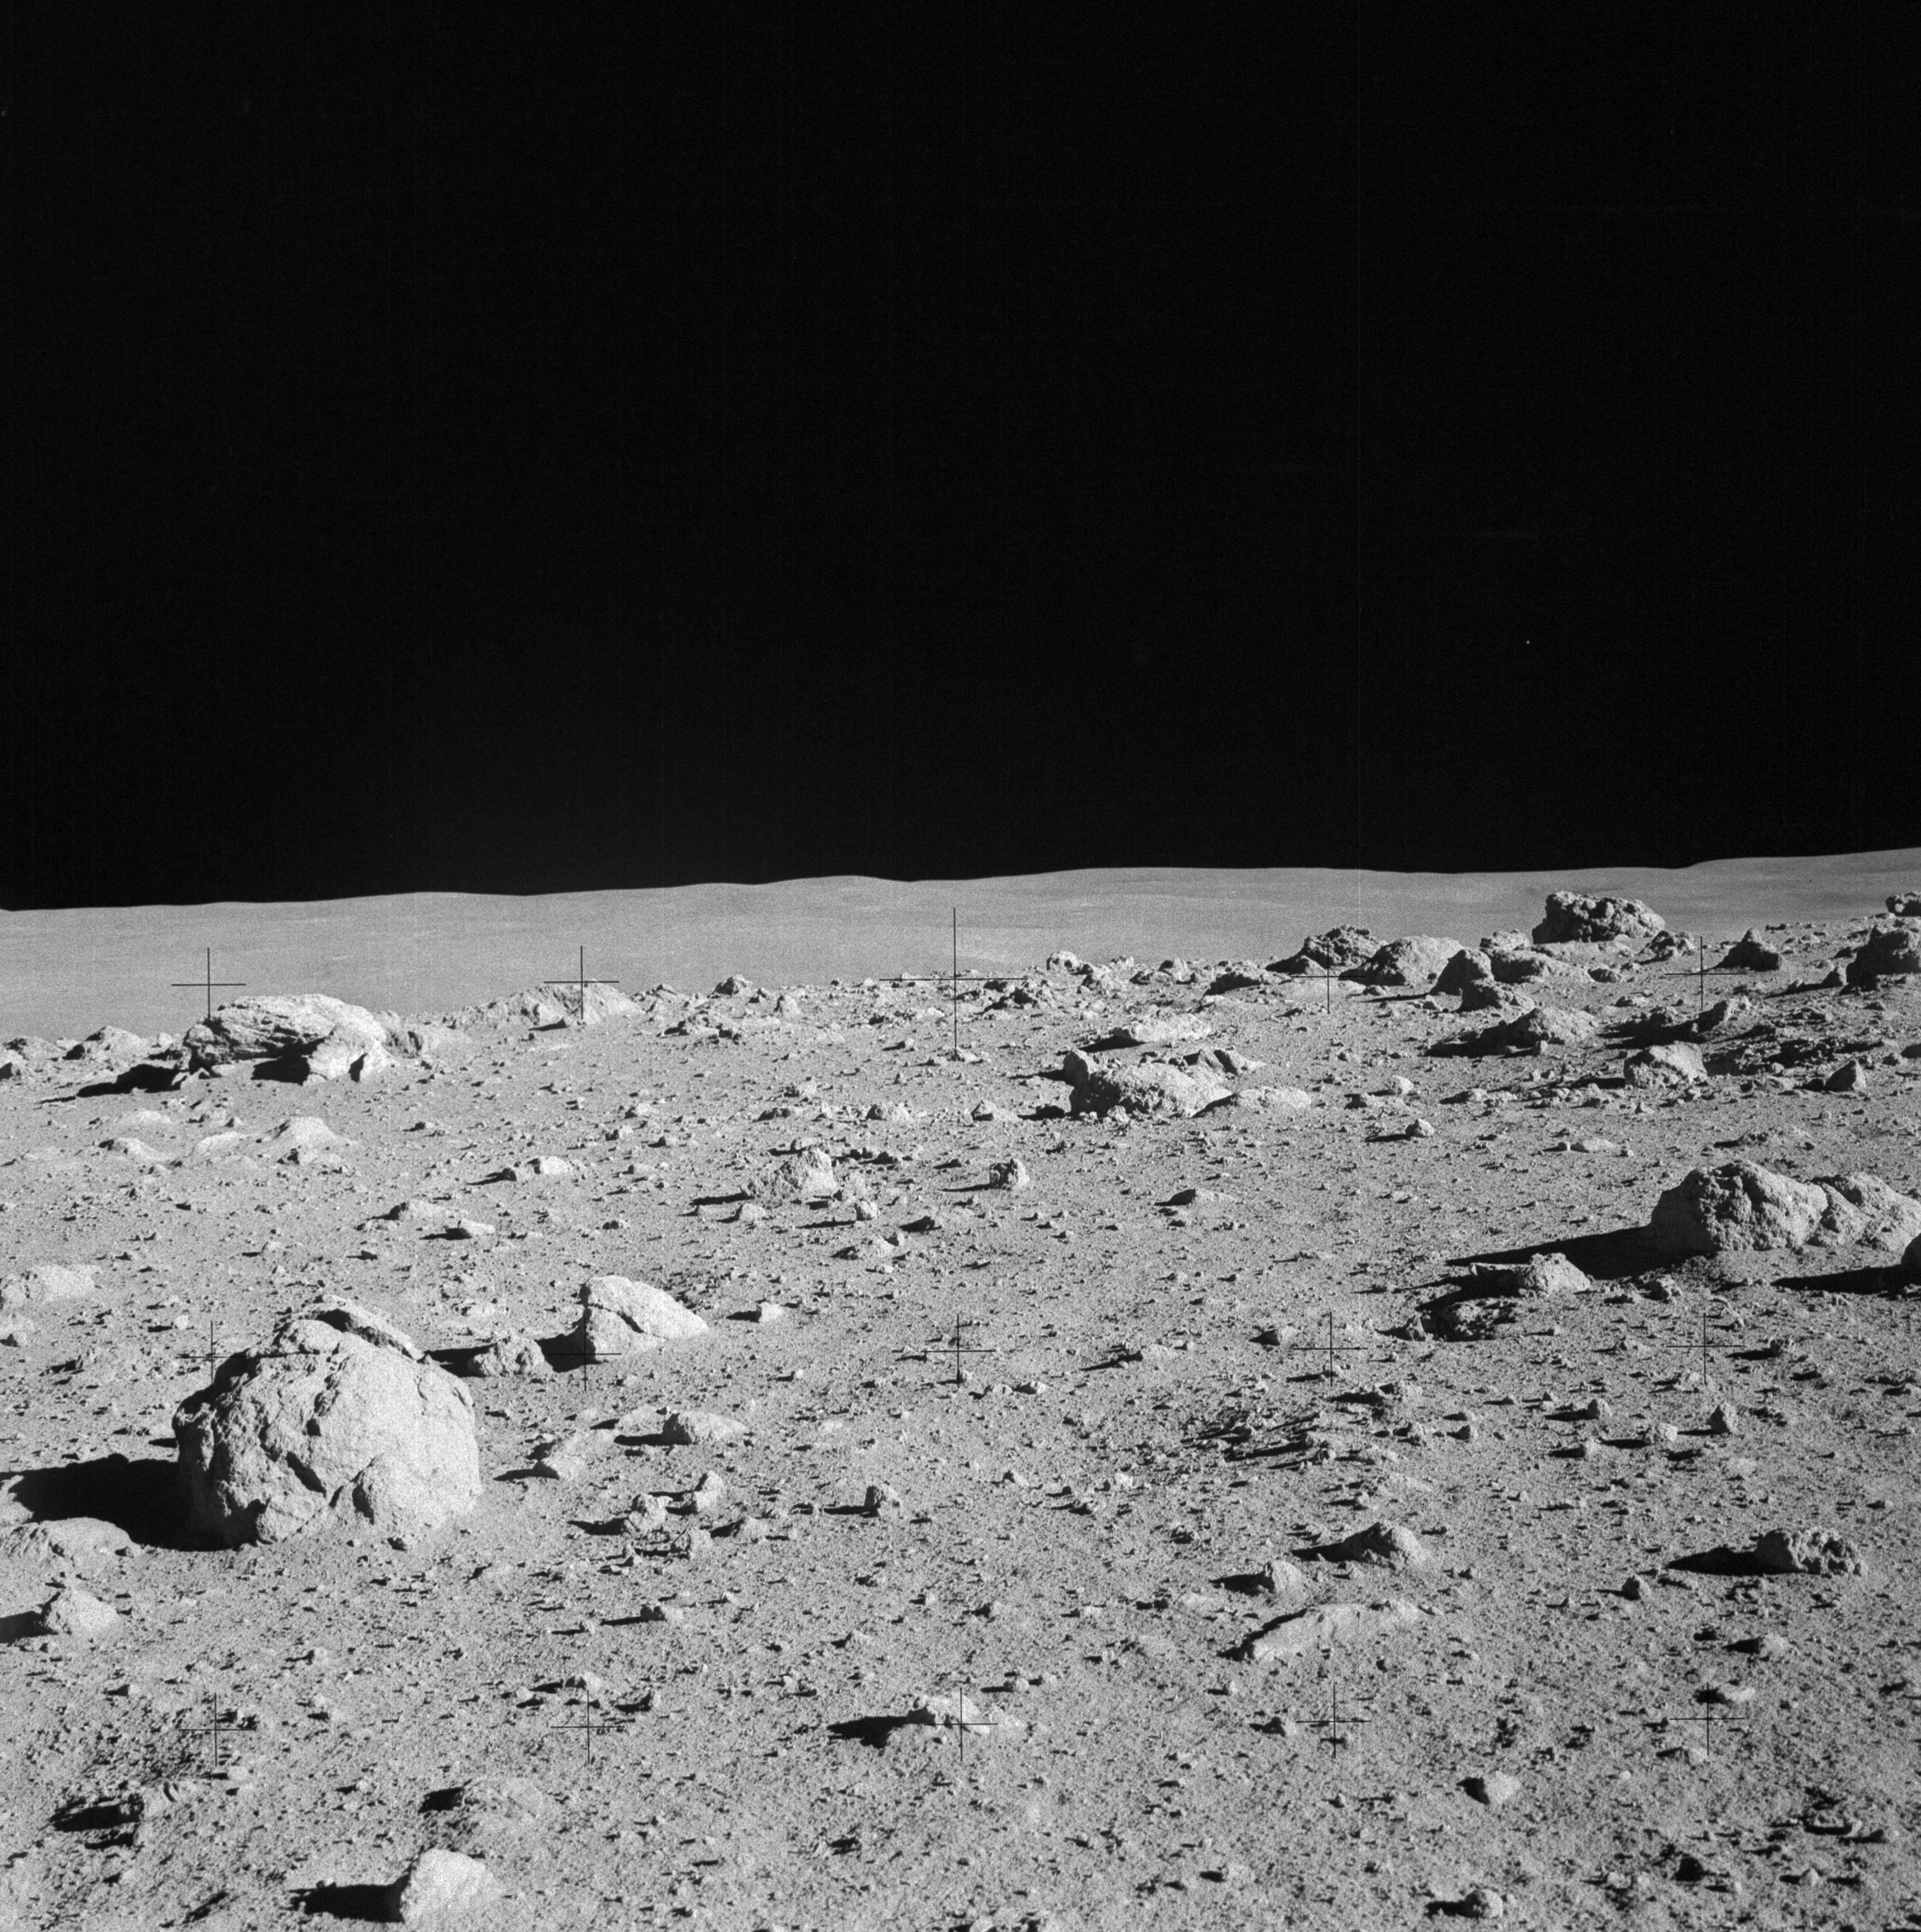 | AS14-64-9103 133:23:40 Rightward of 9102. Image credit: Image Science and Analysis Laboratory, NASA-Johnson Space Center. |
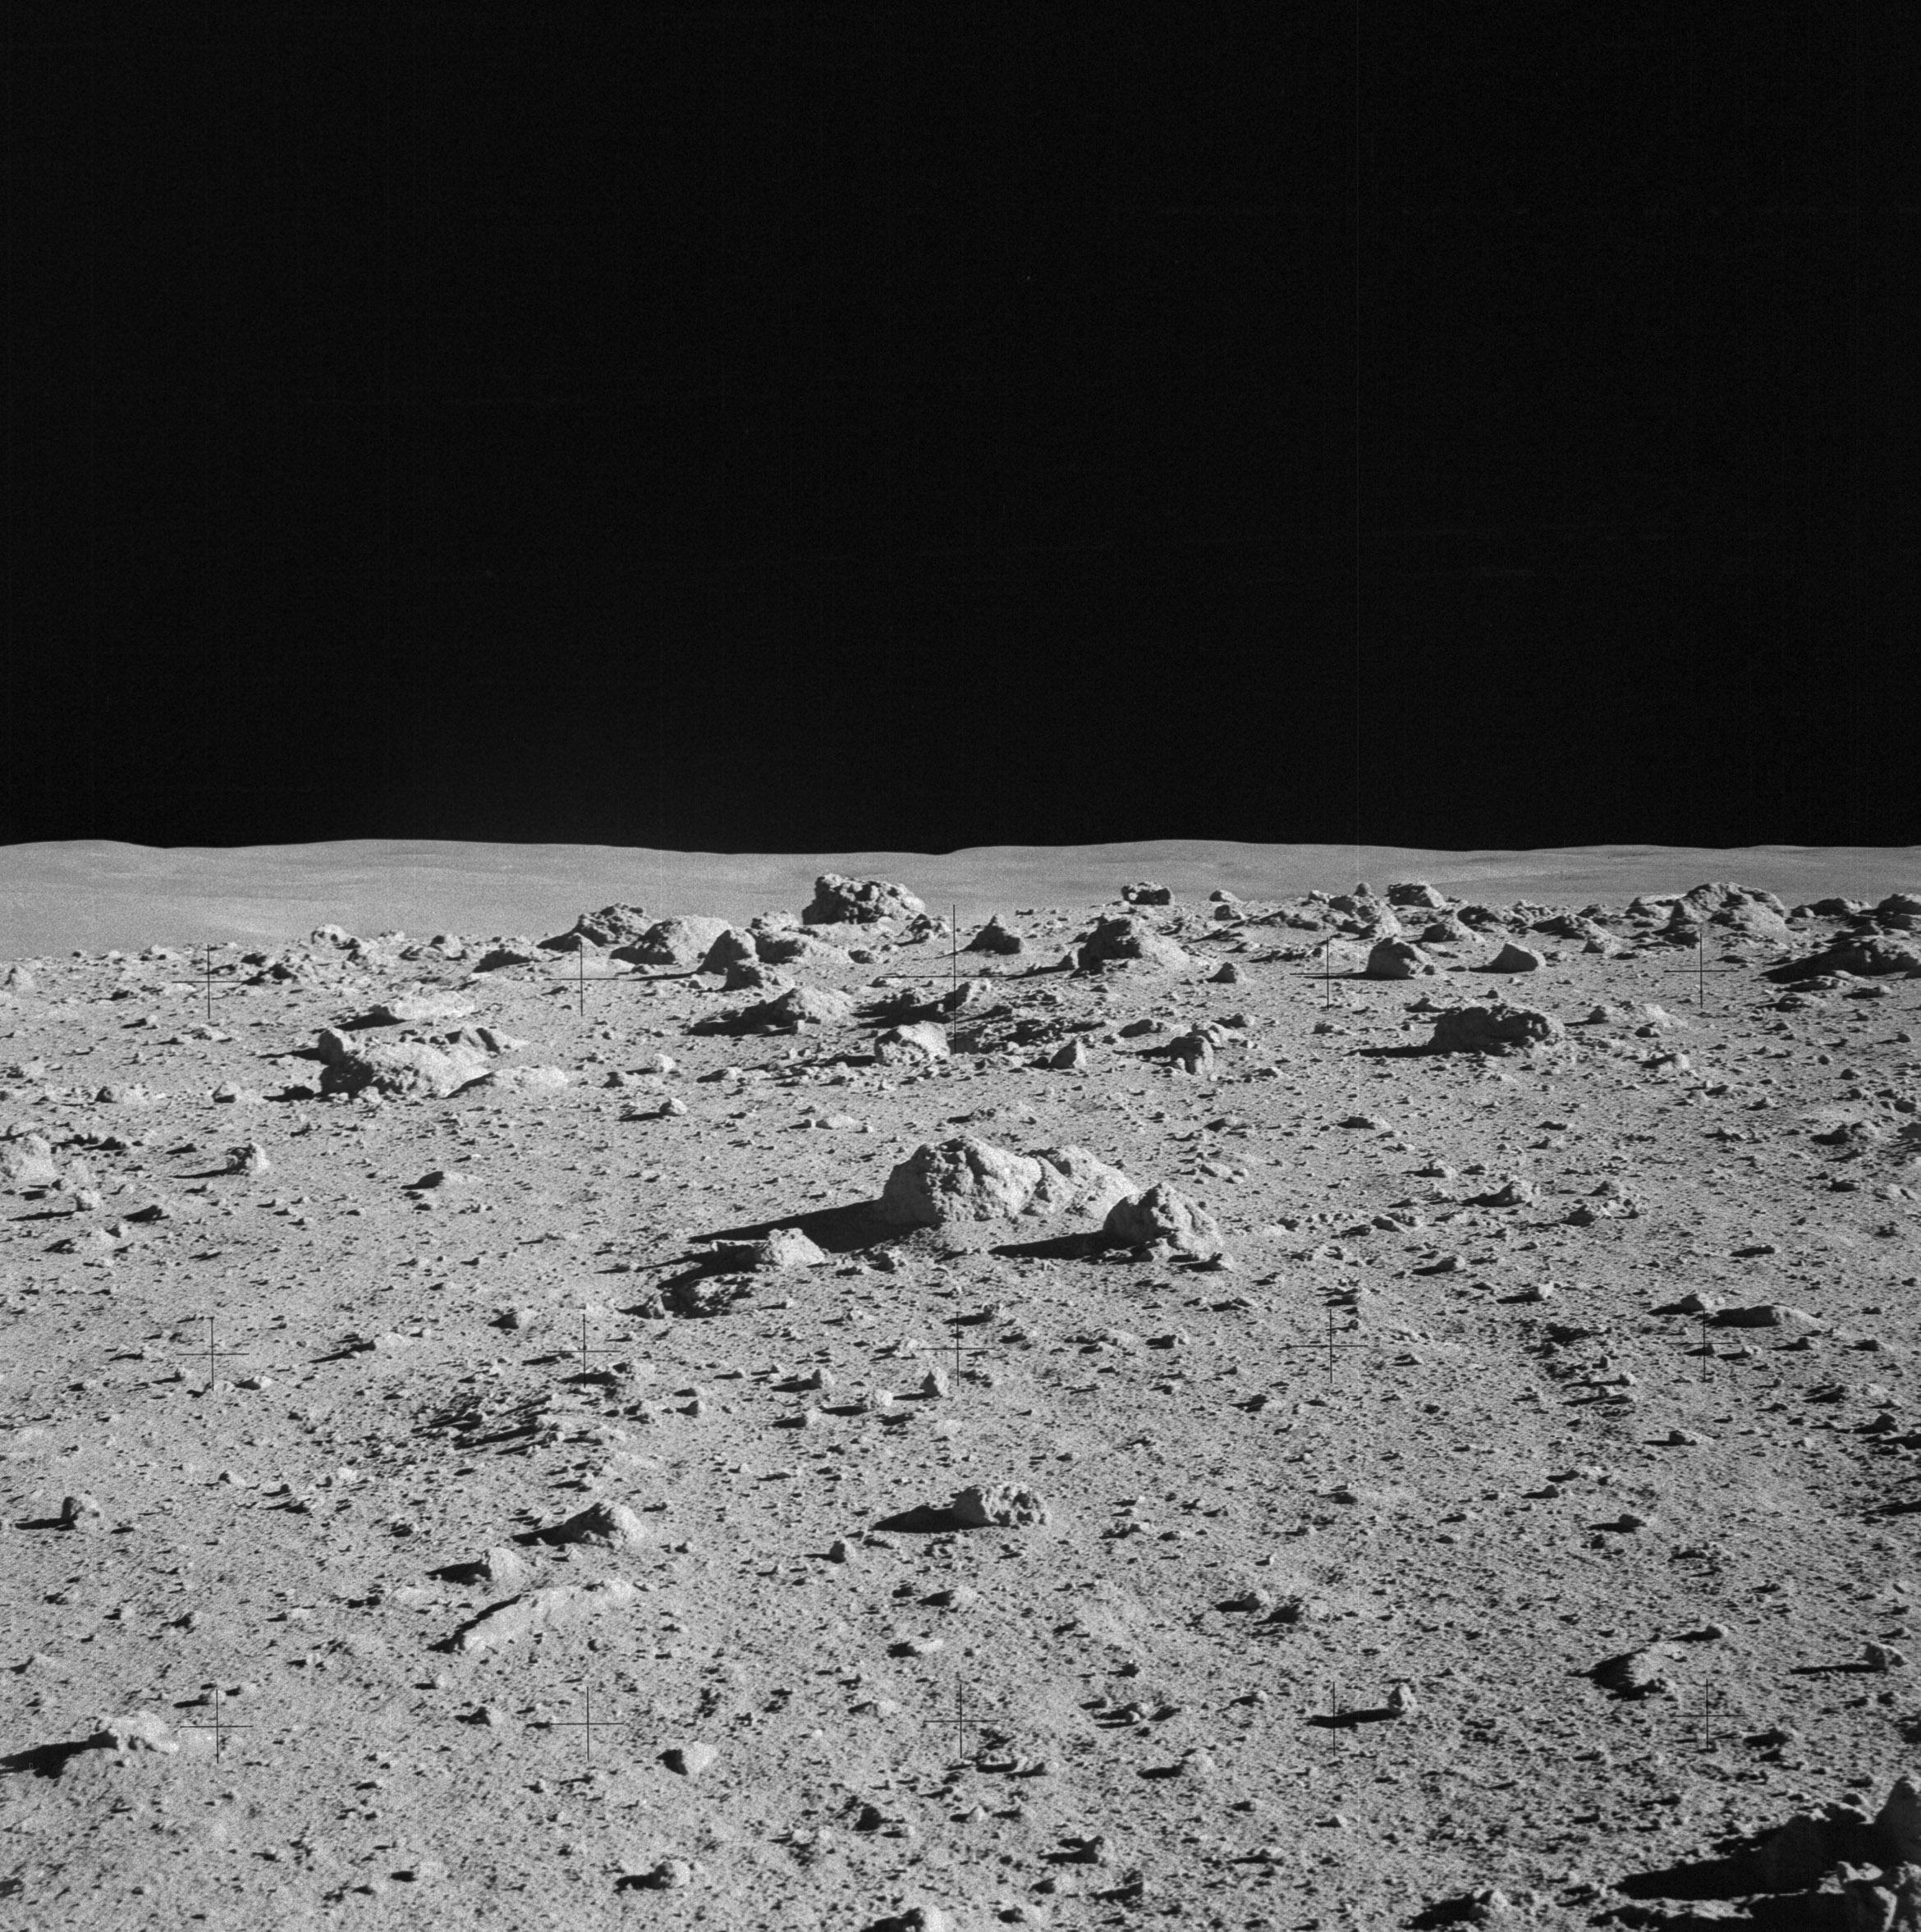 | AS14-64-9104 Rightward of 9103. Image credit: Image Science and Analysis Laboratory, NASA-Johnson Space Center. |
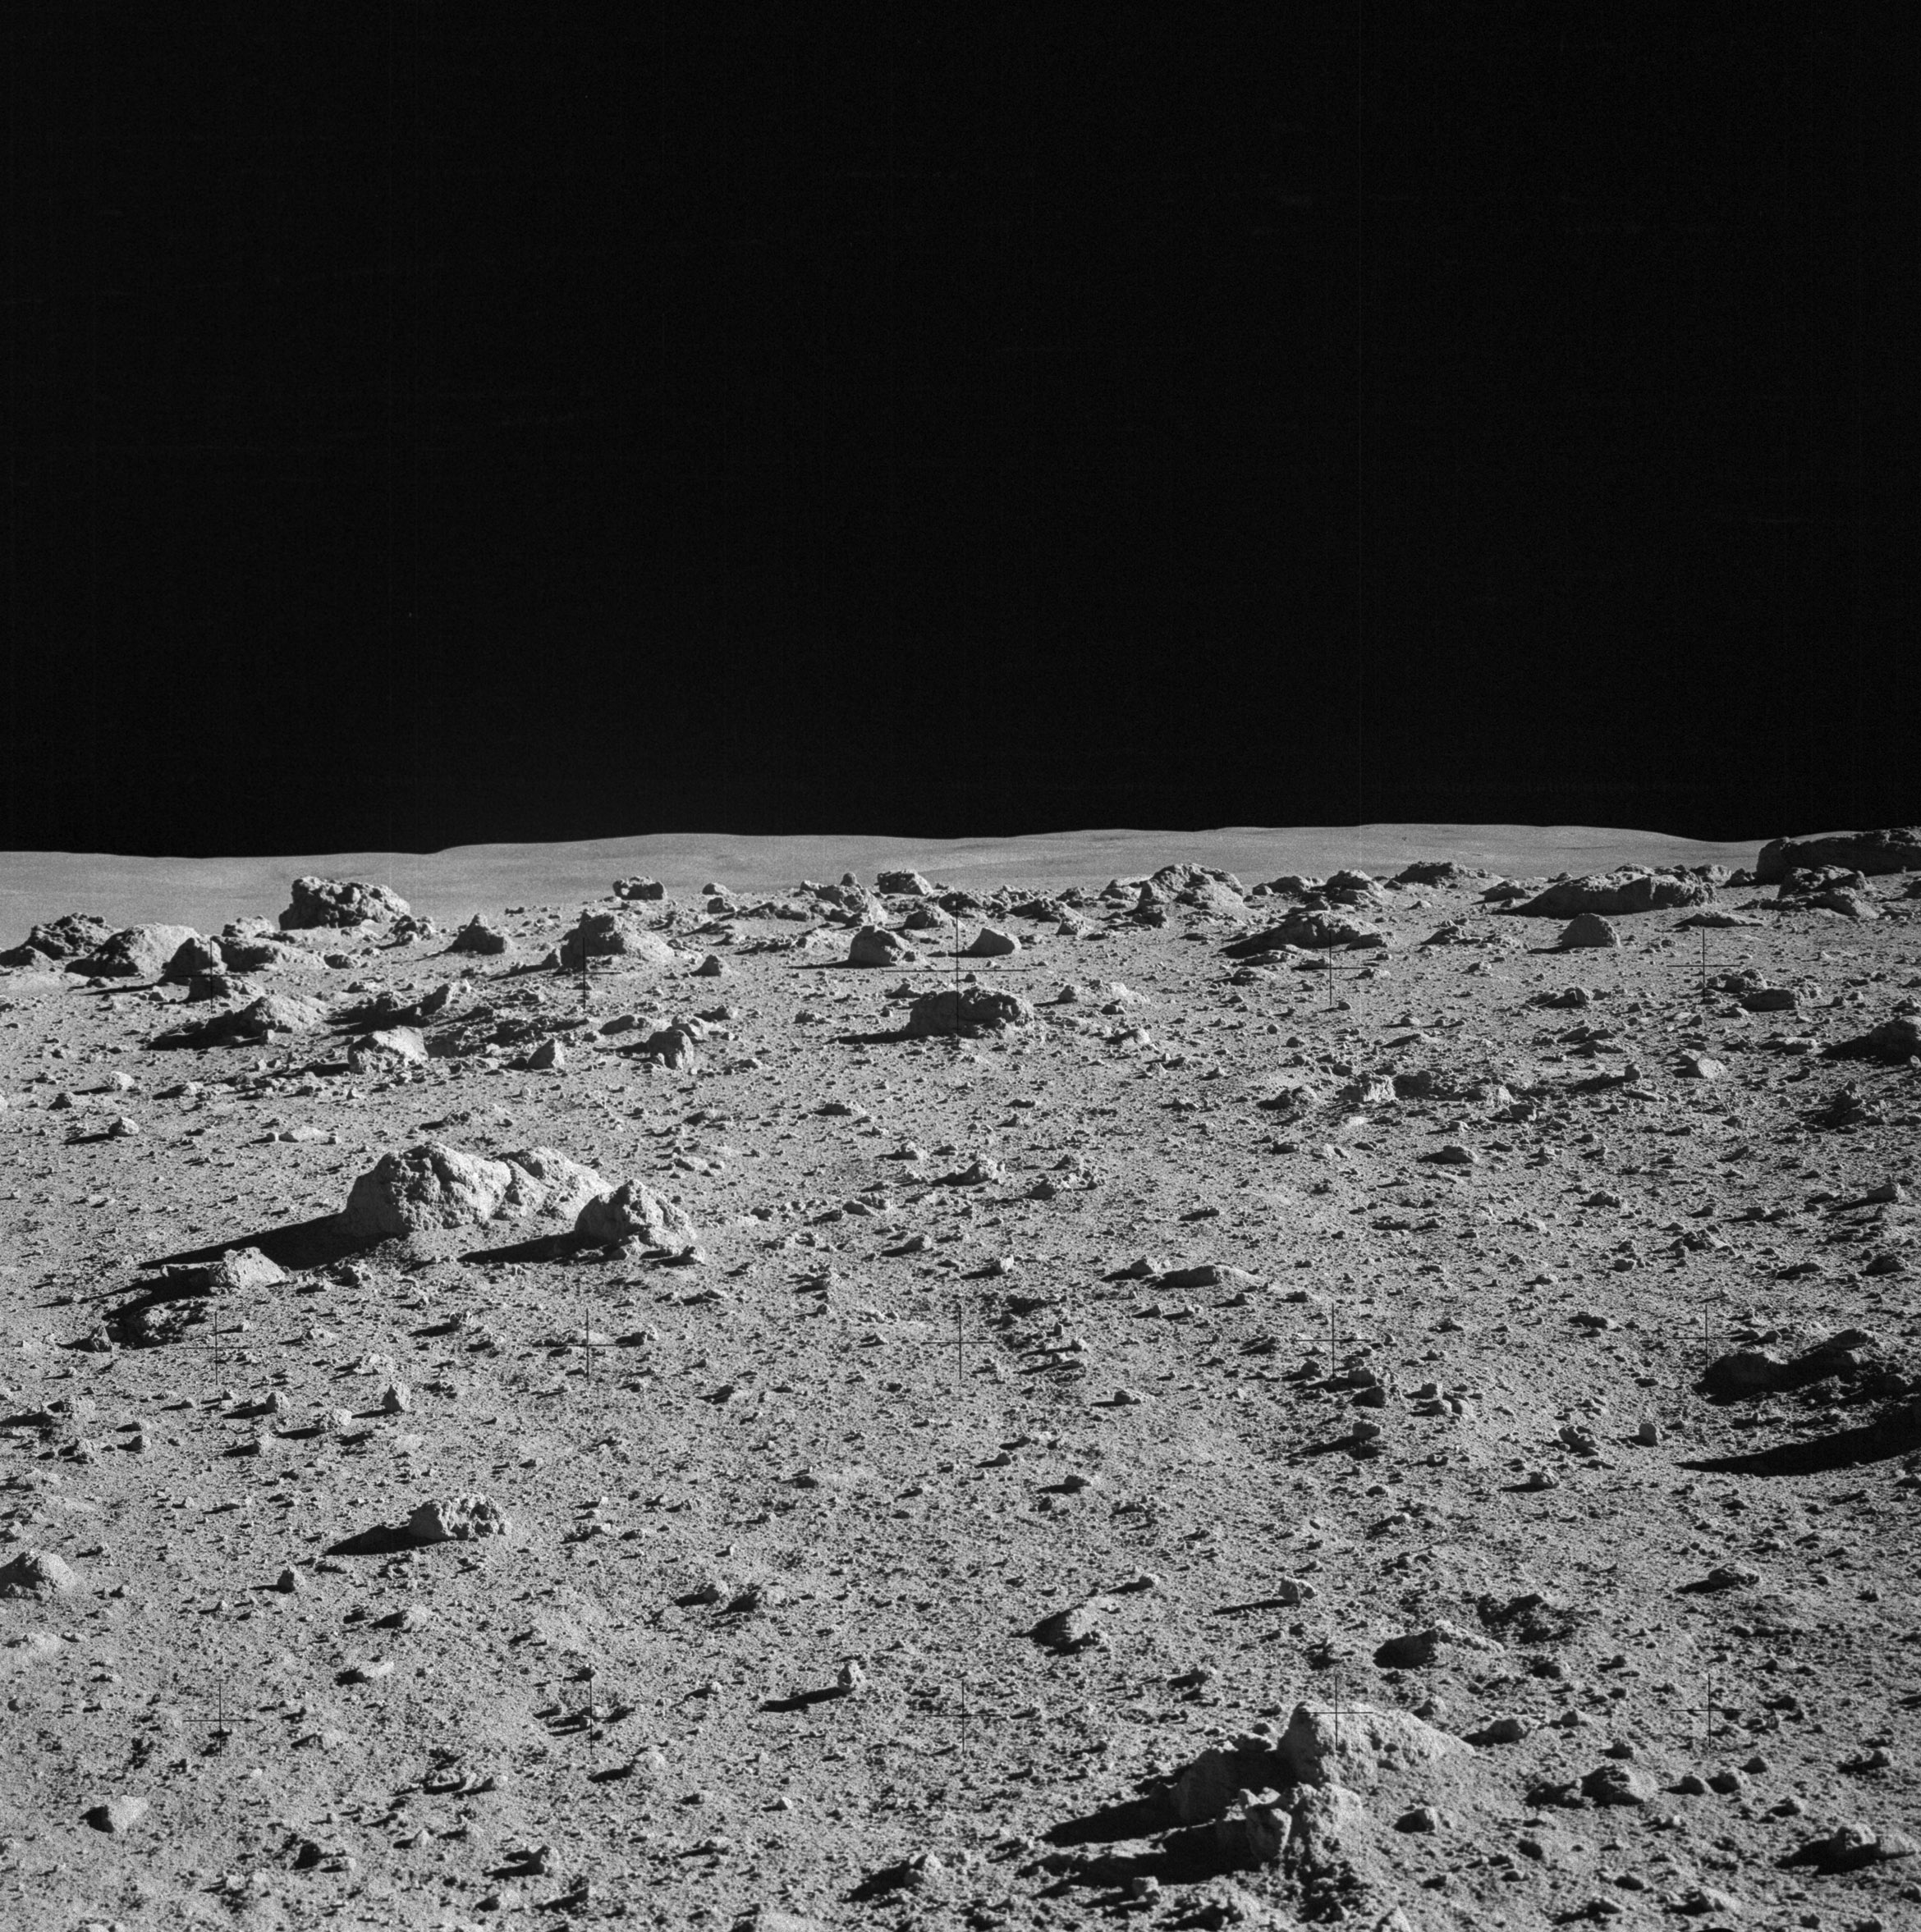 | AS14-64-9105 Rightward of 9104. Image credit: Image Science and Analysis Laboratory, NASA-Johnson Space Center. |
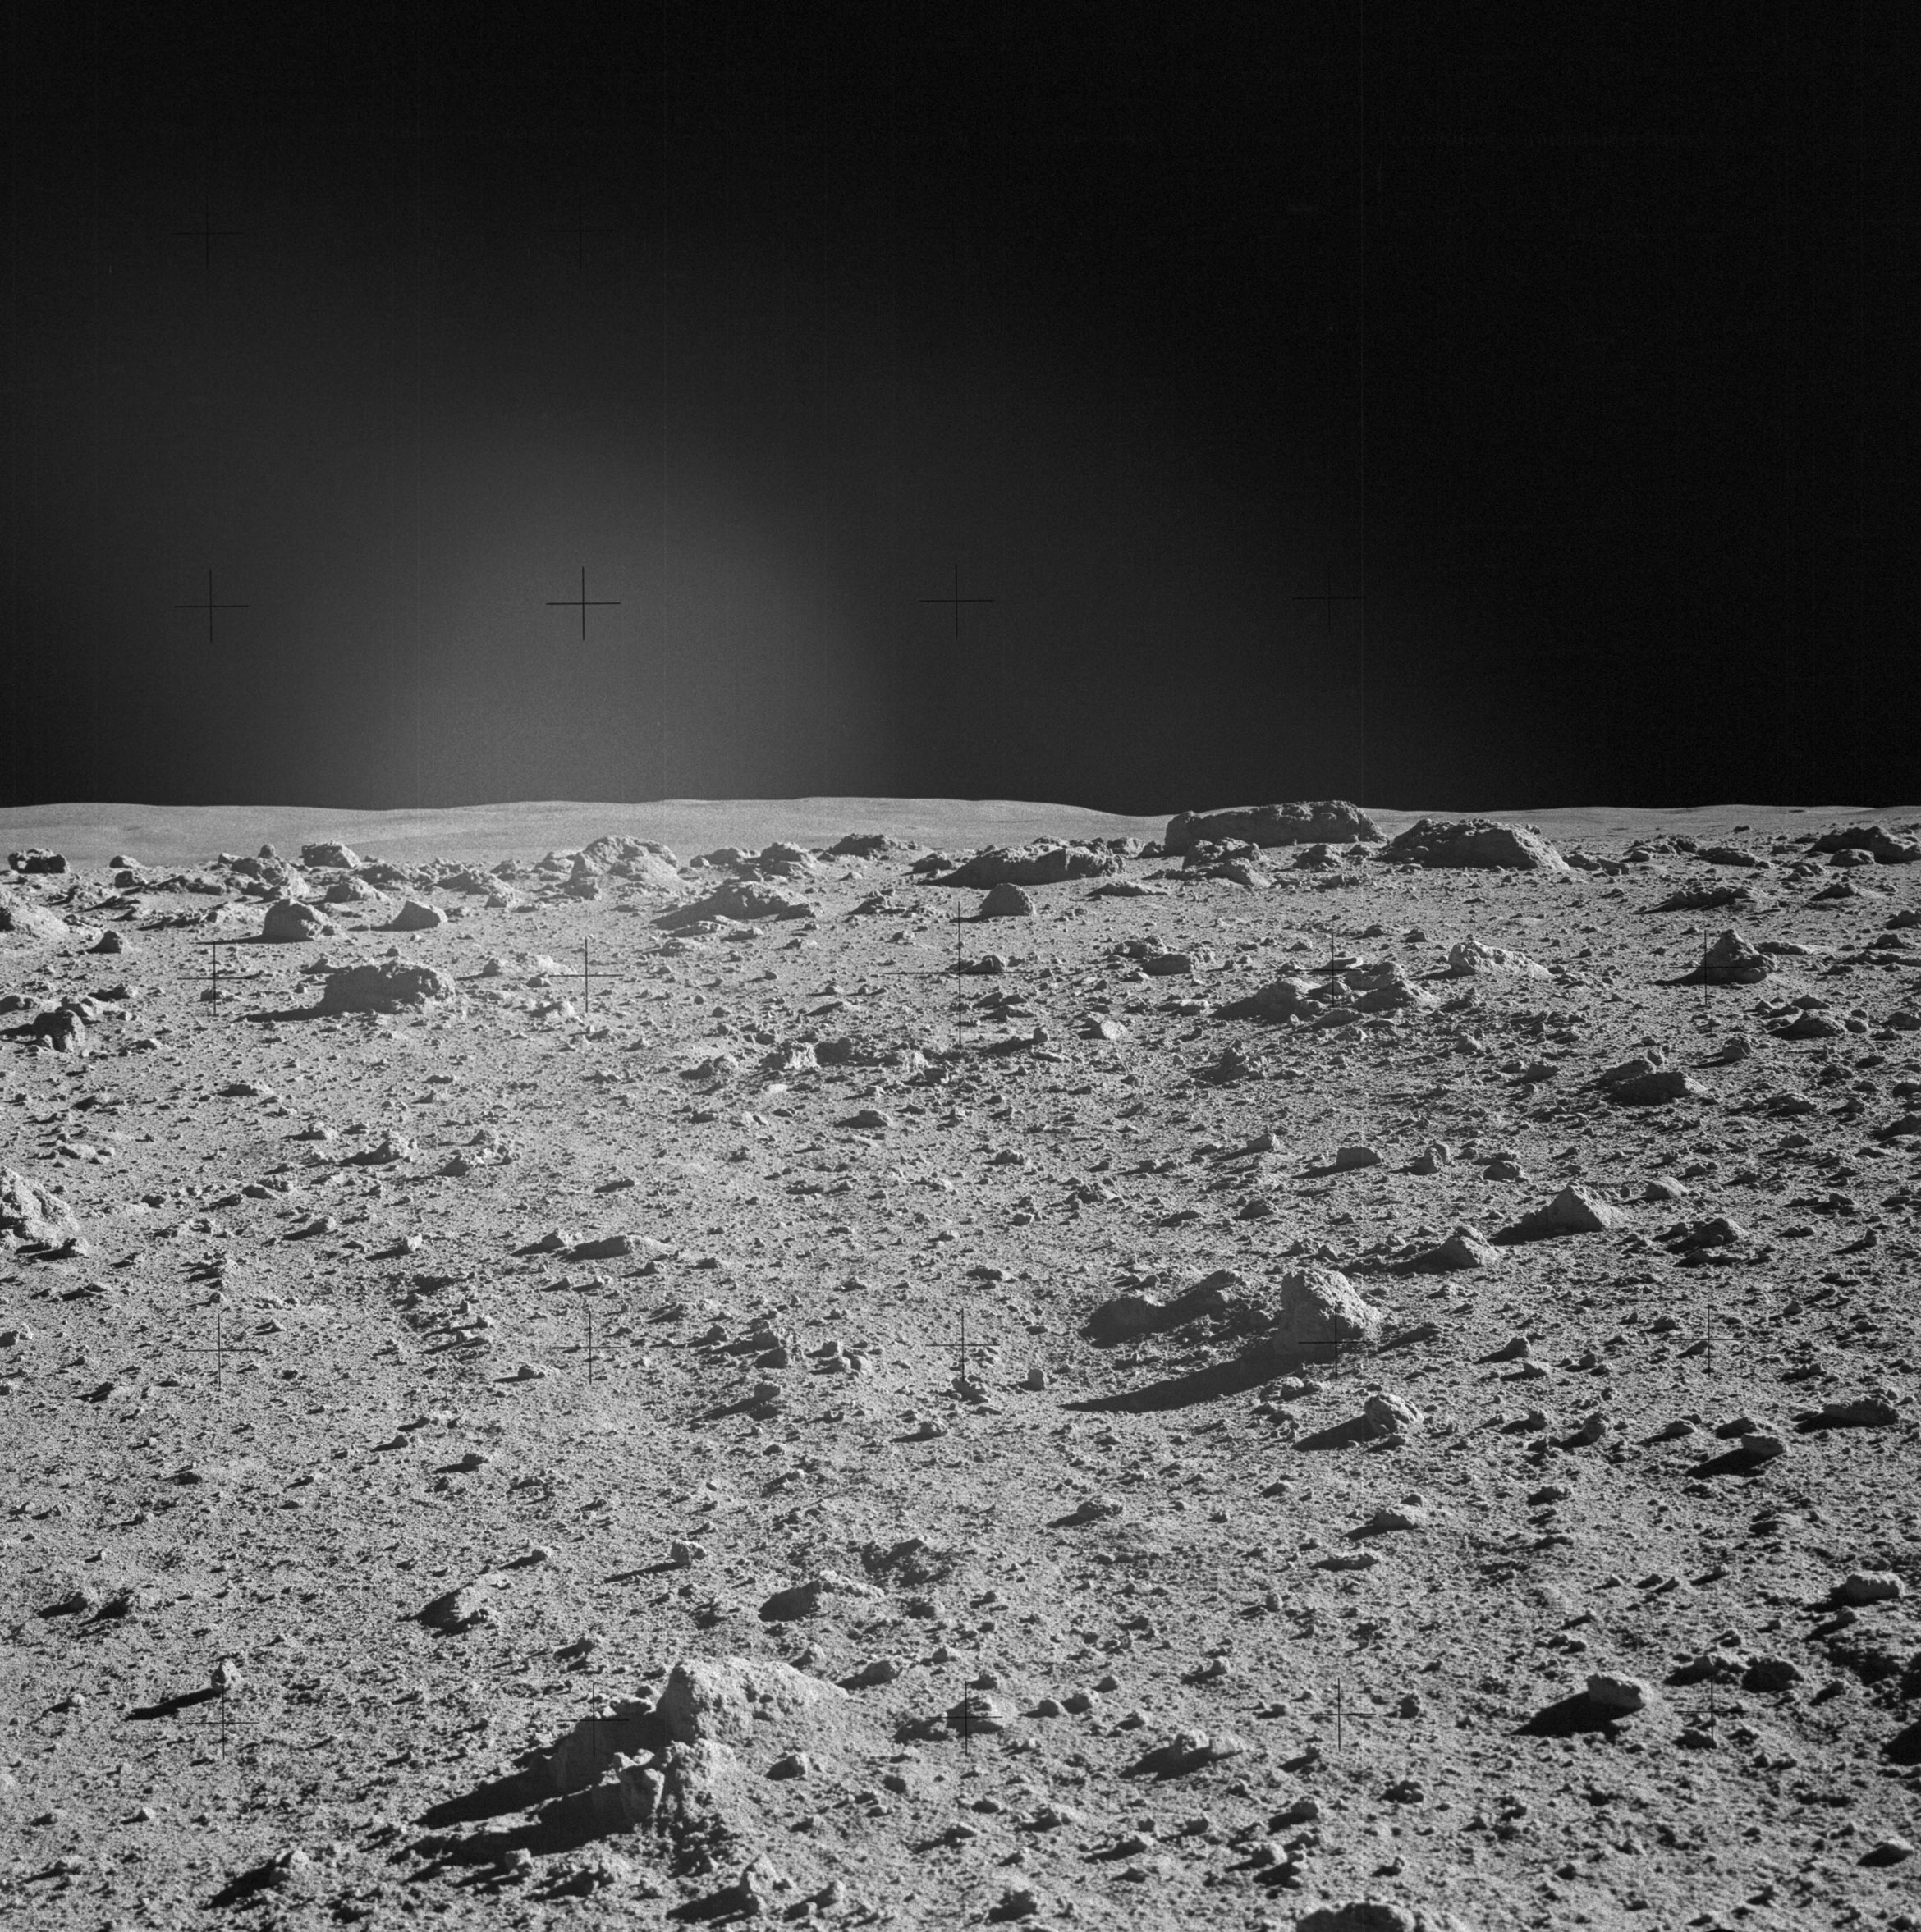 | AS14-64-9106 Rightward of 9105, toward the northeast. Image credit: Image Science and Analysis Laboratory, NASA-Johnson Space Center. |
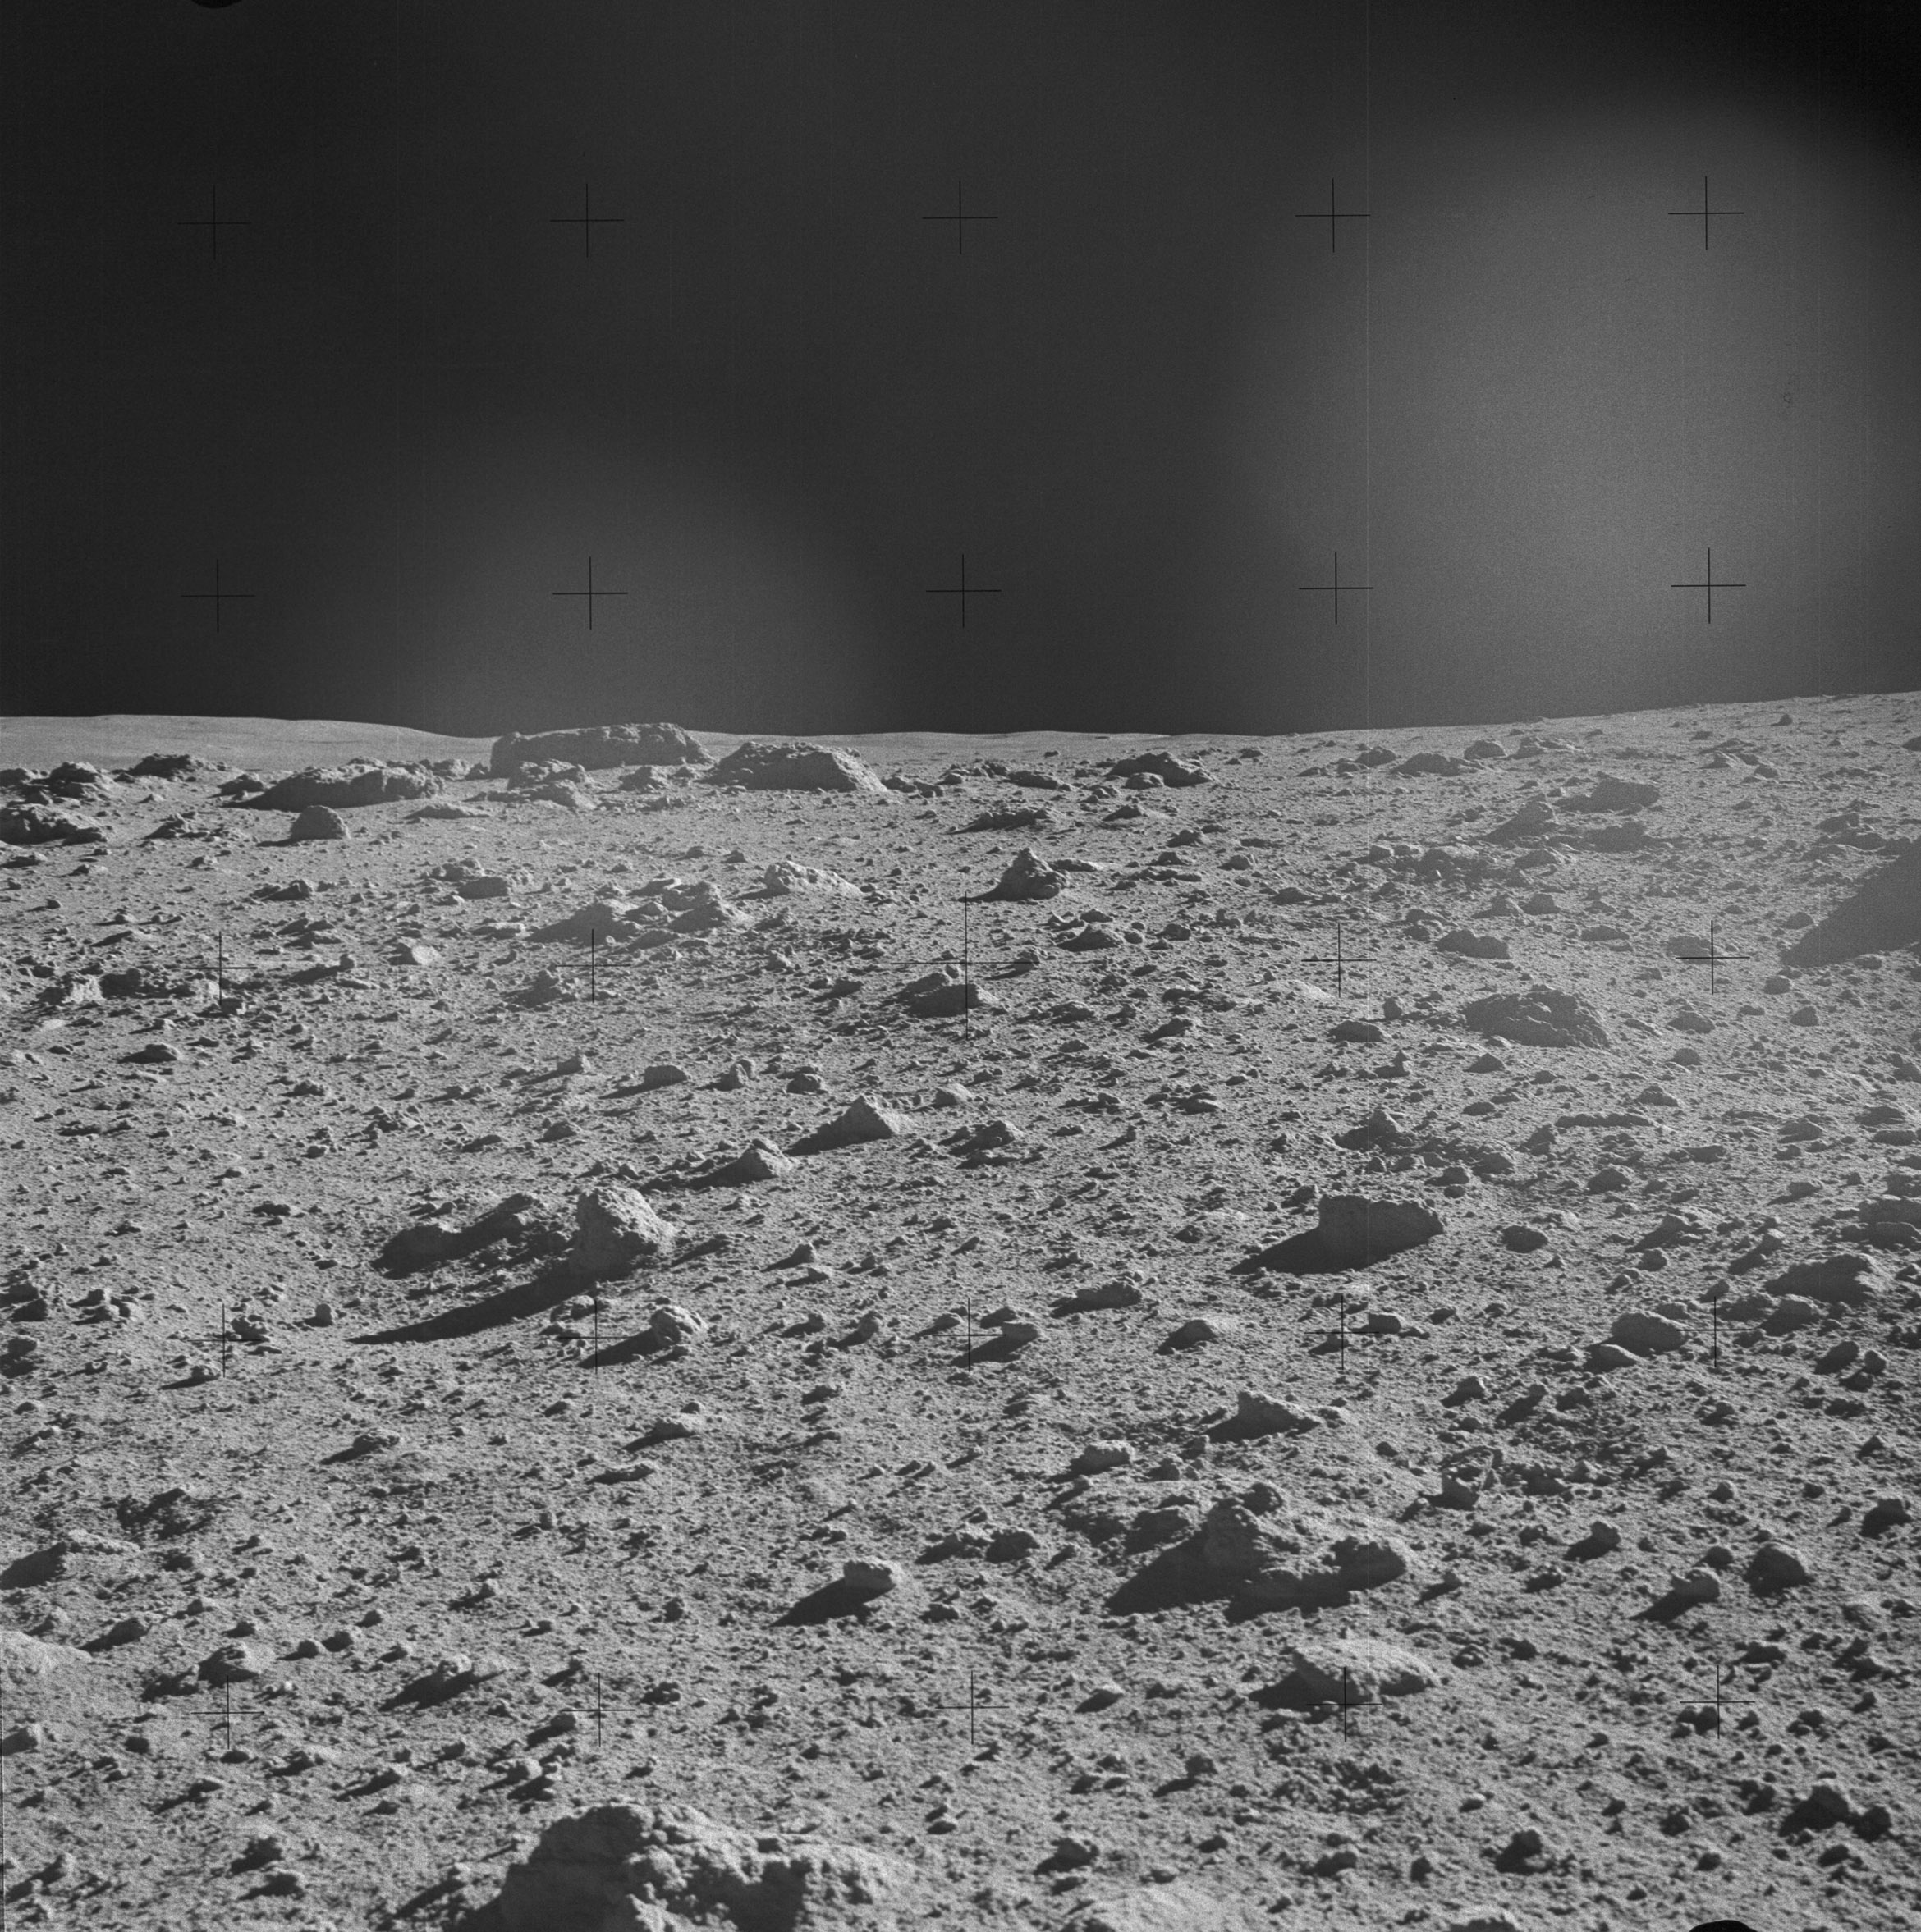 | AS14-64-9107 Rightward of 9106. Image credit: Image Science and Analysis Laboratory, NASA-Johnson Space Center. |
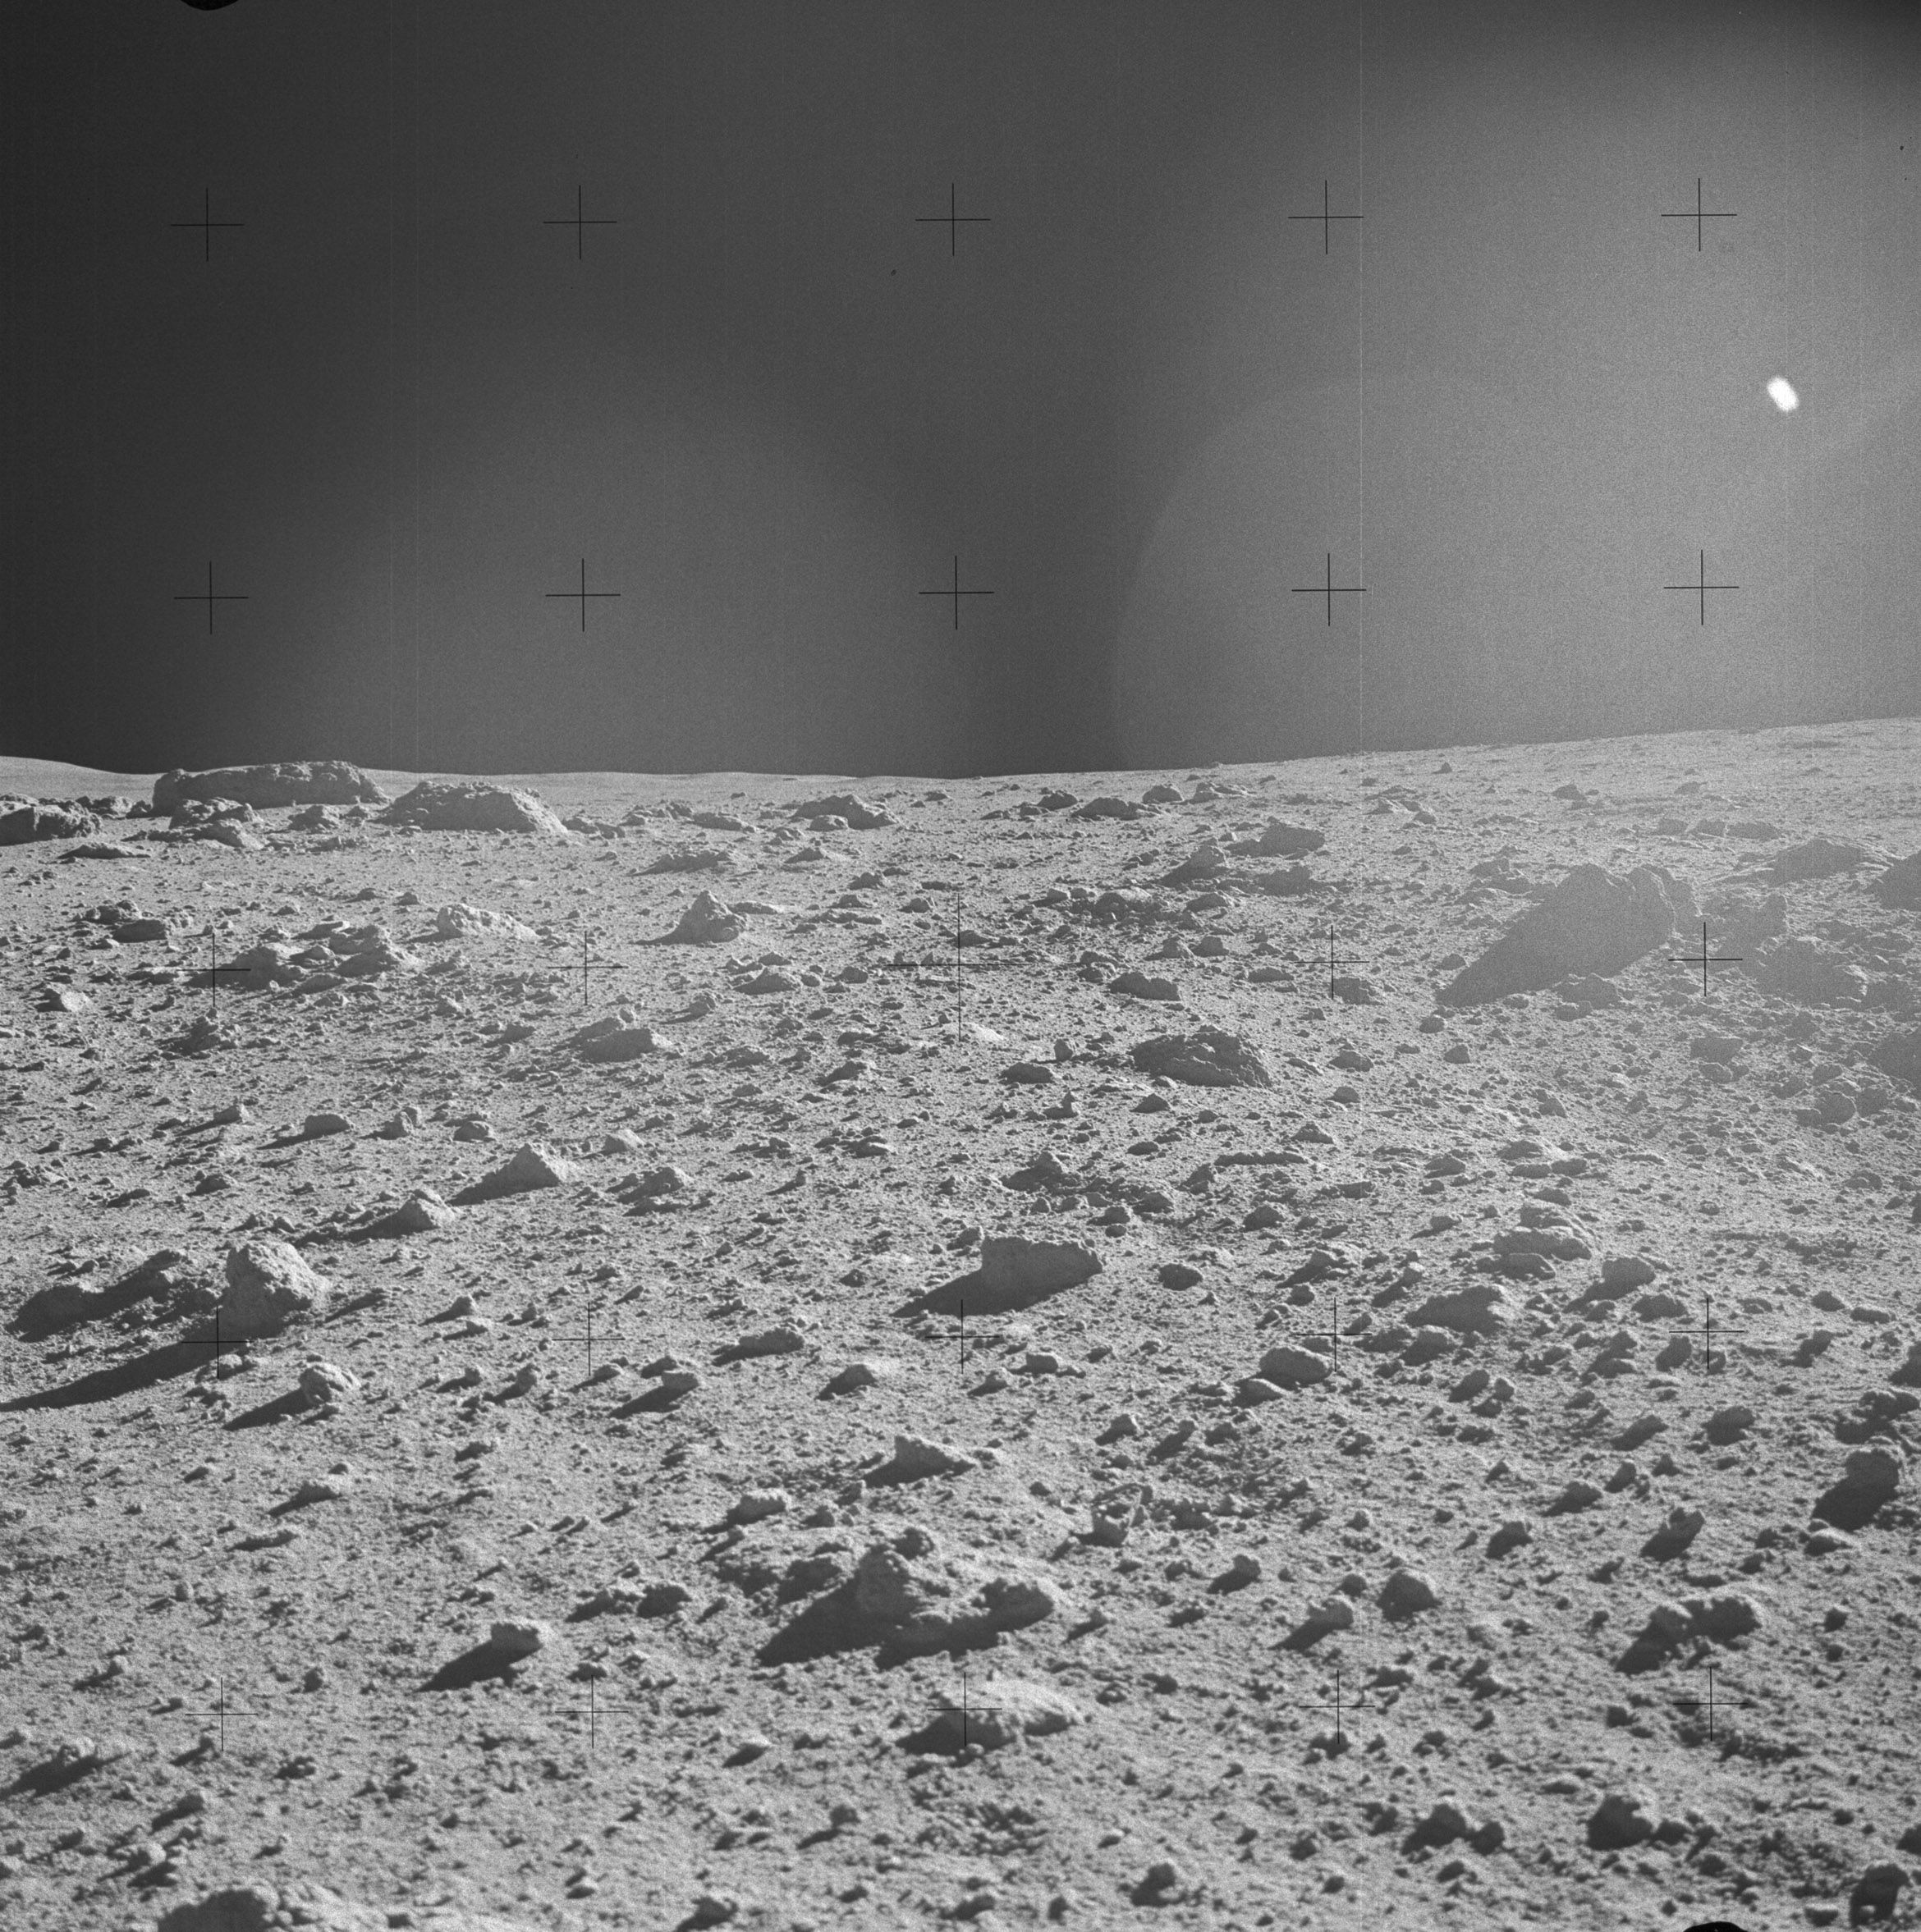 | AS14-64-9108 Rightward of 9107. Image credit: Image Science and Analysis Laboratory, NASA-Johnson Space Center. |
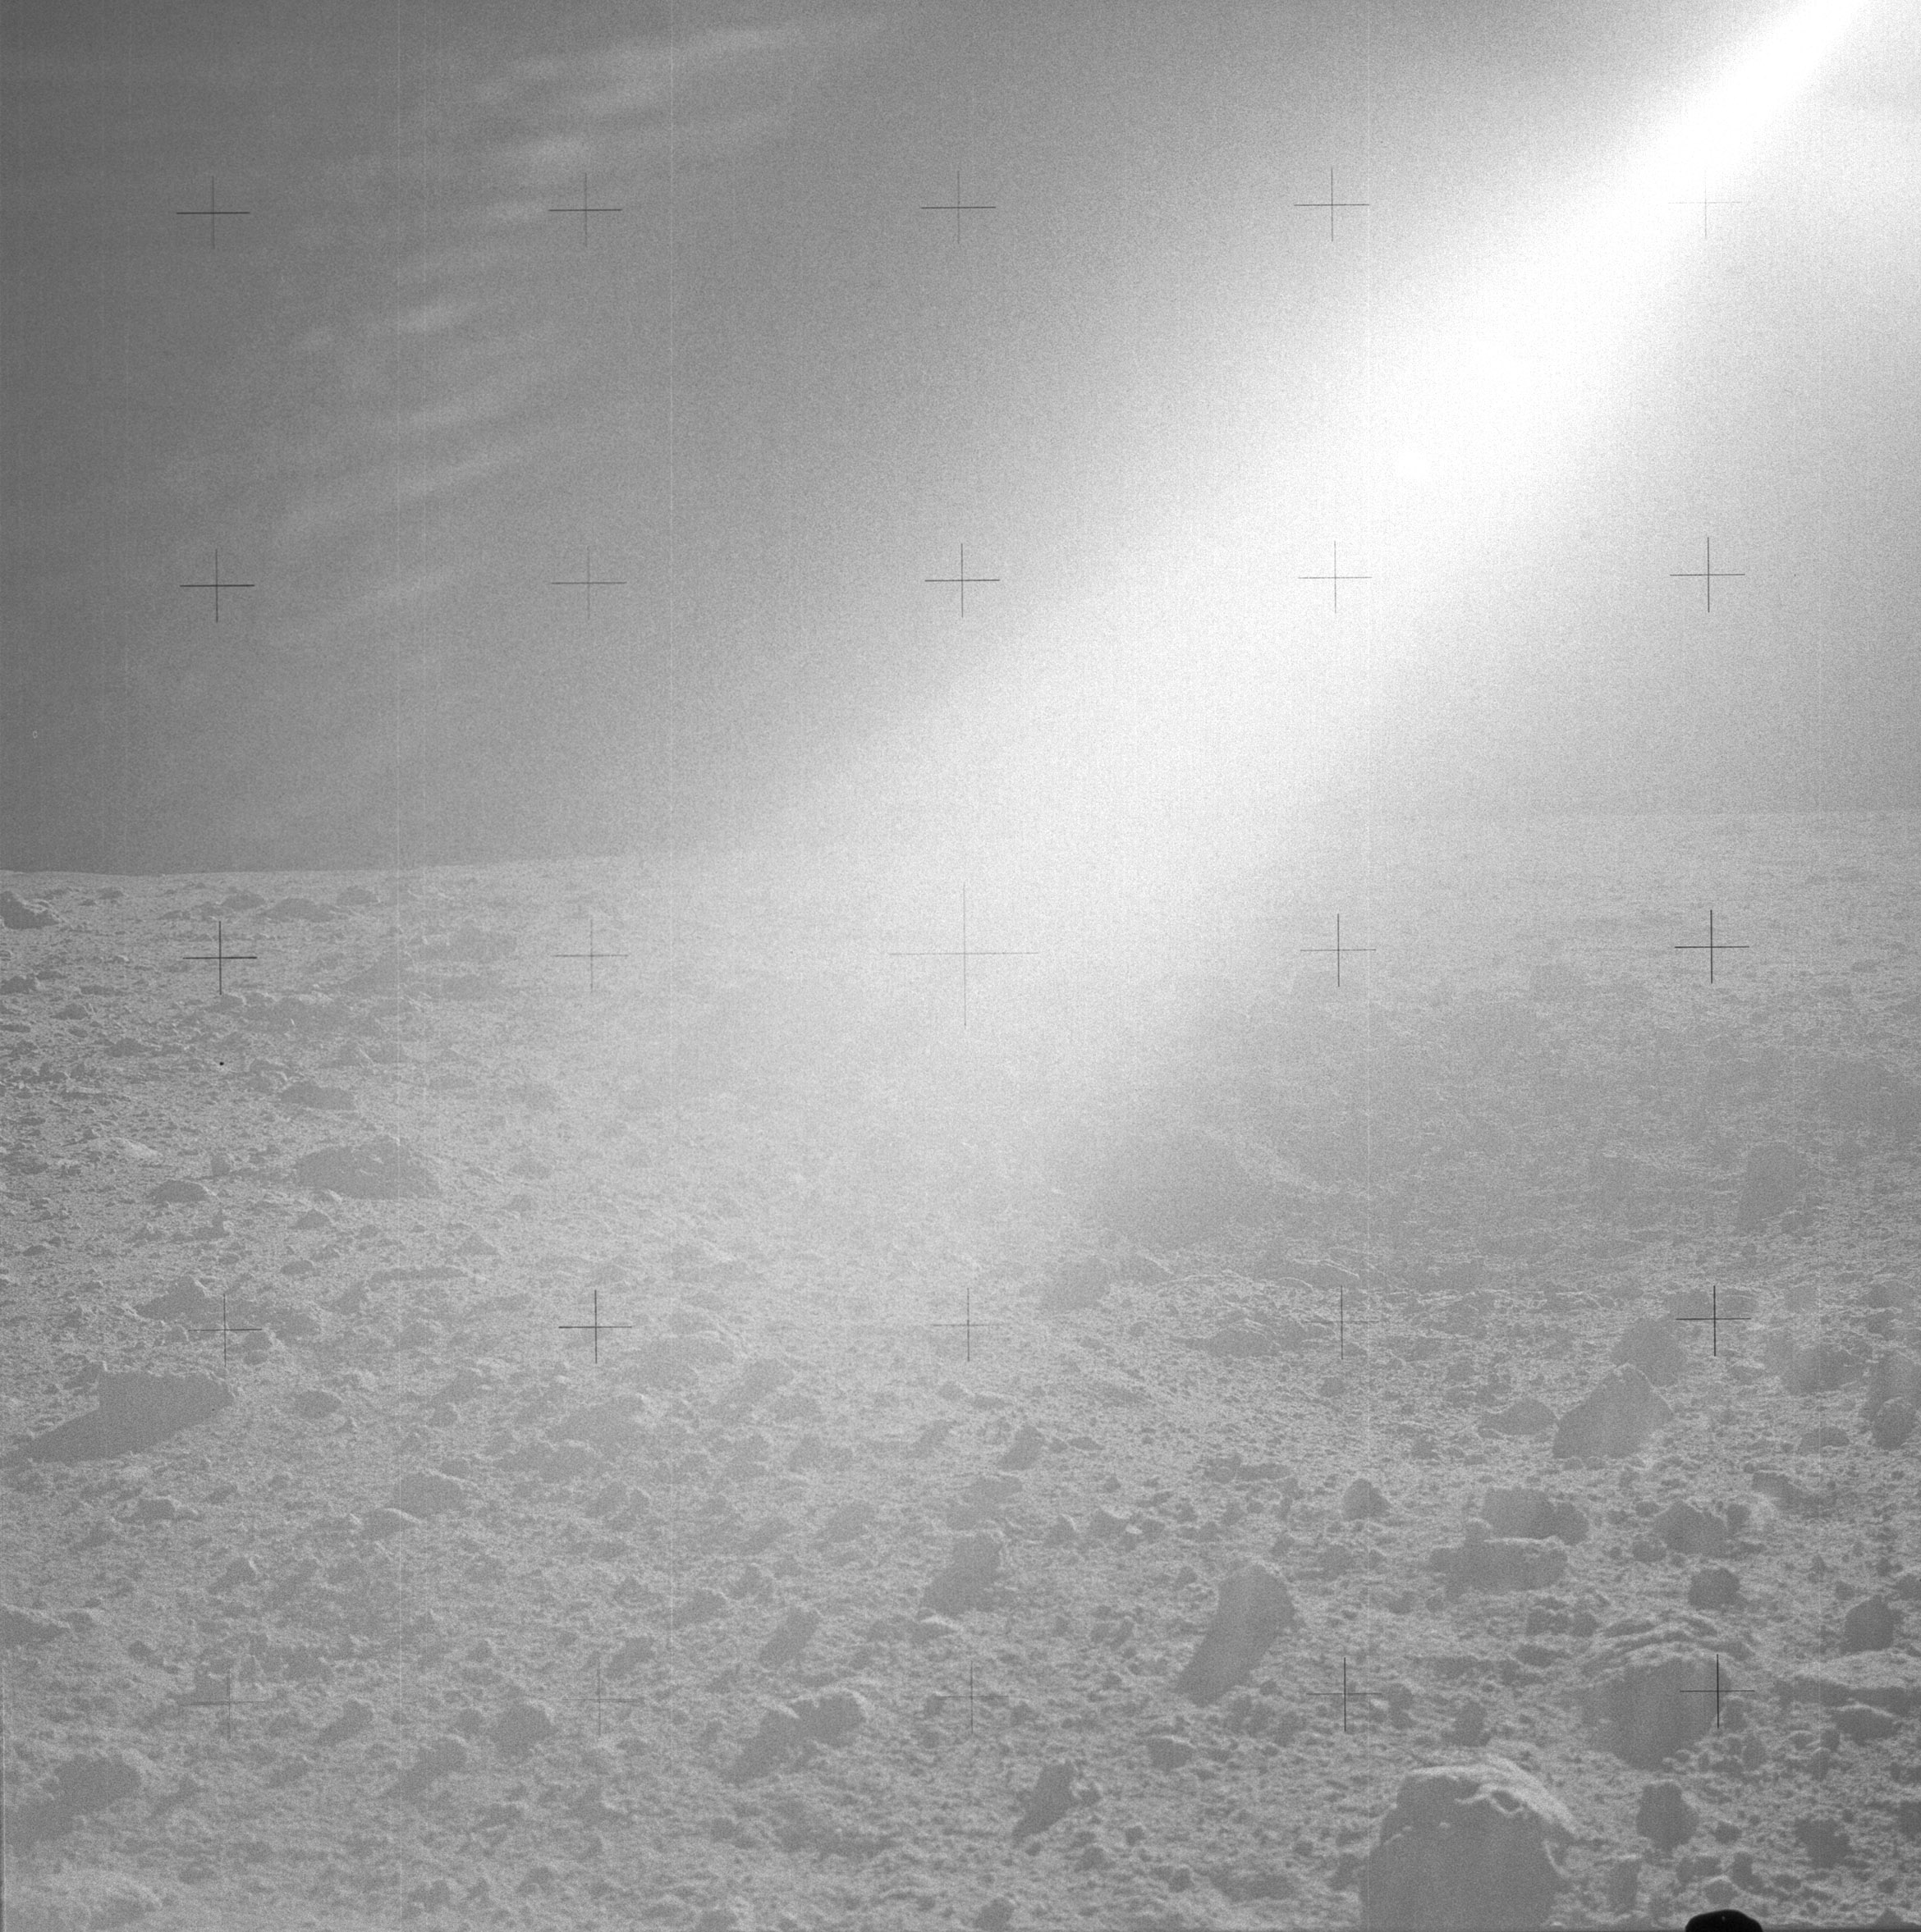 | AS14-64-9109 Rightward of 9108. Image credit: Image Science and Analysis Laboratory, NASA-Johnson Space Center. |
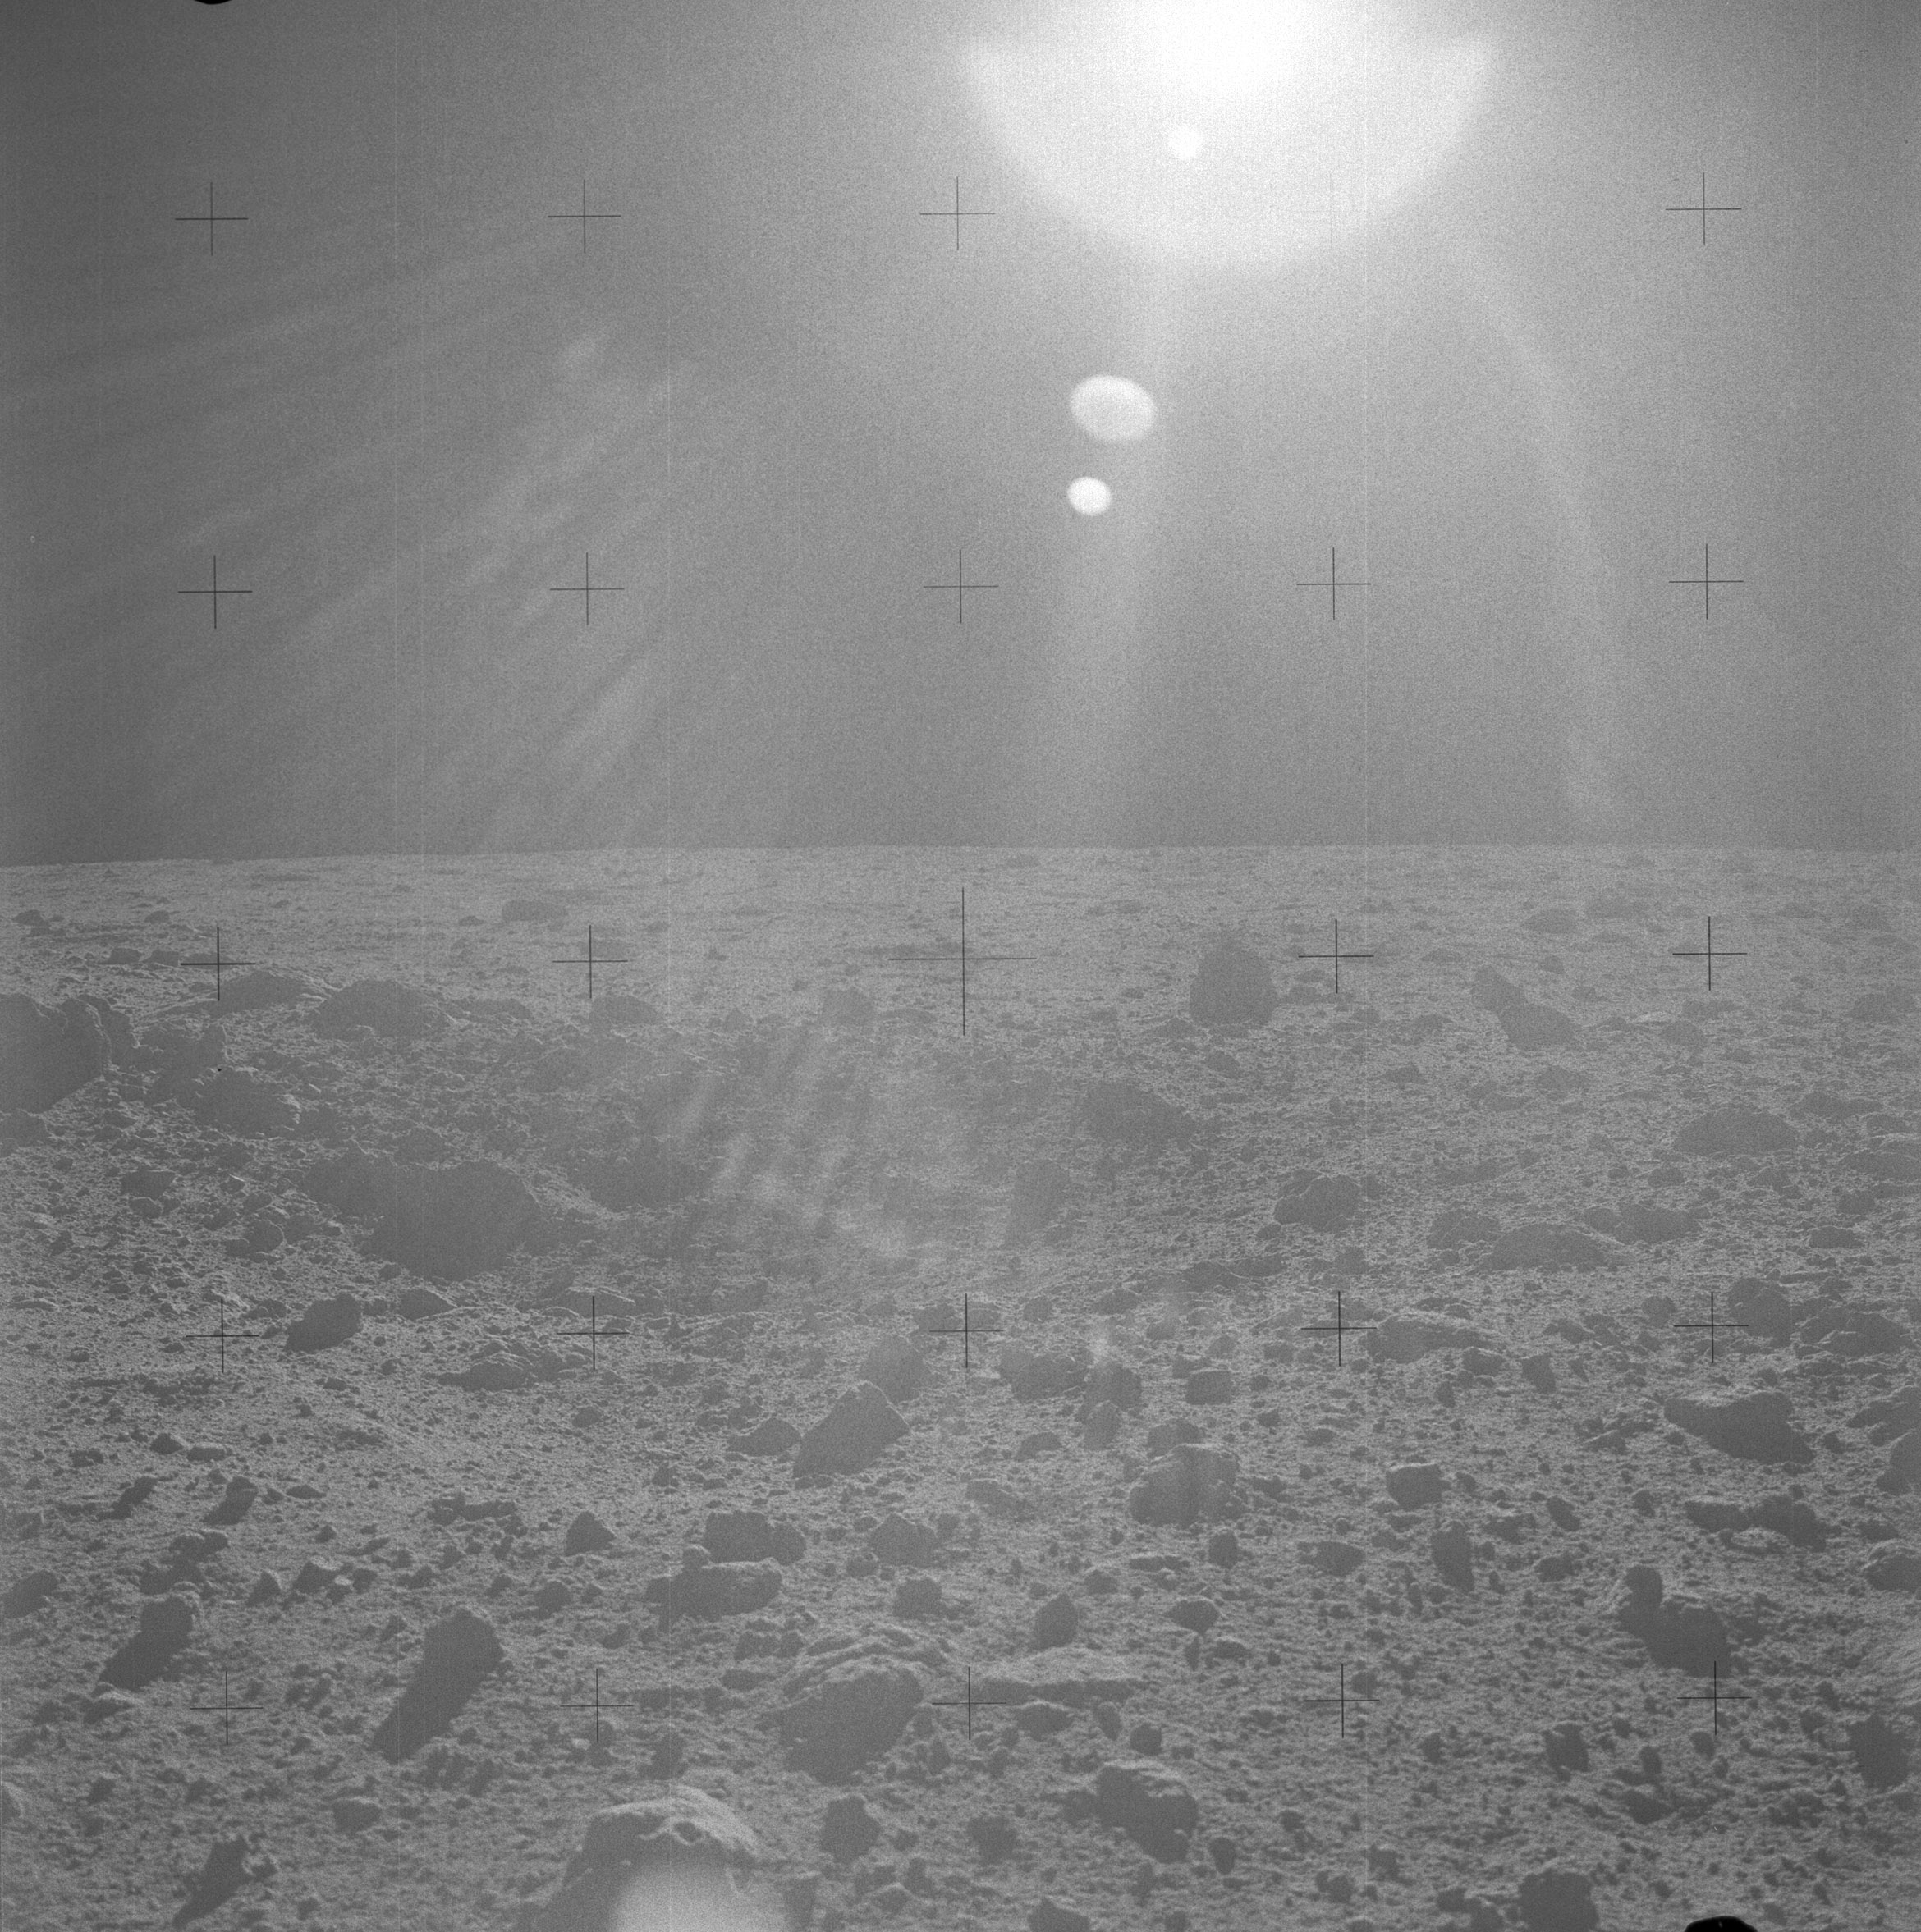 | AS14-64-9110 Rightward of 9109, up-Sun. Image credit: Image Science and Analysis Laboratory, NASA-Johnson Space Center. |
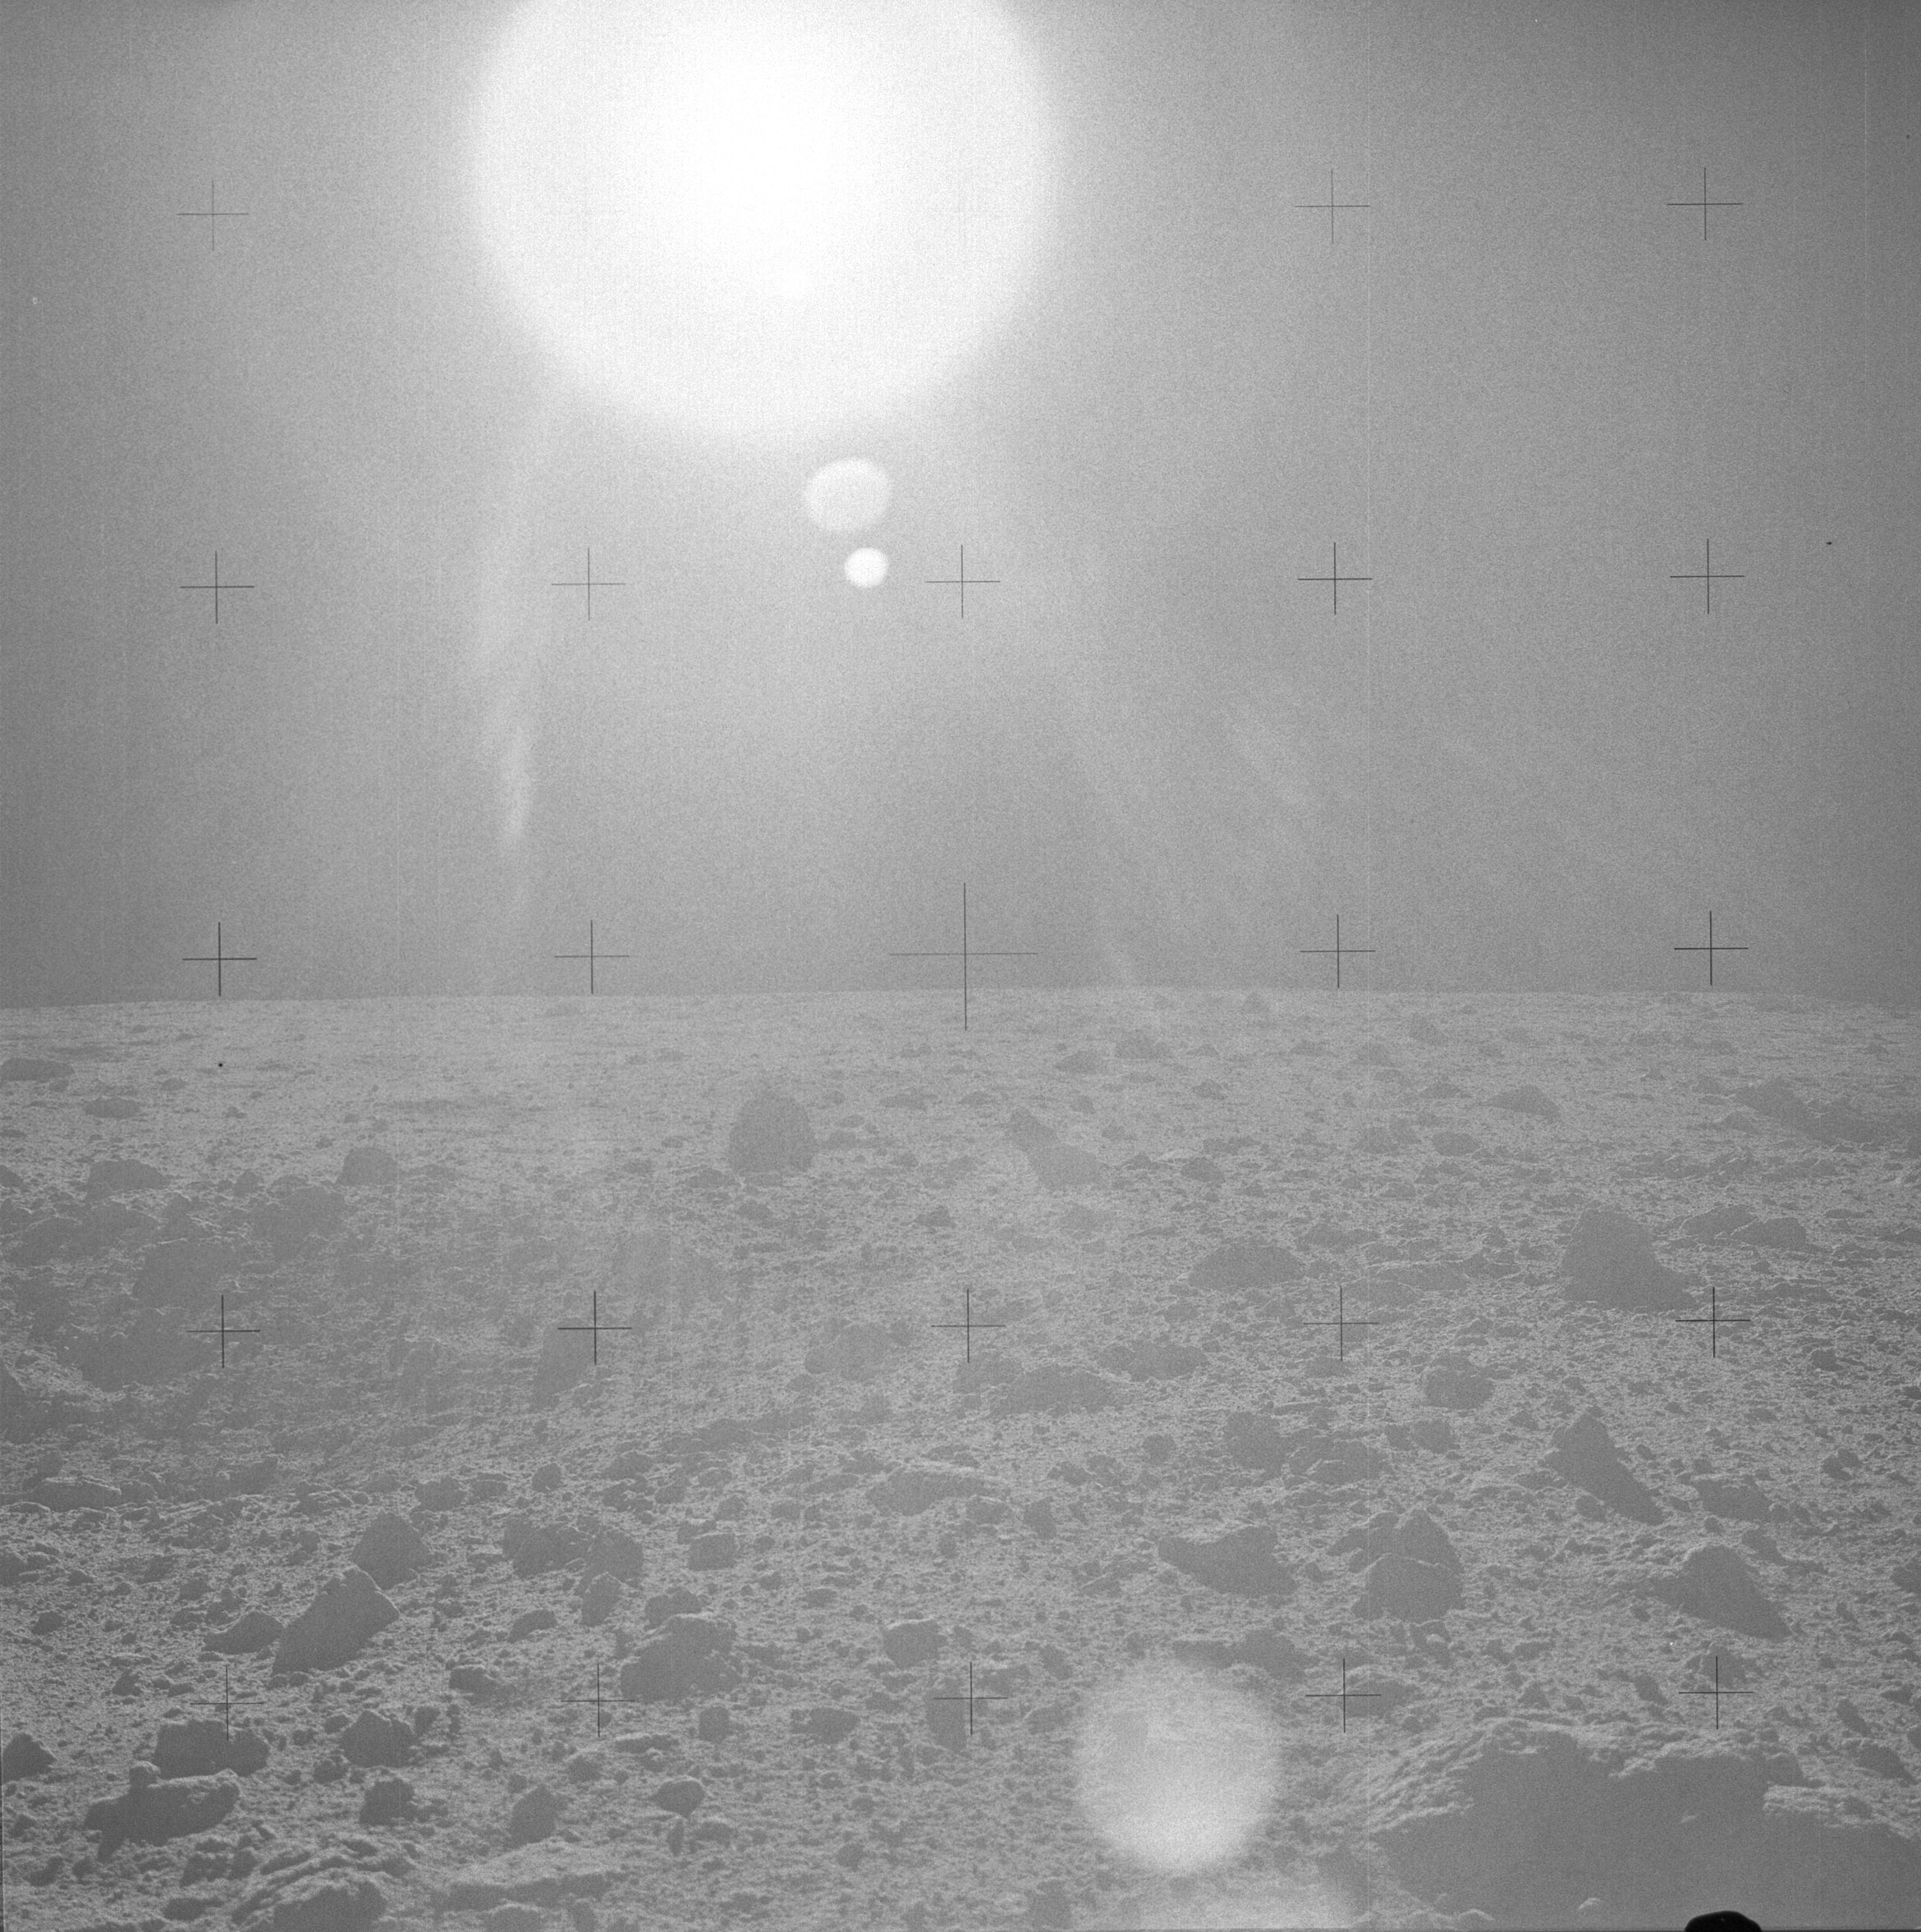 | AS14-64-9111 Rightward of 9110. Image credit: Image Science and Analysis Laboratory, NASA-Johnson Space Center. |
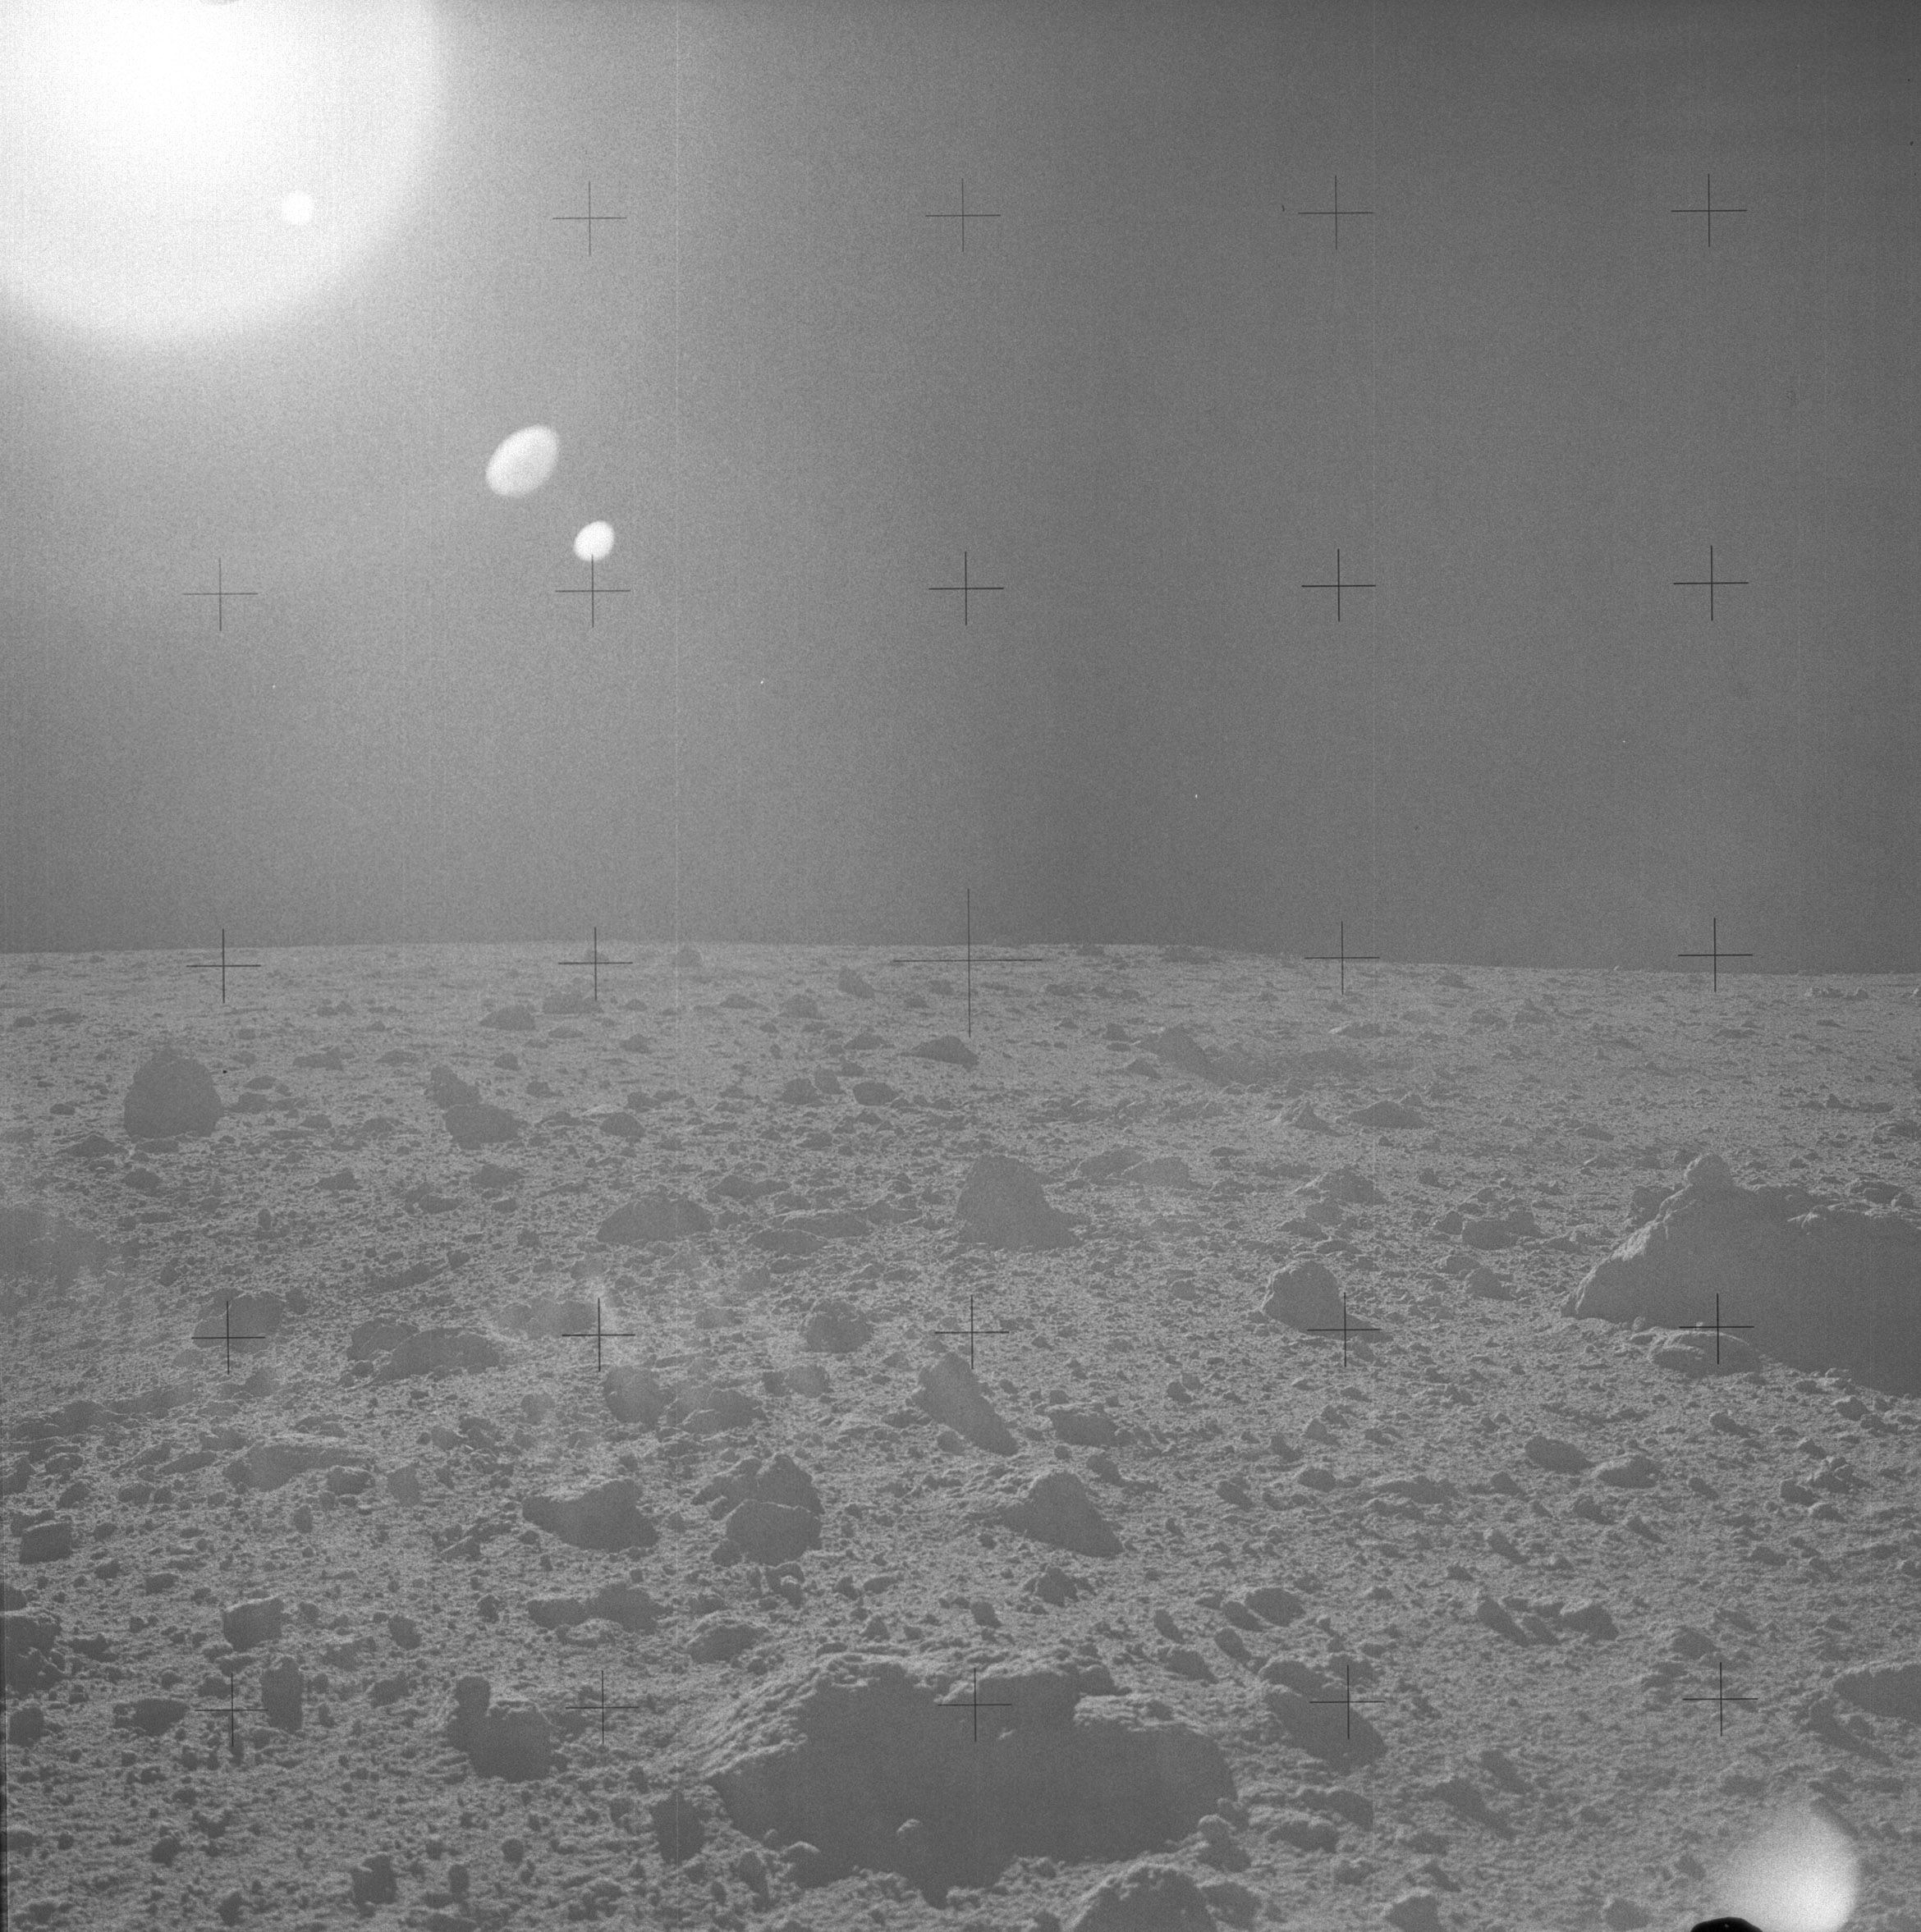 | AS14-64-9112 Rightward of 9111. Image credit: Image Science and Analysis Laboratory, NASA-Johnson Space Center. |
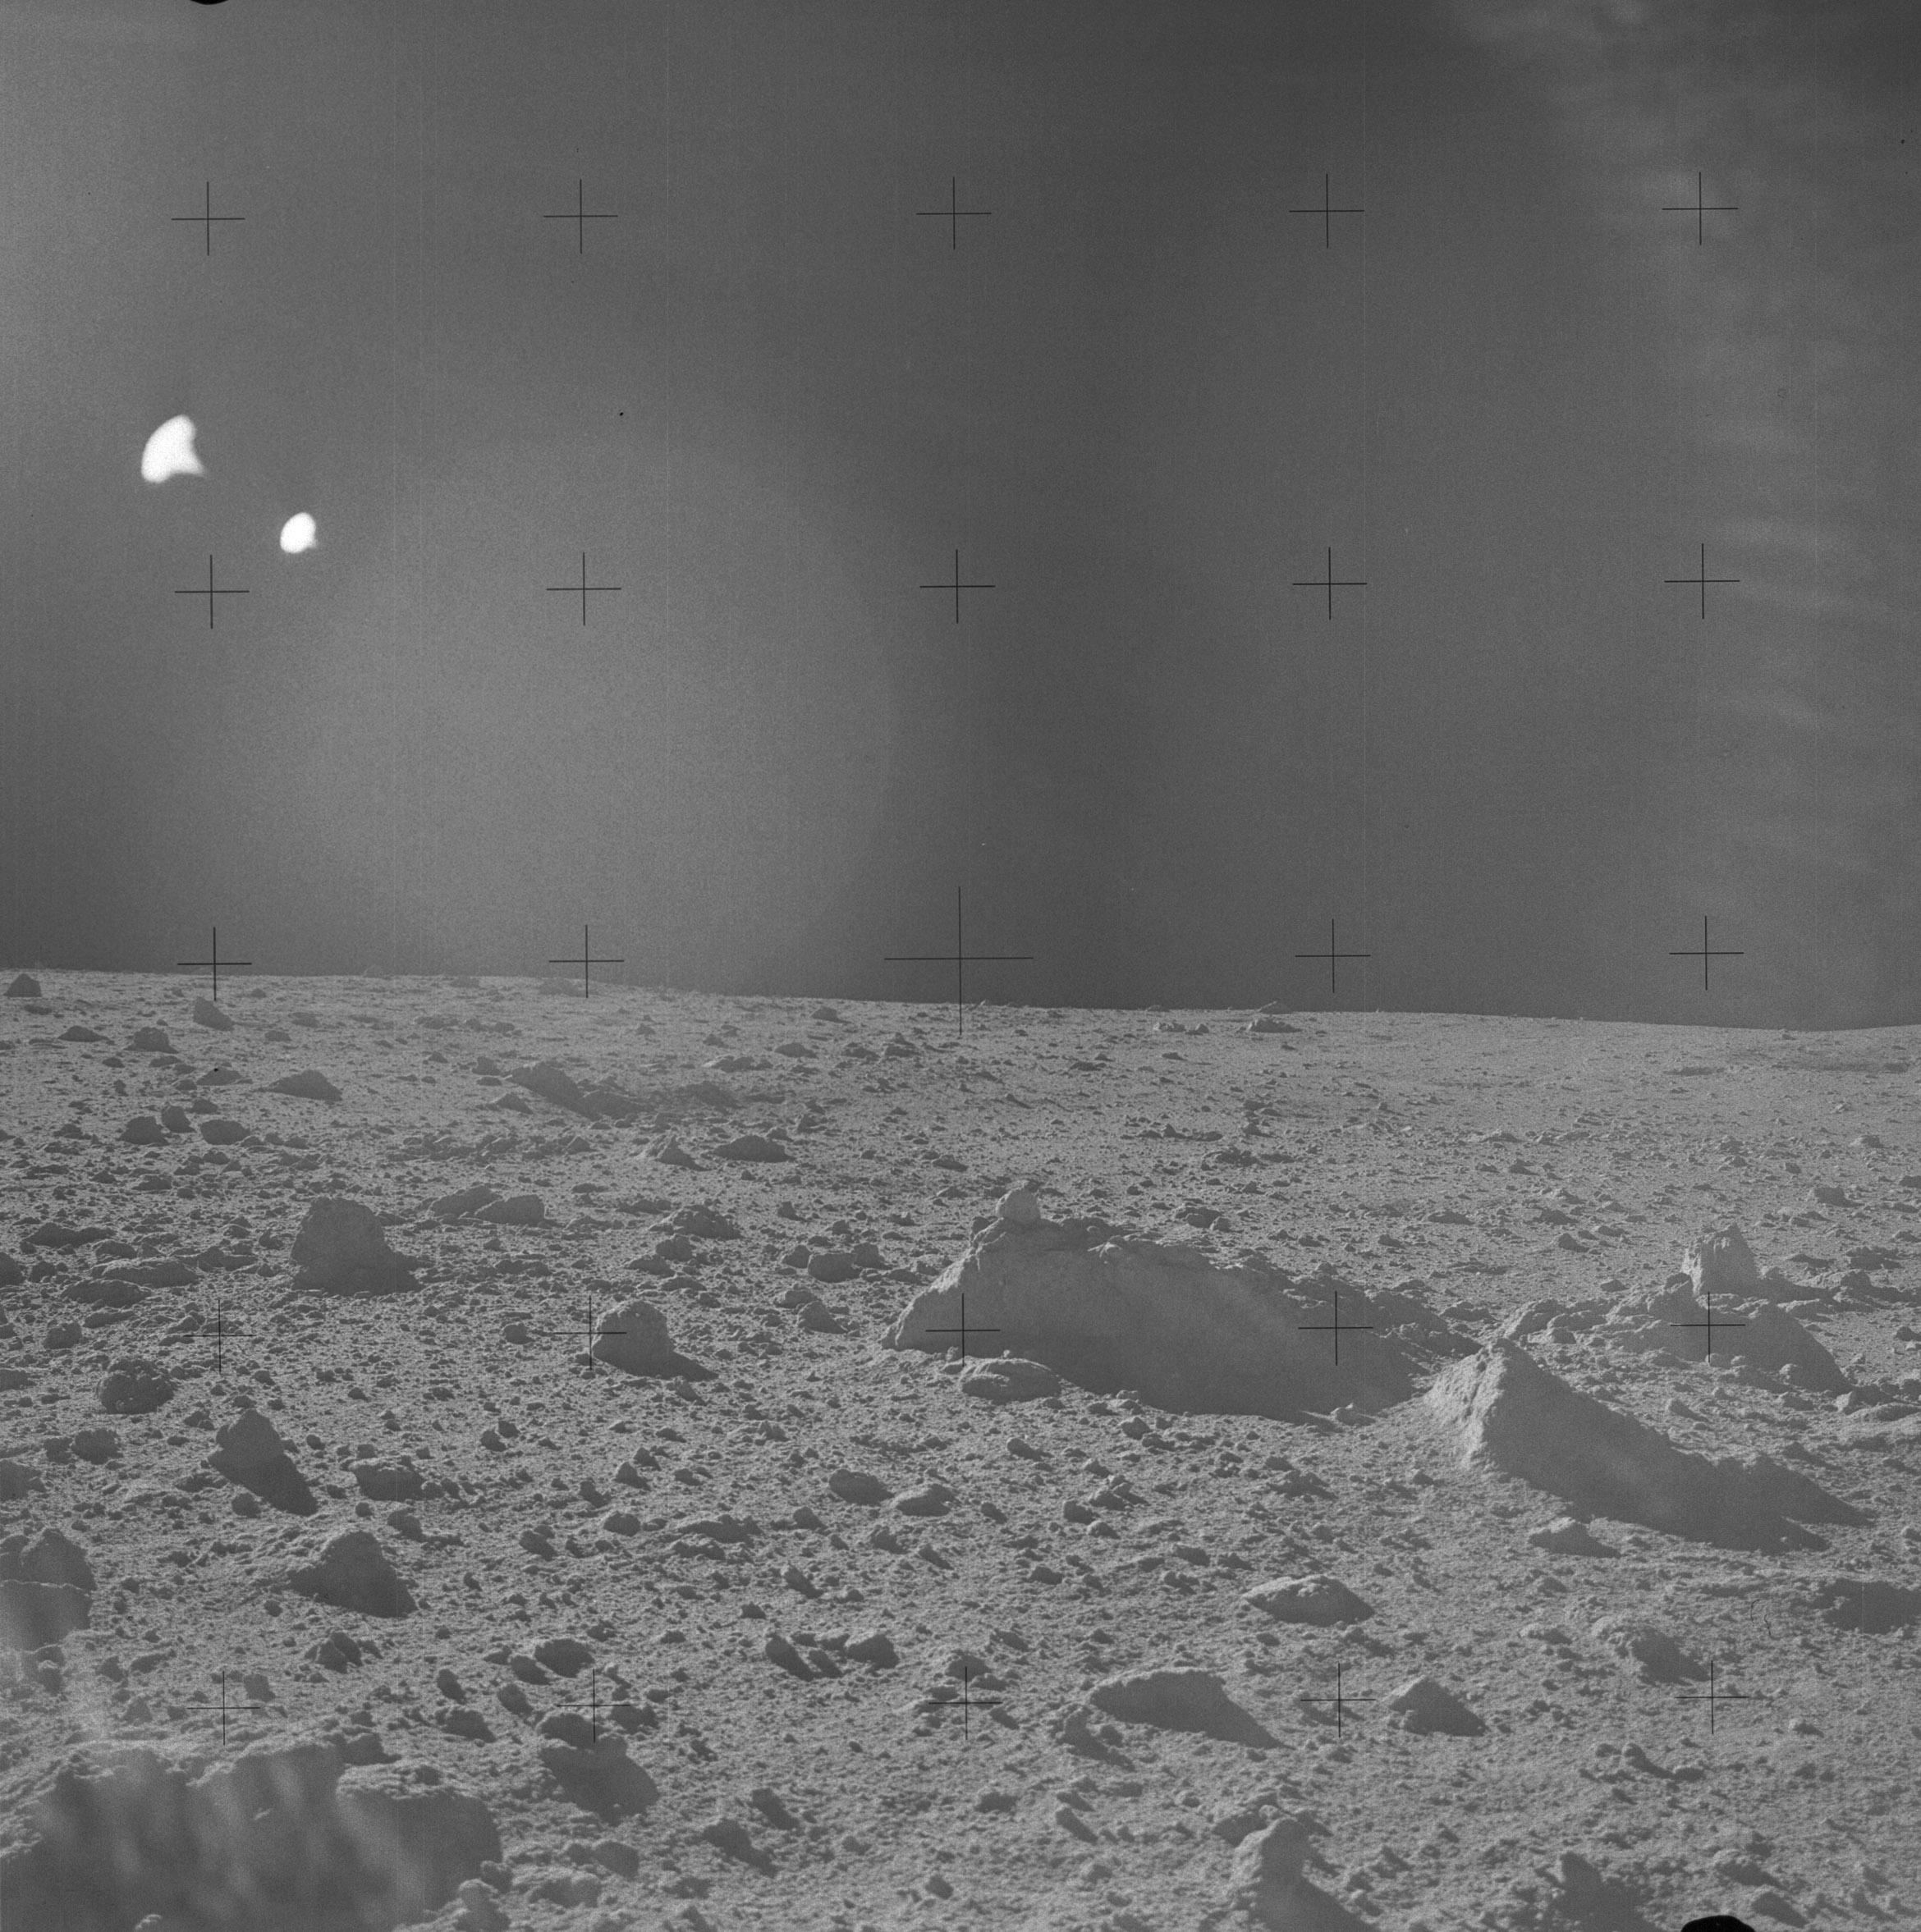 | AS14-64-9113 Rightward of 9112. Image credit: Image Science and Analysis Laboratory, NASA-Johnson Space Center. |
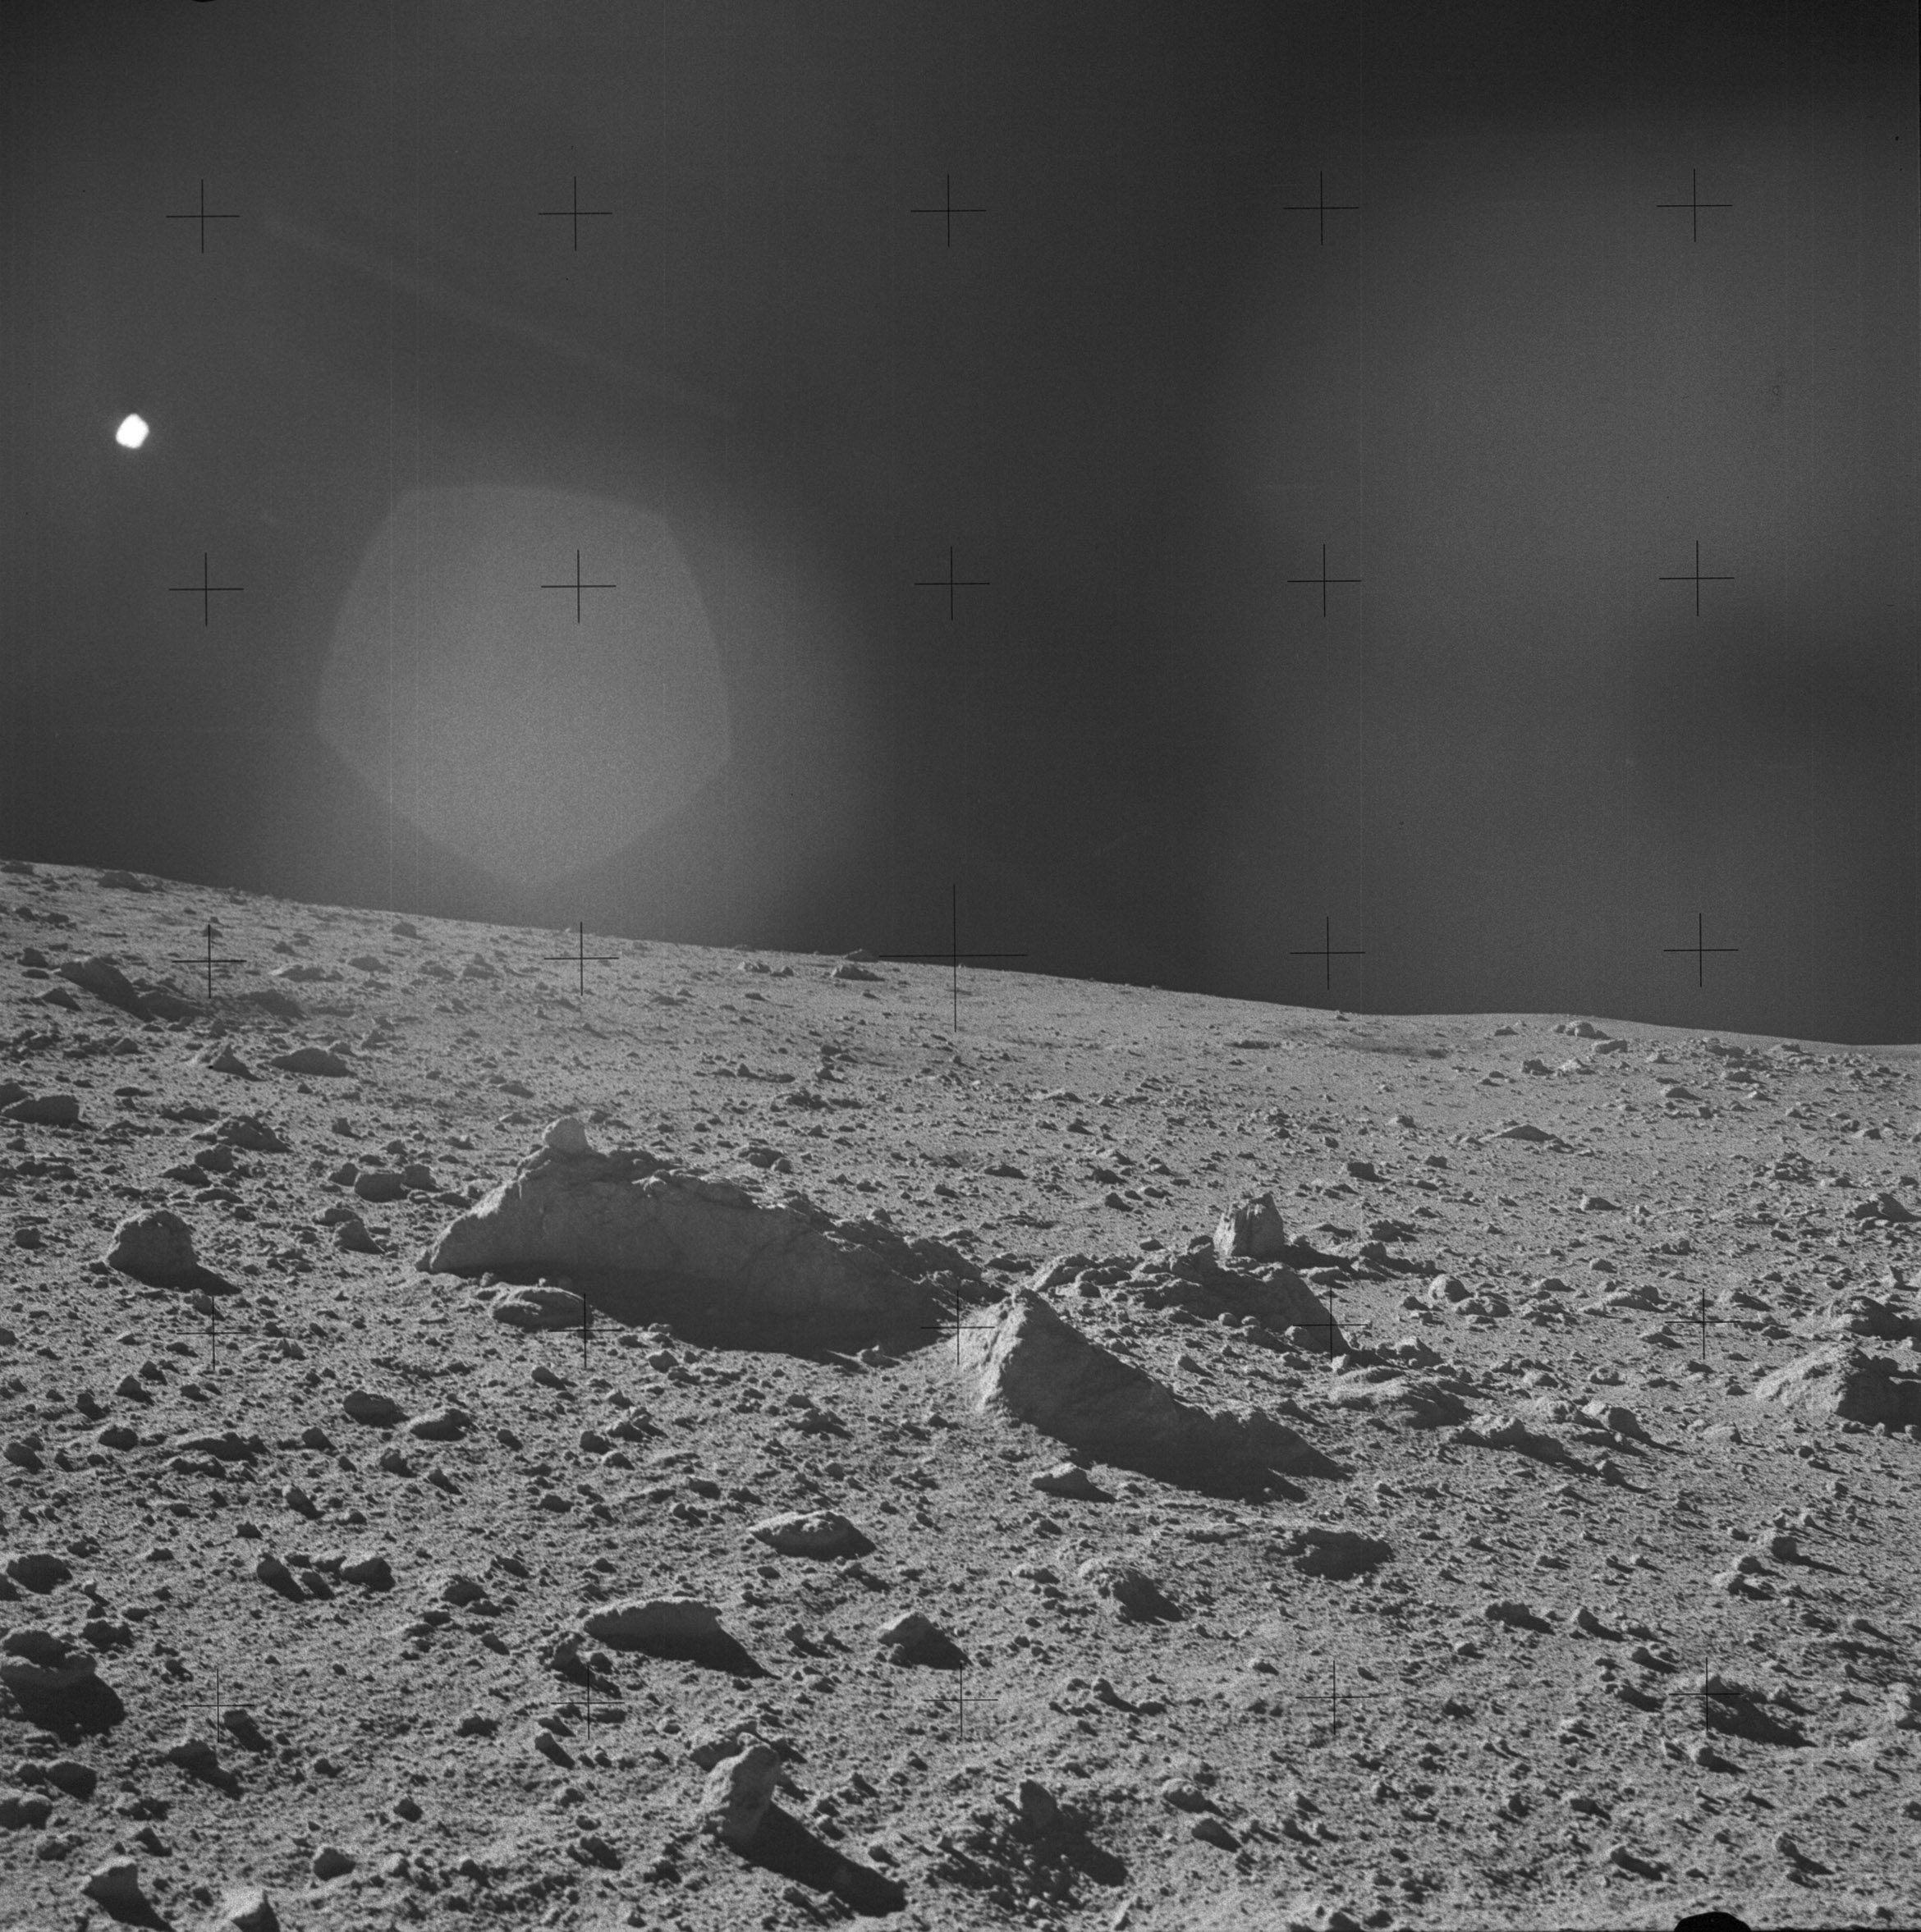 | AS14-64-9114 Rightward of 9113. Image credit: Image Science and Analysis Laboratory, NASA-Johnson Space Center. |
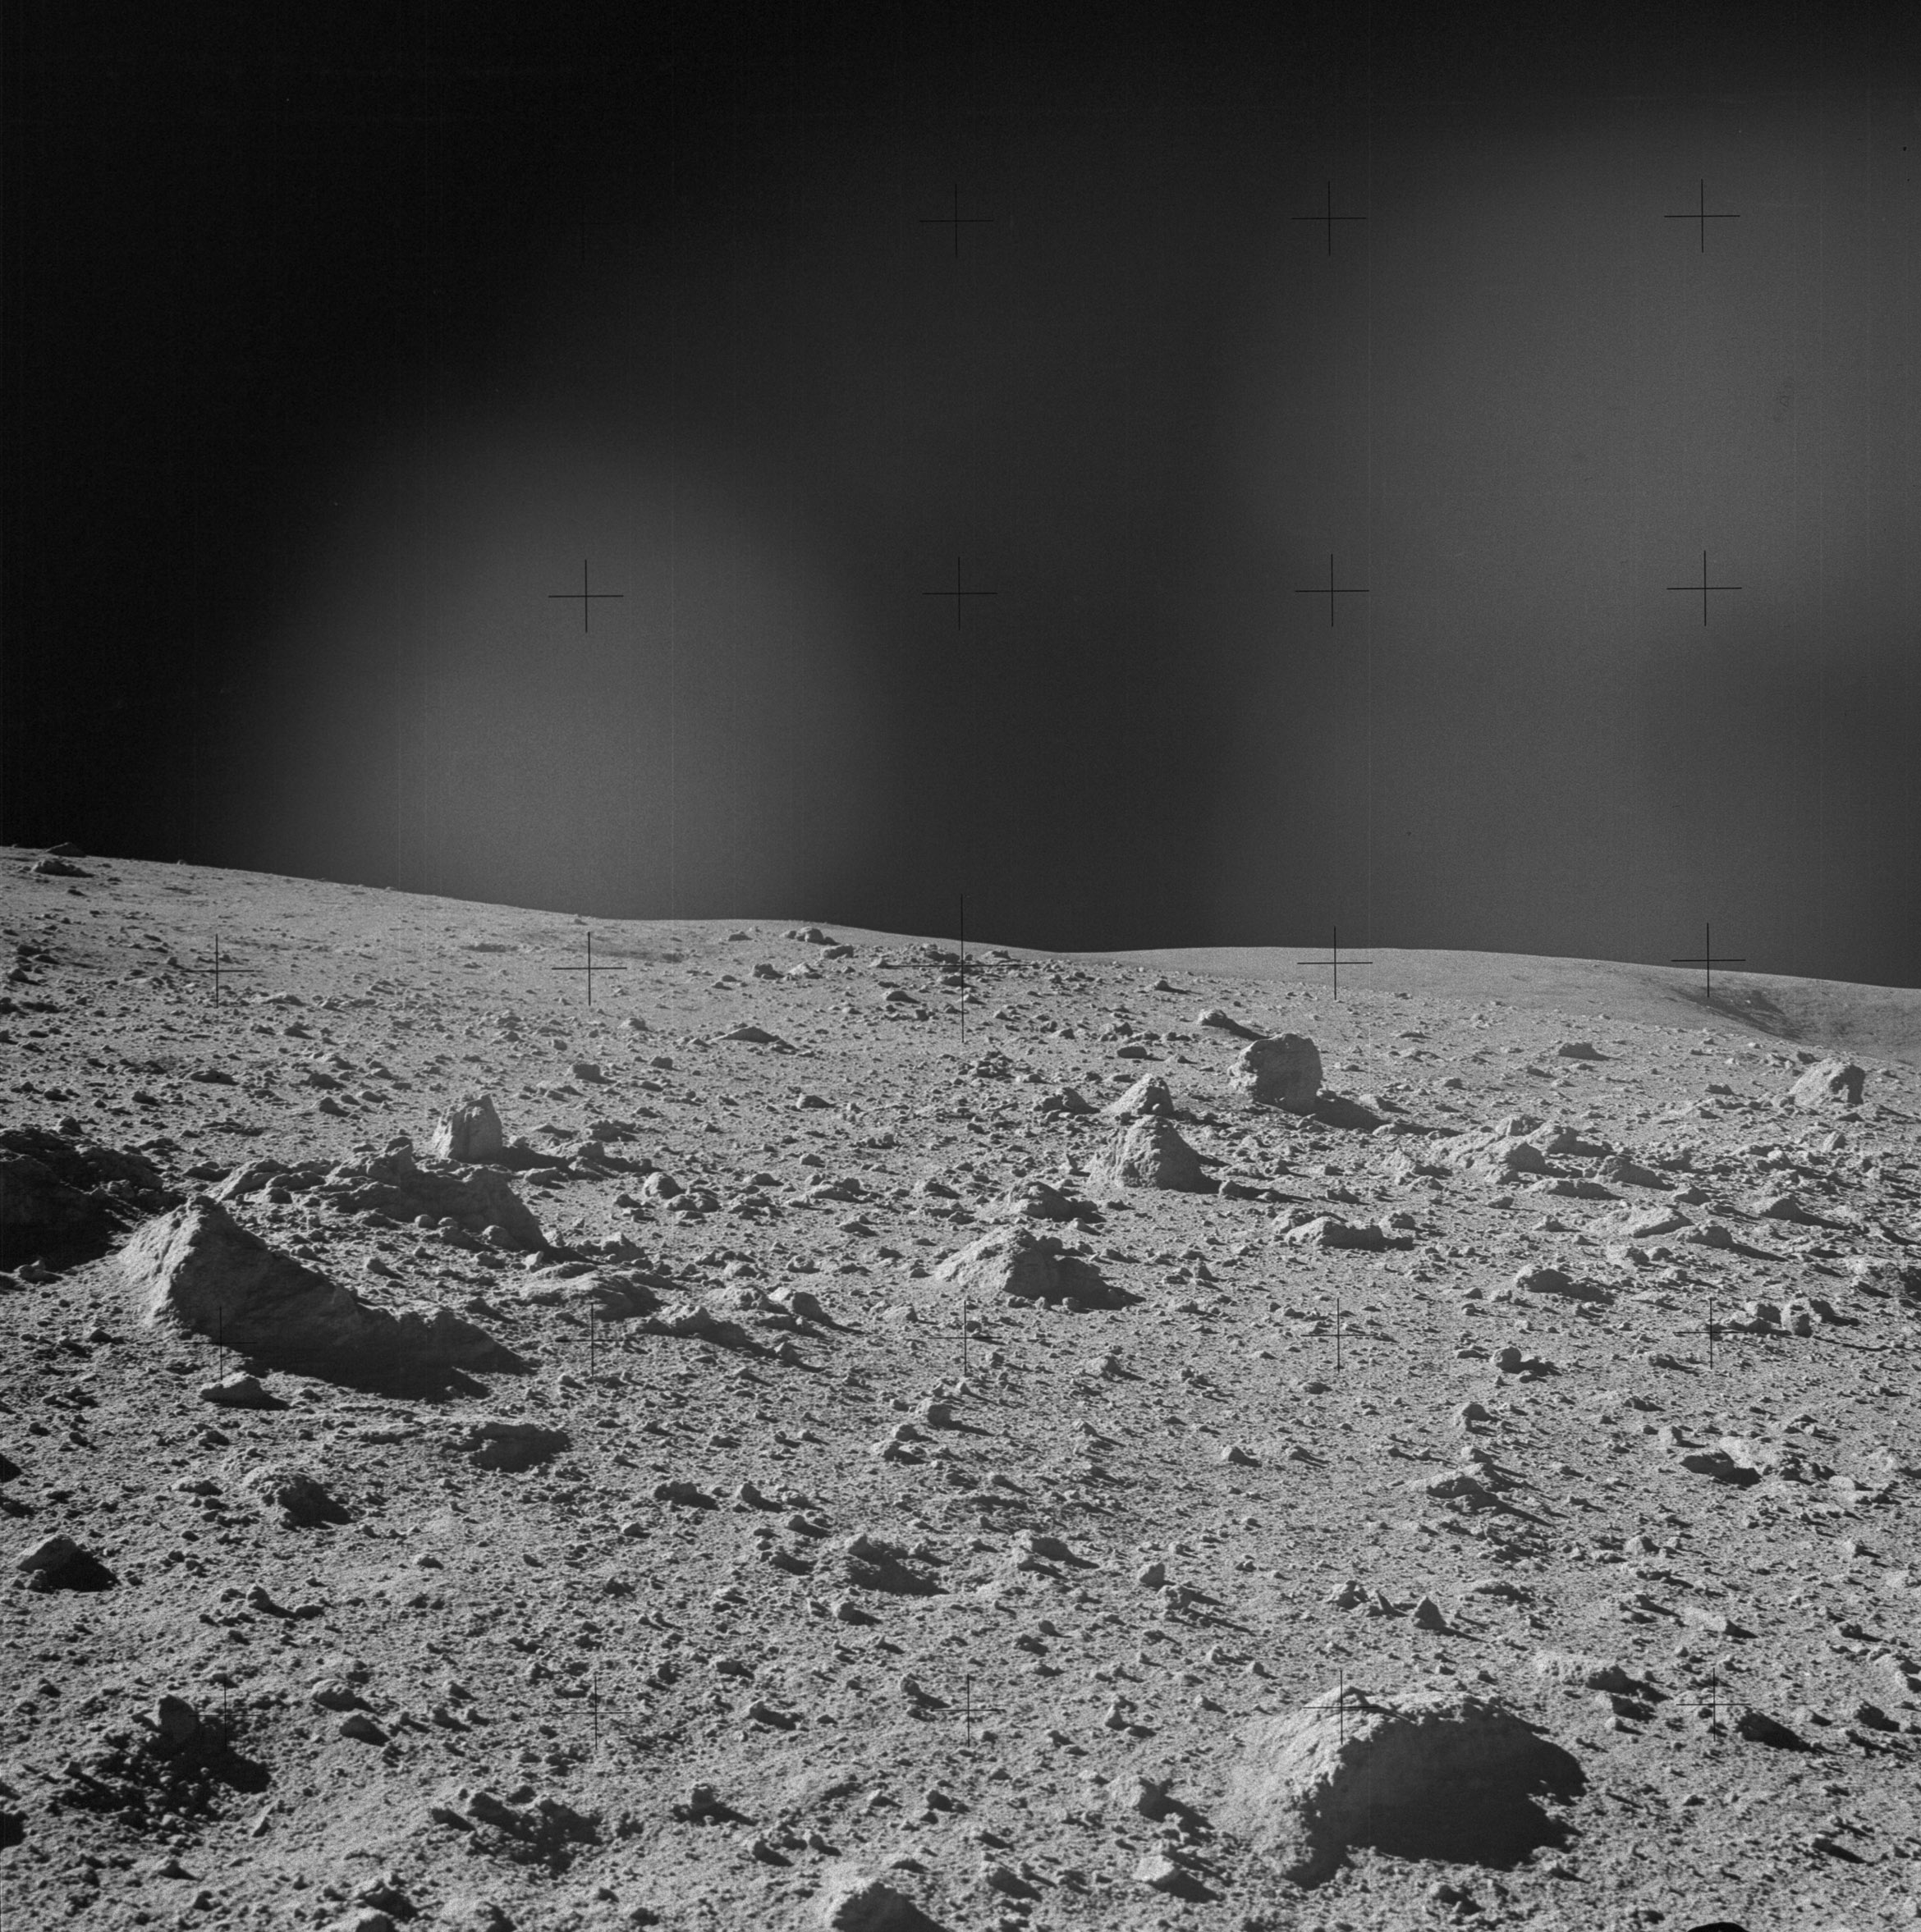 | AS14-64-9115 Rightward of 9114. Image credit: Image Science and Analysis Laboratory, NASA-Johnson Space Center. |
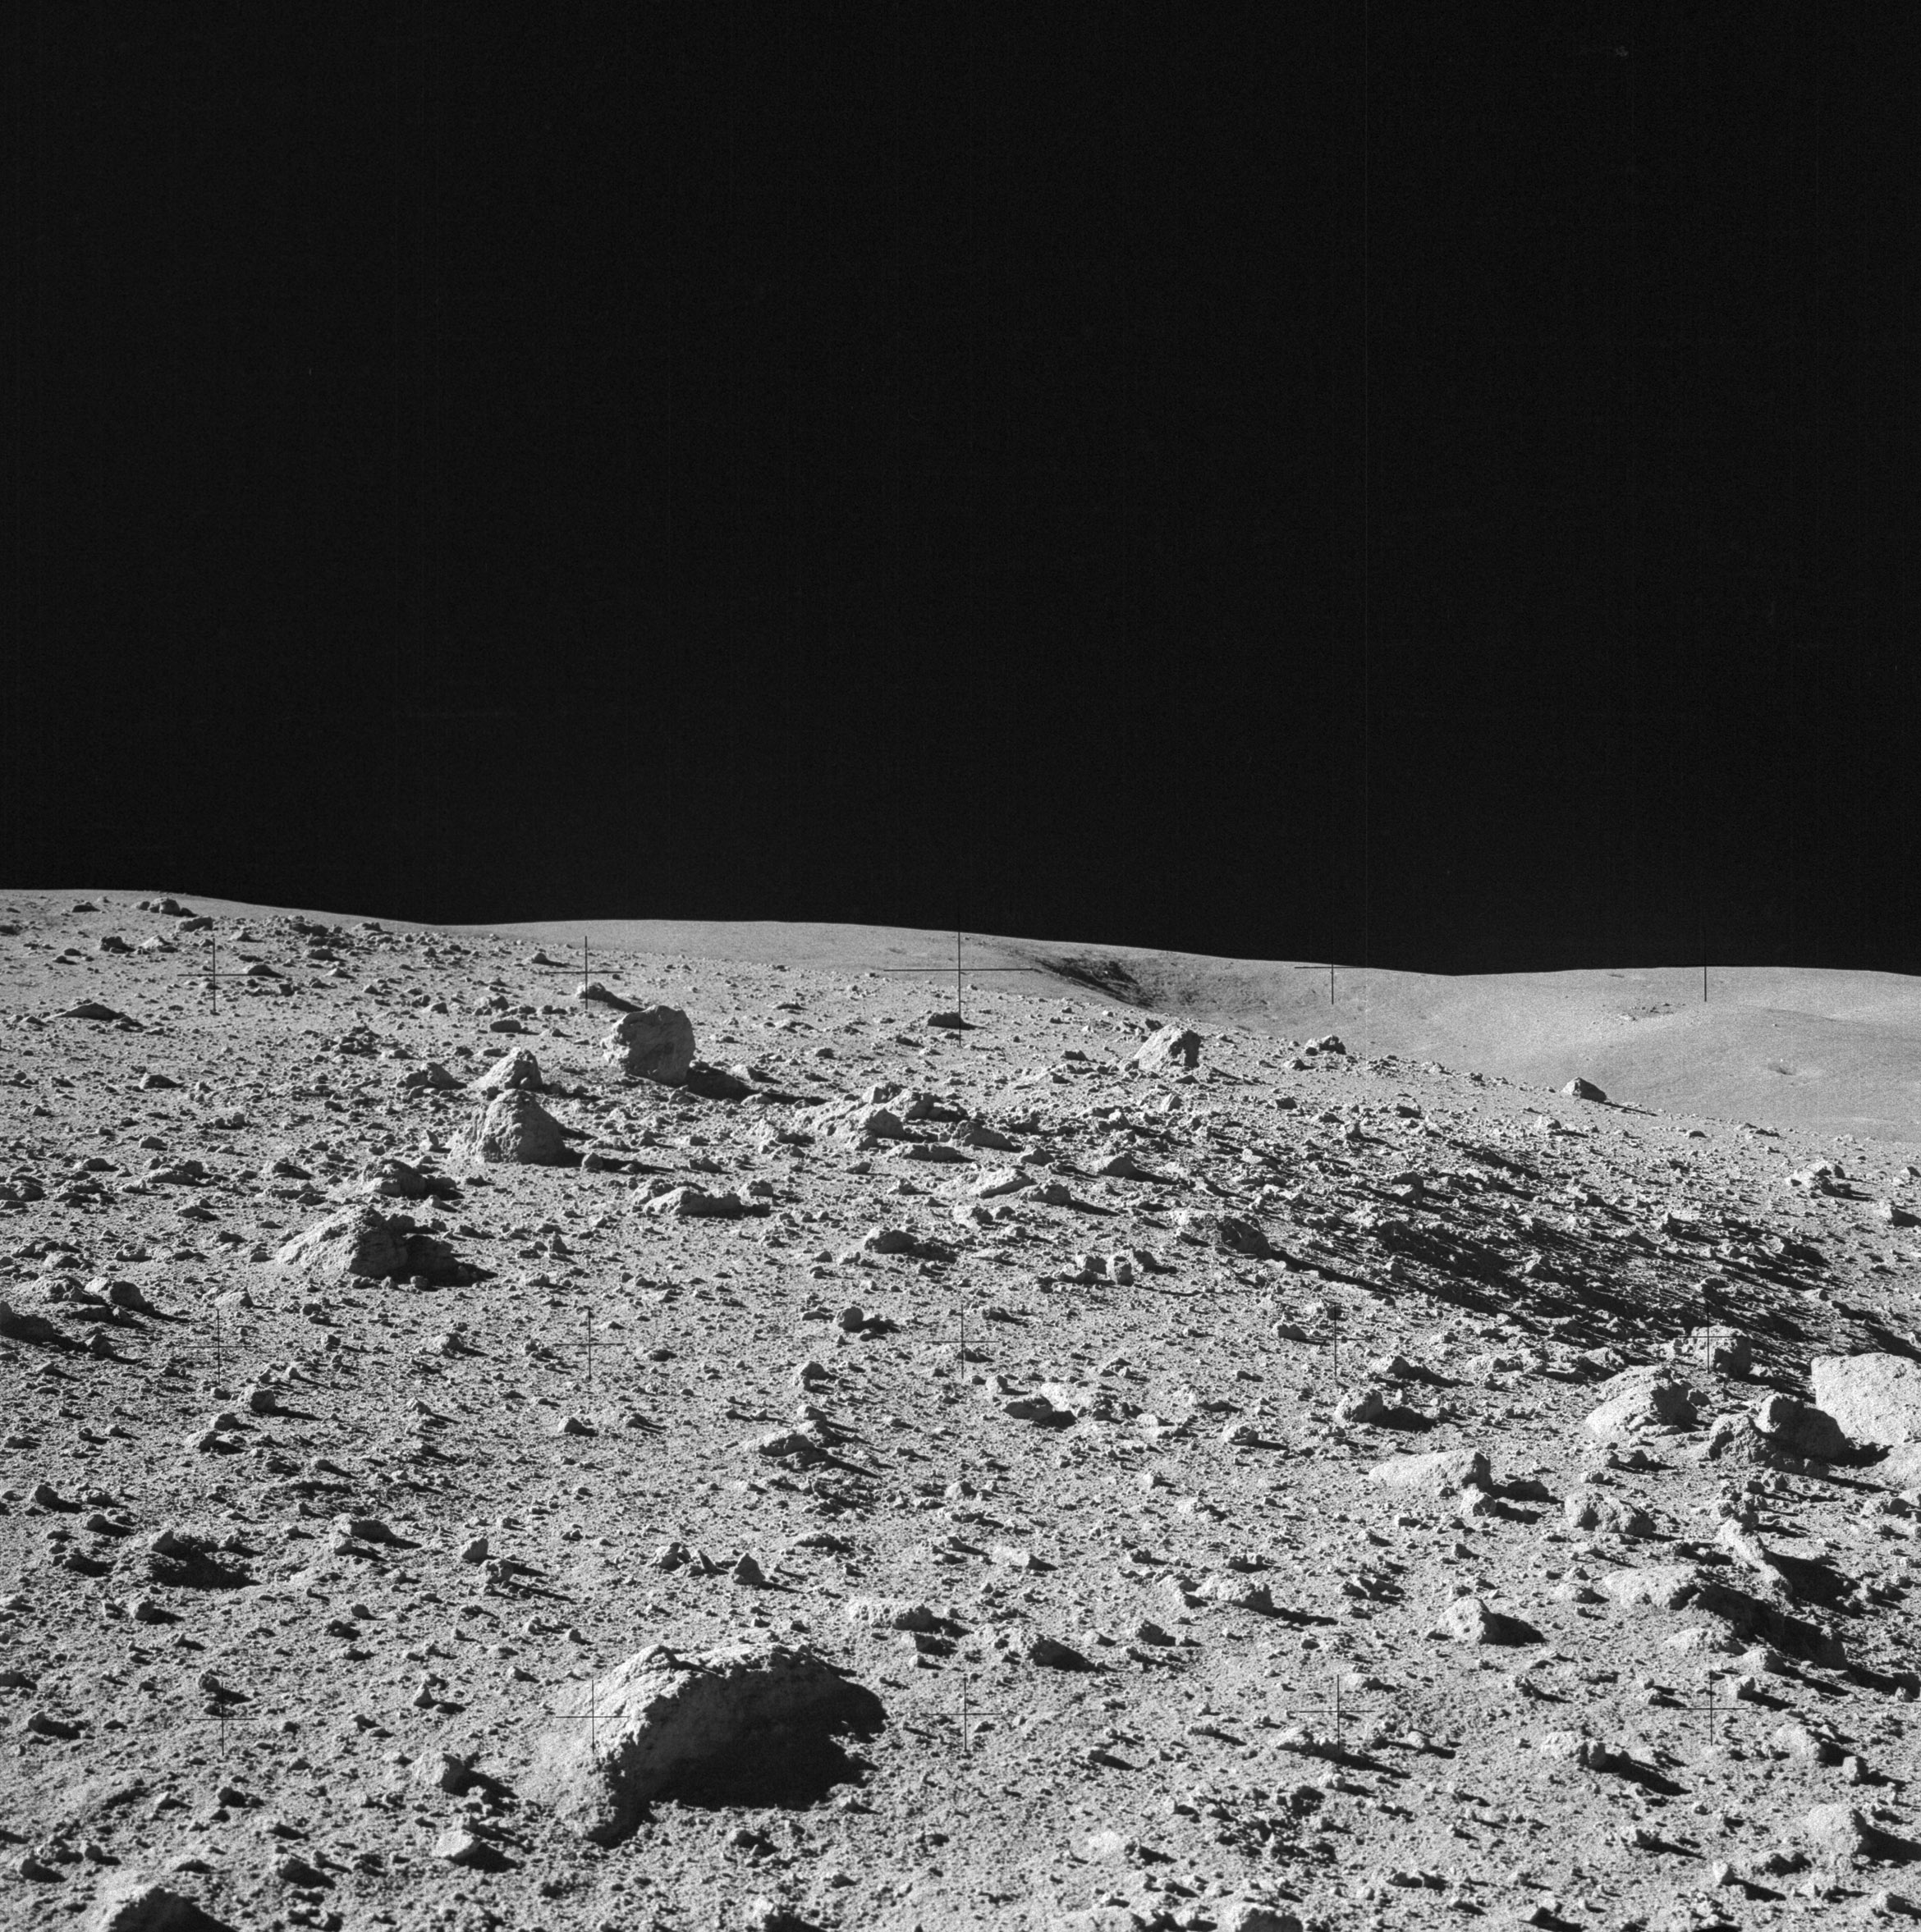 | AS14-64-9116 133:23:40 Rightward of 9115. Image credit: Image Science and Analysis Laboratory, NASA-Johnson Space Center. |
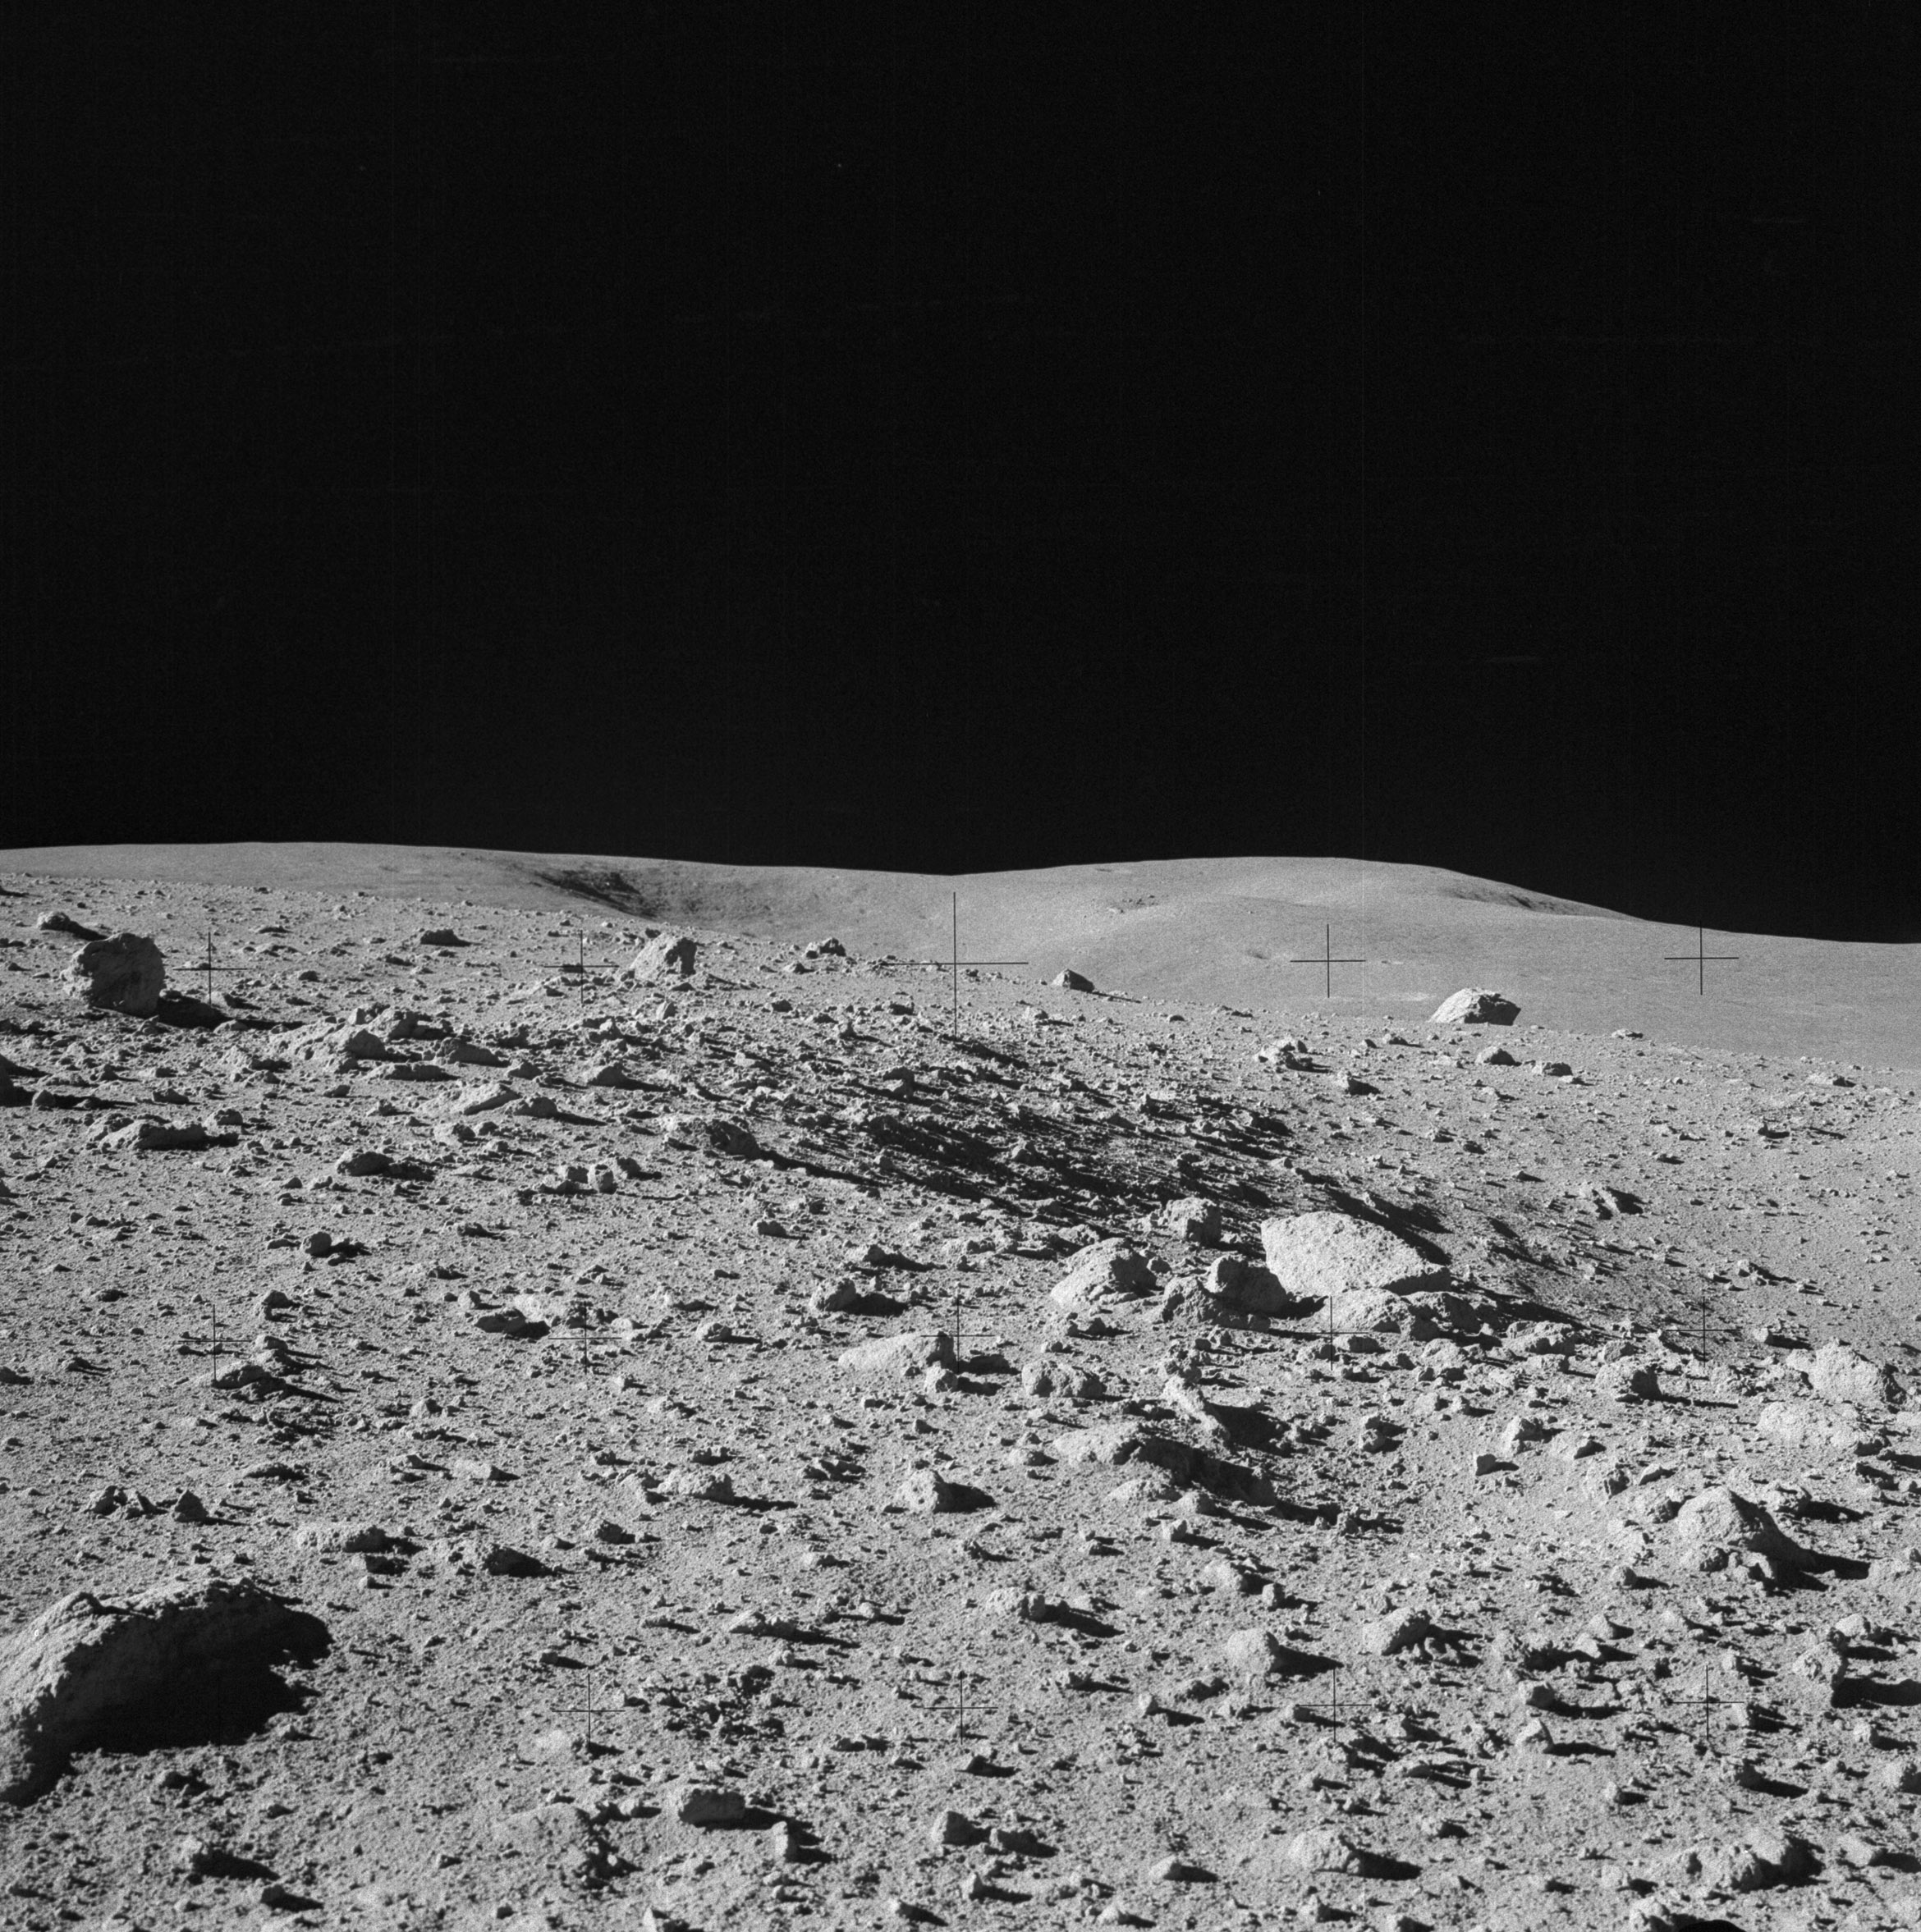 | AS14-64-9117 133:23:40 Rightward of 9116. Image credit: Image Science and Analysis Laboratory, NASA-Johnson Space Center. |
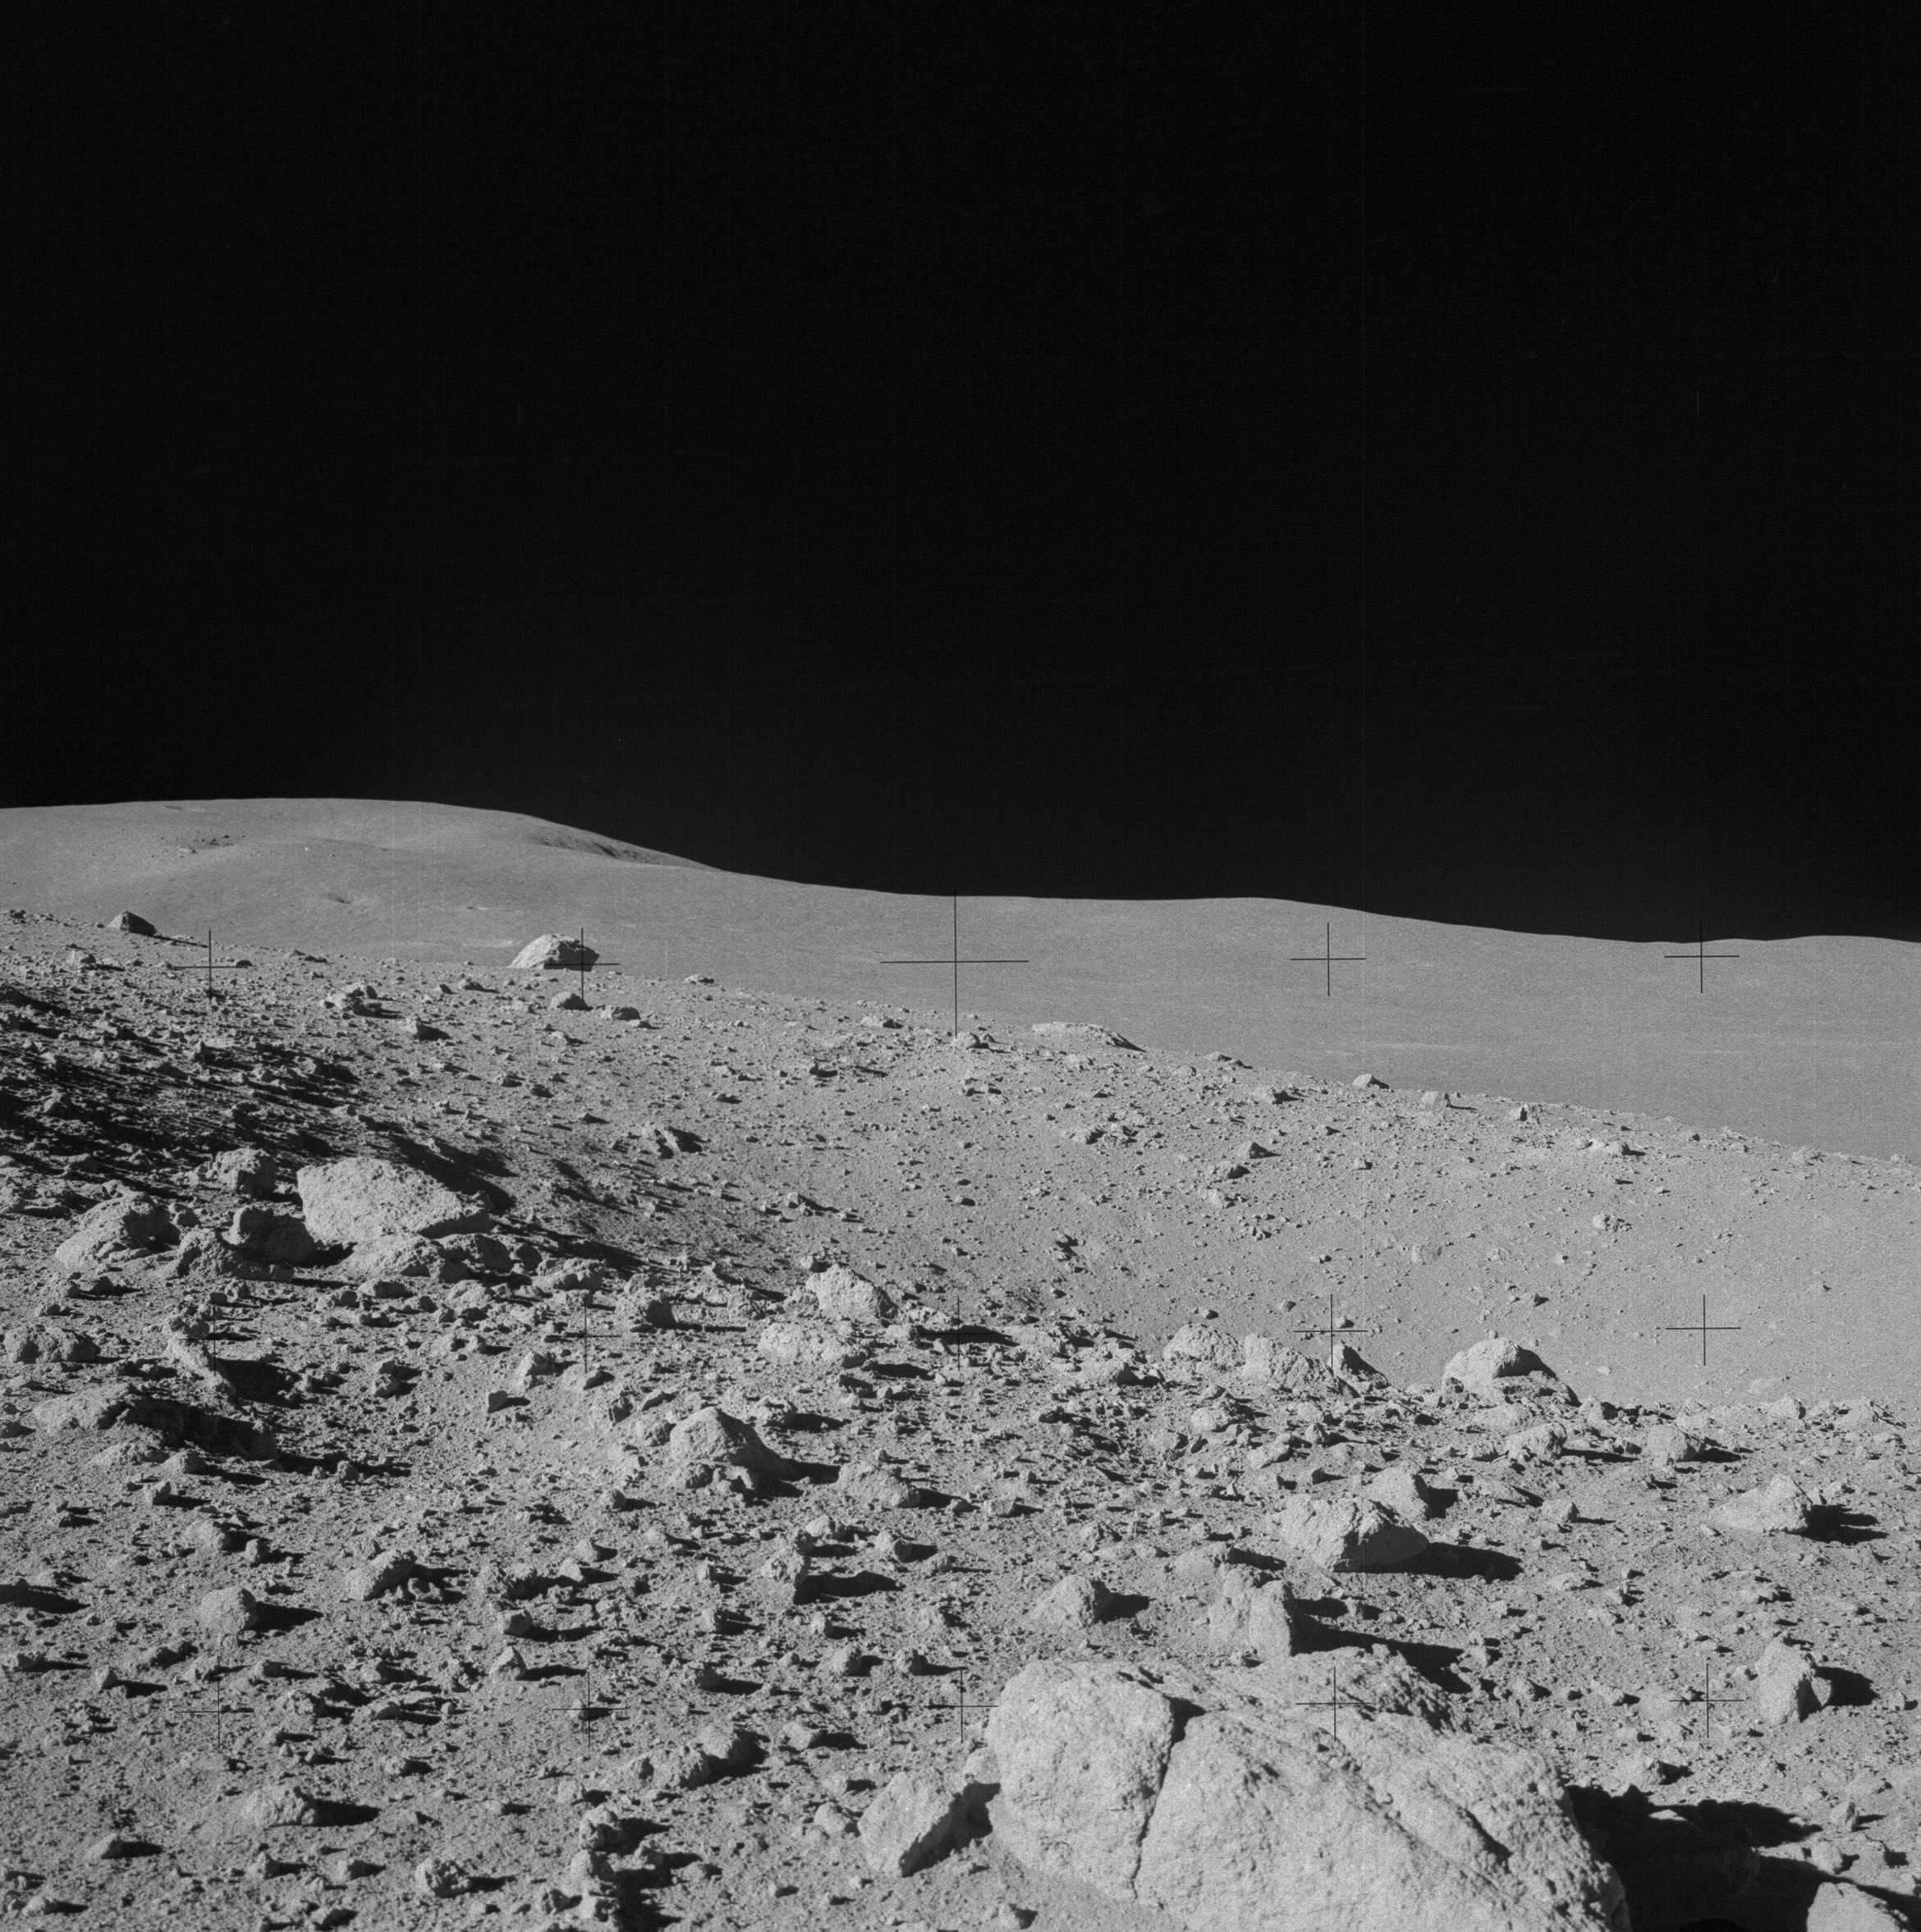 | AS14-64-9118 133:23:40 Rightward of 9117. Image credit: Image Science and Analysis Laboratory, NASA-Johnson Space Center. |
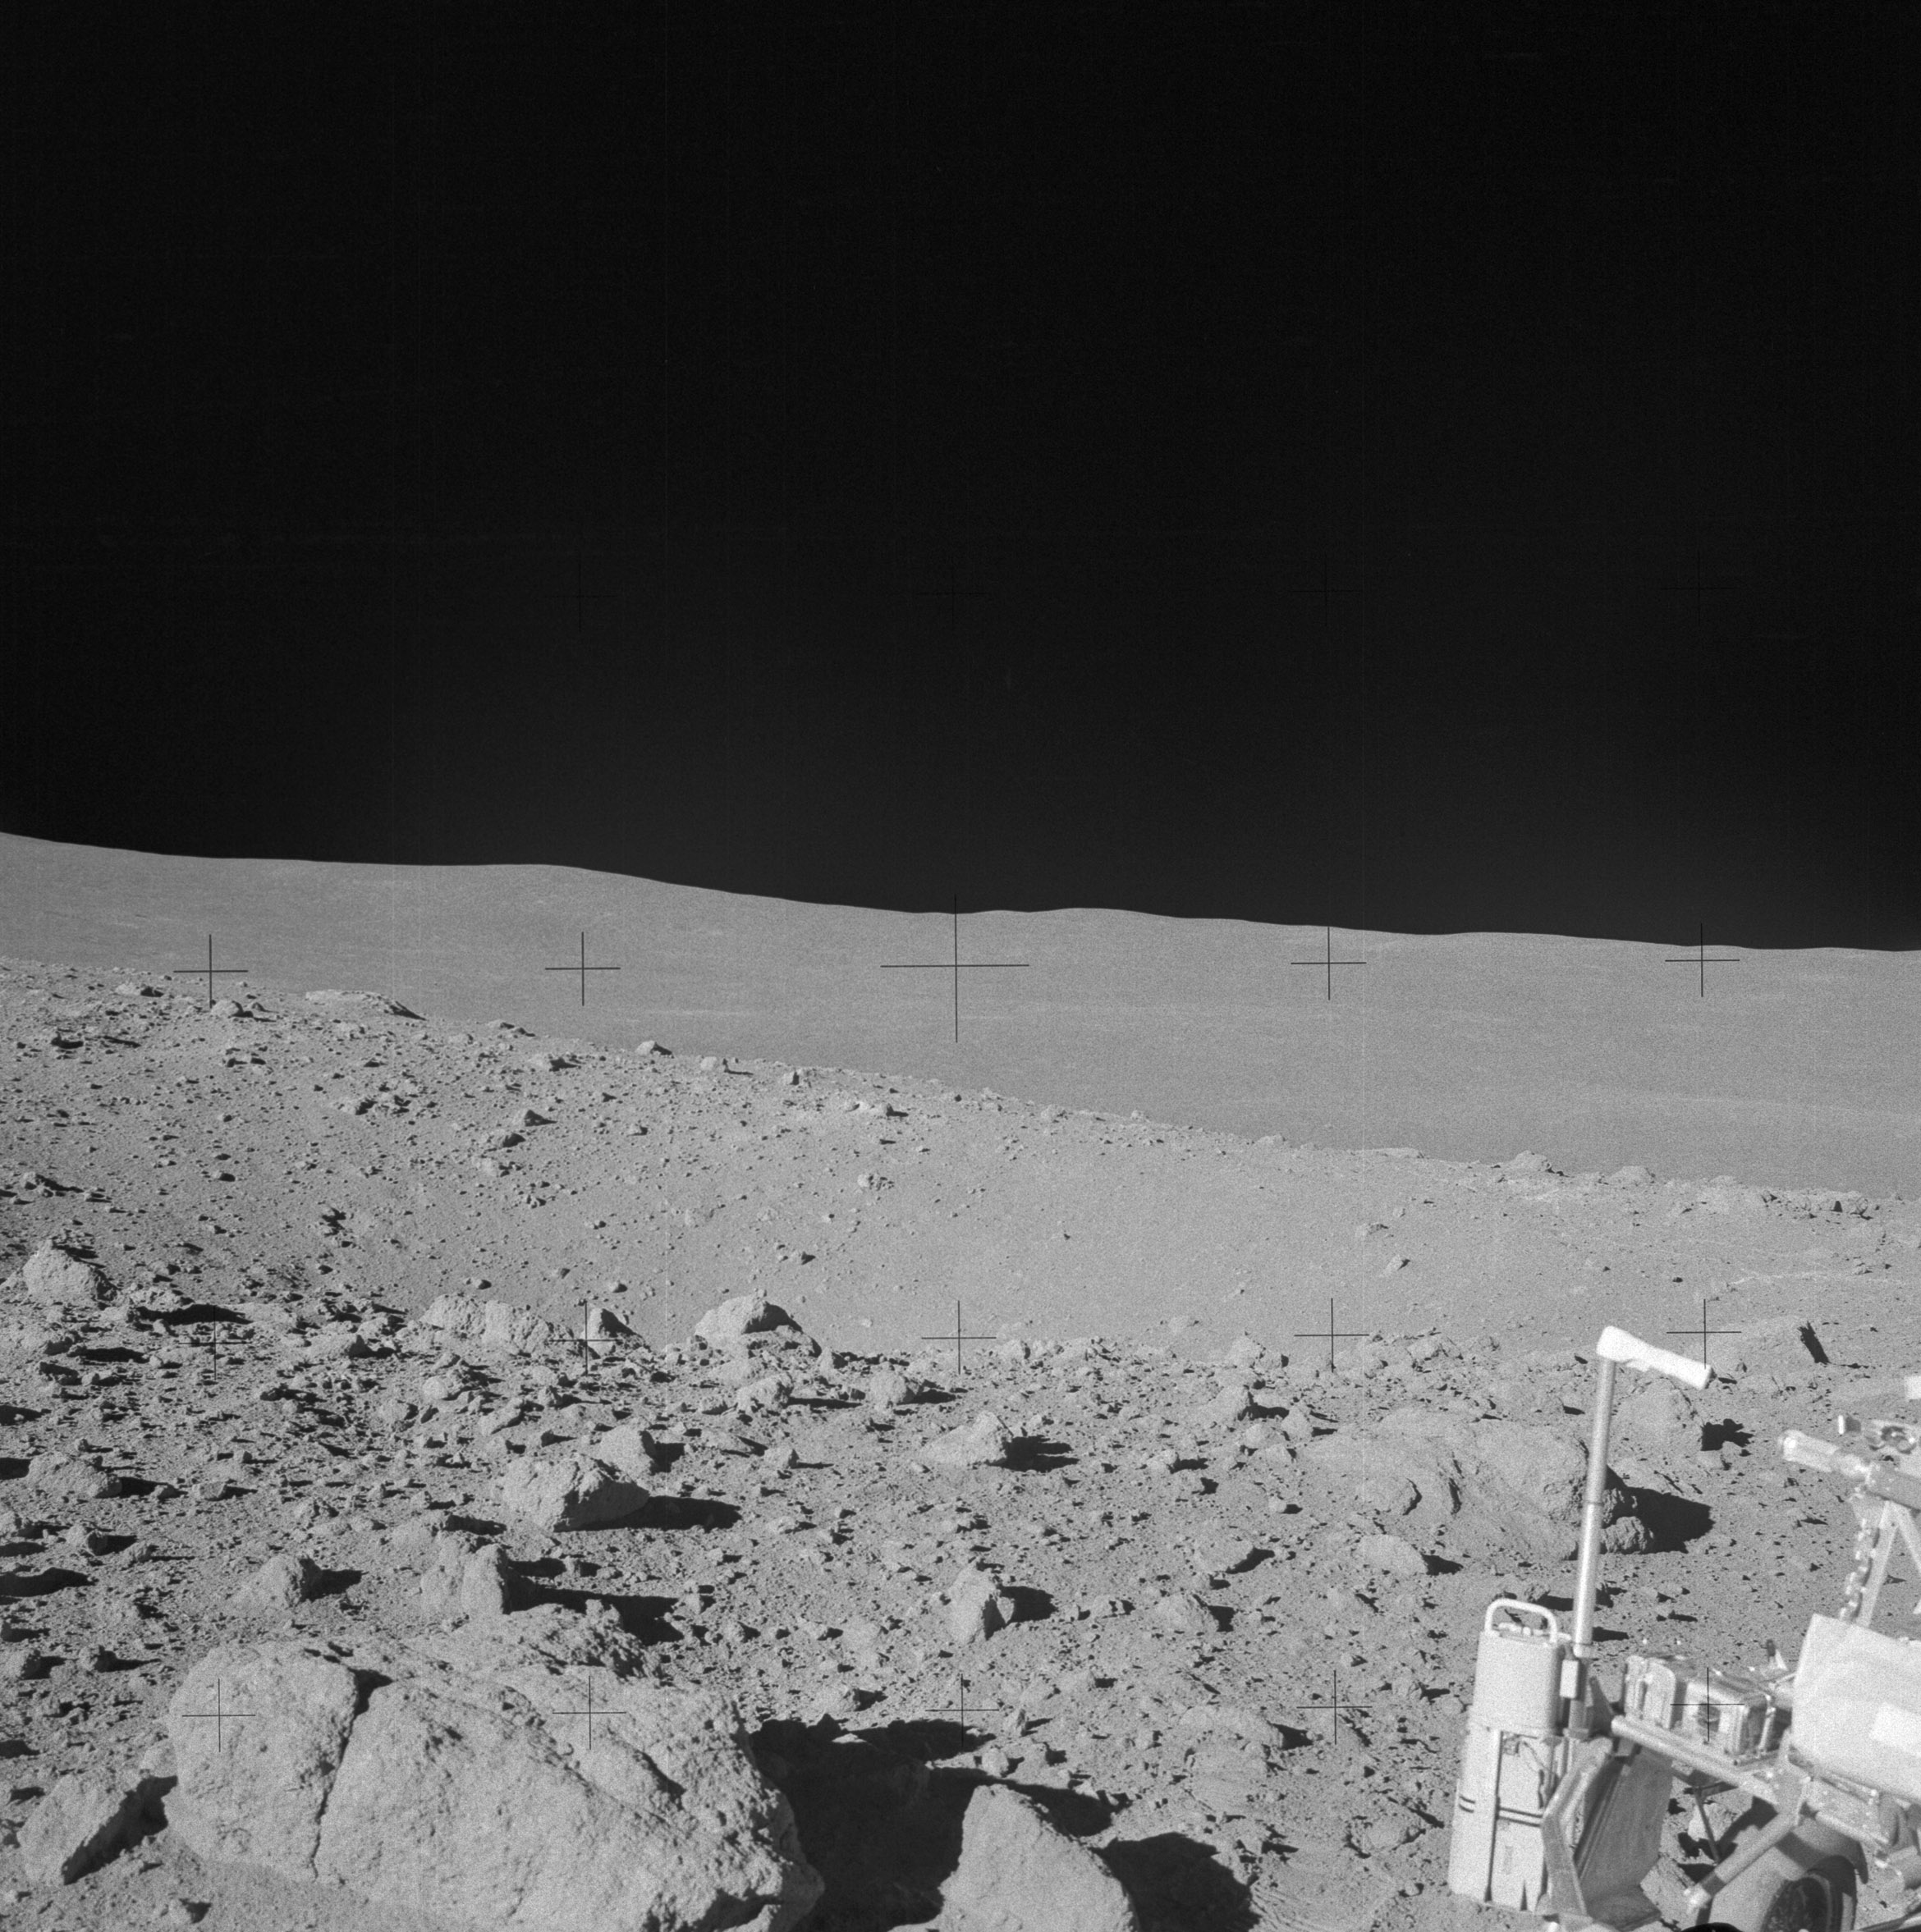 | AS14-64-9119 Rightward of 9118, looking across the handle of the Gold camera. Image credit: Image Science and Analysis Laboratory, NASA-Johnson Space Center. |
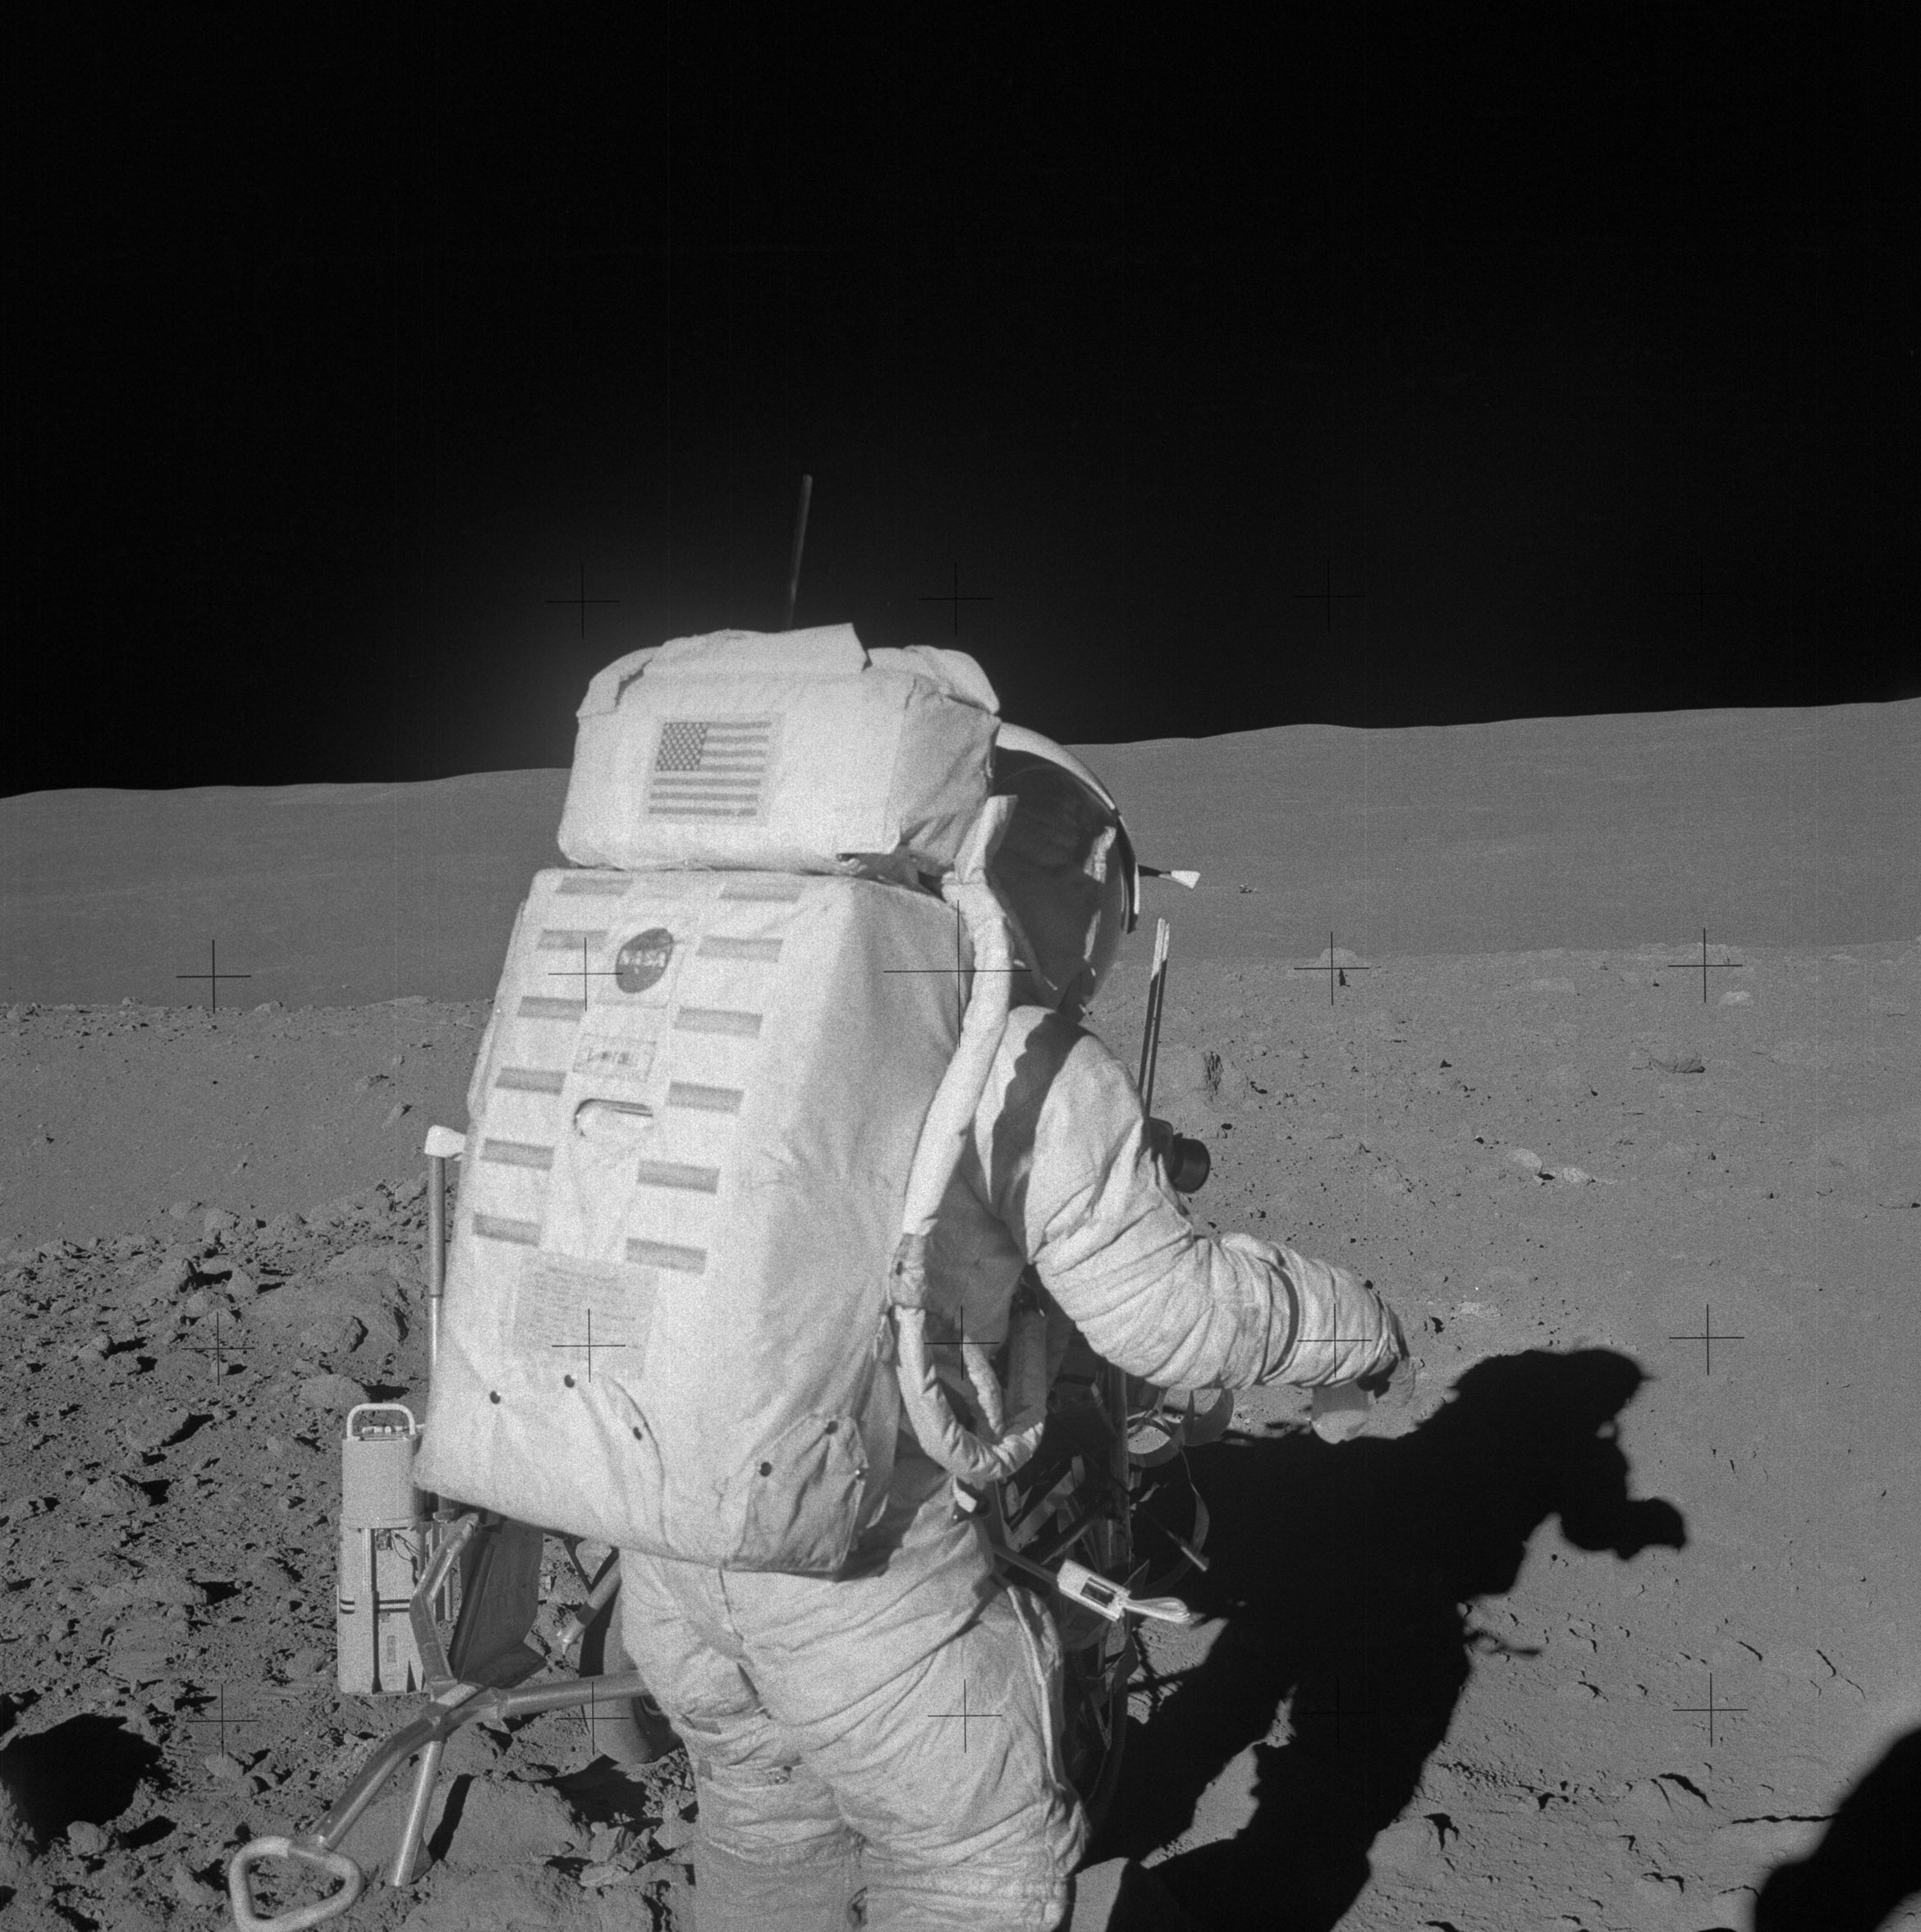 | AS14-64-9120 133:23:40 Rightward of 9119. Image credit: Image Science and Analysis Laboratory, NASA-Johnson Space Center. |
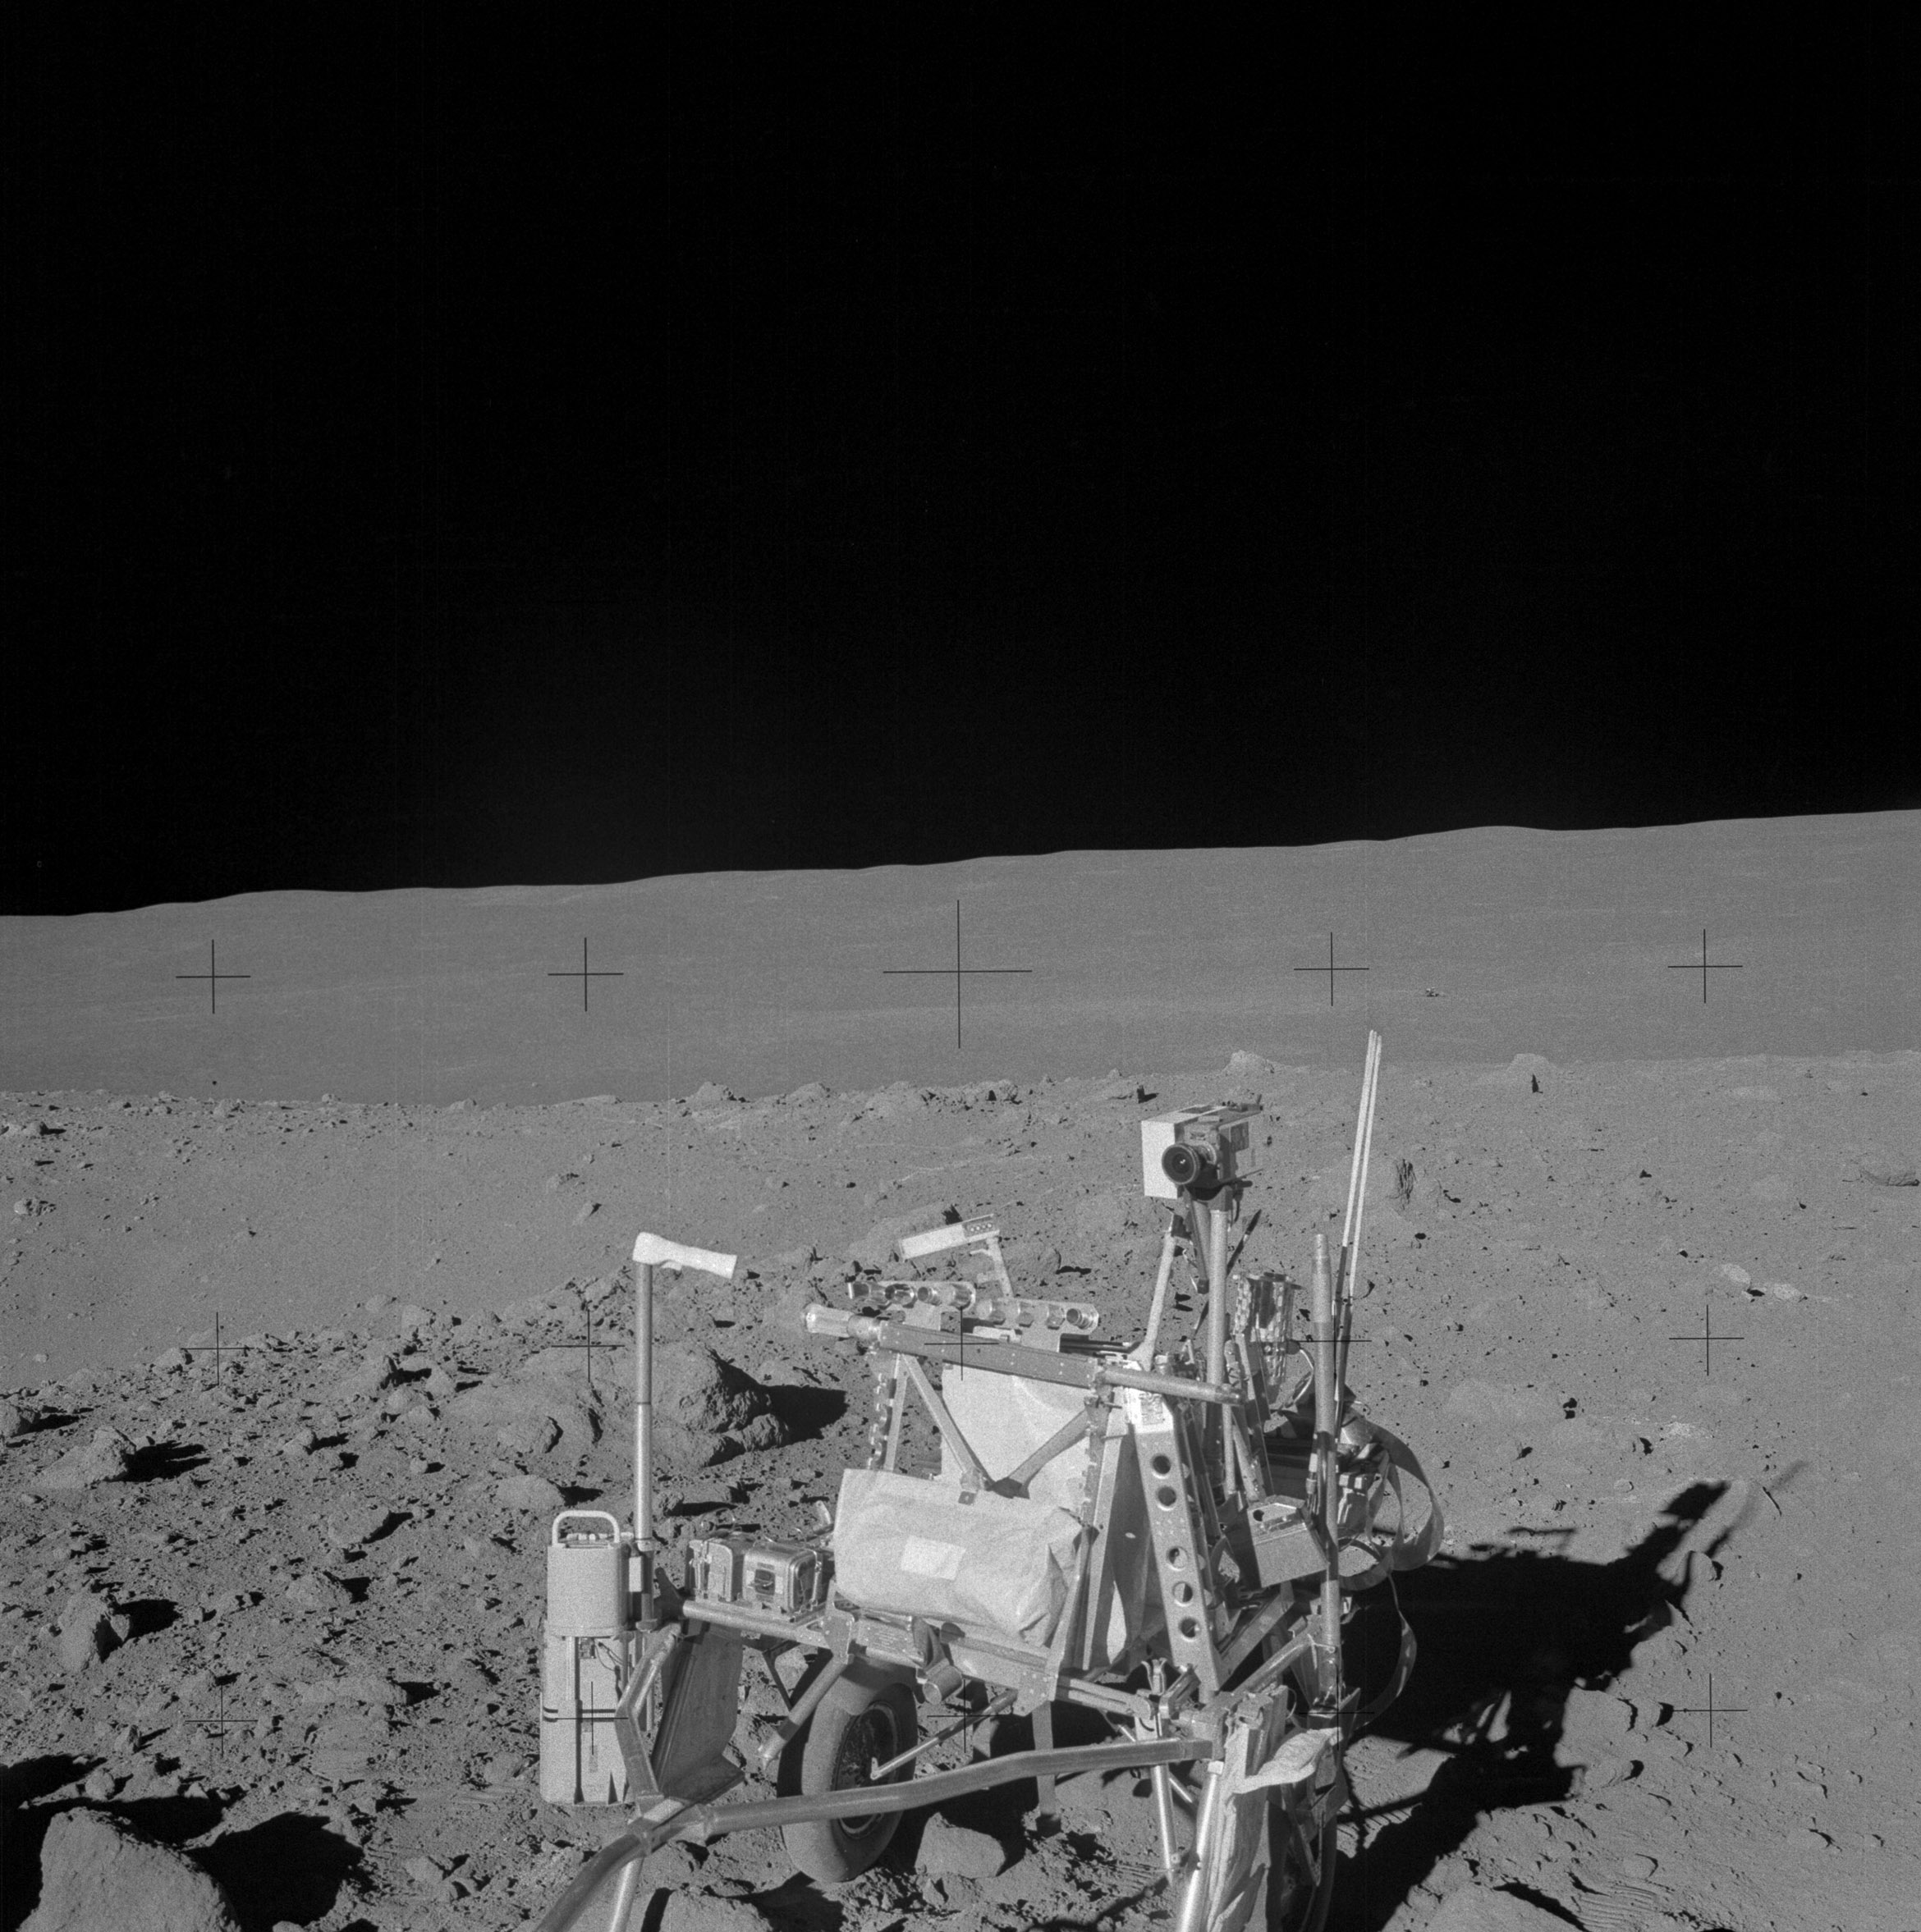 | AS14-64-9121 133:23:40 Ed has moved out of the way and this picture gives us good detail of the front of the MET, including the triangular handle brace, the 16-mm camera, and the gnomon. Image credit: Image Science and Analysis Laboratory, NASA-Johnson Space Center. |
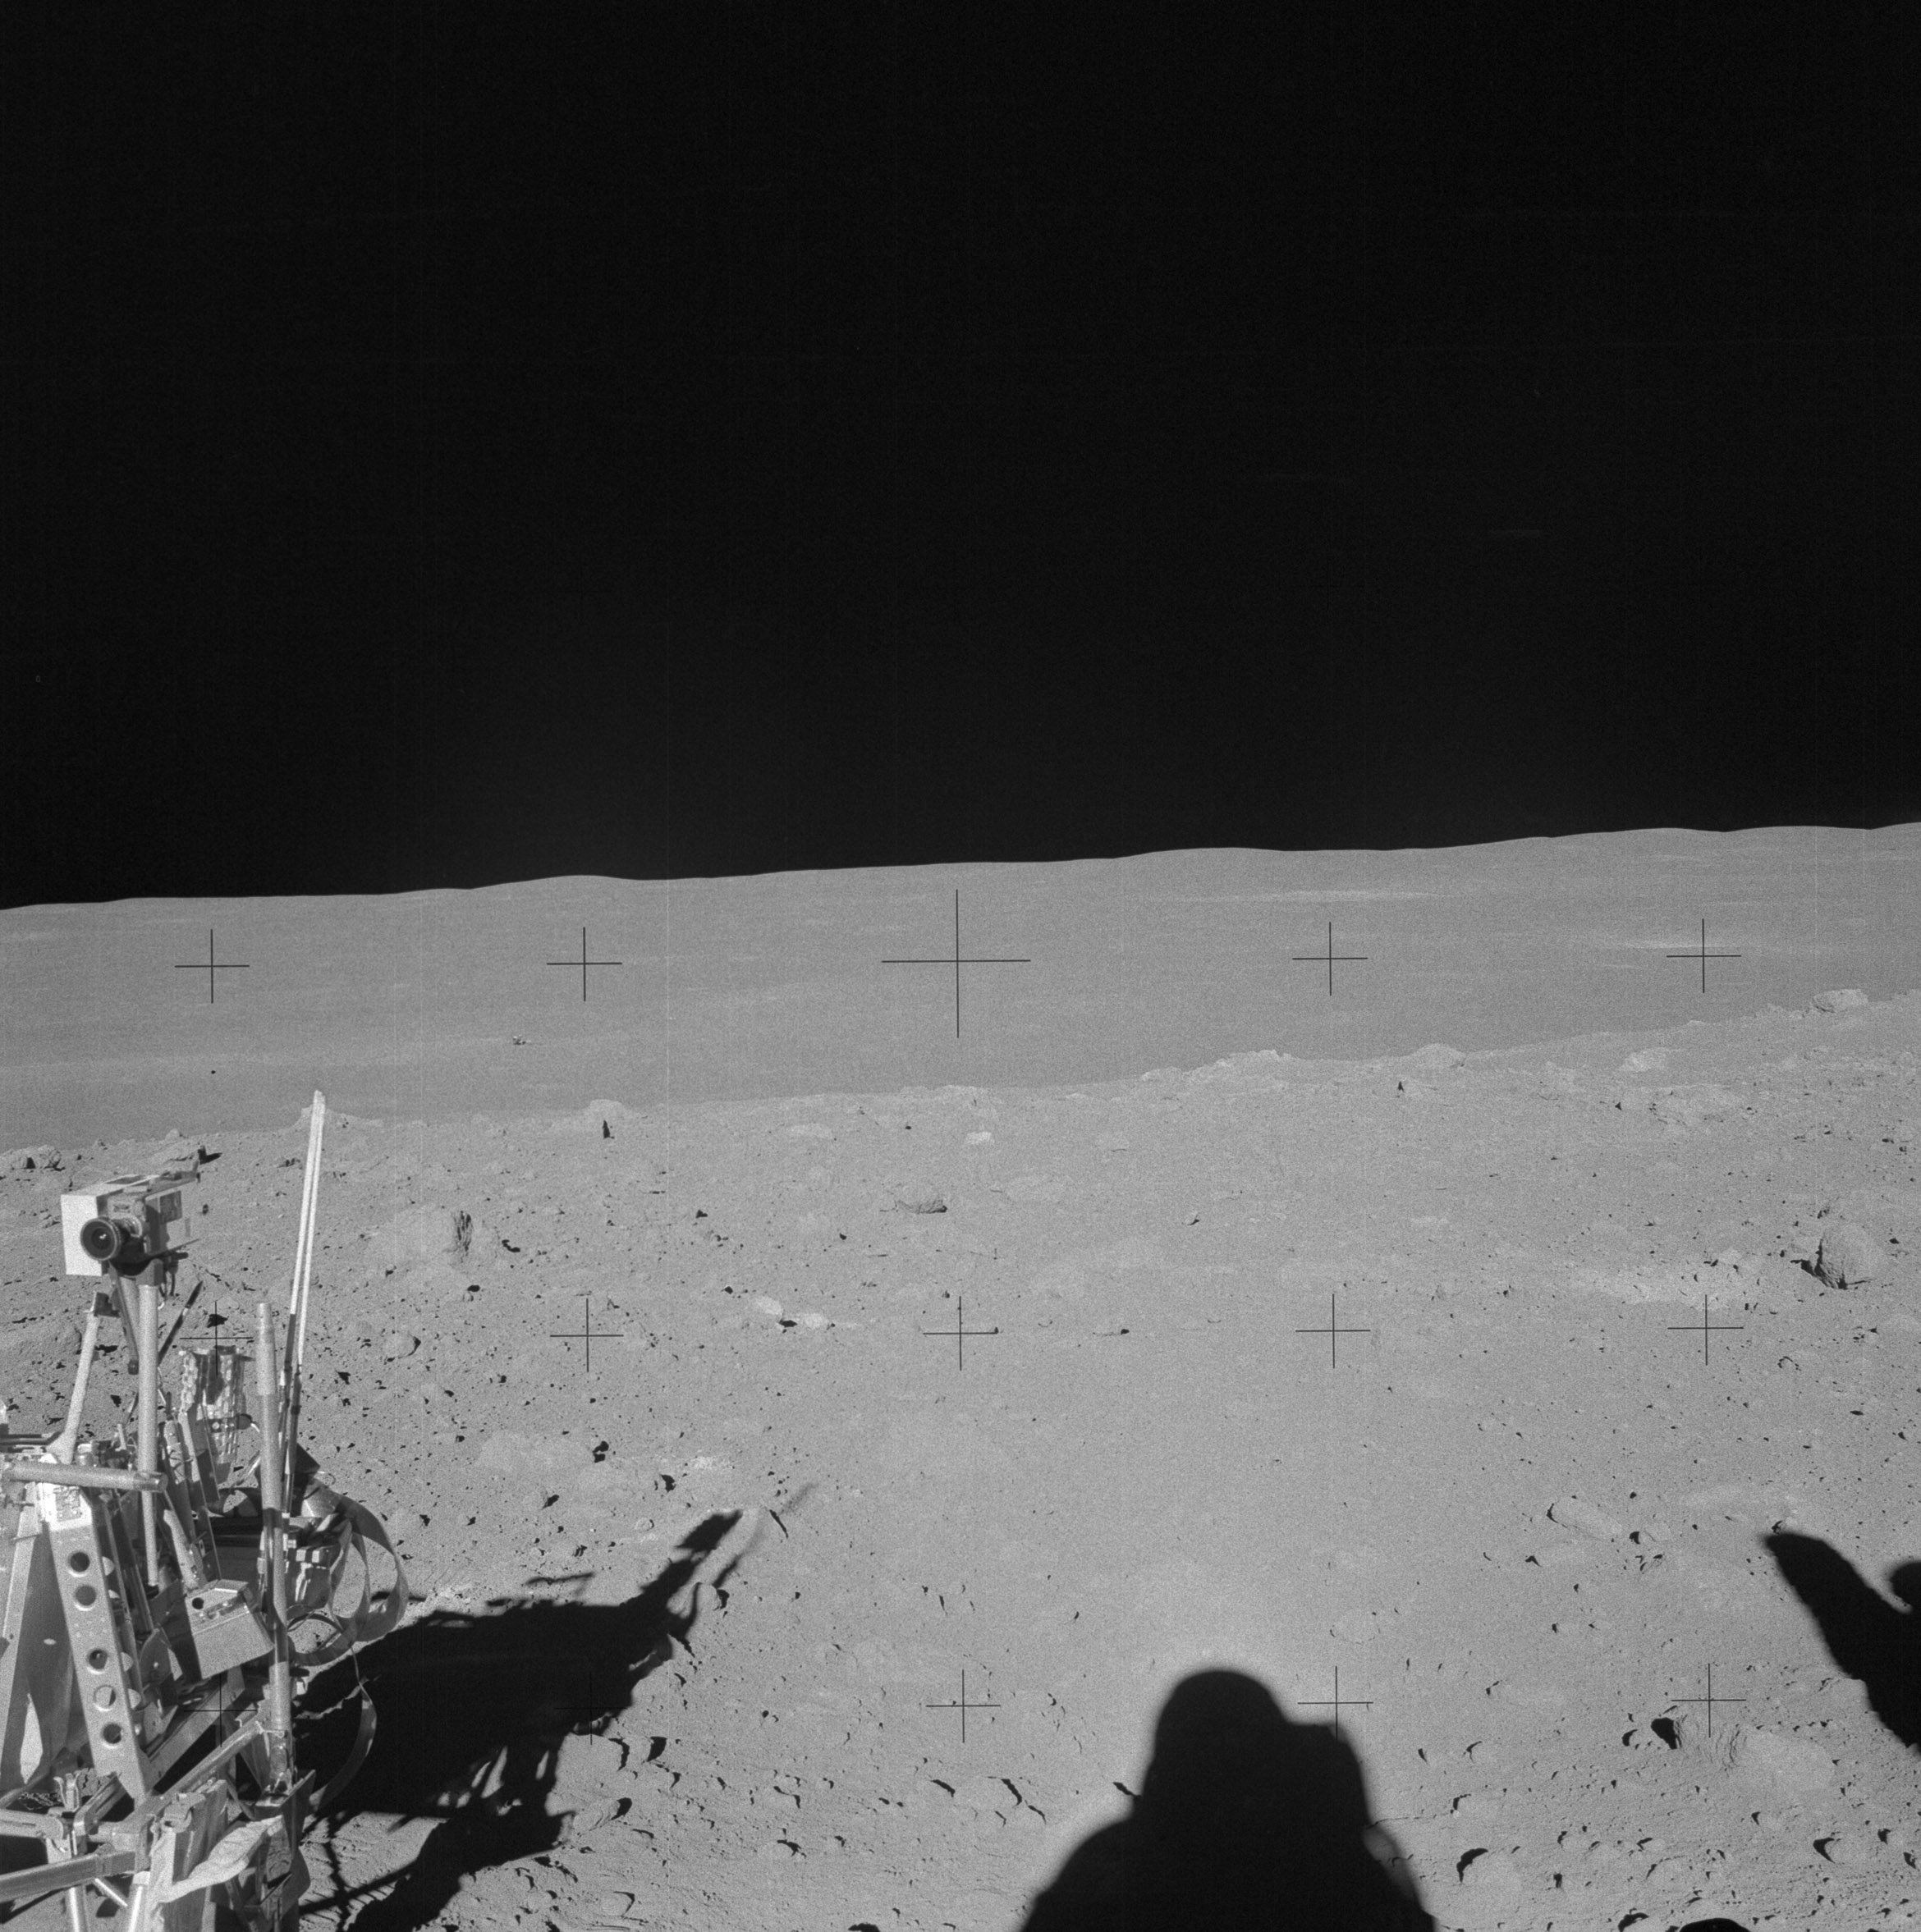 | AS14-64-9122 133:23:47 This down-Sun completes Al's C-Prime pan. Image credit: Image Science and Analysis Laboratory, NASA-Johnson Space Center. |
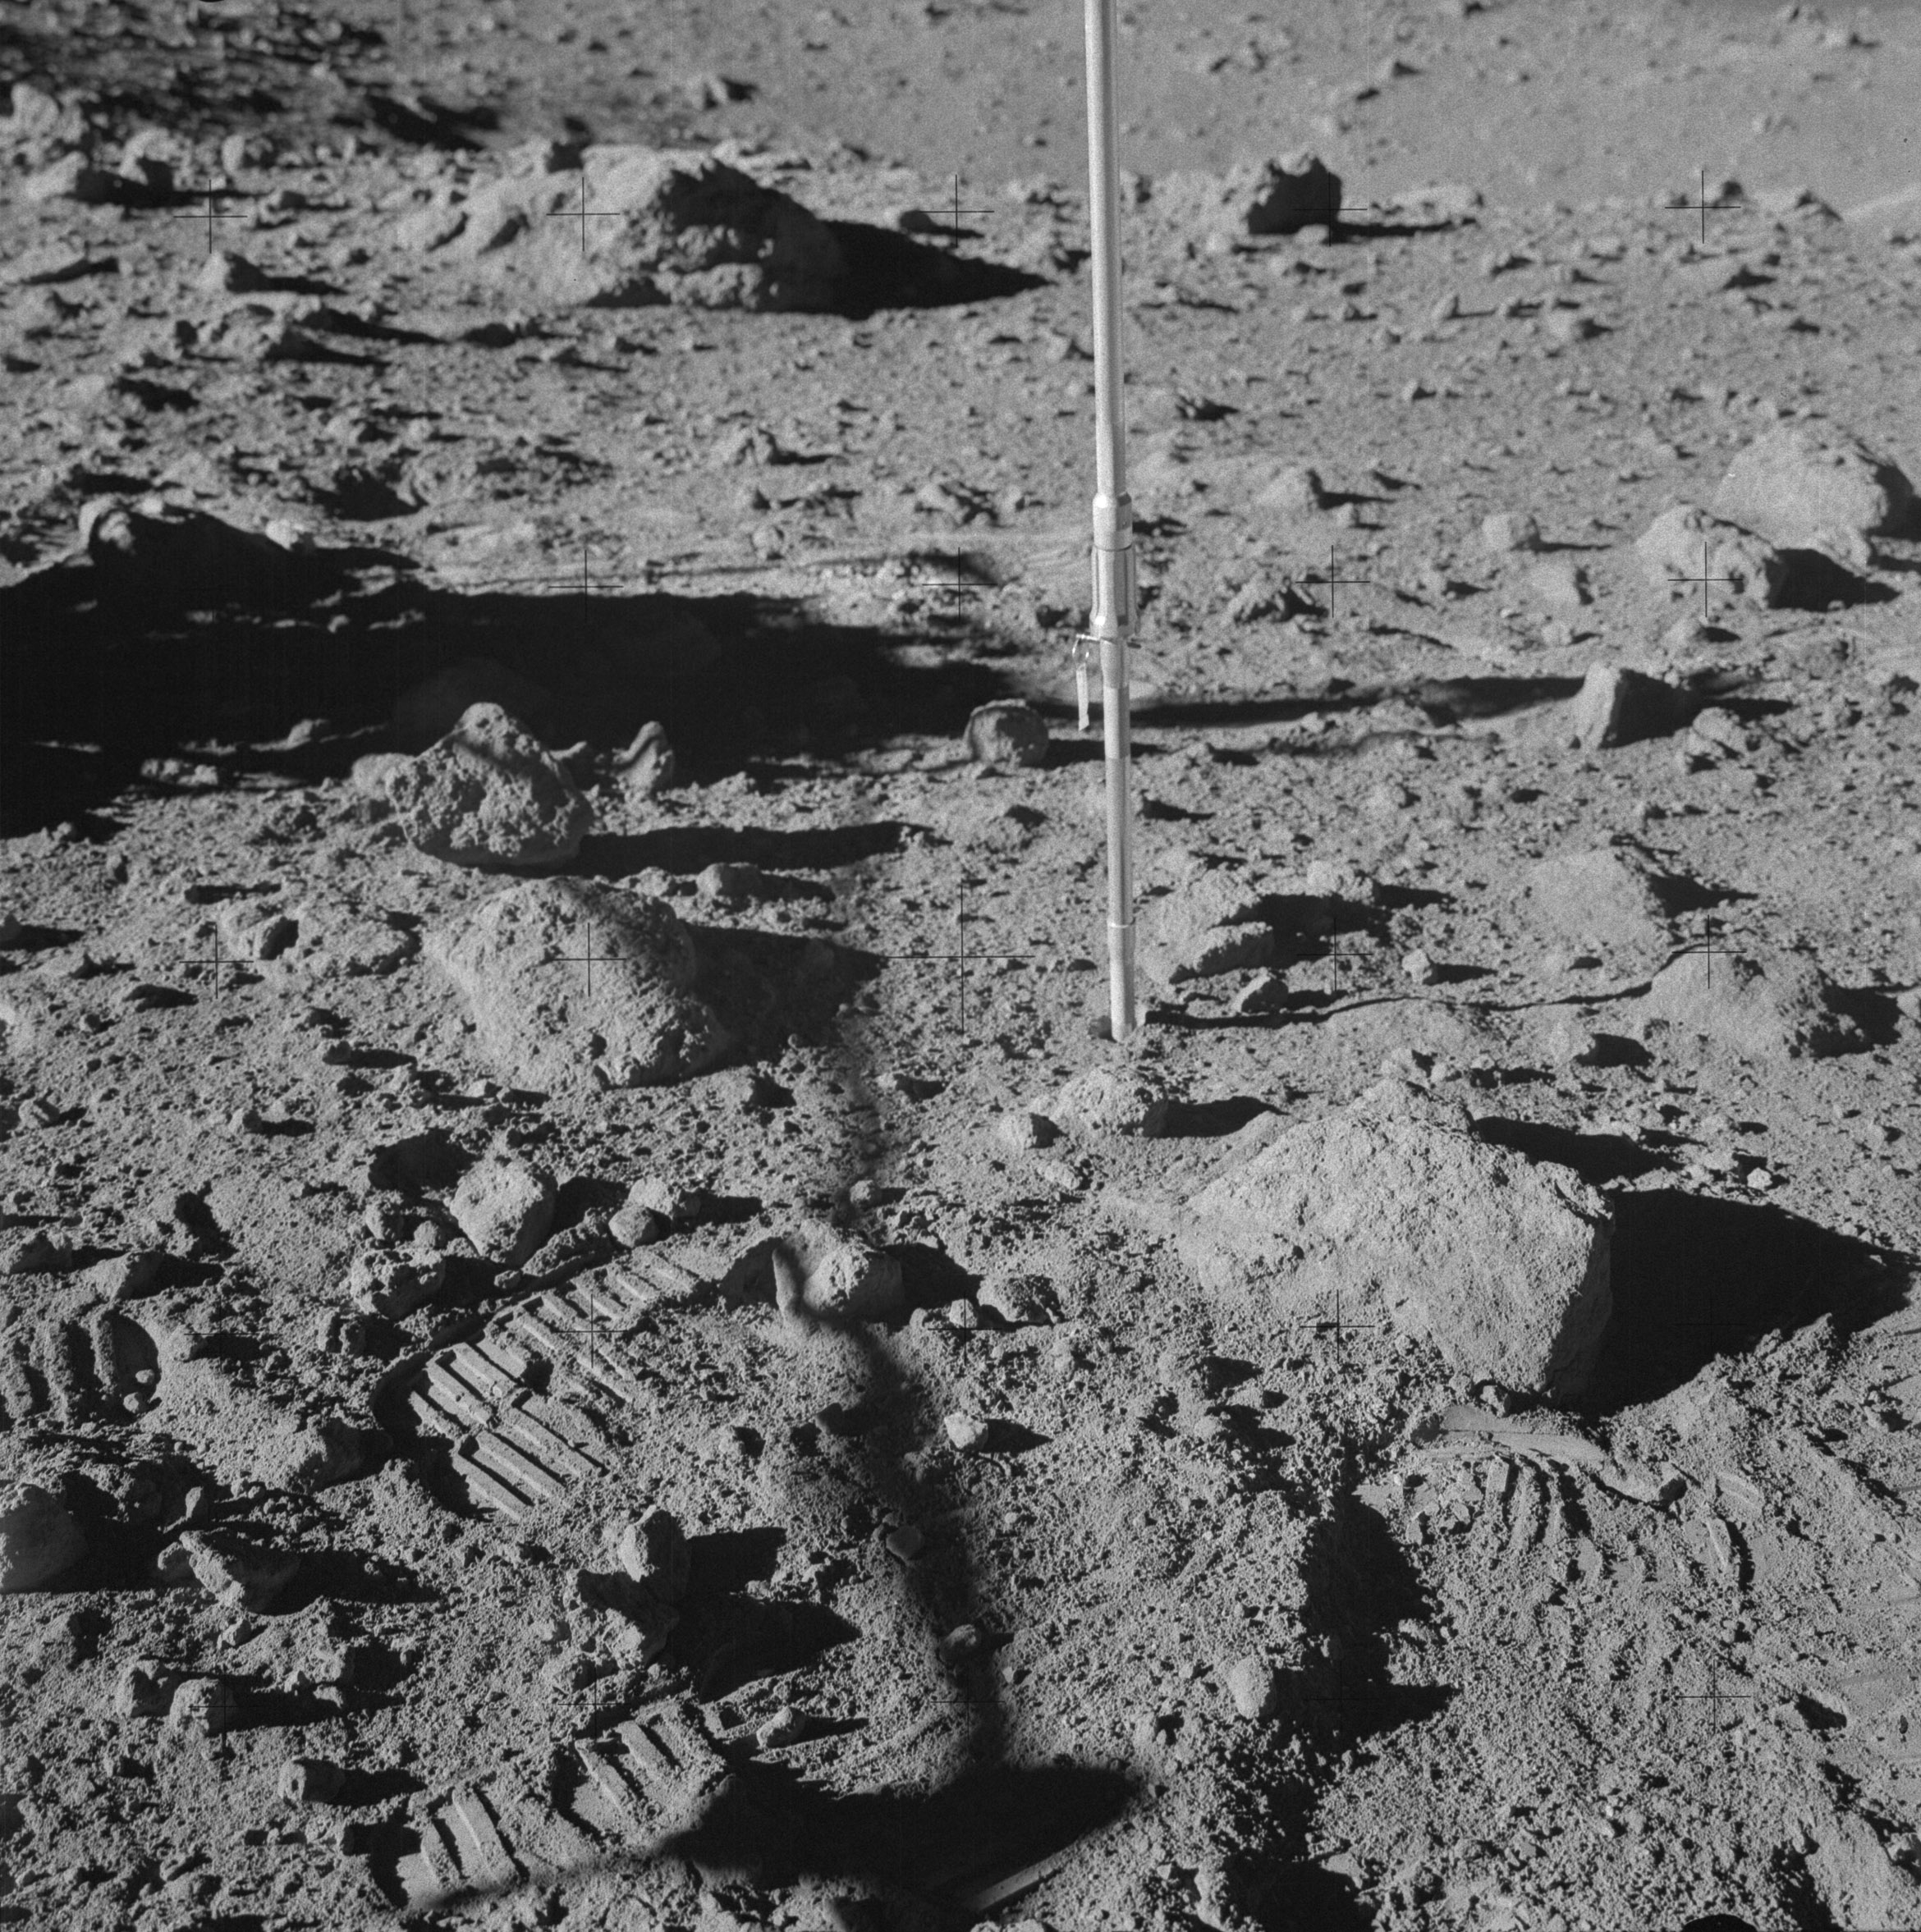 | AS14-64-9123 133:31:19 Al takes a stereopair of the double core at Station C-Prime. Image credit: Image Science and Analysis Laboratory, NASA-Johnson Space Center. |
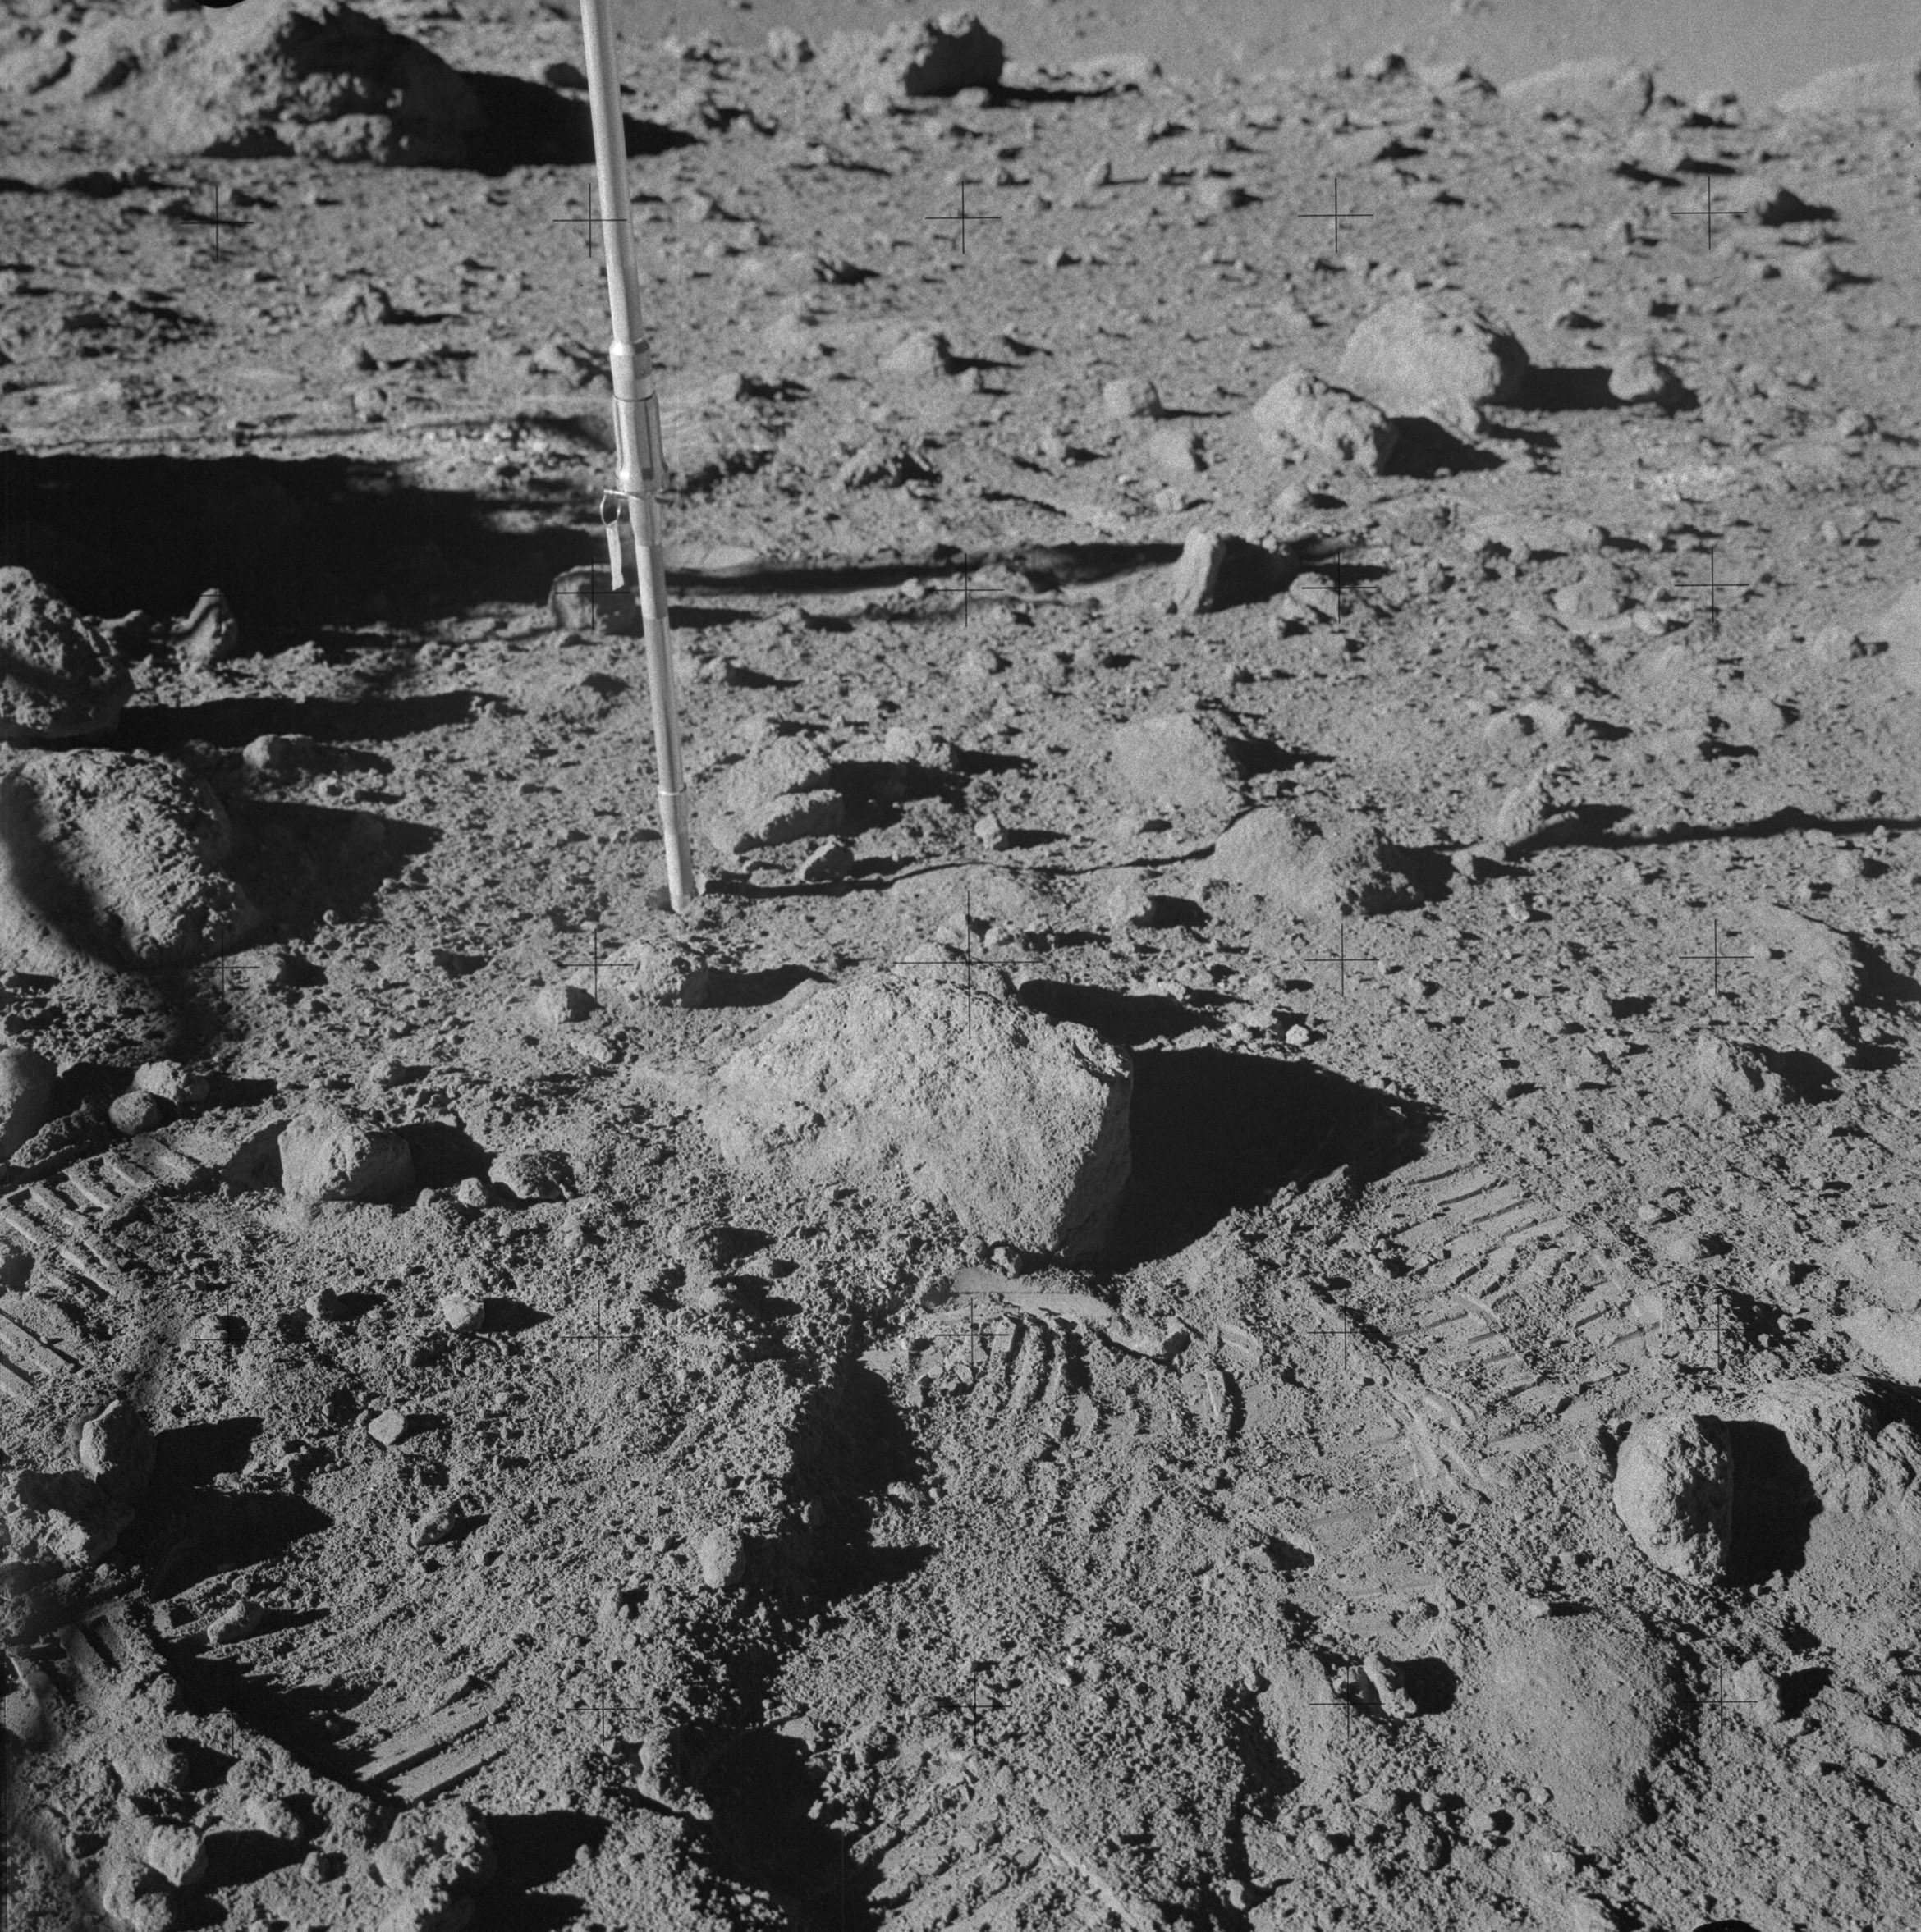 | AS14-64-9124 Al steps to his right to take this stereo companion of 9124. Image credit: Image Science and Analysis Laboratory, NASA-Johnson Space Center. |
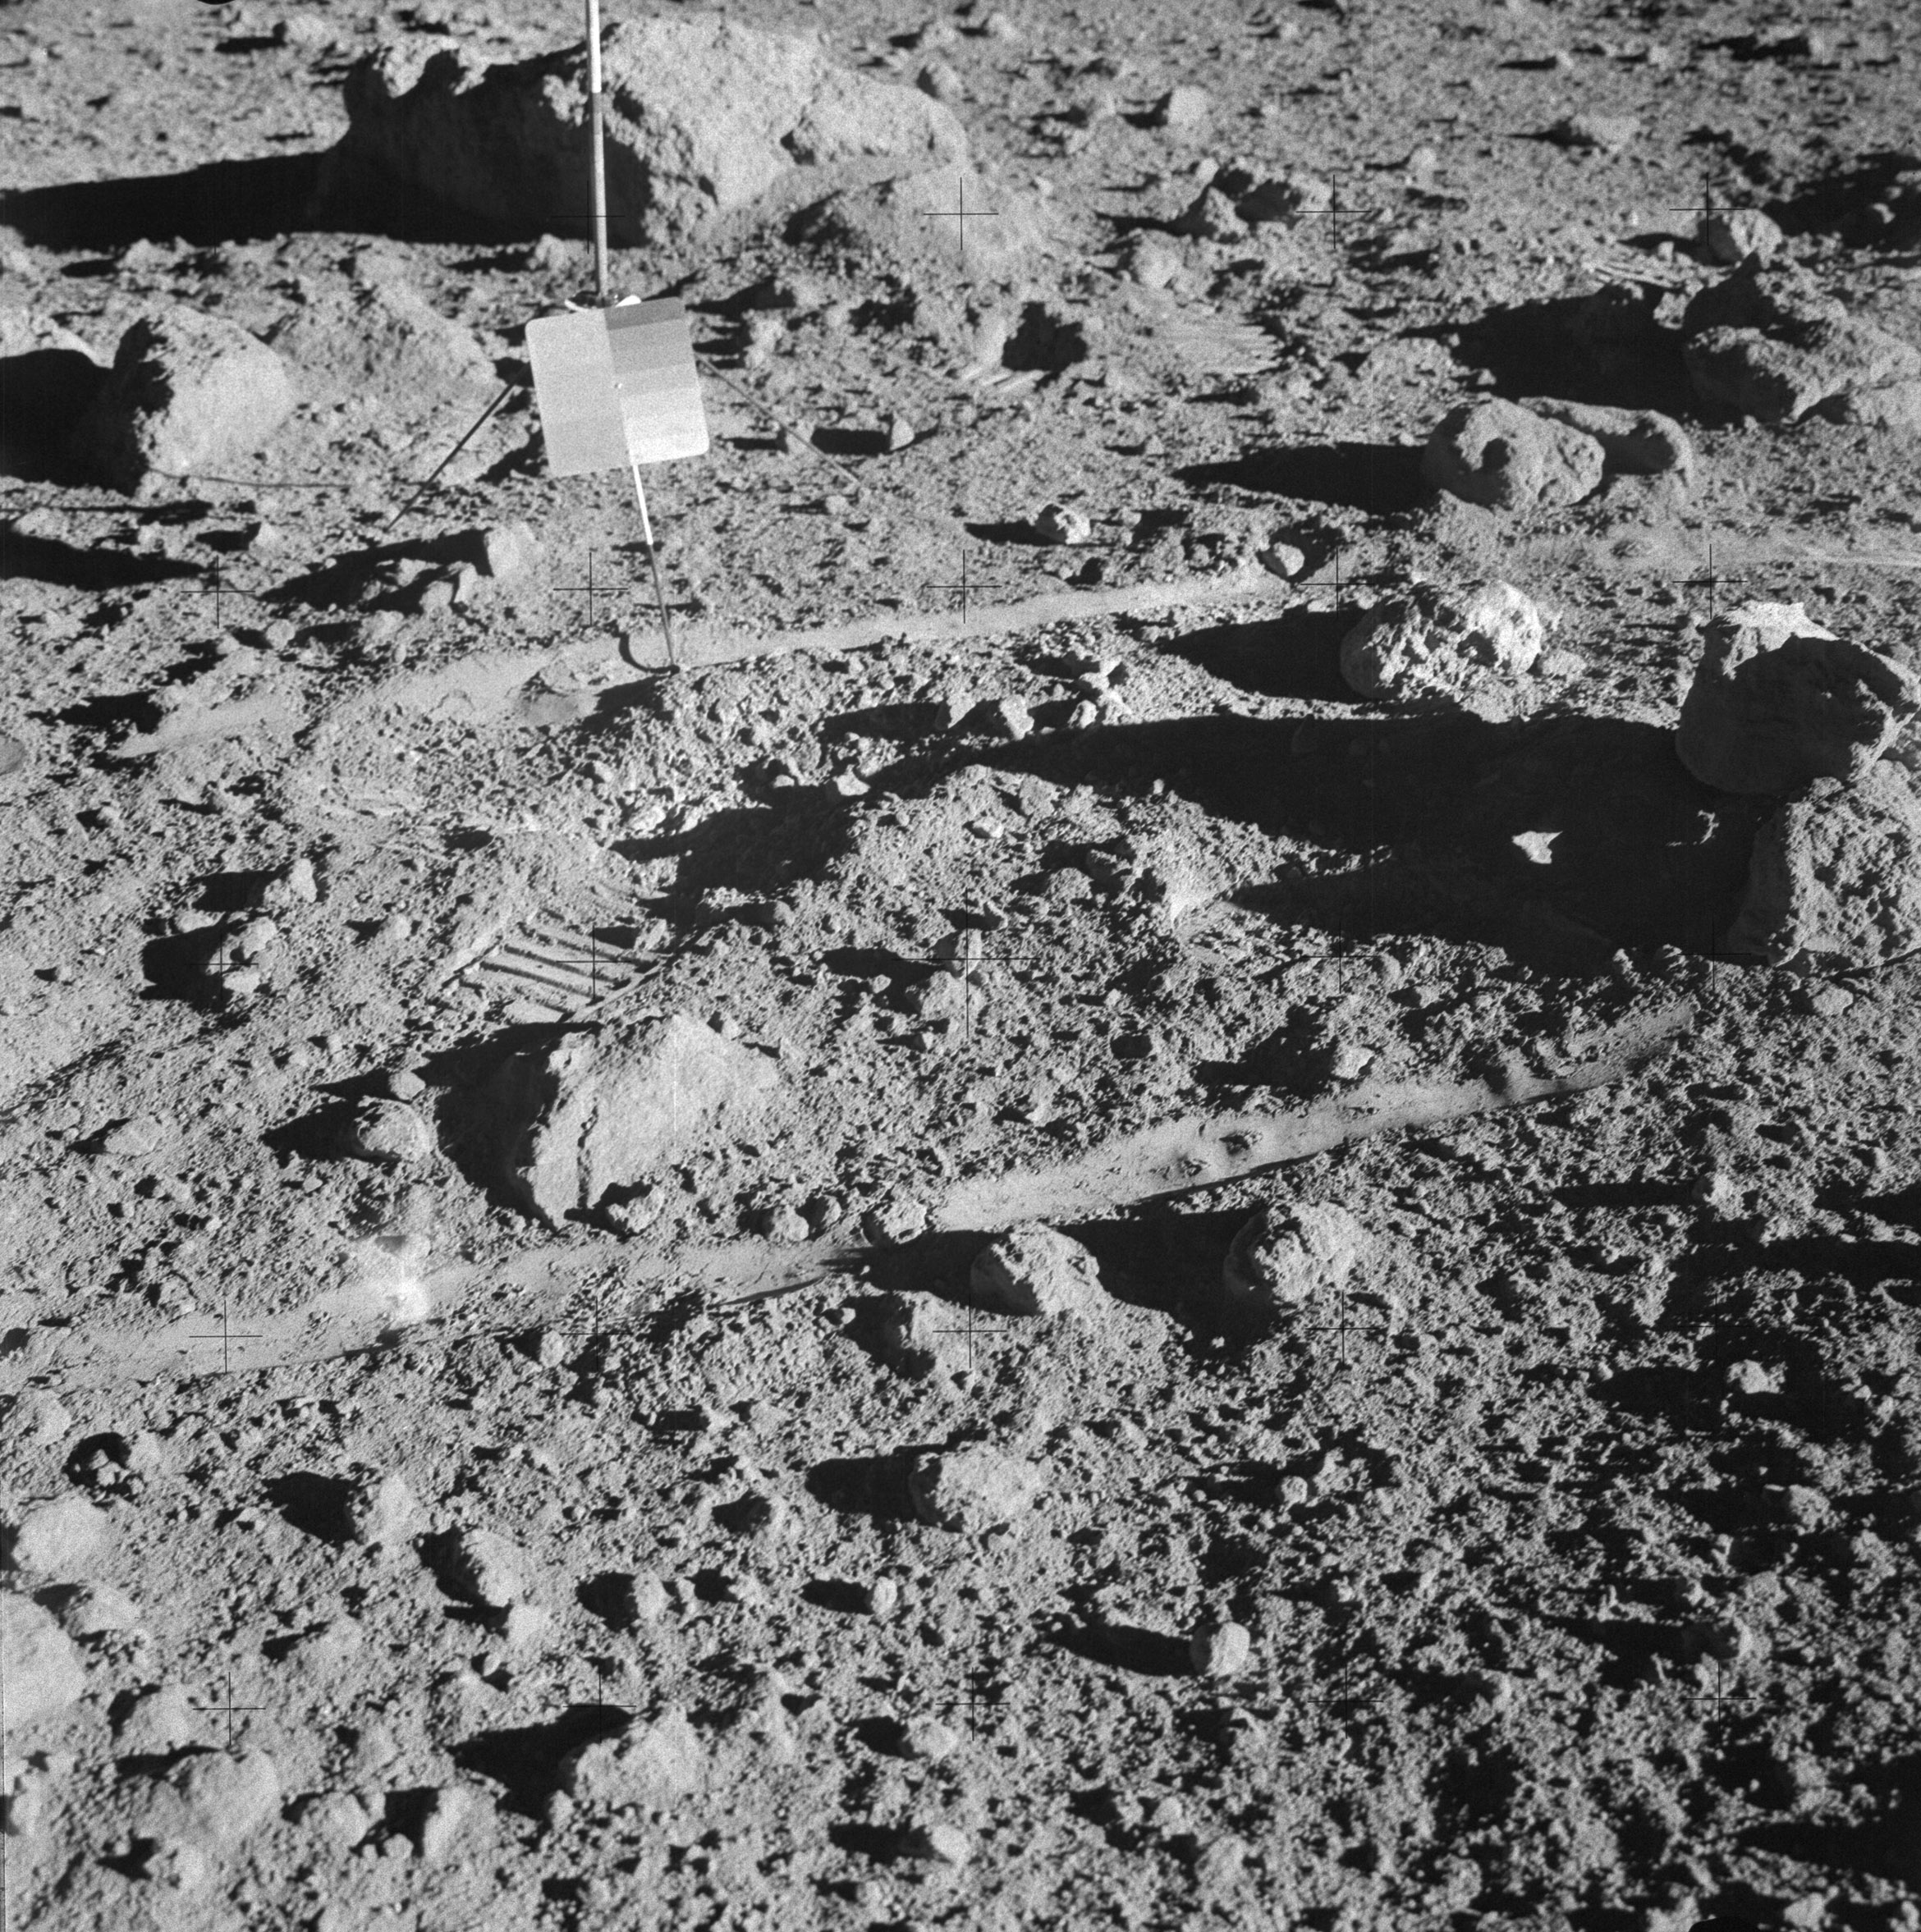 | AS14-64-9125 133:35:48 Al took a stereopair of his sampling area at station C-Prime. Image credit: Image Science and Analysis Laboratory, NASA-Johnson Space Center. |
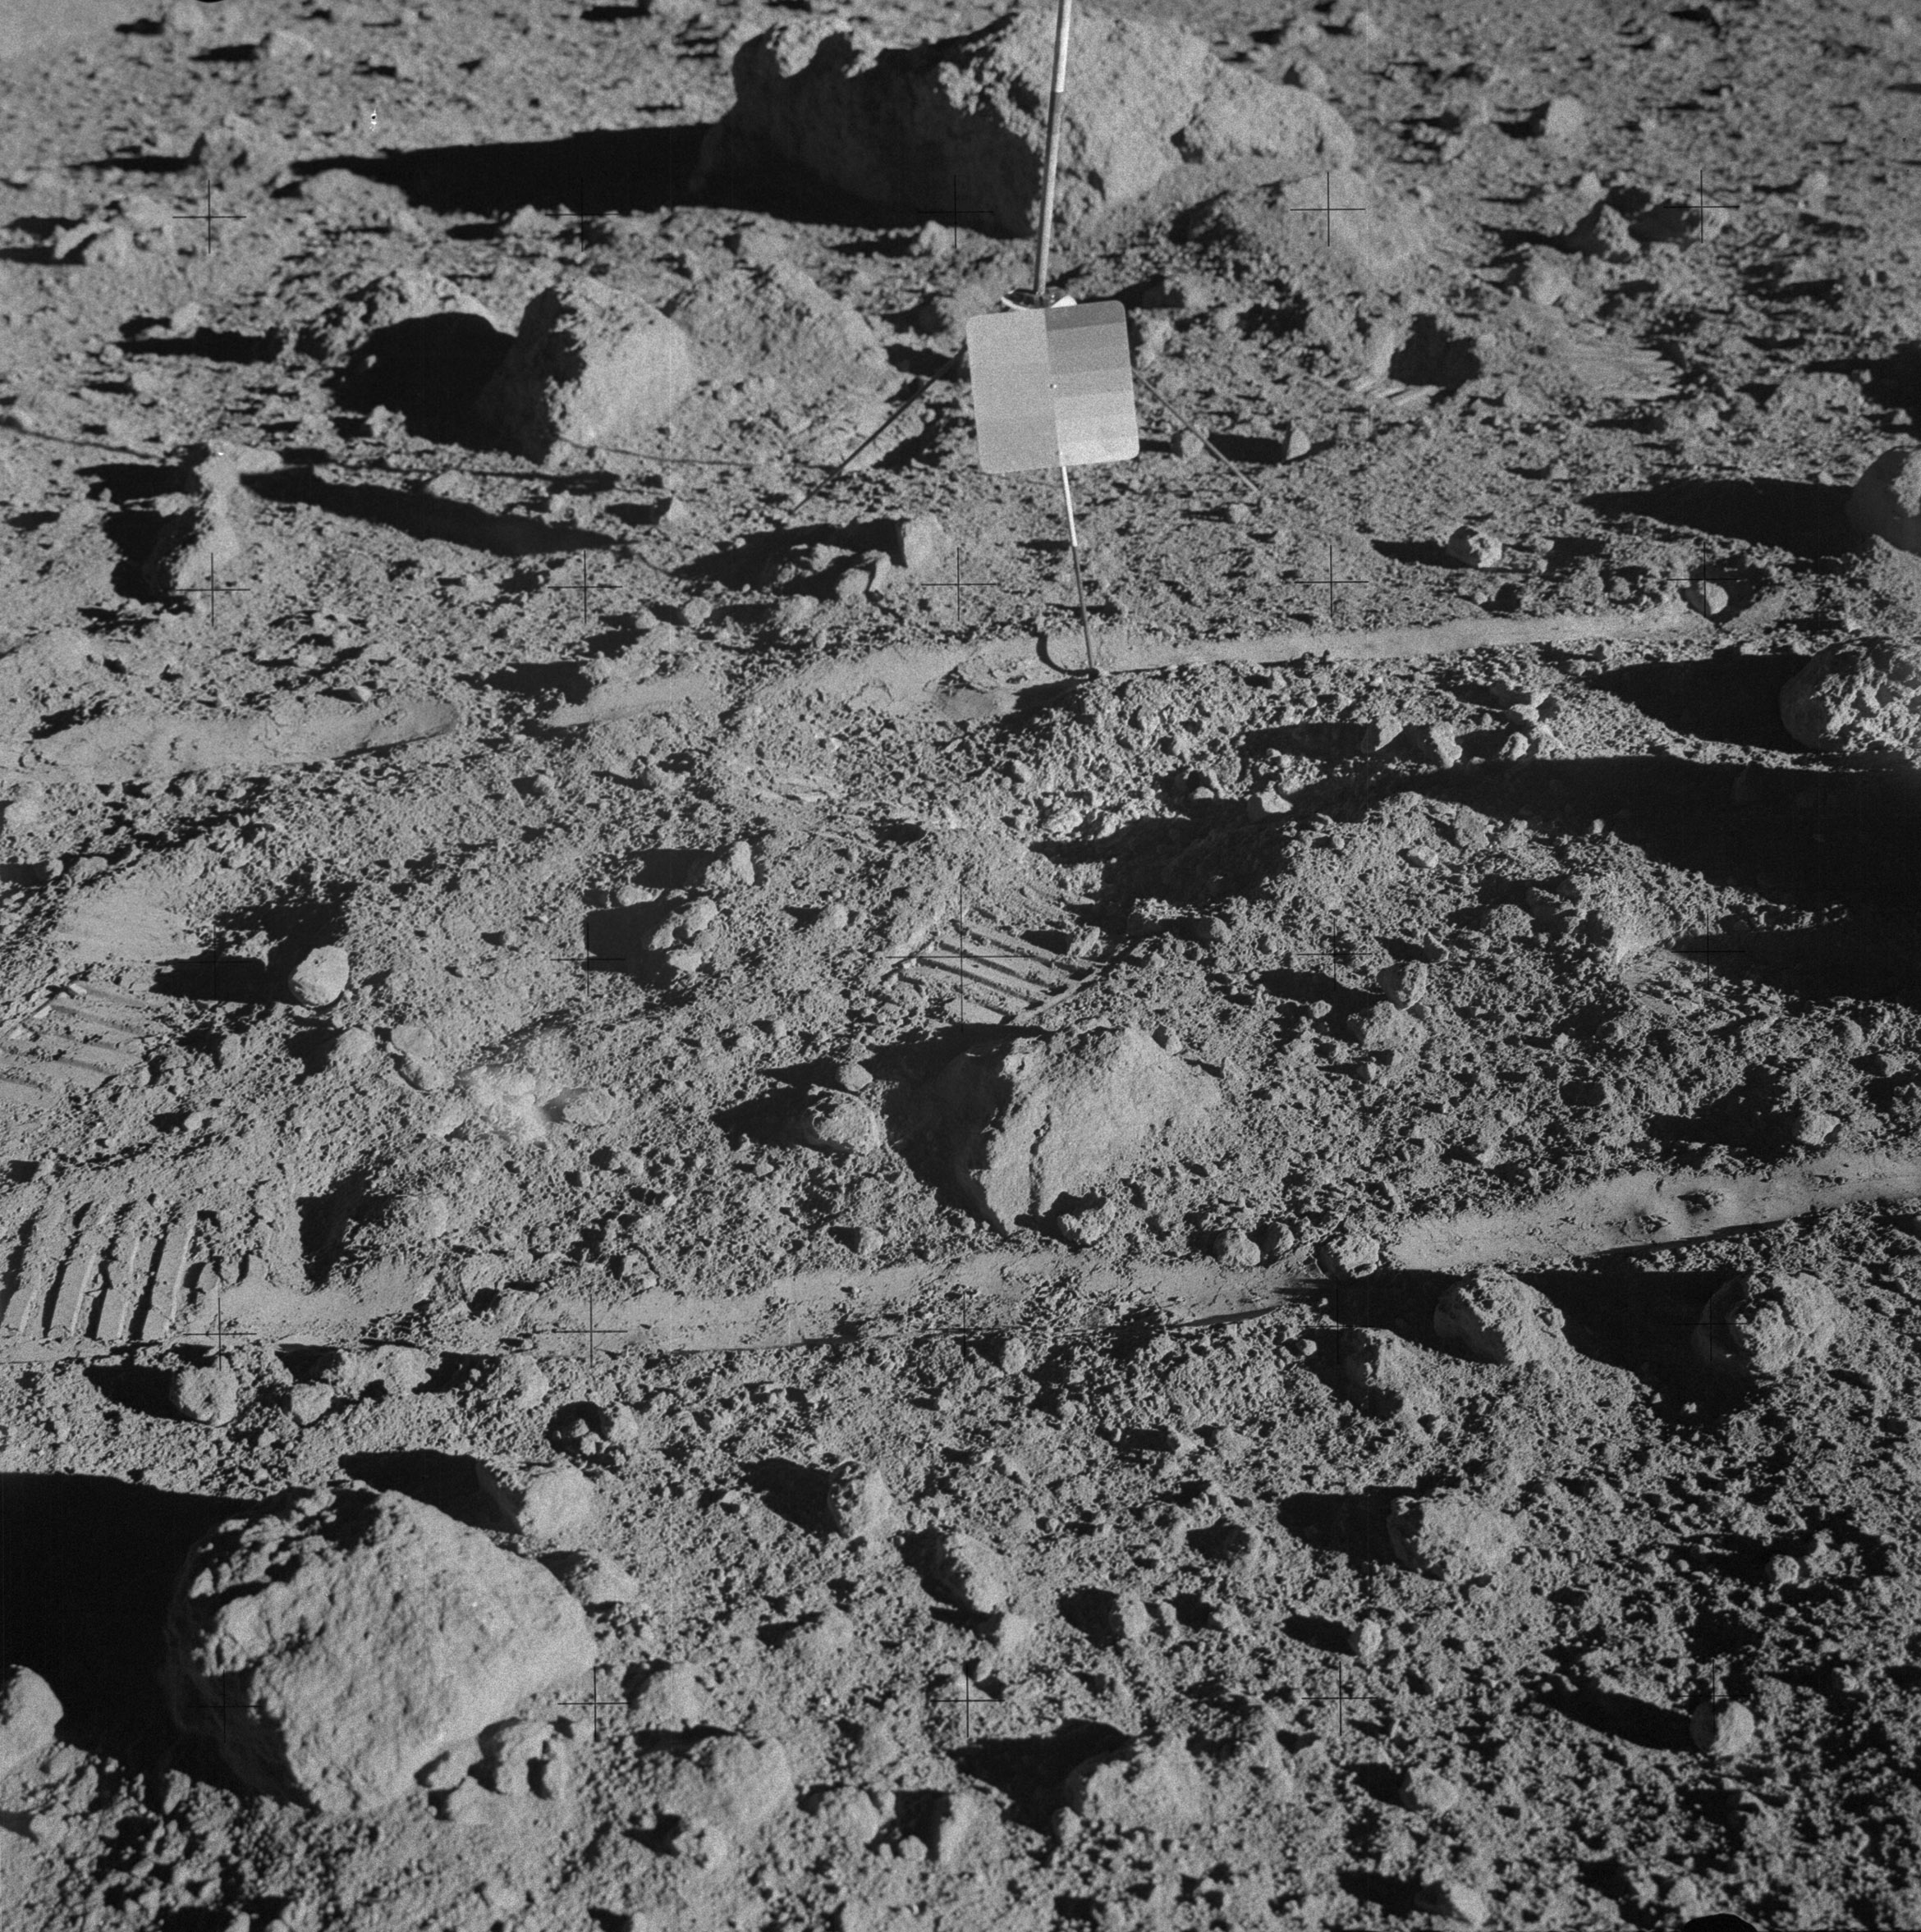 | AS14-64-9126 Al stepped to his left to take this stereo companion to 9125. Image credit: Image Science and Analysis Laboratory, NASA-Johnson Space Center. |
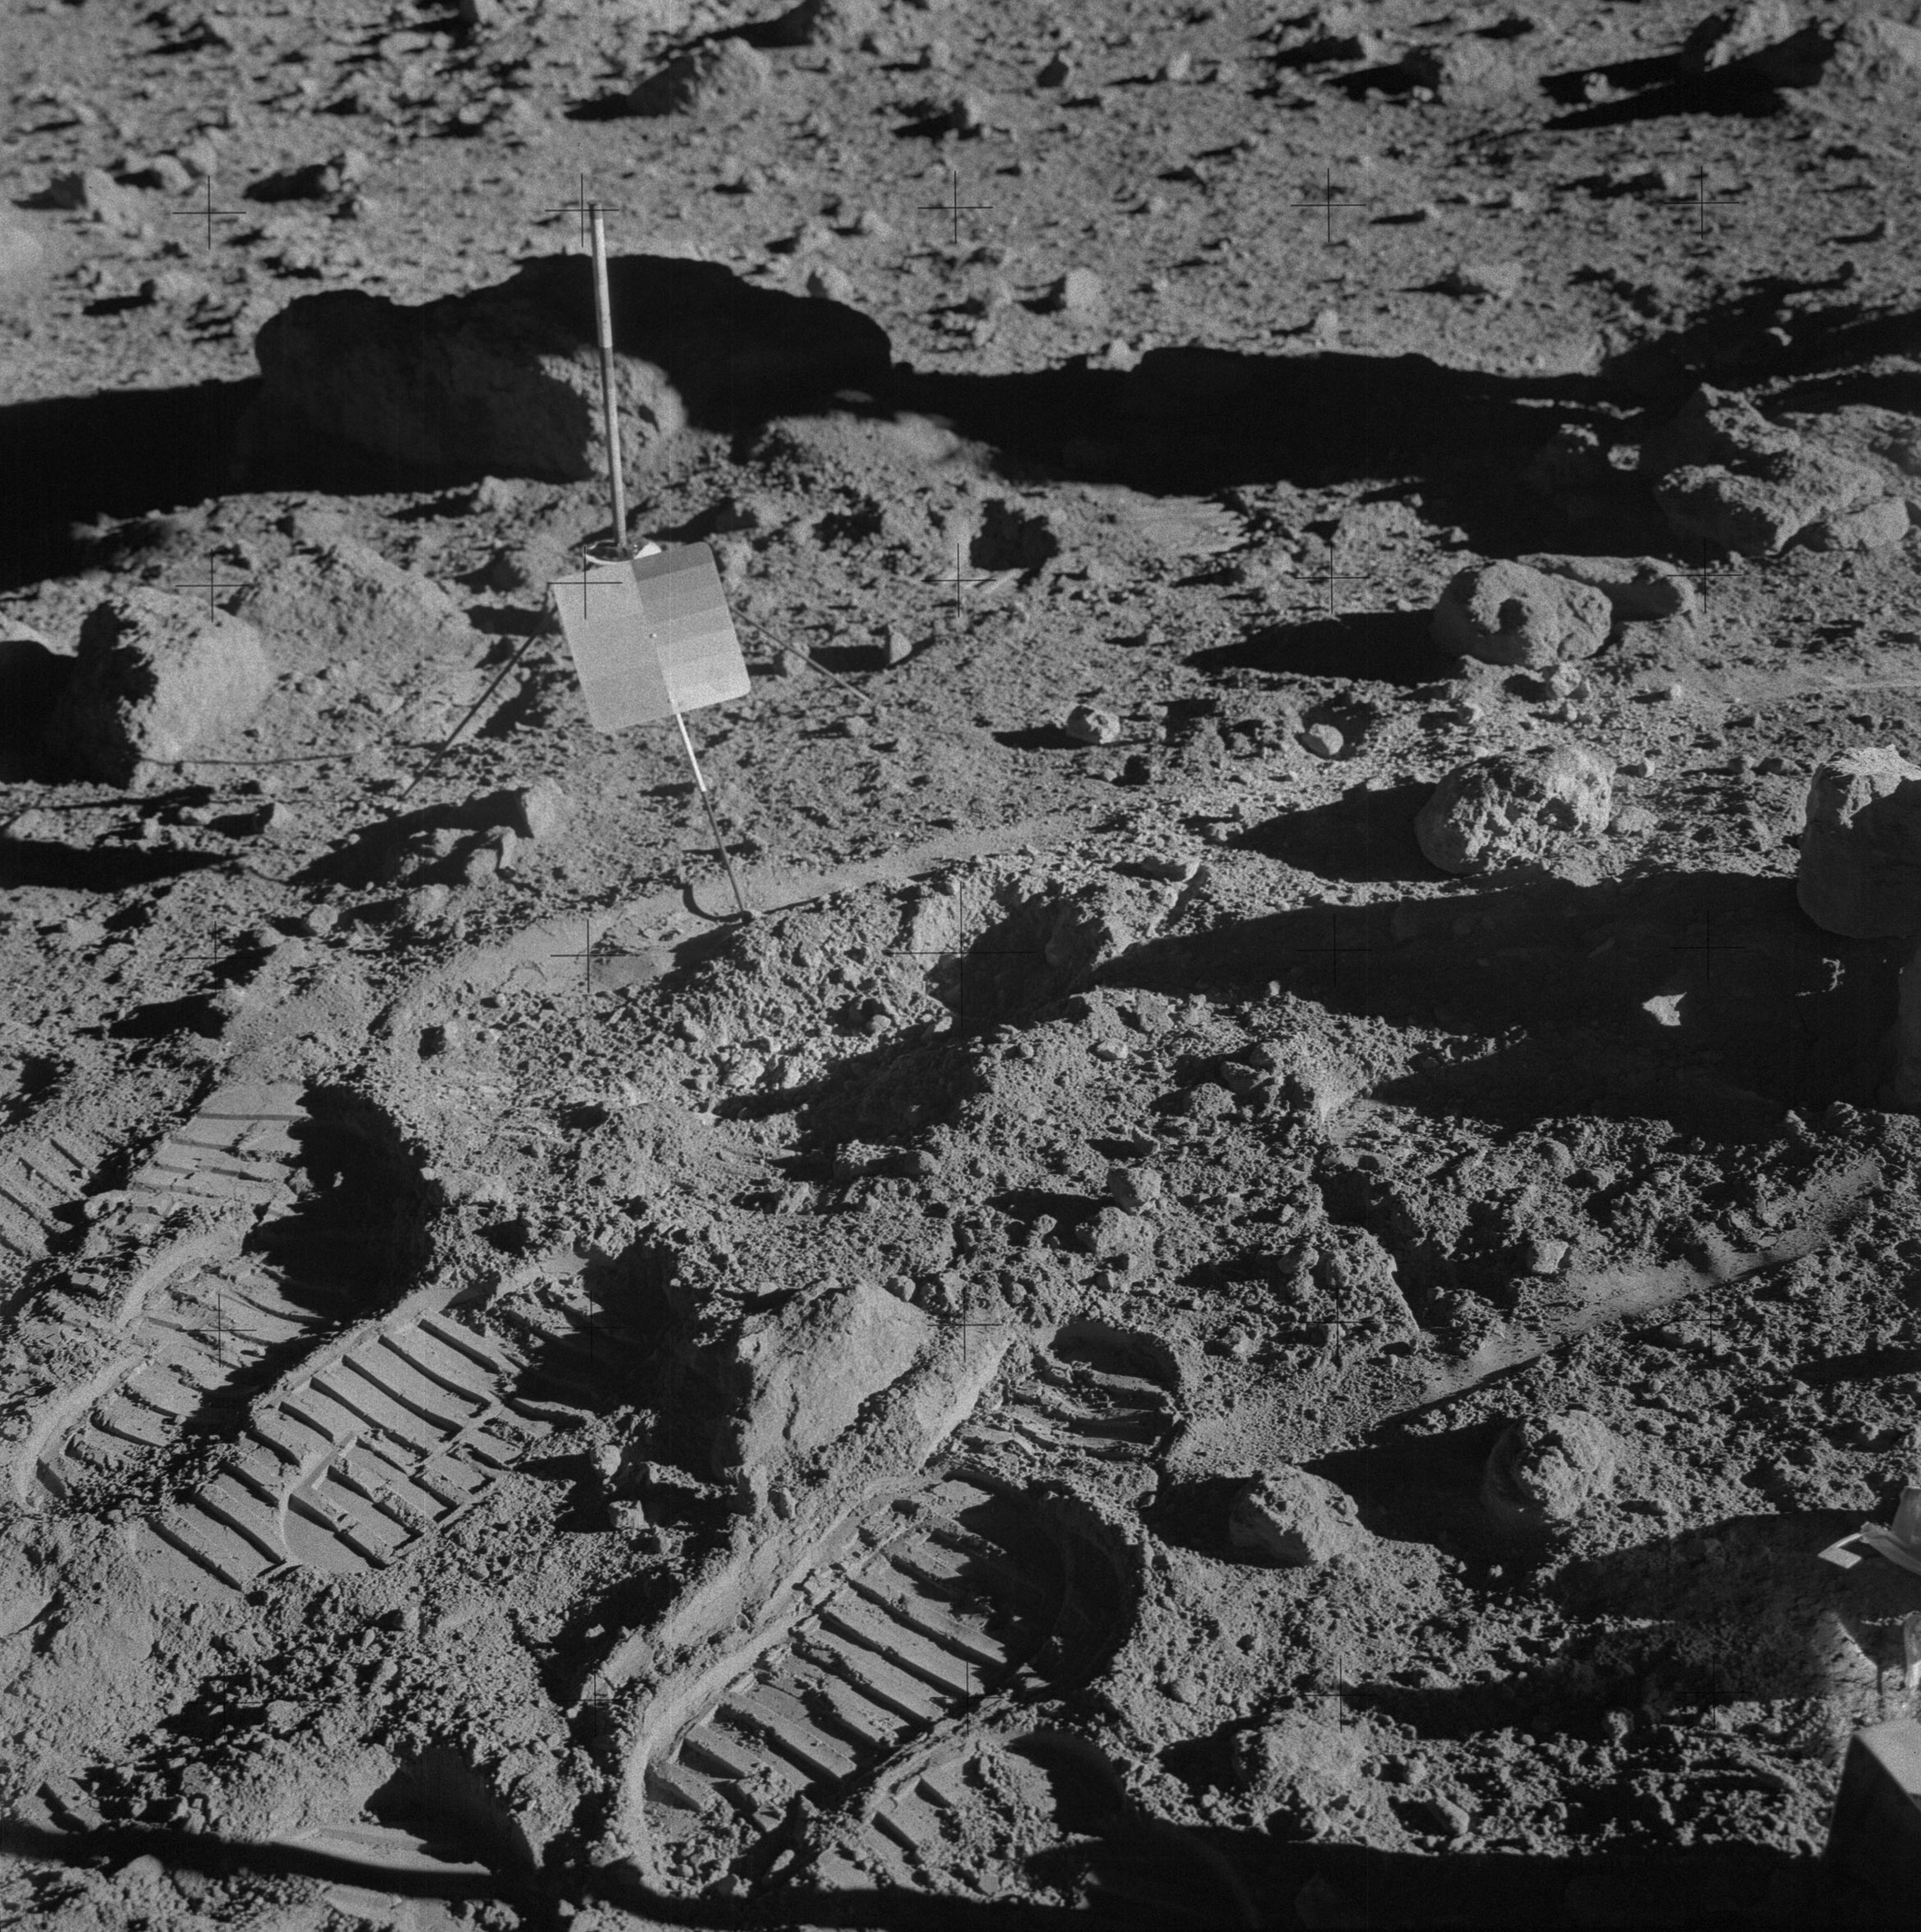 | AS14-64-9127 Al took this "after" photograph of the spot from which he took a sample from a small secondary impact. Image credit: Image Science and Analysis Laboratory, NASA-Johnson Space Center. |
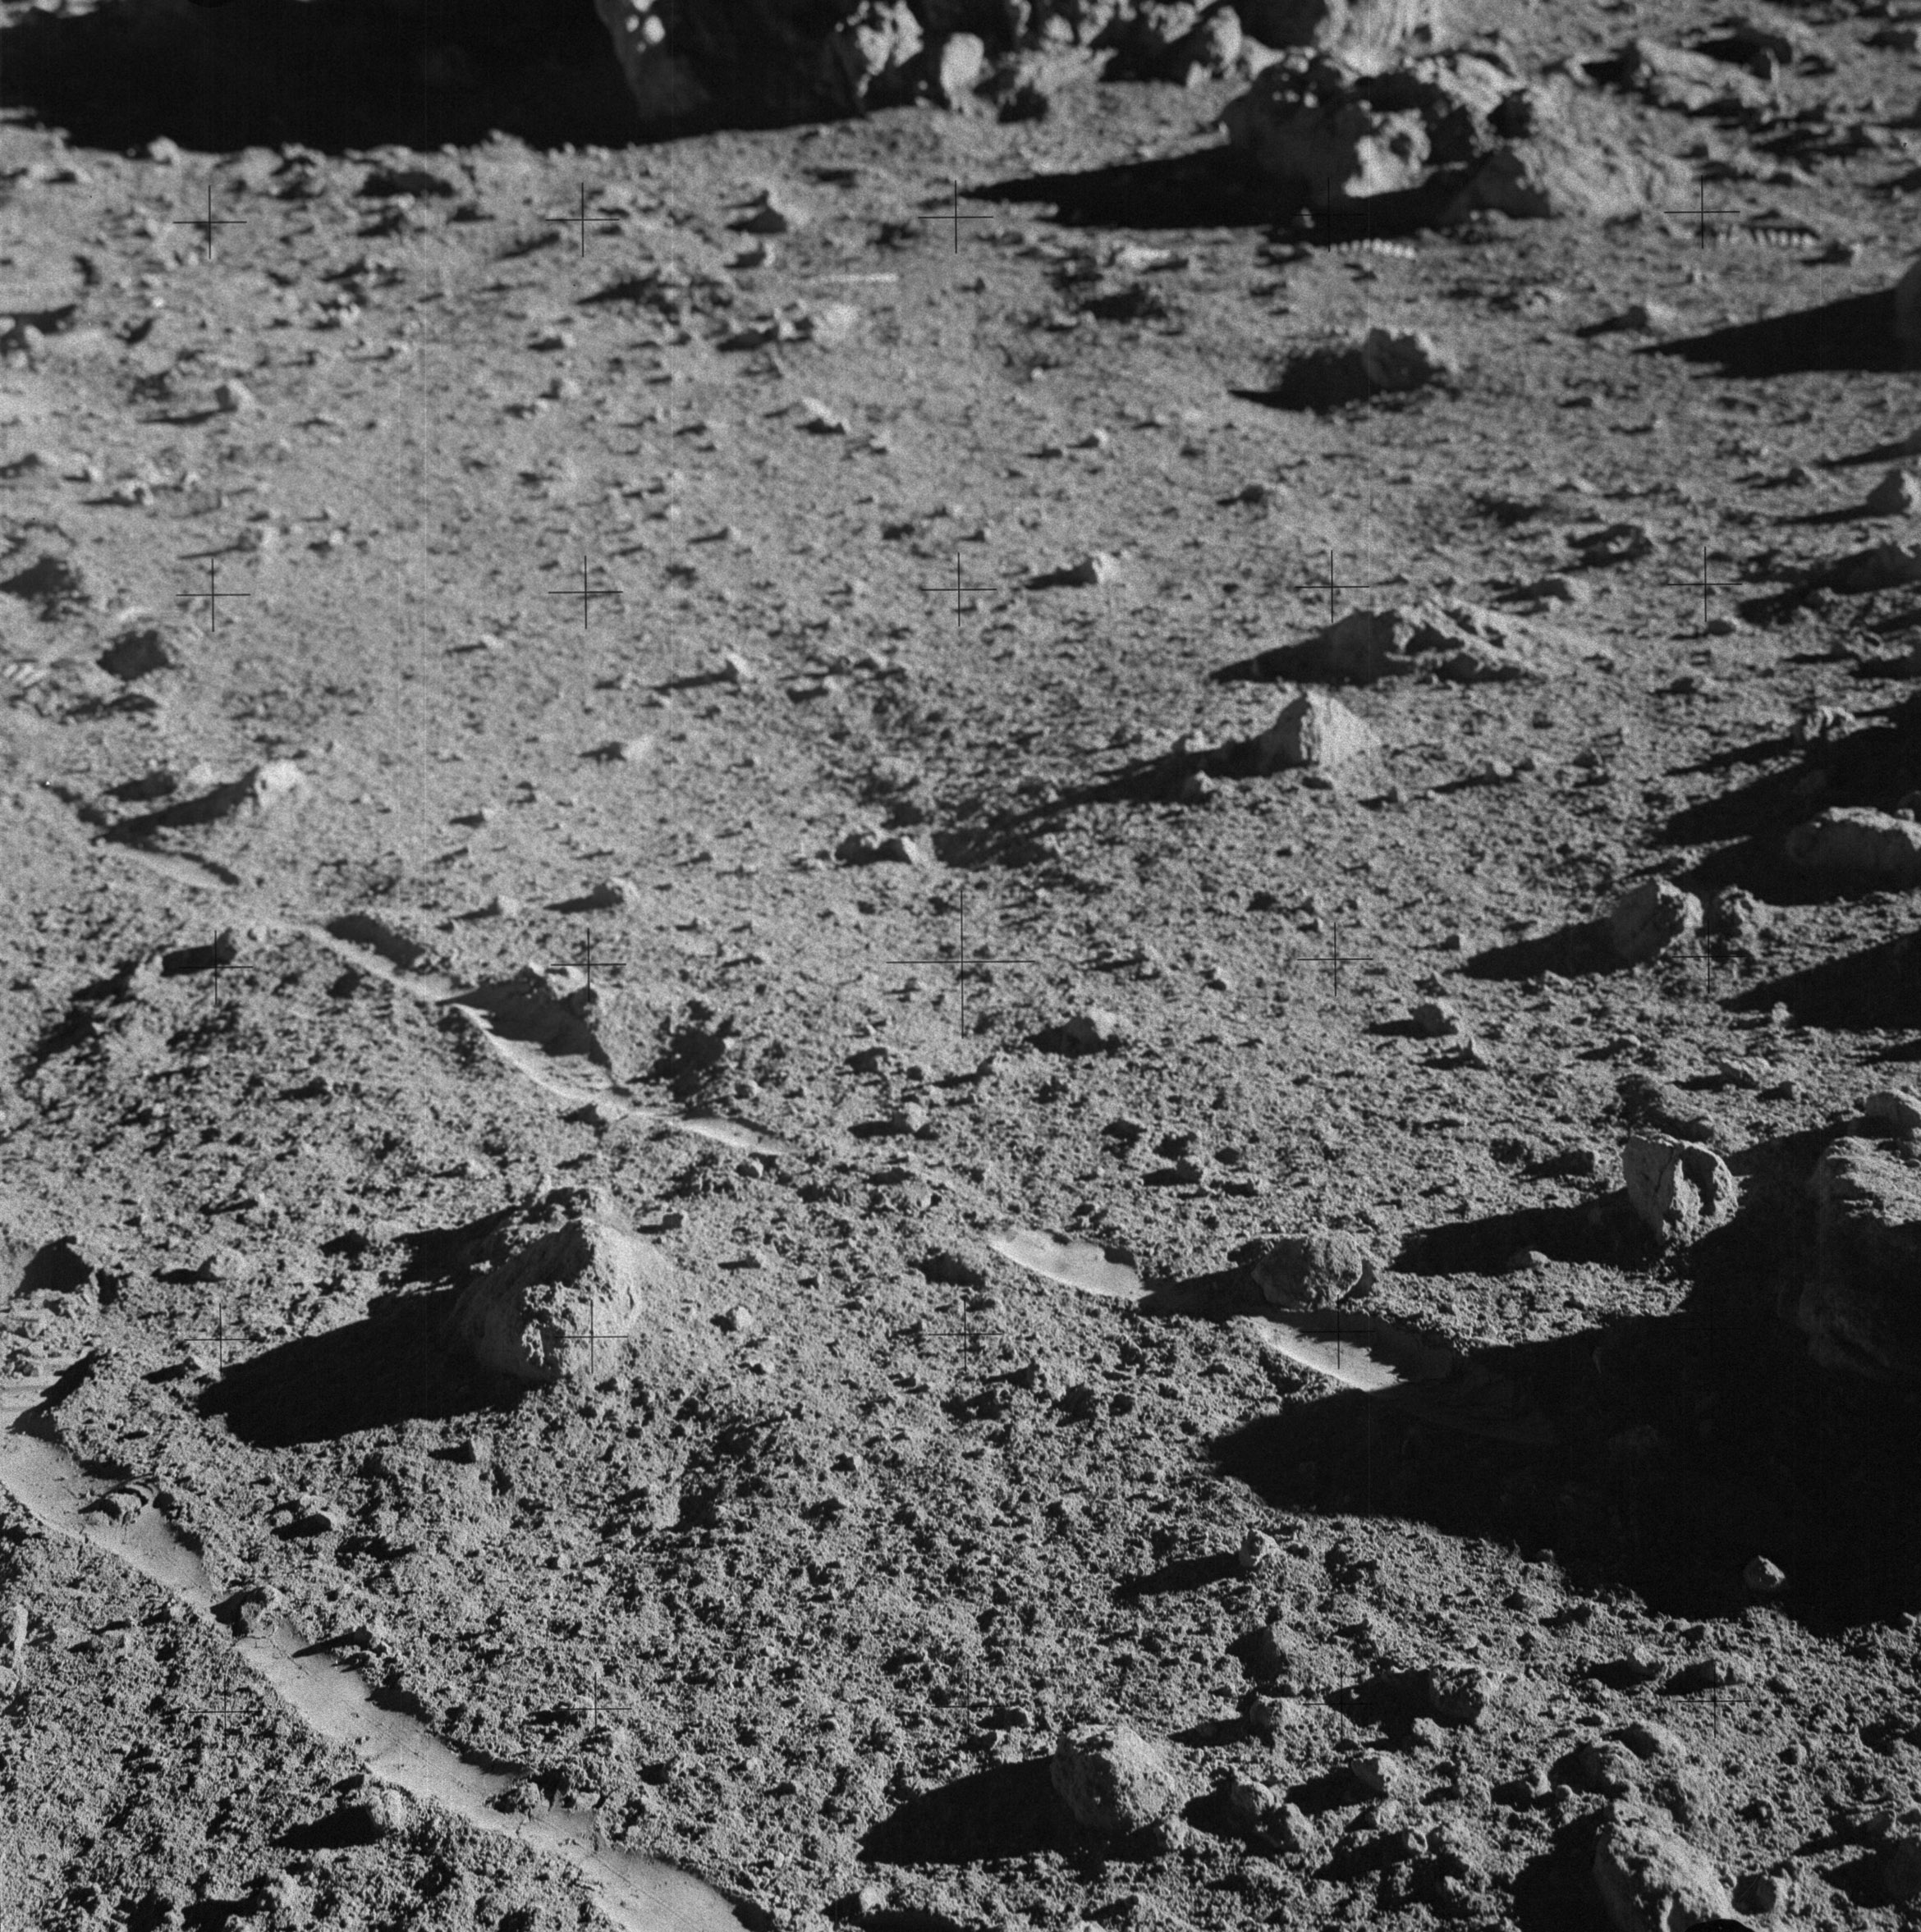 | AS14-64-9128 133:43:30 This photo documents the football-sized rock that Al collected near Saddle Rock. Image credit: Image Science and Analysis Laboratory, NASA-Johnson Space Center. |
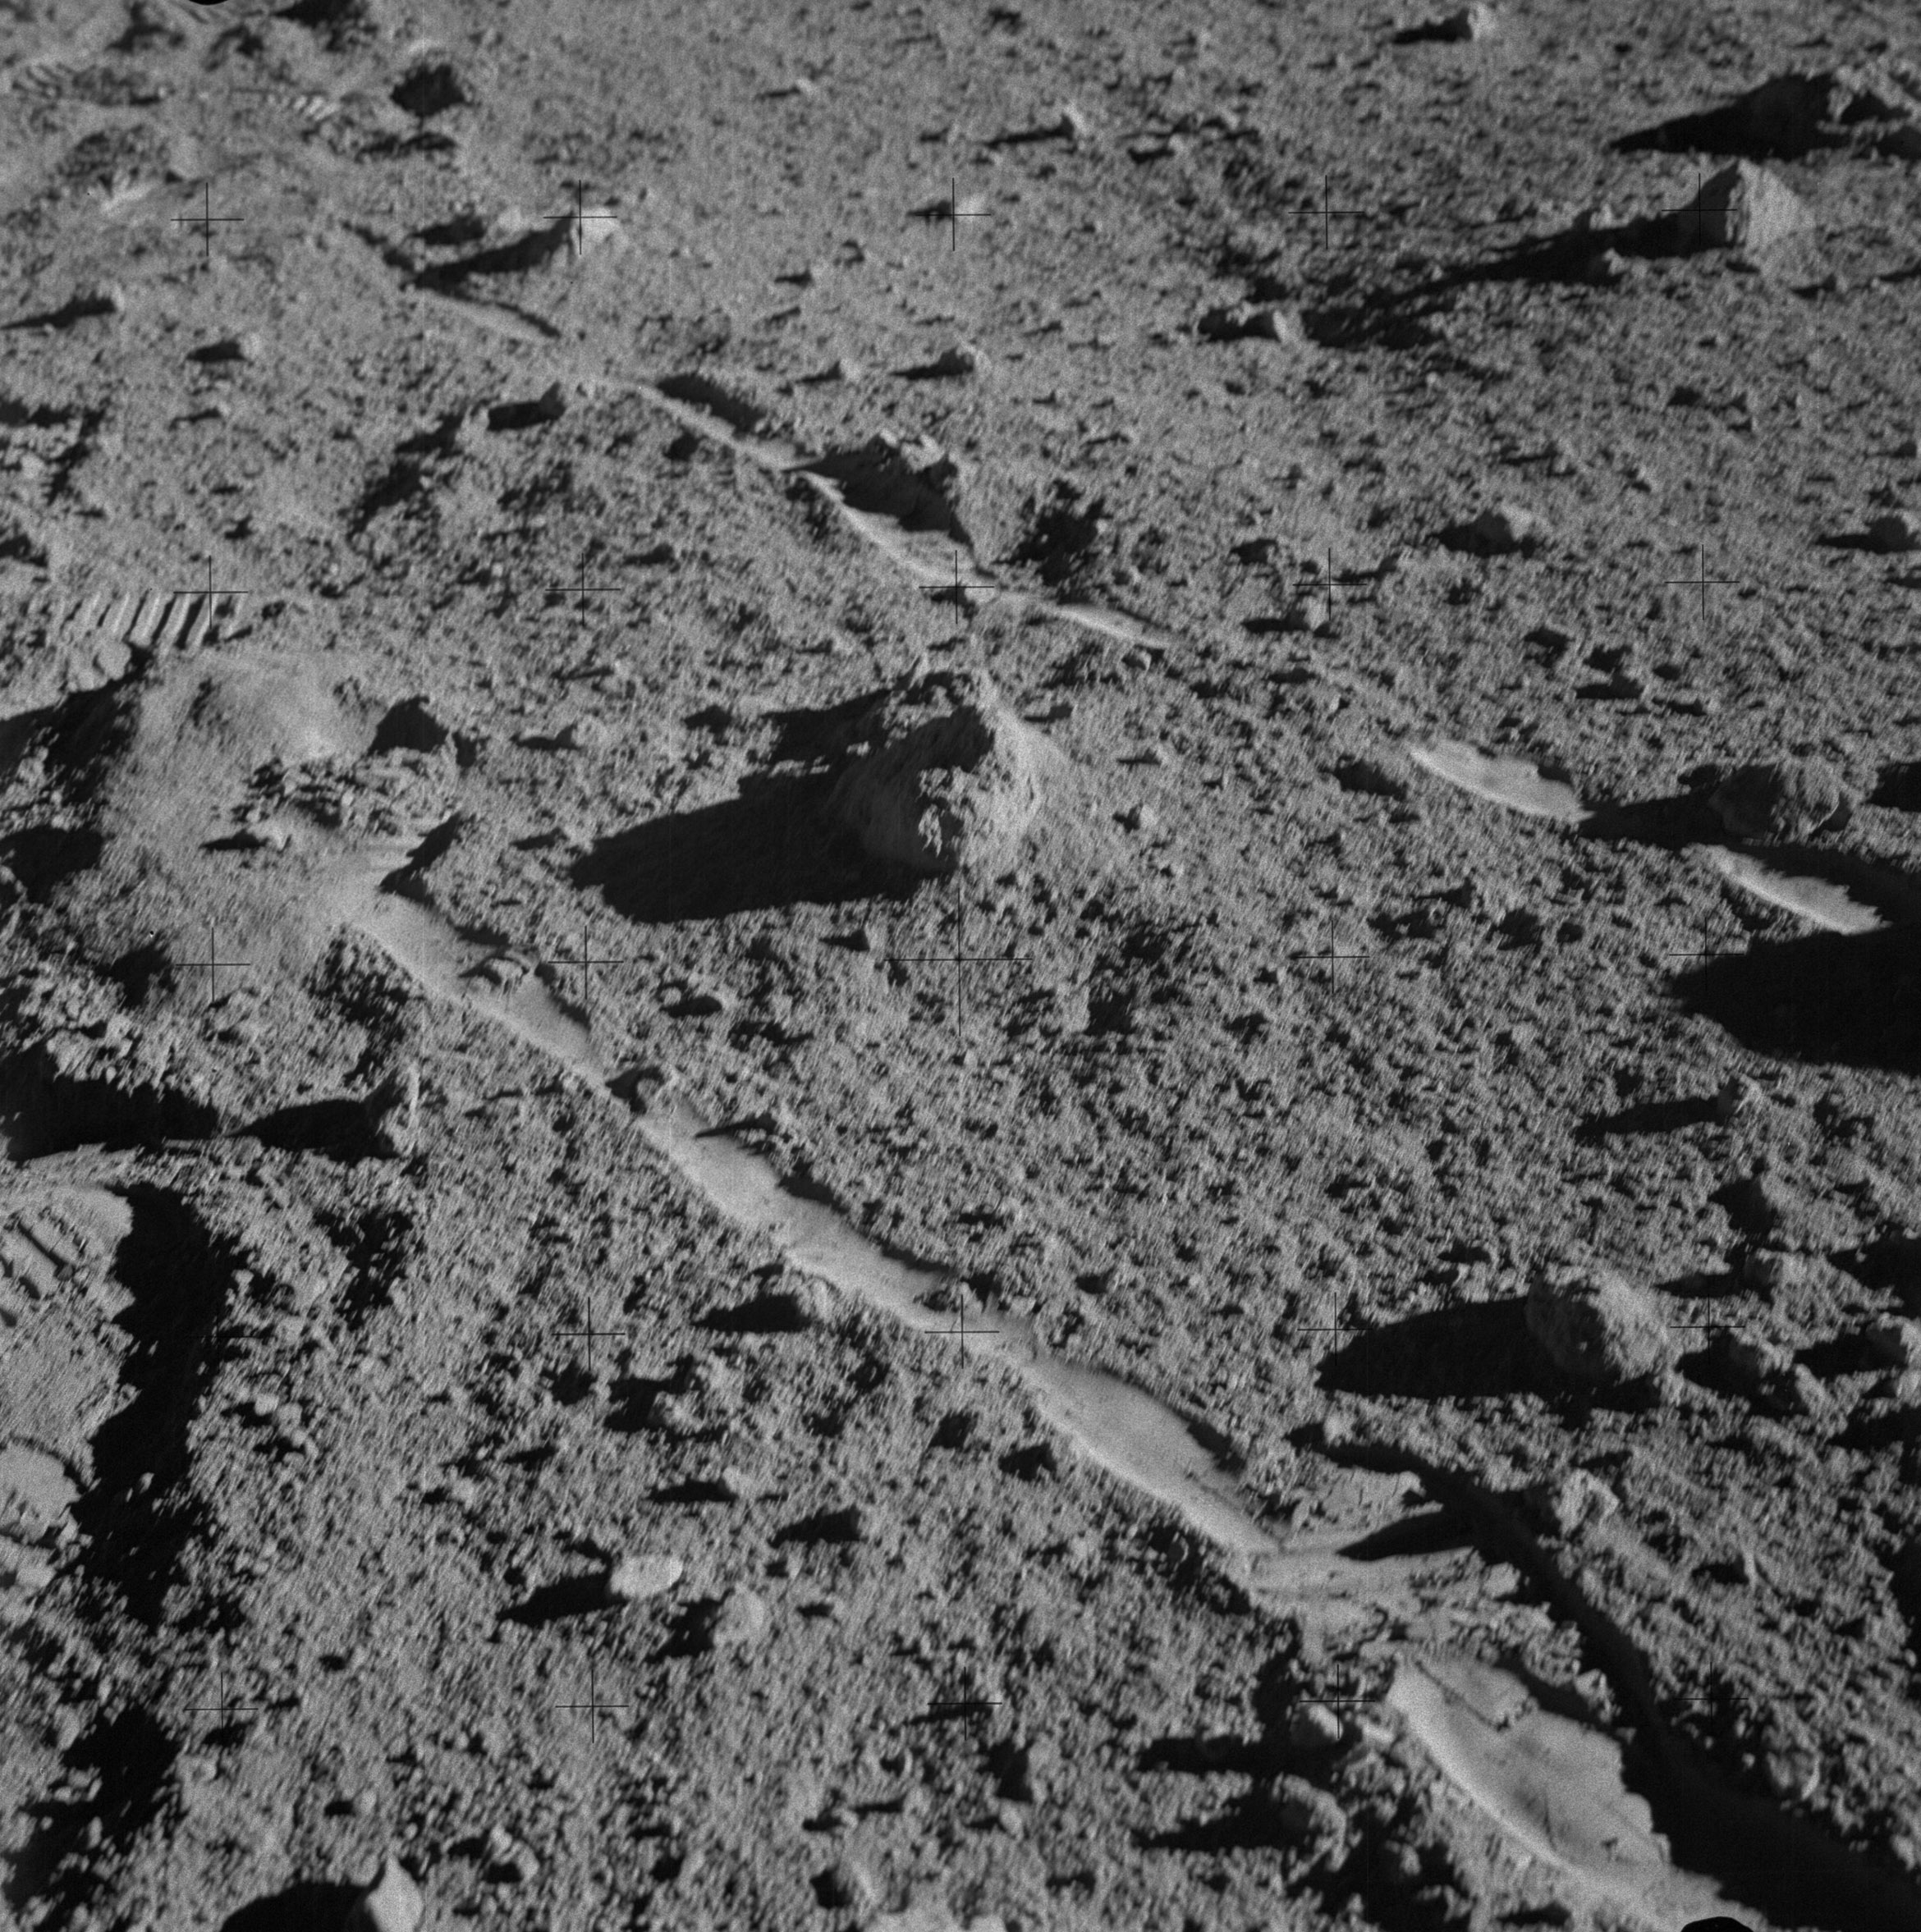 | AS14-64-9129 Al stepped to his left to take this stereo companion to 9128. Image credit: Image Science and Analysis Laboratory, NASA-Johnson Space Center. |
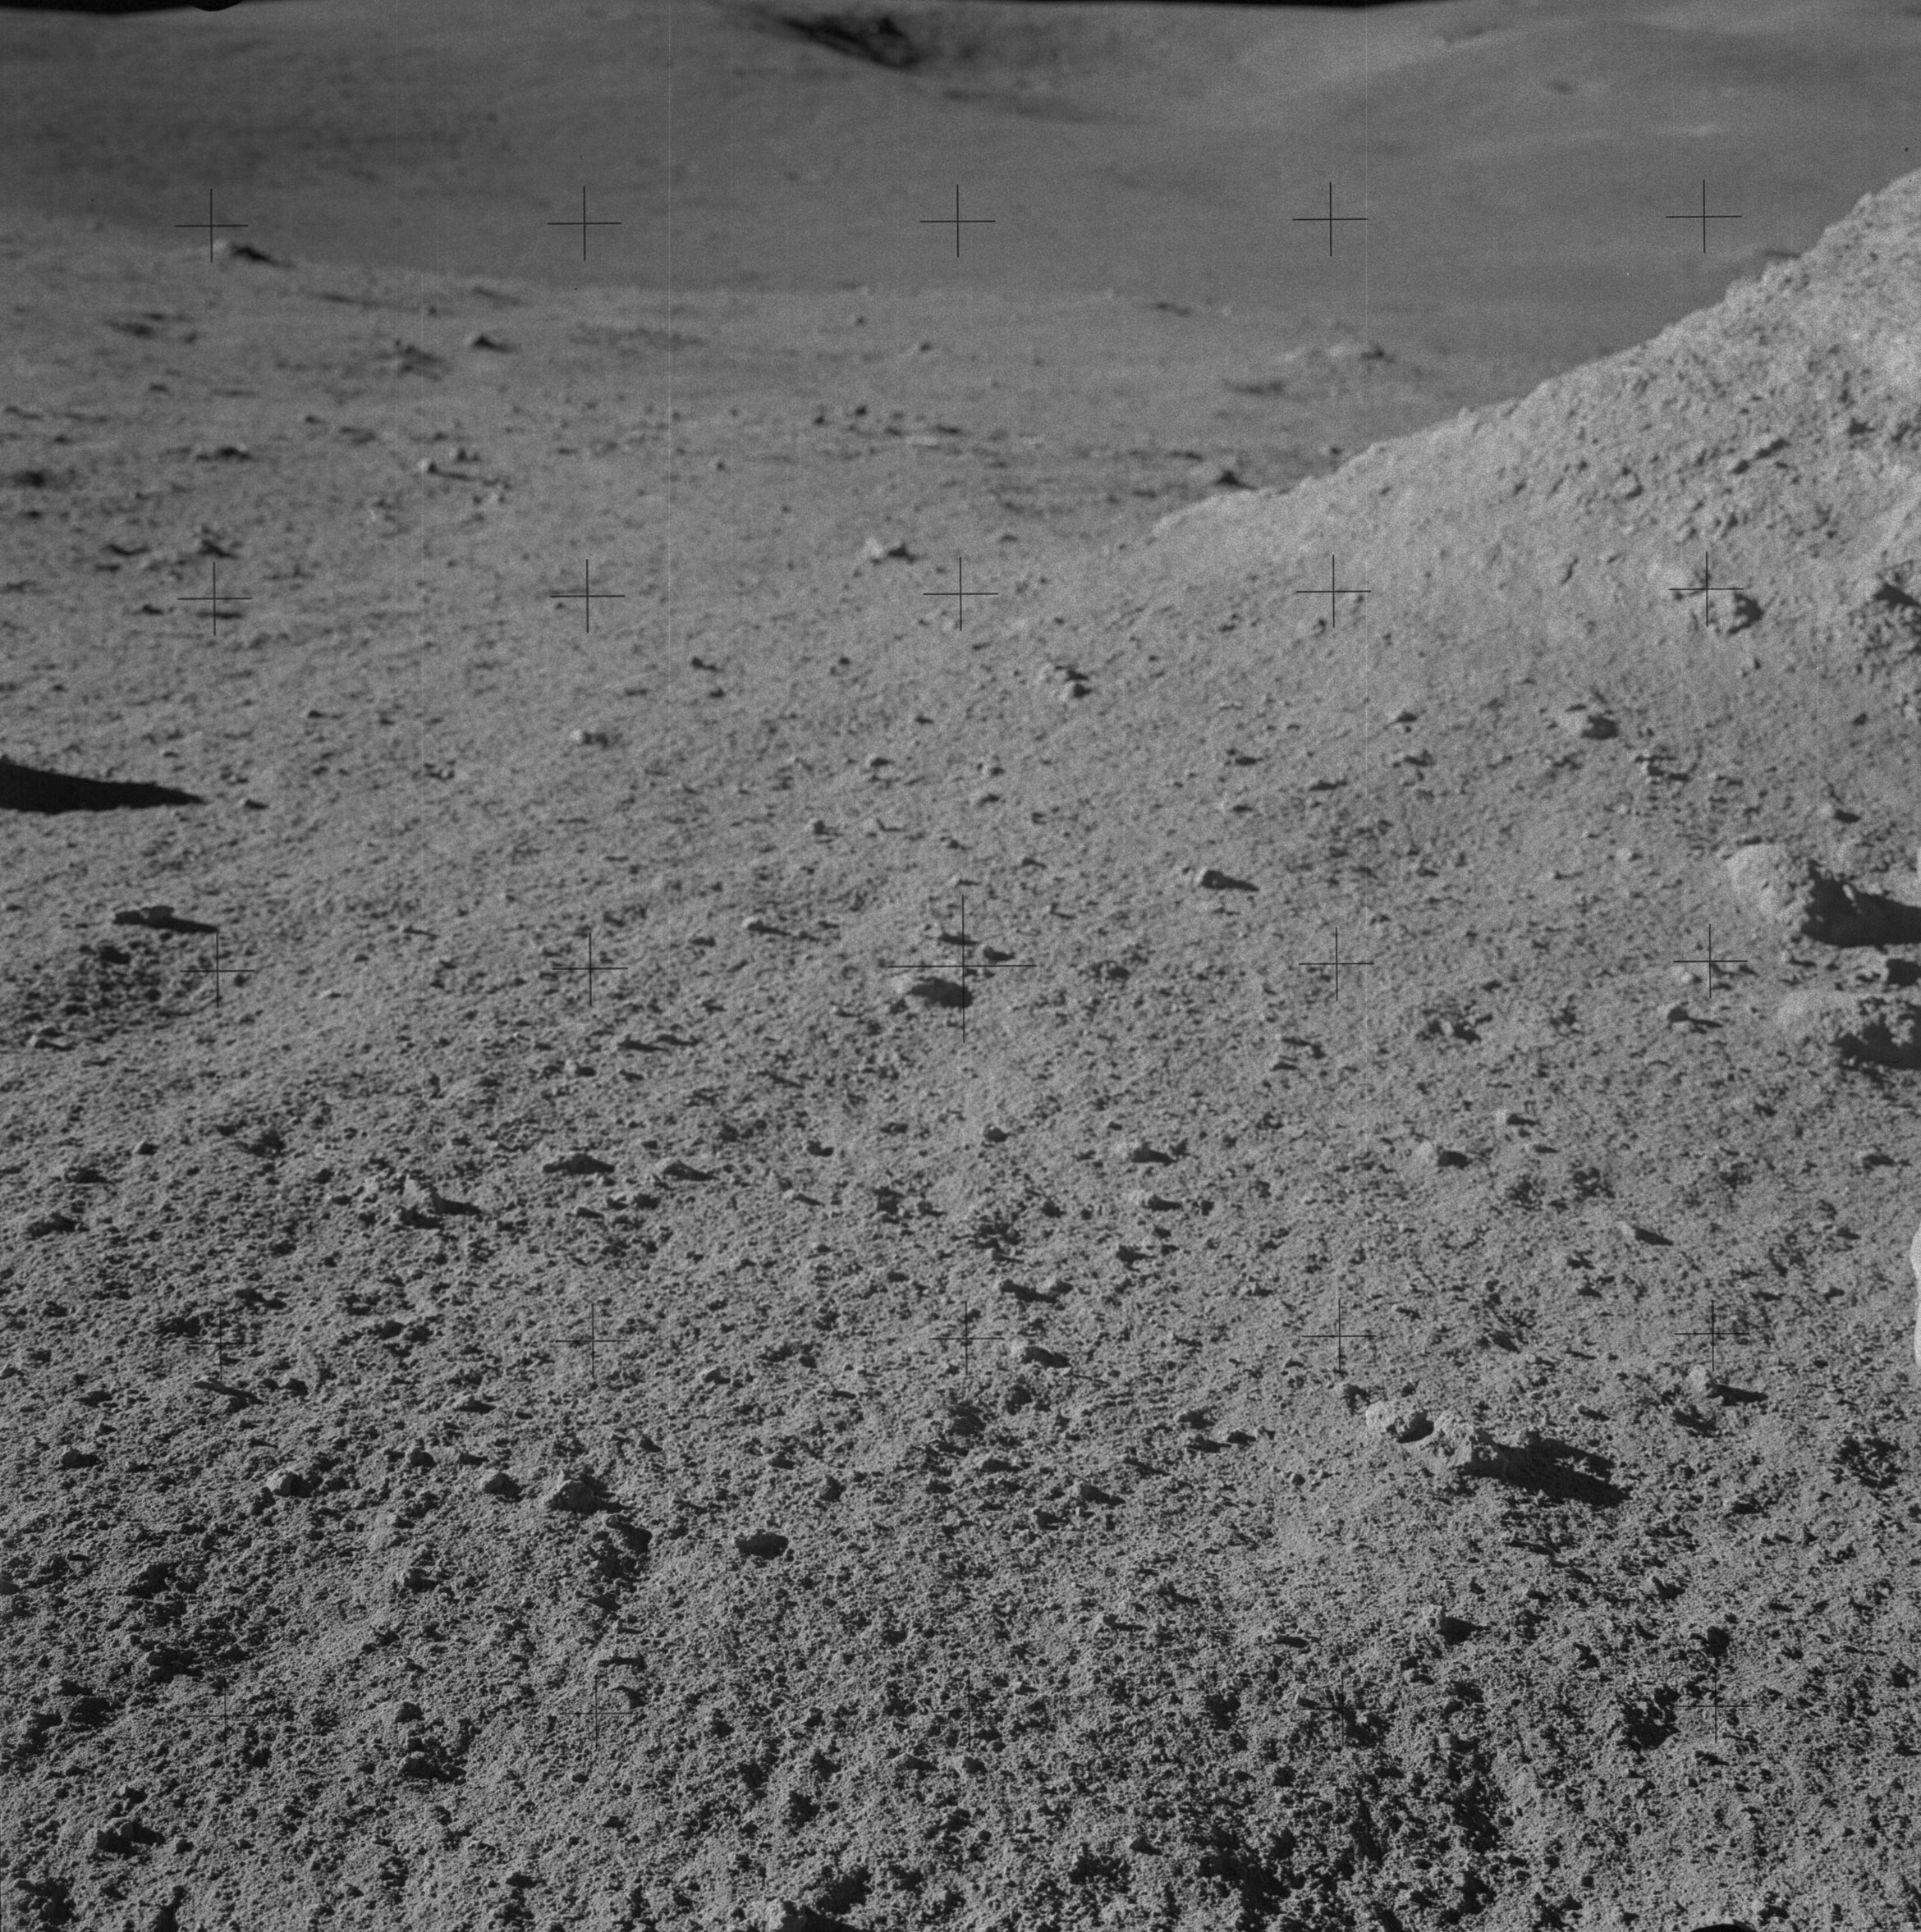 | AS14-64-9130 133:51:57 "Before" photo of Filleted Rock at Station C2. Image credit: Image Science and Analysis Laboratory, NASA-Johnson Space Center. |
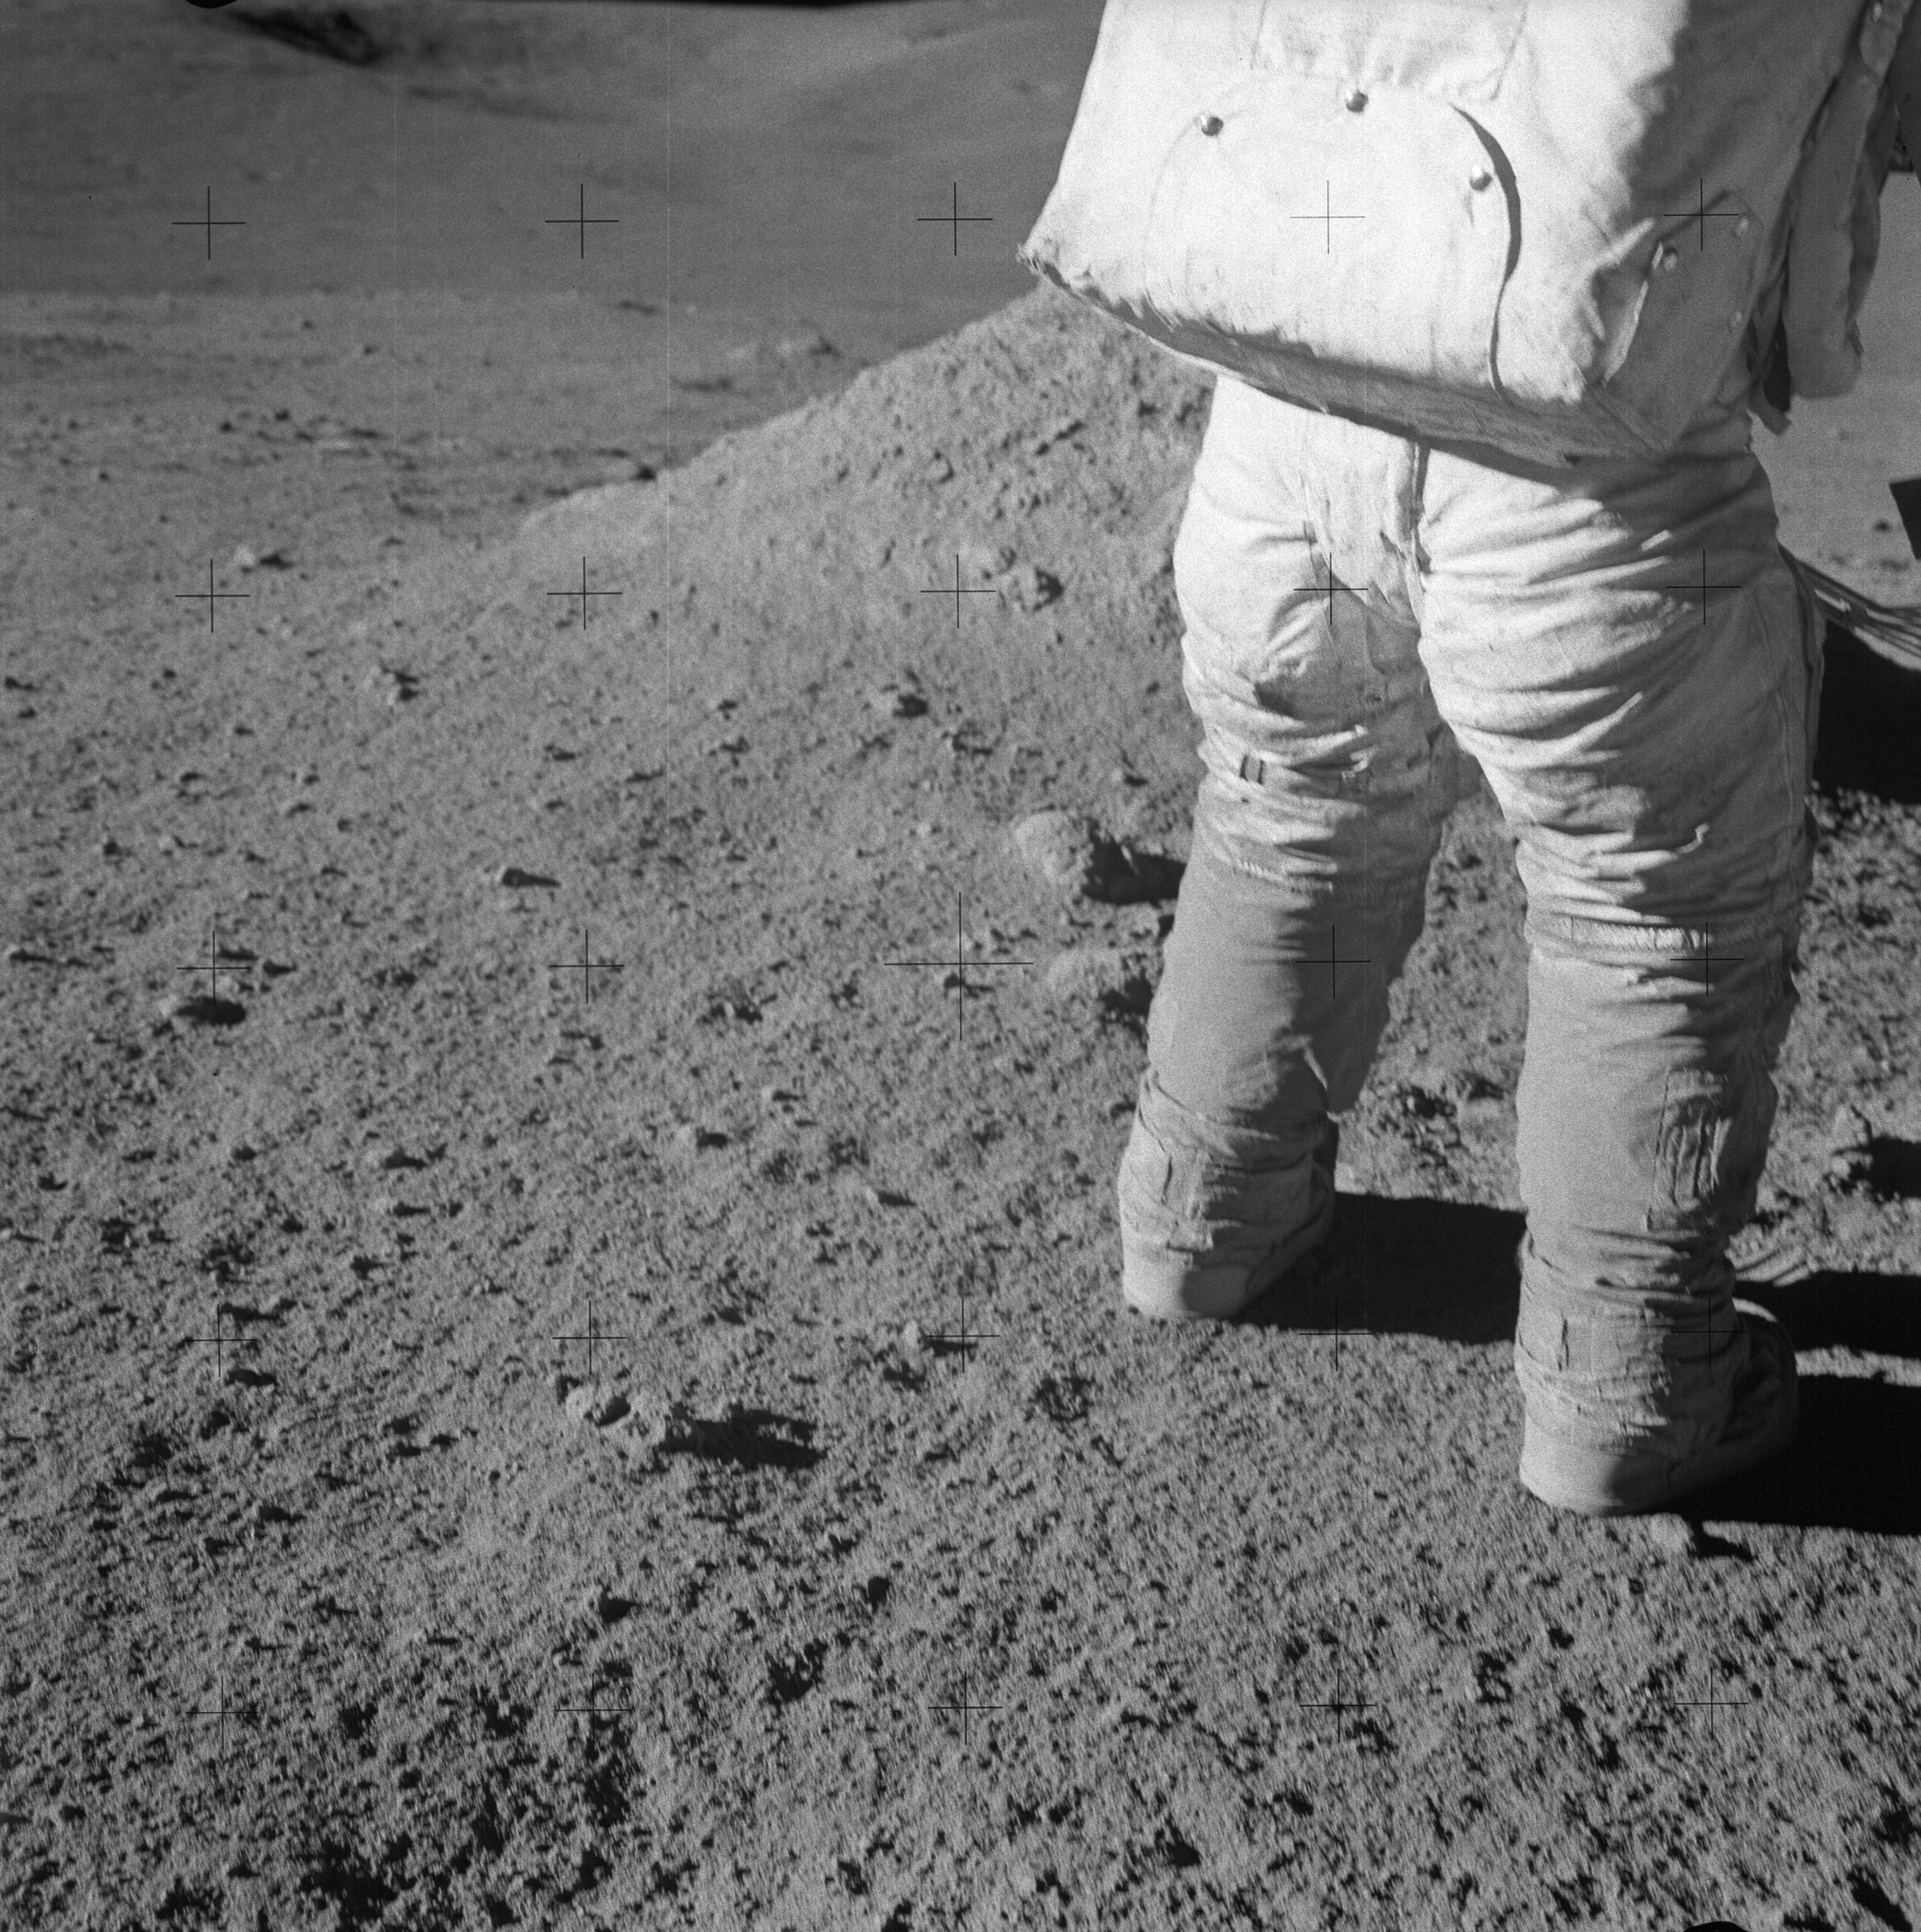 | AS14-64-9131 Filleted Rock at Station C2, showing Ed's feet and Old Nameless . Image credit: Image Science and Analysis Laboratory, NASA-Johnson Space Center. |
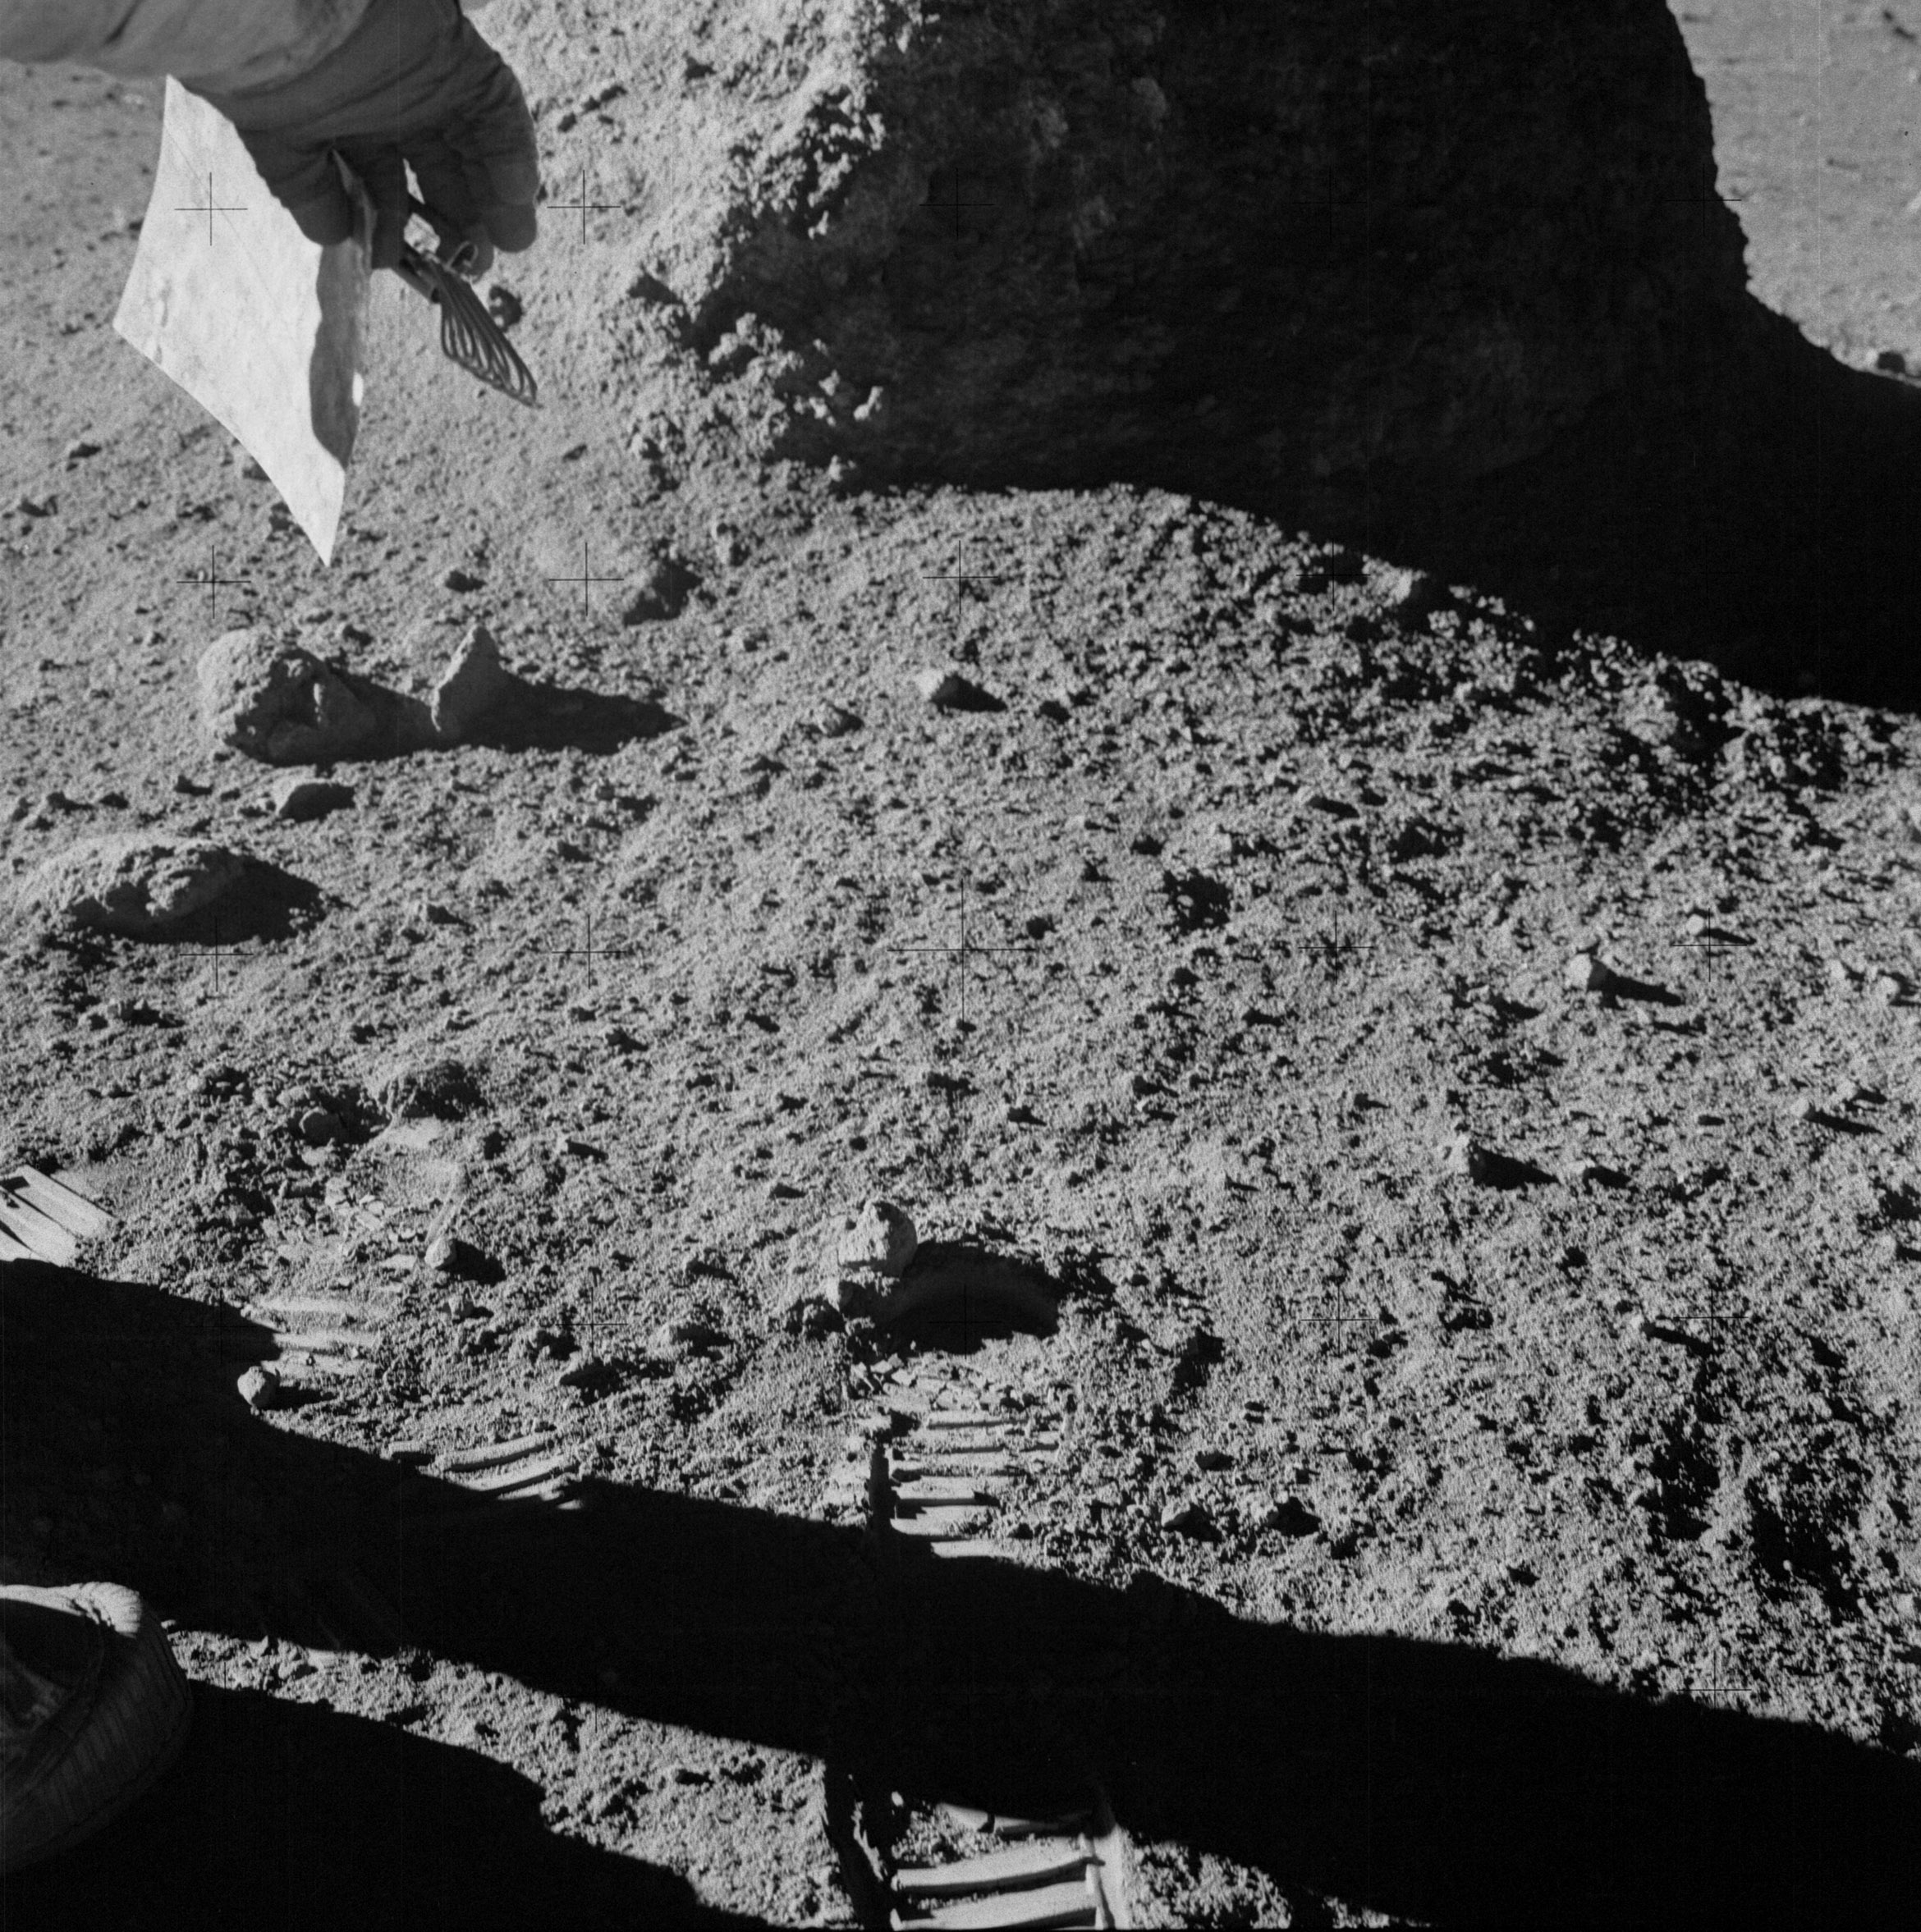 | AS14-64-9132 Al has stepped around Ed to get this cross-Sun of Filleted Rock at Station C2. Image credit: Image Science and Analysis Laboratory, NASA-Johnson Space Center. |
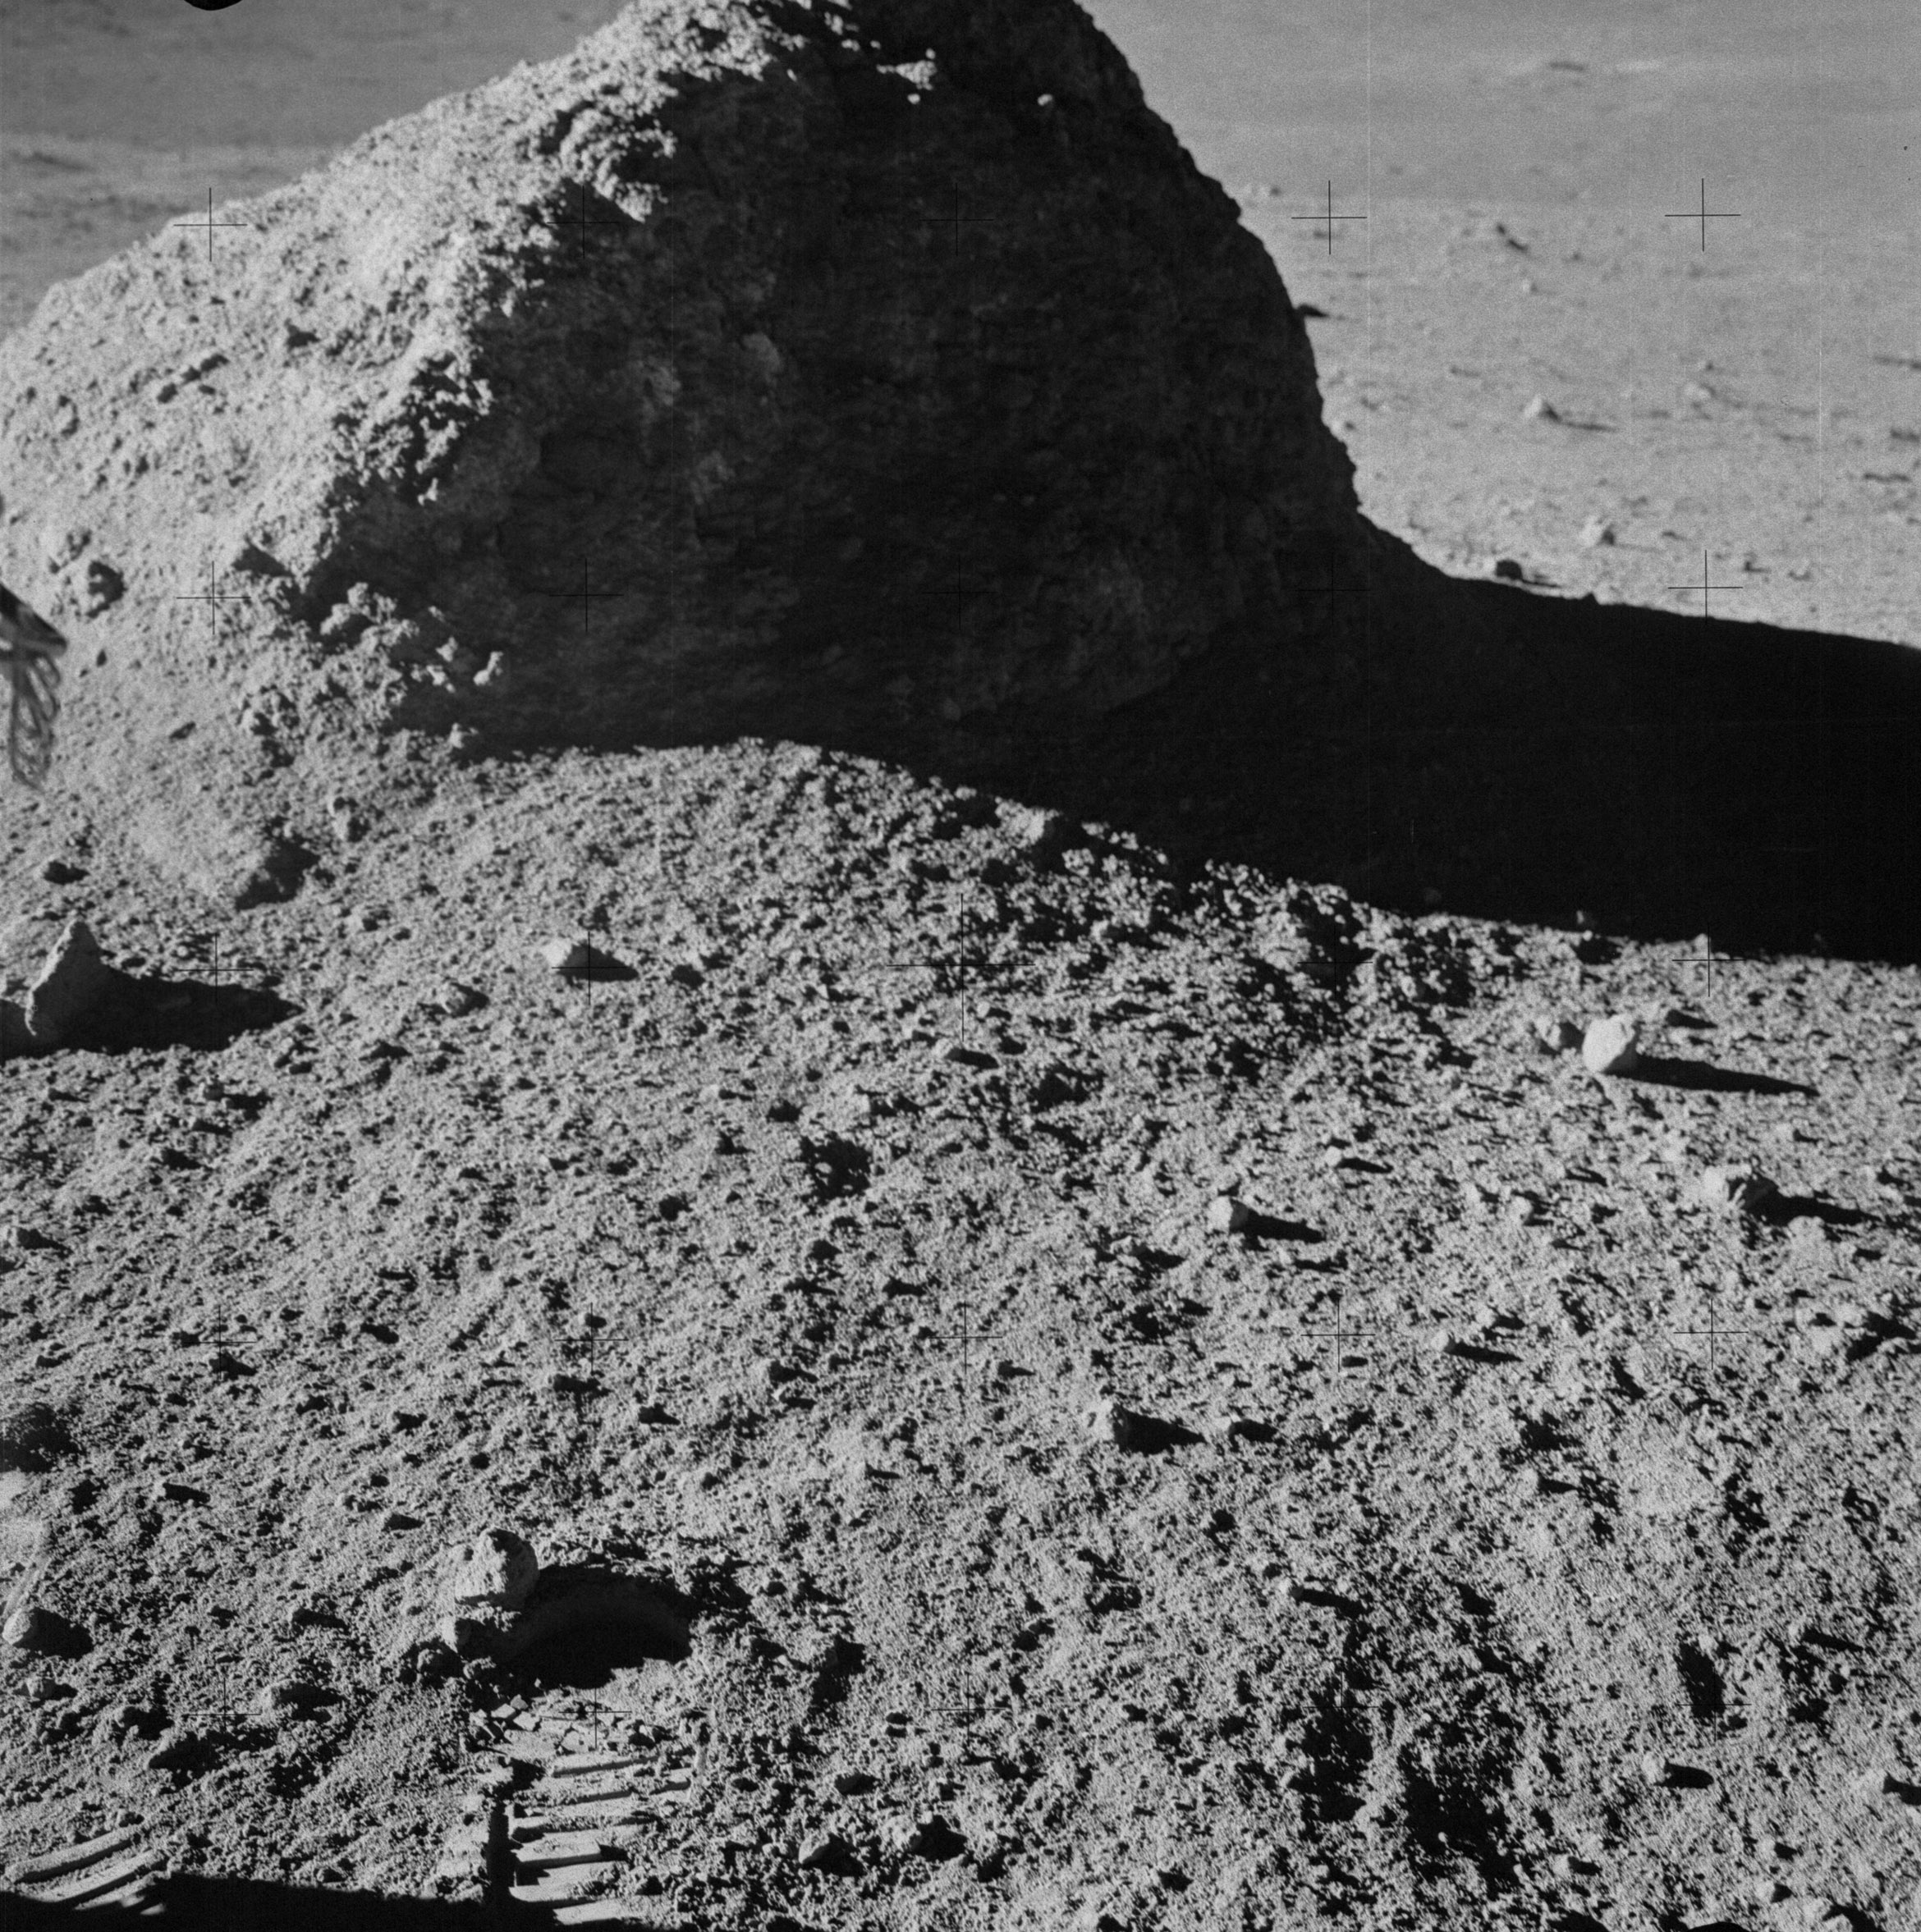 | AS14-64-9133 Filleted Rock at Station C2. Image credit: Image Science and Analysis Laboratory, NASA-Johnson Space Center. |
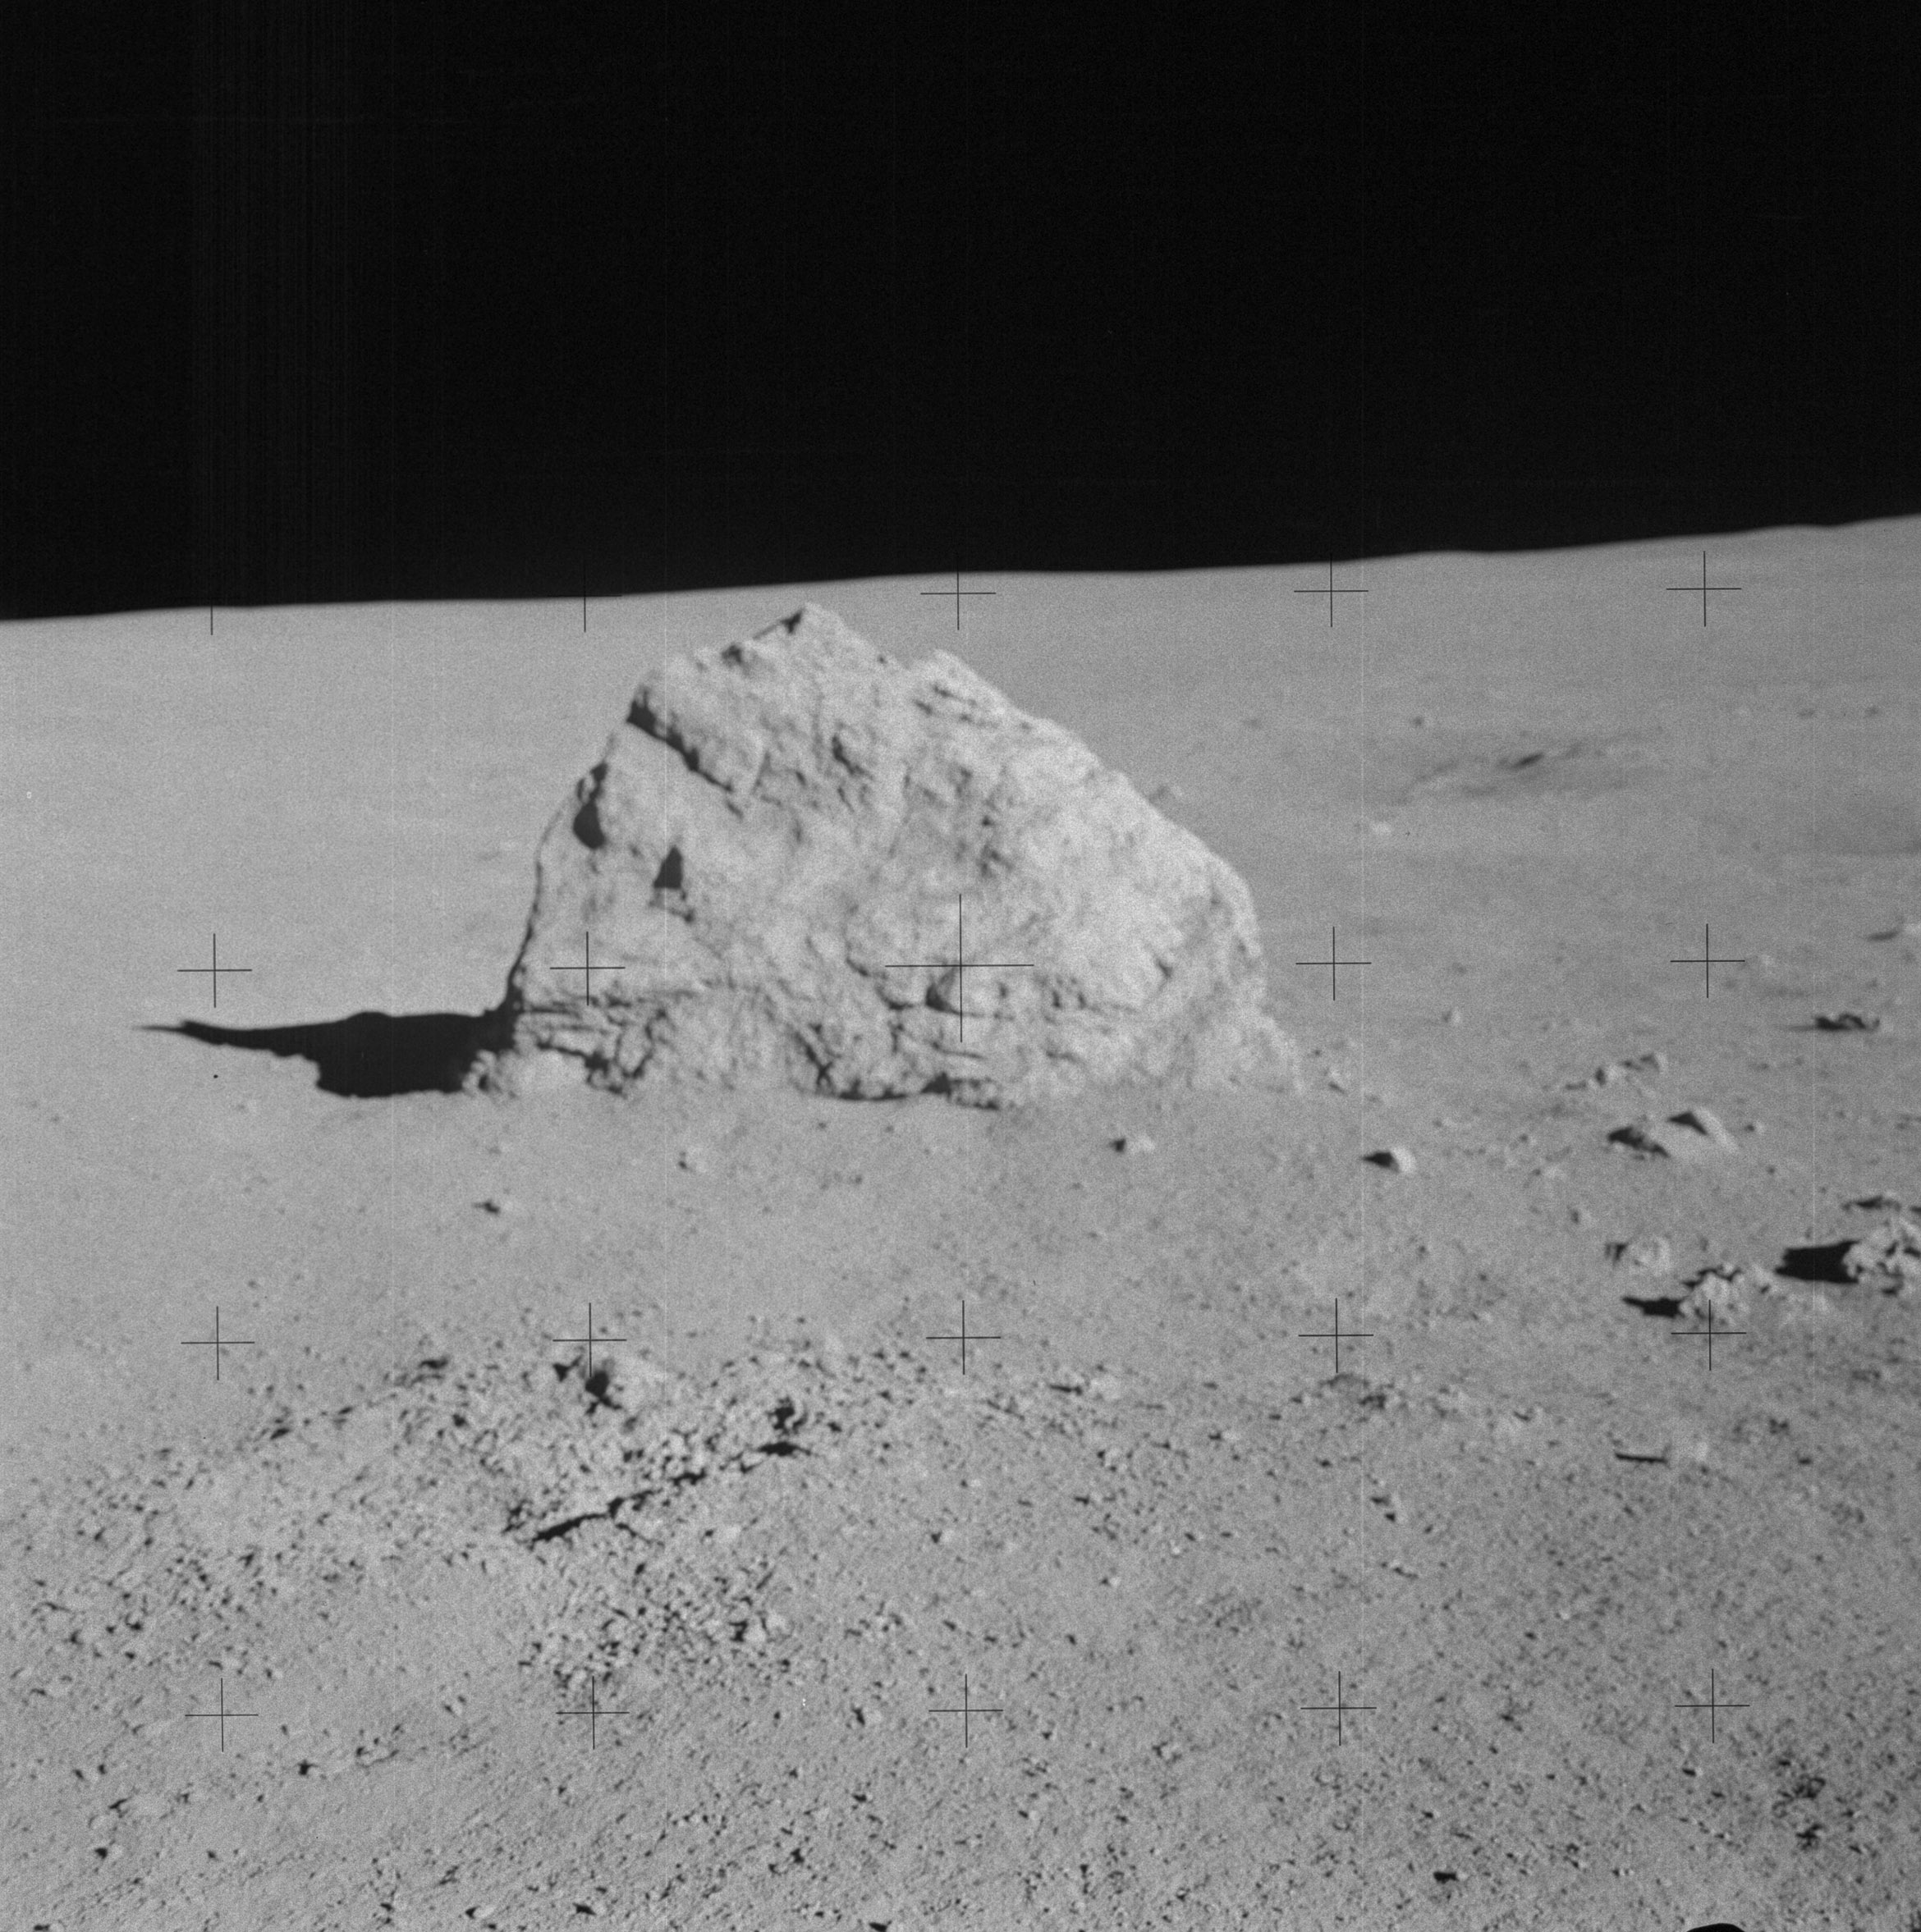 | AS14-64-9134 134:04:53 During the traverse to Station F, Al made a short detour to this large boulder while Ed continued on with the MET. Image credit: Image Science and Analysis Laboratory, NASA-Johnson Space Center. |
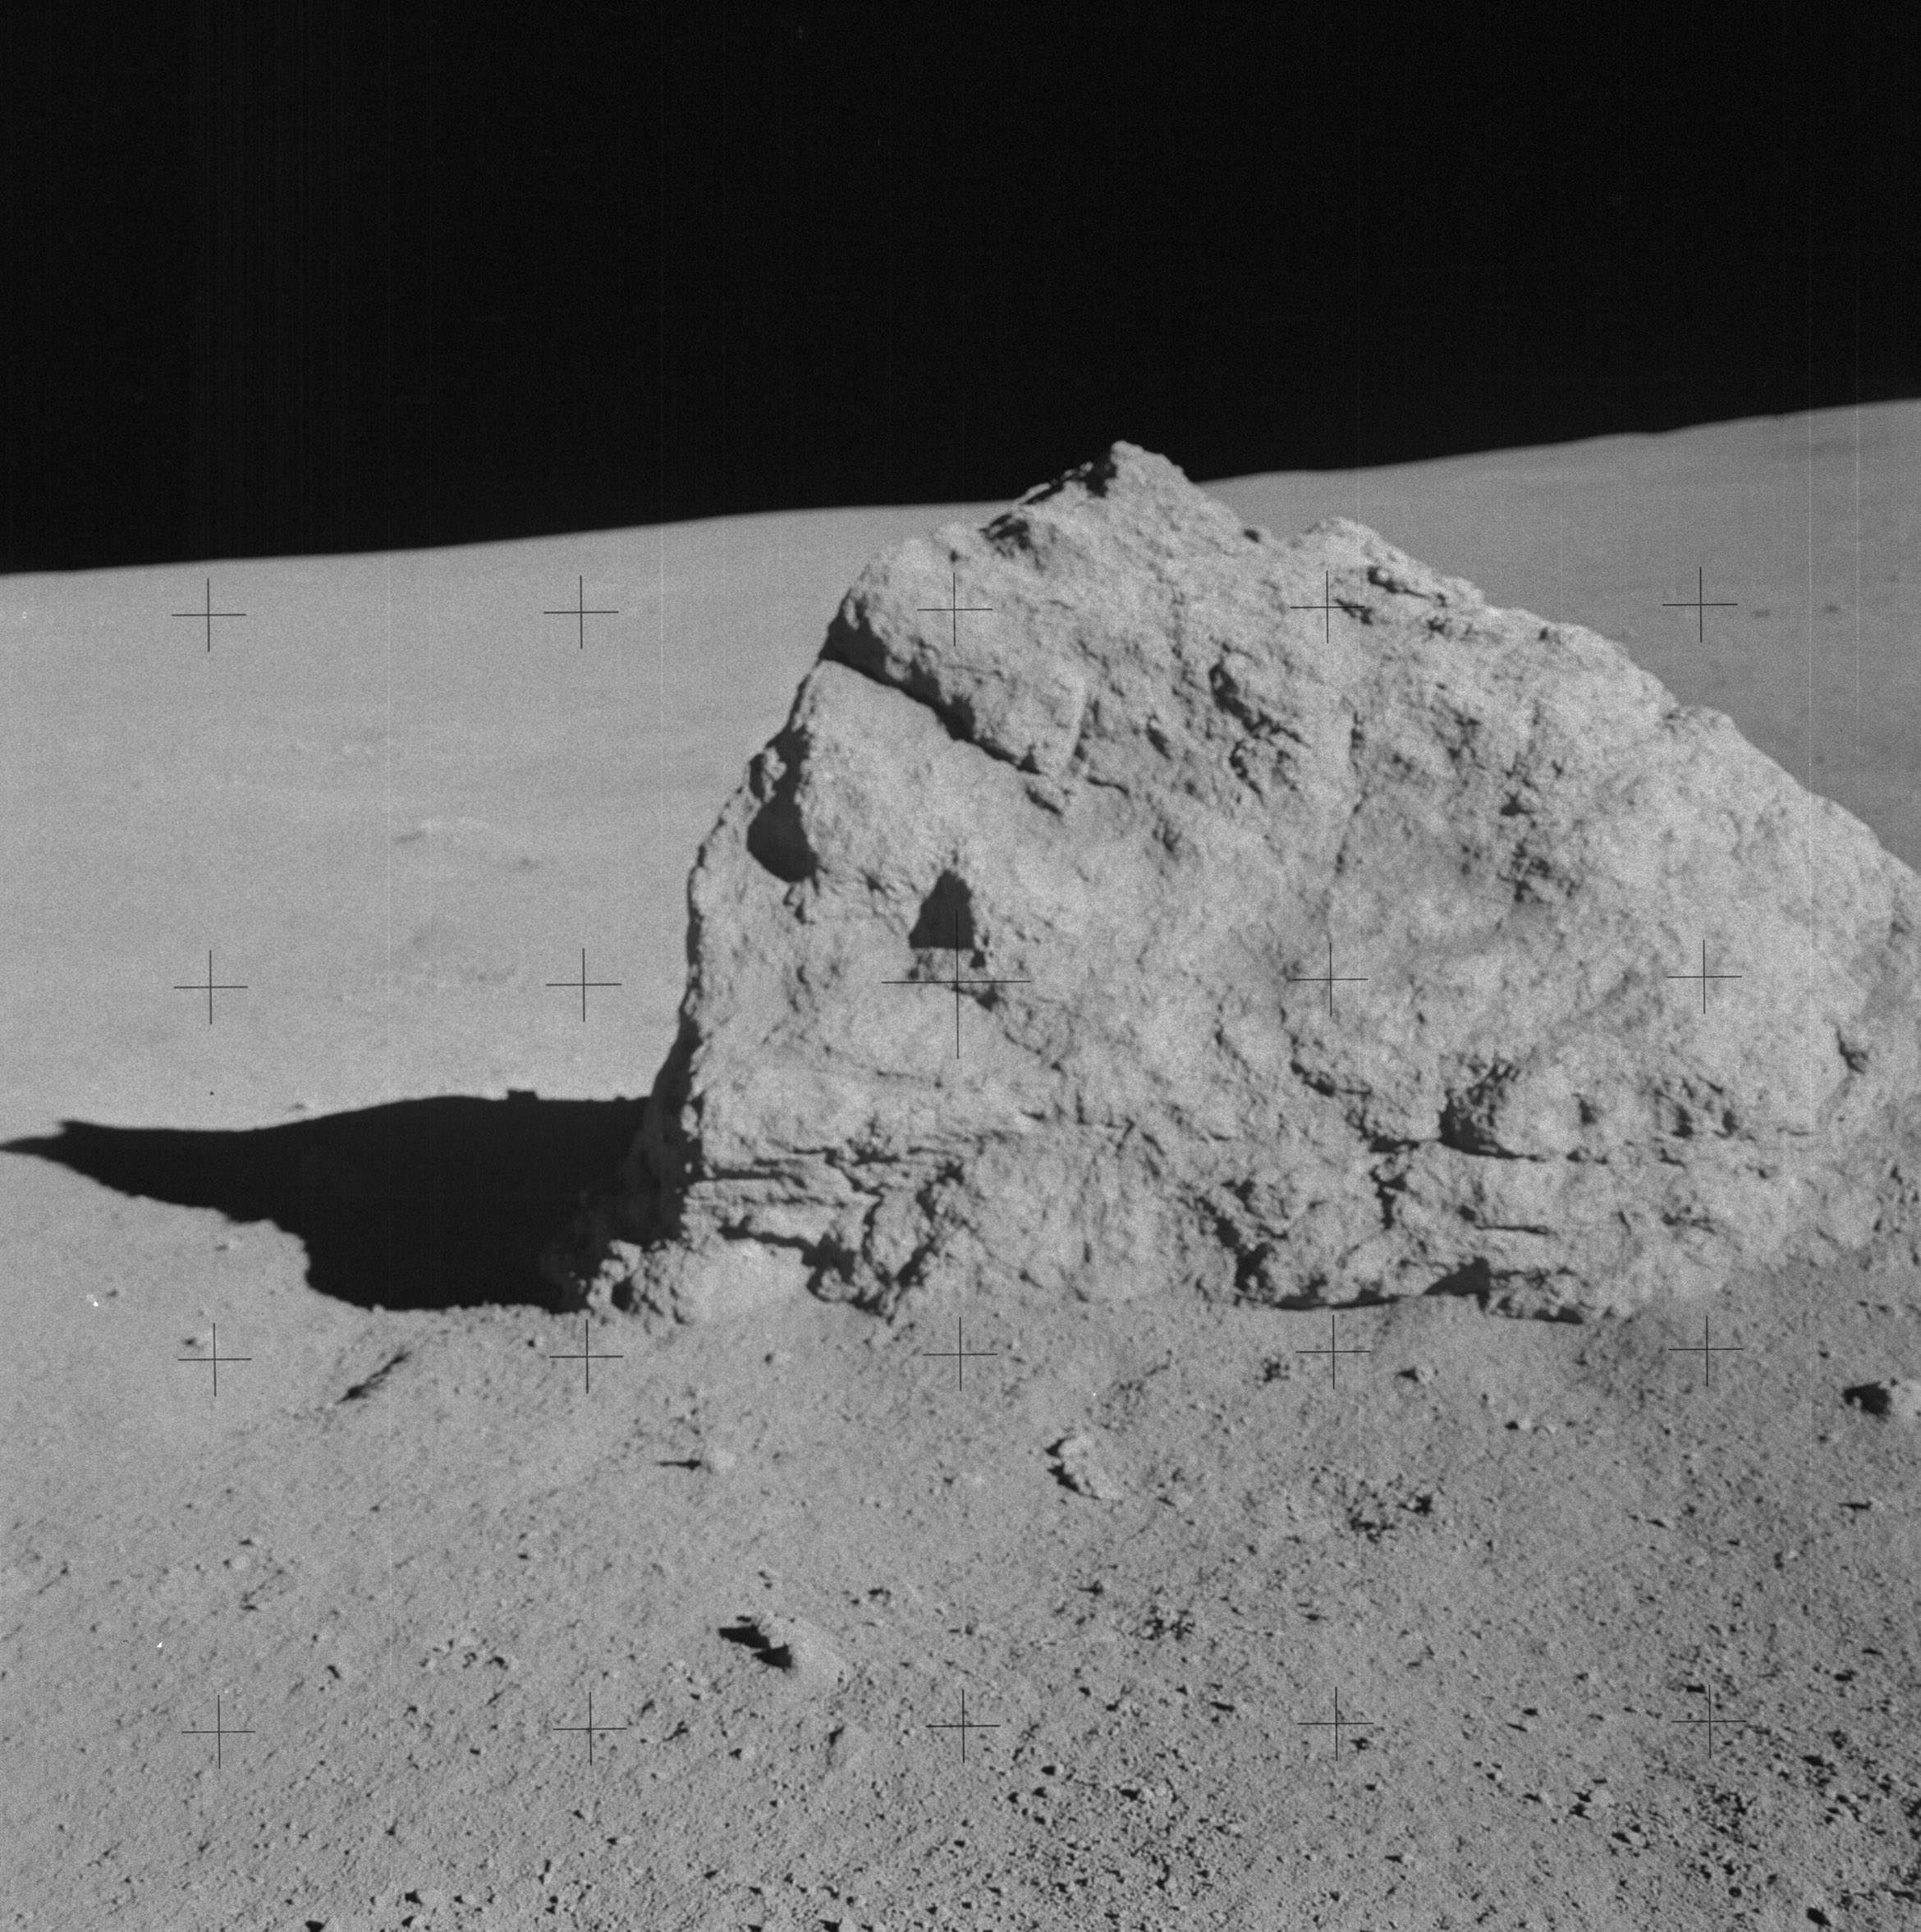 | AS14-64-9135 134:04:53 Al's close-up of Weird Rock. Image credit: Image Science and Analysis Laboratory, NASA-Johnson Space Center. |
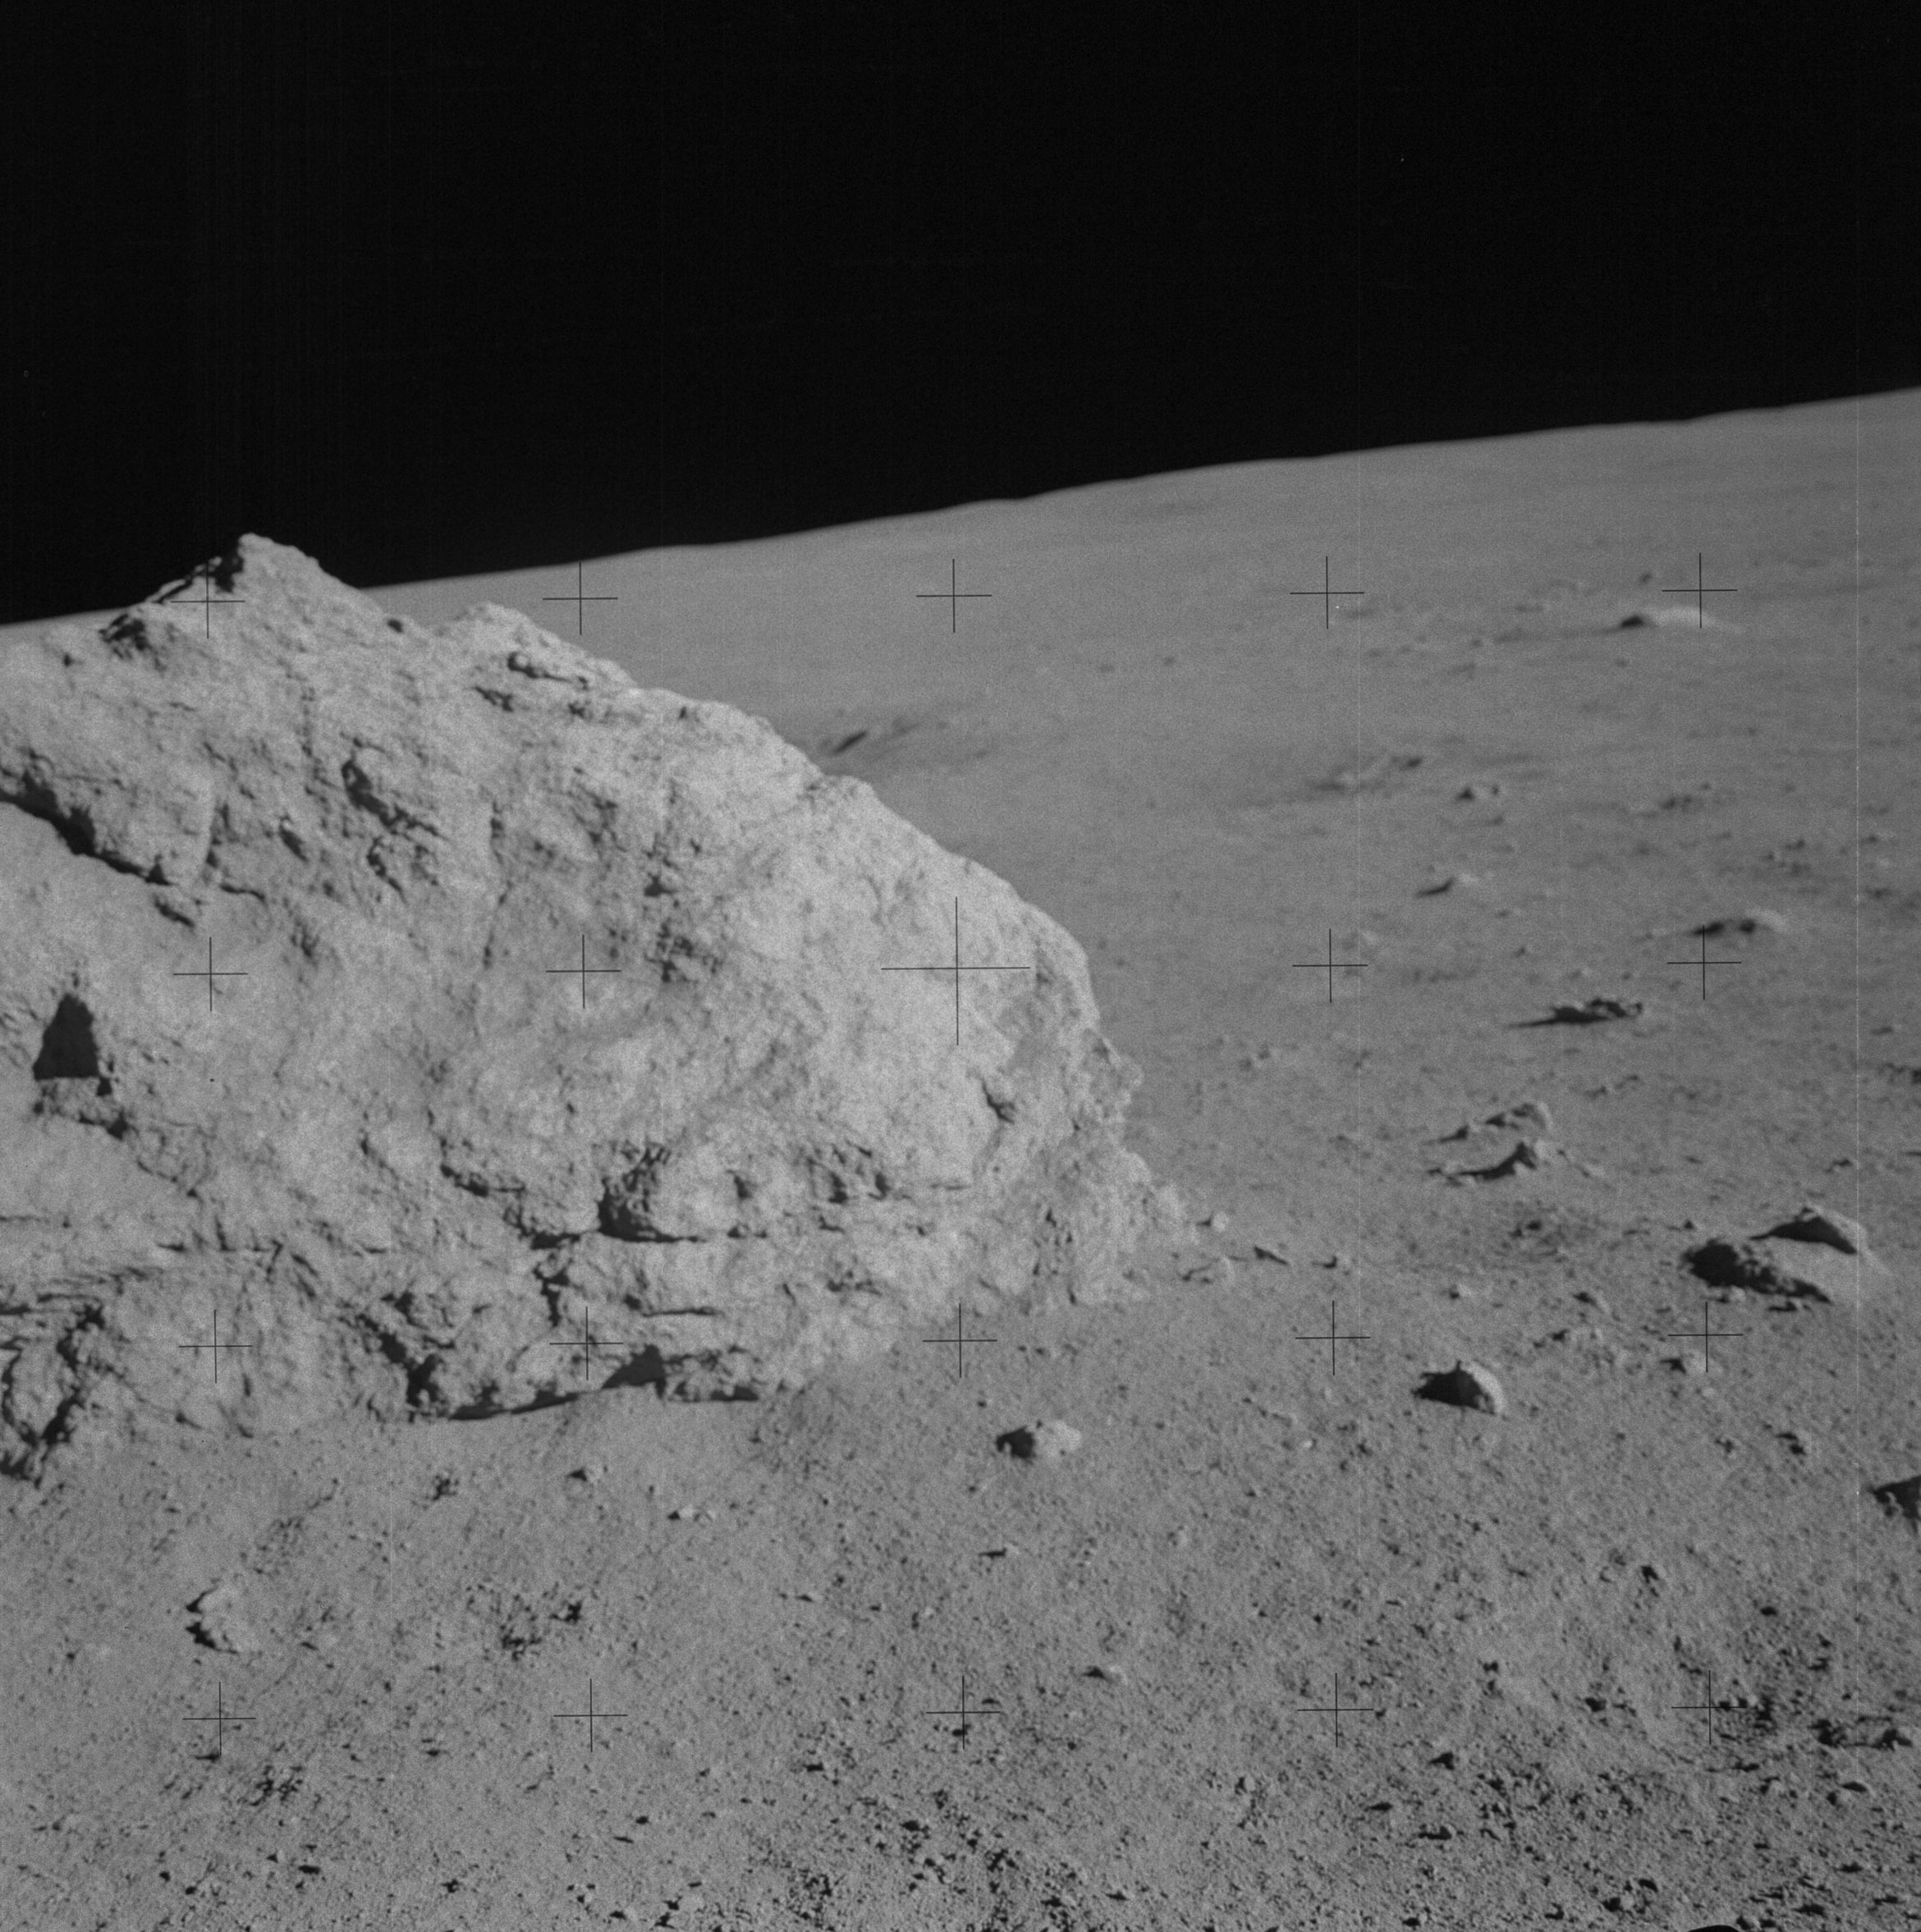 | AS14-64-9136 Weird Rock near Weird Crater. Image credit: Image Science and Analysis Laboratory, NASA-Johnson Space Center. |
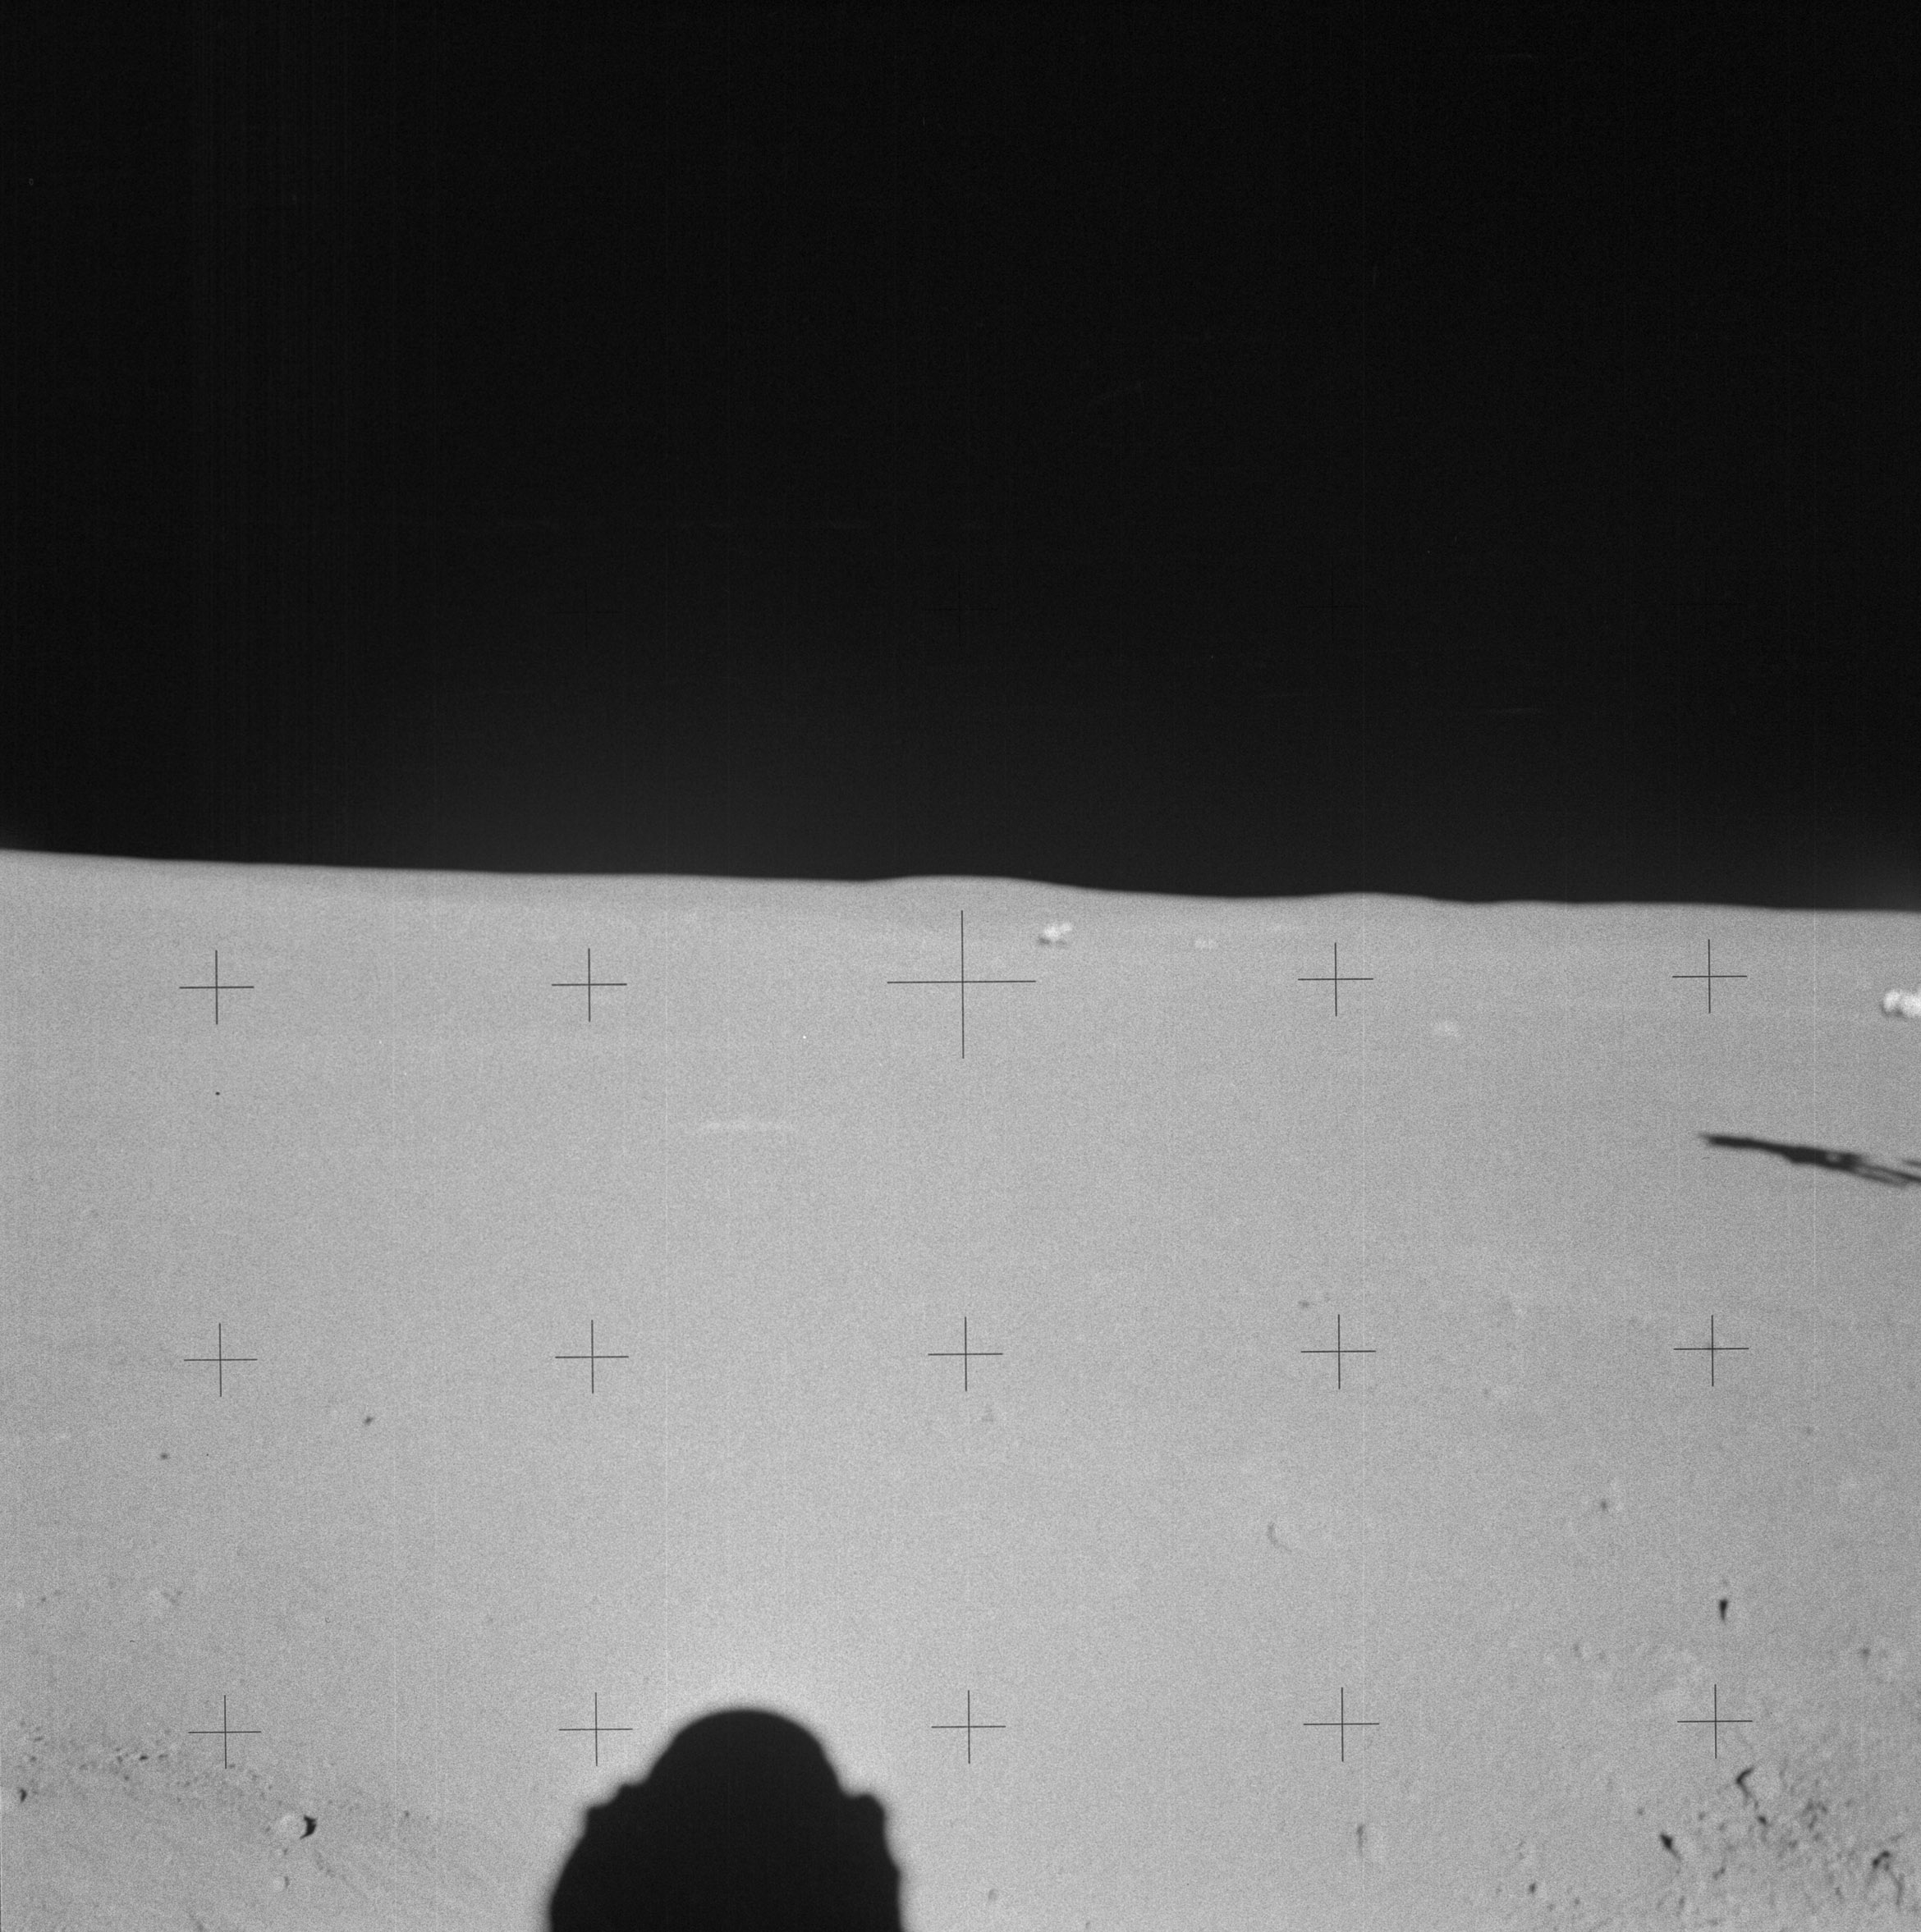 | AS14-64-9137 134:07:18 After rejoining Ed at Station F, Al takes a pan, starting with this down-Sun toward the LM. Image credit: Image Science and Analysis Laboratory, NASA-Johnson Space Center. |
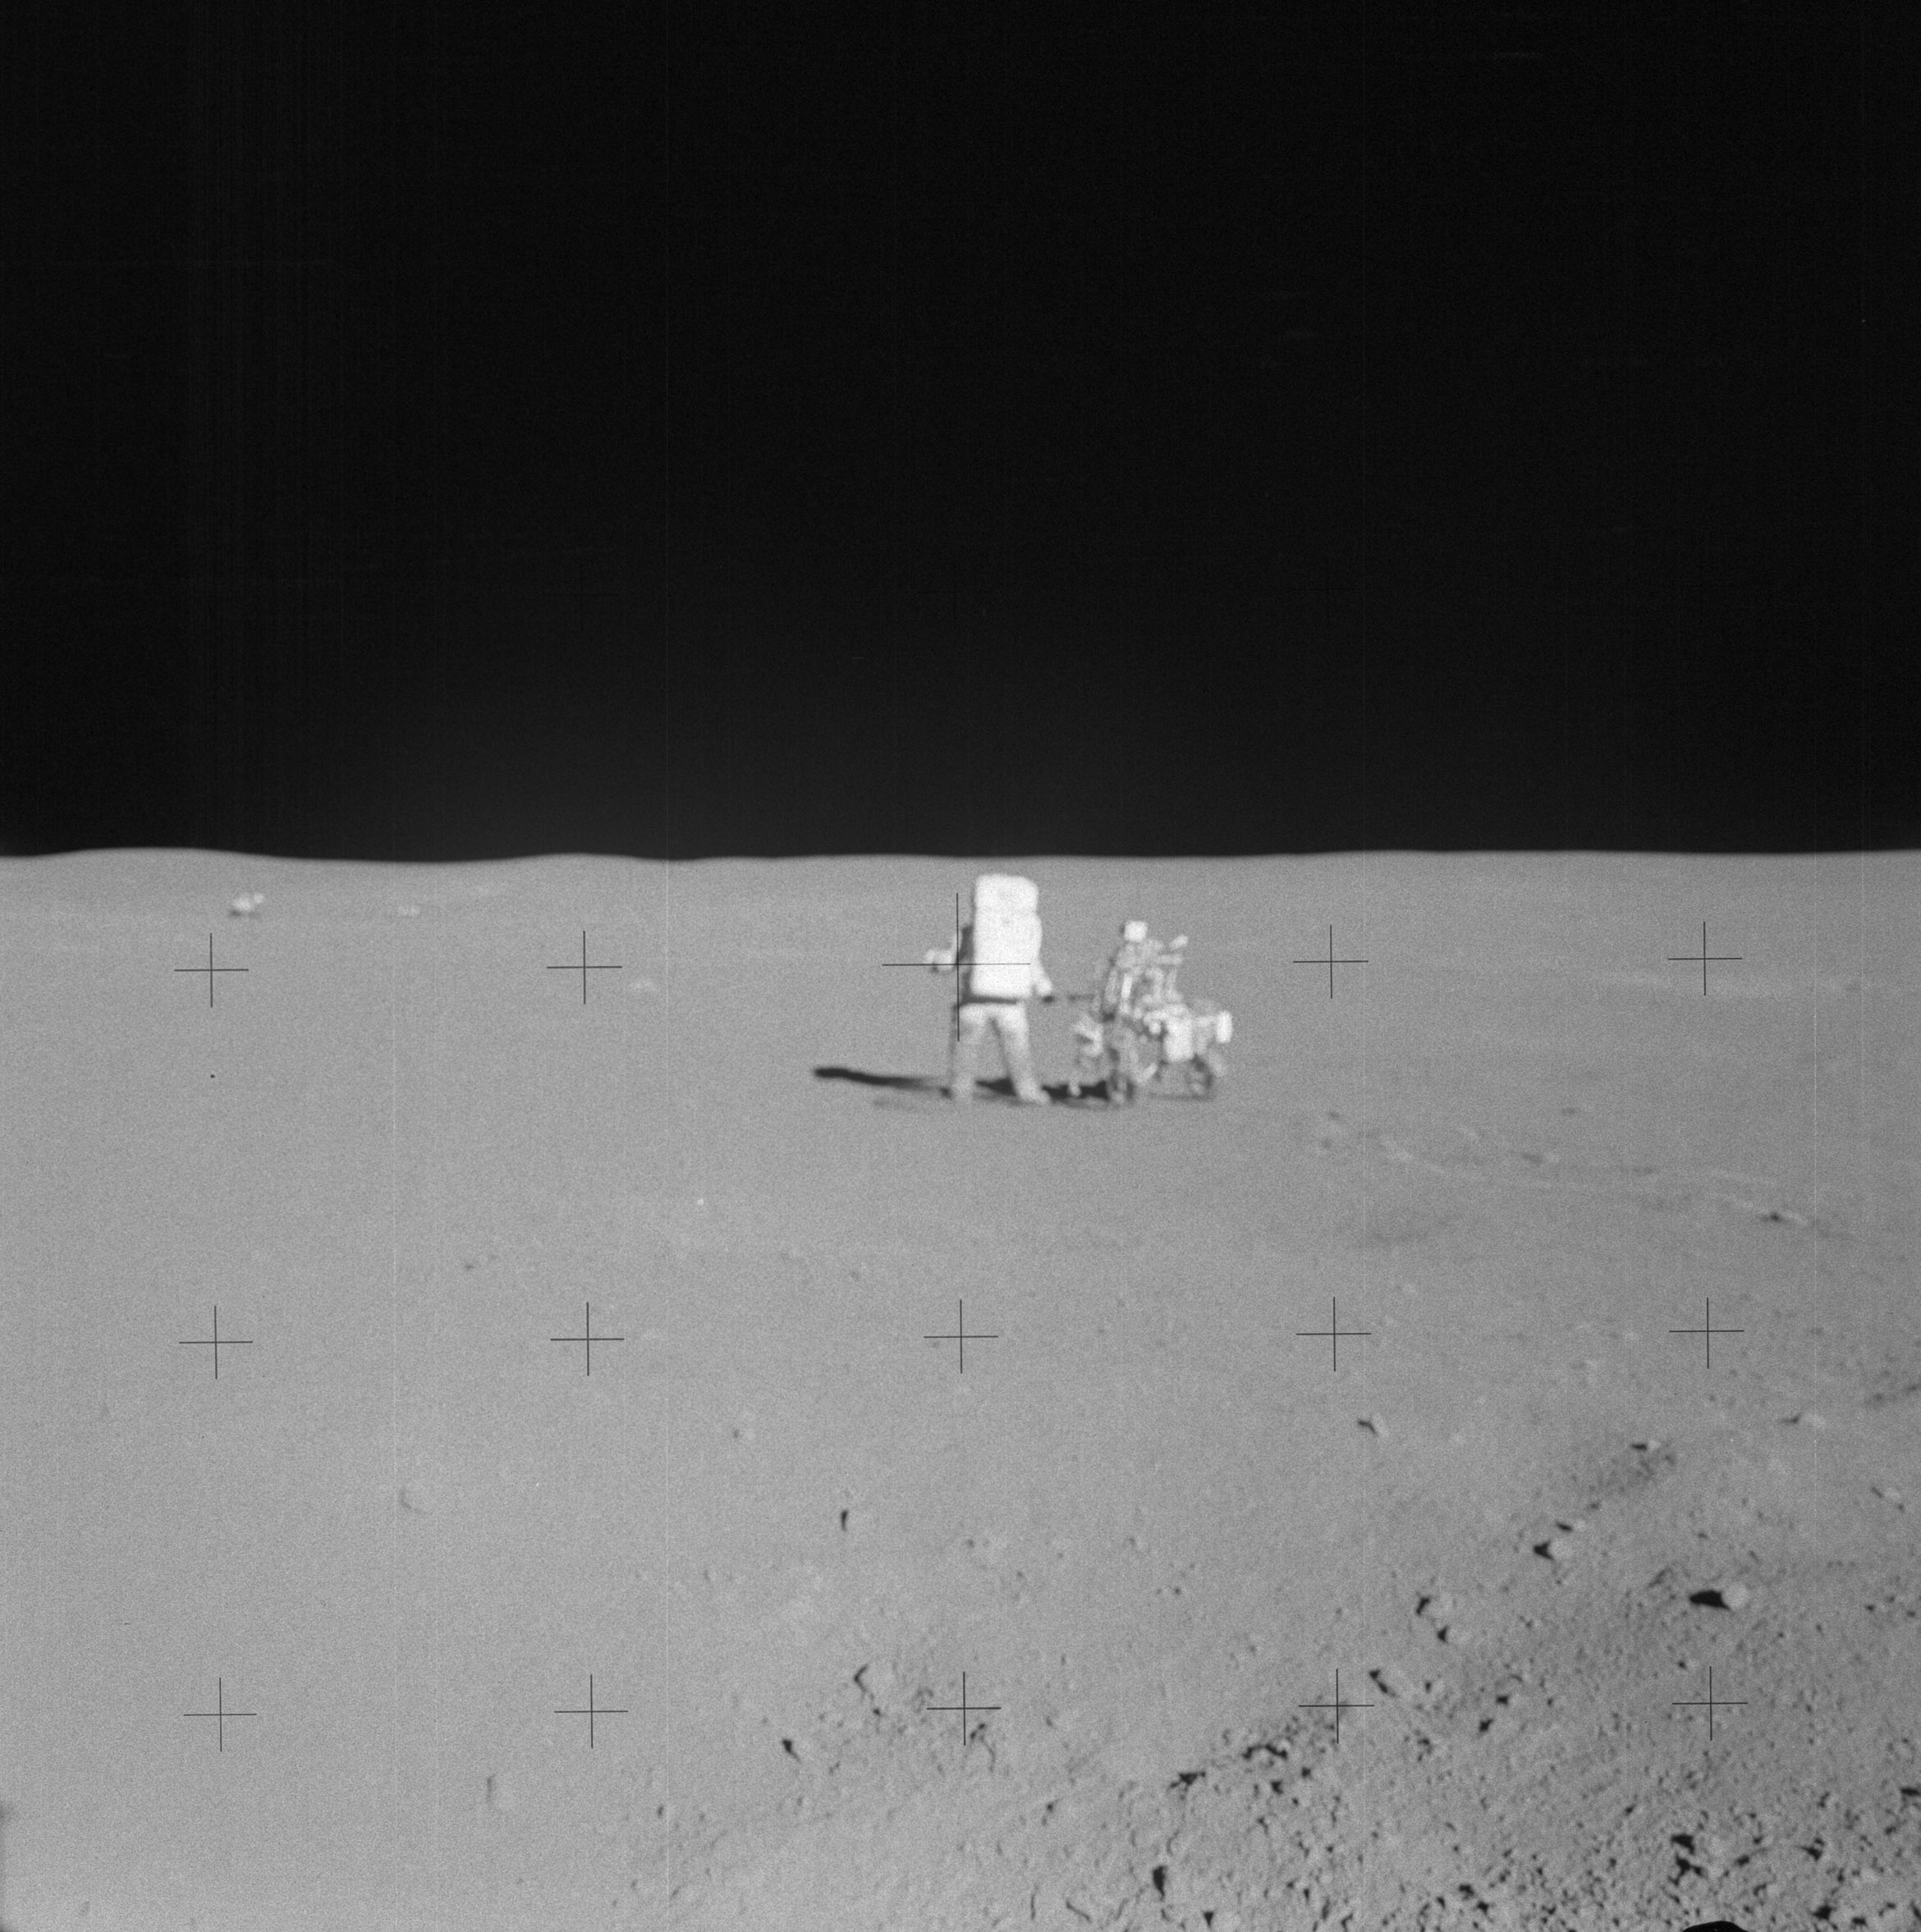 | AS14-64-9138 Rightward of 9137, showing Ed at the MET. Image credit: Image Science and Analysis Laboratory, NASA-Johnson Space Center. |
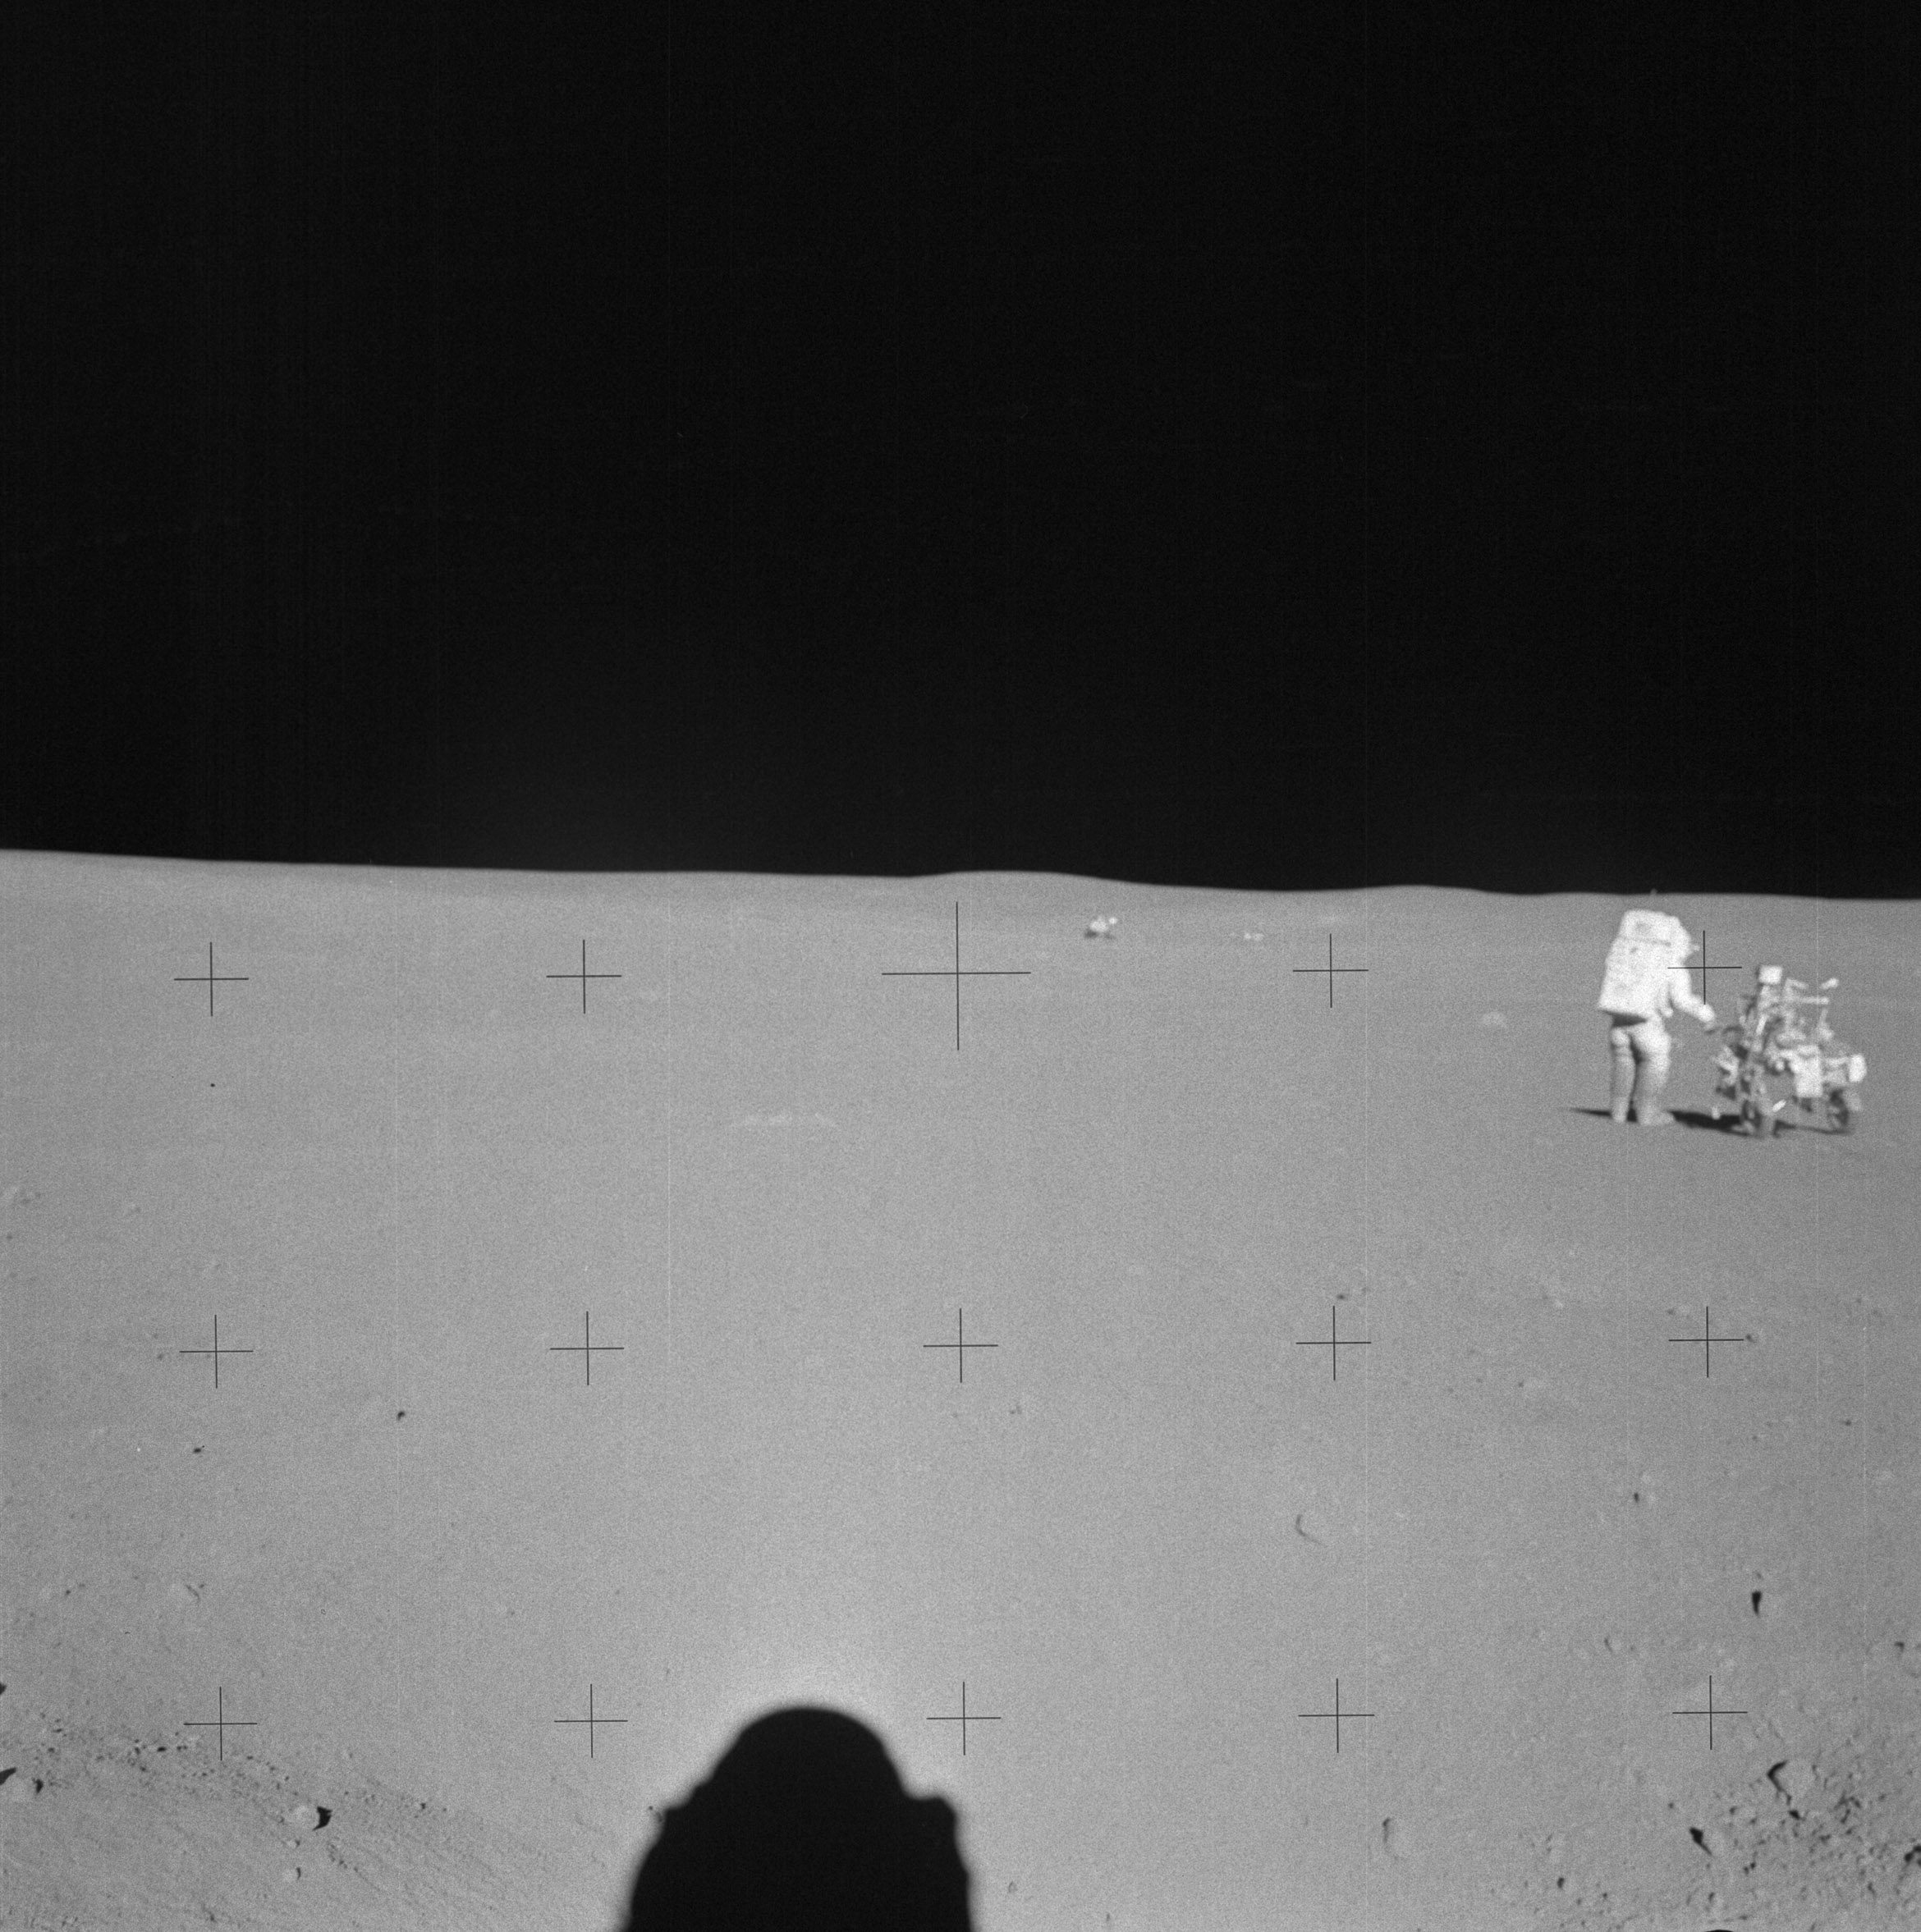 | AS14-64-9139 Ed at the MET. Image credit: Image Science and Analysis Laboratory, NASA-Johnson Space Center. |
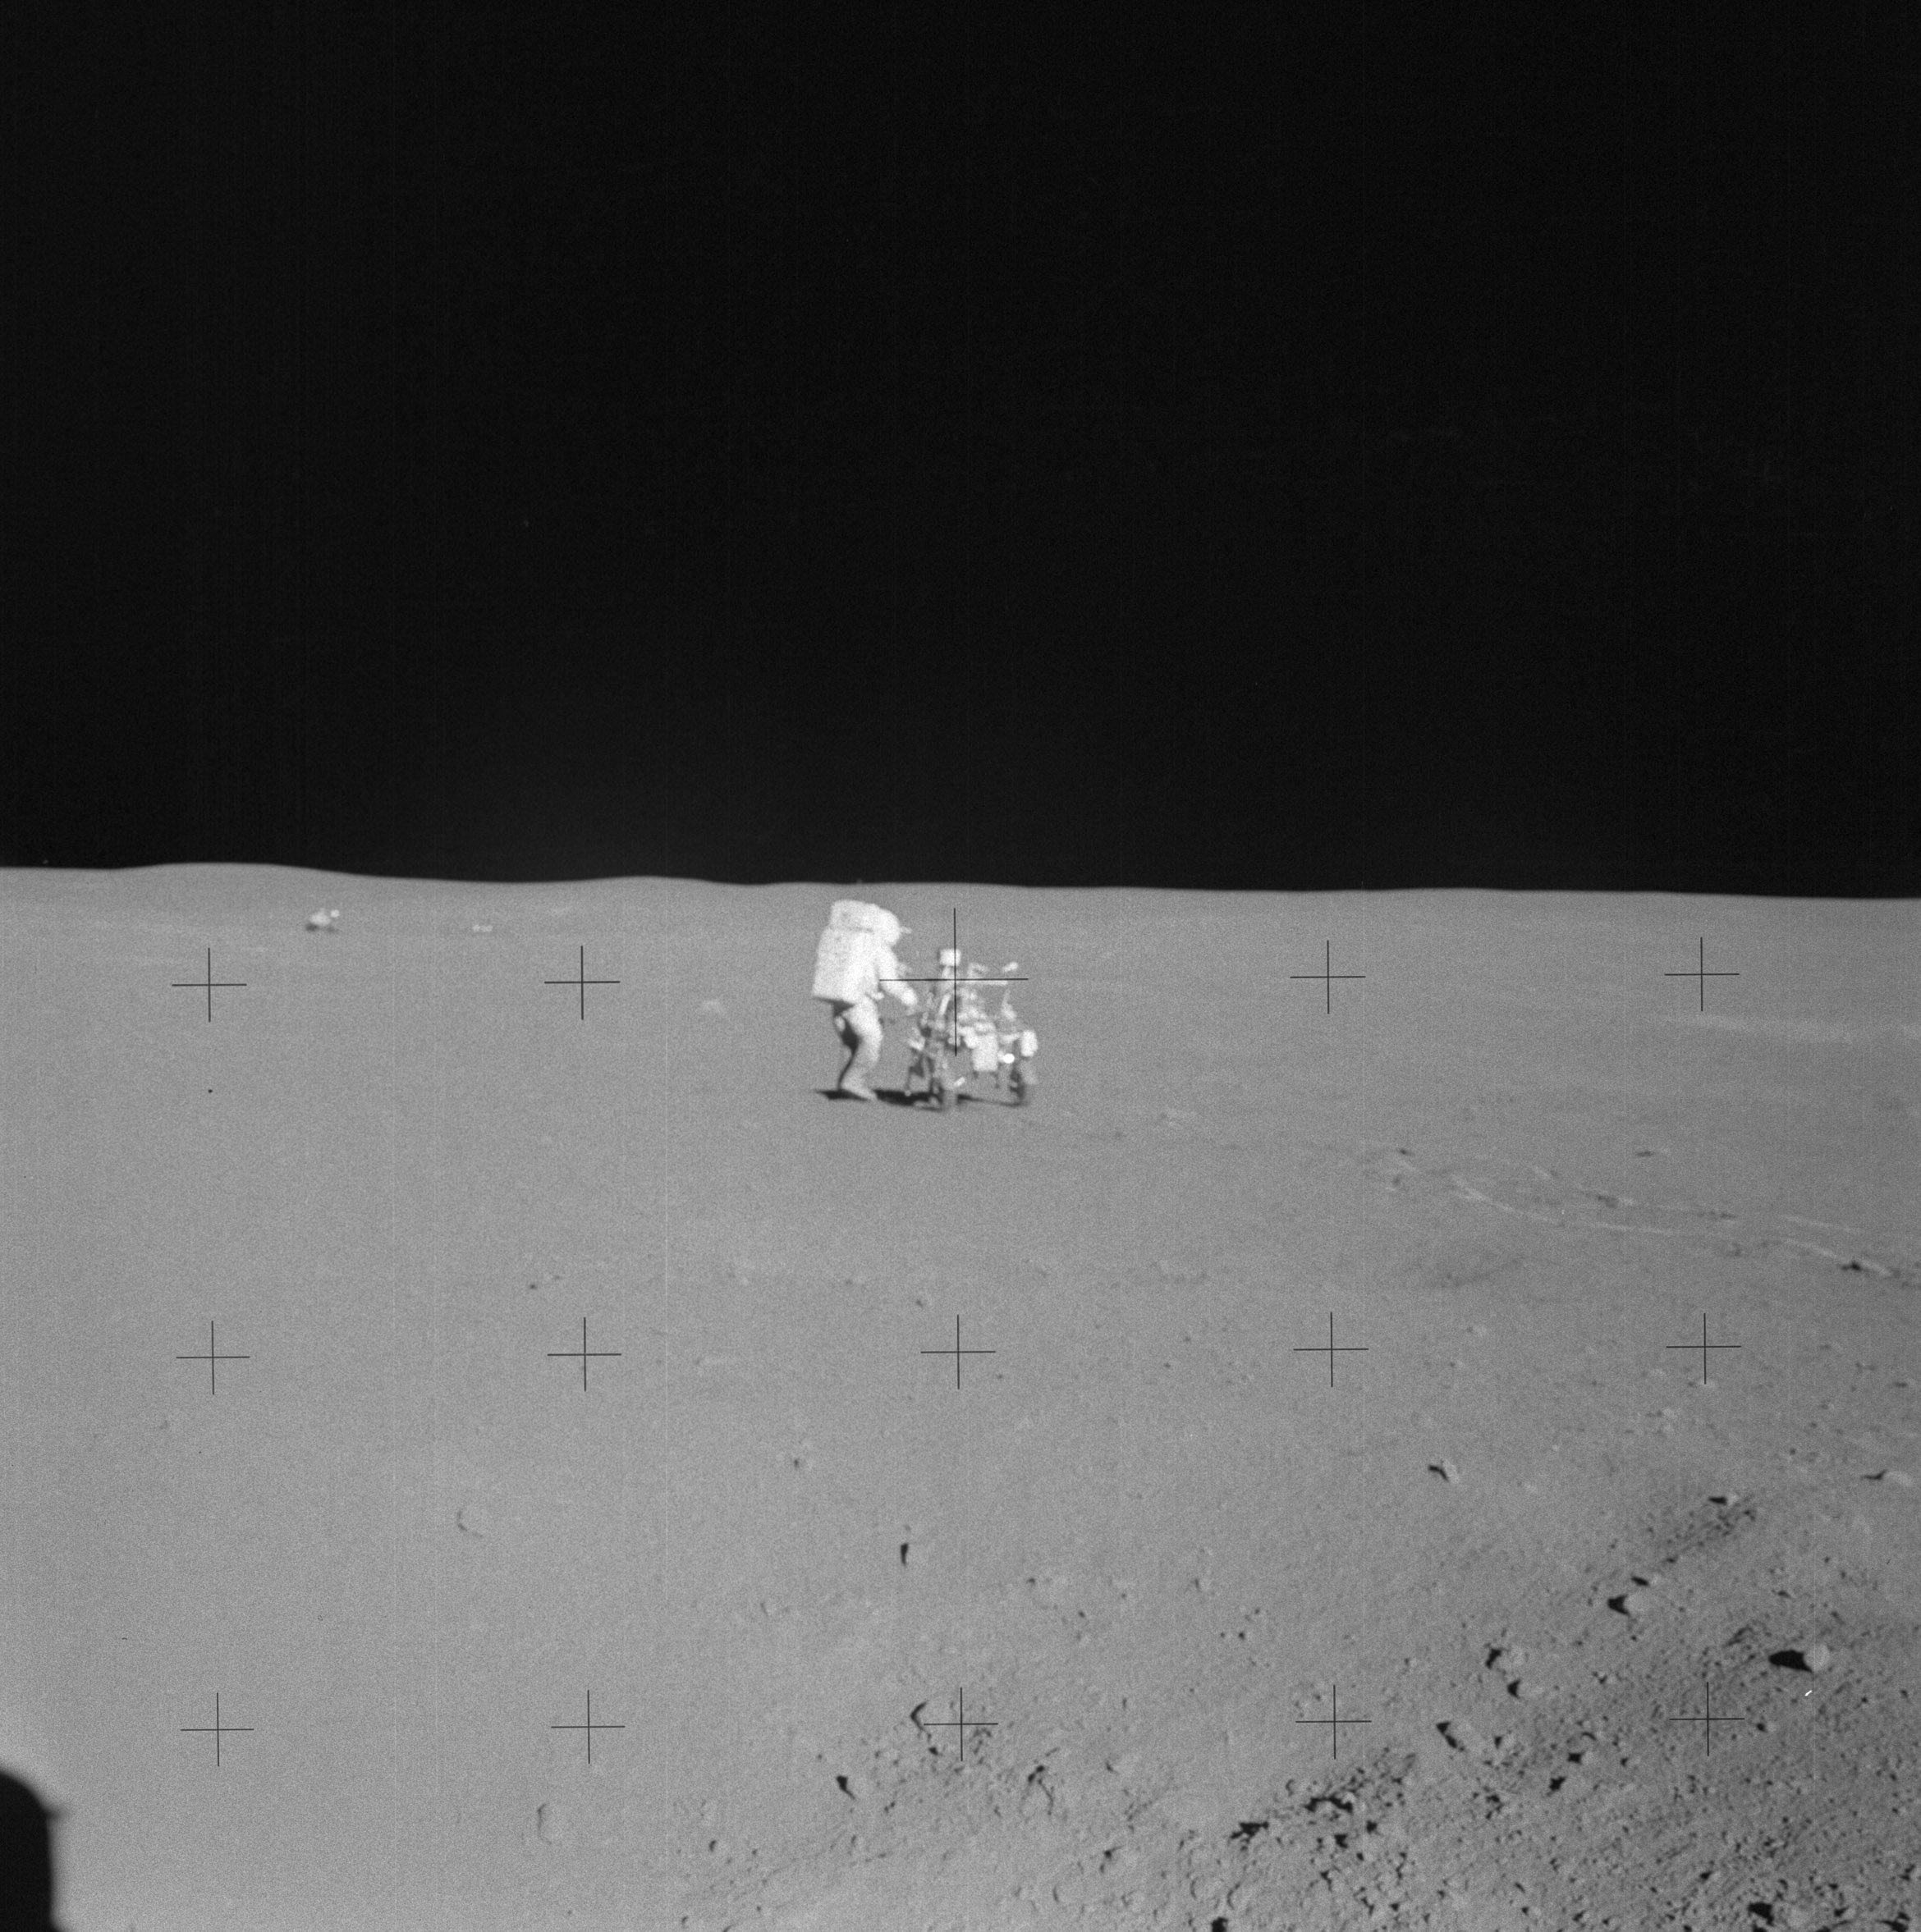 | AS14-64-9140 134:07:18 Frame from Al's Station F pan, showing Ed at the MET. Image credit: Image Science and Analysis Laboratory, NASA-Johnson Space Center. |
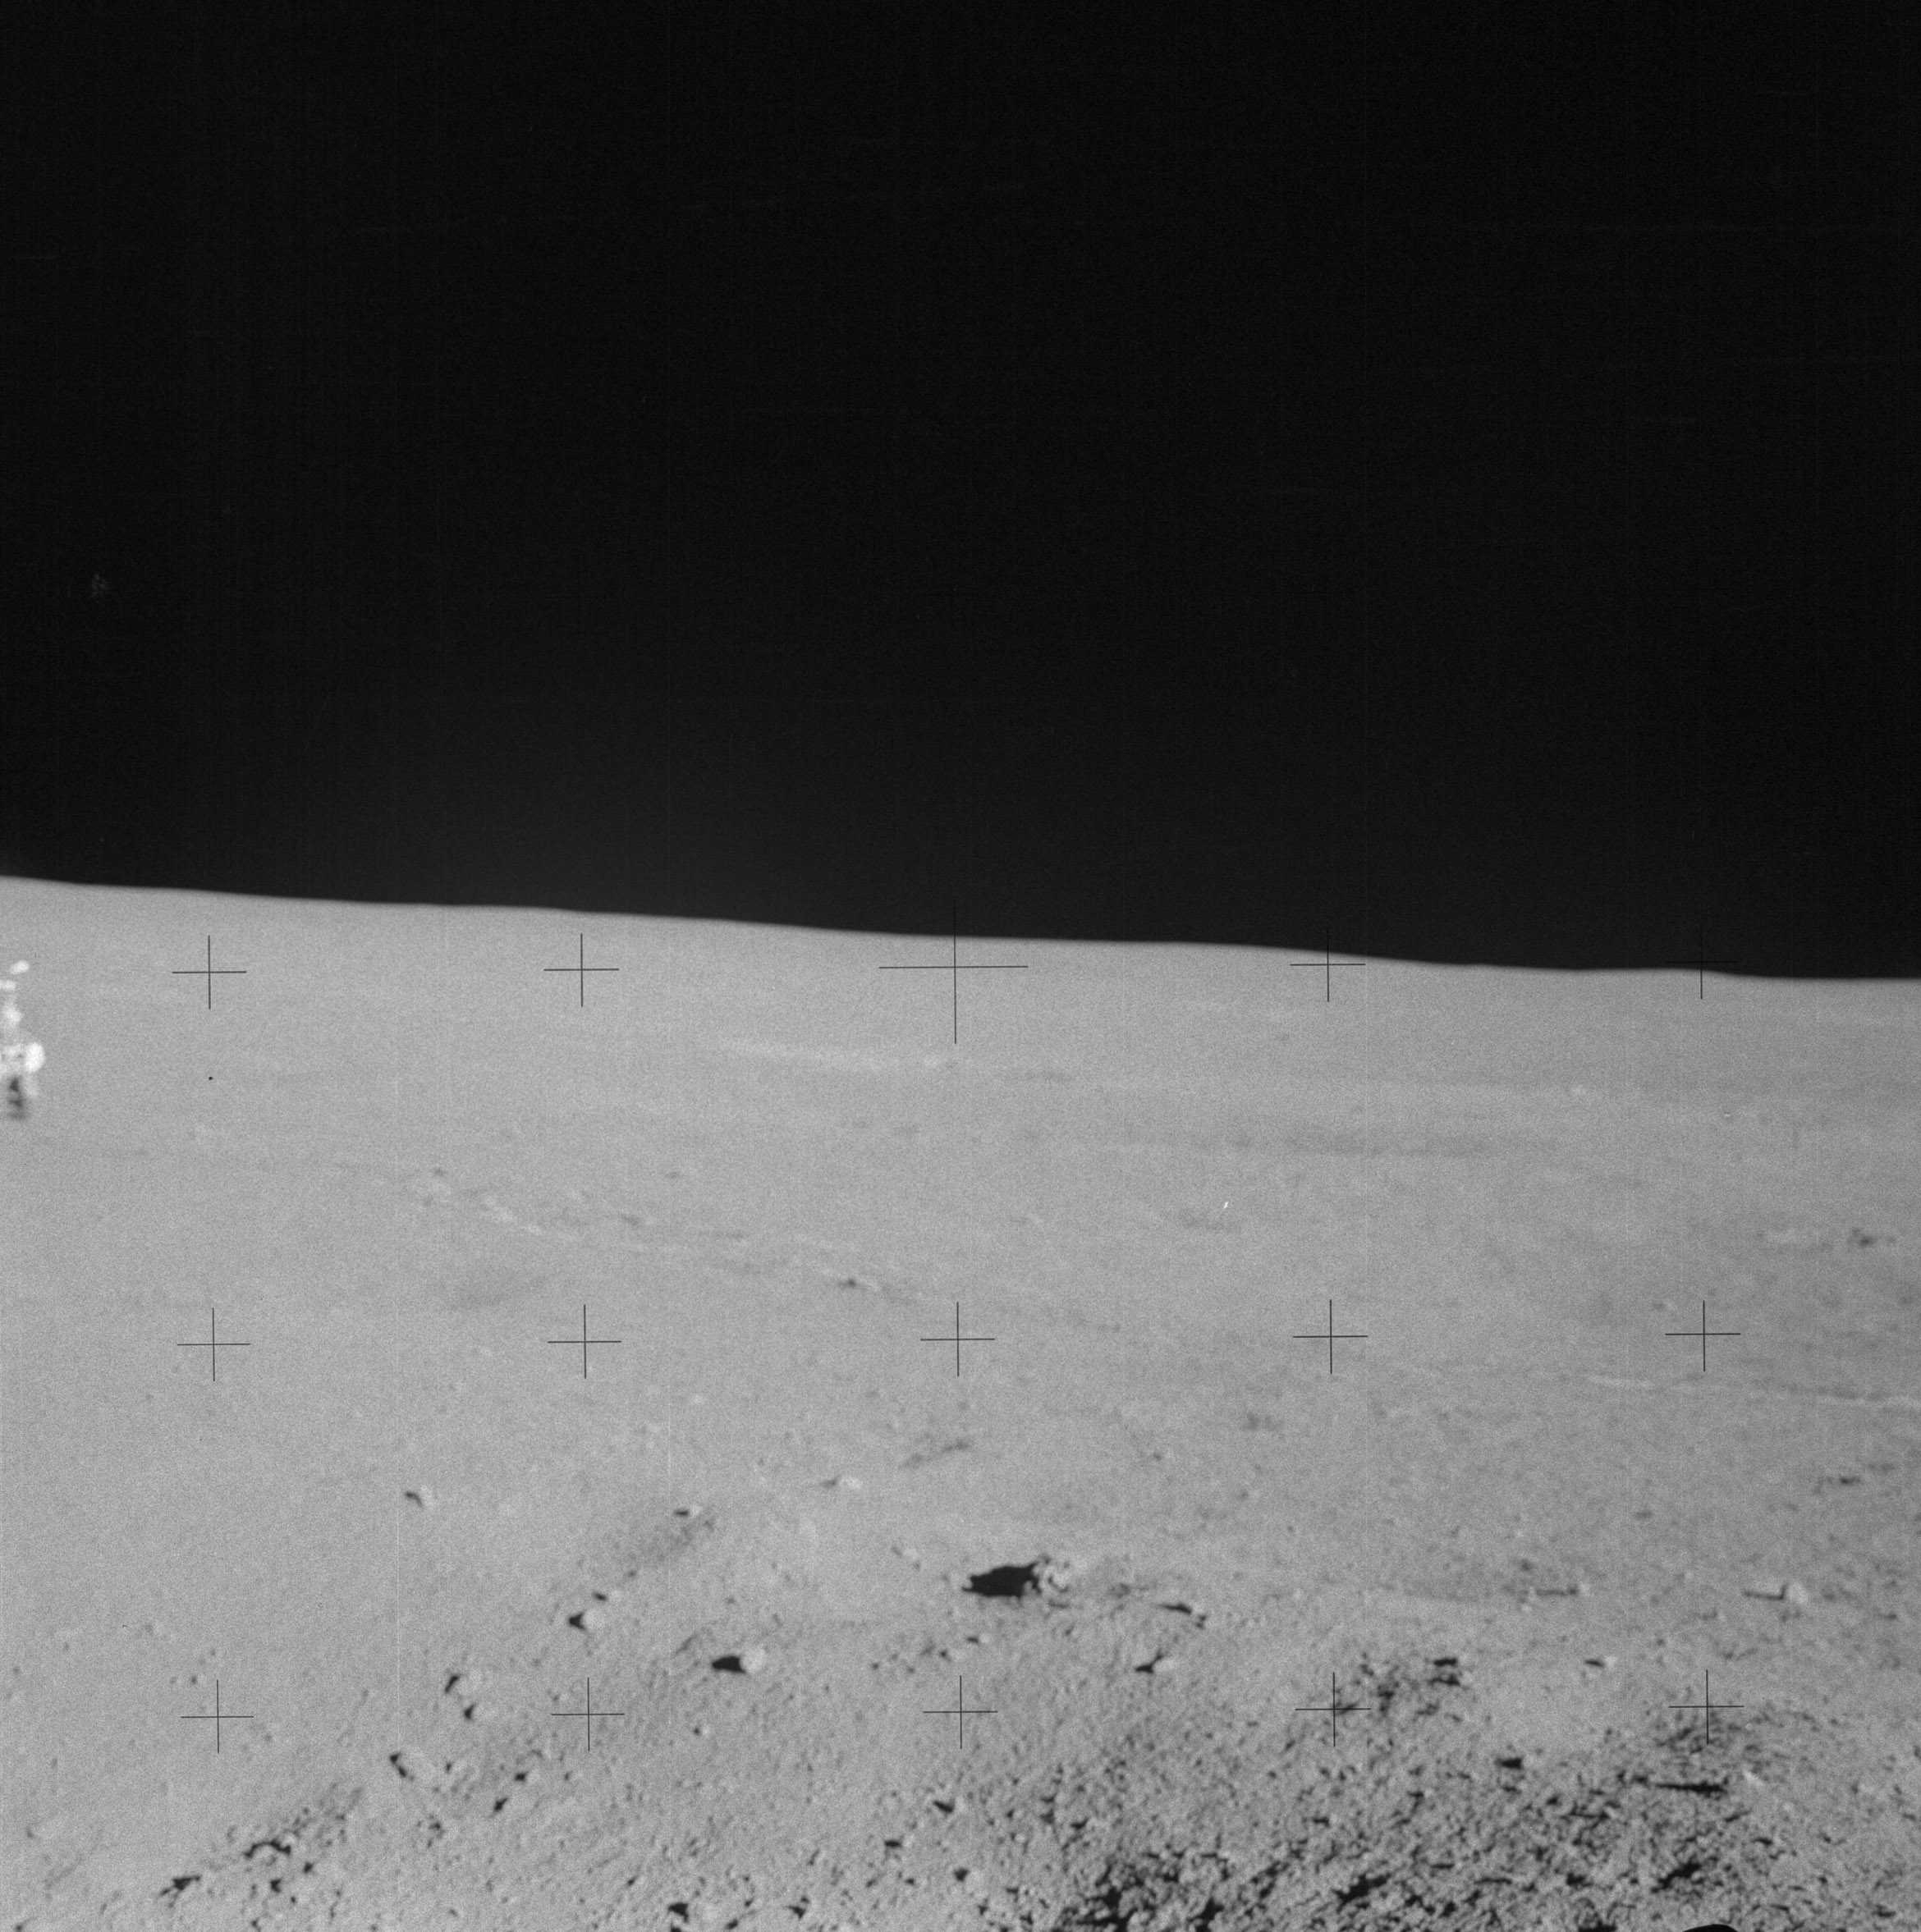 | AS14-64-9141 Rightward of 9140. Image credit: Image Science and Analysis Laboratory, NASA-Johnson Space Center. |
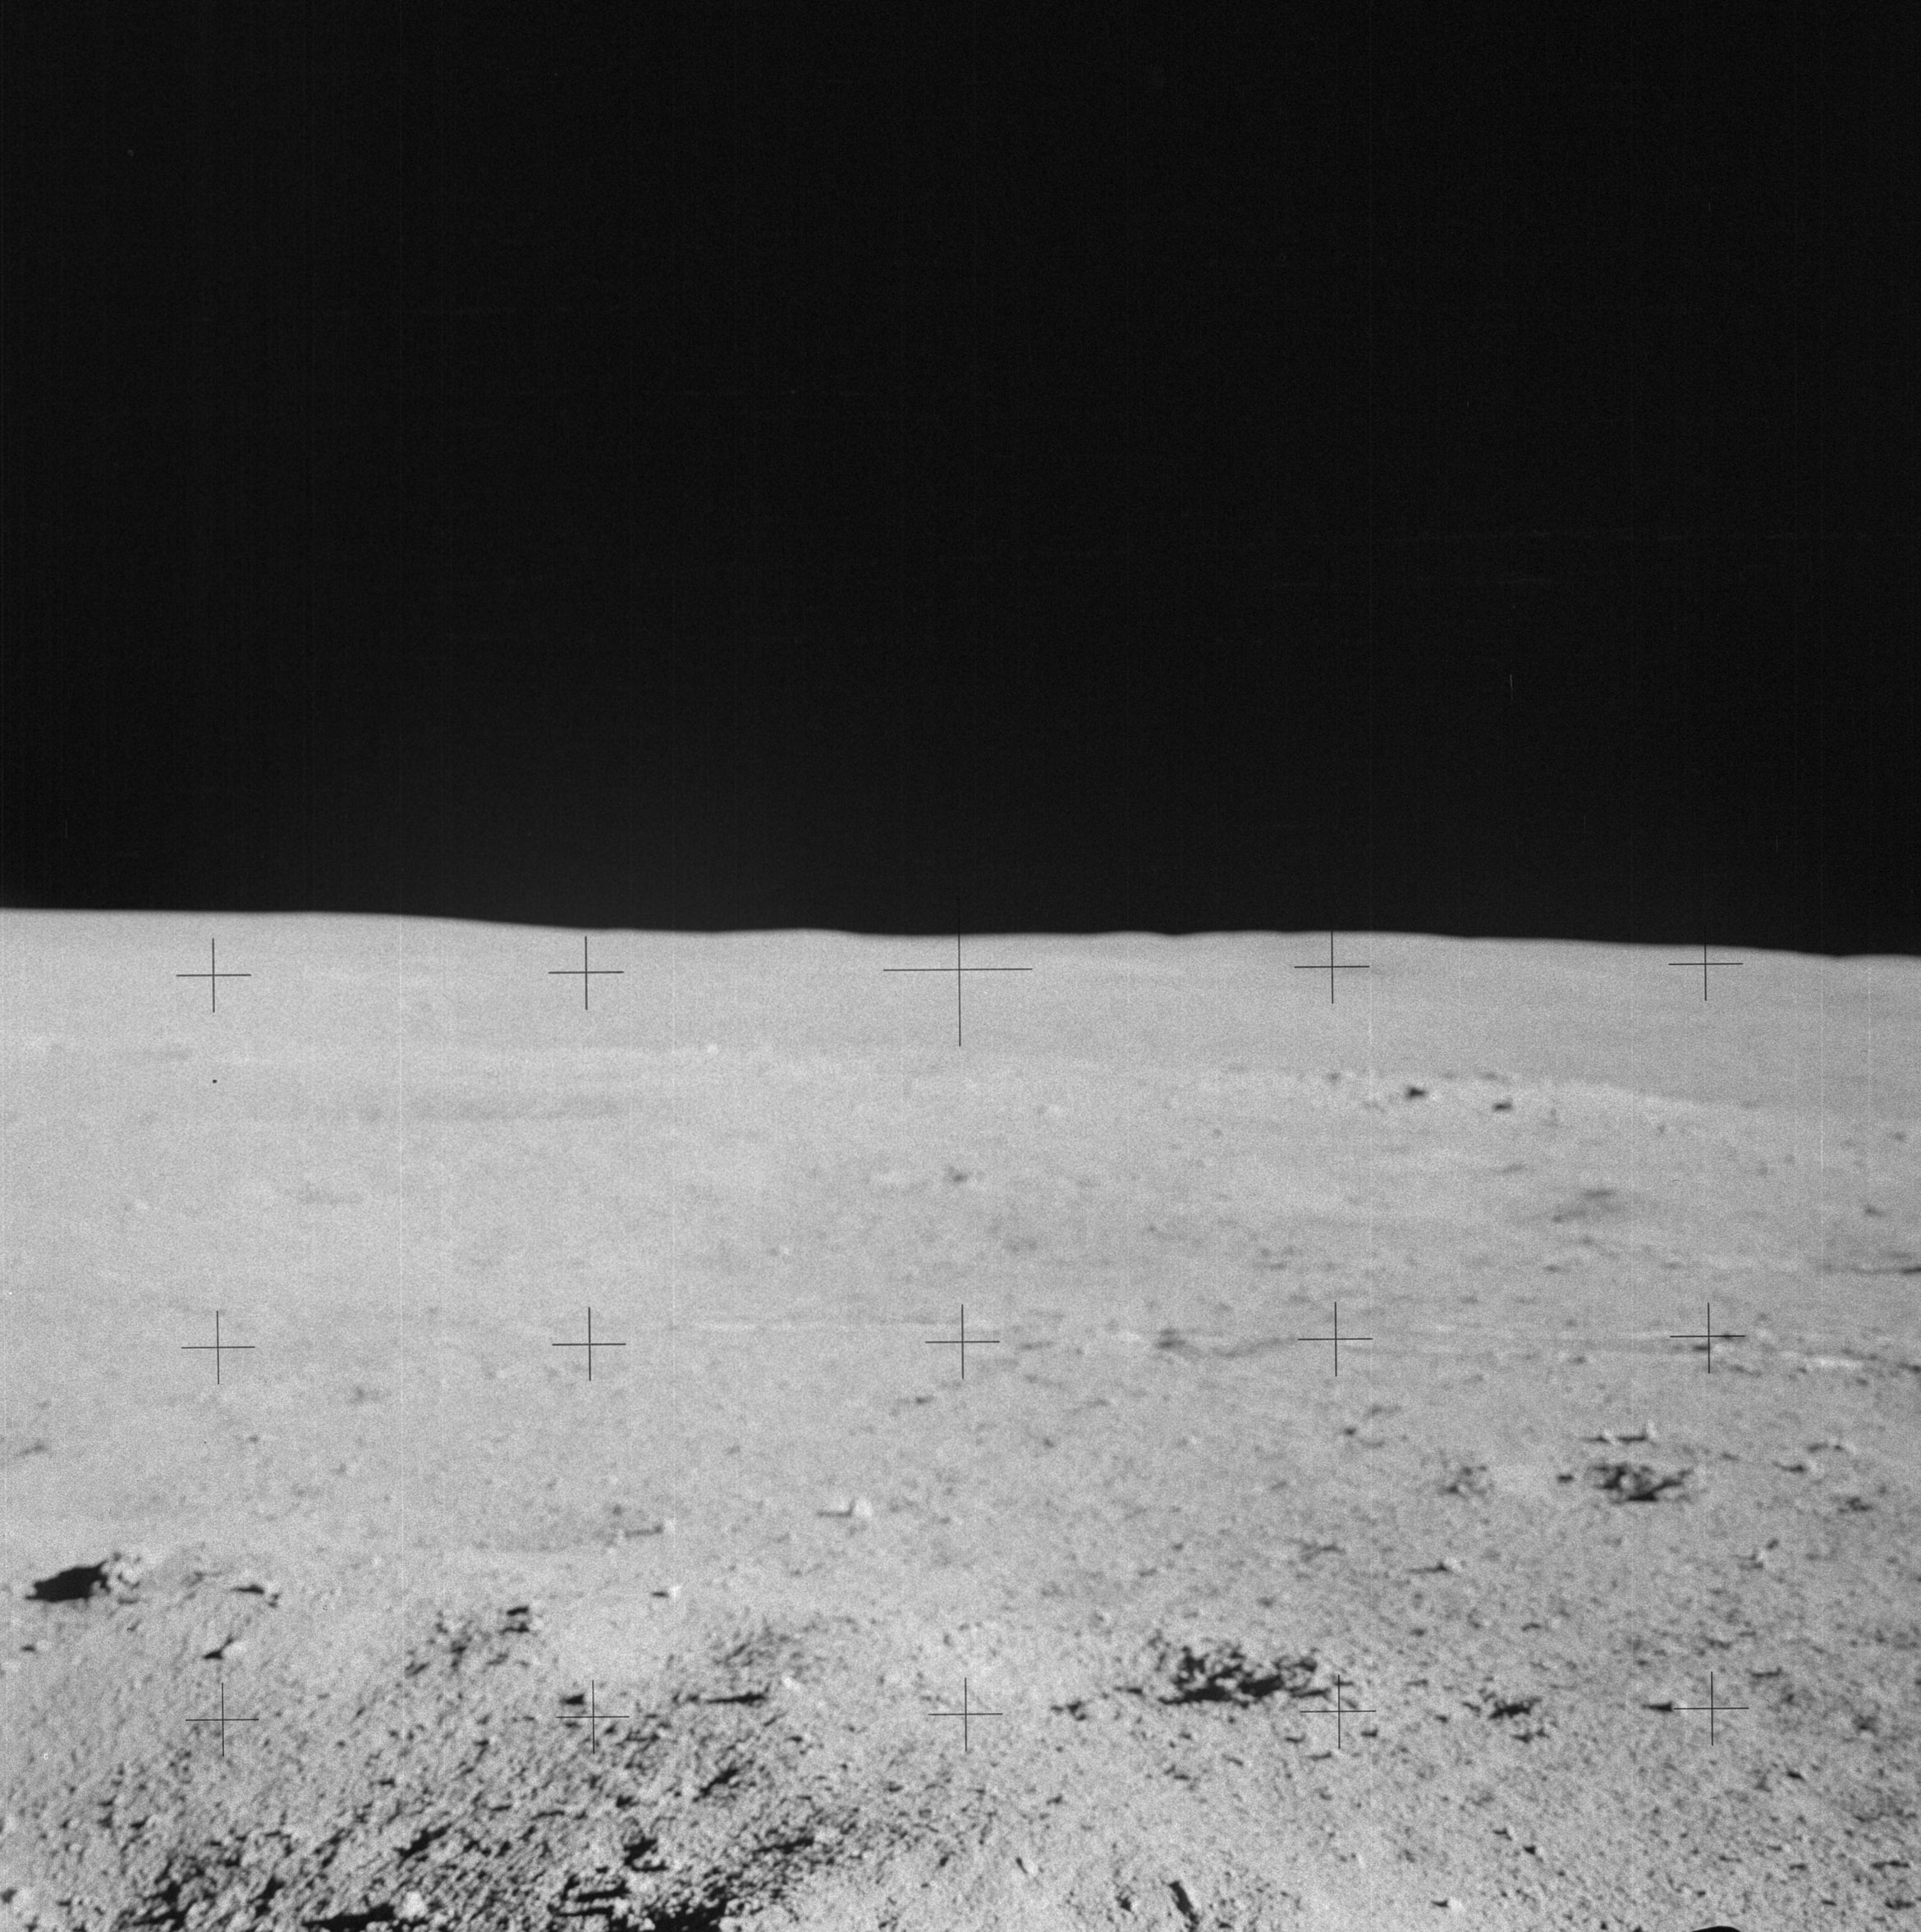 | AS14-64-9142 Rightward of 9141, showing some MET tracks. Image credit: Image Science and Analysis Laboratory, NASA-Johnson Space Center. |
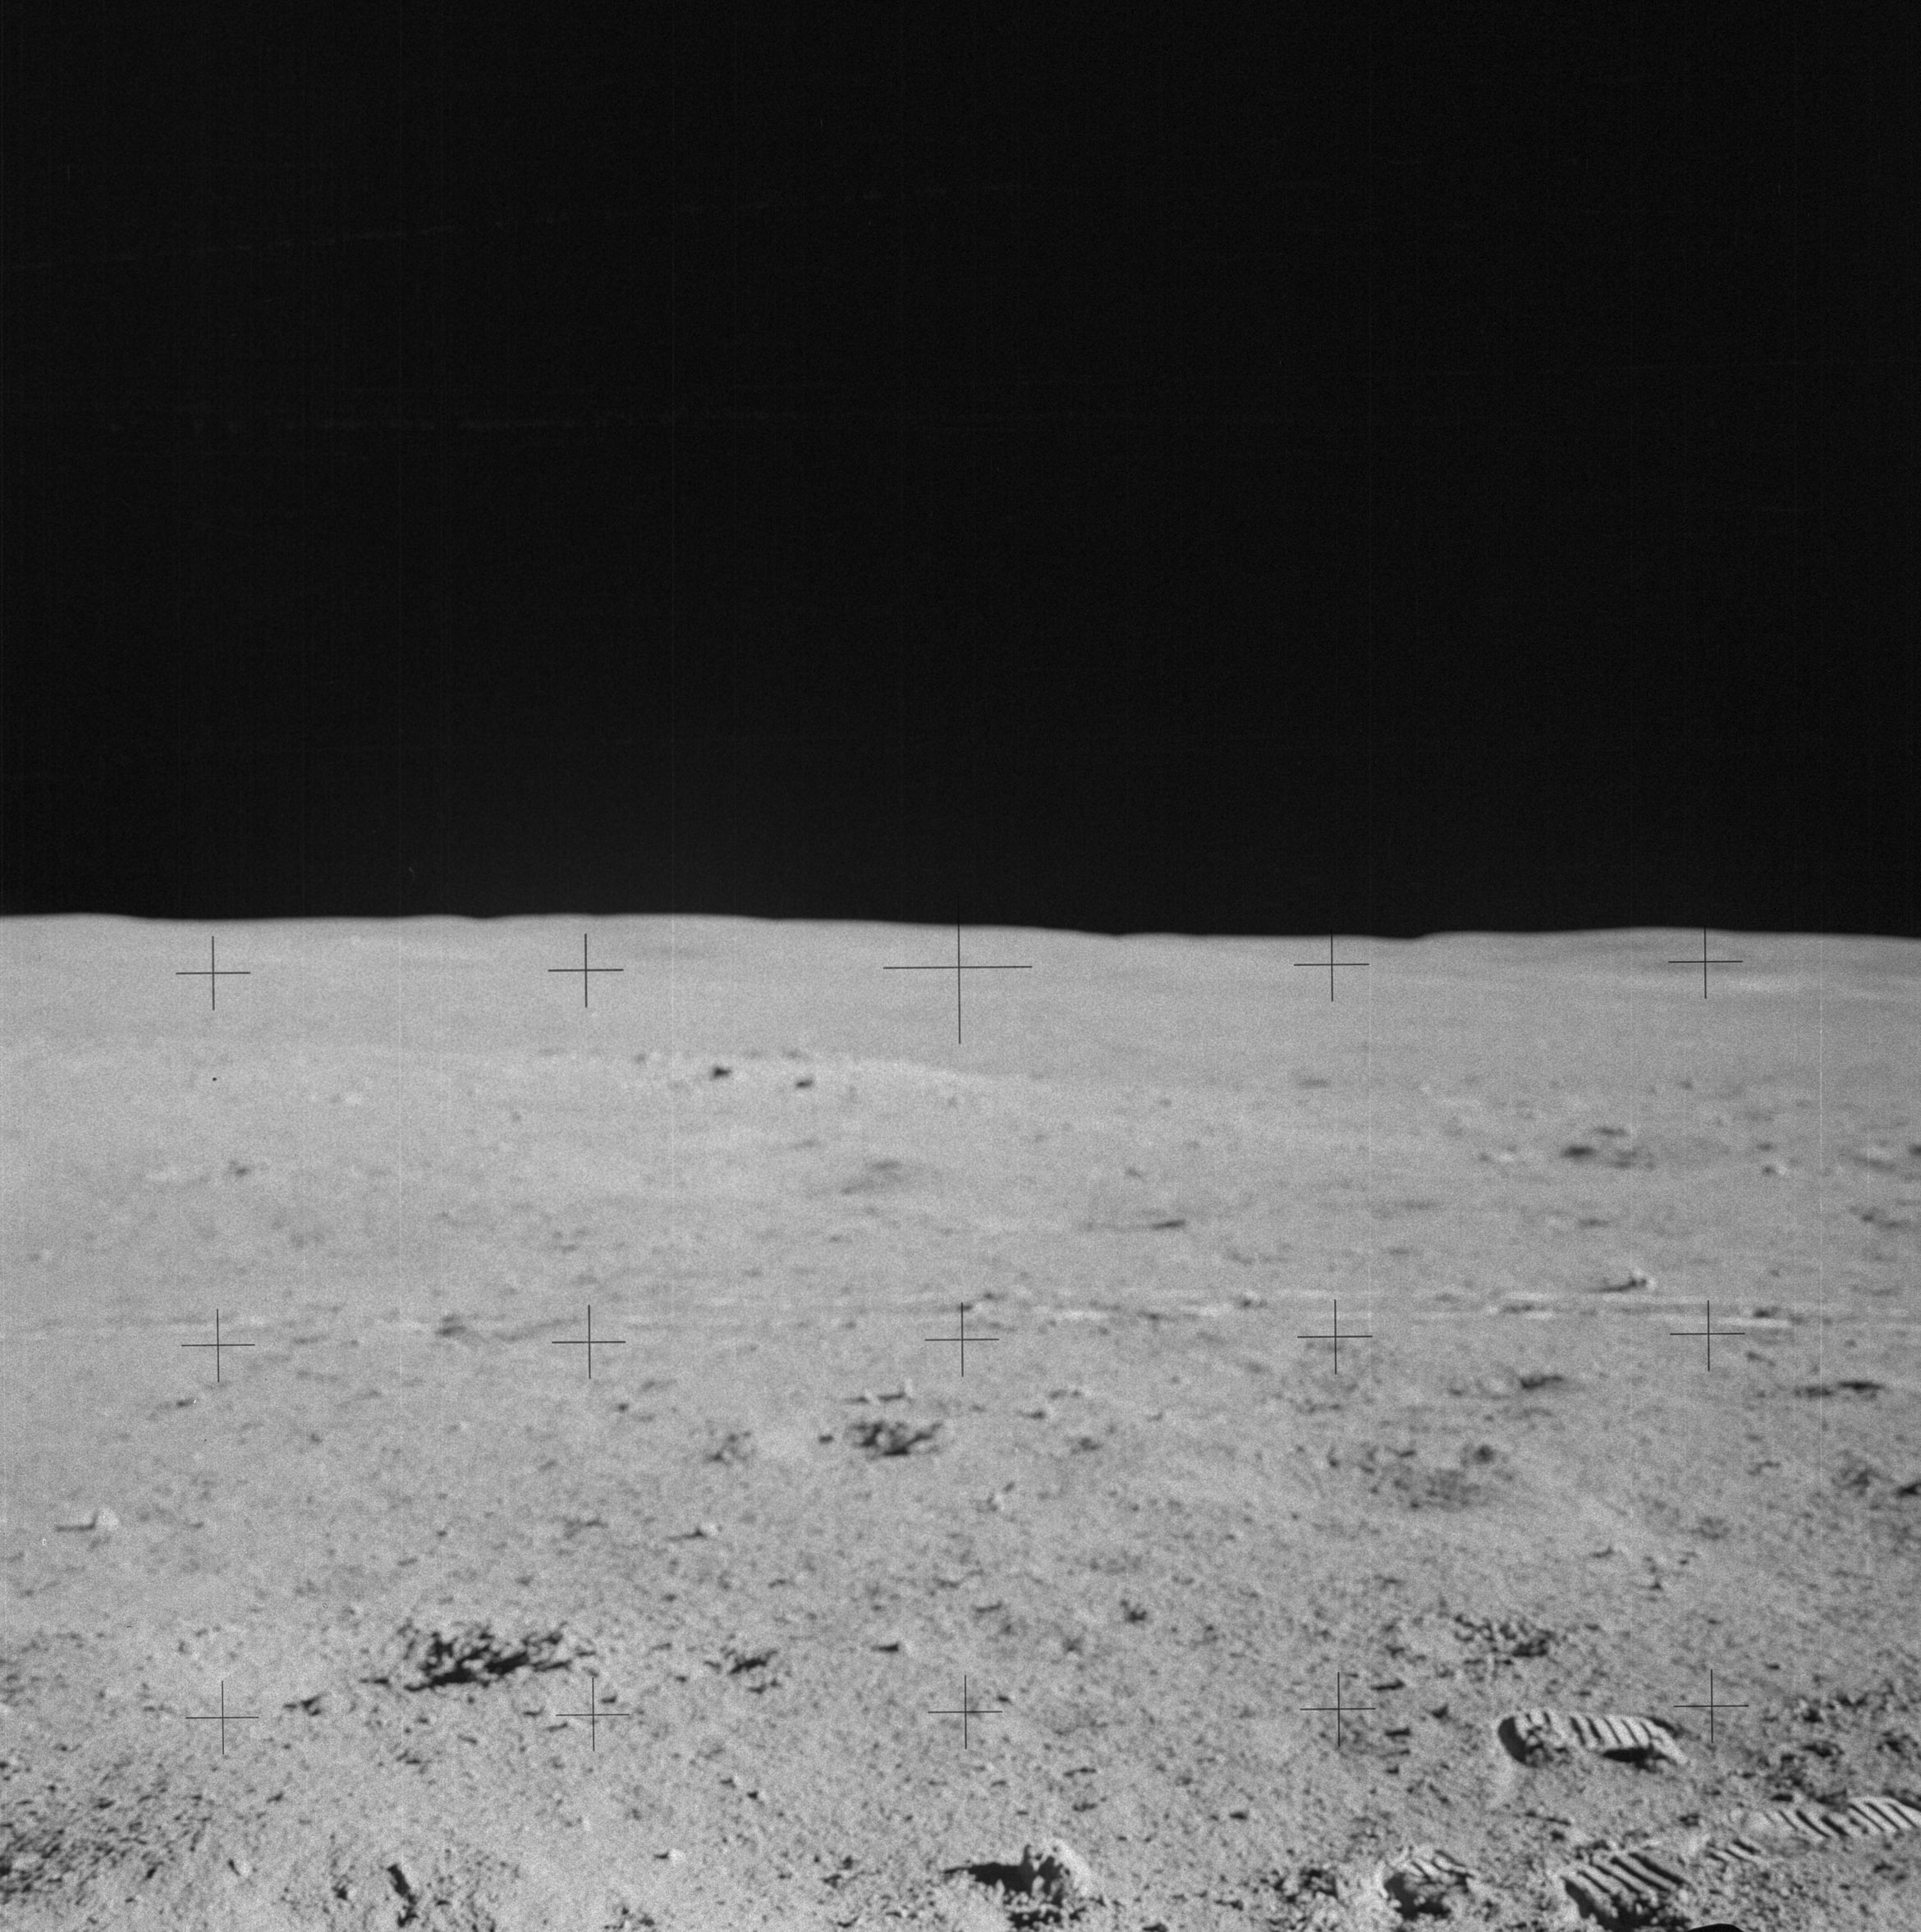 | AS14-64-9143 Rightward of 9142. Image credit: Image Science and Analysis Laboratory, NASA-Johnson Space Center. |
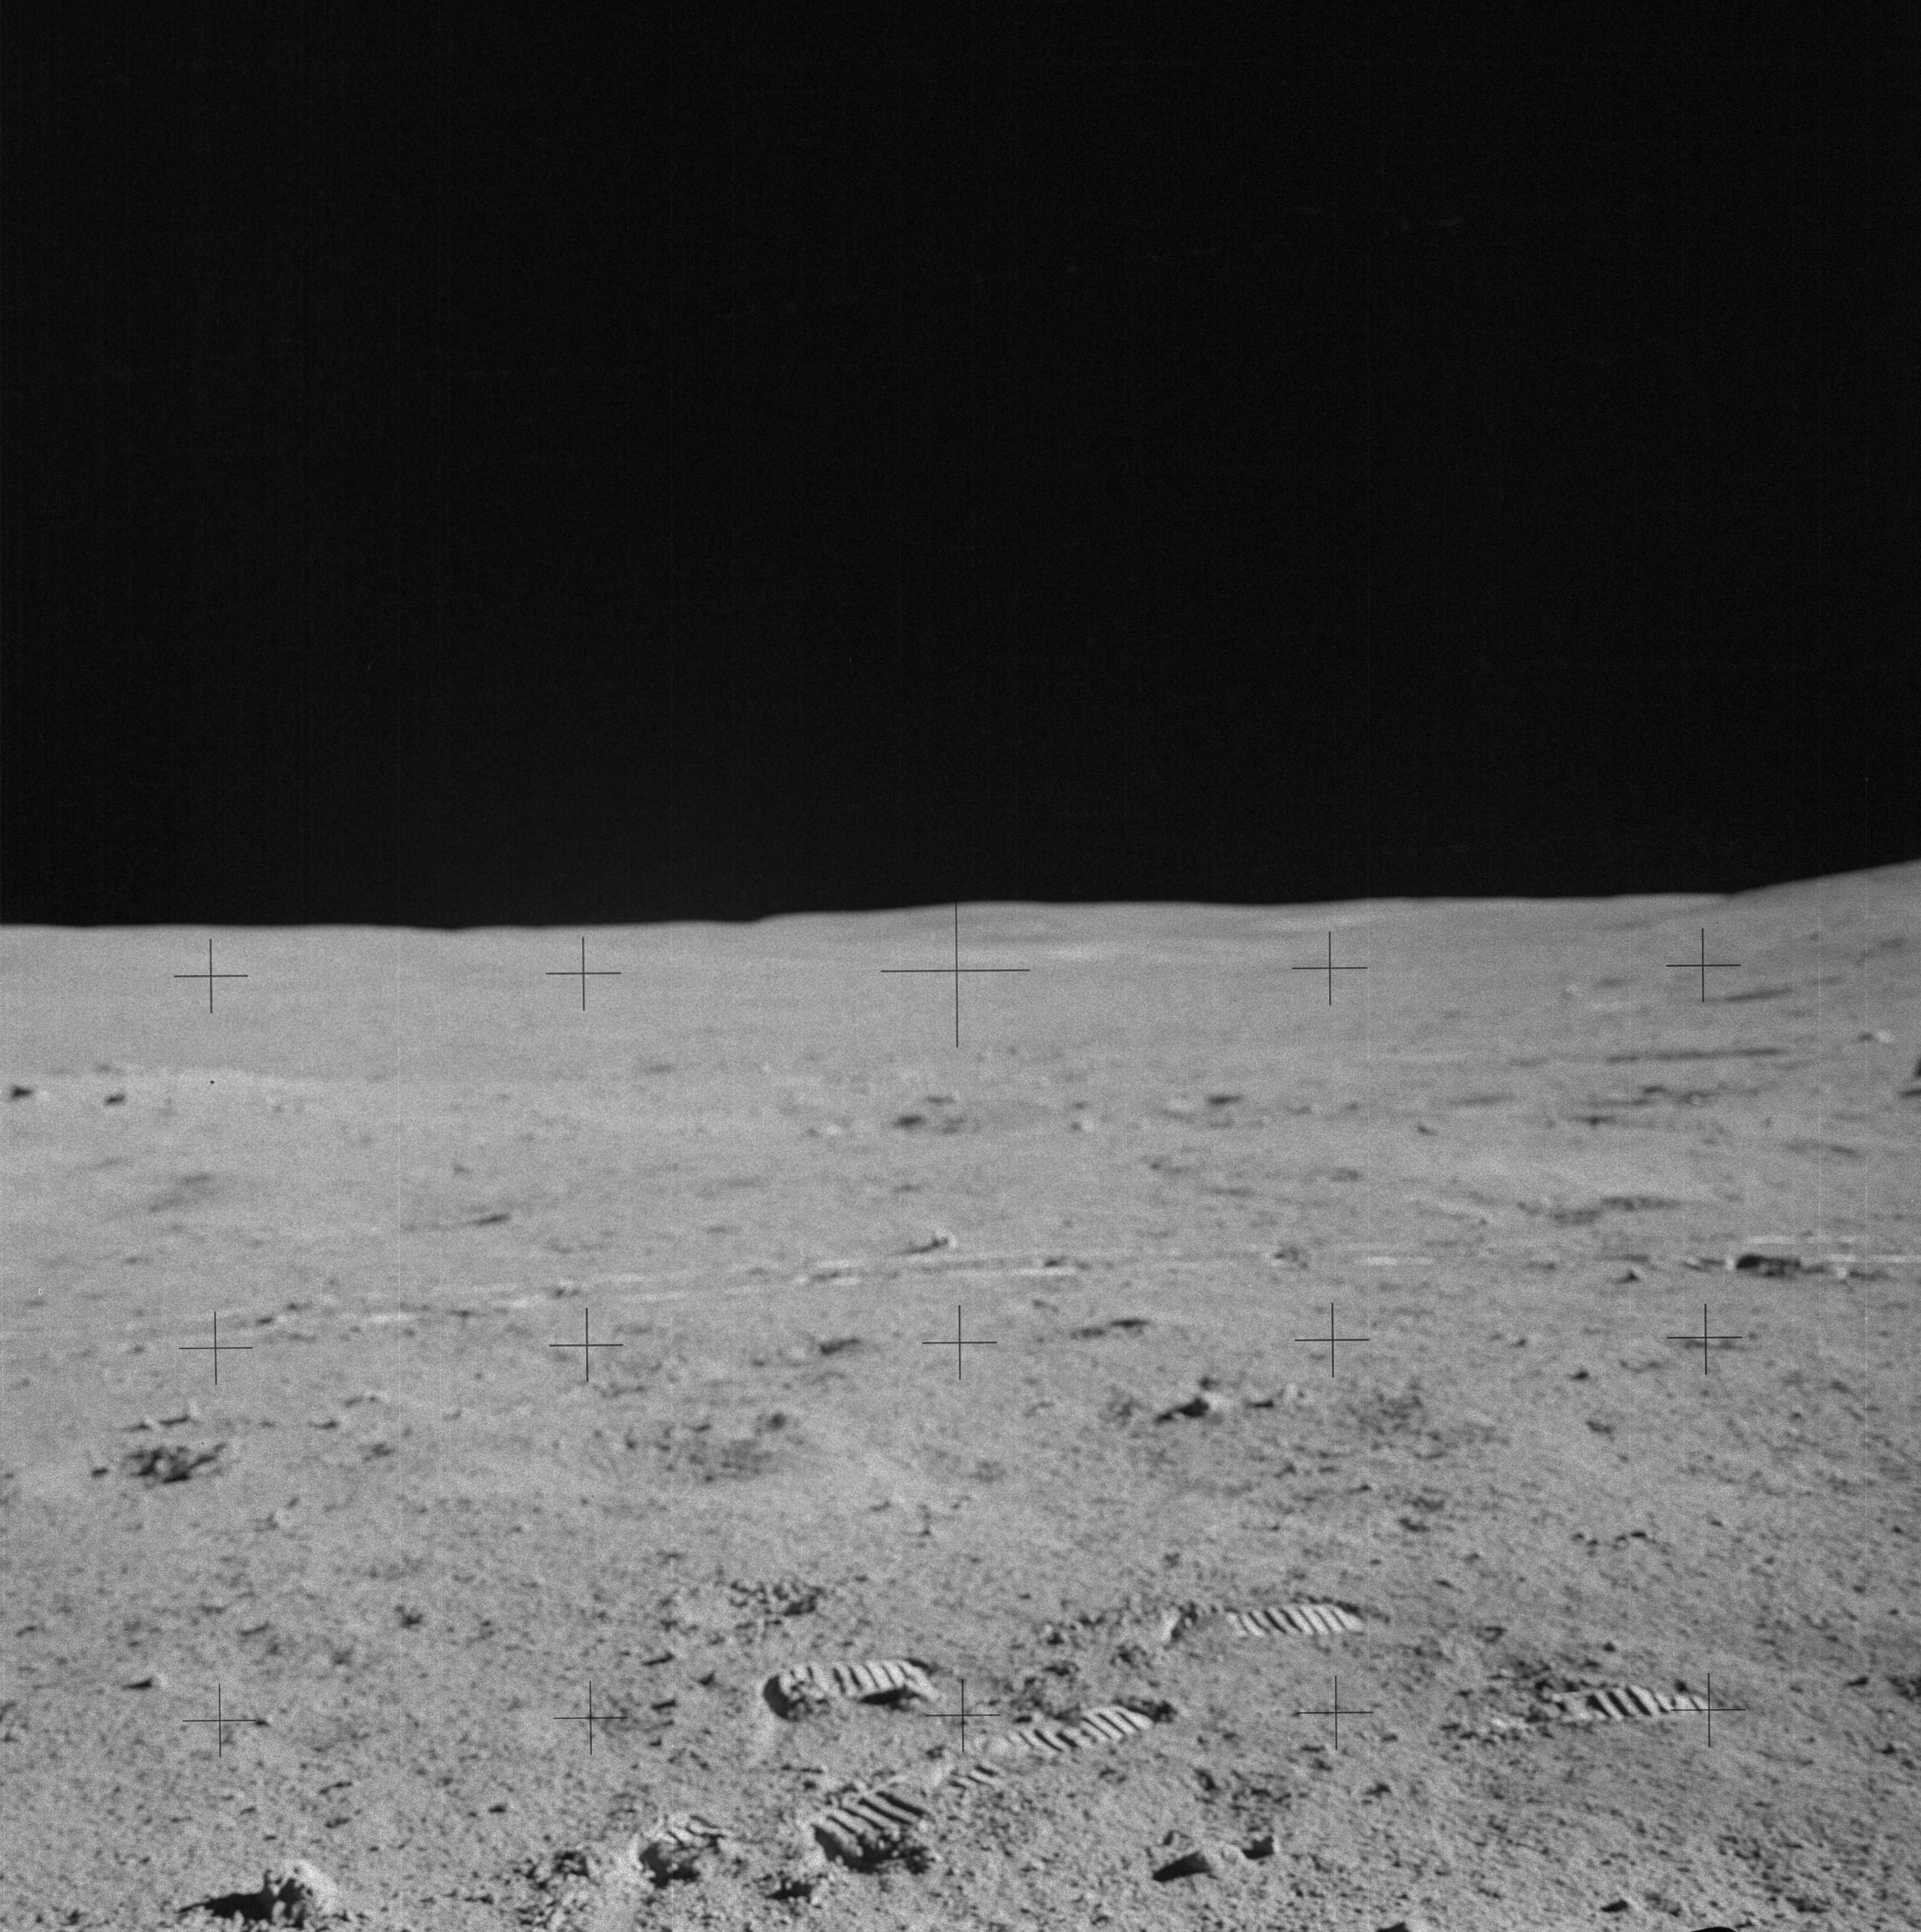 | AS14-64-9144 Rightward of 9143. Image credit: Image Science and Analysis Laboratory, NASA-Johnson Space Center. |
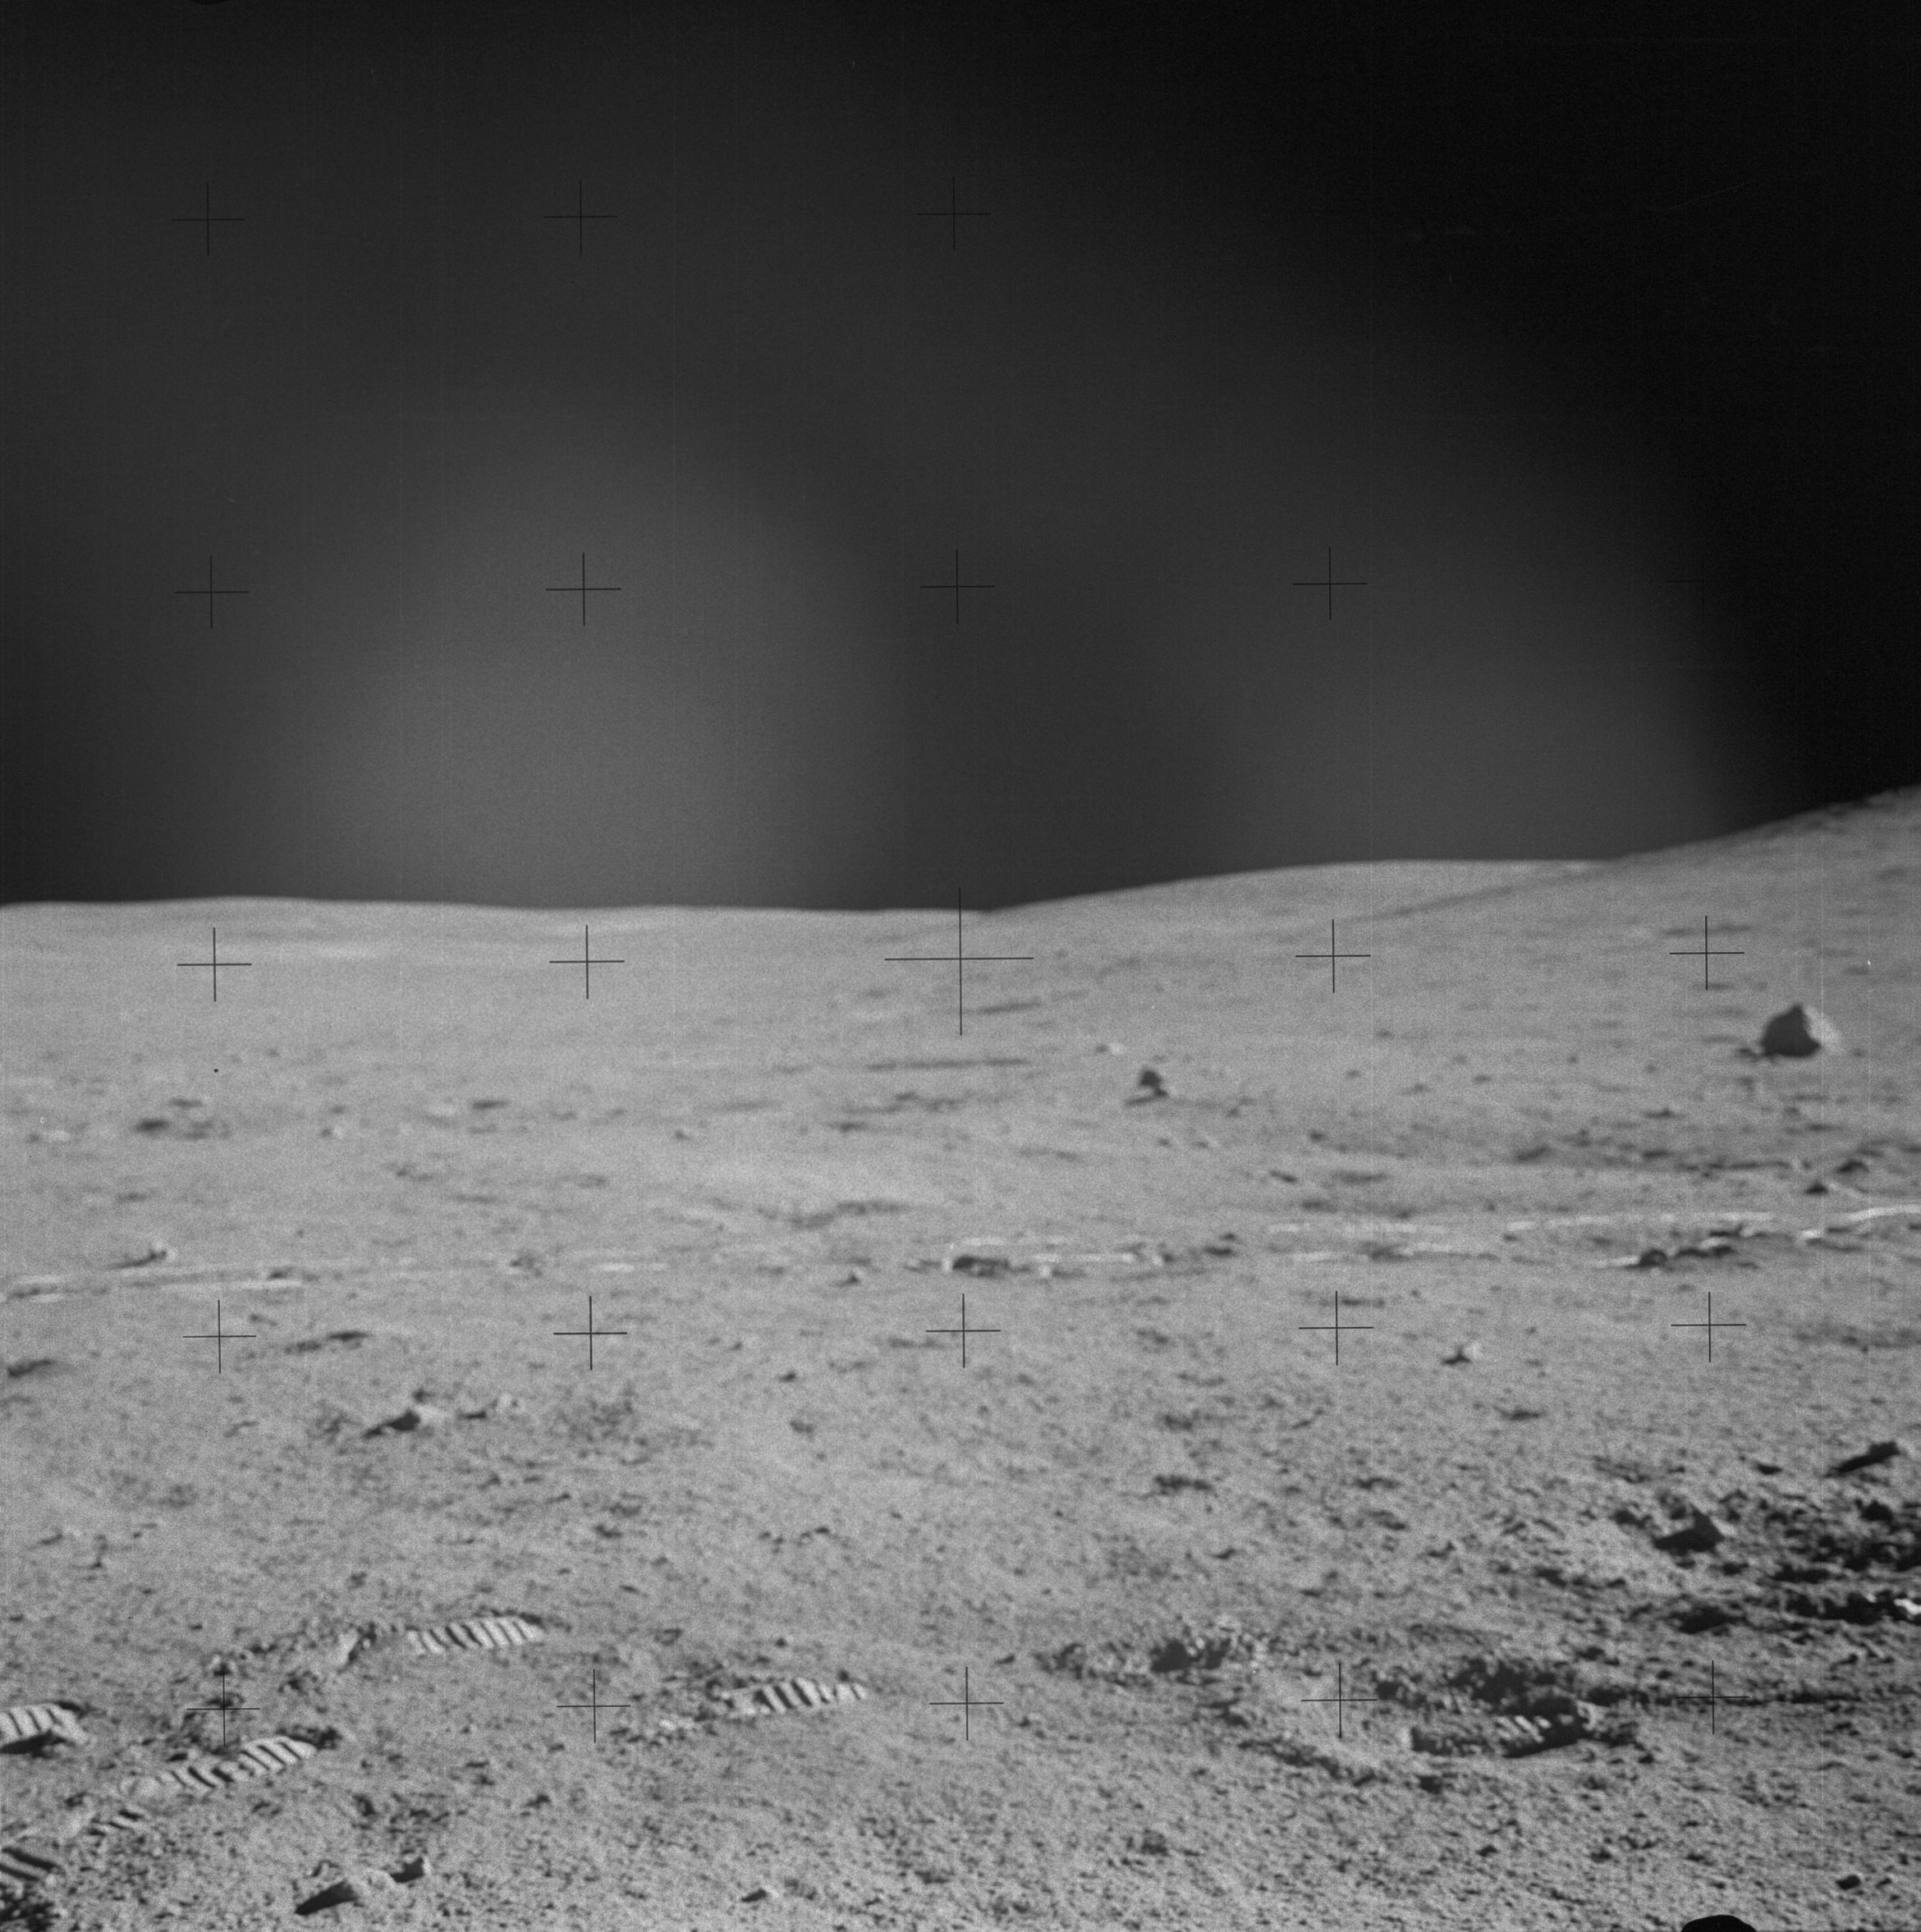 | AS14-64-9145 Rightward of 9144. Image credit: Image Science and Analysis Laboratory, NASA-Johnson Space Center. |
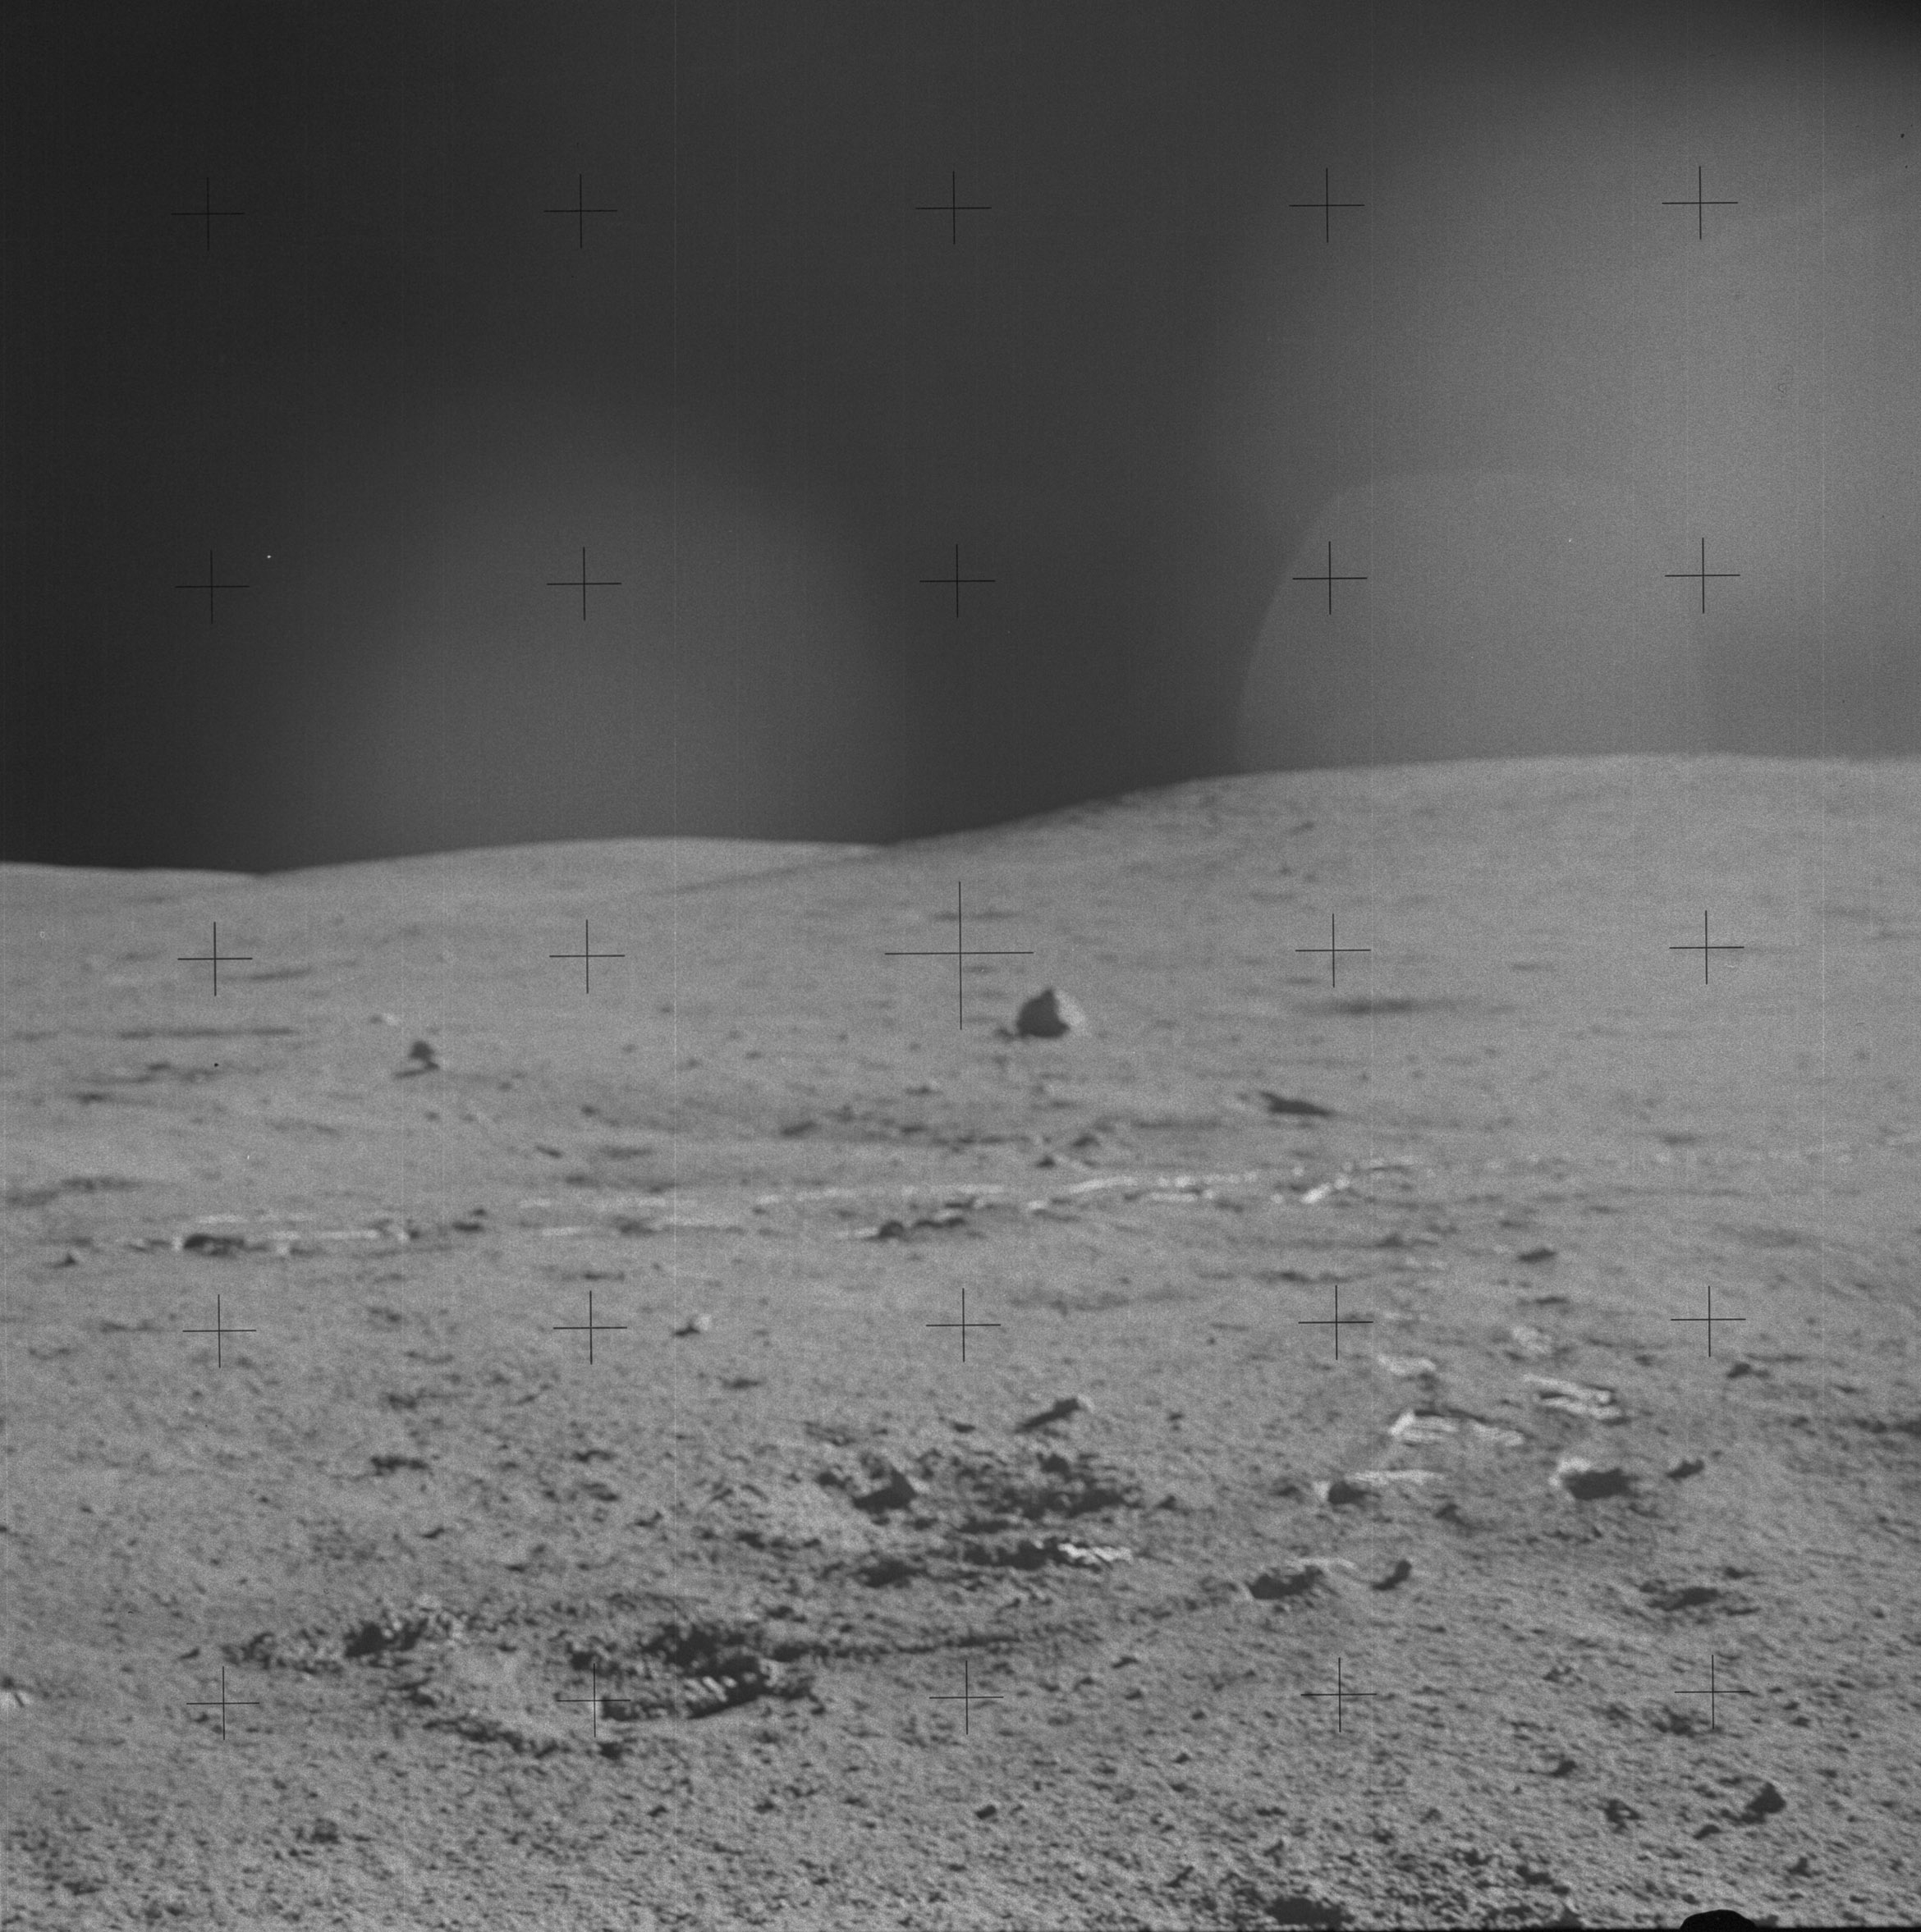 | AS14-64-9146 Rightward of 9145, showing Weird Rock. Image credit: Image Science and Analysis Laboratory, NASA-Johnson Space Center. |
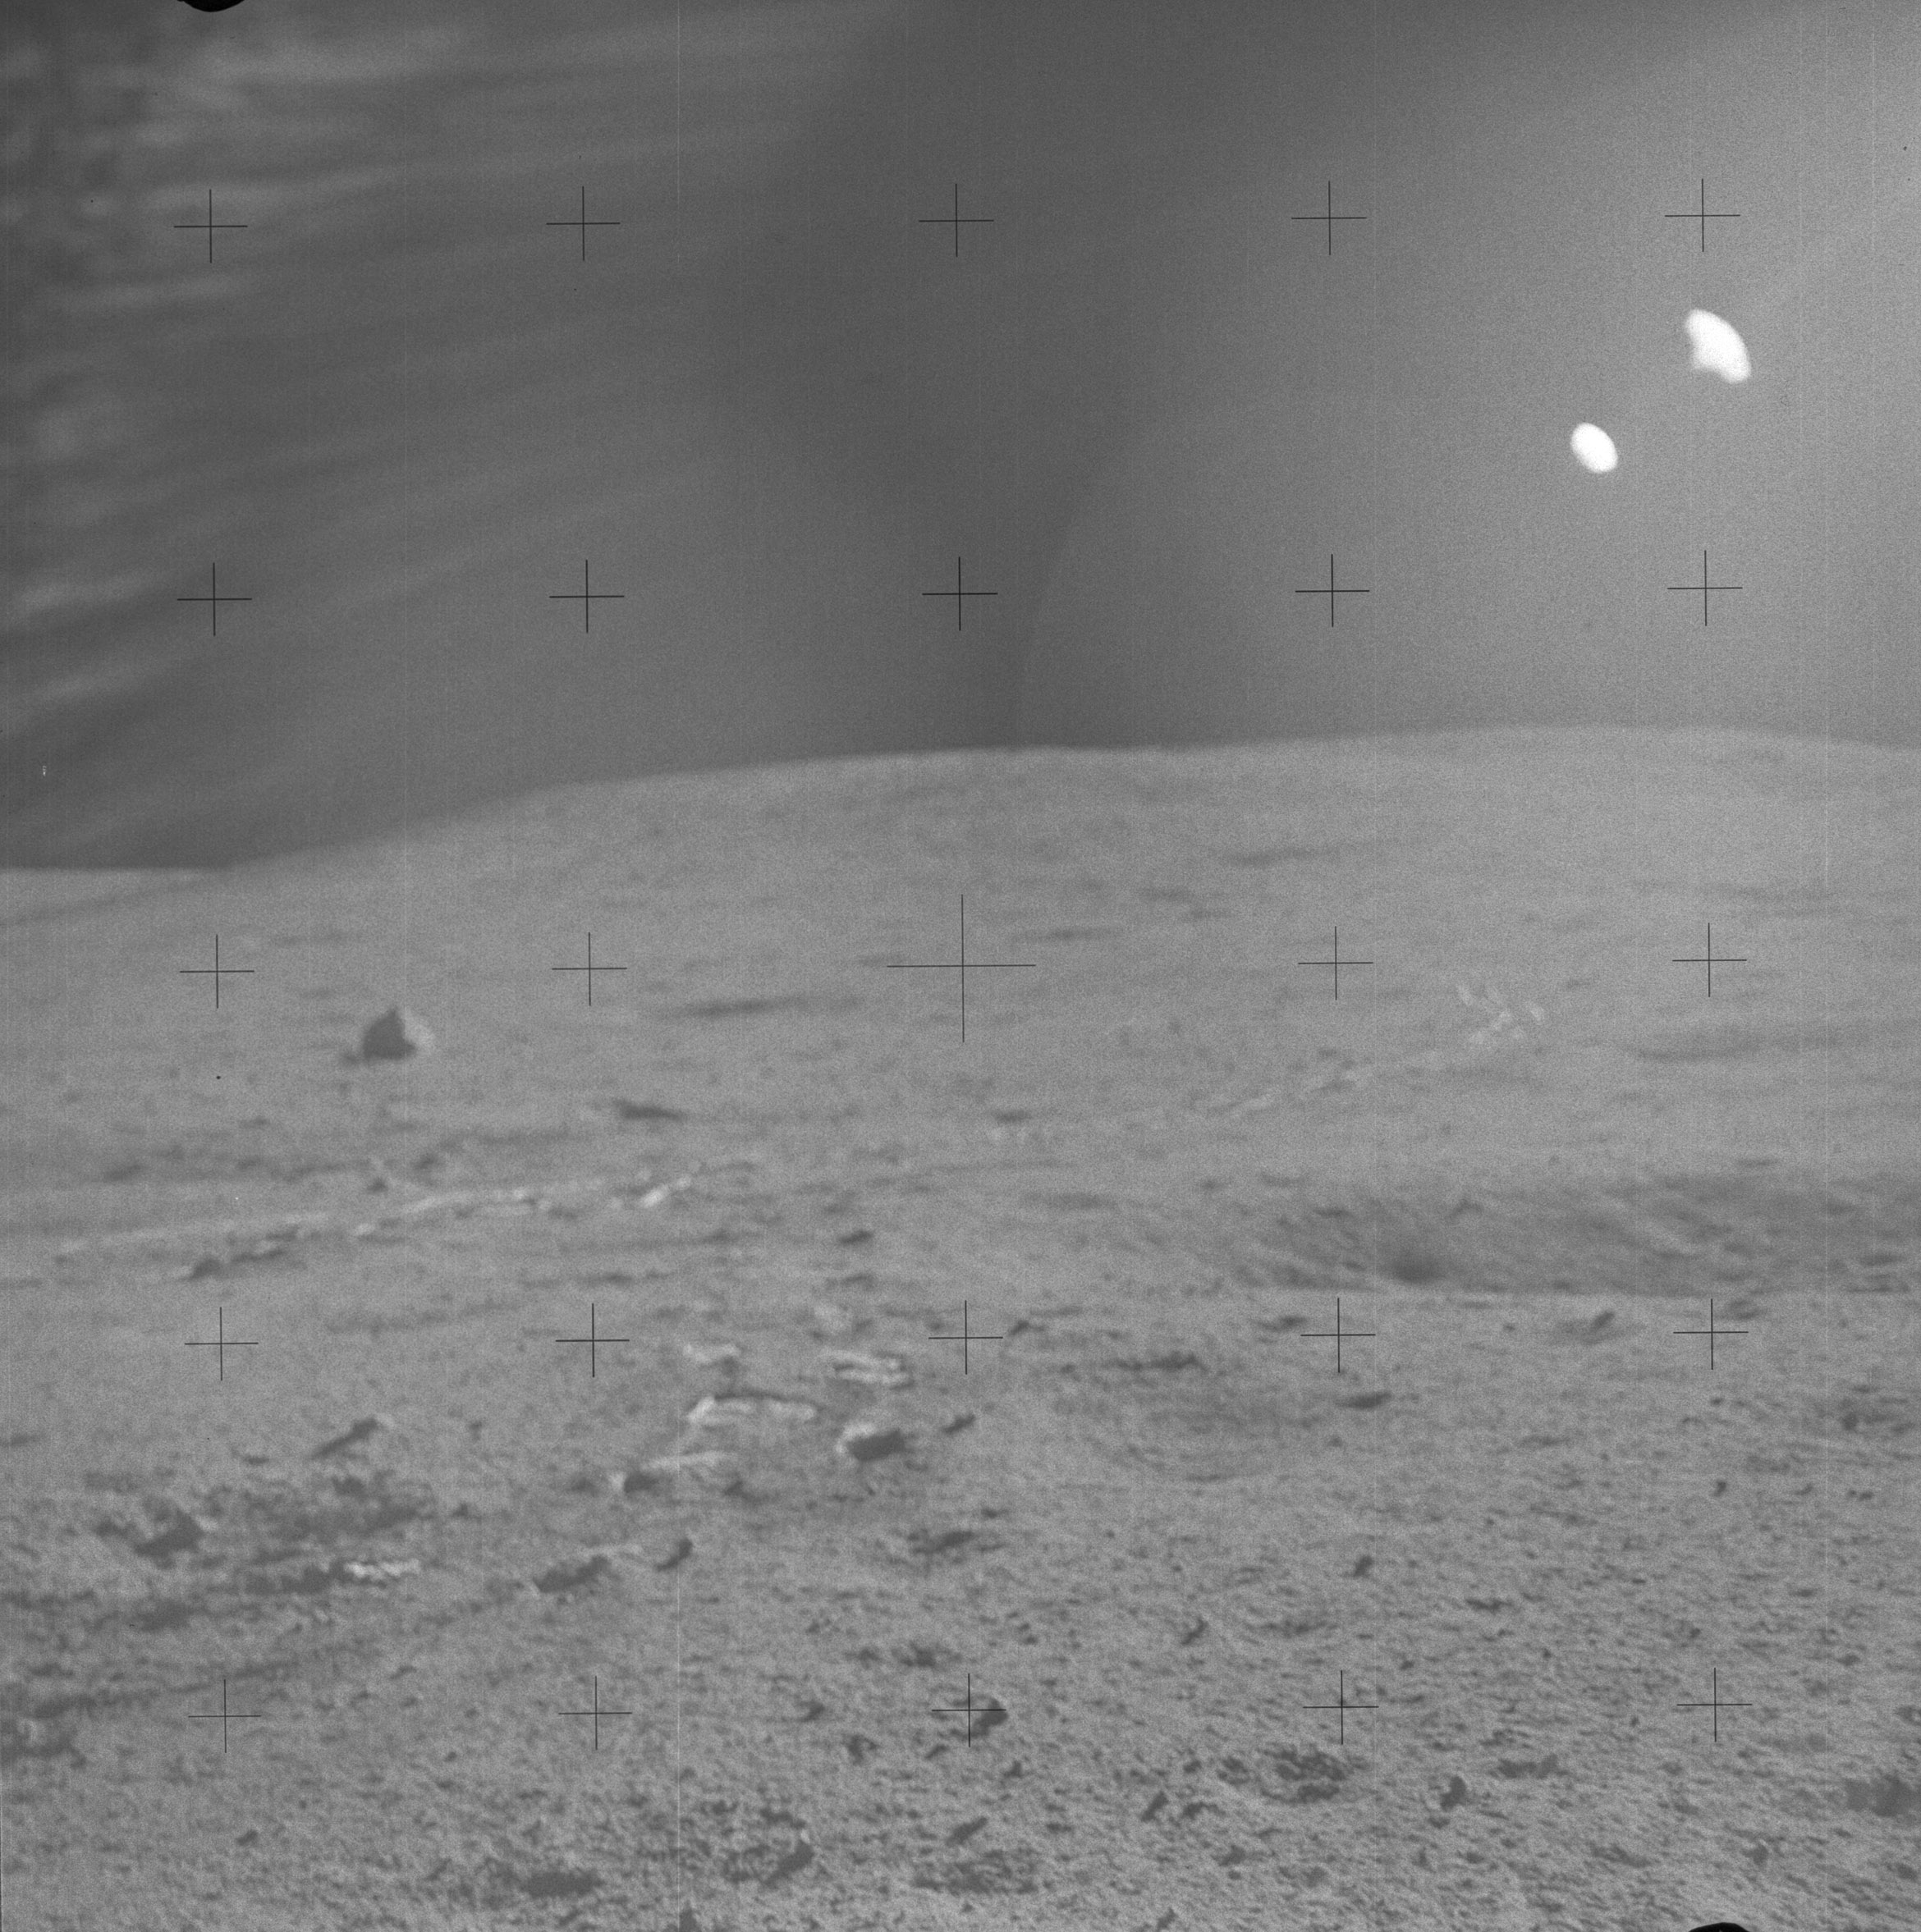 | AS14-64-9147 Rightward of 9146, showing Weird Rock which is east of Station F. Out-of-focus. Image credit: Image Science and Analysis Laboratory, NASA-Johnson Space Center. |
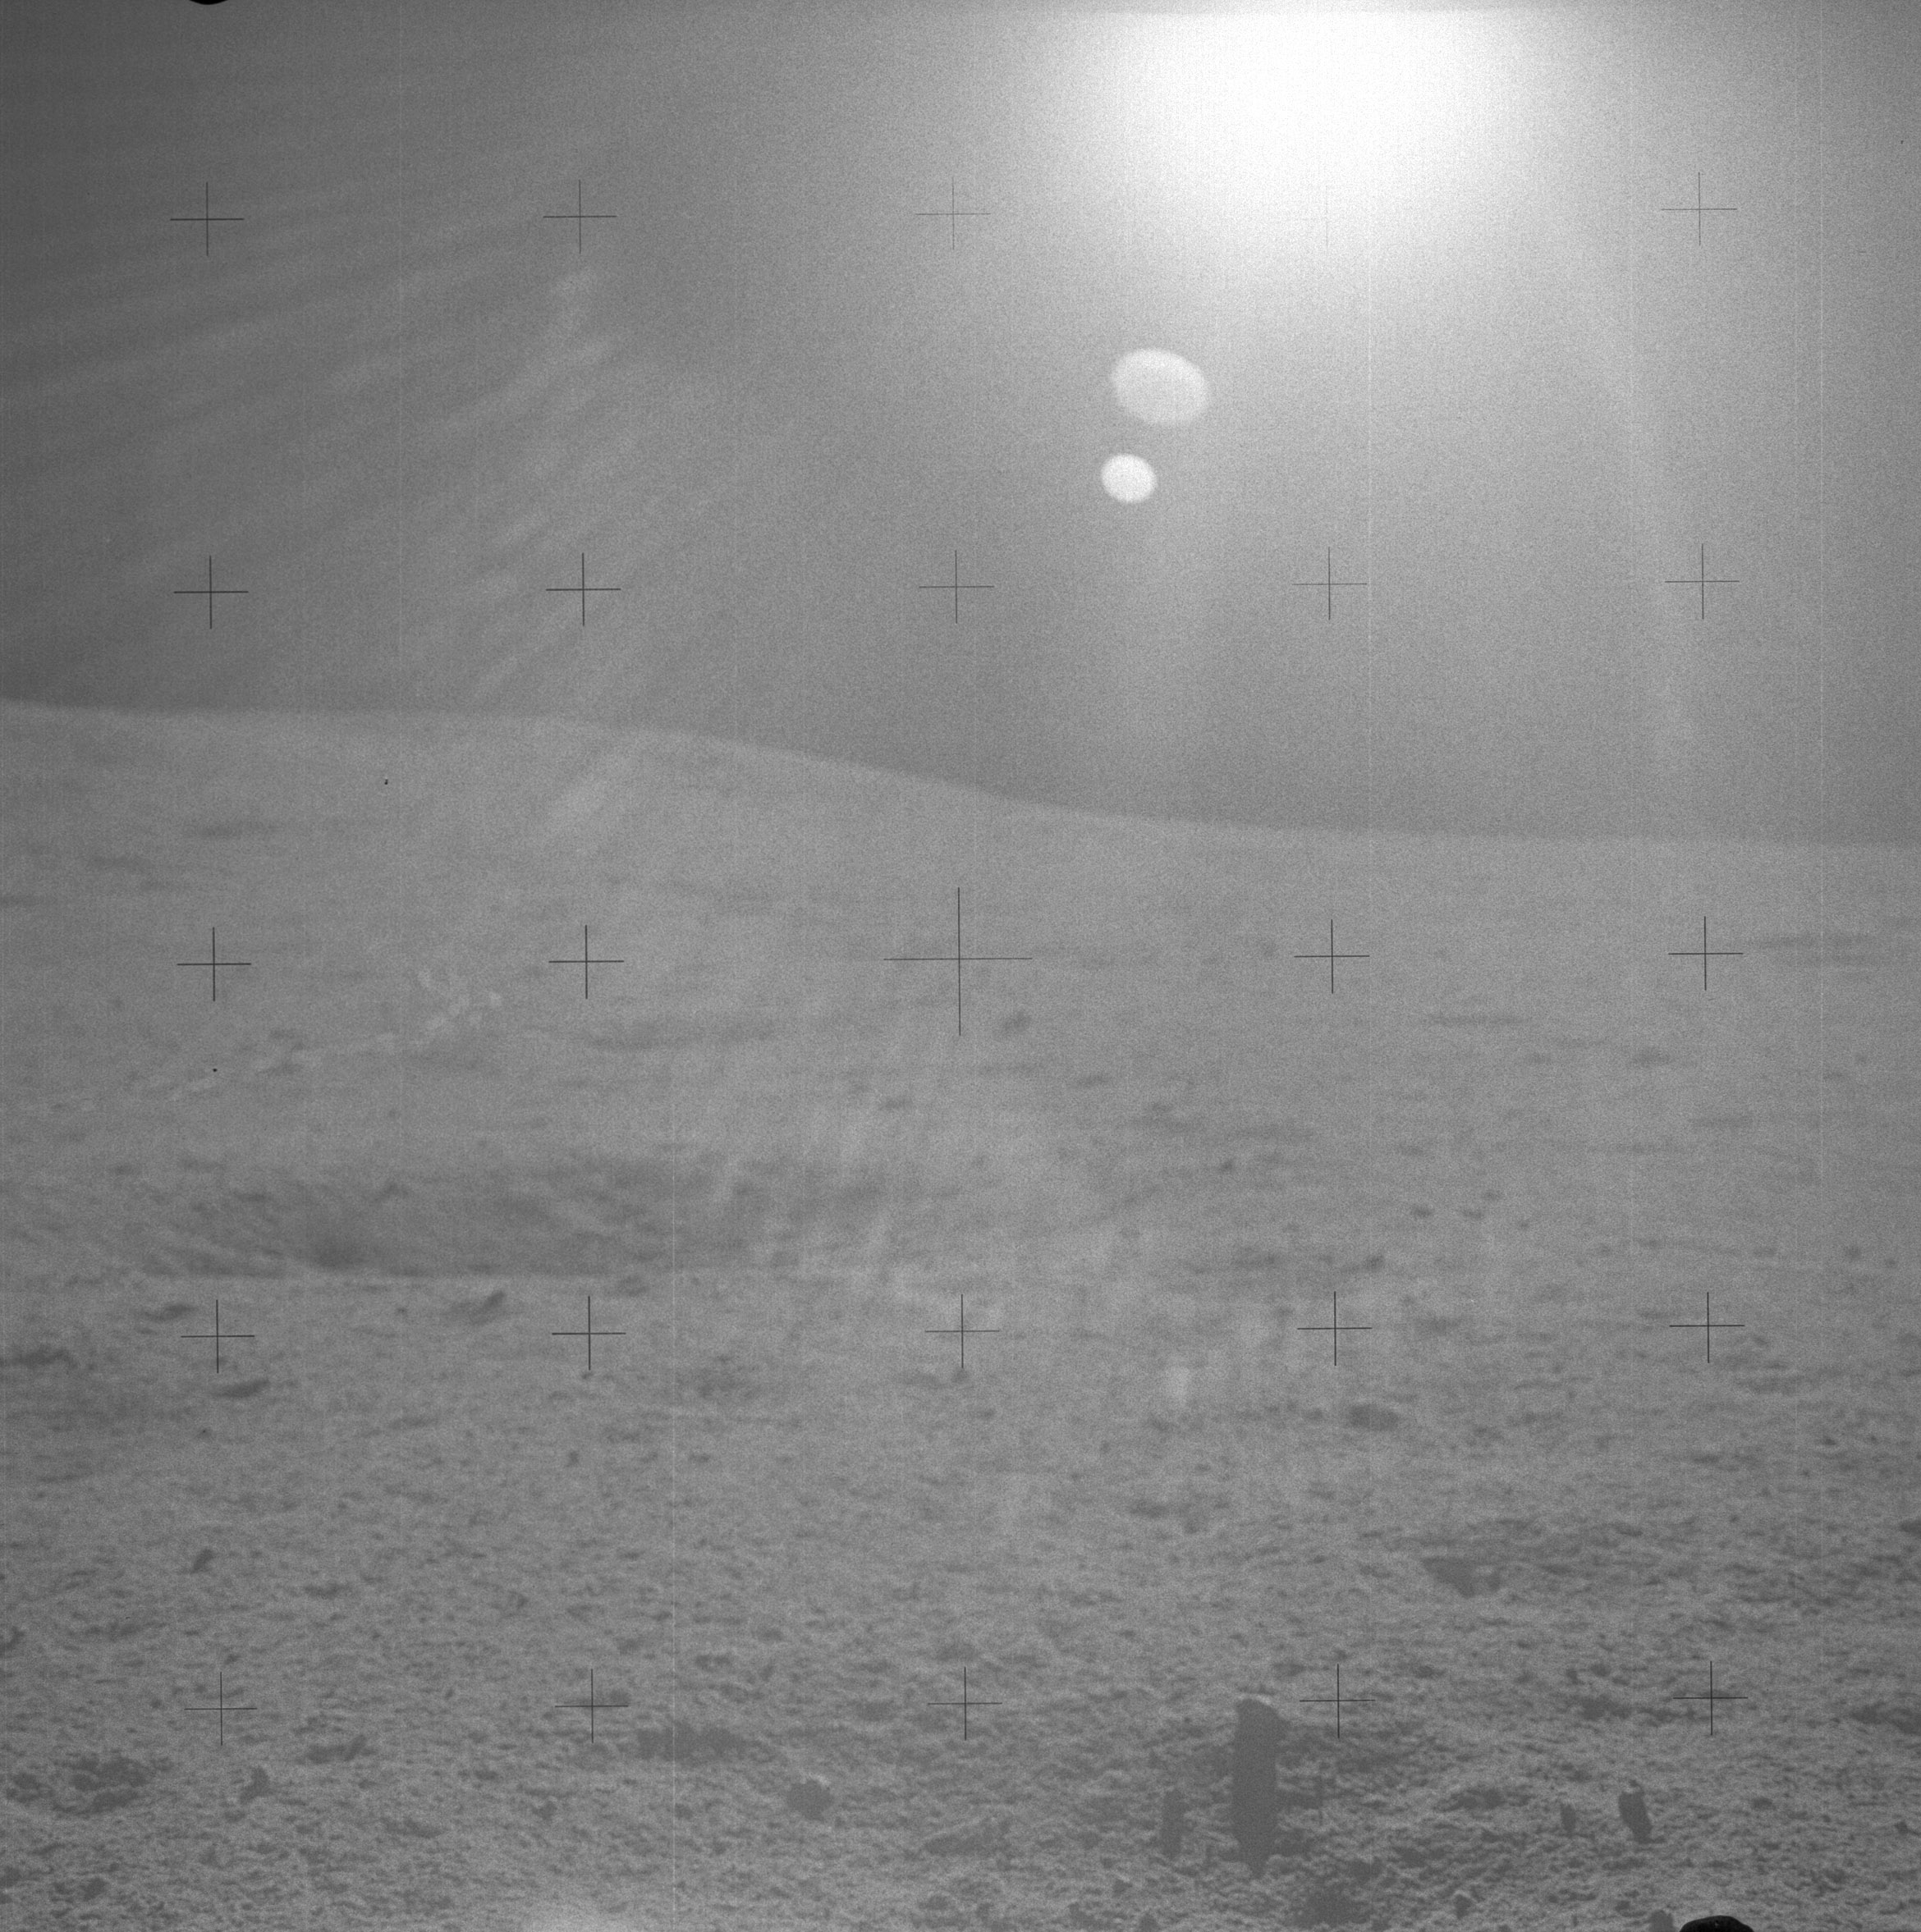 | AS14-64-9148 Rightward of 9147, up-Sun. Image credit: Image Science and Analysis Laboratory, NASA-Johnson Space Center. |
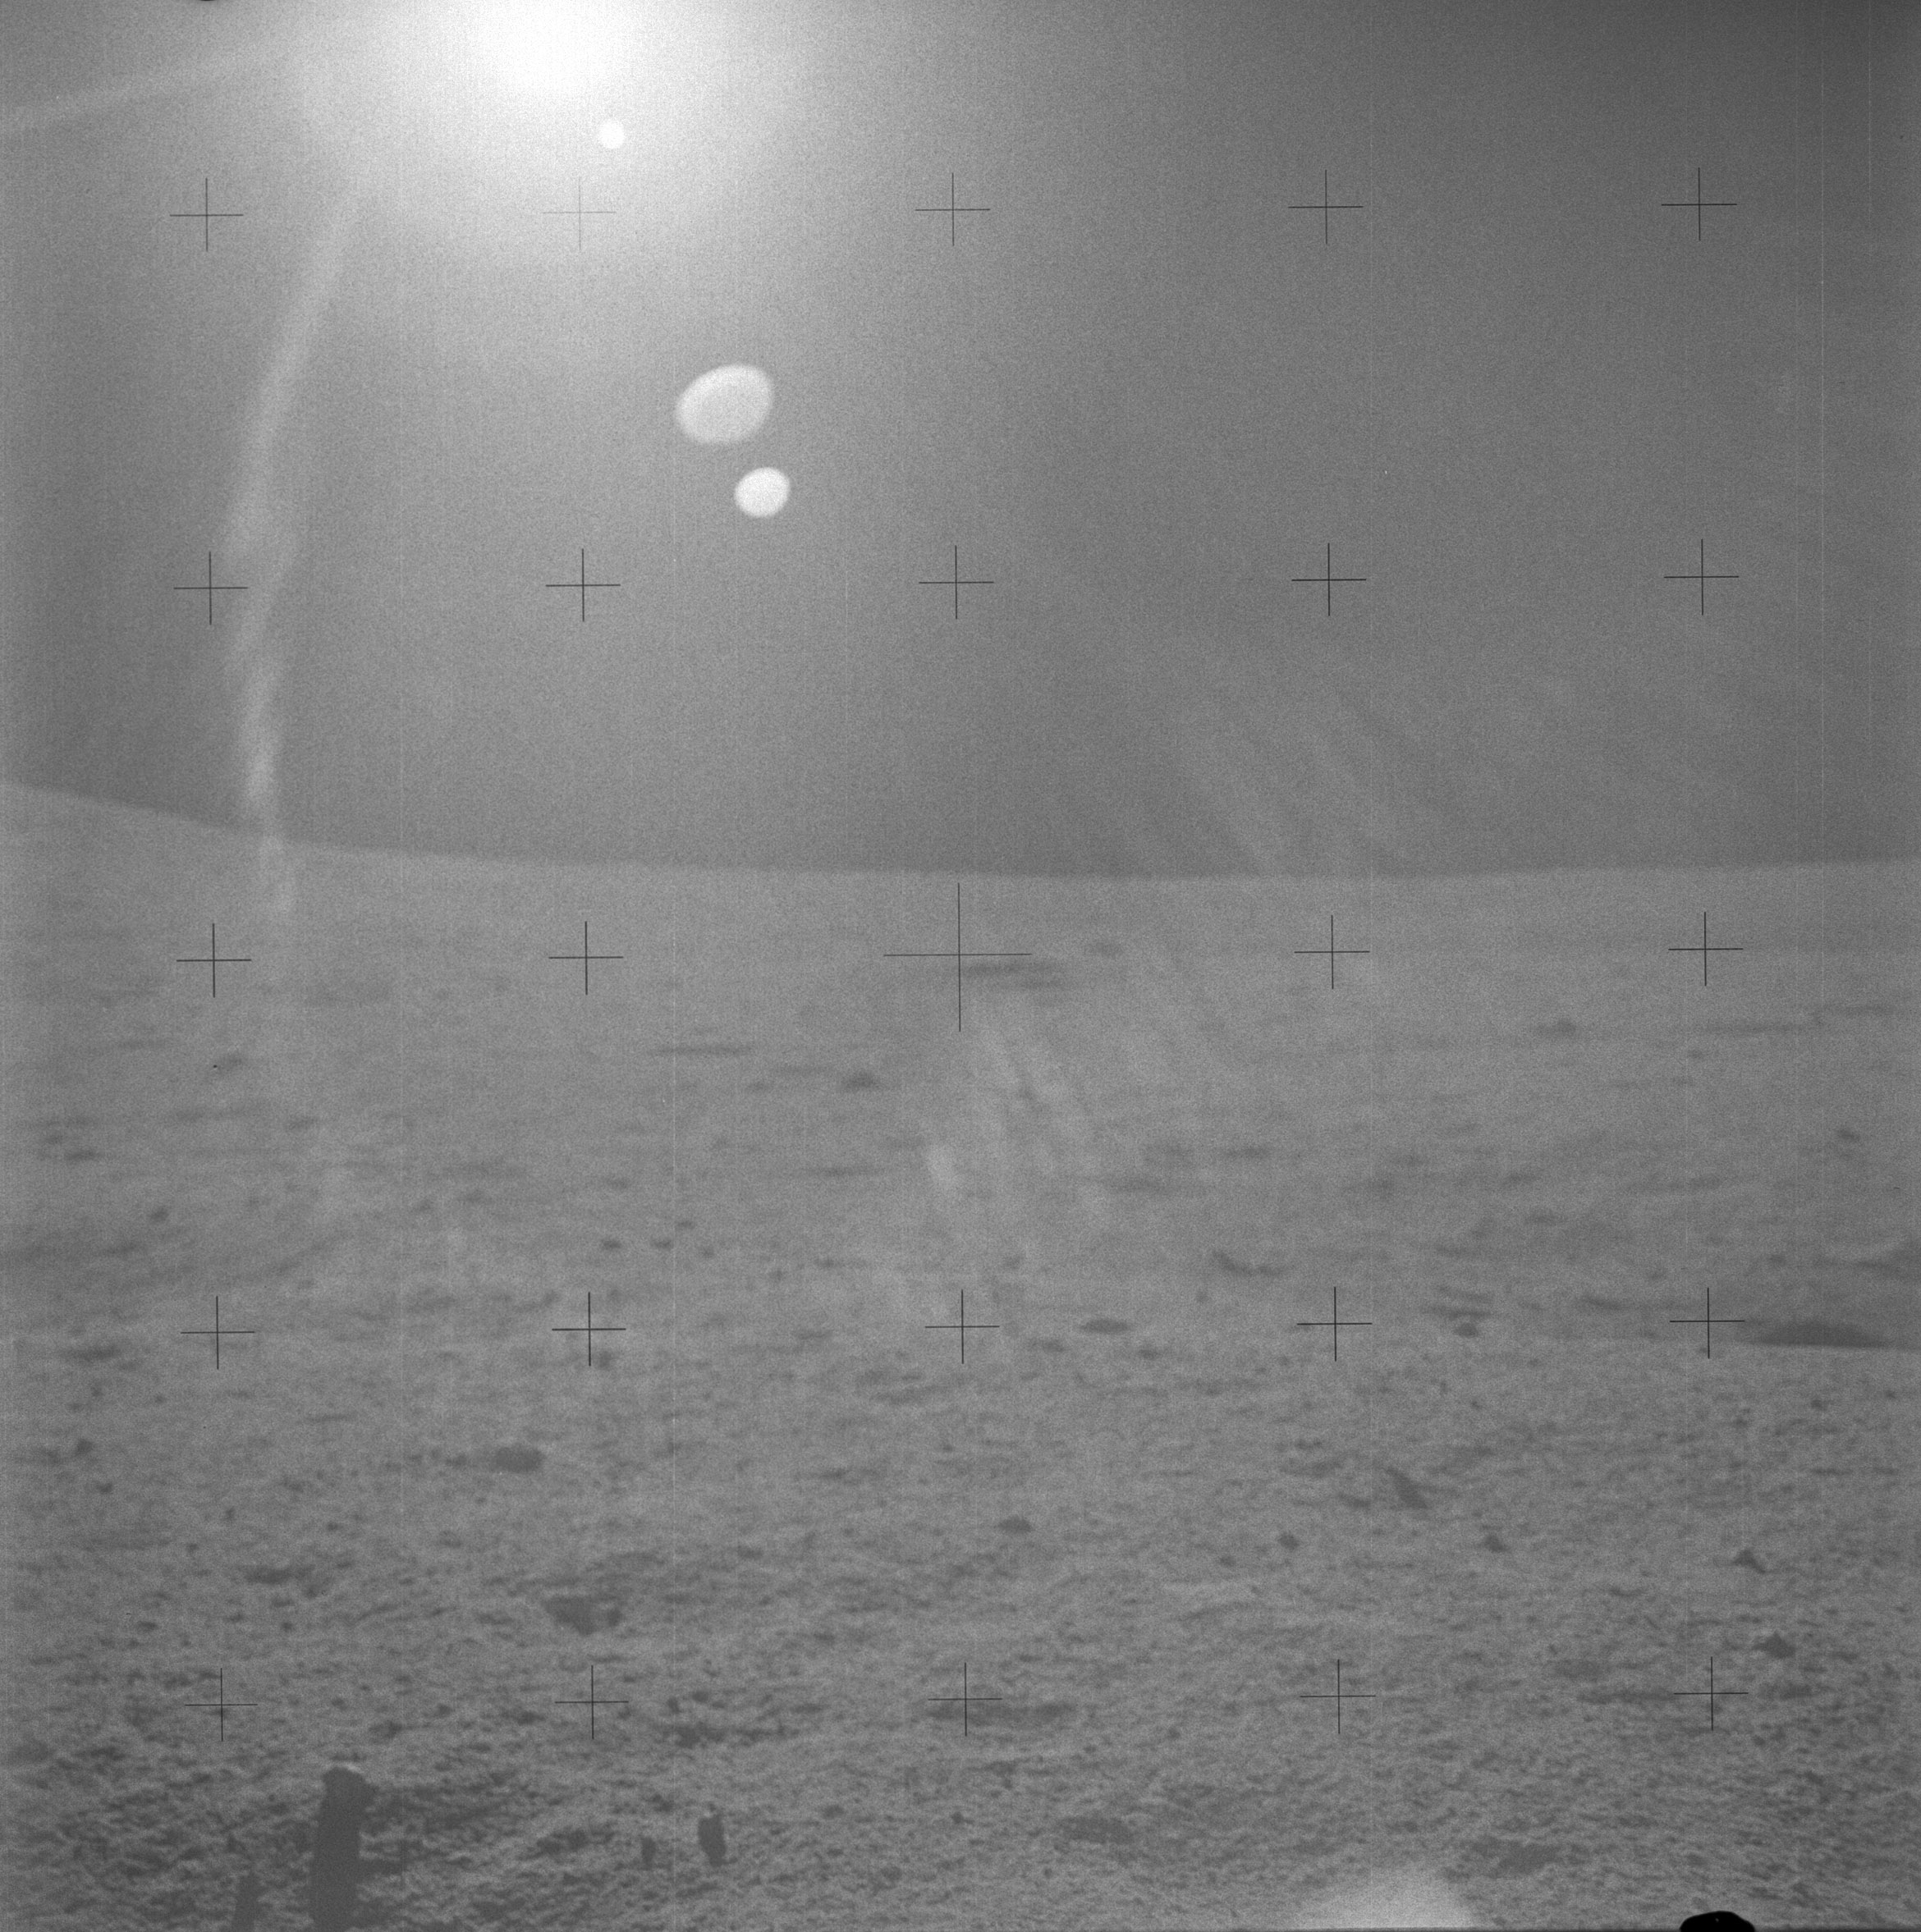 | AS14-64-9149 Rightward of 9148. Image credit: Image Science and Analysis Laboratory, NASA-Johnson Space Center. |
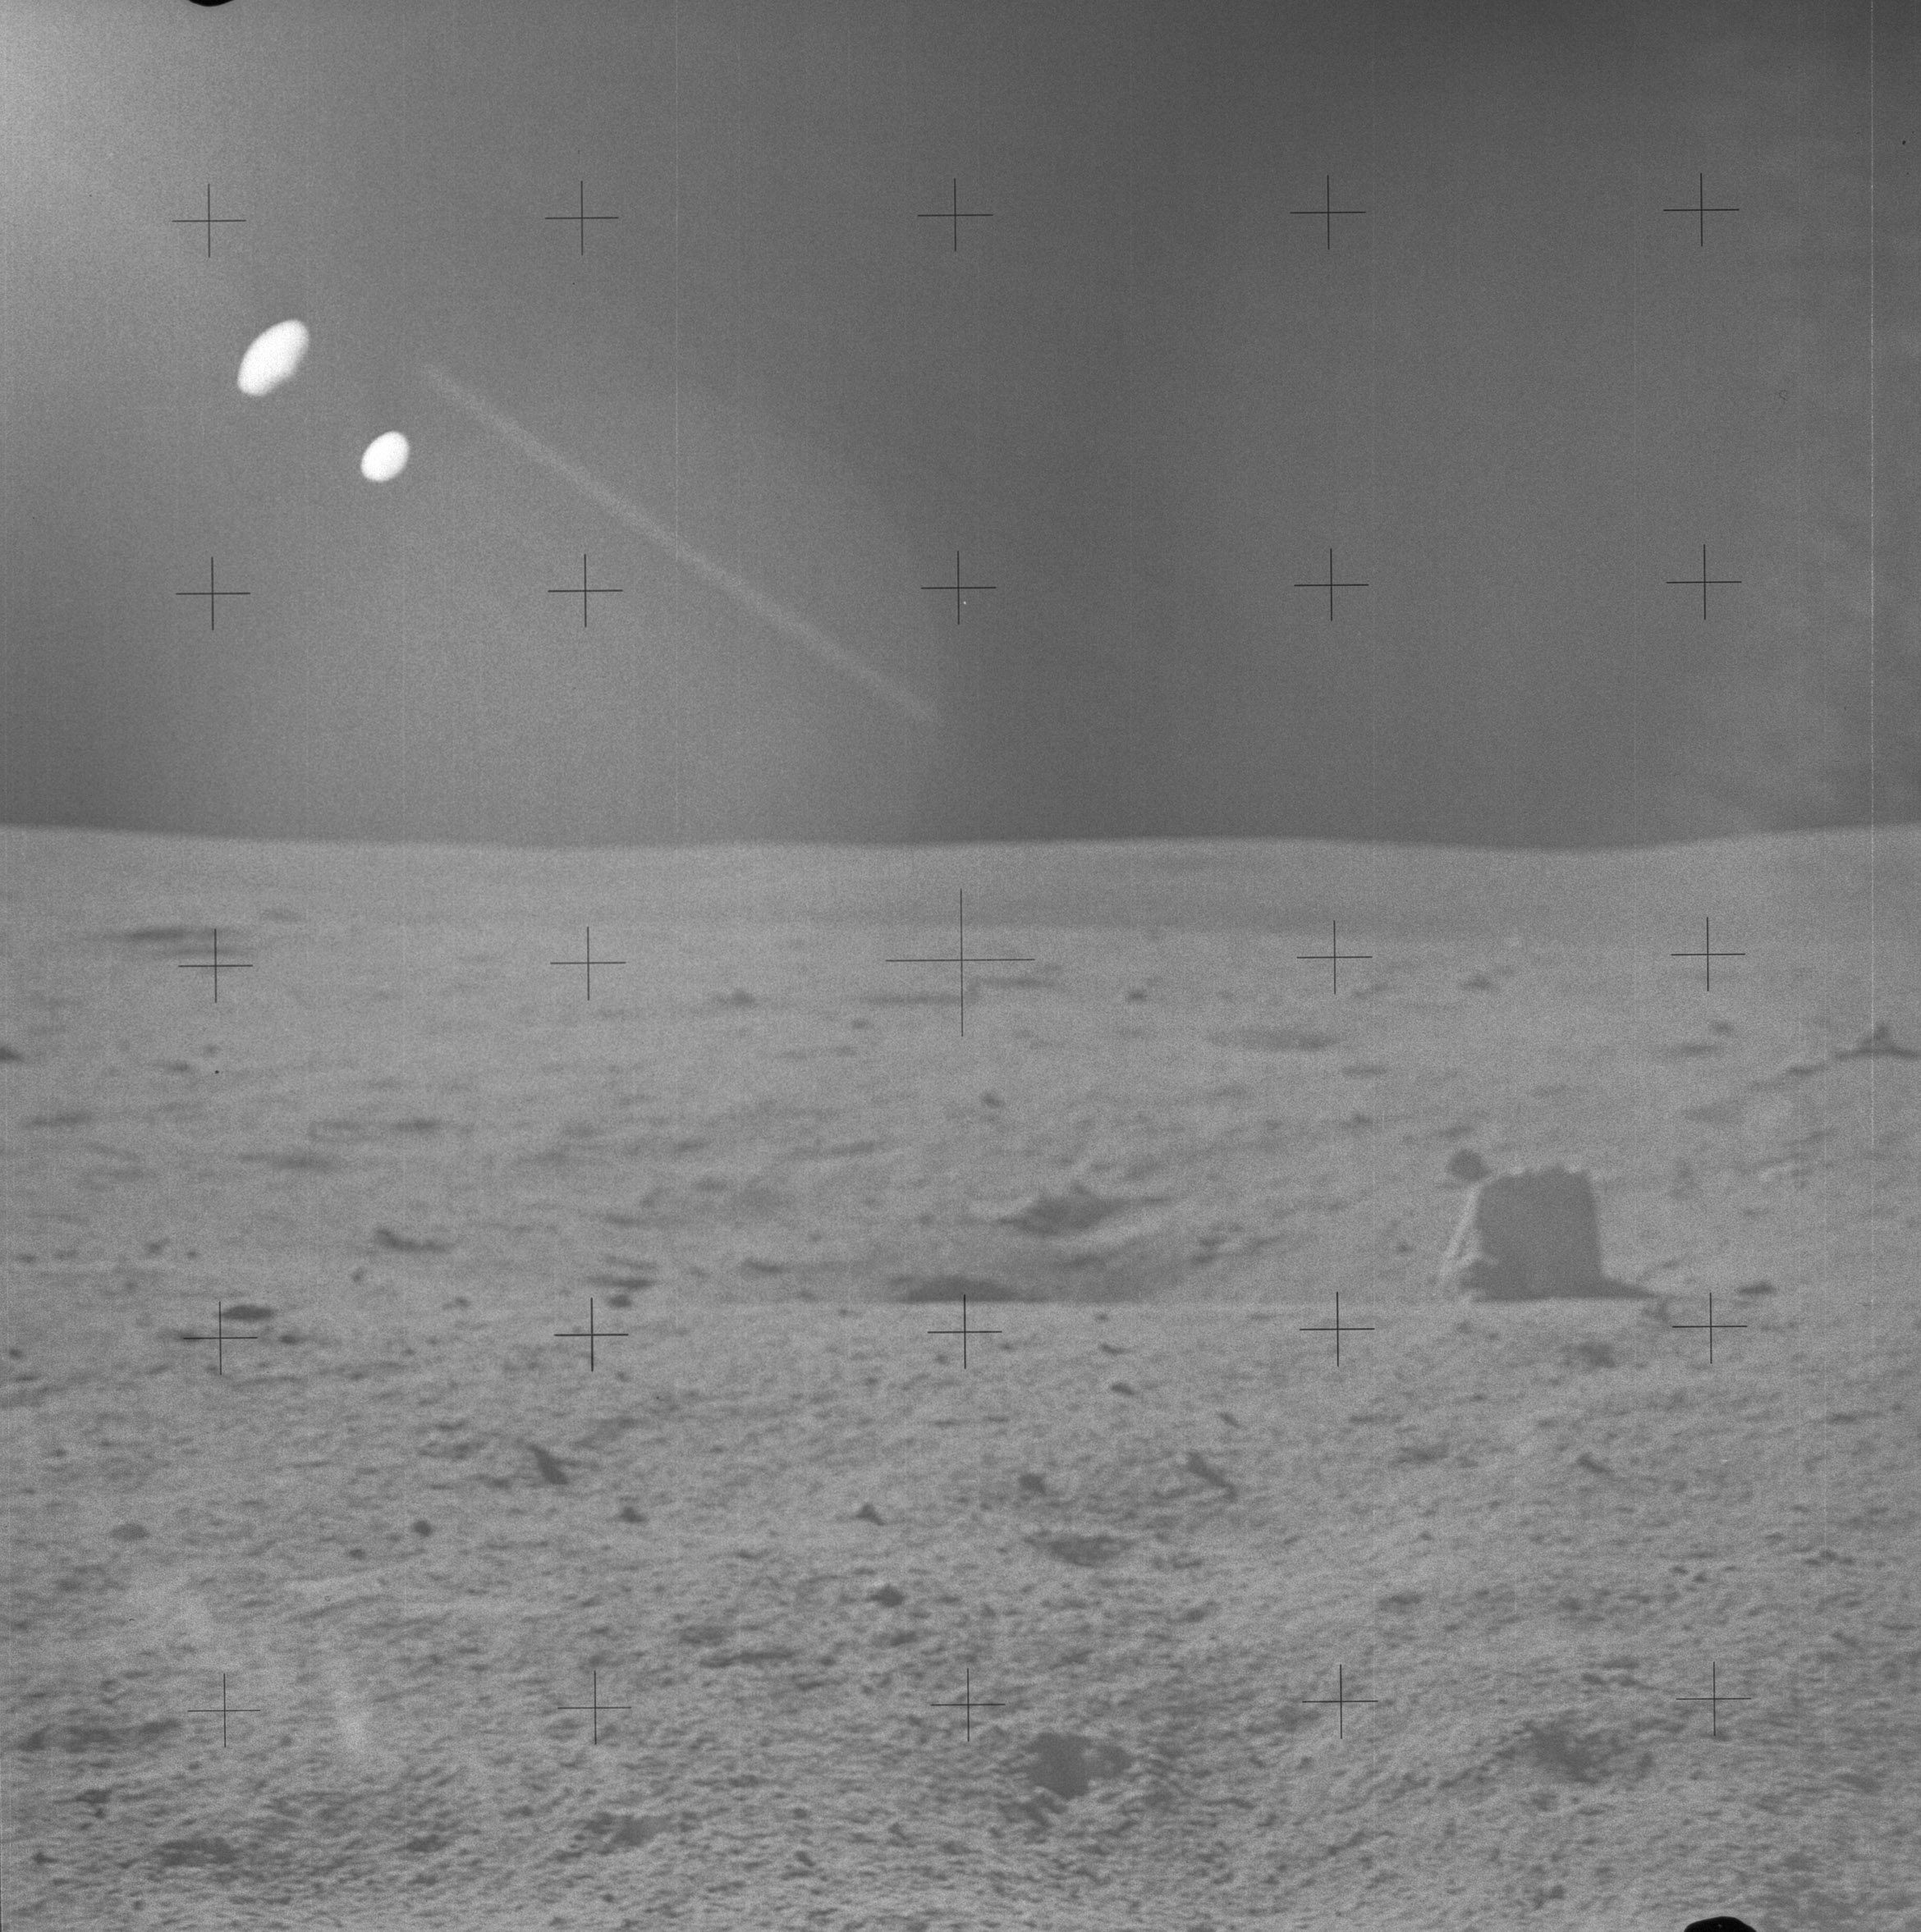 | AS14-64-9150 Rightward of 9149, toward the northeast. Image credit: Image Science and Analysis Laboratory, NASA-Johnson Space Center. |
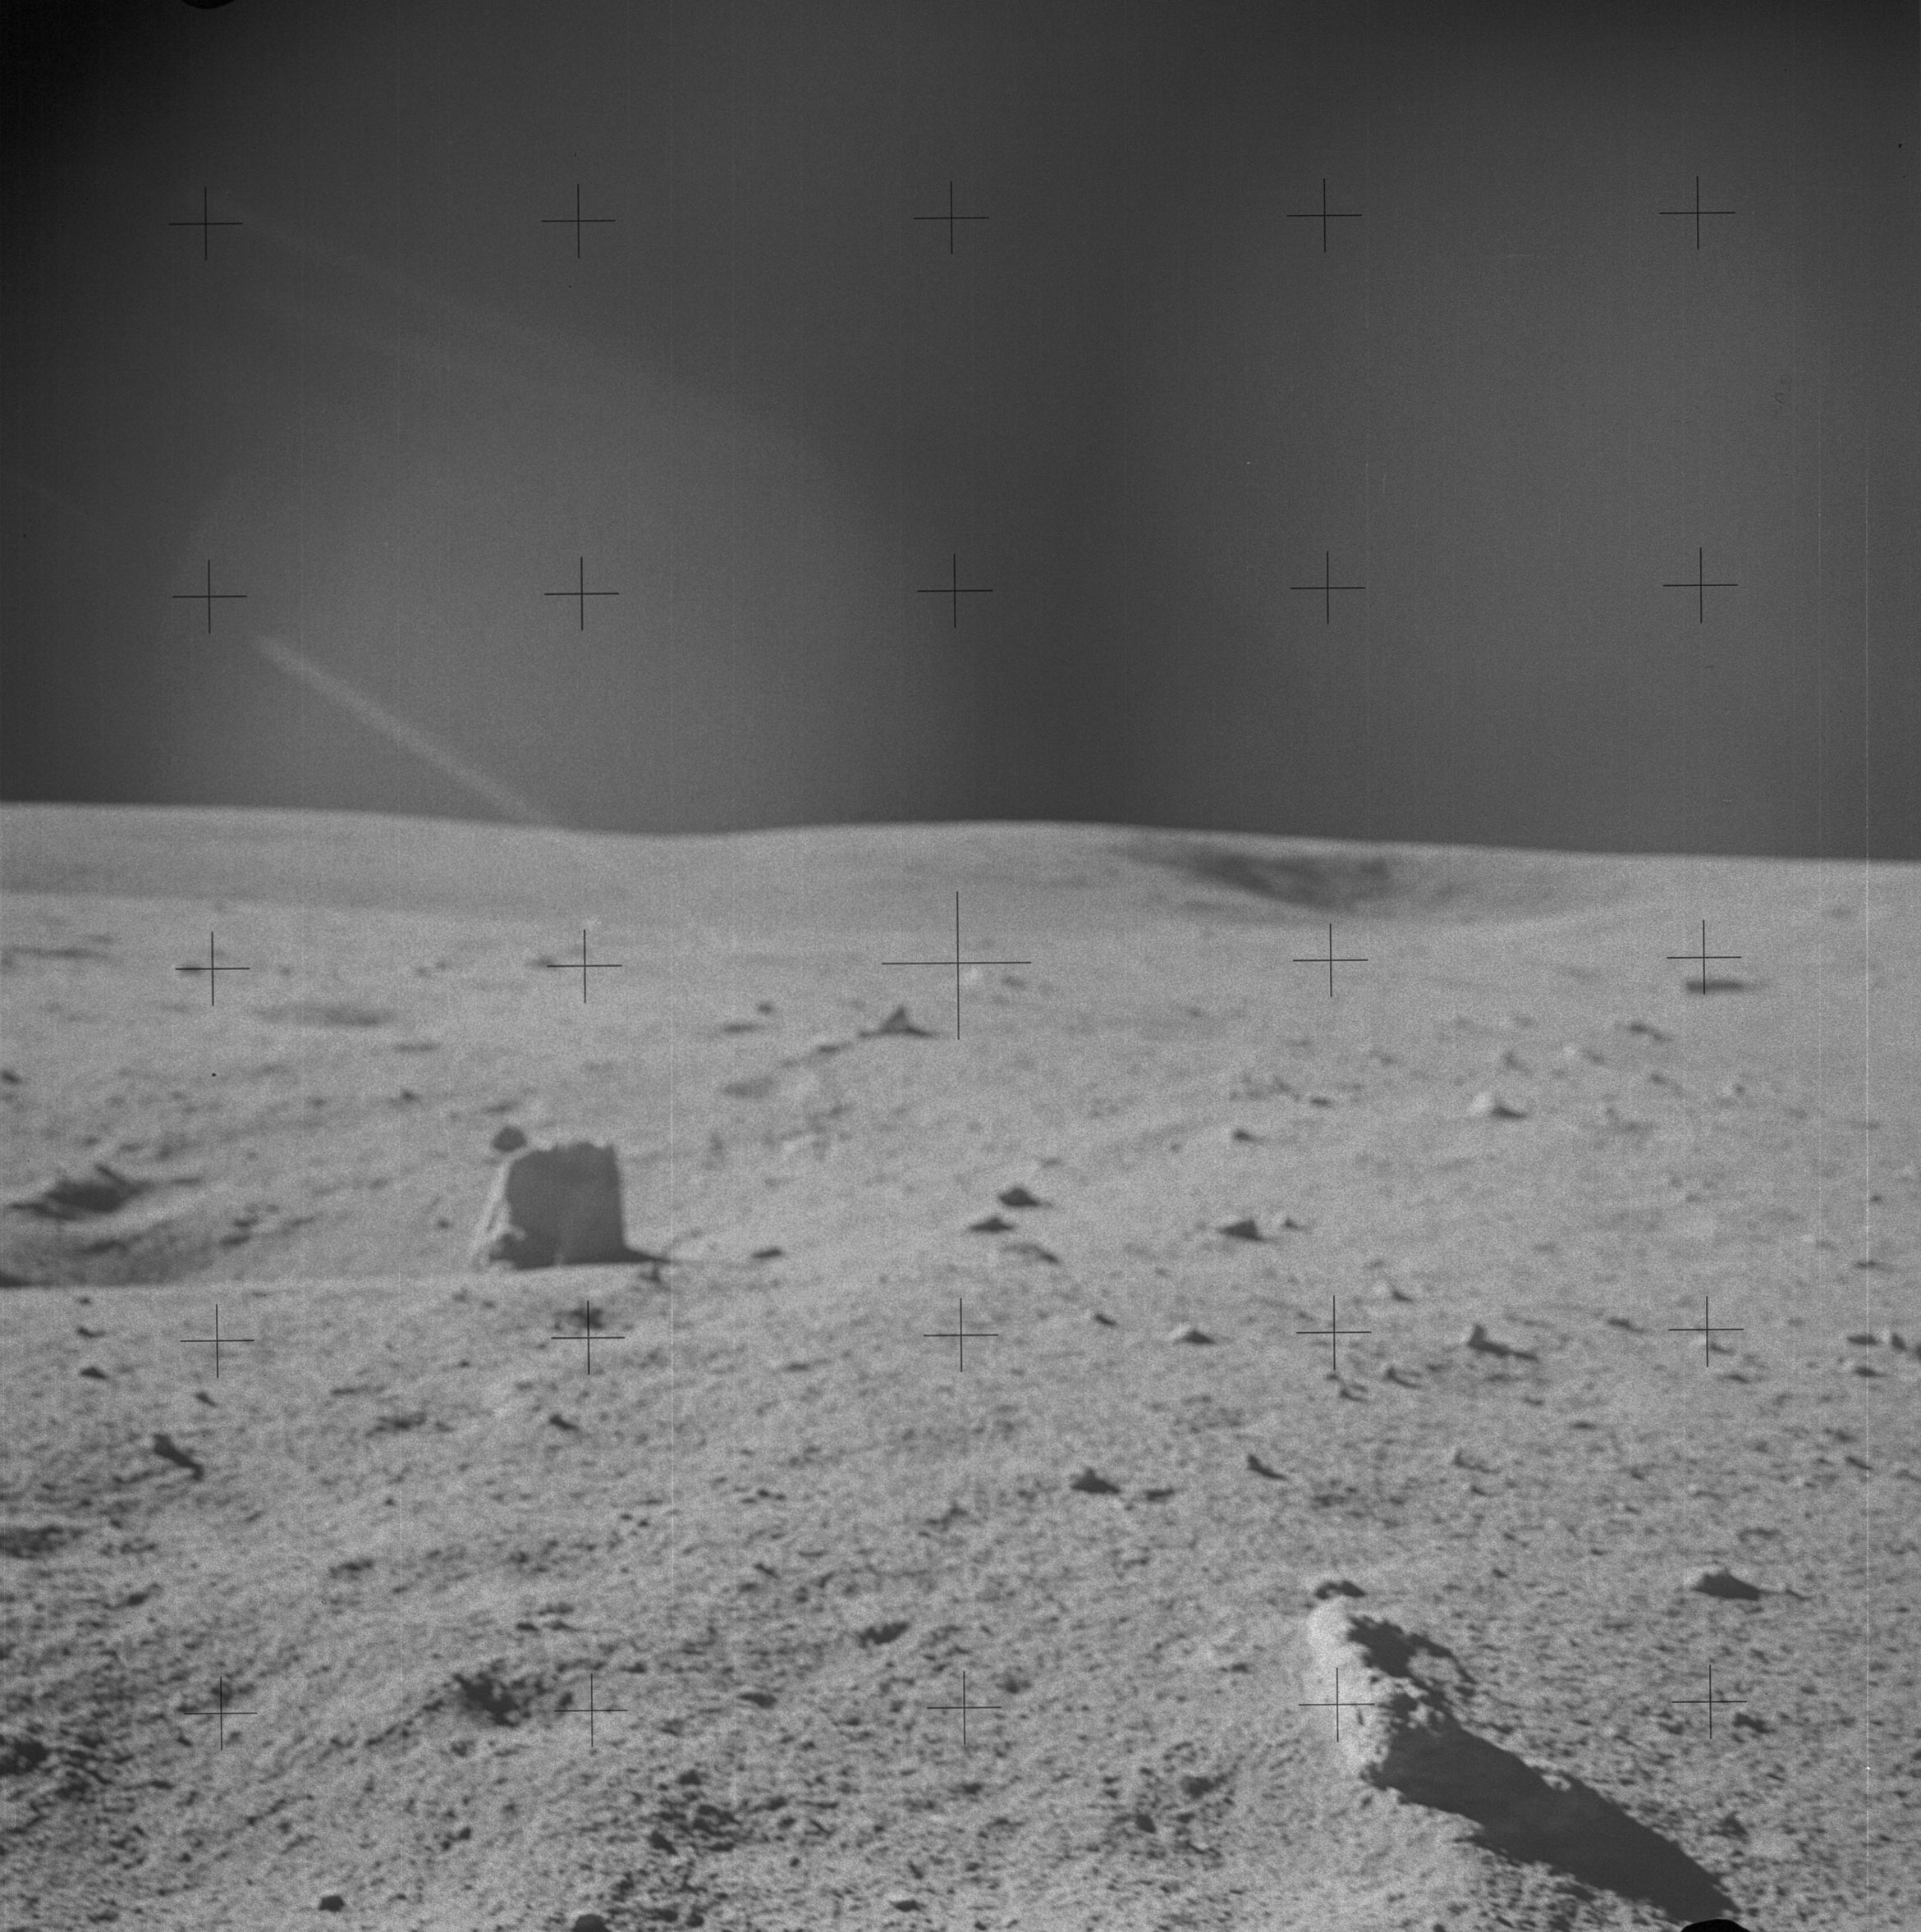 | AS14-64-9151 Rightward of 9150, showing Old Nameless , out-of-focus, to the right of center. Image credit: Image Science and Analysis Laboratory, NASA-Johnson Space Center. |
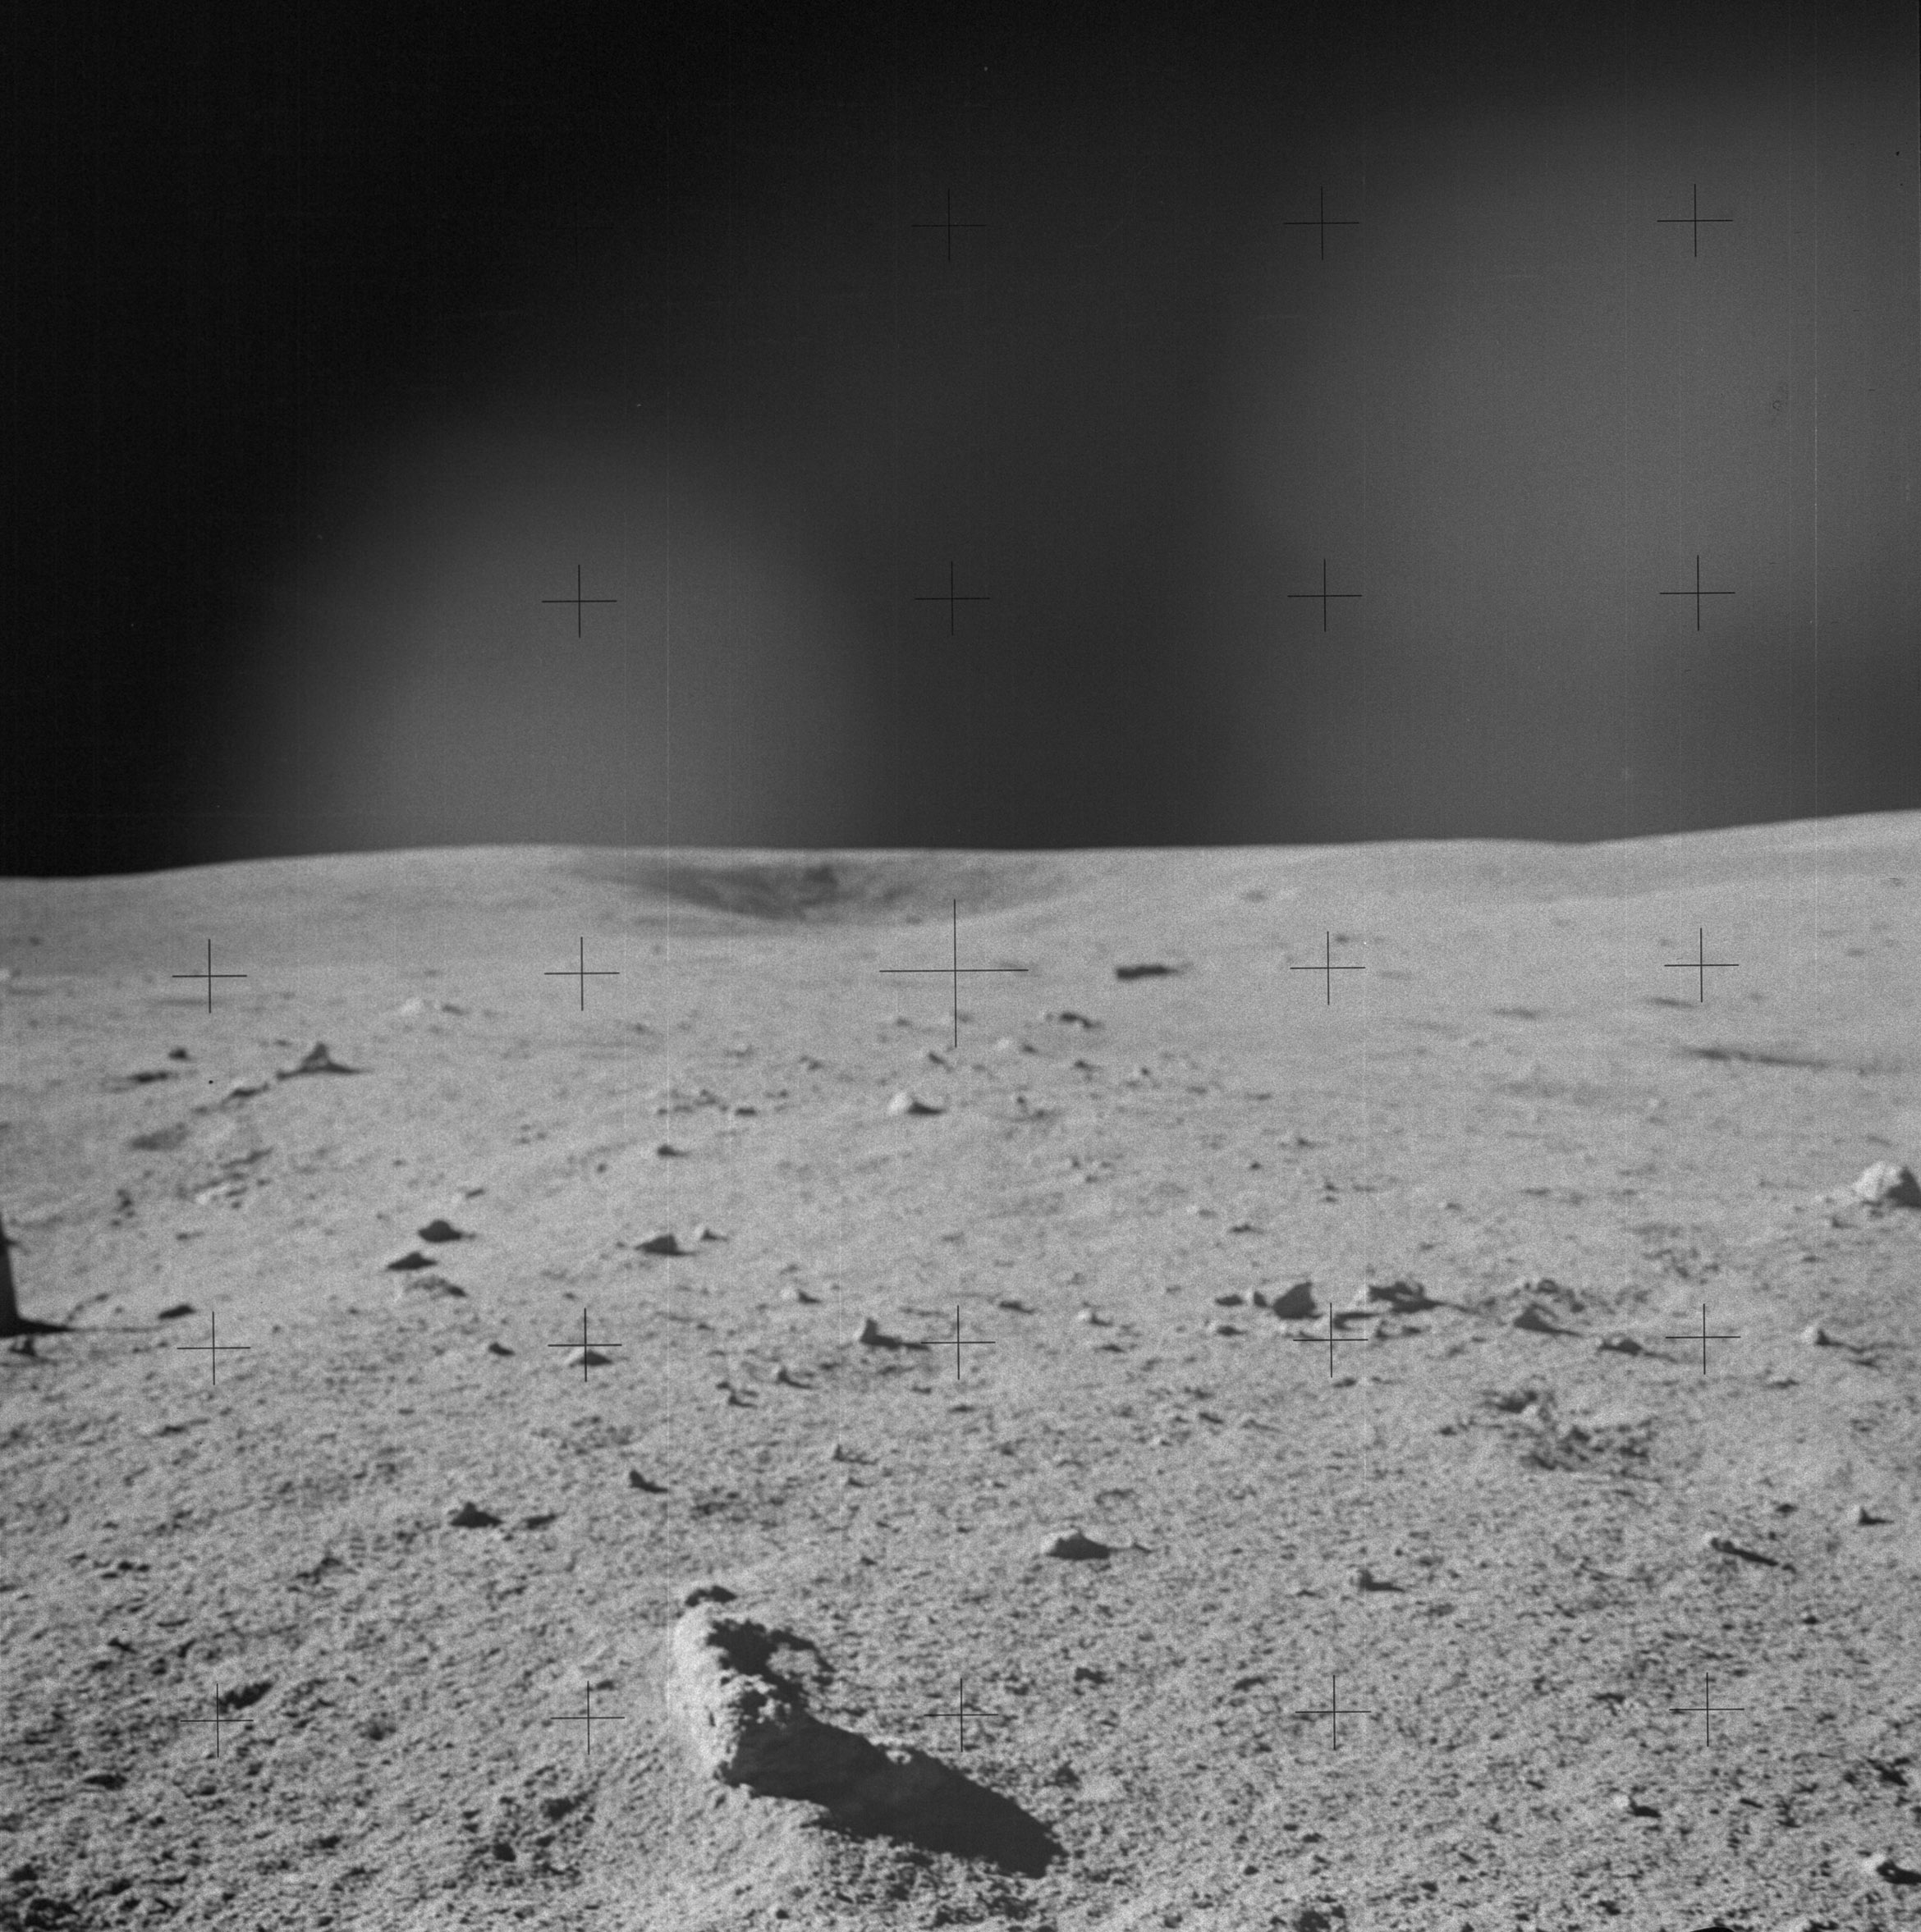 | AS14-64-9152 Rightward of 9151. Image credit: Image Science and Analysis Laboratory, NASA-Johnson Space Center. |
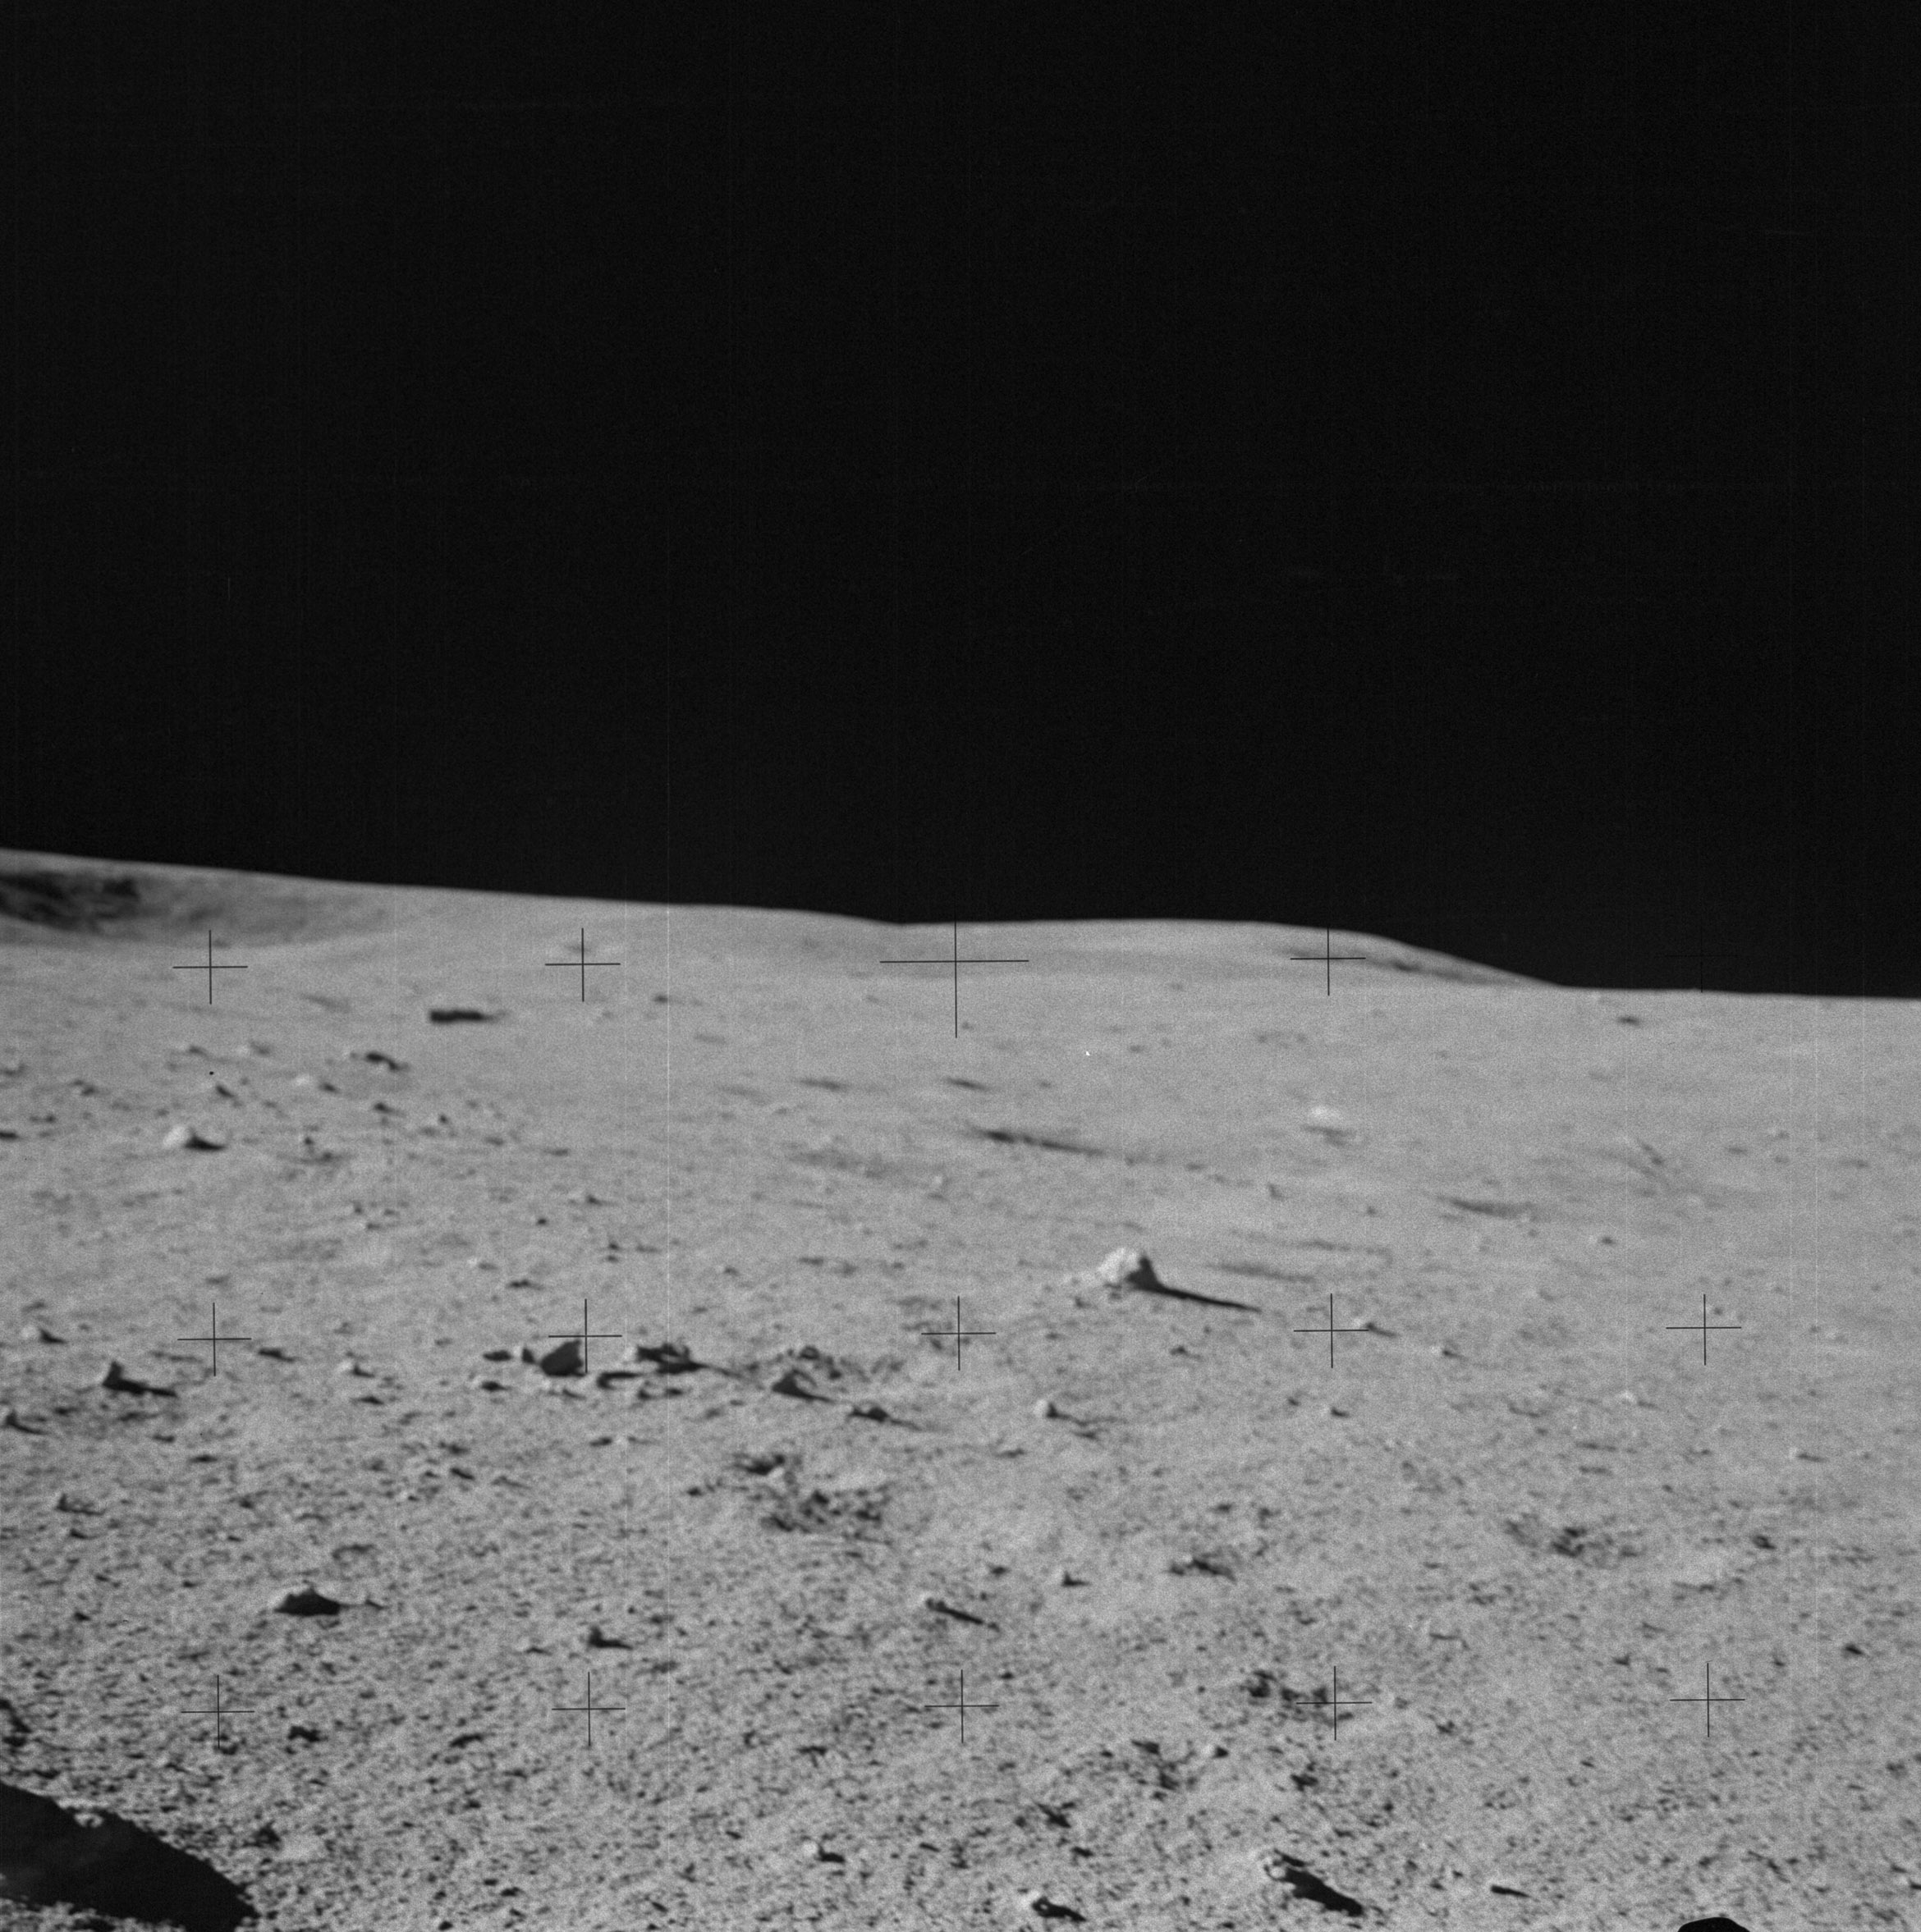 | AS14-64-9153 Rightward of 9152. Image credit: Image Science and Analysis Laboratory, NASA-Johnson Space Center. |
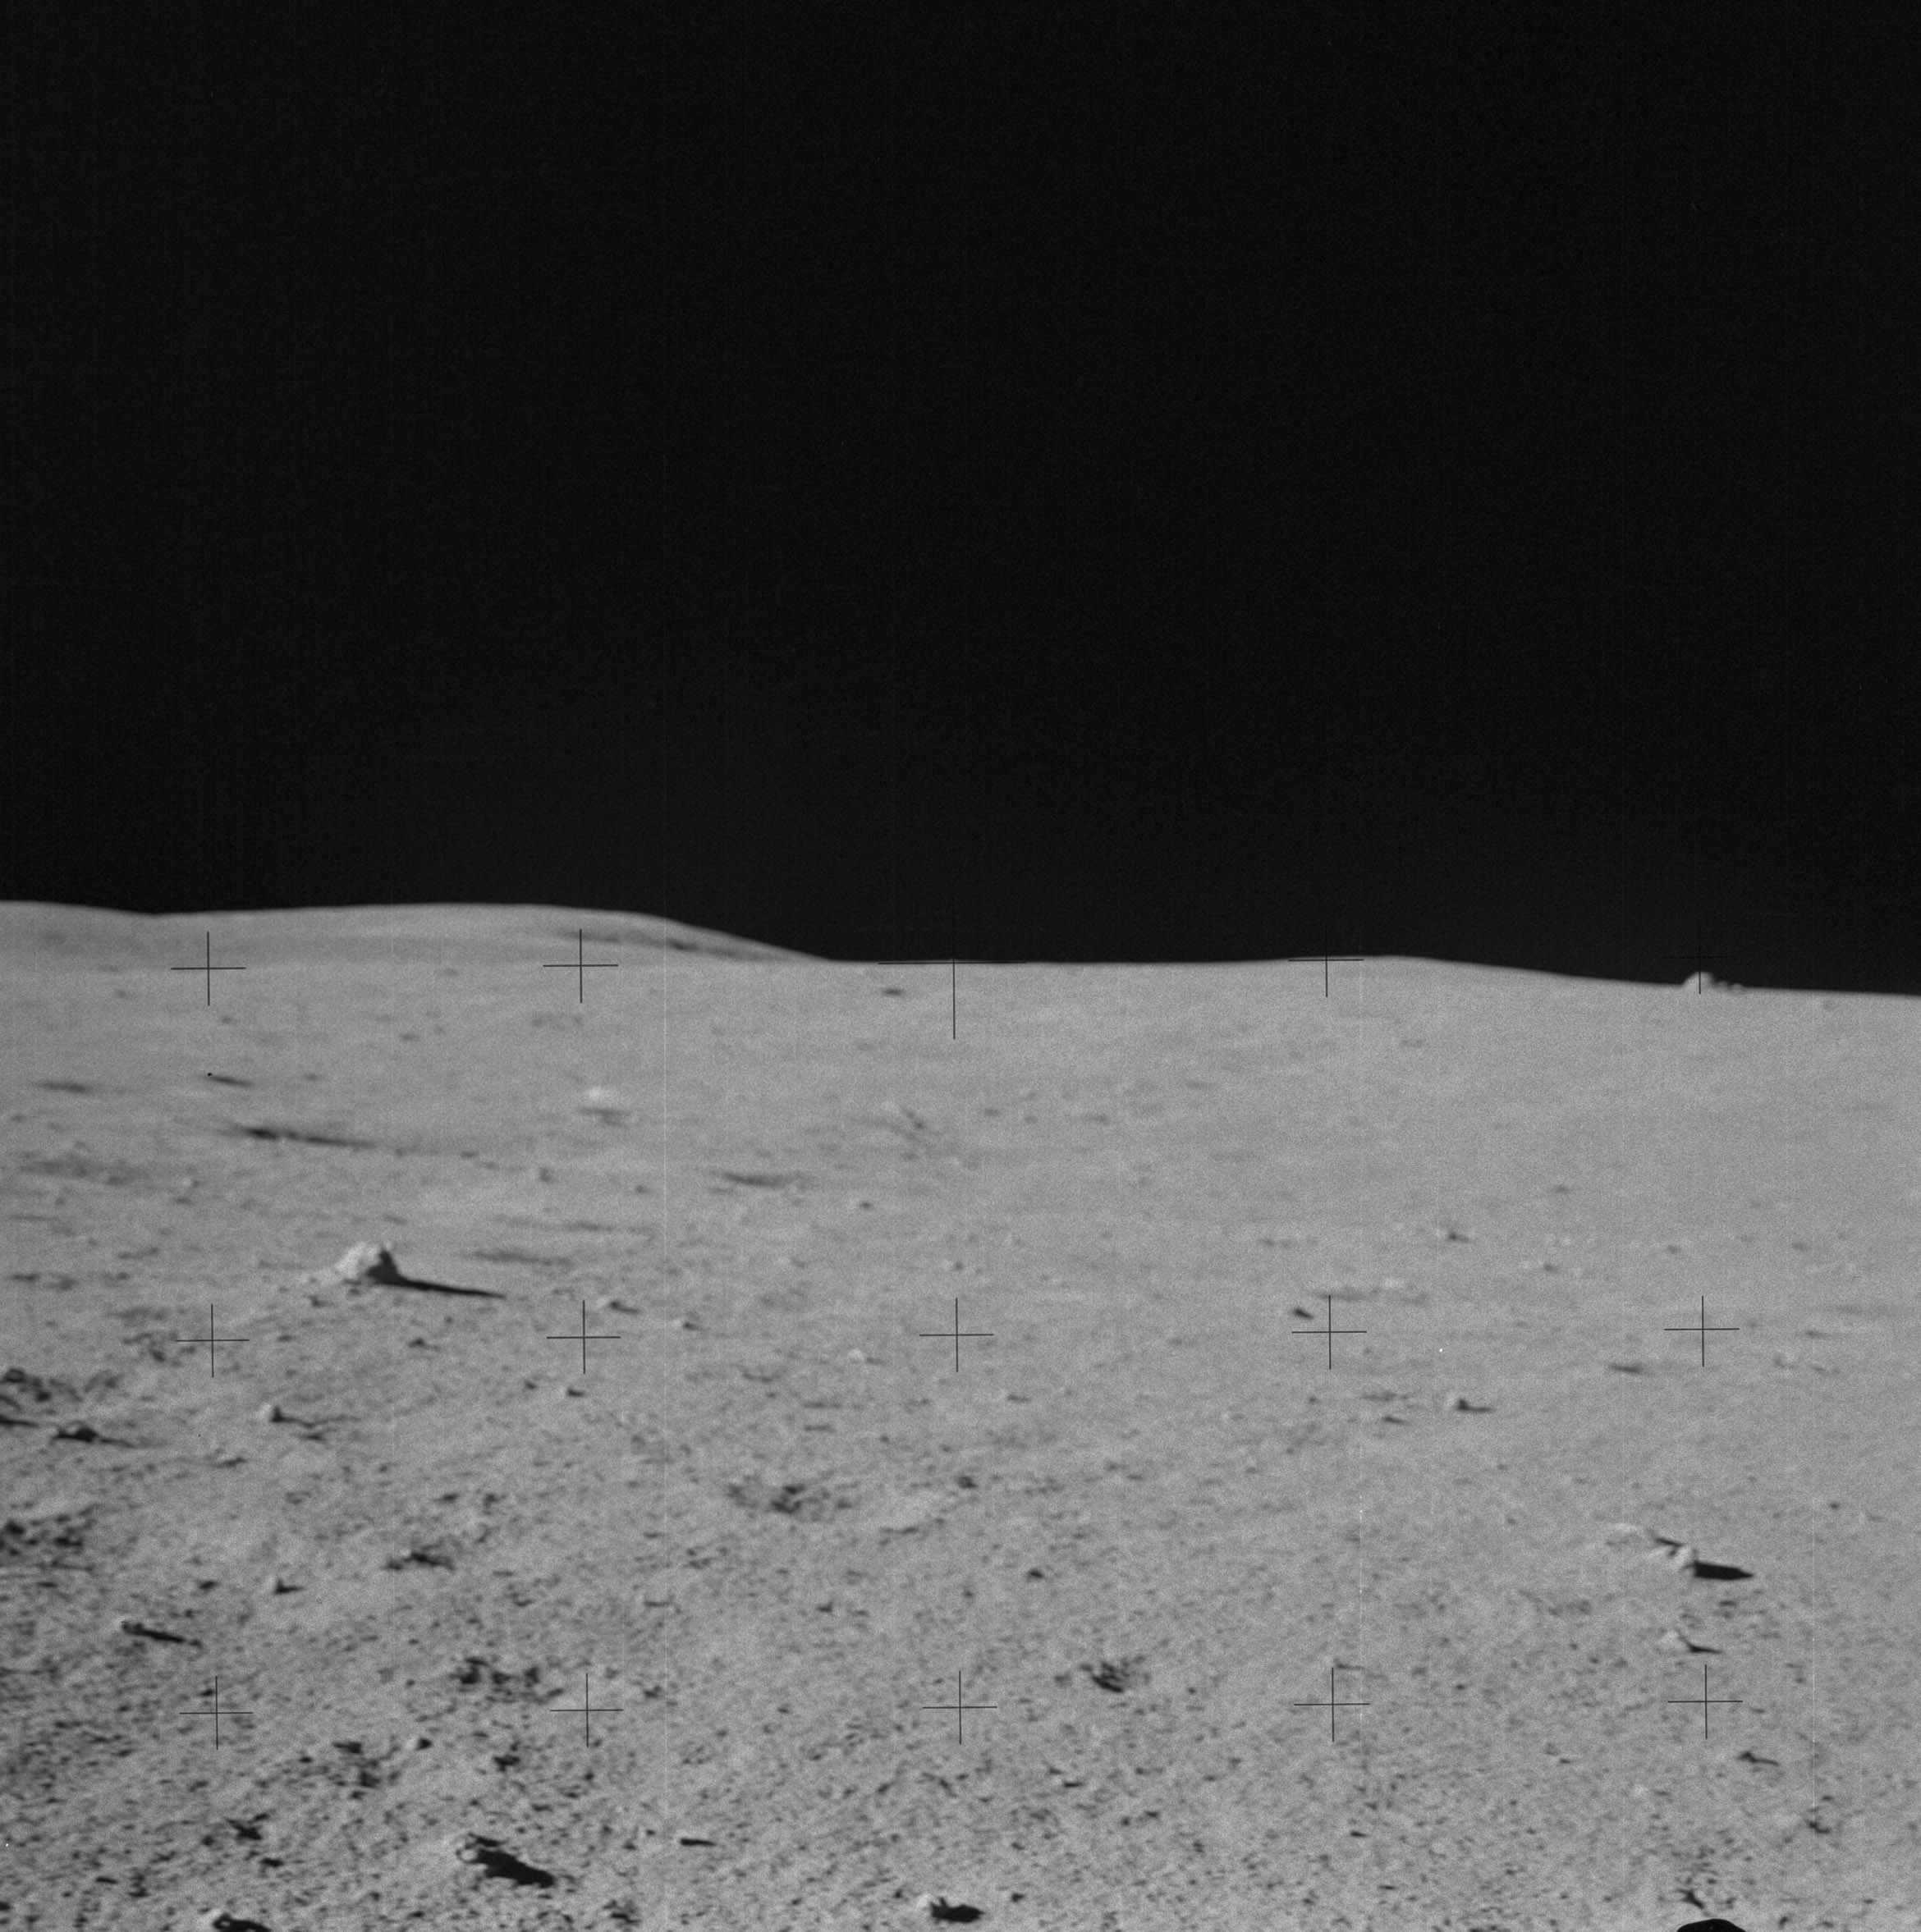 | AS14-64-9154 Rightward of 9153. Image credit: Image Science and Analysis Laboratory, NASA-Johnson Space Center. |
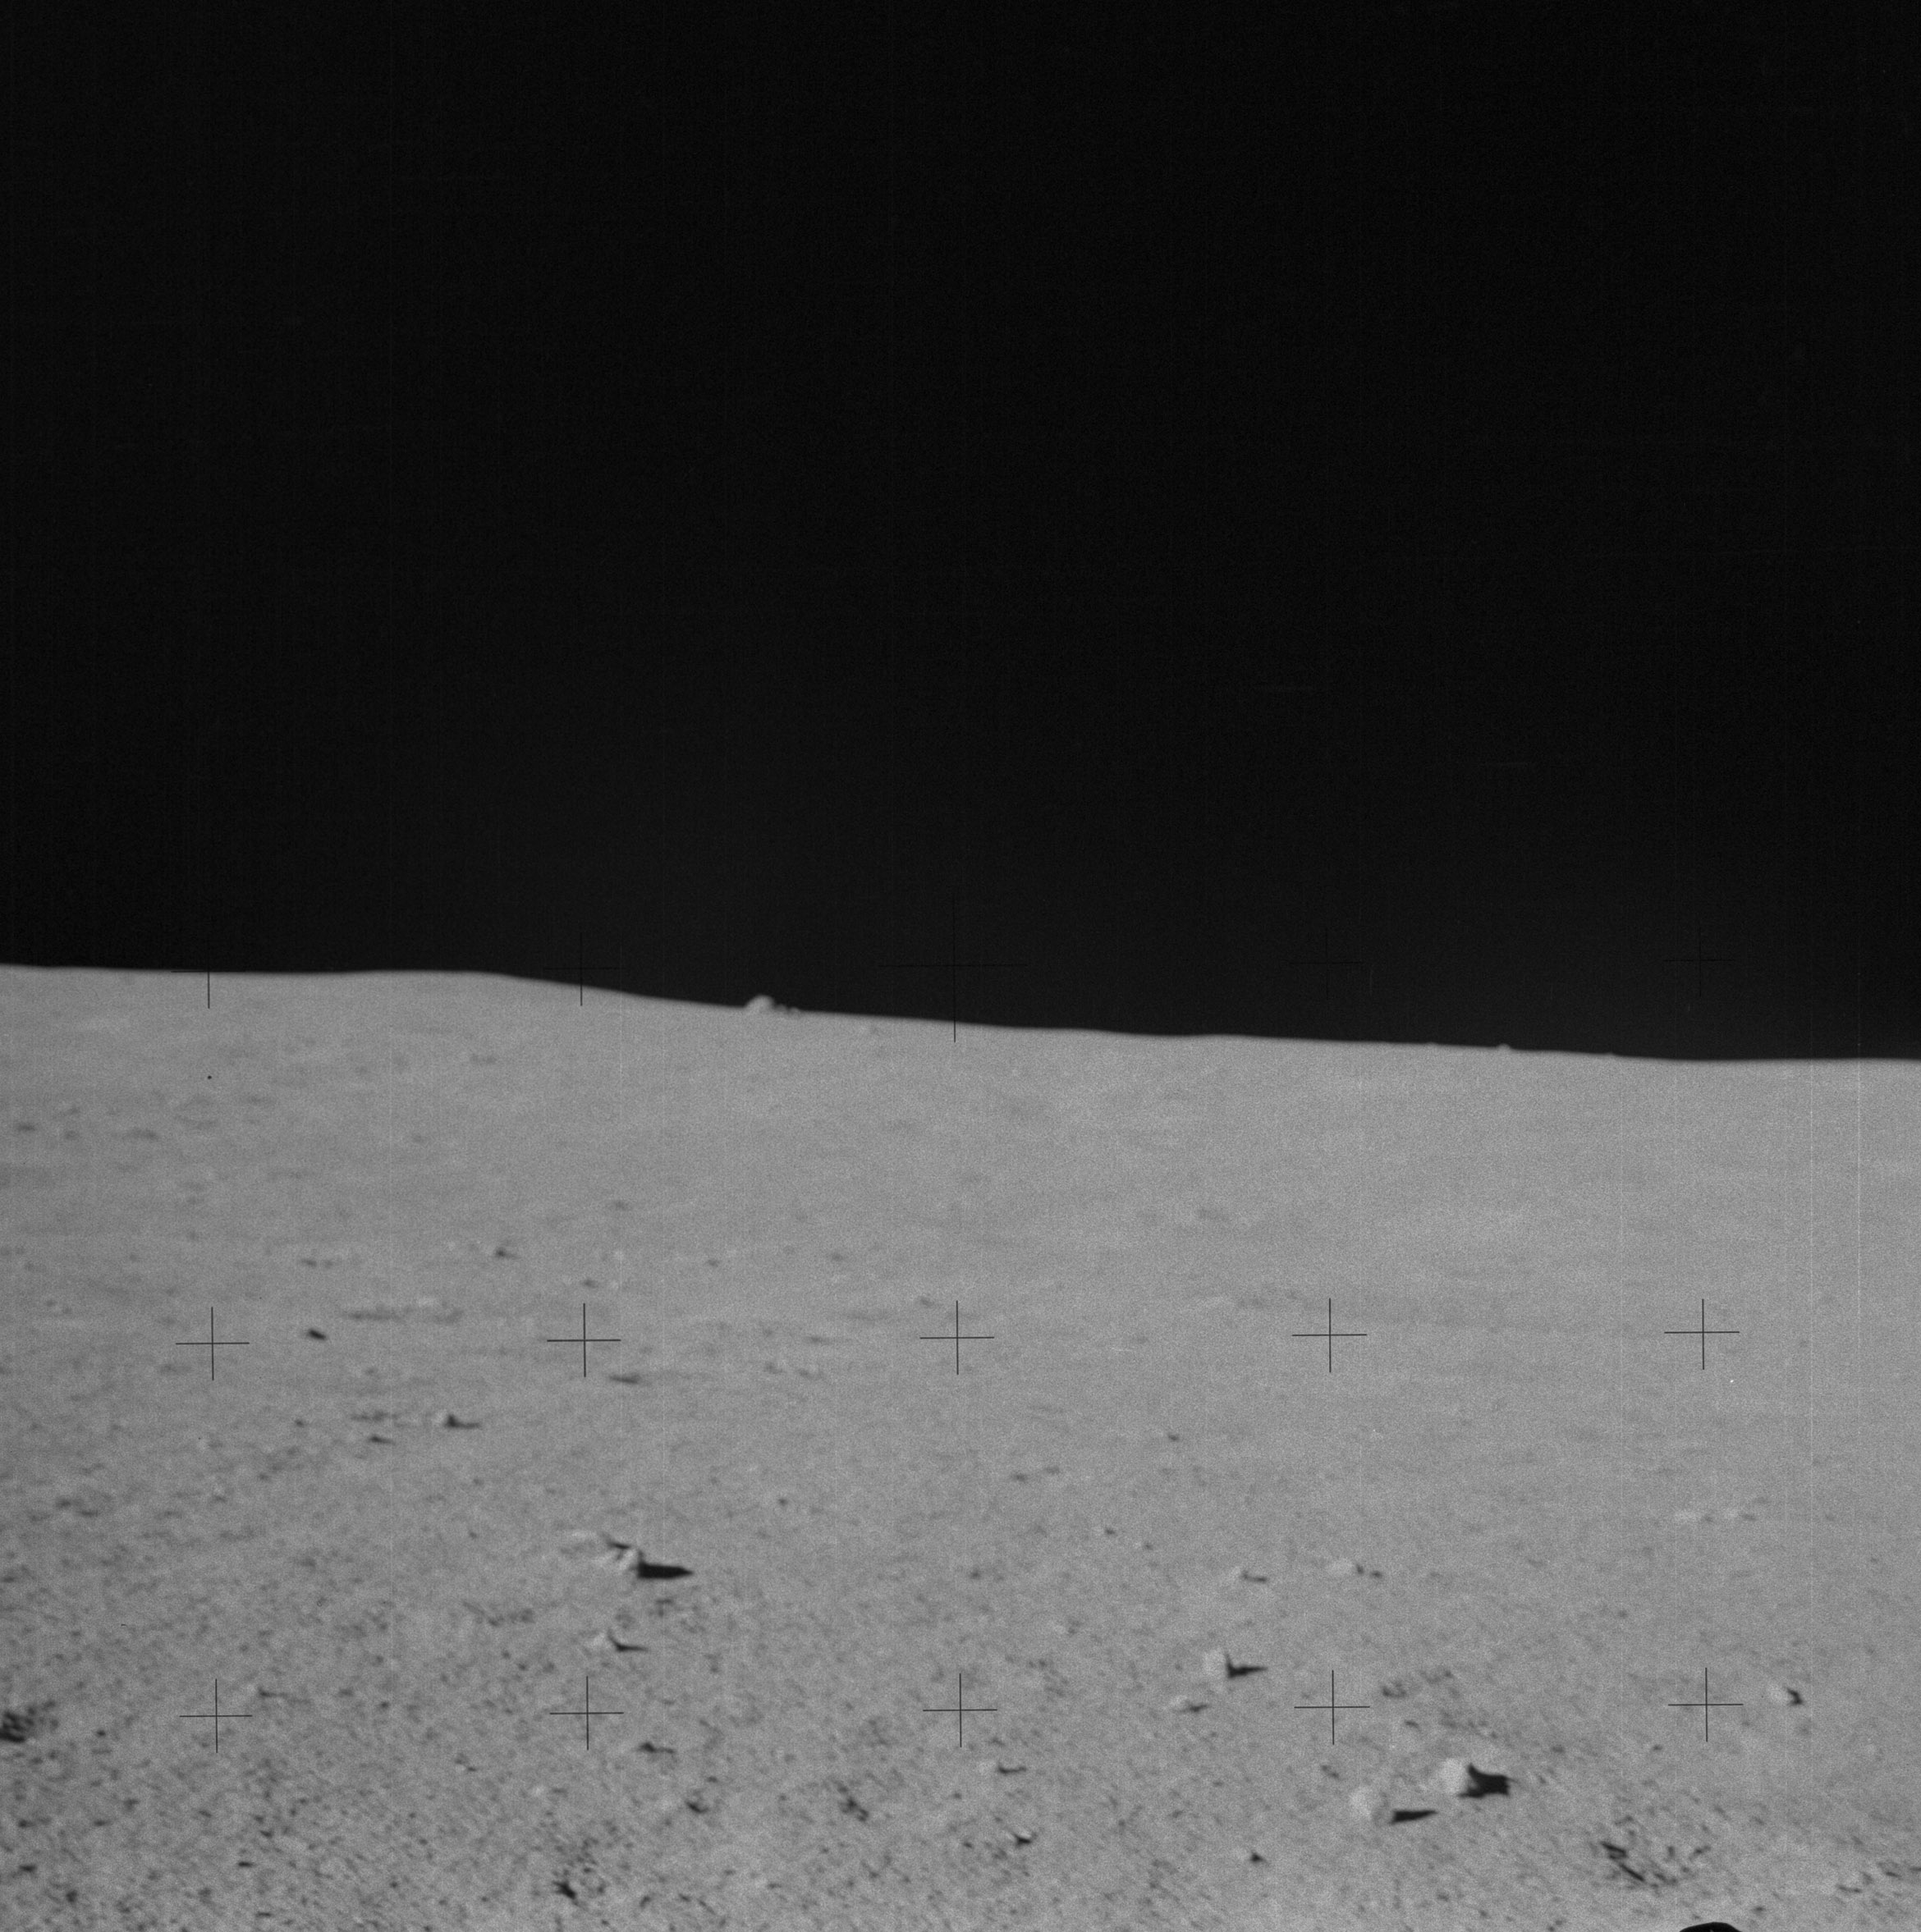 | AS14-64-9155 Rightward of 9154. Image credit: Image Science and Analysis Laboratory, NASA-Johnson Space Center. |
 | AS14-64-9156 Rightward of 9155. Image credit: Image Science and Analysis Laboratory, NASA-Johnson Space Center. |
 | AS14-64-9157 134:07:48 Rightward of 9156, ending Al's Station F pan. Image credit: Image Science and Analysis Laboratory, NASA-Johnson Space Center. |
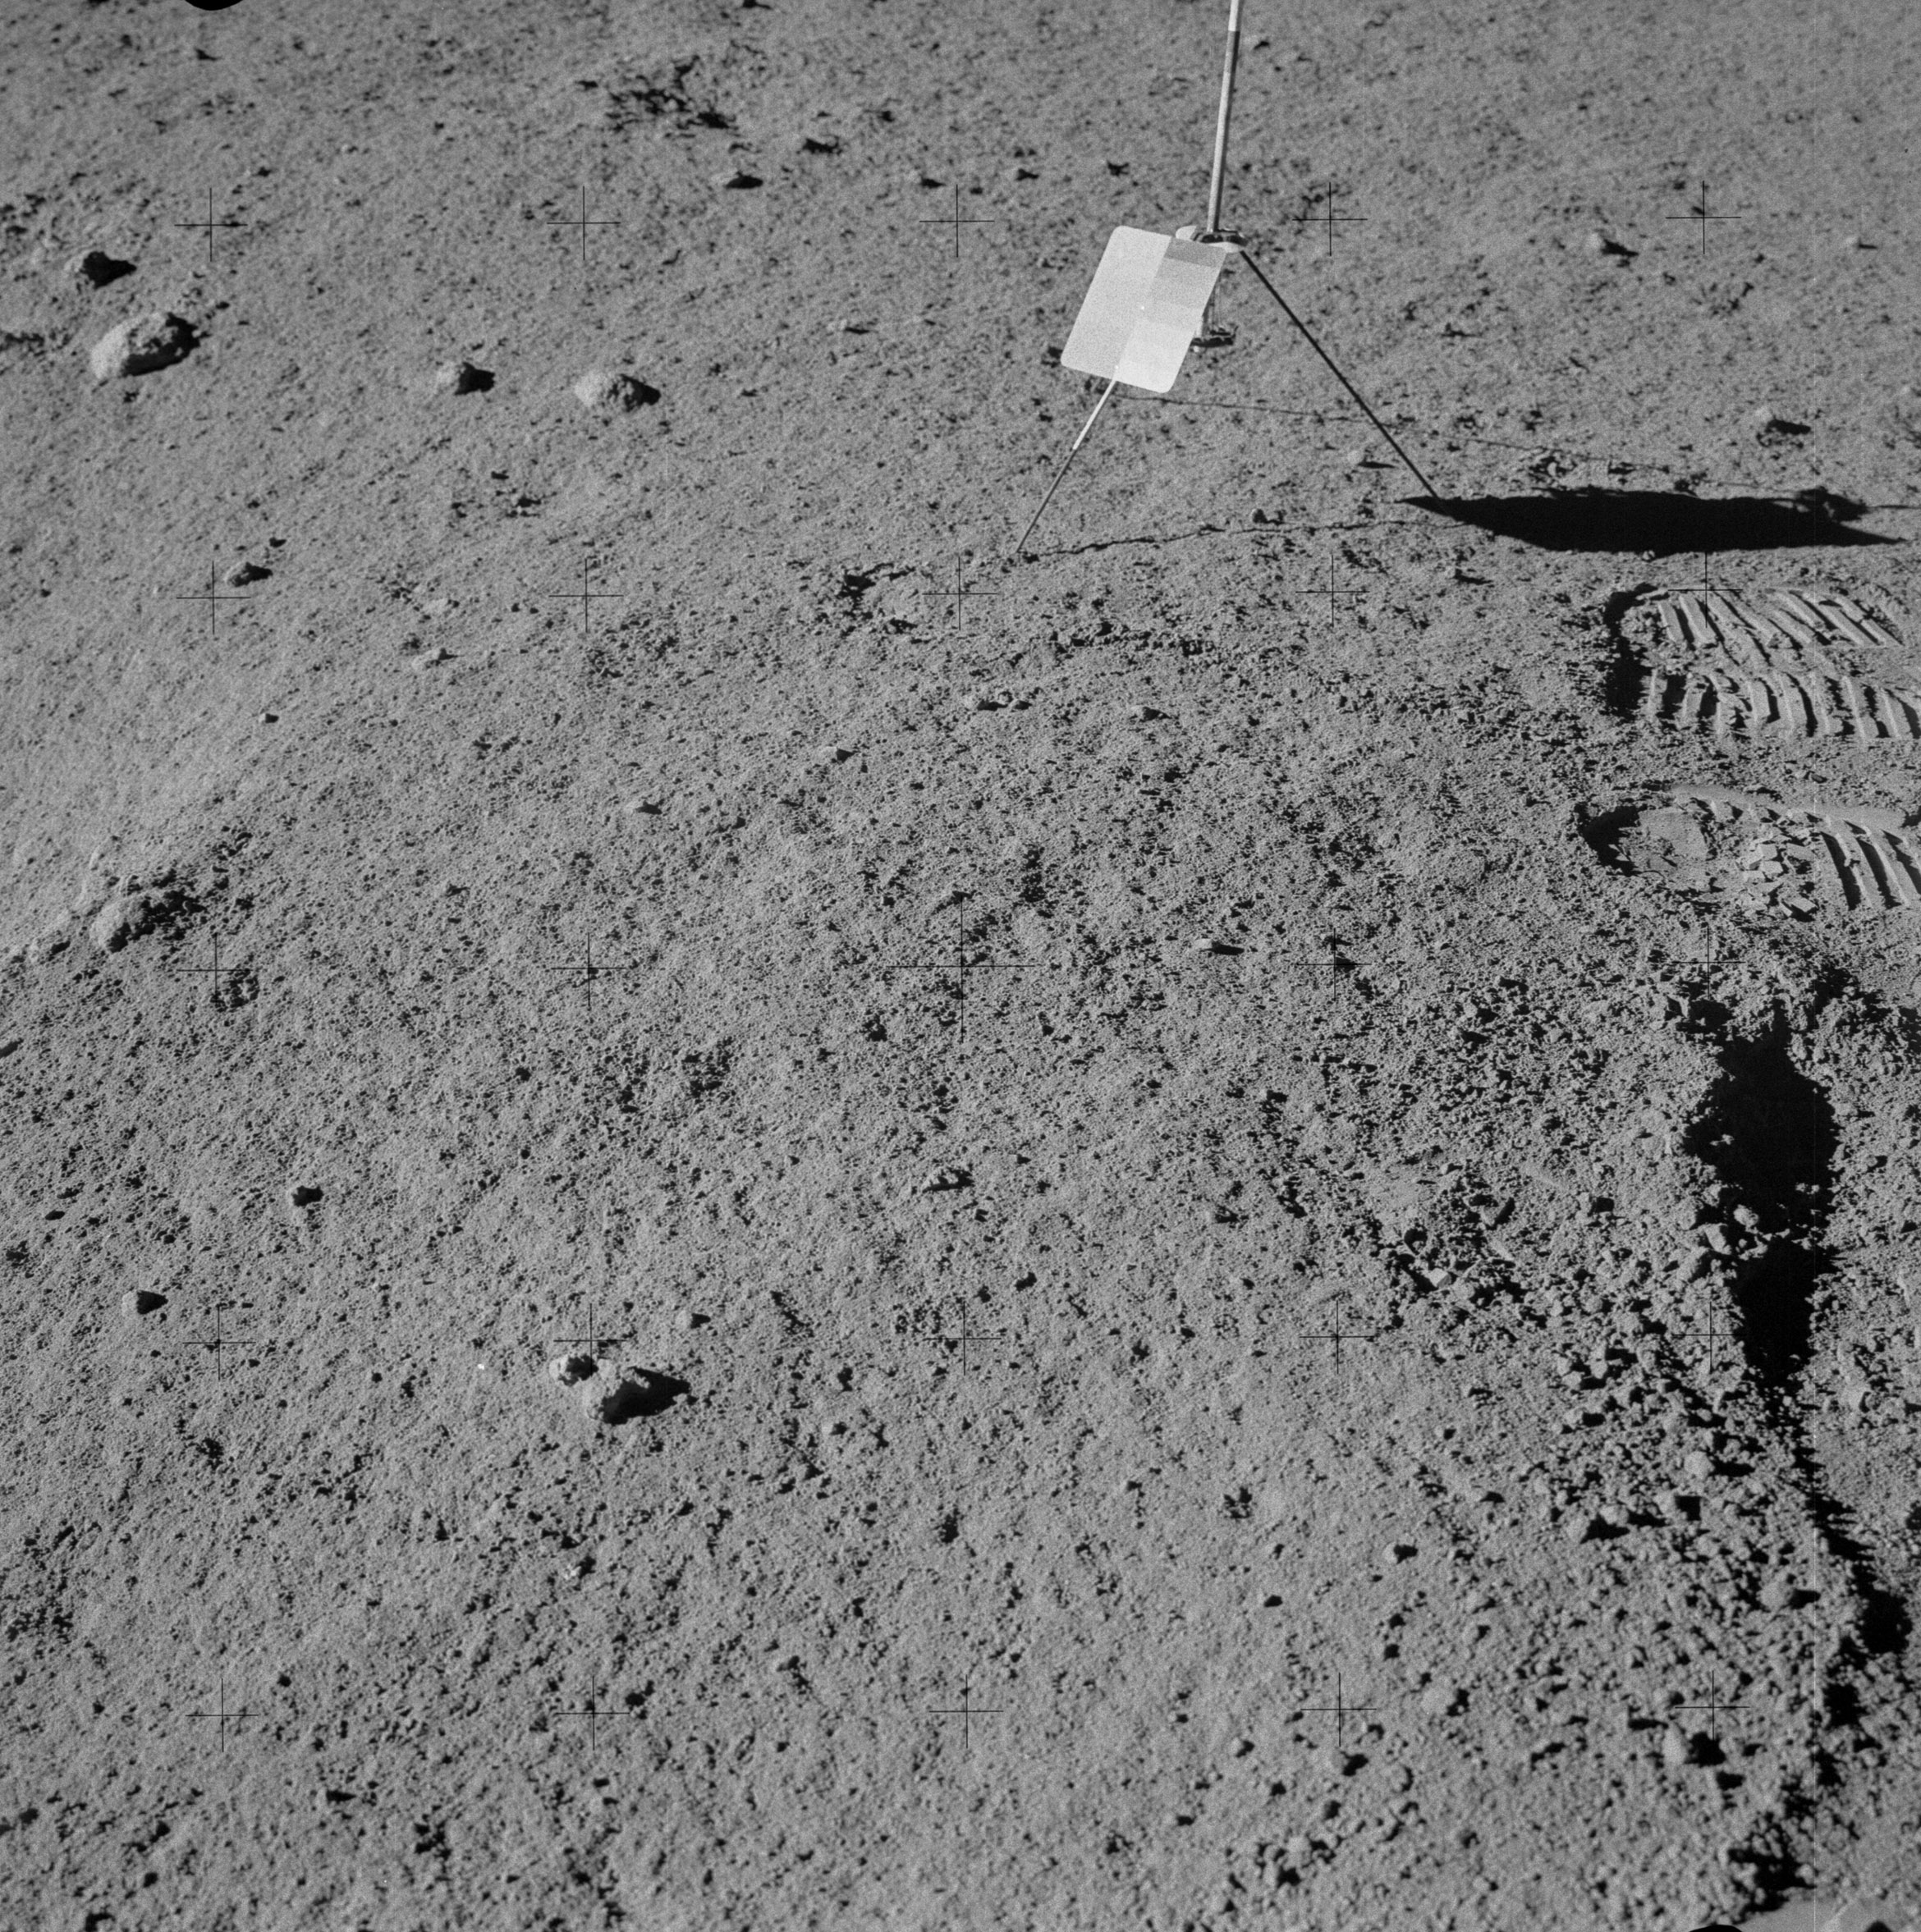 | AS14-64-9158 134:15:34 "Before" photo of the Station G trench site, taken from the northeast. Image credit: Image Science and Analysis Laboratory, NASA-Johnson Space Center. |
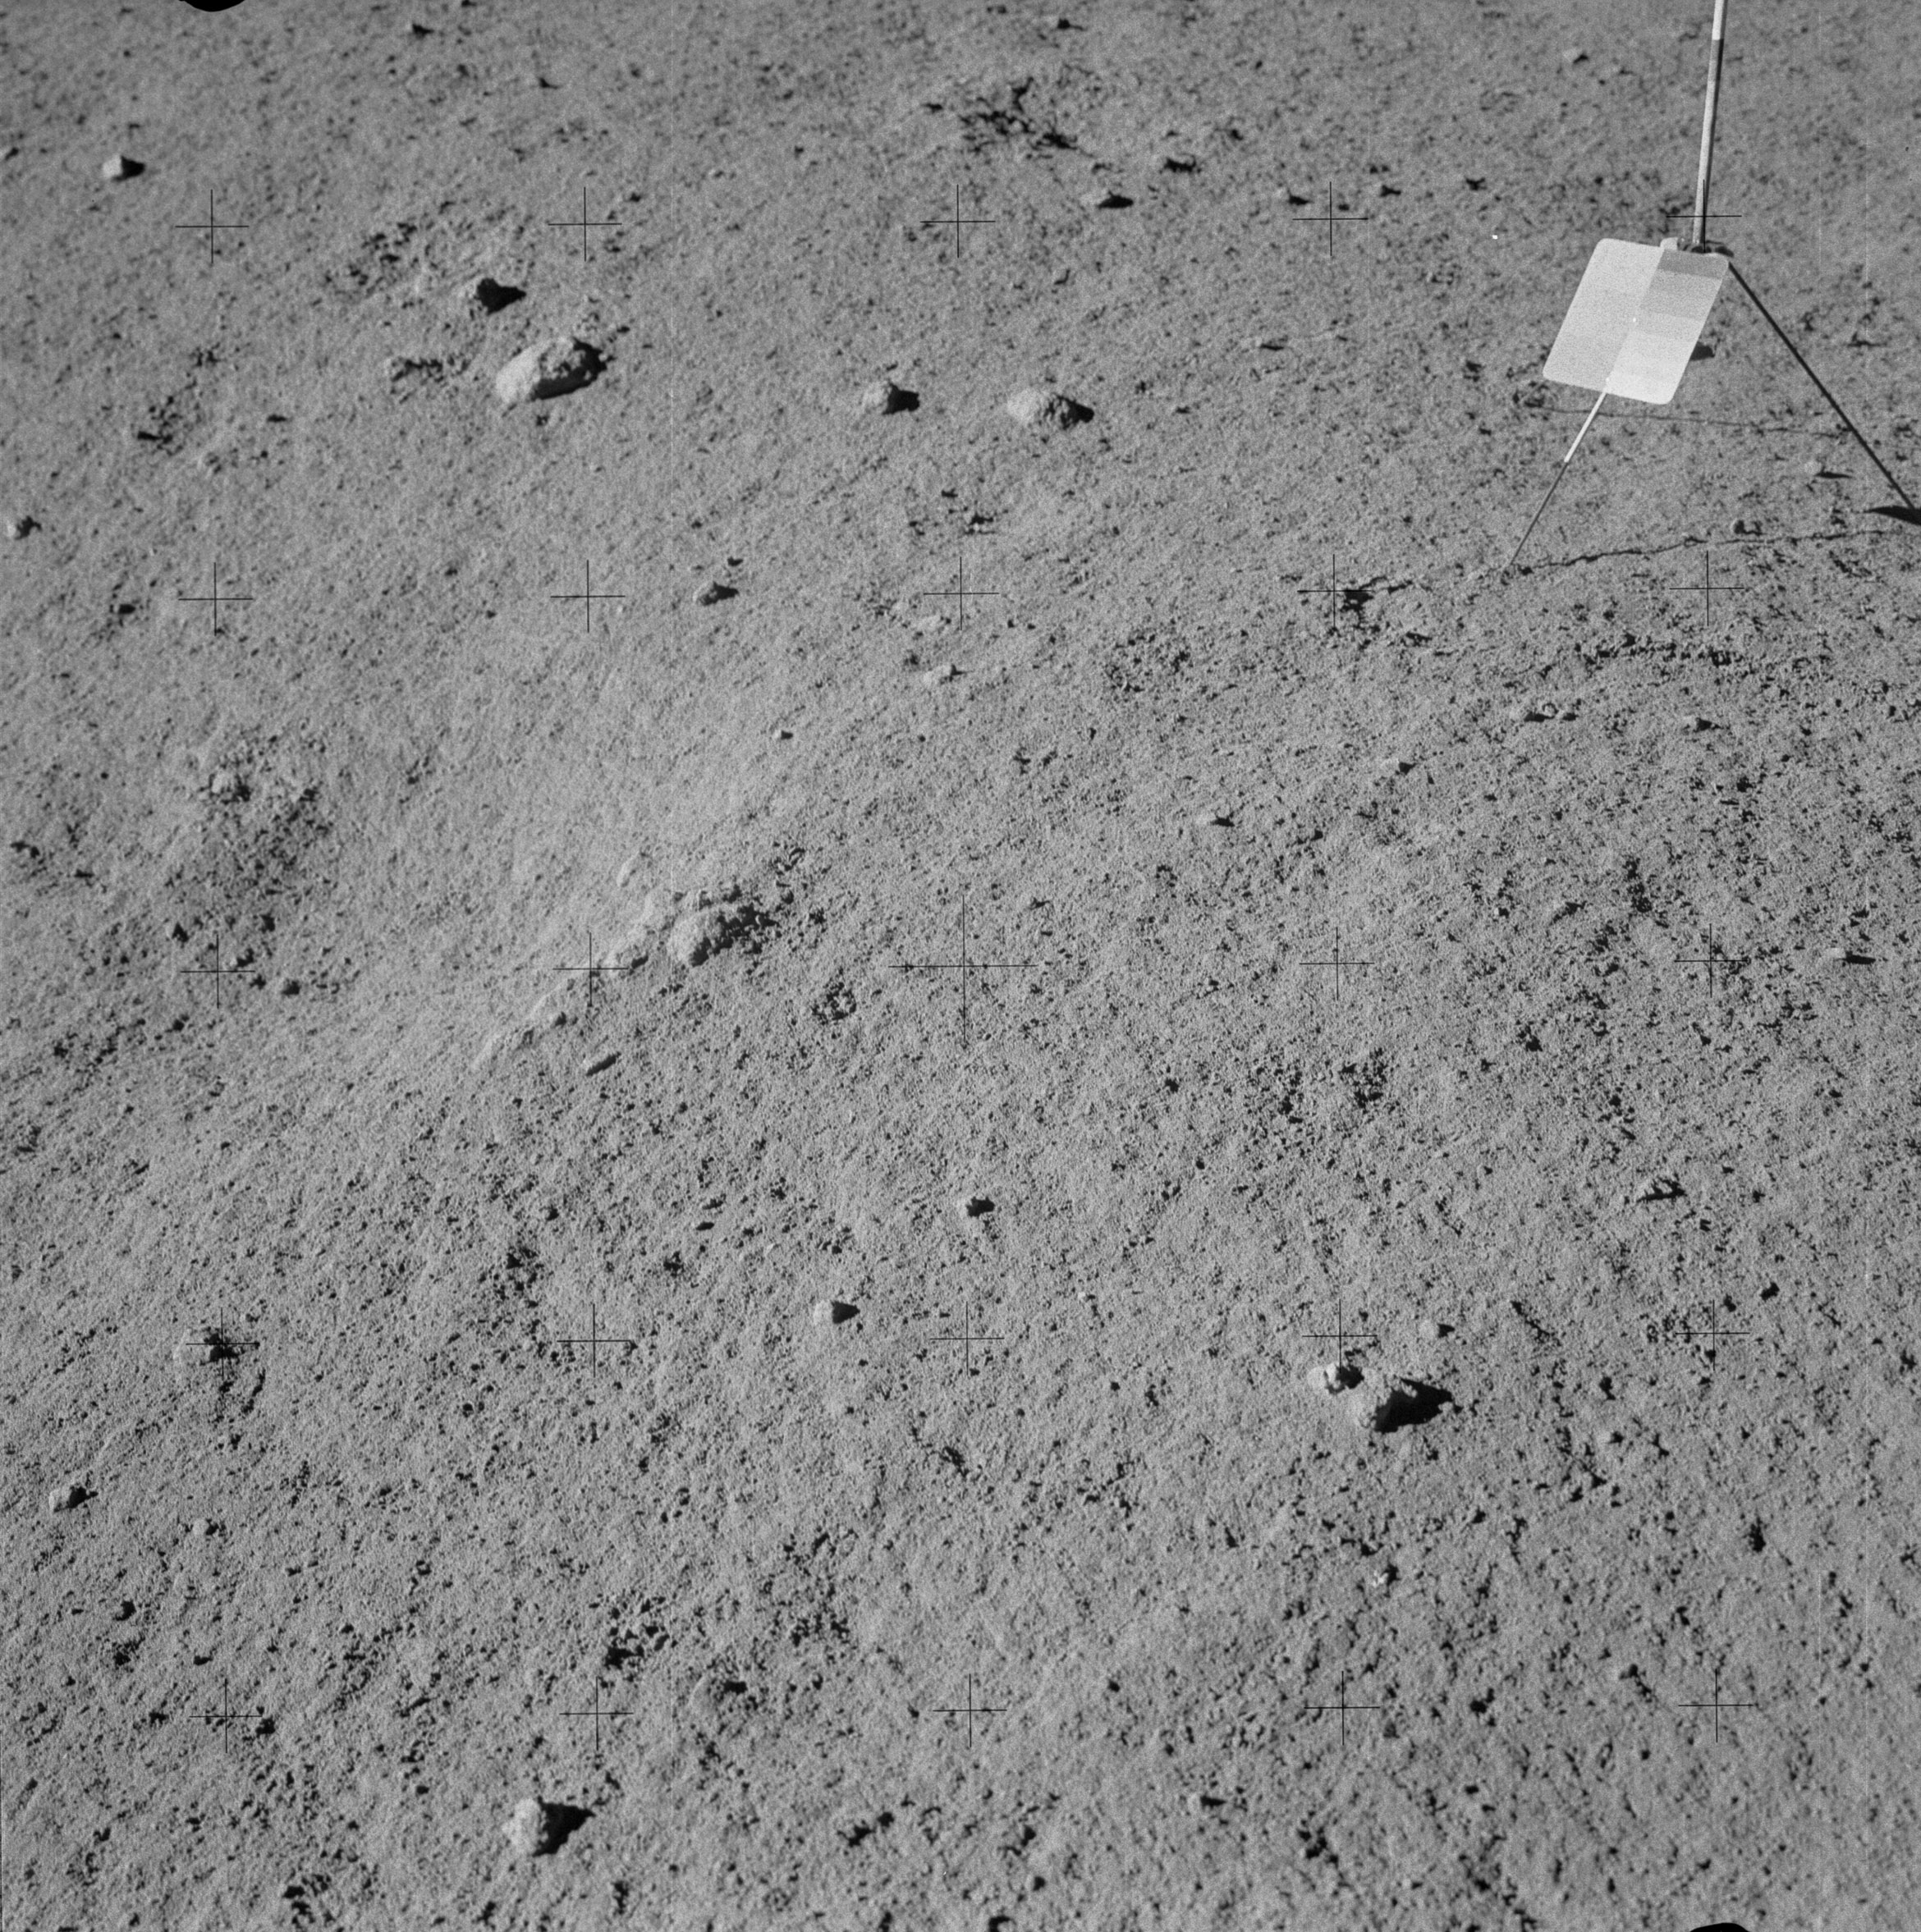 | AS14-64-9159 Al has stepped to his left to take this stereo companion to 9158. Image credit: Image Science and Analysis Laboratory, NASA-Johnson Space Center. |
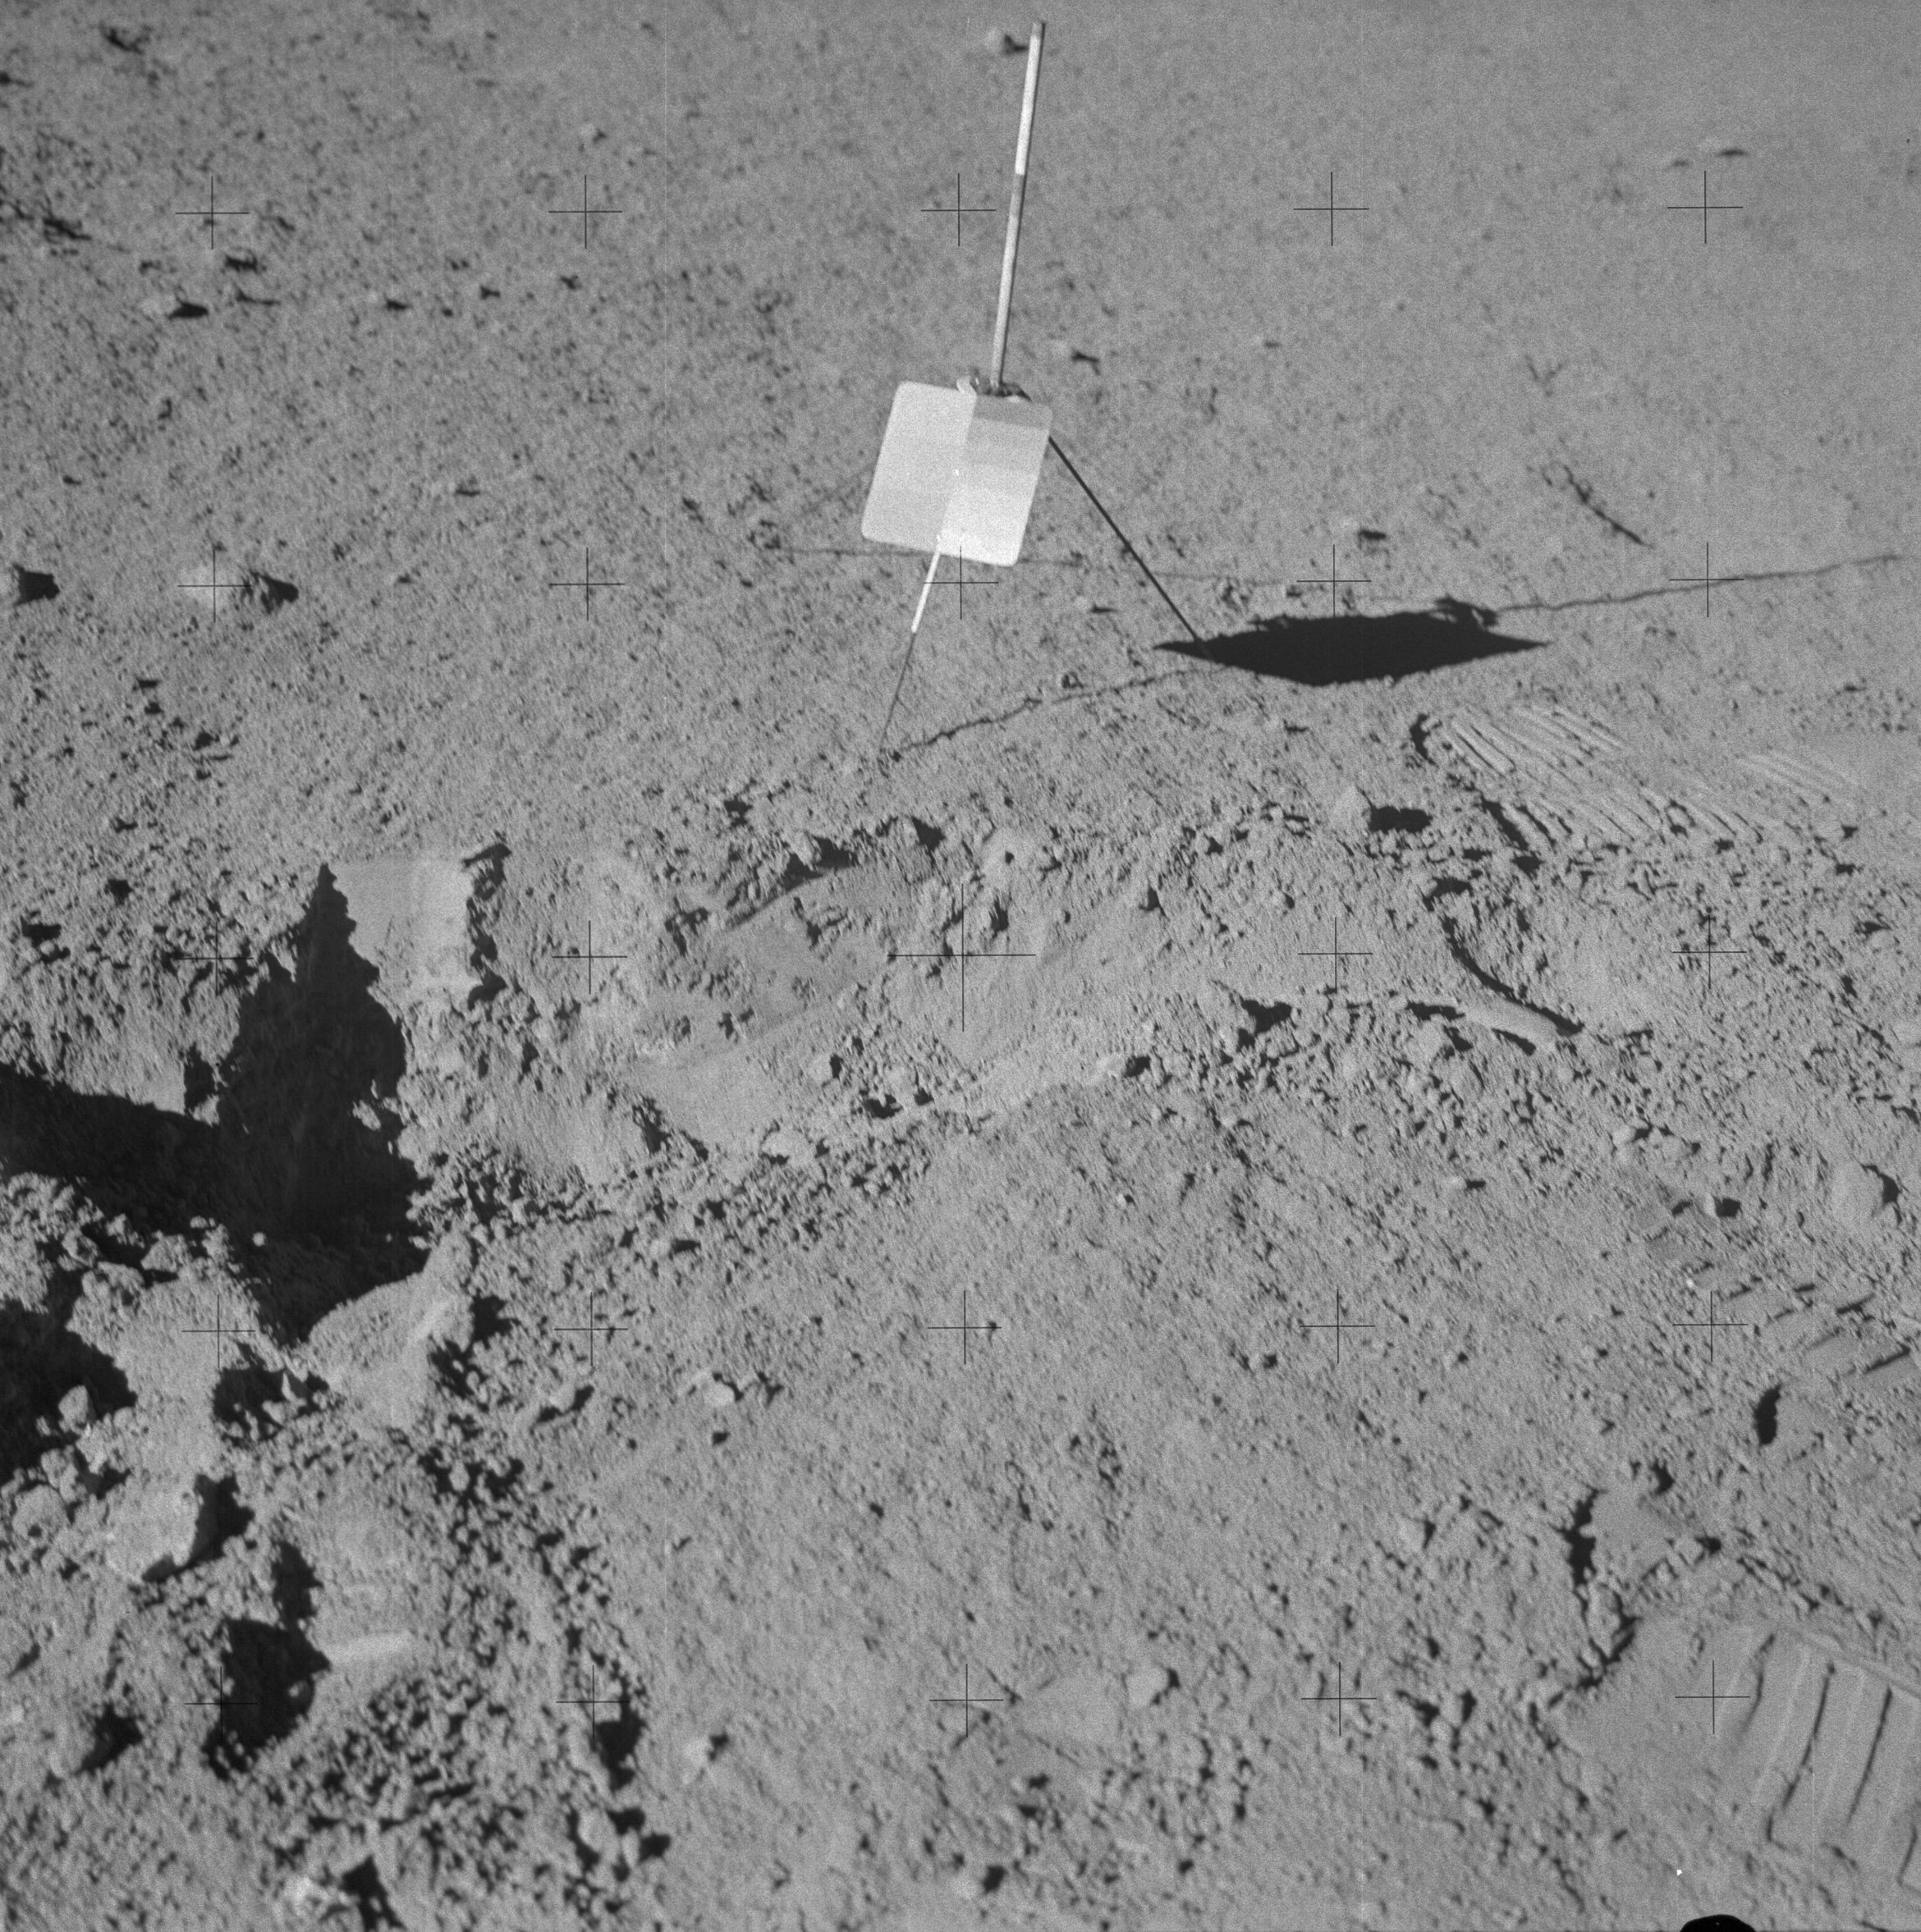 | AS14-64-9160 134:27:54 "After" photo of the Station G trench. Image credit: Image Science and Analysis Laboratory, NASA-Johnson Space Center. |
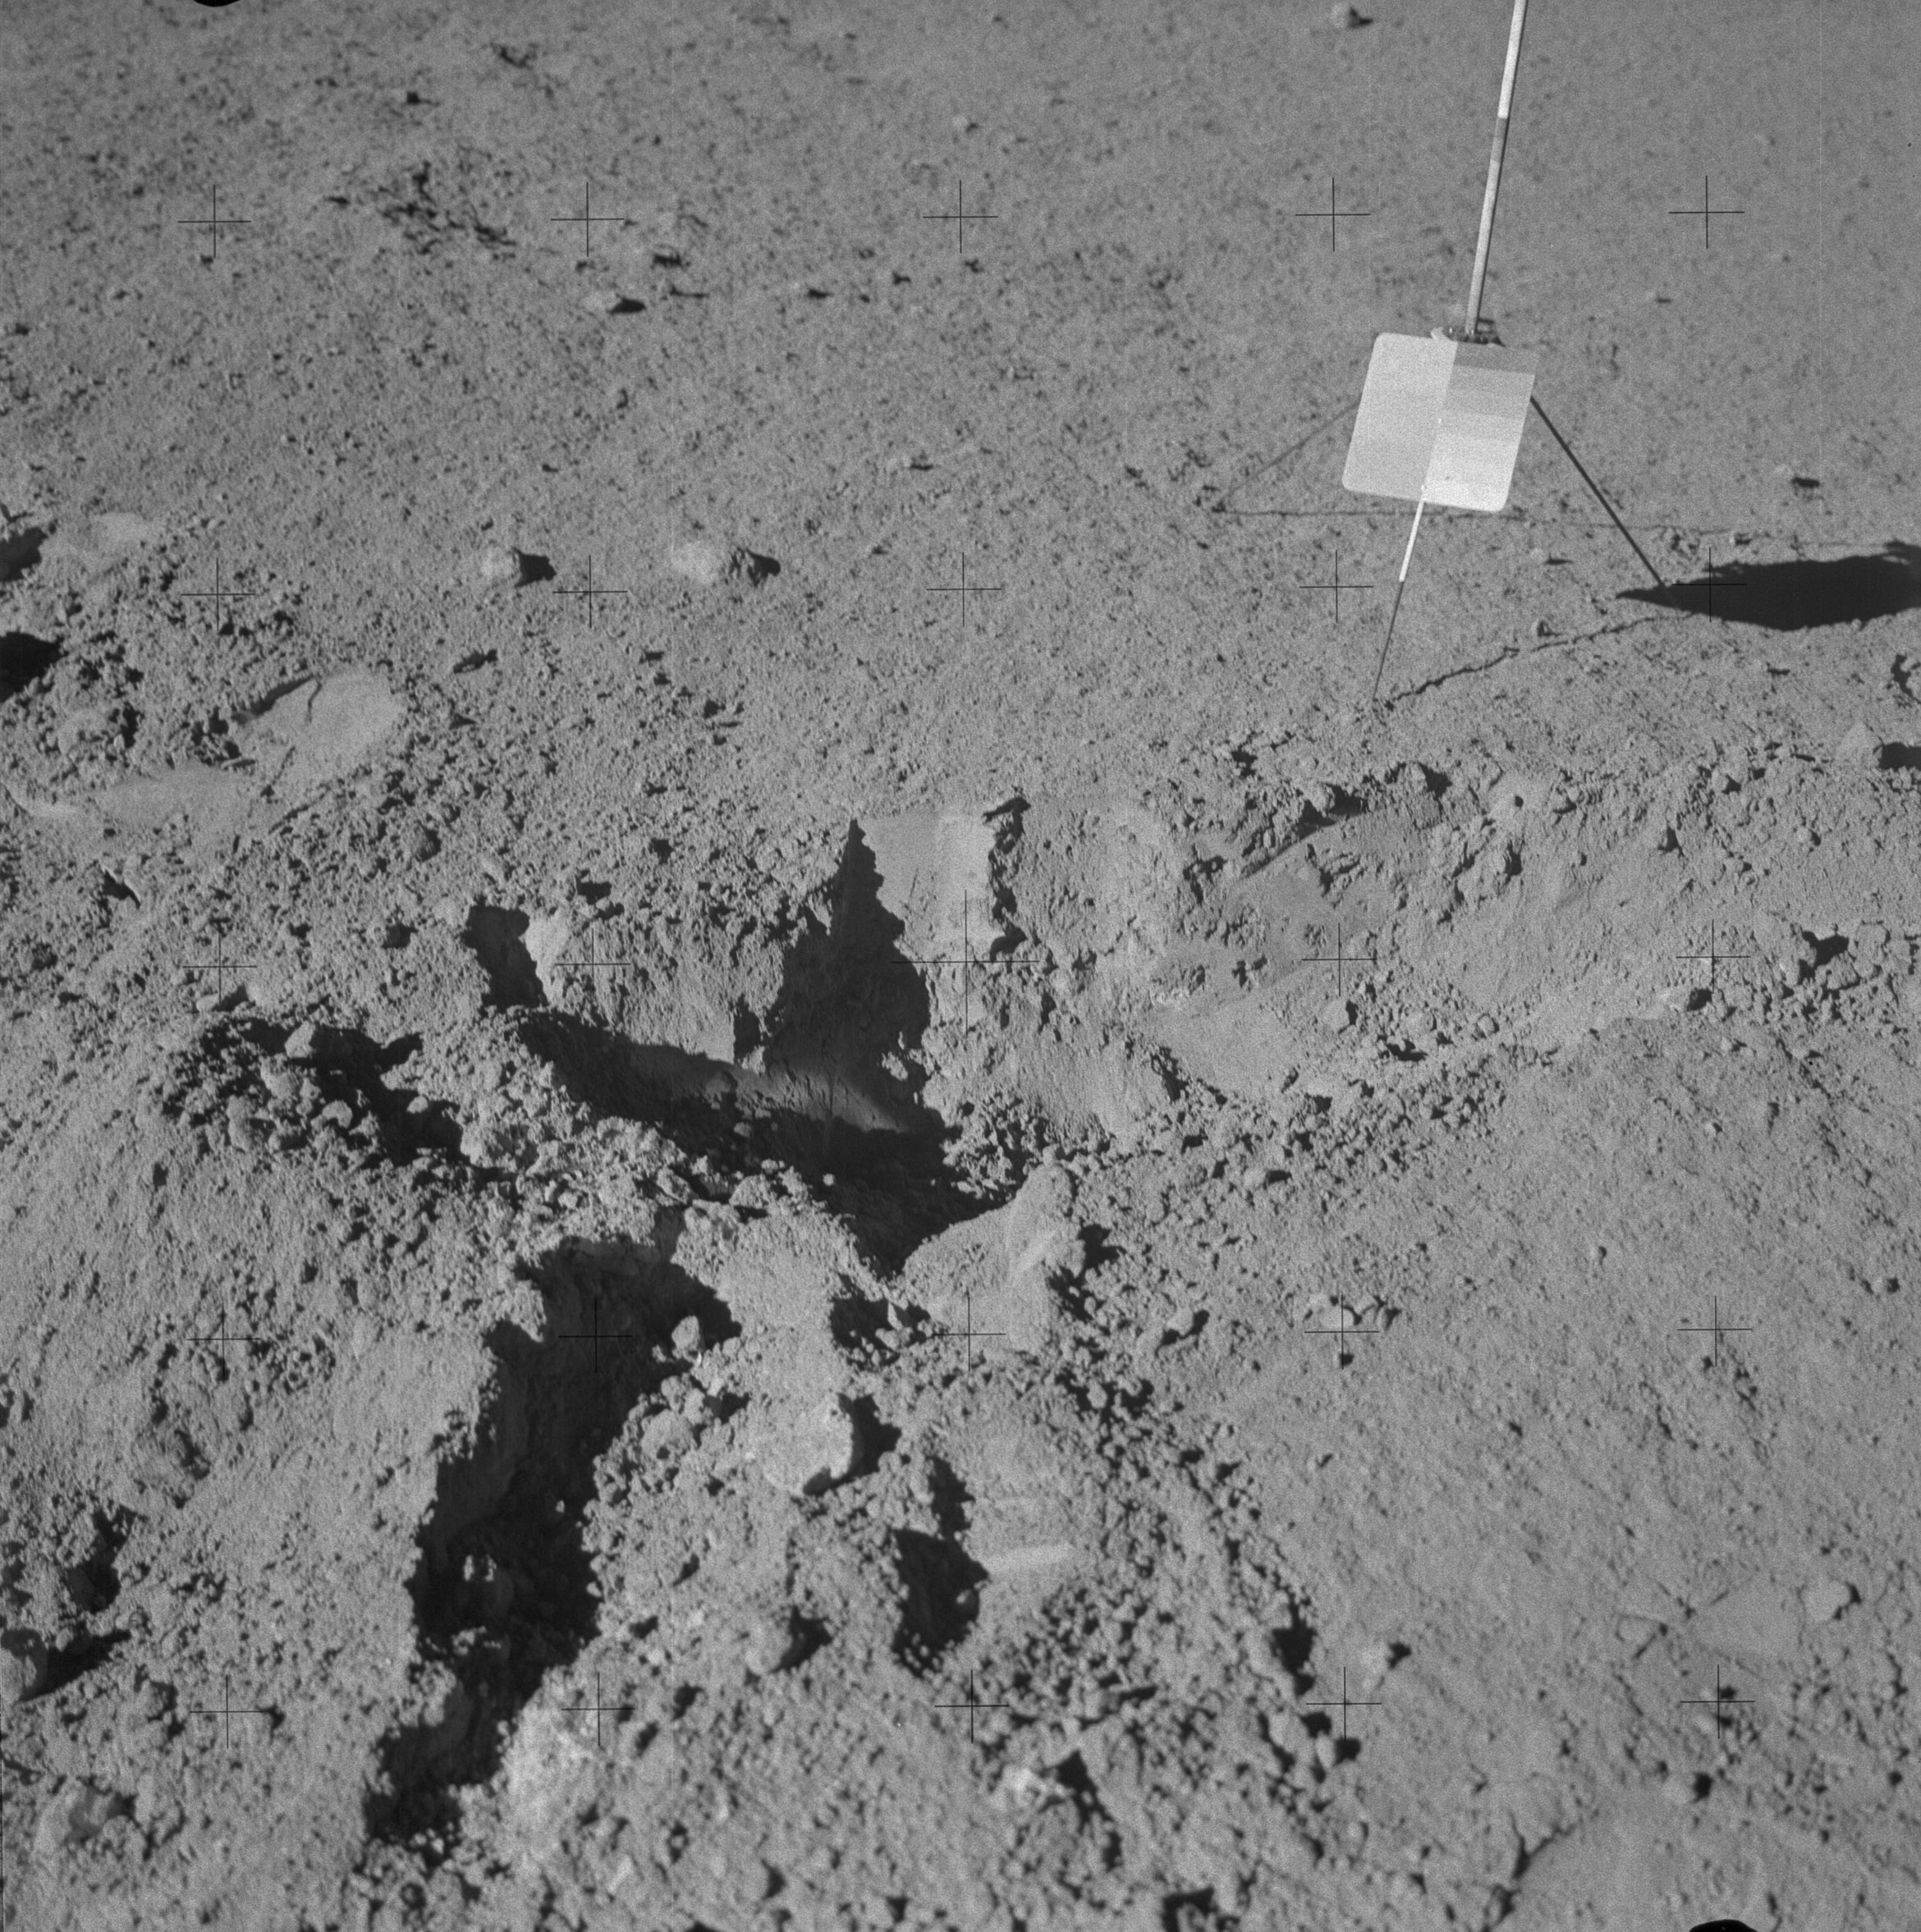 | AS14-64-9161 134:36:42 Second image in a stereopair Al took of the Station G trench. Image credit: Image Science and Analysis Laboratory, NASA-Johnson Space Center. |
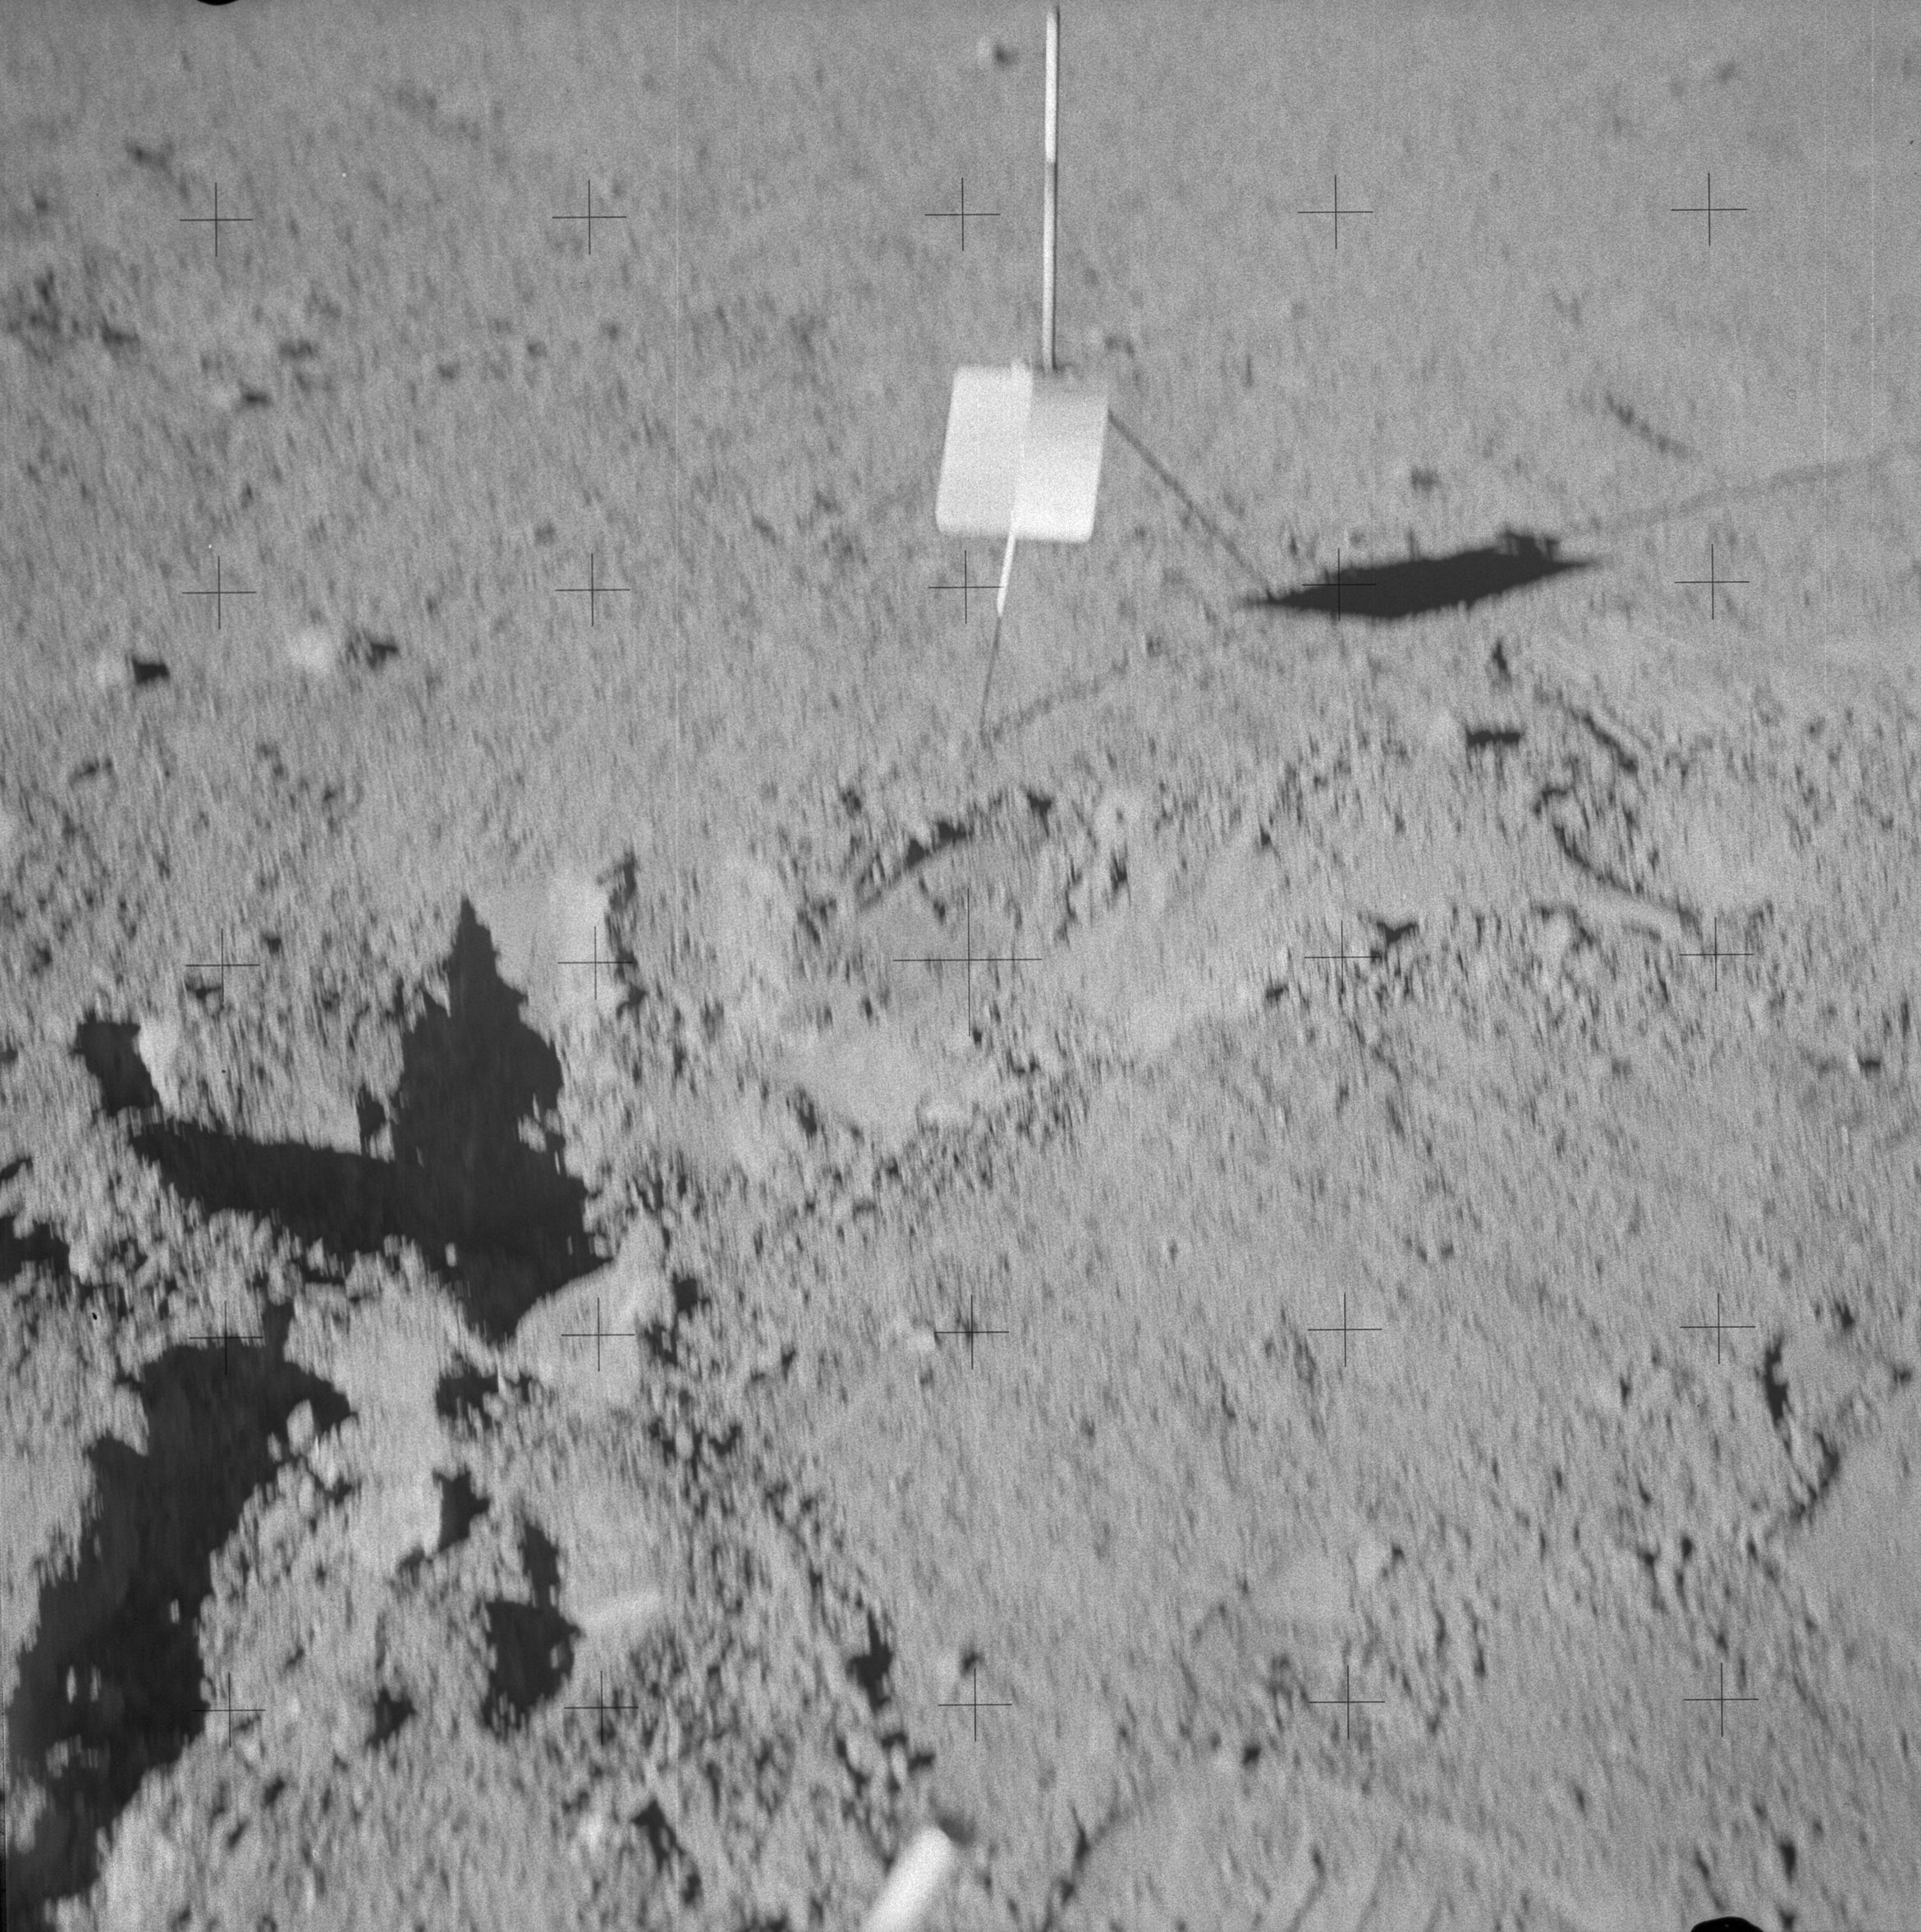 | AS14-64-9162 Al has stepped to his right to take this "after" photo of his Station G trench, but was moving while he was taking it. Image credit: Image Science and Analysis Laboratory, NASA-Johnson Space Center. |
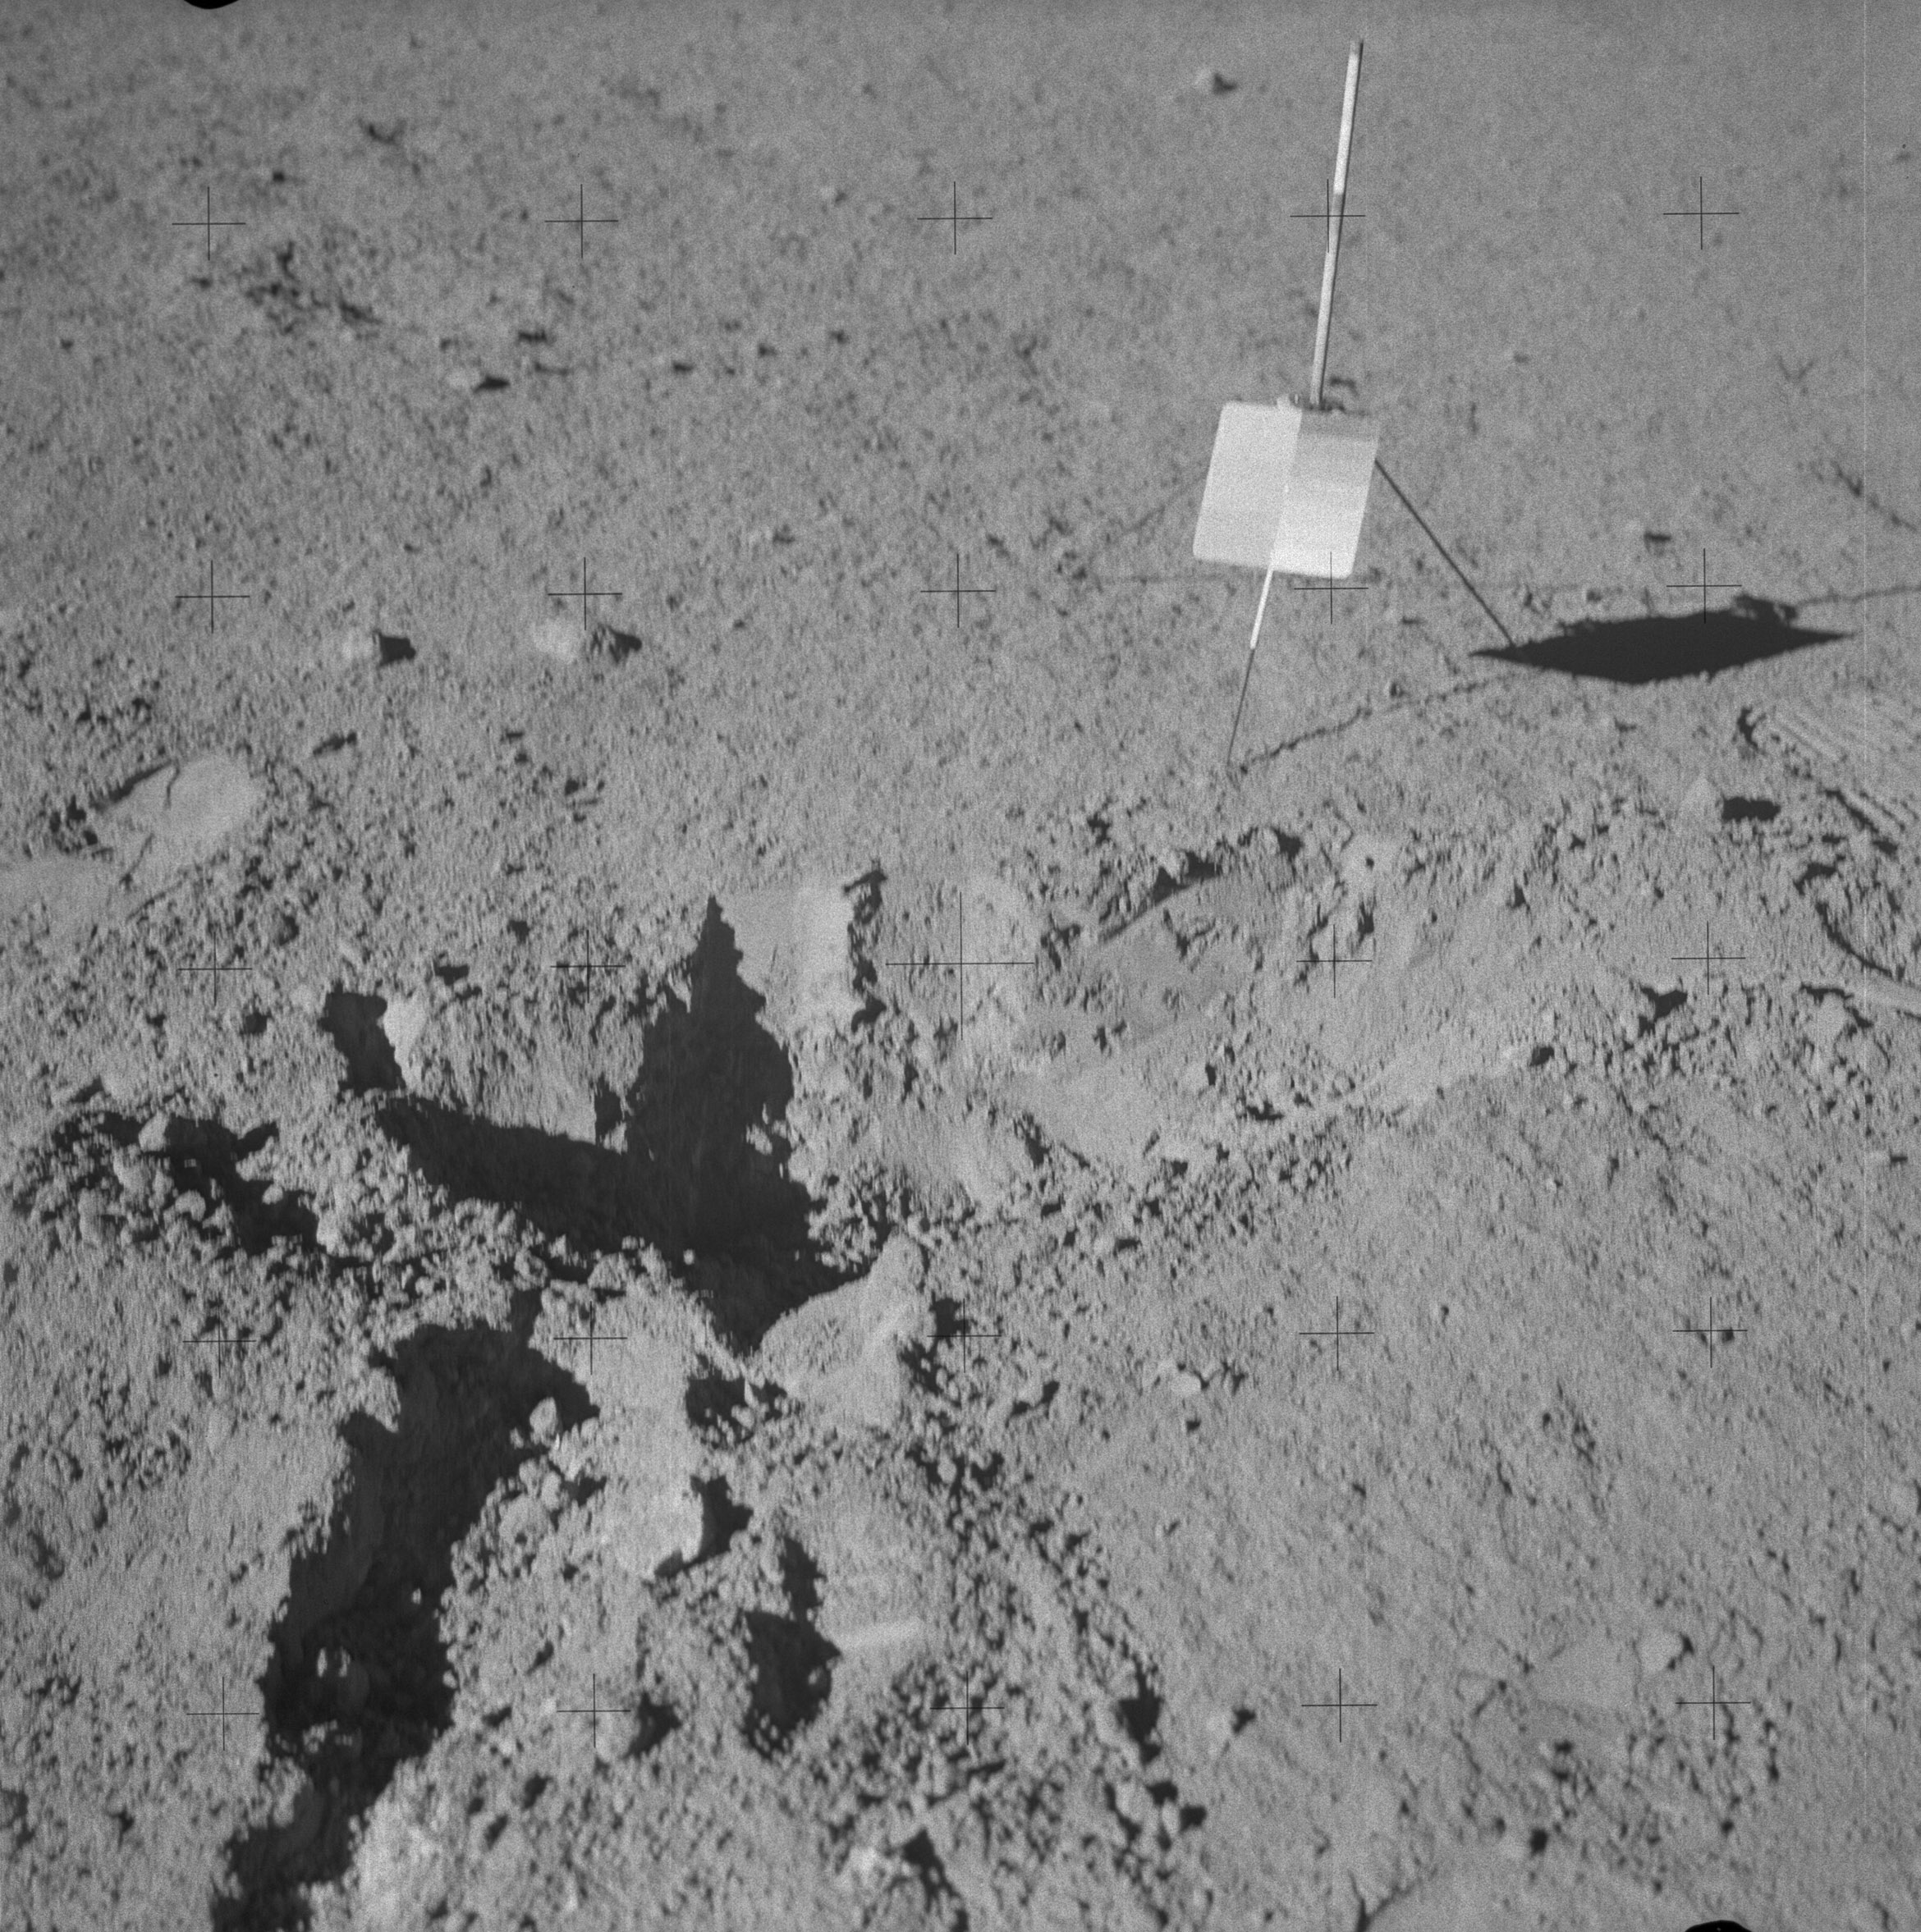 | AS14-64-9163 Al stepped to his left to take this stereo companion to 9162. Image credit: Image Science and Analysis Laboratory, NASA-Johnson Space Center. |
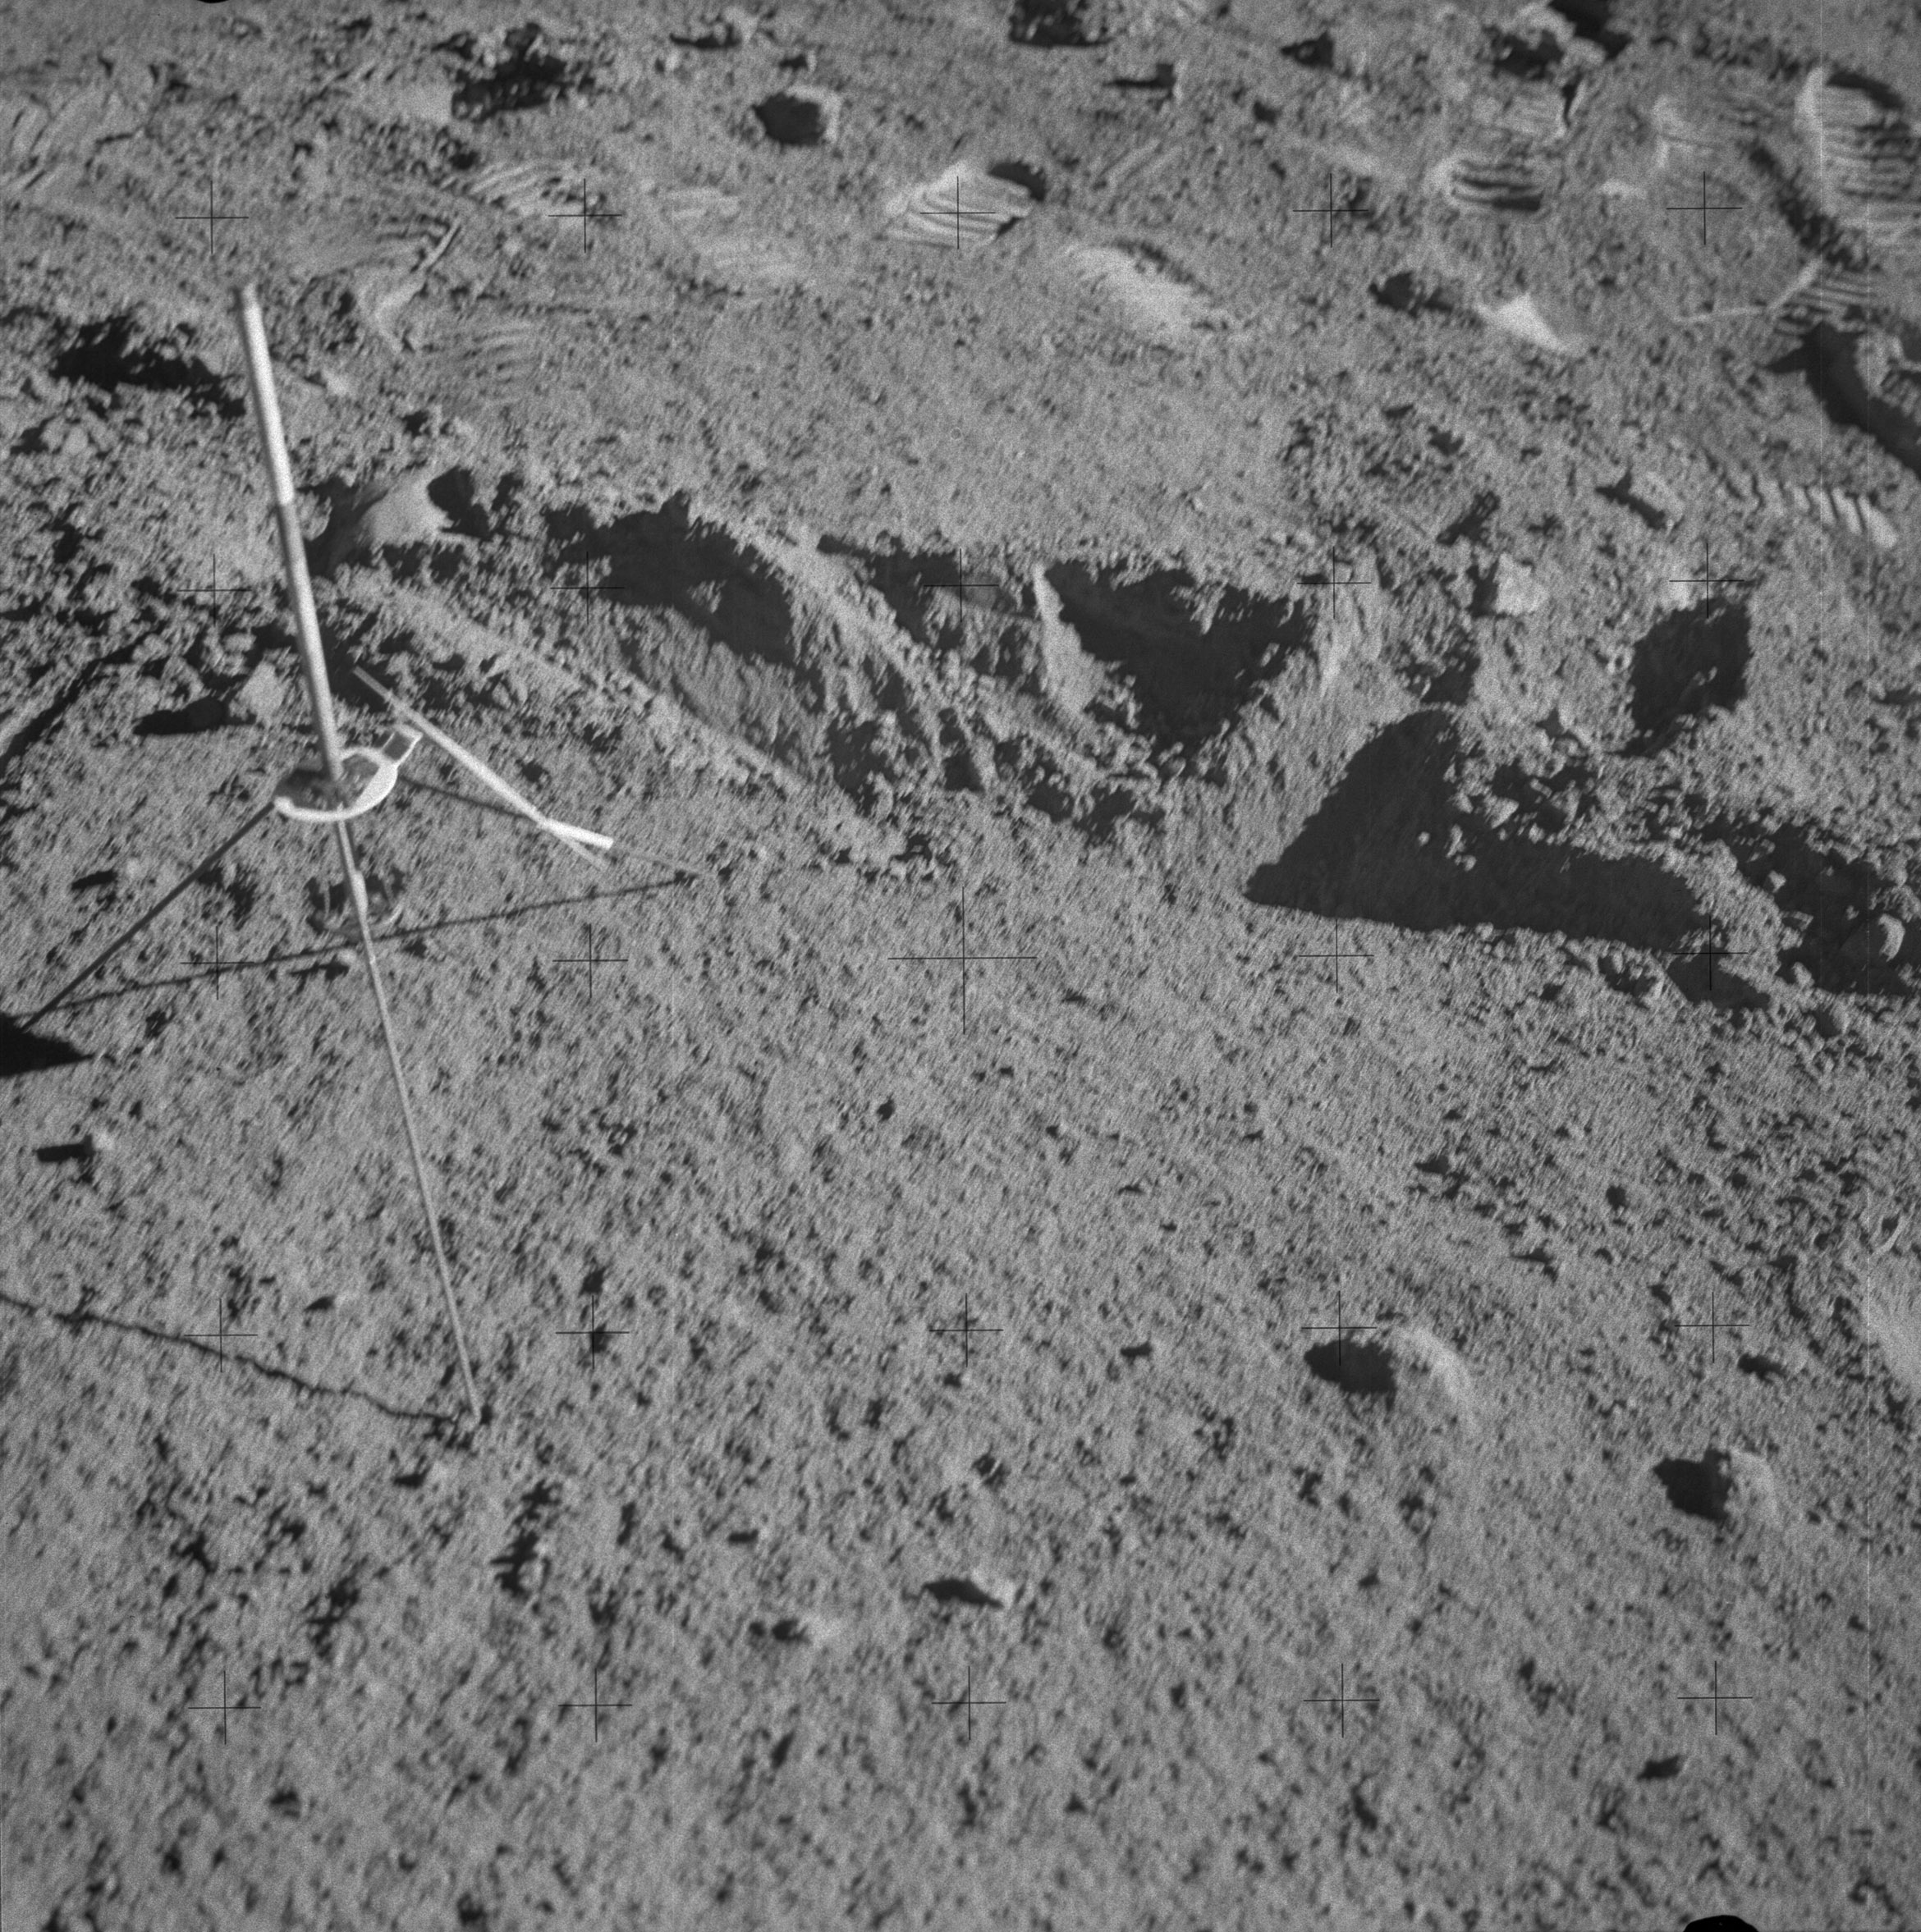 | AS14-64-9164 Al has gone around to the south side of the Station G trench to take a cross-Sun of his handiwork. Image credit: Image Science and Analysis Laboratory, NASA-Johnson Space Center. |
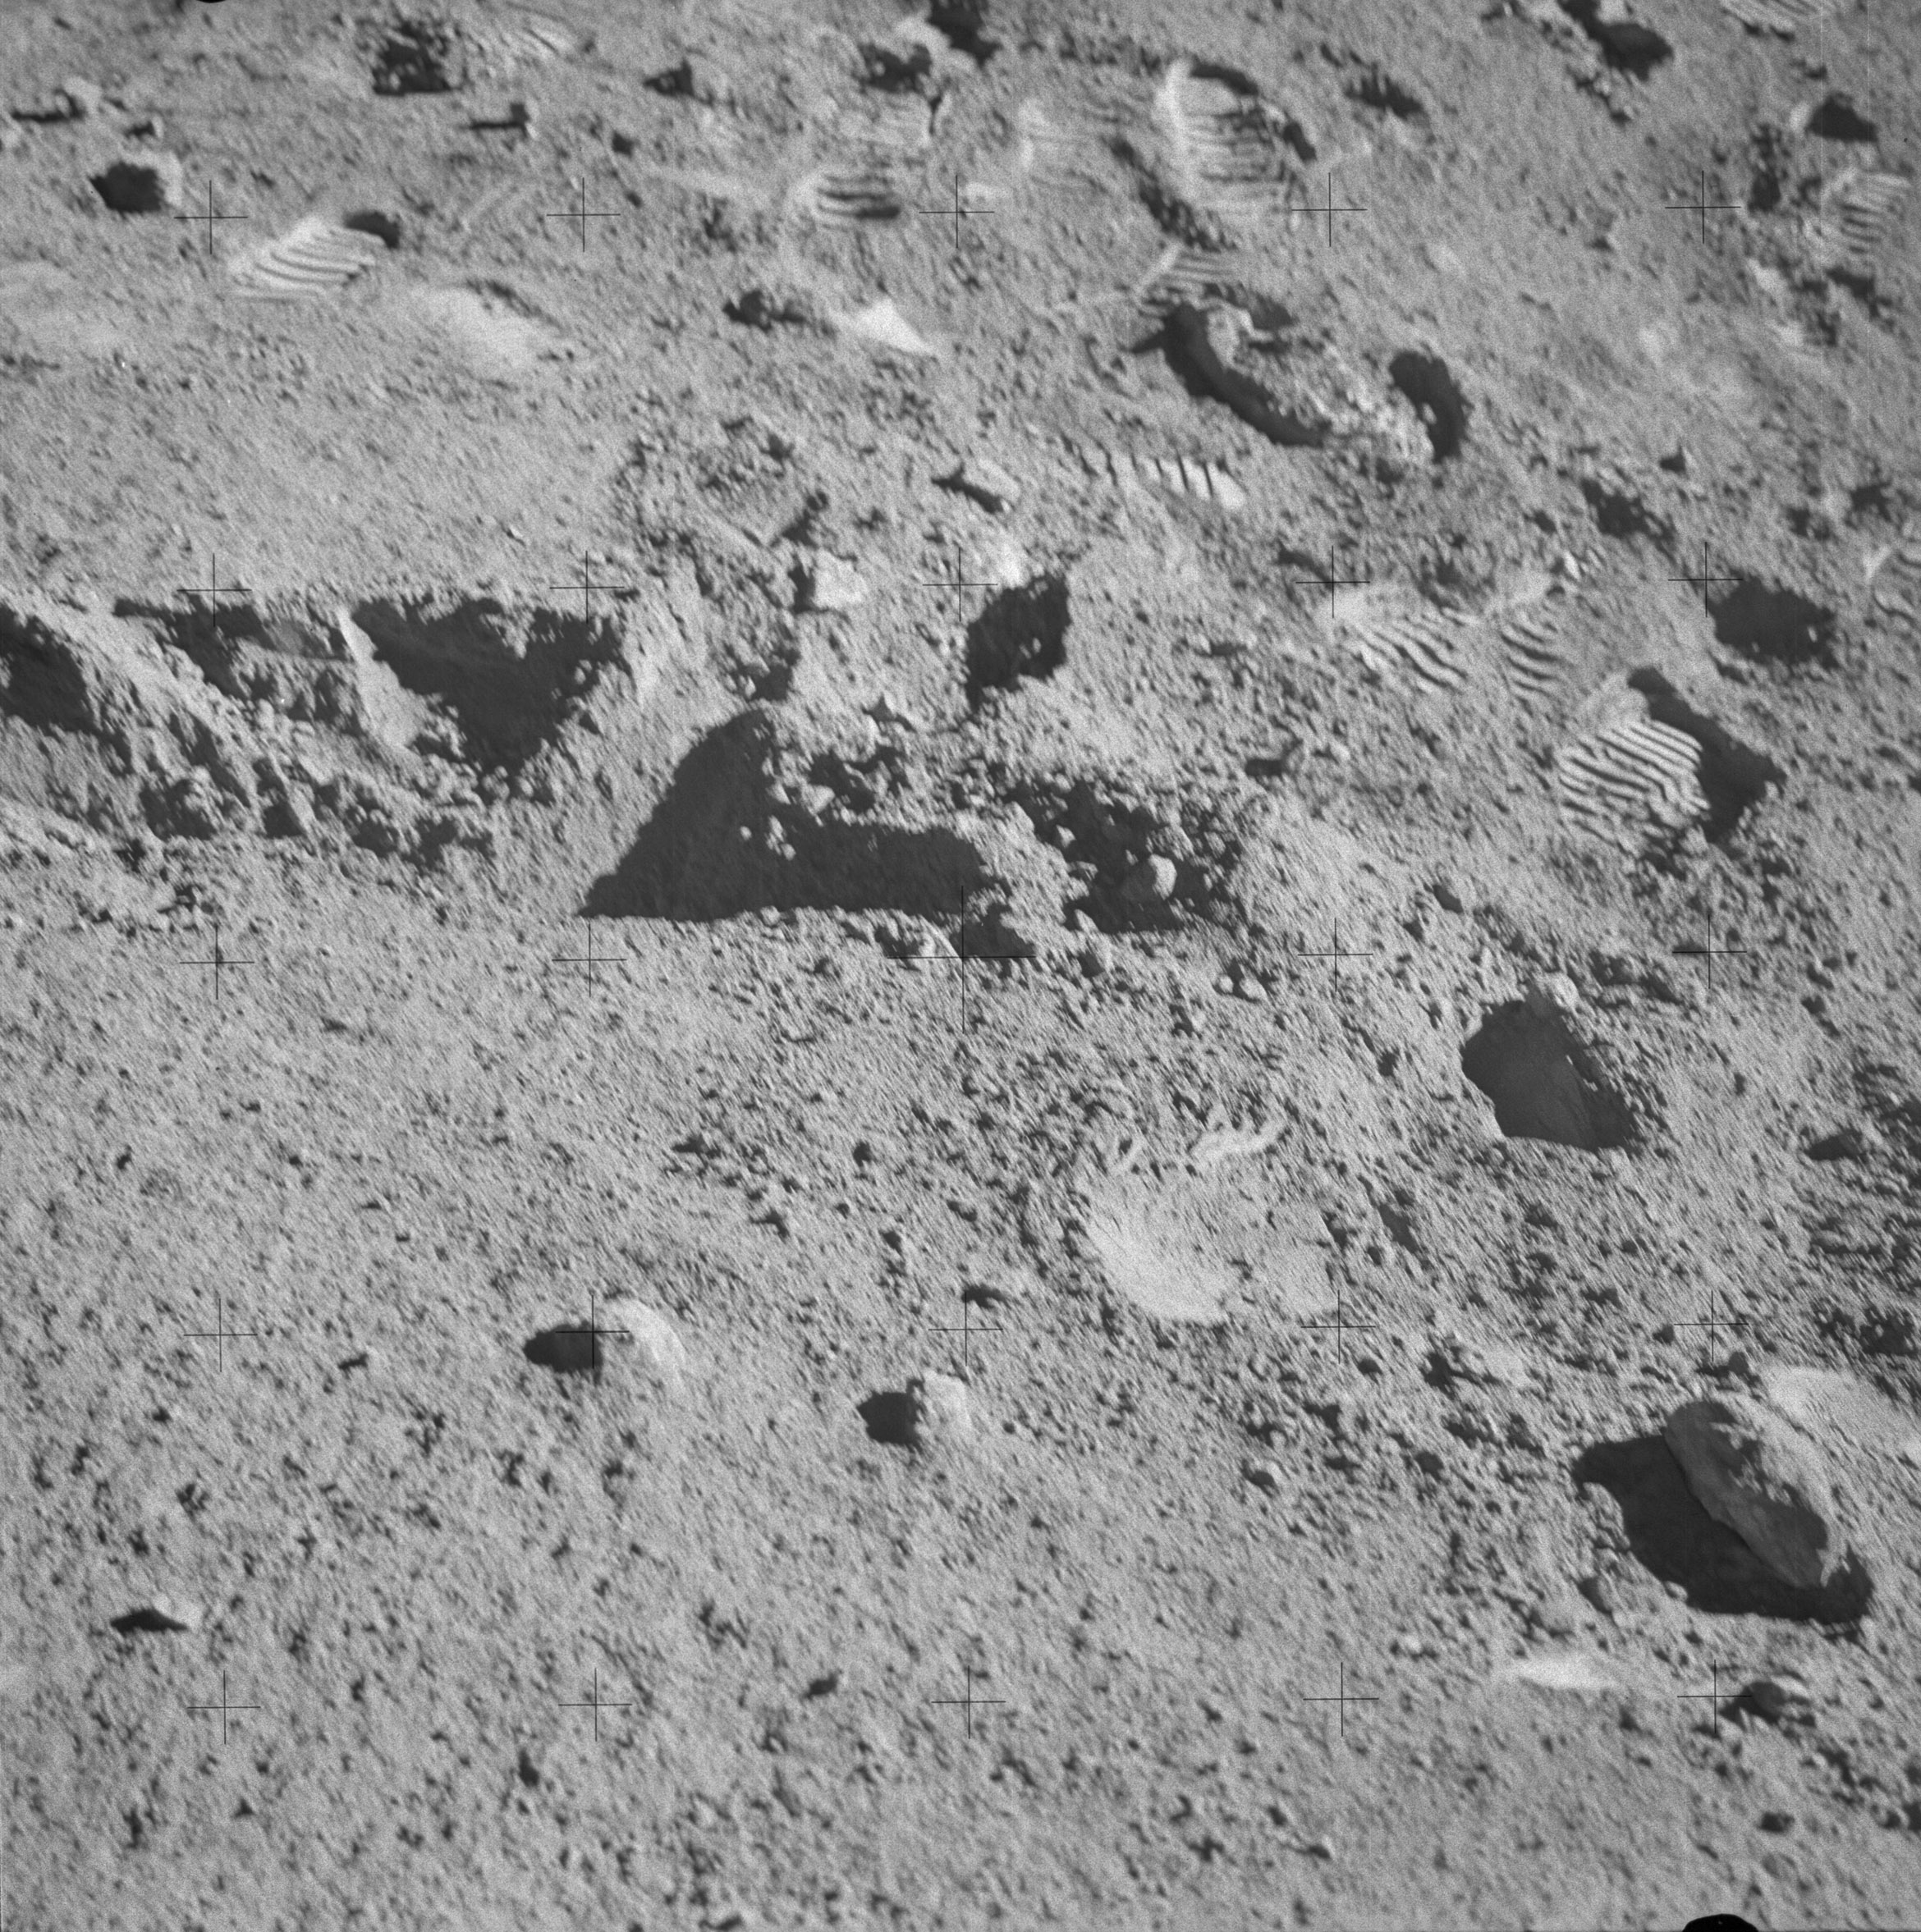 | AS14-64-9165 Stereo companion to 9164. Image credit: Image Science and Analysis Laboratory, NASA-Johnson Space Center. |
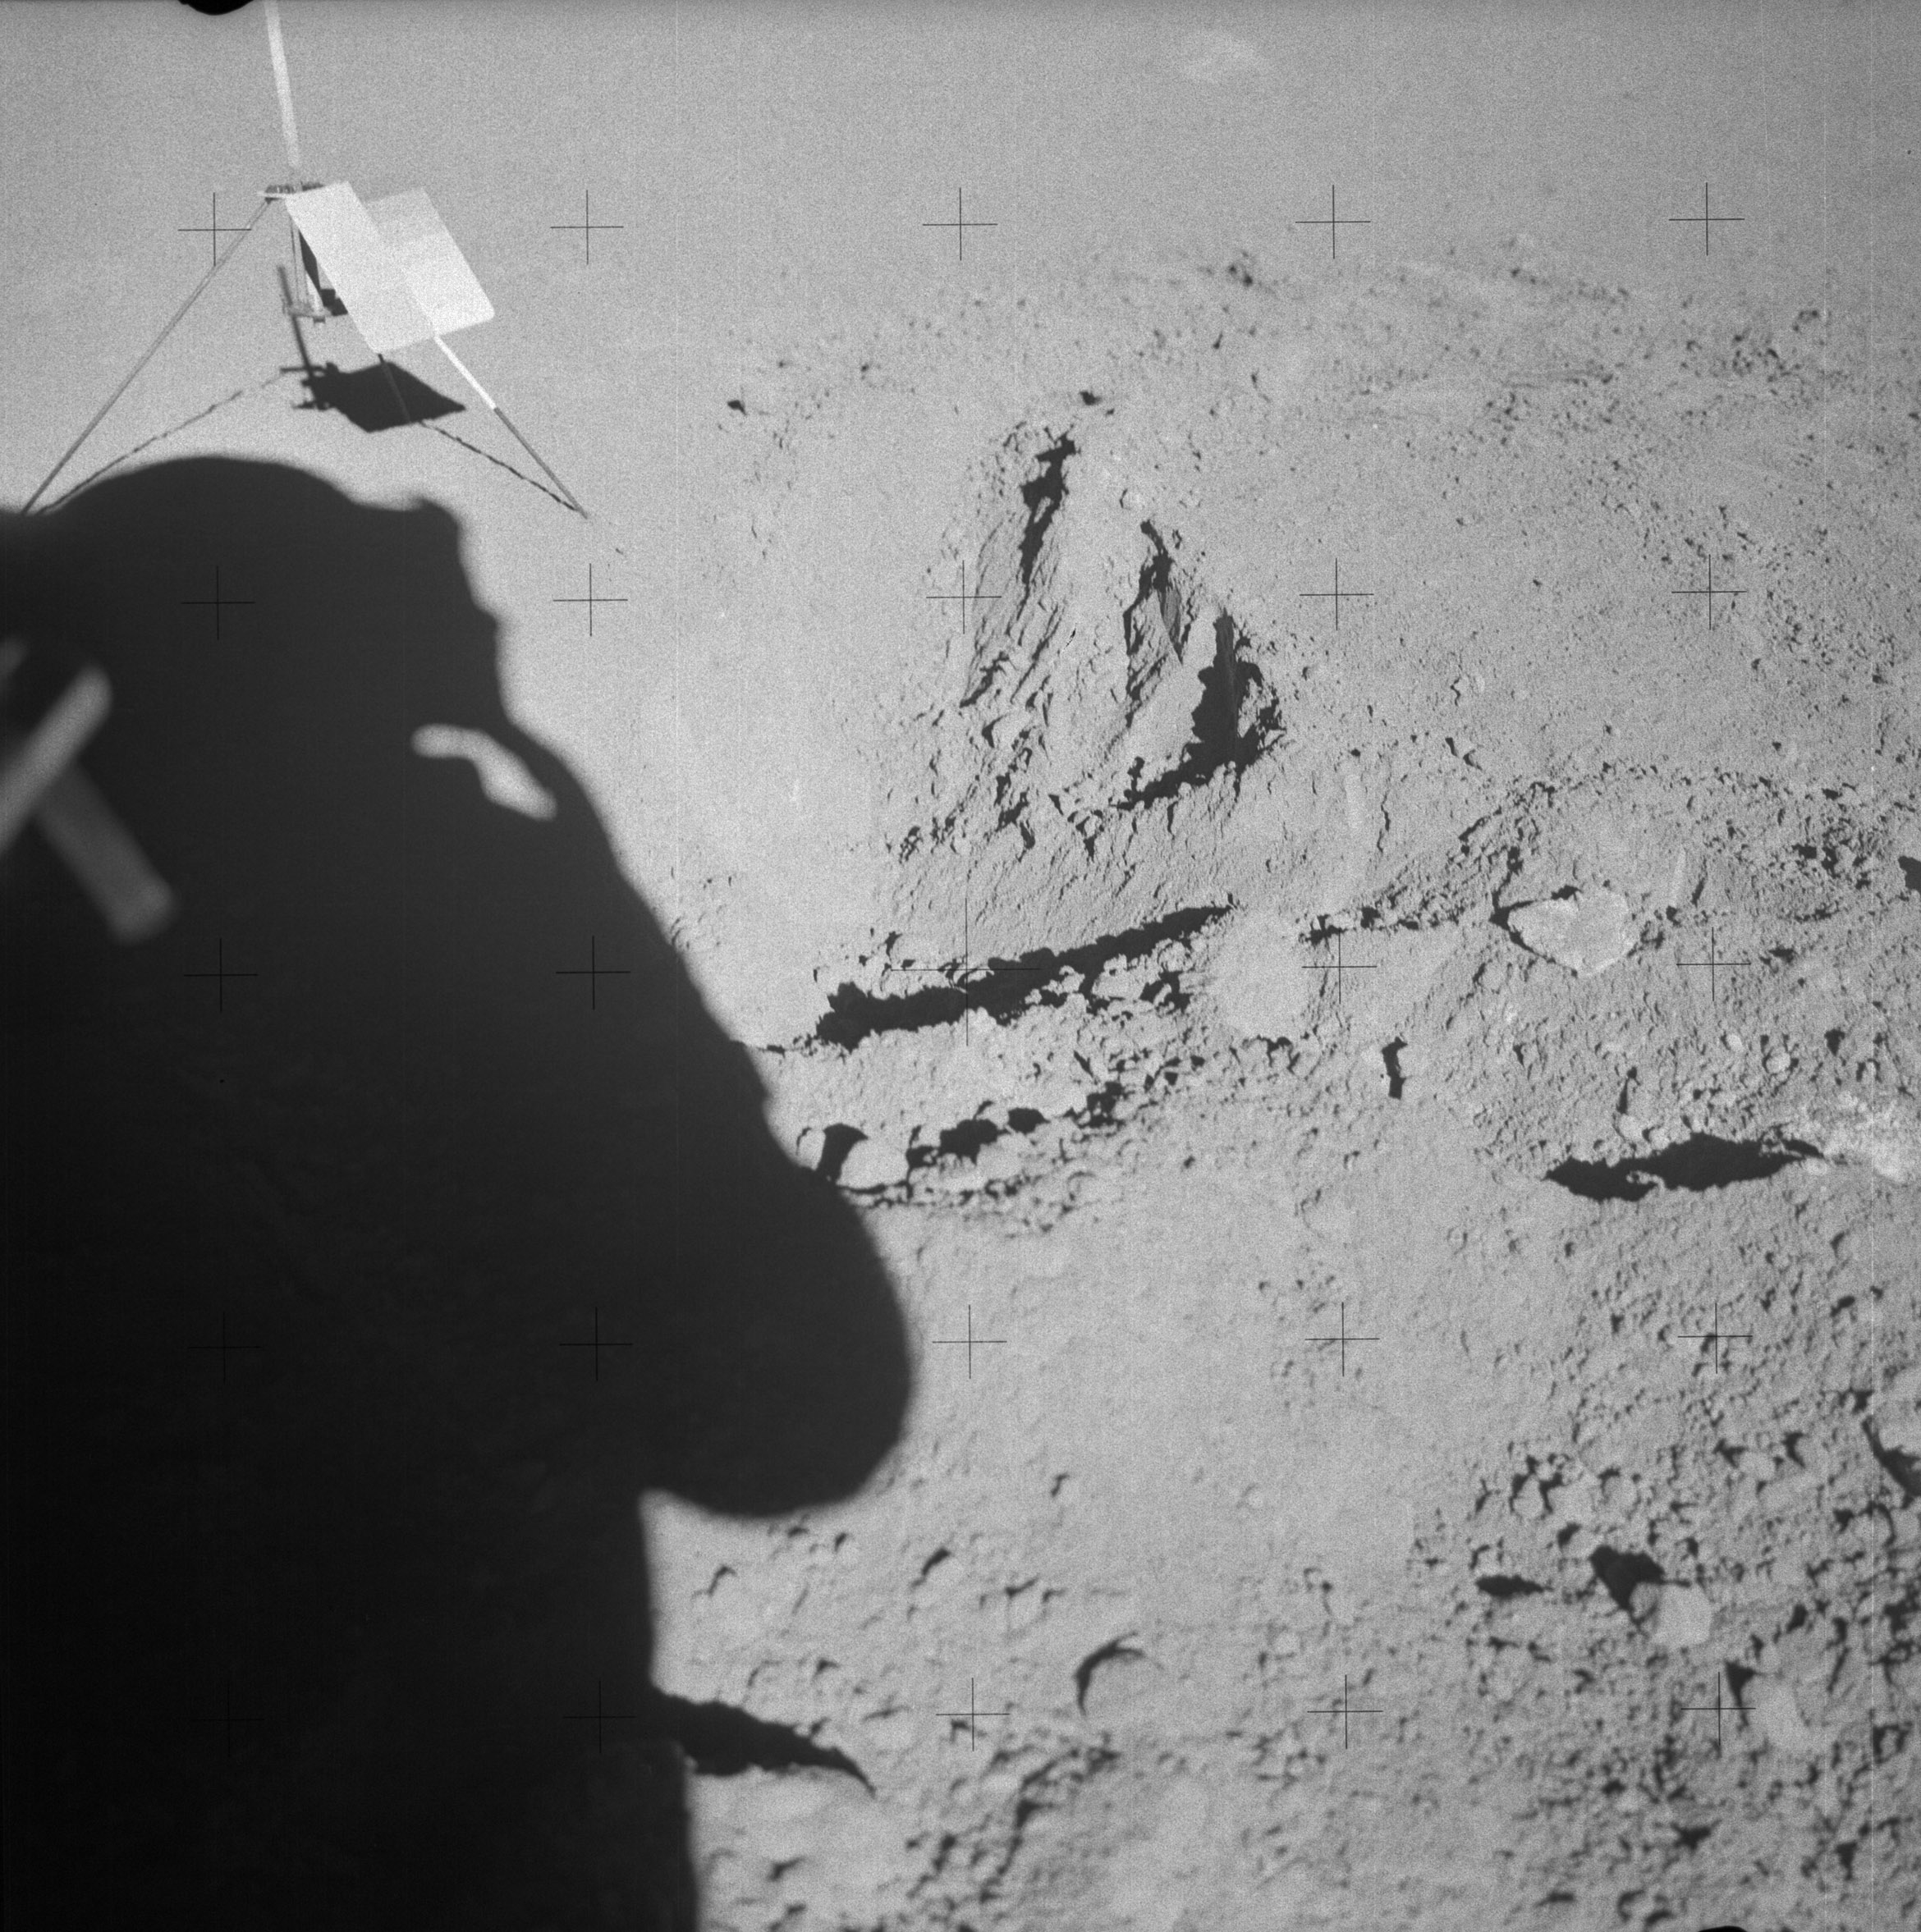 | AS14-64-9166 Down-sun of the Station G trench. Image credit: Image Science and Analysis Laboratory, NASA-Johnson Space Center. |
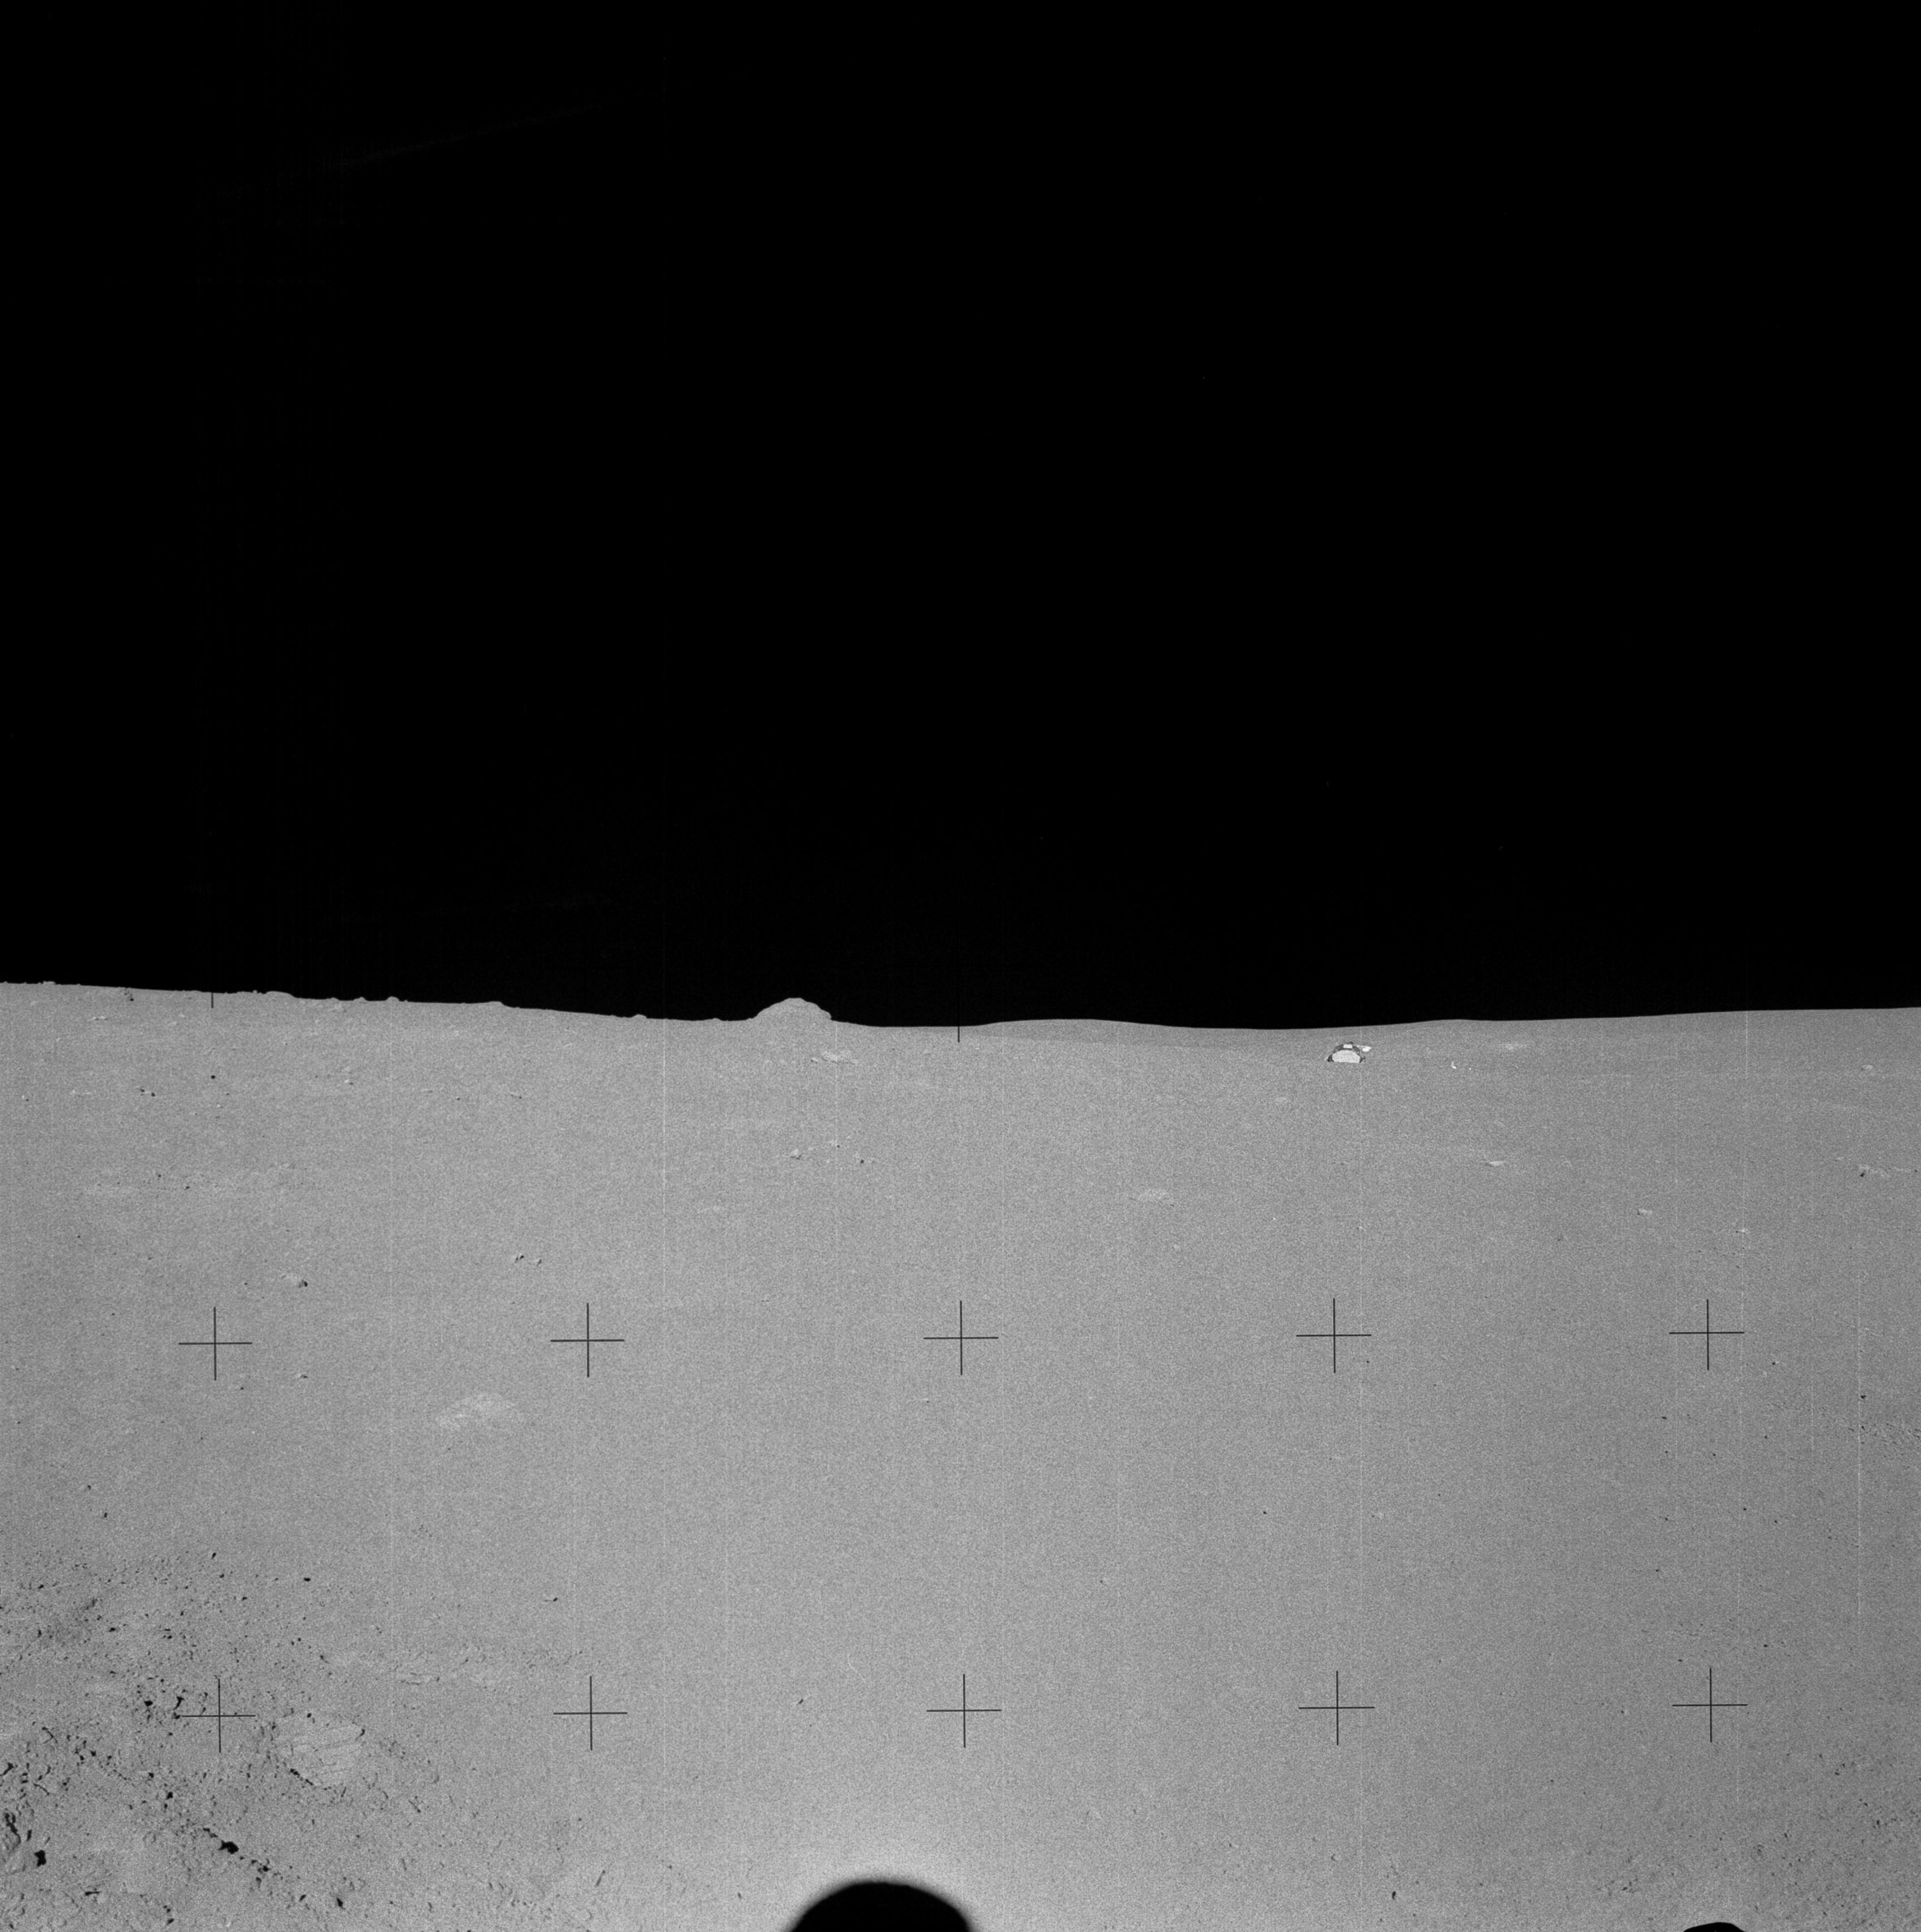 | AS14-64-9167 134:36:26 or) Al's Station G pan starts with this down-Sun toward the LM. Image credit: Image Science and Analysis Laboratory, NASA-Johnson Space Center. |
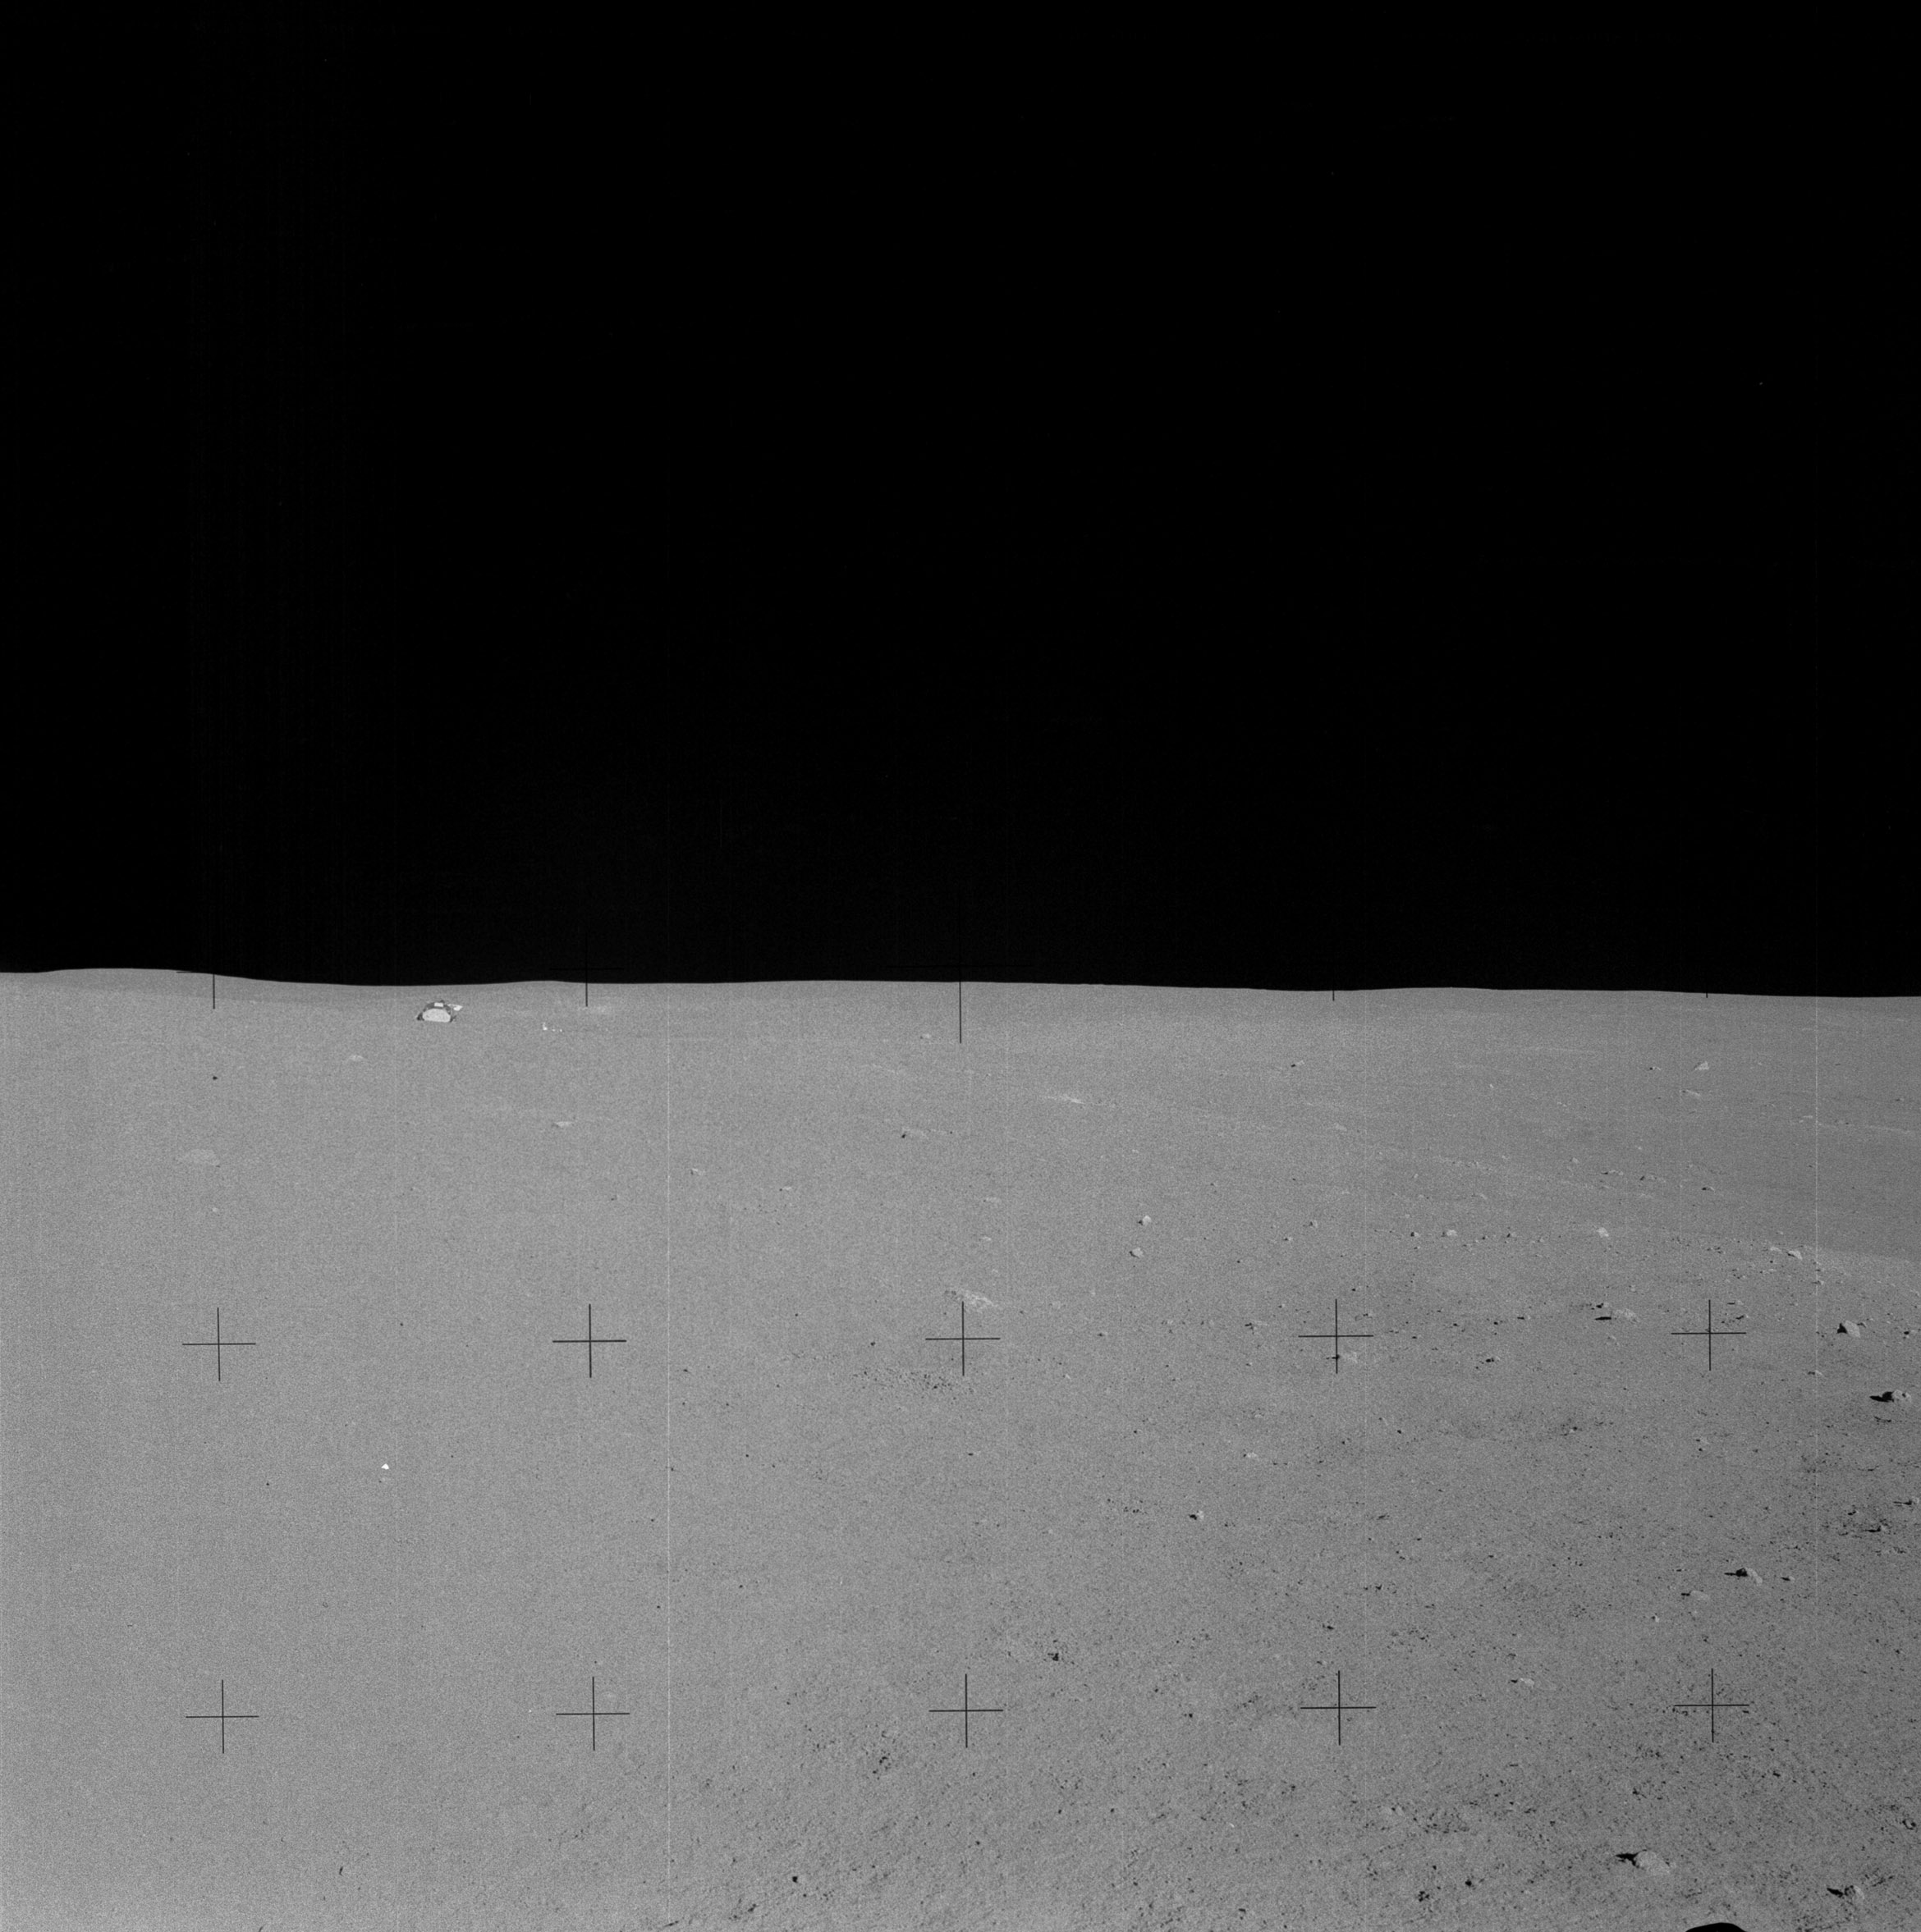 | AS14-64-9168 Rightward of 9167. Image credit: Image Science and Analysis Laboratory, NASA-Johnson Space Center. |
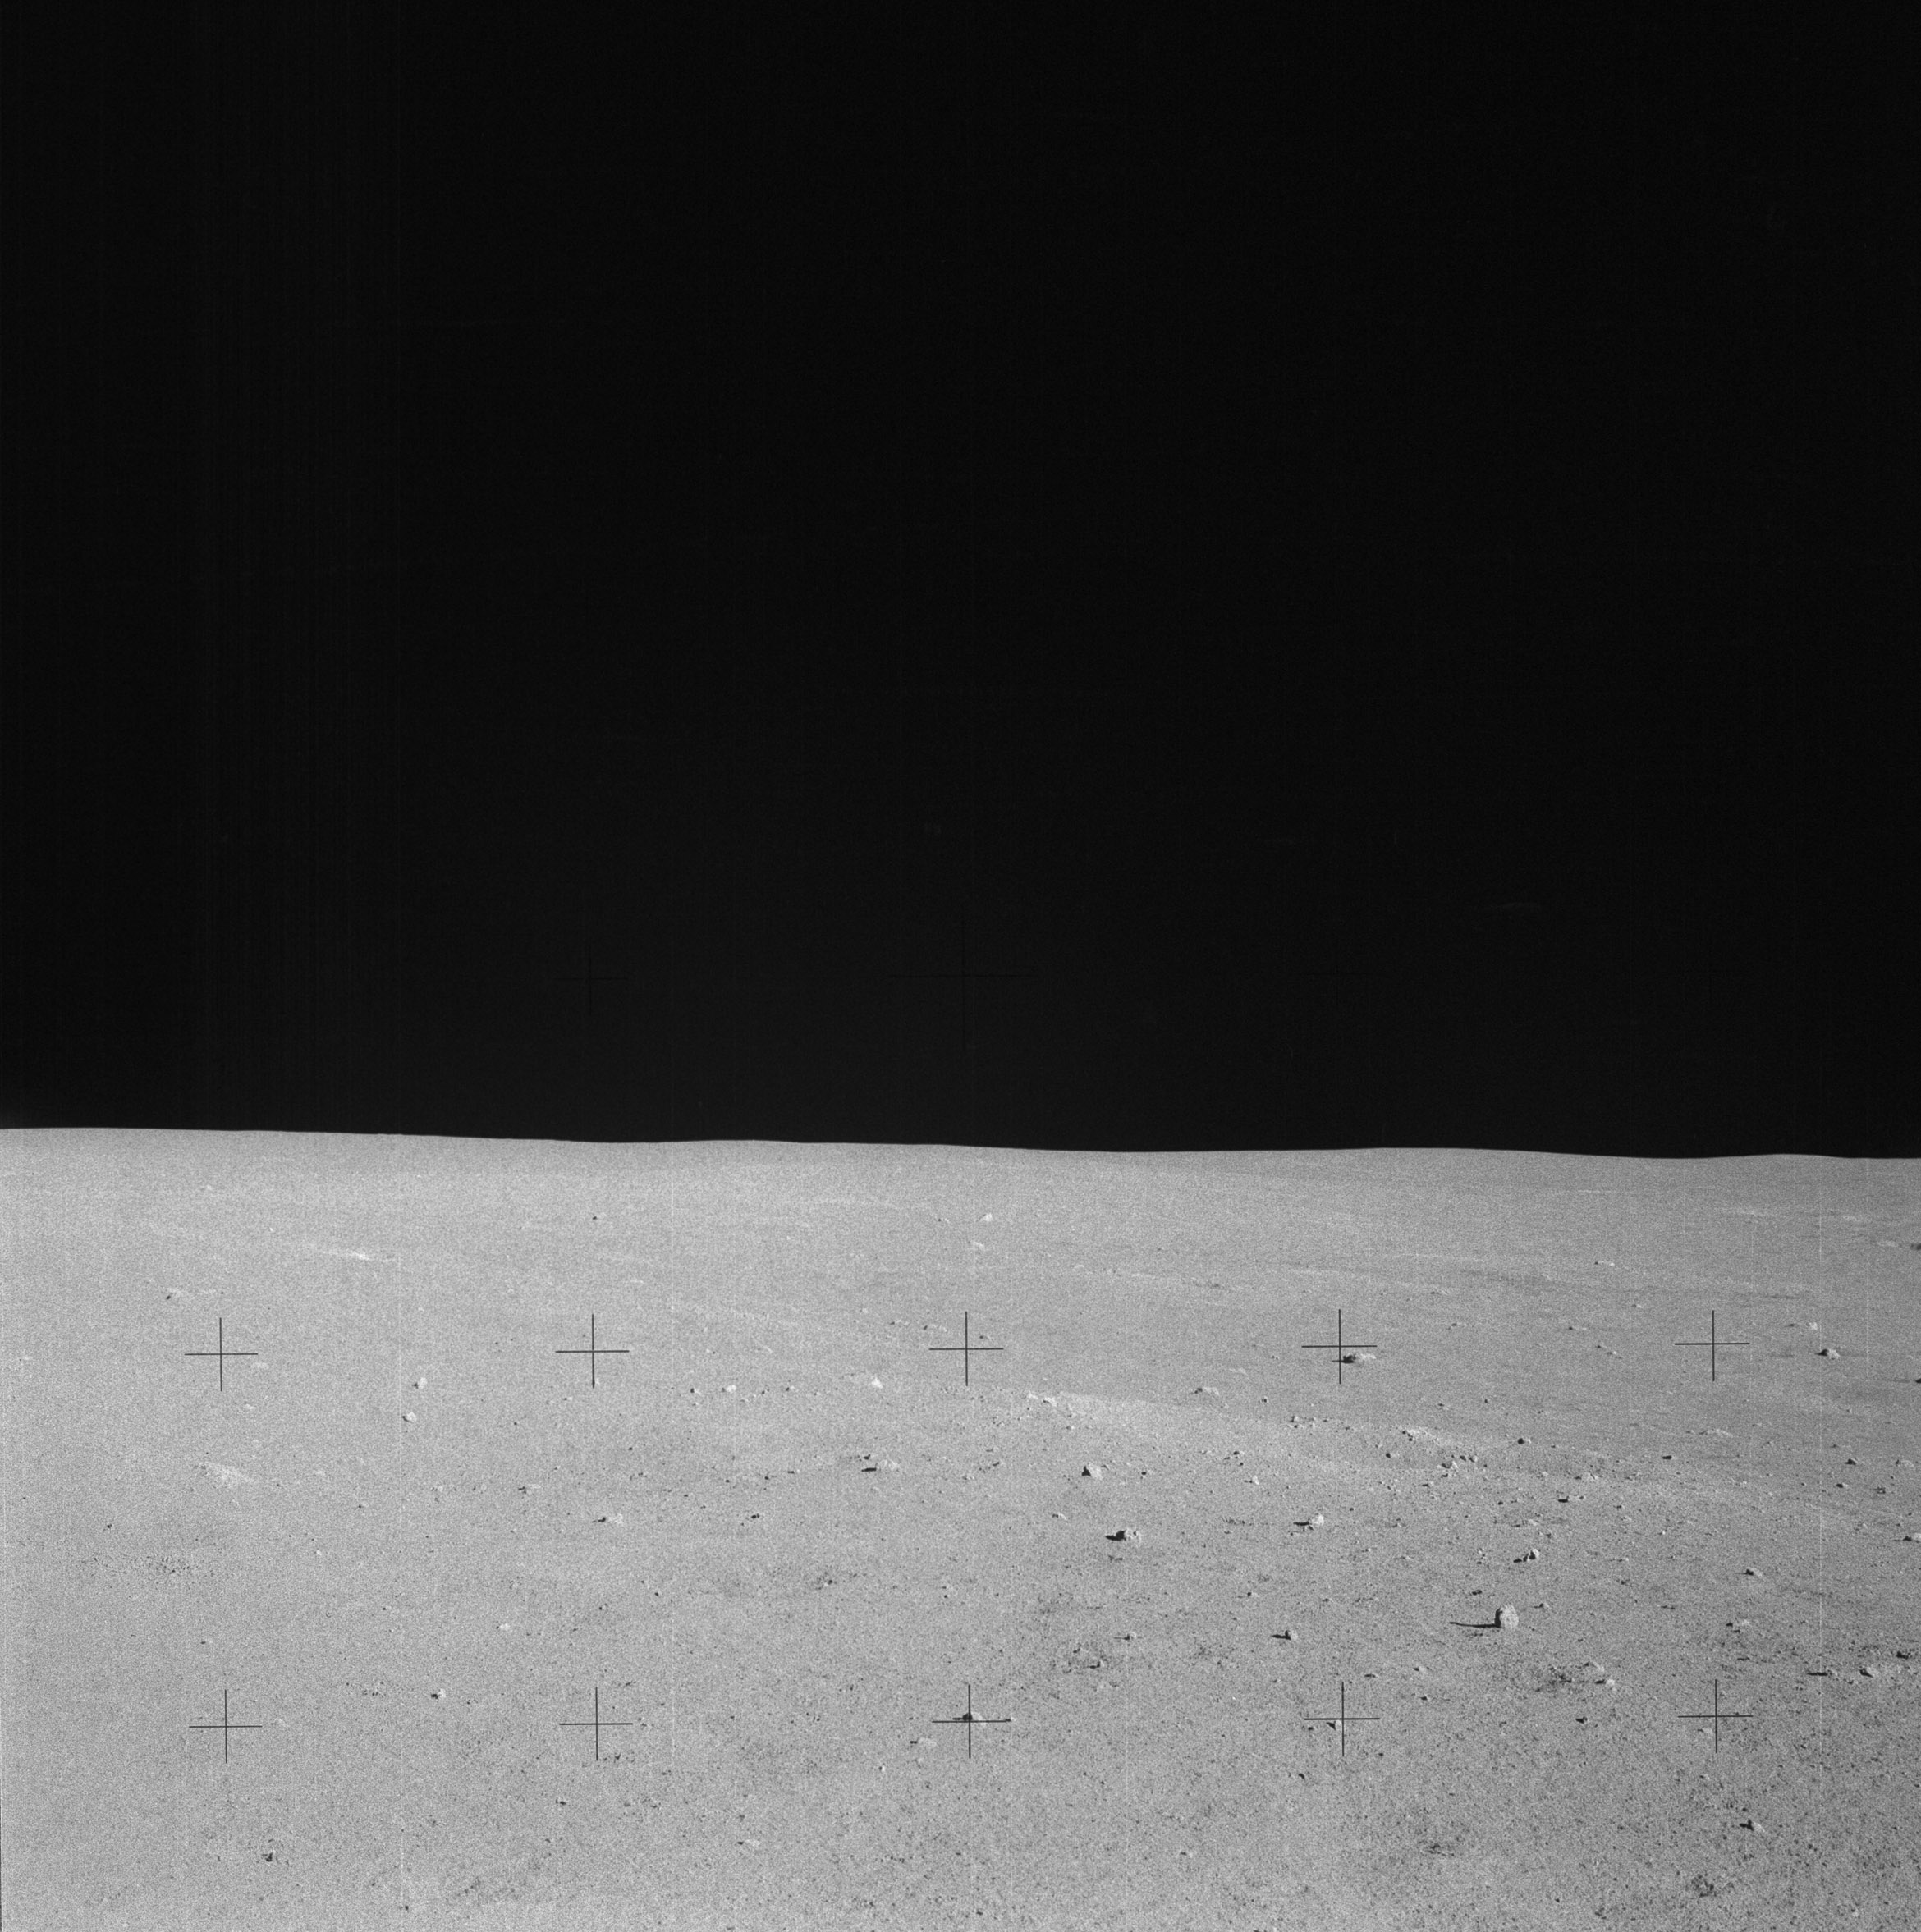 | AS14-64-9169 Rightward of 9168. Image credit: Image Science and Analysis Laboratory, NASA-Johnson Space Center. |
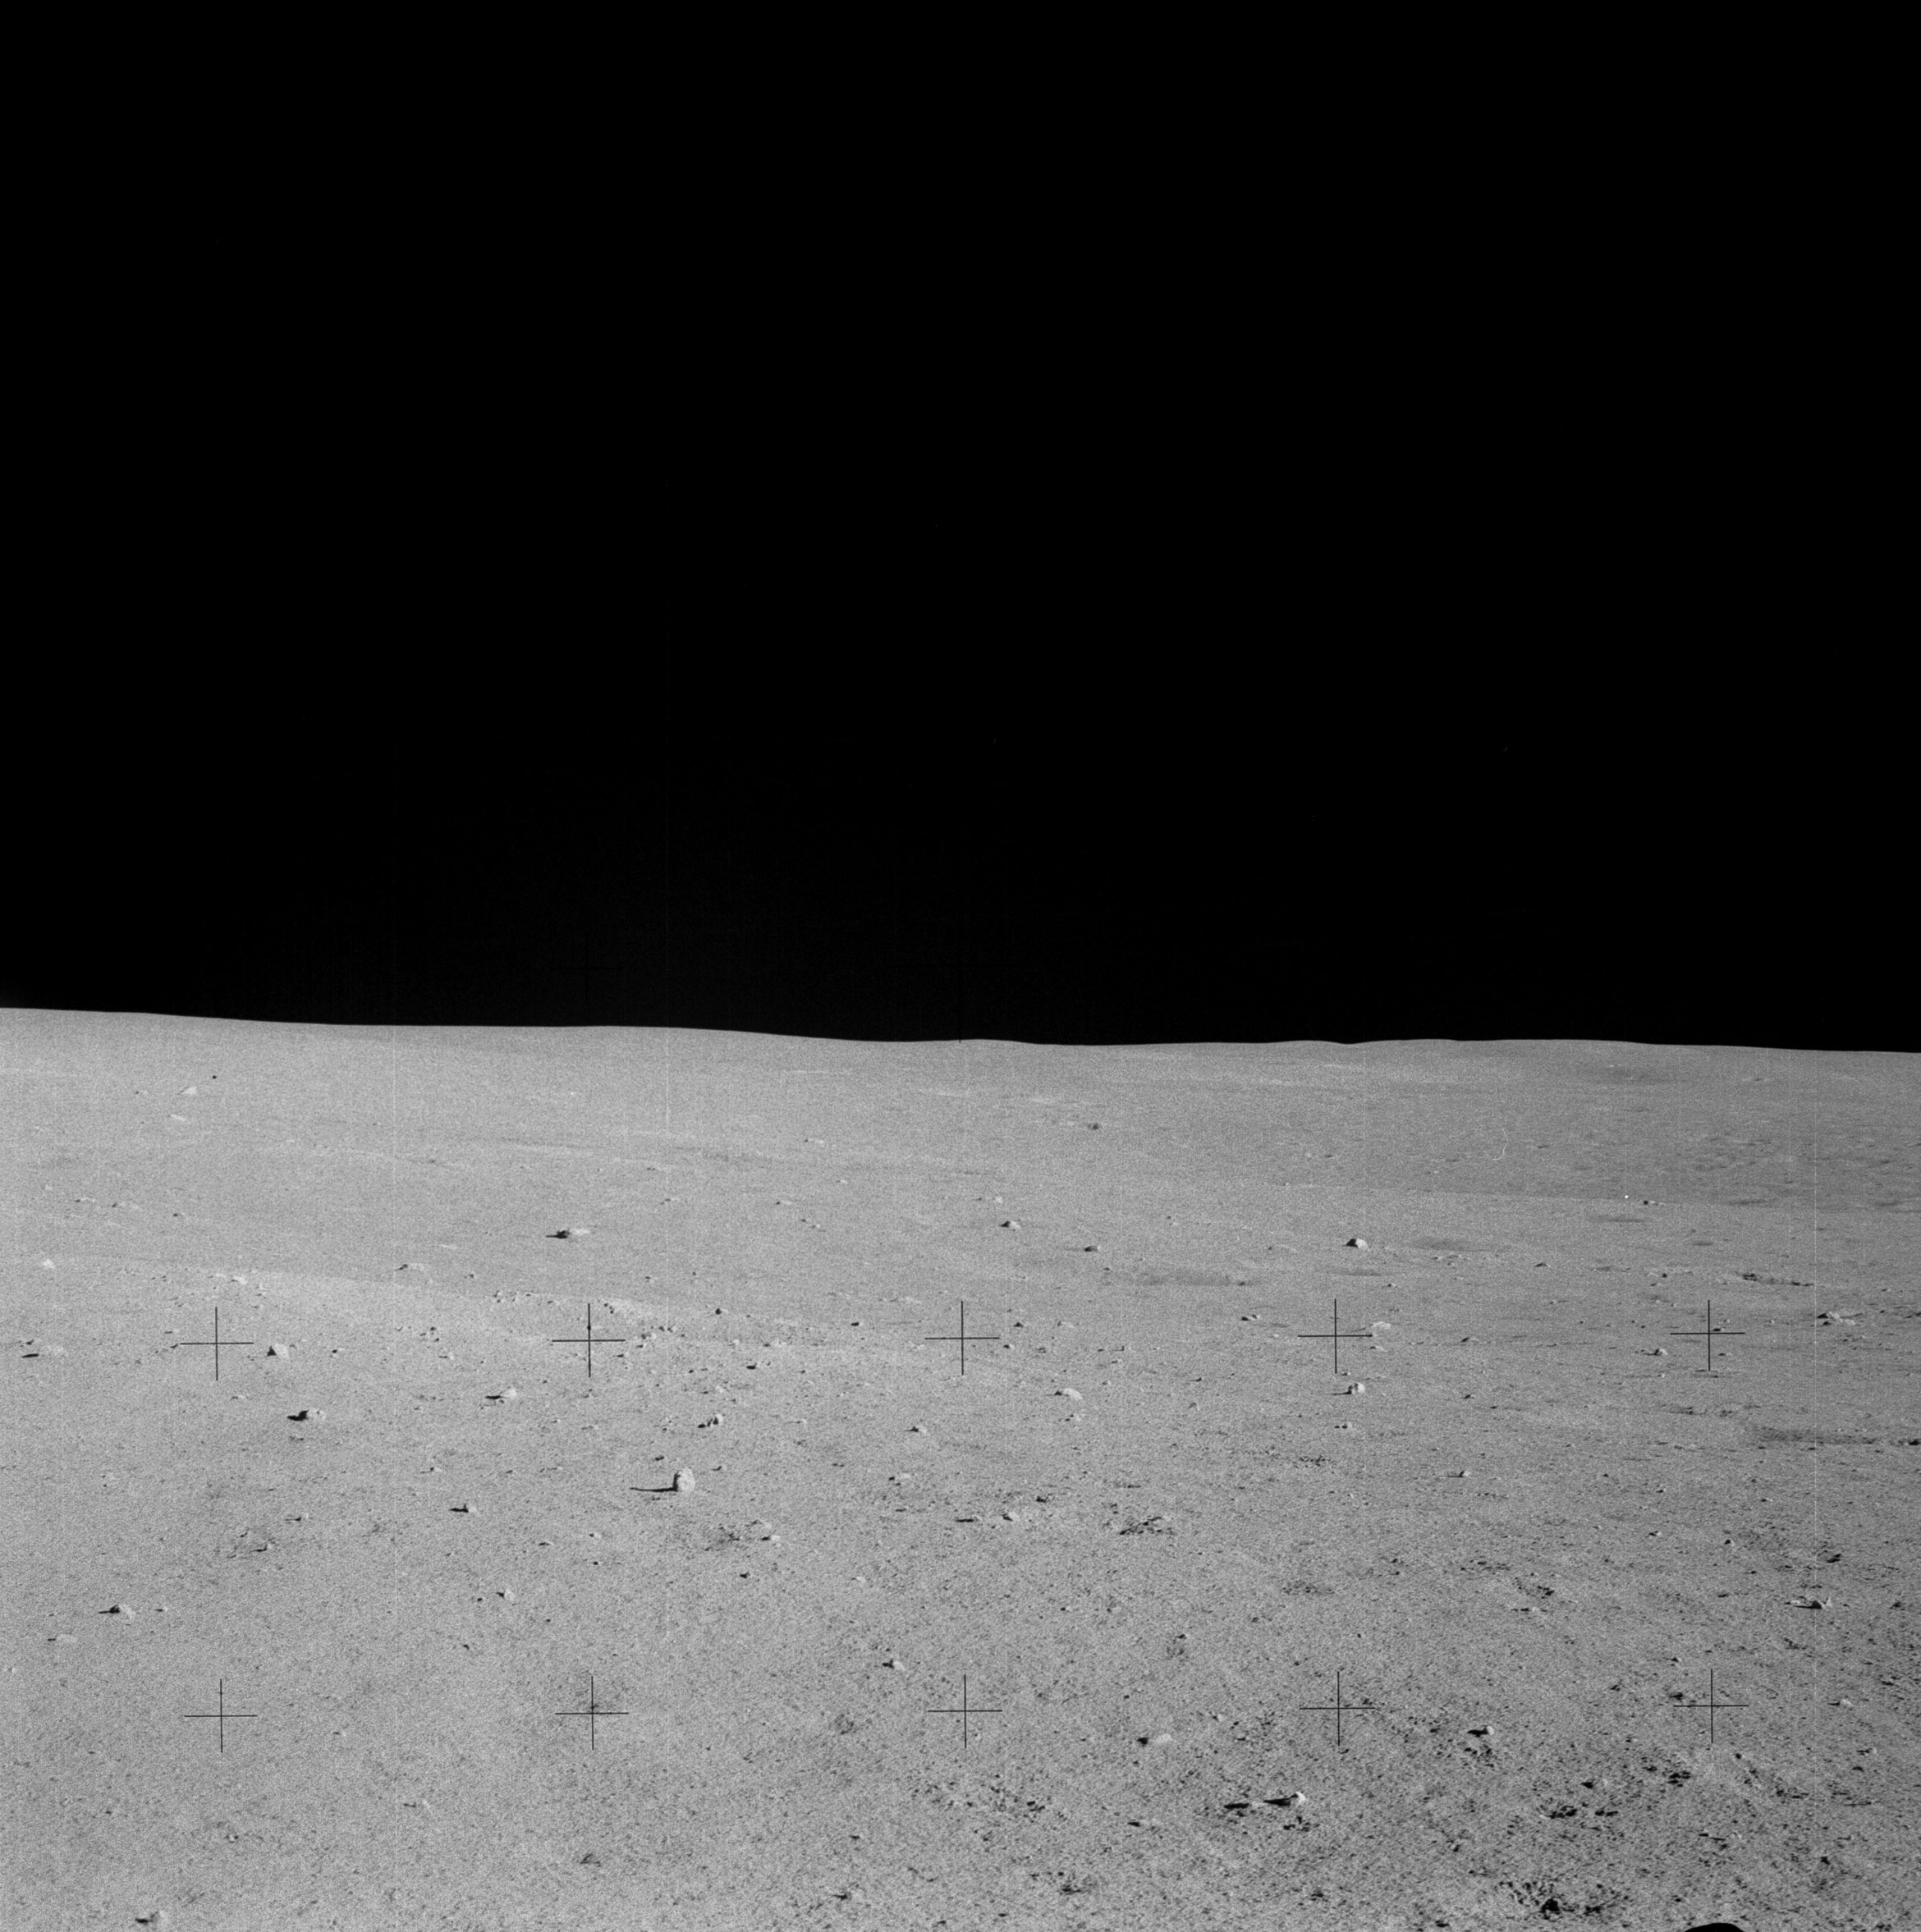 | AS14-64-9170 Rightward of 9169, toward the north, gives an impression of the undulations of the local terrain. Image credit: Image Science and Analysis Laboratory, NASA-Johnson Space Center. |
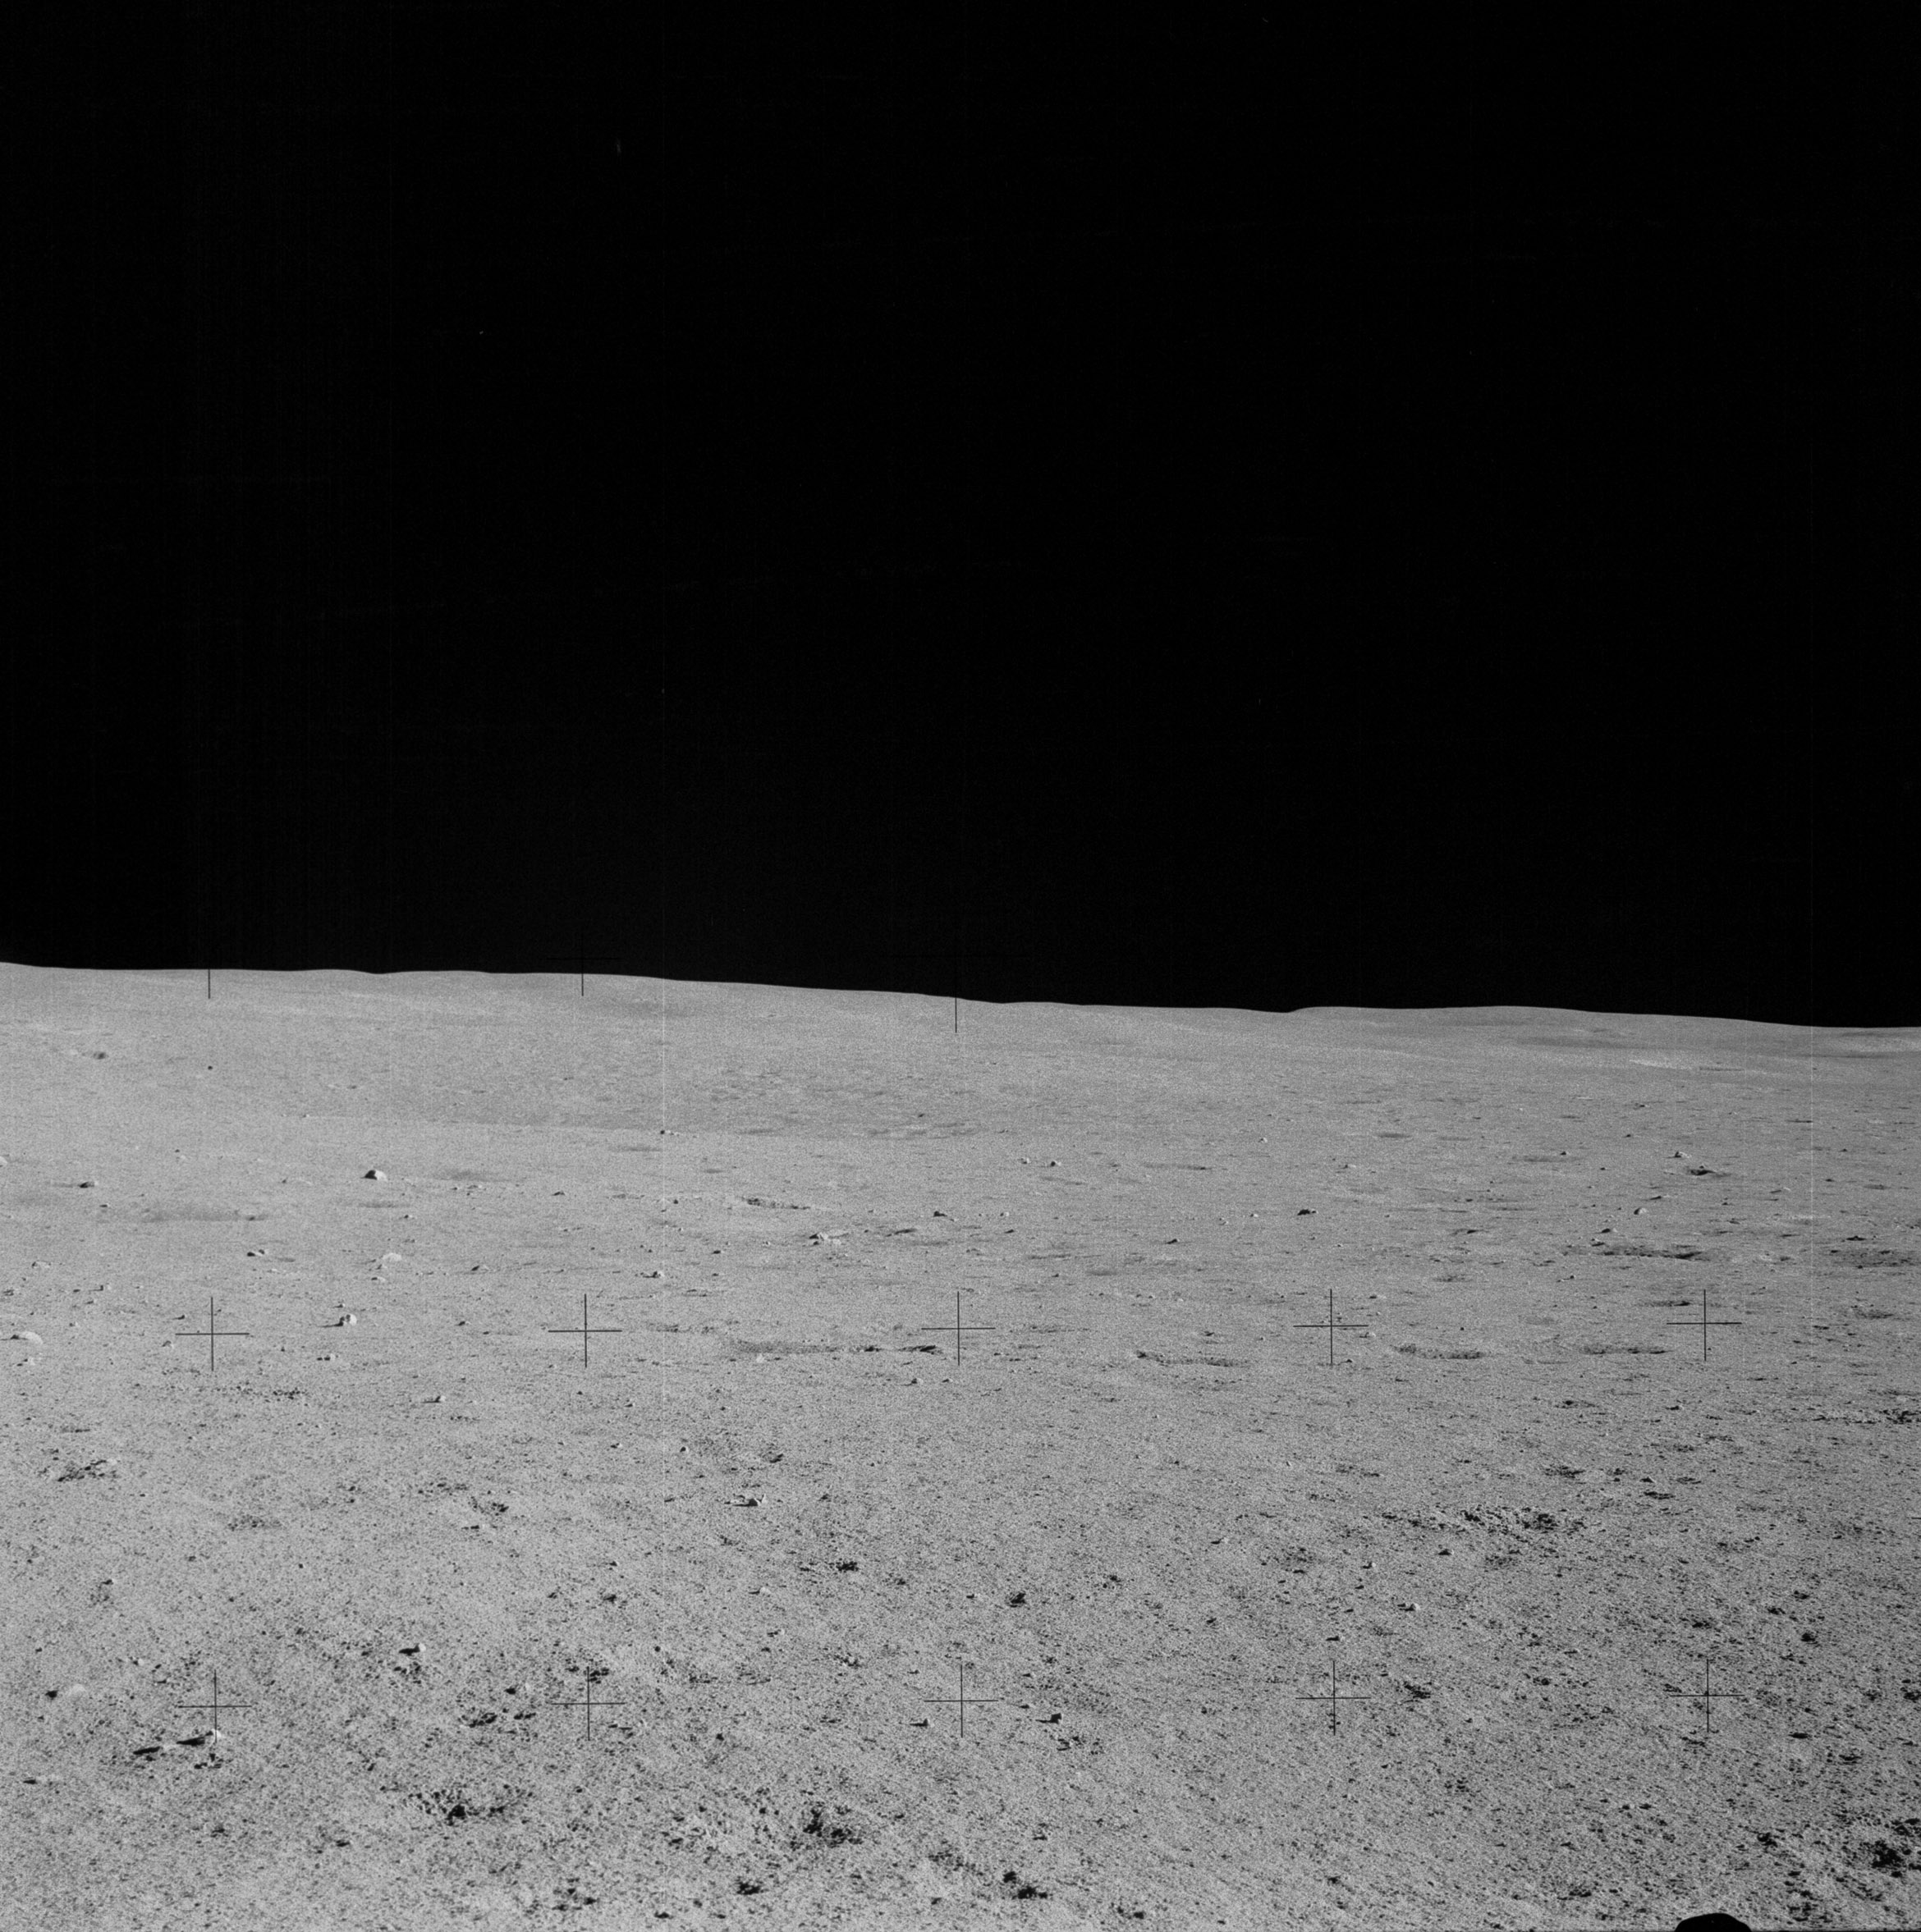 | AS14-64-9171 Rightward of 9170. Image credit: Image Science and Analysis Laboratory, NASA-Johnson Space Center. |
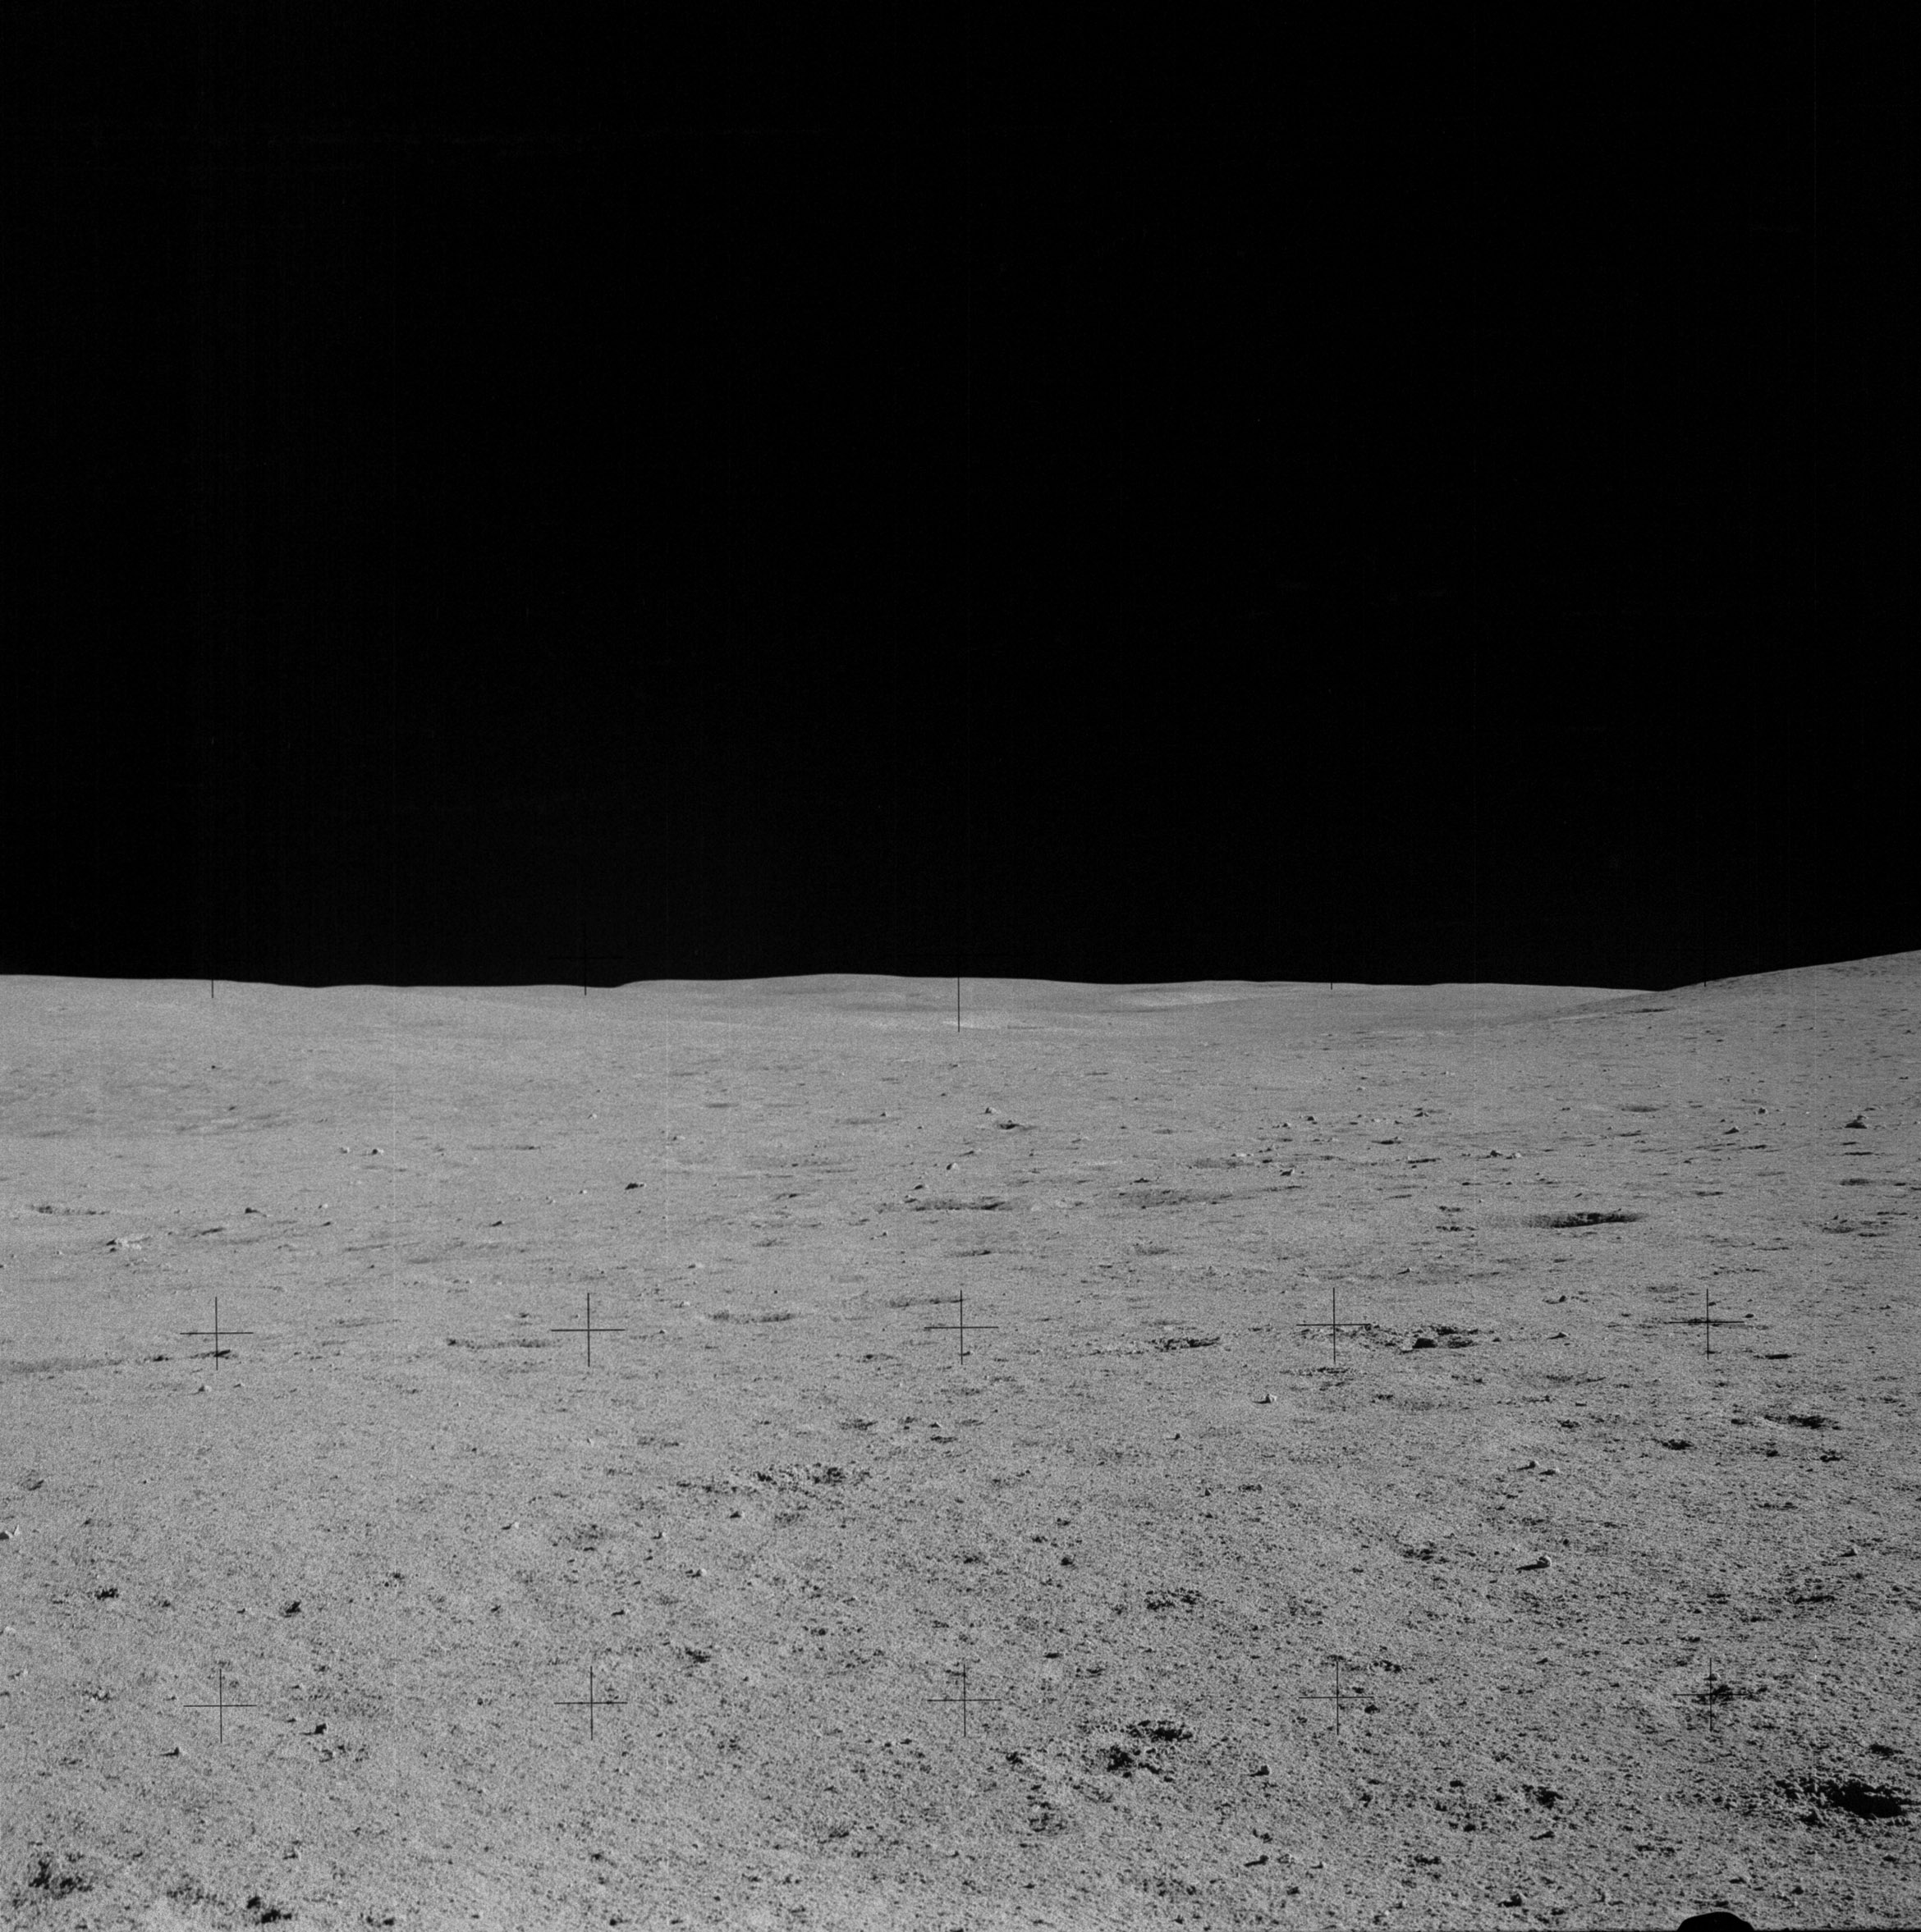 | AS14-64-9172 Rightward of 9171. Image credit: Image Science and Analysis Laboratory, NASA-Johnson Space Center. |
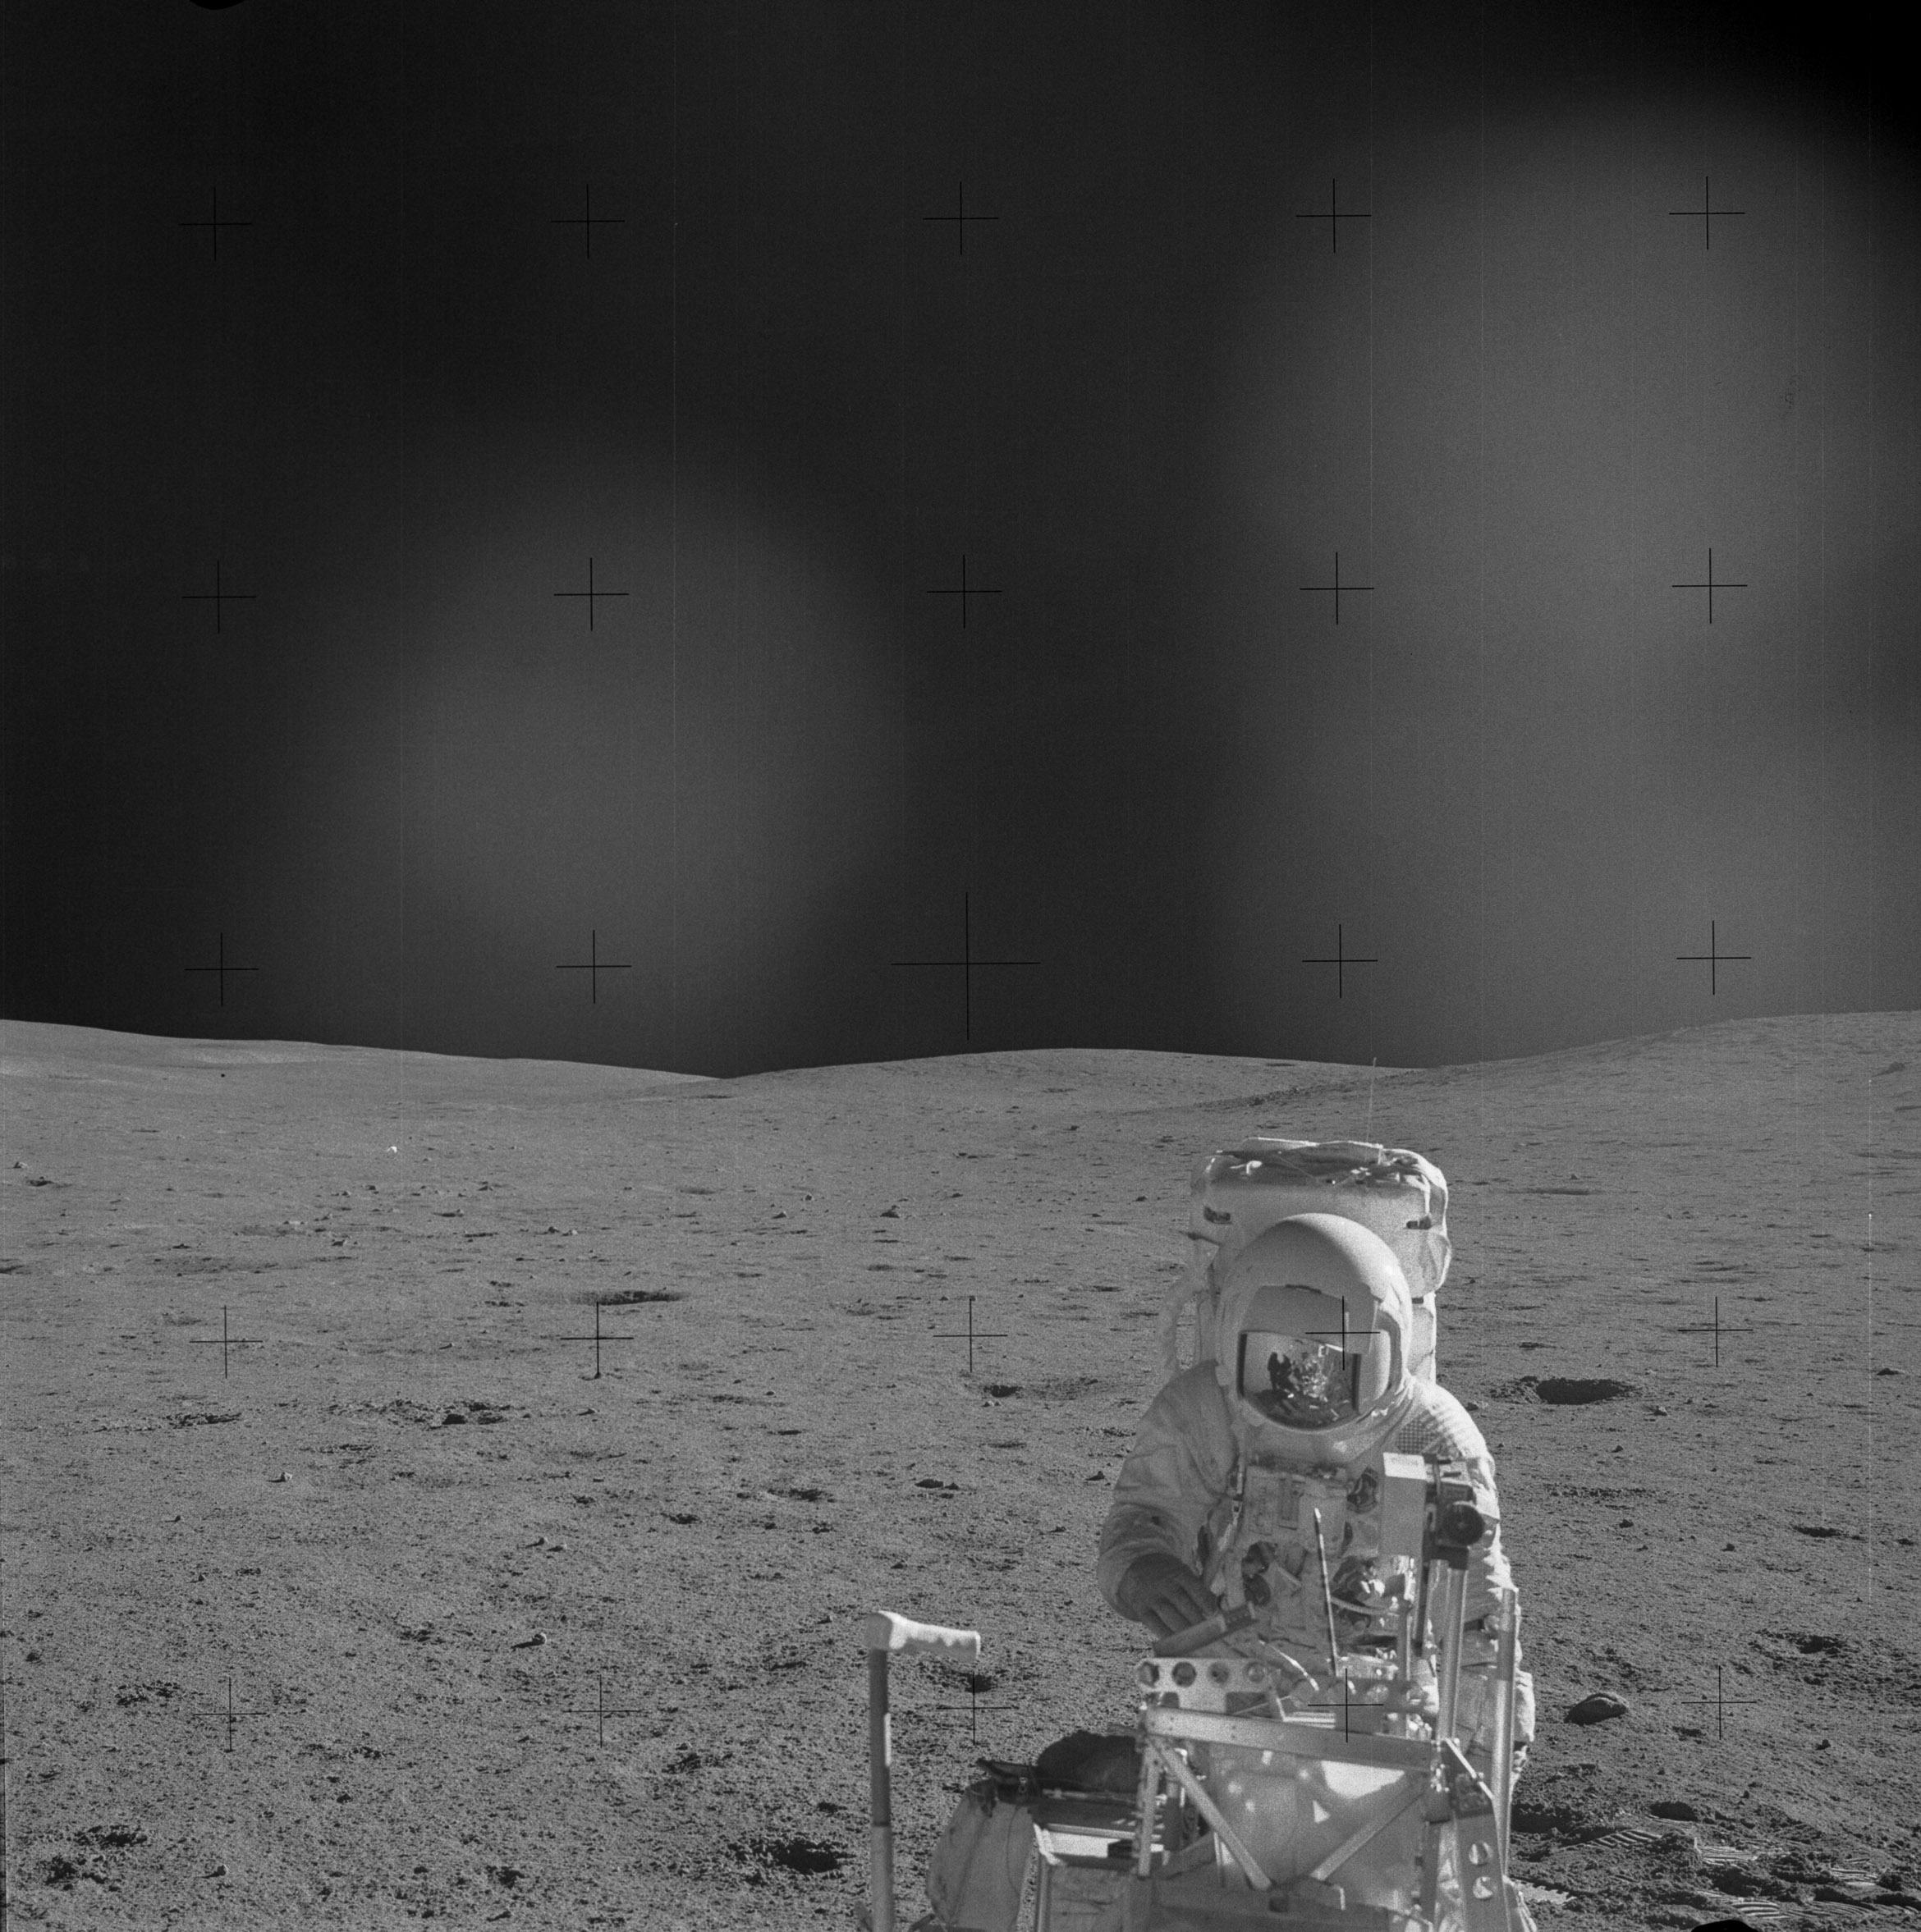 | AS14-64-9173 134:36:42 Rightward of 9172, showing Ed at the MET and a mostly empty core-cap dispenser at center. Image credit: Image Science and Analysis Laboratory, NASA-Johnson Space Center. |
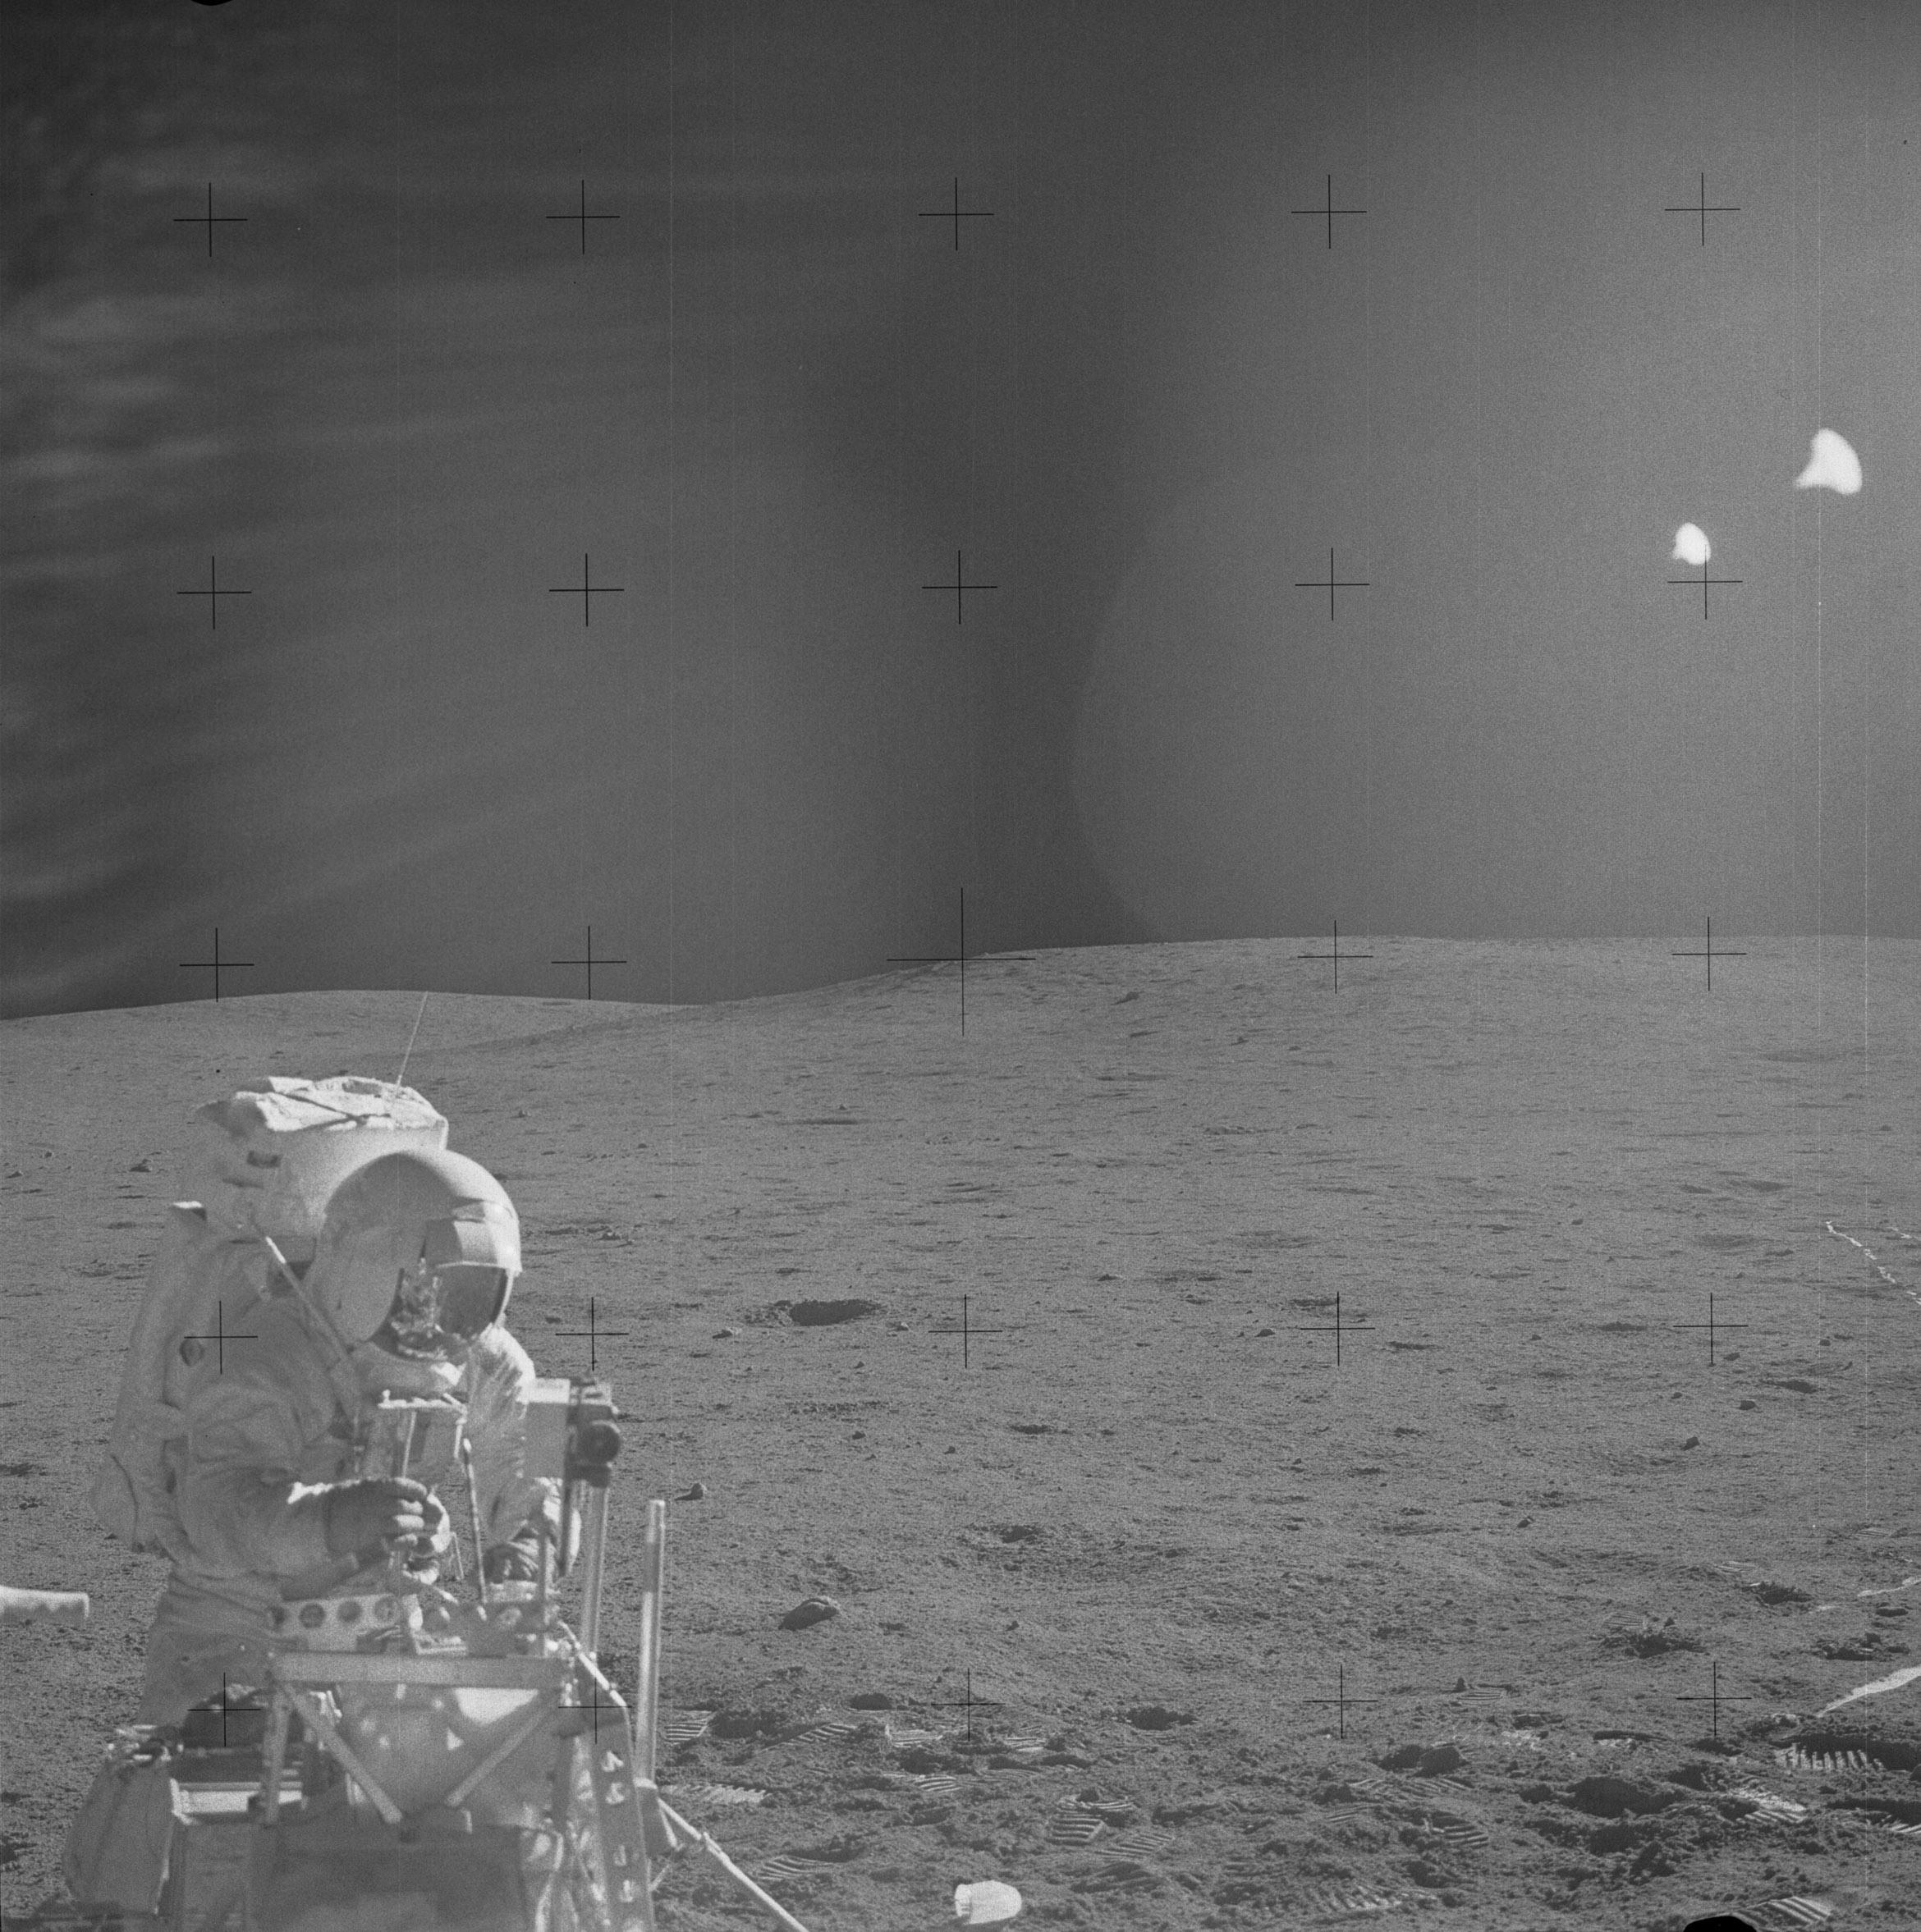 | AS14-64-9174 134:36:42 Rightward of 9173, showing Ed at the MET. Image credit: Image Science and Analysis Laboratory, NASA-Johnson Space Center. |
 | AS14-64-9175 Rightward of 9174, showing the view just a little counter-clockwise from up-Sun. Image credit: Image Science and Analysis Laboratory, NASA-Johnson Space Center. |
 | AS14-64-9176 Up-Sun, with MET tracks. Image credit: Image Science and Analysis Laboratory, NASA-Johnson Space Center. |
 | AS14-64-9177 Rightward of 9176, showing some footprints going away from the MET to the right. Image credit: Image Science and Analysis Laboratory, NASA-Johnson Space Center. |
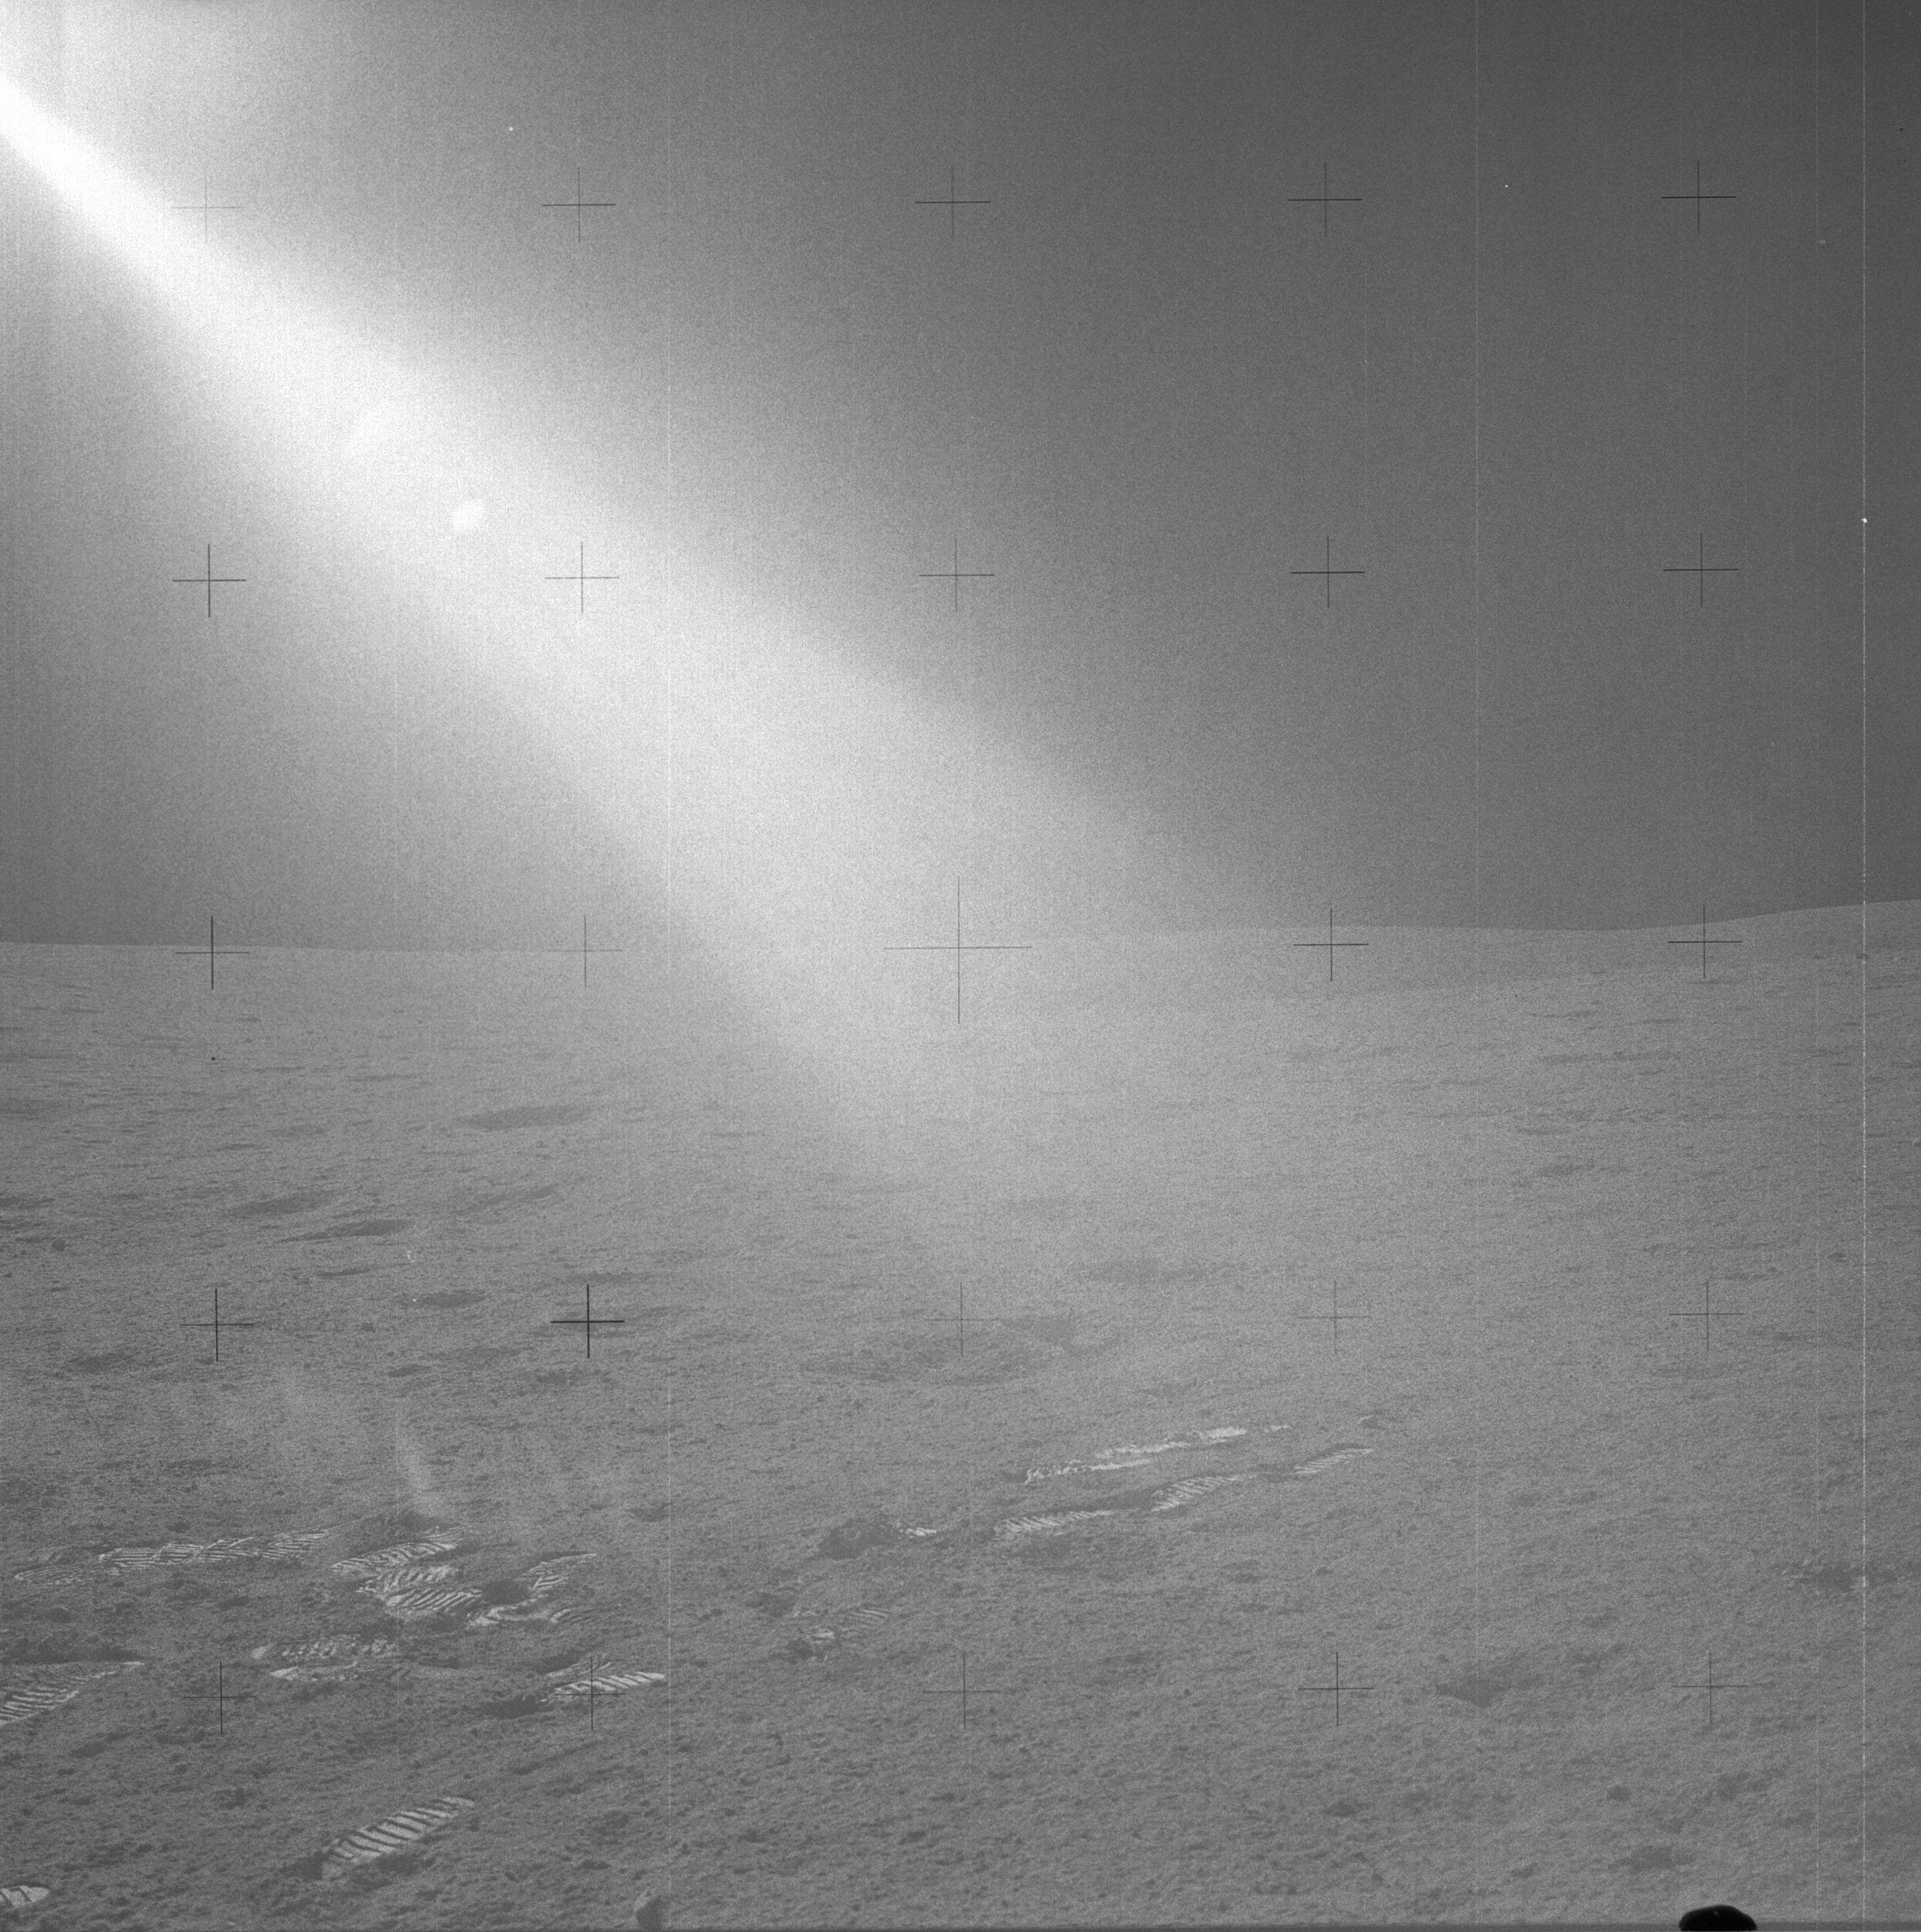 | AS14-64-9178 Rightward of 9177, showing Ed's footprints at the core site. Image credit: Image Science and Analysis Laboratory, NASA-Johnson Space Center. |
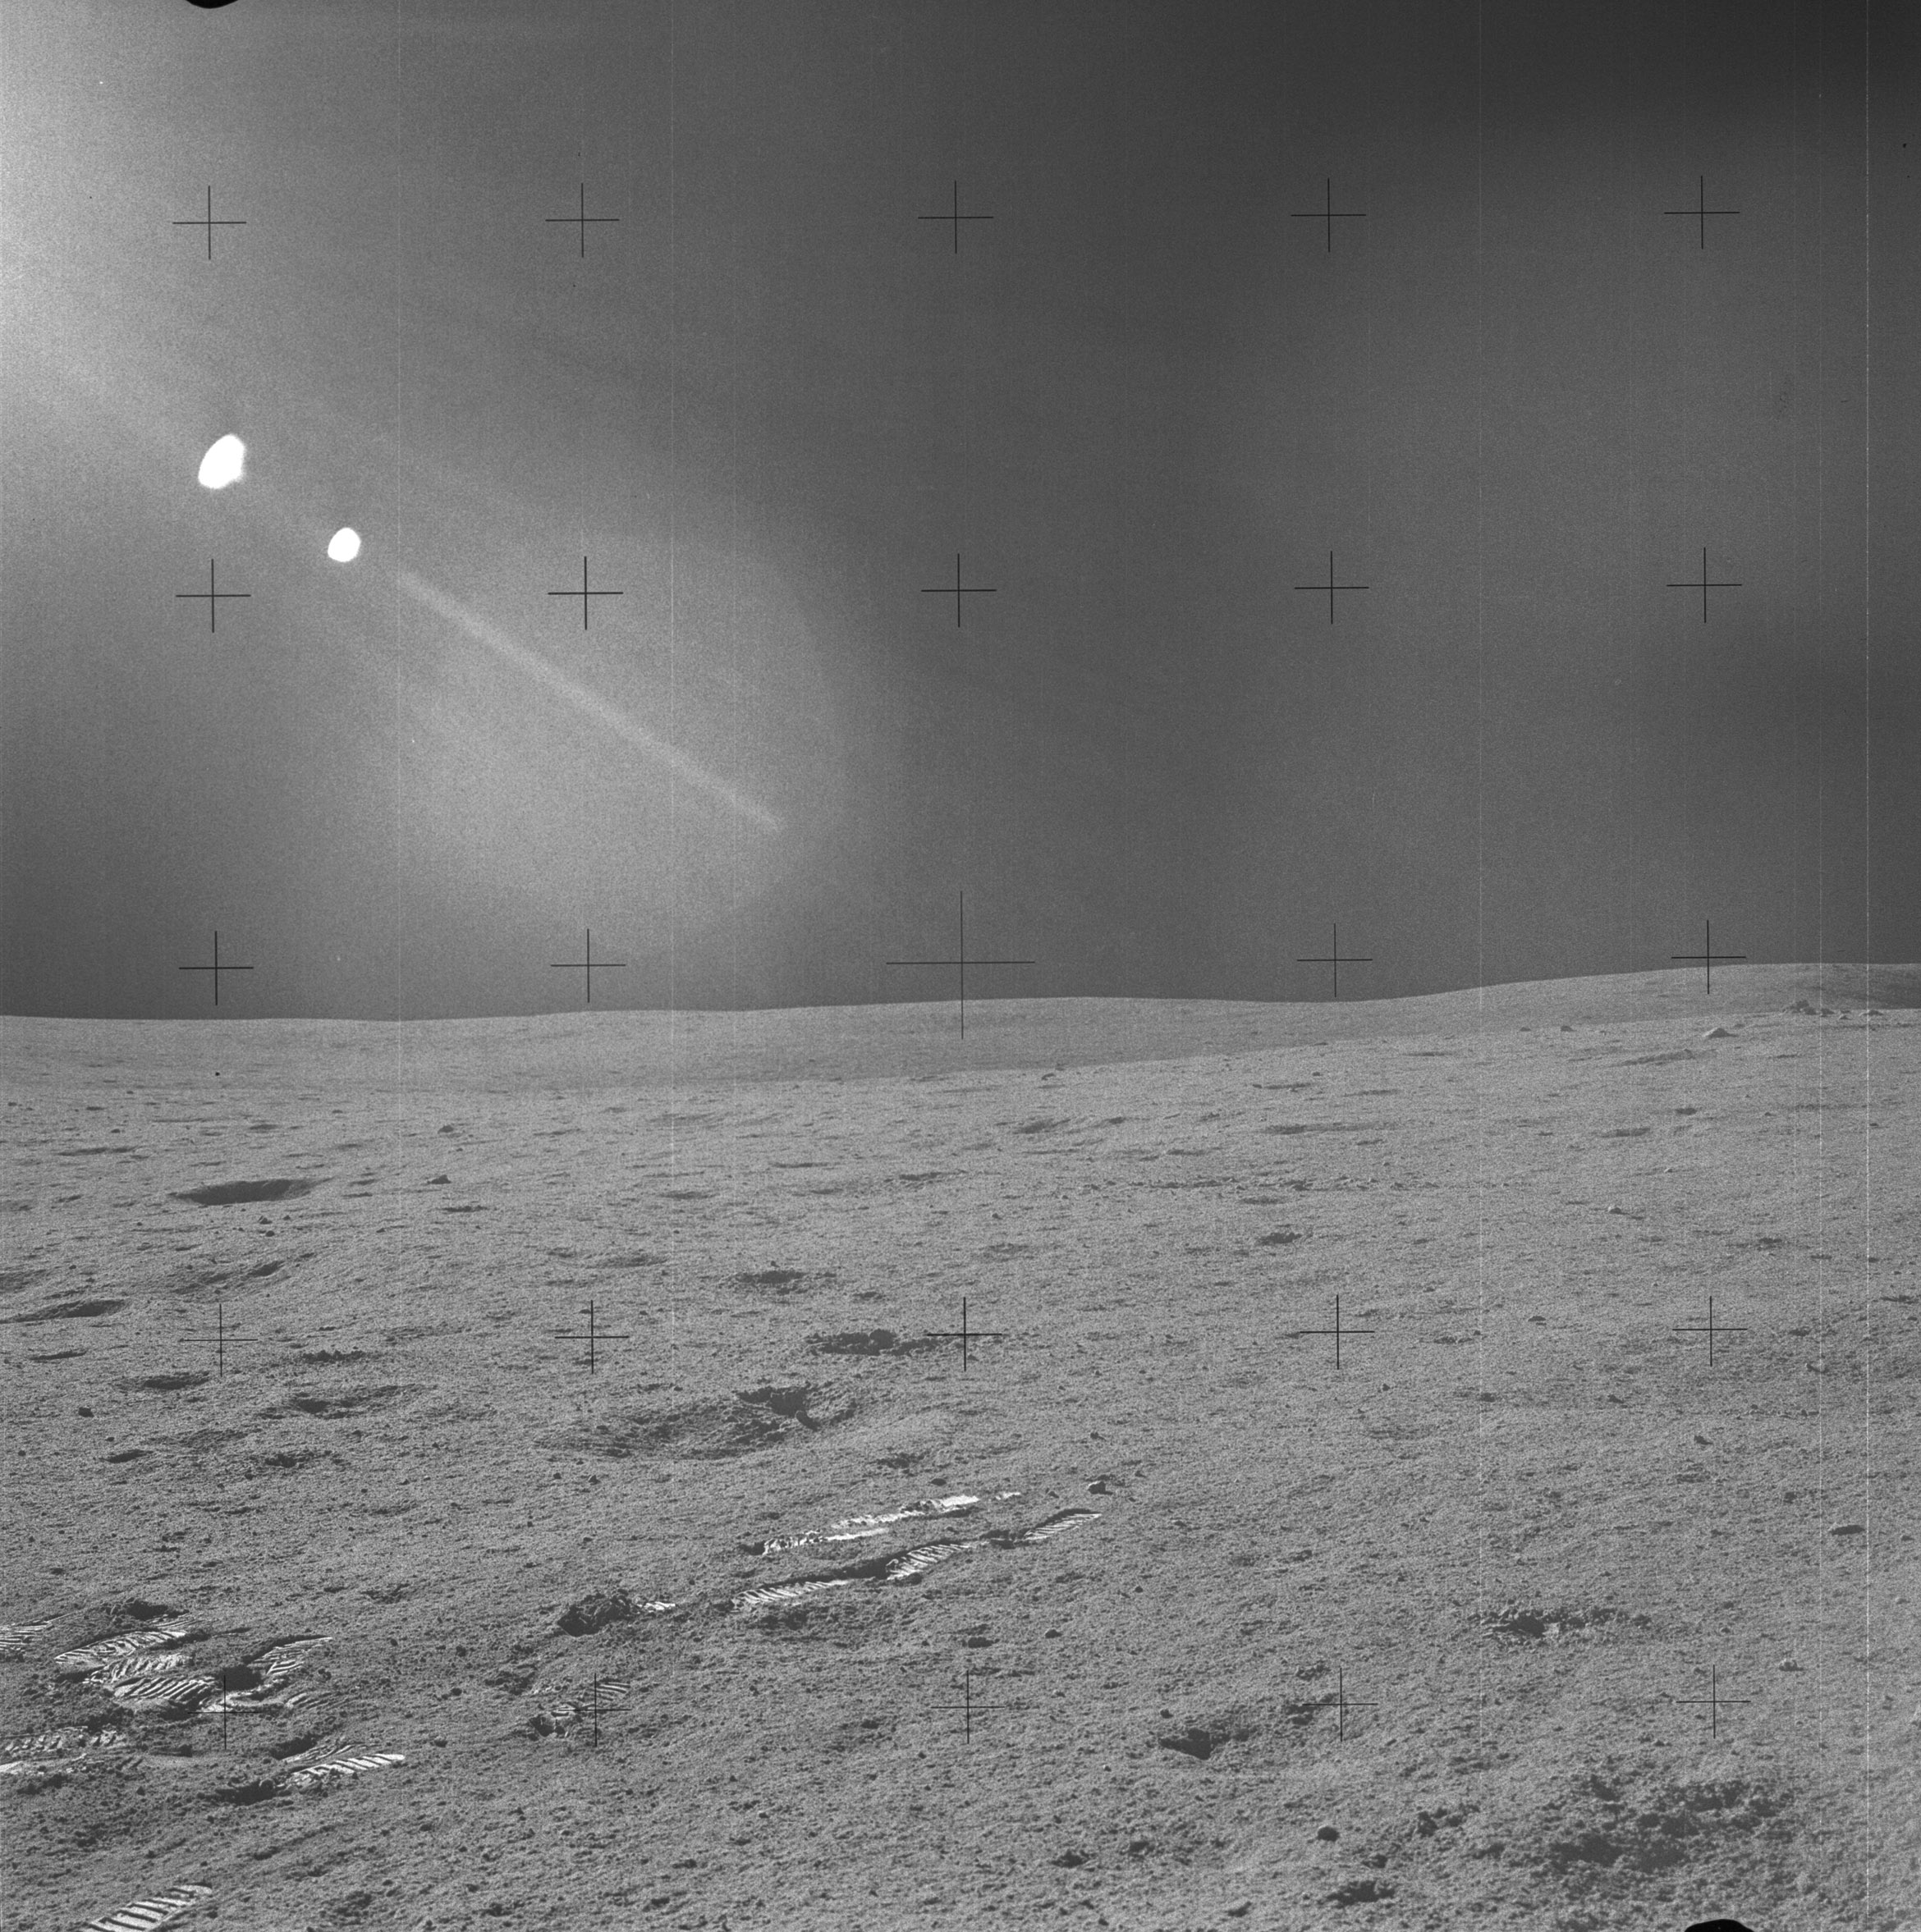 | AS14-64-9179 Rightward of 9178. Image credit: Image Science and Analysis Laboratory, NASA-Johnson Space Center. |
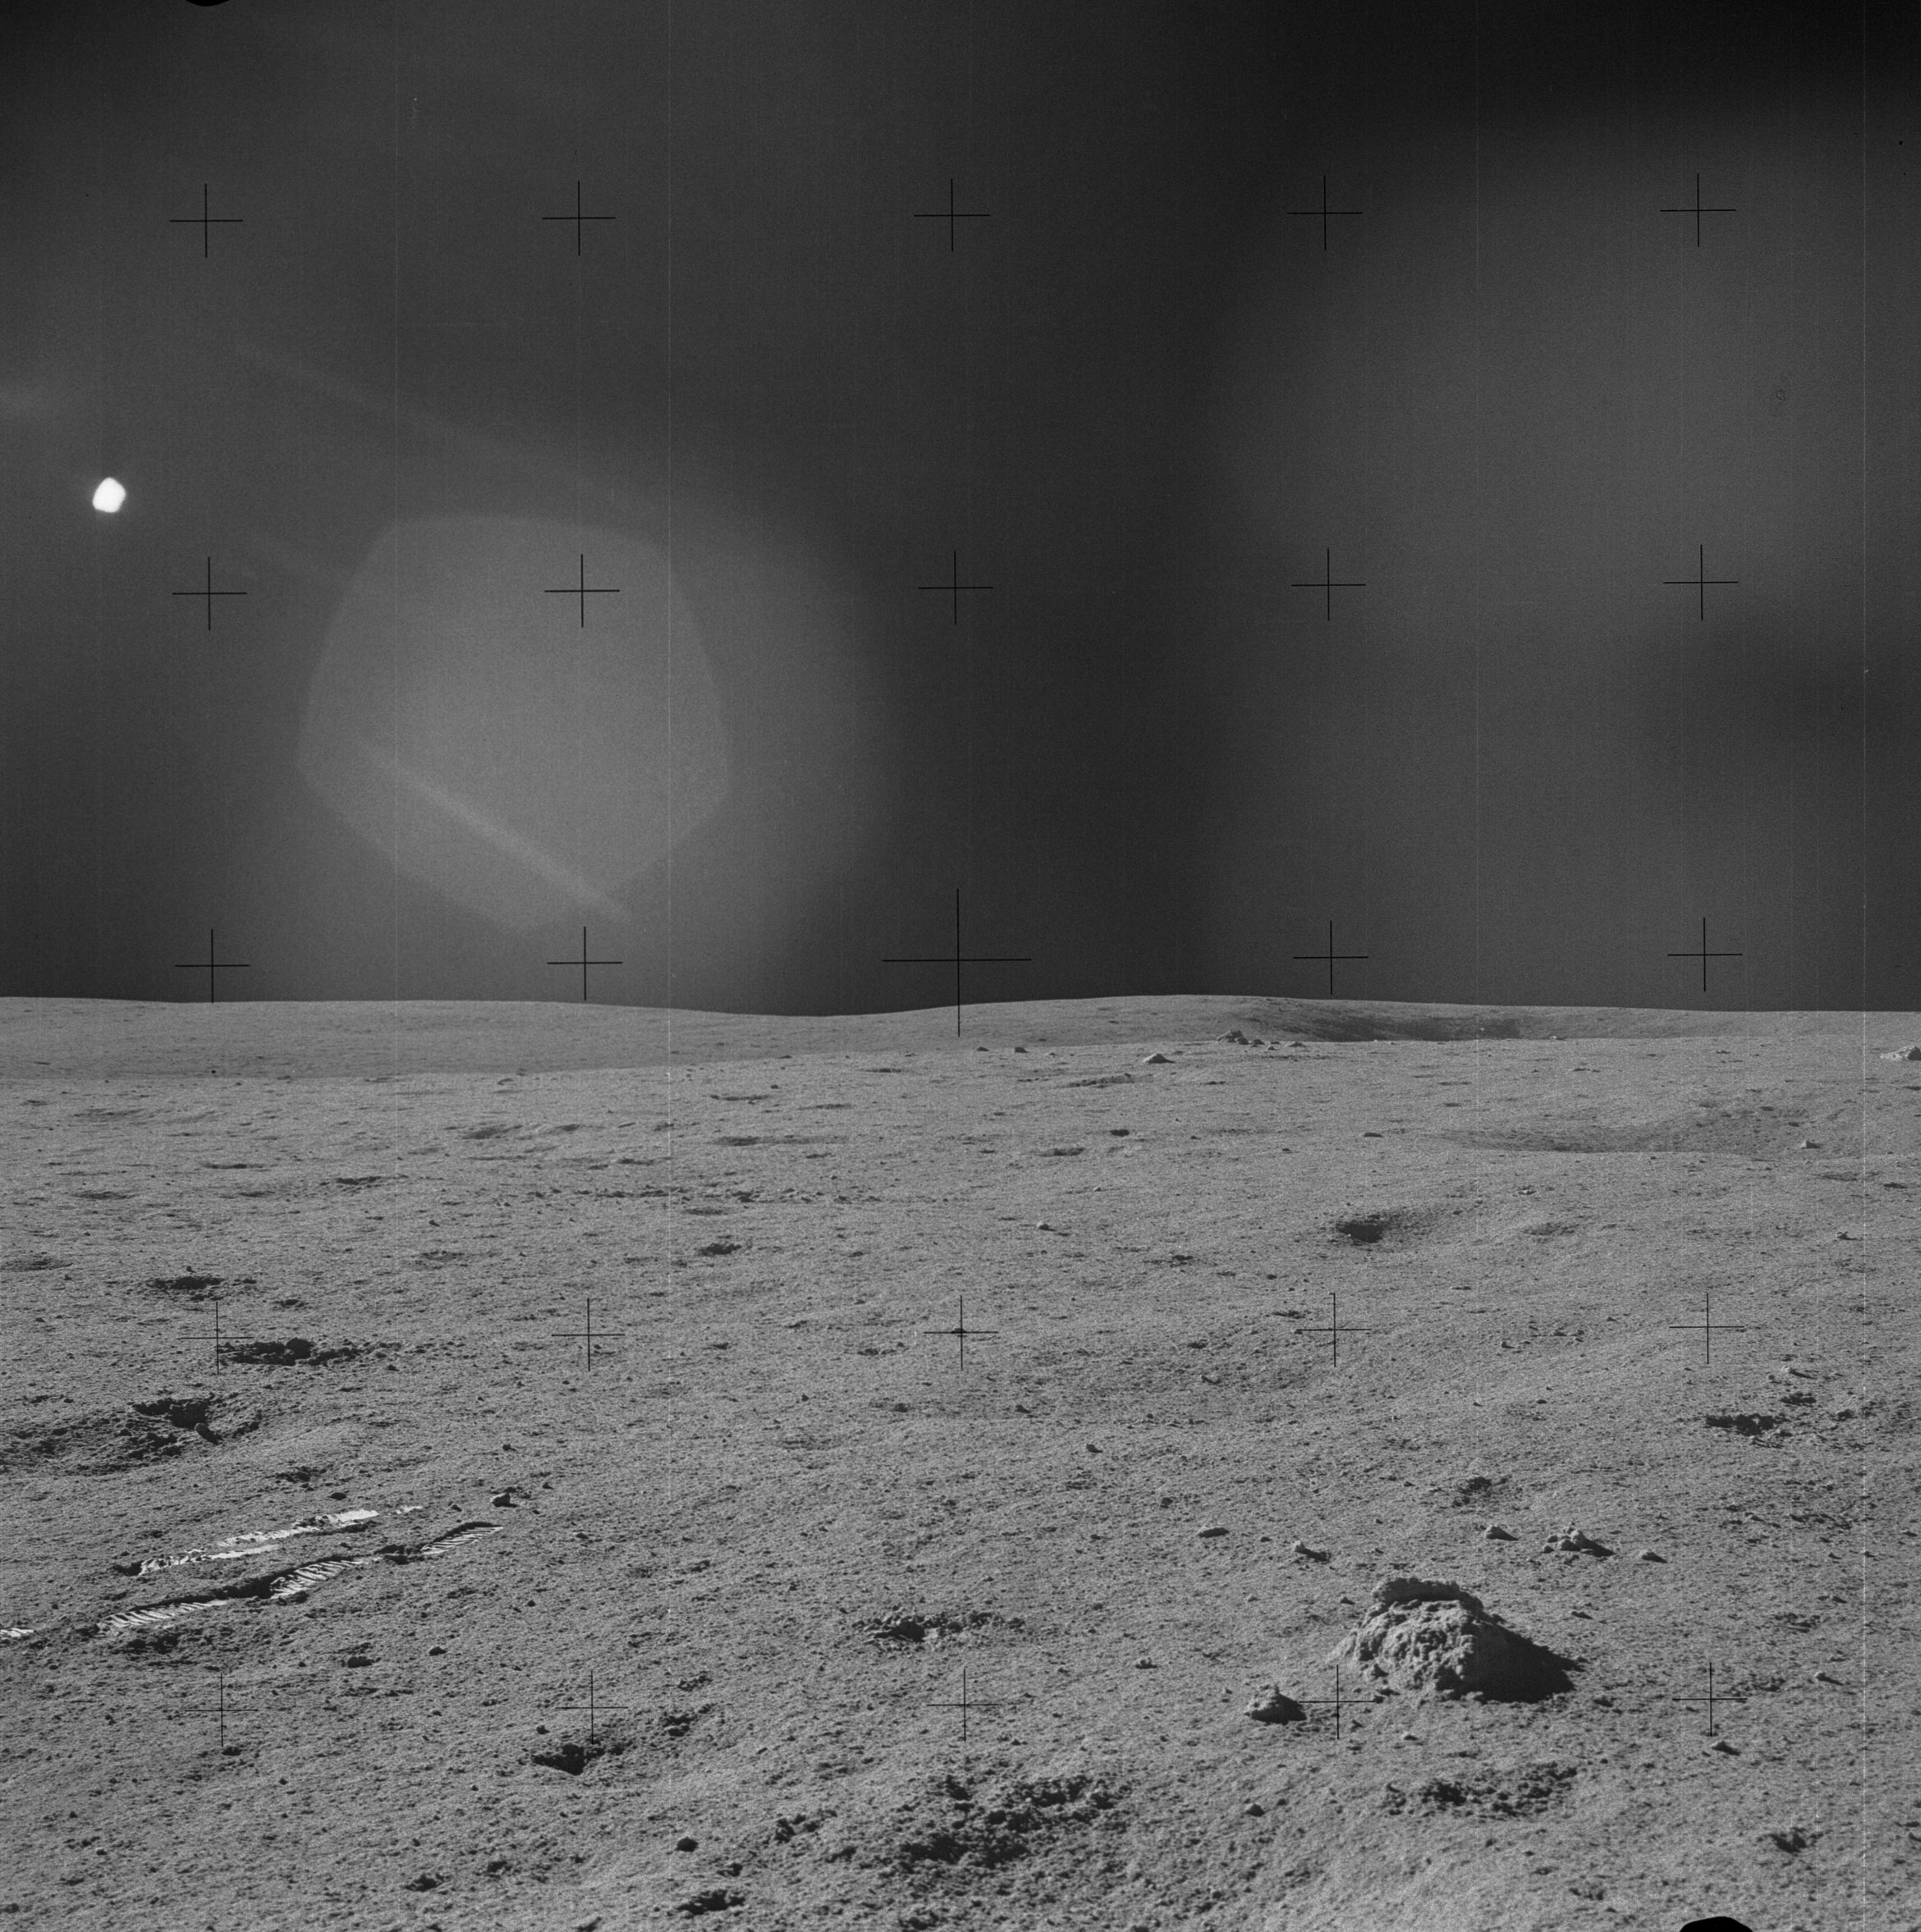 | AS14-64-9180 Rightward of 9179, with Old Nameless is partially obscured by local terrain to the right of center.. Image credit: Image Science and Analysis Laboratory, NASA-Johnson Space Center. |
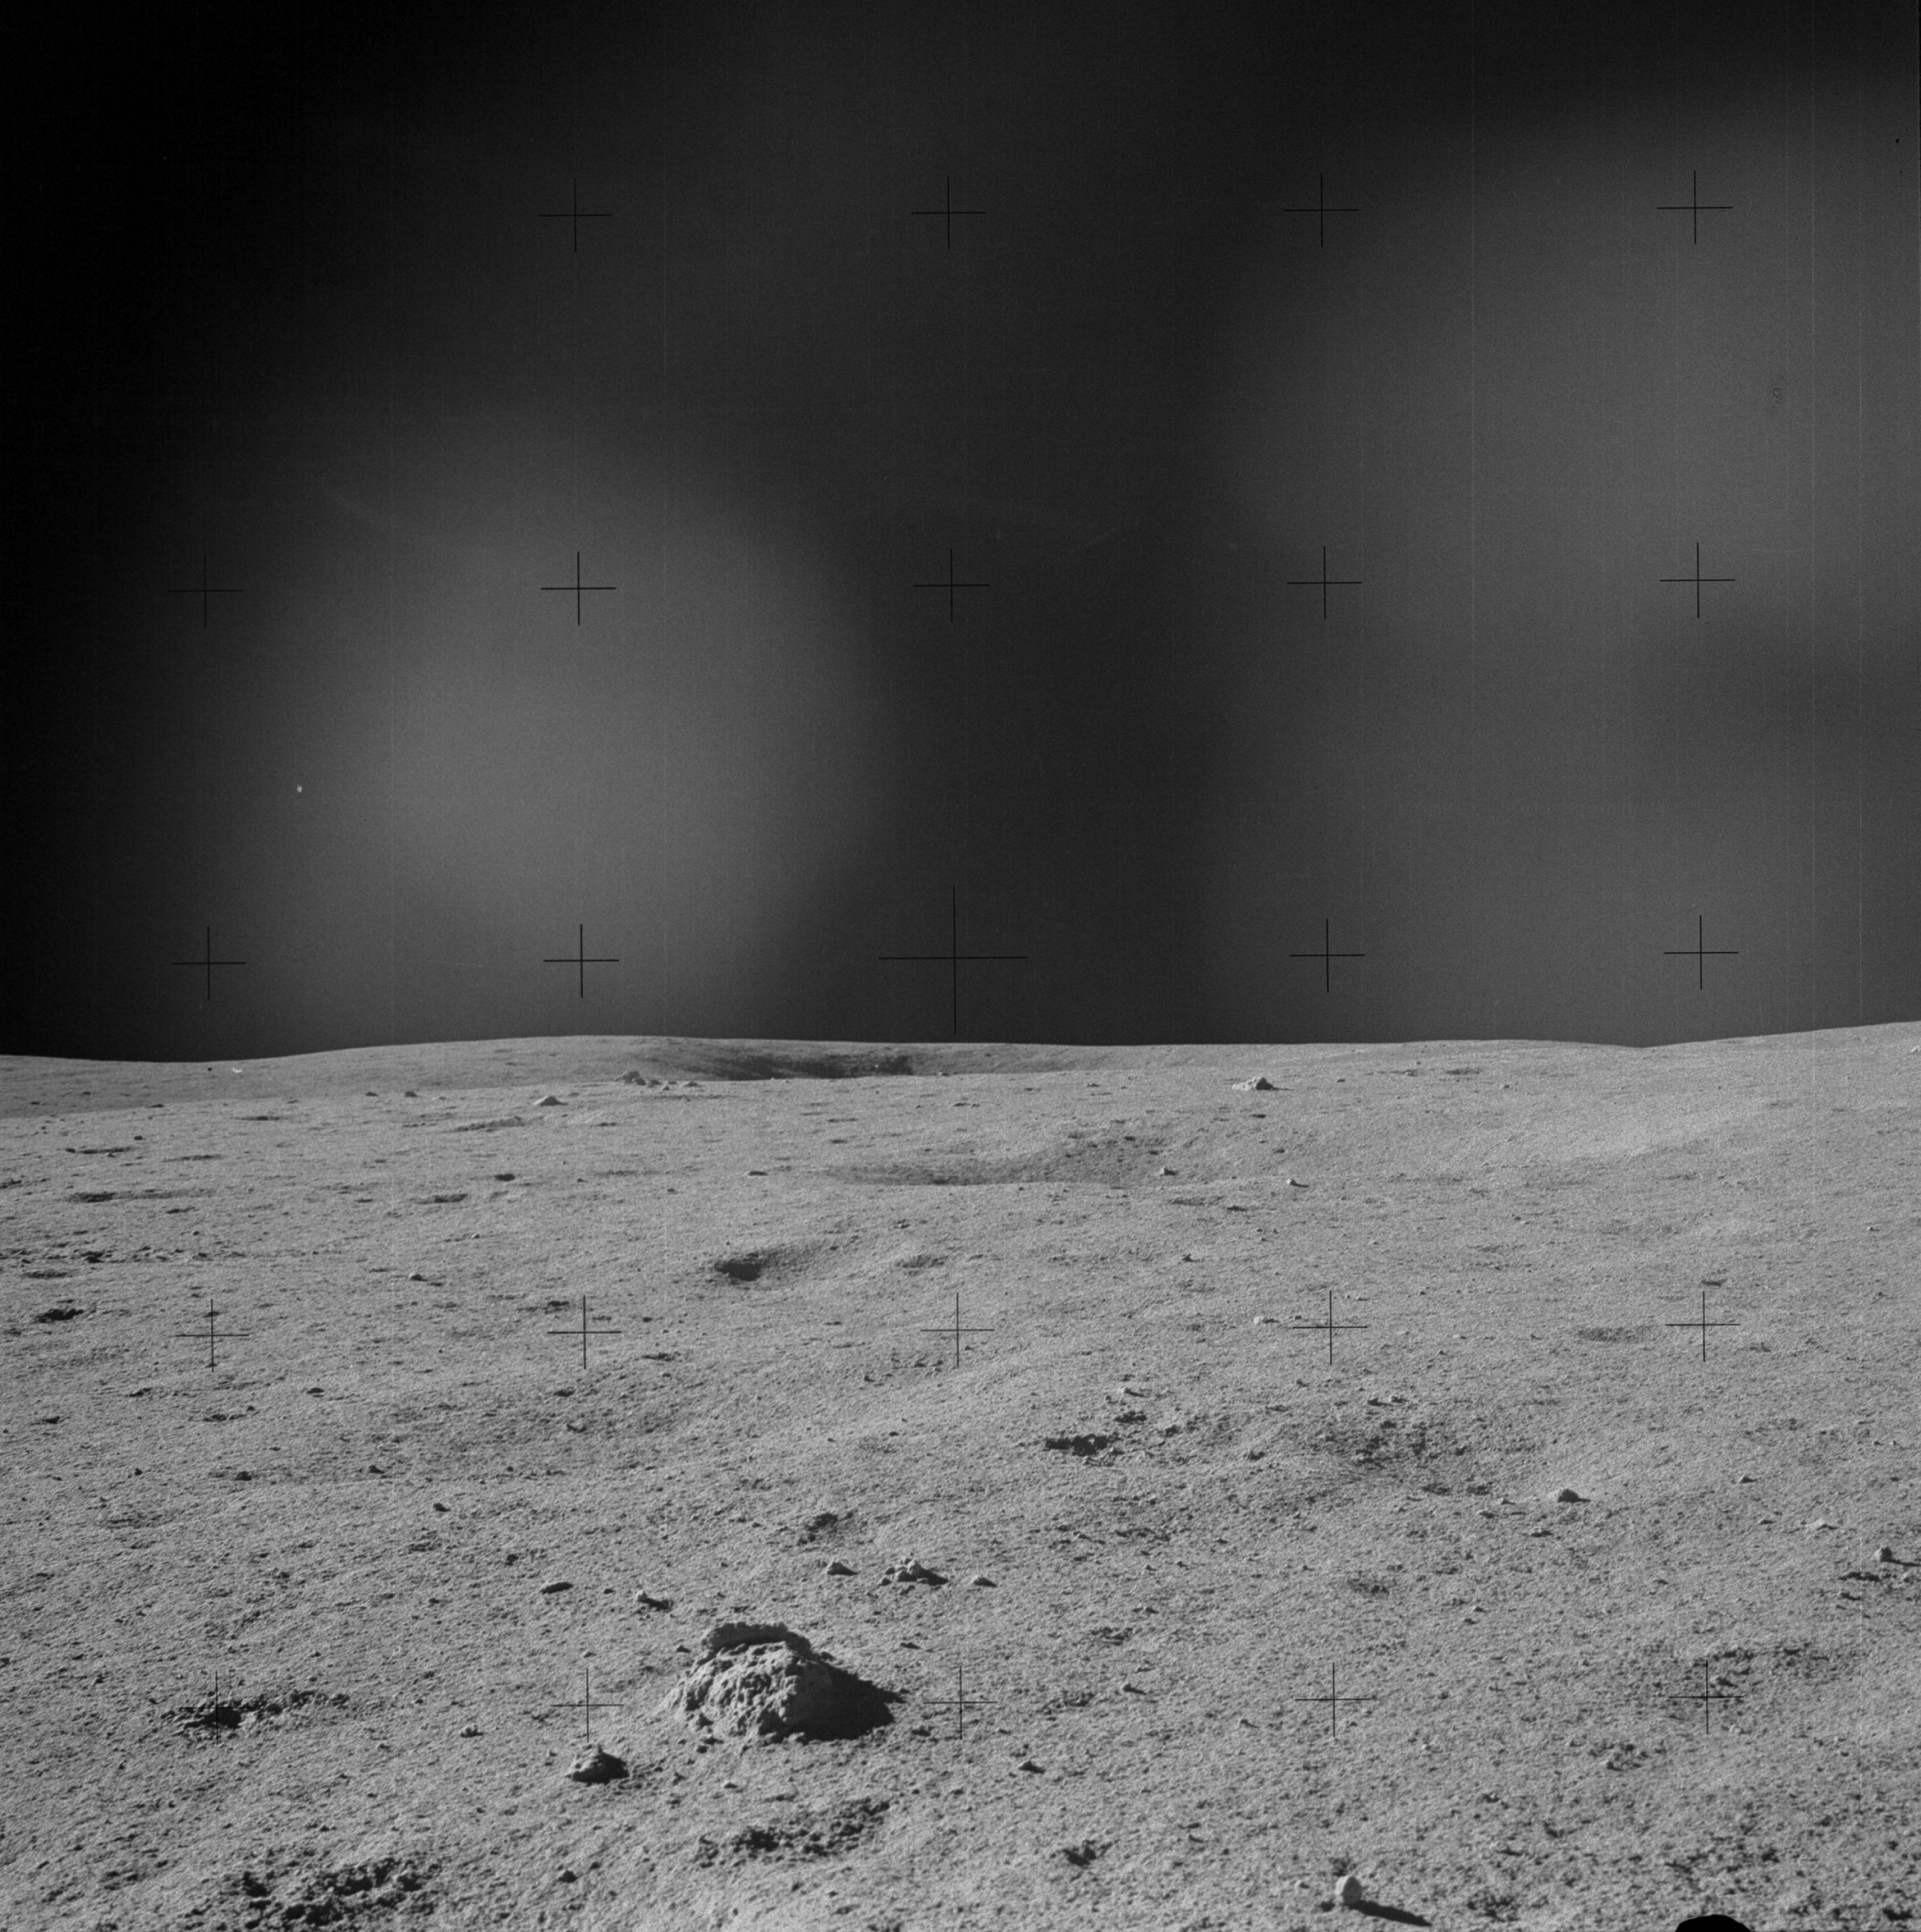 | AS14-64-9181 Rightward of 9180, centered on Old Nameless . Image credit: Image Science and Analysis Laboratory, NASA-Johnson Space Center. |
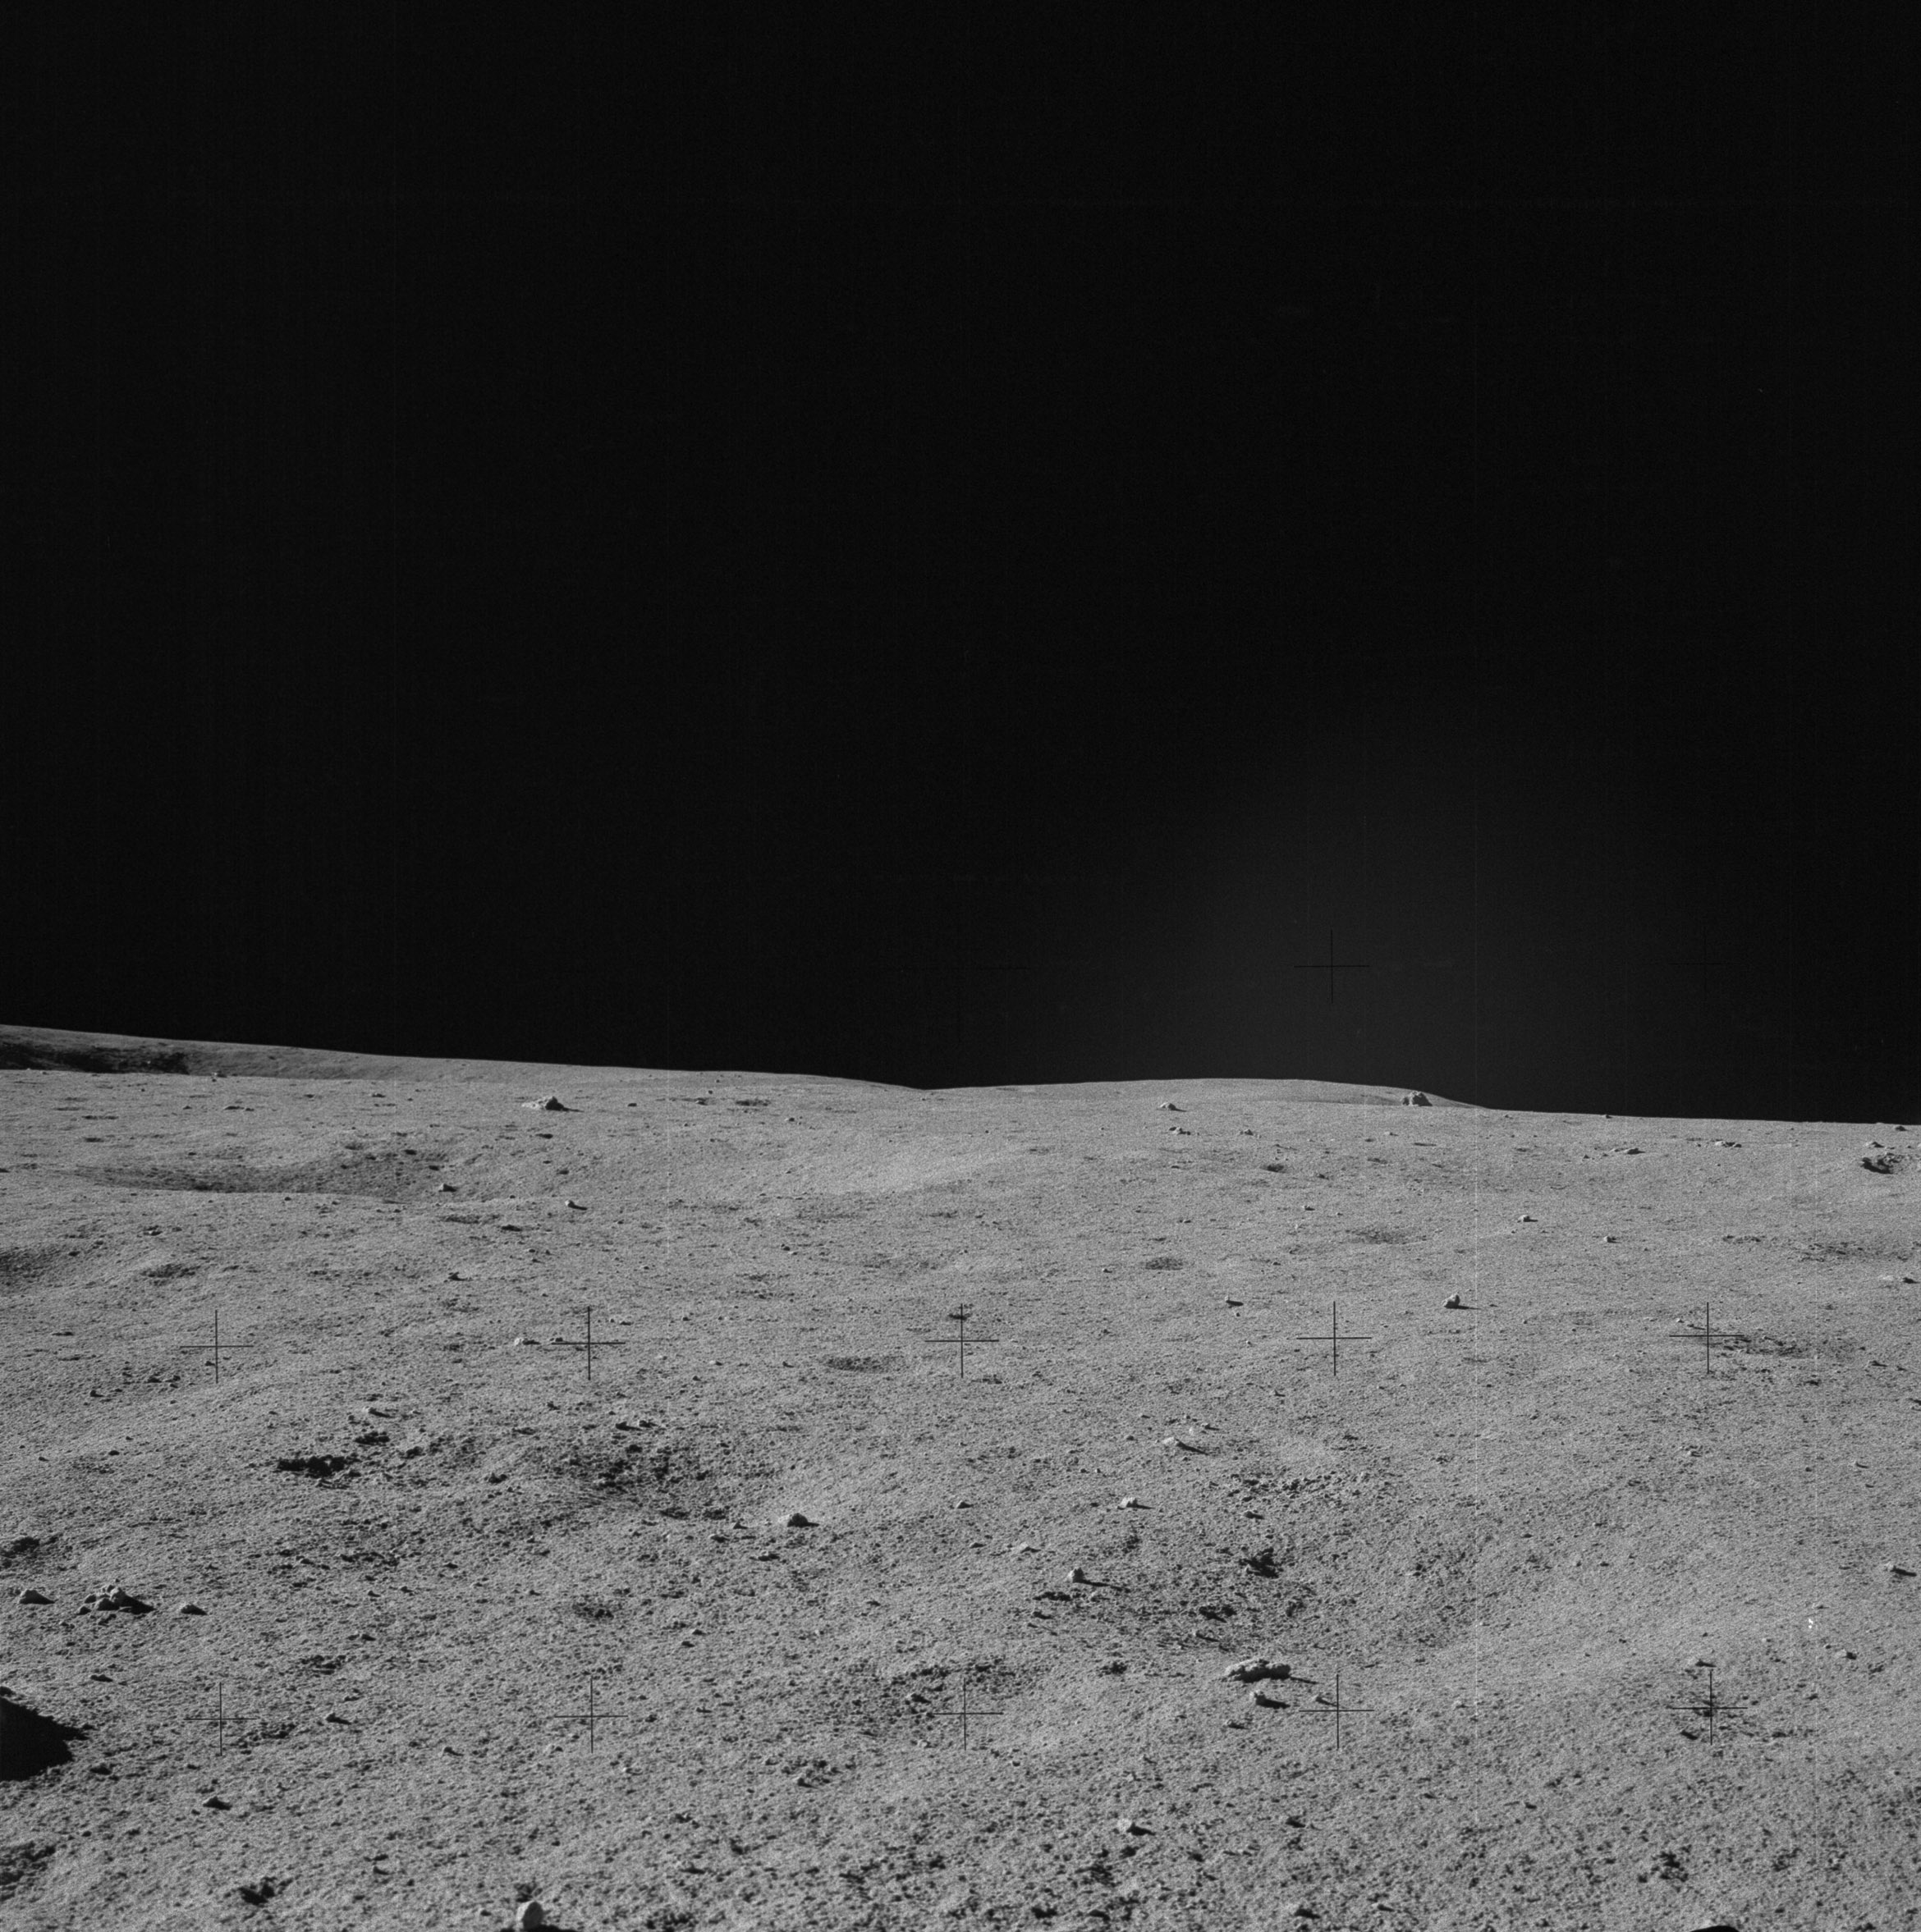 | AS14-64-9182 Rightward of 9181. Image credit: Image Science and Analysis Laboratory, NASA-Johnson Space Center. |
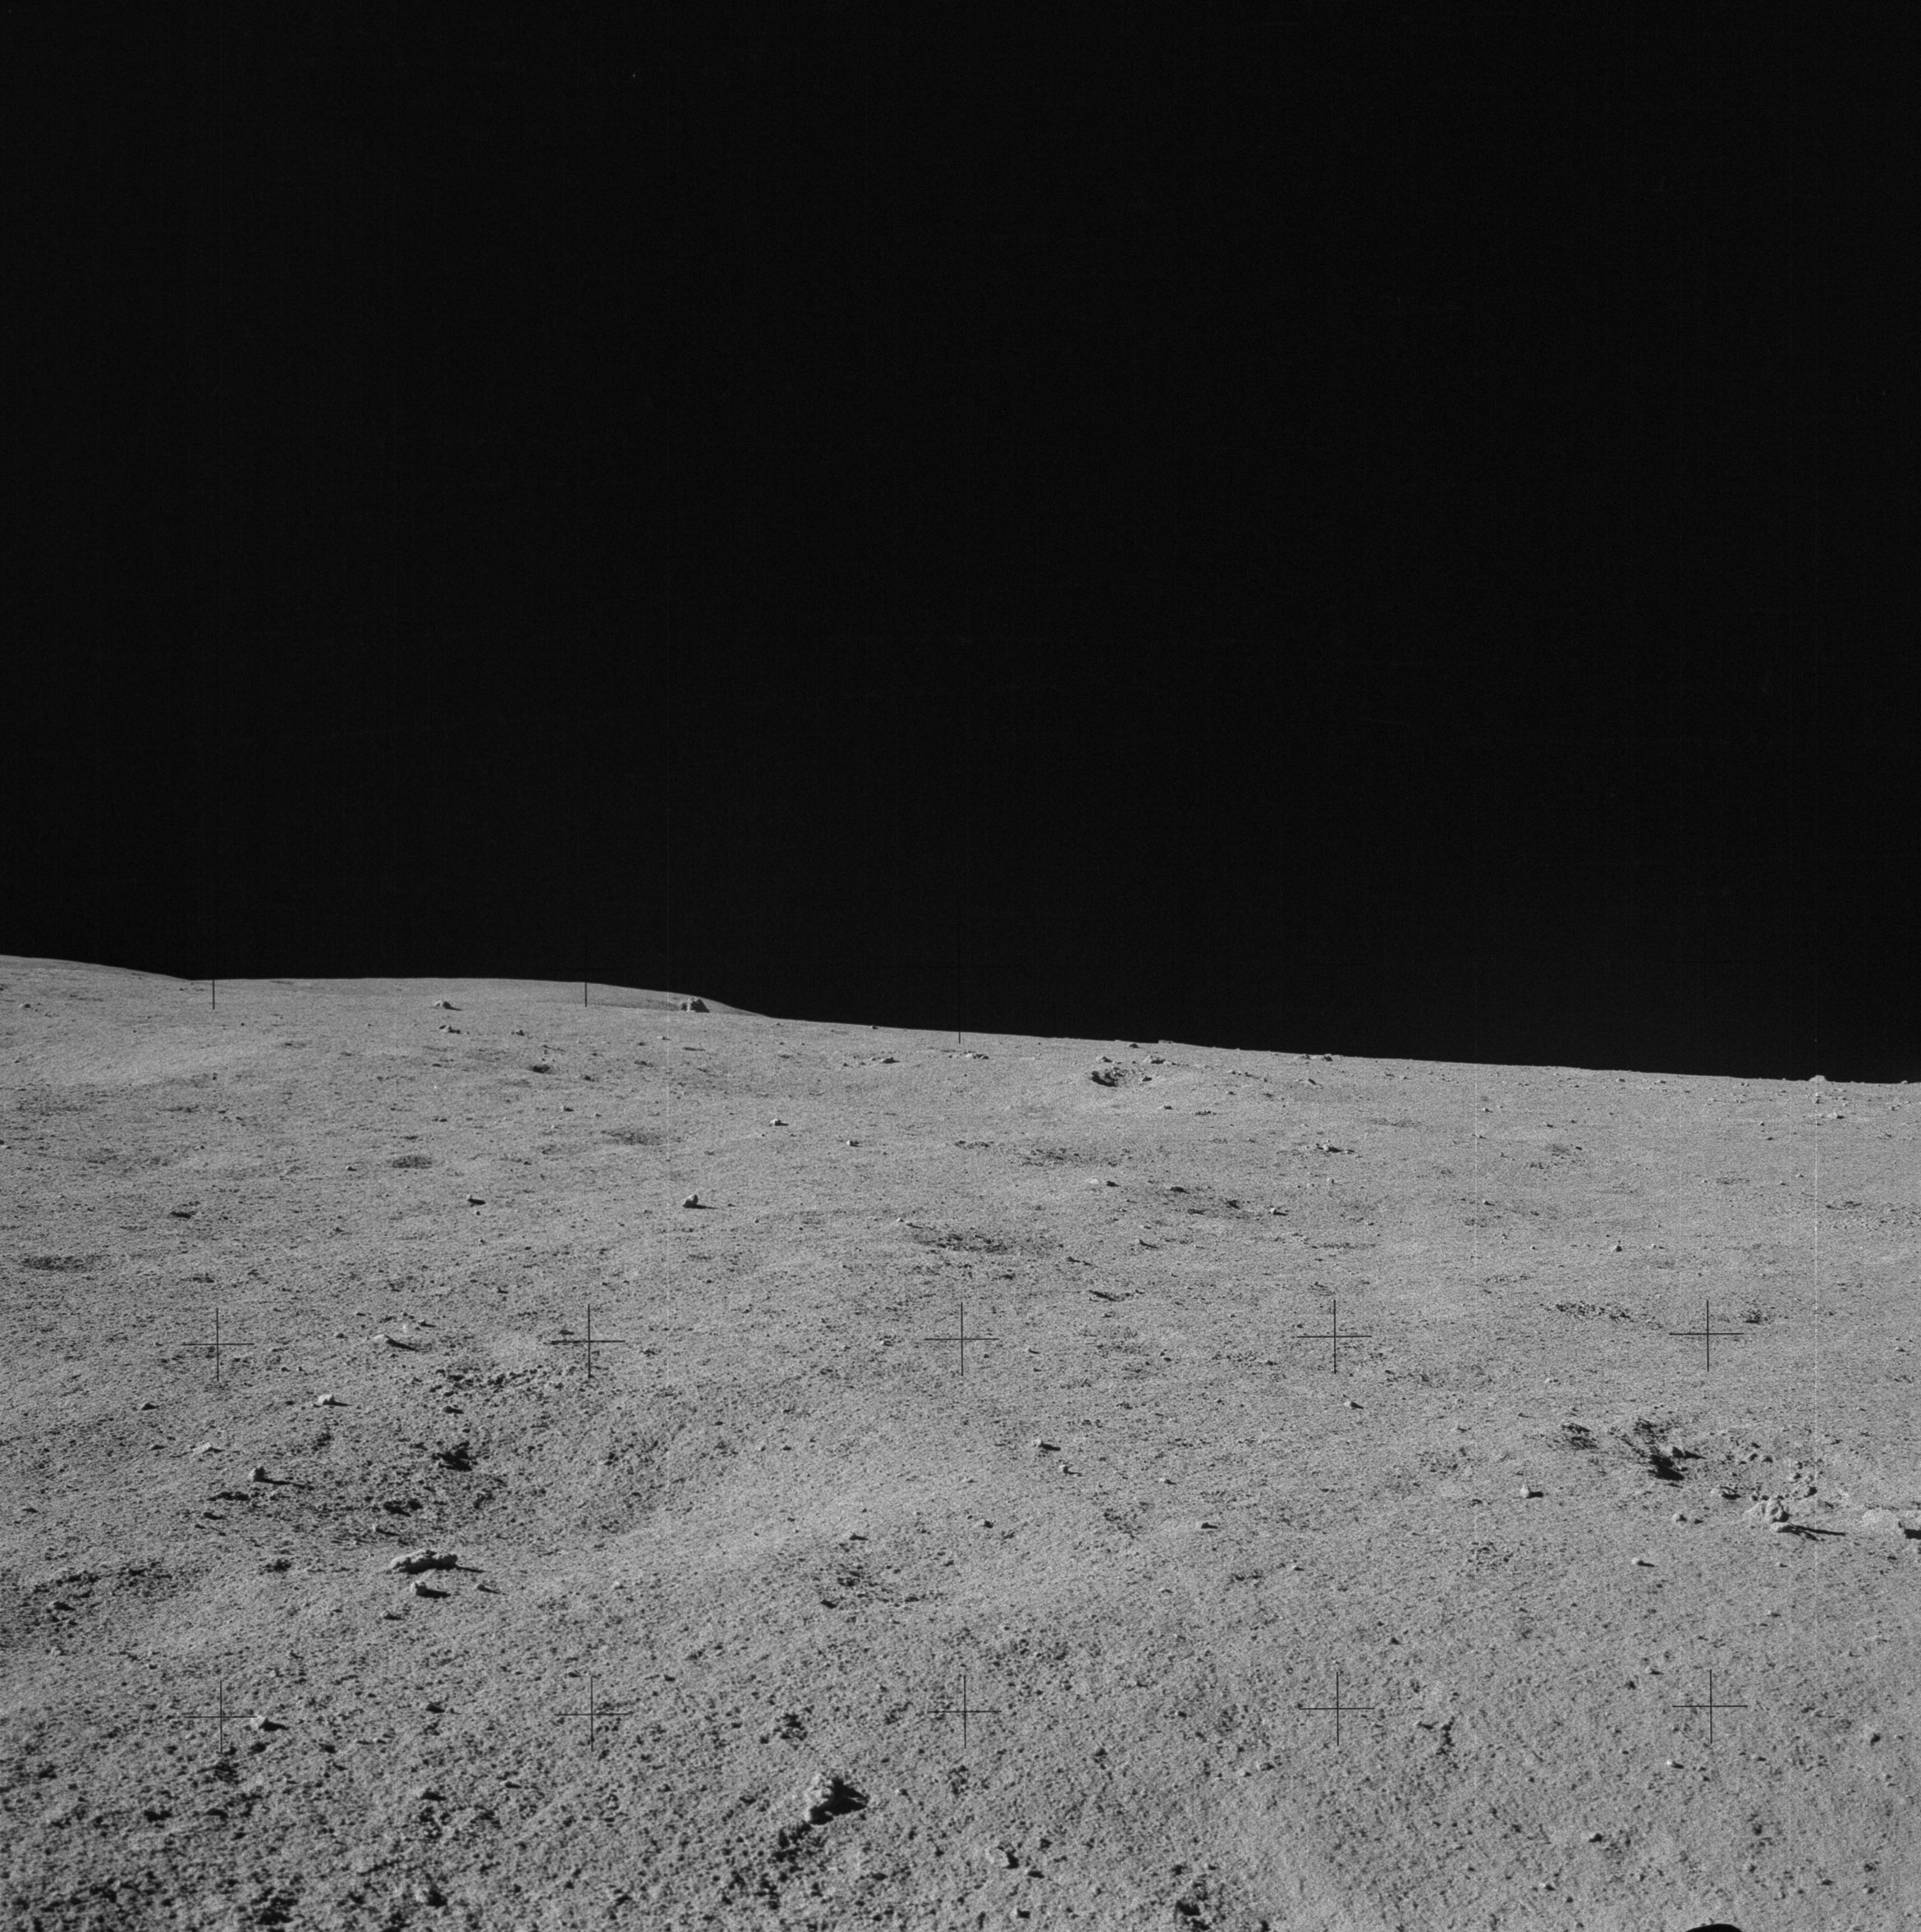 | AS14-64-9183 Rightward of 9182. Image credit: Image Science and Analysis Laboratory, NASA-Johnson Space Center. |
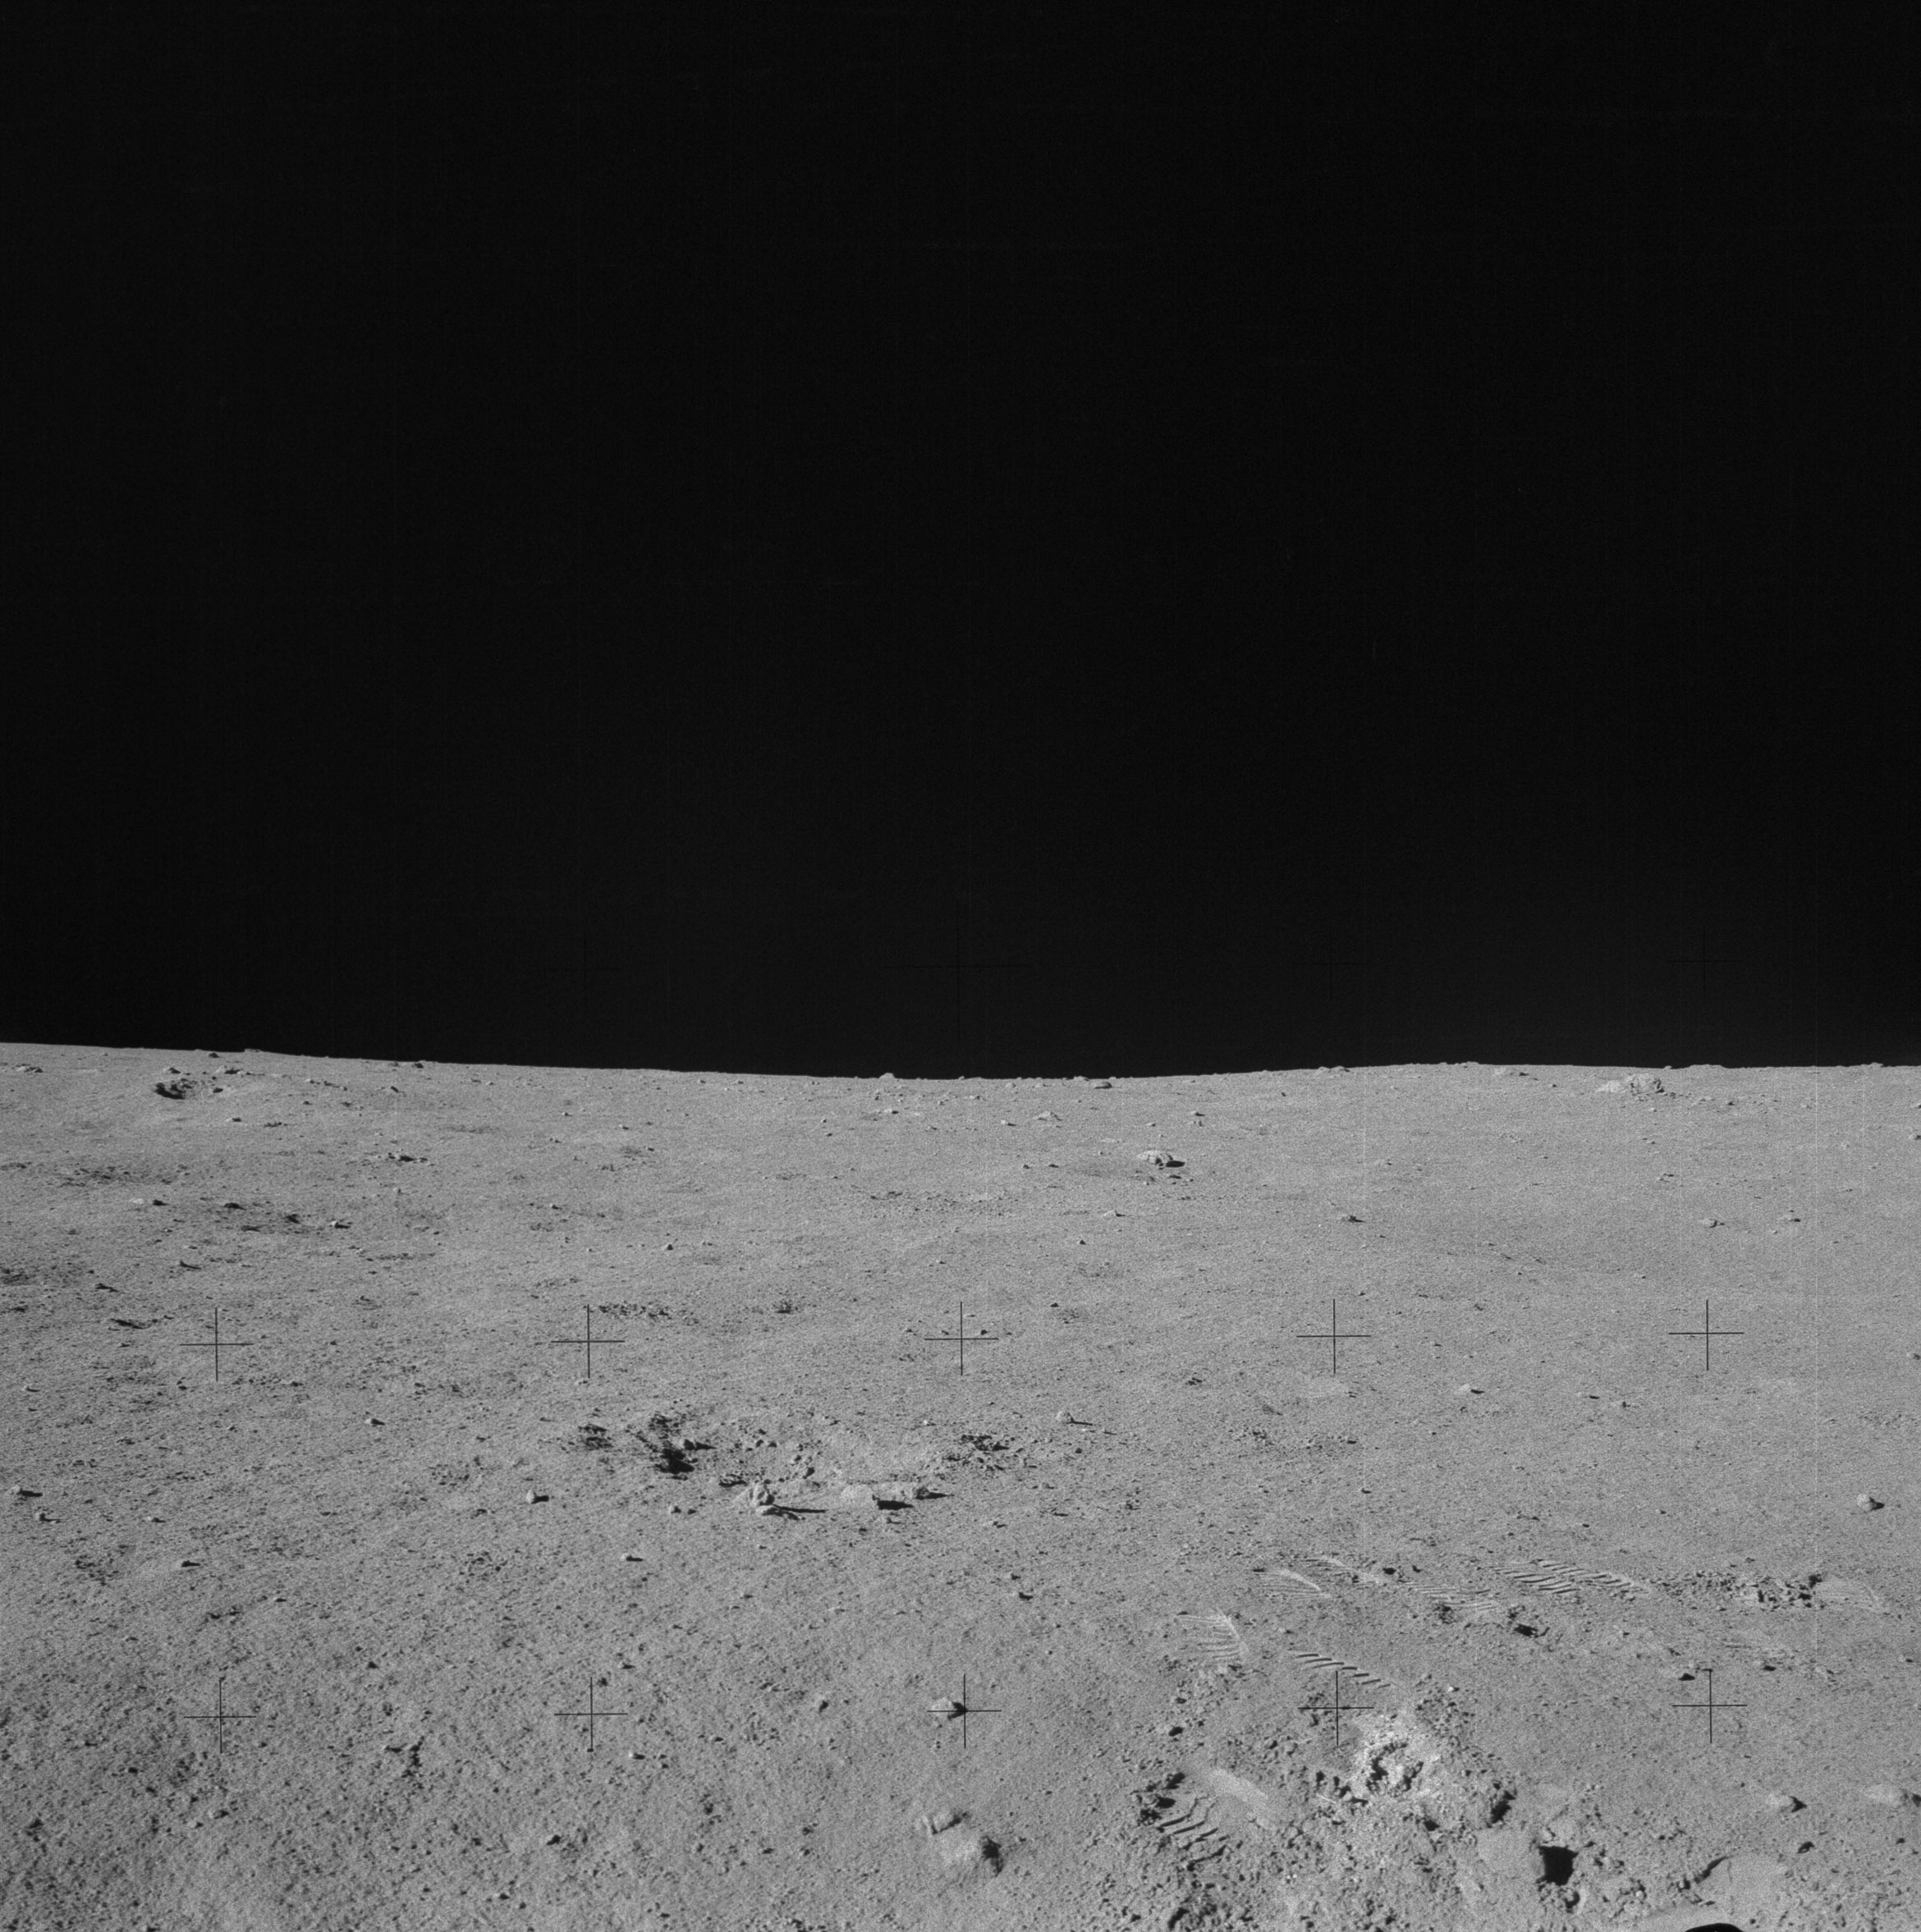 | AS14-64-9184 Rightward of 9183, looking toward the south. Image credit: Image Science and Analysis Laboratory, NASA-Johnson Space Center. |
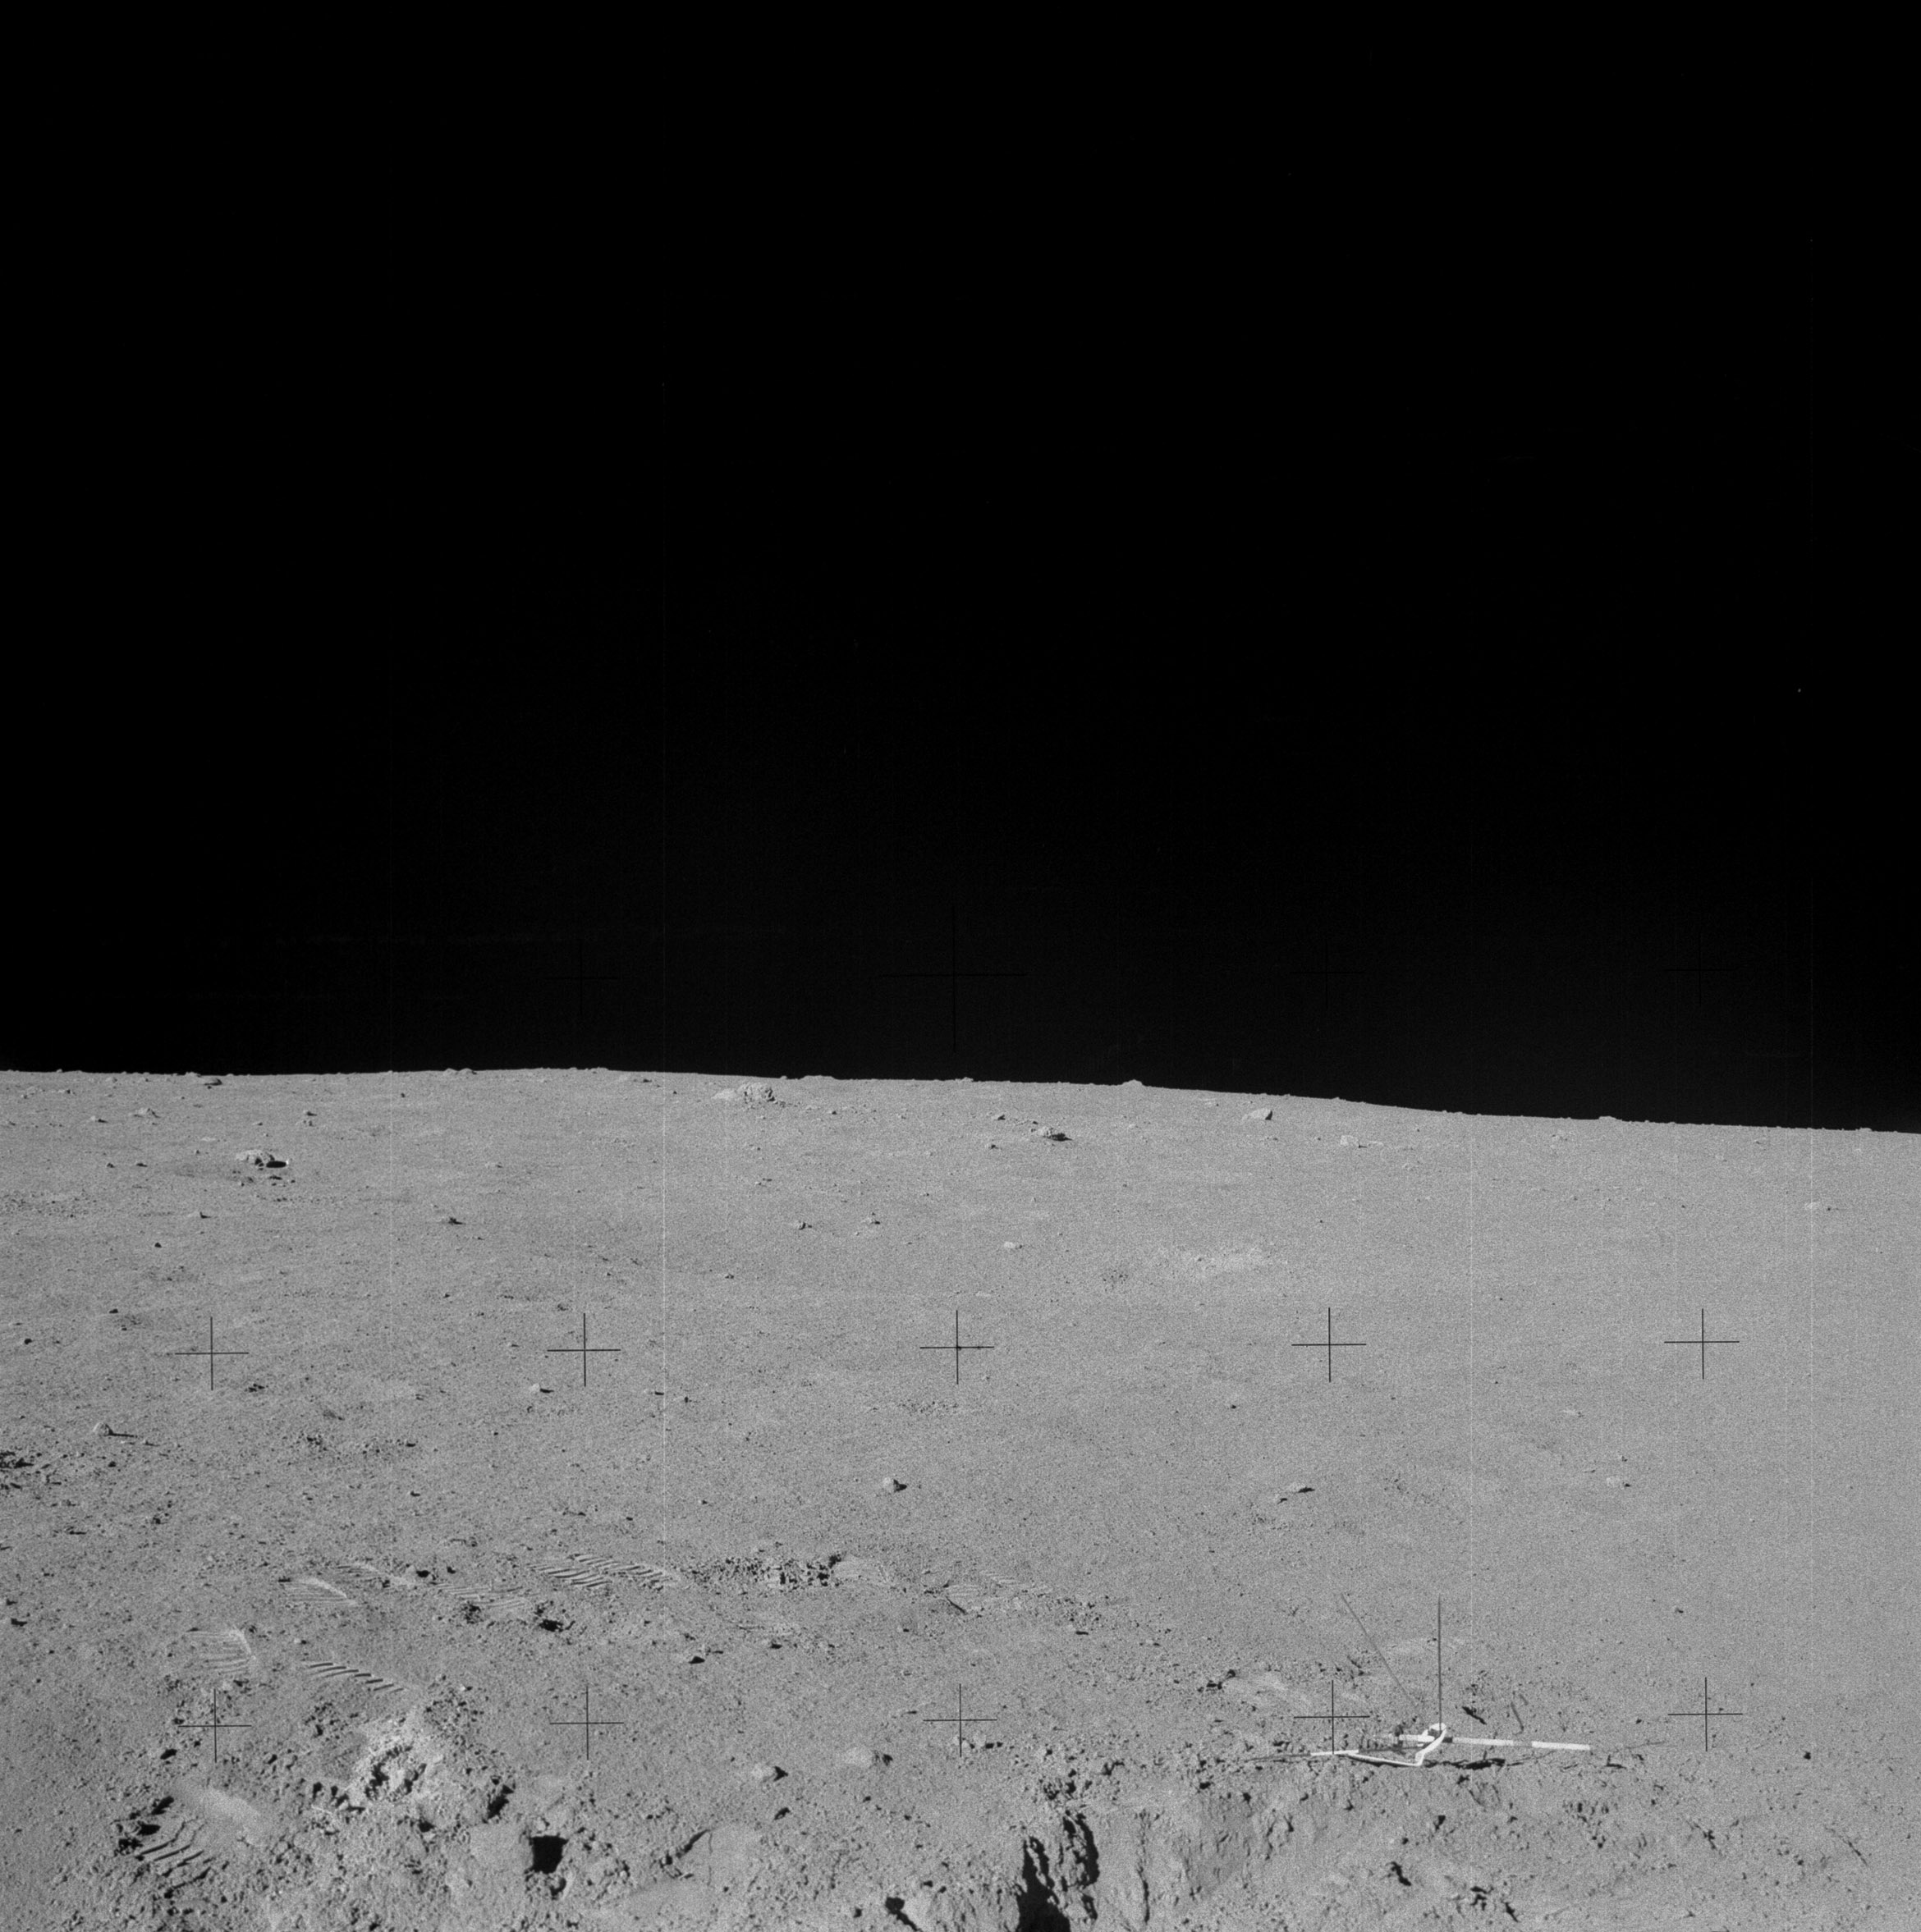 | AS14-64-9185 Rightward of 9184, showing Al's trench in the foreground. Image credit: Image Science and Analysis Laboratory, NASA-Johnson Space Center. |
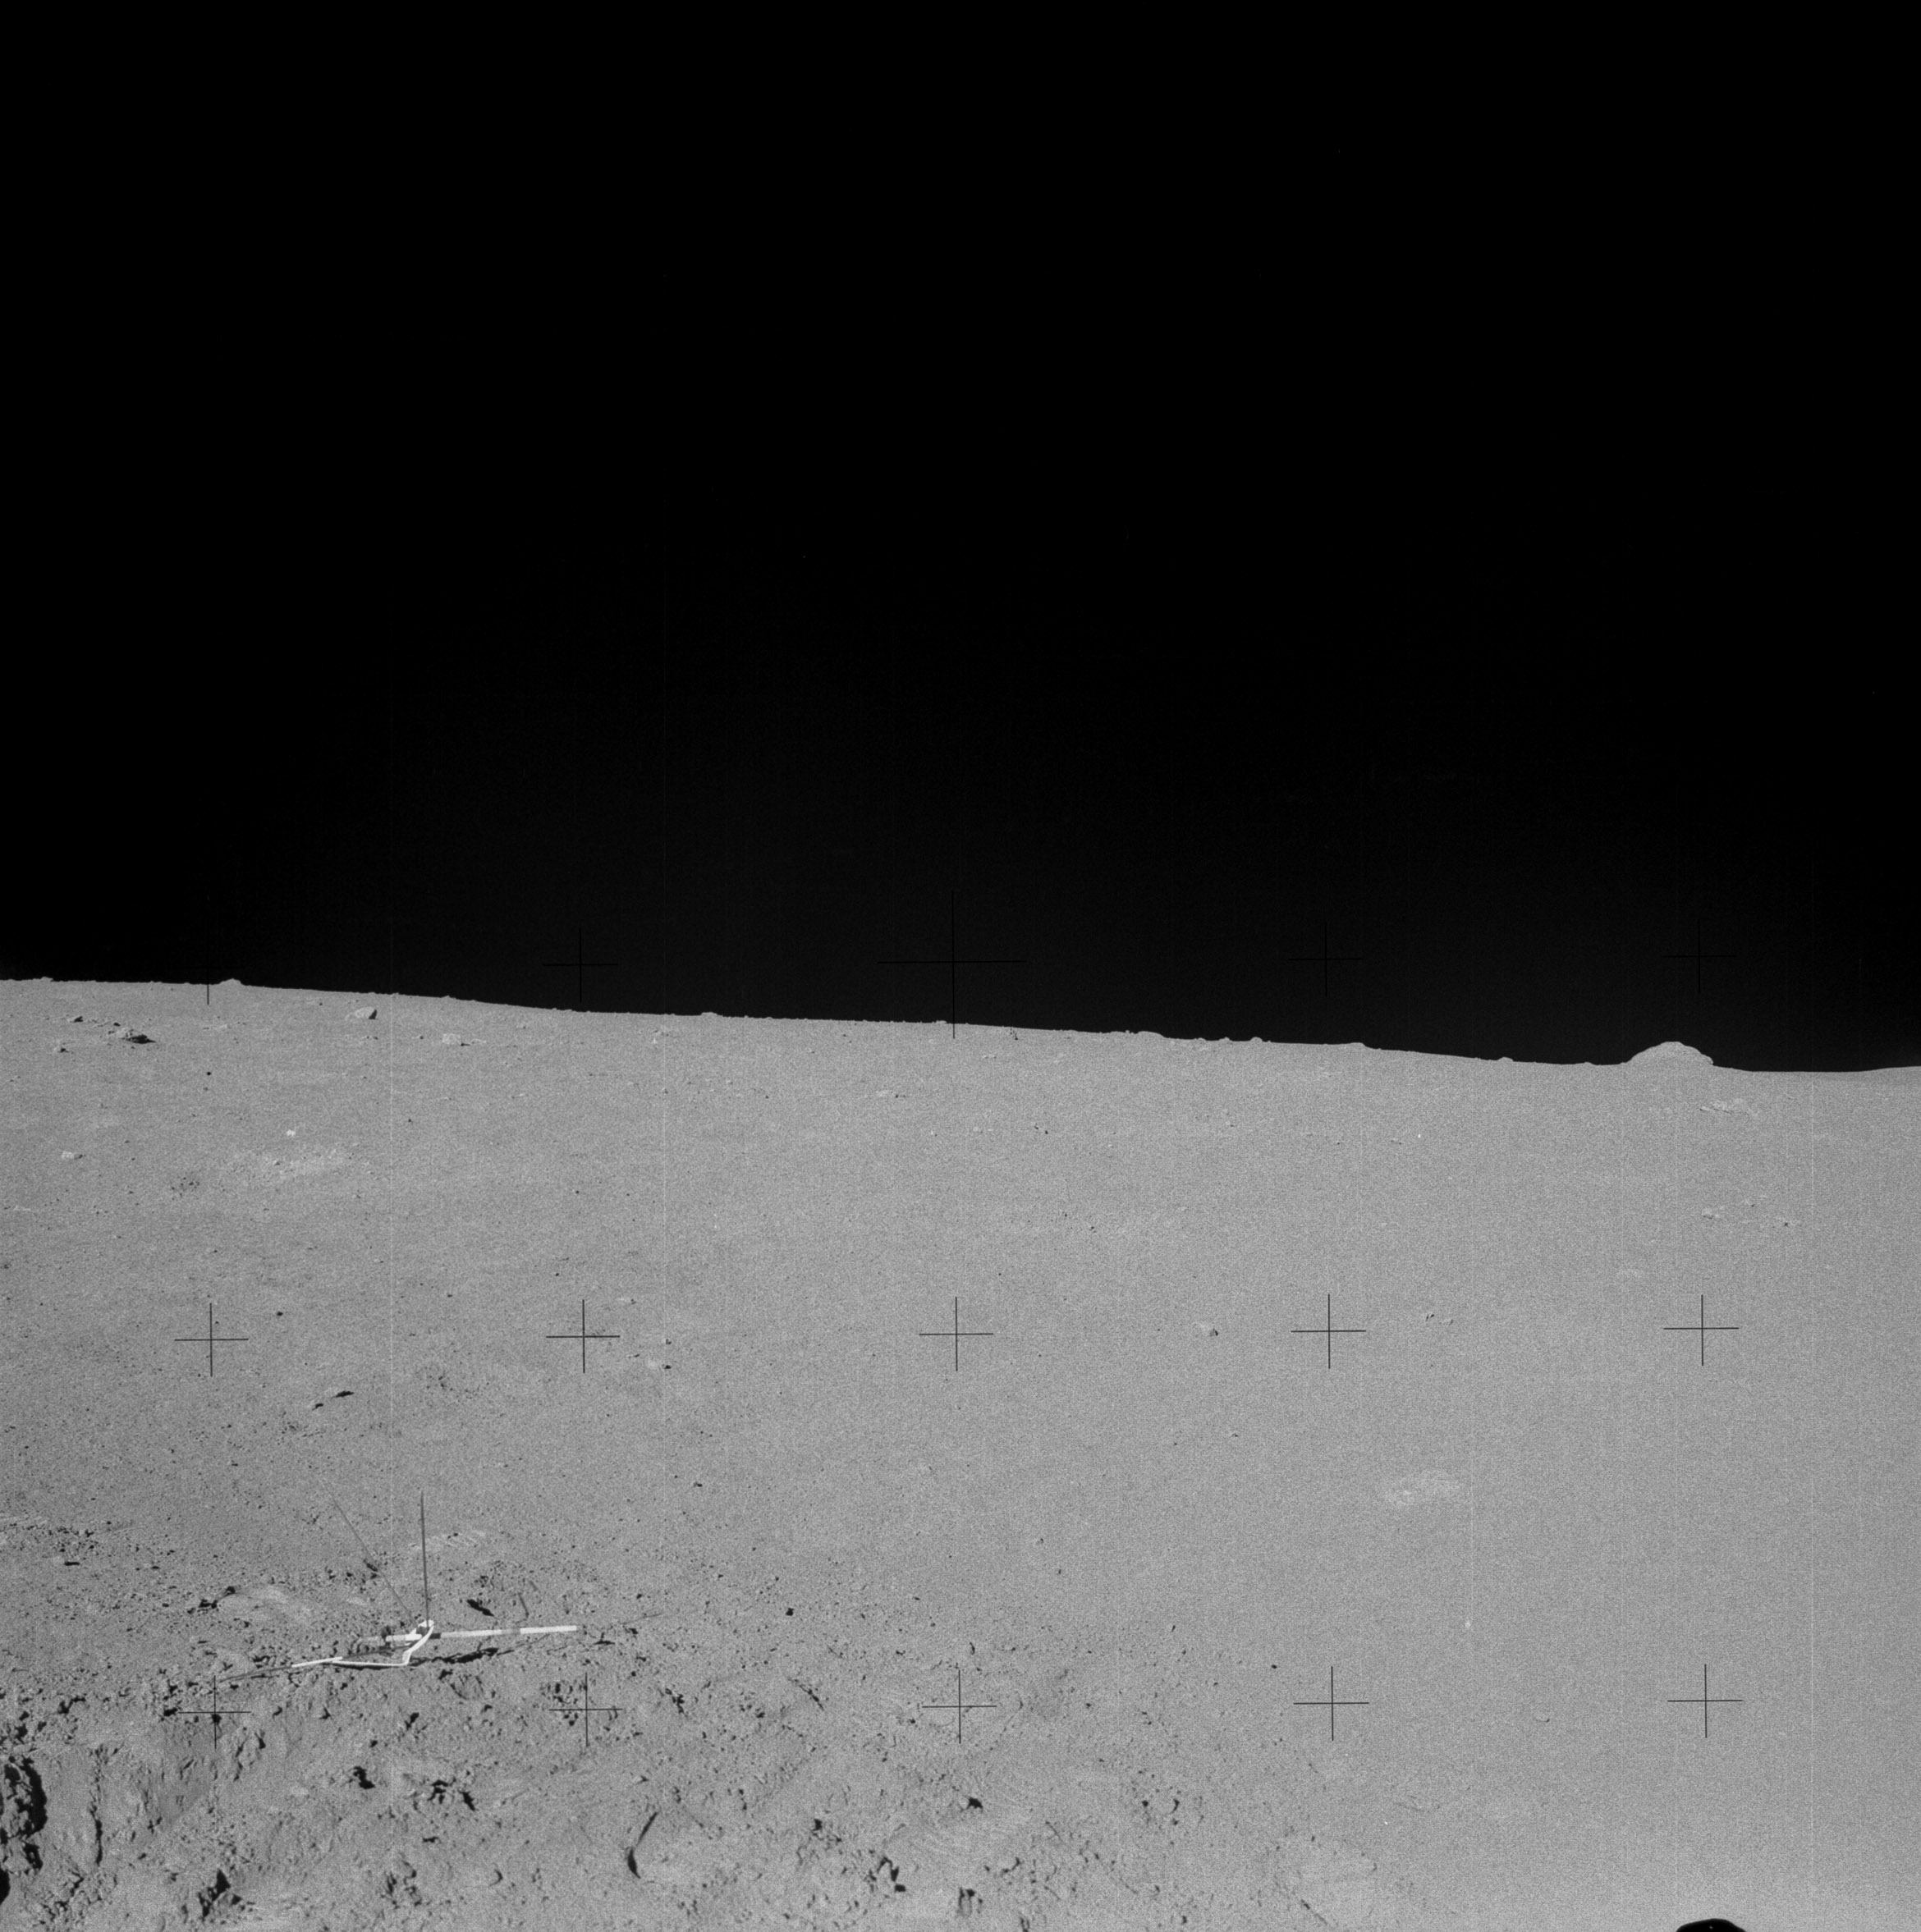 | AS14-64-9186 Rightward of 9185. Image credit: Image Science and Analysis Laboratory, NASA-Johnson Space Center. |
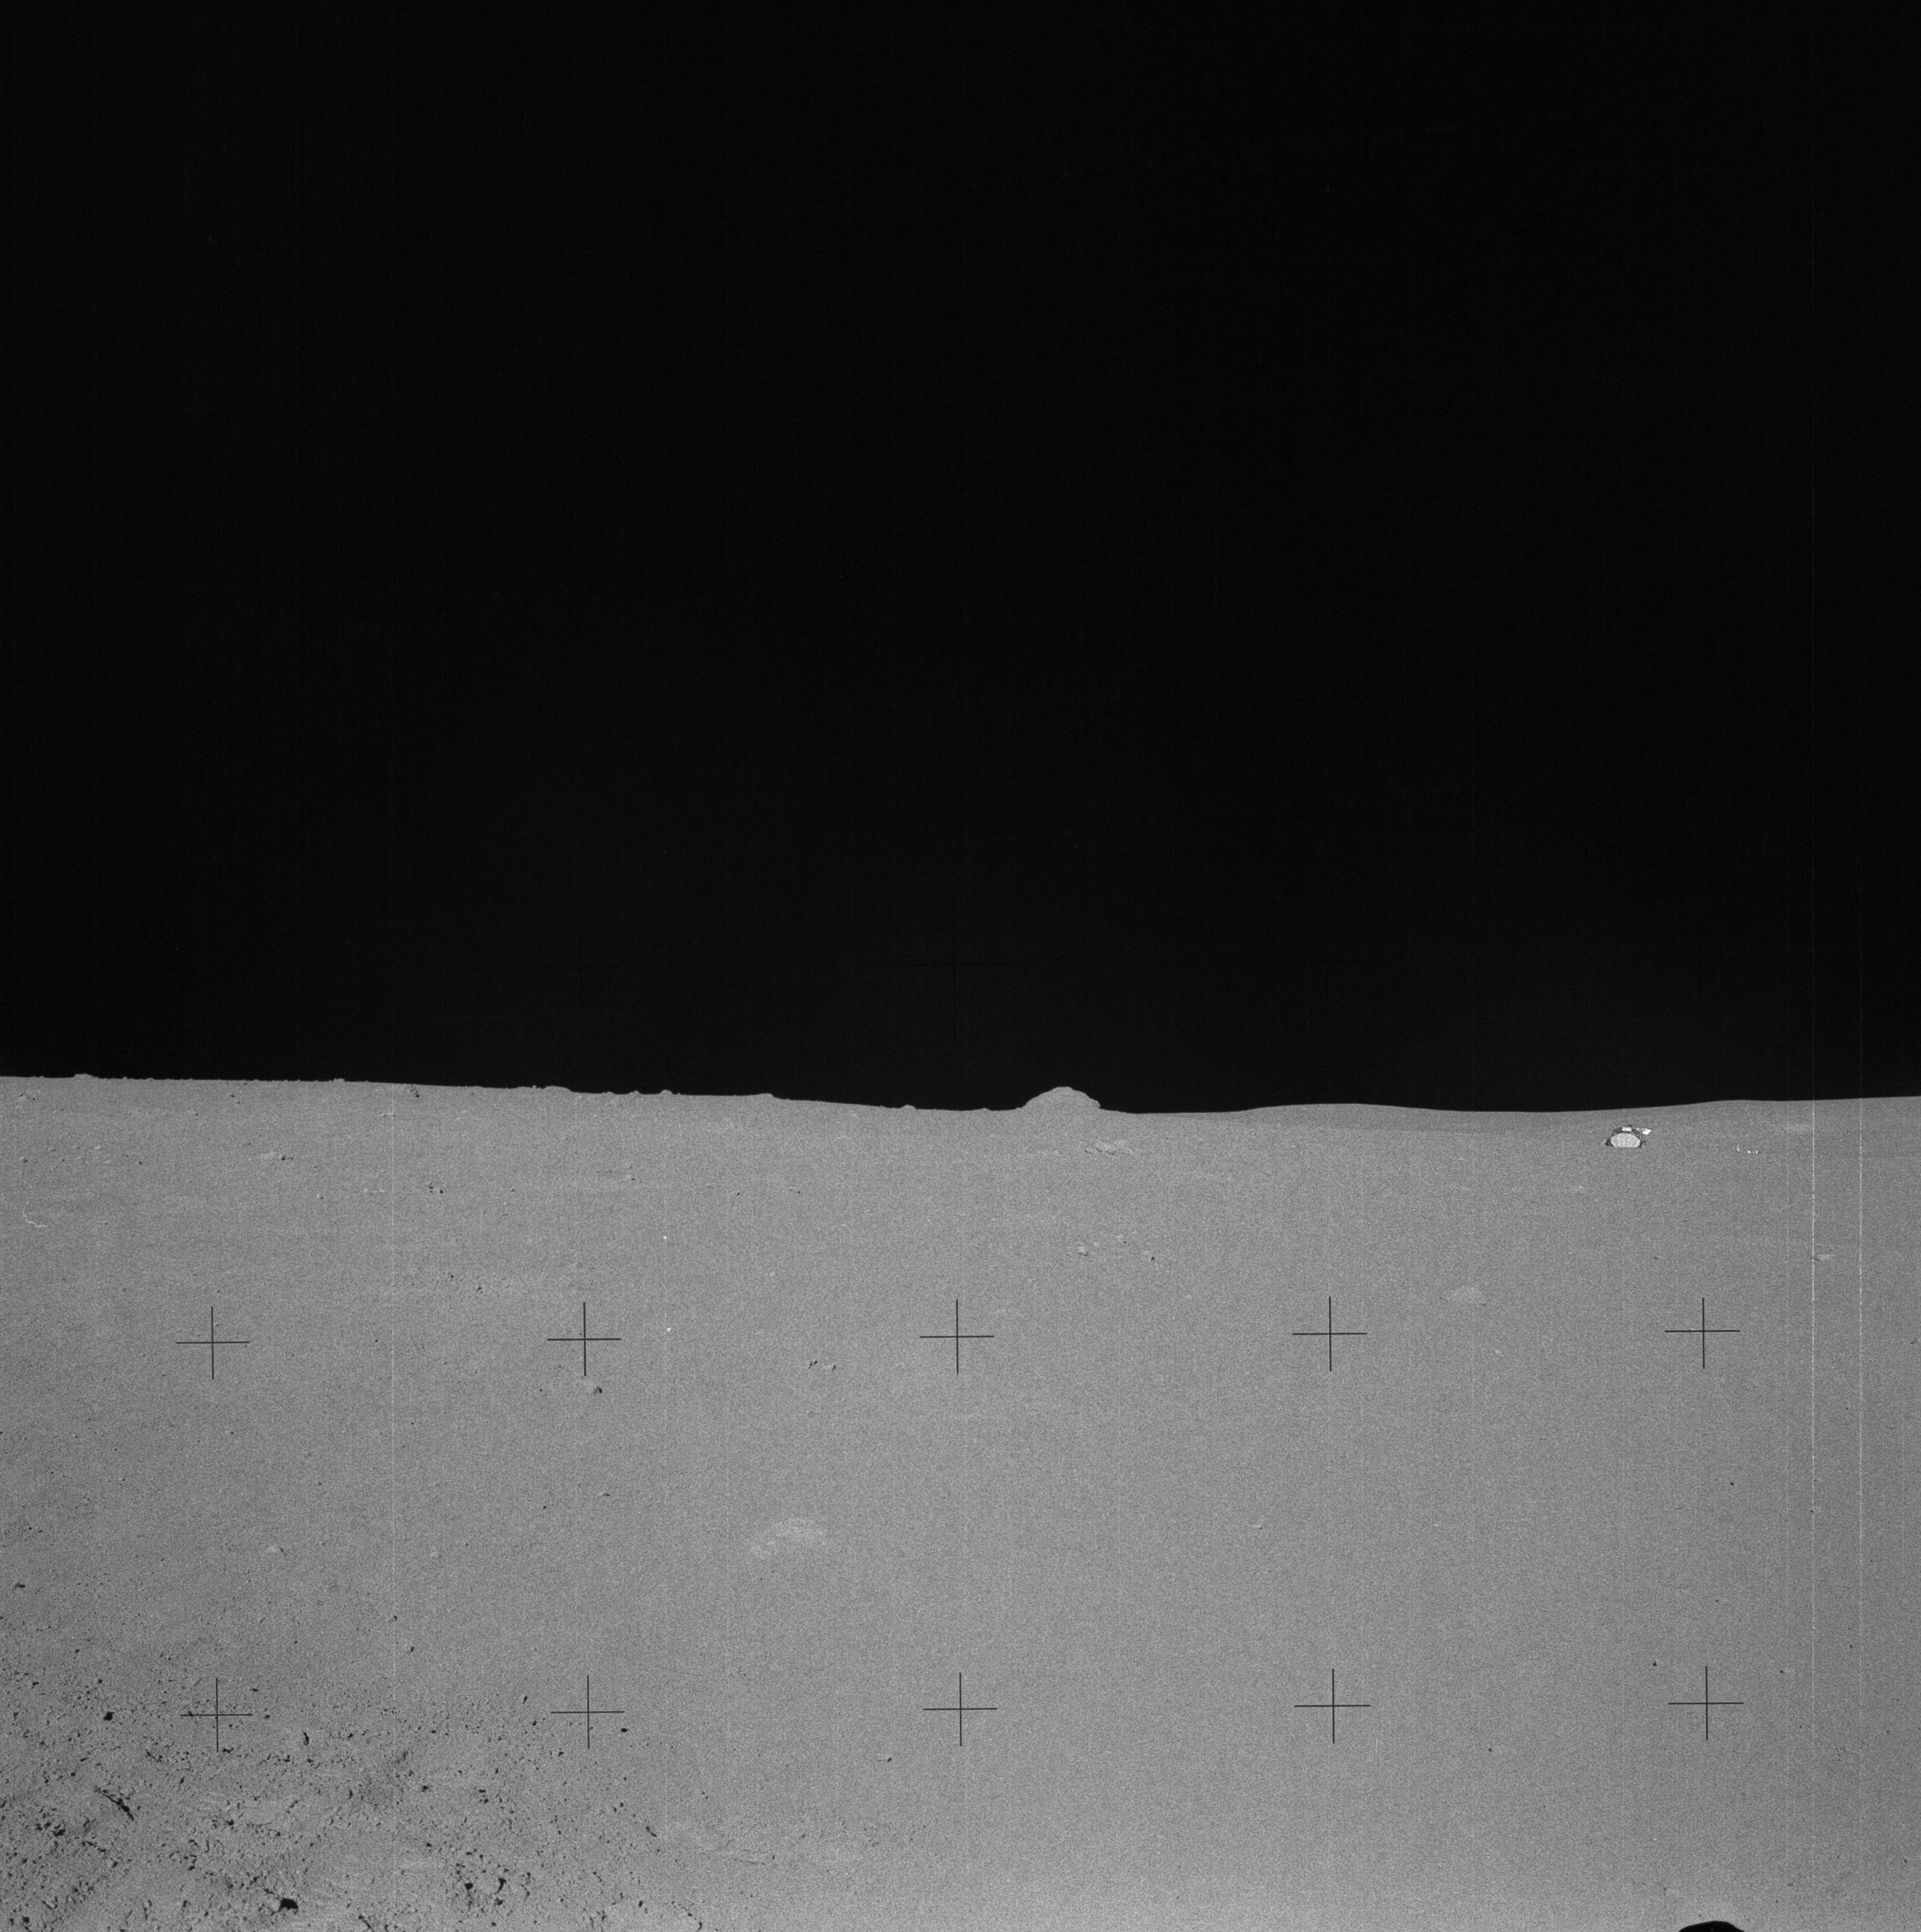 | AS14-64-9187 134:36:42 Rightward of 9186, ending Al's Station G pan. Image credit: Image Science and Analysis Laboratory, NASA-Johnson Space Center. |
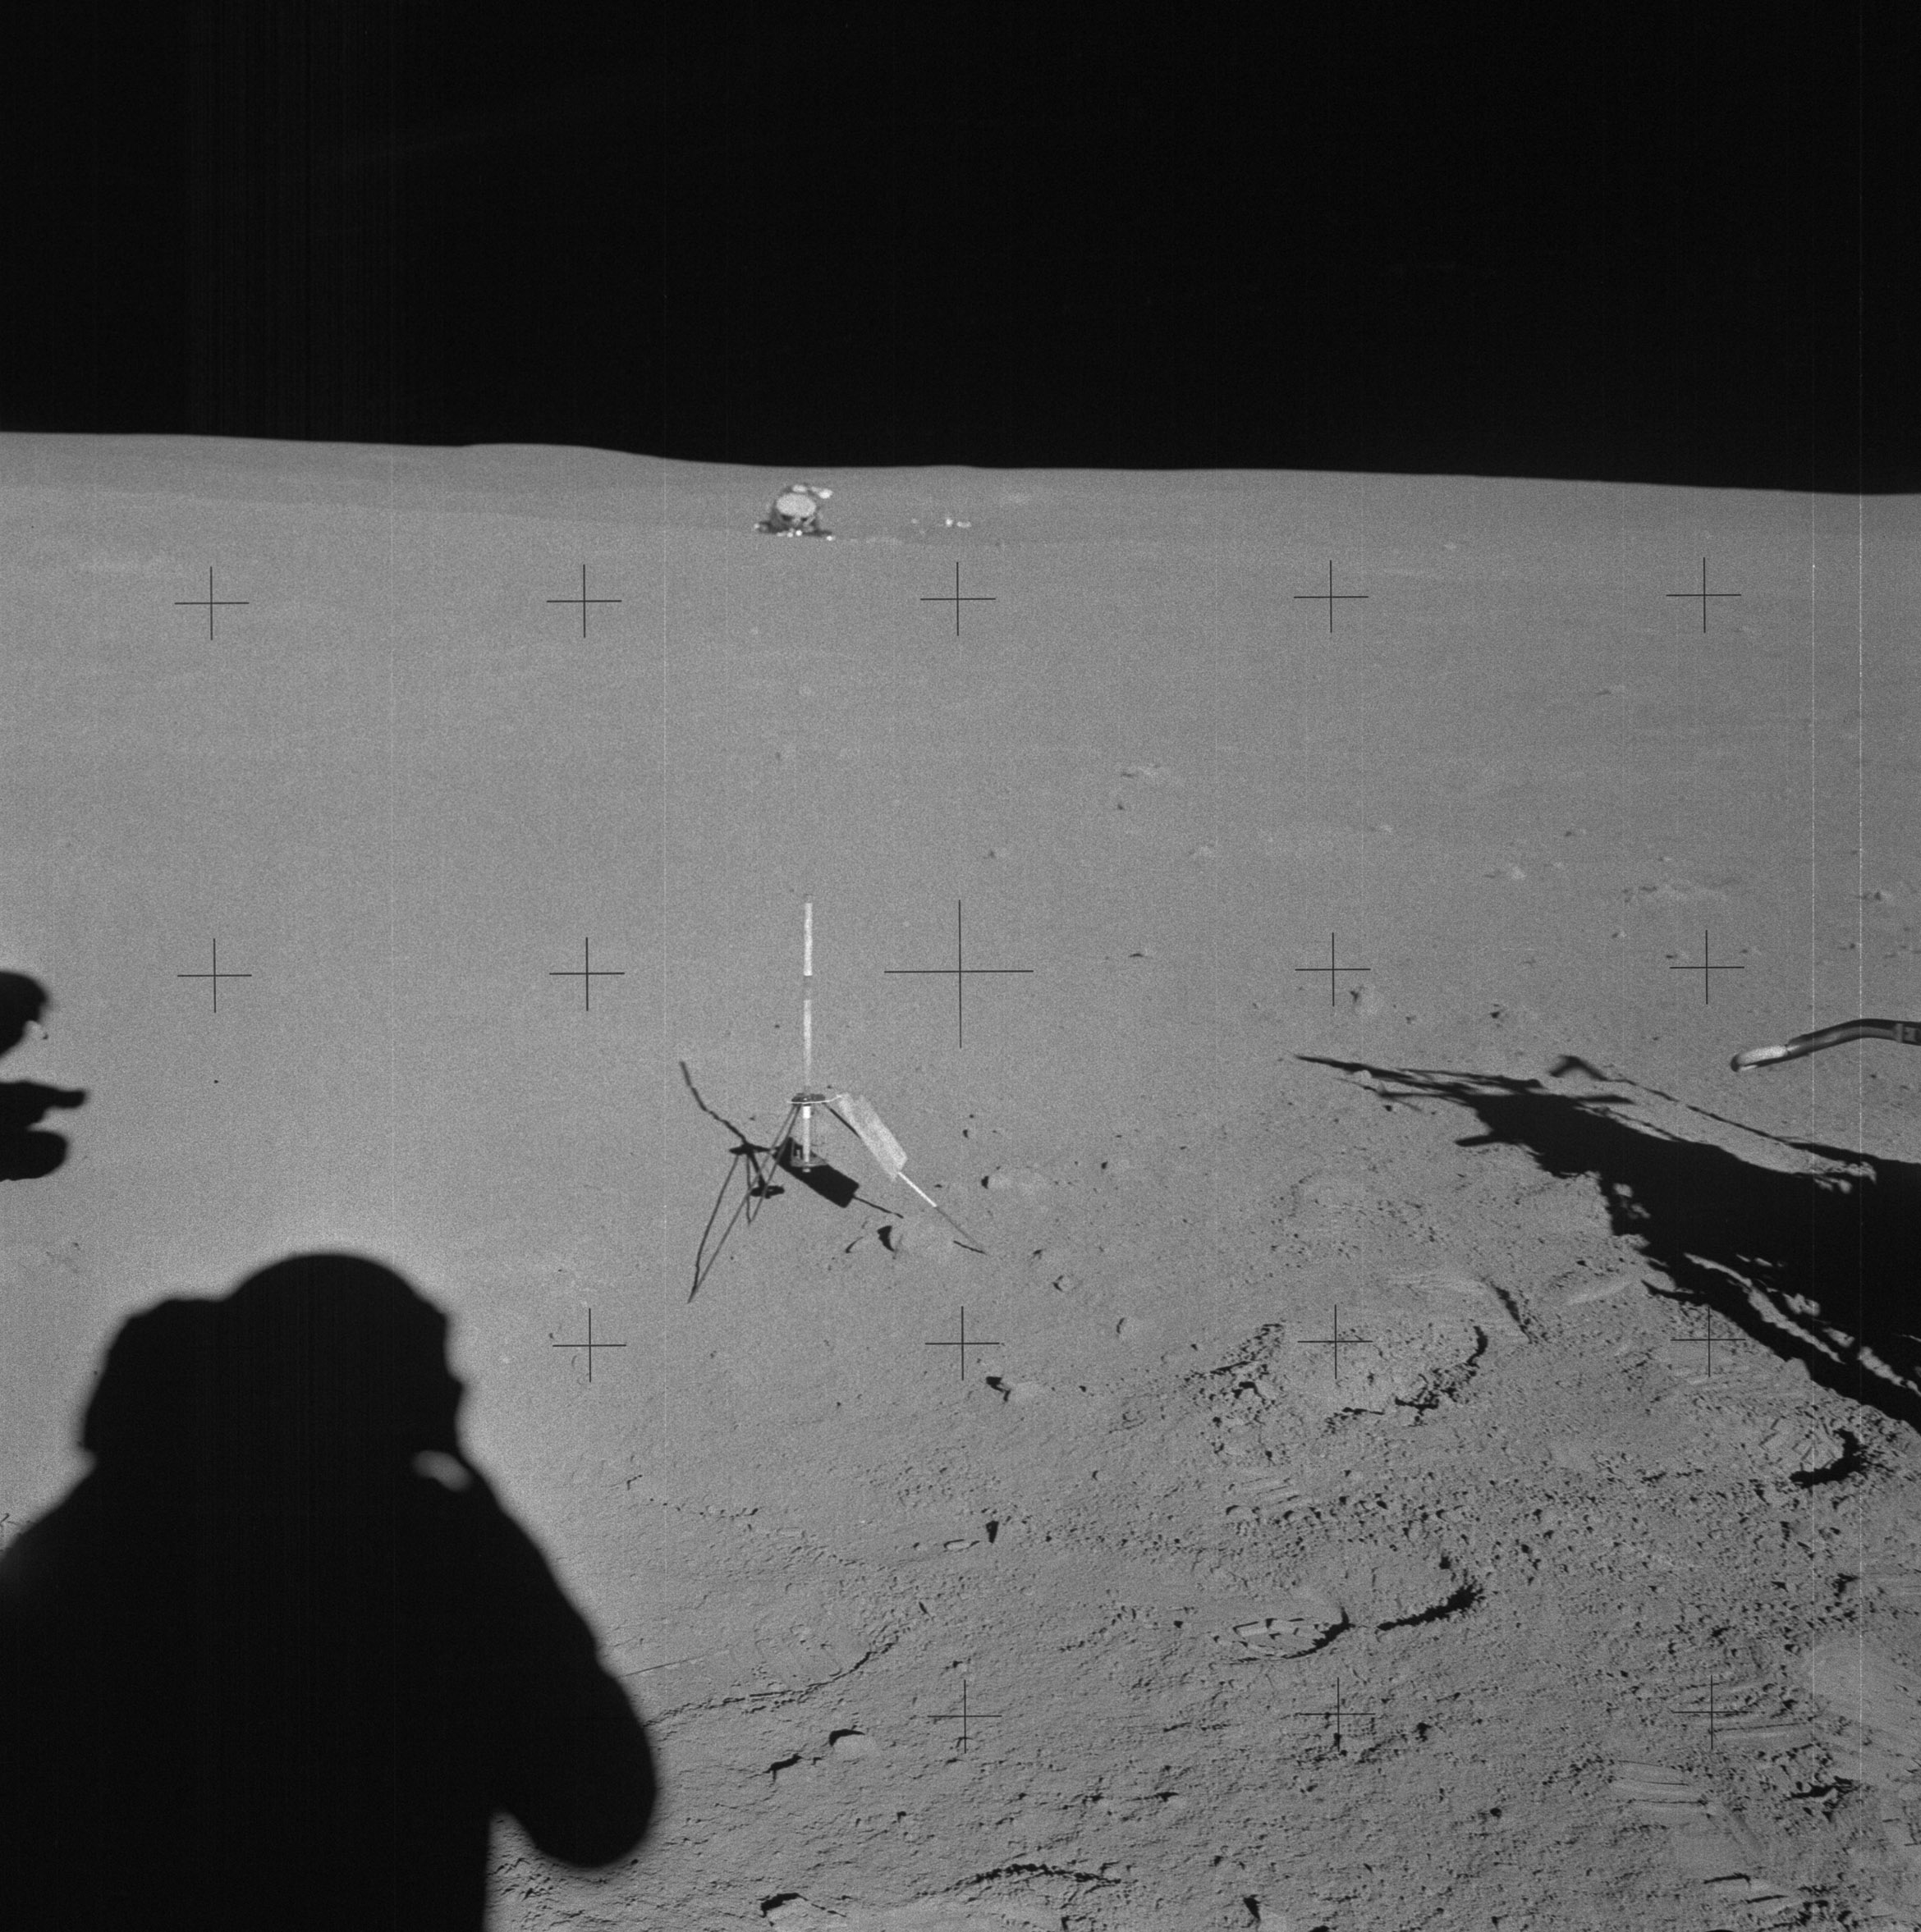 | AS14-64-9188 134:49:38 Al's down-Sun "before" of the Station G2 documented sample site. Image credit: Image Science and Analysis Laboratory, NASA-Johnson Space Center. |
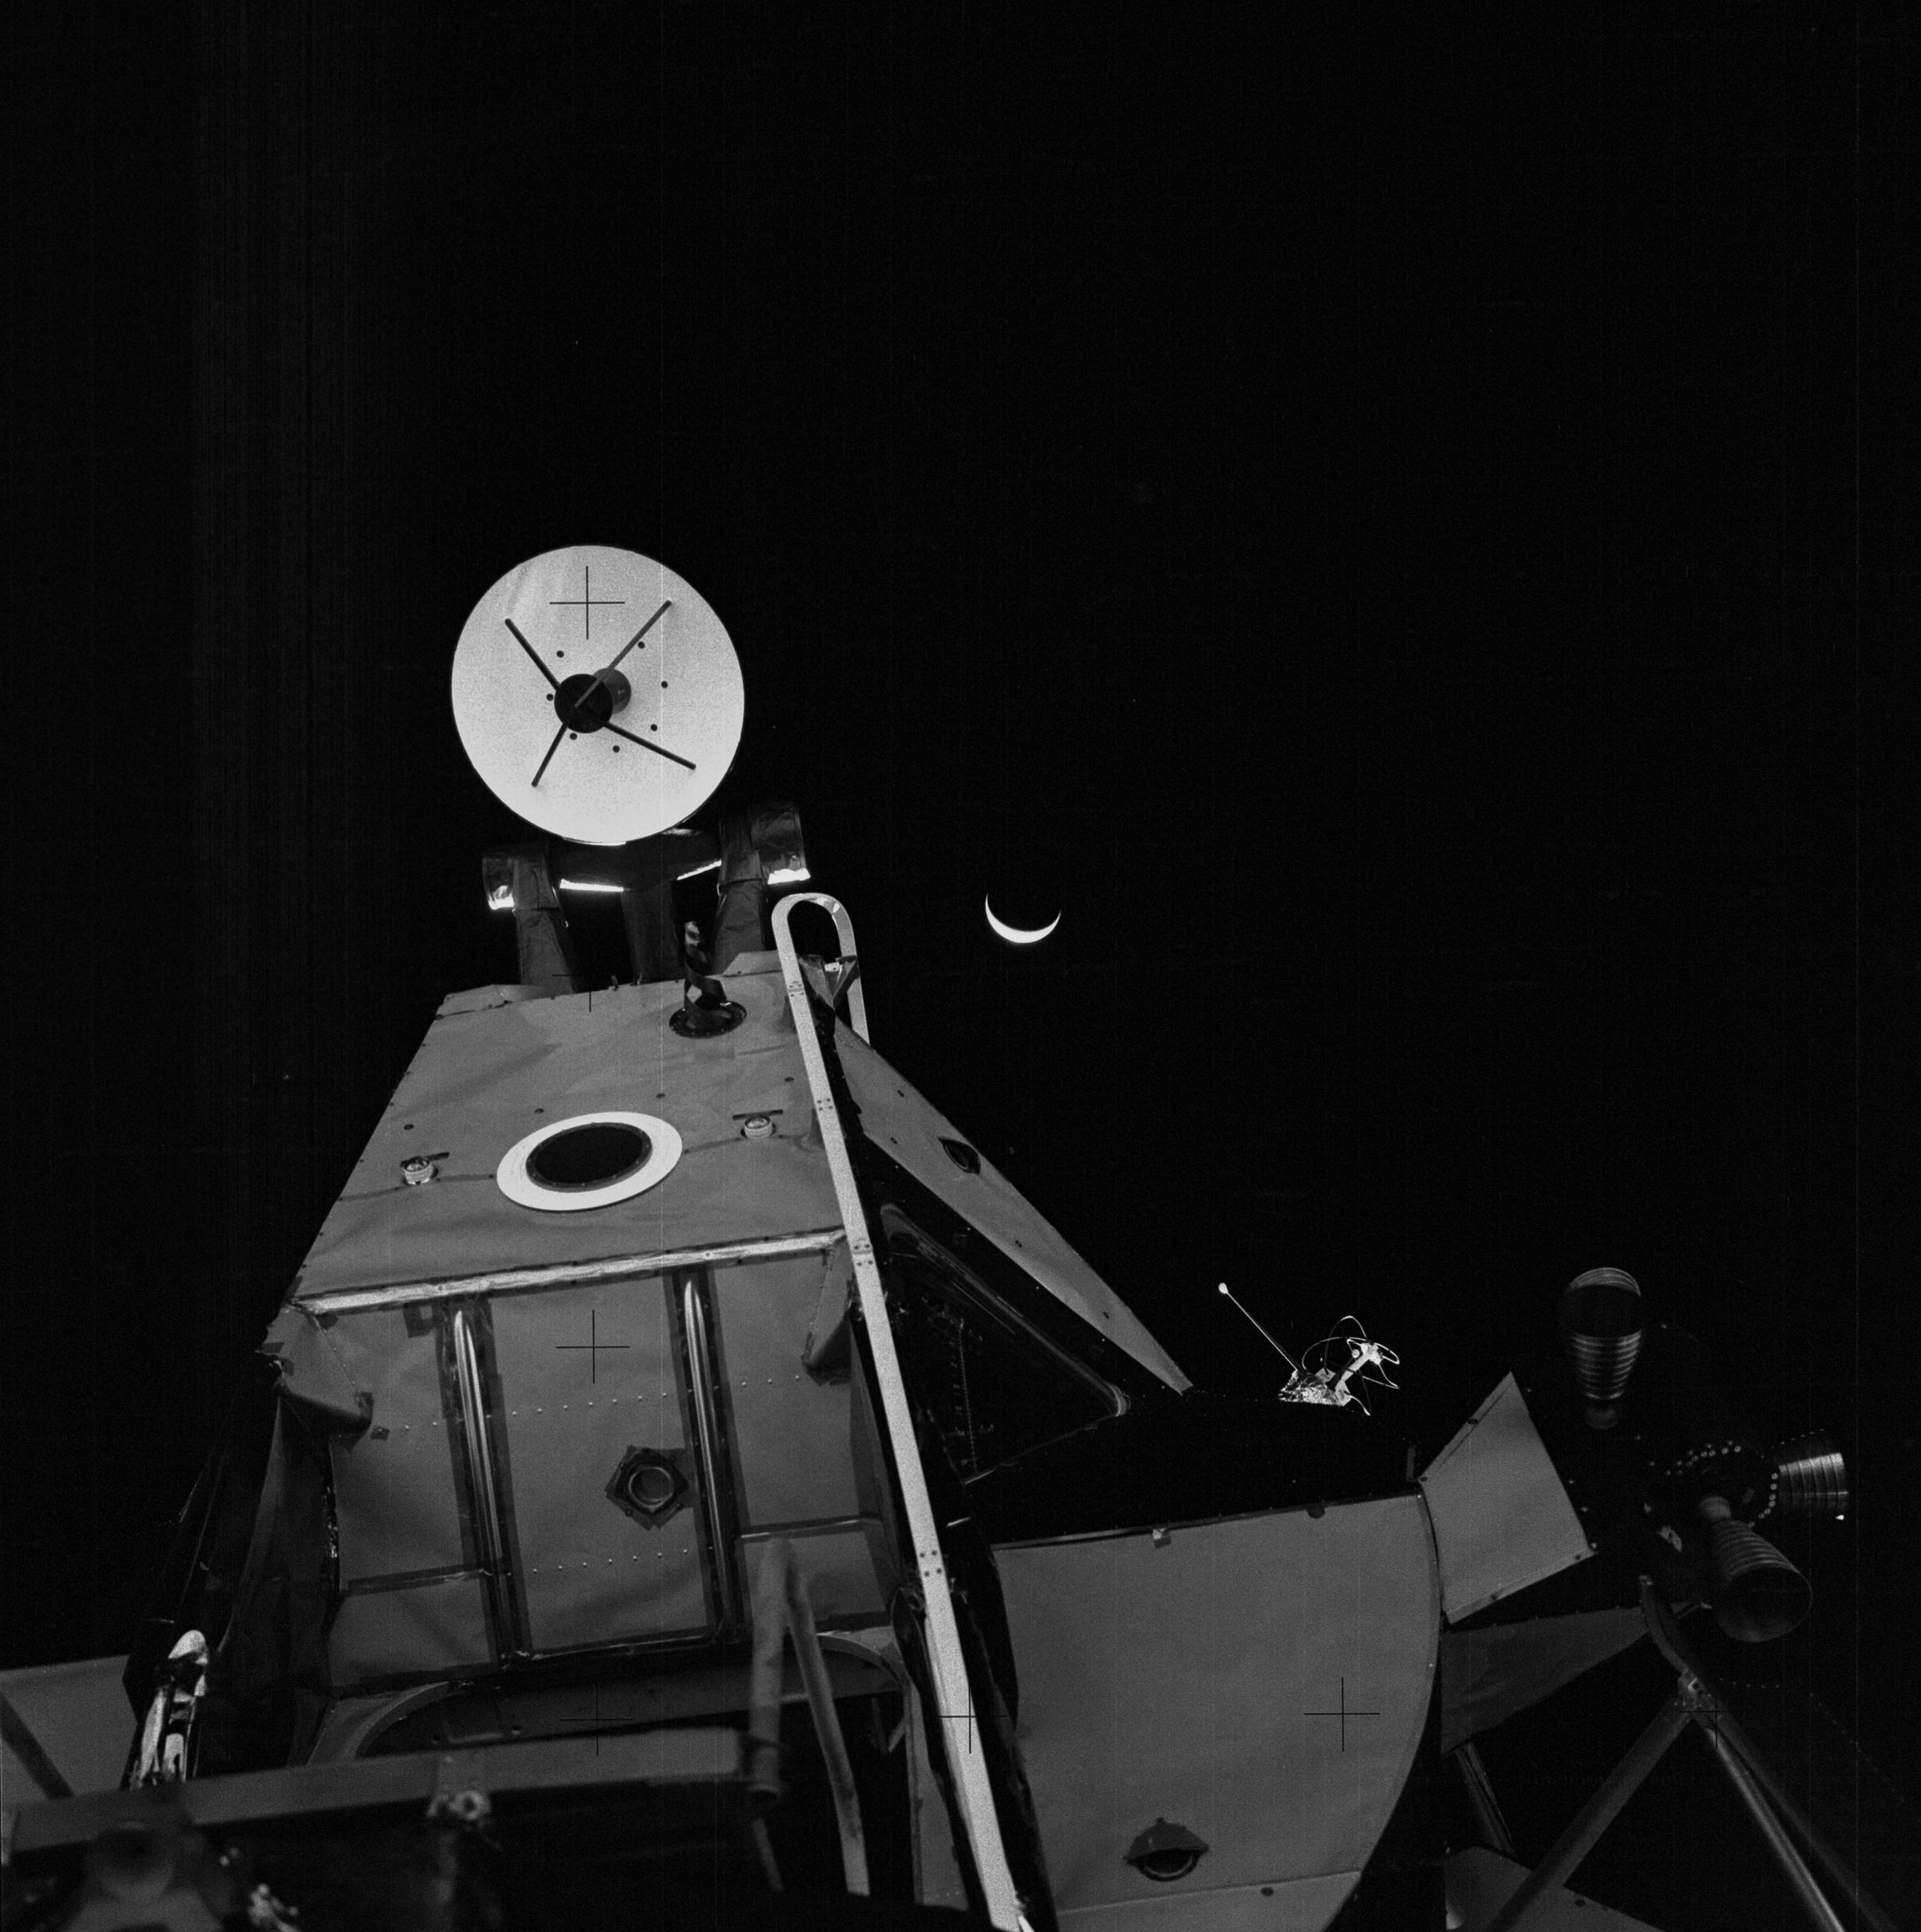 | AS14-64-9189 135:03:42 This is the first in a series of pictures of the Earth Al took at the LM at the end of EVA-2. Image credit: Image Science and Analysis Laboratory, NASA-Johnson Space Center. |
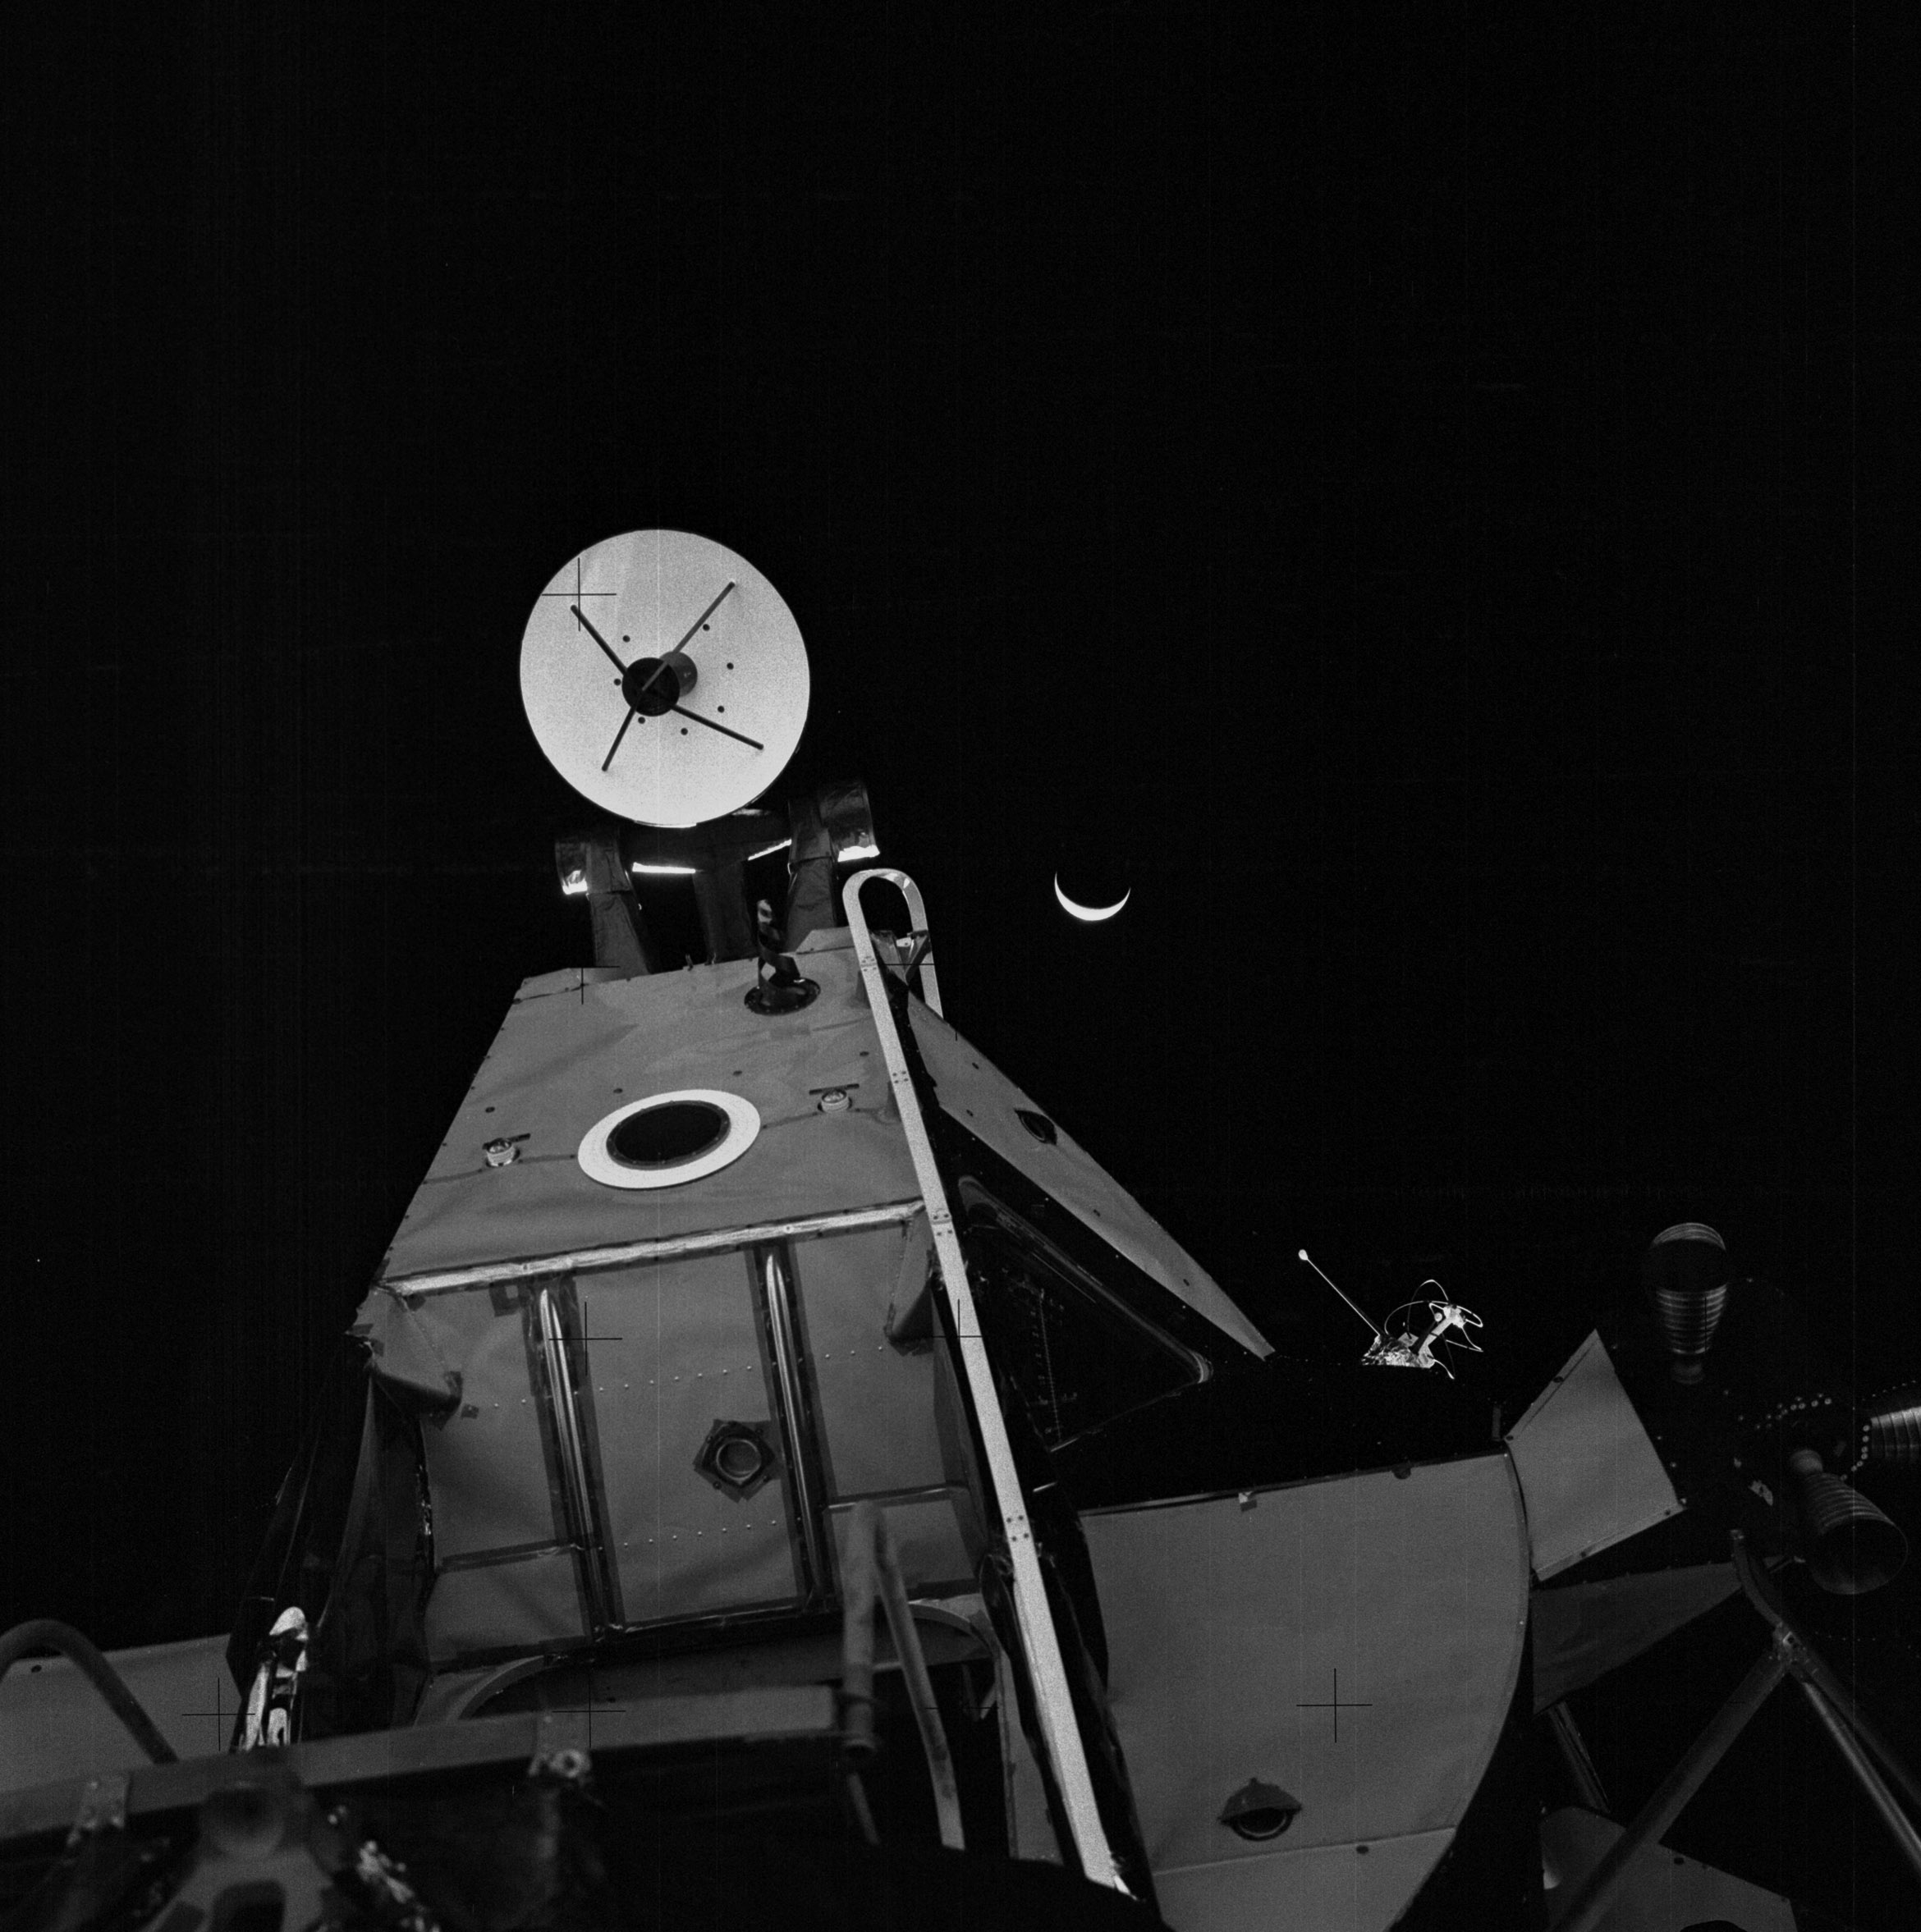 | AS14-64-9190 Similar to 9189. Image credit: Image Science and Analysis Laboratory, NASA-Johnson Space Center. |
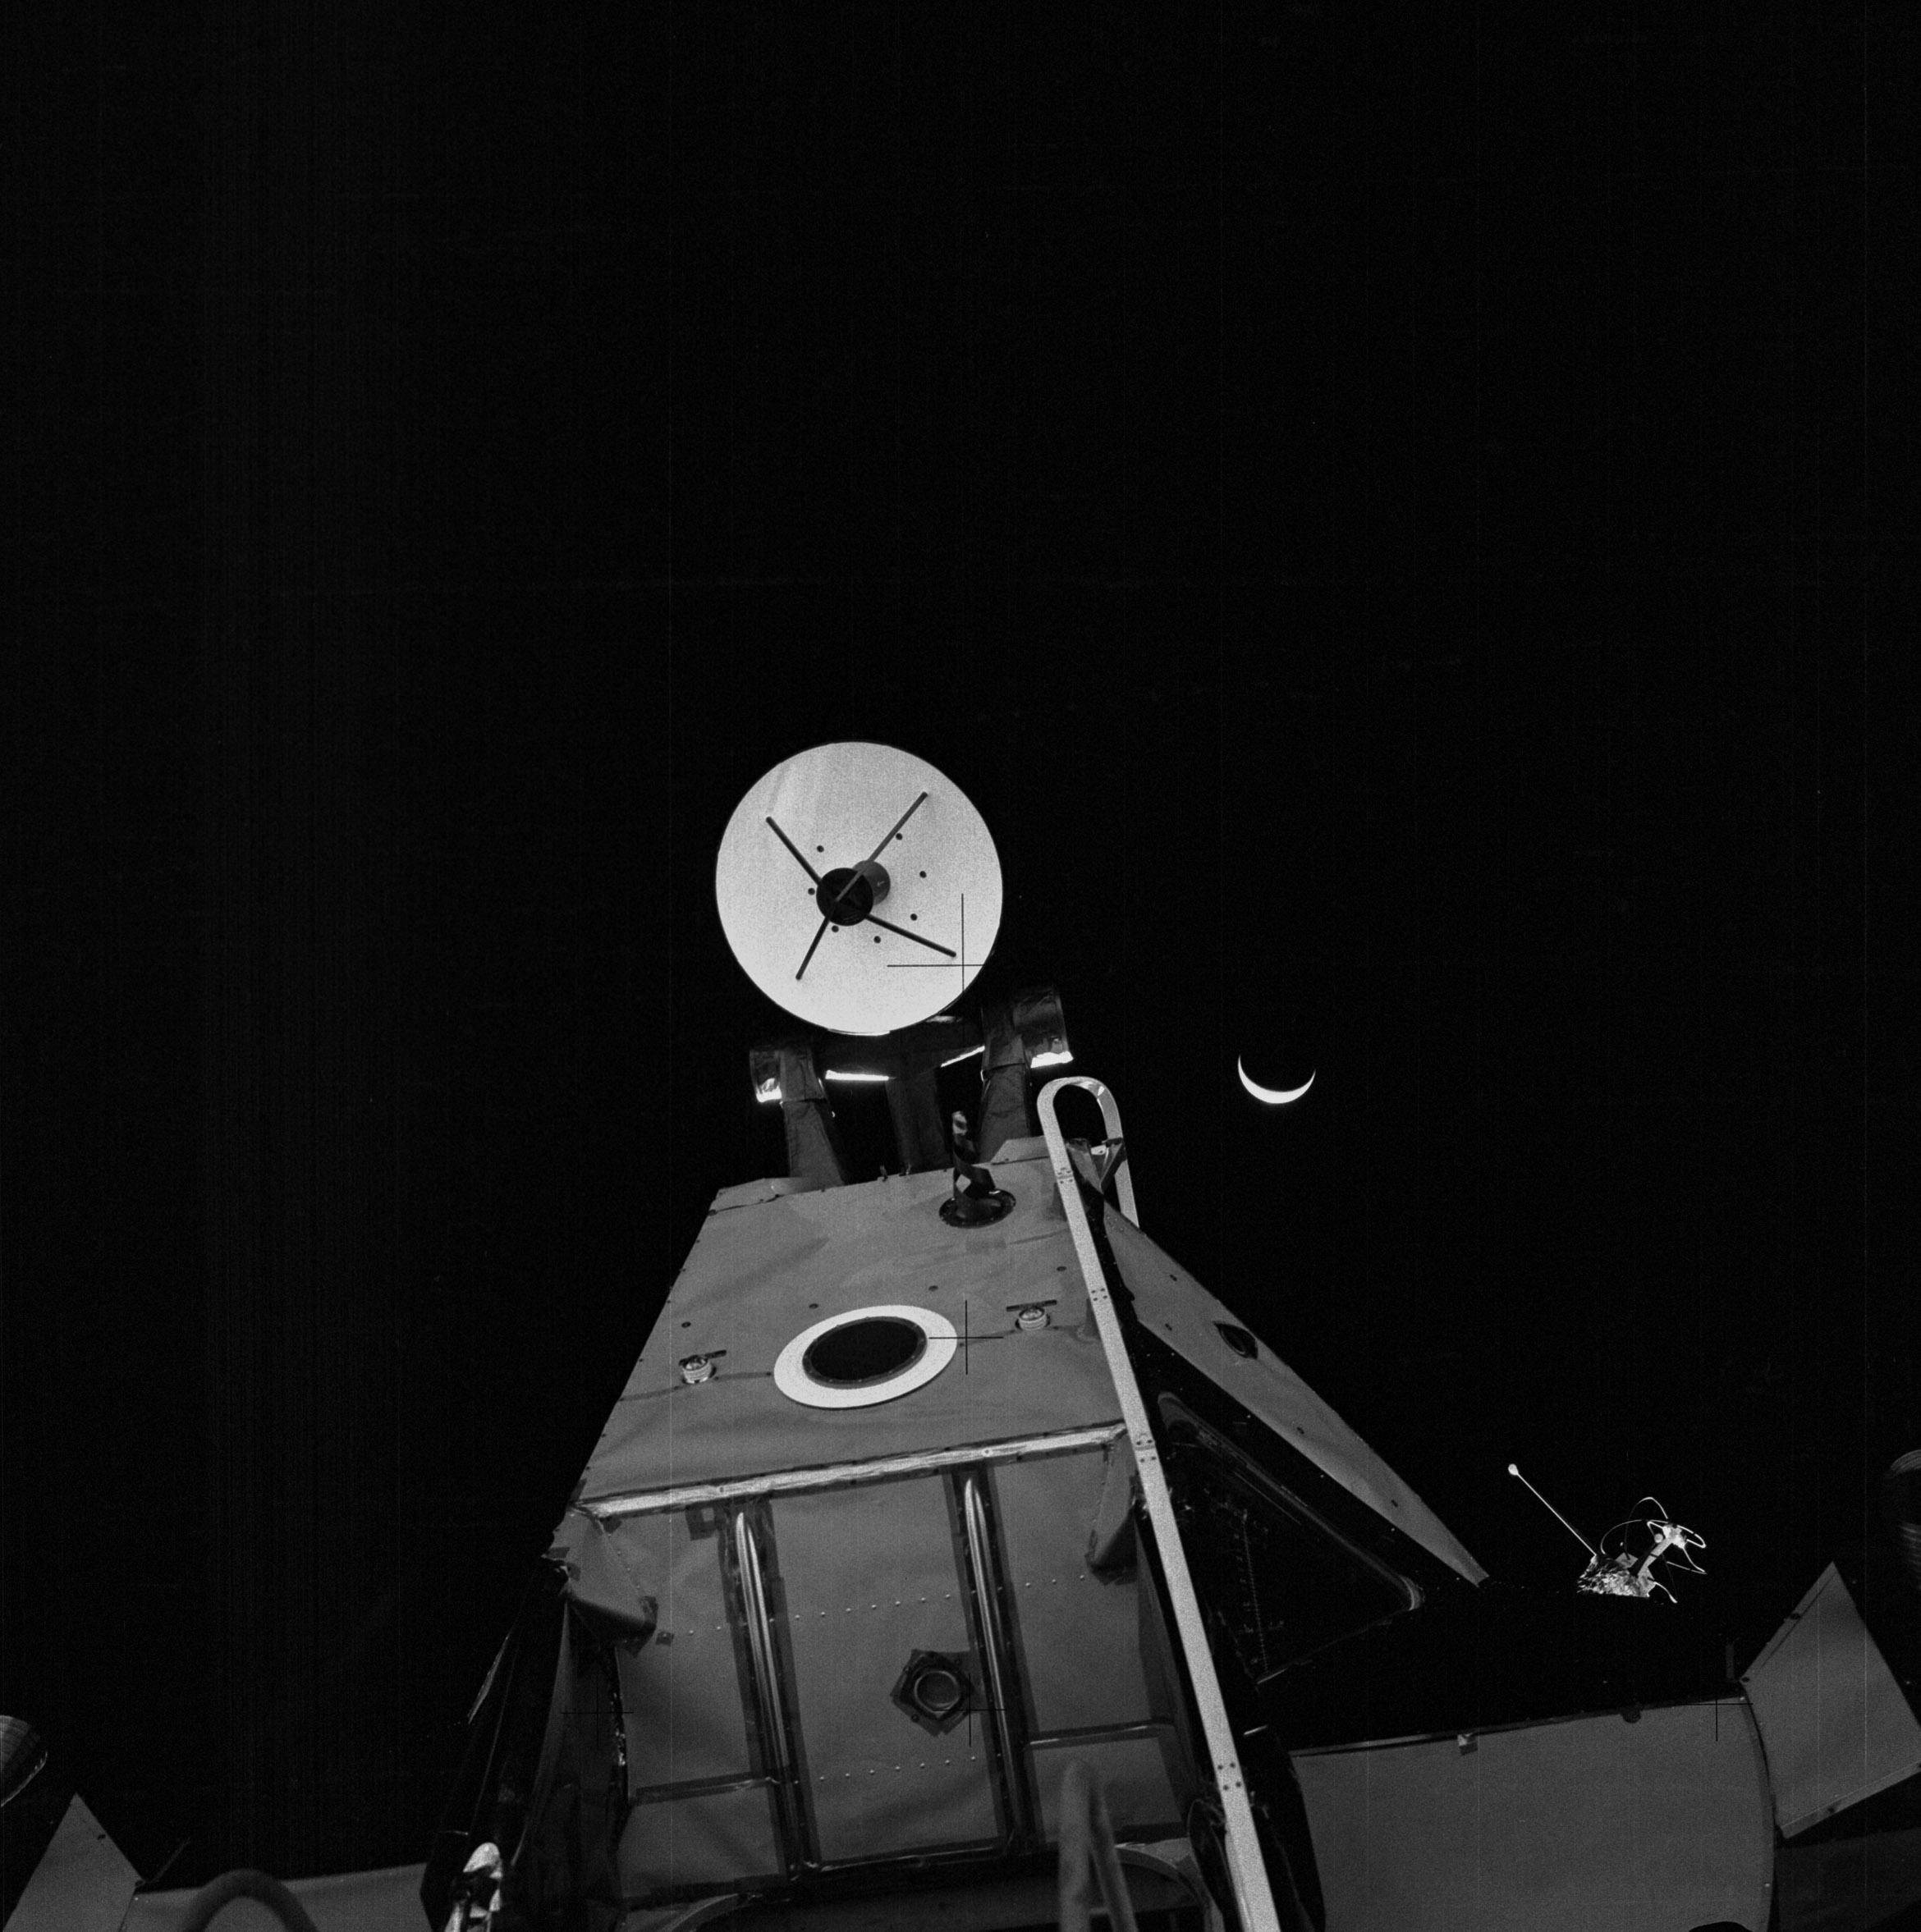 | AS14-64-9191 Similar to 9189. Image credit: Image Science and Analysis Laboratory, NASA-Johnson Space Center. |
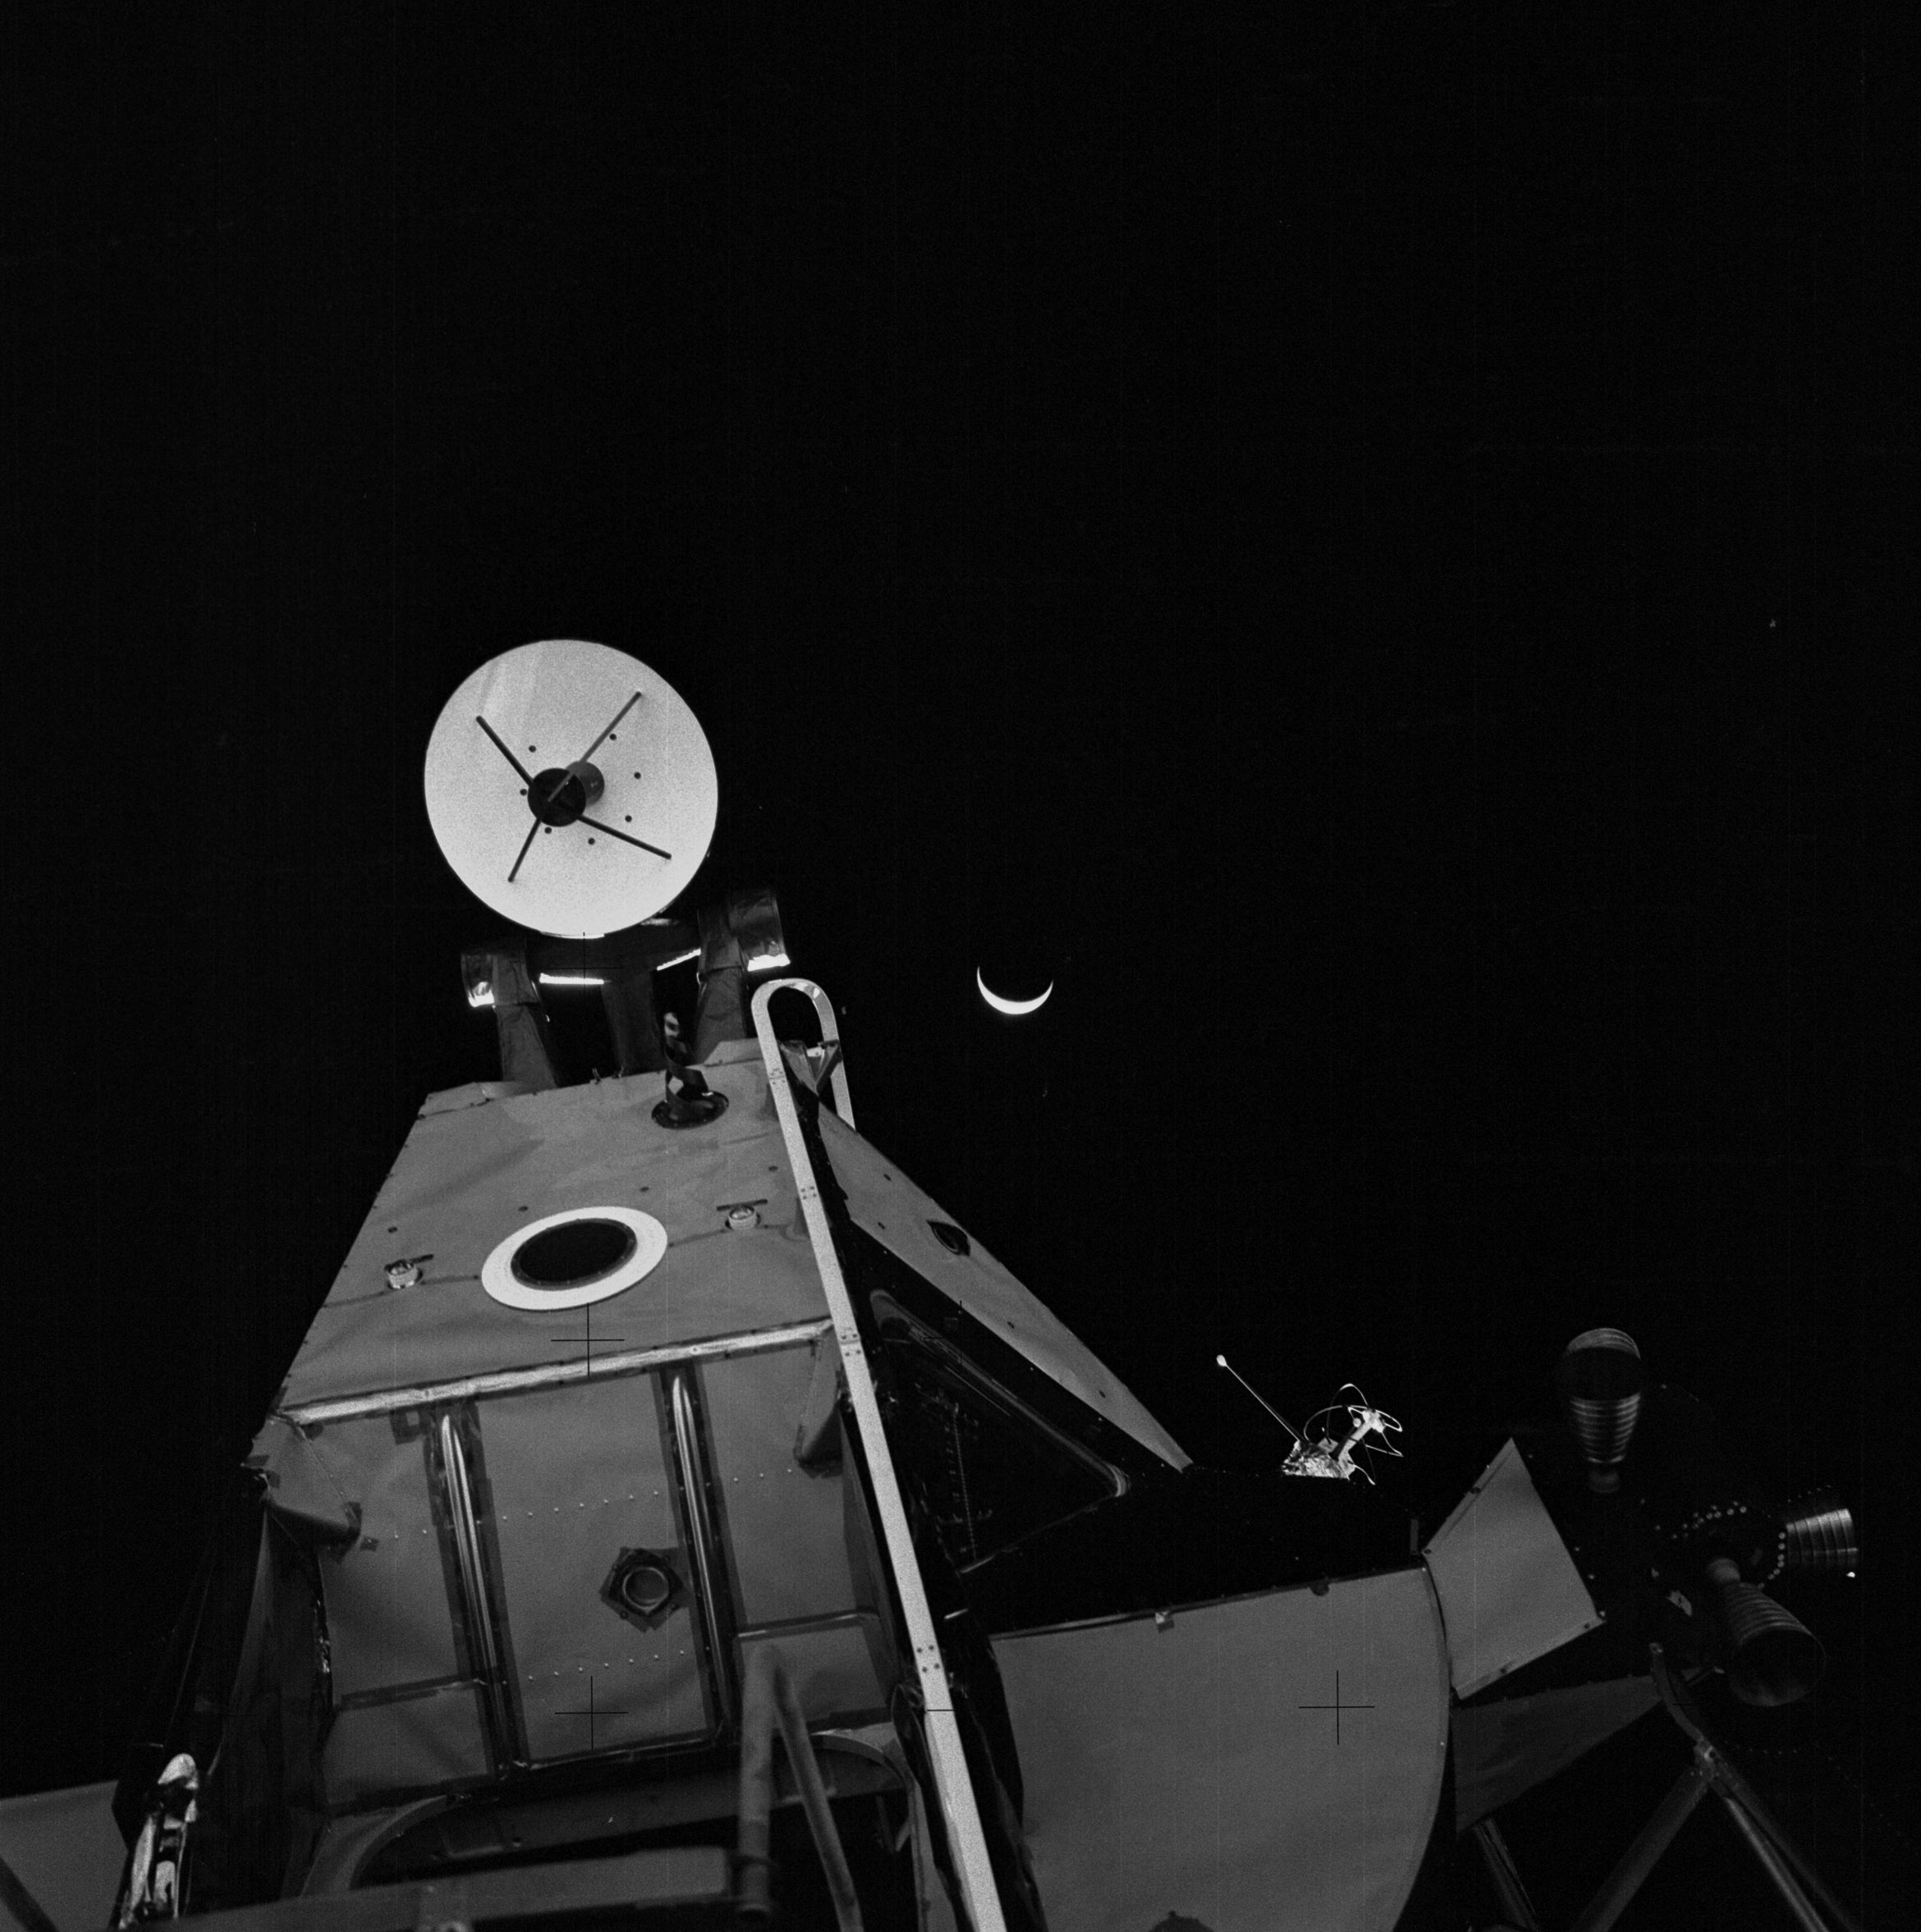 | AS14-64-9192 Similar to 9189. Image credit: Image Science and Analysis Laboratory, NASA-Johnson Space Center. |
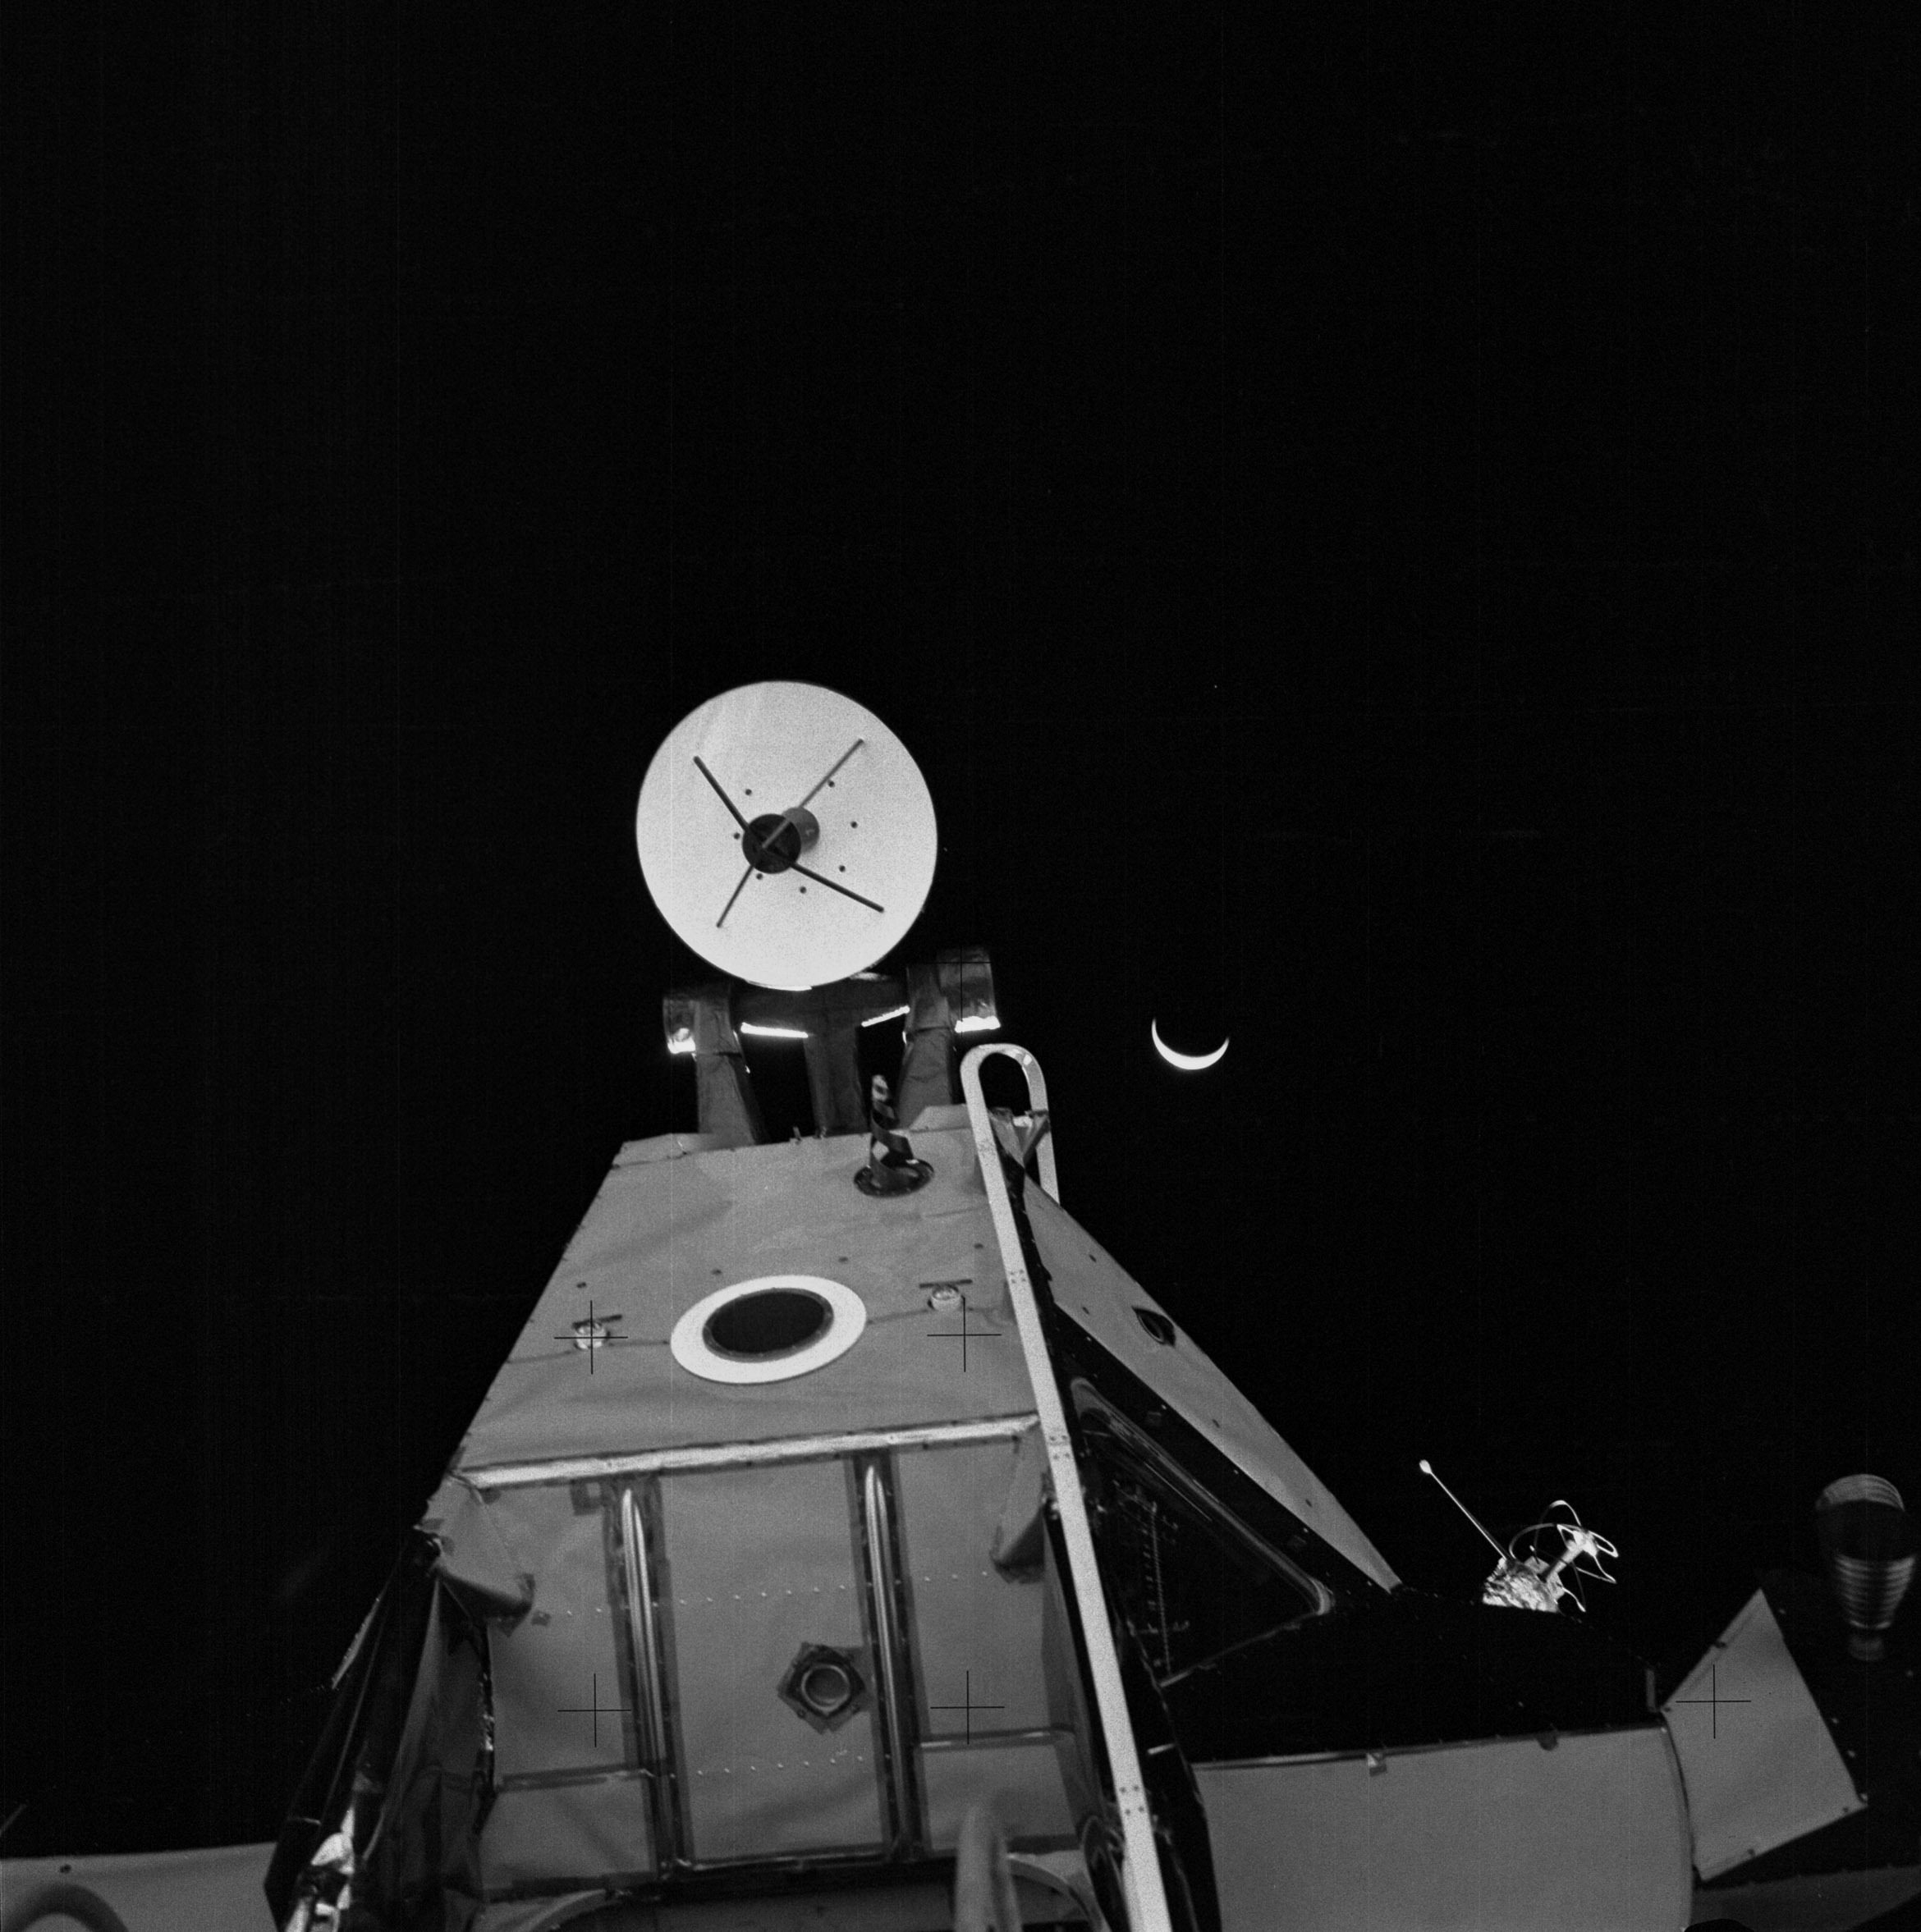 | AS14-64-9193 Similar to 9189. Image credit: Image Science and Analysis Laboratory, NASA-Johnson Space Center. |
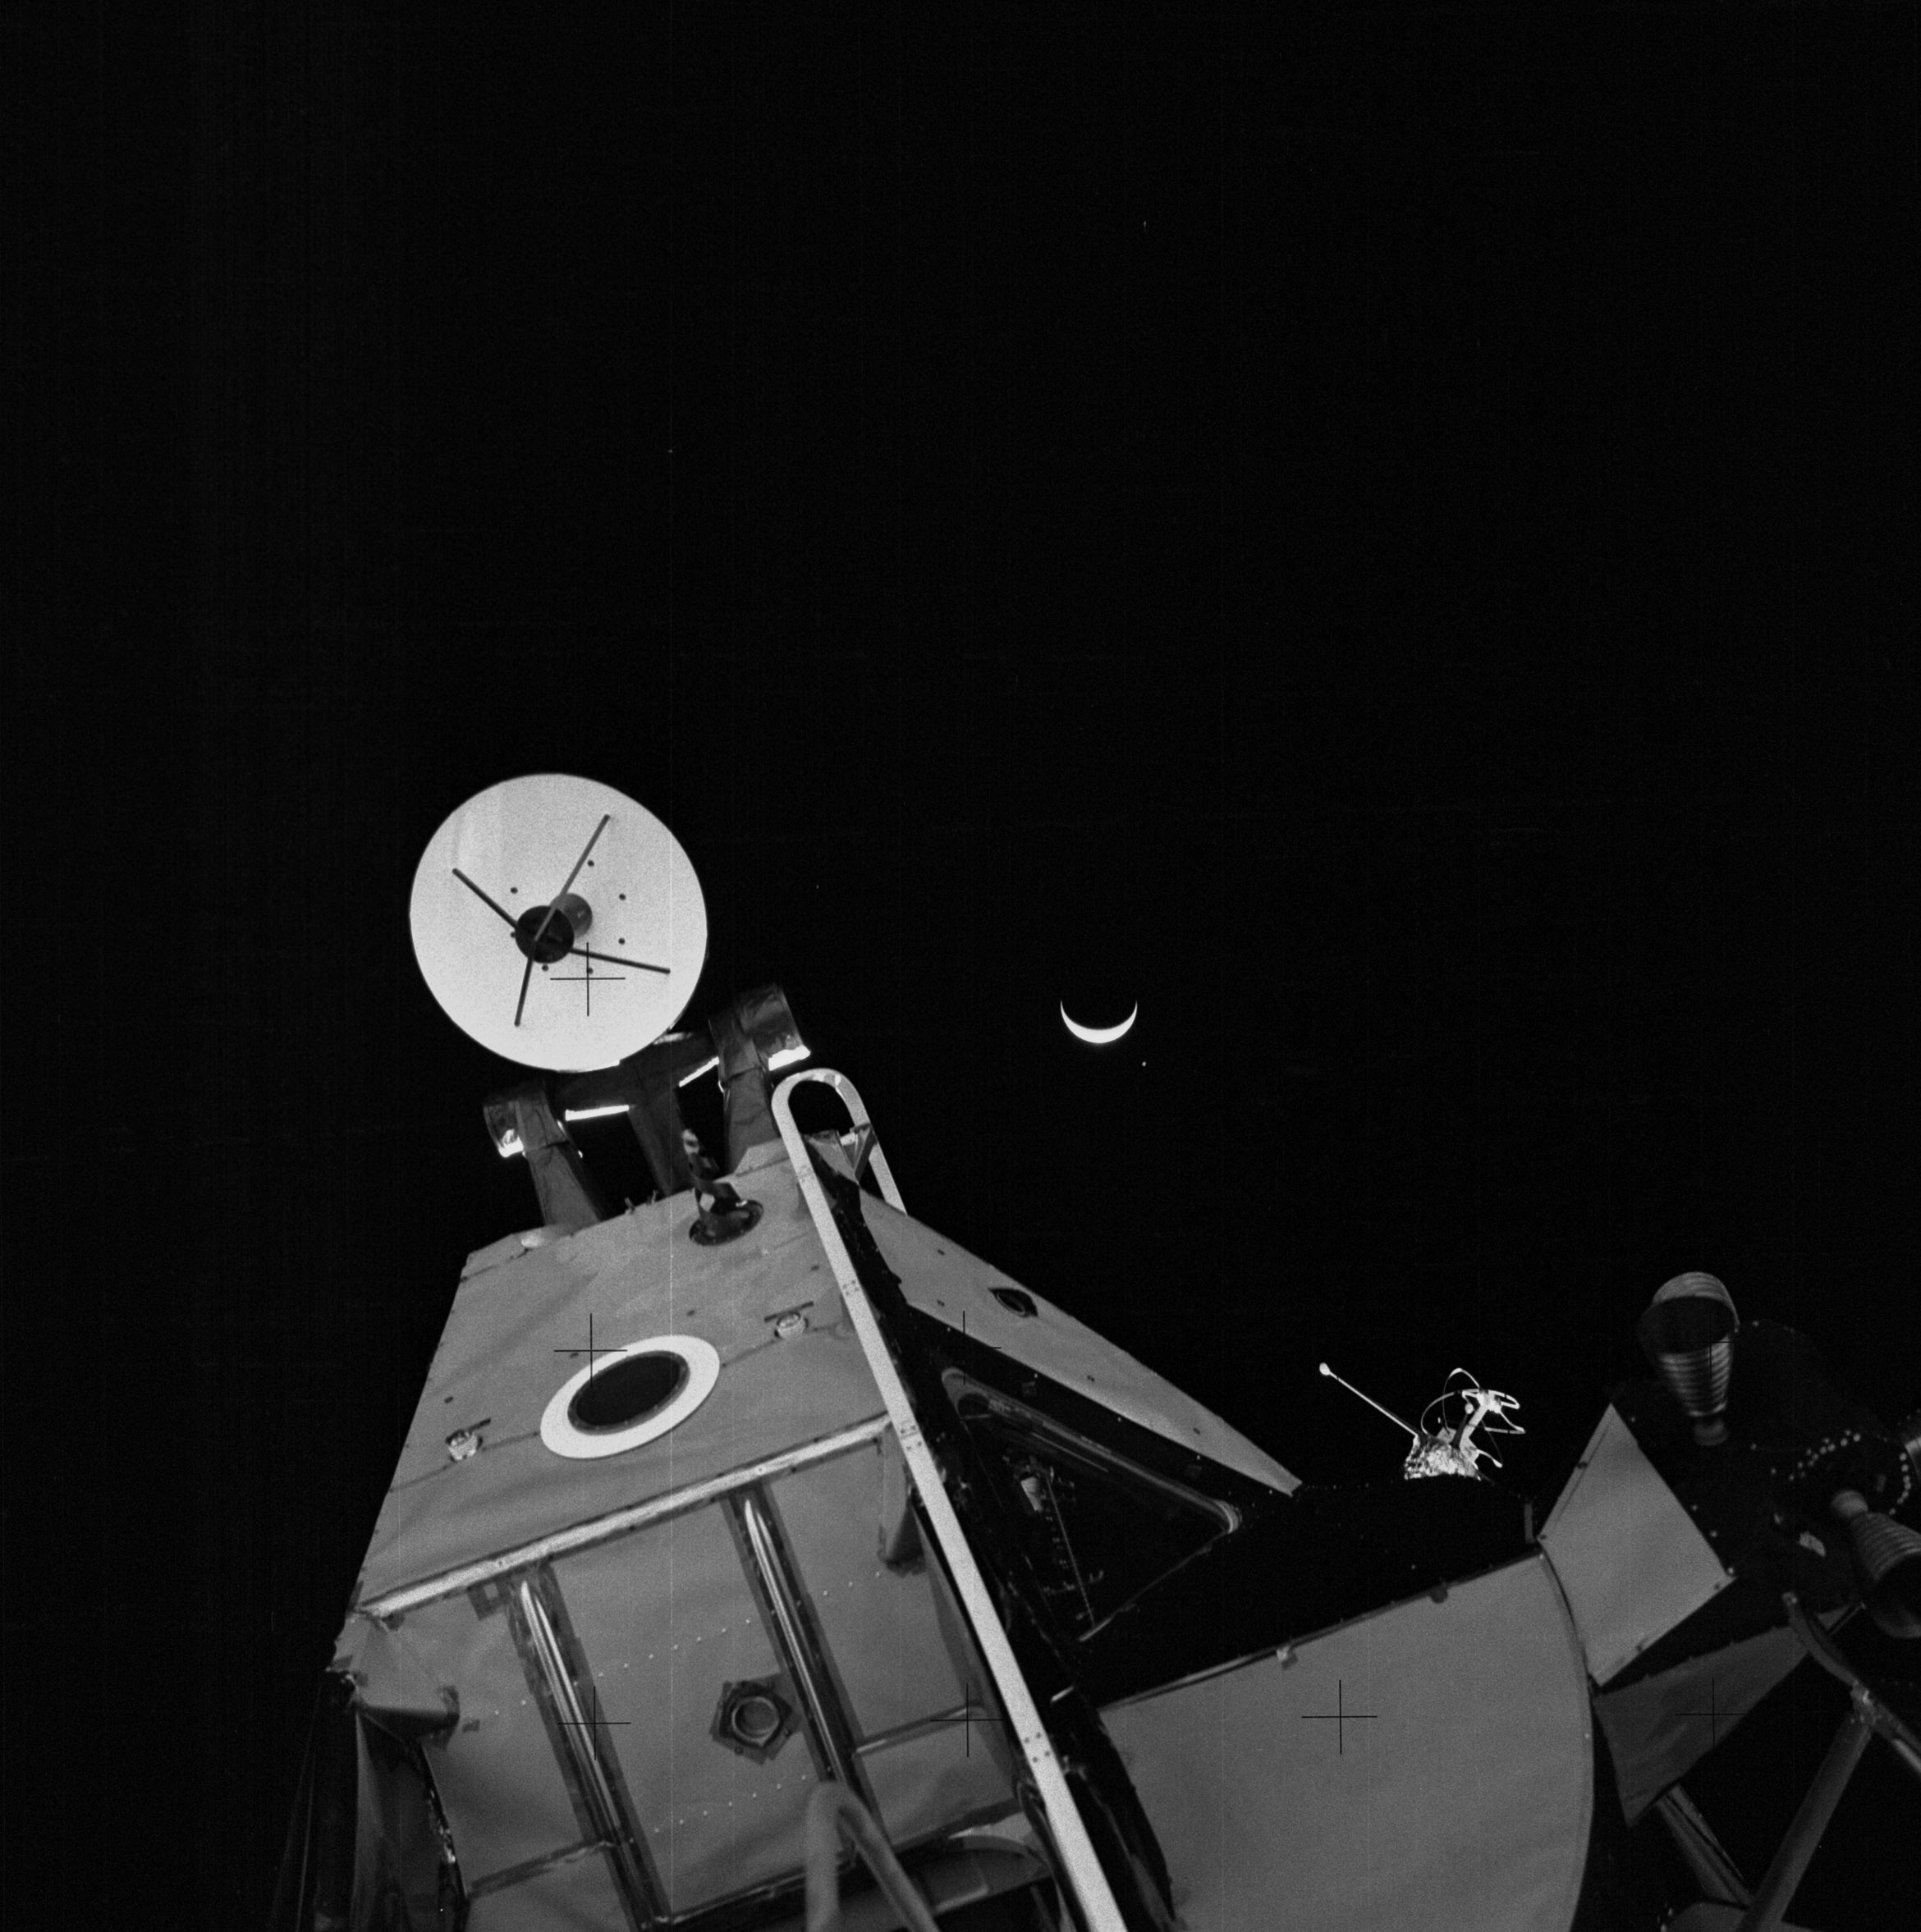 | AS14-64-9194 Similar to 9189. Image credit: Image Science and Analysis Laboratory, NASA-Johnson Space Center. |
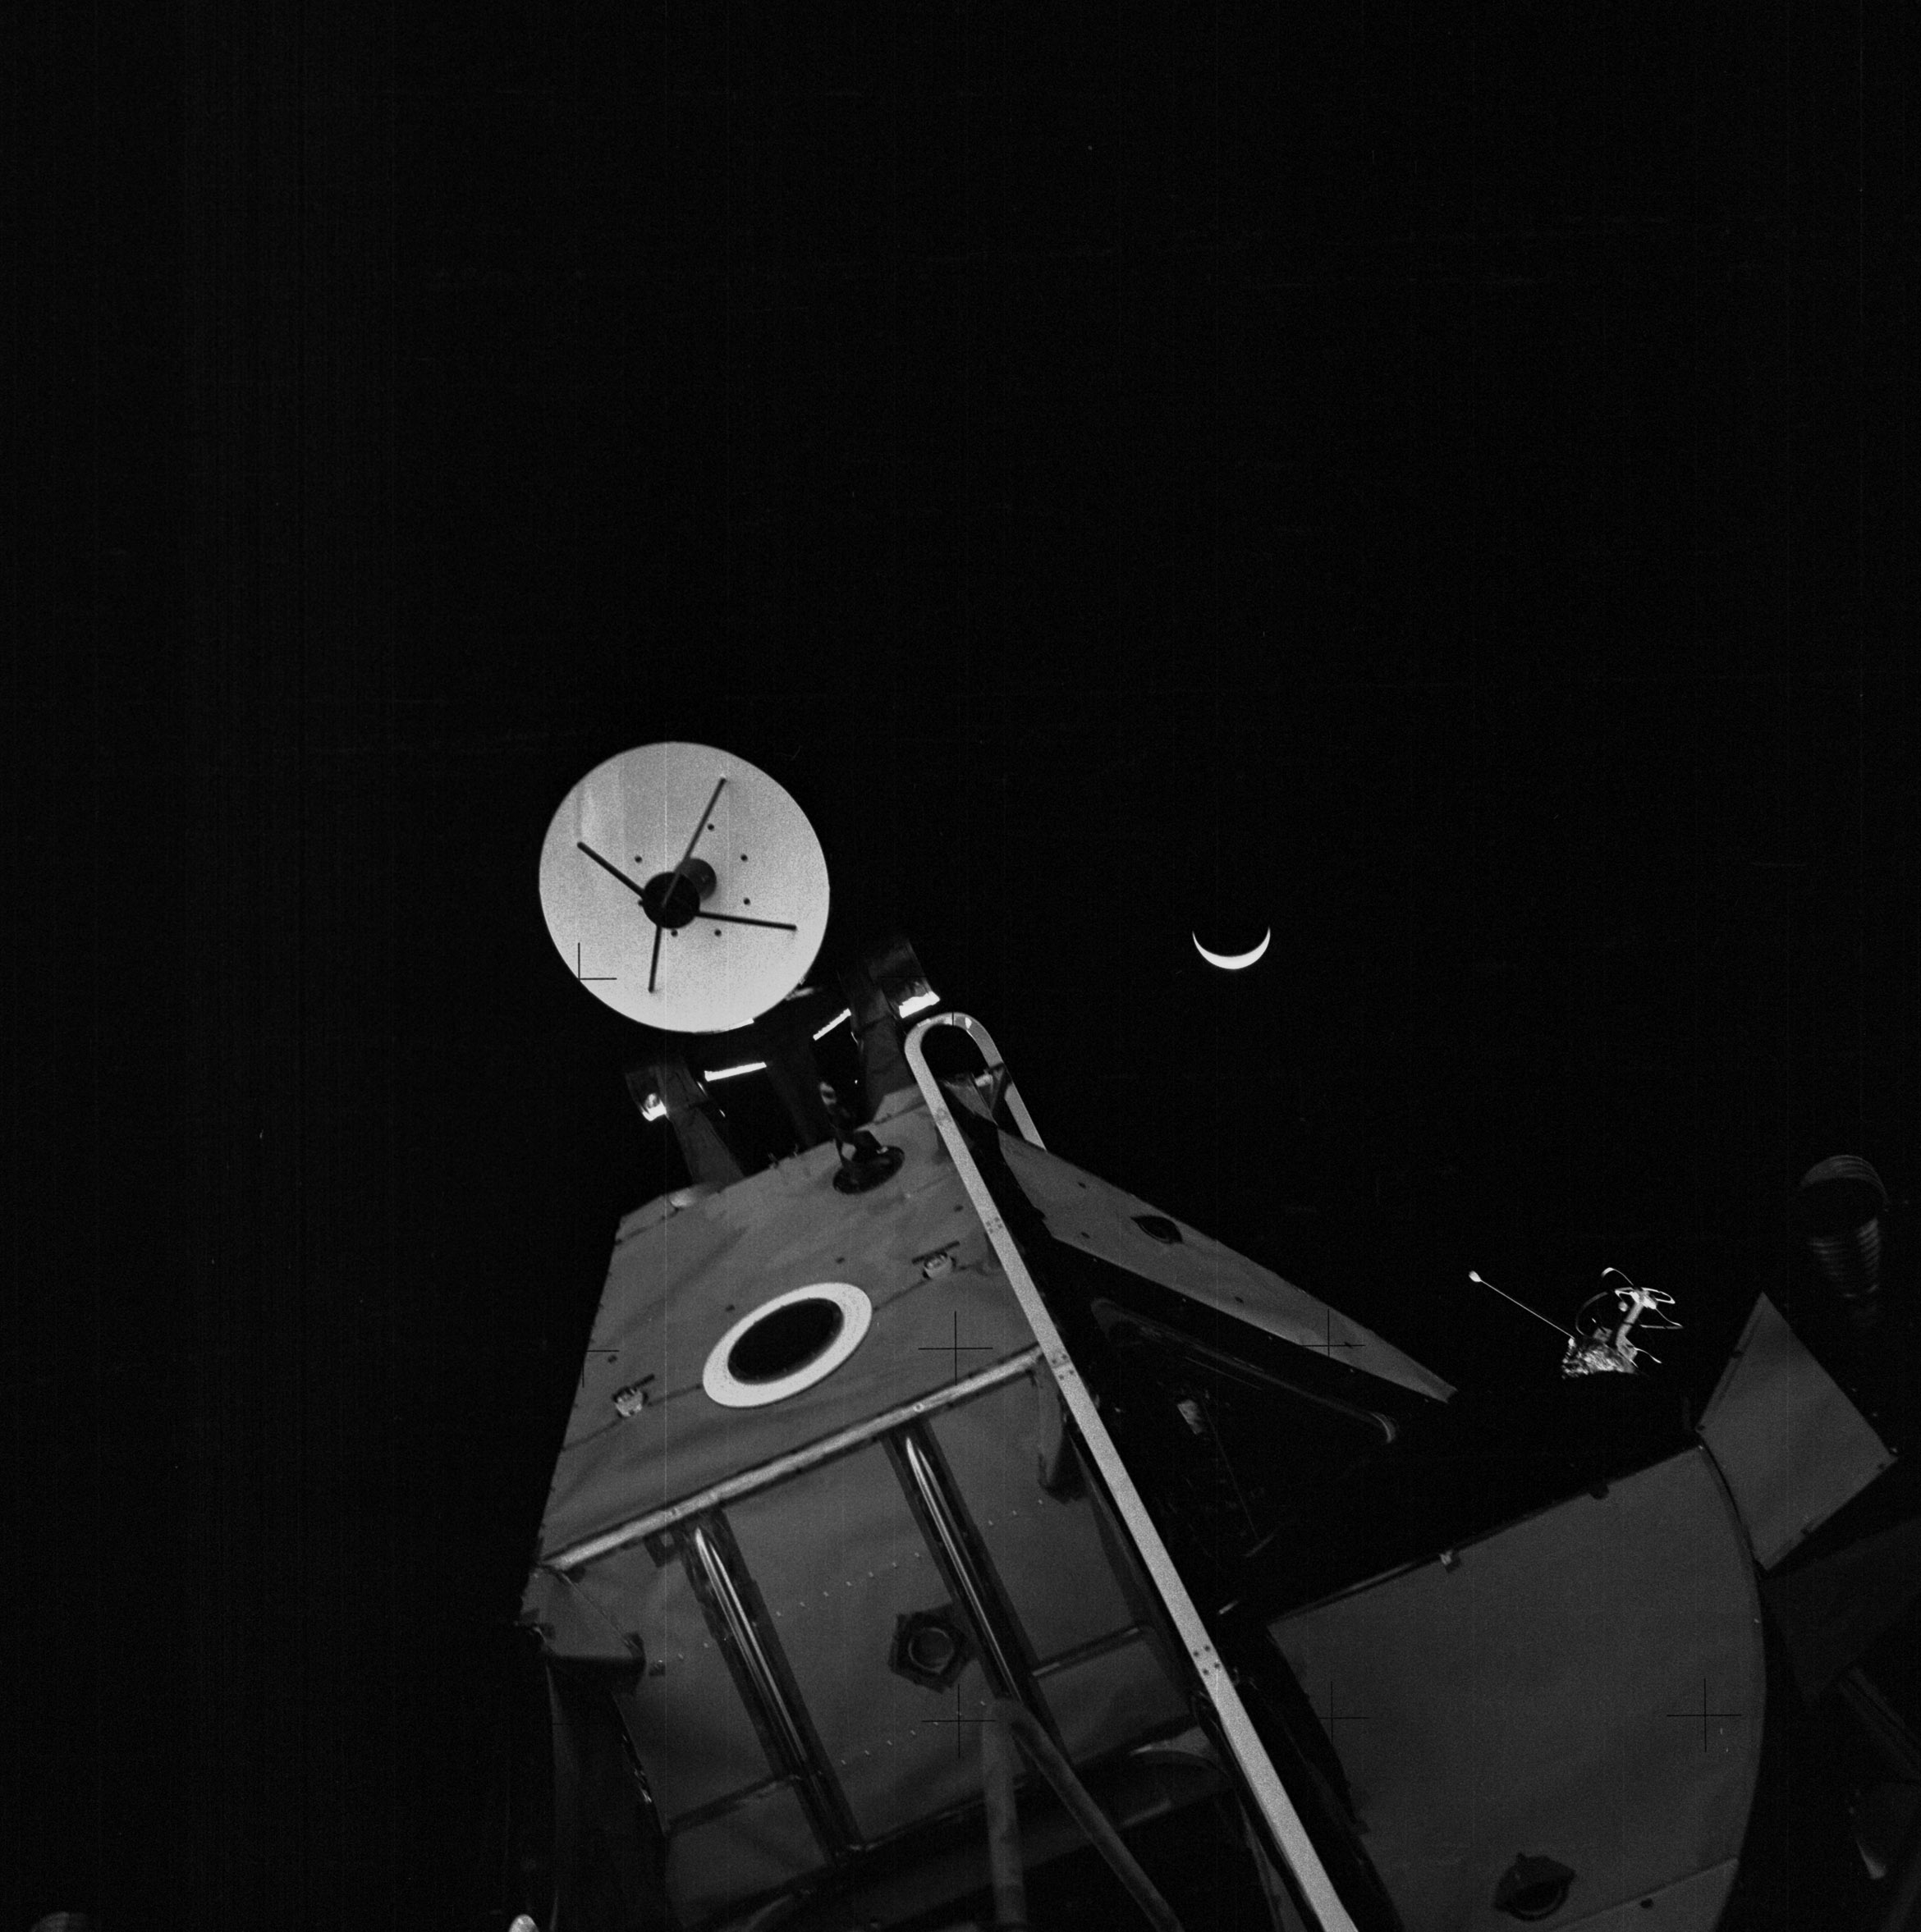 | AS14-64-9195 Similar to 9189. Image credit: Image Science and Analysis Laboratory, NASA-Johnson Space Center. |
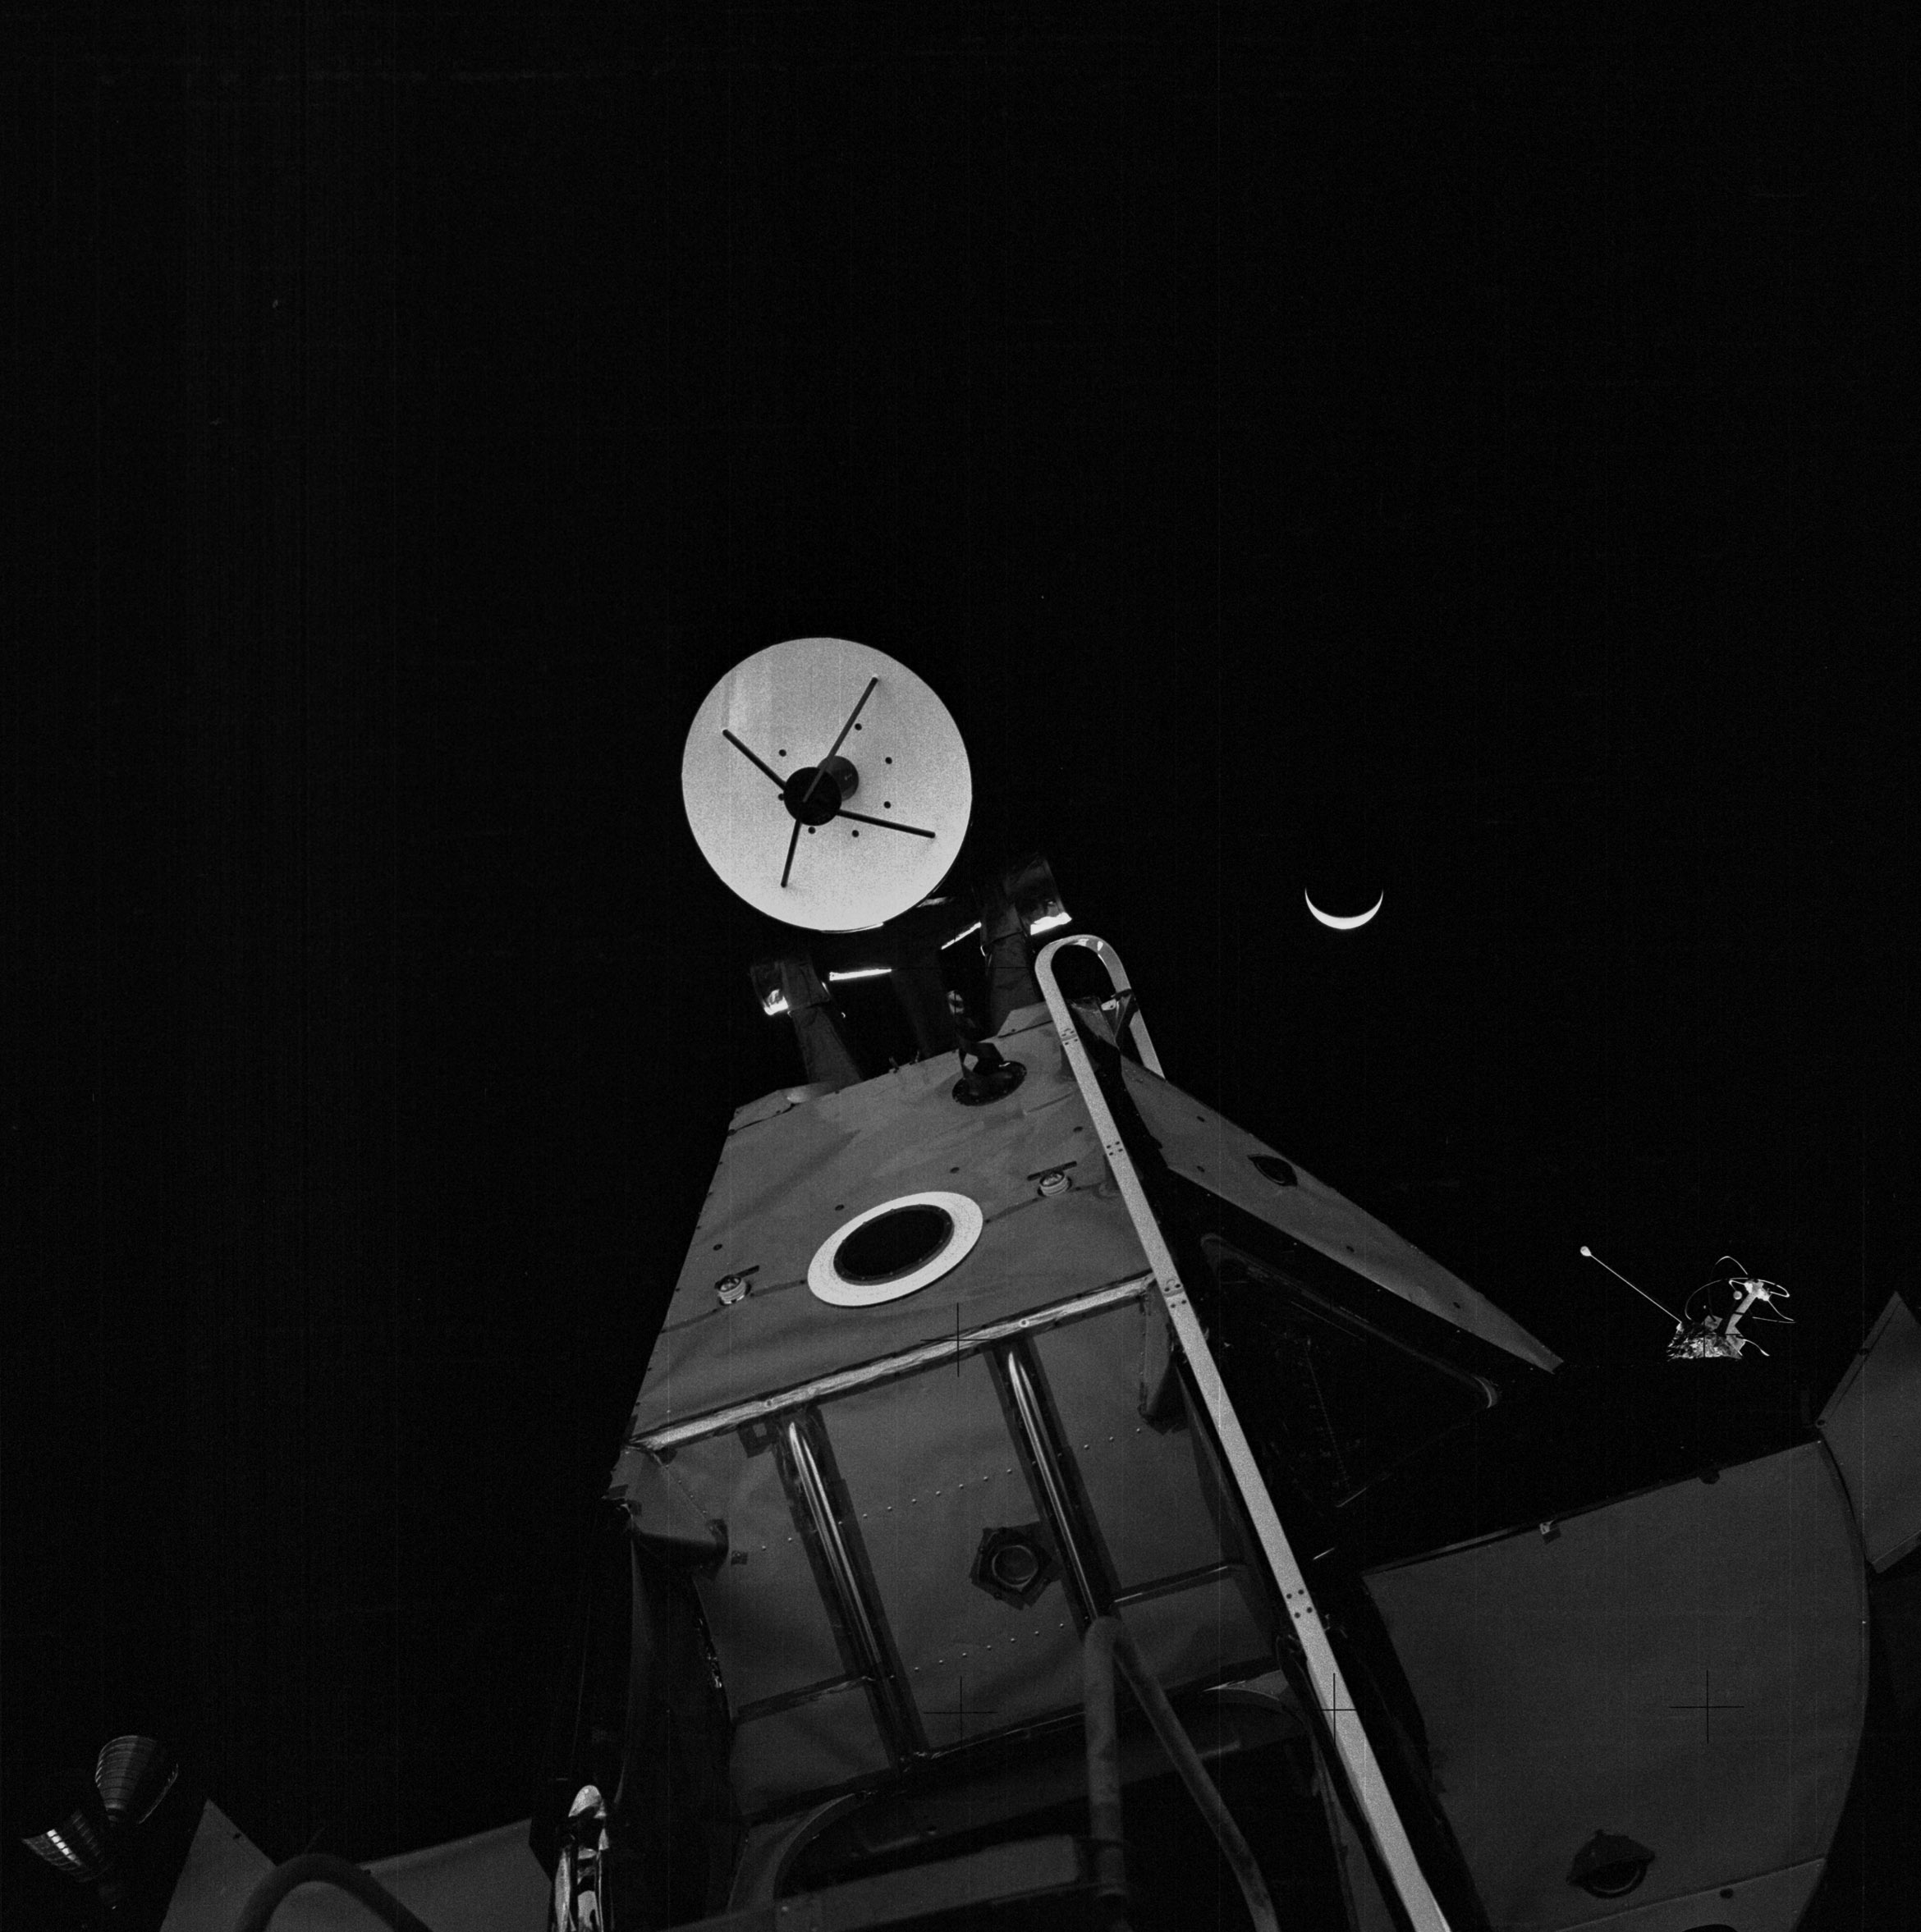 | AS14-64-9196 Similar to 9189. Image credit: Image Science and Analysis Laboratory, NASA-Johnson Space Center. |
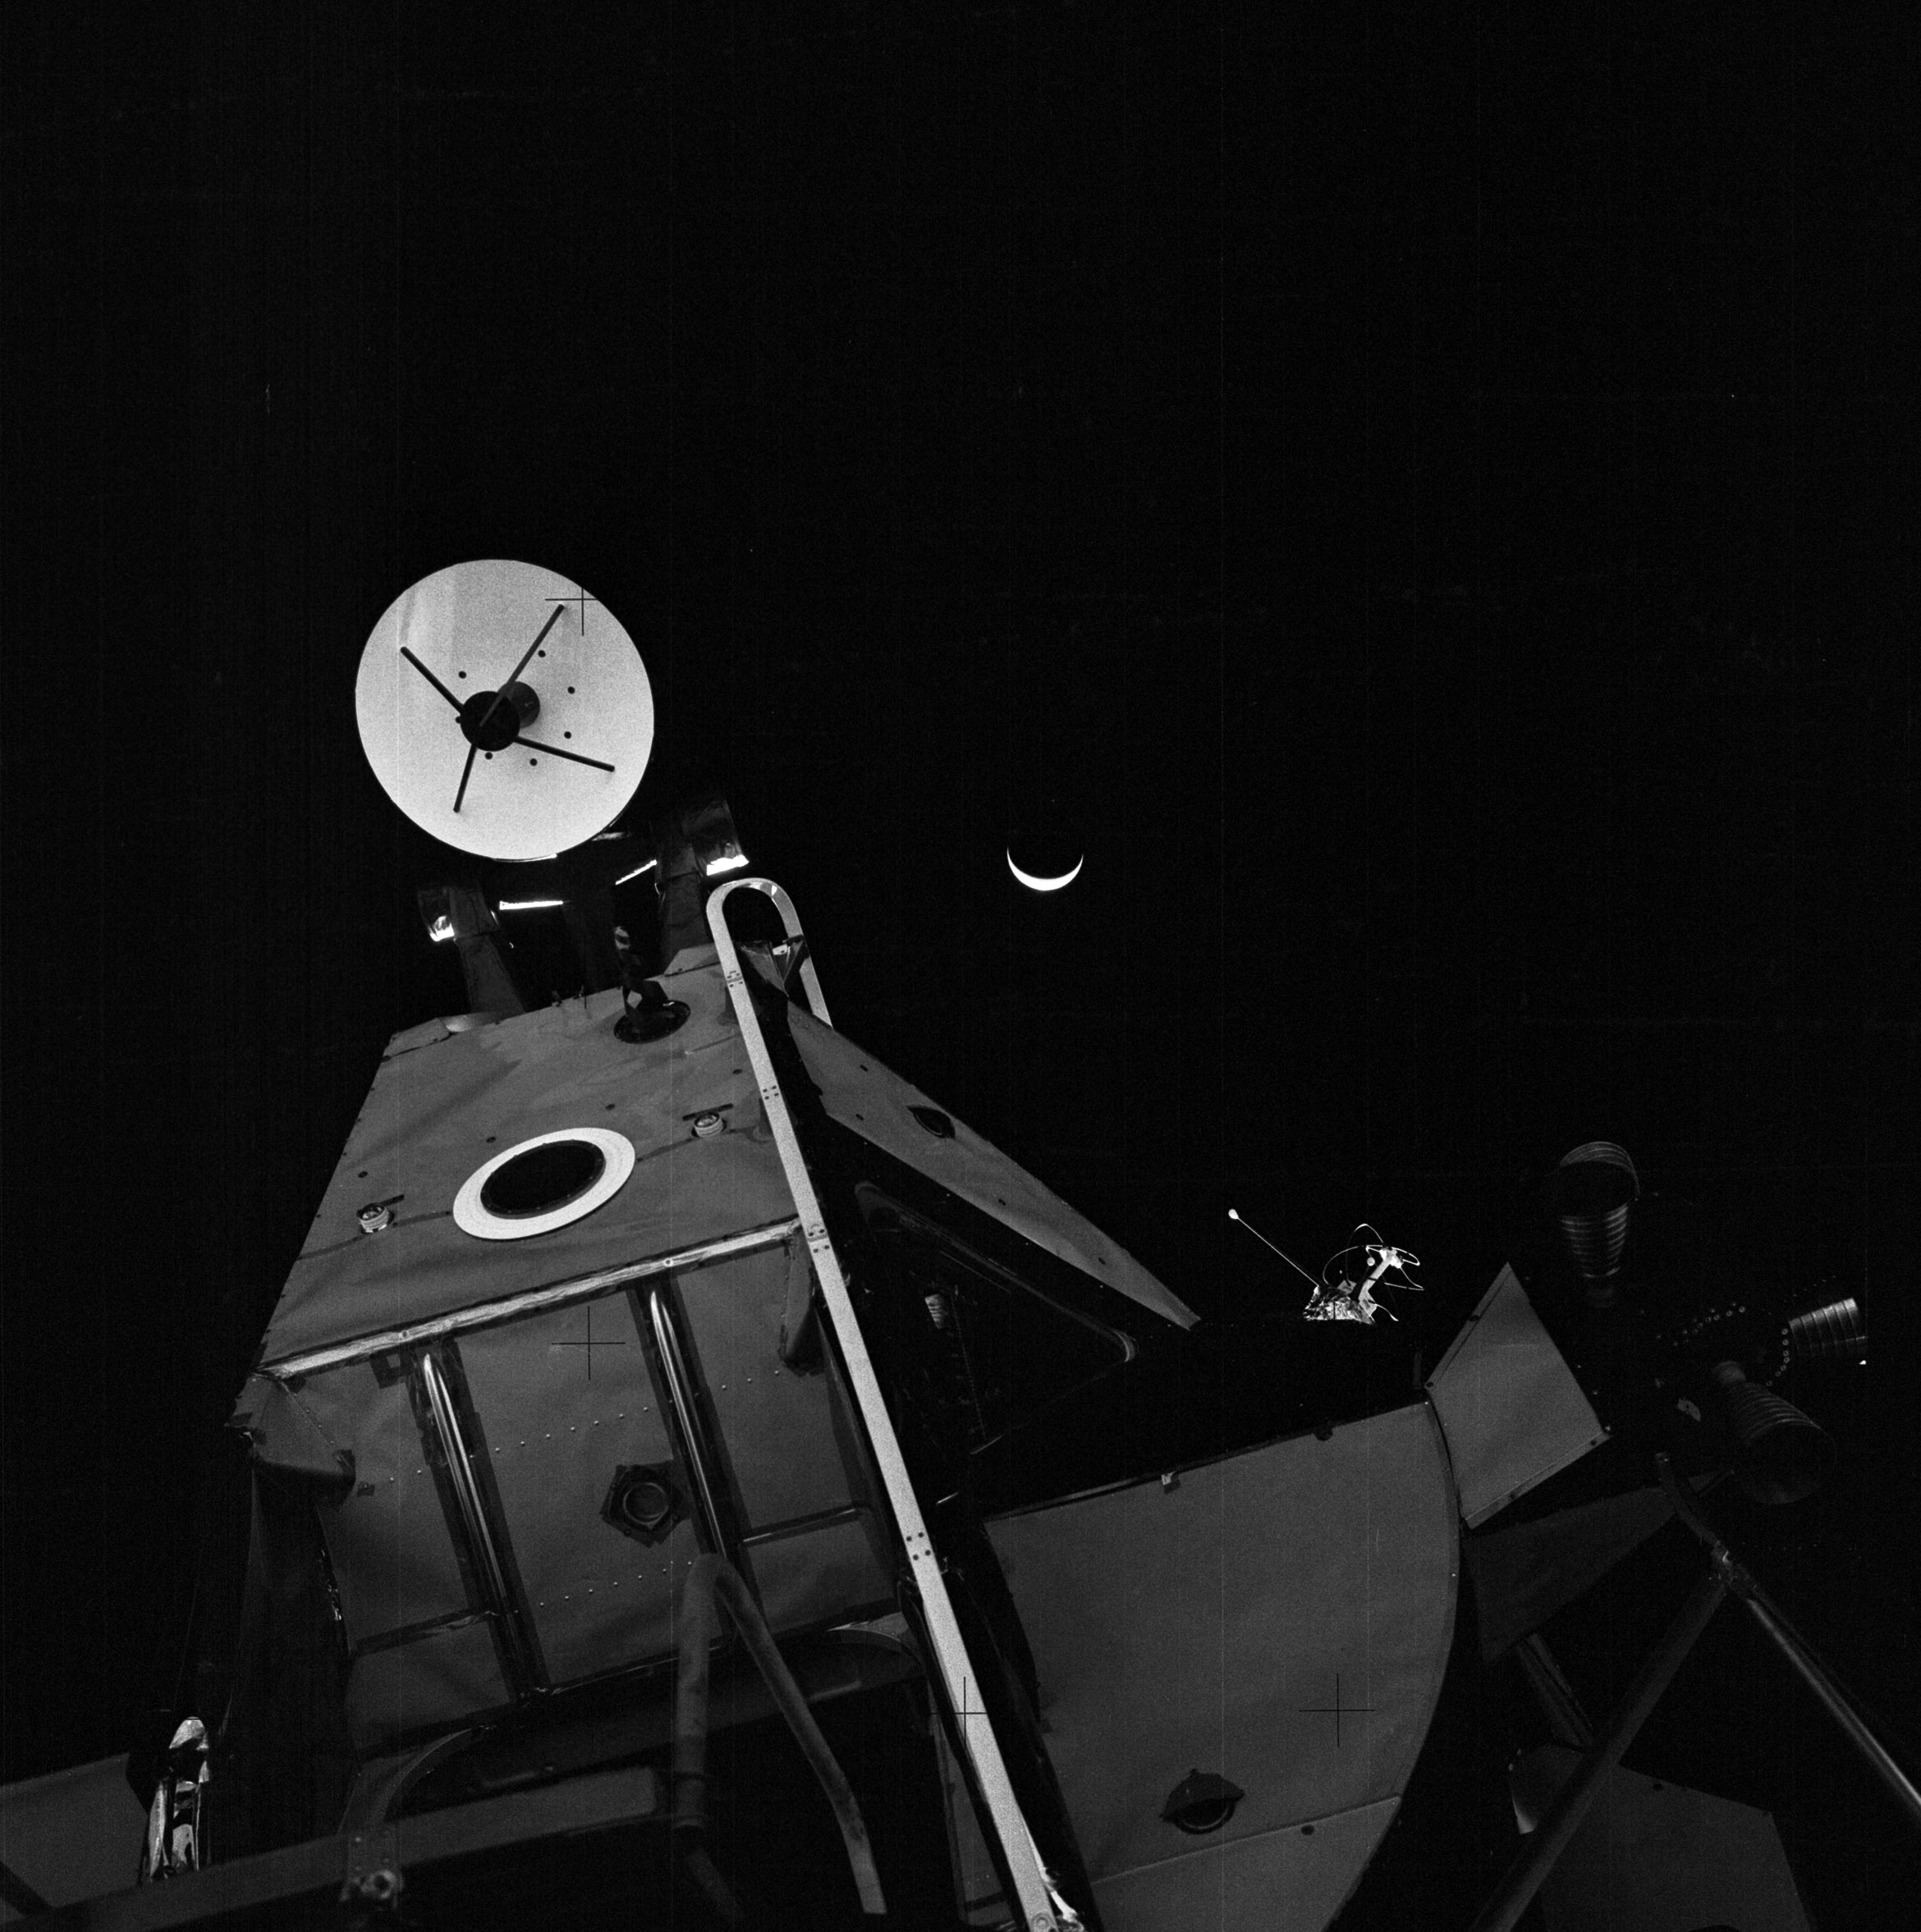 | AS14-64-9197 Similar to 9189. Image credit: Image Science and Analysis Laboratory, NASA-Johnson Space Center. |
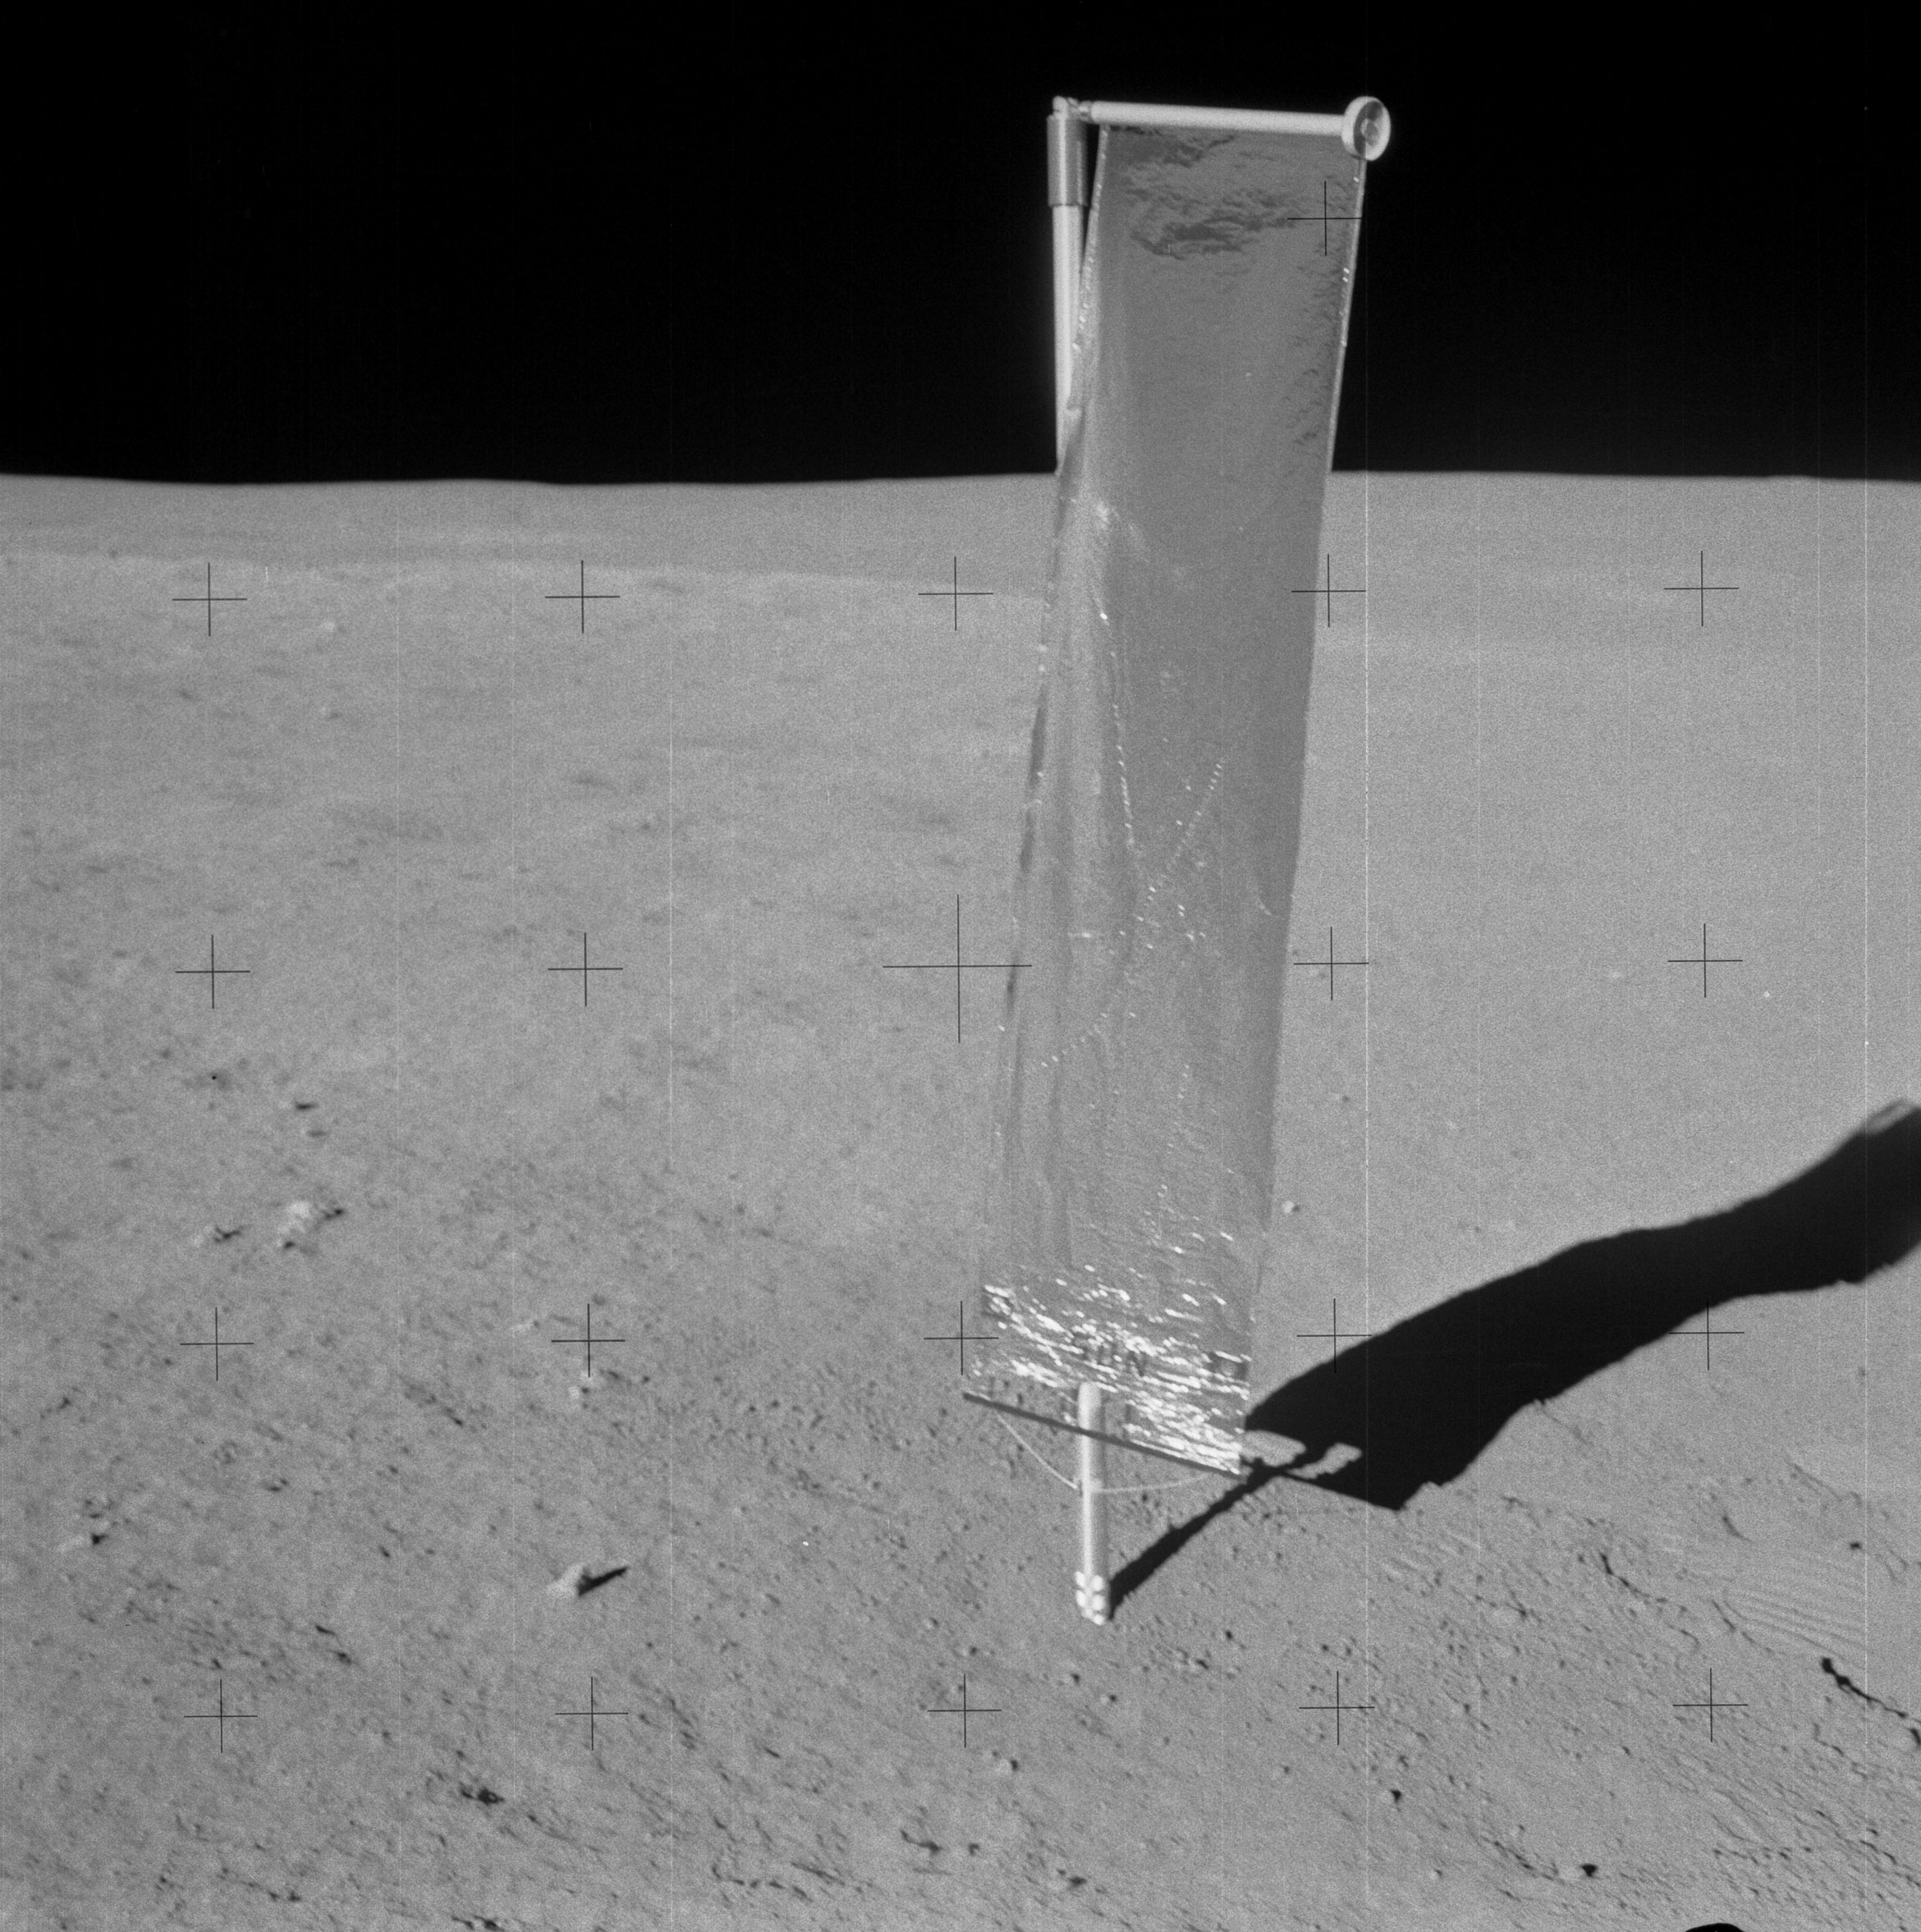 | AS14-64-9198 135:04:57 This photo shows the sunlit face of the Solar Wind Collector. Image credit: Image Science and Analysis Laboratory, NASA-Johnson Space Center. |
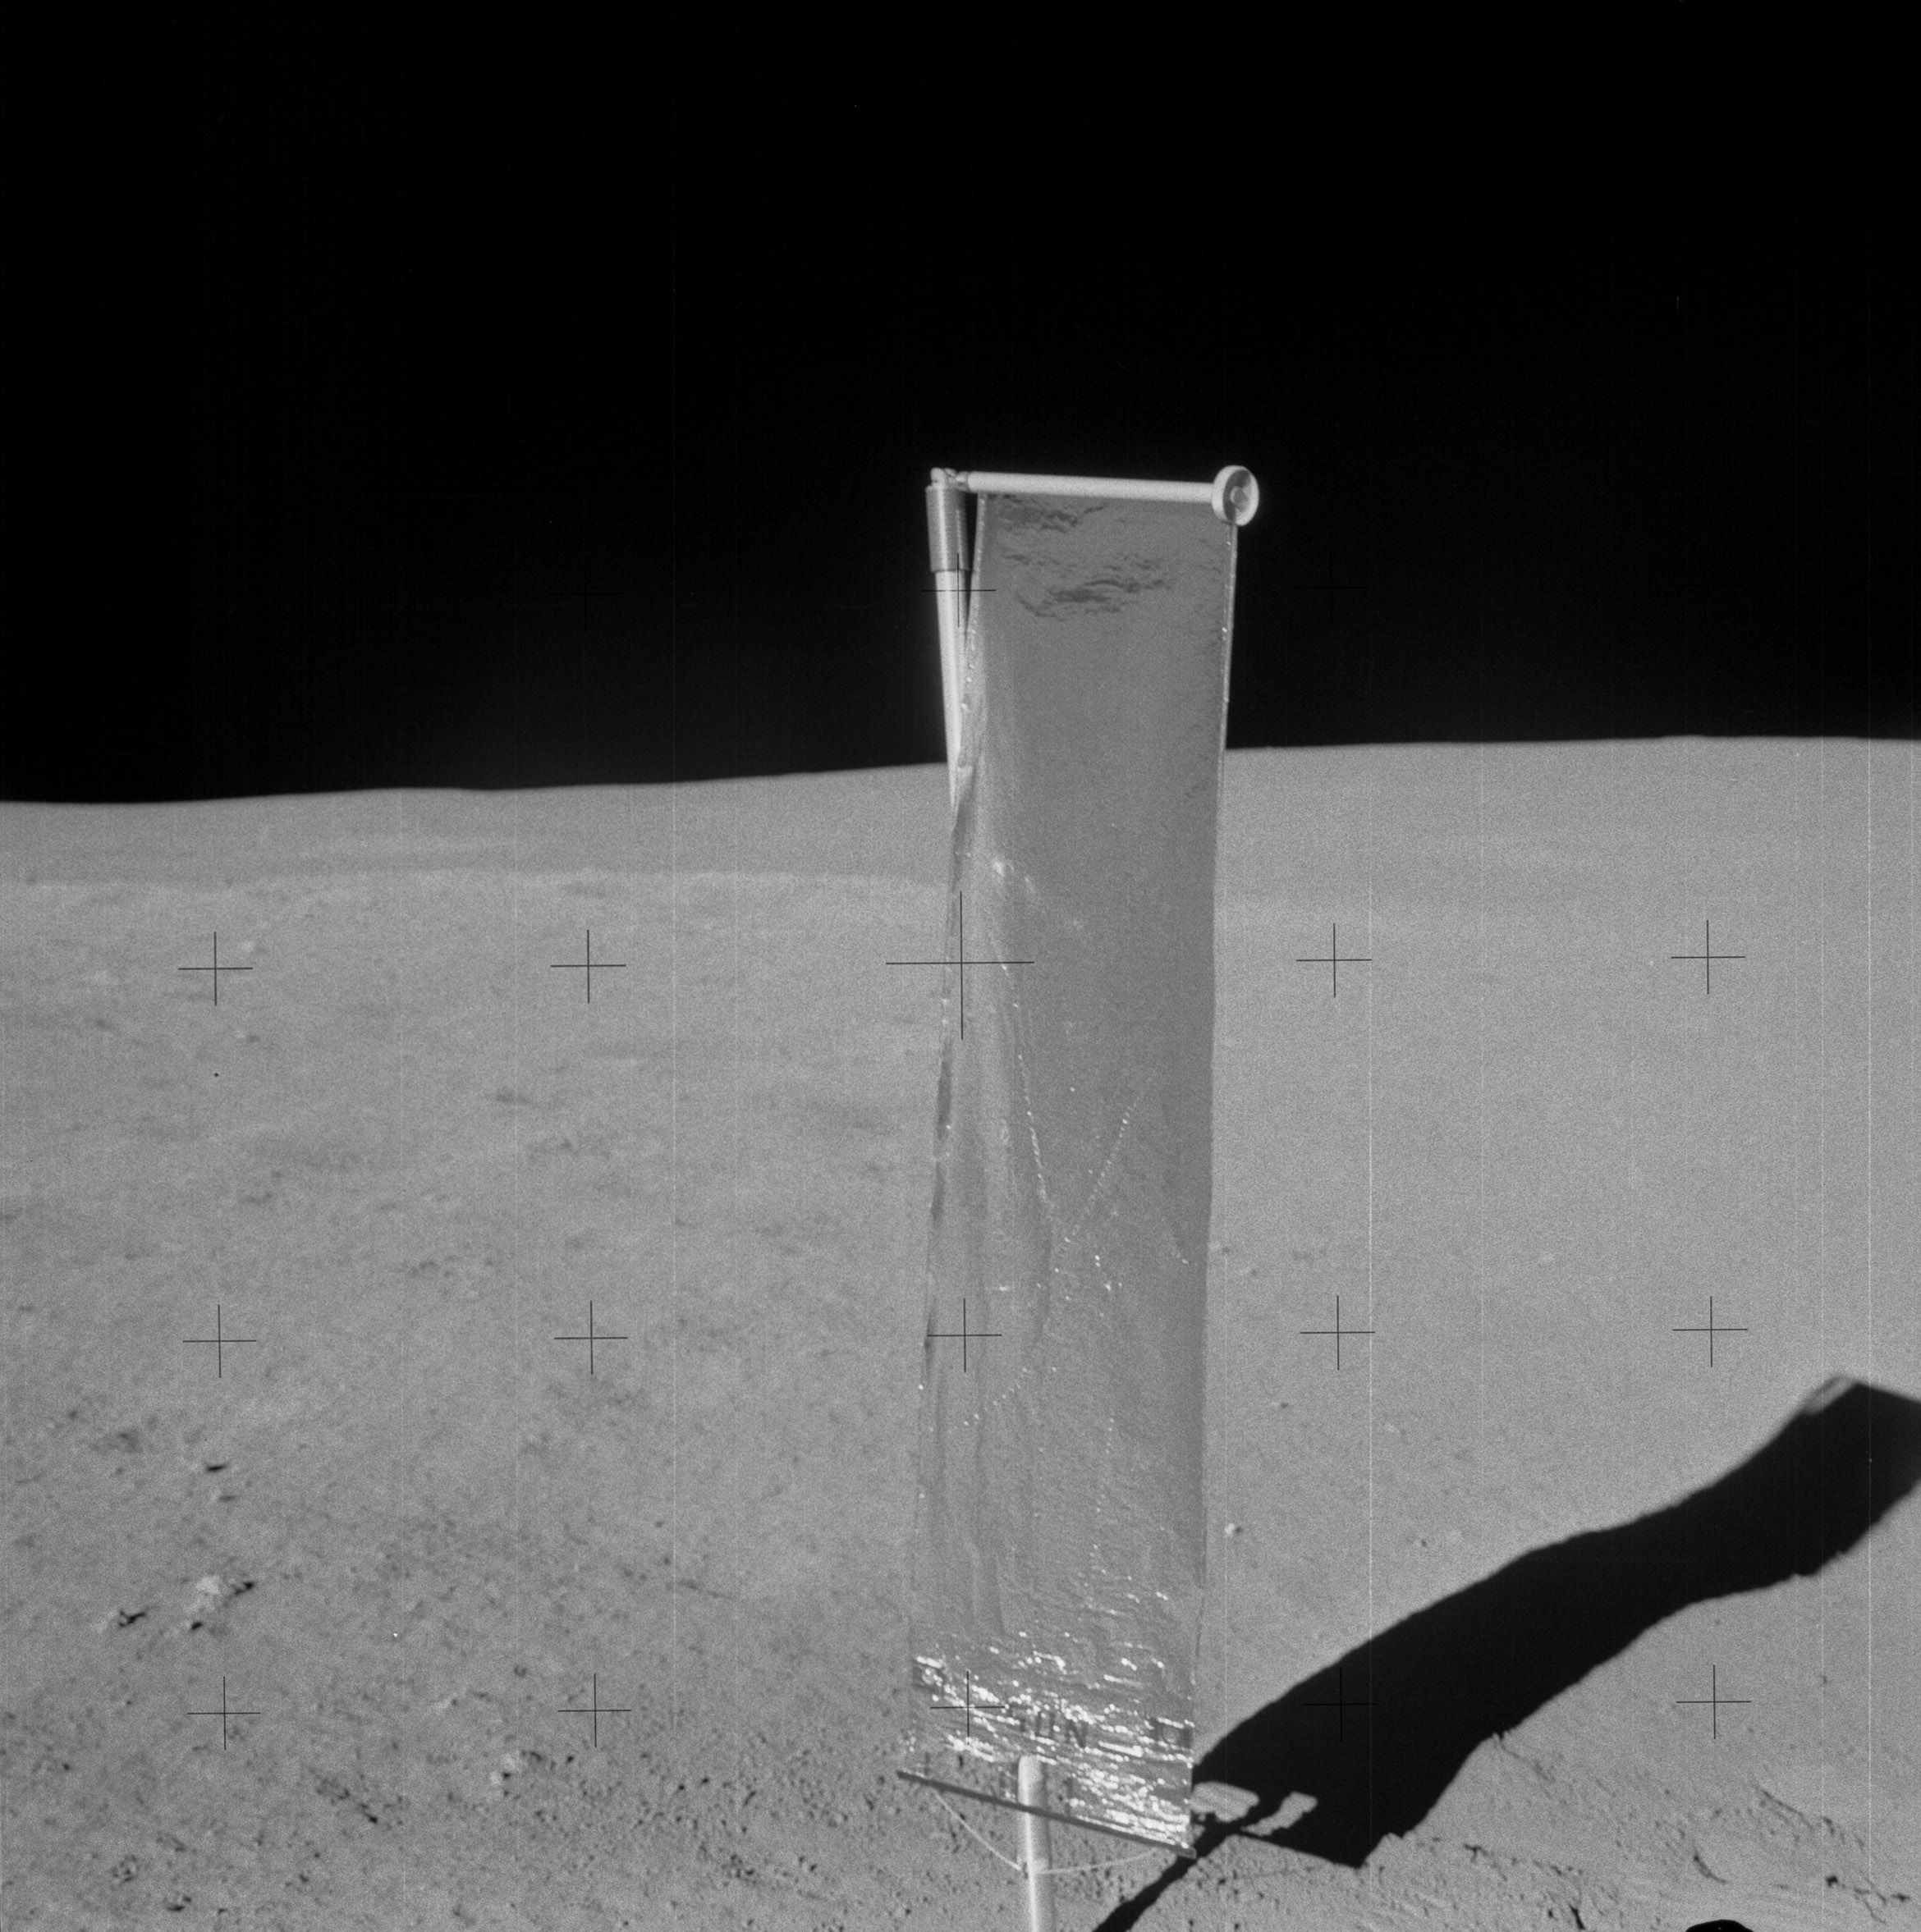 | AS14-64-9199 Similar to 9198. Image credit: Image Science and Analysis Laboratory, NASA-Johnson Space Center. |
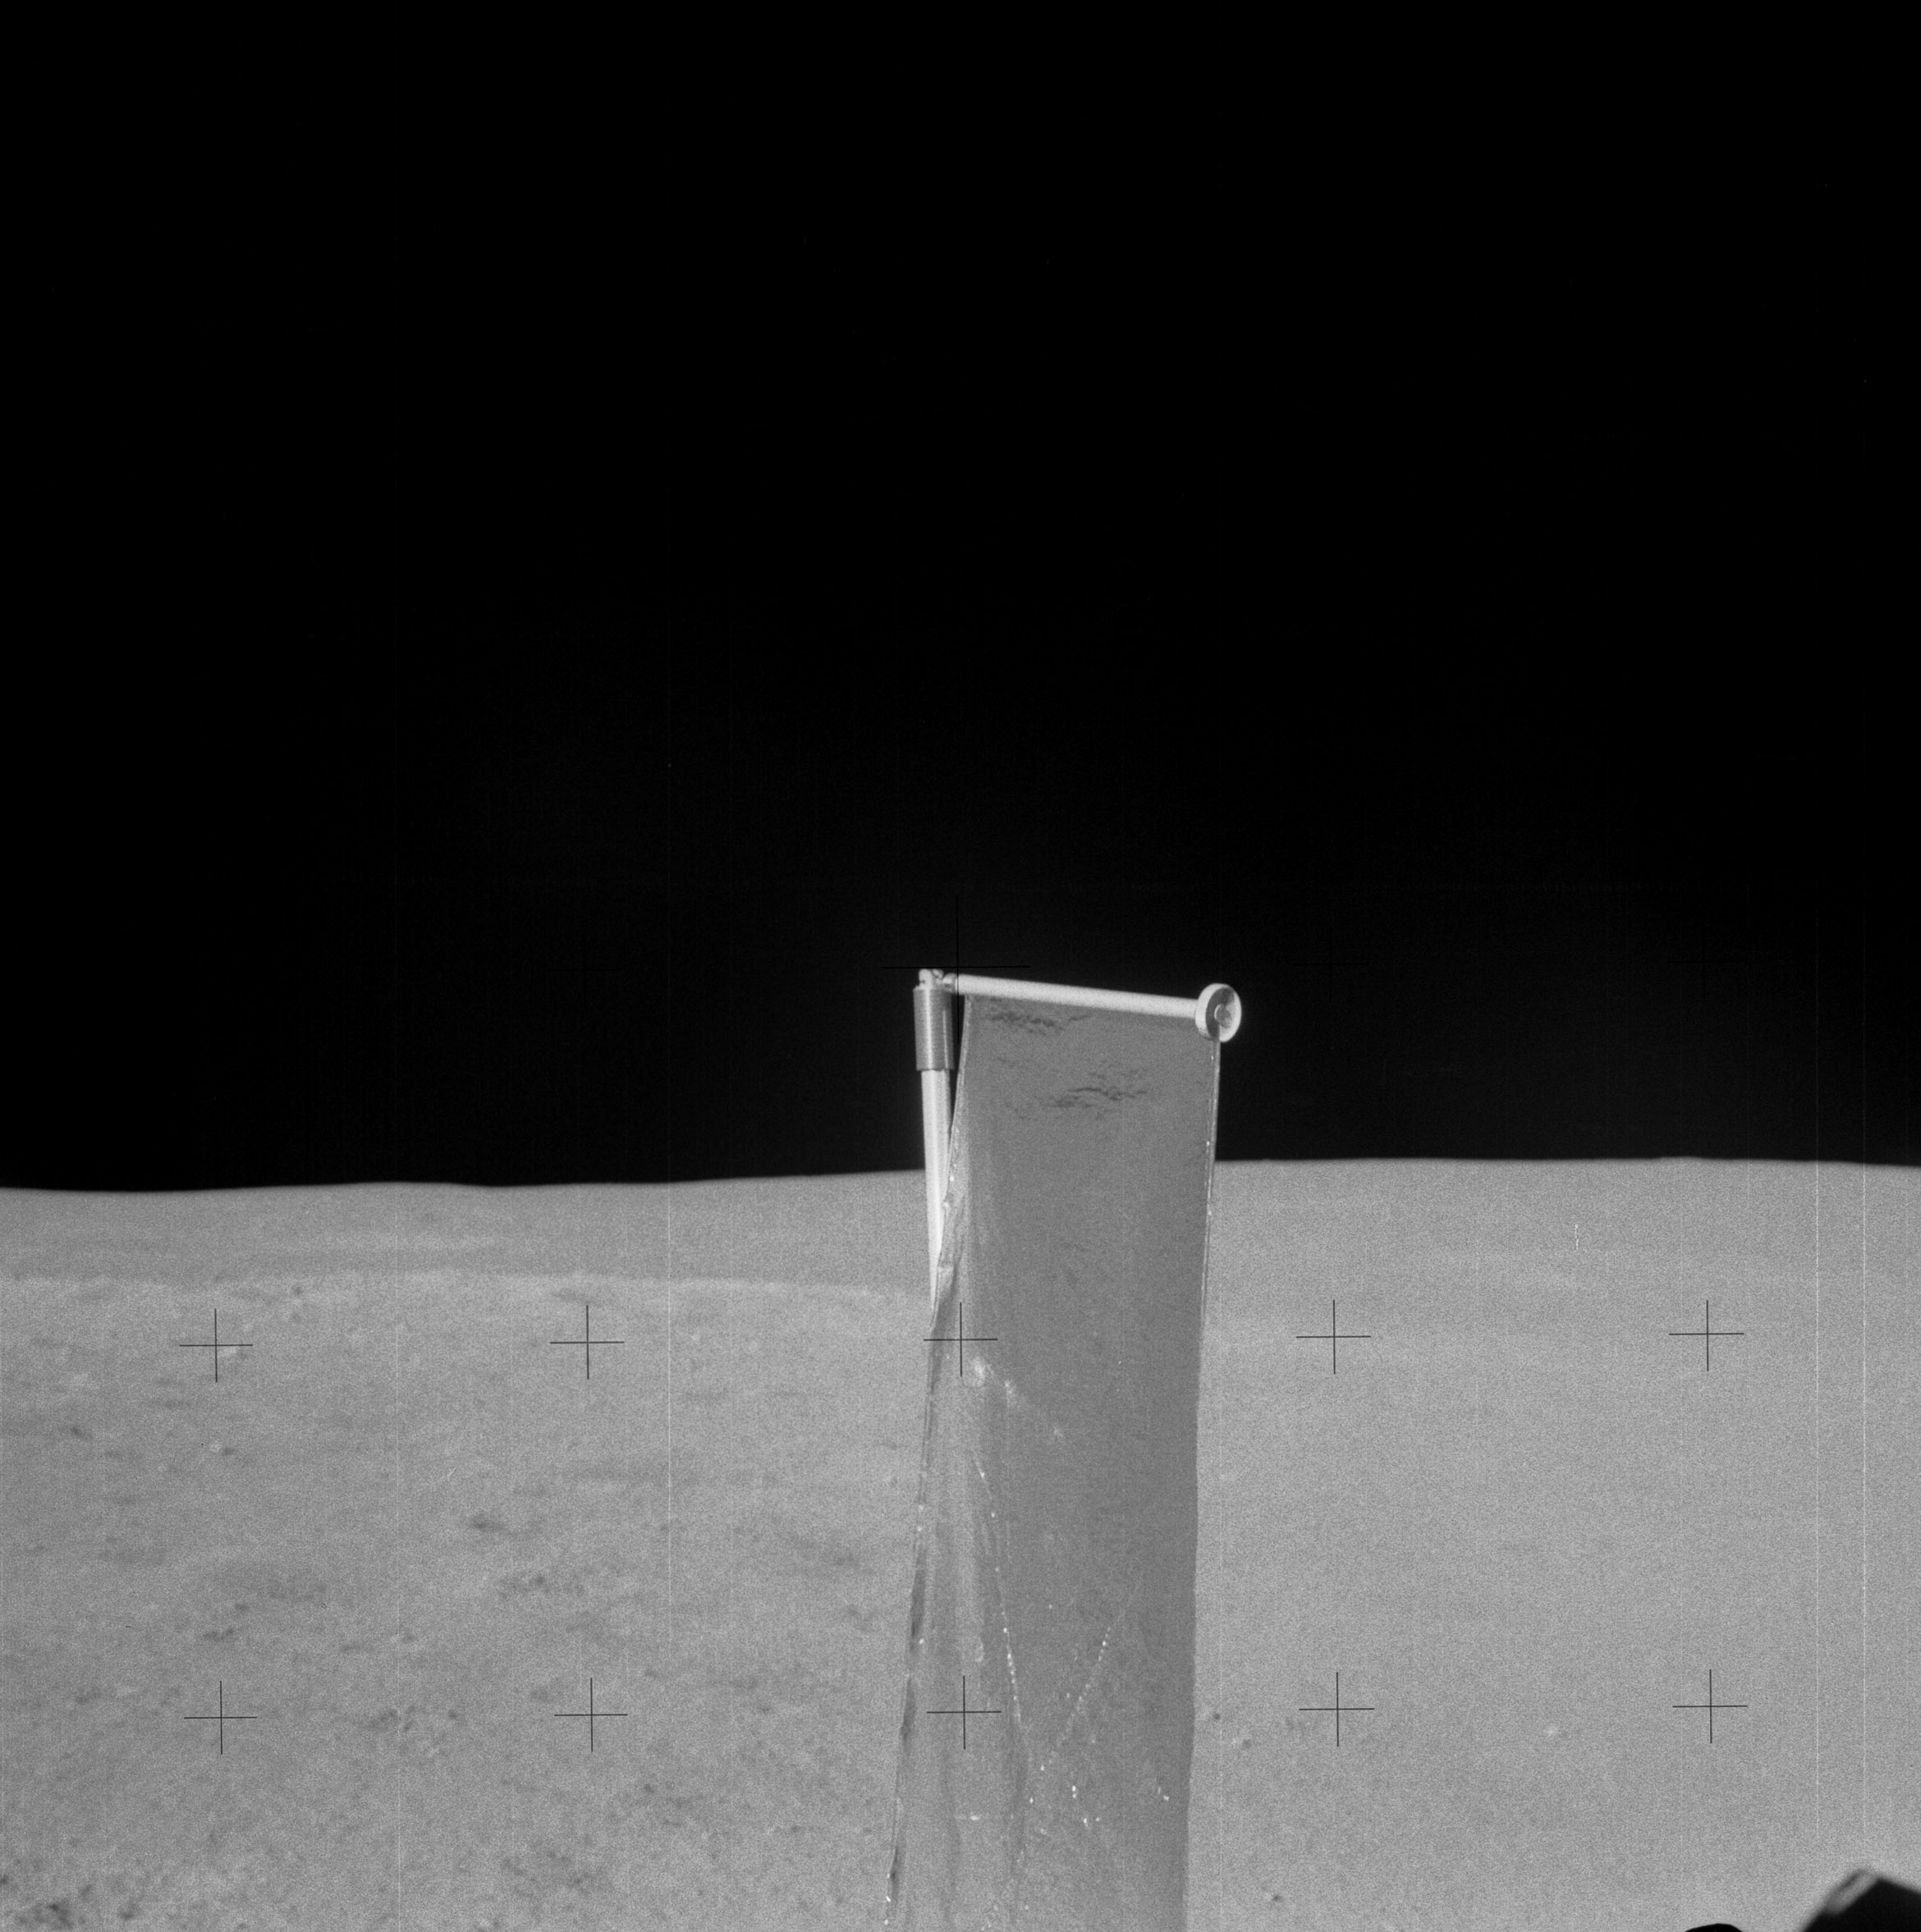 | AS14-64-9200 Similar to 9199, but showing the top of the SWC. Image credit: Image Science and Analysis Laboratory, NASA-Johnson Space Center. |
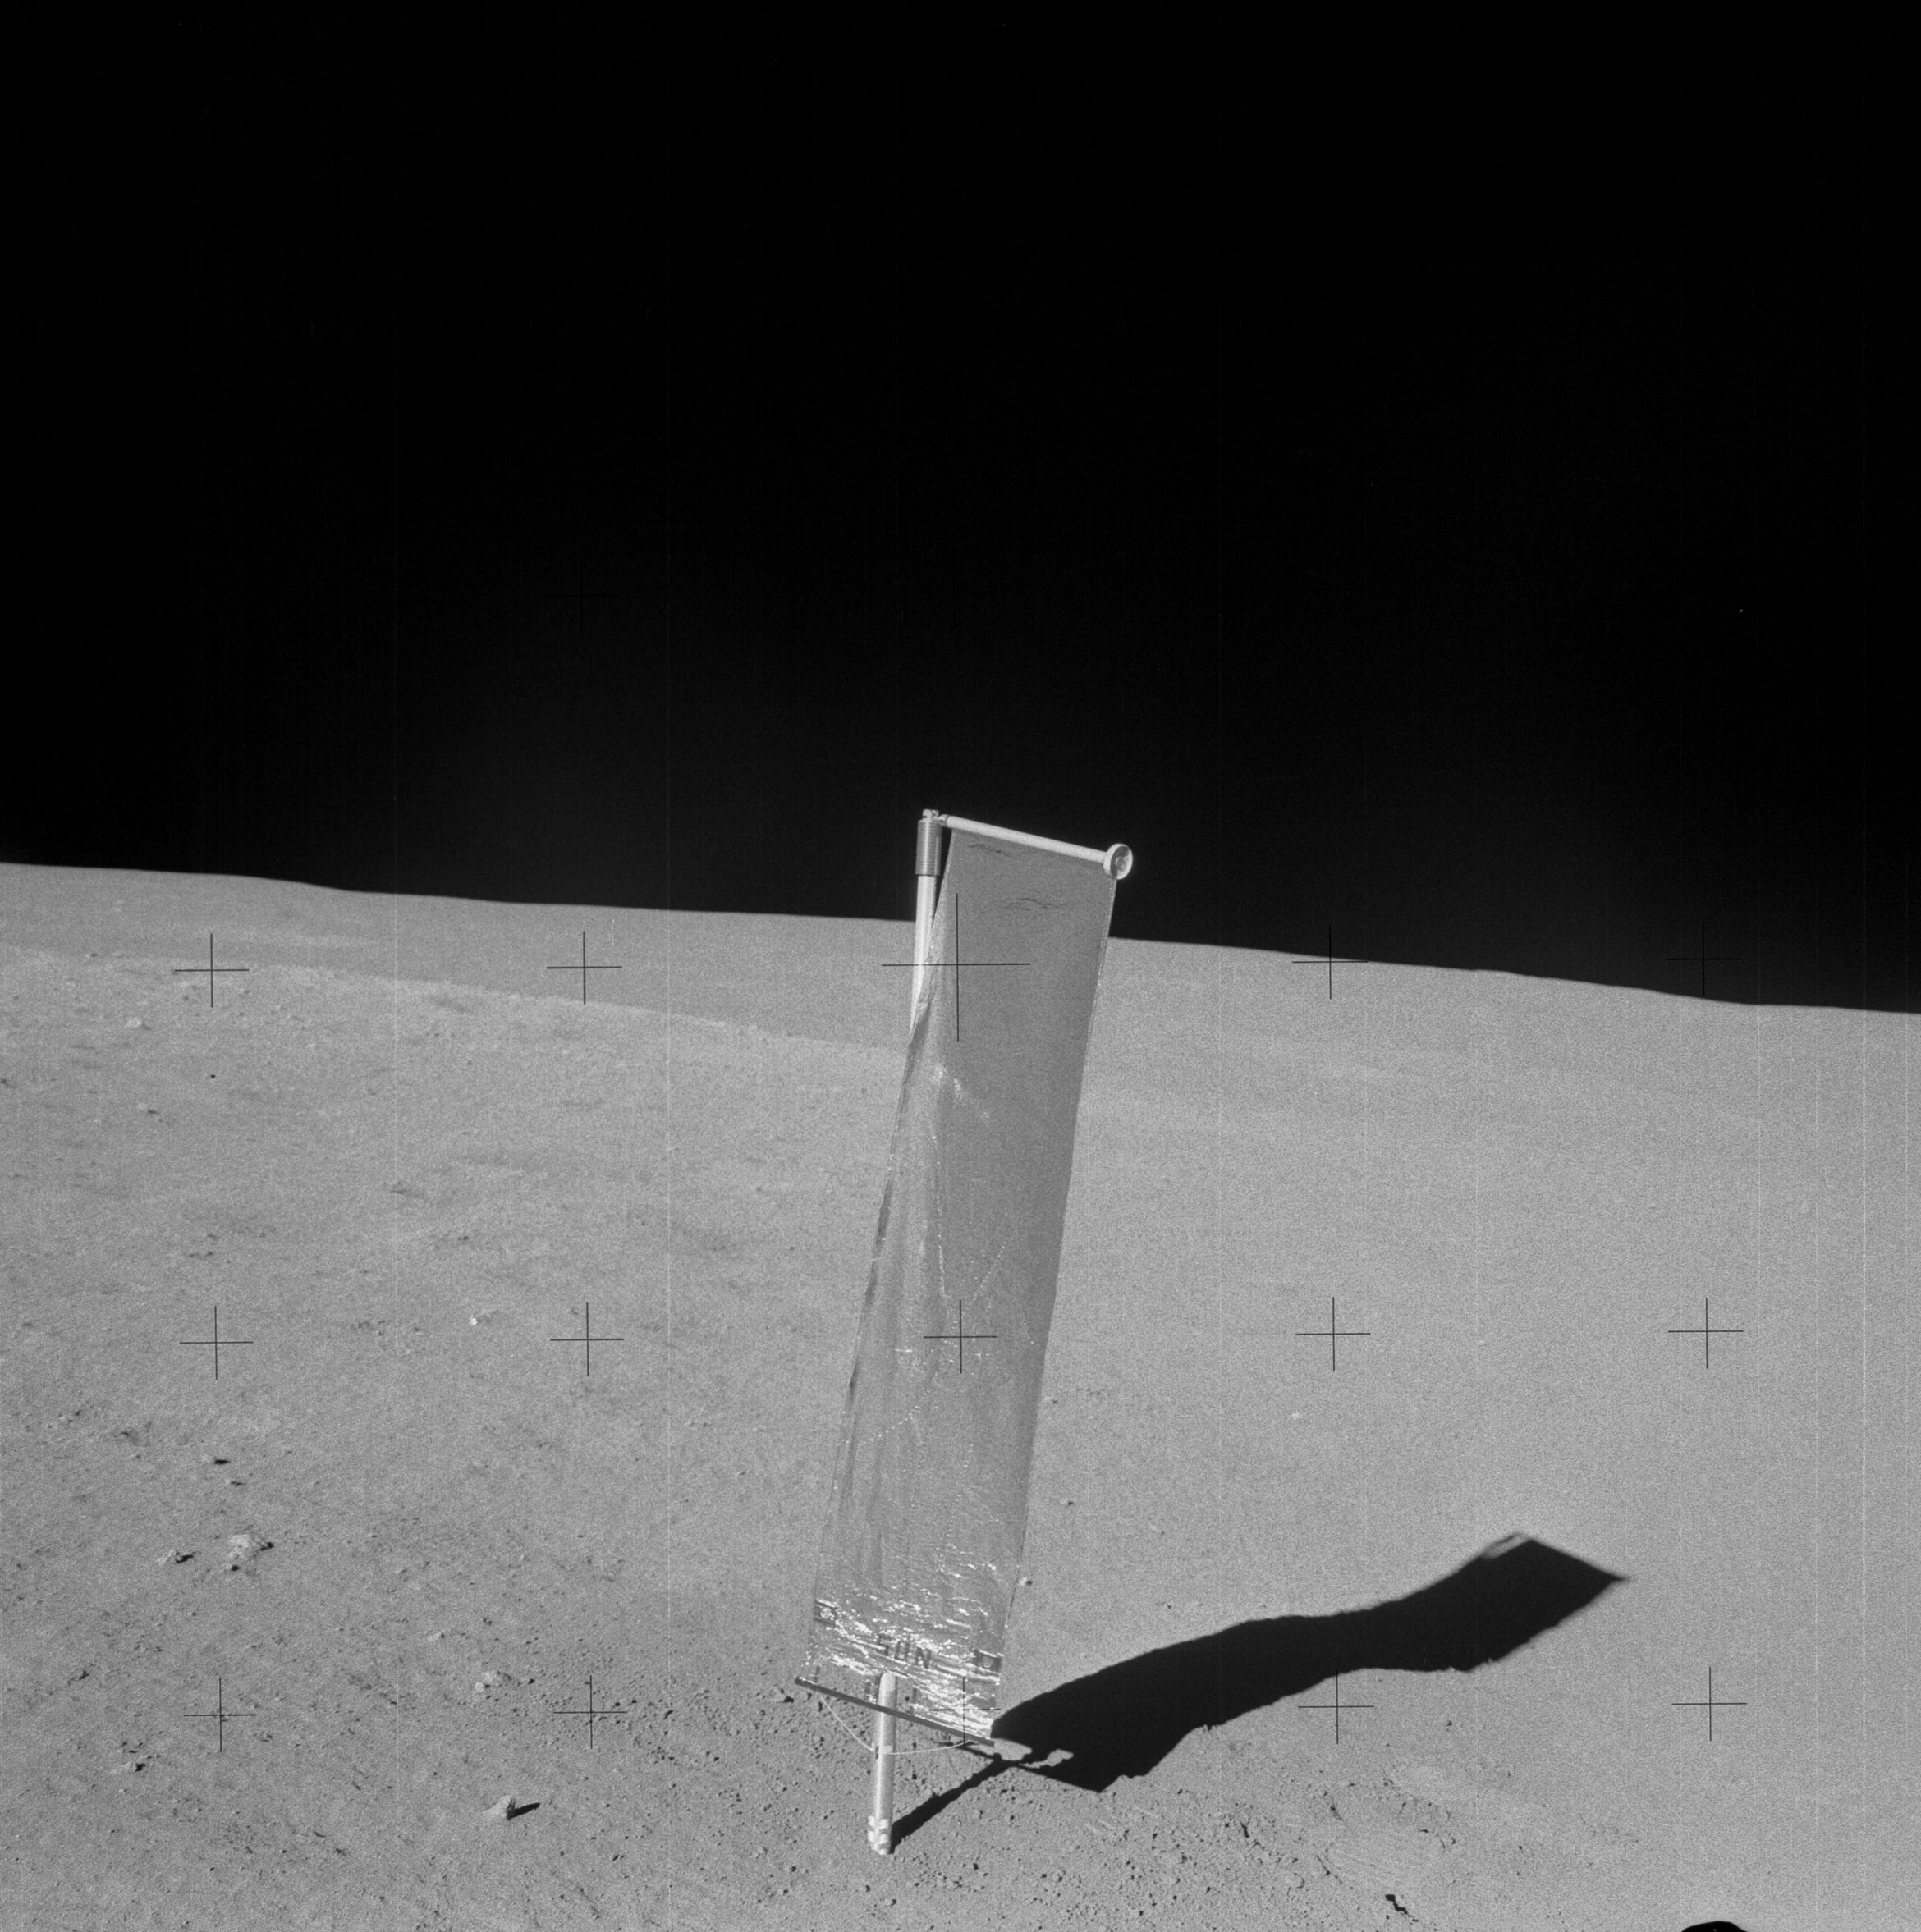 | AS14-64-9201 Al has backed up to take this final picture of the SWC. Image credit: Image Science and Analysis Laboratory, NASA-Johnson Space Center. |
| |
| Photography Index | 70-mm magazine KK - AS14-65-9202 to 9215 |