 |
 |
| Photography Index | 70-mm magazine R - AS13-59-8482 to 8576 |
No copyright is asserted for NASA photographs. If a recognizable person appears in a photo, use for commercial purposes may infringe a right of privacy or publicity. Photos may not be used to state or imply the endorsement by NASA or by any NASA employee of a commercial product, process or service, or used in any other manner that might mislead. Accordingly, it is requested that if a NASA photograph is used in advertising and other commercial promotion, layout and copy be submitted to NASA prior to release.
NASA photos reproduced from this archive should include photo credit to "NASA" or "National Aeronautics and Space Administration" and should include scanning credit to the appropriate individuals or agencies as noted in the captions.
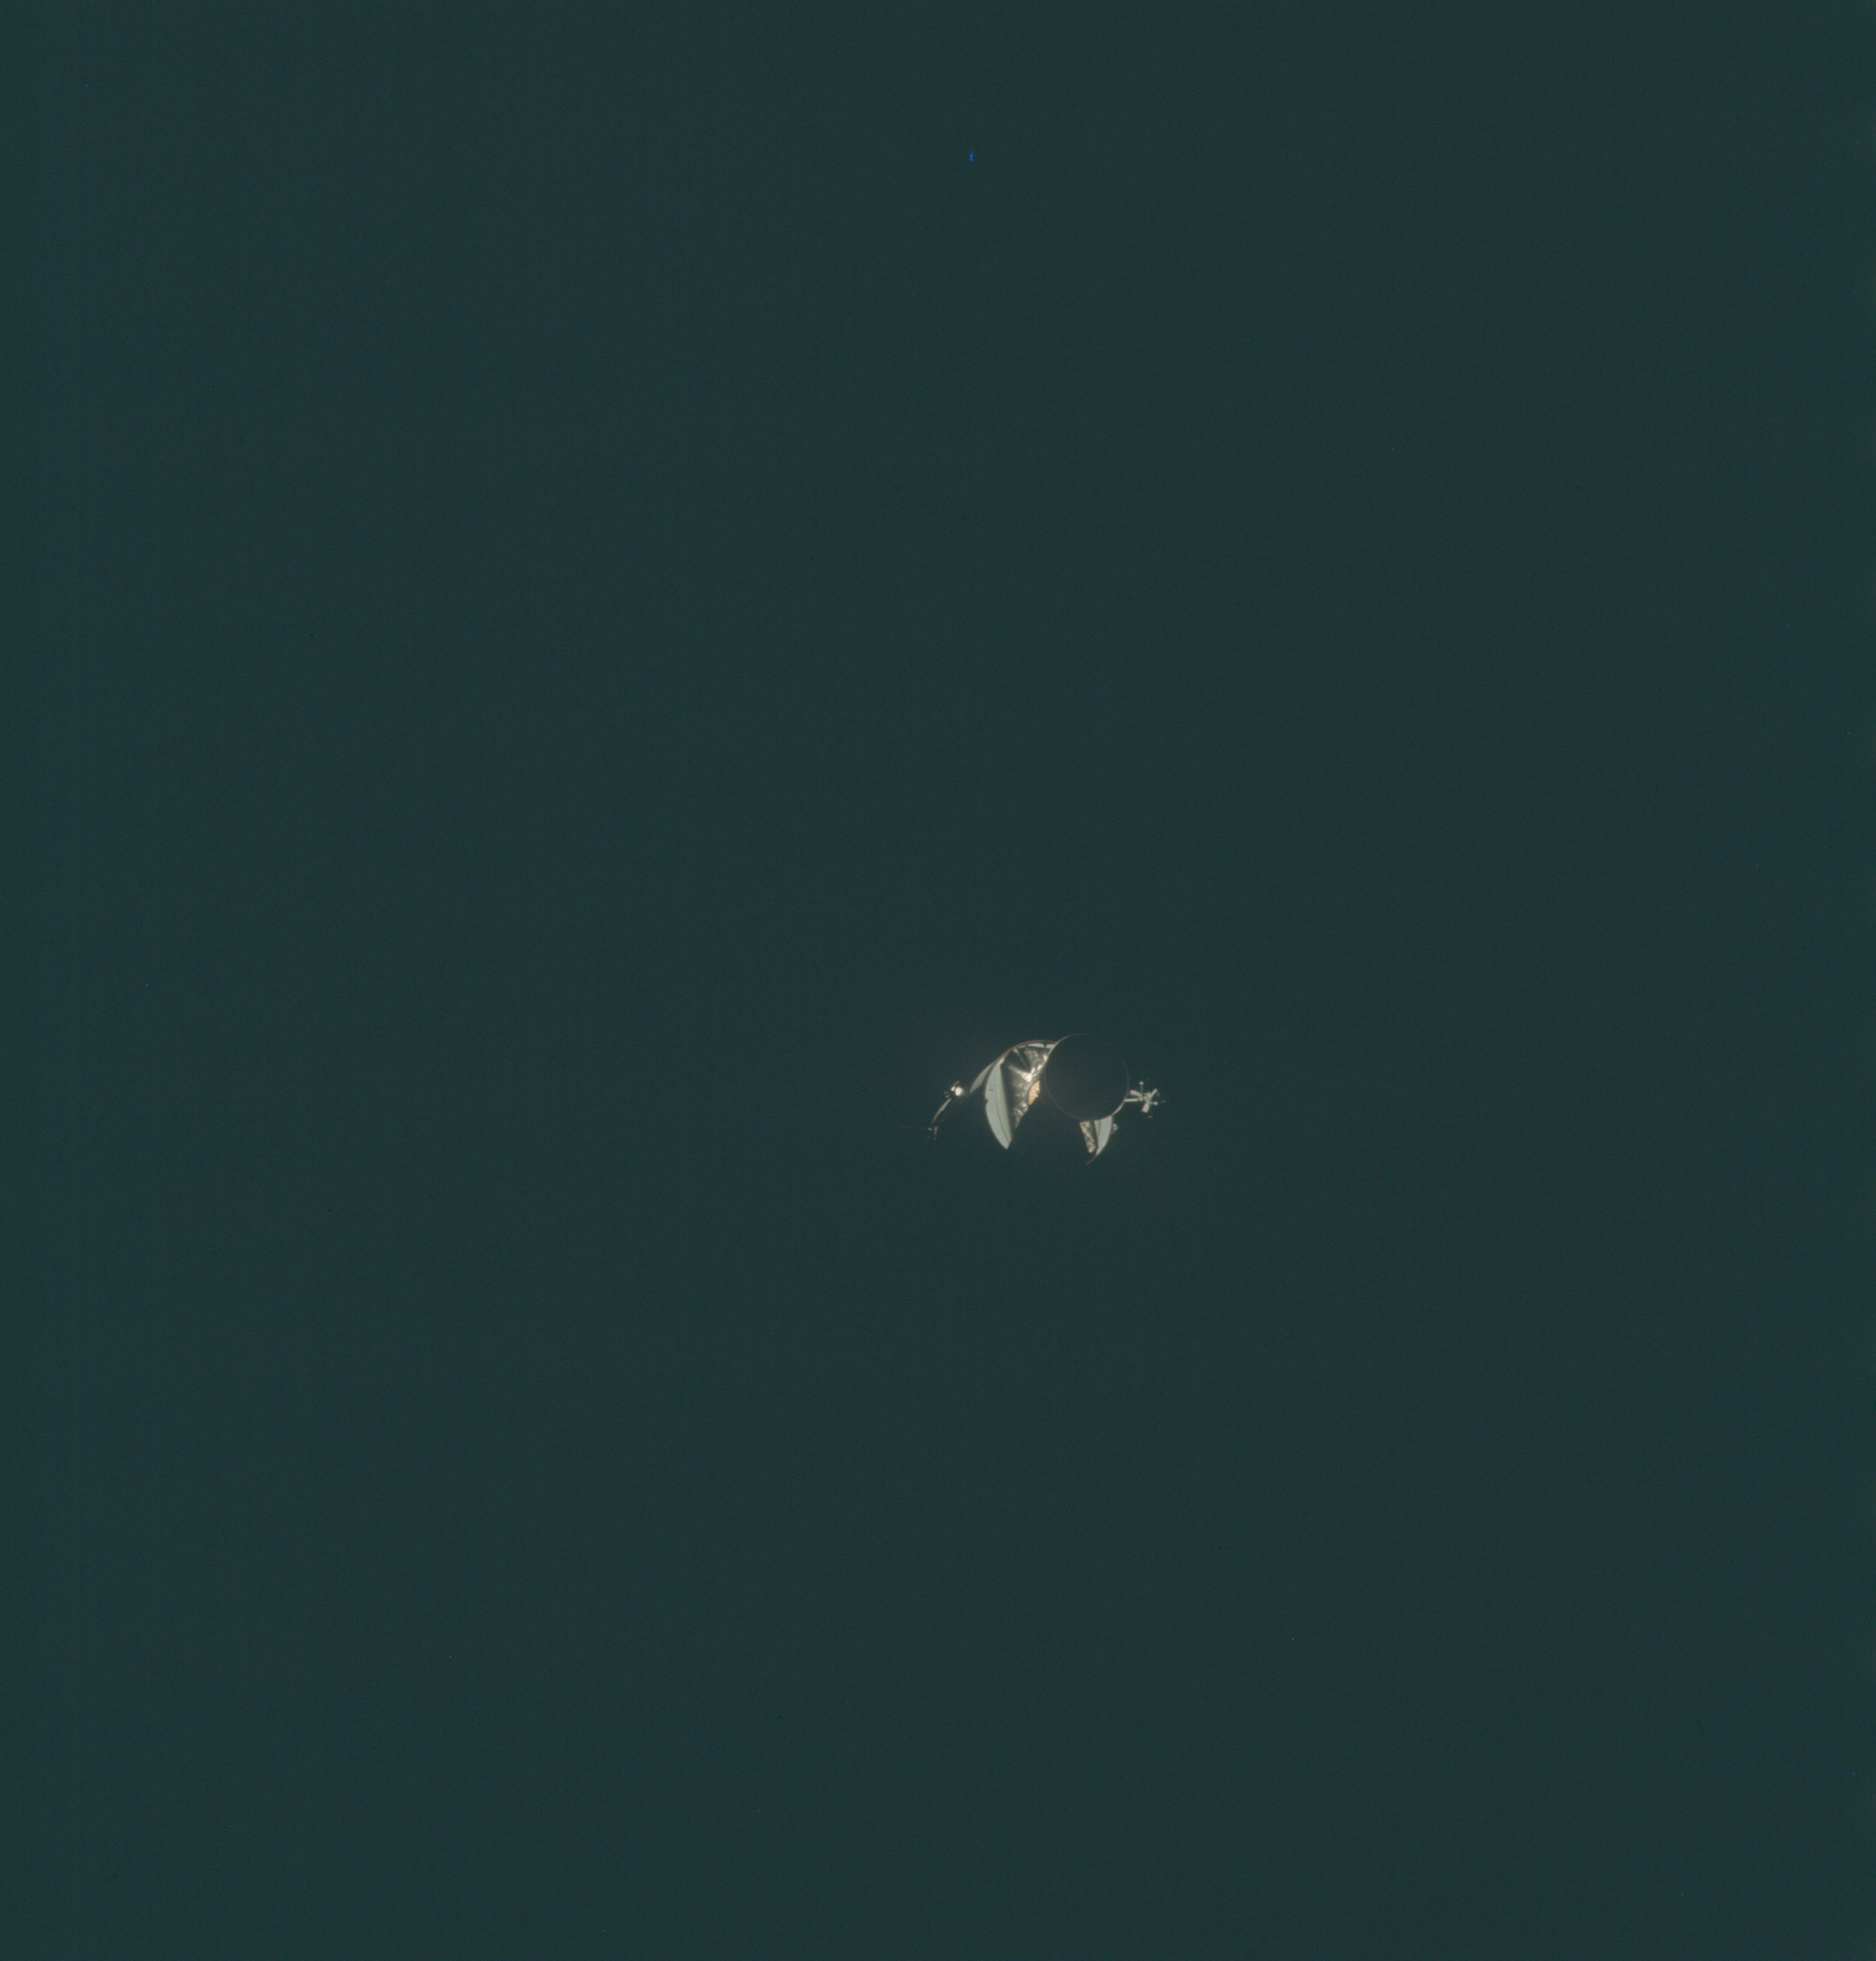 | AS13-58-8456 Service Module after separation from Command Module. The SPS engine nozzle is facing camera. Image credit: Image Science and Analysis Laboratory, NASA-Johnson Space Center. |
 | AS13-58-8457 Service Module after separation from Command Module. The SPS engine nozzle is facing camera. Image suffers from camera shake. Image credit: Image Science and Analysis Laboratory, NASA-Johnson Space Center. |
 | AS13-58-8458 Service Module after separation from Command Module. The SPS engine nozzle is facing camera and the disrupted sector is visible. Image credit: Image Science and Analysis Laboratory, NASA-Johnson Space Center. |
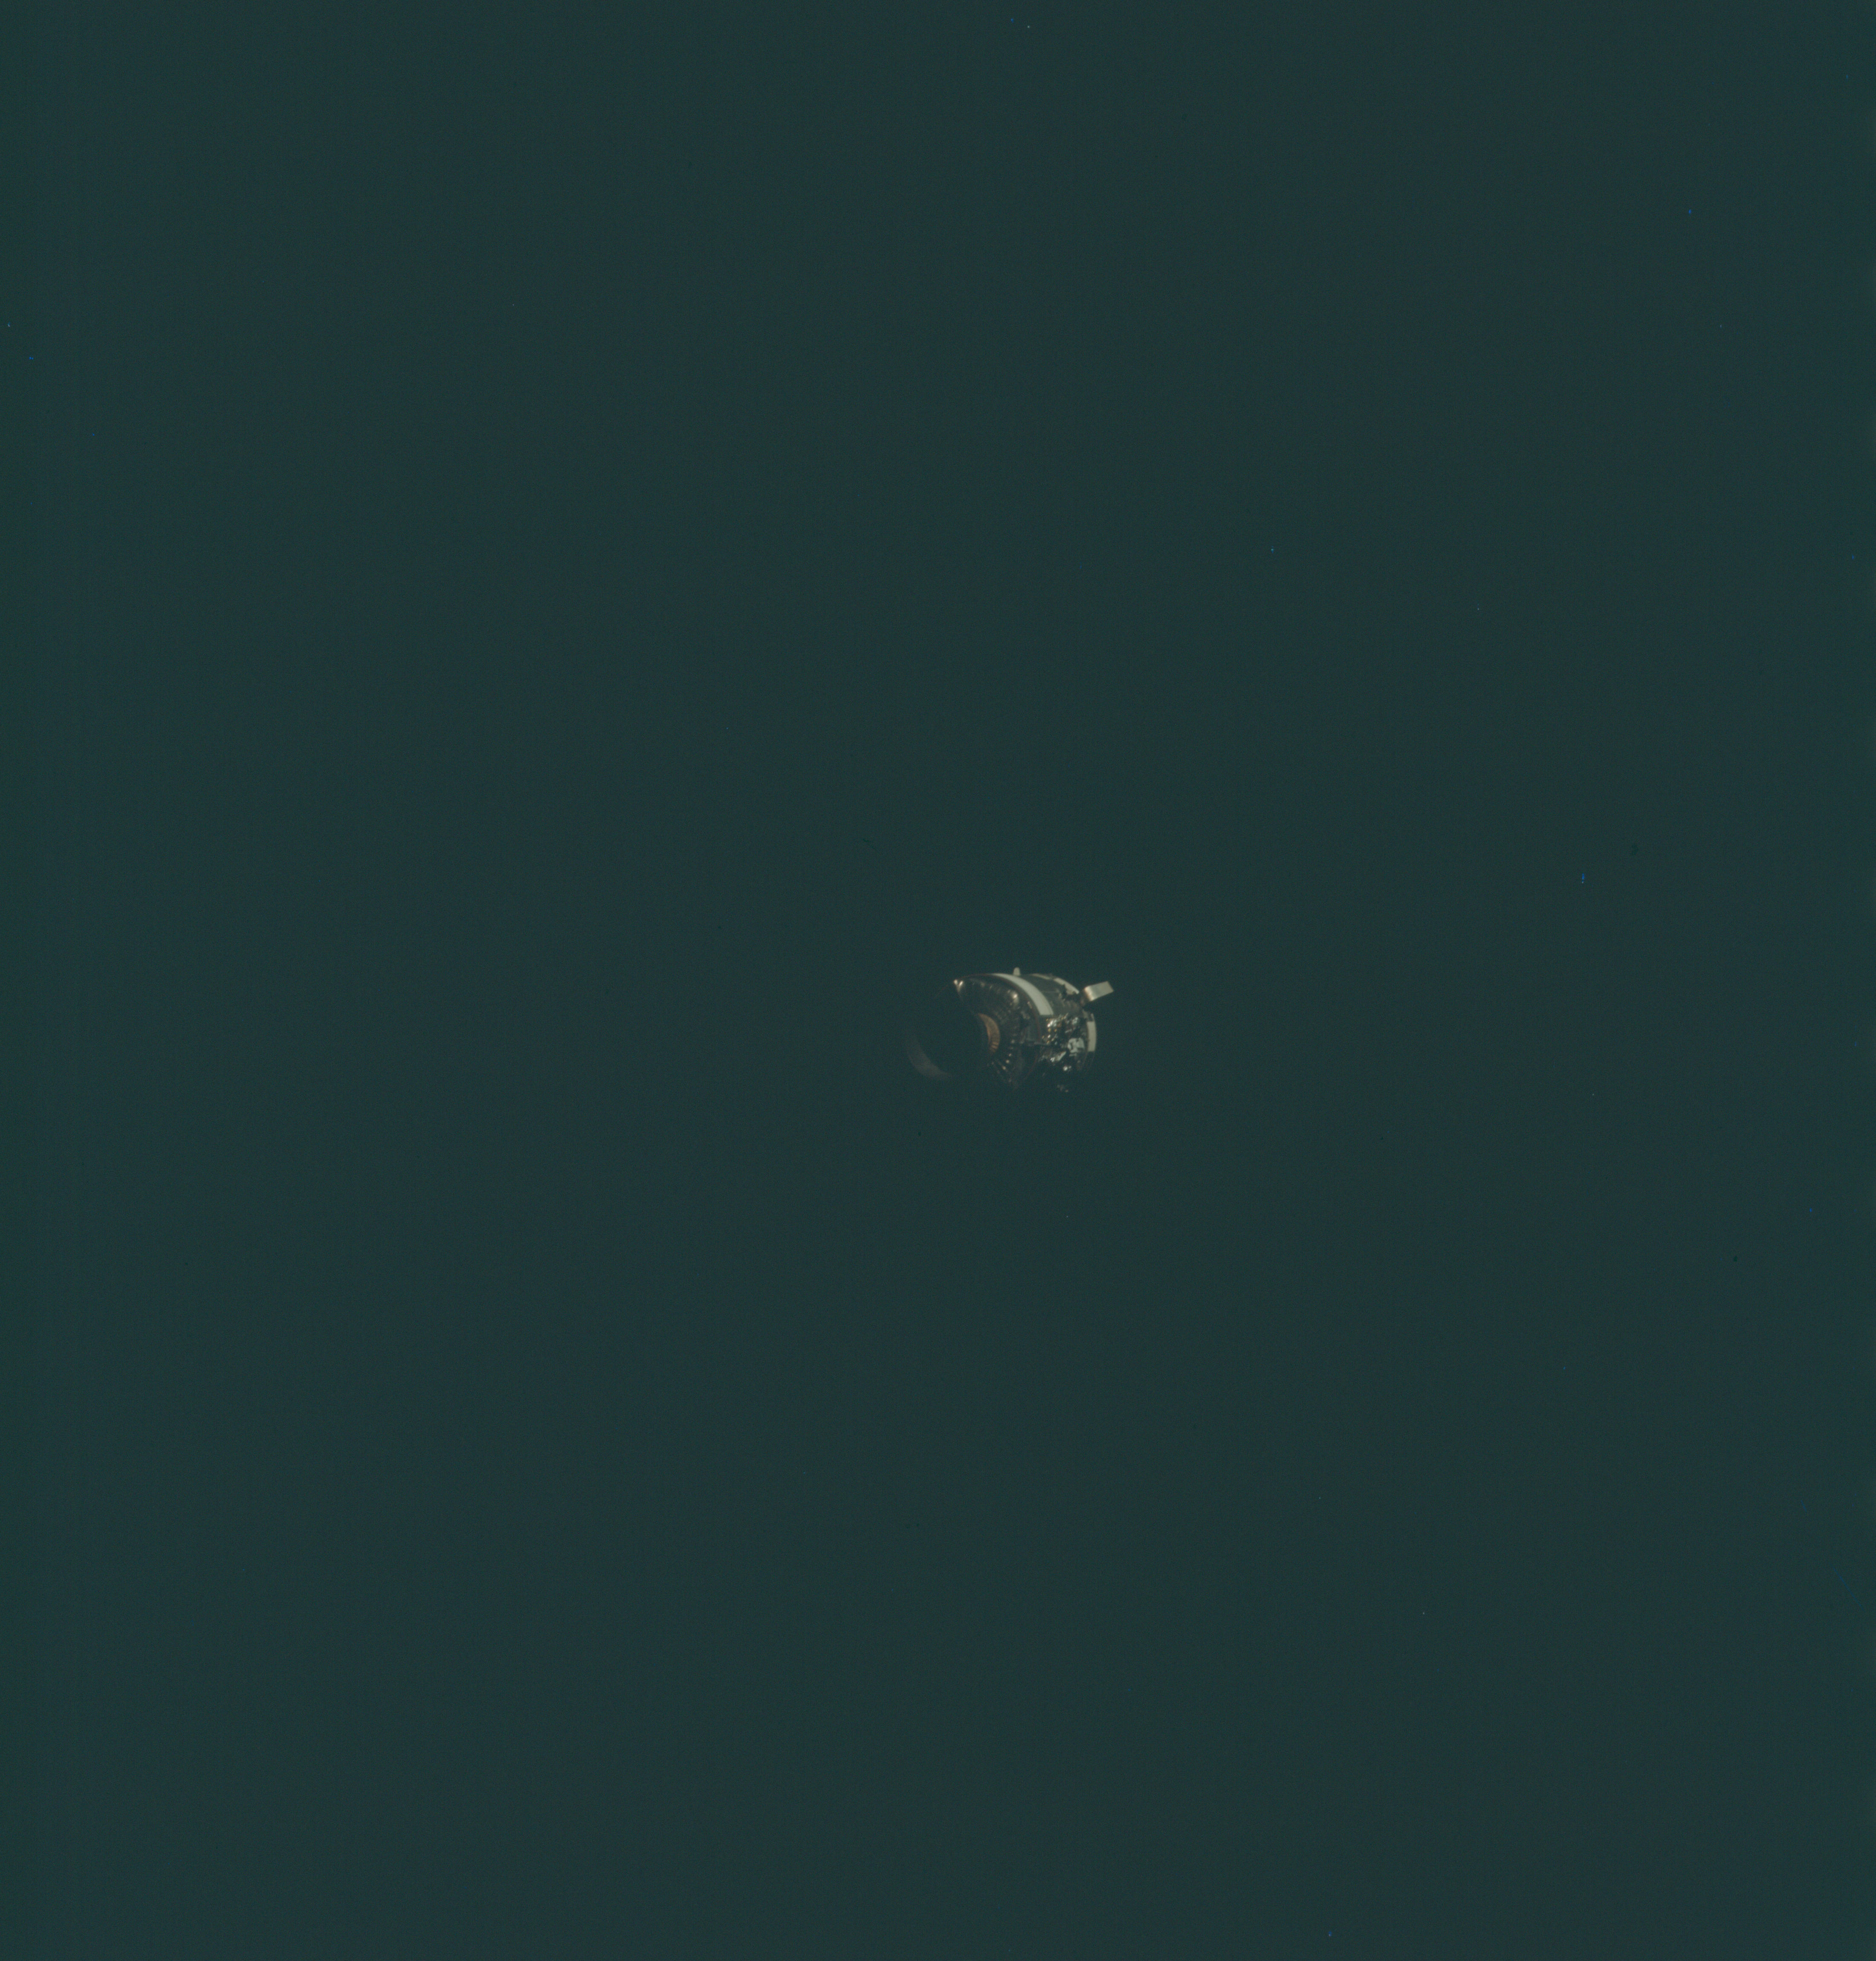 | AS13-58-8459 Service Module after separation from Command Module. The SPS engine nozzle is facing camera and the disrupted sector is visible. Image credit: Image Science and Analysis Laboratory, NASA-Johnson Space Center. |
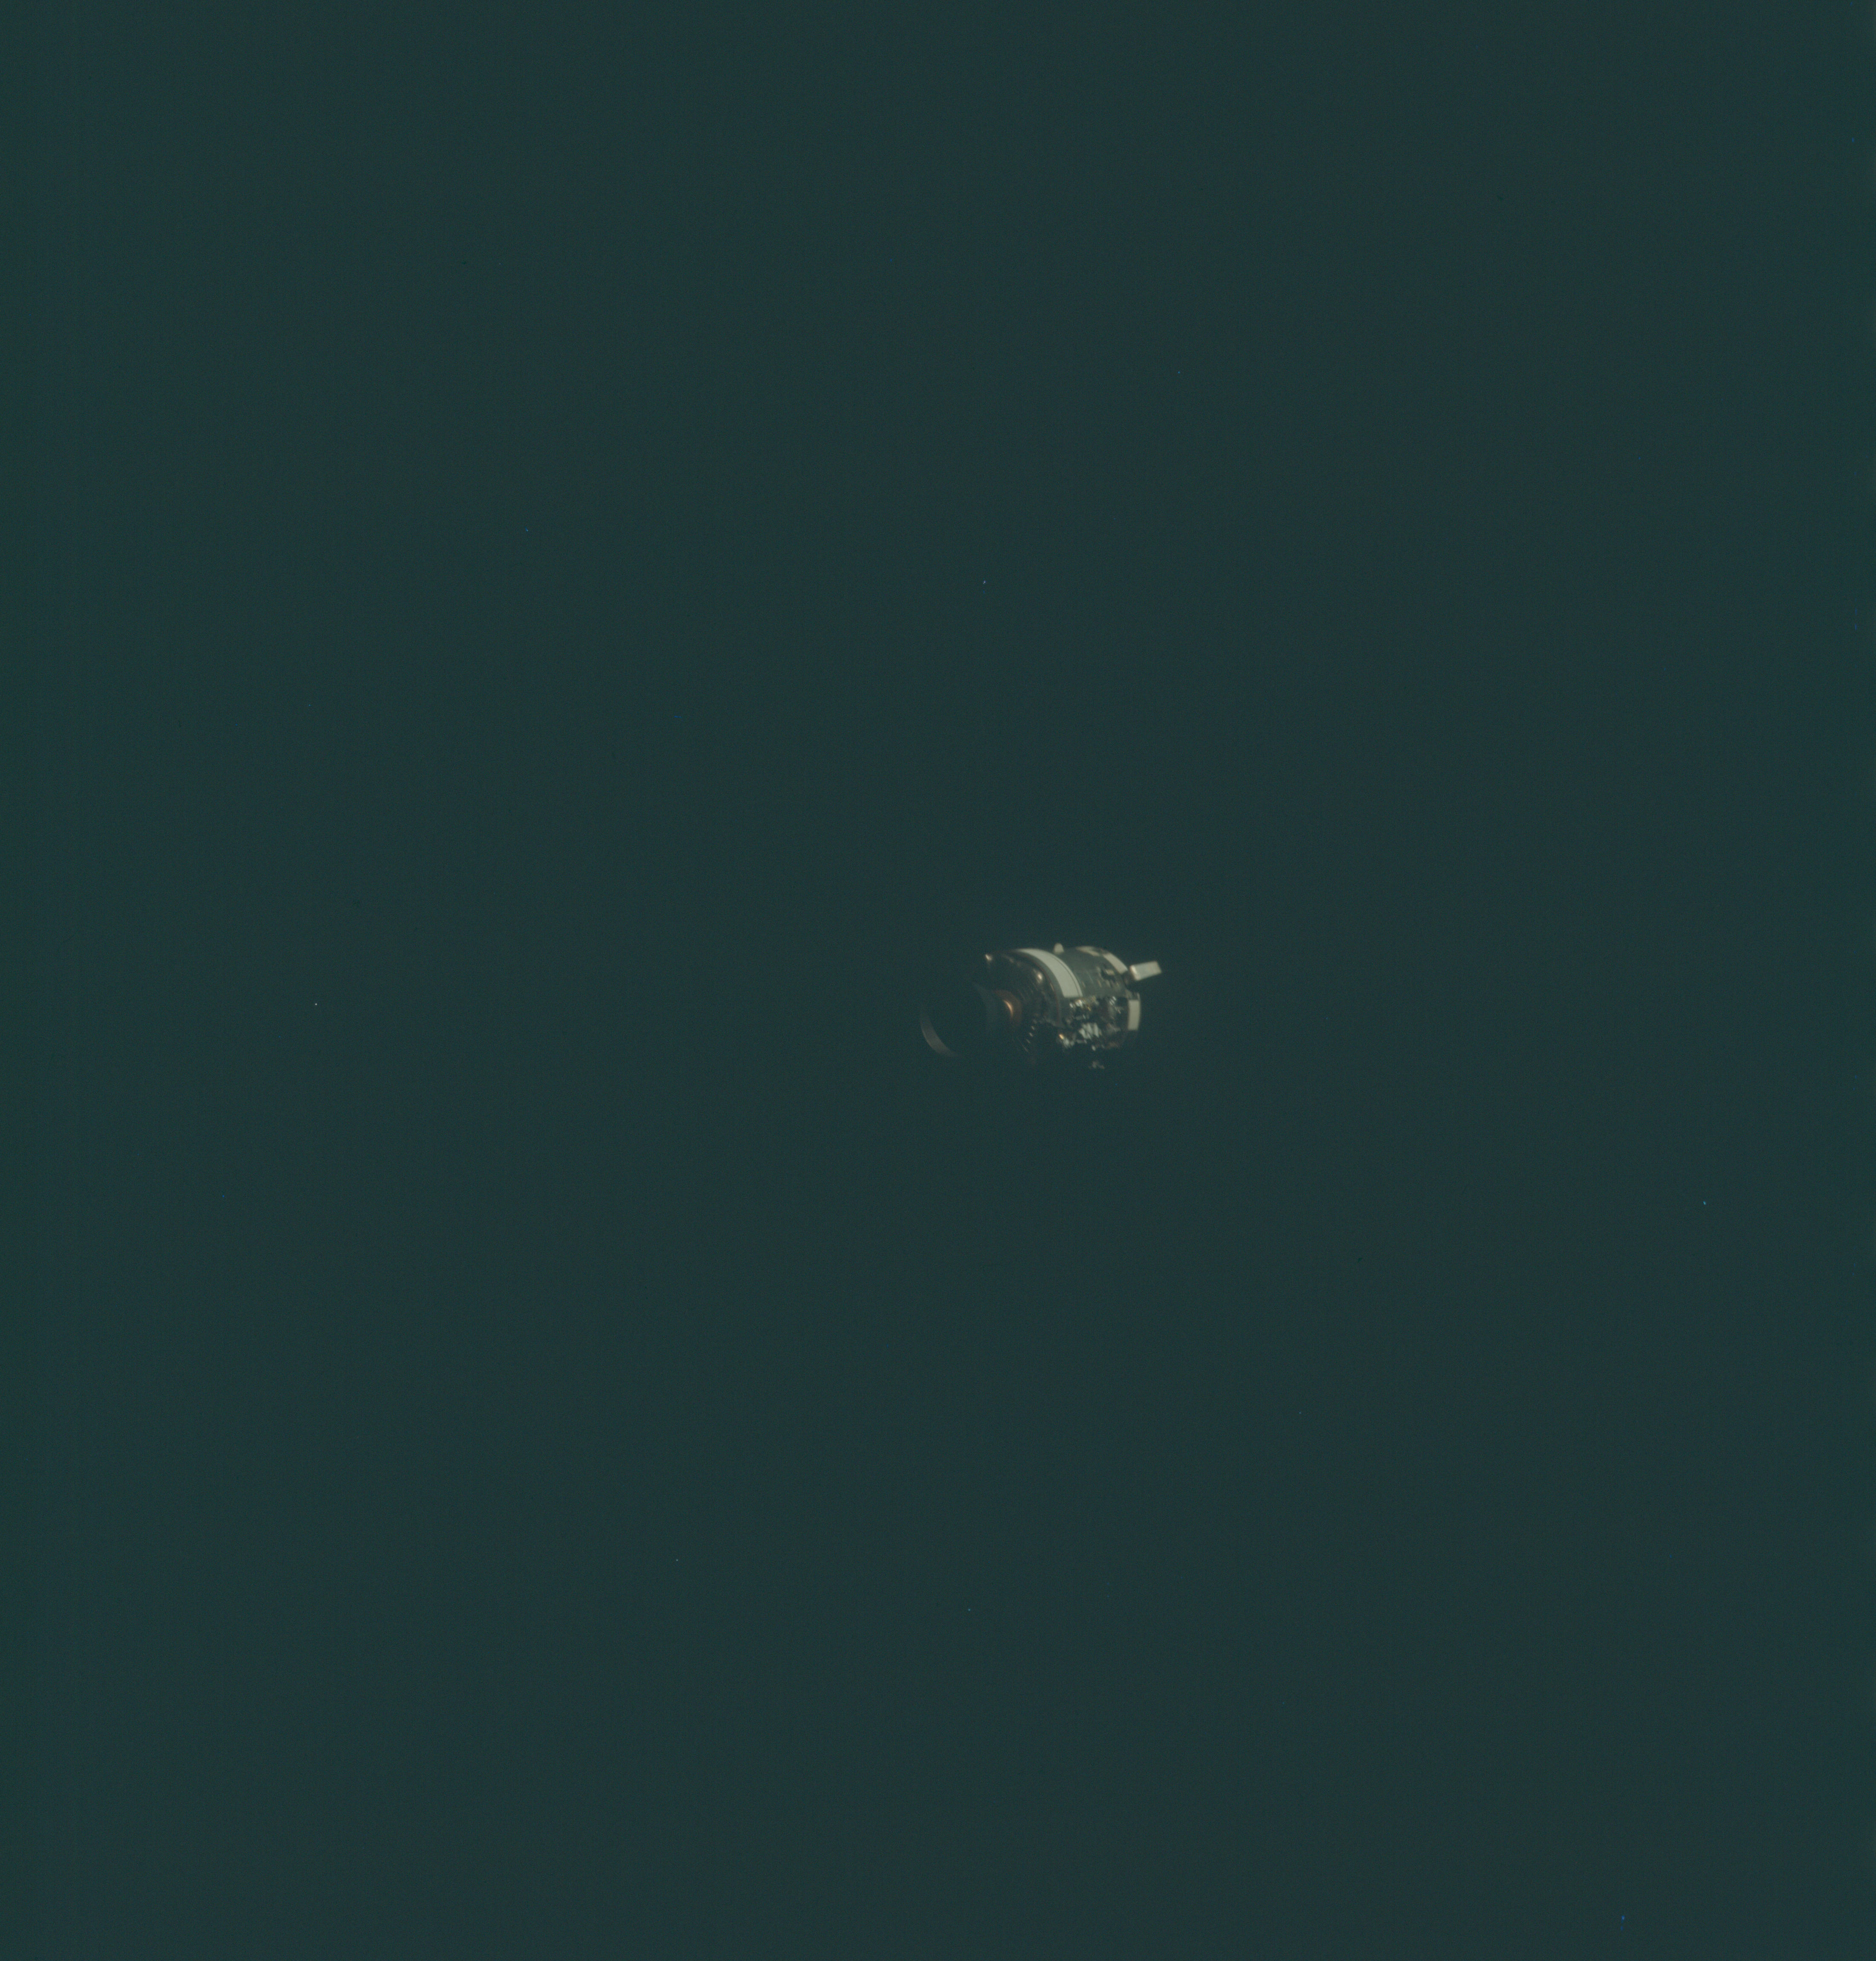 | AS13-58-8460 Service Module after separation from Command Module. The SPS engine nozzle is facing camera. Although the disrupted sector is visible, the image suffers from slight camera shake. Image credit: Image Science and Analysis Laboratory, NASA-Johnson Space Center. |
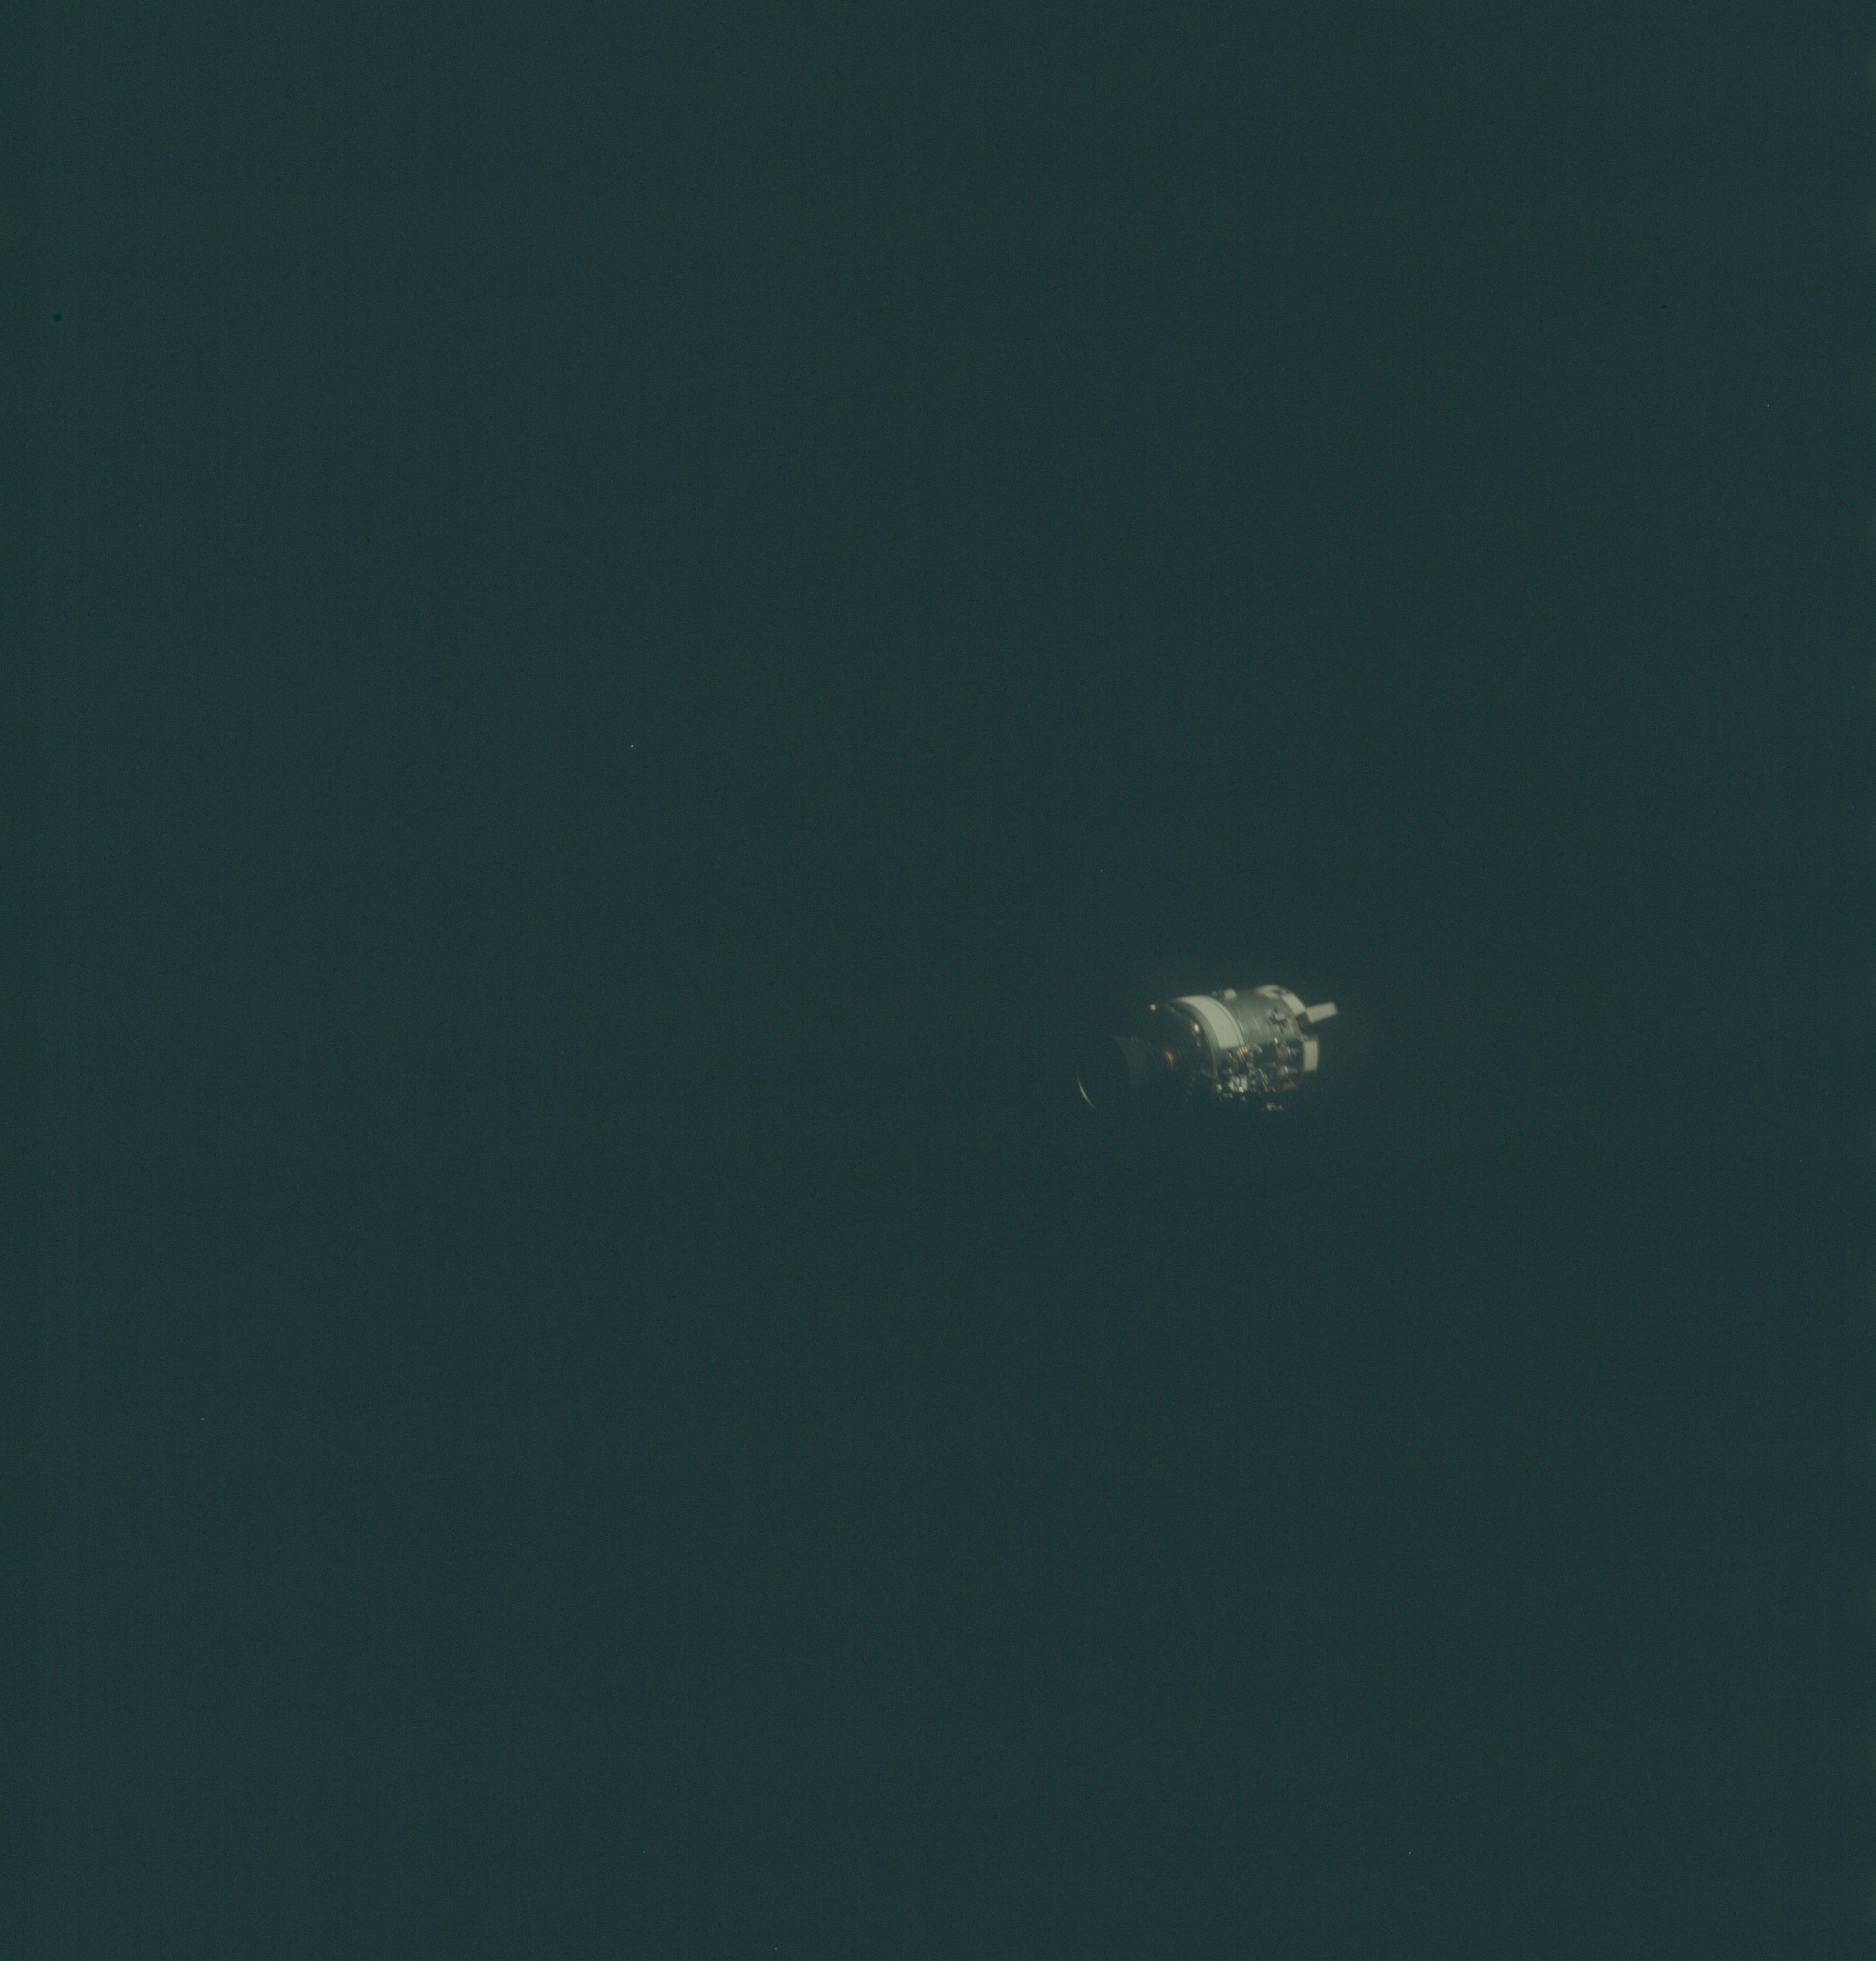 | AS13-58-8461 Service Module after separation from Command Module. The the disrupted sector is visible though the image suffers from slight camera shake. Image credit: Image Science and Analysis Laboratory, NASA-Johnson Space Center. |
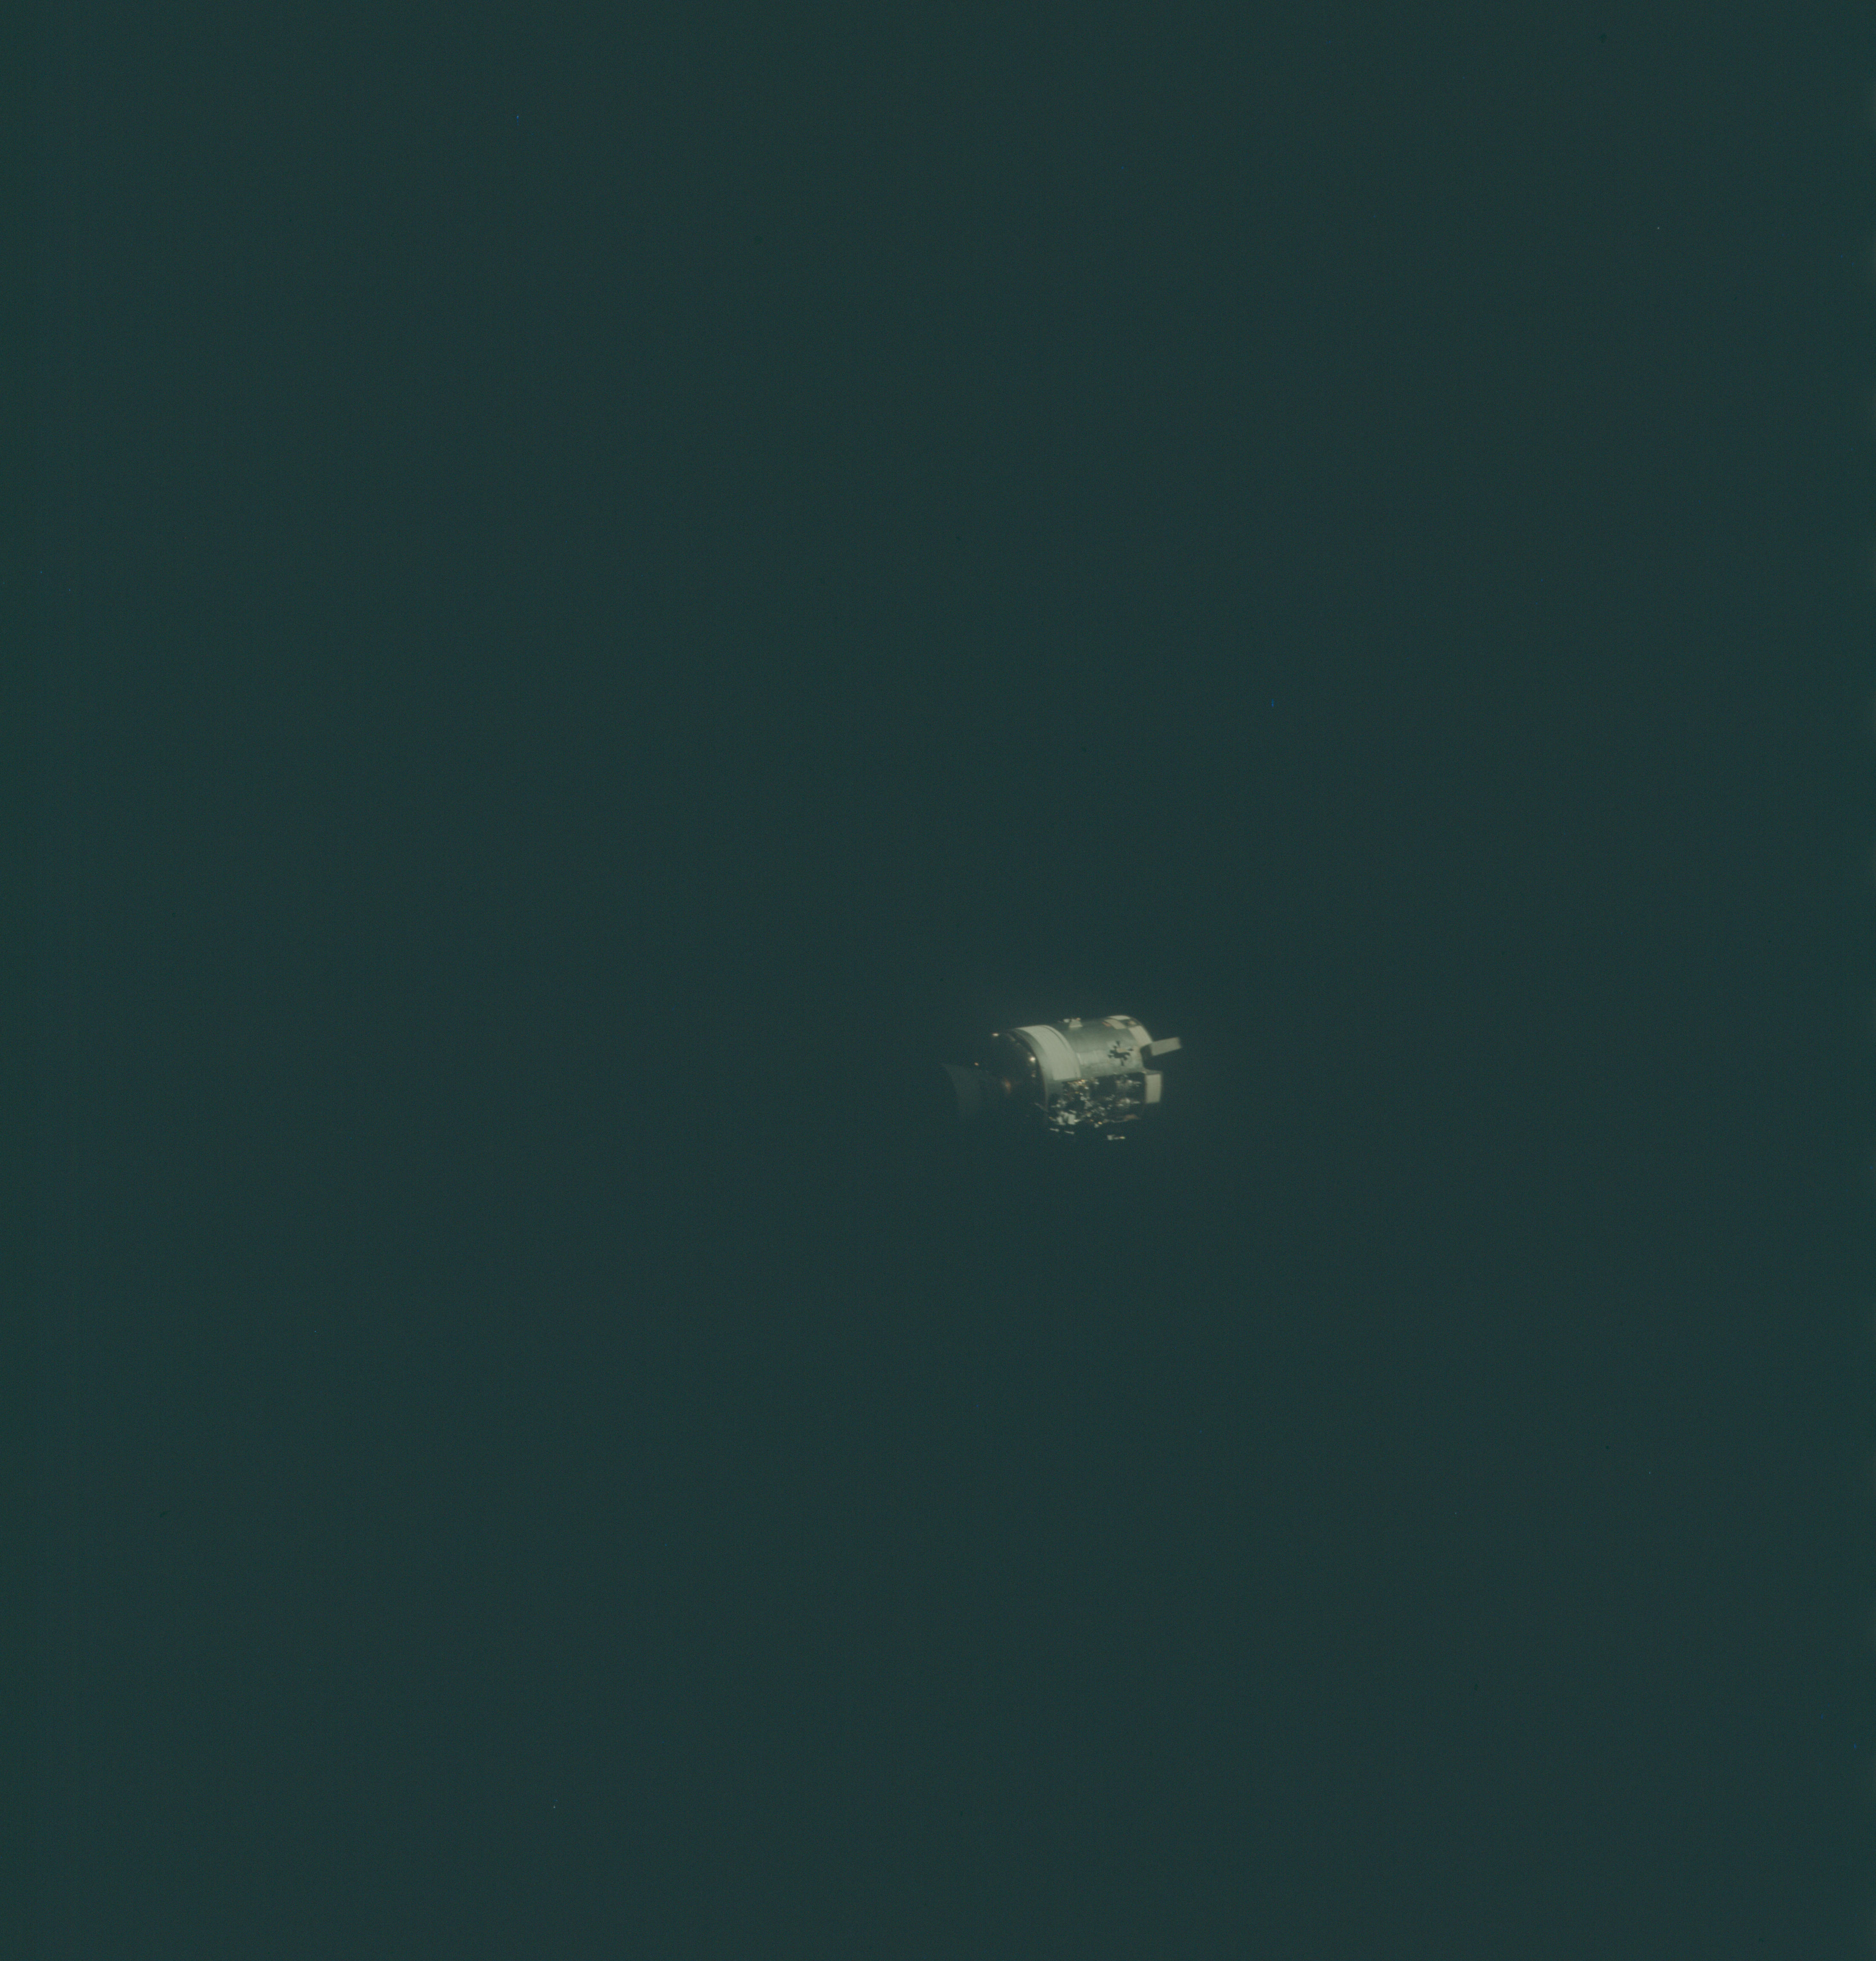 | AS13-58-8462 Service Module after separation from Command Module. The the disrupted sector is visible though the image suffers from very slight camera shake. Image credit: Image Science and Analysis Laboratory, NASA-Johnson Space Center. |
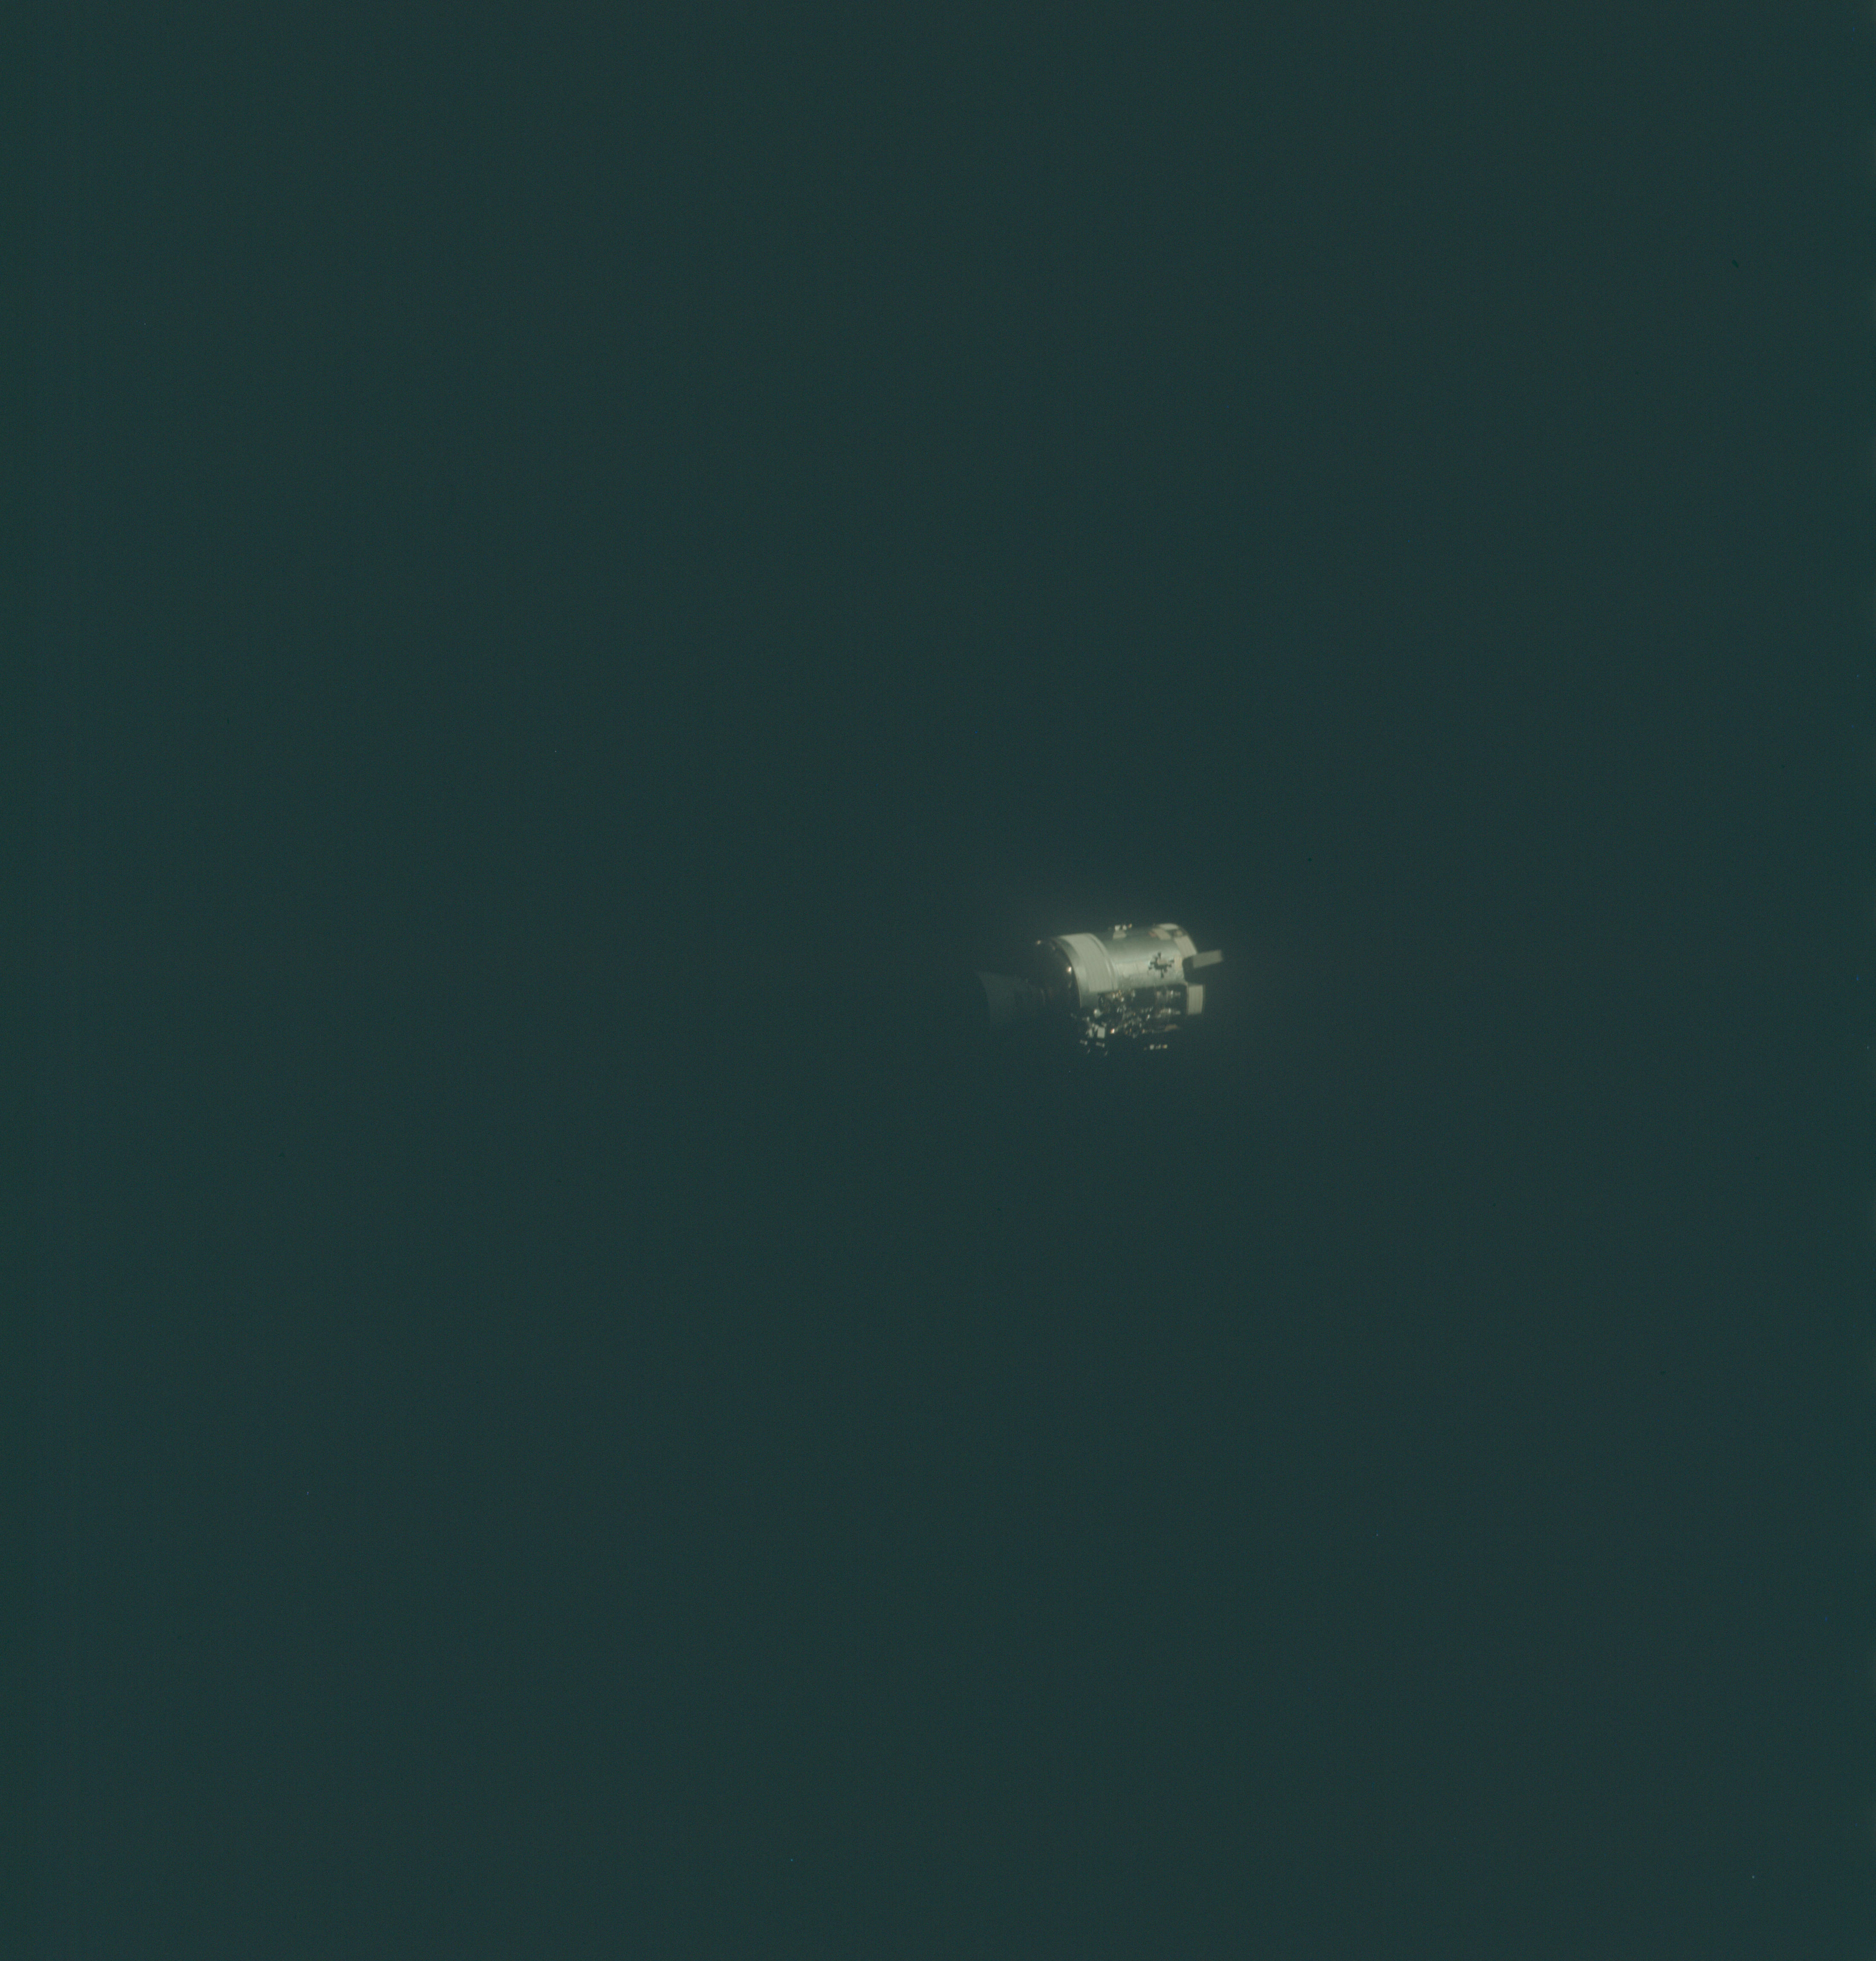 | AS13-58-8463 Service Module after separation from Command Module looking directly into the disrupted sector. The image suffers from very slight camera shake. Image credit: Image Science and Analysis Laboratory, NASA-Johnson Space Center. |
 | AS13-58-8464 Good quality photograph of the Service Module after separation from Command Module. It looks directly into the disrupted sector. Image credit: Image Science and Analysis Laboratory, NASA-Johnson Space Center. |
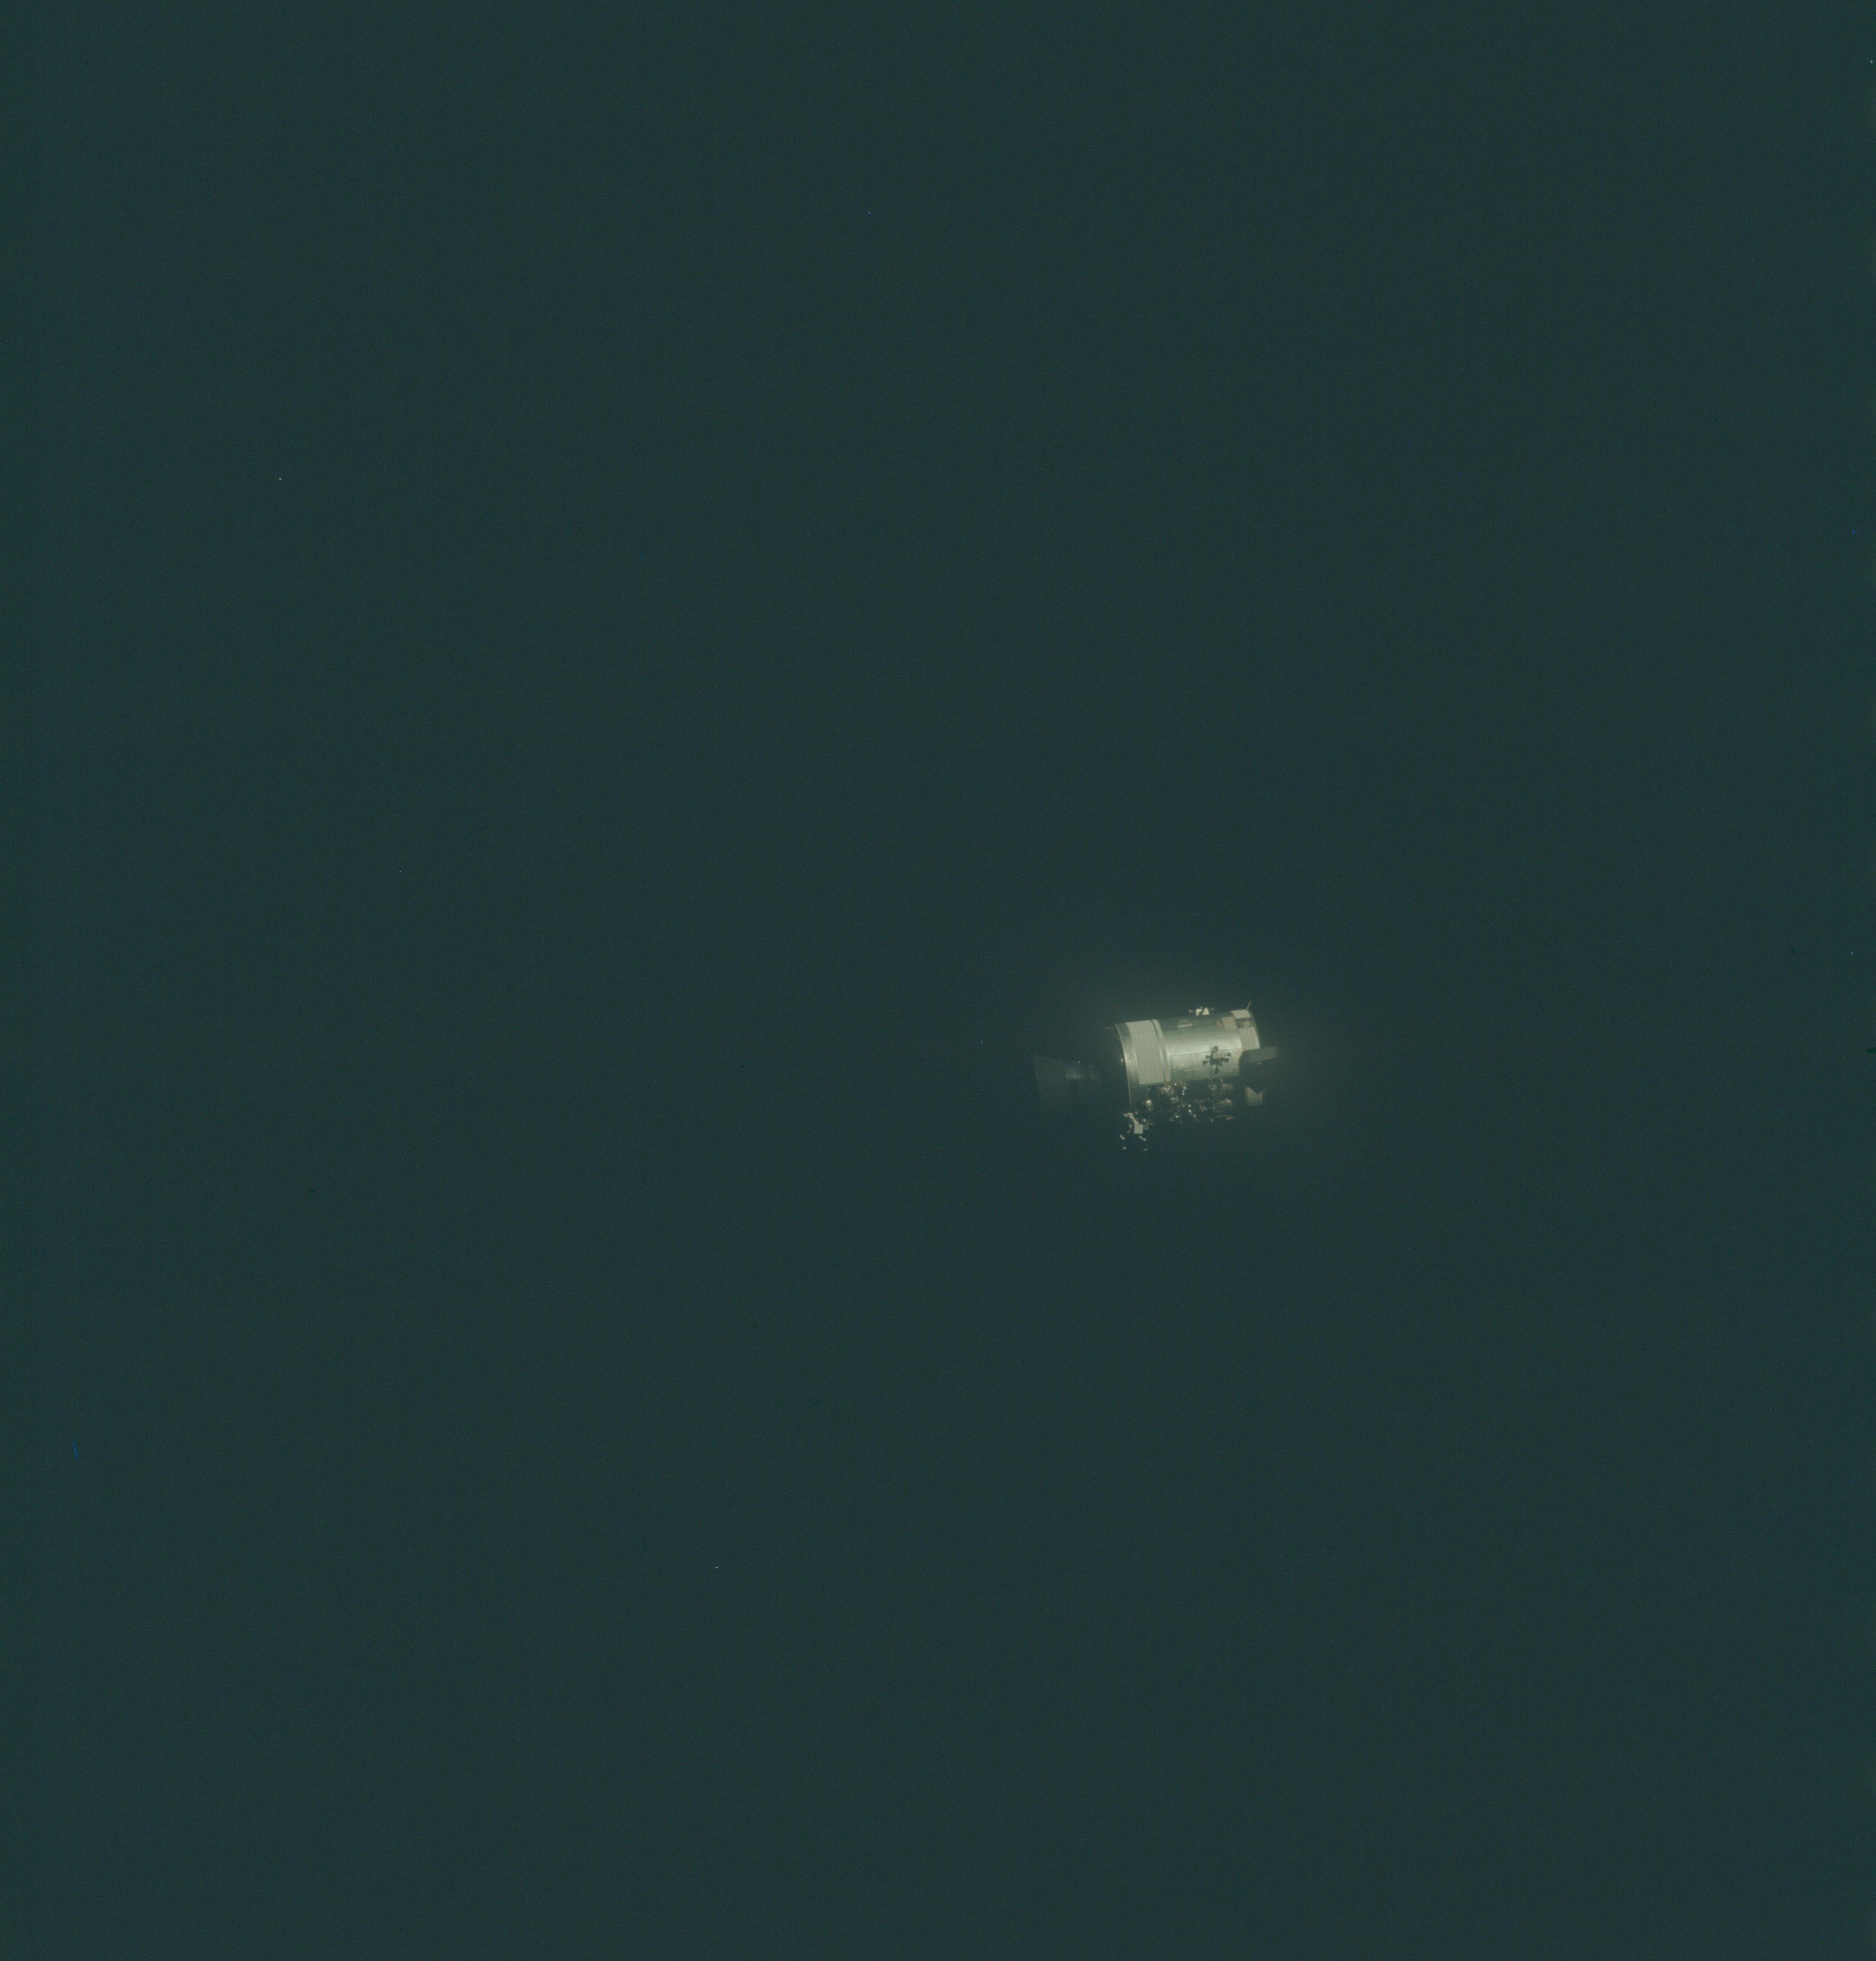 | AS13-58-8465 Good quality photograph of the Service Module after separation from Command Module. It looks directly into the disrupted sector. The SPS engine nozzle is on the left. Two of the three fuel cells are visible at the right-hand end of the damaged sector. Image credit: Image Science and Analysis Laboratory, NASA-Johnson Space Center. |
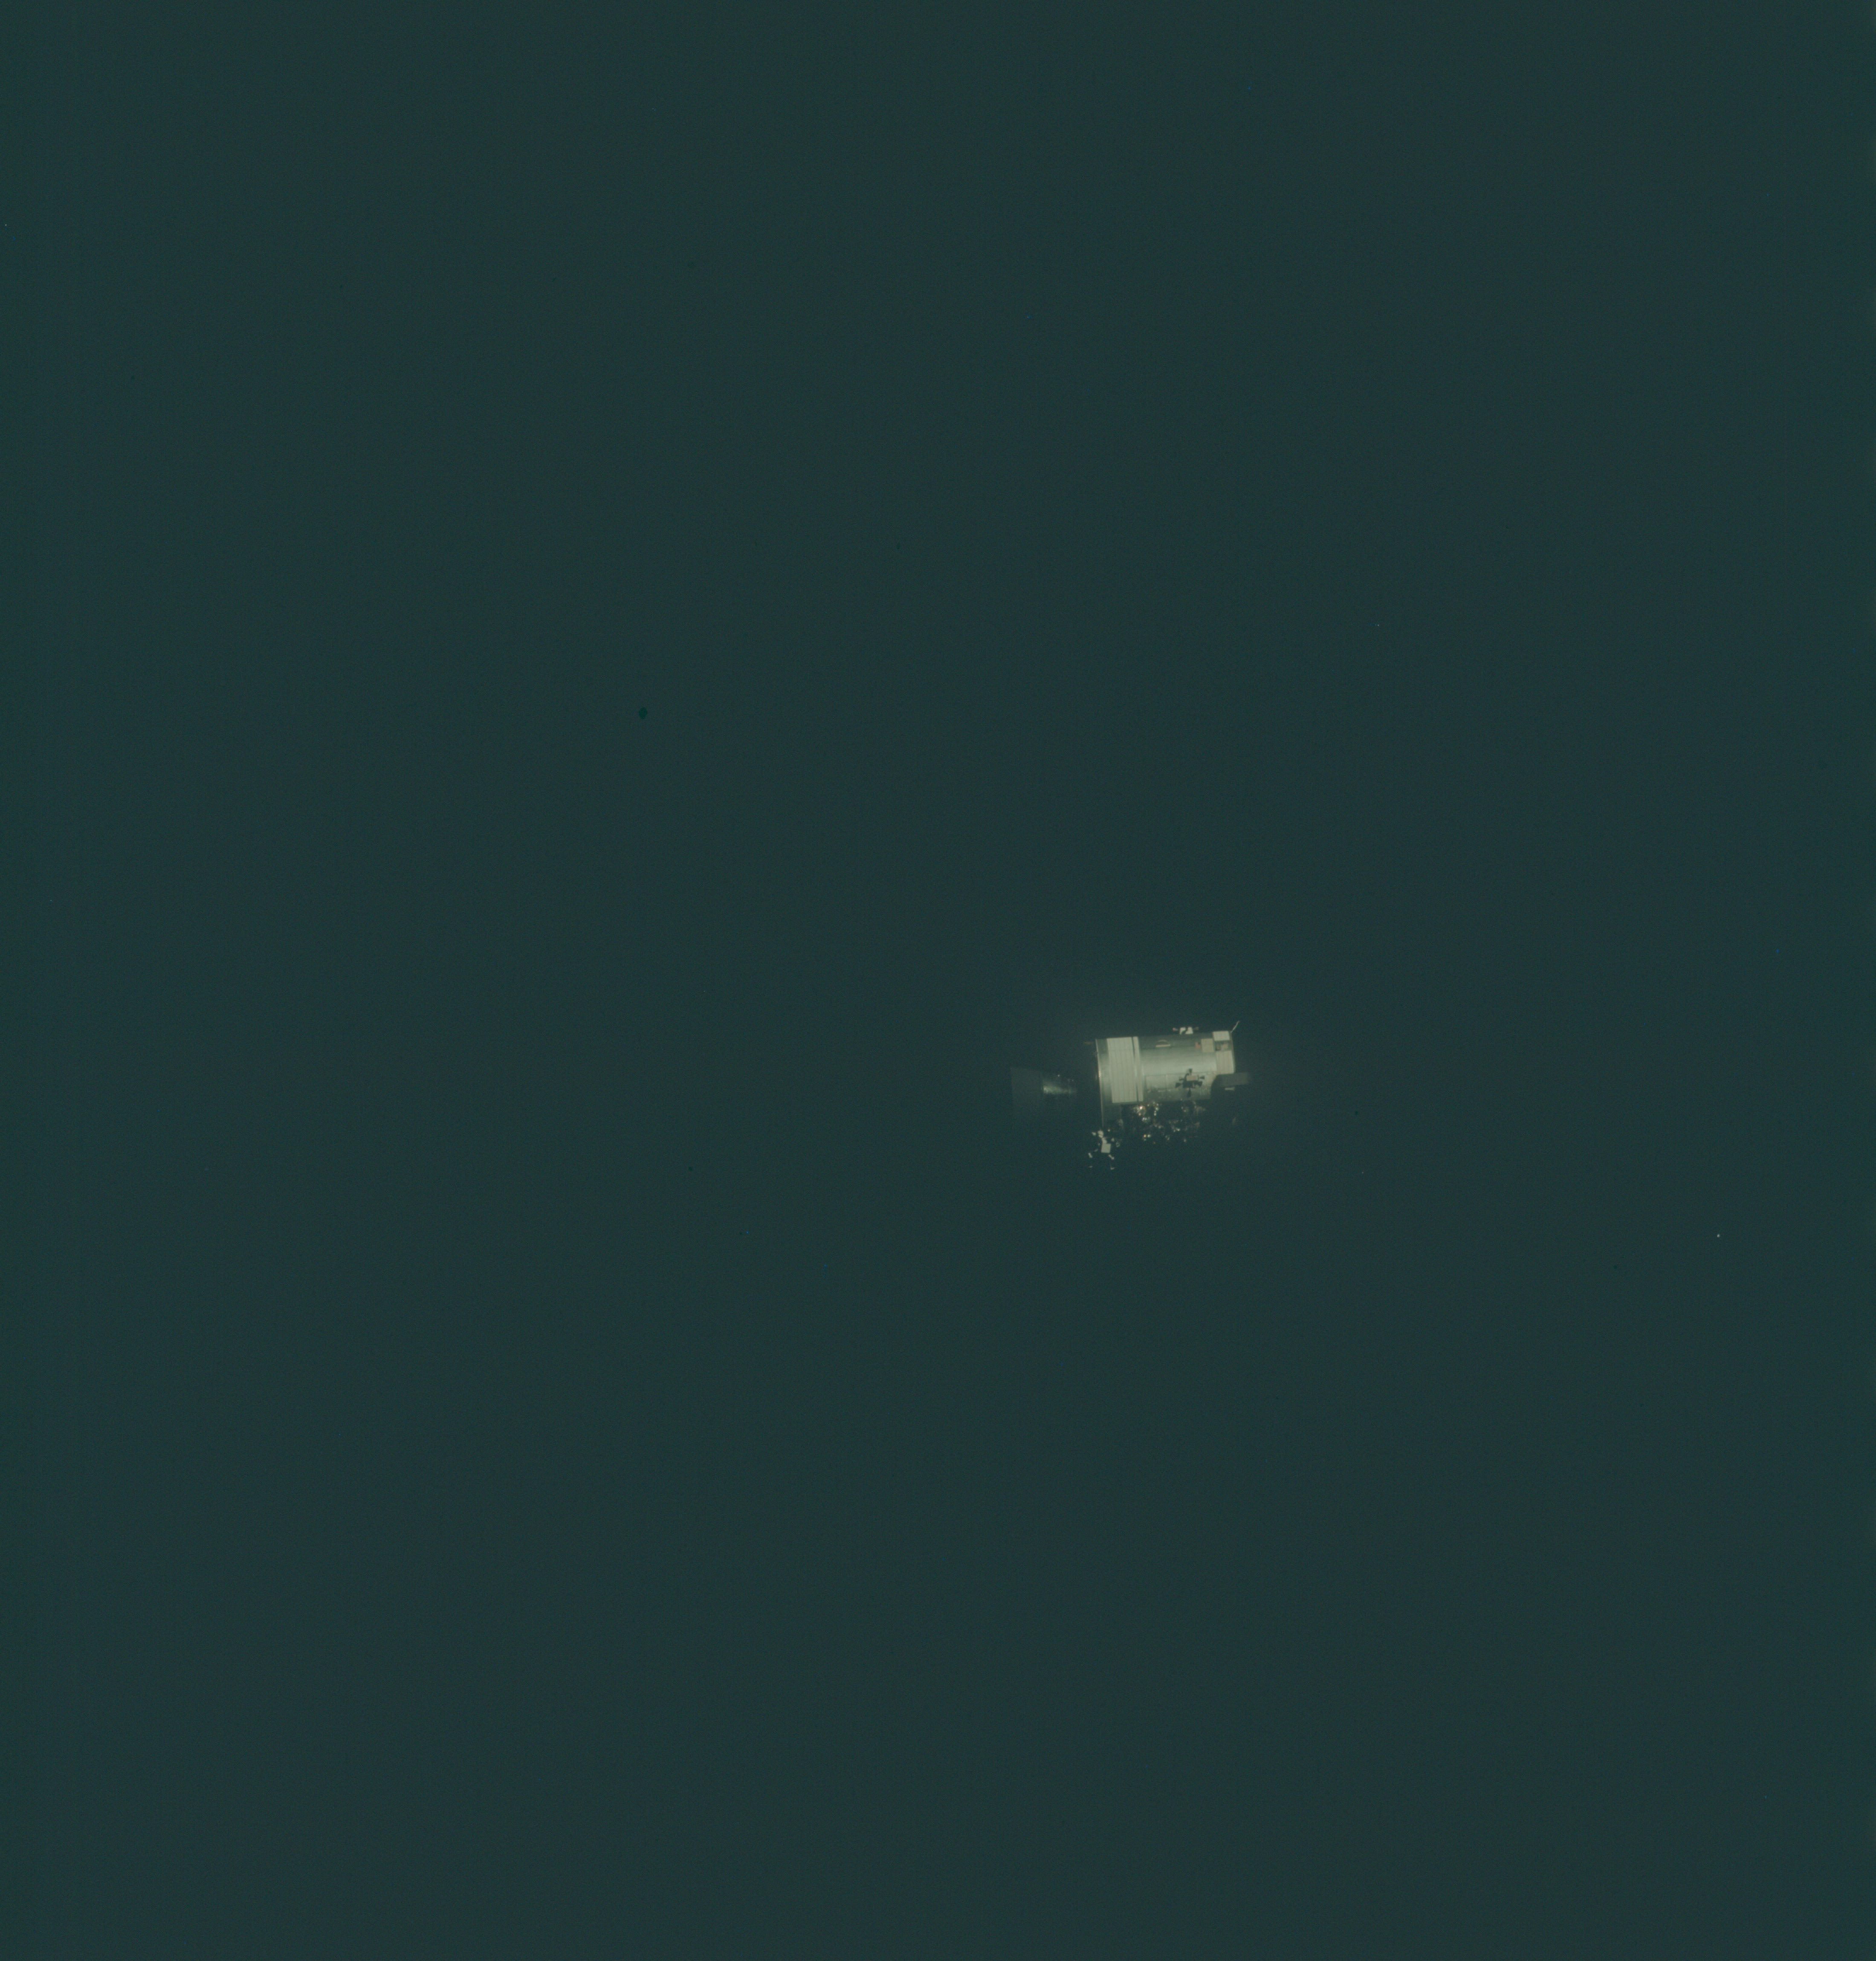 | AS13-58-8466 Service Module after separation from Command Module. Although it looks directly into the disrupted sector, the lighting is not good. Image credit: Image Science and Analysis Laboratory, NASA-Johnson Space Center. |
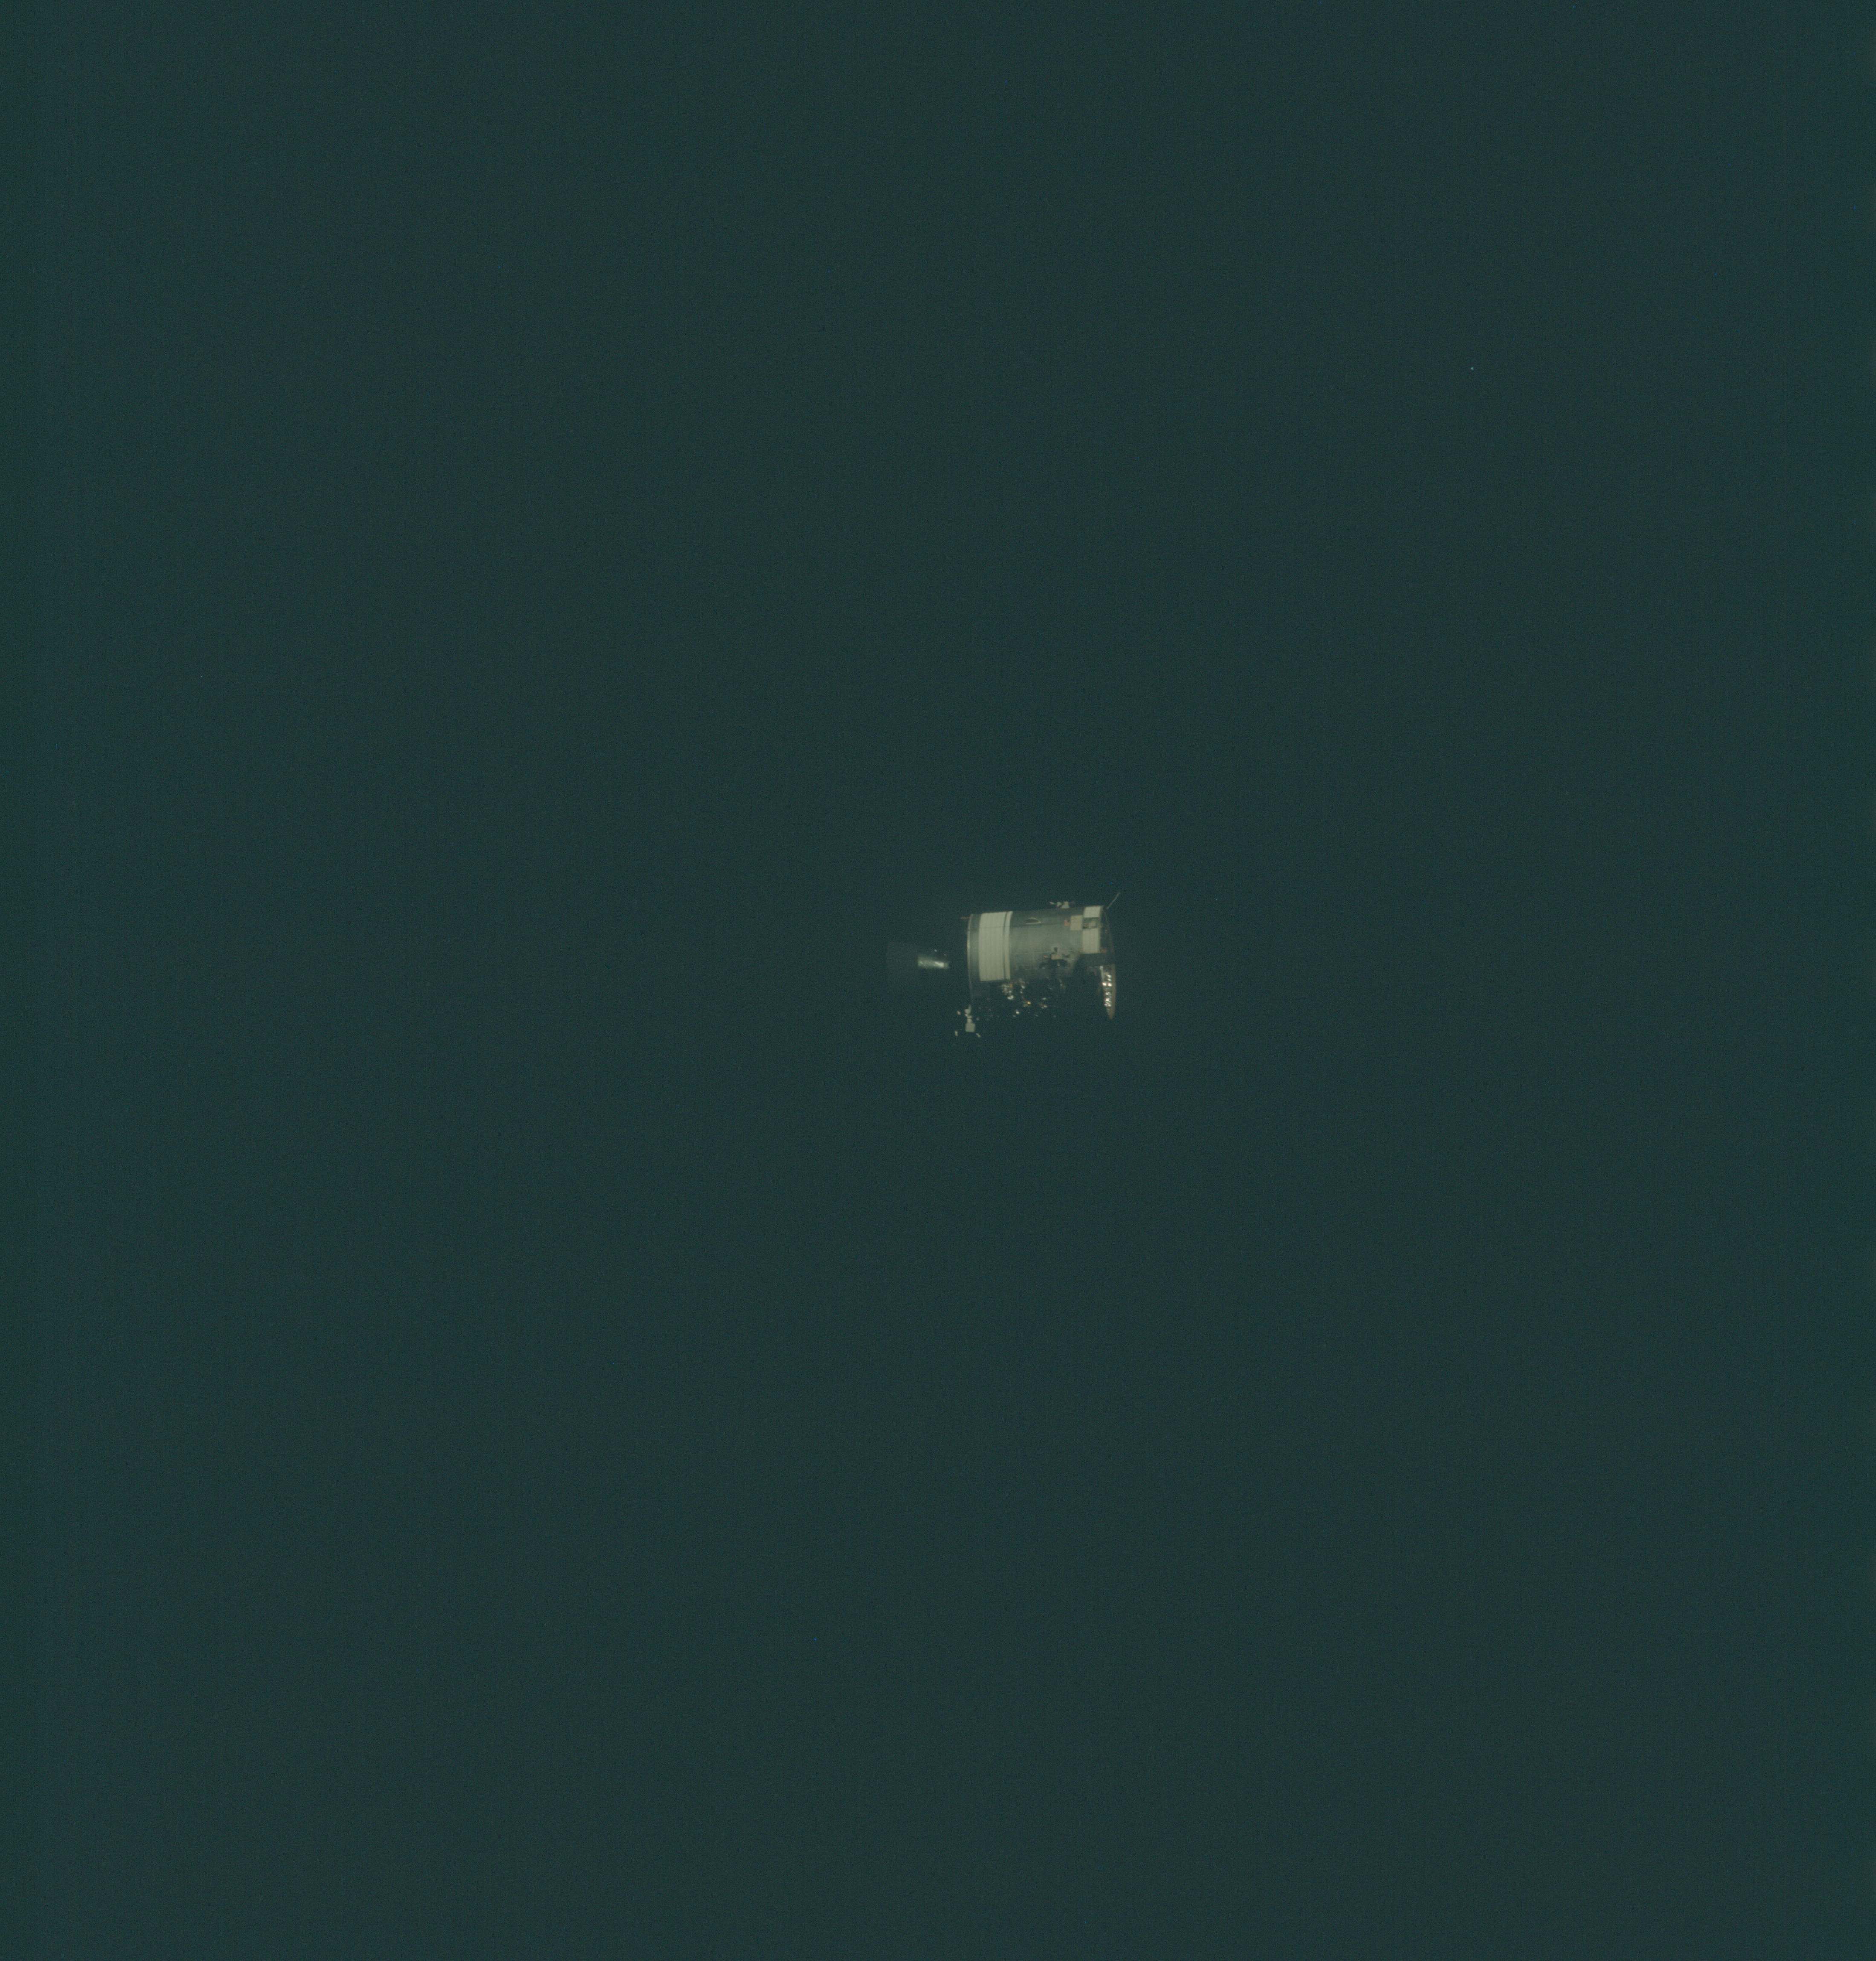 | AS13-58-8467 Side-on view of the Service Module after separation from the Command Module. Although the disrupted sector is visible, it is nearly in complete shadow. Image credit: Image Science and Analysis Laboratory, NASA-Johnson Space Center. |
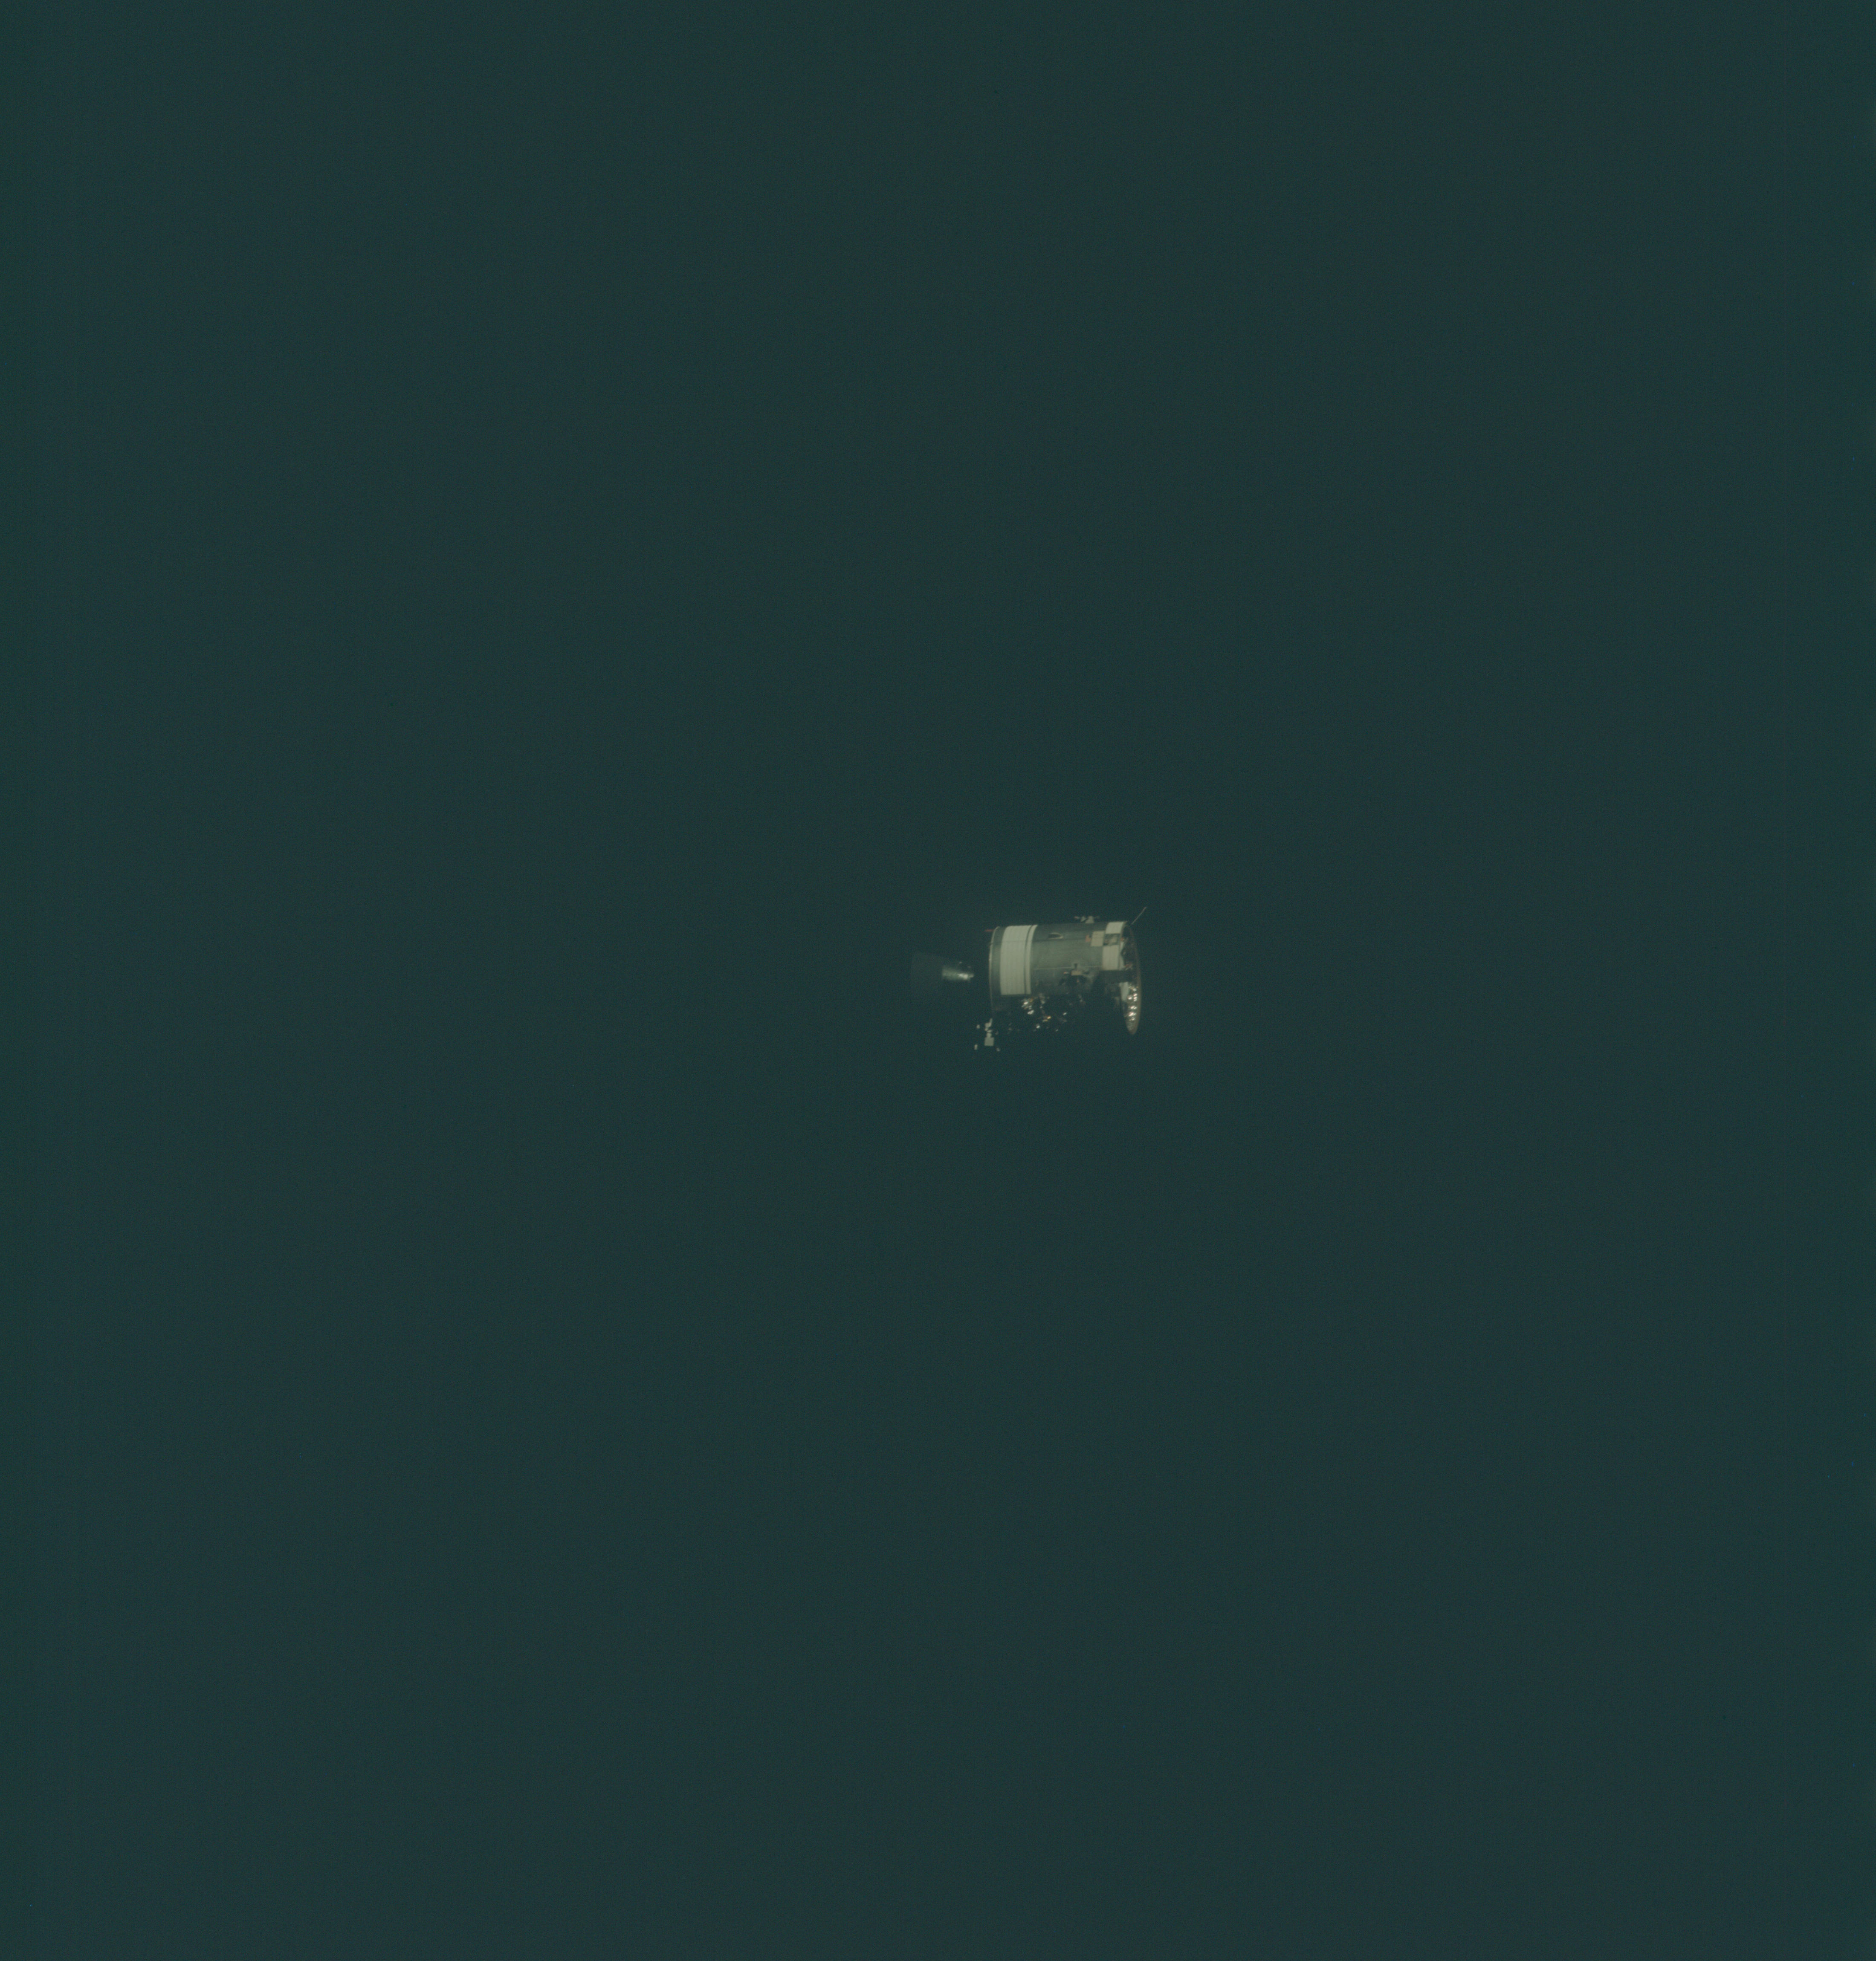 | AS13-58-8468 Service Module after separation from the Command Module. Although the disrupted sector is visible, it is nearly in complete shadow. Image credit: Image Science and Analysis Laboratory, NASA-Johnson Space Center. |
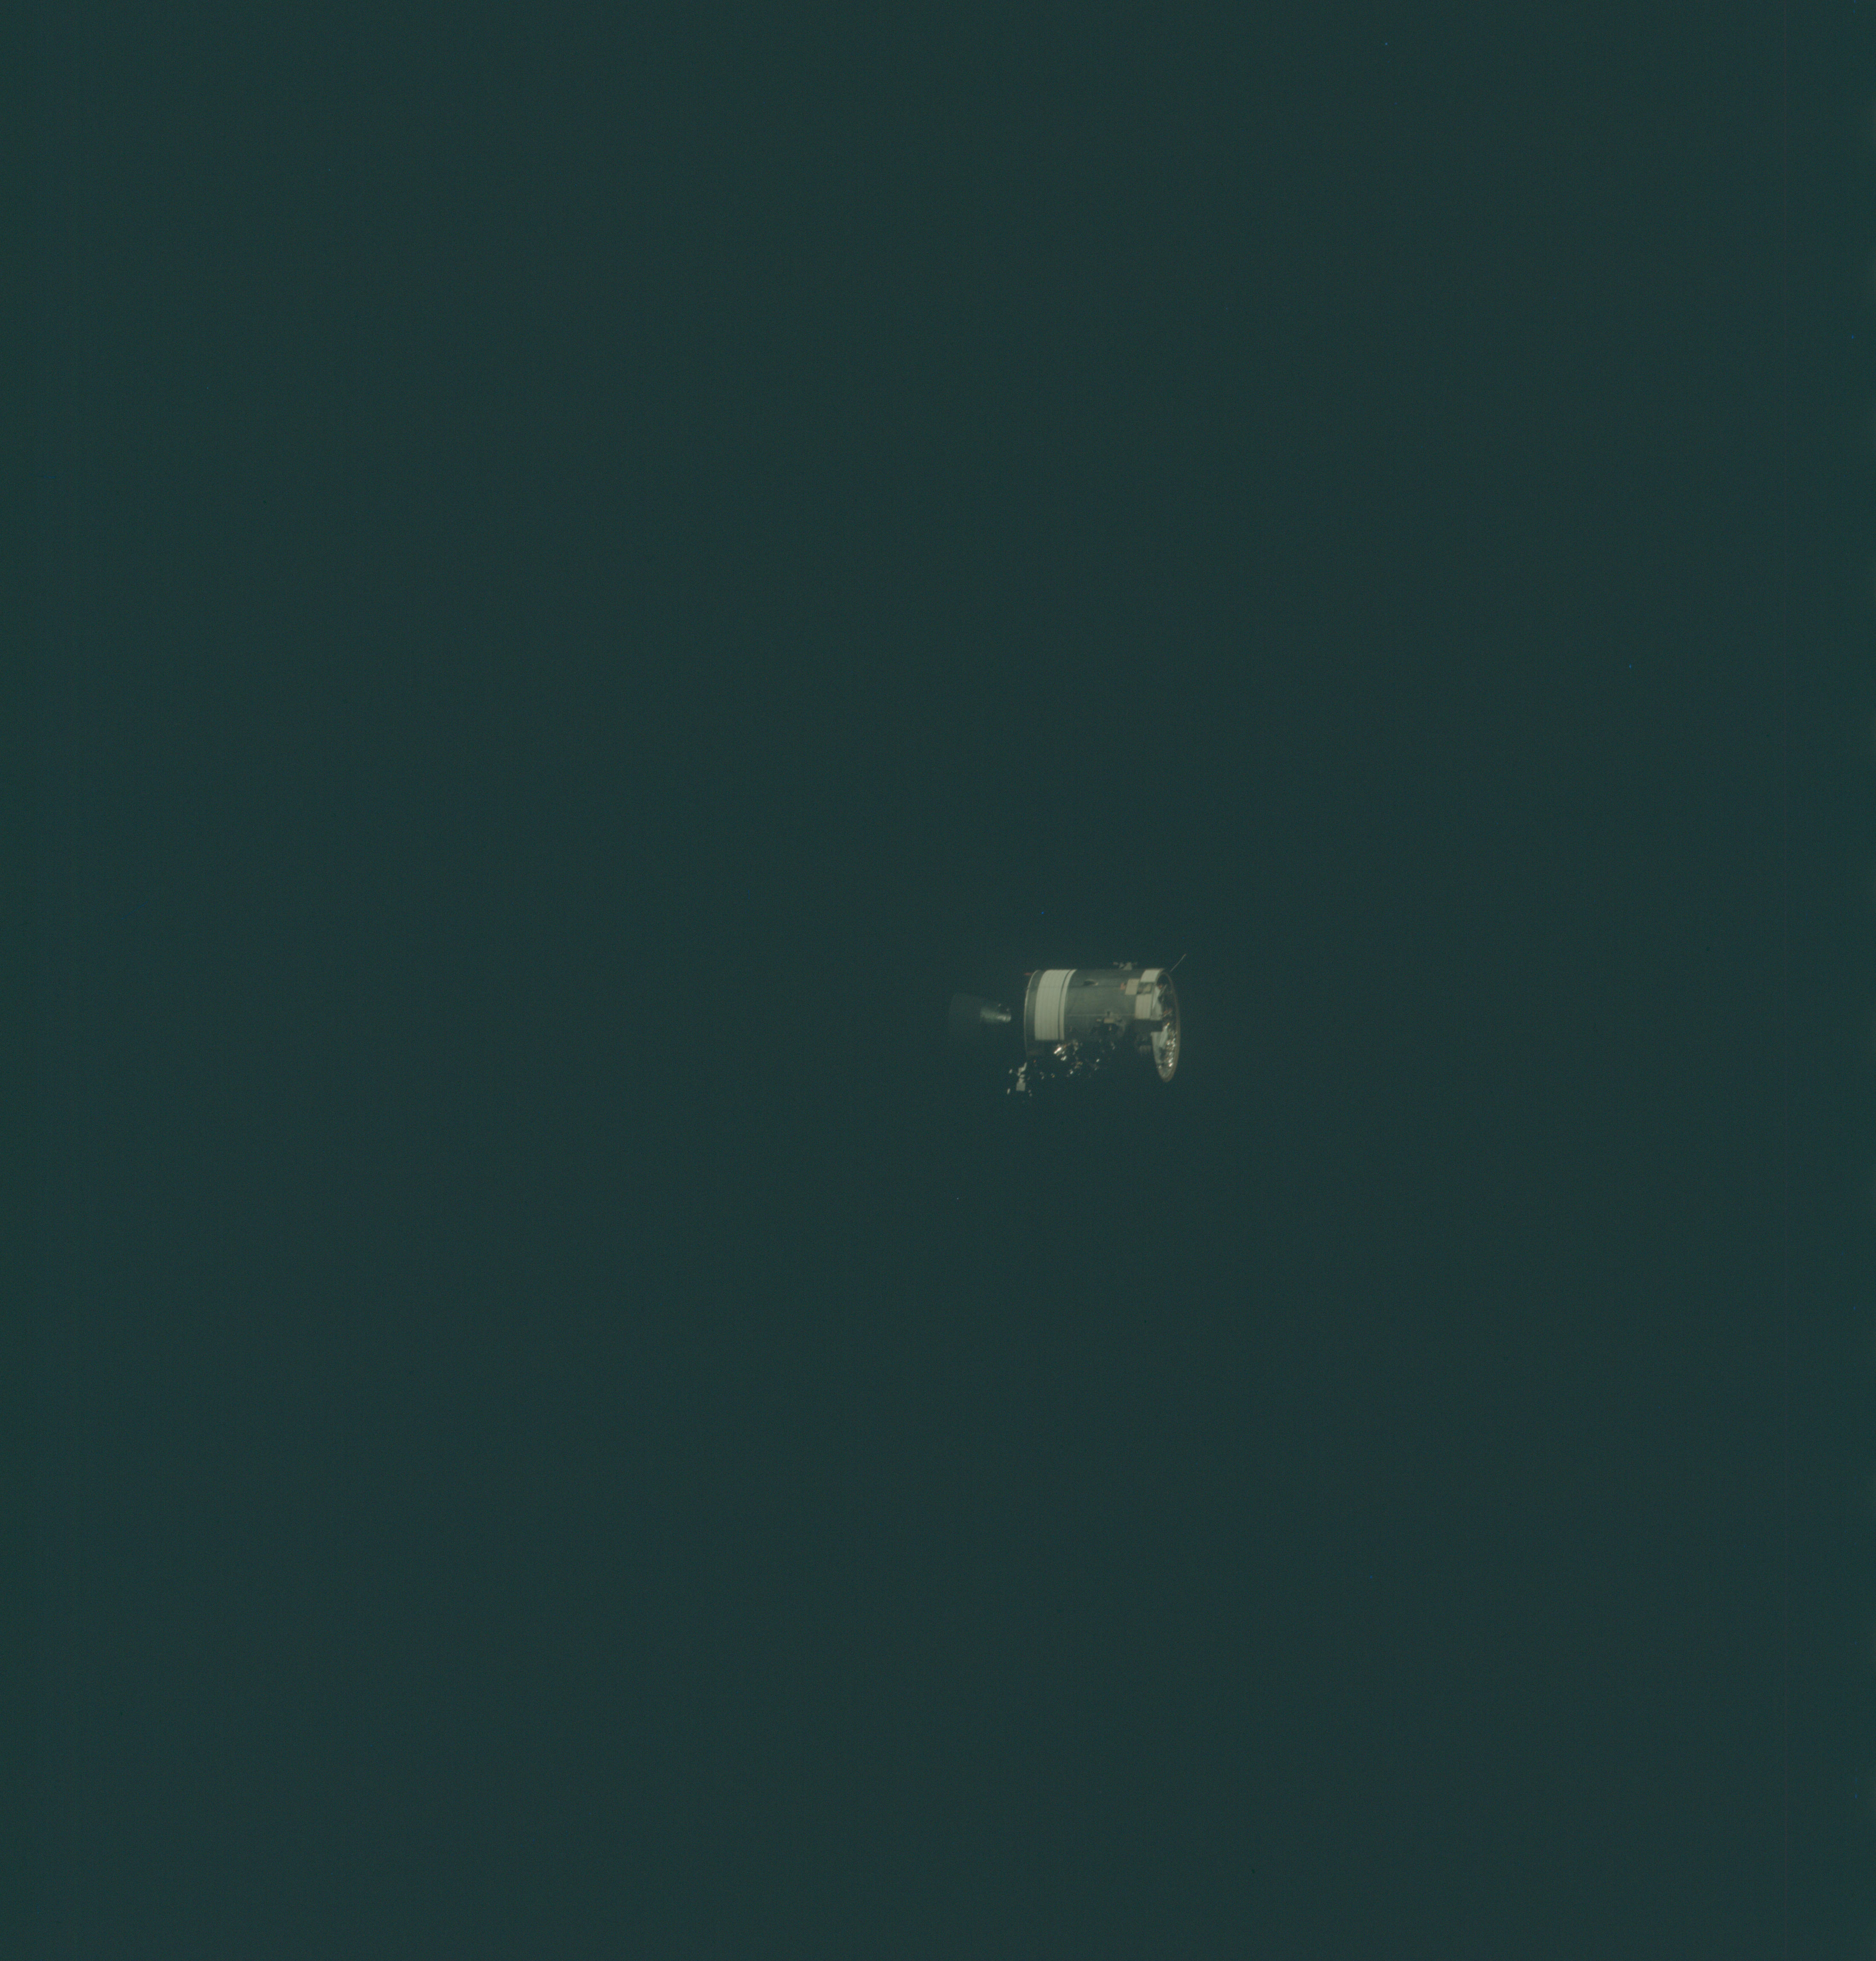 | AS13-58-8469 Service Module after separation from the Command Module. Although the disrupted sector is visible, it is nearly in complete shadow. Image credit: Image Science and Analysis Laboratory, NASA-Johnson Space Center. |
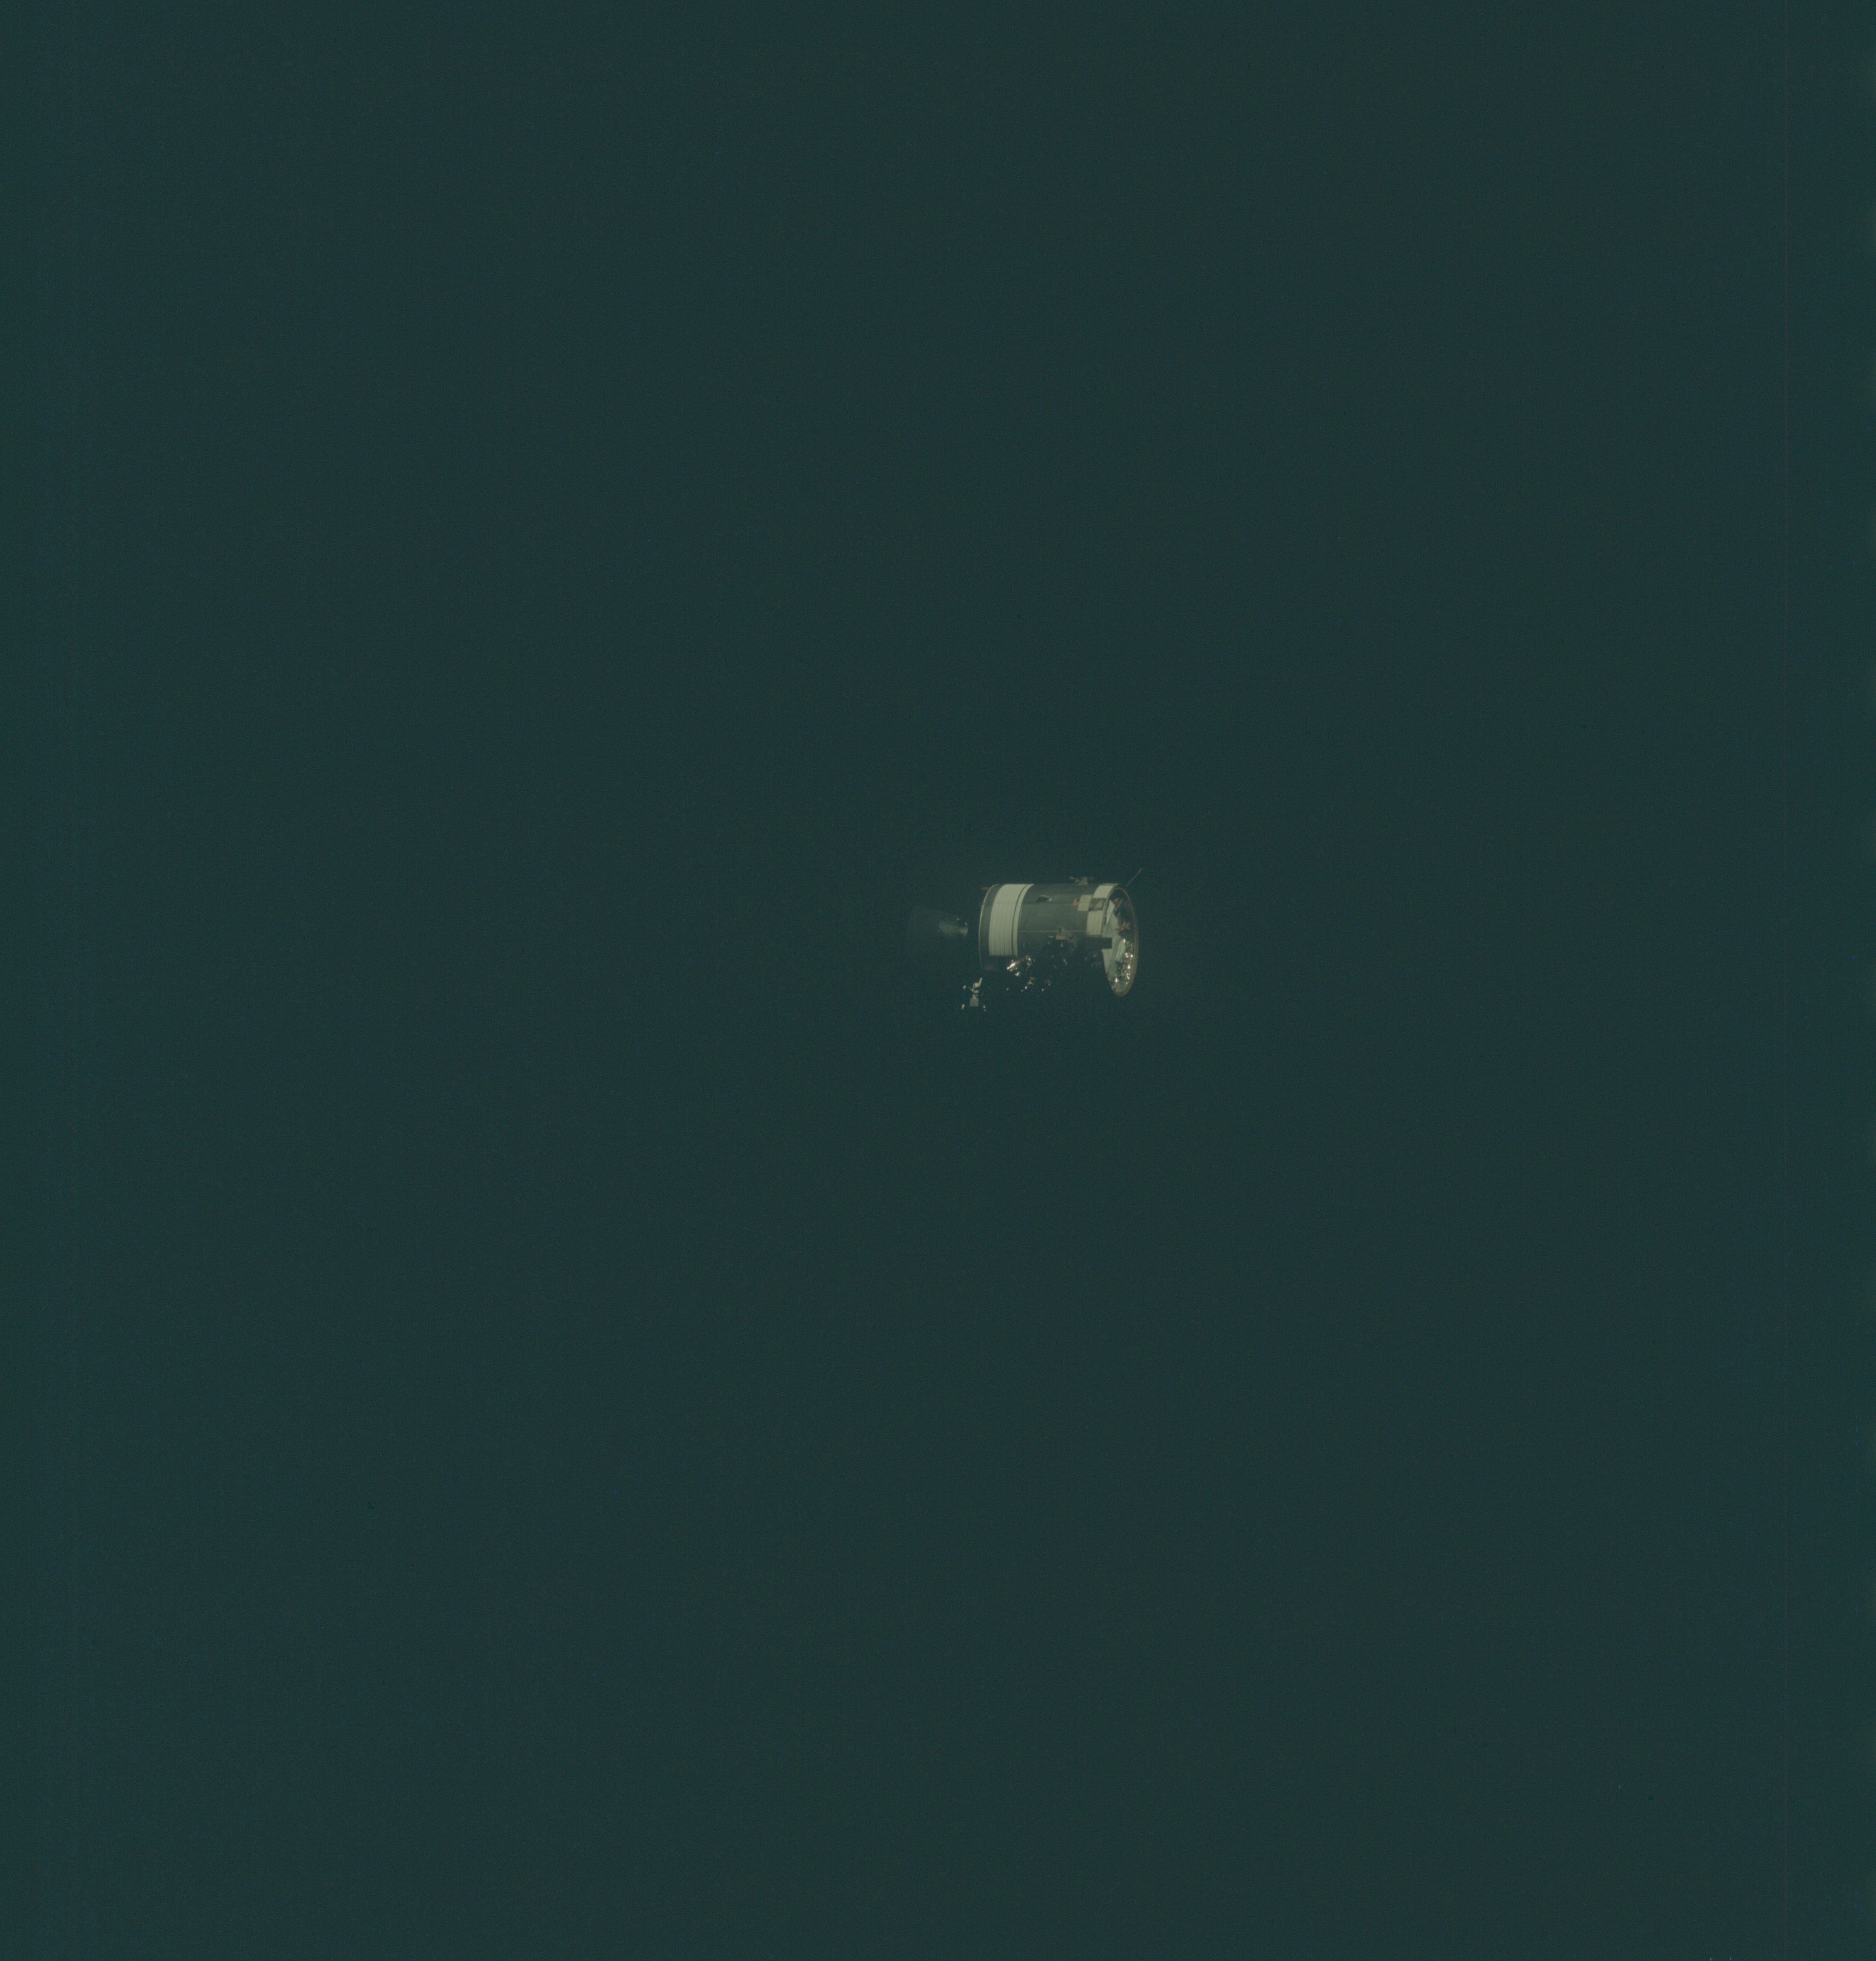 | AS13-58-8470 Service Module after separation from the Command Module. Although the disrupted sector is visible, it is nearly in complete shadow. Image credit: Image Science and Analysis Laboratory, NASA-Johnson Space Center. |
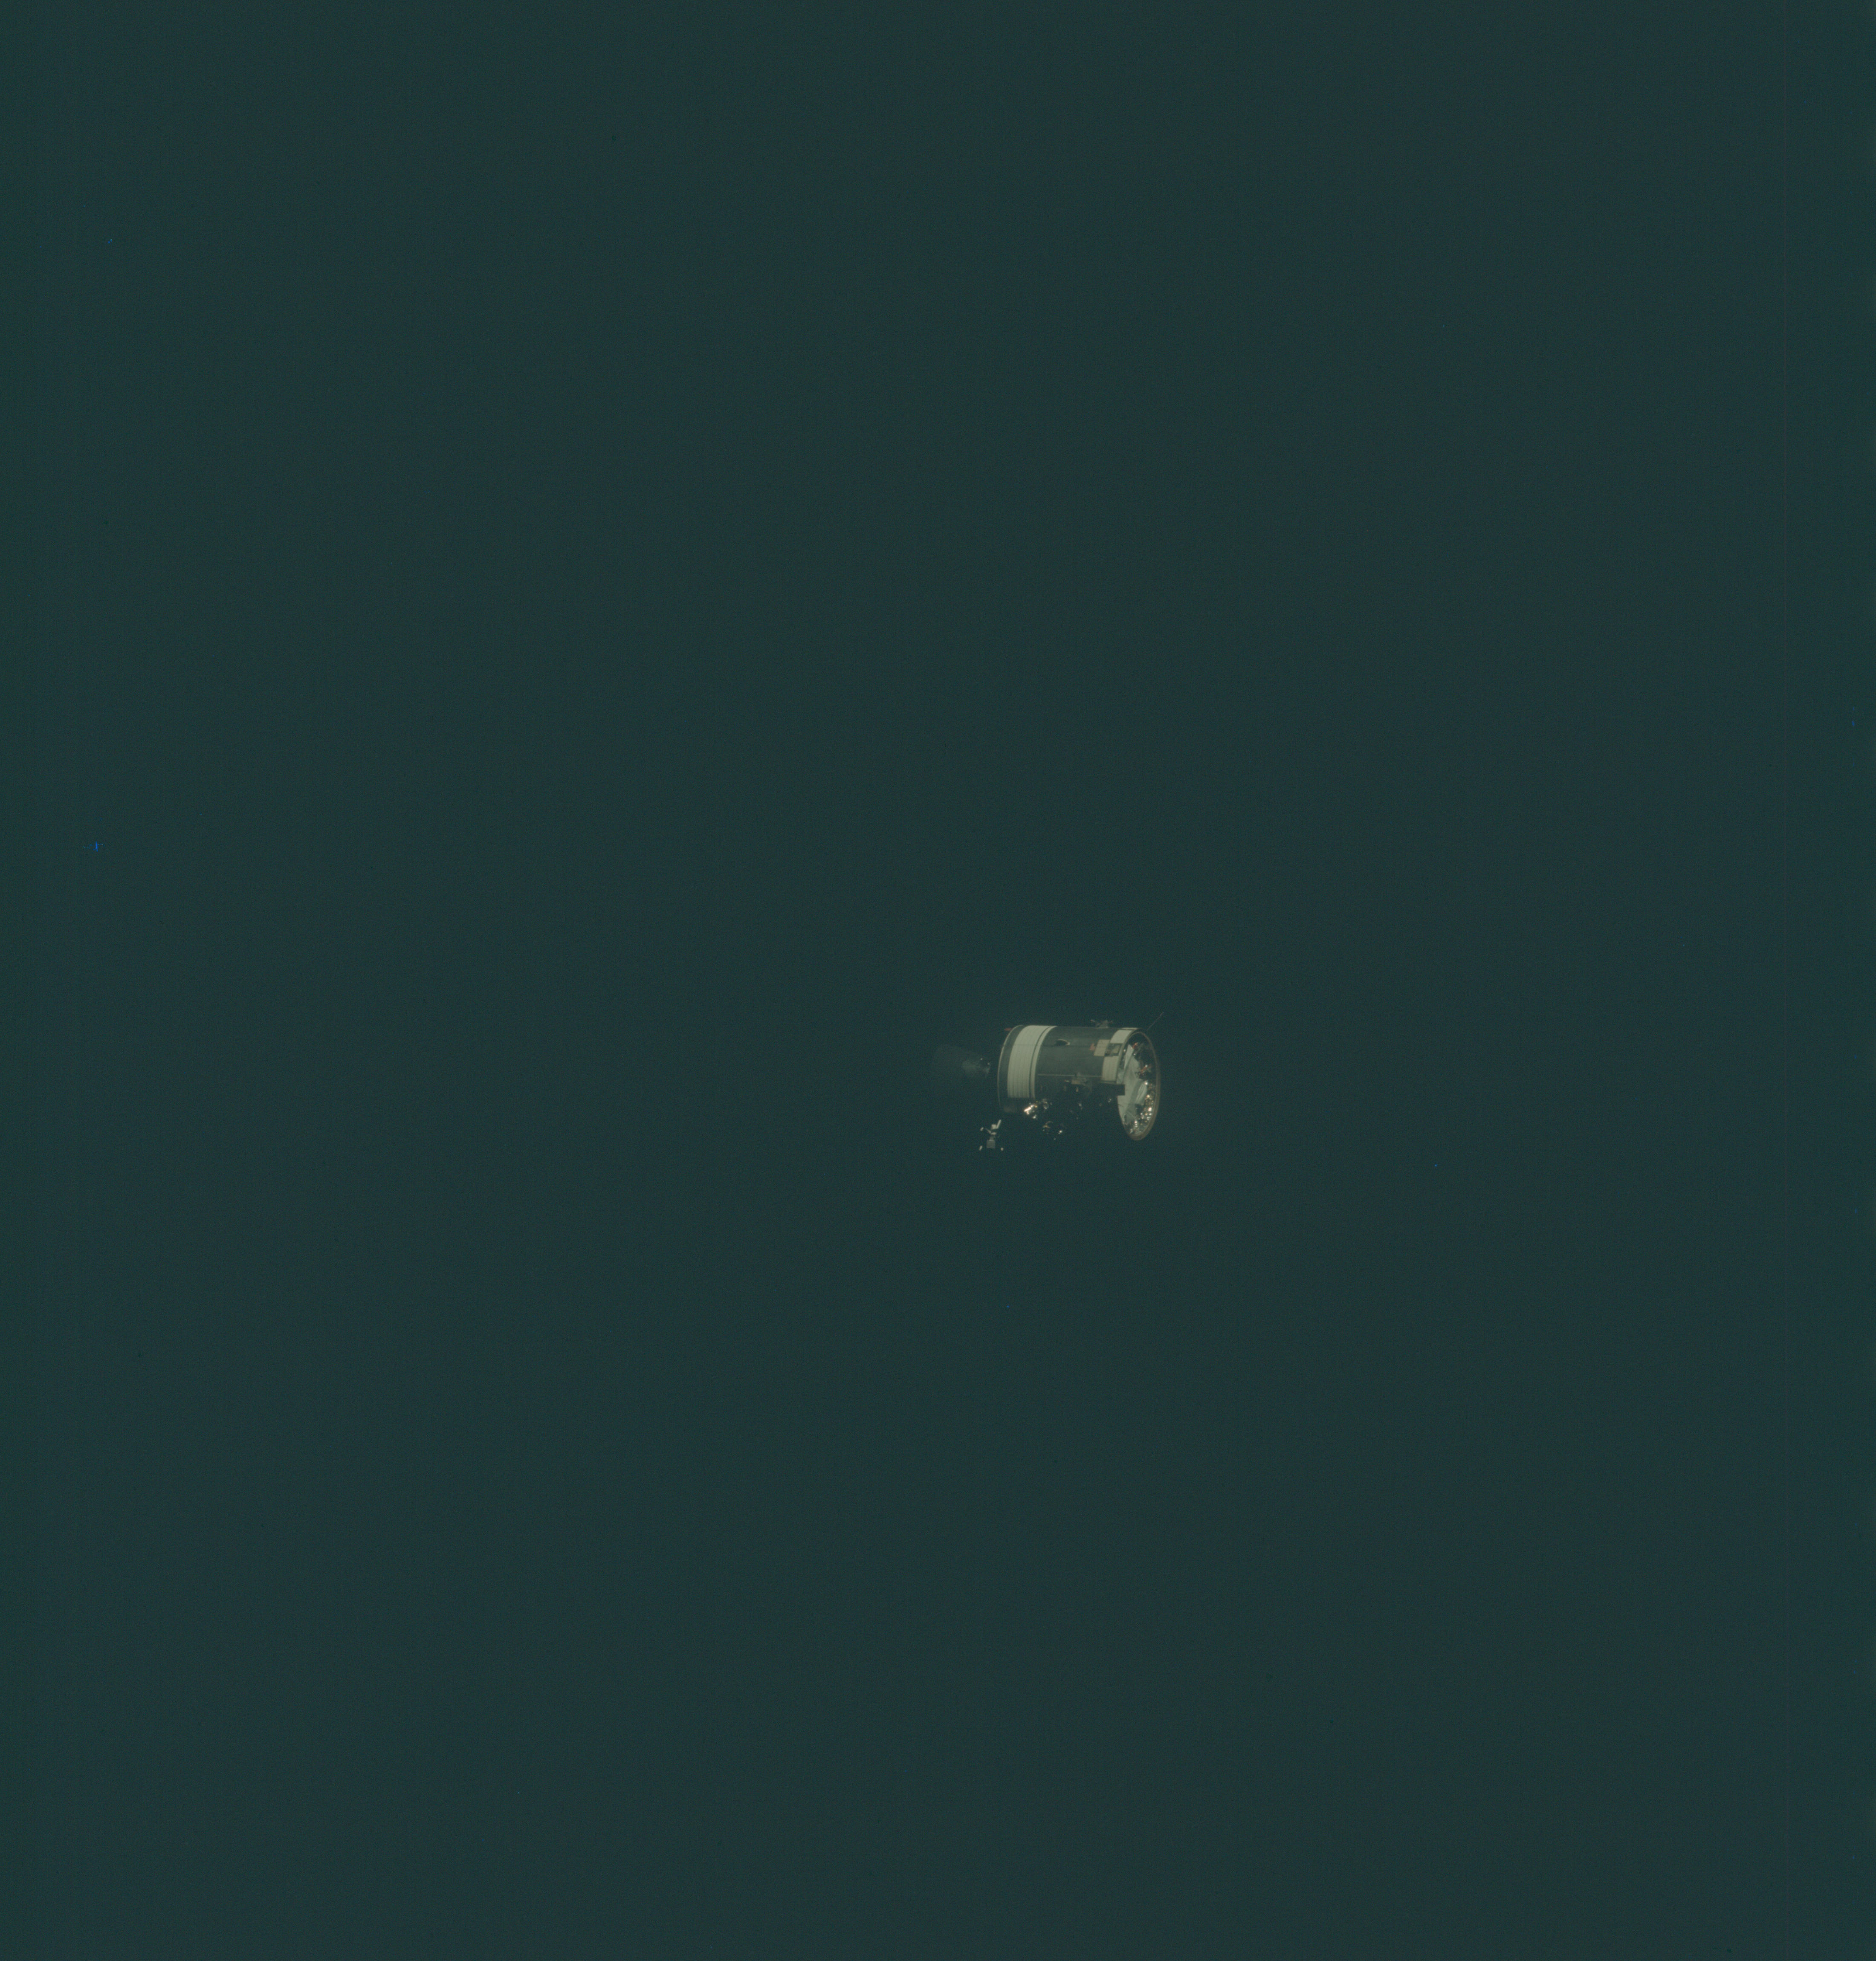 | AS13-58-8471 Service Module after separation from the Command Module. Although the disrupted sector is facing camera, it is in shadow. Image credit: Image Science and Analysis Laboratory, NASA-Johnson Space Center. |
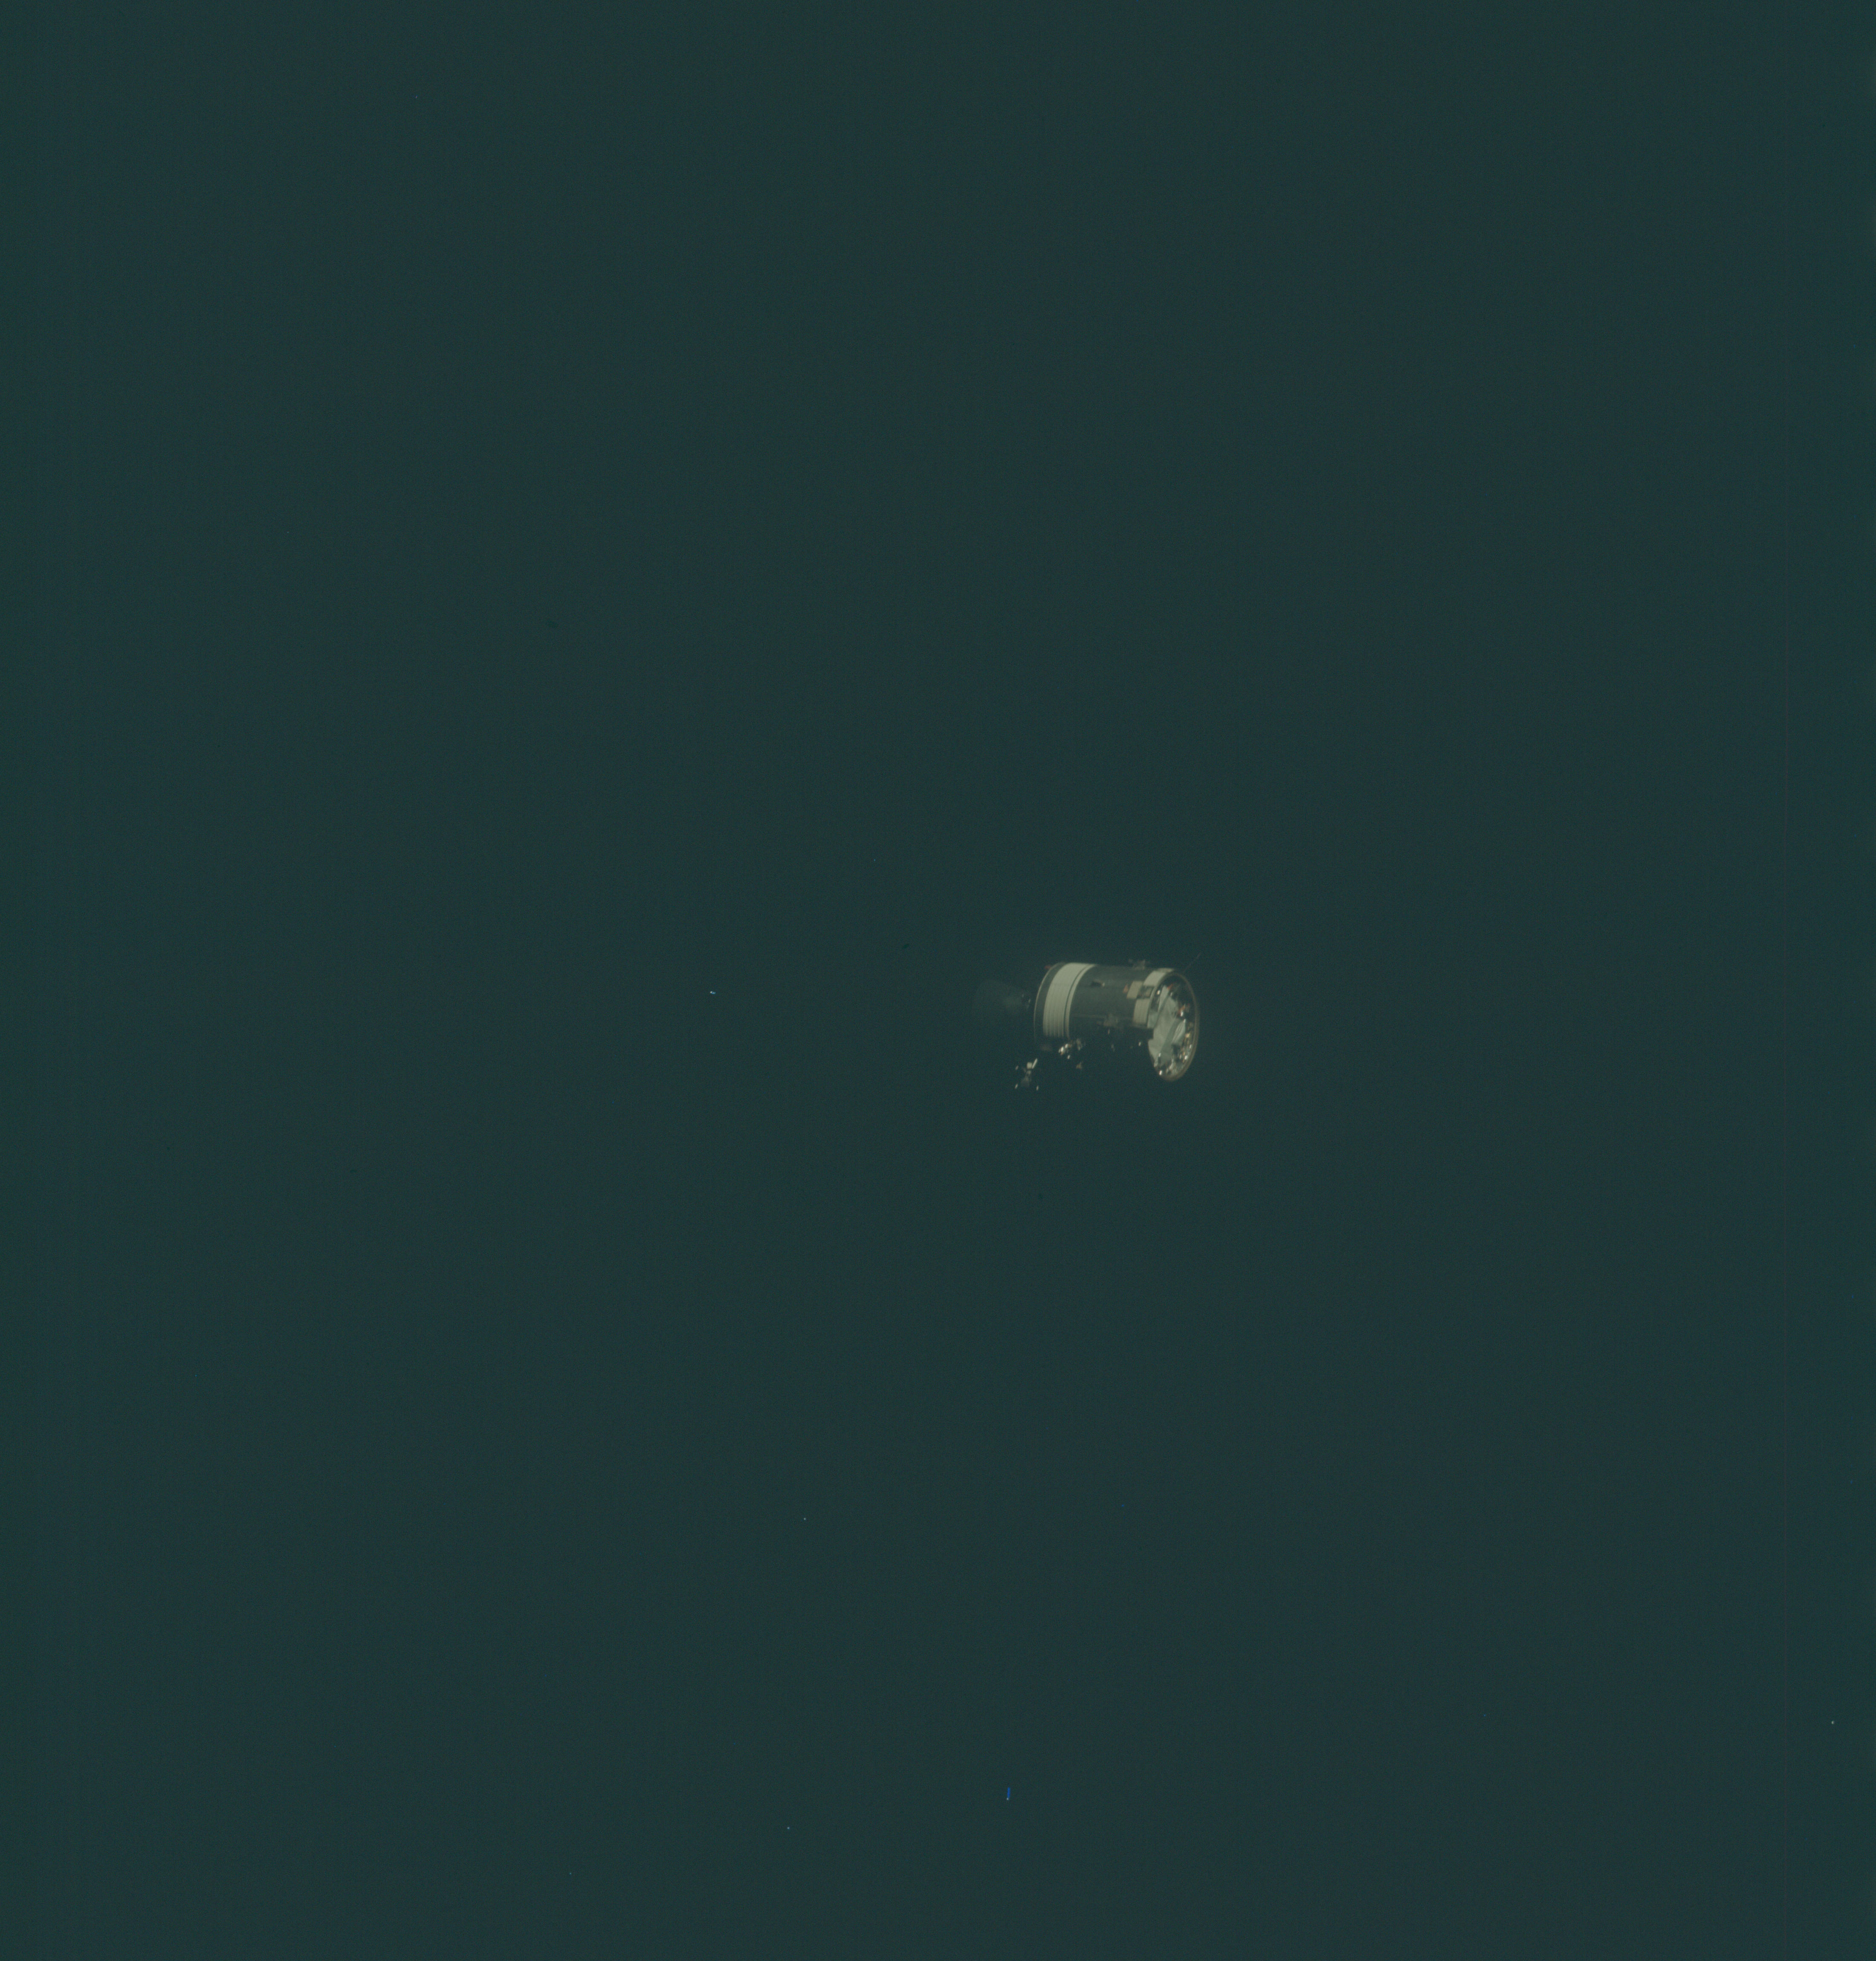 | AS13-58-8472 Service Module after separation from the Command Module. Although the disrupted sector is facing camera, it is in shadow and the image suffers from camera shake. Image credit: Image Science and Analysis Laboratory, NASA-Johnson Space Center. |
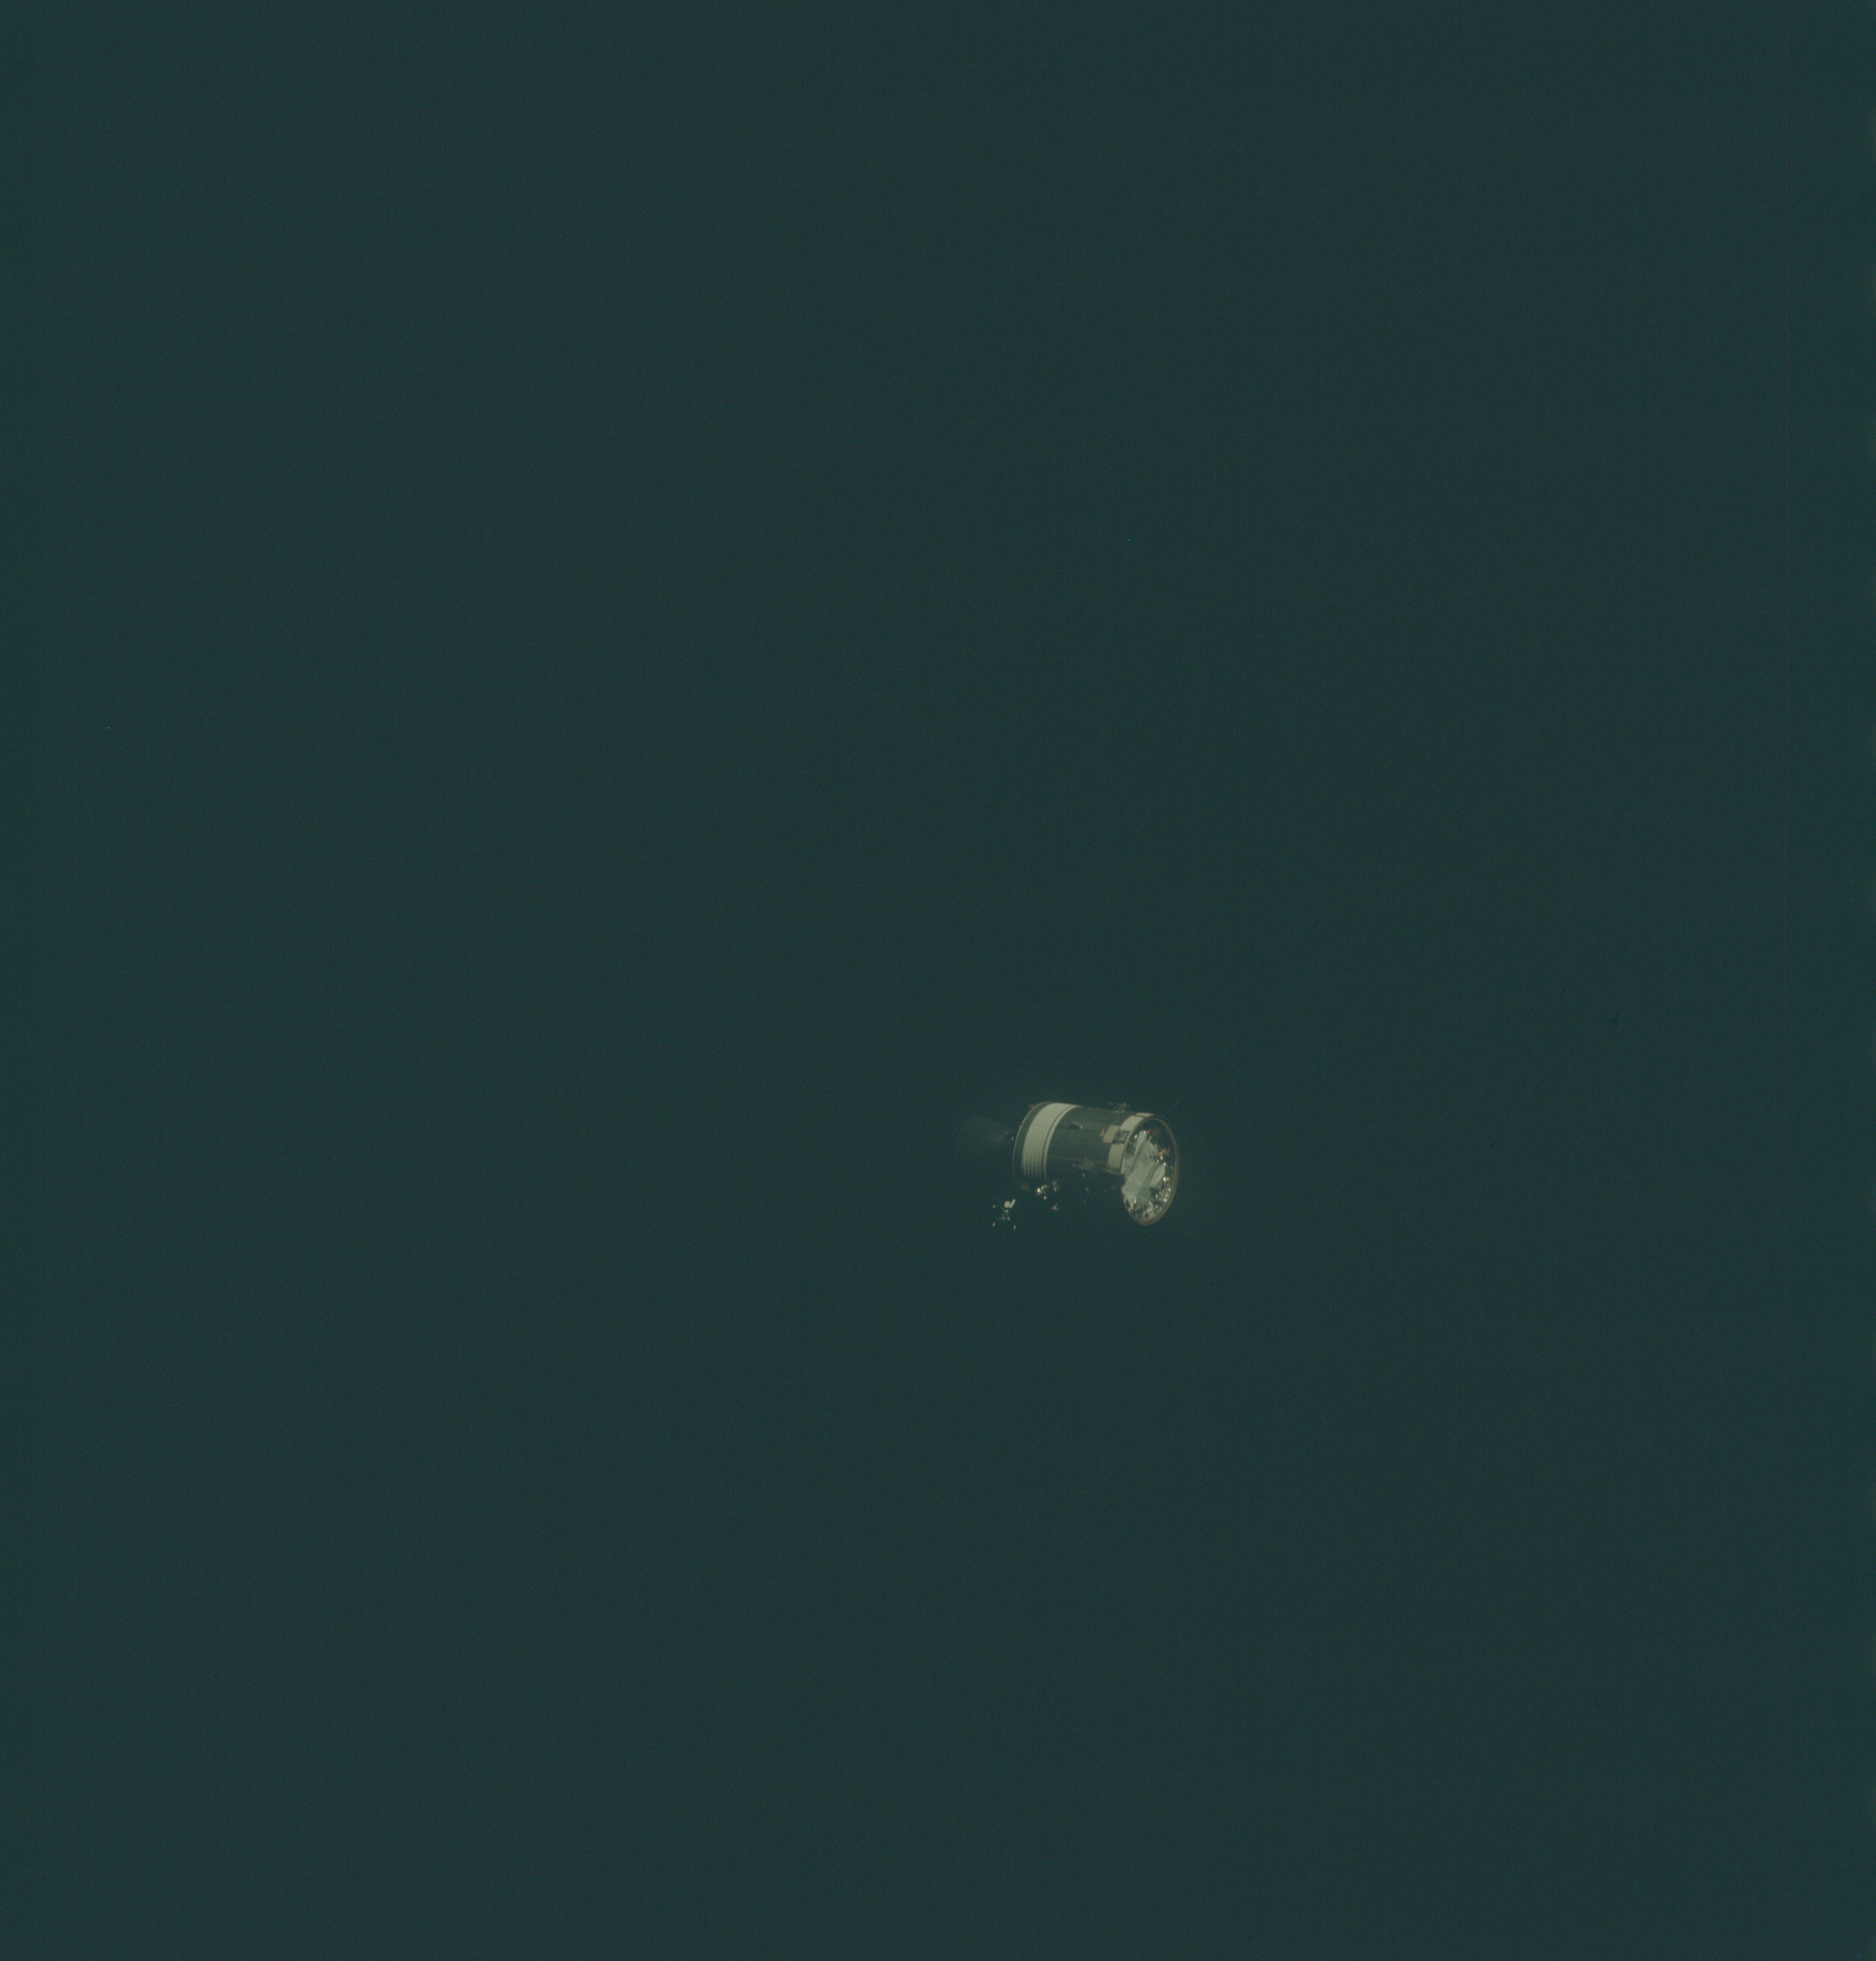 | AS13-58-8473 Service Module after separation from the Command Module. Although the disrupted sector is facing camera, it is in shadow. Image credit: Image Science and Analysis Laboratory, NASA-Johnson Space Center. |
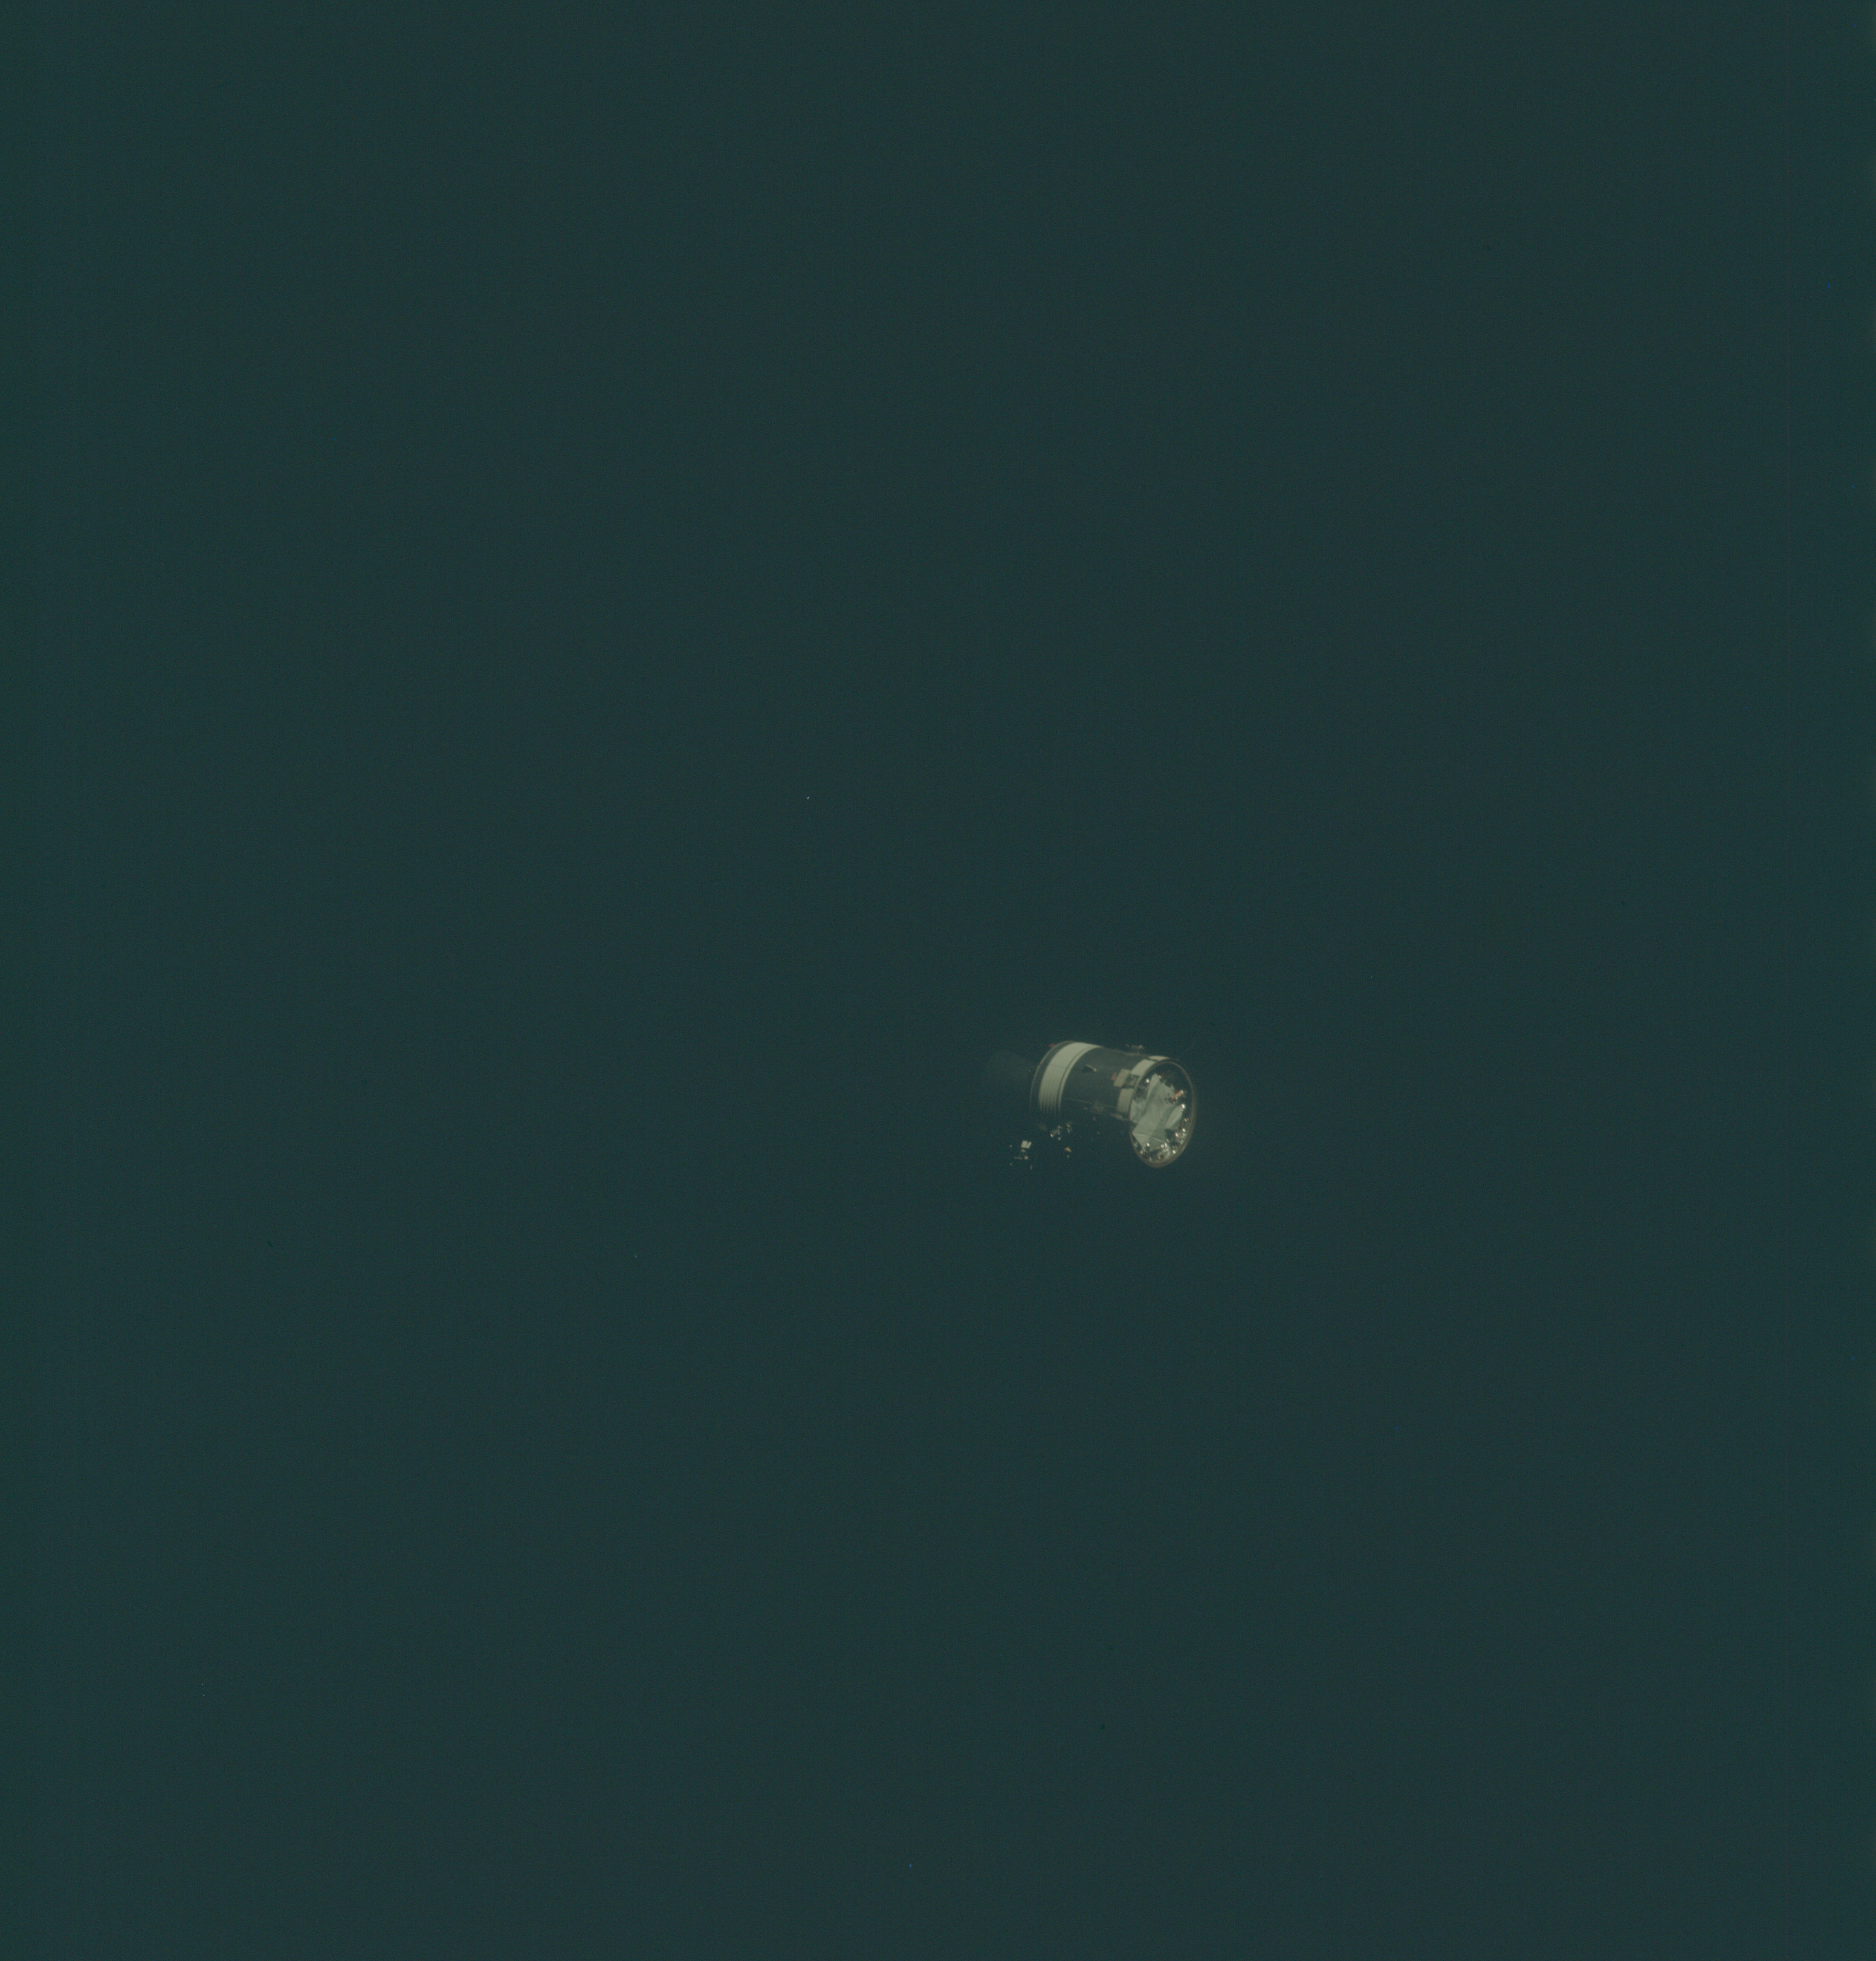 | AS13-58-8474 Service Module after separation from the Command Module. Although the disrupted sector is facing camera, it is in shadow and the image suffers from slight camera shake. Image credit: Image Science and Analysis Laboratory, NASA-Johnson Space Center. |
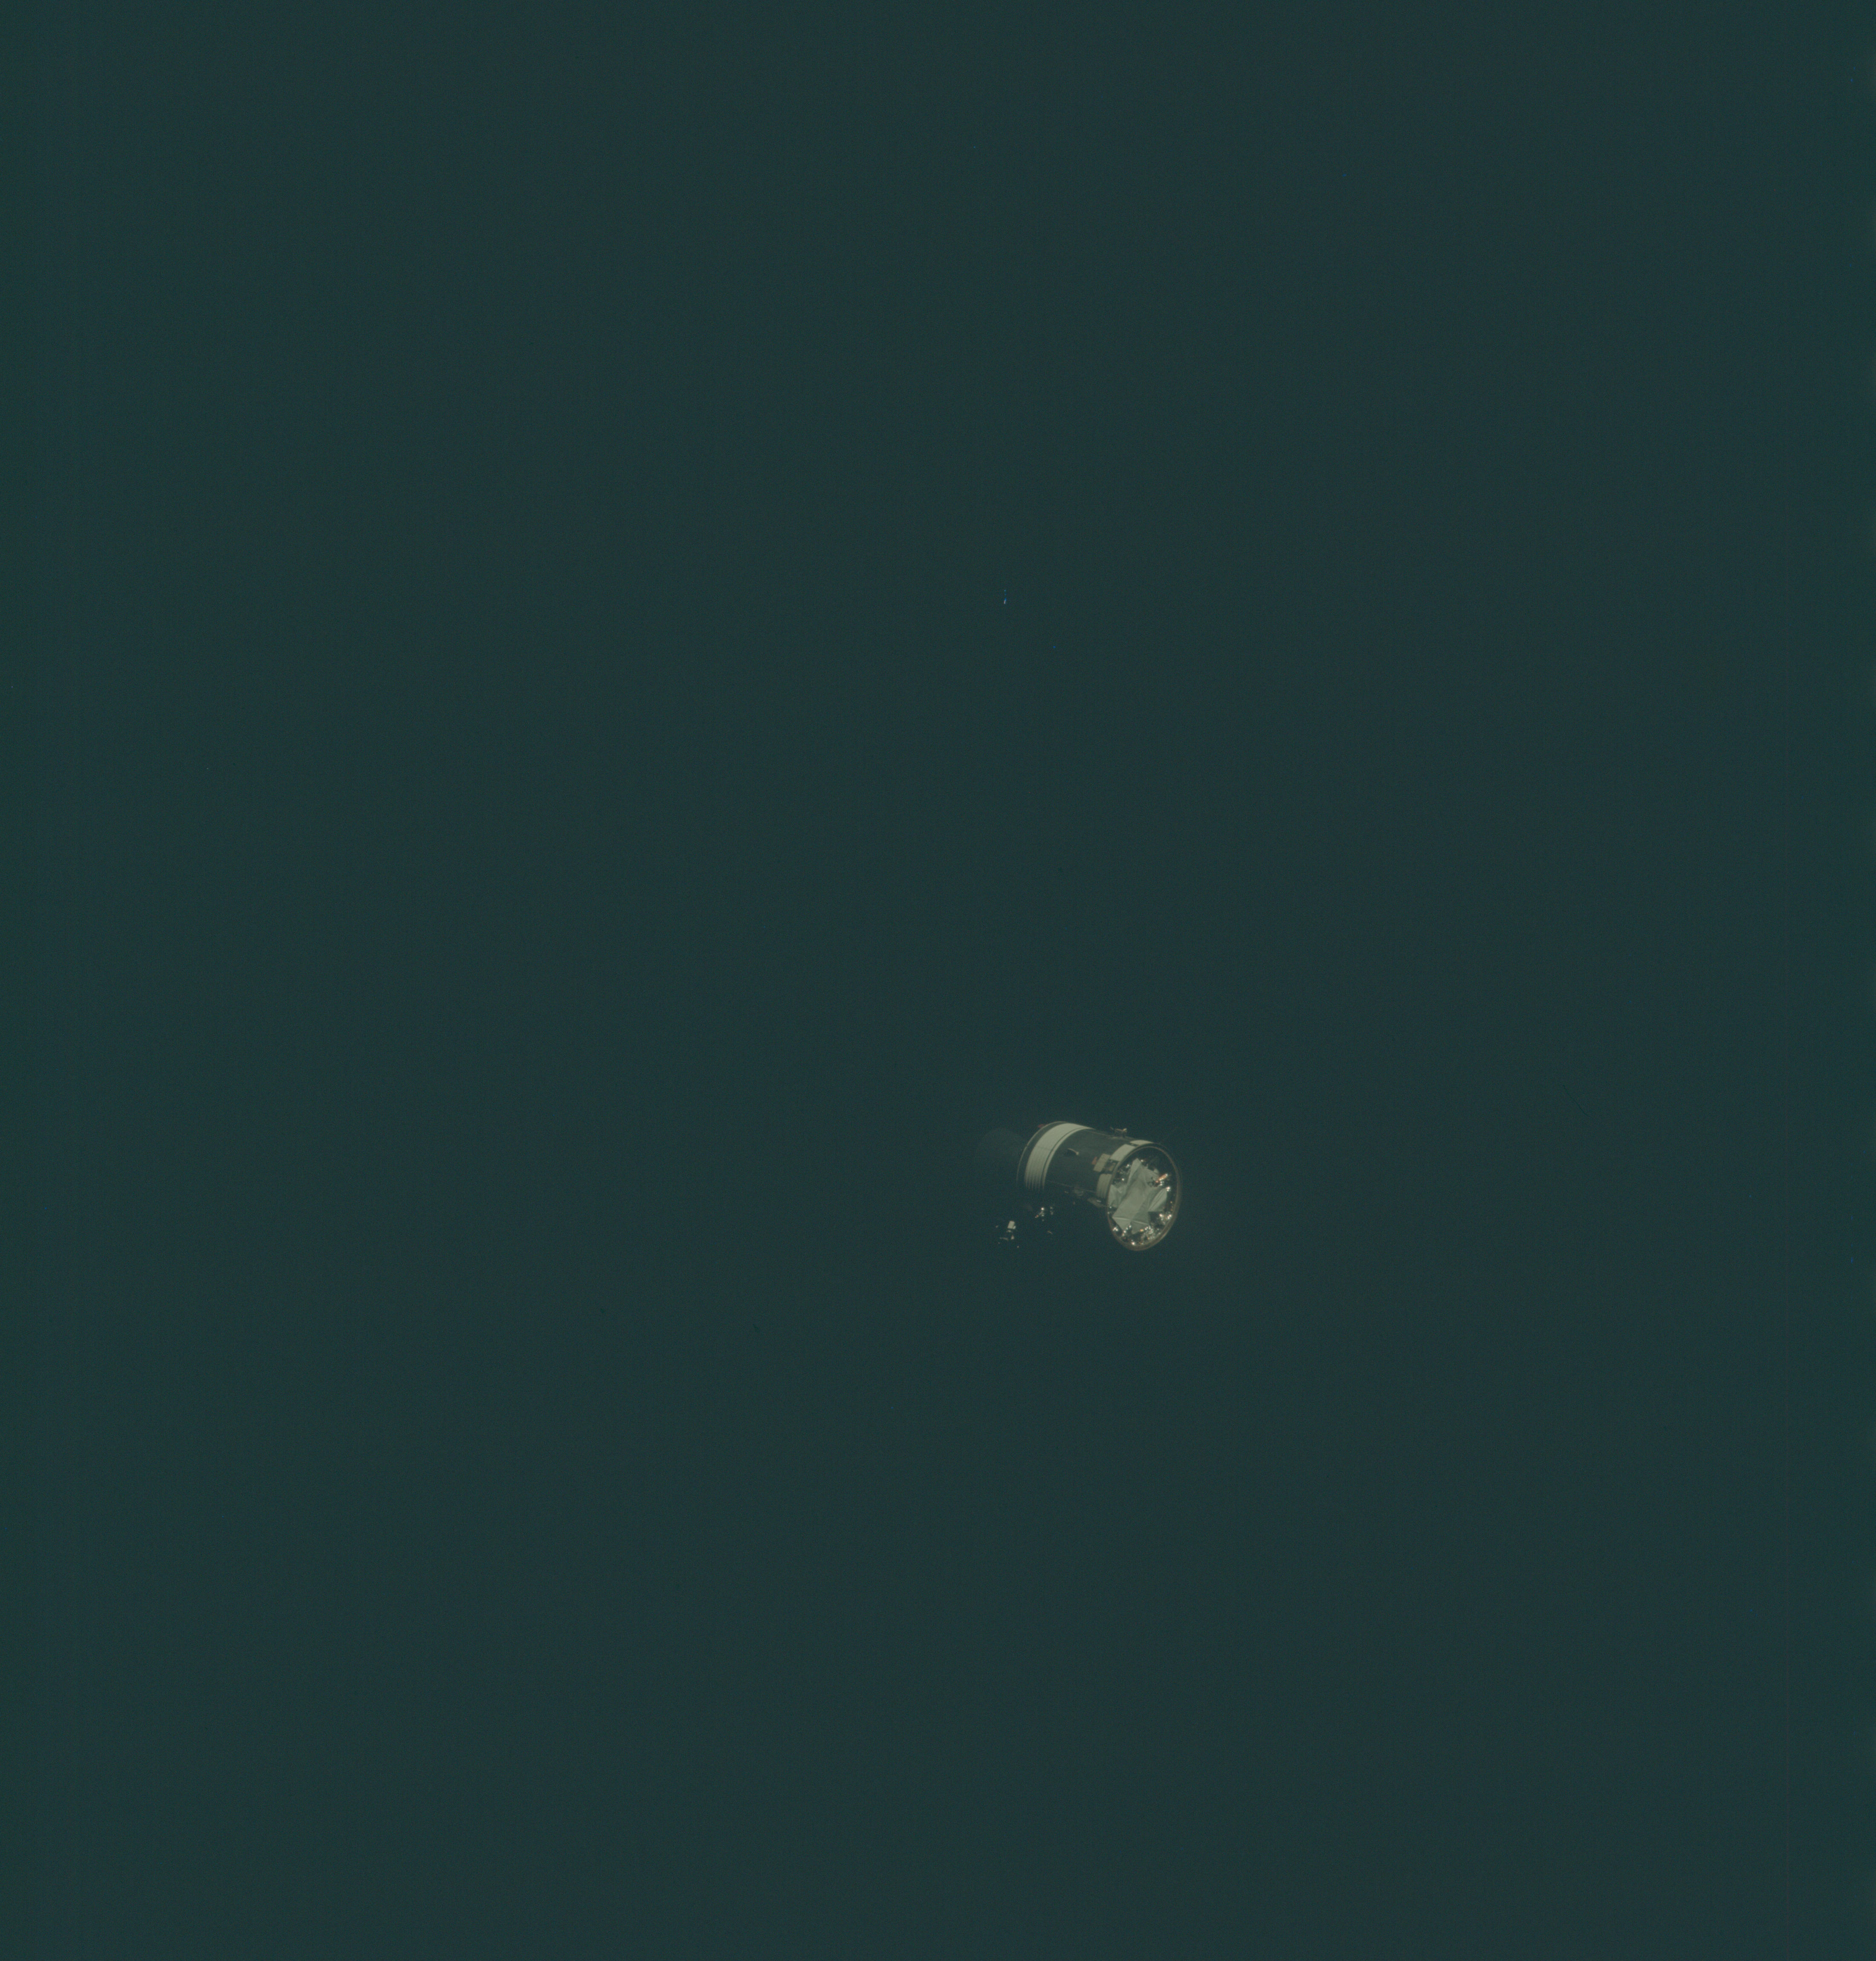 | AS13-58-8475 Service Module after separation from the Command Module. Although the disrupted sector is facing camera, it is in shadow. Image credit: Image Science and Analysis Laboratory, NASA-Johnson Space Center. |
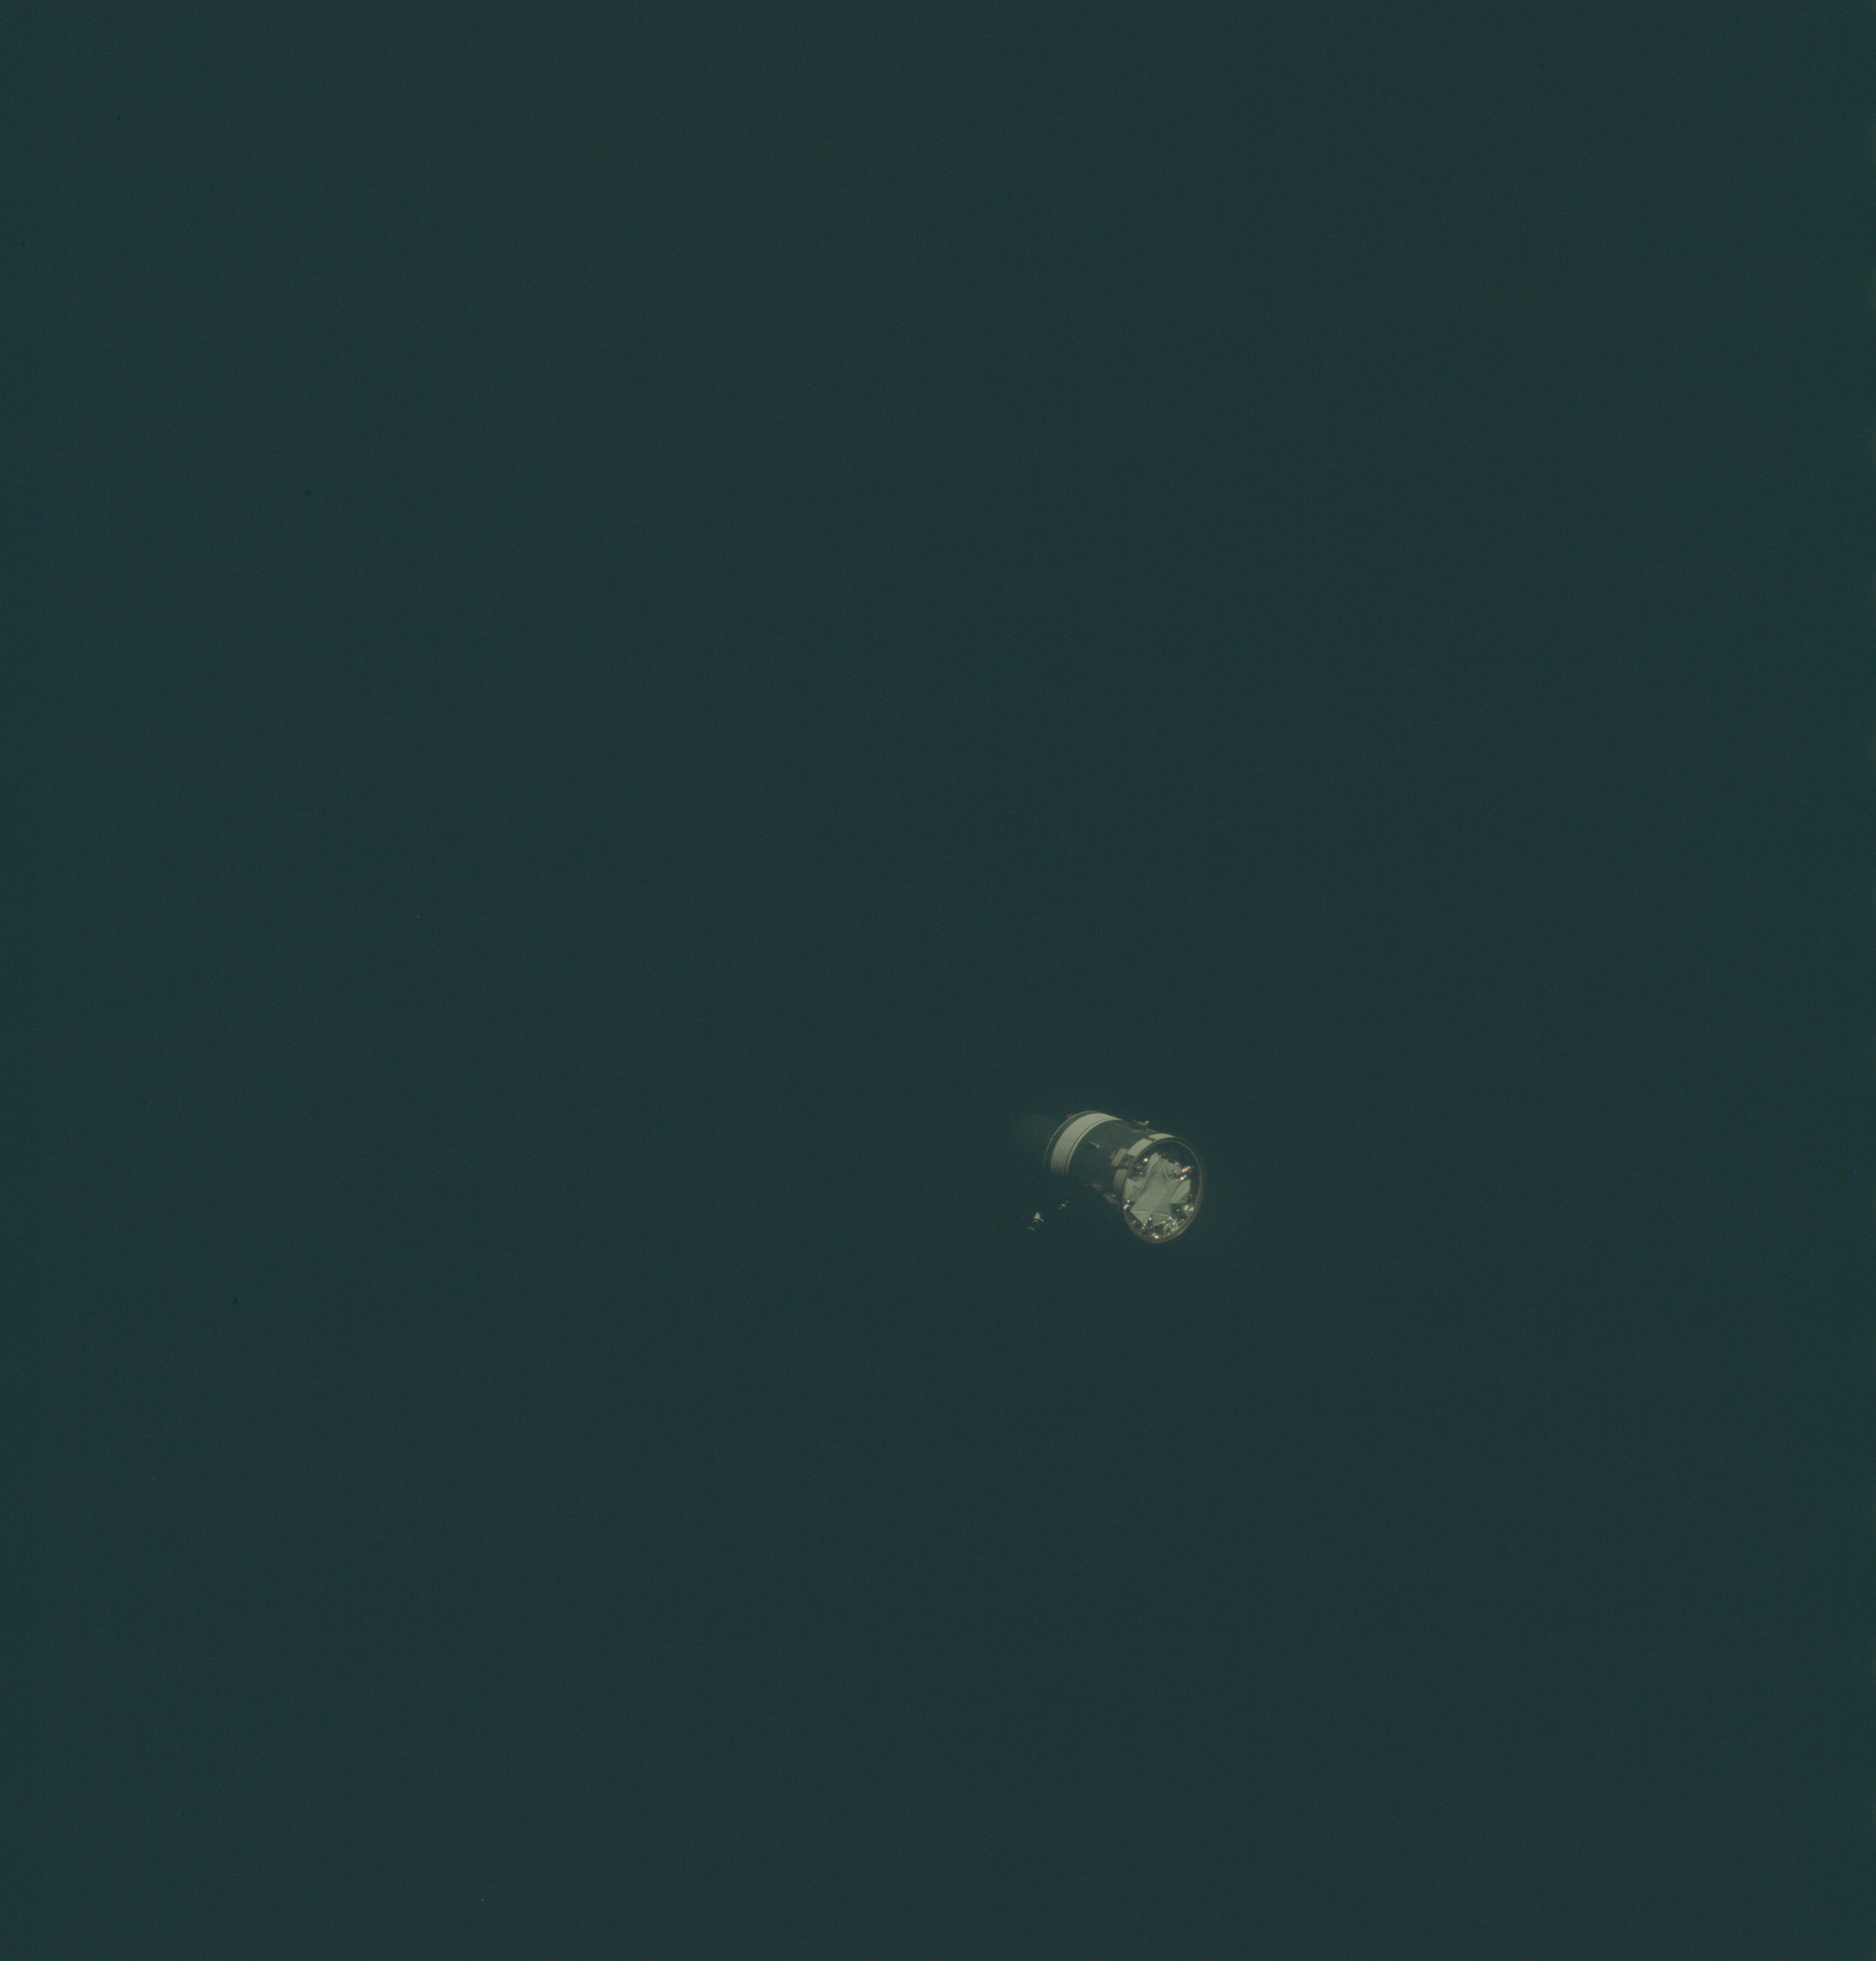 | AS13-58-8476 Service Module after separation from the Command Module. Image credit: Image Science and Analysis Laboratory, NASA-Johnson Space Center. |
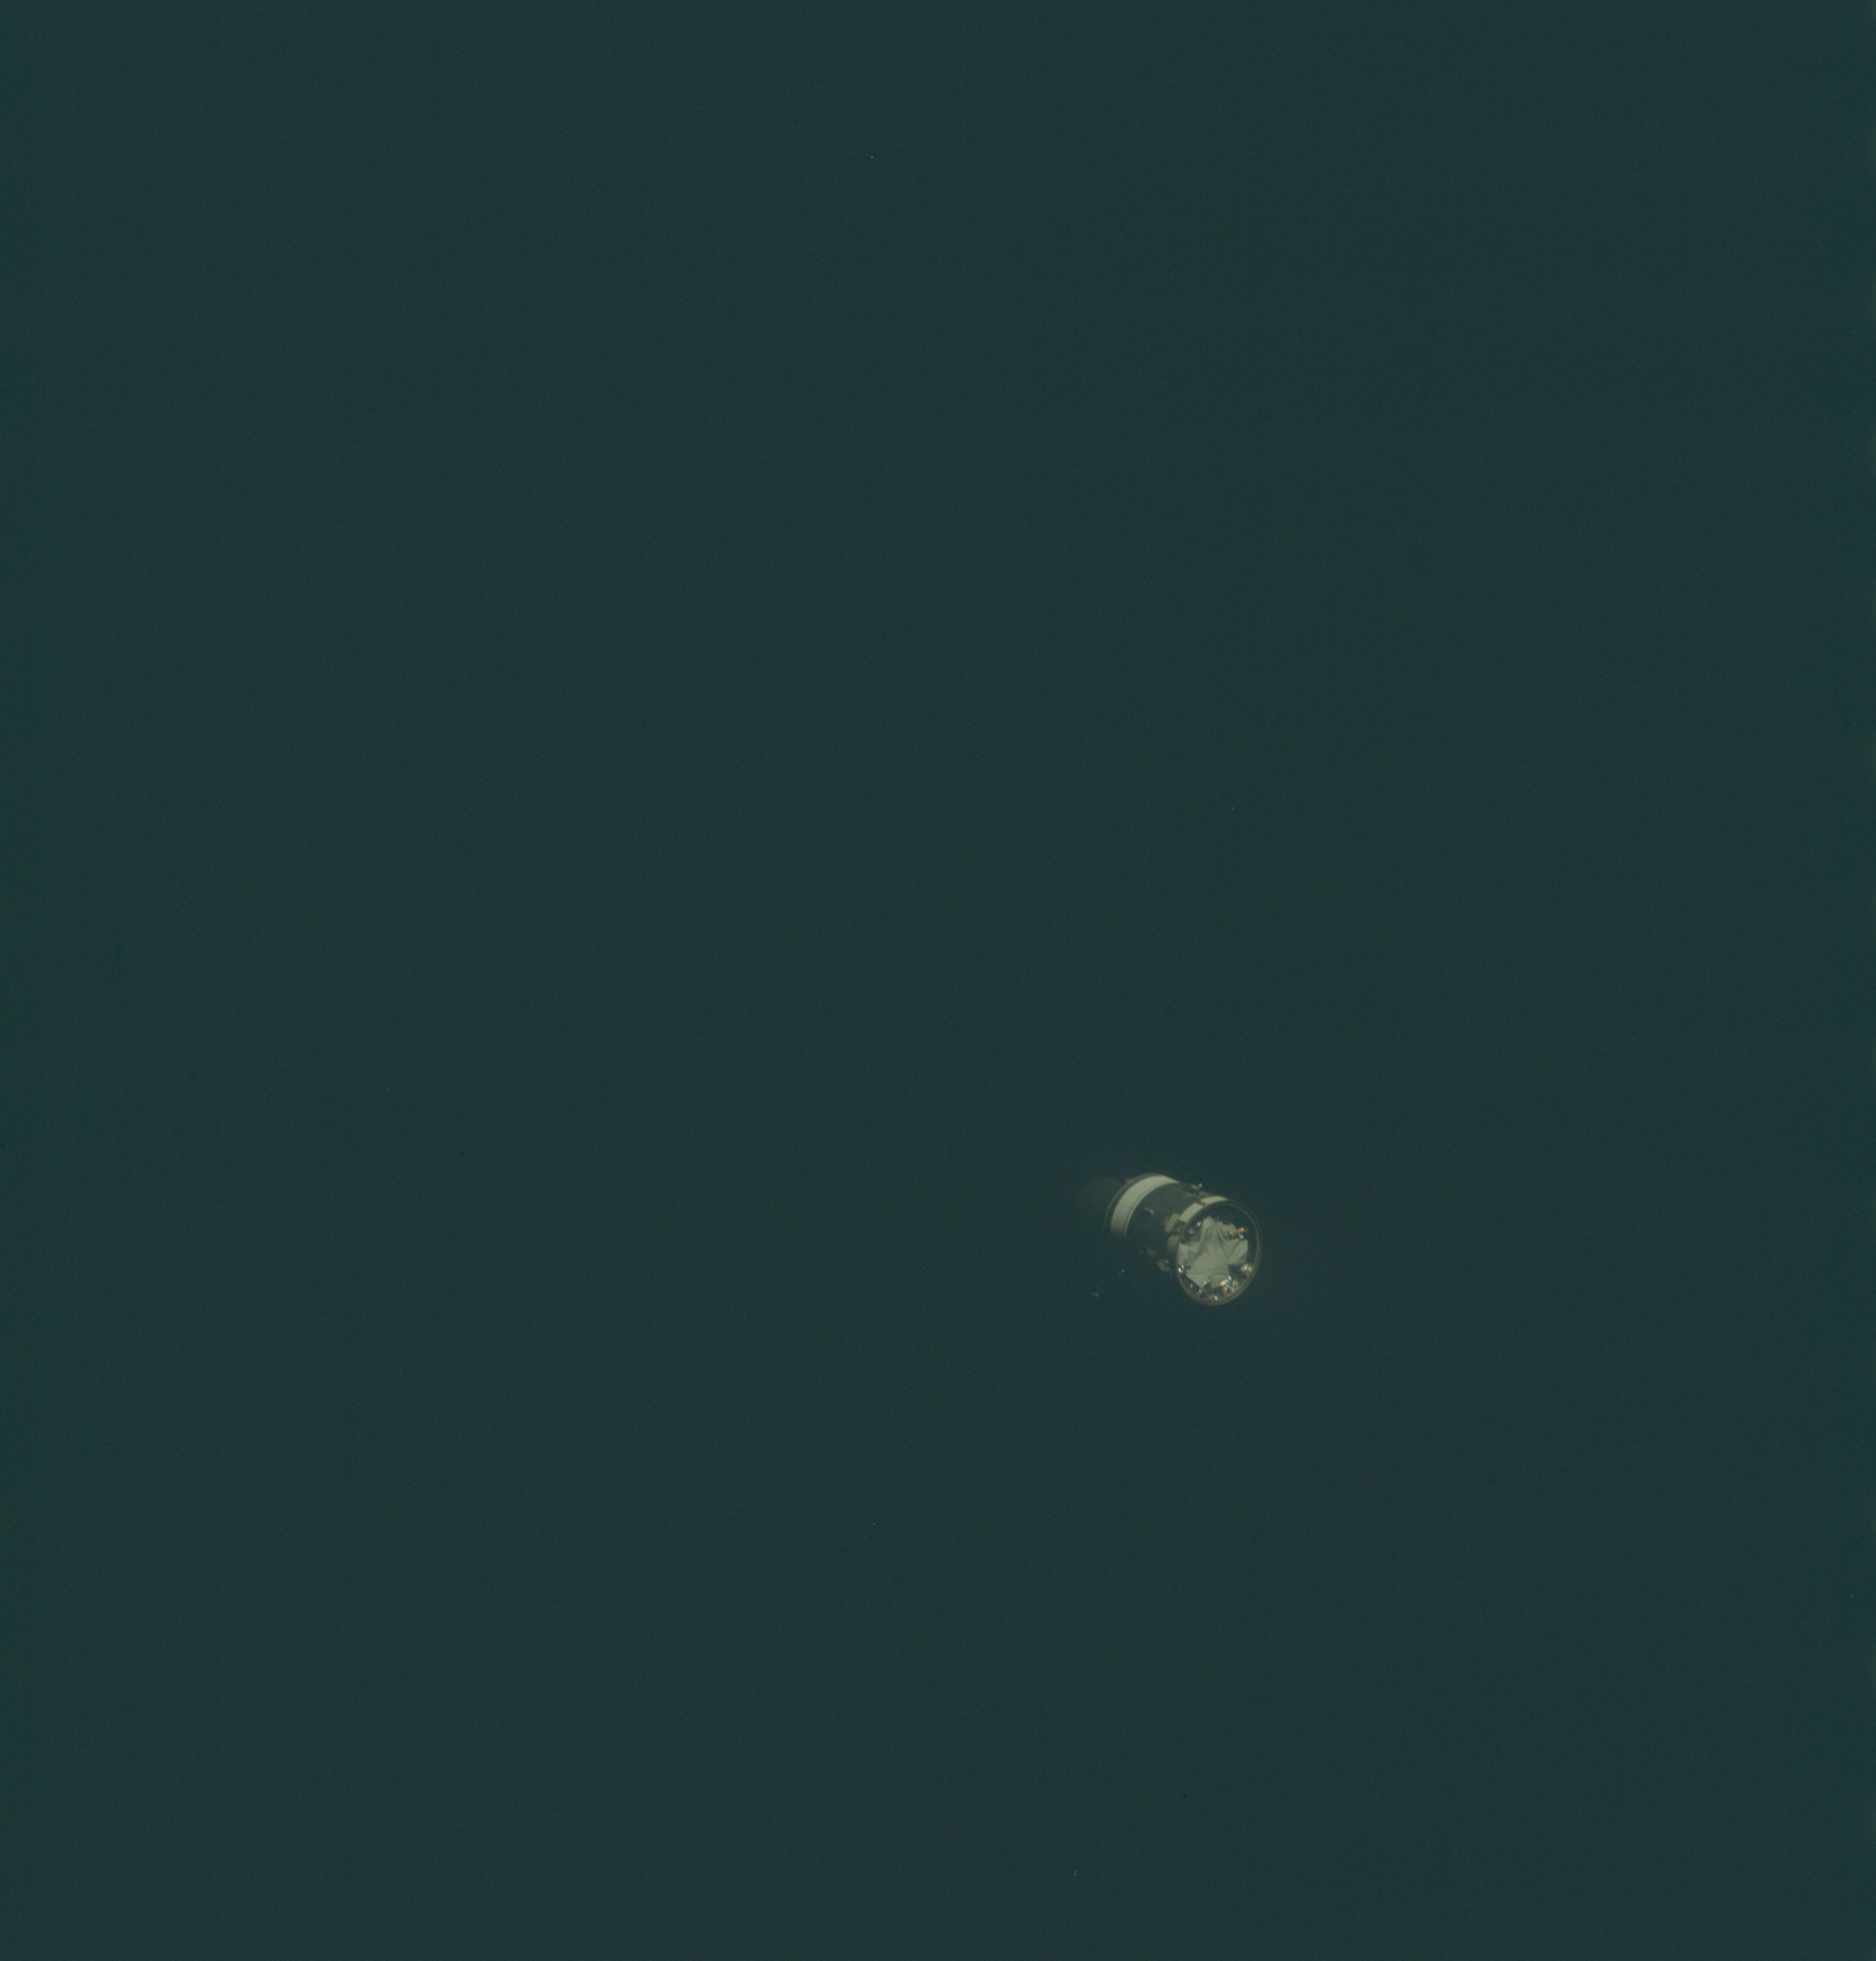 | AS13-58-8477 Service Module after separation from the Command Module. Image suffers from slight camera shake. Image credit: Image Science and Analysis Laboratory, NASA-Johnson Space Center. |
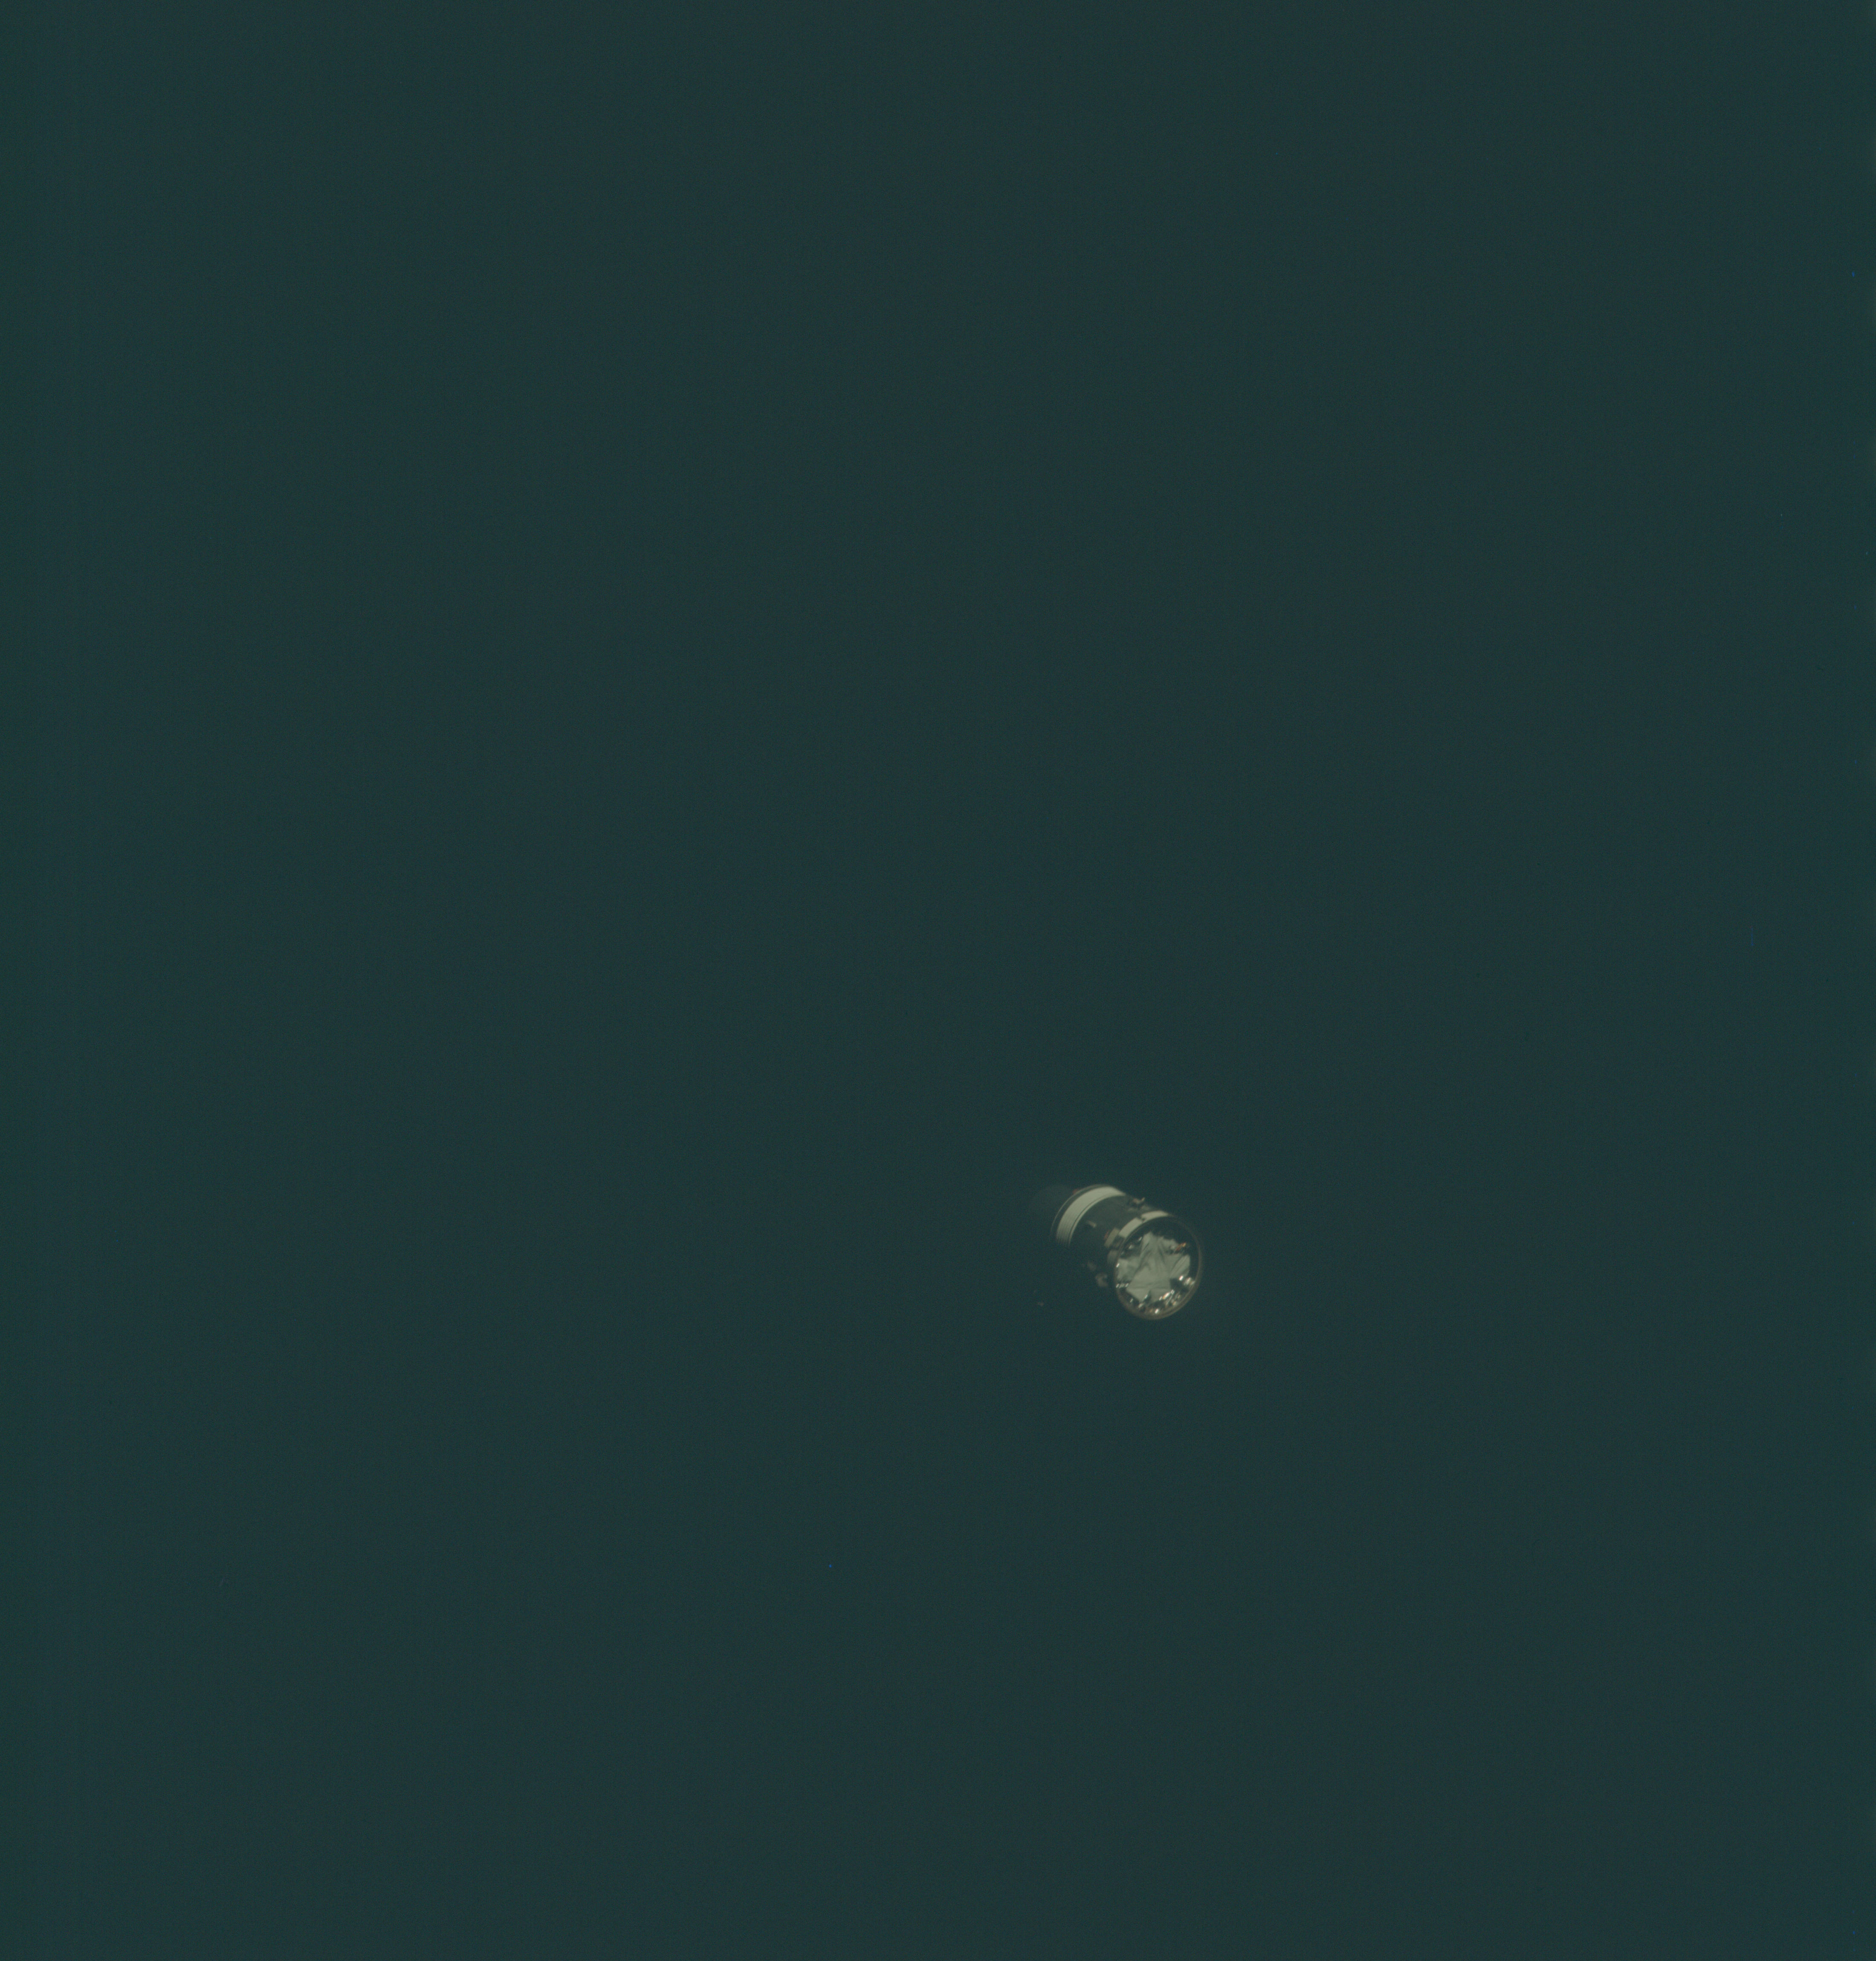 | AS13-58-8478 Service Module after separation from the Command Module. Image suffers from camera shake. Image credit: Image Science and Analysis Laboratory, NASA-Johnson Space Center. |
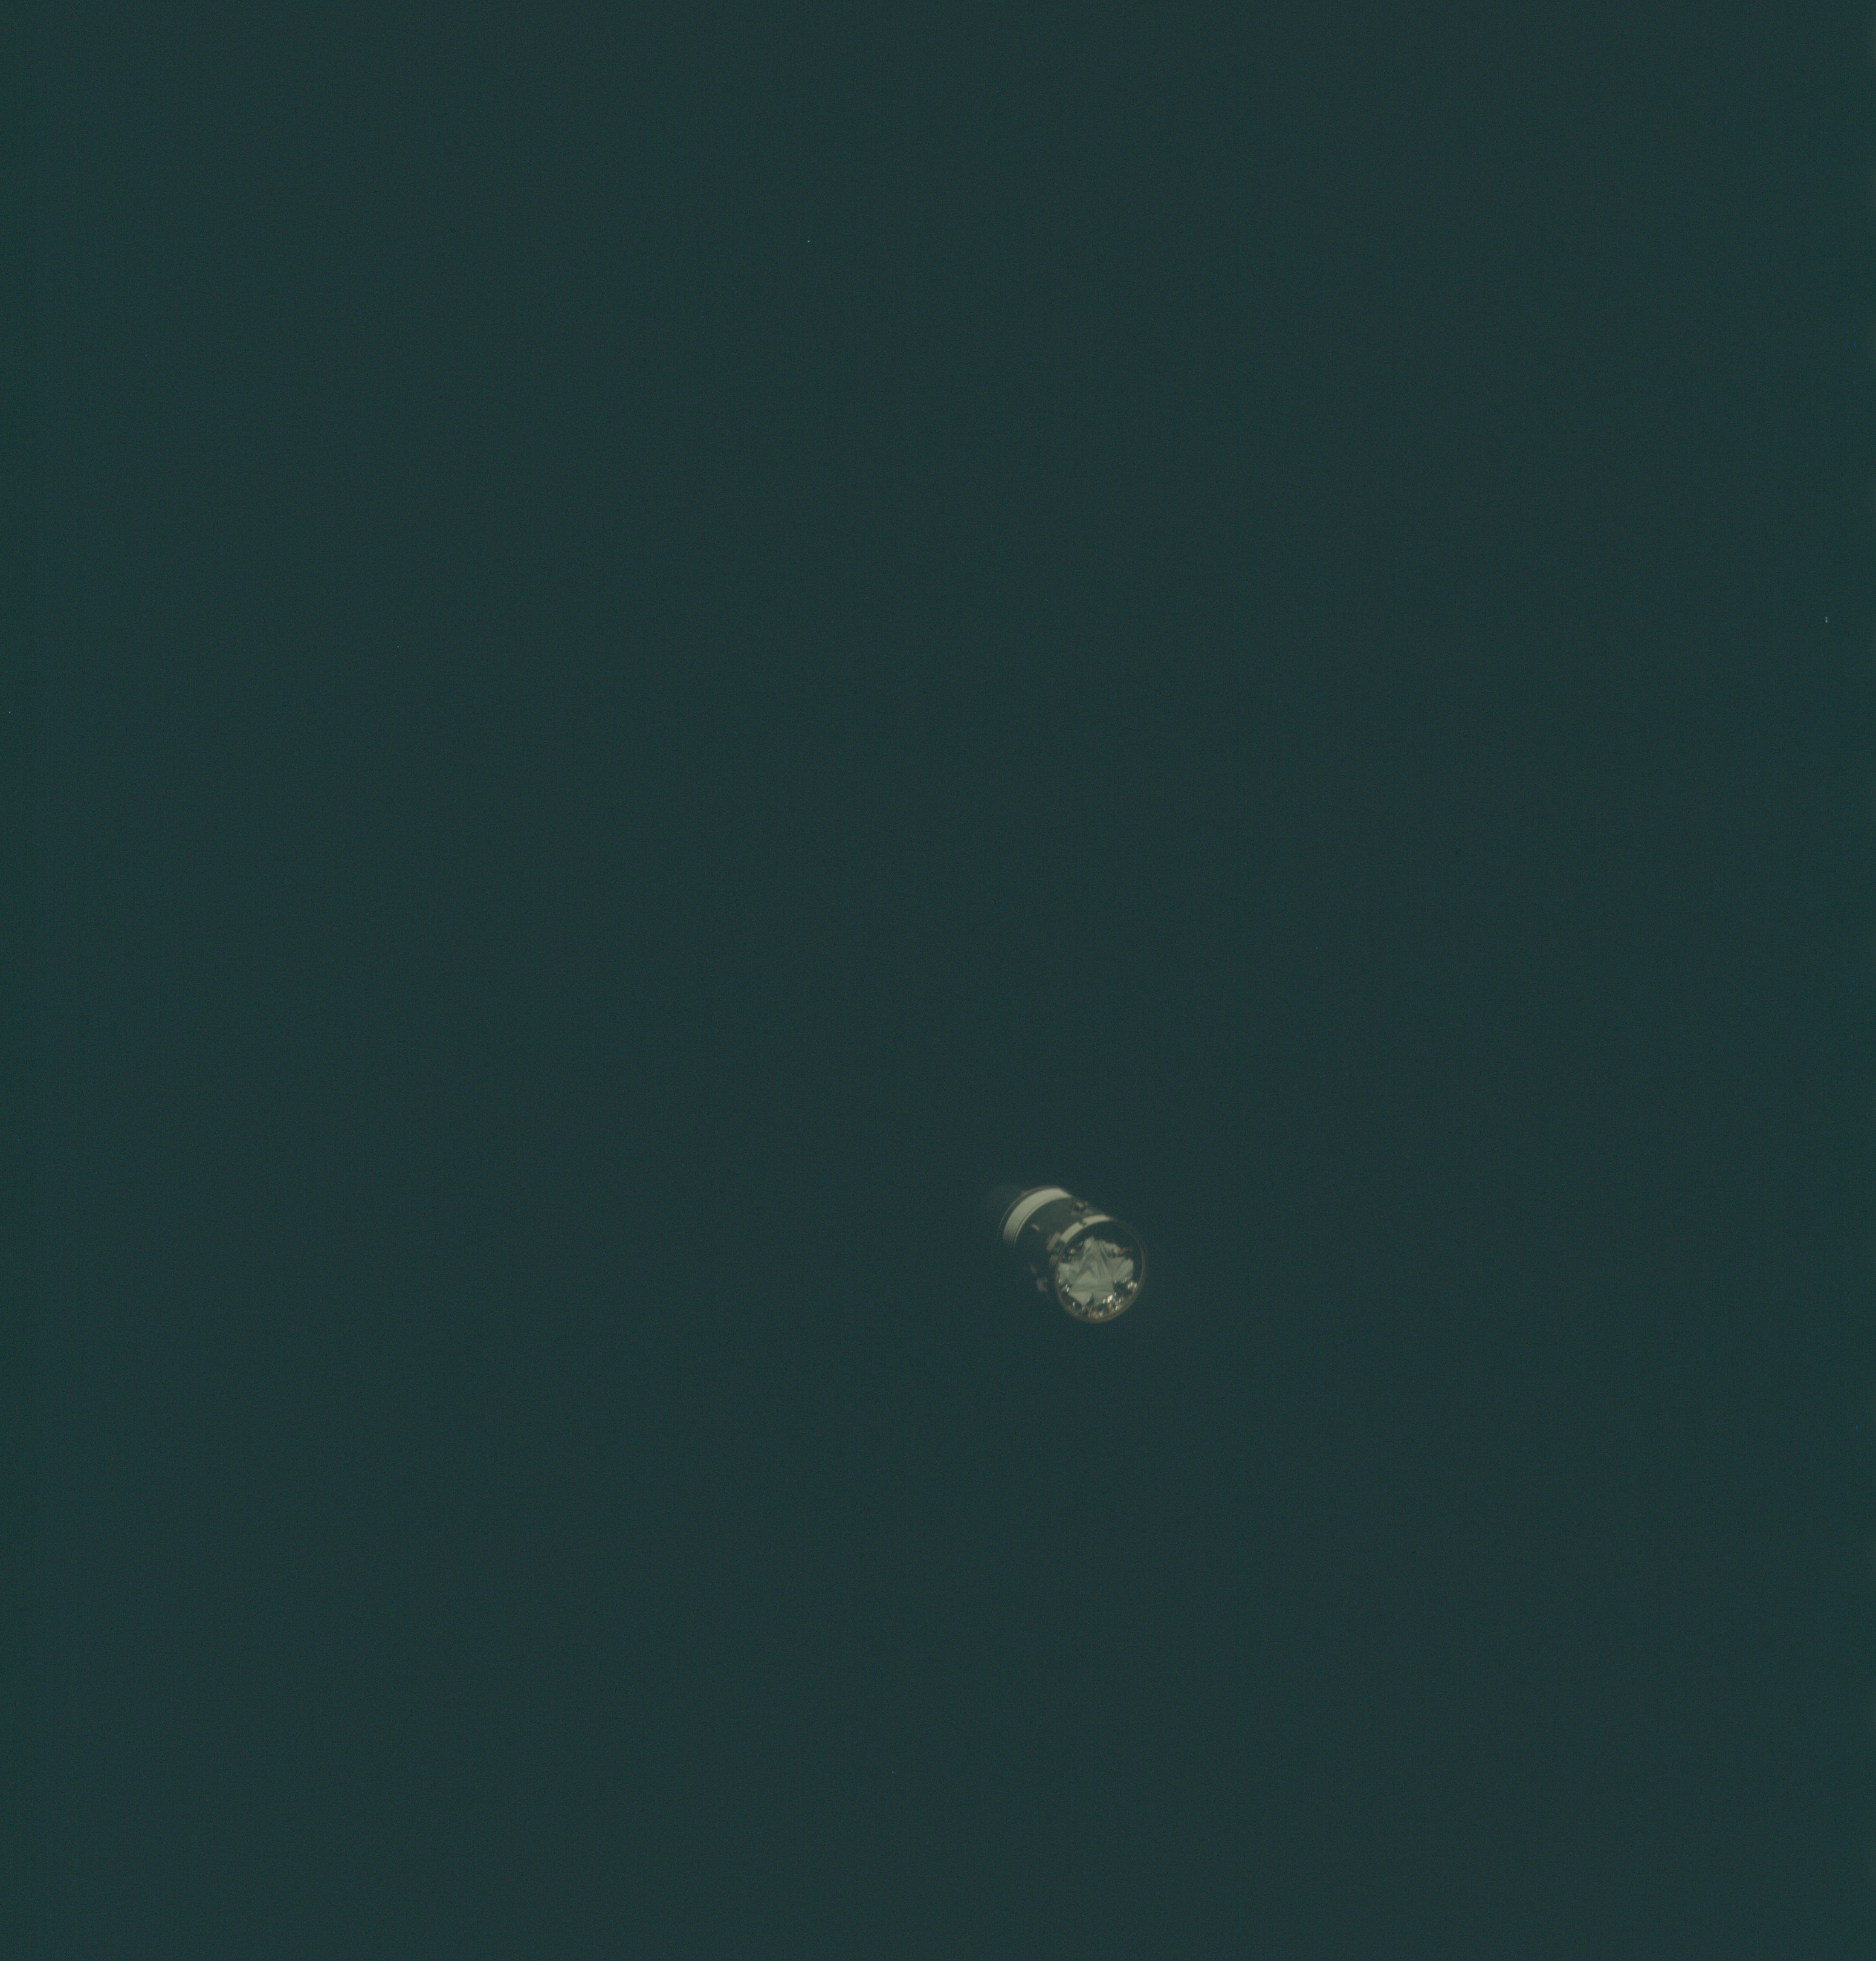 | AS13-58-8479 Service Module after separation from the Command Module. Image suffers from camera shake. Image credit: Image Science and Analysis Laboratory, NASA-Johnson Space Center. |
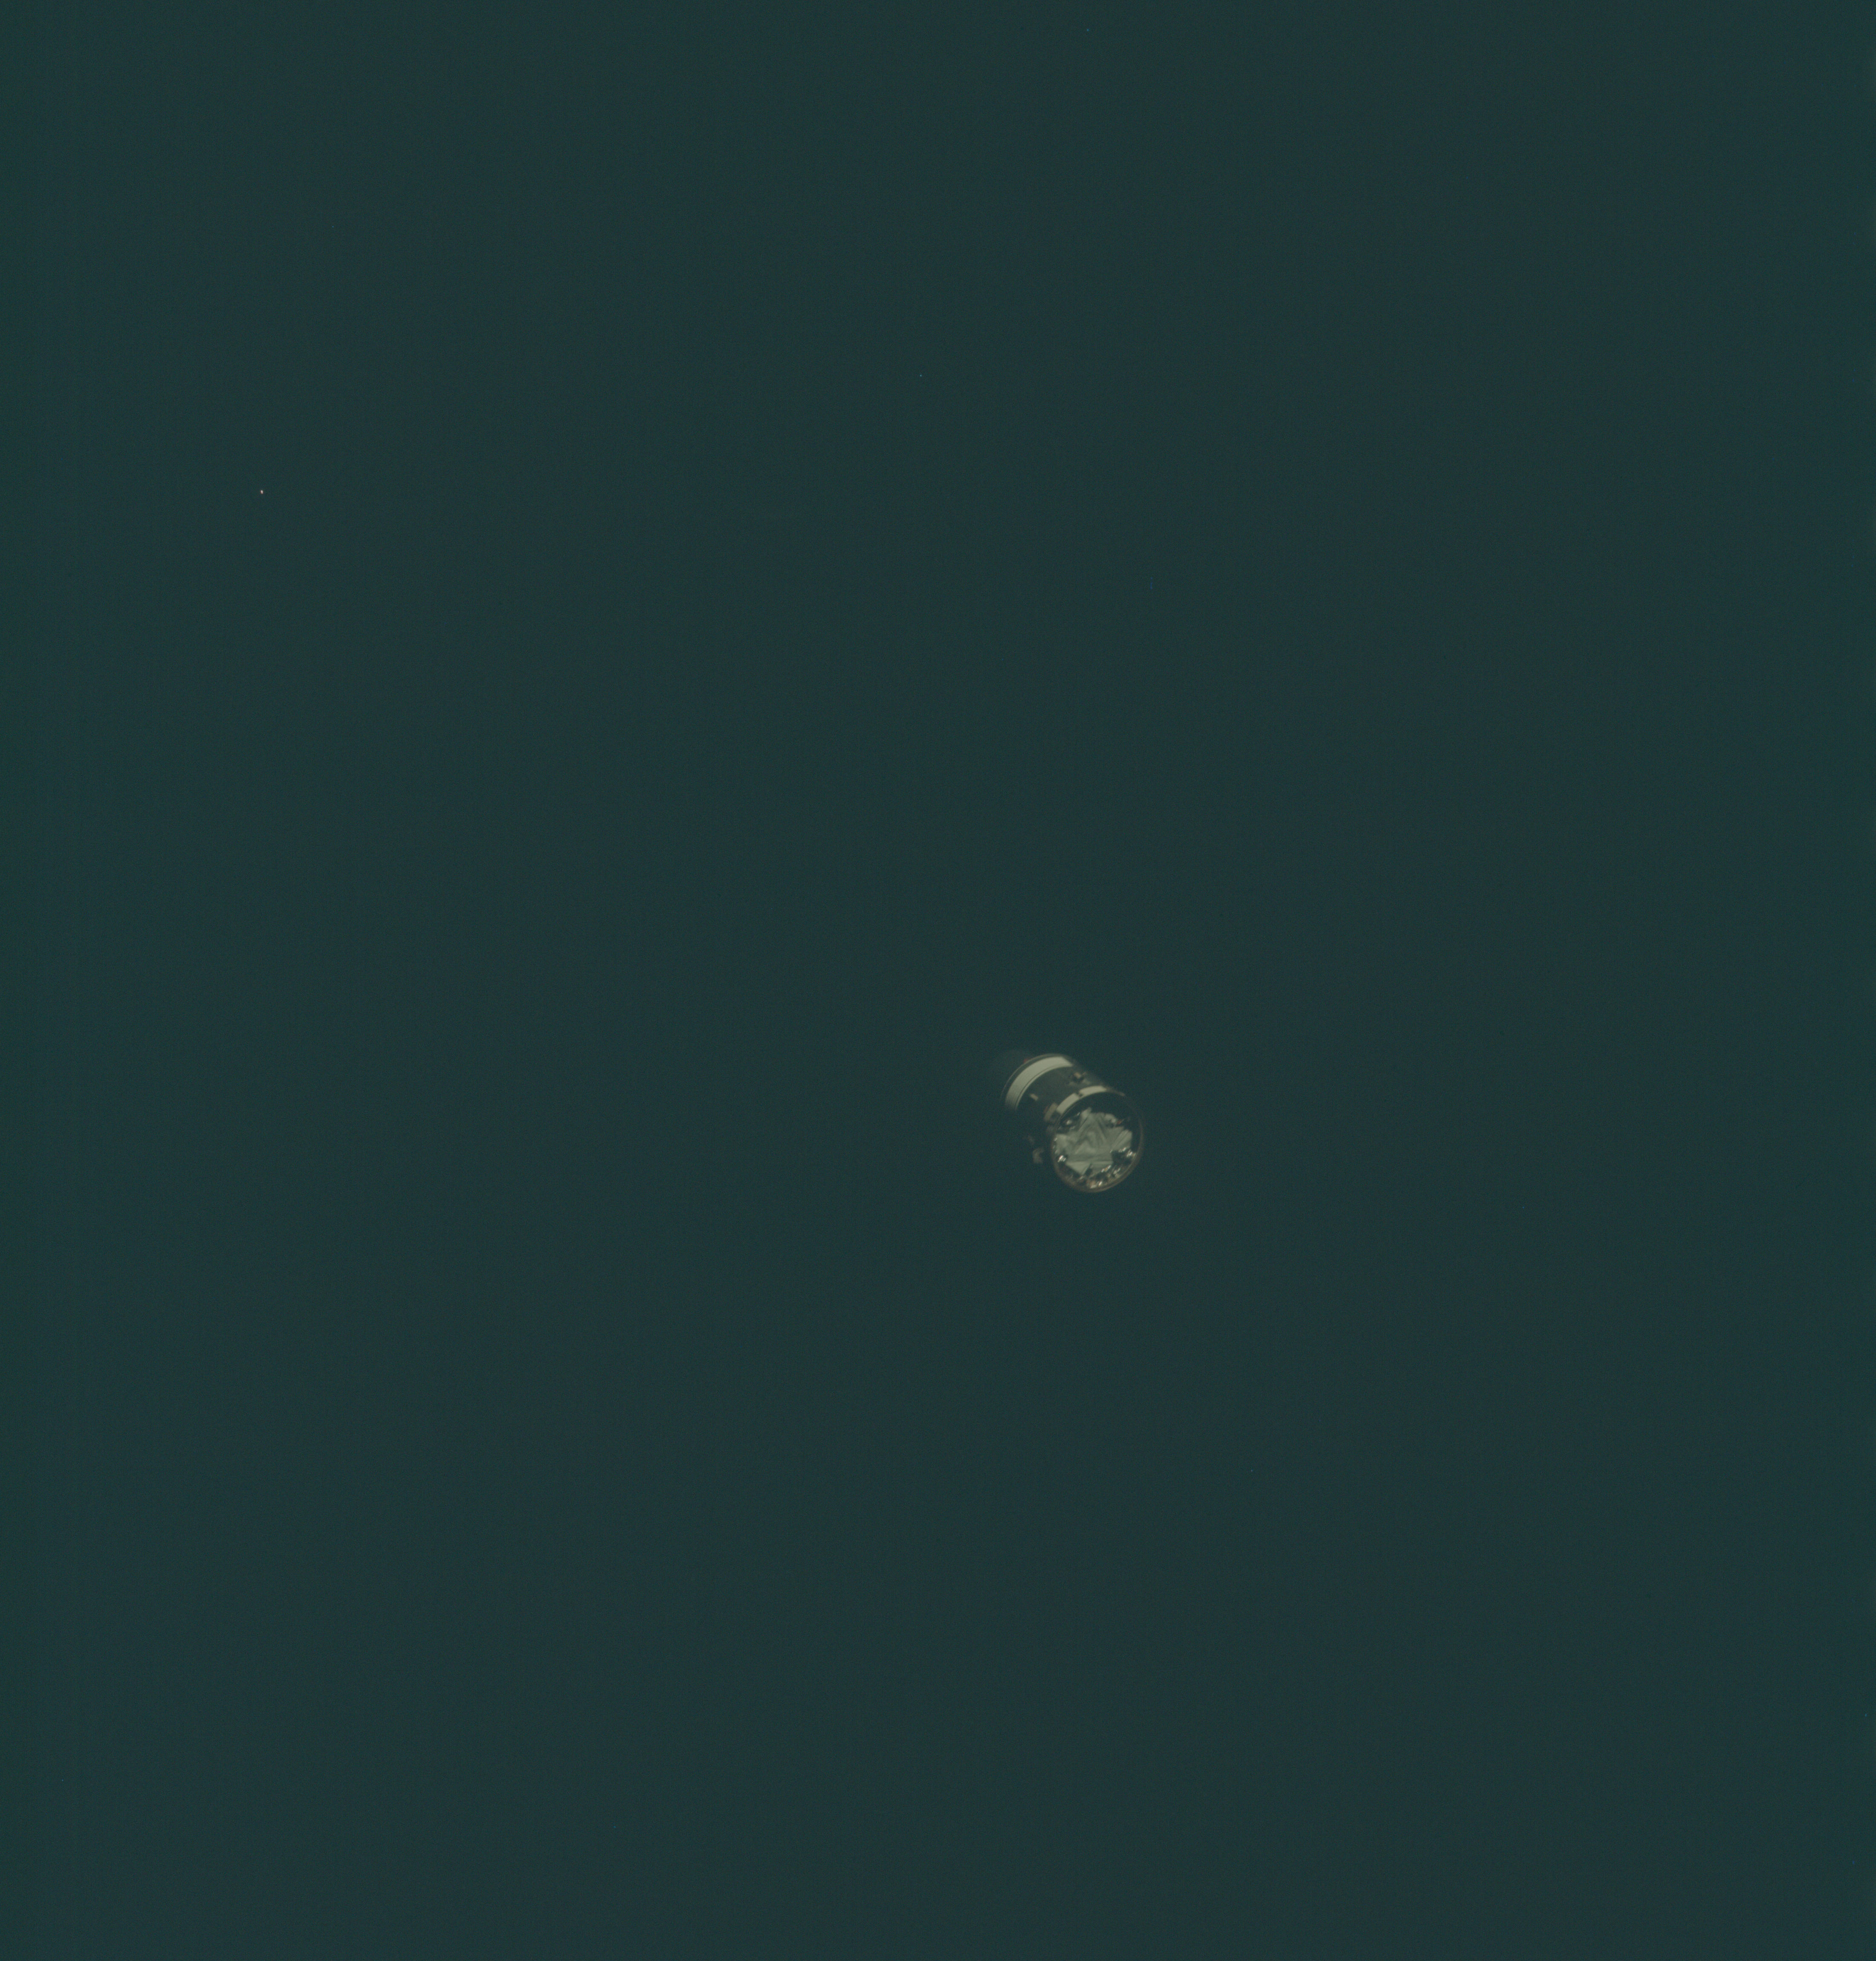 | AS13-58-8480 Service Module after separation from the Command Module. Image suffers from camera shake. Image credit: Image Science and Analysis Laboratory, NASA-Johnson Space Center. |
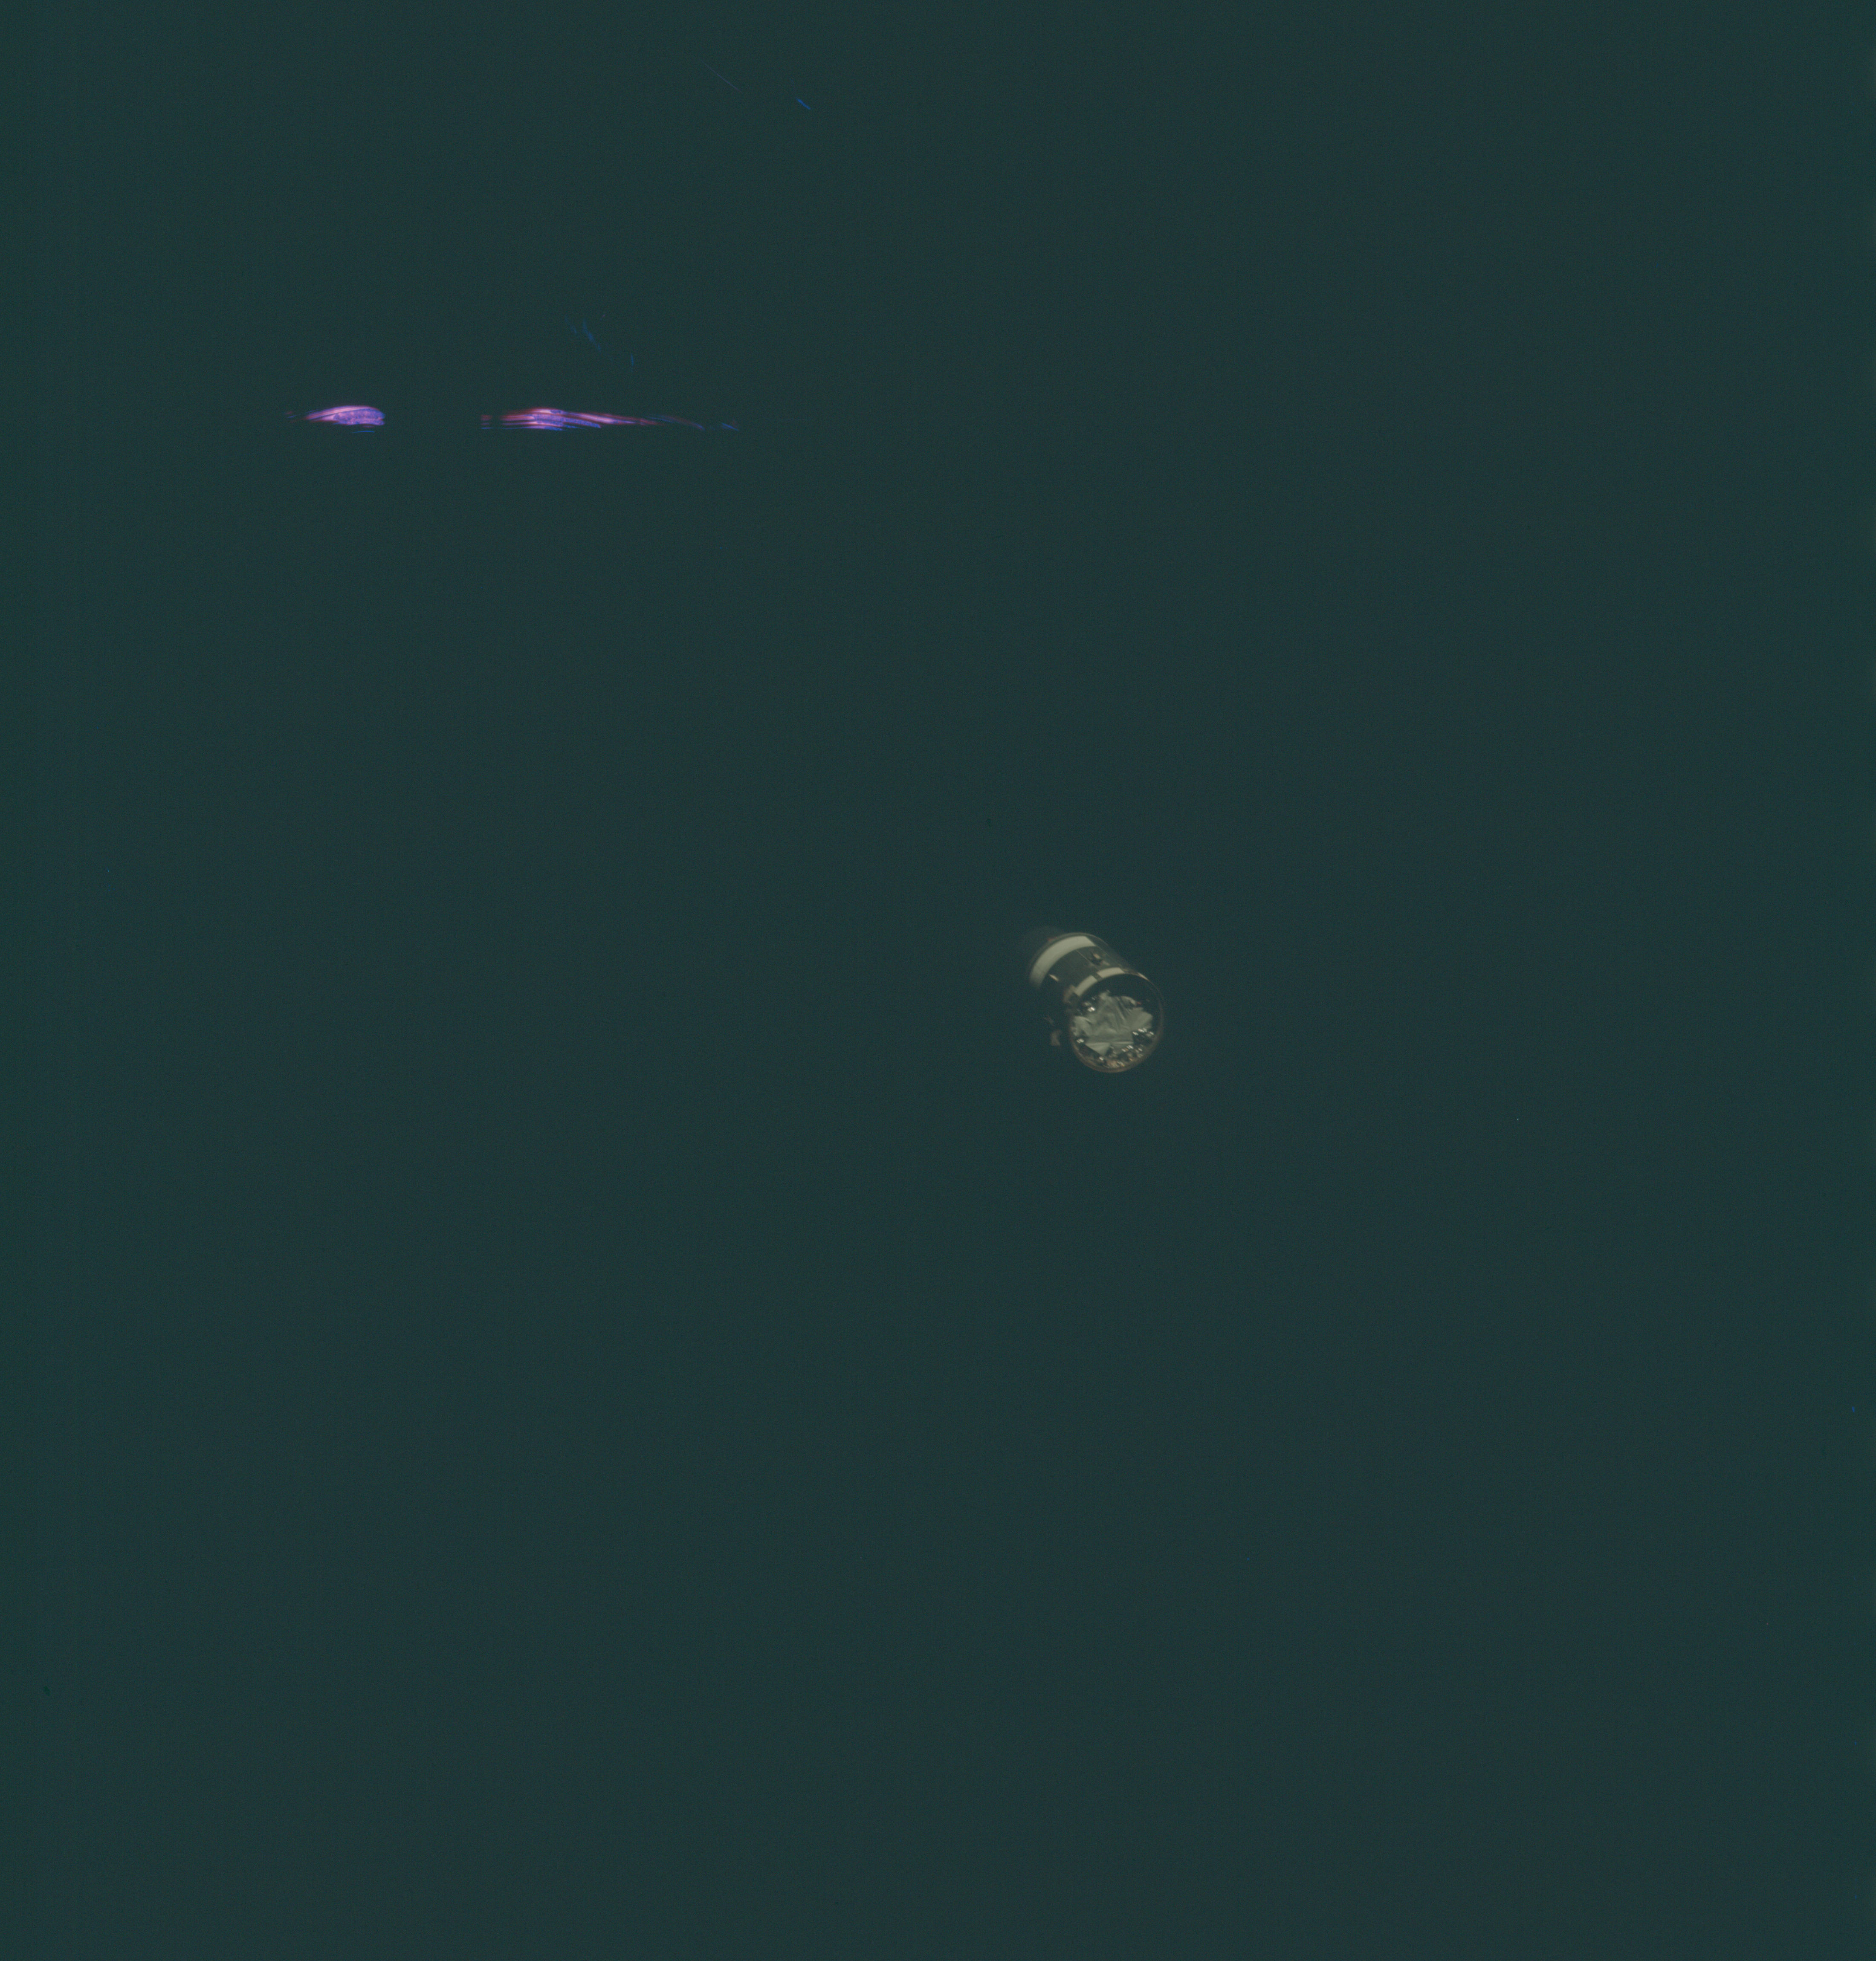 | AS13-58-8481 Service Module after separation from the Command Module. Image suffers from camera shake. Image credit: Image Science and Analysis Laboratory, NASA-Johnson Space Center. |
|
|
| Photography Index | 70-mm magazine R - AS13-59-8482 to 8576 |