 |
 |
 |
| 70-mm magazine V - AS12-47-6869 to 7021 |
Photography Index | 70-mm magazine Z - AS12-49-7172 to 7324 |
No copyright is asserted for NASA photographs. If a recognizable person appears in a photo, use for commercial purposes may infringe a right of privacy or publicity. Photos may not be used to state or imply the endorsement by NASA or by any NASA employee of a commercial product, process or service, or used in any other manner that might mislead. Accordingly, it is requested that if a NASA photograph is used in advertising and other commercial promotion, layout and copy be submitted to NASA prior to release.
NASA photos reproduced from this archive should include photo credit to "NASA" or "National Aeronautics and Space Administration" and should include scanning credit to the appropriate individuals or agencies as noted in the captions.
 |
AS12-48-7022 First of sequence taken prior to EVA-1. View out of Pete Conrad's window in LM at about 111:58:43 GET. Frame includes RCS thruster and is light-struck. Image credit: Image Science and Analysis Laboratory, NASA-Johnson Space Center |
 |
AS12-48-7023 View out of Pete Conrad's window in LM at about 111:58:43 GET. RCS thruster on left and LM shadow on right. Image credit: Image Science and Analysis Laboratory, NASA-Johnson Space Center |
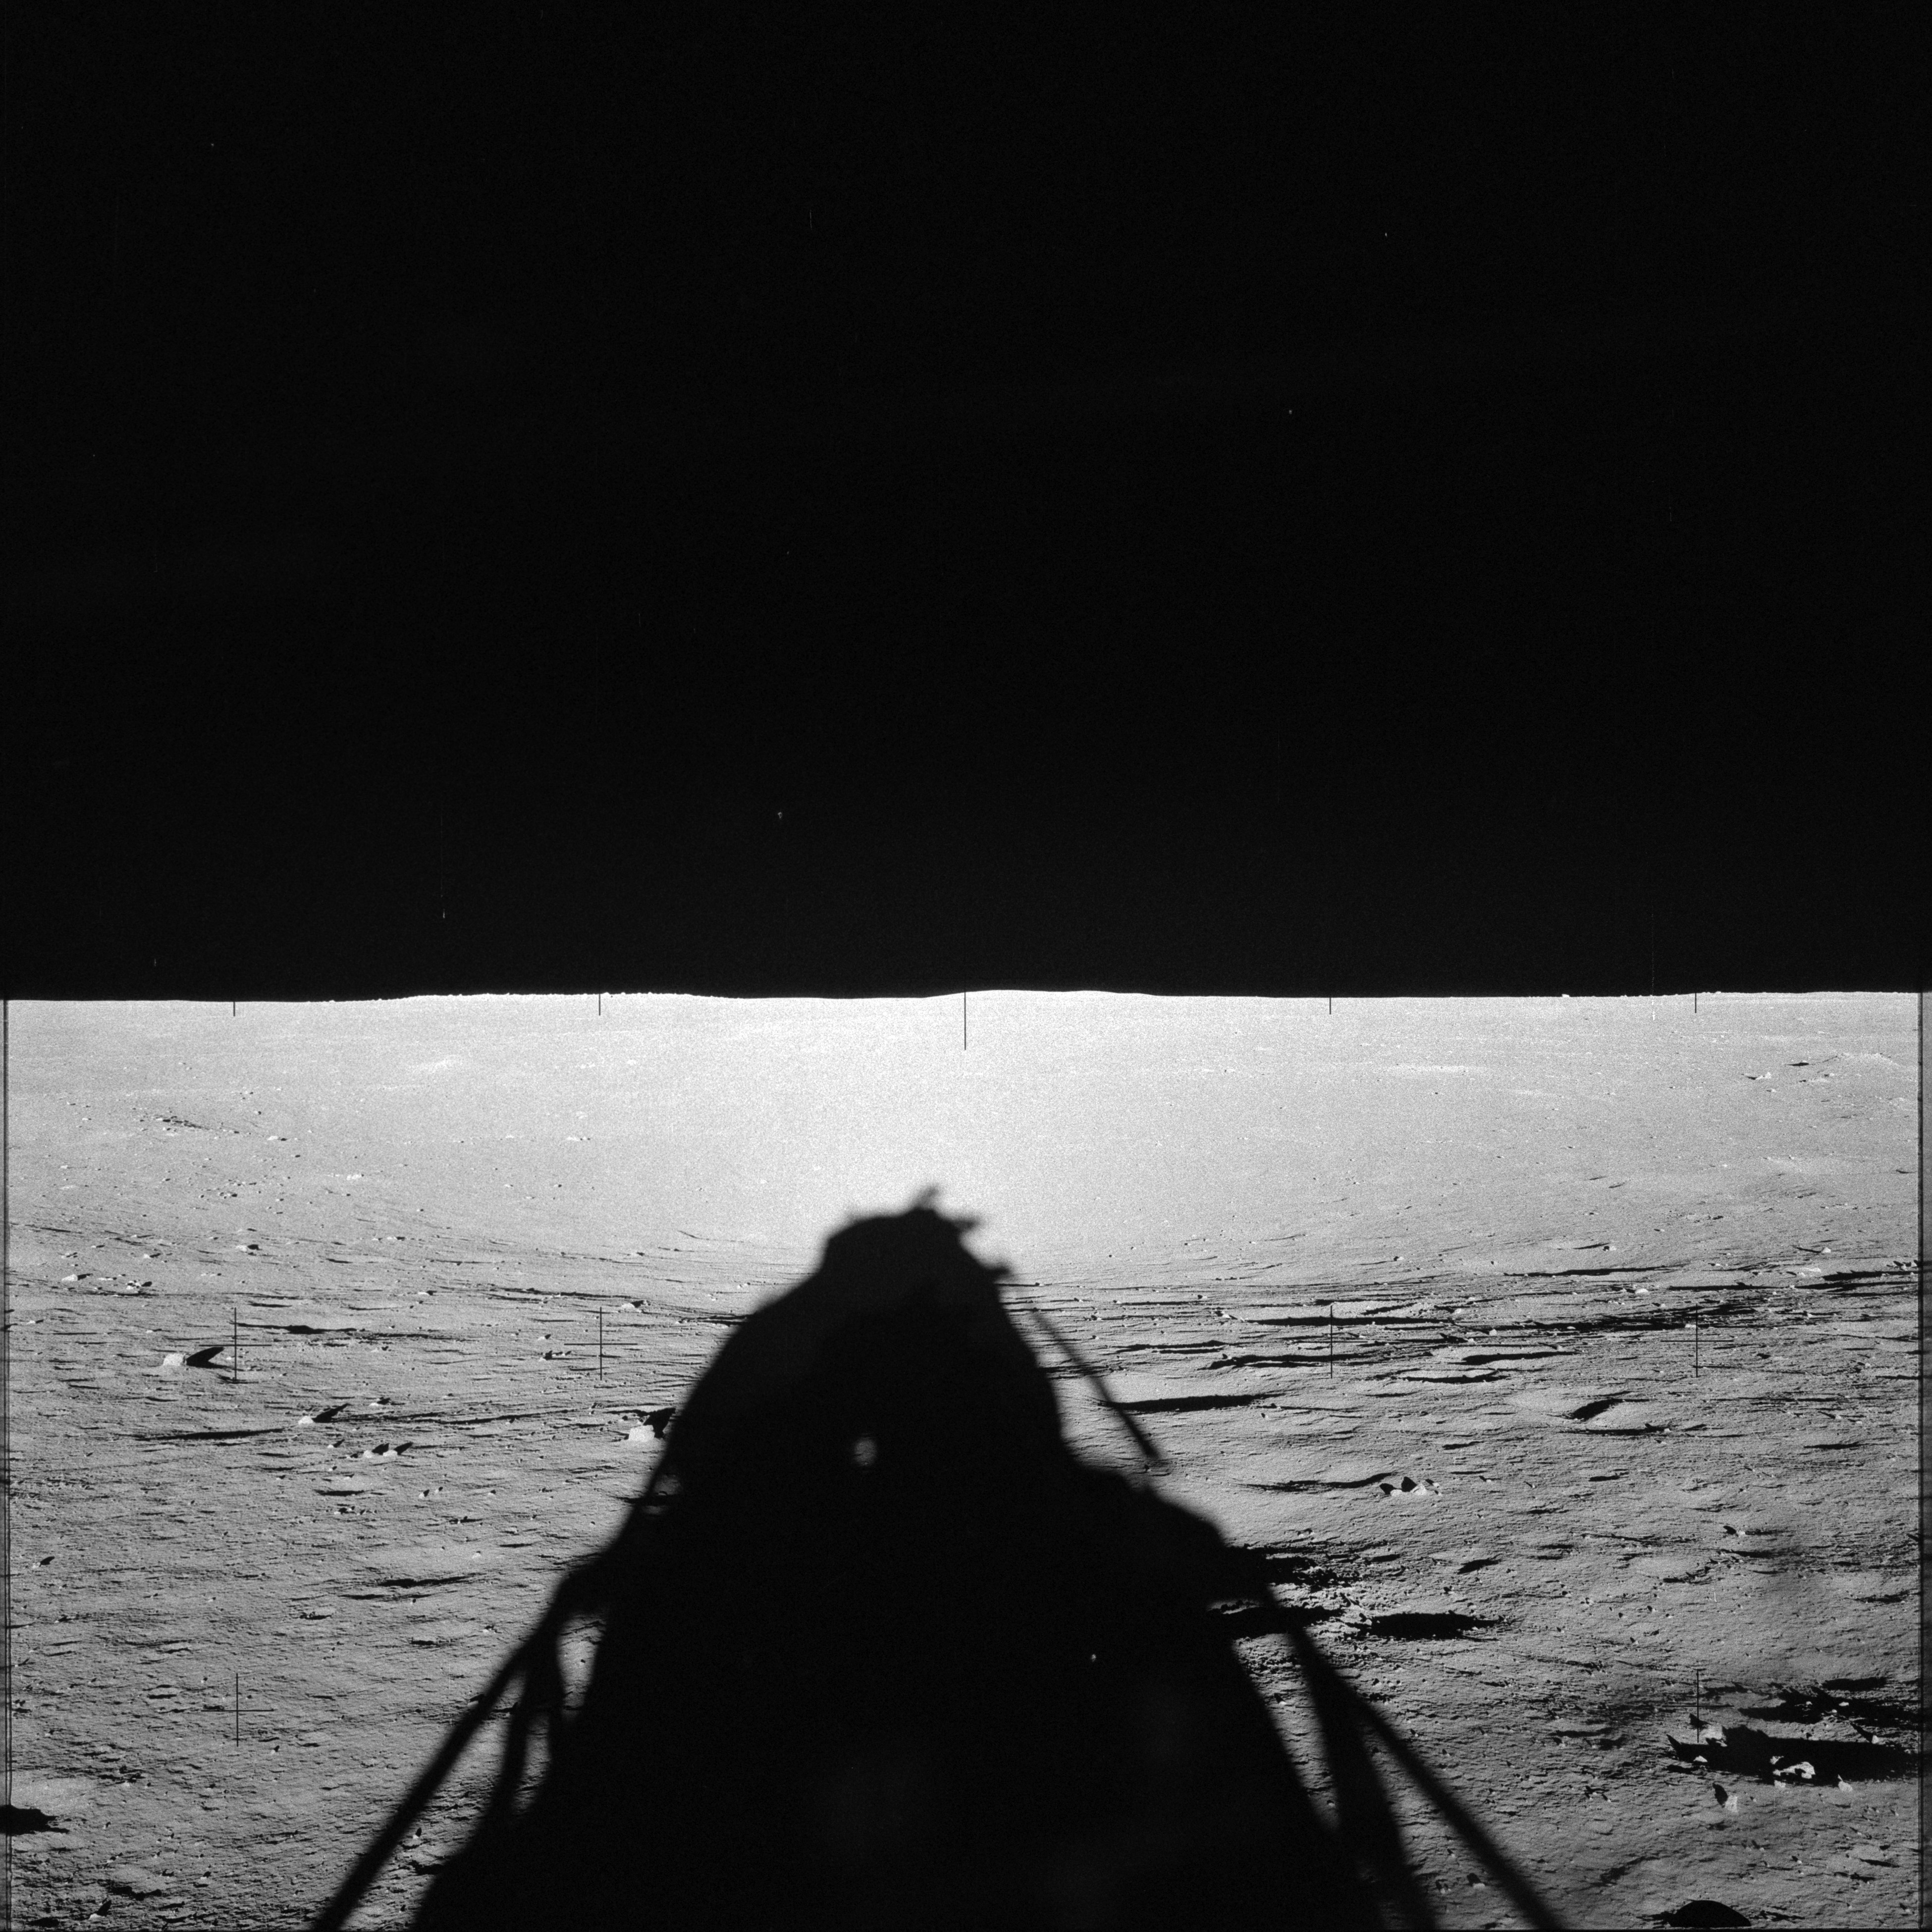 |
AS12-48-7024 Down-Sun view out of Pete Conrad's window in LM at about 111:58:43 GET. Image credit: Image Science and Analysis Laboratory, NASA-Johnson Space Center |
 |
AS12-48-7025 View out of Pete Conrad's window in LM. RCS thruster quad on left and LM shadow on right. Image credit: Image Science and Analysis Laboratory, NASA-Johnson Space Center |
 |
AS12-48-7026 Down-Sun view out of Pete Conrad's window in LM at about 111:58:43 GET. Image credit: Image Science and Analysis Laboratory, NASA-Johnson Space Center |
 |
AS12-48-7027 View out of Pete Conrad's window in LM. RCS thruster quad on left and LM shadow on right. Image credit: Image Science and Analysis Laboratory, NASA-Johnson Space Center |
 |
AS12-48-7028 View out of Al Bean's window in LM looking to the extreme left of his view. Image credit: Image Science and Analysis Laboratory, NASA-Johnson Space Center |
 |
AS12-48-7029 Rightward of 7028. View out of Al Bean's window in LM. Image credit: Image Science and Analysis Laboratory, NASA-Johnson Space Center |
 |
AS12-48-7030 Rightward of 7029. View out of Al Bean's window in LM past RCS thruster quad. Image credit: Image Science and Analysis Laboratory, NASA-Johnson Space Center |
 |
AS12-48-7031 Slightly rightward of 7030. View out of Al Bean's window in LM past RCS thruster quad. Image credit: Image Science and Analysis Laboratory, NASA-Johnson Space Center |
 |
AS12-48-7032 Leftward of 7031. View out of Al Bean's window in LM towards nearfield crater containing a small boulder. Image credit: Image Science and Analysis Laboratory, NASA-Johnson Space Center |
 |
AS12-48-7033 Tilted down from 7032. View out of Al Bean's window in LM towards surface in front of nearfield crater containing a small boulder. Image credit: Image Science and Analysis Laboratory, NASA-Johnson Space Center |
 |
AS12-48-7034 First of sequence taken during EVA-2. View under LM at 132:00:36 GET past south landing gear. The contact probe is bent upwards towards camera in forground. Upper right is the opened cask that carried a plutonium fuel element. Below that is the landing radar antenna and its heatshield that protected it from the engine's exhaust gases. On the left is the removal tool and domed lid of the plutonium cask. Al Bean took this picture to illustrate the rock beneath the engine that failed to be moved by the exhaust gases. Image credit: Image Science and Analysis Laboratory, NASA-Johnson Space Center |
 |
AS12-48-7035 An attempt to get a closer chot of the rock beneath the engine. Image credit: Image Science and Analysis Laboratory, NASA-Johnson Space Center |
 |
AS12-48-7036 Colour/contrast chart photographed in full Sun at about 132:03:44 GET. Image credit: Image Science and Analysis Laboratory, NASA-Johnson Space Center |
 |
AS12-48-7037 Colour/contrast chart photographed in full Sun at about 132:03:44 GET. Image credit: Image Science and Analysis Laboratory, NASA-Johnson Space Center |
 |
AS12-48-7038 Colour/contrast chart photographed in the shadow of a small crater at about 132:06:37 GET. Image credit: Image Science and Analysis Laboratory, NASA-Johnson Space Center |
 |
AS12-48-7039 Al Bean has stepped back a little for this shot of the colour/contrast chart in the shadow of a small crater. Image credit: Image Science and Analysis Laboratory, NASA-Johnson Space Center |
 |
AS12-48-7040 Al Bean has stepped further back for this shot of the colour/contrast chart in the shadow of a small crater. Image credit: Image Science and Analysis Laboratory, NASA-Johnson Space Center |
 |
AS12-48-7041 Down-Sun image of the Solar Wind Collector taken at about 132:07:59 GET. Image credit: Image Science and Analysis Laboratory, NASA-Johnson Space Center |
 |
AS12-48-7042 Cross-Sun image of the Solar Wind Collector taken at about 132:07:59 GET. Image credit: Image Science and Analysis Laboratory, NASA-Johnson Space Center |
 |
AS12-48-7043 Down-Sun 'before' image of sampling site at a small crater during traverse to Head Crater at 132:12:36 GET. Image credit: Image Science and Analysis Laboratory, NASA-Johnson Space Center |
 |
AS12-48-7044 Down-Sun 'before' image of sampling site at a small crater during traverse to Head Crater. Image credit: Image Science and Analysis Laboratory, NASA-Johnson Space Center |
 |
AS12-48-7045 Down-Sun 'after' image of sampling site at a small crater during traverse to Head Crater at 132:13:01 GET. Image credit: Image Science and Analysis Laboratory, NASA-Johnson Space Center |
 |
AS12-48-7046 This and the next photo are taken without a filter at about 132:16:13 GET and show a down-Sun view of the same scene that Pete Conrad is photographing cross-Sun using a polarising filter. Image credit: Image Science and Analysis Laboratory, NASA-Johnson Space Center |
 |
AS12-48-7047 This is slightly rightward of the previous photo, both taken without a filter to show a down-Sun view of the same scene that Pete Conrad is photographing cross-Sun using a polarising filter. Image credit: Image Science and Analysis Laboratory, NASA-Johnson Space Center |
 |
AS12-48-7048 Image of first gnomon setup at Head Crater at 132:21:08 GET. Note disturbed soil near Pete's shadow that have exposed light soil layer. Image credit: Image Science and Analysis Laboratory, NASA-Johnson Space Center |
 |
AS12-48-7049 Image of second gnomon setup at Head Crater at 132:22:16 GET. A trench is about to be dug here to investigate light soil layer. Image credit: Image Science and Analysis Laboratory, NASA-Johnson Space Center |
 |
AS12-48-7050 Similar to 7049 with Al Bean taking the shot slightly further back. Image credit: Image Science and Analysis Laboratory, NASA-Johnson Space Center |
 |
AS12-48-7051 'After' photo of trench dug to investigate light soil layer, taken at 132:24:45. Image credit: Image Science and Analysis Laboratory, NASA-Johnson Space Center |
 |
AS12-48-7052 Rightward of 7051, taken at 132:27:12 GET after Pete Conrad had removed the gnomon. Image credit: Image Science and Analysis Laboratory, NASA-Johnson Space Center |
 |
AS12-48-7053 Down-Sun photo of 15-centimetre rock taken at 132:29:15 GET. Image credit: Image Science and Analysis Laboratory, NASA-Johnson Space Center |
 |
AS12-48-7054 Similar to 7053 but with shadow obscuring rock. Taken at 132:29:35 GET. Image credit: Image Science and Analysis Laboratory, NASA-Johnson Space Center |
 |
AS12-48-7055 Similar to 7054 but with shadow clear of rock. Taken at 132:29:39 GET. Image credit: Image Science and Analysis Laboratory, NASA-Johnson Space Center |
 |
AS12-48-7056 First of three shots that make a mini-panorama of Triple Crater. Taken at 132:31:20 GET. Image credit: Image Science and Analysis Laboratory, NASA-Johnson Space Center |
 |
AS12-48-7057 Rightward of 7056. Note shadow of Hand Tool Carrier beside Al Bean's shadow. Image credit: Image Science and Analysis Laboratory, NASA-Johnson Space Center |
 |
AS12-48-7058 Rightward of 7057. Image credit: Image Science and Analysis Laboratory, NASA-Johnson Space Center |
 |
AS12-48-7059 'Before' image of sample 12052, taken at 132:33:43 GET. Image credit: Image Science and Analysis Laboratory, NASA-Johnson Space Center |
 |
AS12-48-7060 Down-Sun image of the half-metre boulder, taken at 132:35:34 GET. Image credit: Image Science and Analysis Laboratory, NASA-Johnson Space Center |
 |
AS12-48-7061 Rightward of 7060. Image credit: Image Science and Analysis Laboratory, NASA-Johnson Space Center |
 |
AS12-48-7062 Boulder at Bench Crater, taken at 132:36:31. Image credit: Image Science and Analysis Laboratory, NASA-Johnson Space Center |
 |
AS12-48-7063 Down-Sun 'before' of first sample site at Bench Crater. Taken at 132:40:16. Image credit: Image Science and Analysis Laboratory, NASA-Johnson Space Center |
 |
AS12-48-7064 Down-Sun of partially buried boulder at Bench Crater. Taken at 132:42:18 GET. Image credit: Image Science and Analysis Laboratory, NASA-Johnson Space Center |
 |
AS12-48-7065 Down-Sun 'before' of the Sharp trench. Taken at 132:57:43 GET. Image credit: Image Science and Analysis Laboratory, NASA-Johnson Space Center |
 |
AS12-48-7066 Leftward of 7065 for stereo. Image credit: Image Science and Analysis Laboratory, NASA-Johnson Space Center |
 |
AS12-48-7067 Down-Sun photo of gnomon and trench at Sharp Crater, partially obscured by Al Bean's shadow. Taken at 132:58:18 GET. Image credit: Image Science and Analysis Laboratory, NASA-Johnson Space Center |
 |
AS12-48-7068 First image of a down-Sun stereopair of the trench at Sharp Crater after Al Bean has driven a core to sample the bottom. Taken at 133:03:46 GET. Image credit: Image Science and Analysis Laboratory, NASA-Johnson Space Center |
 |
AS12-48-7069 Rightward of 7068 for stereo. Image credit: Image Science and Analysis Laboratory, NASA-Johnson Space Center |
 |
AS12-48-7070 'Before' image of small rocks intended for the SESC can which will keep them sealed for gas inspection. Taken at 133:07:09 GET. Image credit: Image Science and Analysis Laboratory, NASA-Johnson Space Center |
 |
AS12-48-7071 Image by Al Bean of Pete Conrad while Pete was taking Al's picture. Image credit: Image Science and Analysis Laboratory, NASA-Johnson Space Center |
 |
AS12-48-7072 First of stereo pair of gnomon, taken at 133:17:16 GET. Image credit: Image Science and Analysis Laboratory, NASA-Johnson Space Center |
 |
AS12-48-7073 Second of stereo pair of gnomon, Leftward of 7072. Taken at 133:17:16 GET. Image credit: Image Science and Analysis Laboratory, NASA-Johnson Space Center |
 |
AS12-48-7074 No description yet. Image credit: Image Science and Analysis Laboratory, NASA-Johnson Space Center |
 |
AS12-48-7075 No description yet. Image credit: Image Science and Analysis Laboratory, NASA-Johnson Space Center |
 |
AS12-48-7076 No description yet. Image credit: Image Science and Analysis Laboratory, NASA-Johnson Space Center |
 |
AS12-48-7077 No description yet. Image credit: Image Science and Analysis Laboratory, NASA-Johnson Space Center |
 |
AS12-48-7078 No description yet. Image credit: Image Science and Analysis Laboratory, NASA-Johnson Space Center |
 |
AS12-48-7079 No description yet. Image credit: Image Science and Analysis Laboratory, NASA-Johnson Space Center |
 |
AS12-48-7080 No description yet. Image credit: Image Science and Analysis Laboratory, NASA-Johnson Space Center |
 |
AS12-48-7081 No description yet. Image credit: Image Science and Analysis Laboratory, NASA-Johnson Space Center |
 |
AS12-48-7082 No description yet. Image credit: Image Science and Analysis Laboratory, NASA-Johnson Space Center |
 |
AS12-48-7083 No description yet. Image credit: Image Science and Analysis Laboratory, NASA-Johnson Space Center |
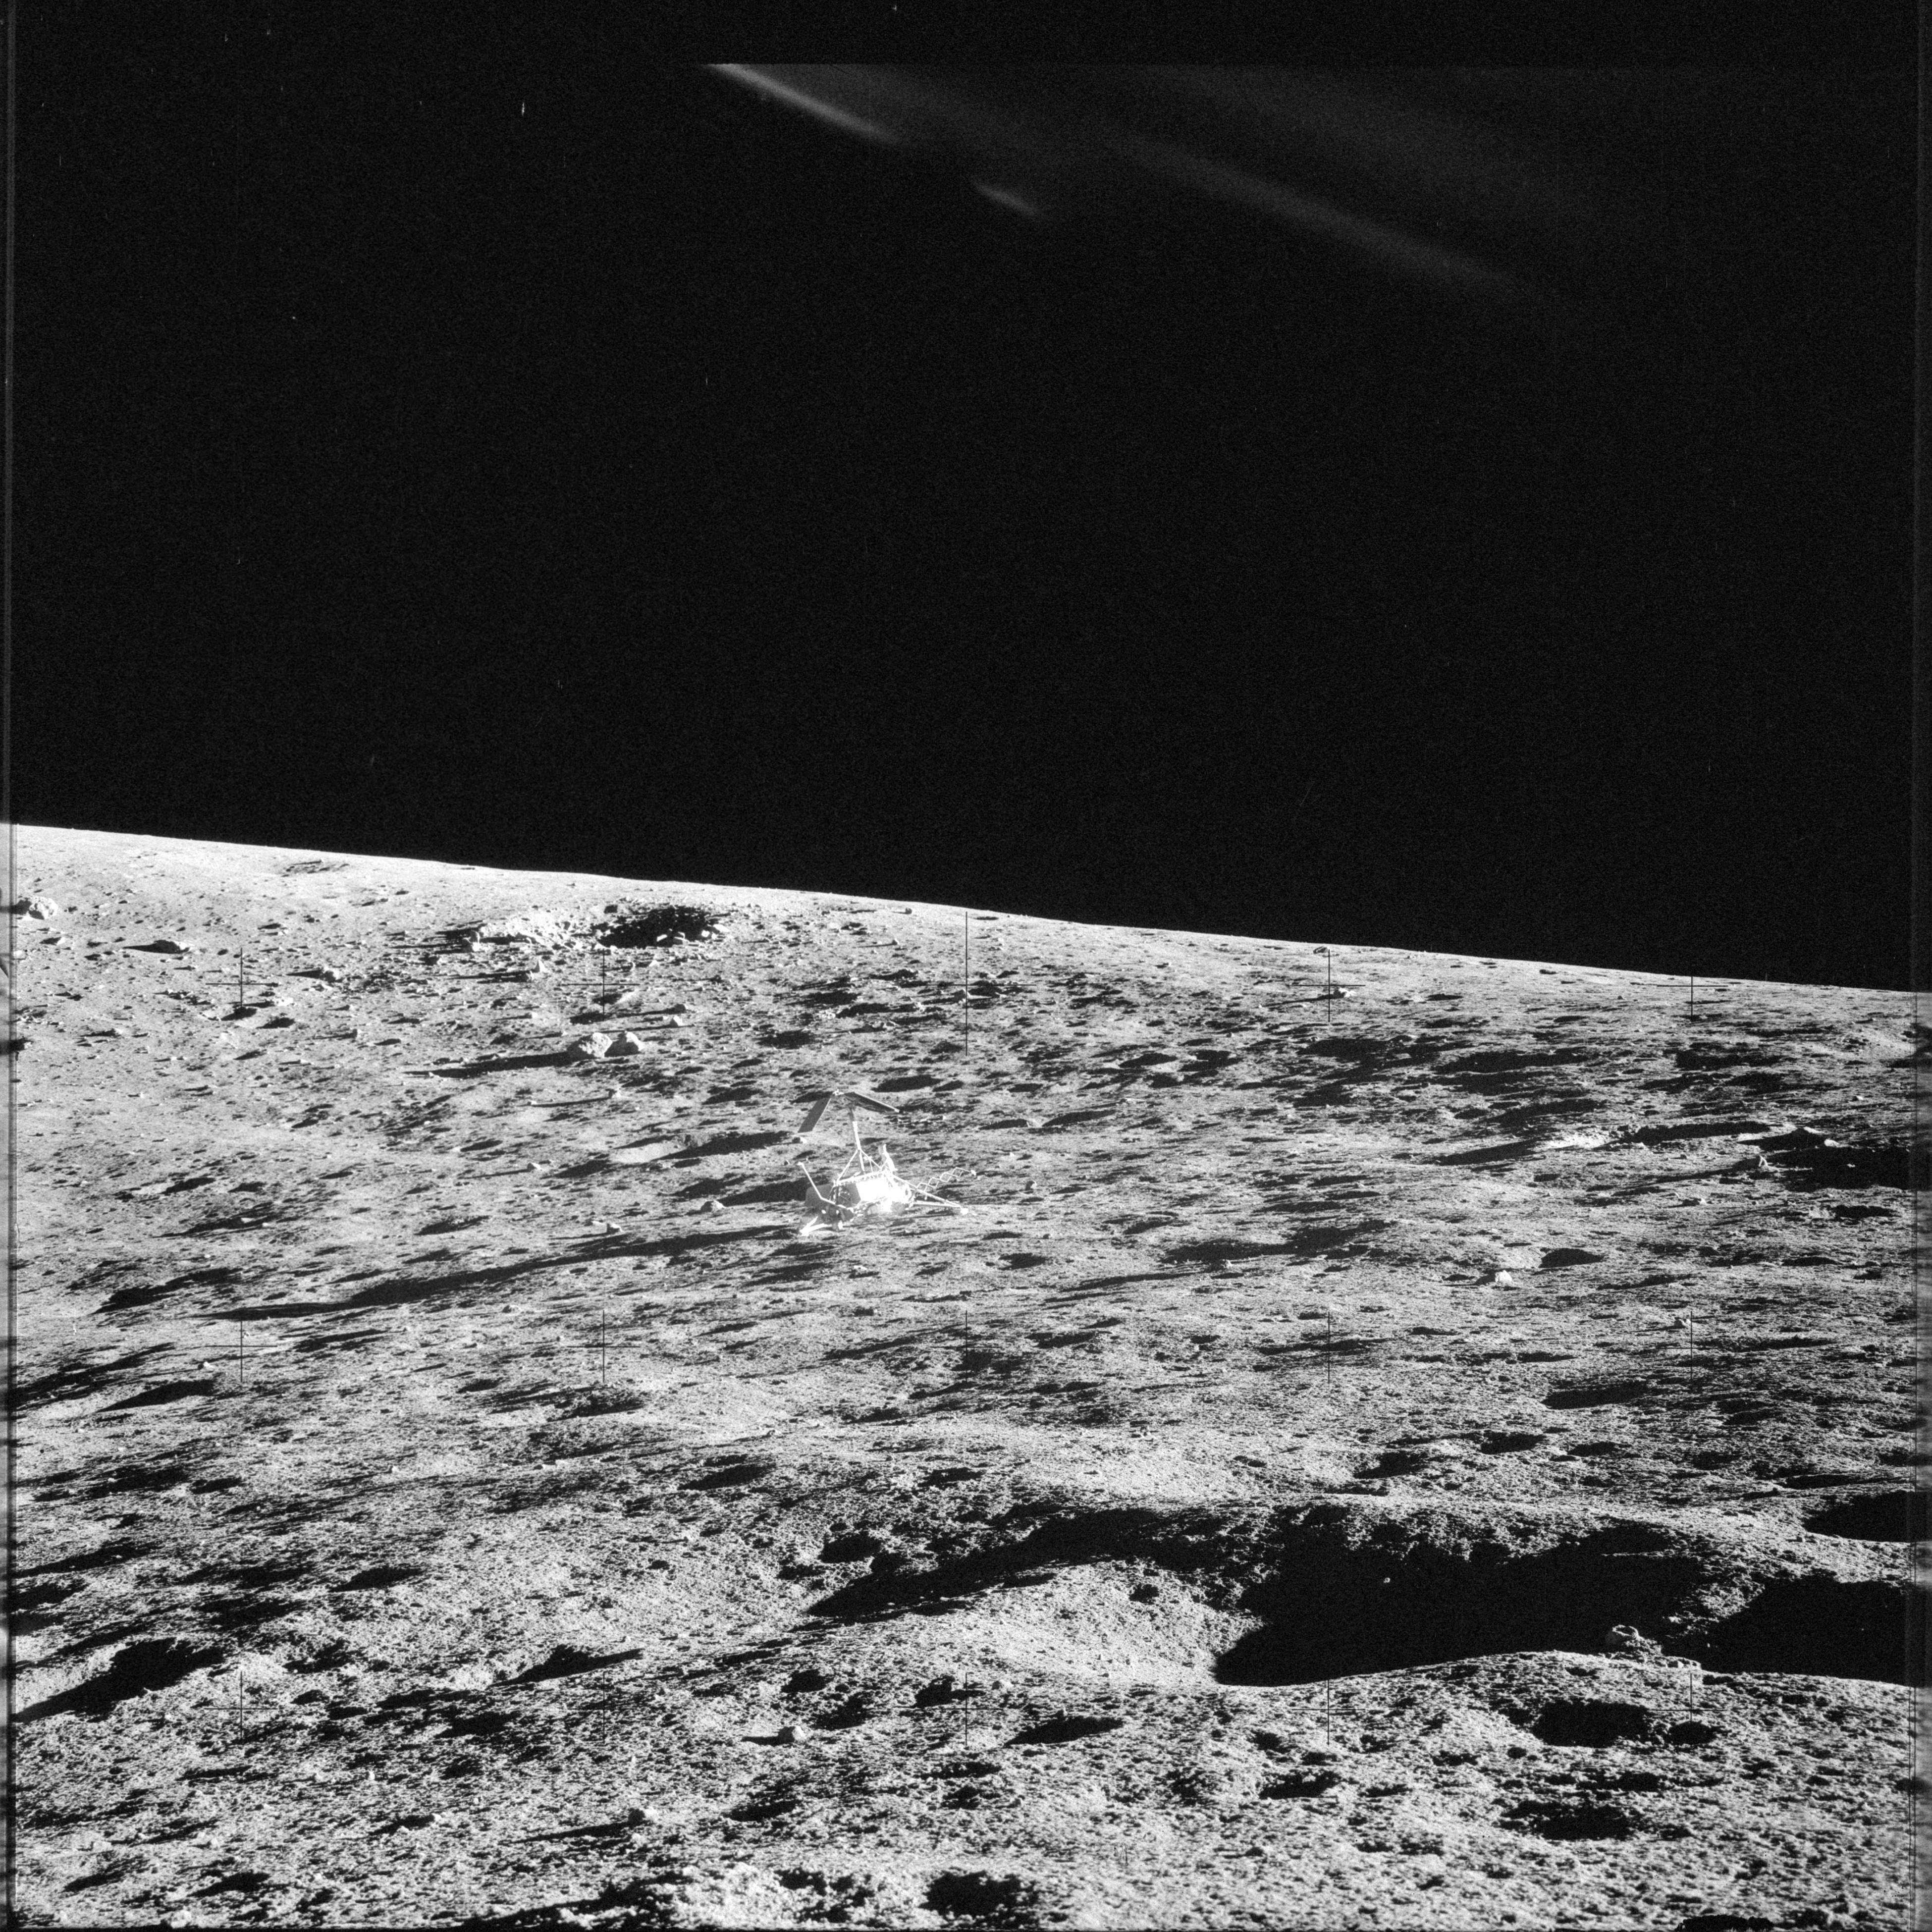 |
AS12-48-7084 No description yet. Image credit: Image Science and Analysis Laboratory, NASA-Johnson Space Center |
 |
AS12-48-7085 No description yet. Image credit: Image Science and Analysis Laboratory, NASA-Johnson Space Center |
 |
AS12-48-7086 No description yet. Image credit: Image Science and Analysis Laboratory, NASA-Johnson Space Center |
 |
AS12-48-7087 No description yet. Image credit: Image Science and Analysis Laboratory, NASA-Johnson Space Center |
 |
AS12-48-7088 No description yet. Image credit: Image Science and Analysis Laboratory, NASA-Johnson Space Center |
 |
AS12-48-7089 No description yet. Image credit: Image Science and Analysis Laboratory, NASA-Johnson Space Center |
 |
AS12-48-7090 No description yet. Image credit: Image Science and Analysis Laboratory, NASA-Johnson Space Center |
 |
AS12-48-7091 No description yet. Image credit: Image Science and Analysis Laboratory, NASA-Johnson Space Center |
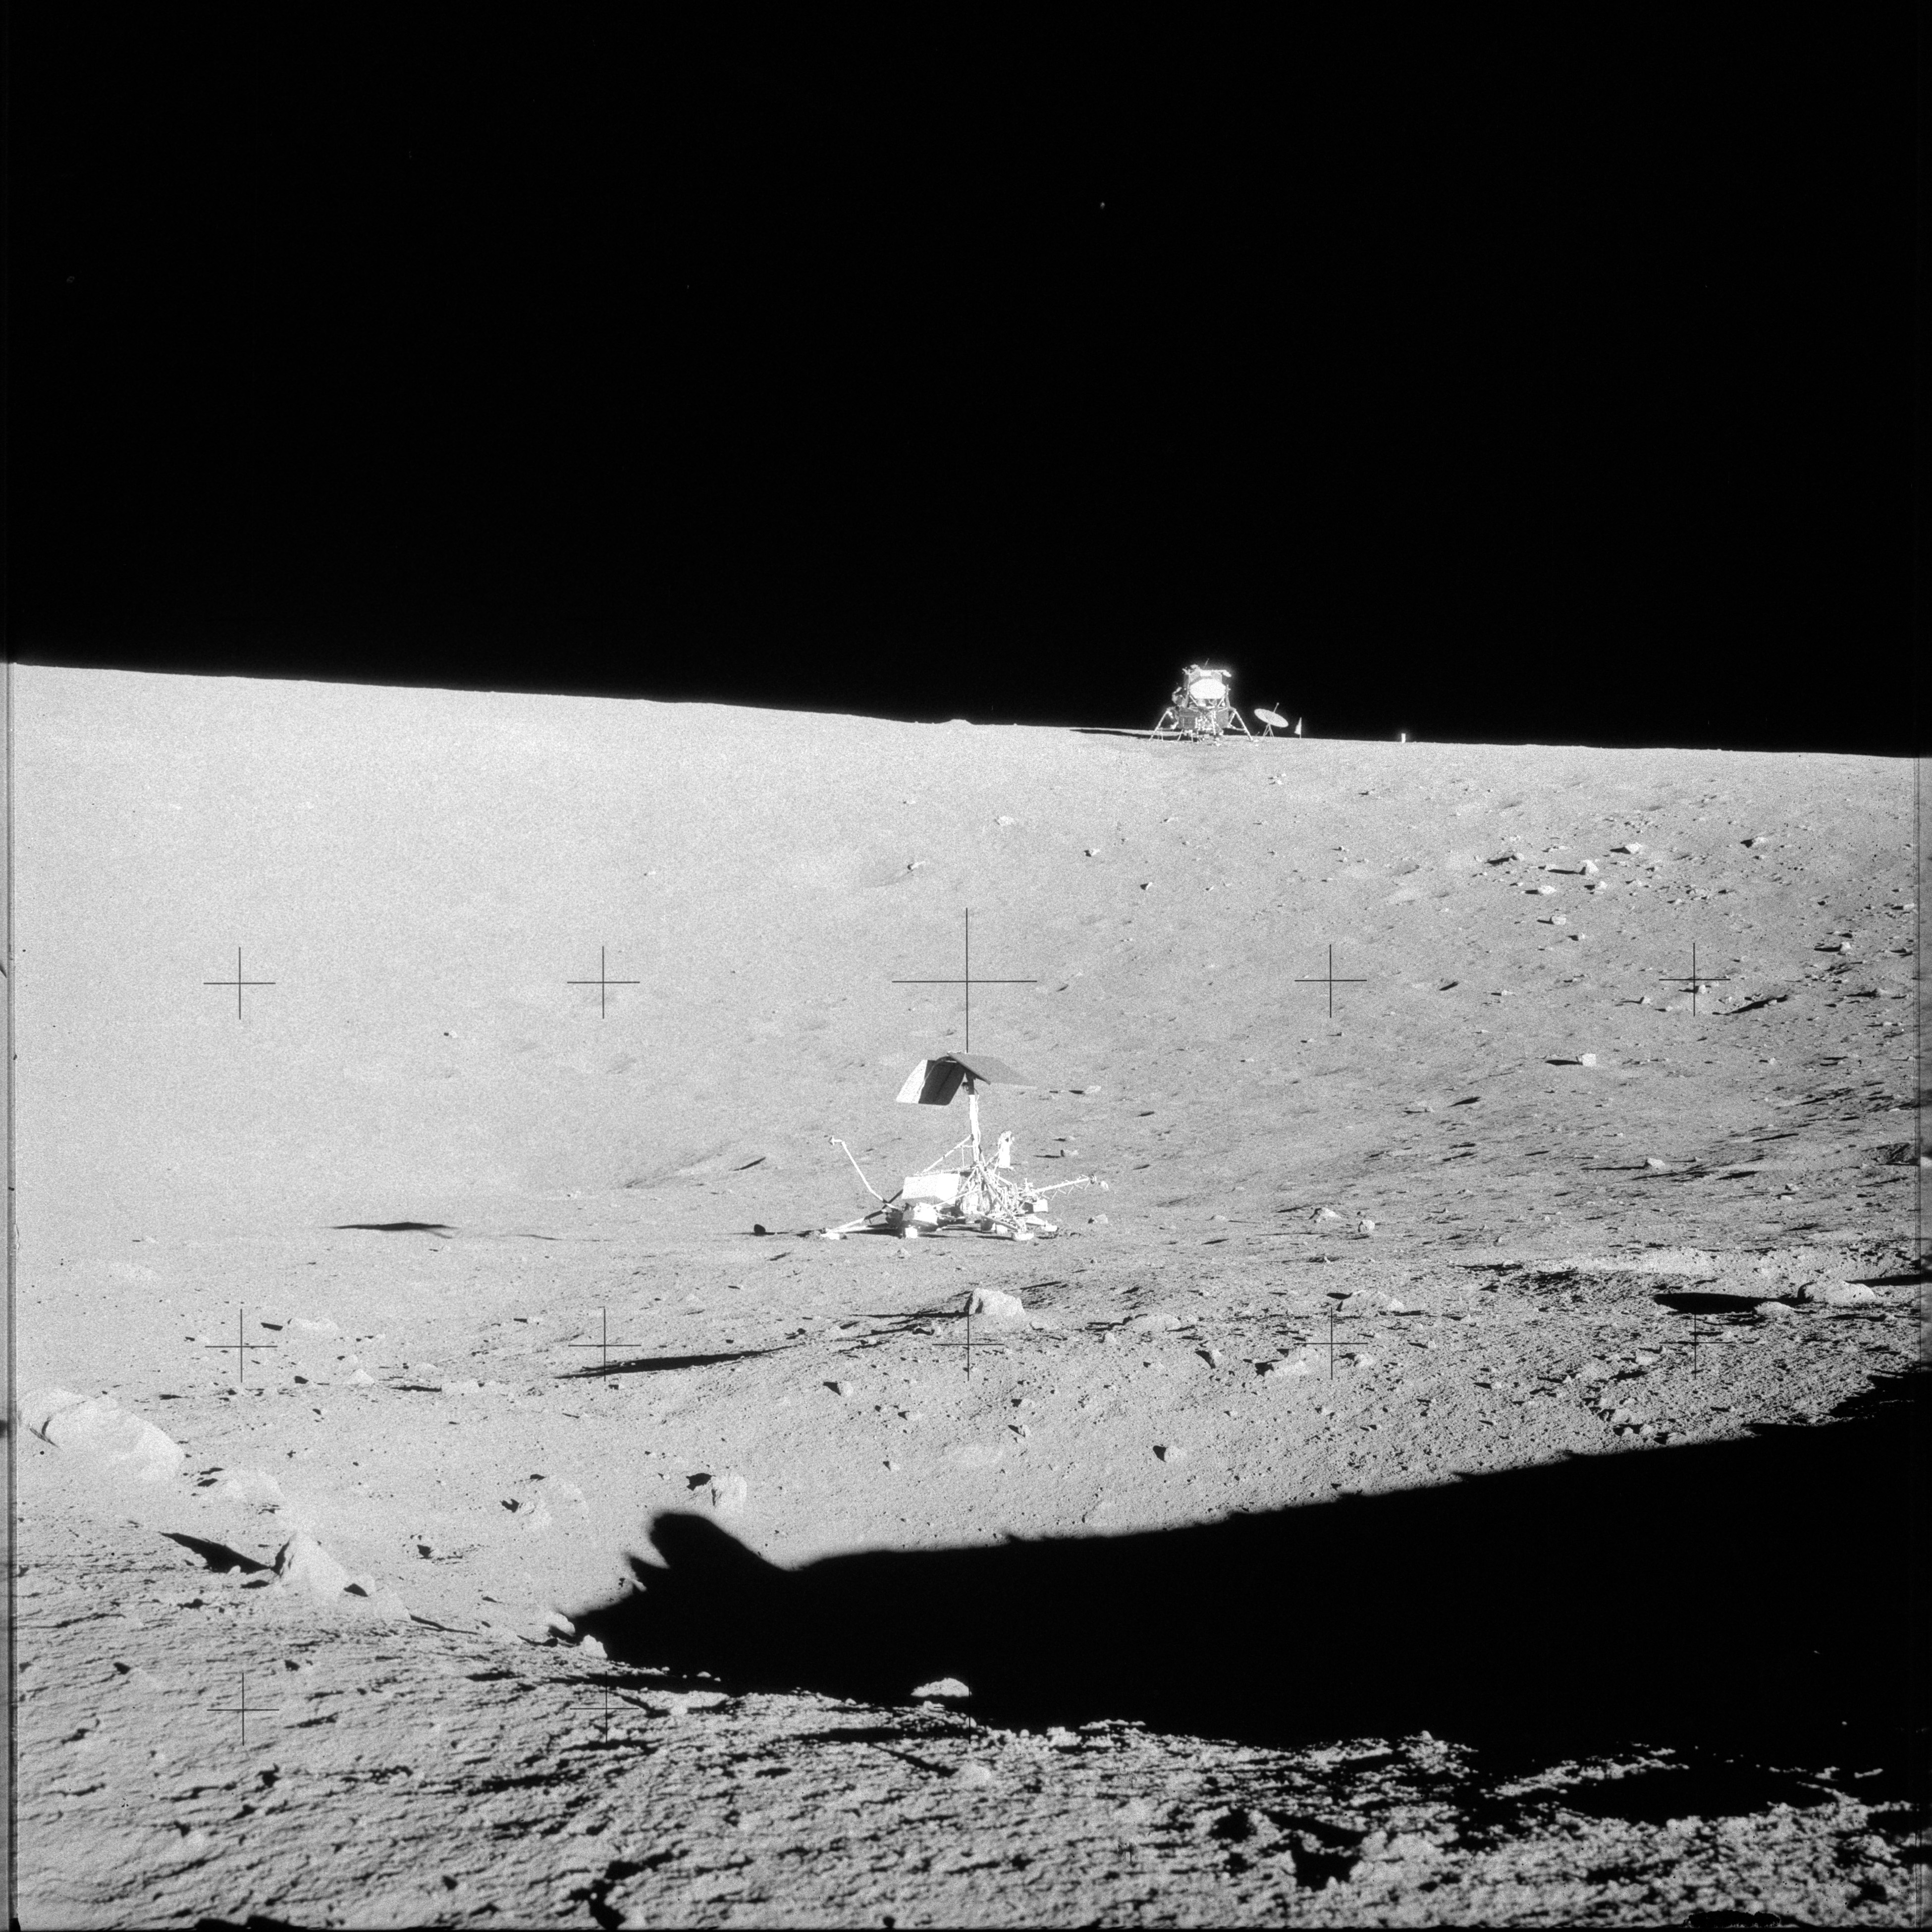 |
AS12-48-7092 No description yet. Image credit: Image Science and Analysis Laboratory, NASA-Johnson Space Center |
 |
AS12-48-7093 No description yet. Image credit: Image Science and Analysis Laboratory, NASA-Johnson Space Center |
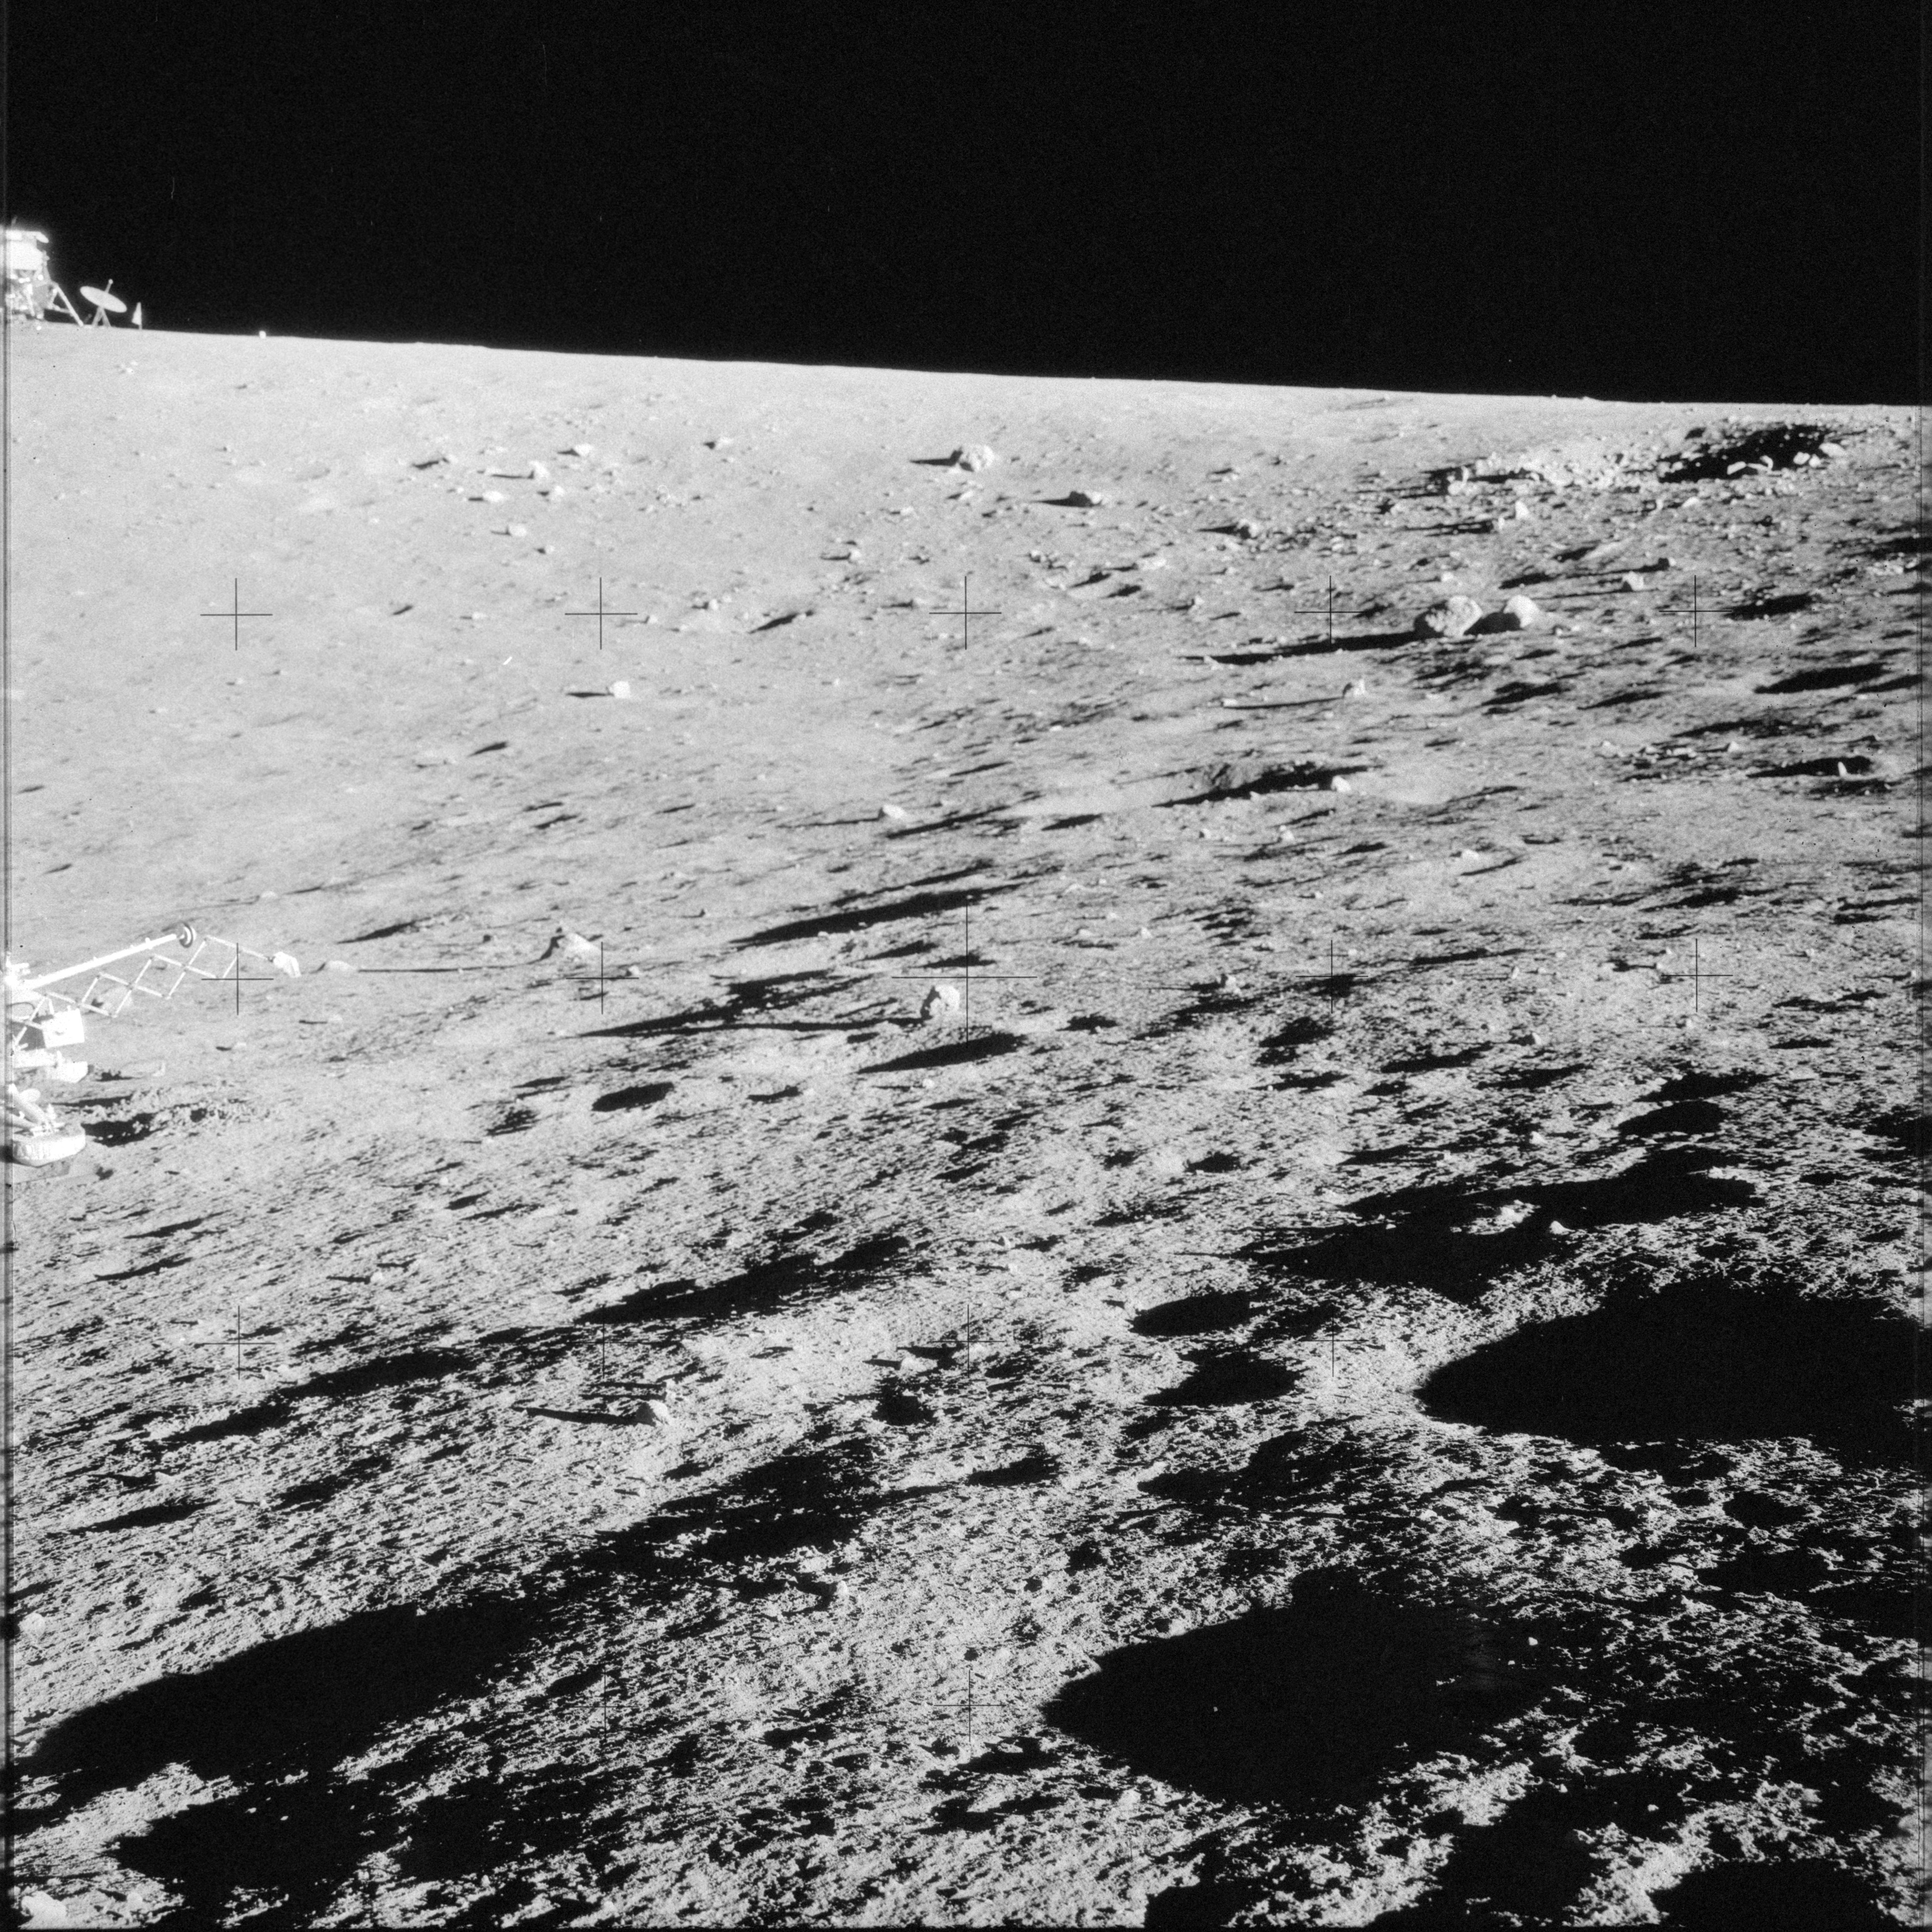 |
AS12-48-7094 No description yet. Image credit: Image Science and Analysis Laboratory, NASA-Johnson Space Center |
 |
AS12-48-7095 No description yet. Image credit: Image Science and Analysis Laboratory, NASA-Johnson Space Center |
 |
AS12-48-7096 No description yet. Image credit: Image Science and Analysis Laboratory, NASA-Johnson Space Center |
 |
AS12-48-7097 No description yet. Image credit: Image Science and Analysis Laboratory, NASA-Johnson Space Center |
 |
AS12-48-7098 No description yet. Image credit: Image Science and Analysis Laboratory, NASA-Johnson Space Center |
 |
AS12-48-7099 No description yet. Image credit: Image Science and Analysis Laboratory, NASA-Johnson Space Center |
 |
AS12-48-7100 No description yet. Image credit: Image Science and Analysis Laboratory, NASA-Johnson Space Center |
 |
AS12-48-7101 No description yet. Image credit: Image Science and Analysis Laboratory, NASA-Johnson Space Center |
 |
AS12-48-7102 No description yet. Image credit: Image Science and Analysis Laboratory, NASA-Johnson Space Center |
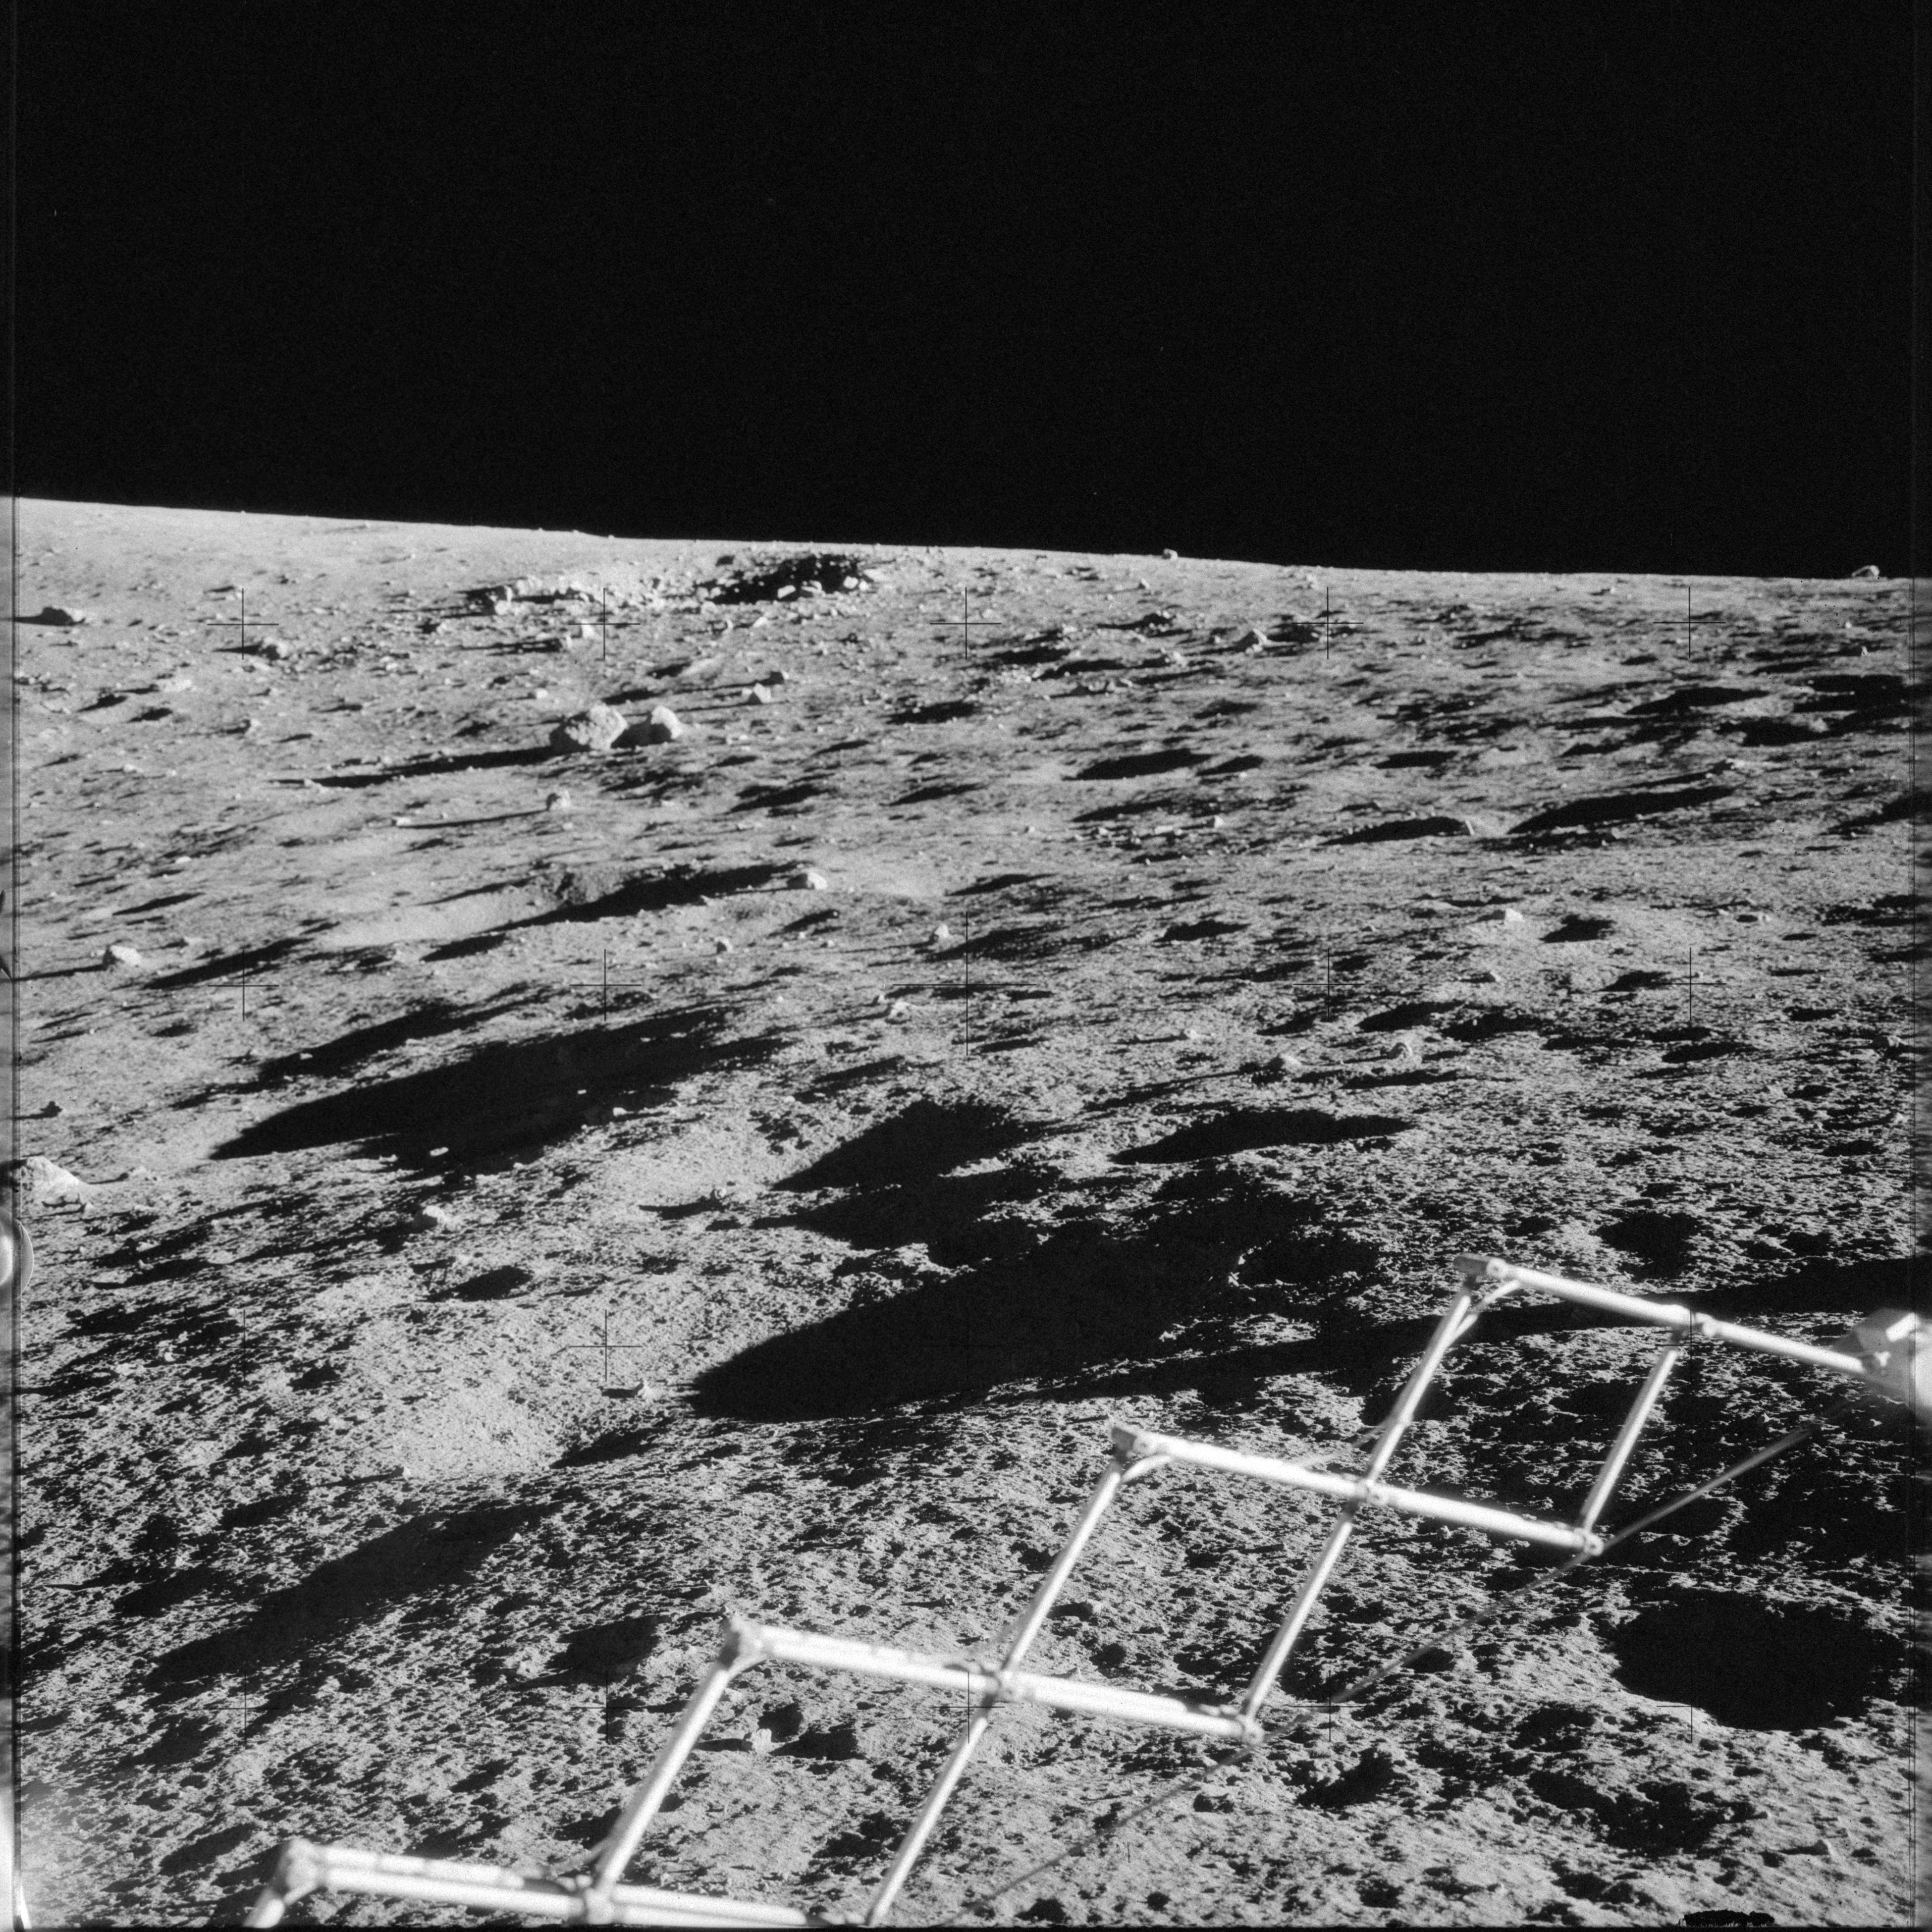 |
AS12-48-7103 No description yet. Image credit: Image Science and Analysis Laboratory, NASA-Johnson Space Center |
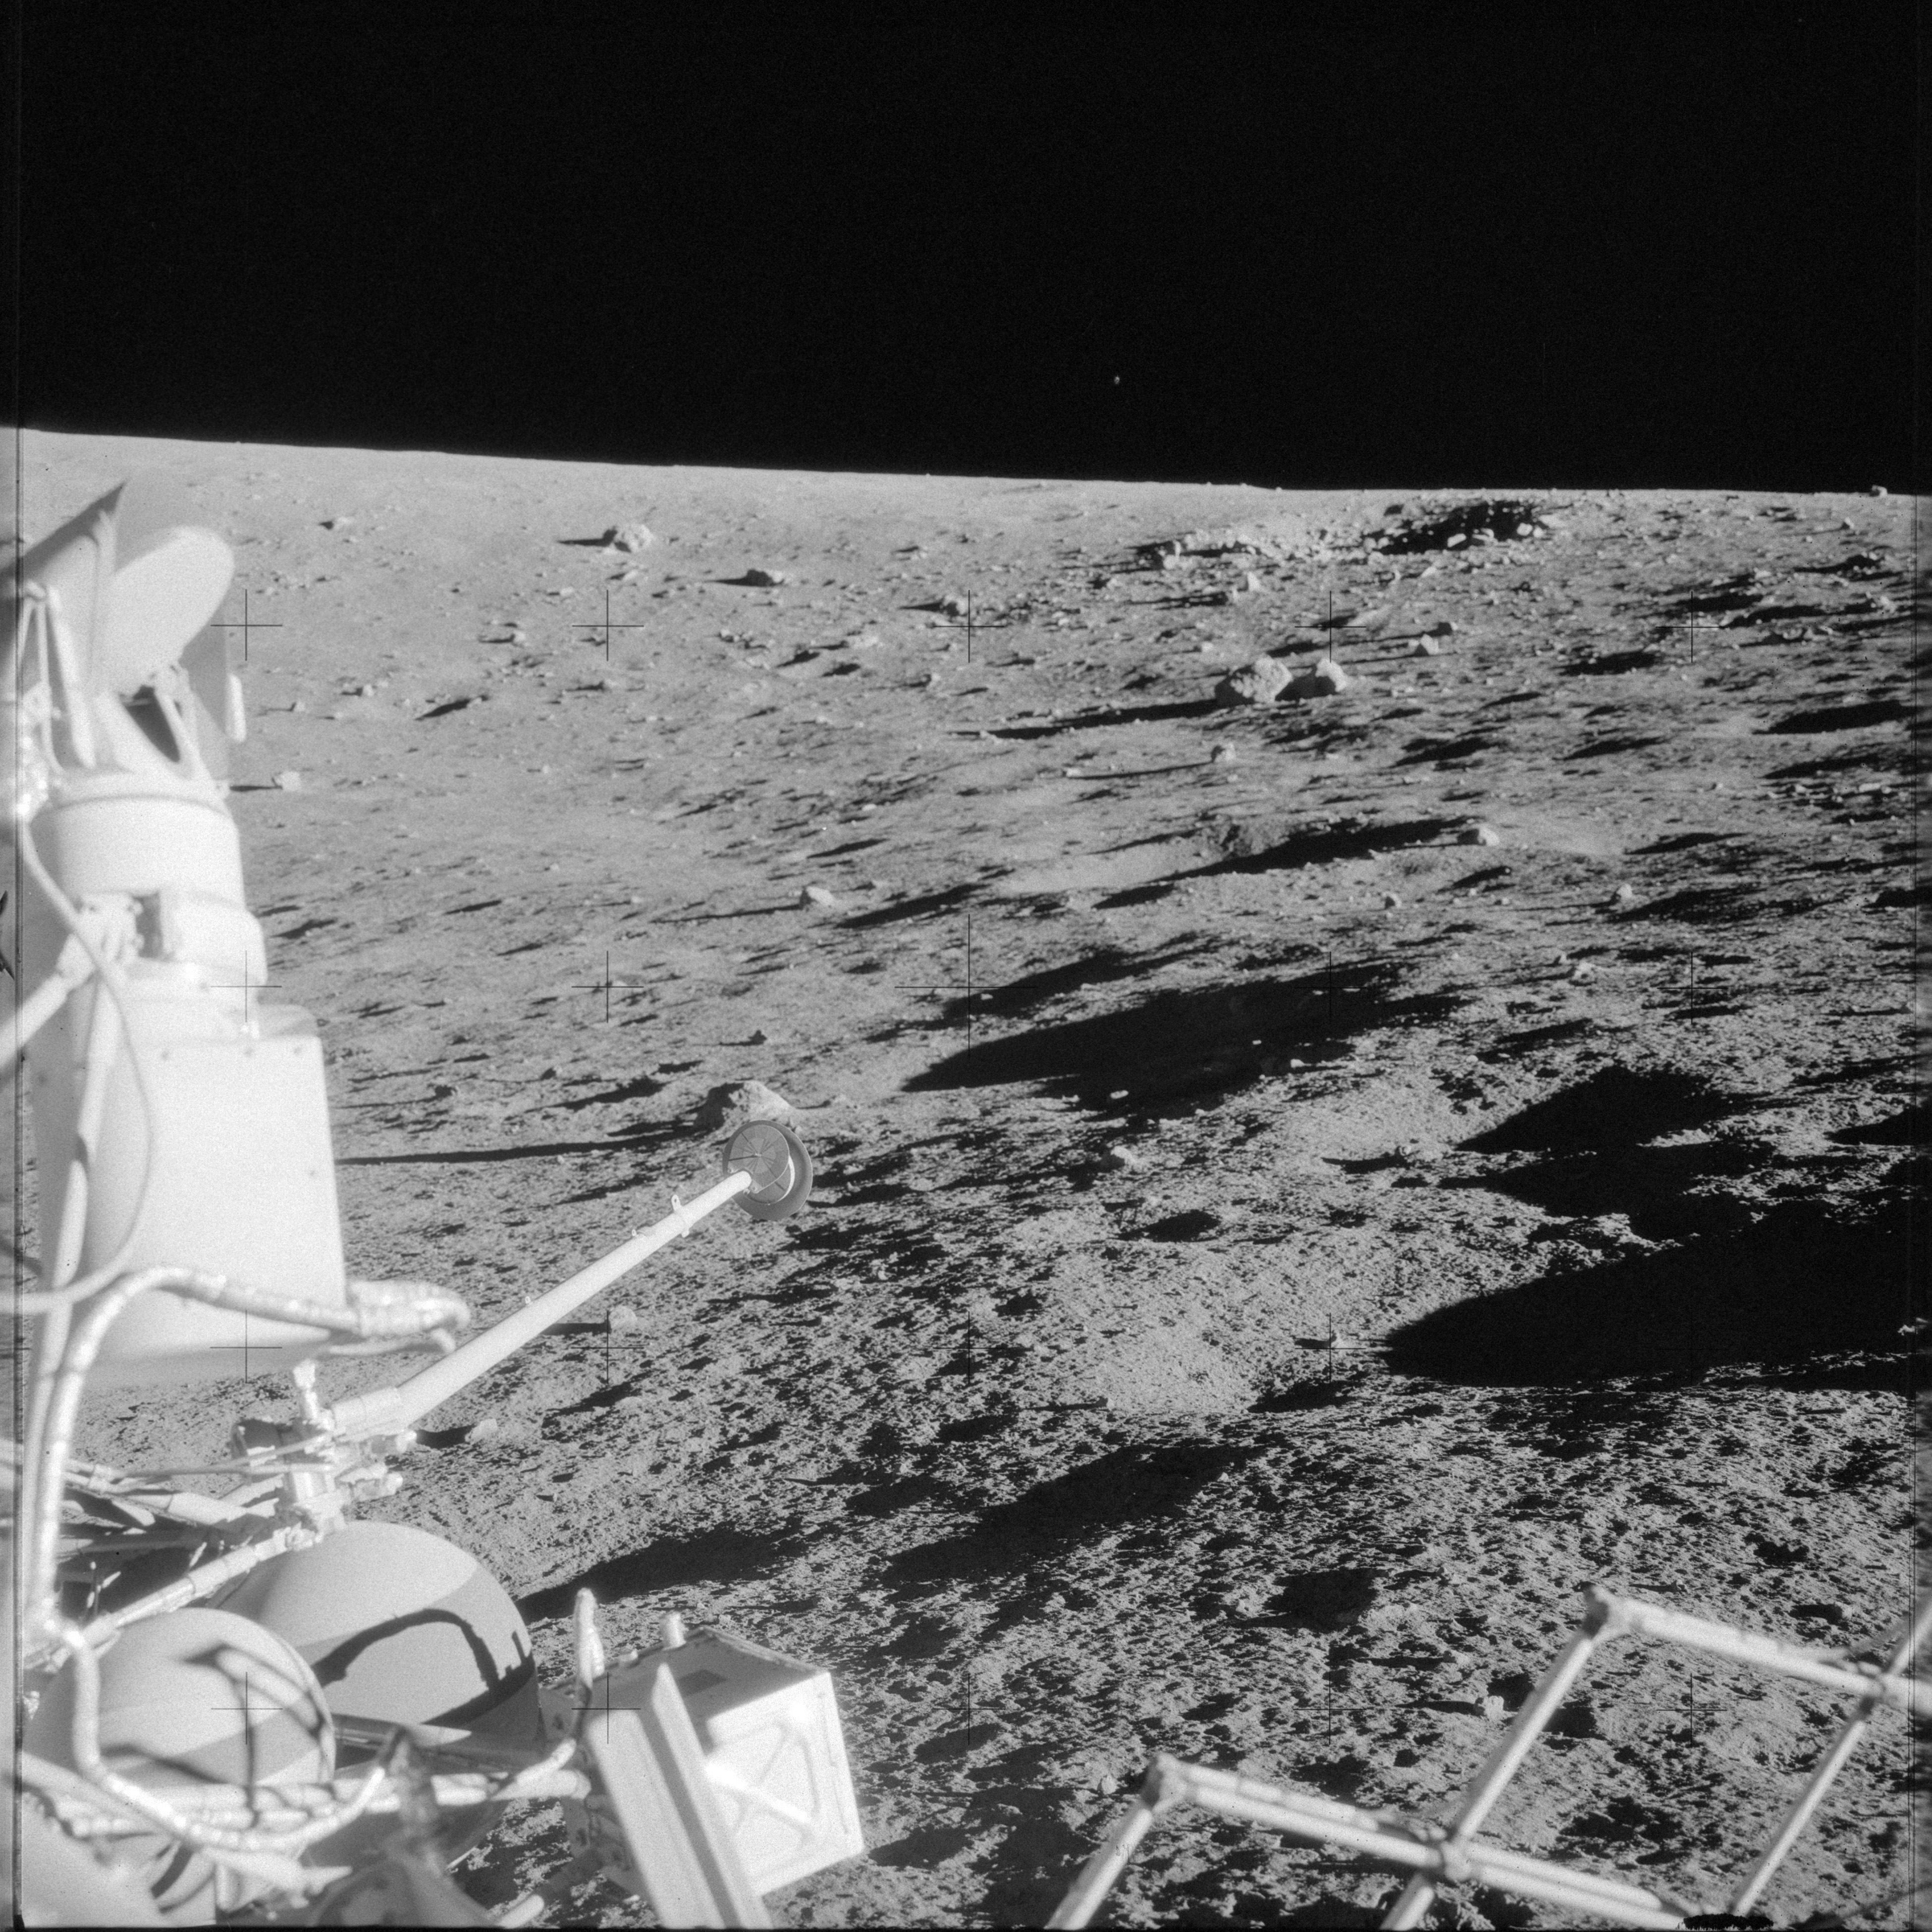 |
AS12-48-7104 No description yet. Image credit: Image Science and Analysis Laboratory, NASA-Johnson Space Center |
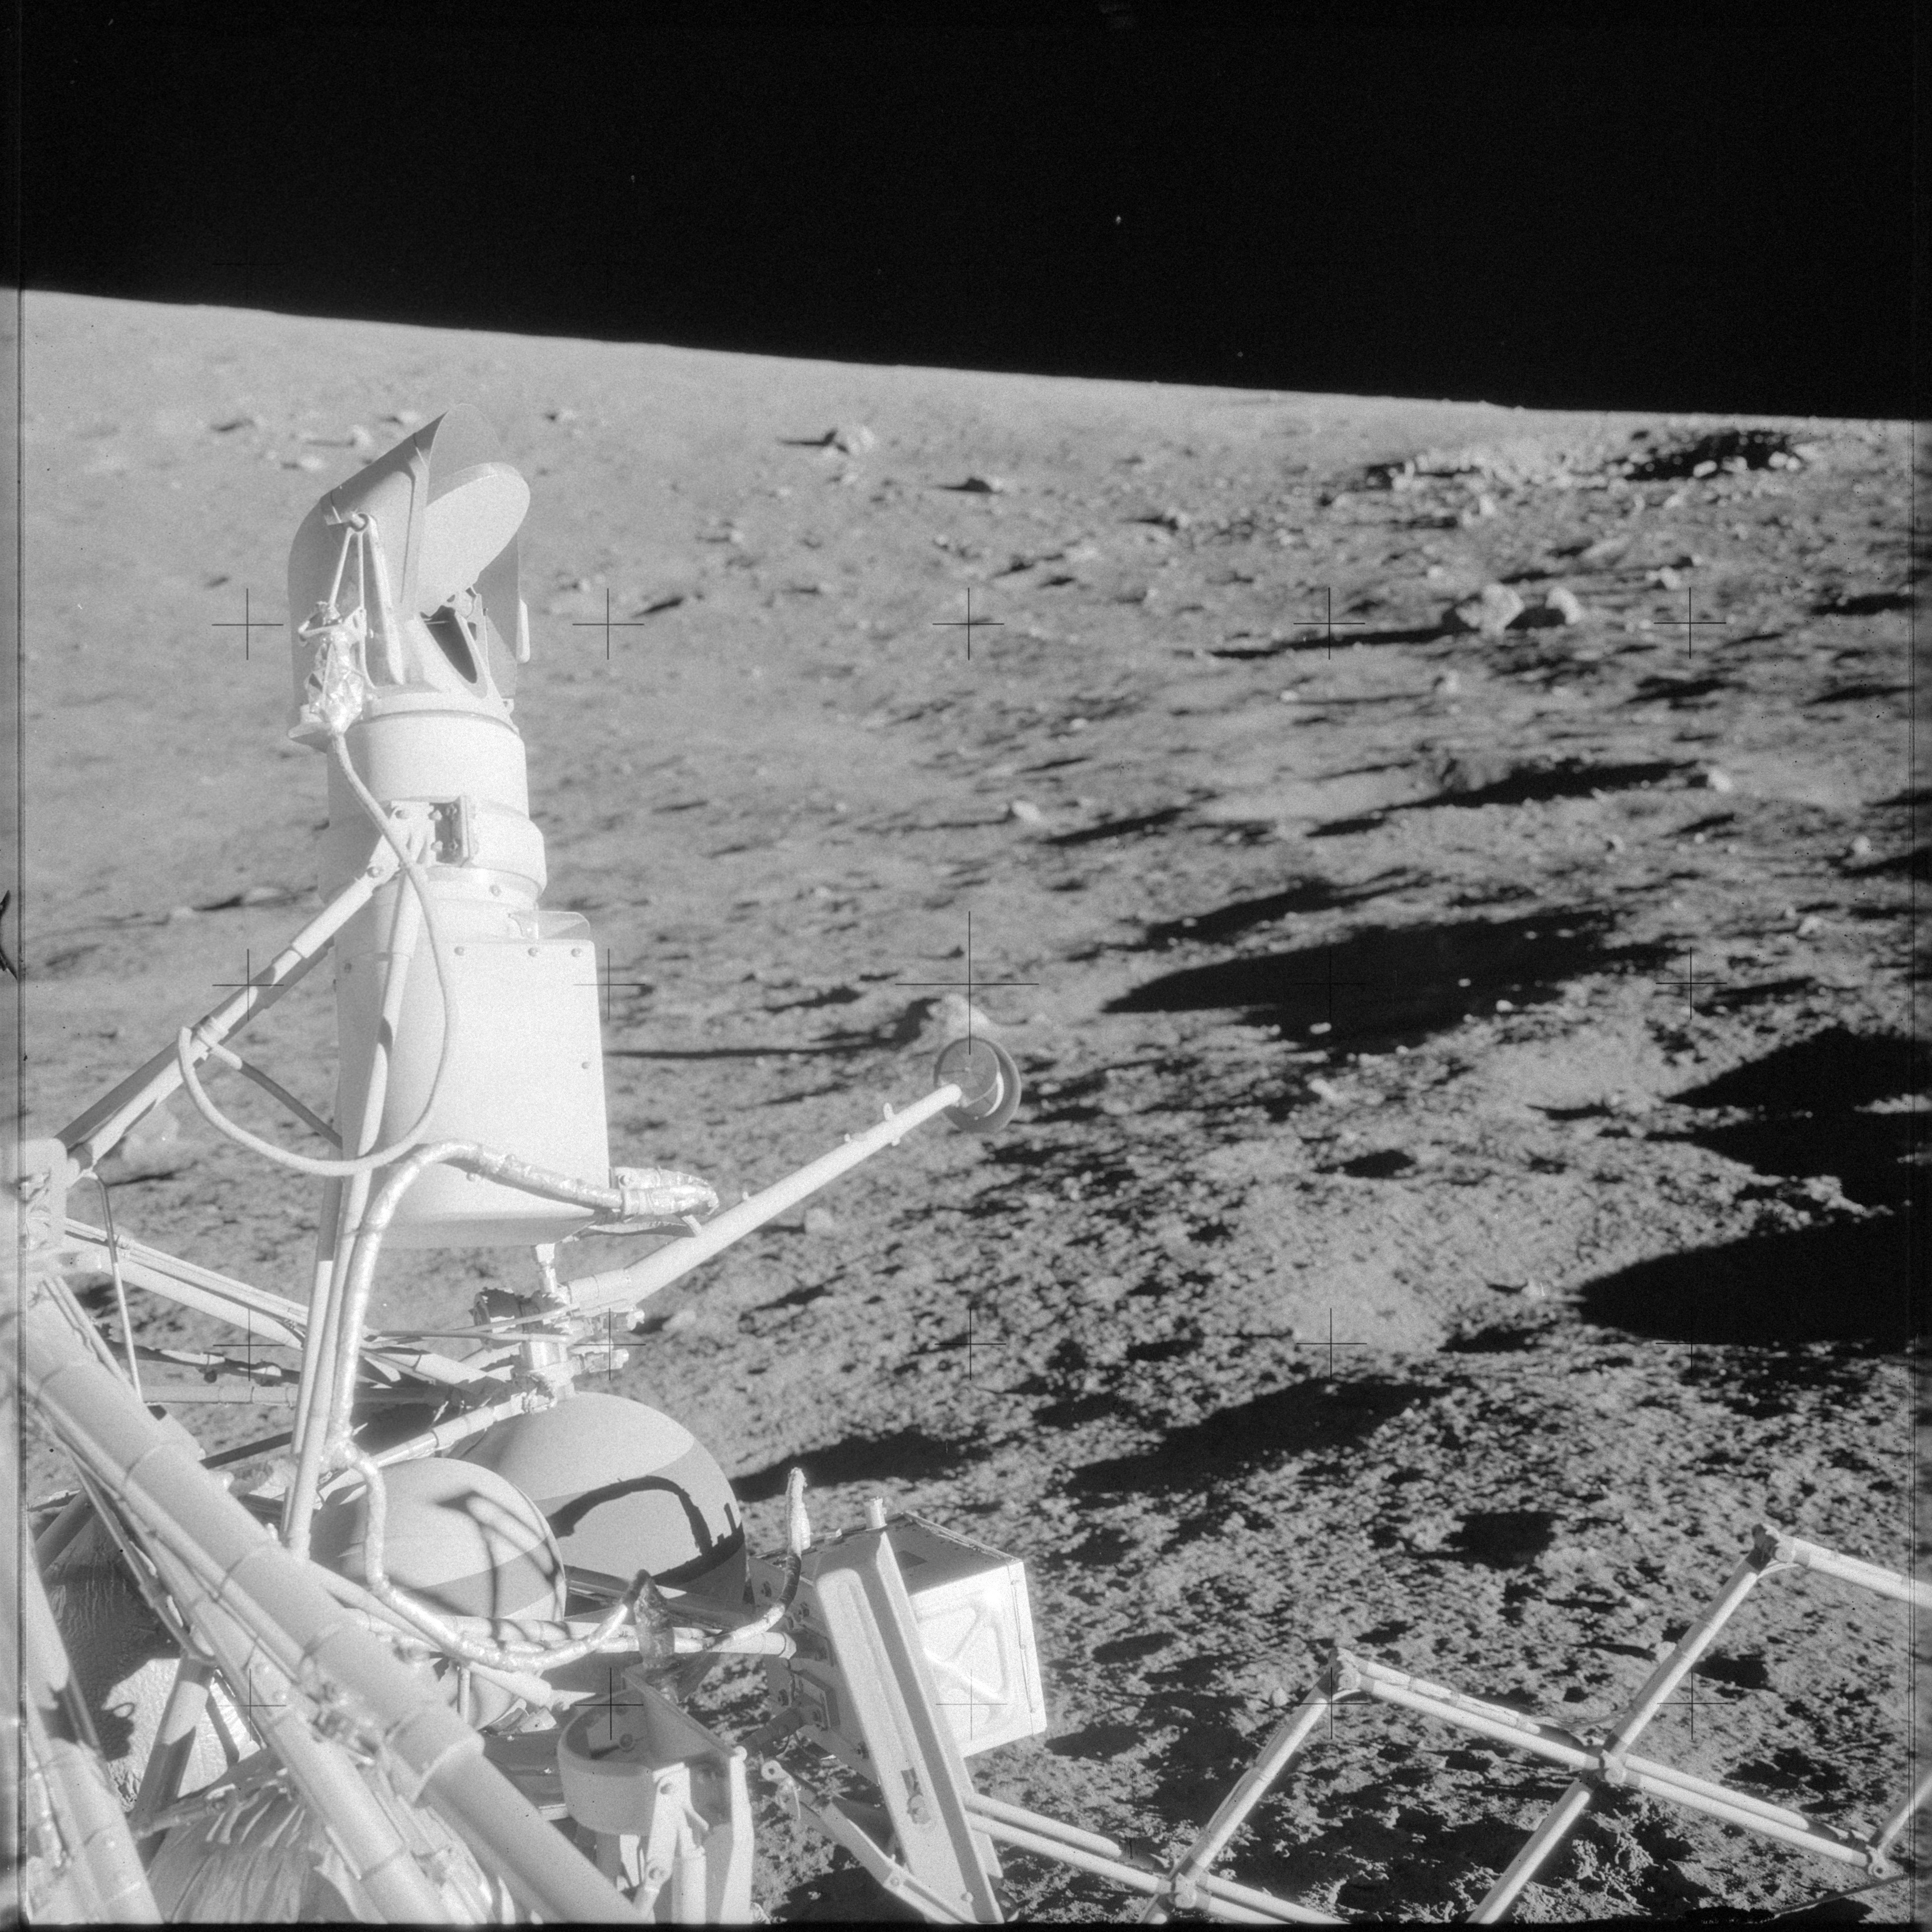 |
AS12-48-7105 No description yet. Image credit: Image Science and Analysis Laboratory, NASA-Johnson Space Center |
 |
AS12-48-7106 No description yet. Image credit: Image Science and Analysis Laboratory, NASA-Johnson Space Center |
 |
AS12-48-7107 No description yet. Image credit: Image Science and Analysis Laboratory, NASA-Johnson Space Center |
 |
AS12-48-7108 No description yet. Image credit: Image Science and Analysis Laboratory, NASA-Johnson Space Center |
 |
AS12-48-7109 No description yet. Image credit: Image Science and Analysis Laboratory, NASA-Johnson Space Center |
 |
AS12-48-7110 No description yet. Image credit: Image Science and Analysis Laboratory, NASA-Johnson Space Center |
 |
AS12-48-7111 No description yet. Image credit: Image Science and Analysis Laboratory, NASA-Johnson Space Center |
 |
AS12-48-7112 No description yet. Image credit: Image Science and Analysis Laboratory, NASA-Johnson Space Center |
 |
AS12-48-7113 No description yet. Image credit: Image Science and Analysis Laboratory, NASA-Johnson Space Center |
 |
AS12-48-7114 No description yet. Image credit: Image Science and Analysis Laboratory, NASA-Johnson Space Center |
 |
AS12-48-7115 No description yet. Image credit: Image Science and Analysis Laboratory, NASA-Johnson Space Center |
 |
AS12-48-7116 No description yet. Image credit: Image Science and Analysis Laboratory, NASA-Johnson Space Center |
 |
AS12-48-7117 No description yet. Image credit: Image Science and Analysis Laboratory, NASA-Johnson Space Center |
 |
AS12-48-7118 No description yet. Image credit: Image Science and Analysis Laboratory, NASA-Johnson Space Center |
 |
AS12-48-7119 No description yet. Image credit: Image Science and Analysis Laboratory, NASA-Johnson Space Center |
 |
AS12-48-7120 No description yet. Image credit: Image Science and Analysis Laboratory, NASA-Johnson Space Center |
 |
AS12-48-7121 No description yet. Image credit: Image Science and Analysis Laboratory, NASA-Johnson Space Center |
 |
AS12-48-7122 No description yet. Image credit: Image Science and Analysis Laboratory, NASA-Johnson Space Center |
 |
AS12-48-7123 No description yet. Image credit: Image Science and Analysis Laboratory, NASA-Johnson Space Center |
 |
AS12-48-7124 No description yet. Image credit: Image Science and Analysis Laboratory, NASA-Johnson Space Center |
 |
AS12-48-7125 No description yet. Image credit: Image Science and Analysis Laboratory, NASA-Johnson Space Center |
 |
AS12-48-7126 No description yet. Image credit: Image Science and Analysis Laboratory, NASA-Johnson Space Center |
 |
AS12-48-7127 No description yet. Image credit: Image Science and Analysis Laboratory, NASA-Johnson Space Center |
 |
AS12-48-7128 No description yet. Image credit: Image Science and Analysis Laboratory, NASA-Johnson Space Center |
 |
AS12-48-7129 No description yet. Image credit: Image Science and Analysis Laboratory, NASA-Johnson Space Center |
 |
AS12-48-7130 No description yet. Image credit: Image Science and Analysis Laboratory, NASA-Johnson Space Center |
 |
AS12-48-7131 No description yet. Image credit: Image Science and Analysis Laboratory, NASA-Johnson Space Center |
 |
AS12-48-7132 No description yet. Image credit: Image Science and Analysis Laboratory, NASA-Johnson Space Center |
 |
AS12-48-7133 No description yet. Image credit: Image Science and Analysis Laboratory, NASA-Johnson Space Center |
 |
AS12-48-7134 No description yet. Image credit: Image Science and Analysis Laboratory, NASA-Johnson Space Center |
 |
AS12-48-7135 No description yet. Image credit: Image Science and Analysis Laboratory, NASA-Johnson Space Center |
 |
AS12-48-7136 No description yet. Image credit: Image Science and Analysis Laboratory, NASA-Johnson Space Center |
 |
AS12-48-7137 No description yet. Image credit: Image Science and Analysis Laboratory, NASA-Johnson Space Center |
 |
AS12-48-7138 No description yet. Image credit: Image Science and Analysis Laboratory, NASA-Johnson Space Center |
 |
AS12-48-7139 No description yet. Image credit: Image Science and Analysis Laboratory, NASA-Johnson Space Center |
 |
AS12-48-7140 No description yet. Image credit: Image Science and Analysis Laboratory, NASA-Johnson Space Center |
 |
AS12-48-7141 No description yet. Image credit: Image Science and Analysis Laboratory, NASA-Johnson Space Center |
 |
AS12-48-7142 No description yet. Image credit: Image Science and Analysis Laboratory, NASA-Johnson Space Center |
 |
AS12-48-7143 No description yet. Image credit: Image Science and Analysis Laboratory, NASA-Johnson Space Center |
 |
AS12-48-7144 No description yet. Image credit: Image Science and Analysis Laboratory, NASA-Johnson Space Center |
 |
AS12-48-7145 No description yet. Image credit: Image Science and Analysis Laboratory, NASA-Johnson Space Center |
 |
AS12-48-7146 No description yet. Image credit: Image Science and Analysis Laboratory, NASA-Johnson Space Center |
 |
AS12-48-7147 No description yet. Image credit: Image Science and Analysis Laboratory, NASA-Johnson Space Center |
 |
AS12-48-7148 No description yet. Image credit: Image Science and Analysis Laboratory, NASA-Johnson Space Center |
 |
AS12-48-7149 No description yet. Image credit: Image Science and Analysis Laboratory, NASA-Johnson Space Center |
 |
AS12-48-7150 No description yet. Image credit: Image Science and Analysis Laboratory, NASA-Johnson Space Center |
 |
AS12-48-7151 No description yet. Image credit: Image Science and Analysis Laboratory, NASA-Johnson Space Center |
 |
AS12-48-7152 No description yet. Image credit: Image Science and Analysis Laboratory, NASA-Johnson Space Center |
 |
AS12-48-7153 No description yet. Image credit: Image Science and Analysis Laboratory, NASA-Johnson Space Center |
 |
AS12-48-7154 No description yet. Image credit: Image Science and Analysis Laboratory, NASA-Johnson Space Center |
 |
AS12-48-7155 No description yet. Image credit: Image Science and Analysis Laboratory, NASA-Johnson Space Center |
 |
AS12-48-7156 No description yet. Image credit: Image Science and Analysis Laboratory, NASA-Johnson Space Center |
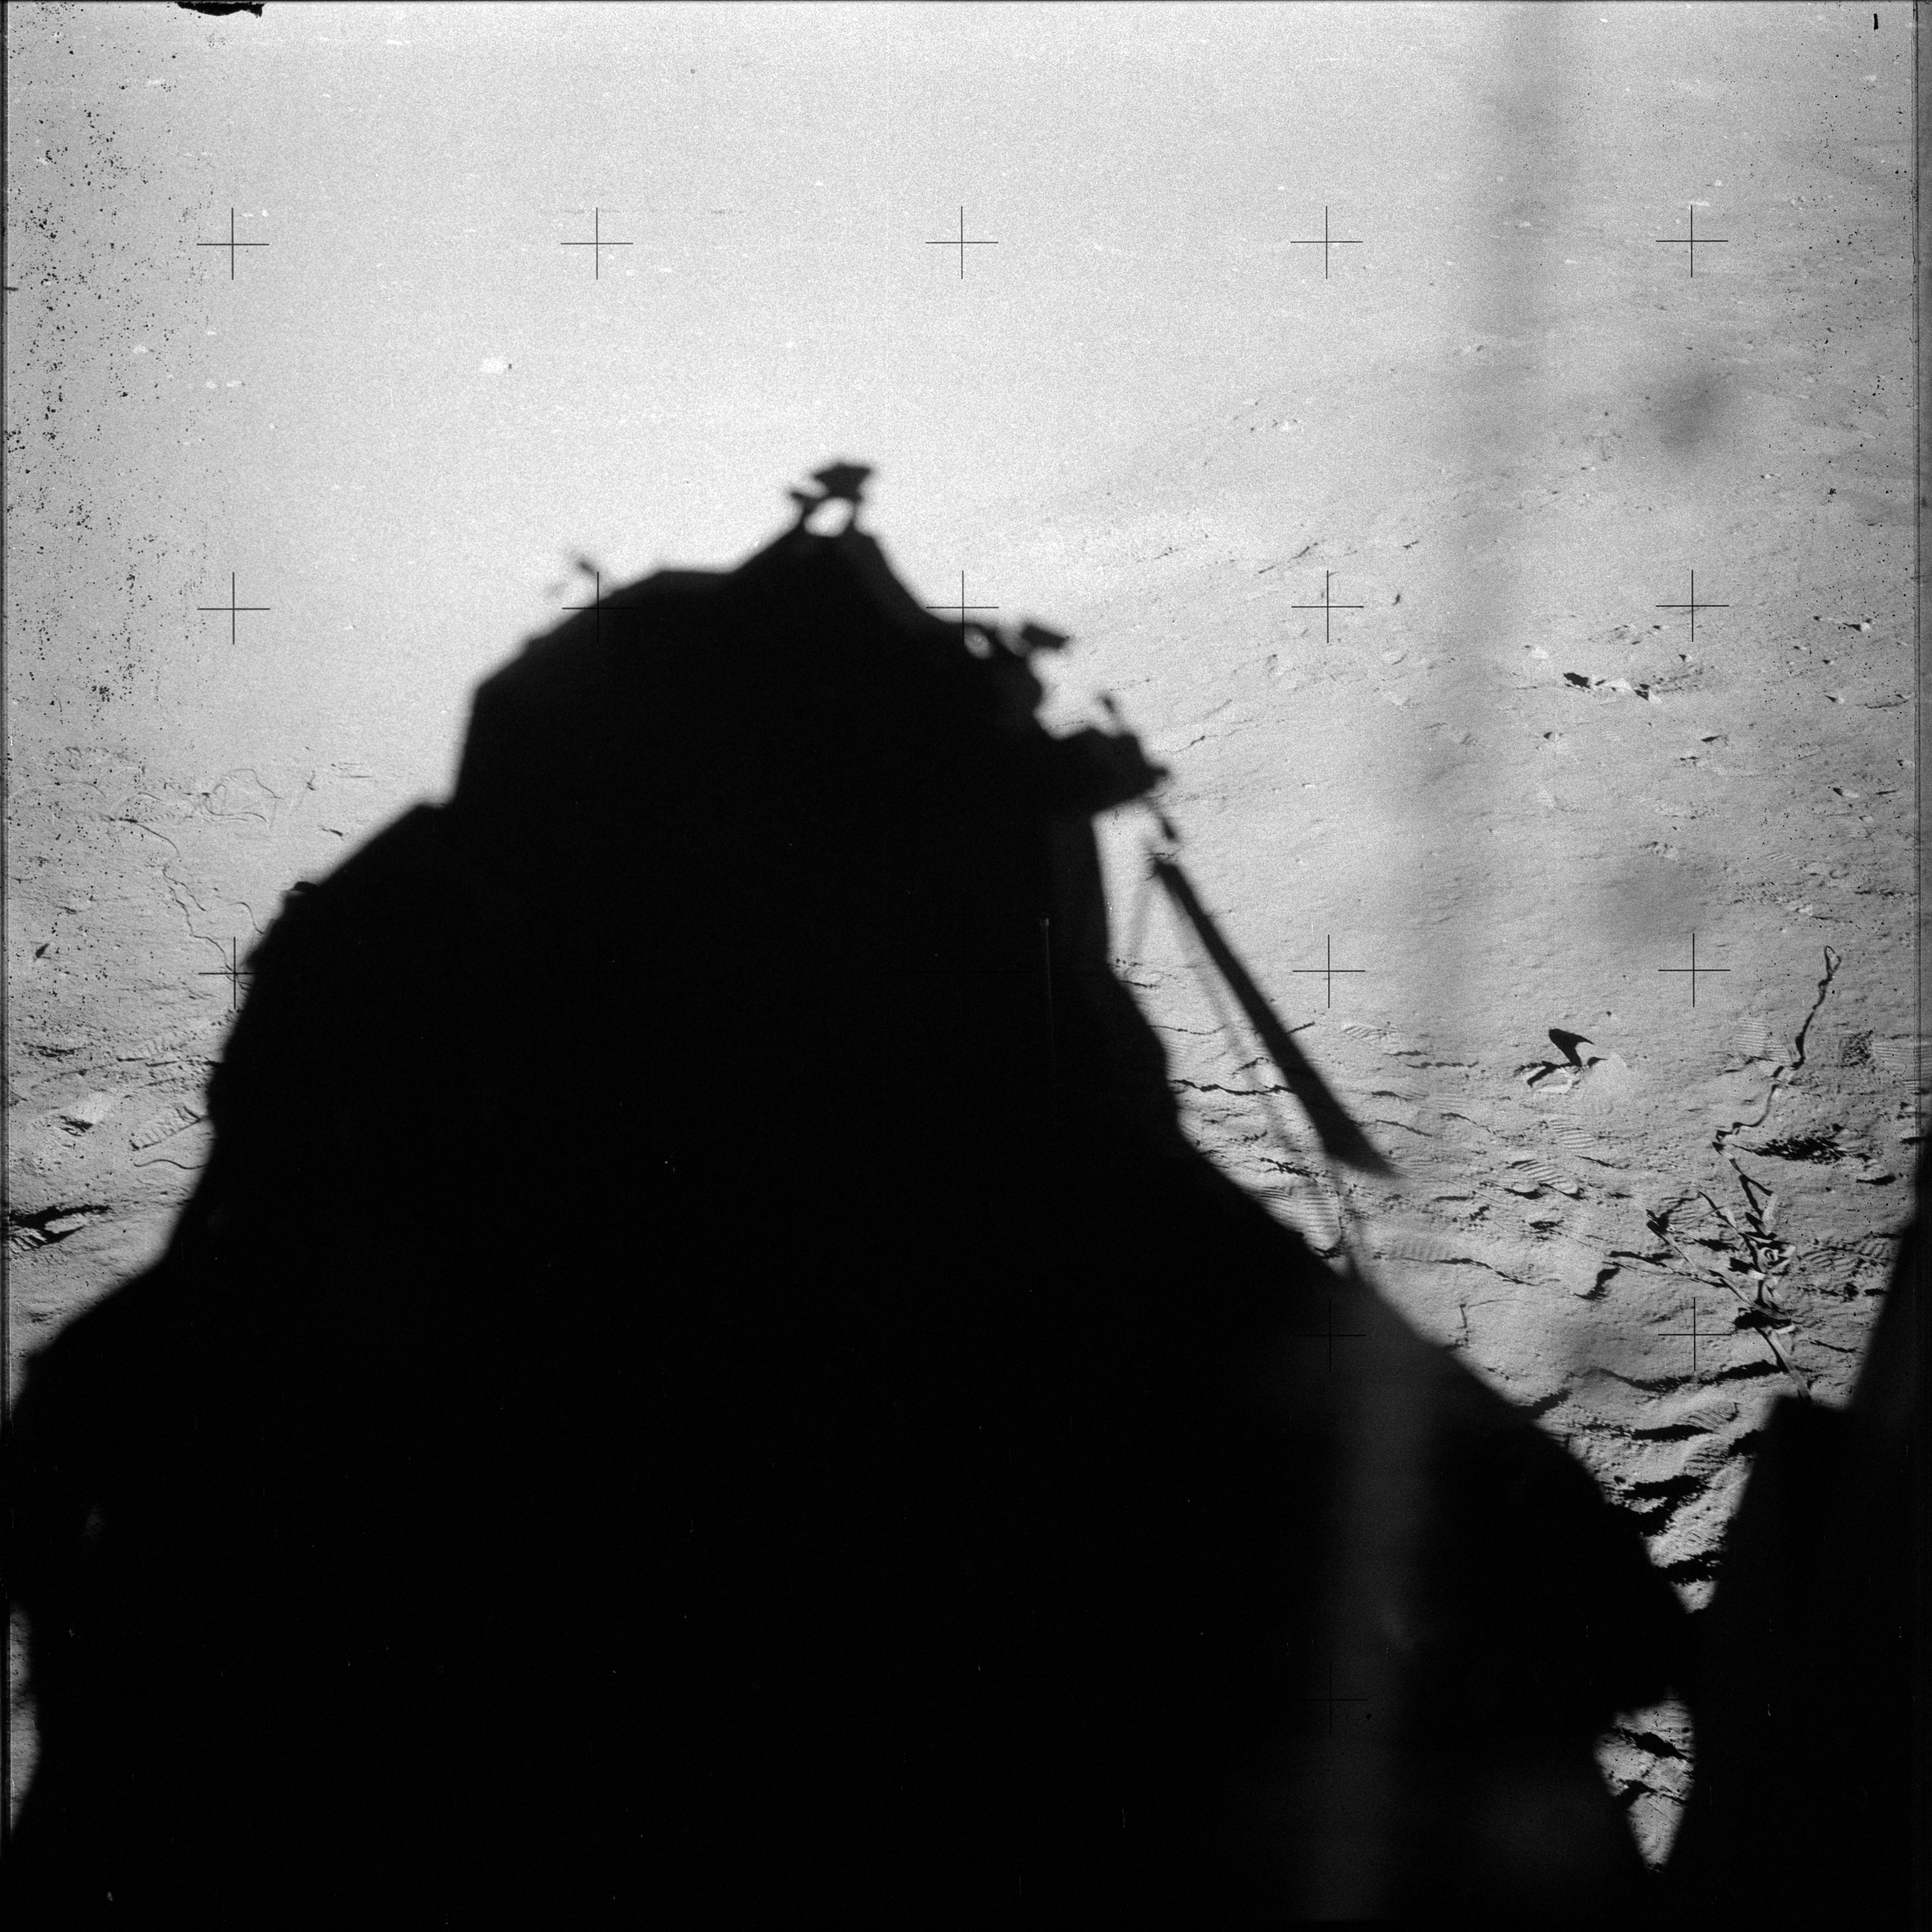 |
AS12-48-7157 No description yet. Image credit: Image Science and Analysis Laboratory, NASA-Johnson Space Center |
 |
AS12-48-7158 No description yet. Image credit: Image Science and Analysis Laboratory, NASA-Johnson Space Center |
 |
AS12-48-7159 No description yet. Image credit: Image Science and Analysis Laboratory, NASA-Johnson Space Center |
 |
AS12-48-7160 No description yet. Image credit: Image Science and Analysis Laboratory, NASA-Johnson Space Center |
 |
AS12-48-7161 No description yet. Image credit: Image Science and Analysis Laboratory, NASA-Johnson Space Center |
 |
AS12-48-7162 No description yet. Image credit: Image Science and Analysis Laboratory, NASA-Johnson Space Center |
 |
AS12-48-7163 No description yet. Image credit: Image Science and Analysis Laboratory, NASA-Johnson Space Center |
 |
AS12-48-7164 No description yet. Image credit: Image Science and Analysis Laboratory, NASA-Johnson Space Center |
 |
AS12-48-7165 No description yet. Image credit: Image Science and Analysis Laboratory, NASA-Johnson Space Center |
 |
AS12-48-7166 No description yet. Image credit: Image Science and Analysis Laboratory, NASA-Johnson Space Center |
 |
AS12-48-7167 No description yet. Image credit: Image Science and Analysis Laboratory, NASA-Johnson Space Center |
 |
AS12-48-7168 No description yet. Image credit: Image Science and Analysis Laboratory, NASA-Johnson Space Center |
 |
AS12-48-7169 No description yet. Image credit: Image Science and Analysis Laboratory, NASA-Johnson Space Center |
 |
AS12-48-7170 No description yet. Image credit: Image Science and Analysis Laboratory, NASA-Johnson Space Center |
 |
AS12-48-7171 No description yet. Image credit: Image Science and Analysis Laboratory, NASA-Johnson Space Center |
|
|
|
| 70-mm magazine V - AS12-47-6869 to 7021 |
Photography Index | 70-mm magazine Z - AS12-49-7172 to 7324 |