
 |
 |
| Photography Index | 70-mm magazine V - AS12-47-6869 to 7021 |
No copyright is asserted for NASA photographs. If a recognizable person appears in a photo, use for commercial purposes may infringe a right of privacy or publicity. Photos may not be used to state or imply the endorsement by NASA or by any NASA employee of a commercial product, process or service, or used in any other manner that might mislead. Accordingly, it is requested that if a NASA photograph is used in advertising and other commercial promotion, layout and copy be submitted to NASA prior to release.
NASA photos reproduced from this archive should include photo credit to "NASA" or "National Aeronautics and Space Administration" and should include scanning credit to the appropriate individuals or agencies as noted in the captions.
 |
AS12-46-6715 Pete Conrad on the ladder. Image credit: Image Science and Analysis Laboratory, NASA-Johnson Space Center |
 |
AS12-46-6716 Pete Conrad on the ladder. Image credit: Image Science and Analysis Laboratory, NASA-Johnson Space Center |
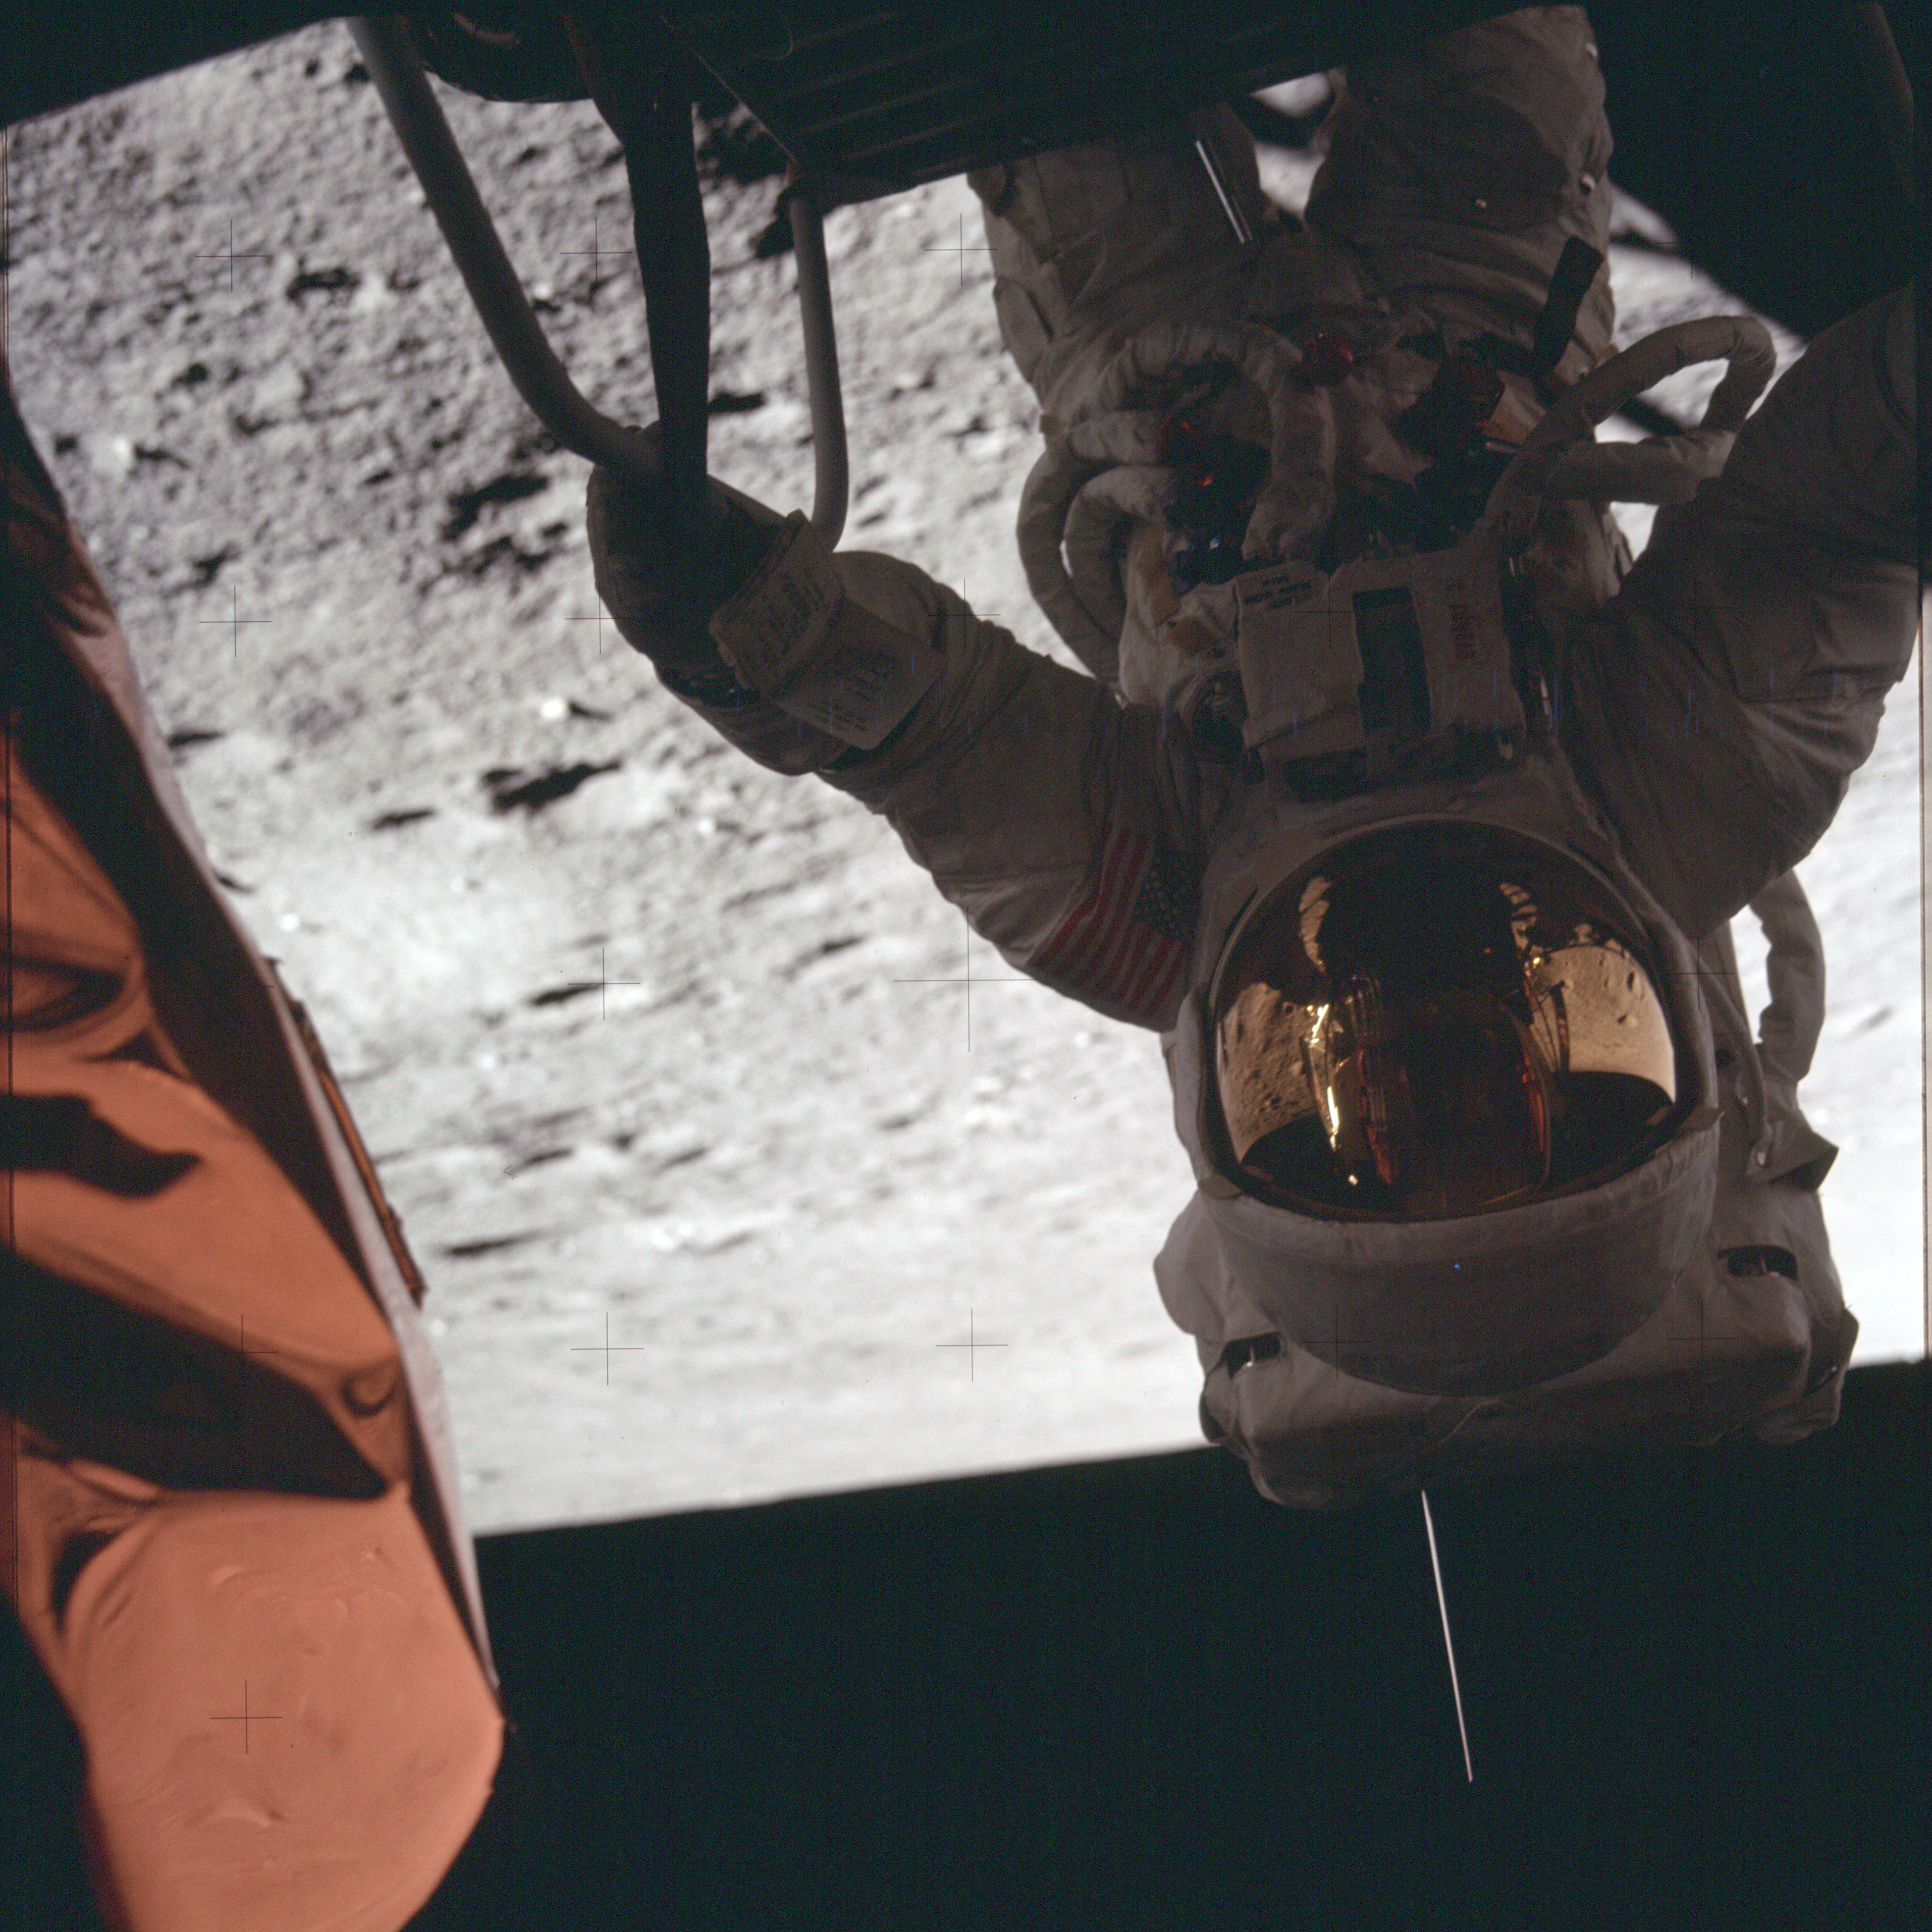 |
AS12-46-6717 Pete Conrad on the ladder. Image credit: Image Science and Analysis Laboratory, NASA-Johnson Space Center |
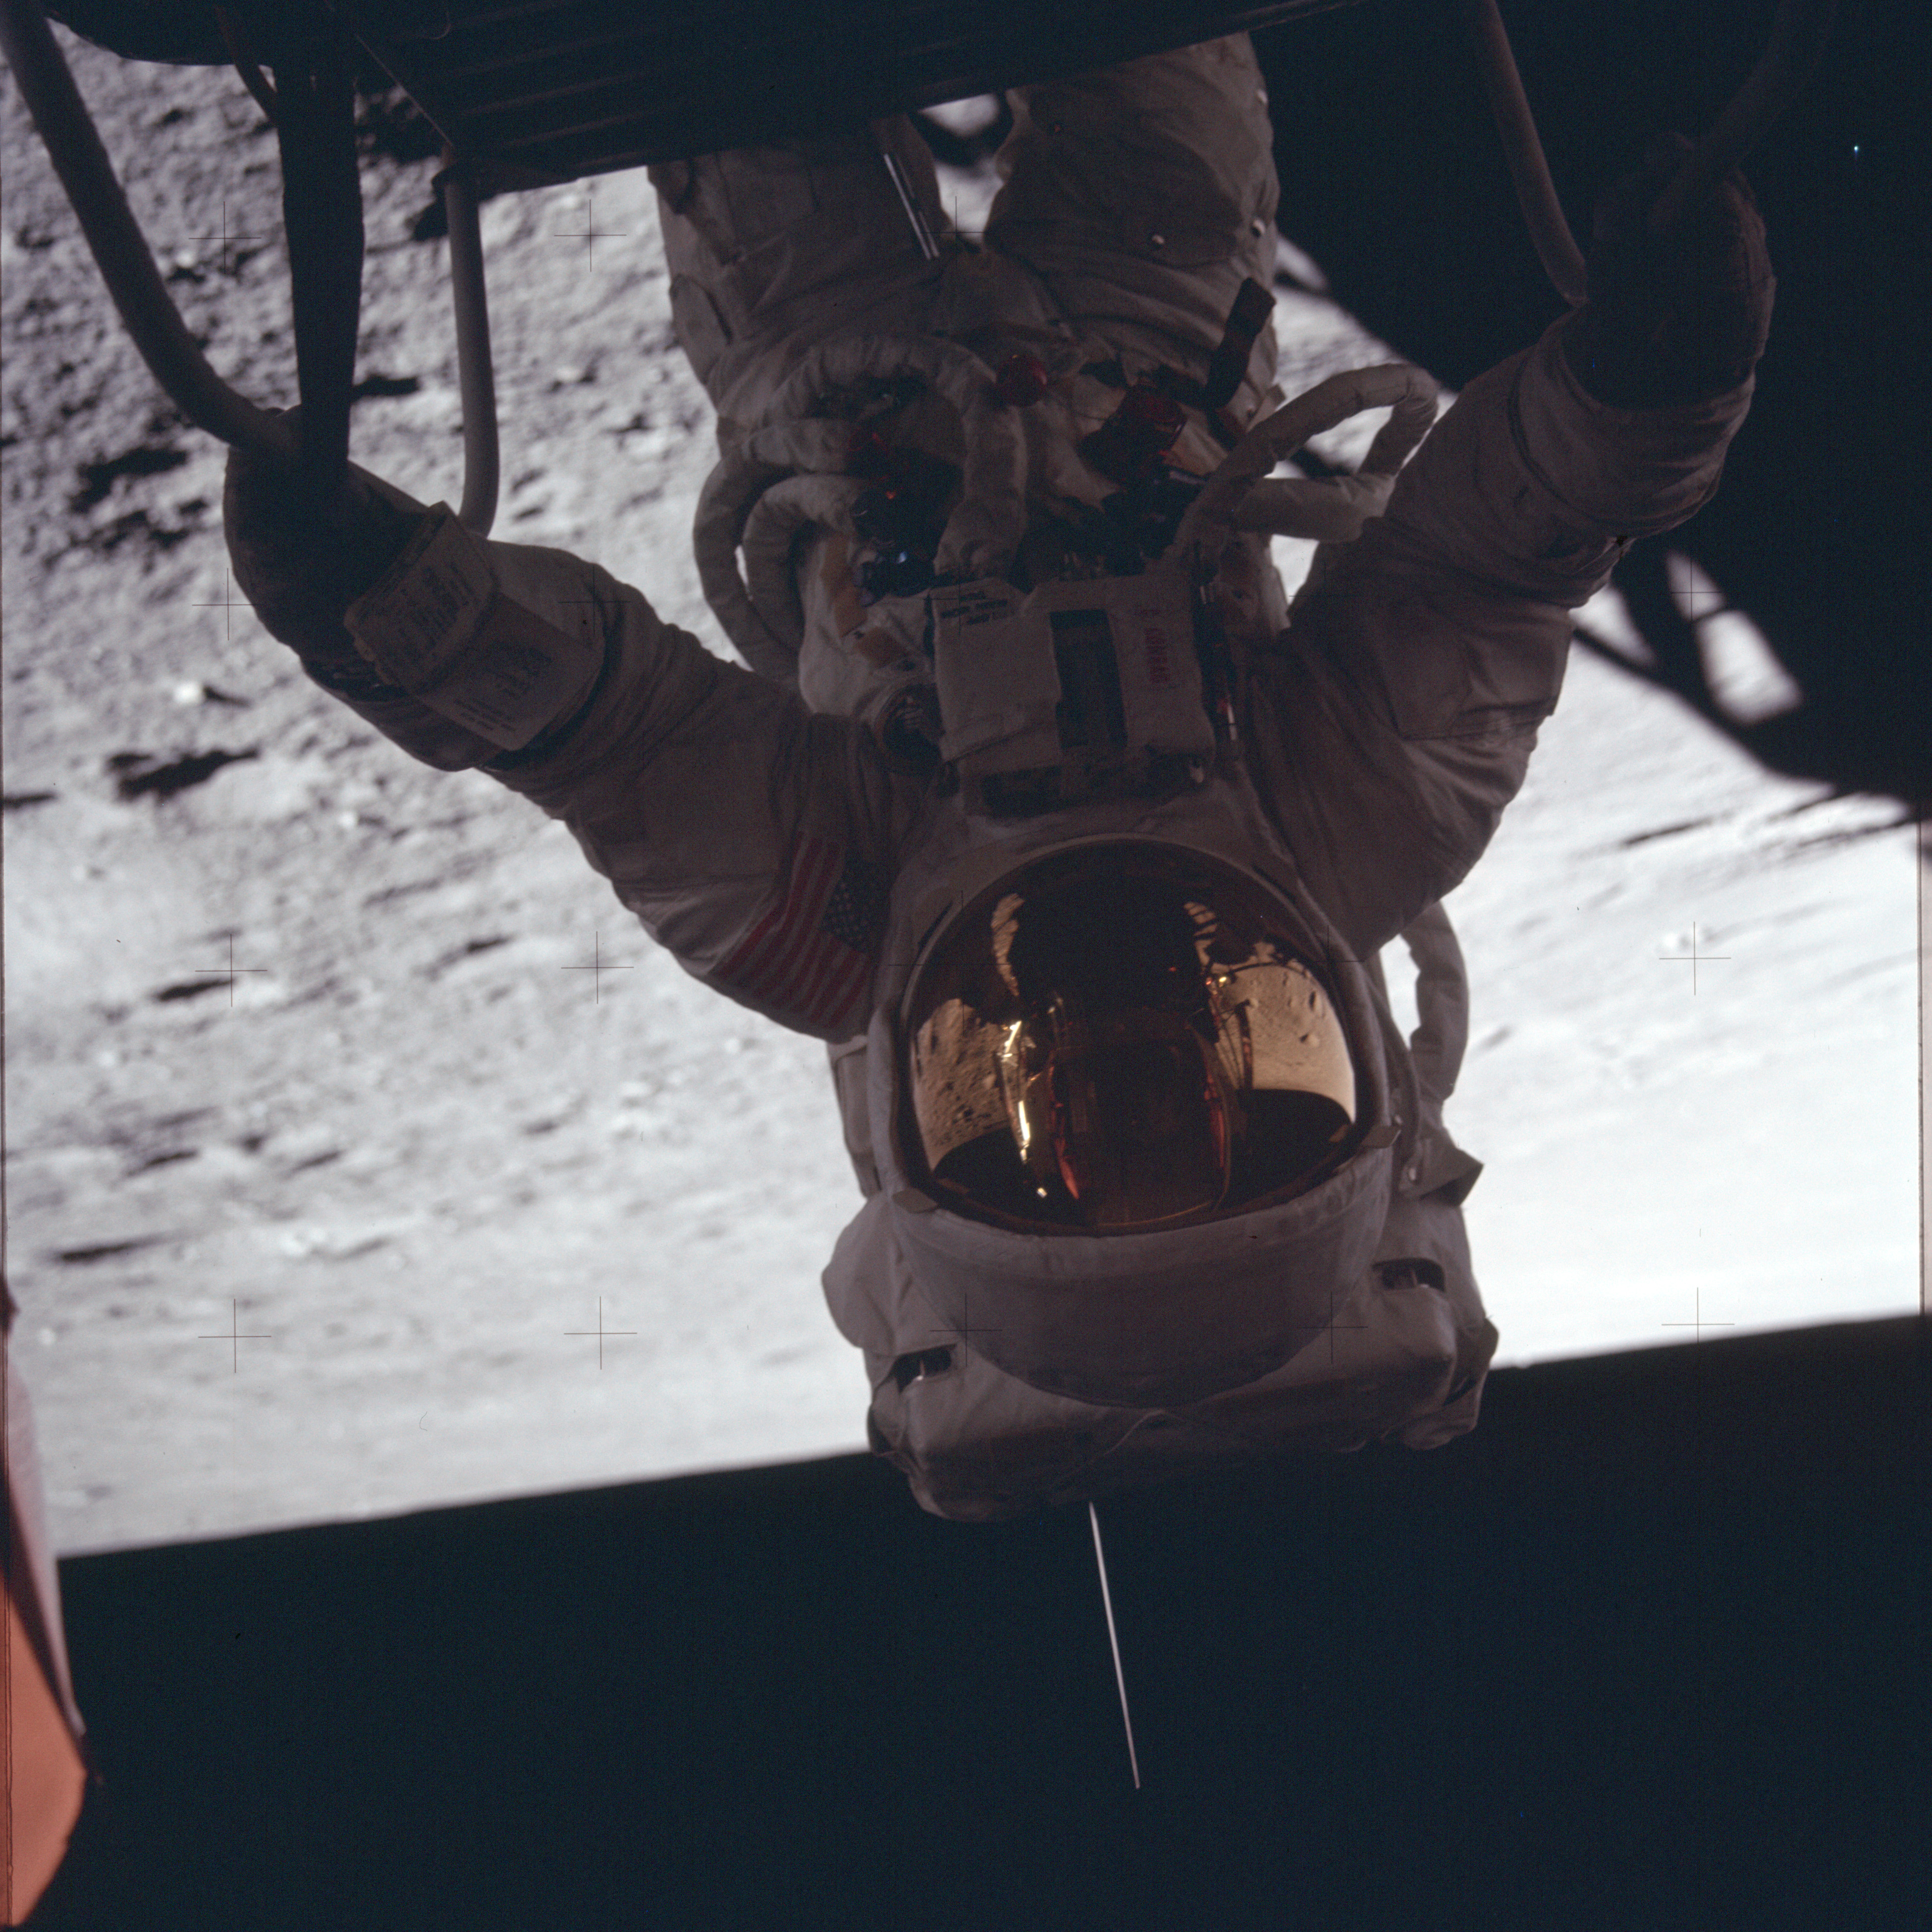 |
AS12-46-6718 Pete Conrad on the ladder. Image credit: Image Science and Analysis Laboratory, NASA-Johnson Space Center |
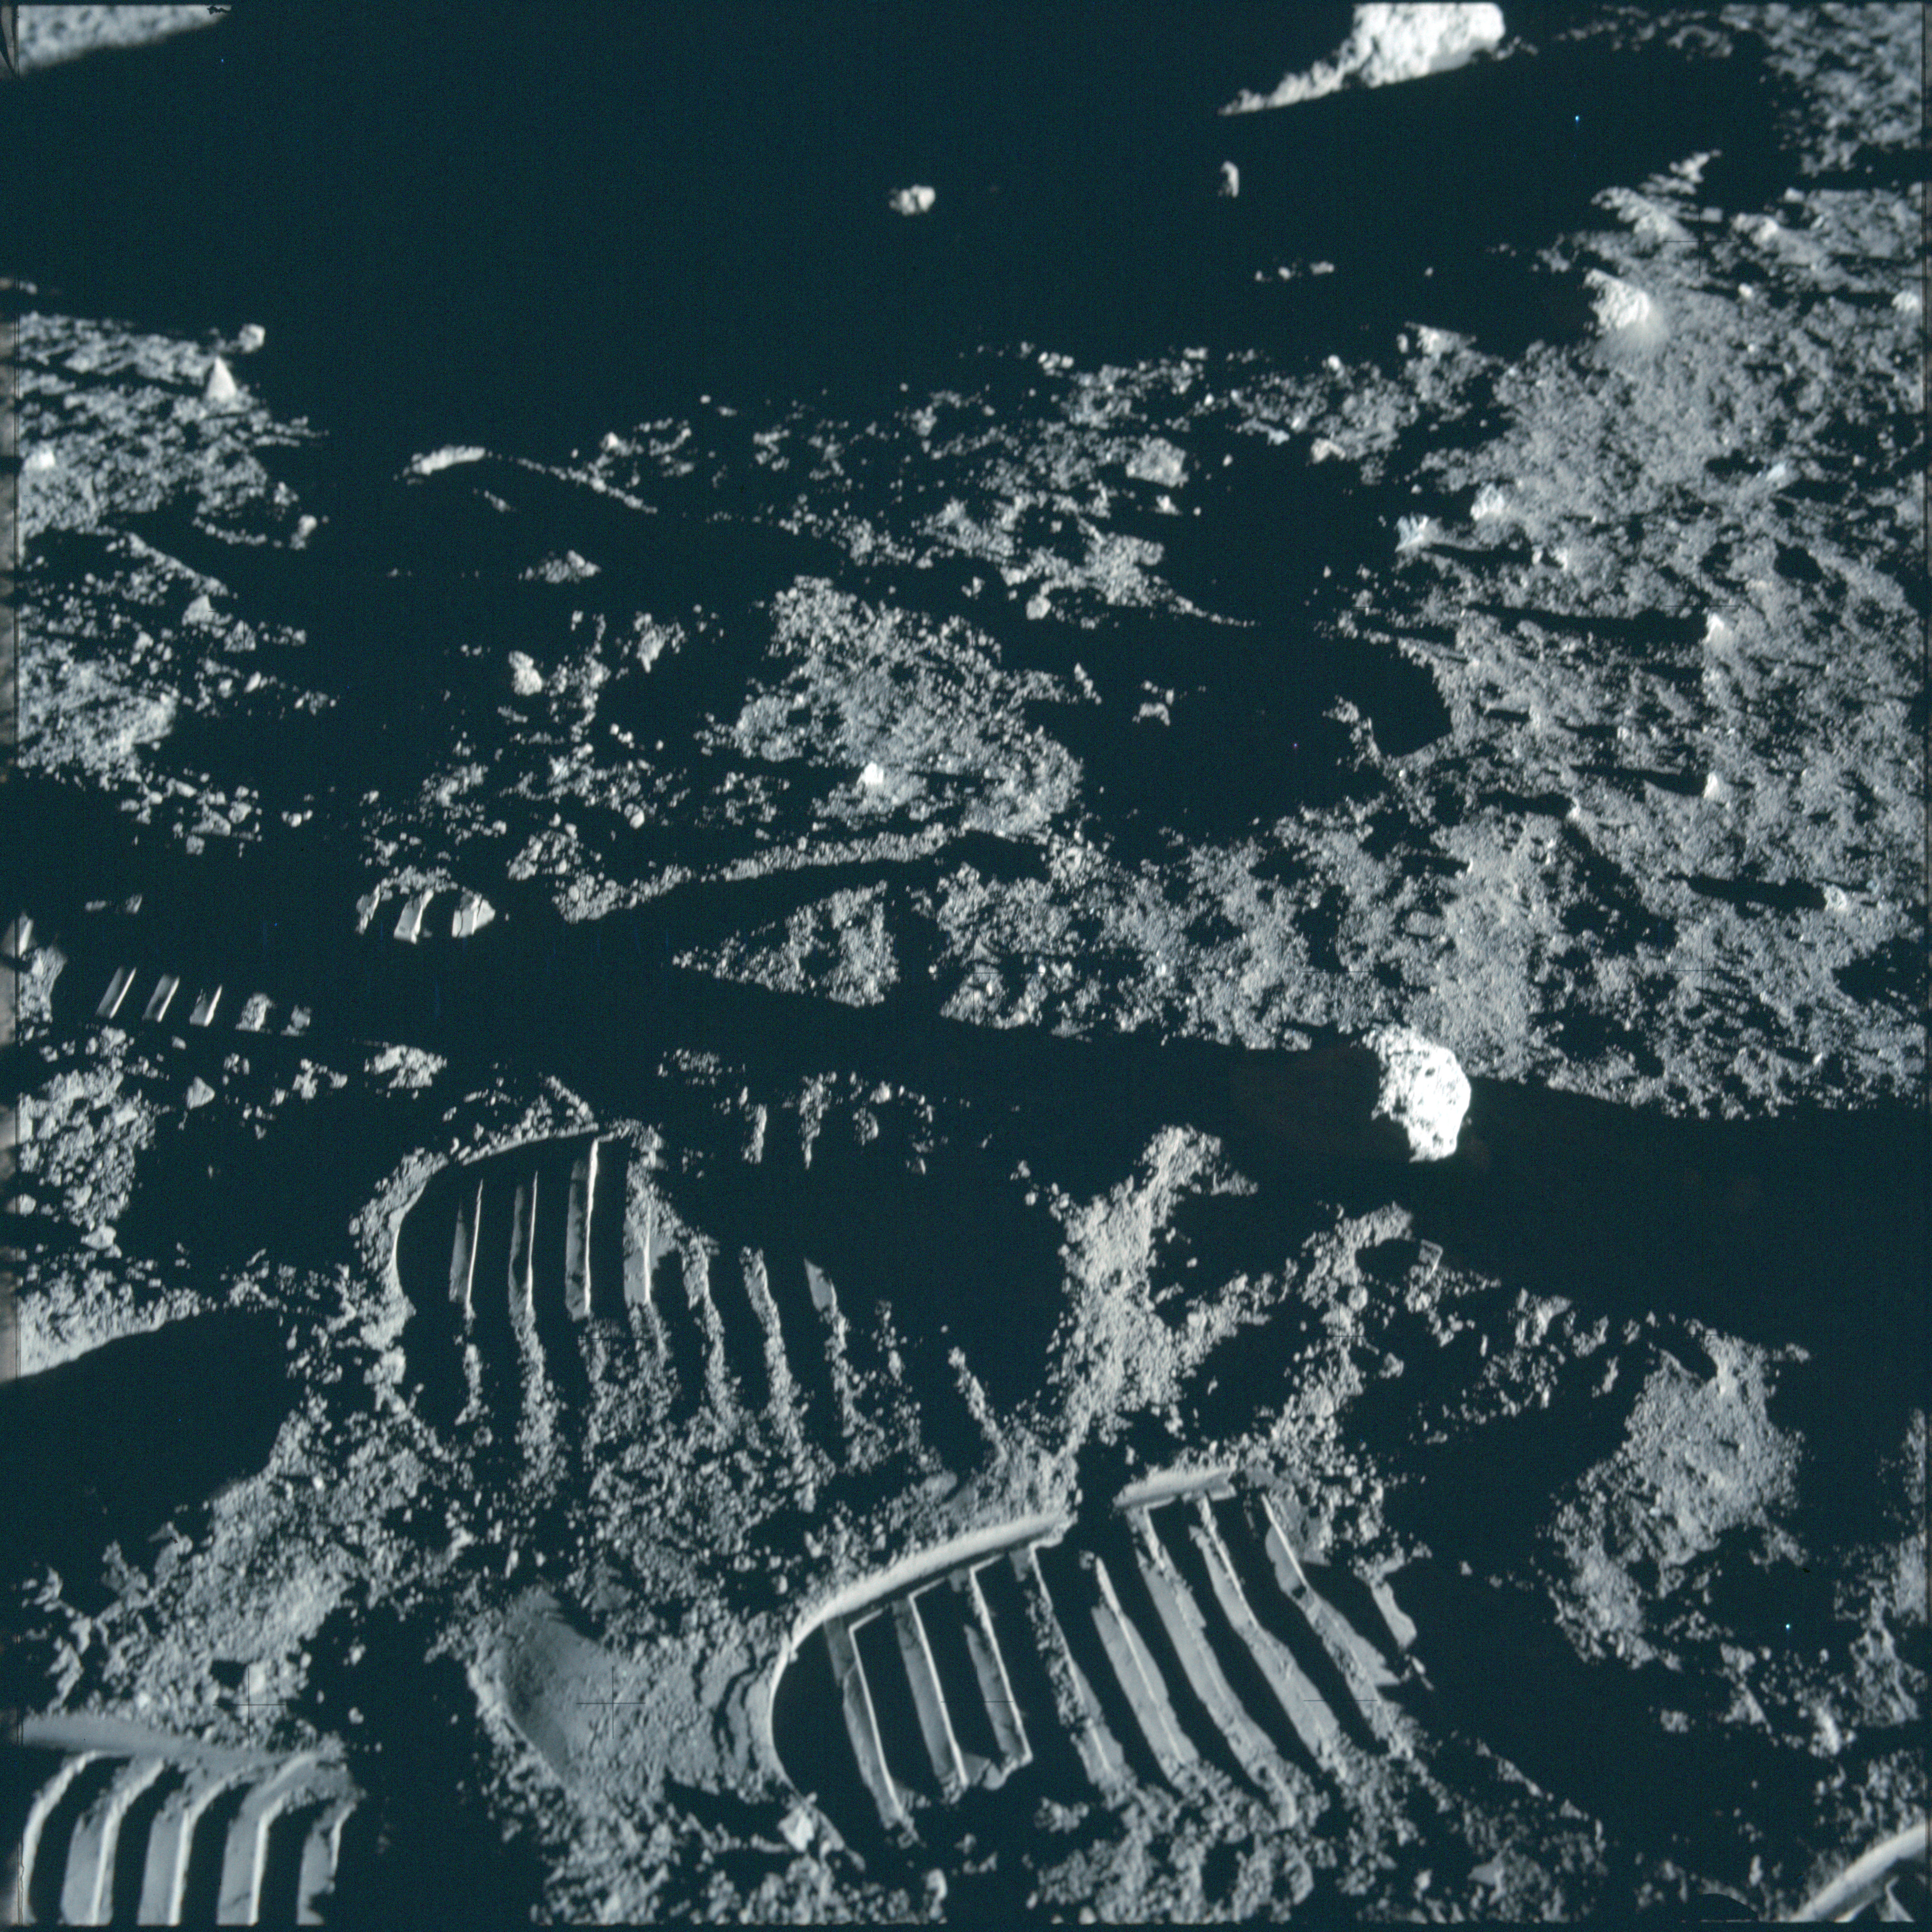 |
AS12-46-6719 Cross-Sun image of contingency sample collection area. Image credit: Image Science and Analysis Laboratory, NASA-Johnson Space Center |
 |
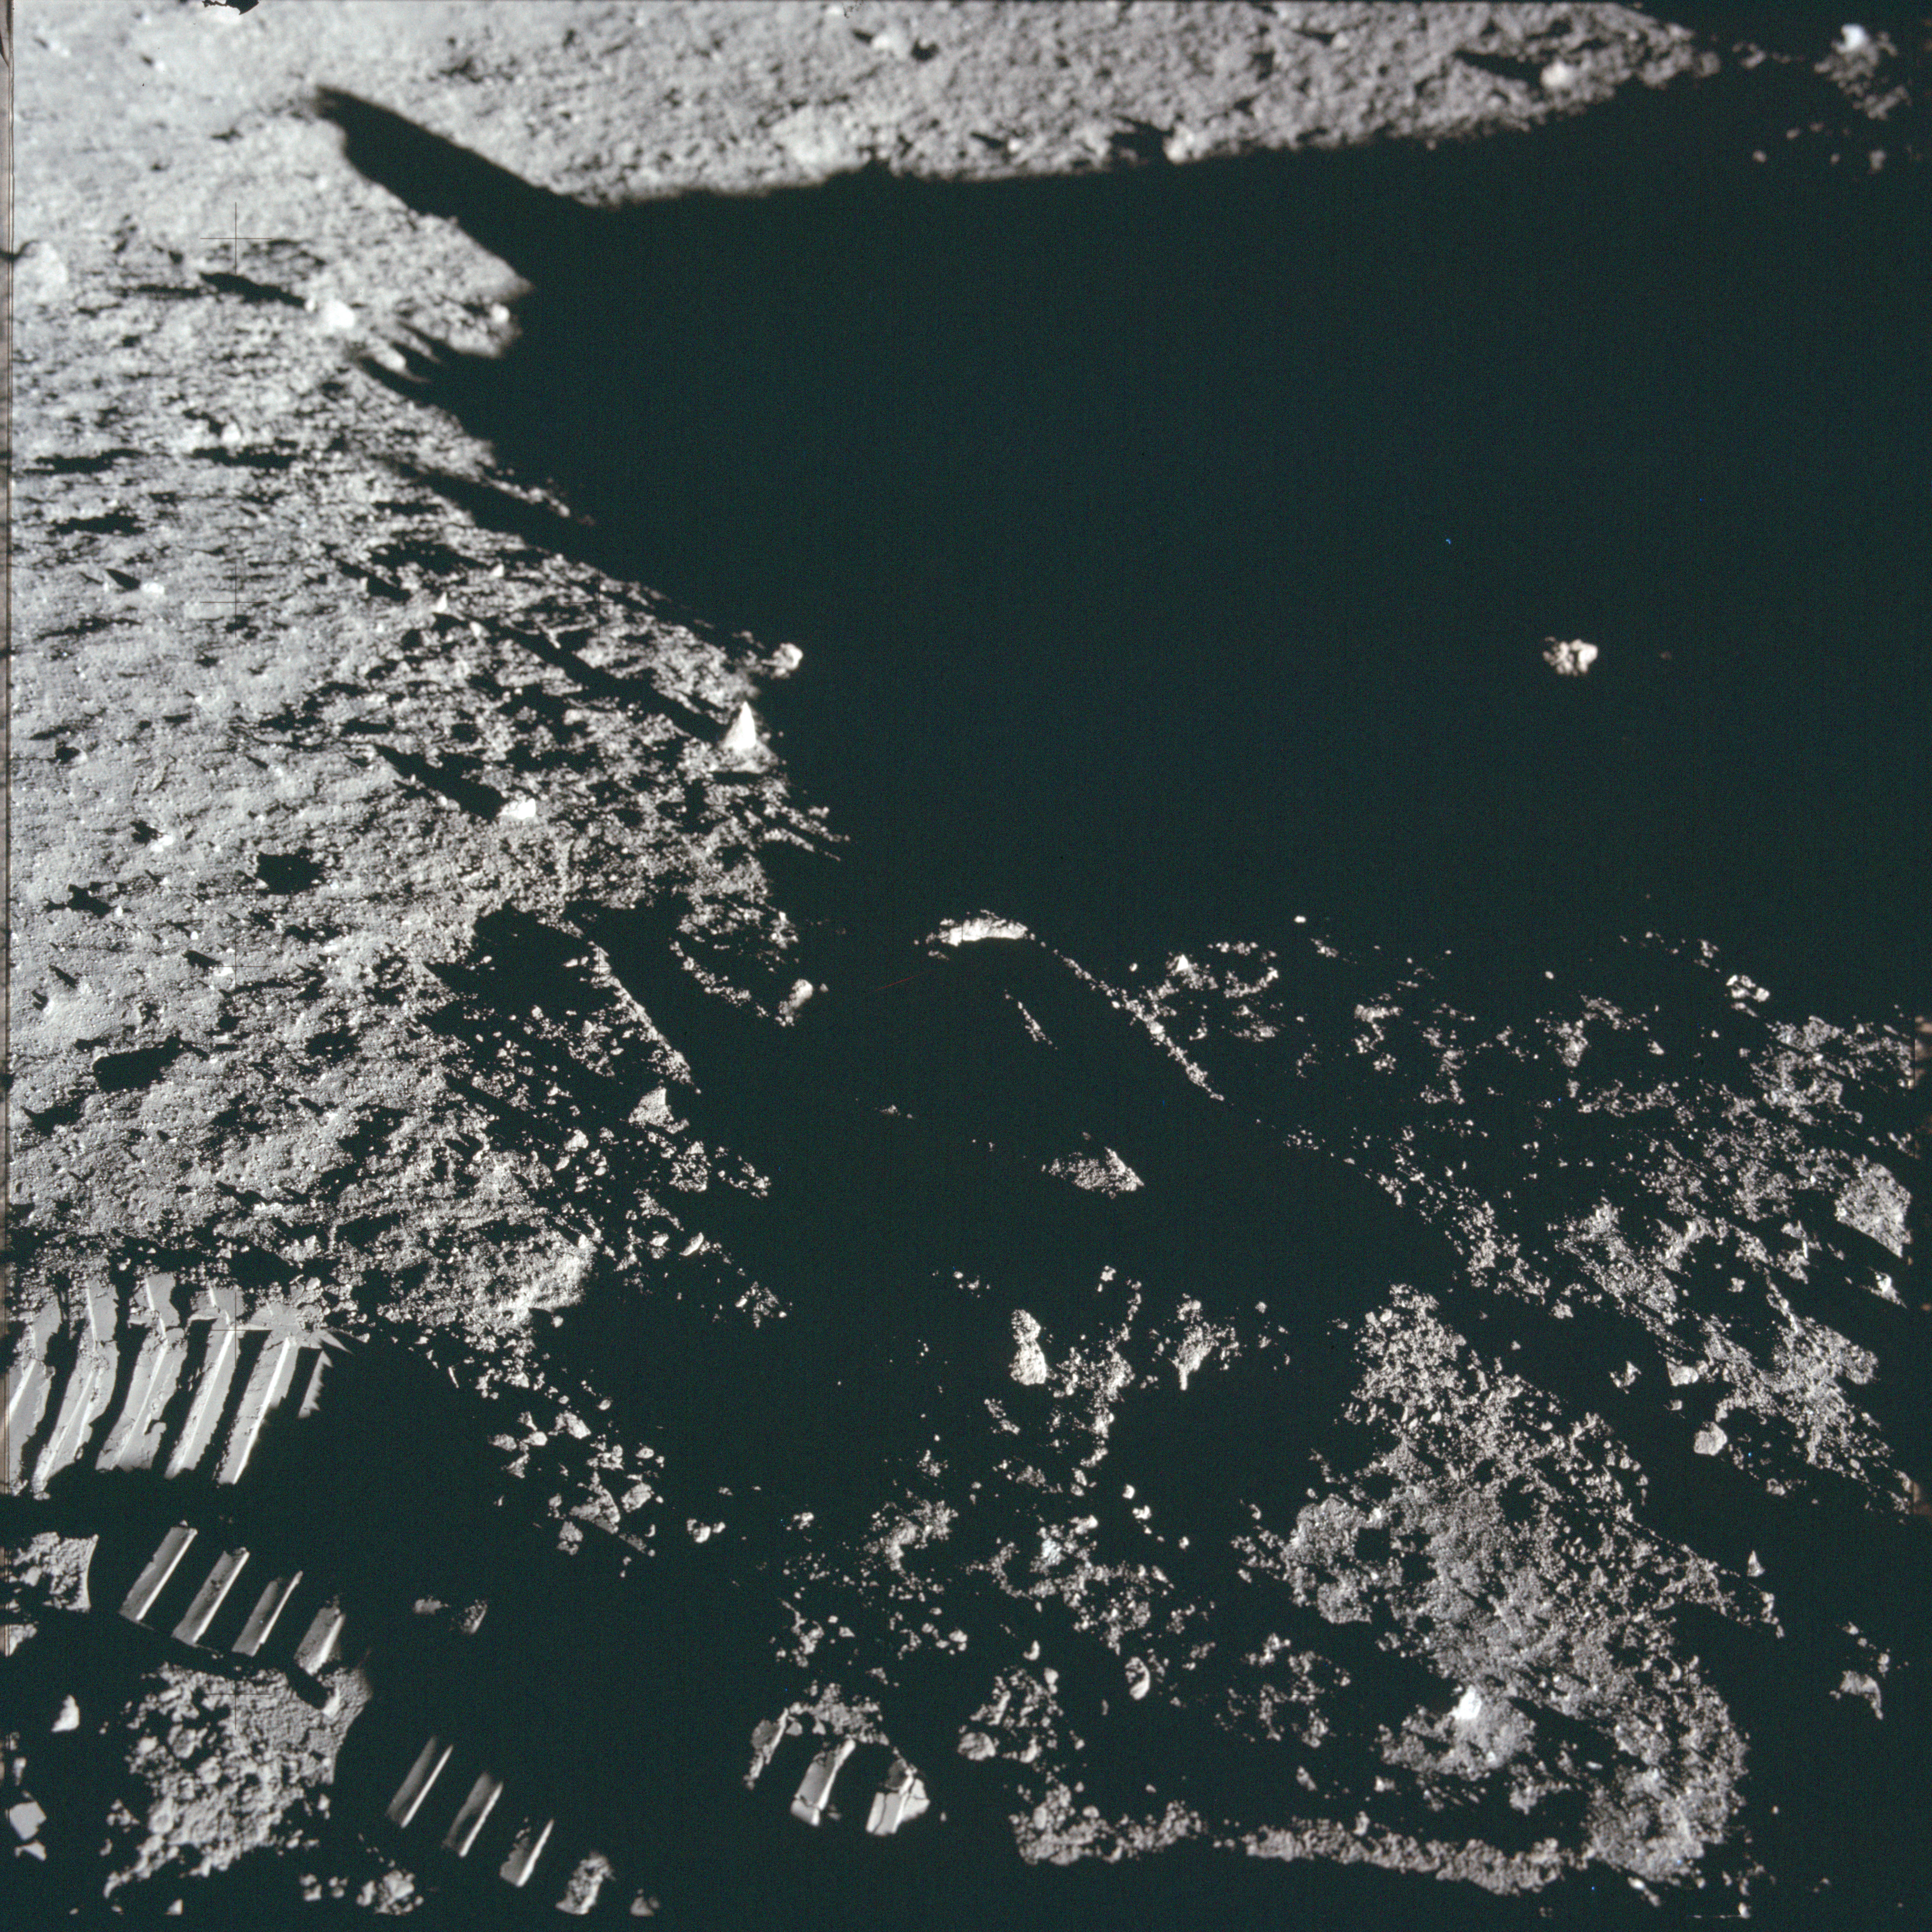
AS12-46-6720 Cross-Sun image of contingency sample collection area. Image credit: Image Science and Analysis Laboratory, NASA-Johnson Space Center |
 |
AS12-46-6721 Down-Sun image of a trench made with the contingency sampler. Image credit: Image Science and Analysis Laboratory, NASA-Johnson Space Center |
 |
AS12-46-6722 Cross-Sun image of contingency sample collection area. Image credit: Image Science and Analysis Laboratory, NASA-Johnson Space Center |
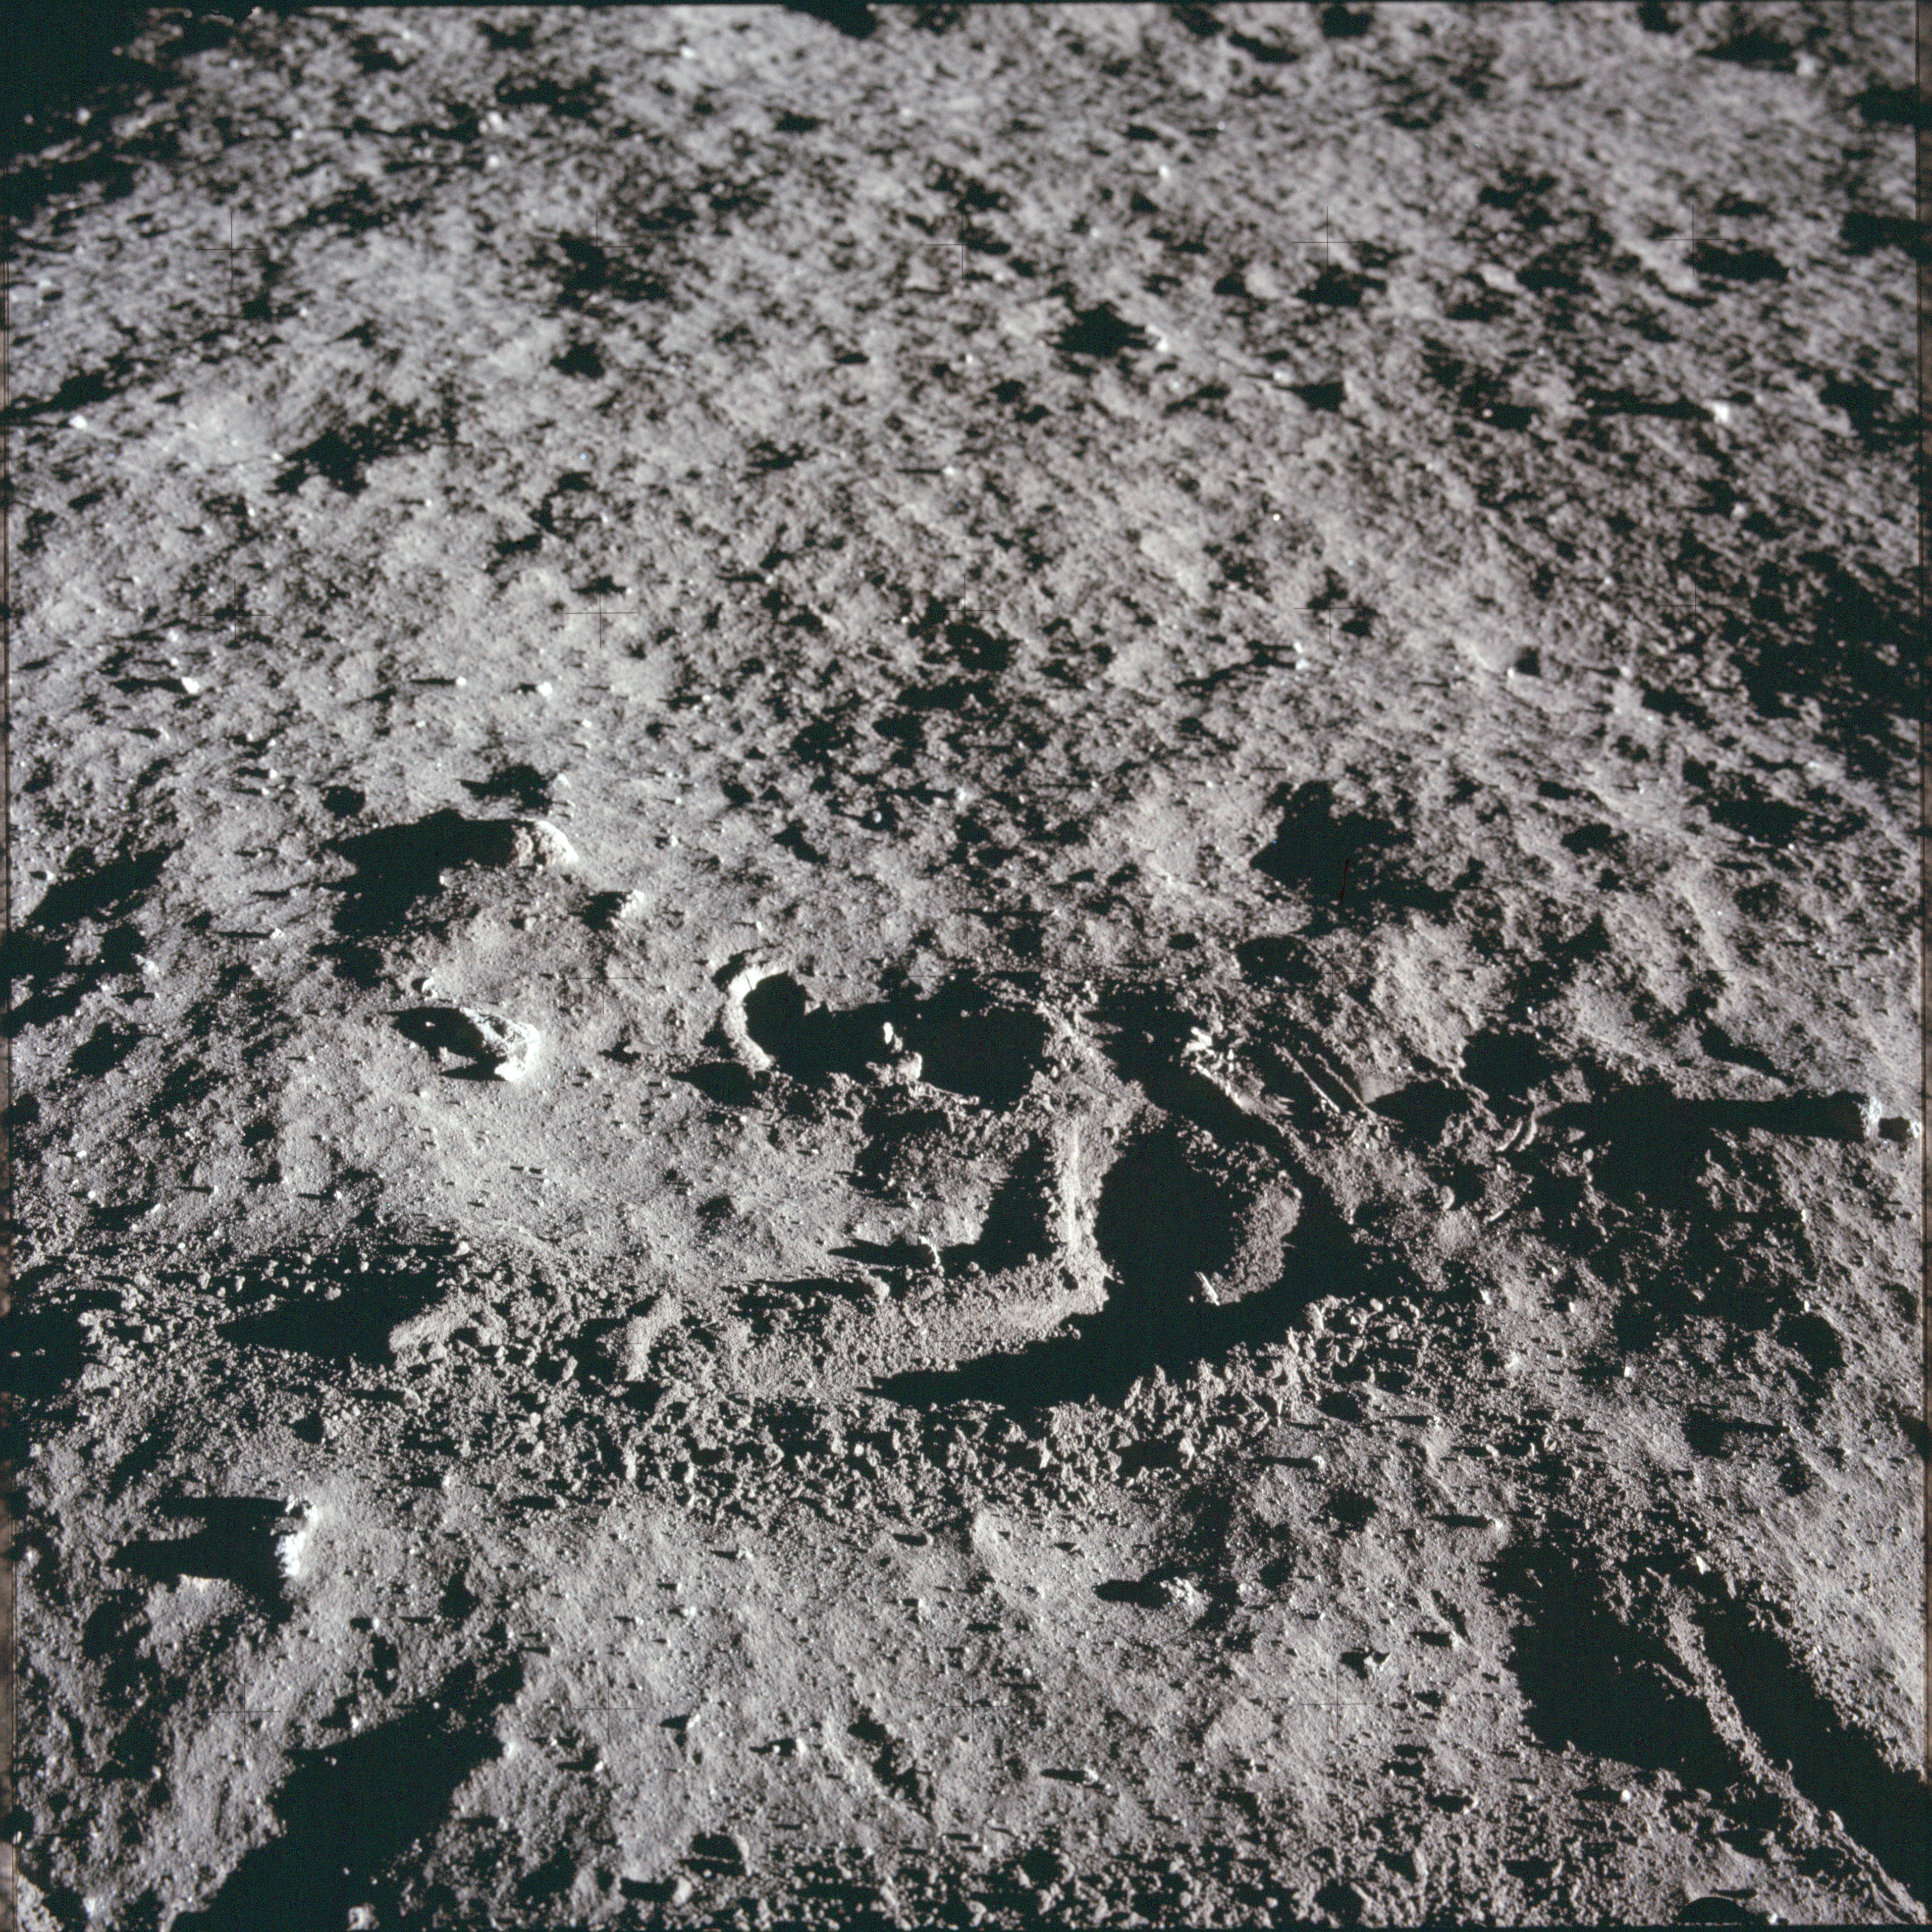 |
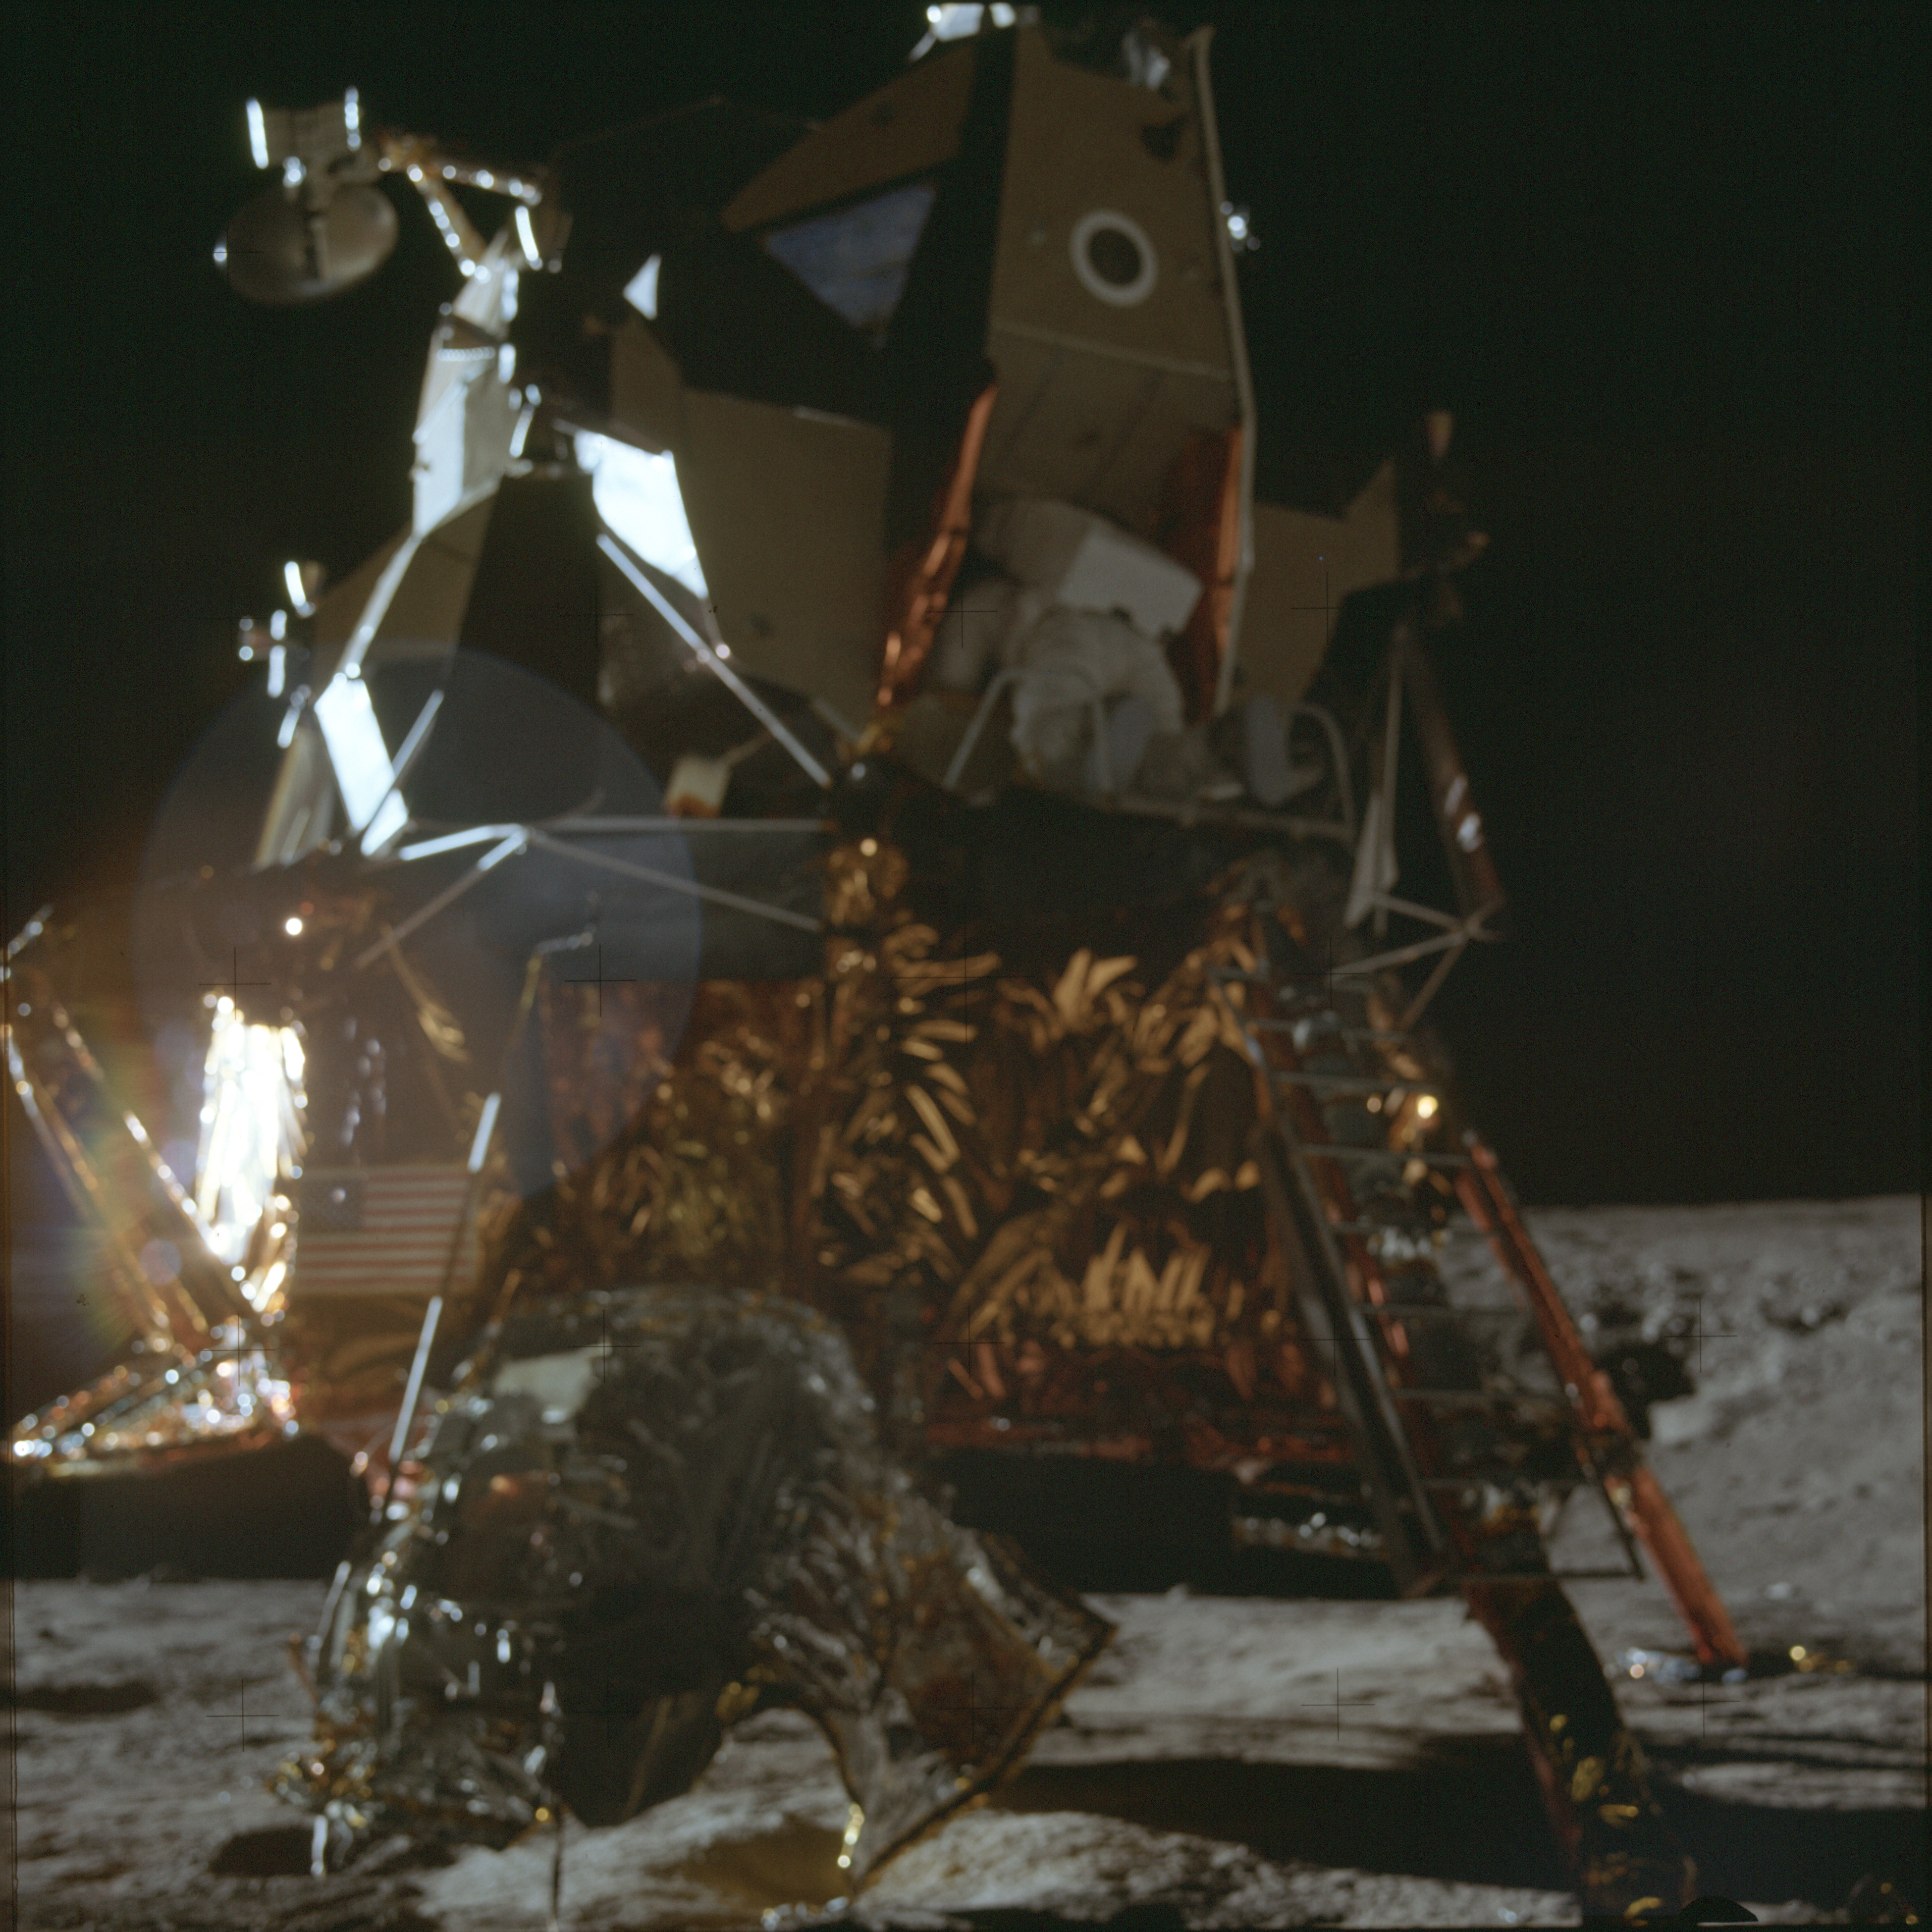
AS12-46-6723 Cross-Sun image of contingency sample collection area - stereo companion to previous image. Image credit: Image Science and Analysis Laboratory, NASA-Johnson Space Center |
 |
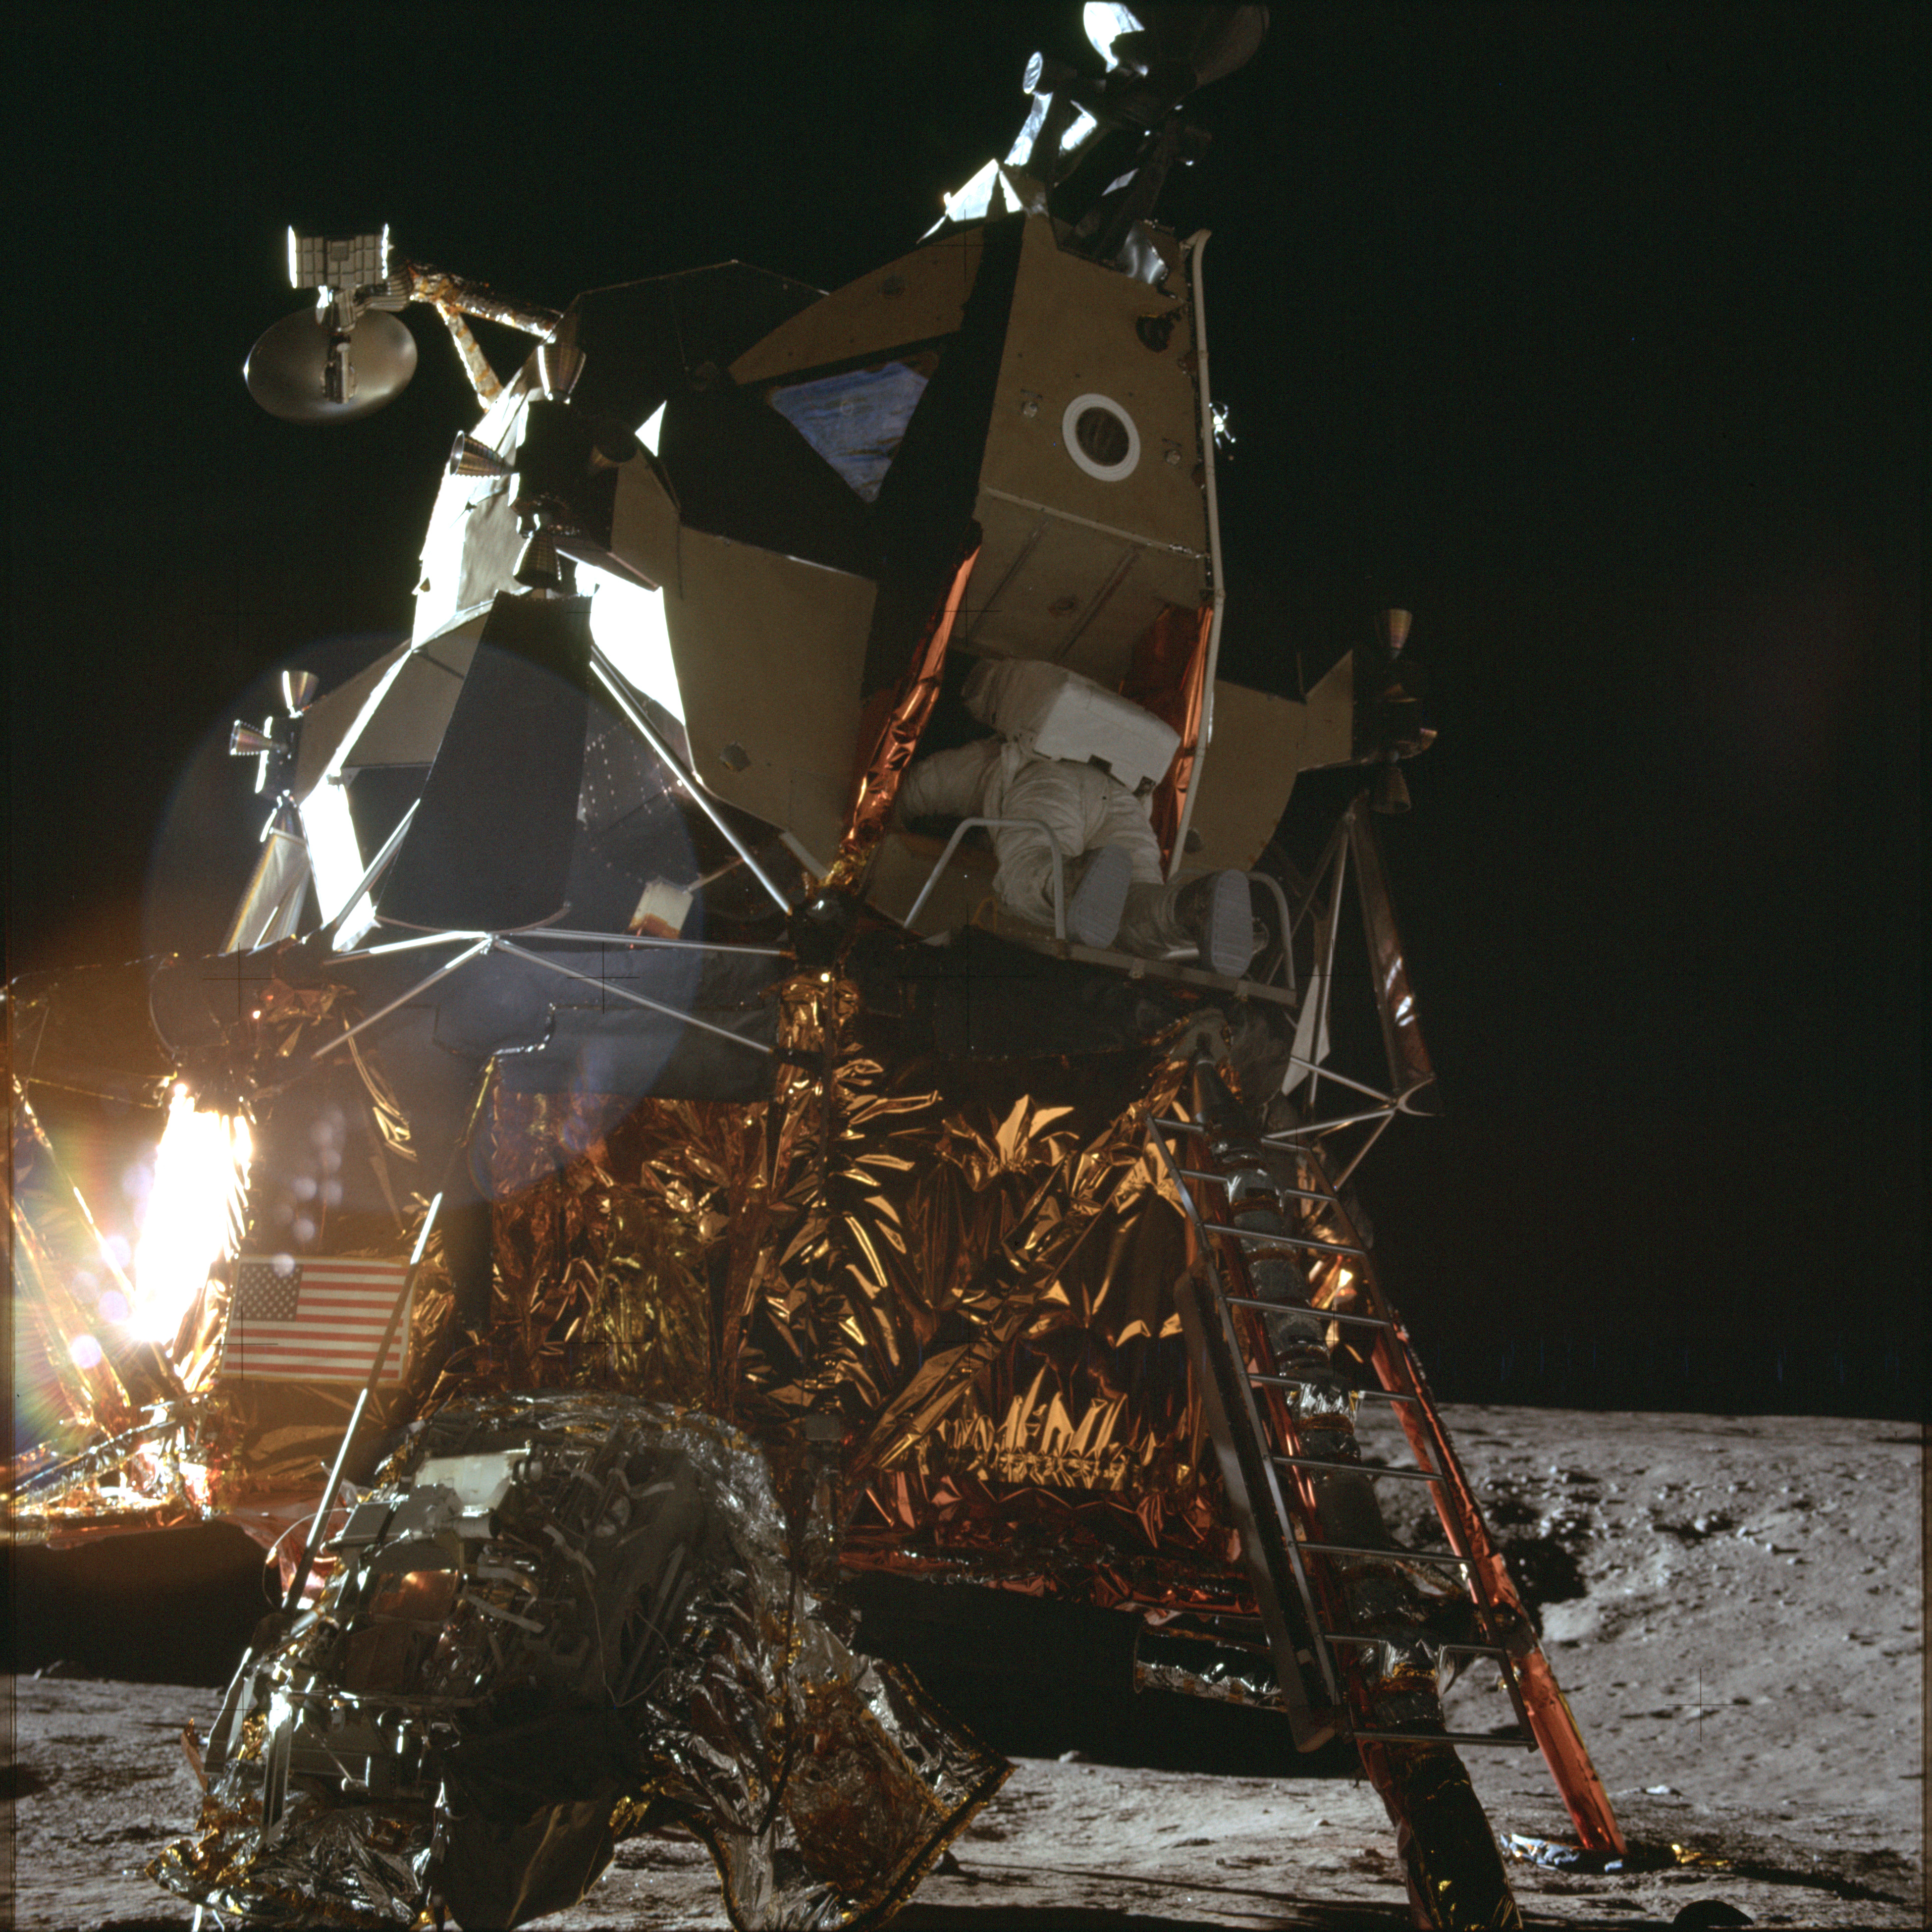
AS12-46-6724 Sequence of Al Bean descending the ladder. 1/6 - Al exists the hatch. Image is out of focus. Image credit: Image Science and Analysis Laboratory, NASA-Johnson Space Center |
 |
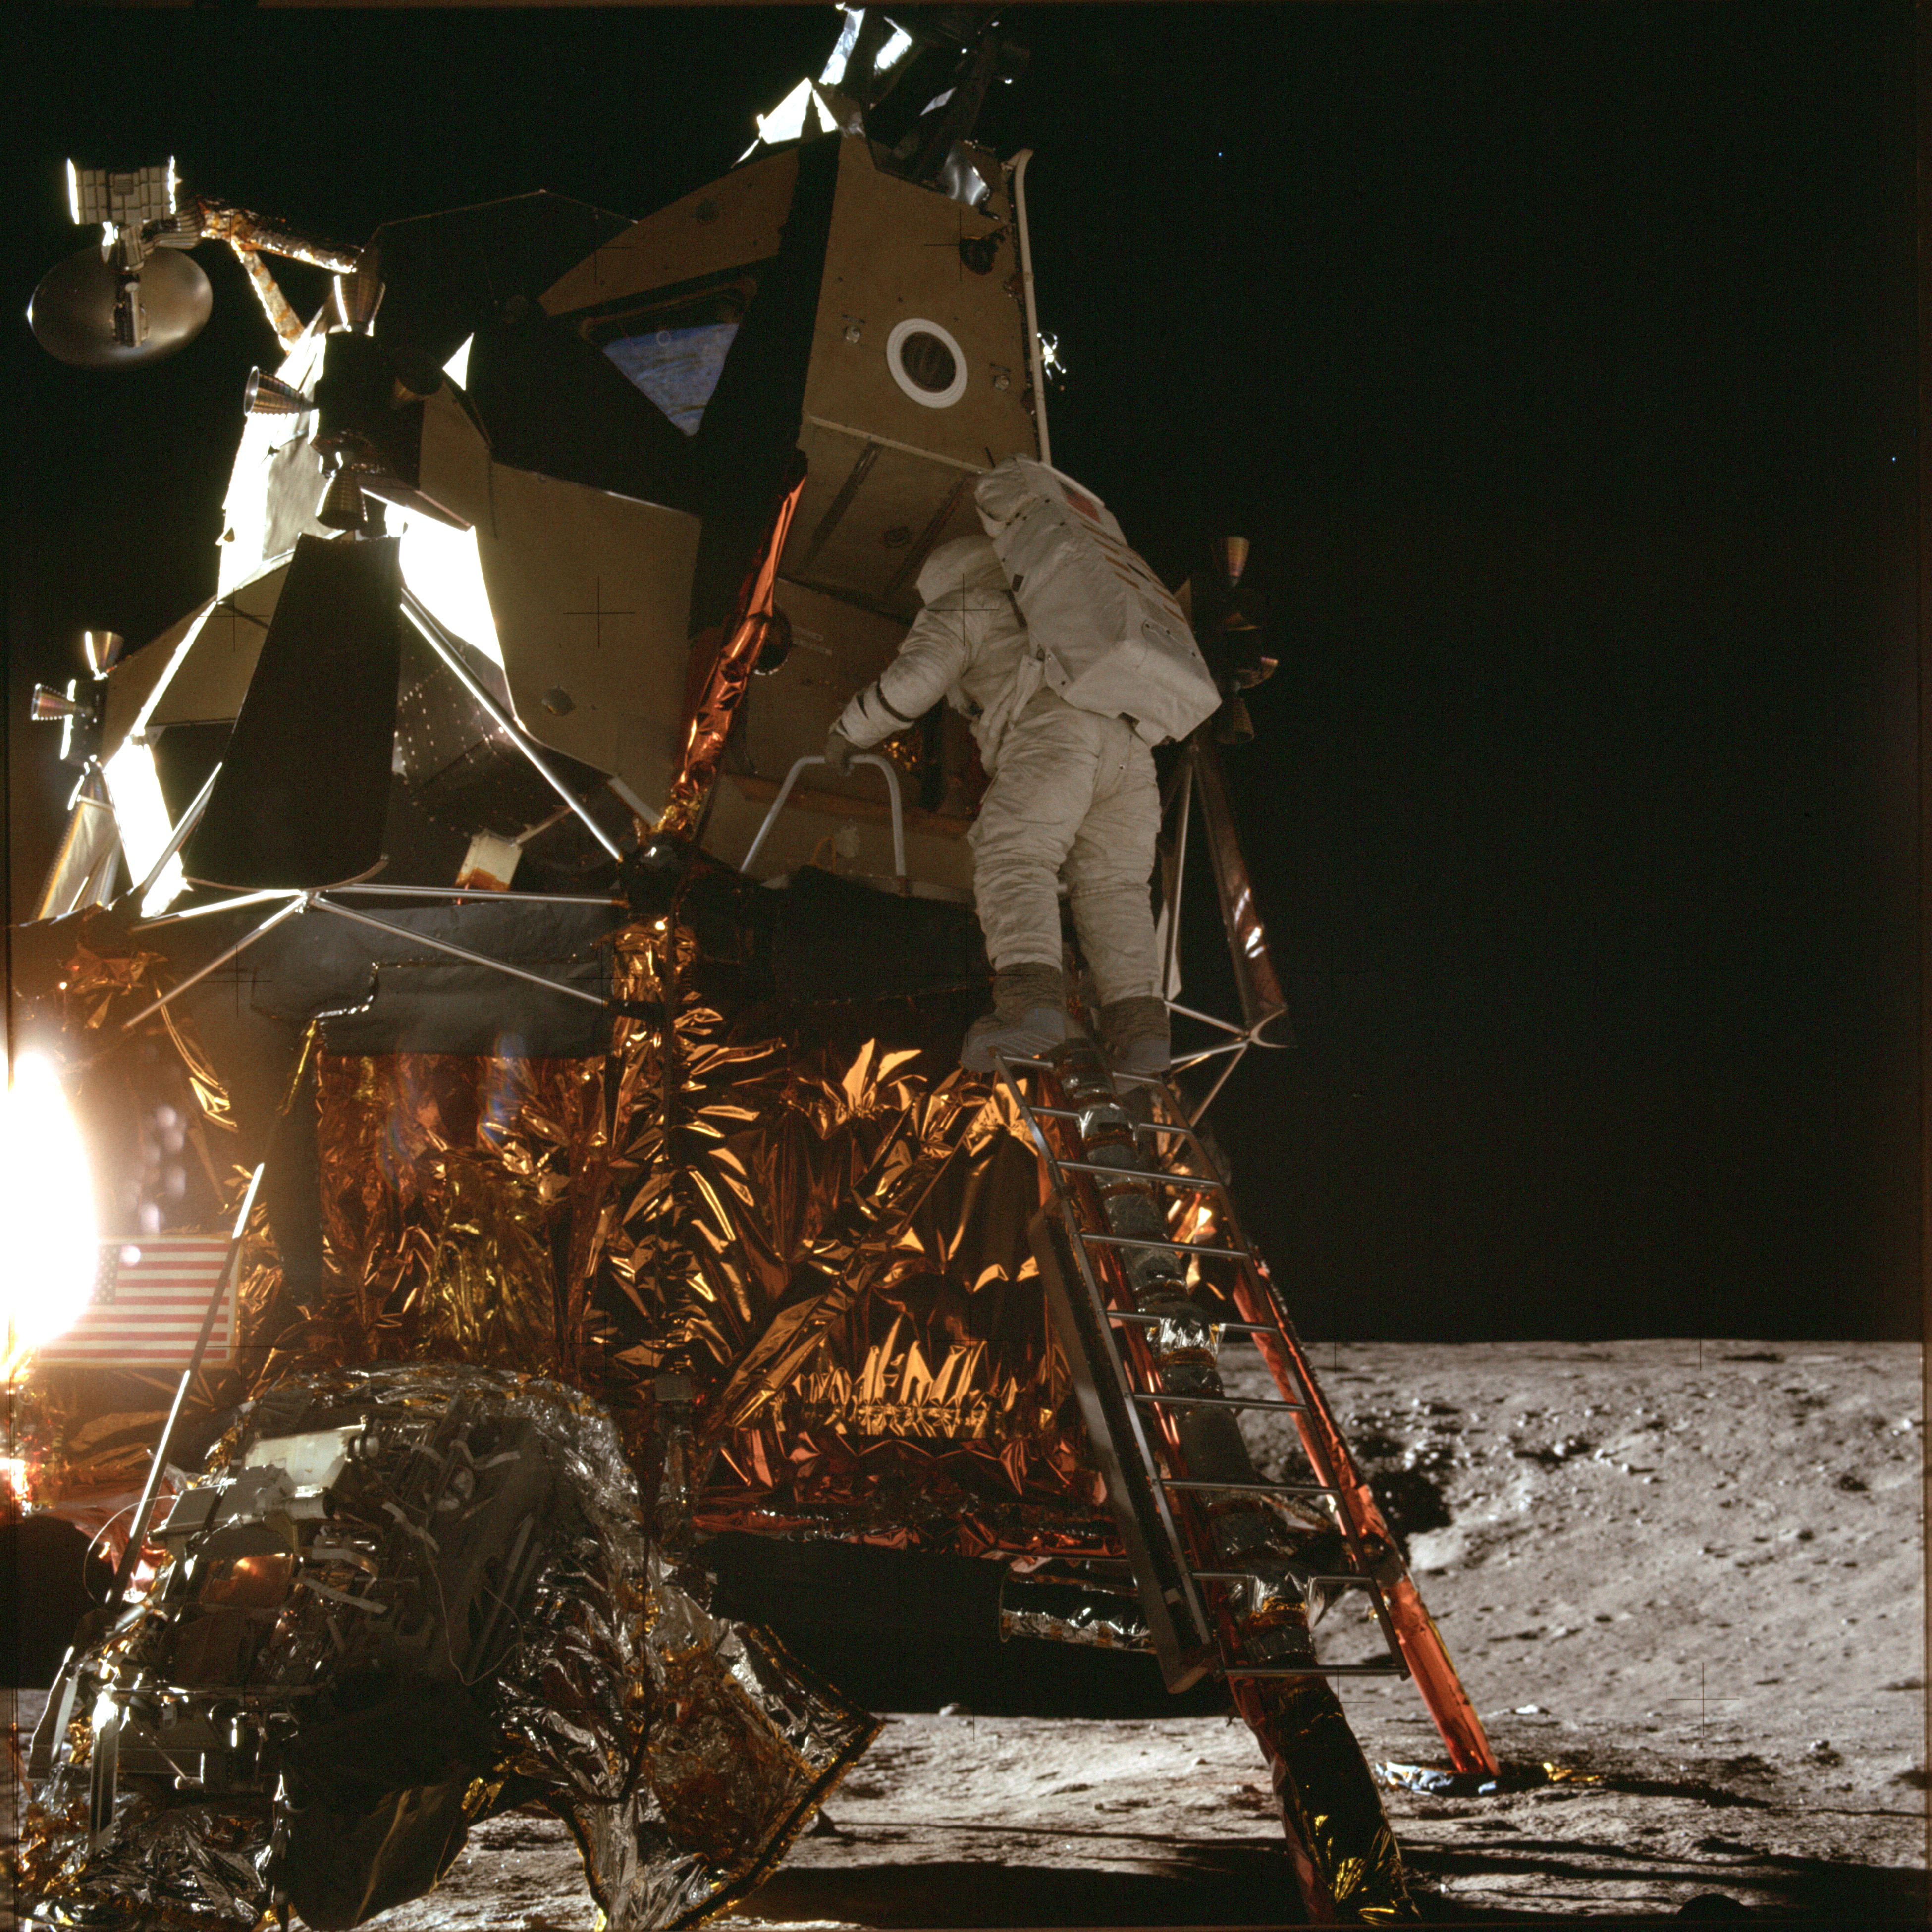
AS12-46-6725 Sequence of Al Bean descending the ladder. 2/6 - Al is on the porch. Image credit: Image Science and Analysis Laboratory, NASA-Johnson Space Center |
 |
AS12-46-6726 Sequence of Al Bean descending the ladder. 3/6 - Al is on the top step. Image credit: Image Science and Analysis Laboratory, NASA-Johnson Space Center |
 |
AS12-46-6727 Sequence of Al Bean descending the ladder. 4/6. Image credit: Image Science and Analysis Laboratory, NASA-Johnson Space Center |
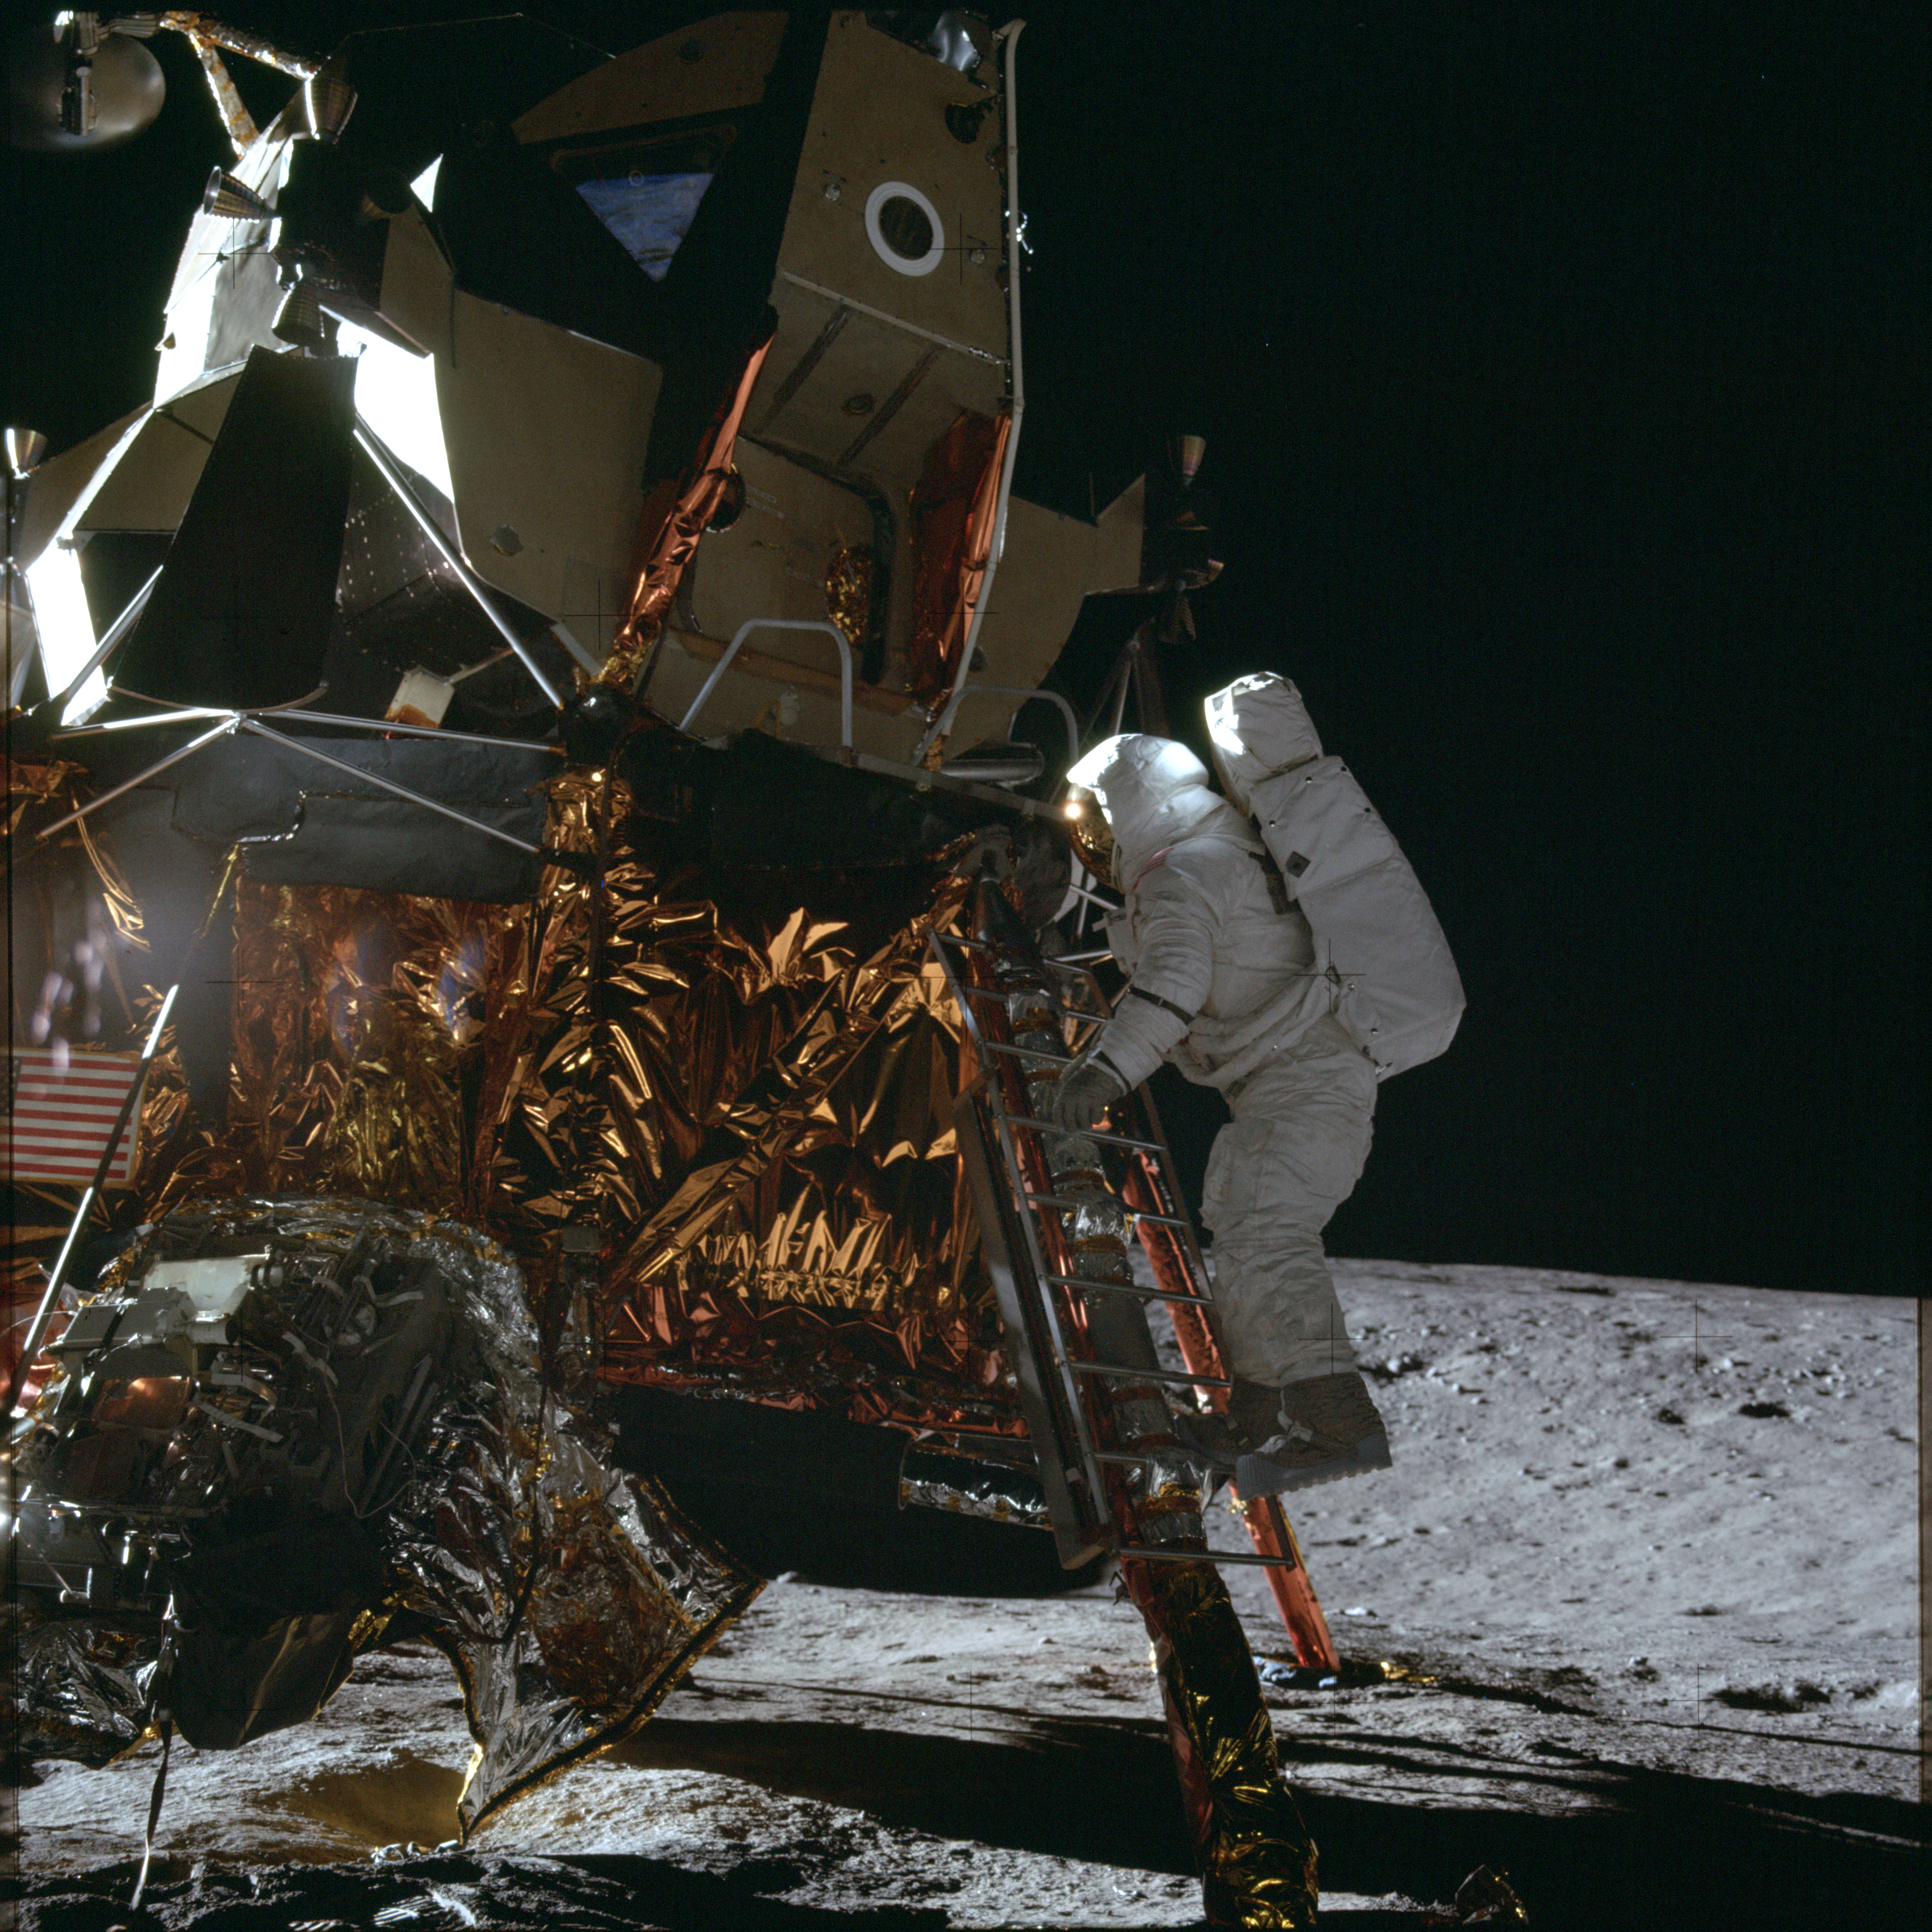 |
AS12-46-6728 Sequence of Al Bean descending the ladder. 5/6. Image credit: Image Science and Analysis Laboratory, NASA-Johnson Space Center |
 |
AS12-46-6729 Sequence of Al Bean descending the ladder. 6/6 - Al steps off the footpad onto the lunar surface. Image credit: Image Science and Analysis Laboratory, NASA-Johnson Space Center |
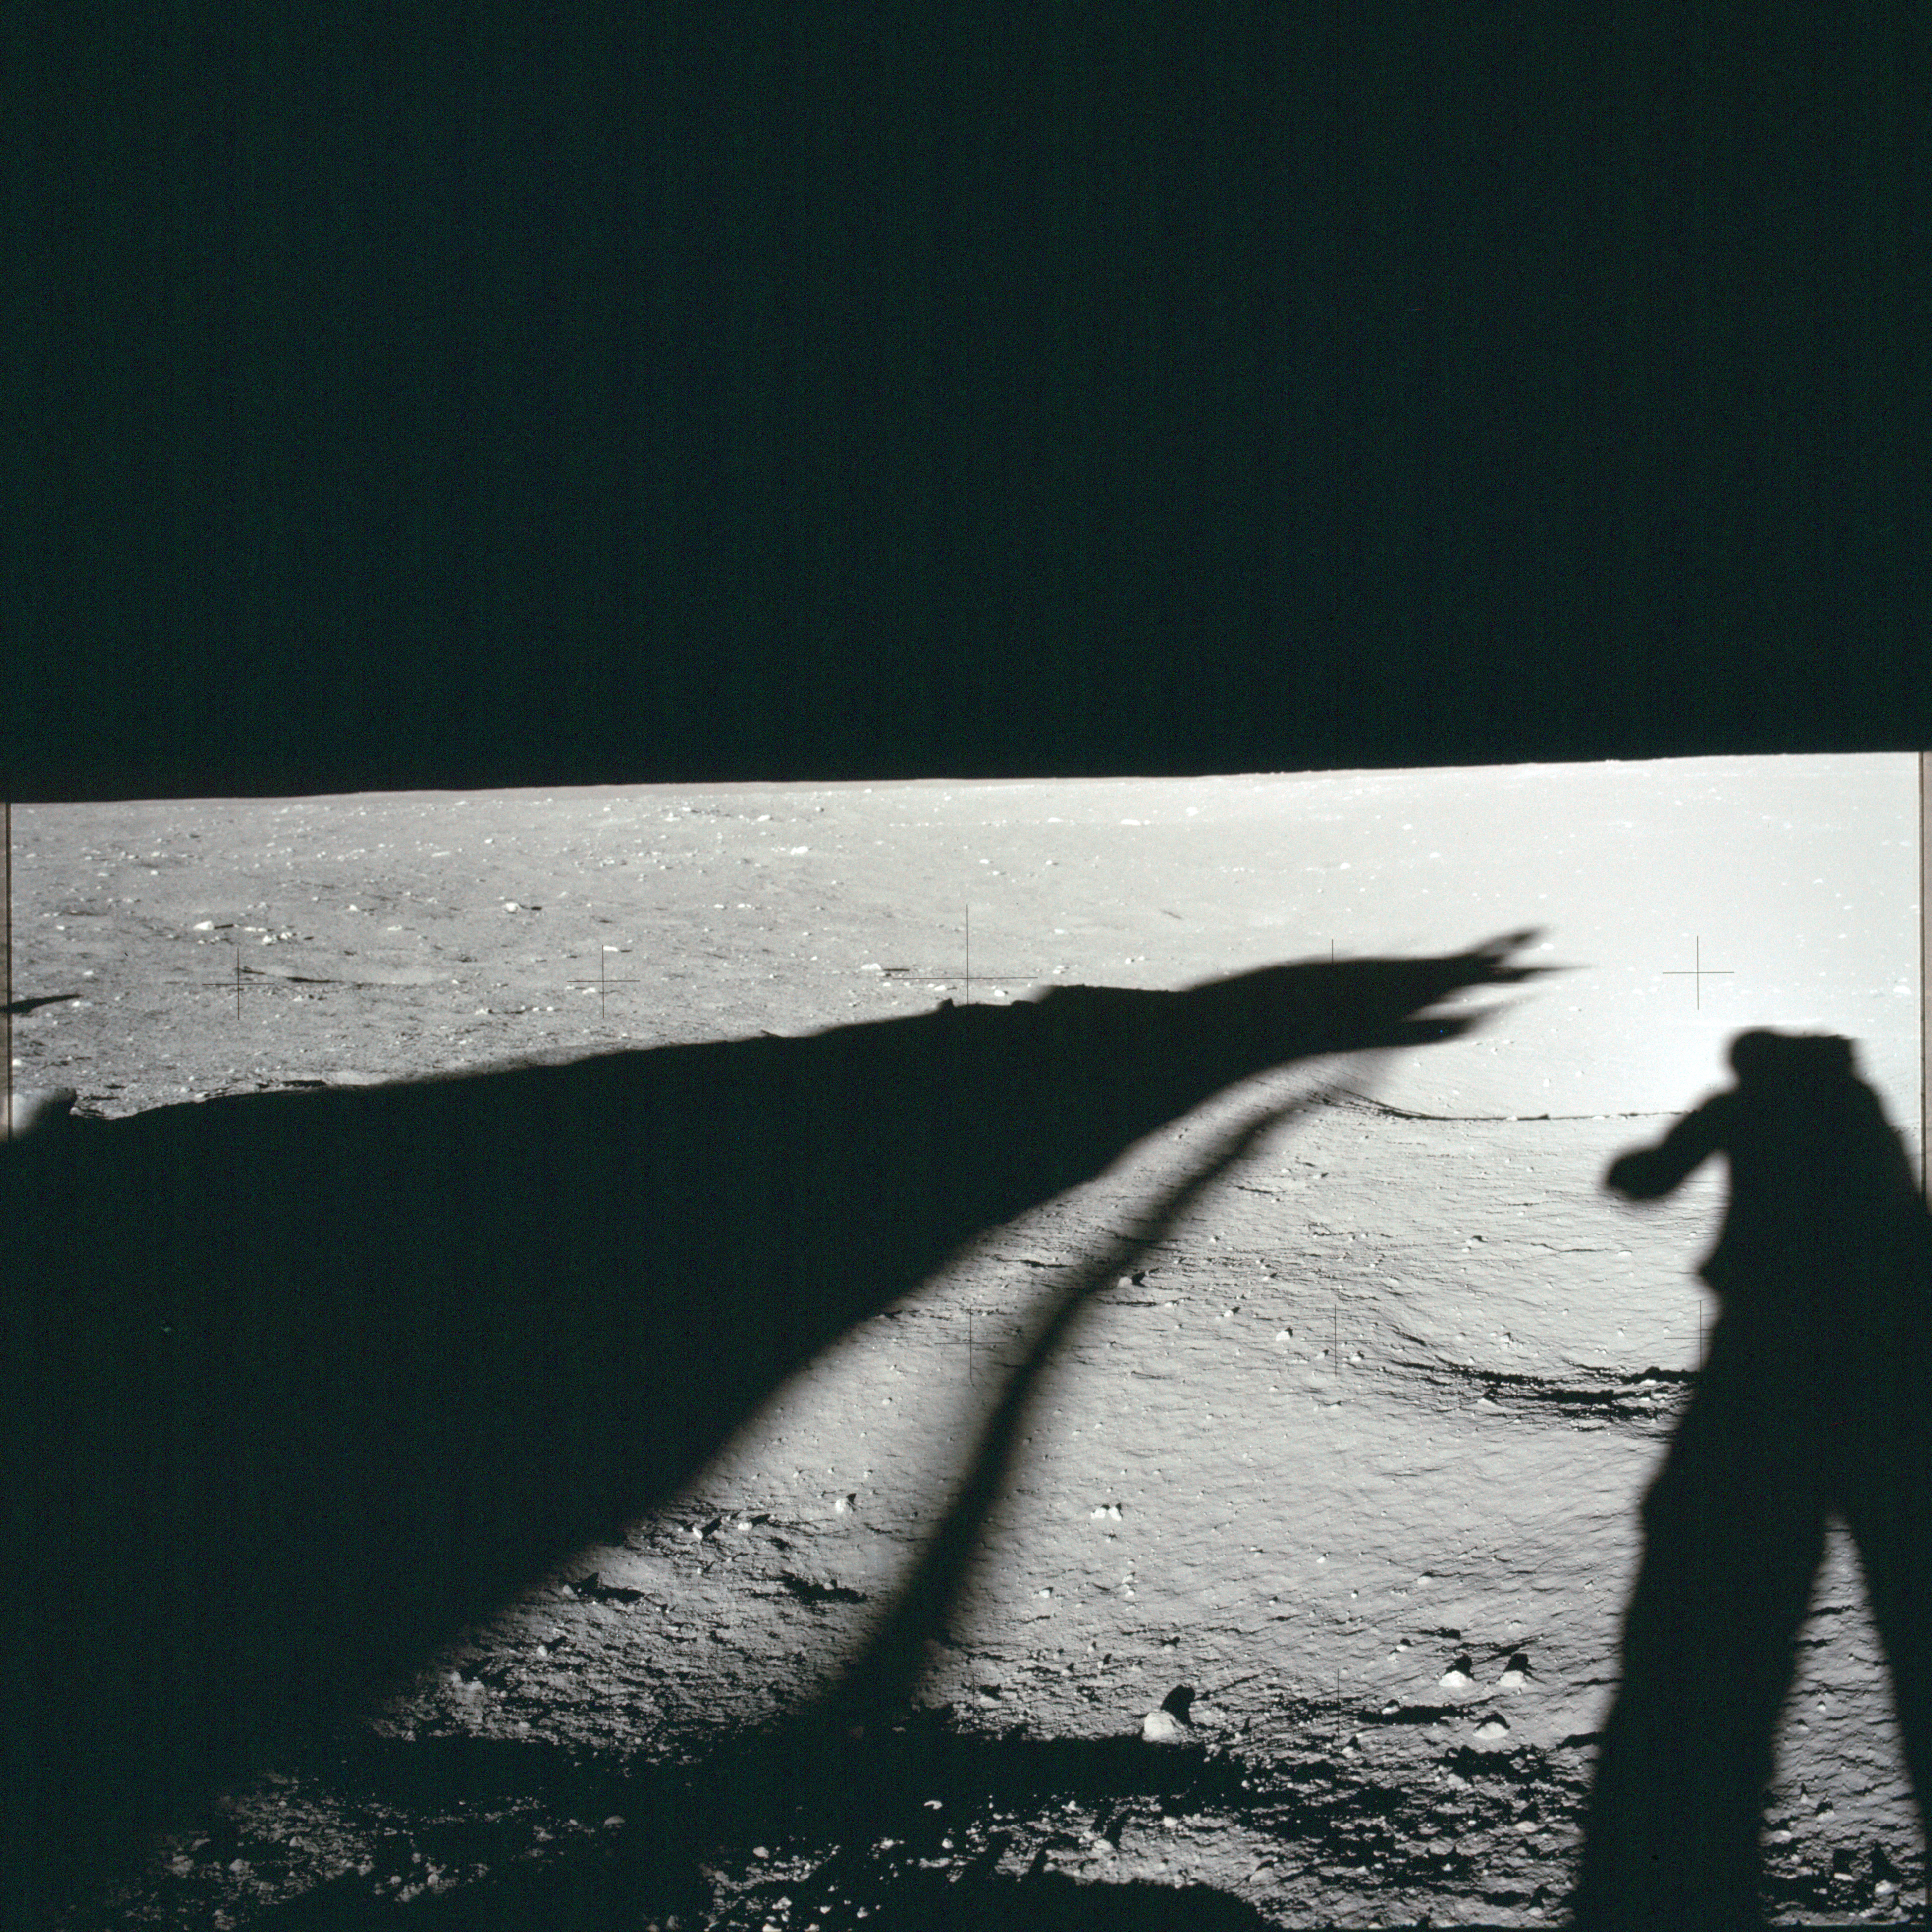 |
AS12-46-6730 Panorama image from west of LM - shot at 15-foot focus - 1/16. View west, including Pete's shadow. Image credit: Image Science and Analysis Laboratory, NASA-Johnson Space Center |
 |
AS12-46-6731 Panorama image from west of LM - shot at 15-foot focus - 2/16. View west, including Pete's shadow. Image credit: Image Science and Analysis Laboratory, NASA-Johnson Space Center |
 |
AS12-46-6732 Panorama image from west of LM - shot at 15-foot focus - 3/16. Image credit: Image Science and Analysis Laboratory, NASA-Johnson Space Center |
 |
AS12-46-6733 Panorama image from west of LM - shot at 15-foot focus - 4/16. Image credit: Image Science and Analysis Laboratory, NASA-Johnson Space Center |
 |
AS12-46-6734 Panorama image from west of LM - shot at 15-foot focus - 5/16. Image credit: Image Science and Analysis Laboratory, NASA-Johnson Space Center |
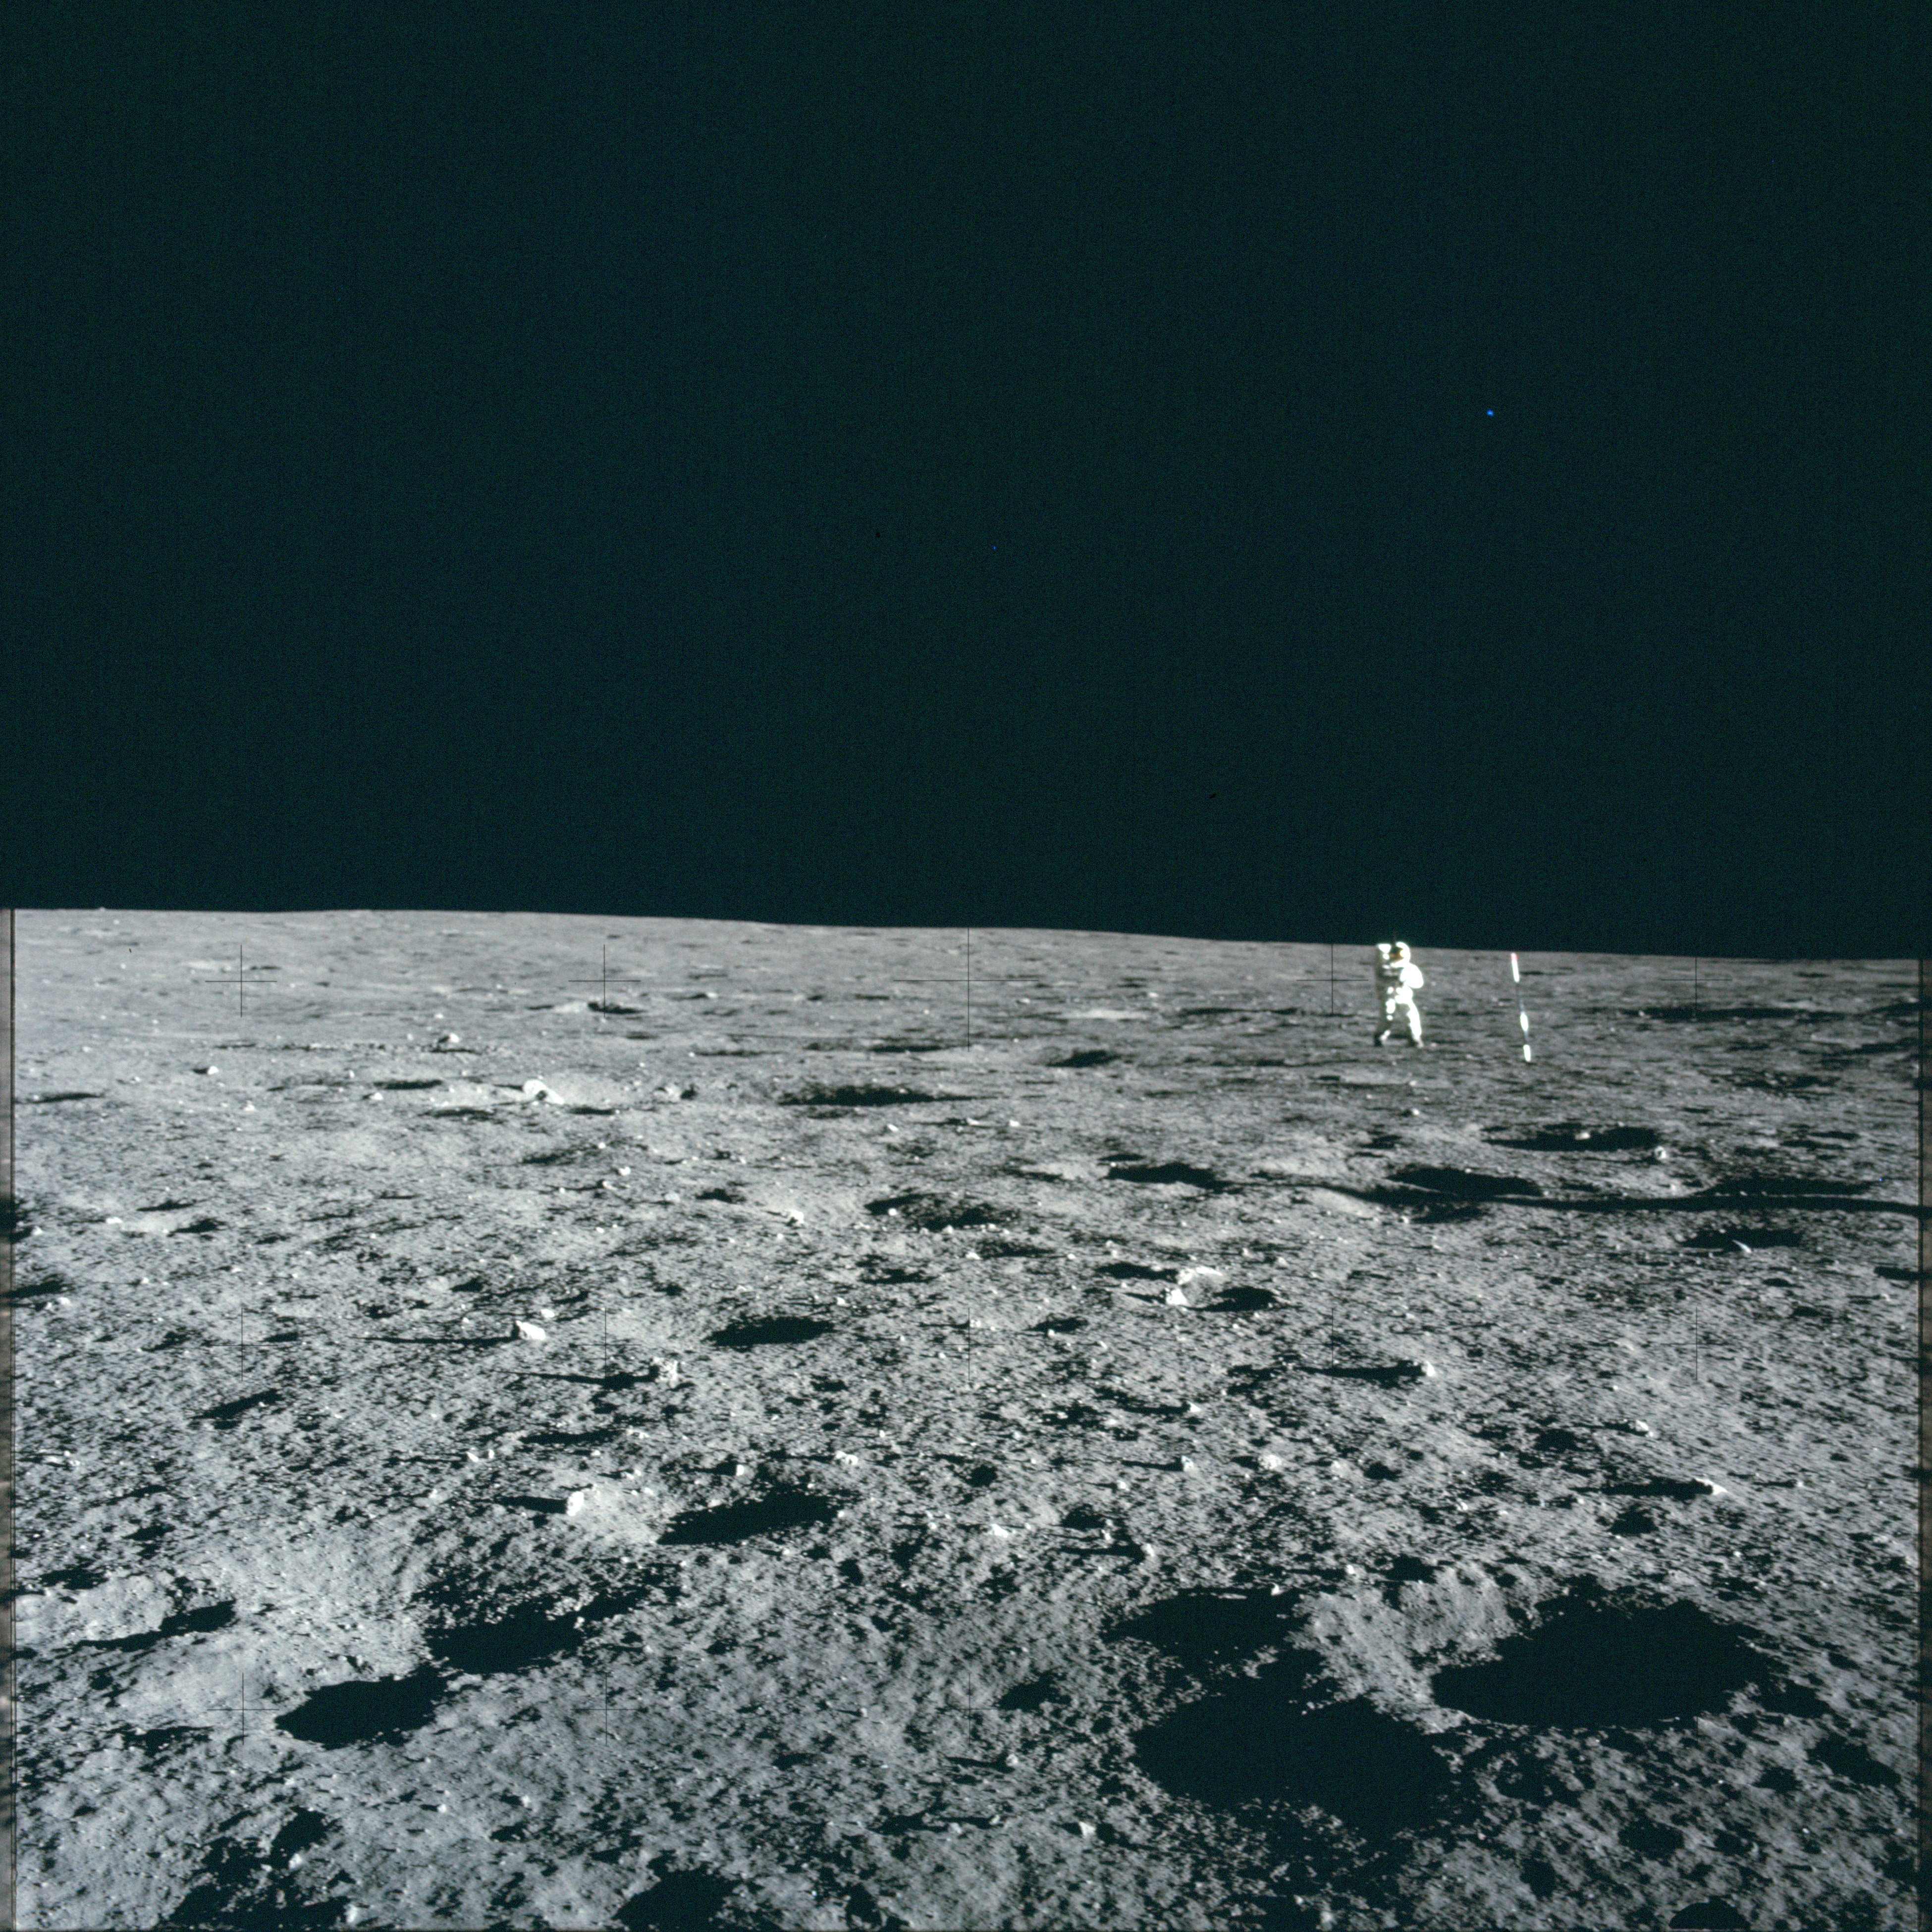 |
AS12-46-6735 Panorama image from west of LM - shot at 15-foot focus - 6/16. View north, with Al Bean in shot. Image credit: Image Science and Analysis Laboratory, NASA-Johnson Space Center |
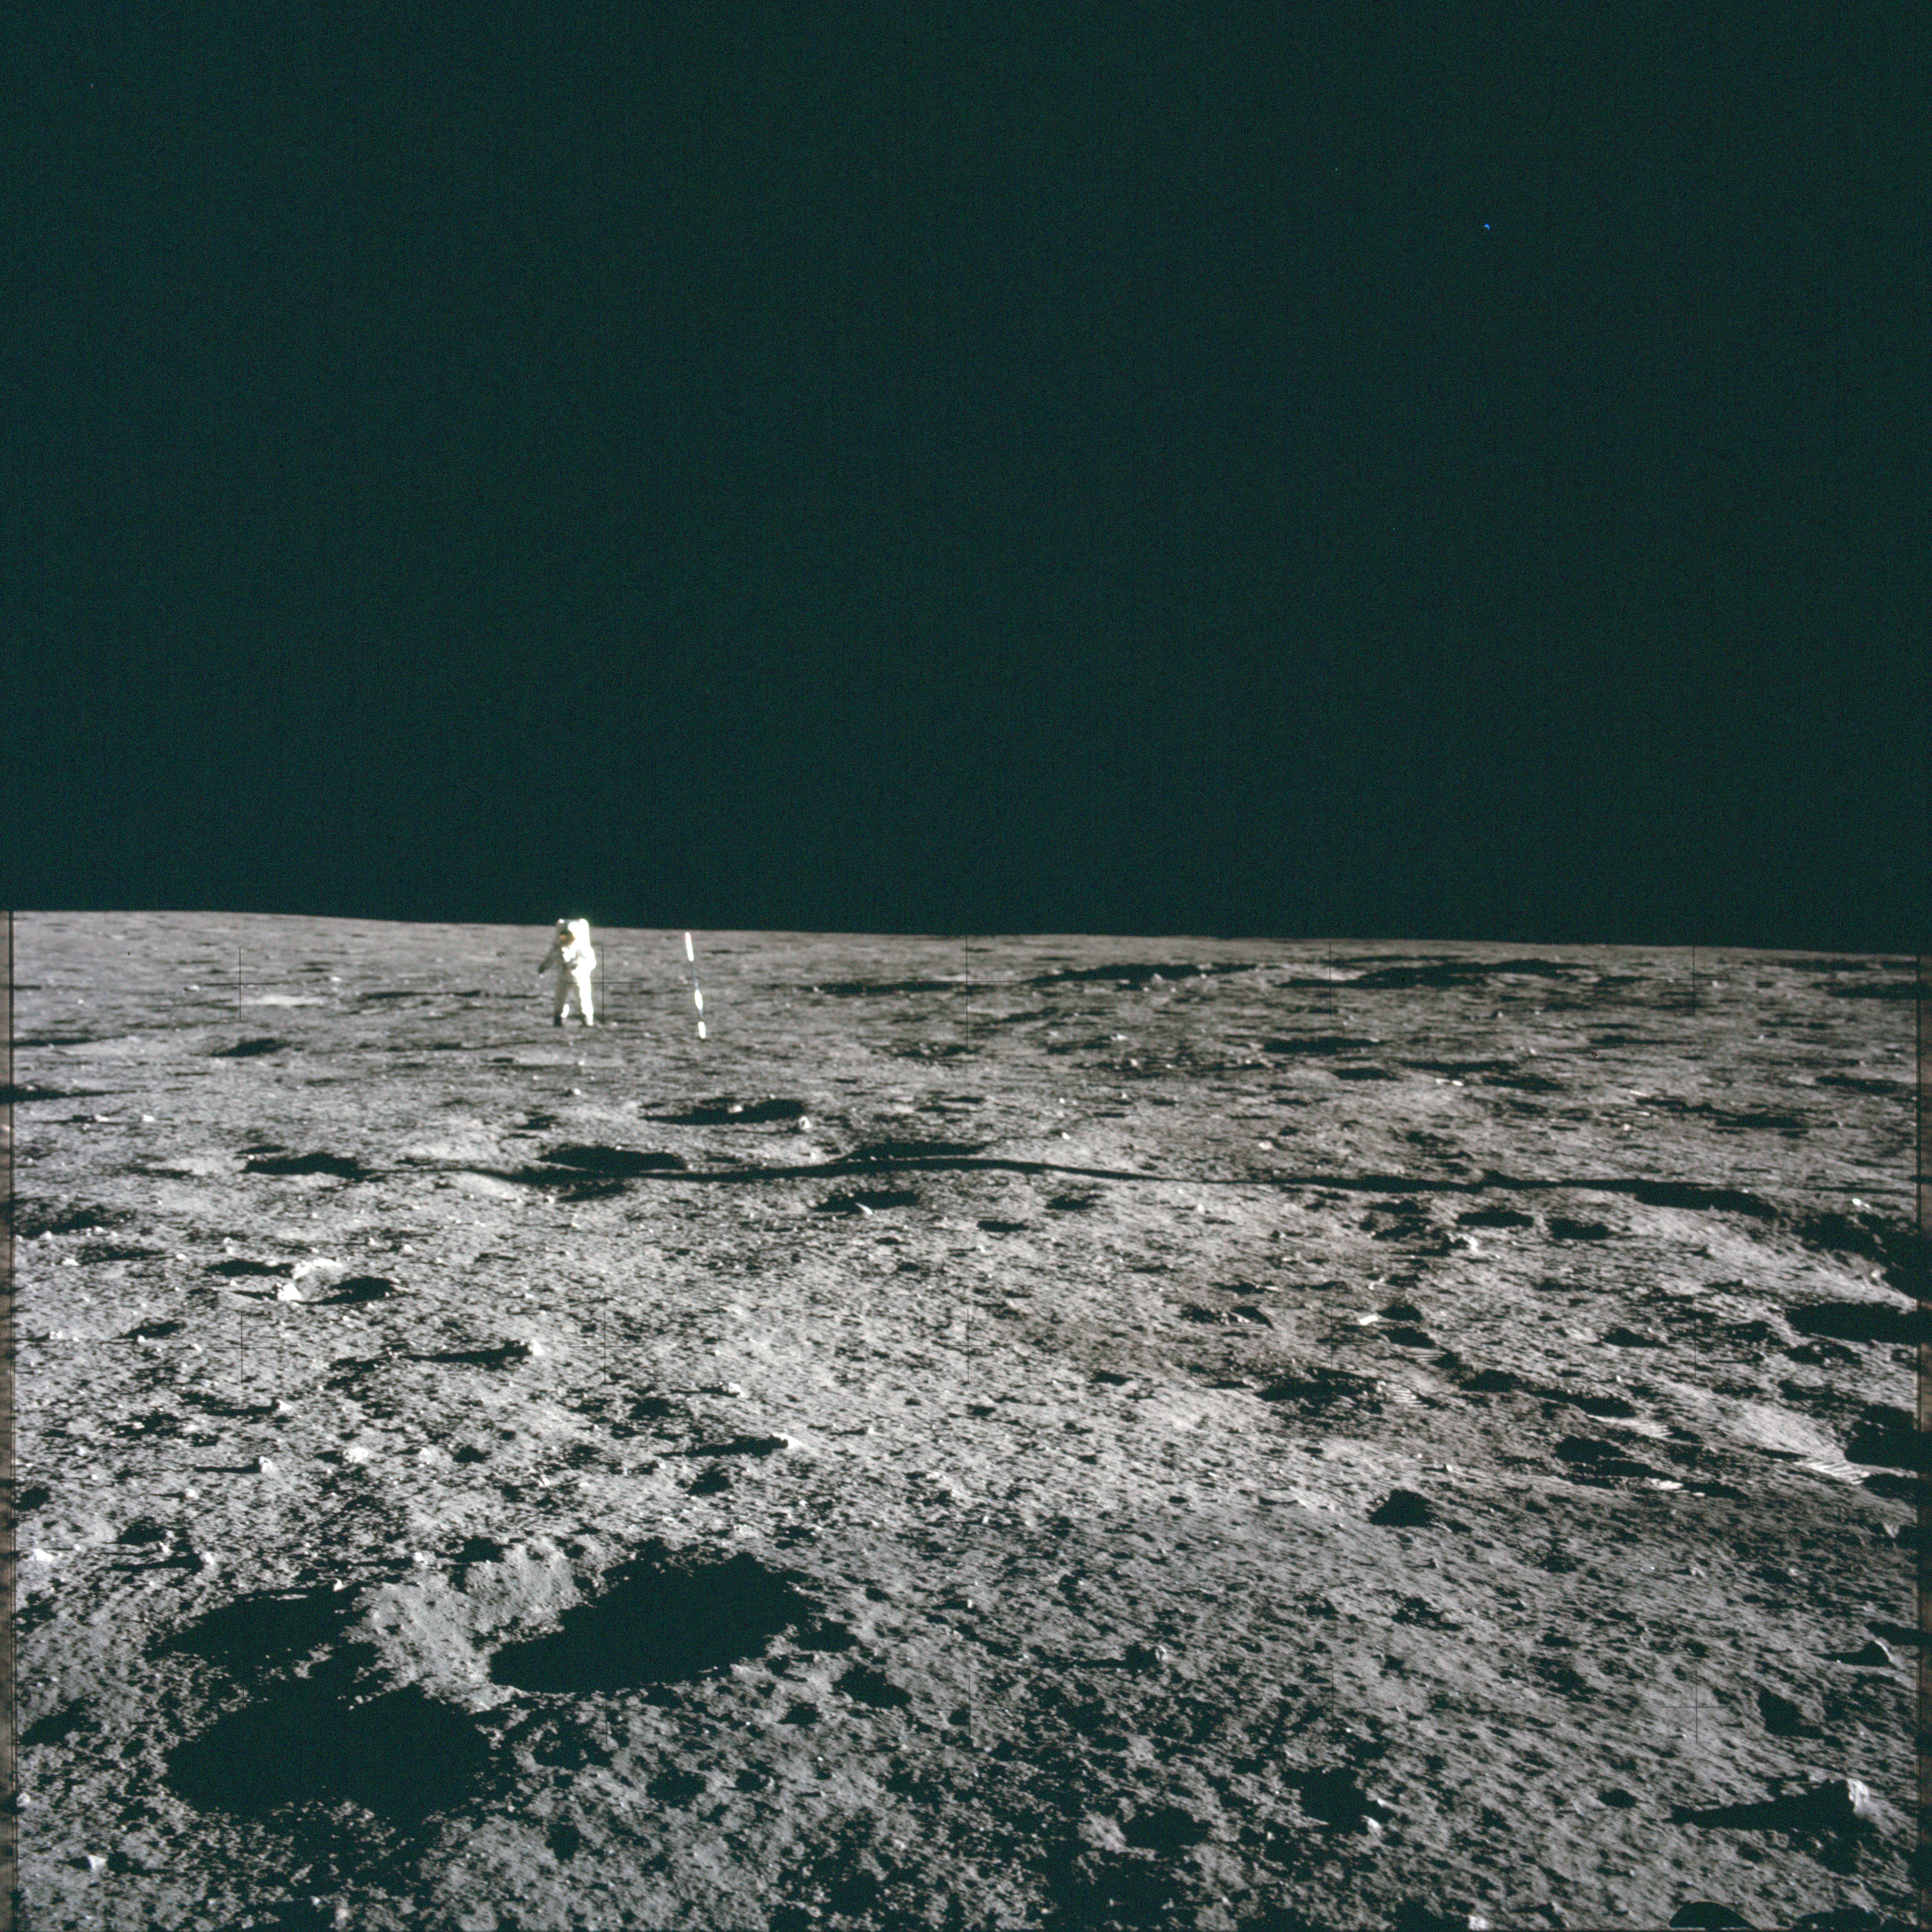 |
AS12-46-6736 Panorama image from west of LM - shot at 15-foot focus - 7/16. Image credit: Image Science and Analysis Laboratory, NASA-Johnson Space Center |
 |
AS12-46-6737 Panorama image from west of LM - shot at 15-foot focus - 8/16. View northeast, including flag. Image credit: Image Science and Analysis Laboratory, NASA-Johnson Space Center |
 |
AS12-46-6738 Panorama image from west of LM - shot at 15-foot focus - 9/16. View, obscured by sunlight glare, includes flag and high-gain antenna. Image credit: Image Science and Analysis Laboratory, NASA-Johnson Space Center |
 |
AS12-46-6739 Panorama image from west of LM - shot at 15-foot focus - 10/16. View to the east, obscured by sunlight glare, includes high-gain antenna and LM. Image credit: Image Science and Analysis Laboratory, NASA-Johnson Space Center |
 |
AS12-46-6740 Panorama image from west of LM - shot at 15-foot focus - 11/16. View to the east, obscured by sunlight glare, includes LM and Surveyor Crater. Surveyor 3 is faintly visible right of centre. Image credit: Image Science and Analysis Laboratory, NASA-Johnson Space Center |
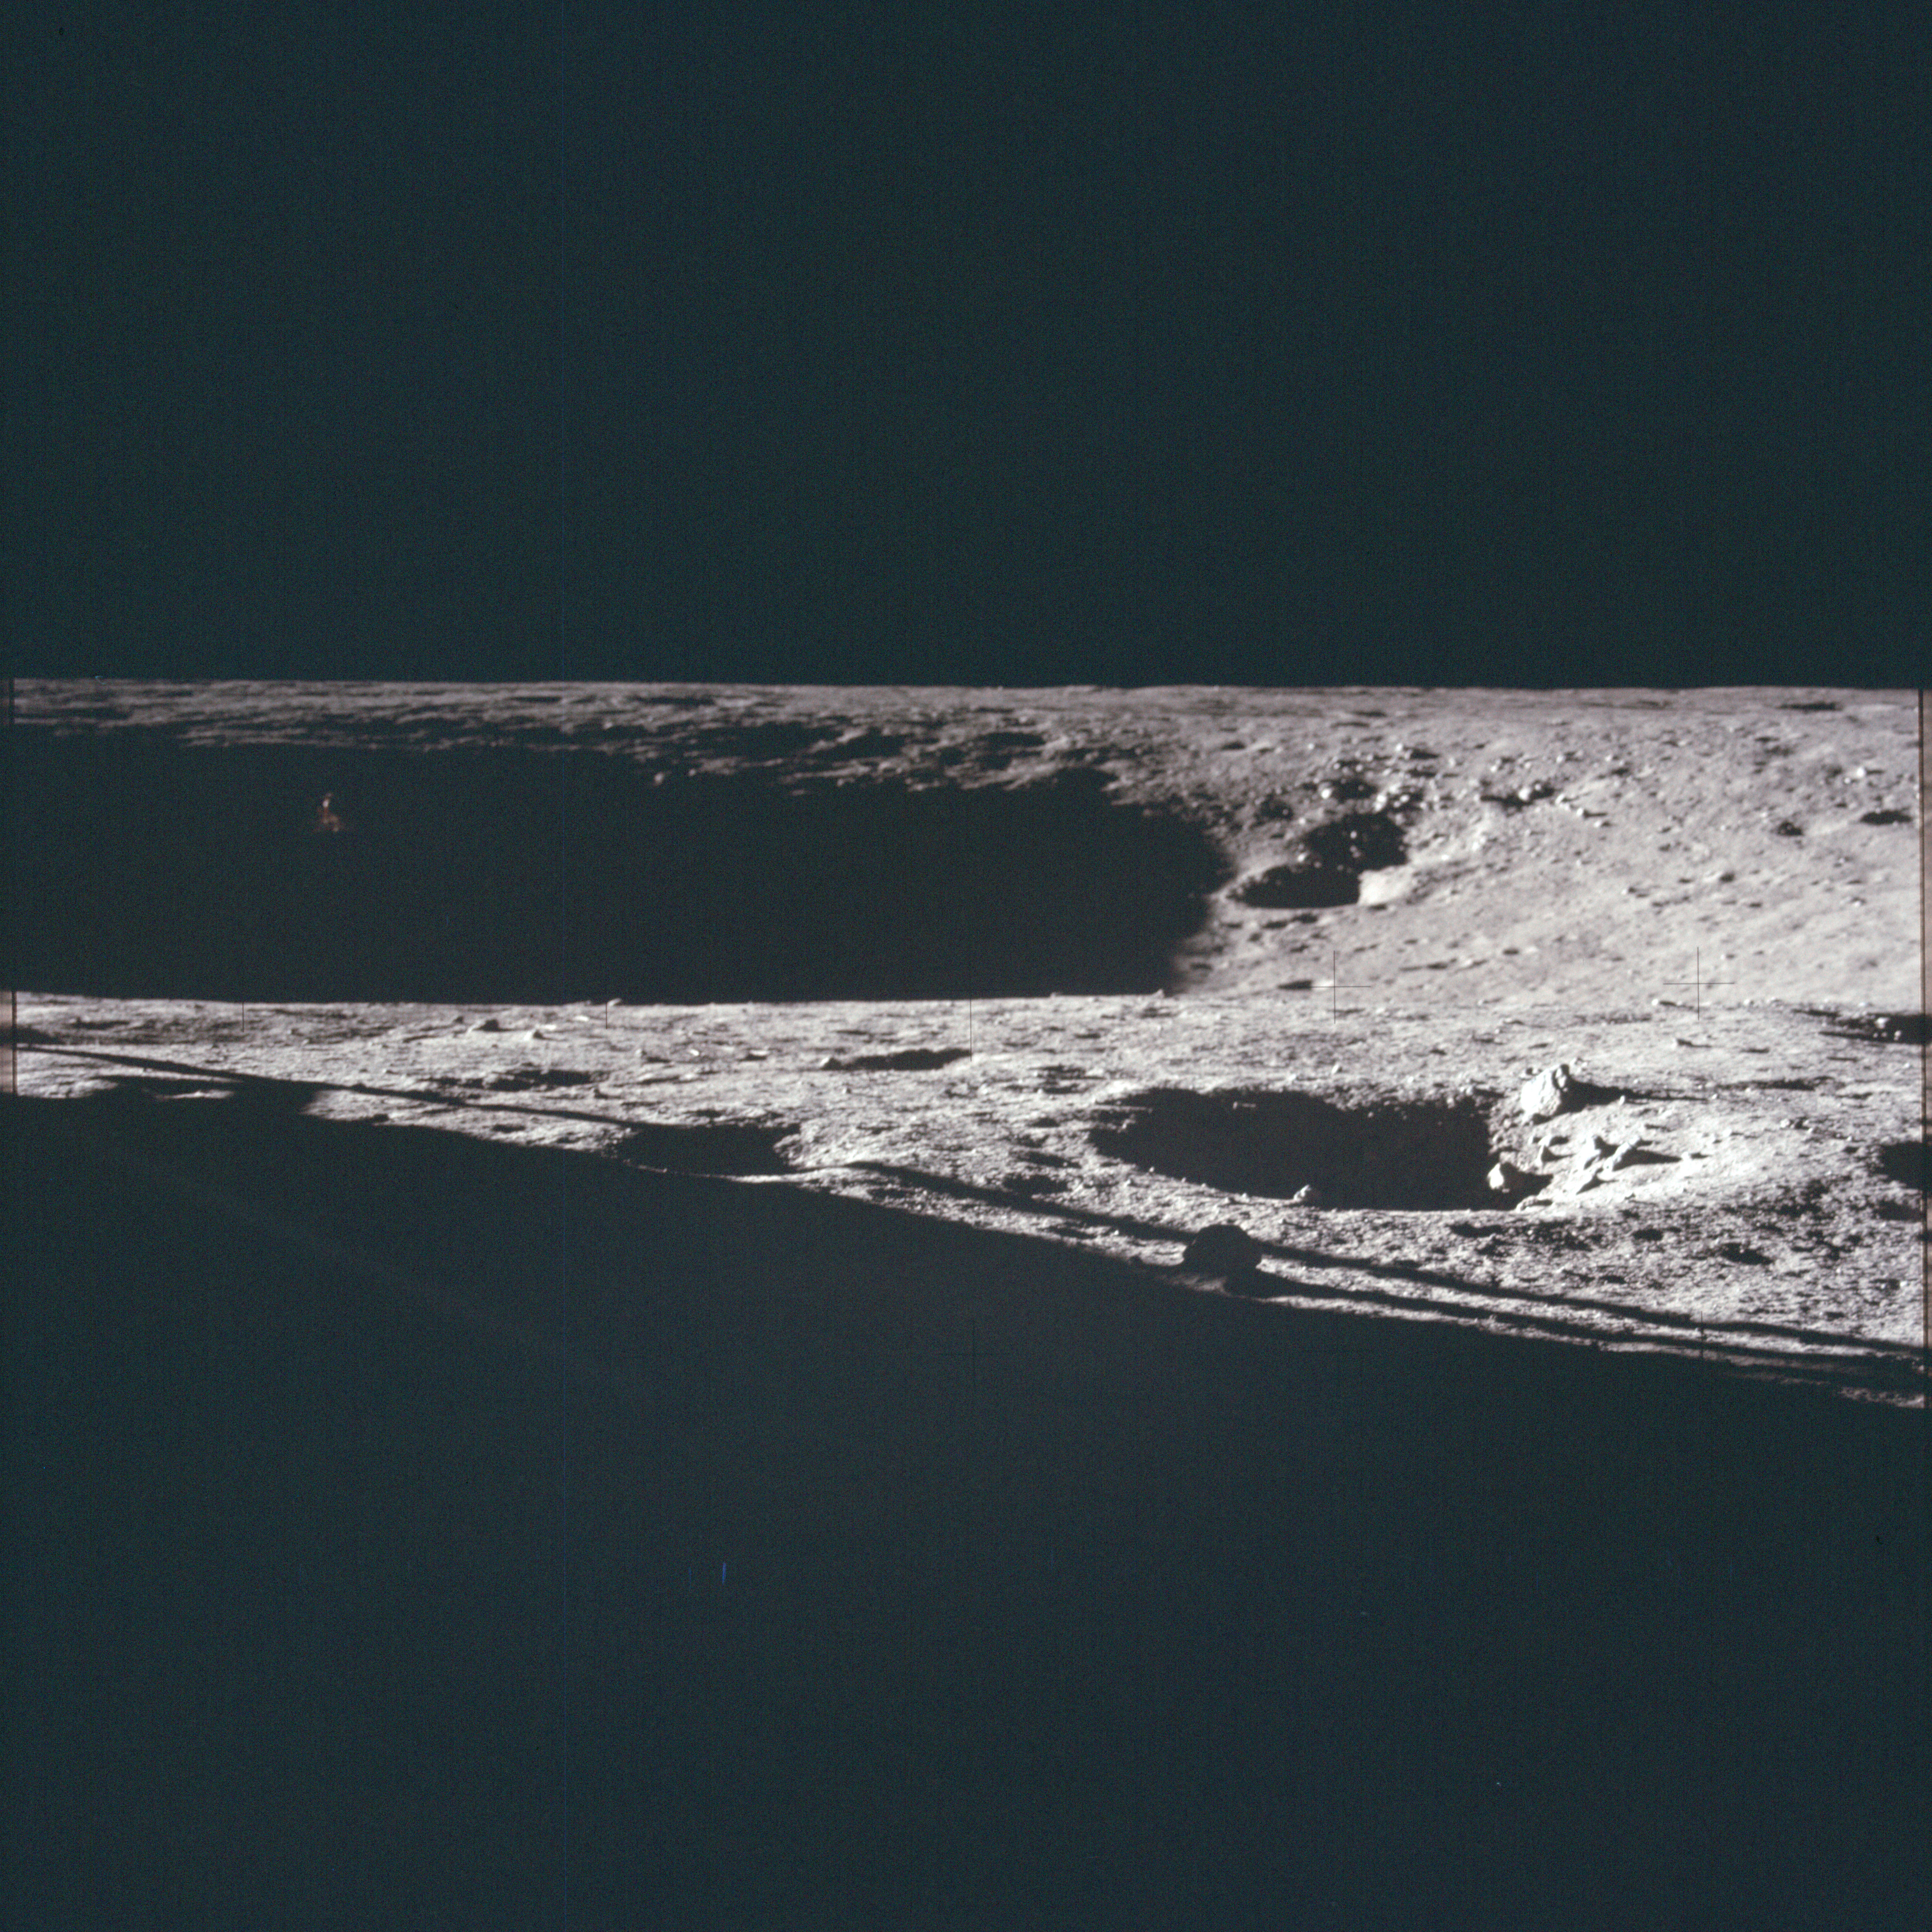 |
AS12-46-6741 Panorama image from west of LM - shot at 15-foot focus - 12/16. View across Surveyor Crater. Surveyor 3 is faintly visible left of centre. Image credit: Image Science and Analysis Laboratory, NASA-Johnson Space Center |
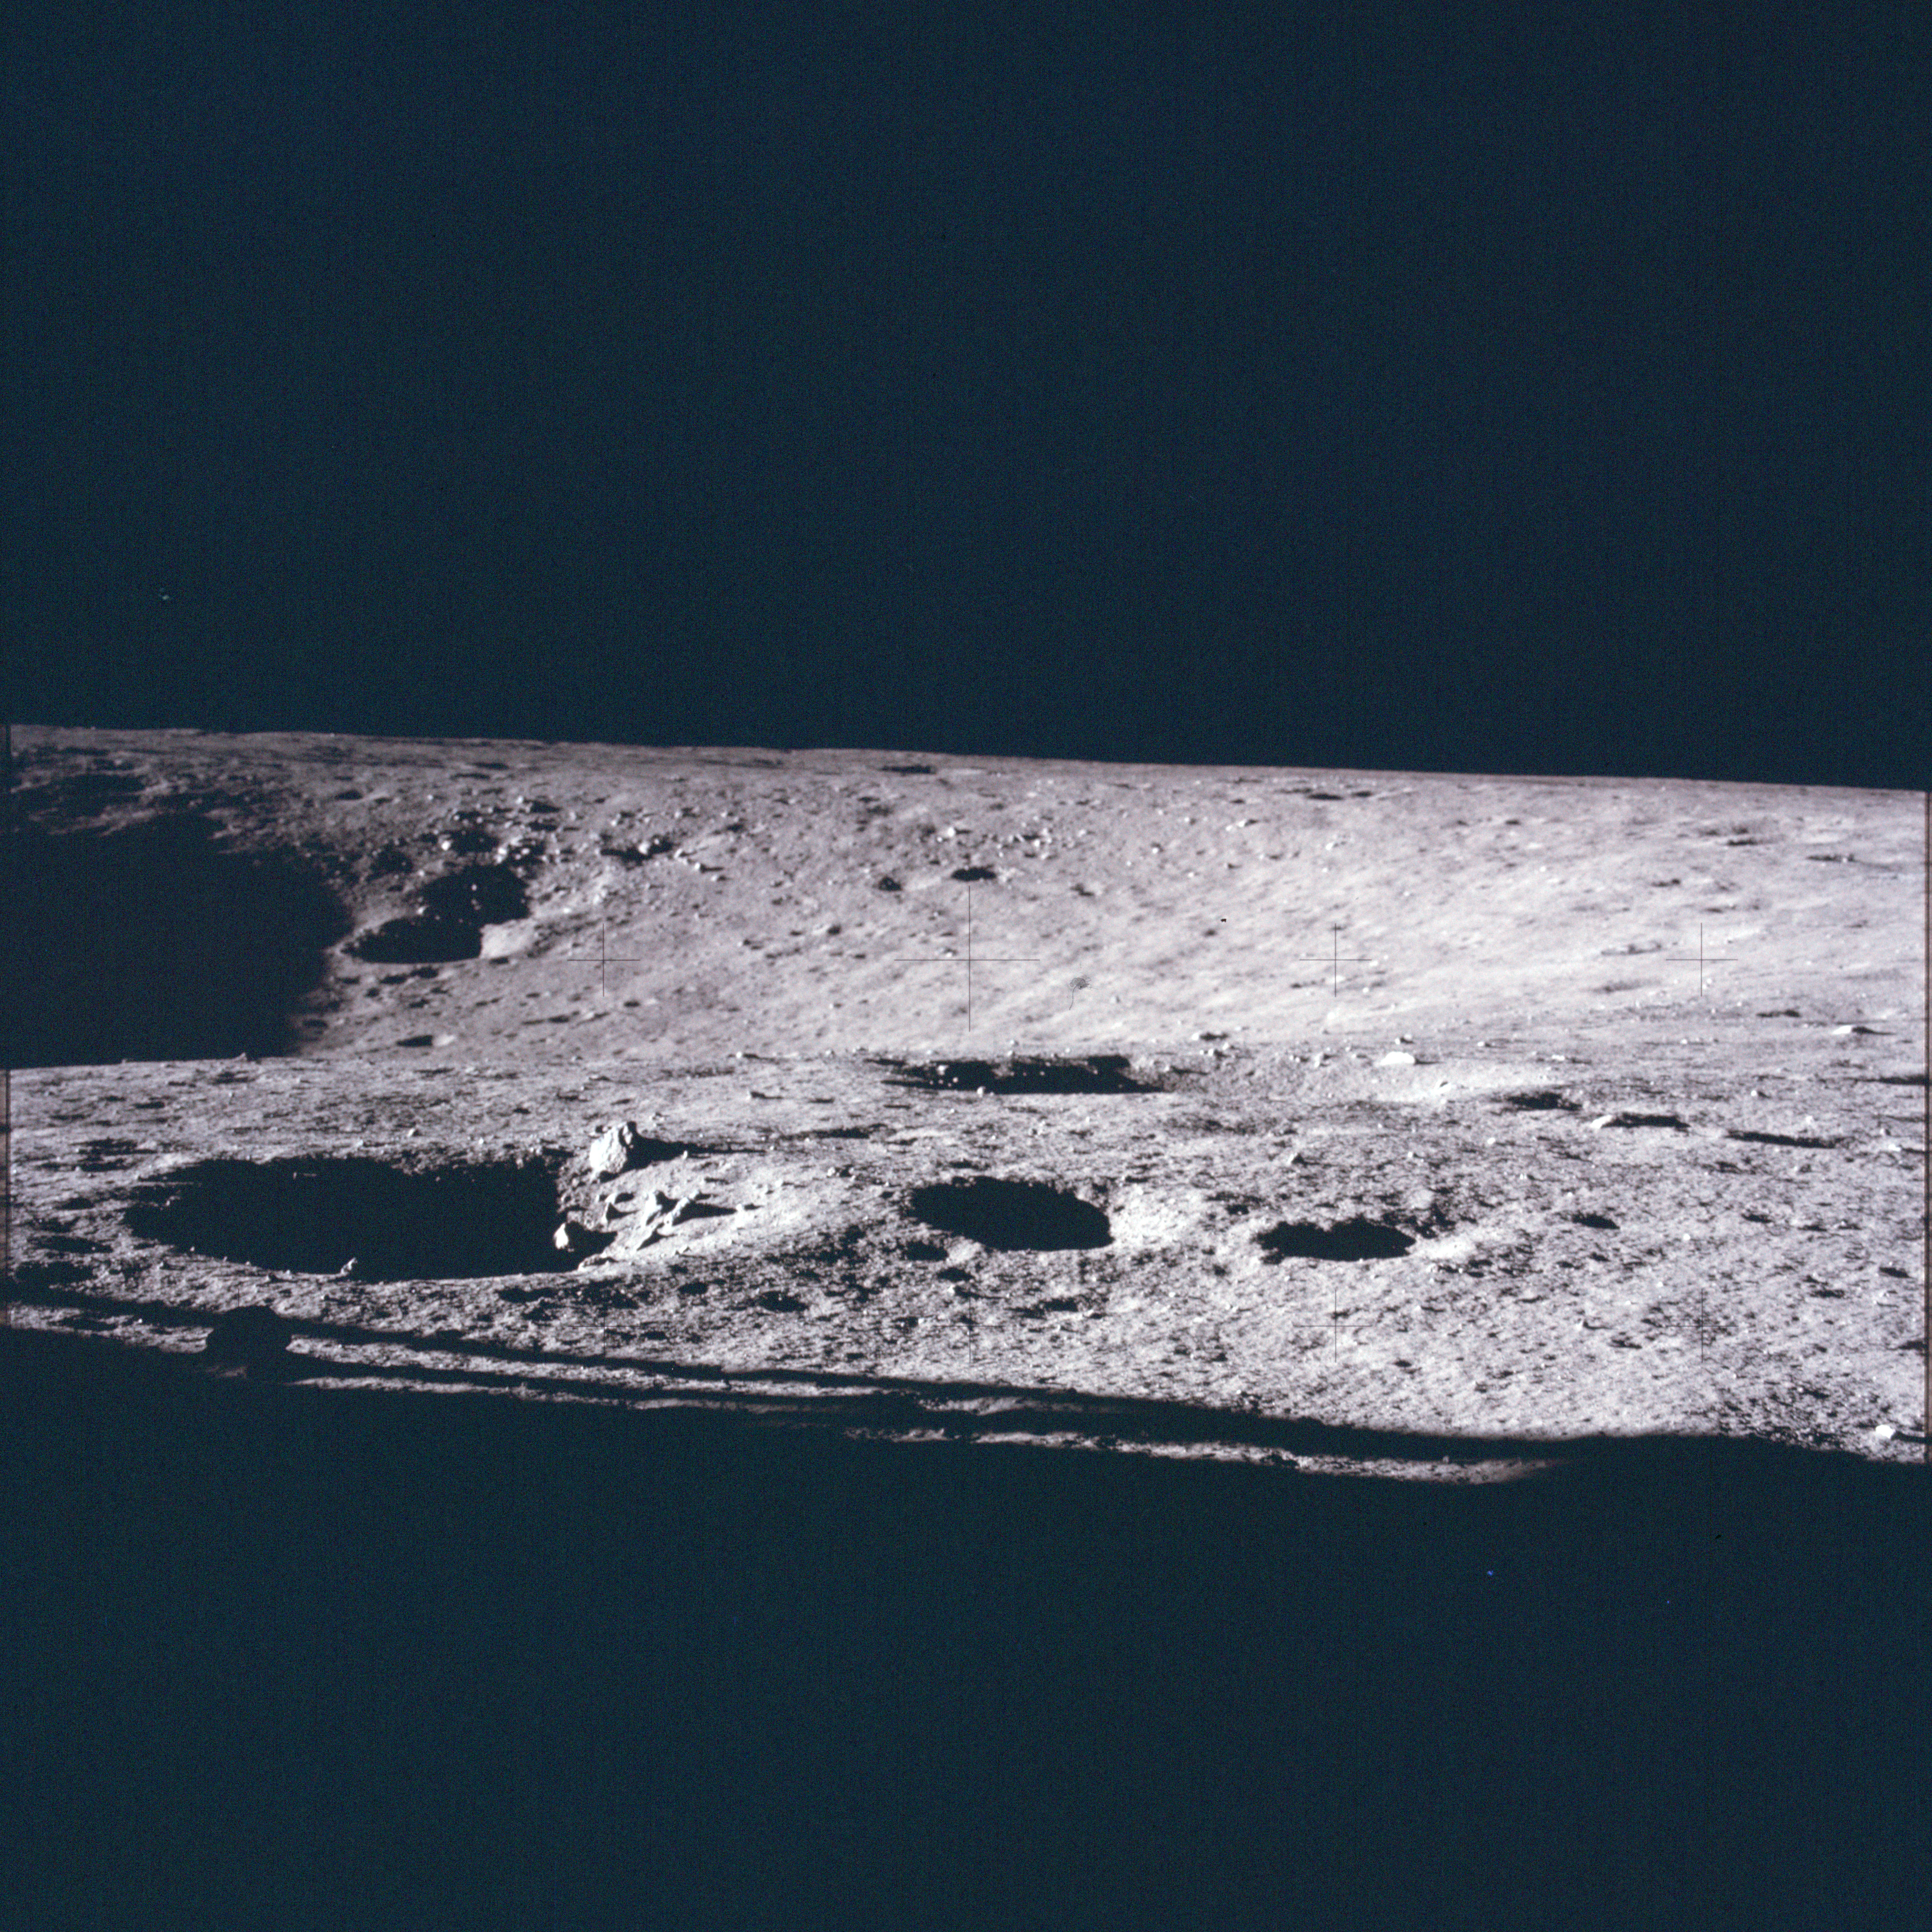 |
AS12-46-6742 Panorama image from west of LM - shot at 15-foot focus - 13/16. View south across the western rim of Surveyor Crater. Image credit: Image Science and Analysis Laboratory, NASA-Johnson Space Center |
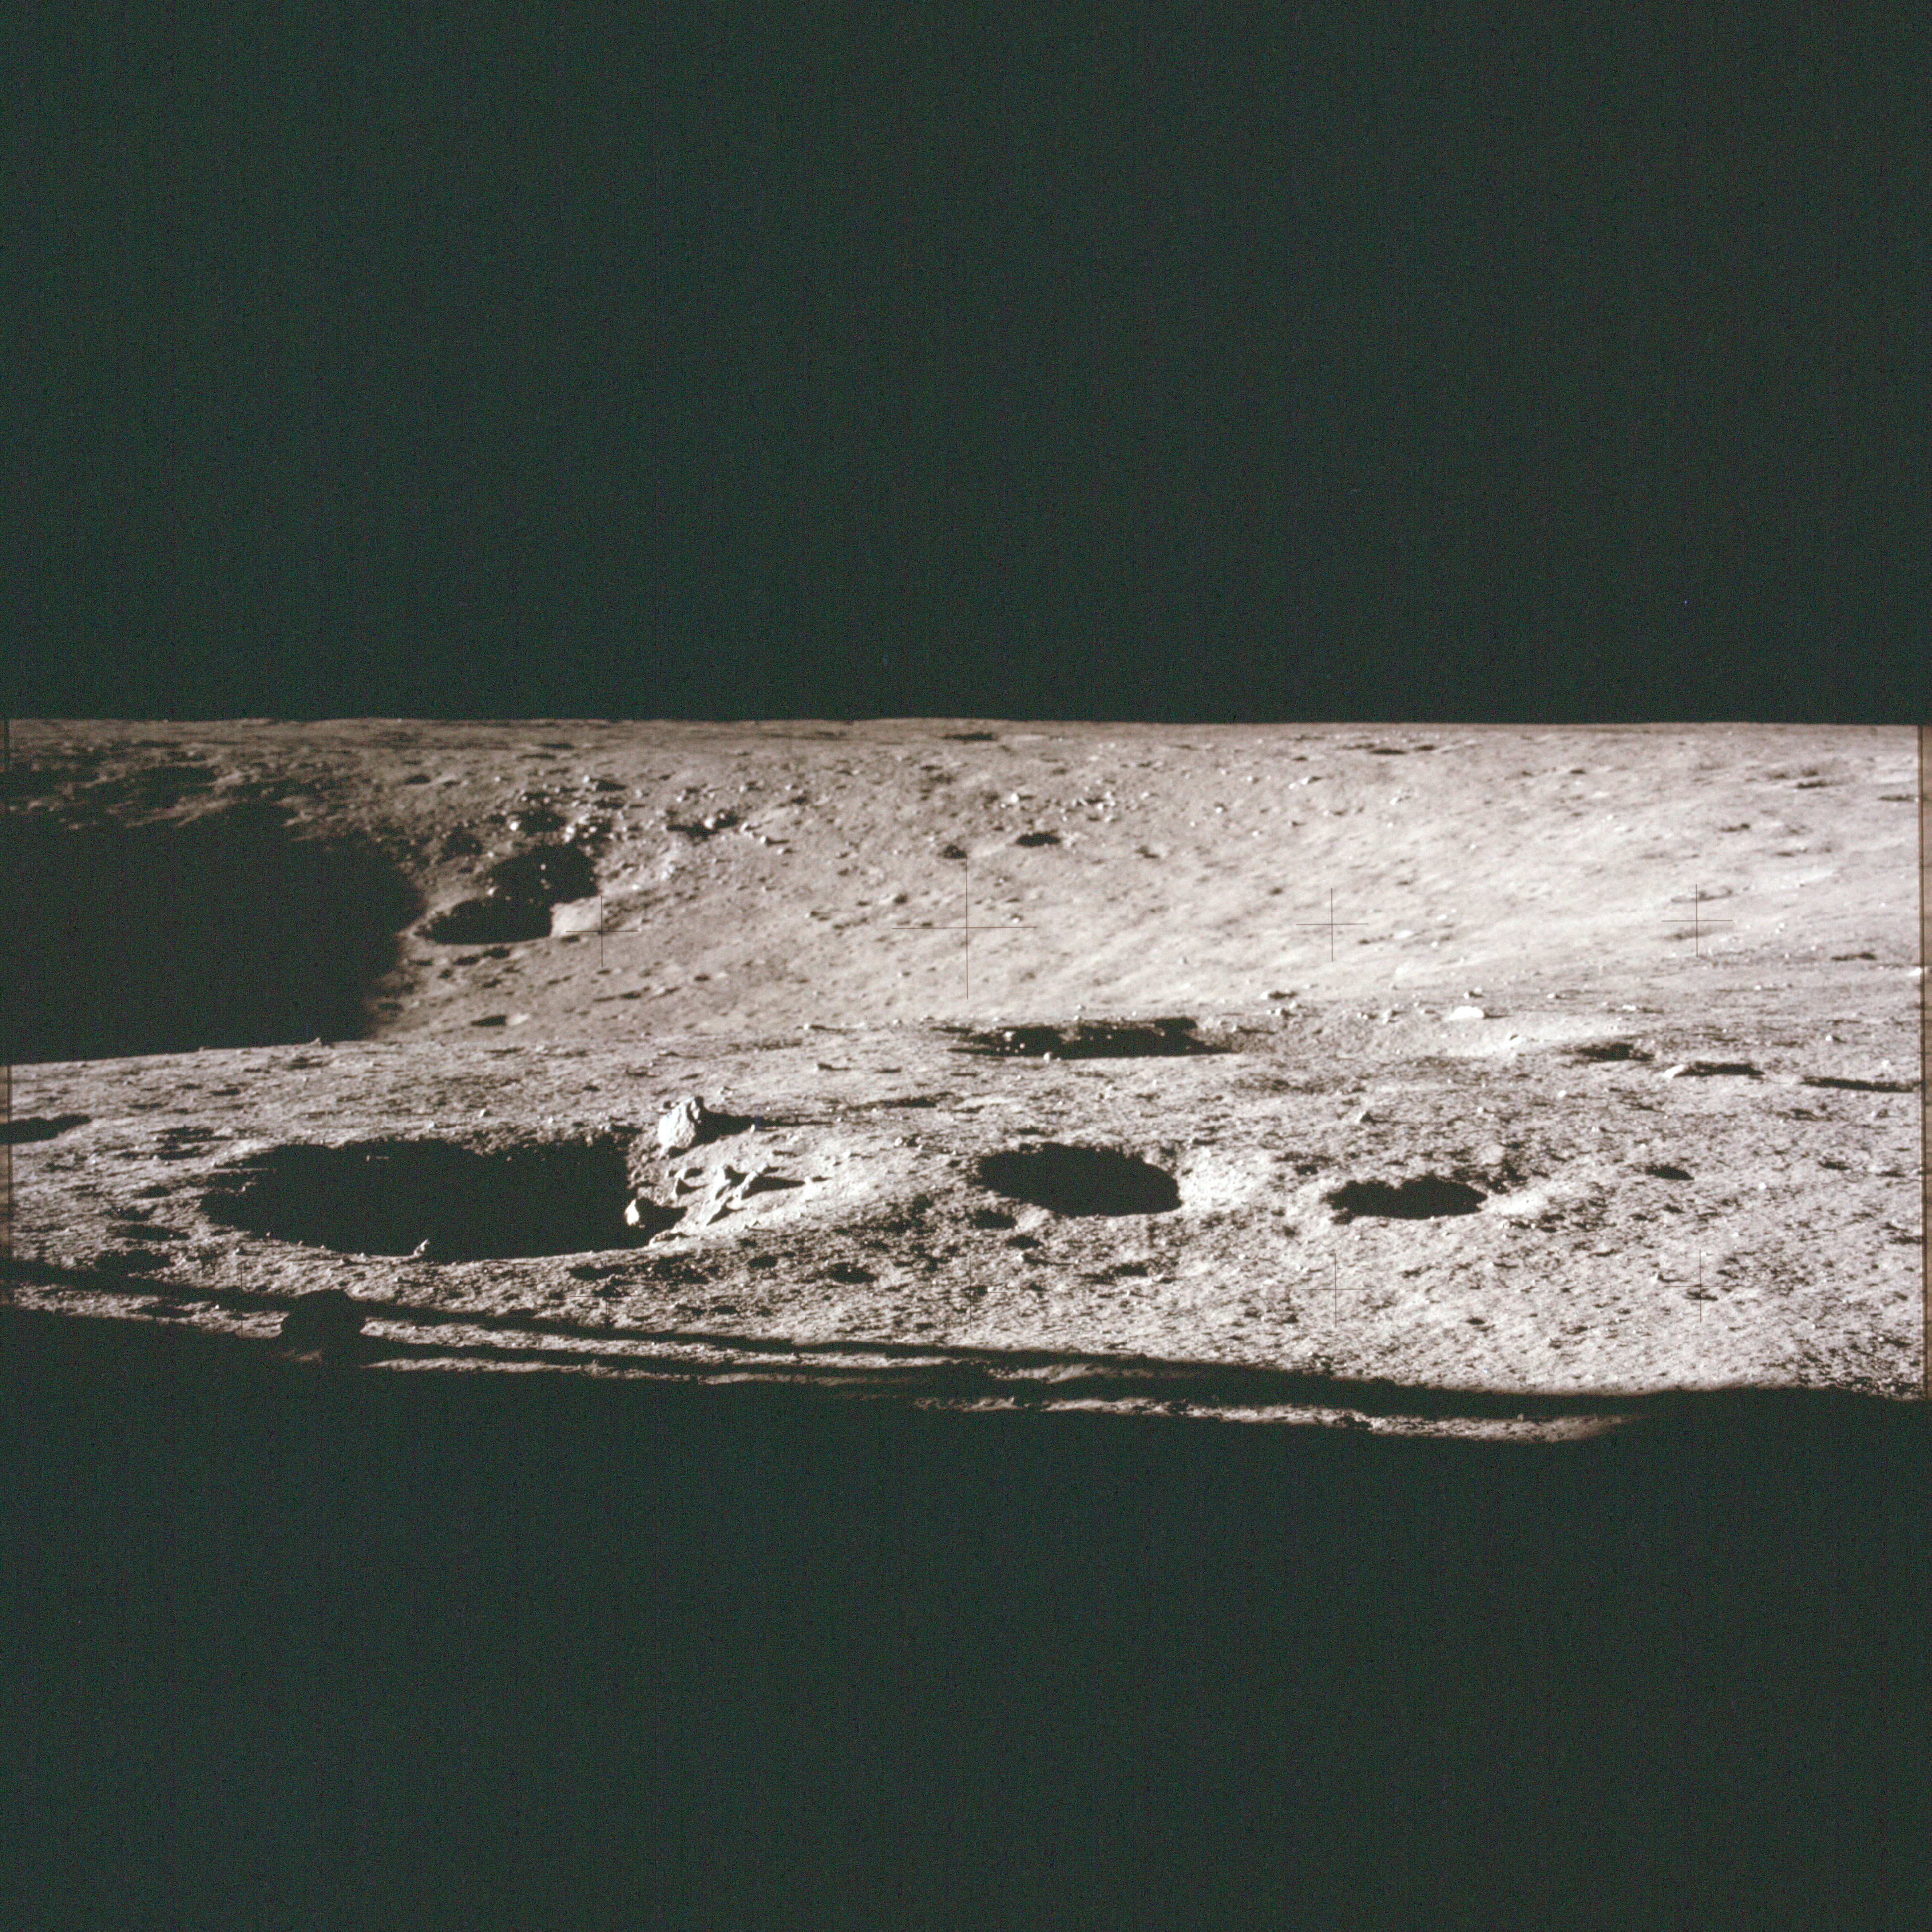 |
AS12-46-6743 Panorama image from west of LM - shot at 15-foot focus - 14/16. View south across the western rim of Surveyor Crater. Similar to 6742. Image credit: Image Science and Analysis Laboratory, NASA-Johnson Space Center |
 |
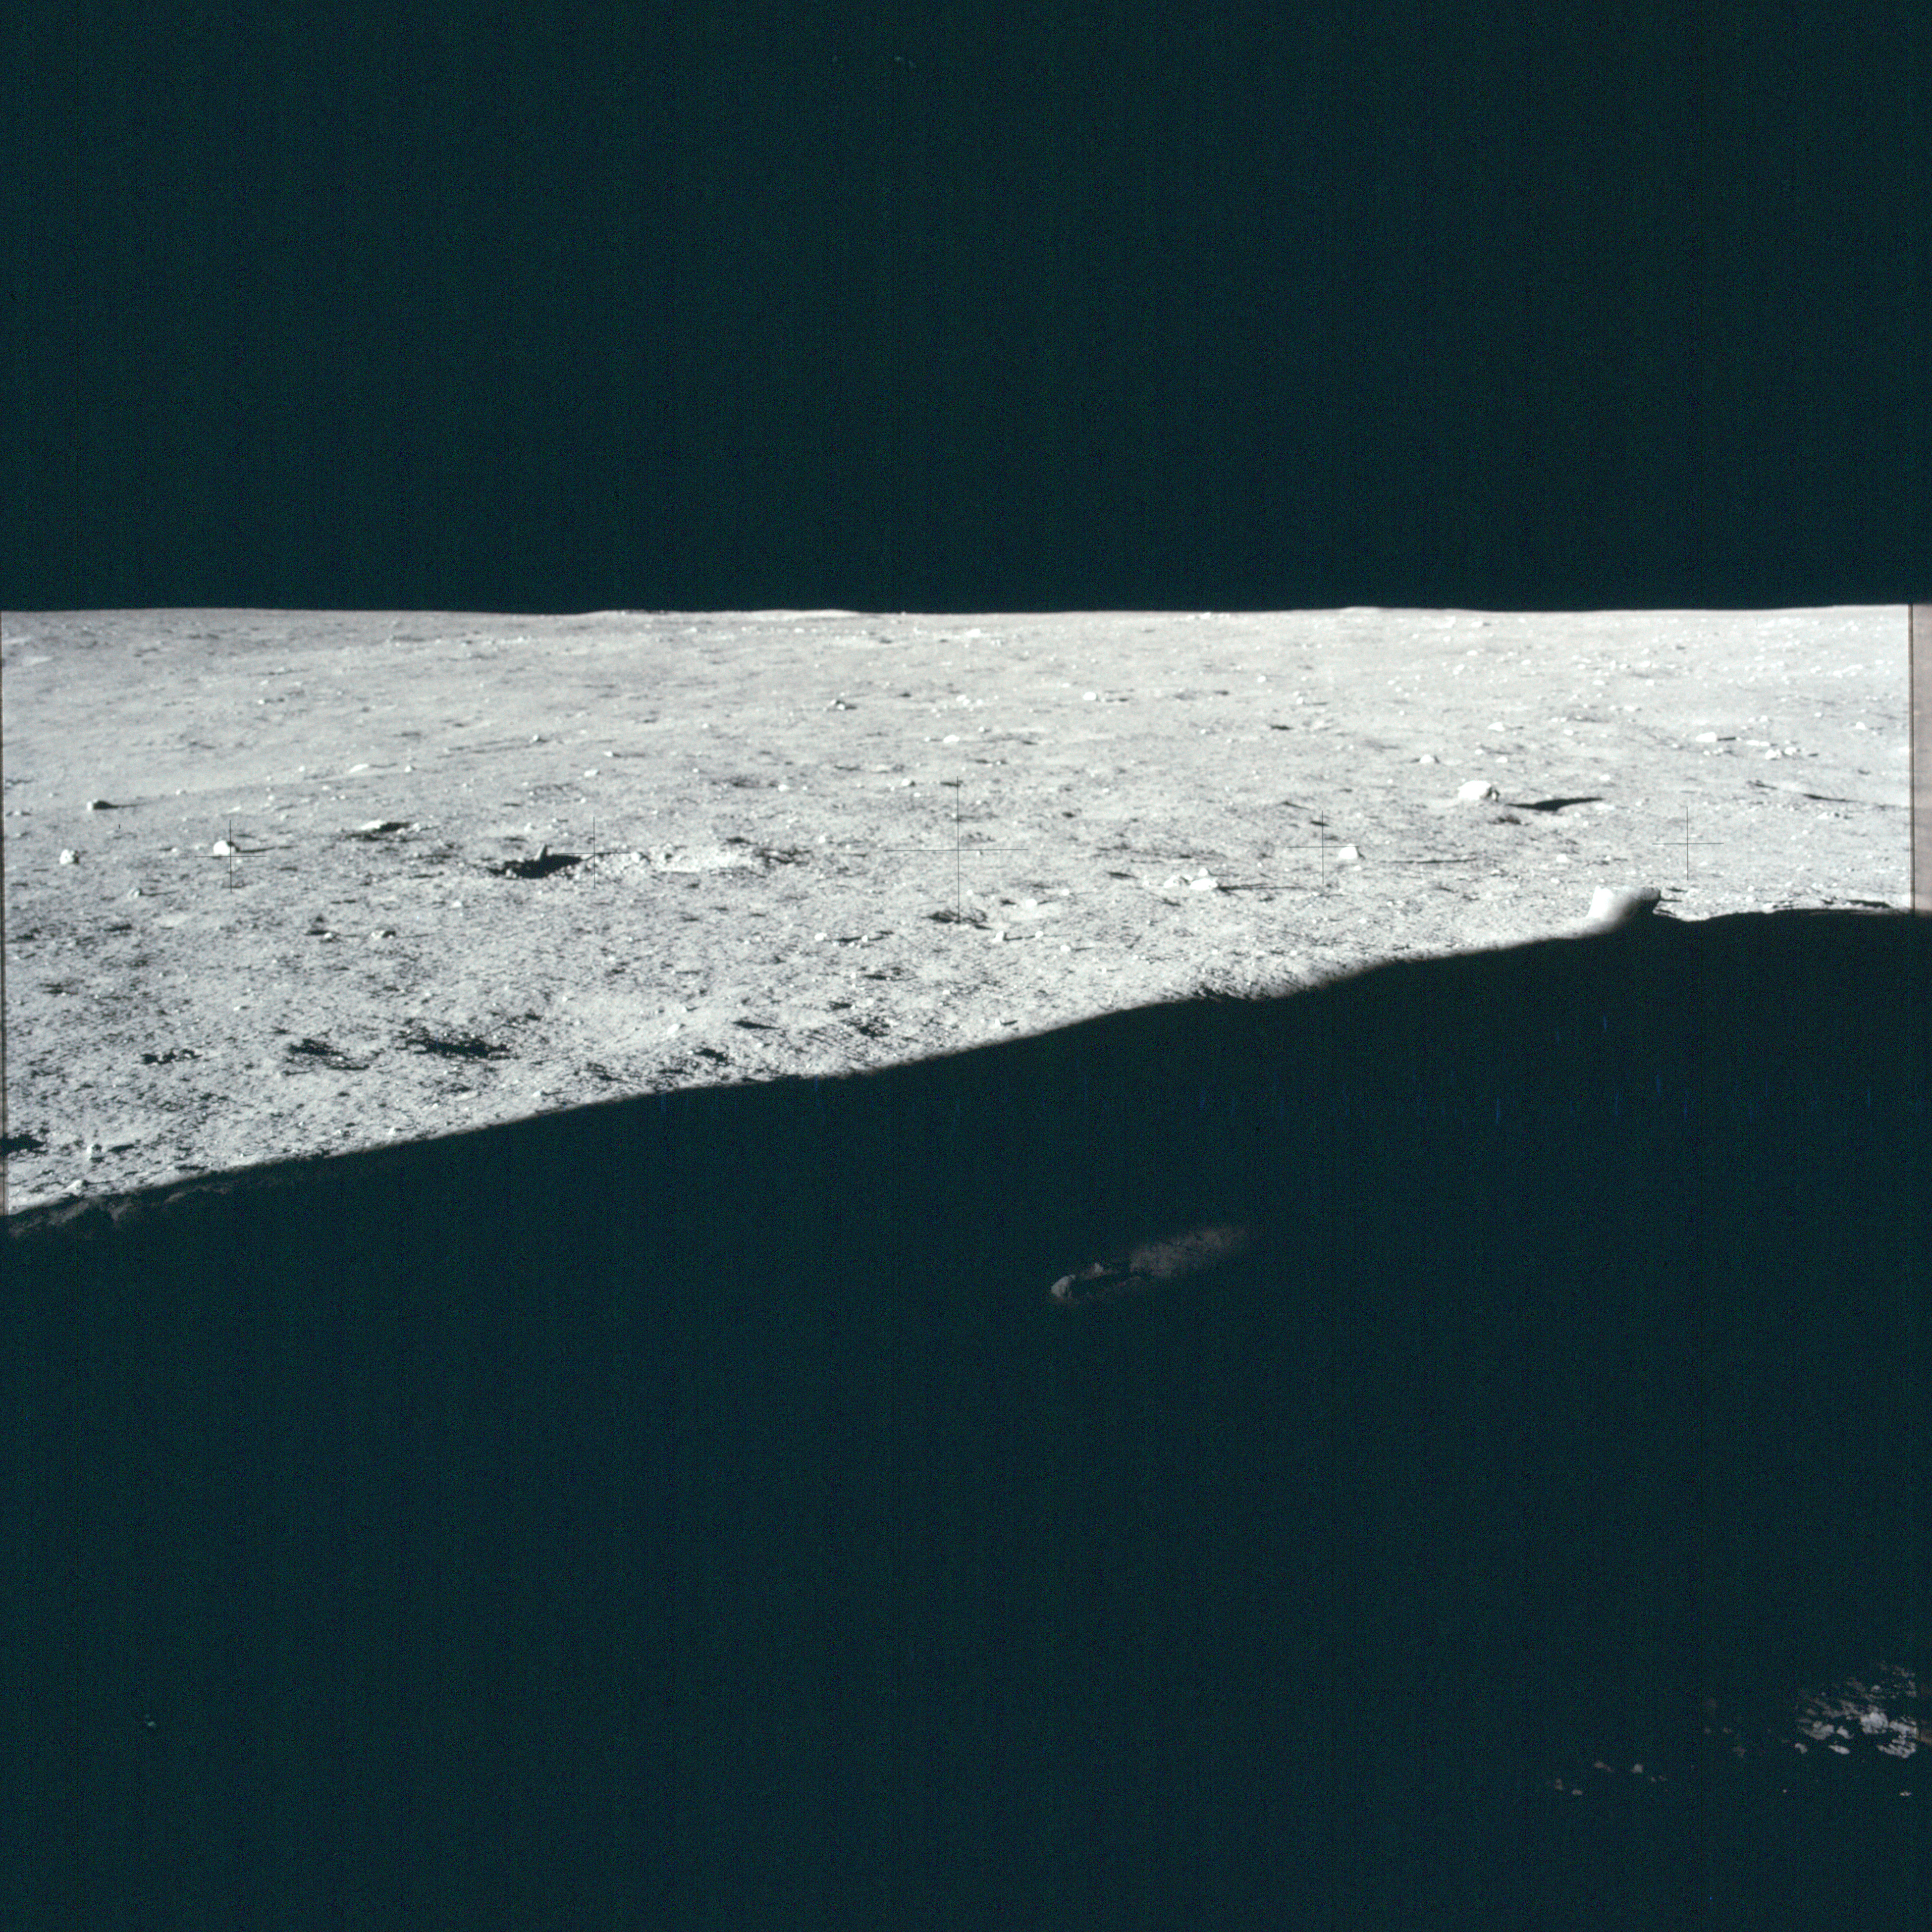
AS12-46-6744 Panorama image from west of LM - shot at 15-foot focus - 15/16. View to the southwest. Image credit: Image Science and Analysis Laboratory, NASA-Johnson Space Center |
 |
AS12-46-6745 Panorama image from west of LM - shot at 15-foot focus - 16/16. Image credit: Image Science and Analysis Laboratory, NASA-Johnson Space Center |
 |
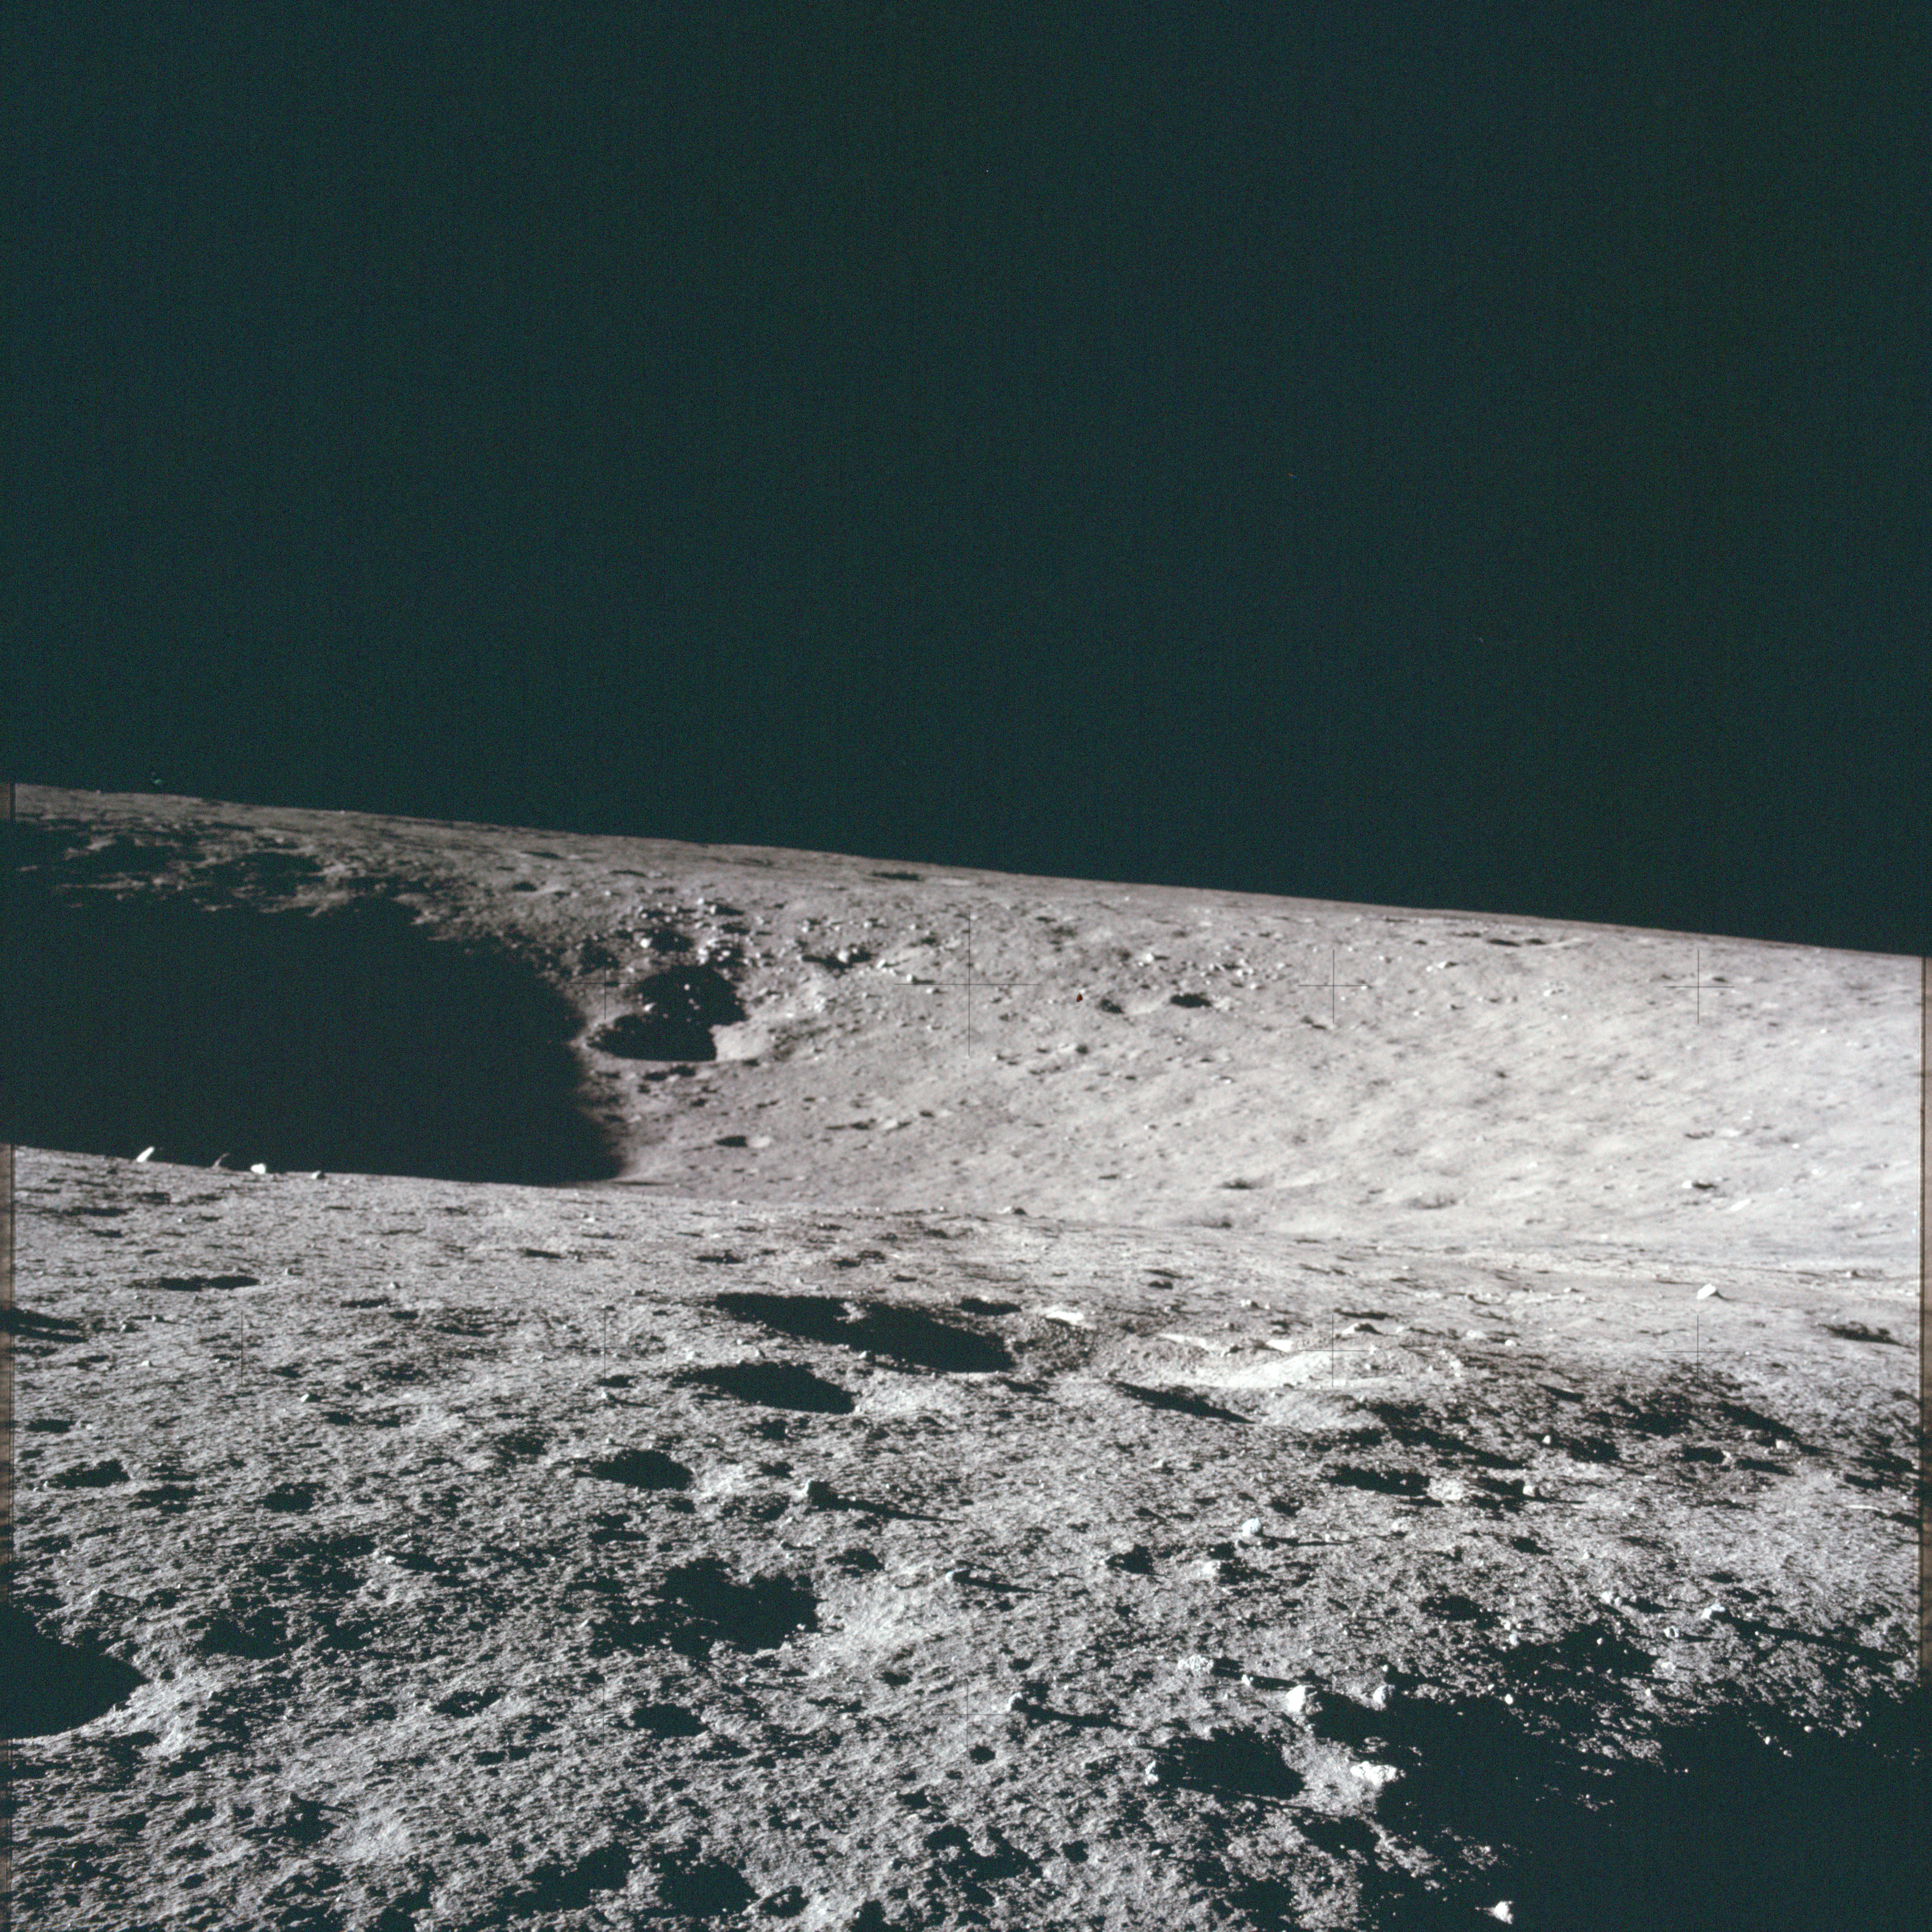
AS12-46-6746 Panorama image from north of the LM - shot at 15-foot focus - 1/18. View southeast across Surveyor crater. Image credit: Image Science and Analysis Laboratory, NASA-Johnson Space Center |
 |
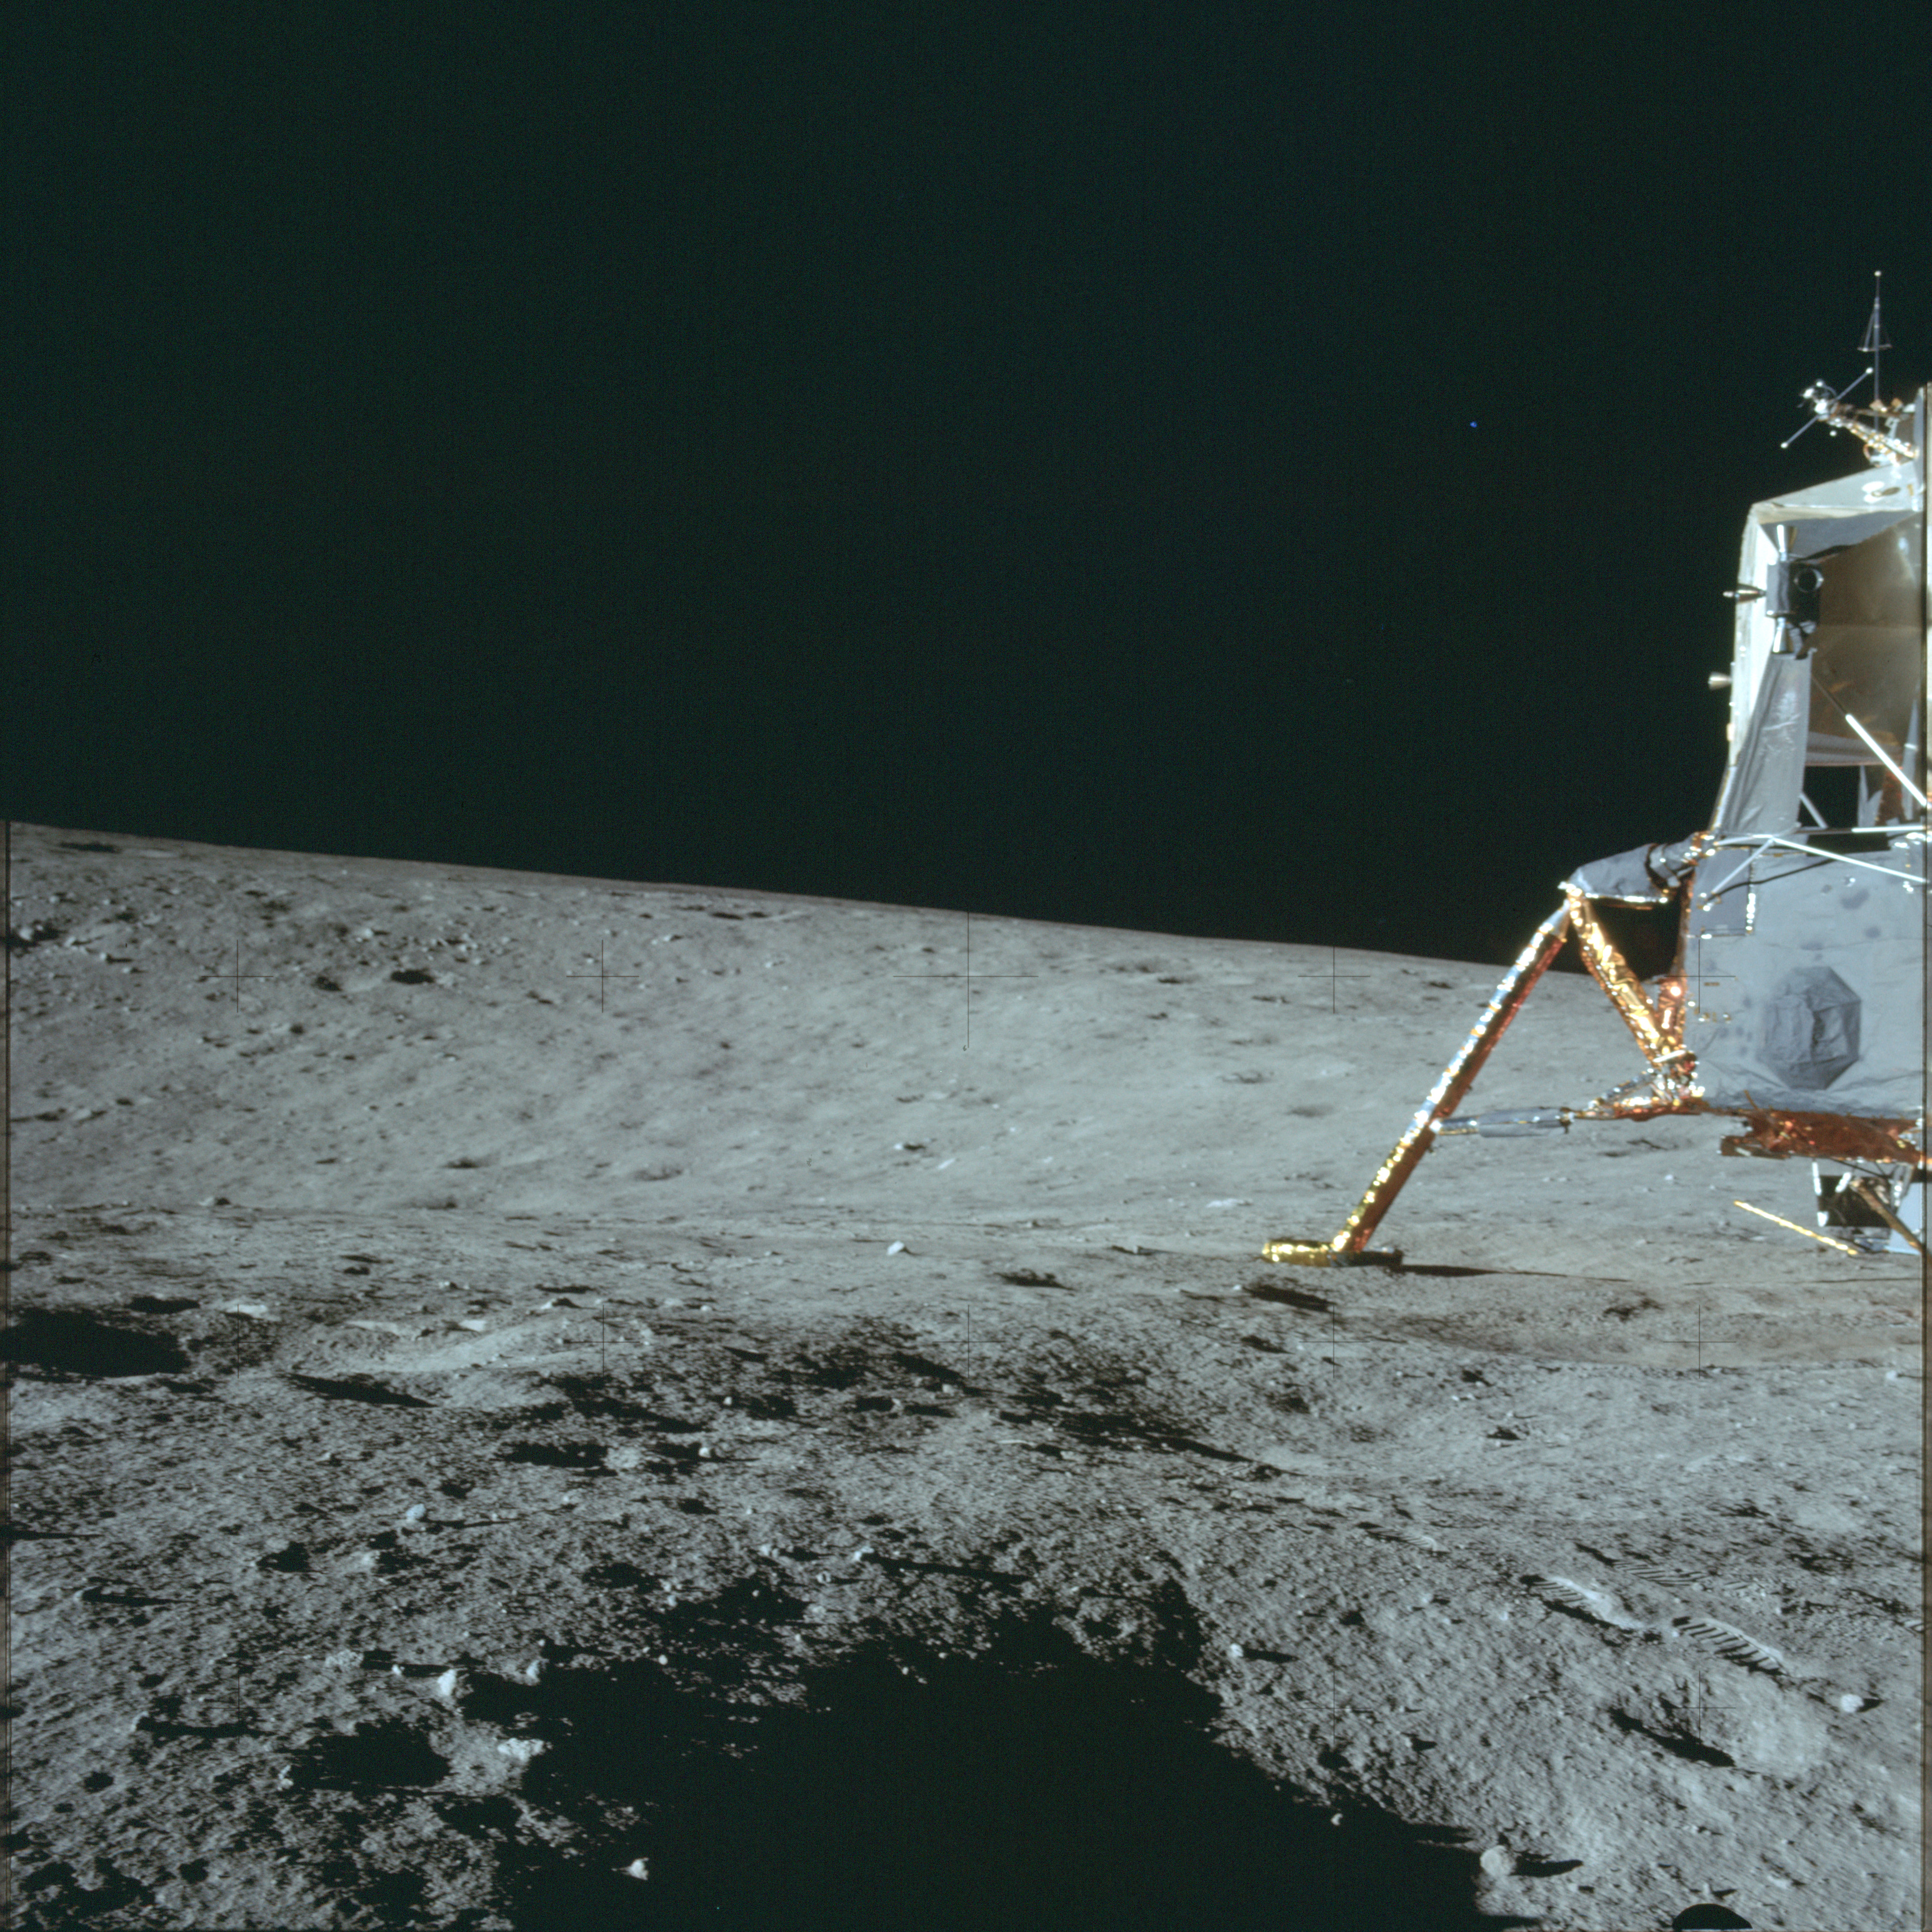
AS12-46-6747 Panorama image from north of the LM - shot at 15-foot focus - 2/18. View southeast across Surveyor crater. Image credit: Image Science and Analysis Laboratory, NASA-Johnson Space Center |
 |
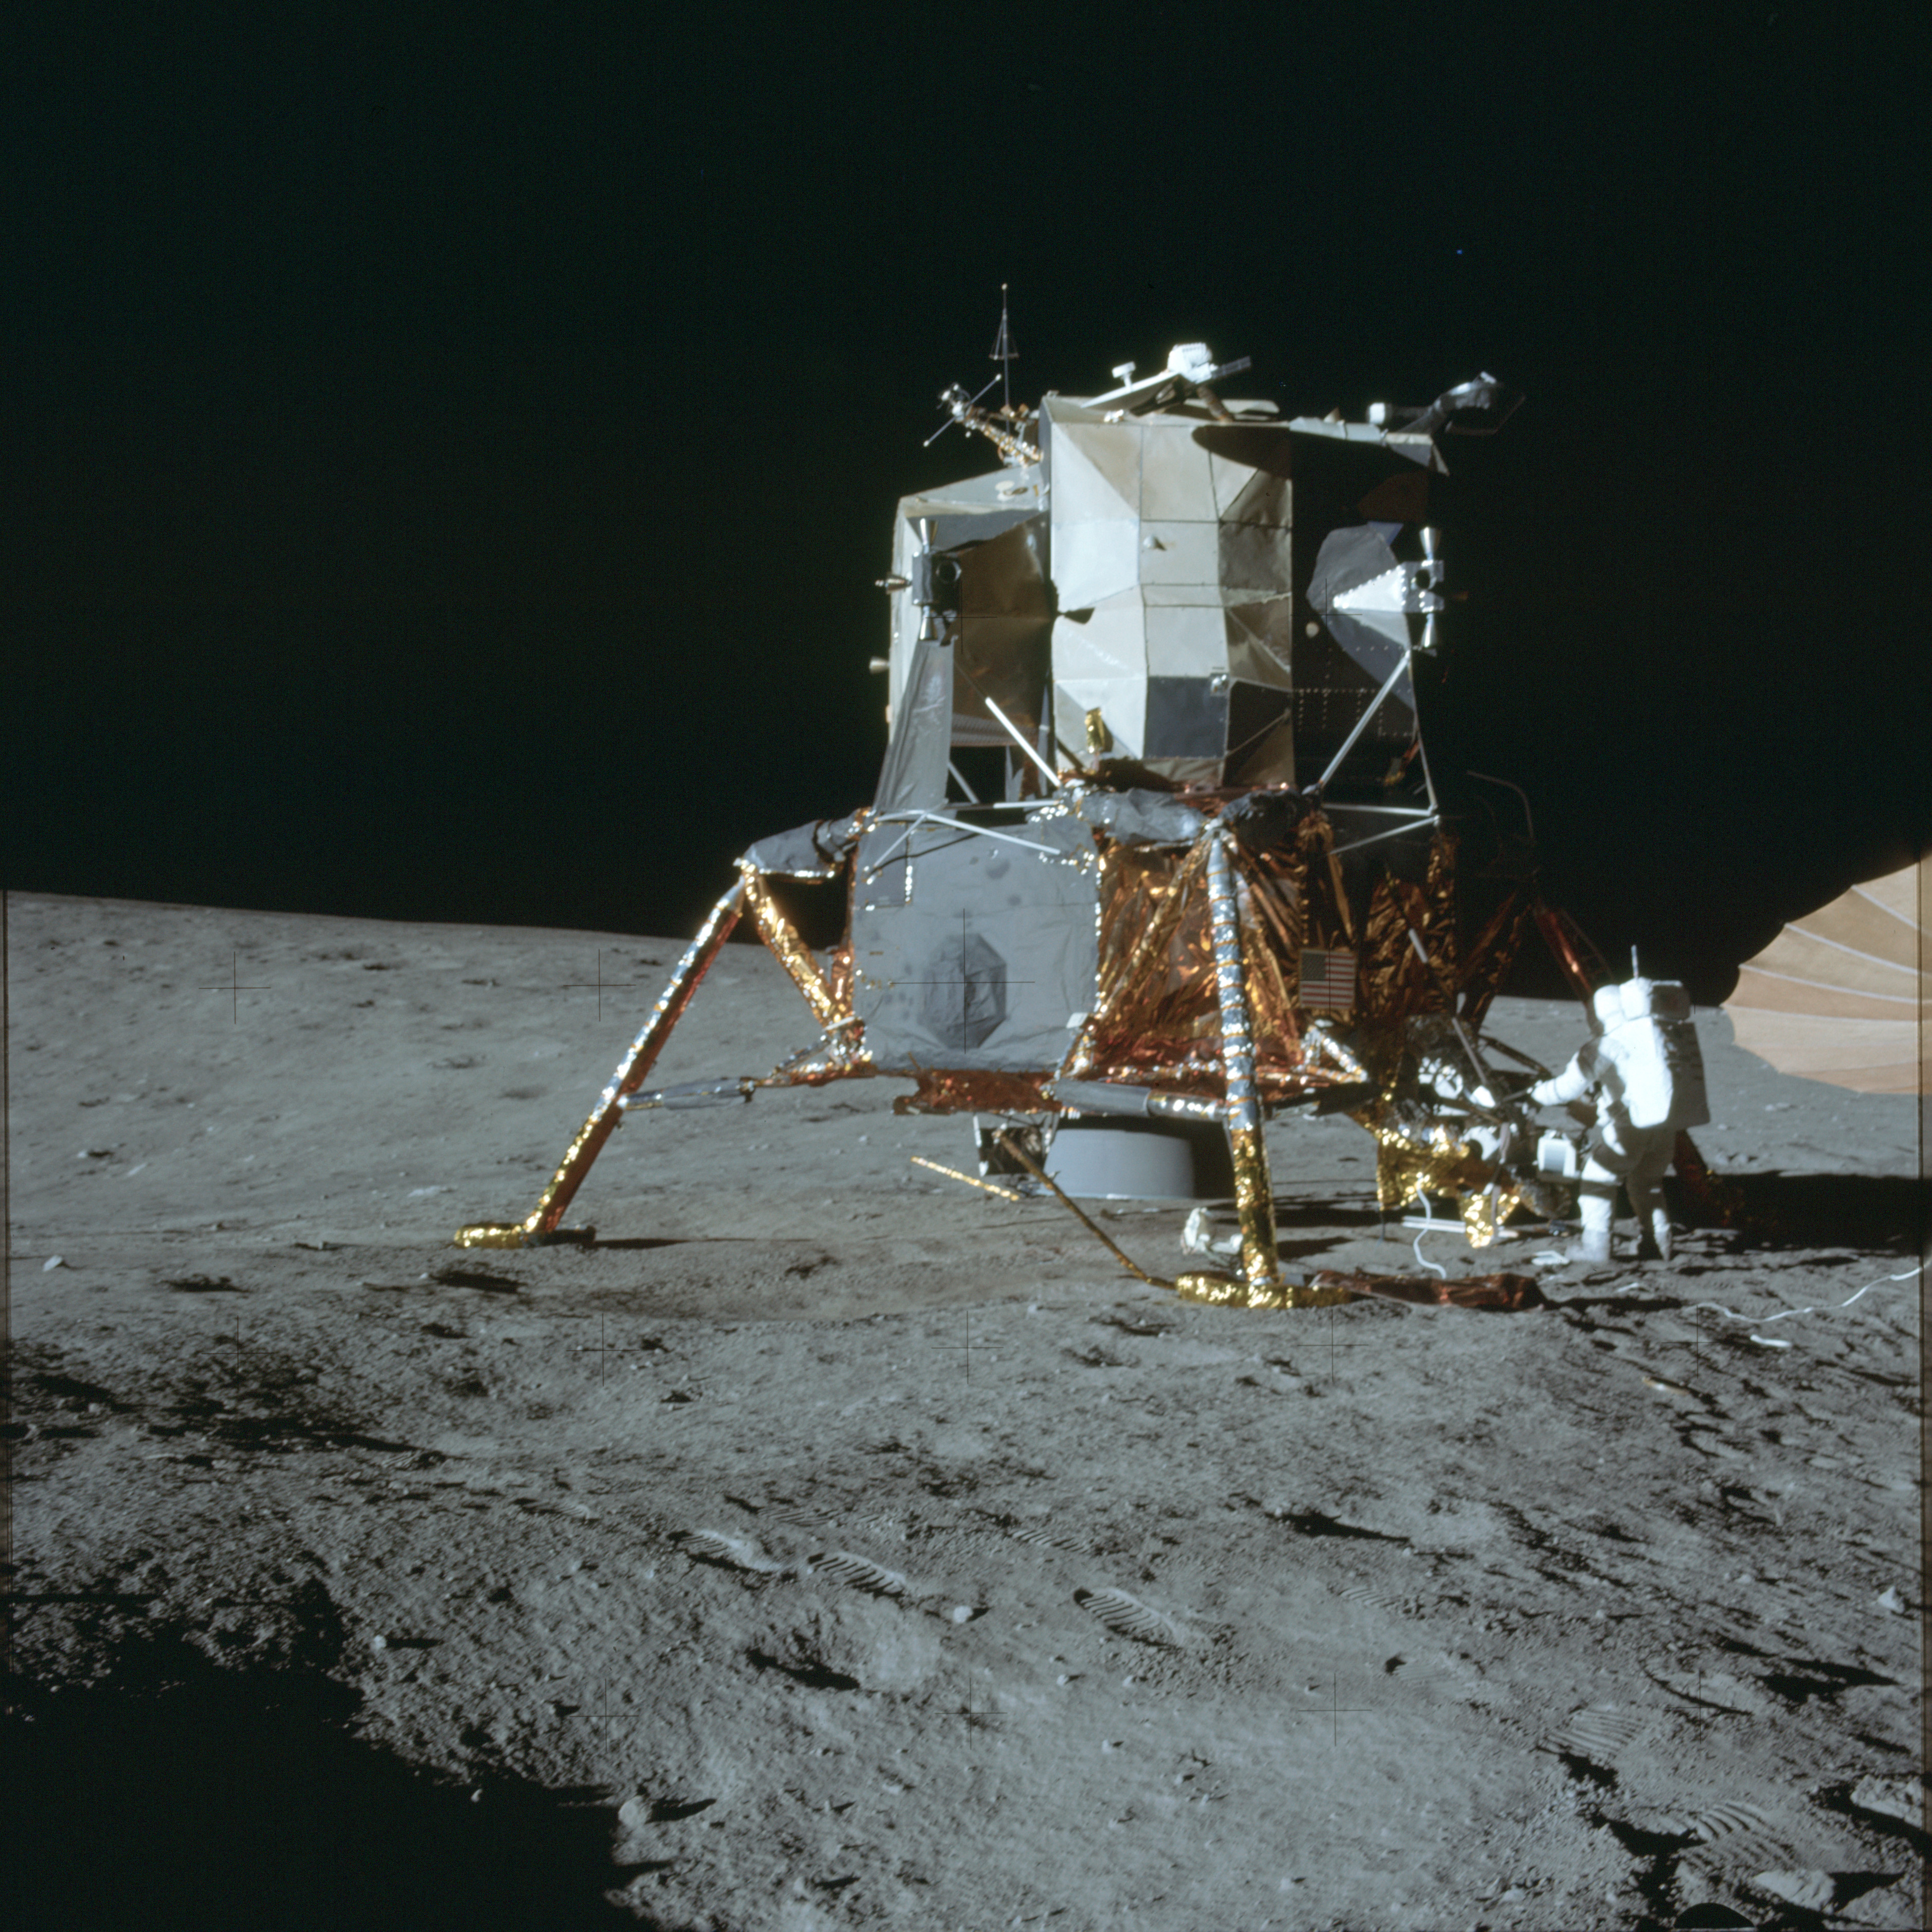
AS12-46-6748 Panorama image from north of the LM - shot at 15-foot focus - 3/18. View south past LM across western rim of Surveyor Crater. Image credit: Image Science and Analysis Laboratory, NASA-Johnson Space Center |
 |
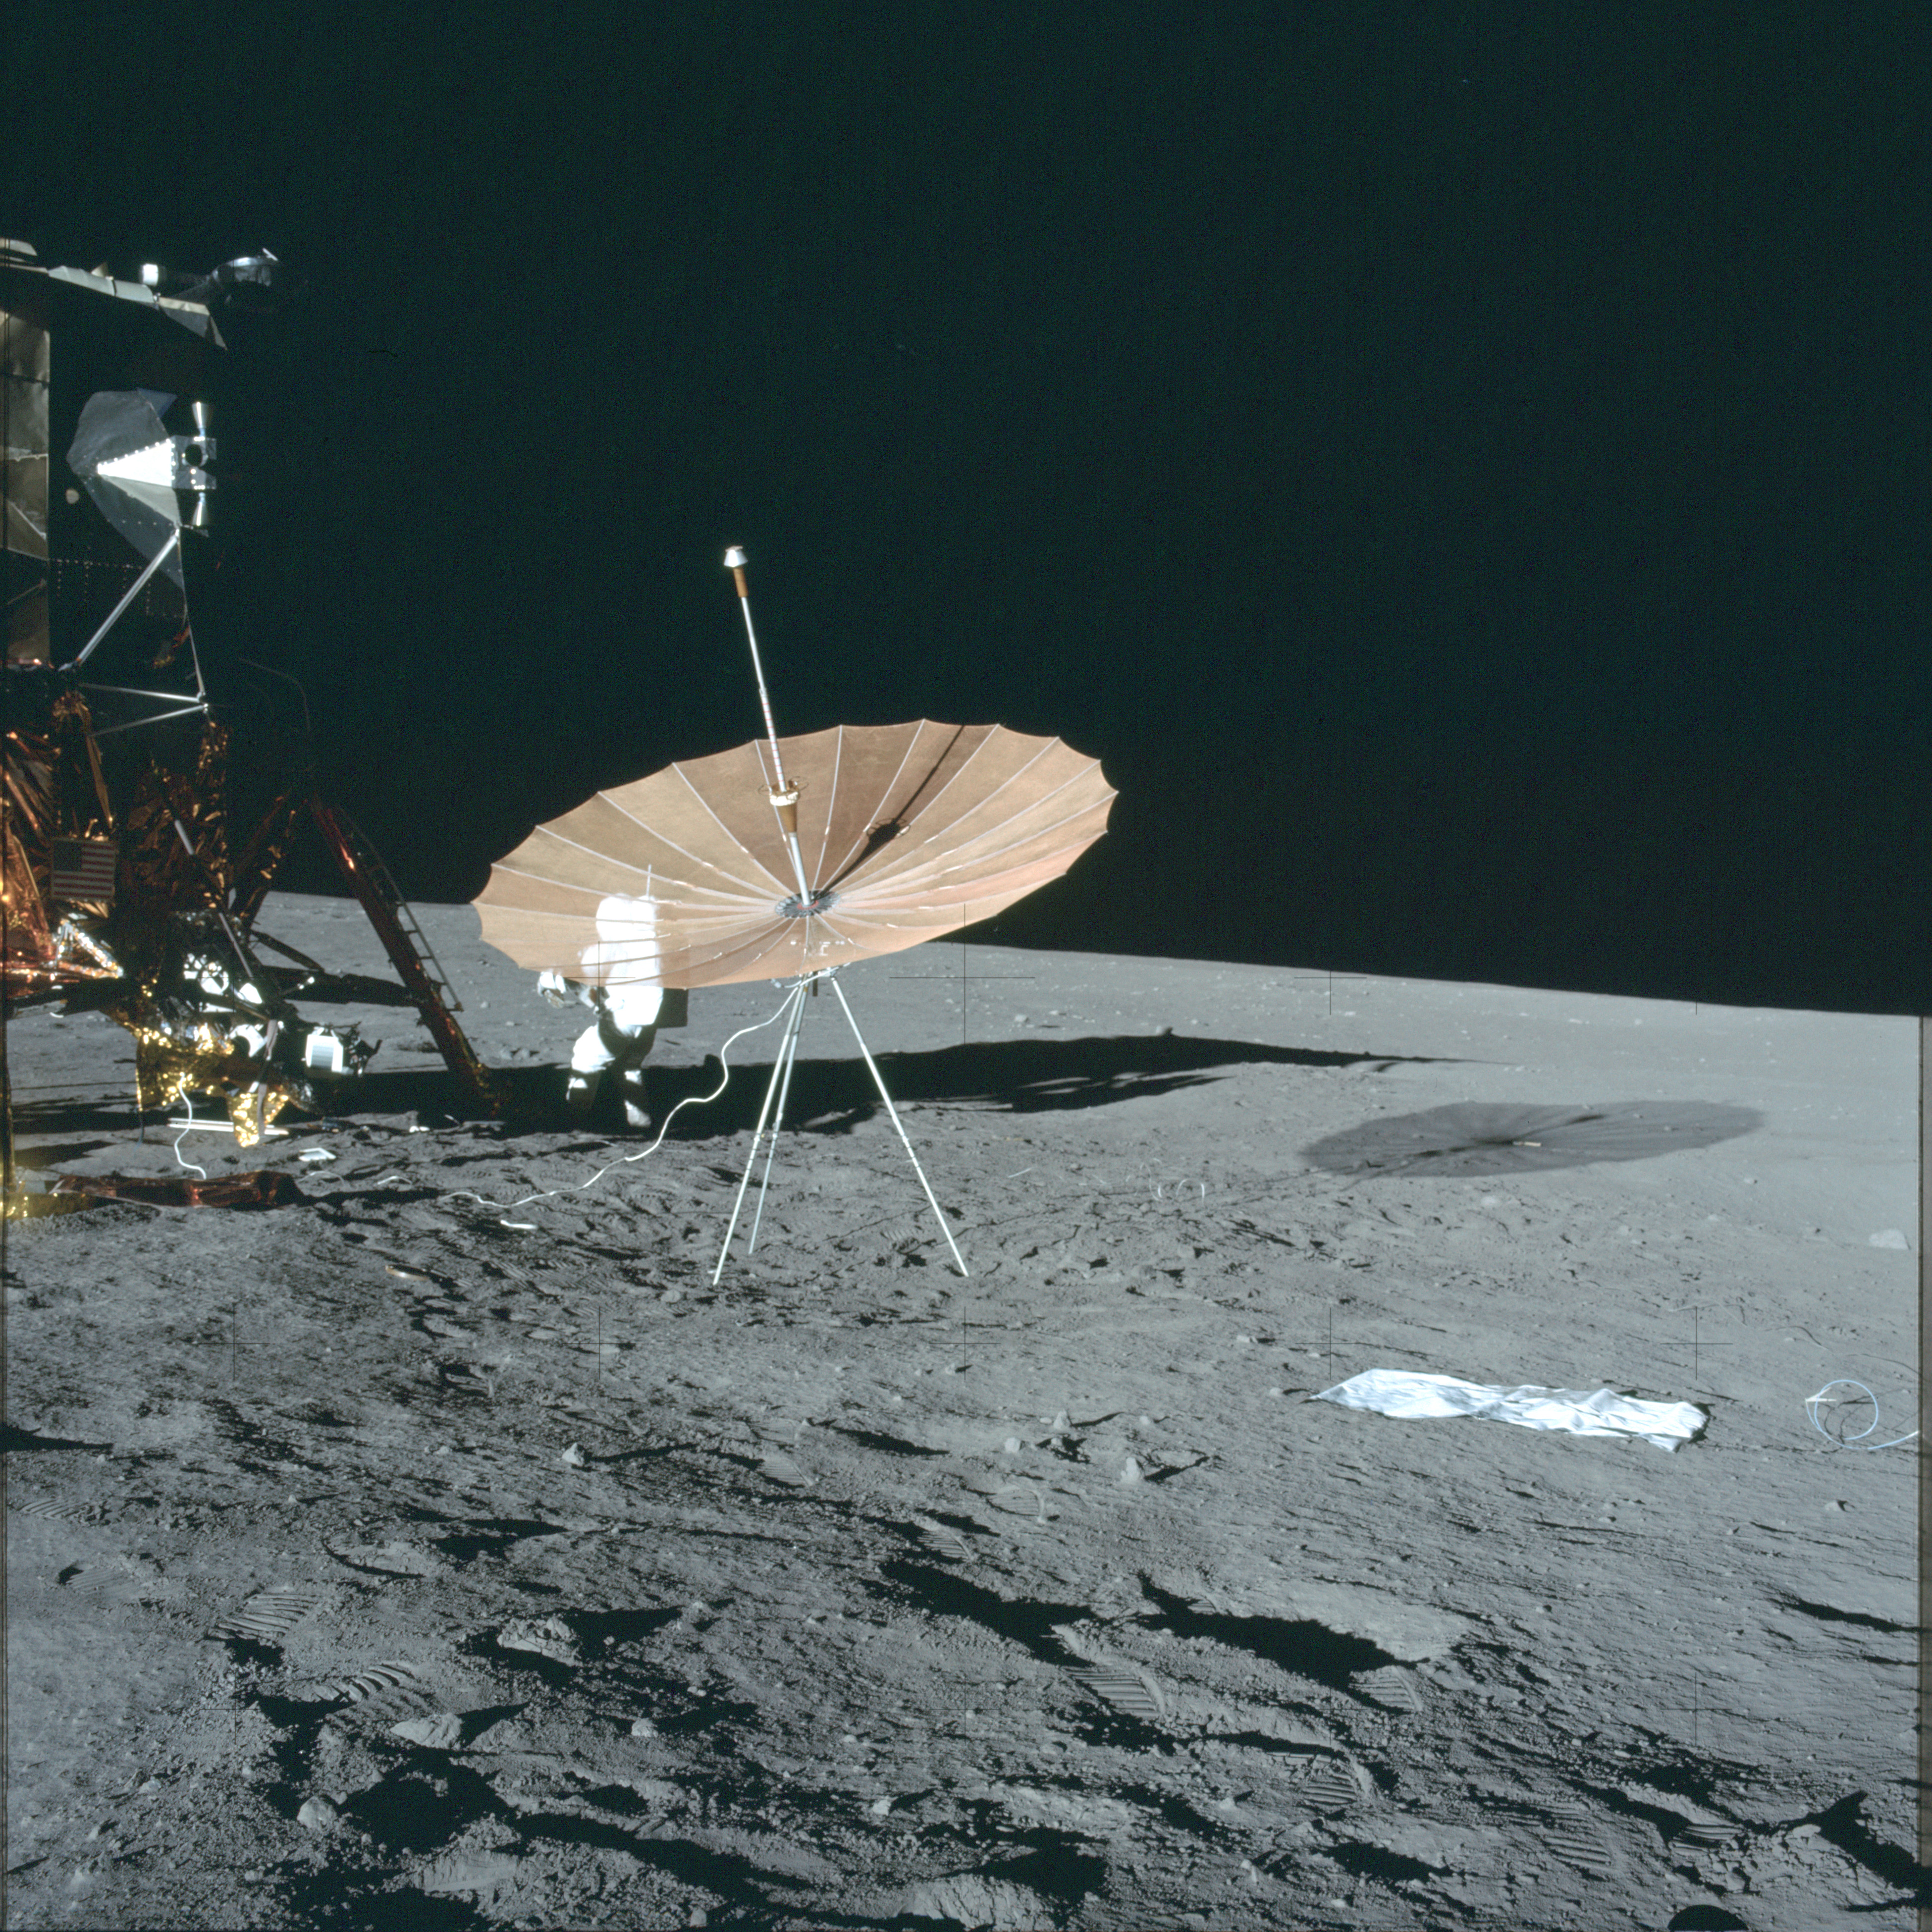
AS12-46-6749 Panorama image from north of the LM - shot at 15-foot focus - 4/18. Al Bean is seen working at the MESA on the LM. Image credit: Image Science and Analysis Laboratory, NASA-Johnson Space Center |
 |
AS12-46-6750 Panorama image from north of the LM - shot at 15-foot focus - 5/18. View southwest including high-gain antenna. Image credit: Image Science and Analysis Laboratory, NASA-Johnson Space Center |
 |
AS12-46-6751 Panorama image from north of the LM - shot at 15-foot focus - 6/18. View west including Pete's shadow. Image credit: Image Science and Analysis Laboratory, NASA-Johnson Space Center |
 |
AS12-46-6752 Panorama image from north of the LM - shot at 15-foot focus - 7/18. View west including Pete's shadow. Image credit: Image Science and Analysis Laboratory, NASA-Johnson Space Center |
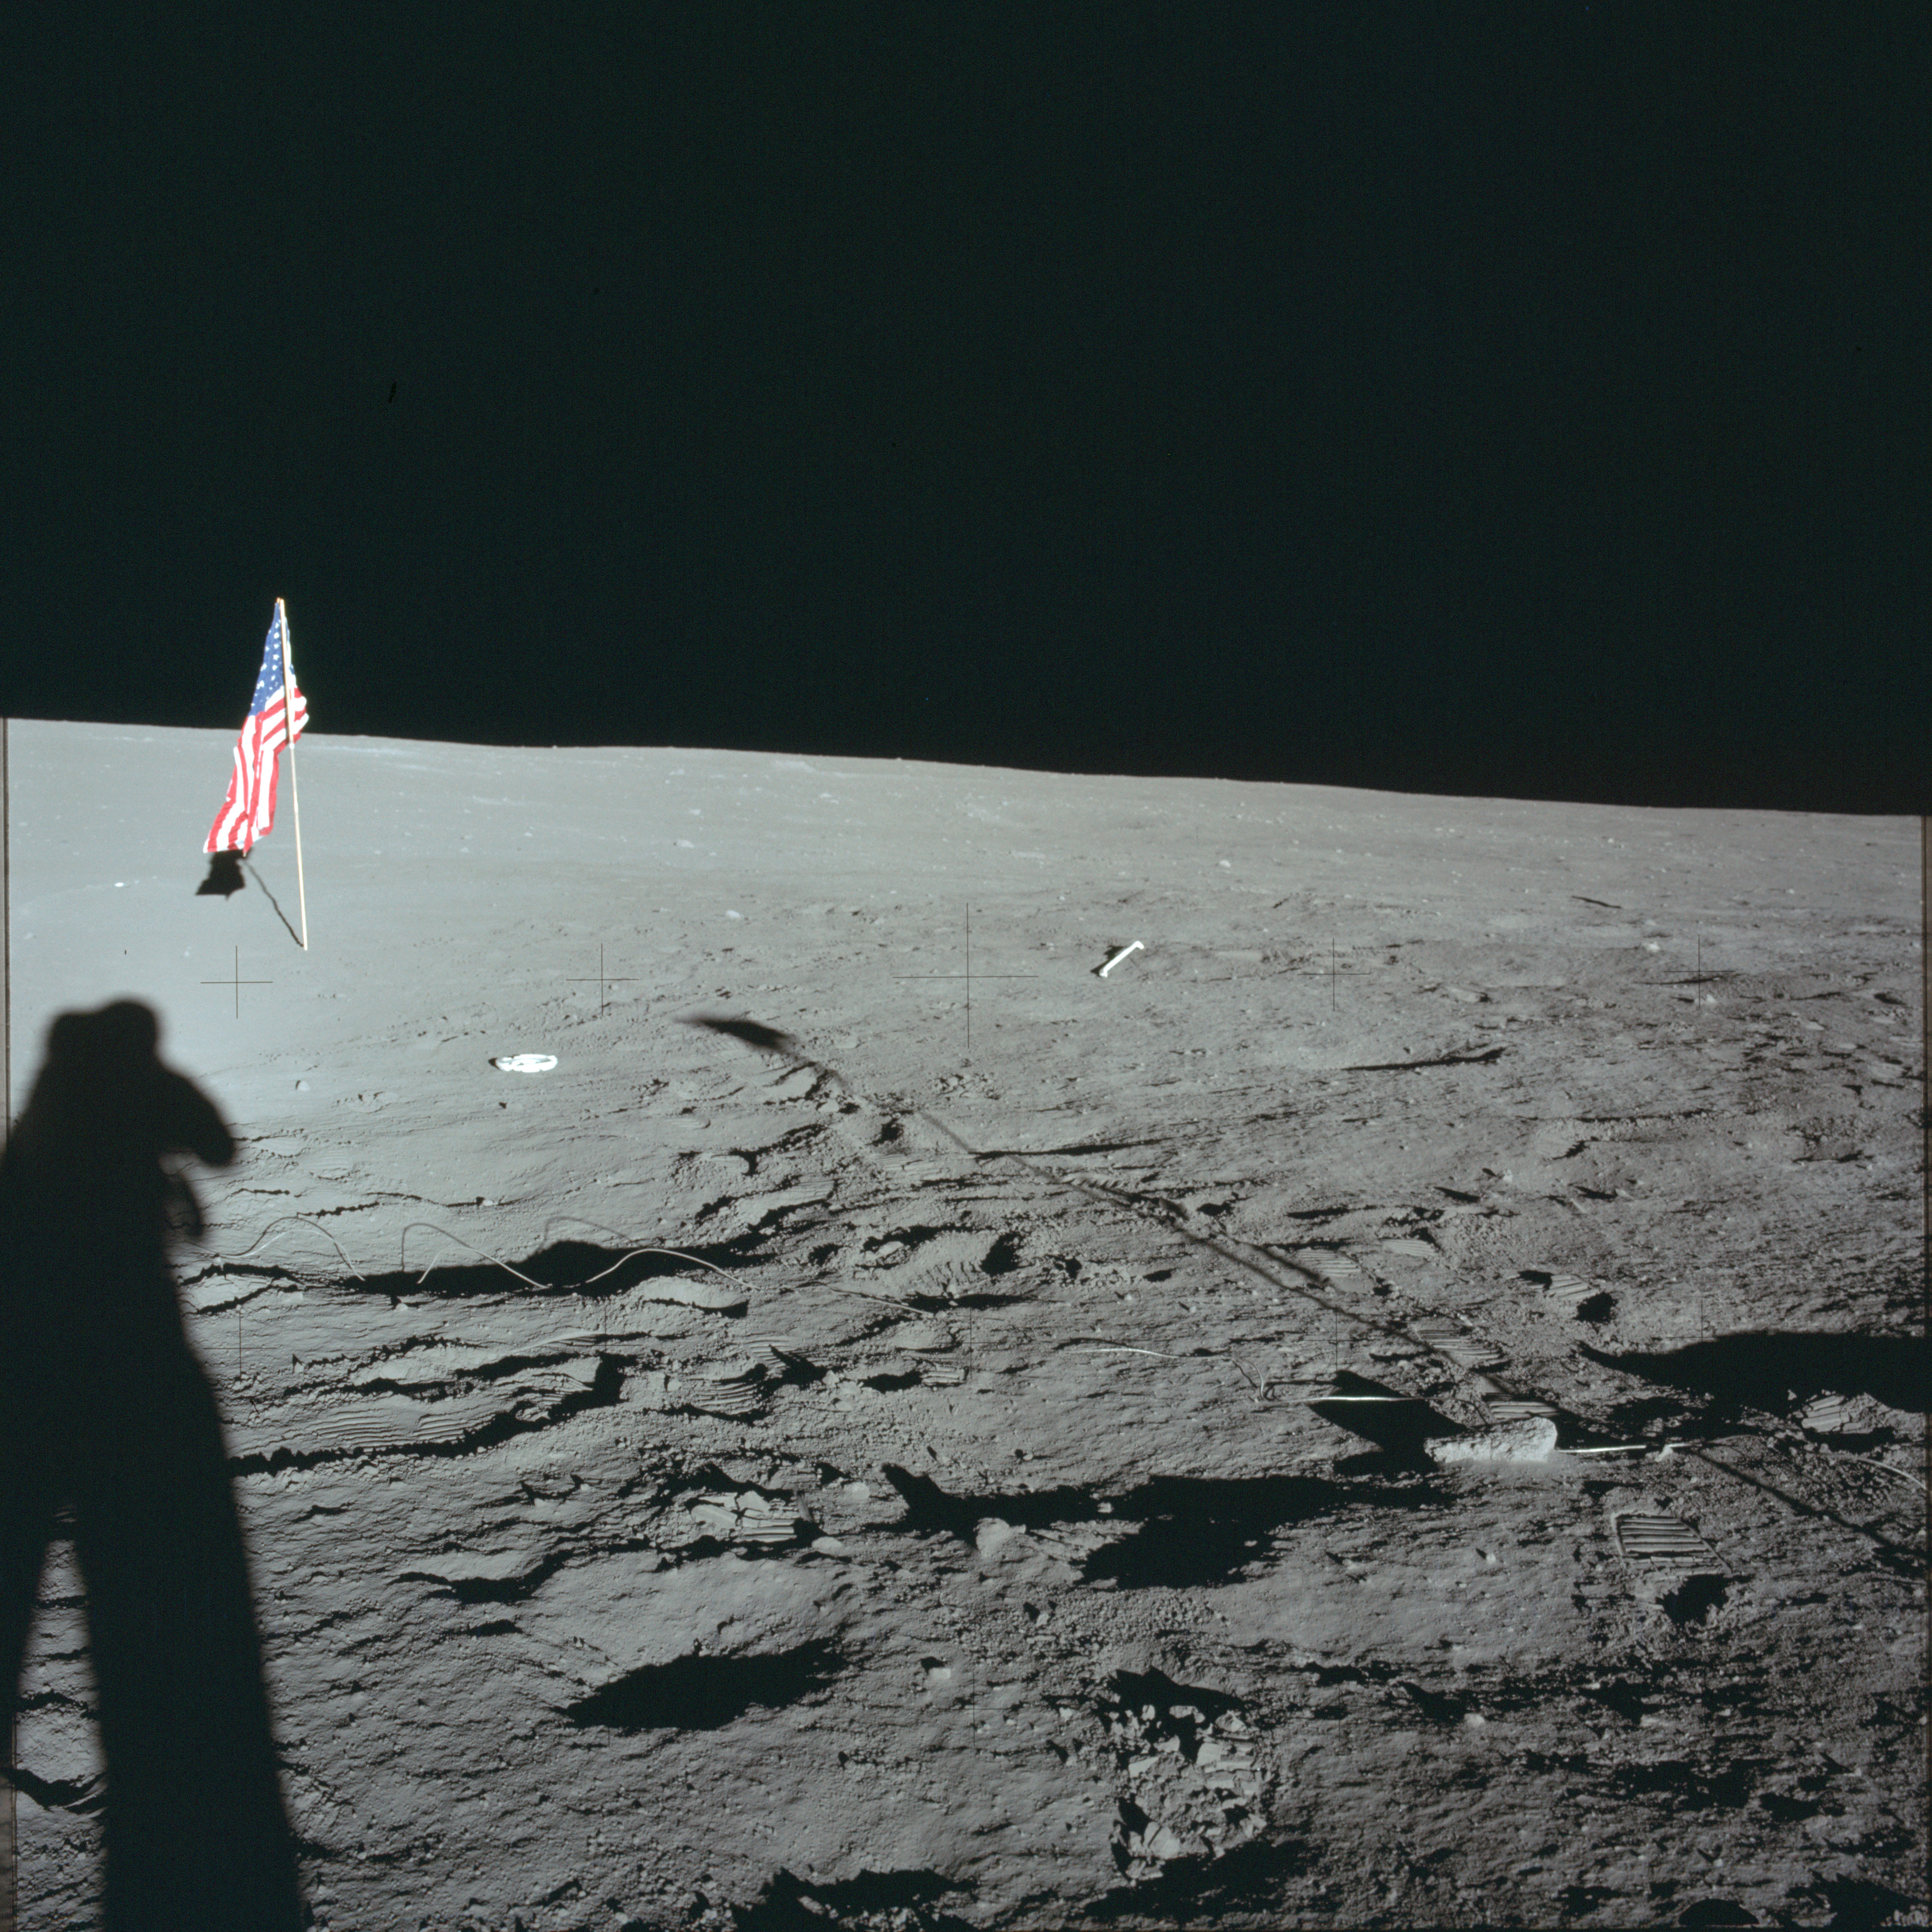 |
AS12-46-6753 Panorama image from north of the LM - shot at 15-foot focus - 8/18. View west including Pete's shadow. Image credit: Image Science and Analysis Laboratory, NASA-Johnson Space Center |
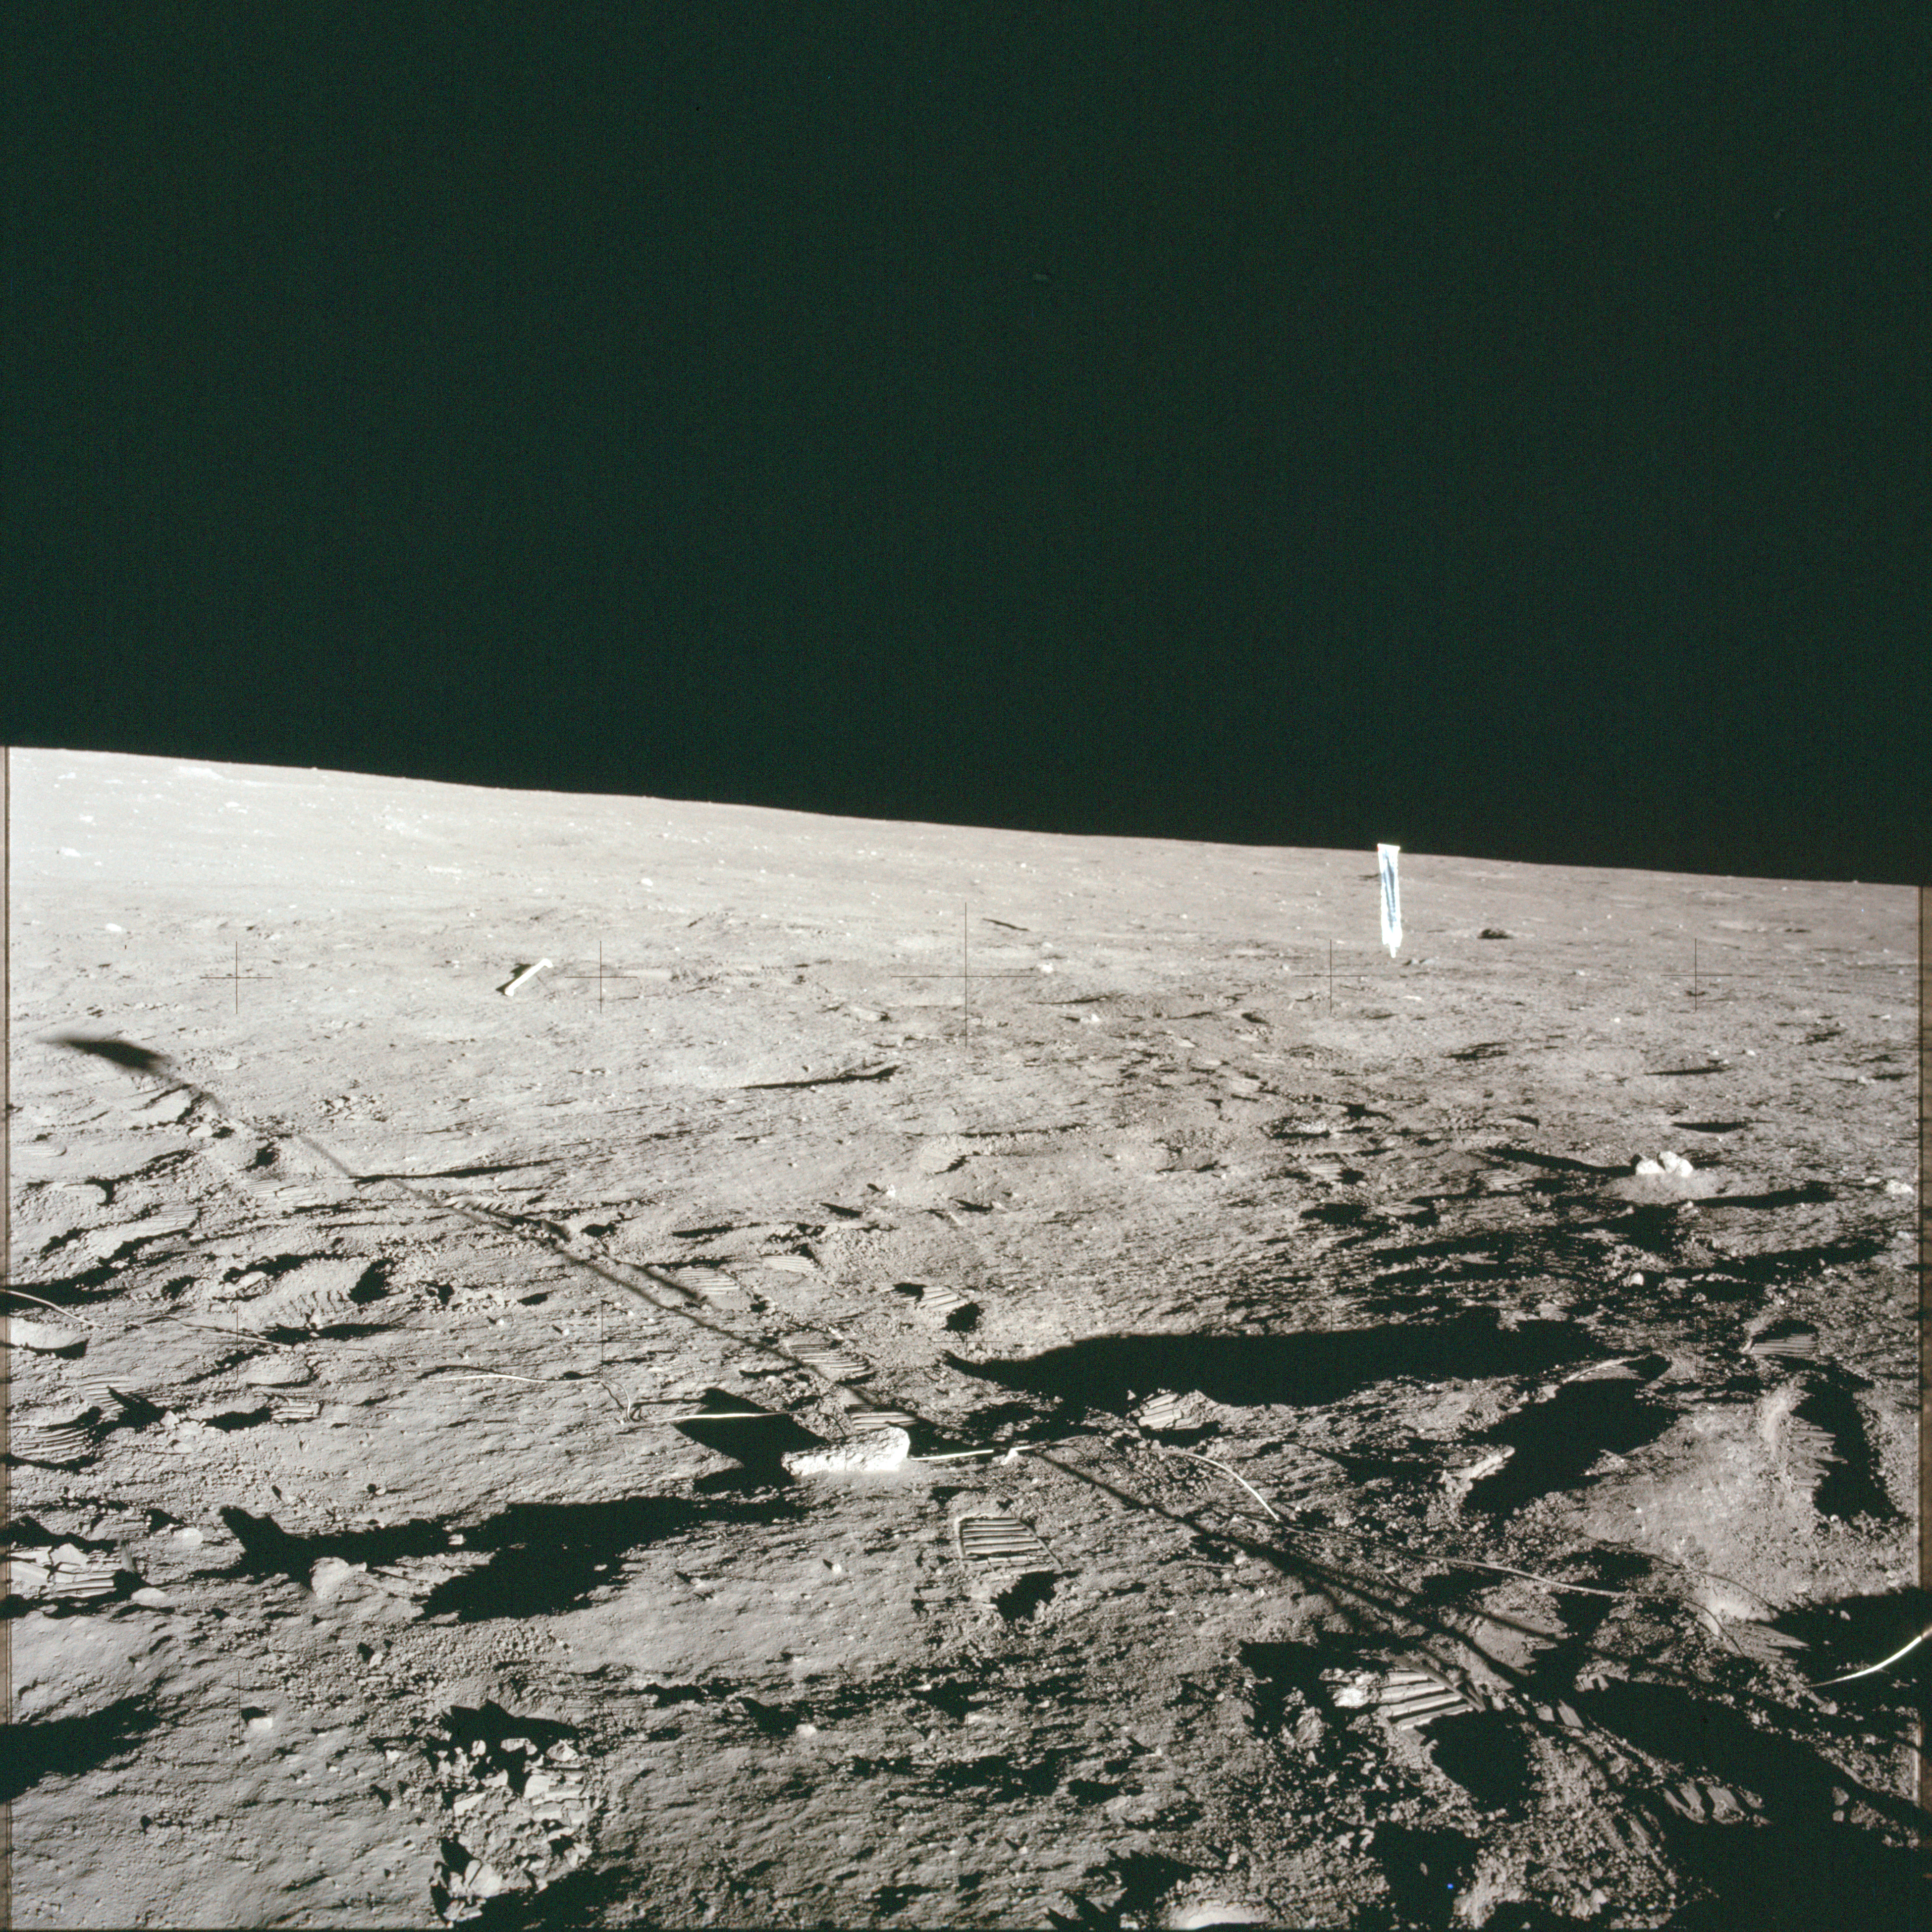 |
AS12-46-6754 Panorama image from north of the LM - shot at 15-foot focus - 9/18. Image credit: Image Science and Analysis Laboratory, NASA-Johnson Space Center |
 |
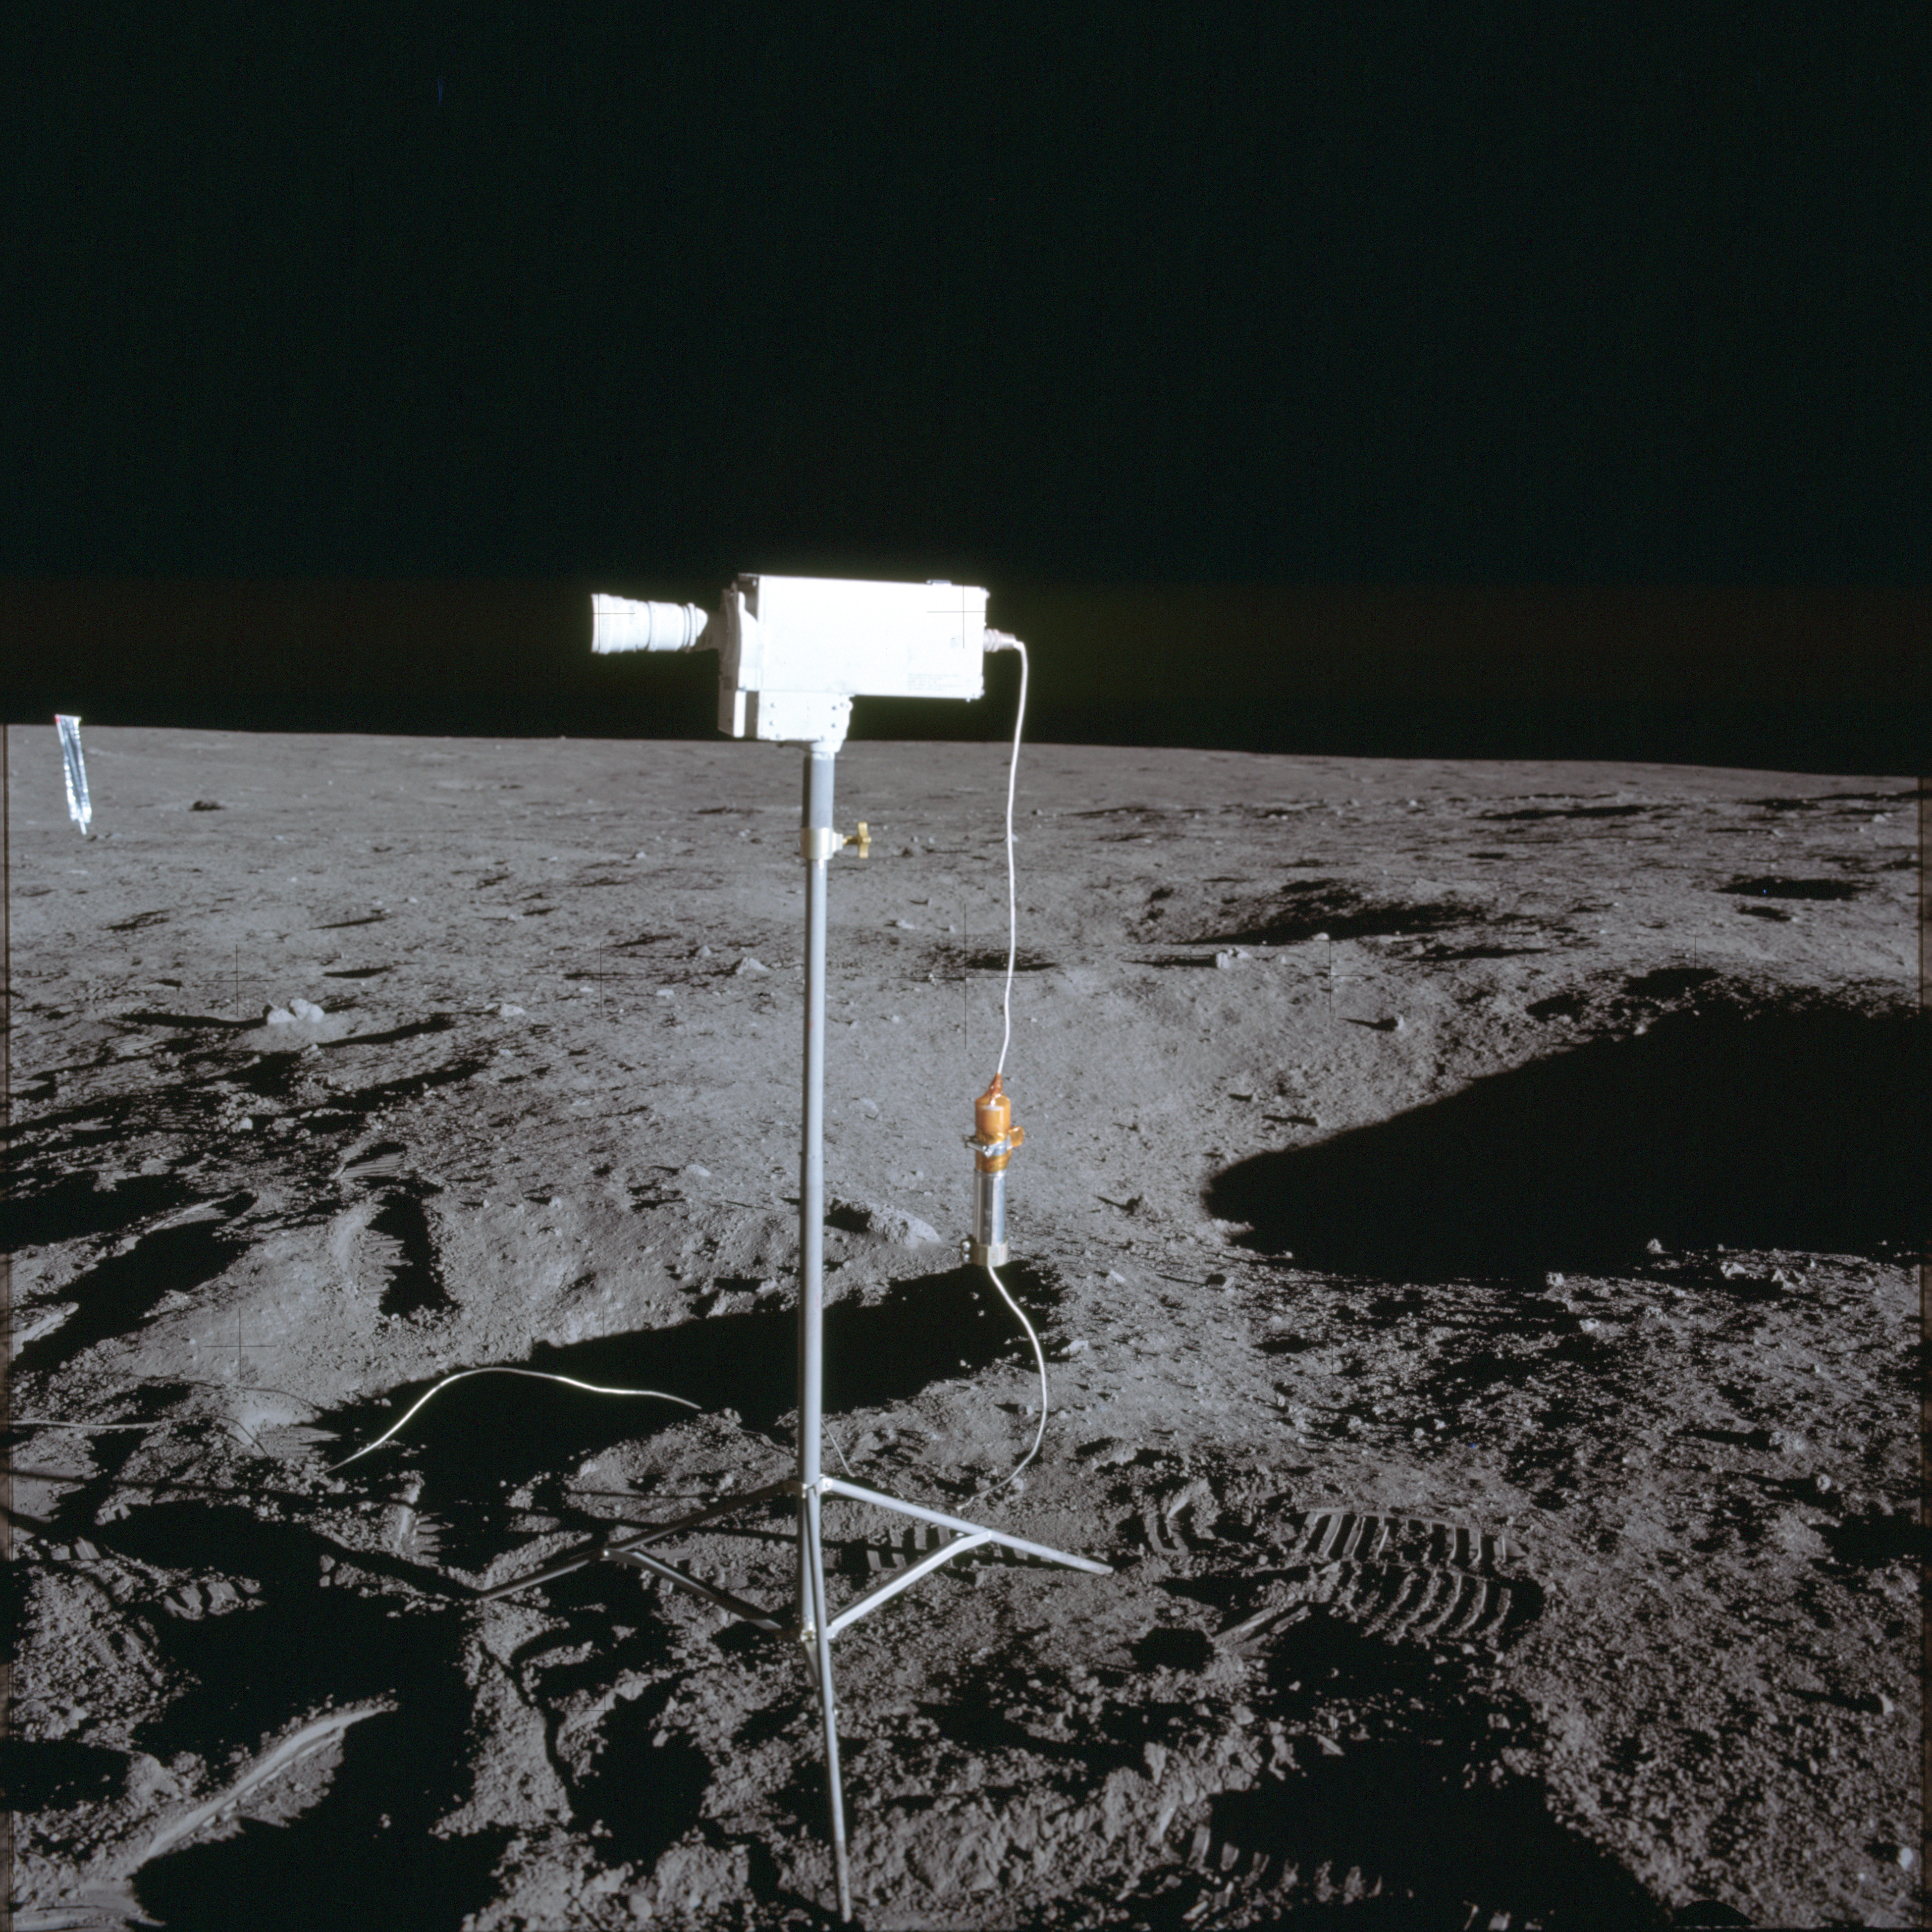
AS12-46-6755 Panorama image from north of the LM - shot at 15-foot focus - 10/18. View north, including TV camera. Image credit: Image Science and Analysis Laboratory, NASA-Johnson Space Center |
 |
AS12-46-6756 Panorama image from north of the LM - shot at 15-foot focus - 11/18. View north, including TV camera. Image credit: Image Science and Analysis Laboratory, NASA-Johnson Space Center |
 |
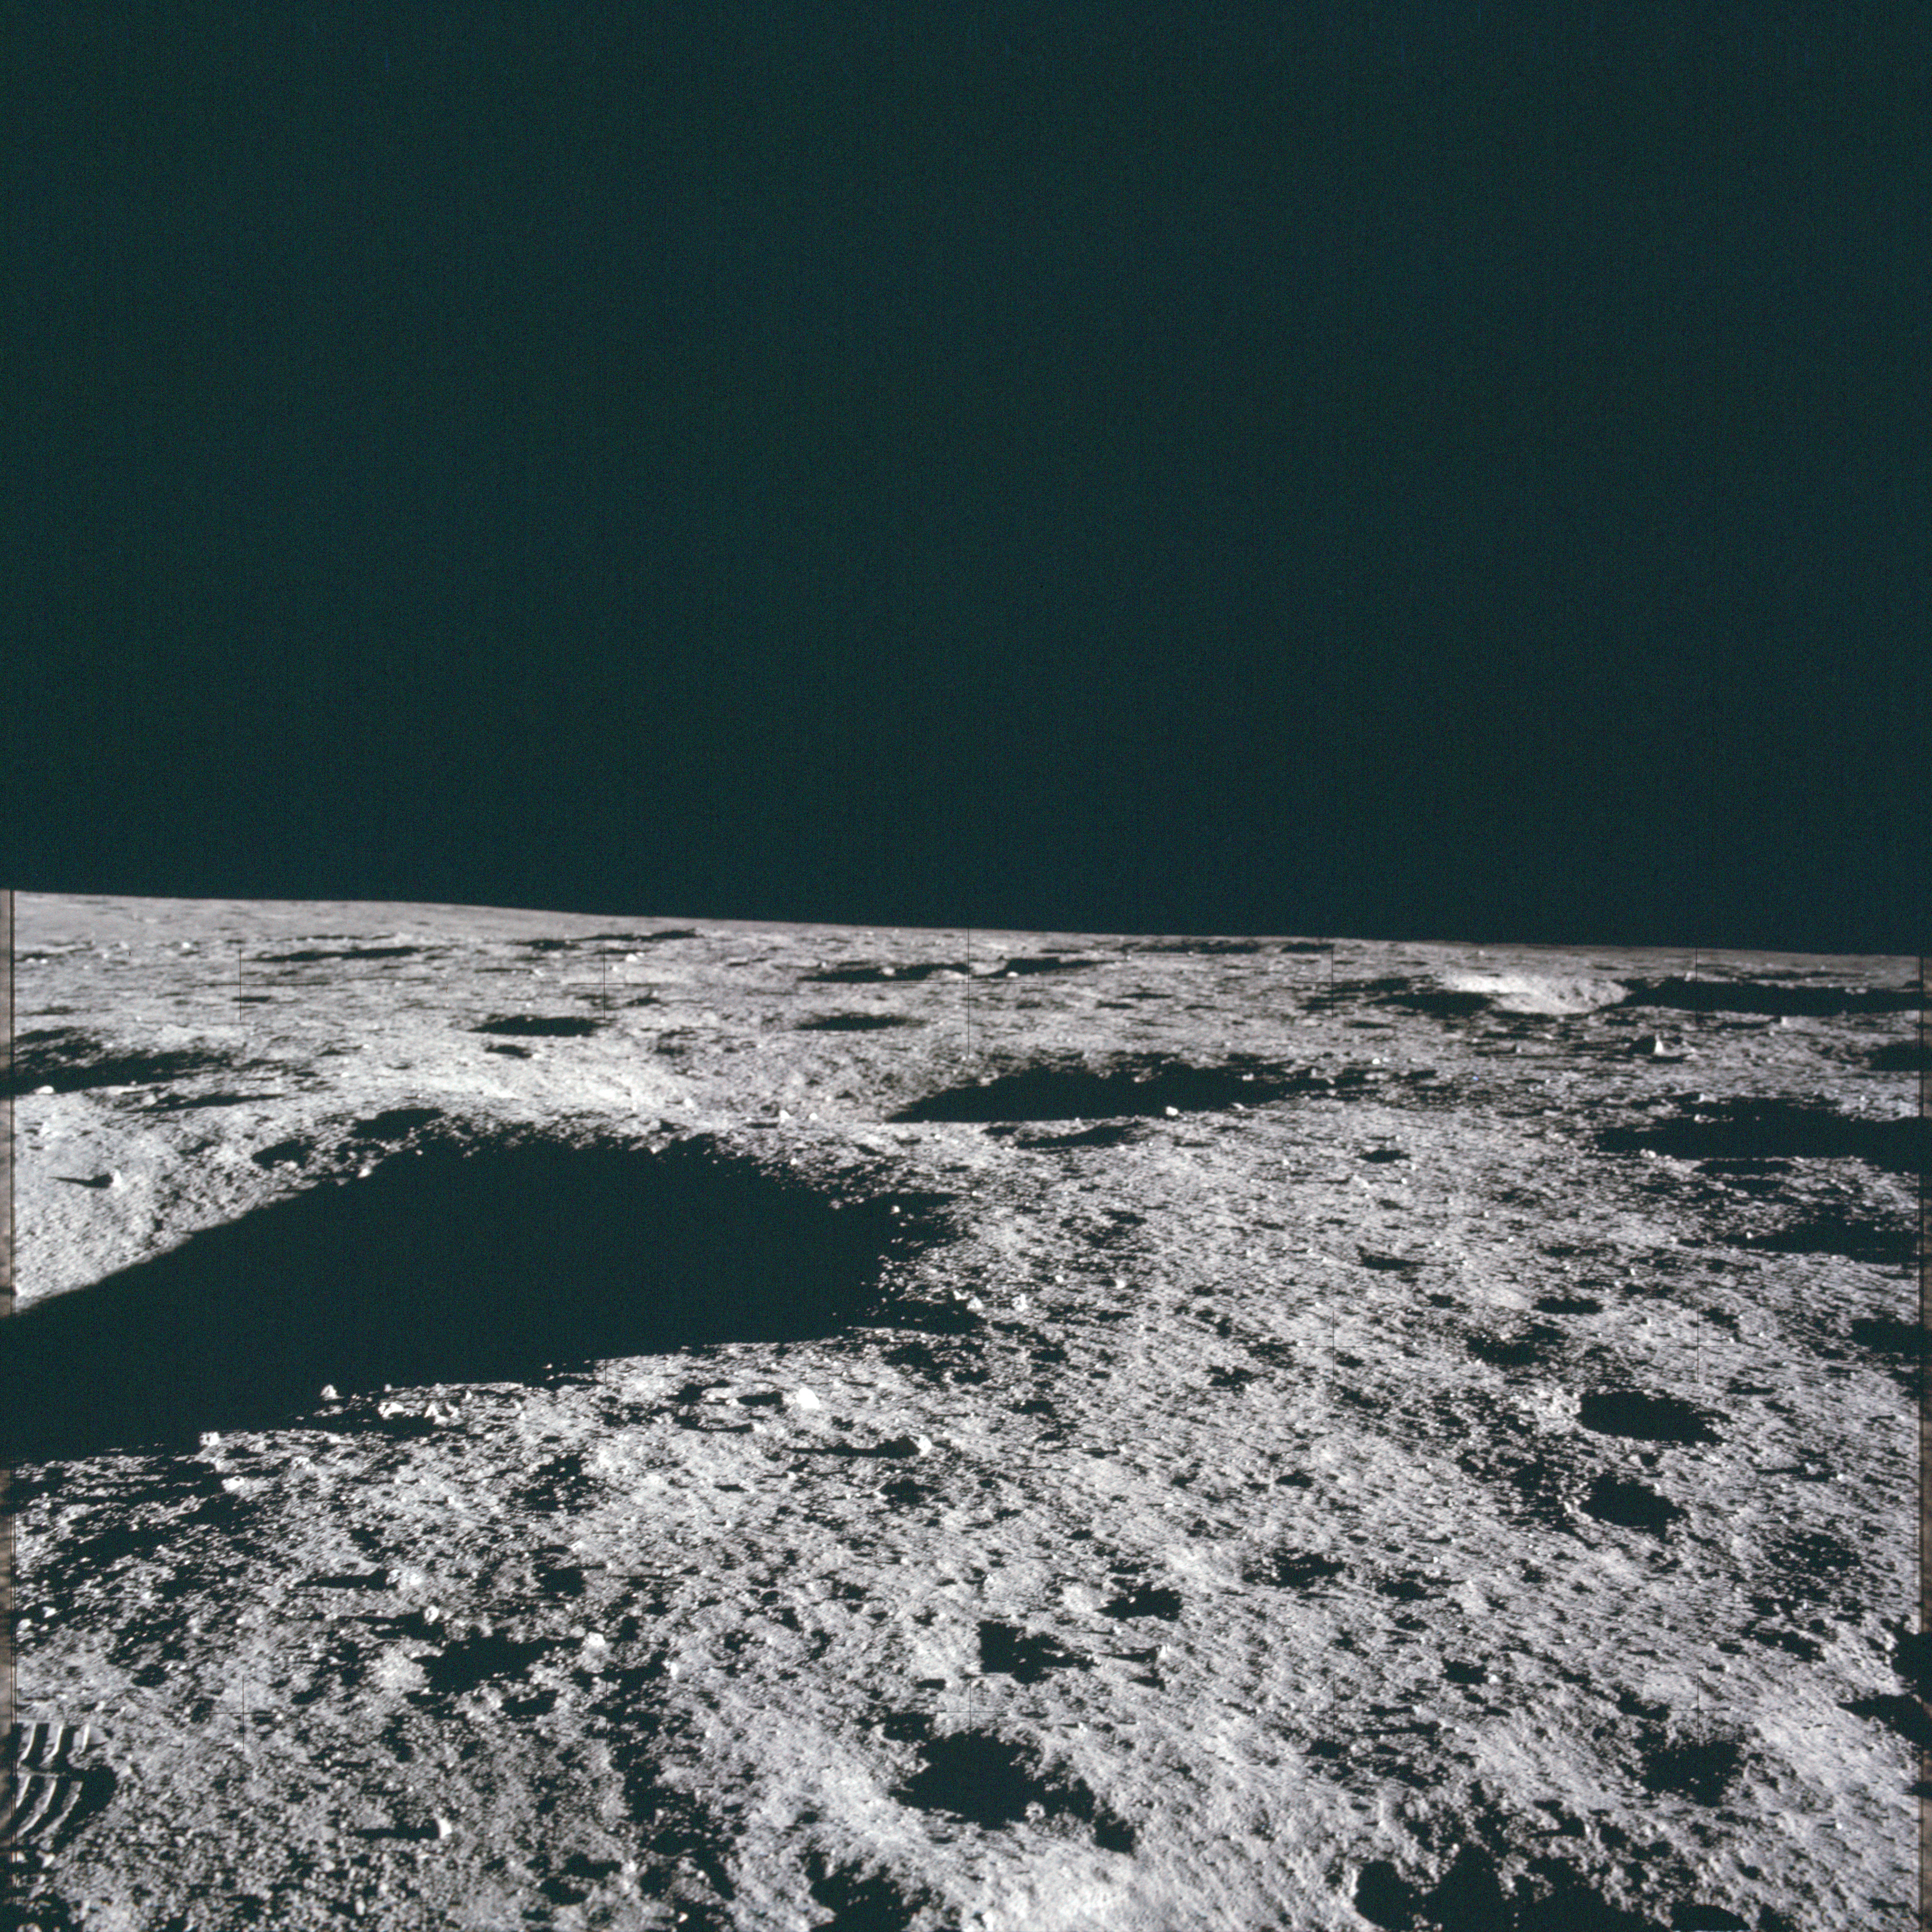
AS12-46-6757 Panorama image from north of the LM - shot at 15-foot focus - 12/18. View north, including TV camera. Image credit: Image Science and Analysis Laboratory, NASA-Johnson Space Center |
 |
AS12-46-6758 Panorama image from north of the LM - shot at 15-foot focus - 13/18. View to the northeast. Image credit: Image Science and Analysis Laboratory, NASA-Johnson Space Center |
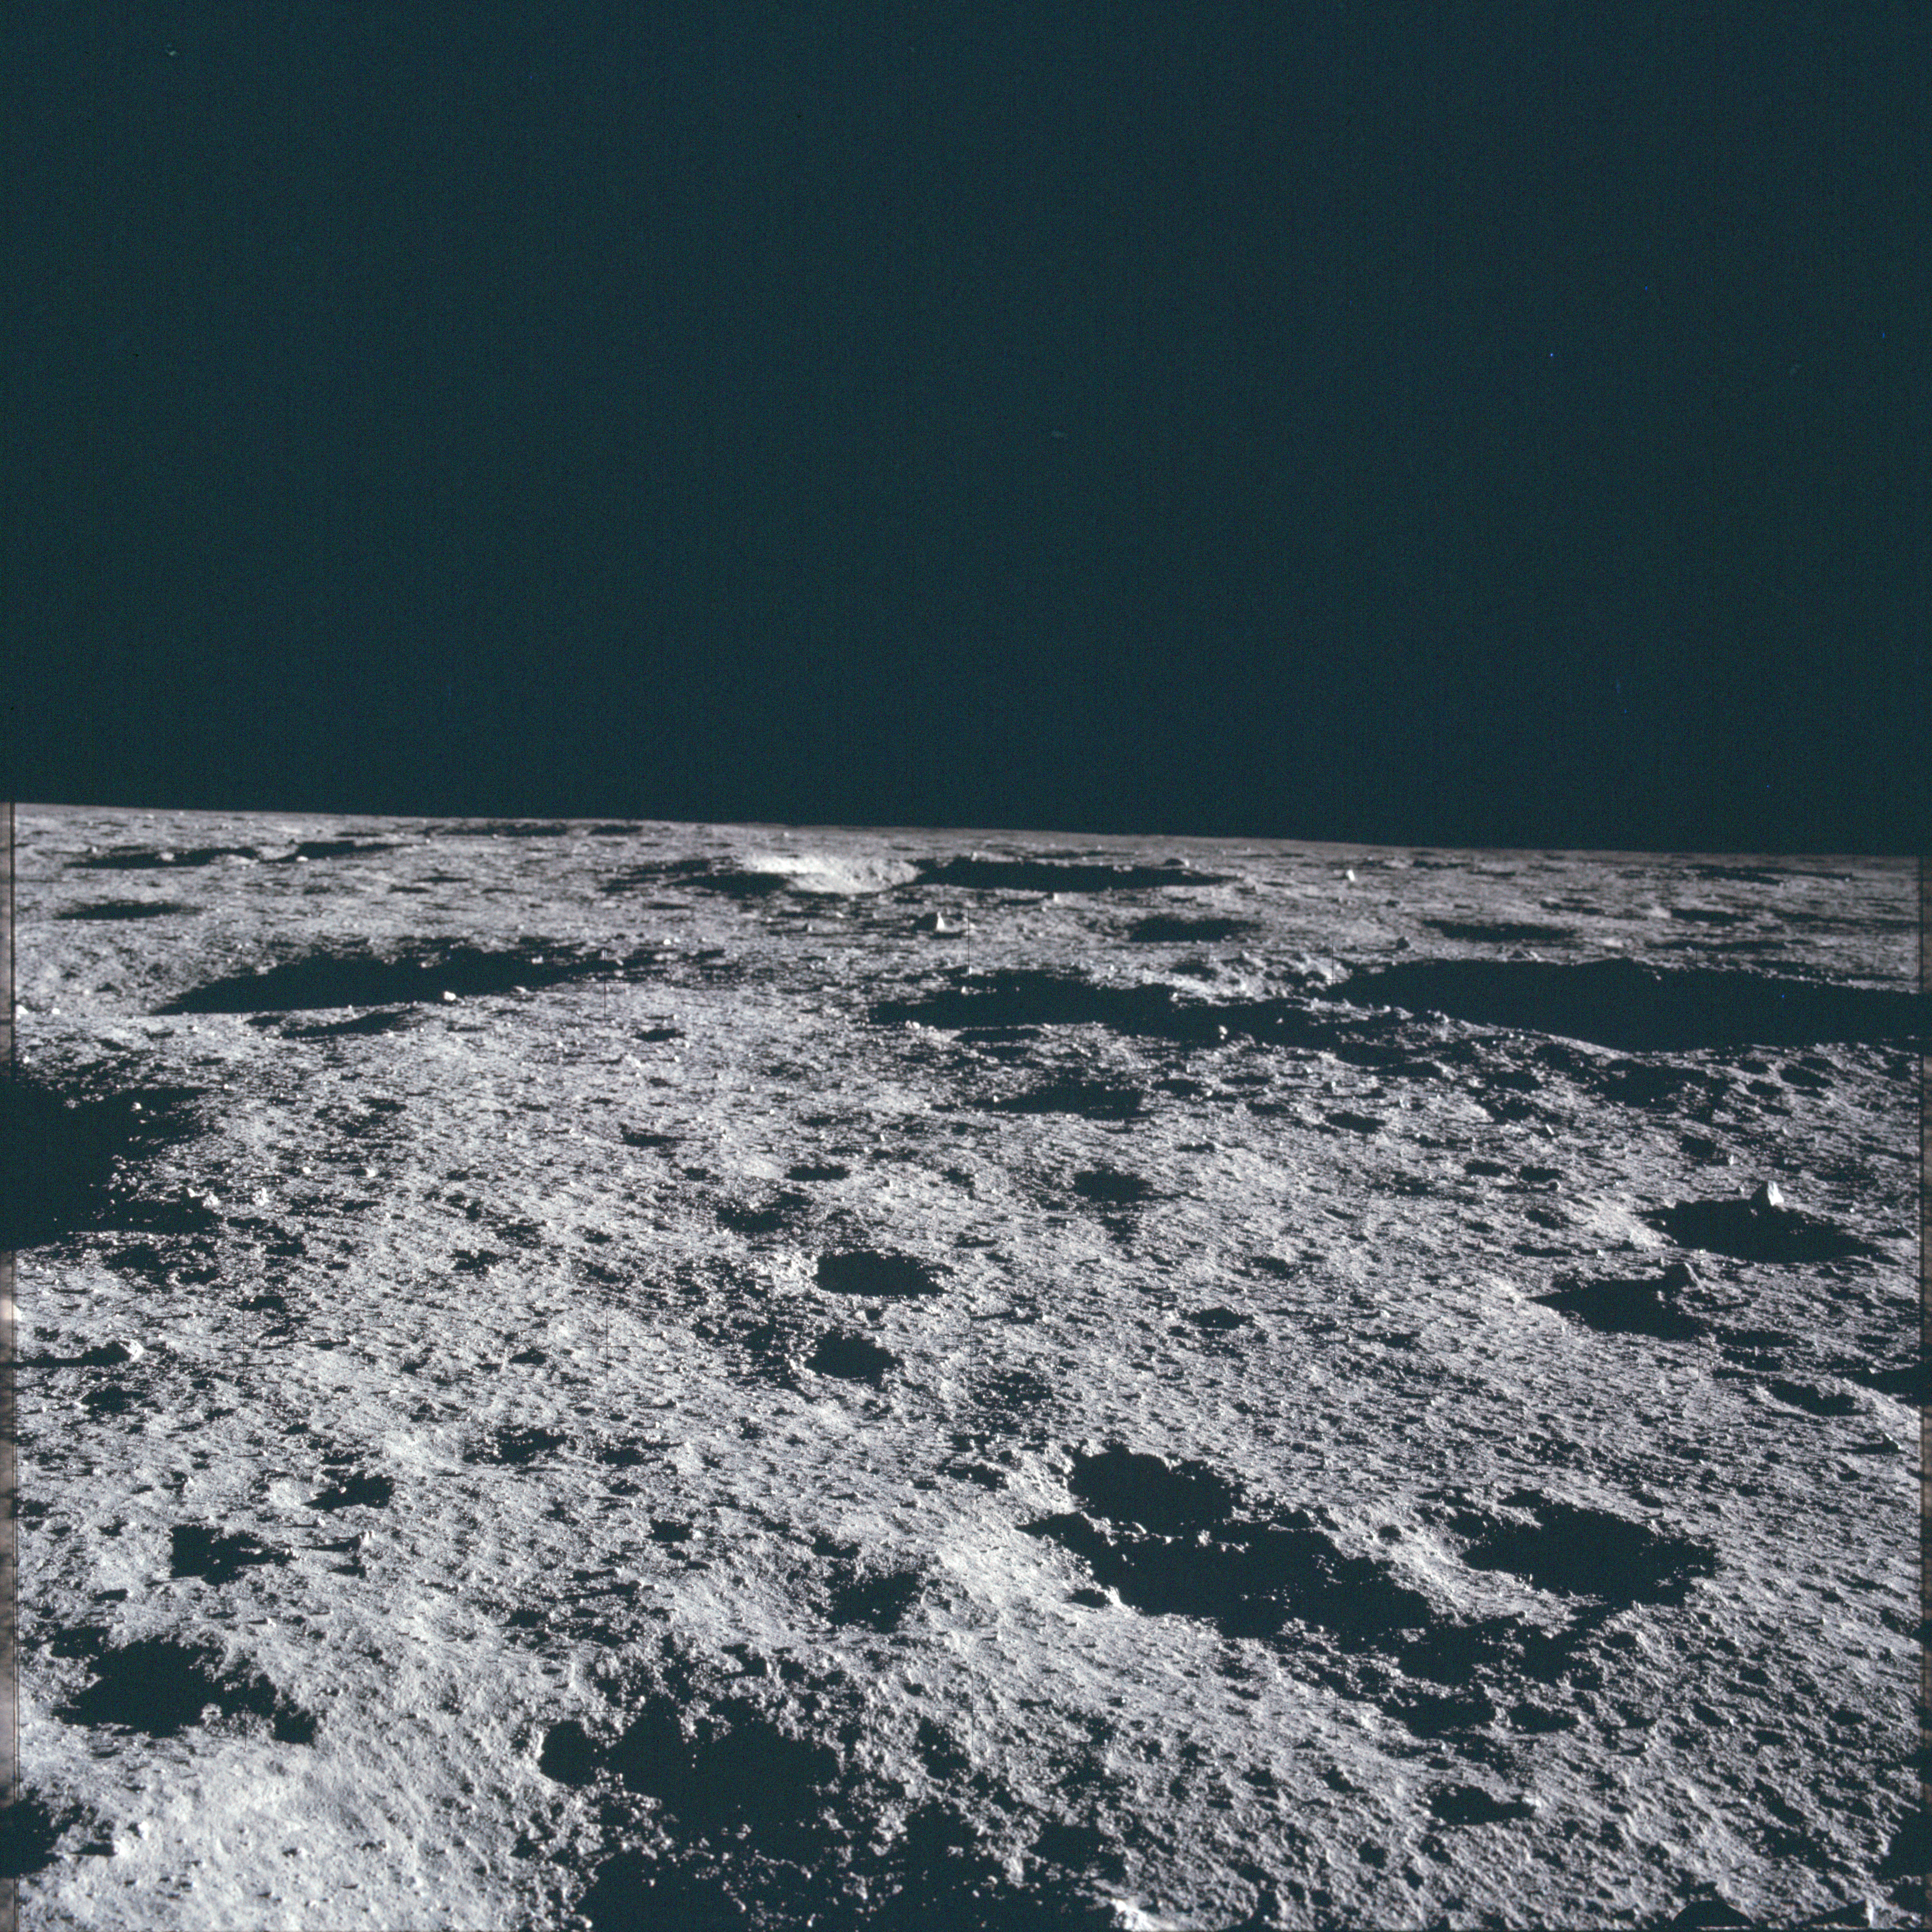 |
AS12-46-6759 Panorama image from north of the LM - shot at 15-foot focus - 14/18. Image credit: Image Science and Analysis Laboratory, NASA-Johnson Space Center |
 |
AS12-46-6760 Panorama image from north of the LM - shot at 15-foot focus - 15/18. Image credit: Image Science and Analysis Laboratory, NASA-Johnson Space Center |
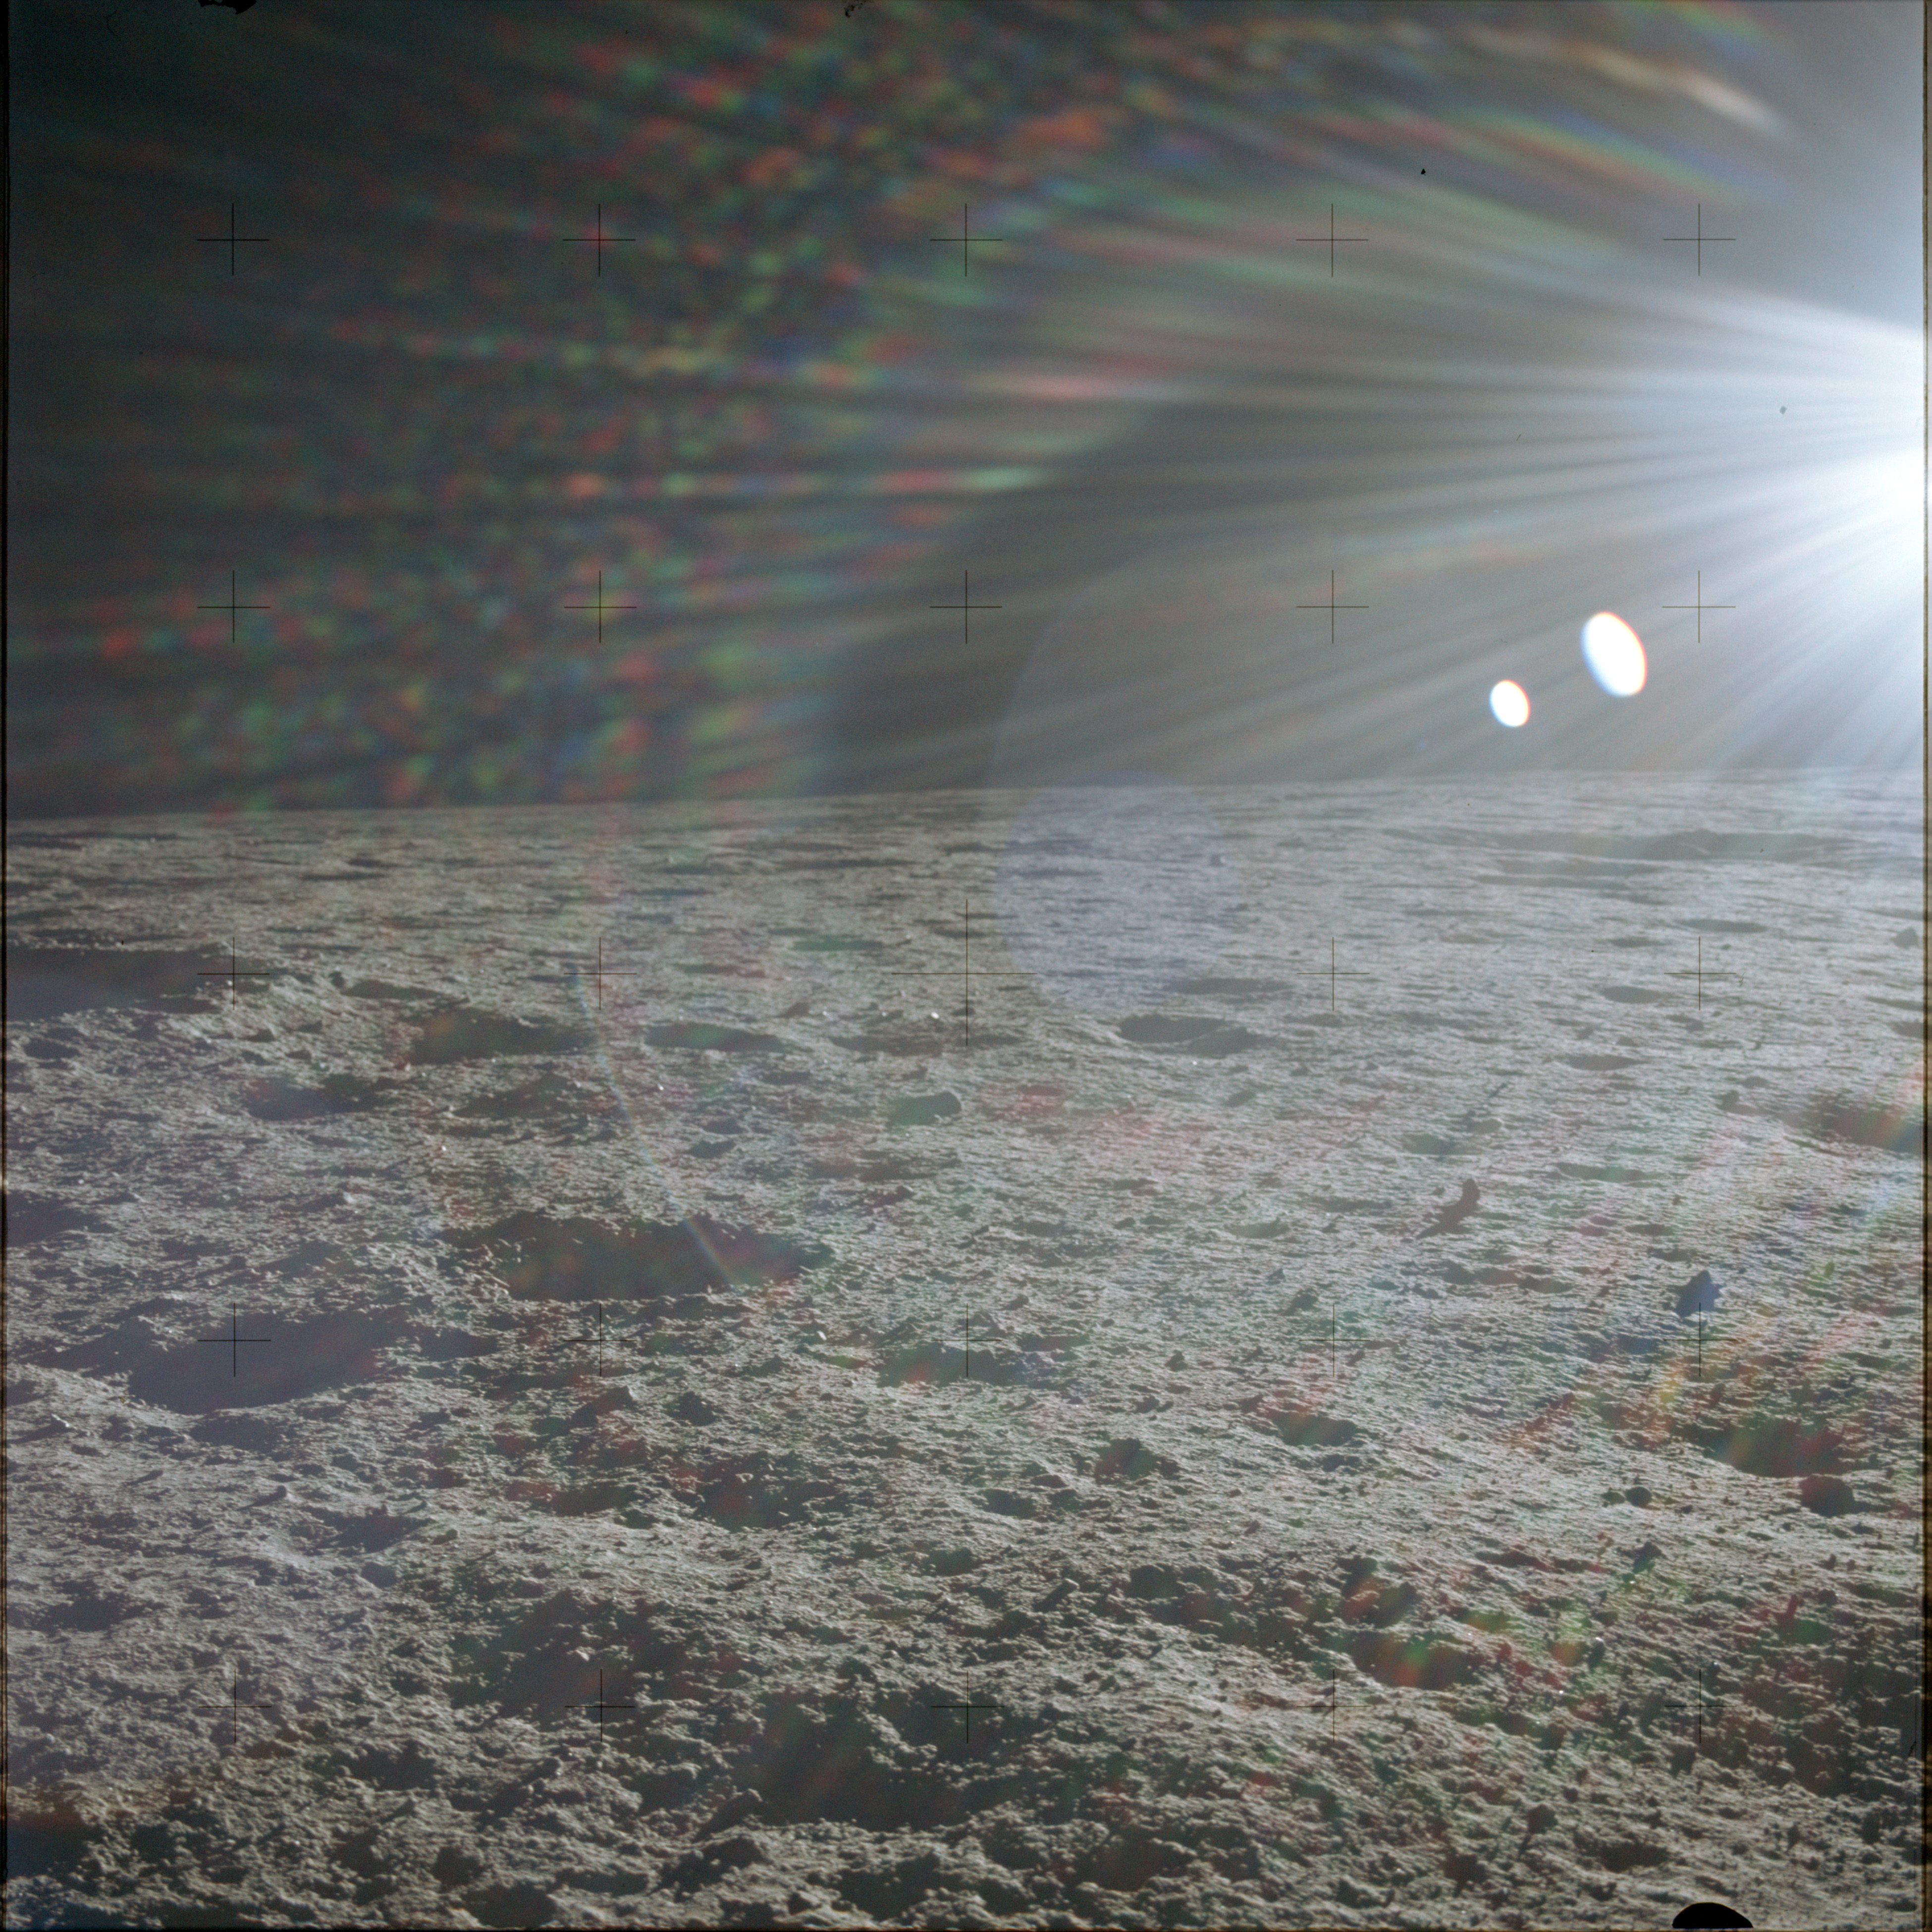 |
AS12-46-6761 Panorama image from north of the LM - shot at 15-foot focus - 16/18. View to the east is obscured by lens flare. Image credit: Image Science and Analysis Laboratory, NASA-Johnson Space Center |
 |
AS12-46-6762 Panorama image from north of the LM - shot at 15-foot focus - 17/18. View to the east is obscured by lens flare. Image credit: Image Science and Analysis Laboratory, NASA-Johnson Space Center |
 |
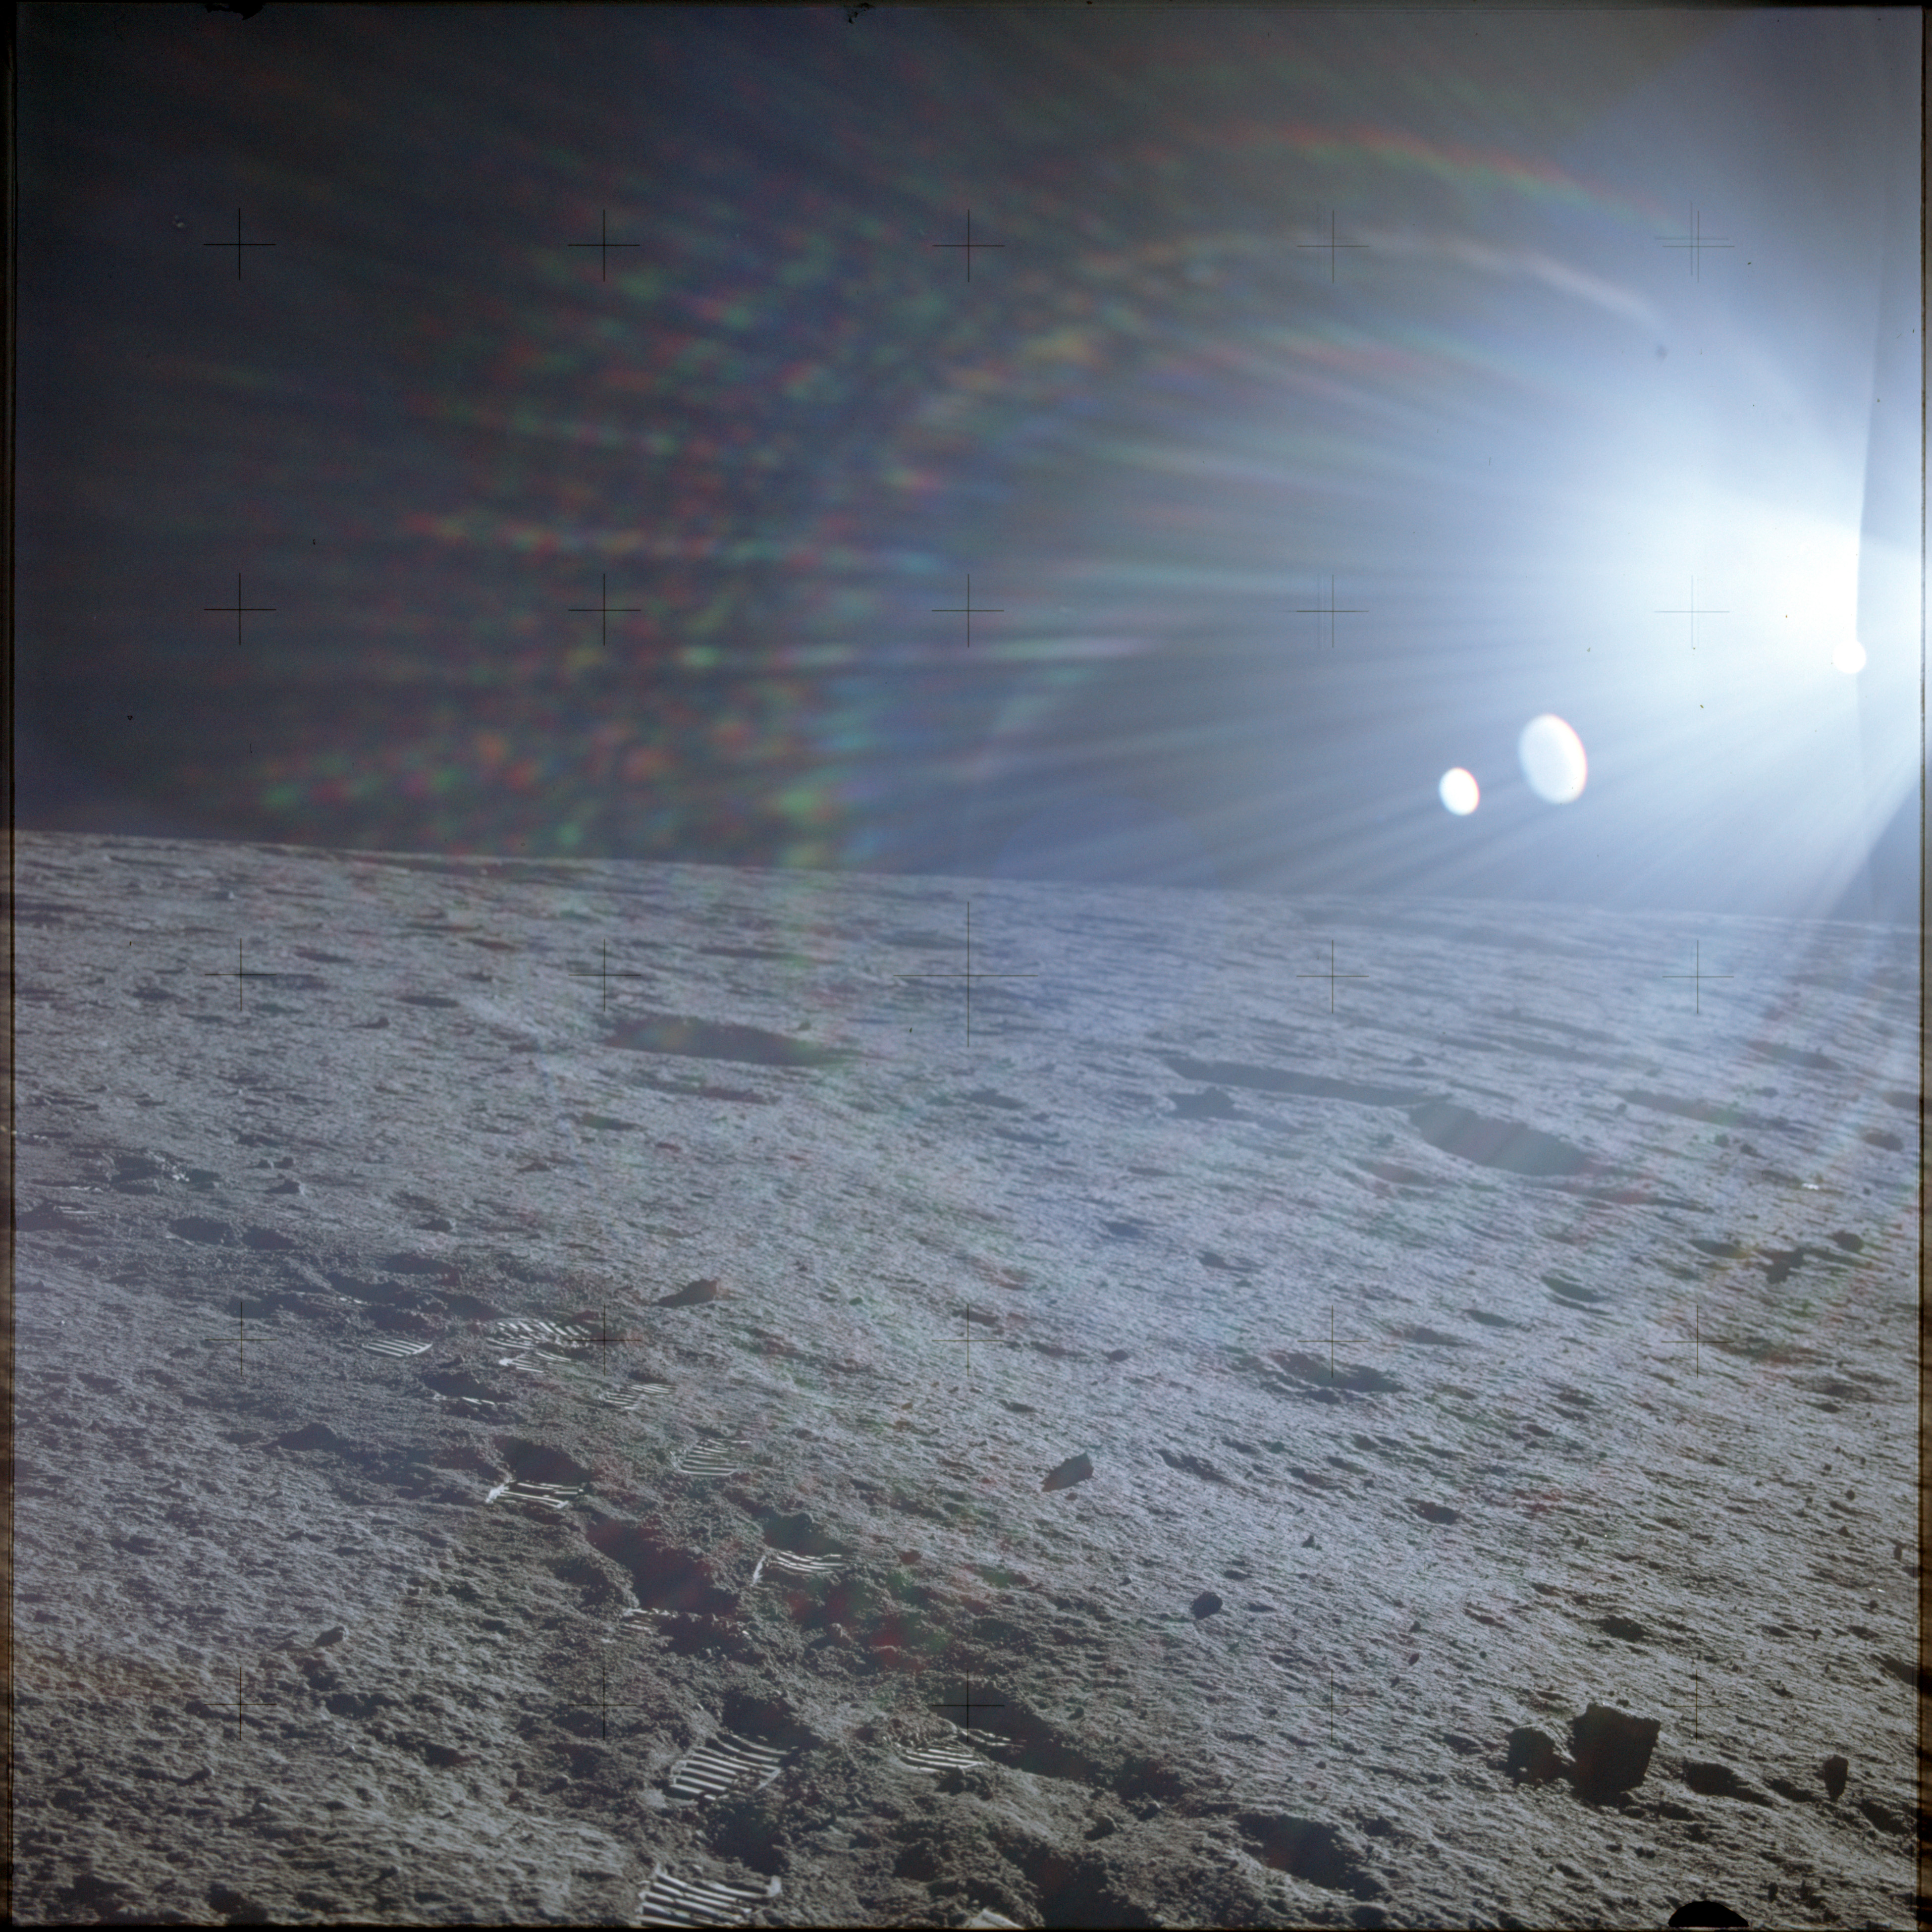
AS12-46-6763 Panorama image from north of the LM - shot at 15-foot focus - 18/18. View to the east is obscured by lens flare. Image credit: Image Science and Analysis Laboratory, NASA-Johnson Space Center |
 |
AS12-46-6764 Panorama image from southeast of the LM - shot at 15-foot focus - 1/19. View is obscured by glare from sunlight. Image credit: Image Science and Analysis Laboratory, NASA-Johnson Space Center |
 |
AS12-46-6765 Panorama image from southeast of the LM - shot at 15-foot focus - 2/19. View east is obscured by glare from direct sunlight. Image credit: Image Science and Analysis Laboratory, NASA-Johnson Space Center |
 |
AS12-46-6766 Panorama image from southeast of the LM - shot at 15-foot focus - 3/19. View east is obscured by glare from direct sunlight. Image credit: Image Science and Analysis Laboratory, NASA-Johnson Space Center |
 |
AS12-46-6767 Panorama image from southeast of the LM - shot at 15-foot focus - 4/19. View east is obscured by glare from direct sunlight. Similar shot to 6766. Image credit: Image Science and Analysis Laboratory, NASA-Johnson Space Center |
 |
AS12-46-6768 Panorama image from southeast of the LM - shot at 15-foot focus - 5/19. View east across northern rim of Surveyor Crater is obscured by glare from direct sunlight. Image credit: Image Science and Analysis Laboratory, NASA-Johnson Space Center |
 |
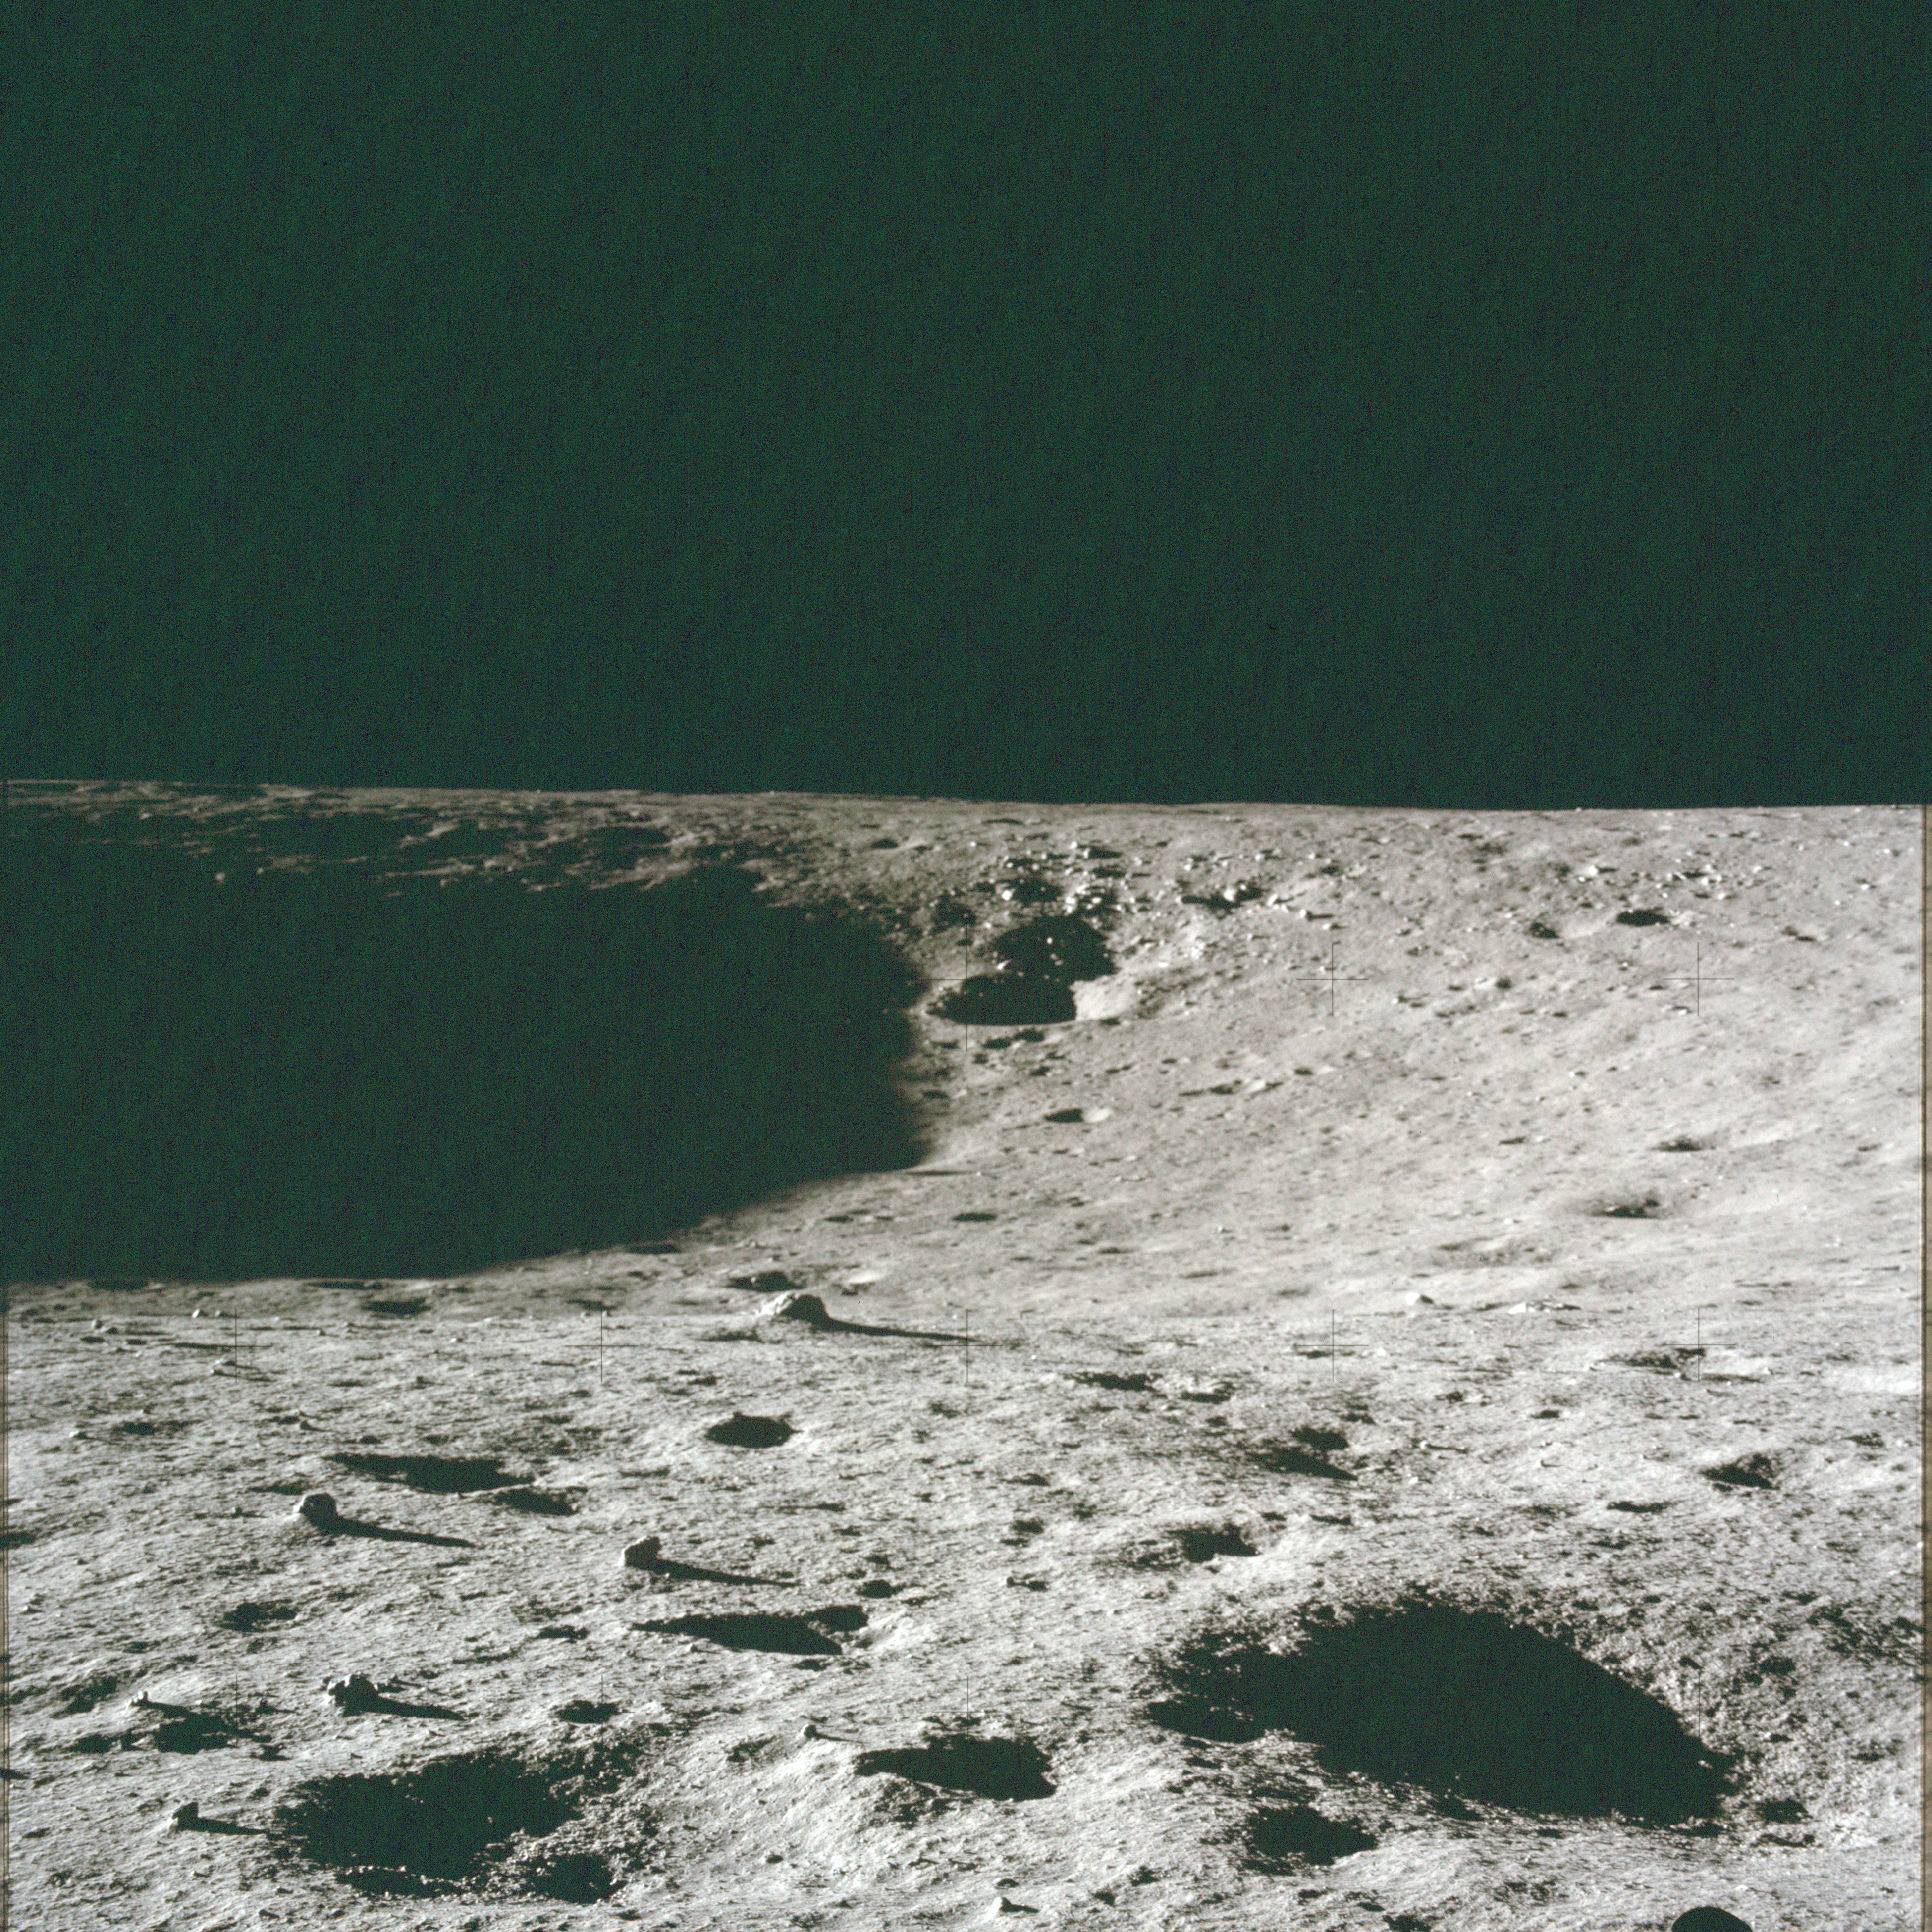
AS12-46-6769 Panorama image from southeast of the LM - shot at 15-foot focus - 6/19. View southeast across Surveyor Crater is obscured by lens flare. Image credit: Image Science and Analysis Laboratory, NASA-Johnson Space Center |
 |
AS12-46-6770 Panorama image from southeast of the LM - shot at 15-foot focus - 7/19. View south across western rim of Surveyor Crater. Image credit: Image Science and Analysis Laboratory, NASA-Johnson Space Center |
 |
AS12-46-6771 Panorama image from southeast of the LM - shot at 15-foot focus - 8/19. View south across western rim of Surveyor Crater. Similar to 6770. Image credit: Image Science and Analysis Laboratory, NASA-Johnson Space Center |
 |
AS12-46-6772 Panorama image from southeast of the LM - shot at 15-foot focus - 9/19. View to the southwest. Image credit: Image Science and Analysis Laboratory, NASA-Johnson Space Center |
 |
AS12-46-6773 Panorama image from southeast of the LM - shot at 15-foot focus - 10/19. View to the southwest. Image credit: Image Science and Analysis Laboratory, NASA-Johnson Space Center |
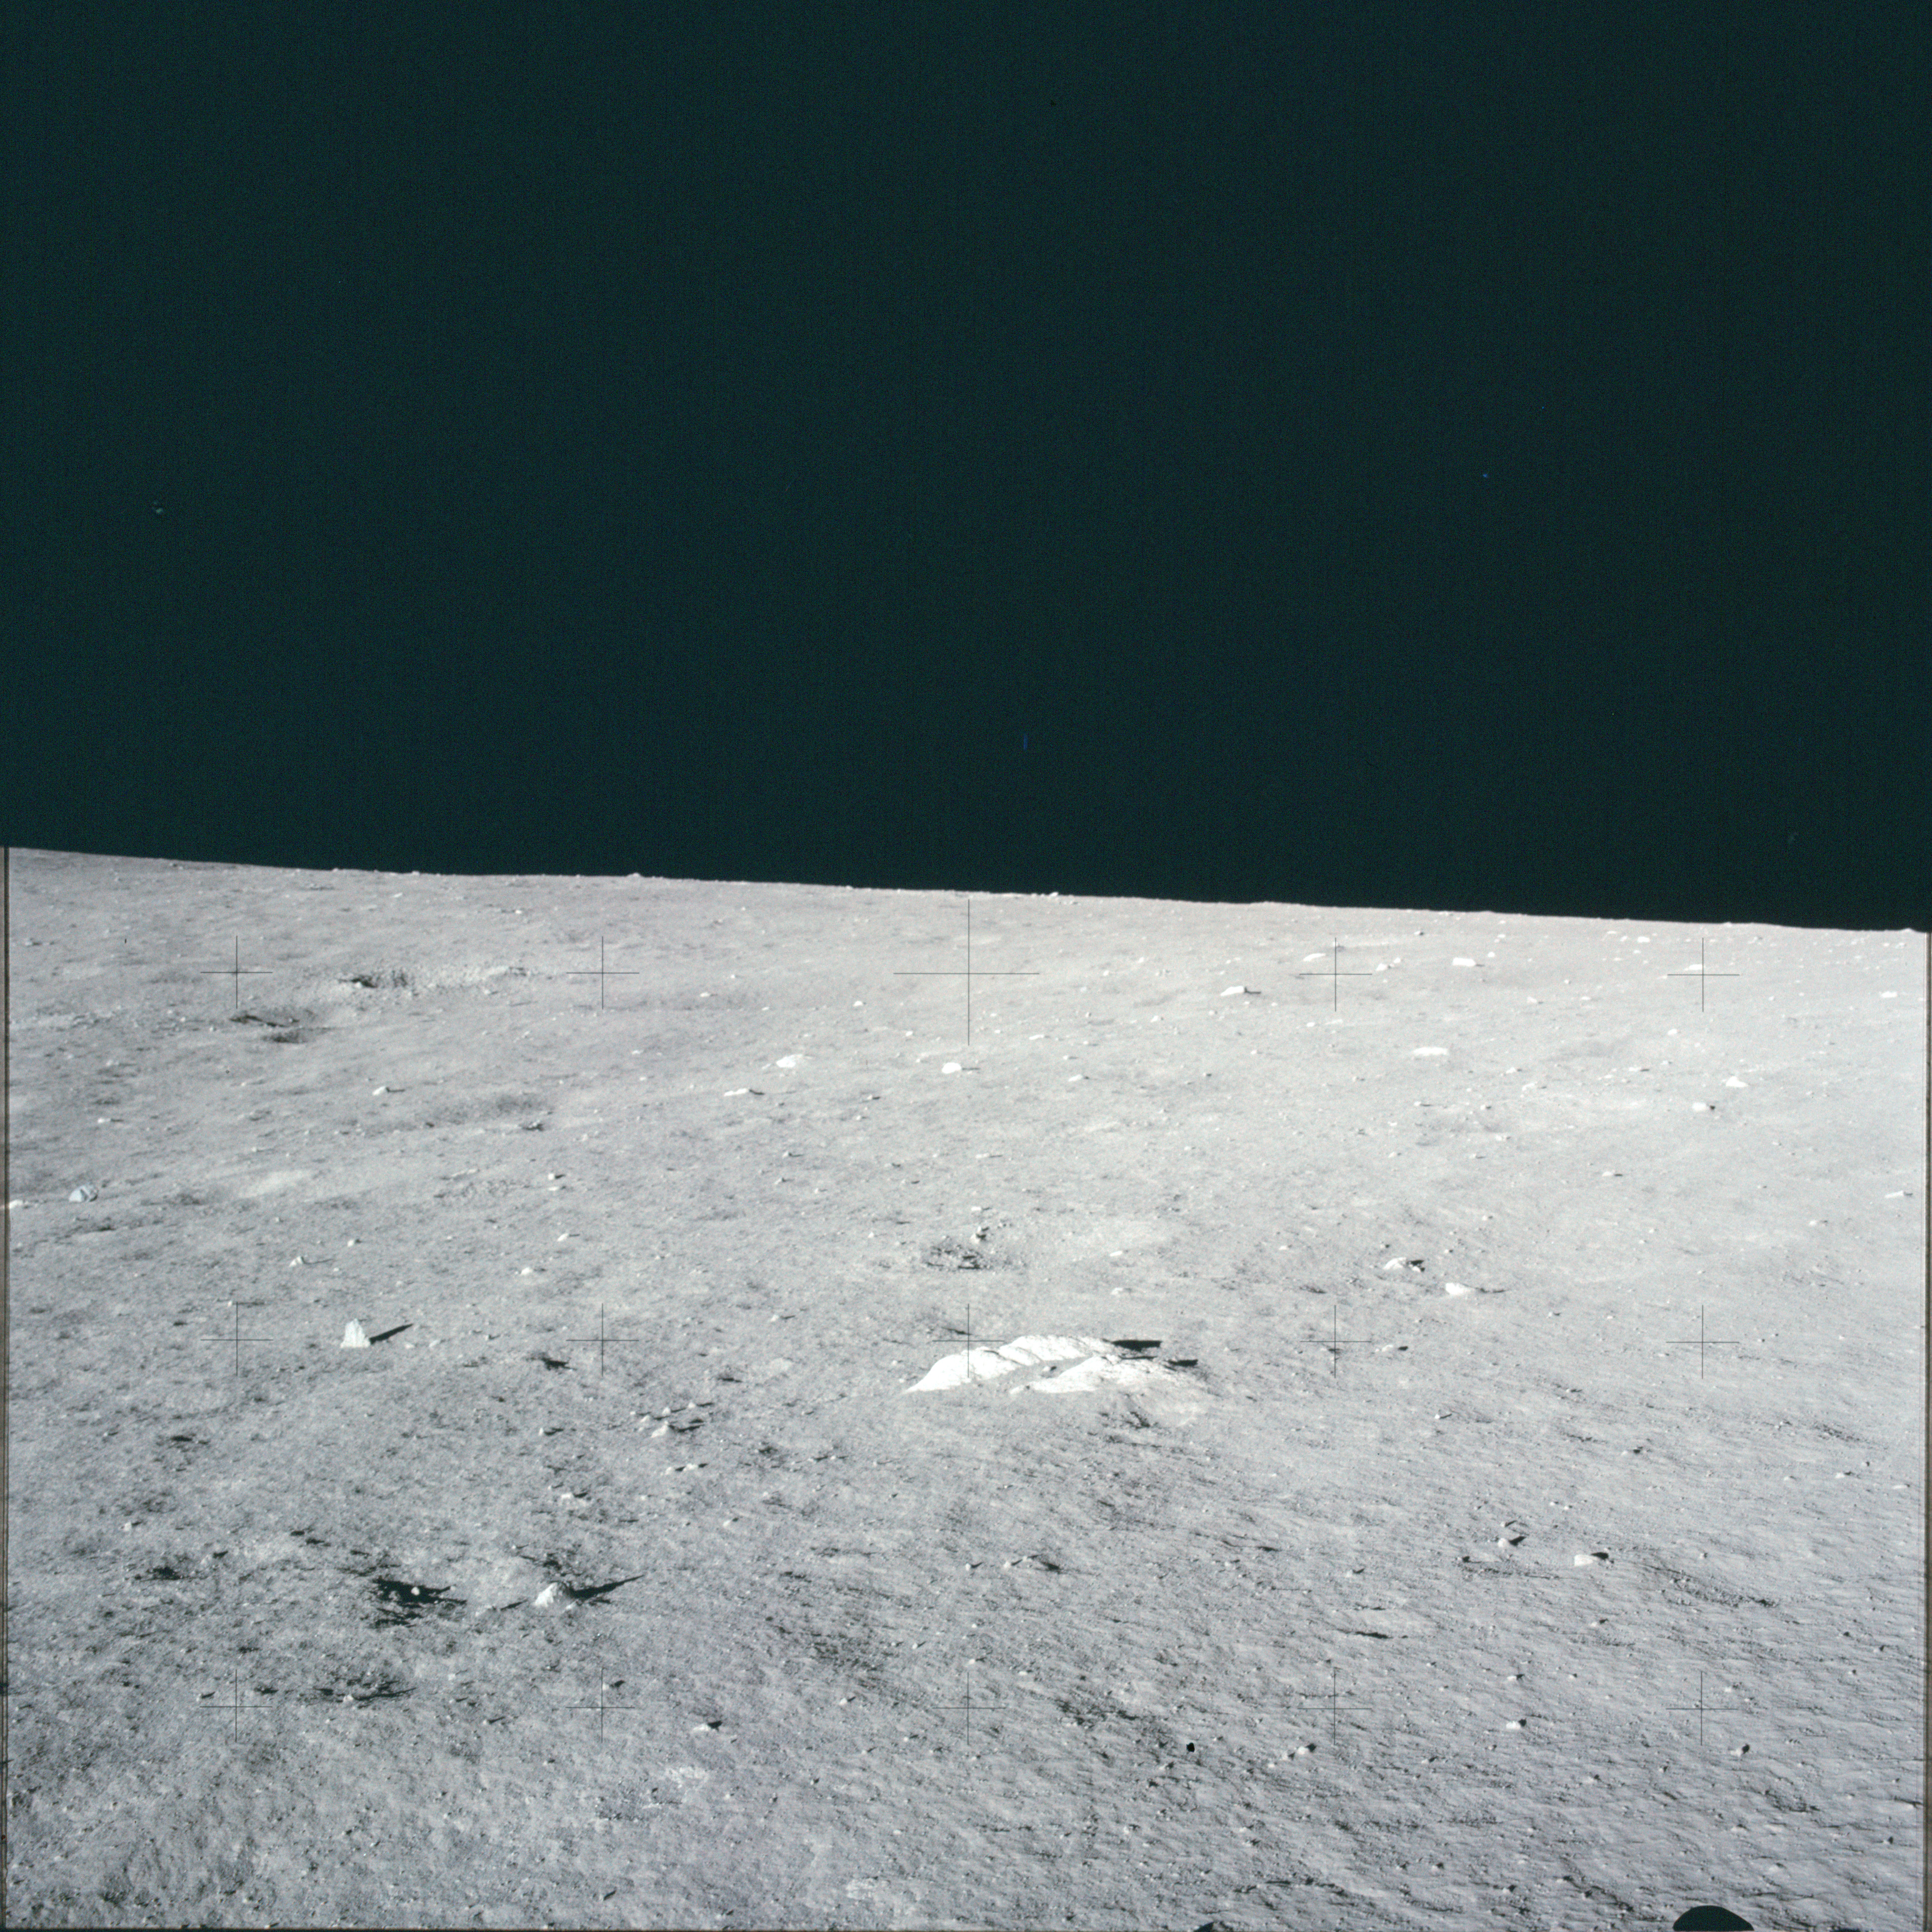 |
AS12-46-6774 Panorama image from southeast of the LM - shot at 15-foot focus - 11/19. Image credit: Image Science and Analysis Laboratory, NASA-Johnson Space Center |
 |
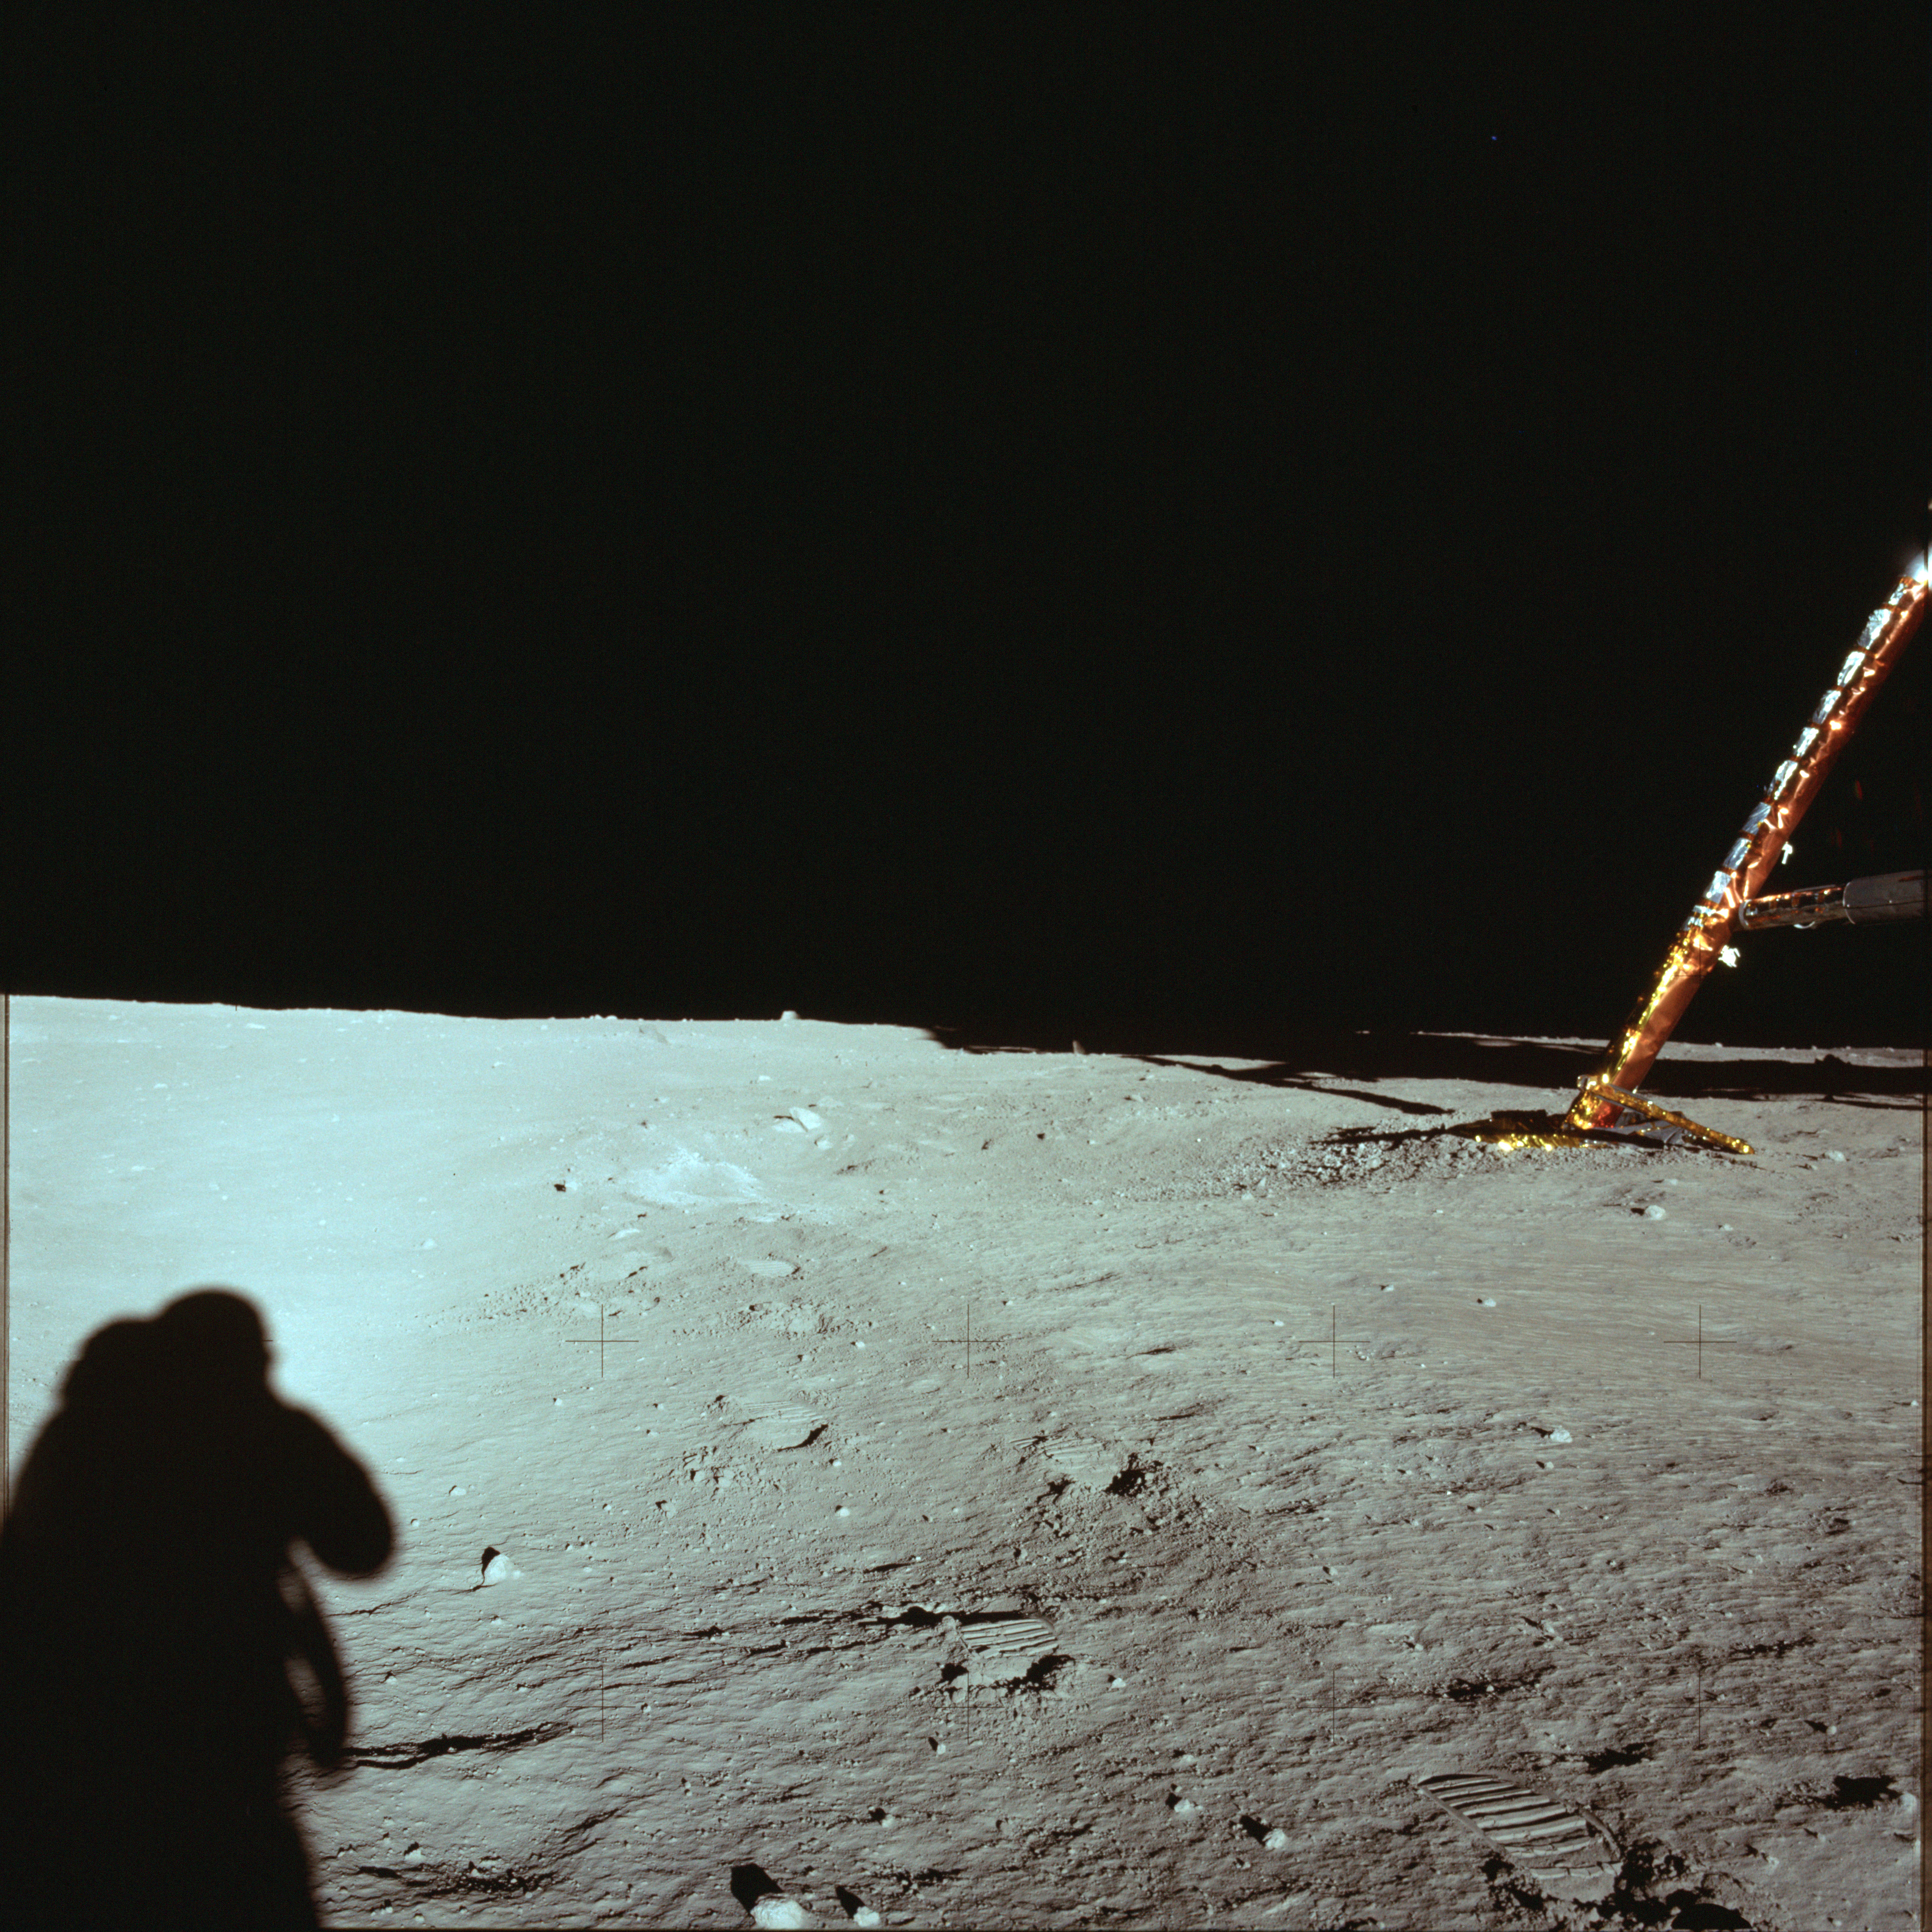
AS12-46-6775 Panorama image from southeast of the LM - shot at 15-foot focus - 12/19. View west includes Pete's shadow. Image credit: Image Science and Analysis Laboratory, NASA-Johnson Space Center |
 |
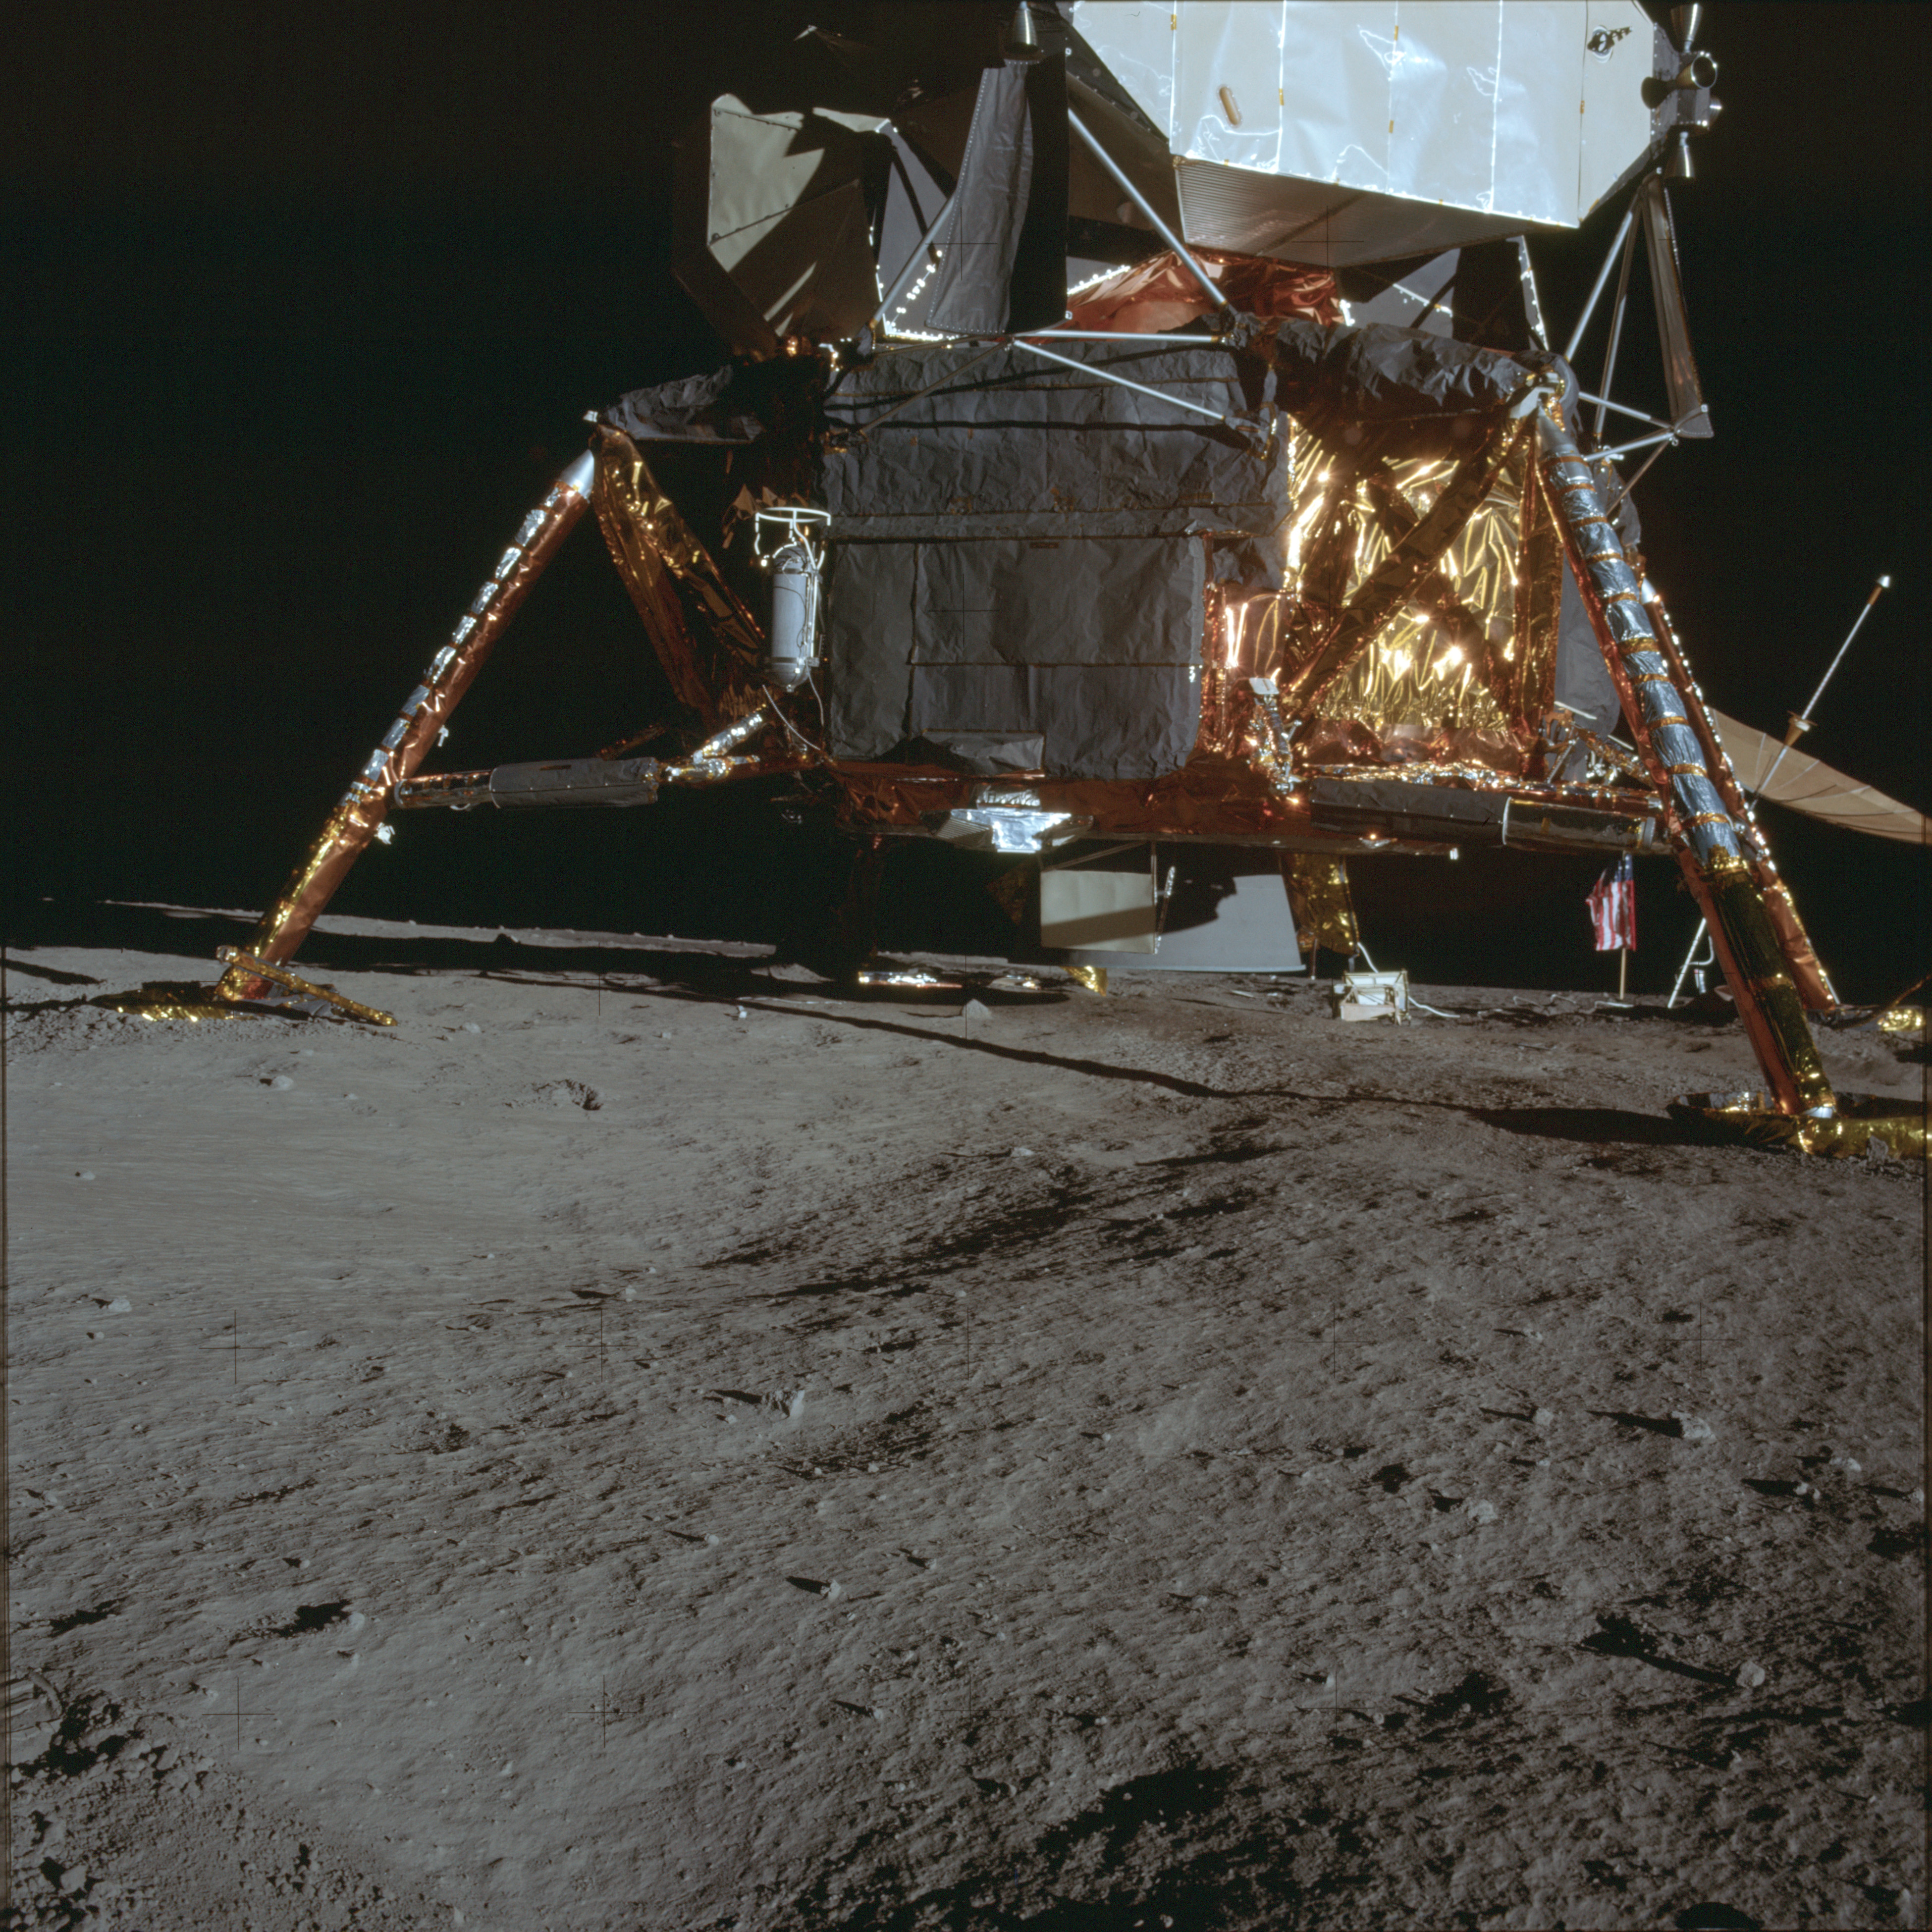
AS12-46-6776 Panorama image from southeast of the LM - shot at 15-foot focus - 13/19. View west includes Pete's shadow and LM landing gear. Image credit: Image Science and Analysis Laboratory, NASA-Johnson Space Center |
 |
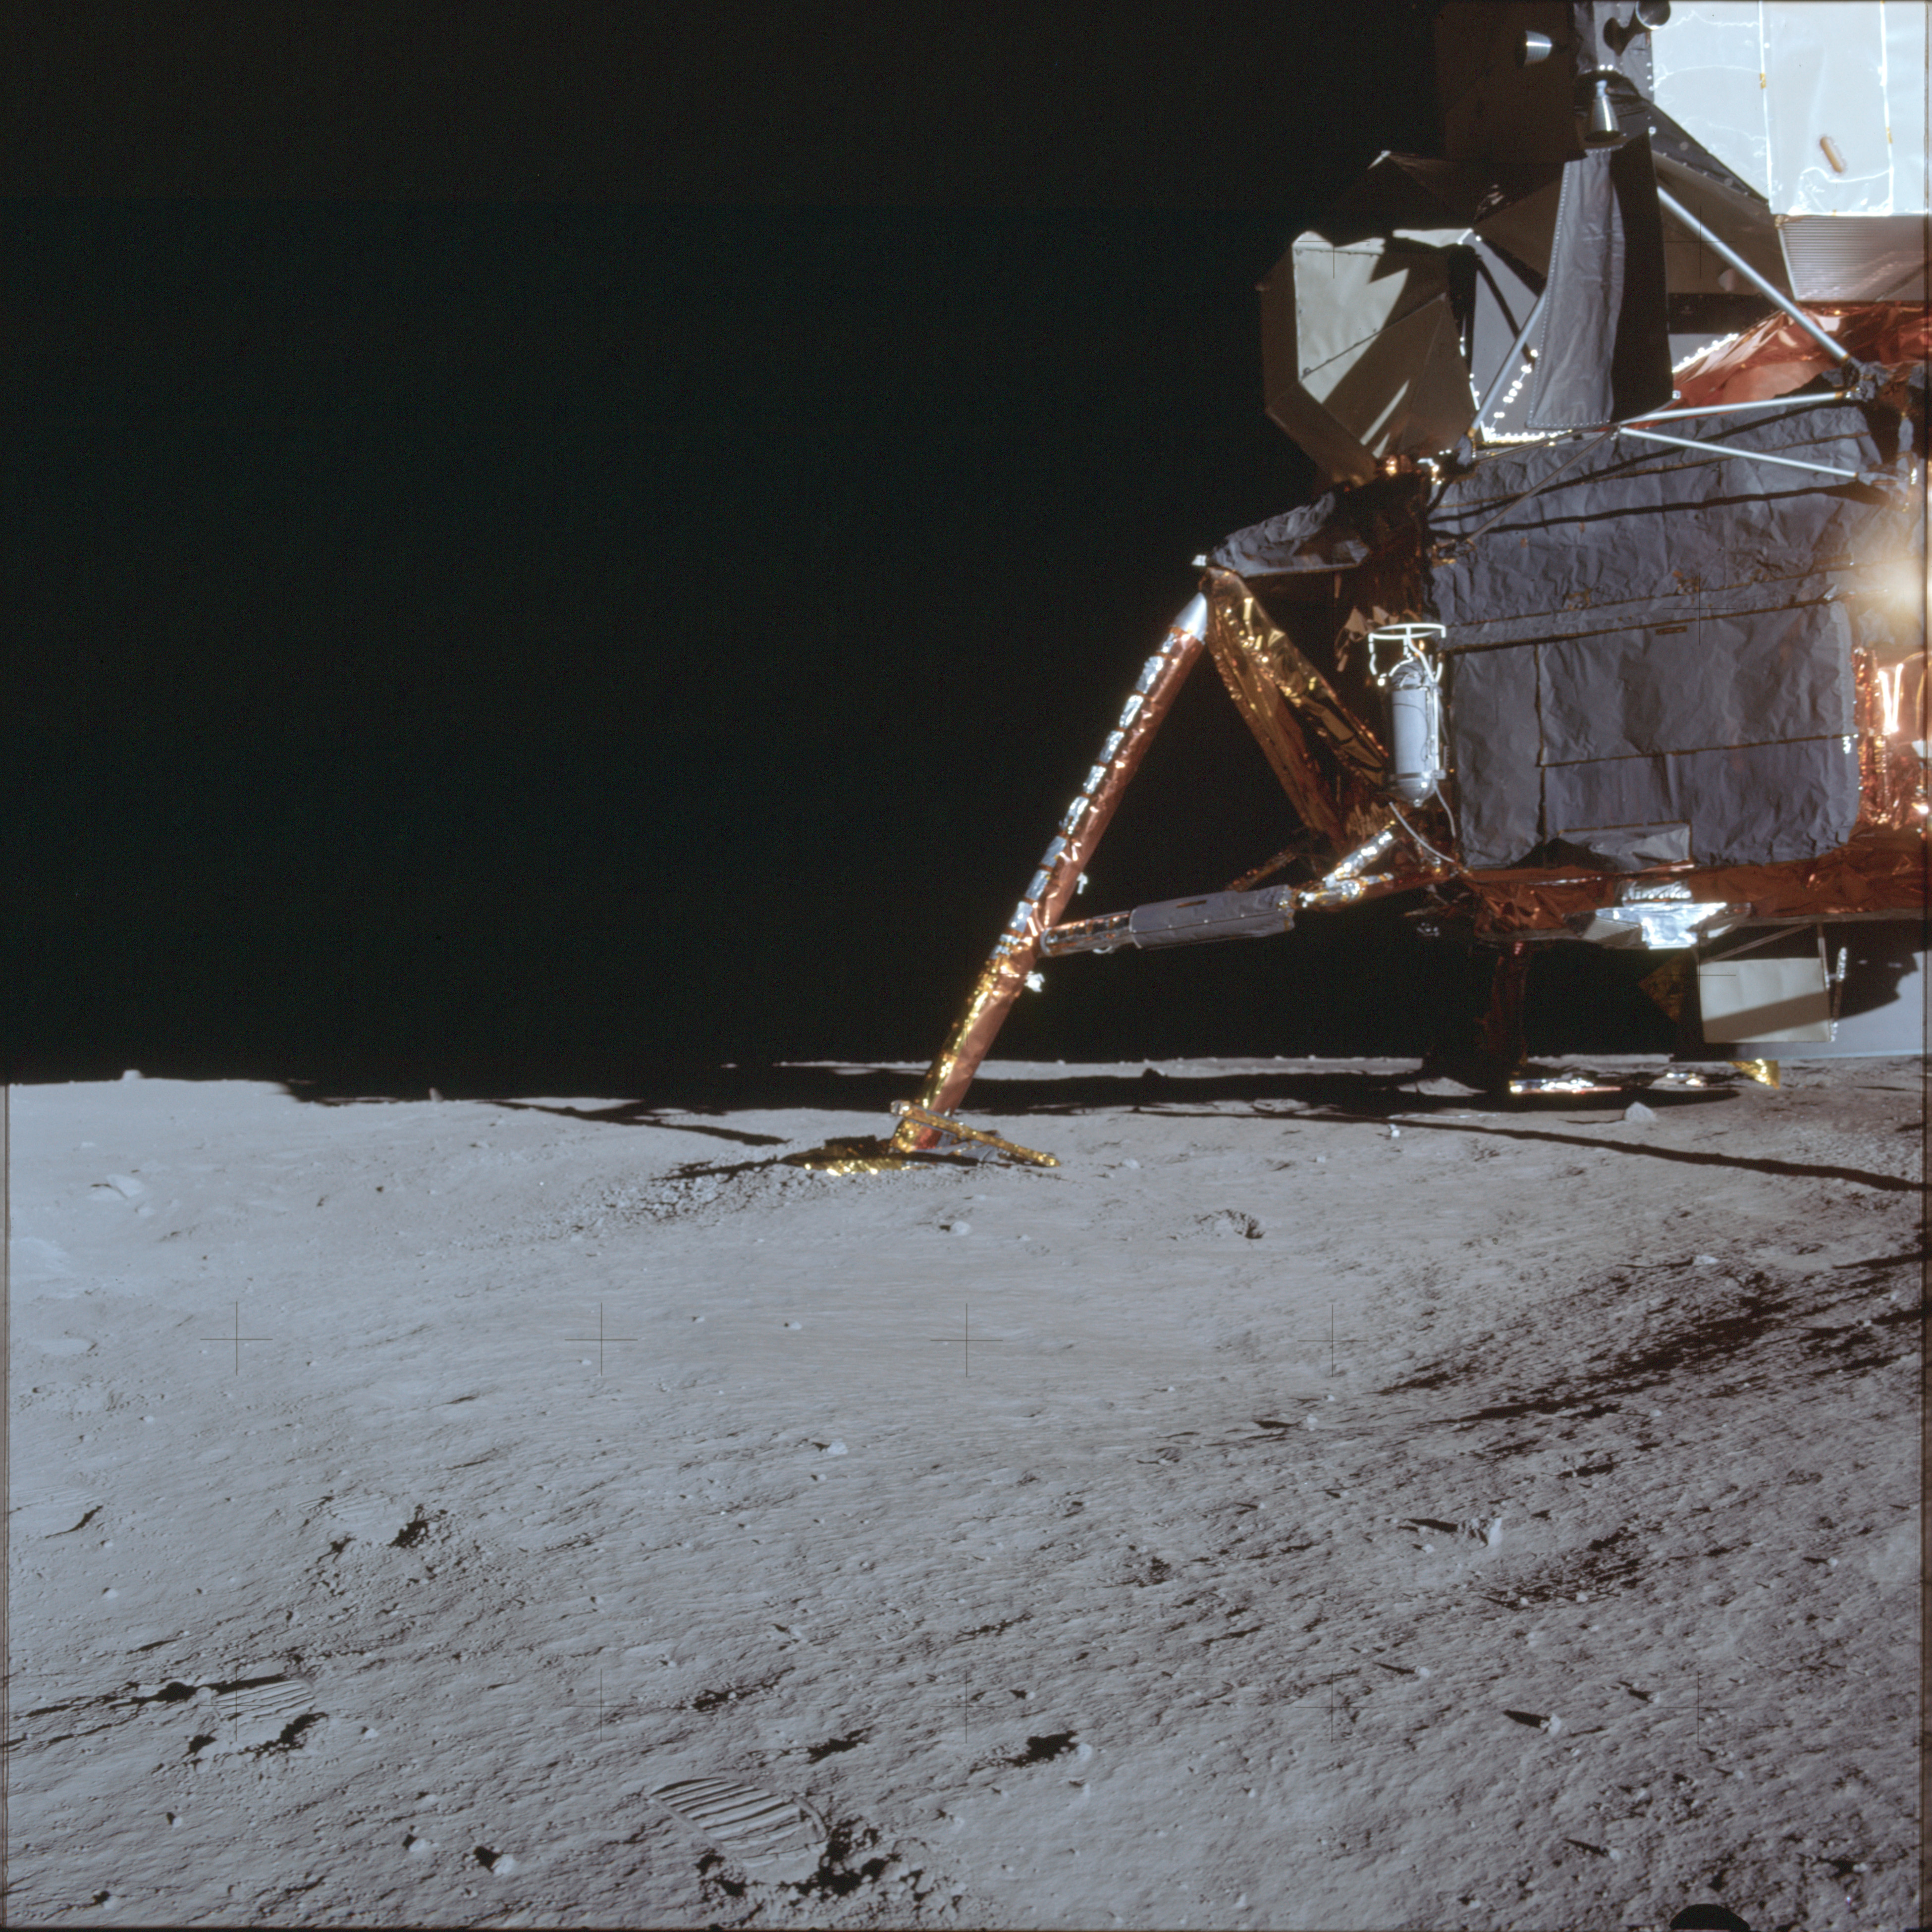
AS12-46-6777 Panorama image from southeast of the LM - shot at 15-foot focus - 14/19. View northwest includes LM. Image credit: Image Science and Analysis Laboratory, NASA-Johnson Space Center |
 |
AS12-46-6778 Panorama image from southeast of the LM - shot at 15-foot focus - 15/19. View west includes LM. Image credit: Image Science and Analysis Laboratory, NASA-Johnson Space Center |
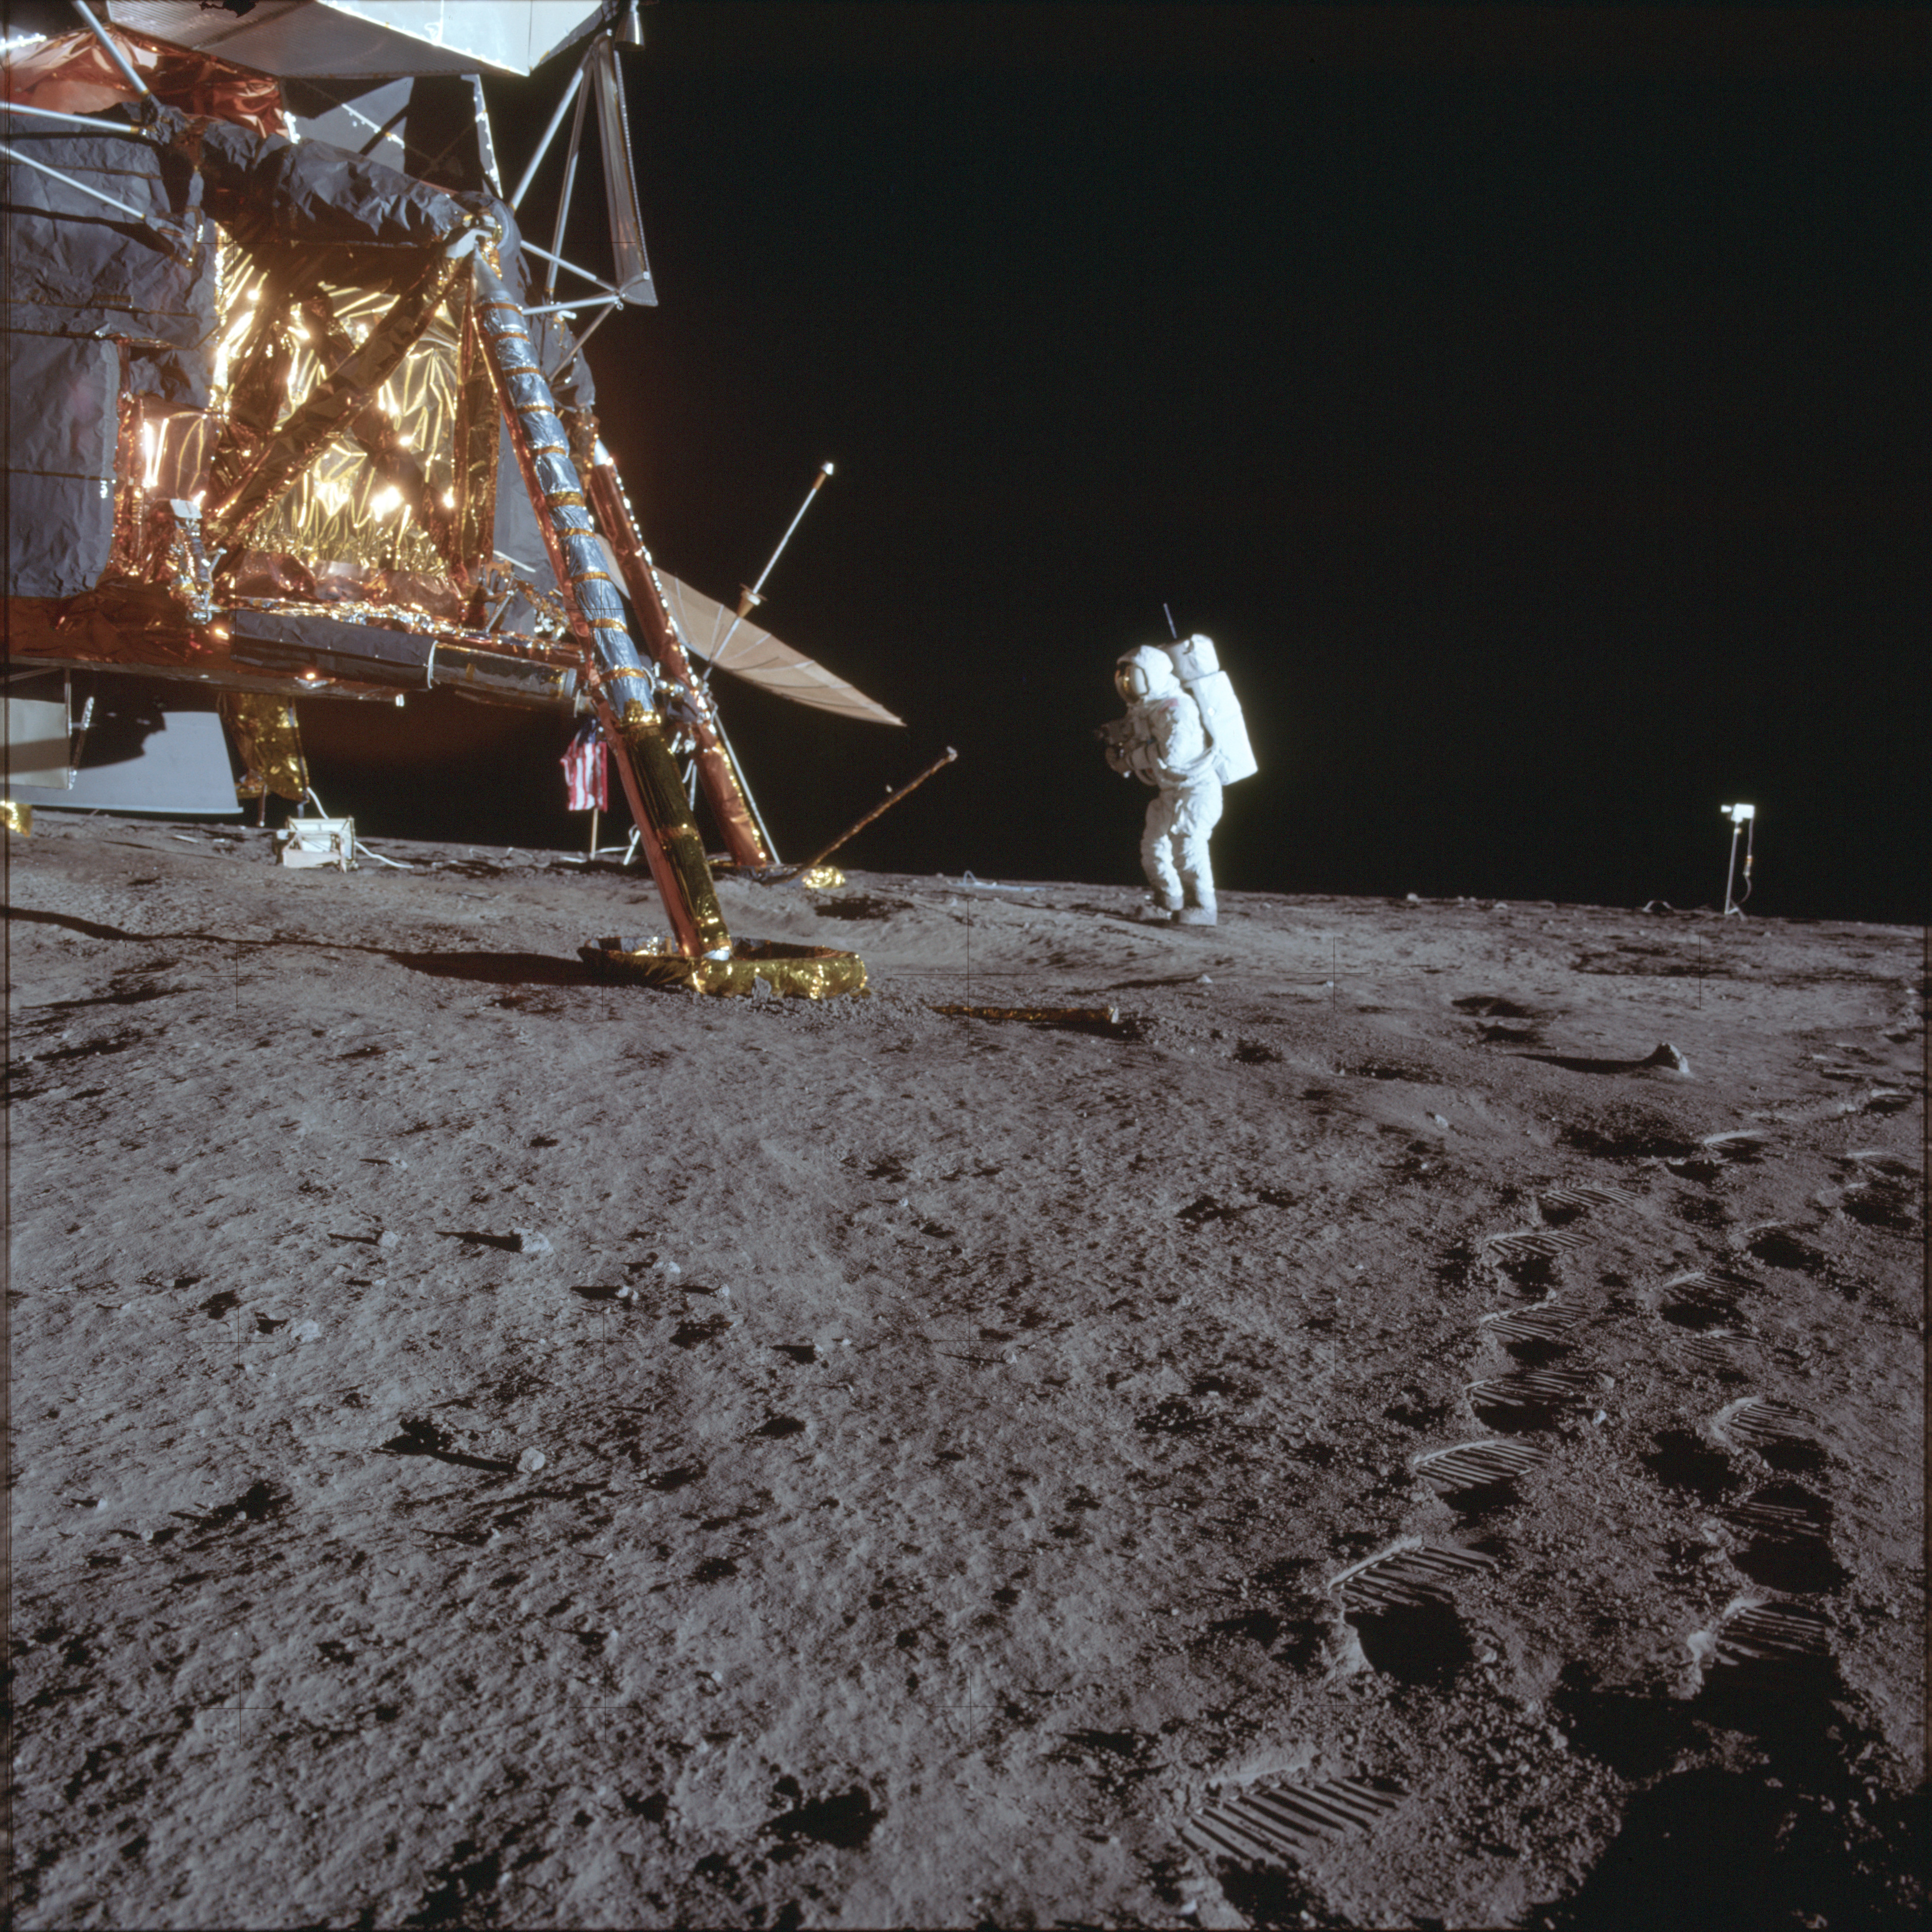 |
AS12-46-6779 Panorama image from southeast of the LM - shot at 15-foot focus - 16/19. View northwest includes LM and Al Bean taking photographs. Image credit: Image Science and Analysis Laboratory, NASA-Johnson Space Center |
 |
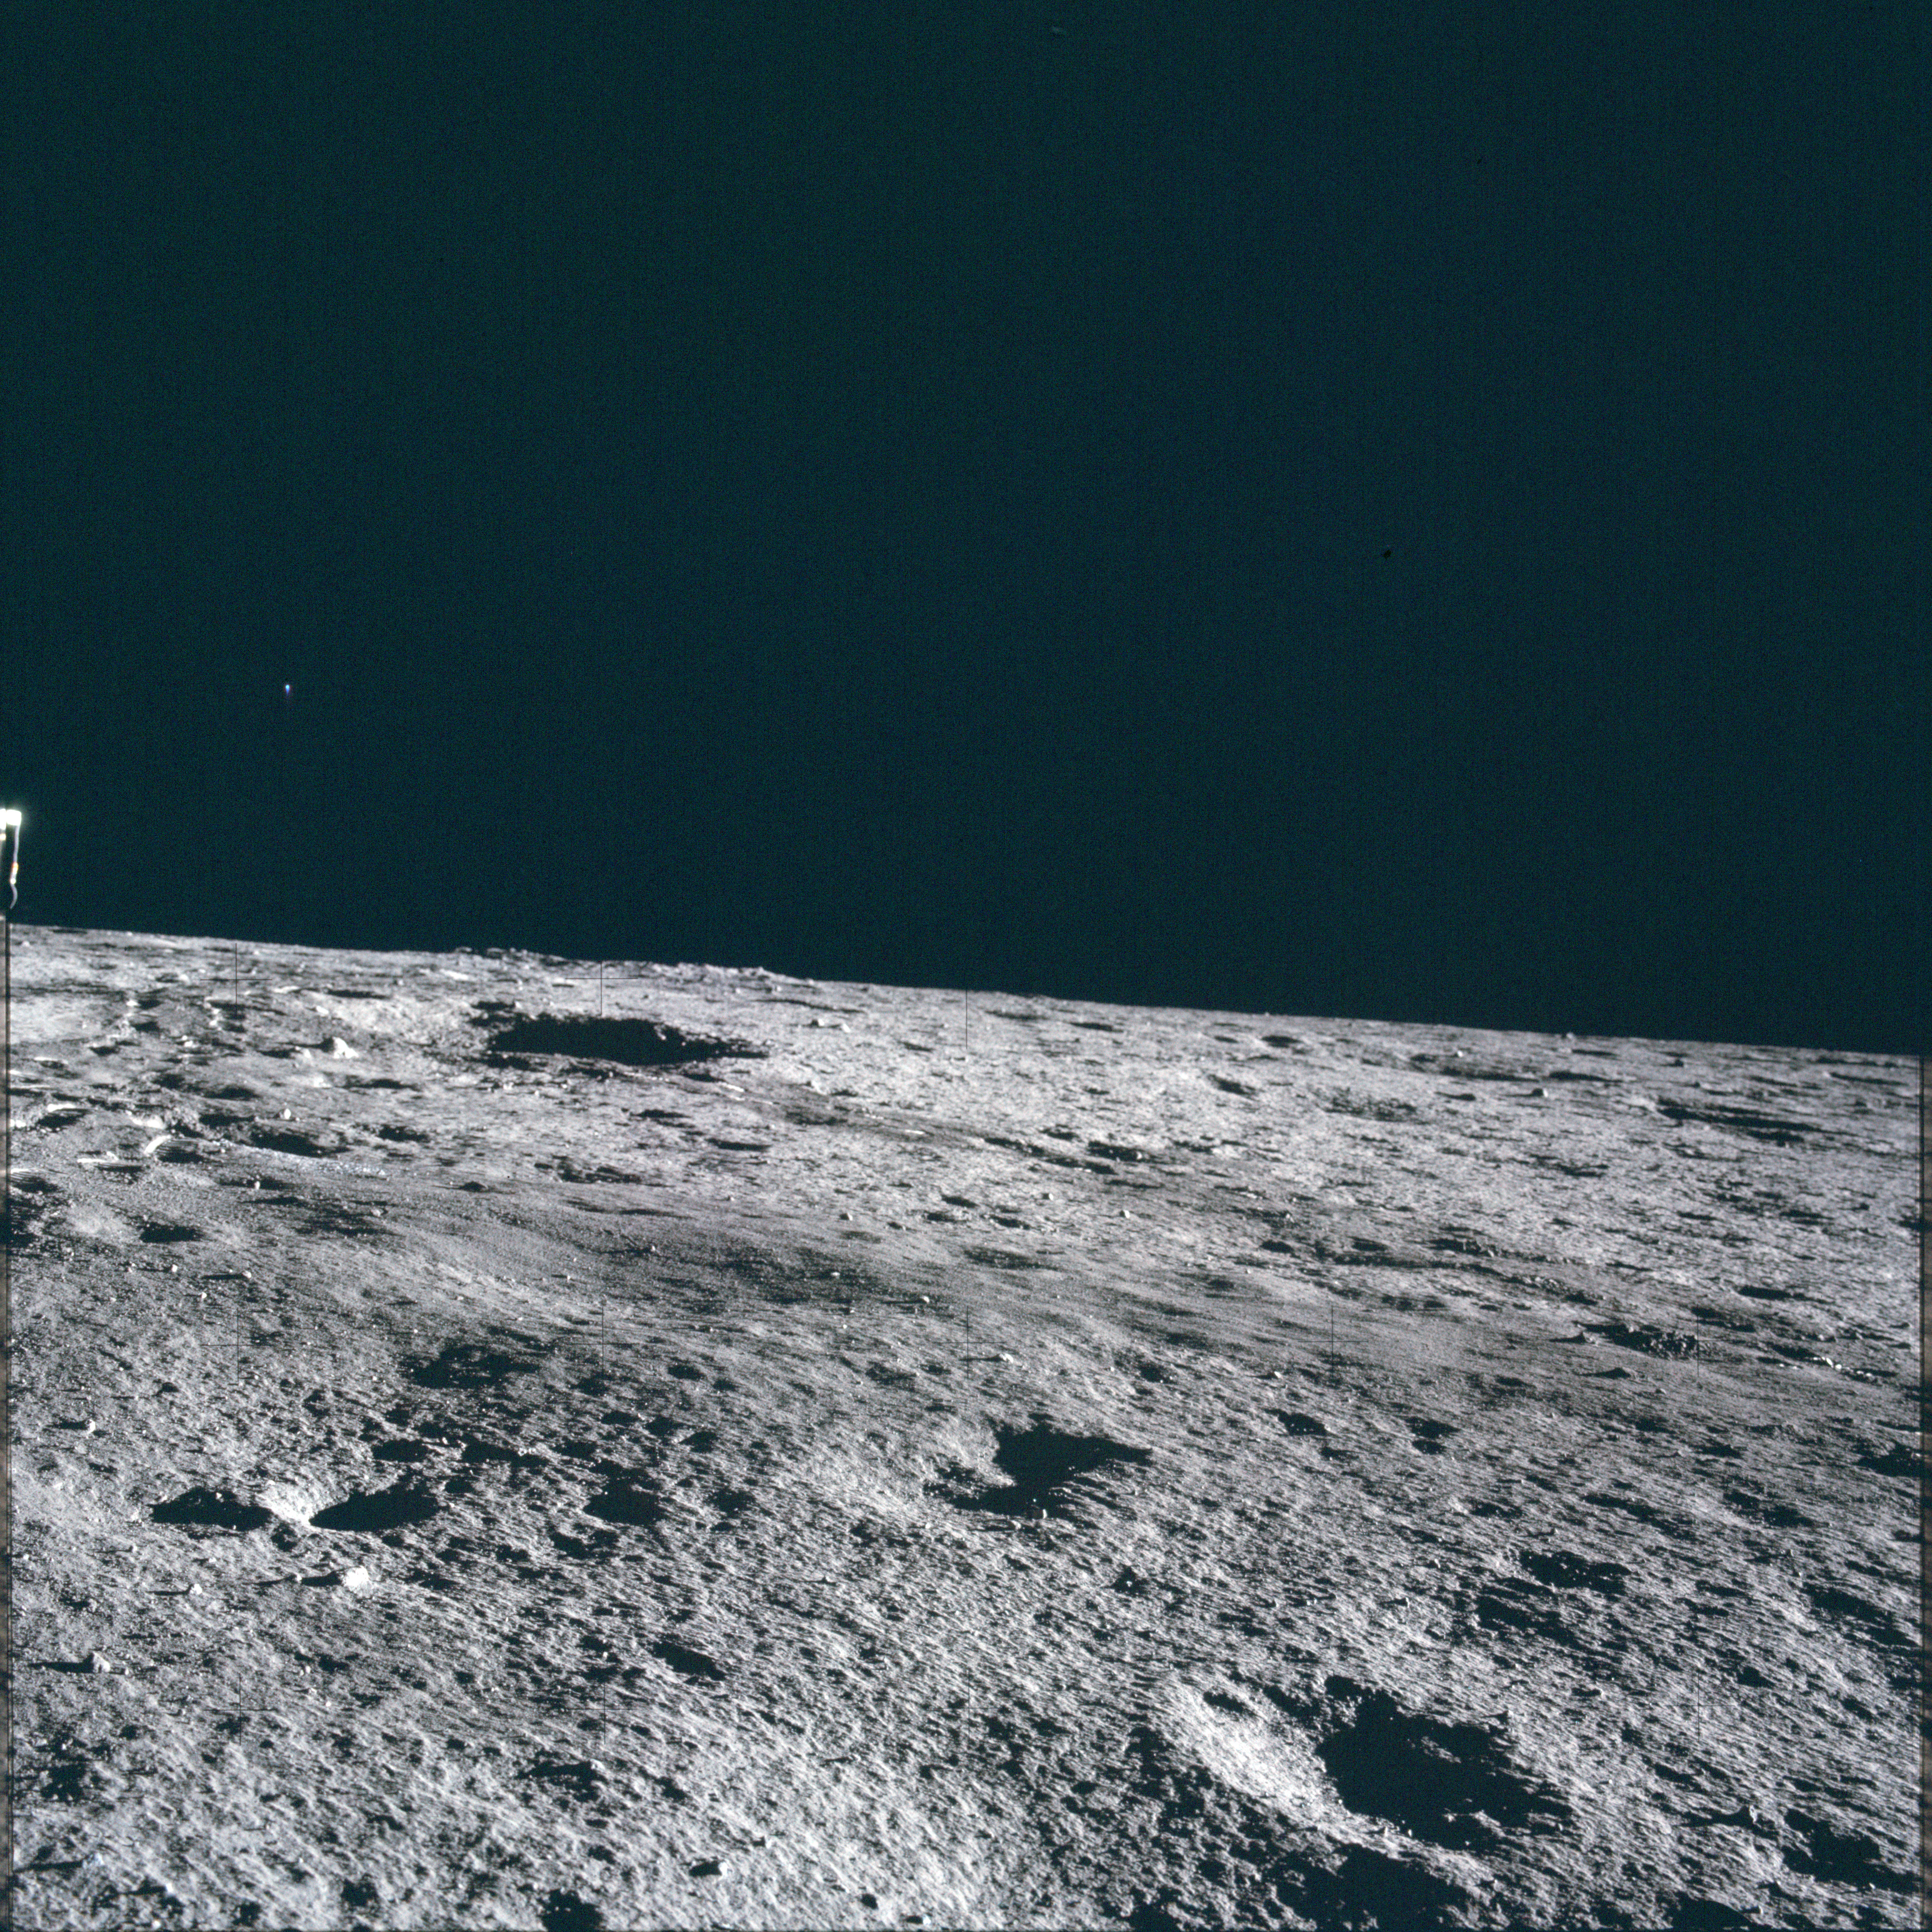
AS12-46-6780 Panorama image from southeast of the LM - shot at 15-foot focus - 17/19. View northwest includes Al Bean. Image credit: Image Science and Analysis Laboratory, NASA-Johnson Space Center |
 |
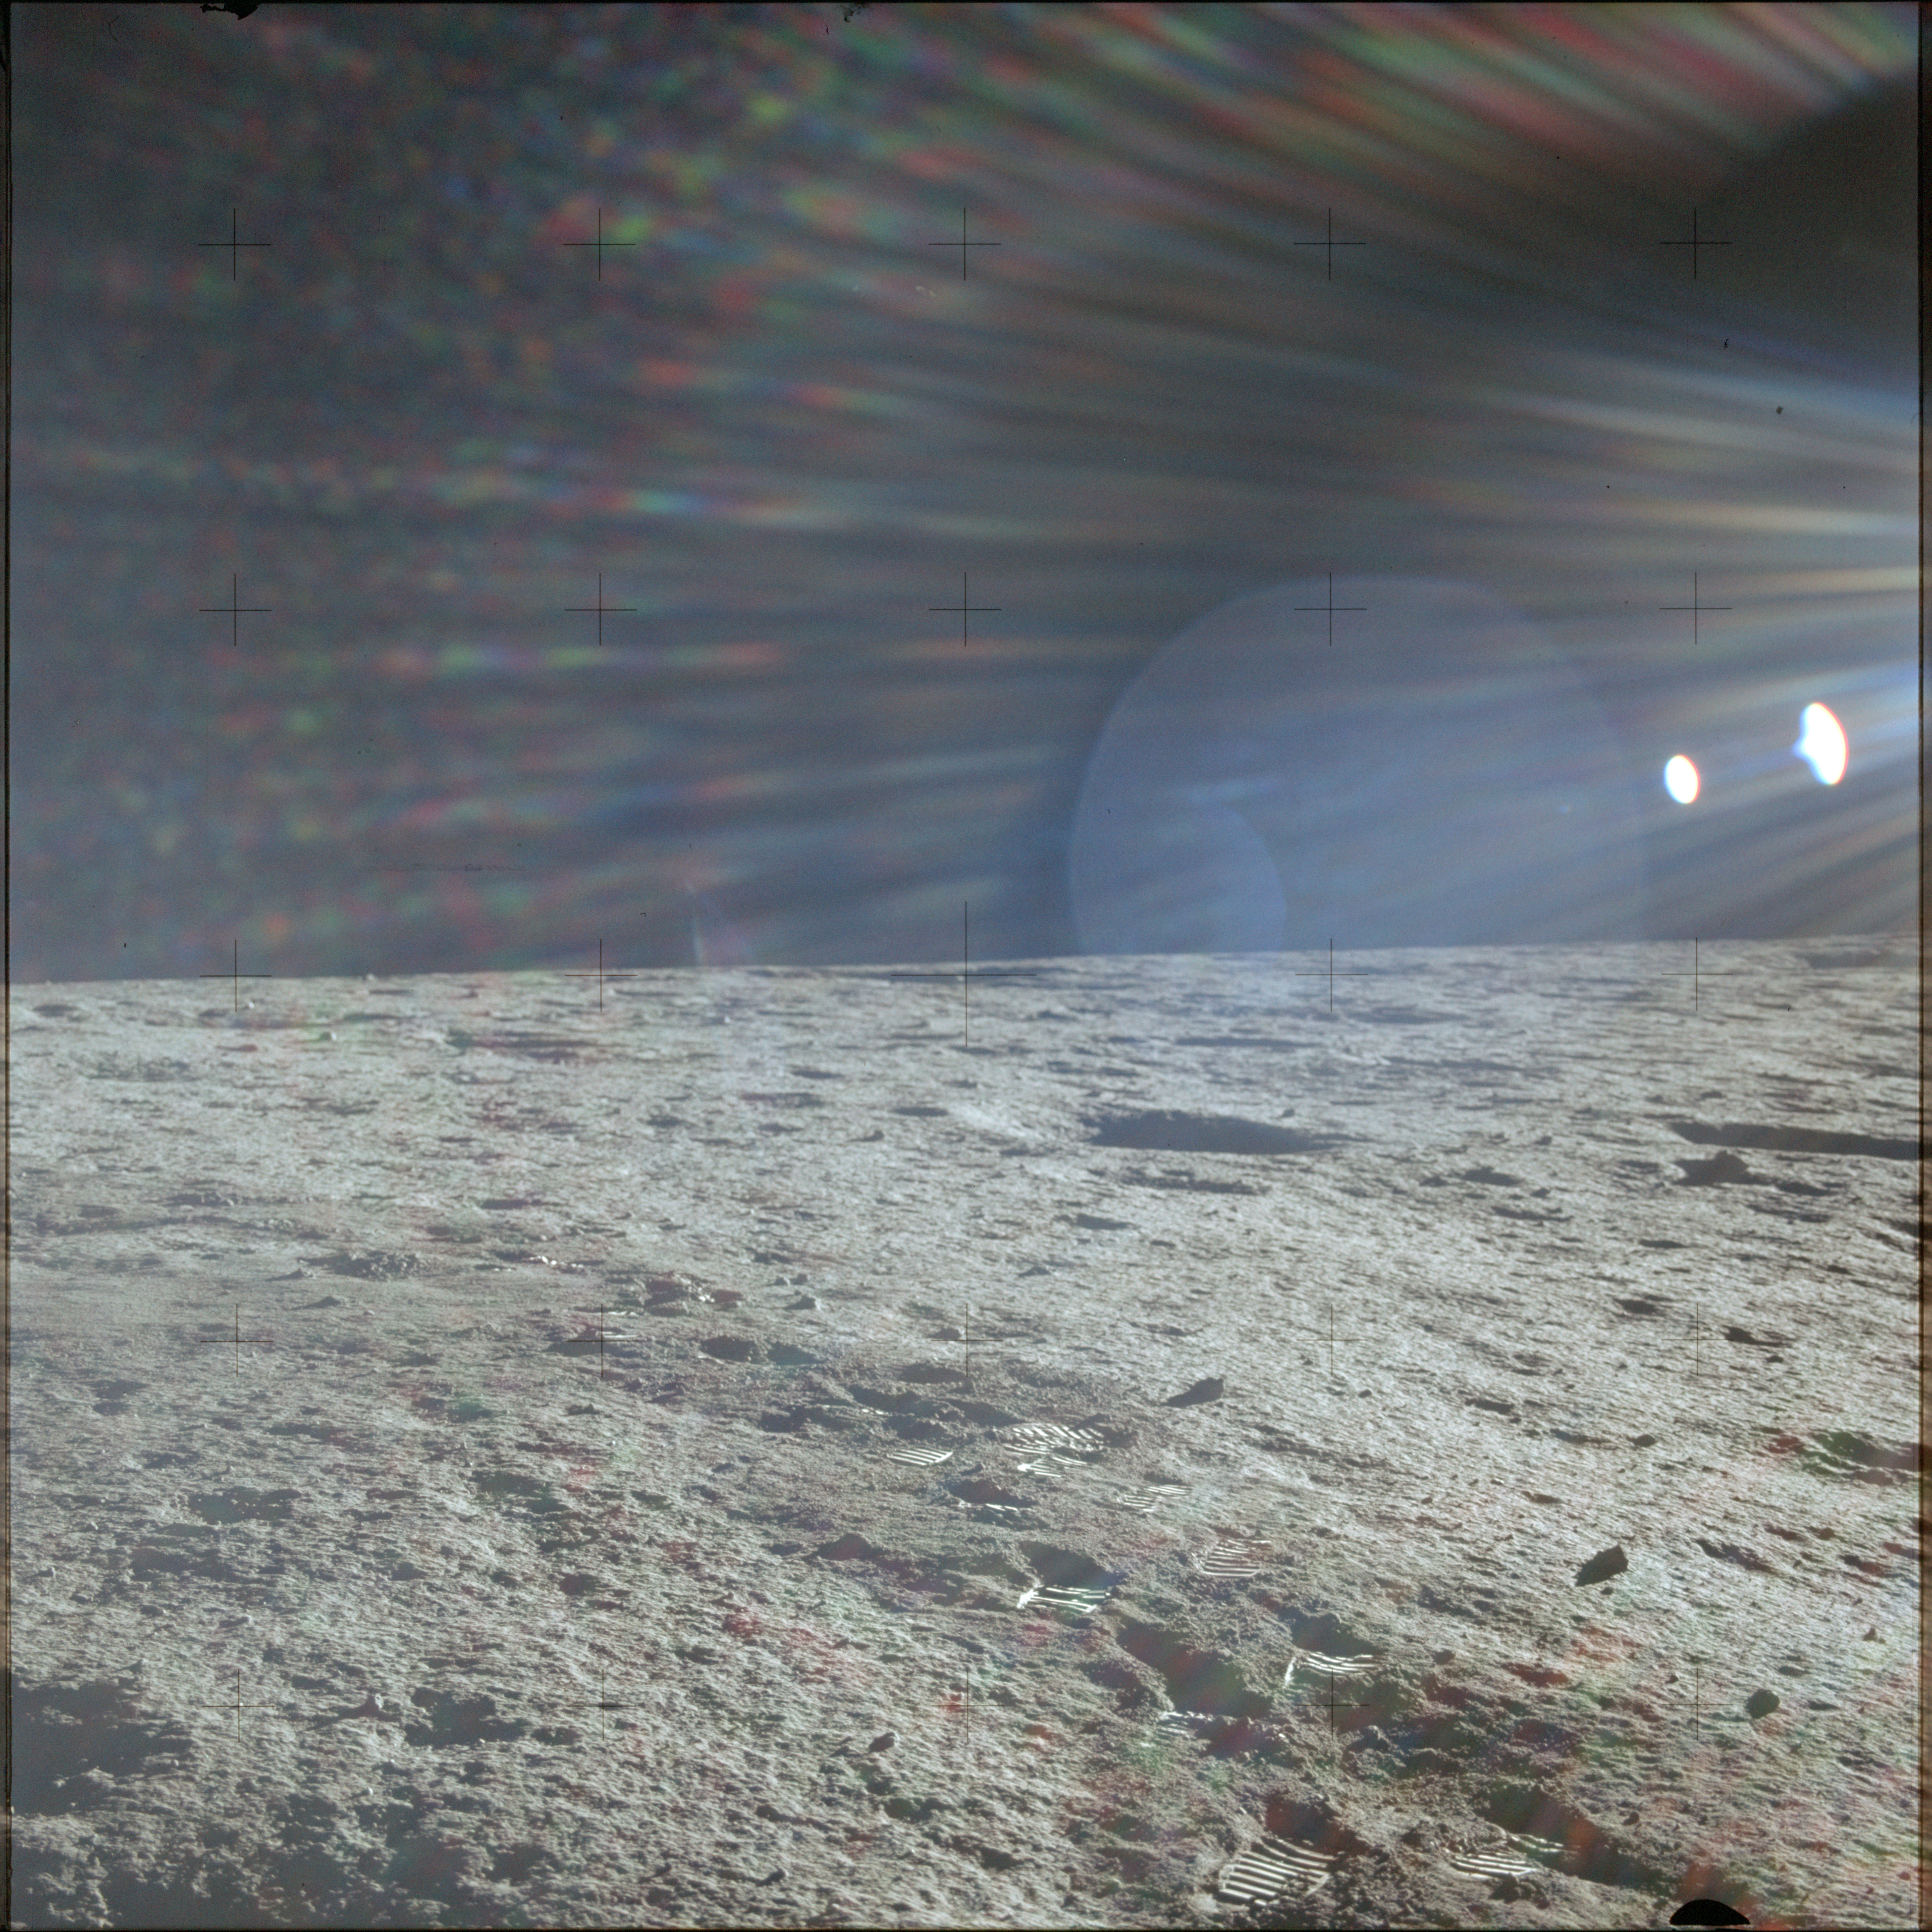
AS12-46-6781 Panorama image from southeast of the LM - shot at 15-foot focus - 18/19. View northwest. Image credit: Image Science and Analysis Laboratory, NASA-Johnson Space Center |
 |
AS12-46-6782 Panorama image from southeast of the LM - shot at 15-foot focus - 19/19. View northeast is obscured by glare from sunlight. Image credit: Image Science and Analysis Laboratory, NASA-Johnson Space Center |
 |
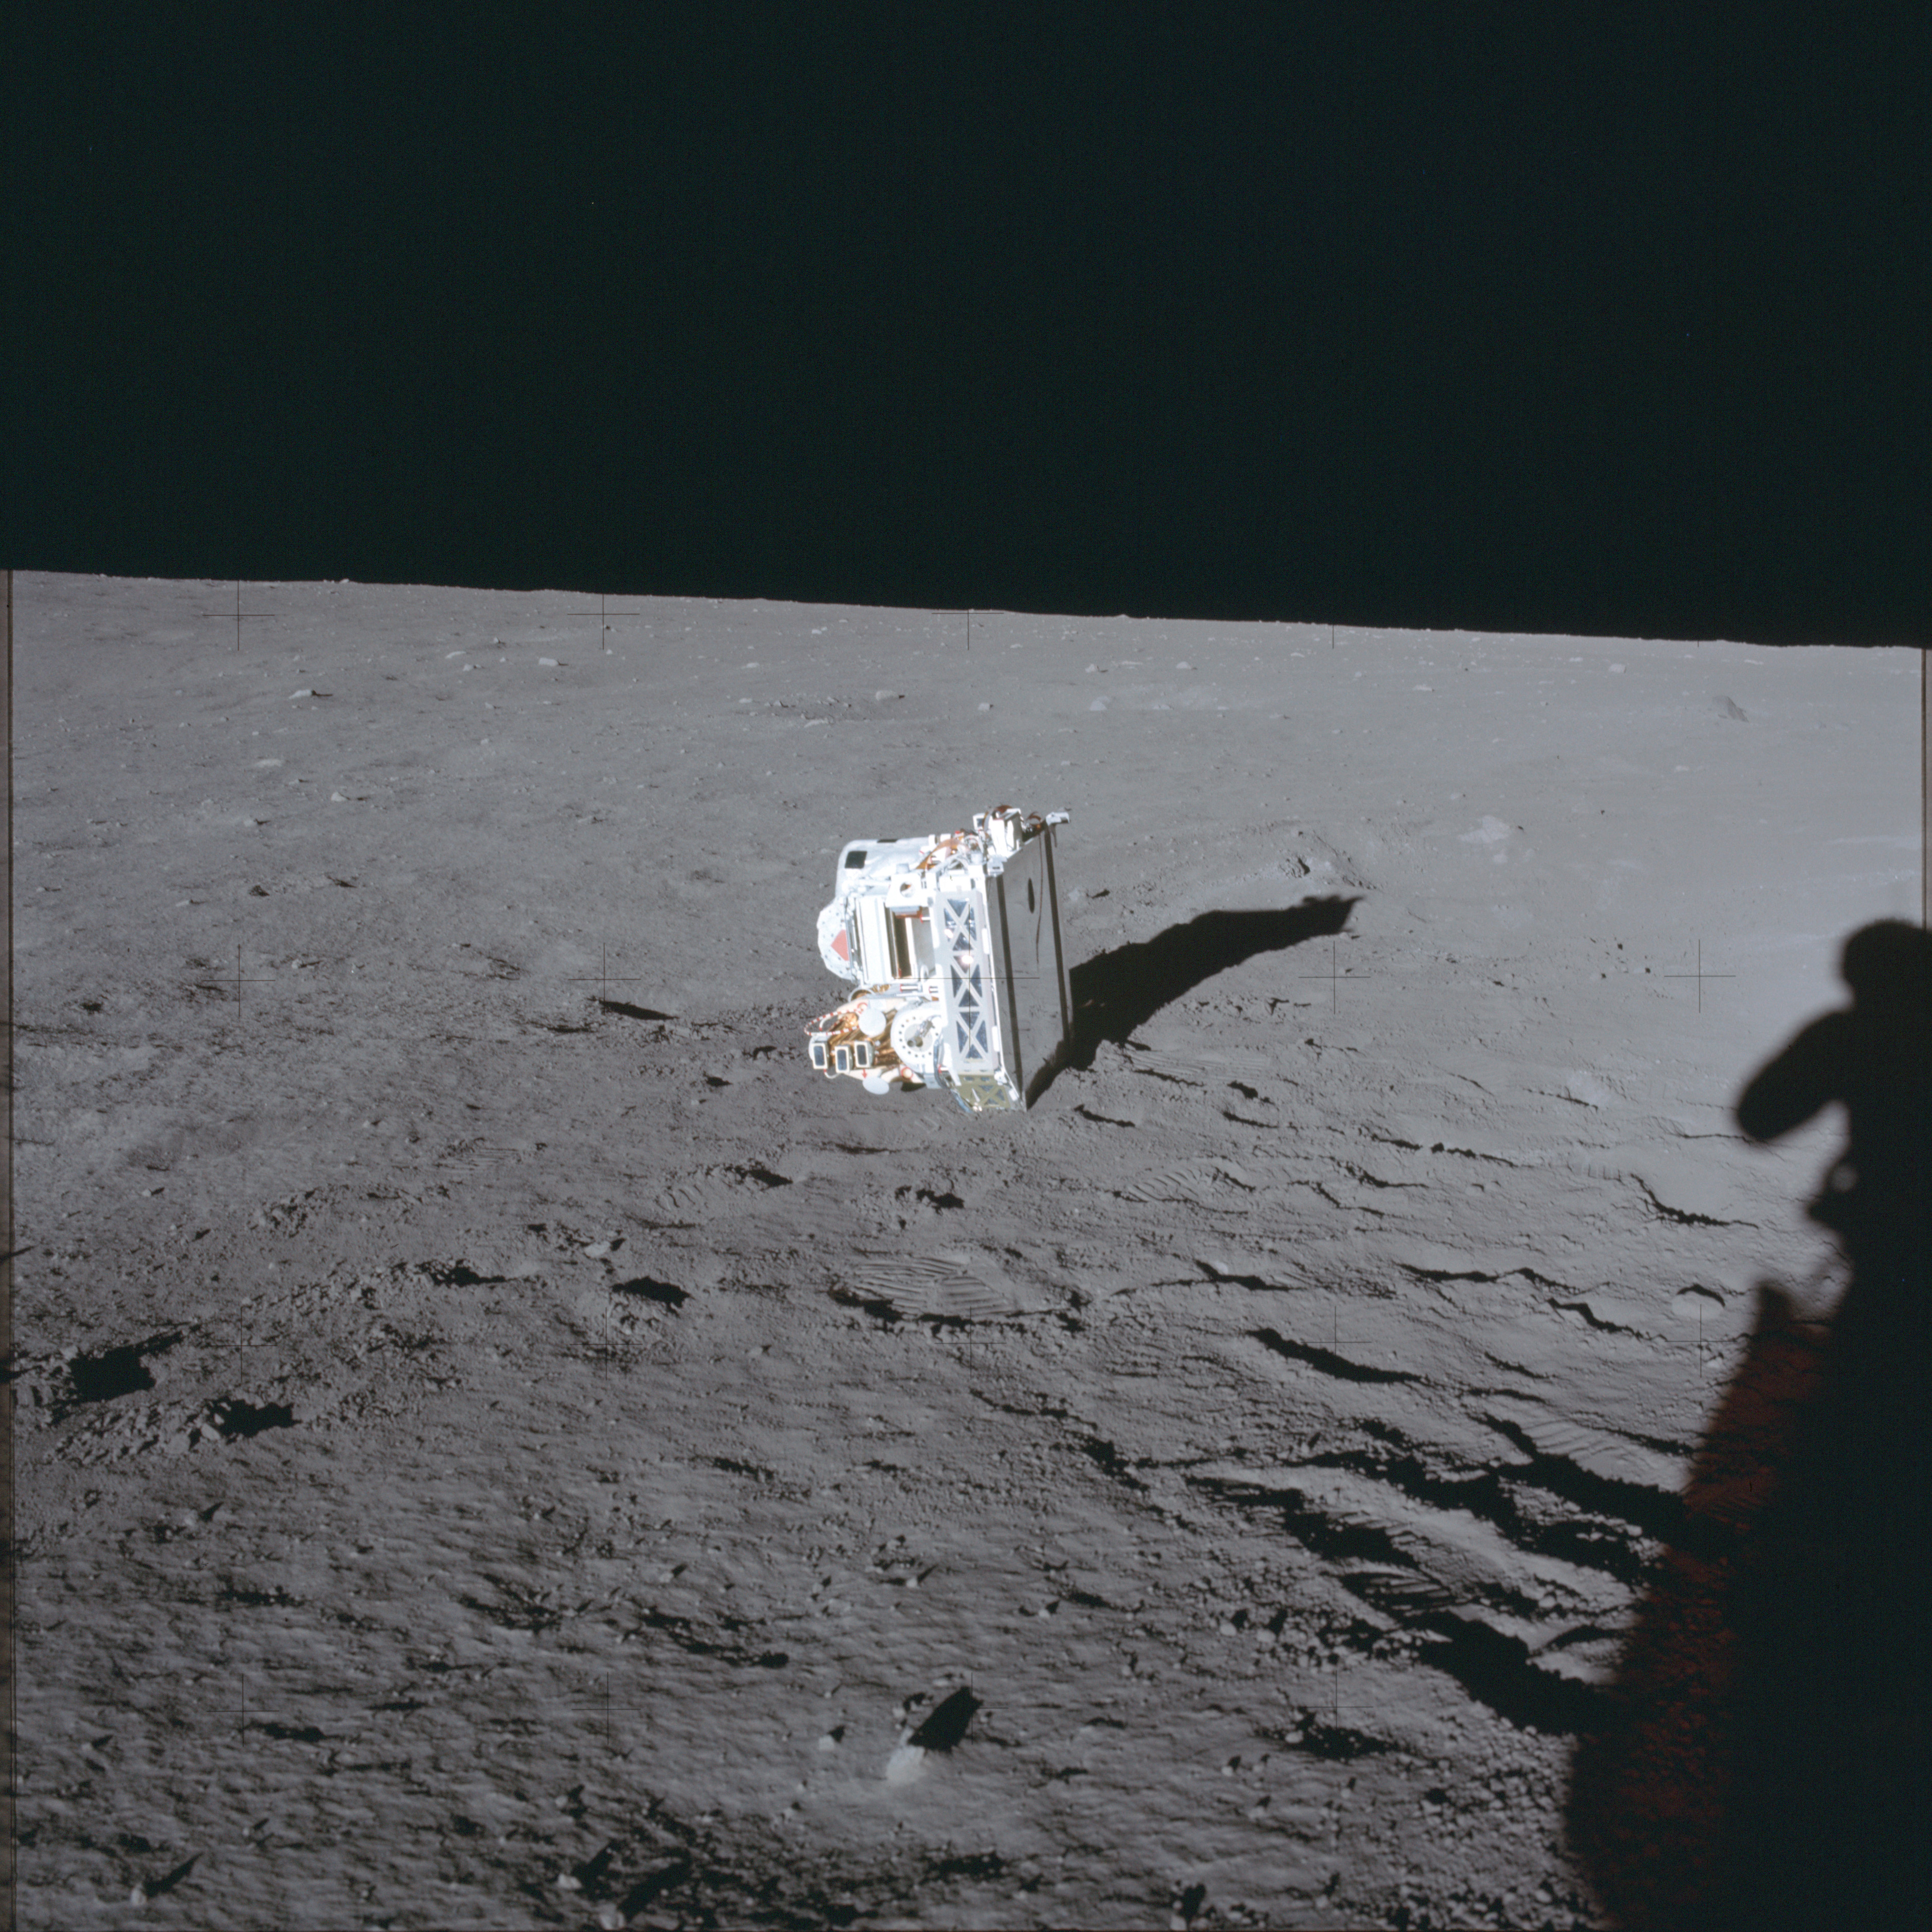
AS12-46-6783 Al Bean working at the SEQ bay removing components of the ALSEP. Image credit: Image Science and Analysis Laboratory, NASA-Johnson Space Center |
 |
AS12-46-6784 ALSEP package No. 1 after Al removed it from the SEQ bay. Image credit: Image Science and Analysis Laboratory, NASA-Johnson Space Center |
 |
AS12-46-6785 Al sets the RTG package on the ground. Image credit: Image Science and Analysis Laboratory, NASA-Johnson Space Center |
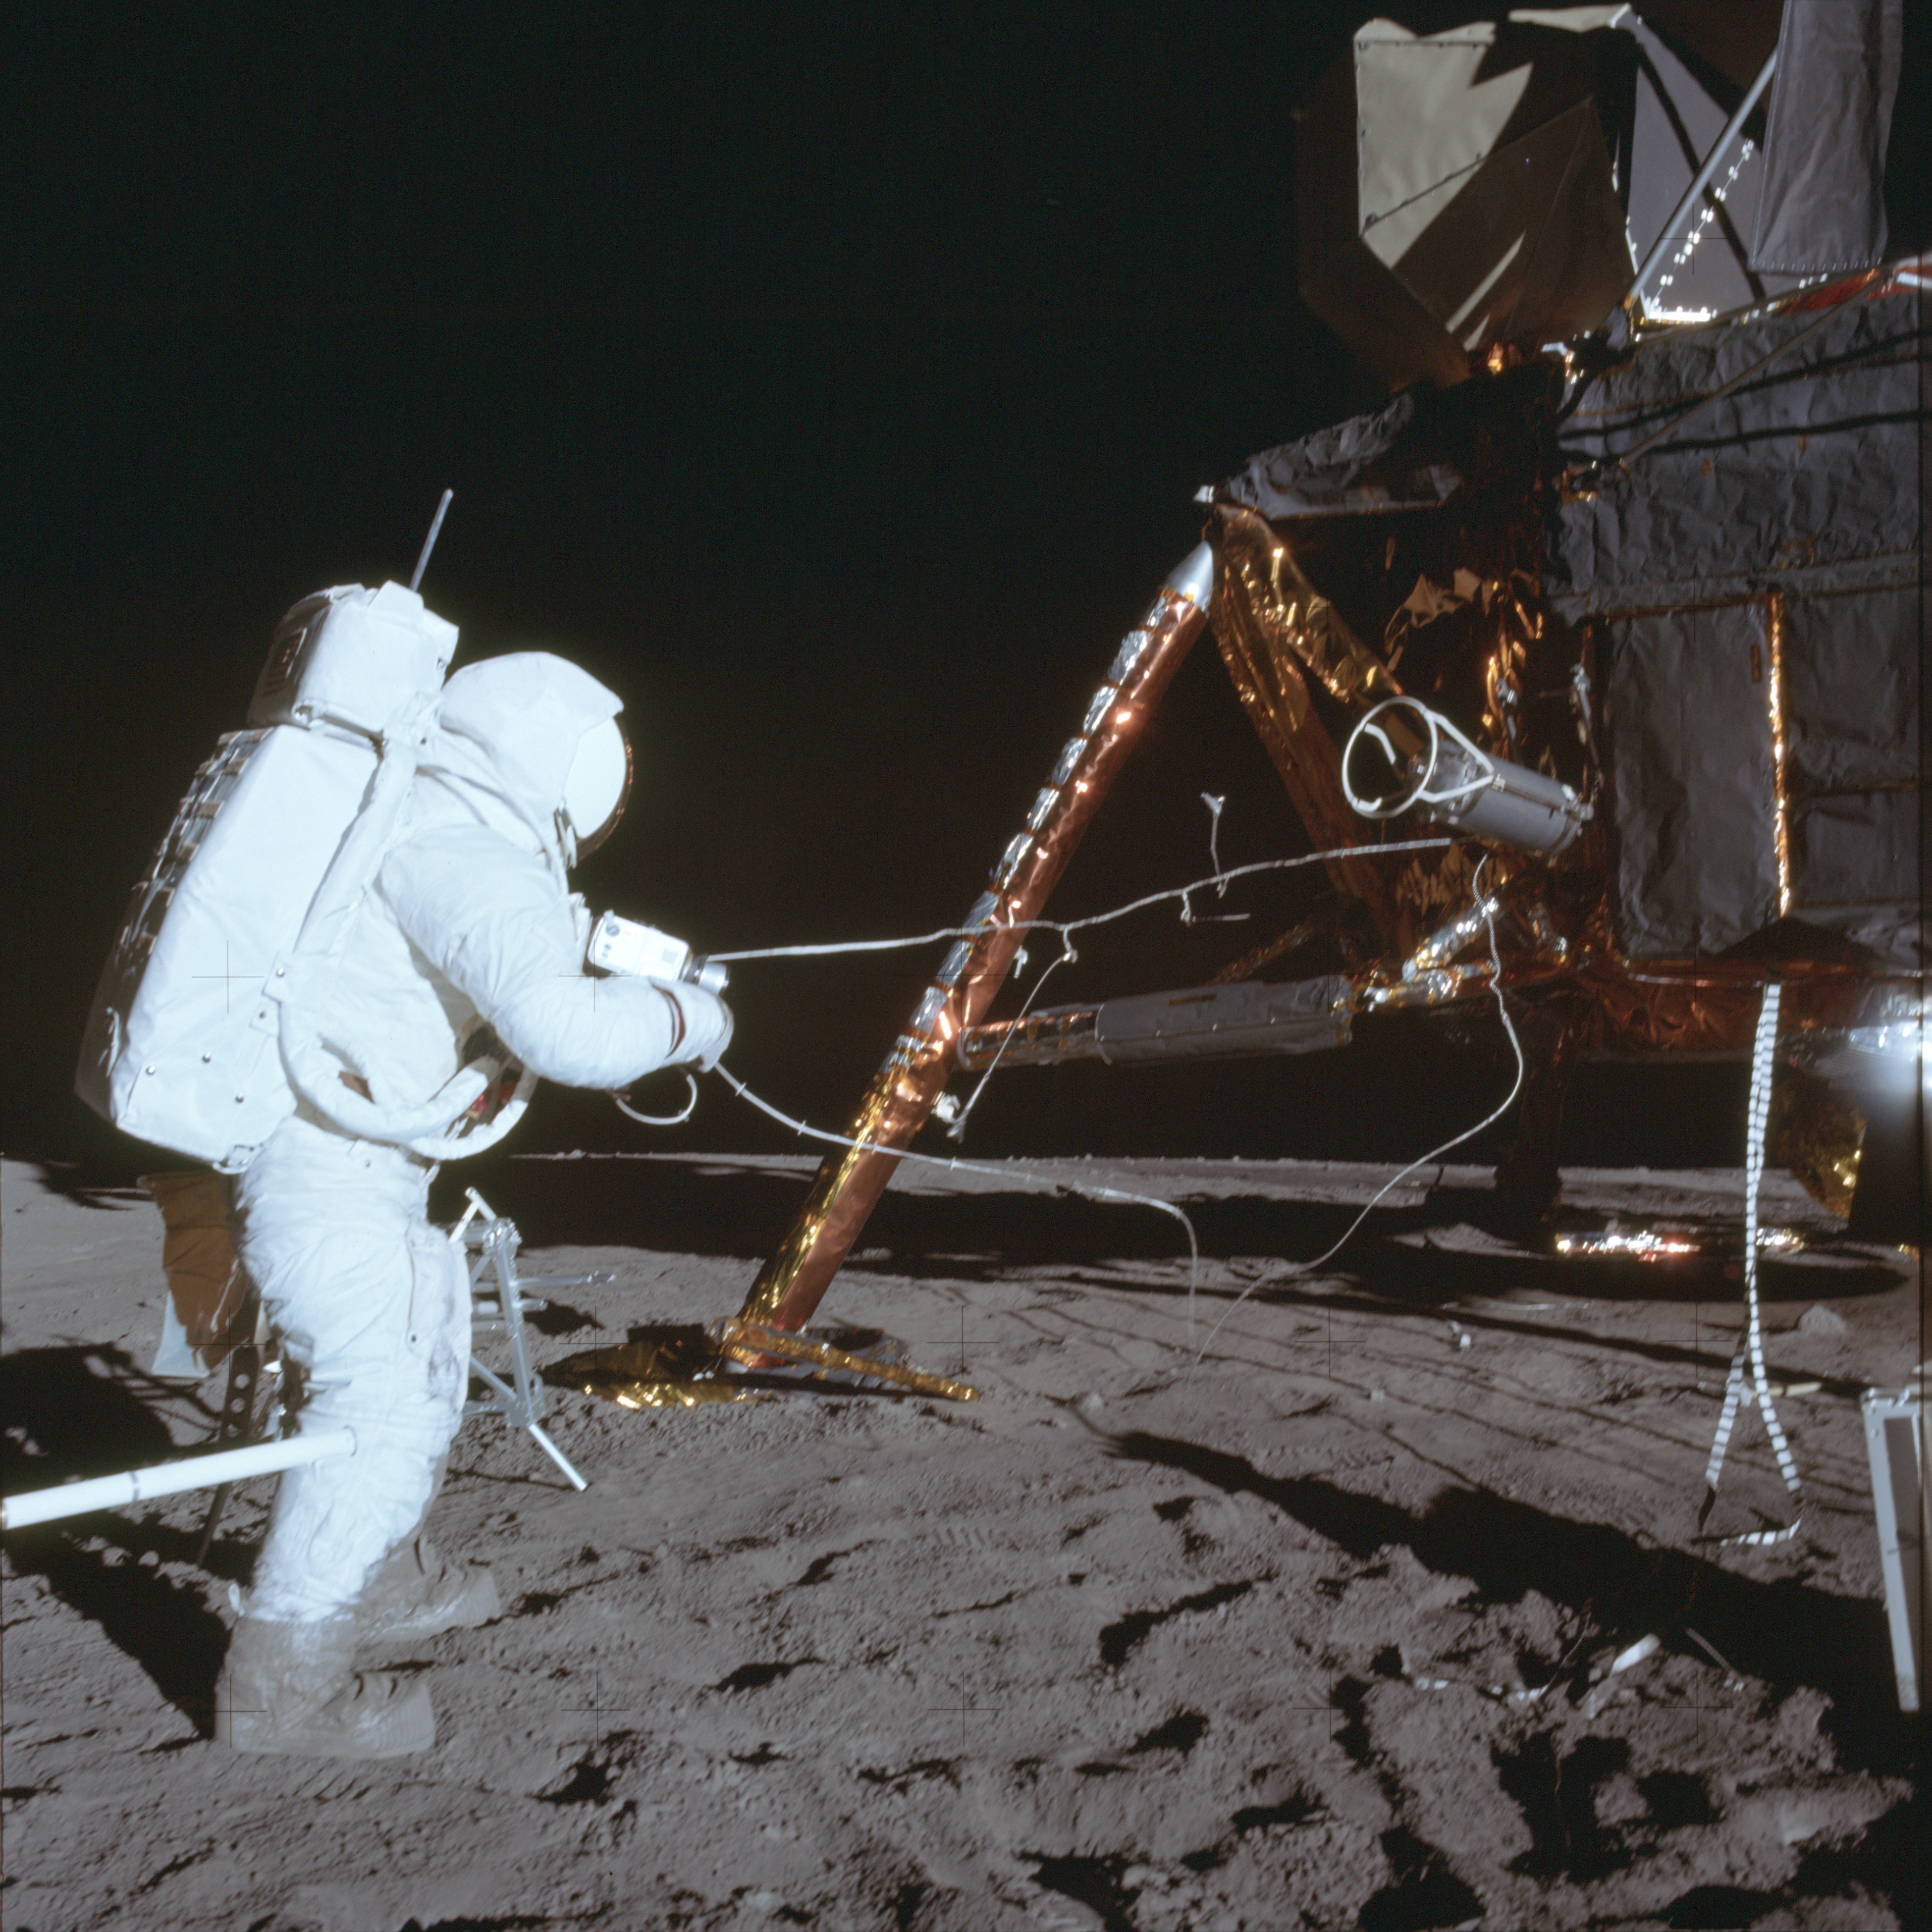 |
AS12-46-6786 Al rotates the RTG fuel cask into position prior to opening it and extracting the plutonium fuel element. Image credit: Image Science and Analysis Laboratory, NASA-Johnson Space Center |
 |
AS12-46-6787 Al removes the domed cover from the top of the RTG fuel cask. Image credit: Image Science and Analysis Laboratory, NASA-Johnson Space Center |
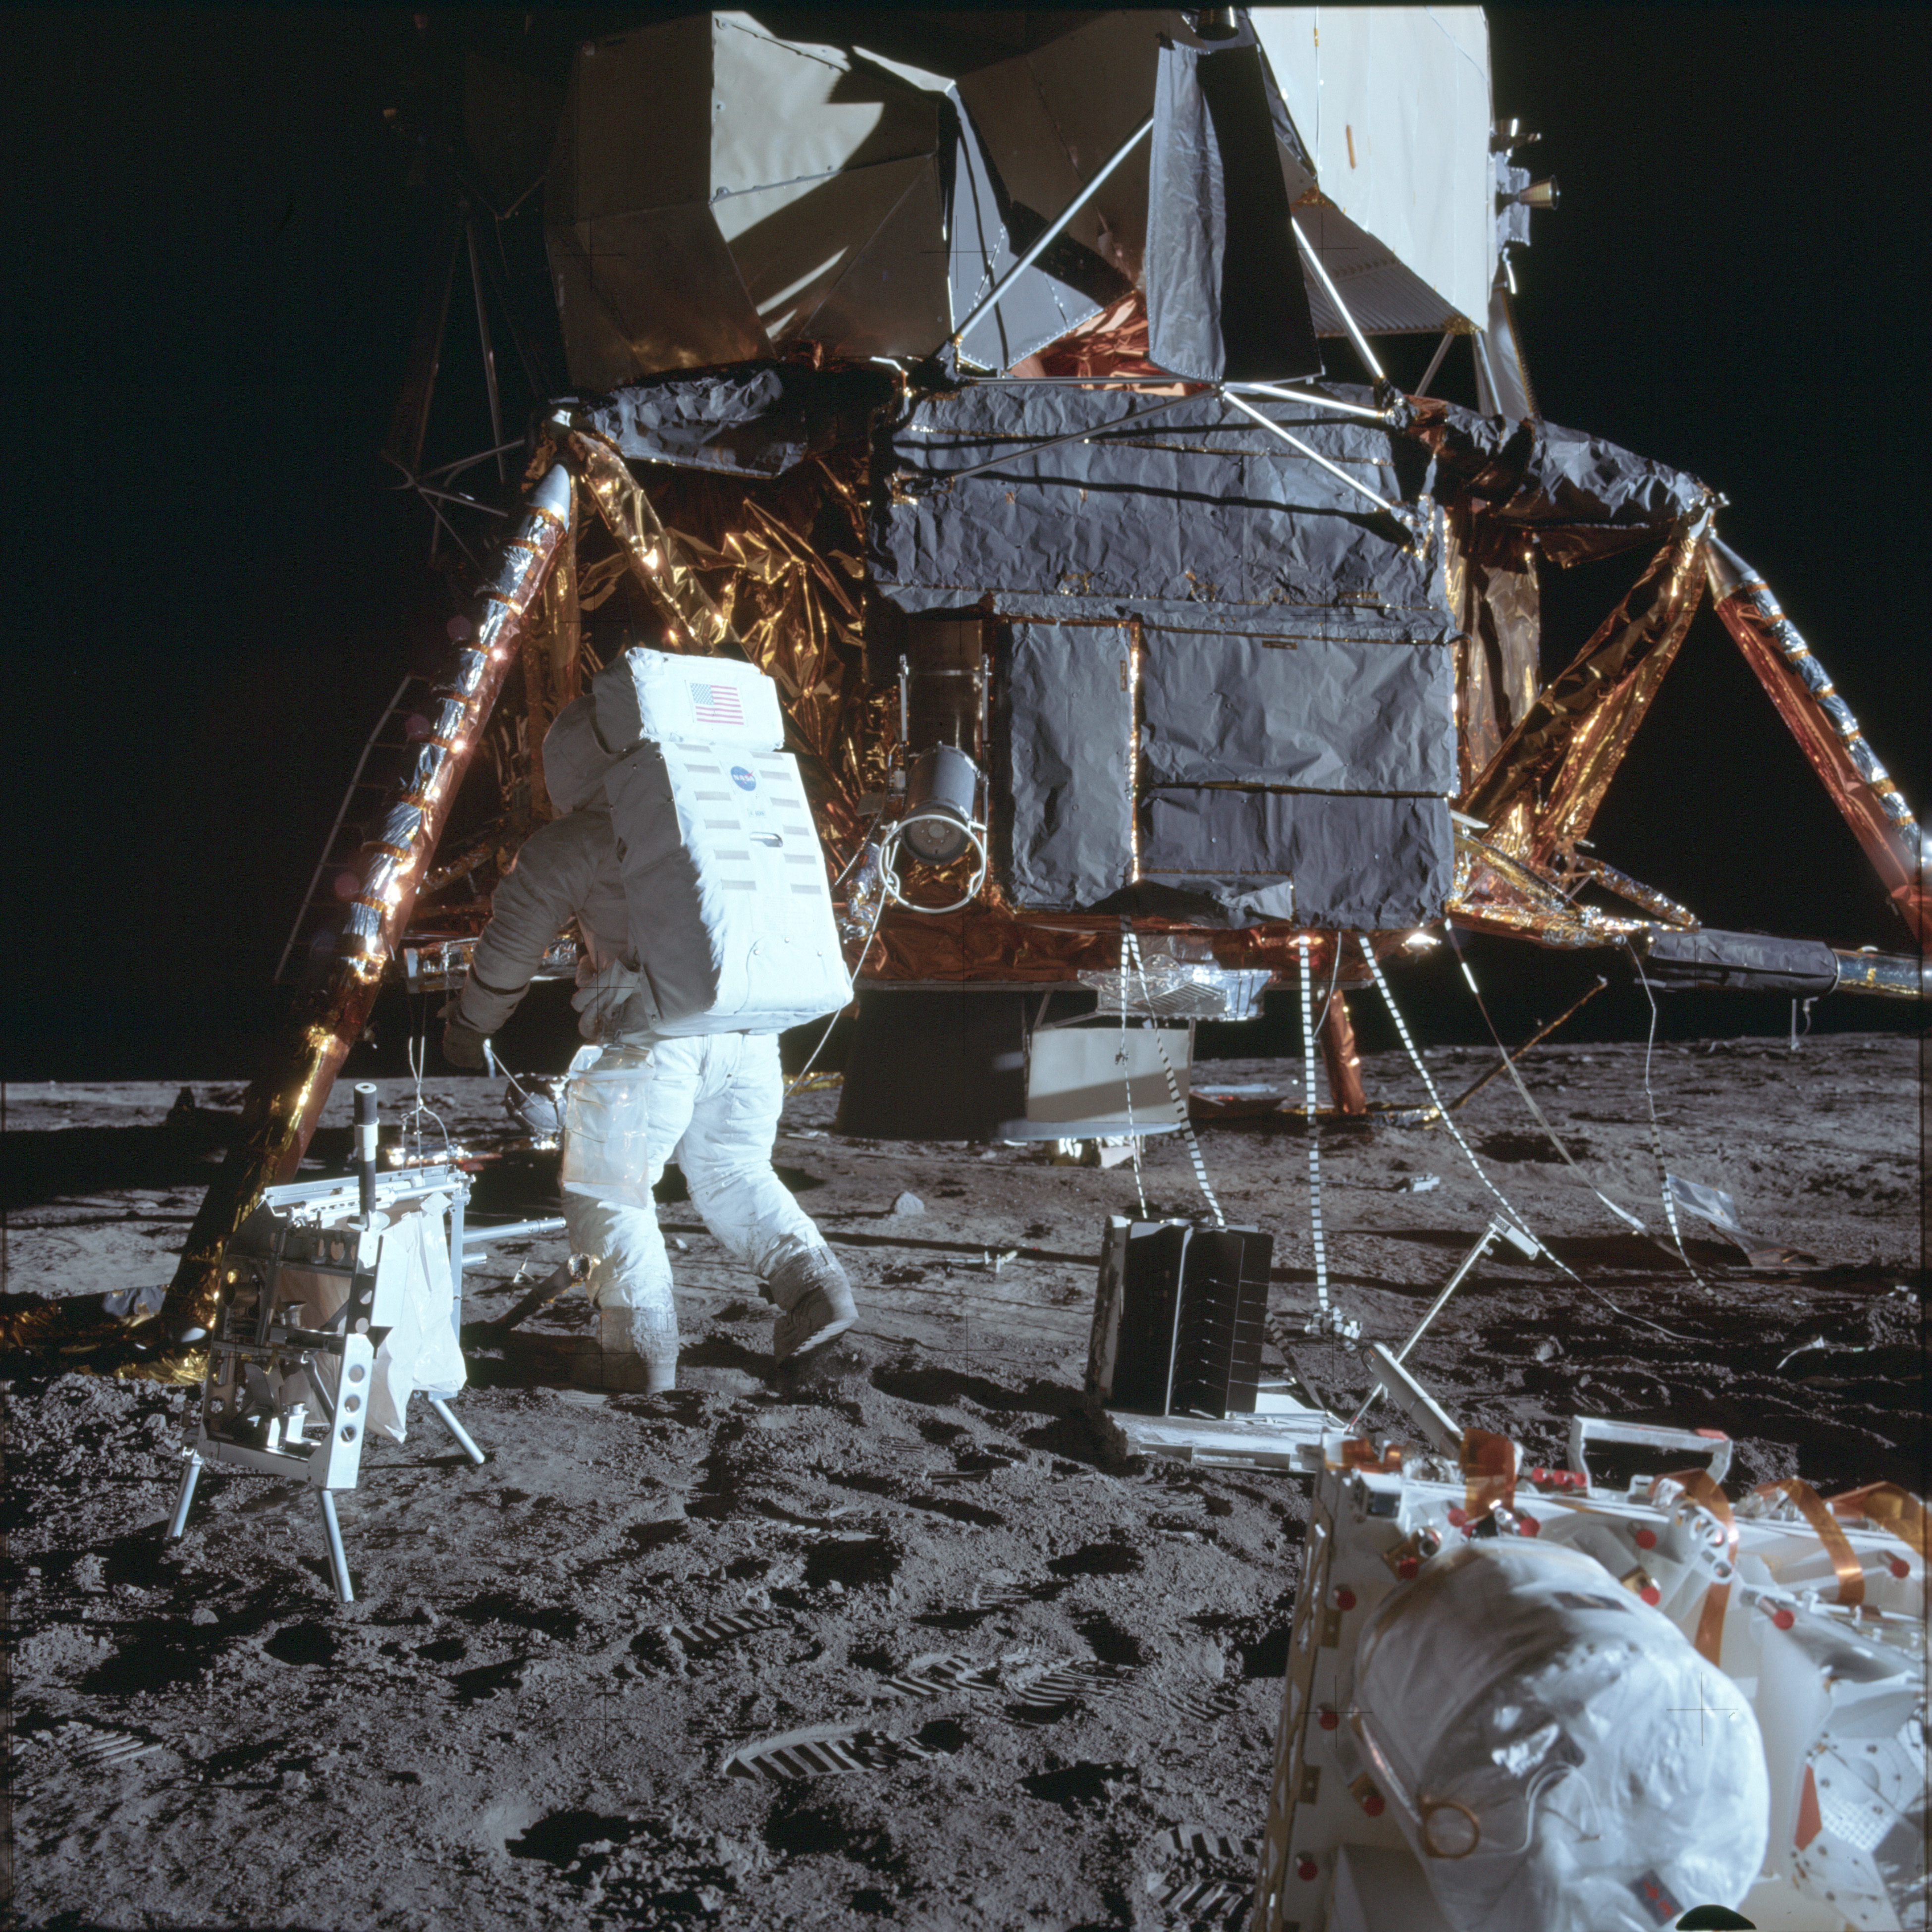 |
AS12-46-6788 Having exposed the plutonium fuel element inside its protective cask, Al sets the domed cover tool aside. Image credit: Image Science and Analysis Laboratory, NASA-Johnson Space Center |
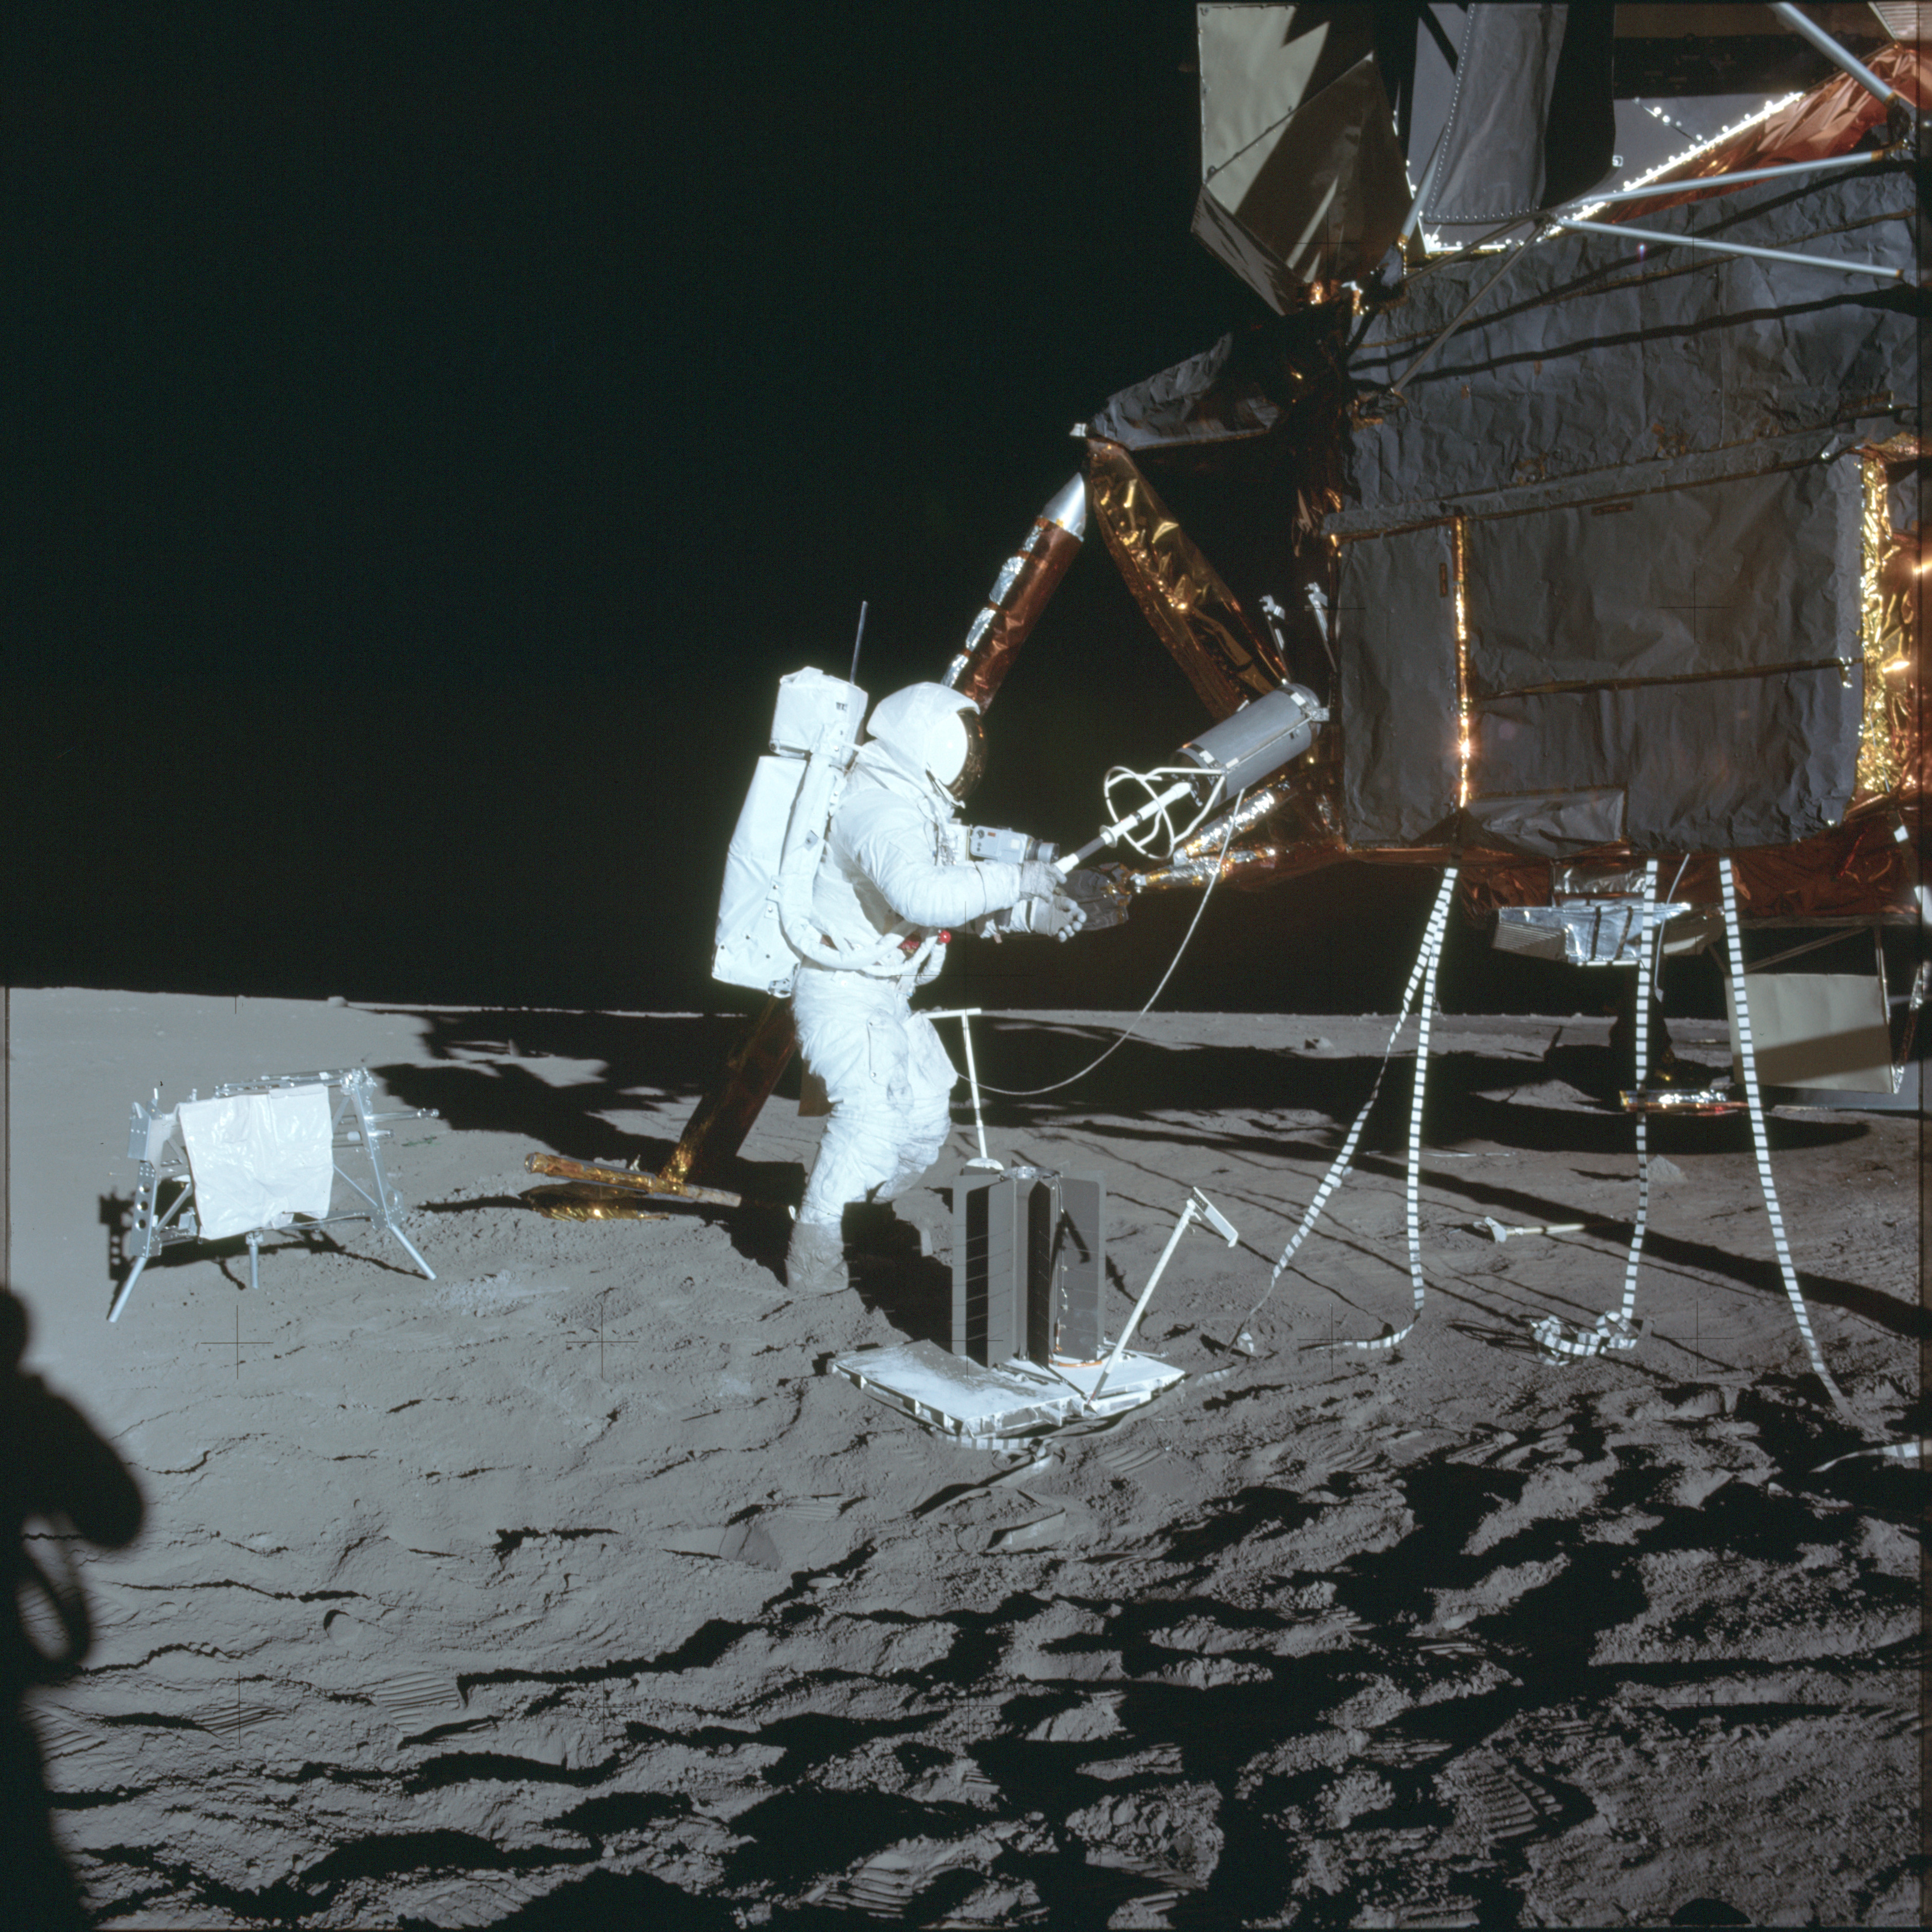 |
AS12-46-6789 Al attaches the fuel extraction tool on the end of the plutonium fuel element. Image credit: Image Science and Analysis Laboratory, NASA-Johnson Space Center |
 |
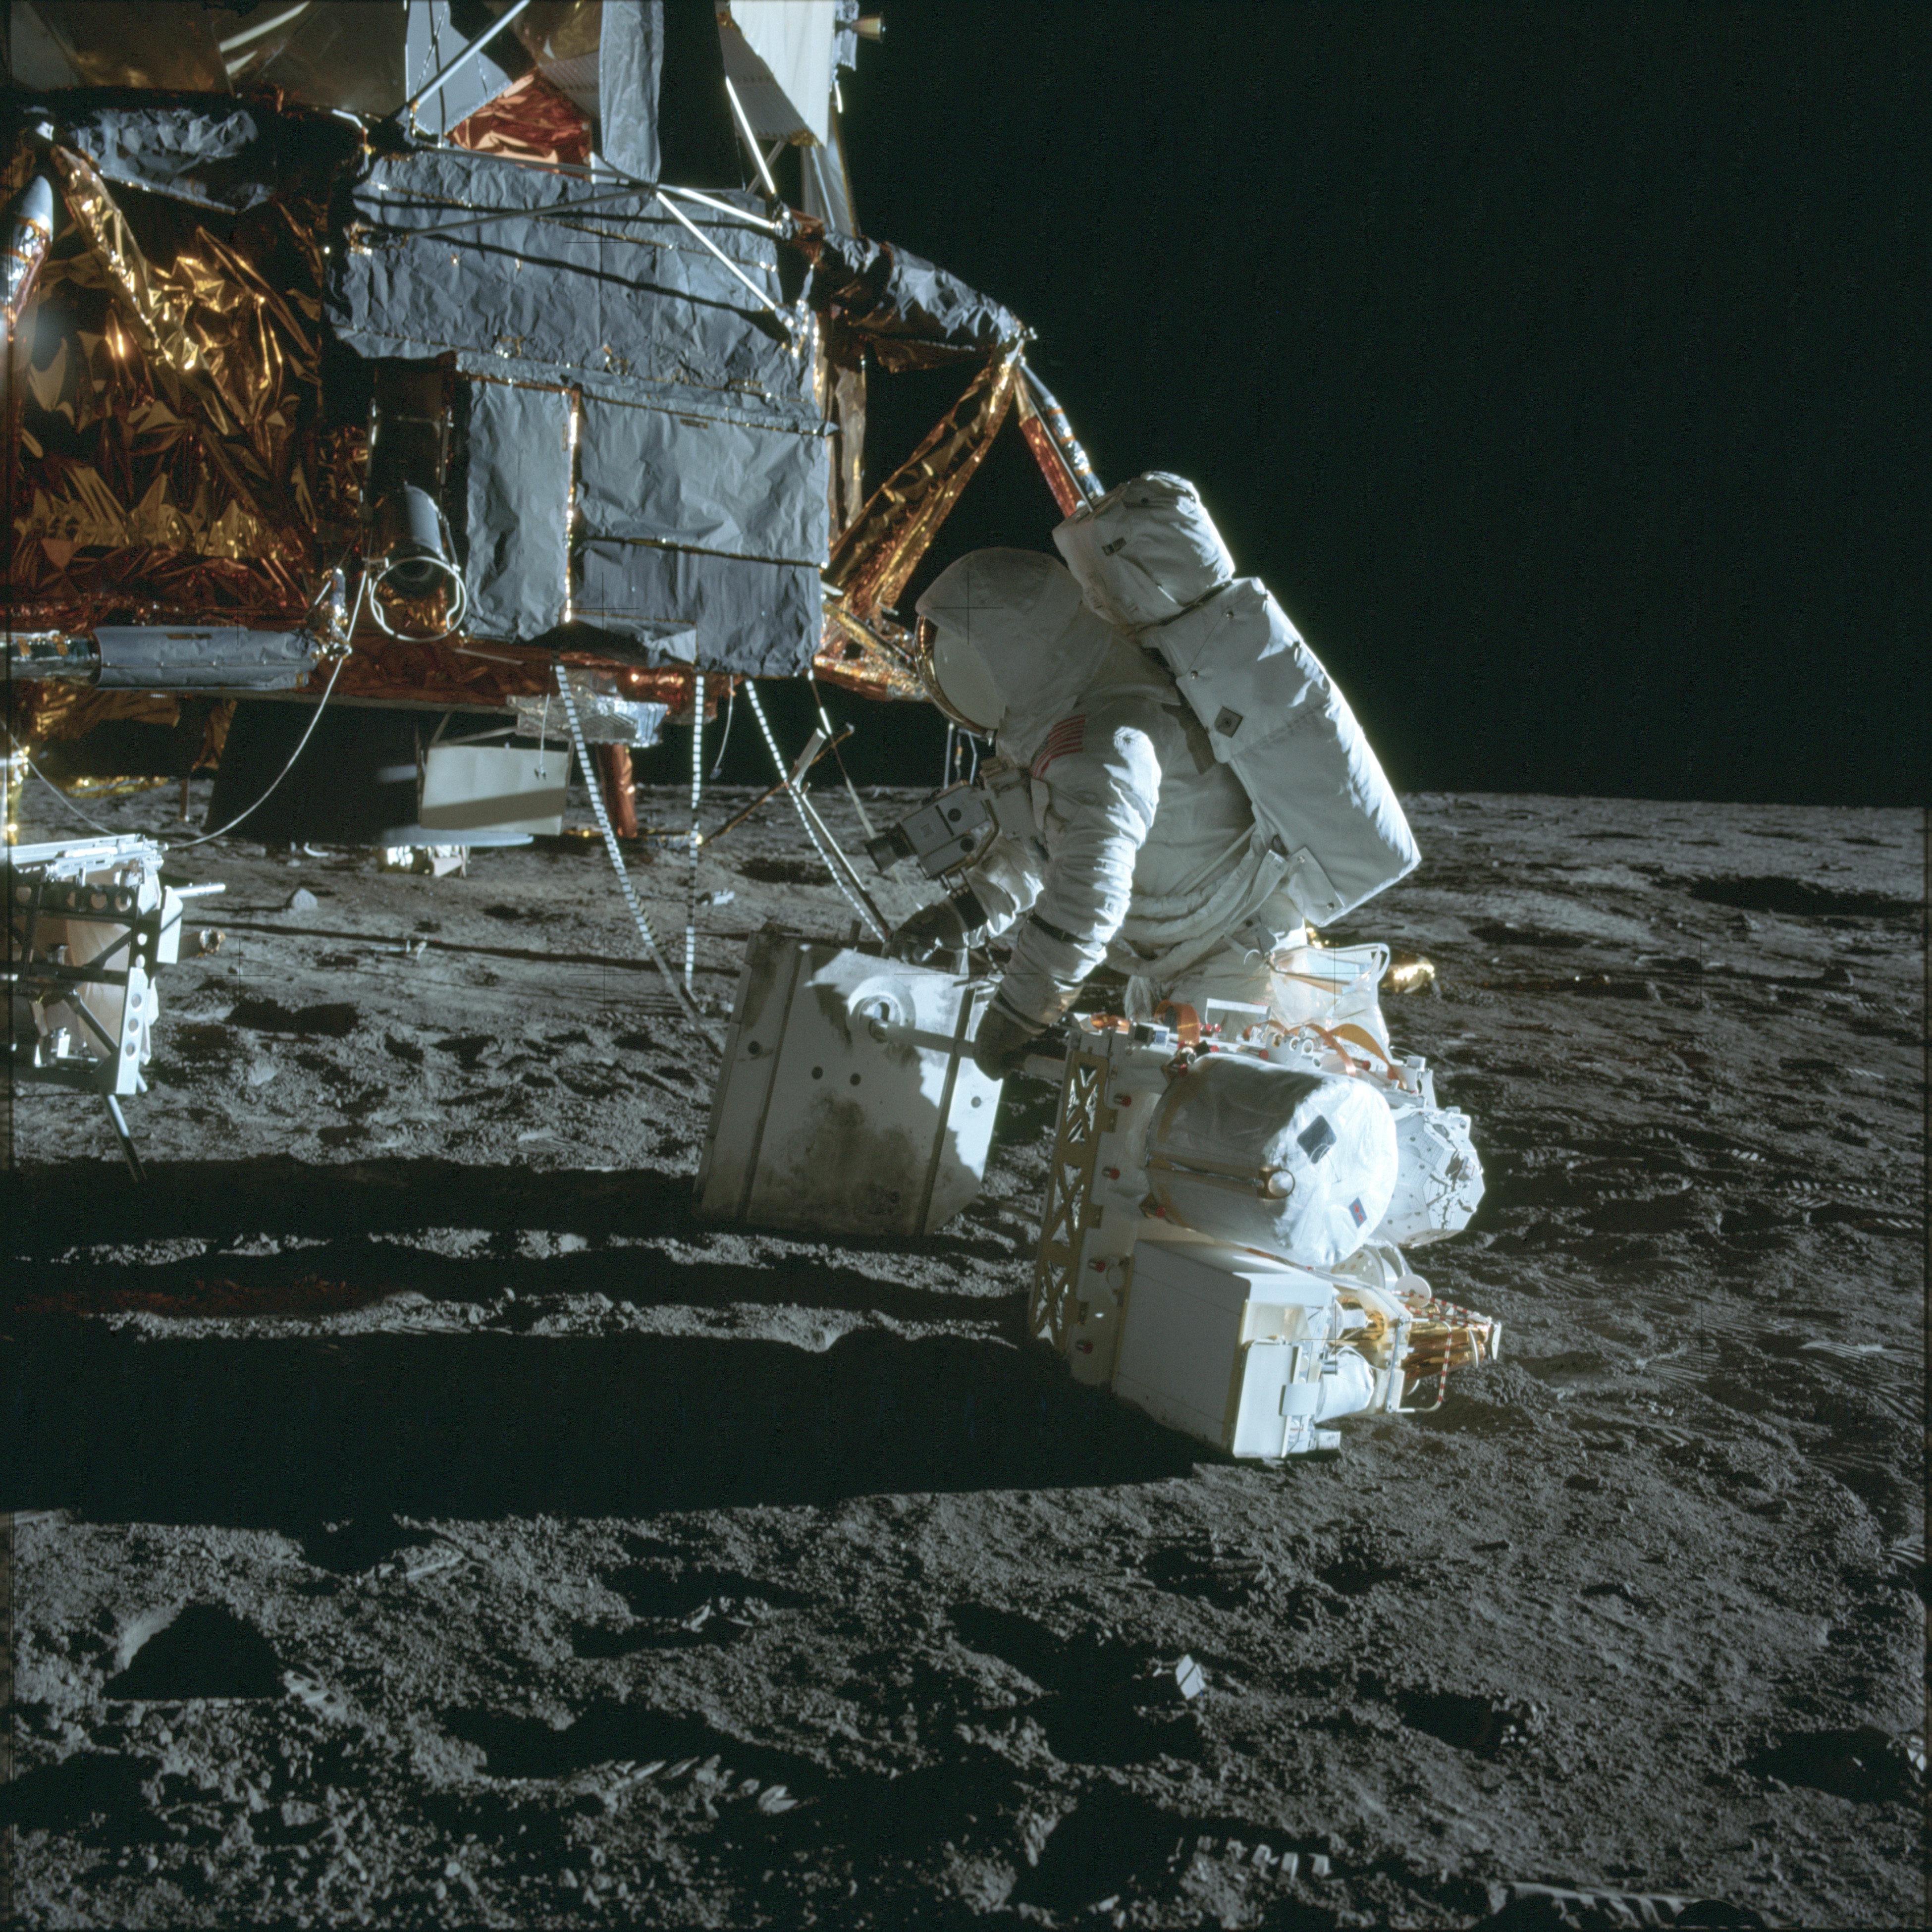
AS12-46-6790 Al attempts to remove the plutonium fuel element from its protectuve cask. Image credit: Image Science and Analysis Laboratory, NASA-Johnson Space Center |
 |
AS12-46-6791 Al attaches the RTG to one end of a carry bar. This carry bar will be used to take the ALSEP packages out to their final destination, about 100 metres west of the LM. Image credit: Image Science and Analysis Laboratory, NASA-Johnson Space Center |
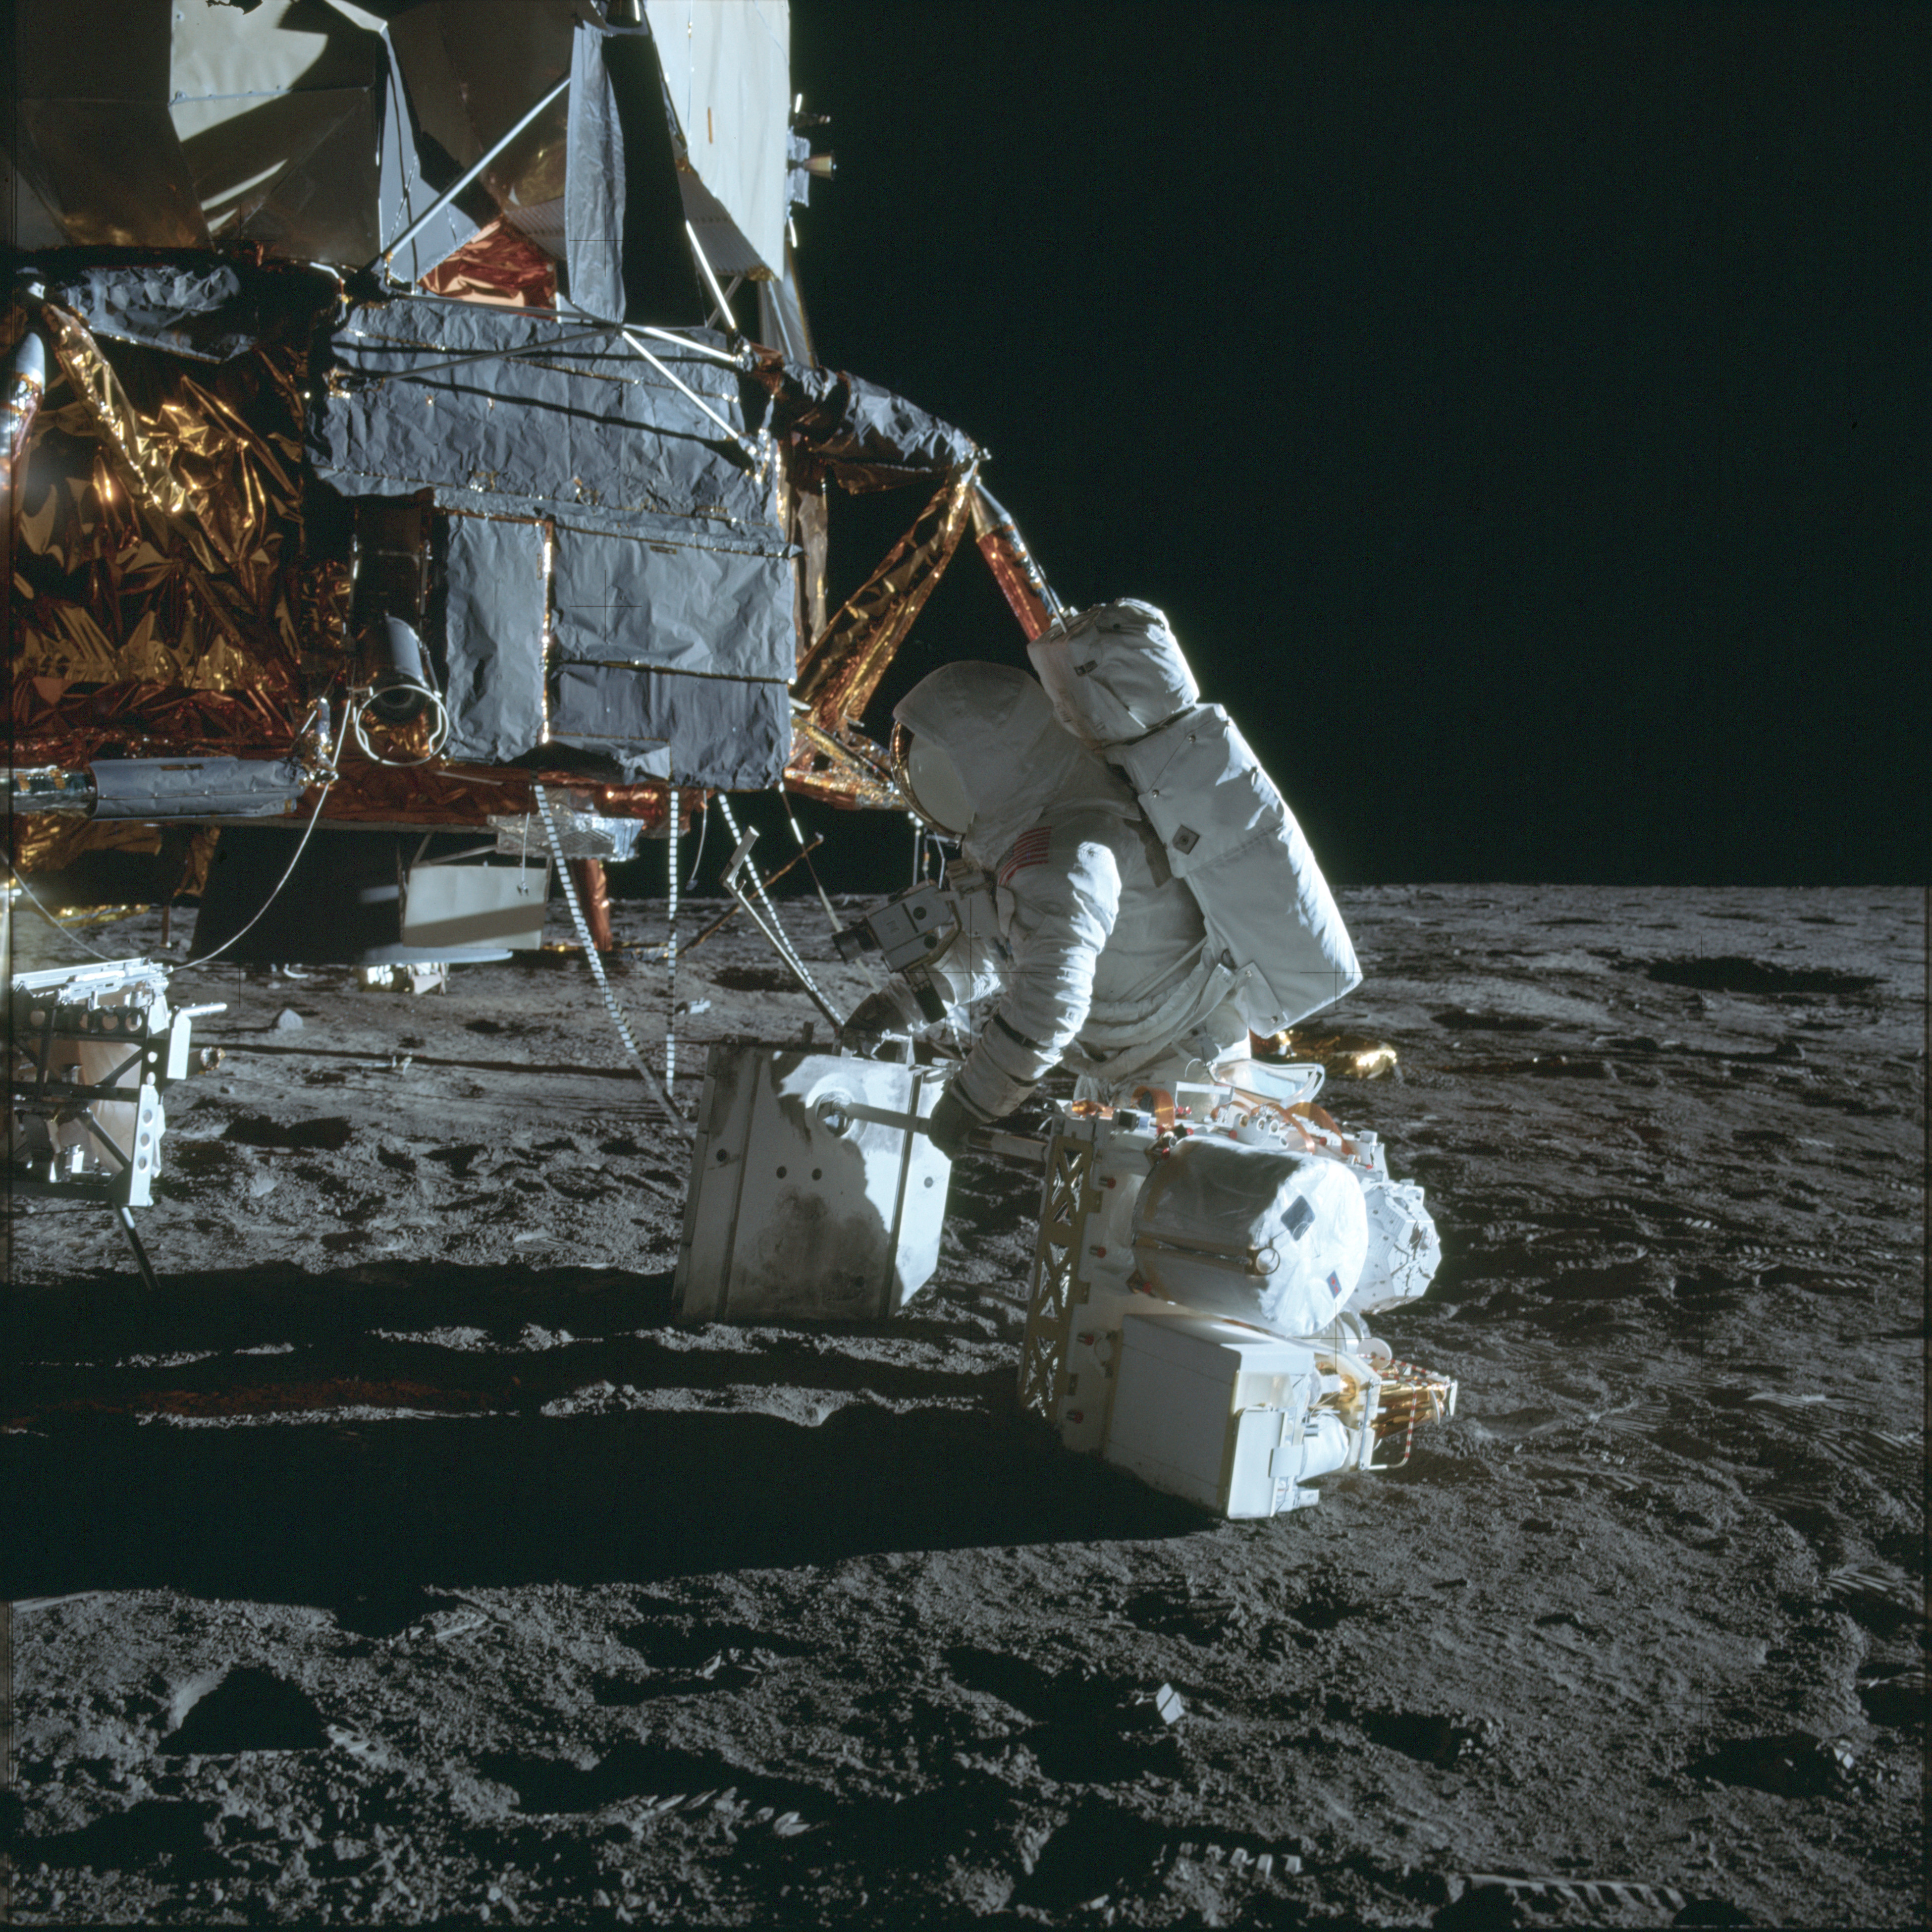 |
AS12-46-6792 Al attaches the RTG to one end of a carry bar. This carry bar will be used to take the ALSEP packages out to their final destination, about 100 metres west of the LM. Image credit: Image Science and Analysis Laboratory, NASA-Johnson Space Center |
 |
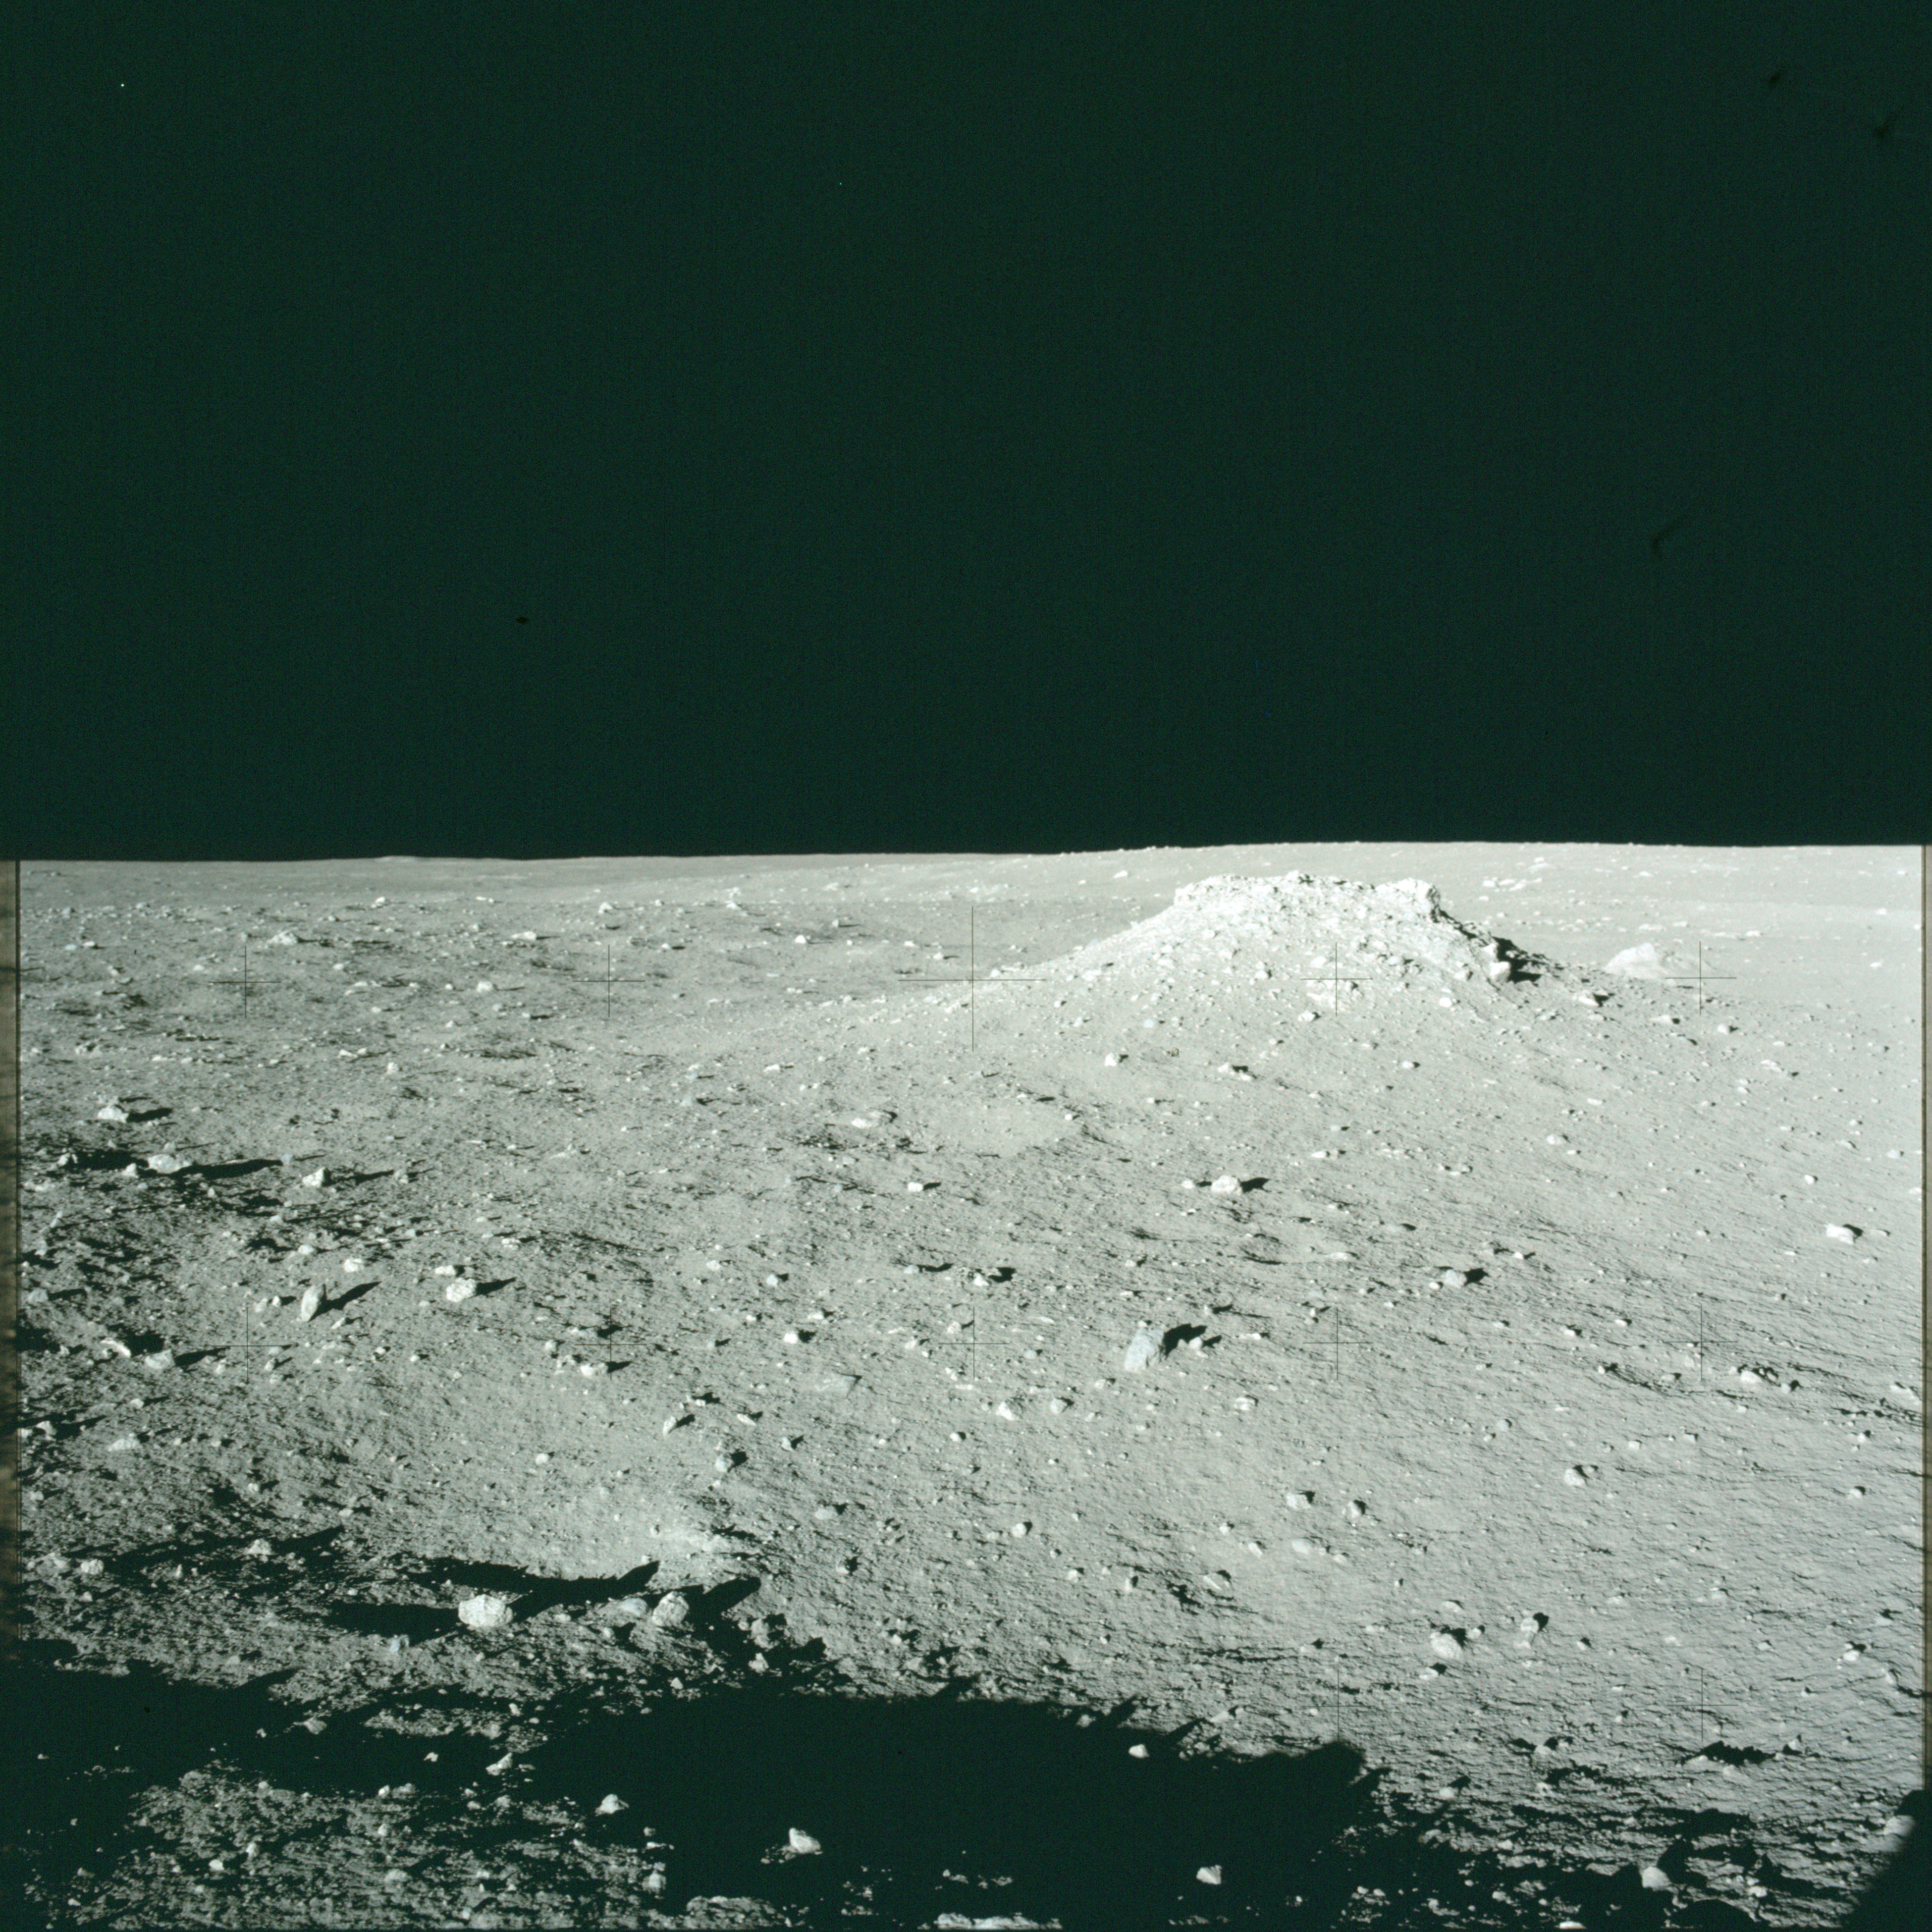
AS12-46-6793 Pete Conrad's shot of the larger of two mounds near the ALSEP site. Image credit: Image Science and Analysis Laboratory, NASA-Johnson Space Center |
 |
AS12-46-6794 First of a stereo pair of the larger of two mounds near the ALSEP site. Image credit: Image Science and Analysis Laboratory, NASA-Johnson Space Center |
 |
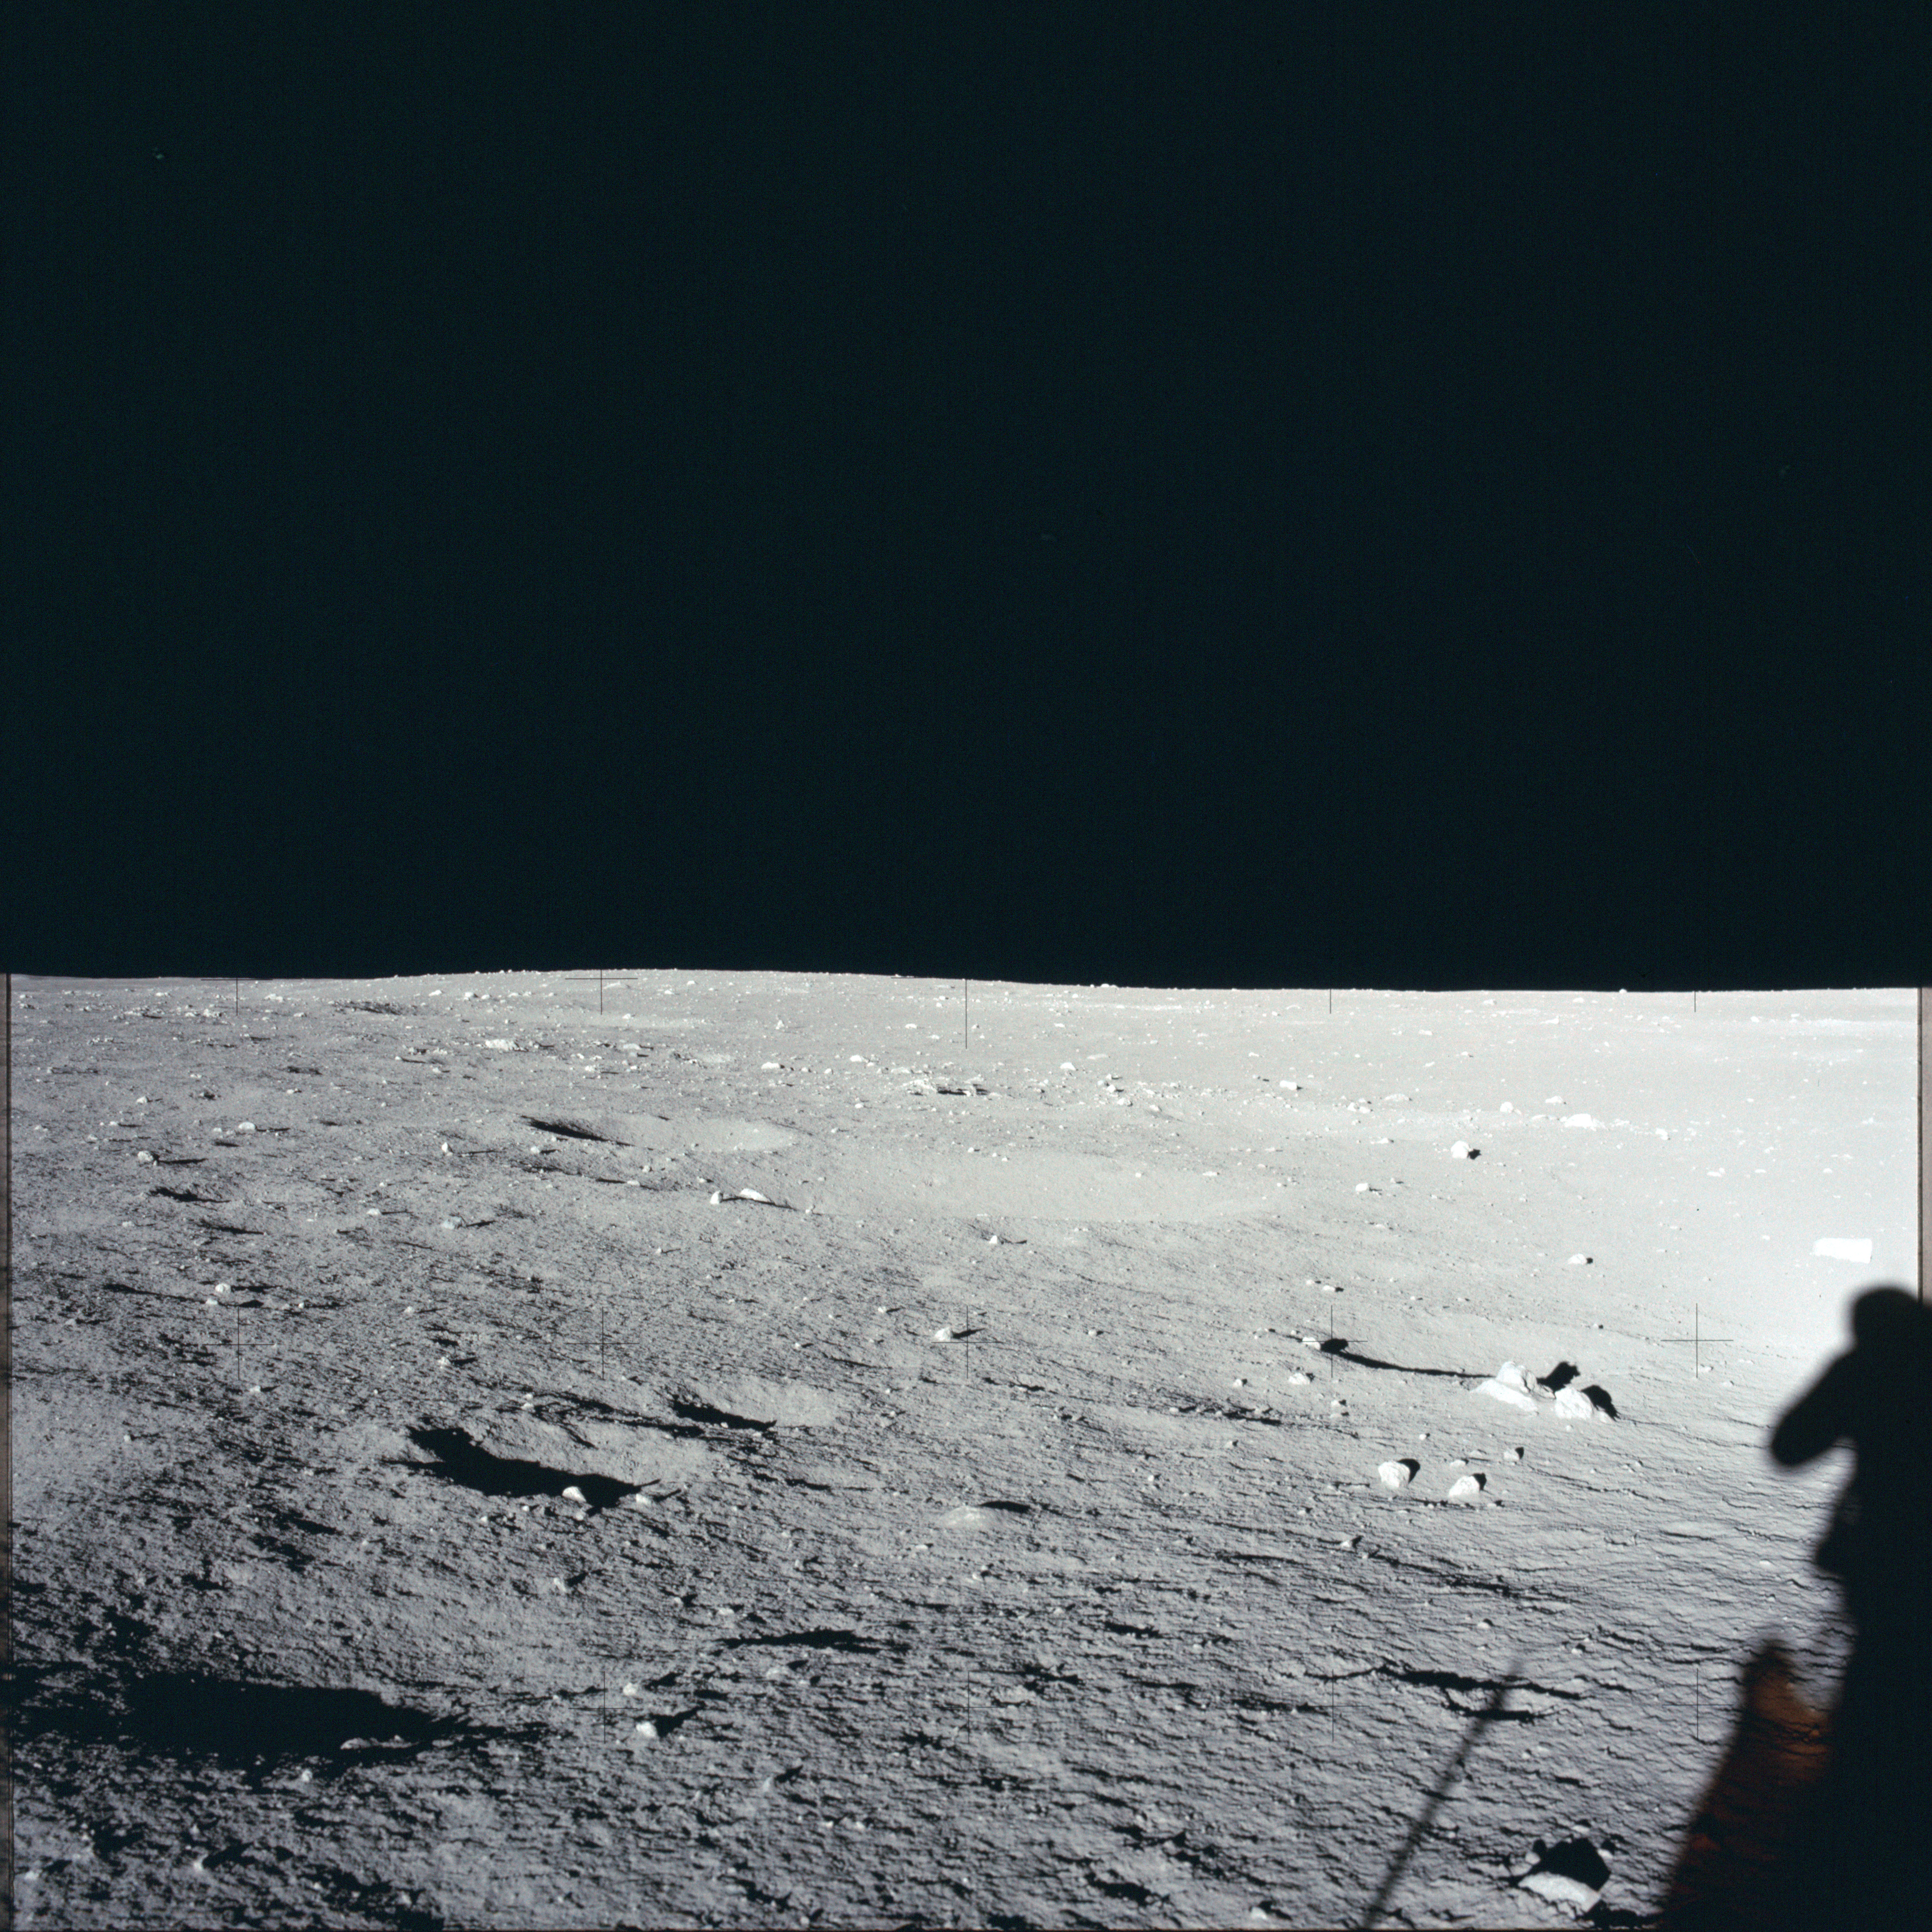
AS12-46-6795 Second of a stereo pair of the larger of two mounds near the ALSEP site. Image credit: Image Science and Analysis Laboratory, NASA-Johnson Space Center |
 |
AS12-46-6796 Panorama image near the ALSEP site prior to deployment of the instruments (1/16). View west including Pete's shadow. Image credit: Image Science and Analysis Laboratory, NASA-Johnson Space Center |
 |
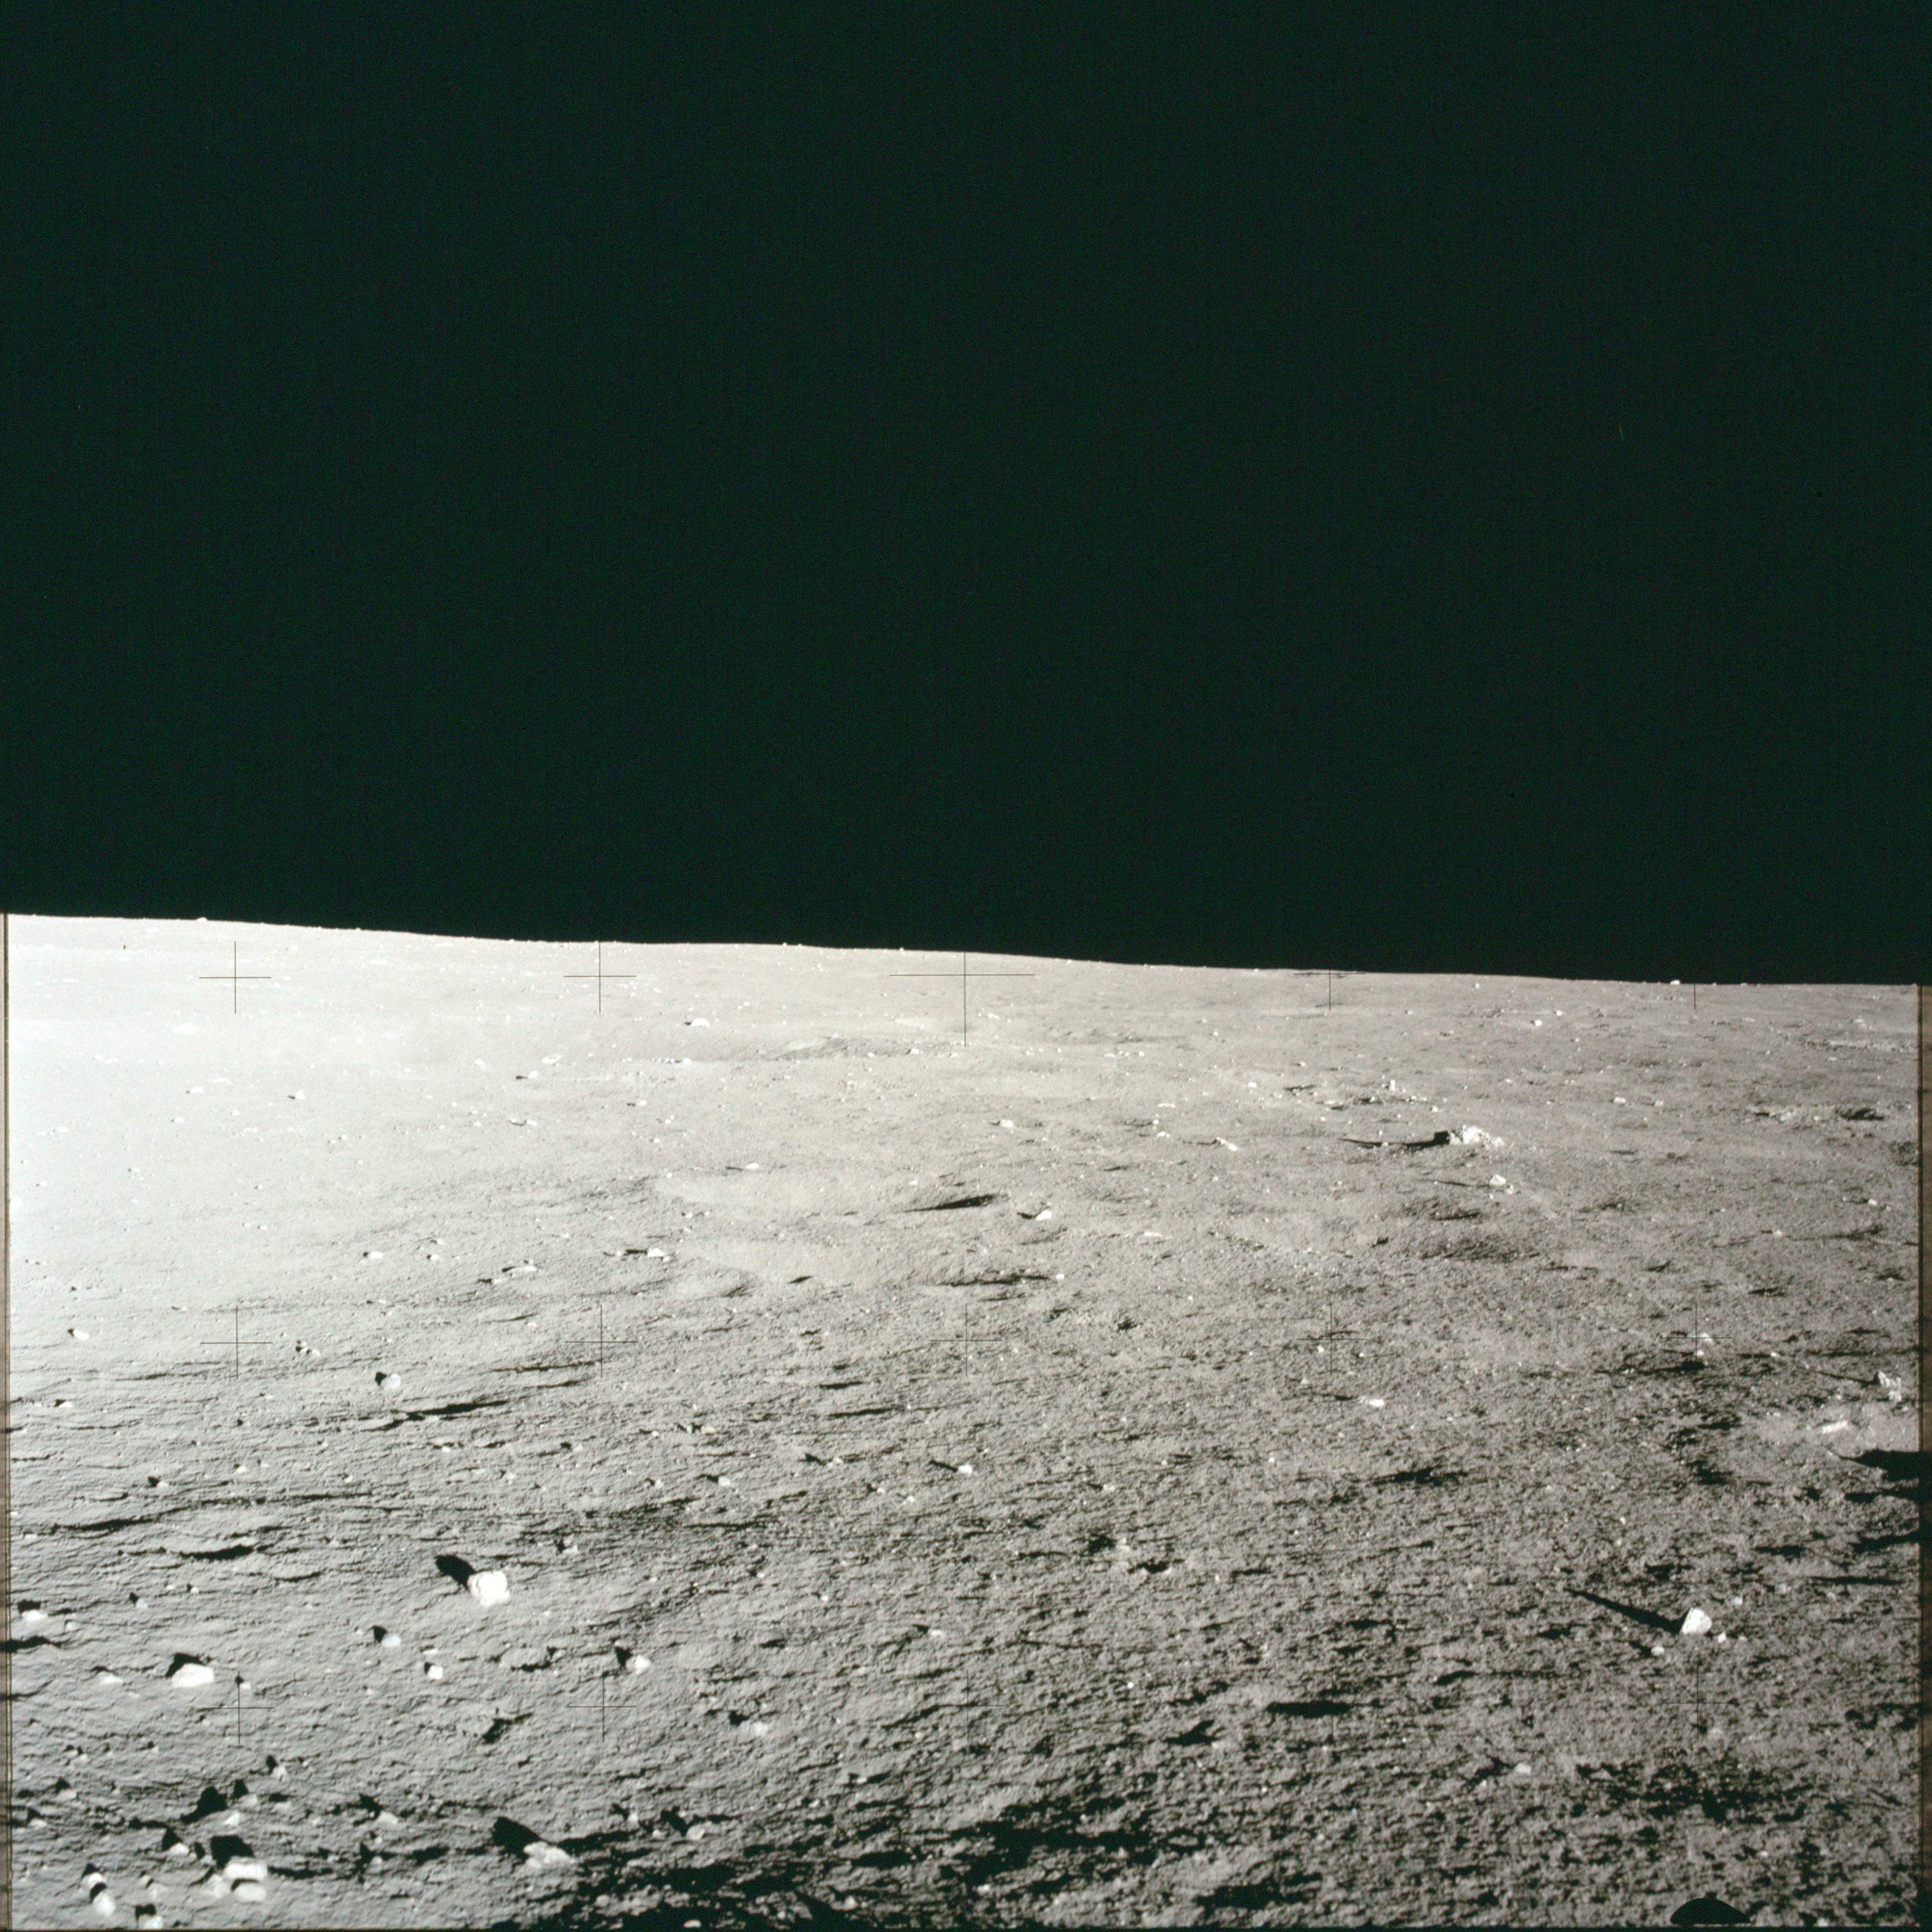
AS12-46-6797 Panorama image near the ALSEP site prior to deployment of the instruments (2/16). Image credit: Image Science and Analysis Laboratory, NASA-Johnson Space Center |
 |
AS12-46-6798 Panorama image near the ALSEP site prior to deployment of the instruments (3/16). Image credit: Image Science and Analysis Laboratory, NASA-Johnson Space Center |
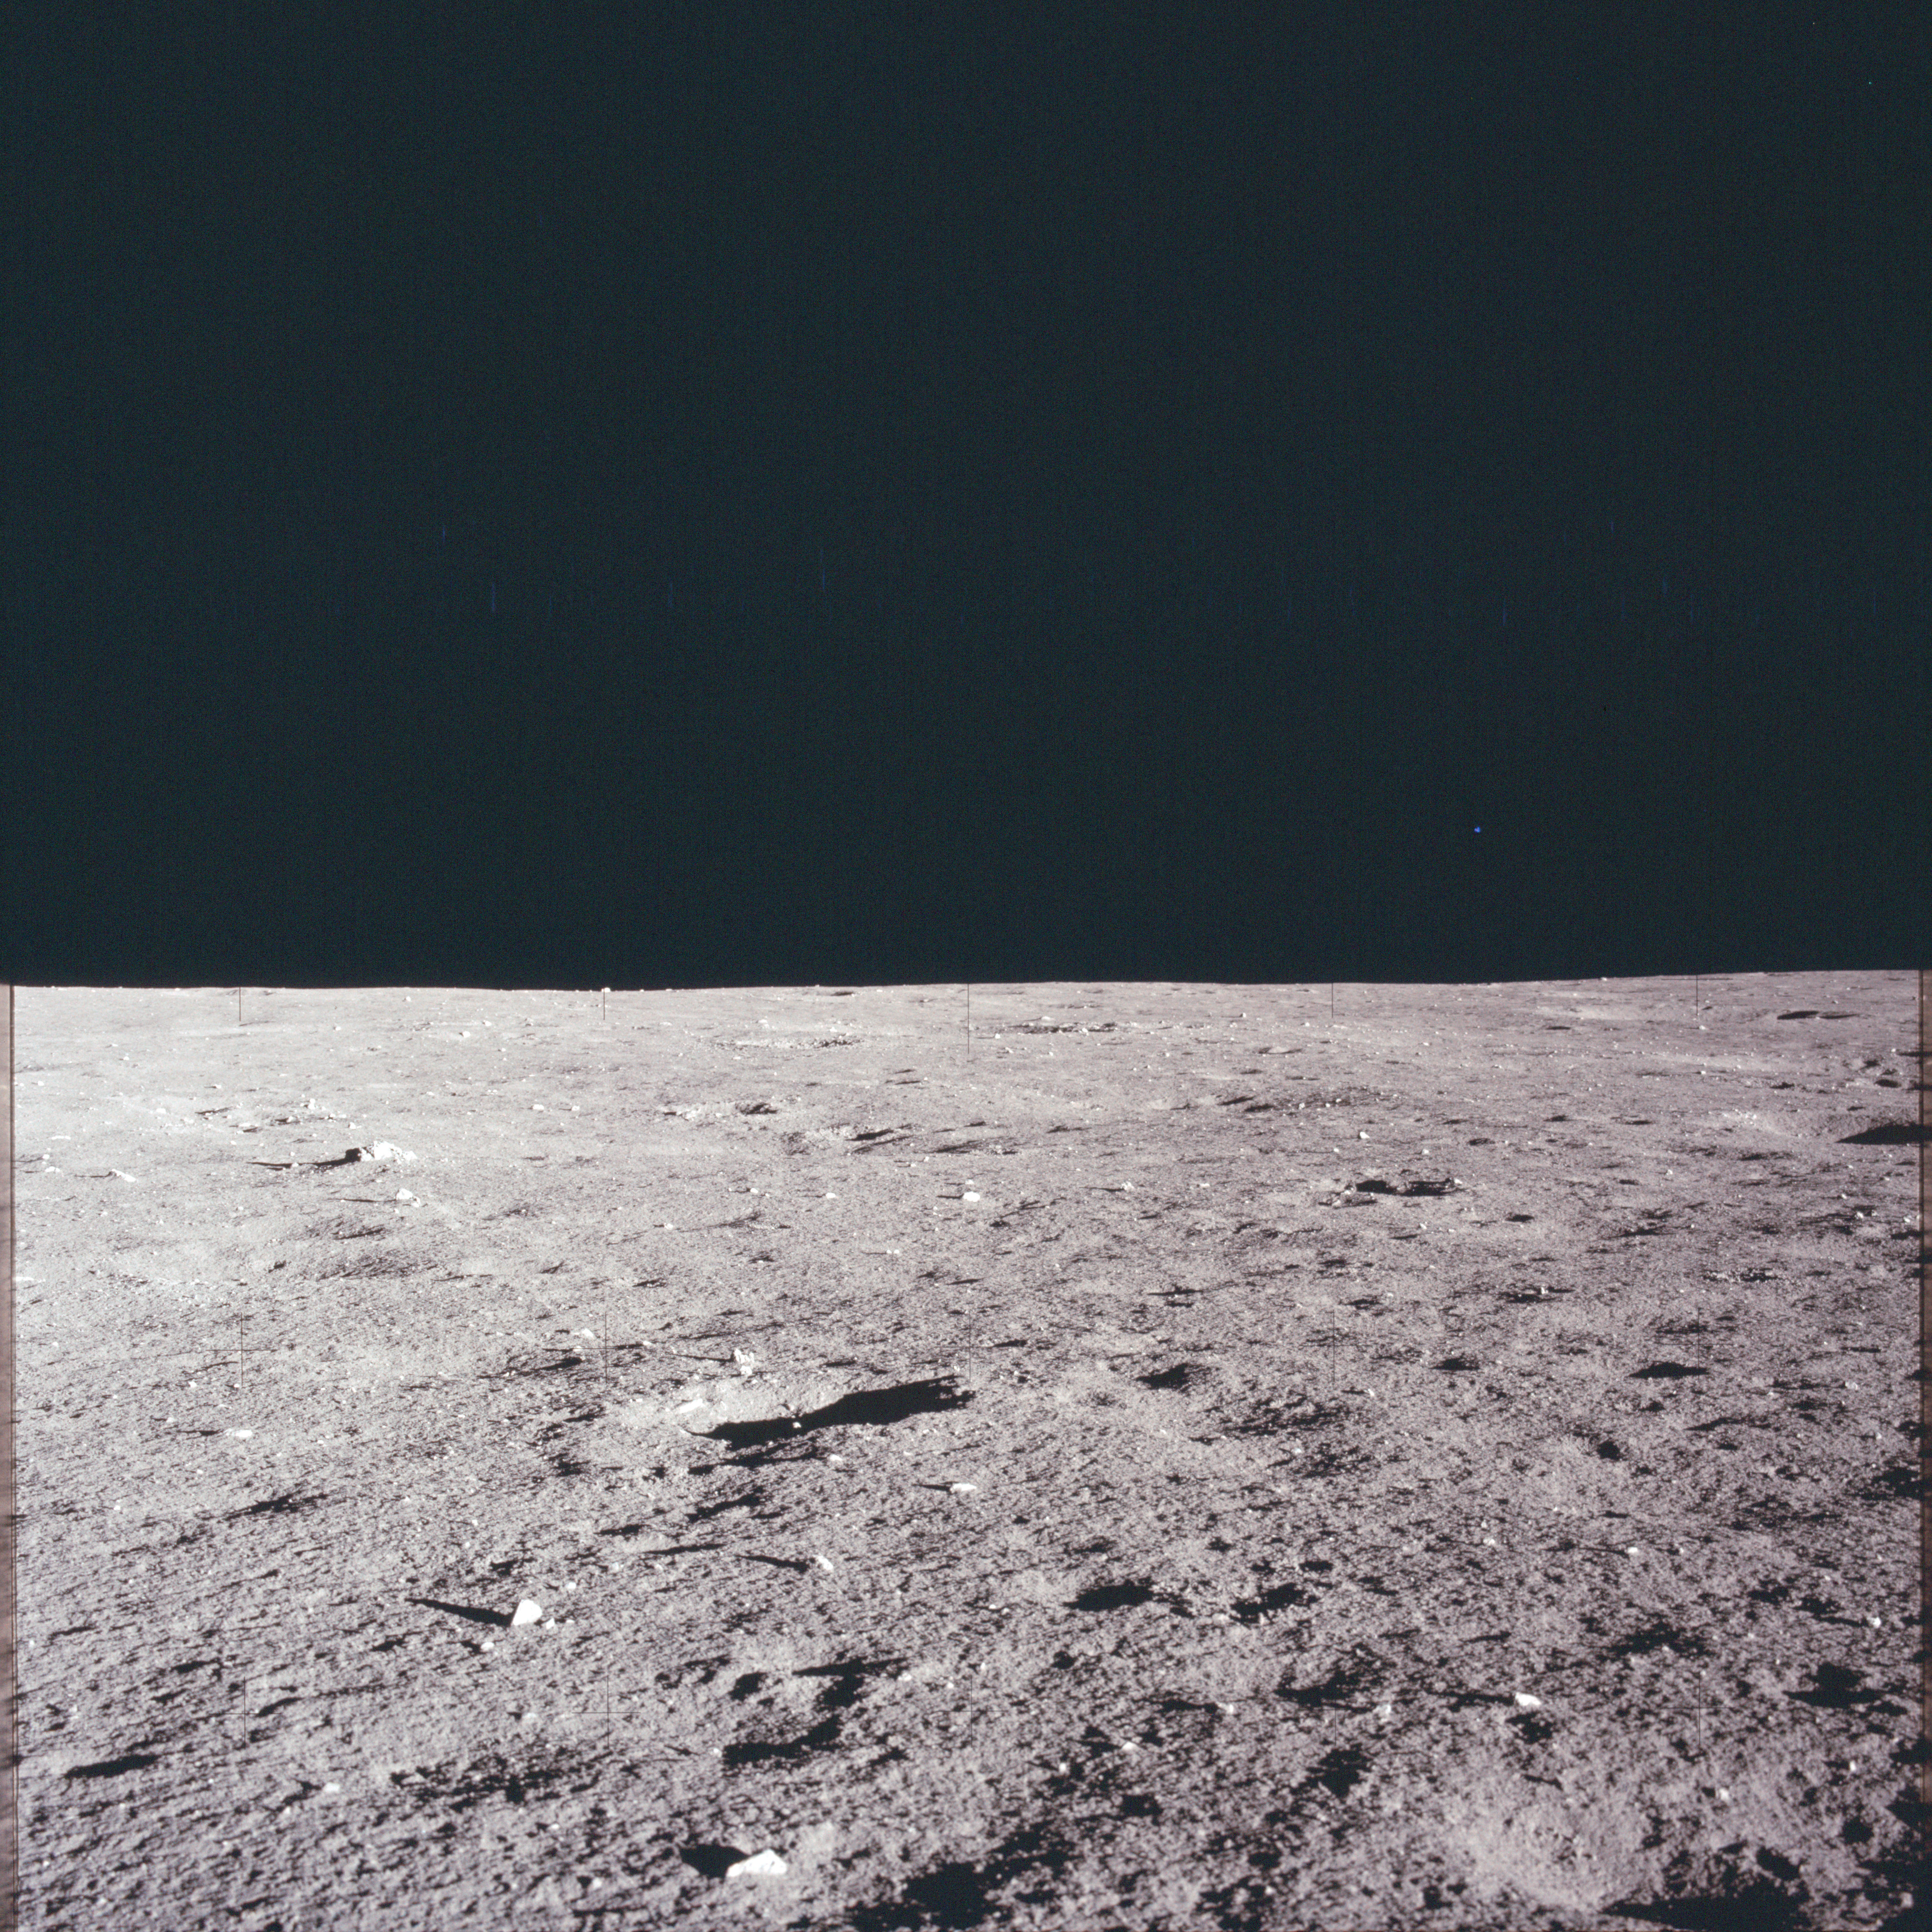 |
AS12-46-6799 Panorama image near the ALSEP site prior to deployment of the instruments (4/16). Image credit: Image Science and Analysis Laboratory, NASA-Johnson Space Center |
 |
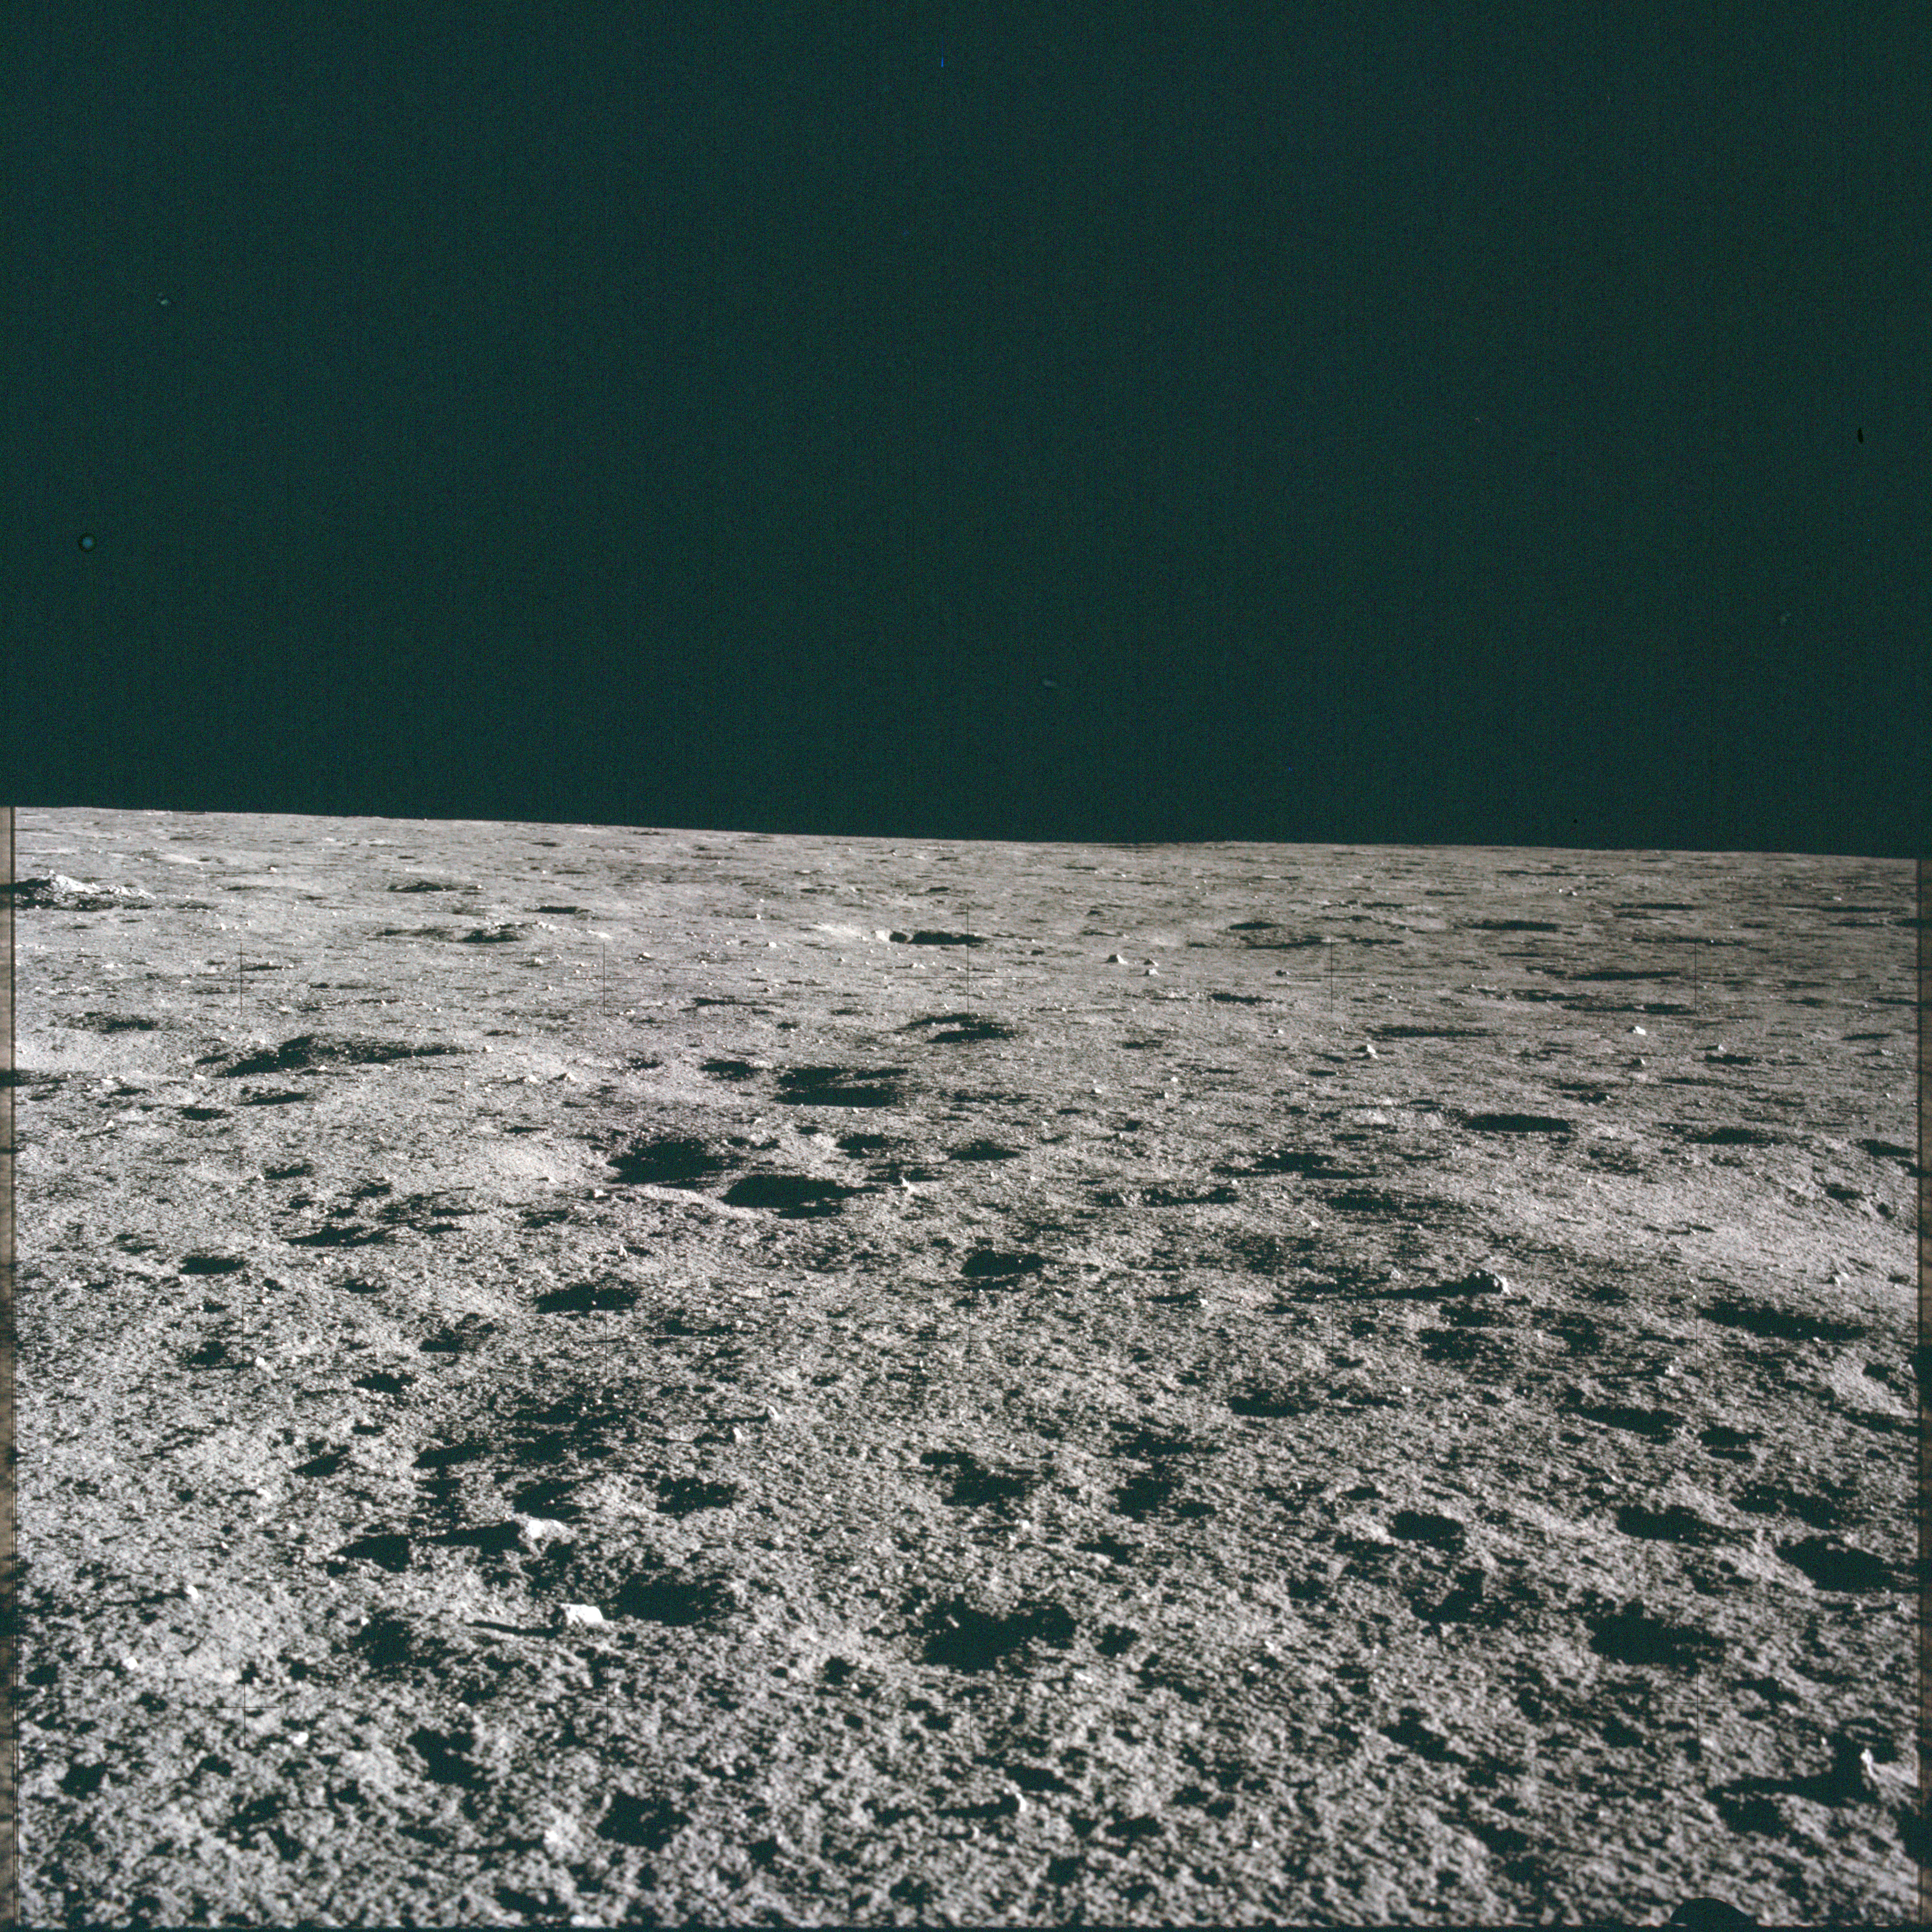
AS12-46-6800 Panorama image near the ALSEP site prior to deployment of the instruments (5/16). View to the north. Image credit: Image Science and Analysis Laboratory, NASA-Johnson Space Center |
 |
AS12-46-6801 Panorama image near the ALSEP site prior to deployment of the instruments (6/16). Image credit: Image Science and Analysis Laboratory, NASA-Johnson Space Center |
 |
AS12-46-6802 Panorama image near the ALSEP site prior to deployment of the instruments (7/16). Image credit: Image Science and Analysis Laboratory, NASA-Johnson Space Center |
 |
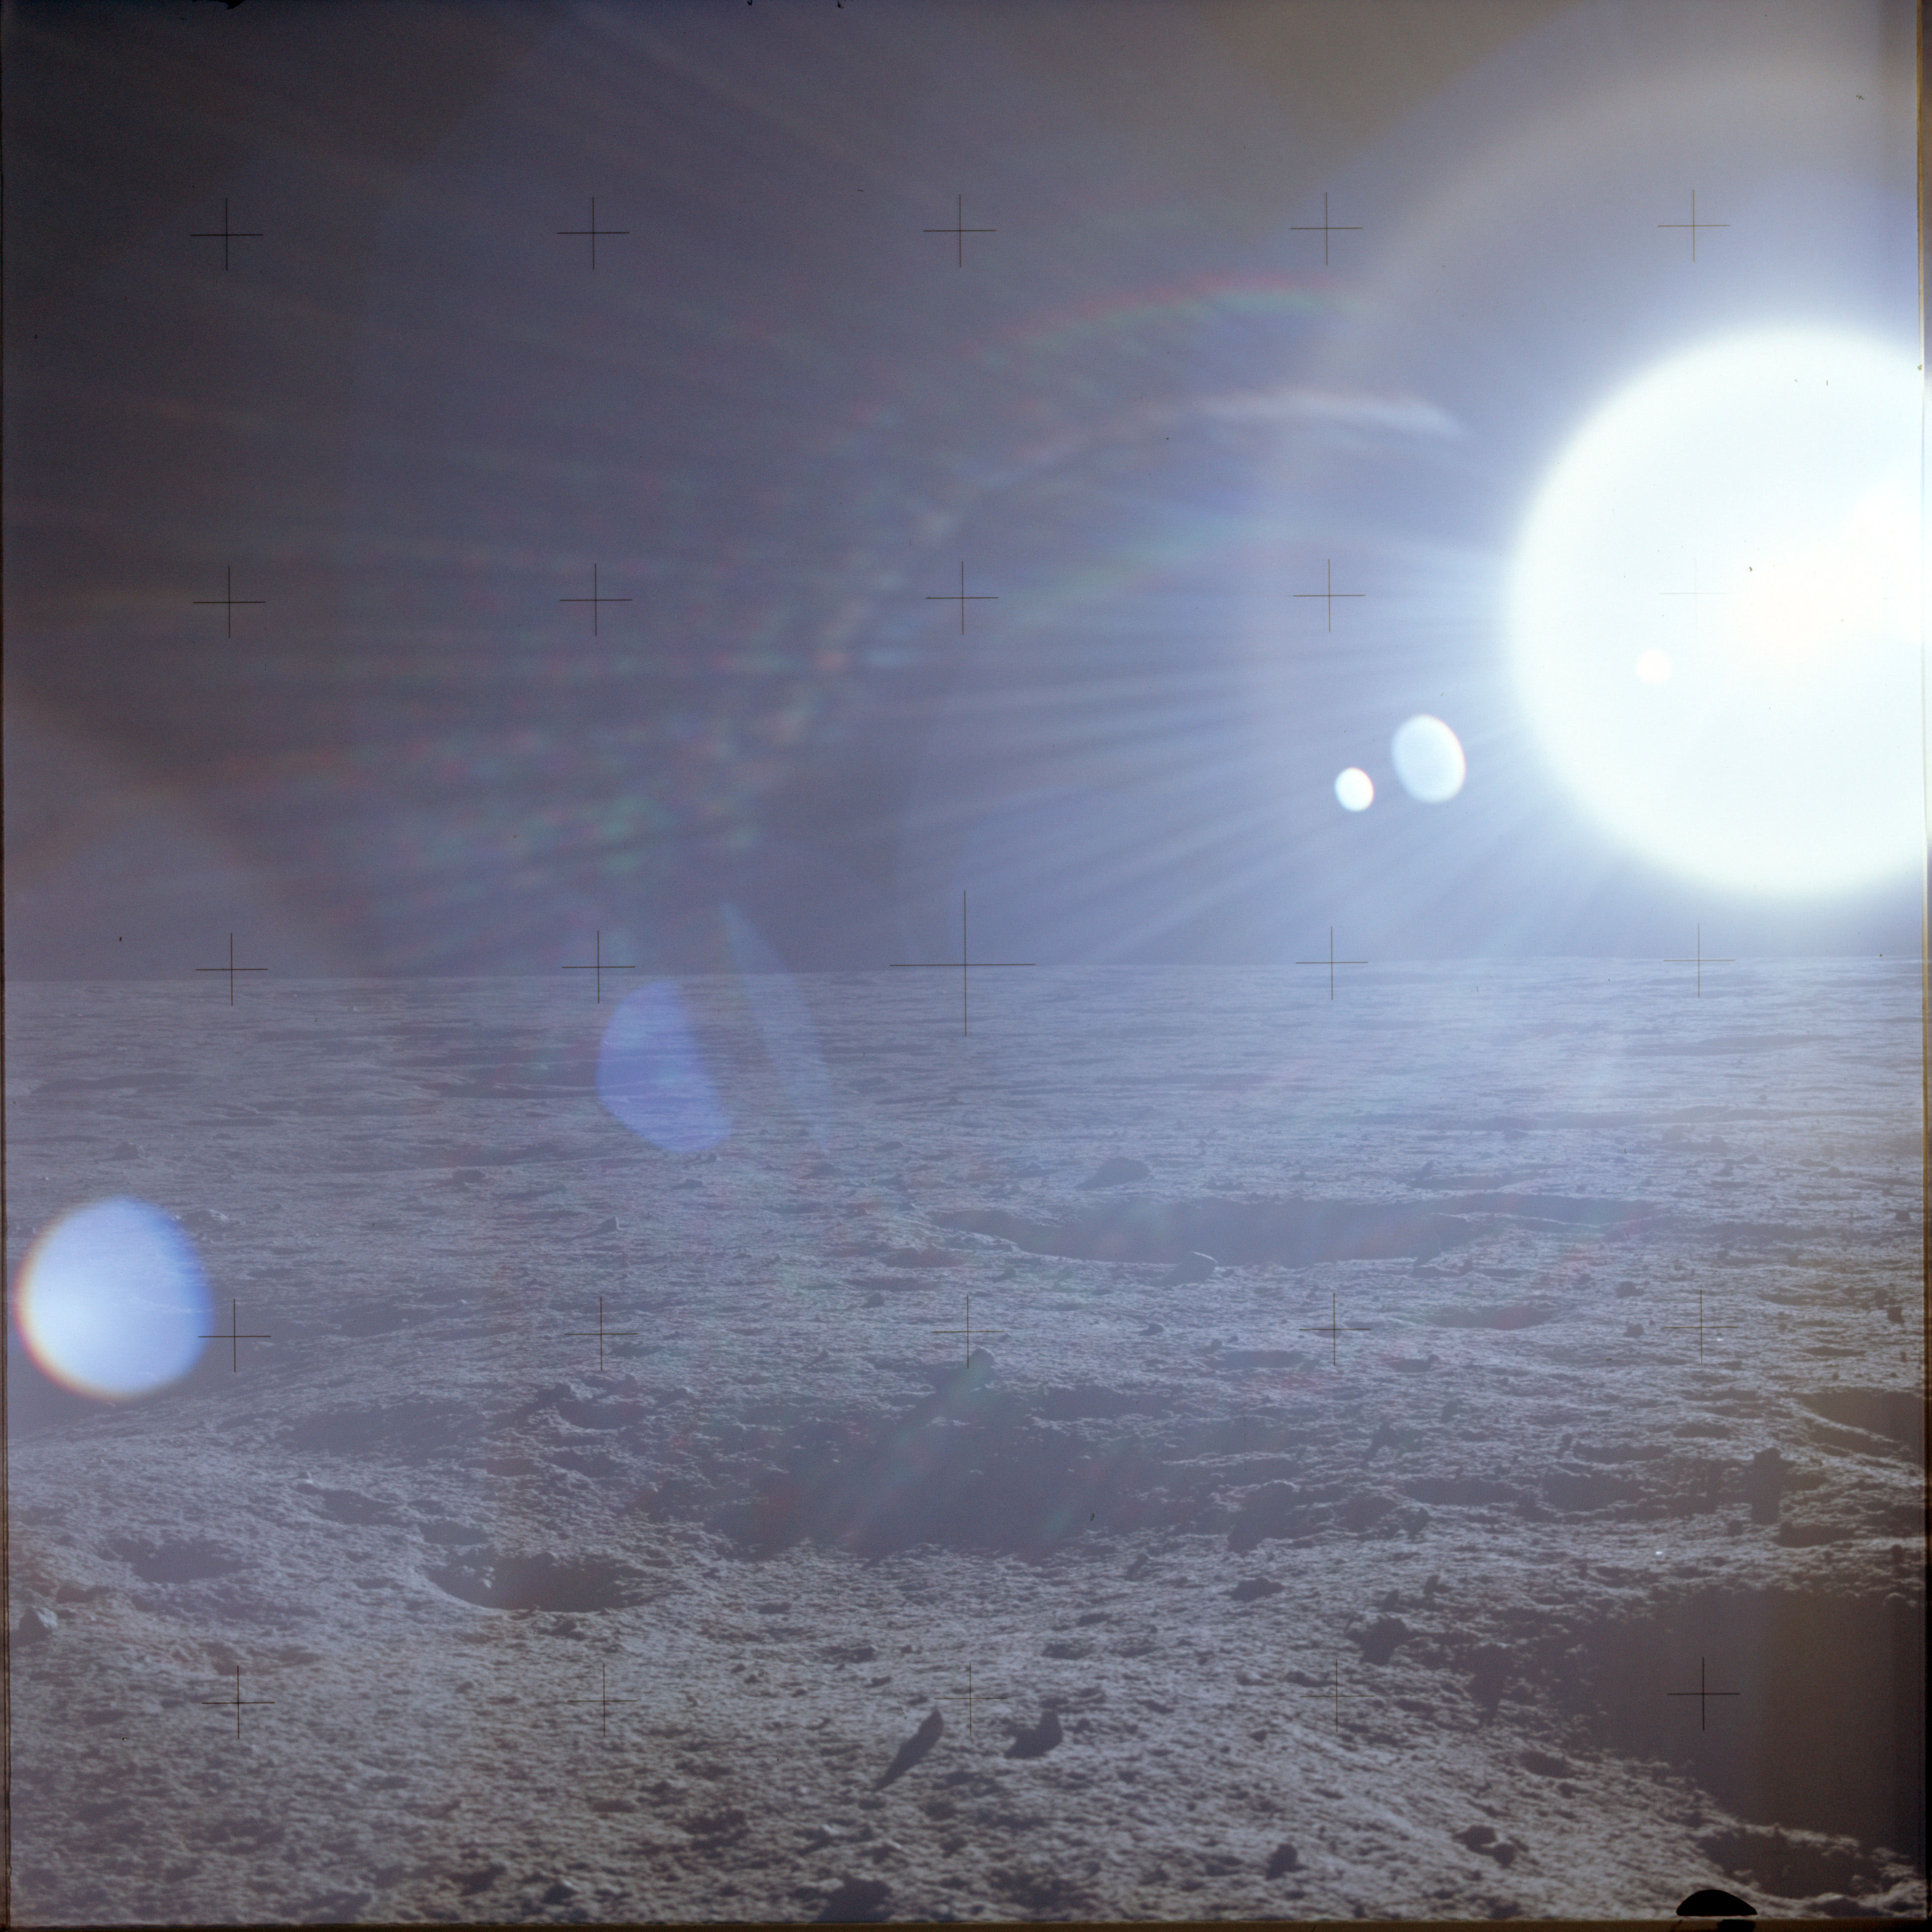
AS12-46-6803 Panorama image near the ALSEP site prior to deployment of the instruments (8/16). Image credit: Image Science and Analysis Laboratory, NASA-Johnson Space Center |
 |
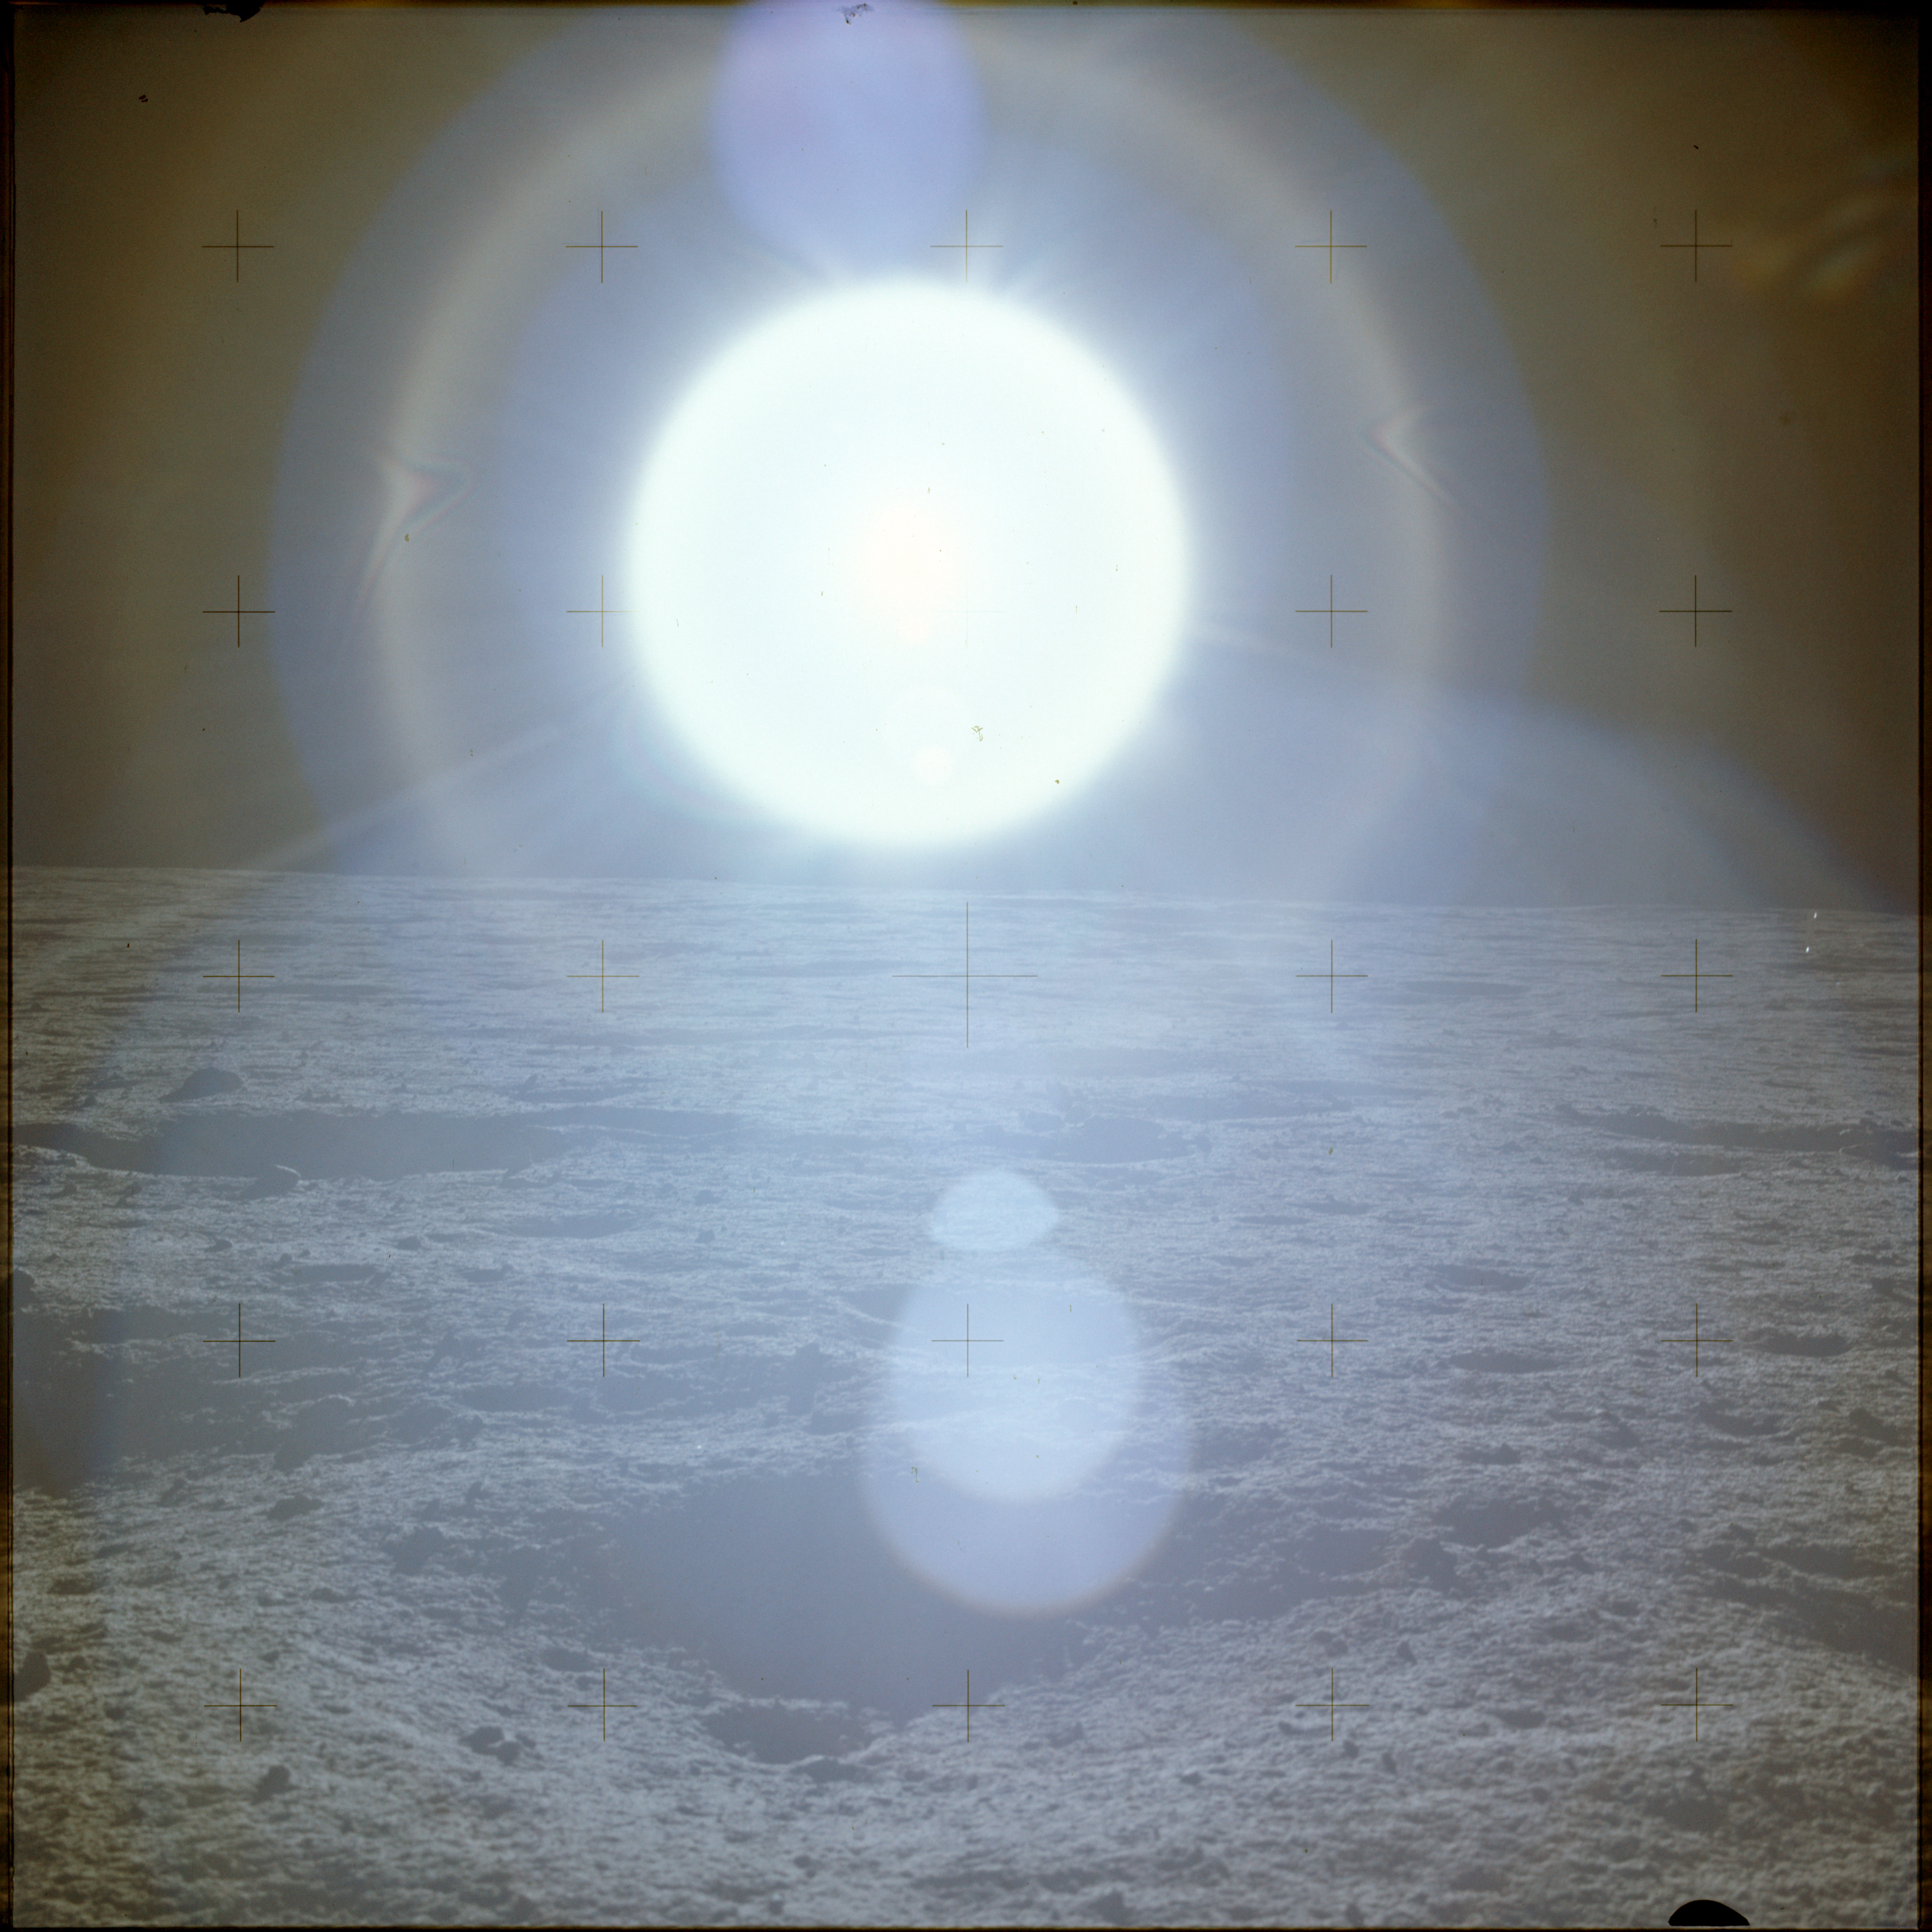
AS12-46-6804 Panorama image near the ALSEP site prior to deployment of the instruments (9/16). View east is obscured by glare from Sun. Image credit: Image Science and Analysis Laboratory, NASA-Johnson Space Center |
 |
AS12-46-6805 Panorama image near the ALSEP site prior to deployment of the instruments (10/16). View east is obscured by glare from Sun. Image credit: Image Science and Analysis Laboratory, NASA-Johnson Space Center |
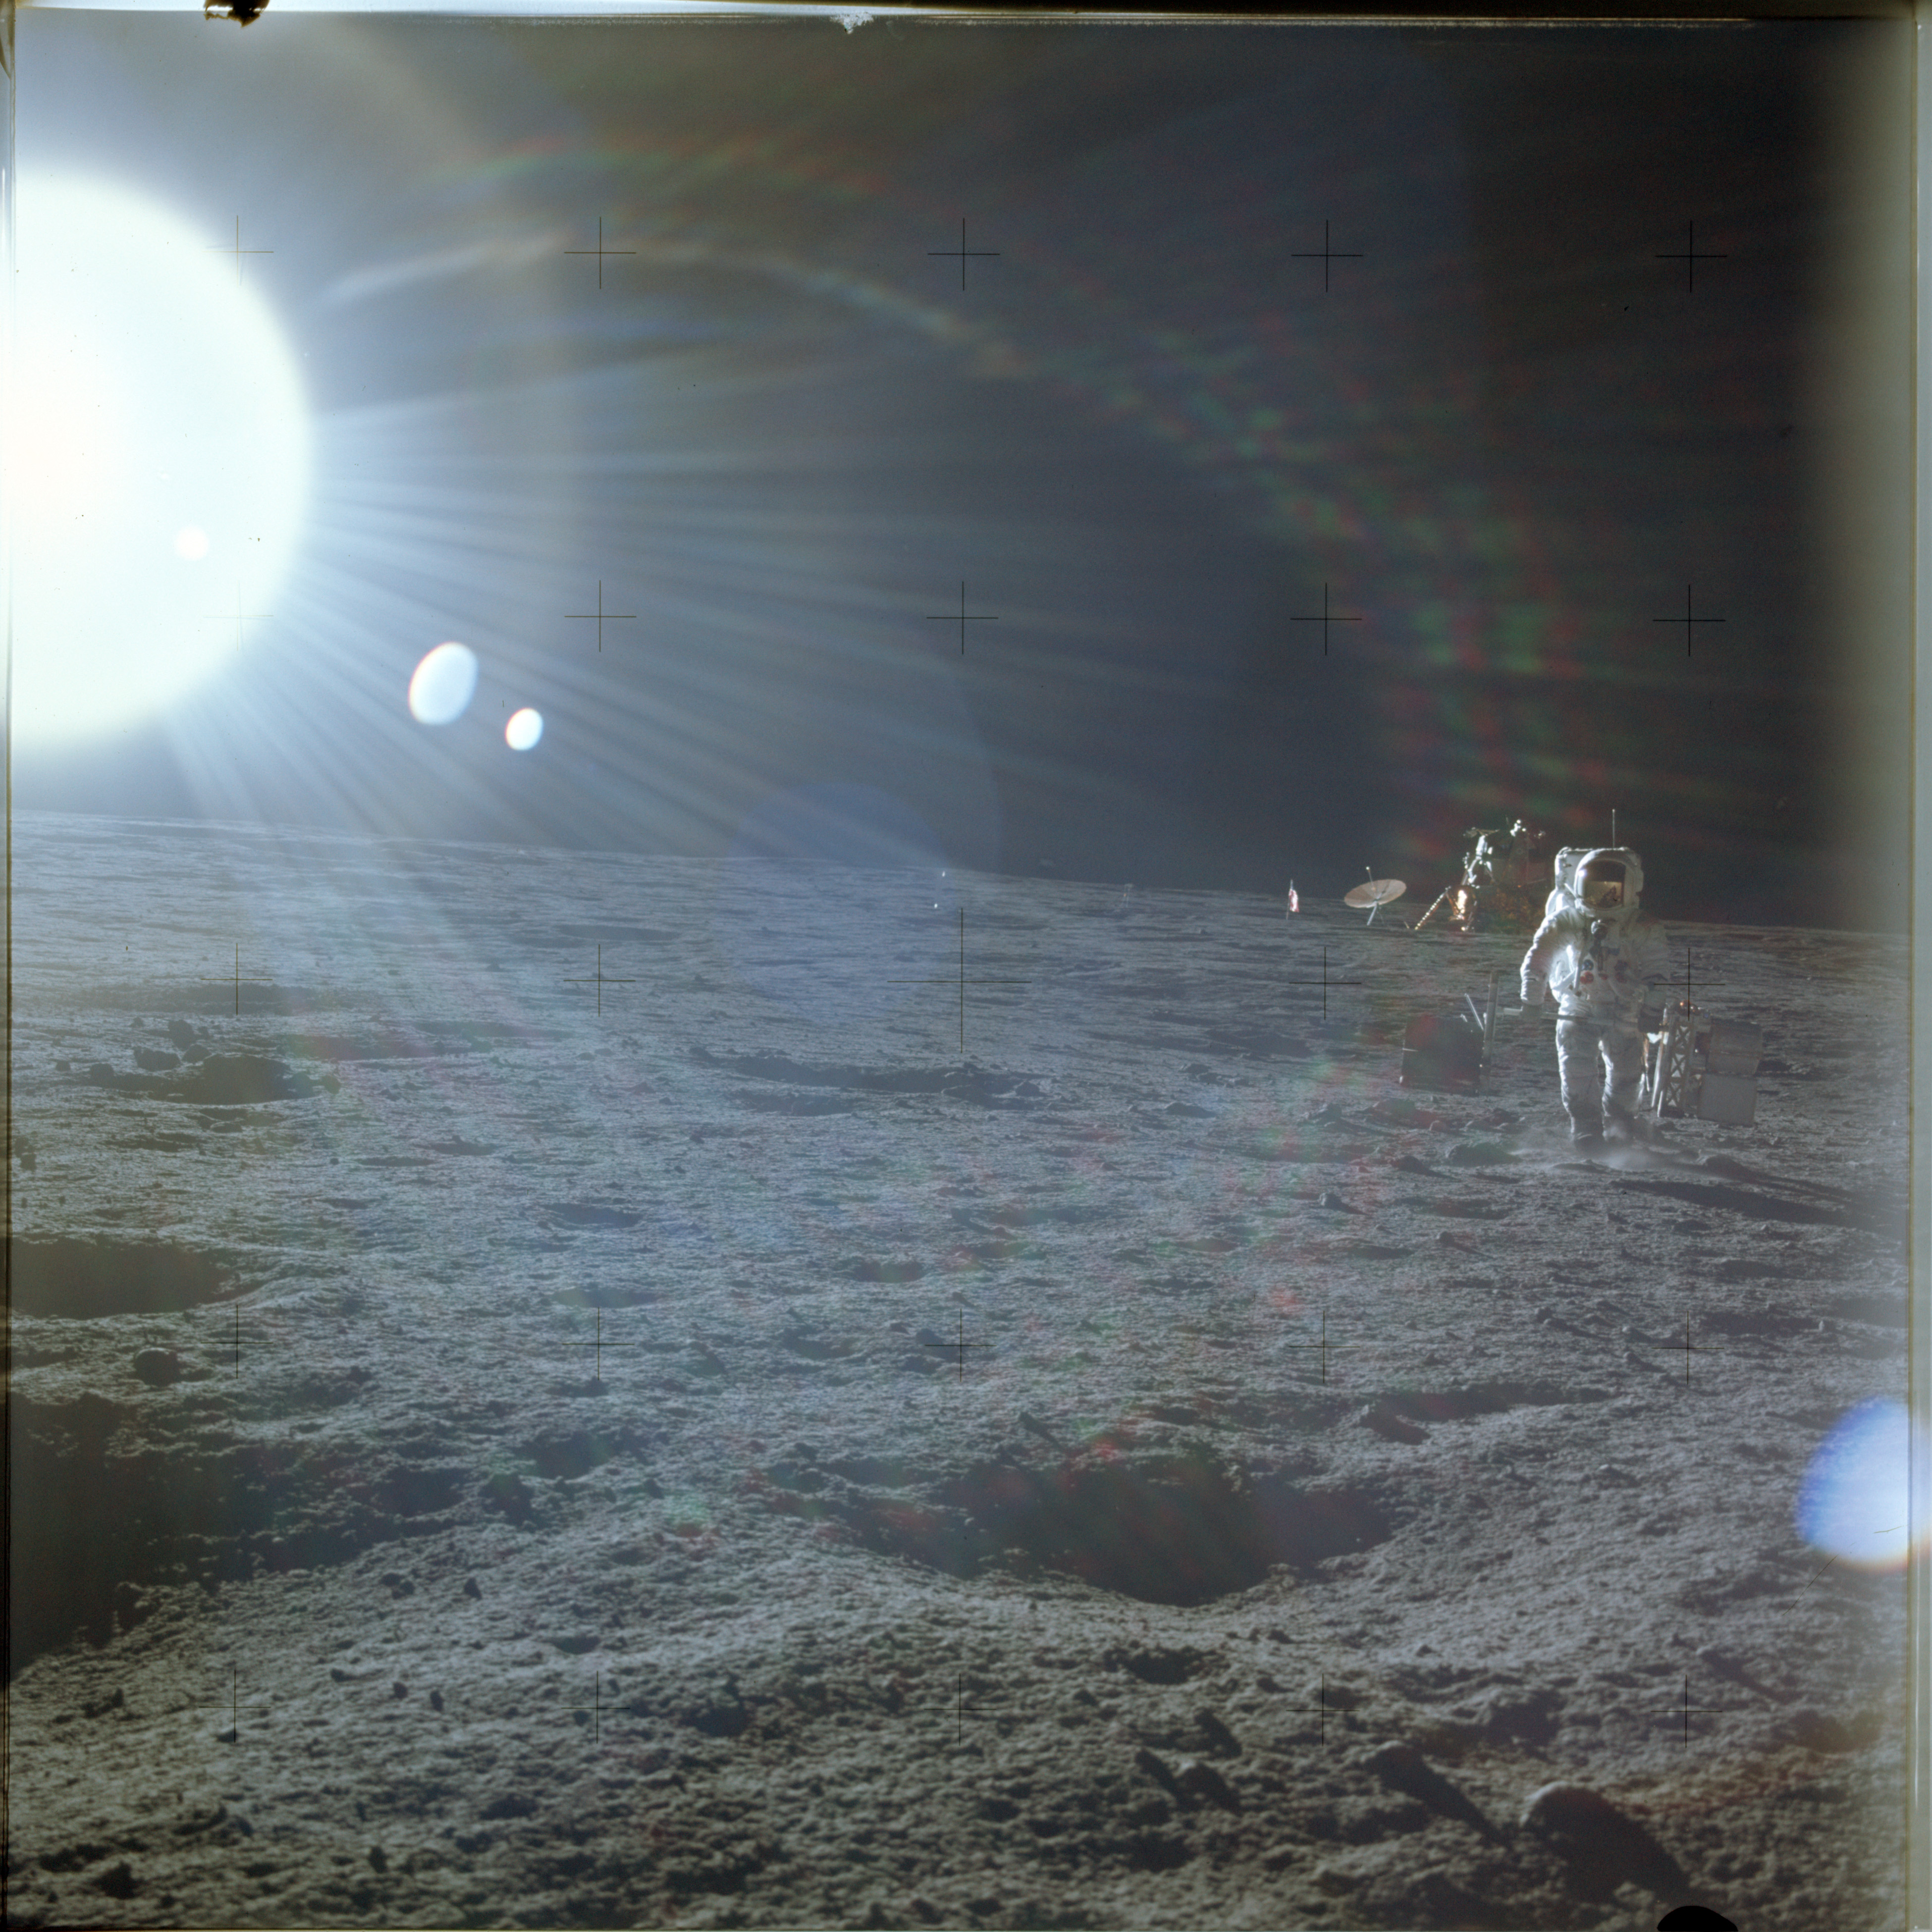 |
AS12-46-6806 Panorama image near the ALSEP site prior to deployment of the instruments (11/16). View east is obscured by glare from Sun. Includes Al carrying the ALSEP equipment with the LM and high-gain antenna in the distance. Image credit: Image Science and Analysis Laboratory, NASA-Johnson Space Center |
 |
AS12-46-6807 Panorama image near the ALSEP site prior to deployment of the instruments (12/16). View southeast includes Al carrying the ALSEP equipment to their final position. Visible in the distance is the high-gain antenna and a partially obscured LM. Image credit: Image Science and Analysis Laboratory, NASA-Johnson Space Center |
 |
AS12-46-6808 Panorama image near the ALSEP site prior to deployment of the instruments (13/16). Al's shadow is in the foreground. Image credit: Image Science and Analysis Laboratory, NASA-Johnson Space Center |
 |
AS12-46-6809 Panorama image near the ALSEP site prior to deployment of the instruments (14/16). Al's shadow is in the foreground of this view to the south. Image credit: Image Science and Analysis Laboratory, NASA-Johnson Space Center |
 |
AS12-46-6810 Panorama image near the ALSEP site prior to deployment of the instruments (15/16). View to the southwest. Image credit: Image Science and Analysis Laboratory, NASA-Johnson Space Center |
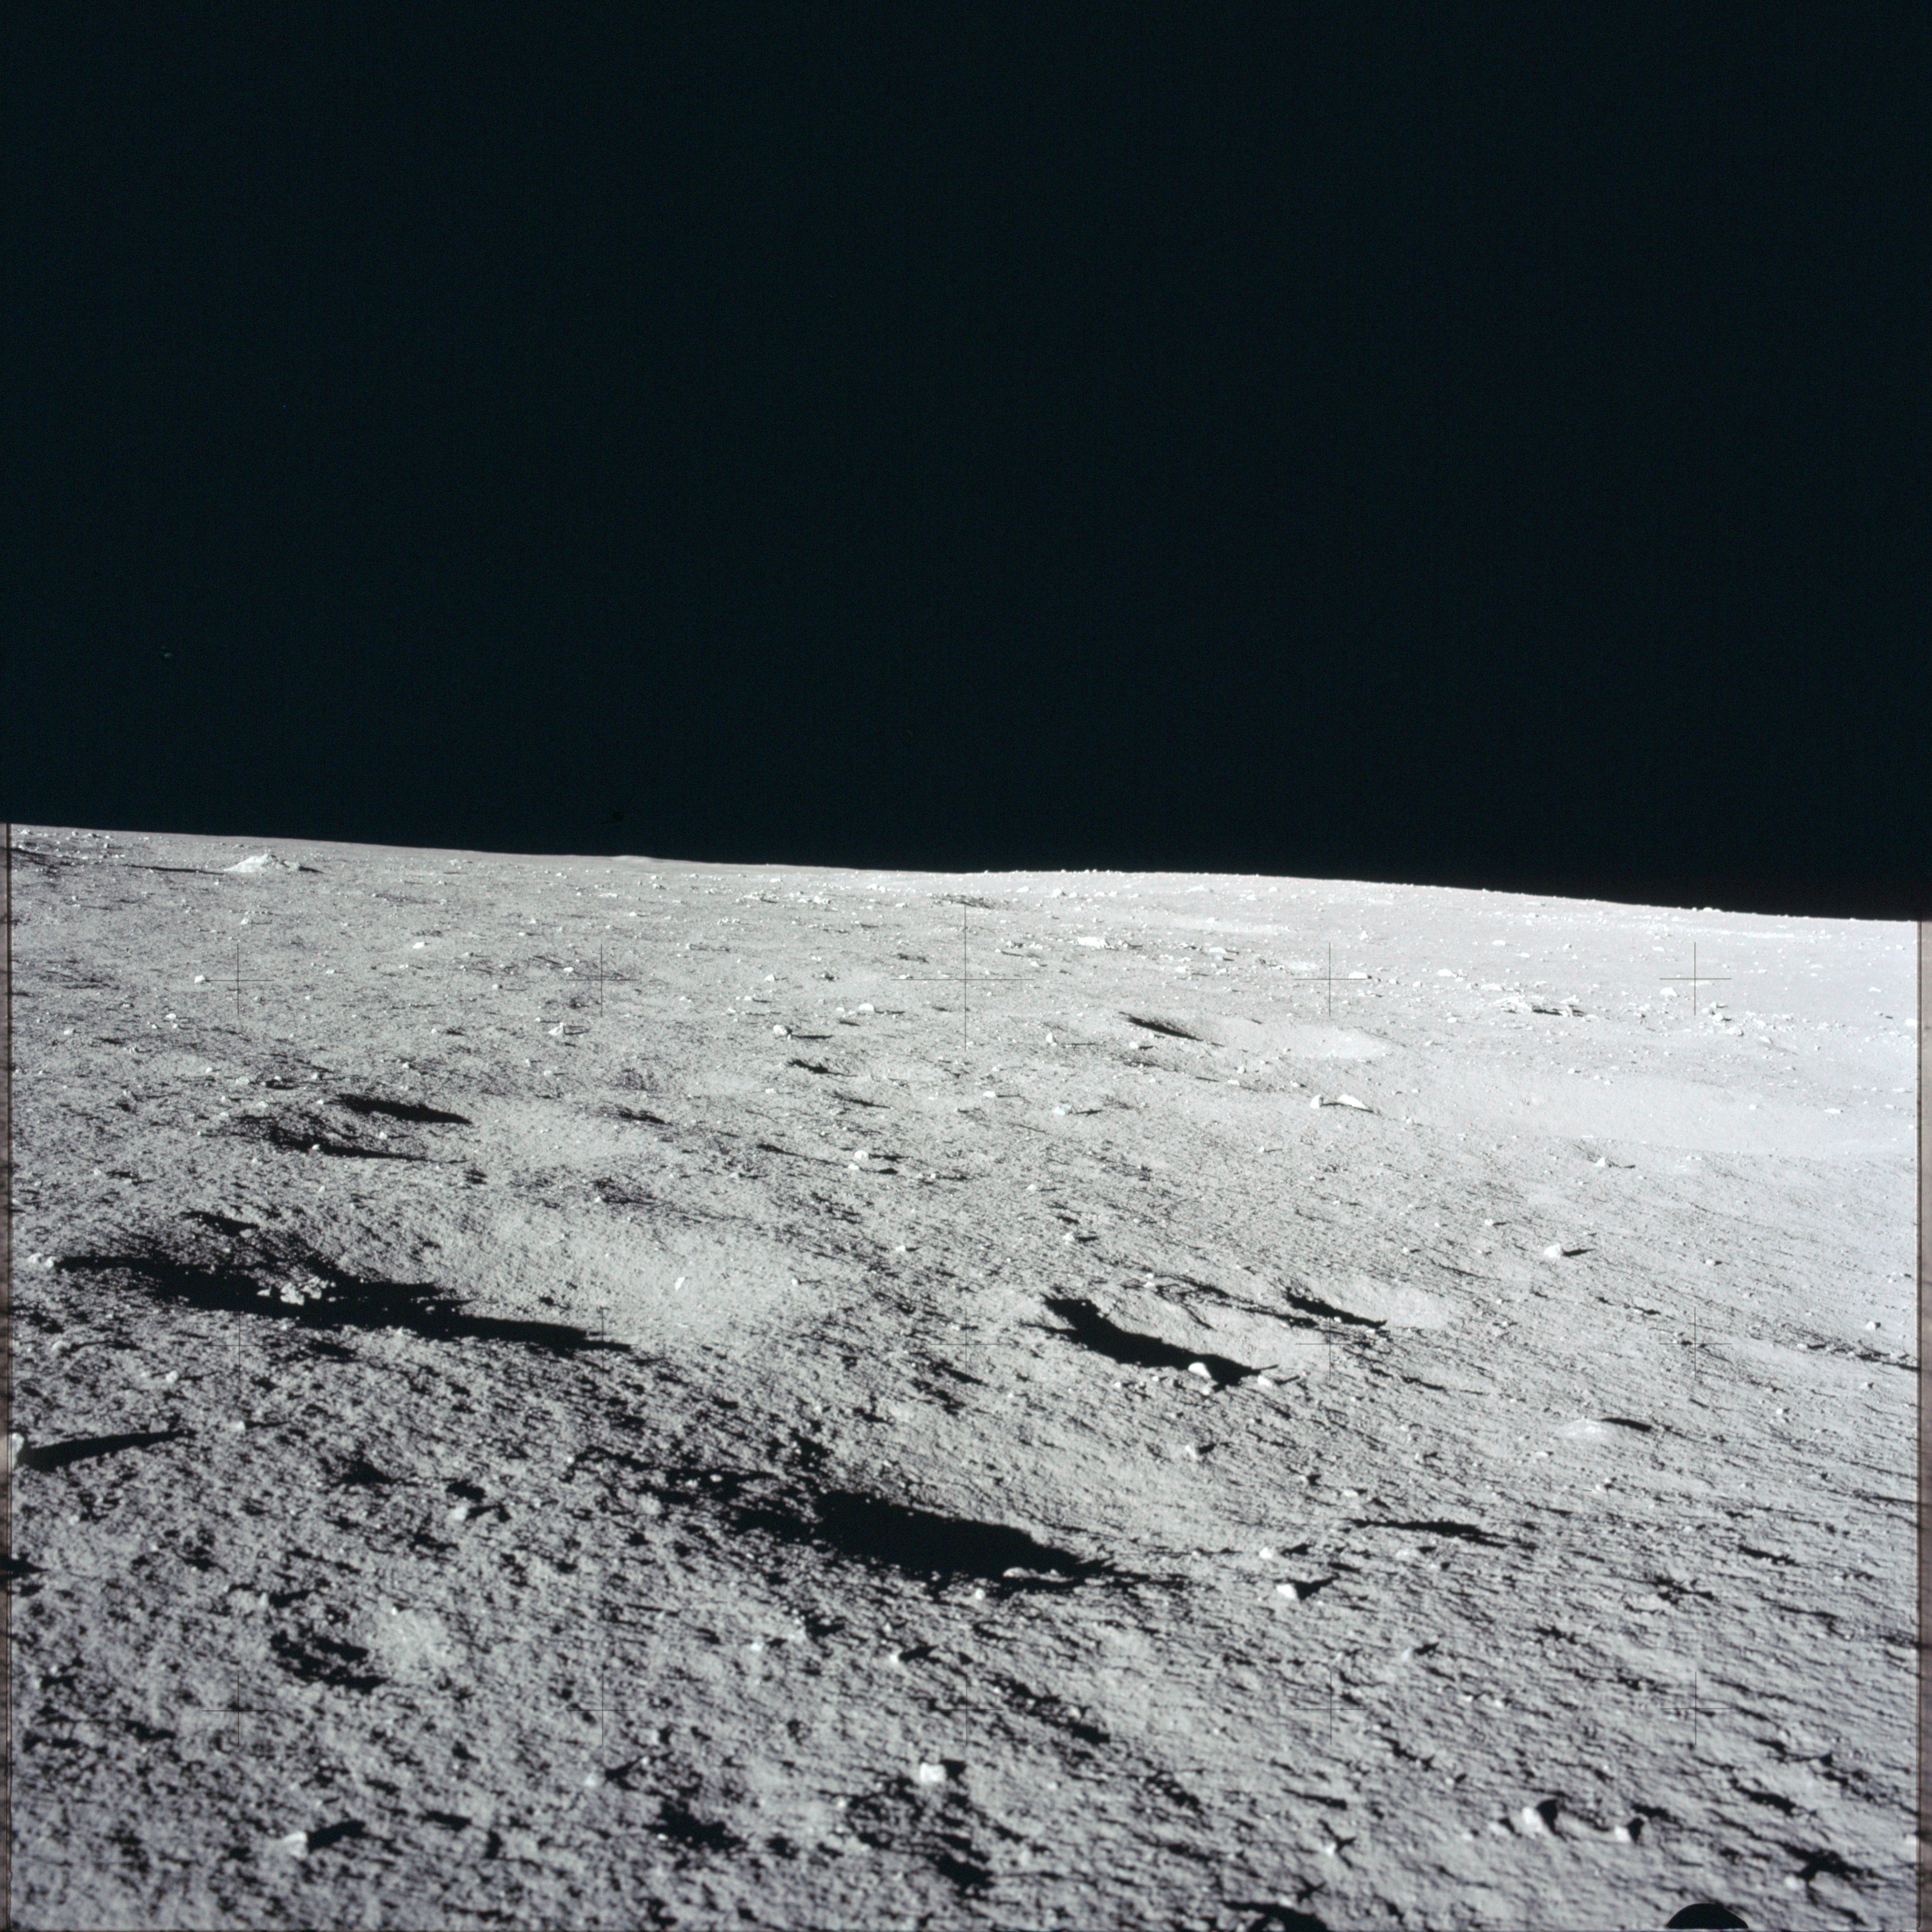 |
AS12-46-6811 Final panorama image near the ALSEP site prior to deployment of the instruments (16/16). Image credit: Image Science and Analysis Laboratory, NASA-Johnson Space Center |
 |
AS12-46-6812 Solar wind spectrometer. Image credit: Image Science and Analysis Laboratory, NASA-Johnson Space Center |
 |
AS12-46-6813 Al and the deployed three-arm Lunar Surface Magnetometer (LSM). The LM and high-gain antenna are in the distance. Image credit: Image Science and Analysis Laboratory, NASA-Johnson Space Center |
 |
AS12-46-6814 View across the Central Station to the LSM. At the top of the image is the antenna which is mounted on the same bar that was used to carry the gear from the LM to the emplacement site. Image credit: Image Science and Analysis Laboratory, NASA-Johnson Space Center |
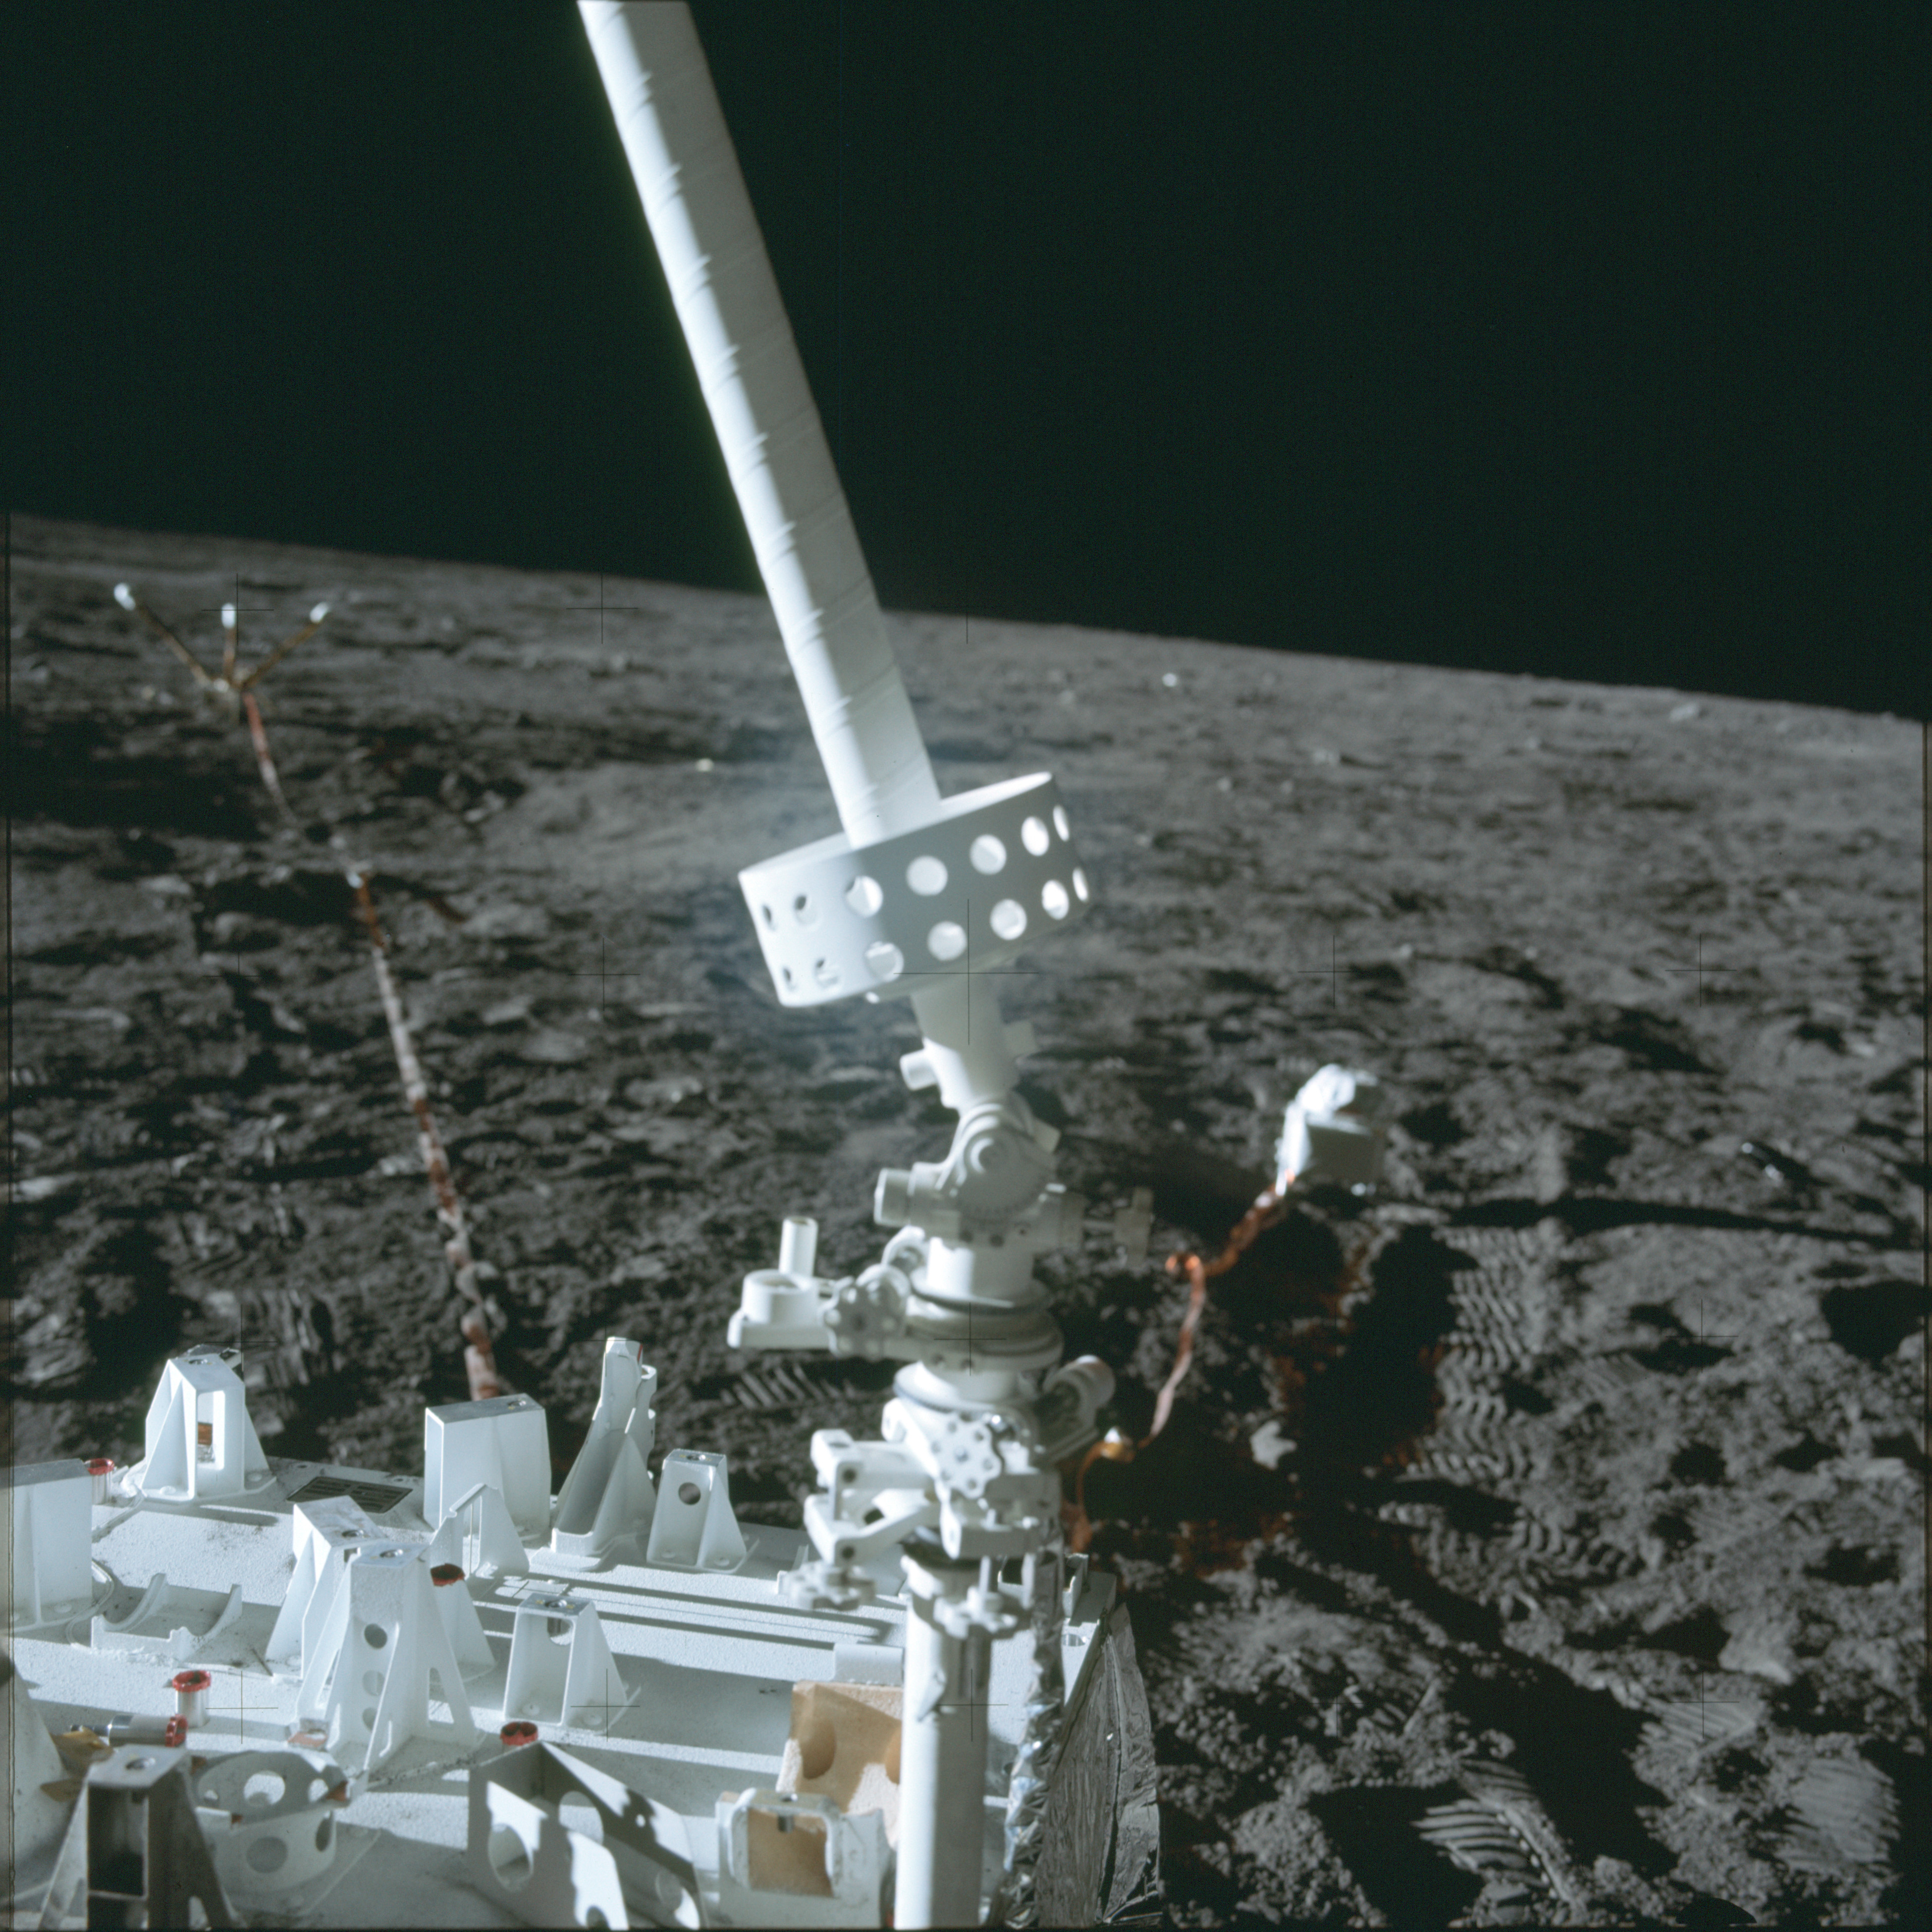 |
AS12-46-6815 View across the Central Station to the LSM. At the top of the image is the antenna which is mounted on the same bar that was used to carry the gear from the LM to the emplacement site. Image credit: Image Science and Analysis Laboratory, NASA-Johnson Space Center |
 |
AS12-46-6816 The ALSEP's Central Station and antenna. Note the bluish diffusion at the centre of the image, believed to be caused by contamination of the lens. Image credit: Image Science and Analysis Laboratory, NASA-Johnson Space Center |
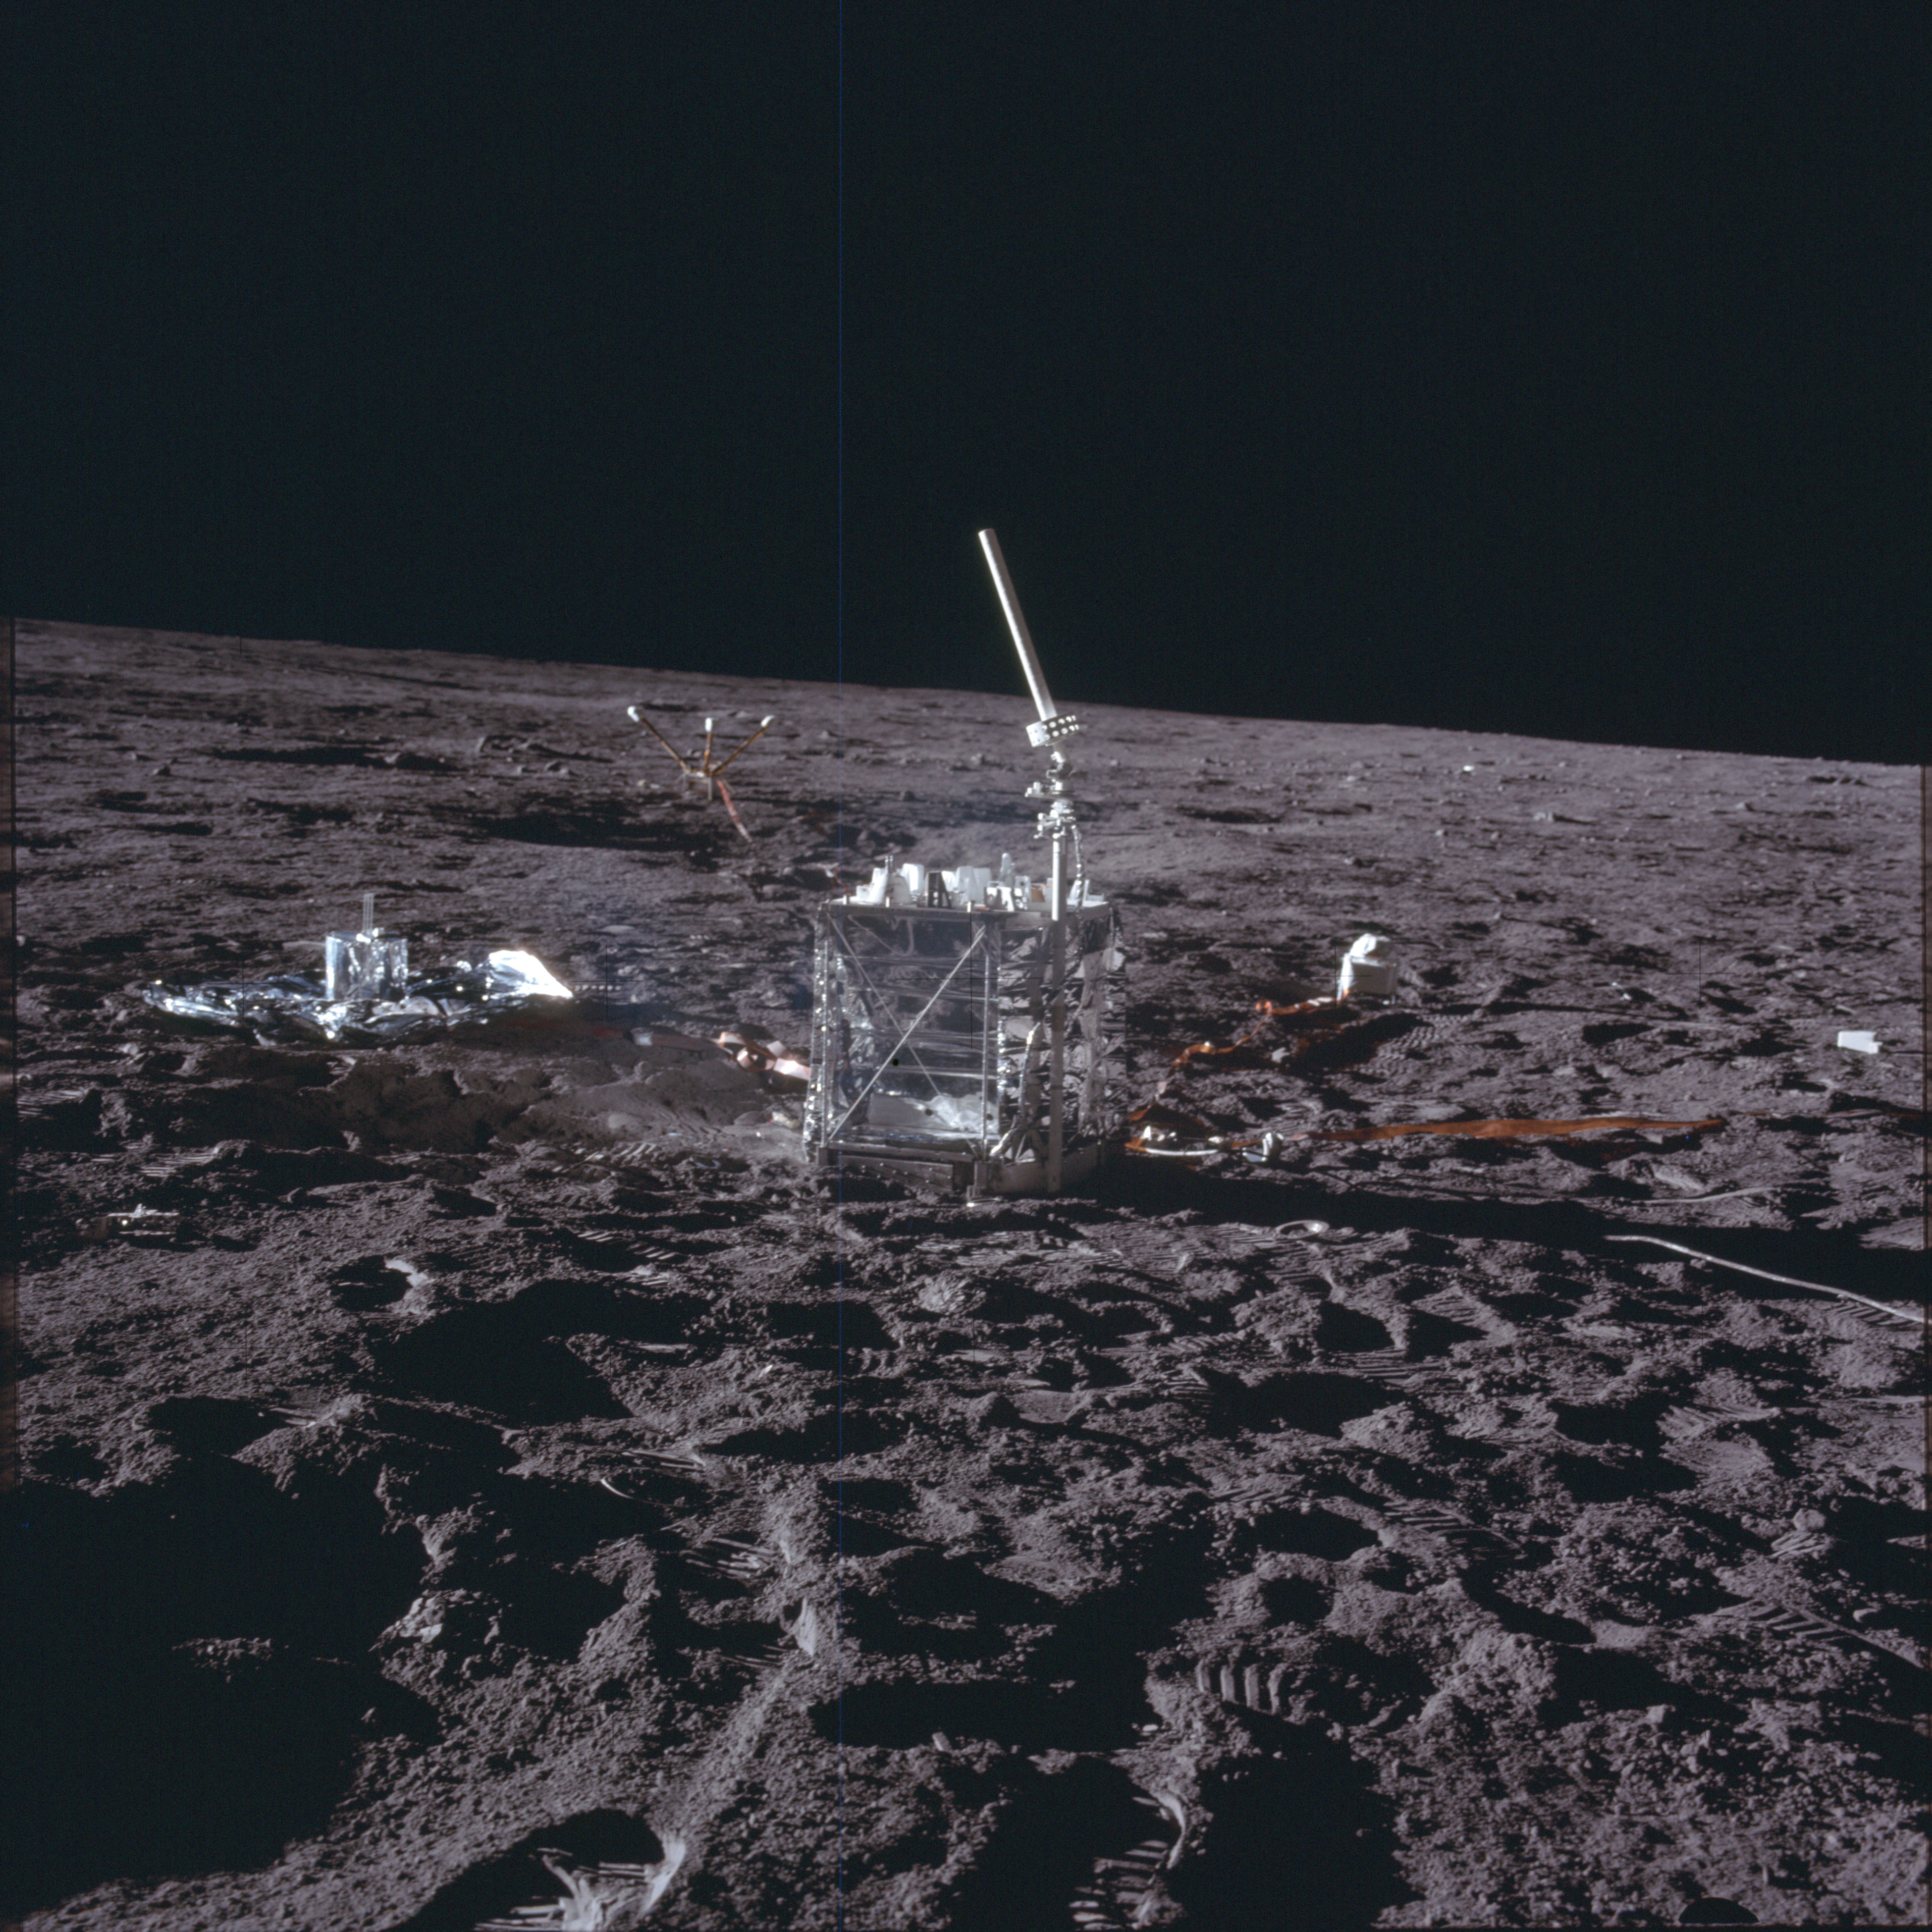 |
AS12-46-6817 A wider view of the Central Station with the Passive Seismic Experiment to the left, the Solar Wind Spectrometer to the right and the Lunar Surface Magnetometer in the background. Image credit: Image Science and Analysis Laboratory, NASA-Johnson Space Center |
 |
AS12-46-6818 Al is deploying the Suprathermal Ion Detector Experiment/Cold Cathode Ion Gauge (SIDE/CCIG). The halo around Al is believed to be caused by contamination of the lens. Pete takes this photo from near the RTG, visible at the lower left. Image credit: Image Science and Analysis Laboratory, NASA-Johnson Space Center |
 |
AS12-46-6819 This view of the ALSEP site is largely obscured by glare from the Sun. Image credit: Image Science and Analysis Laboratory, NASA-Johnson Space Center |
 |
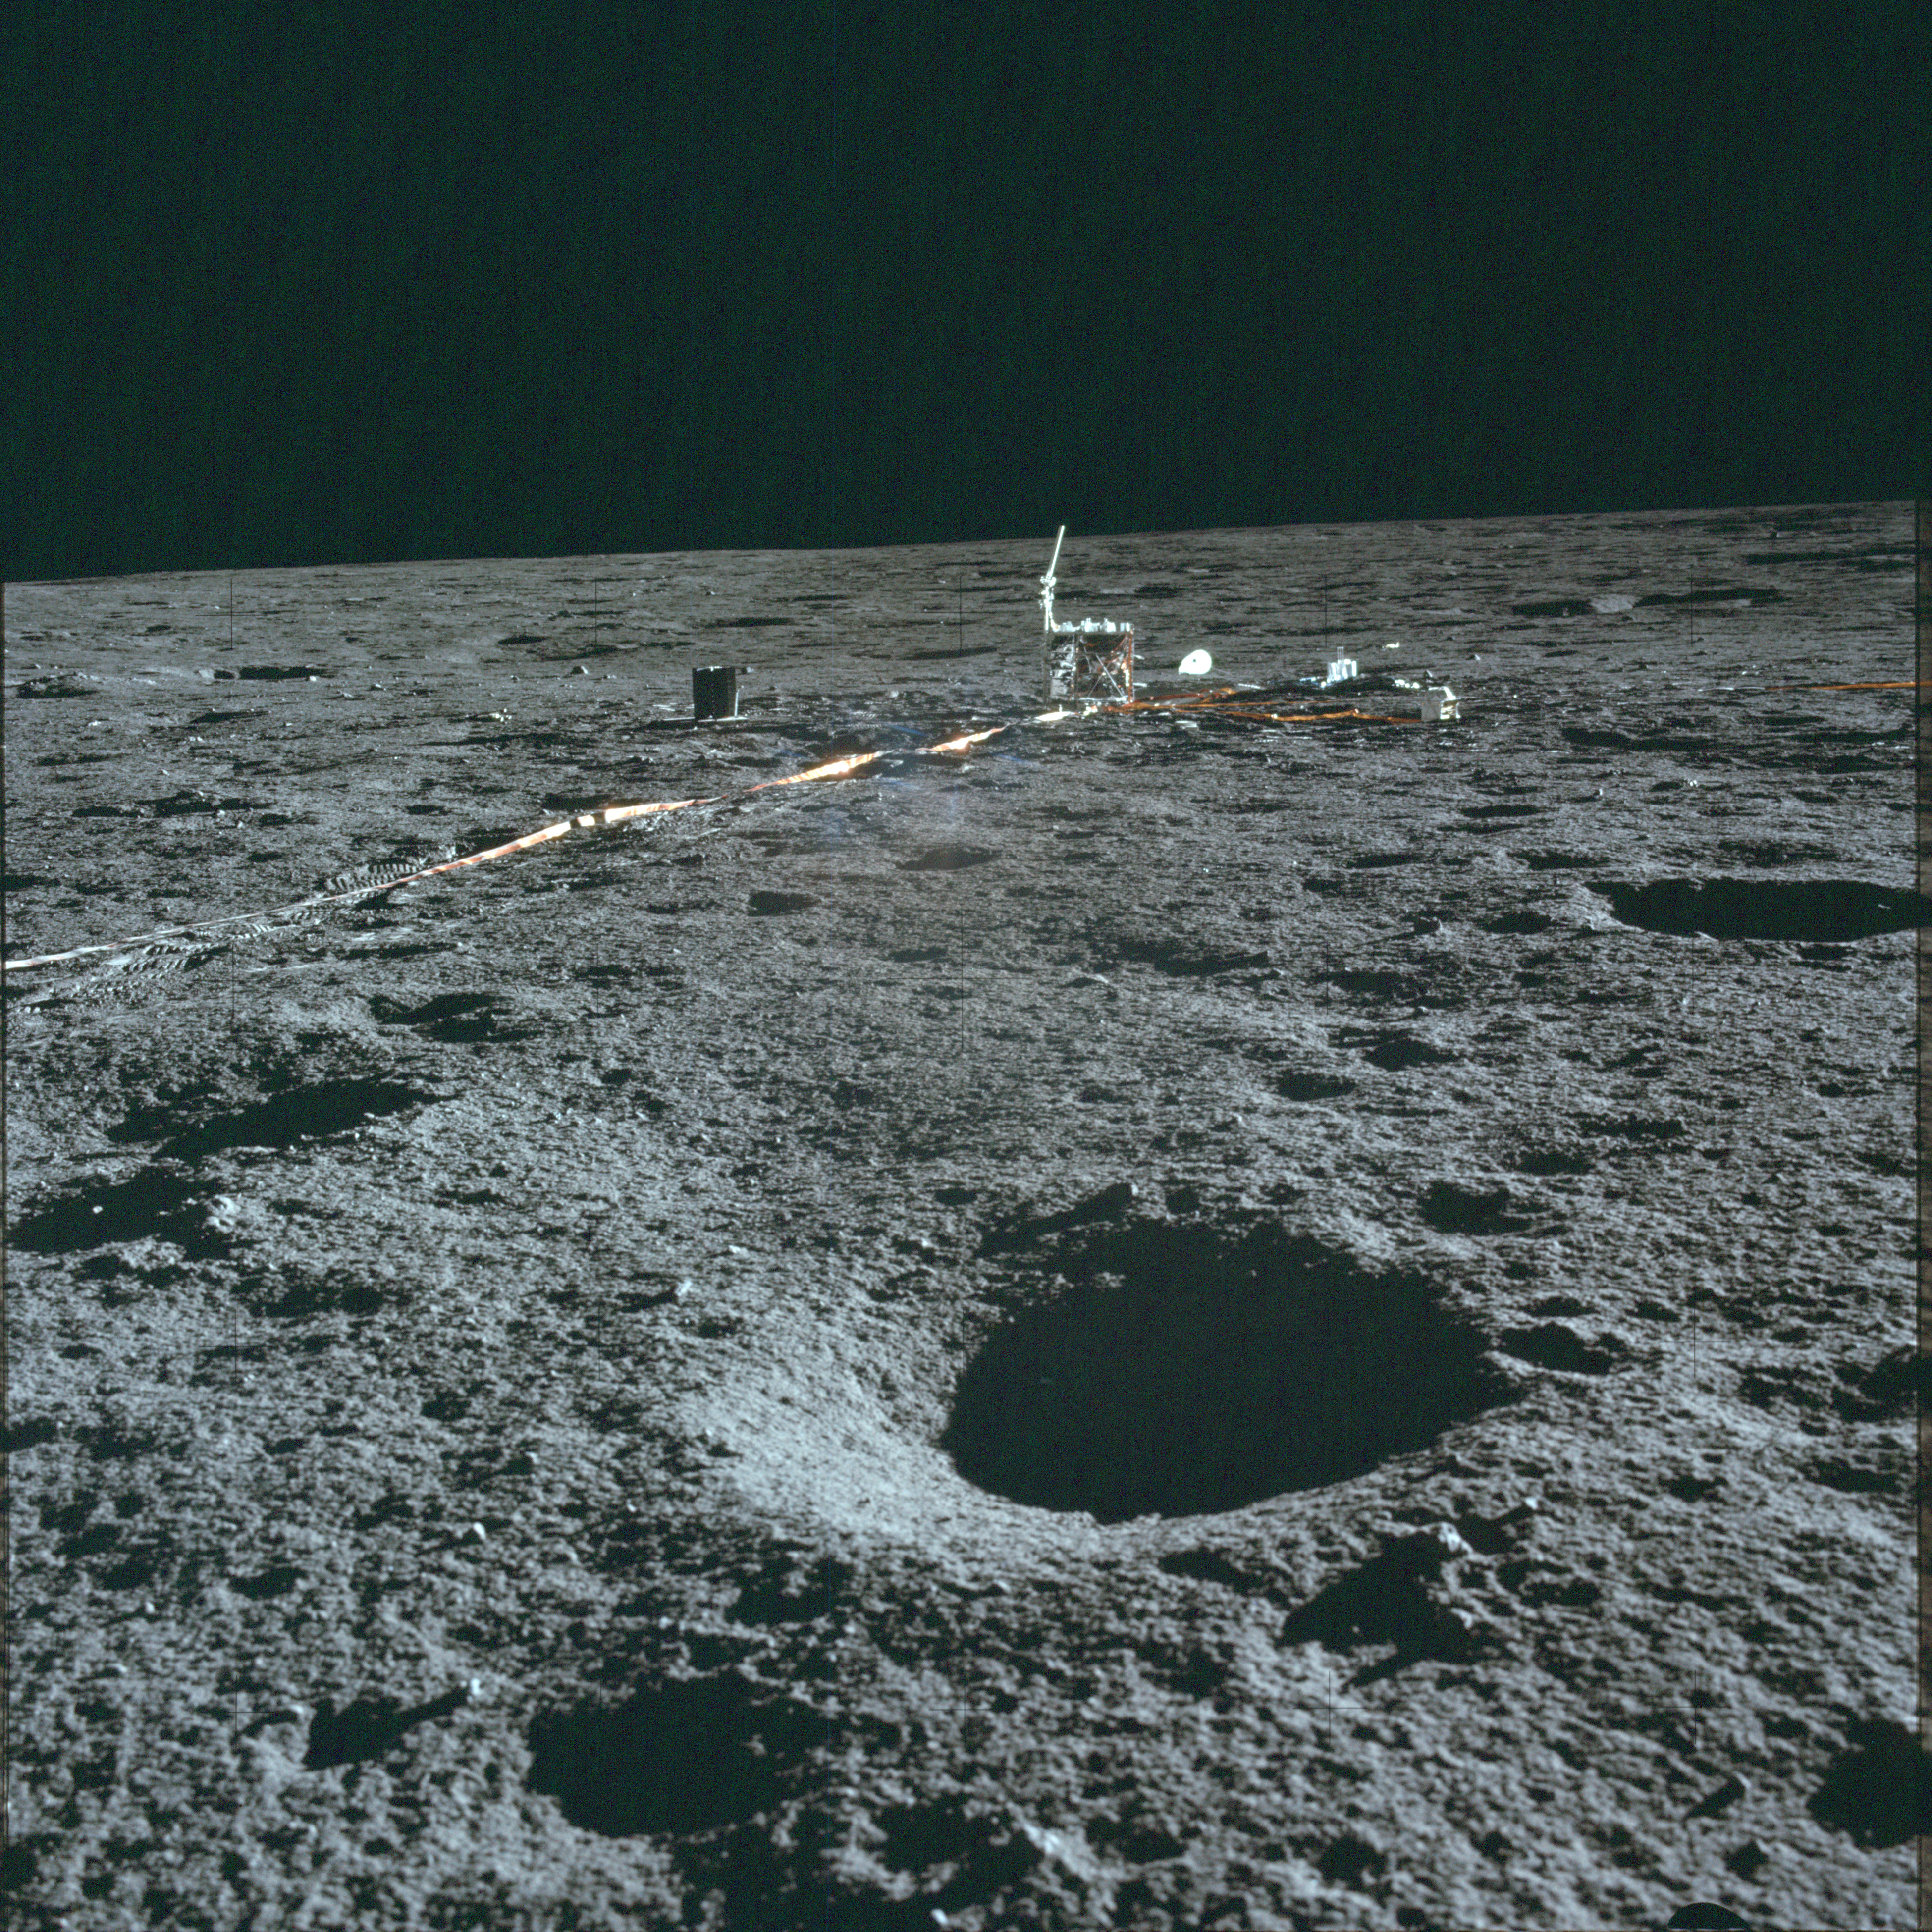
AS12-46-6820 Al taking a photo of the Suprathermal Ion Detector Experiment/Cold Cathode Ion Gauge (SIDE/CCIG). Image credit: Image Science and Analysis Laboratory, NASA-Johnson Space Center |
 |
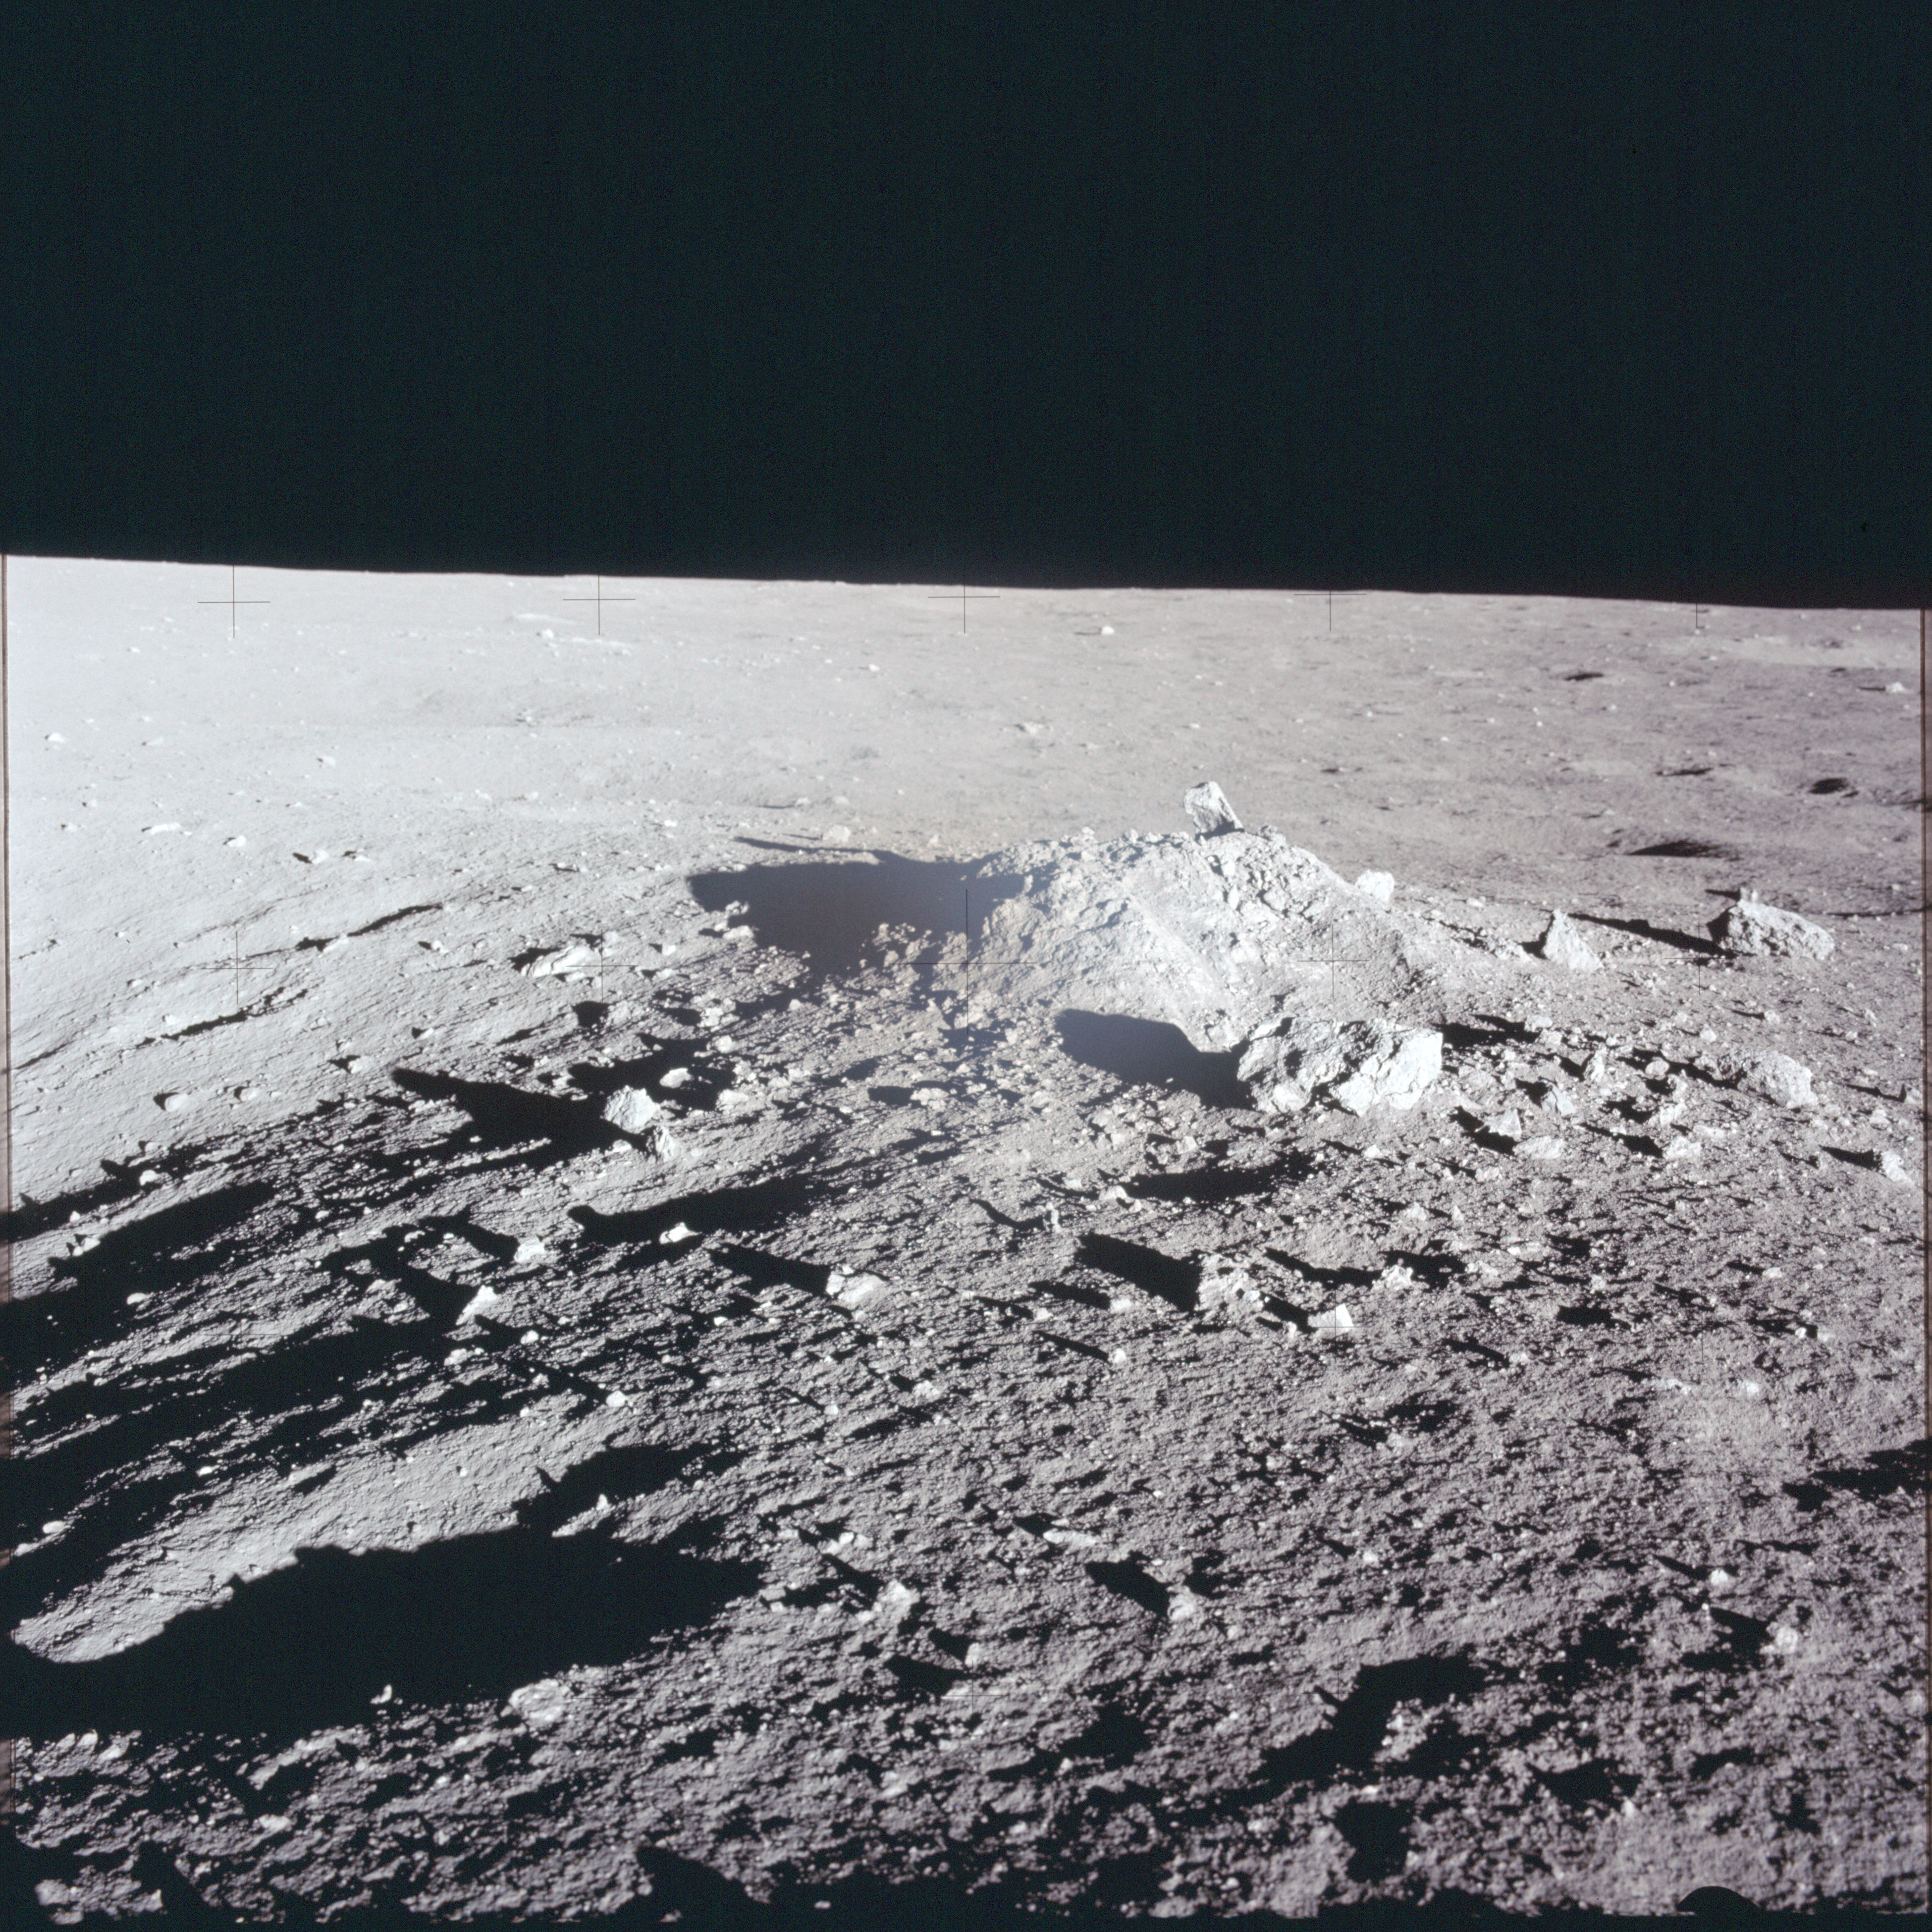
AS12-46-6821 A view of the ALSEP's central station taken from near the SIDE/CCIG instruments. Image credit: Image Science and Analysis Laboratory, NASA-Johnson Space Center |
 |
AS12-46-6822 First of a stereo pair showing the smaller of the two mounds near the ALSEP site. Image credit: Image Science and Analysis Laboratory, NASA-Johnson Space Center |
 |
AS12-46-6823 Second of a stereo pair showing the smaller of the two mounds near the ALSEP site. Image credit: Image Science and Analysis Laboratory, NASA-Johnson Space Center |
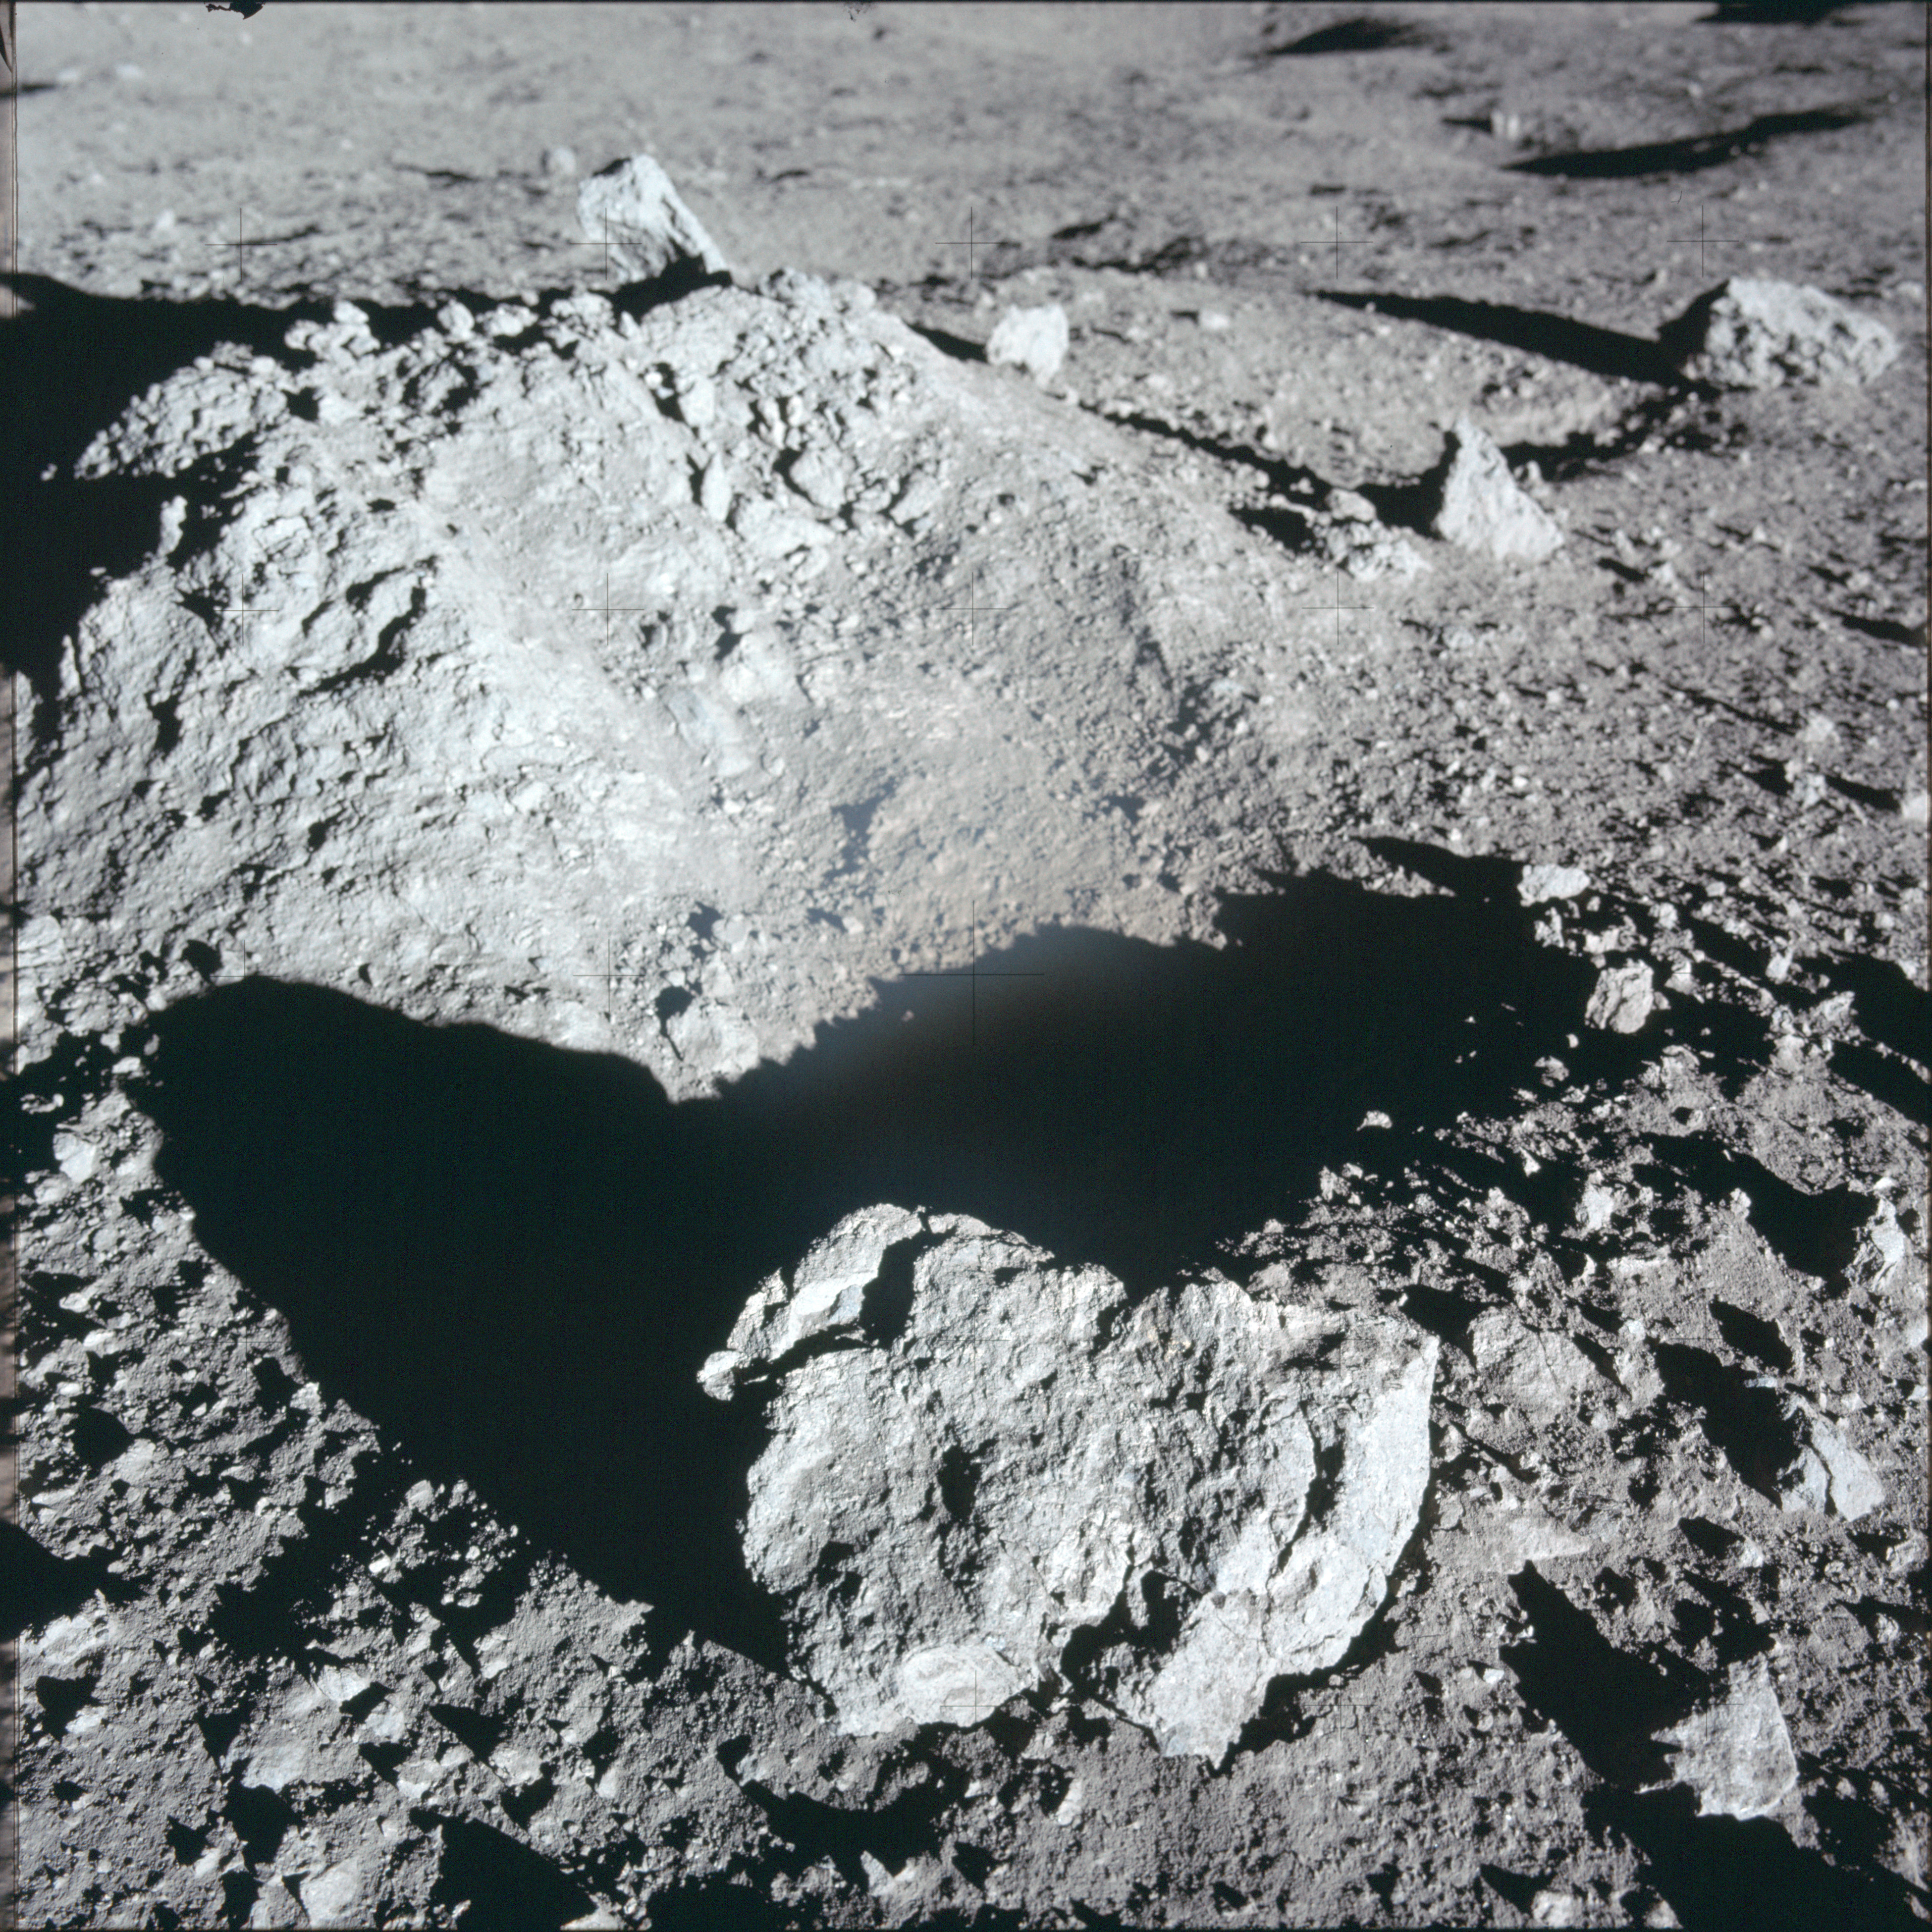 |
AS12-46-6824 First of a stereo close-up view of the small mound near the ALSEP site. Pete suggested that the rock in the foreground had been thrown here by a local impact. Image credit: Image Science and Analysis Laboratory, NASA-Johnson Space Center |
 |
AS12-46-6825 Second of a stereo close-up view of the small mound near the ALSEP site. Pete suggested that the rock in the foreground had been thrown here by a local impact. Image credit: Image Science and Analysis Laboratory, NASA-Johnson Space Center |
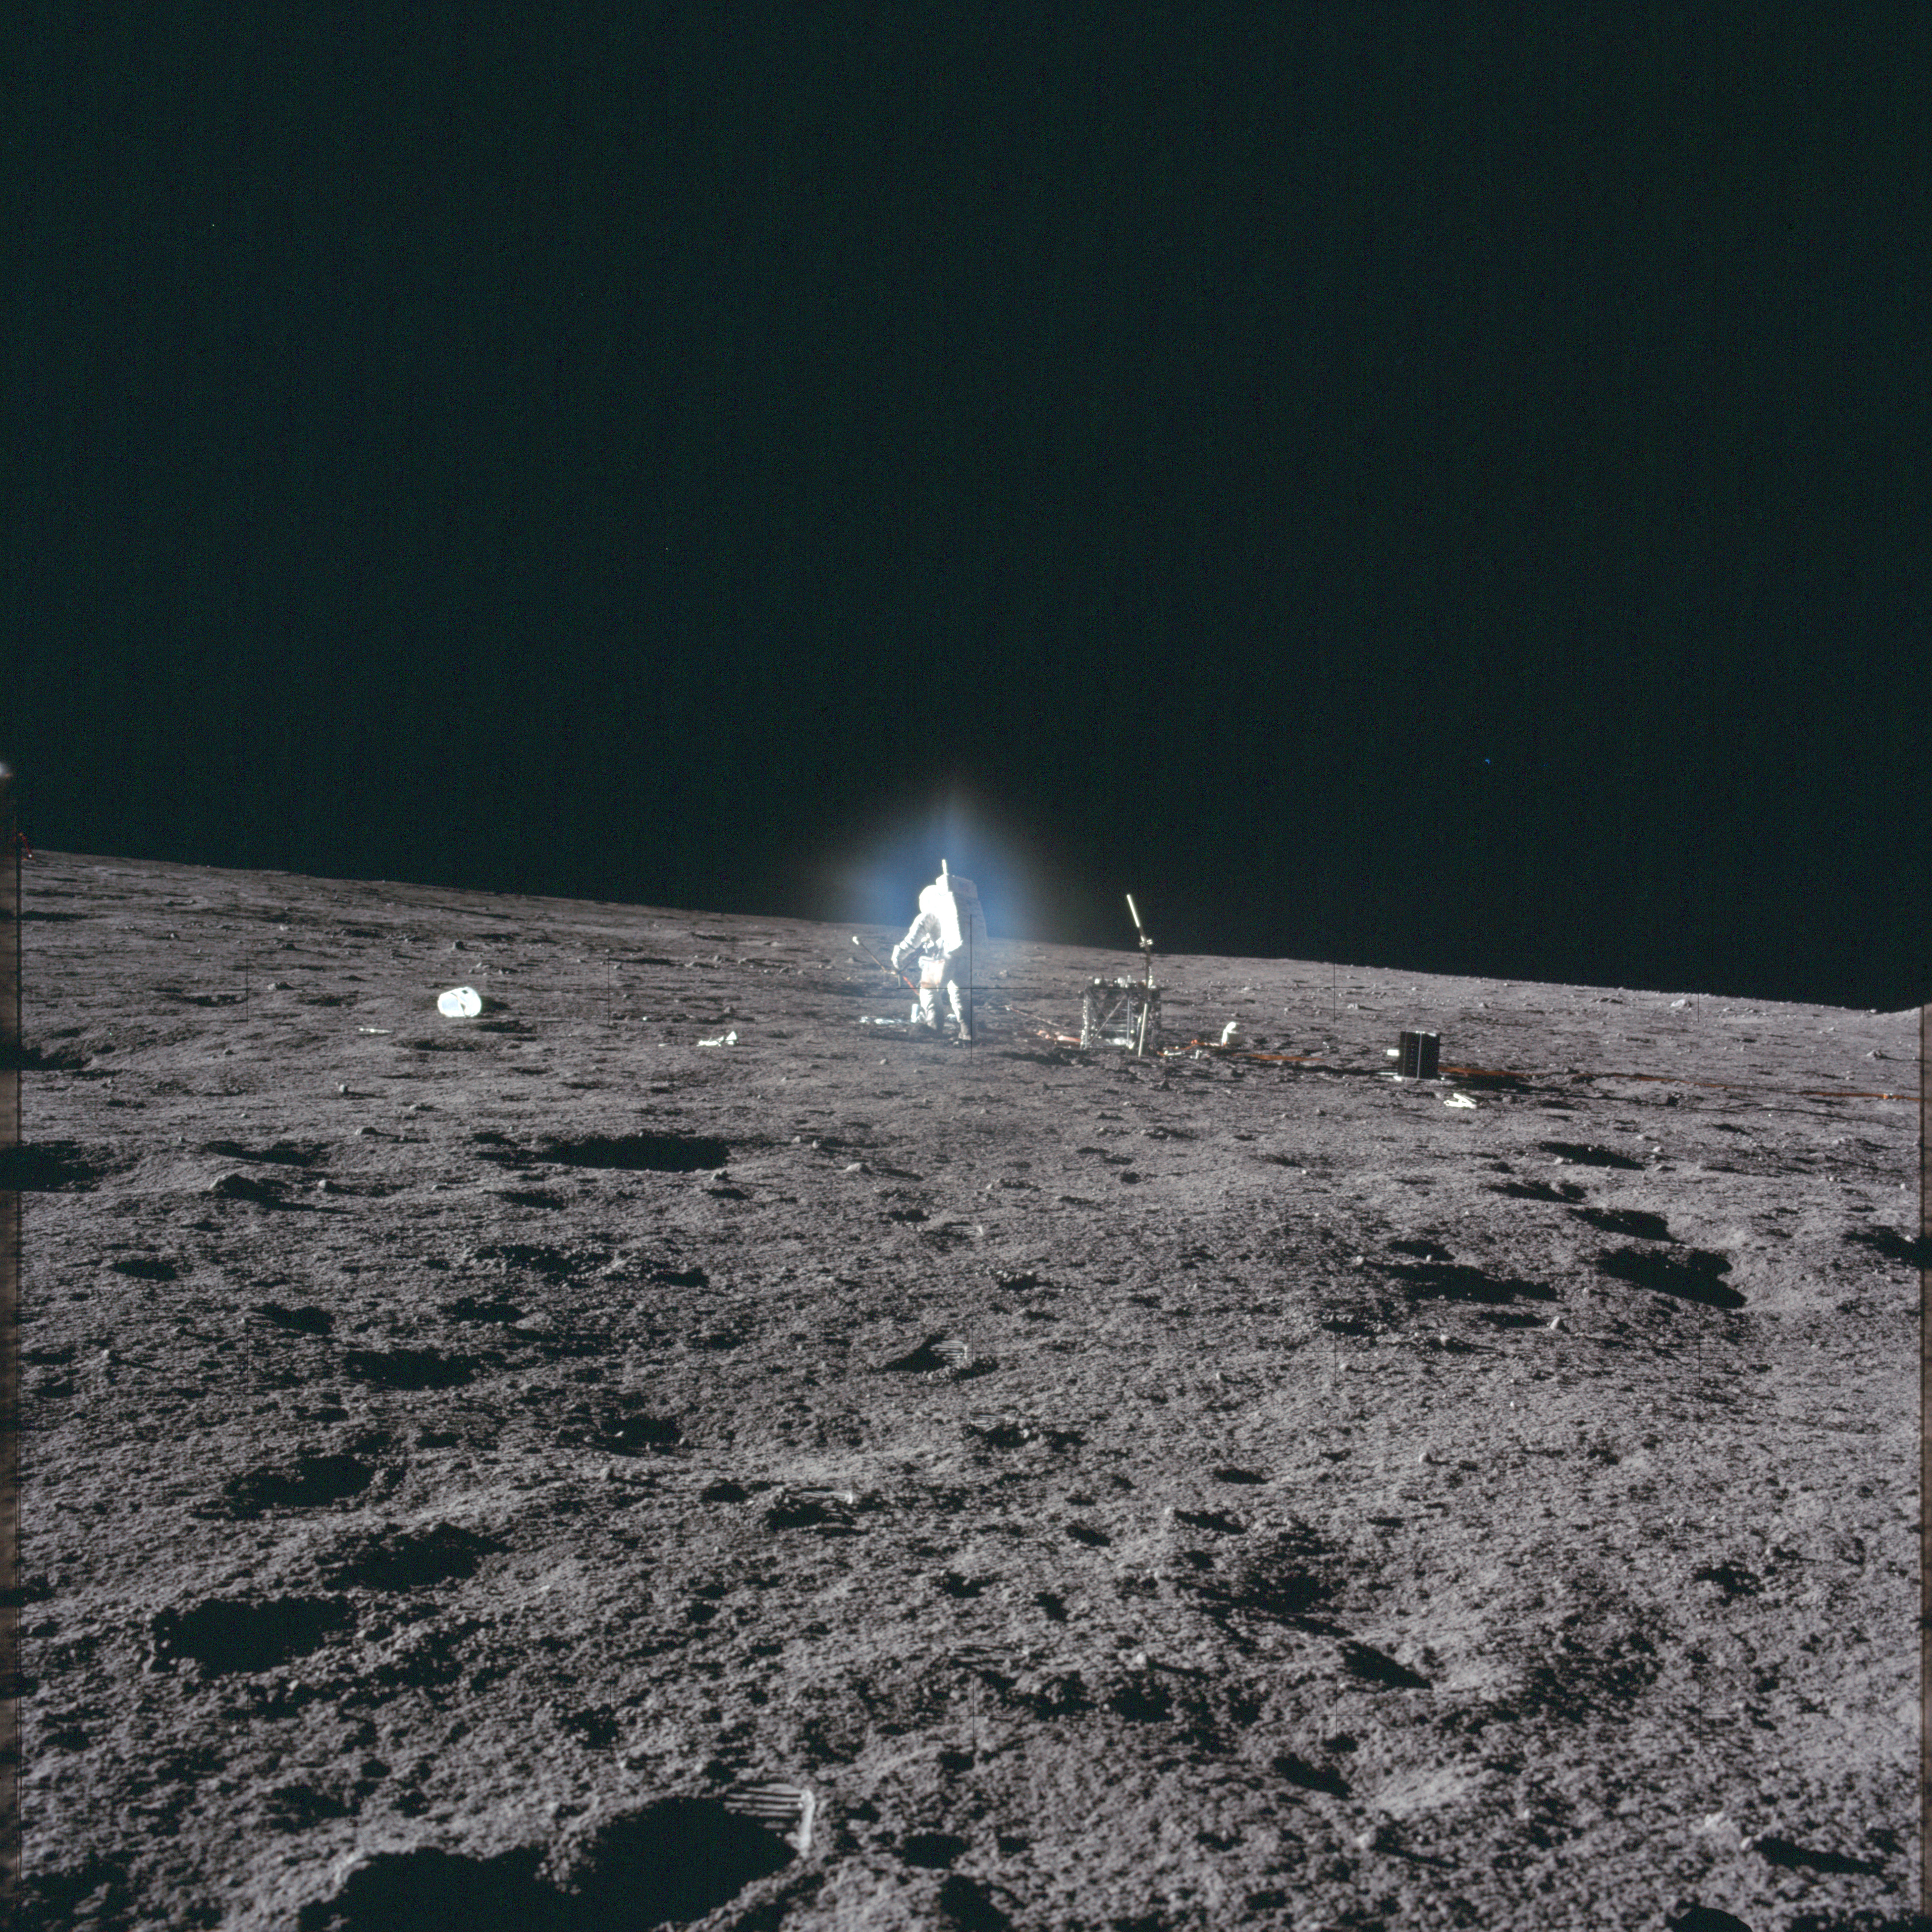 |
AS12-46-6826 View from the small mound towards the ALSEP's Central Station. The halo around Al is believed to be caused by contamination of the lens. Image credit: Image Science and Analysis Laboratory, NASA-Johnson Space Center |
 |
AS12-46-6827 First of a stereo pair of the larger of two mounds near the ALSEP's Central Station. Head Crater is visible beyond. Image credit: Image Science and Analysis Laboratory, NASA-Johnson Space Center |
 |
AS12-46-6828 Second of a stereo pair of the larger of two mounds near the ALSEP's Central Station. Head Crater is visible beyond. Image credit: Image Science and Analysis Laboratory, NASA-Johnson Space Center |
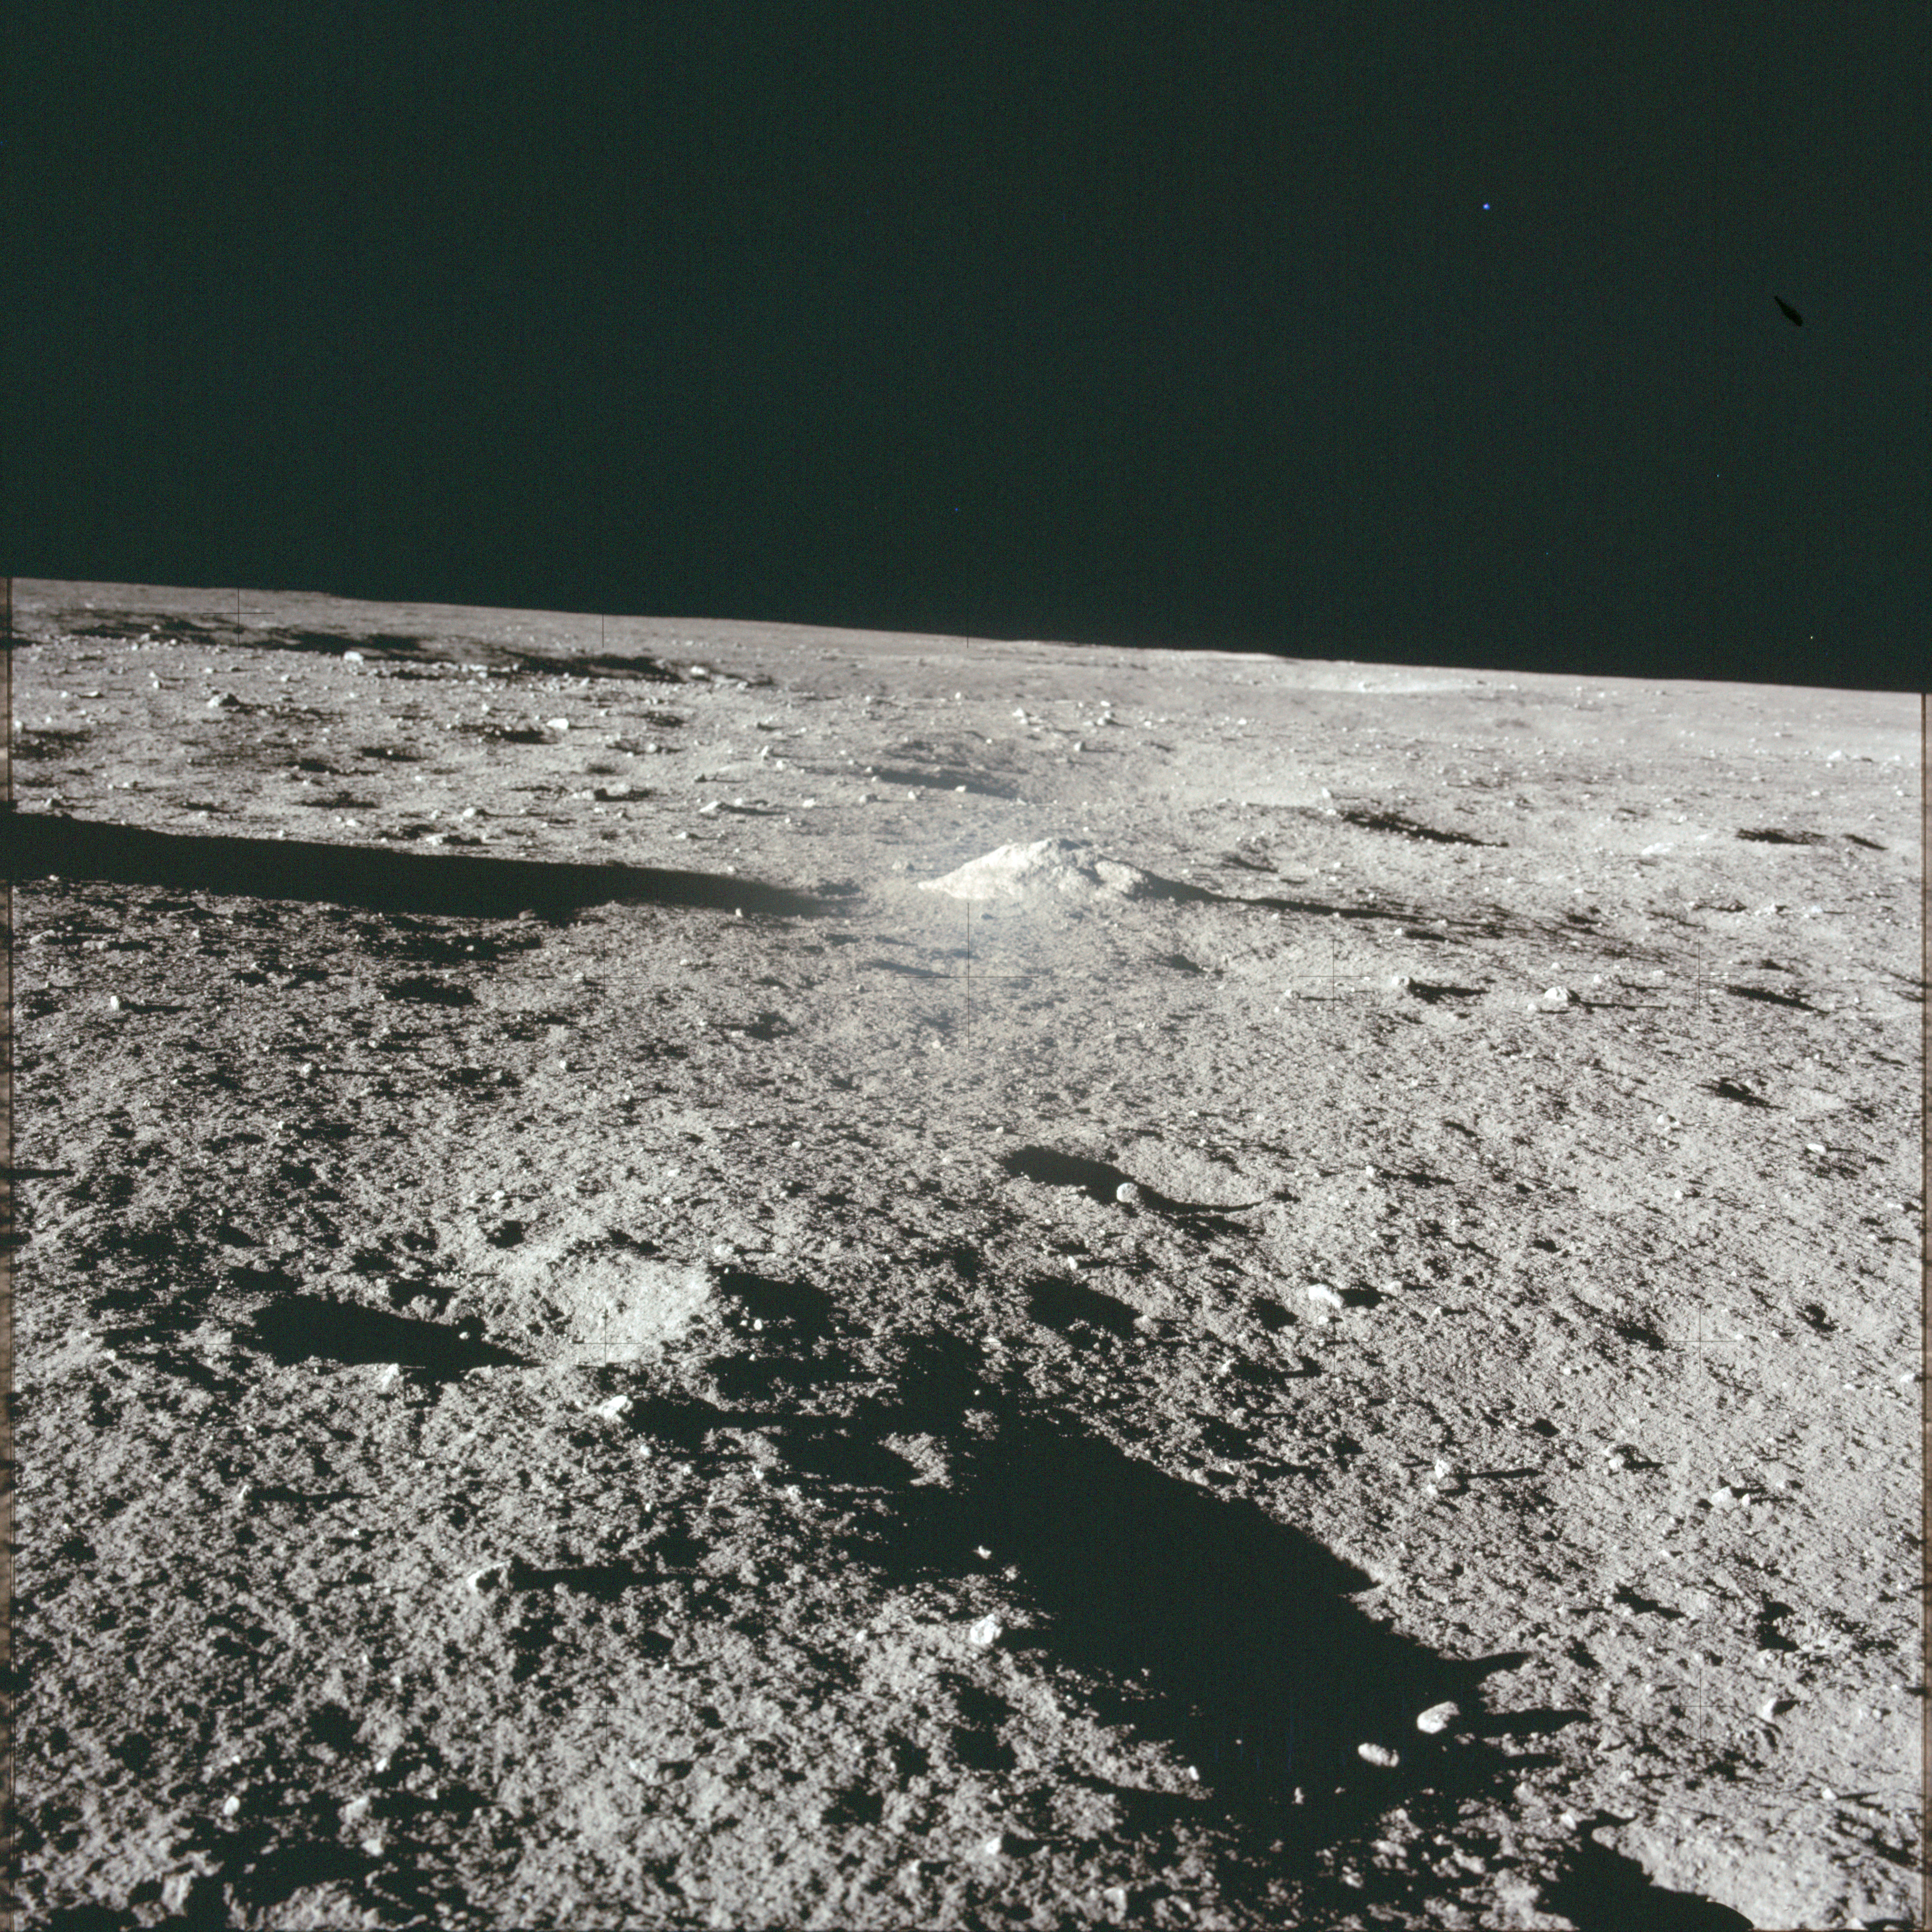 |
AS12-46-6829 First of a stereo pair looking south past the larger of two mounds near the ALSEP's Central Station. Head Crater is visible beyond. Image credit: Image Science and Analysis Laboratory, NASA-Johnson Space Center |
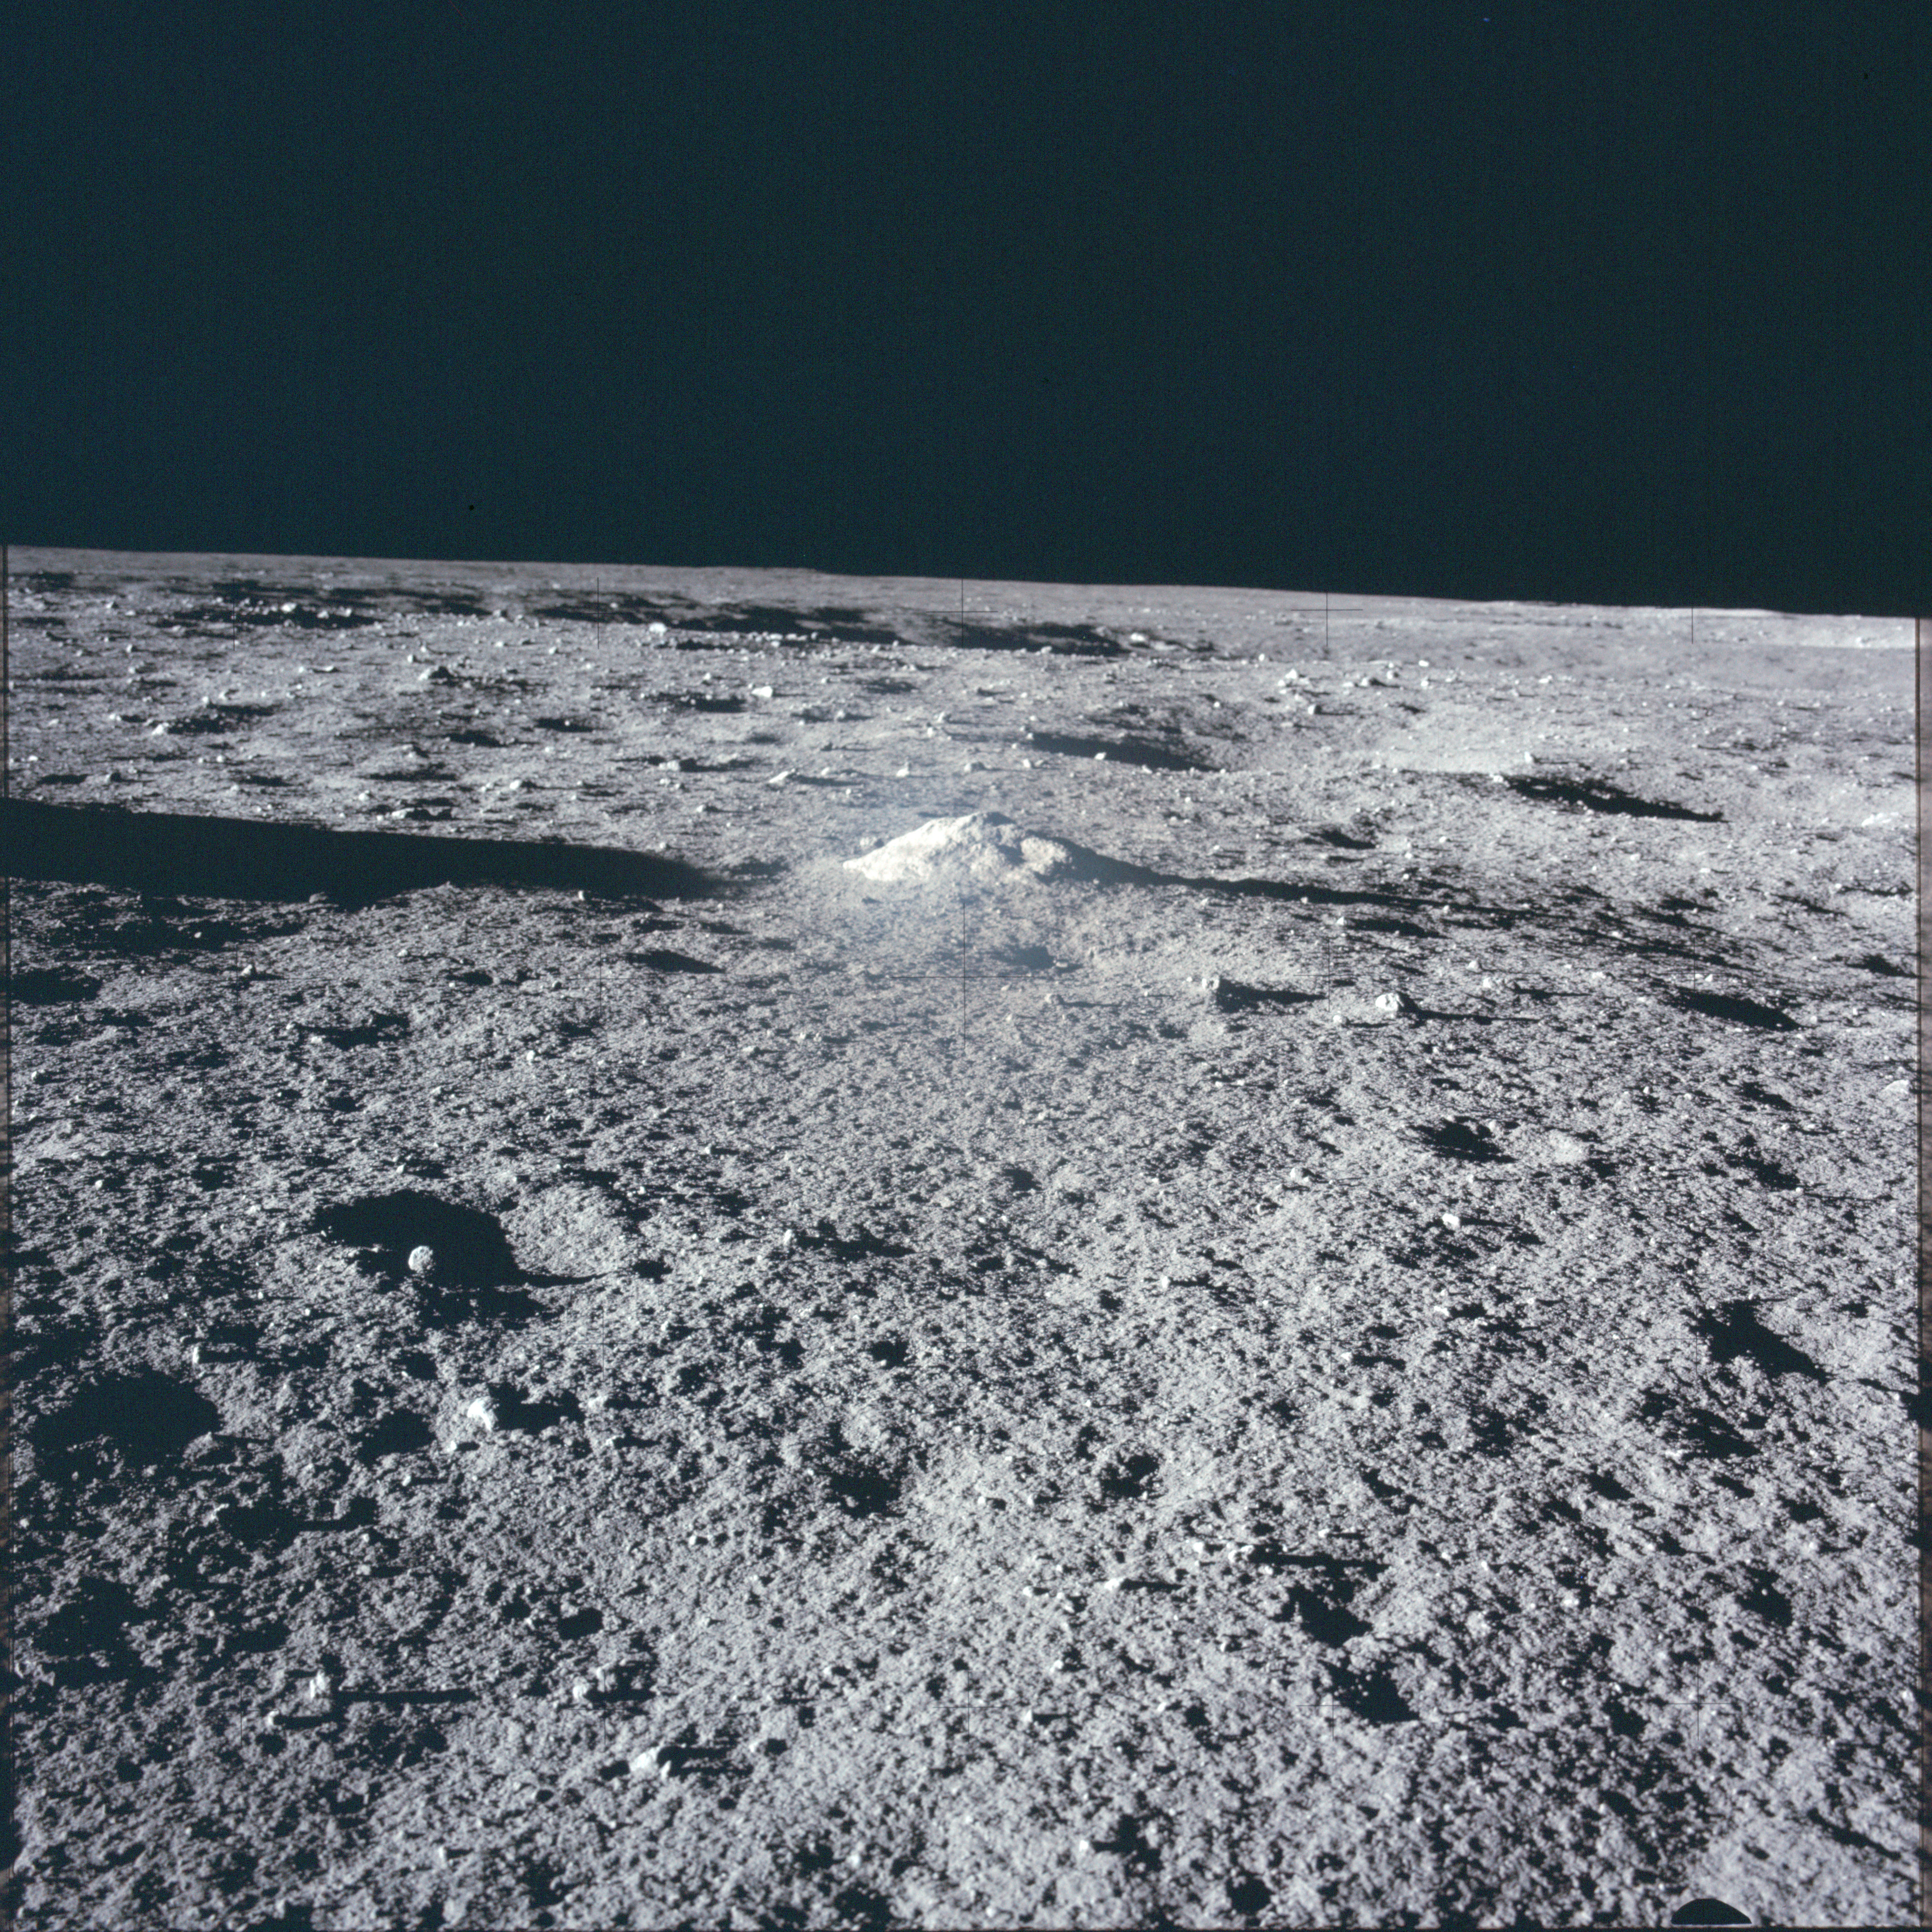 |
AS12-46-6830 Second of a stereo pair looking south past the larger of two mounds near the ALSEP's Central Station. Head Crater is visible beyond. Image credit: Image Science and Analysis Laboratory, NASA-Johnson Space Center |
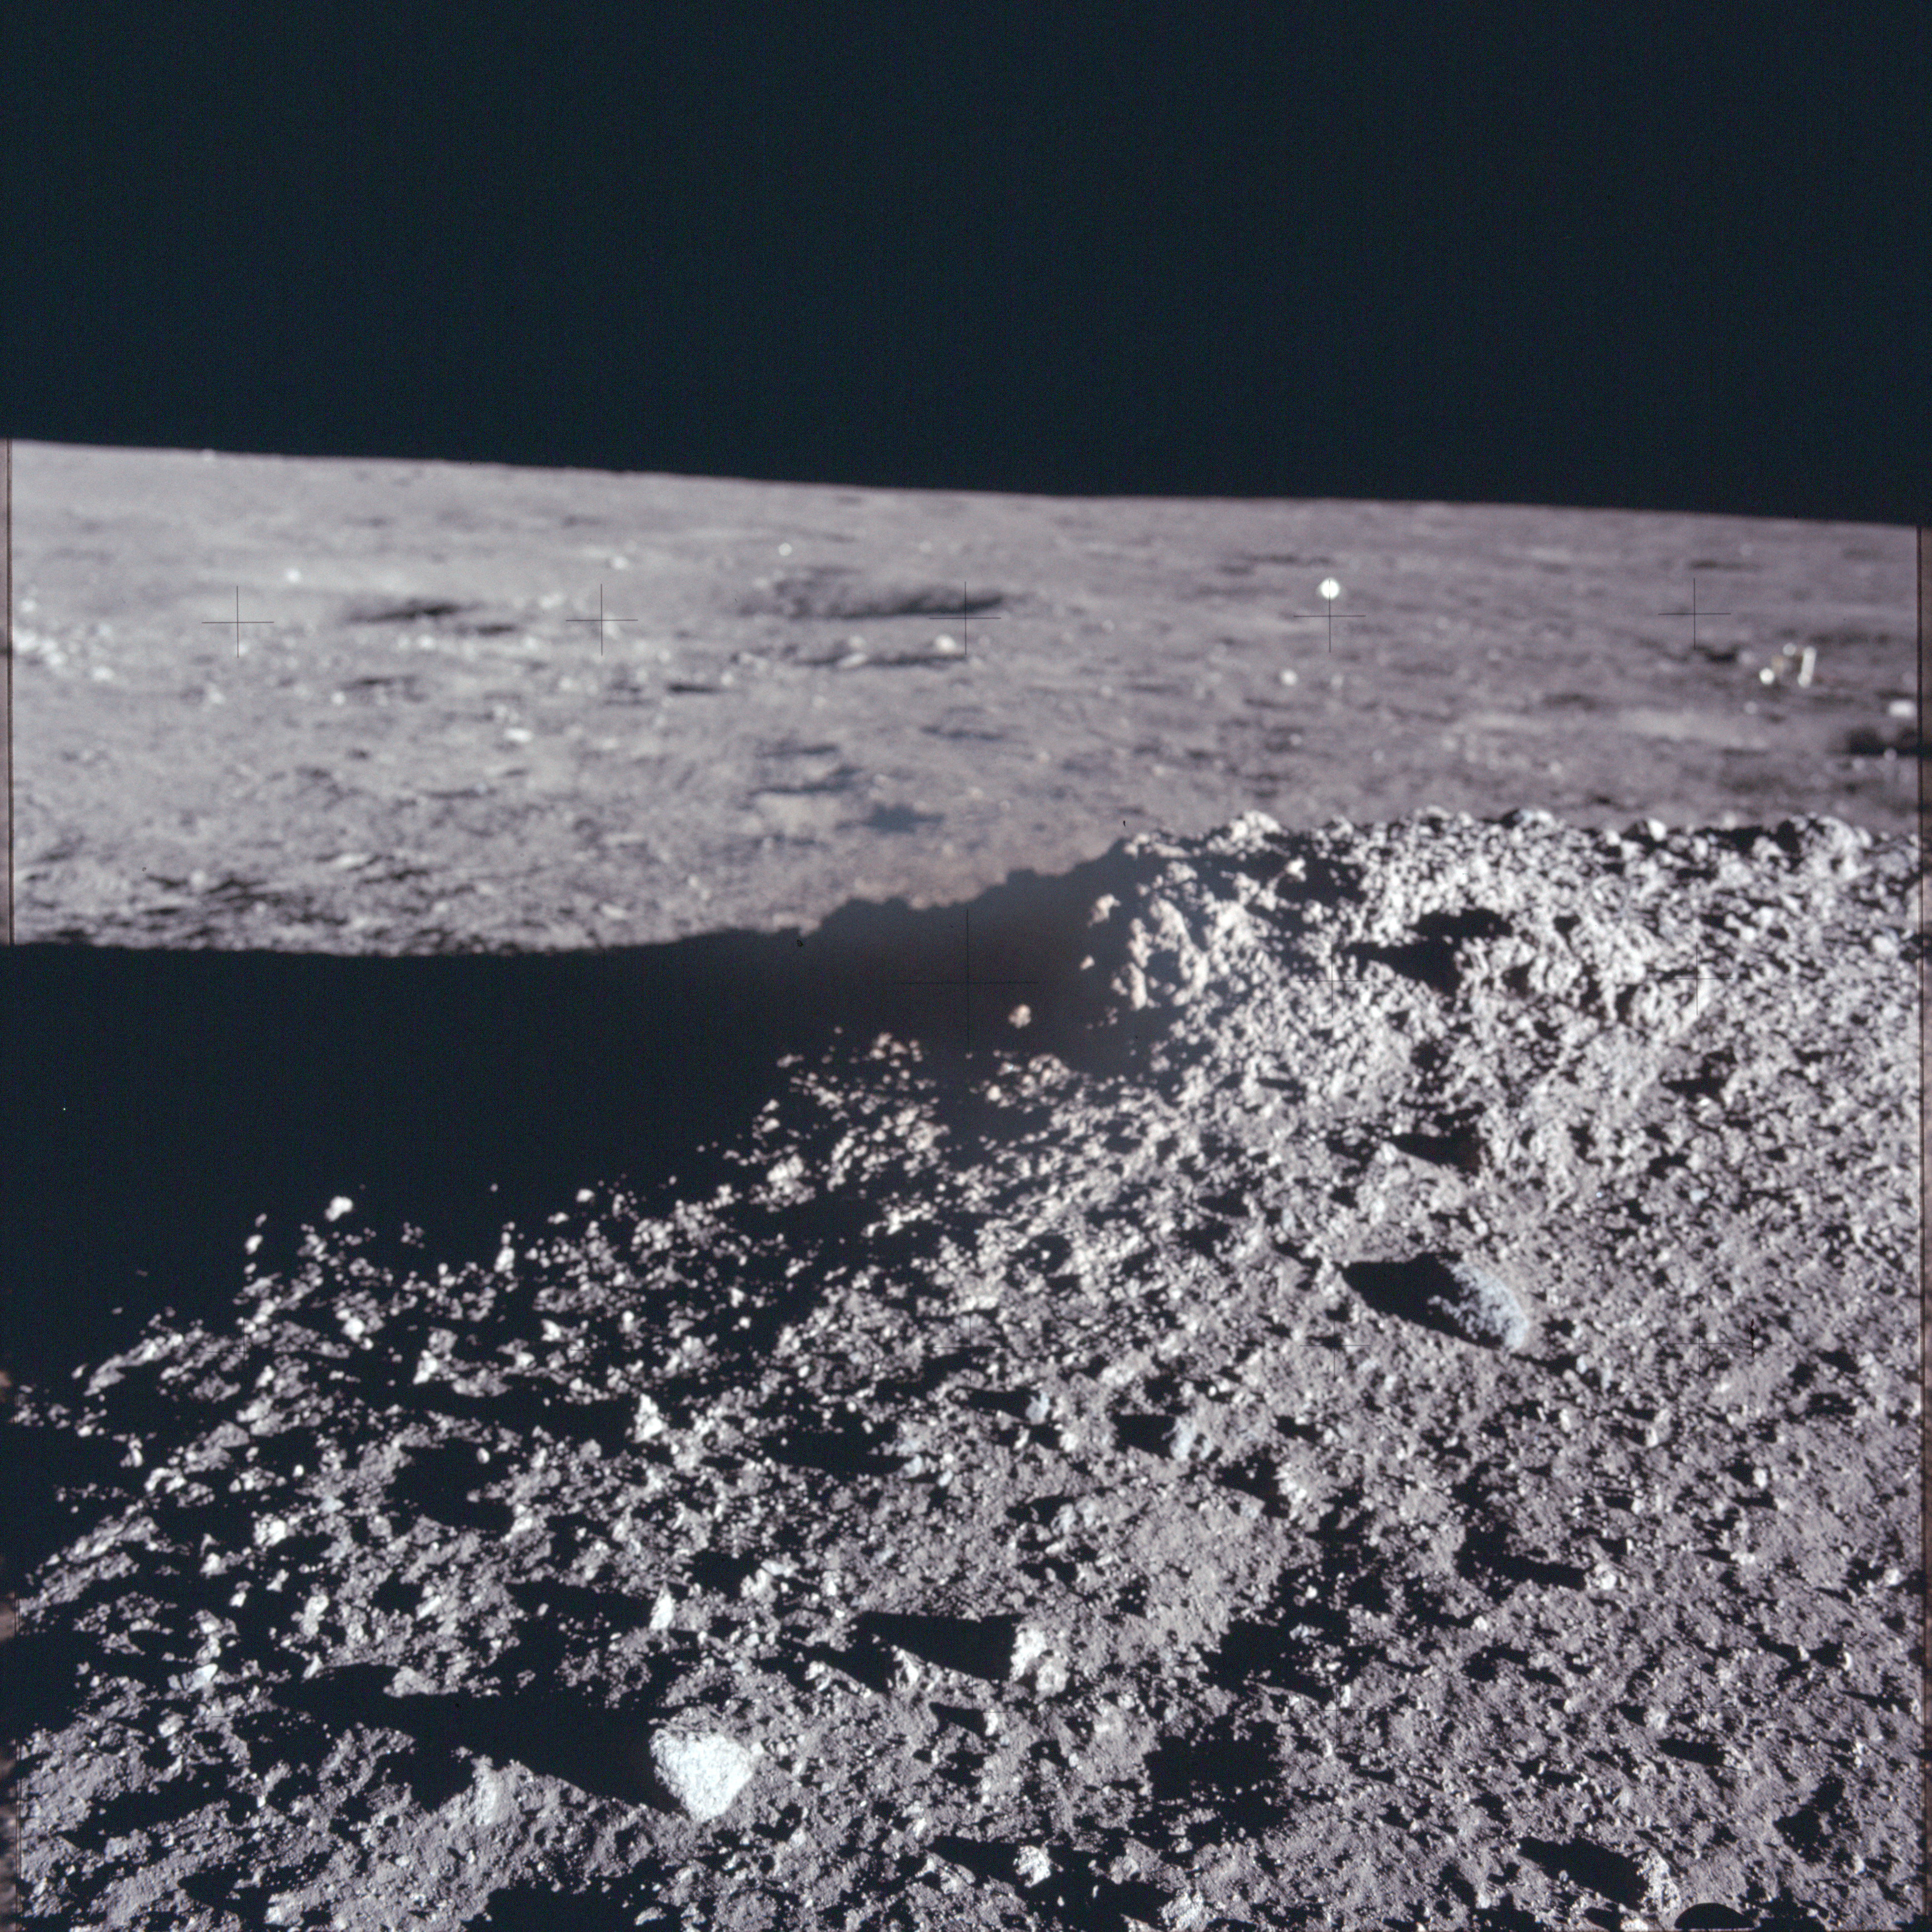 |
AS12-46-6831 View across the top left of the large mound. Image credit: Image Science and Analysis Laboratory, NASA-Johnson Space Center |
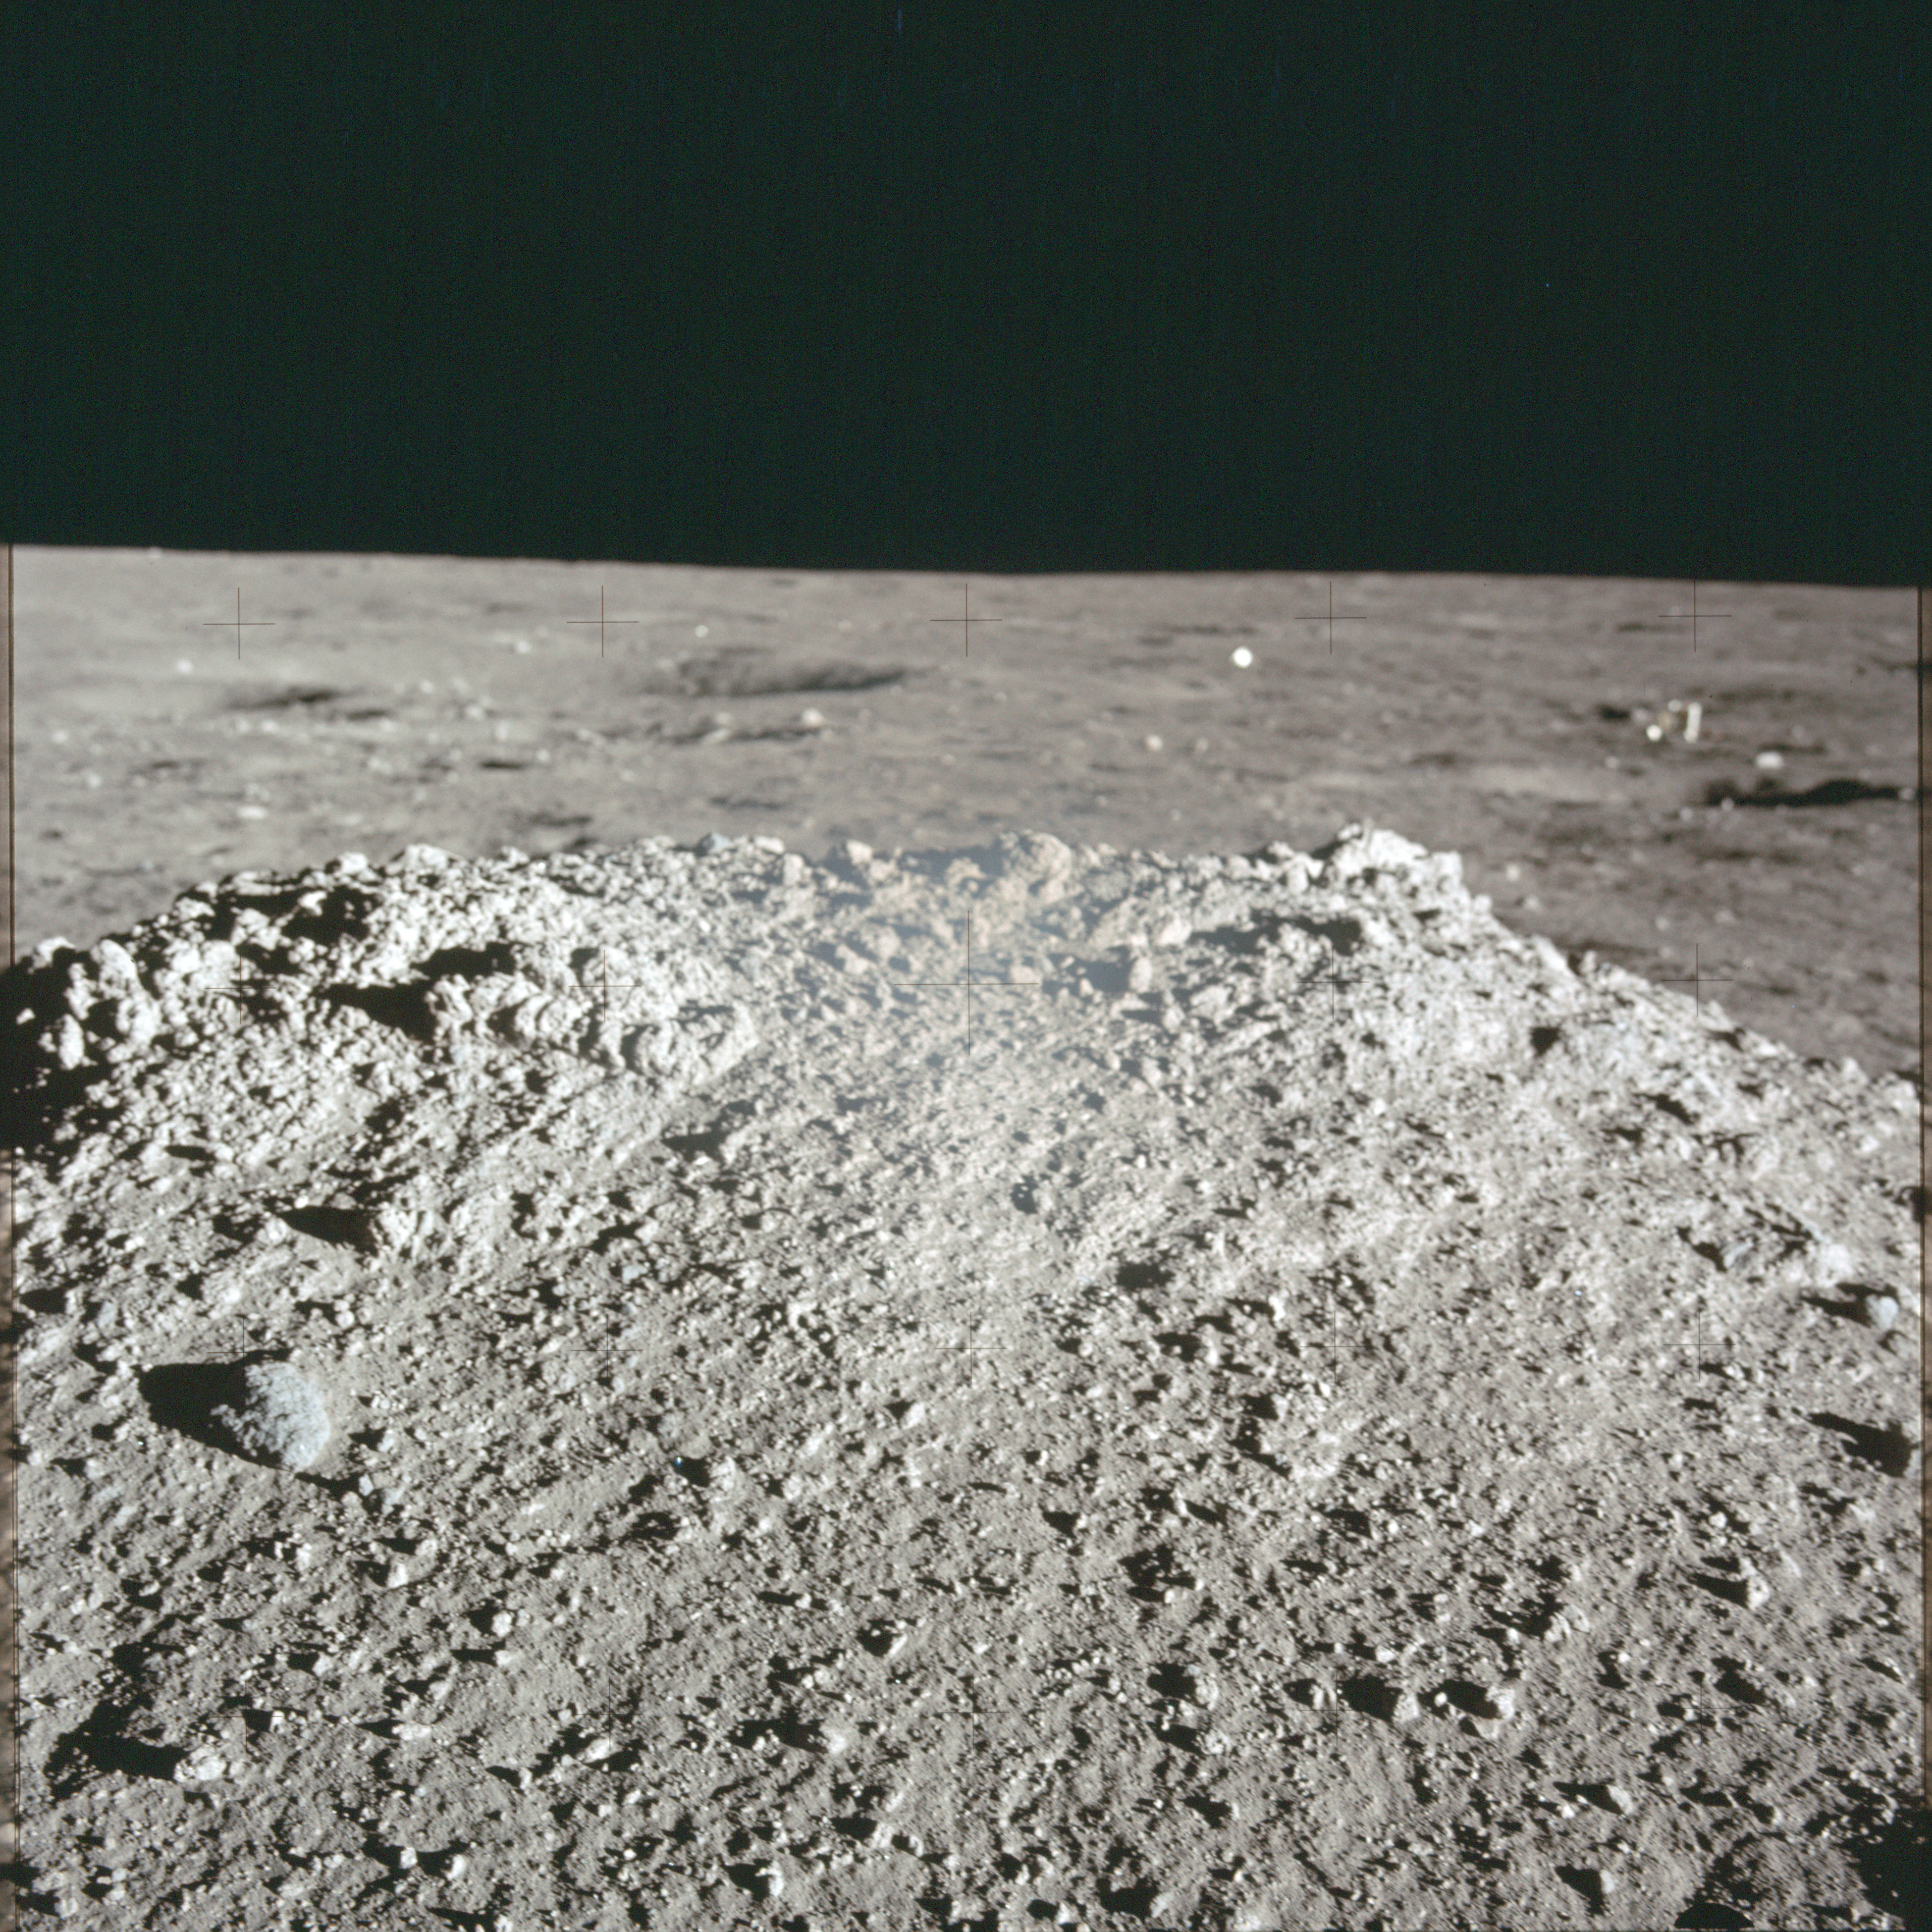 |
AS12-46-6832 View across the top of the large mound. Image credit: Image Science and Analysis Laboratory, NASA-Johnson Space Center |
 |
AS12-46-6833 Close-up view of the surface, looking south. Image credit: Image Science and Analysis Laboratory, NASA-Johnson Space Center |
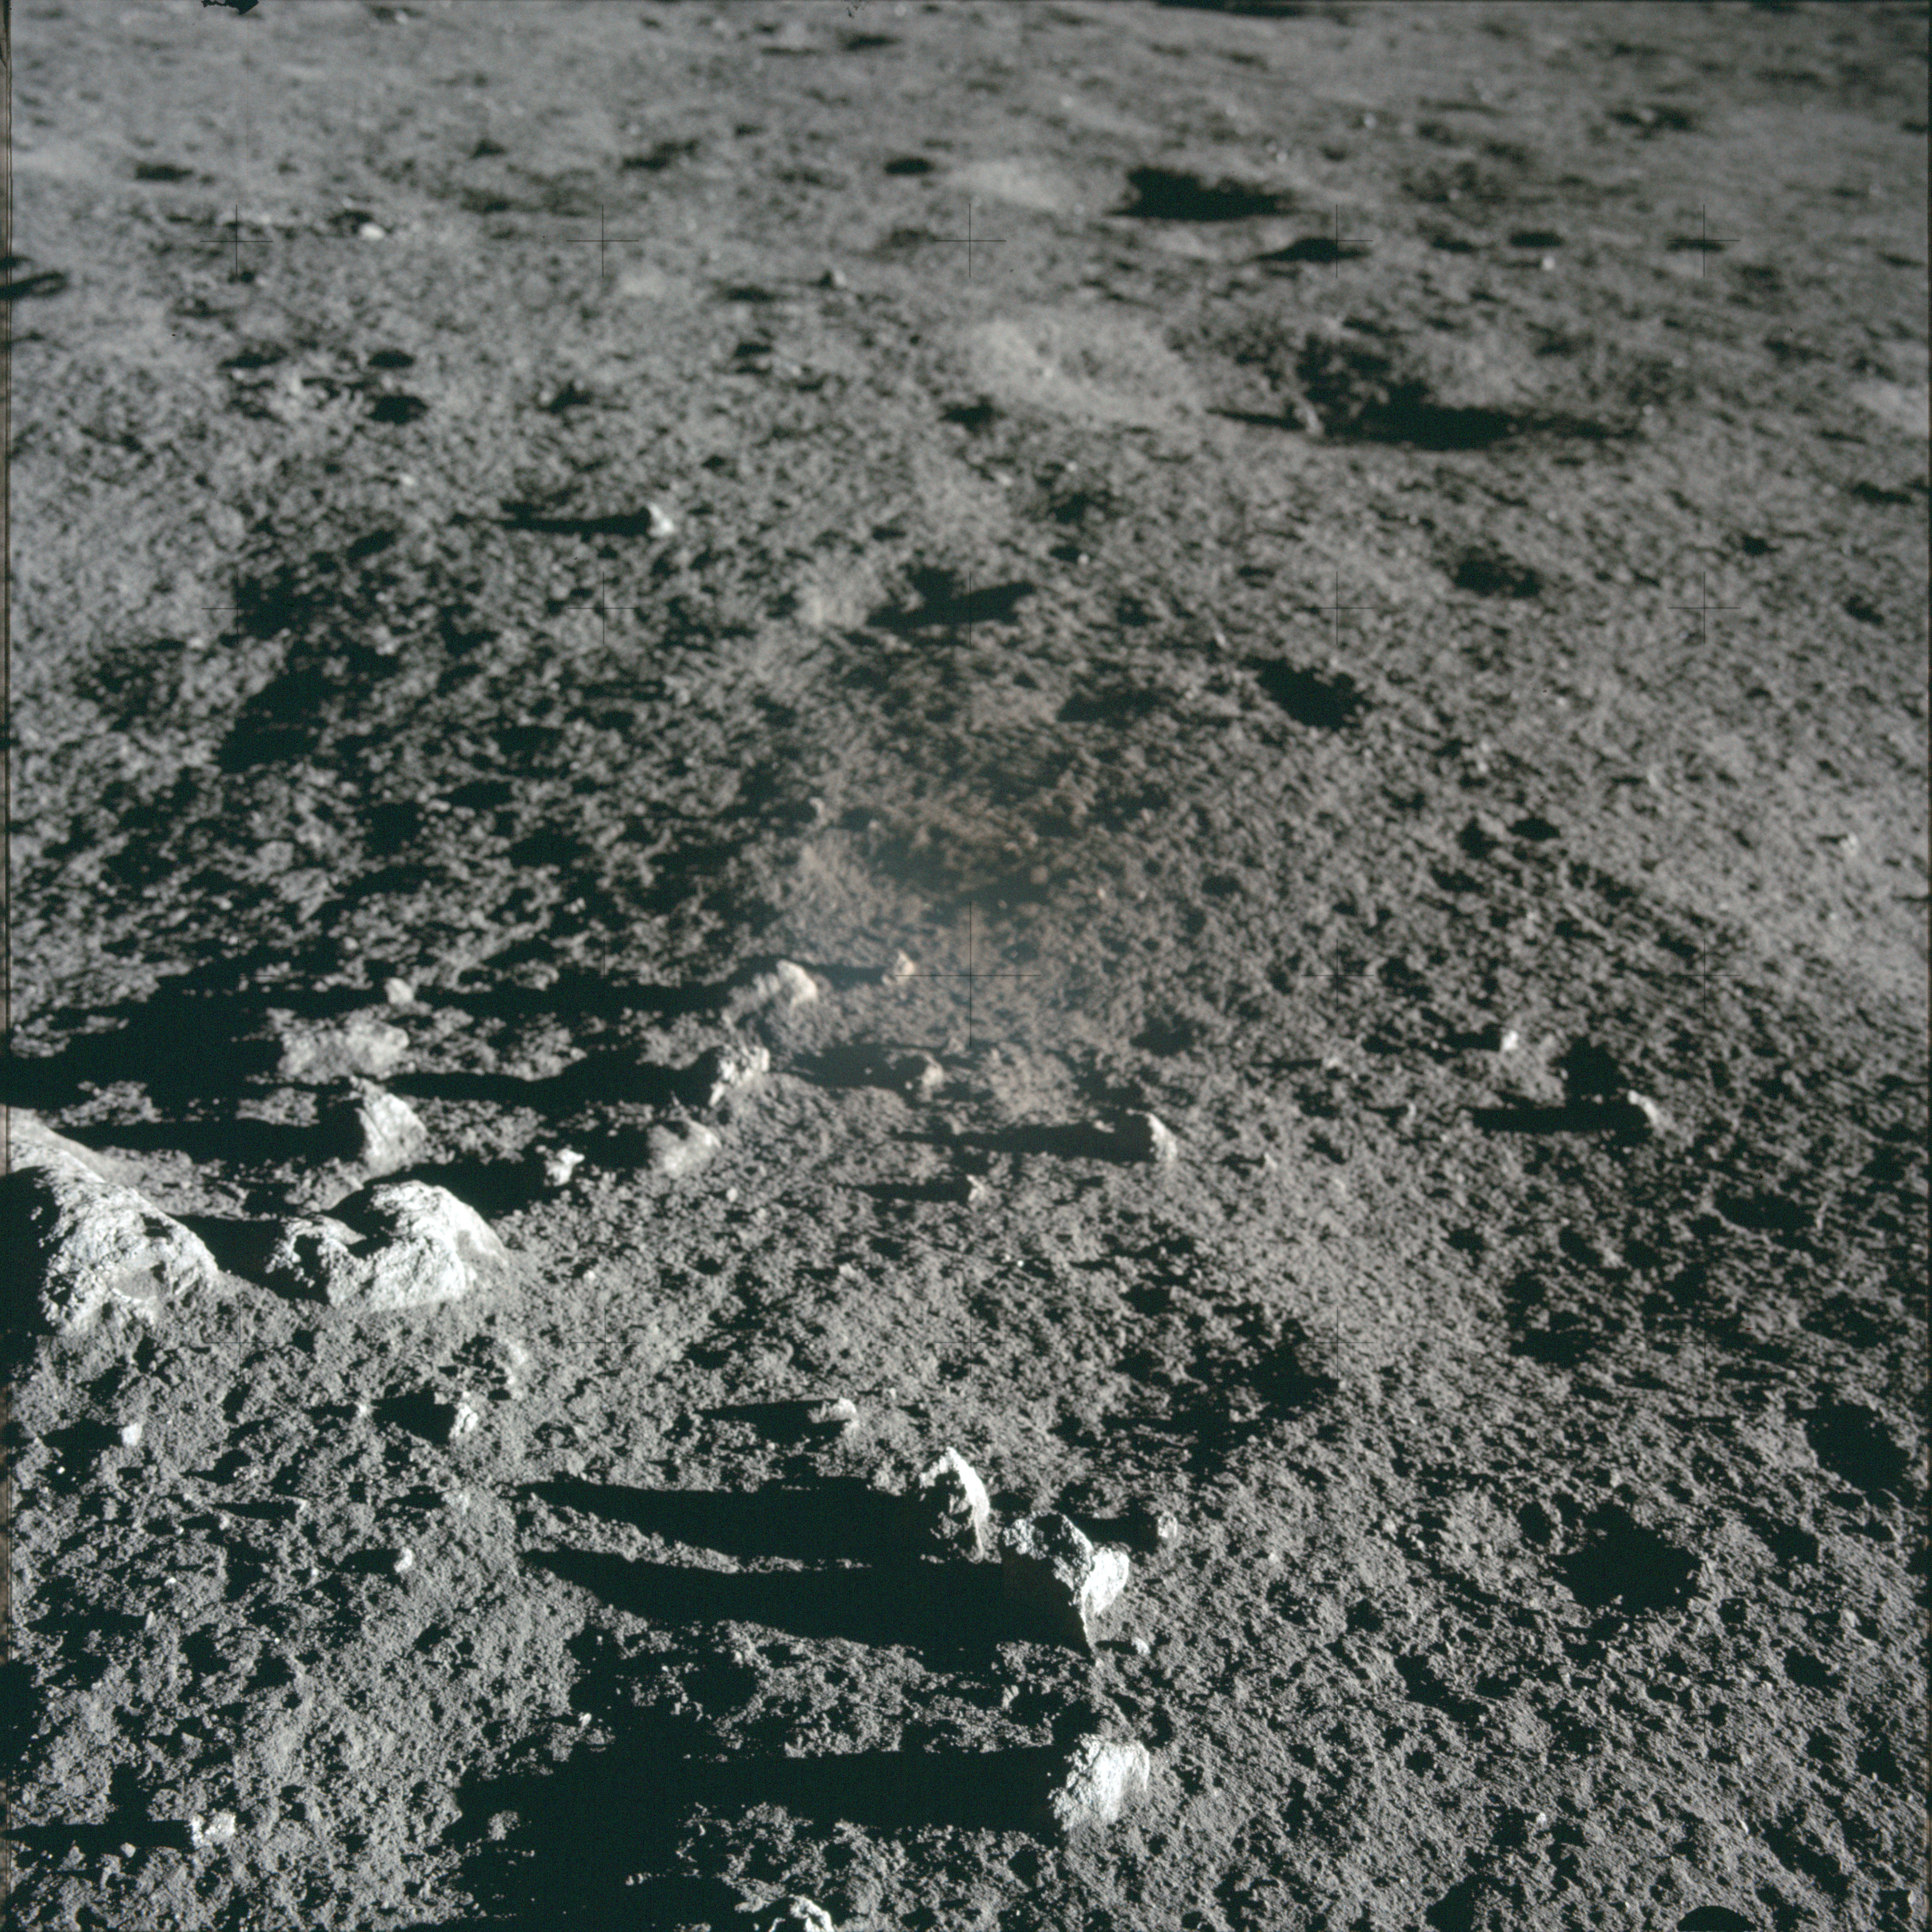 |
AS12-46-6834 Close-up view of the surface, looking north. Image credit: Image Science and Analysis Laboratory, NASA-Johnson Space Center |
 |
AS12-46-6835 Close-up view of the surface, looking south. Image credit: Image Science and Analysis Laboratory, NASA-Johnson Space Center |
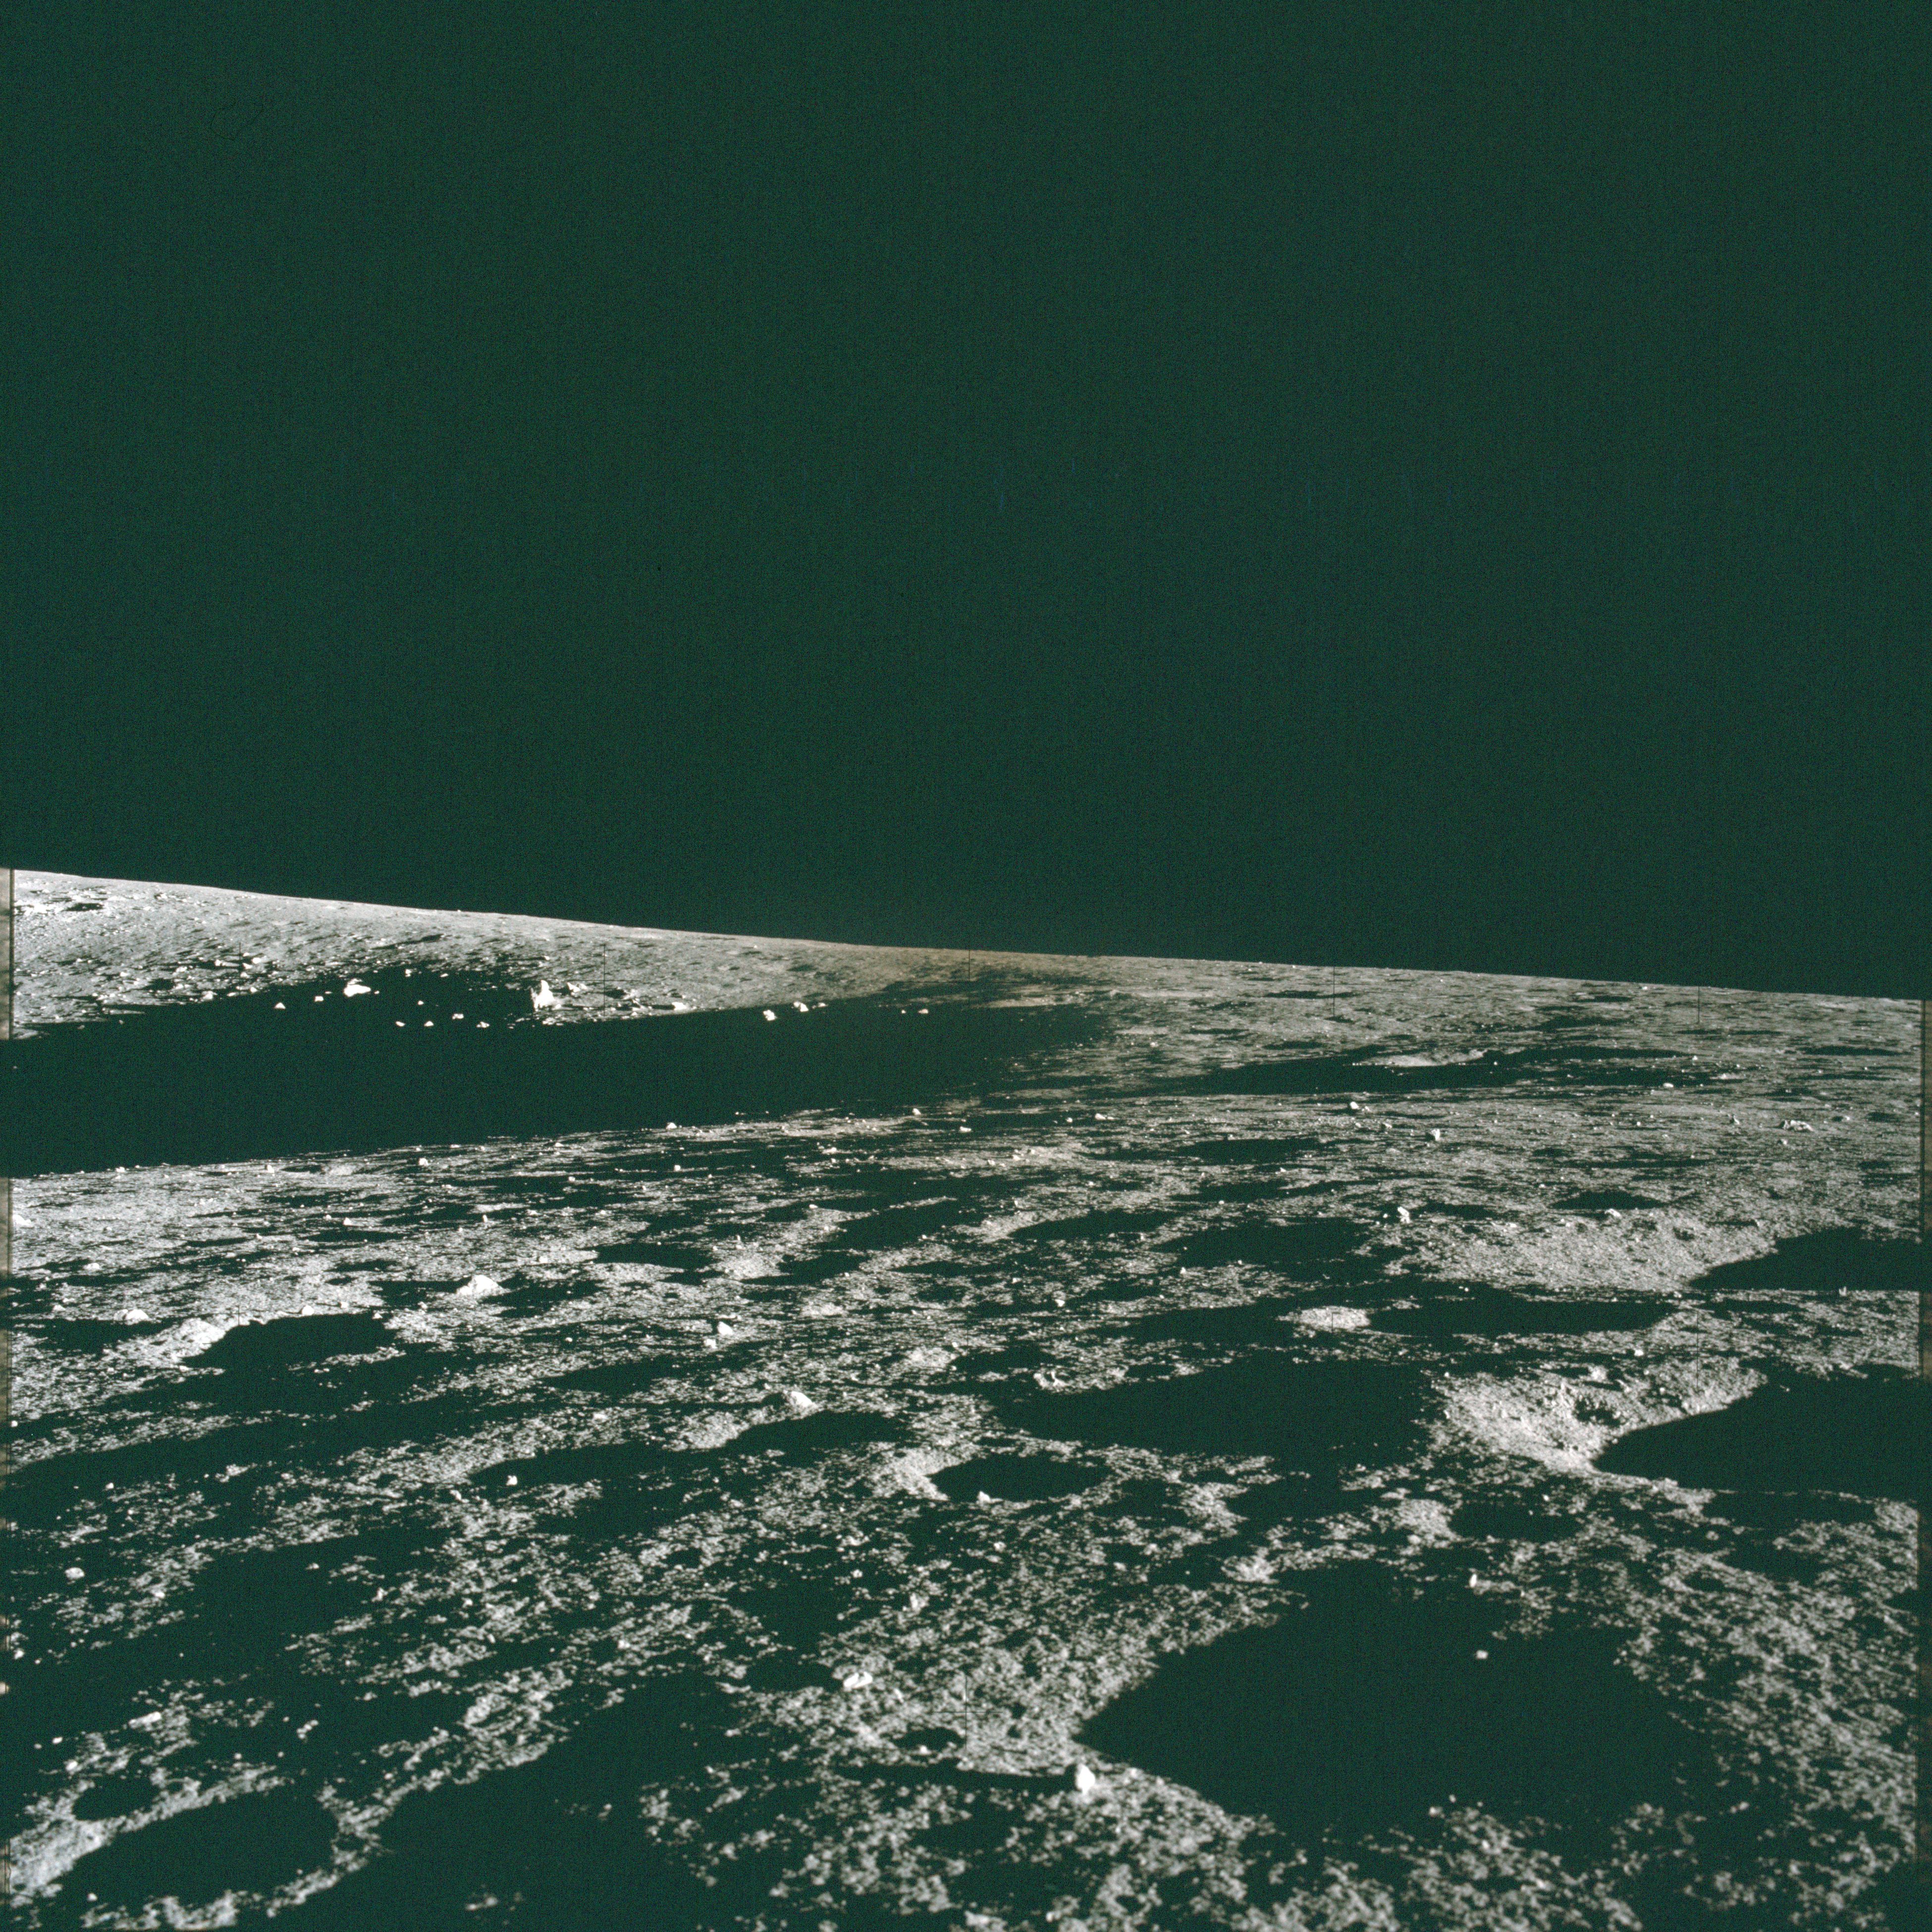 |
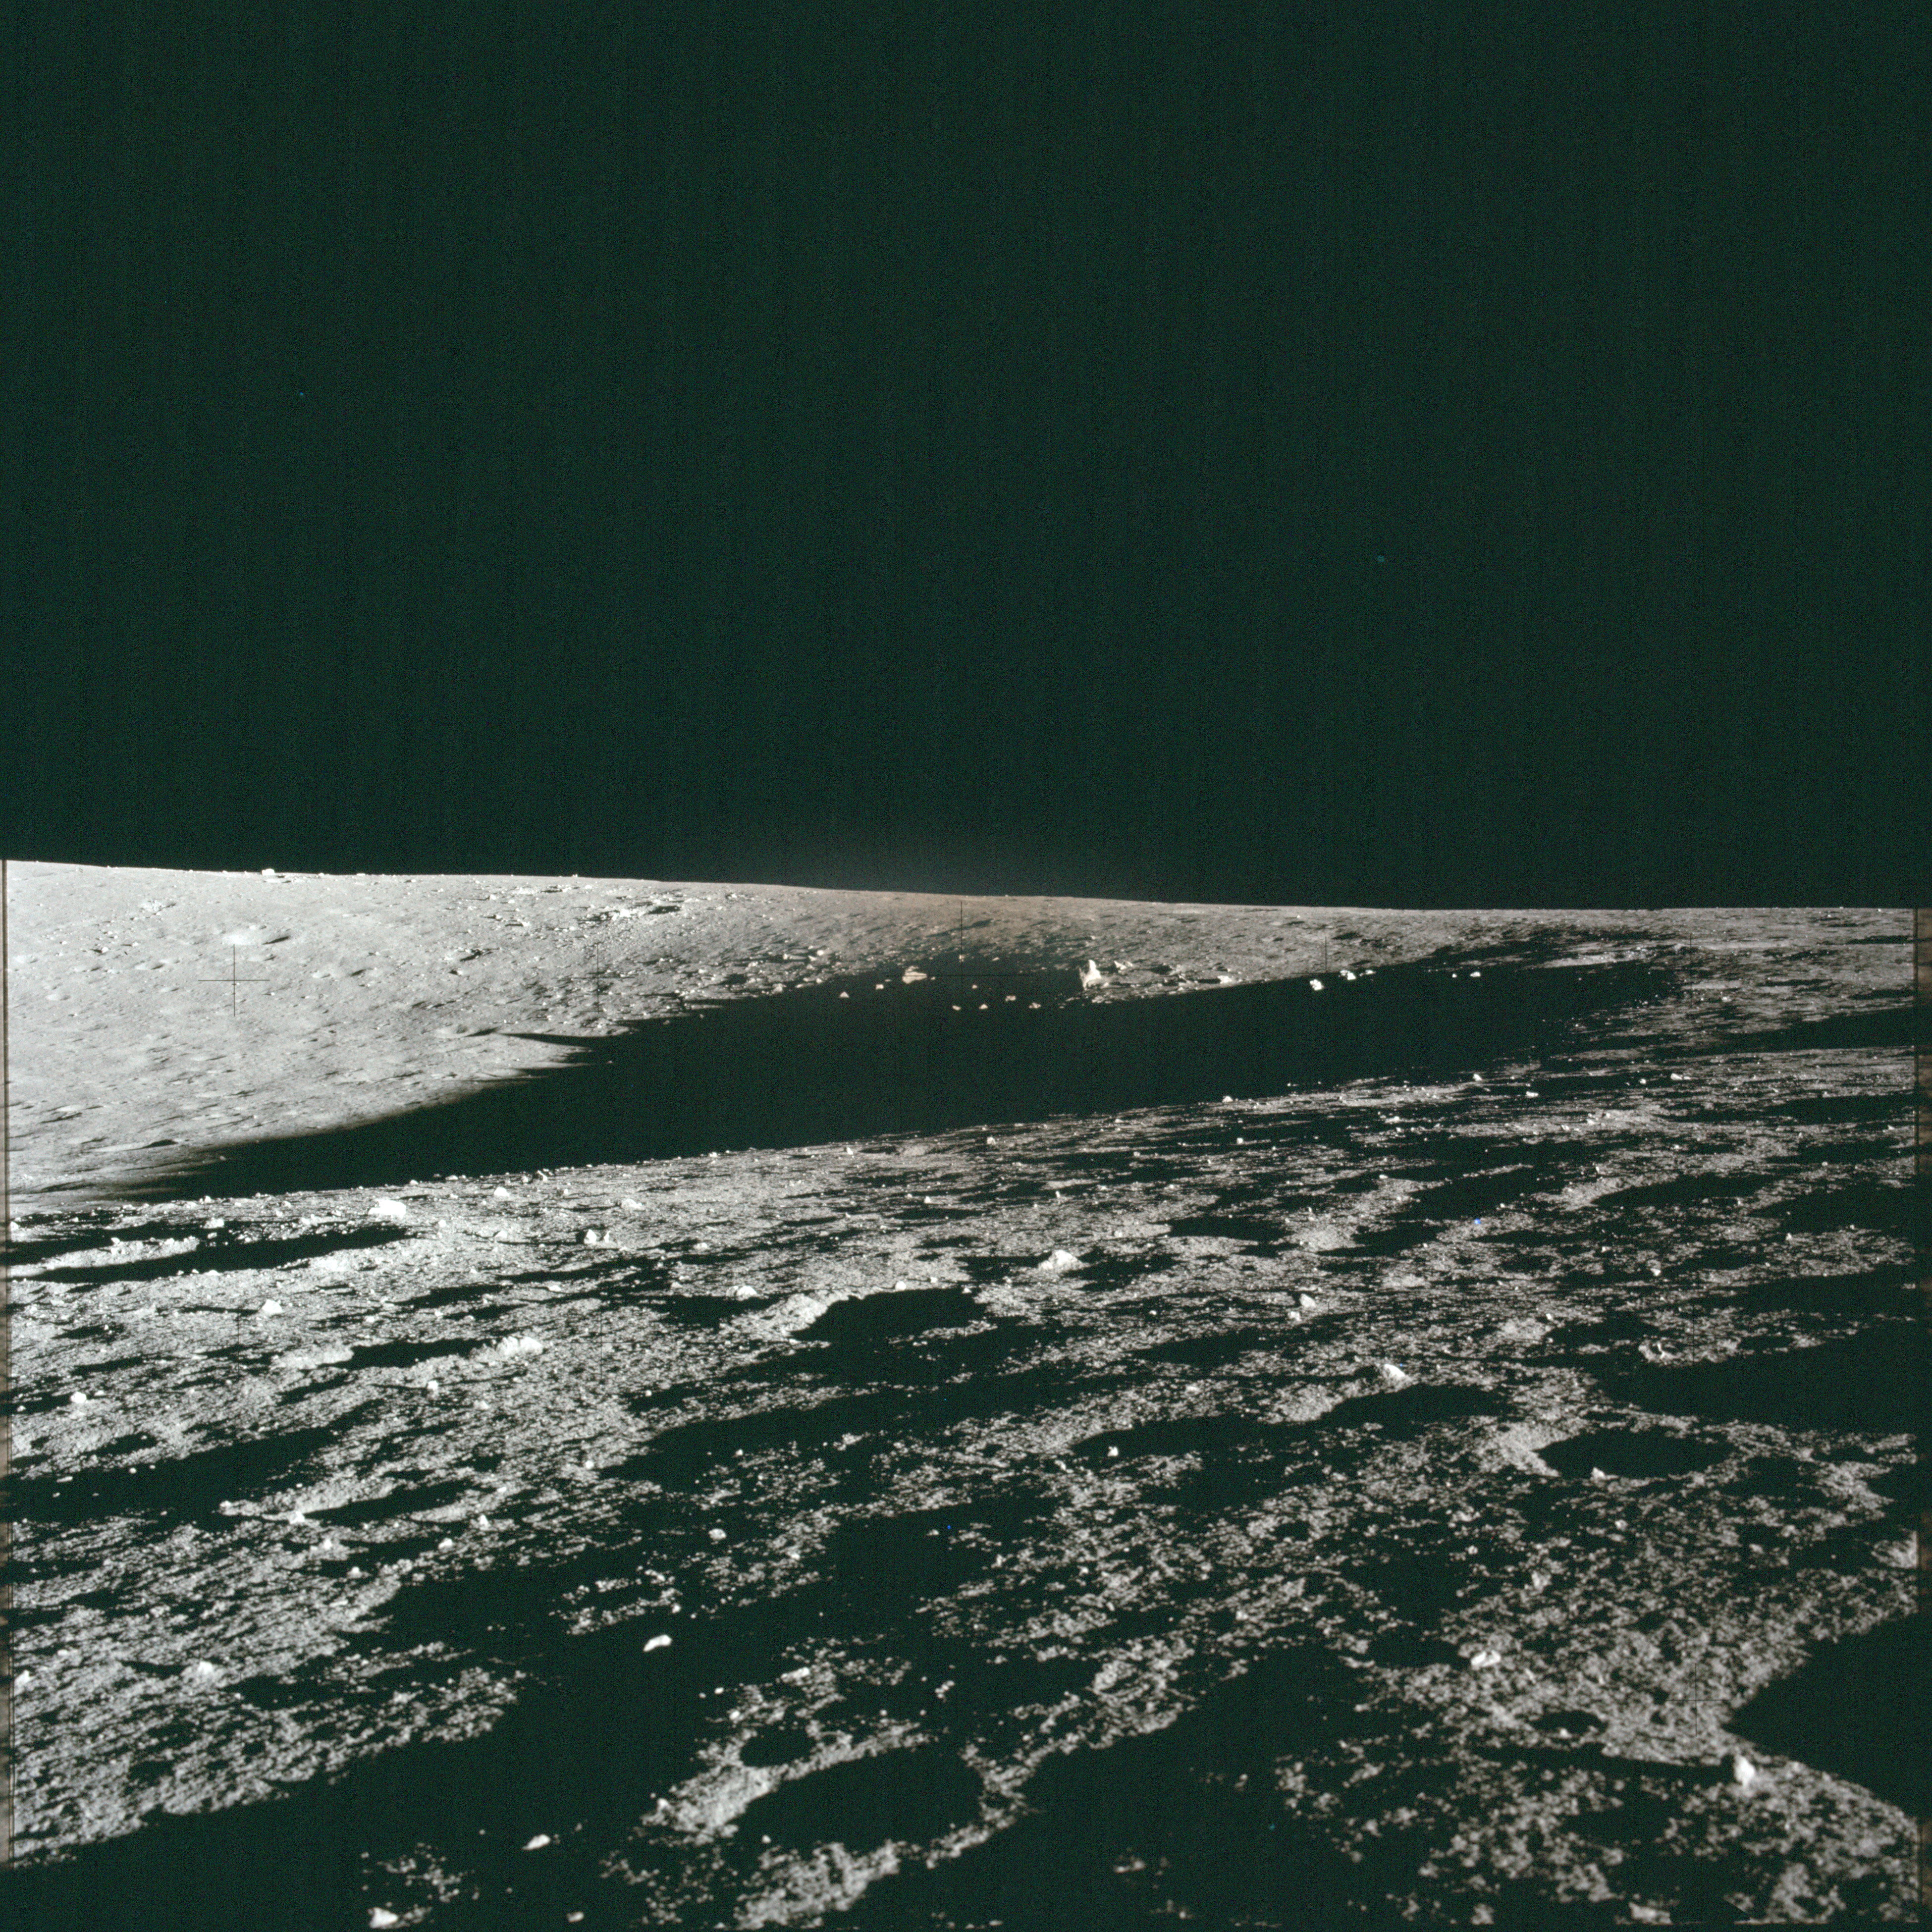
AS12-46-6836 Panorama image across Middle Crescent Crater (1/9). Image credit: Image Science and Analysis Laboratory, NASA-Johnson Space Center |
 |
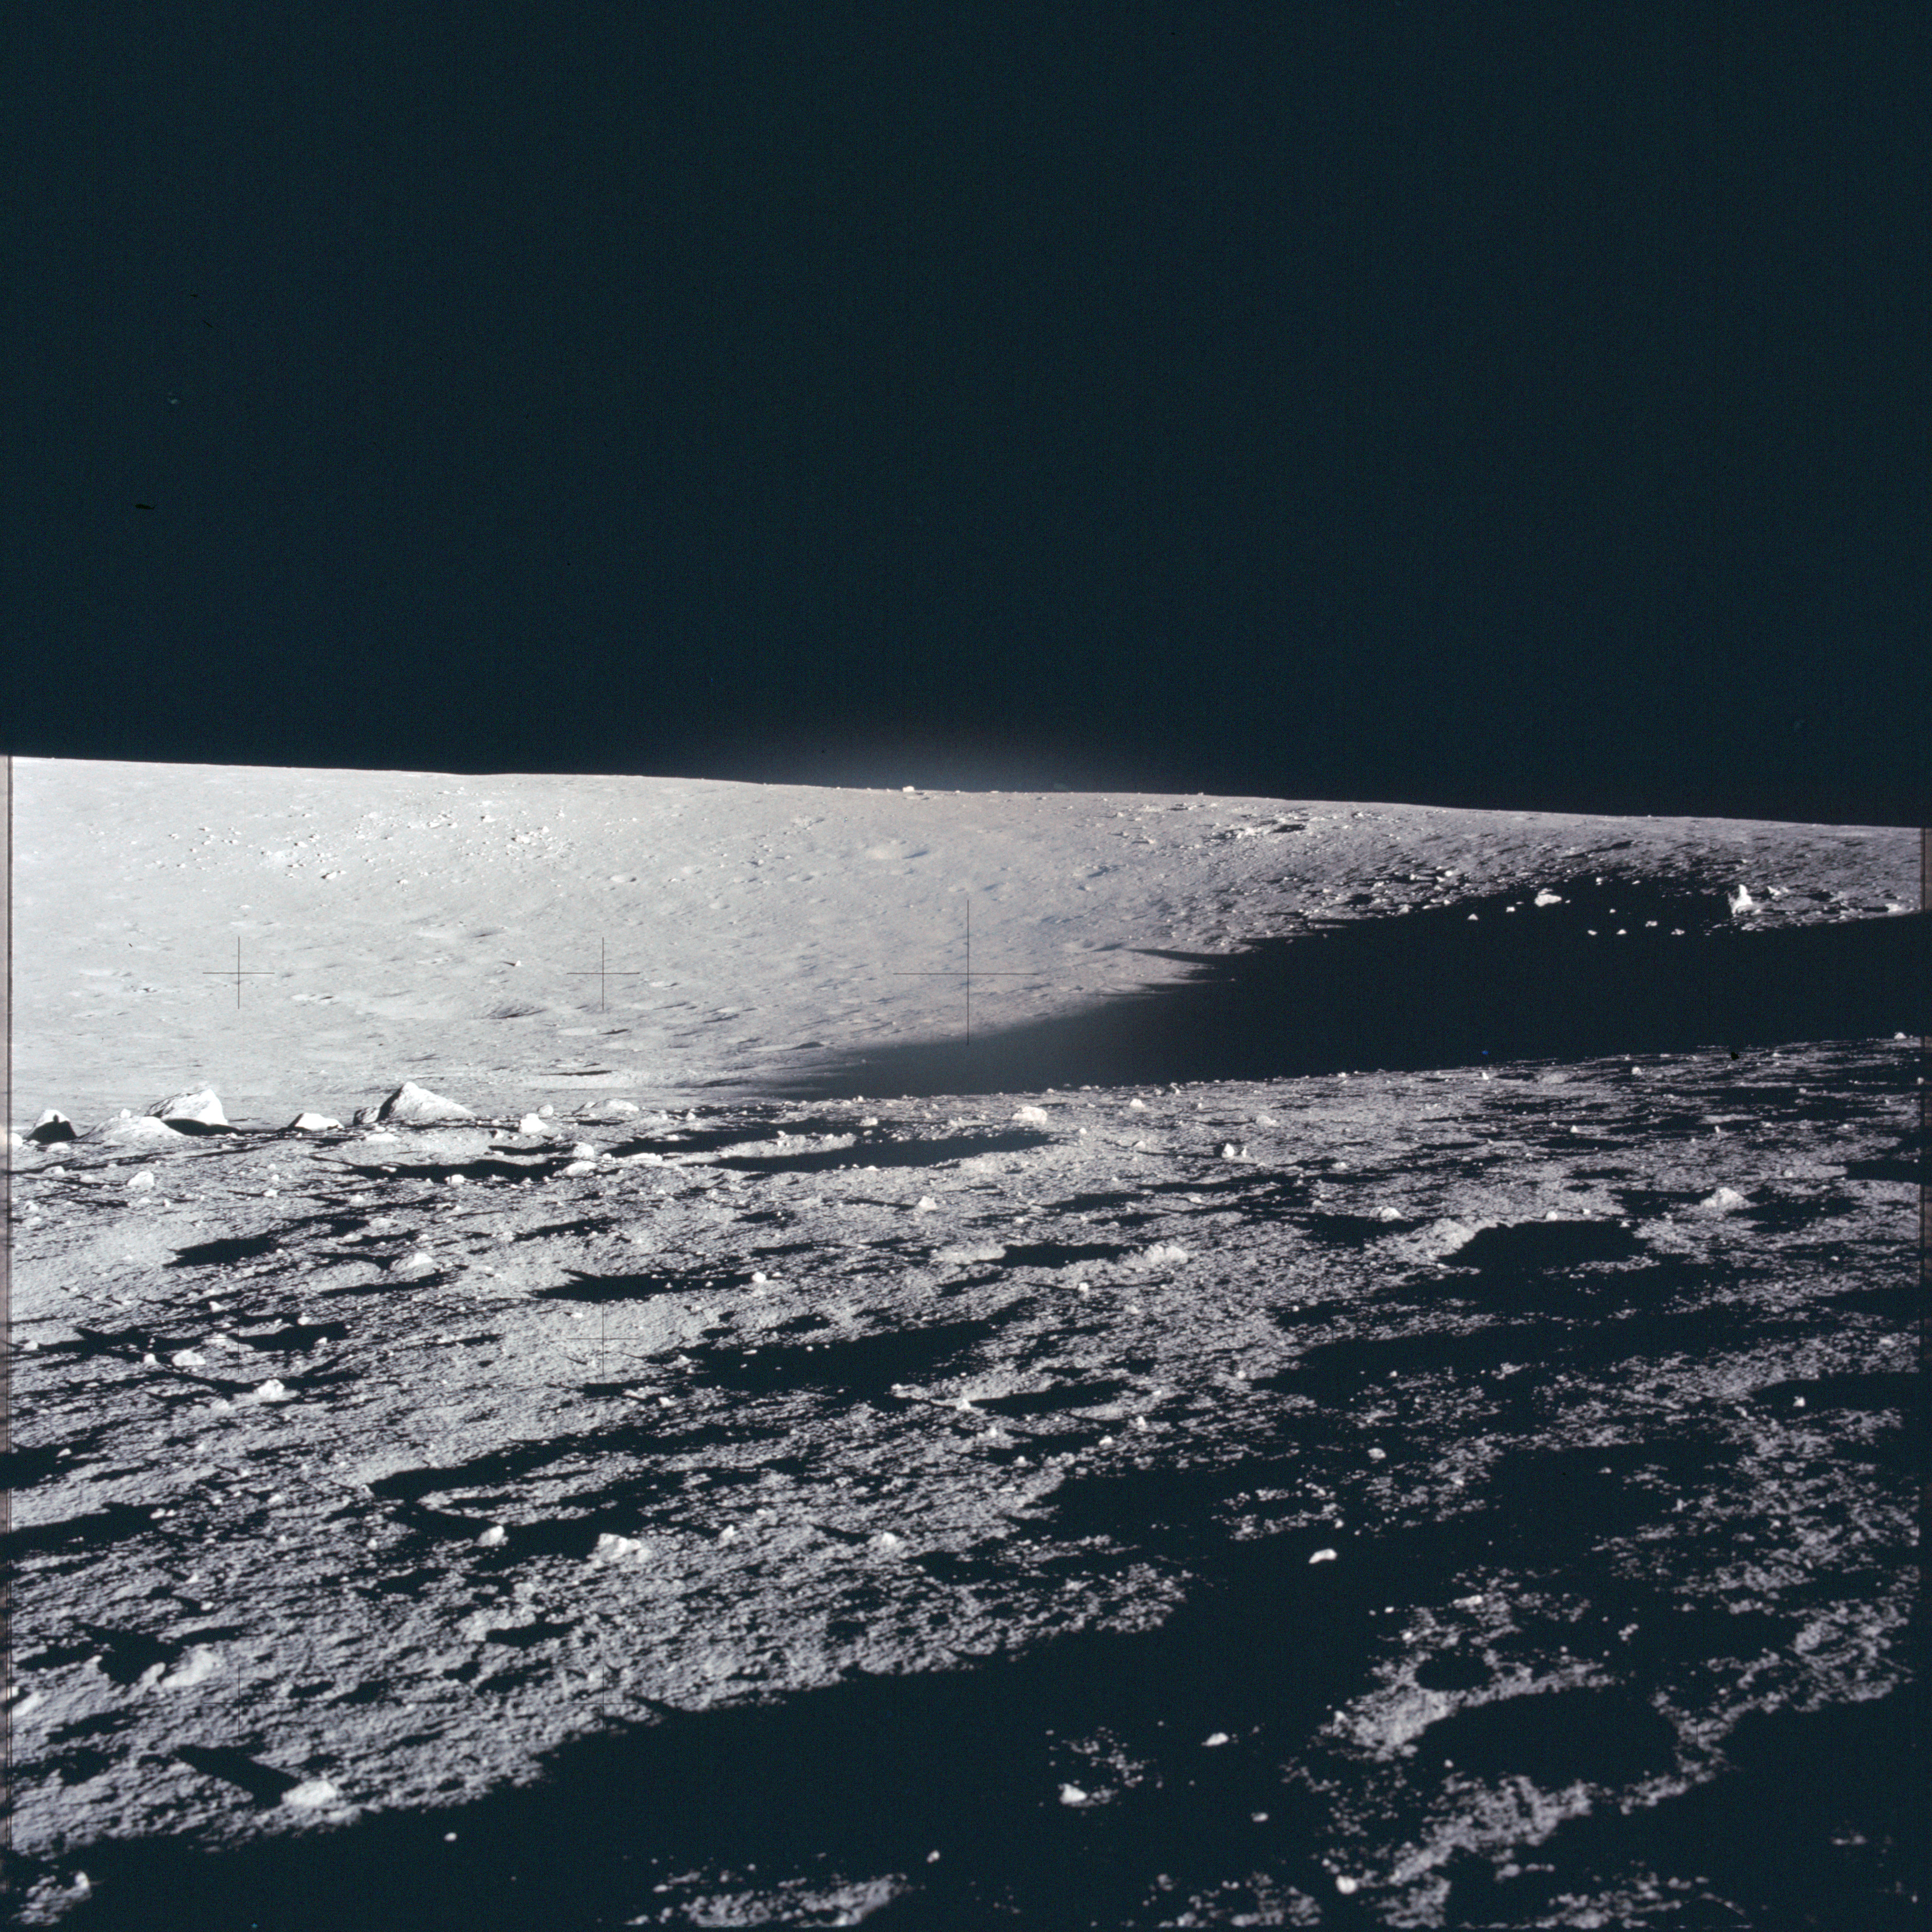
AS12-46-6837 Panorama image across Middle Crescent Crater (2/9). Image credit: Image Science and Analysis Laboratory, NASA-Johnson Space Center |
 |
AS12-46-6838 Panorama image across Middle Crescent Crater (3/9). Image credit: Image Science and Analysis Laboratory, NASA-Johnson Space Center |
 |
AS12-46-6839 Panorama image across Middle Crescent Crater (4/9). Image credit: Image Science and Analysis Laboratory, NASA-Johnson Space Center |
 |
AS12-46-6840 Panorama image across Middle Crescent Crater (5/9). Al's shadow is on the left. Image credit: Image Science and Analysis Laboratory, NASA-Johnson Space Center |
 |
AS12-46-6841 Panorama image across Middle Crescent Crater (6/9). Image includes Pete's and Al's shadows. Image credit: Image Science and Analysis Laboratory, NASA-Johnson Space Center |
 |
AS12-46-6842 Panorama image across Middle Crescent Crater (7/9). Image credit: Image Science and Analysis Laboratory, NASA-Johnson Space Center |
 |
AS12-46-6843 Panorama image across Middle Crescent Crater (8/9). Image credit: Image Science and Analysis Laboratory, NASA-Johnson Space Center |
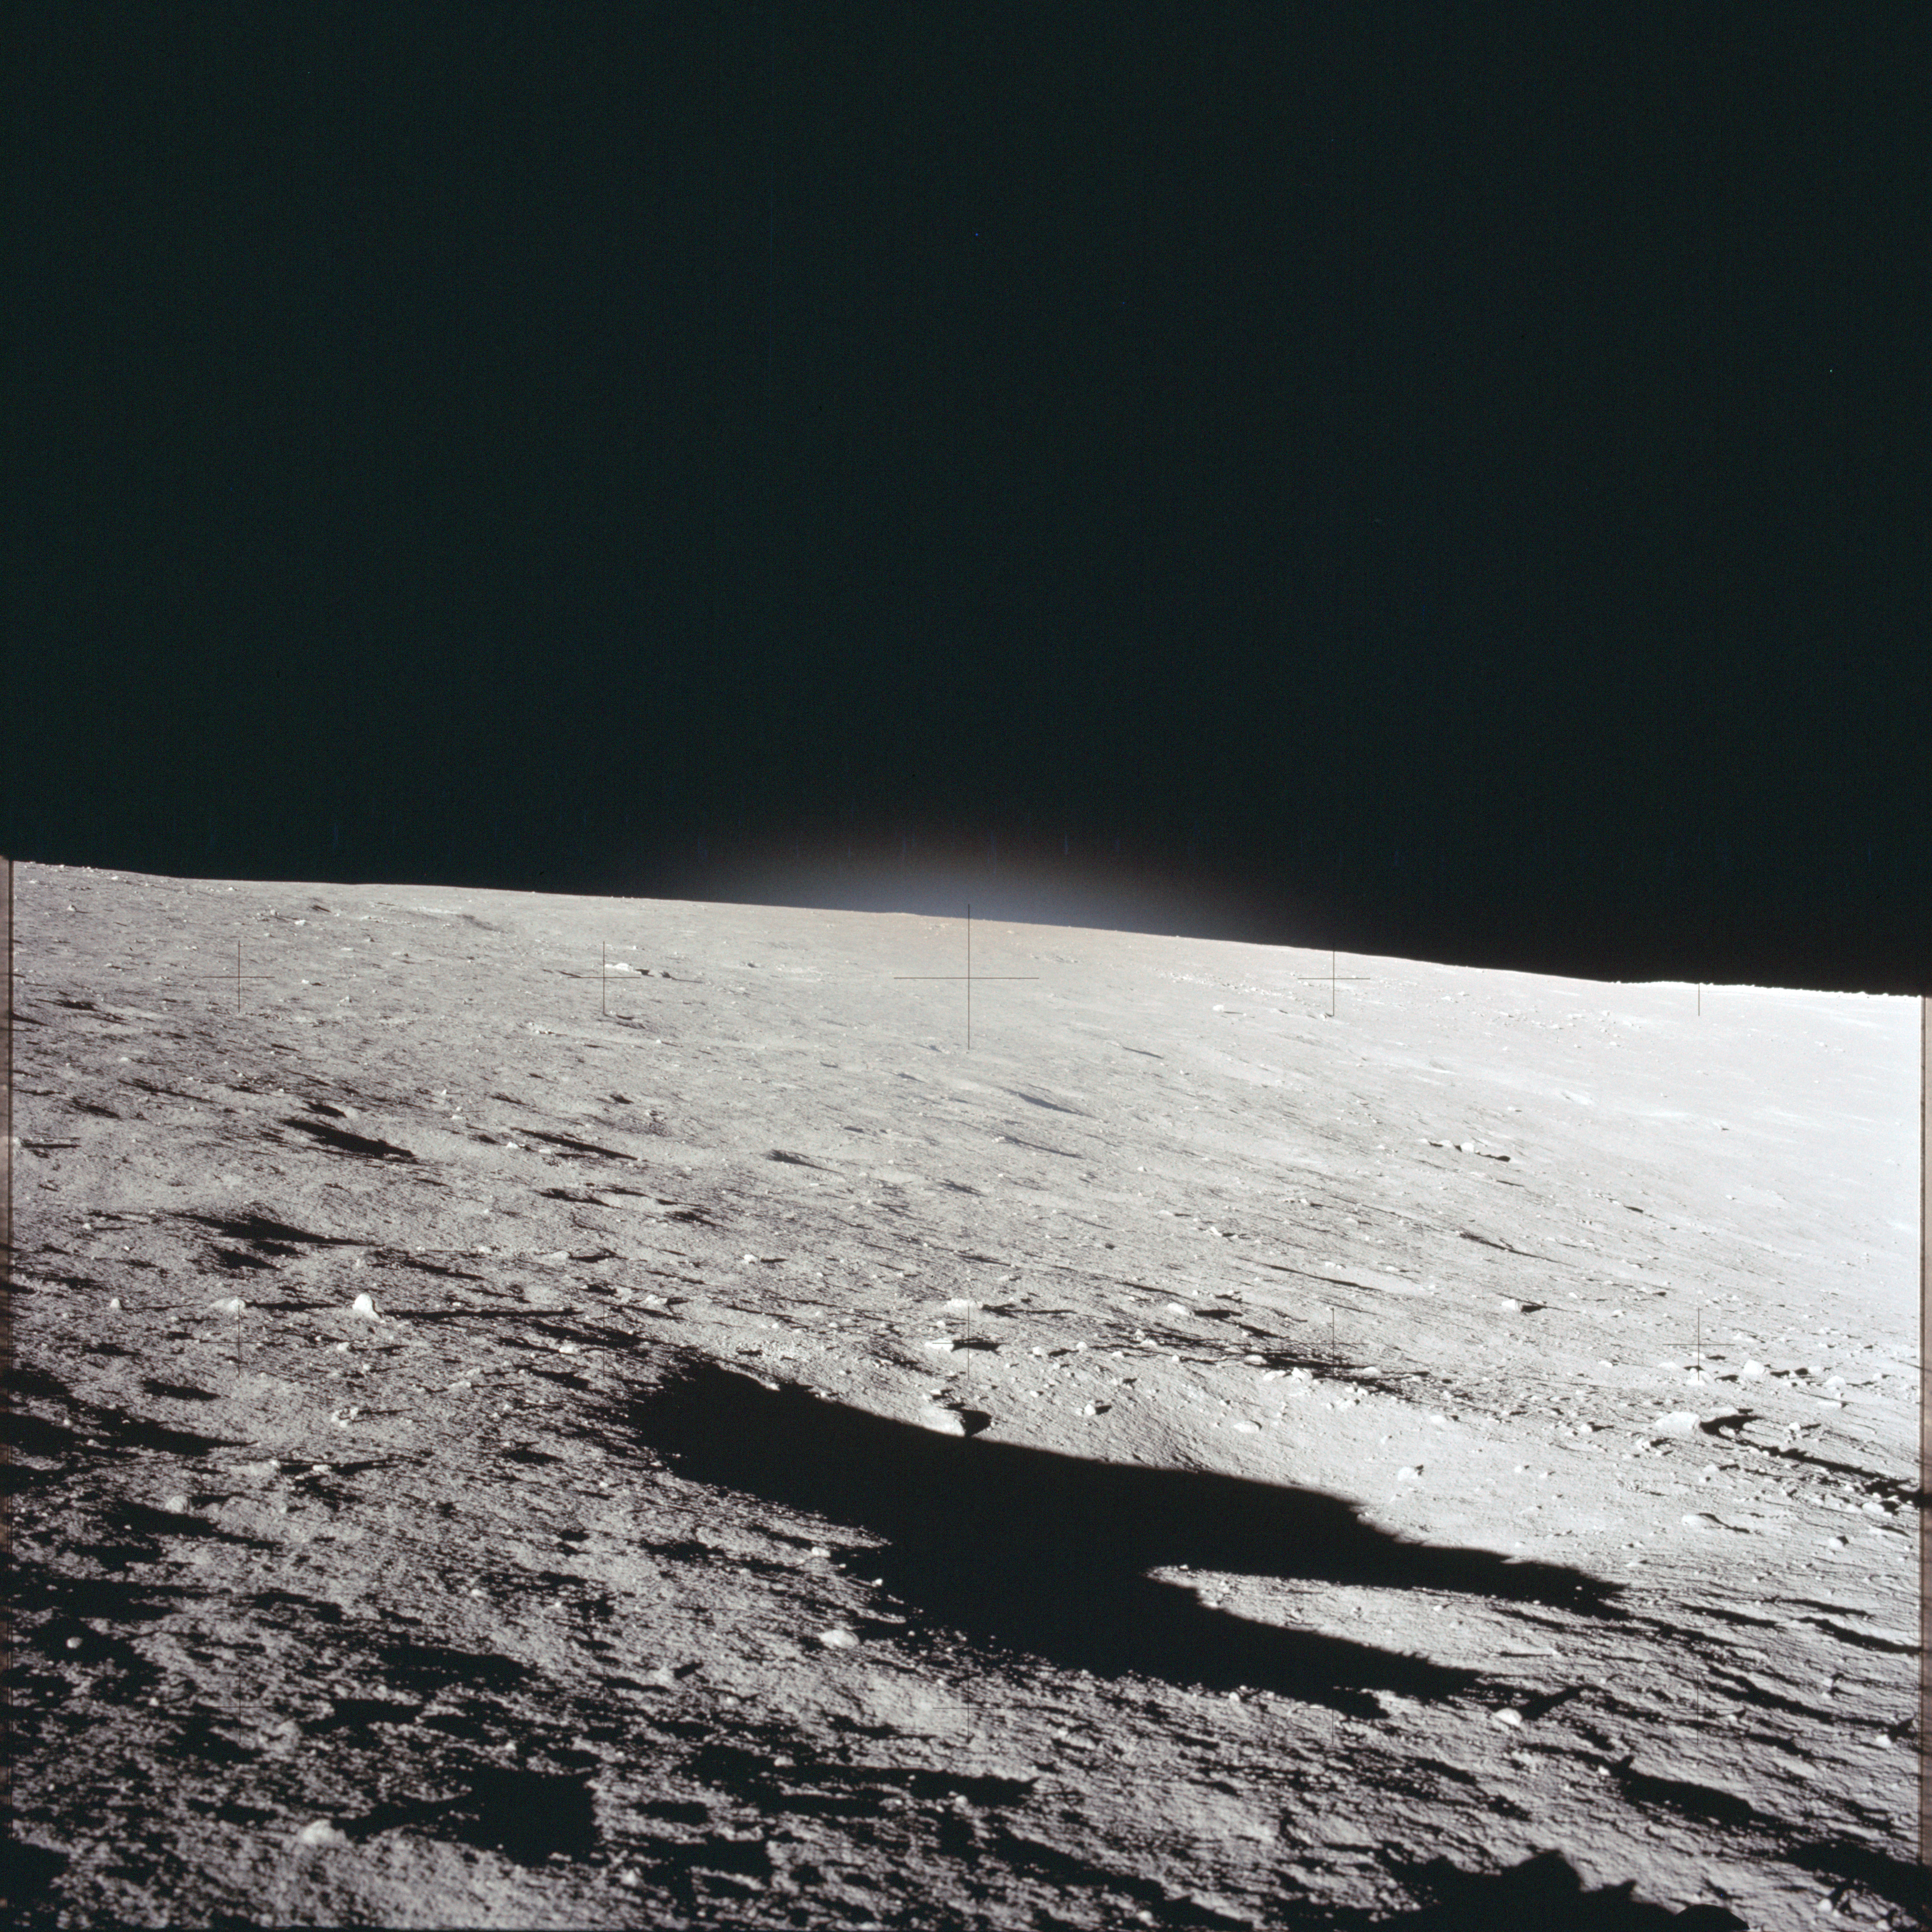 |
AS12-46-6844 Panorama image across Middle Crescent Crater (9/9). Image credit: Image Science and Analysis Laboratory, NASA-Johnson Space Center |
 |
AS12-46-6845 Image for second panorama to give stereo coverage across Middle Crescent Crater (1/8). Image credit: Image Science and Analysis Laboratory, NASA-Johnson Space Center |
 |
AS12-46-6846 Image for second panorama to give stereo coverage across Middle Crescent Crater (2/8). Image includes Pete's shadow. Image credit: Image Science and Analysis Laboratory, NASA-Johnson Space Center |
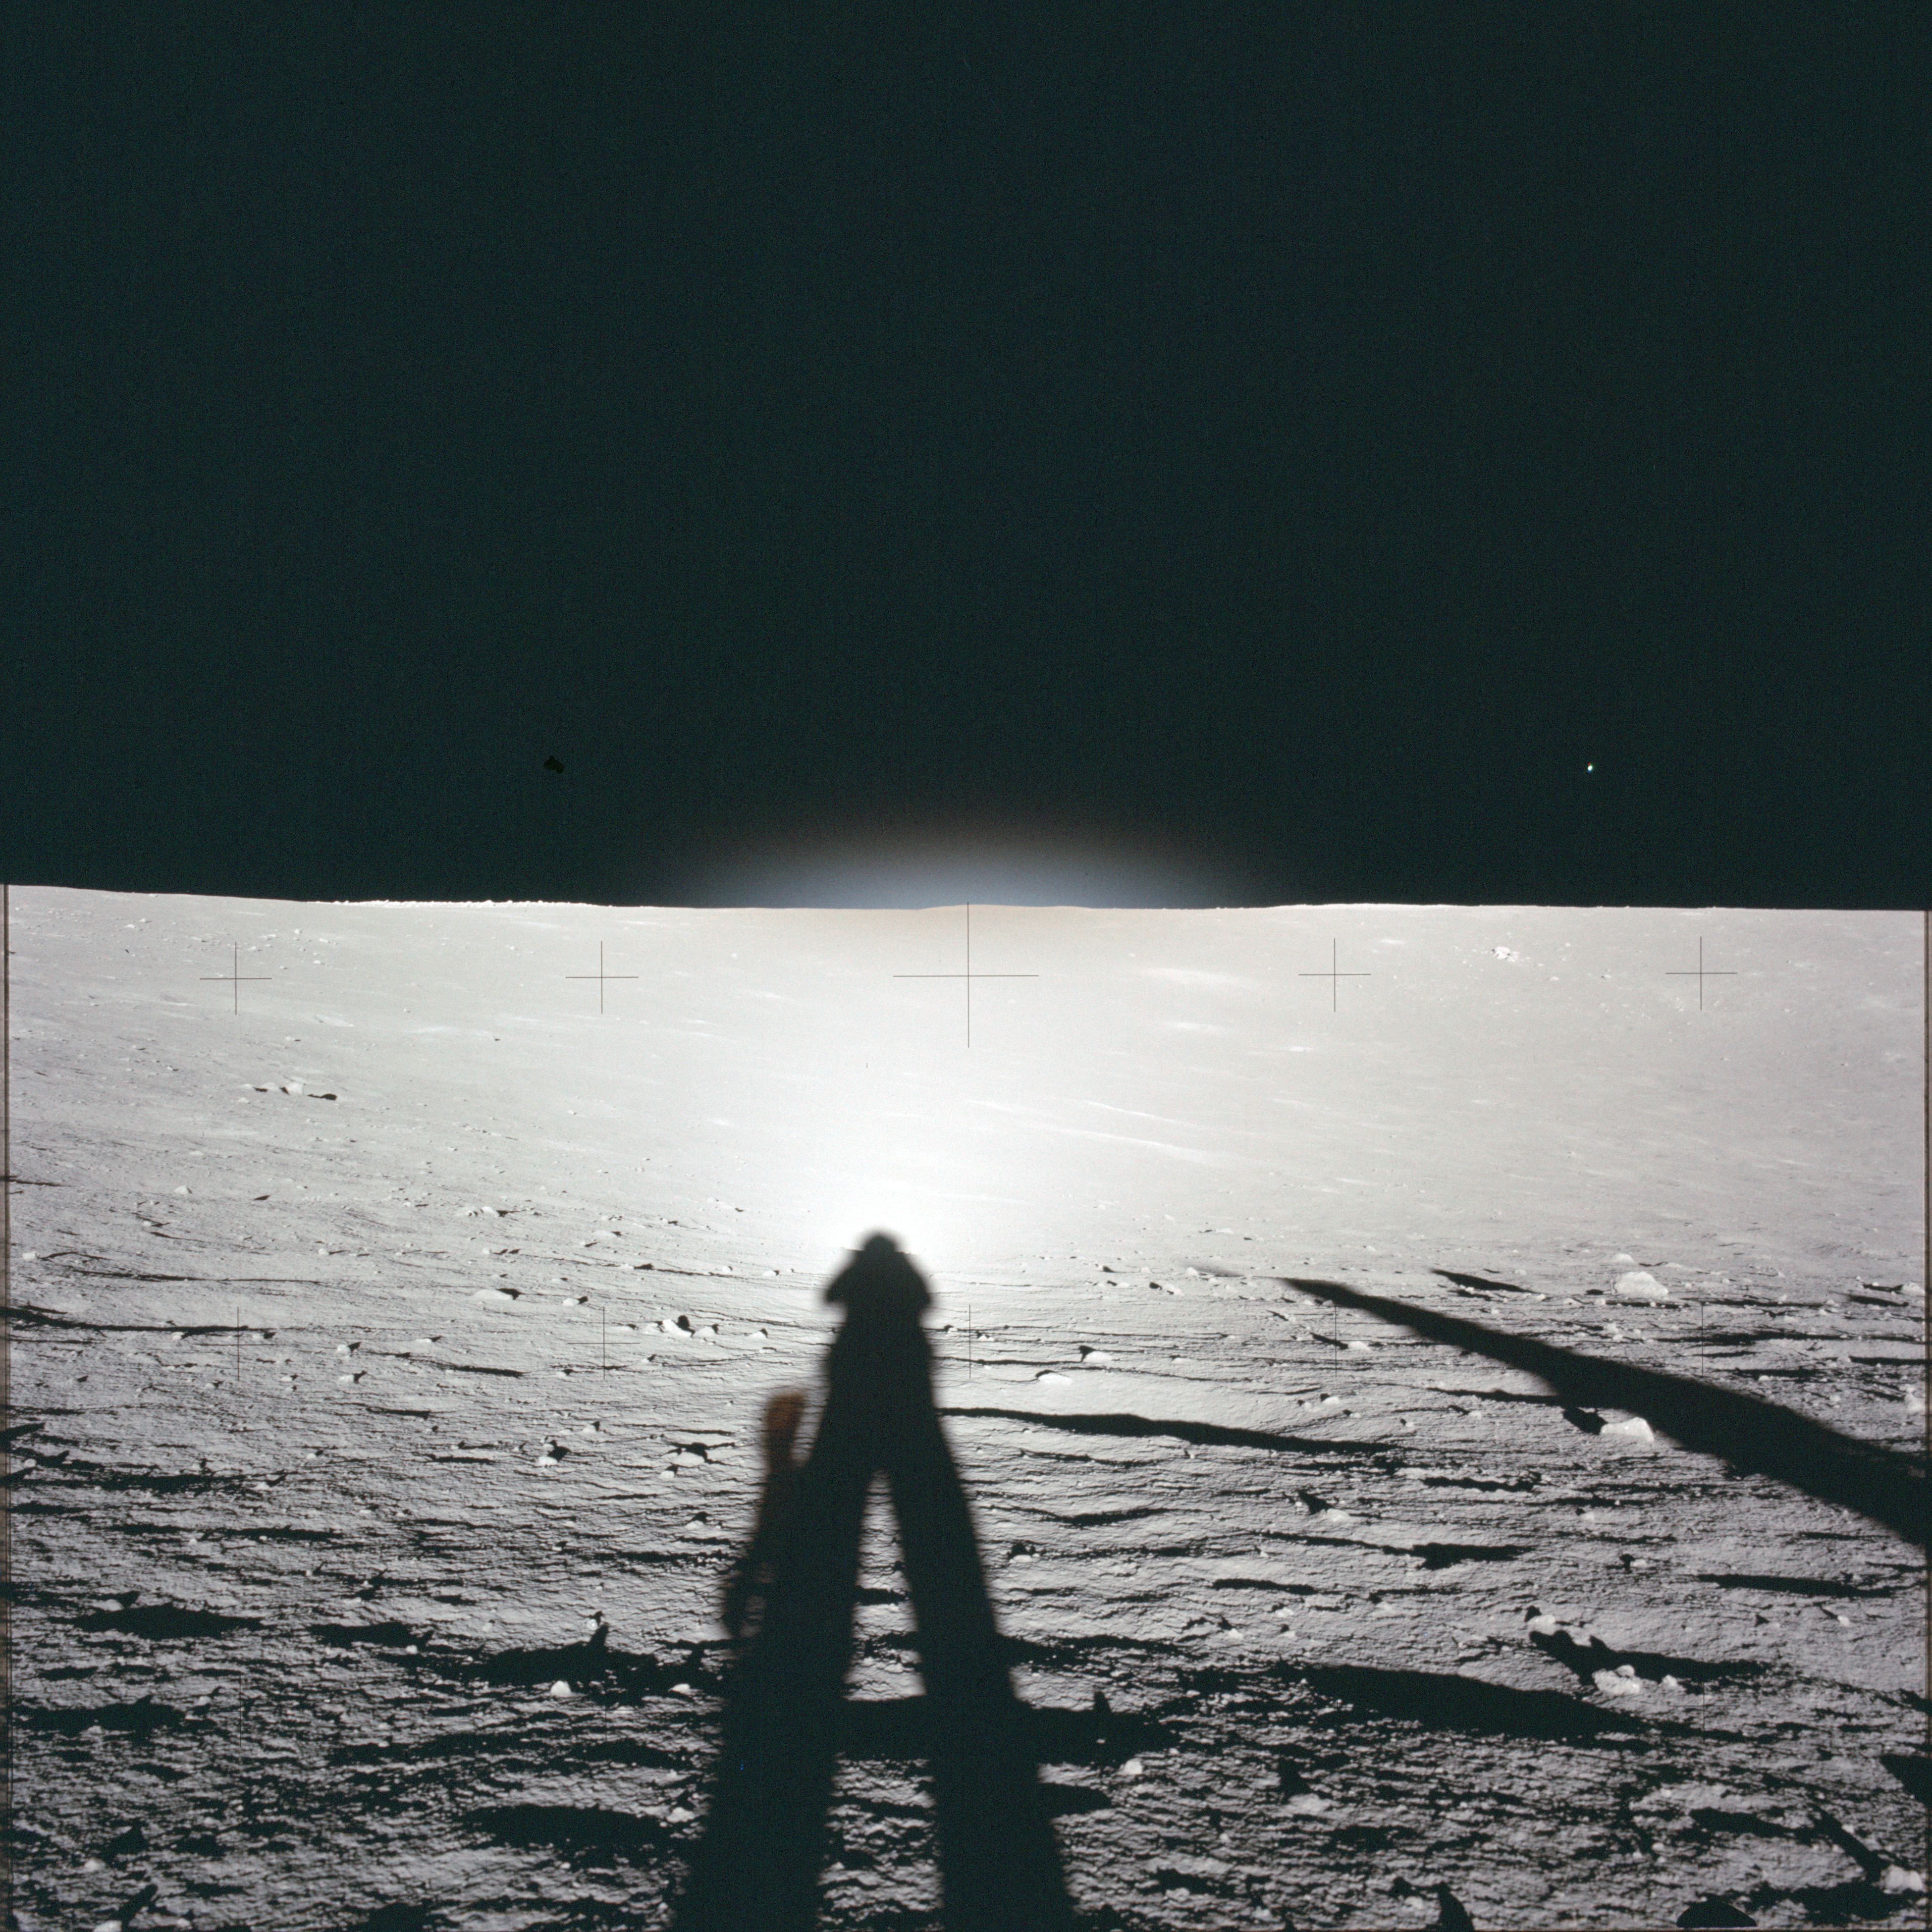 |
AS12-46-6847 Image for second panorama to give stereo coverage across Middle Crescent Crater (3/8). Image includes Pete's and Al's shadows. Image credit: Image Science and Analysis Laboratory, NASA-Johnson Space Center |
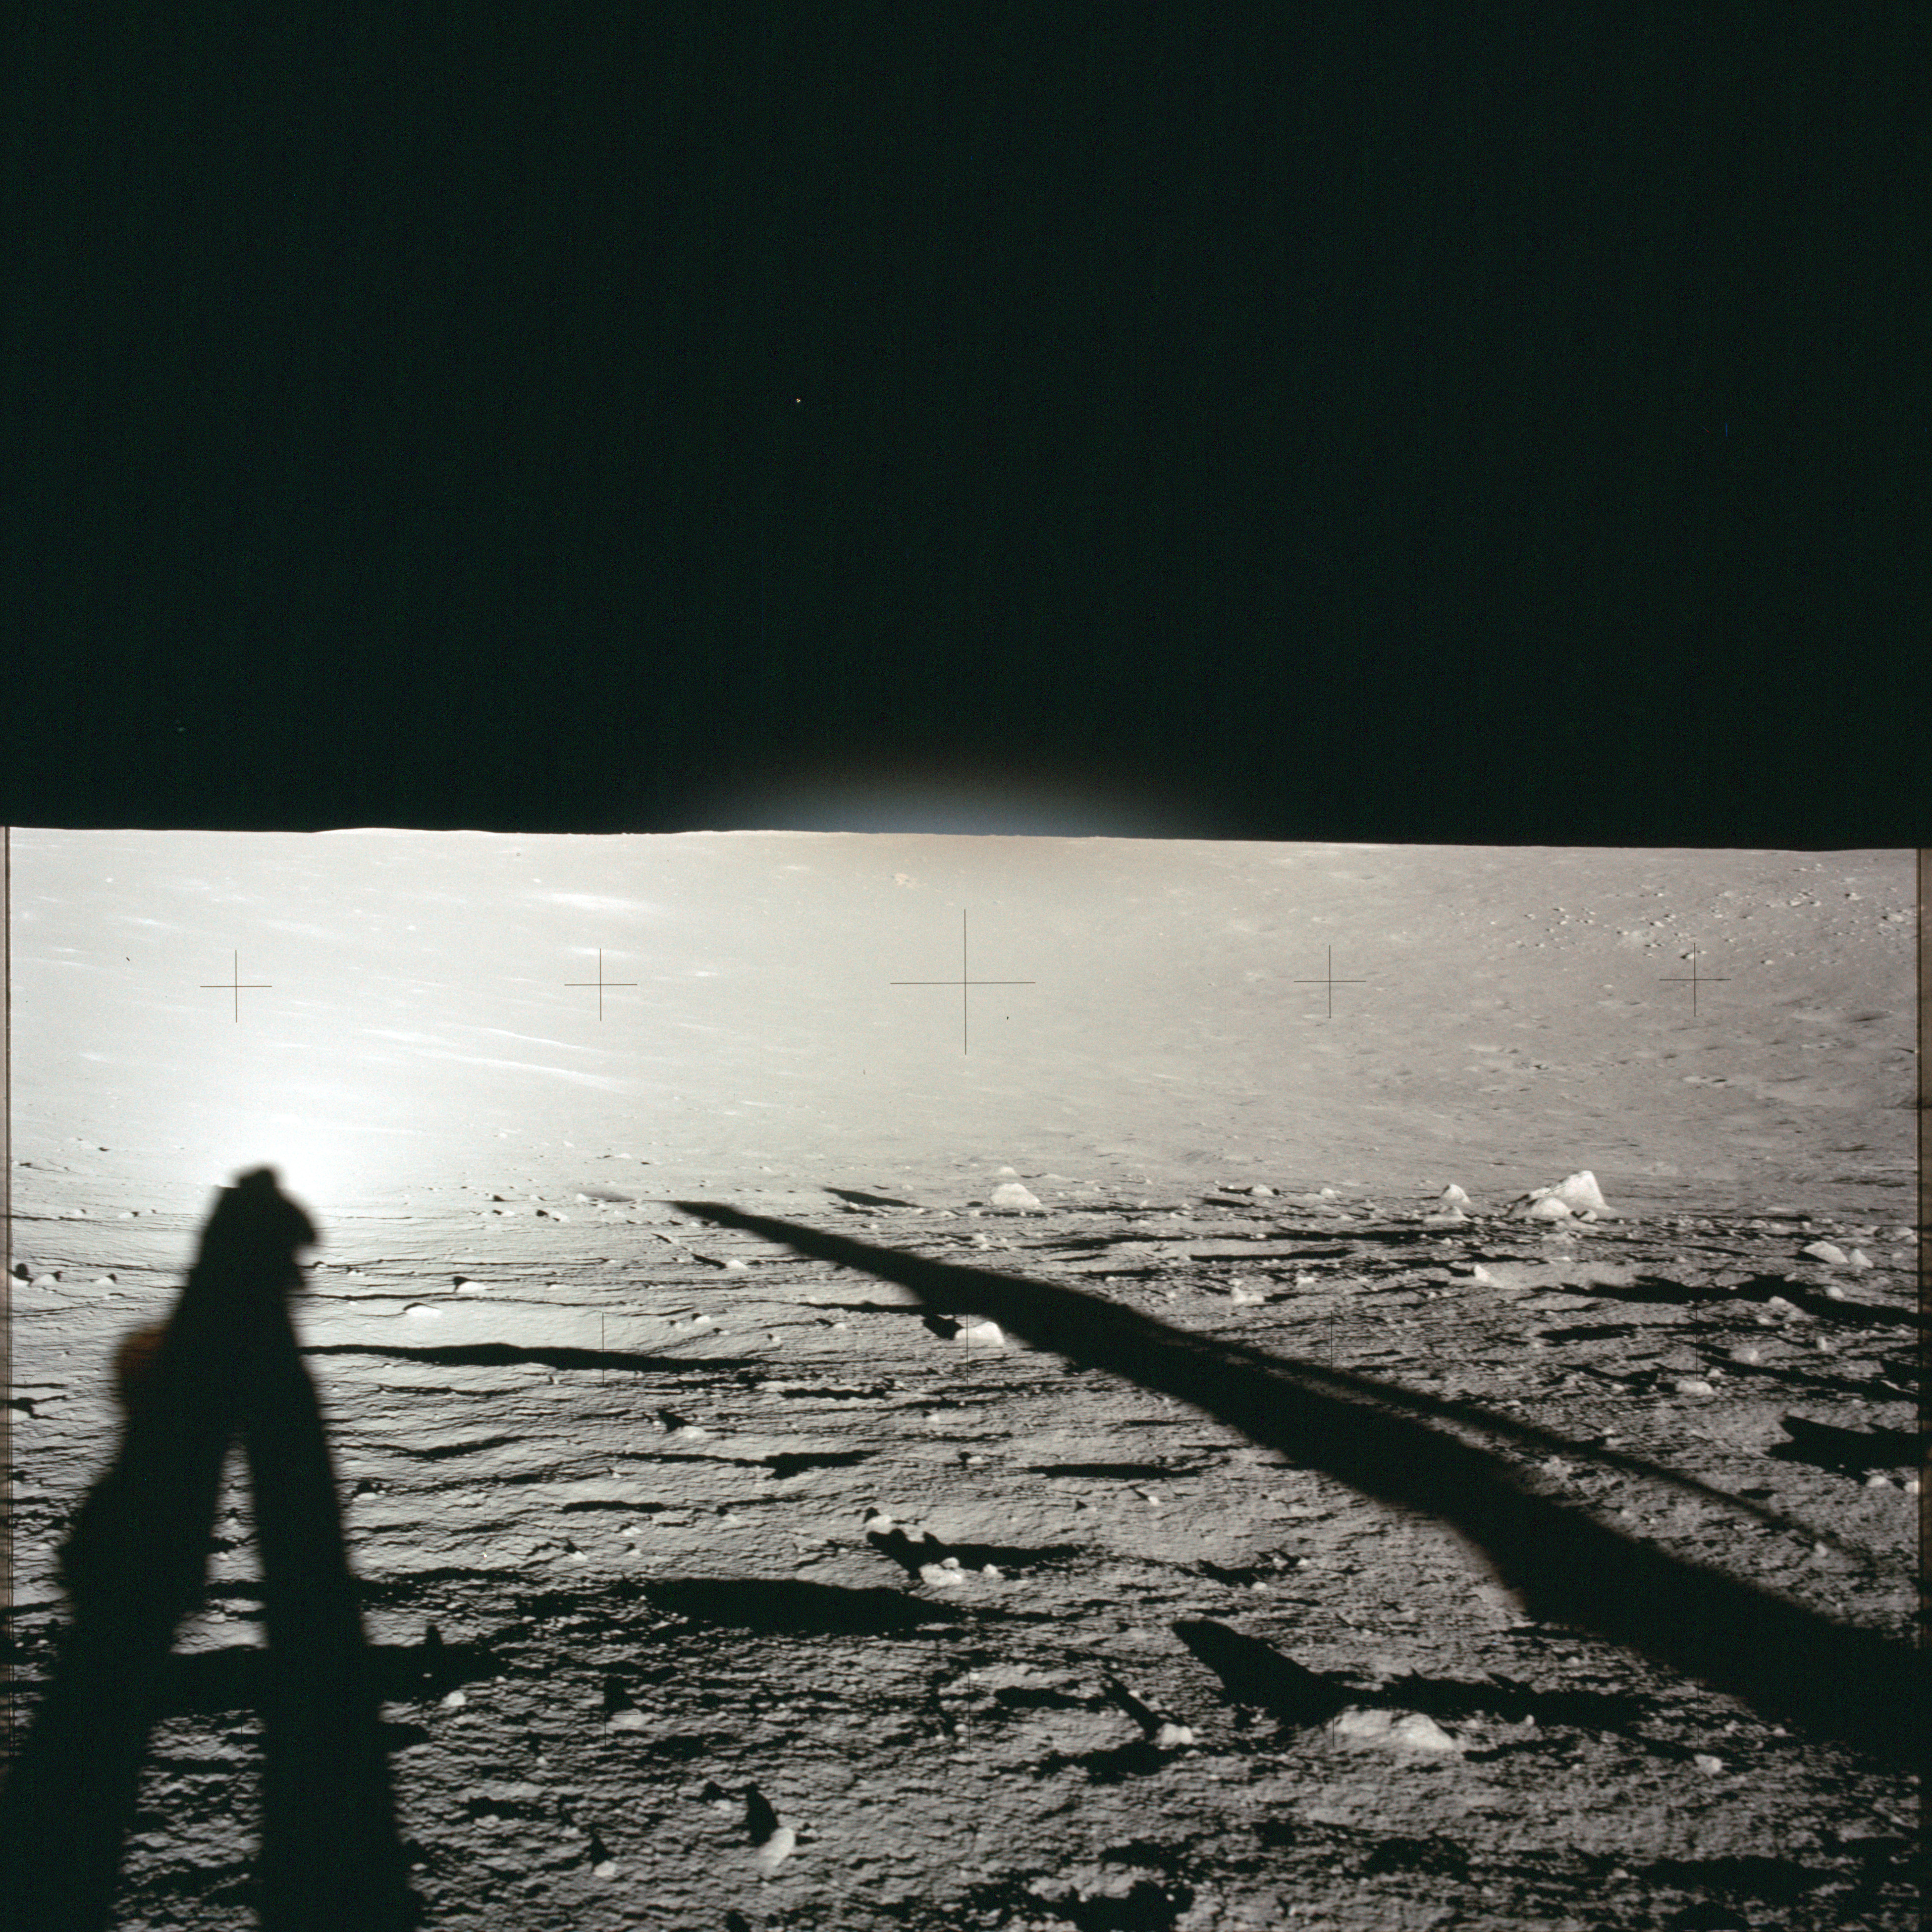 |
AS12-46-6848 Image for second panorama to give stereo coverage across Middle Crescent Crater (4/8). Image includes Pete's and Al's shadows. Image credit: Image Science and Analysis Laboratory, NASA-Johnson Space Center |
 |
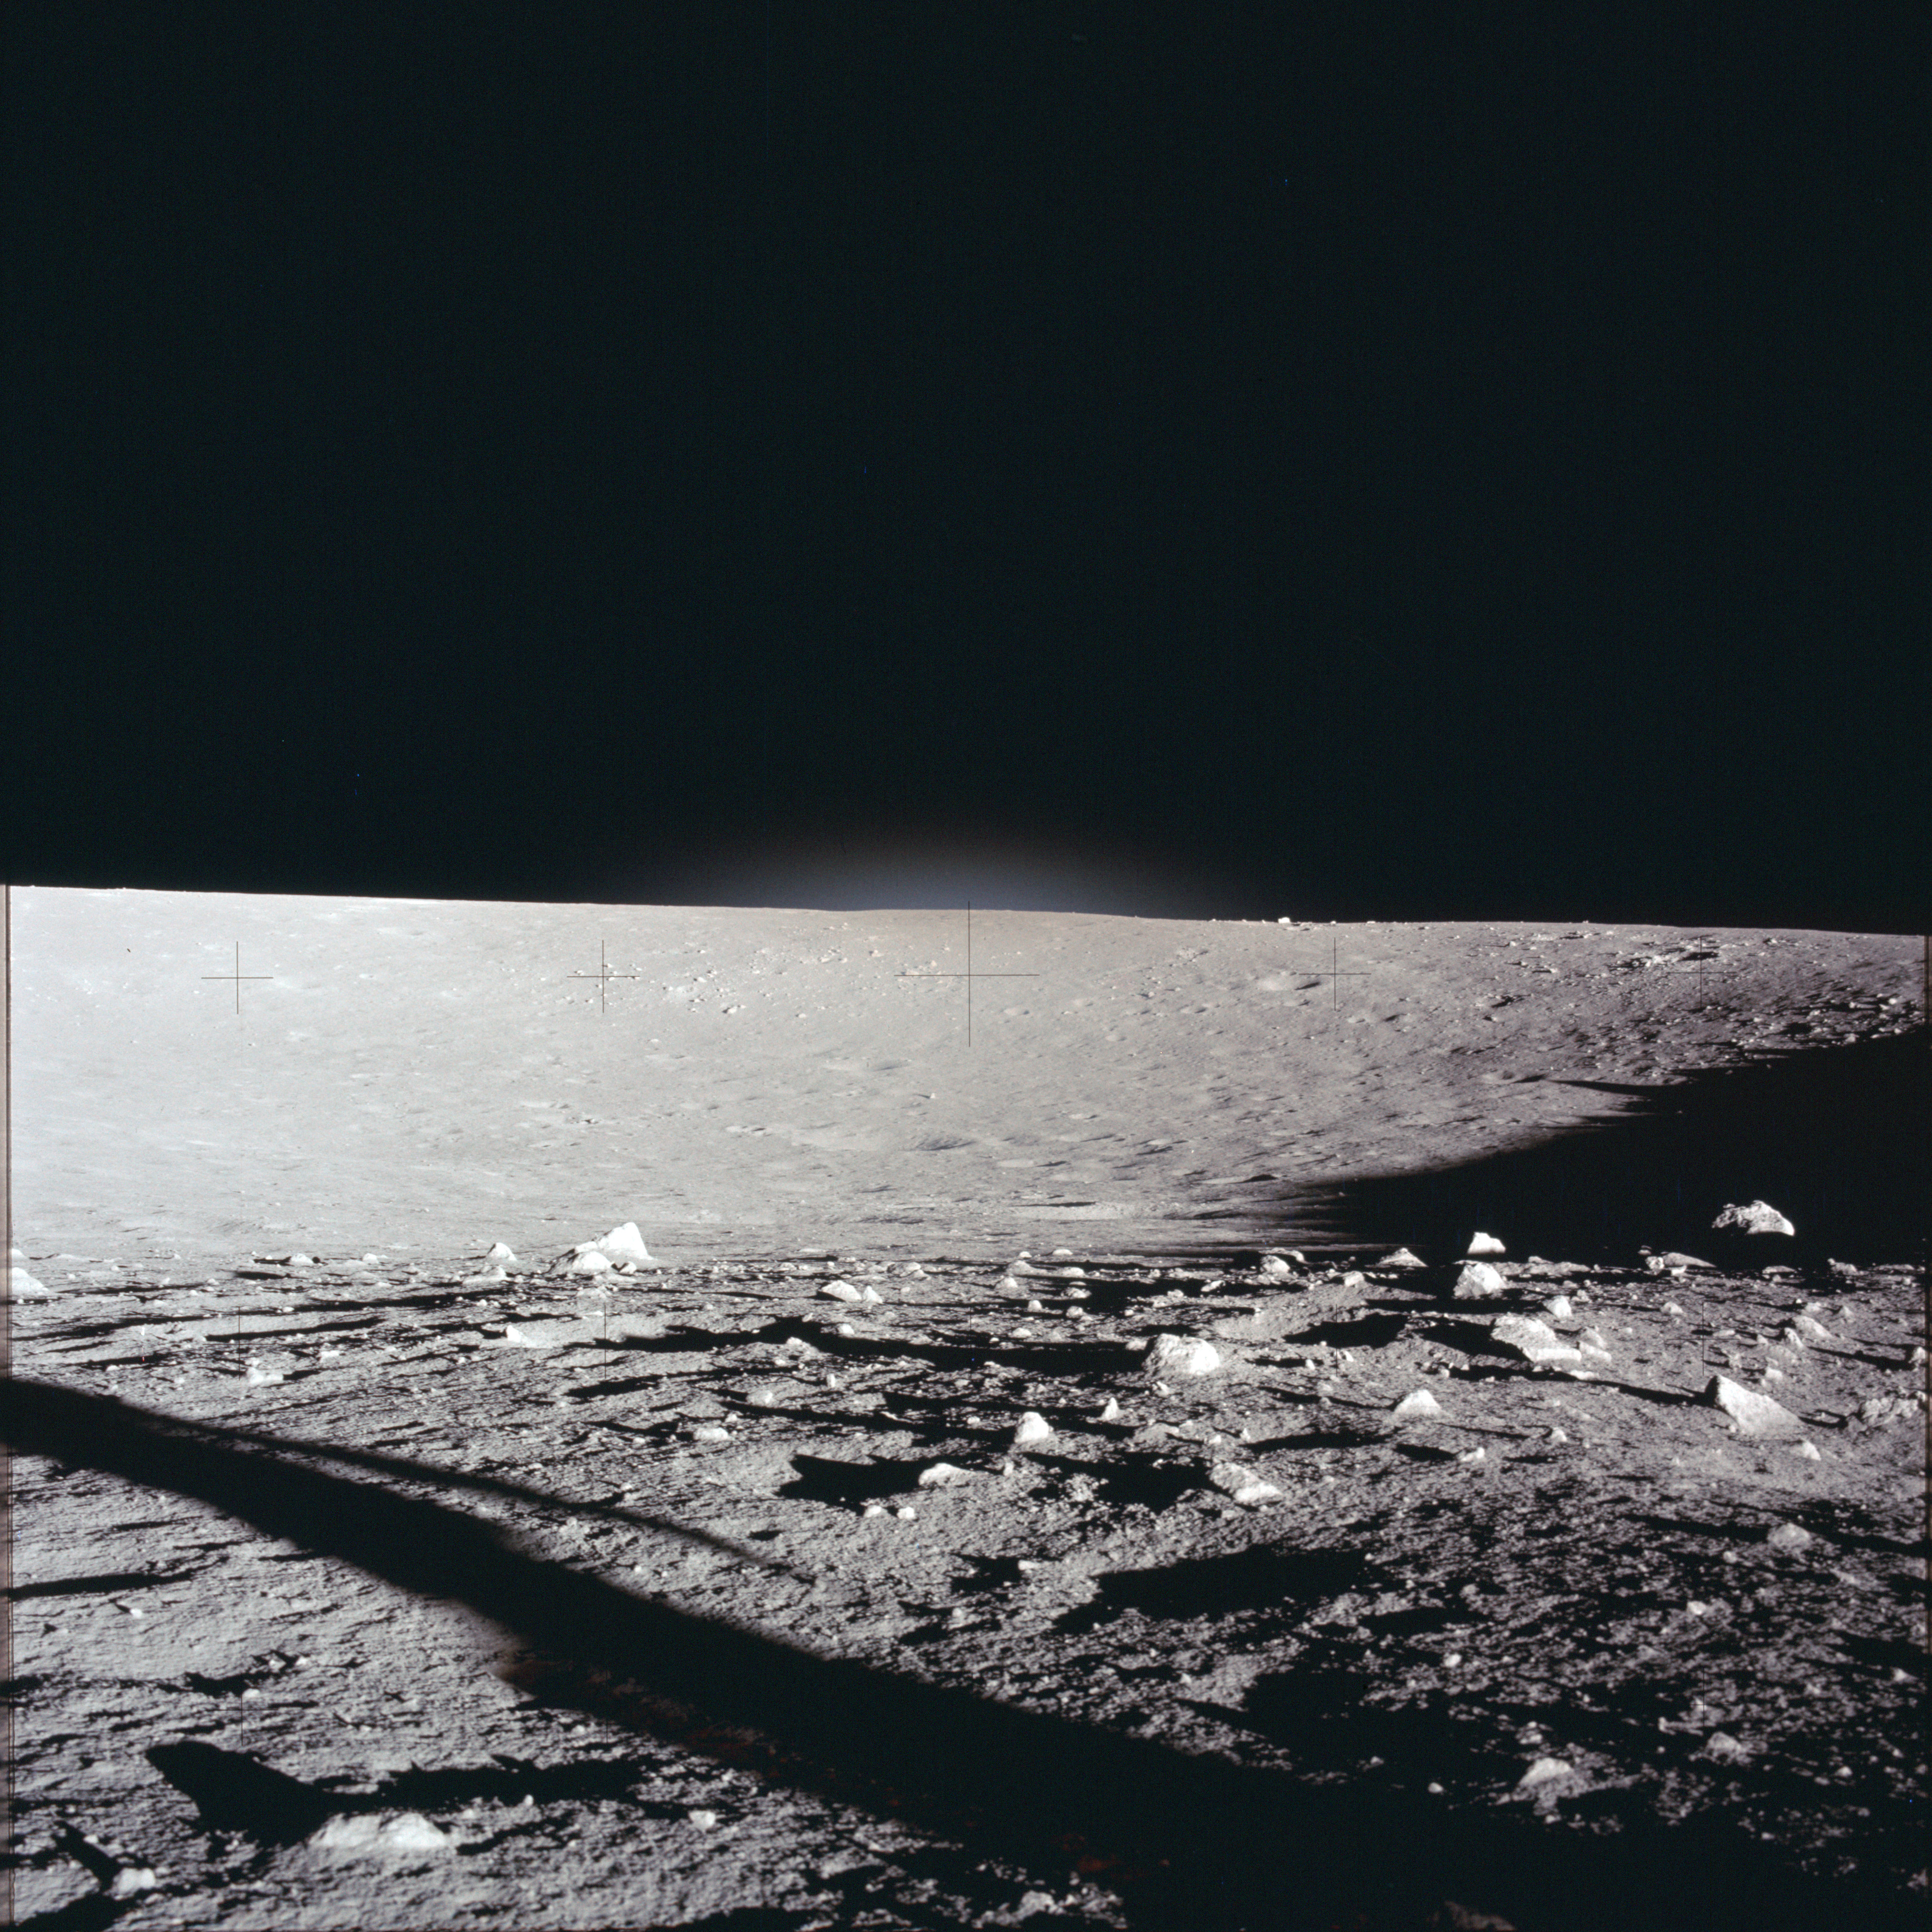
AS12-46-6849 Image for second panorama to give stereo coverage across Middle Crescent Crater (5/8). Image includes Al's shadow. Image credit: Image Science and Analysis Laboratory, NASA-Johnson Space Center |
 |
AS12-46-6850 Image for second panorama to give stereo coverage across Middle Crescent Crater (6/8). Image credit: Image Science and Analysis Laboratory, NASA-Johnson Space Center |
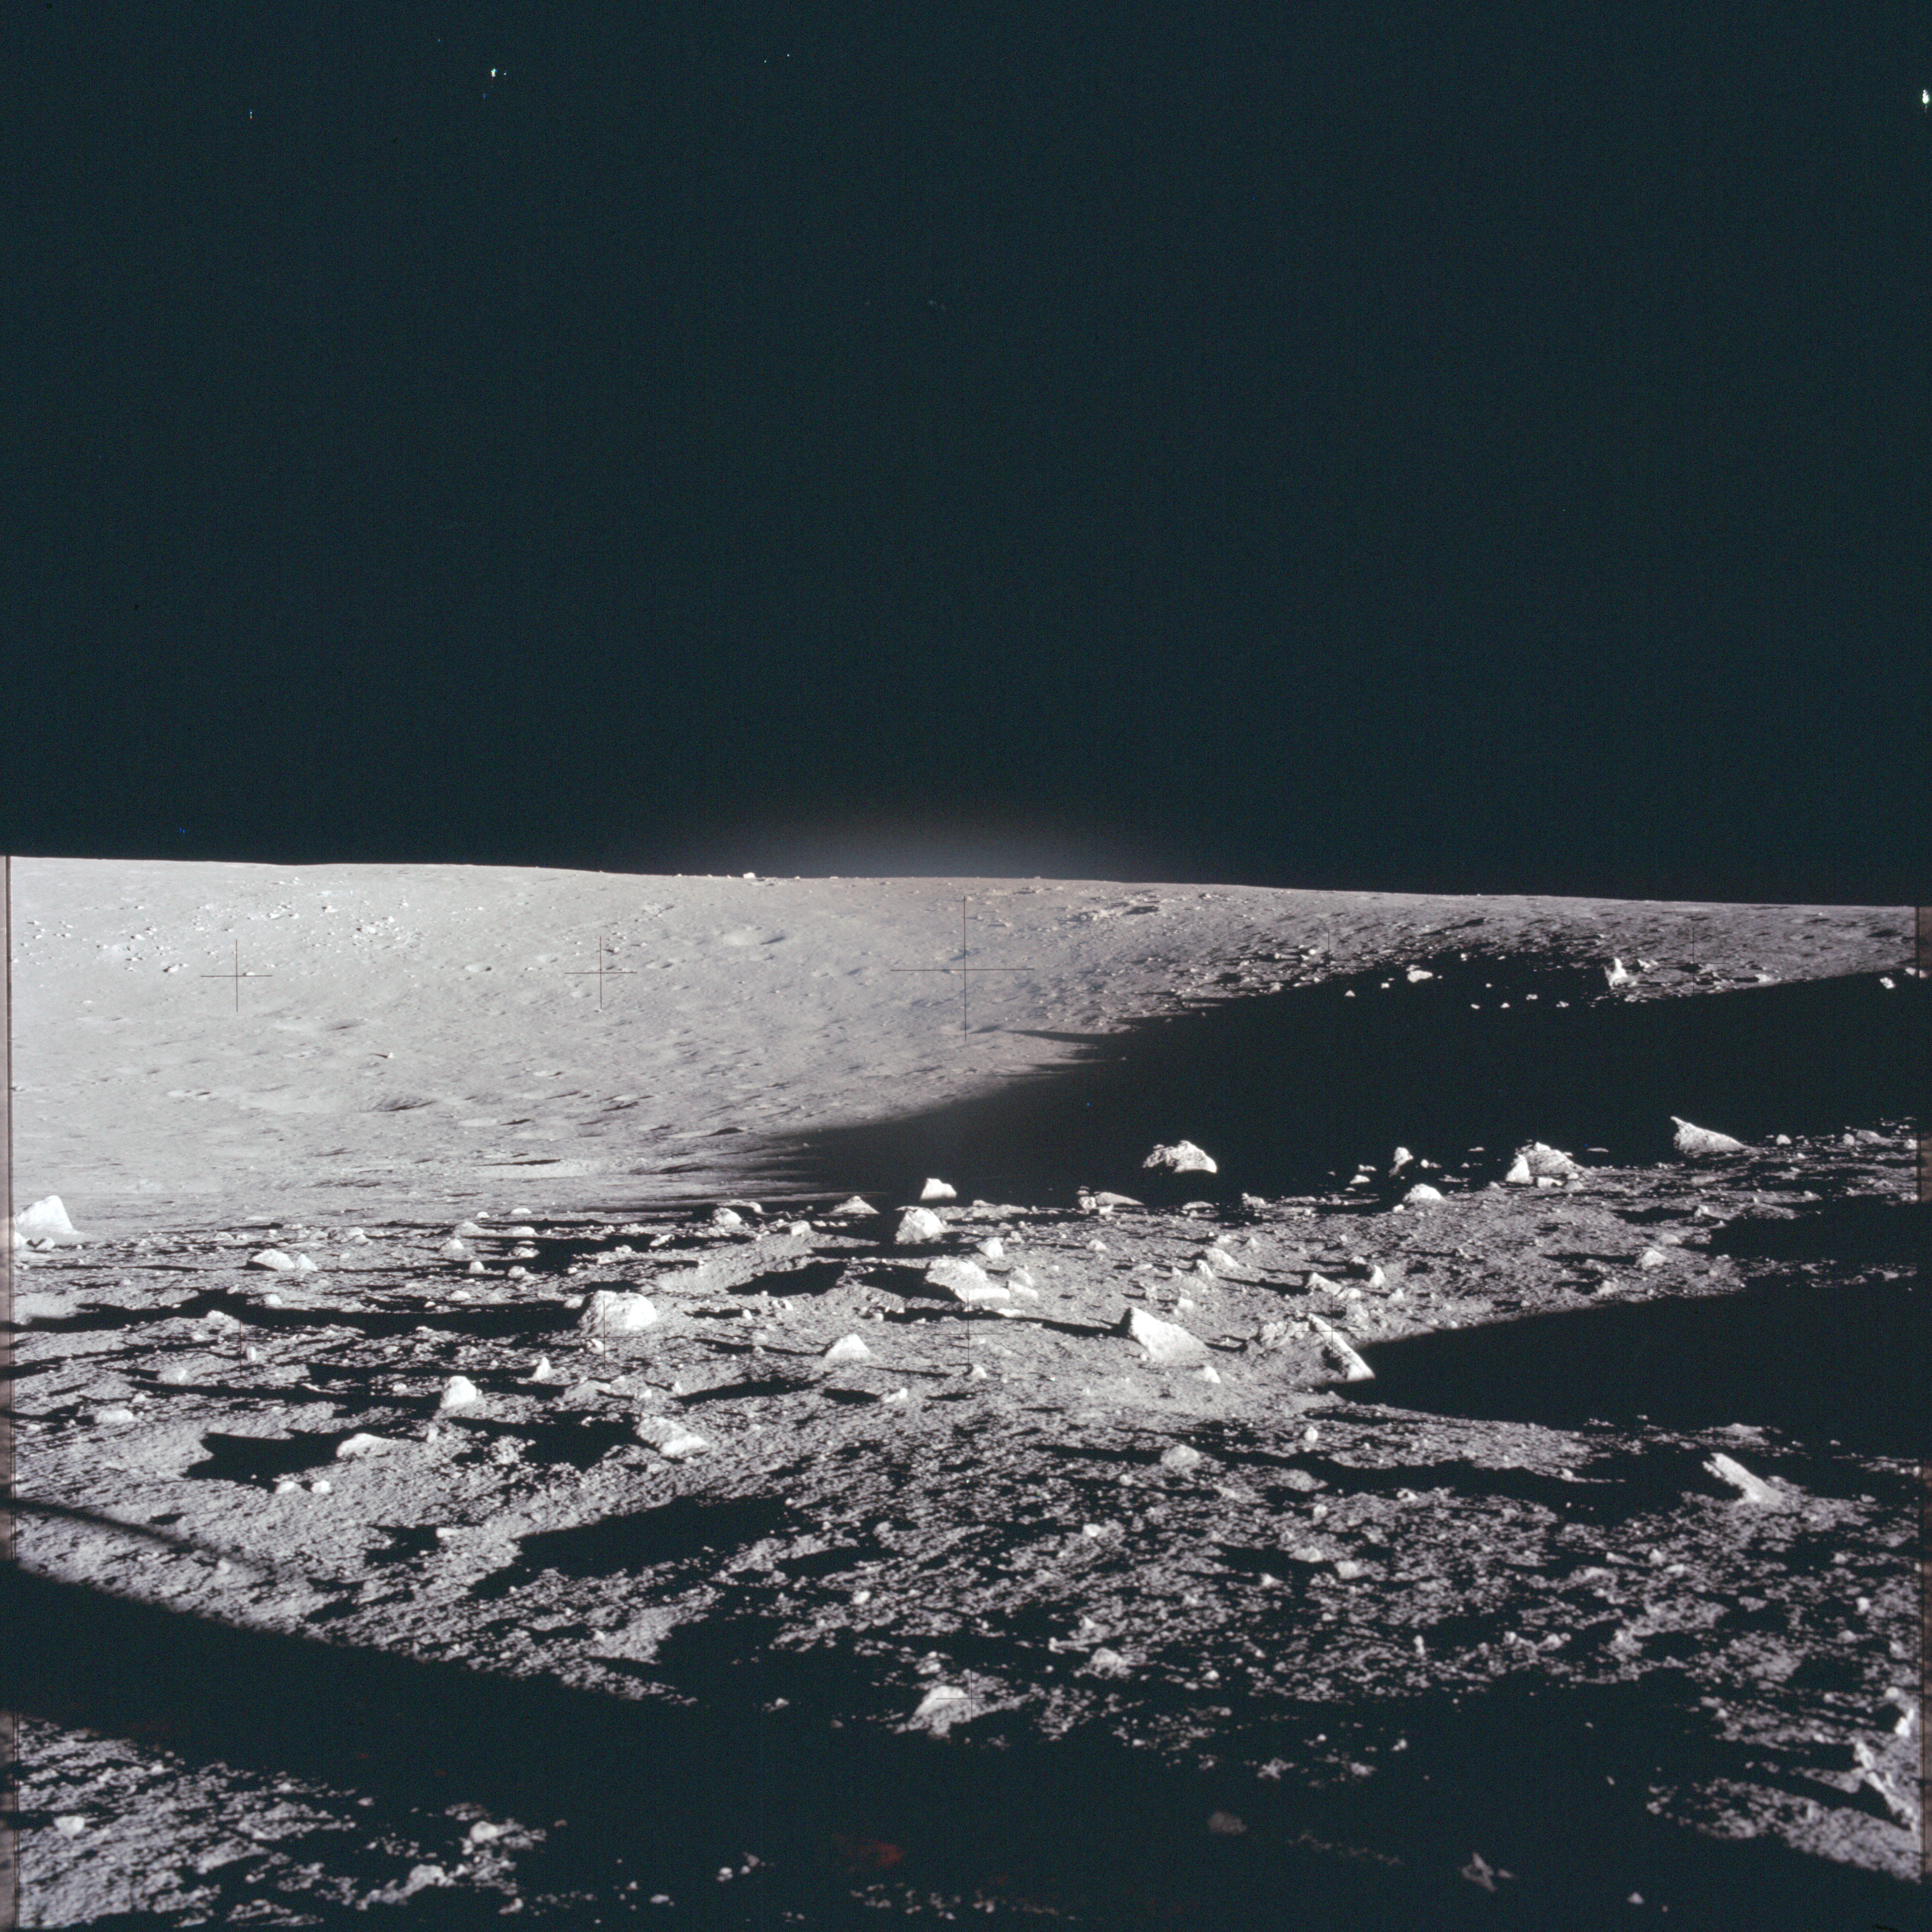 |
AS12-46-6851 Image for second panorama to give stereo coverage across Middle Crescent Crater (7/8). Image credit: Image Science and Analysis Laboratory, NASA-Johnson Space Center |
 |
AS12-46-6852 Image for second panorama to give stereo coverage across Middle Crescent Crater (8/8). Image credit: Image Science and Analysis Laboratory, NASA-Johnson Space Center |
 |
AS12-46-6853 View of lunar surface through the CDR (left) window including LM shadow. Landing Point Designator (LPD) lines on window are visible out of focus. Image credit: Image Science and Analysis Laboratory, NASA-Johnson Space Center |
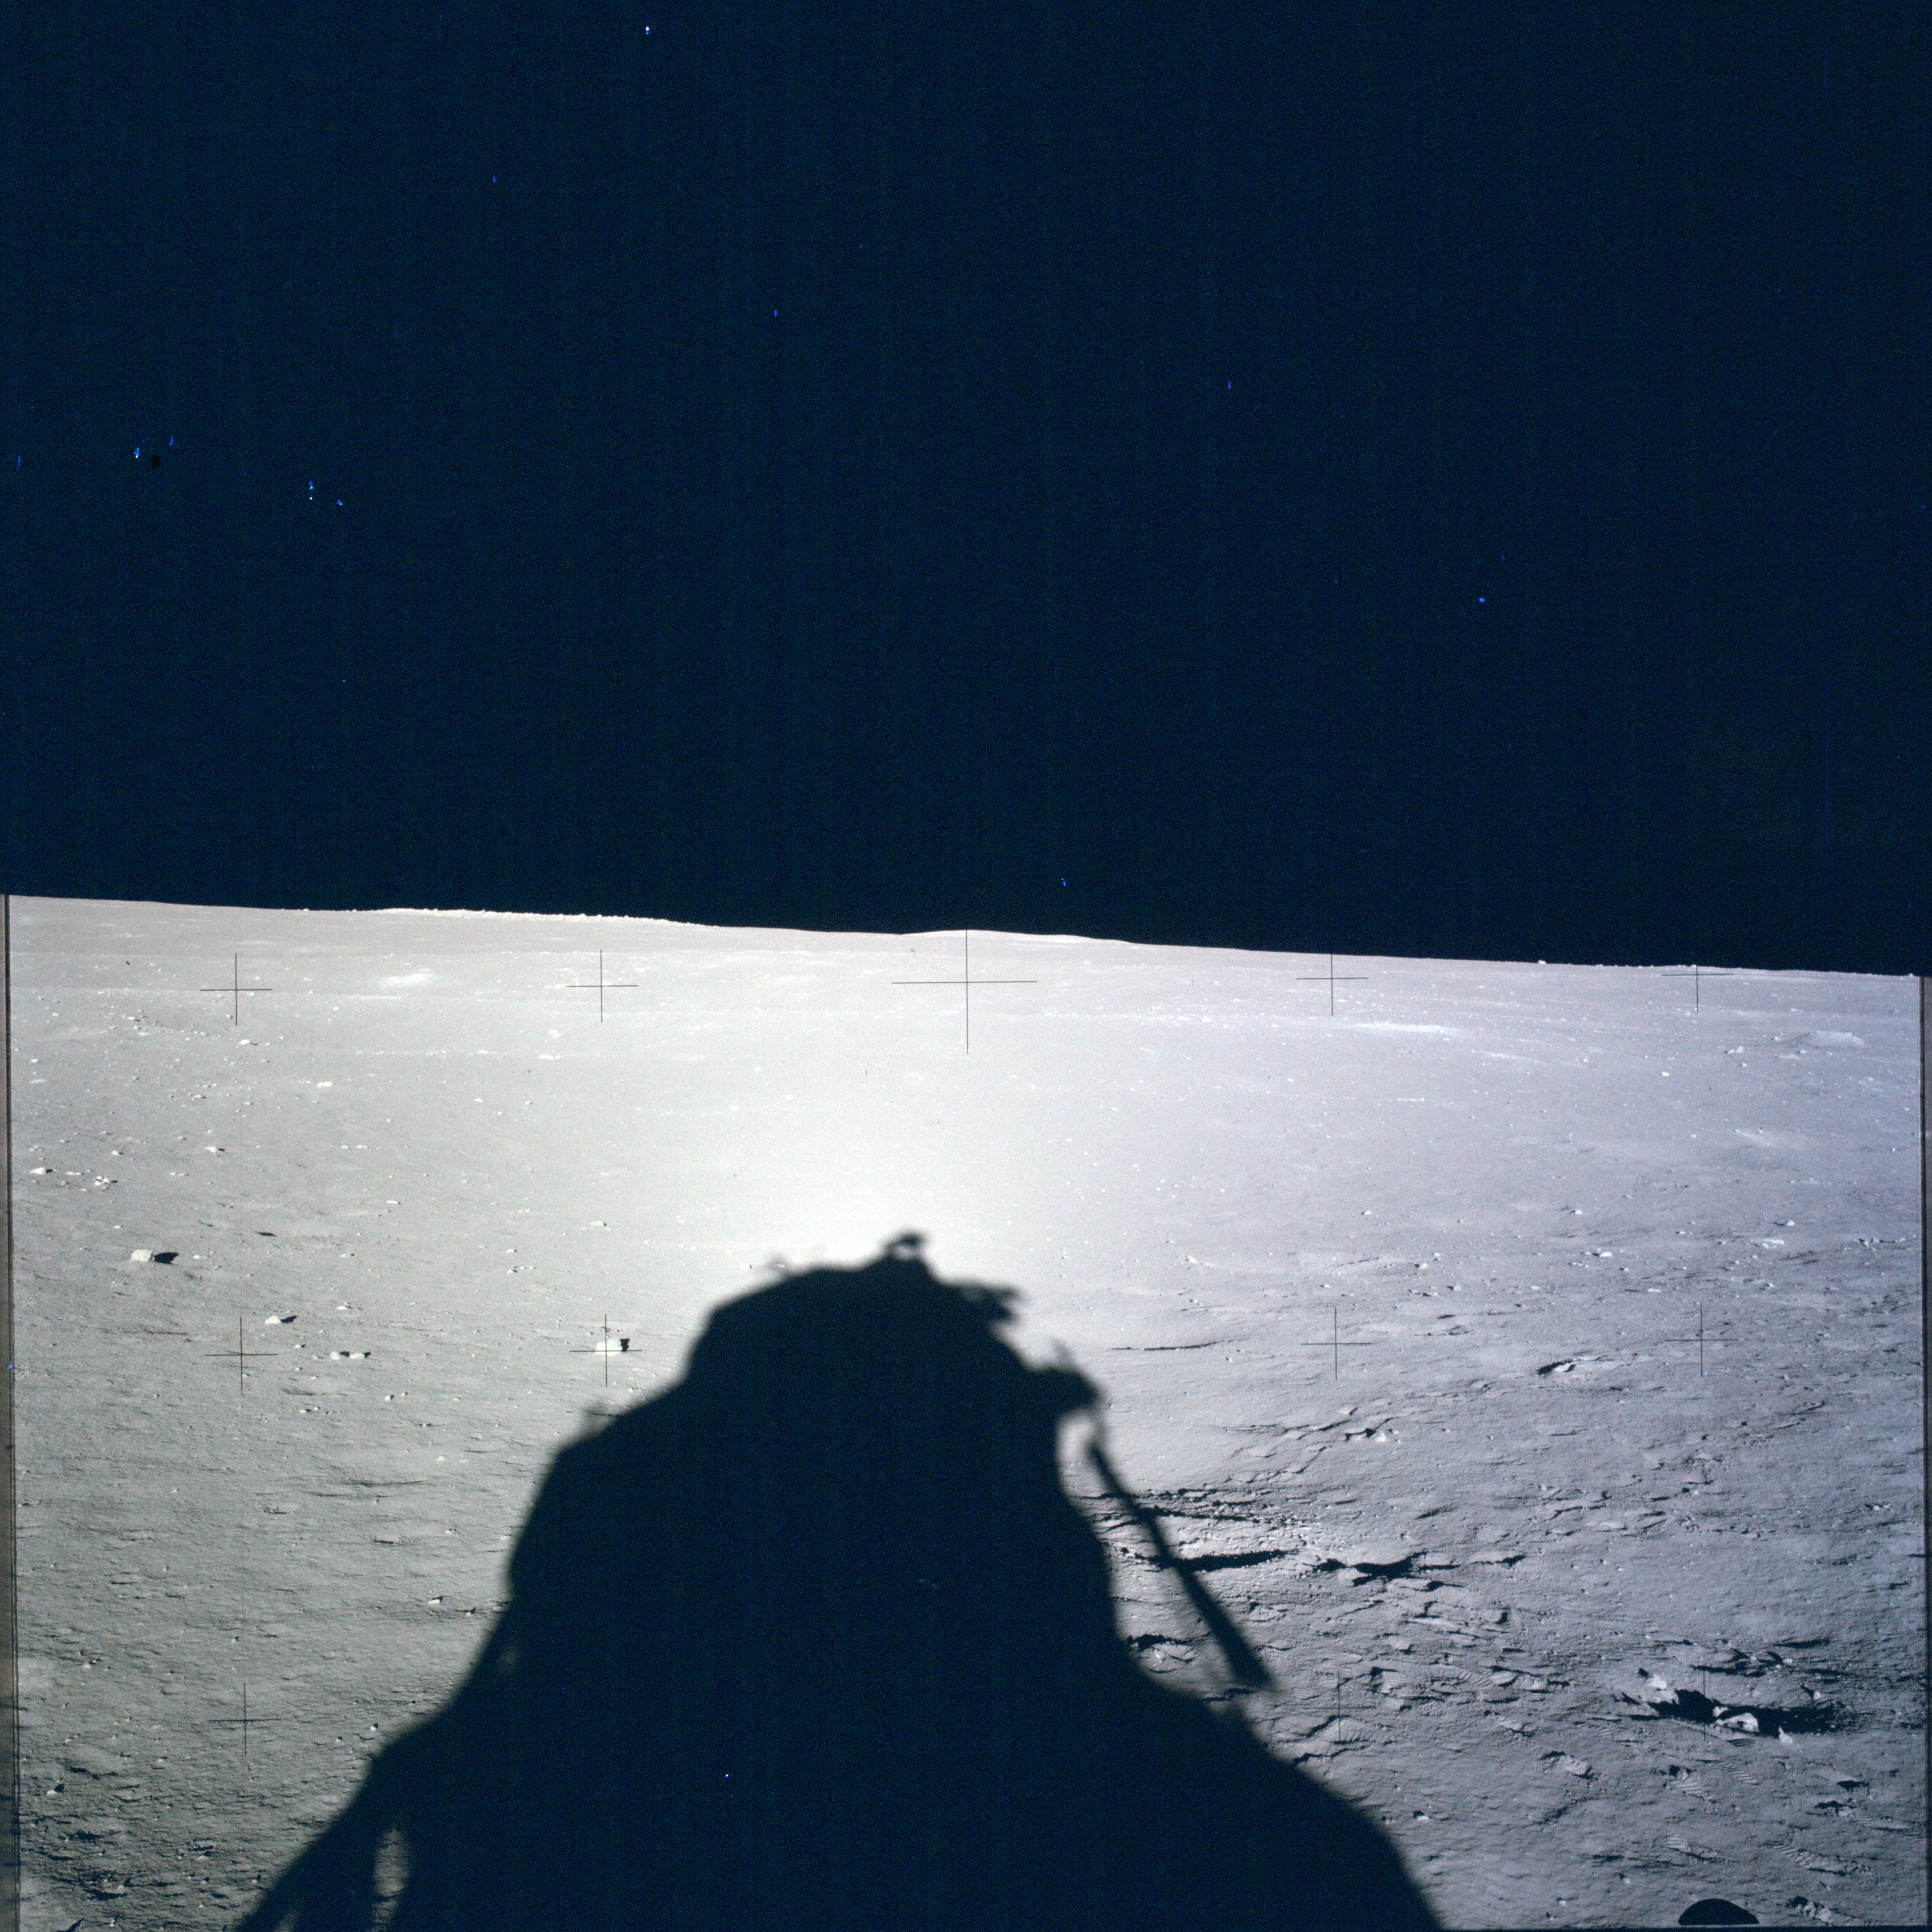 |
AS12-46-6854 View of lunar surface through the CDR (left) window including LM shadow. Image credit: Image Science and Analysis Laboratory, NASA-Johnson Space Center |
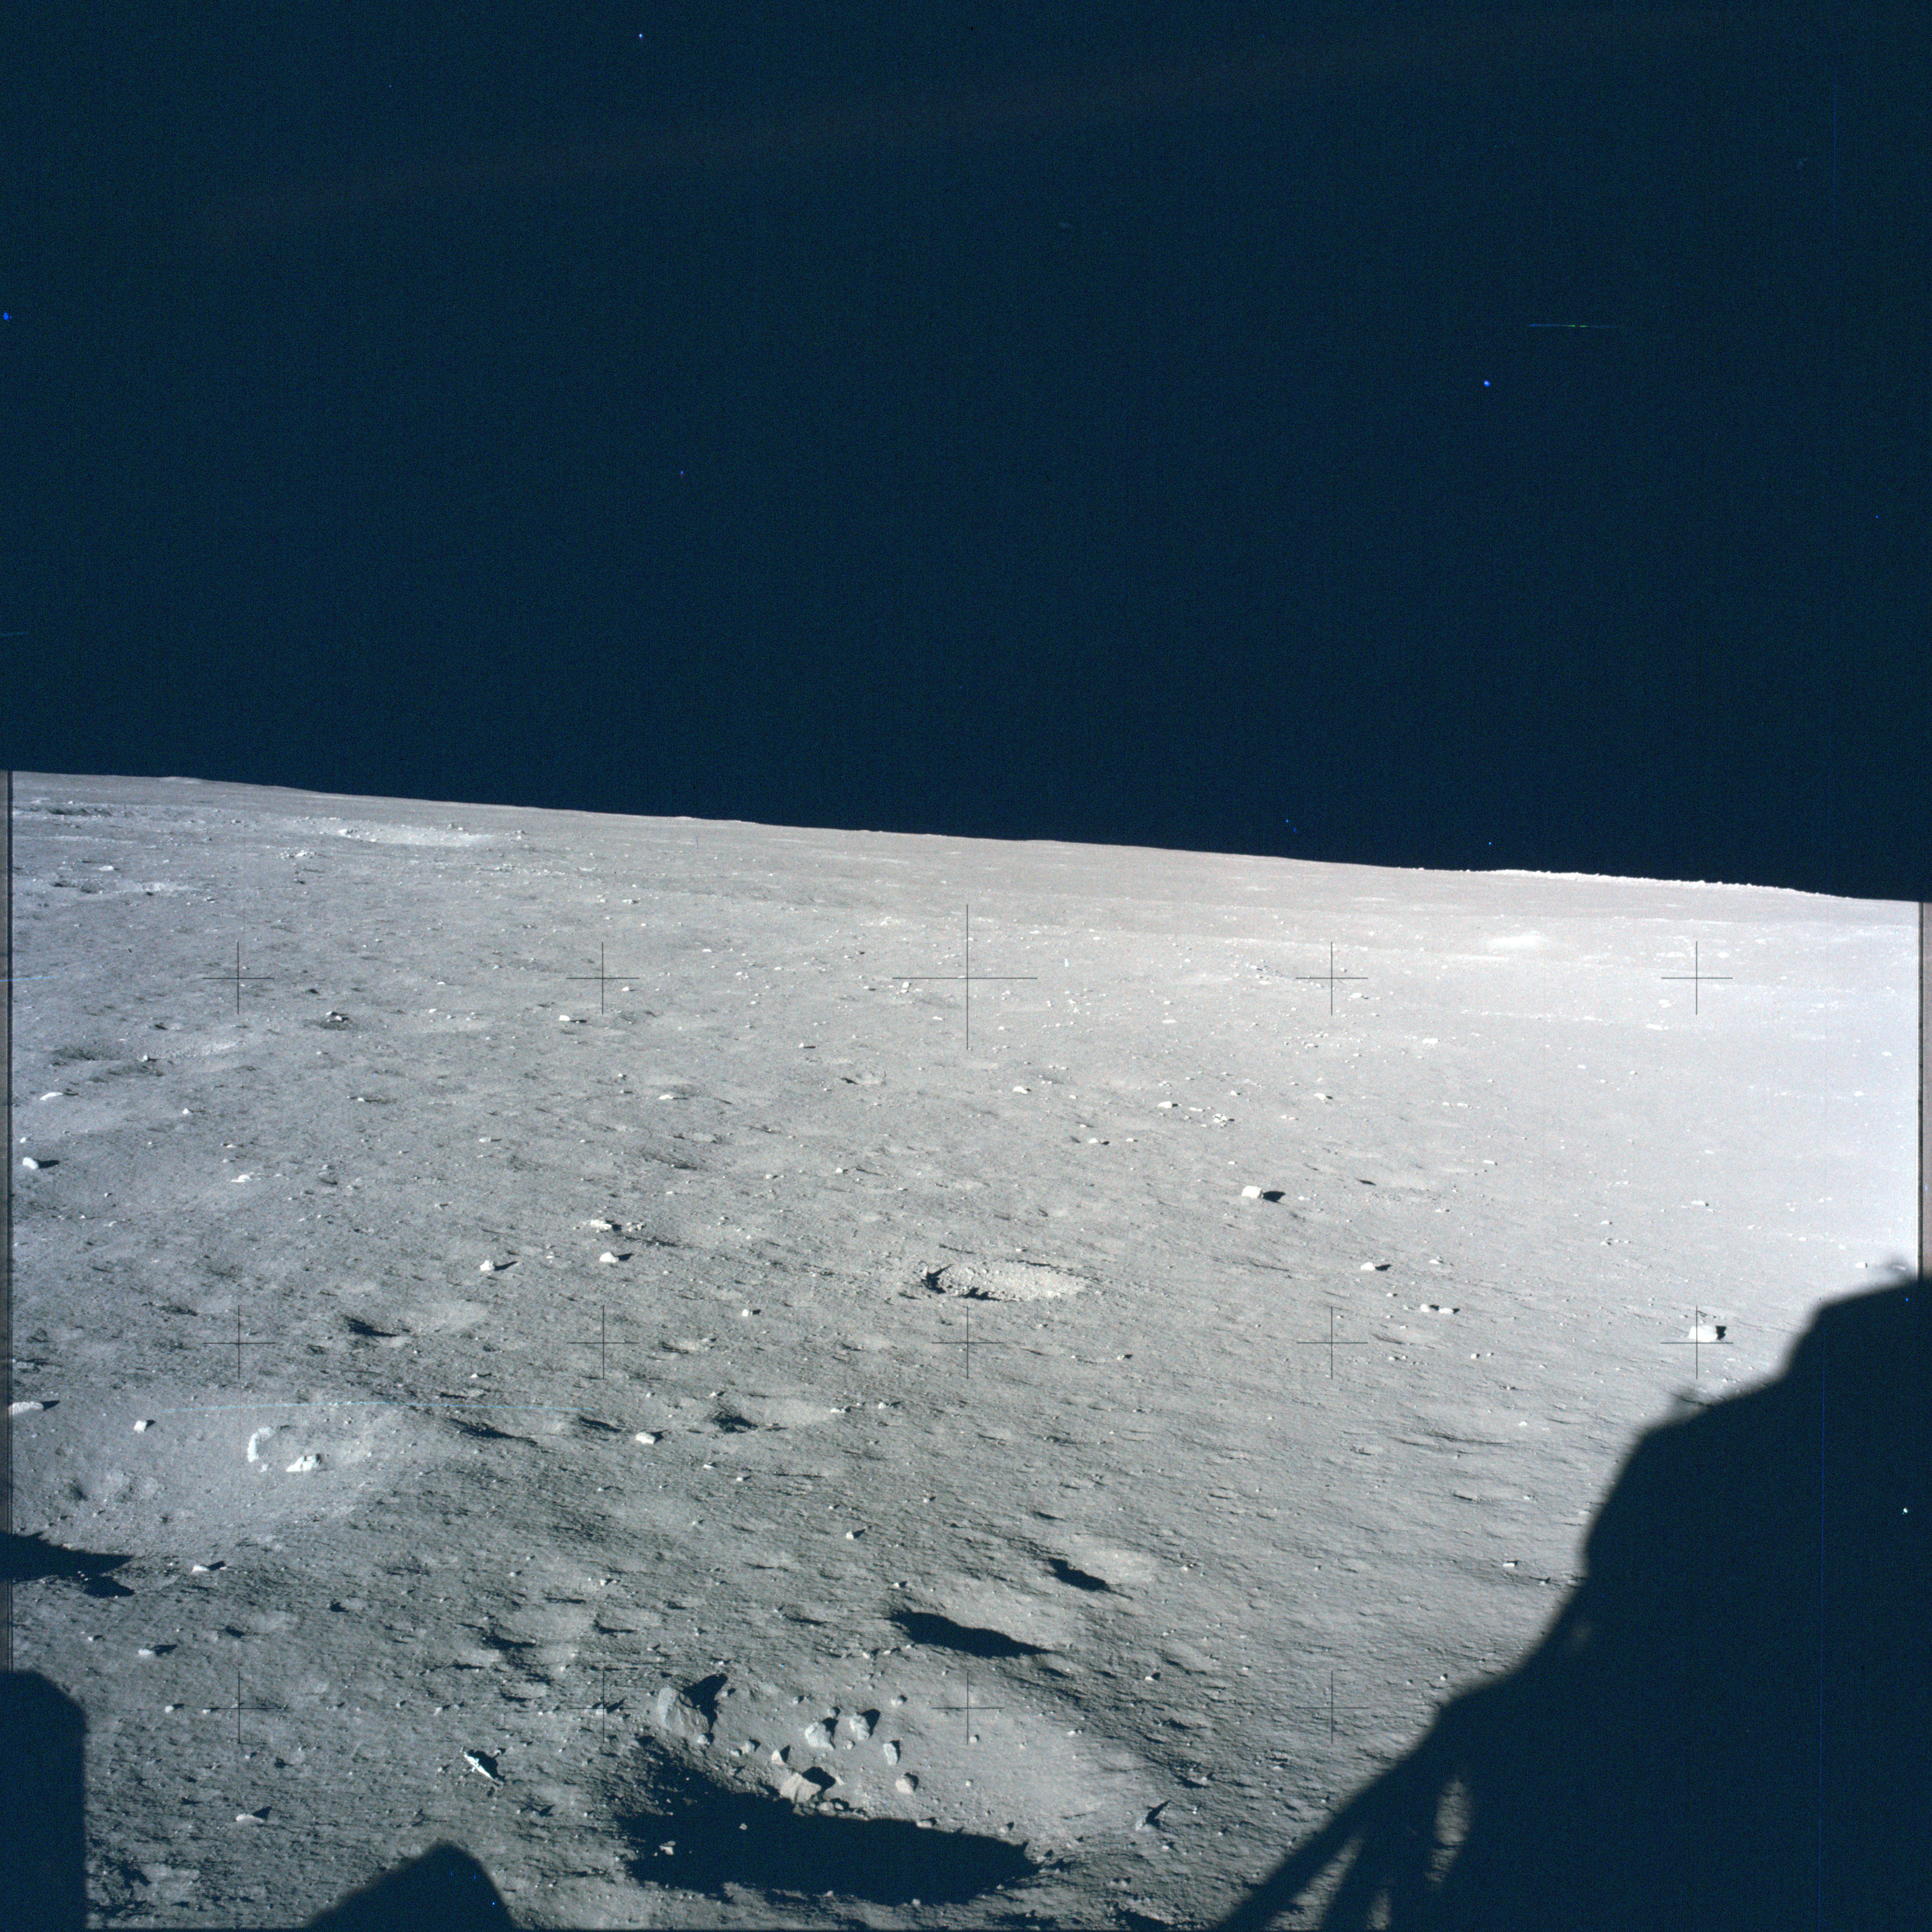 |
AS12-46-6855 View of lunar surface through the CDR (left) window including LM shadow on right. Image credit: Image Science and Analysis Laboratory, NASA-Johnson Space Center |
 |
AS12-46-6856 View of lunar surface through the CDR (left) window including LM shadow. Image credit: Image Science and Analysis Laboratory, NASA-Johnson Space Center |
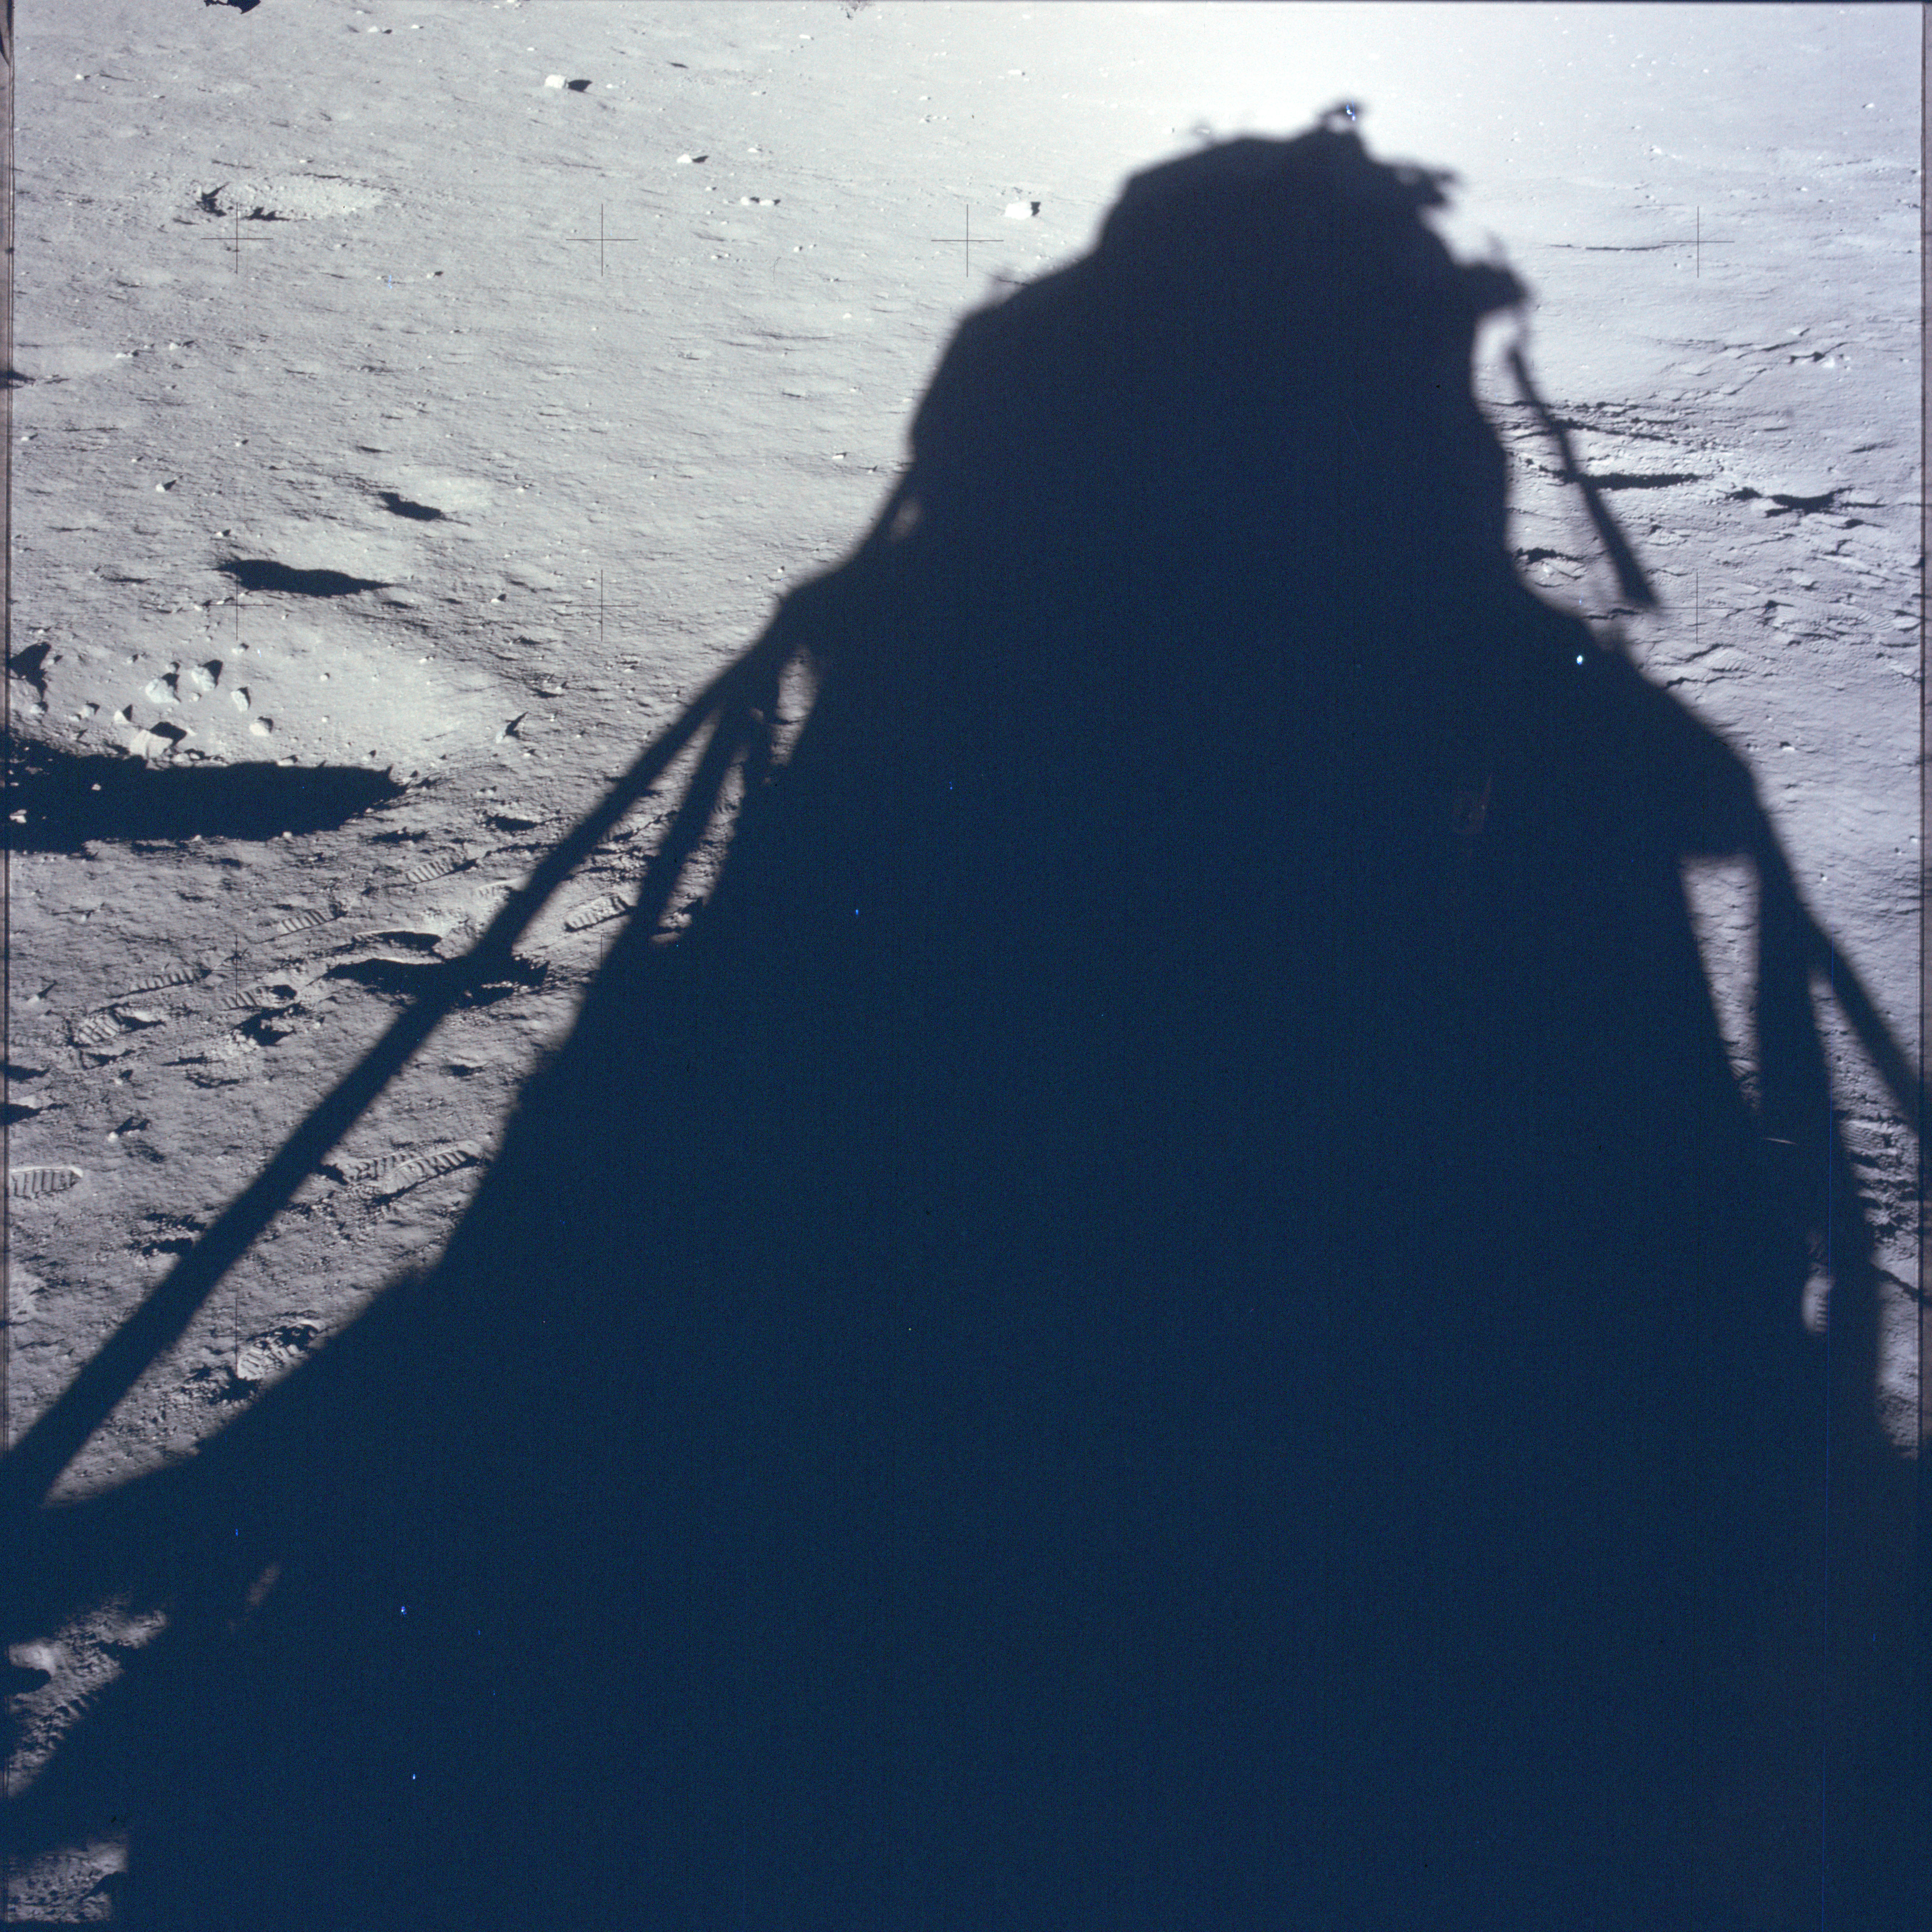 |
AS12-46-6857 View of lunar surface through the CDR (left) window including LM shadow. Image credit: Image Science and Analysis Laboratory, NASA-Johnson Space Center |
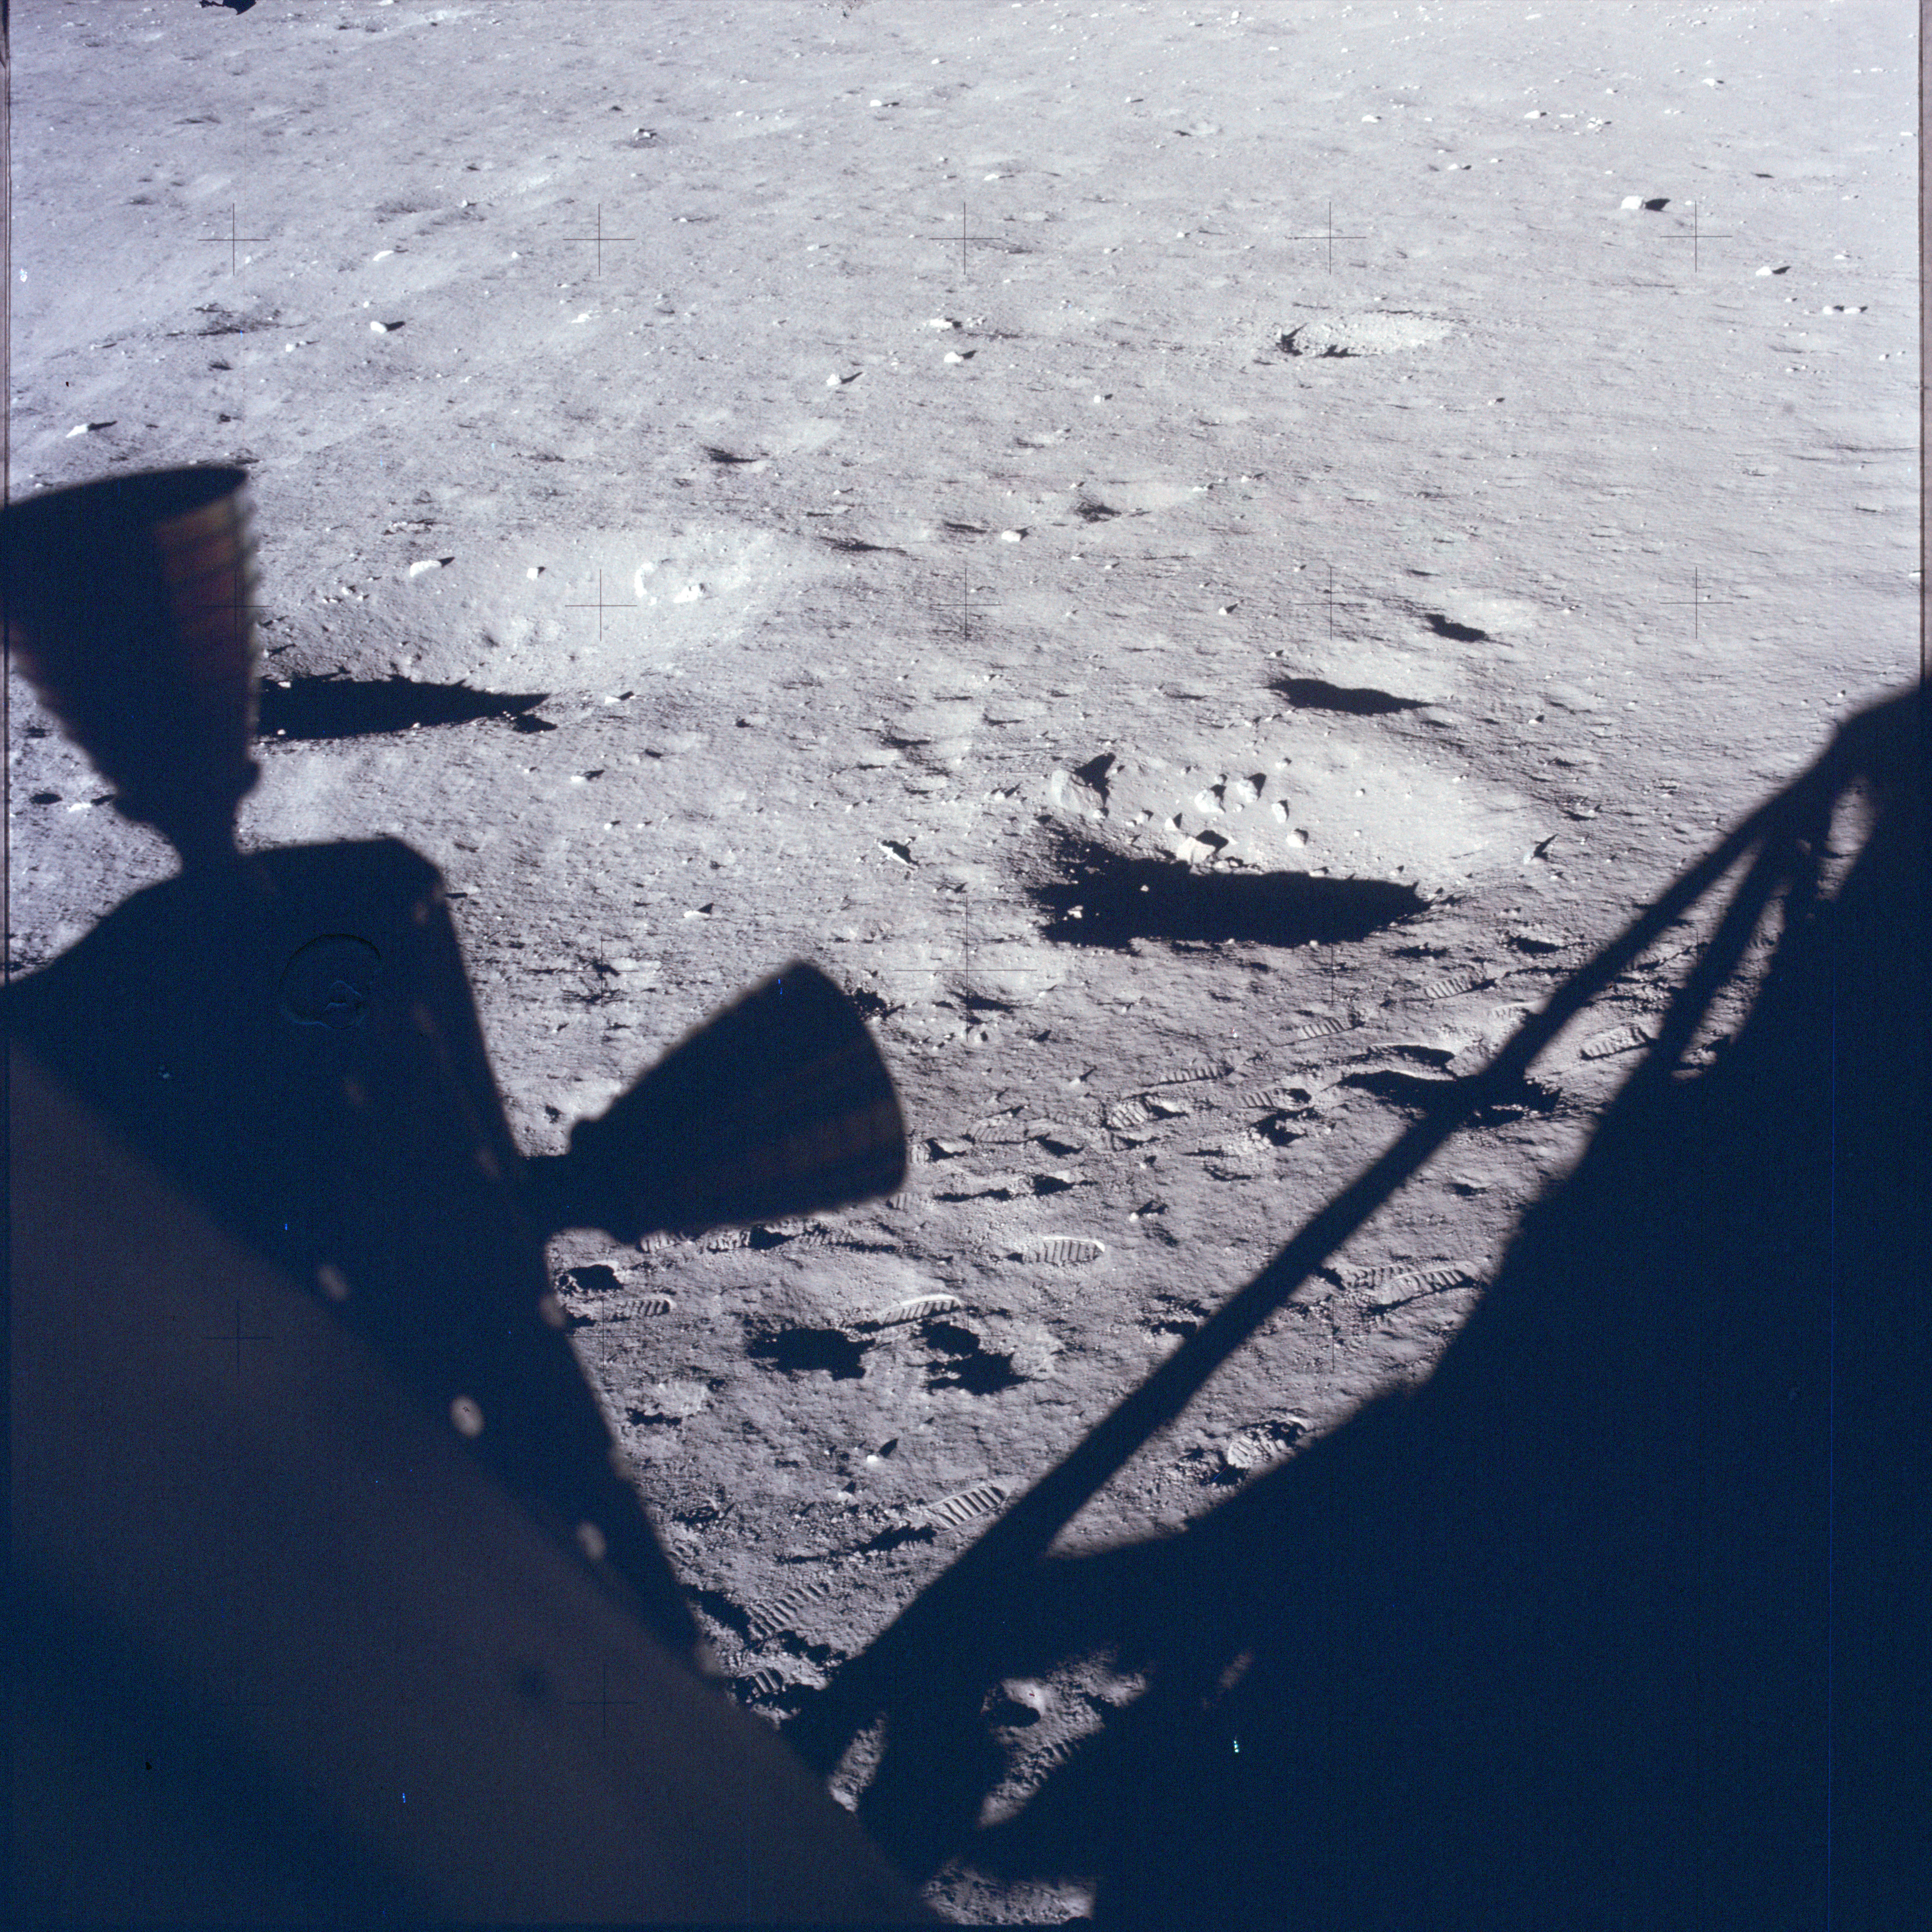 |
AS12-46-6858 View to the left of lunar surface through the CDR (left) window. Two of the LM's RCS thrusters are in silhouette. Image credit: Image Science and Analysis Laboratory, NASA-Johnson Space Center |
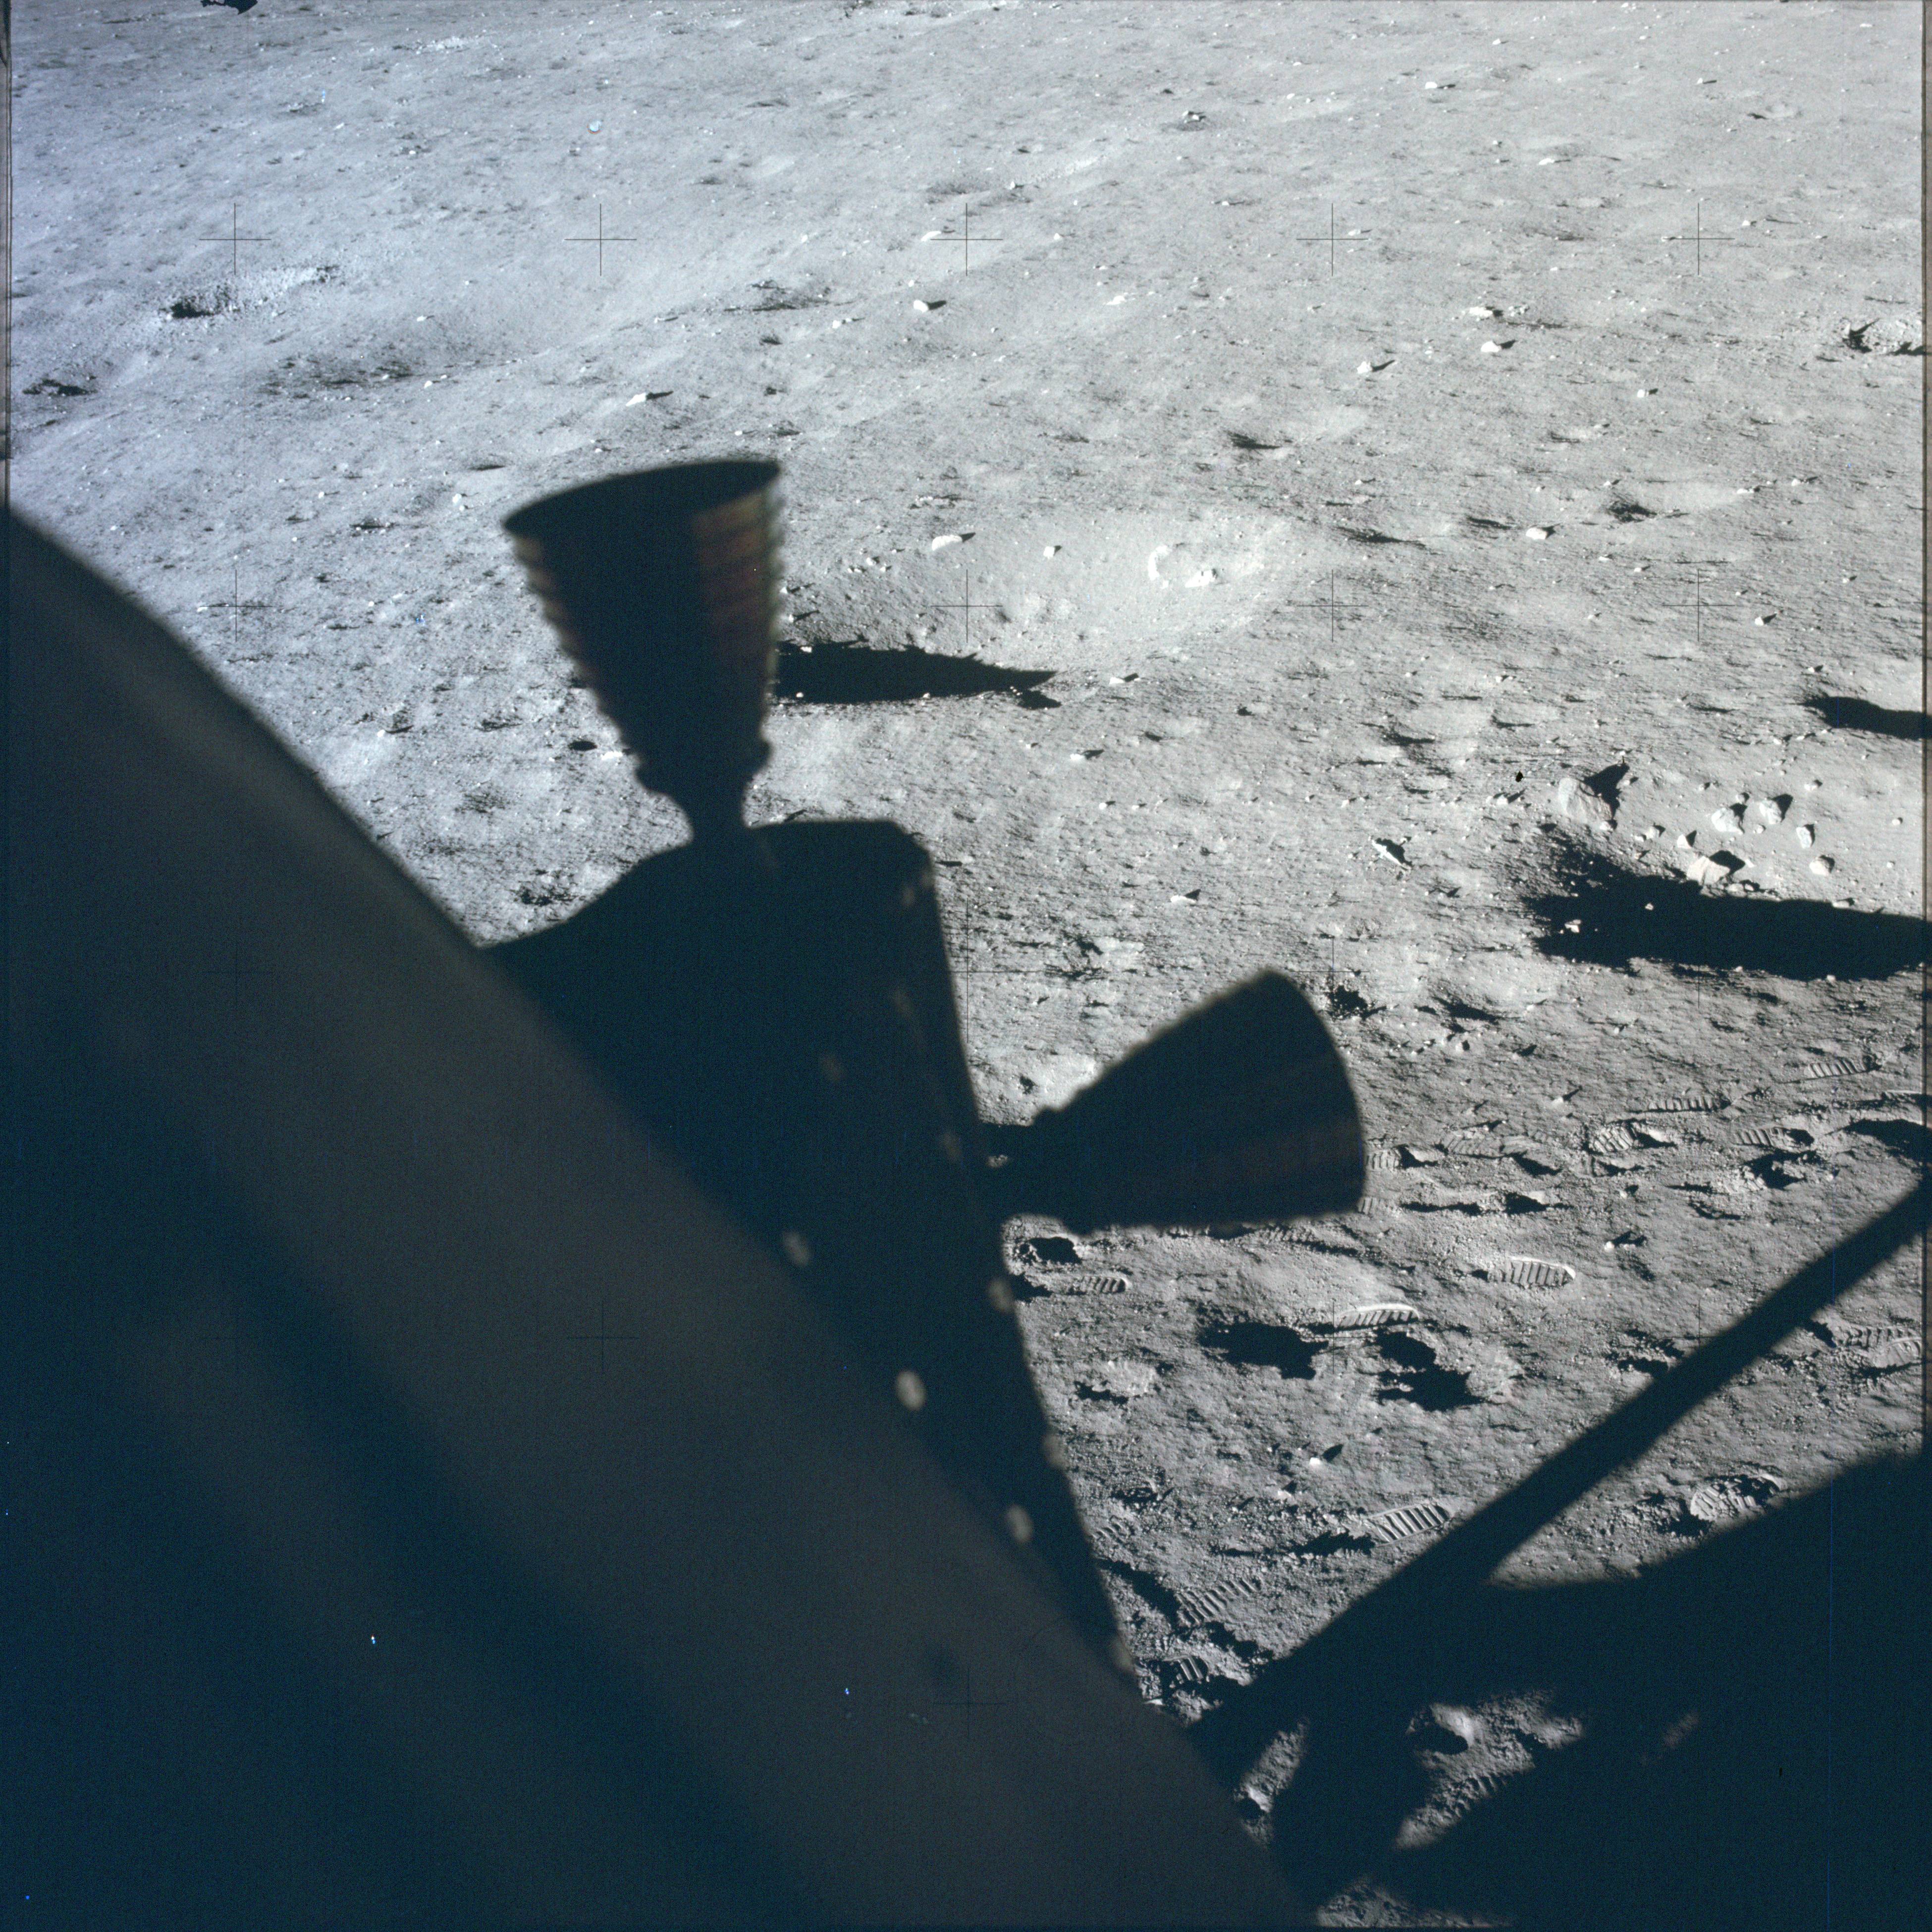 |
AS12-46-6859 View to the left of lunar surface through the CDR (left) window. Two of the LM's RCS thrusters are in silhouette. Image credit: Image Science and Analysis Laboratory, NASA-Johnson Space Center |
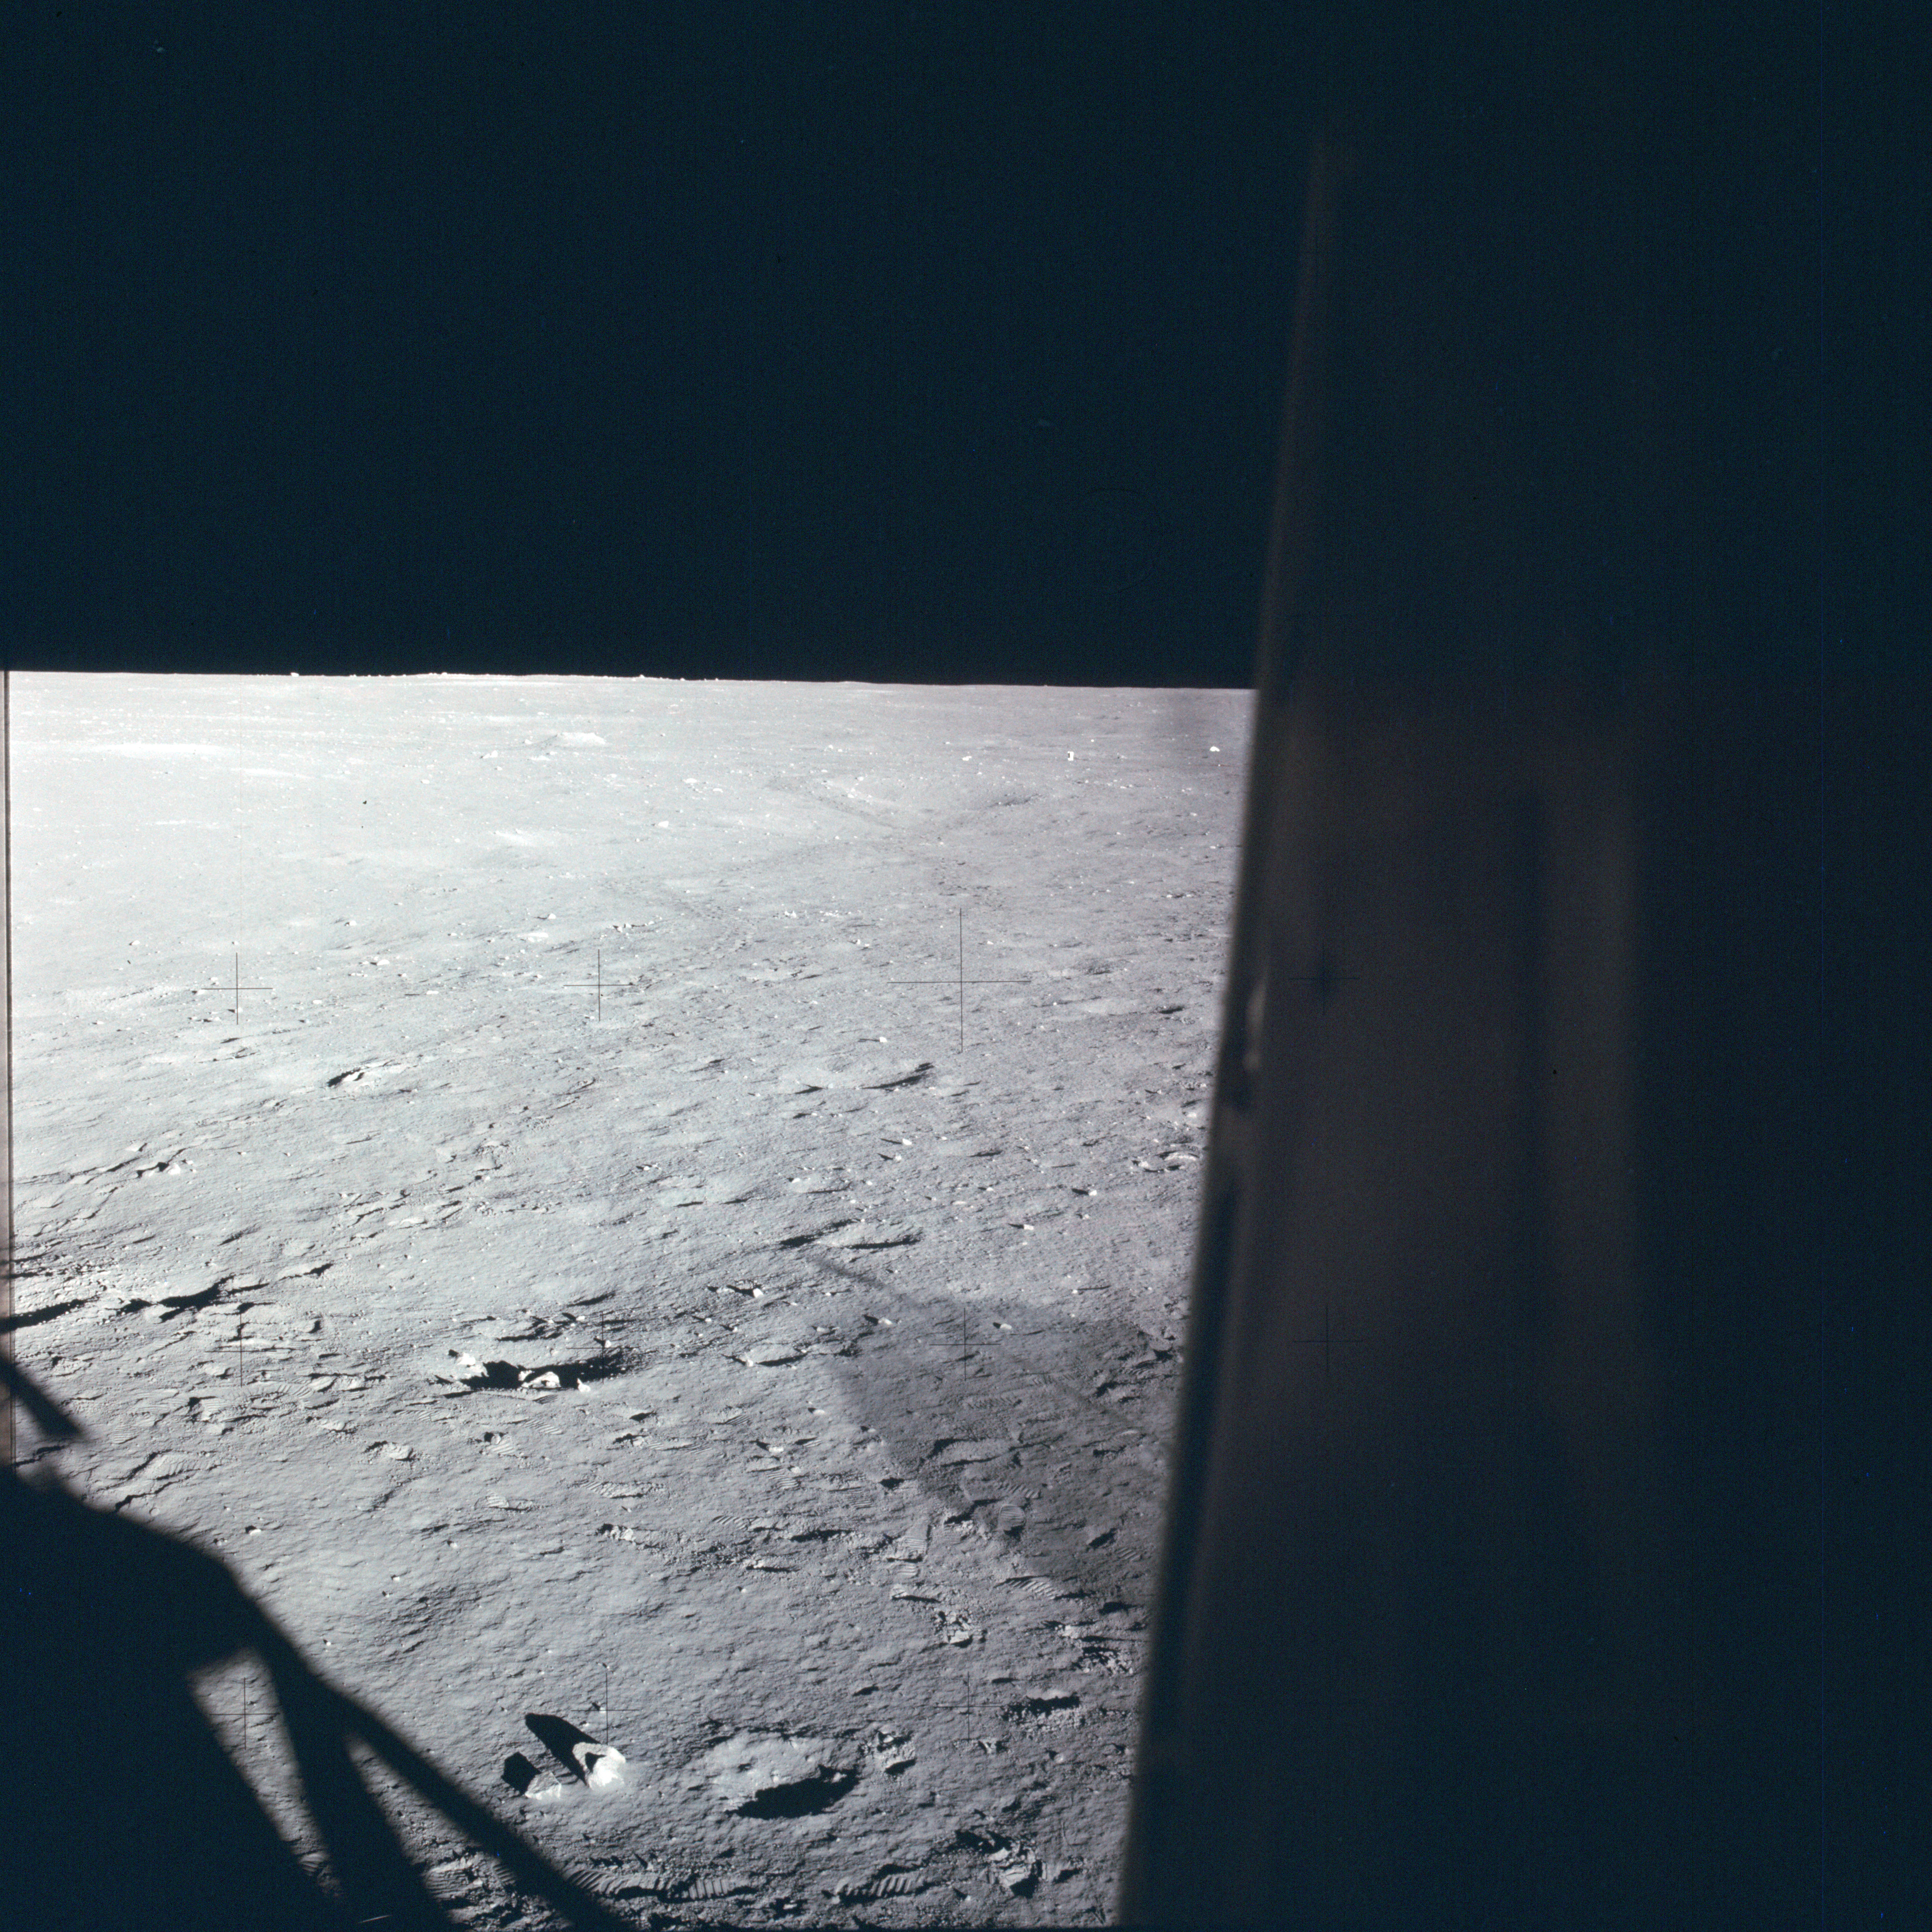 |
AS12-46-6860 Rightward view of lunar surface through the CDR (left) window. The shadow of the high-gain antenna is visible. Image credit: Image Science and Analysis Laboratory, NASA-Johnson Space Center |
 |
AS12-46-6861 View to the right of lunar surface through the LMP (right) window. The high-gain antenna, flag and Solar Wind Collector are visible along with part of the LM's RCS thrusters. Image credit: Image Science and Analysis Laboratory, NASA-Johnson Space Center |
 |
AS12-46-6862 View of lunar surface through the LMP (right) window. The flag and Solar Wind Collector are visible along with the shadow of the high-gain antenna. Image credit: Image Science and Analysis Laboratory, NASA-Johnson Space Center |
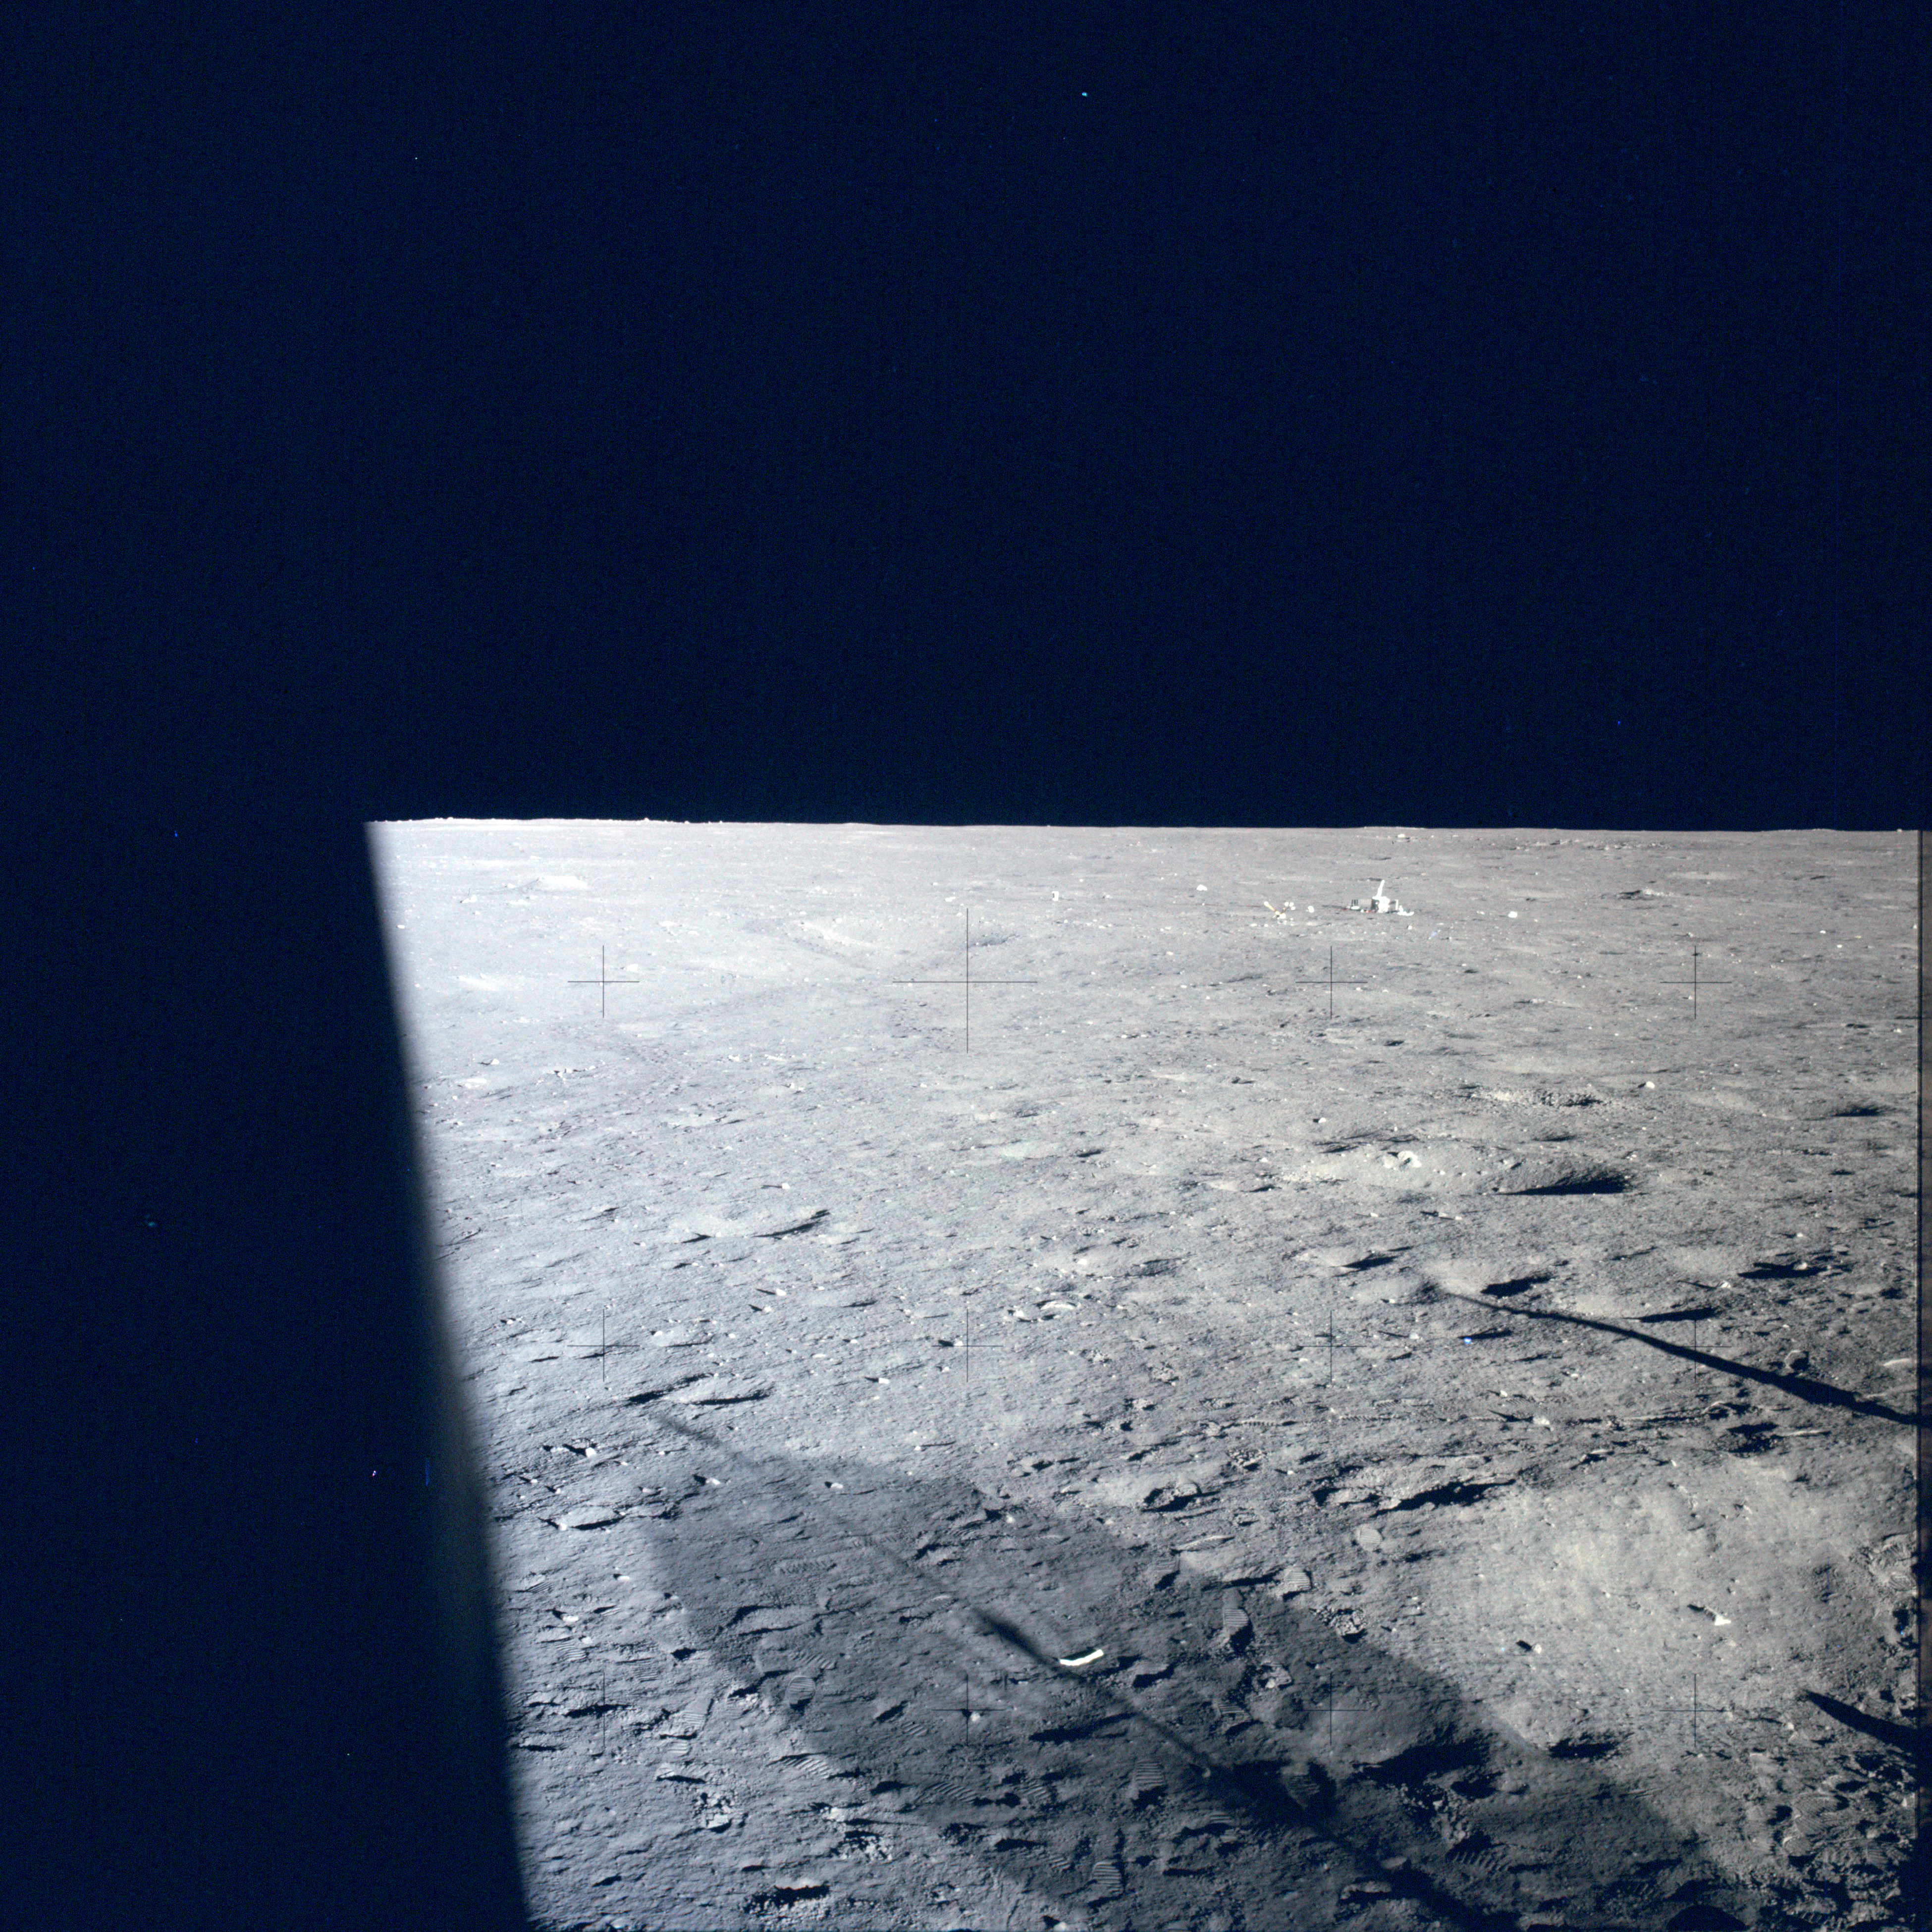 |
AS12-46-6863 View to the left of lunar surface through the LMP (right) window. The shadows of the high-gain antenna and the flag are visible. Image credit: Image Science and Analysis Laboratory, NASA-Johnson Space Center |
 |
AS12-46-6864 View to the left of lunar surface through the LMP (right) window. The shadows of the high-gain antenna and the flag are visible. Image credit: Image Science and Analysis Laboratory, NASA-Johnson Space Center |
 |
AS12-46-6865 View to the right of lunar surface through the LMP (right) window. The high-gain antenna, flag and Solar Wind Collector are visible past the LM's RCS thrusters. Image credit: Image Science and Analysis Laboratory, NASA-Johnson Space Center |
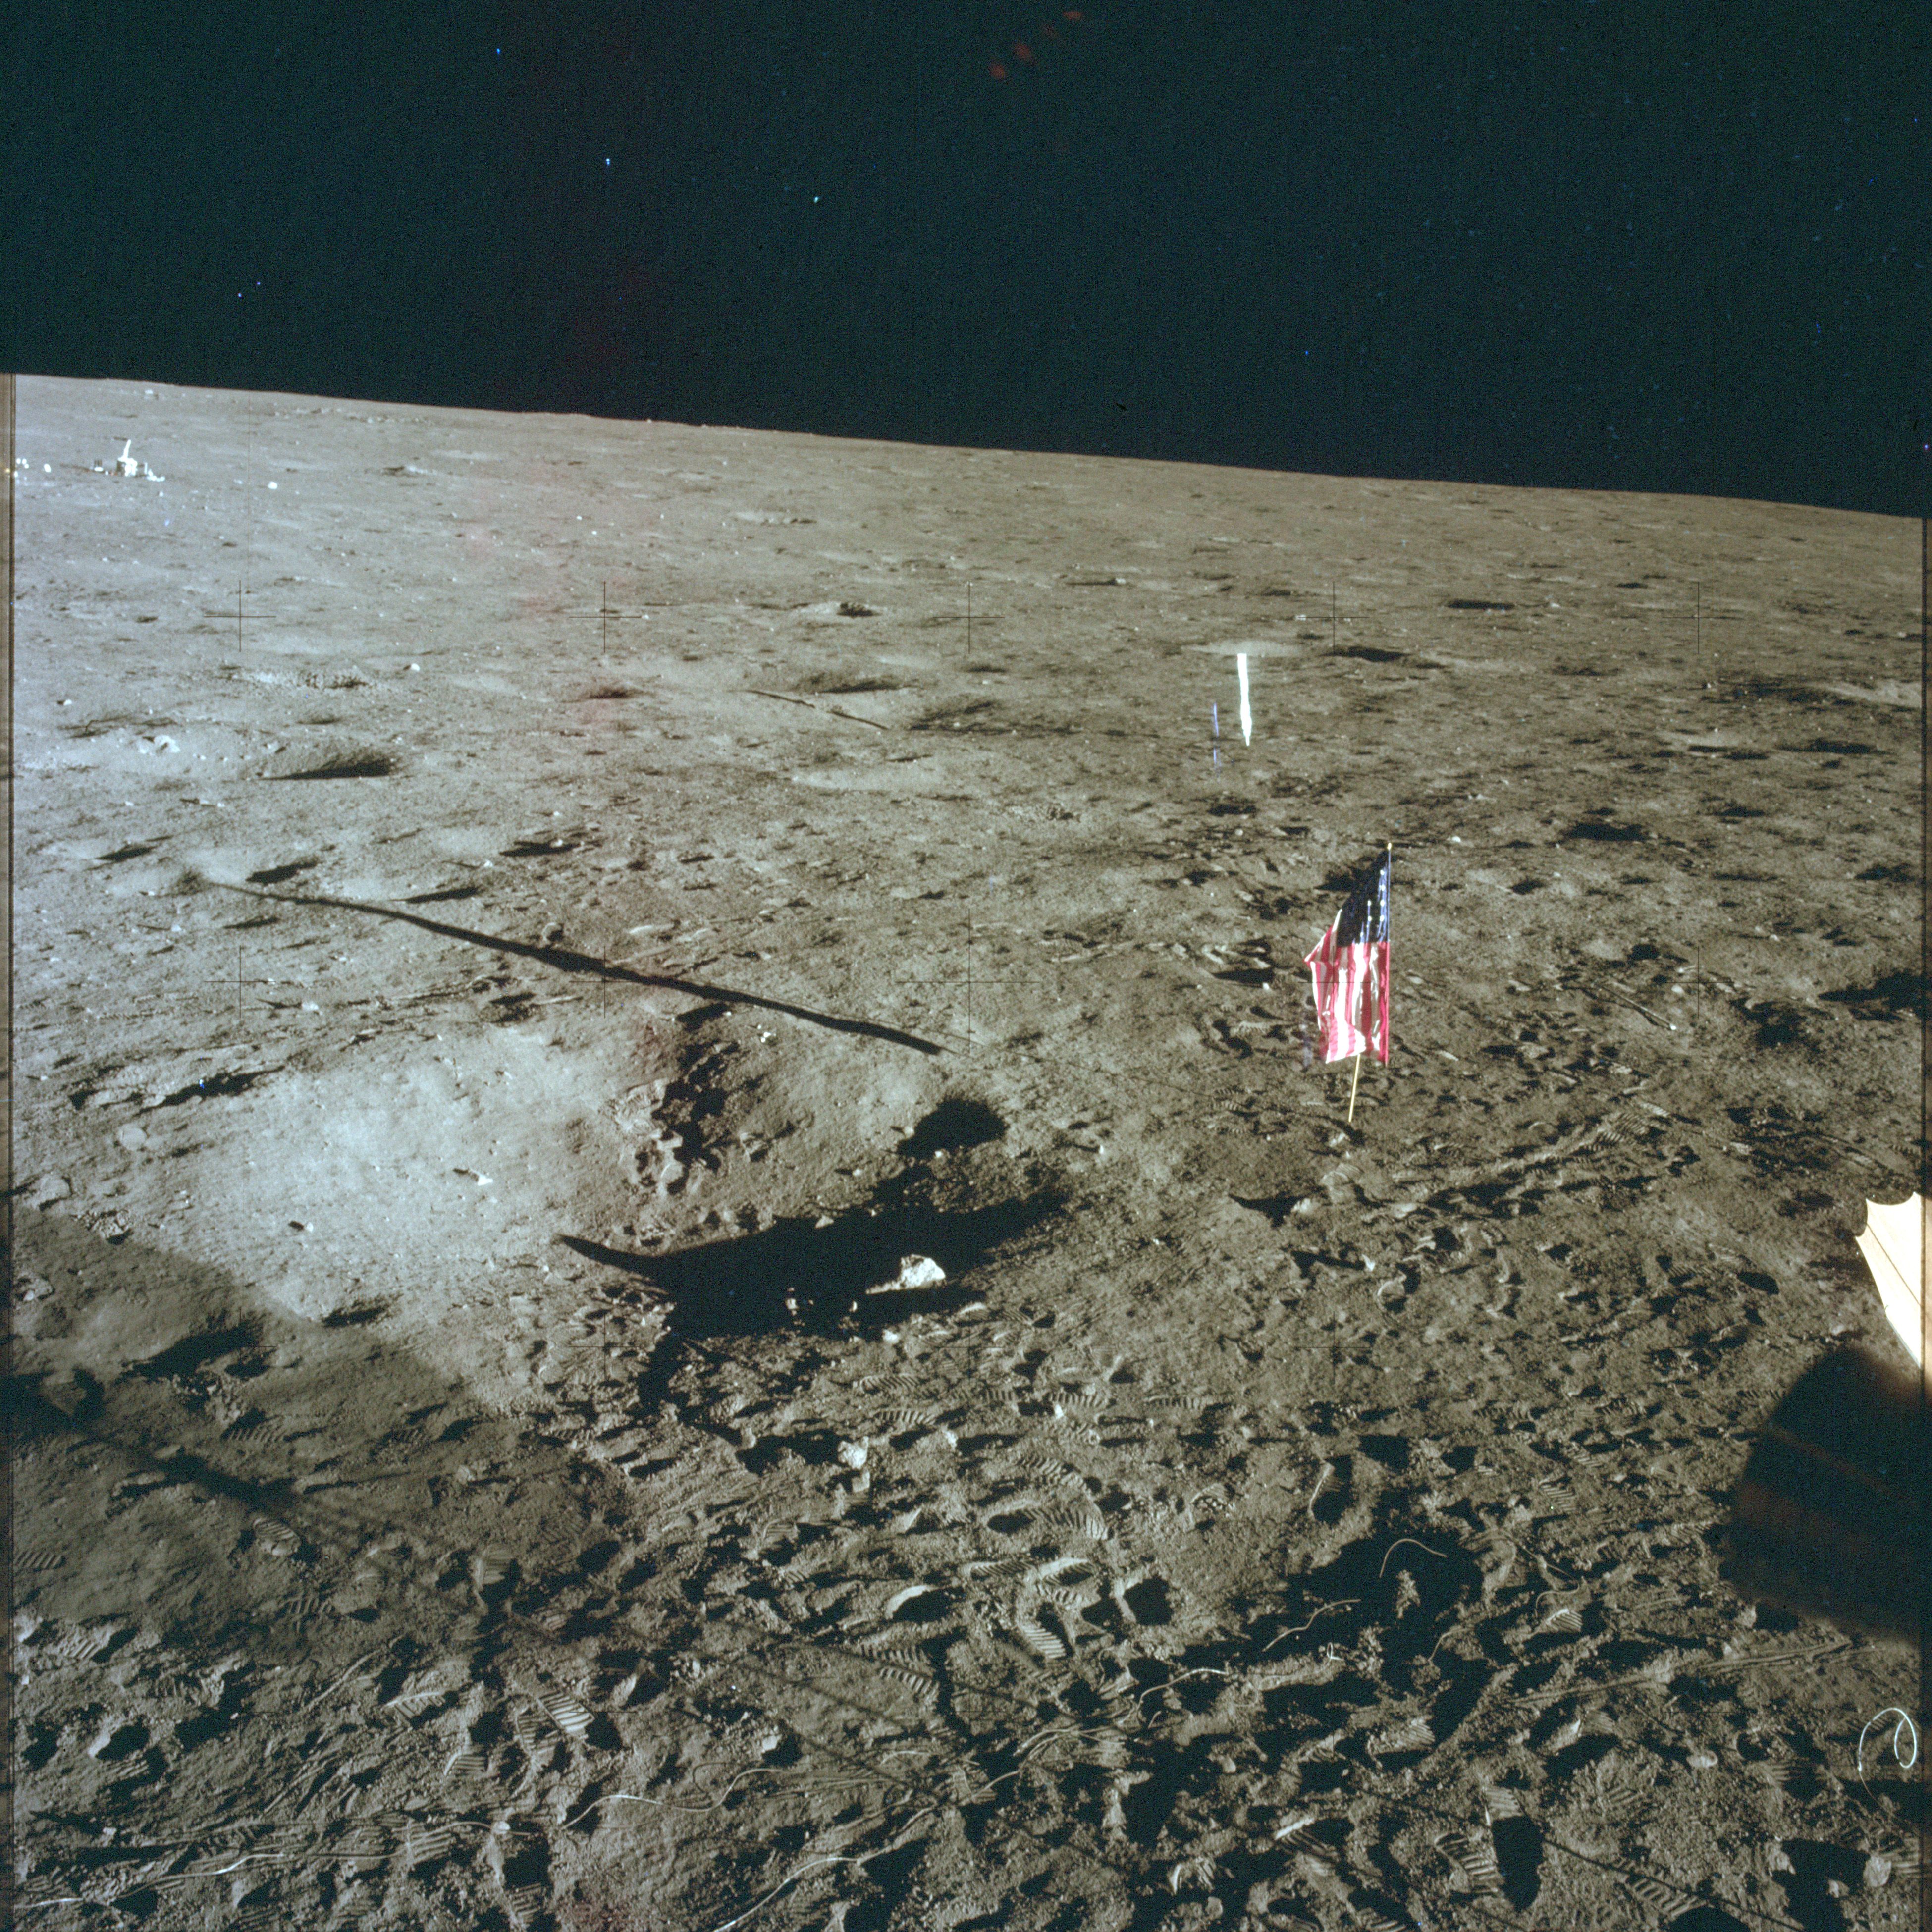 |
AS12-46-6866 View of lunar surface through the LMP (right) window. The flag and Solar Wind Collector are visible along with the shadow of the high-gain antenna. In the distance on the left is the deployed ALSEP. Image credit: Image Science and Analysis Laboratory, NASA-Johnson Space Center |
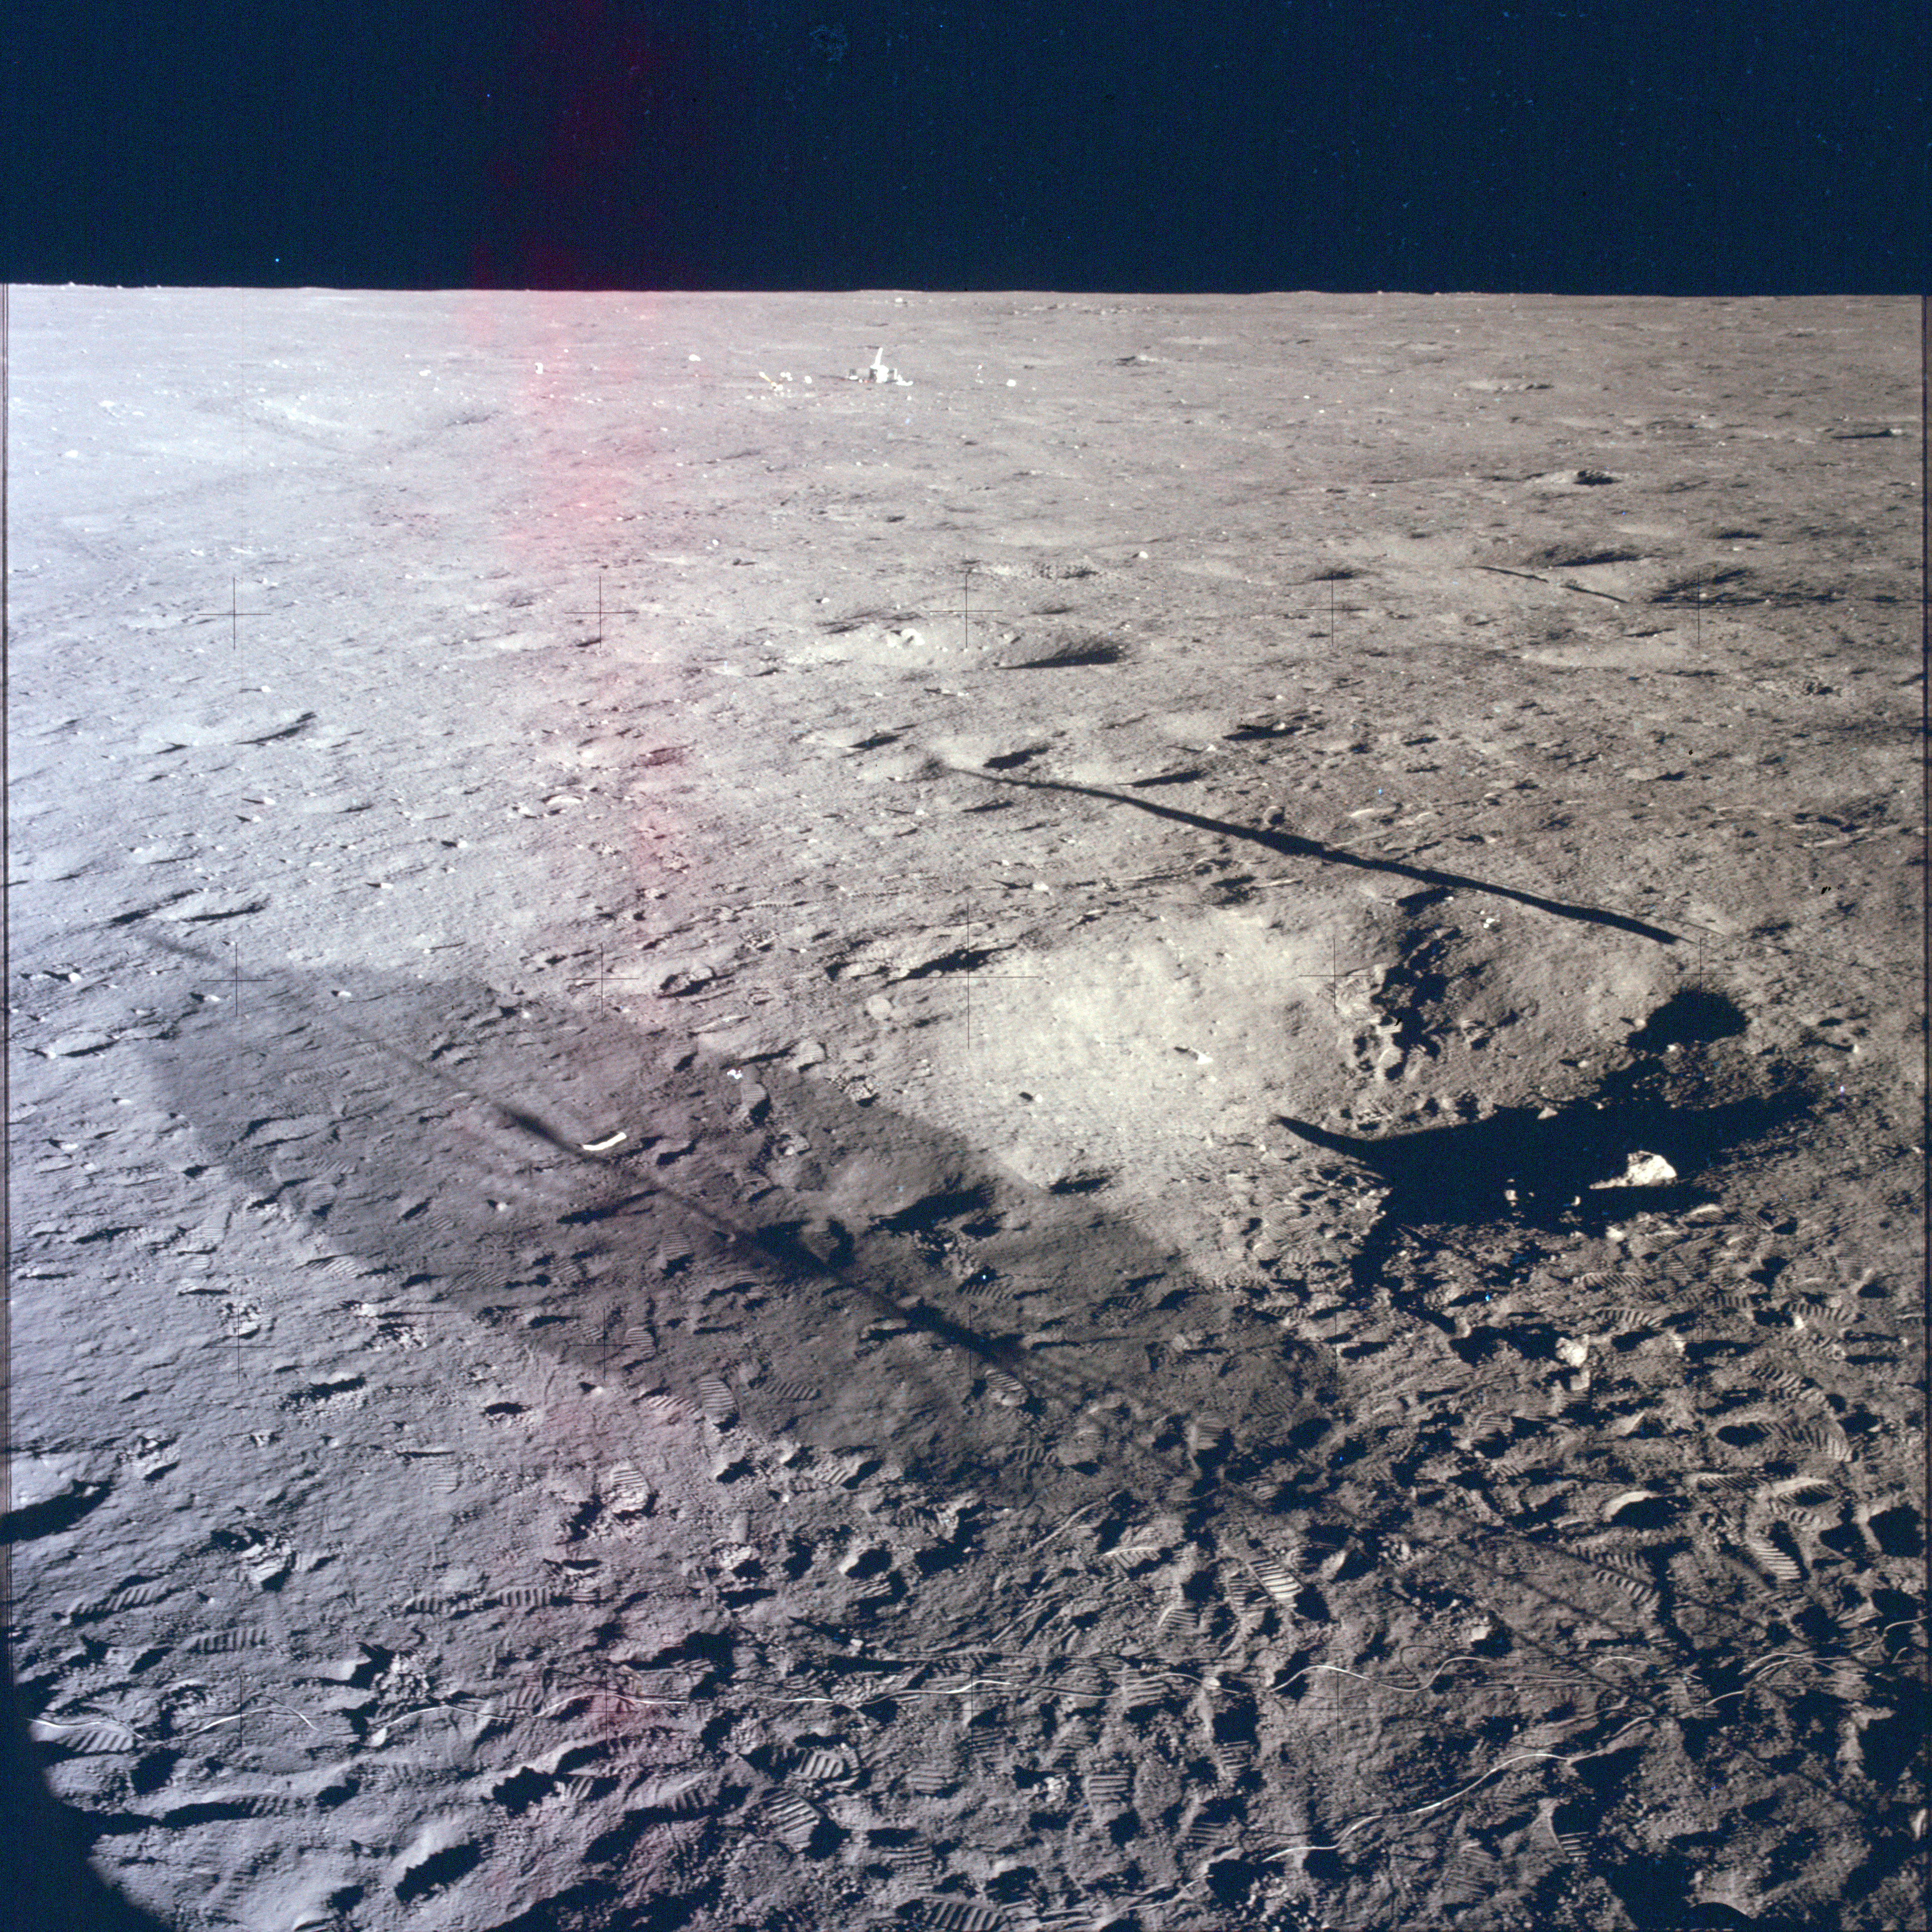 |
AS12-46-6867 View of lunar surface through the LMP (right) window. The shadows of the high-gain antenna and the flag are visible. In the distance is the deployed ALSEP. Image credit: Image Science and Analysis Laboratory, NASA-Johnson Space Center |
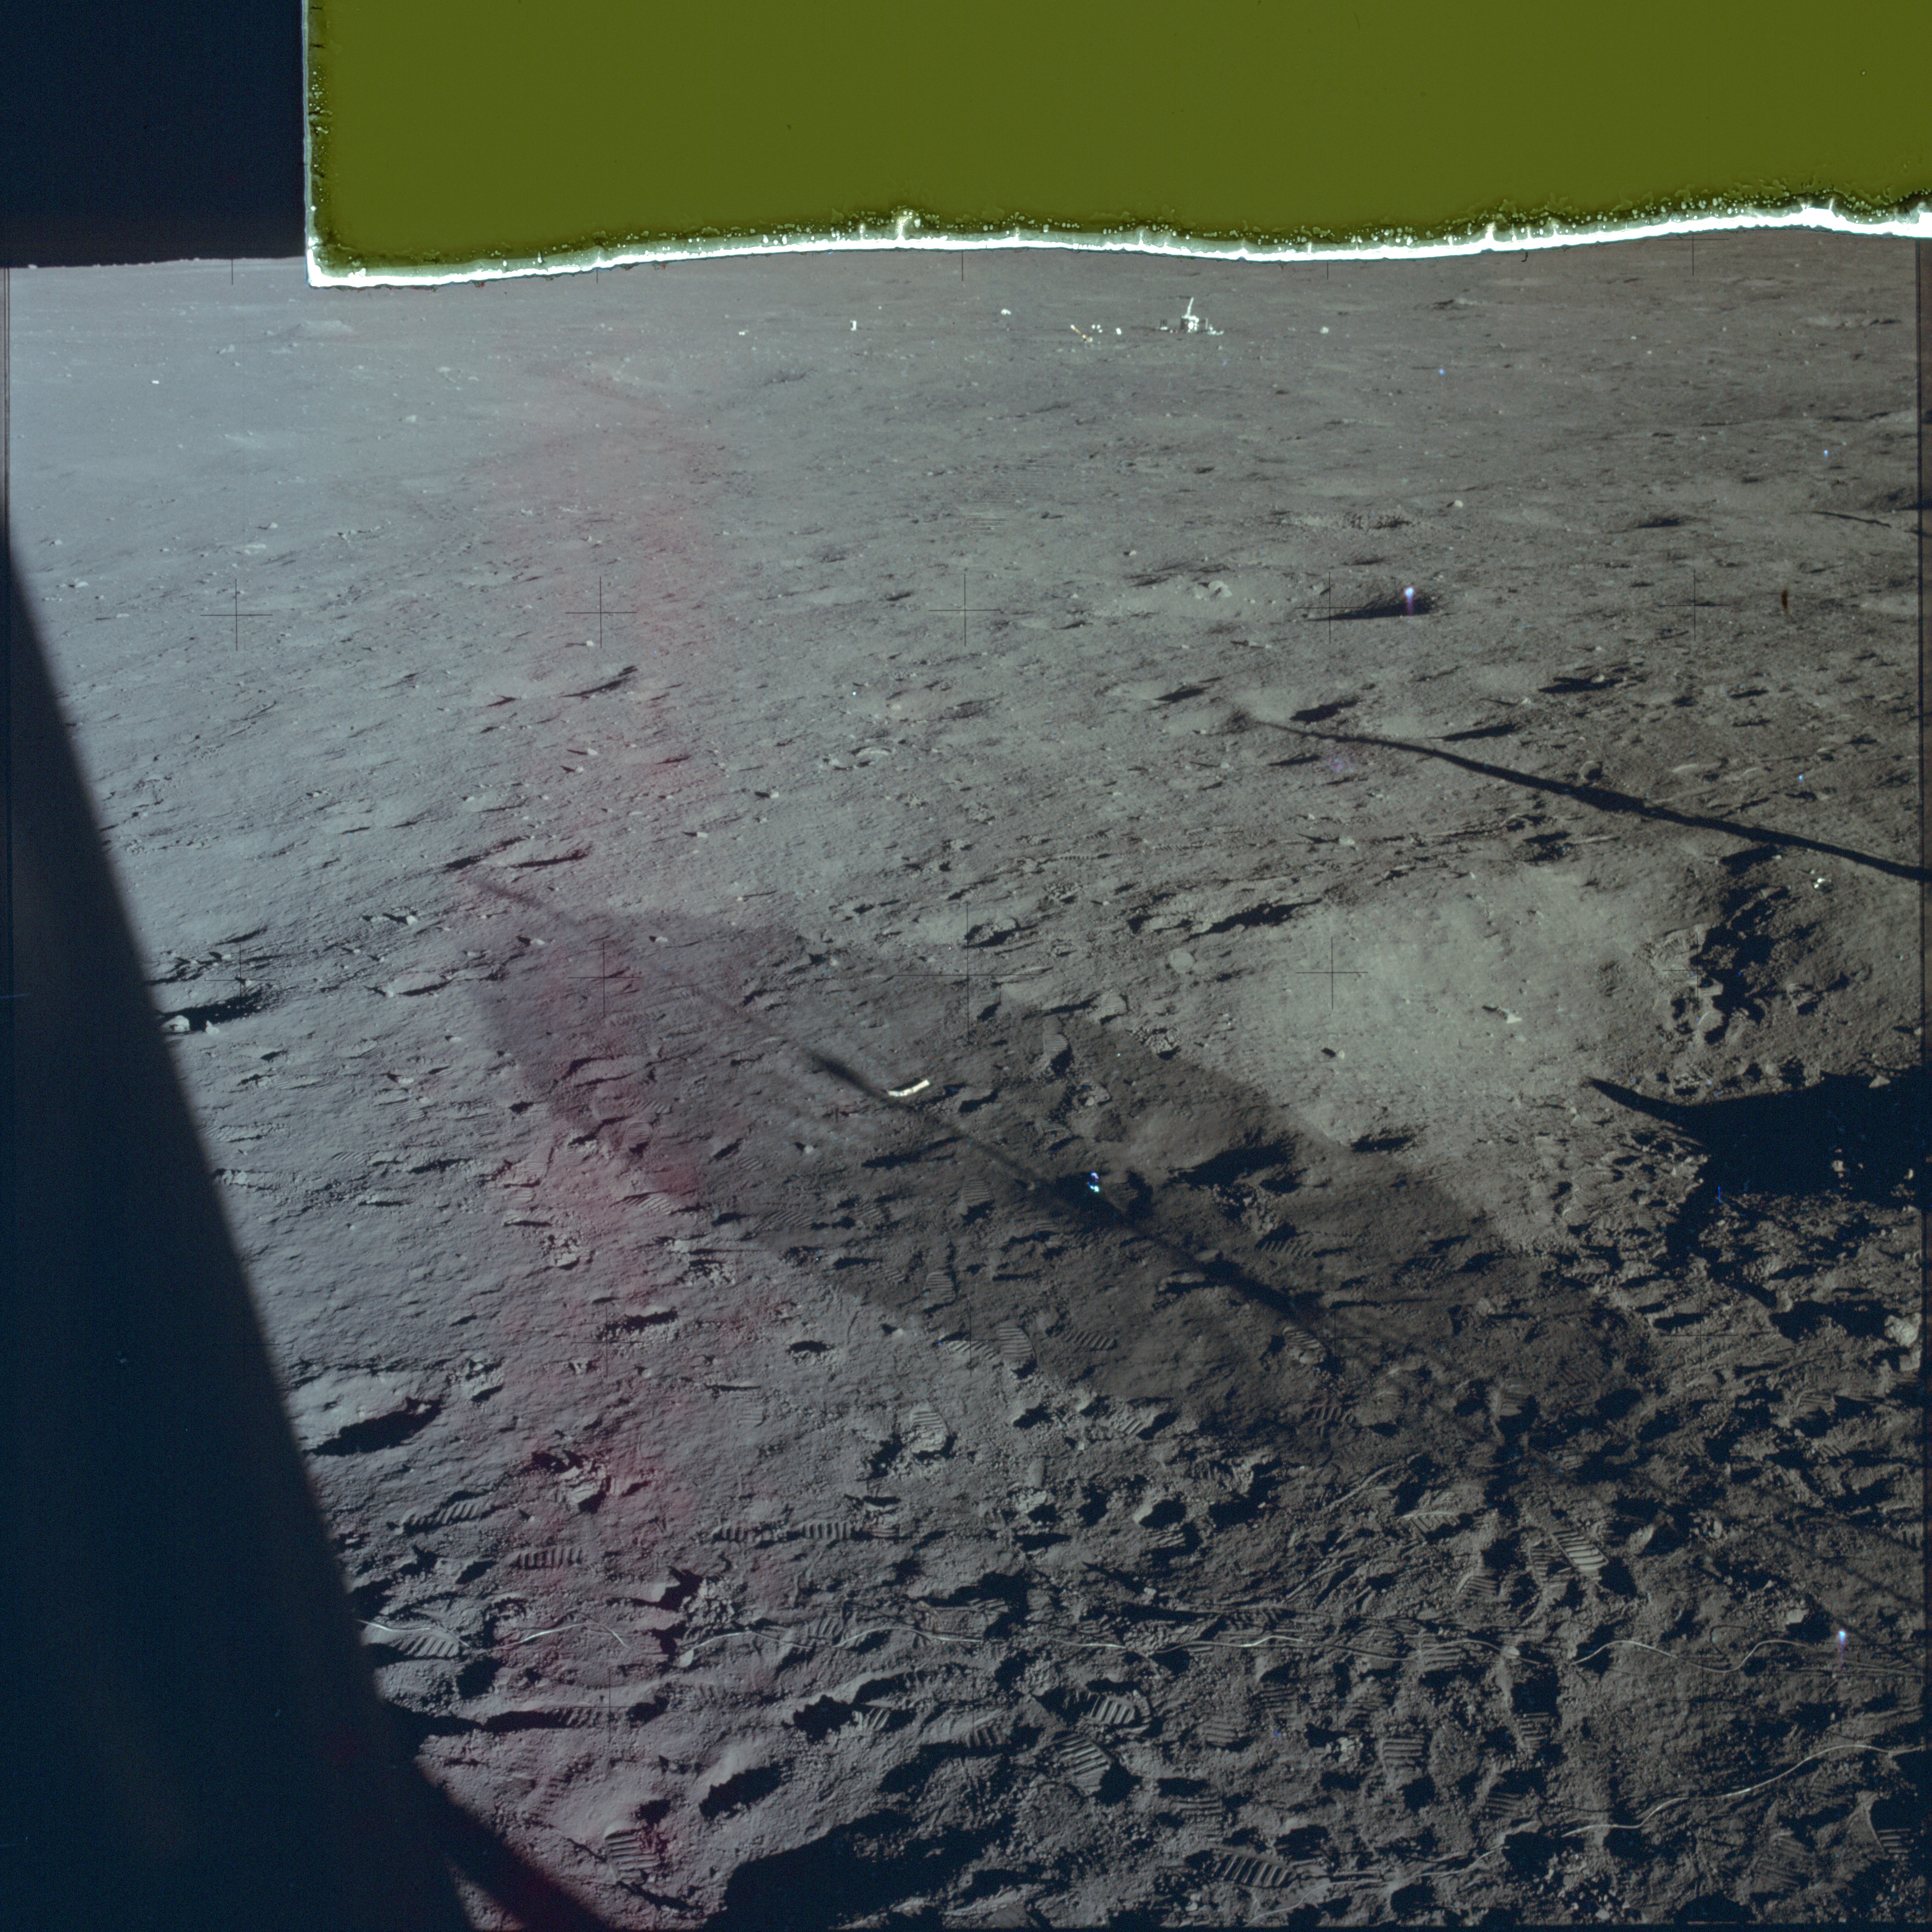 |
AS12-46-6868 View of lunar surface through the LMP (right) window. The shadows of the high-gain antenna and the flag are visible. In the distance is the deployed ALSEP. Frame is compromised by adhesive tape. Image credit: Image Science and Analysis Laboratory, NASA-Johnson Space Center |
|
|
| Photography Index | 70-mm magazine V - AS12-47-6869 to 7021 |