
 |
 |
 |
| 70-mm magazine N - AS11-36-5291 to 5432 |
Photography Index | 70-mm magazine O - AS11-38-5556 to 5736 |
No copyright is asserted for NASA photographs. If a recognizable person appears in a photo, use for commercial purposes may infringe a right of privacy or publicity. Photos may not be used to state or imply the endorsement by NASA or by any NASA employee of a commercial product, process or service, or used in any other manner that might mislead. Accordingly, it is requested that if a NASA photograph is used in advertising and other commercial promotion, layout and copy be submitted to NASA prior to release.
NASA photos reproduced from this archive should include photo credit to "NASA" or "National Aeronautics and Space Administration" and should include scanning credit to the appropriate individuals or agencies as noted in the captions.
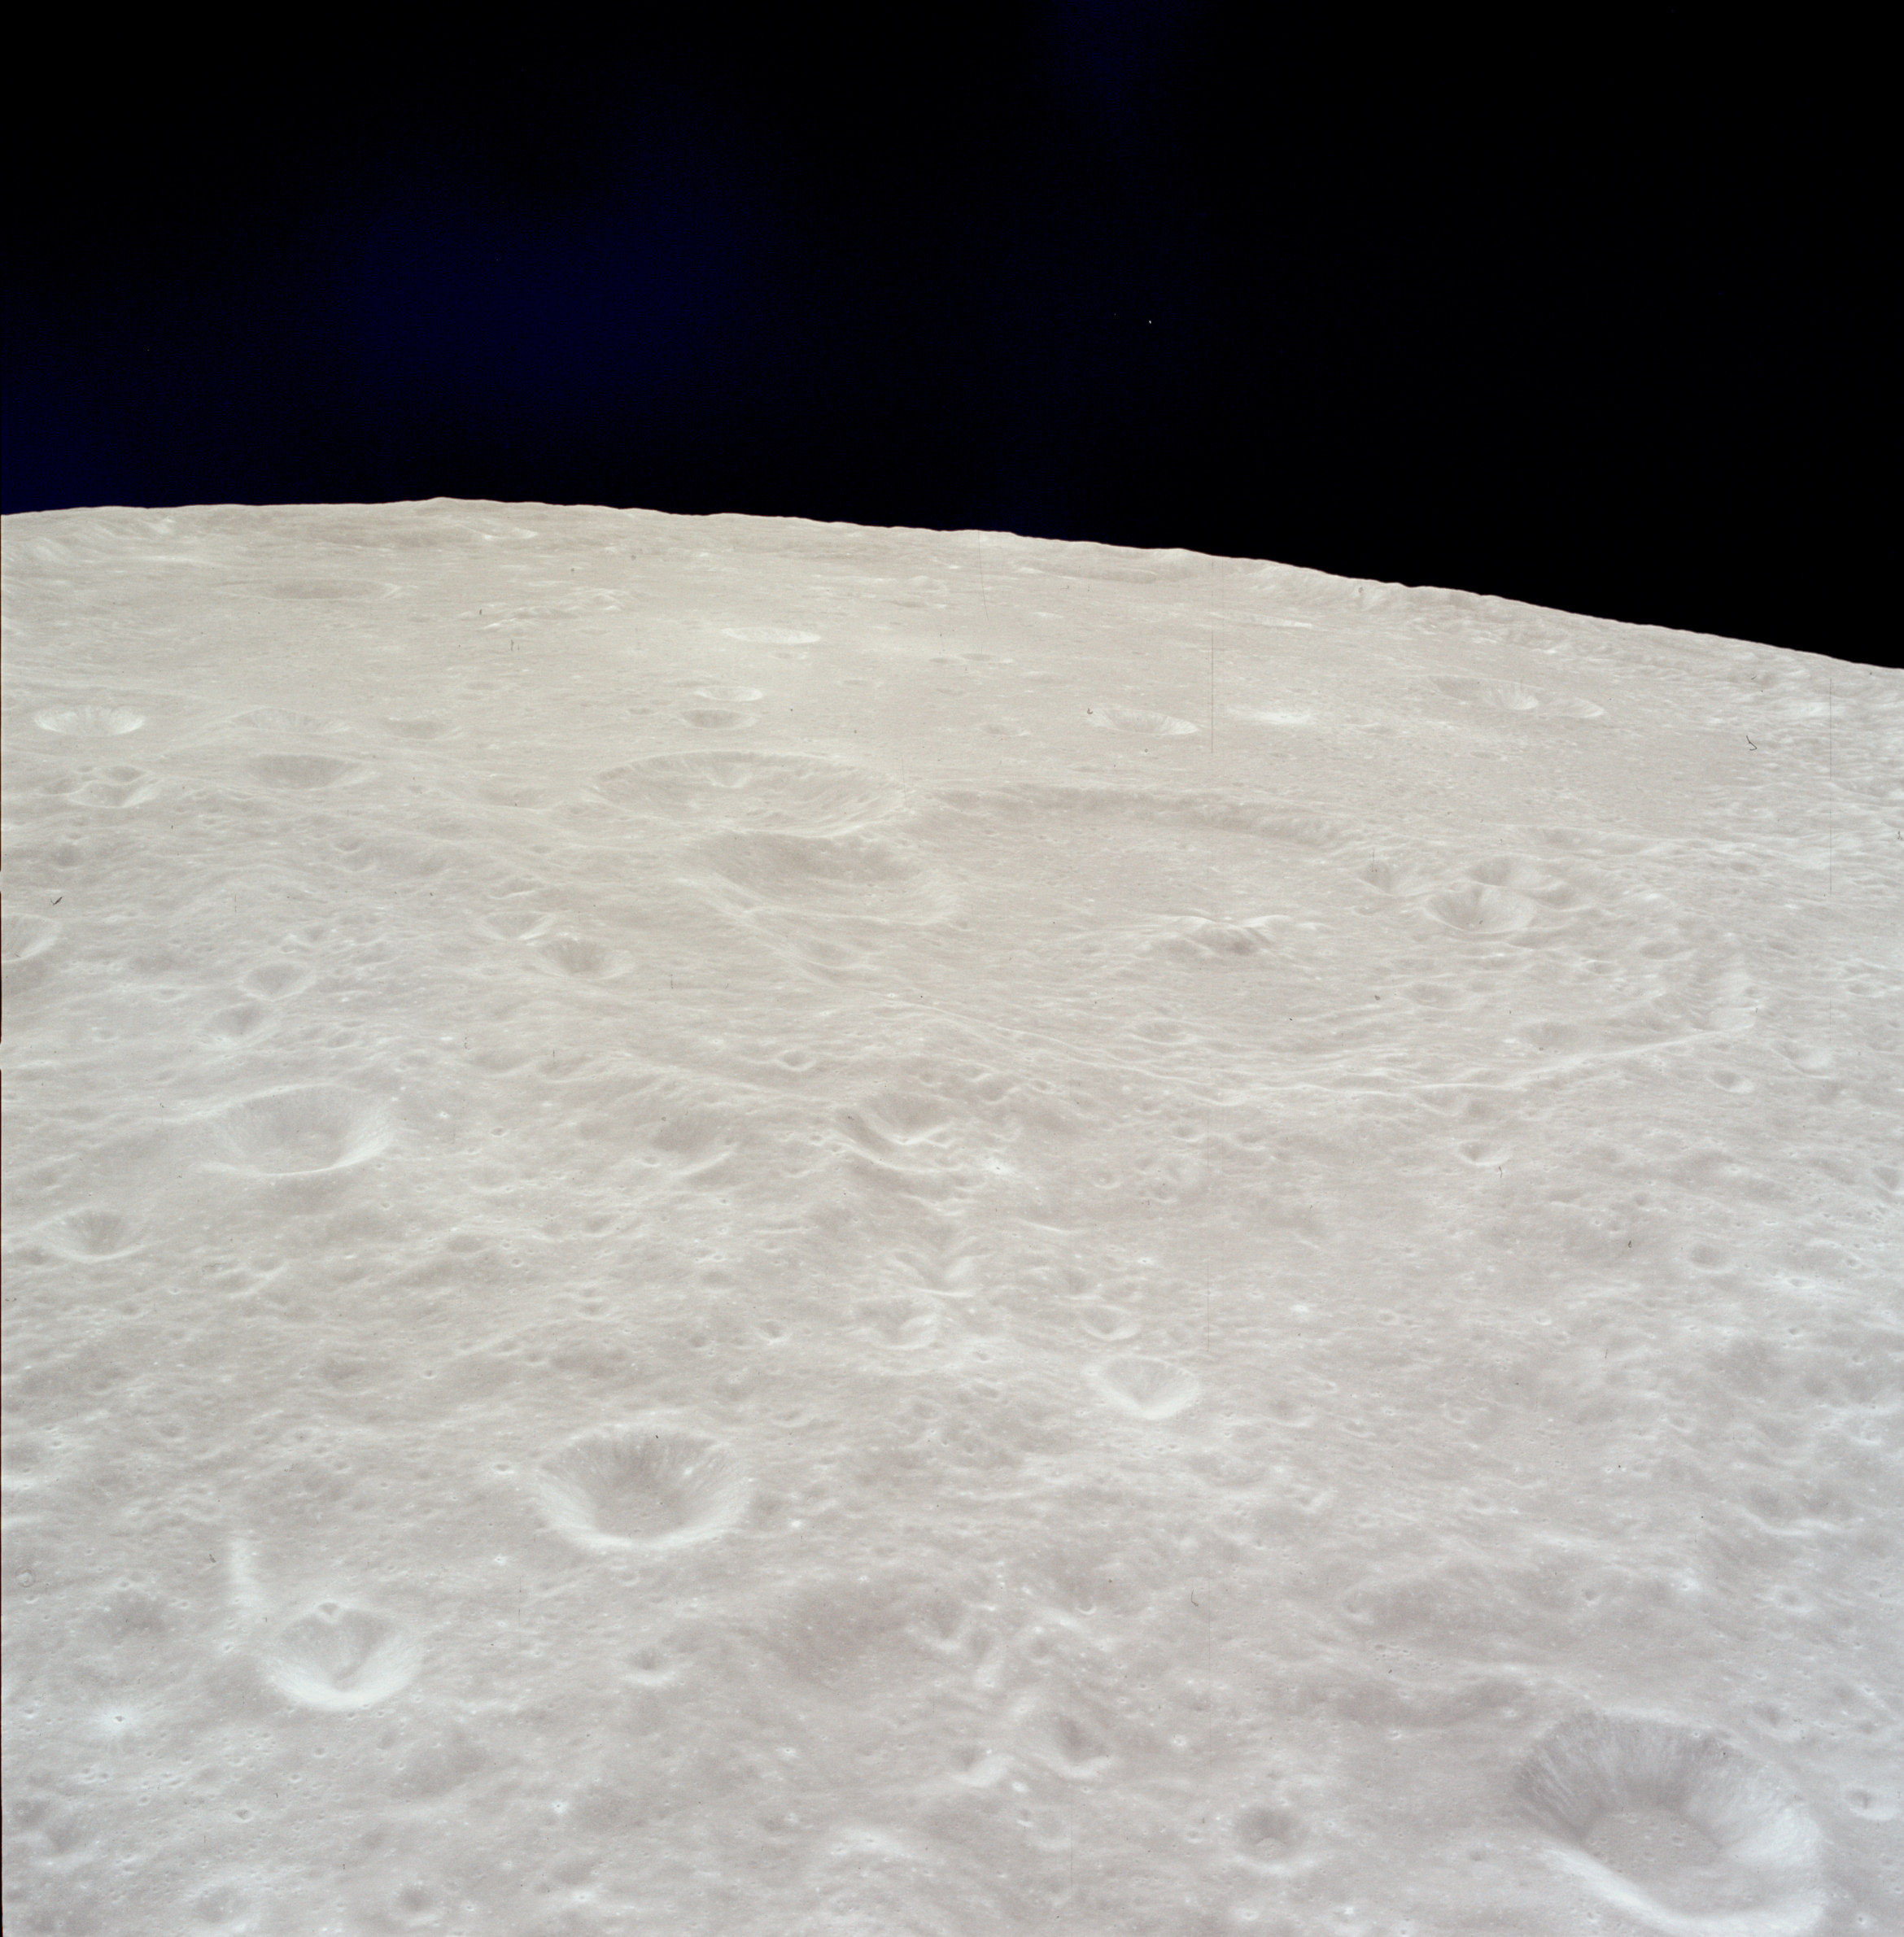 | AS11-37-5433 Crater Schuster on the lunar far-side. Image credit: Image Science and Analysis Laboratory, NASA-Johnson Space Center. |
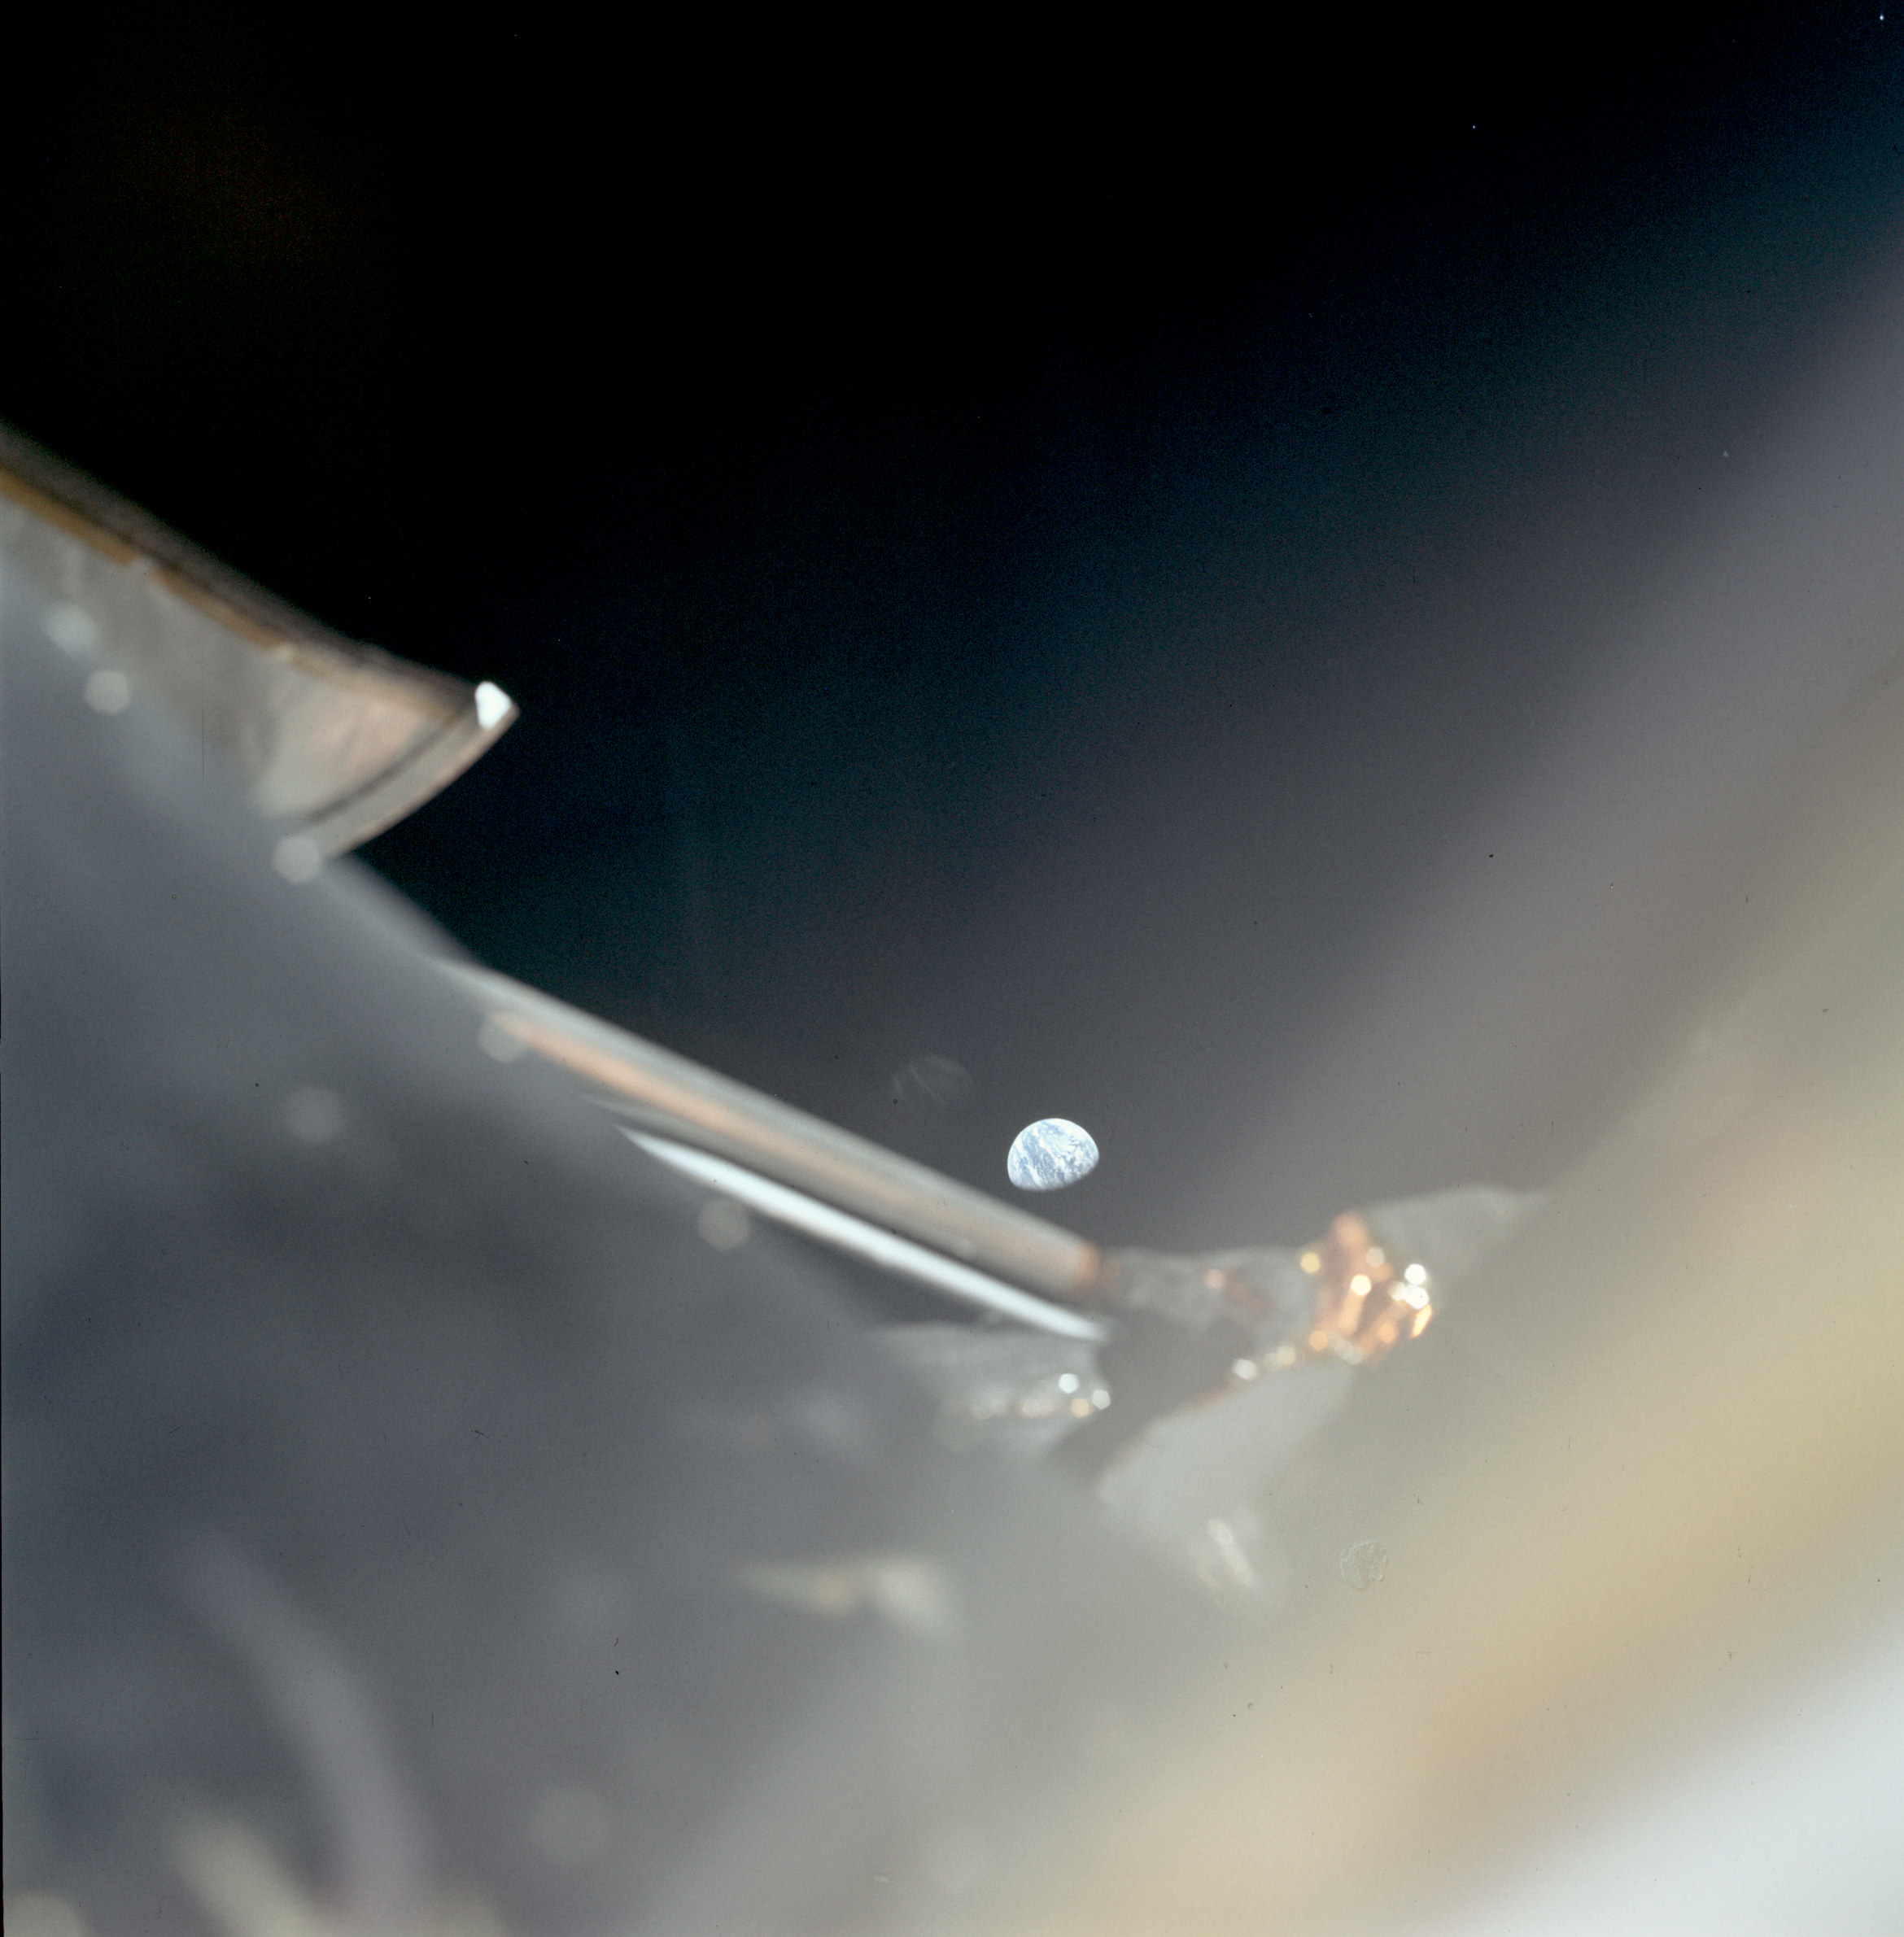 | AS11-37-5434 Earth viewed past part of the LM structure. Image credit: Image Science and Analysis Laboratory, NASA-Johnson Space Center. |
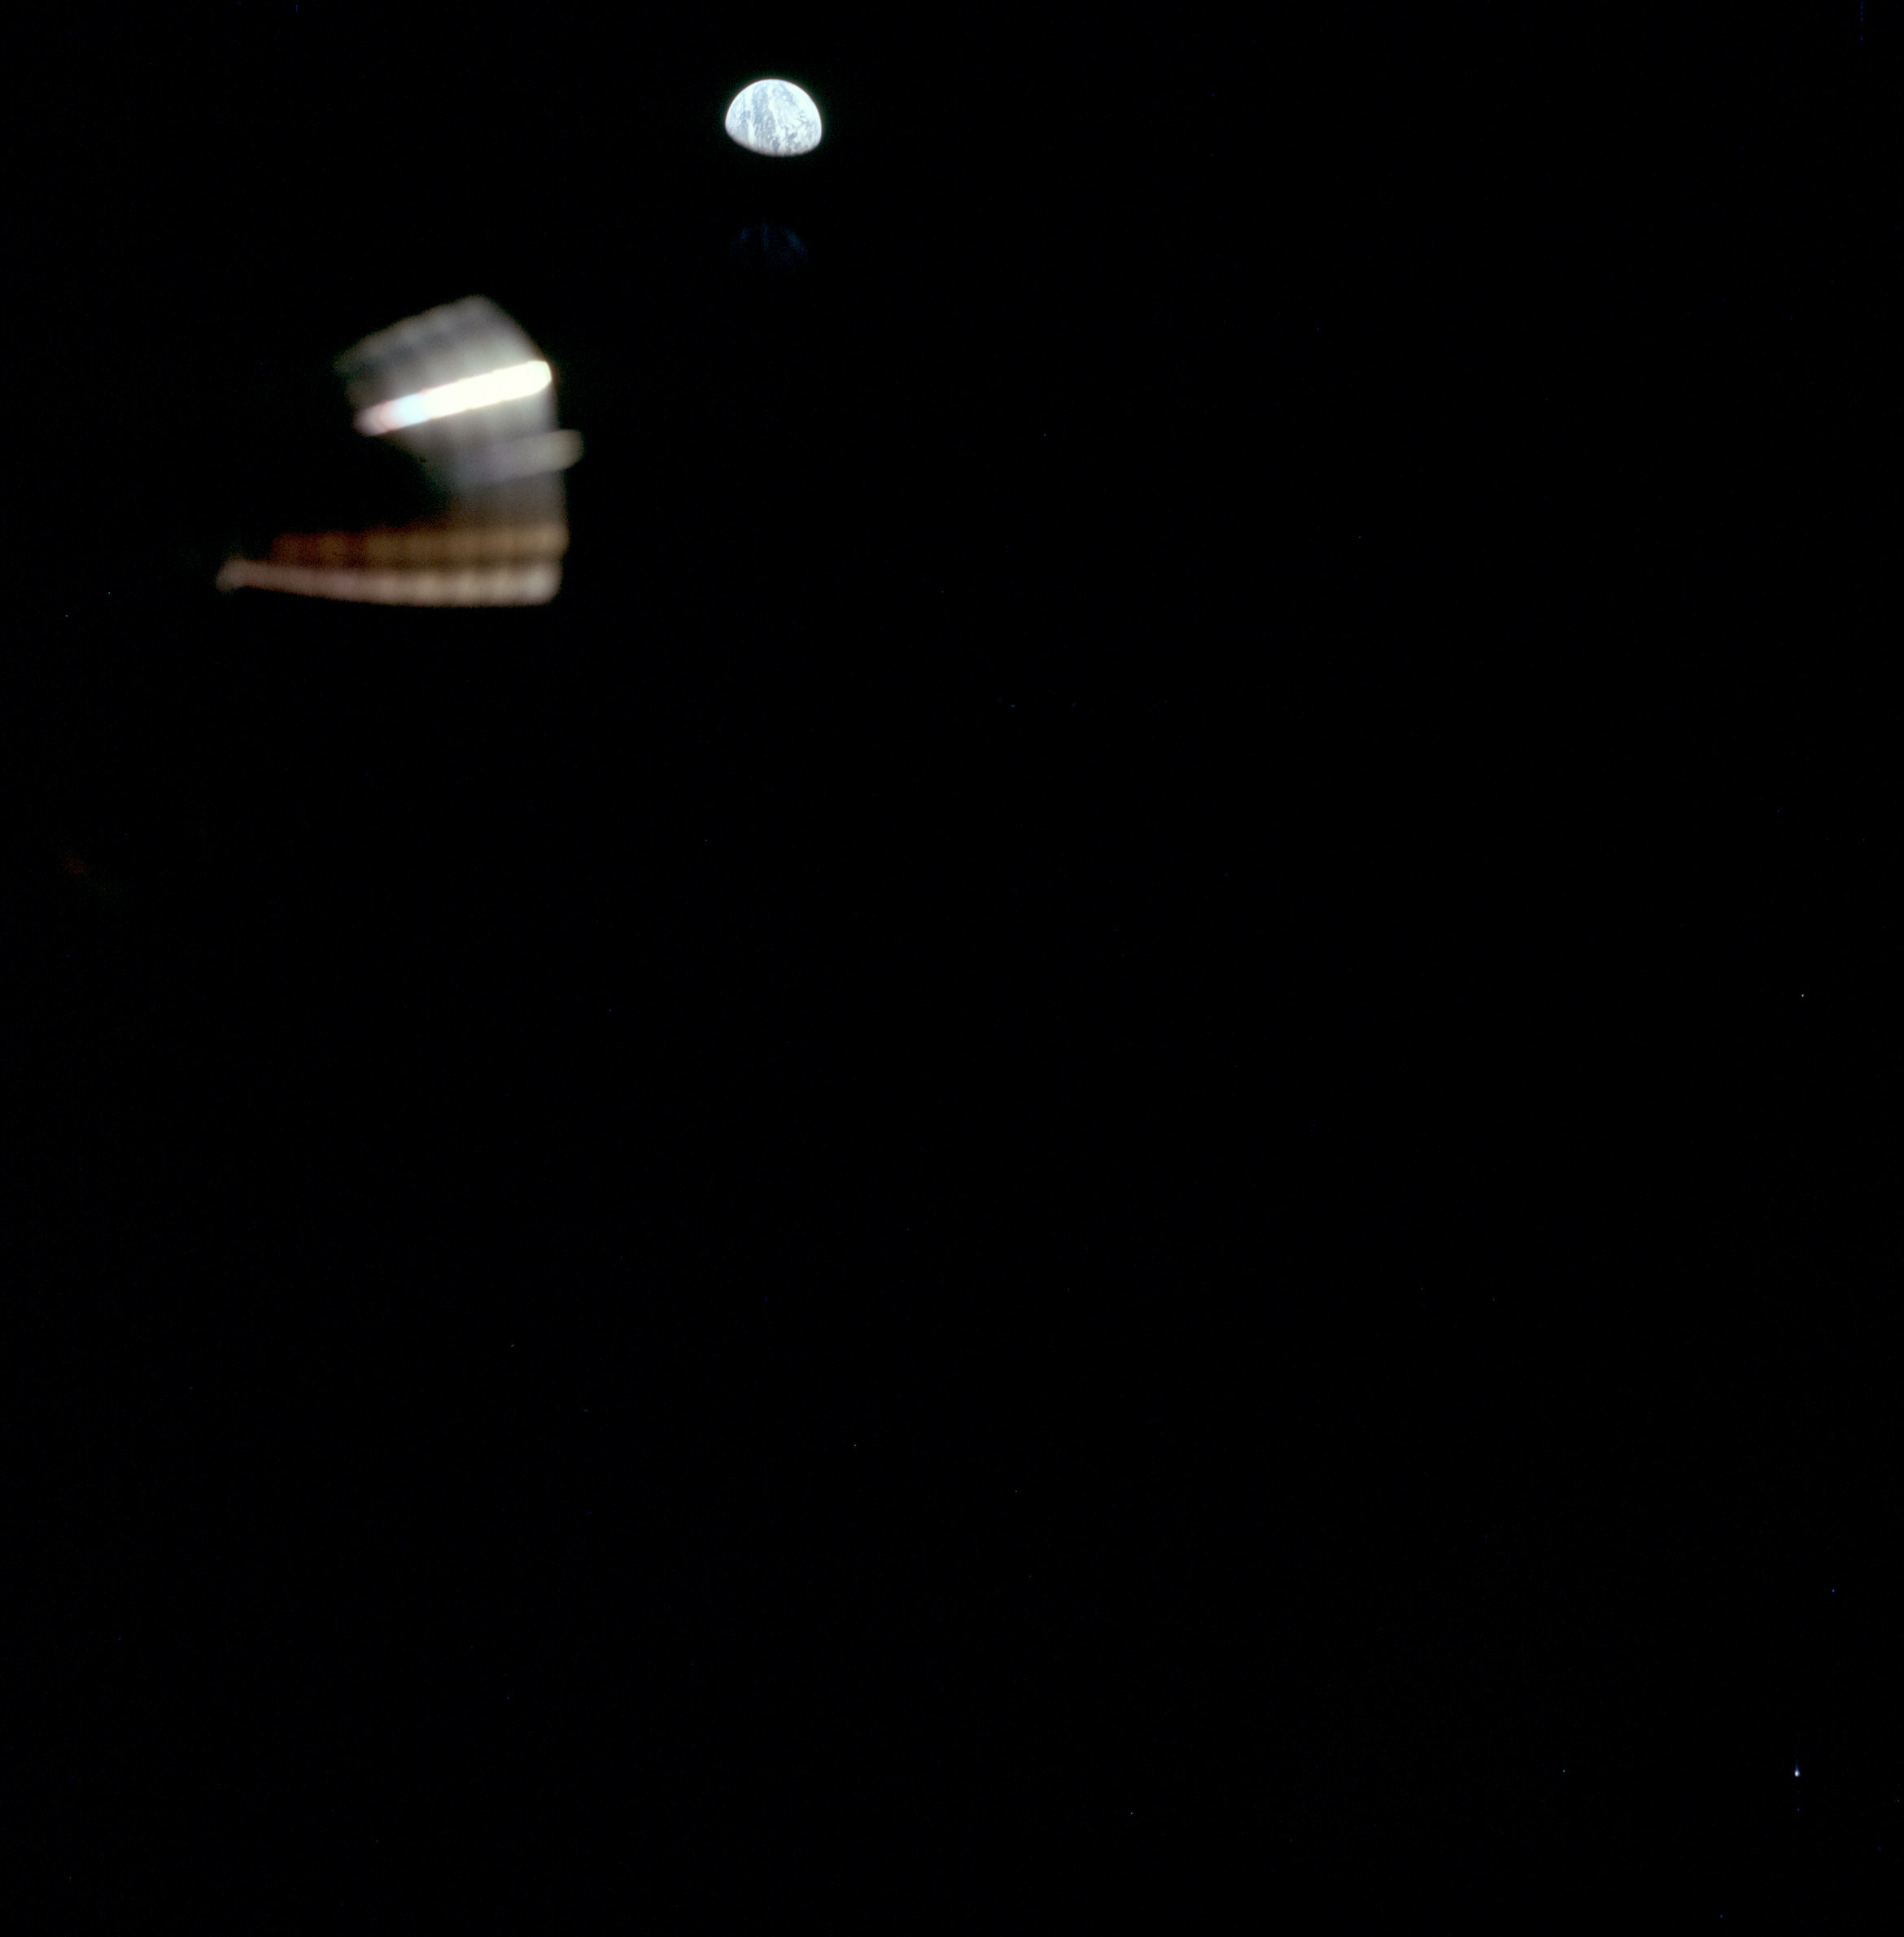 | AS11-37-5435 Earth viewed past one of the LM thrusters. Image credit: Image Science and Analysis Laboratory, NASA-Johnson Space Center. |
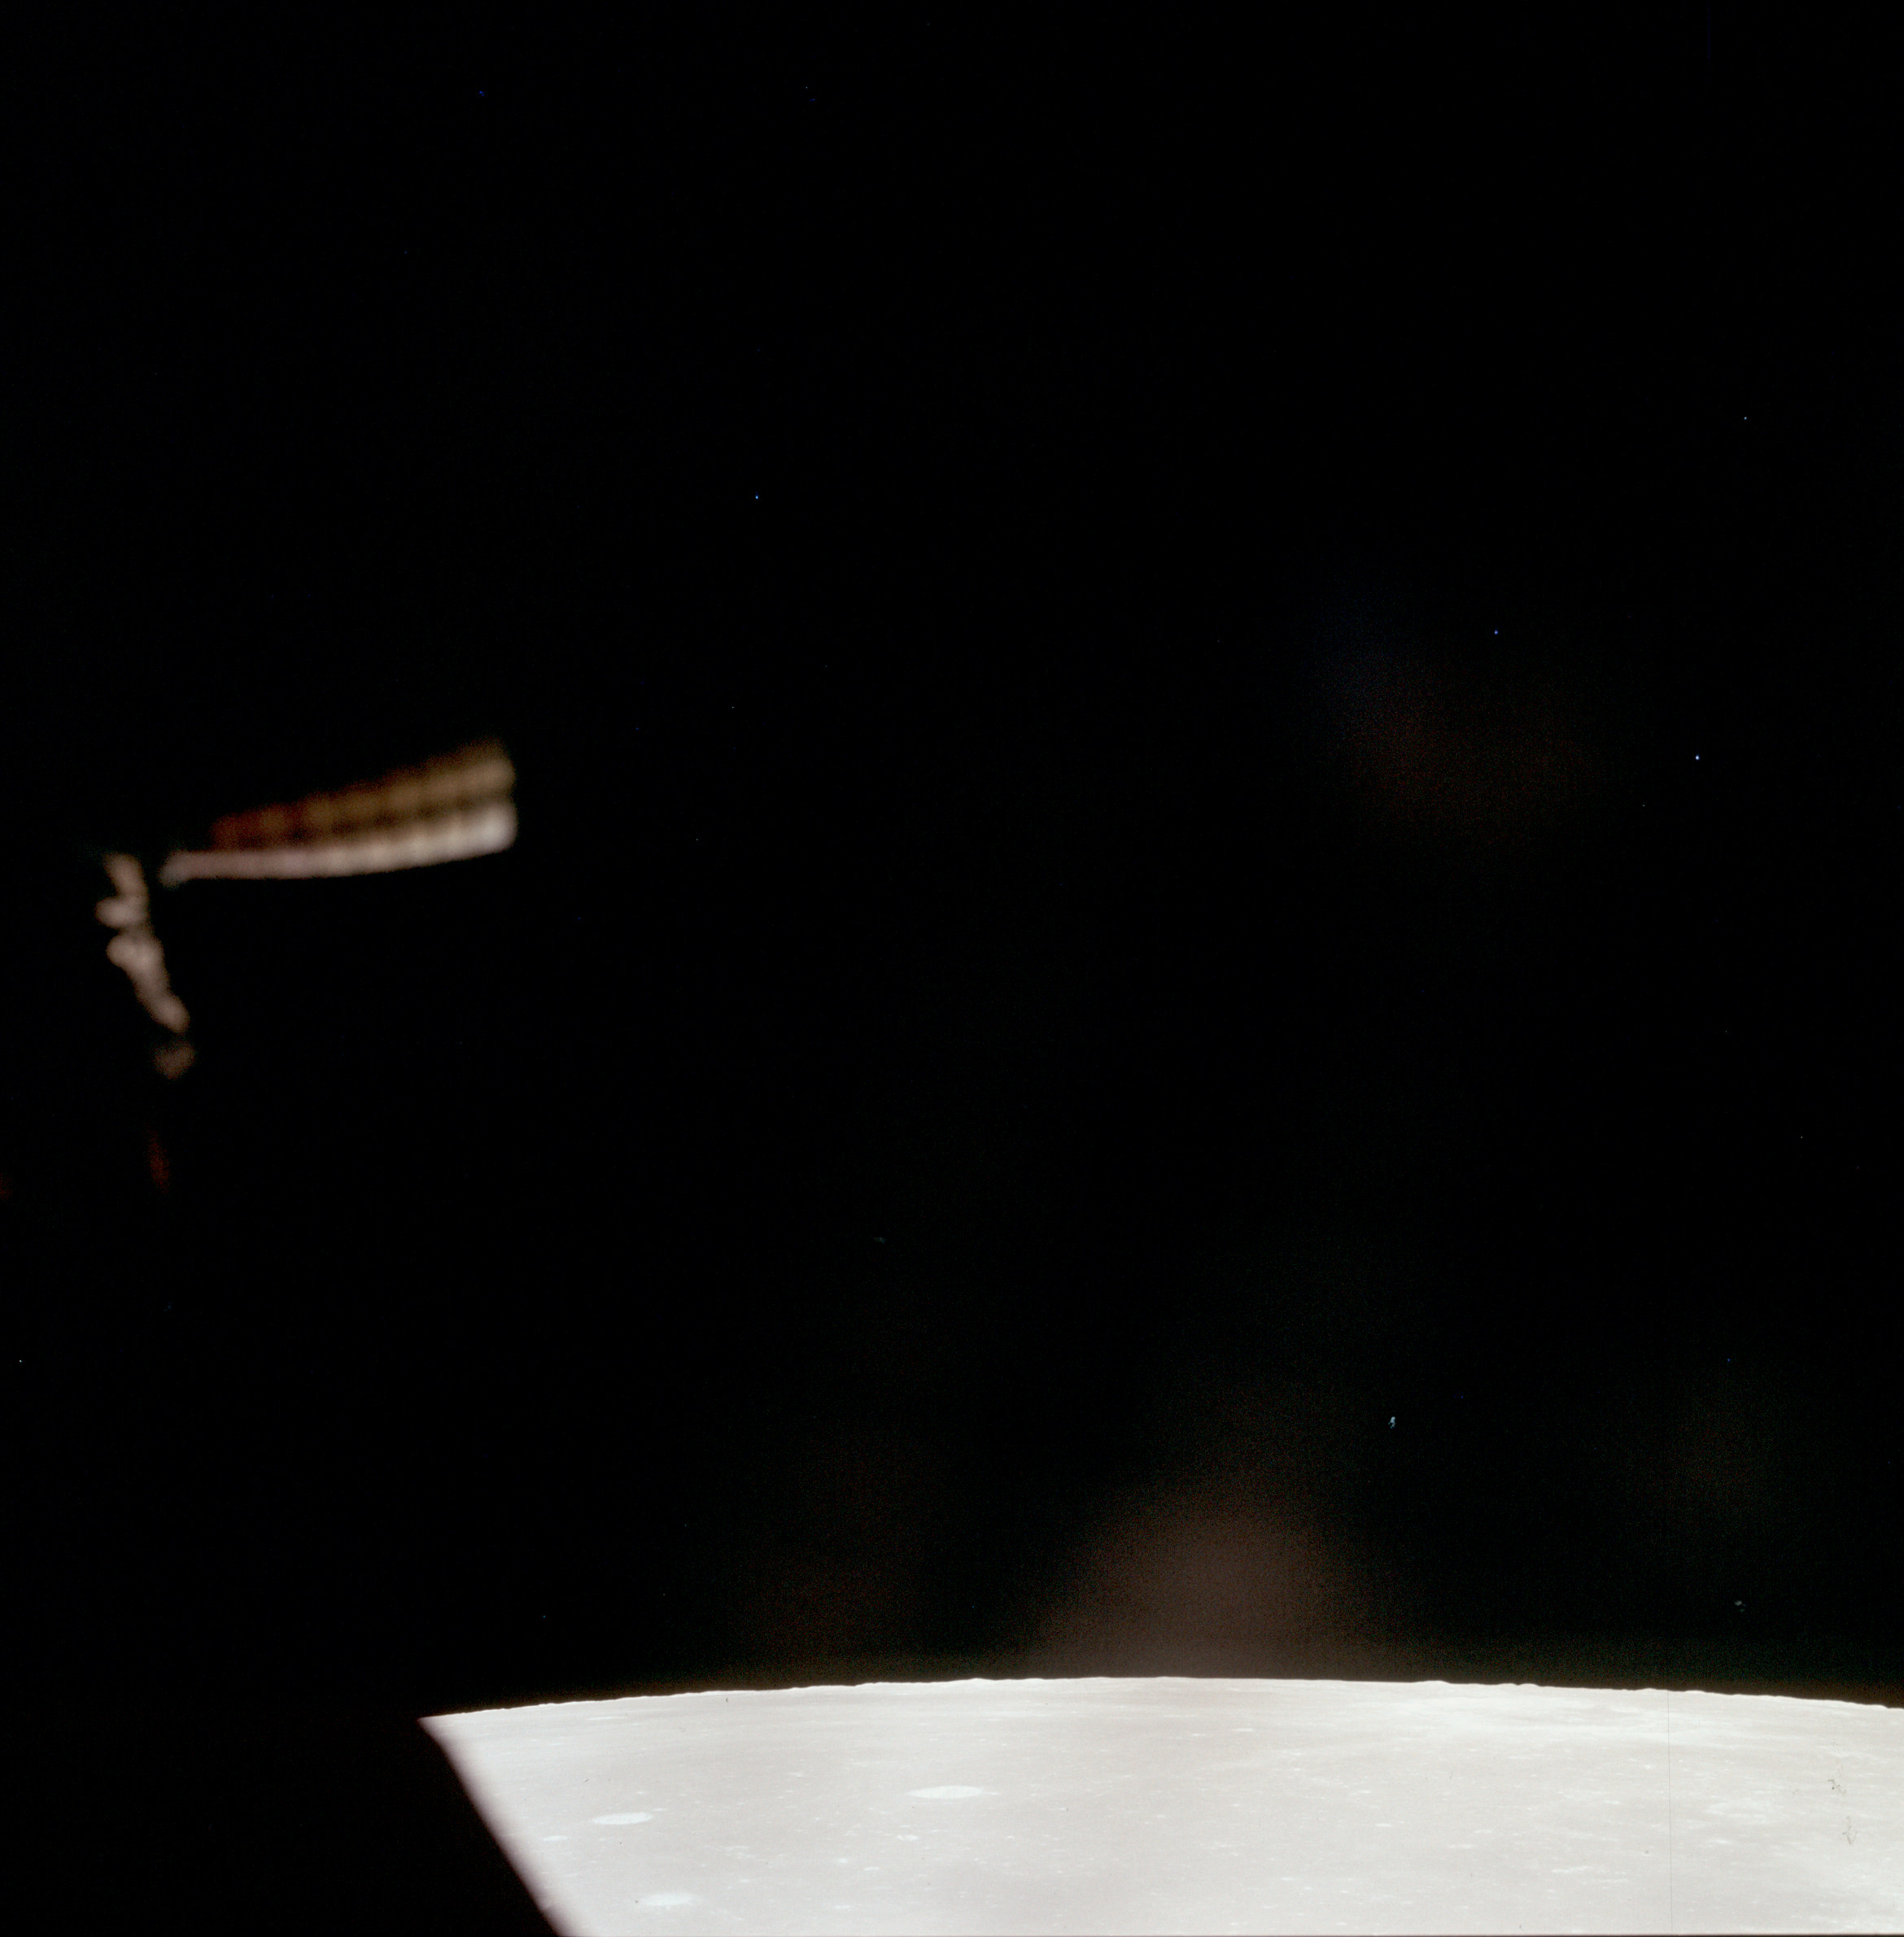 | AS11-37-5436 Lunar horizon viewed past one of the LM thrusters. Image credit: Image Science and Analysis Laboratory, NASA-Johnson Space Center. |
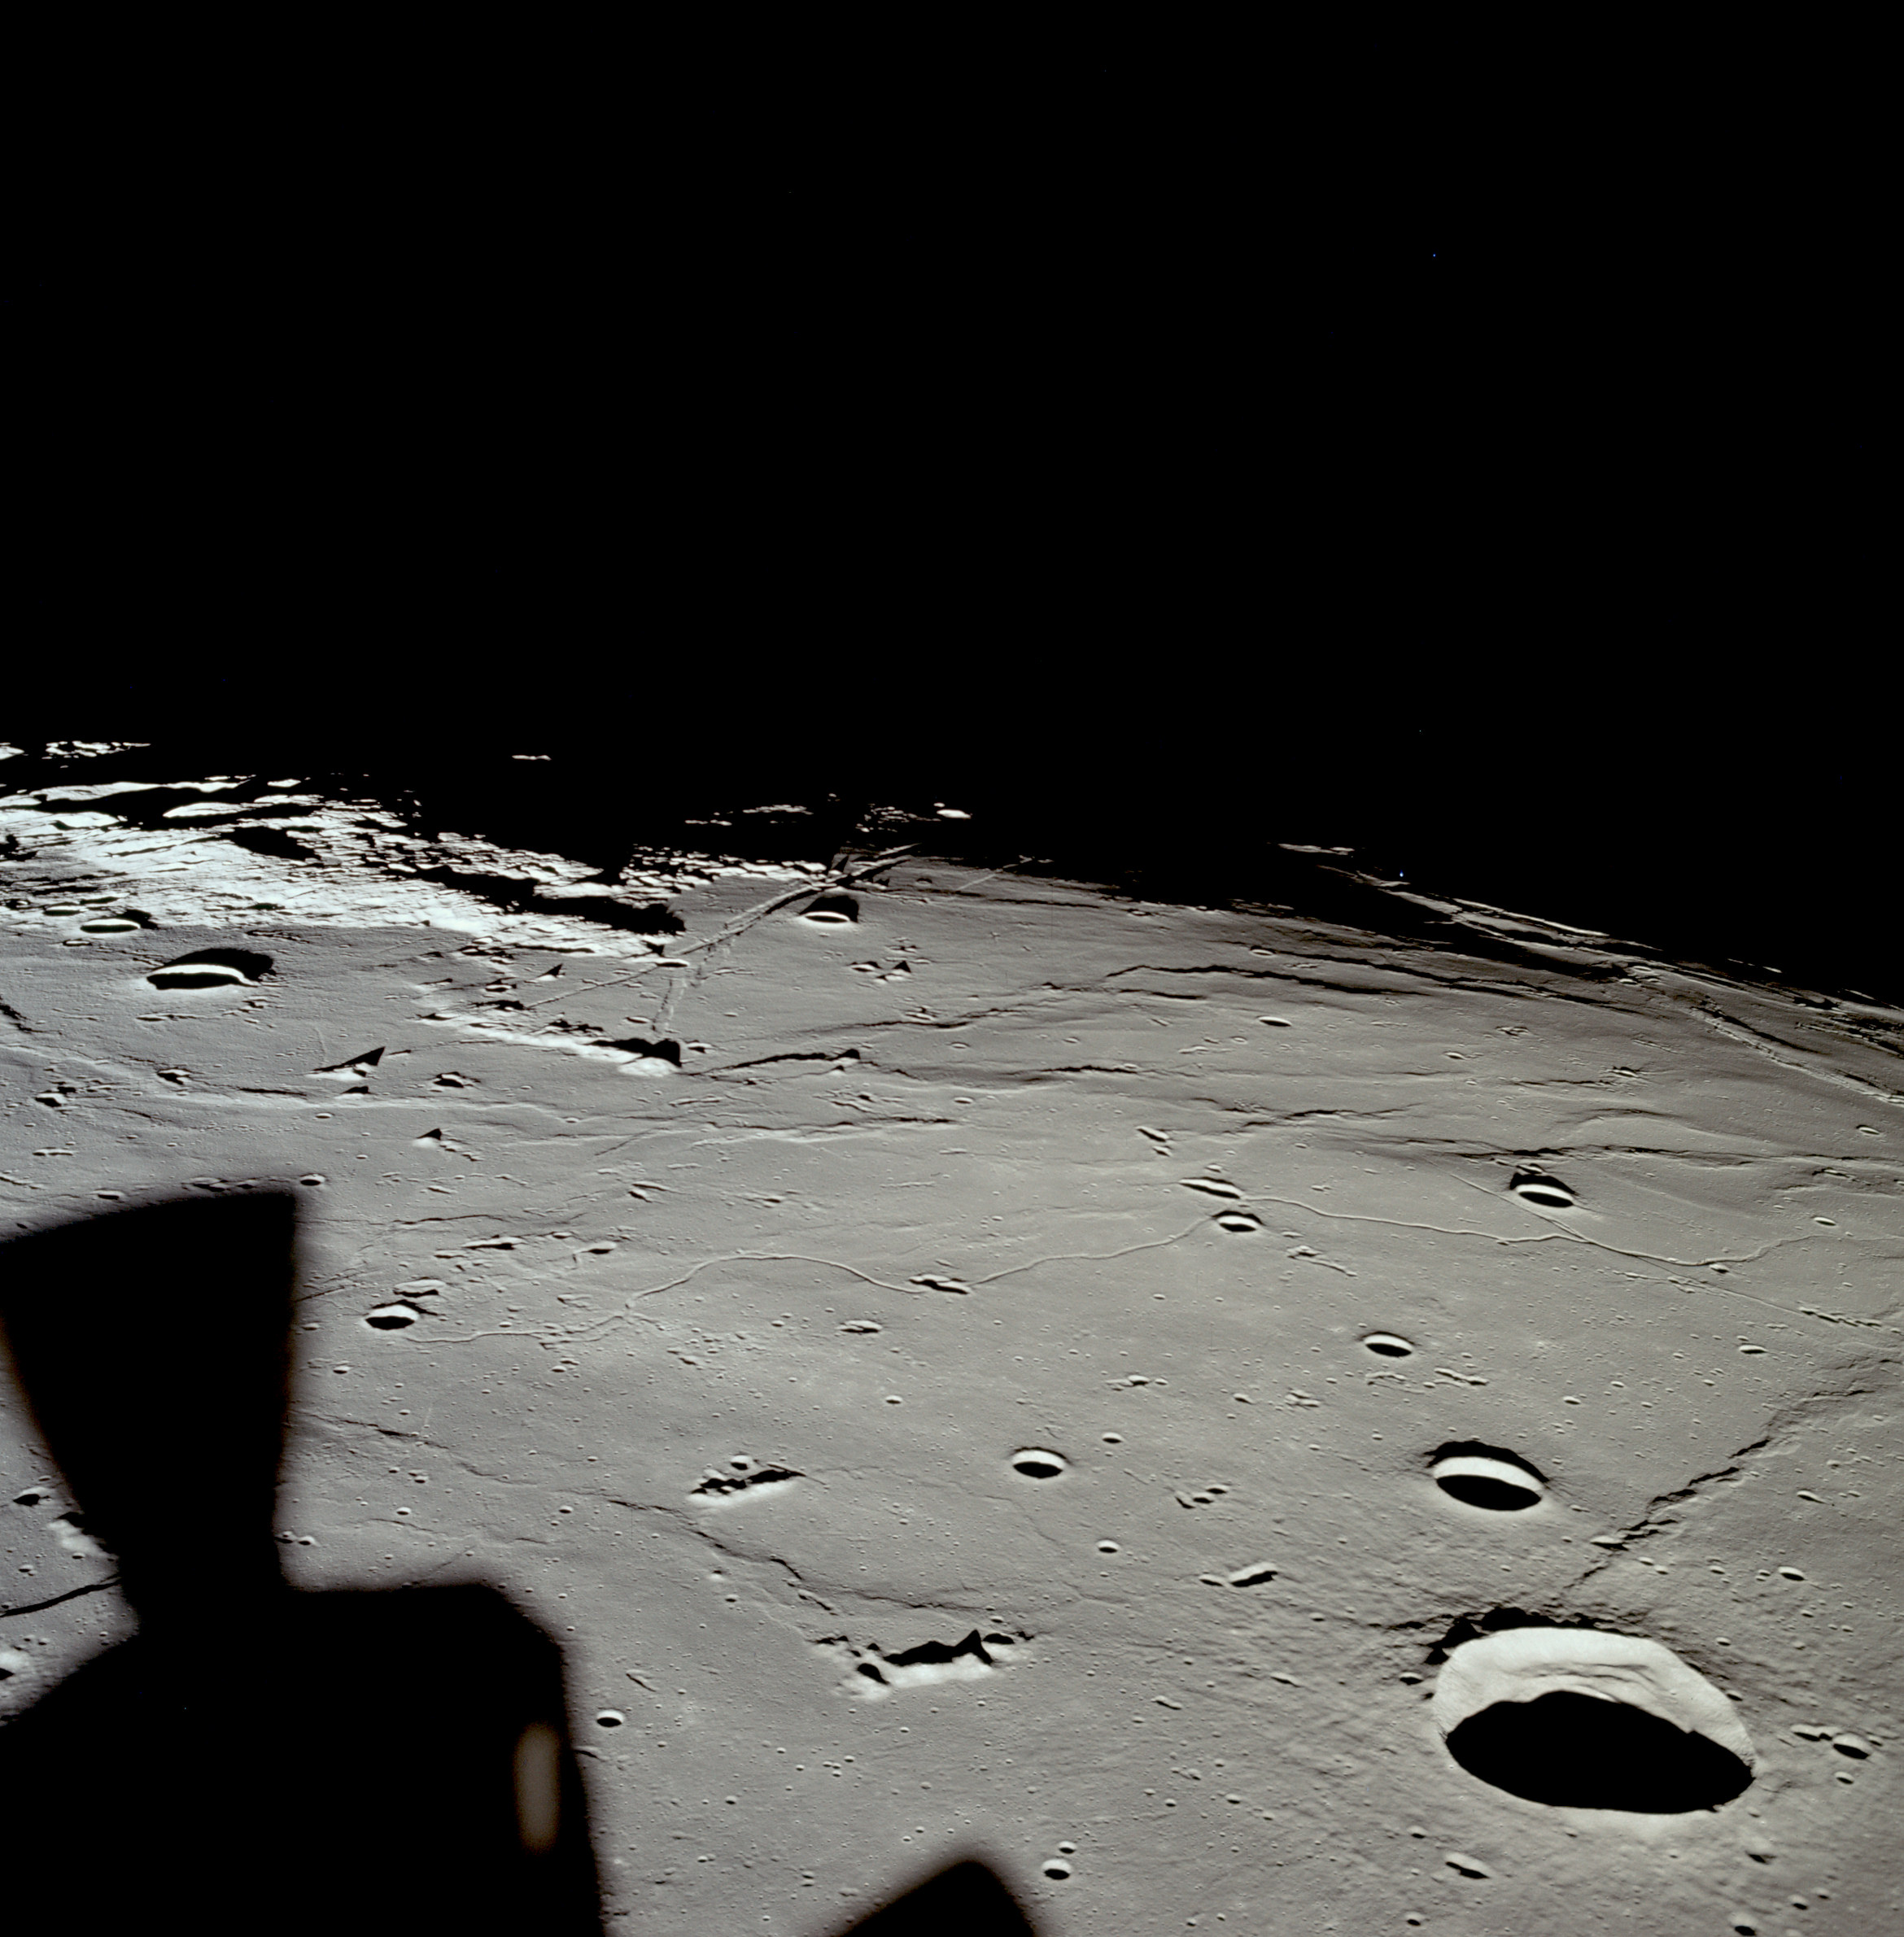 | AS11-37-5437 Sunrise on Tranquillity Base. Southwest corner of Mare Tranquillitatis with crater Maskelyne and the smaller Maskelyne B just beyond. Near-centre is Boot Hill. Image credit: Image Science and Analysis Laboratory, NASA-Johnson Space Center. |
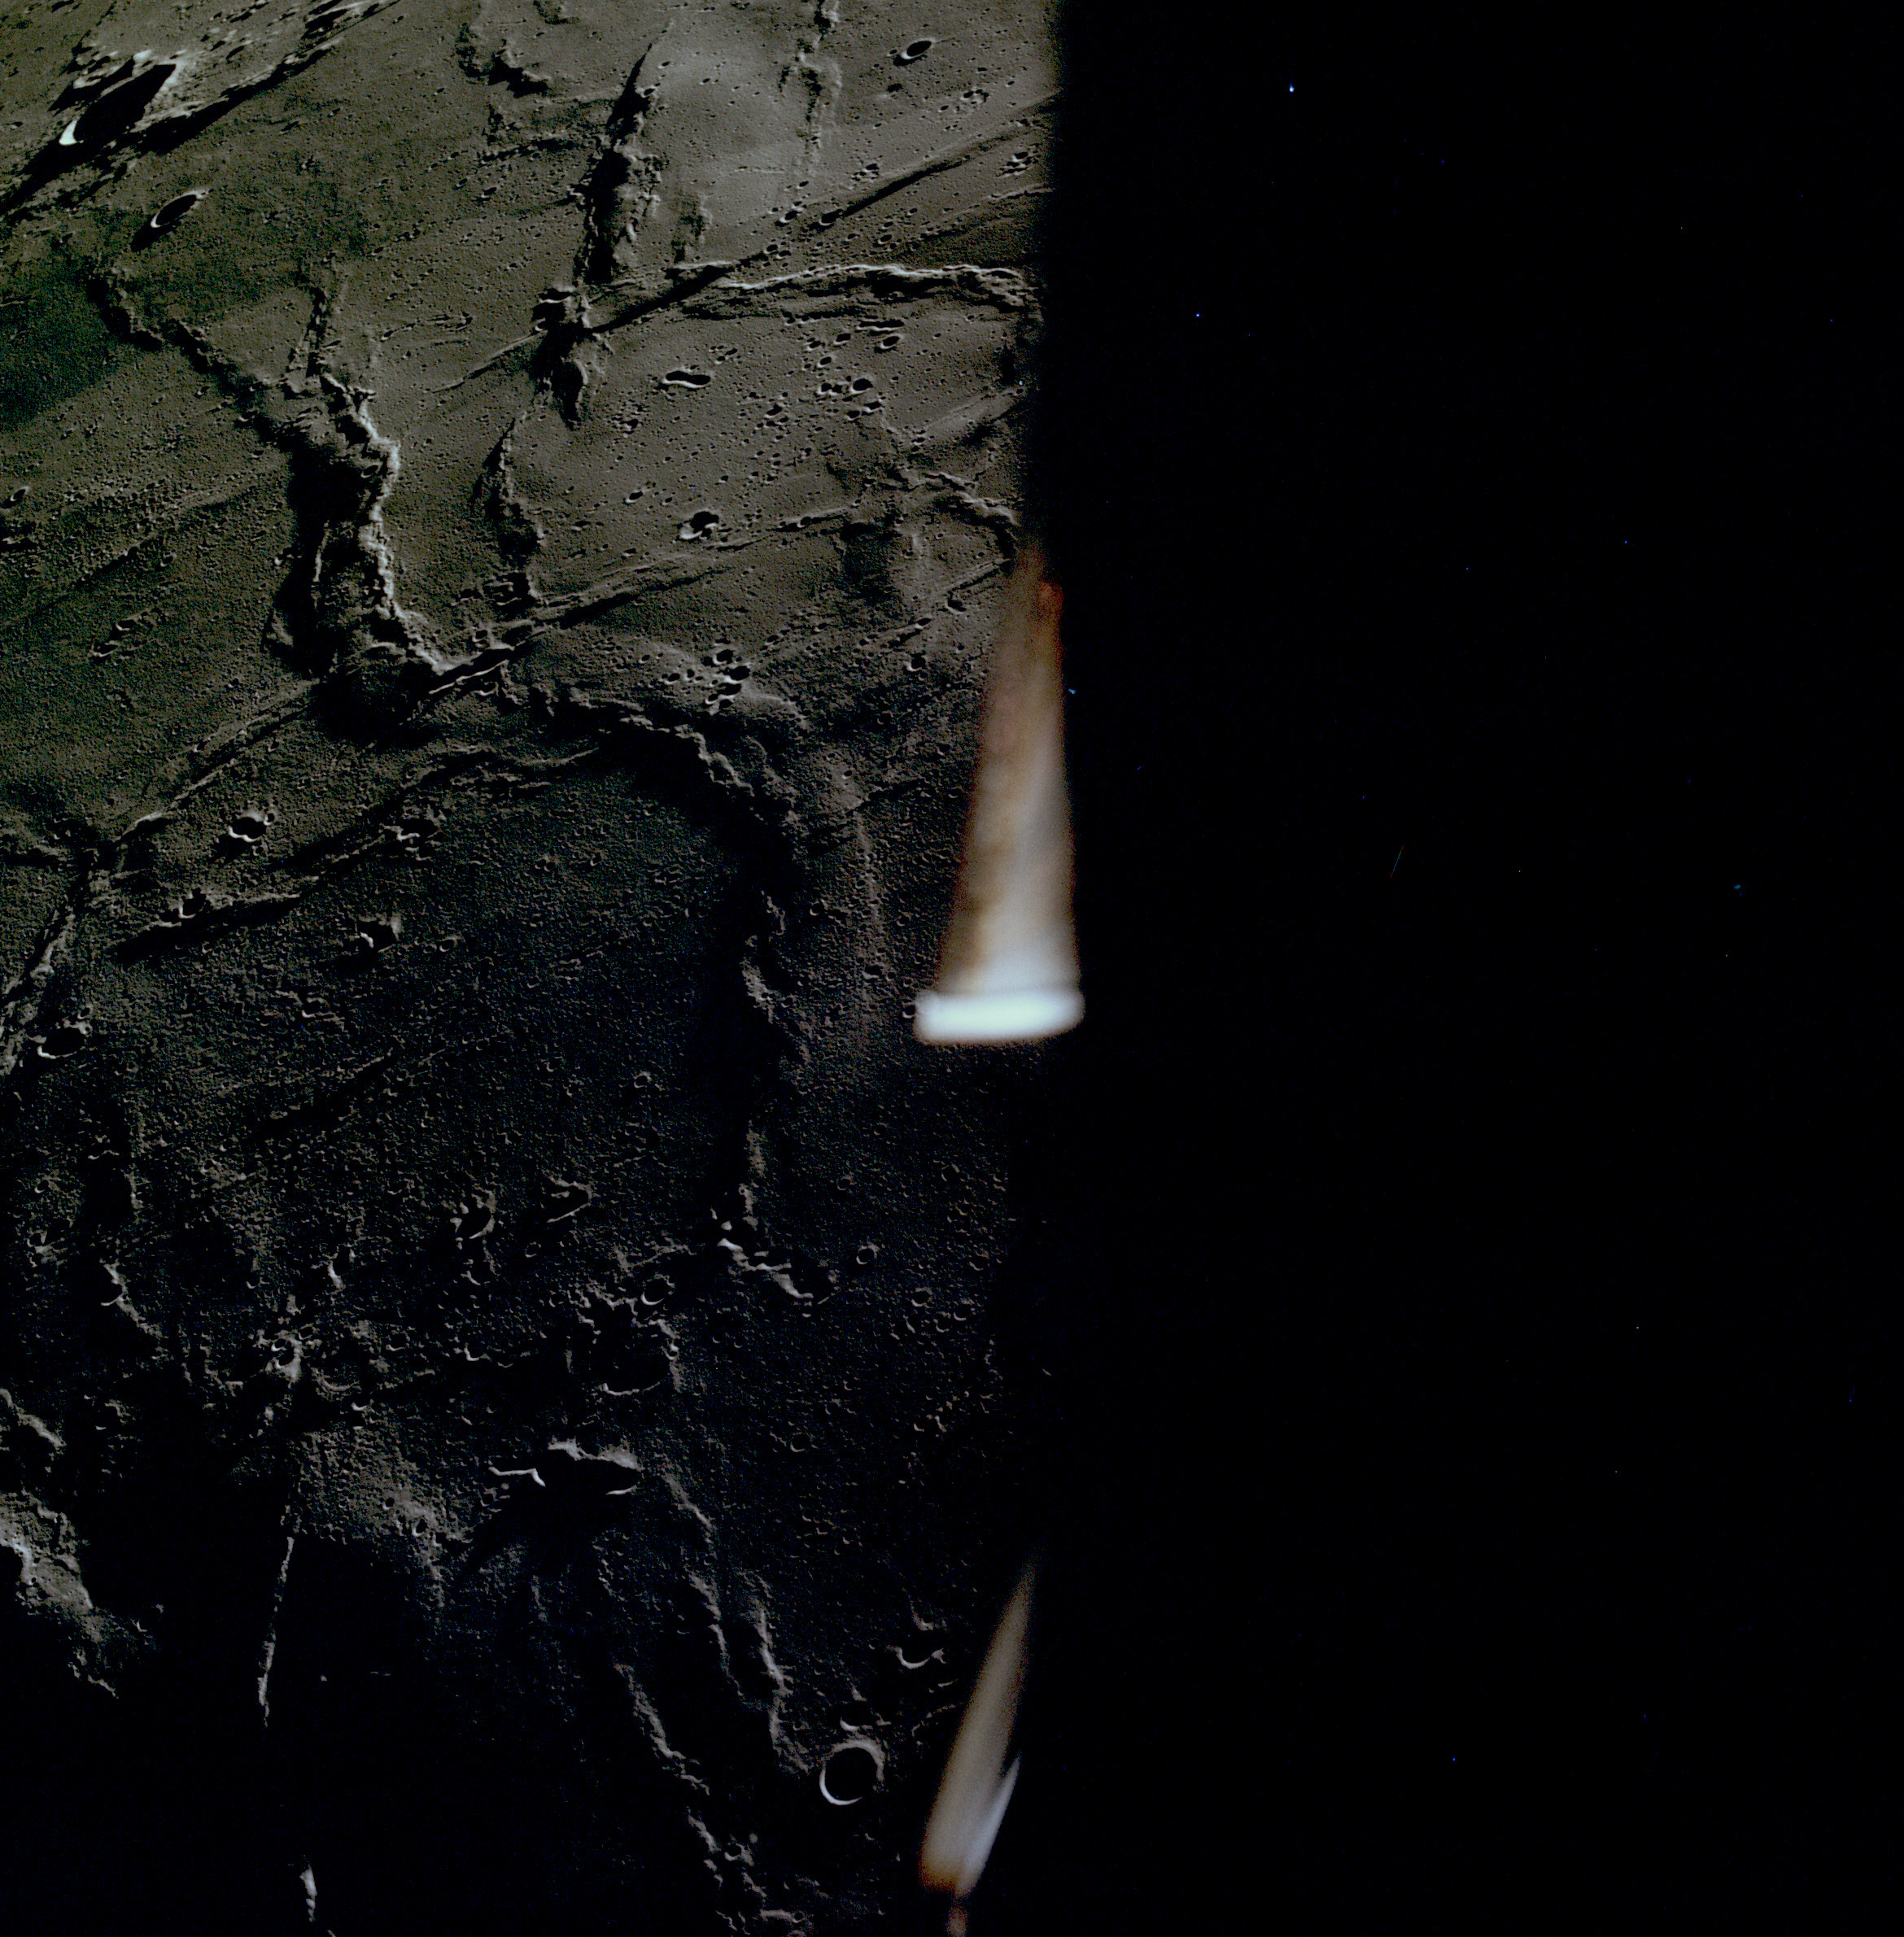 | AS11-37-5438 Morning lighting over ghost crater Lamont. Image credit: Image Science and Analysis Laboratory, NASA-Johnson Space Center. |
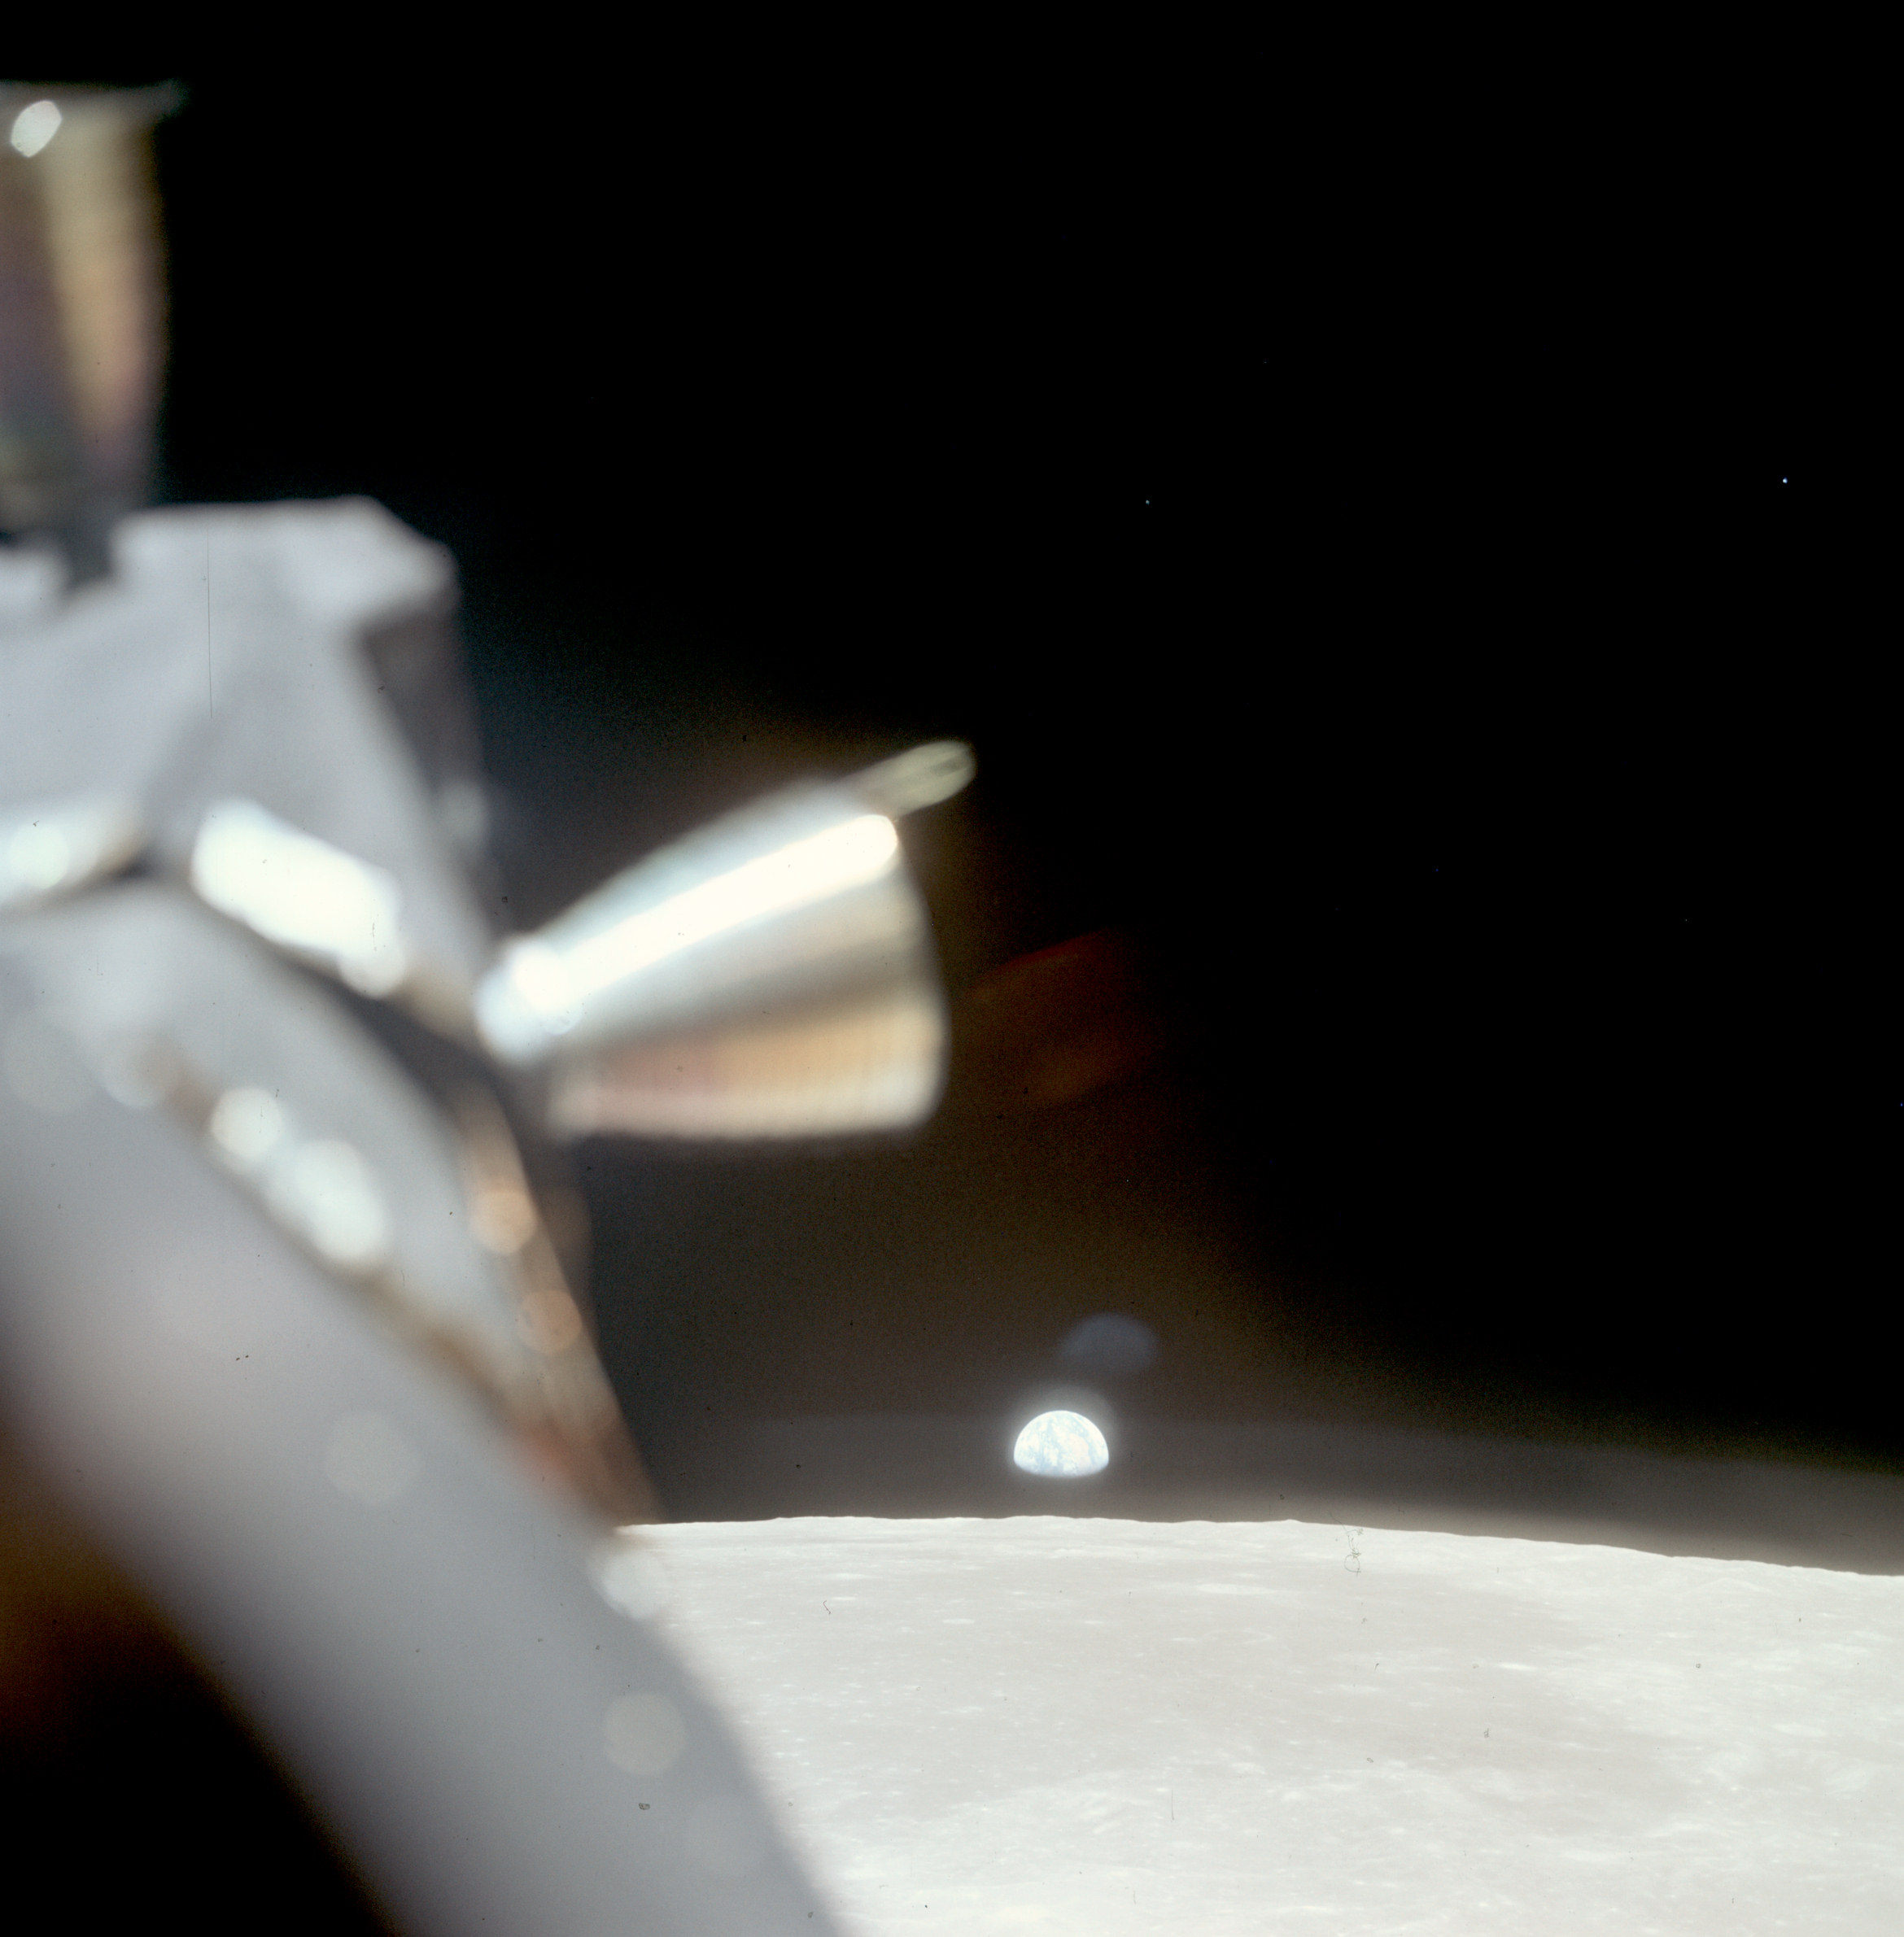 | AS11-37-5439 Earthrise beyond a LM thruster quad. Image credit: Image Science and Analysis Laboratory, NASA-Johnson Space Center. |
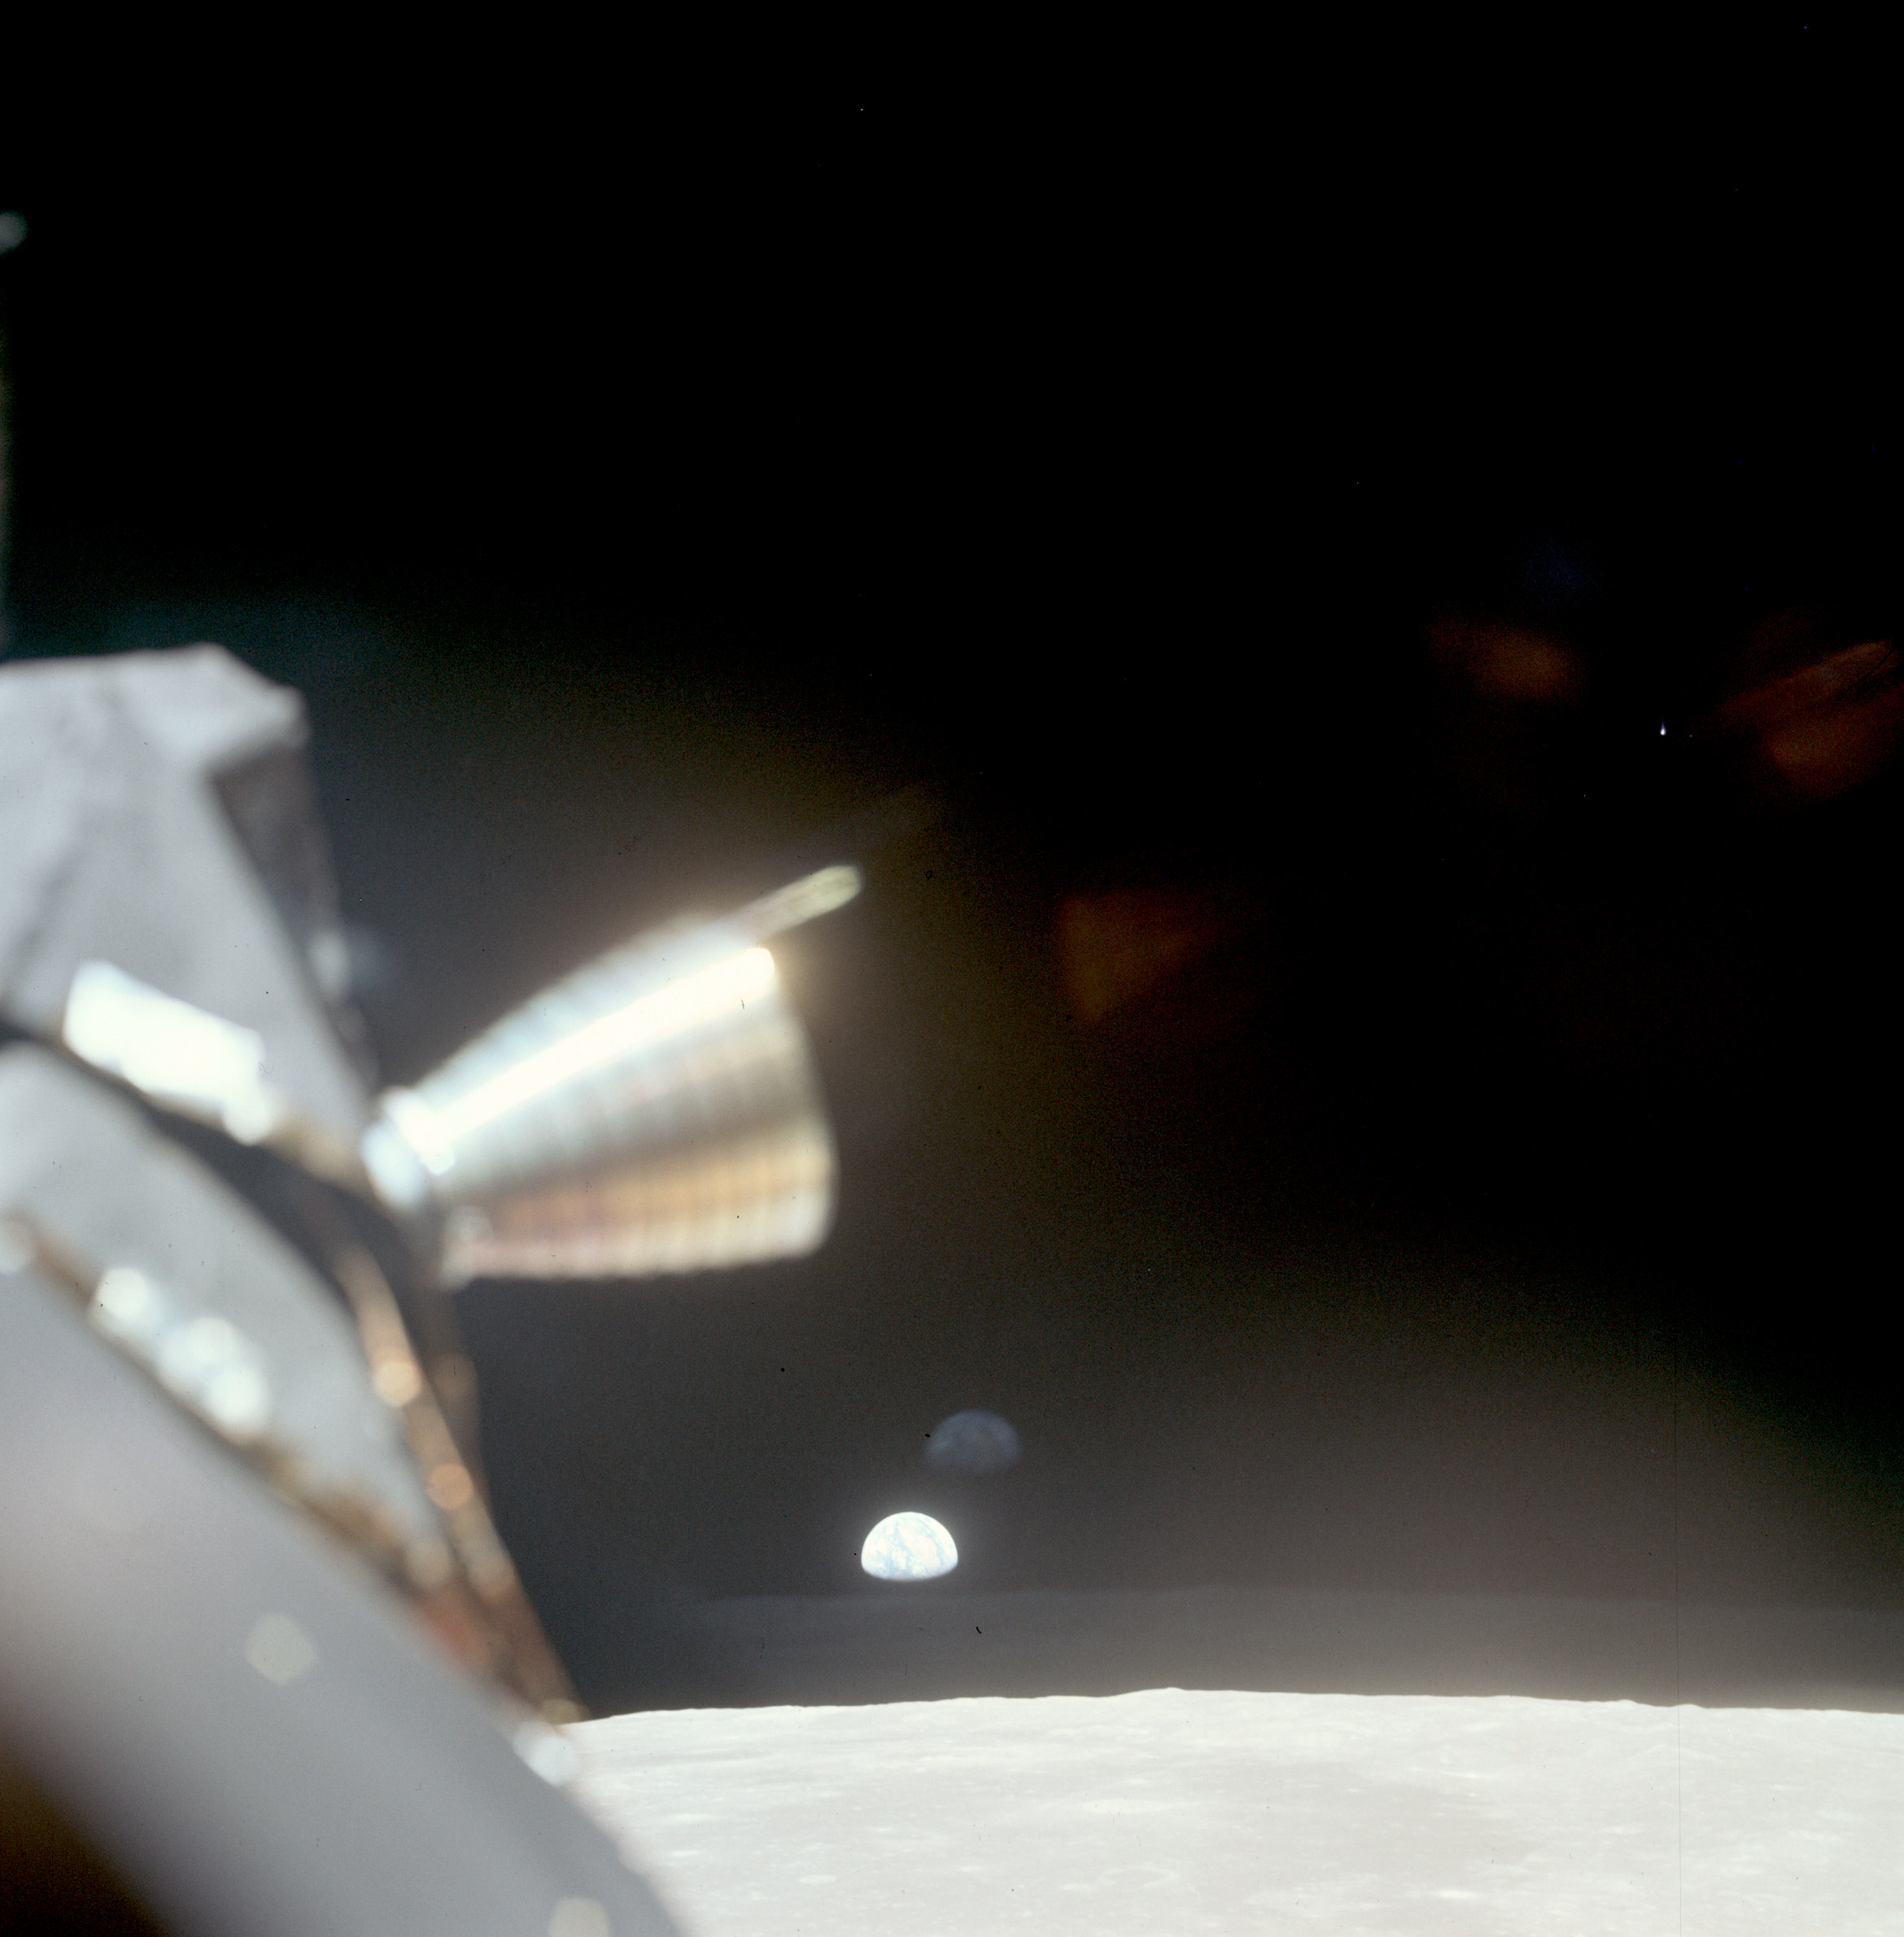 | AS11-37-5440 Earthrise beyond a LM thruster quad. Image credit: Image Science and Analysis Laboratory, NASA-Johnson Space Center. |
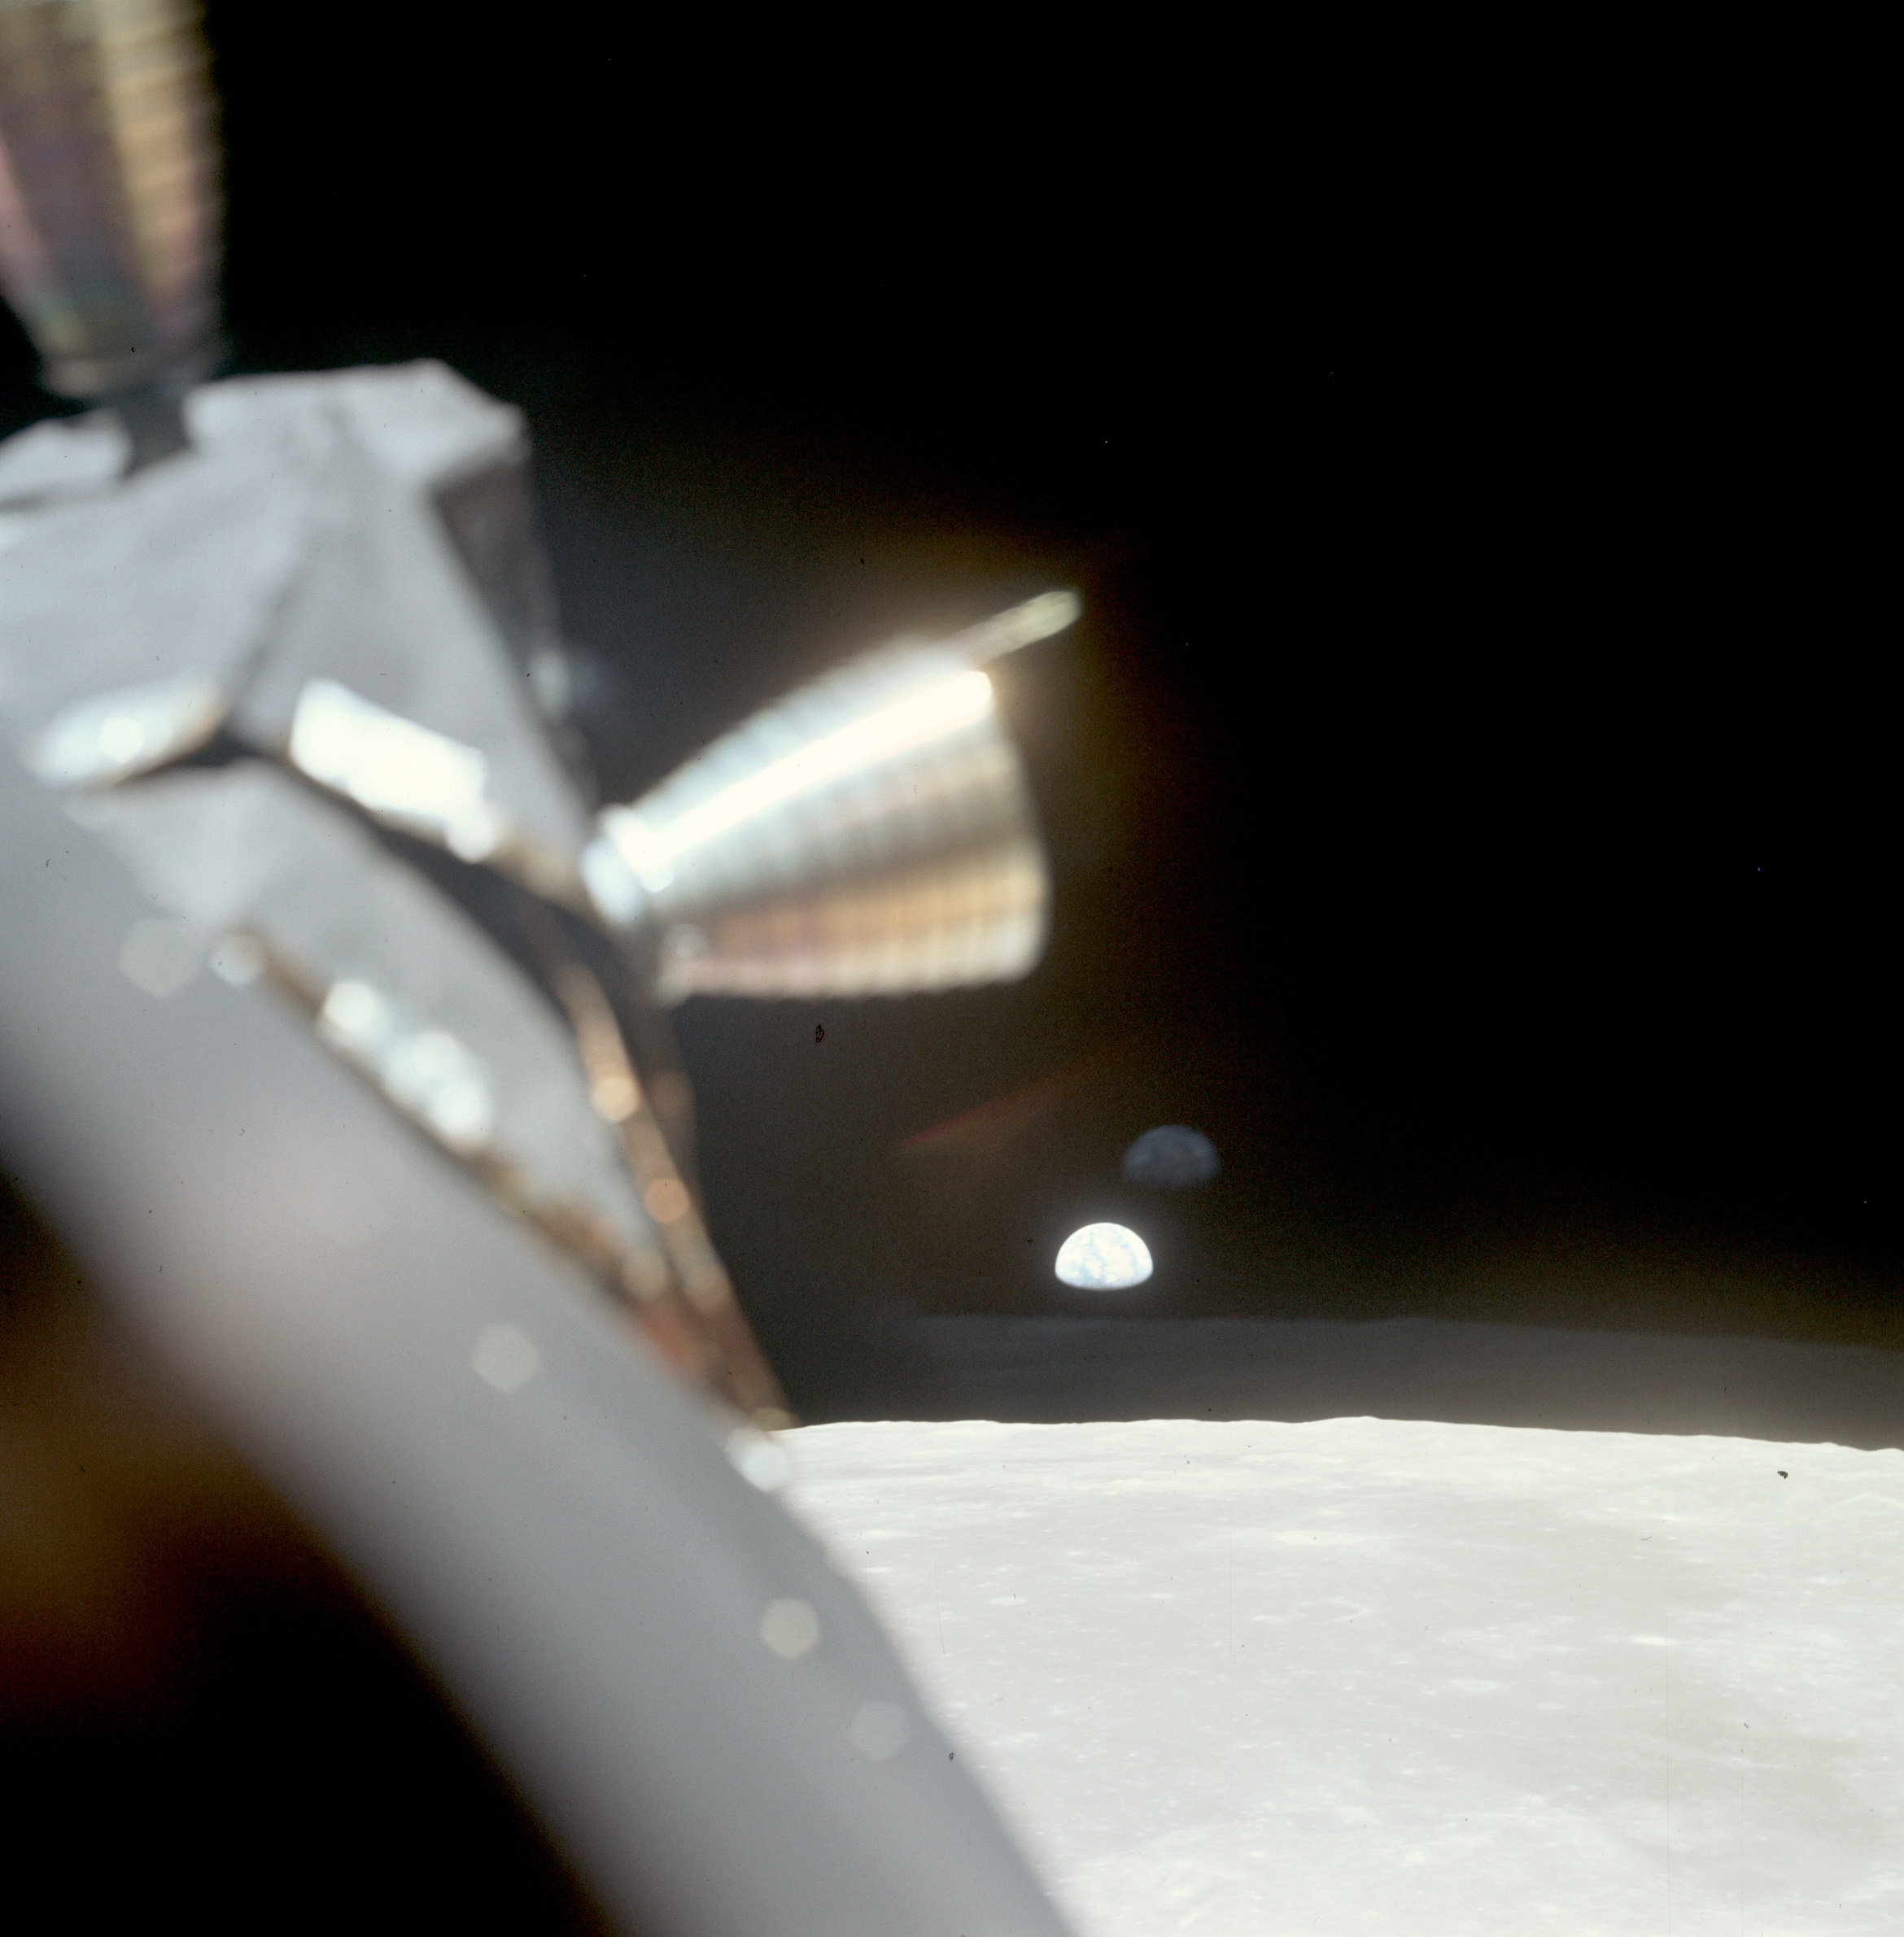 | AS11-37-5441 Earthrise beyond a LM thruster quad. Image credit: Image Science and Analysis Laboratory, NASA-Johnson Space Center. |
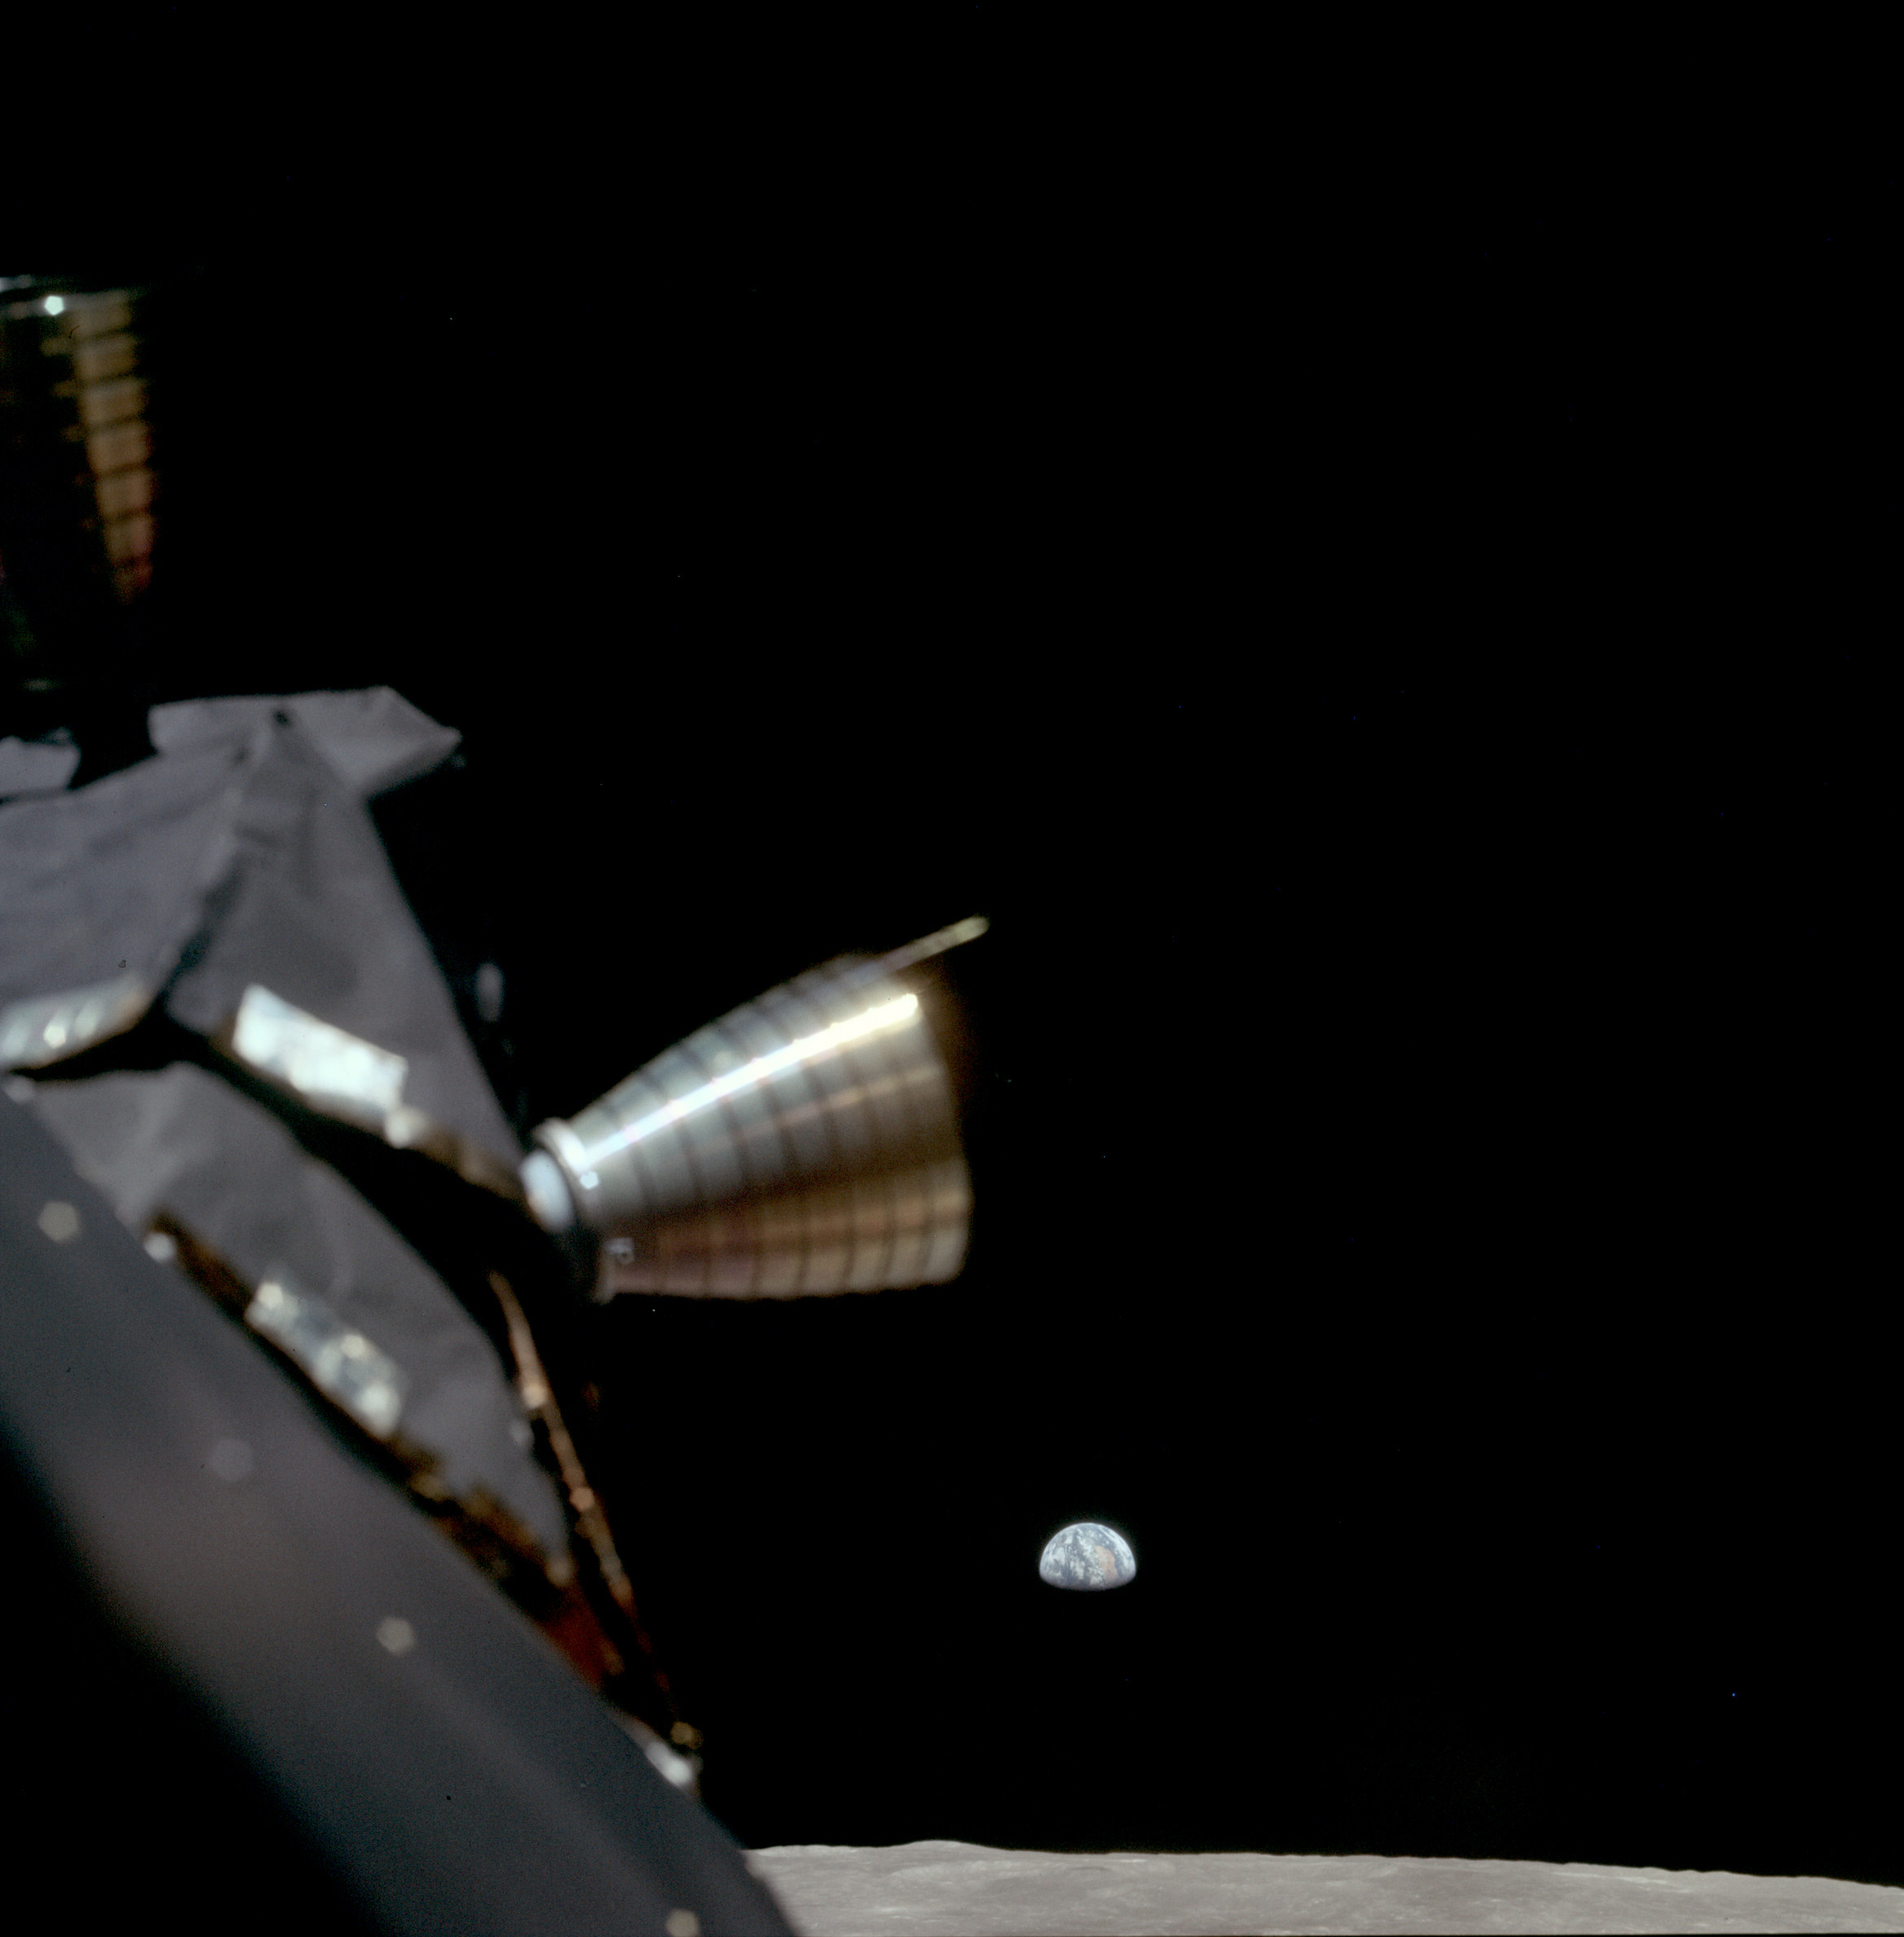 | AS11-37-5442 Earthrise beyond a LM thruster quad. Image credit: Image Science and Analysis Laboratory, NASA-Johnson Space Center. |
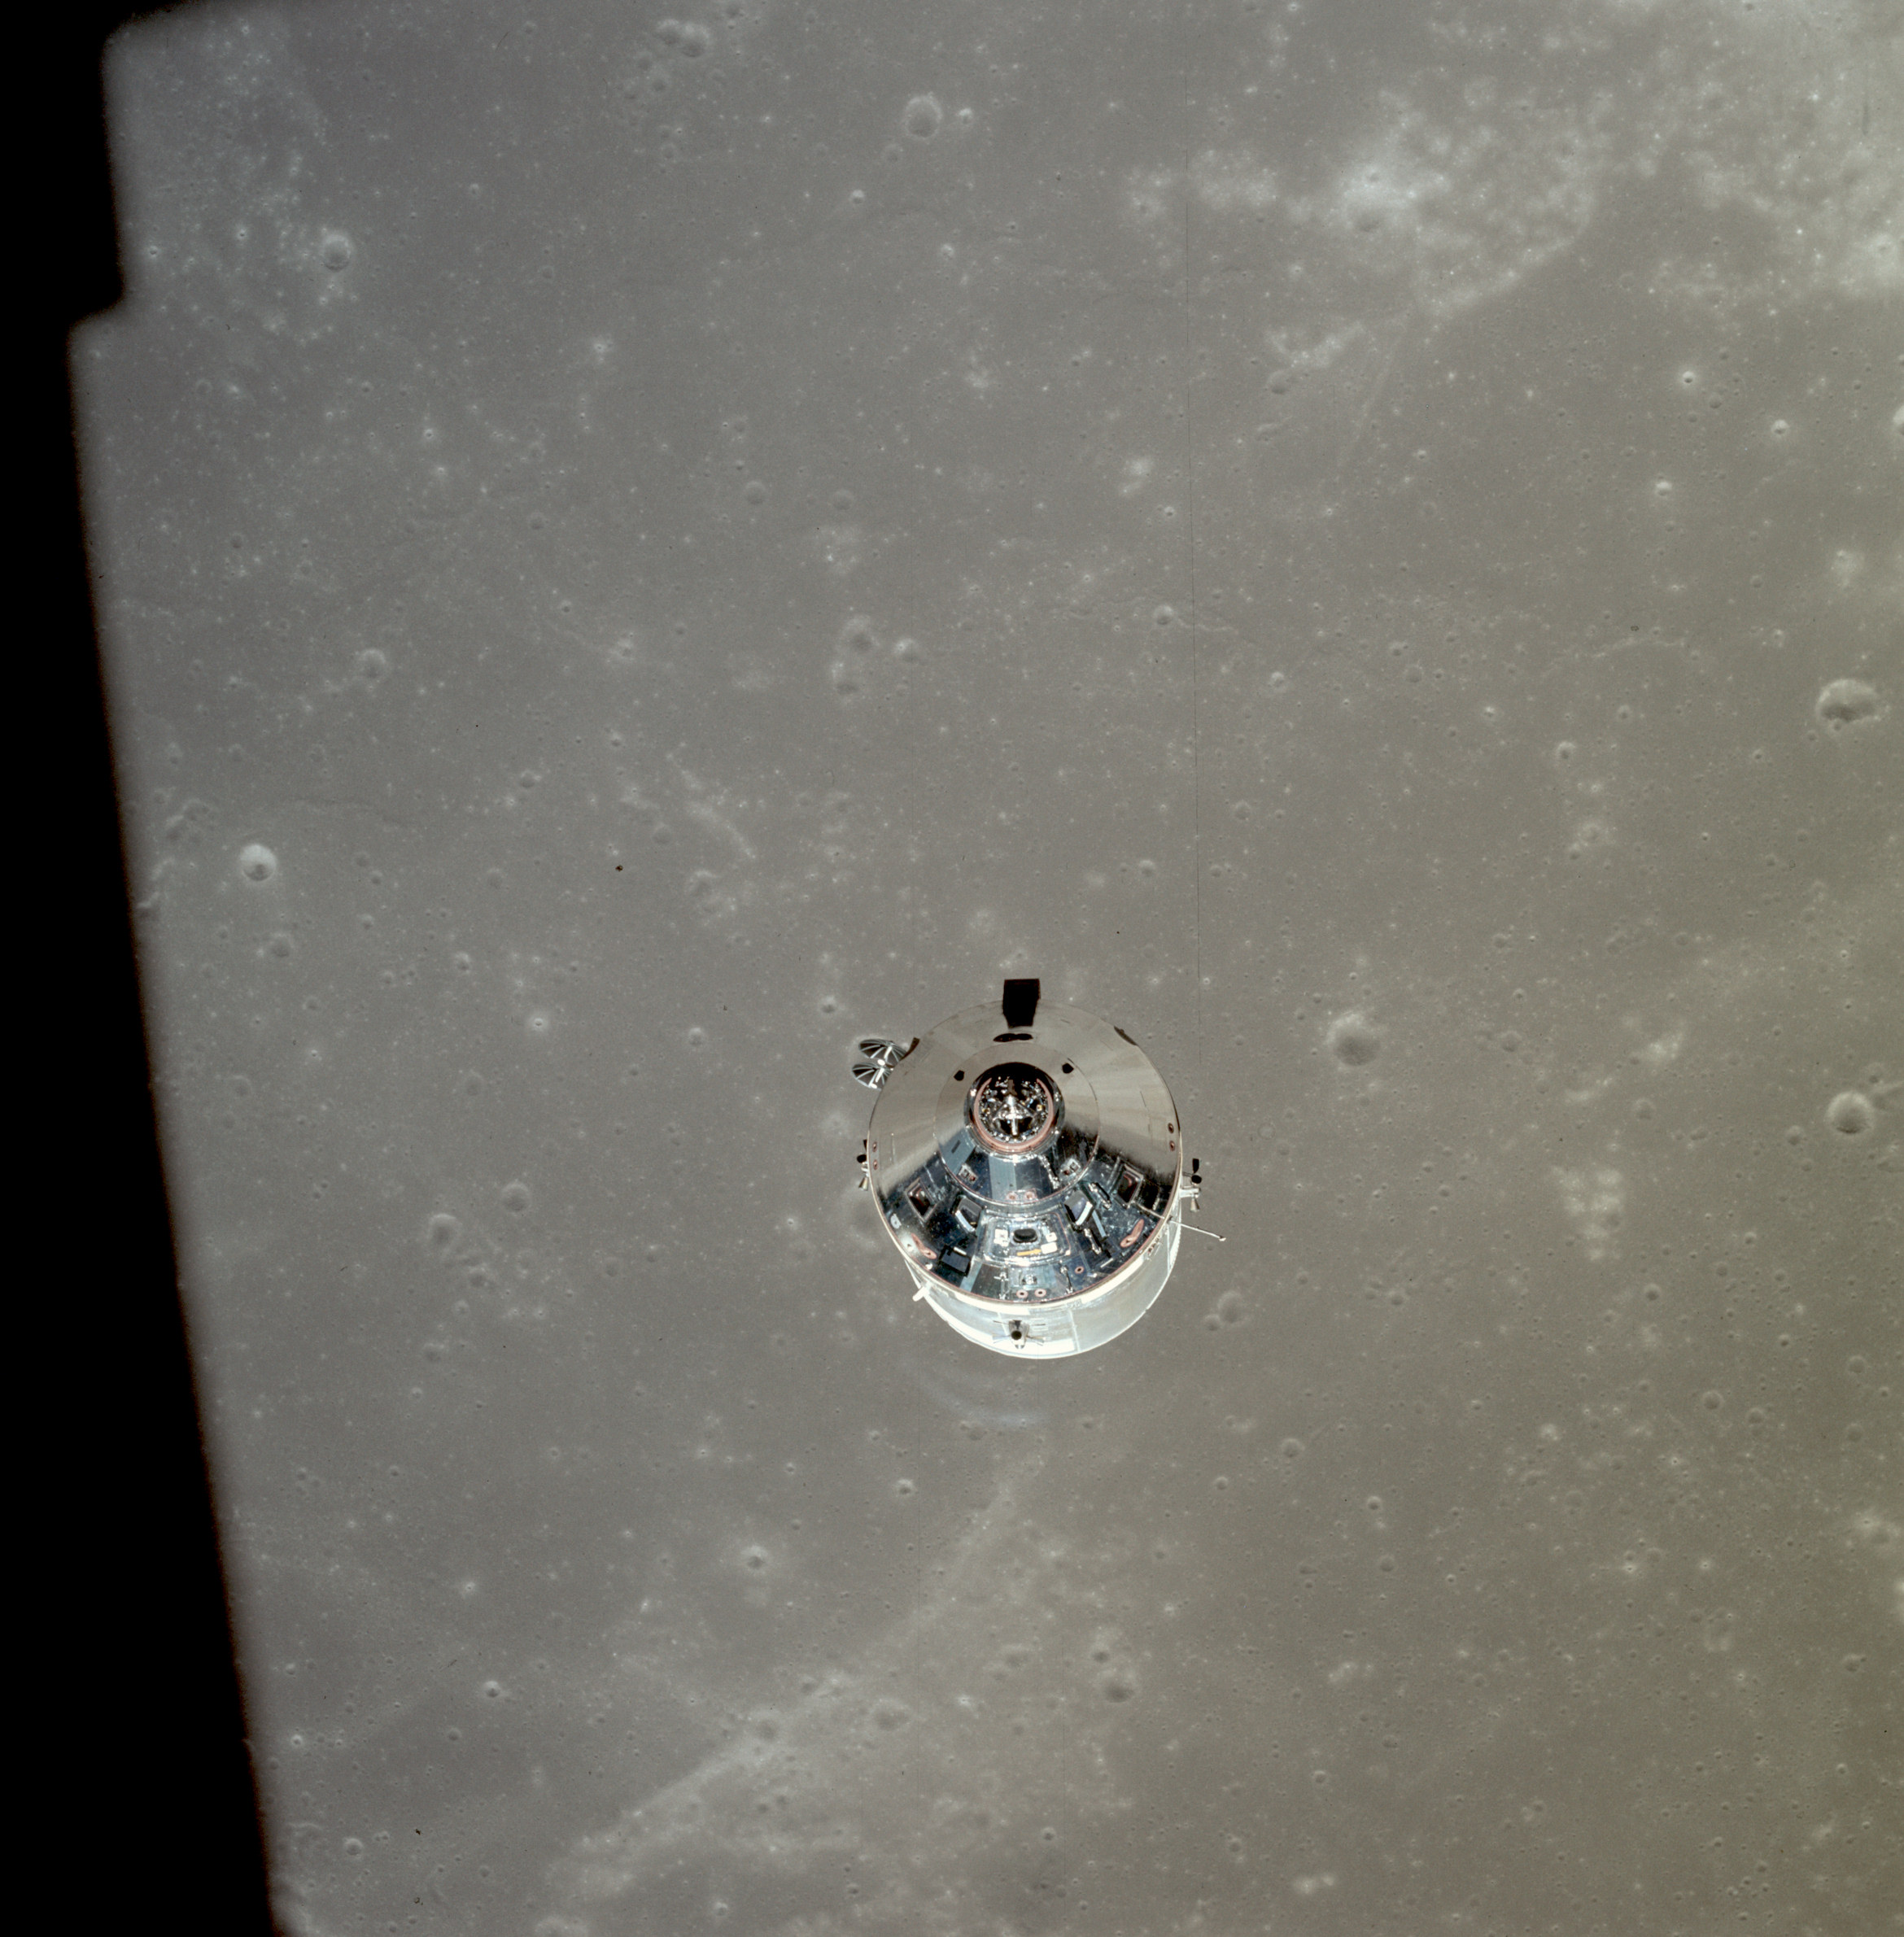 | AS11-37-5443 CSM over Sinus Successus, eastern Mare Fecunditatis. Image credit: Image Science and Analysis Laboratory, NASA-Johnson Space Center. |
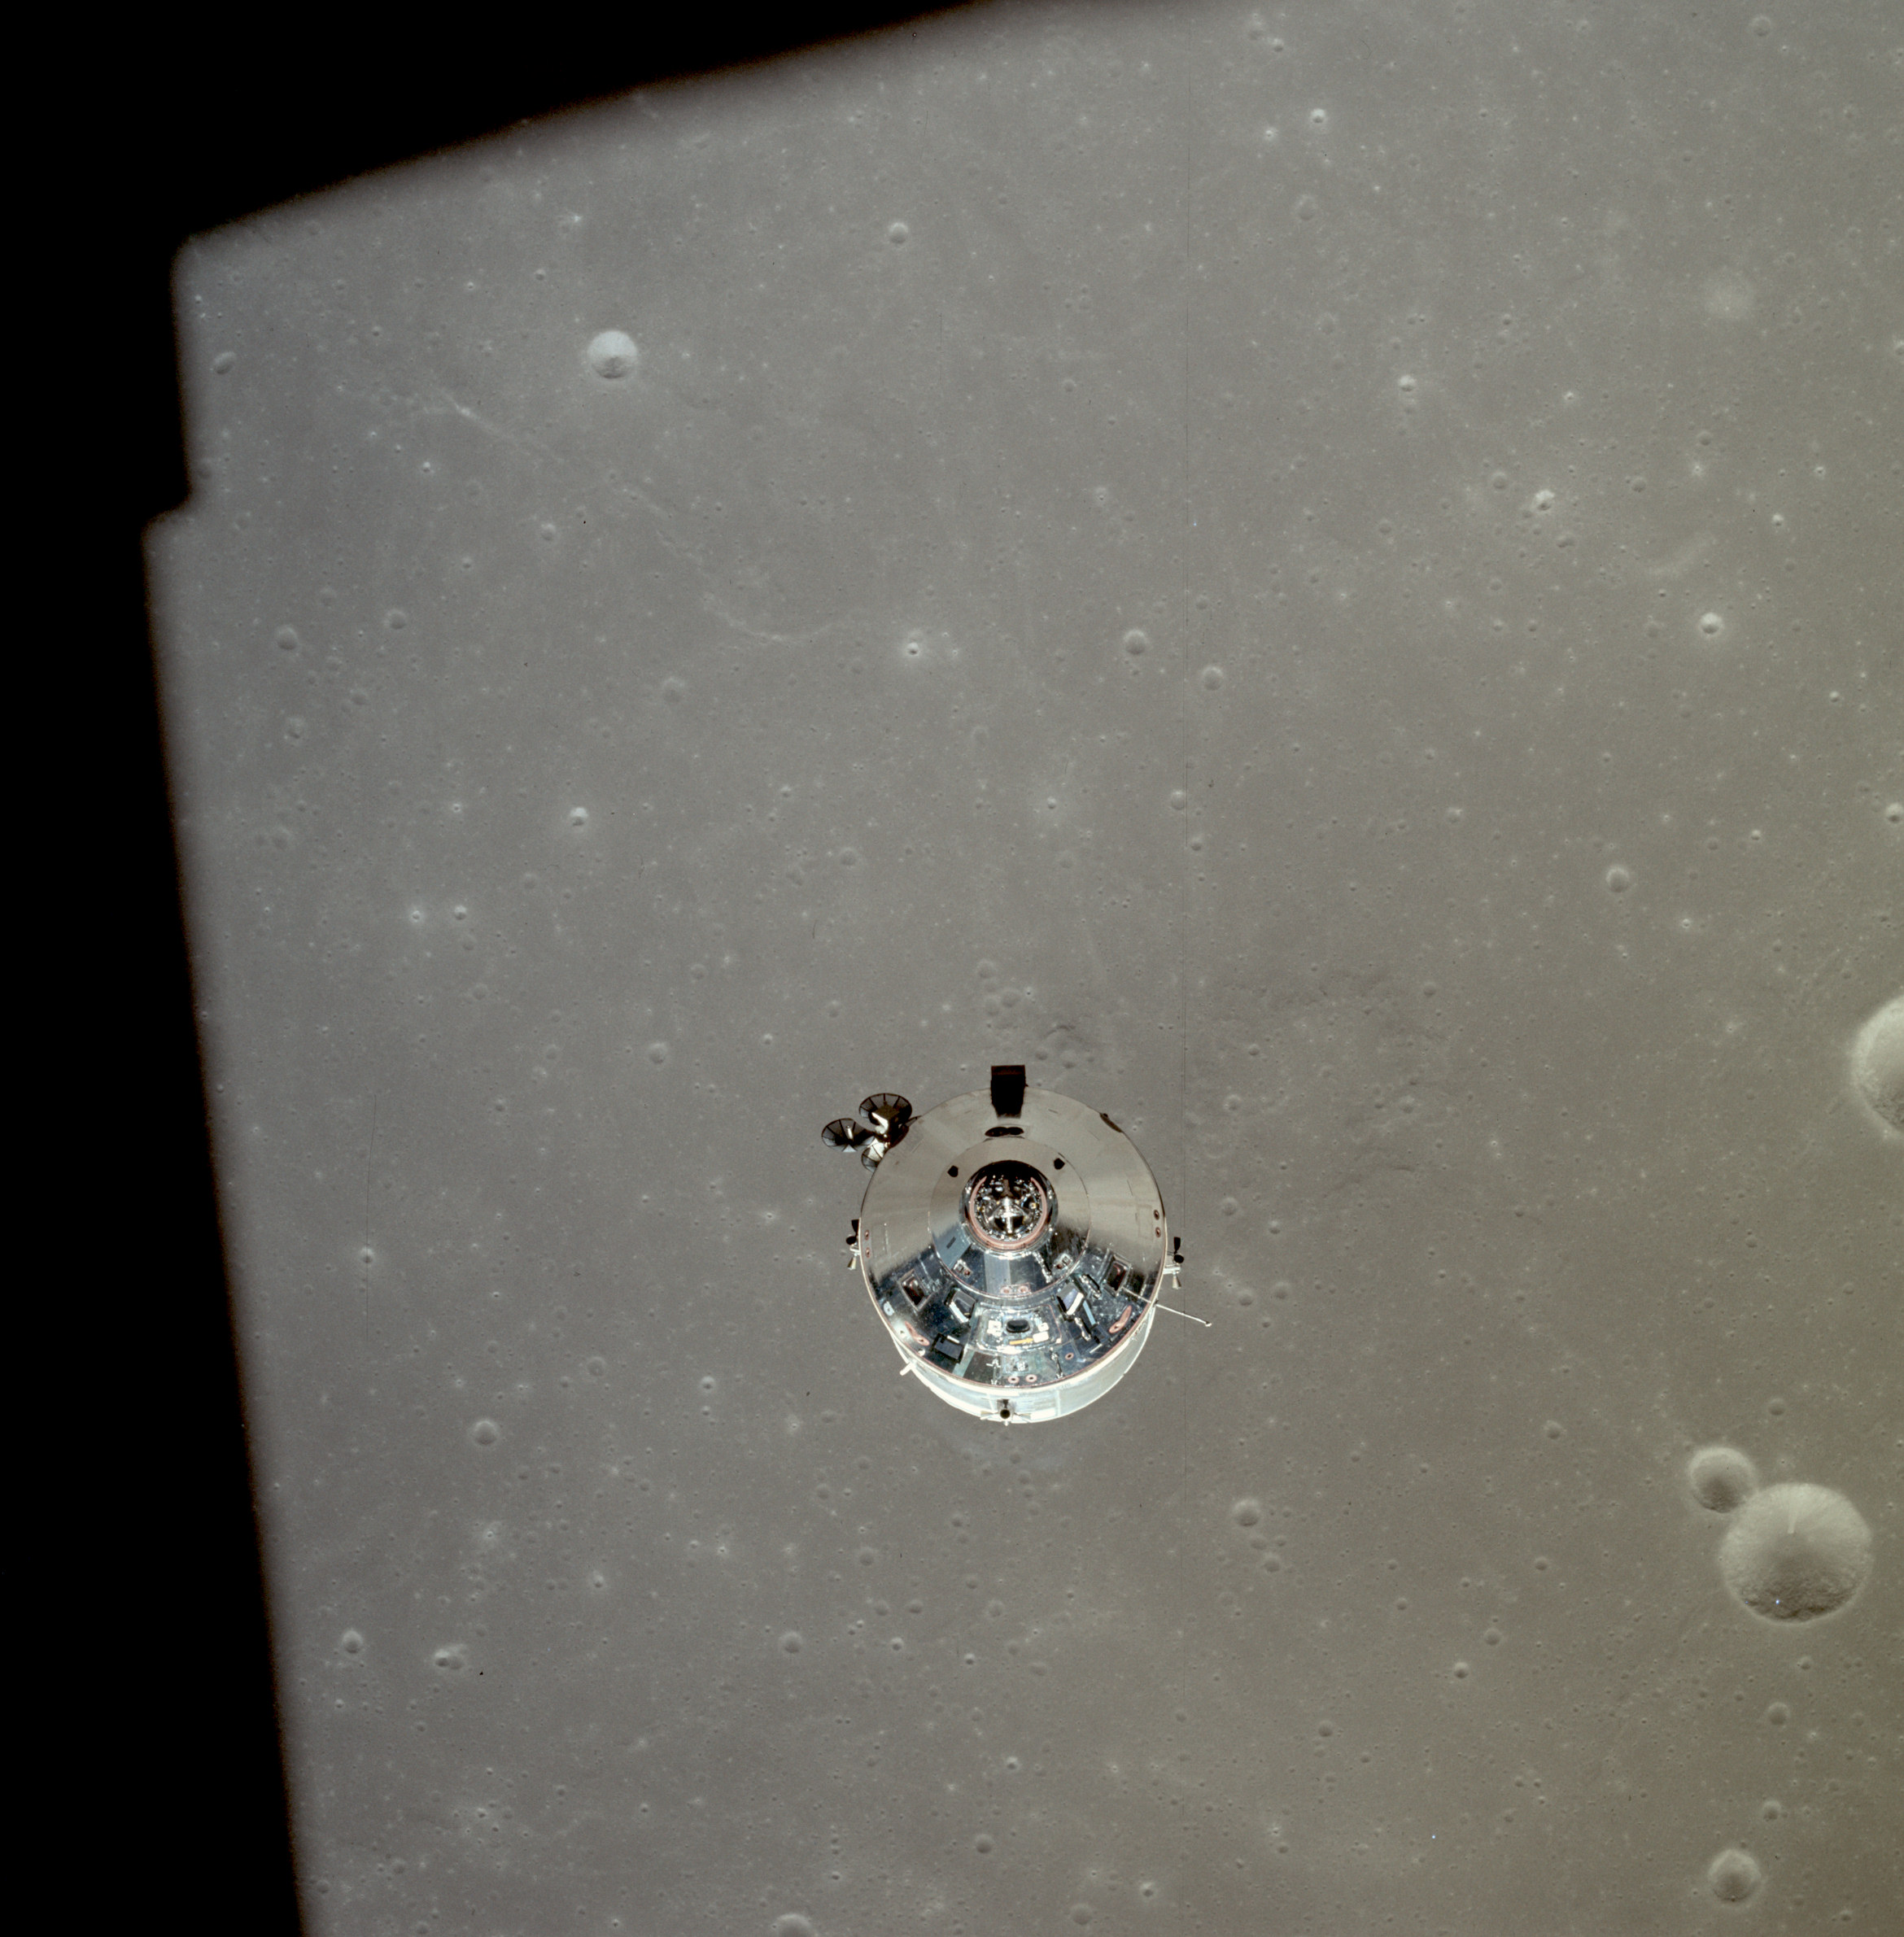 | AS11-37-5444 CSM over east Mare Fecunditatis. Bottom right is Taruntius O and just on the edge of frame is Smithson. Image credit: Image Science and Analysis Laboratory, NASA-Johnson Space Center. |
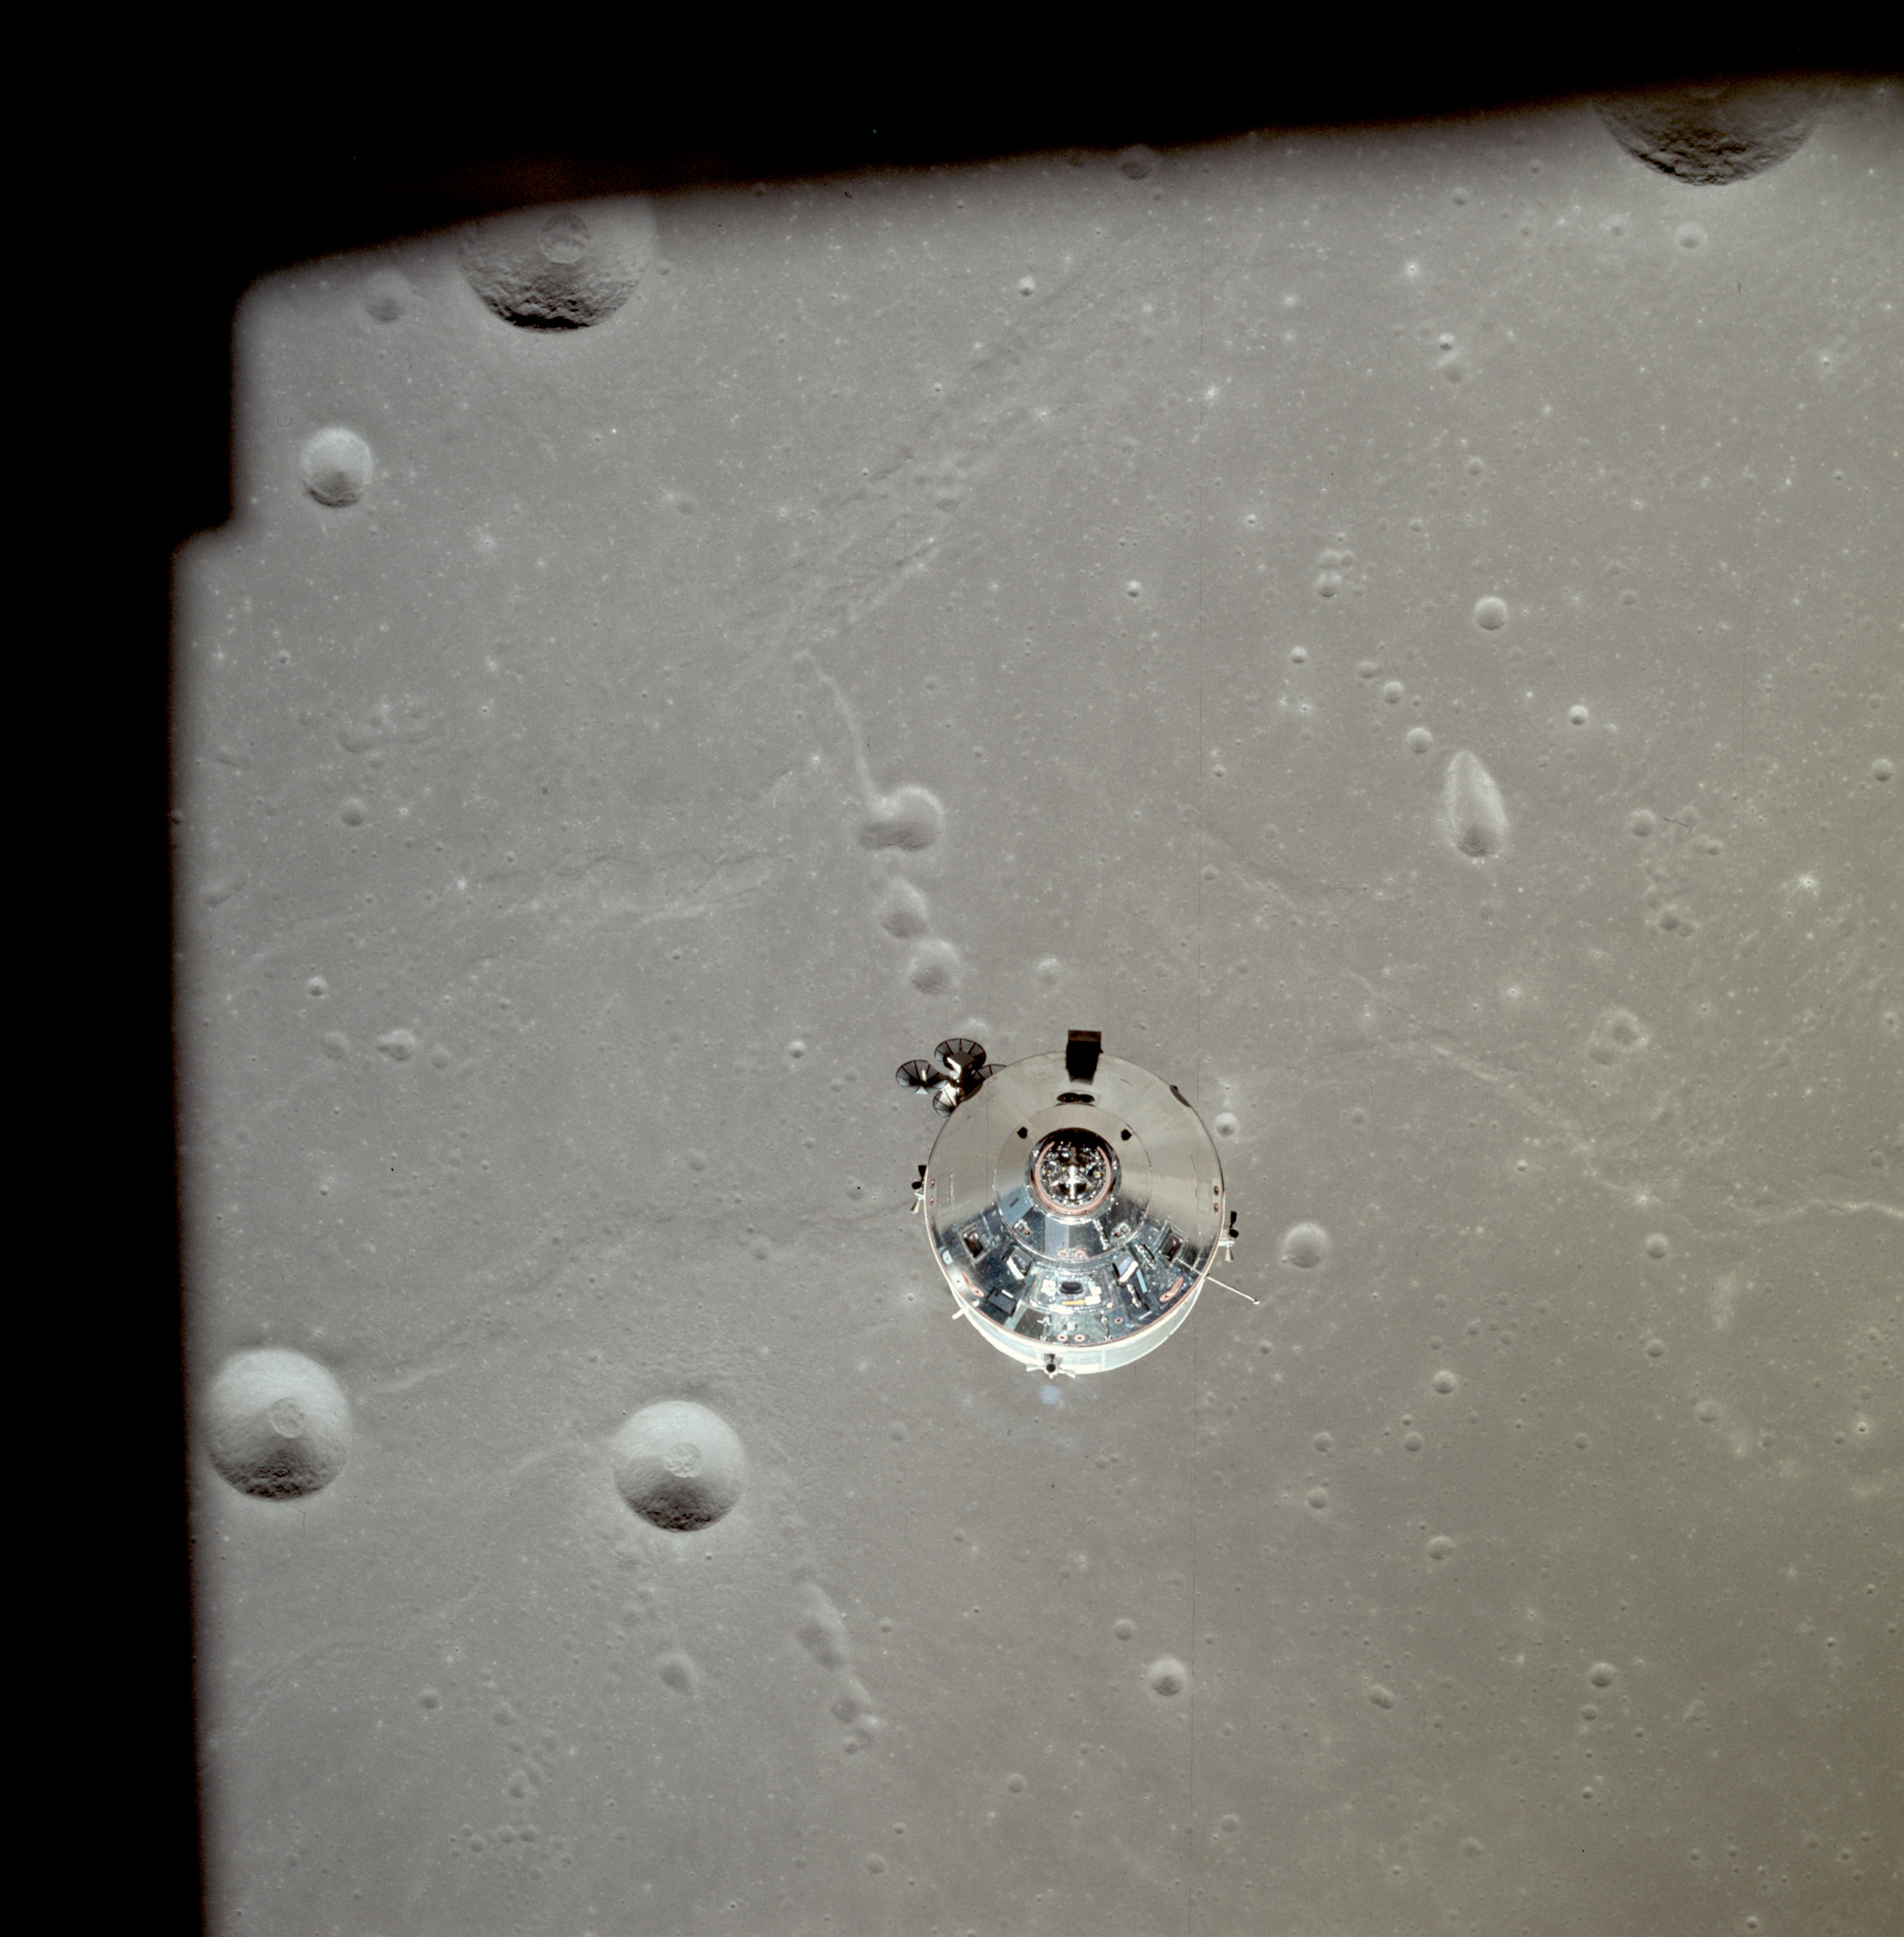 | AS11-37-5445 CSM over east Mare Fecunditatis. Bottom left of CSM is Taruntius K and left of that, Taruntius P. Anville is partially obscured top-right. Image credit: Image Science and Analysis Laboratory, NASA-Johnson Space Center. |
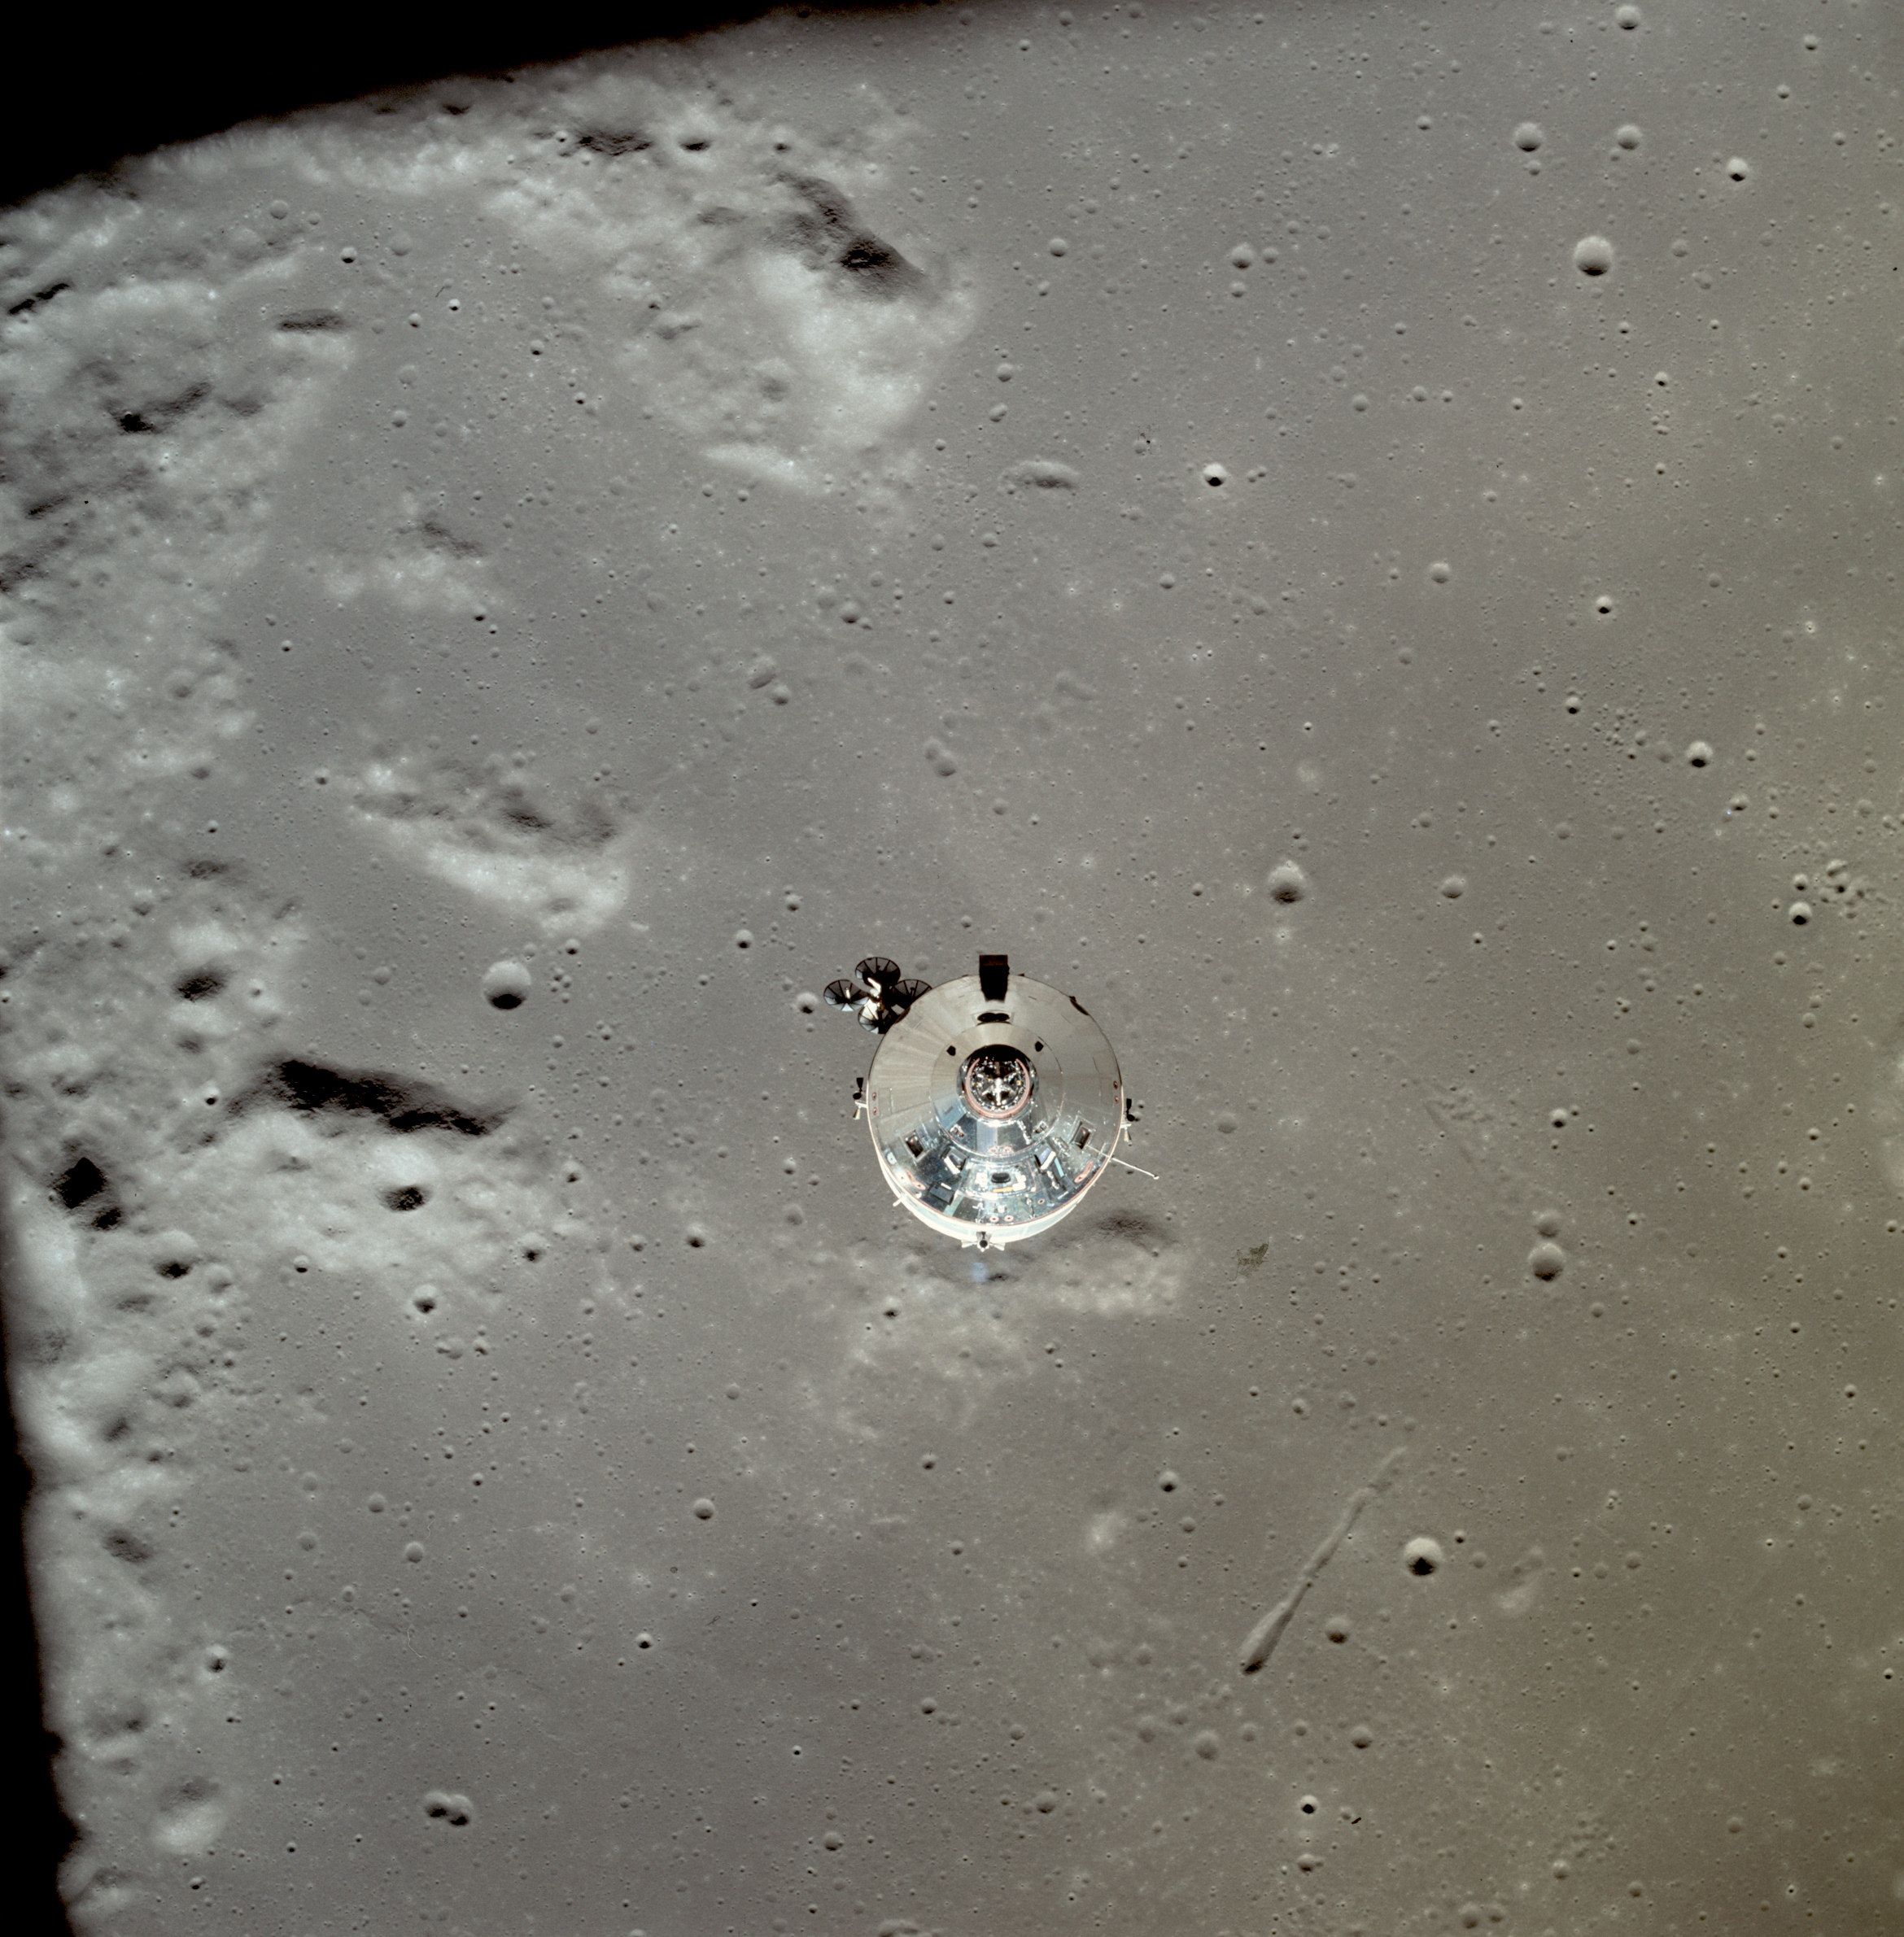 | AS11-37-5446 CSM over southeast Mare Tranquillitatis. Image credit: Image Science and Analysis Laboratory, NASA-Johnson Space Center. |
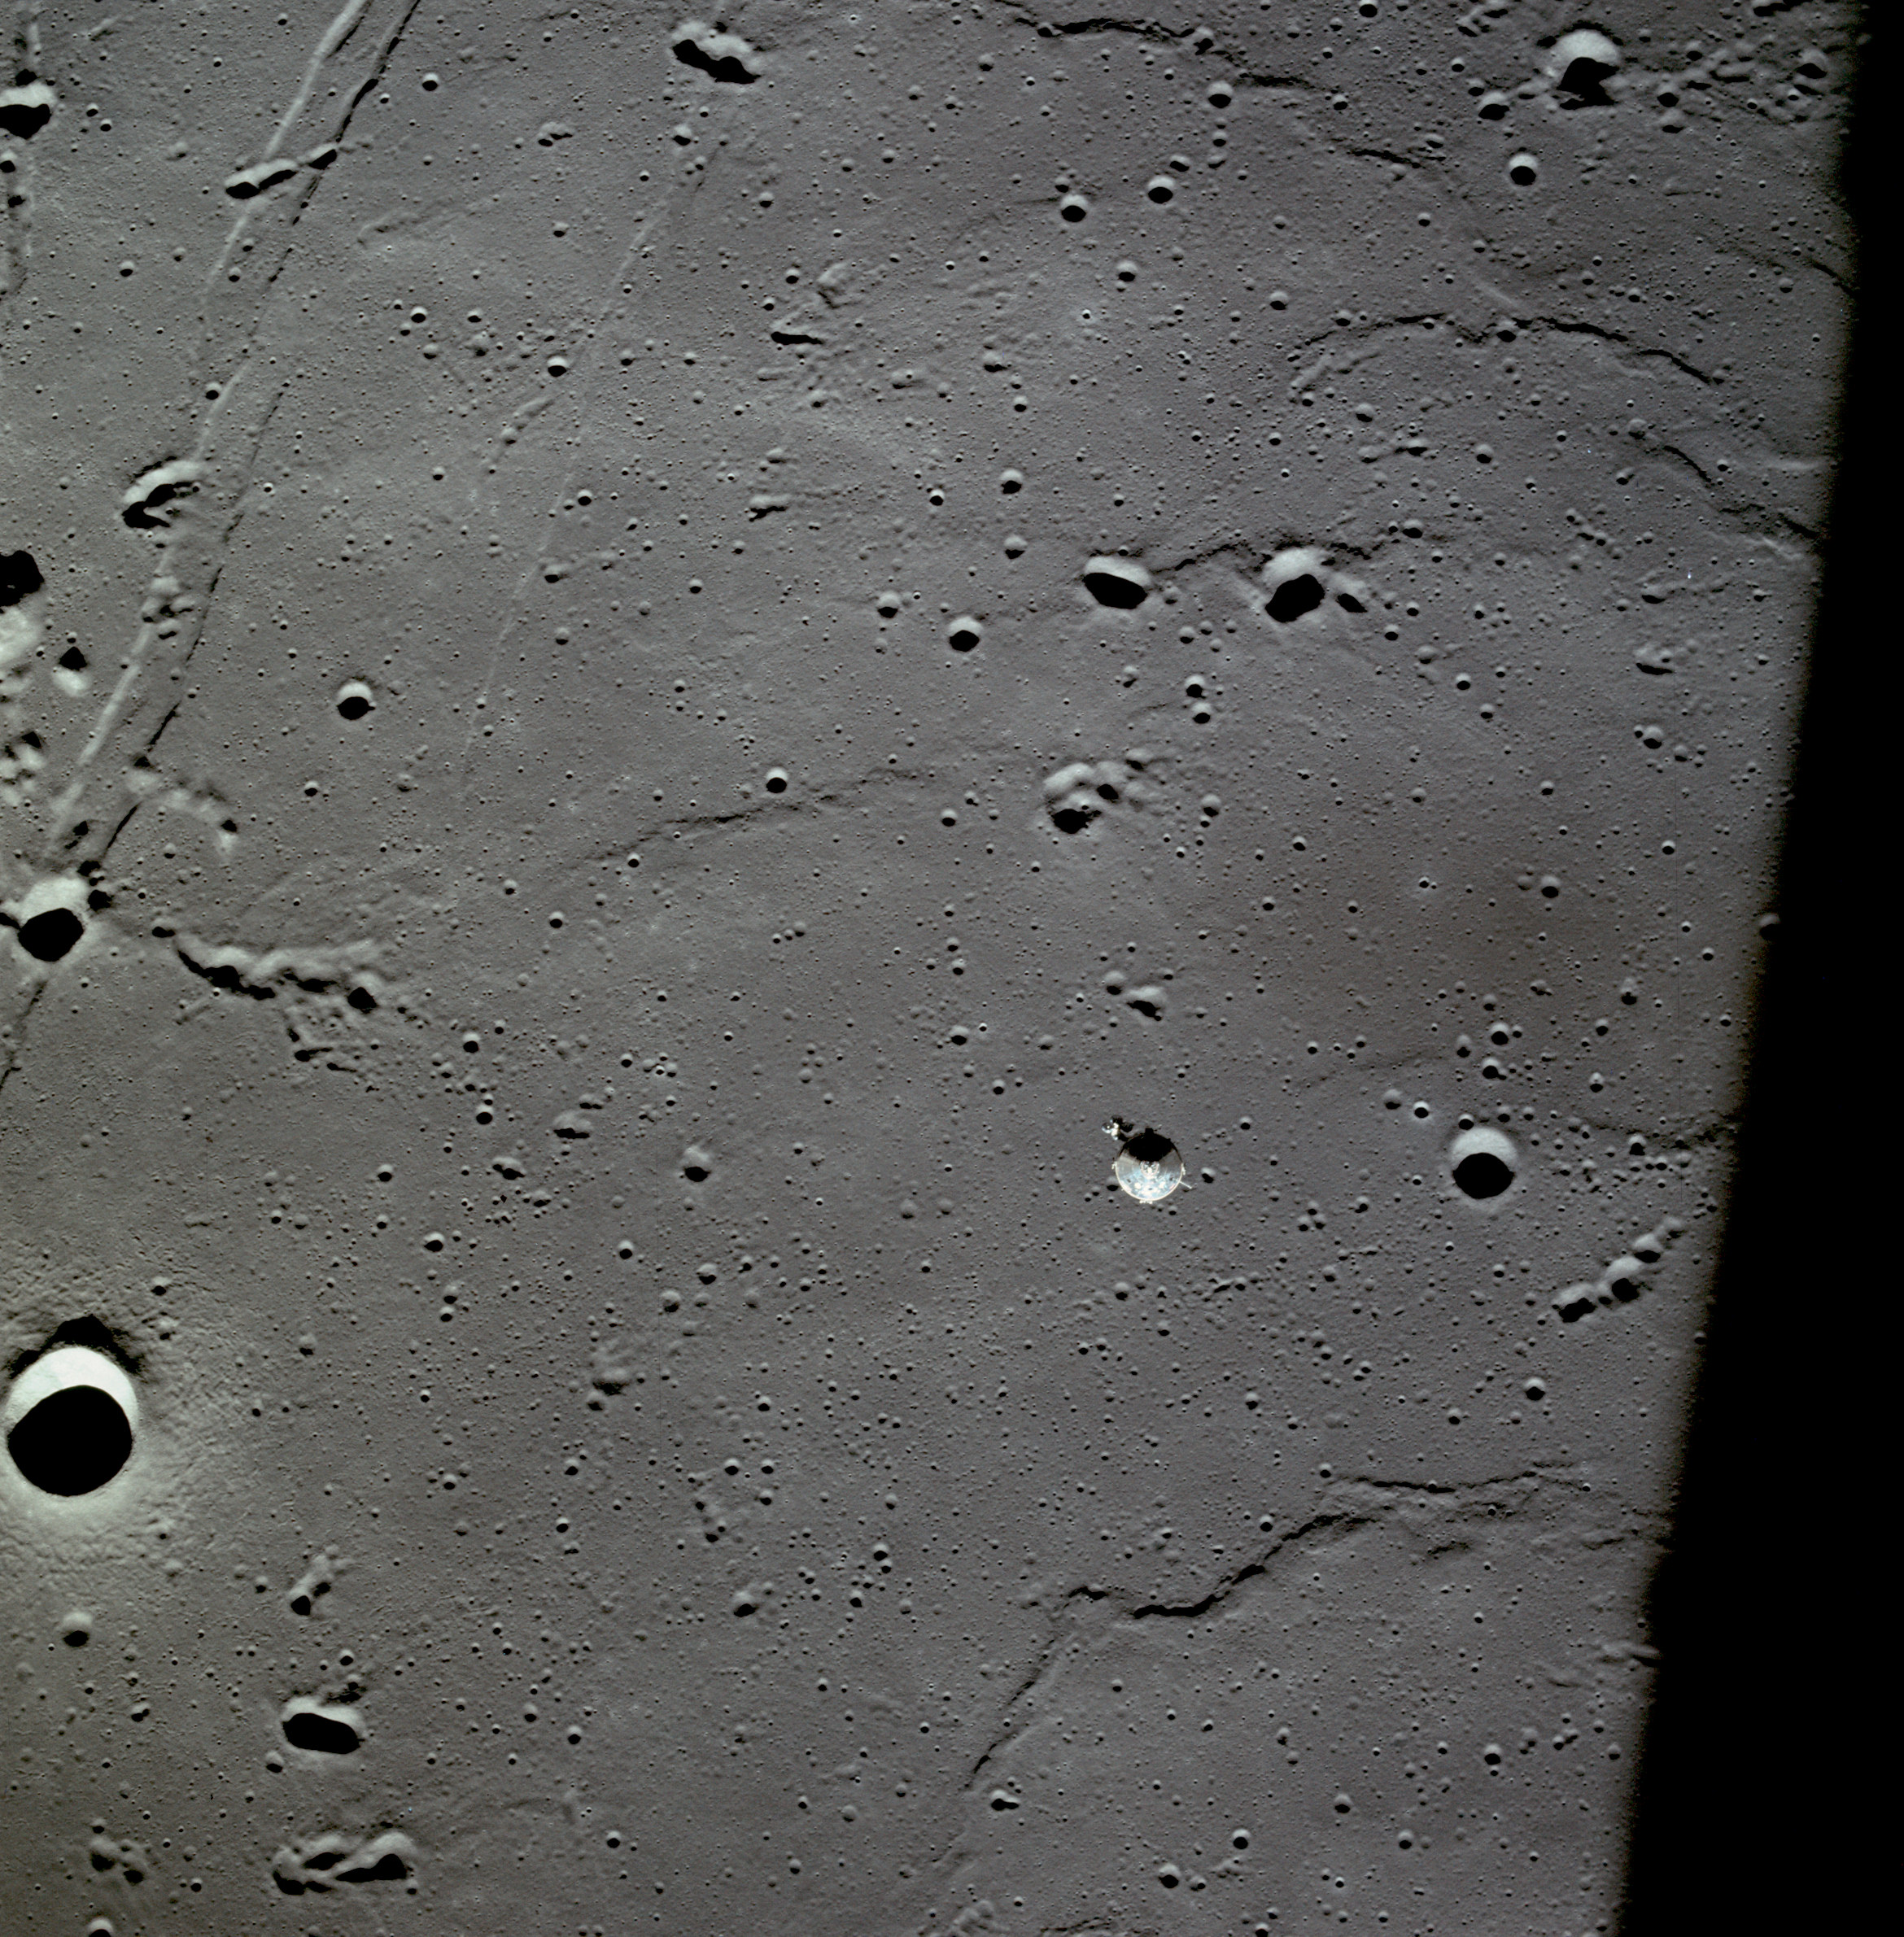 | AS11-37-5447 CSM over Tranquility Base. Crater Moltke is on the left and the landing site for Apollo 11 is above the CSM and slightly to the left of the crater pair that includes one that is elongated. Image credit: Image Science and Analysis Laboratory, NASA-Johnson Space Center. |
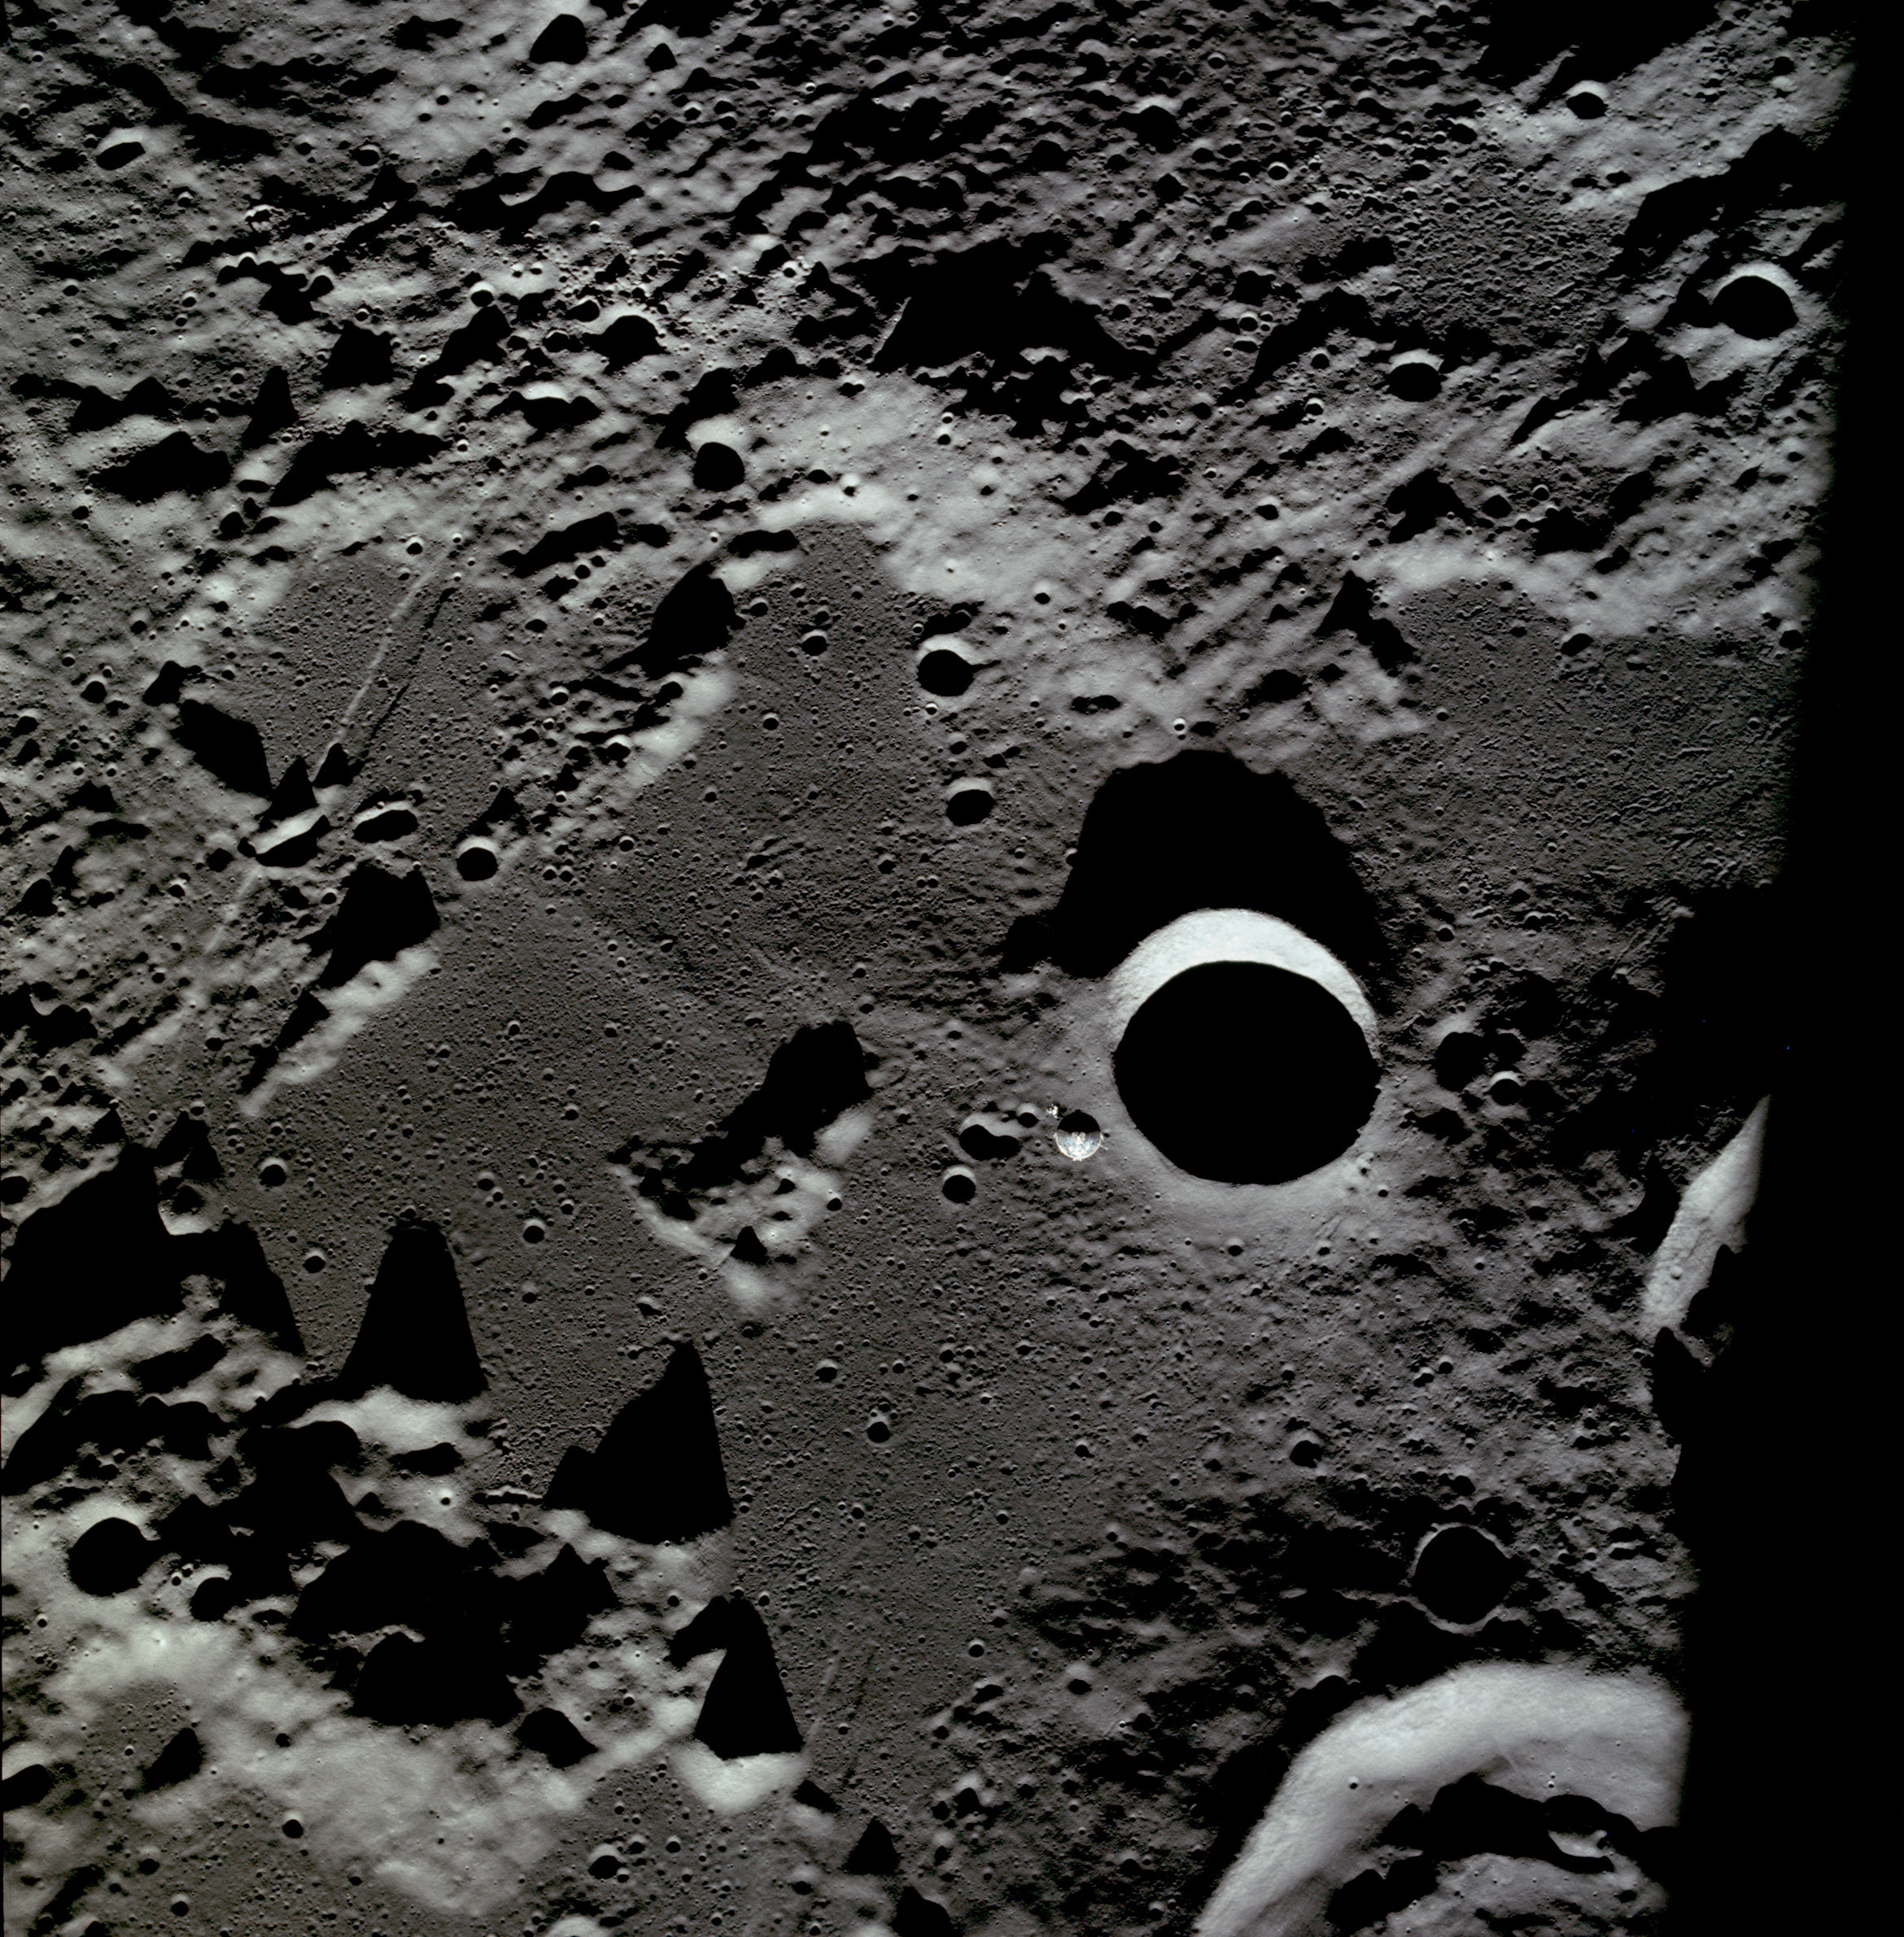 | AS11-37-5448 CSM over Crater Schmidt on the southwest corner of Mare Tranquillitatis in morning lighting. Image credit: Image Science and Analysis Laboratory, NASA-Johnson Space Center. |
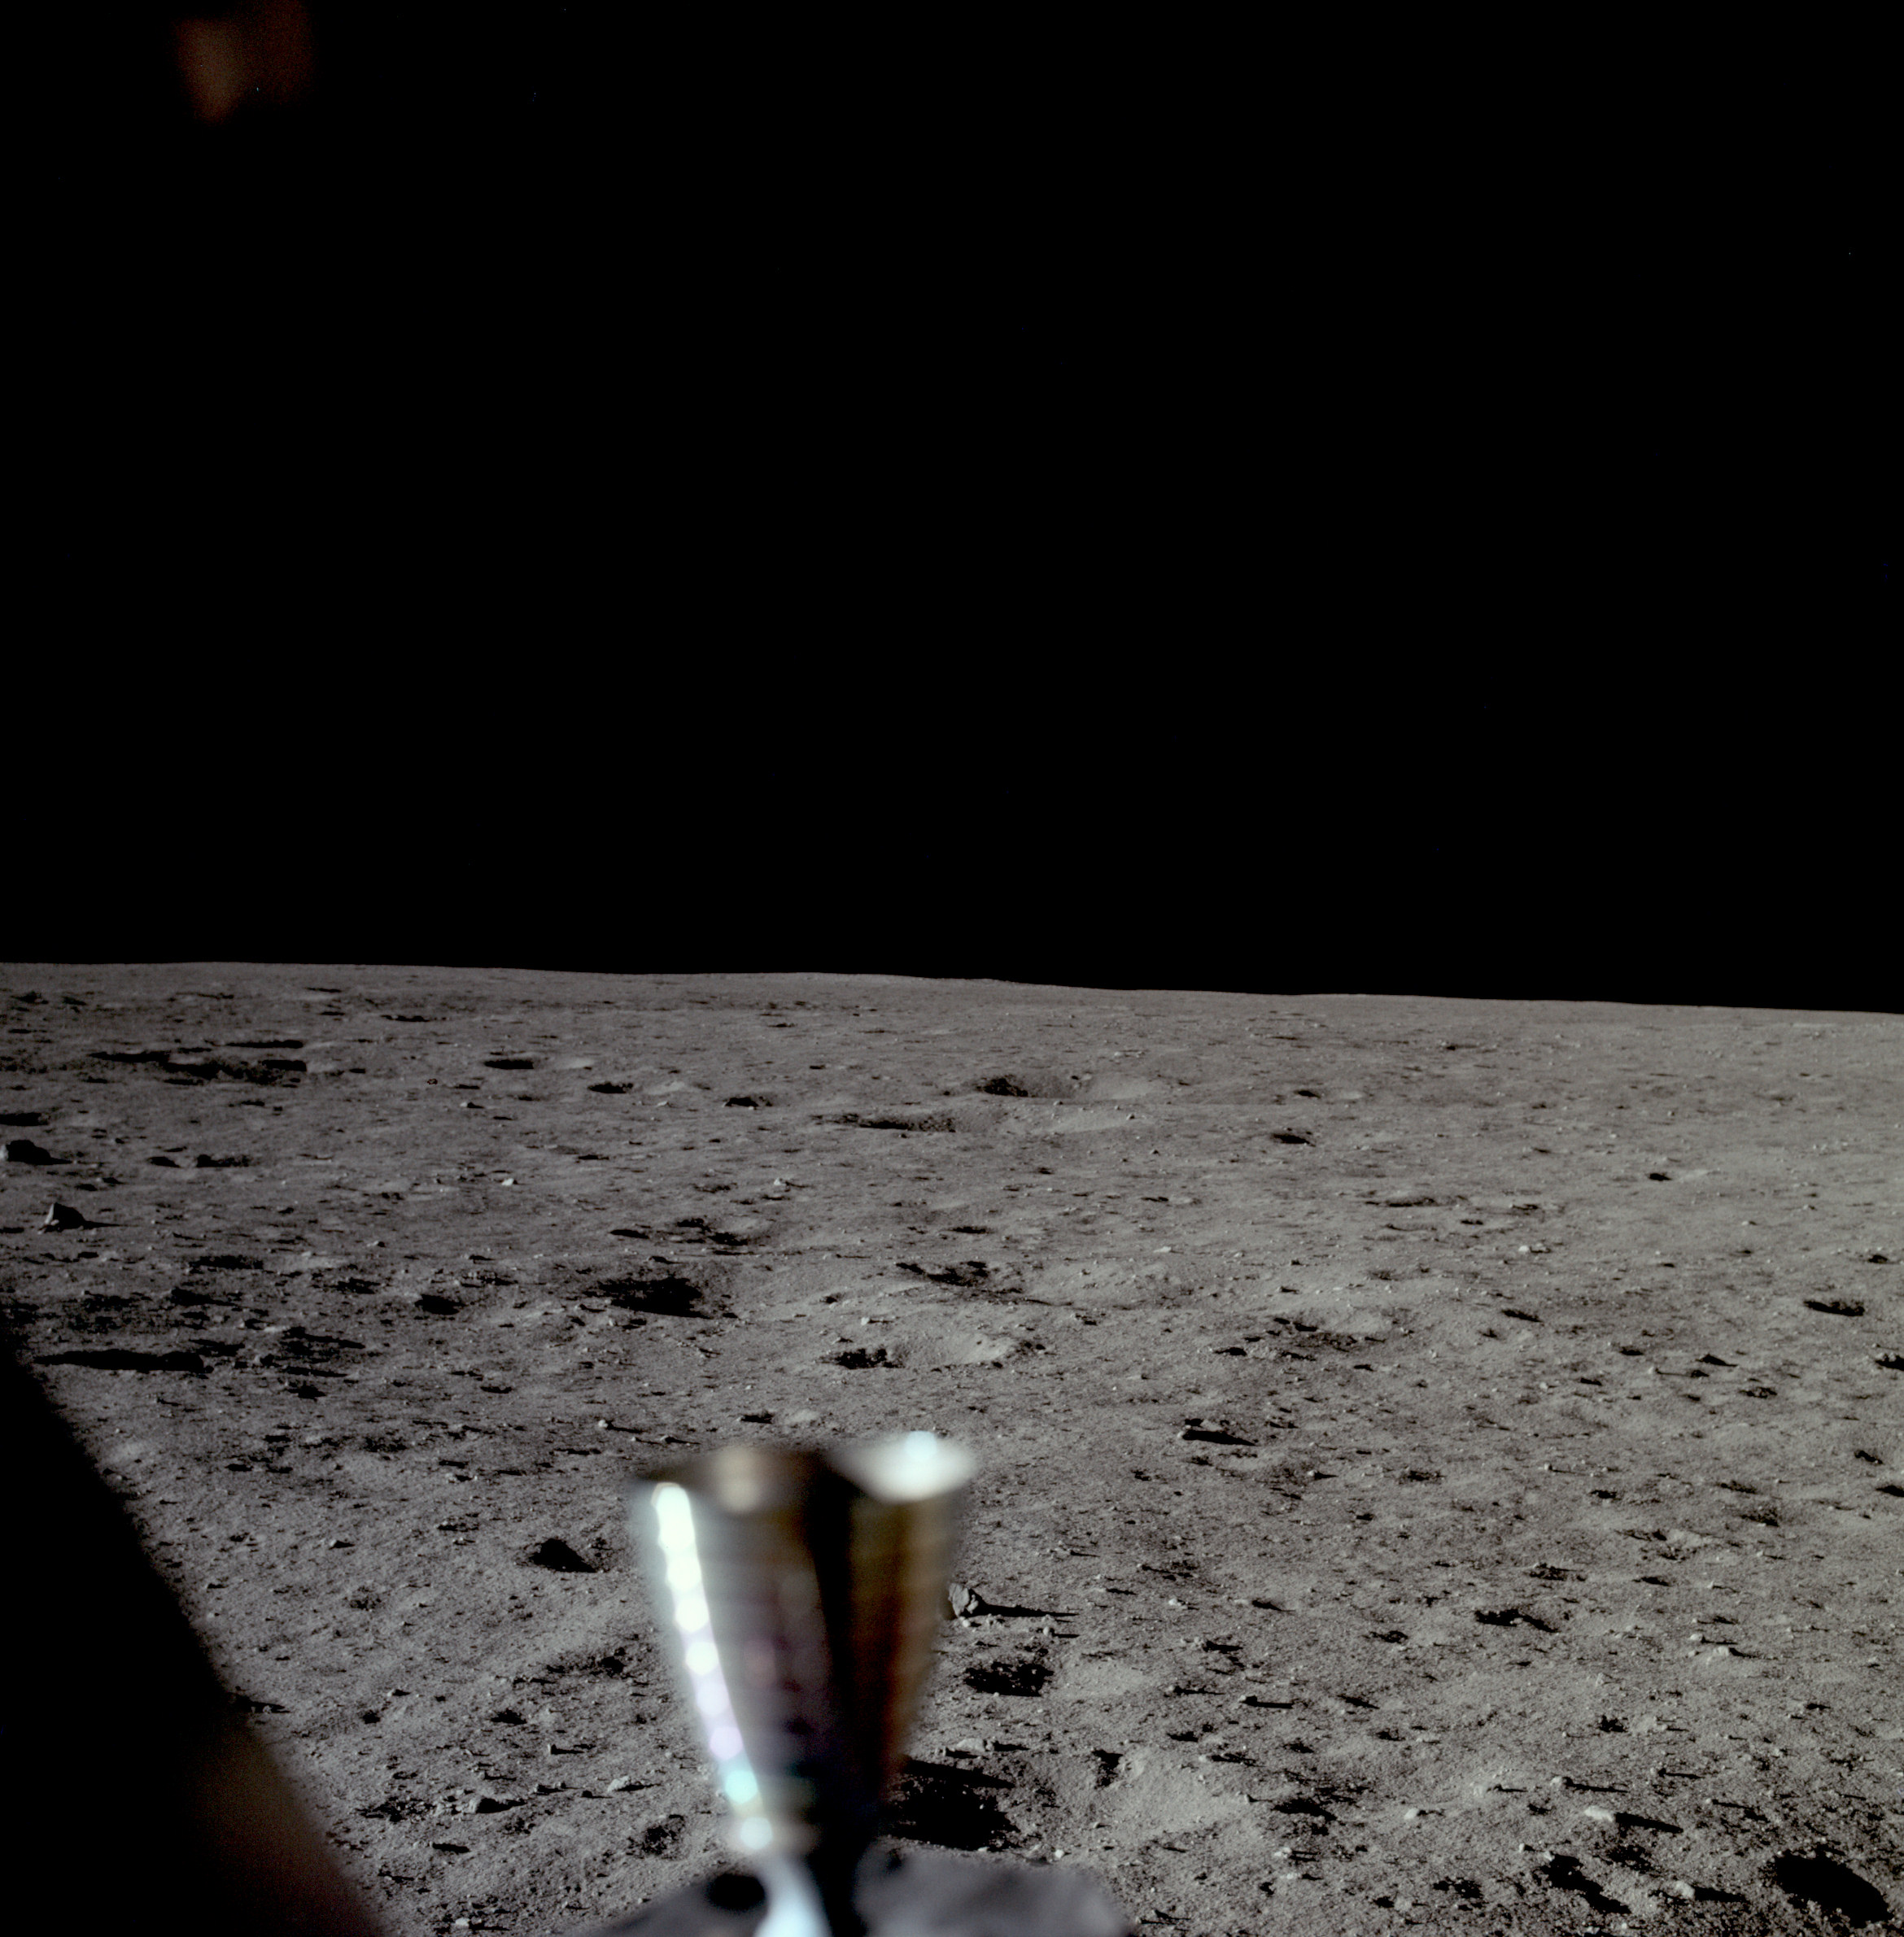 | AS11-37-5449 Tranquility Base from LM window. Image credit: Image Science and Analysis Laboratory, NASA-Johnson Space Center. |
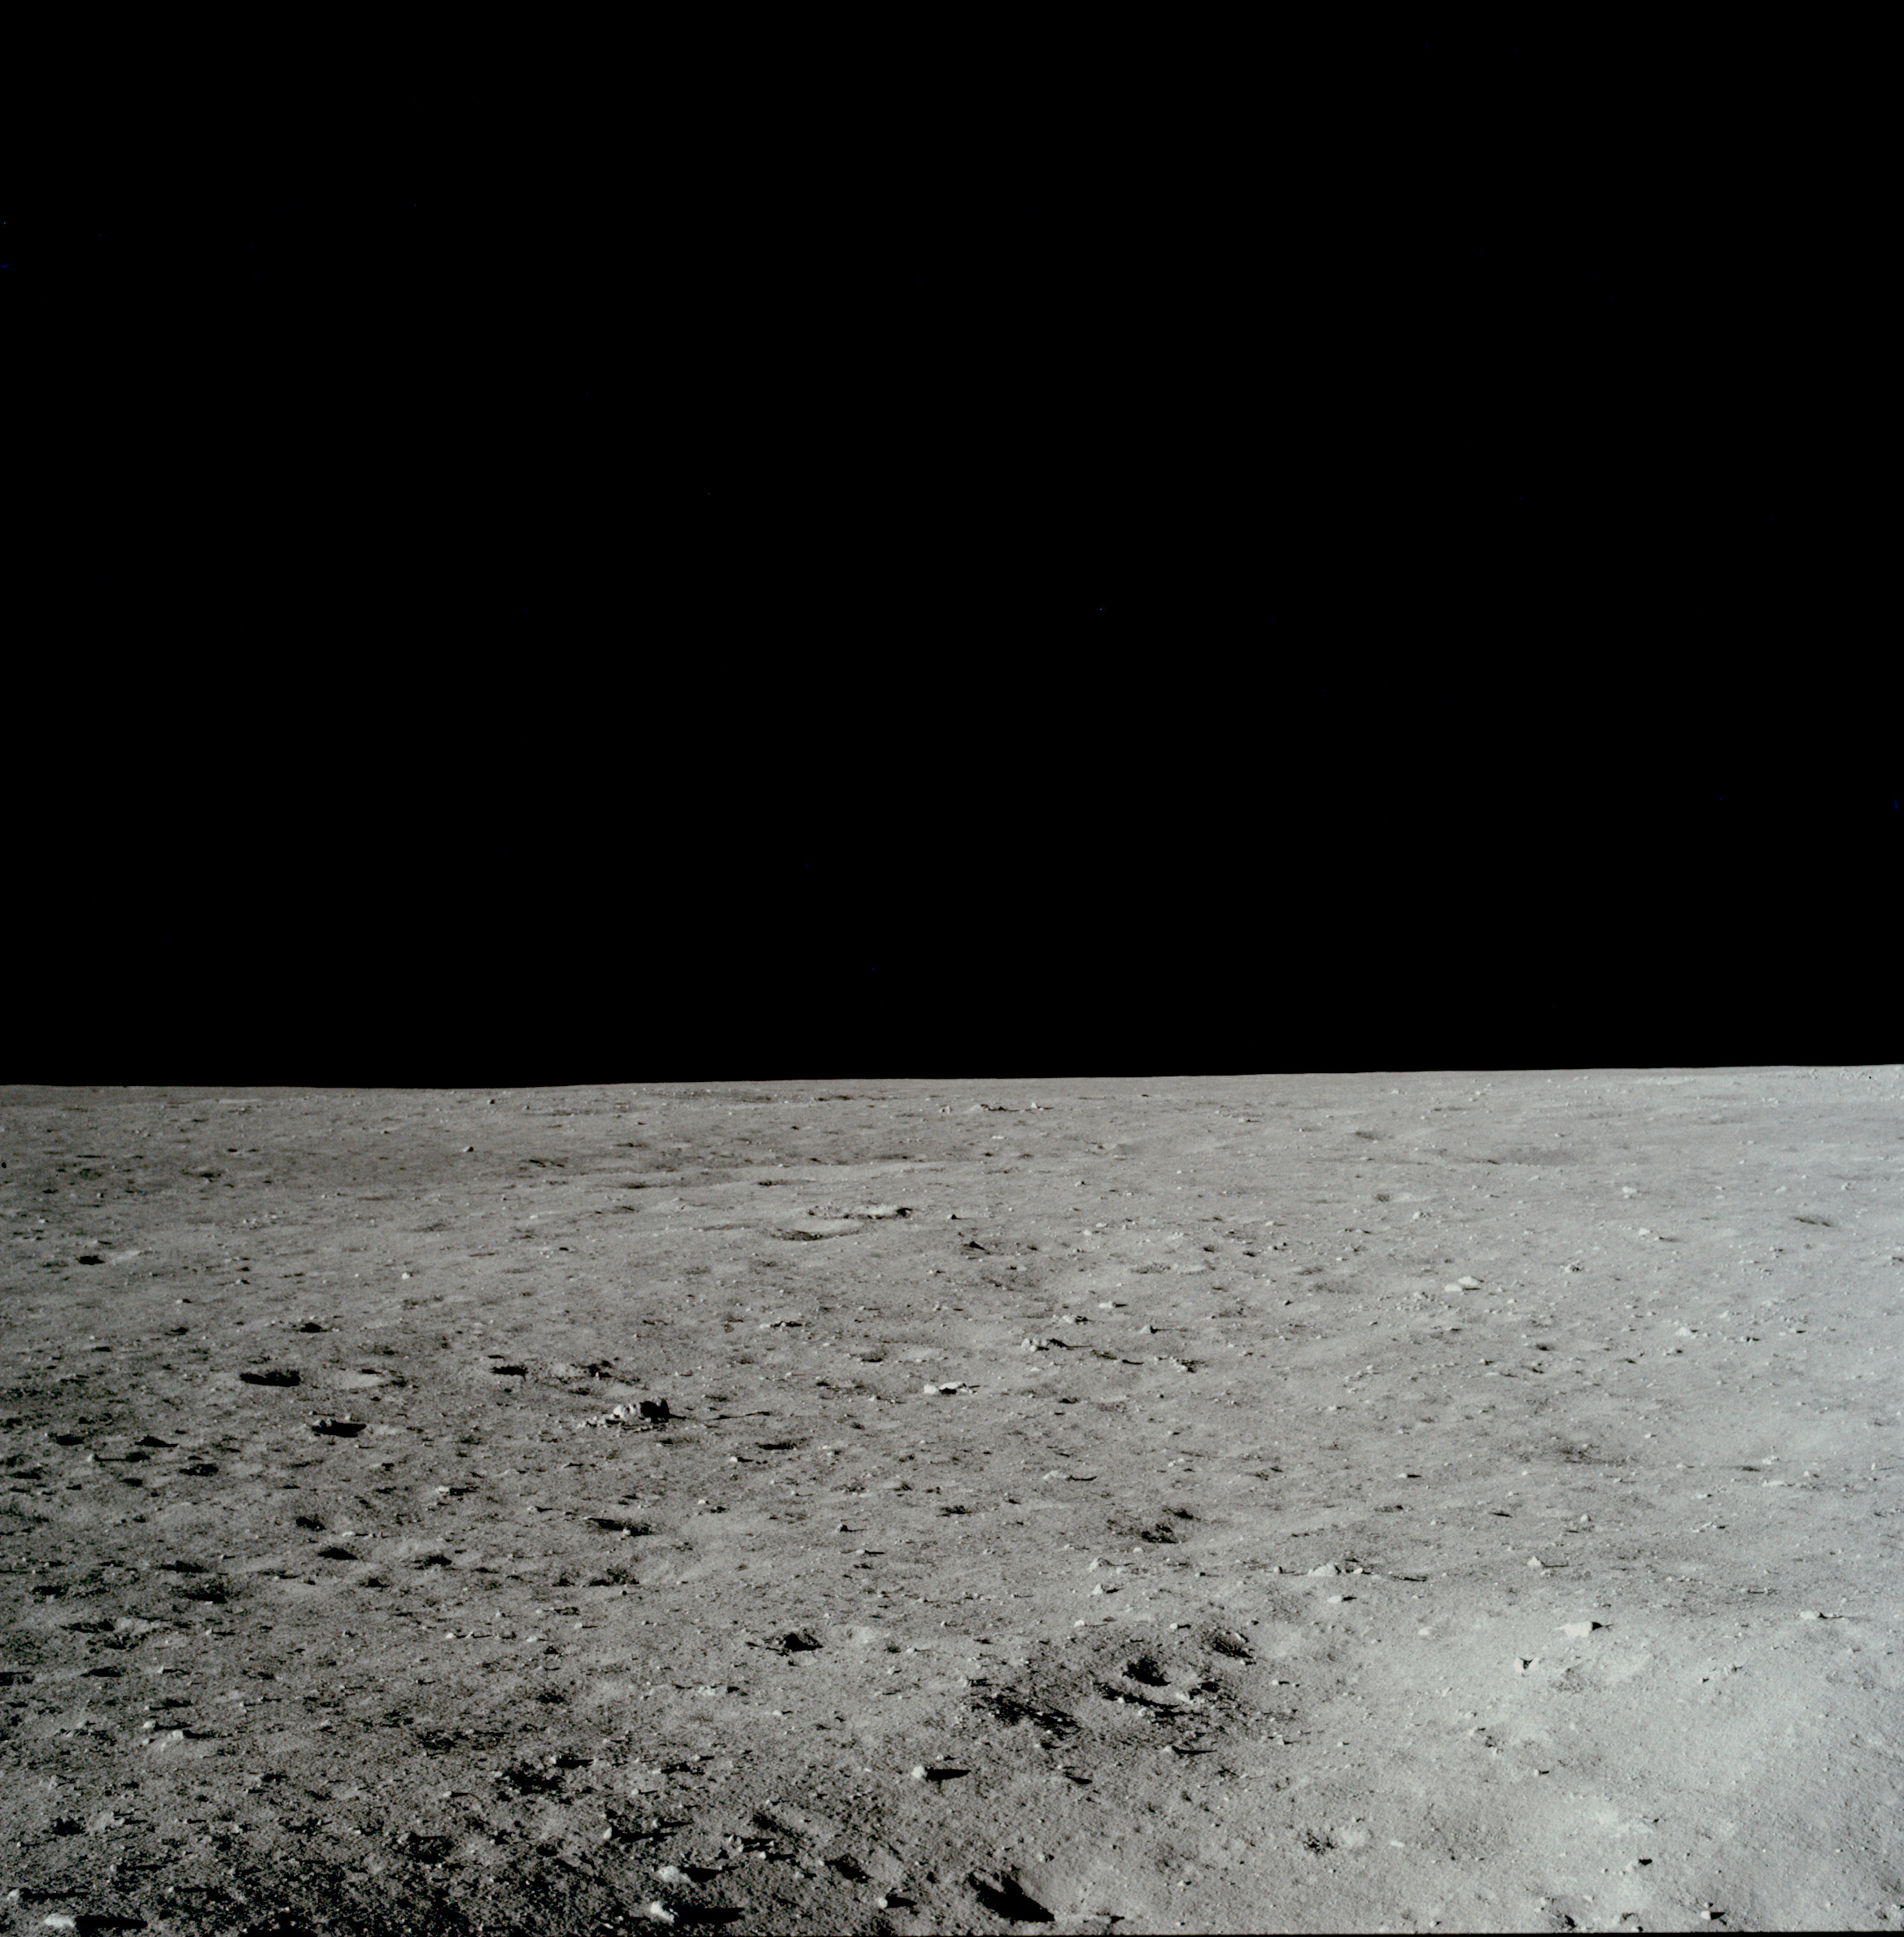 | AS11-37-5450 Tranquility Base from LM window. Image credit: Image Science and Analysis Laboratory, NASA-Johnson Space Center. |
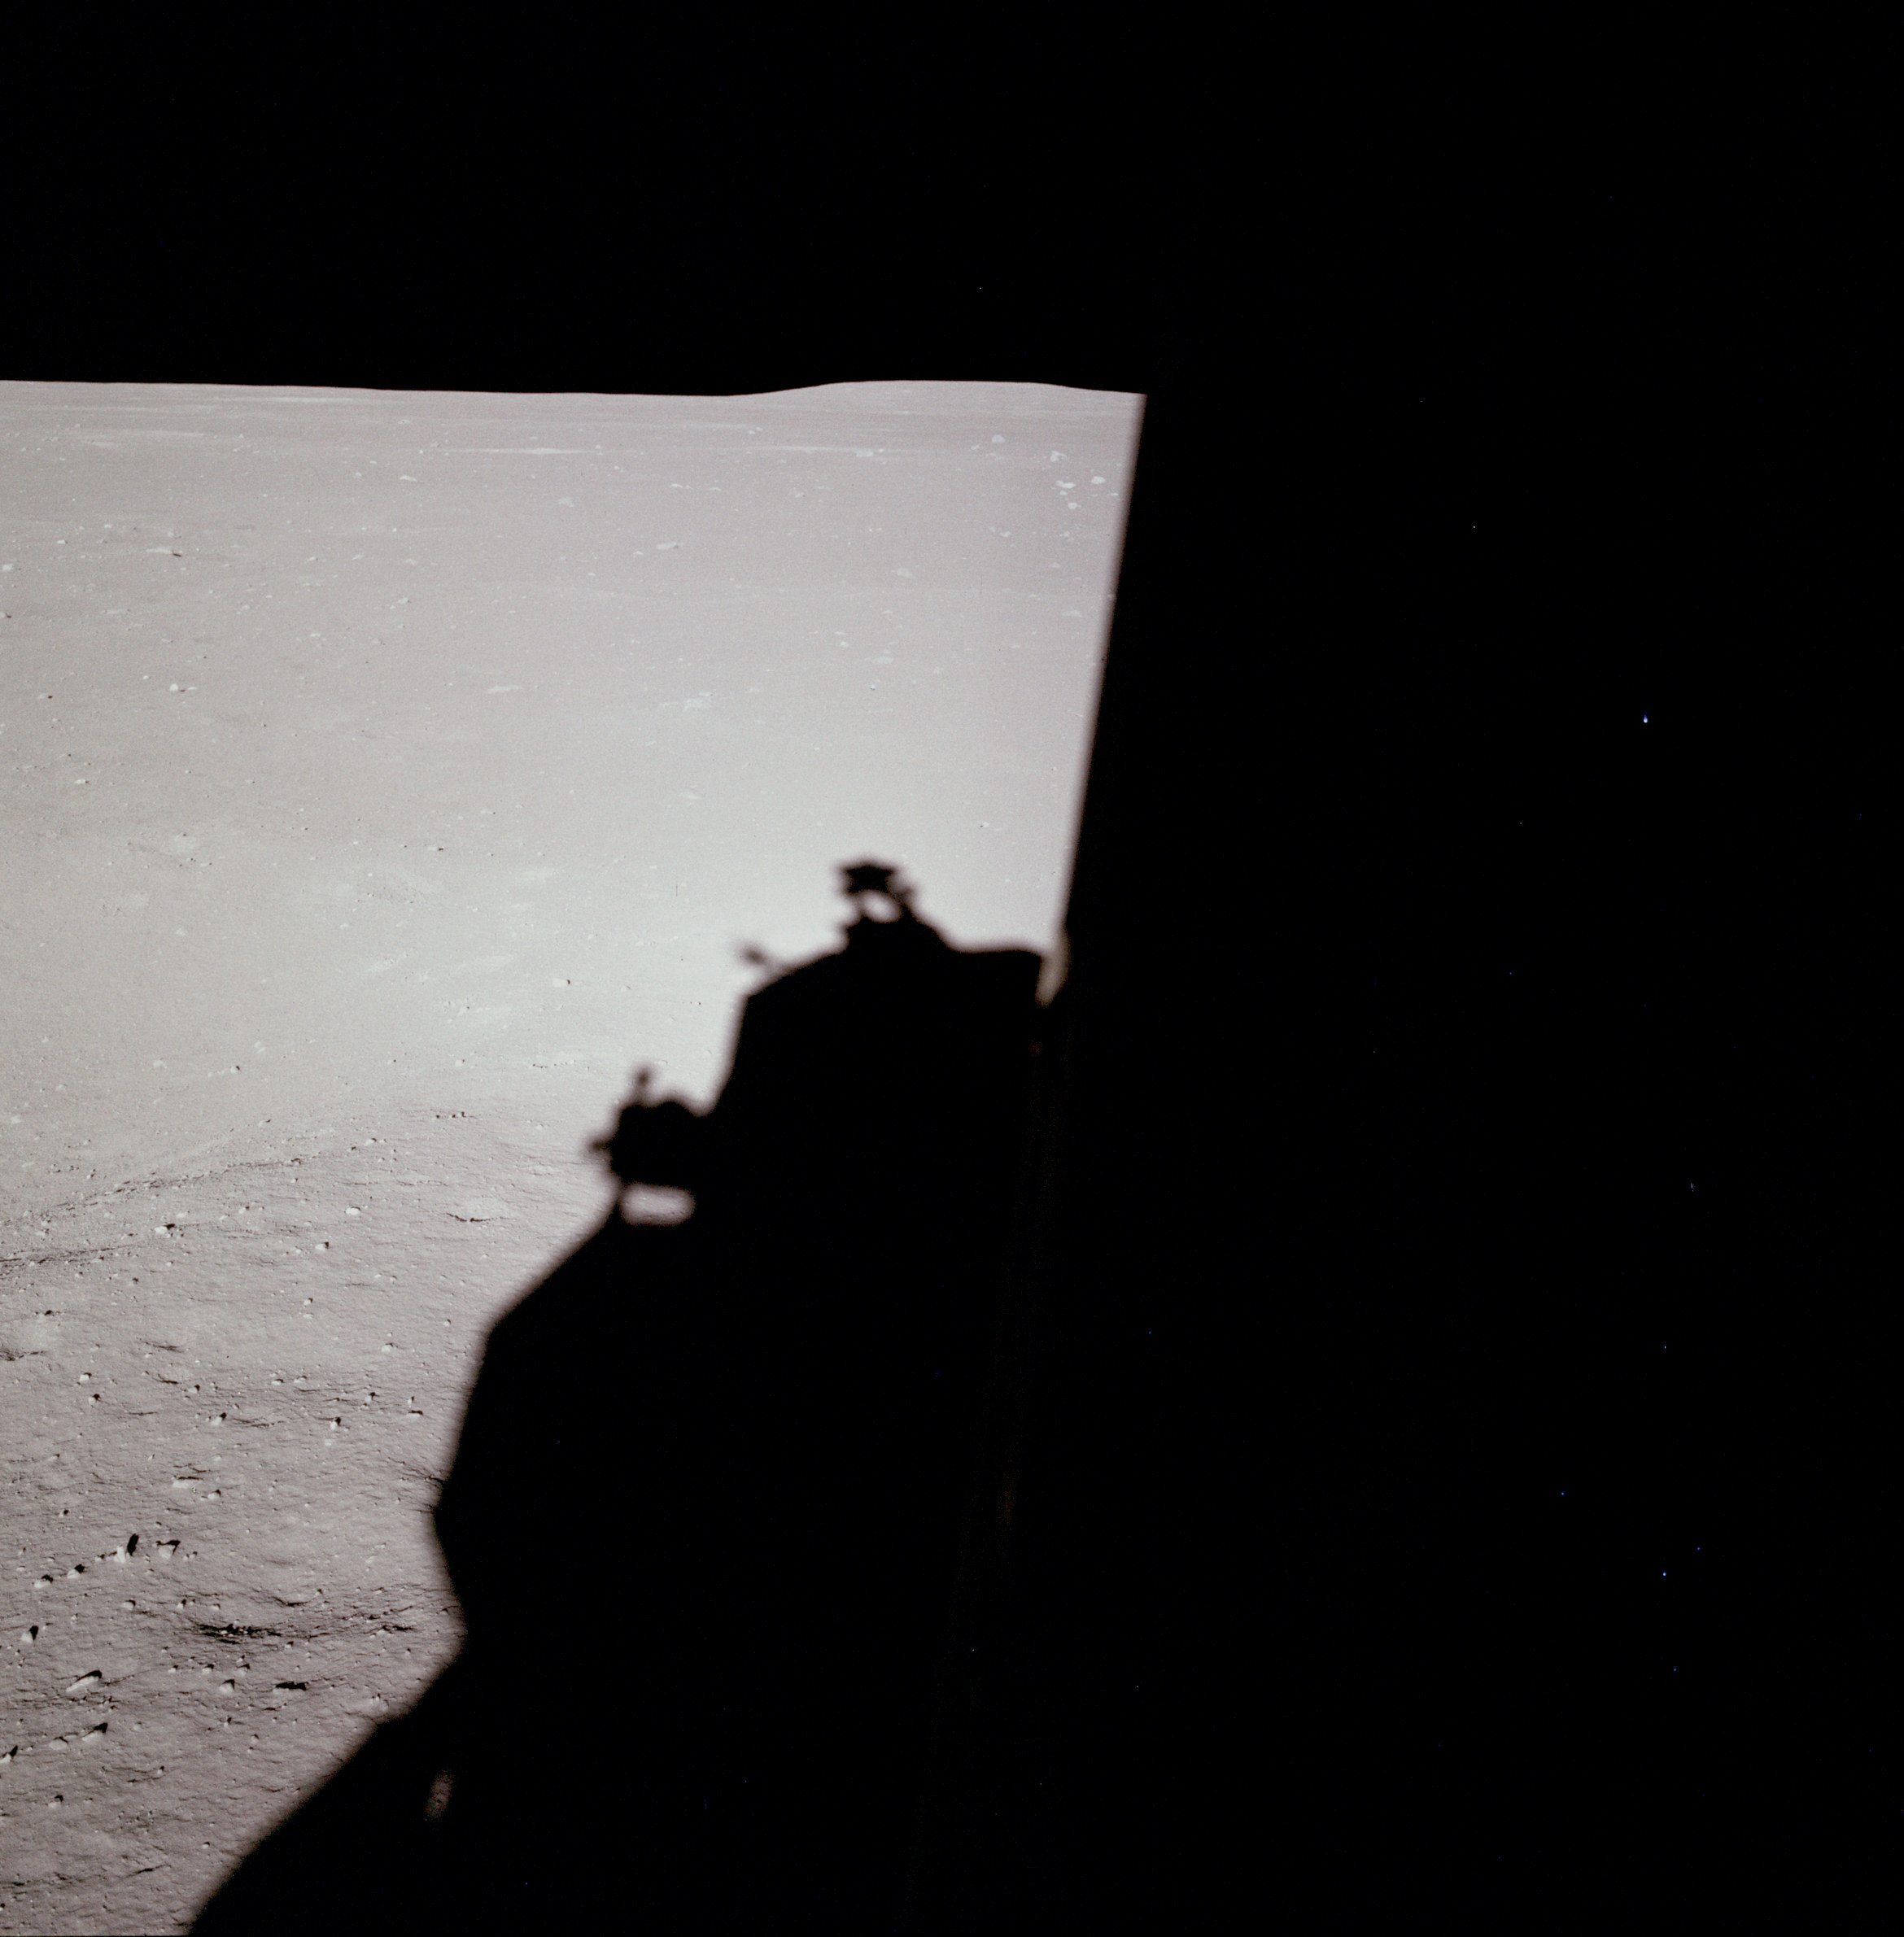 | AS11-37-5451 Tranquility Base from LM window. Image credit: Image Science and Analysis Laboratory, NASA-Johnson Space Center. |
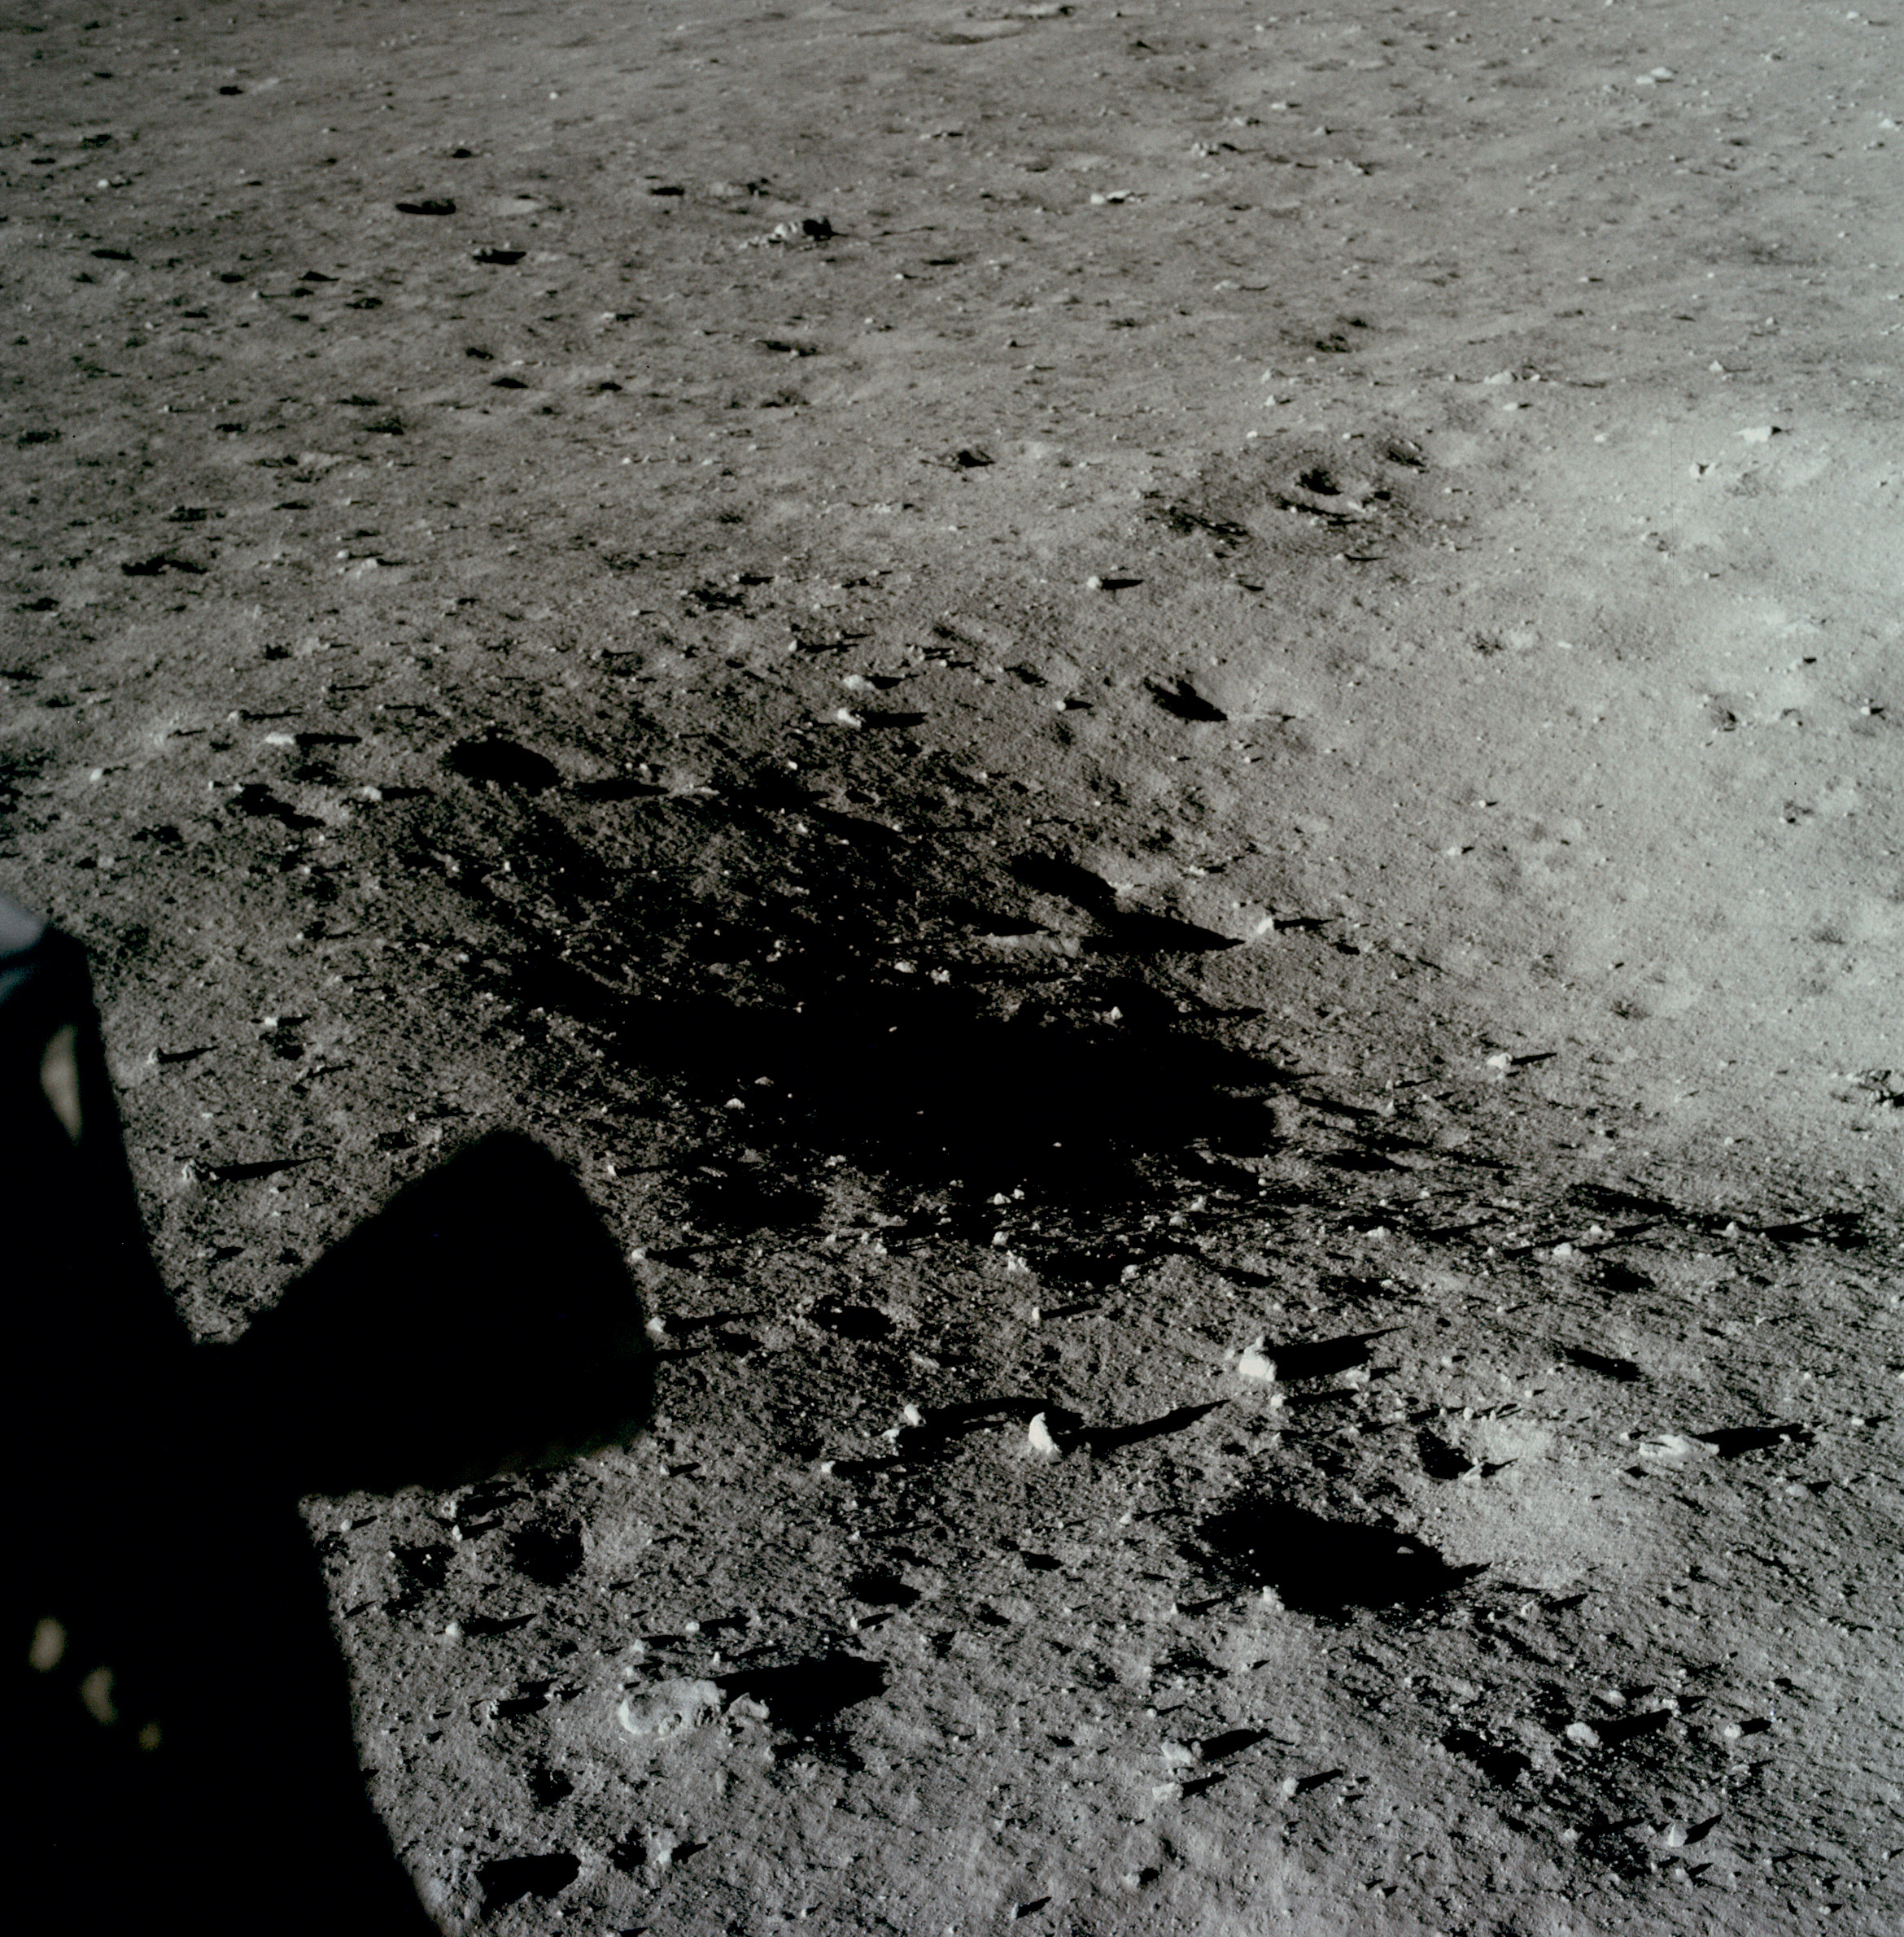 | AS11-37-5452 Tranquility Base from LM window. Image credit: Image Science and Analysis Laboratory, NASA-Johnson Space Center. |
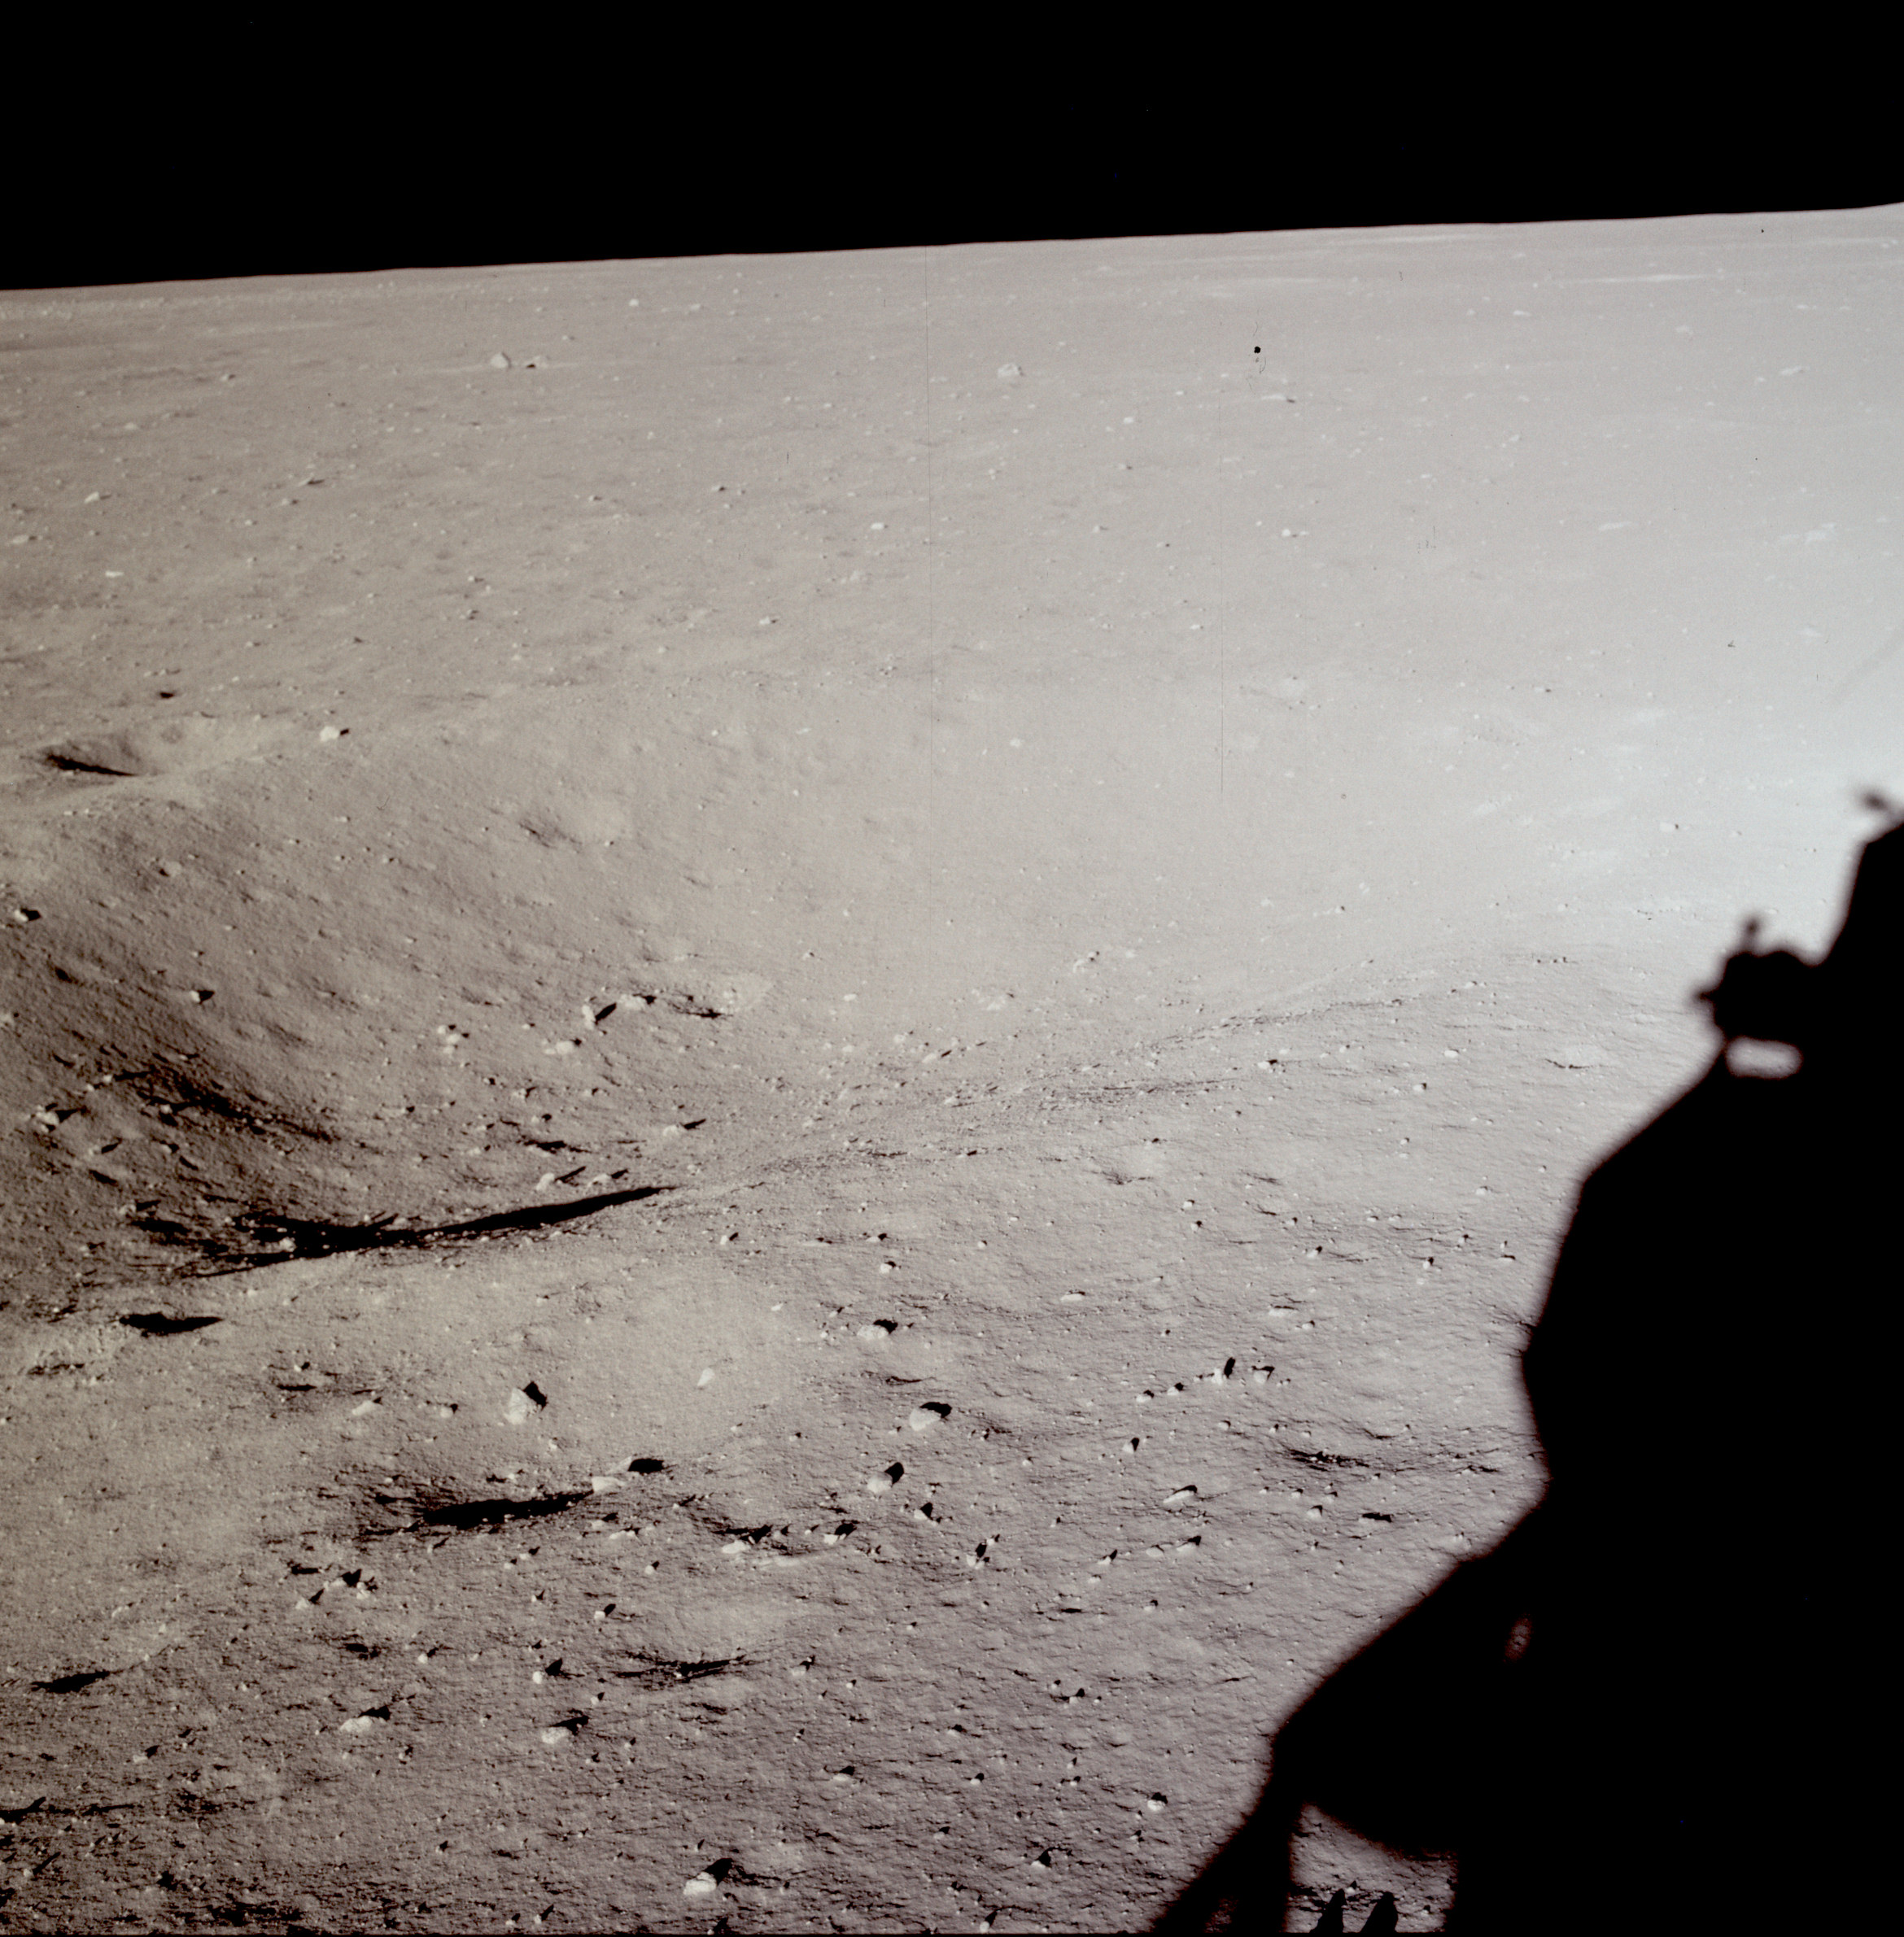 | AS11-37-5453 Tranquility Base from LM window. Image credit: Image Science and Analysis Laboratory, NASA-Johnson Space Center. |
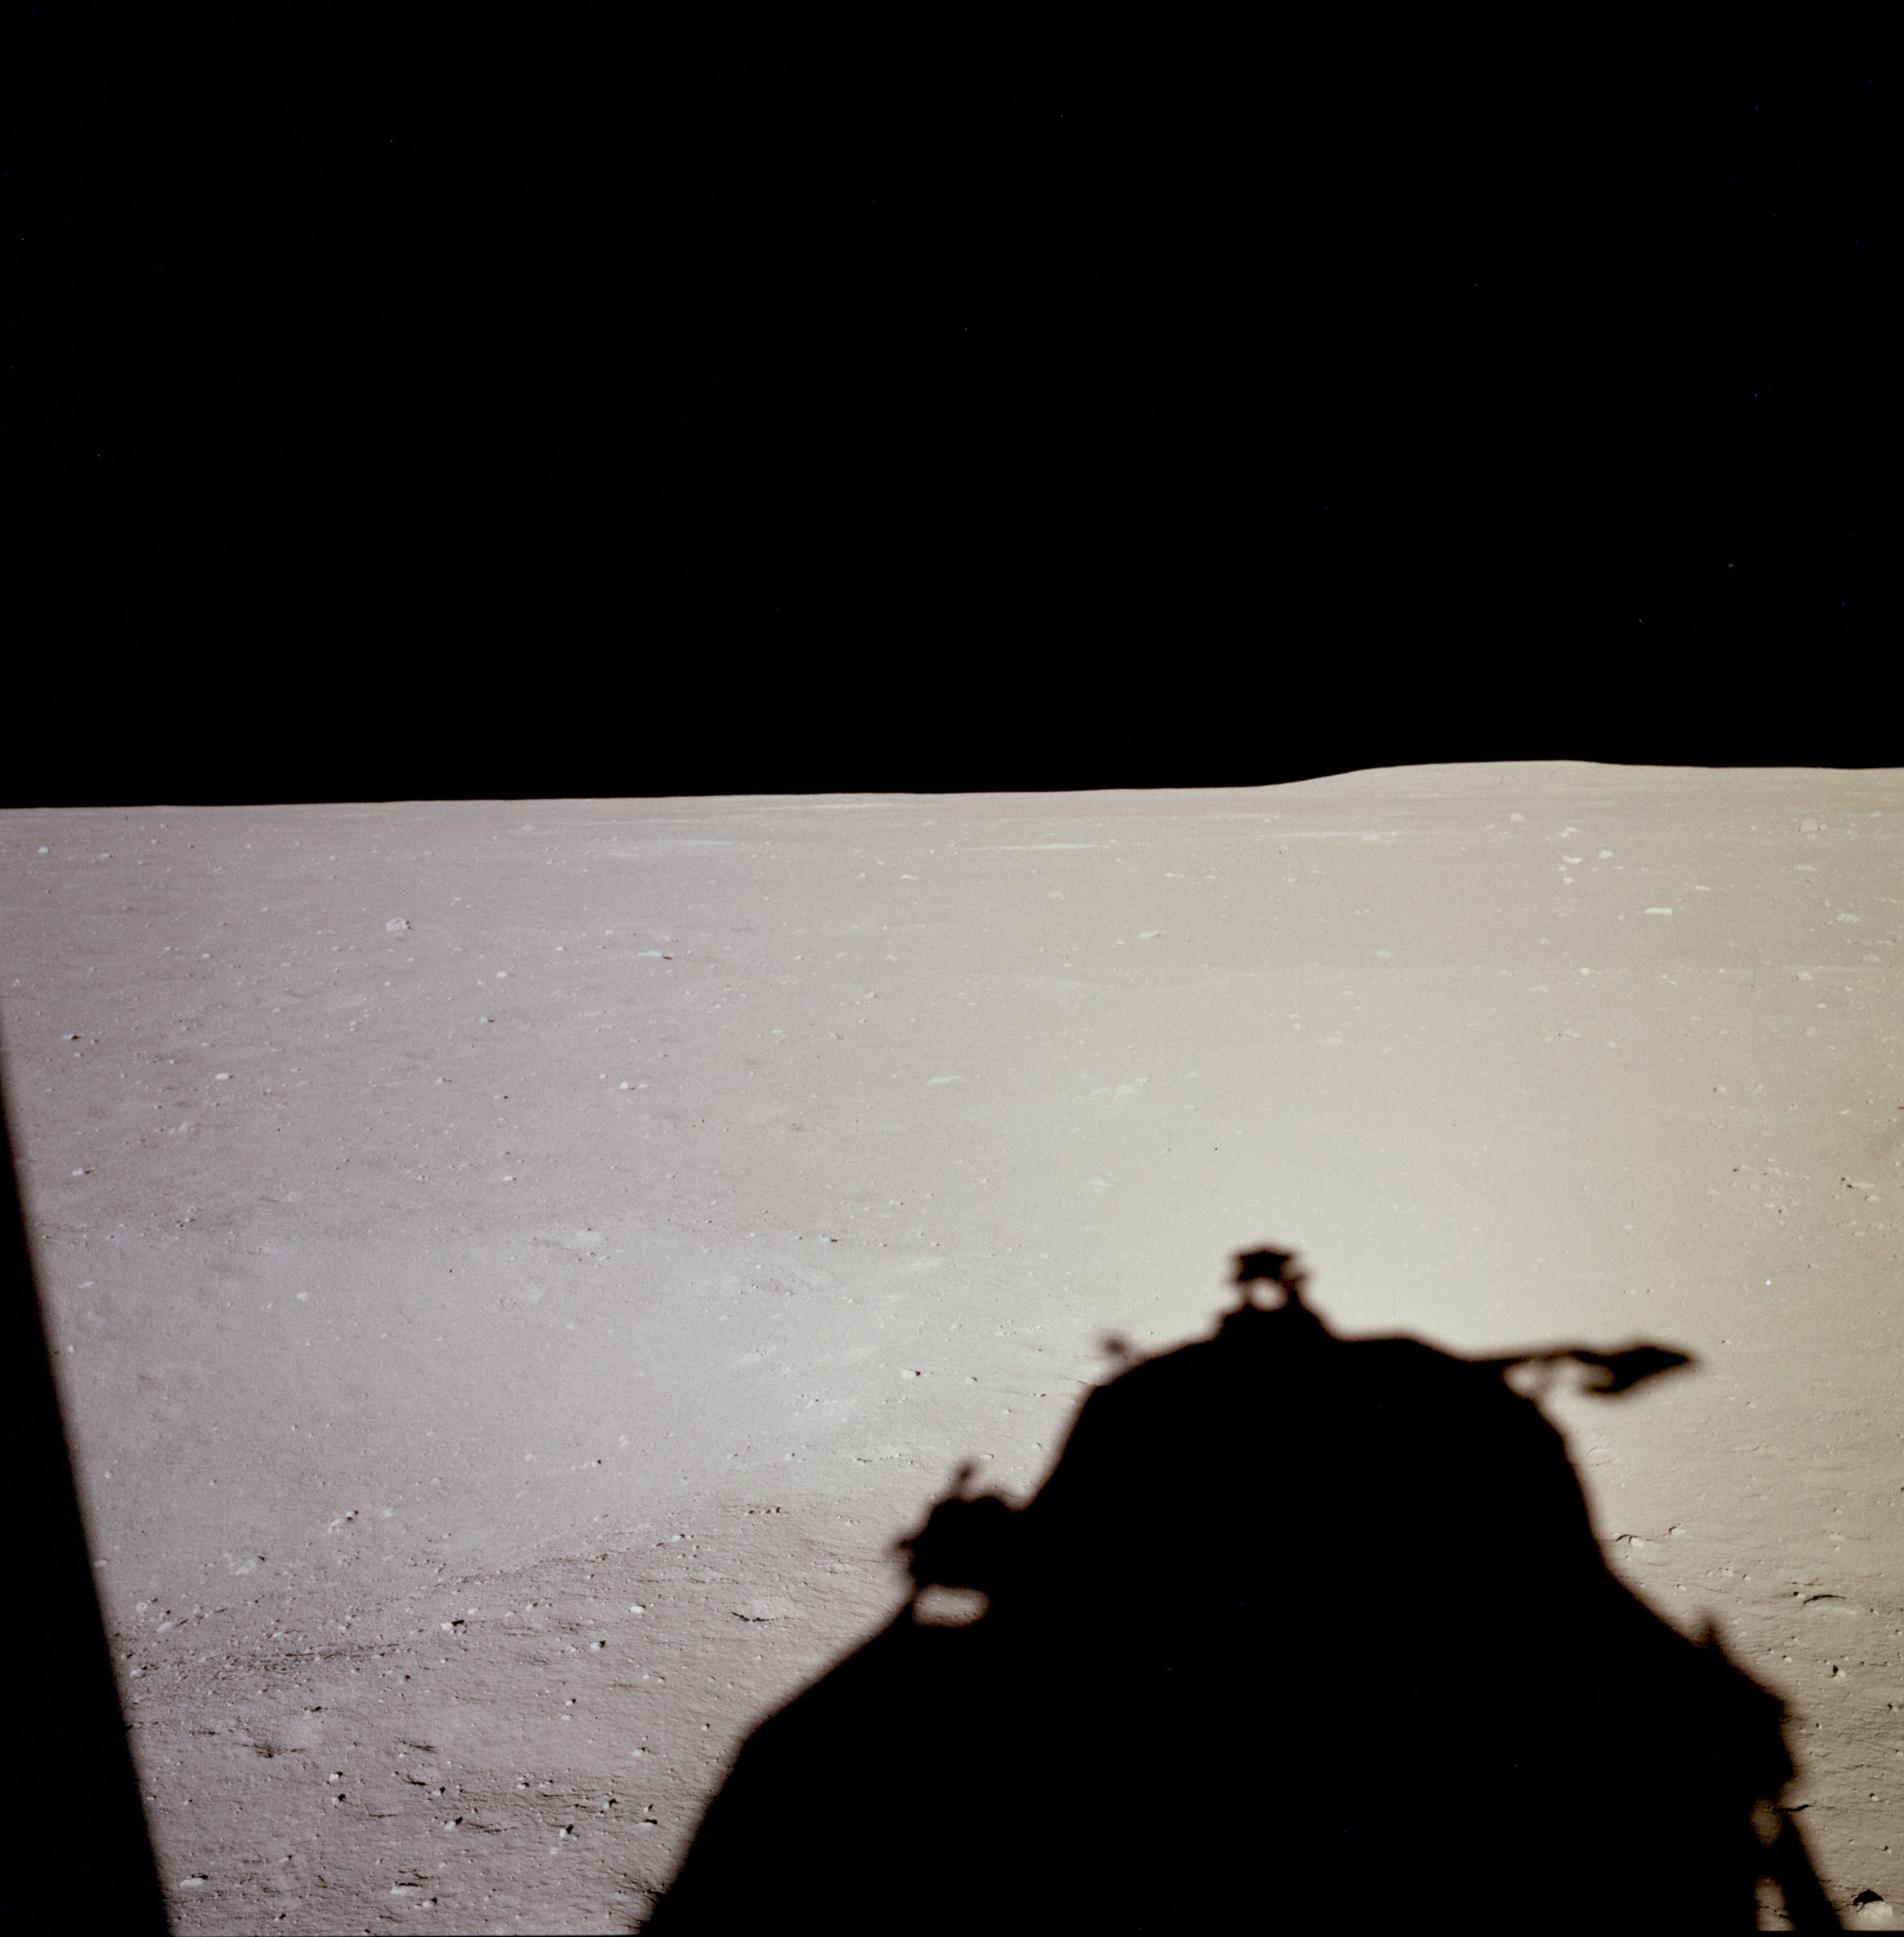 | AS11-37-5454 Tranquility Base from LM window. Image credit: Image Science and Analysis Laboratory, NASA-Johnson Space Center. |
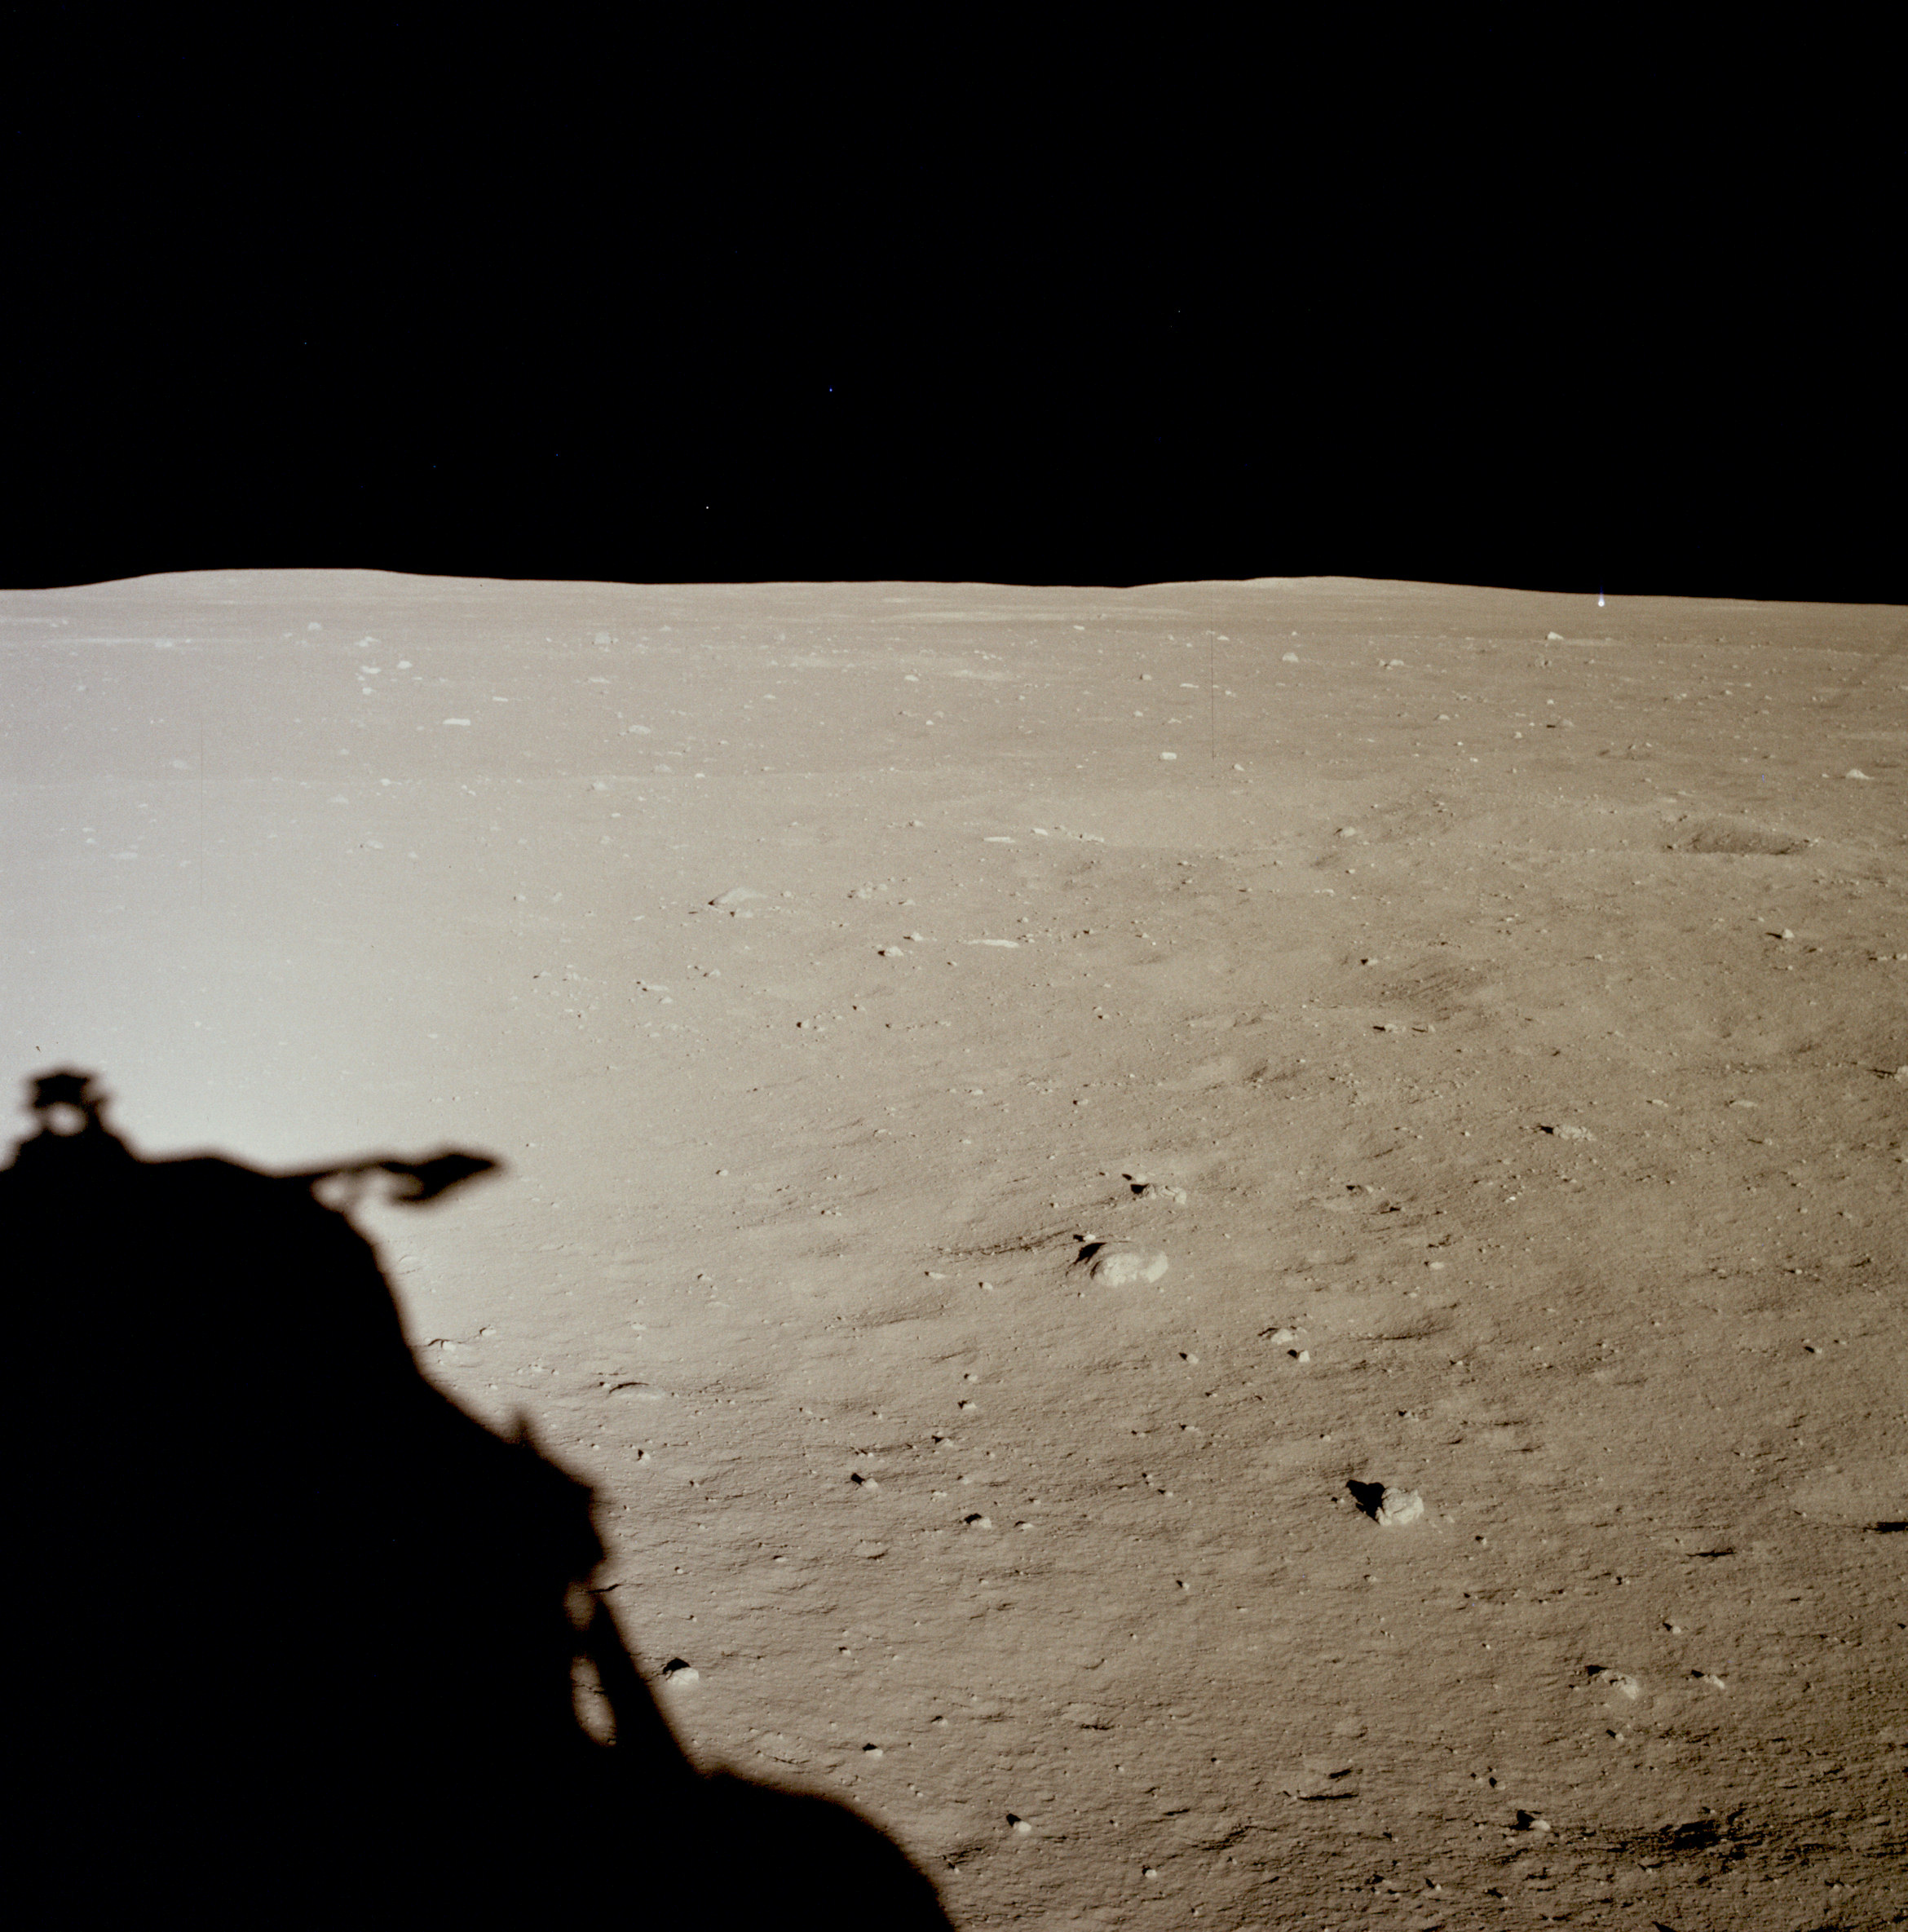 | AS11-37-5455 Tranquility Base from LM window. Image credit: Image Science and Analysis Laboratory, NASA-Johnson Space Center. |
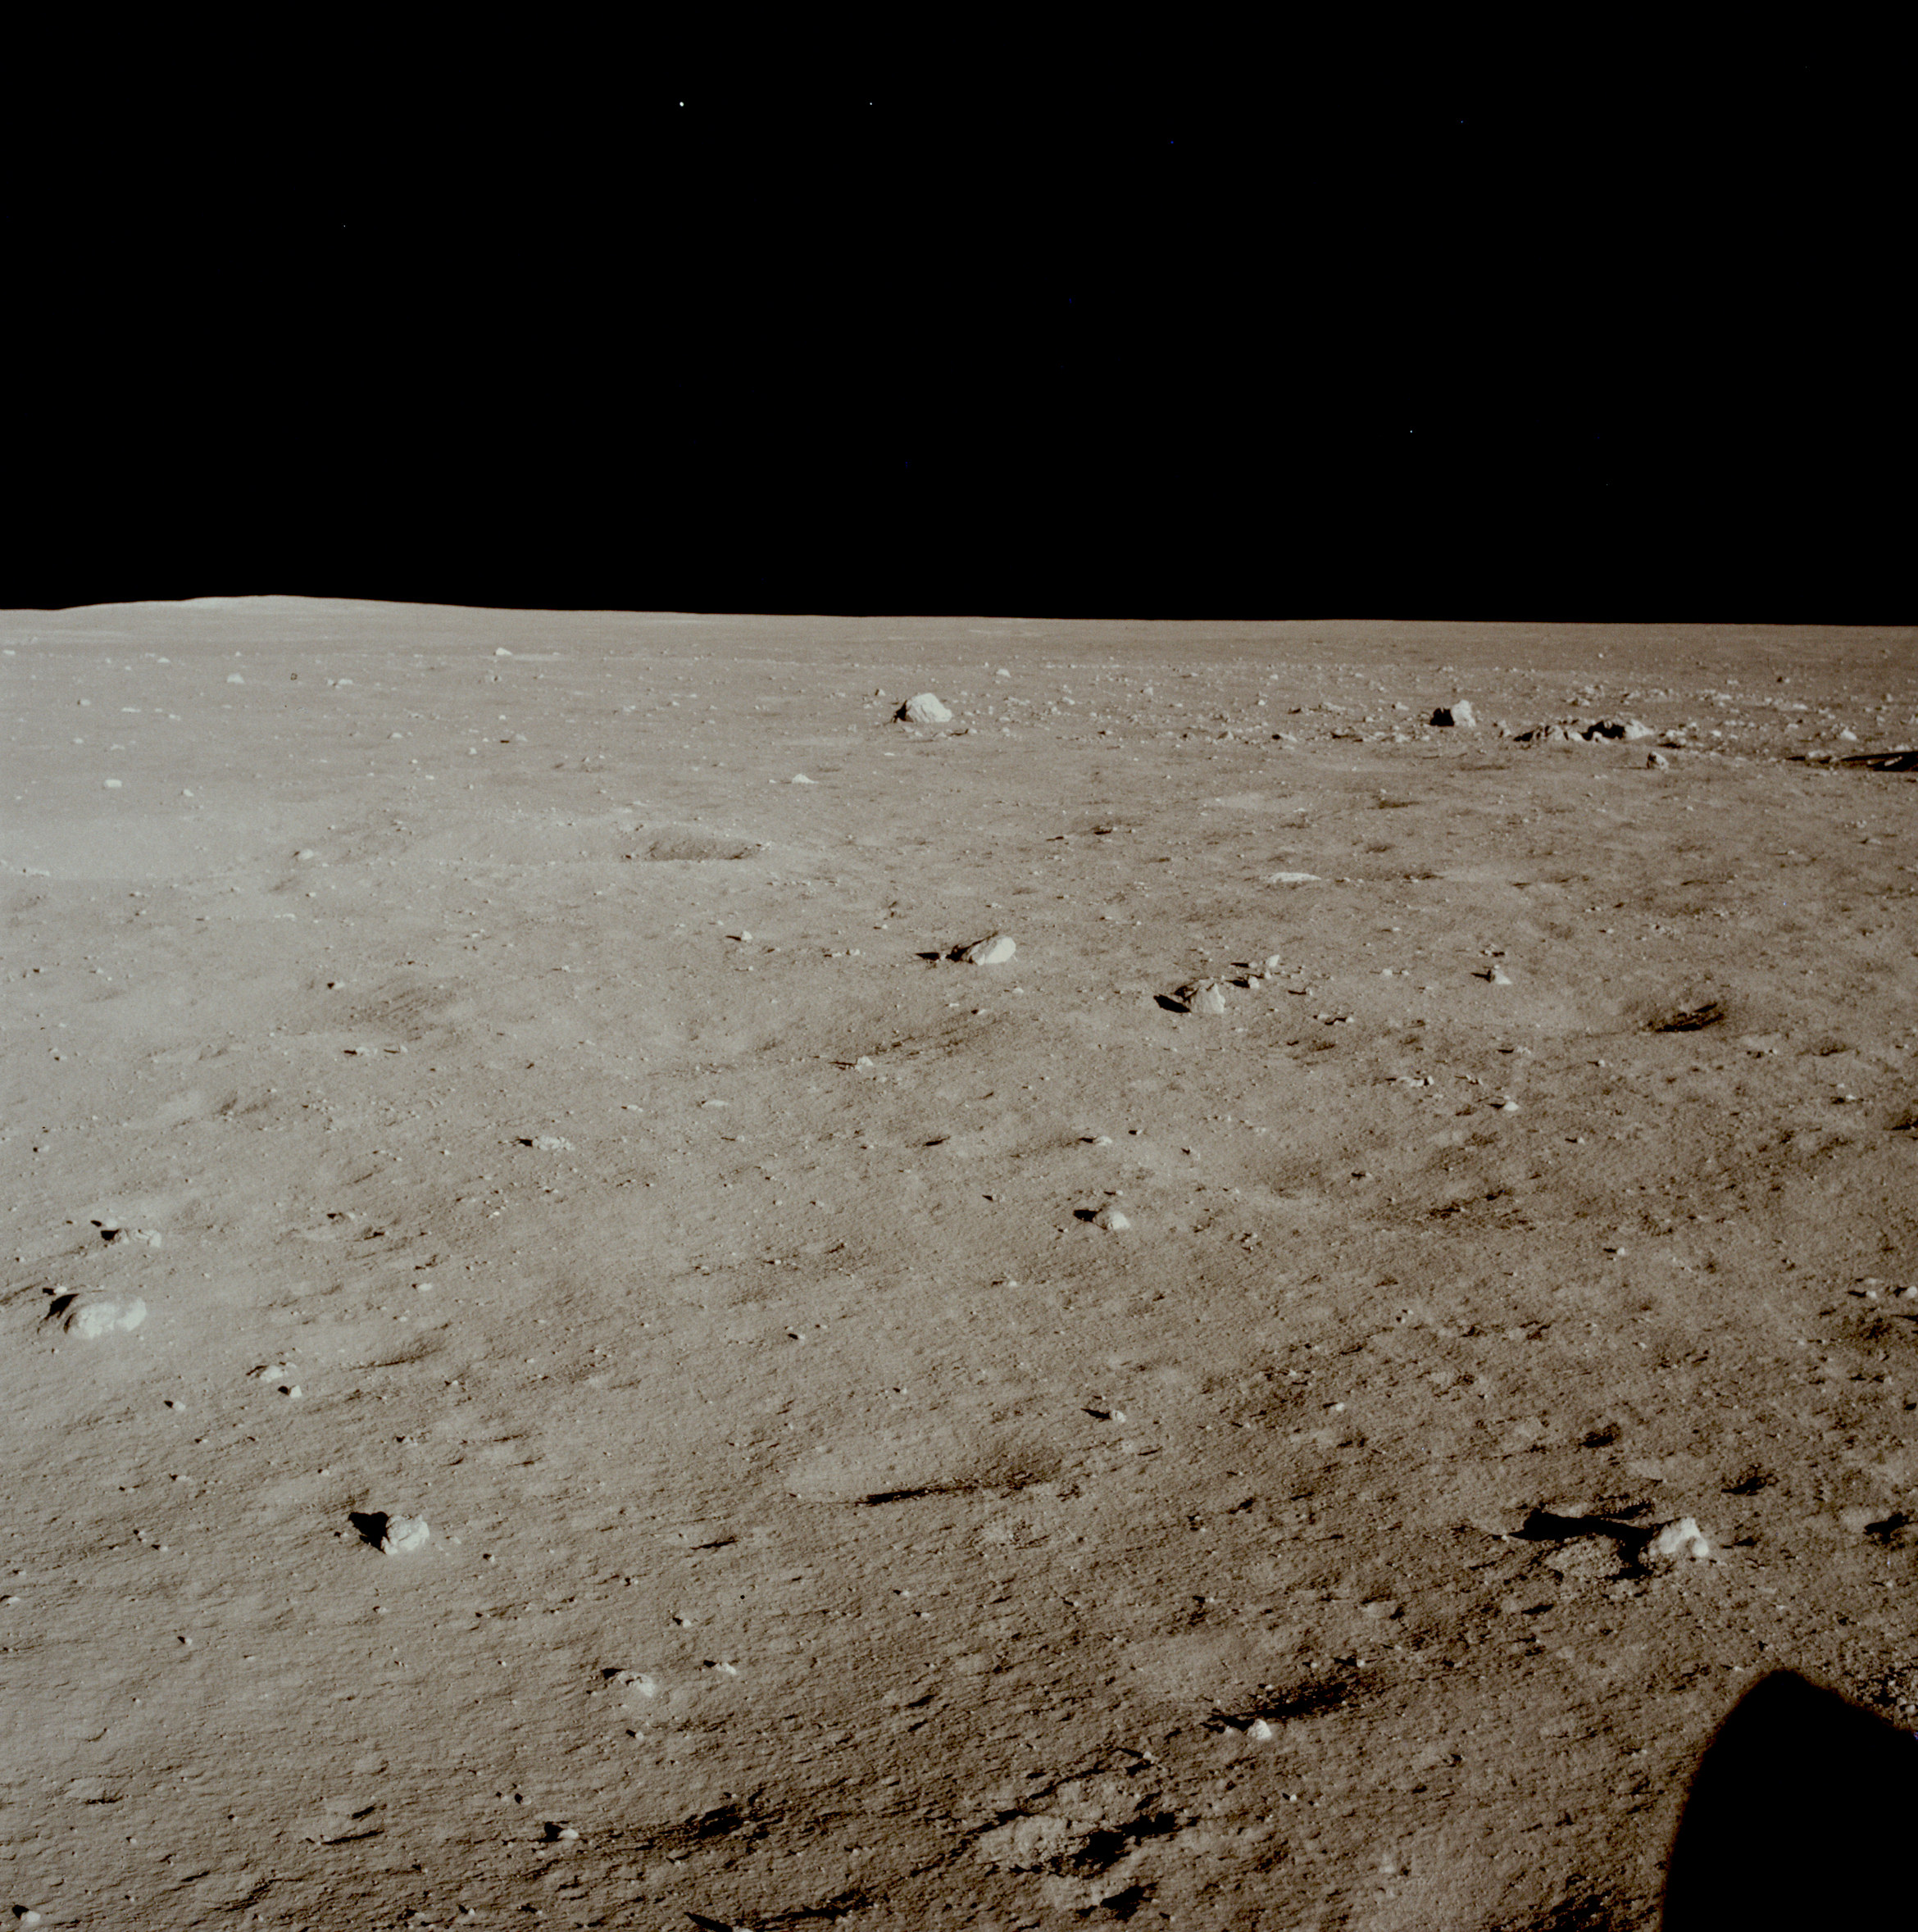 | AS11-37-5456 Tranquility Base from LM window. Image credit: Image Science and Analysis Laboratory, NASA-Johnson Space Center. |
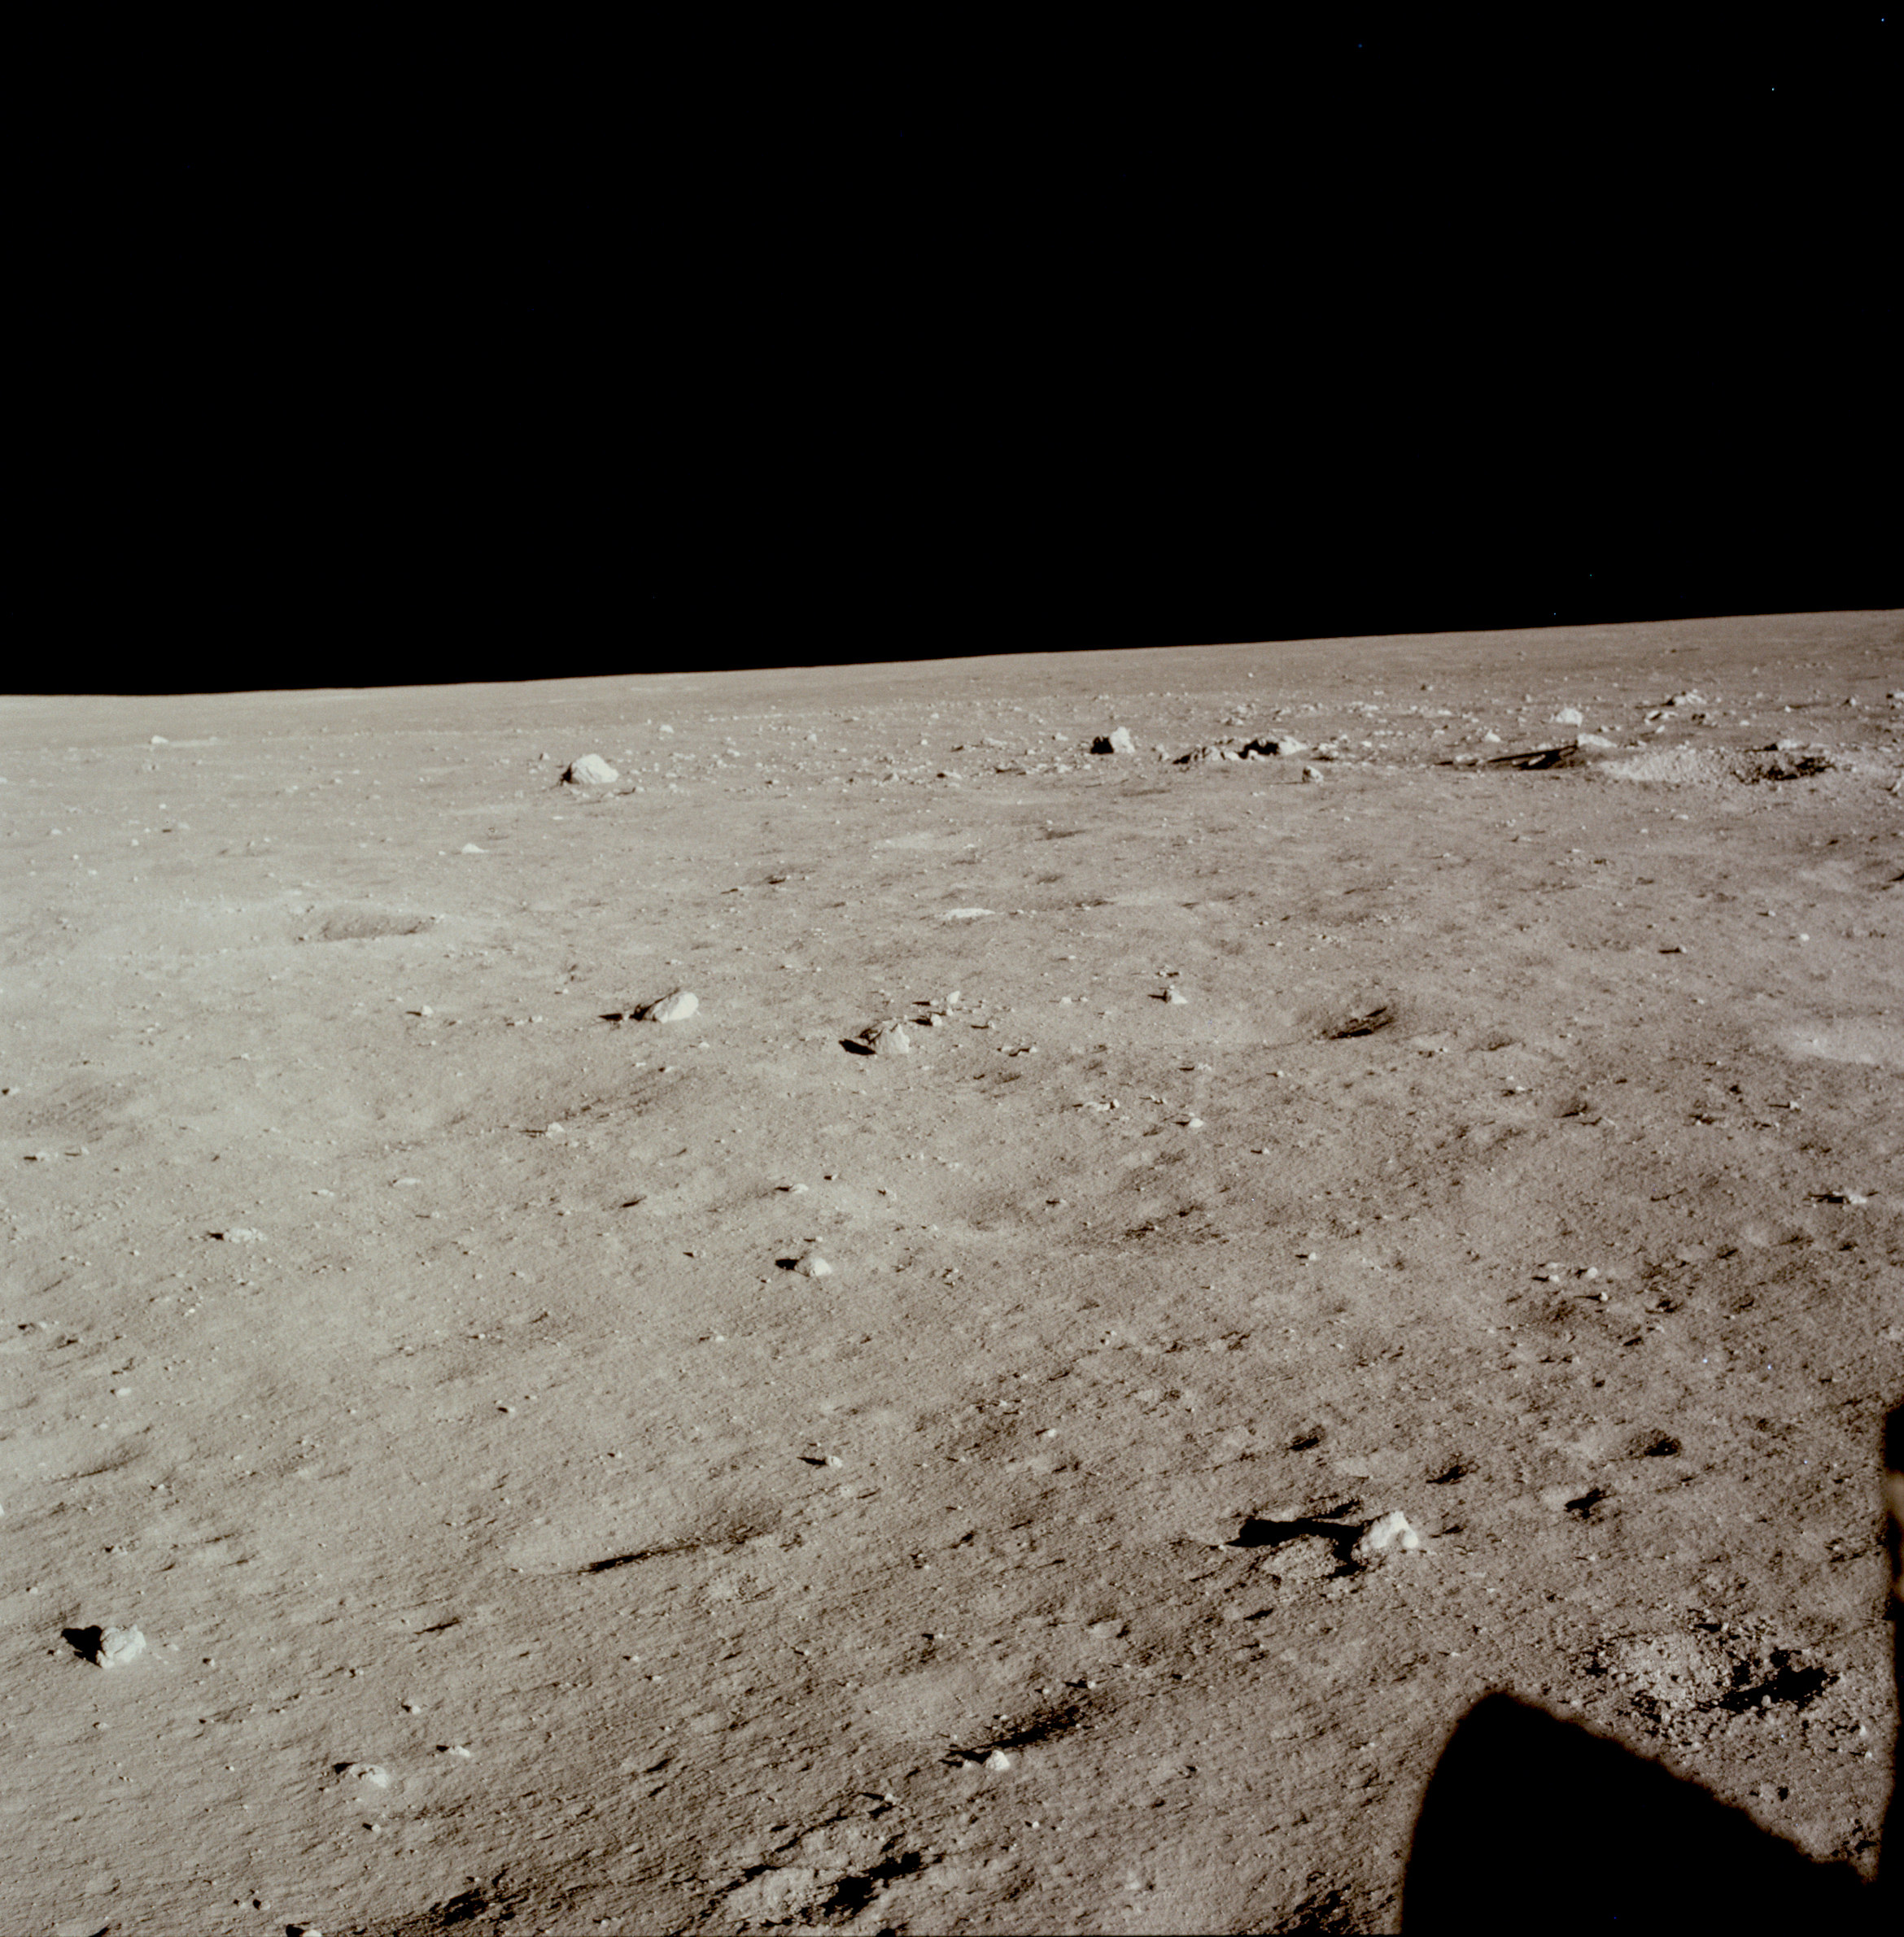 | AS11-37-5457 Tranquility Base from LM window. Image credit: Image Science and Analysis Laboratory, NASA-Johnson Space Center. |
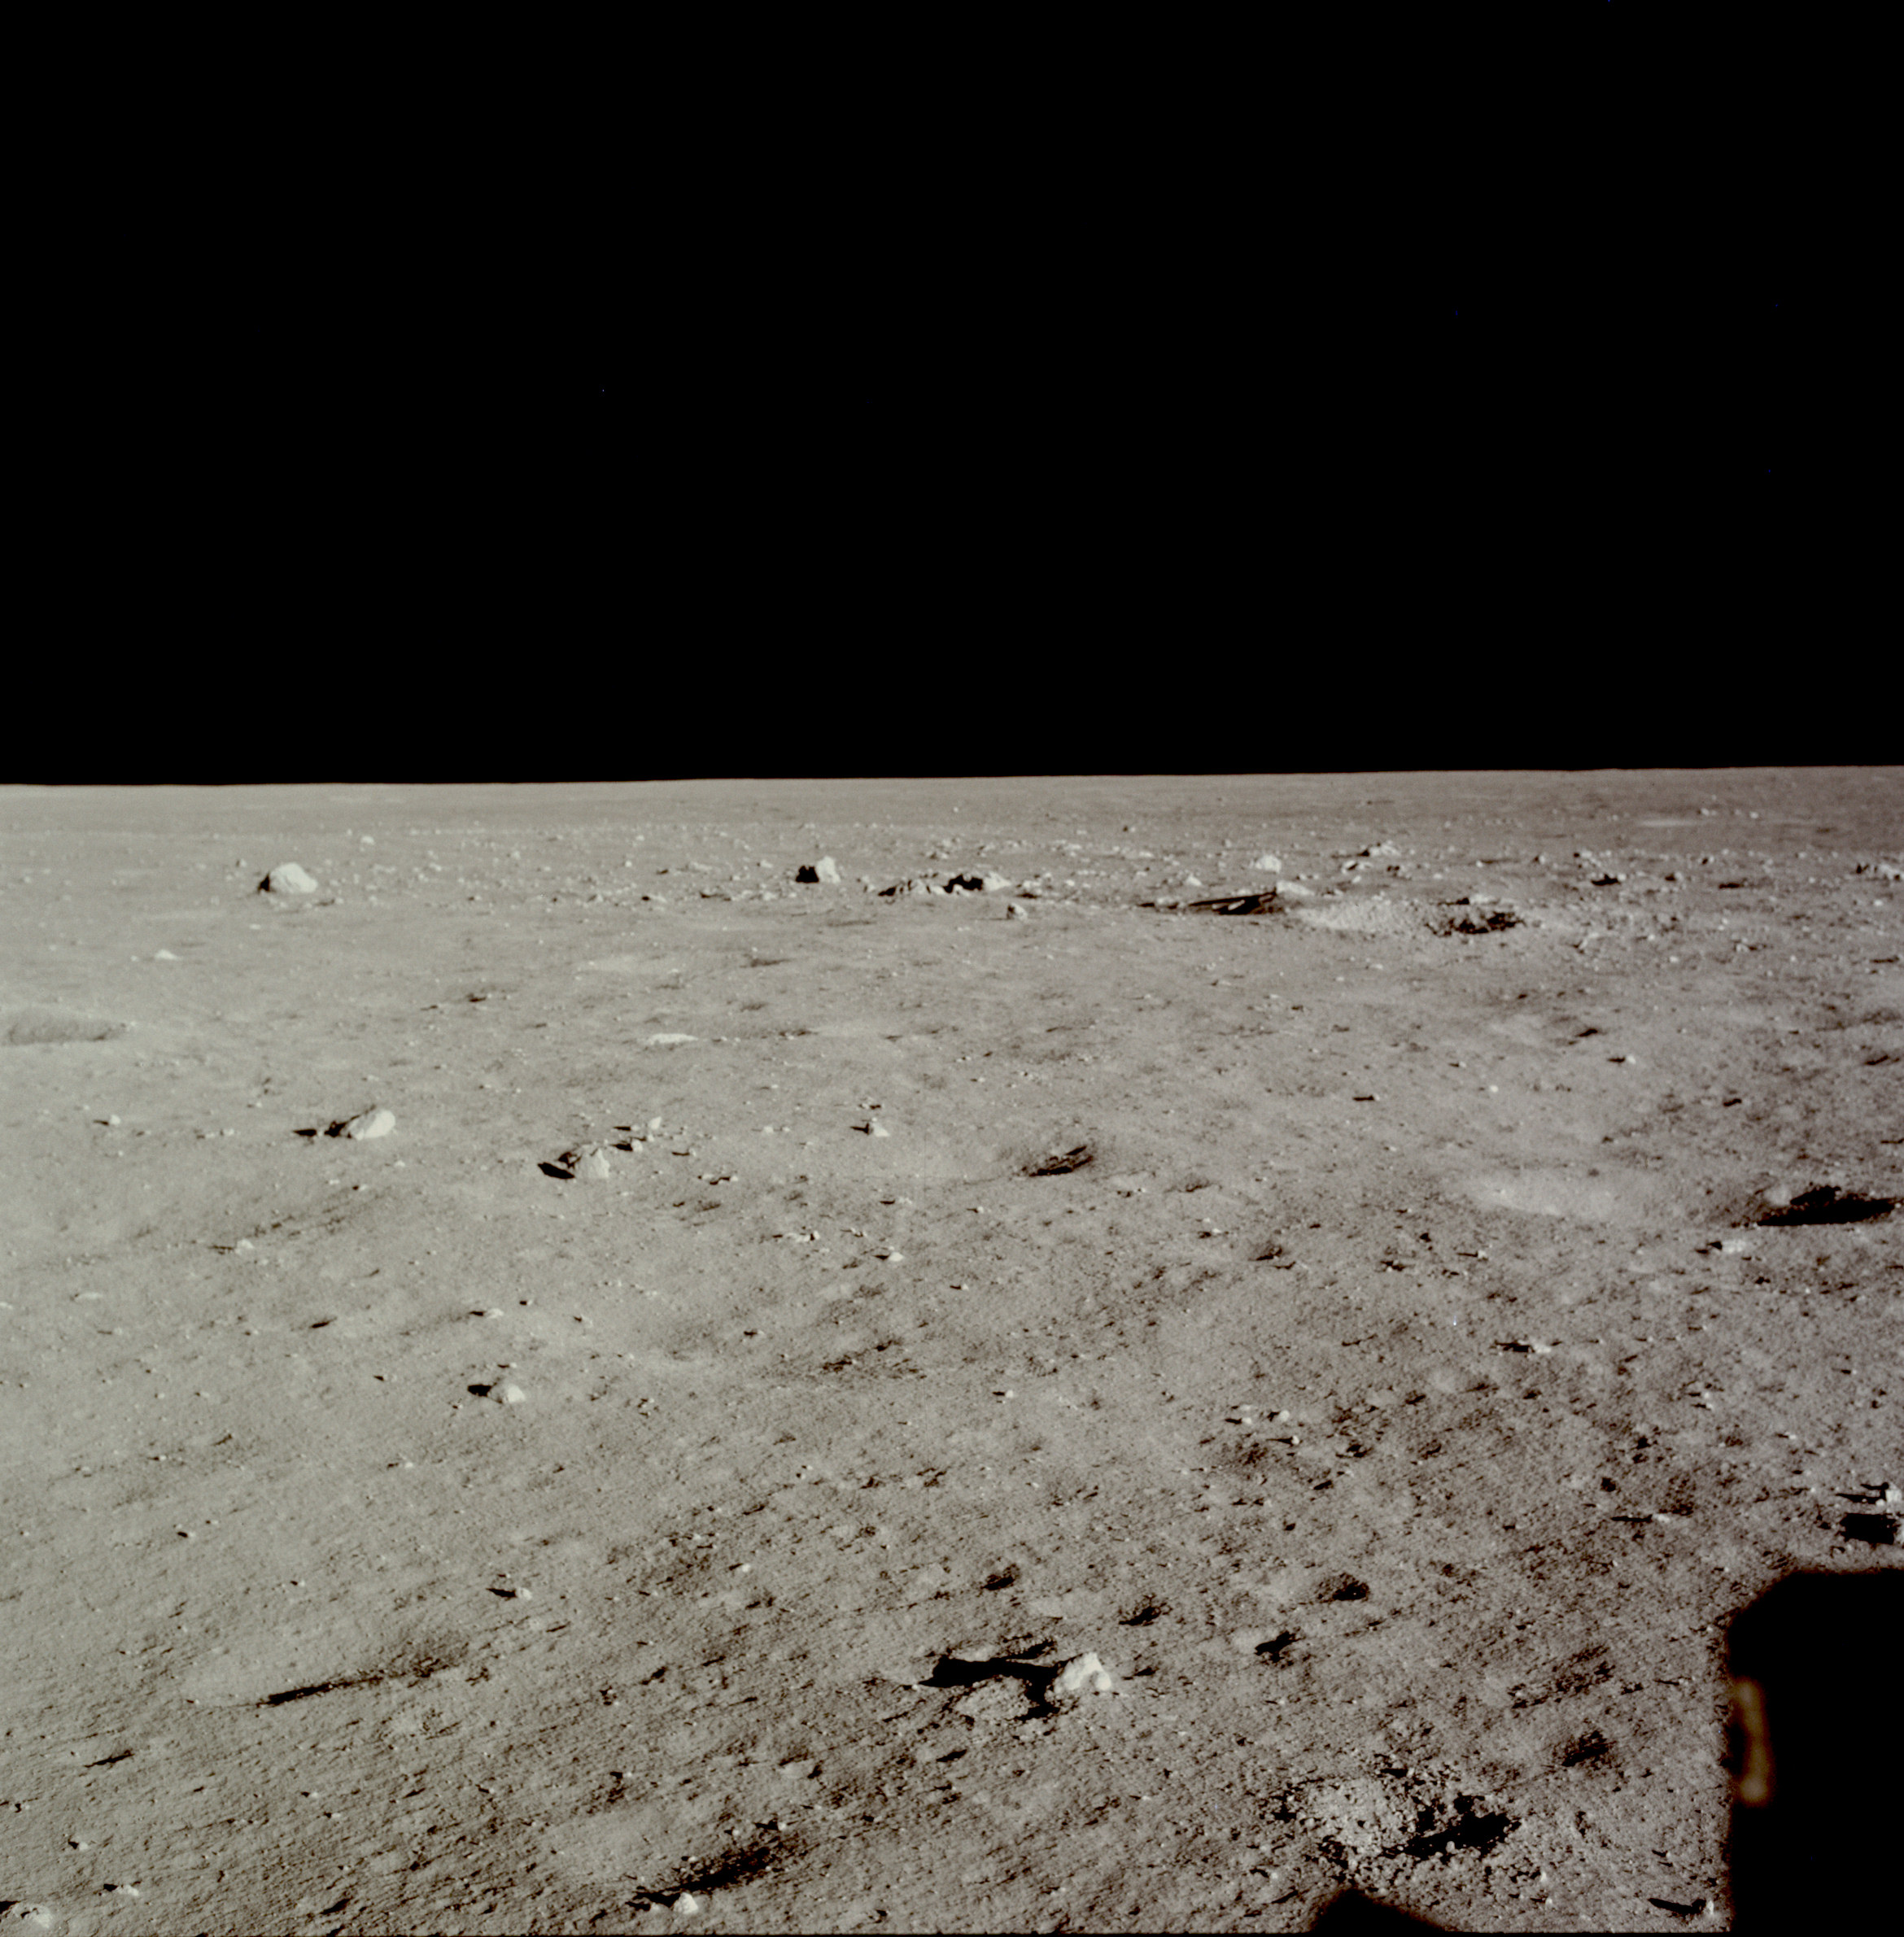 | AS11-37-5458 Tranquility Base from LM window. Image credit: Image Science and Analysis Laboratory, NASA-Johnson Space Center. |
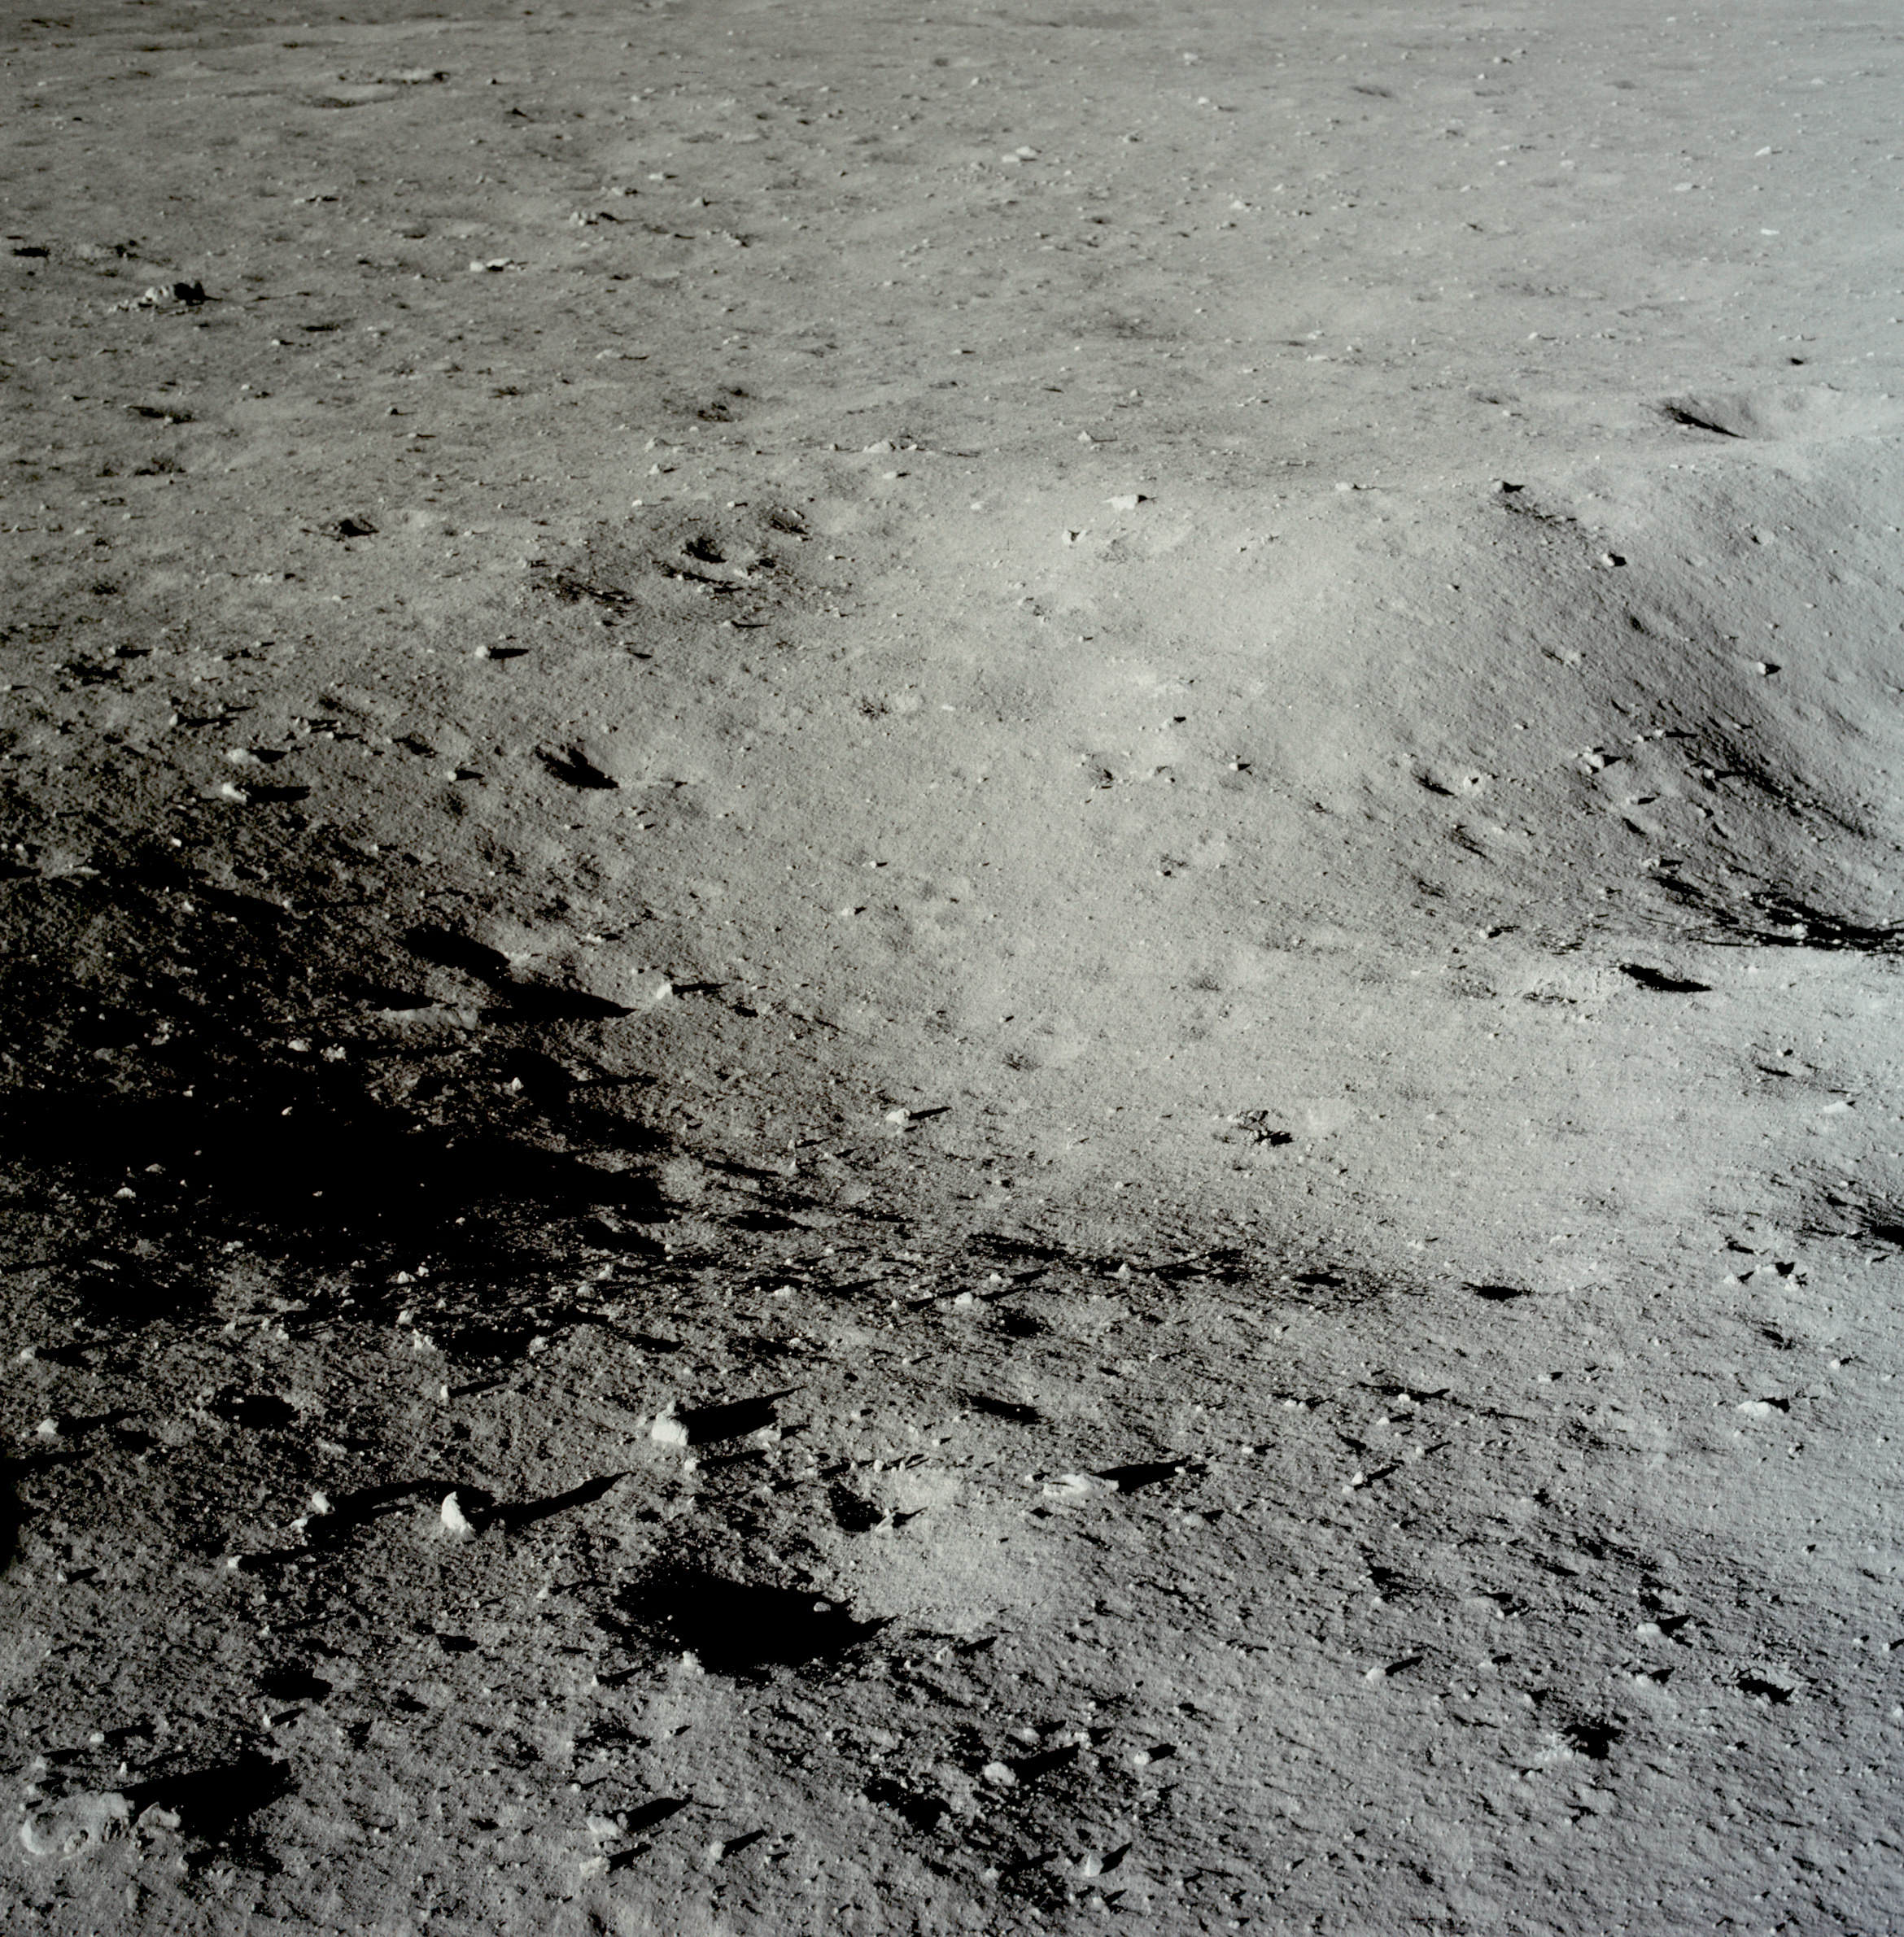 | AS11-37-5459 Tranquility Base from LM window. Image credit: Image Science and Analysis Laboratory, NASA-Johnson Space Center. |
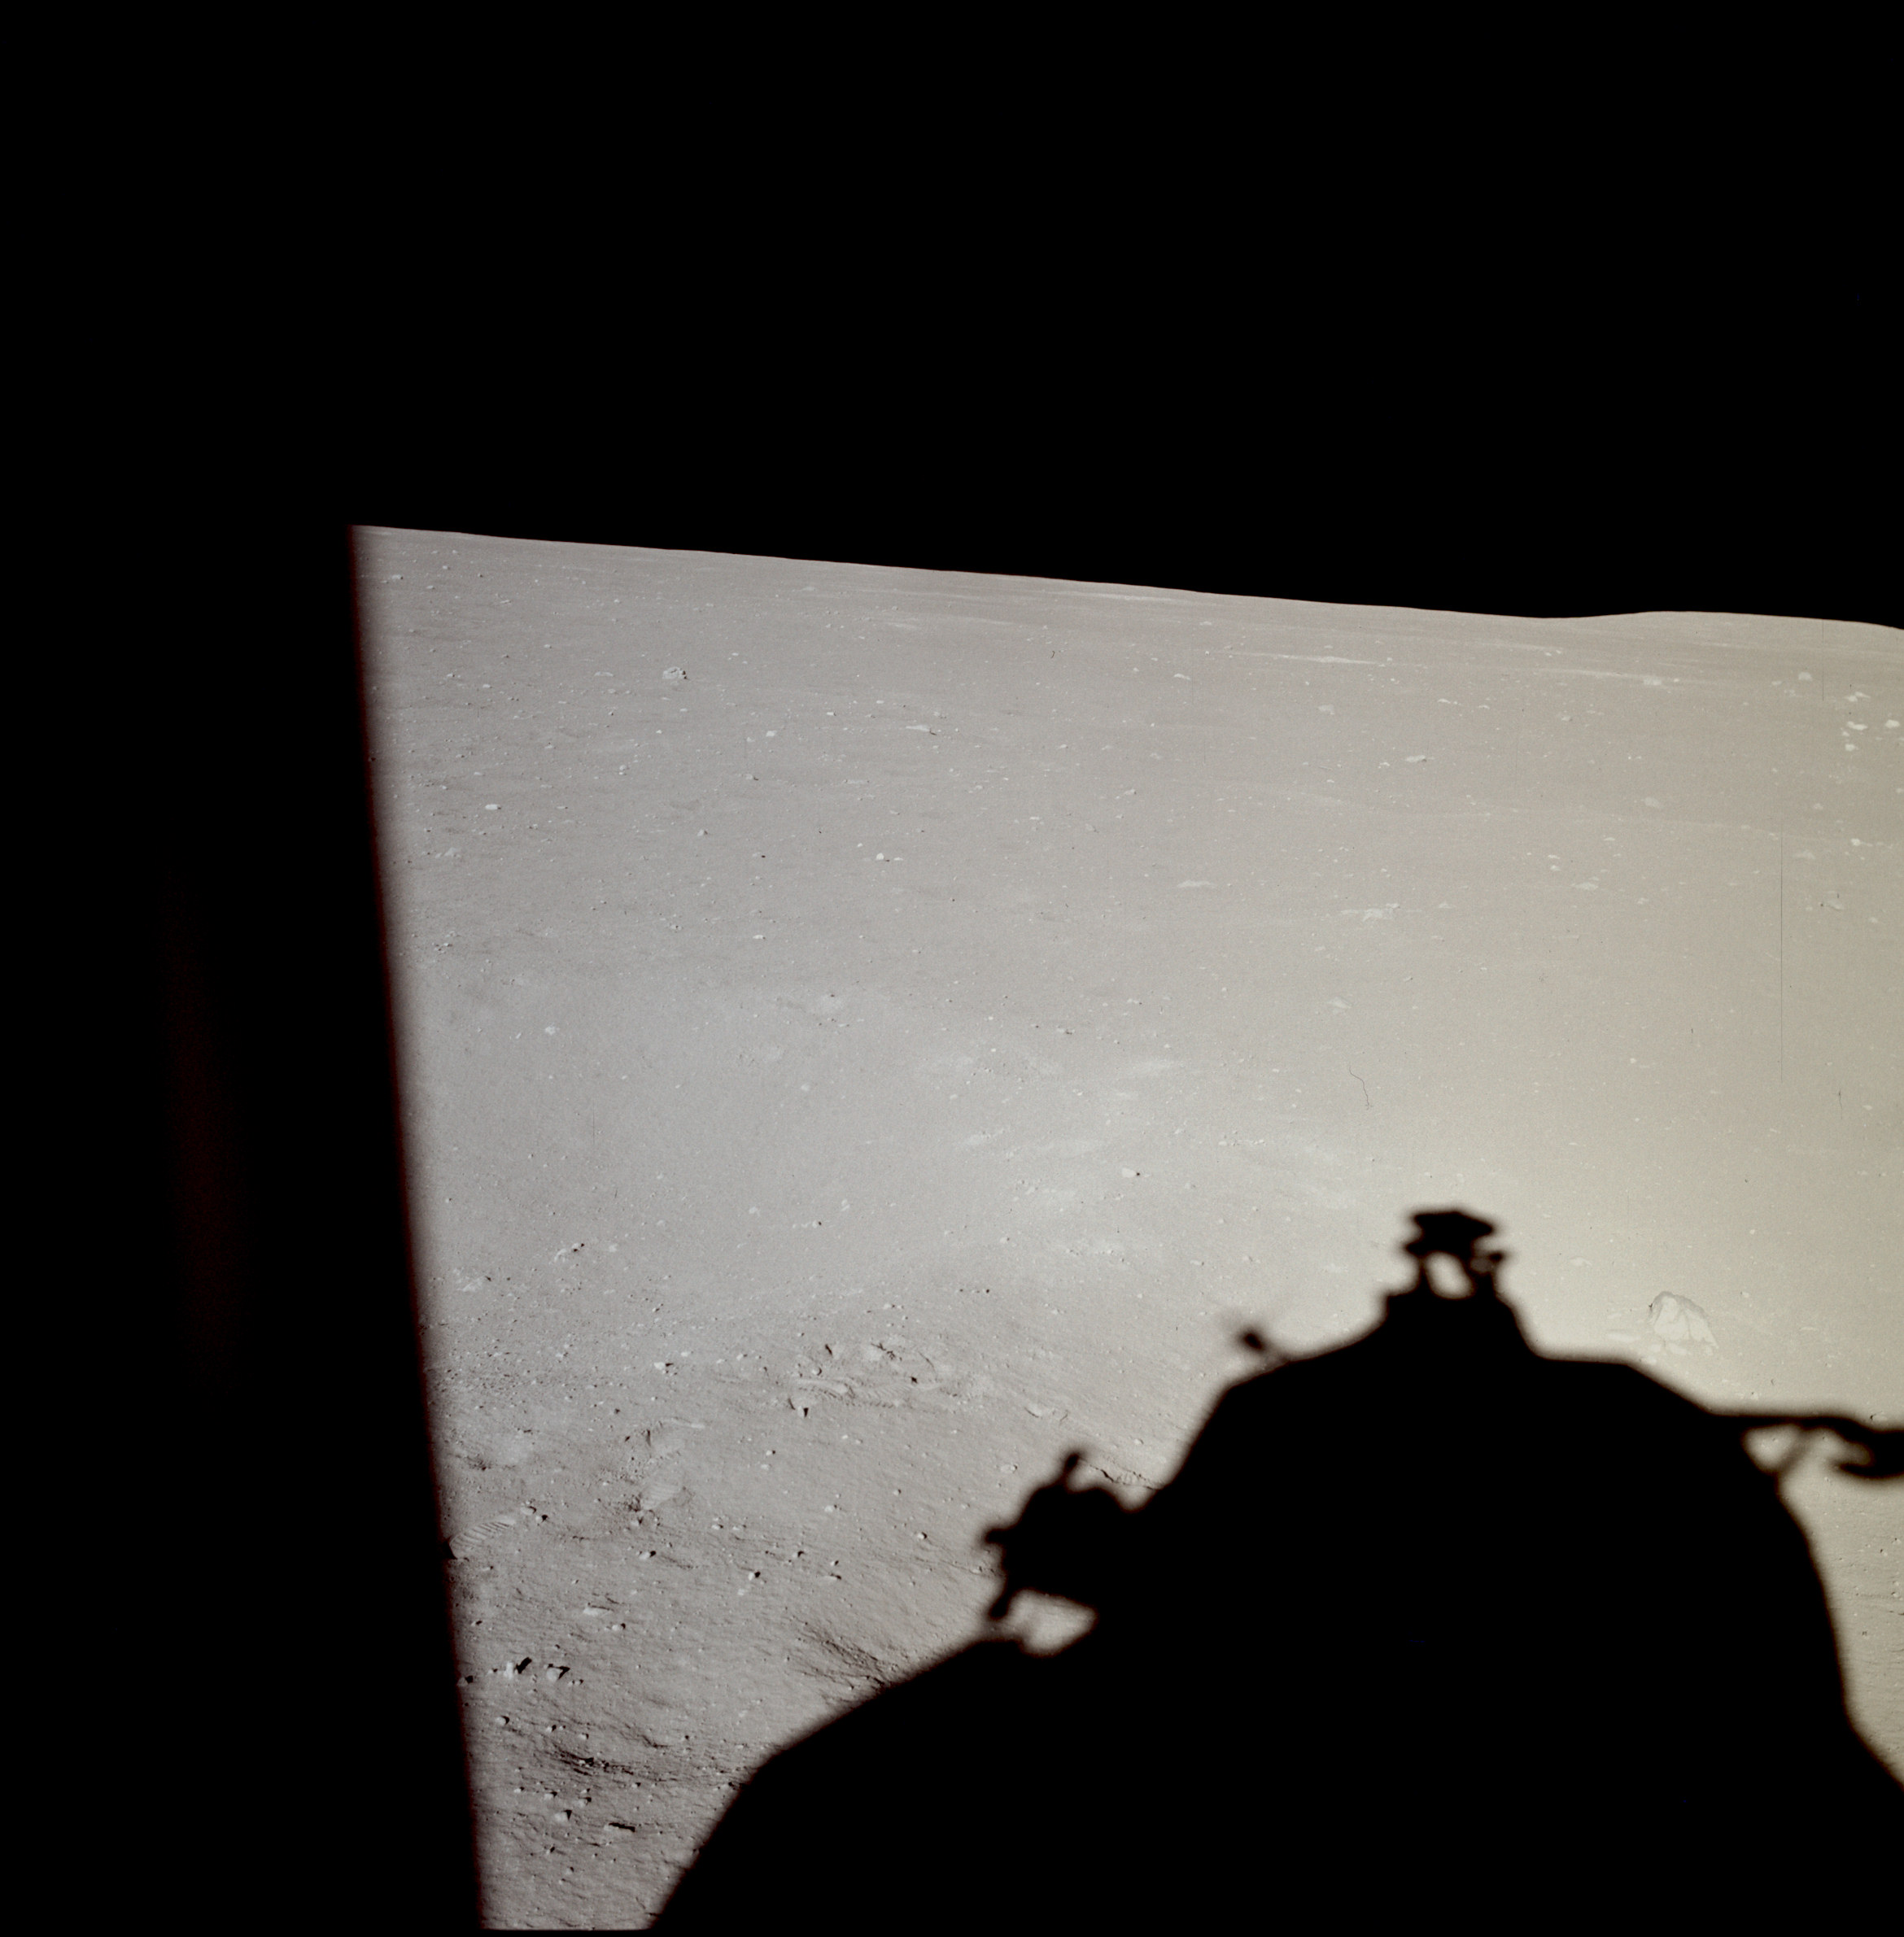 | AS11-37-5460 Tranquility Base from LM window. Image credit: Image Science and Analysis Laboratory, NASA-Johnson Space Center. |
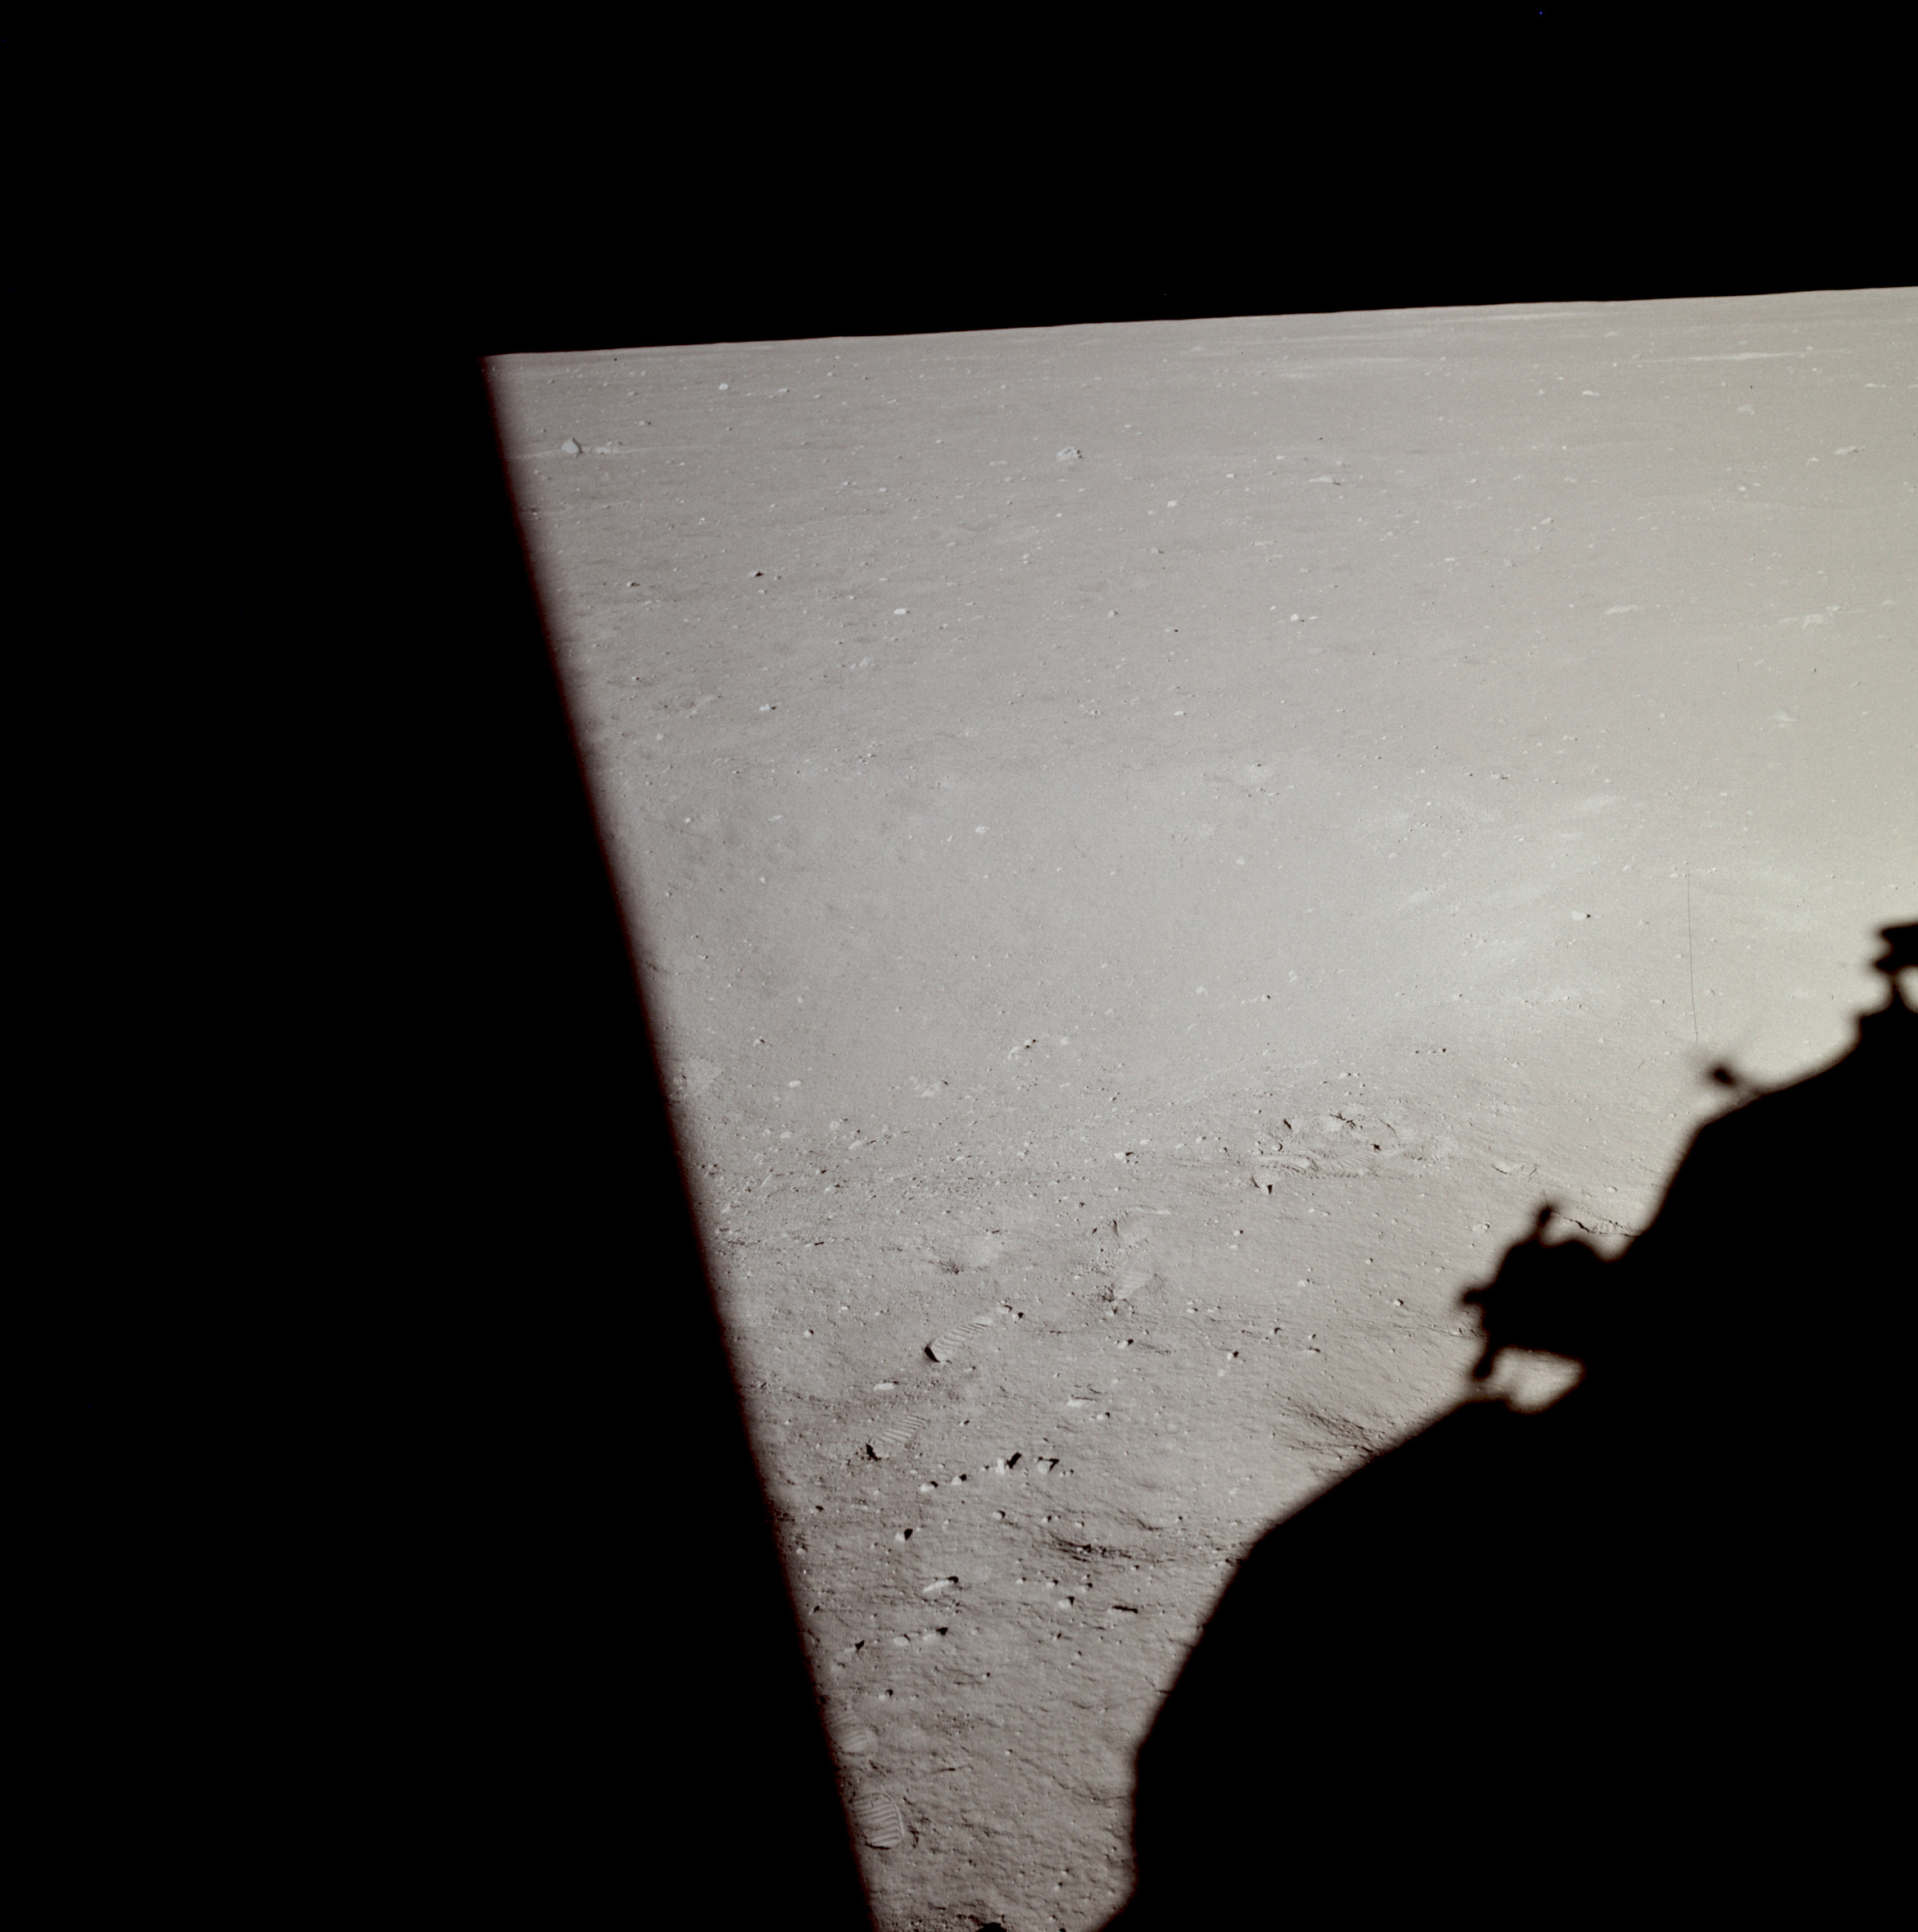 | AS11-37-5461 Tranquility Base from LM window. Image credit: Image Science and Analysis Laboratory, NASA-Johnson Space Center. |
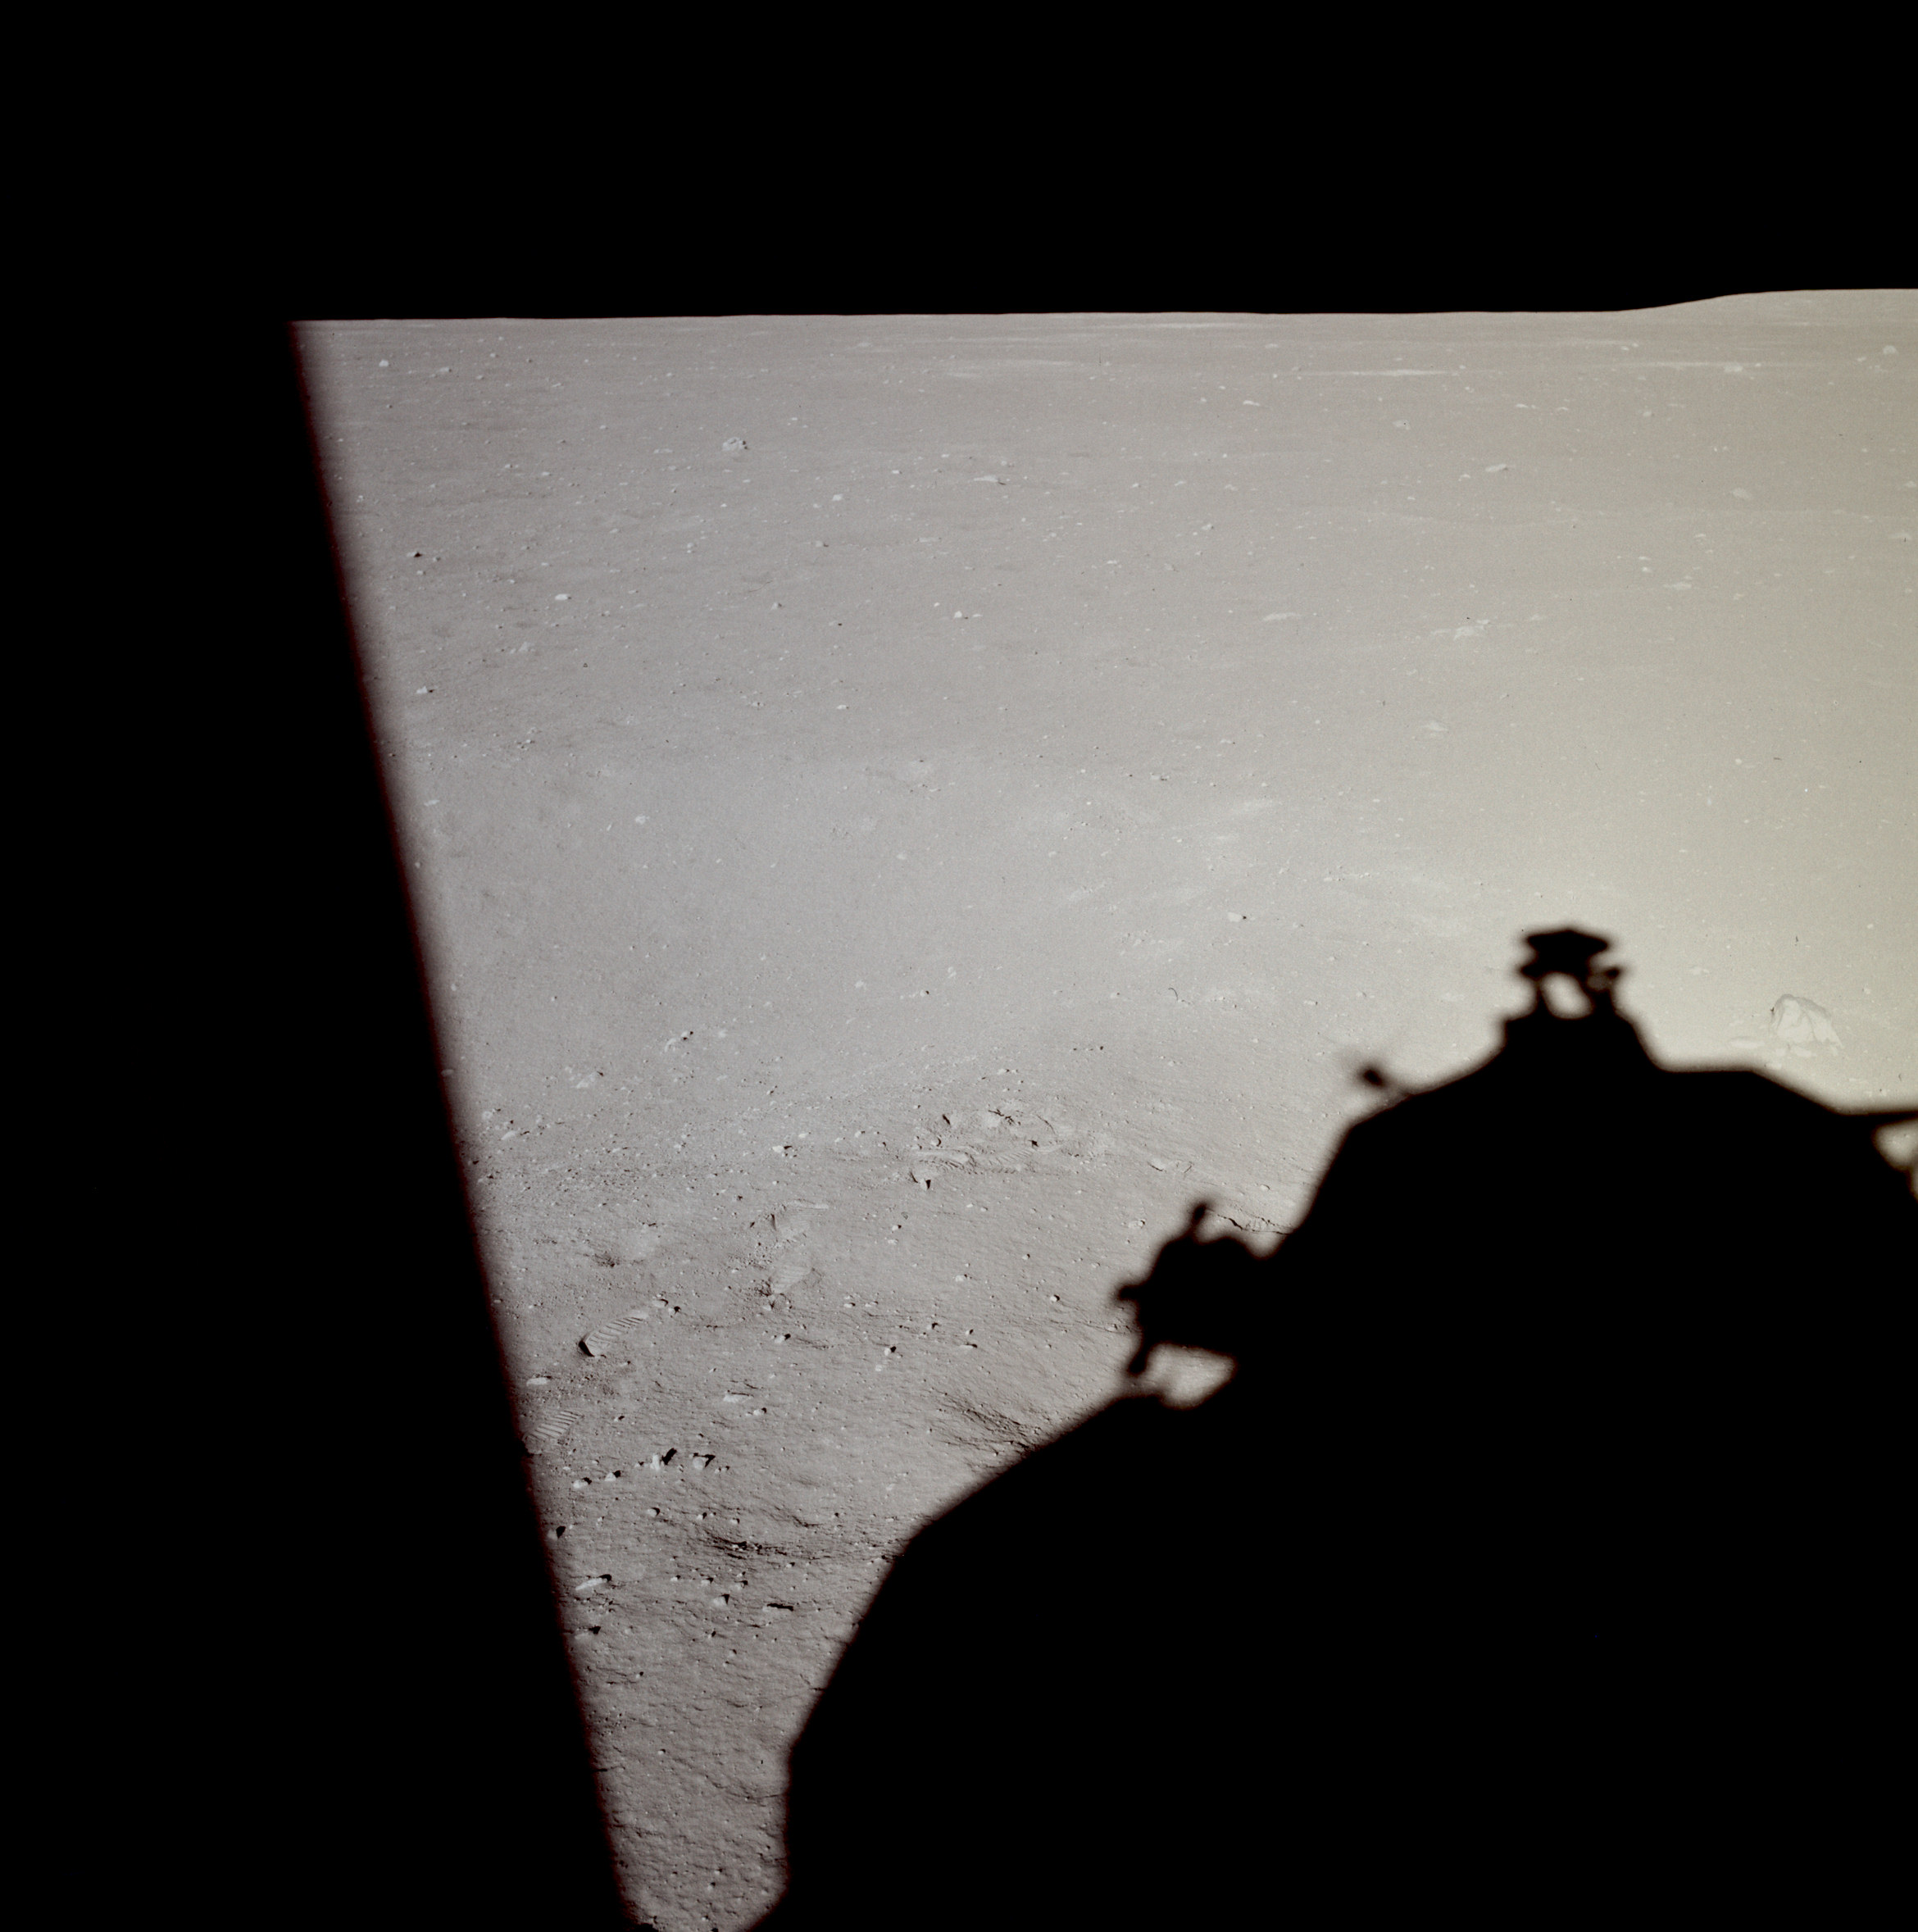 | AS11-37-5462 Tranquility Base from LM window. Image credit: Image Science and Analysis Laboratory, NASA-Johnson Space Center. |
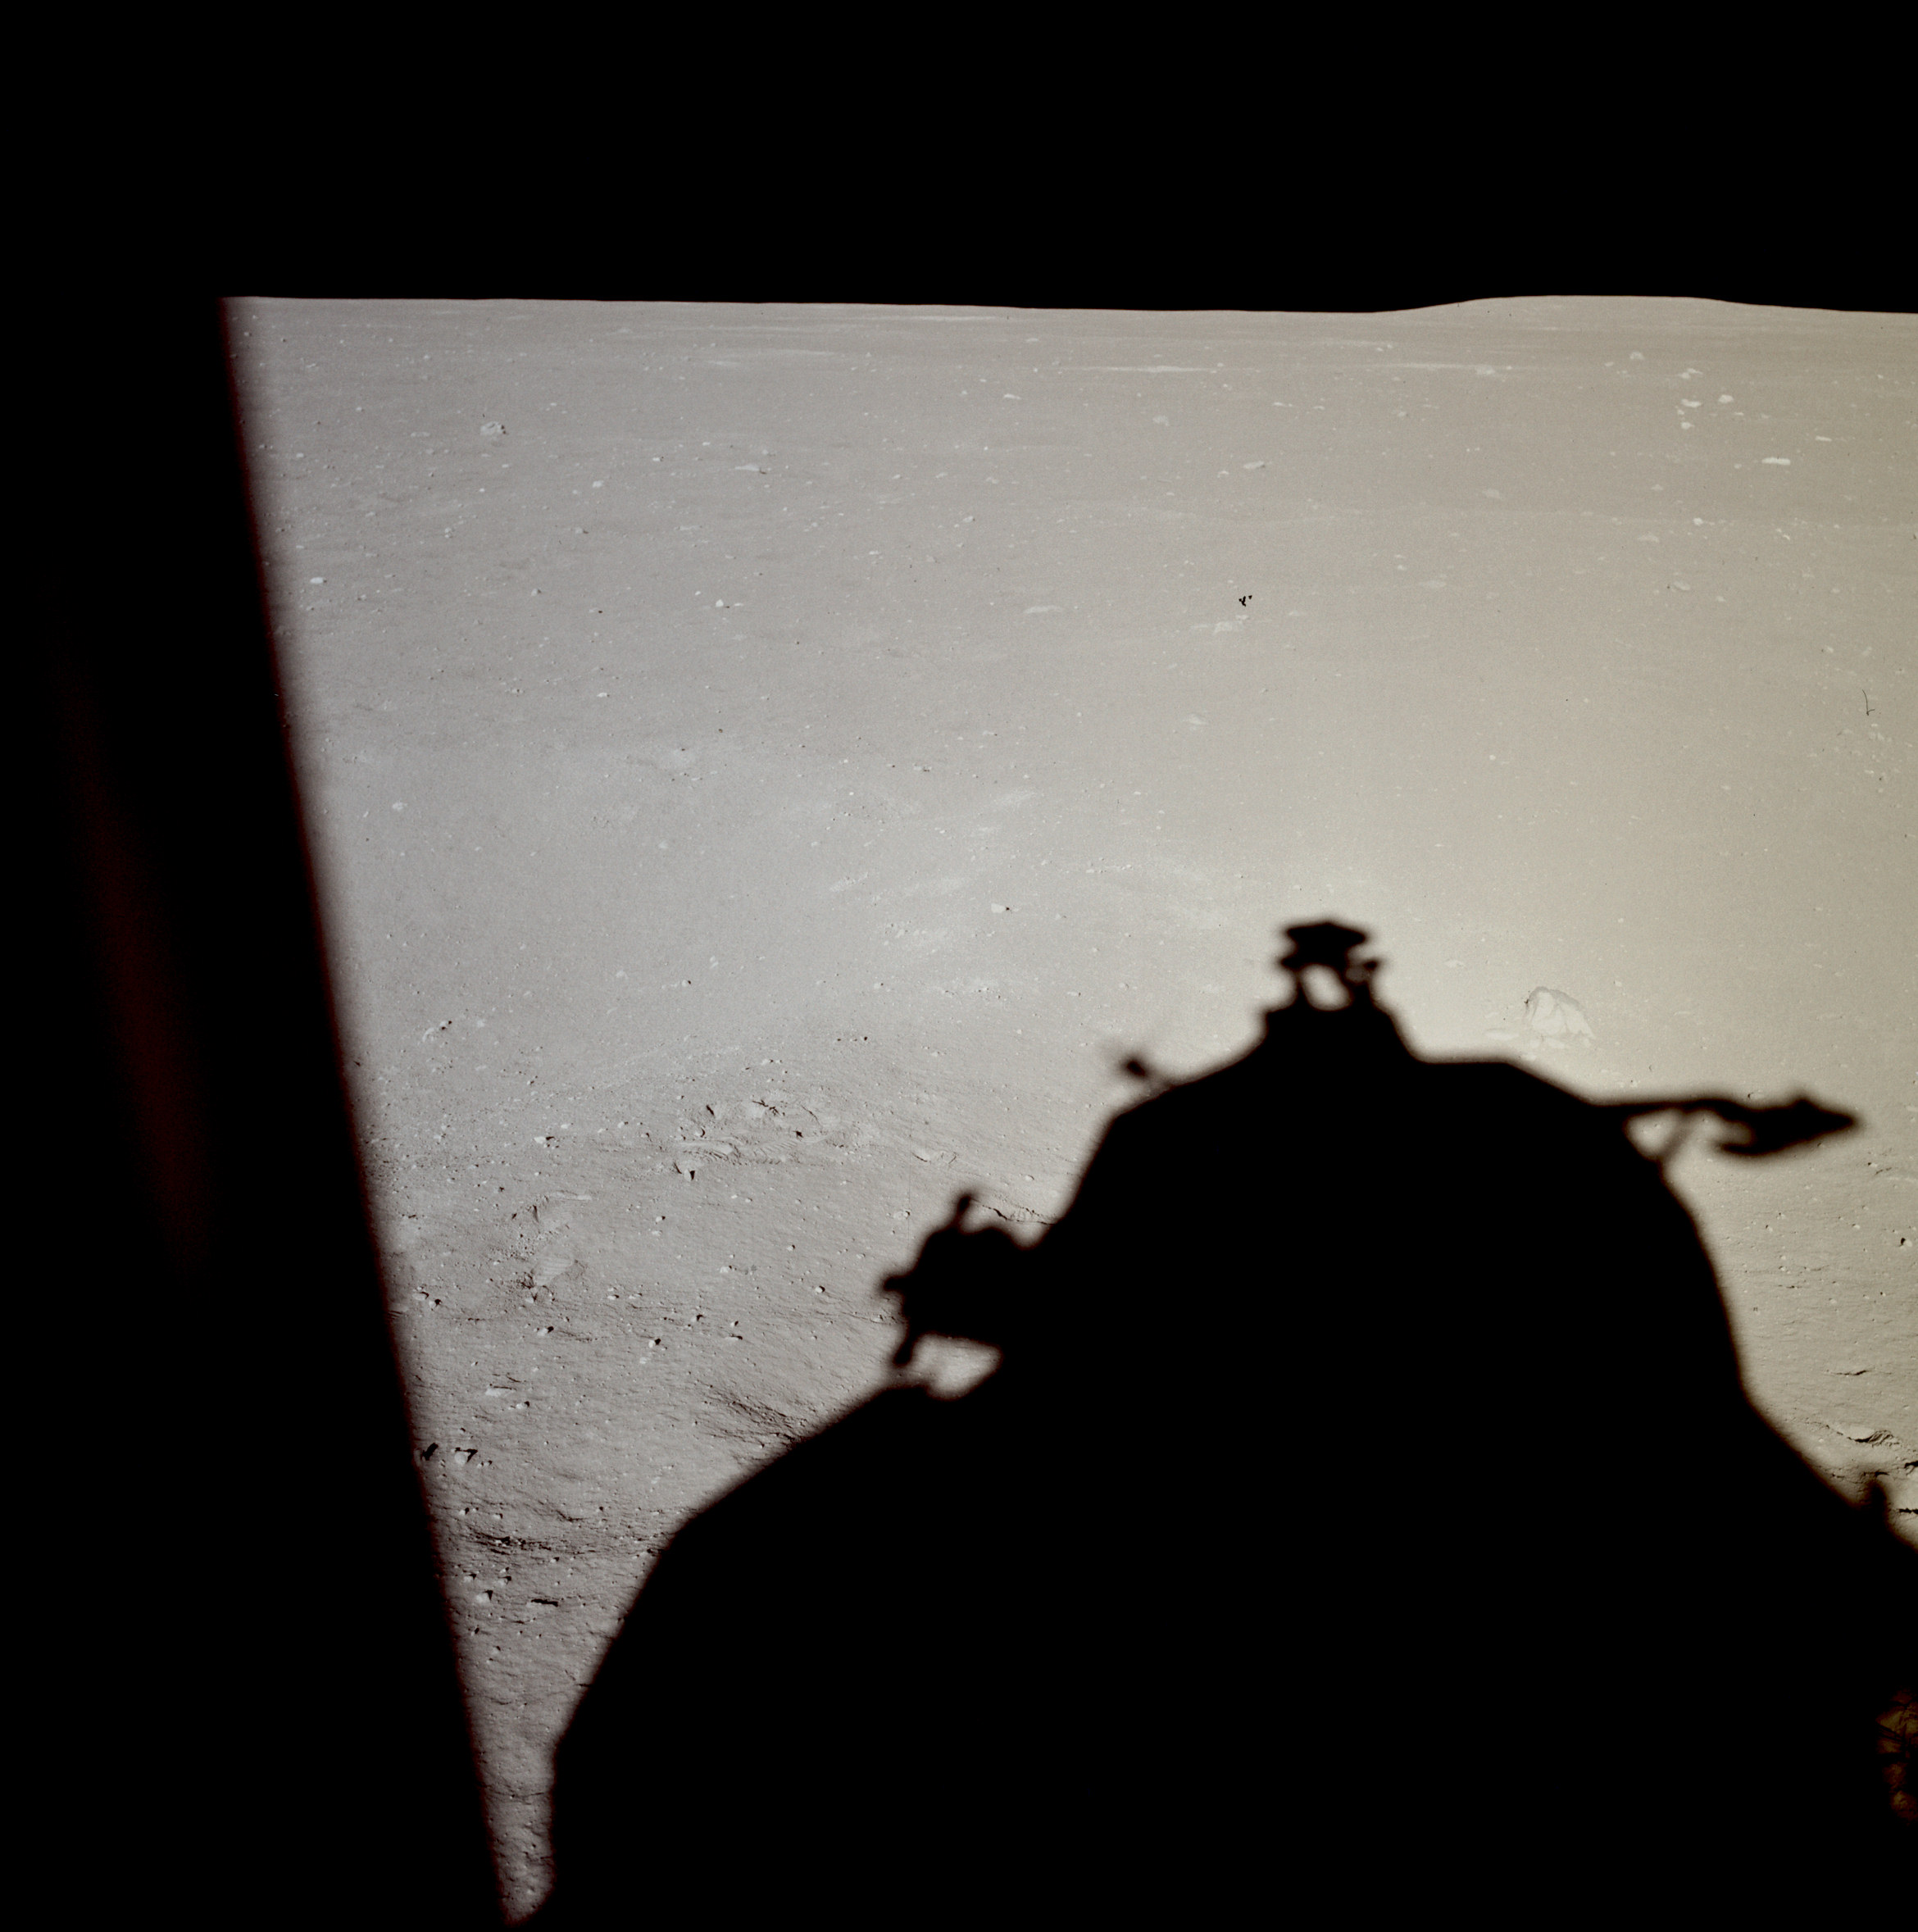 | AS11-37-5463 Tranquility Base from LM window. Image credit: Image Science and Analysis Laboratory, NASA-Johnson Space Center. |
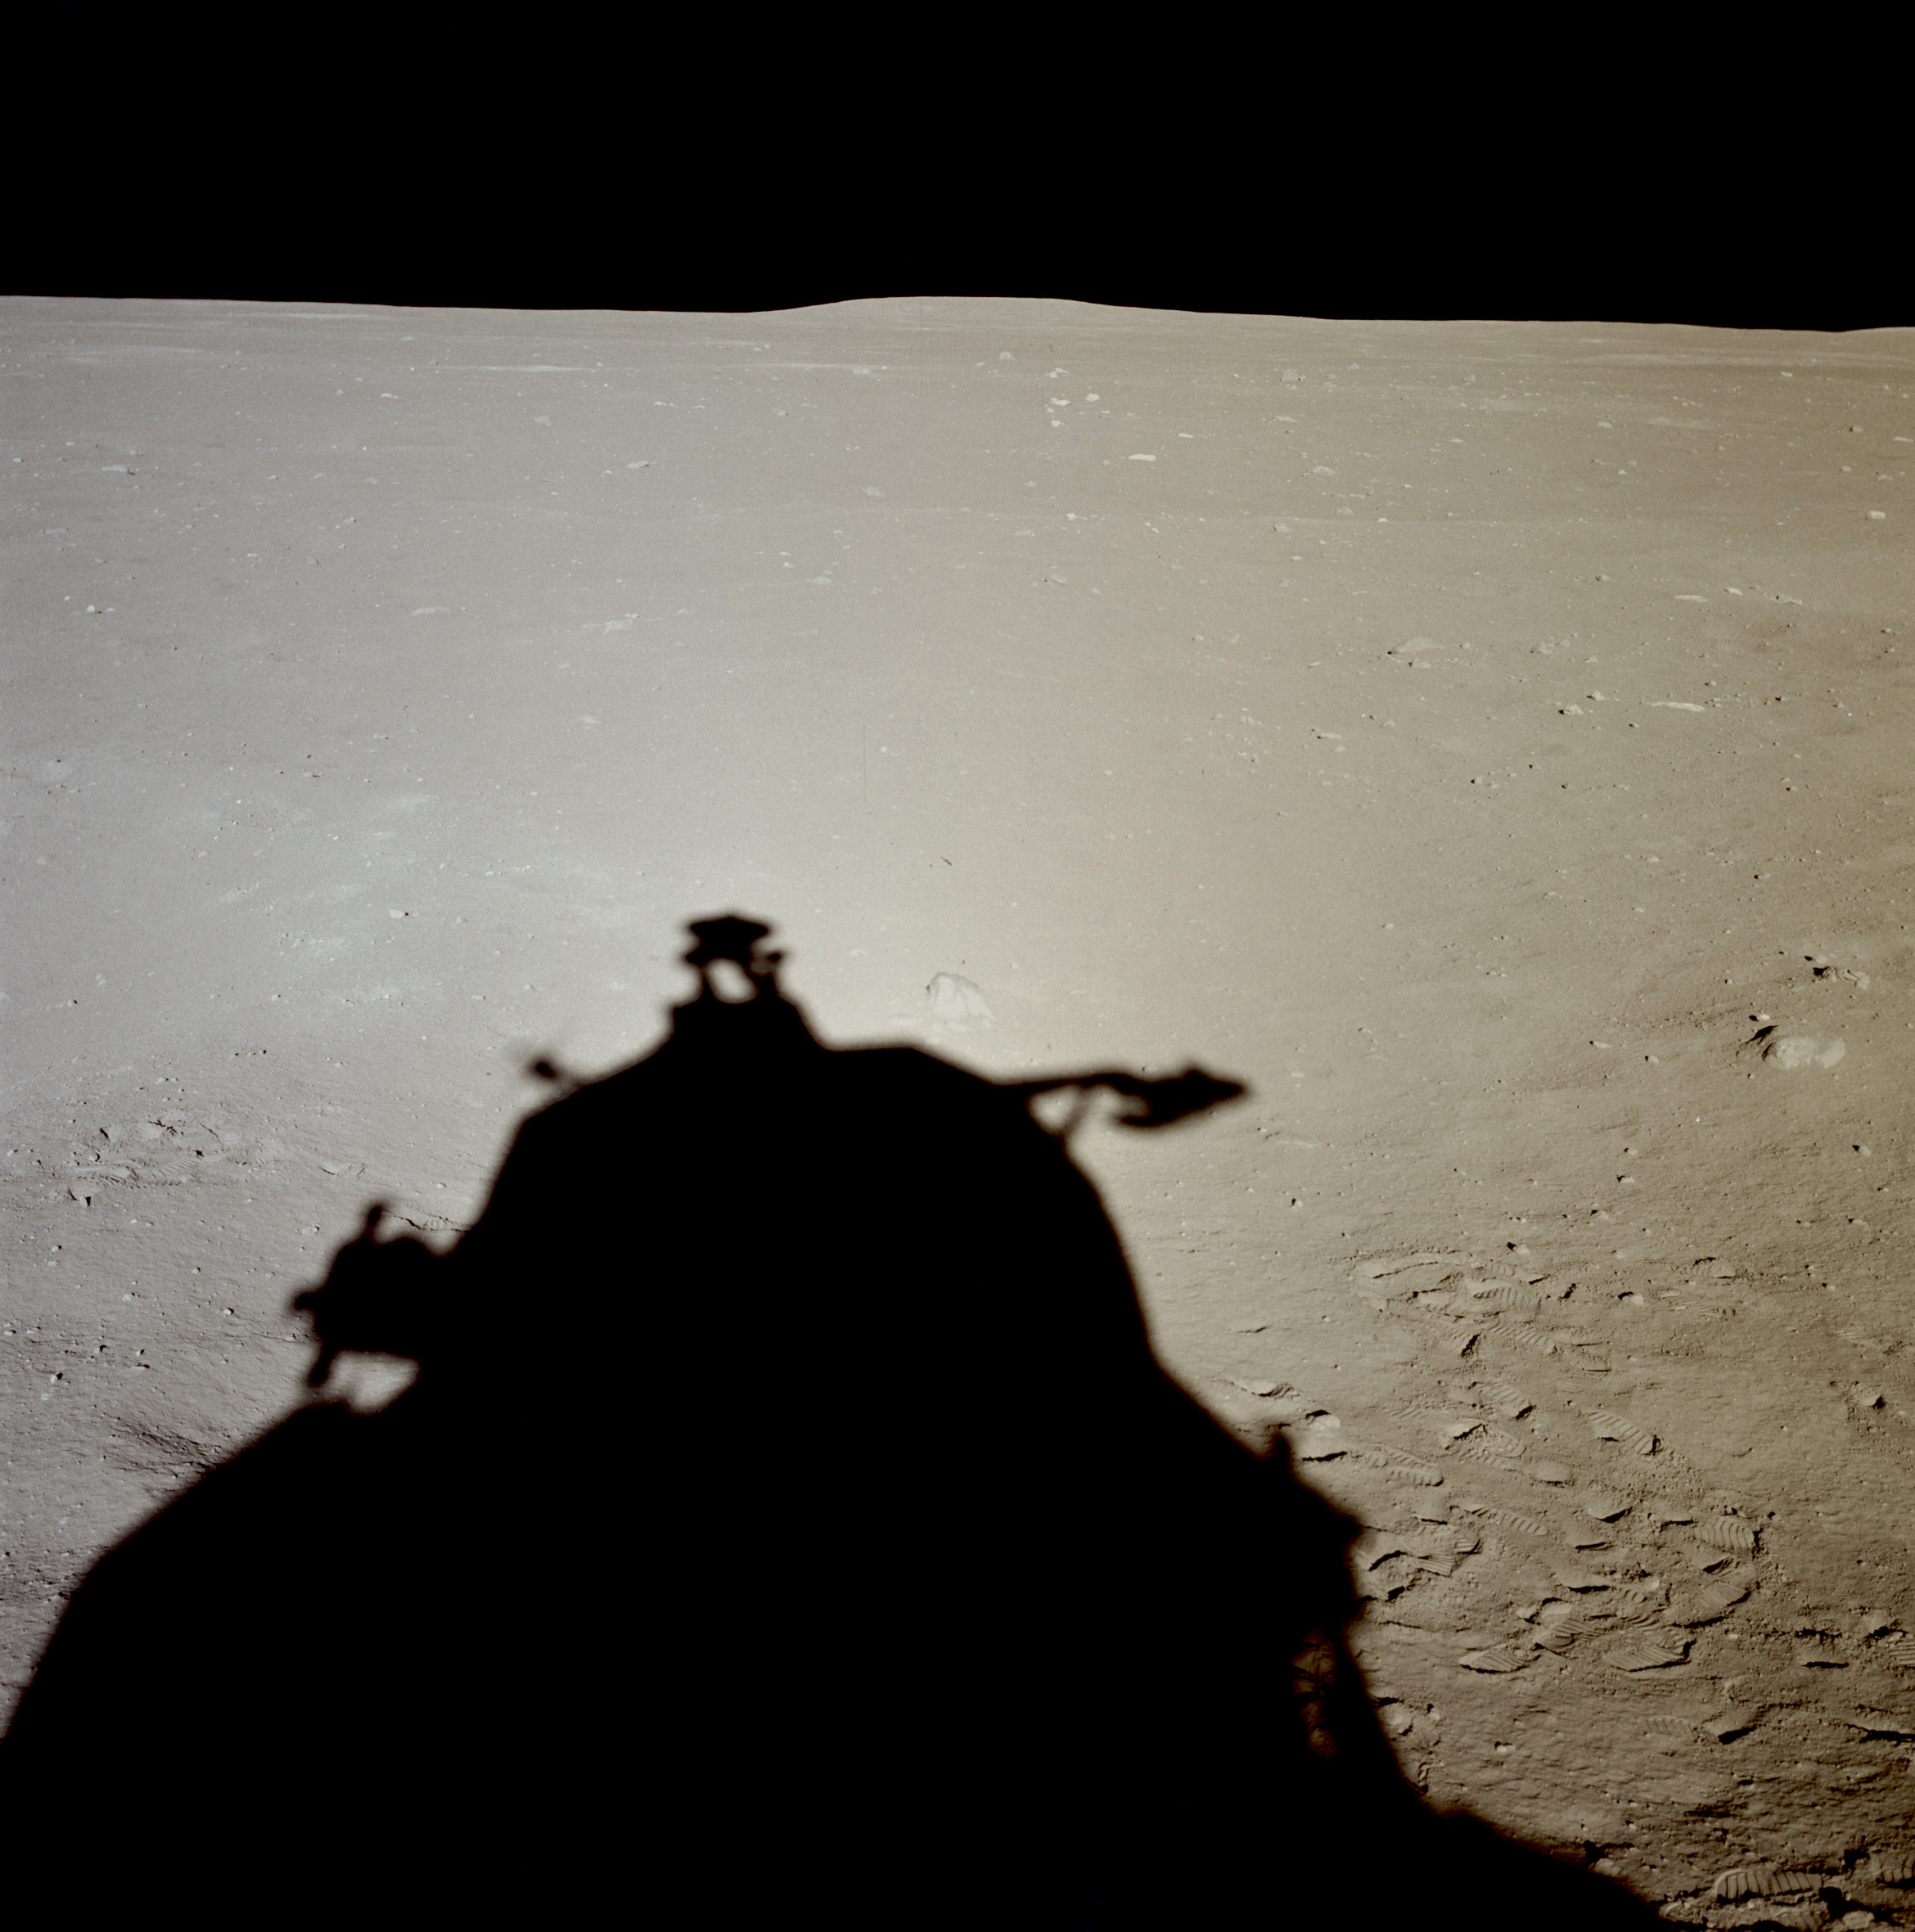 | AS11-37-5464 Tranquility Base from LM window. Image credit: Image Science and Analysis Laboratory, NASA-Johnson Space Center. |
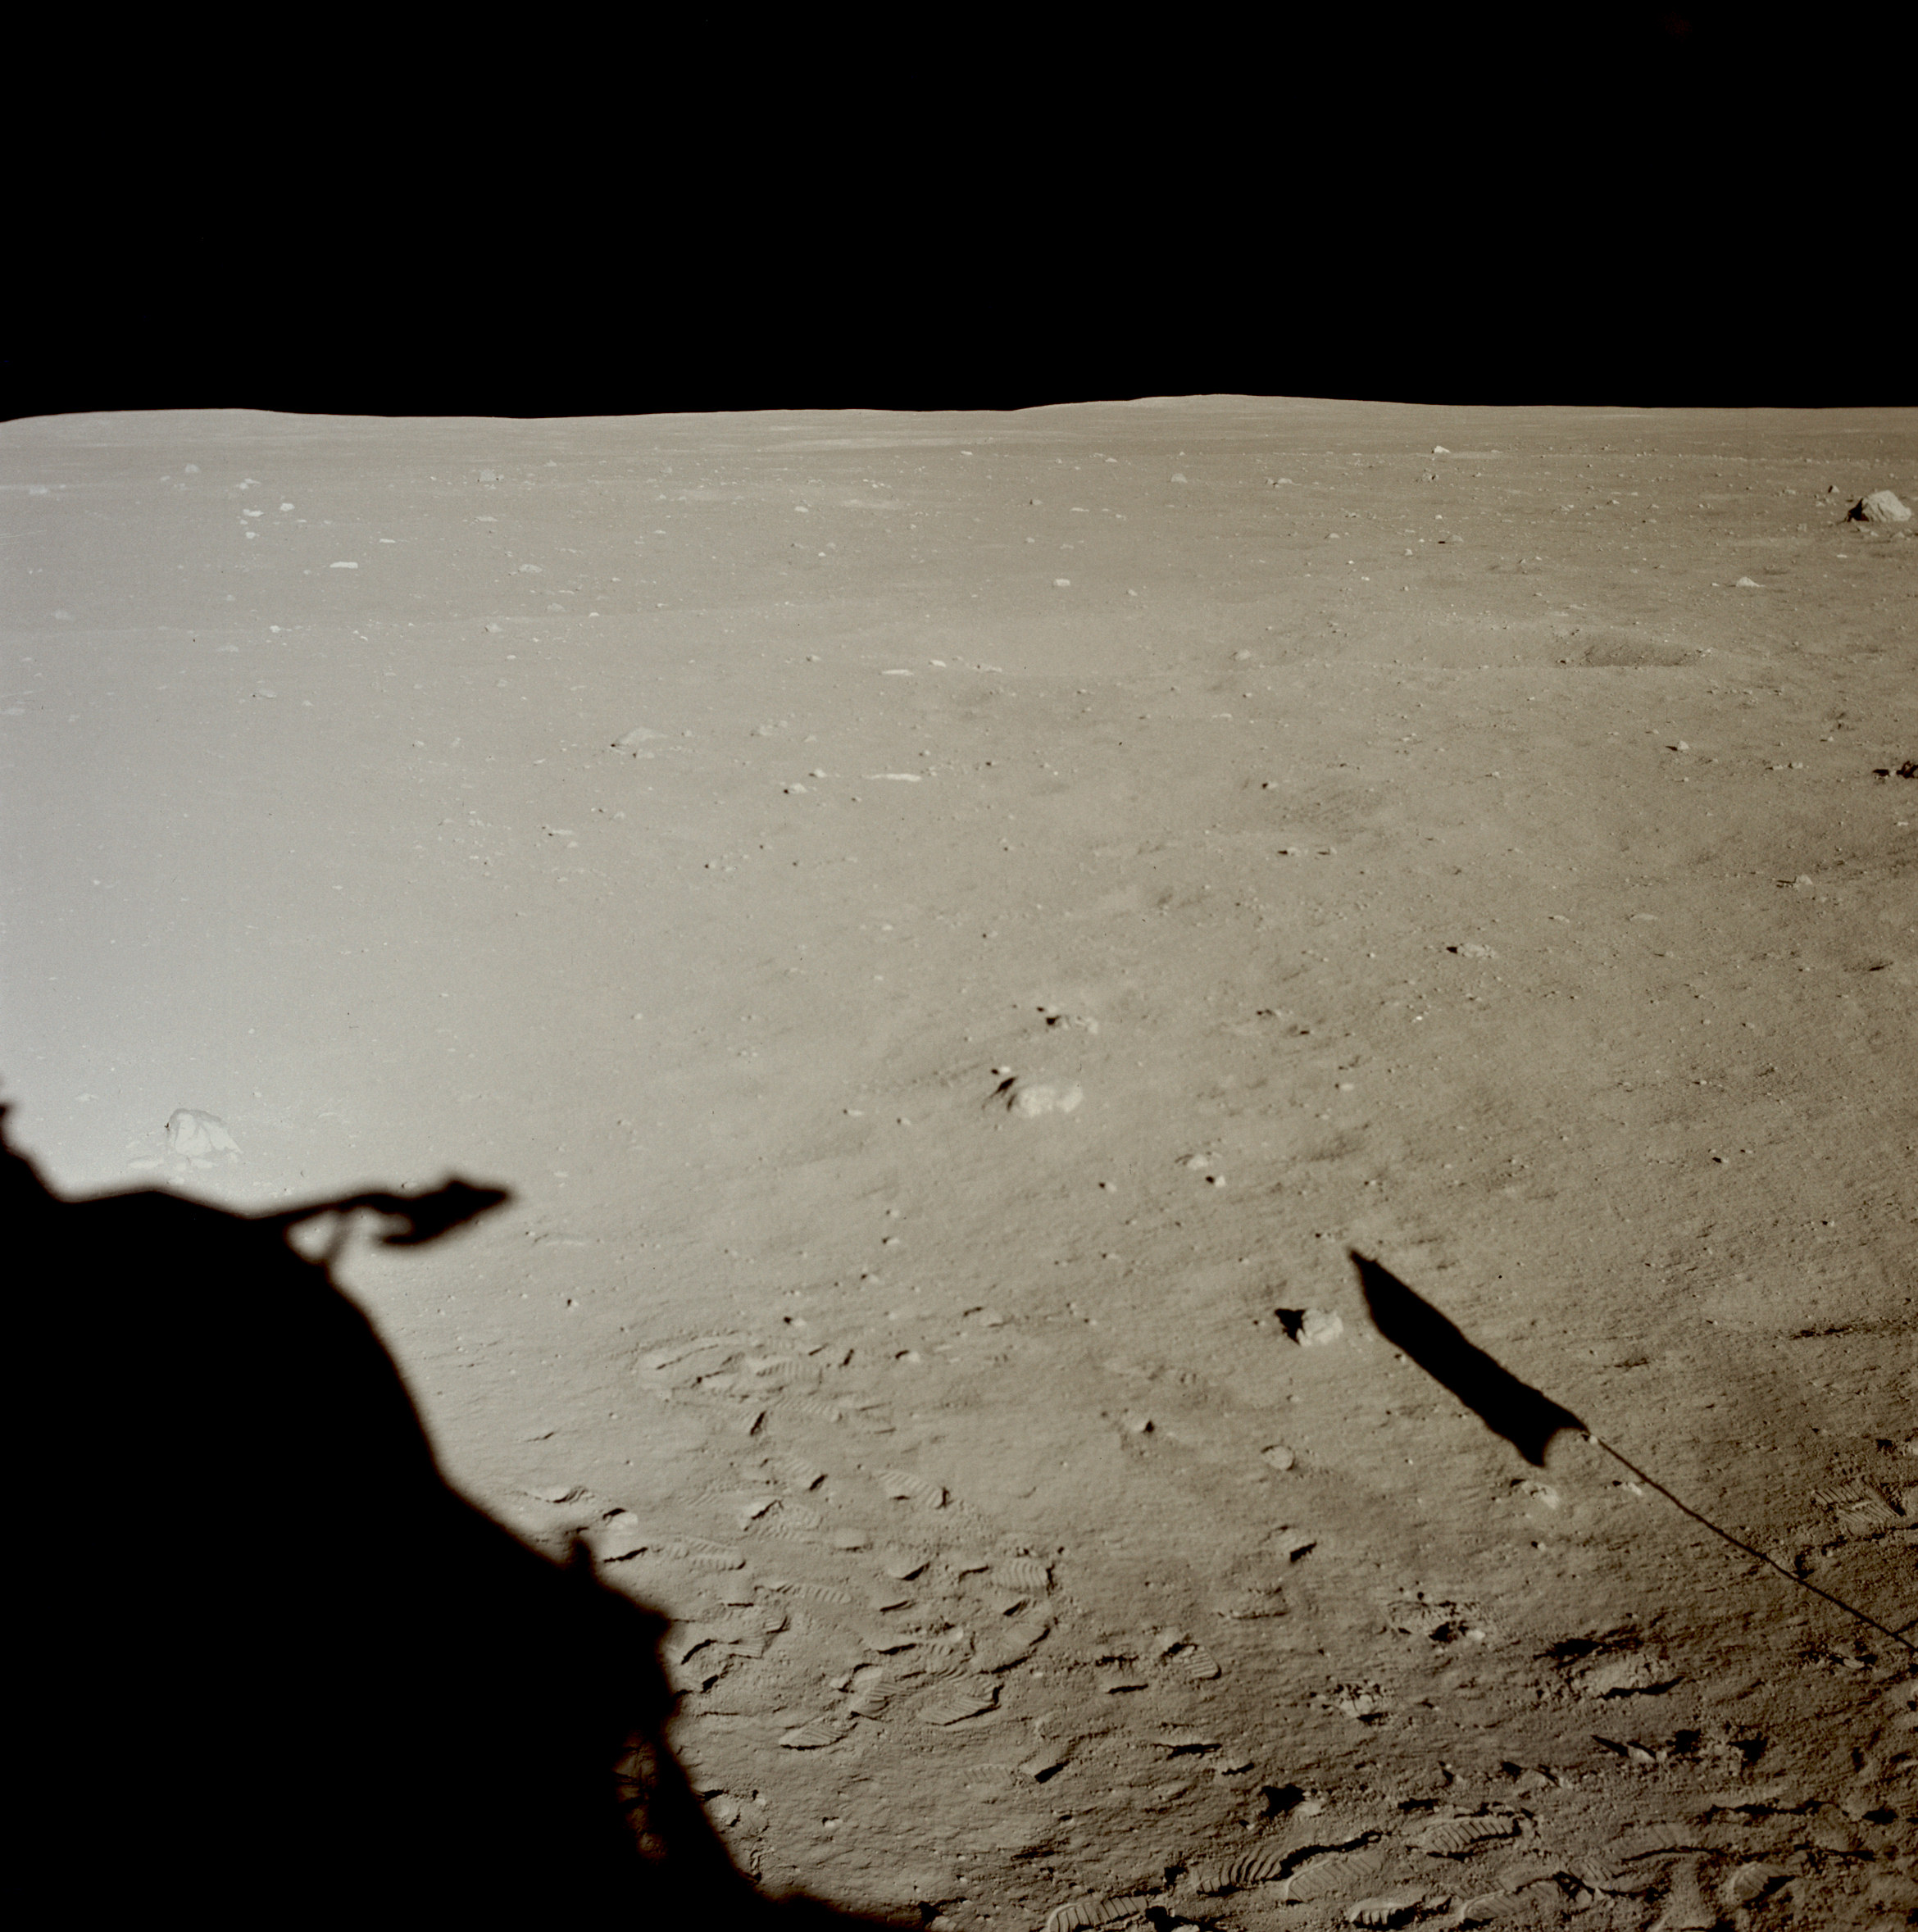 | AS11-37-5465 Tranquility Base from LM window. Image credit: Image Science and Analysis Laboratory, NASA-Johnson Space Center. |
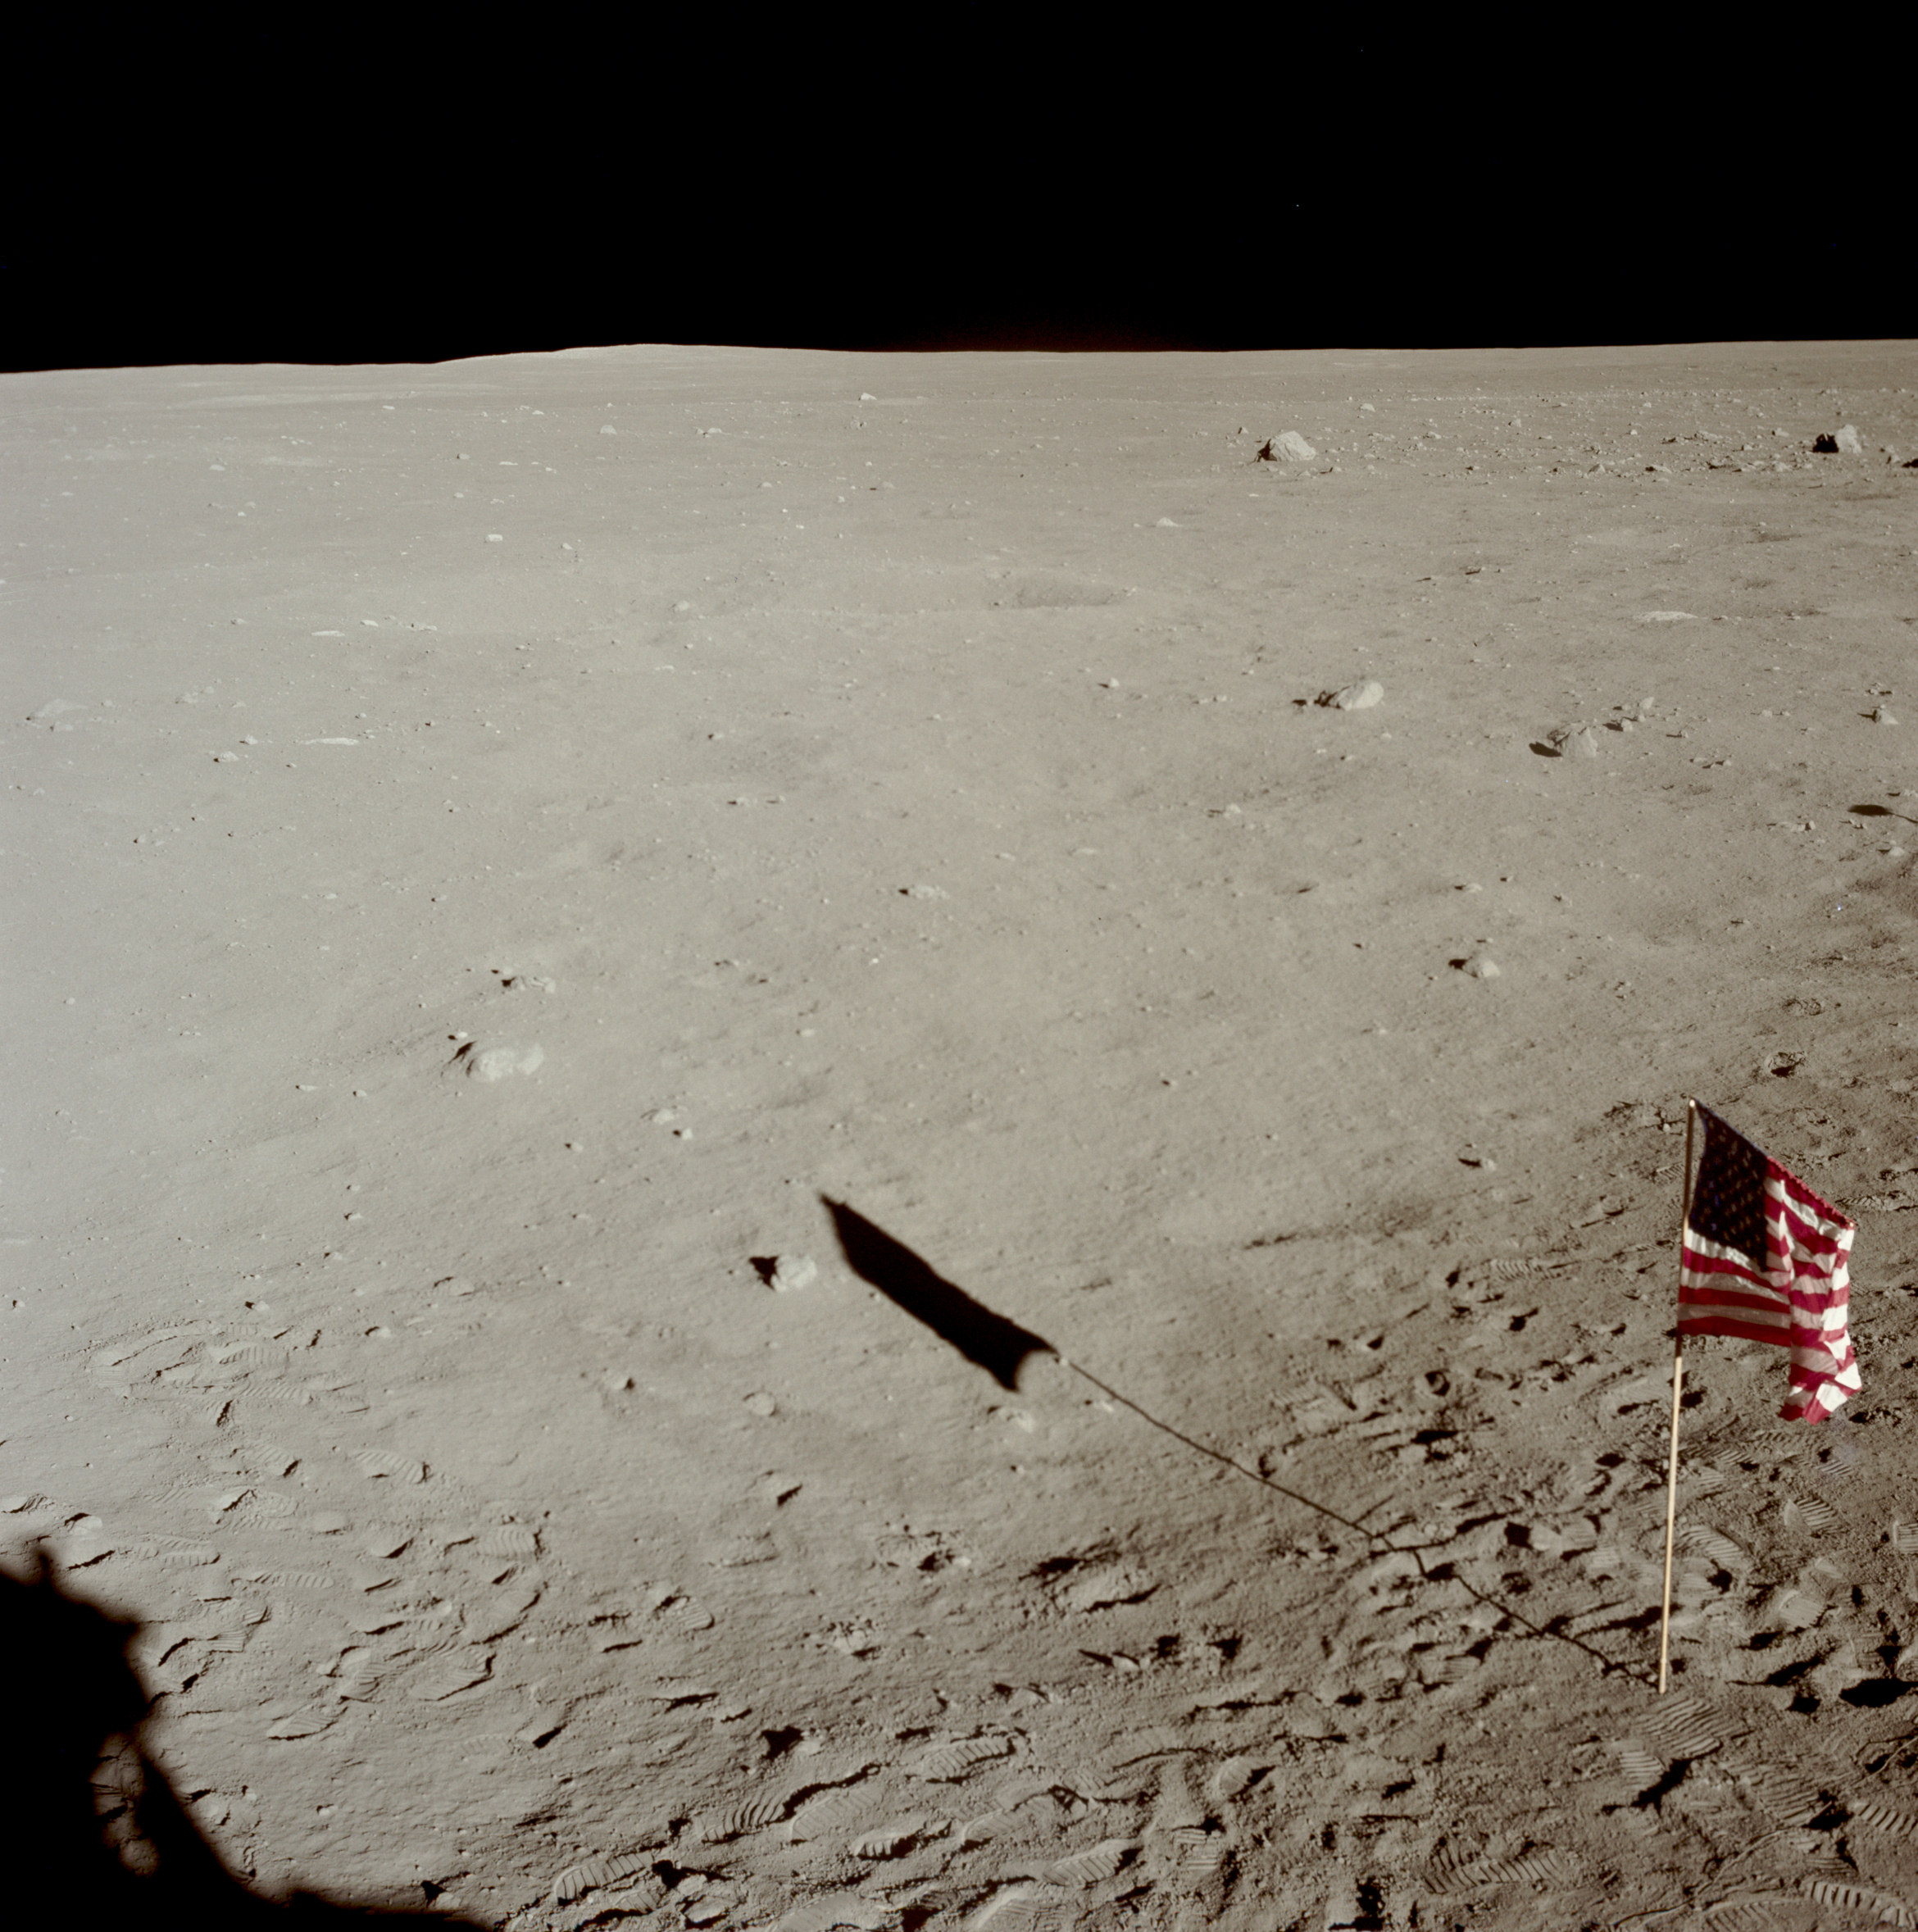 | AS11-37-5466 Tranquility Base and flag from LM window. Image credit: Image Science and Analysis Laboratory, NASA-Johnson Space Center. |
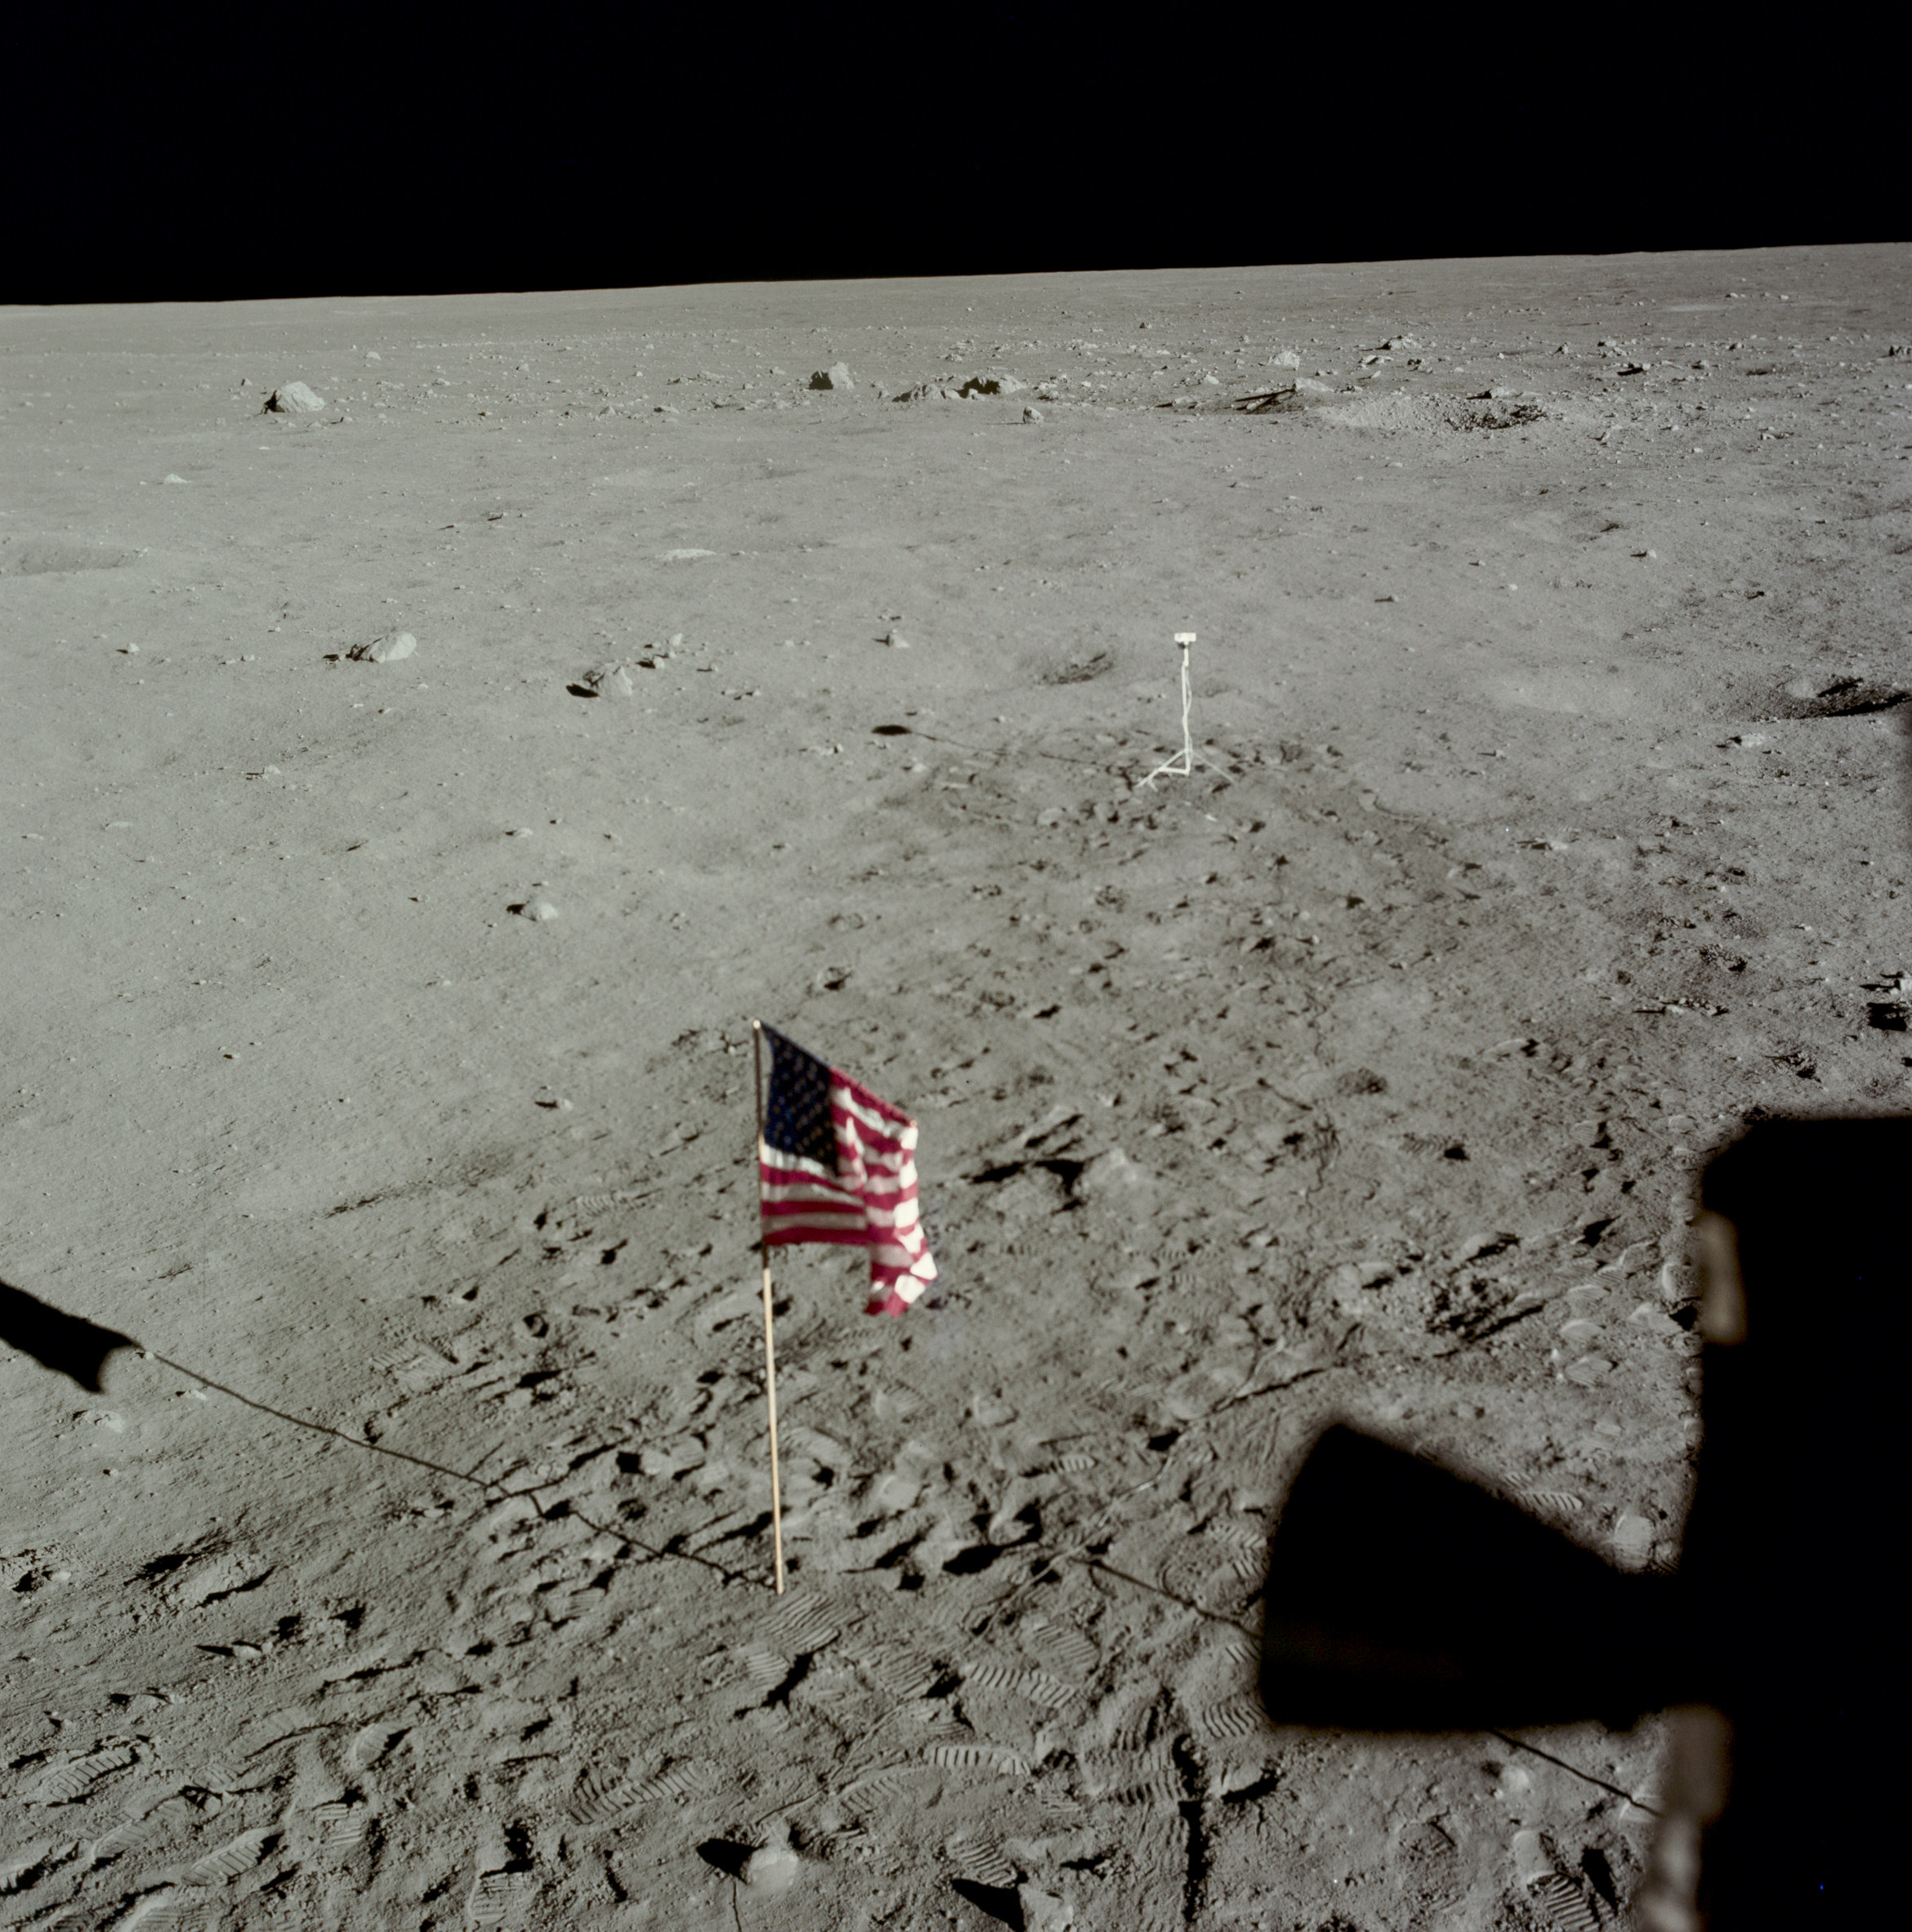 | AS11-37-5467 Tranquility Base and flag from LM window. Image credit: Image Science and Analysis Laboratory, NASA-Johnson Space Center. |
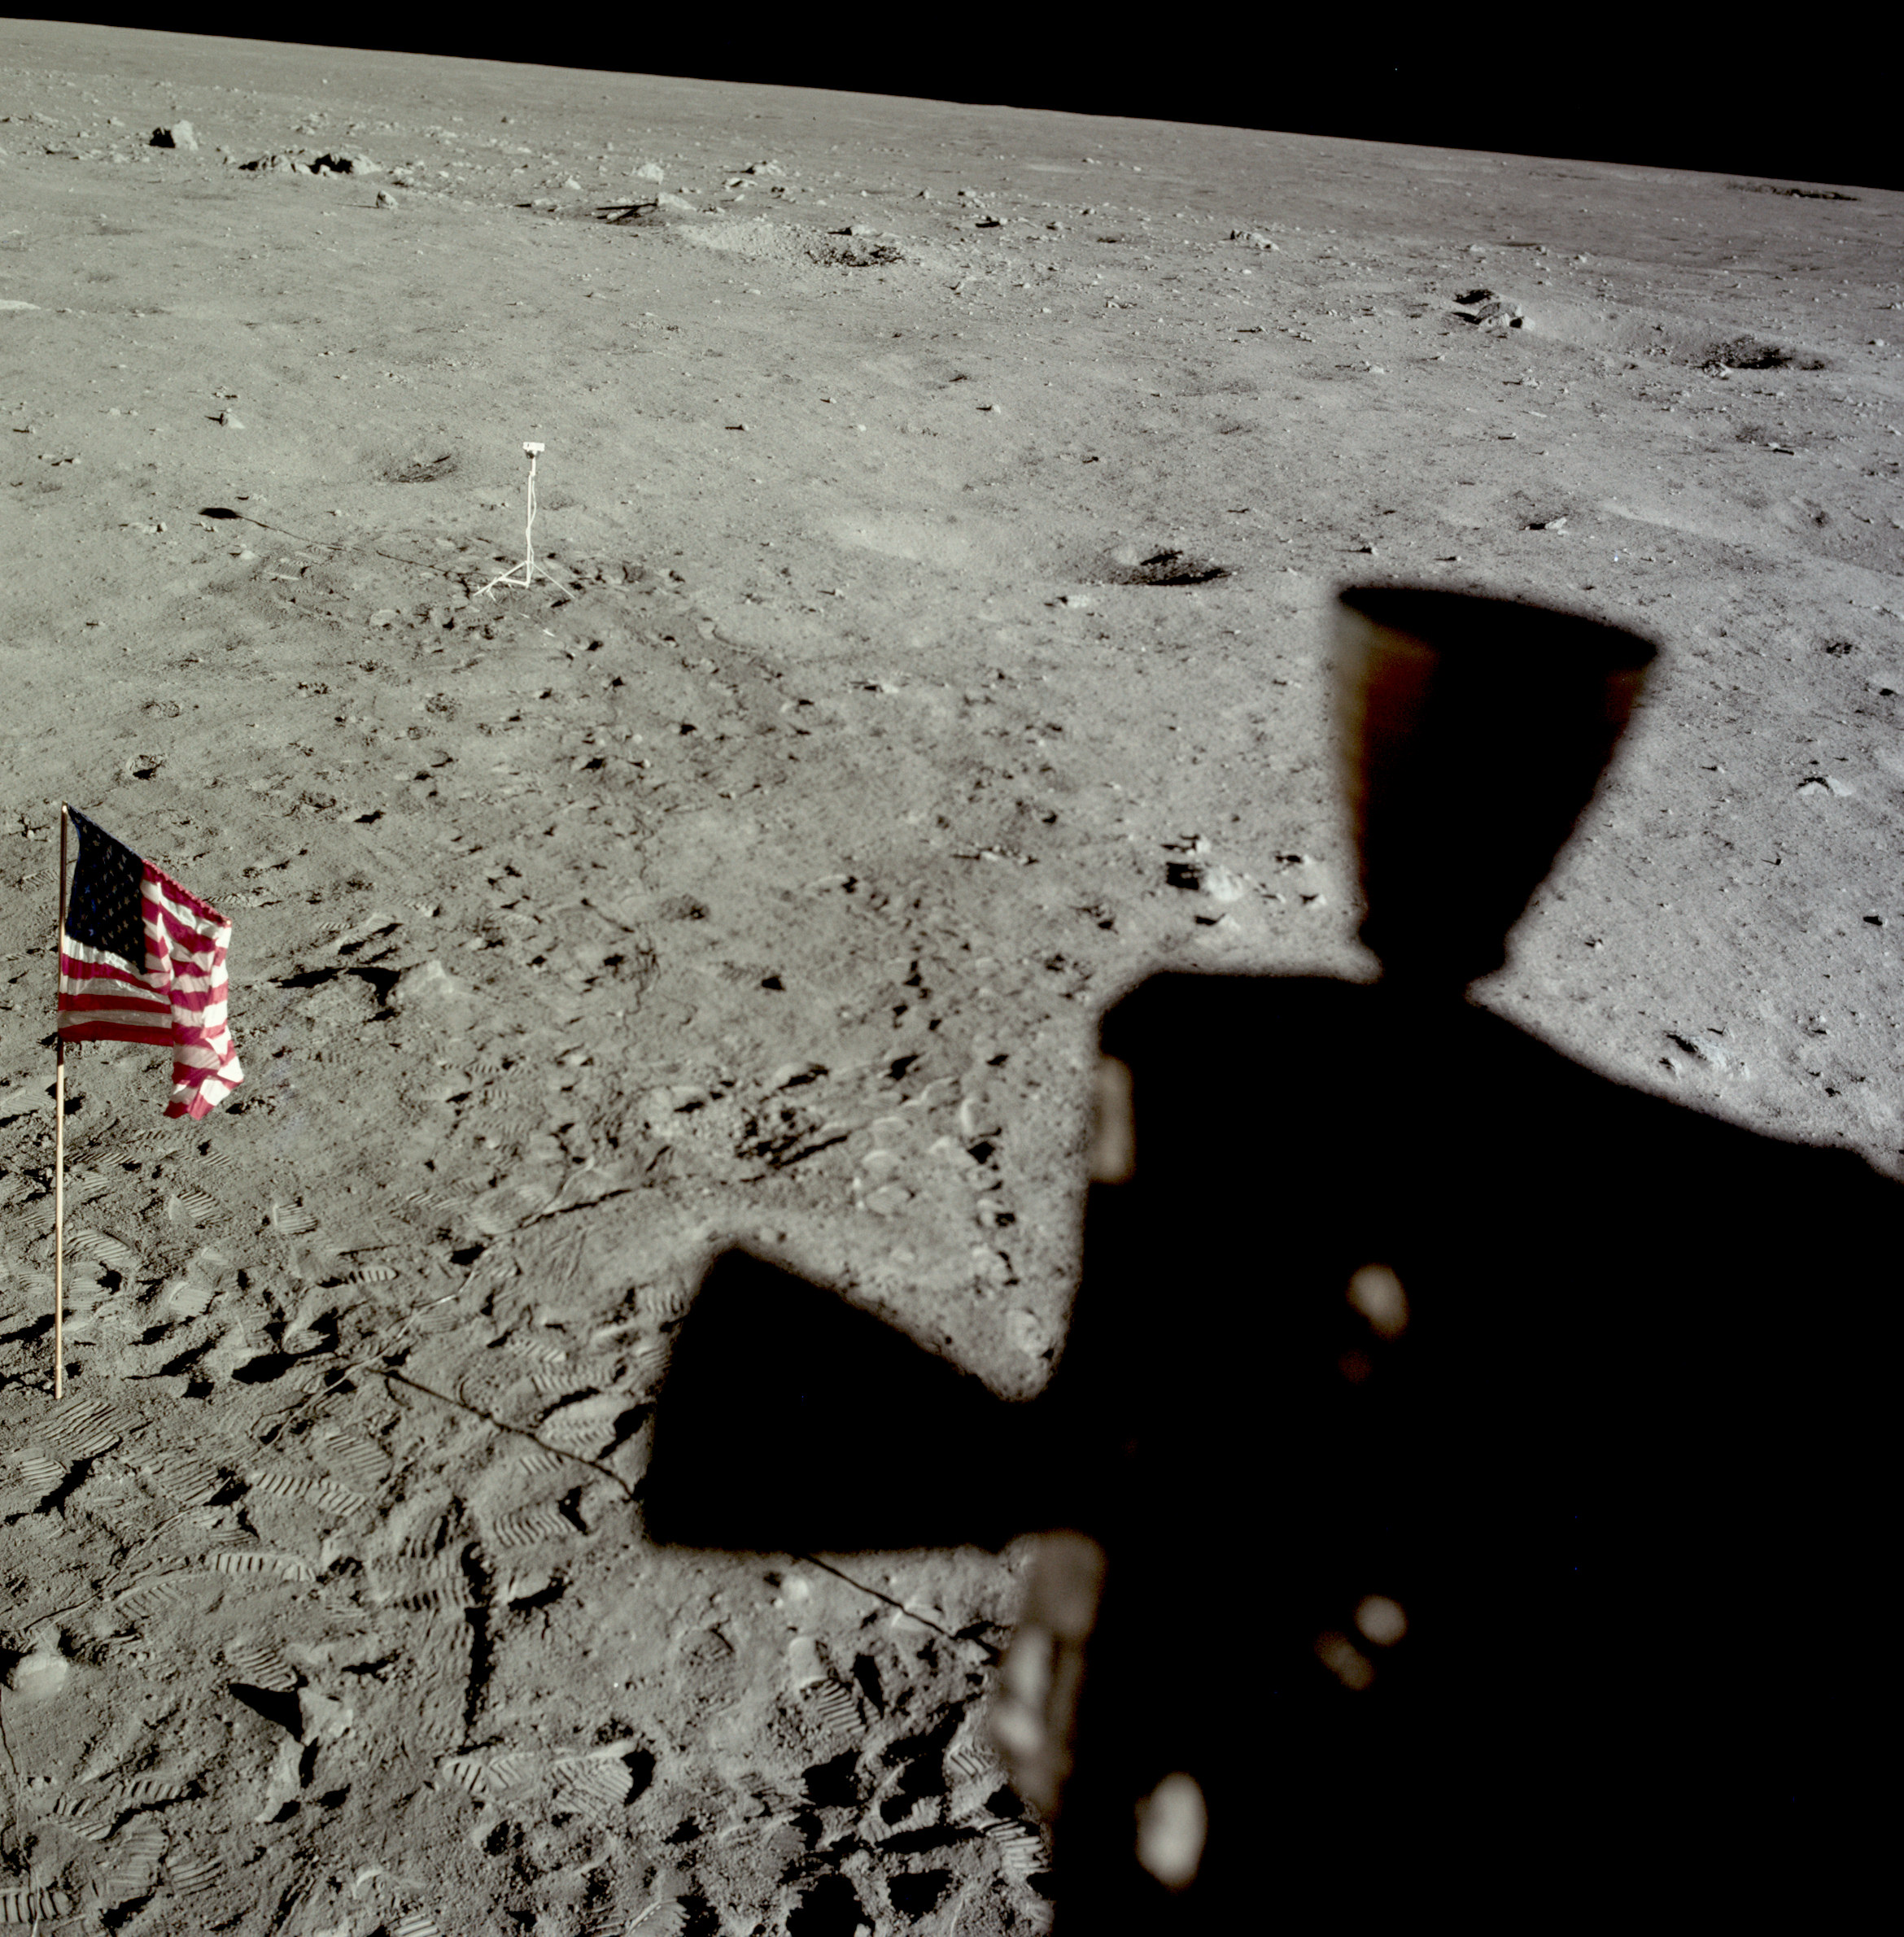 | AS11-37-5468 Tranquility Base and flag from LM window. Image credit: Image Science and Analysis Laboratory, NASA-Johnson Space Center. |
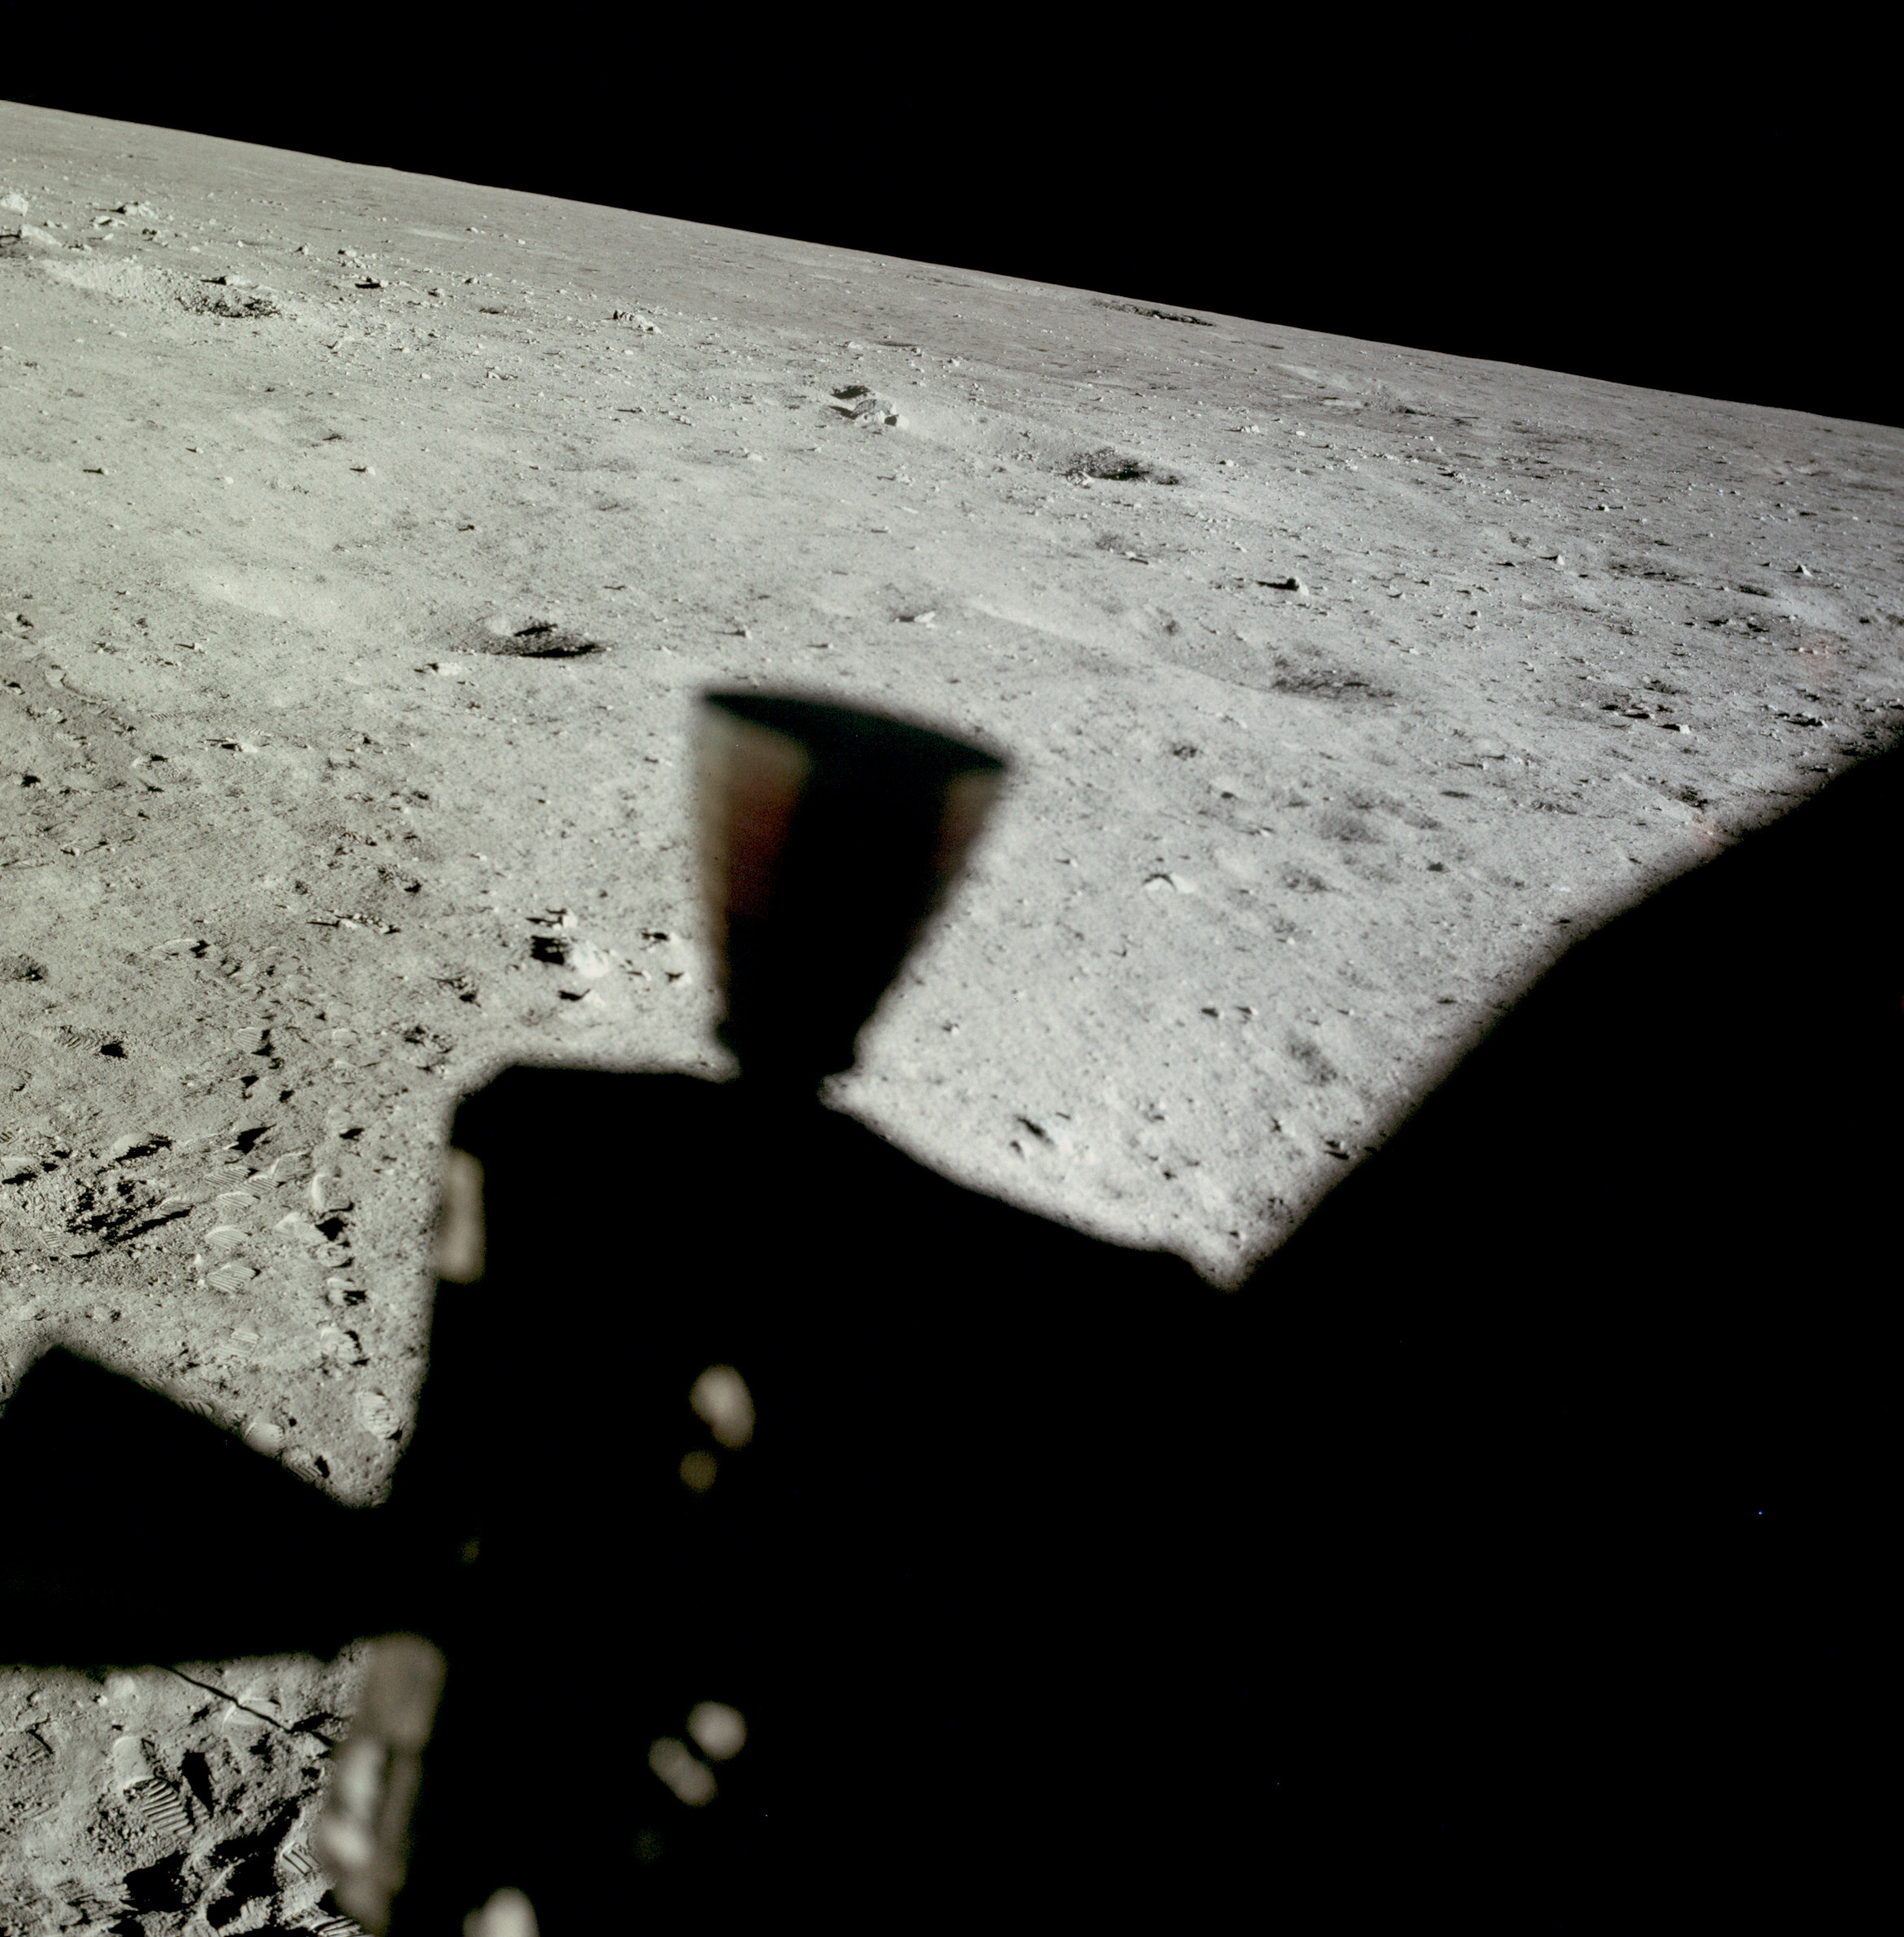 | AS11-37-5469 Tranquility Base from LM window. Image credit: Image Science and Analysis Laboratory, NASA-Johnson Space Center. |
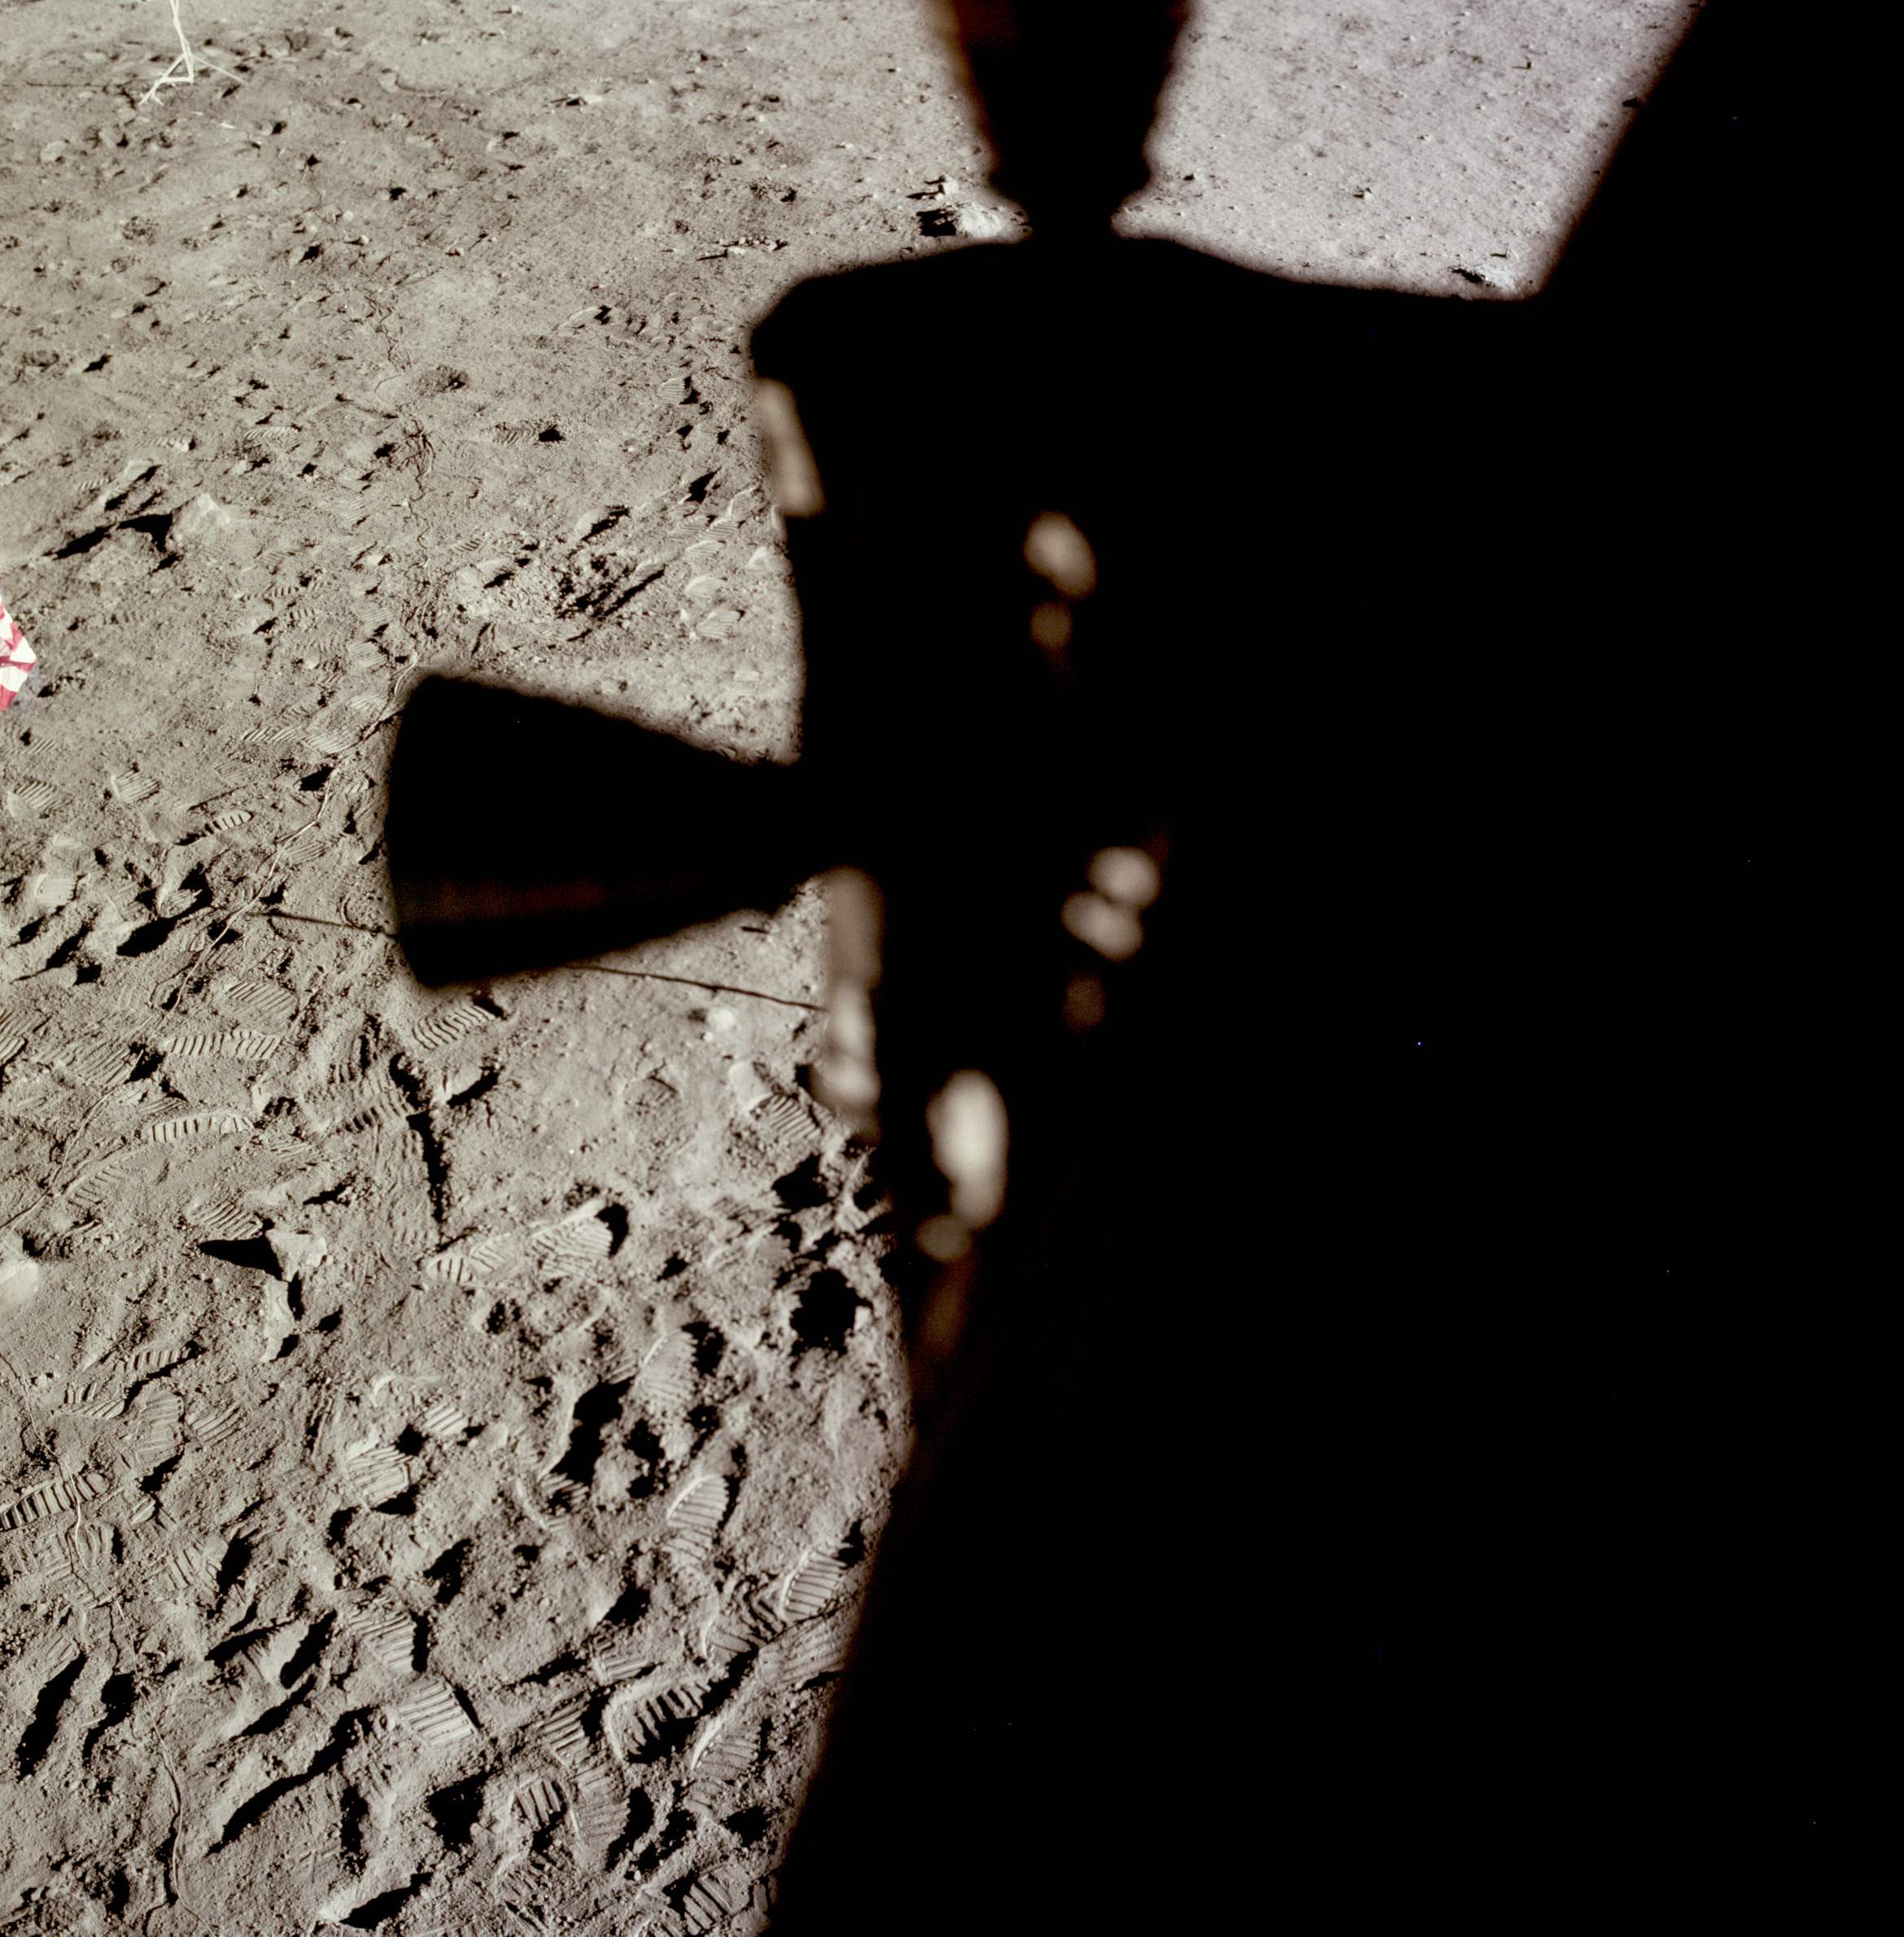 | AS11-37-5470 Tranquility Base from LM window. Image credit: Image Science and Analysis Laboratory, NASA-Johnson Space Center. |
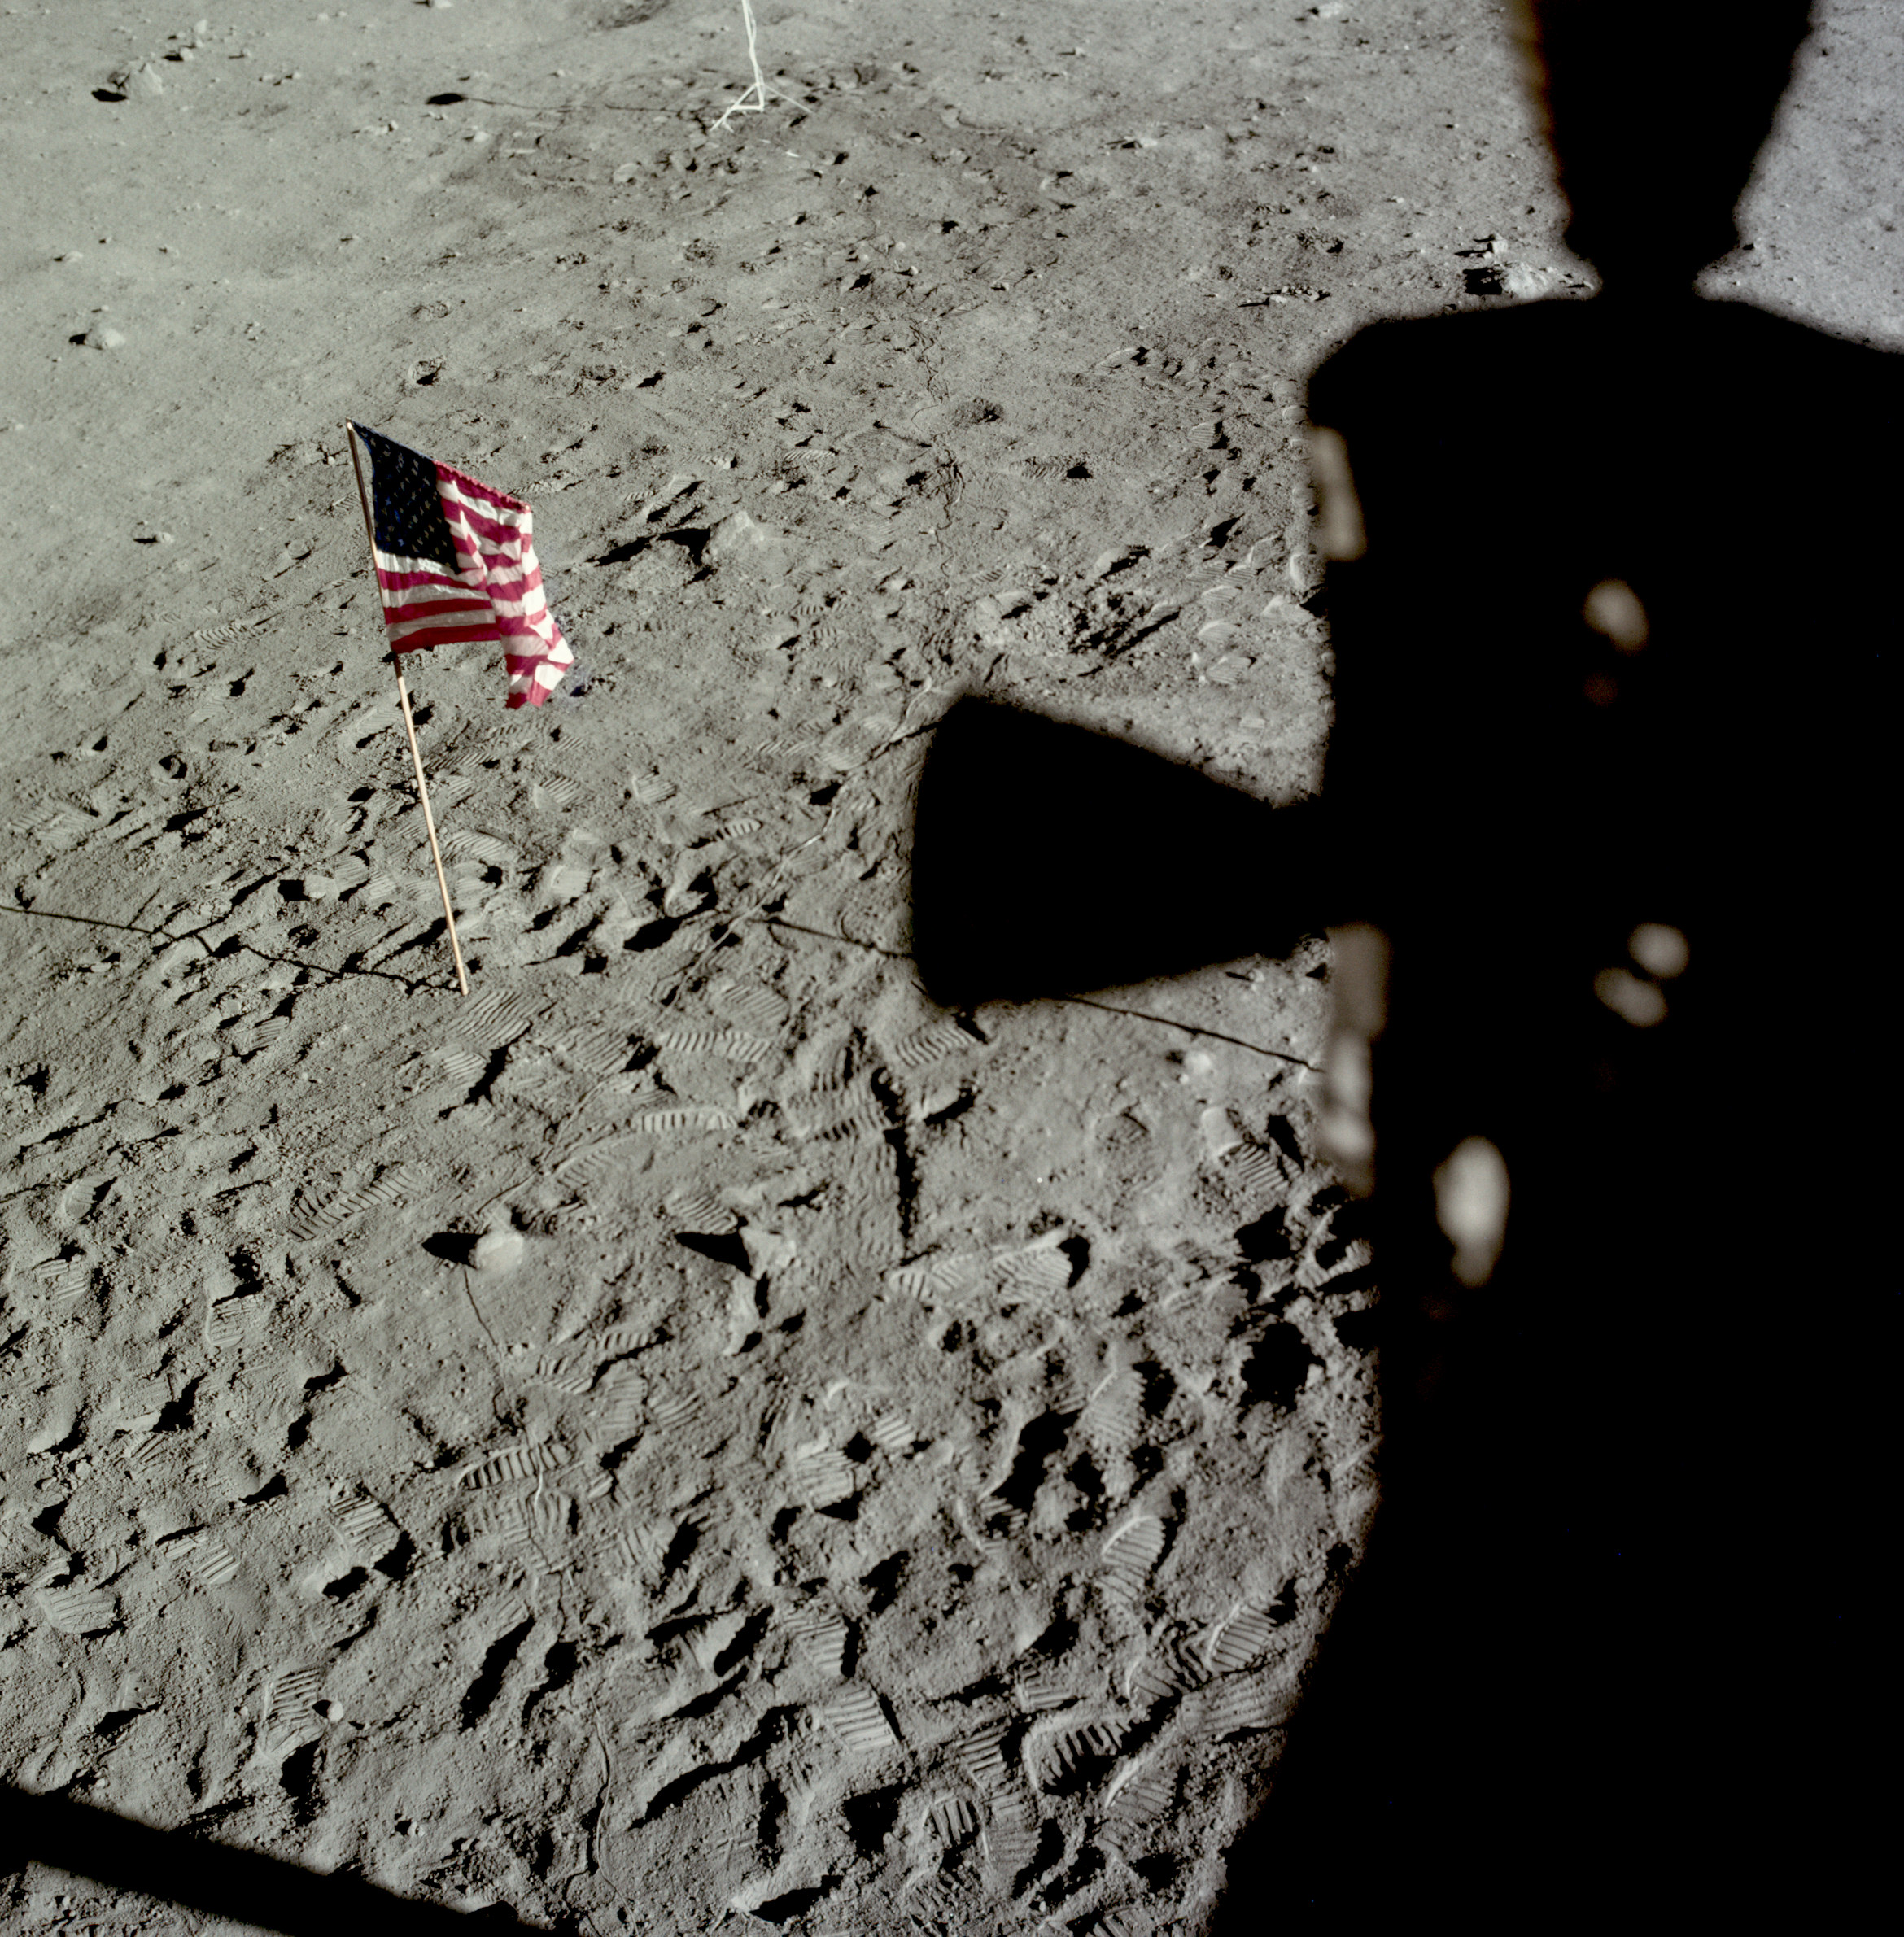 | AS11-37-5471 Tranquility Base and flag from LM window. Image credit: Image Science and Analysis Laboratory, NASA-Johnson Space Center. |
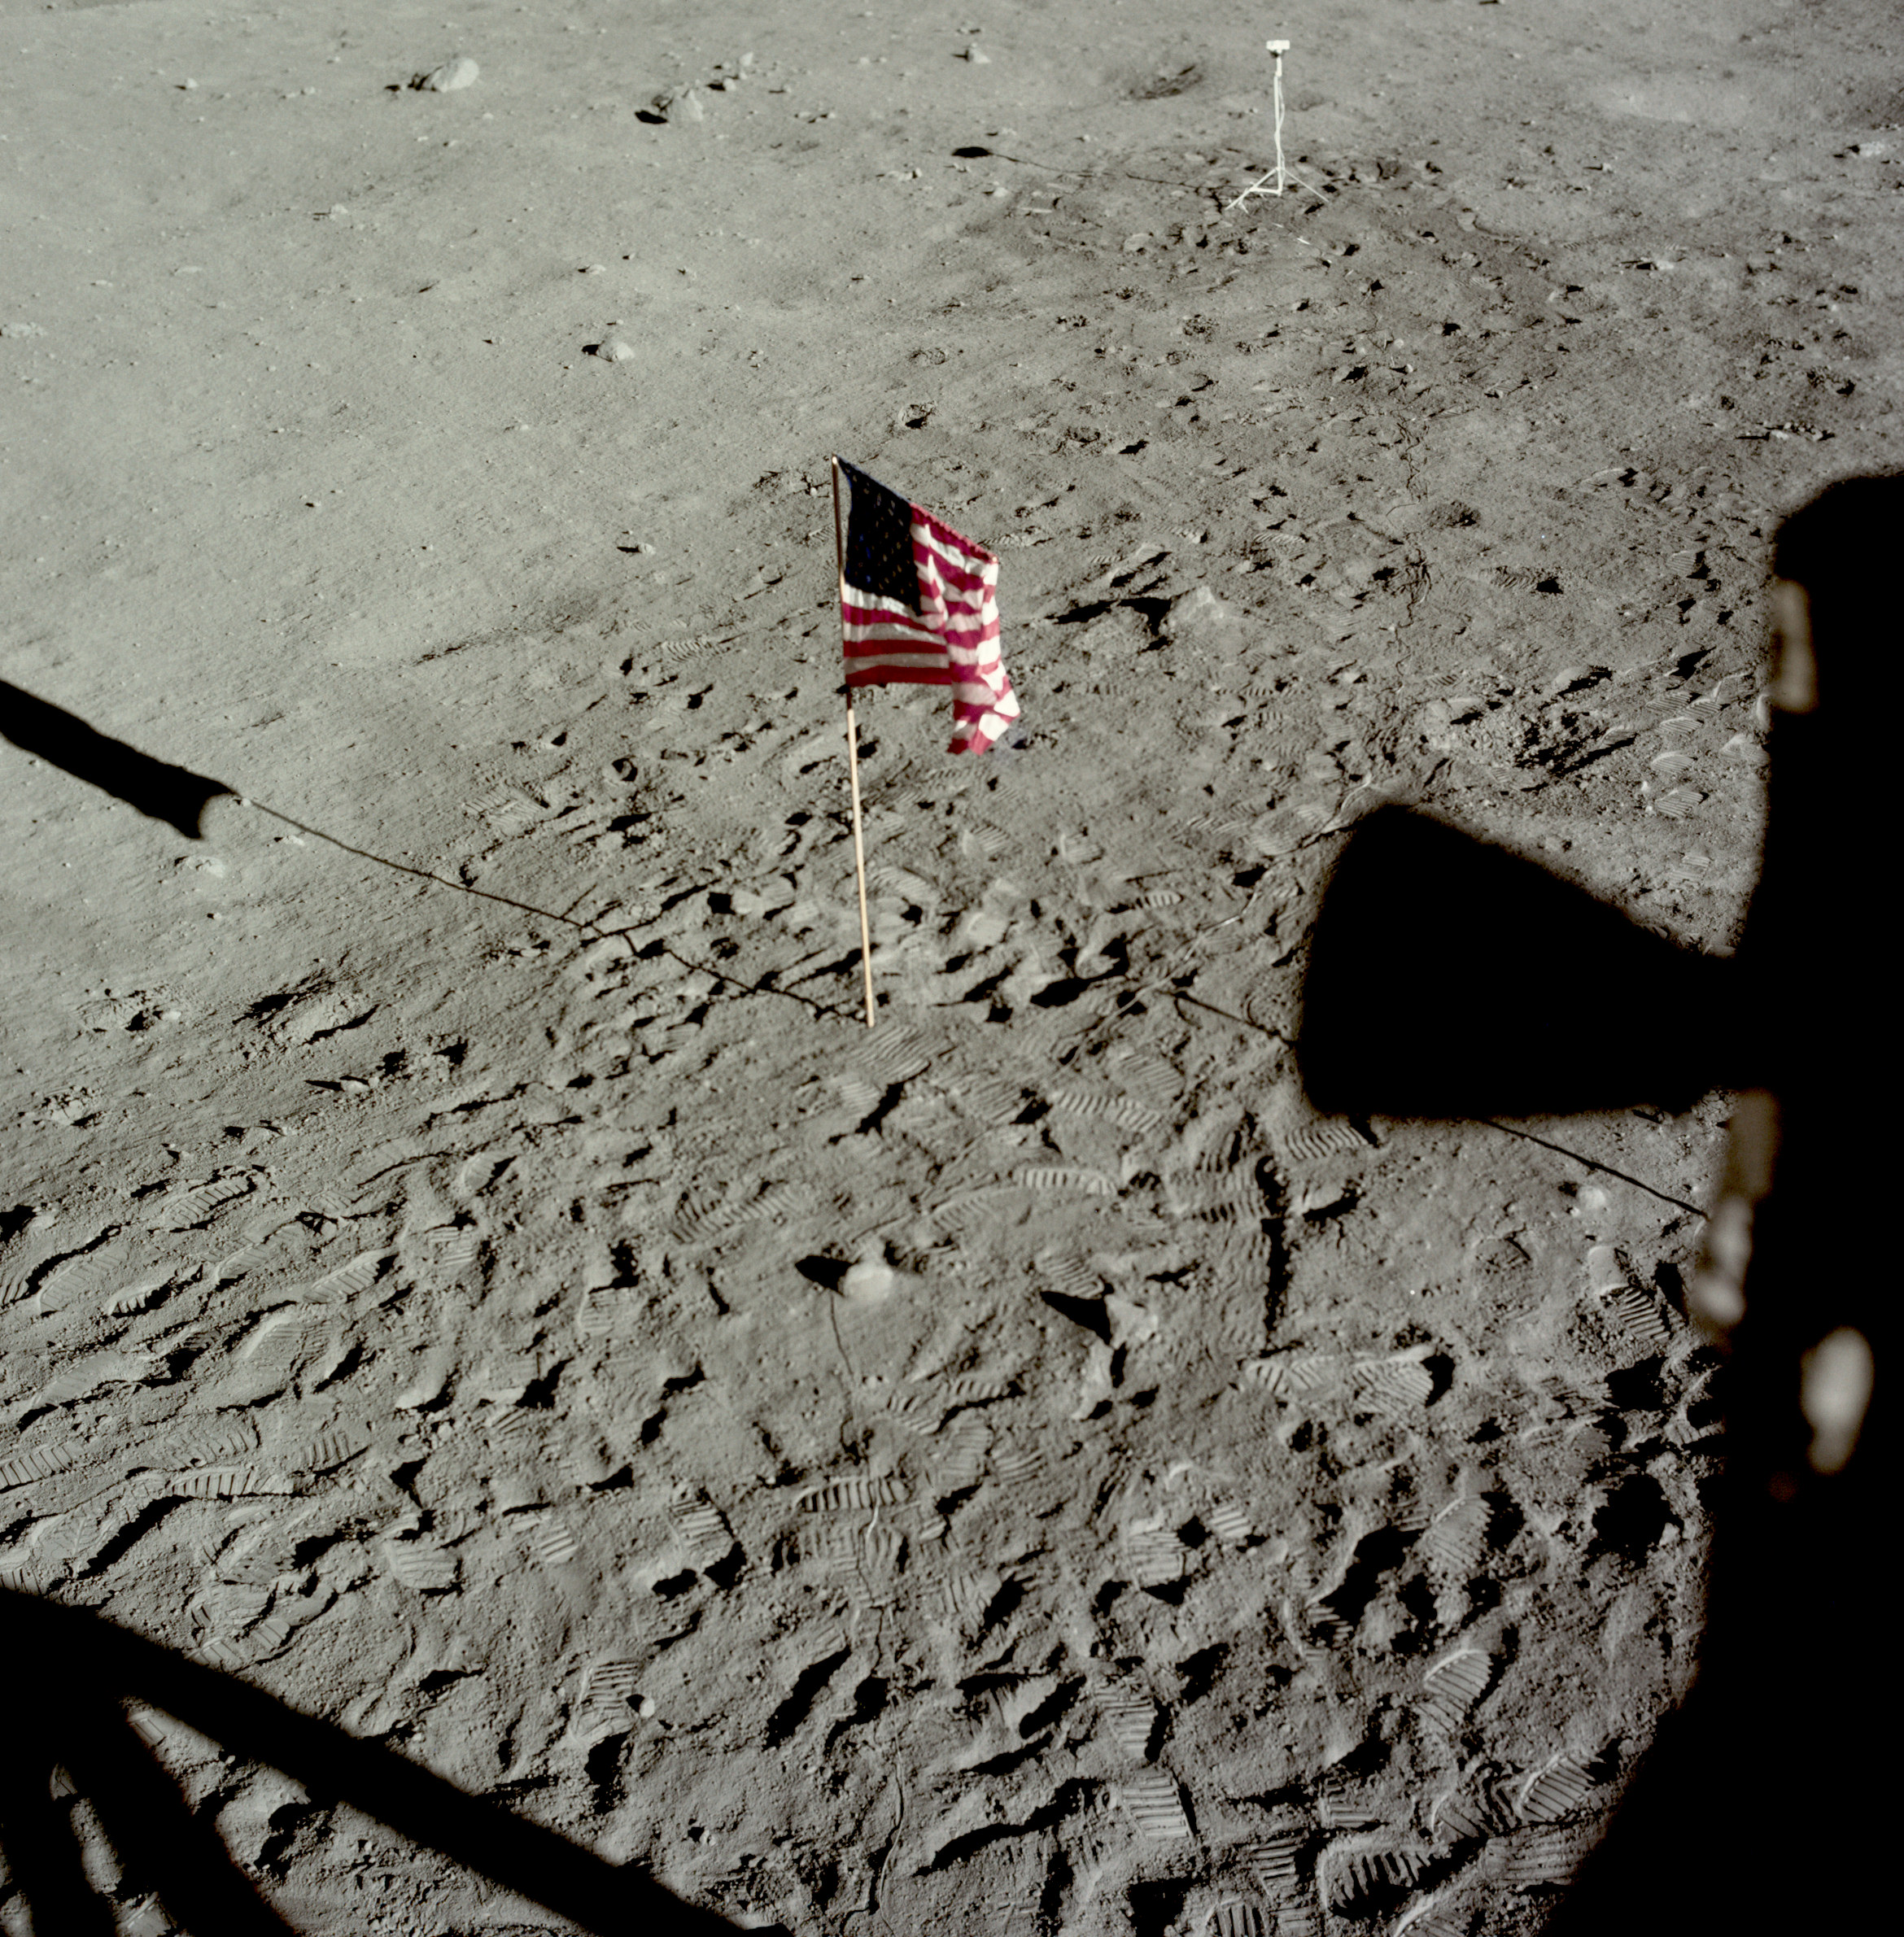 | AS11-37-5472 Tranquility Base and flag from LM window. Image credit: Image Science and Analysis Laboratory, NASA-Johnson Space Center. |
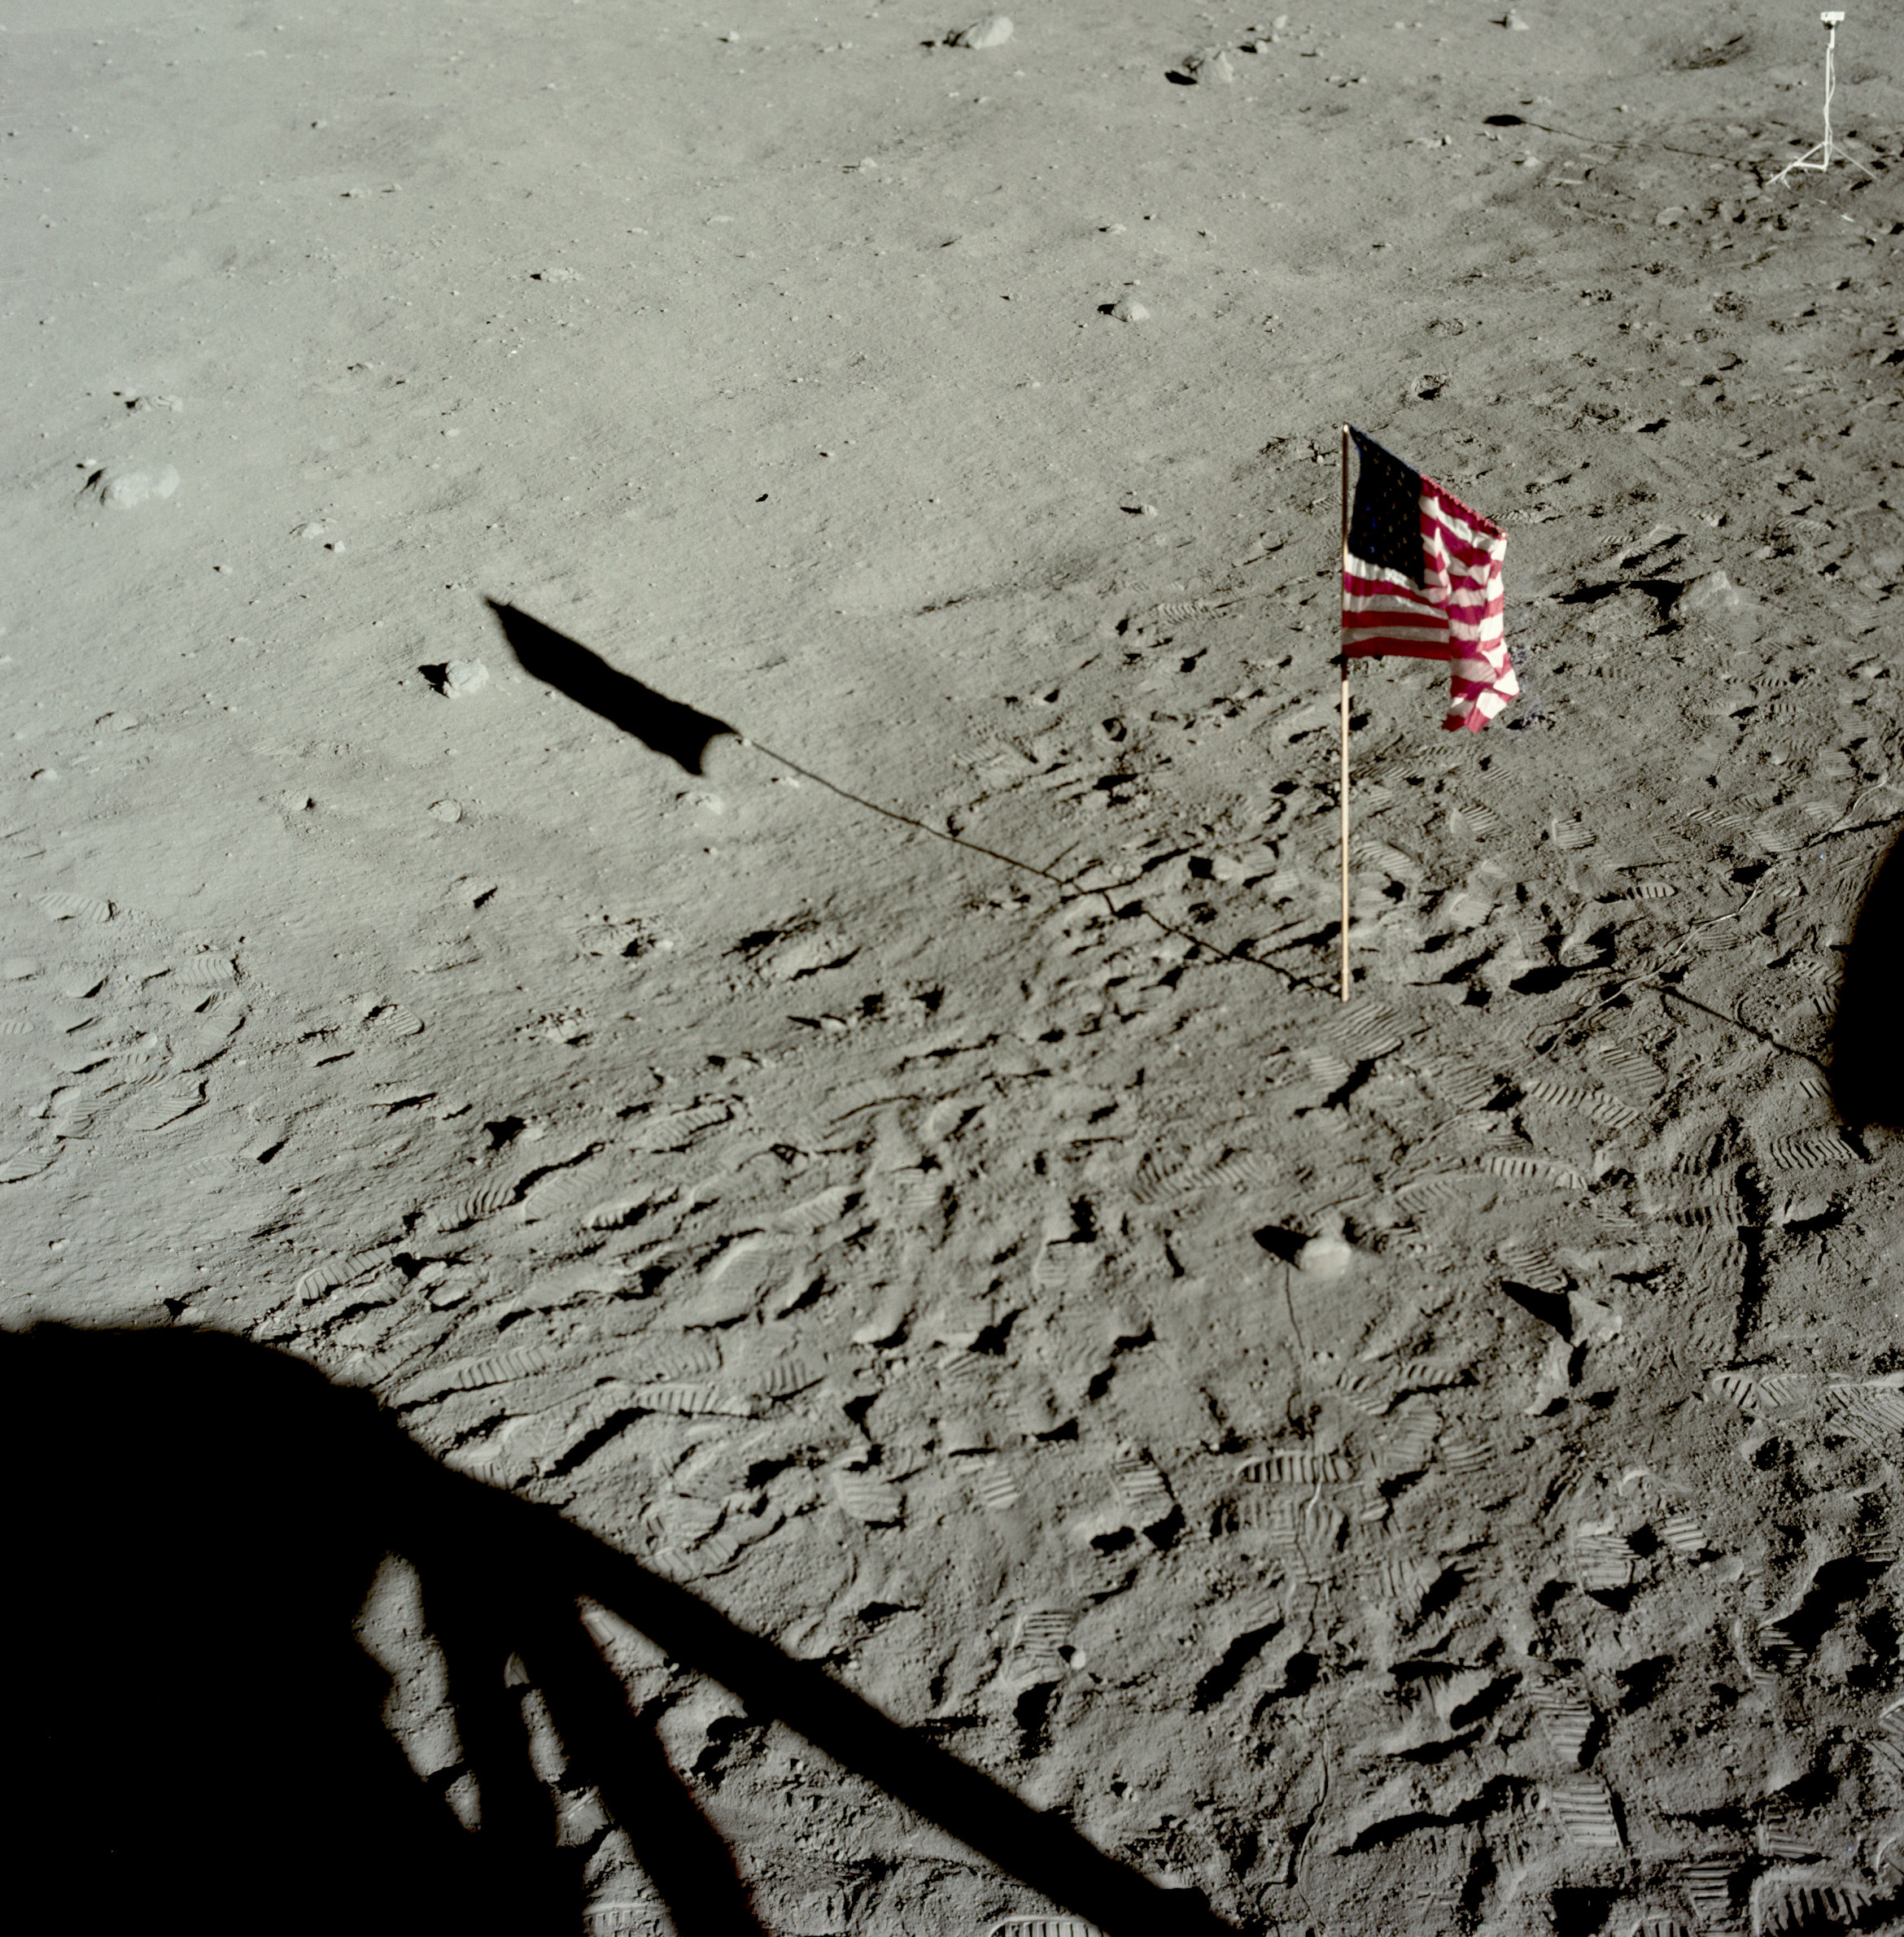 | AS11-37-5473 Tranquility Base and flag from LM window. Image credit: Image Science and Analysis Laboratory, NASA-Johnson Space Center. |
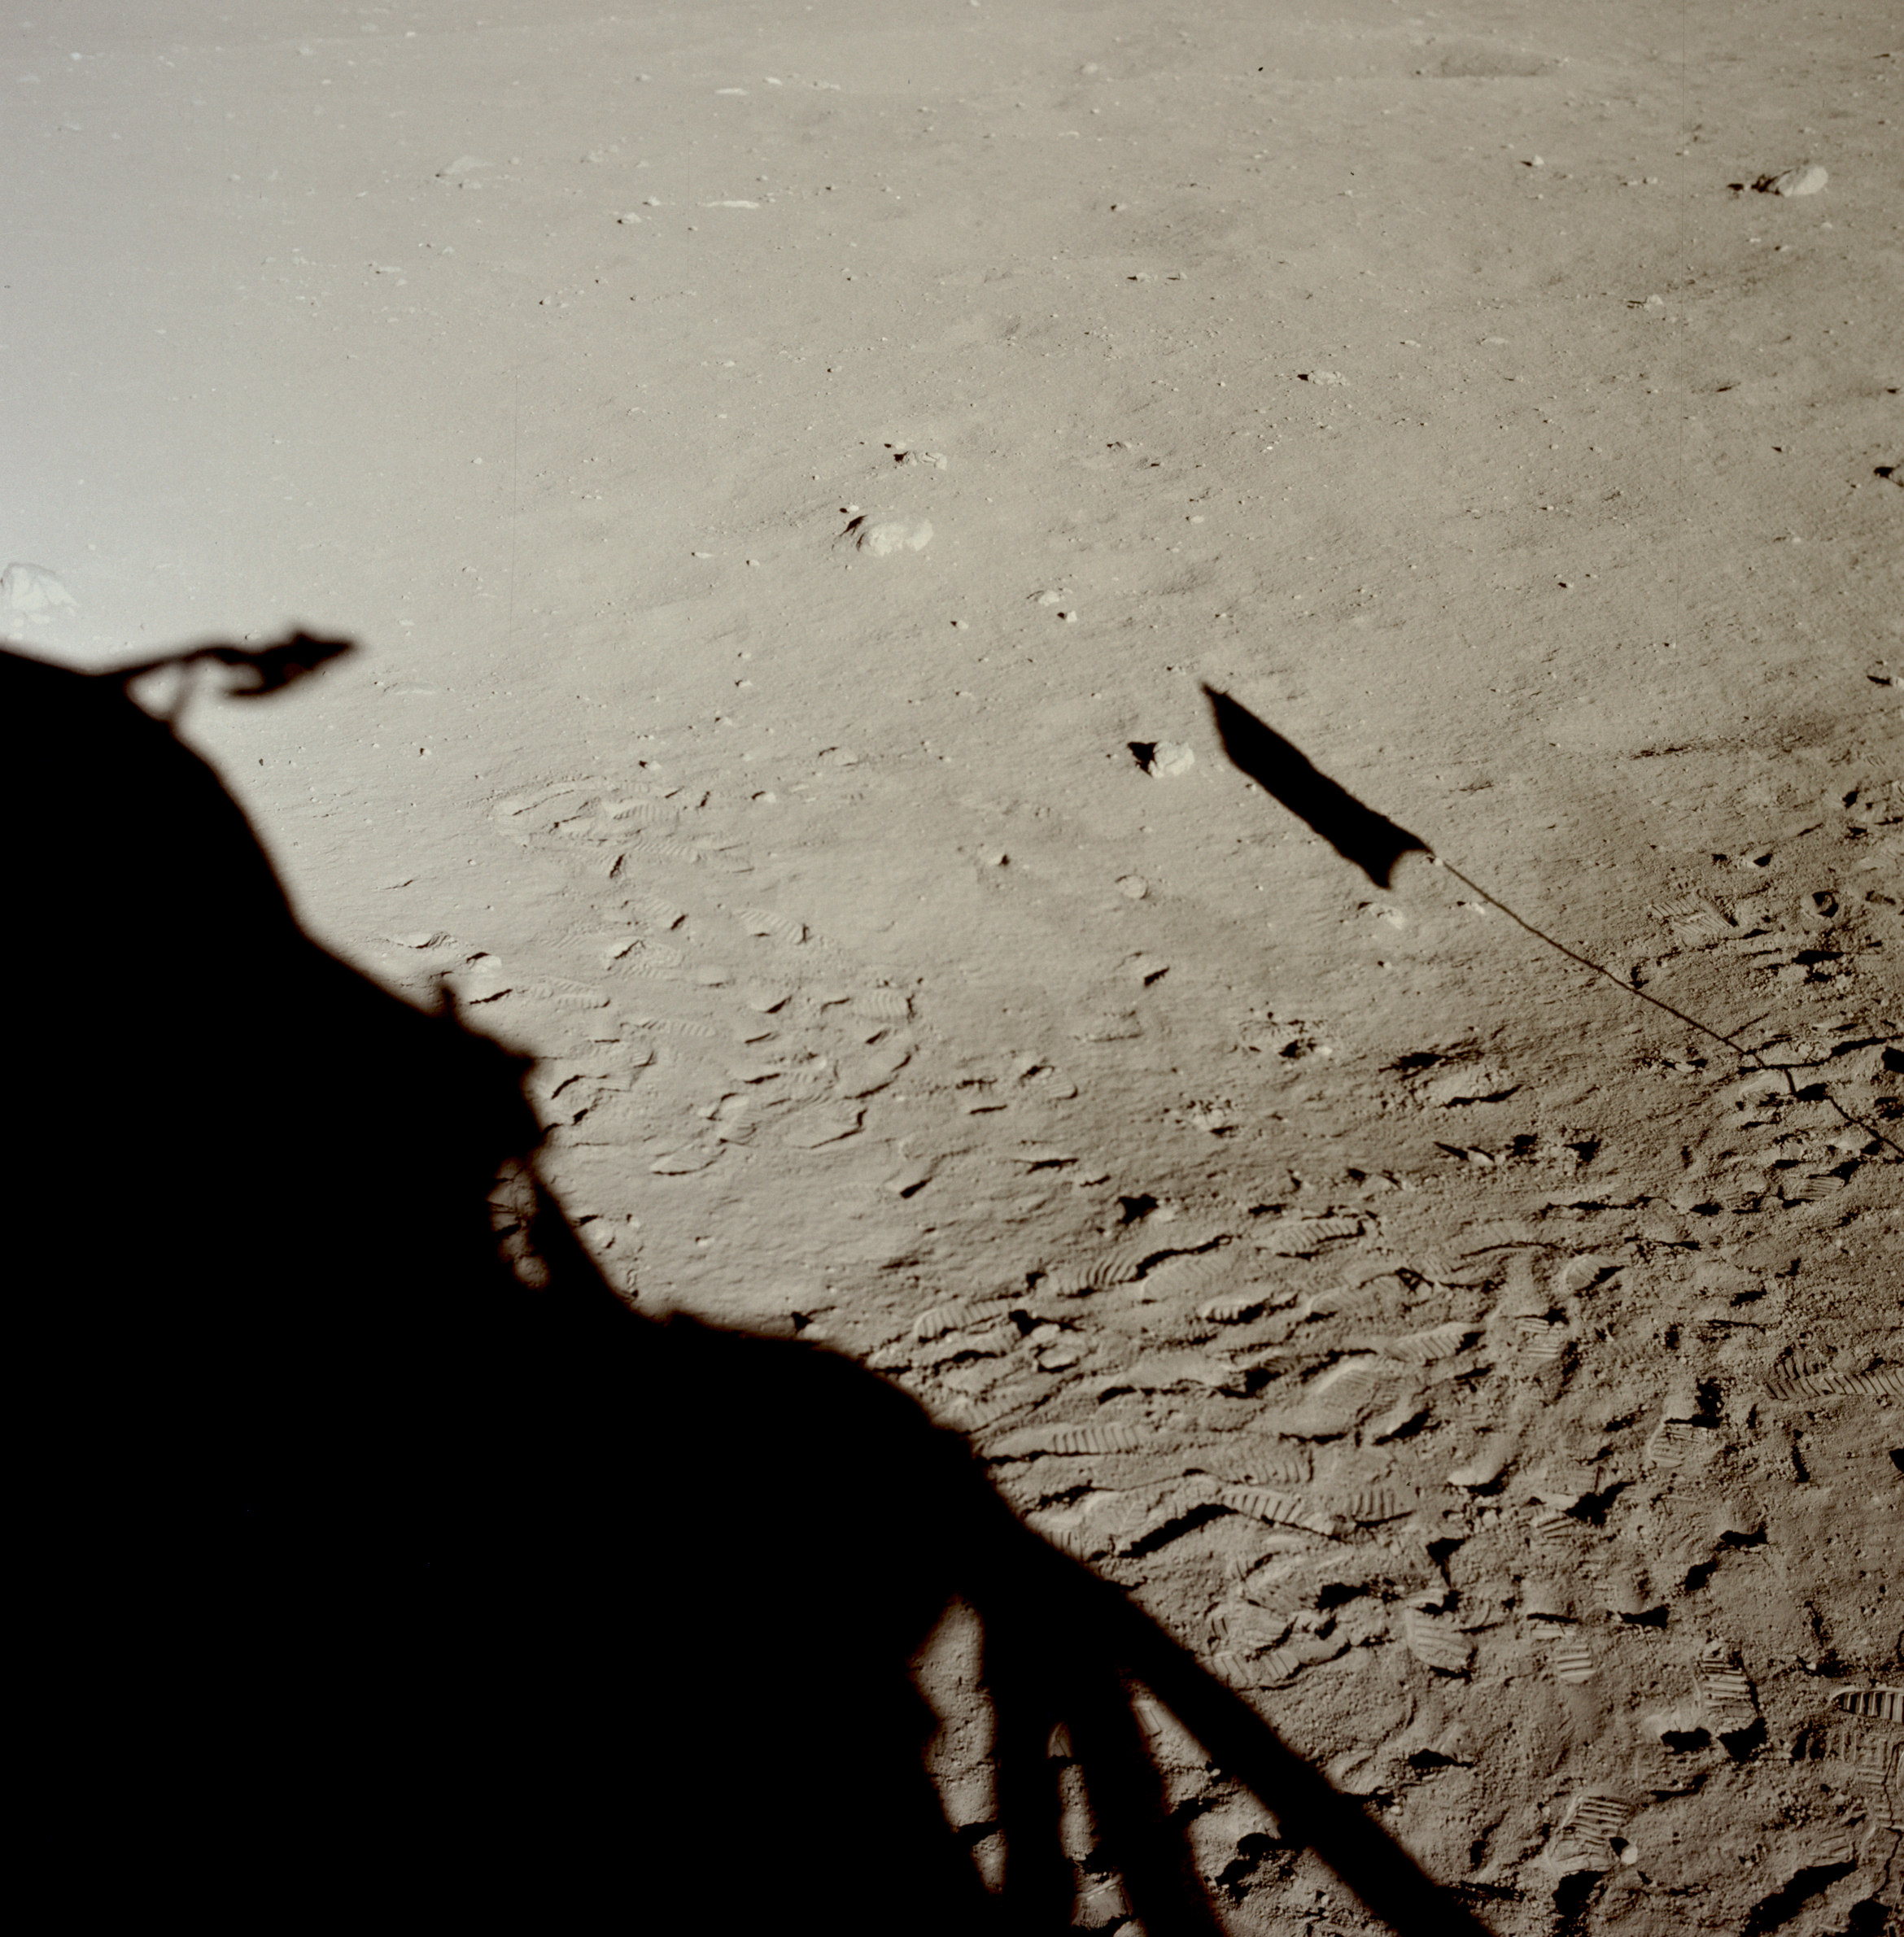 | AS11-37-5474 Tranquility Base from LM window. Image credit: Image Science and Analysis Laboratory, NASA-Johnson Space Center. |
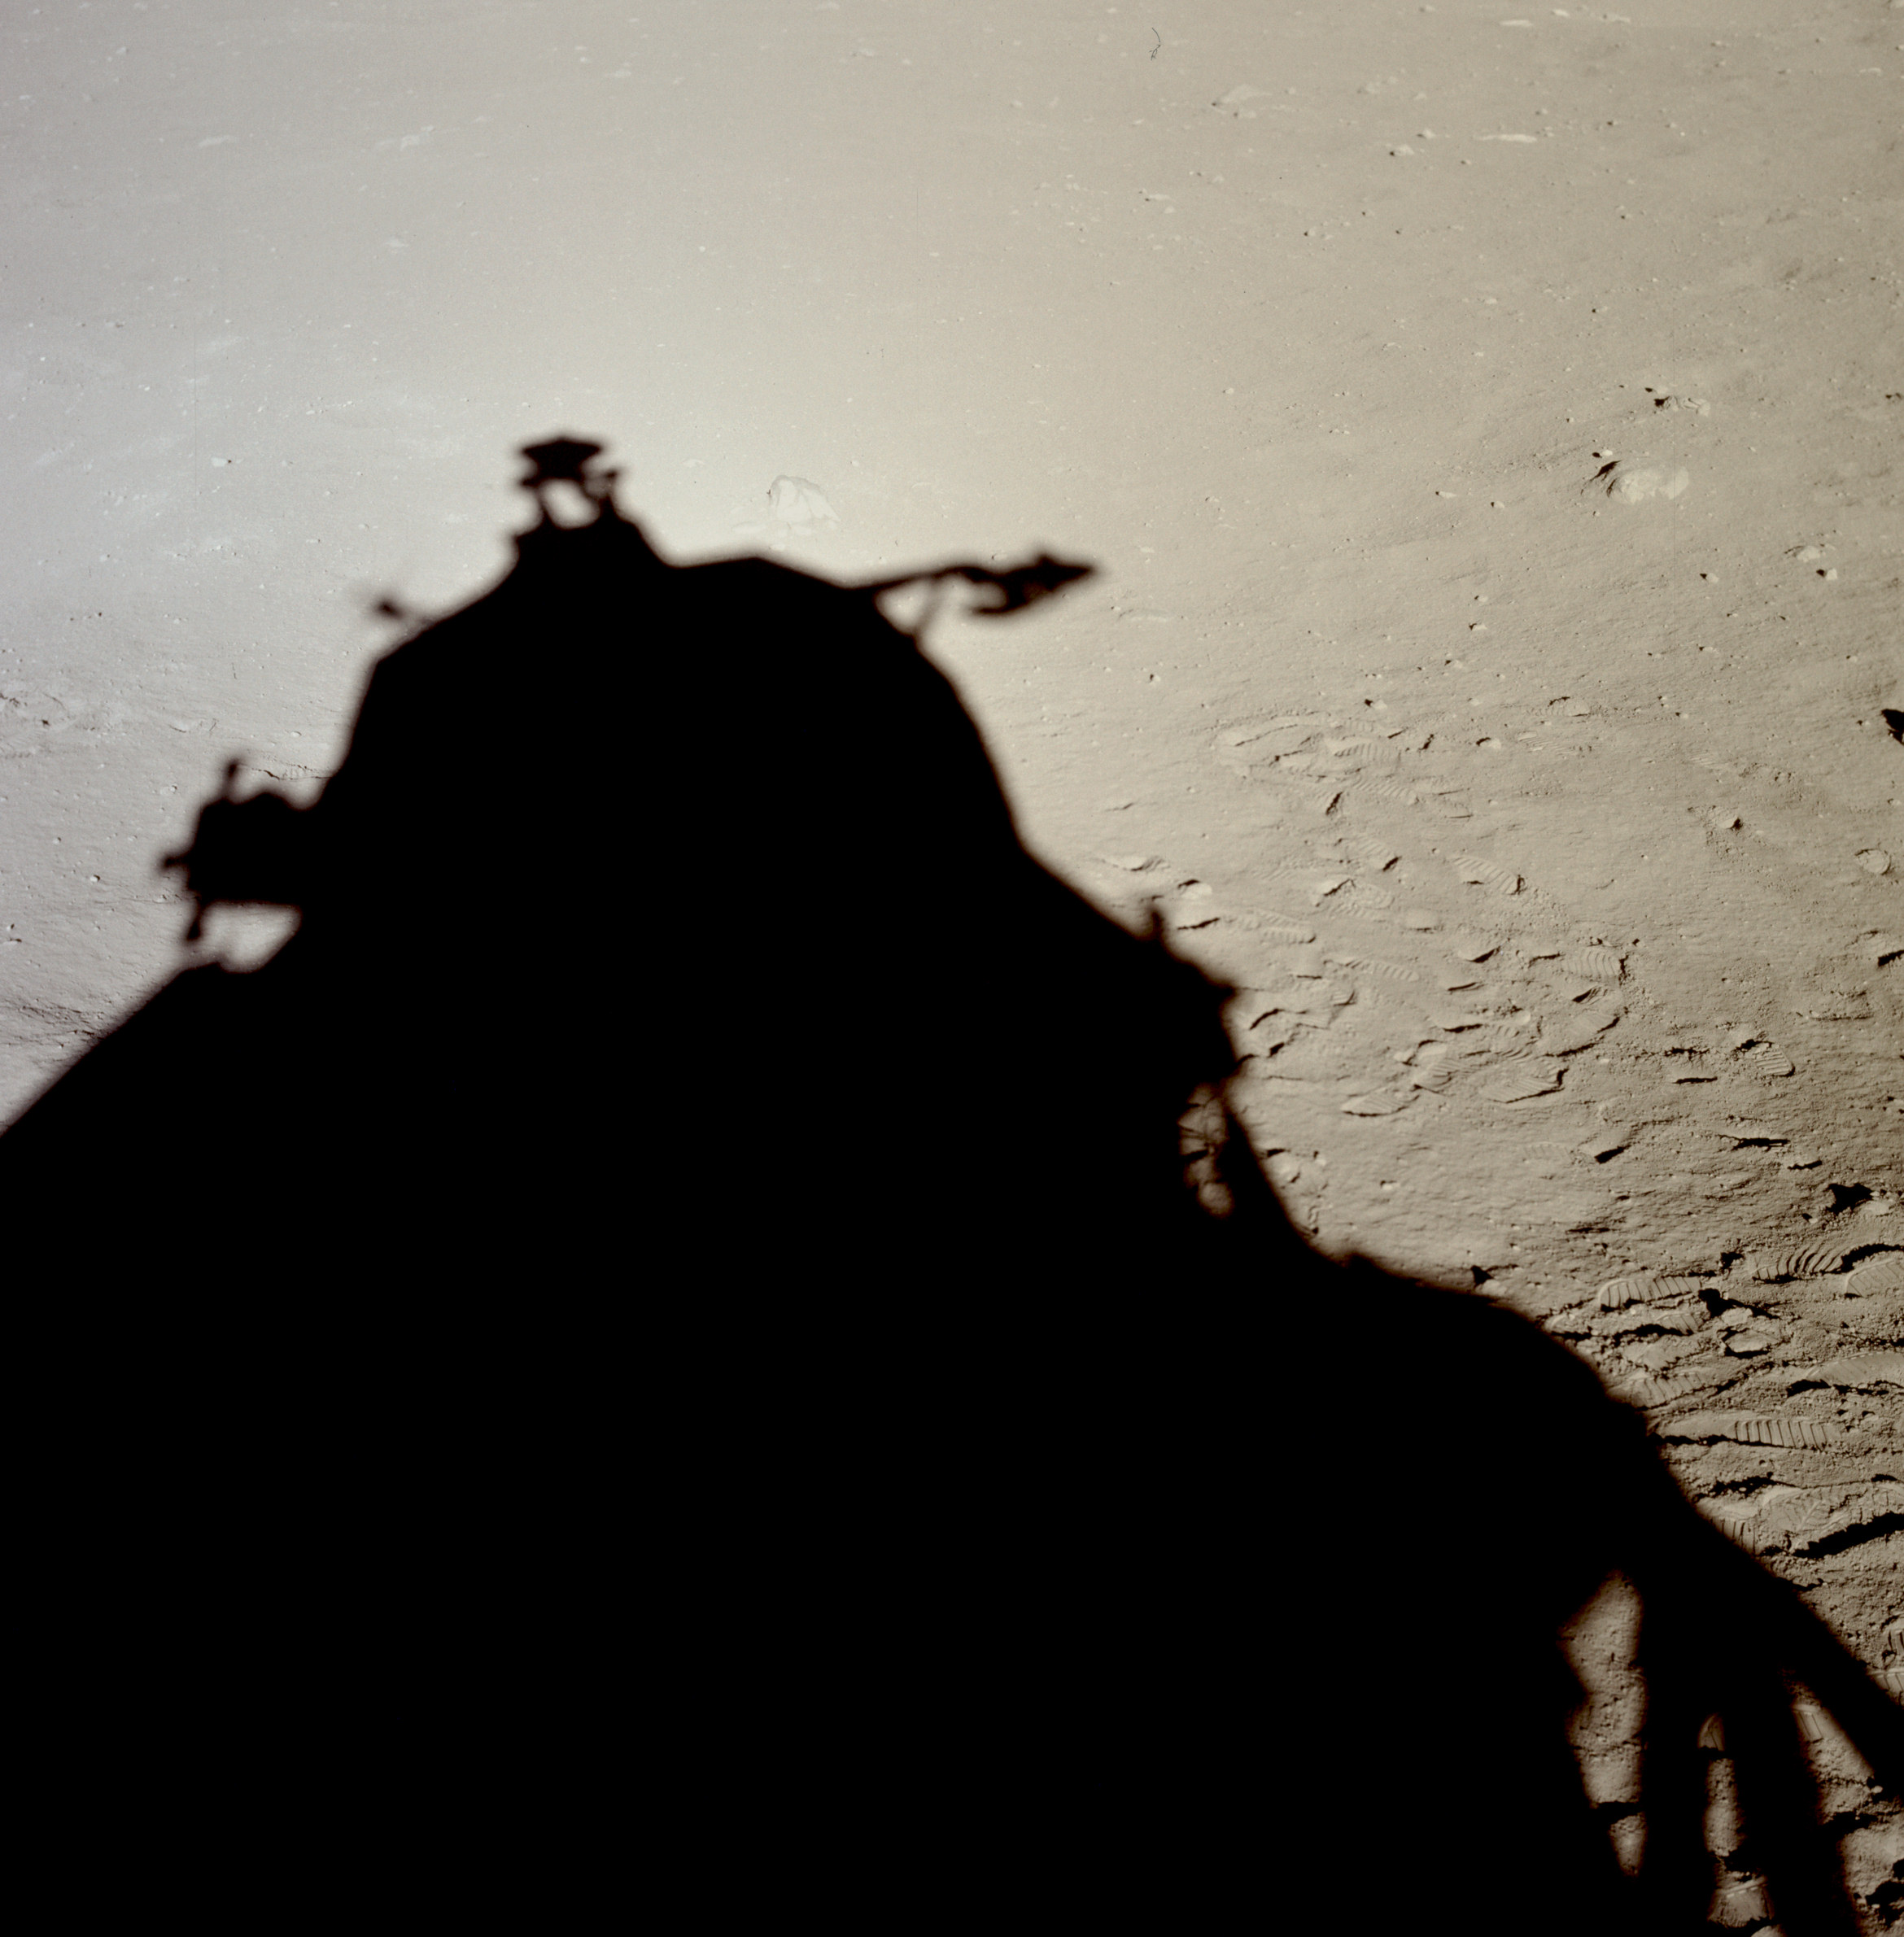 | AS11-37-5475 Tranquility Base from LM window. Image credit: Image Science and Analysis Laboratory, NASA-Johnson Space Center. |
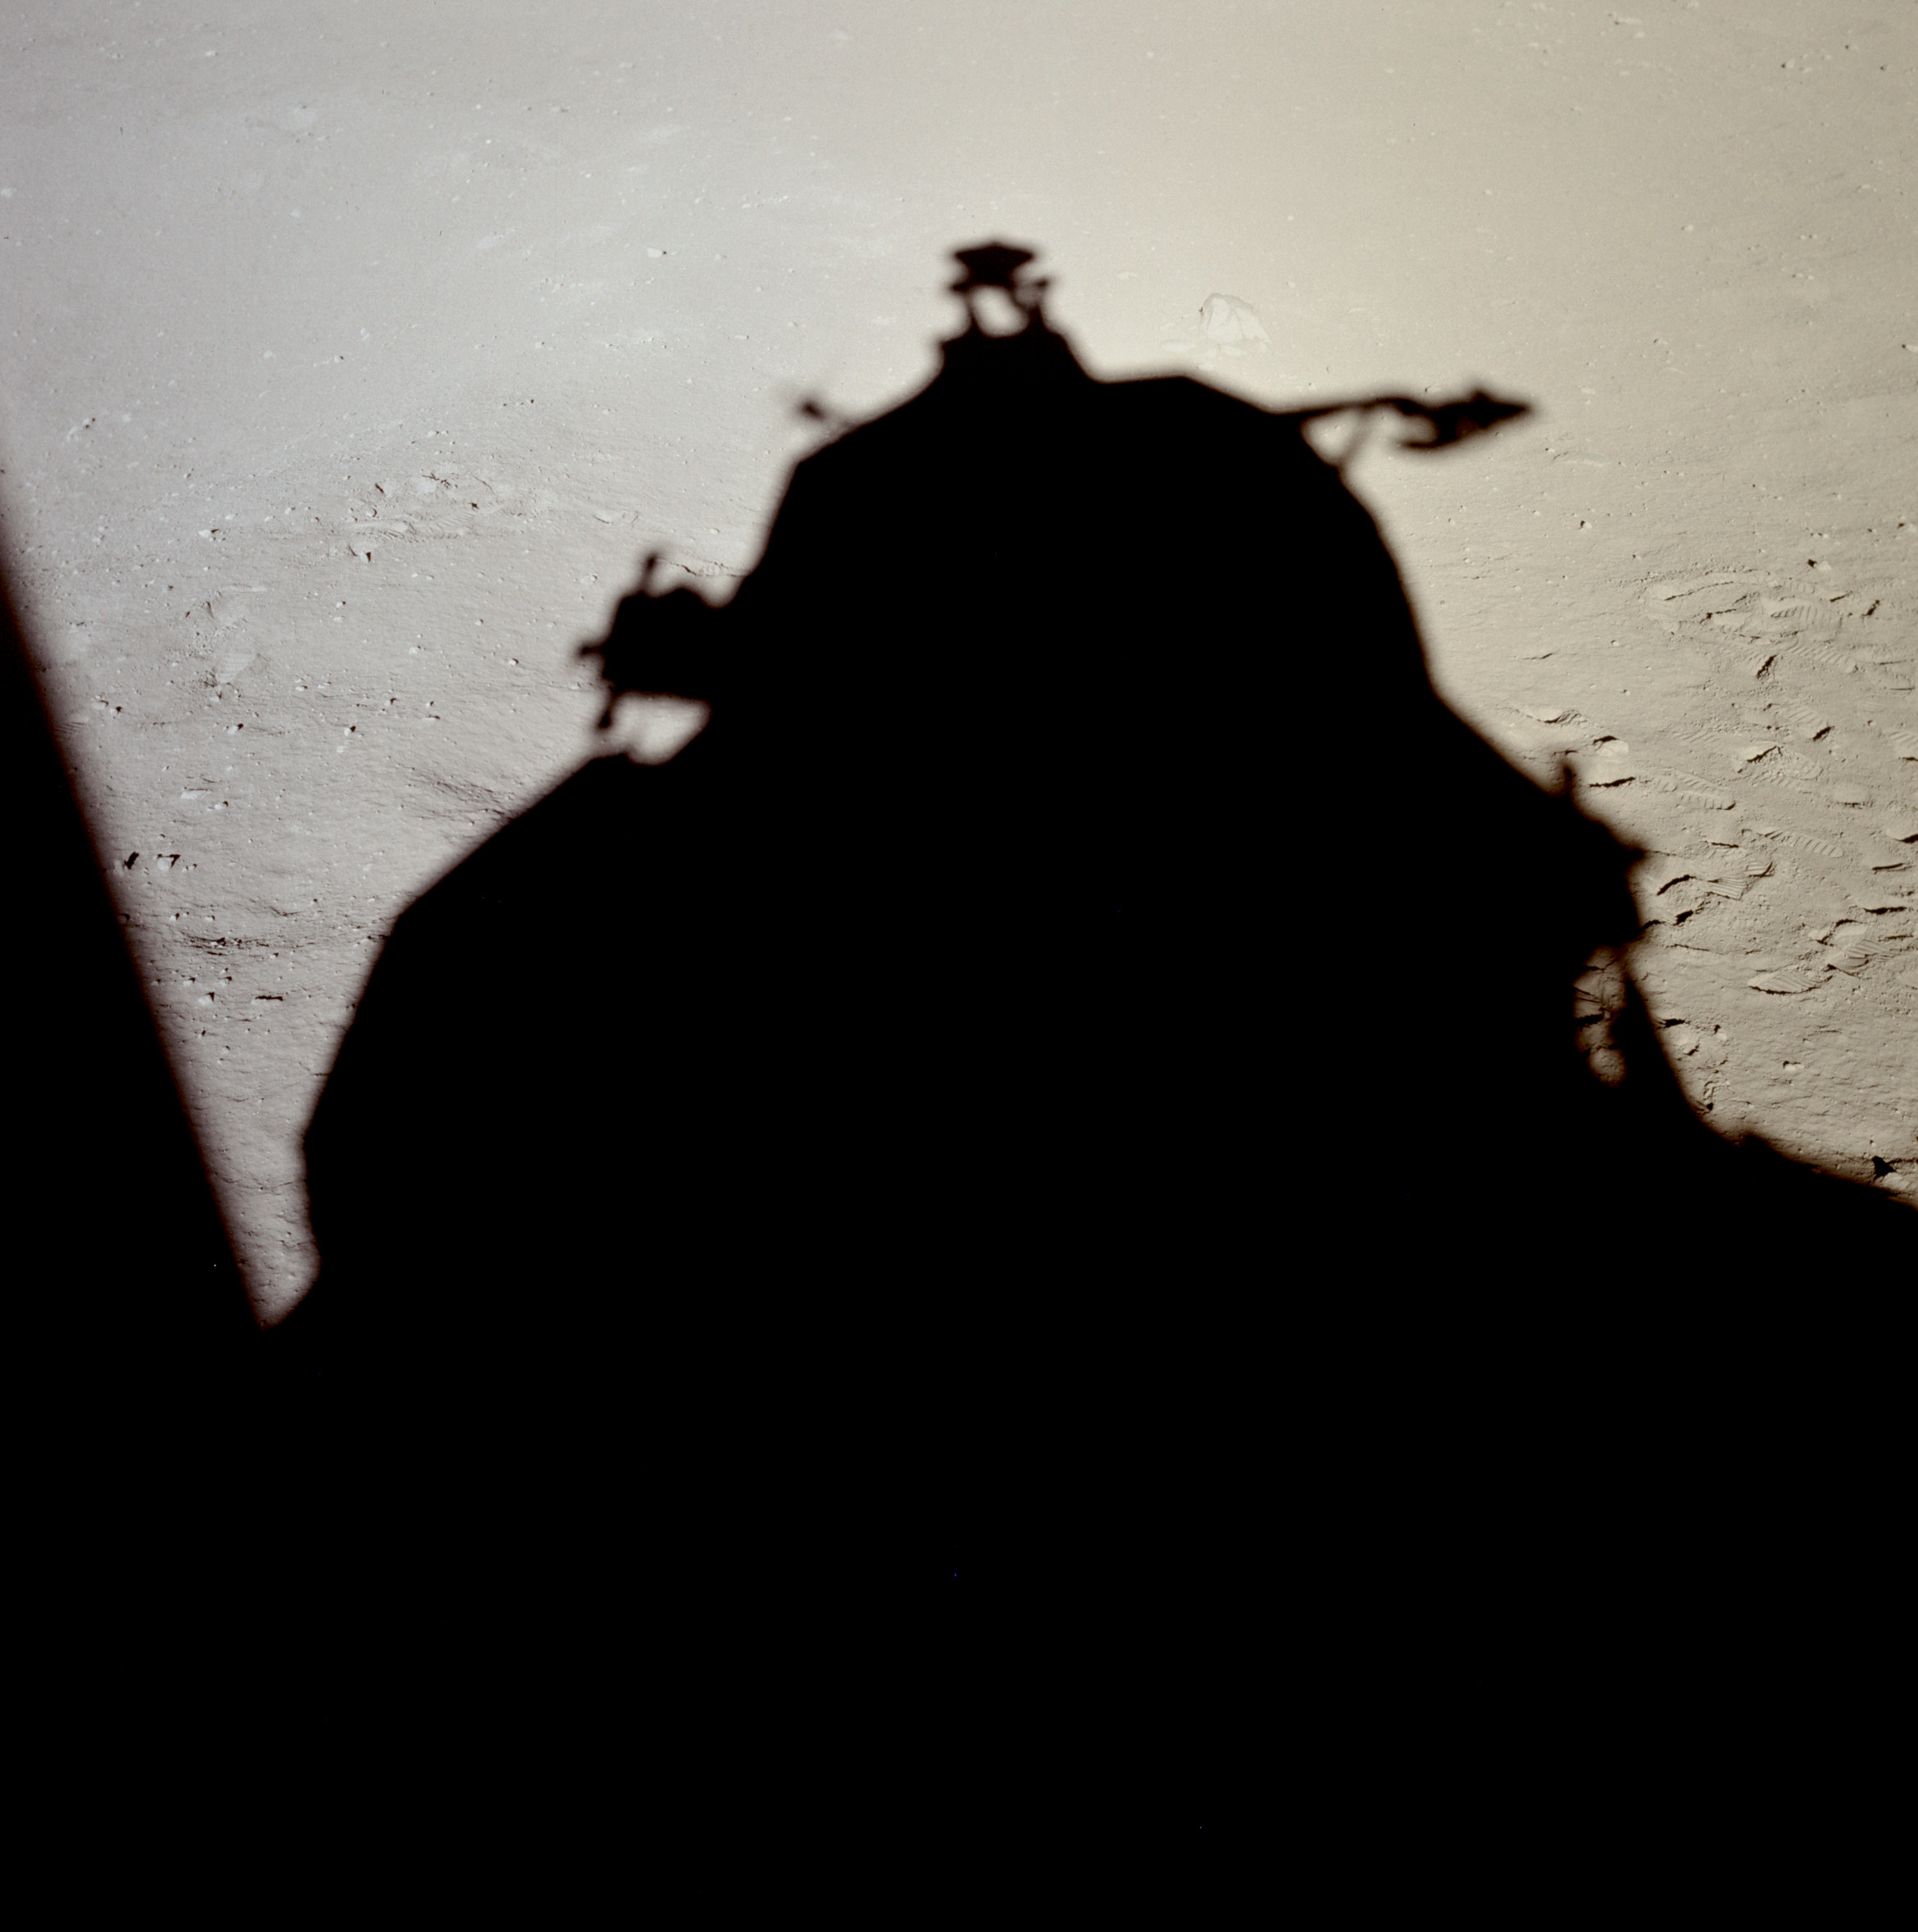 | AS11-37-5476 Tranquility Base from LM window. Image credit: Image Science and Analysis Laboratory, NASA-Johnson Space Center. |
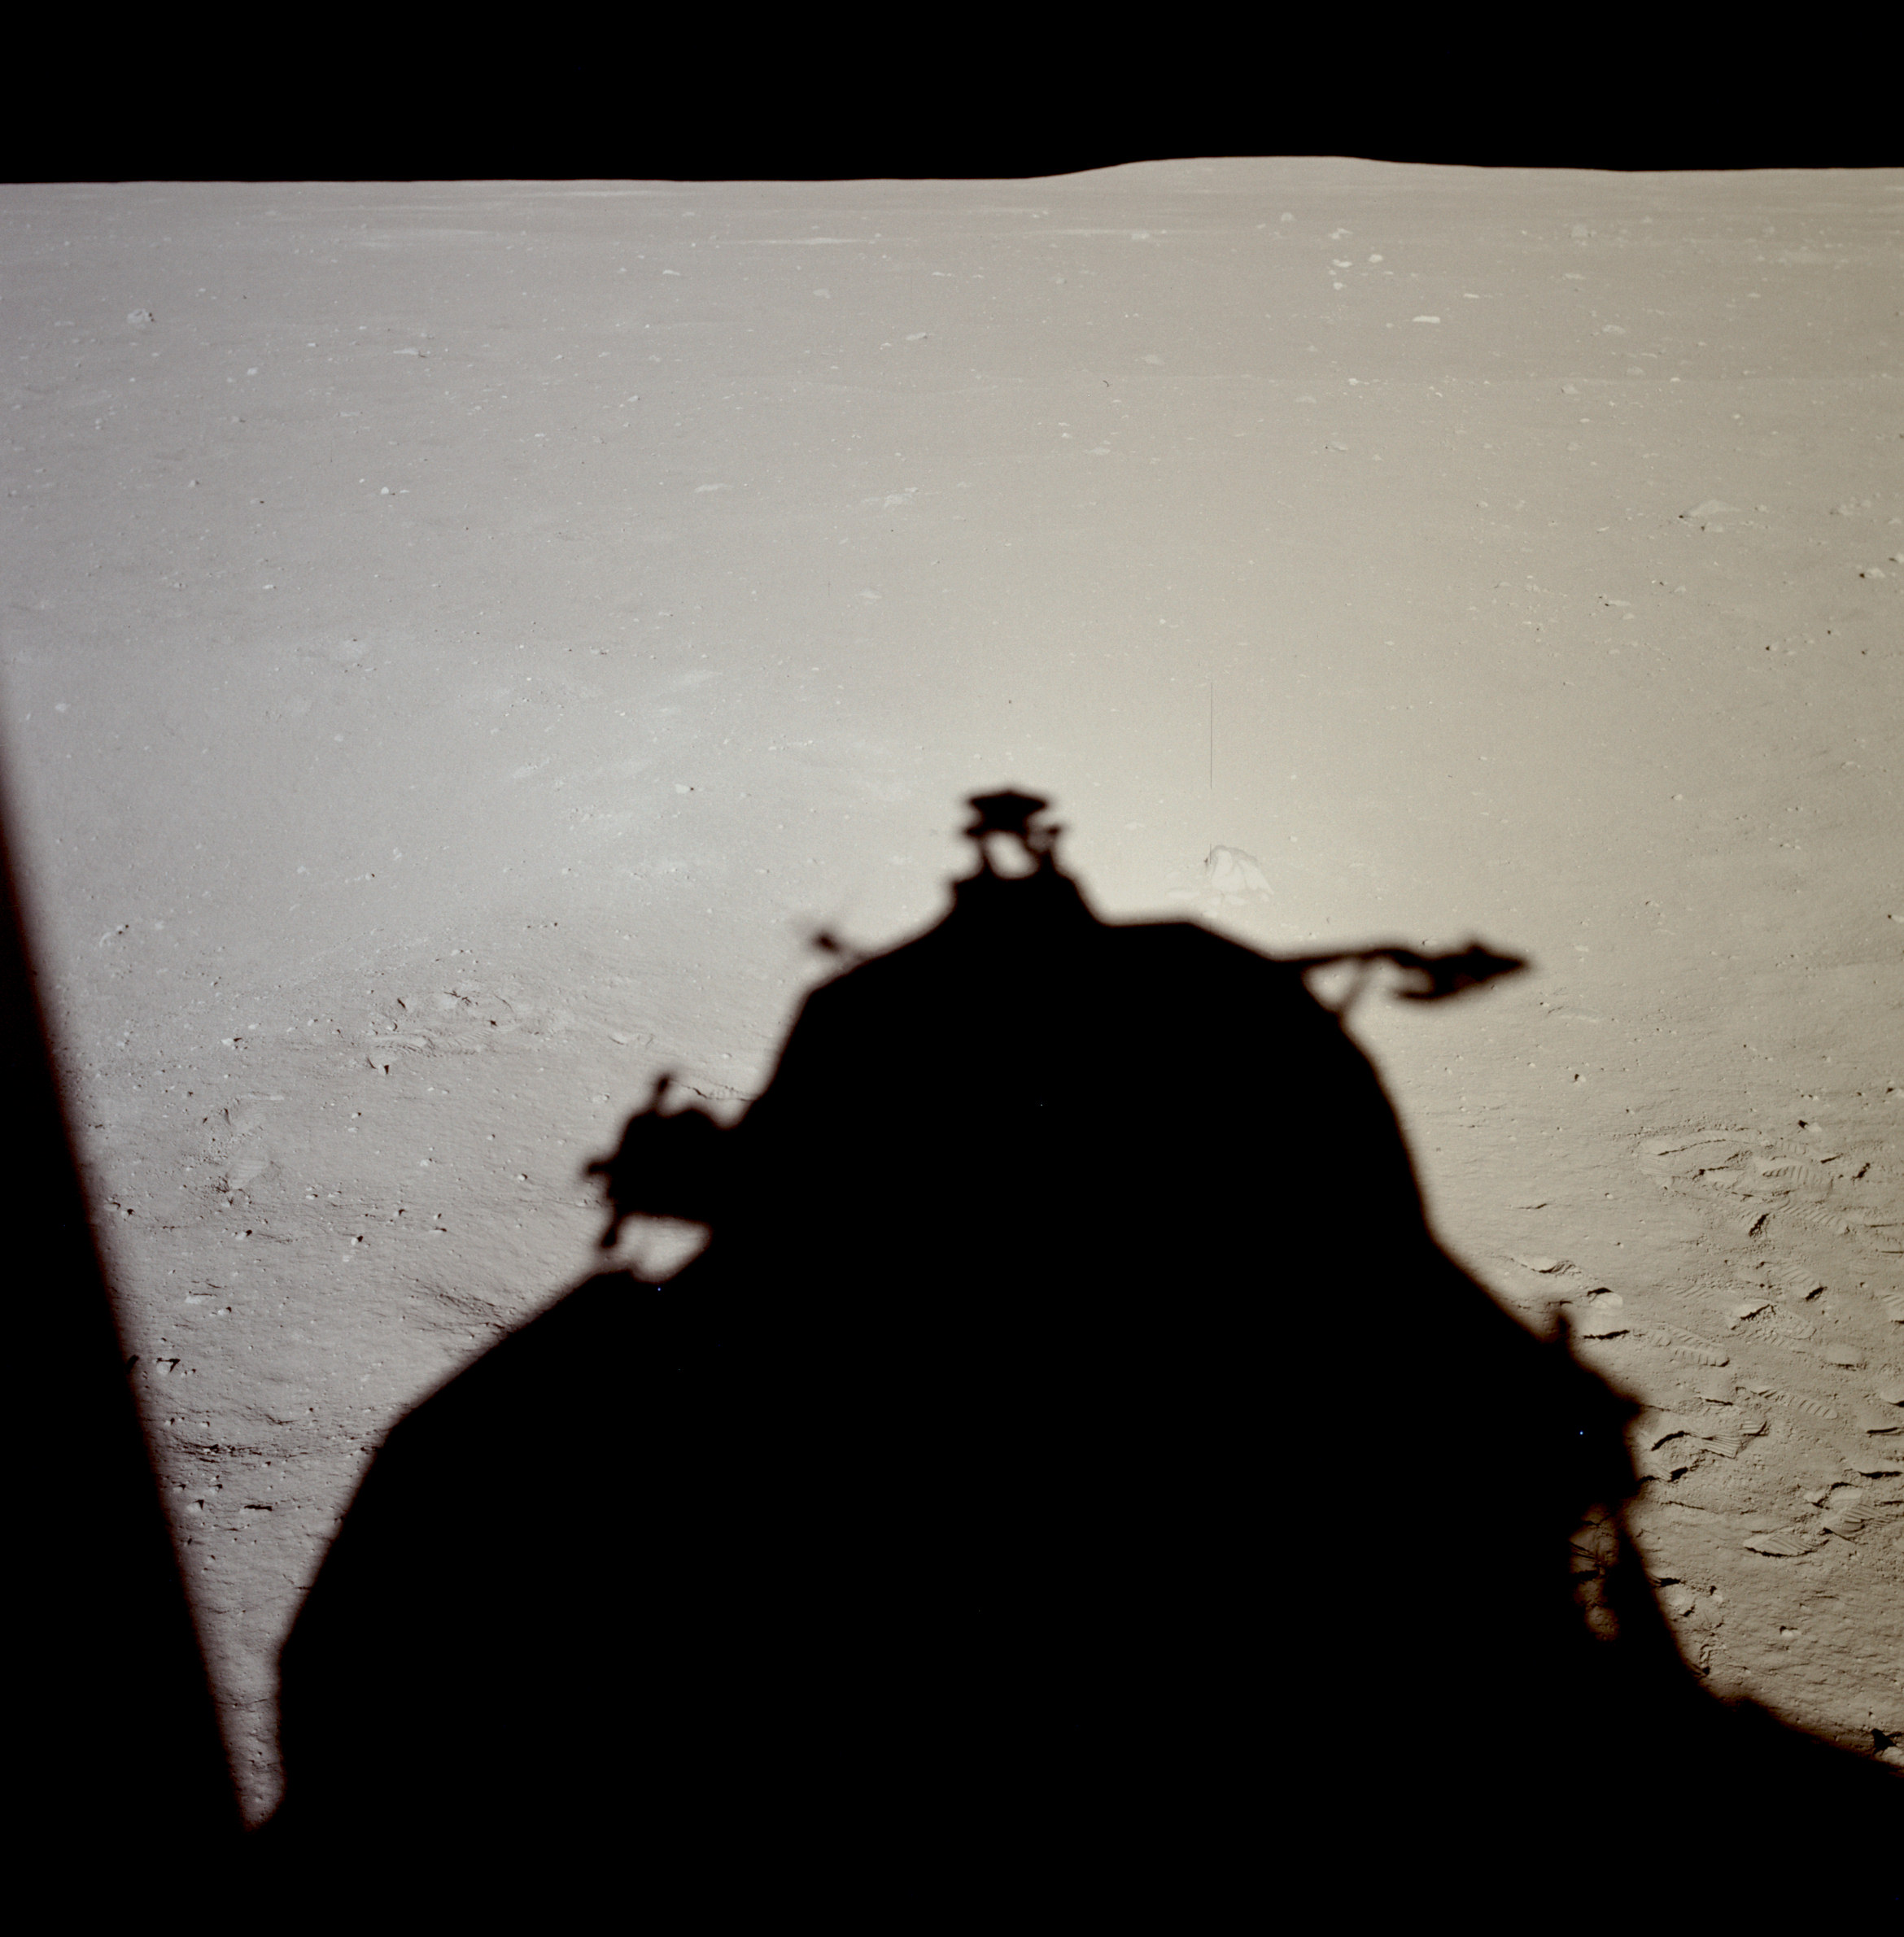 | AS11-37-5477 Tranquility Base from LM window. Image credit: Image Science and Analysis Laboratory, NASA-Johnson Space Center. |
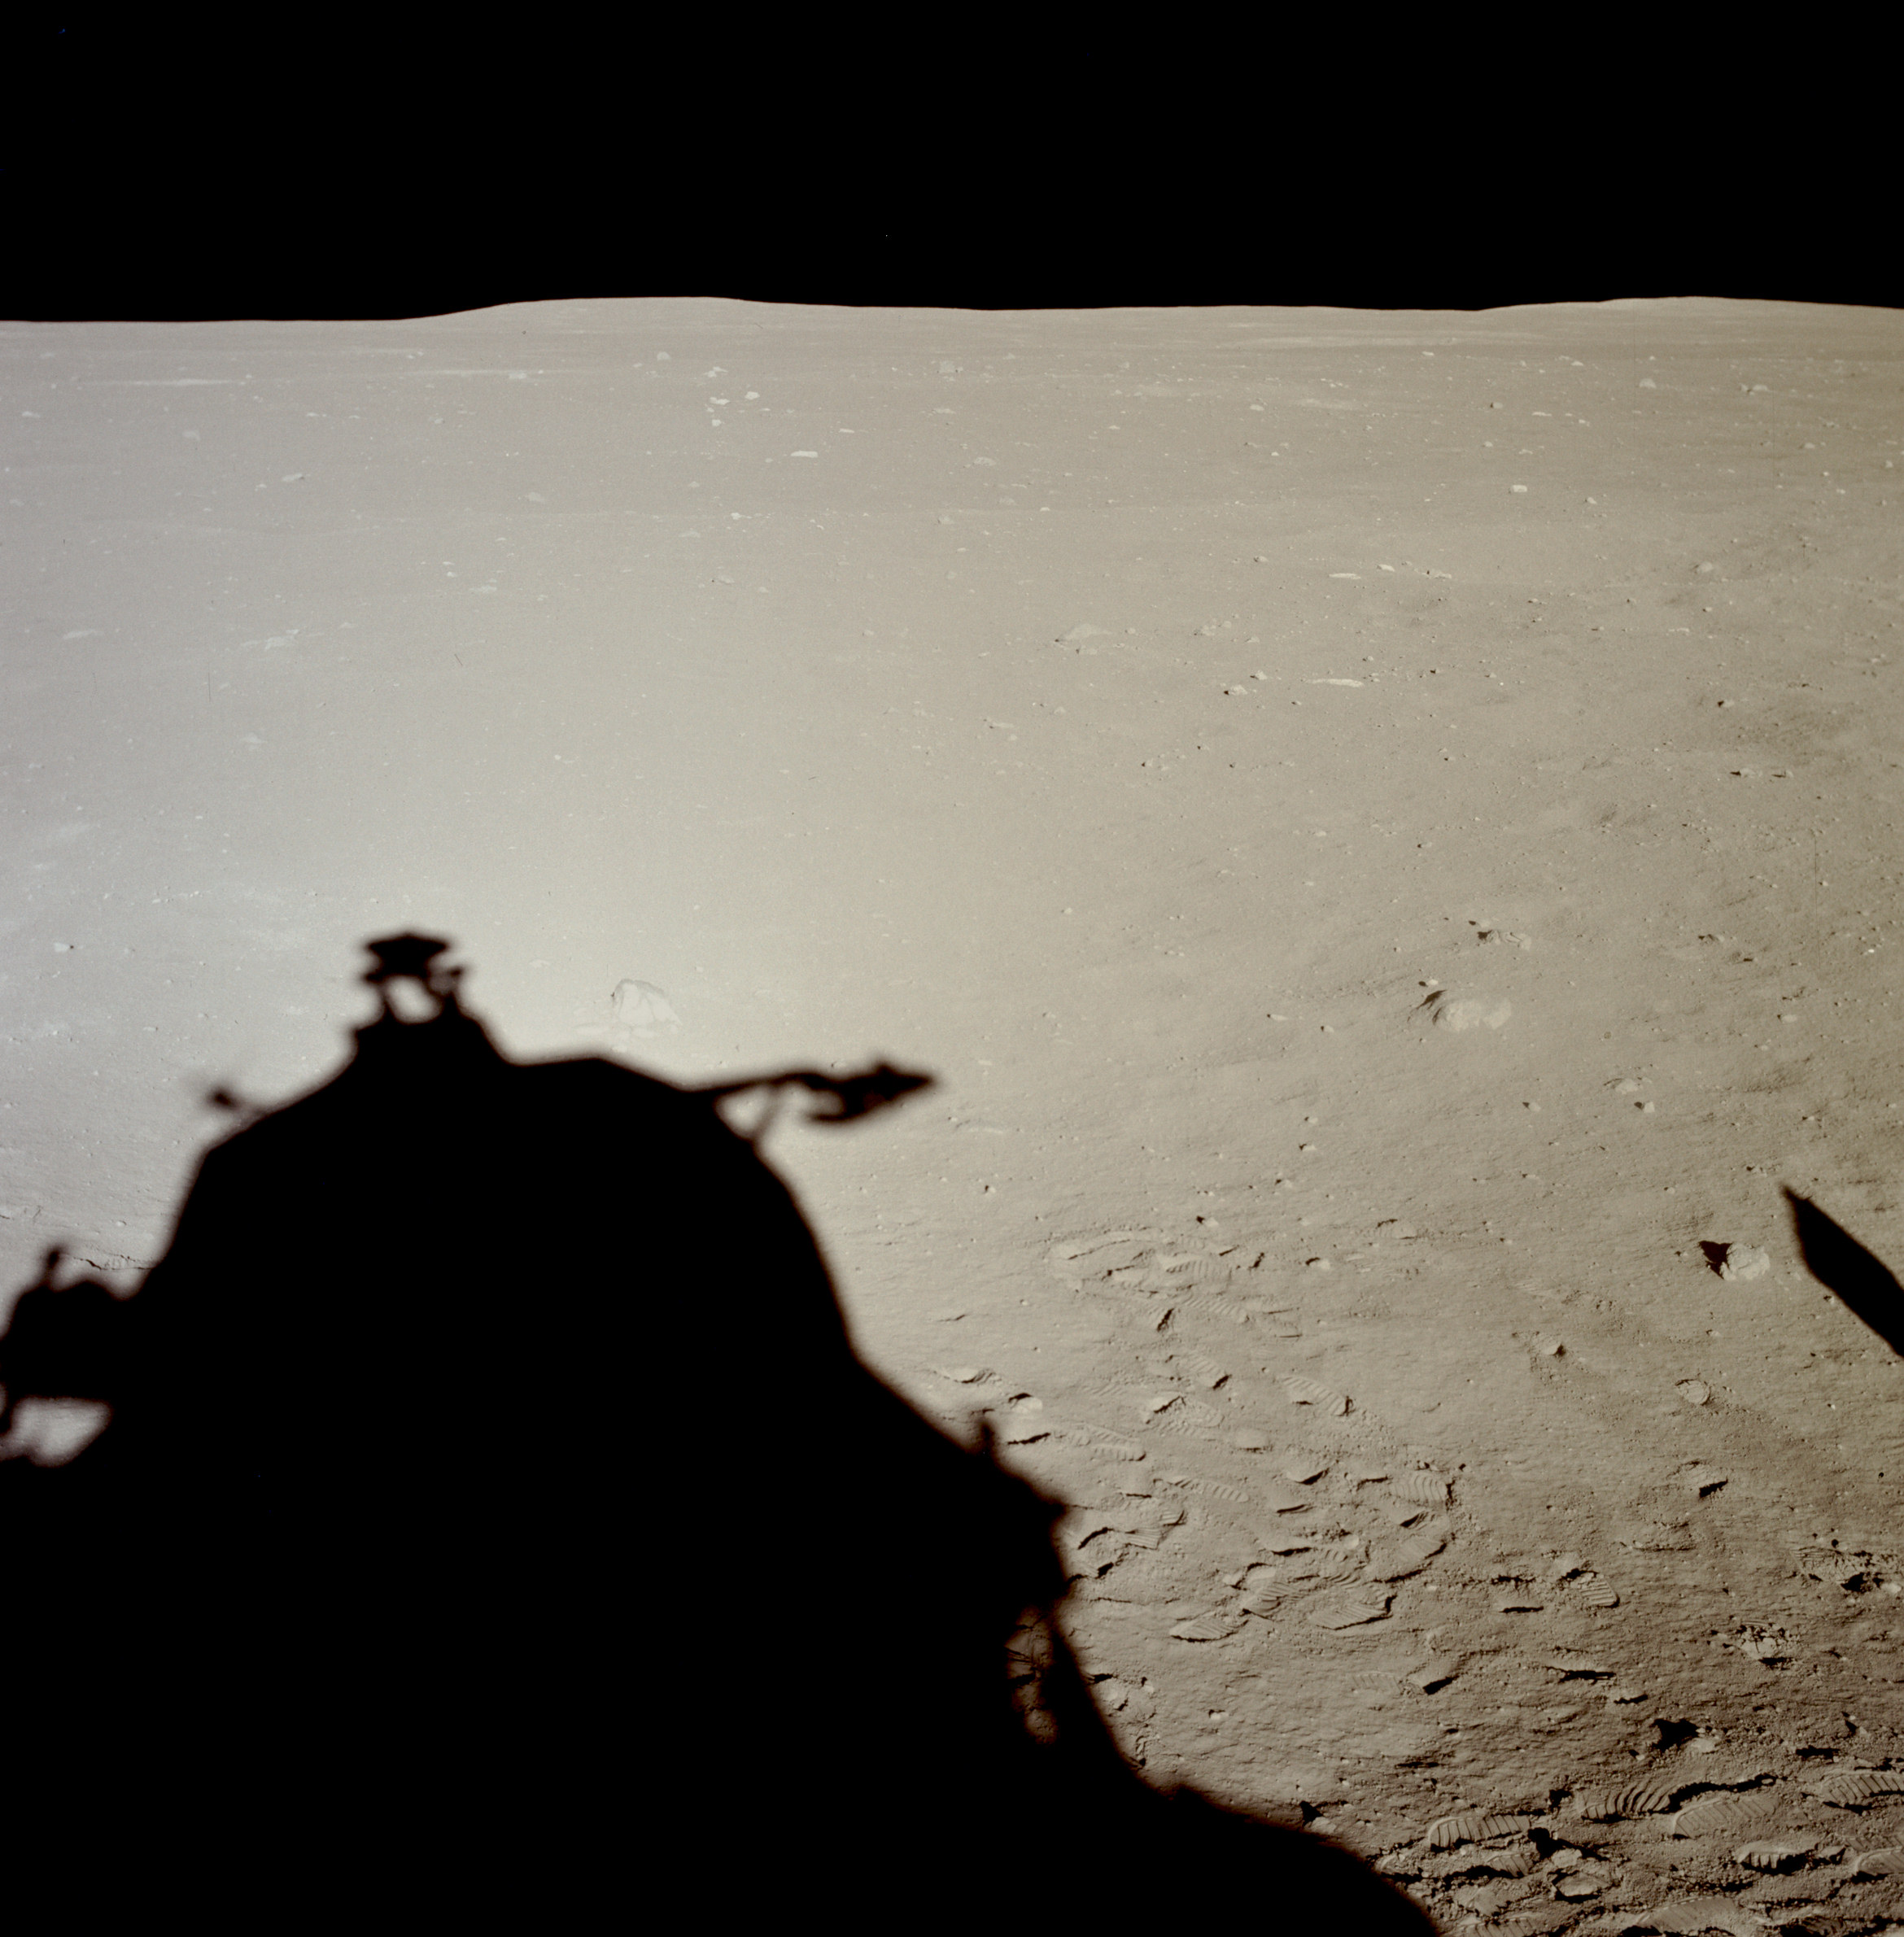 | AS11-37-5478 Tranquility Base from LM window. Image credit: Image Science and Analysis Laboratory, NASA-Johnson Space Center. |
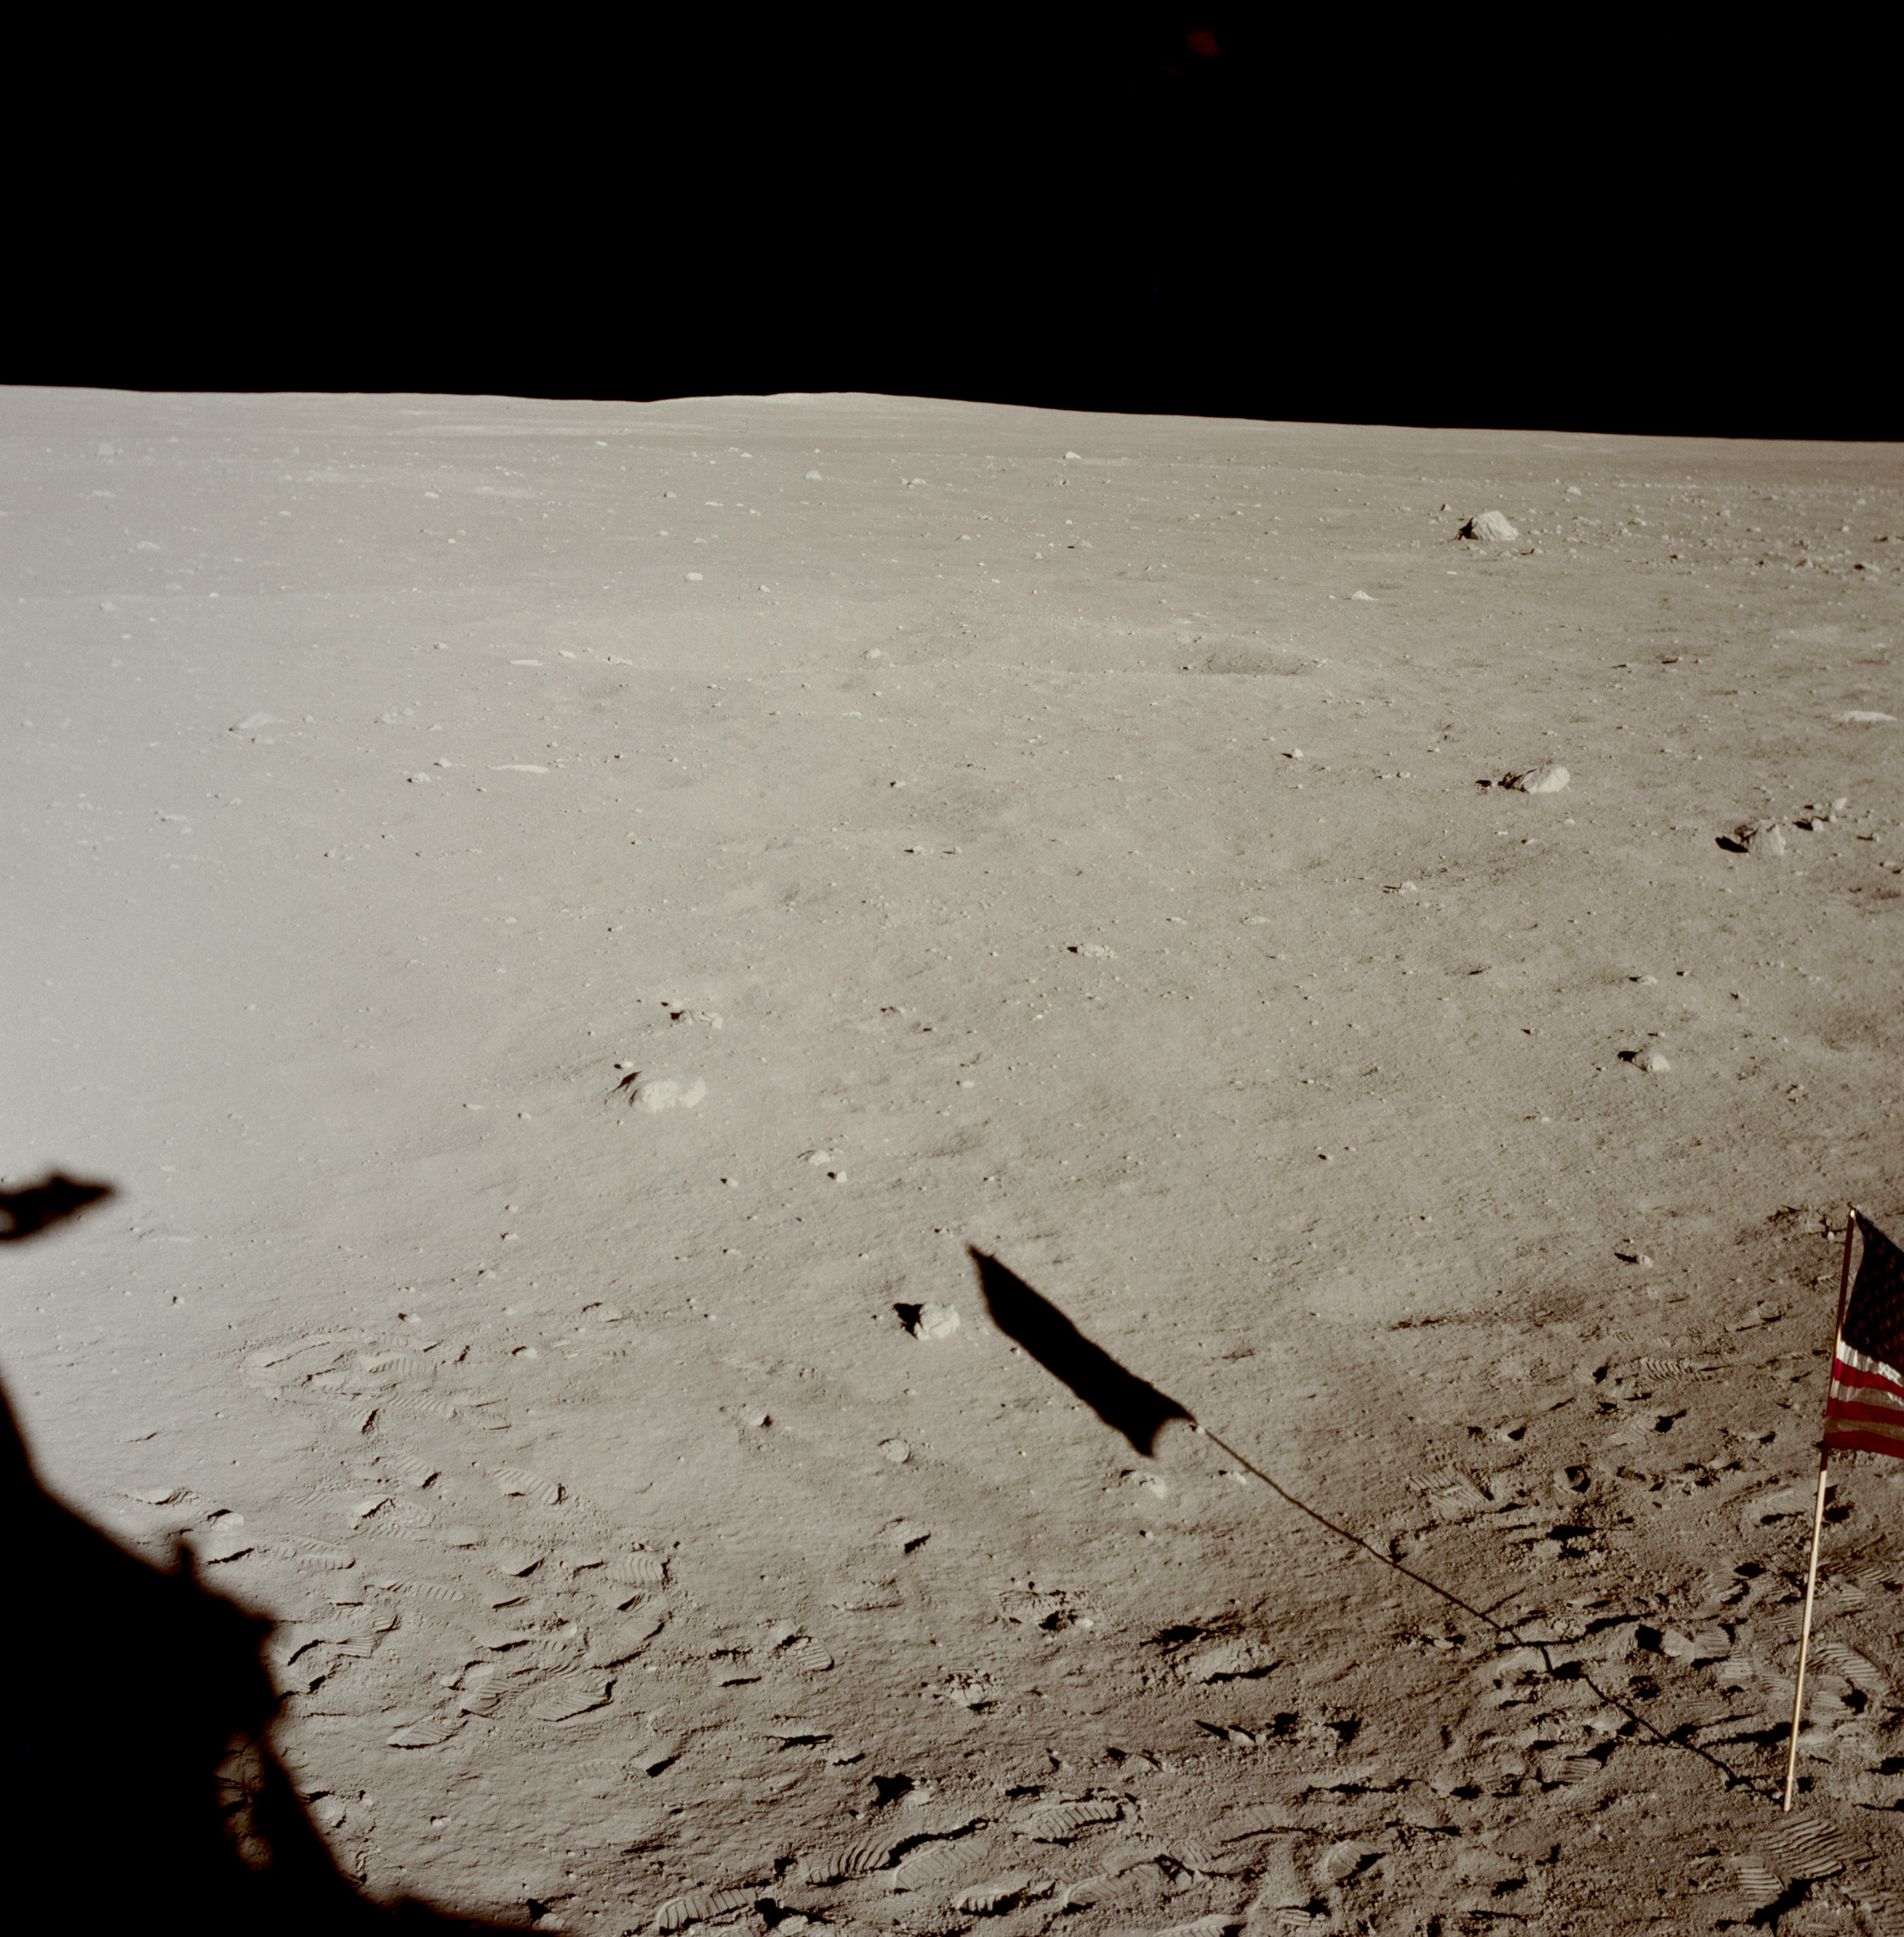 | AS11-37-5479 Tranquility Base and flag from LM window. Image credit: Image Science and Analysis Laboratory, NASA-Johnson Space Center. |
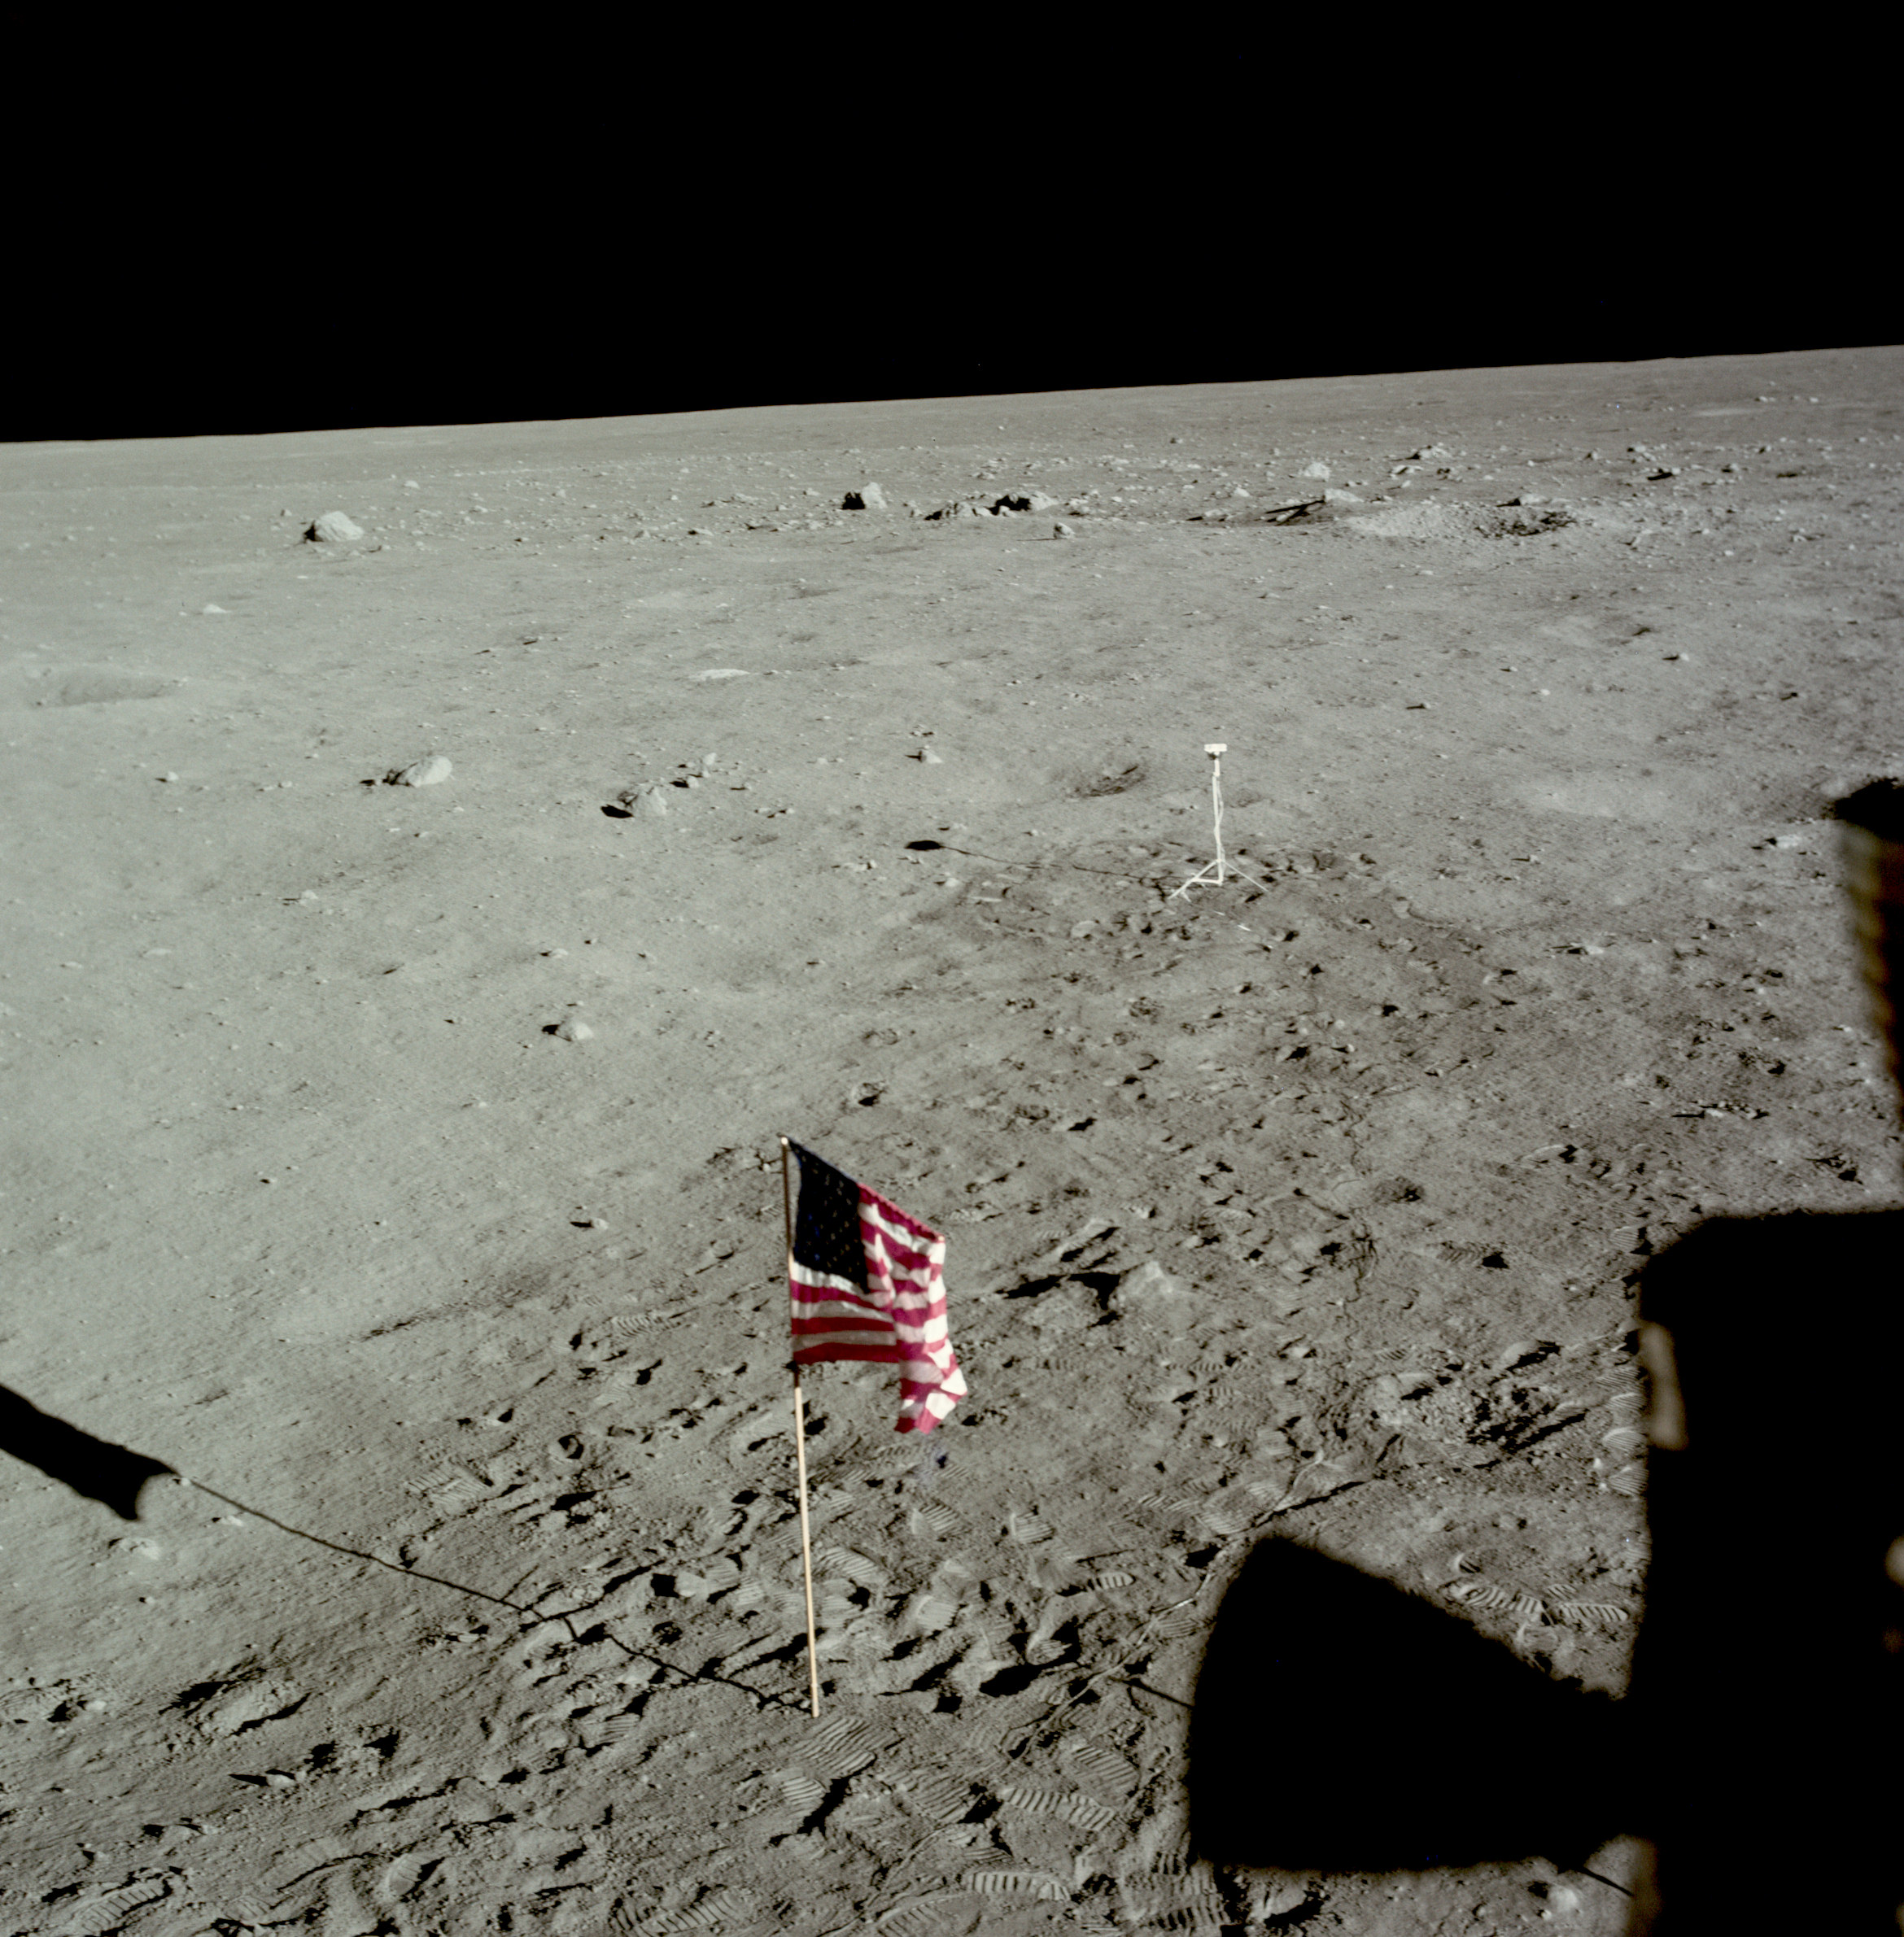 | AS11-37-5480 Tranquility Base and flag from LM window. Image credit: Image Science and Analysis Laboratory, NASA-Johnson Space Center. |
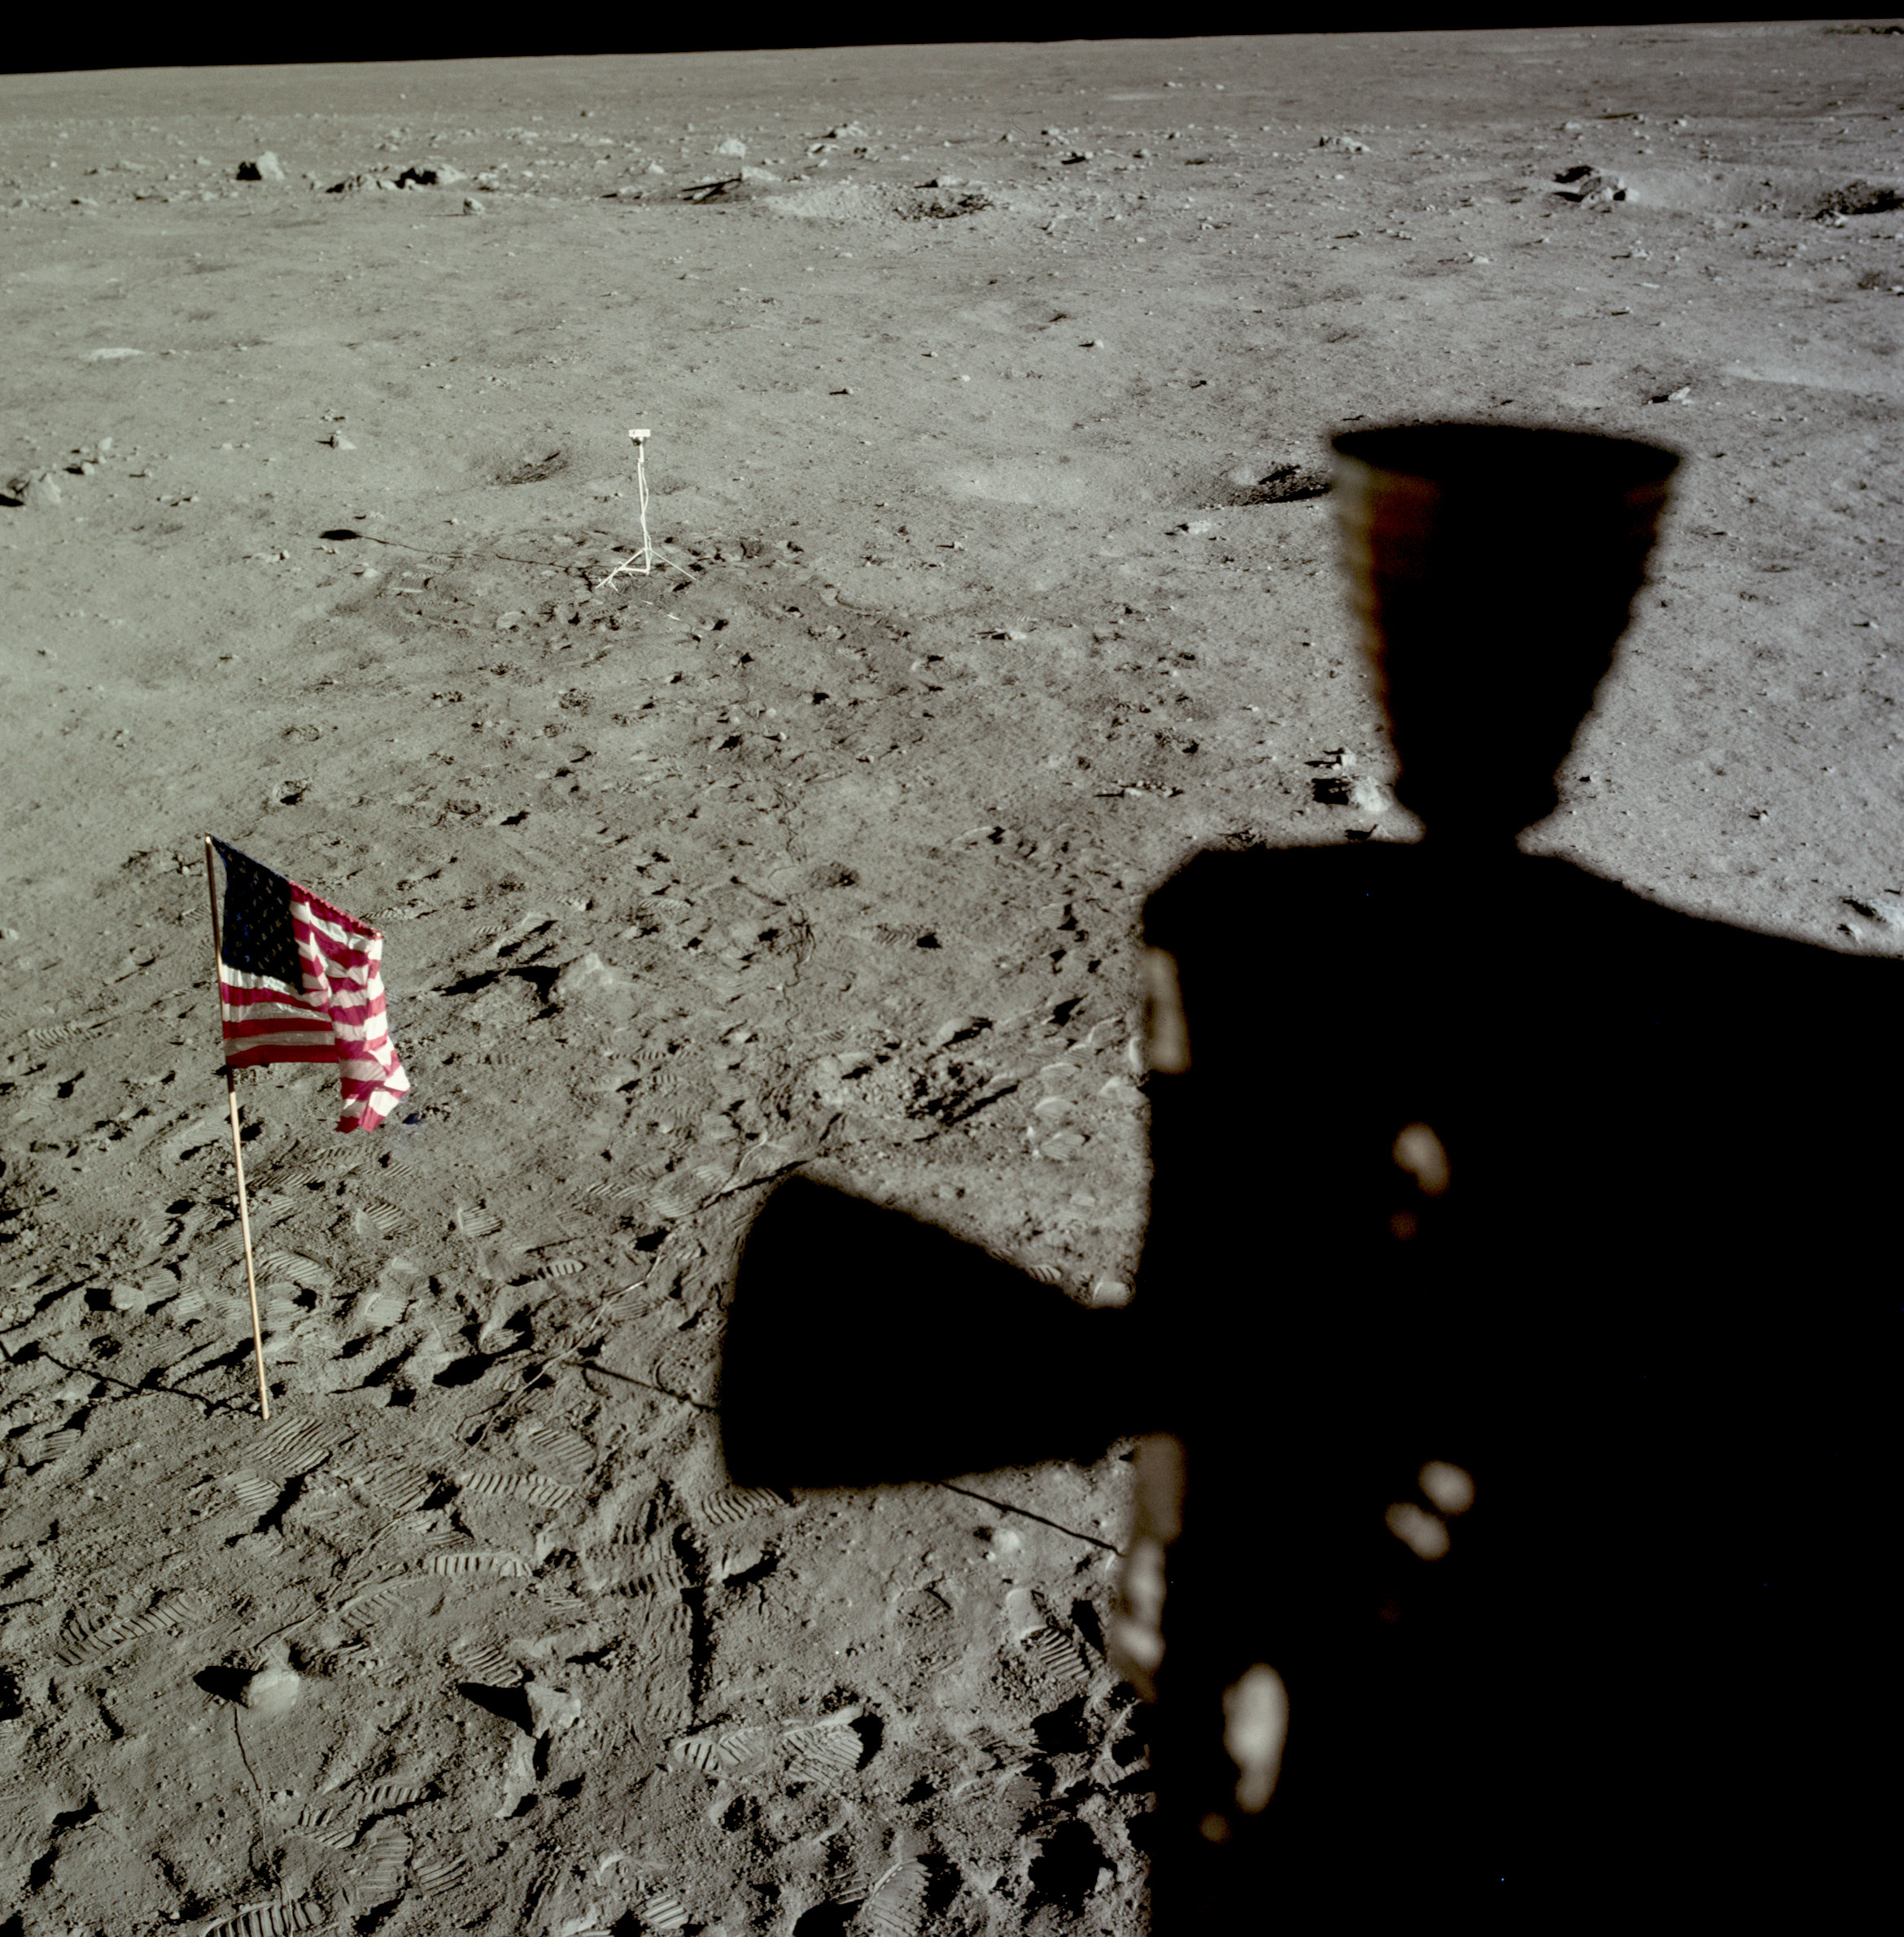 | AS11-37-5481 Tranquility Base and flag from LM window. Image credit: Image Science and Analysis Laboratory, NASA-Johnson Space Center. |
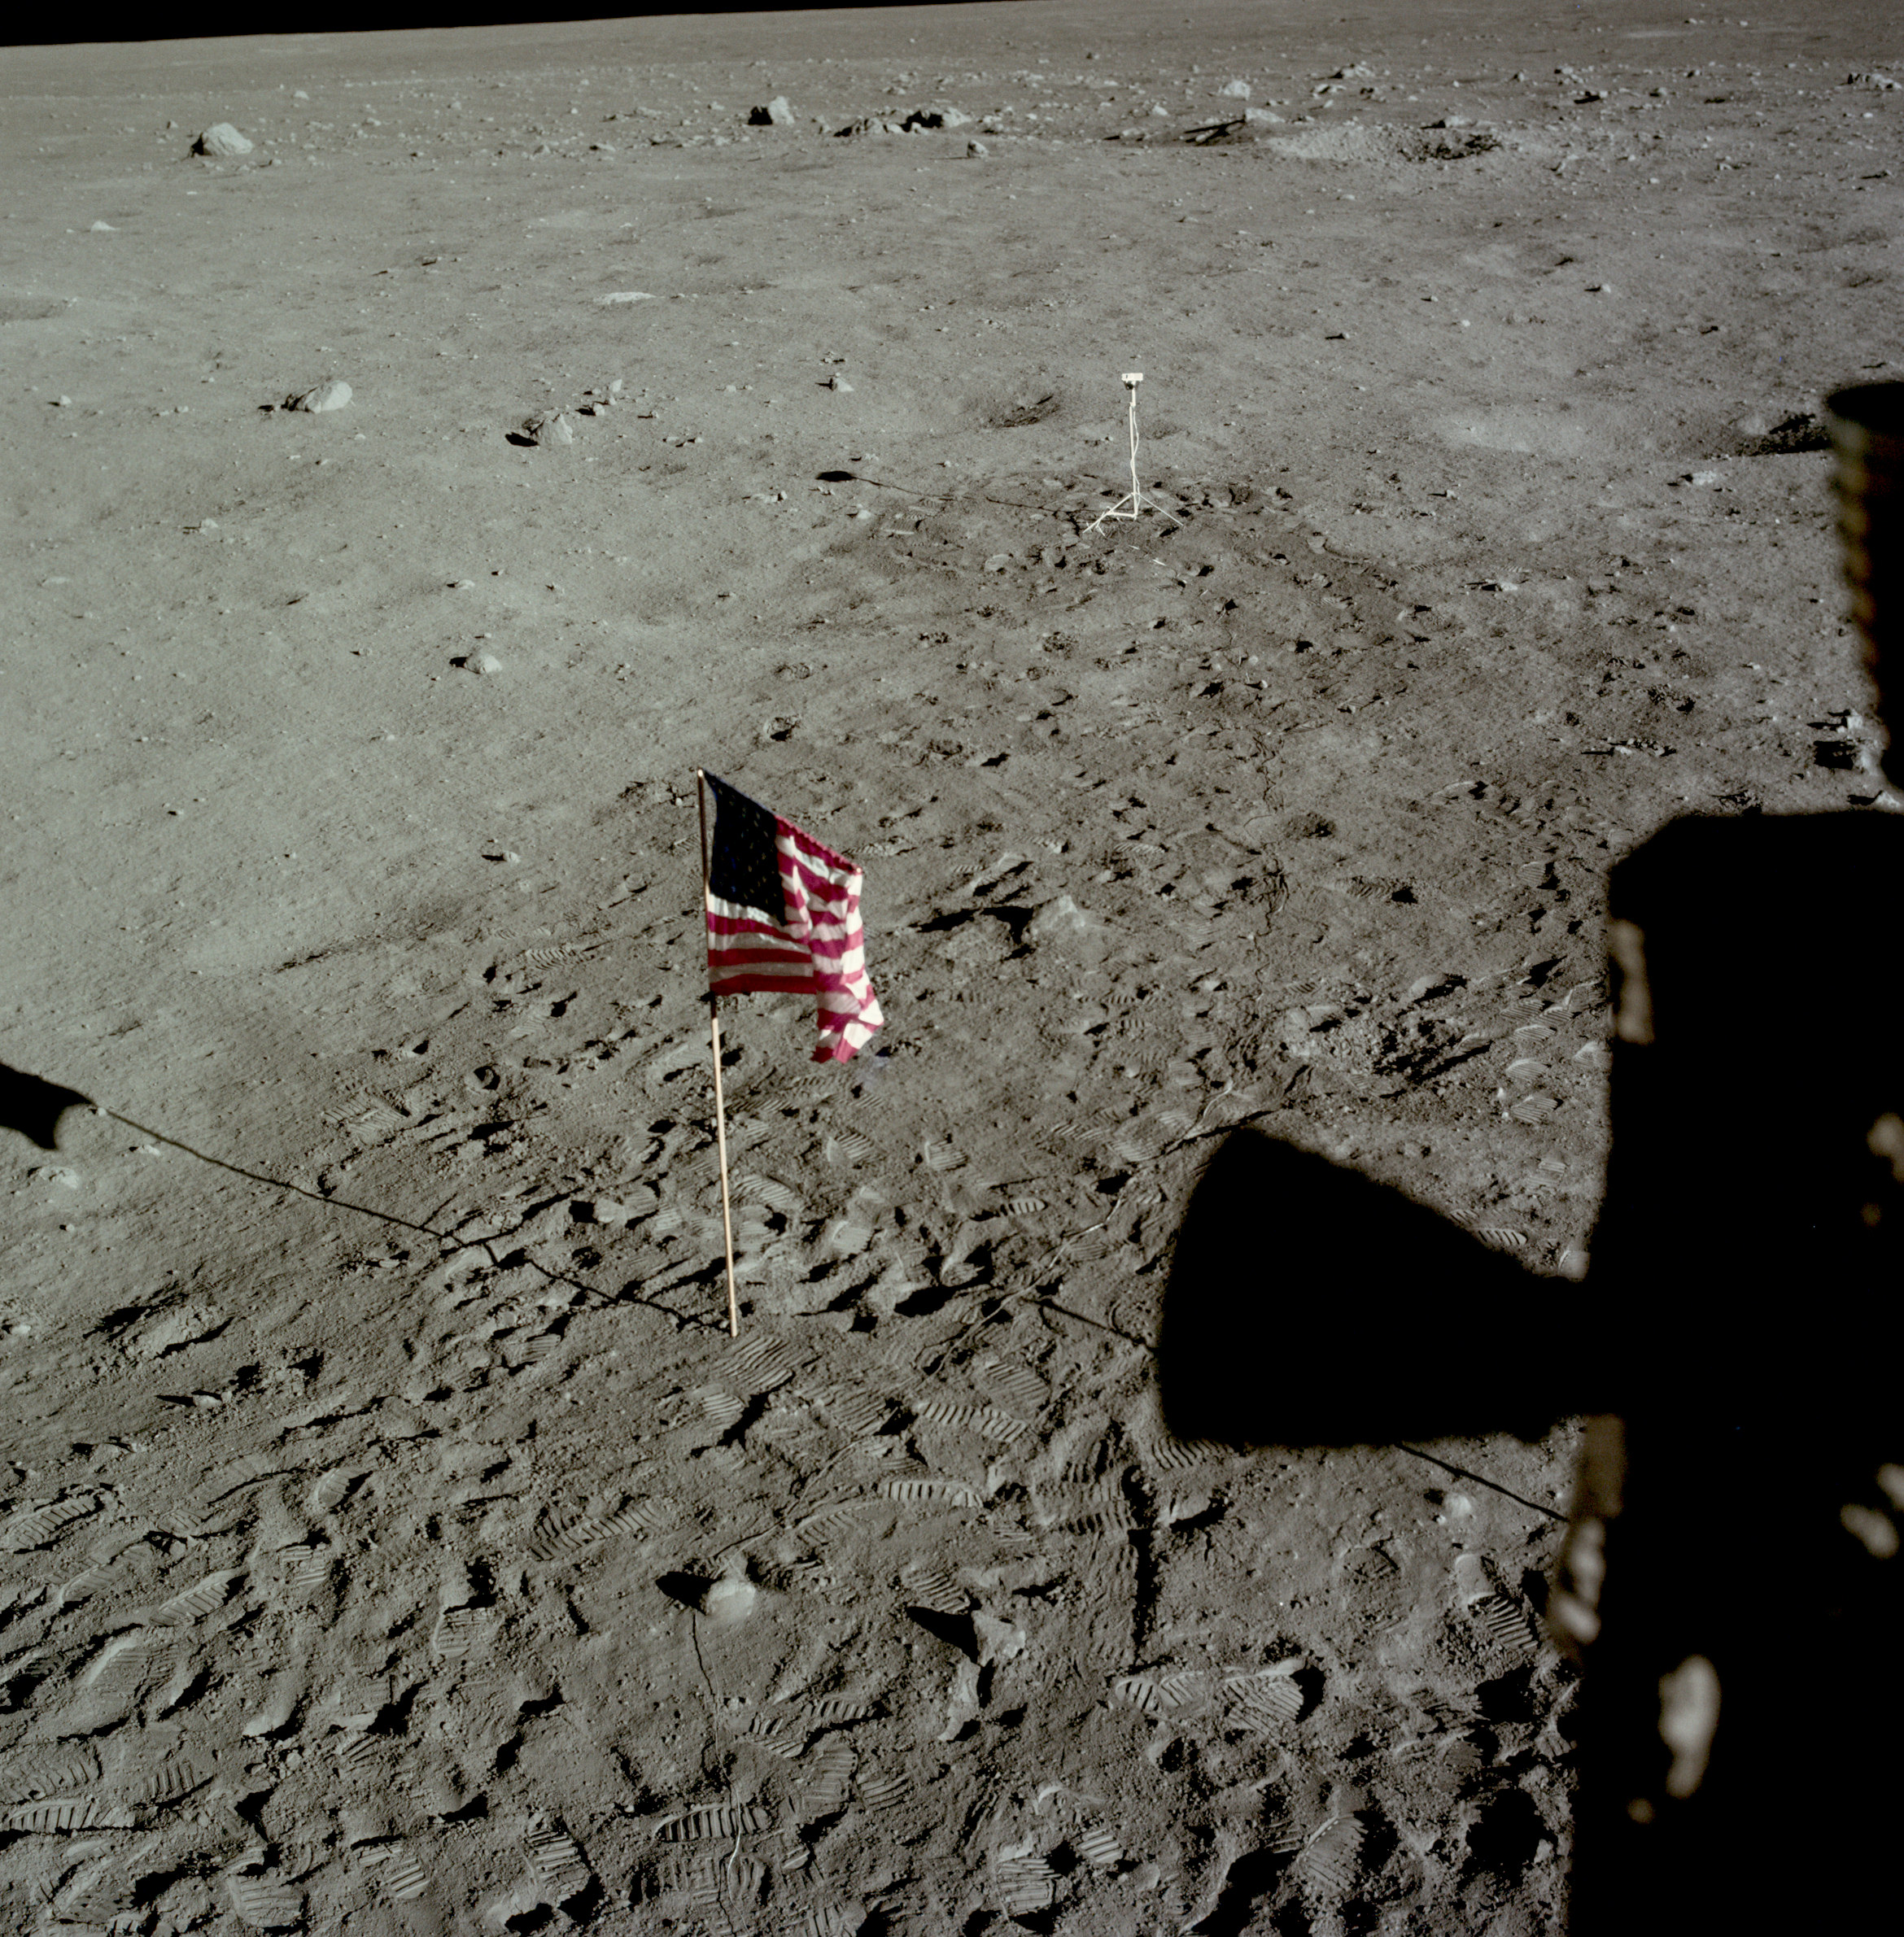 | AS11-37-5482 Tranquility Base and flag from LM window. Image credit: Image Science and Analysis Laboratory, NASA-Johnson Space Center. |
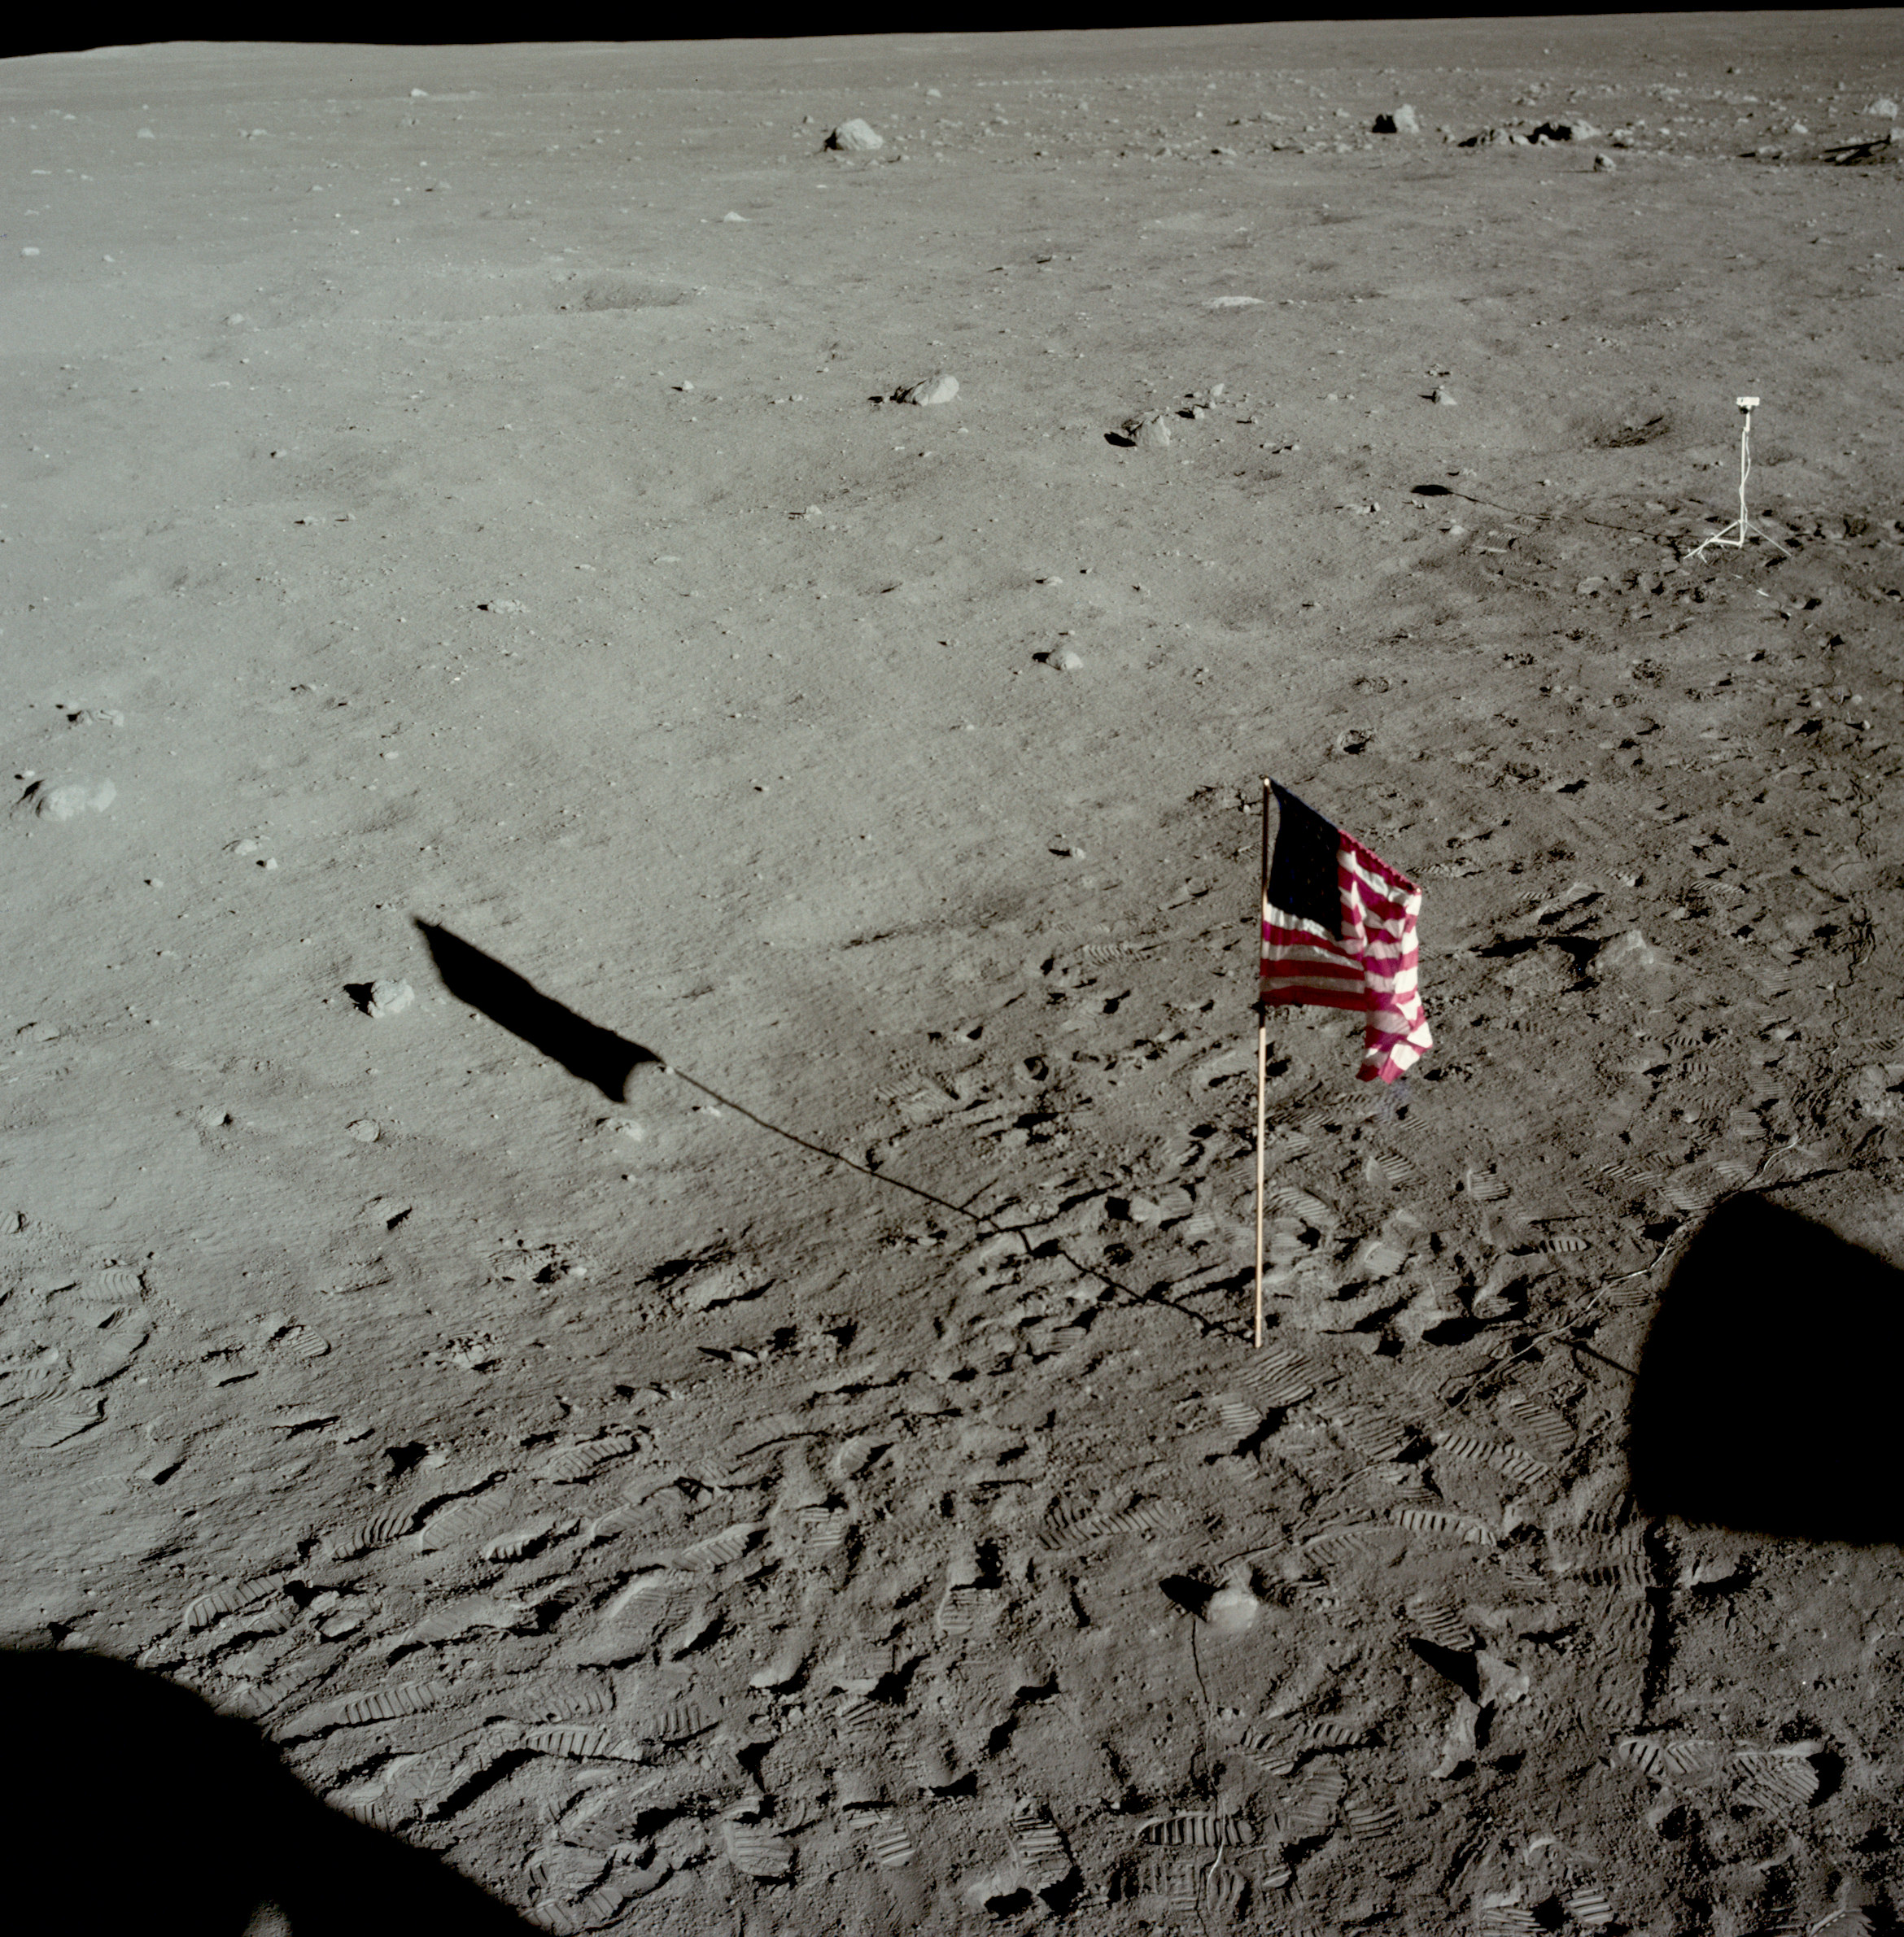 | AS11-37-5483 Tranquility Base and flag from LM window. Image credit: Image Science and Analysis Laboratory, NASA-Johnson Space Center. |
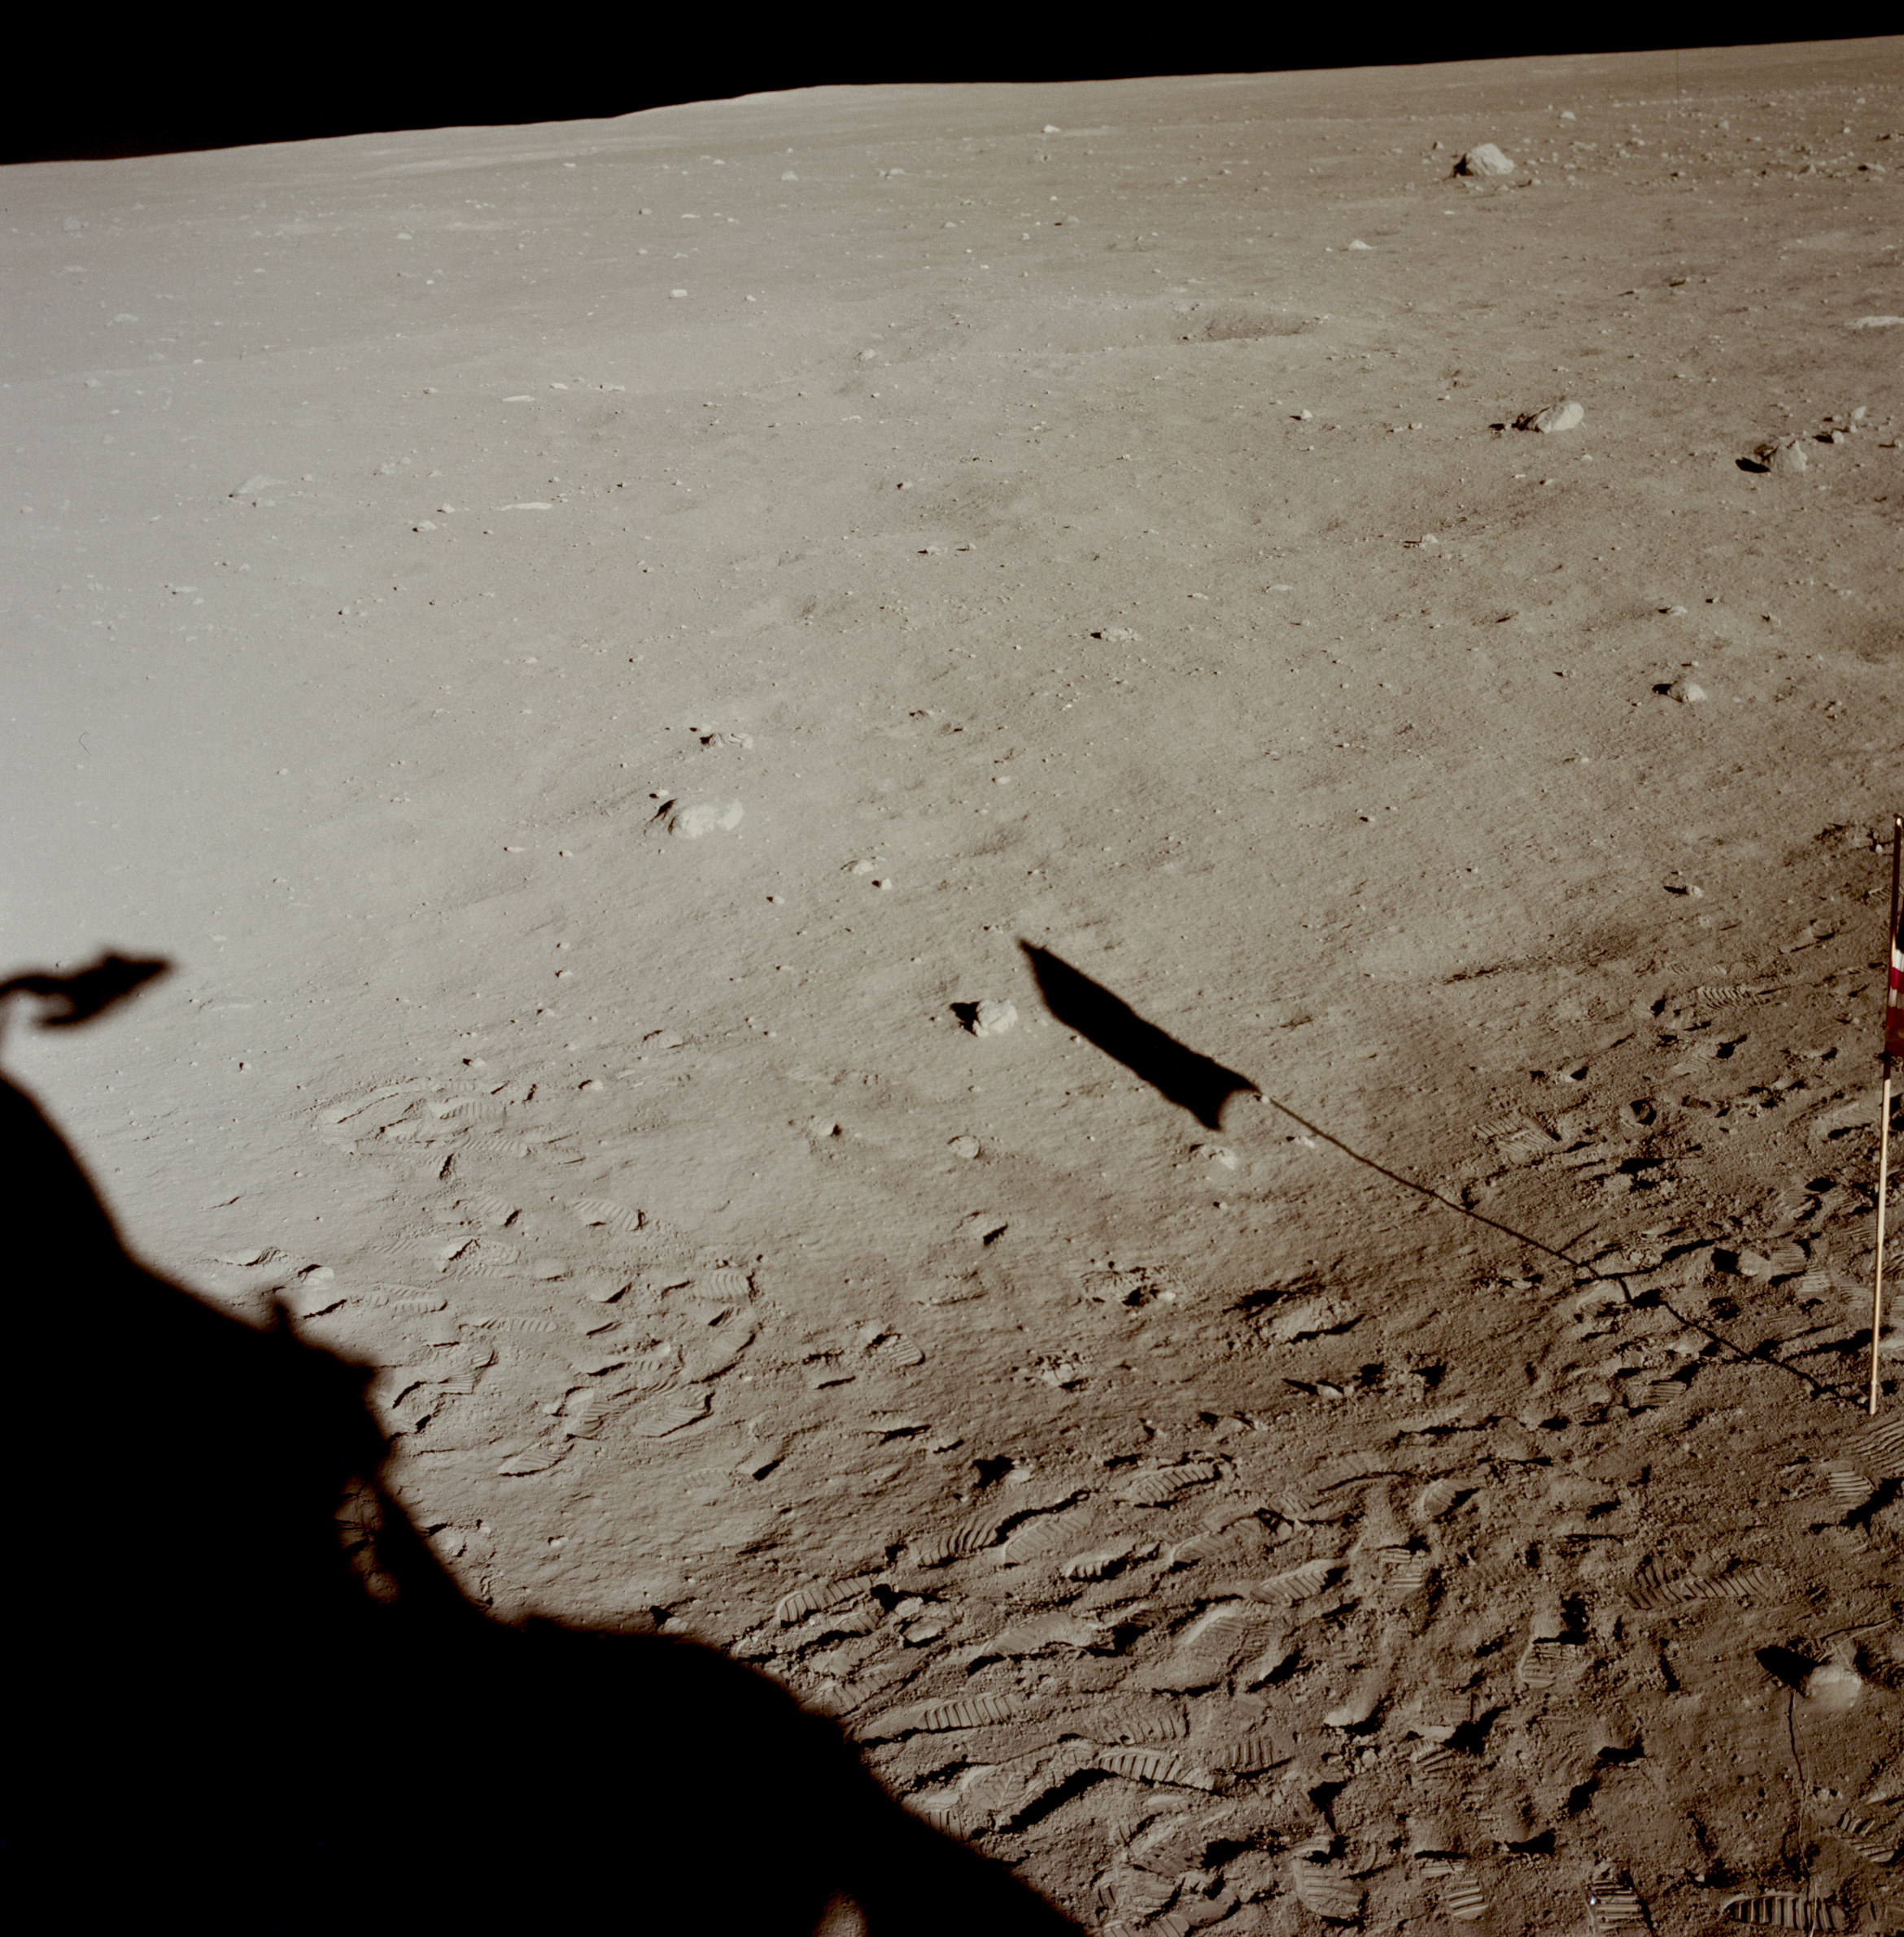 | AS11-37-5484 Tranquility Base from LM window. Image credit: Image Science and Analysis Laboratory, NASA-Johnson Space Center. |
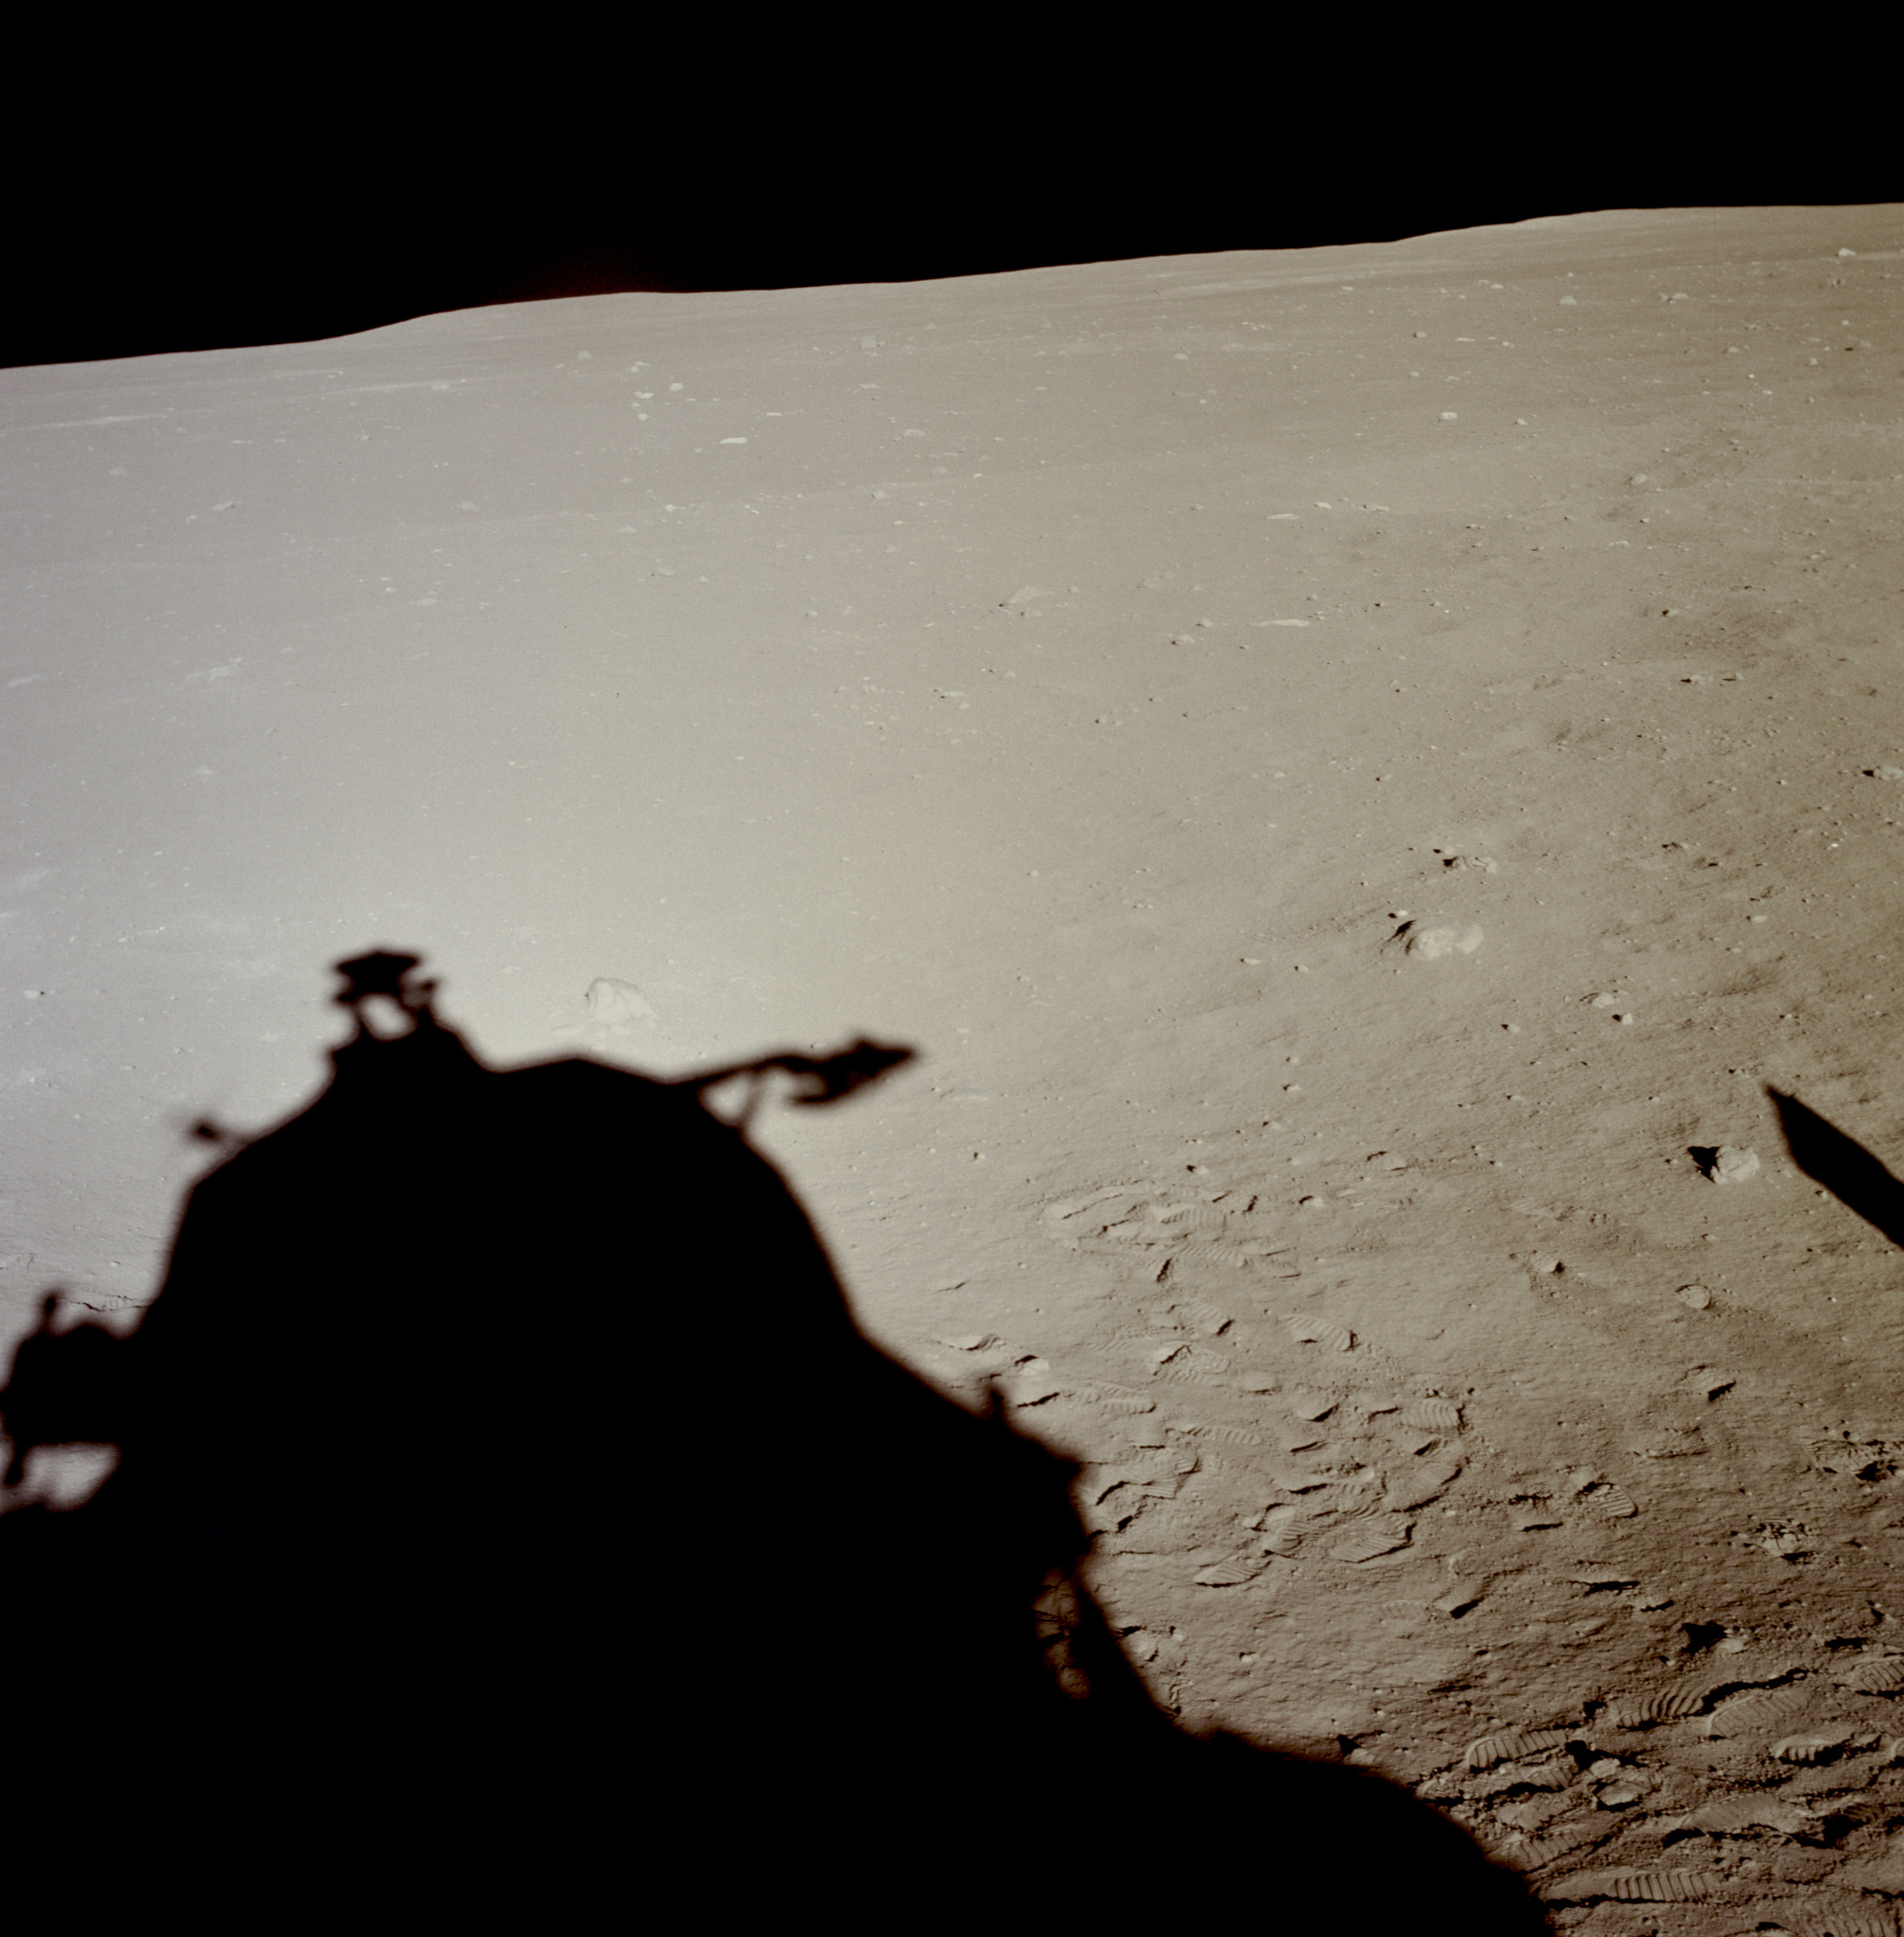 | AS11-37-5485 Tranquility Base from LM window. Image credit: Image Science and Analysis Laboratory, NASA-Johnson Space Center. |
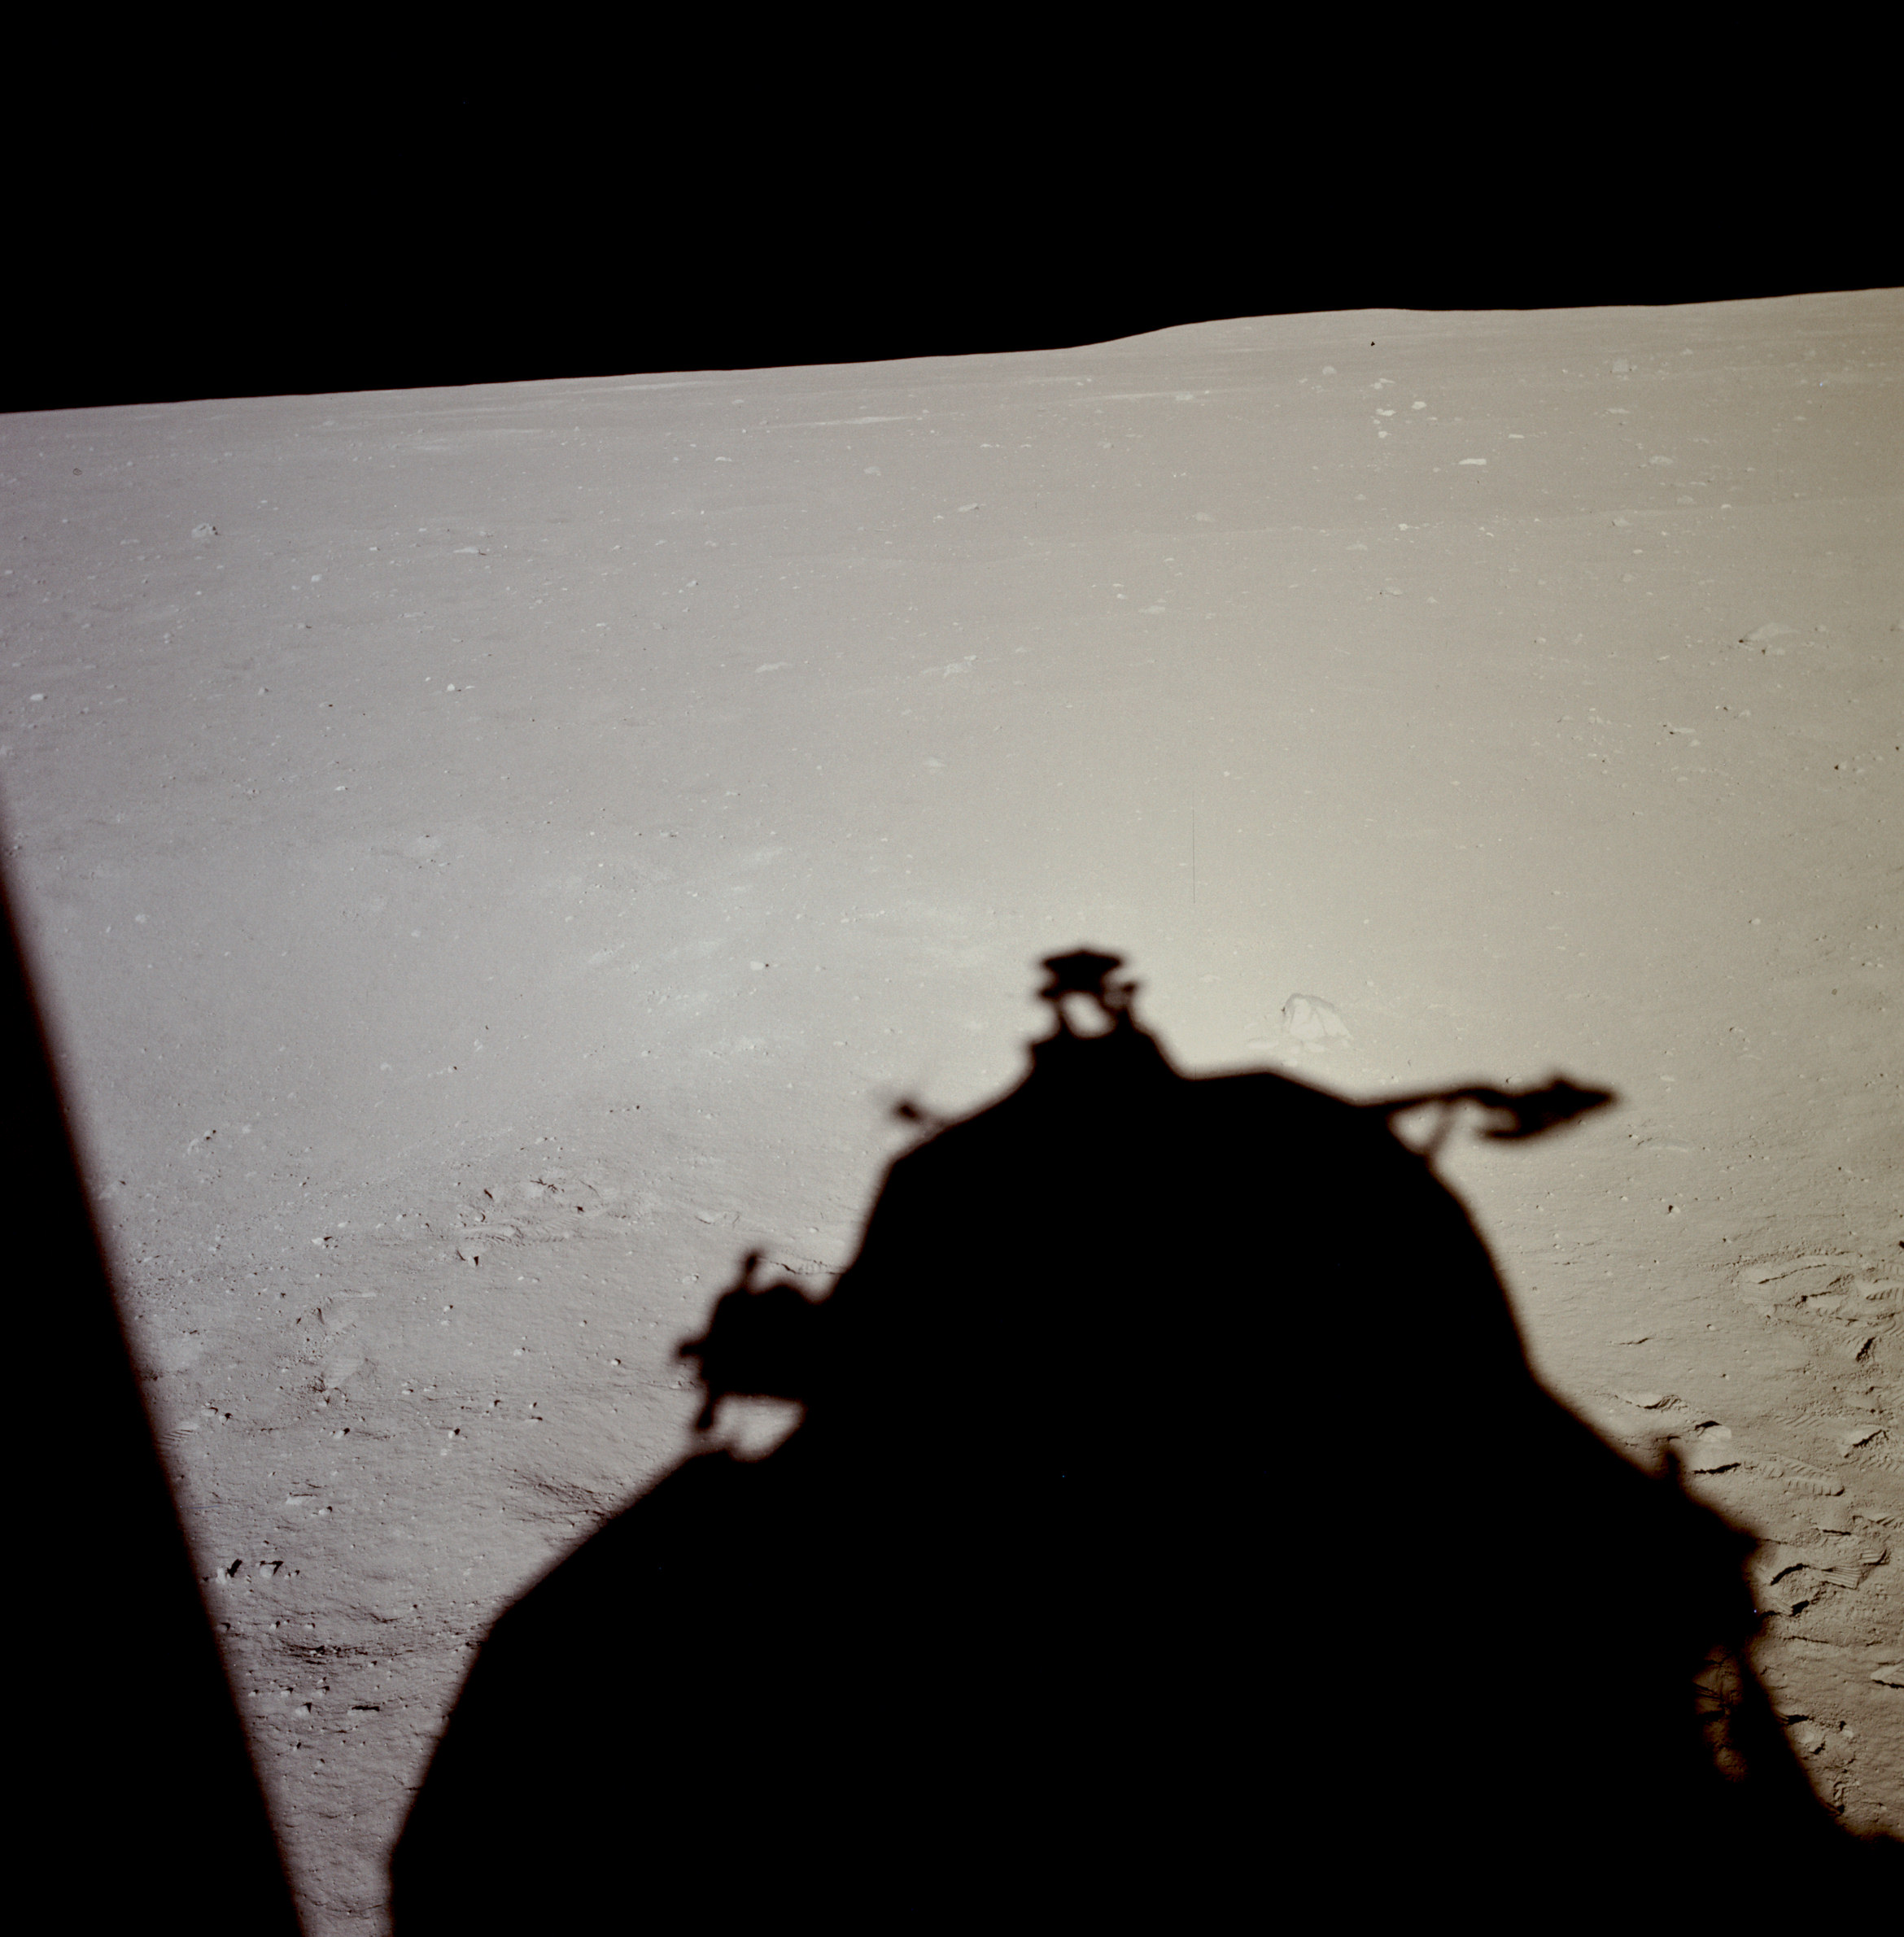 | AS11-37-5486 Tranquility Base from LM window. Image credit: Image Science and Analysis Laboratory, NASA-Johnson Space Center. |
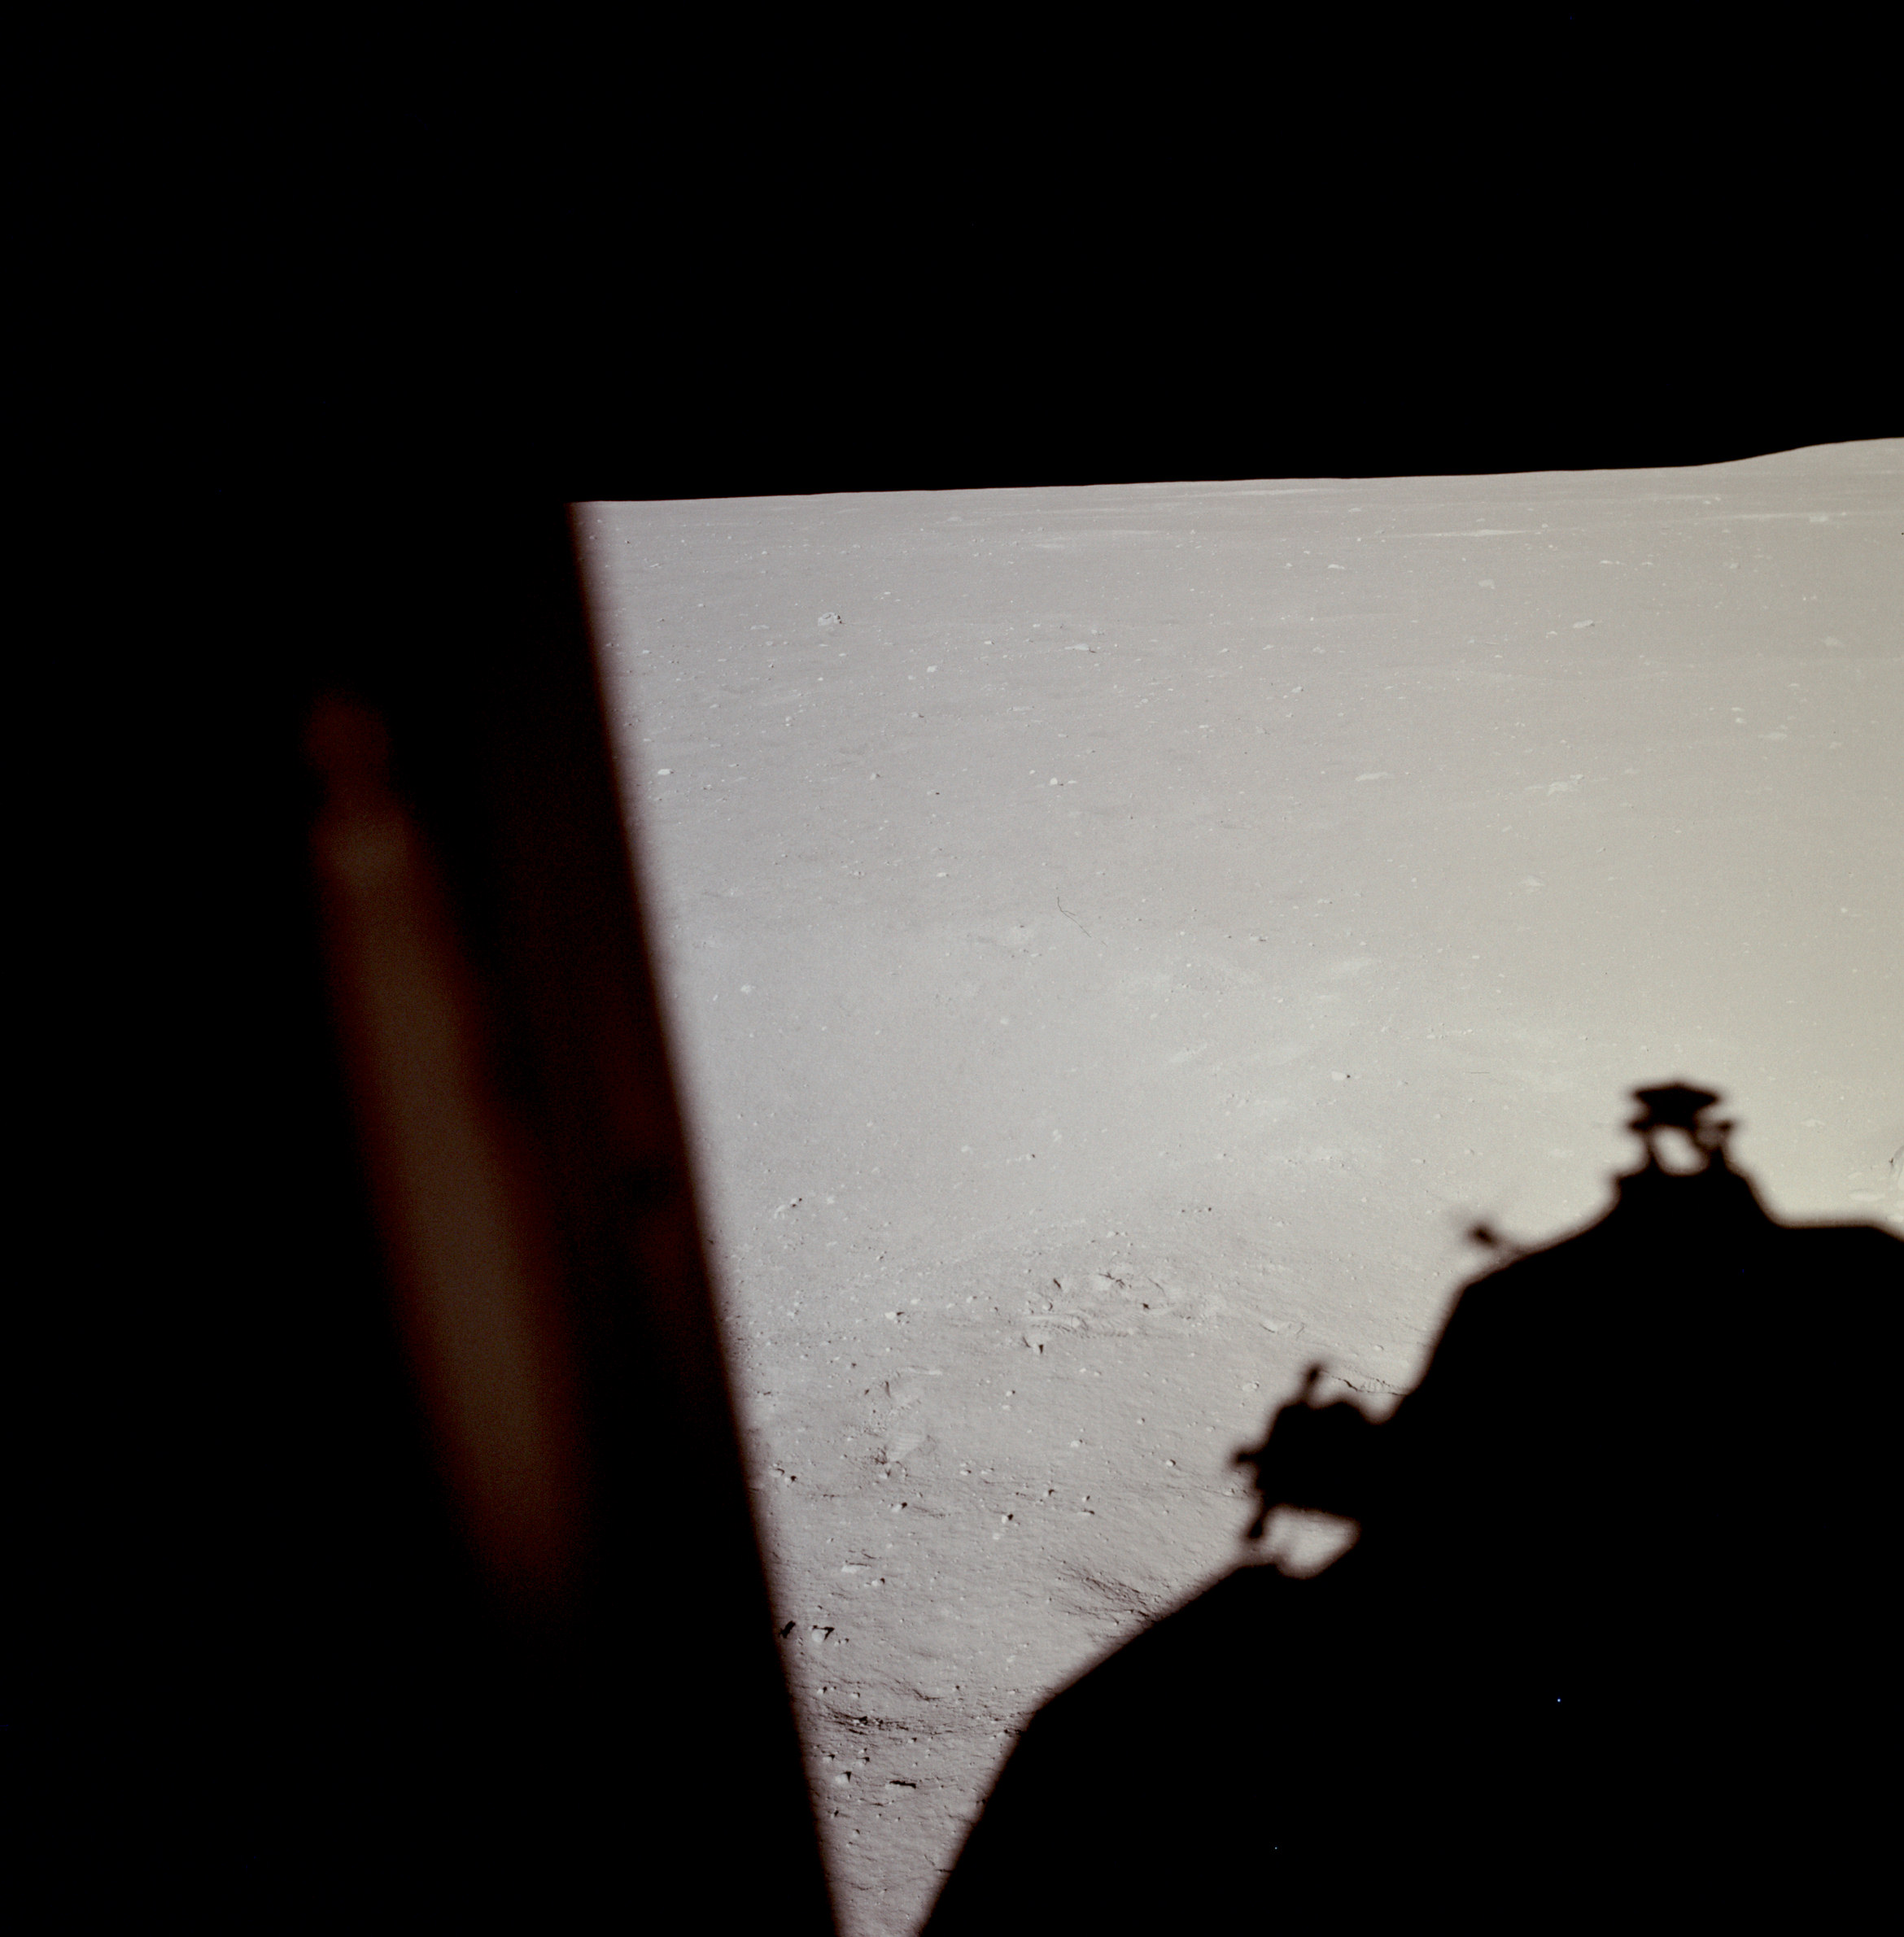 | AS11-37-5487 Tranquility Base from LM window. Image credit: Image Science and Analysis Laboratory, NASA-Johnson Space Center. |
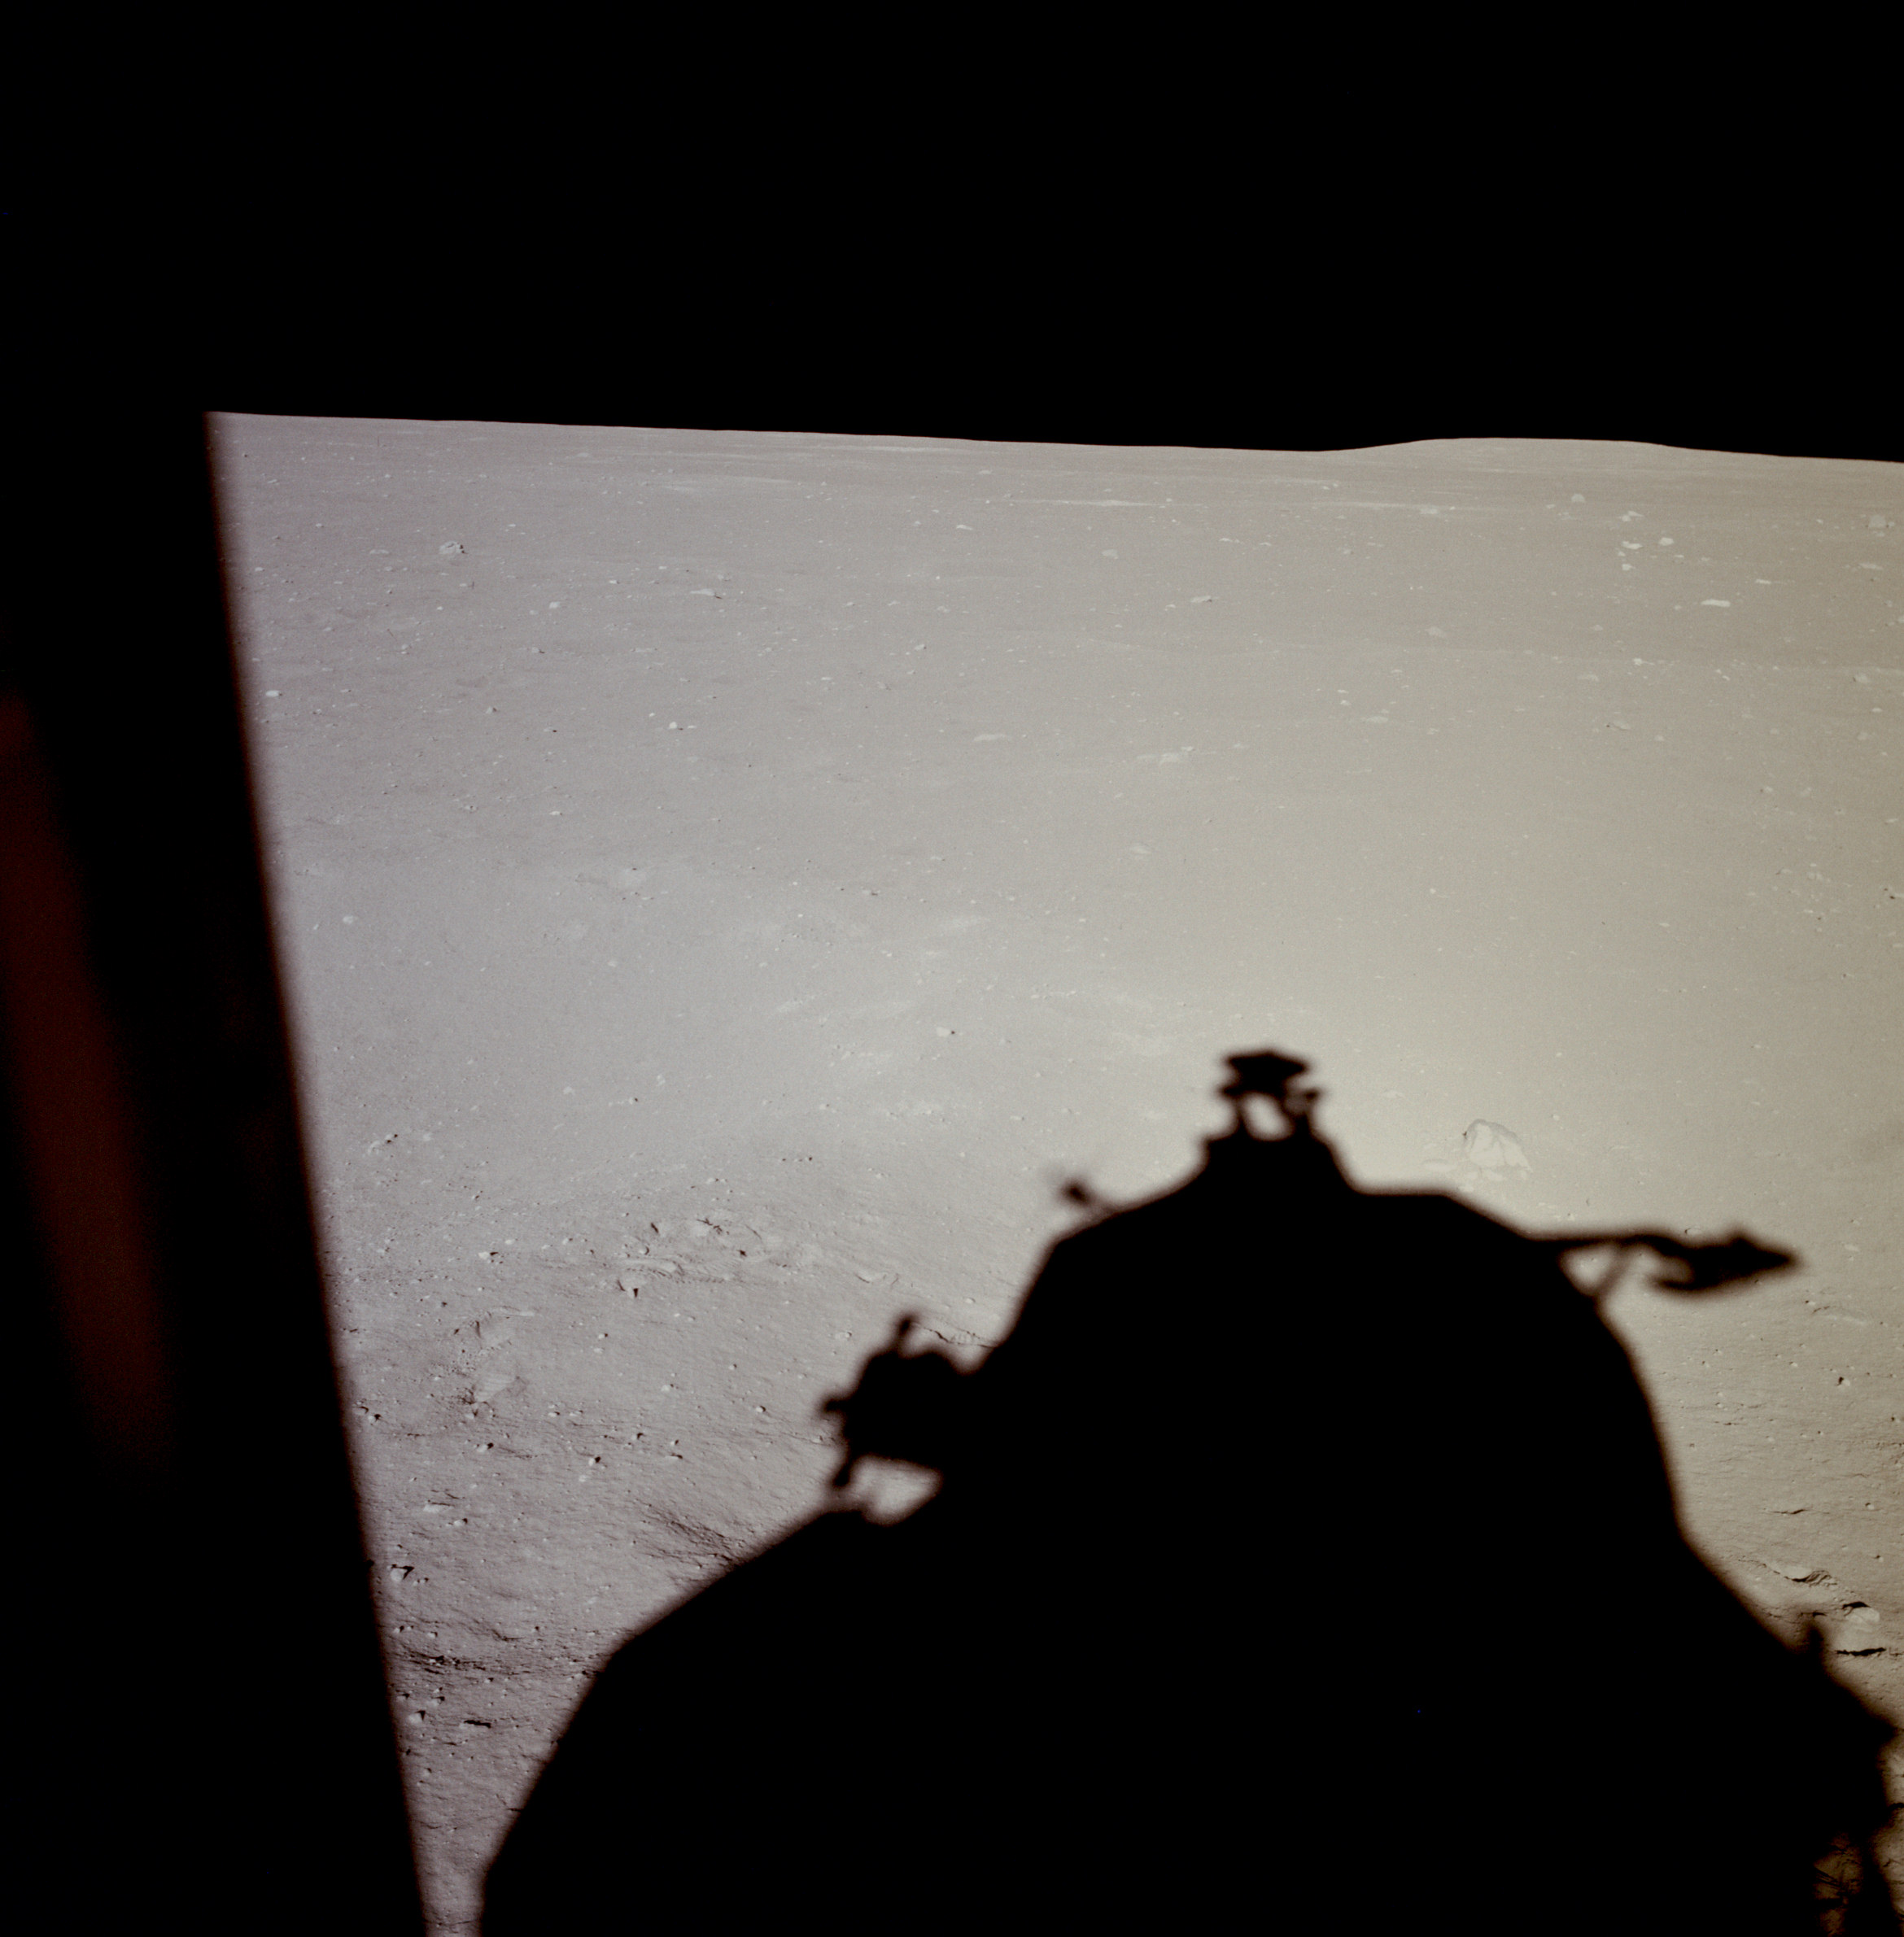 | AS11-37-5488 Tranquility Base from LM window. Image credit: Image Science and Analysis Laboratory, NASA-Johnson Space Center. |
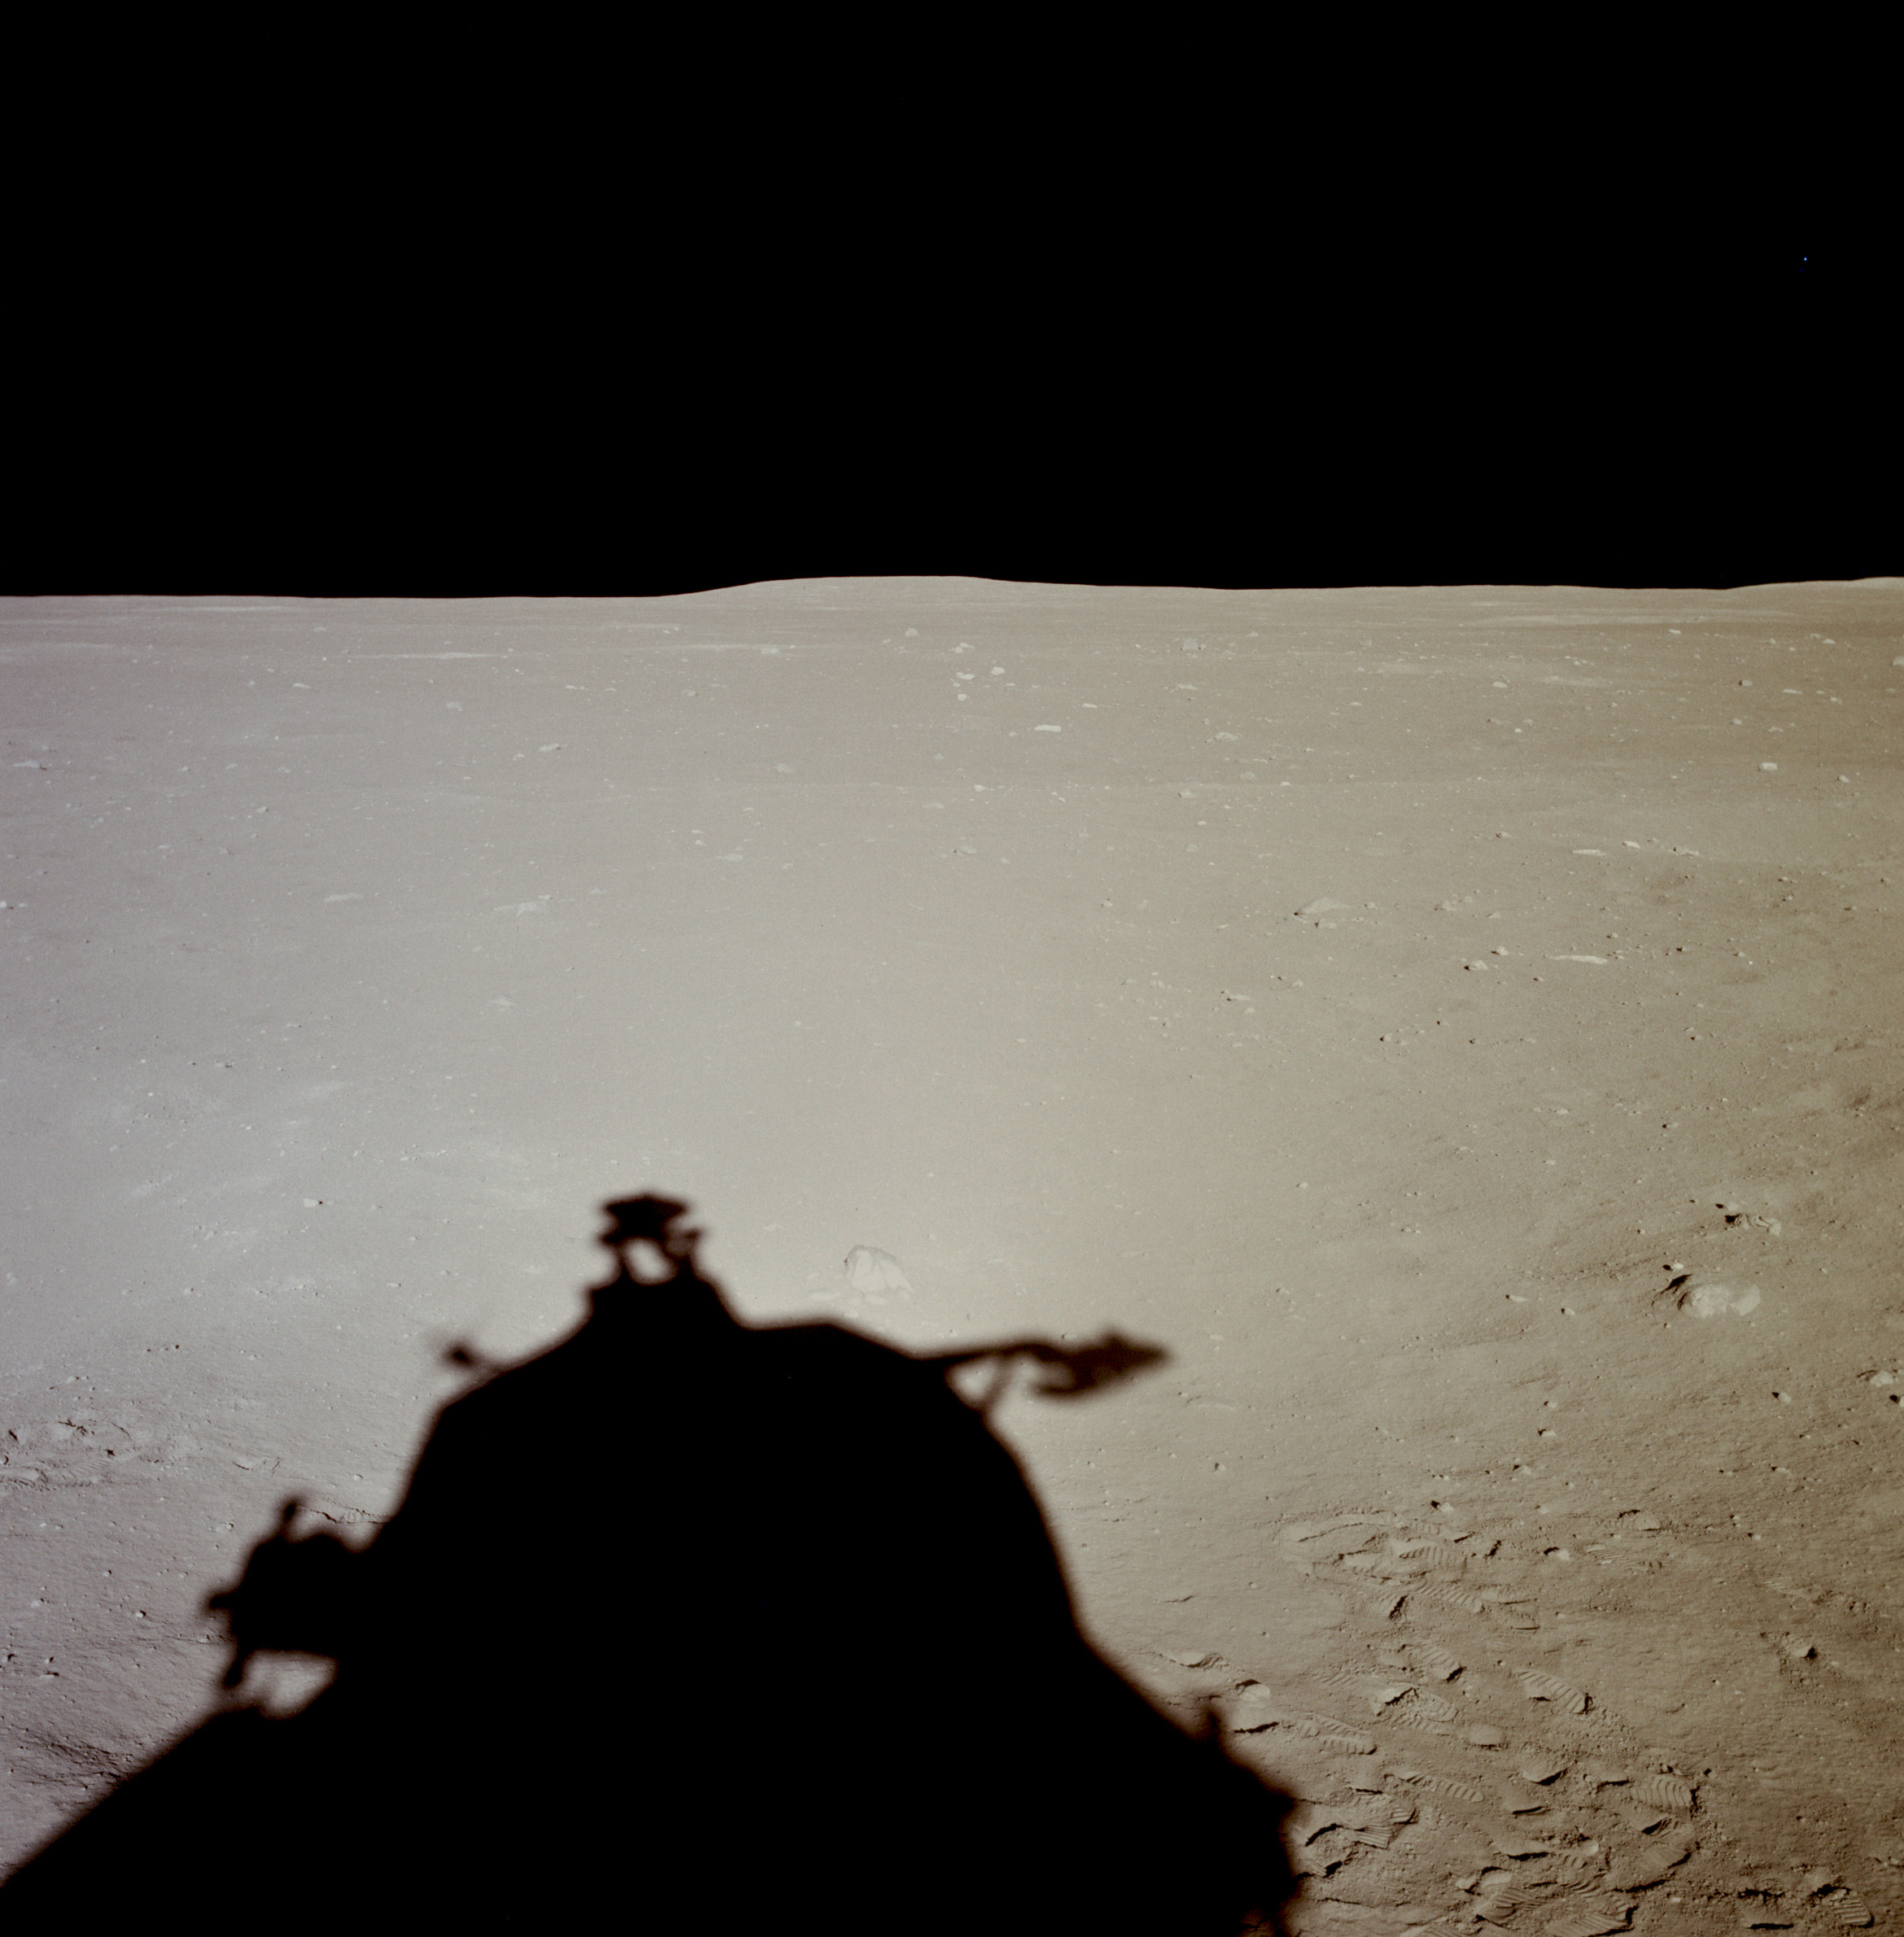 | AS11-37-5489 Tranquility Base from LM window. Image credit: Image Science and Analysis Laboratory, NASA-Johnson Space Center. |
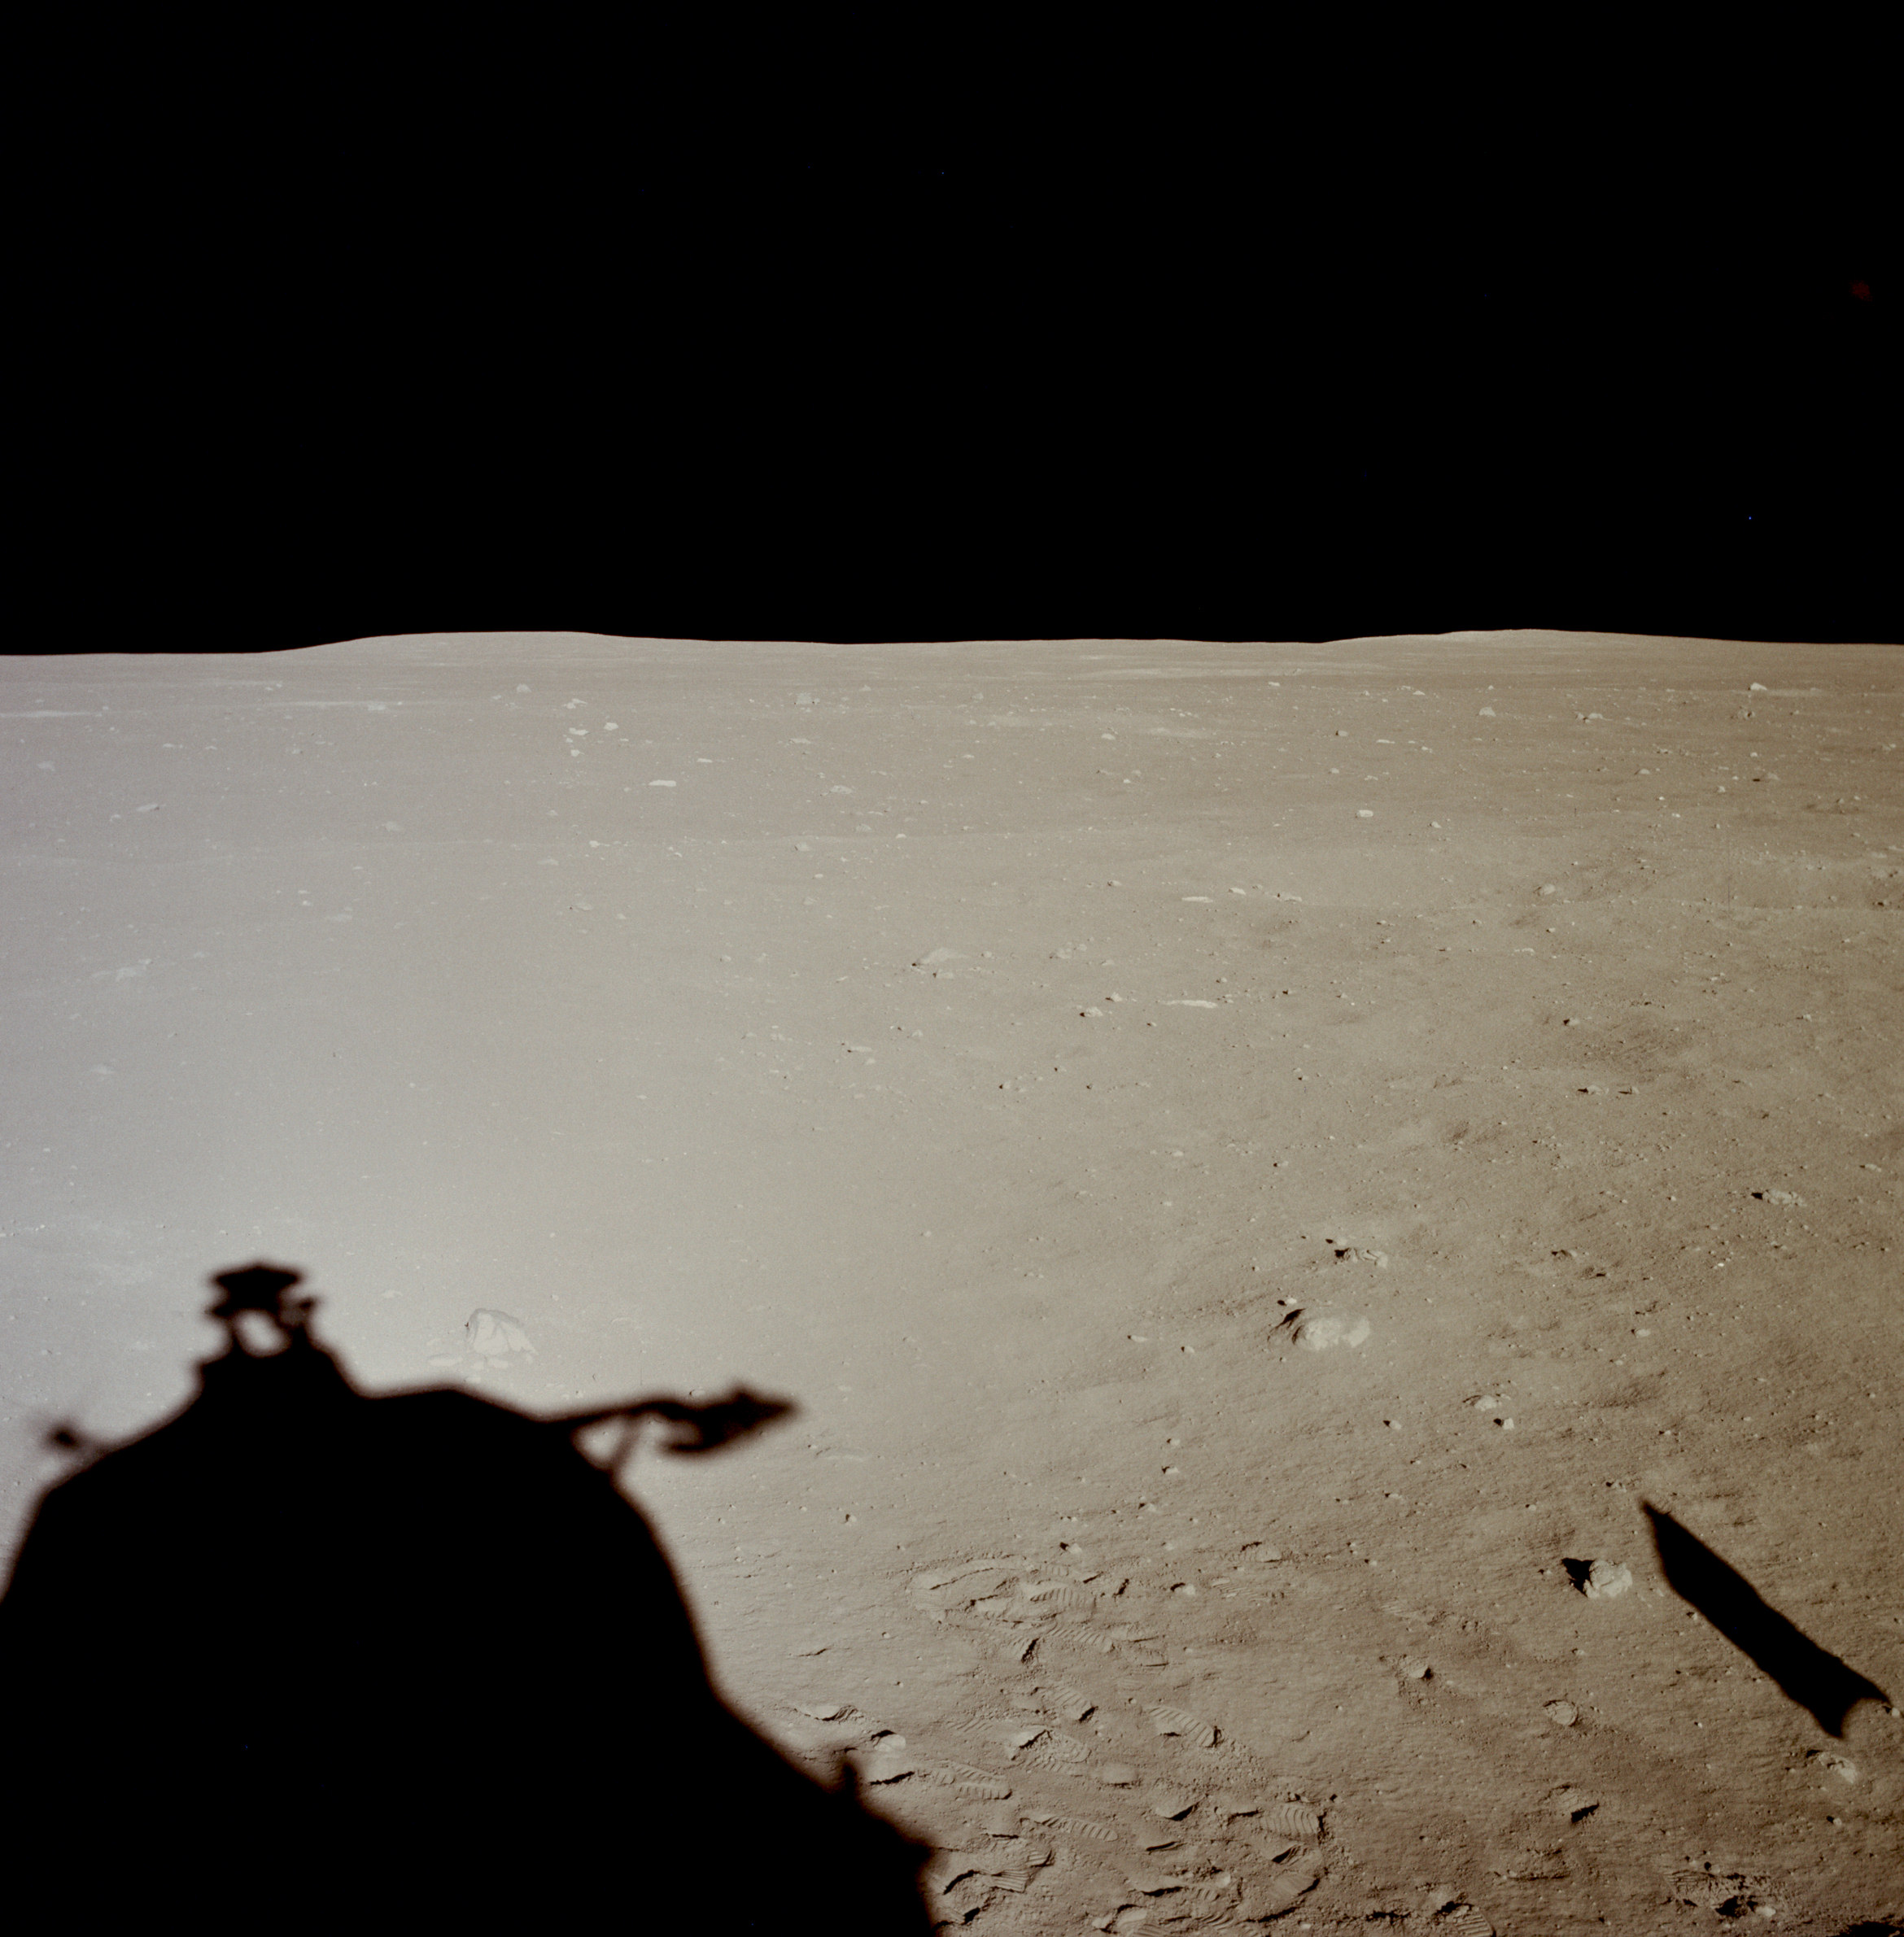 | AS11-37-5490 Tranquility Base from LM window. Image credit: Image Science and Analysis Laboratory, NASA-Johnson Space Center. |
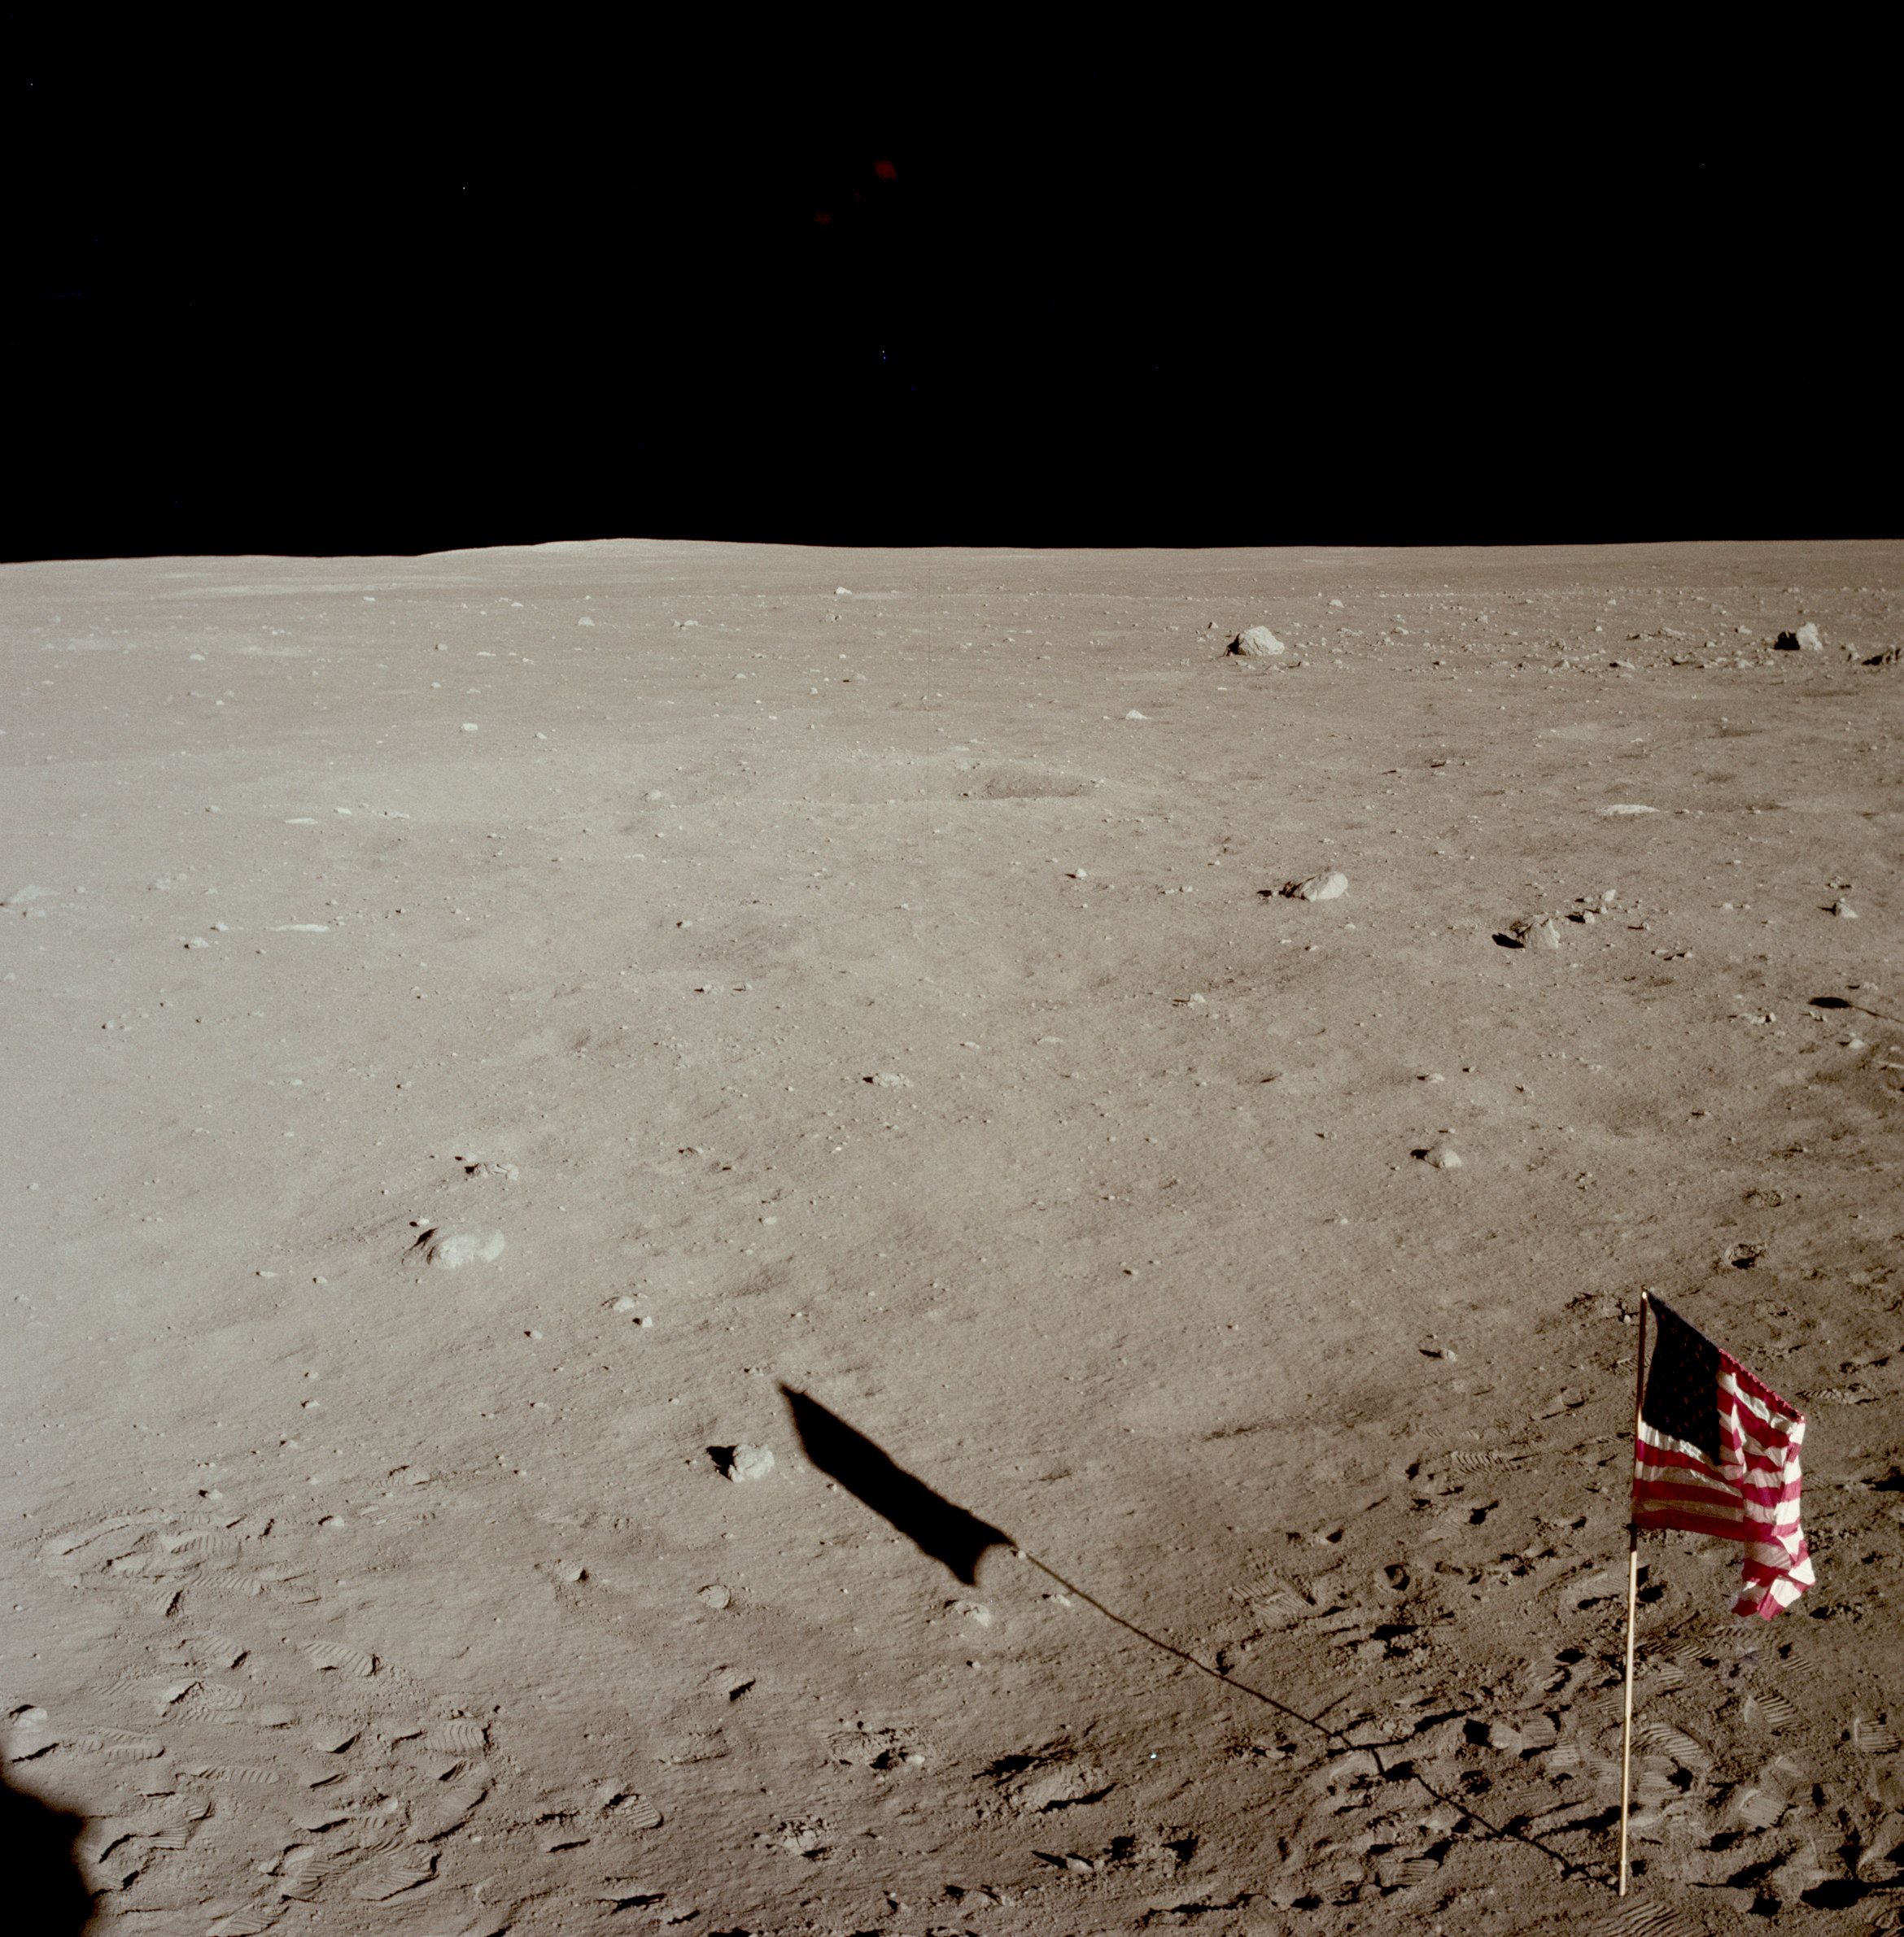 | AS11-37-5491 Tranquility Base and flag from LM window. Image credit: Image Science and Analysis Laboratory, NASA-Johnson Space Center. |
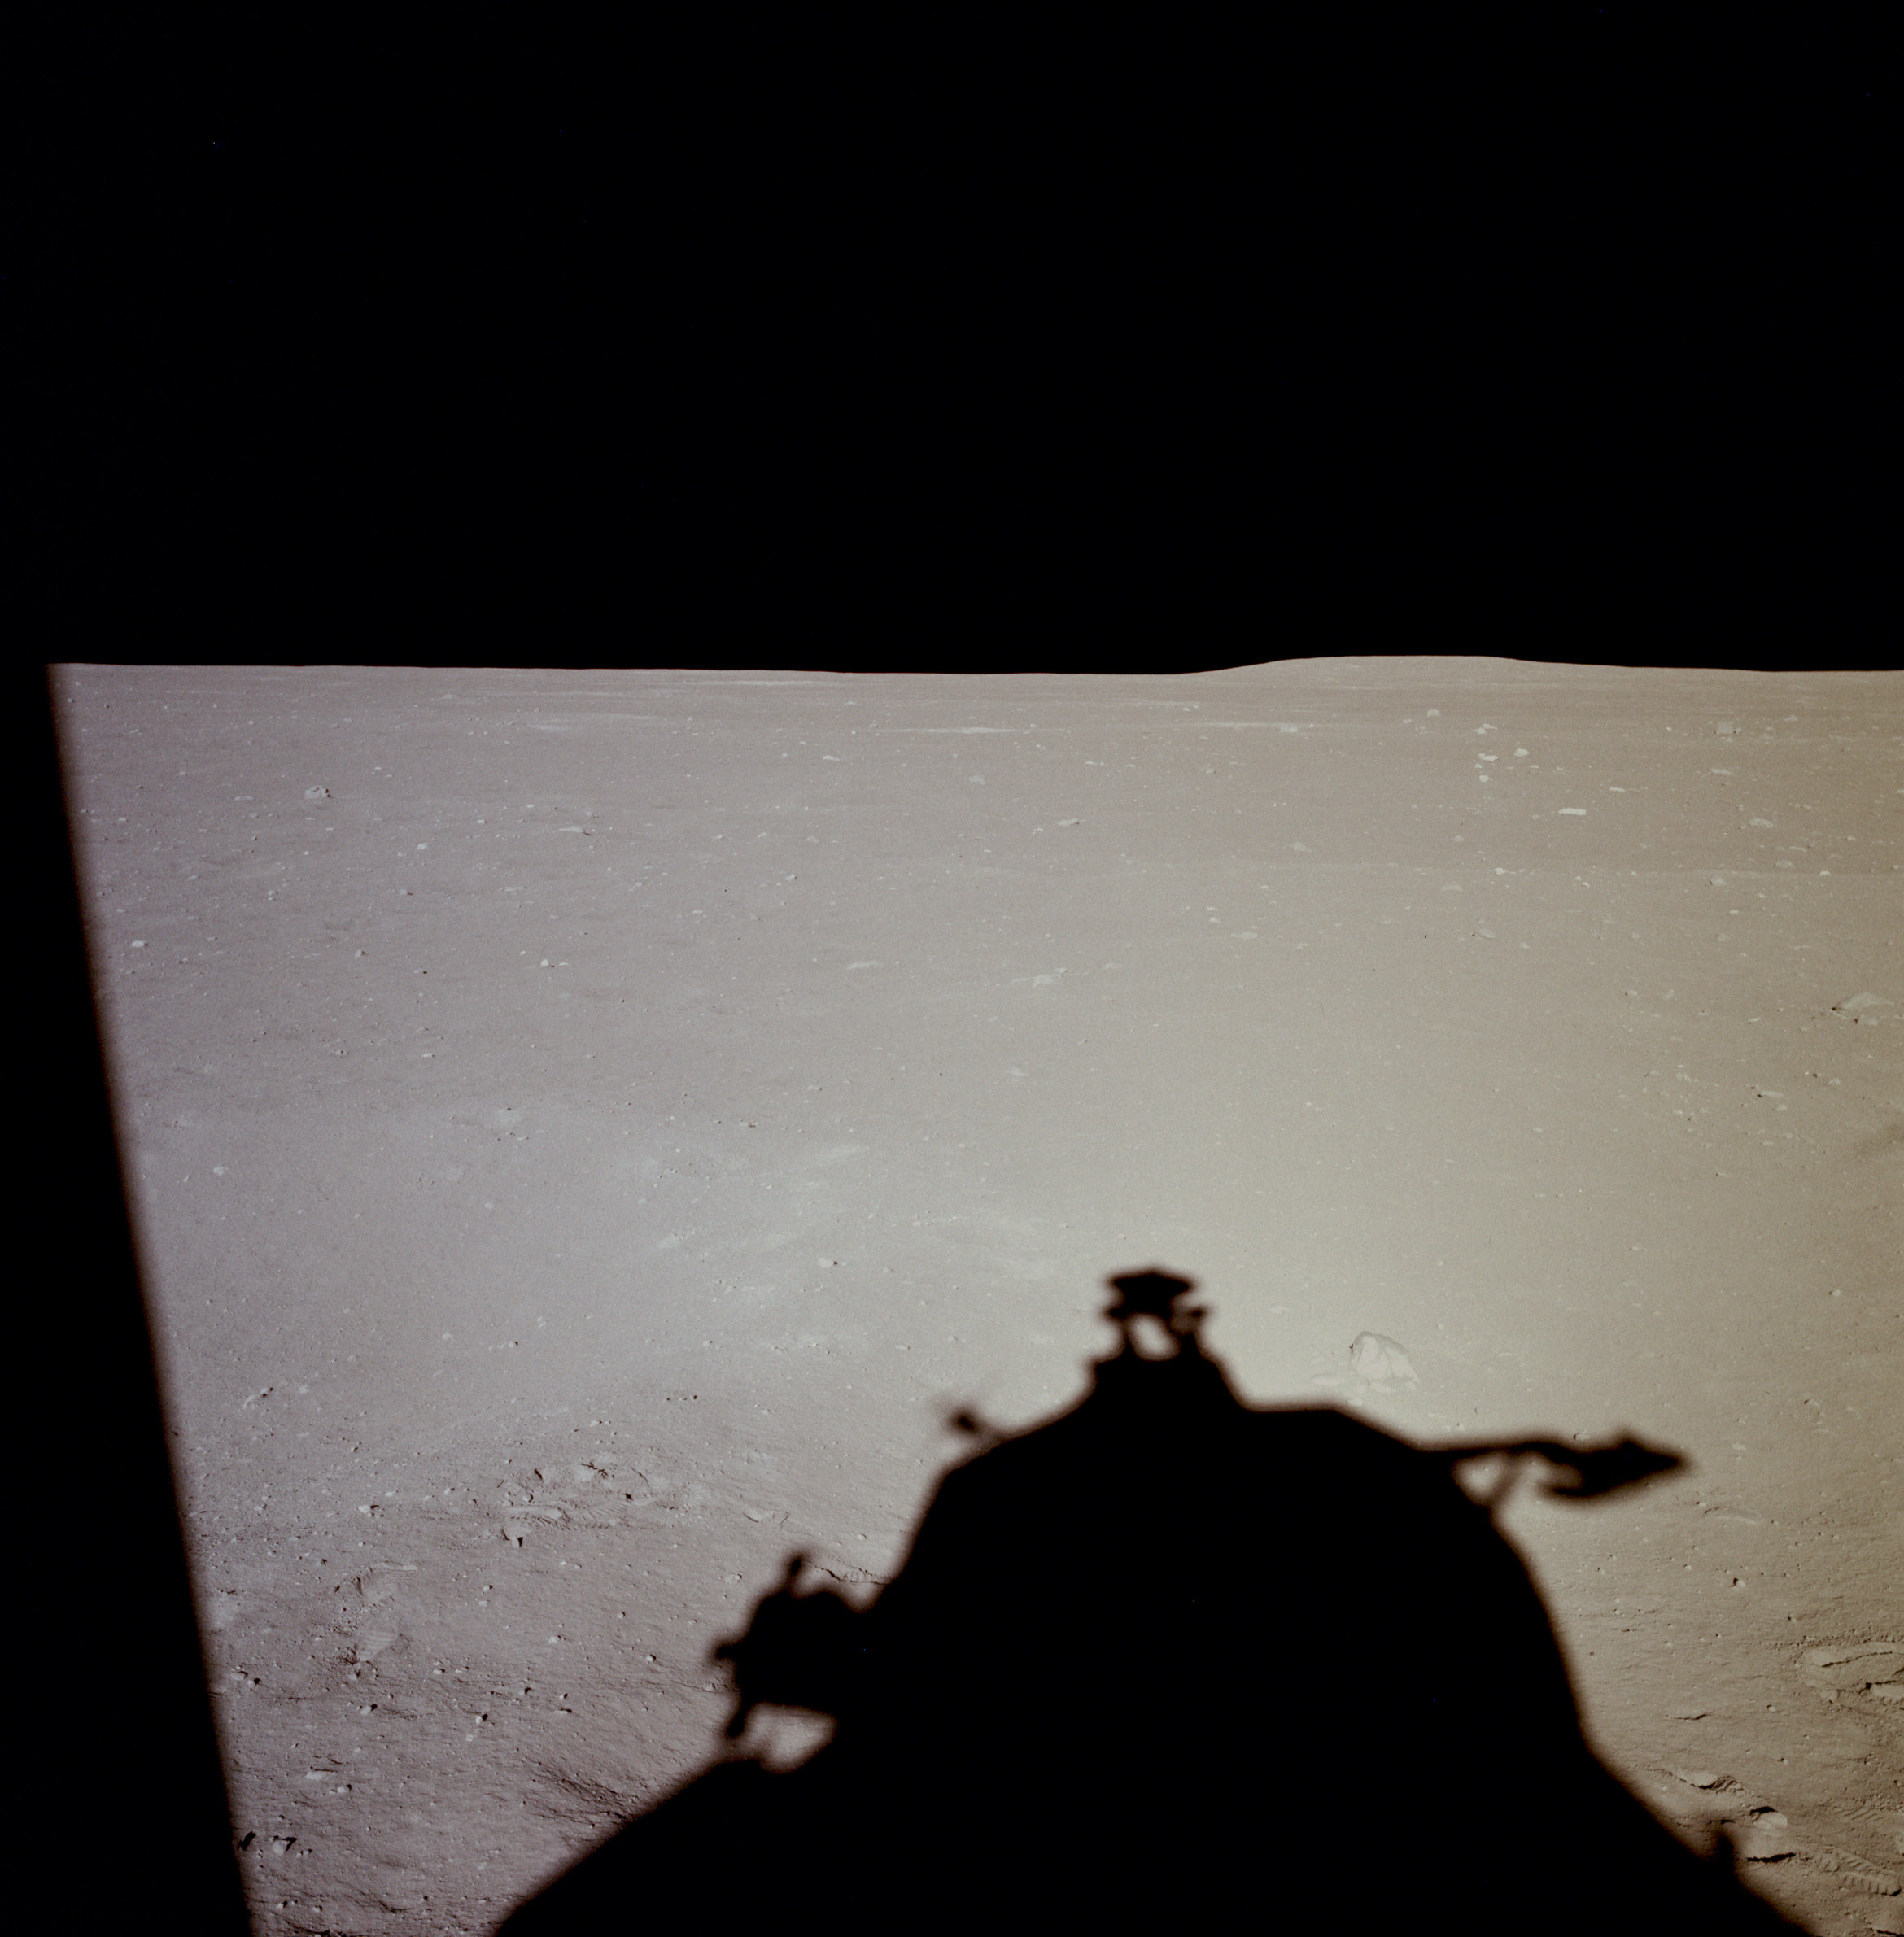 | AS11-37-5492 Tranquility Base from LM window. Image credit: Image Science and Analysis Laboratory, NASA-Johnson Space Center. |
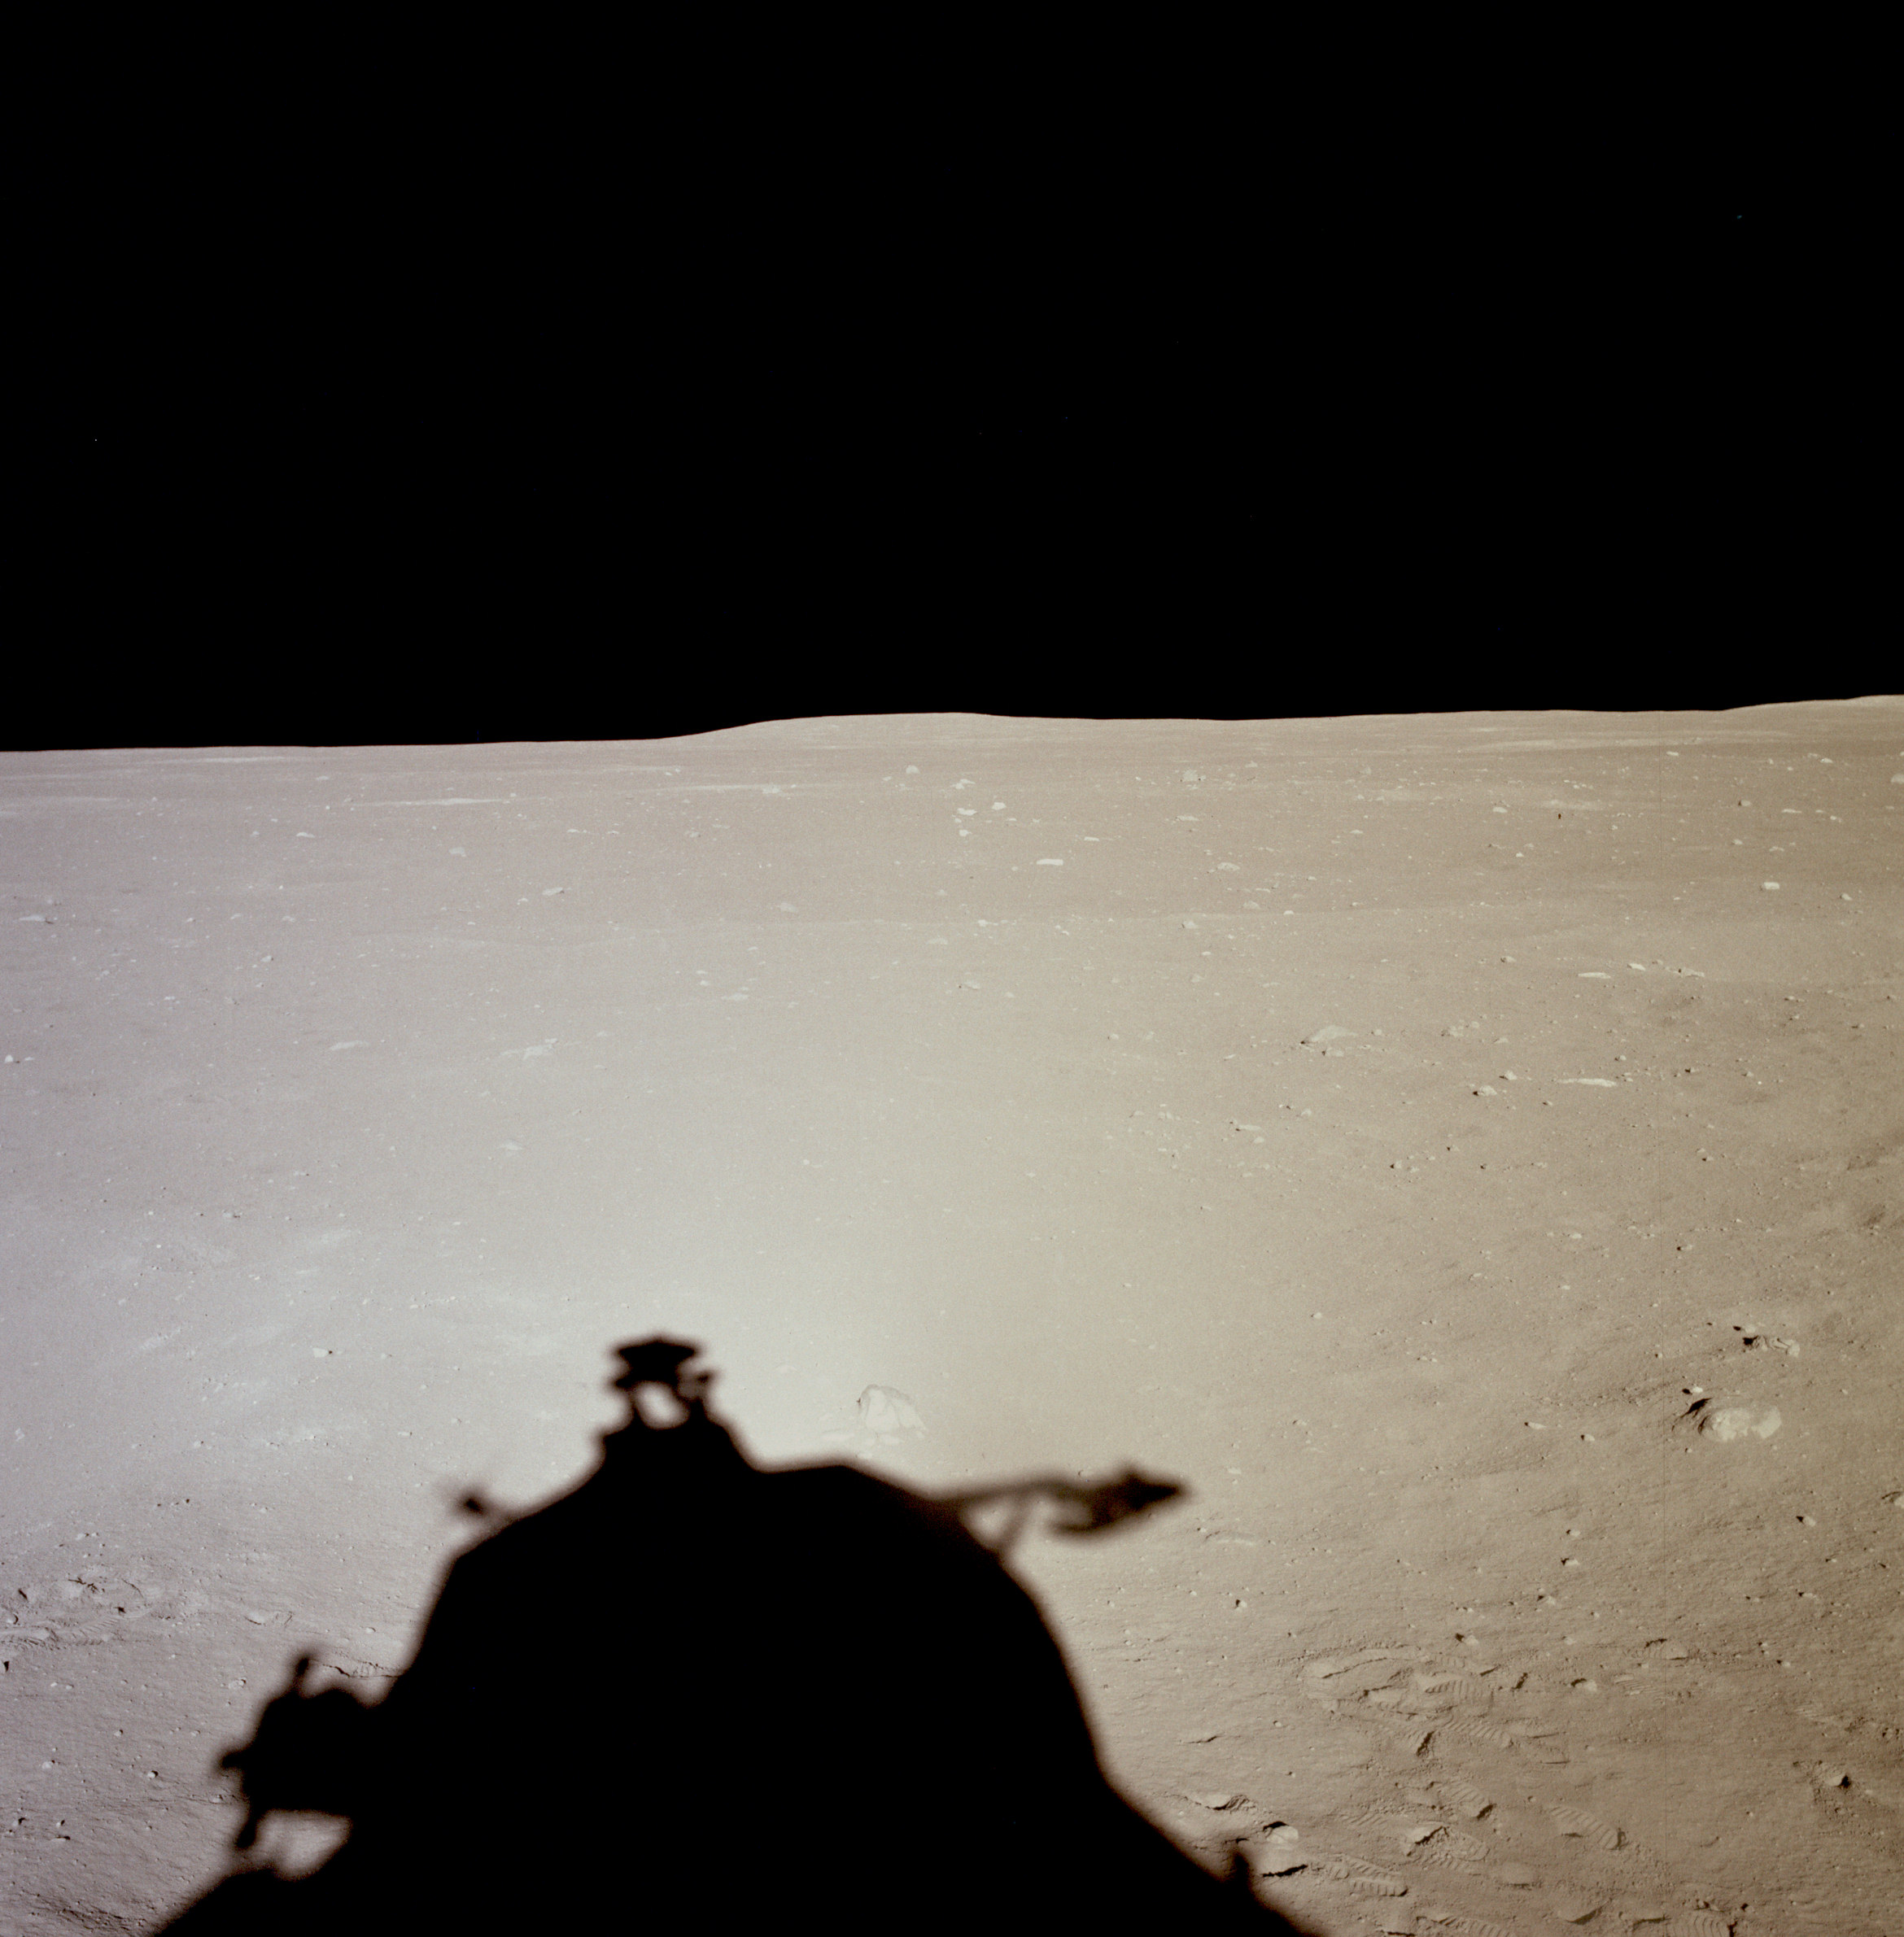 | AS11-37-5493 Tranquility Base from LM window. Image credit: Image Science and Analysis Laboratory, NASA-Johnson Space Center. |
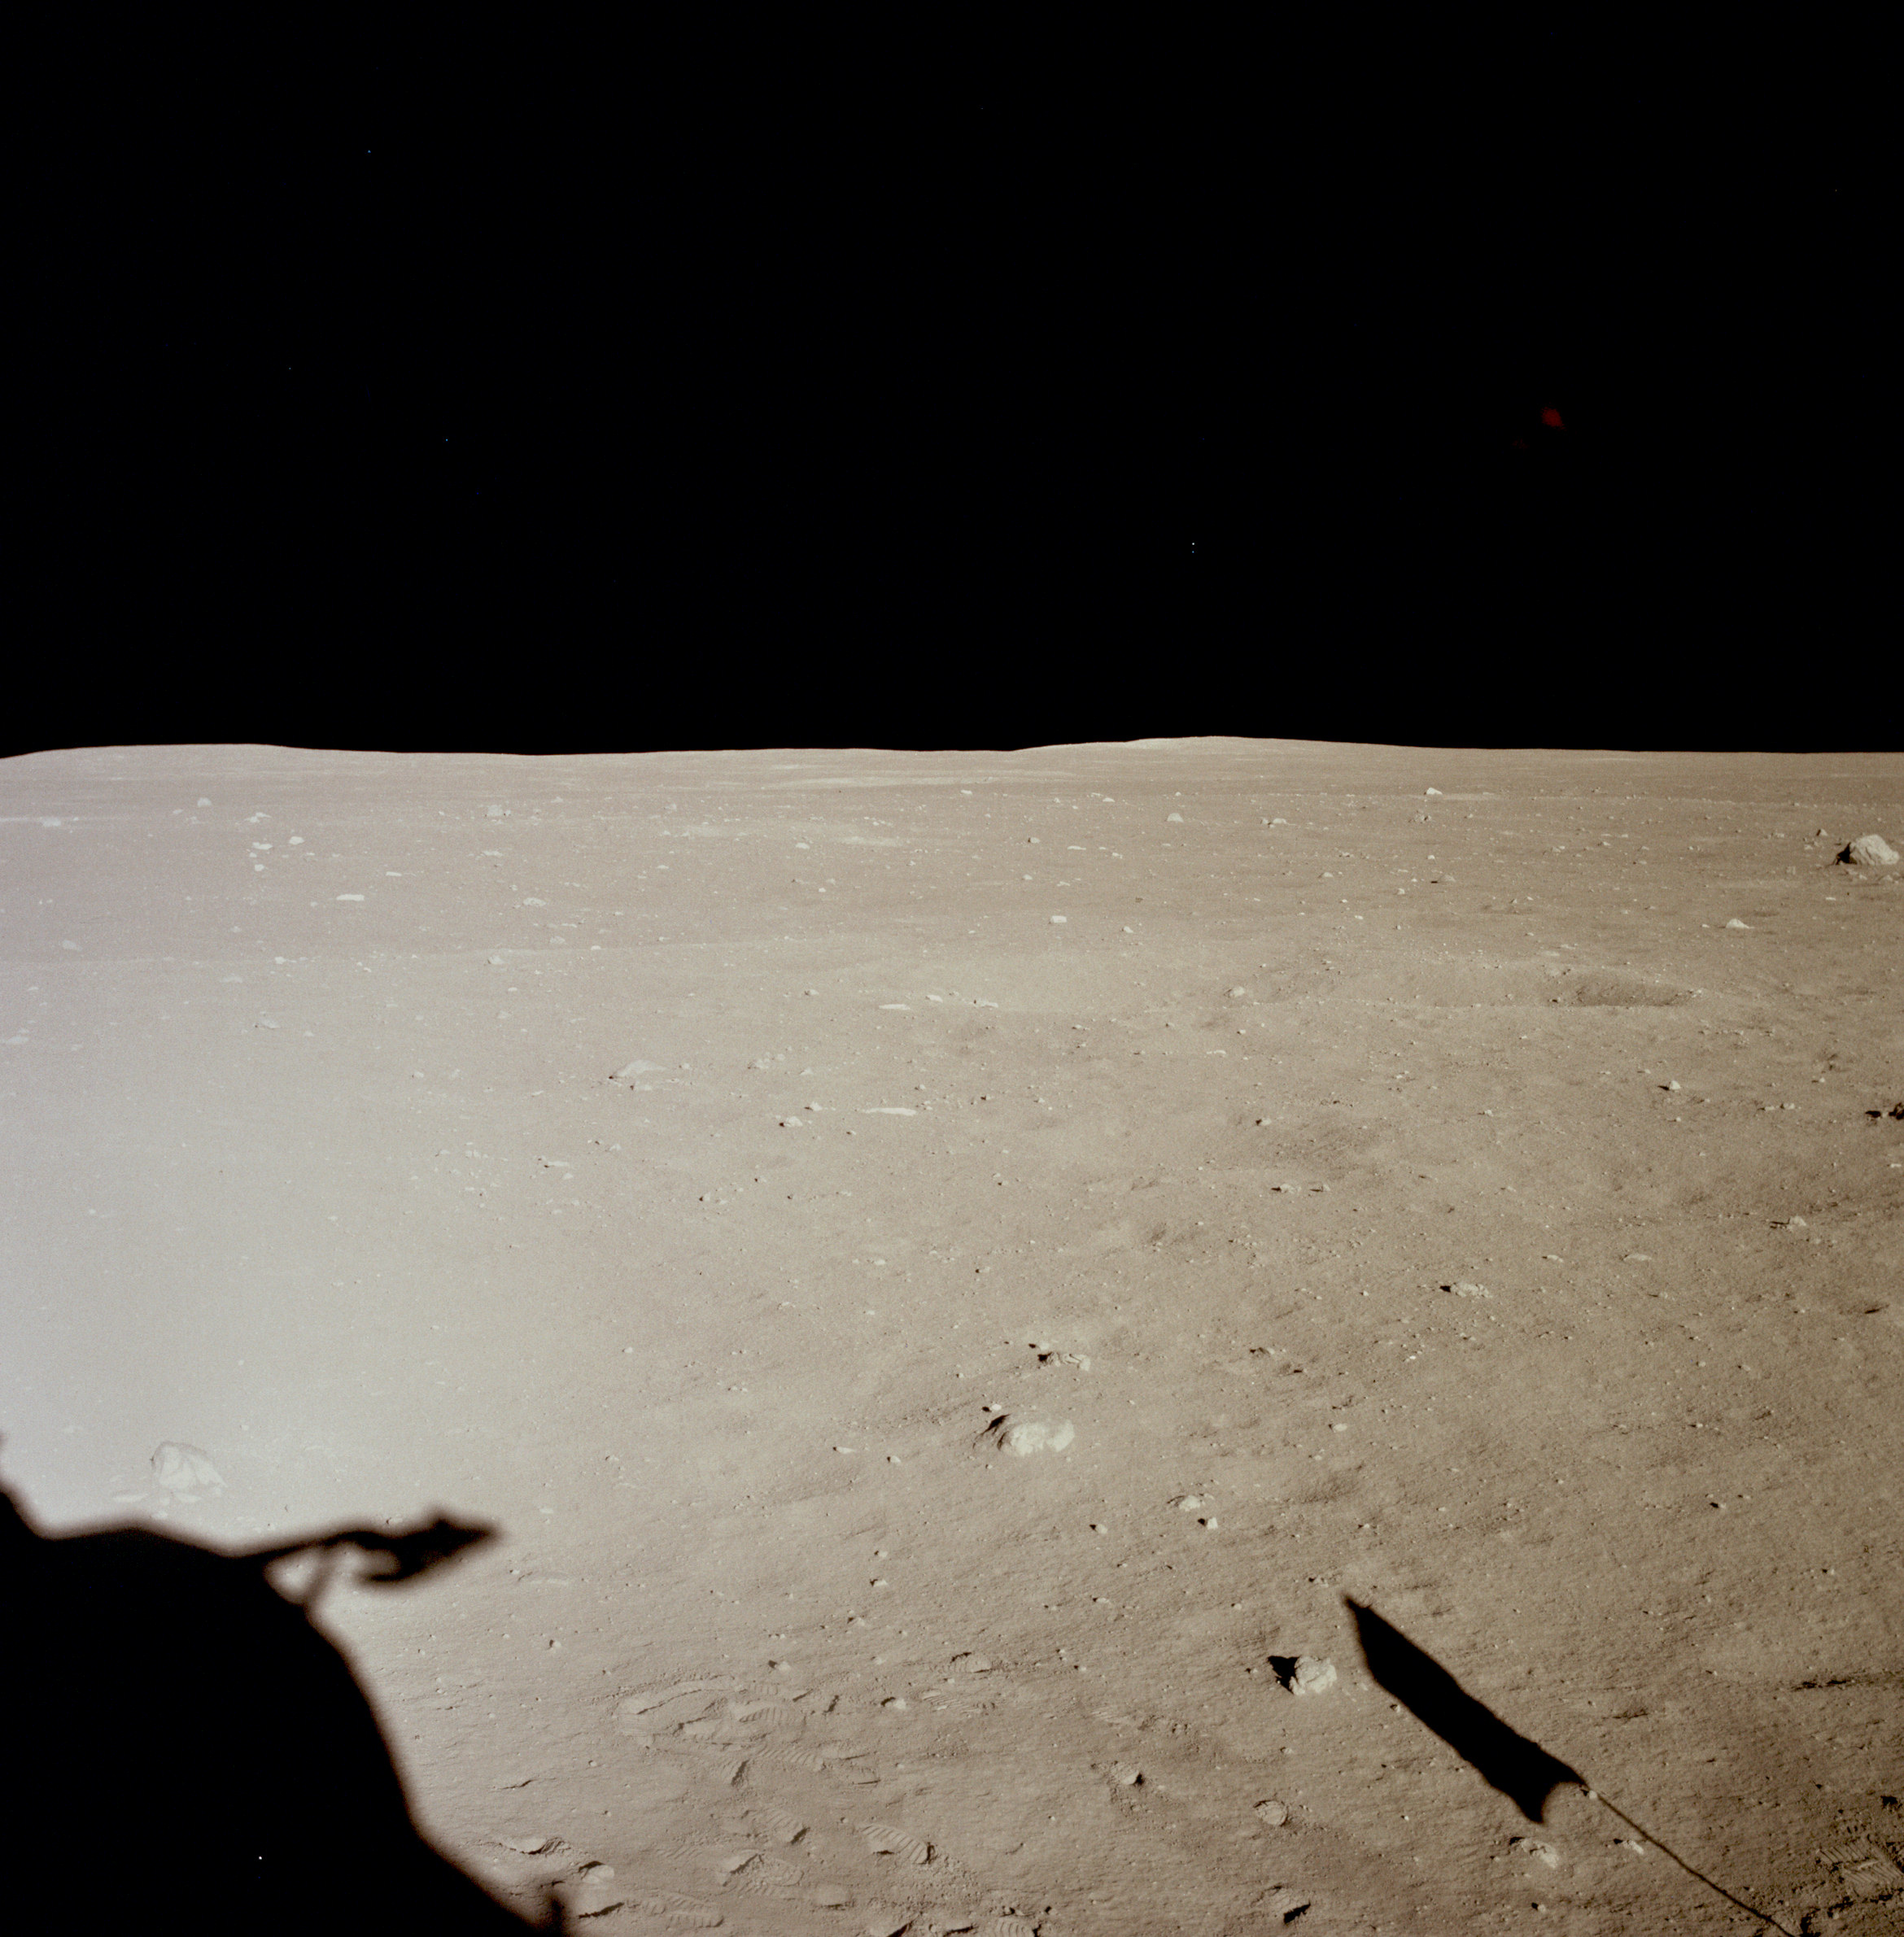 | AS11-37-5494 Tranquility Base from LM window. Image credit: Image Science and Analysis Laboratory, NASA-Johnson Space Center. |
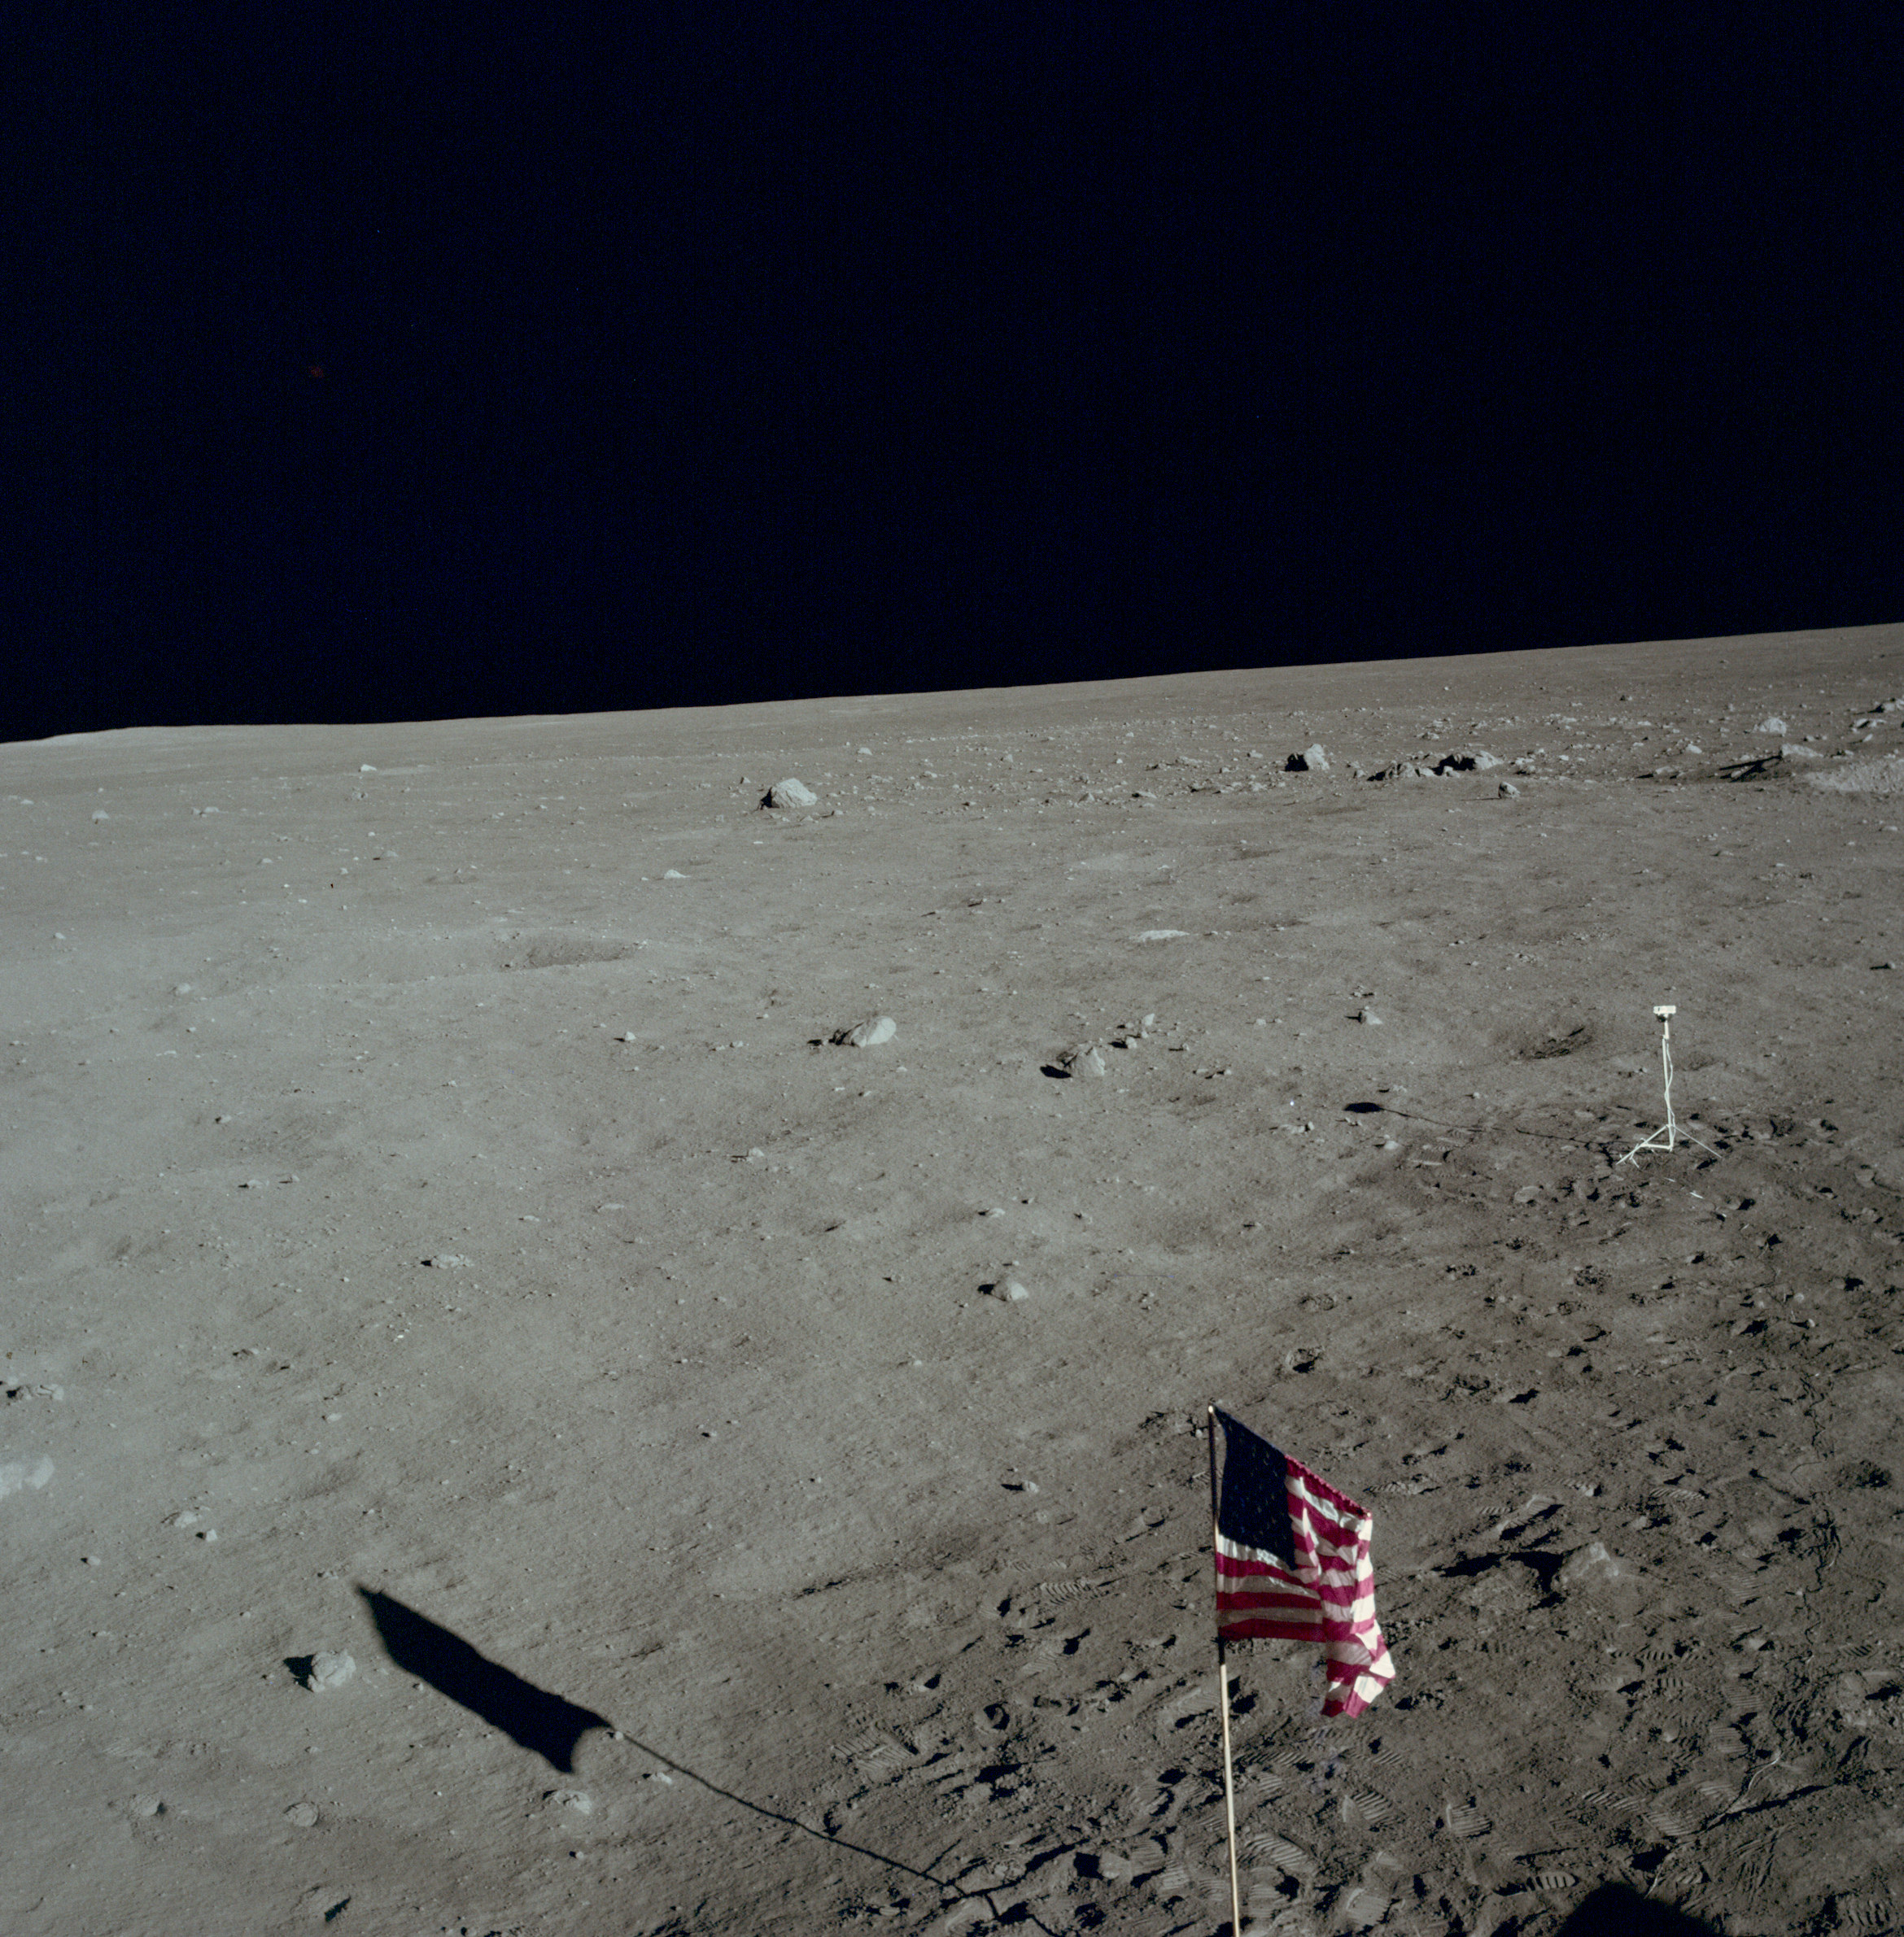 | AS11-37-5495 Tranquility Base and flag from LM window. Image credit: Image Science and Analysis Laboratory, NASA-Johnson Space Center. |
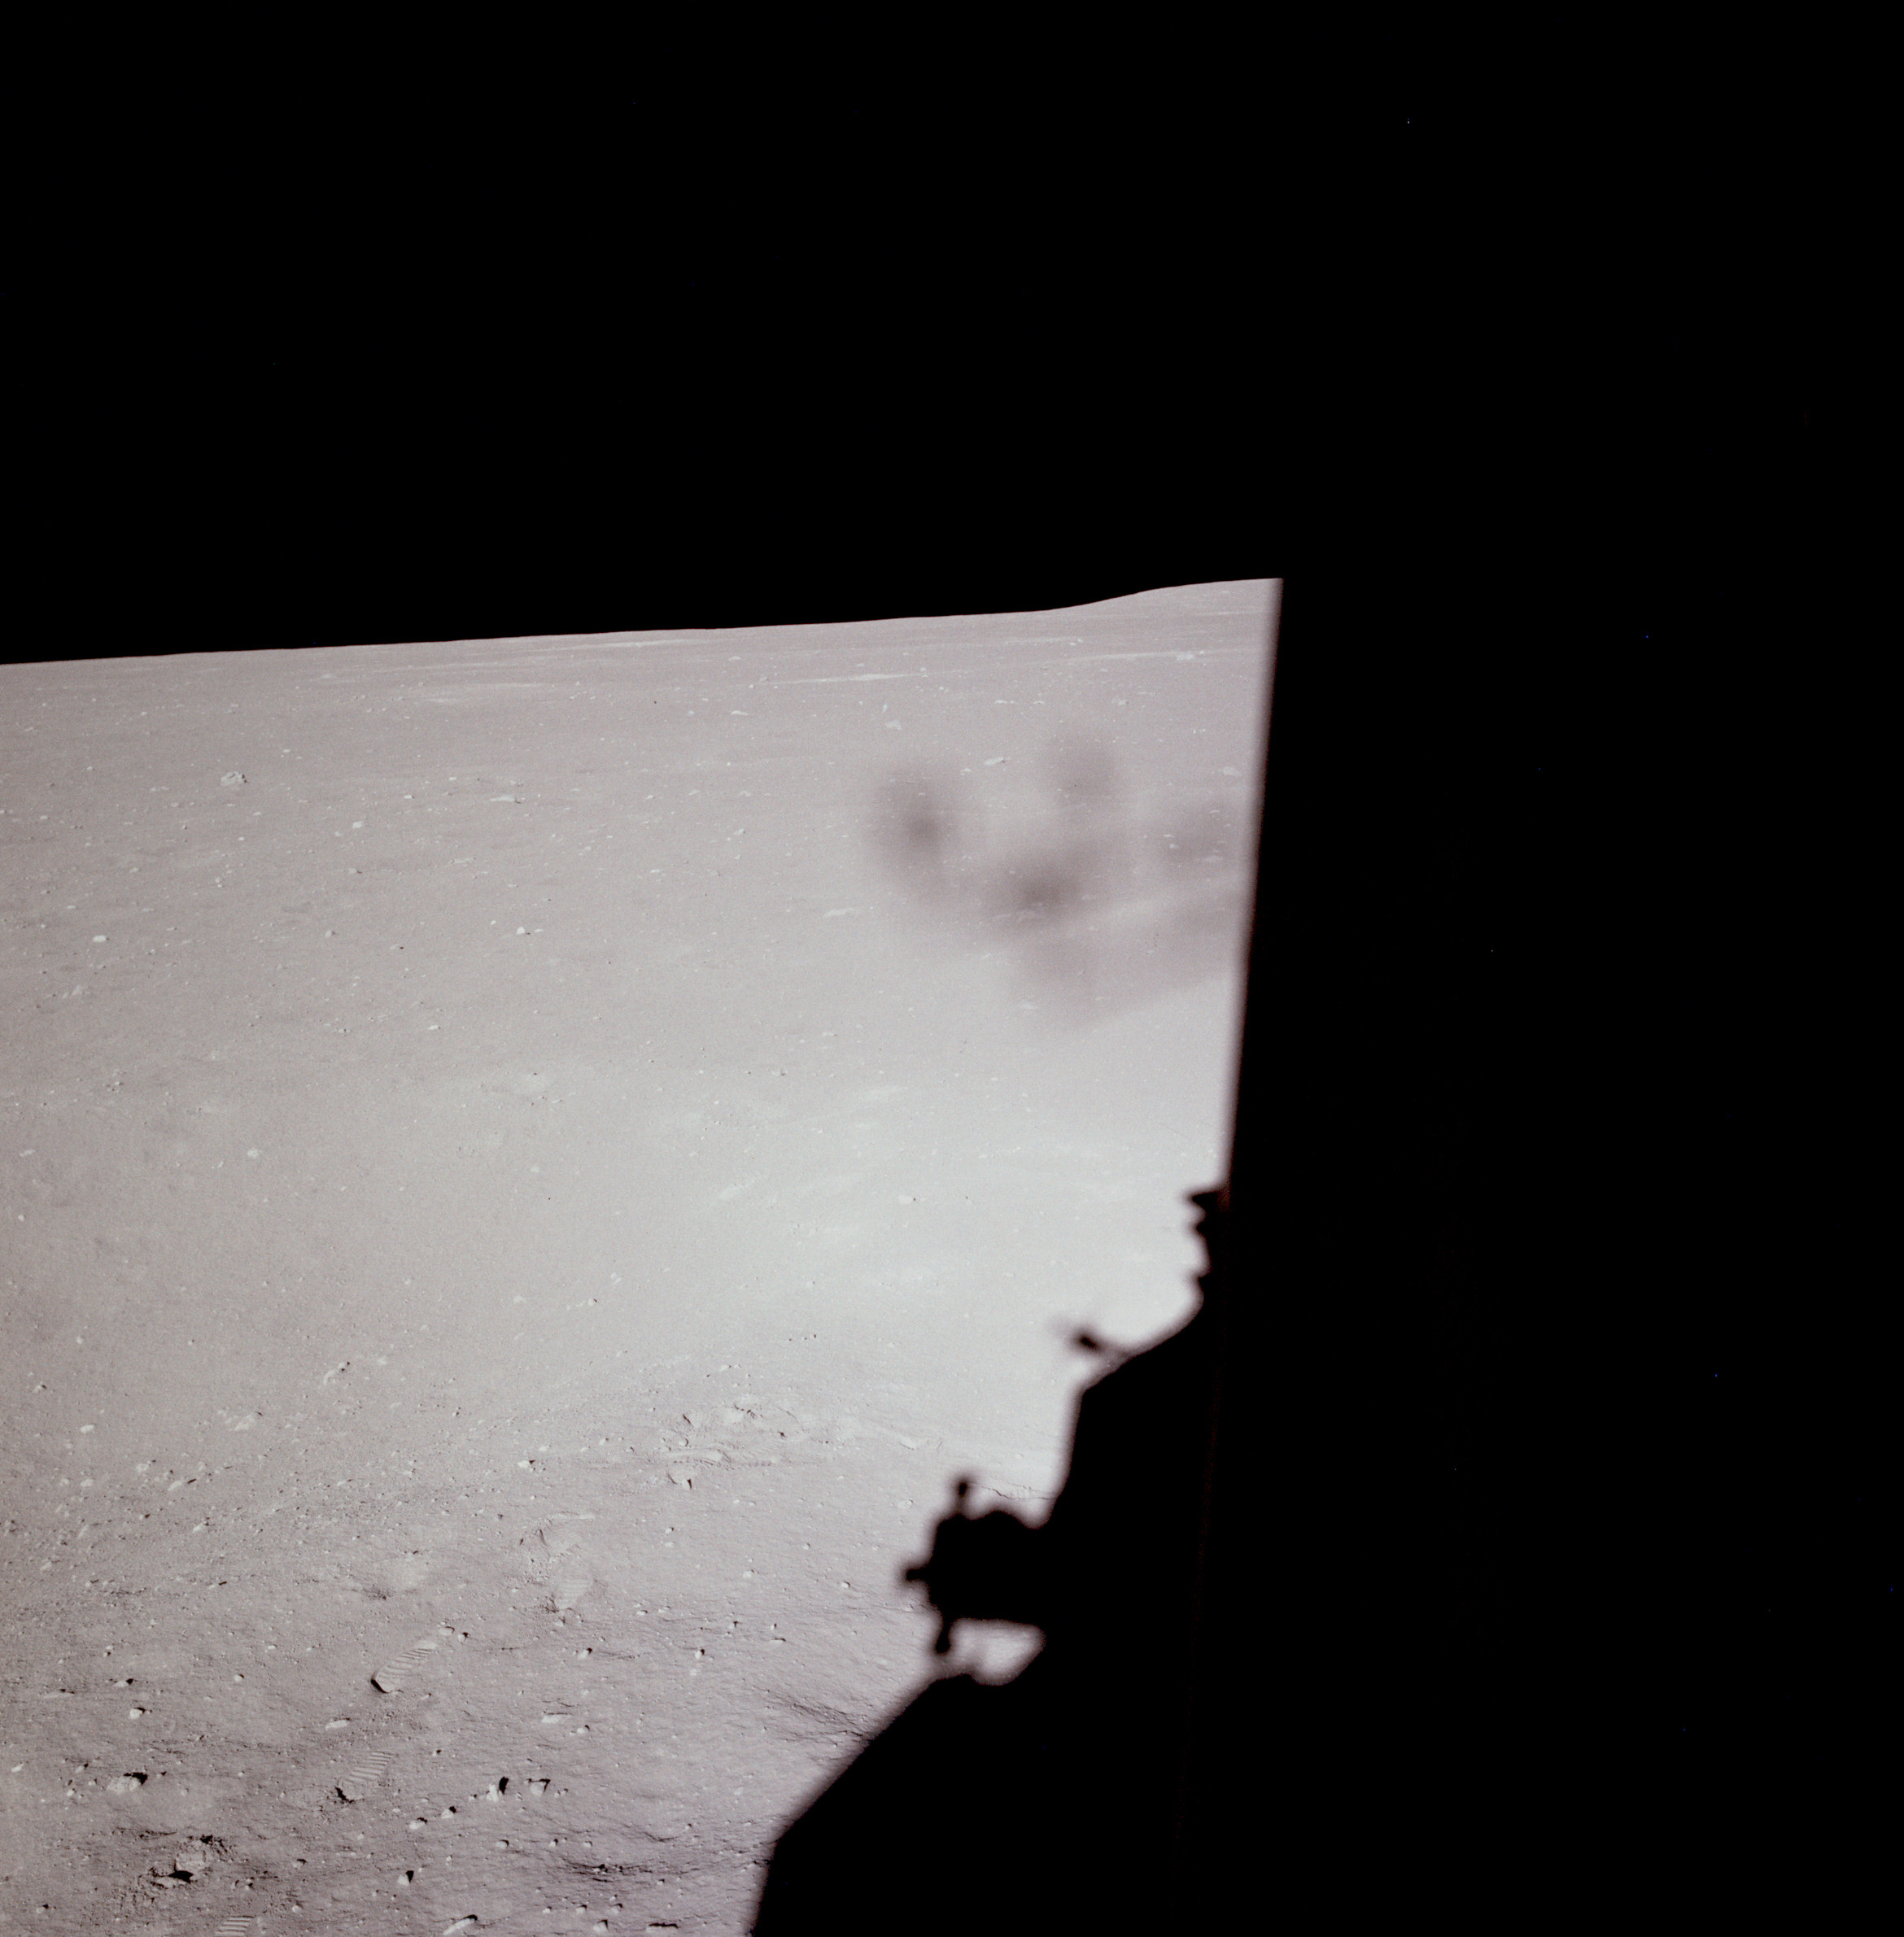 | AS11-37-5496 Tranquility Base from LM window. Image credit: Image Science and Analysis Laboratory, NASA-Johnson Space Center. |
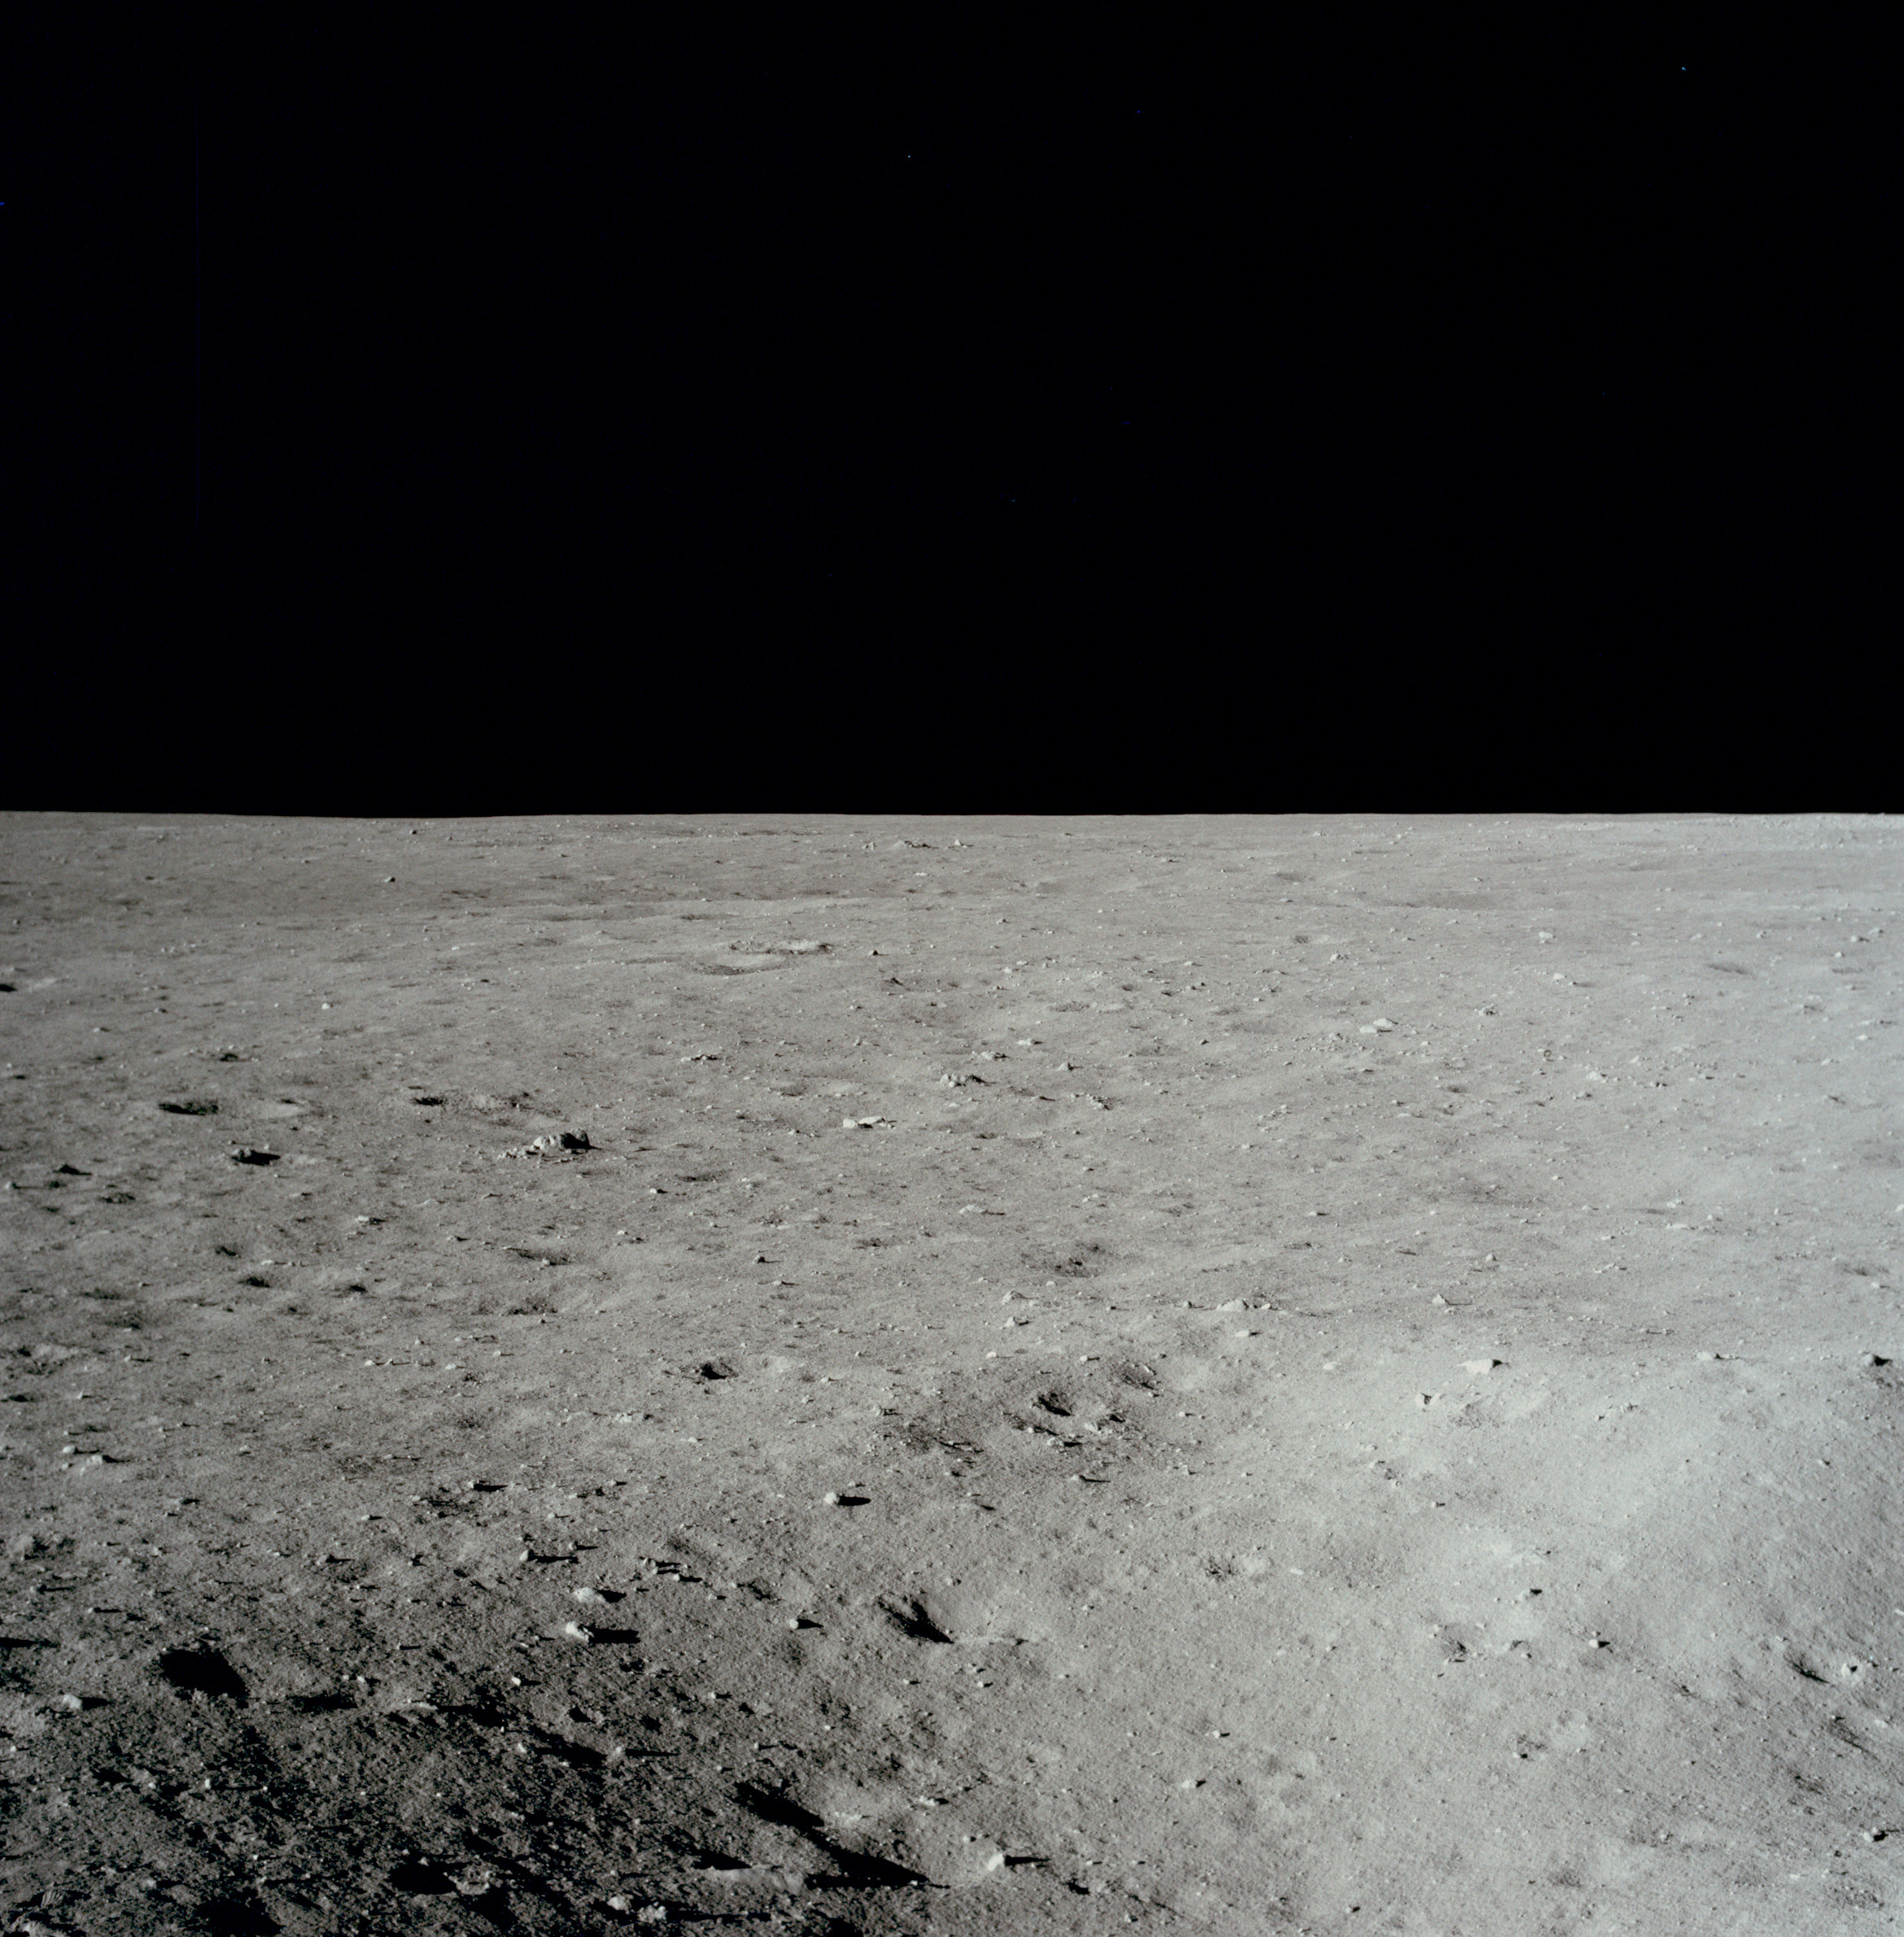 | AS11-37-5497 Tranquility Base from LM window. Image credit: Image Science and Analysis Laboratory, NASA-Johnson Space Center. |
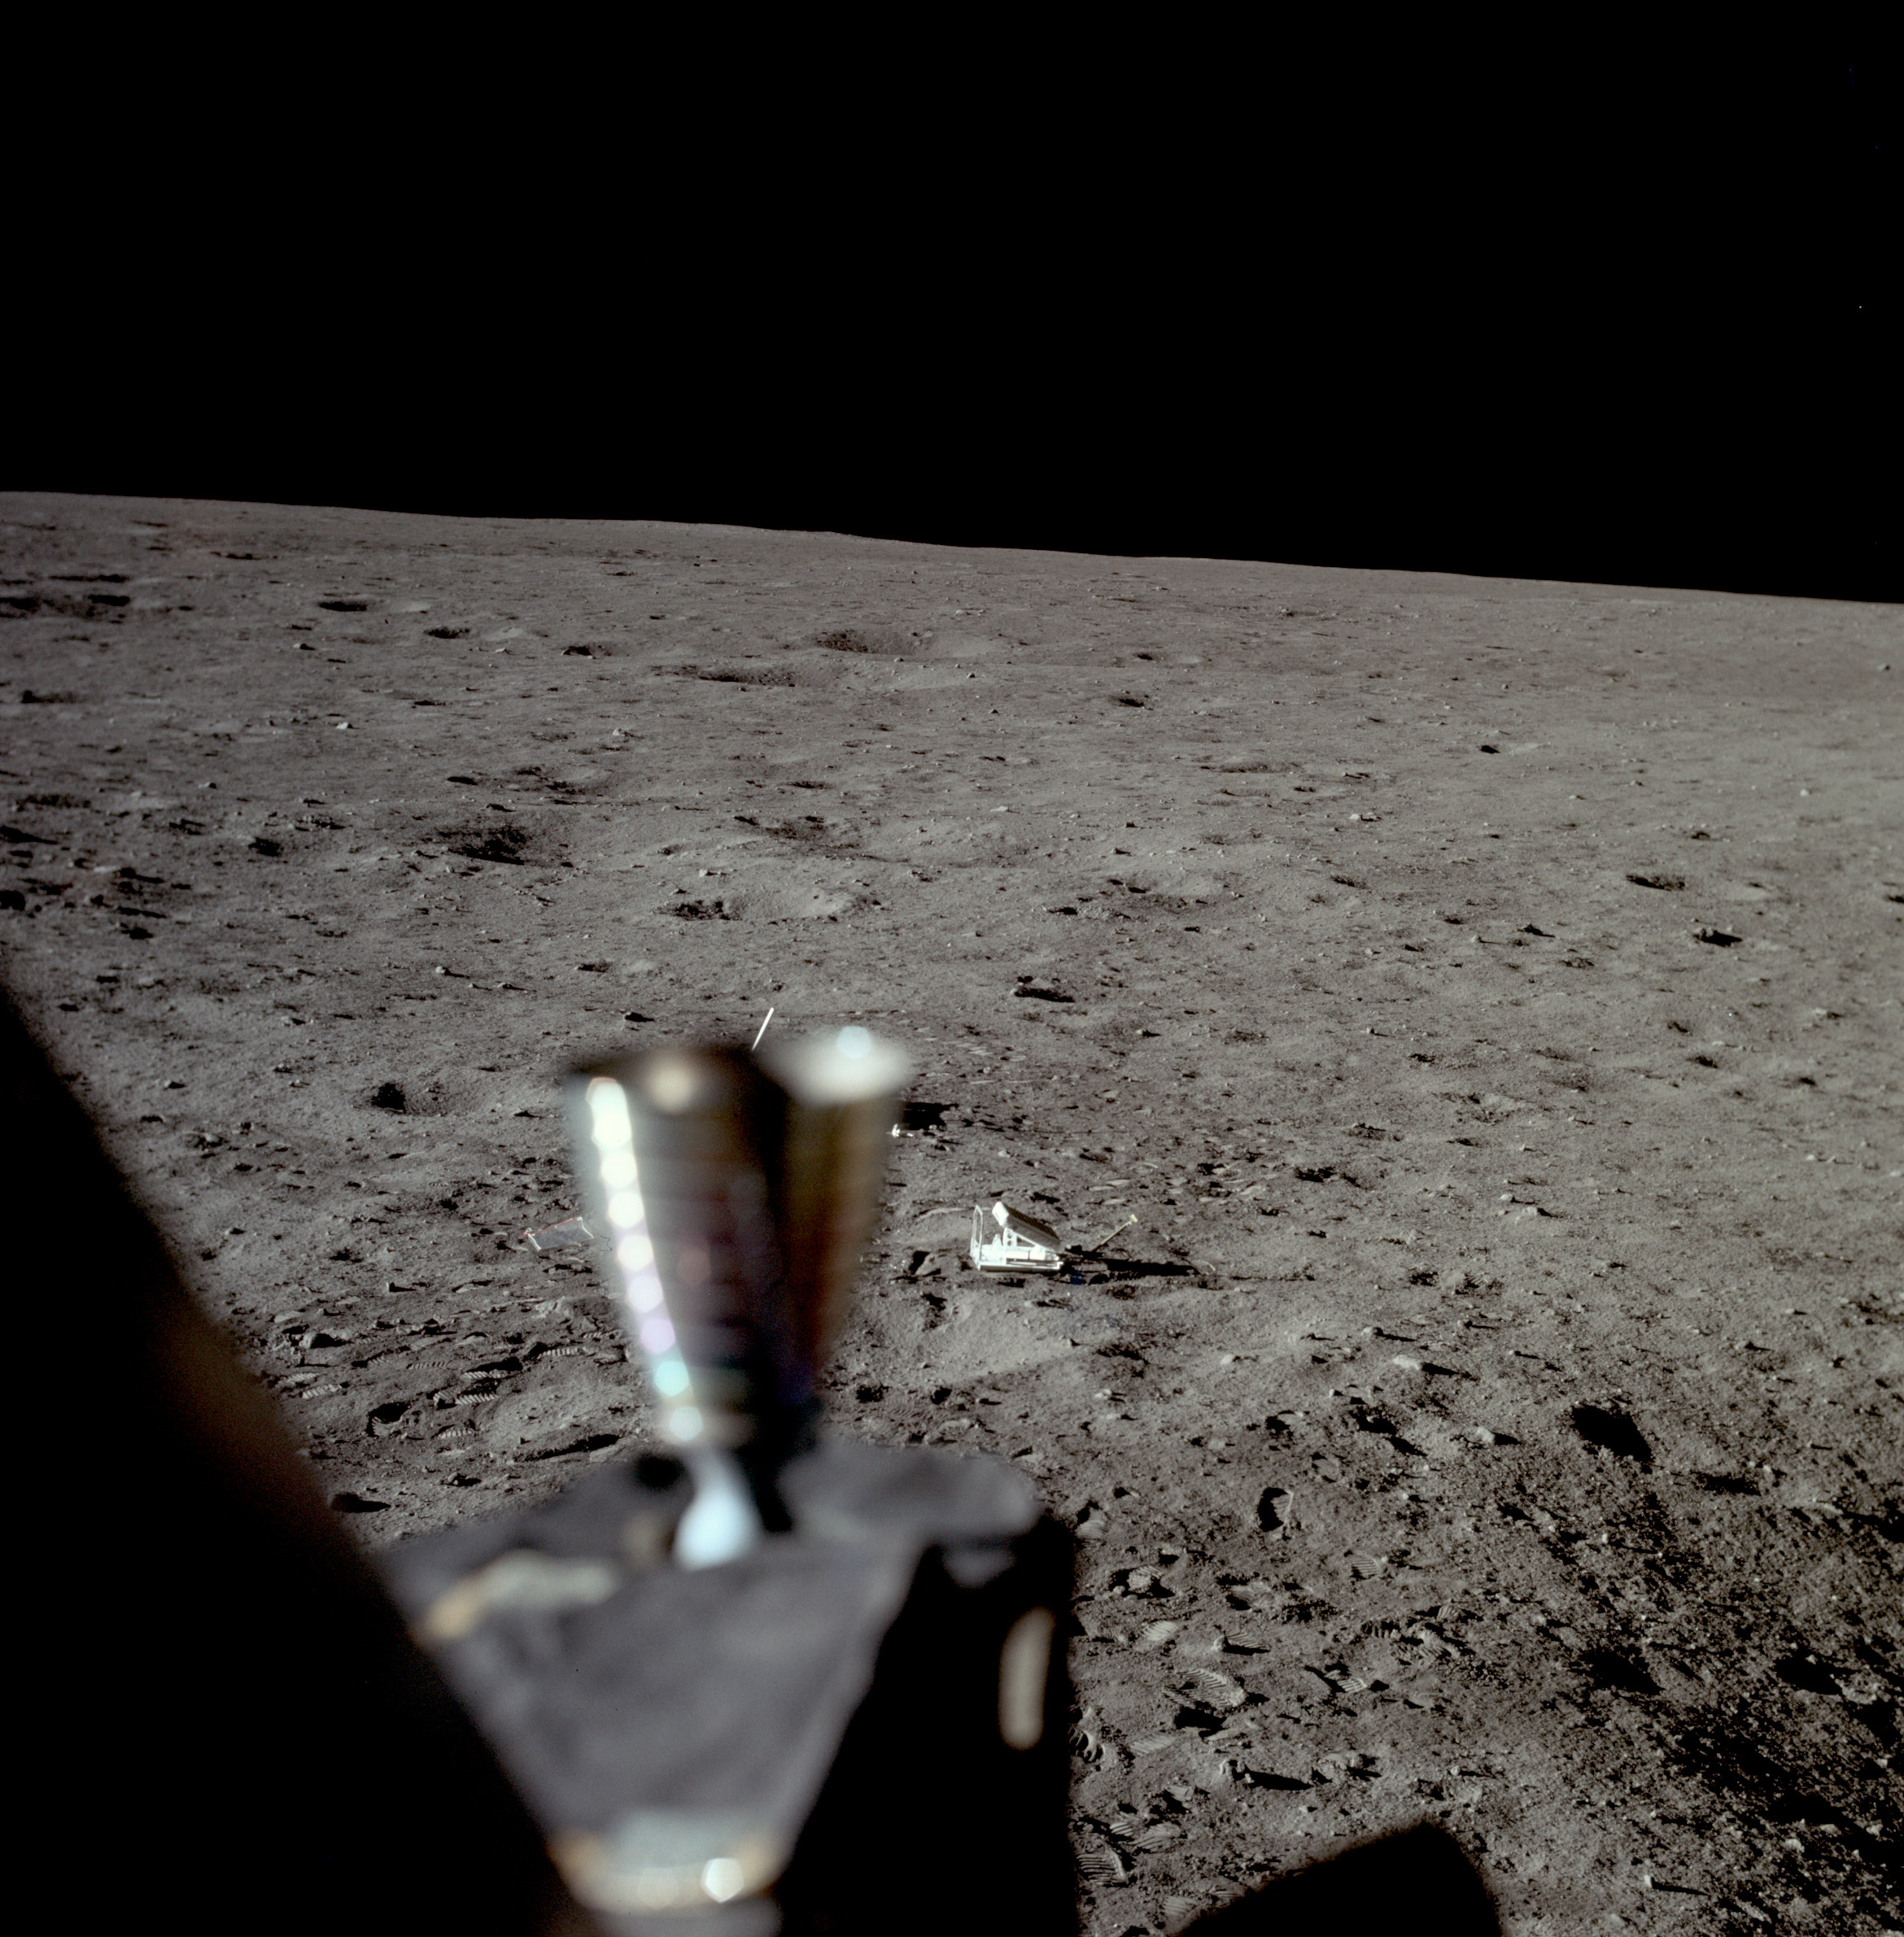 | AS11-37-5498 Tranquility Base from LM window. Image credit: Image Science and Analysis Laboratory, NASA-Johnson Space Center. |
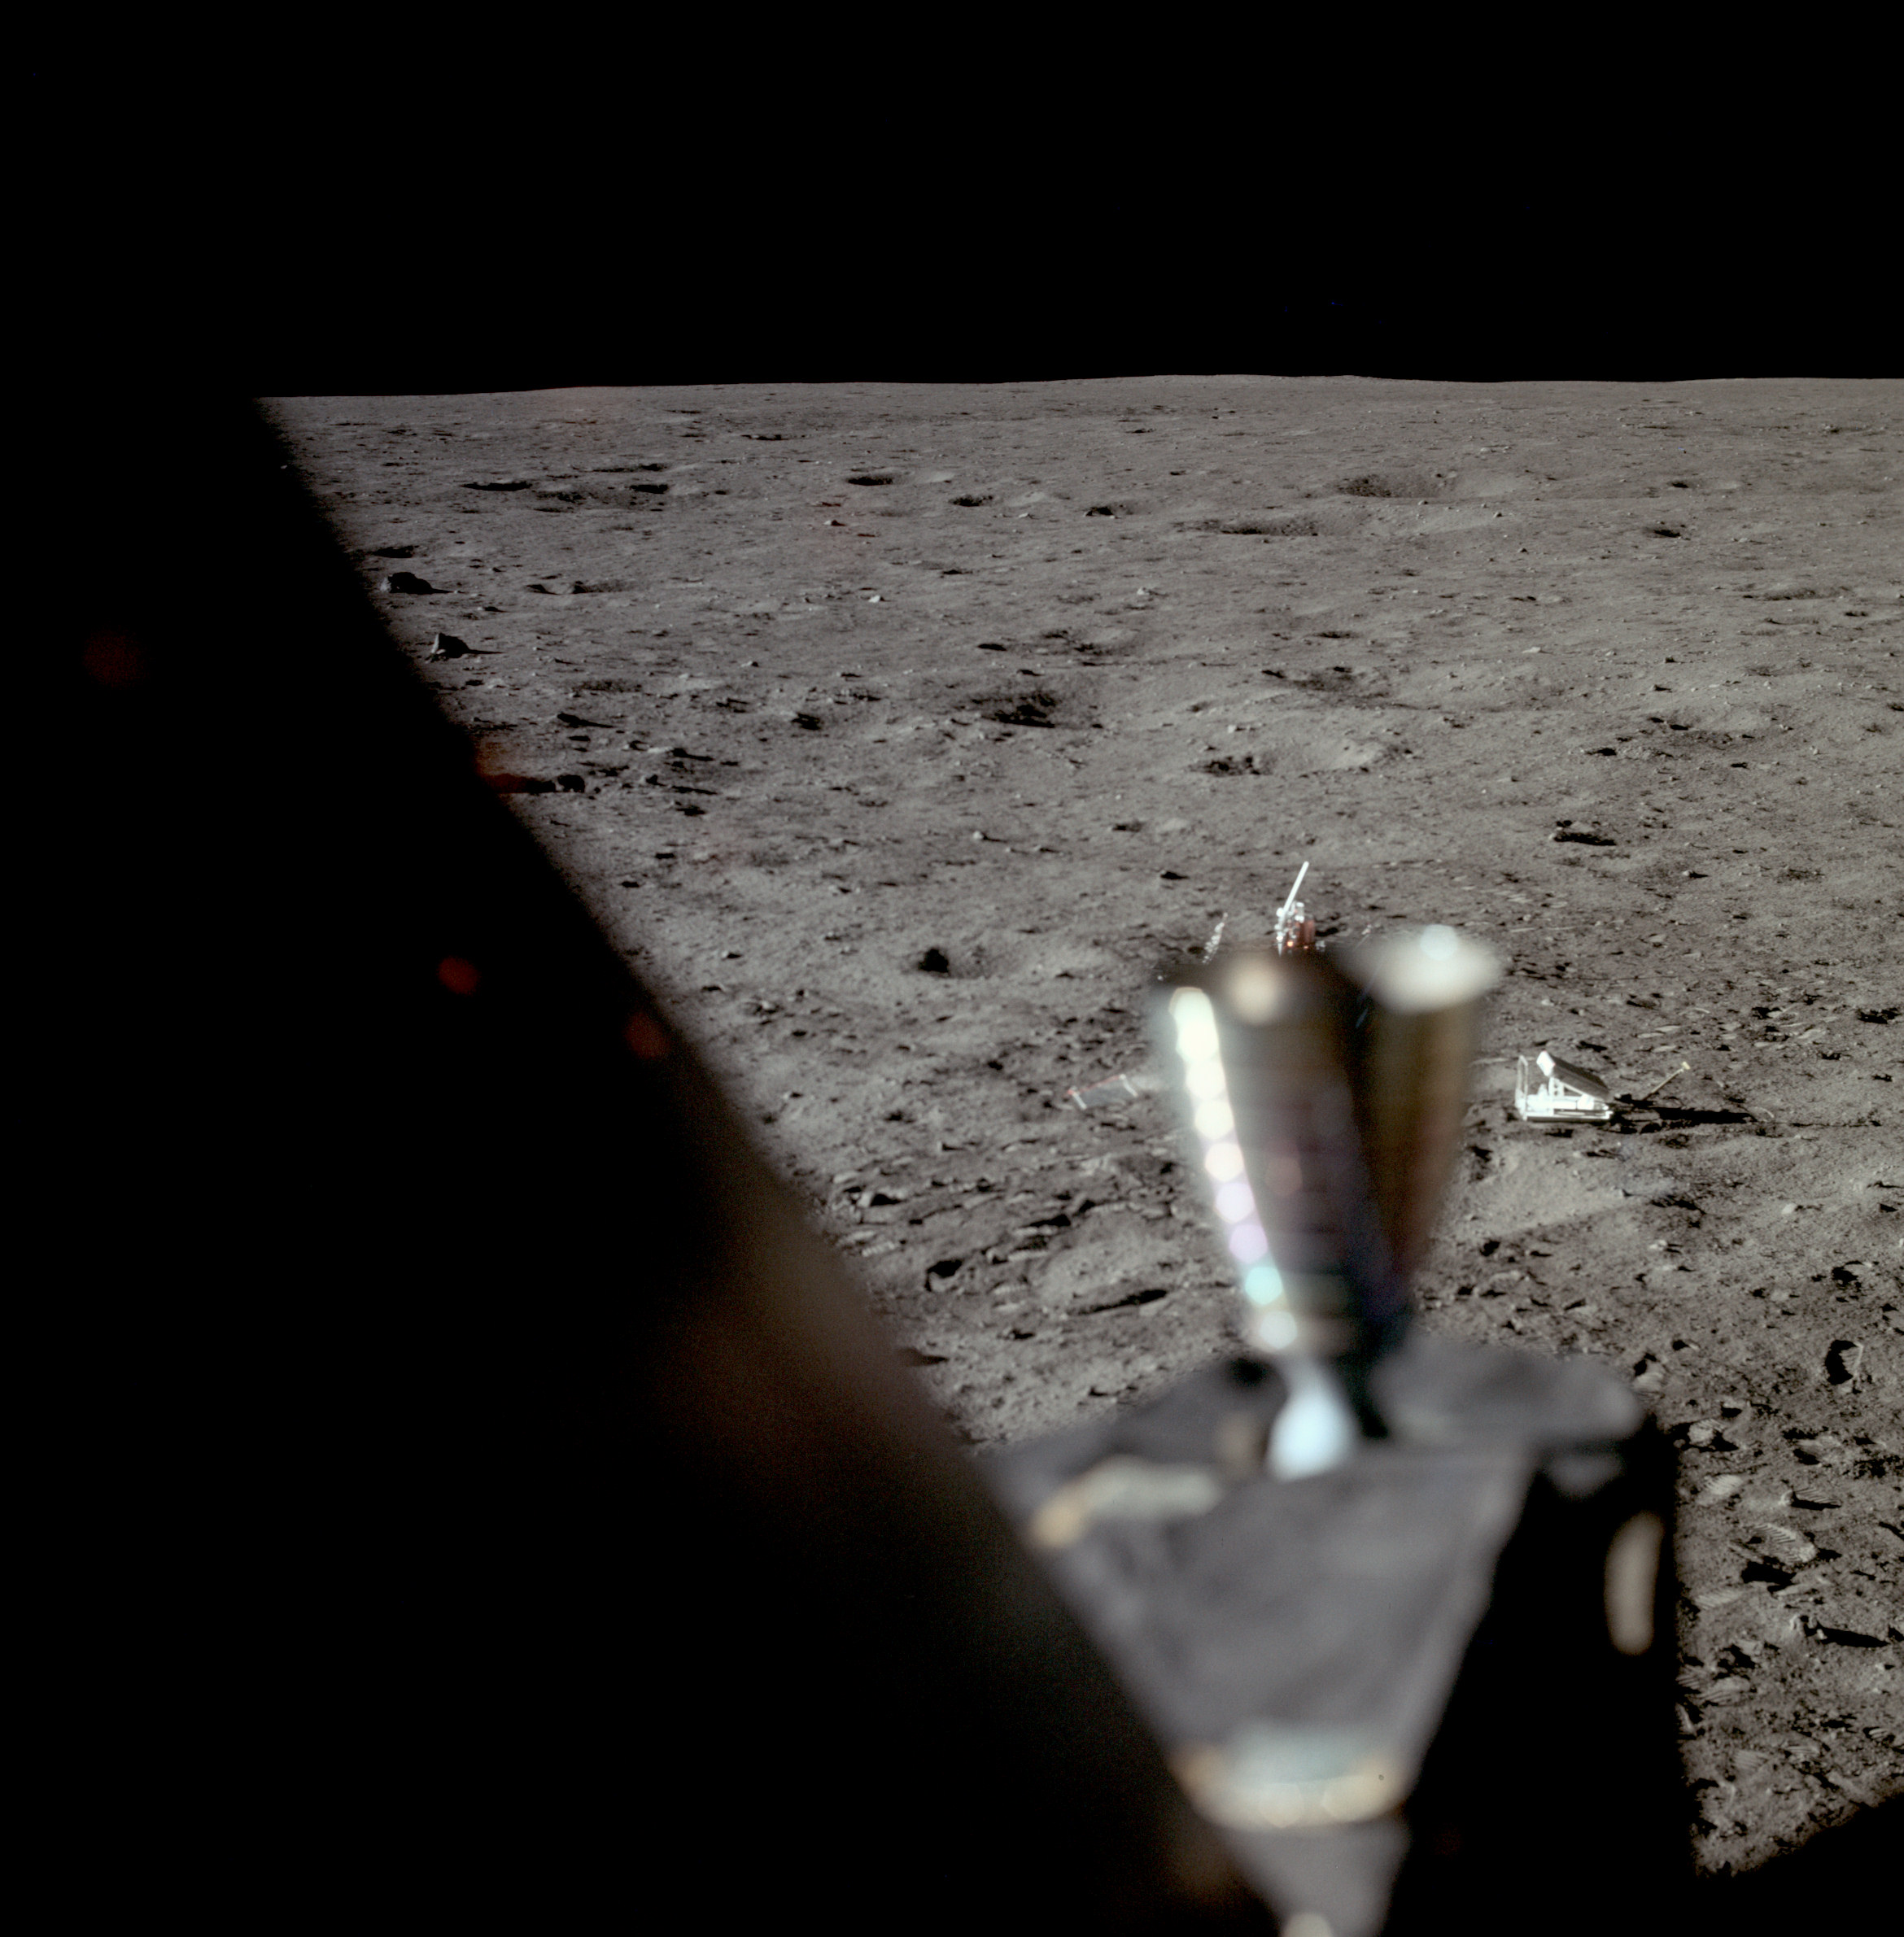 | AS11-37-5499 Tranquility Base from LM window. Image credit: Image Science and Analysis Laboratory, NASA-Johnson Space Center. |
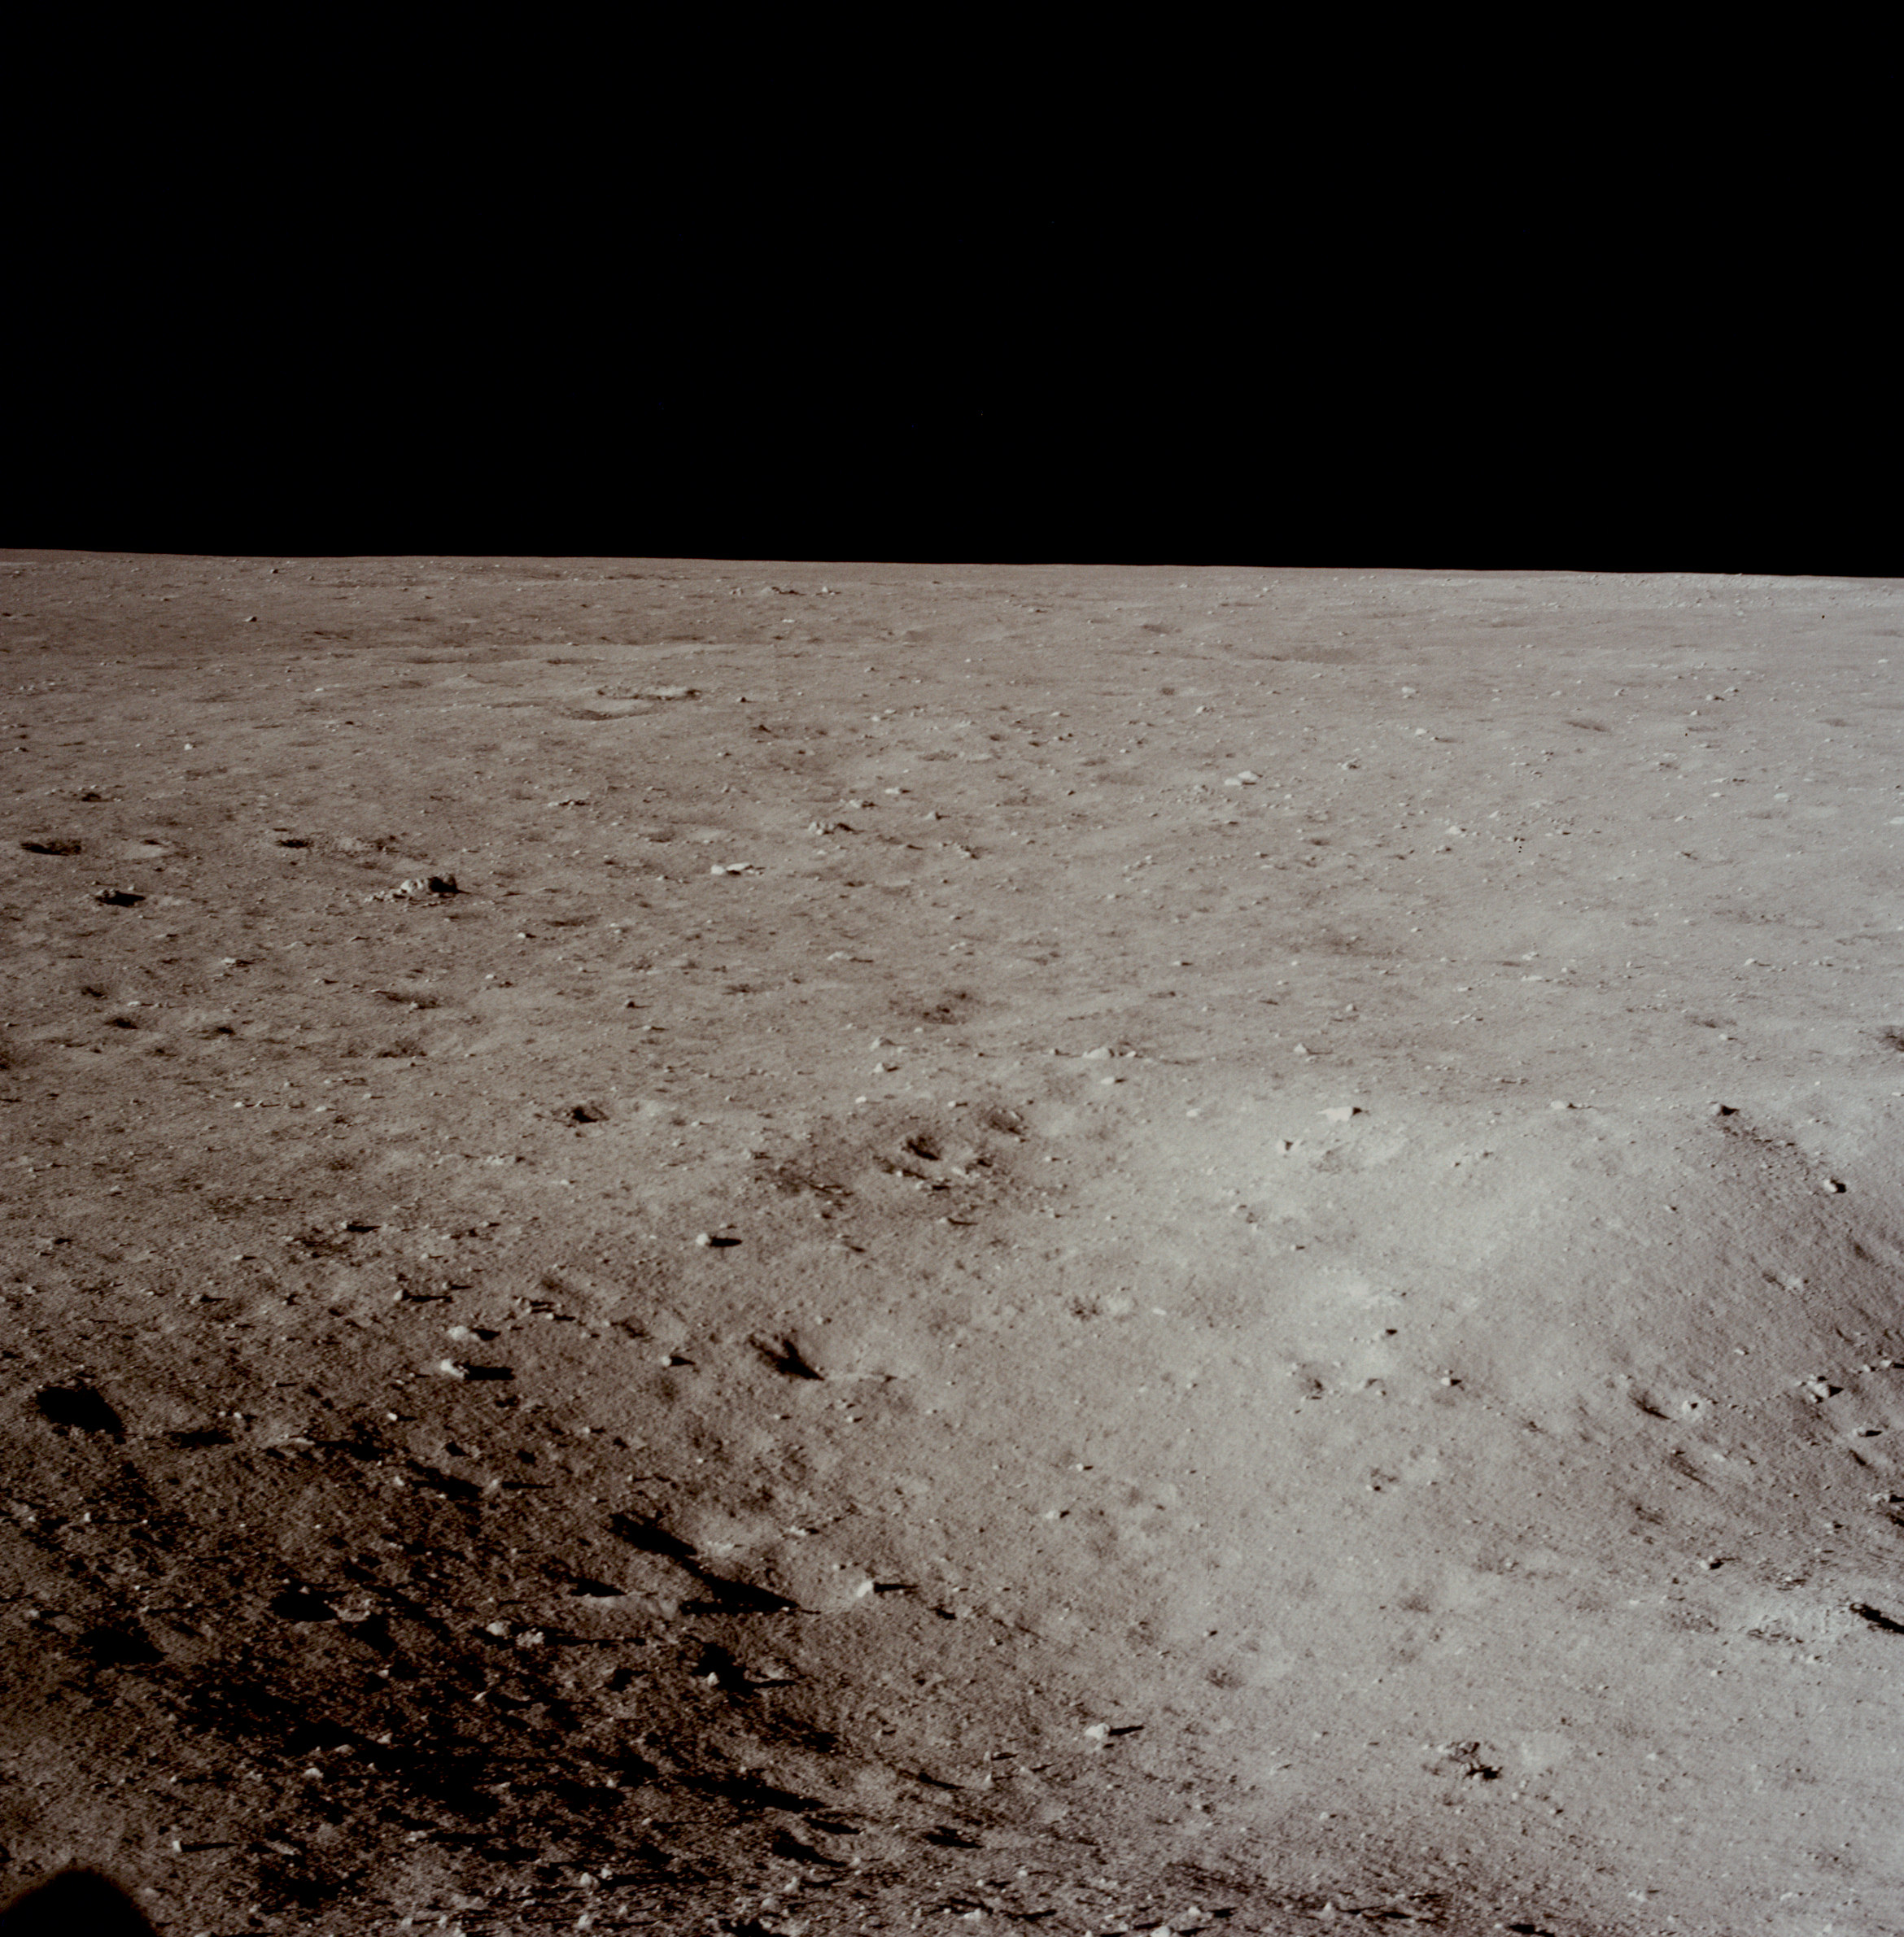 | AS11-37-5500 Tranquility Base from LM window. Image credit: Image Science and Analysis Laboratory, NASA-Johnson Space Center. |
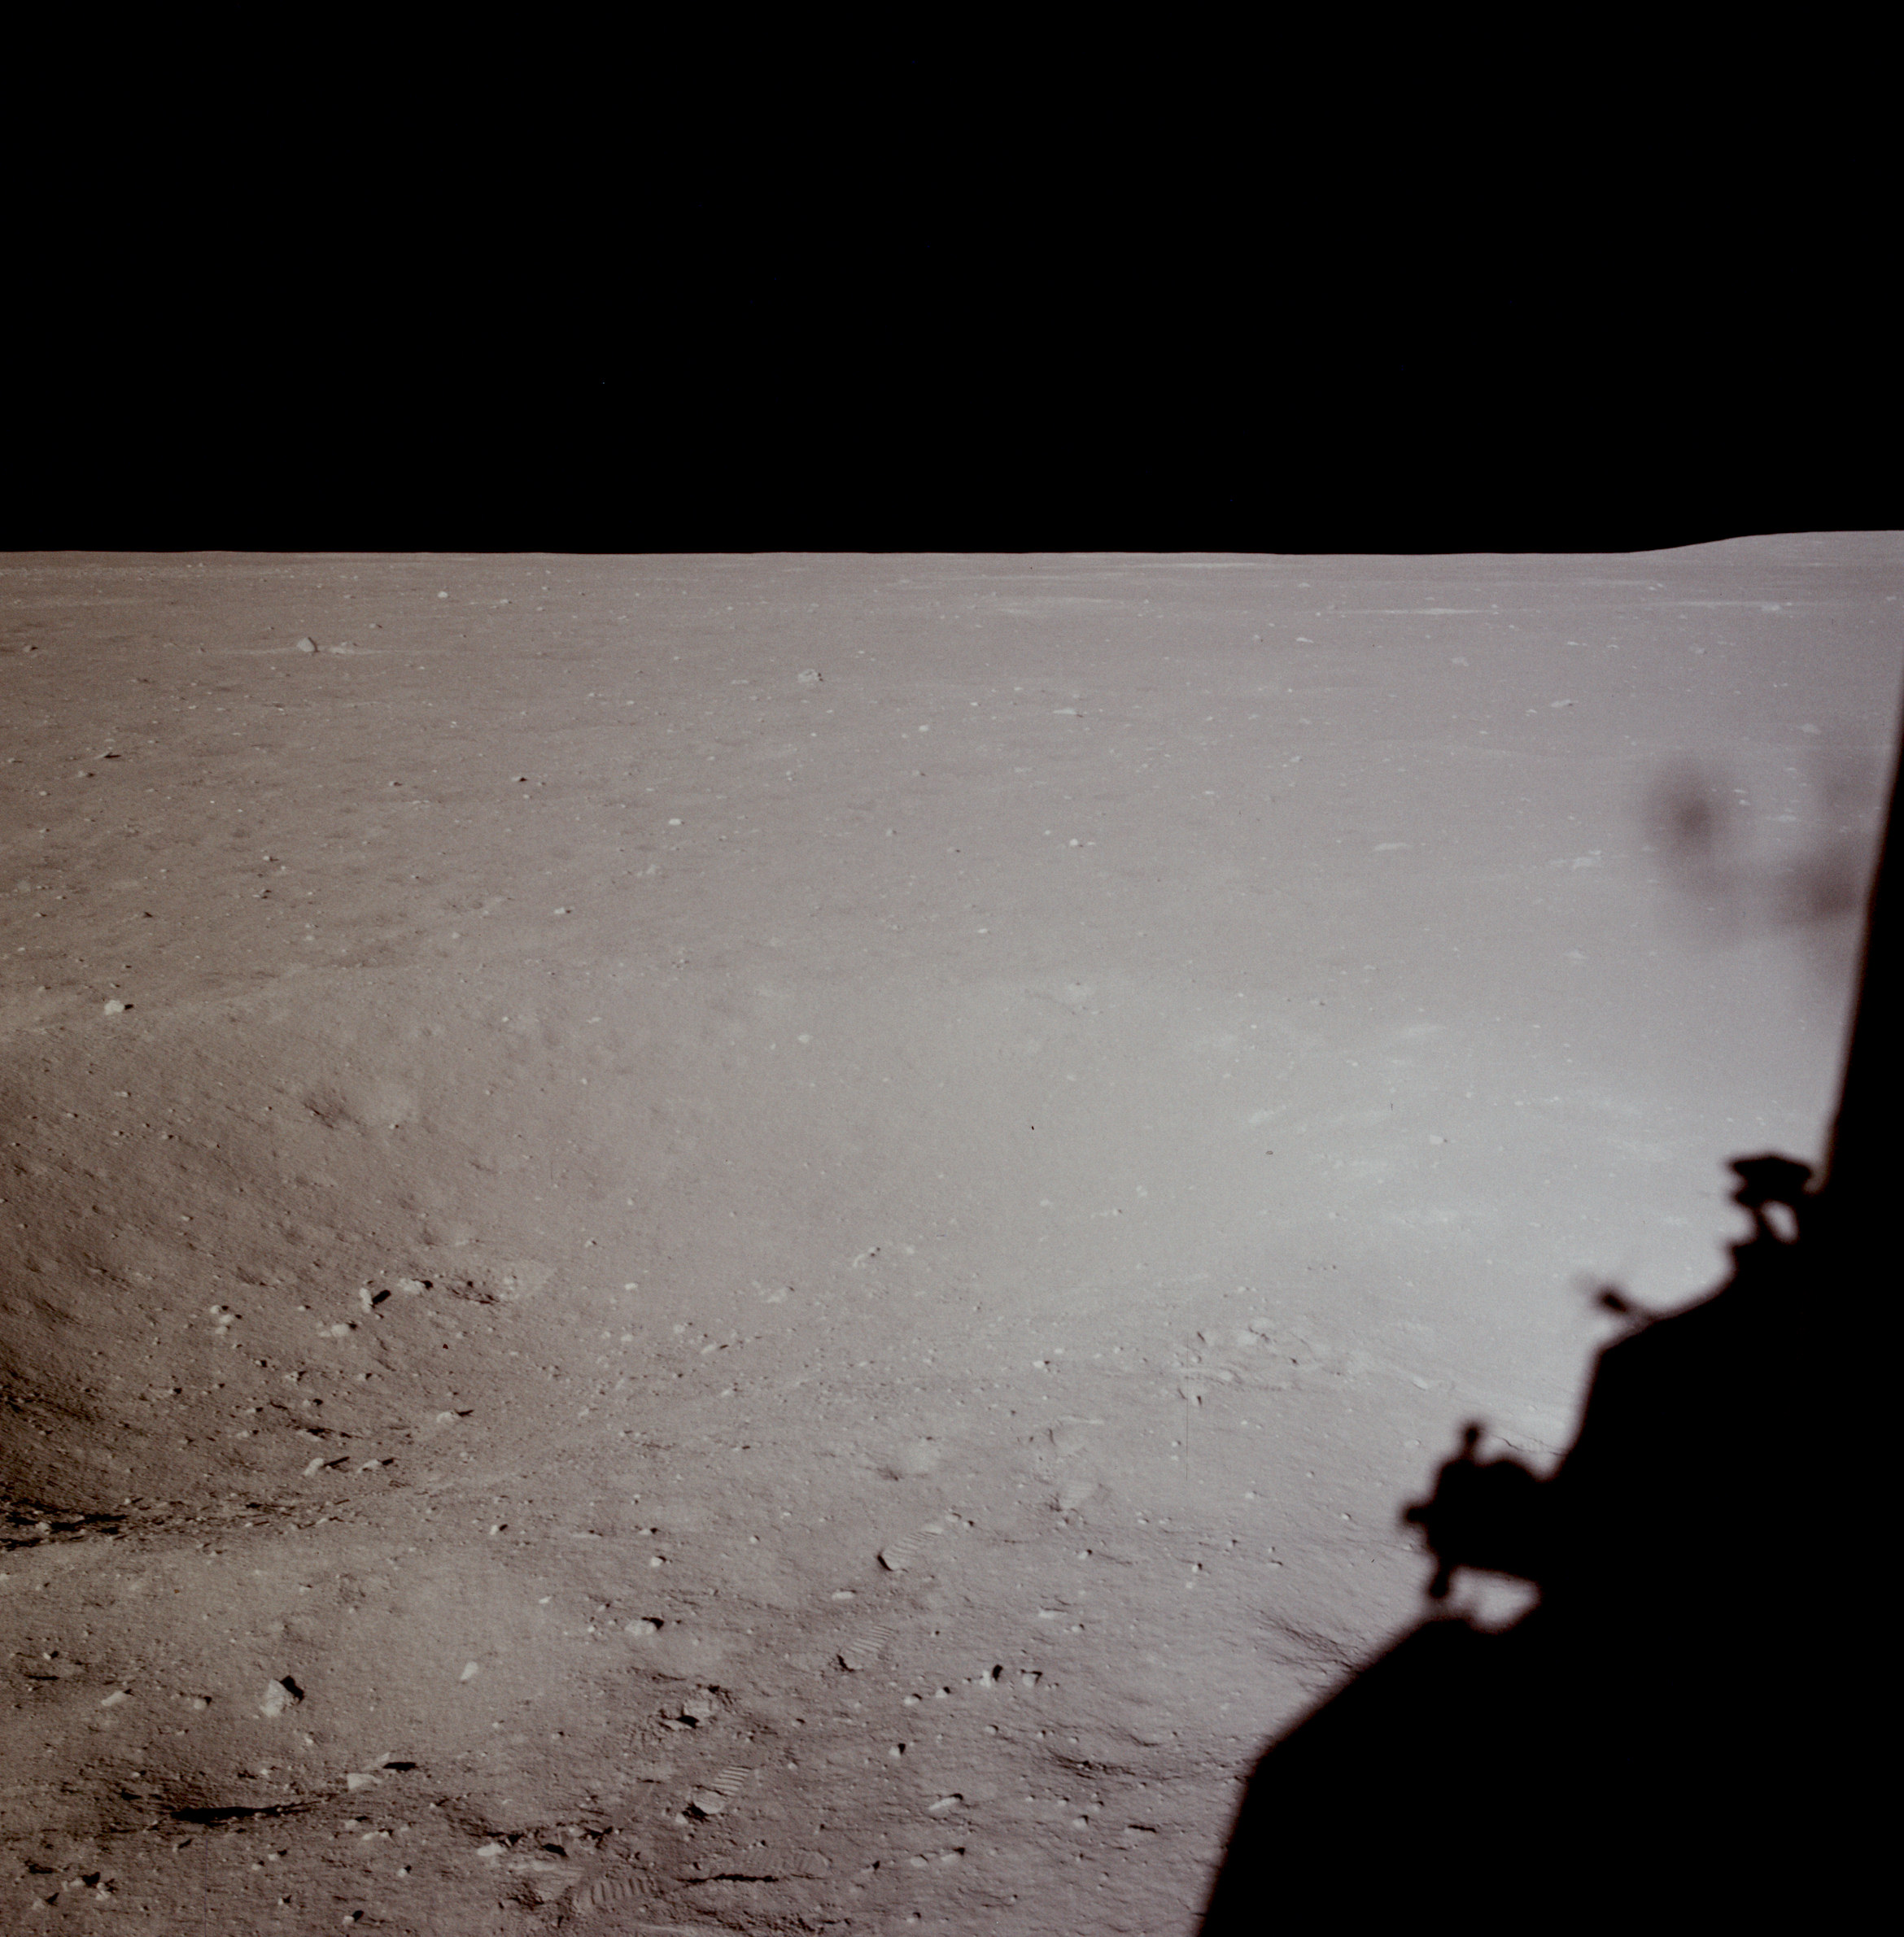 | AS11-37-5501 Tranquility Base from LM window. Image credit: Image Science and Analysis Laboratory, NASA-Johnson Space Center. |
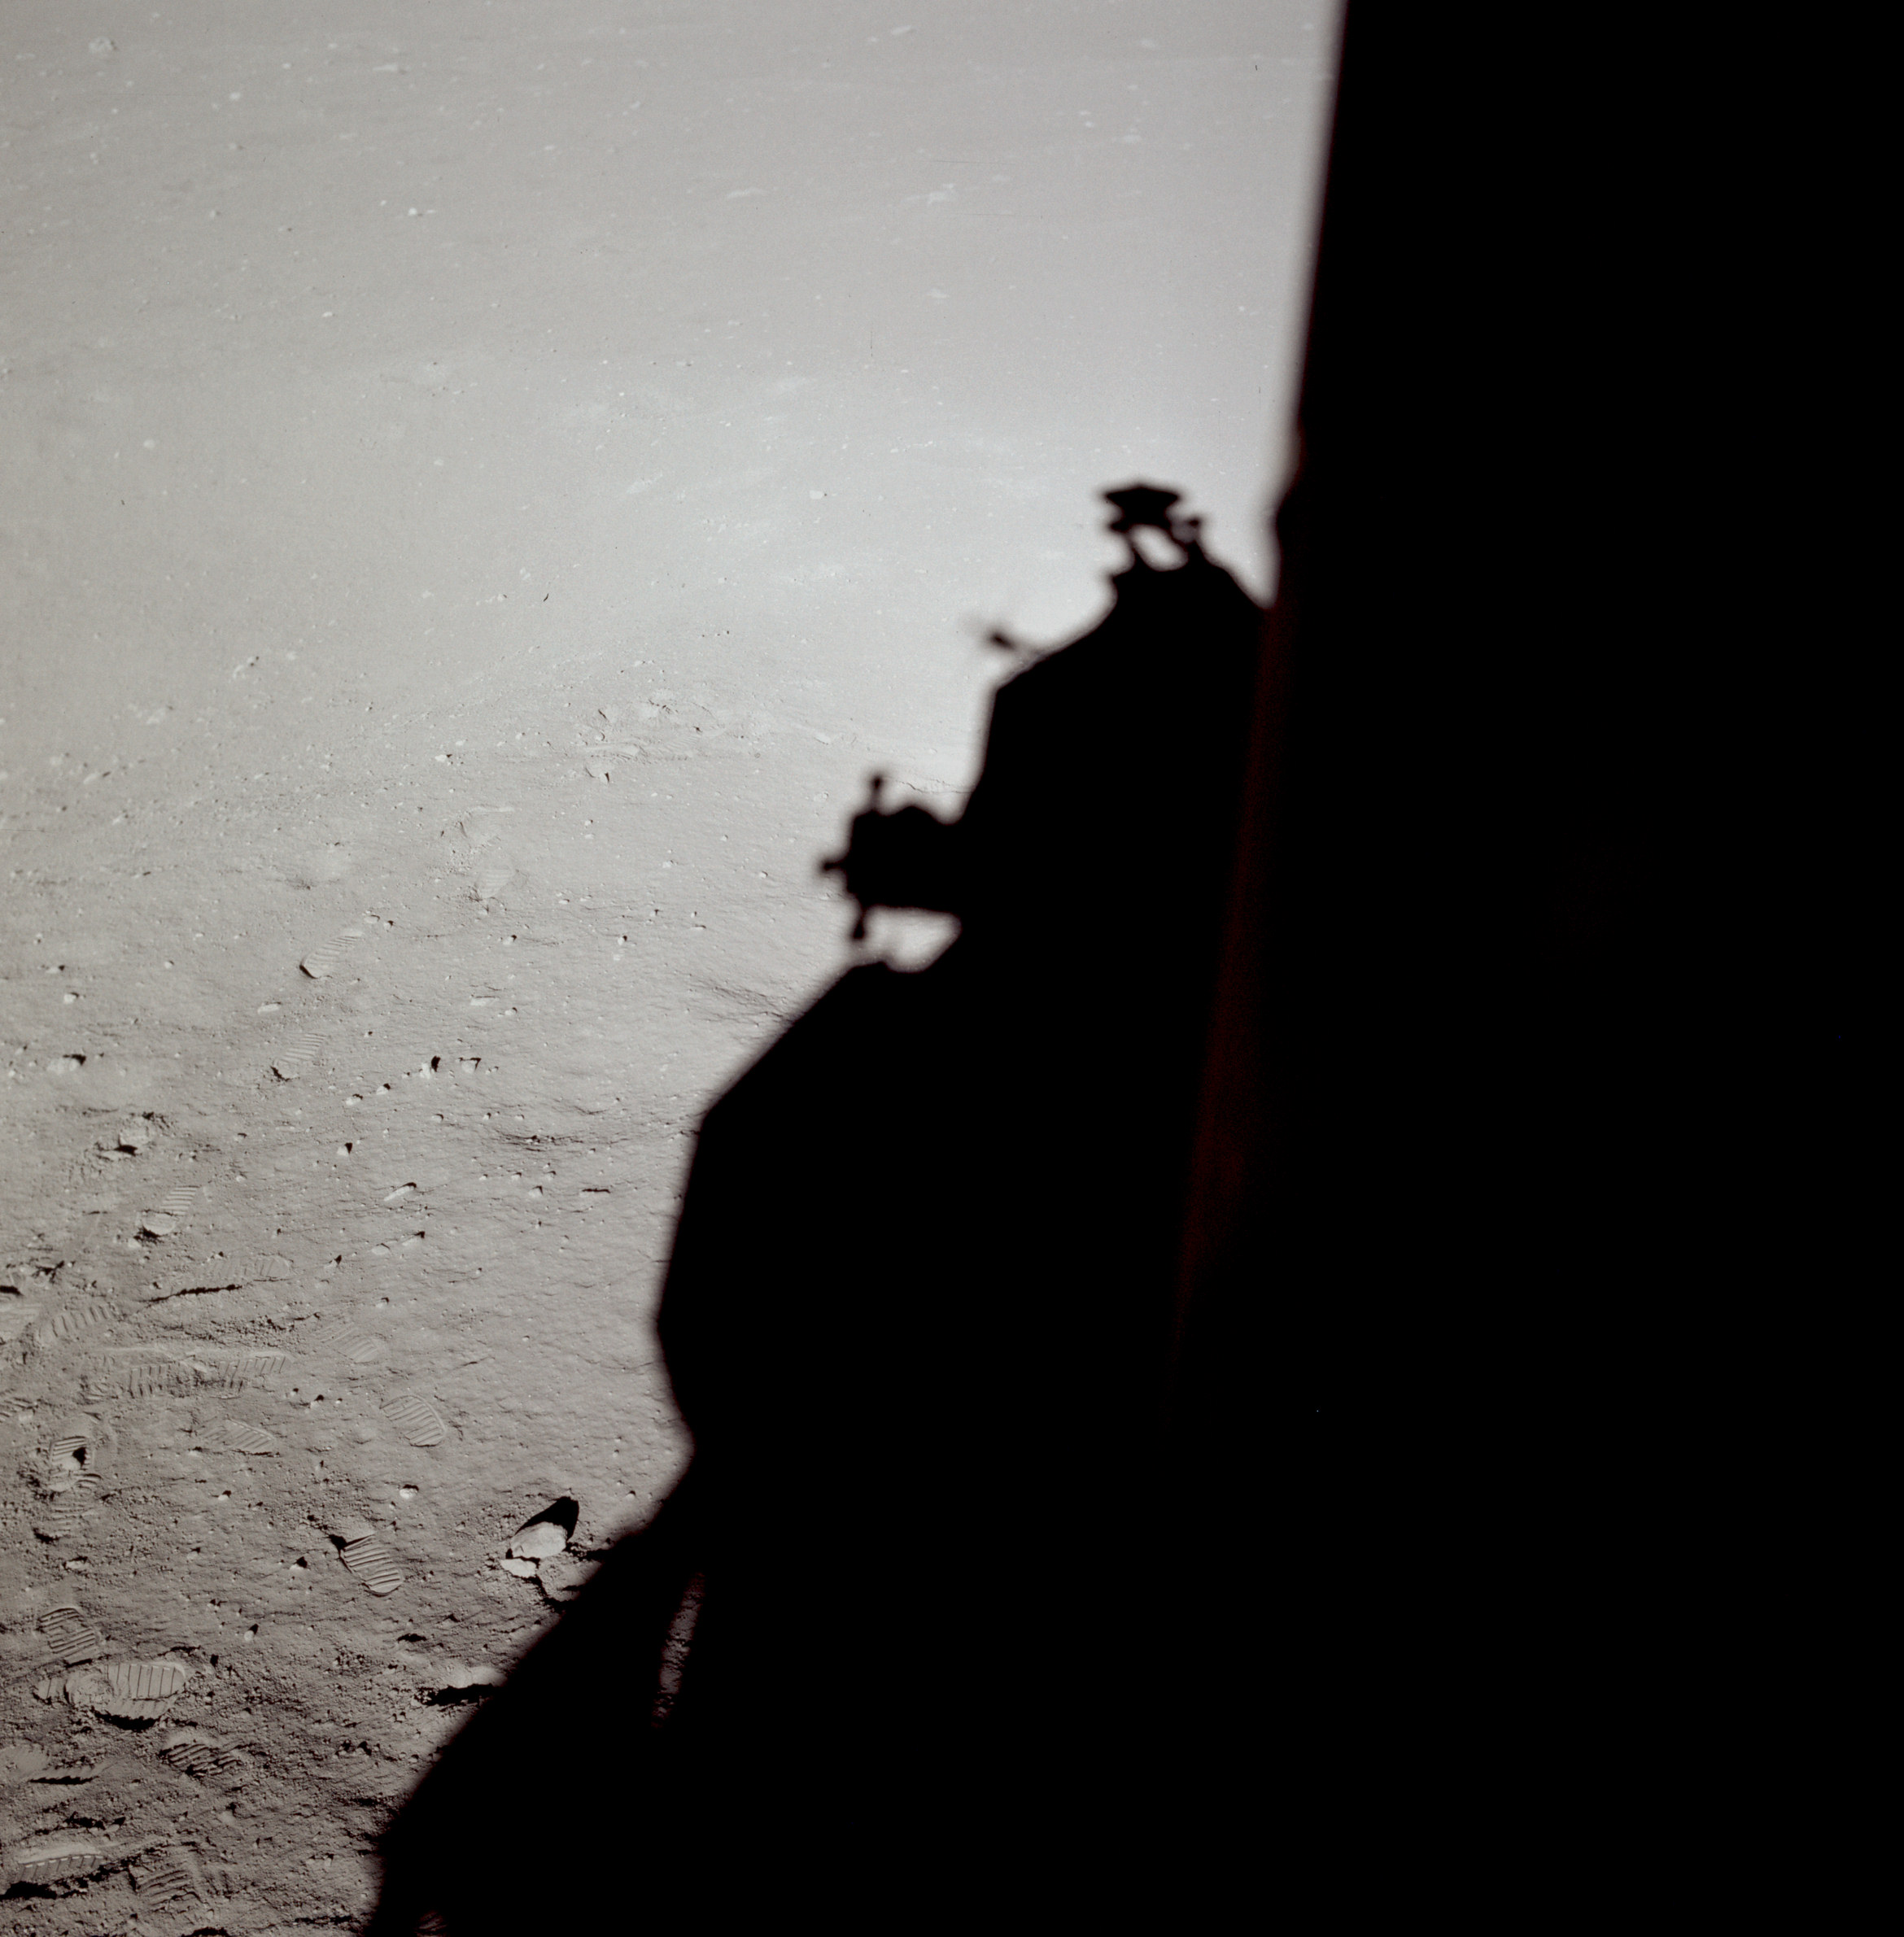 | AS11-37-5502 Tranquility Base from LM window. Image credit: Image Science and Analysis Laboratory, NASA-Johnson Space Center. |
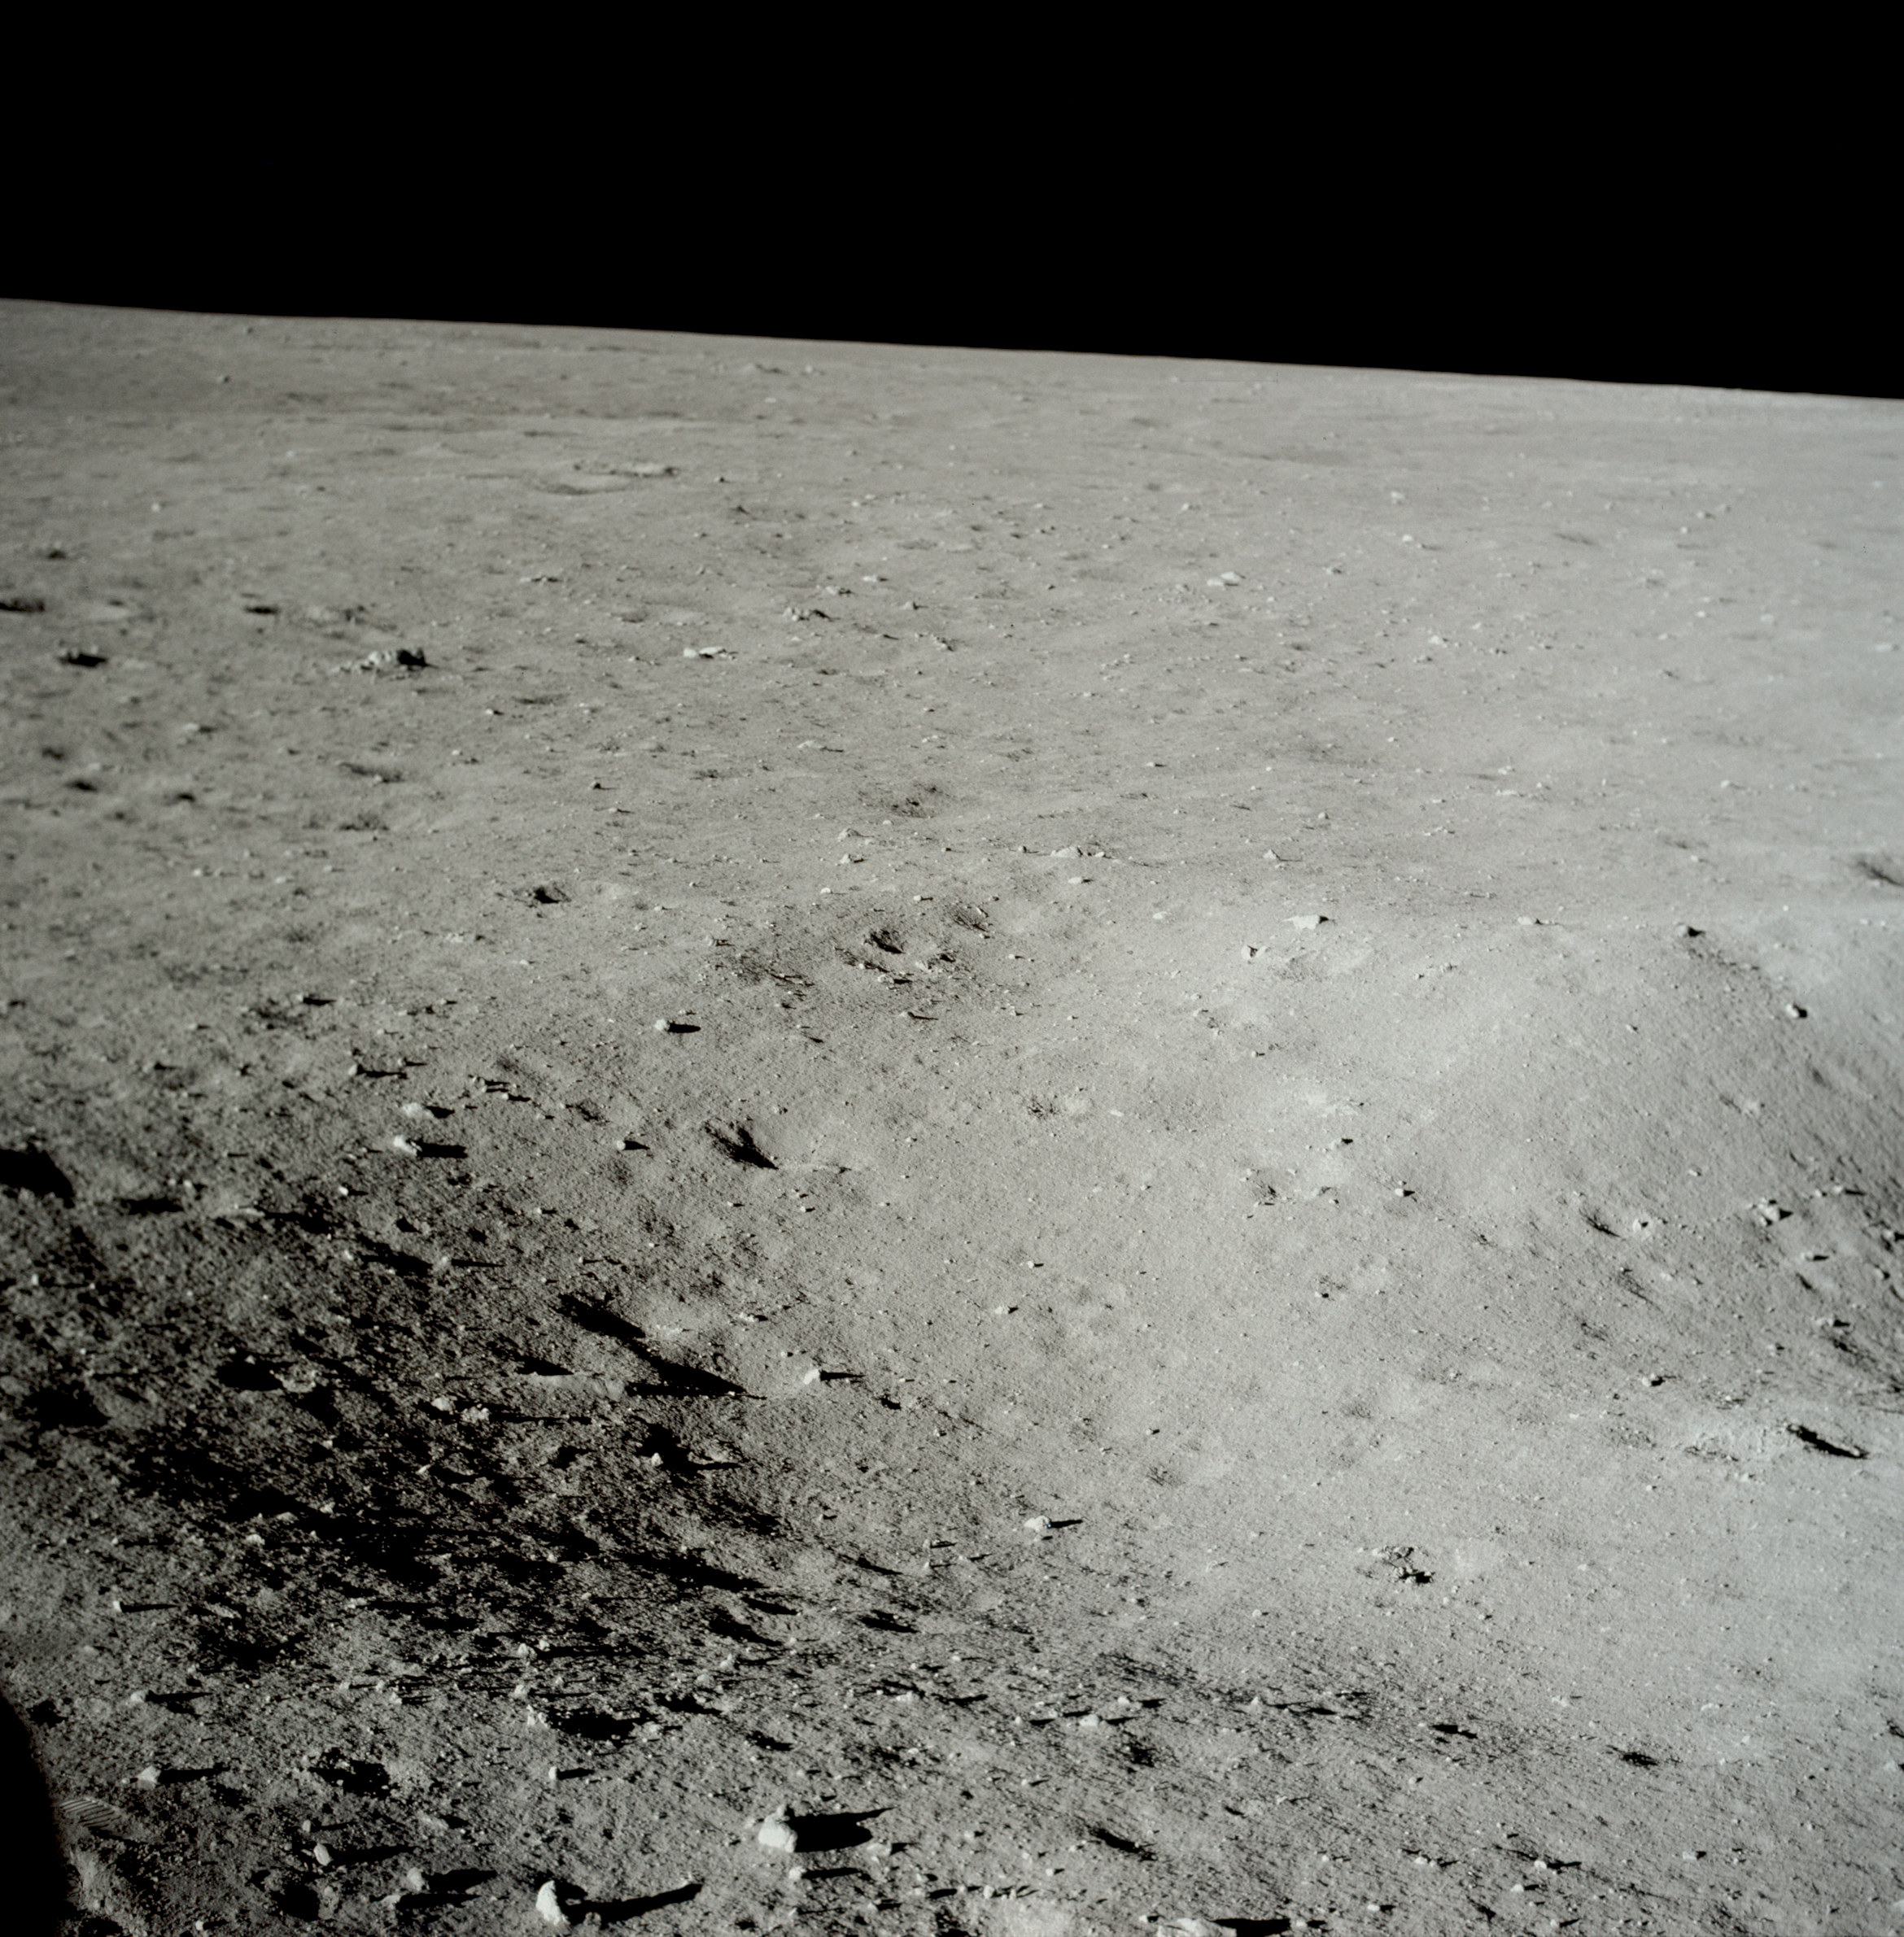 | AS11-37-5503 Tranquility Base from LM window. Image credit: Image Science and Analysis Laboratory, NASA-Johnson Space Center. |
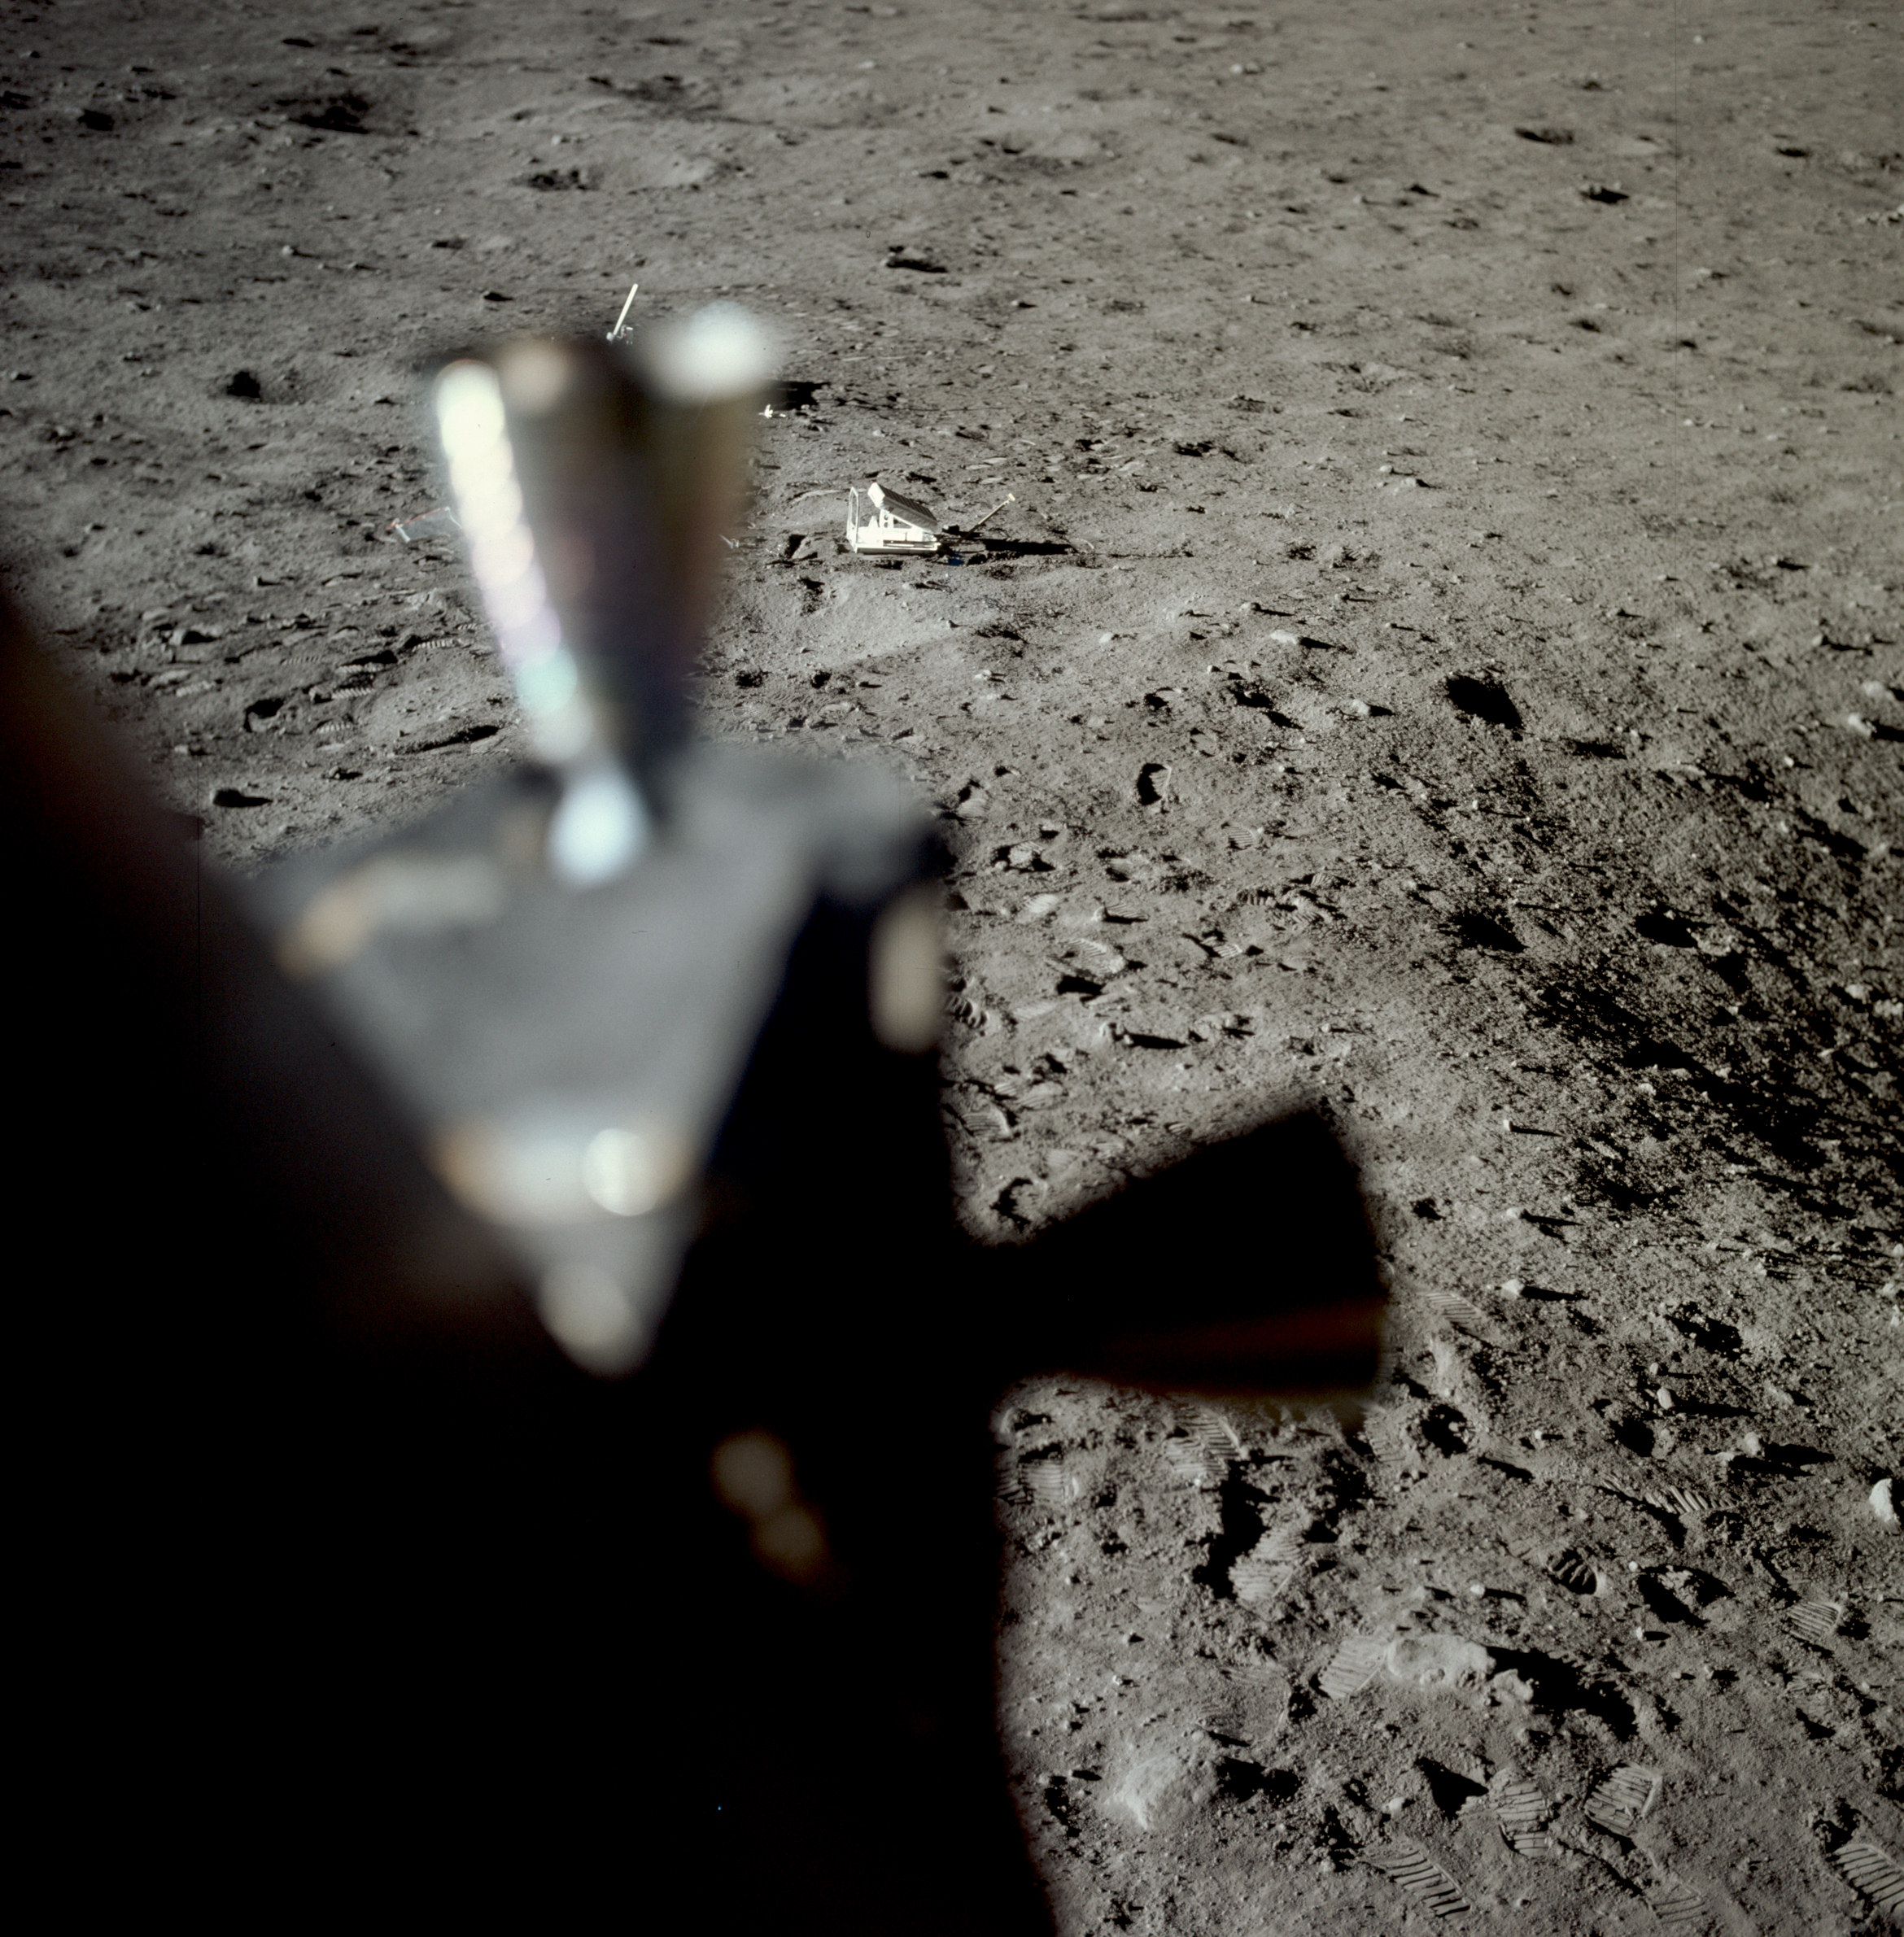 | AS11-37-5504 Tranquility Base from LM window. Image credit: Image Science and Analysis Laboratory, NASA-Johnson Space Center. |
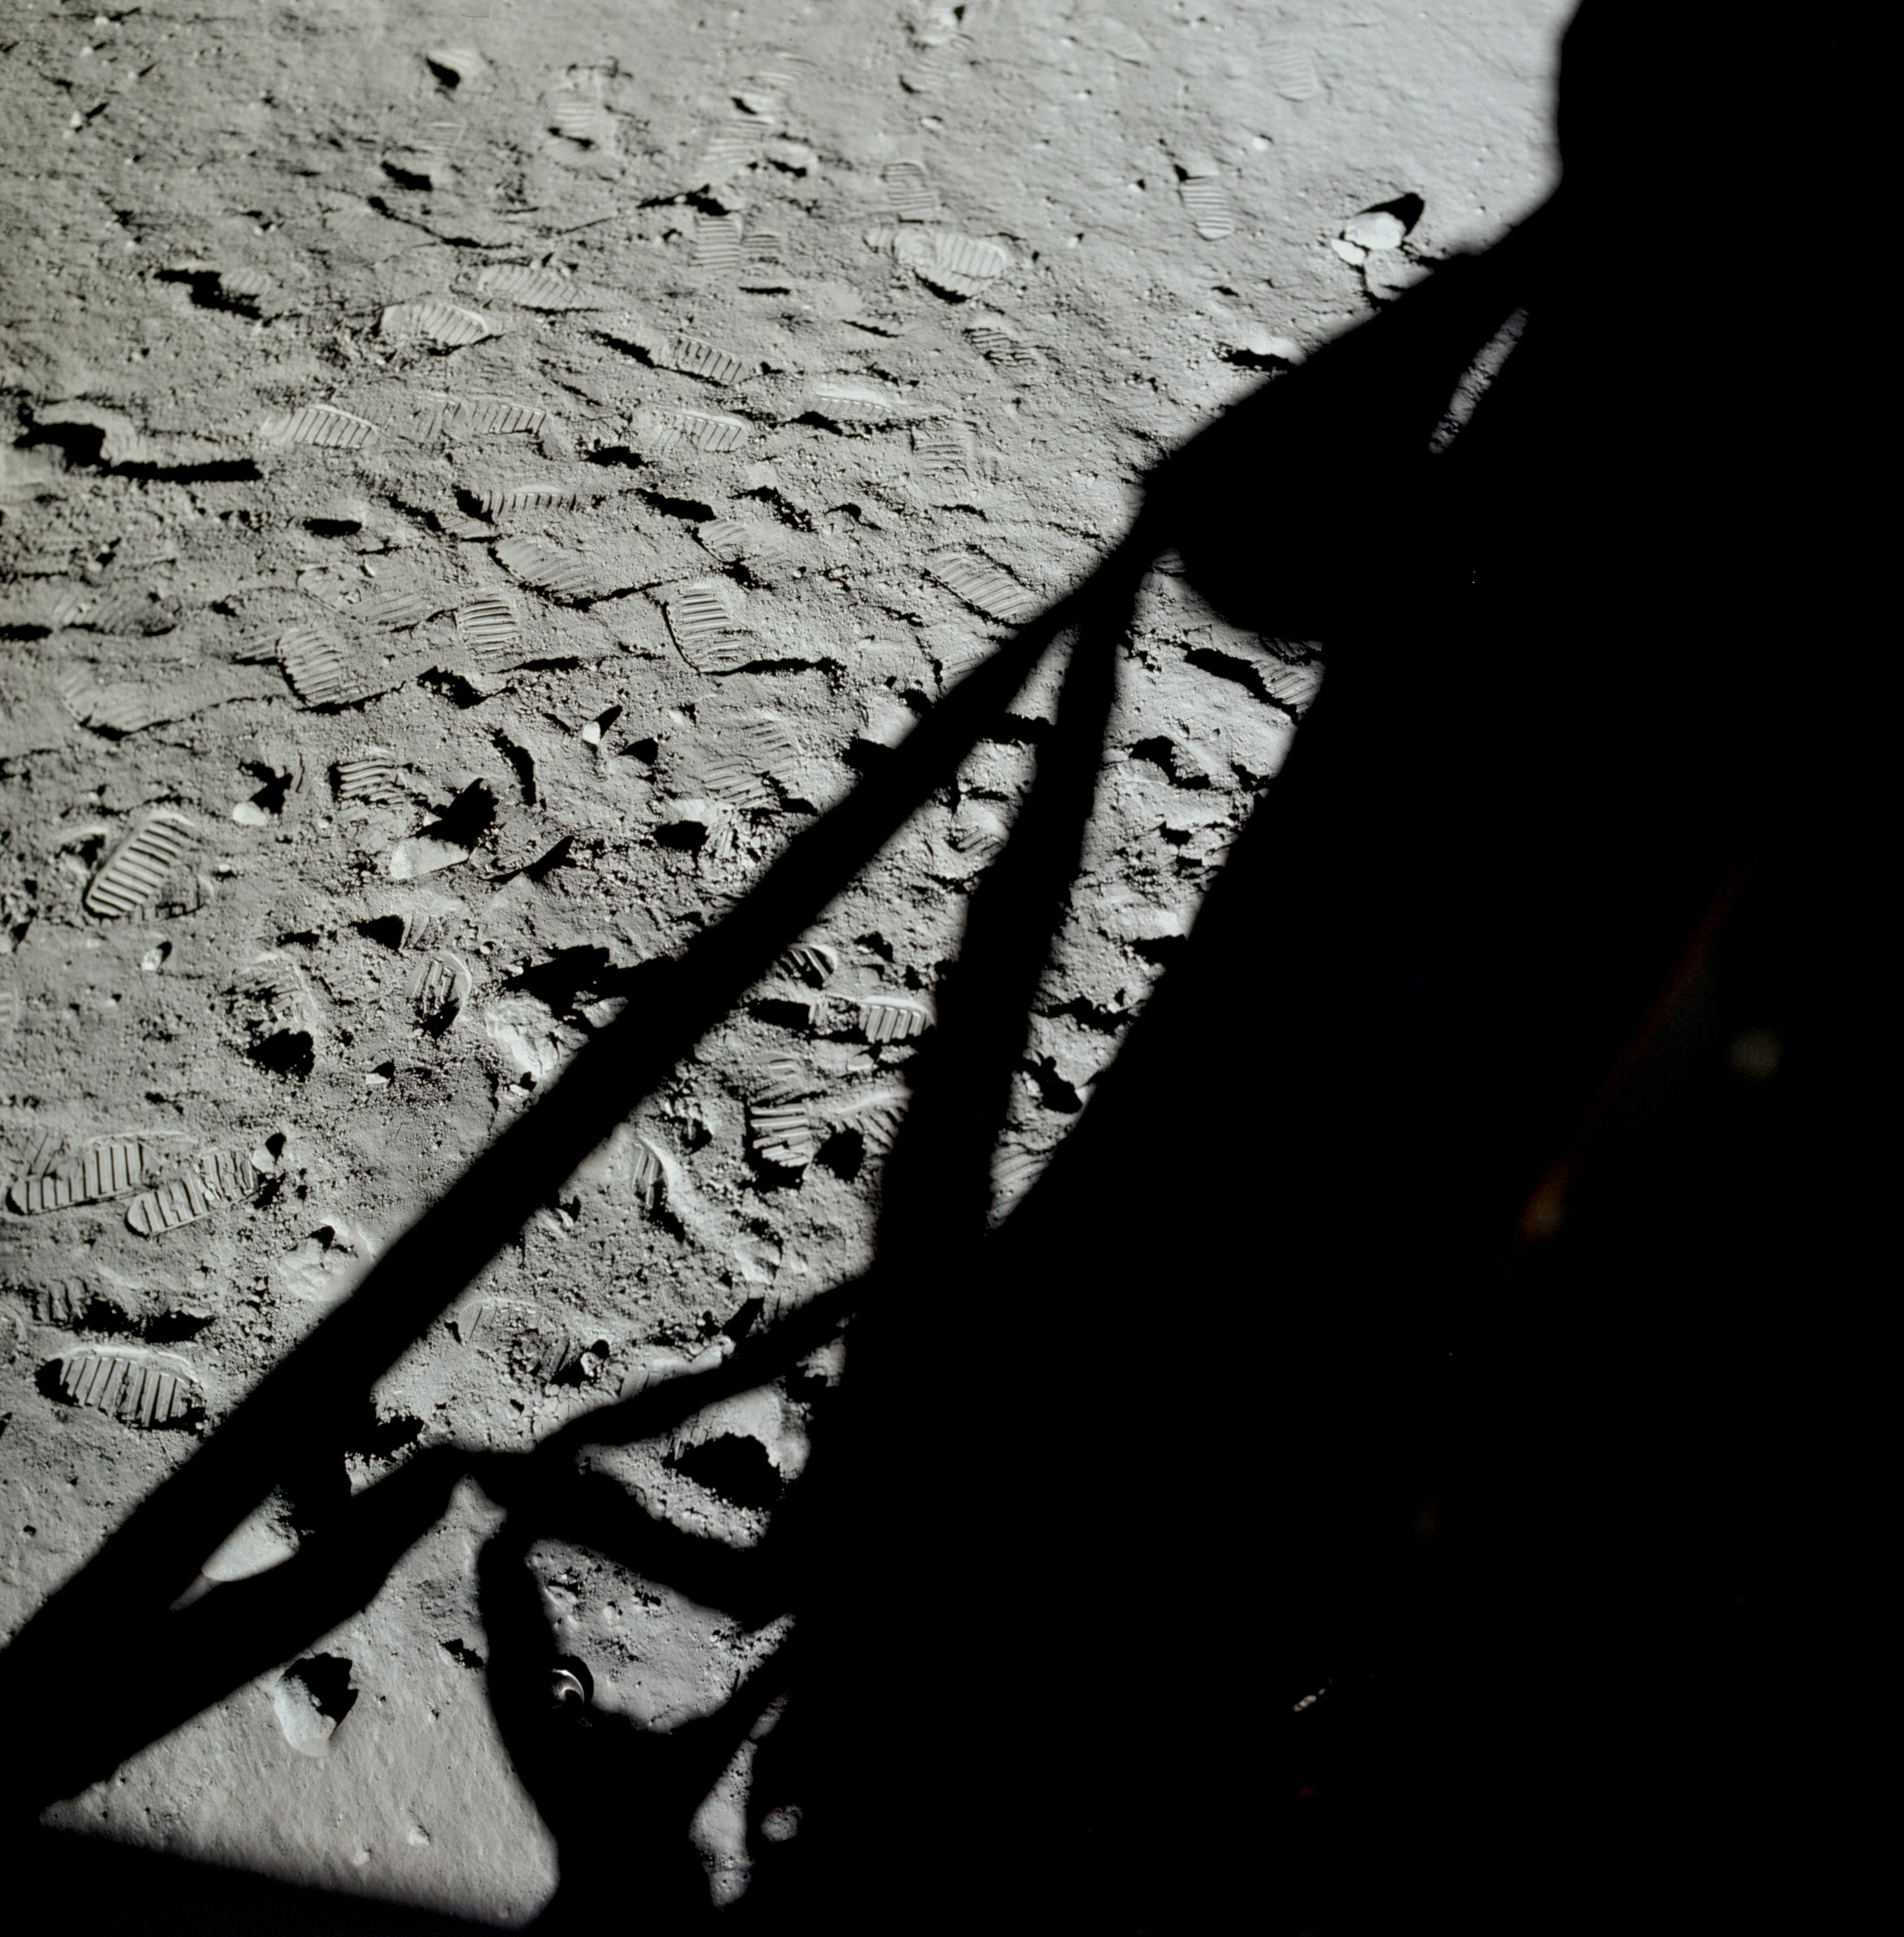 | AS11-37-5505 Tranquility Base from LM window. Image credit: Image Science and Analysis Laboratory, NASA-Johnson Space Center. |
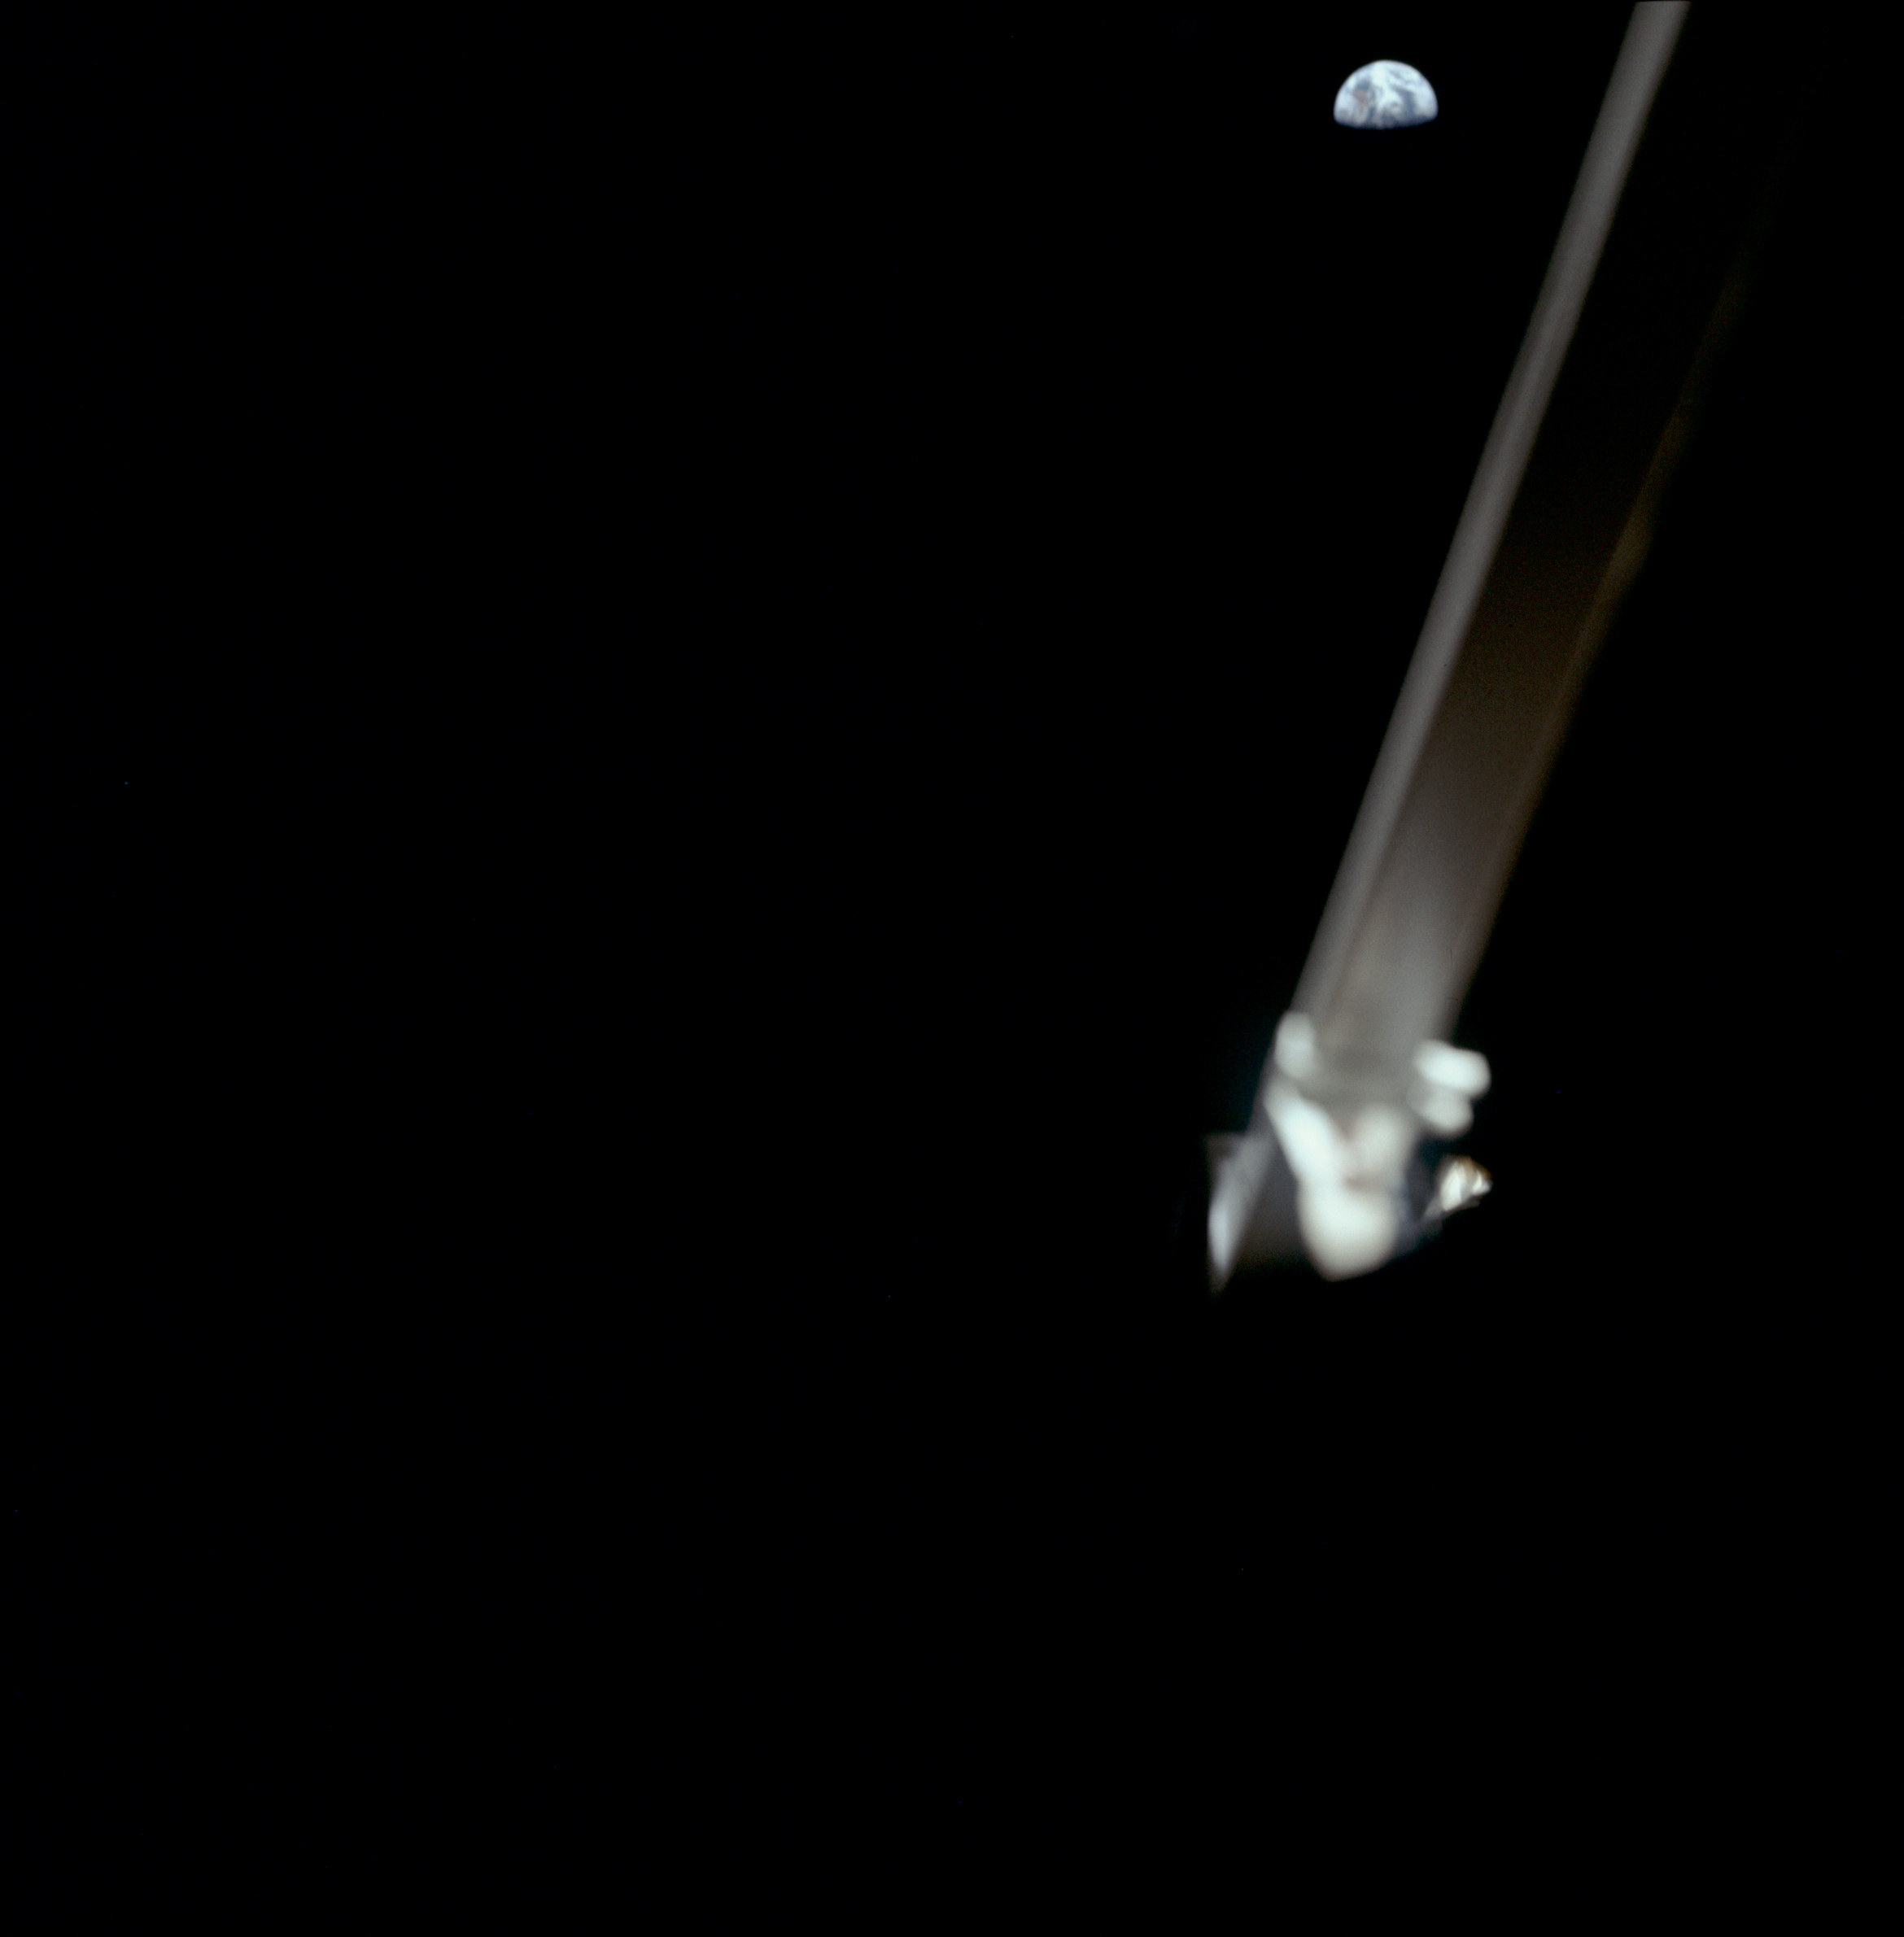 | AS11-37-5506 Earth with LM structure in foreground. Image credit: Image Science and Analysis Laboratory, NASA-Johnson Space Center. |
 | AS11-37-5507 Lunar sky with LM structure in foreground. Image credit: Image Science and Analysis Laboratory, NASA-Johnson Space Center. |
 | AS11-37-5508 Lunar sky with LM structure in foreground. Image credit: Image Science and Analysis Laboratory, NASA-Johnson Space Center. |
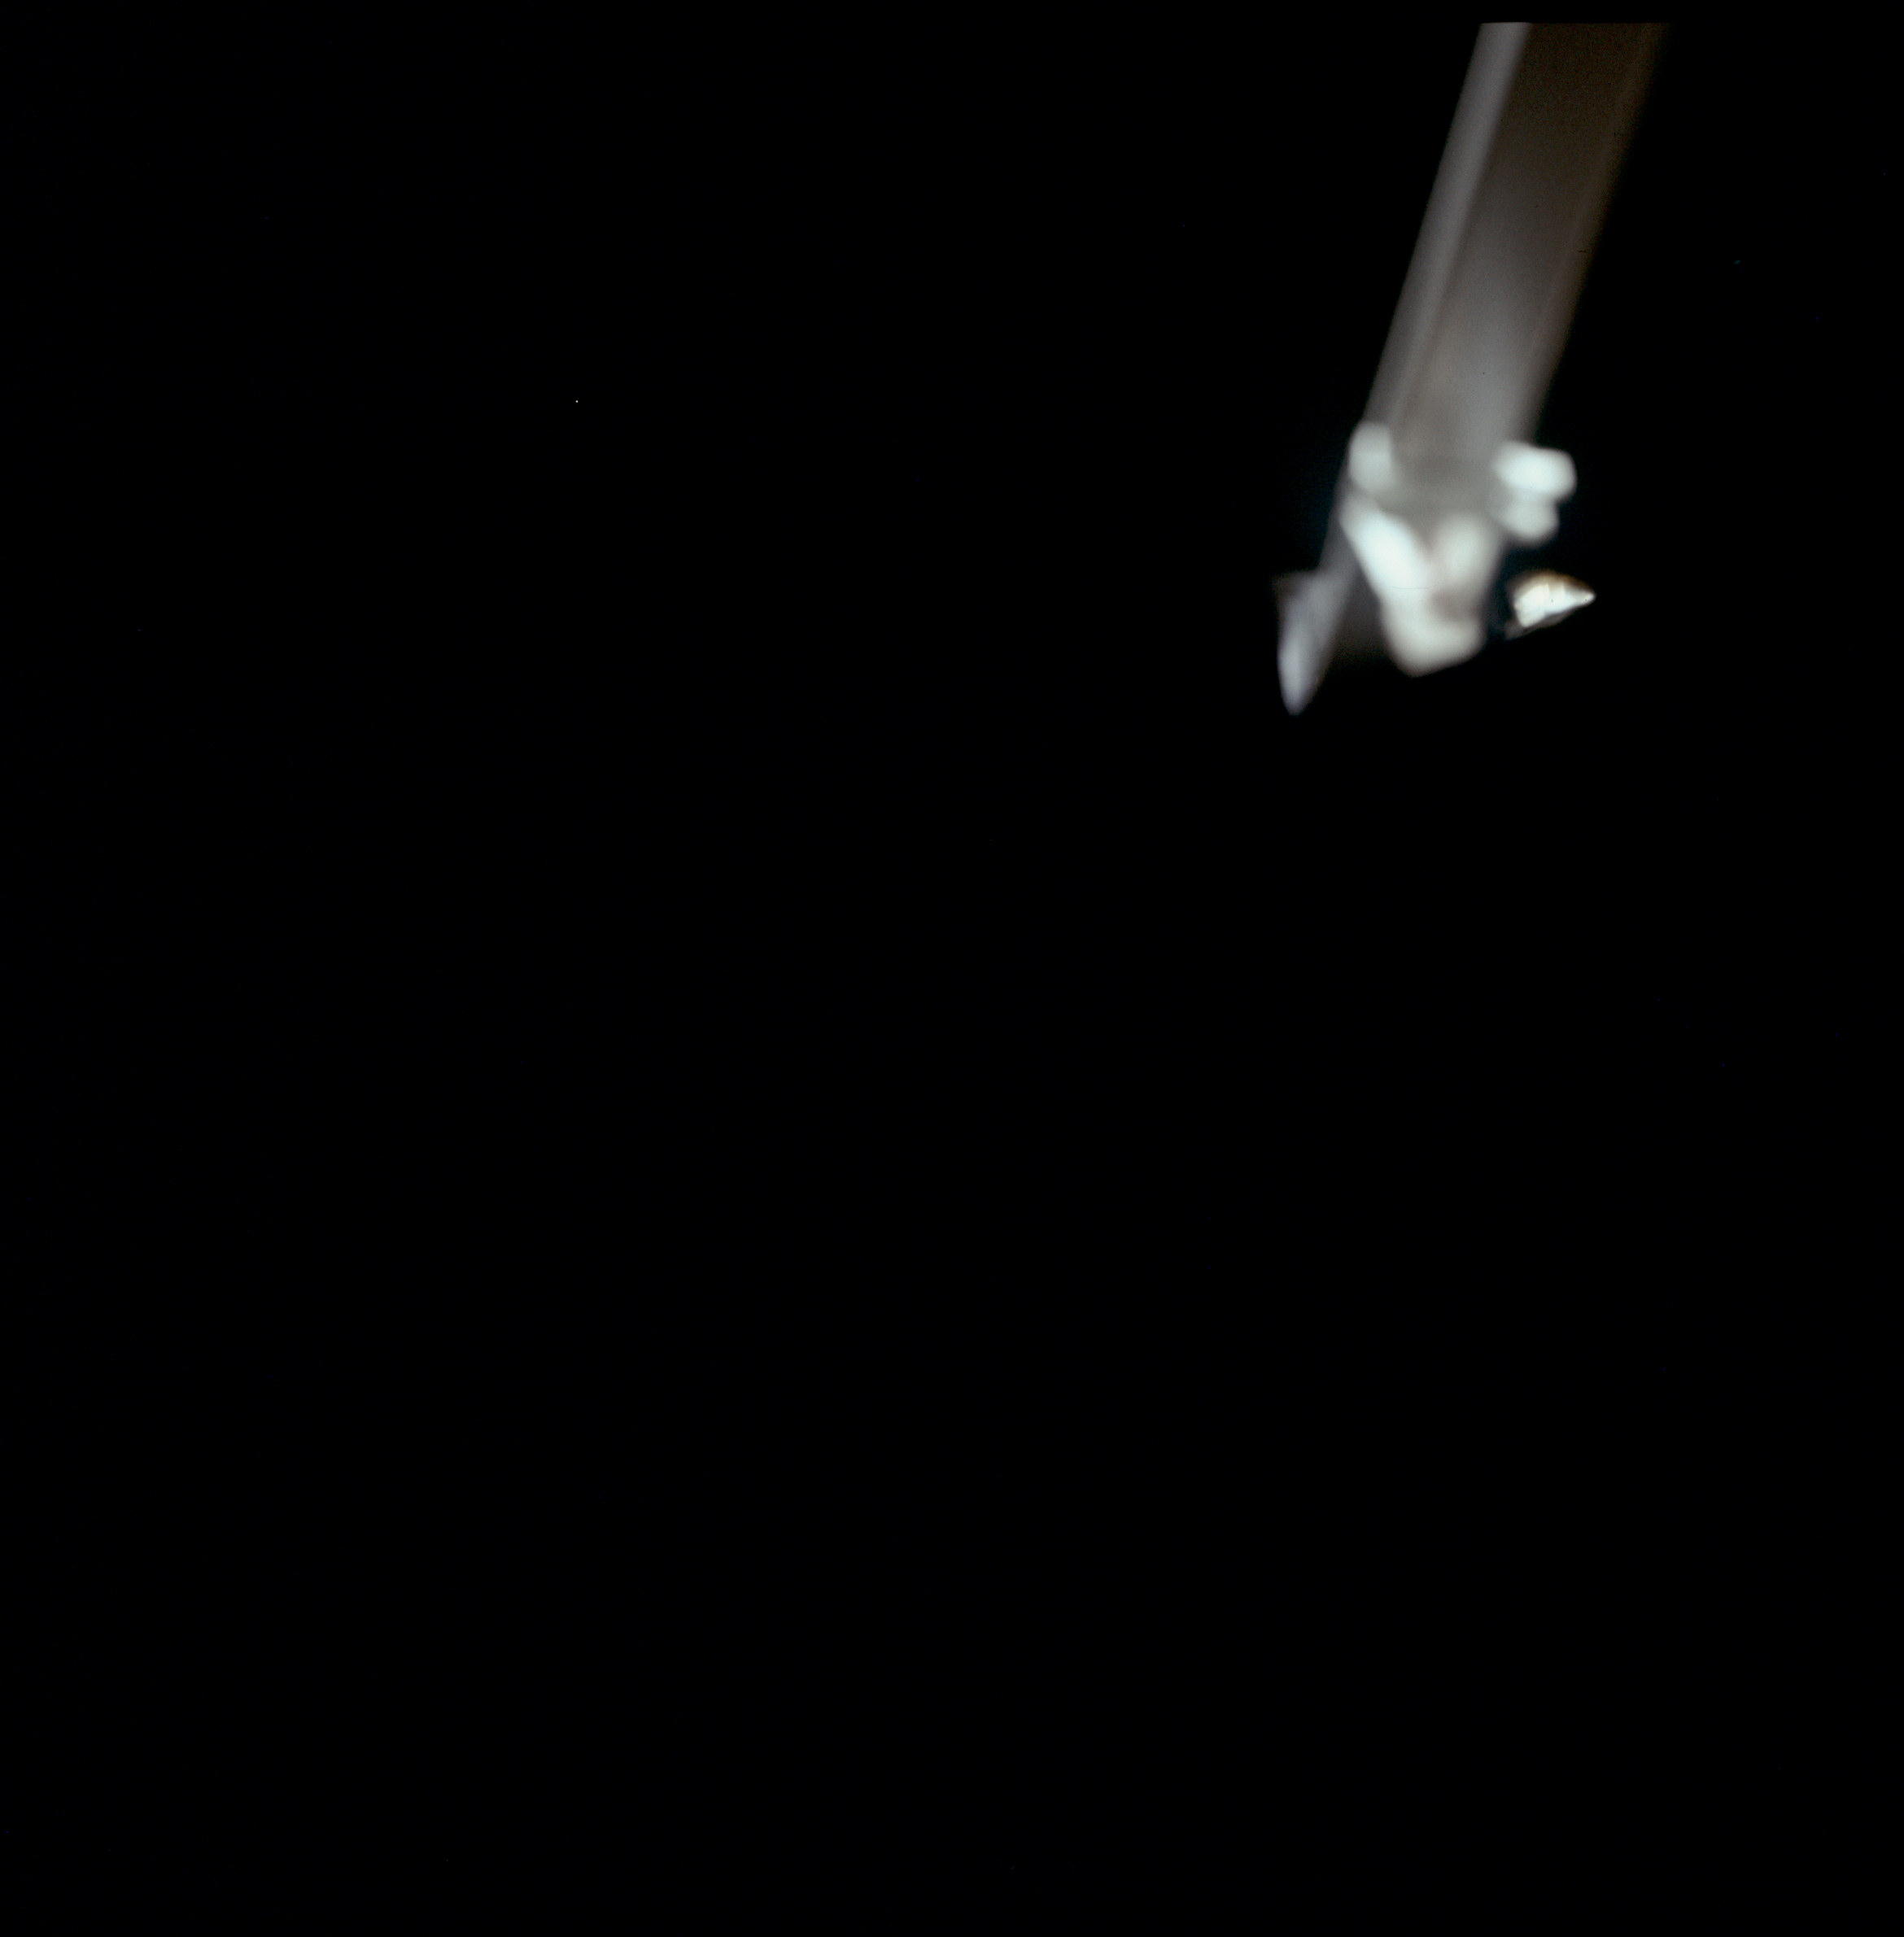 | AS11-37-5509 Lunar sky with LM structure in foreground. Image credit: Image Science and Analysis Laboratory, NASA-Johnson Space Center. |
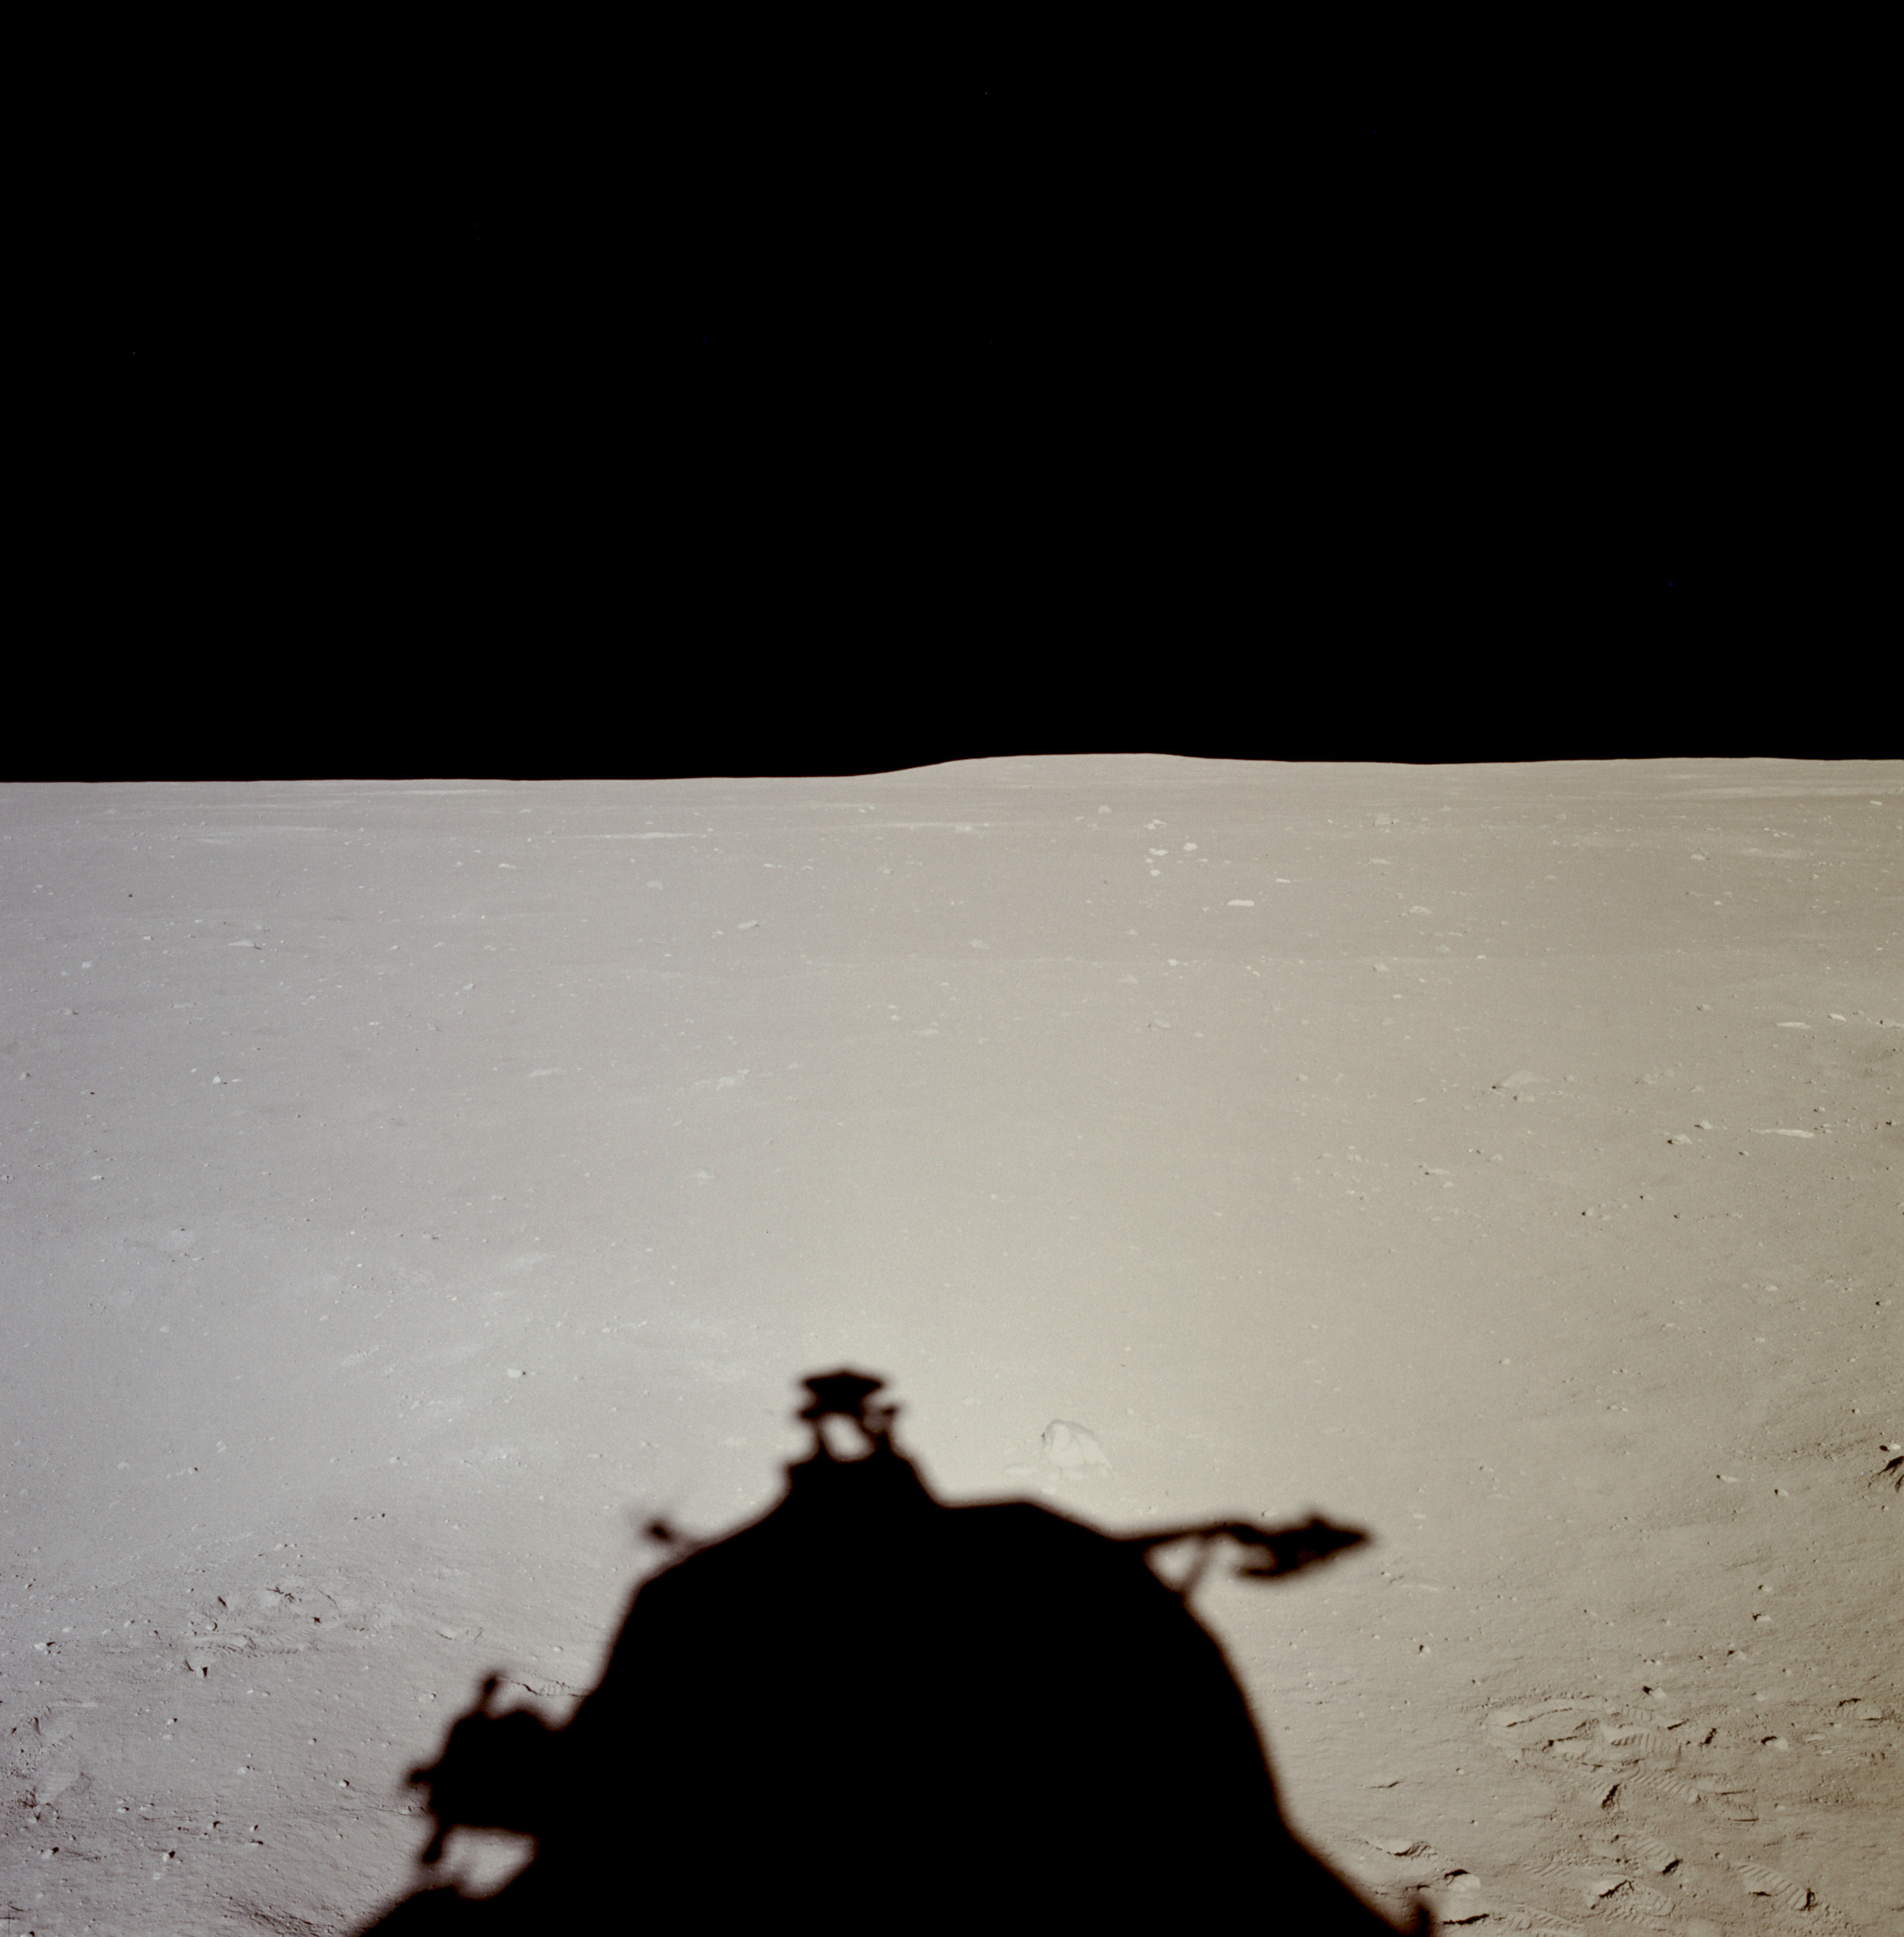 | AS11-37-5510 Tranquility Base from LM window. Image credit: Image Science and Analysis Laboratory, NASA-Johnson Space Center. |
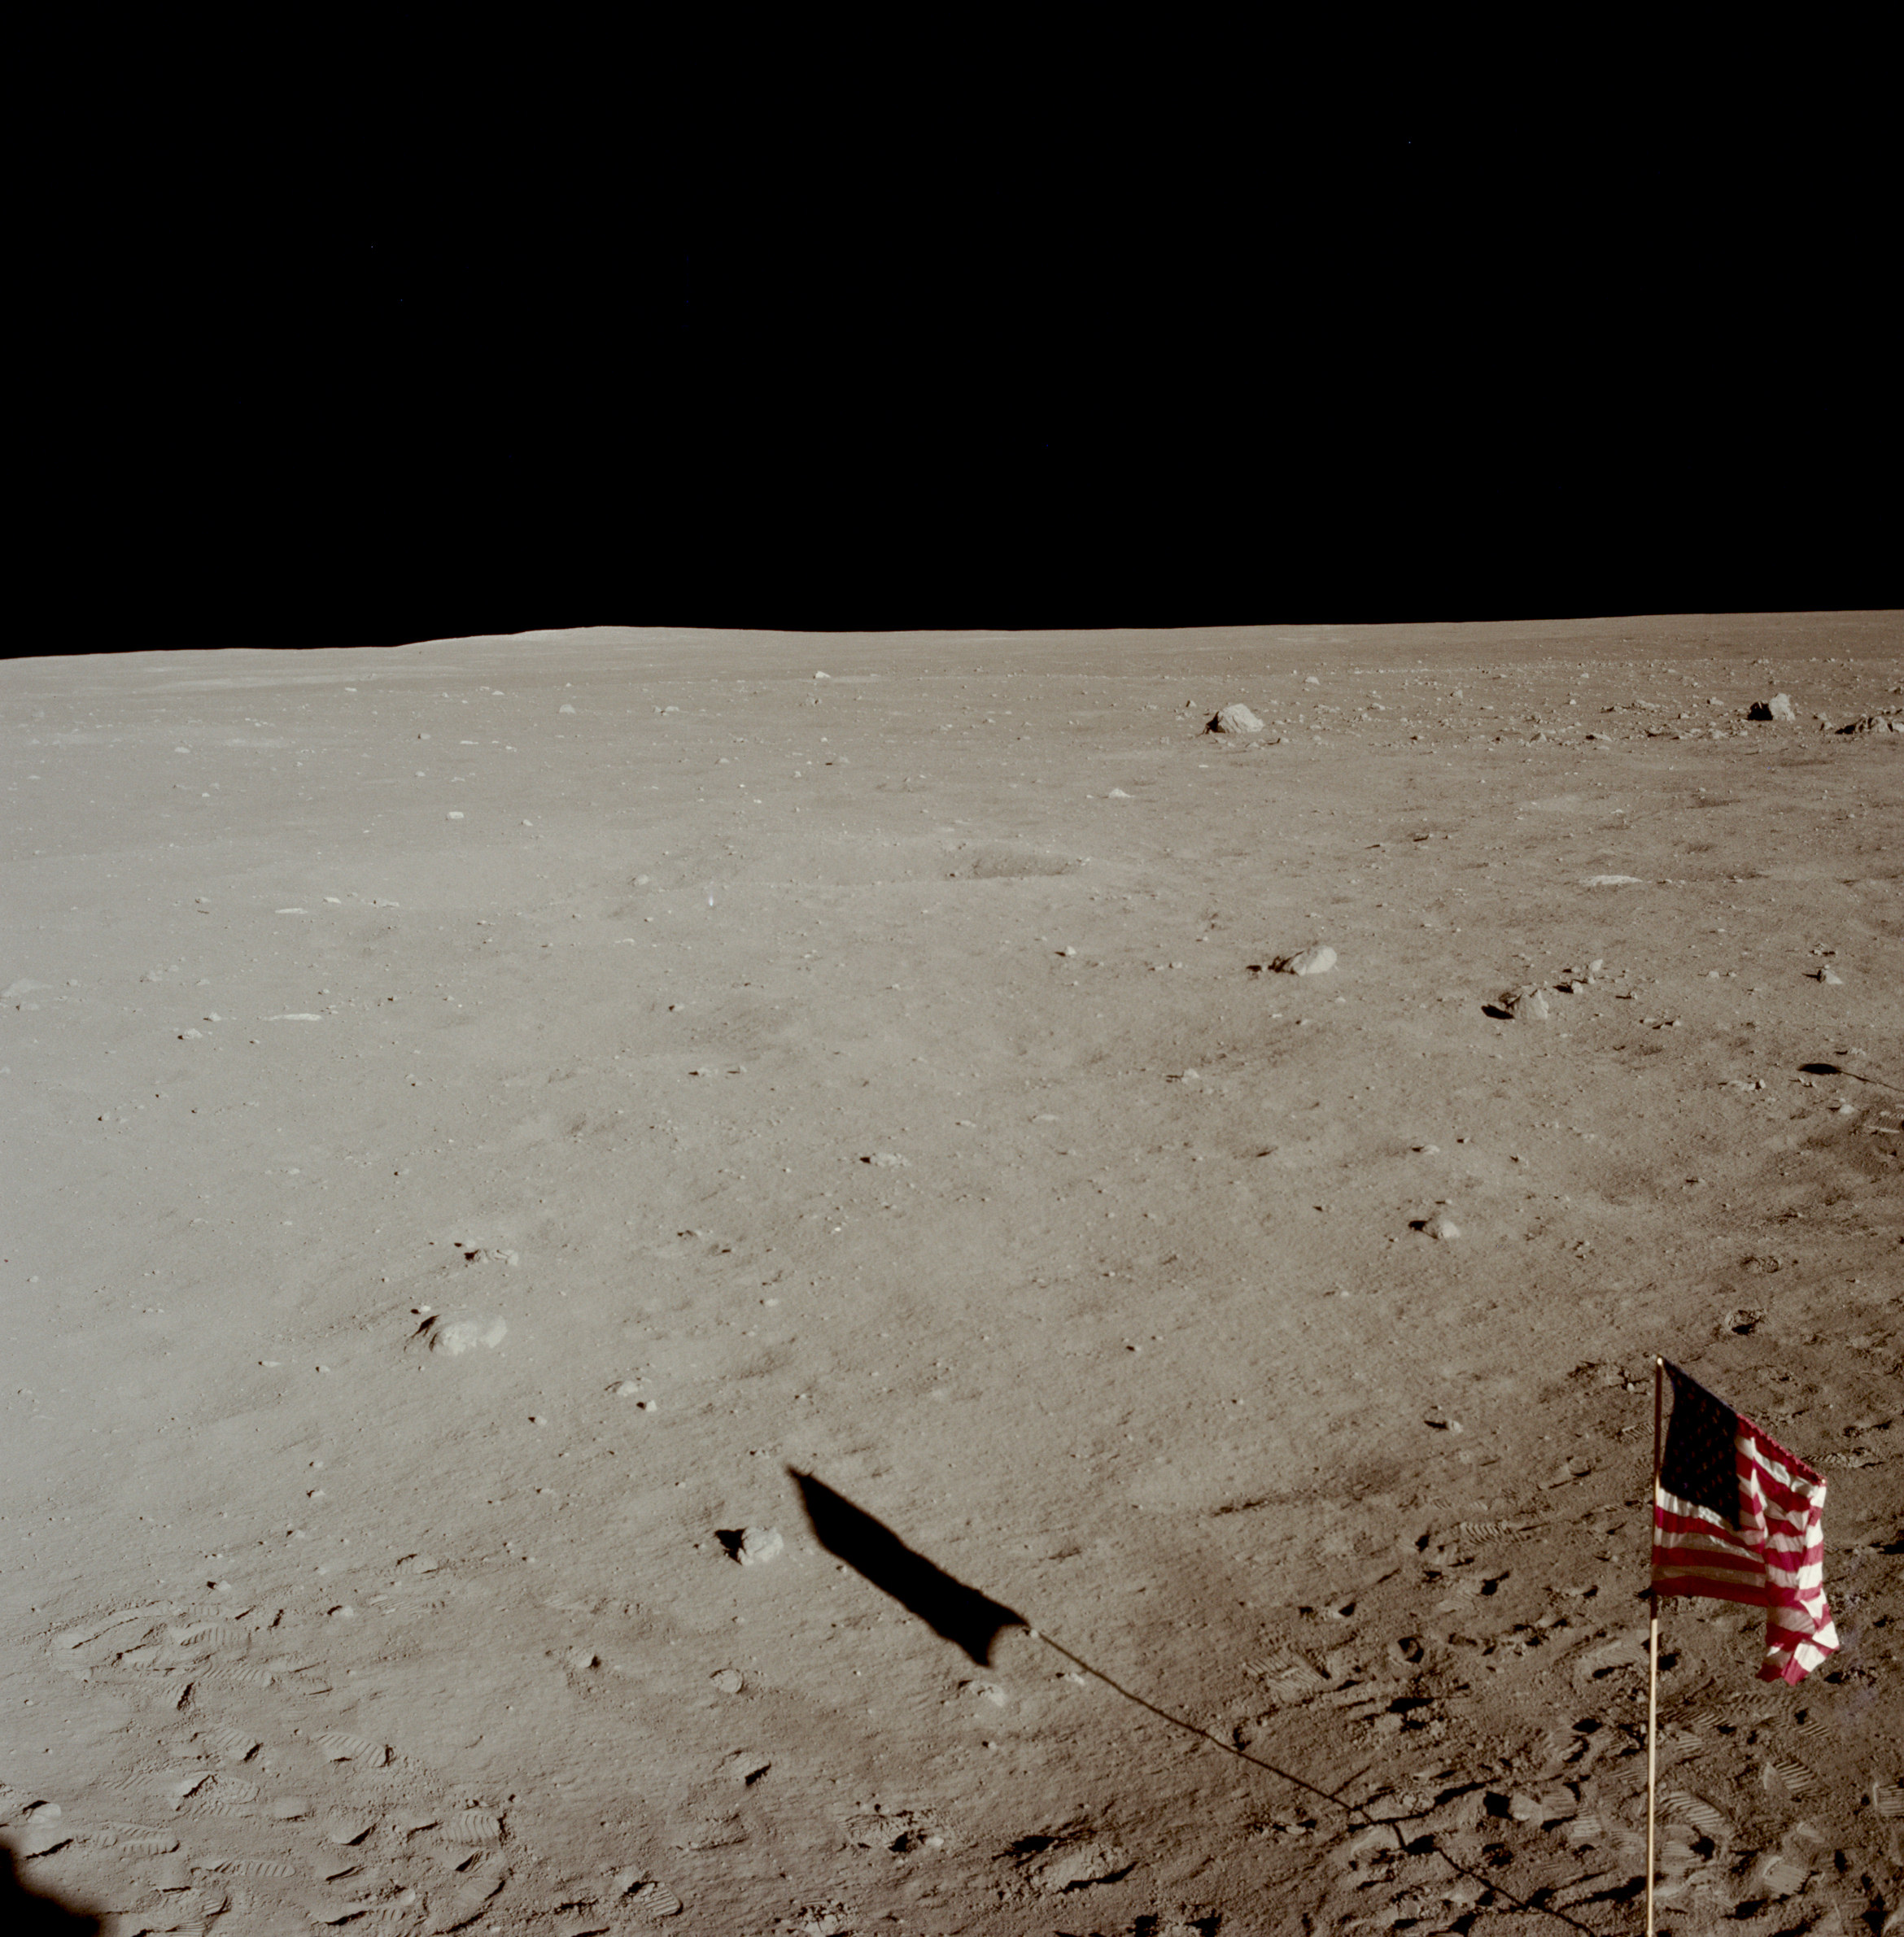 | AS11-37-5511 Tranquility Base and flag from LM window. Image credit: Image Science and Analysis Laboratory, NASA-Johnson Space Center. |
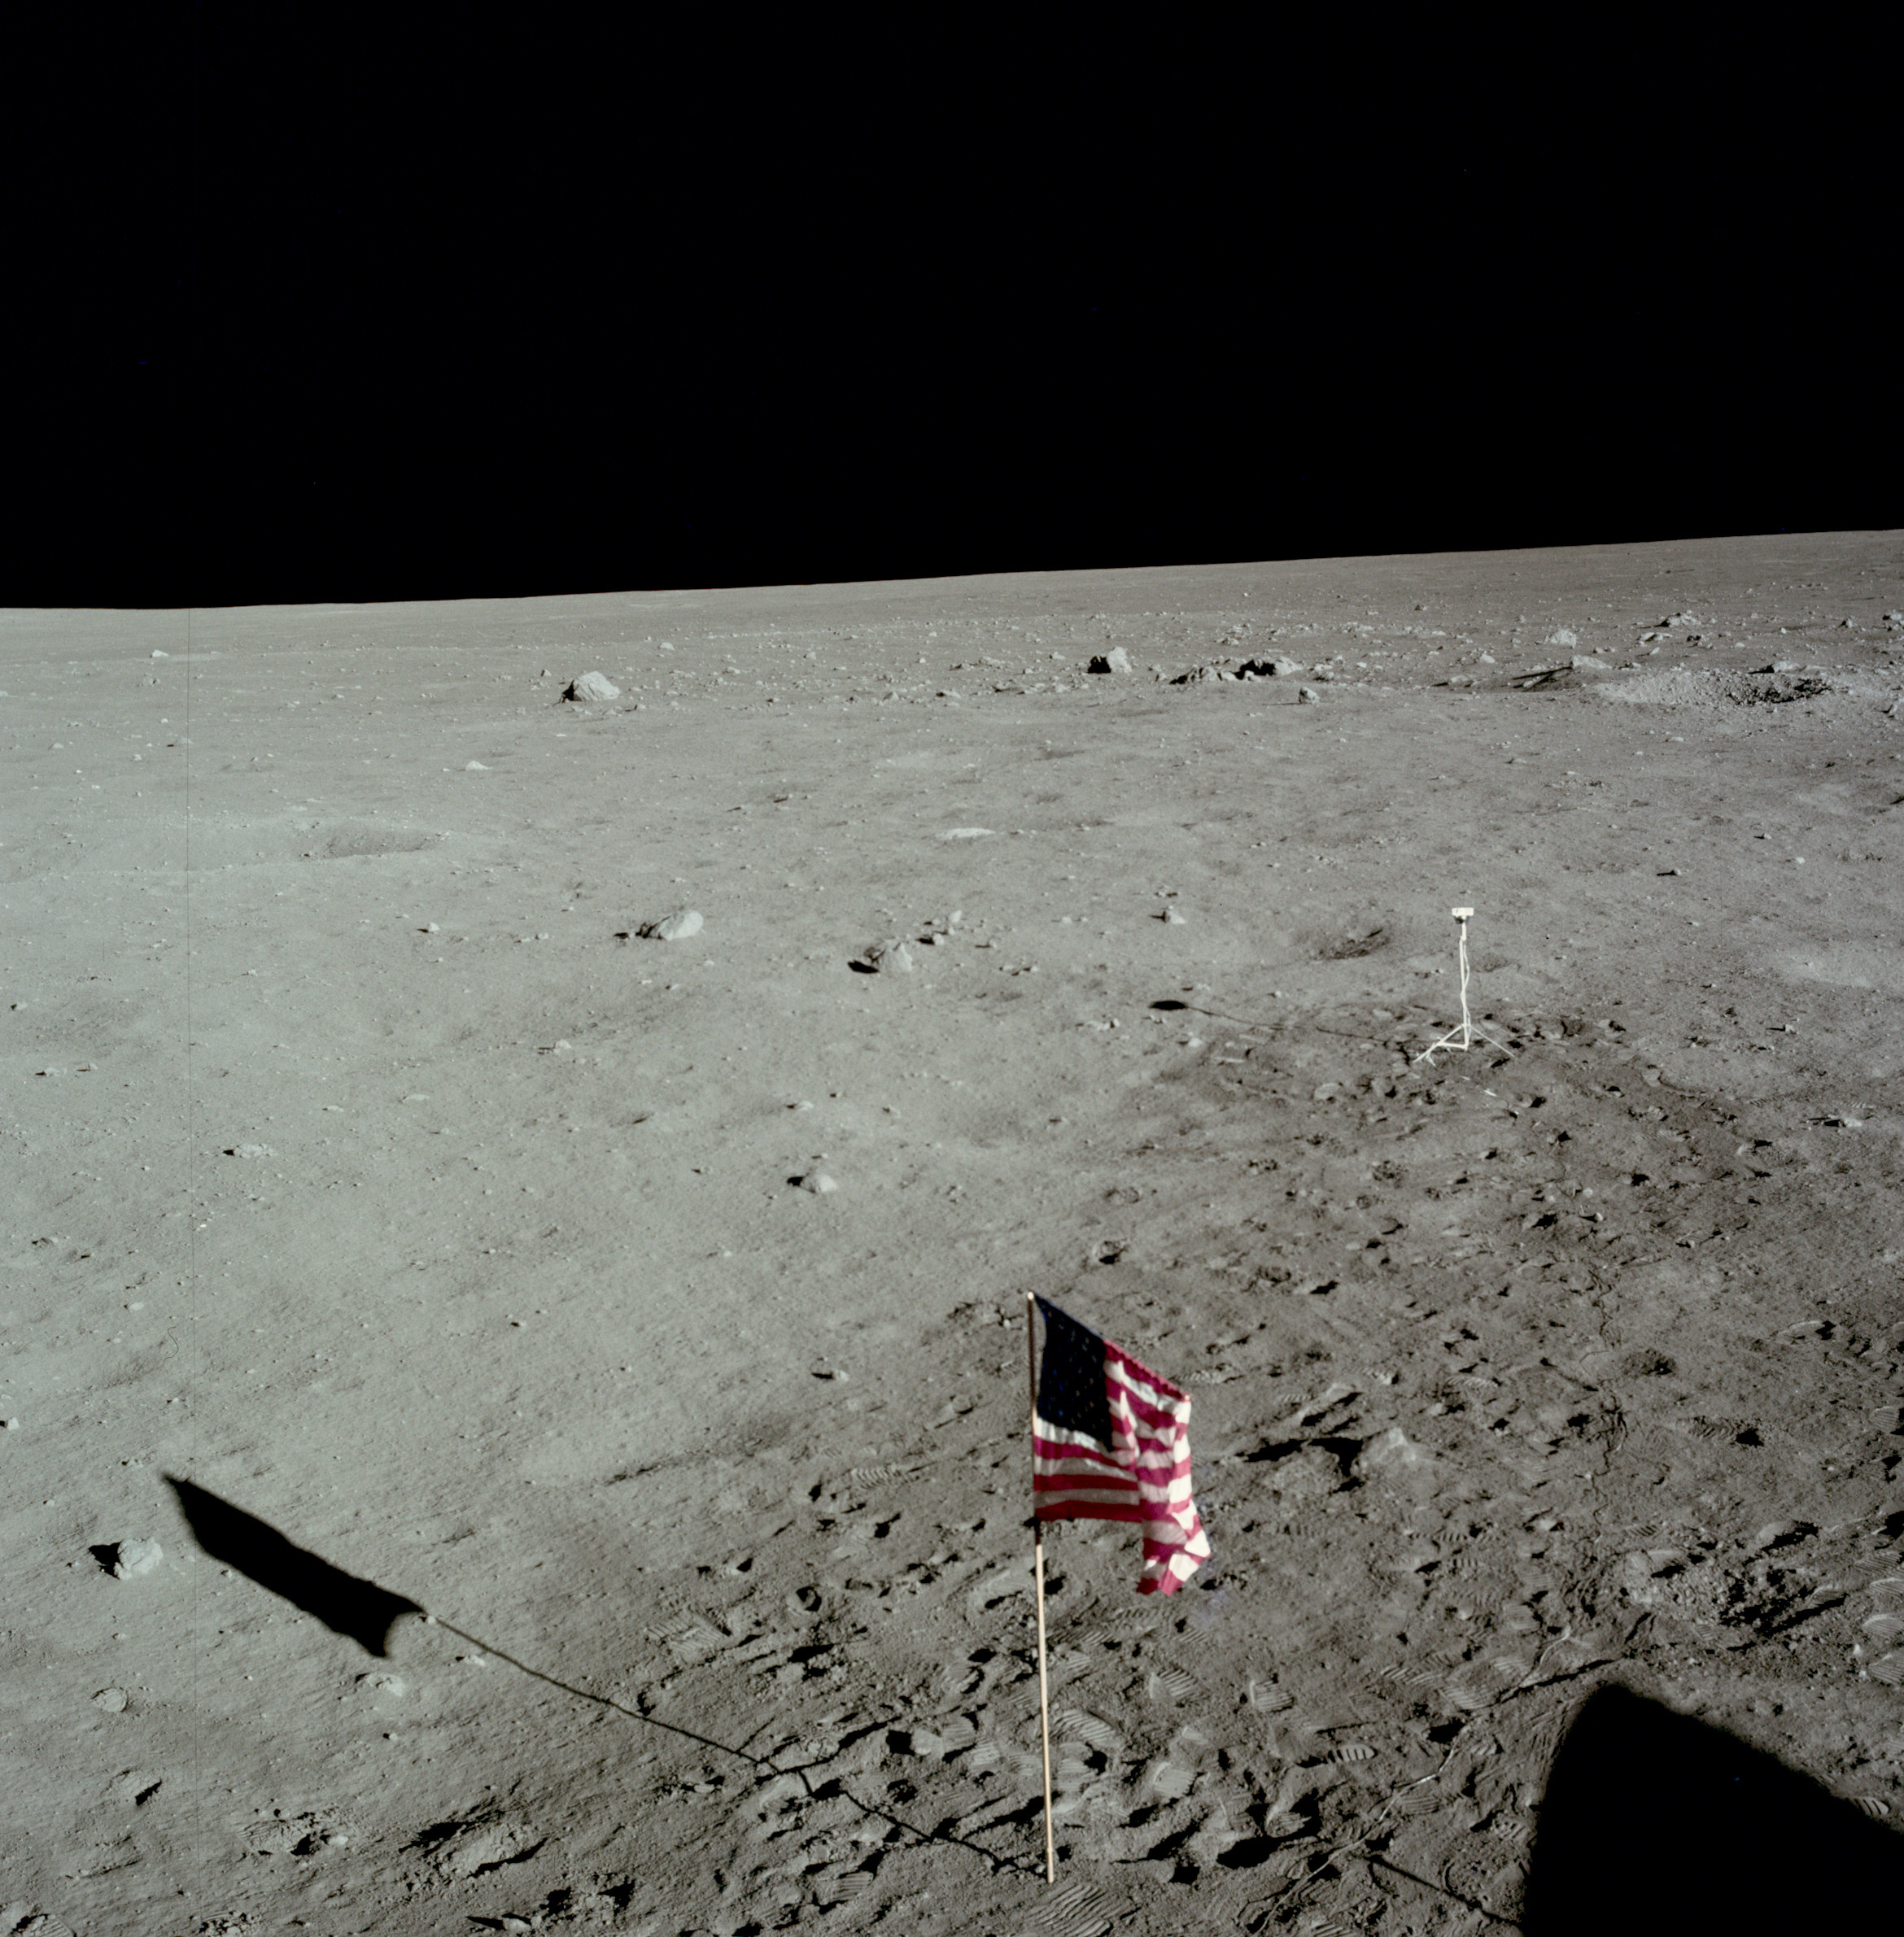 | AS11-37-5512 Tranquility Base and flag from LM window. Image credit: Image Science and Analysis Laboratory, NASA-Johnson Space Center. |
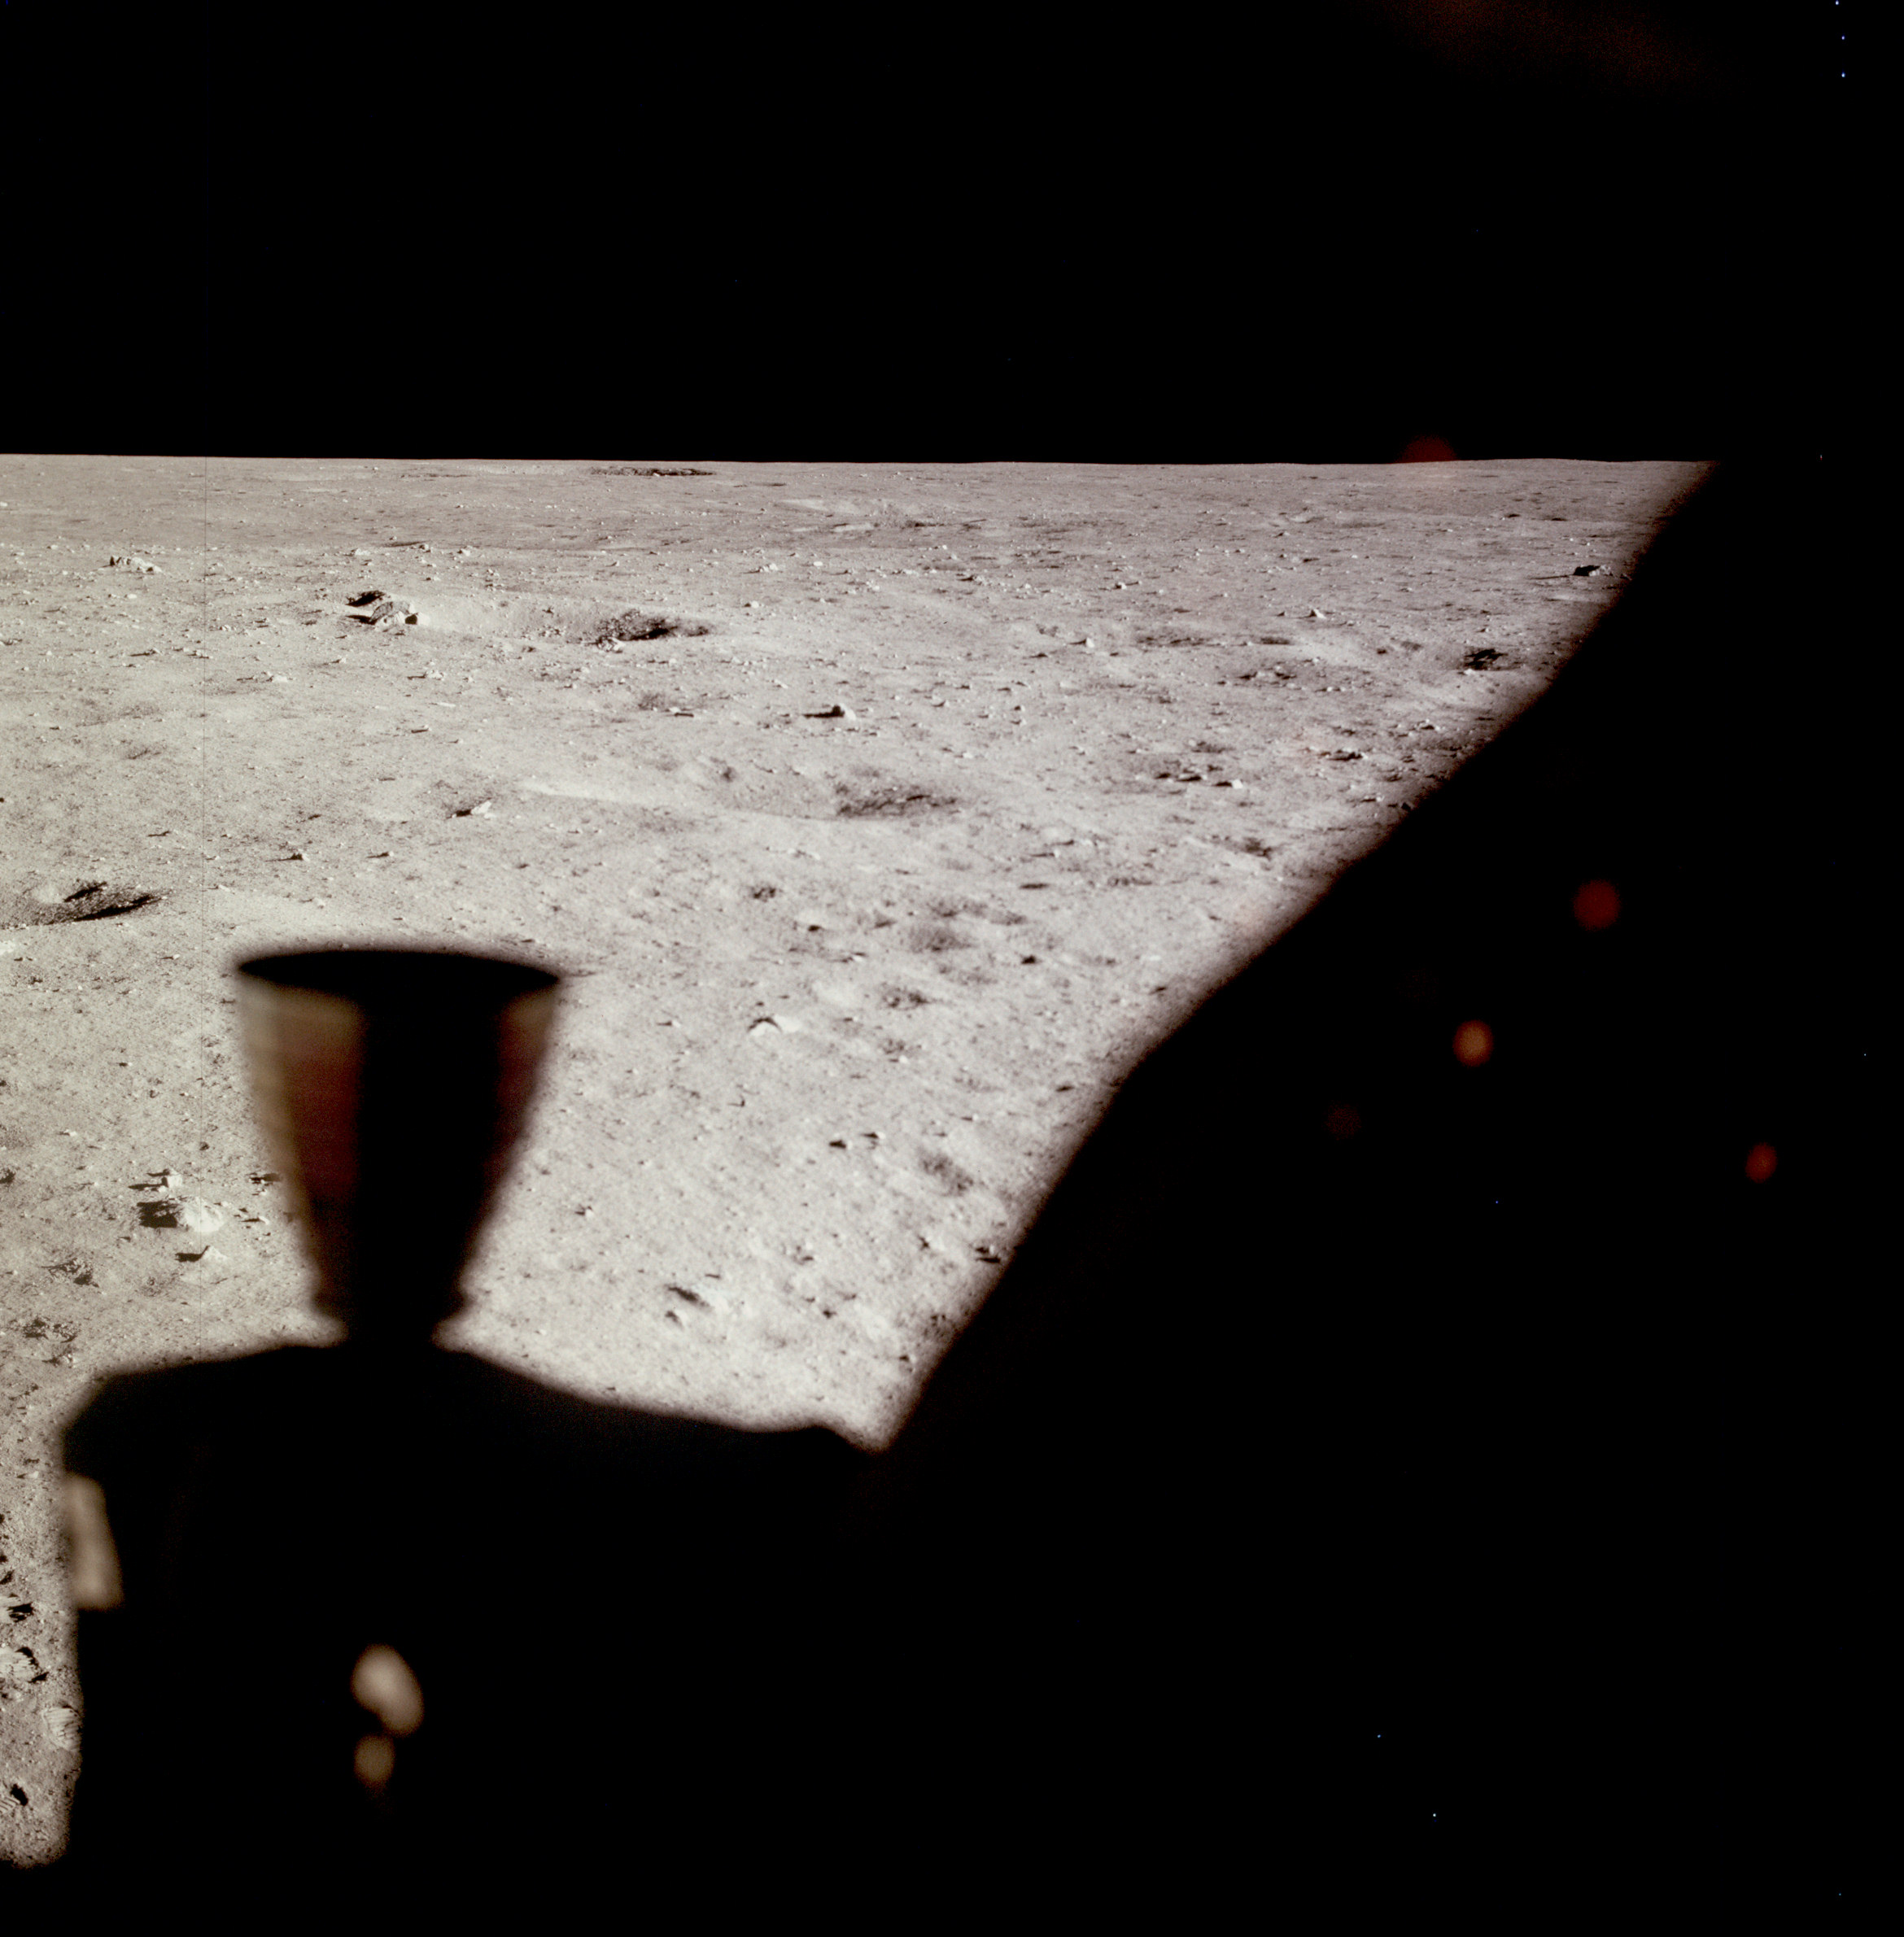 | AS11-37-5513 Tranquility Base from LM window. Thruster quad in foreground. Image credit: Image Science and Analysis Laboratory, NASA-Johnson Space Center. |
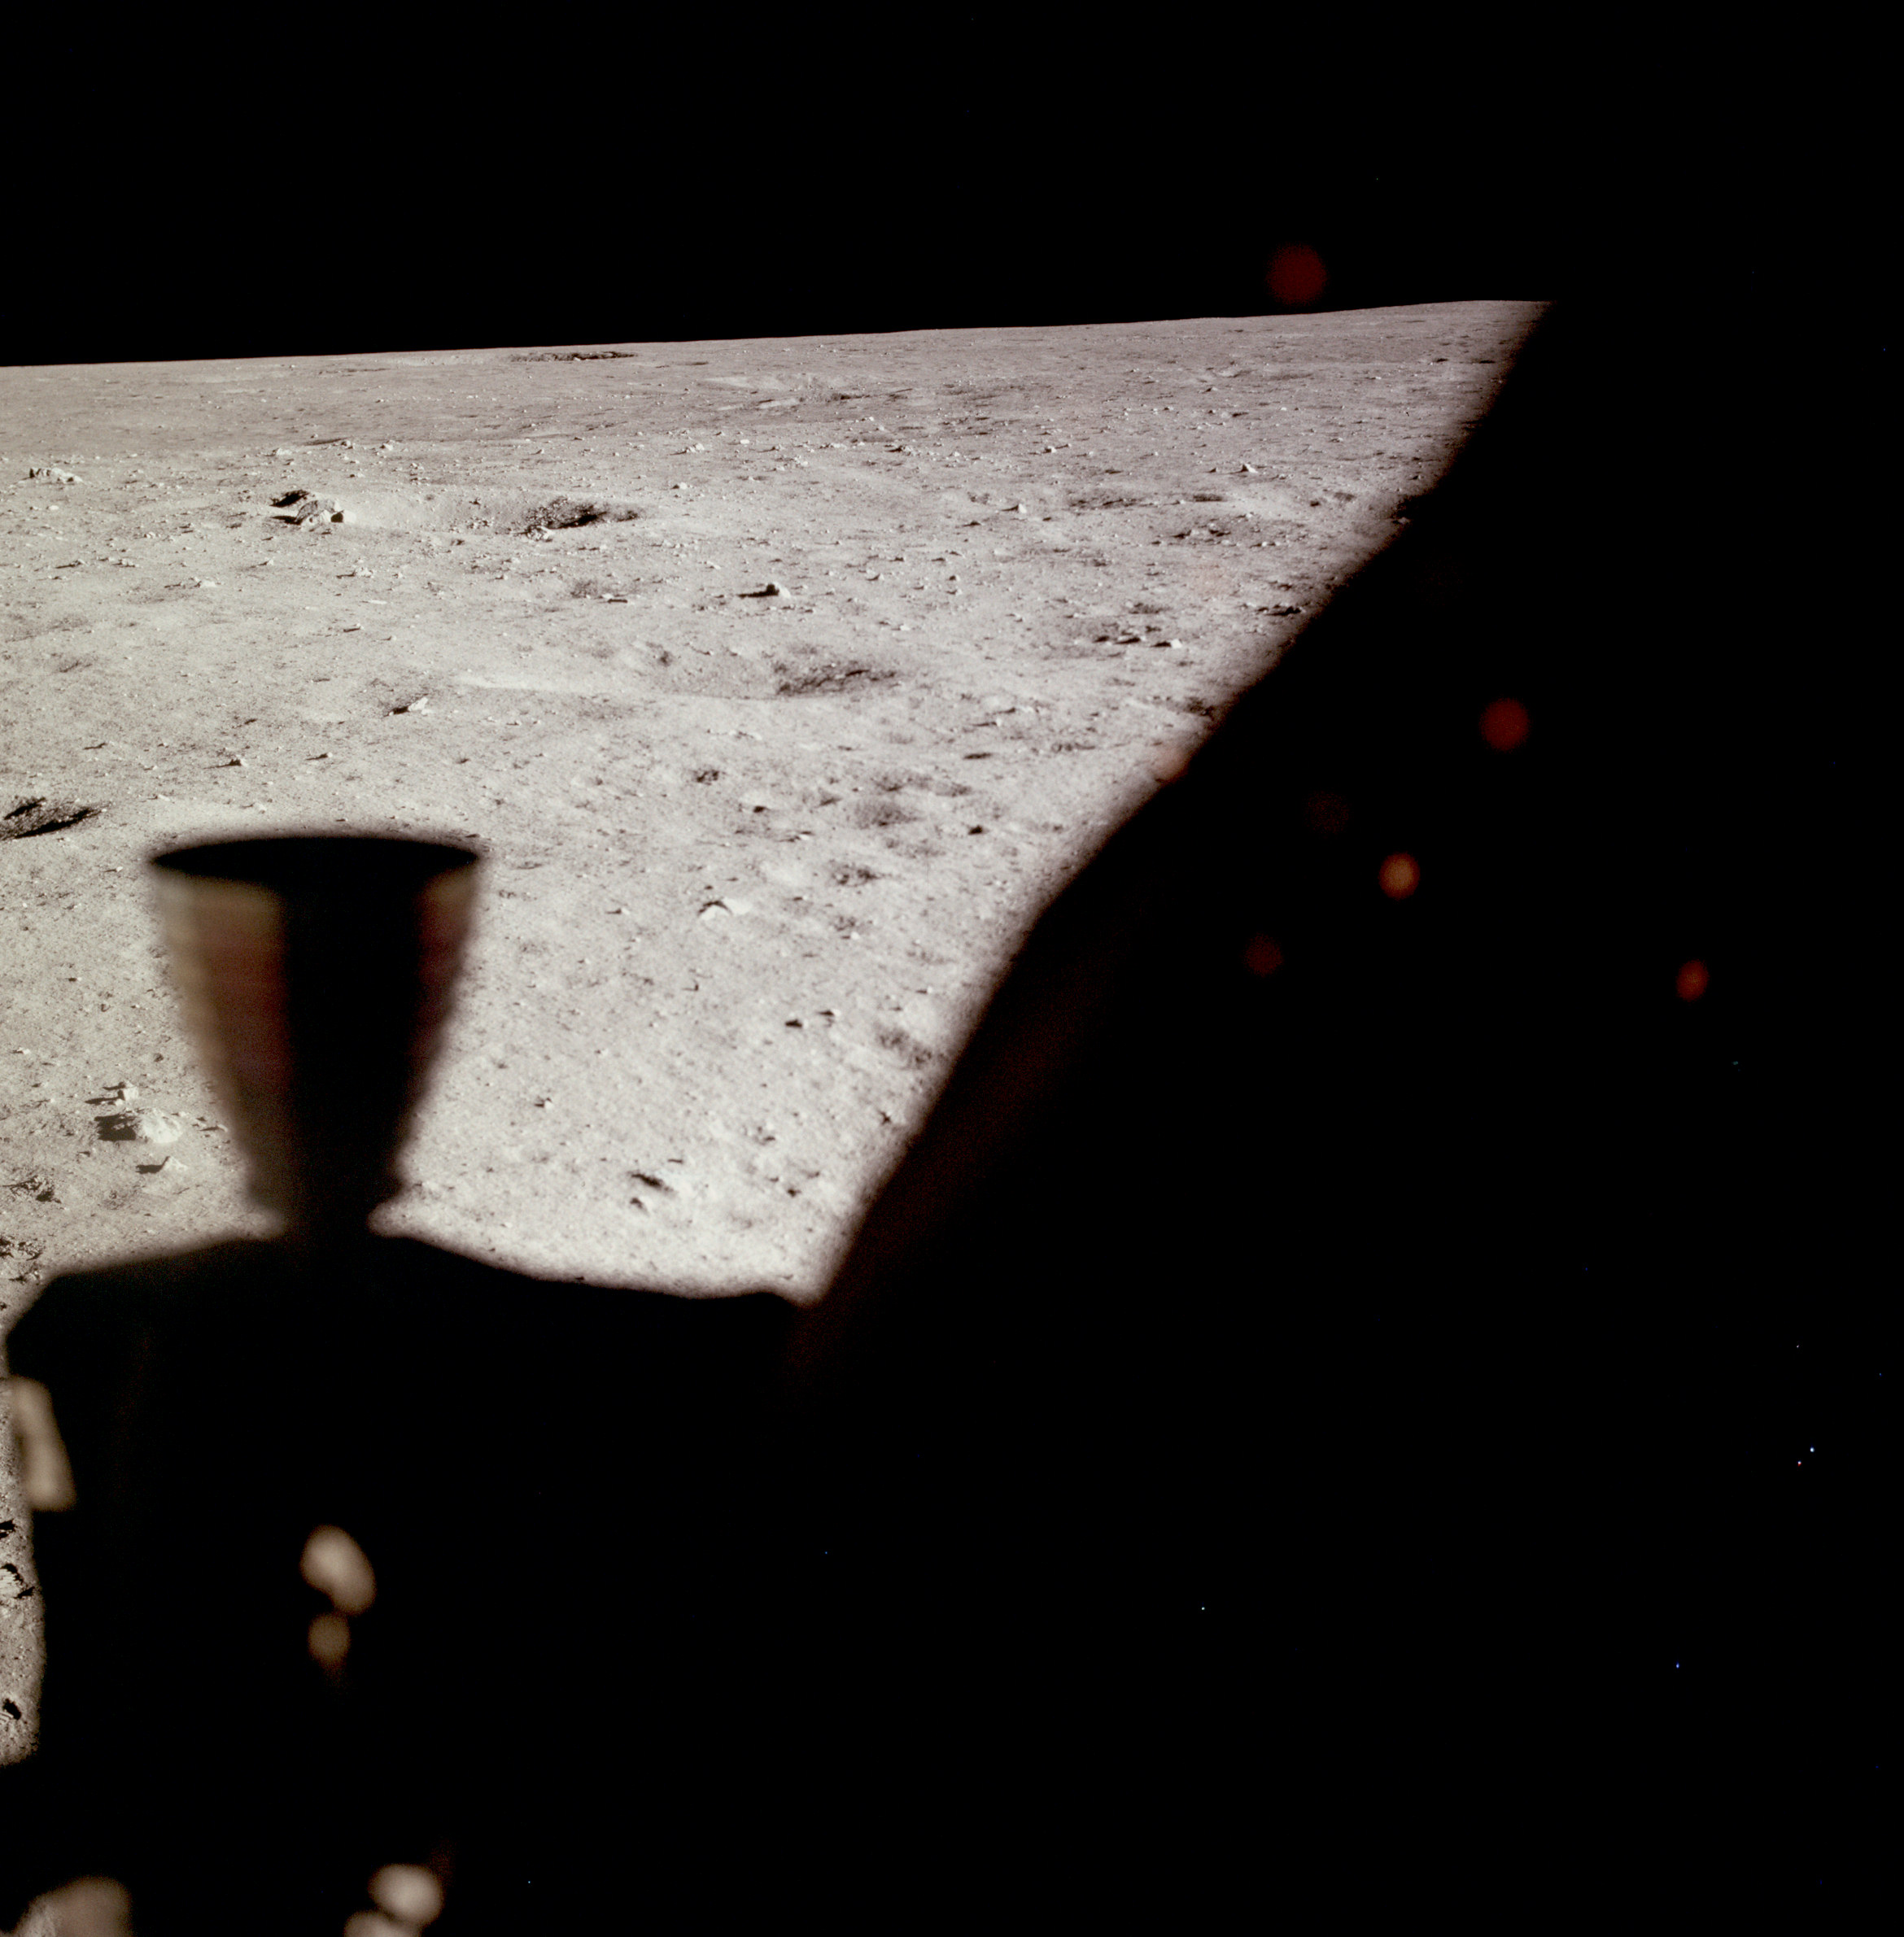 | AS11-37-5514 Tranquility Base from LM window. Thruster quad in foreground. Image credit: Image Science and Analysis Laboratory, NASA-Johnson Space Center. |
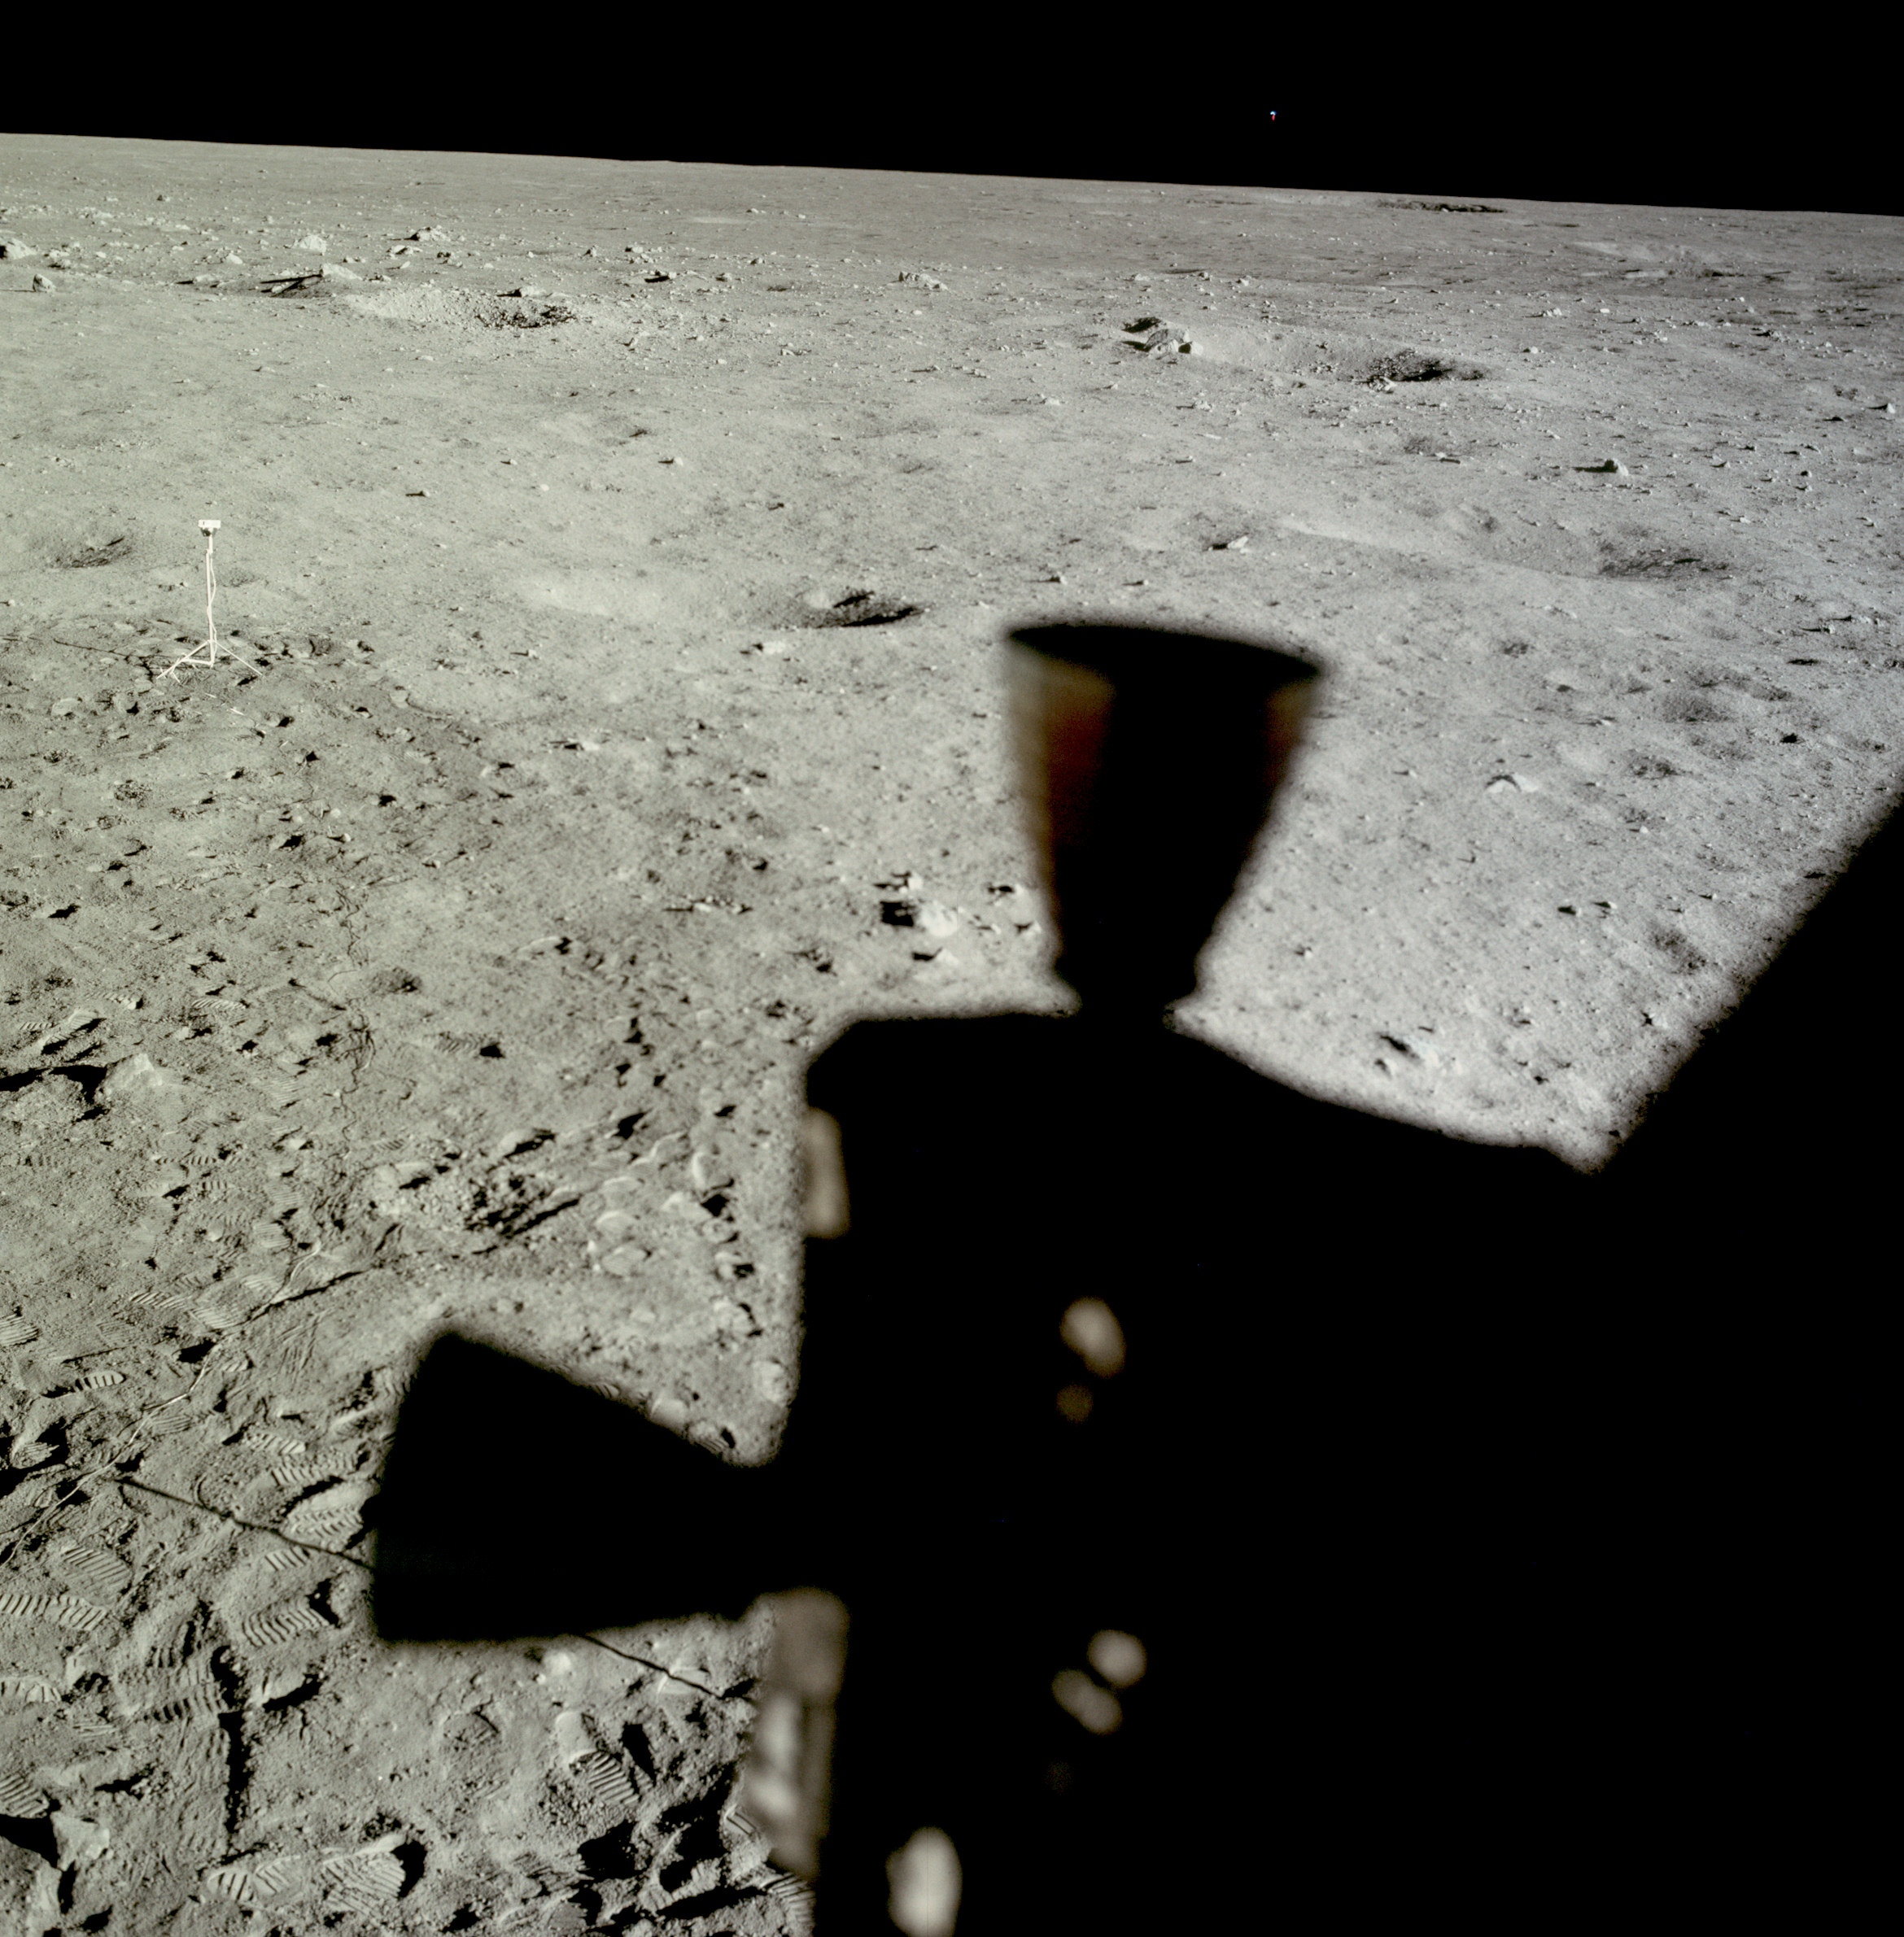 | AS11-37-5515 Tranquility Base from LM window. Thruster quad in foreground. Image credit: Image Science and Analysis Laboratory, NASA-Johnson Space Center. |
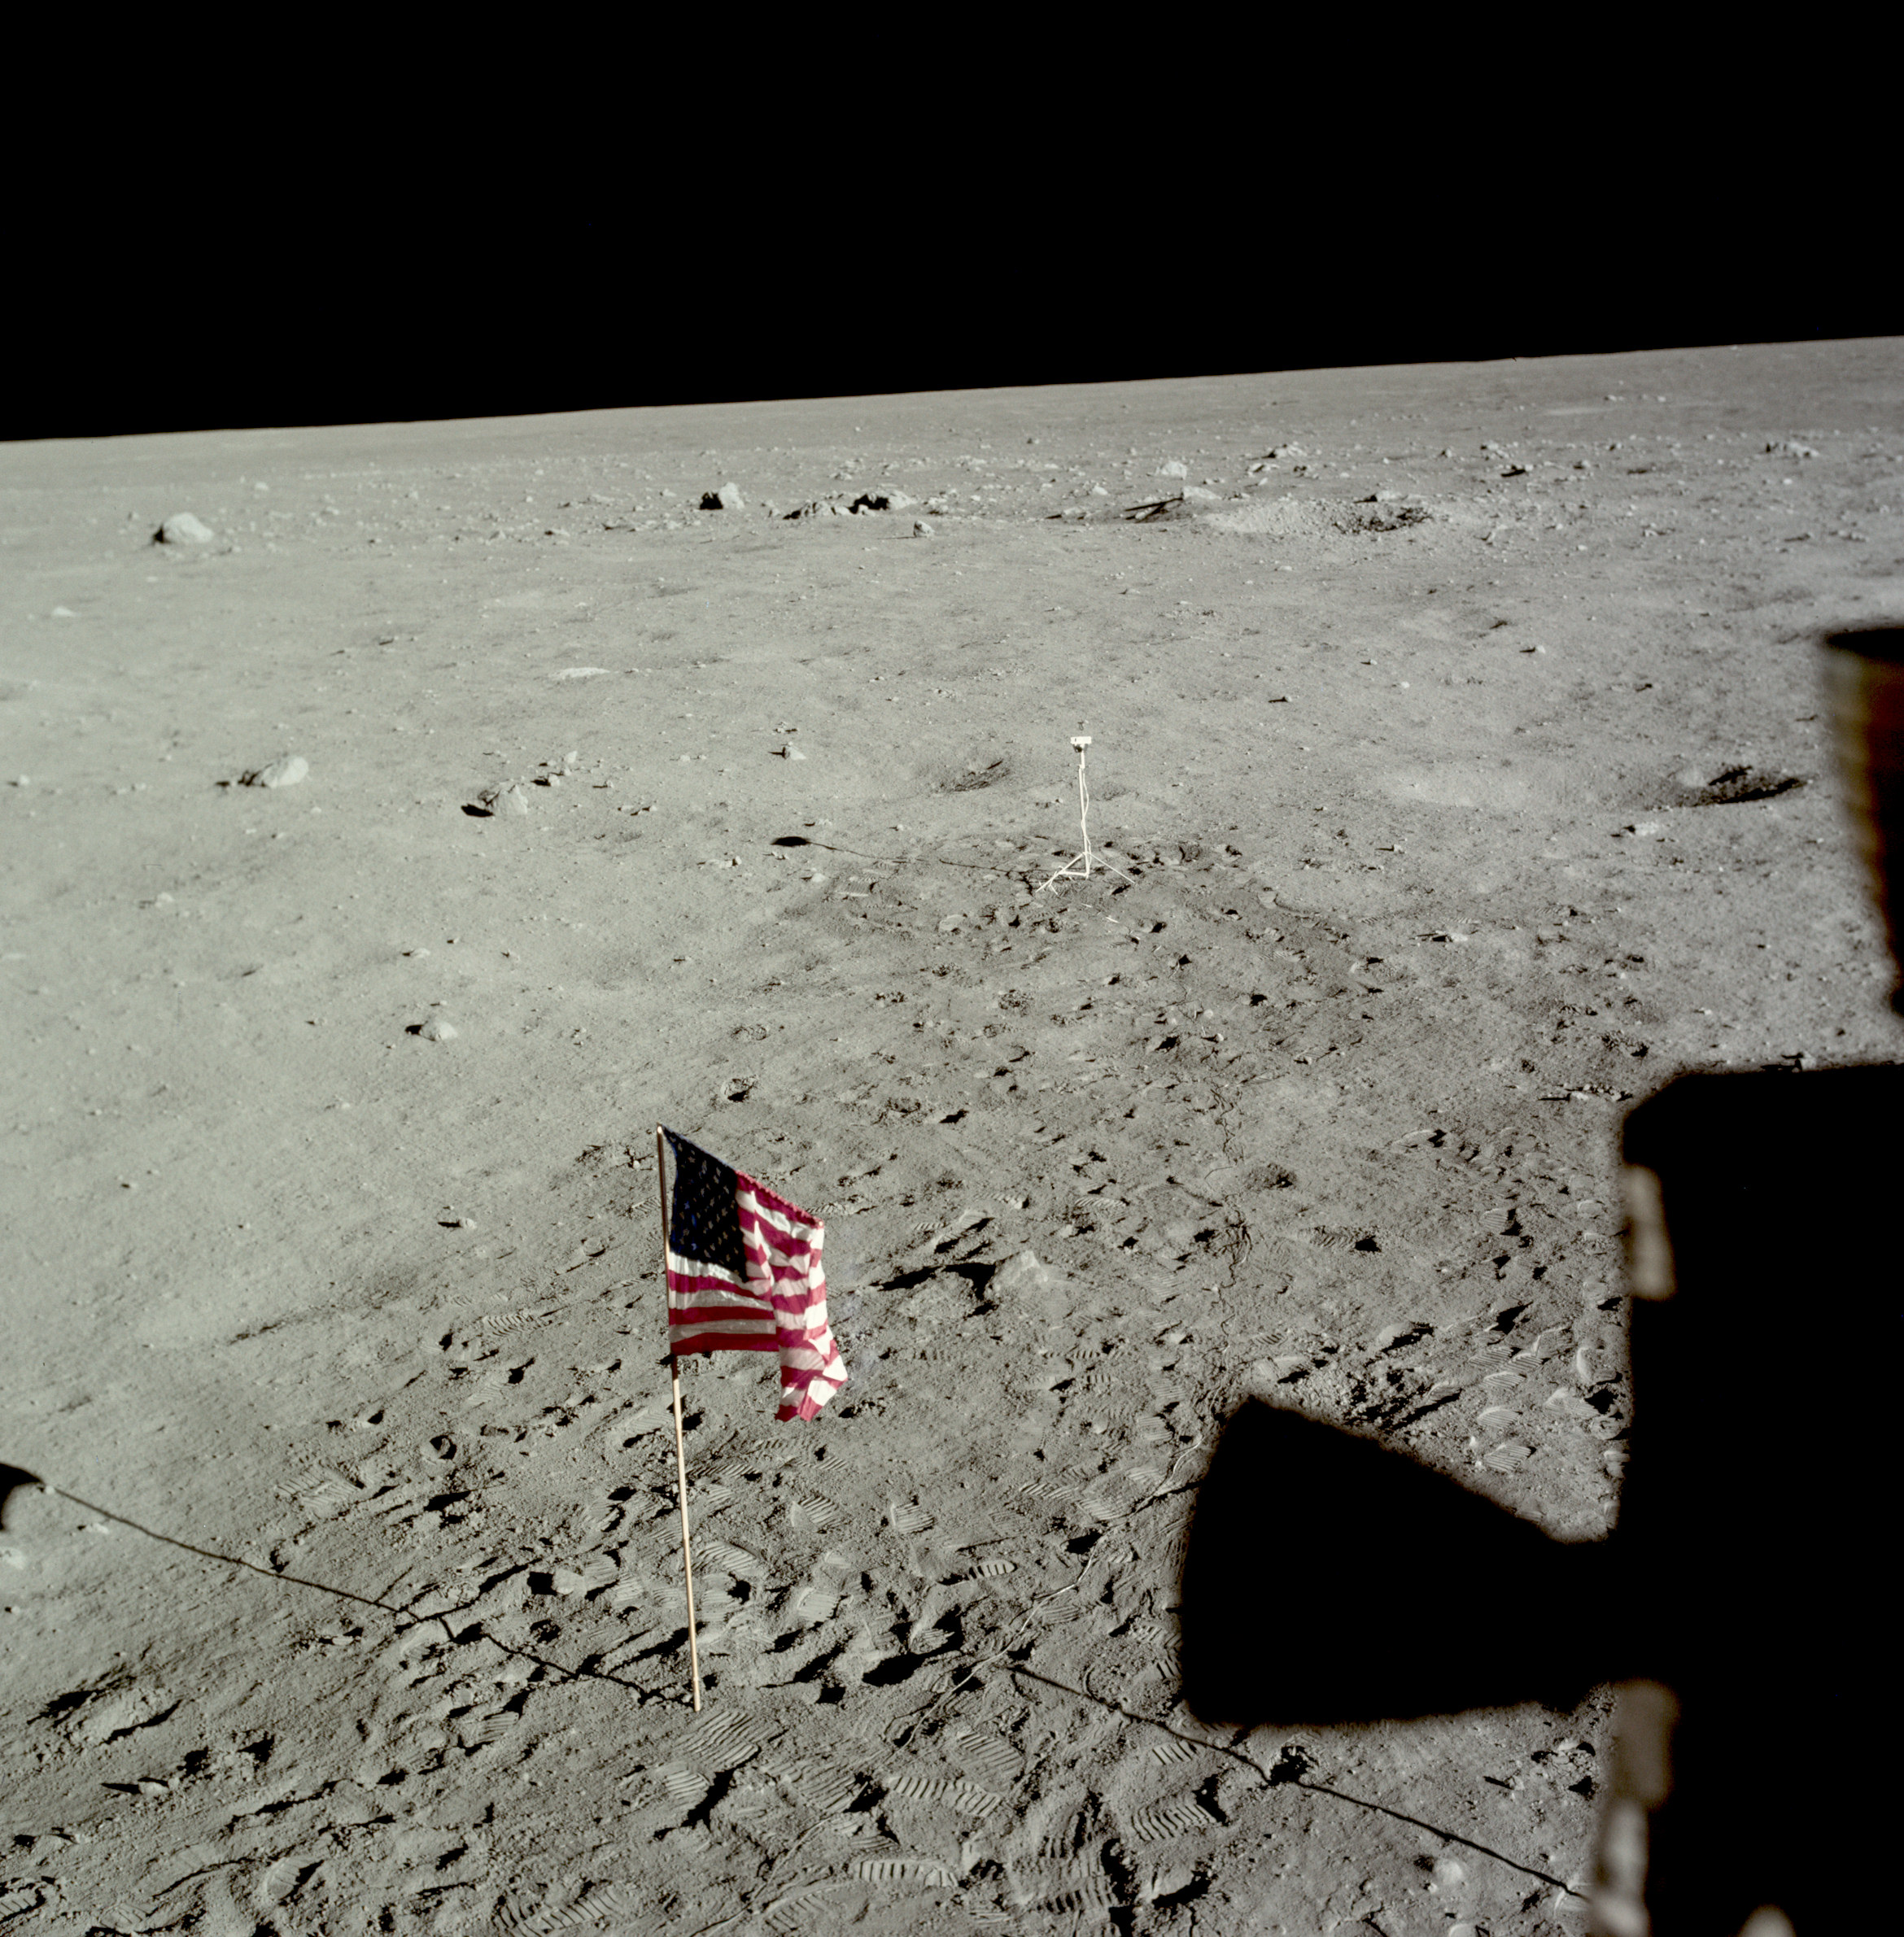 | AS11-37-5516 Tranquility Base and flag from LM window. Thruster quad in foreground. Image credit: Image Science and Analysis Laboratory, NASA-Johnson Space Center. |
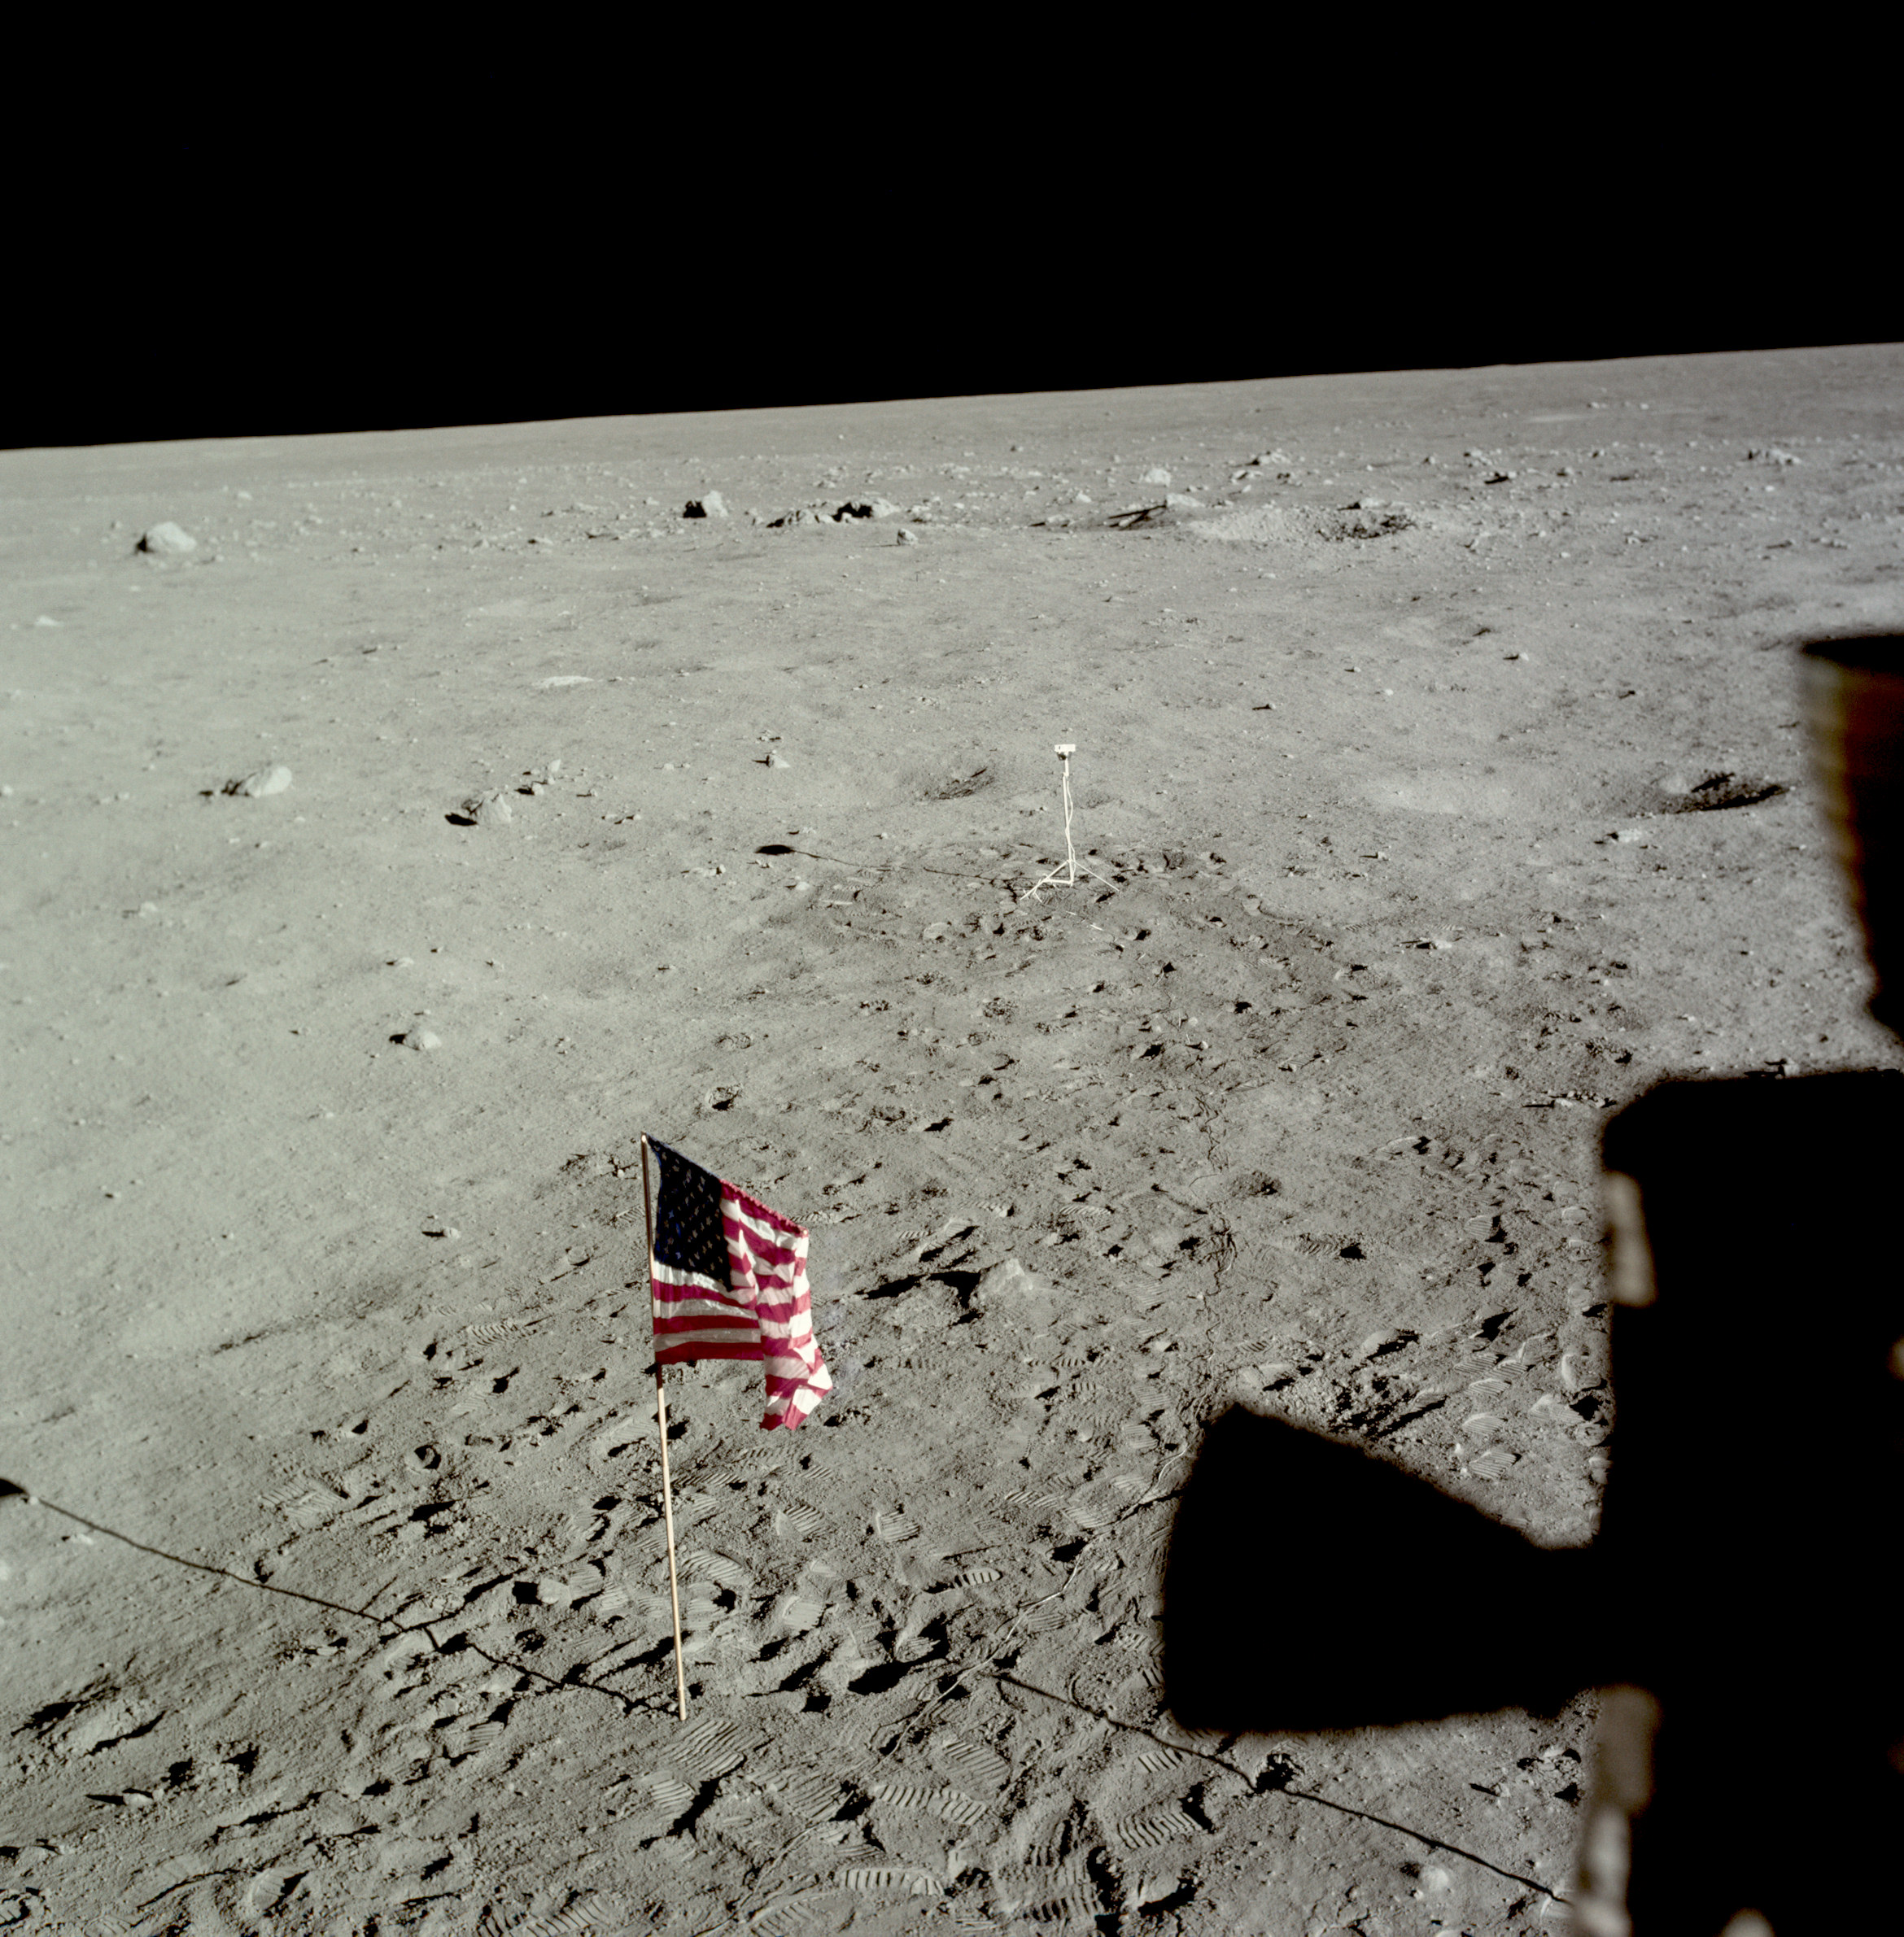 | AS11-37-5517 Tranquility Base and flag from LM window. Thruster quad in foreground. Image credit: Image Science and Analysis Laboratory, NASA-Johnson Space Center. |
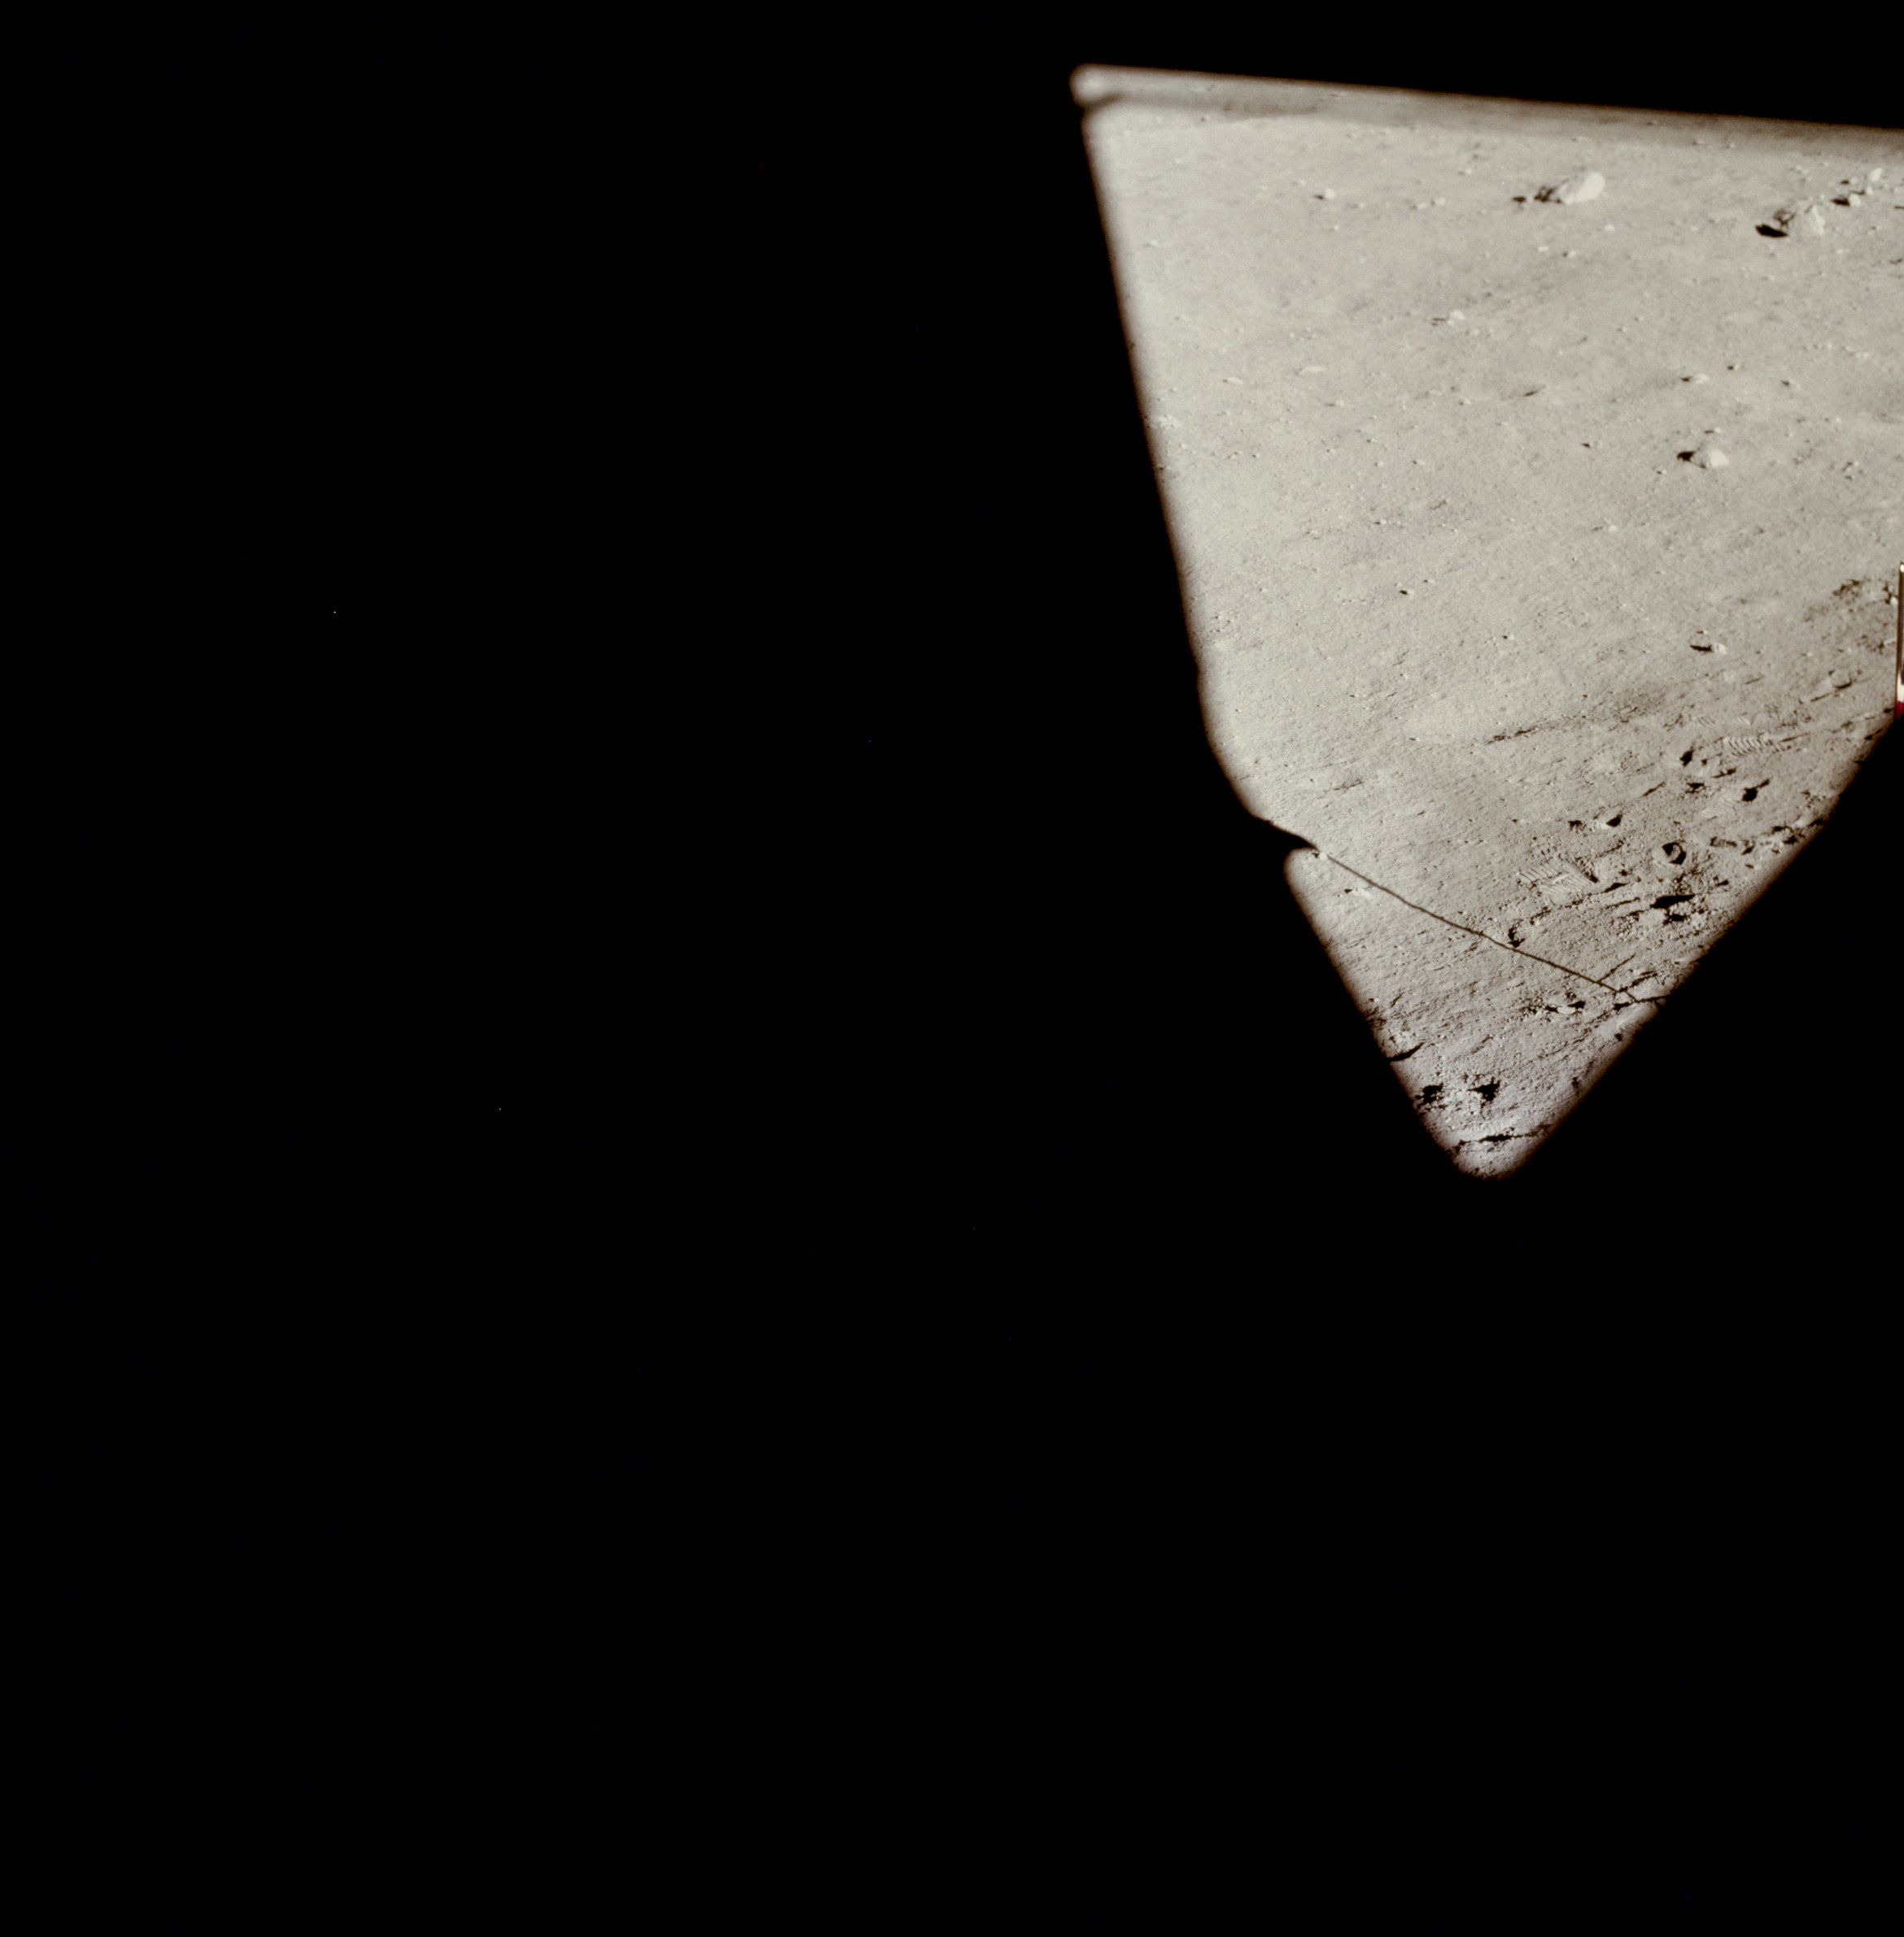 | AS11-37-5518 Tranquility Base from LM window. Image credit: Image Science and Analysis Laboratory, NASA-Johnson Space Center. |
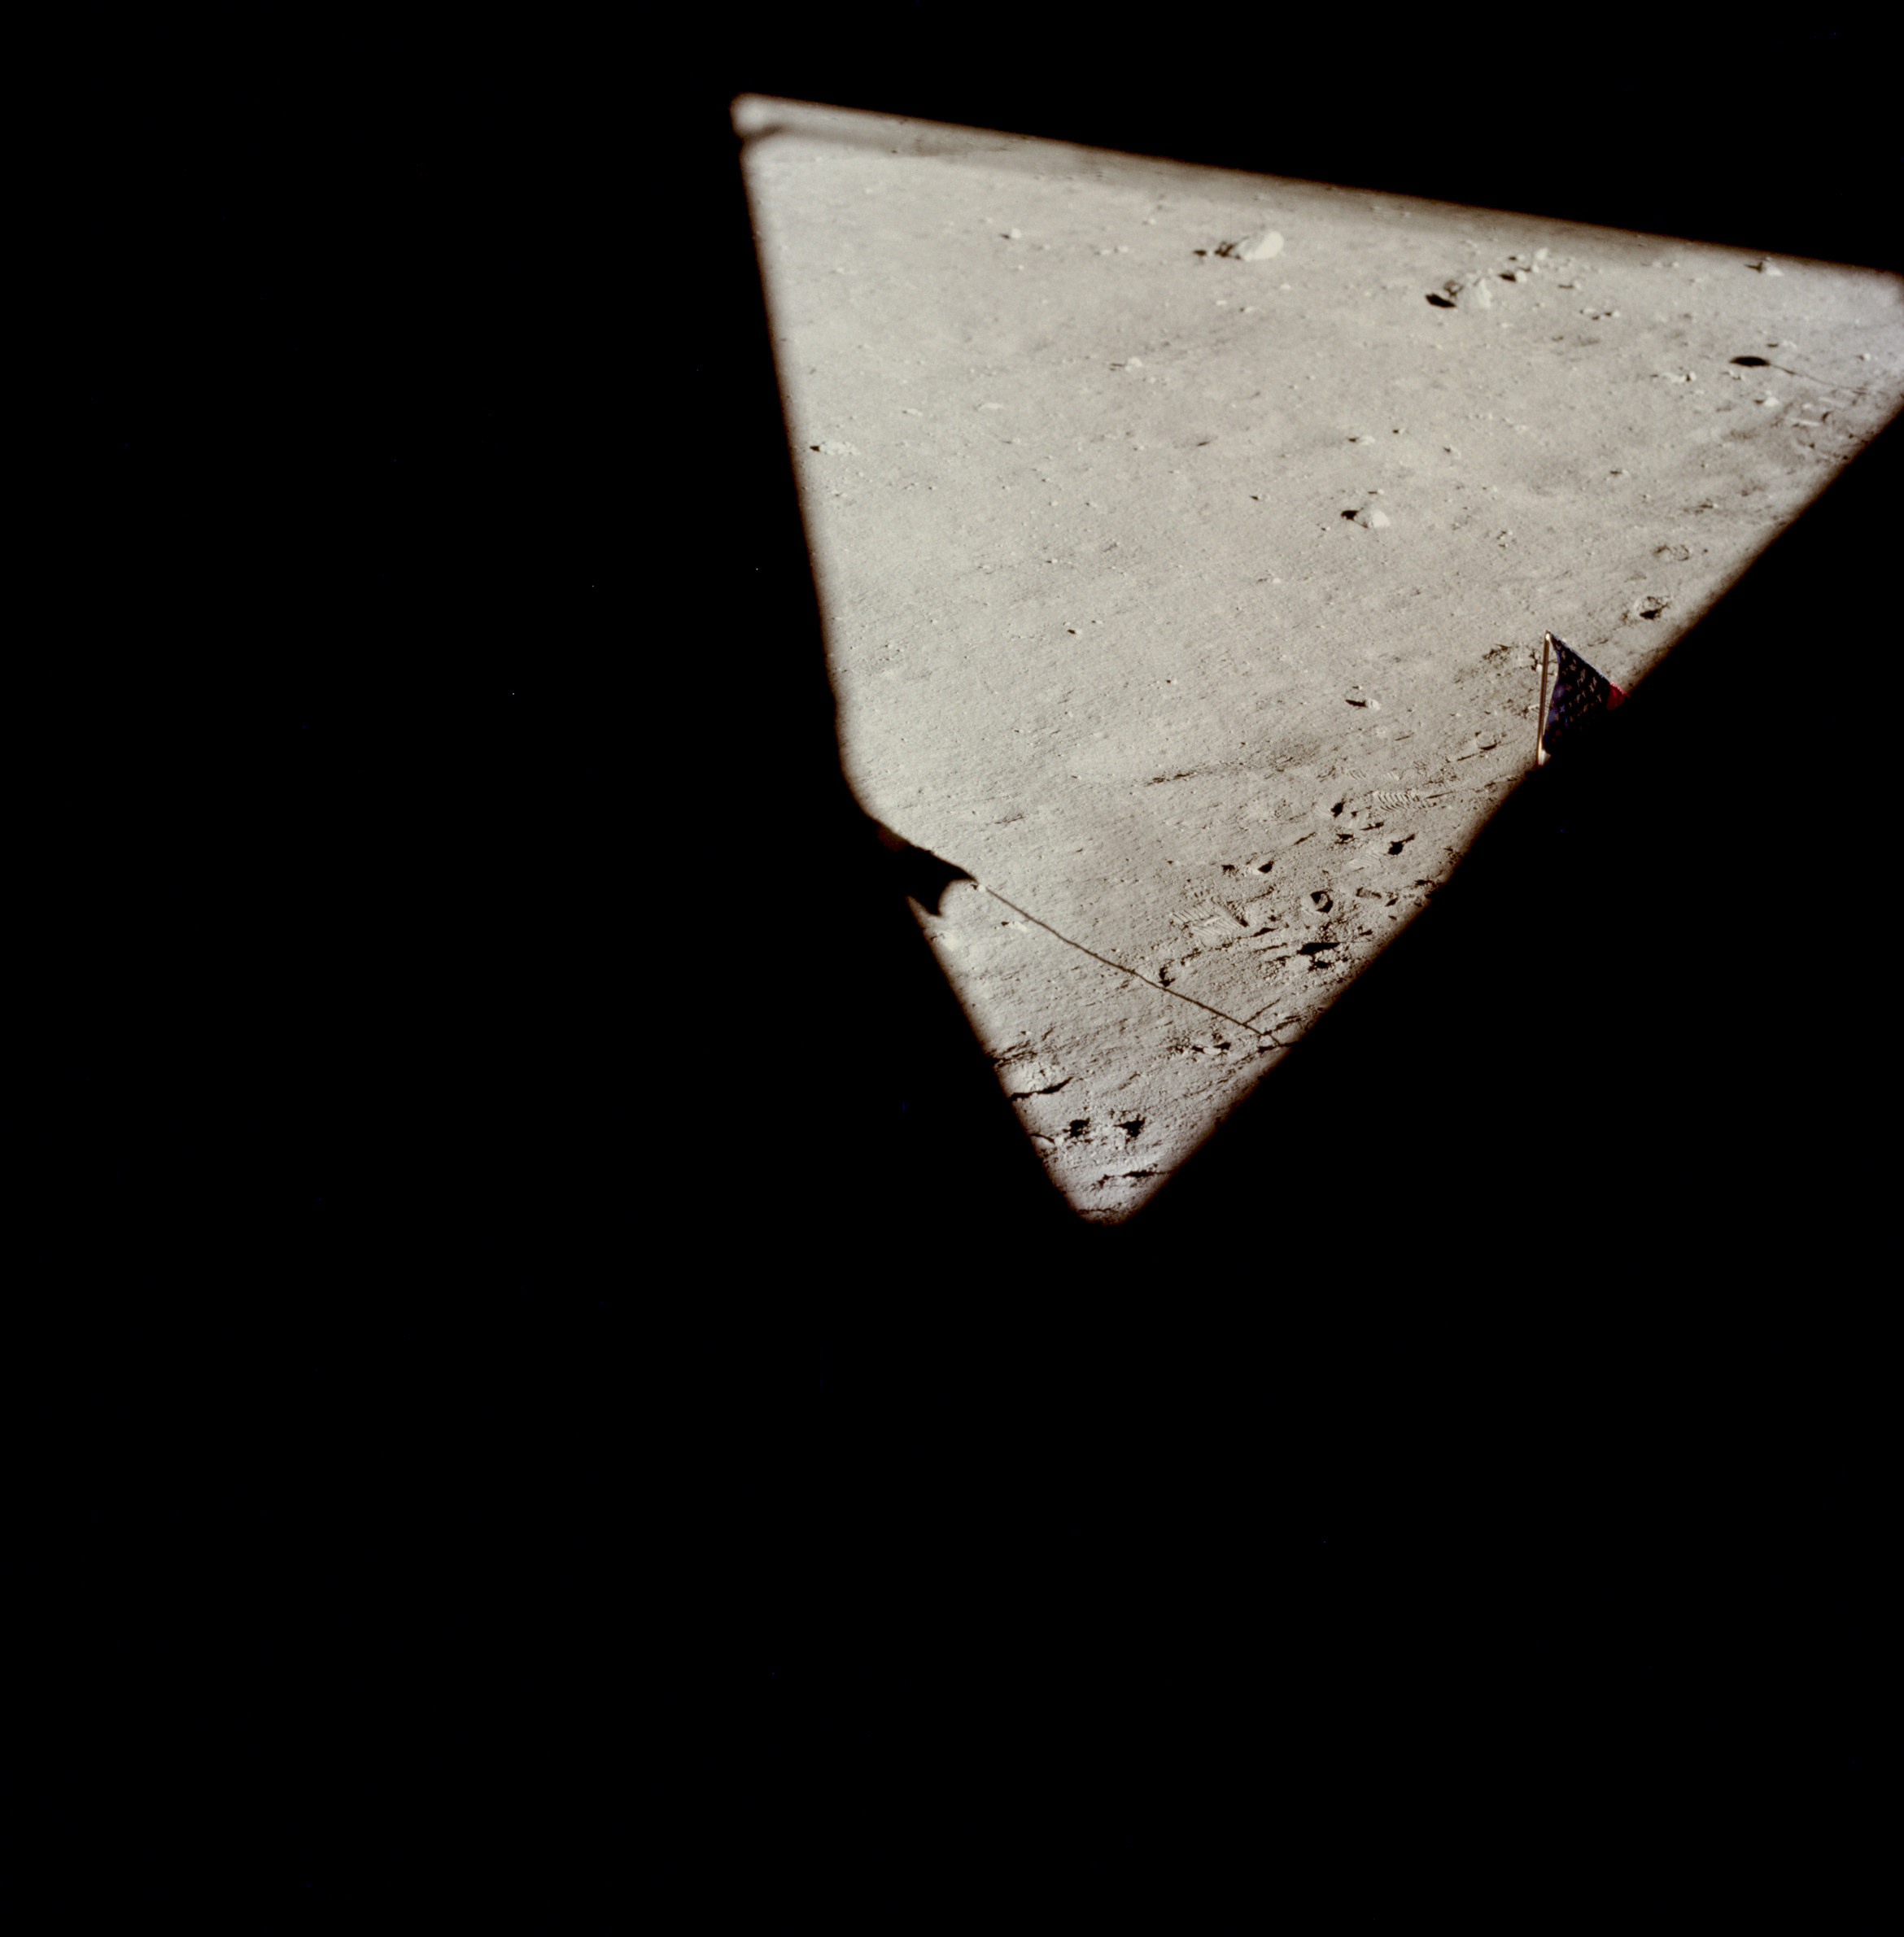 | AS11-37-5519 Tranquility Base from LM window. Image credit: Image Science and Analysis Laboratory, NASA-Johnson Space Center. |
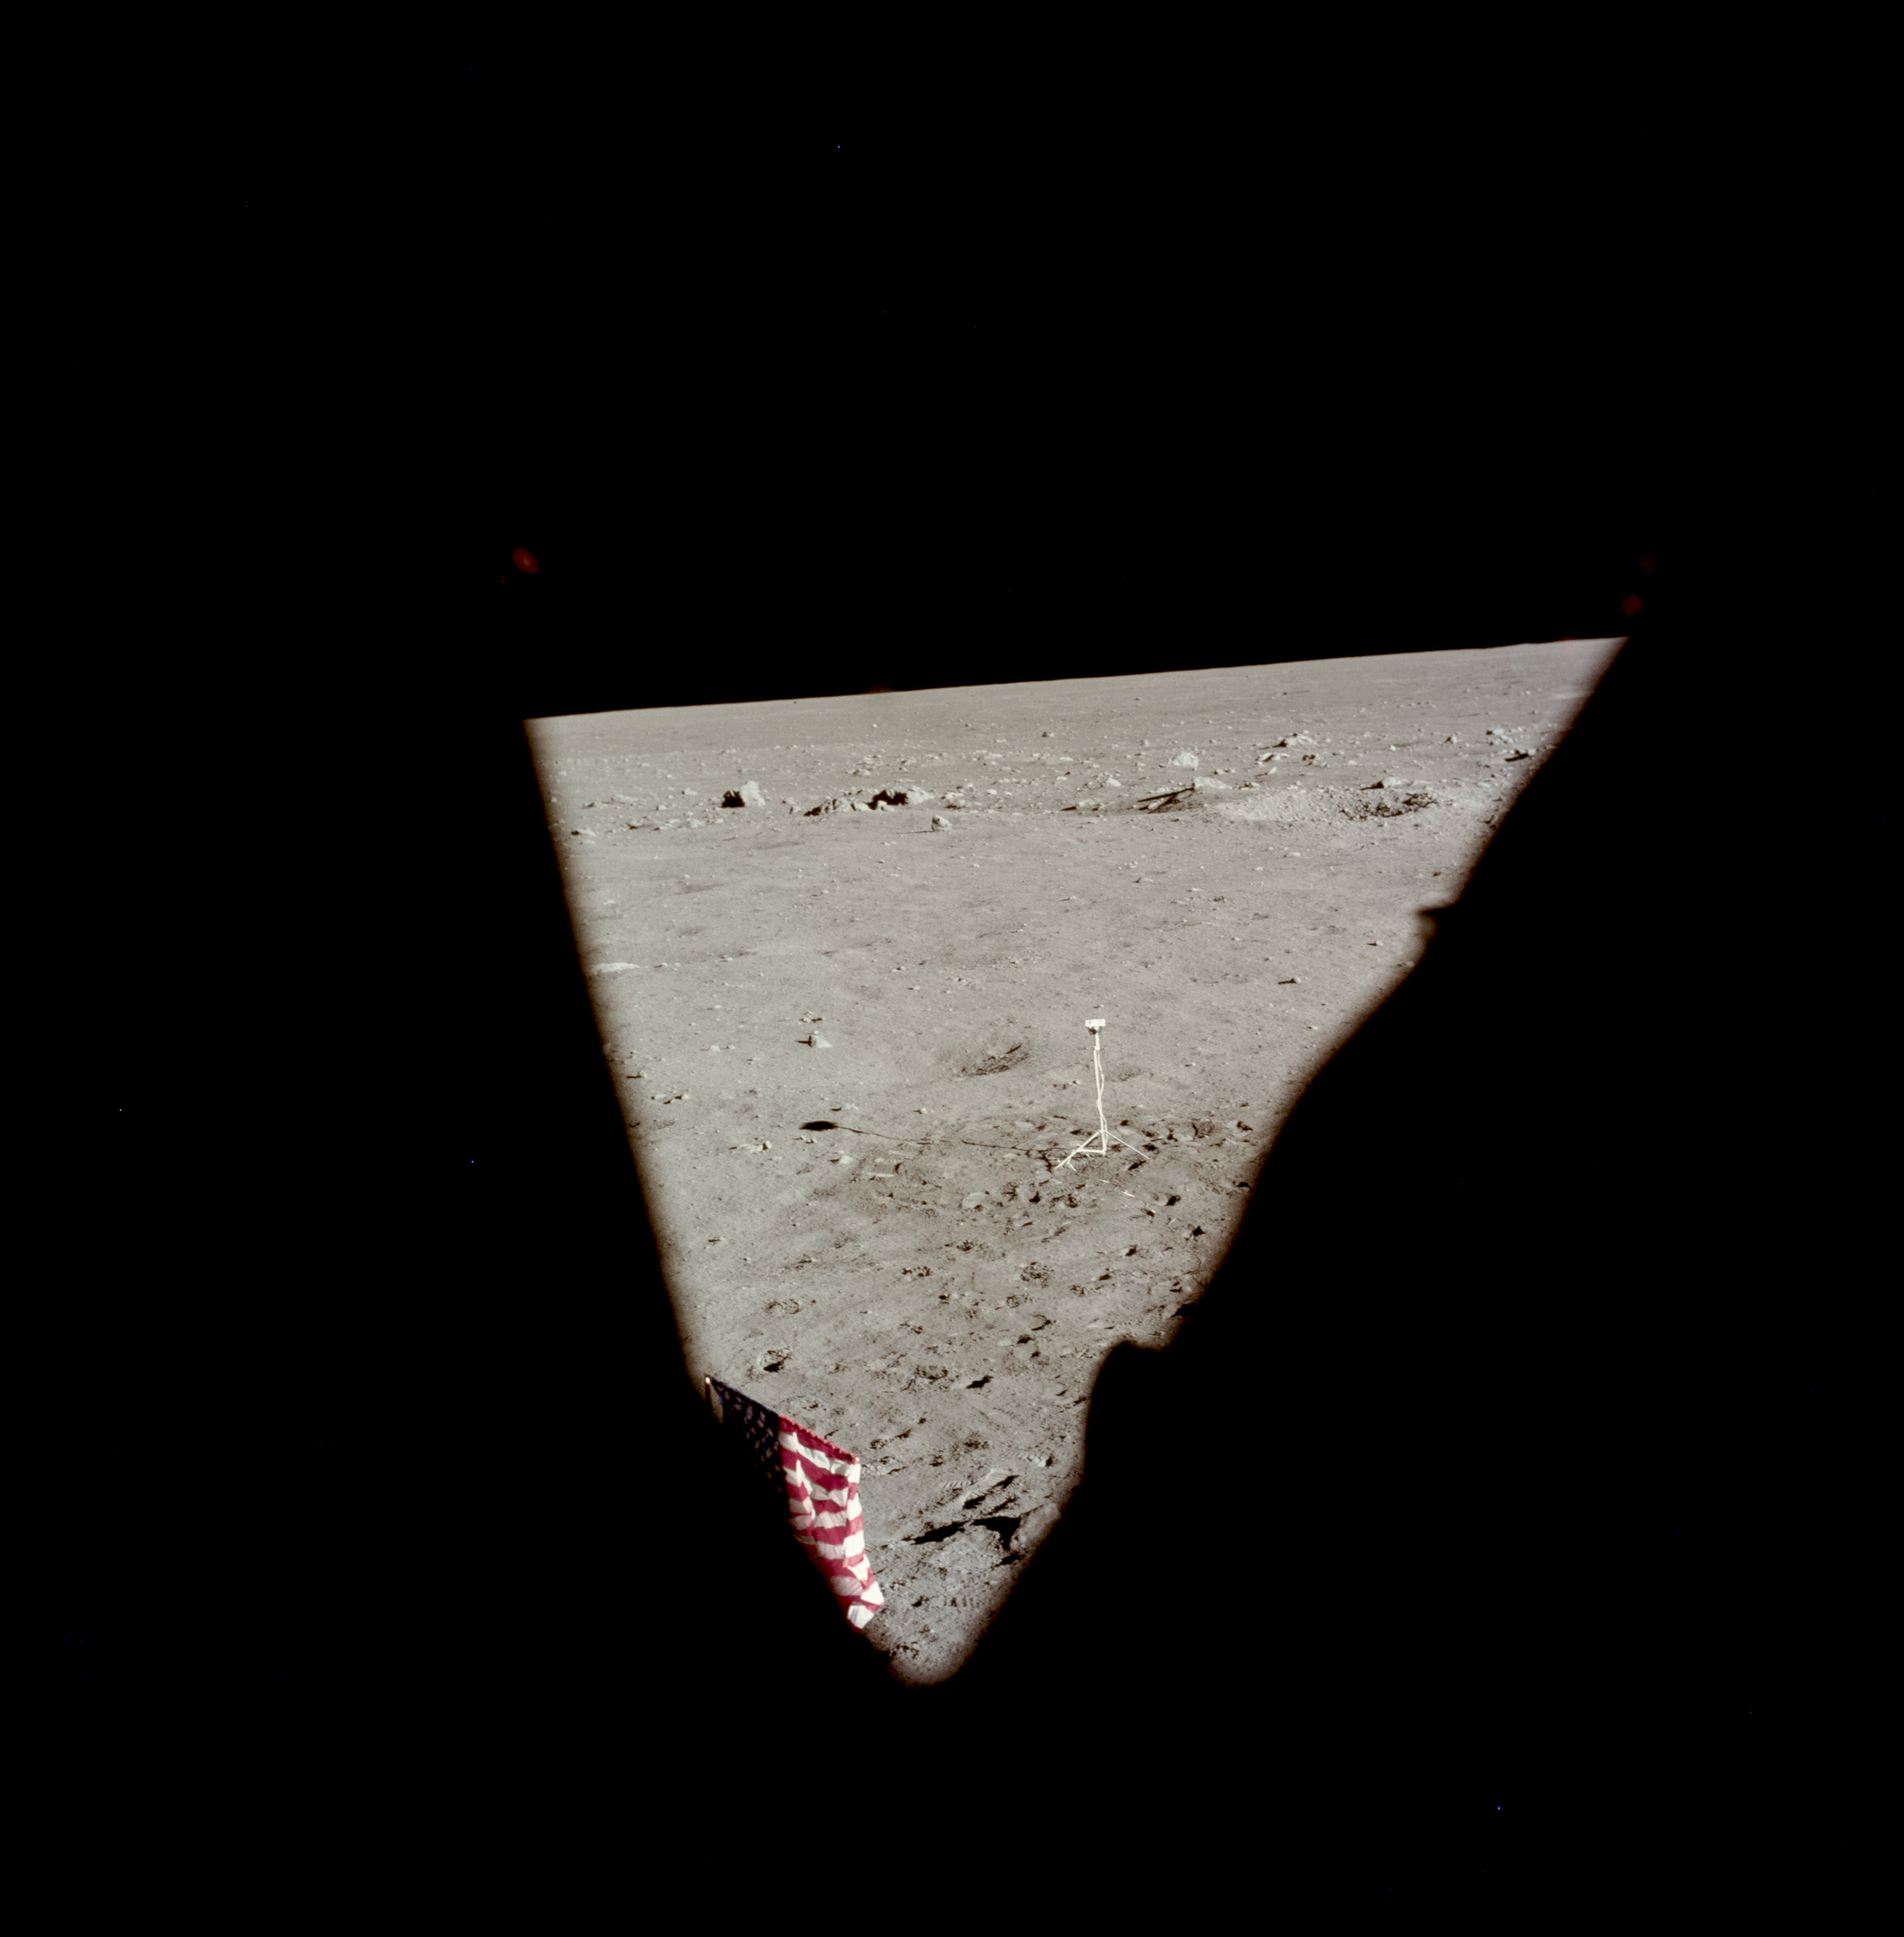 | AS11-37-5520 Tranquility Base from LM window. Image credit: Image Science and Analysis Laboratory, NASA-Johnson Space Center. |
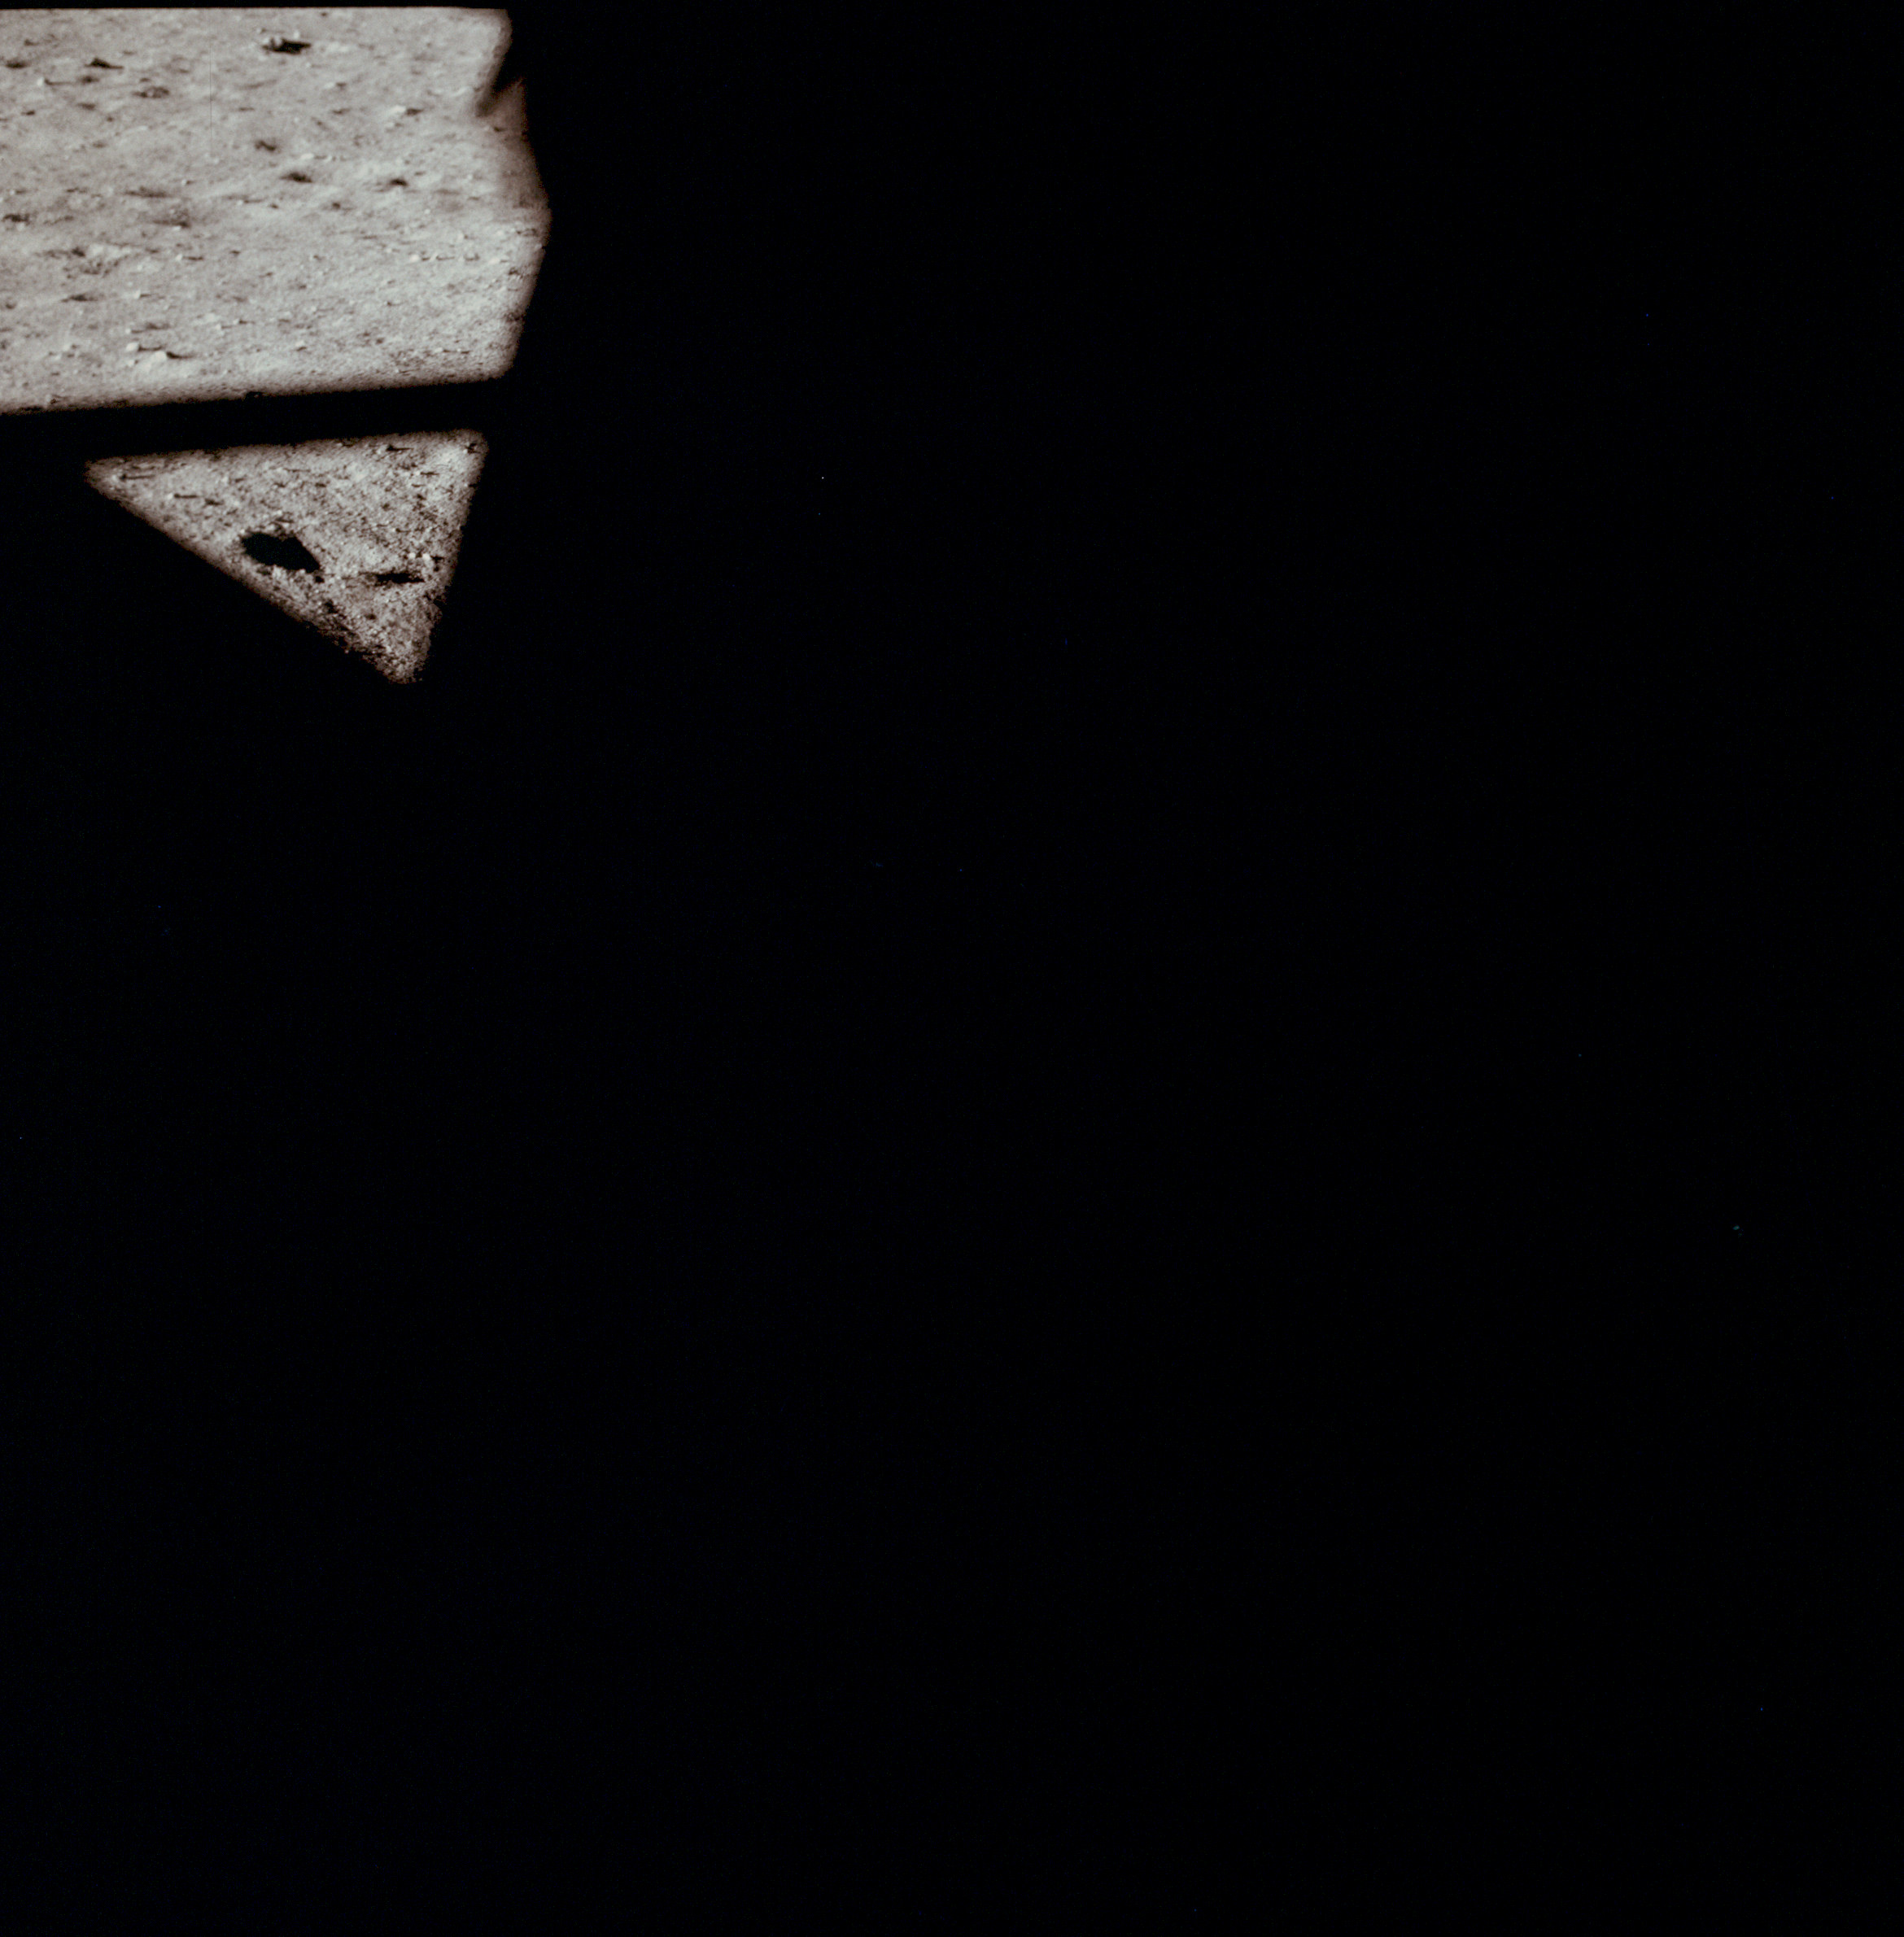 | AS11-37-5521 Tranquility Base from LM window. Image credit: Image Science and Analysis Laboratory, NASA-Johnson Space Center. |
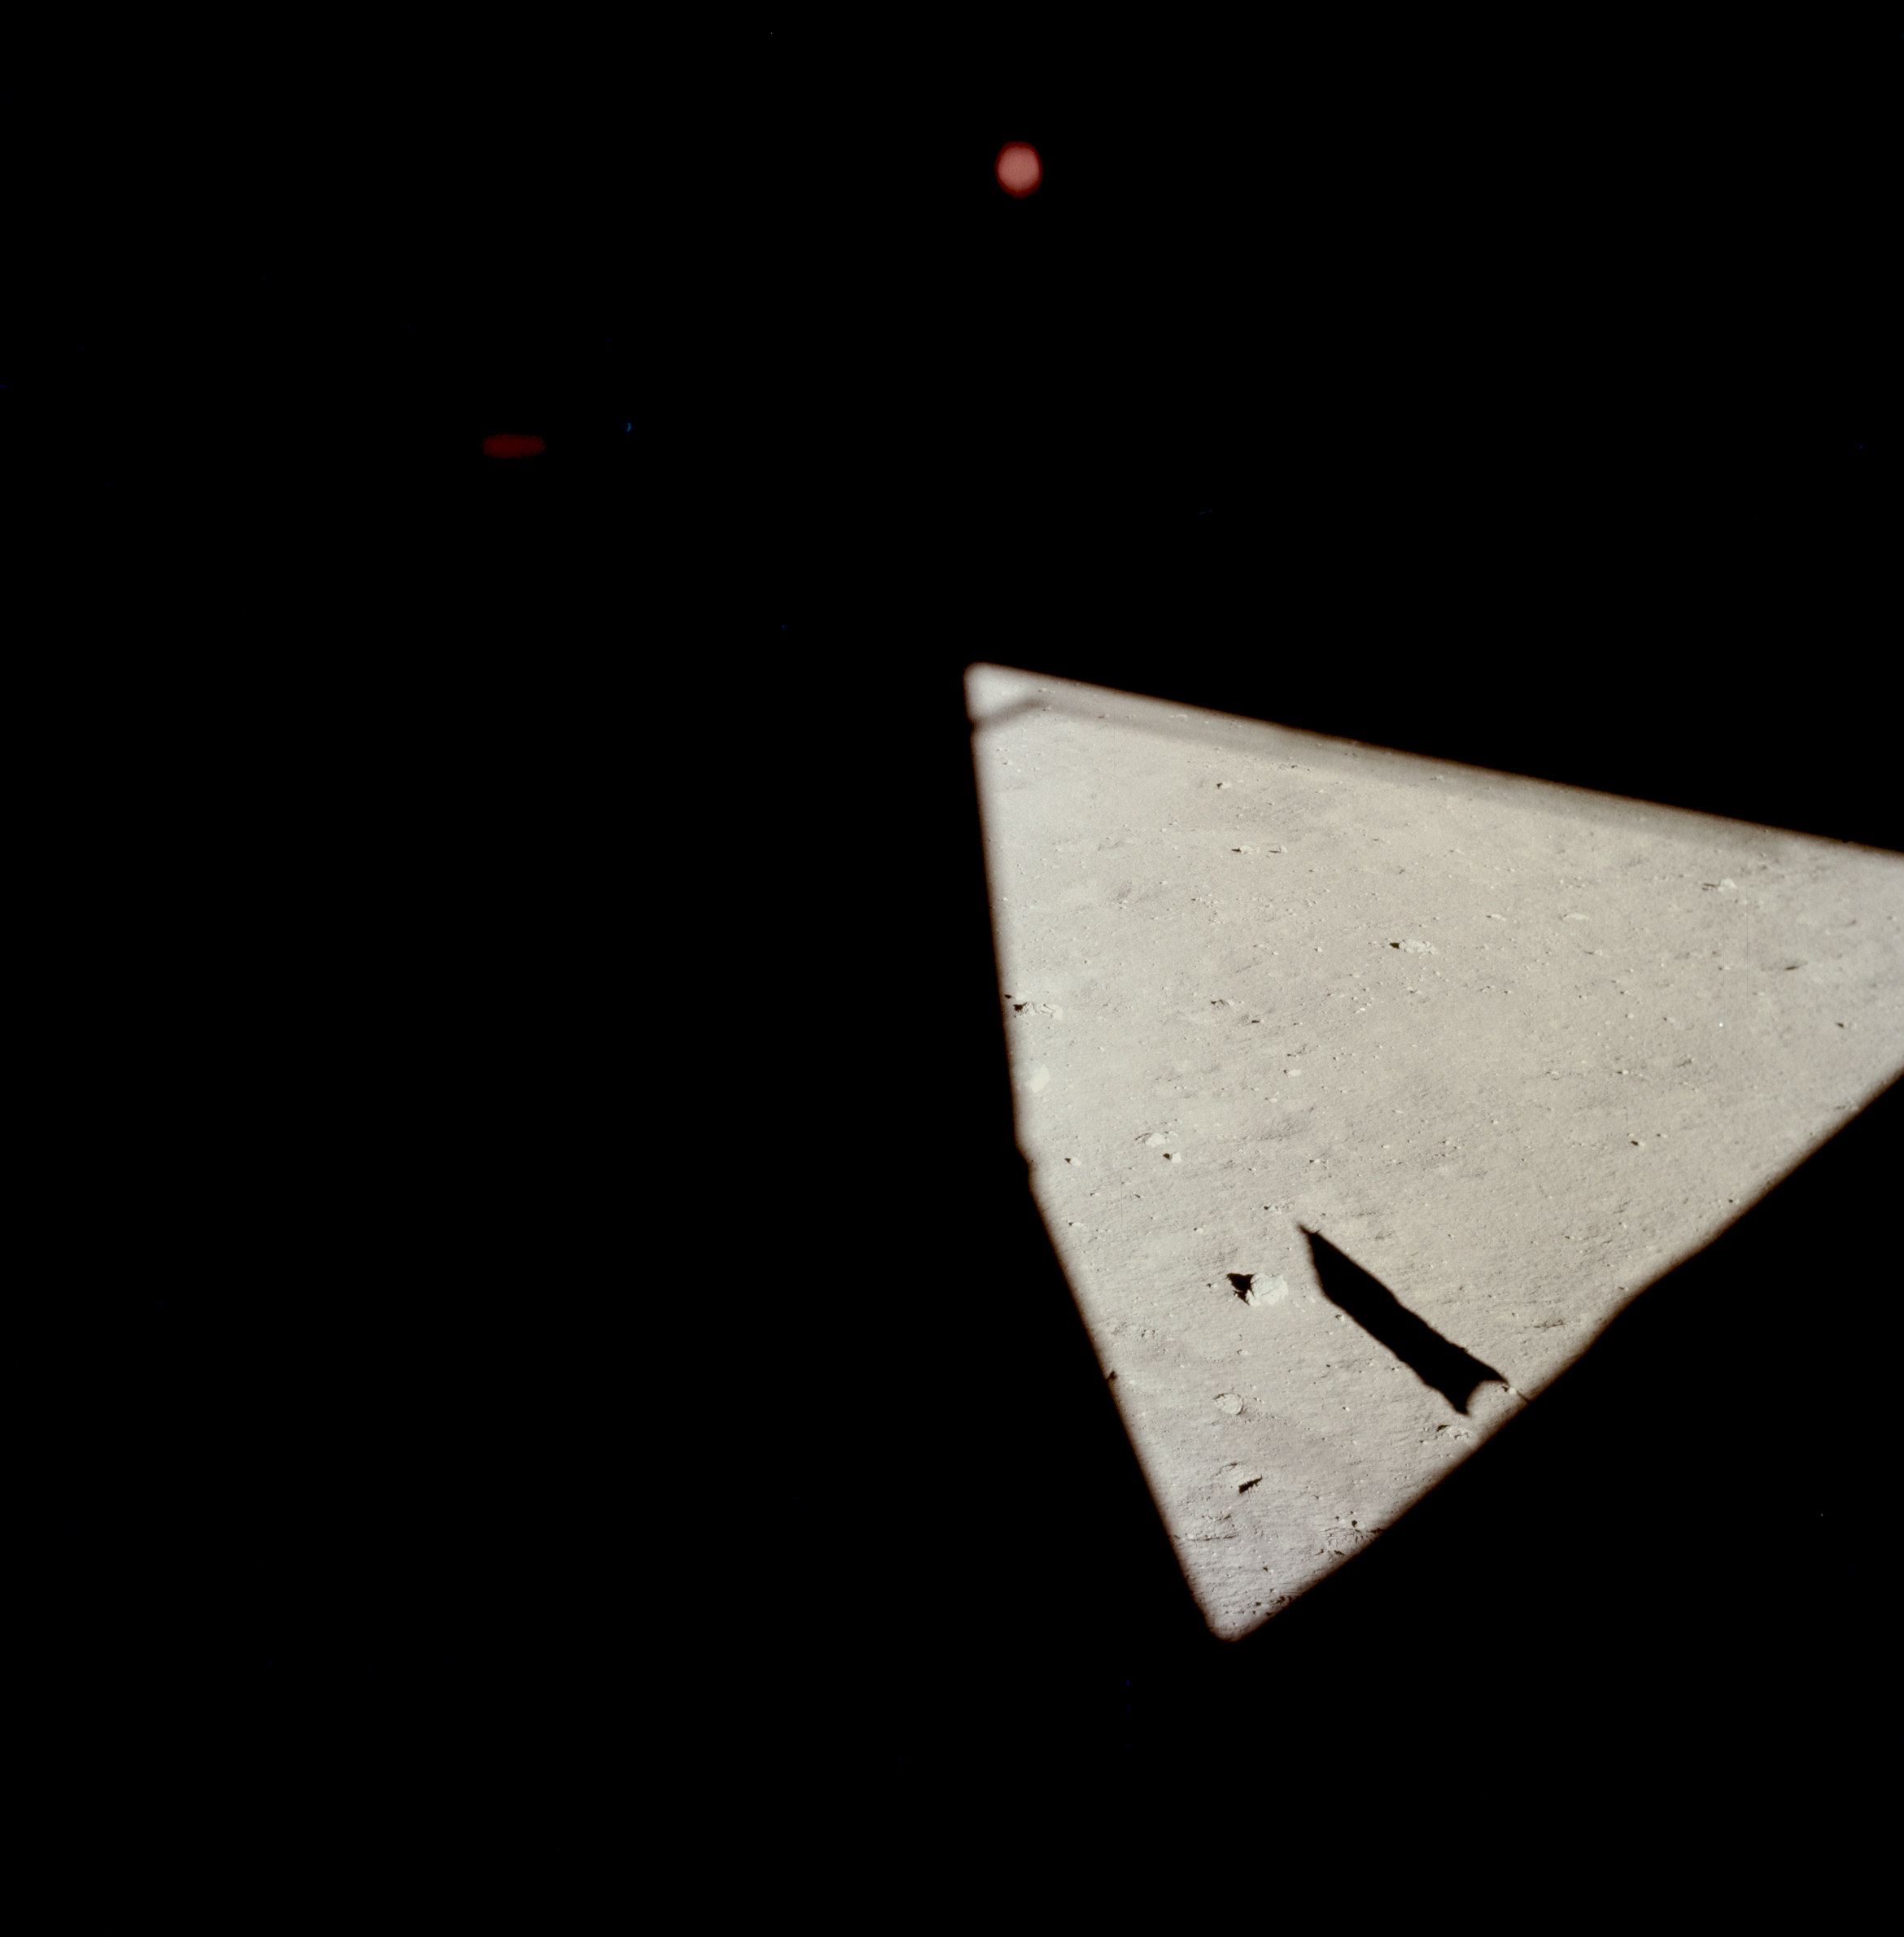 | AS11-37-5522 Tranquility Base from LM window. Image credit: Image Science and Analysis Laboratory, NASA-Johnson Space Center. |
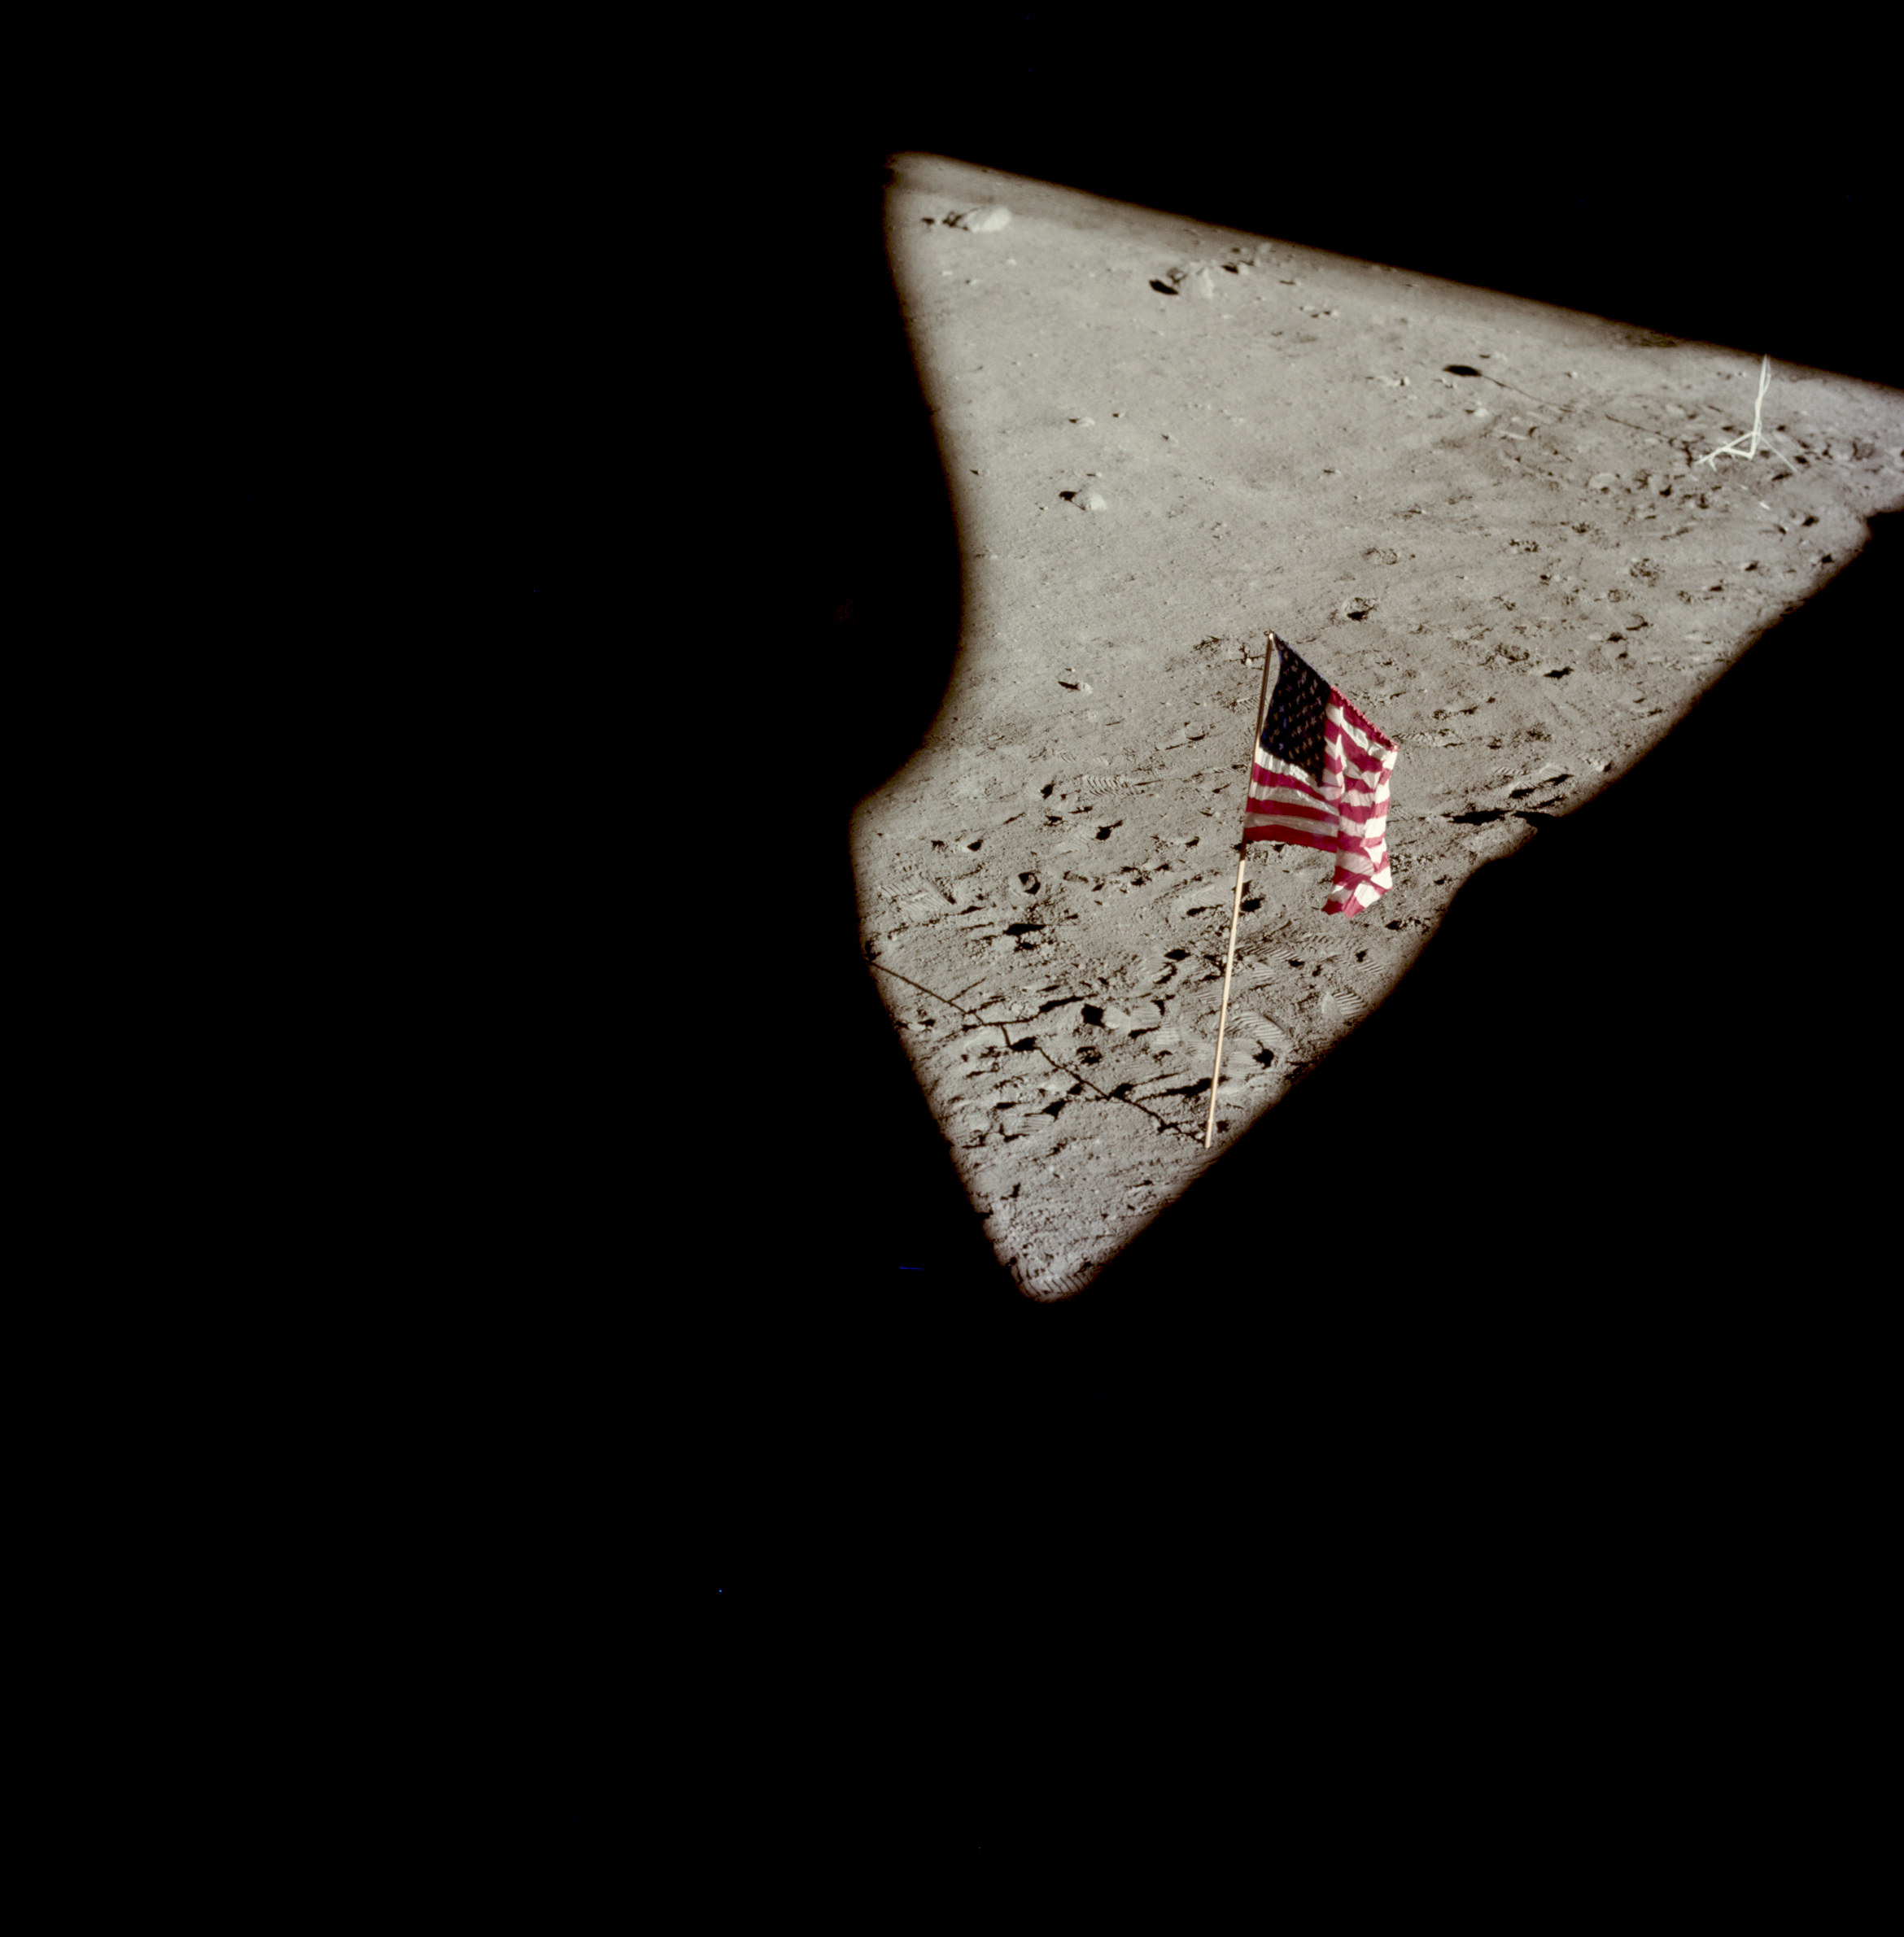 | AS11-37-5523 Tranquility Base and flag from LM window. Image credit: Image Science and Analysis Laboratory, NASA-Johnson Space Center. |
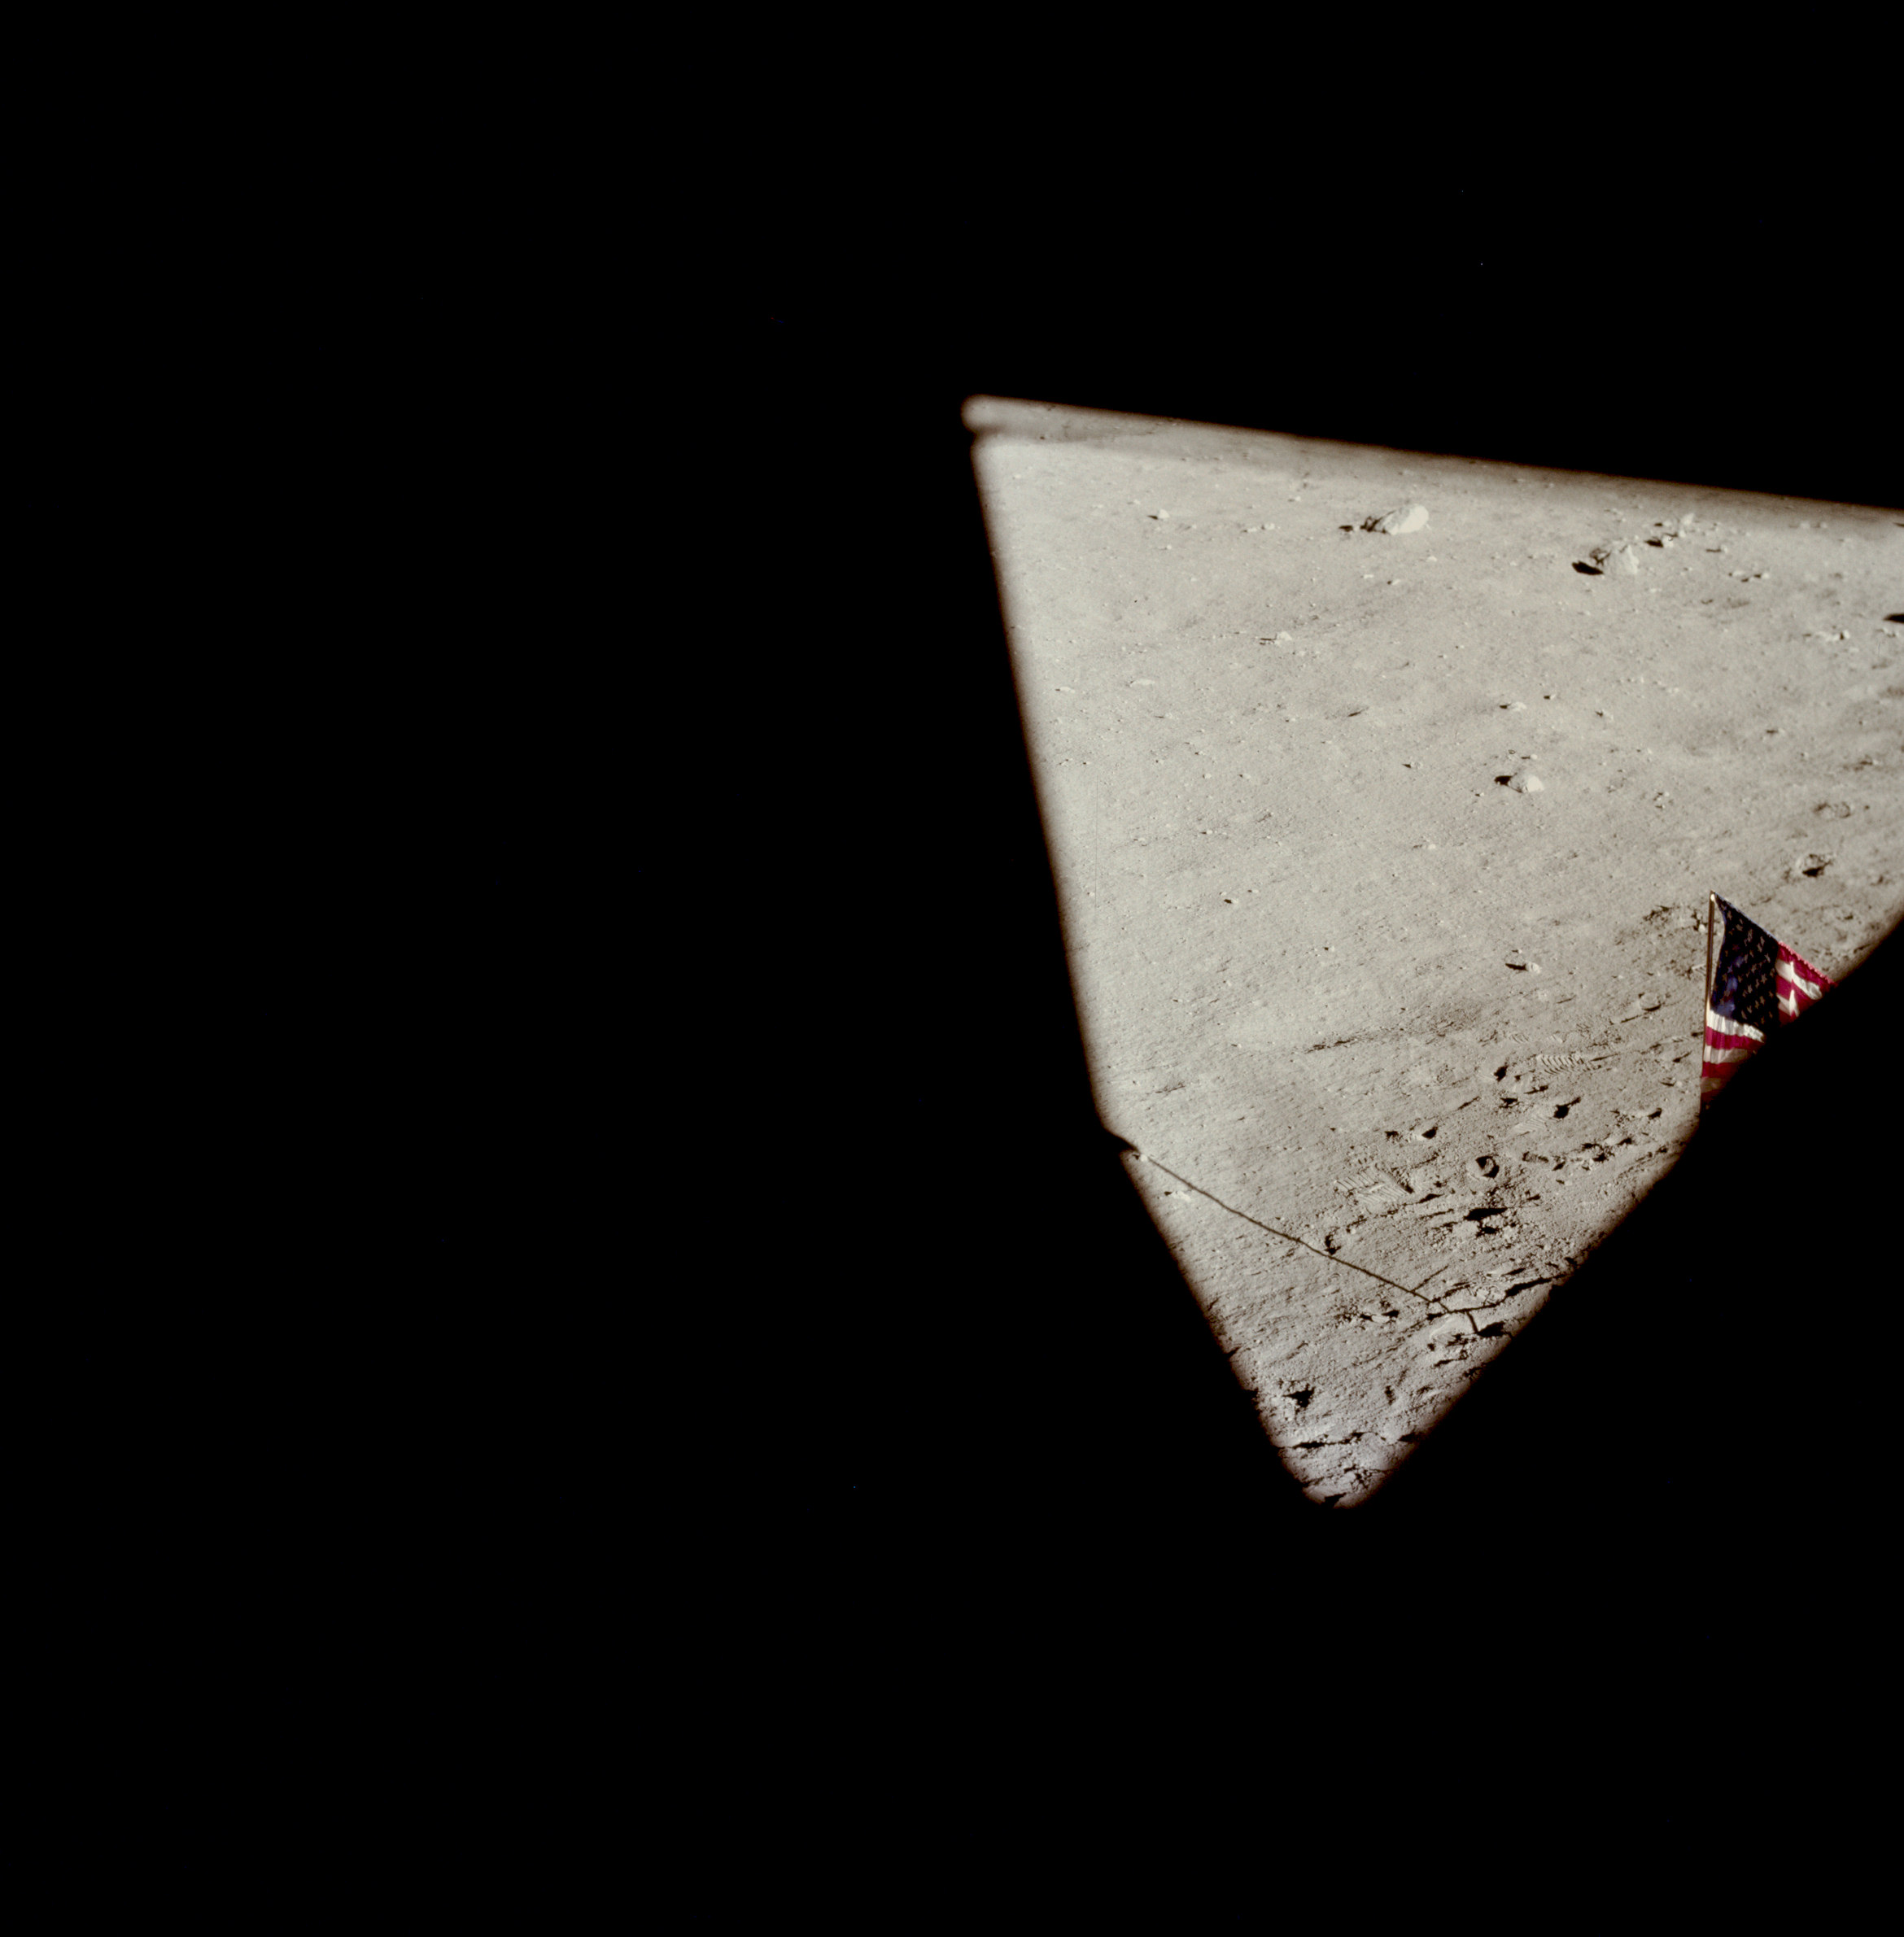 | AS11-37-5524 Tranquility Base and flag from LM window. Image credit: Image Science and Analysis Laboratory, NASA-Johnson Space Center. |
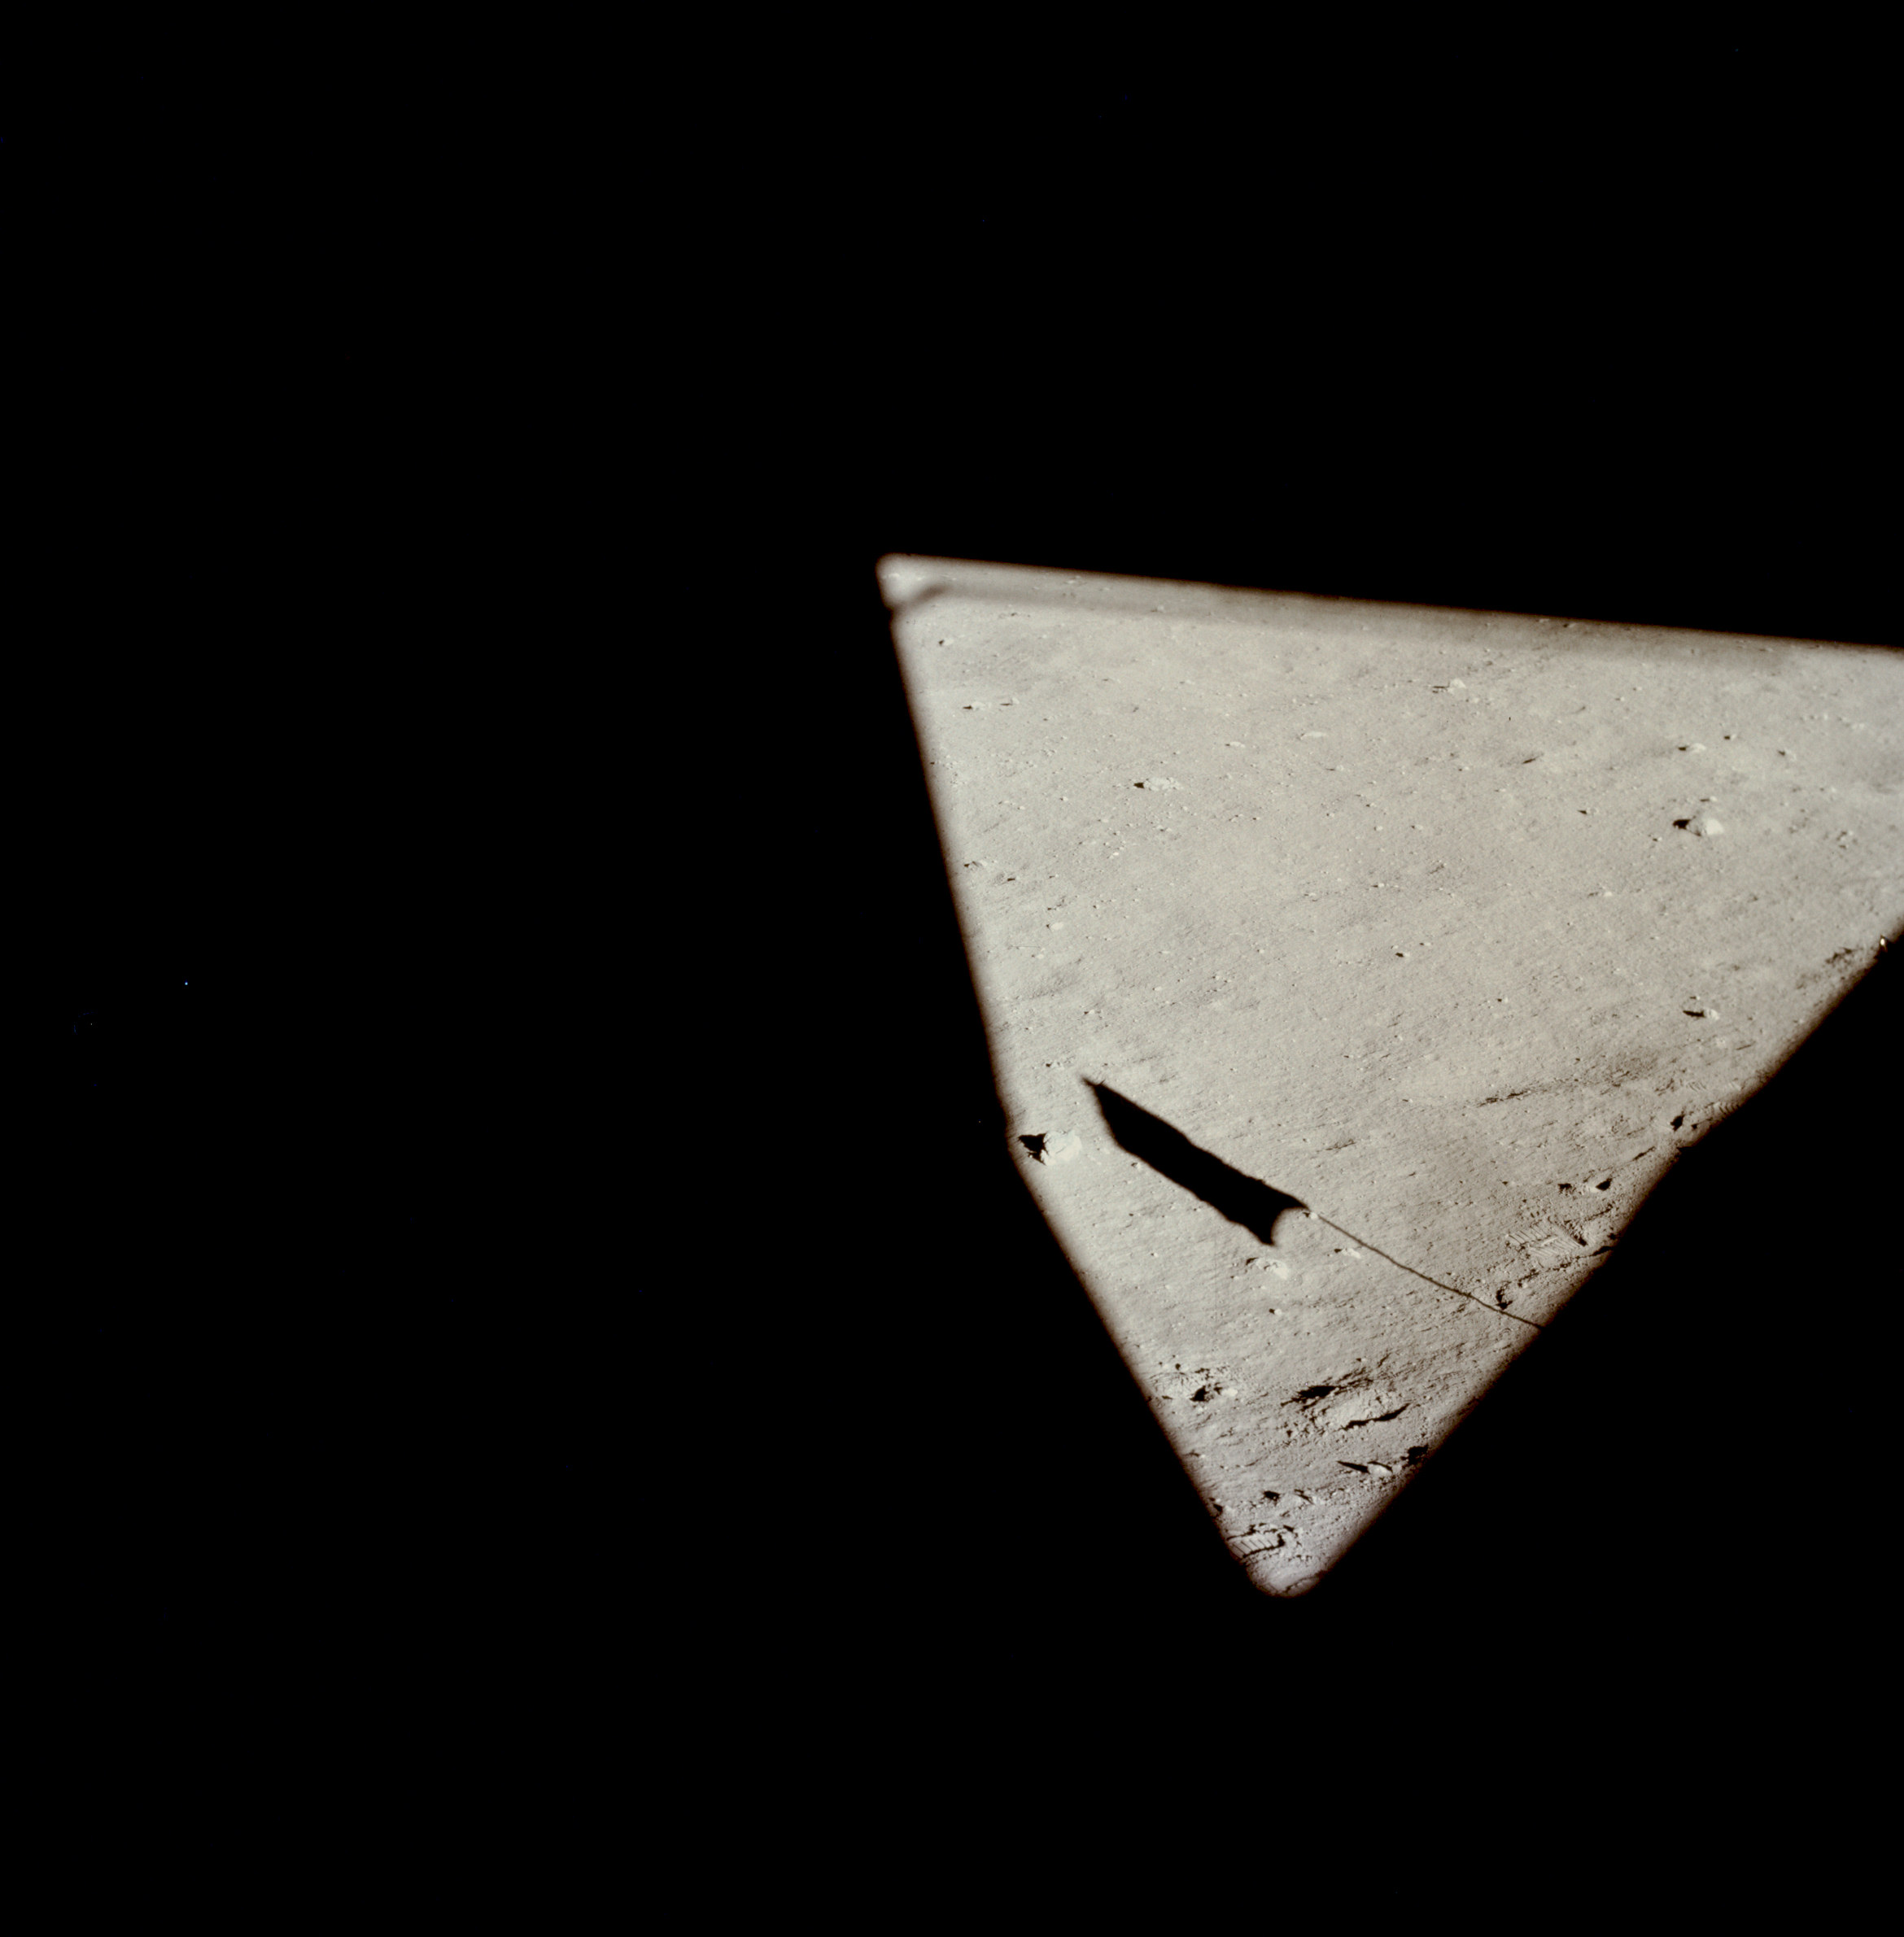 | AS11-37-5525 Tranquility Base from LM window. Image credit: Image Science and Analysis Laboratory, NASA-Johnson Space Center. |
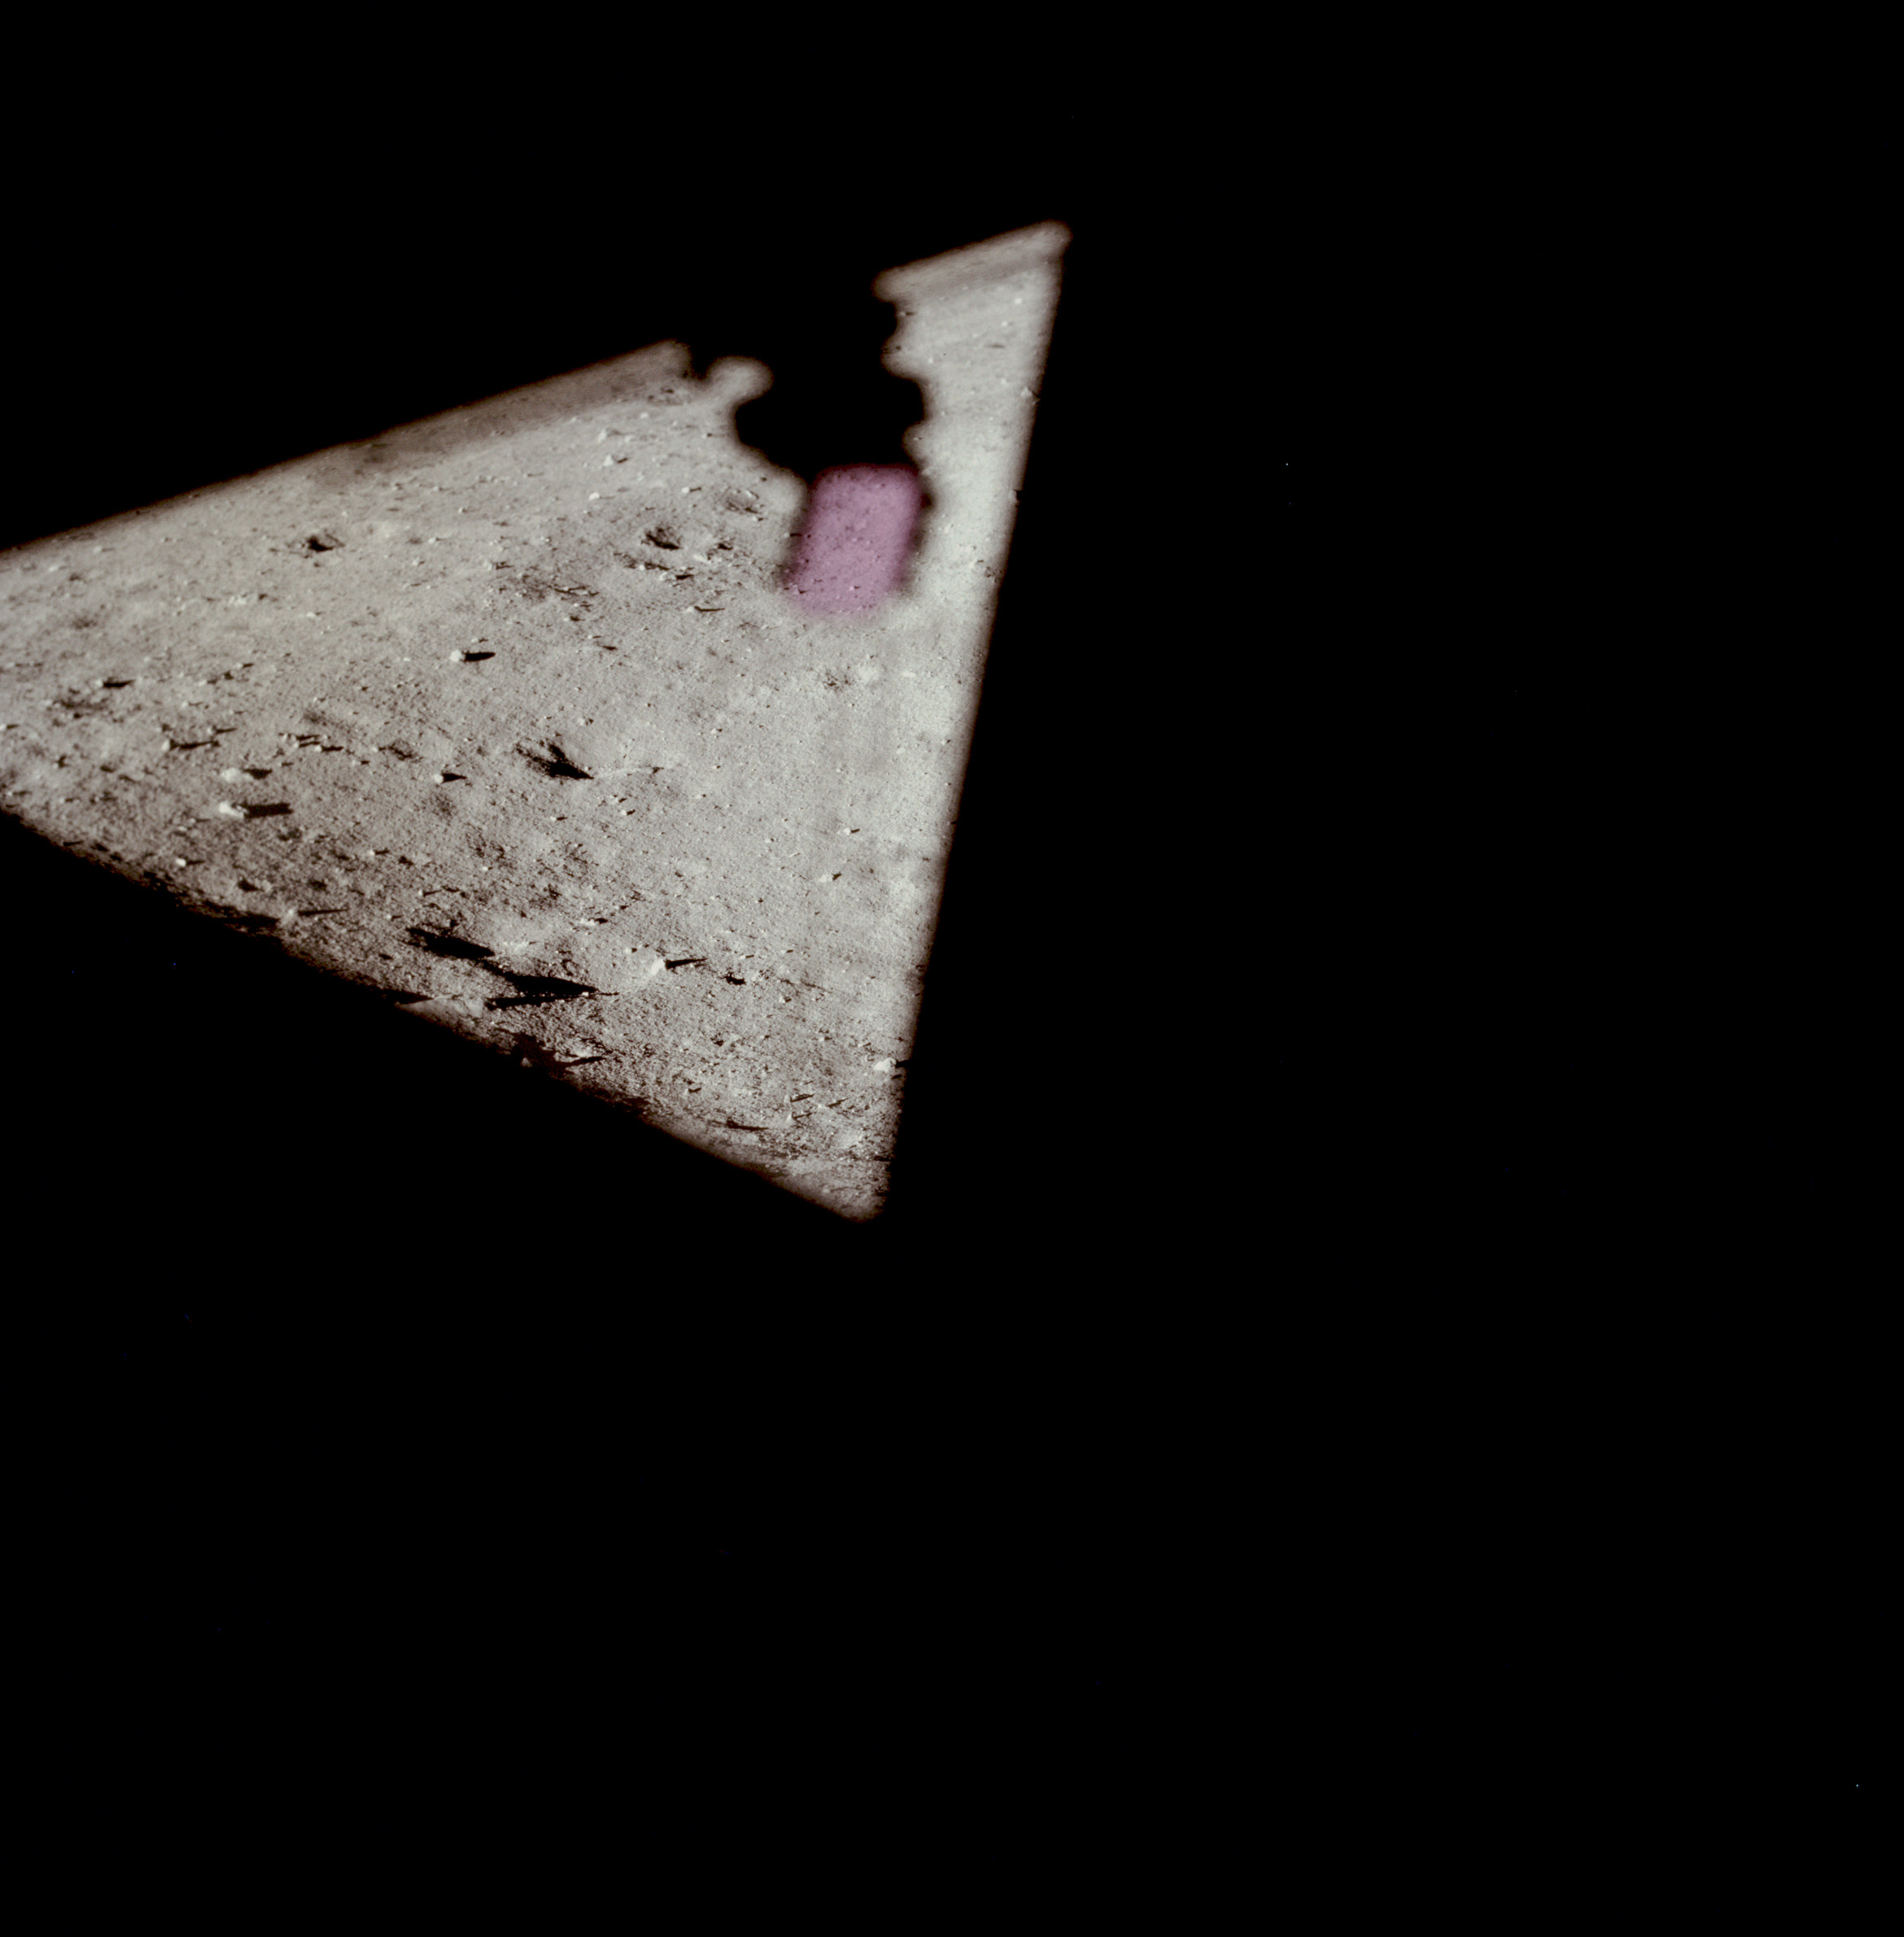 | AS11-37-5526 Tranquility Base from LM window. Image credit: Image Science and Analysis Laboratory, NASA-Johnson Space Center. |
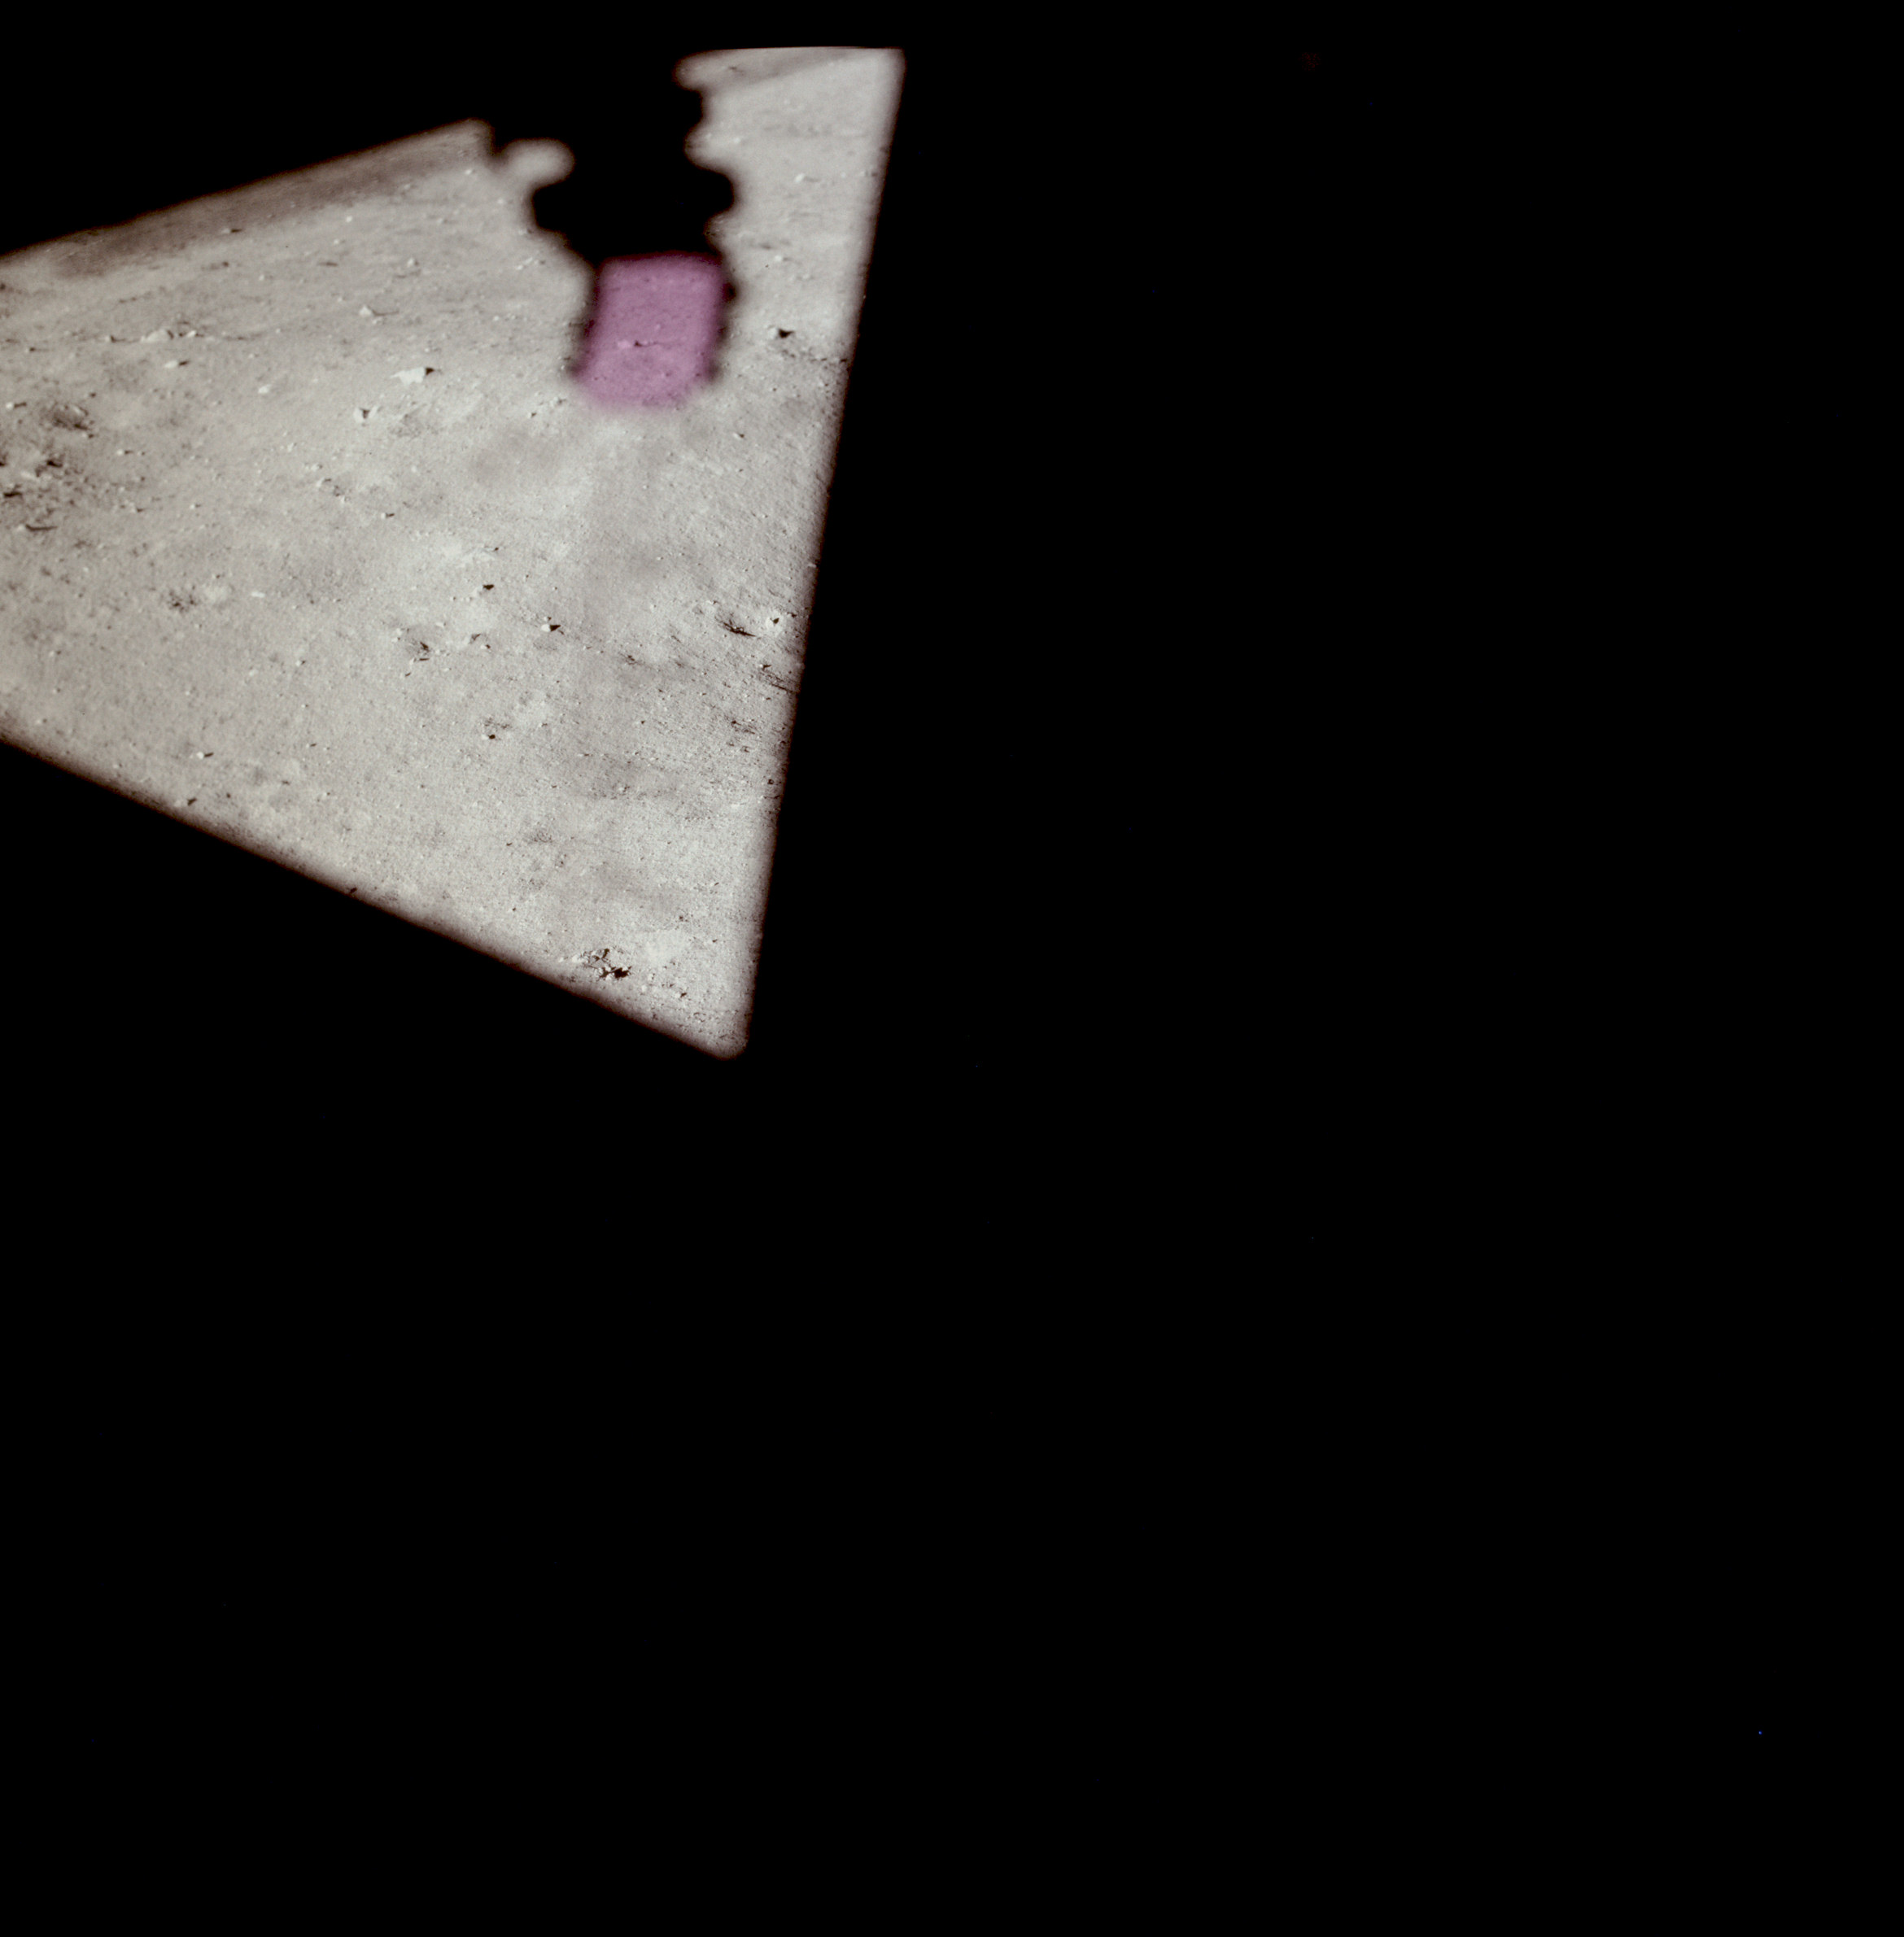 | AS11-37-5527 Tranquility Base from LM window. Image credit: Image Science and Analysis Laboratory, NASA-Johnson Space Center. |
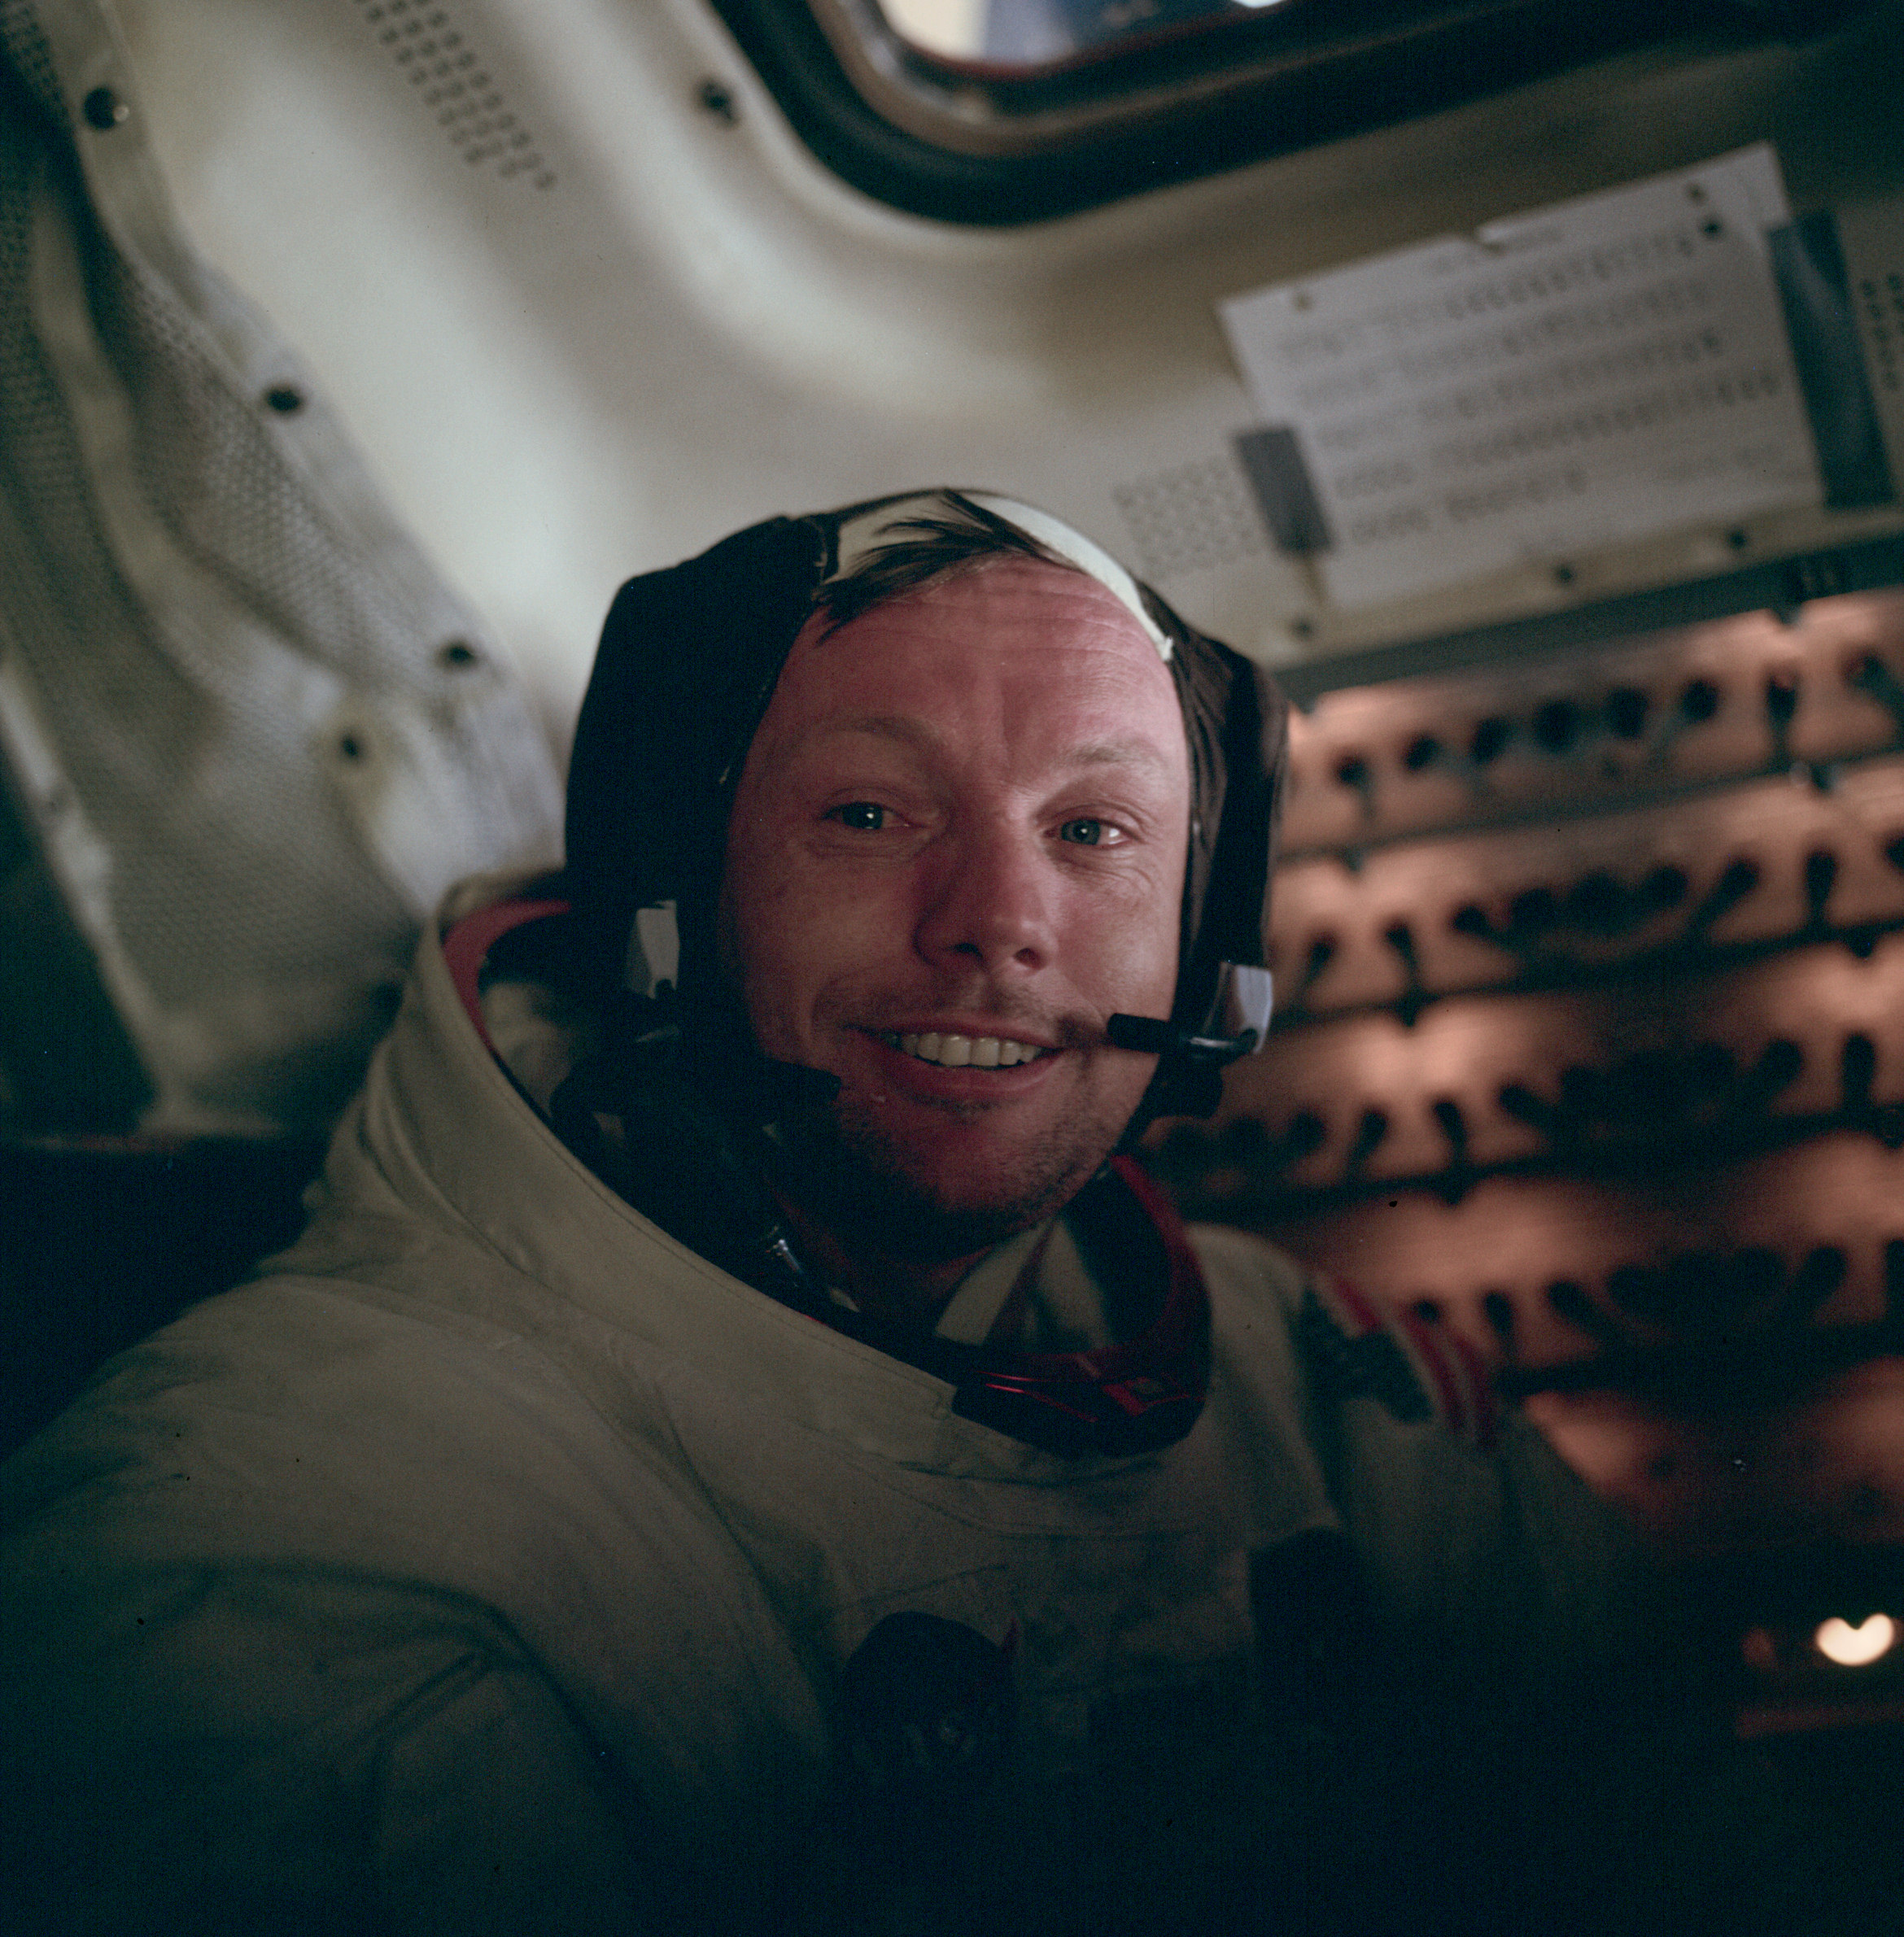 | AS11-37-5528 Neil Armstrong in the LM at Tranquility Base. Image credit: Image Science and Analysis Laboratory, NASA-Johnson Space Center. |
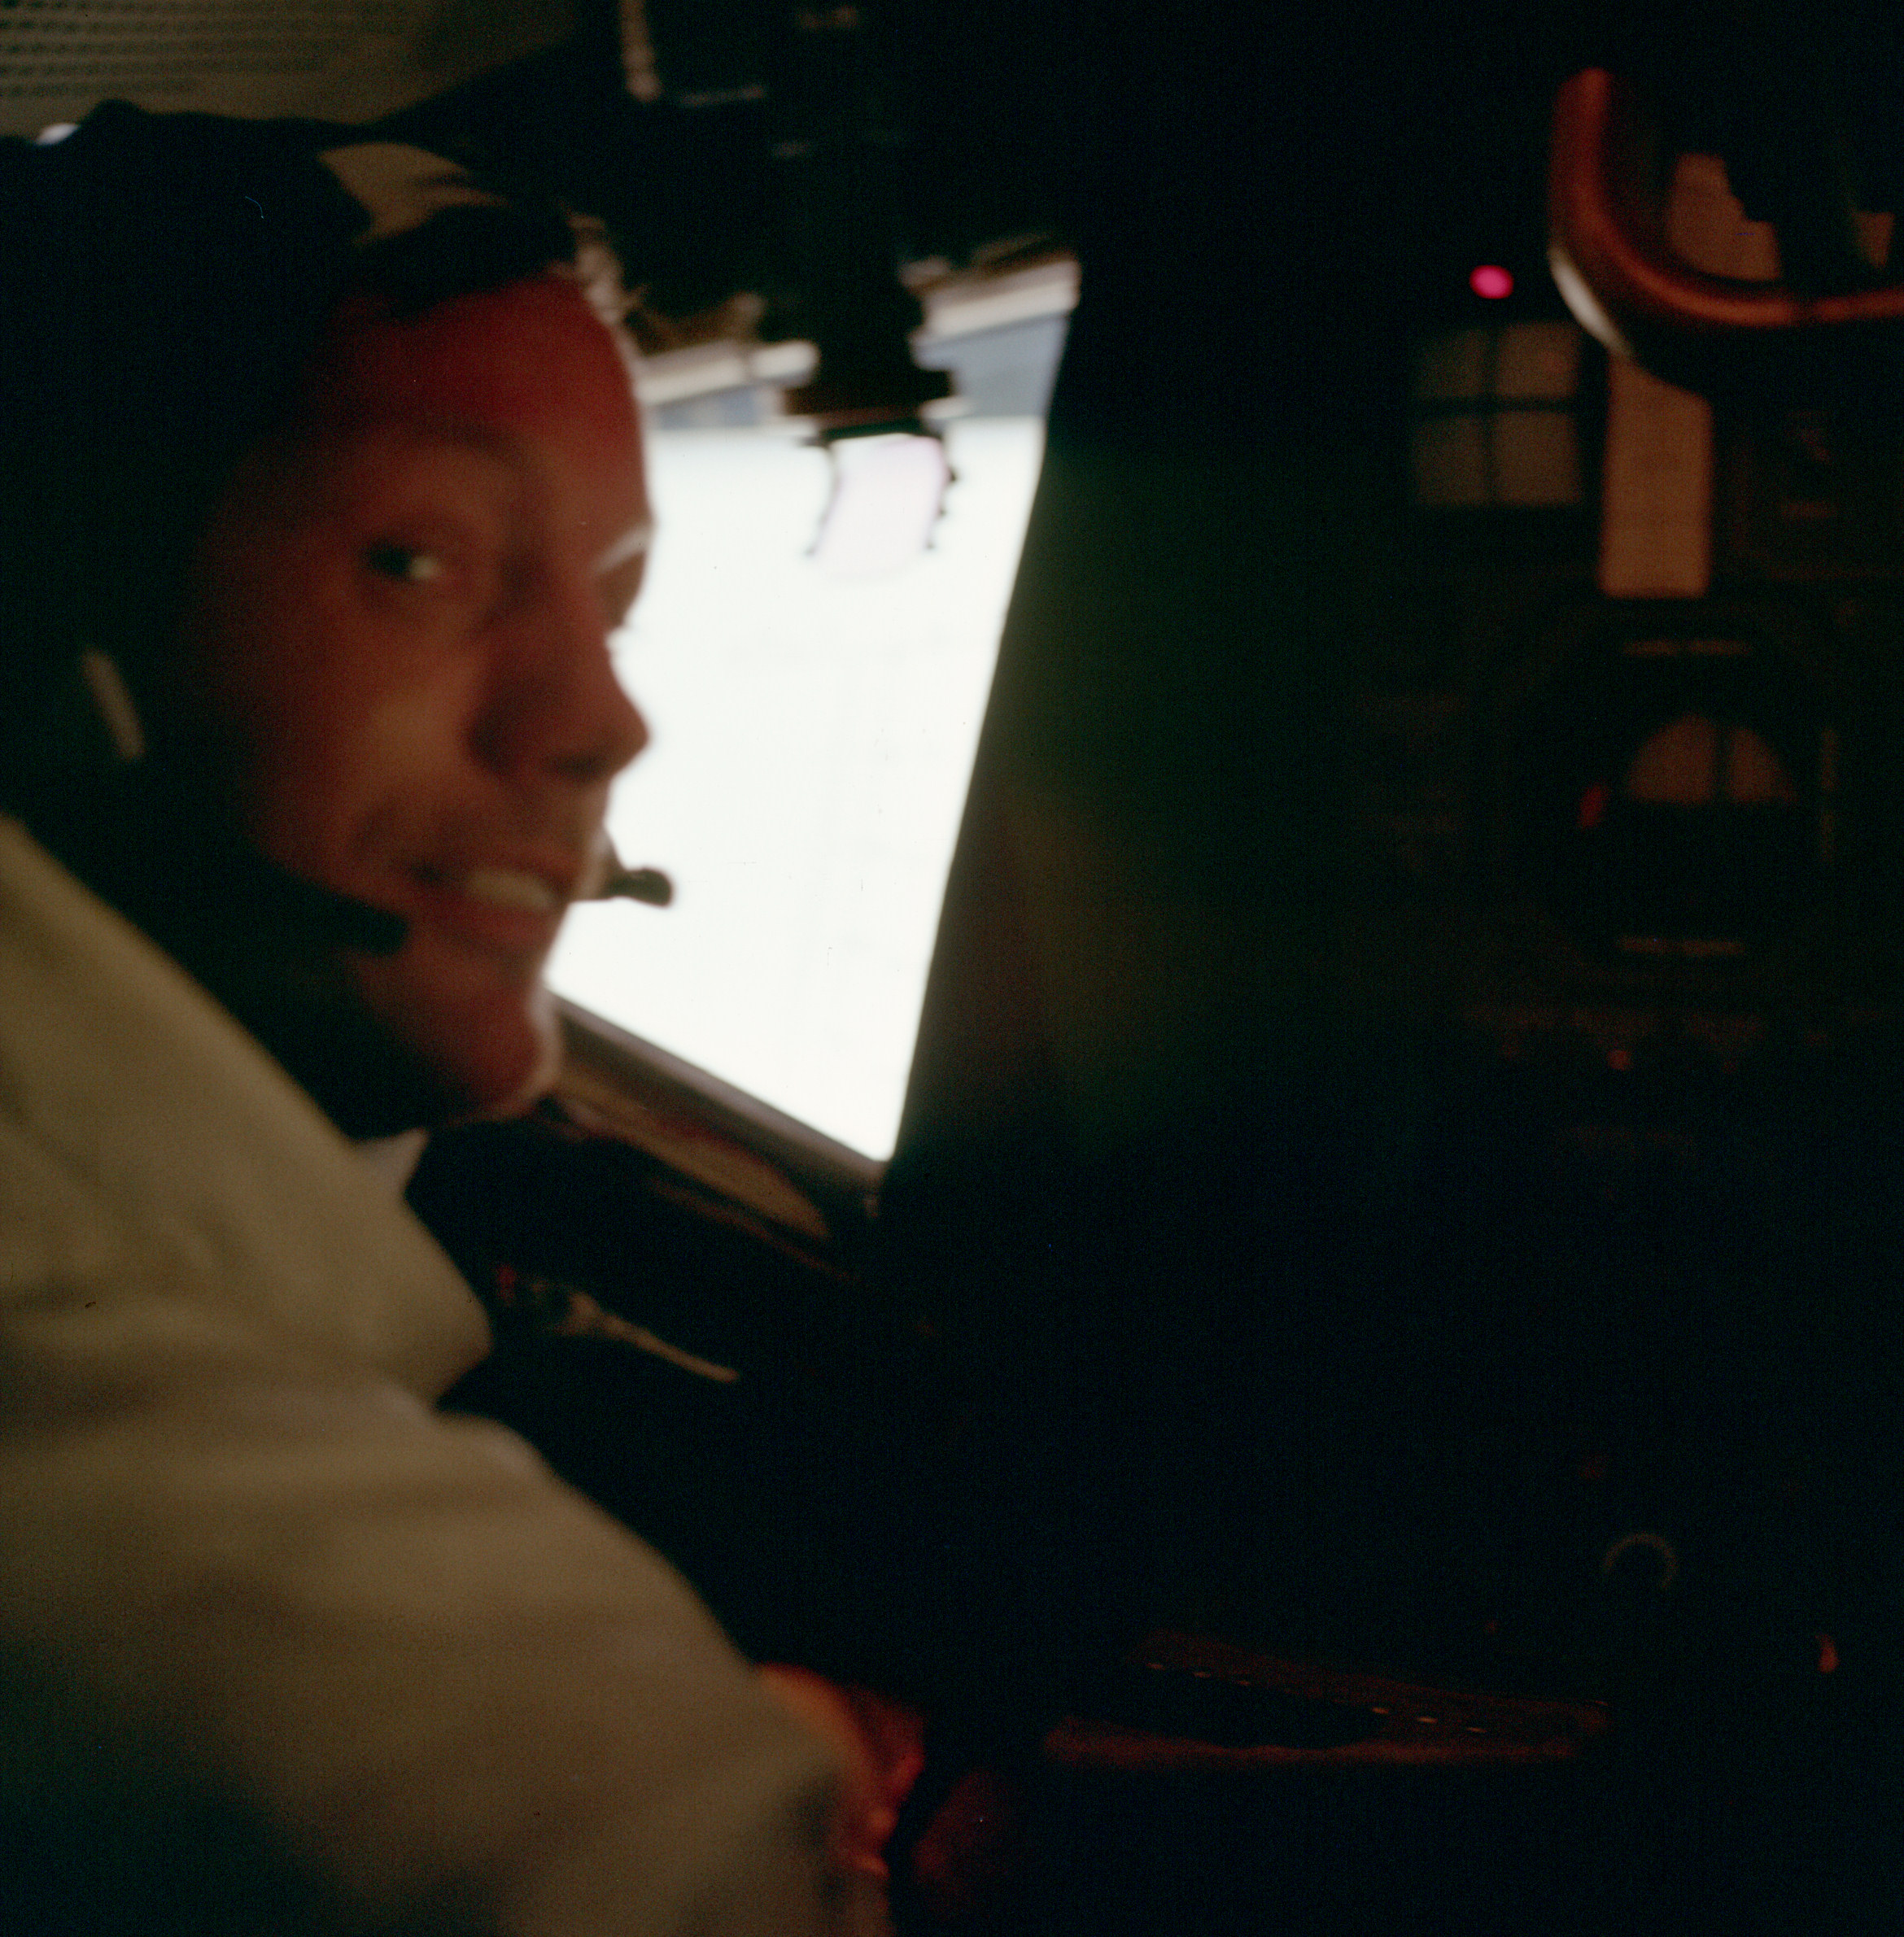 | AS11-37-5529 Neil Armstrong in the LM at Tranquility Base. Image credit: Image Science and Analysis Laboratory, NASA-Johnson Space Center. |
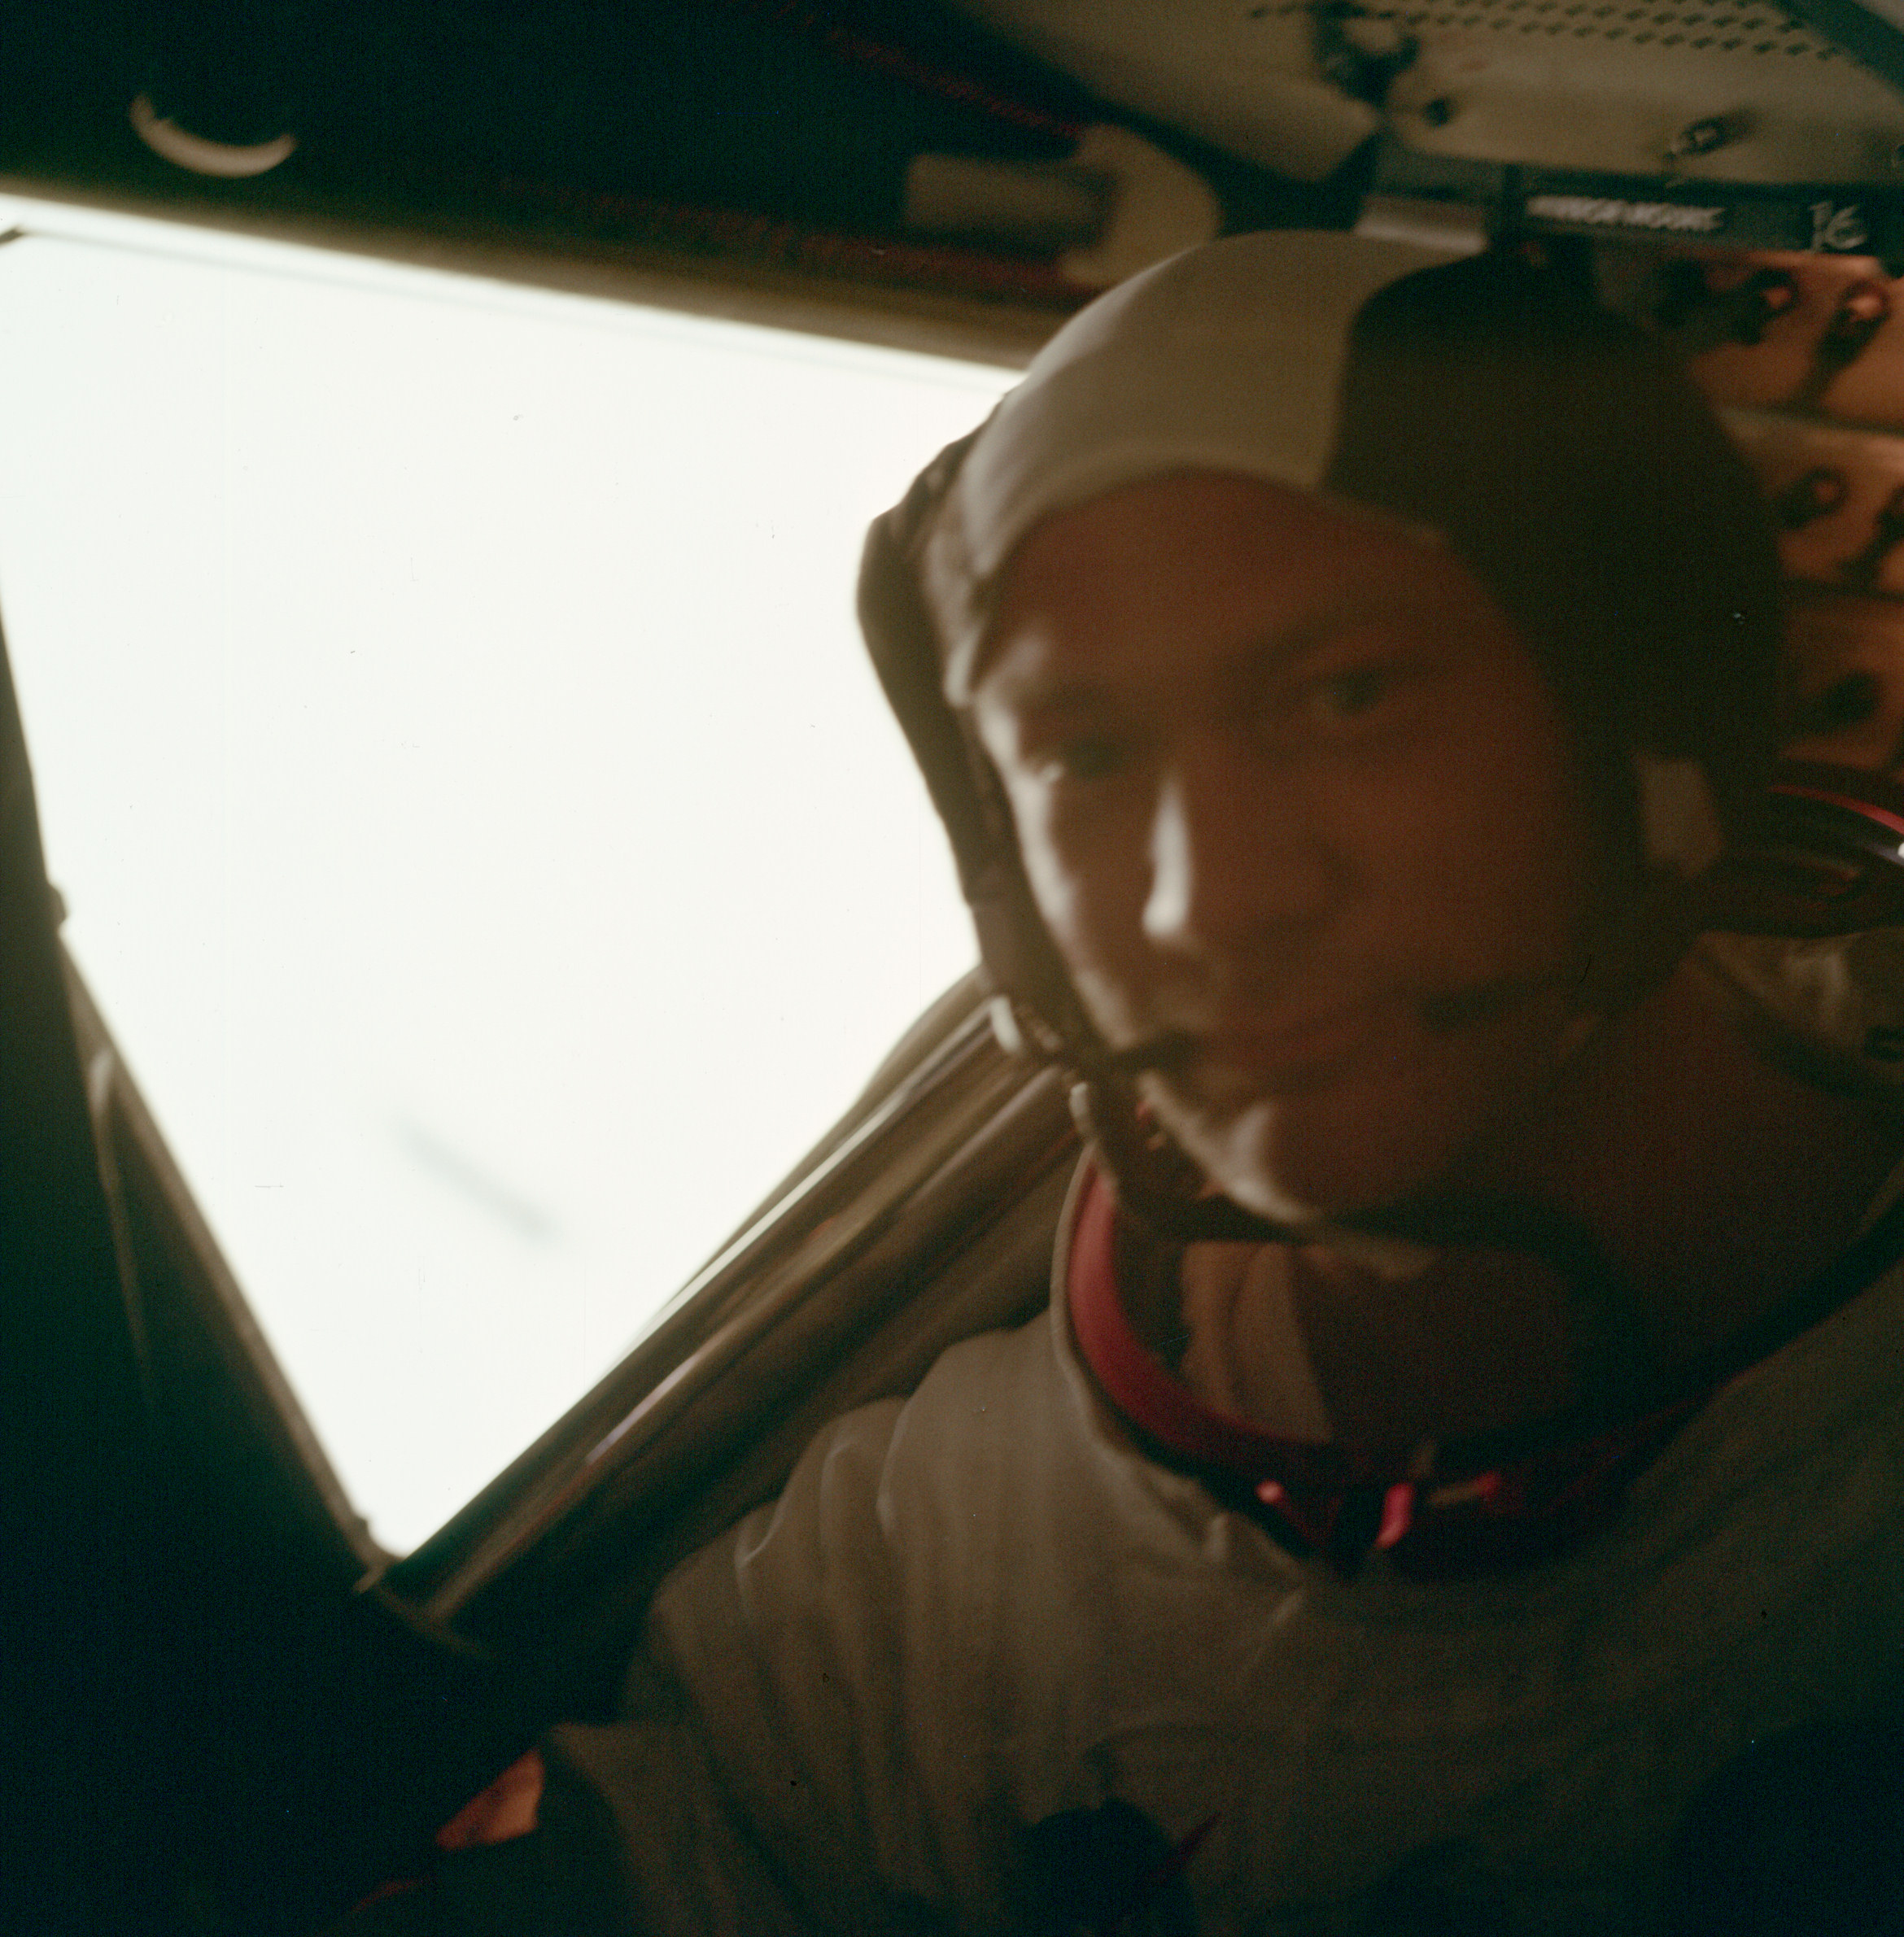 | AS11-37-5530 Buzz Aldrin in the LM at Tranquility Base. Image credit: Image Science and Analysis Laboratory, NASA-Johnson Space Center. |
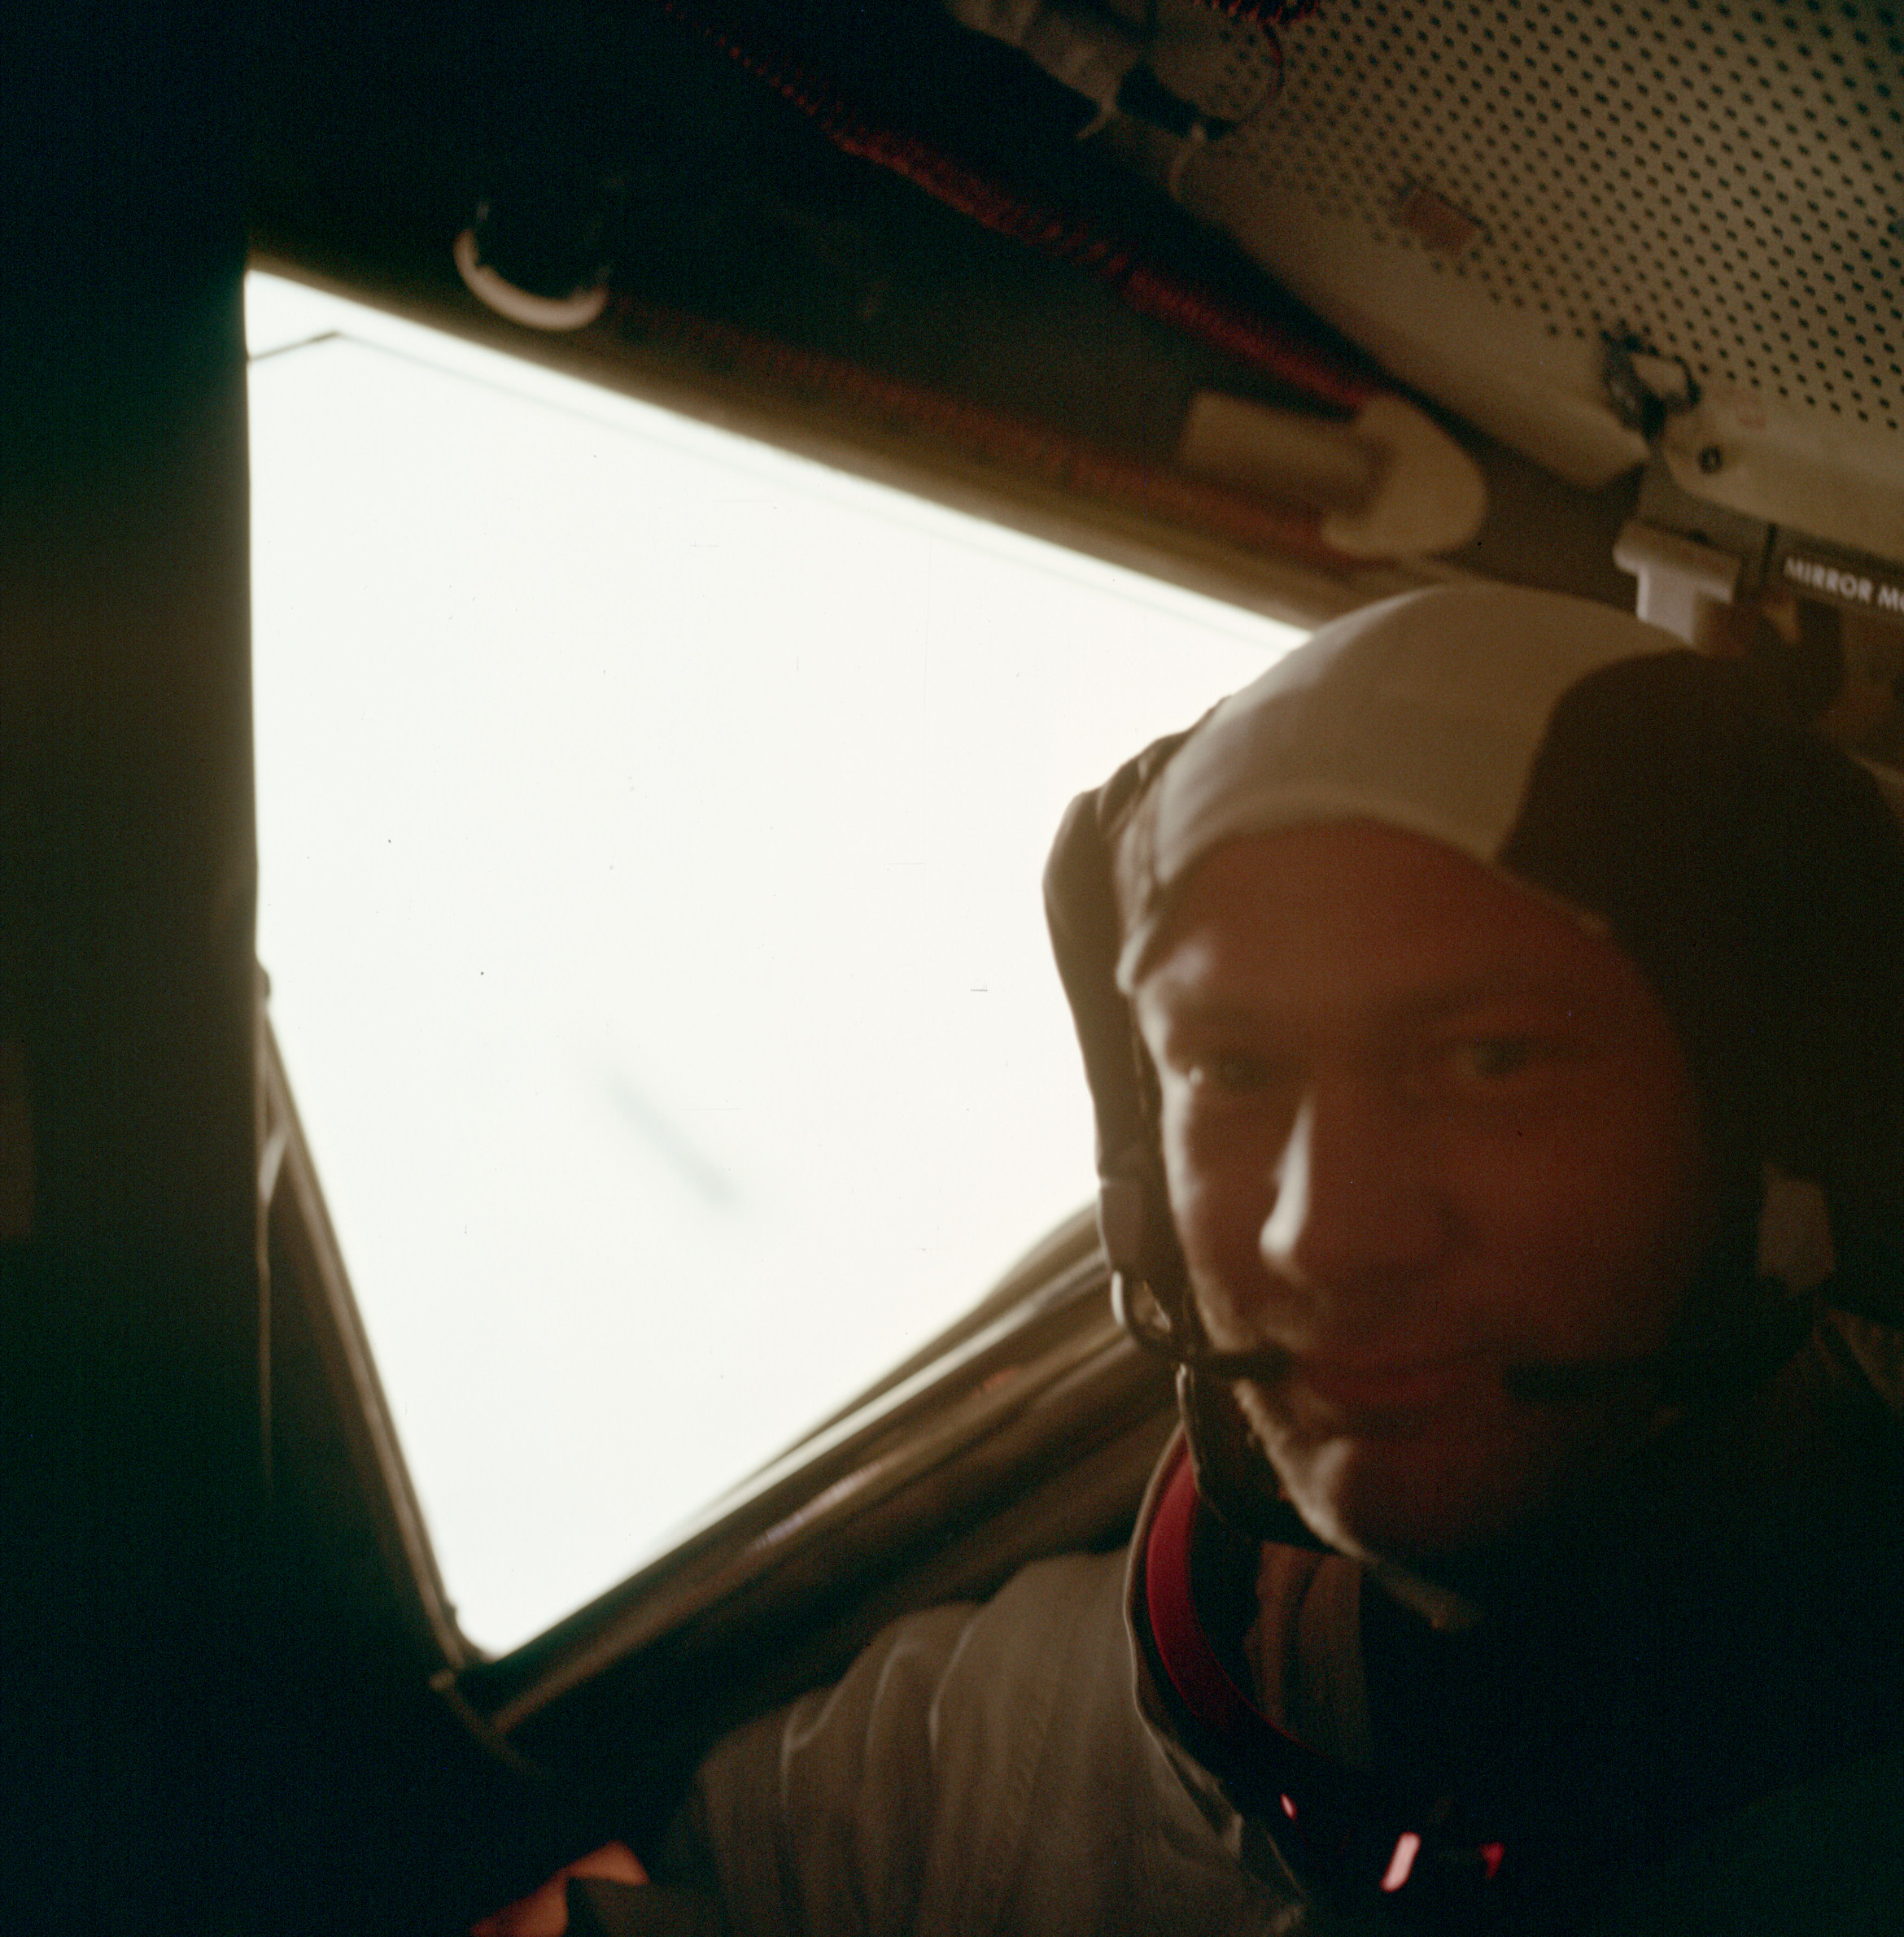 | AS11-37-5531 Buzz Aldrin in the LM at Tranquility Base. Image credit: Image Science and Analysis Laboratory, NASA-Johnson Space Center. |
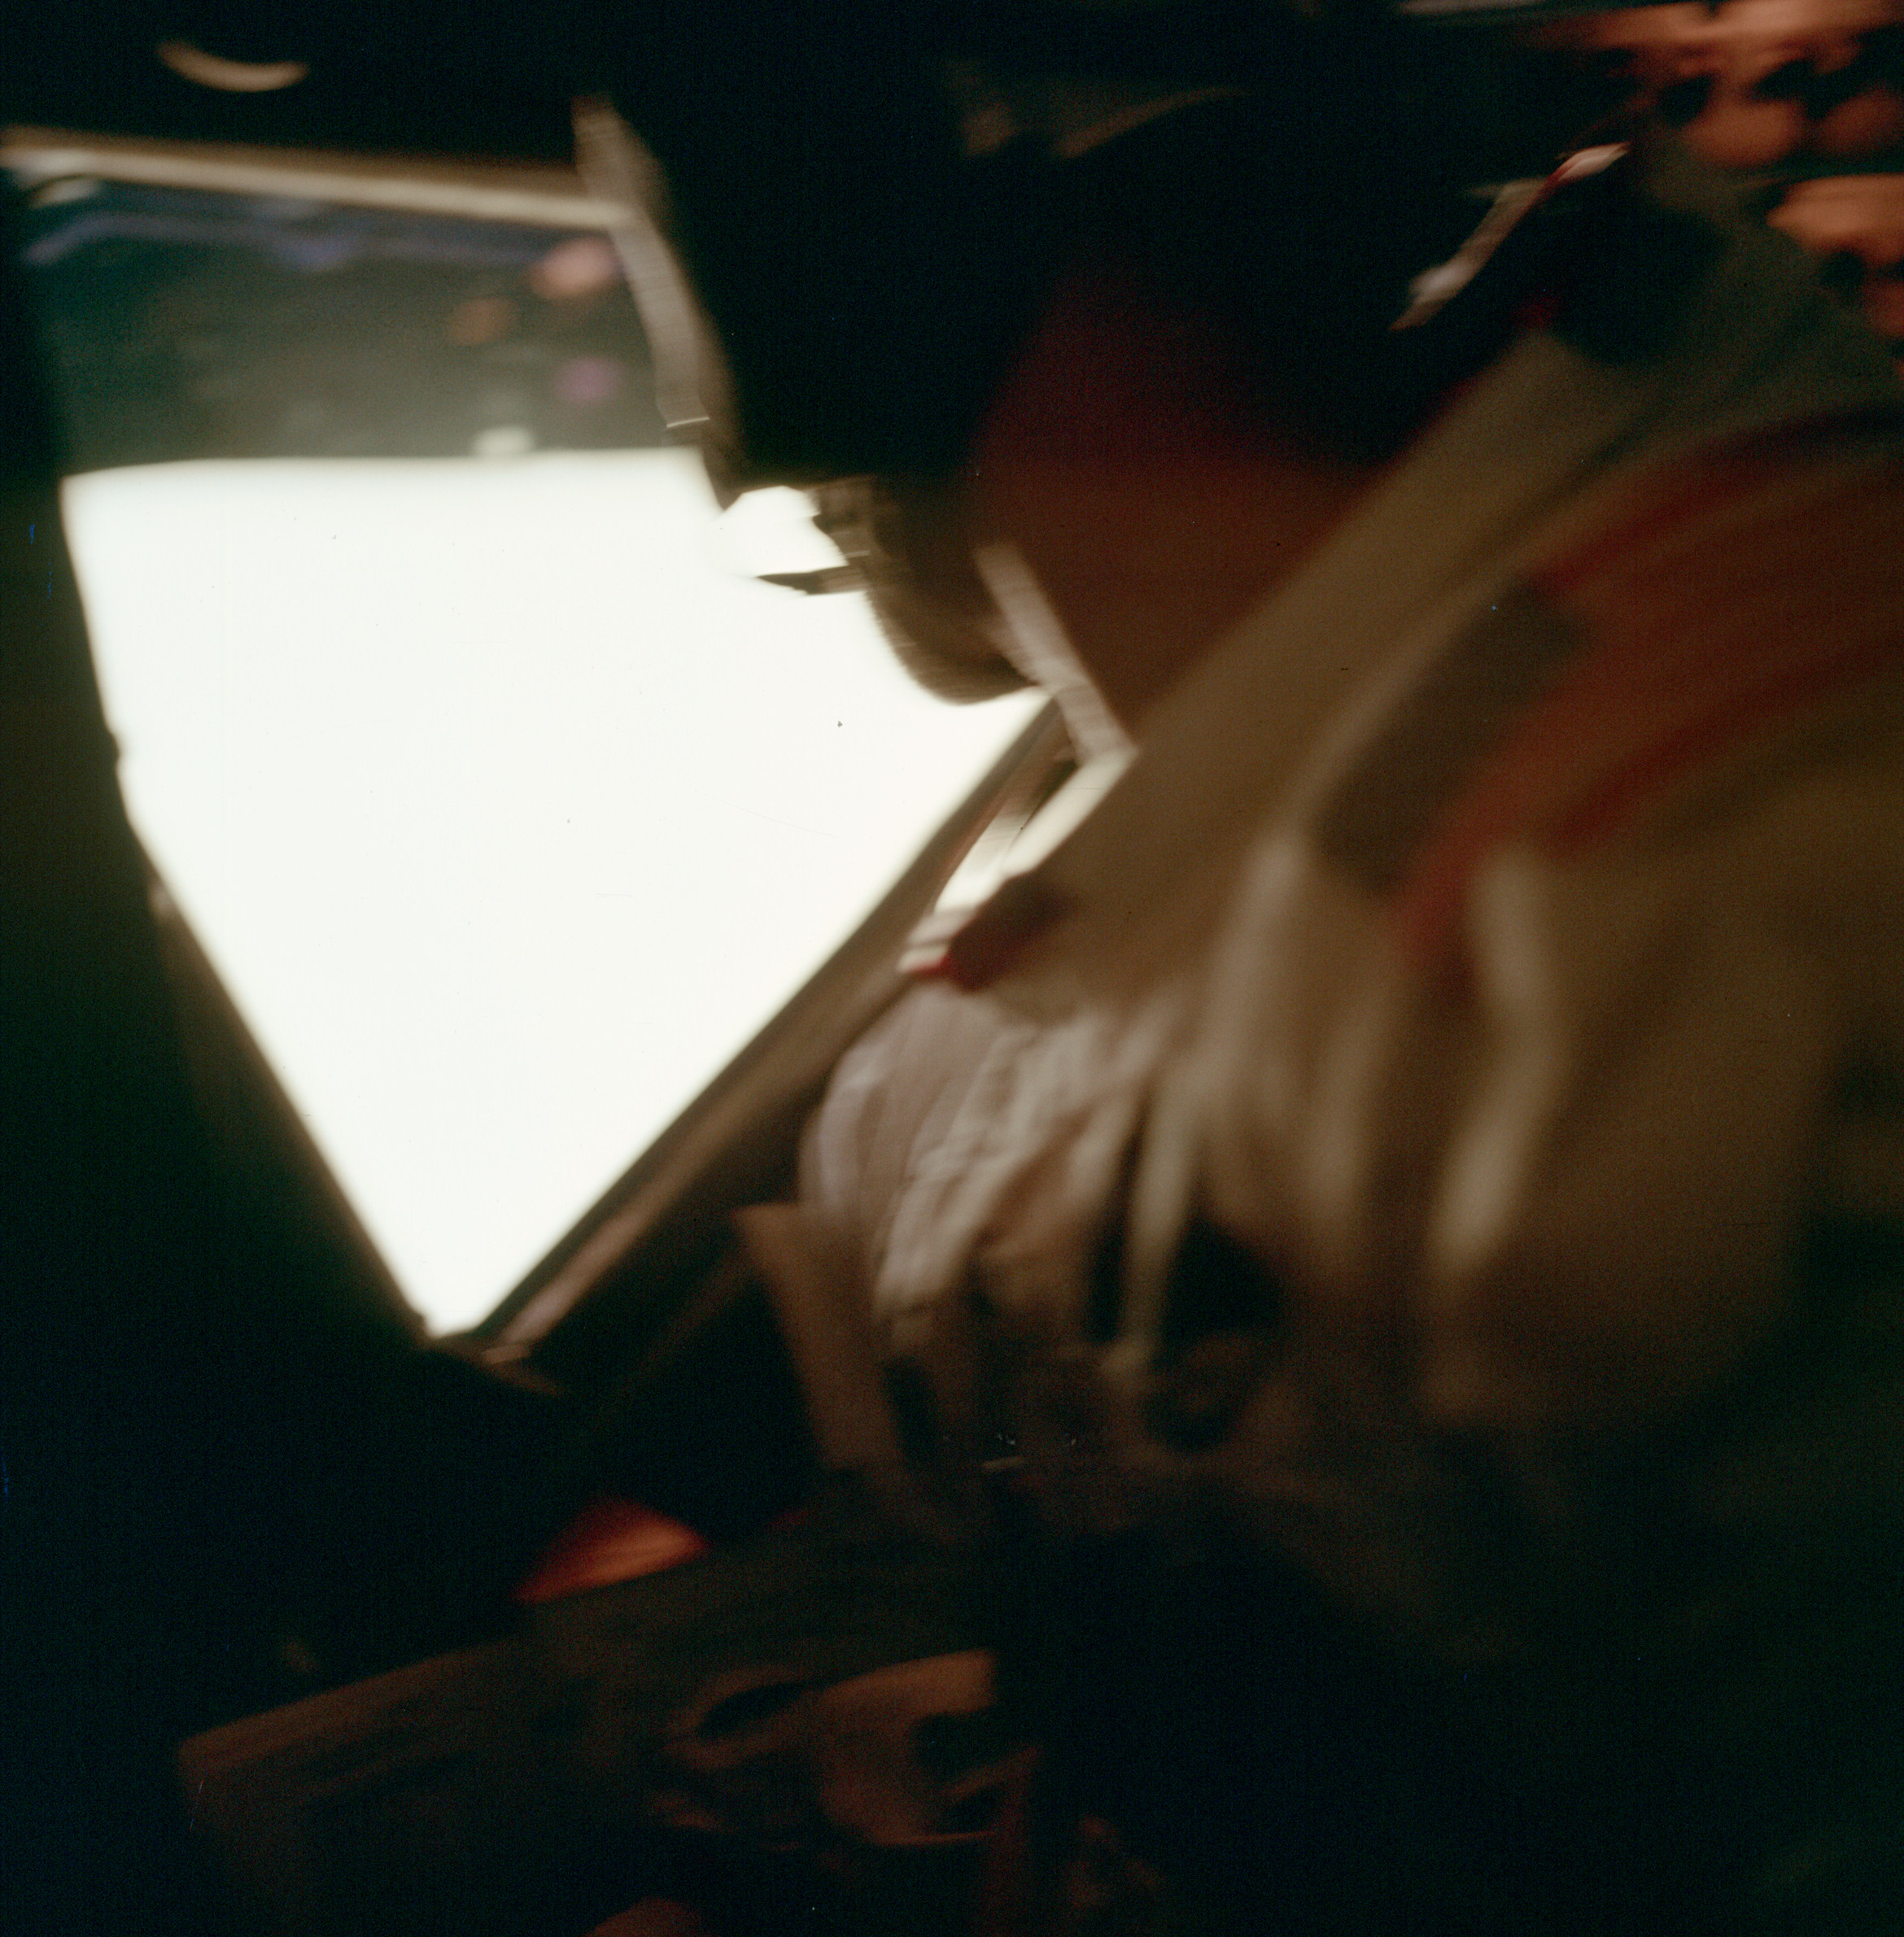 | AS11-37-5532 Buzz Aldrin in the LM at Tranquility Base. Image credit: Image Science and Analysis Laboratory, NASA-Johnson Space Center. |
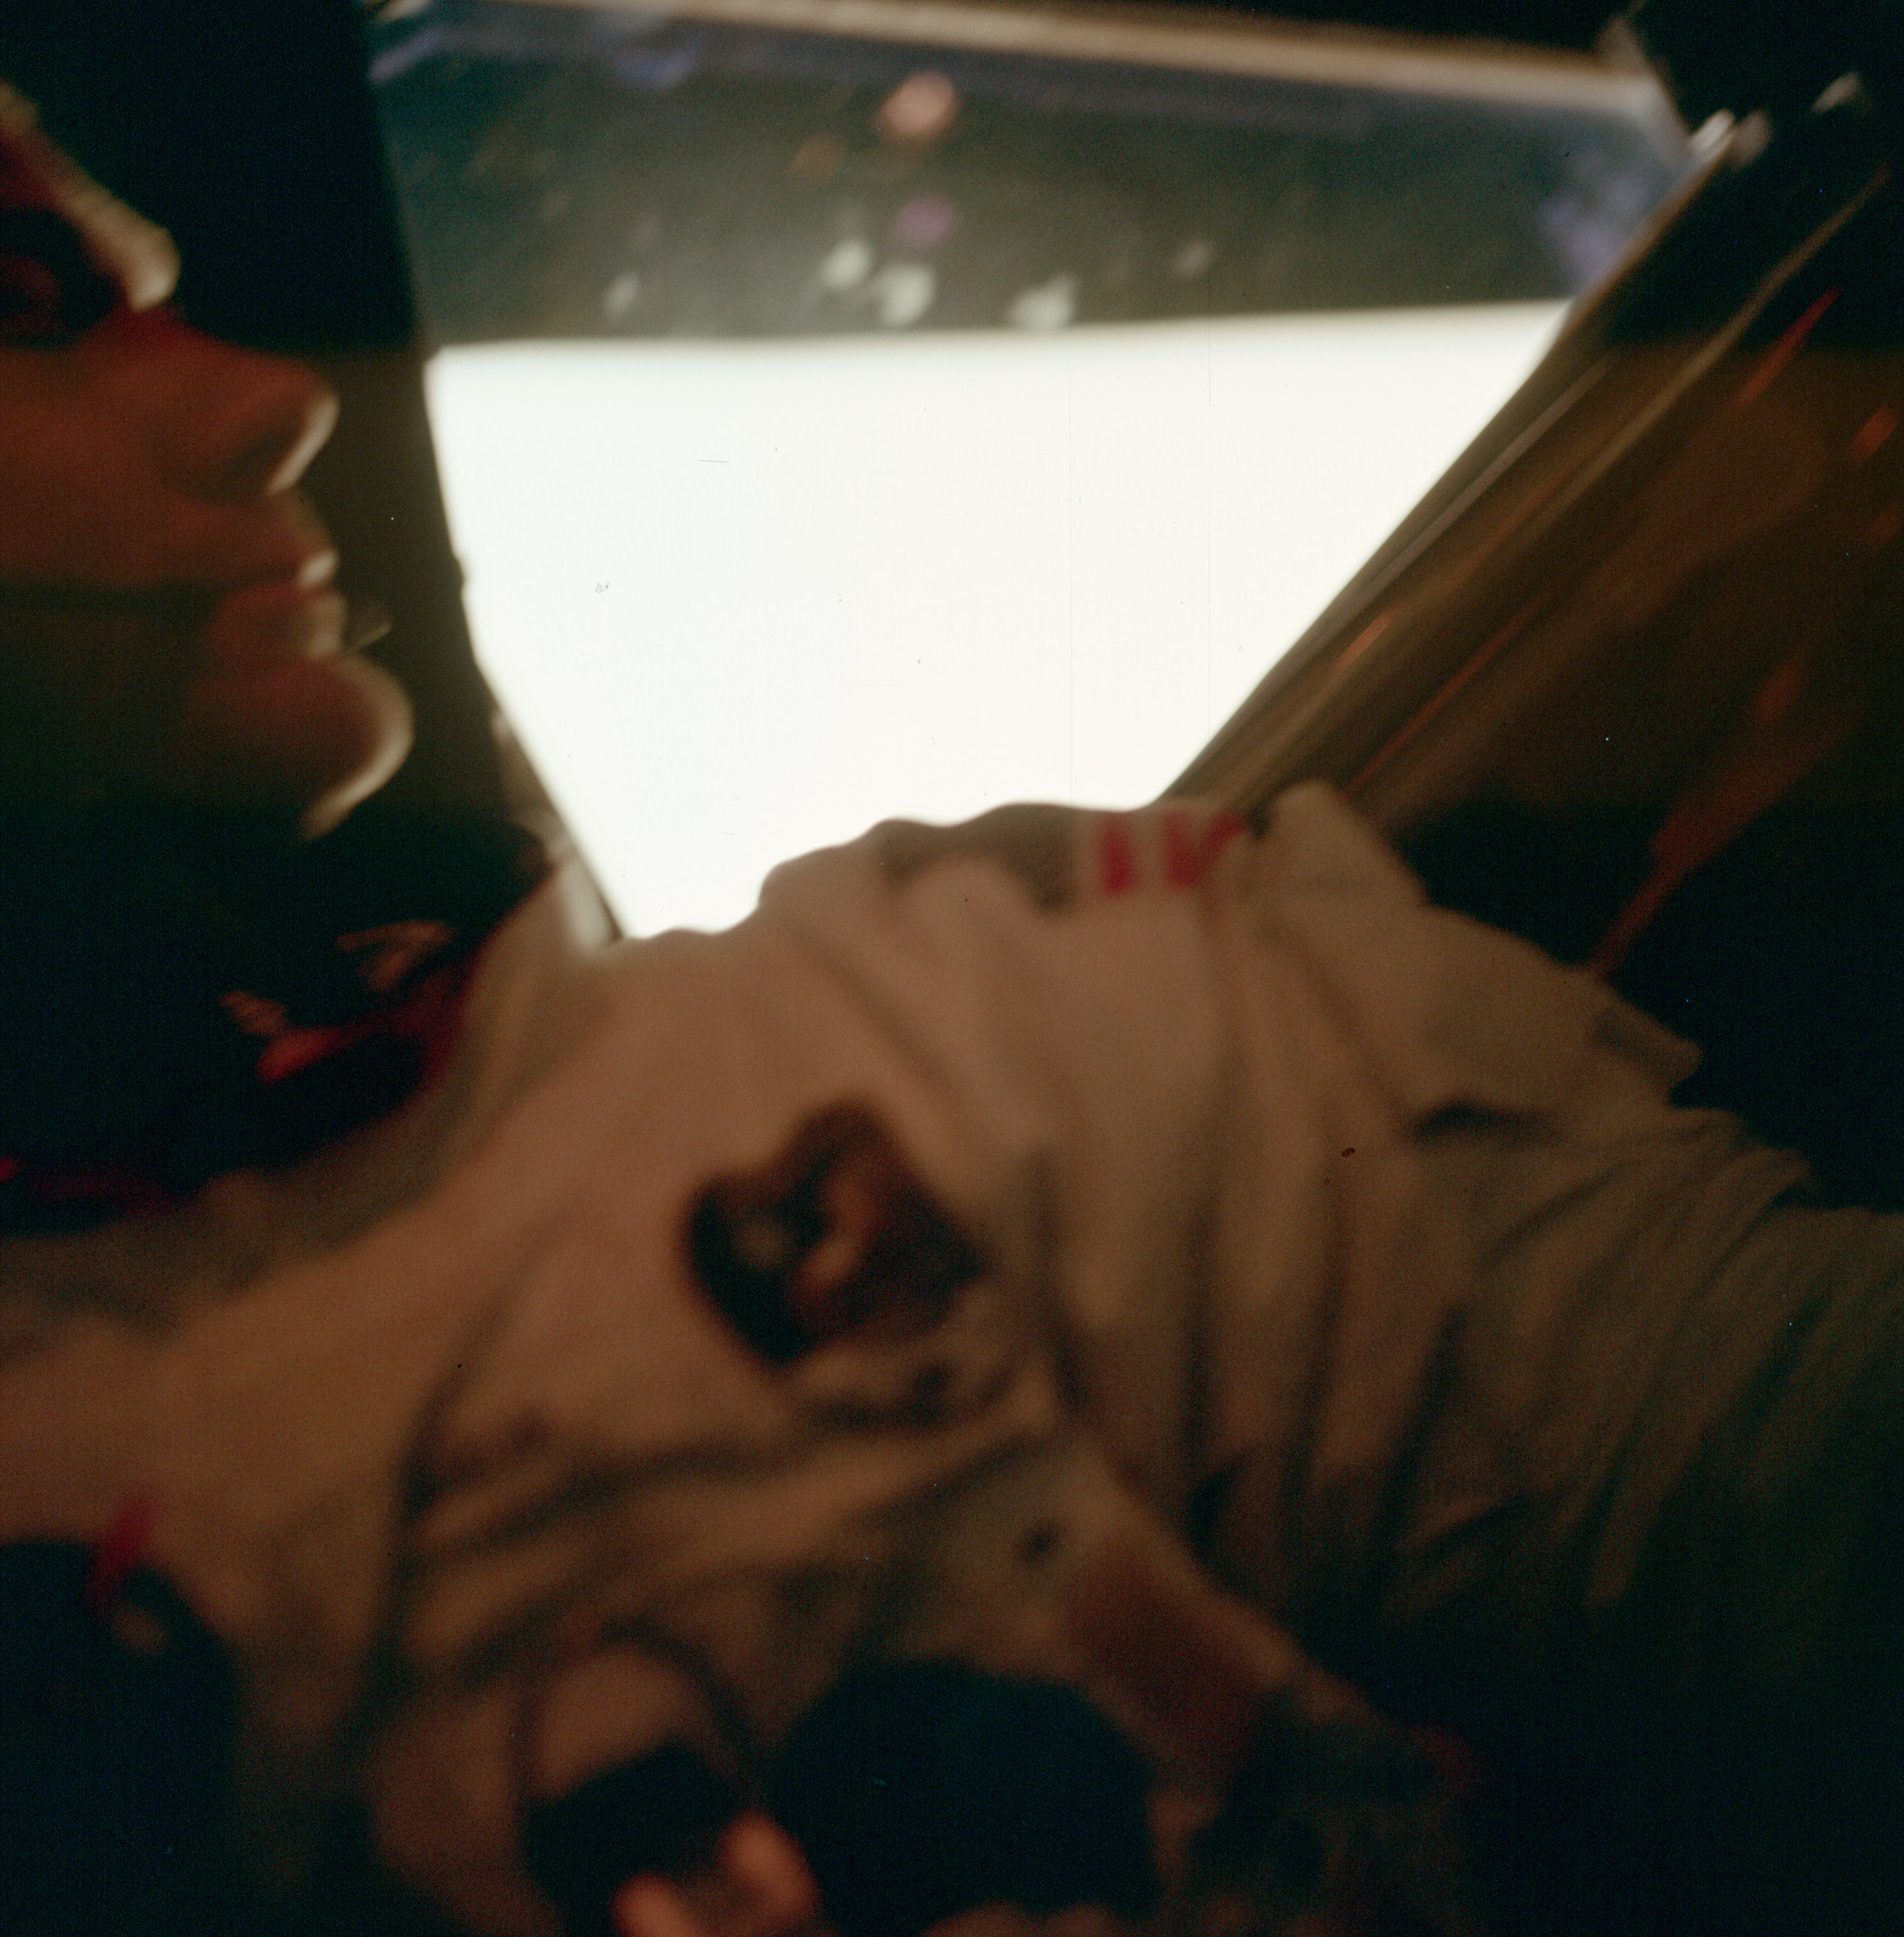 | AS11-37-5533 Buzz Aldrin in the LM at Tranquility Base. Image credit: Image Science and Analysis Laboratory, NASA-Johnson Space Center. |
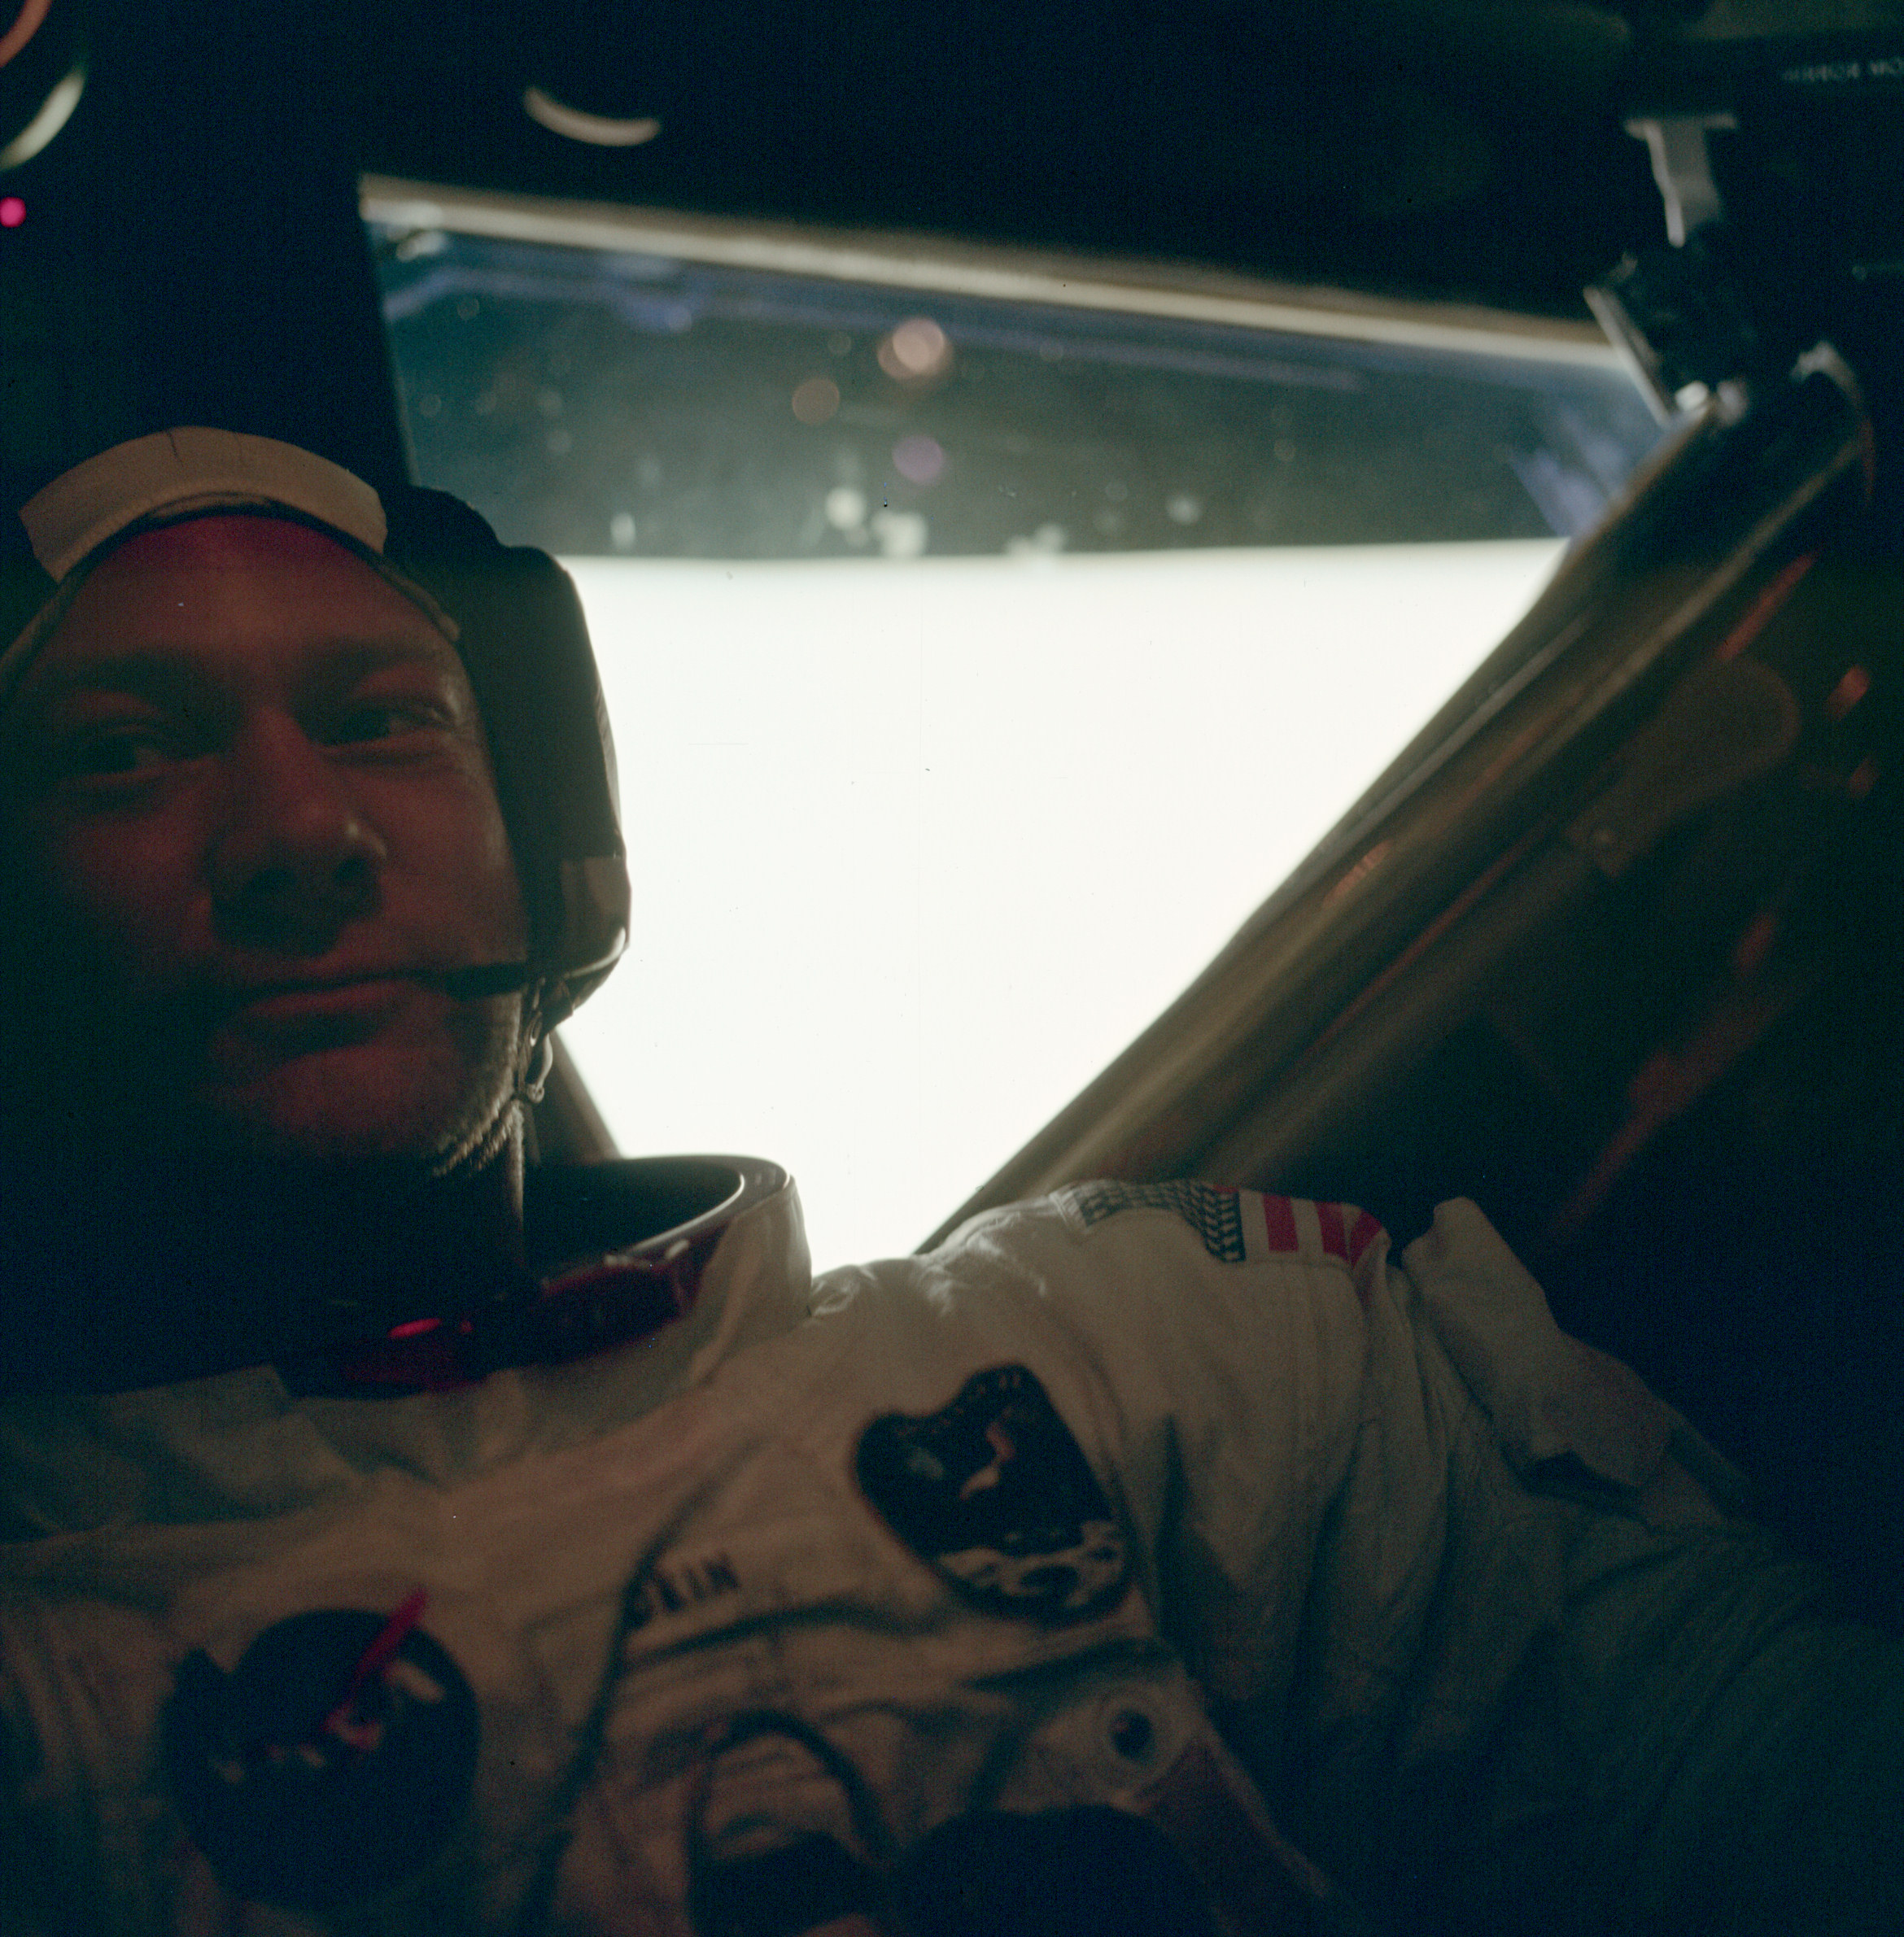 | AS11-37-5534 Buzz Aldrin in the LM at Tranquility Base. Image credit: Image Science and Analysis Laboratory, NASA-Johnson Space Center. |
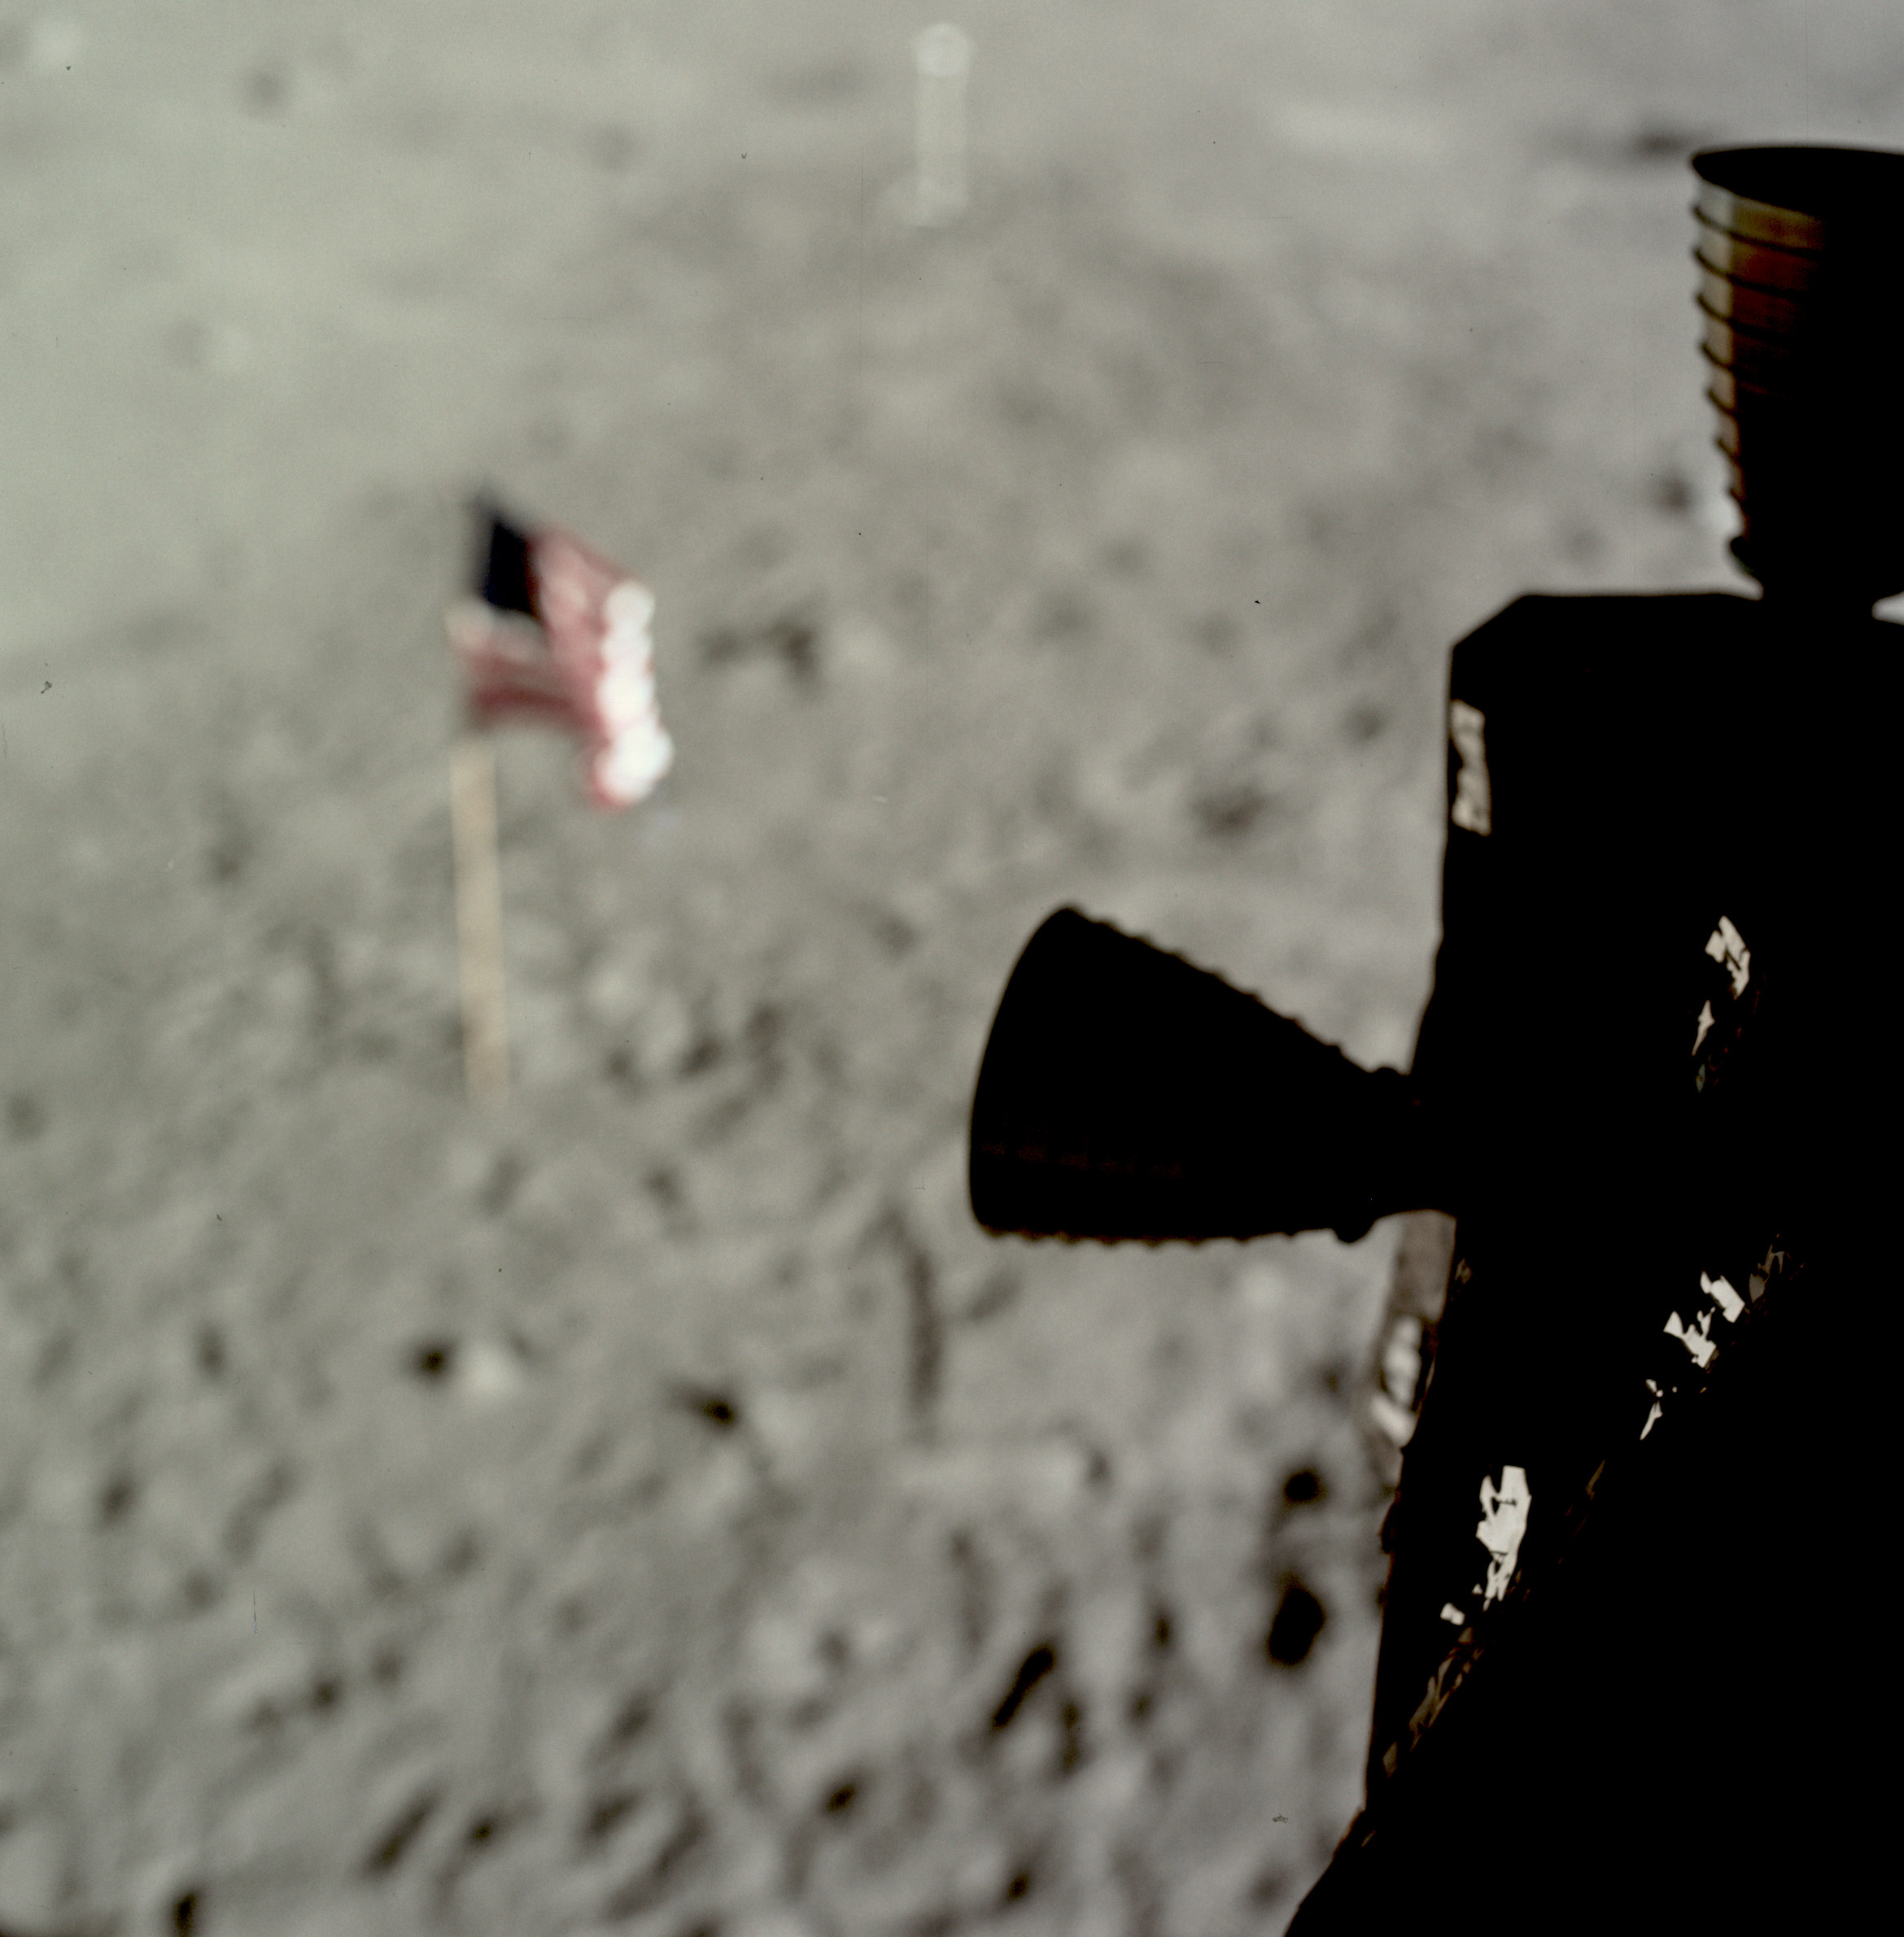 | AS11-37-5535 Tranquility Base and flag from LM window. Thruster quad in foreground. Image credit: Image Science and Analysis Laboratory, NASA-Johnson Space Center. |
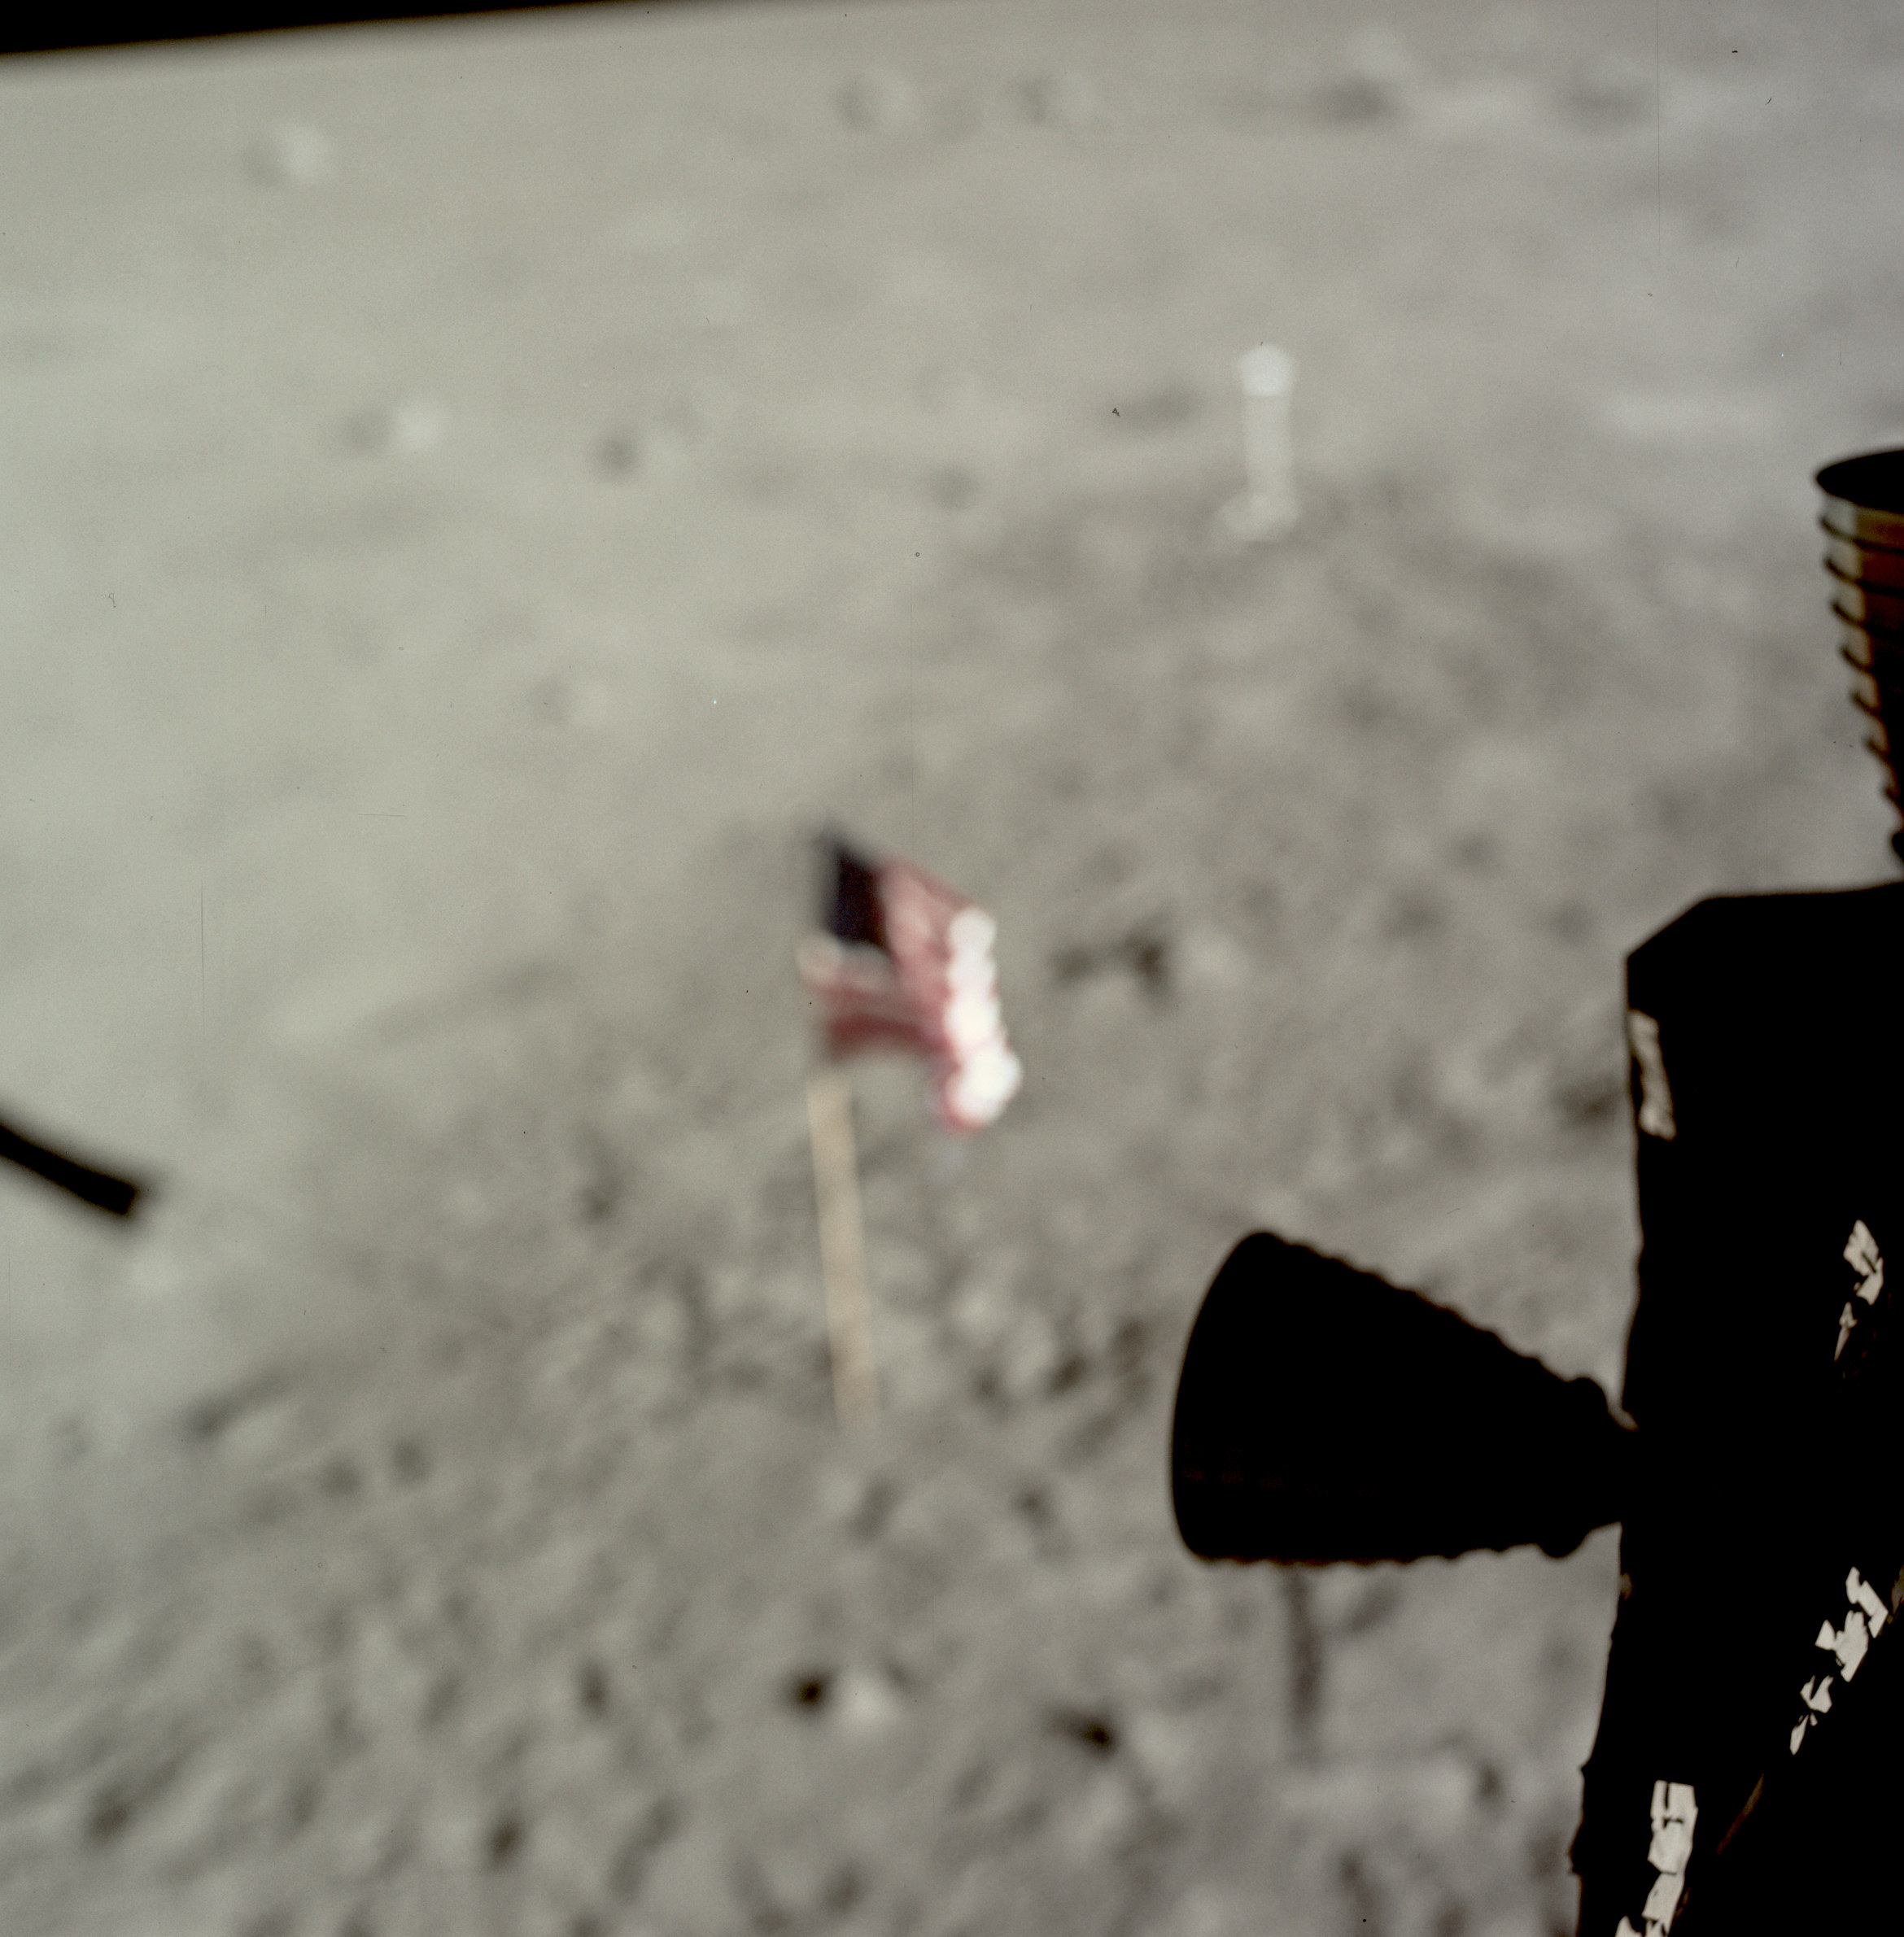 | AS11-37-5536 Tranquility Base and flag from LM window. Thruster quad in foreground. Image credit: Image Science and Analysis Laboratory, NASA-Johnson Space Center. |
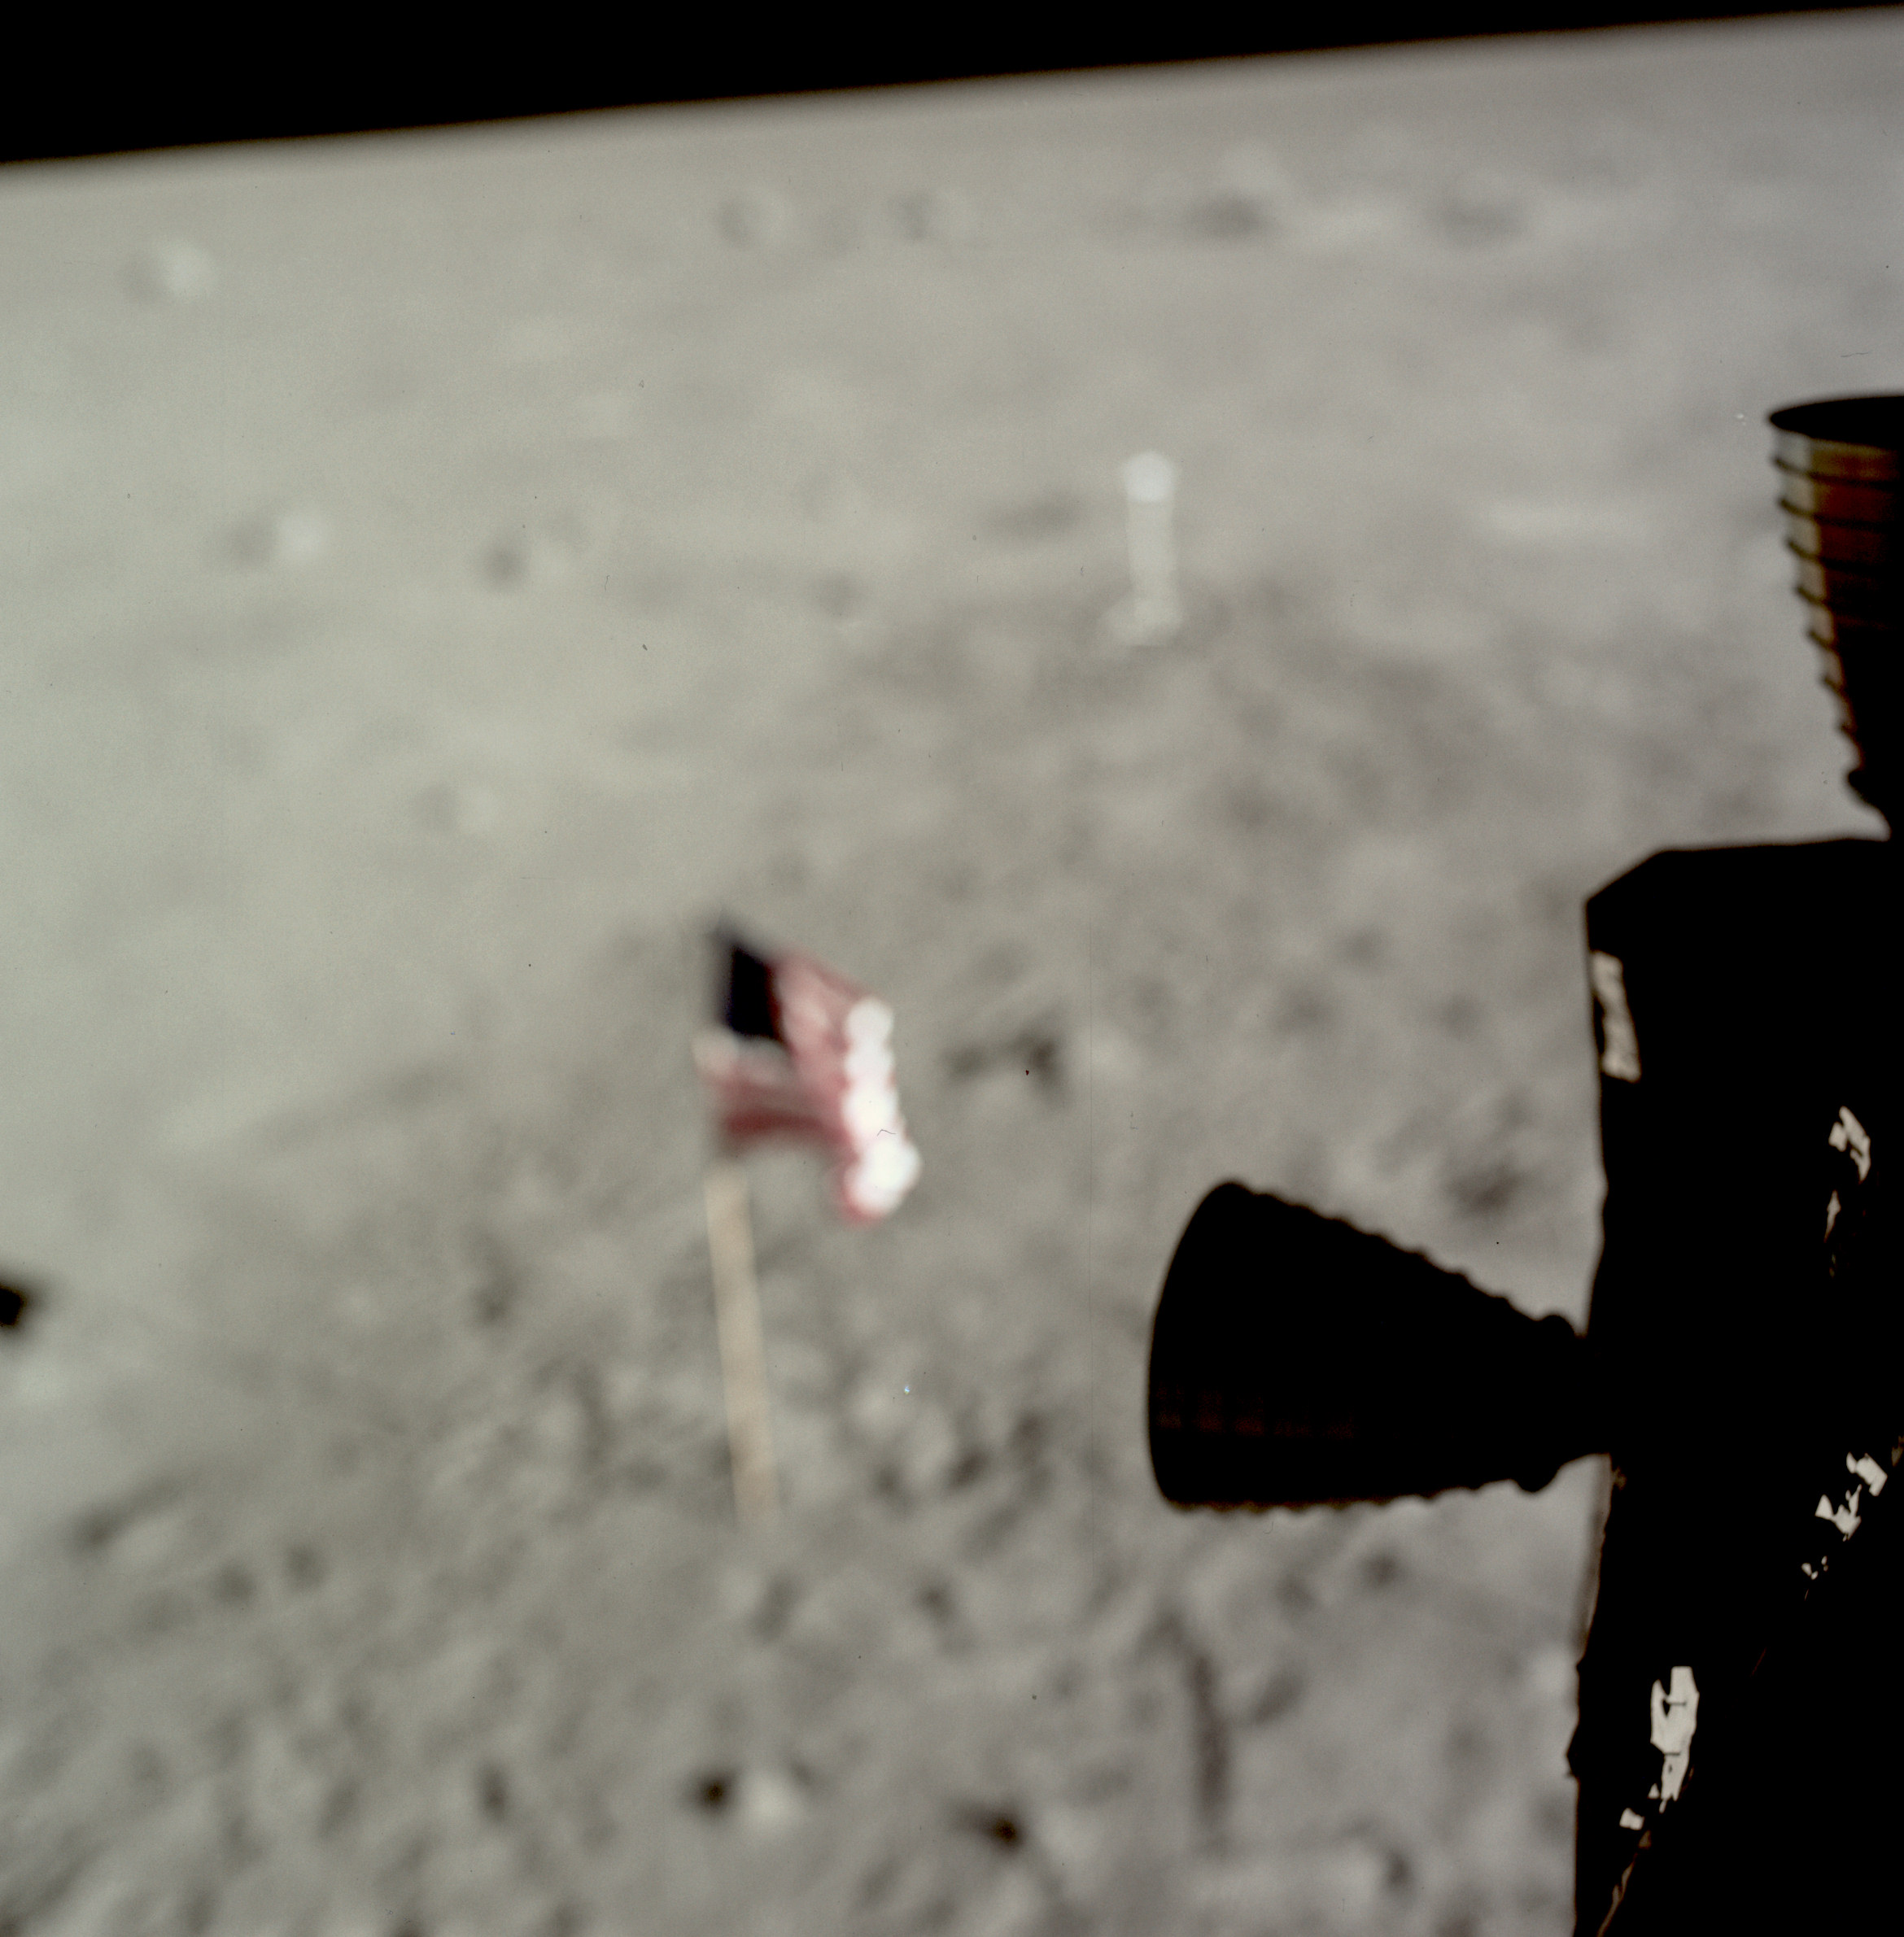 | AS11-37-5537 Tranquility Base and flag from LM window. Thruster quad in foreground. Image credit: Image Science and Analysis Laboratory, NASA-Johnson Space Center. |
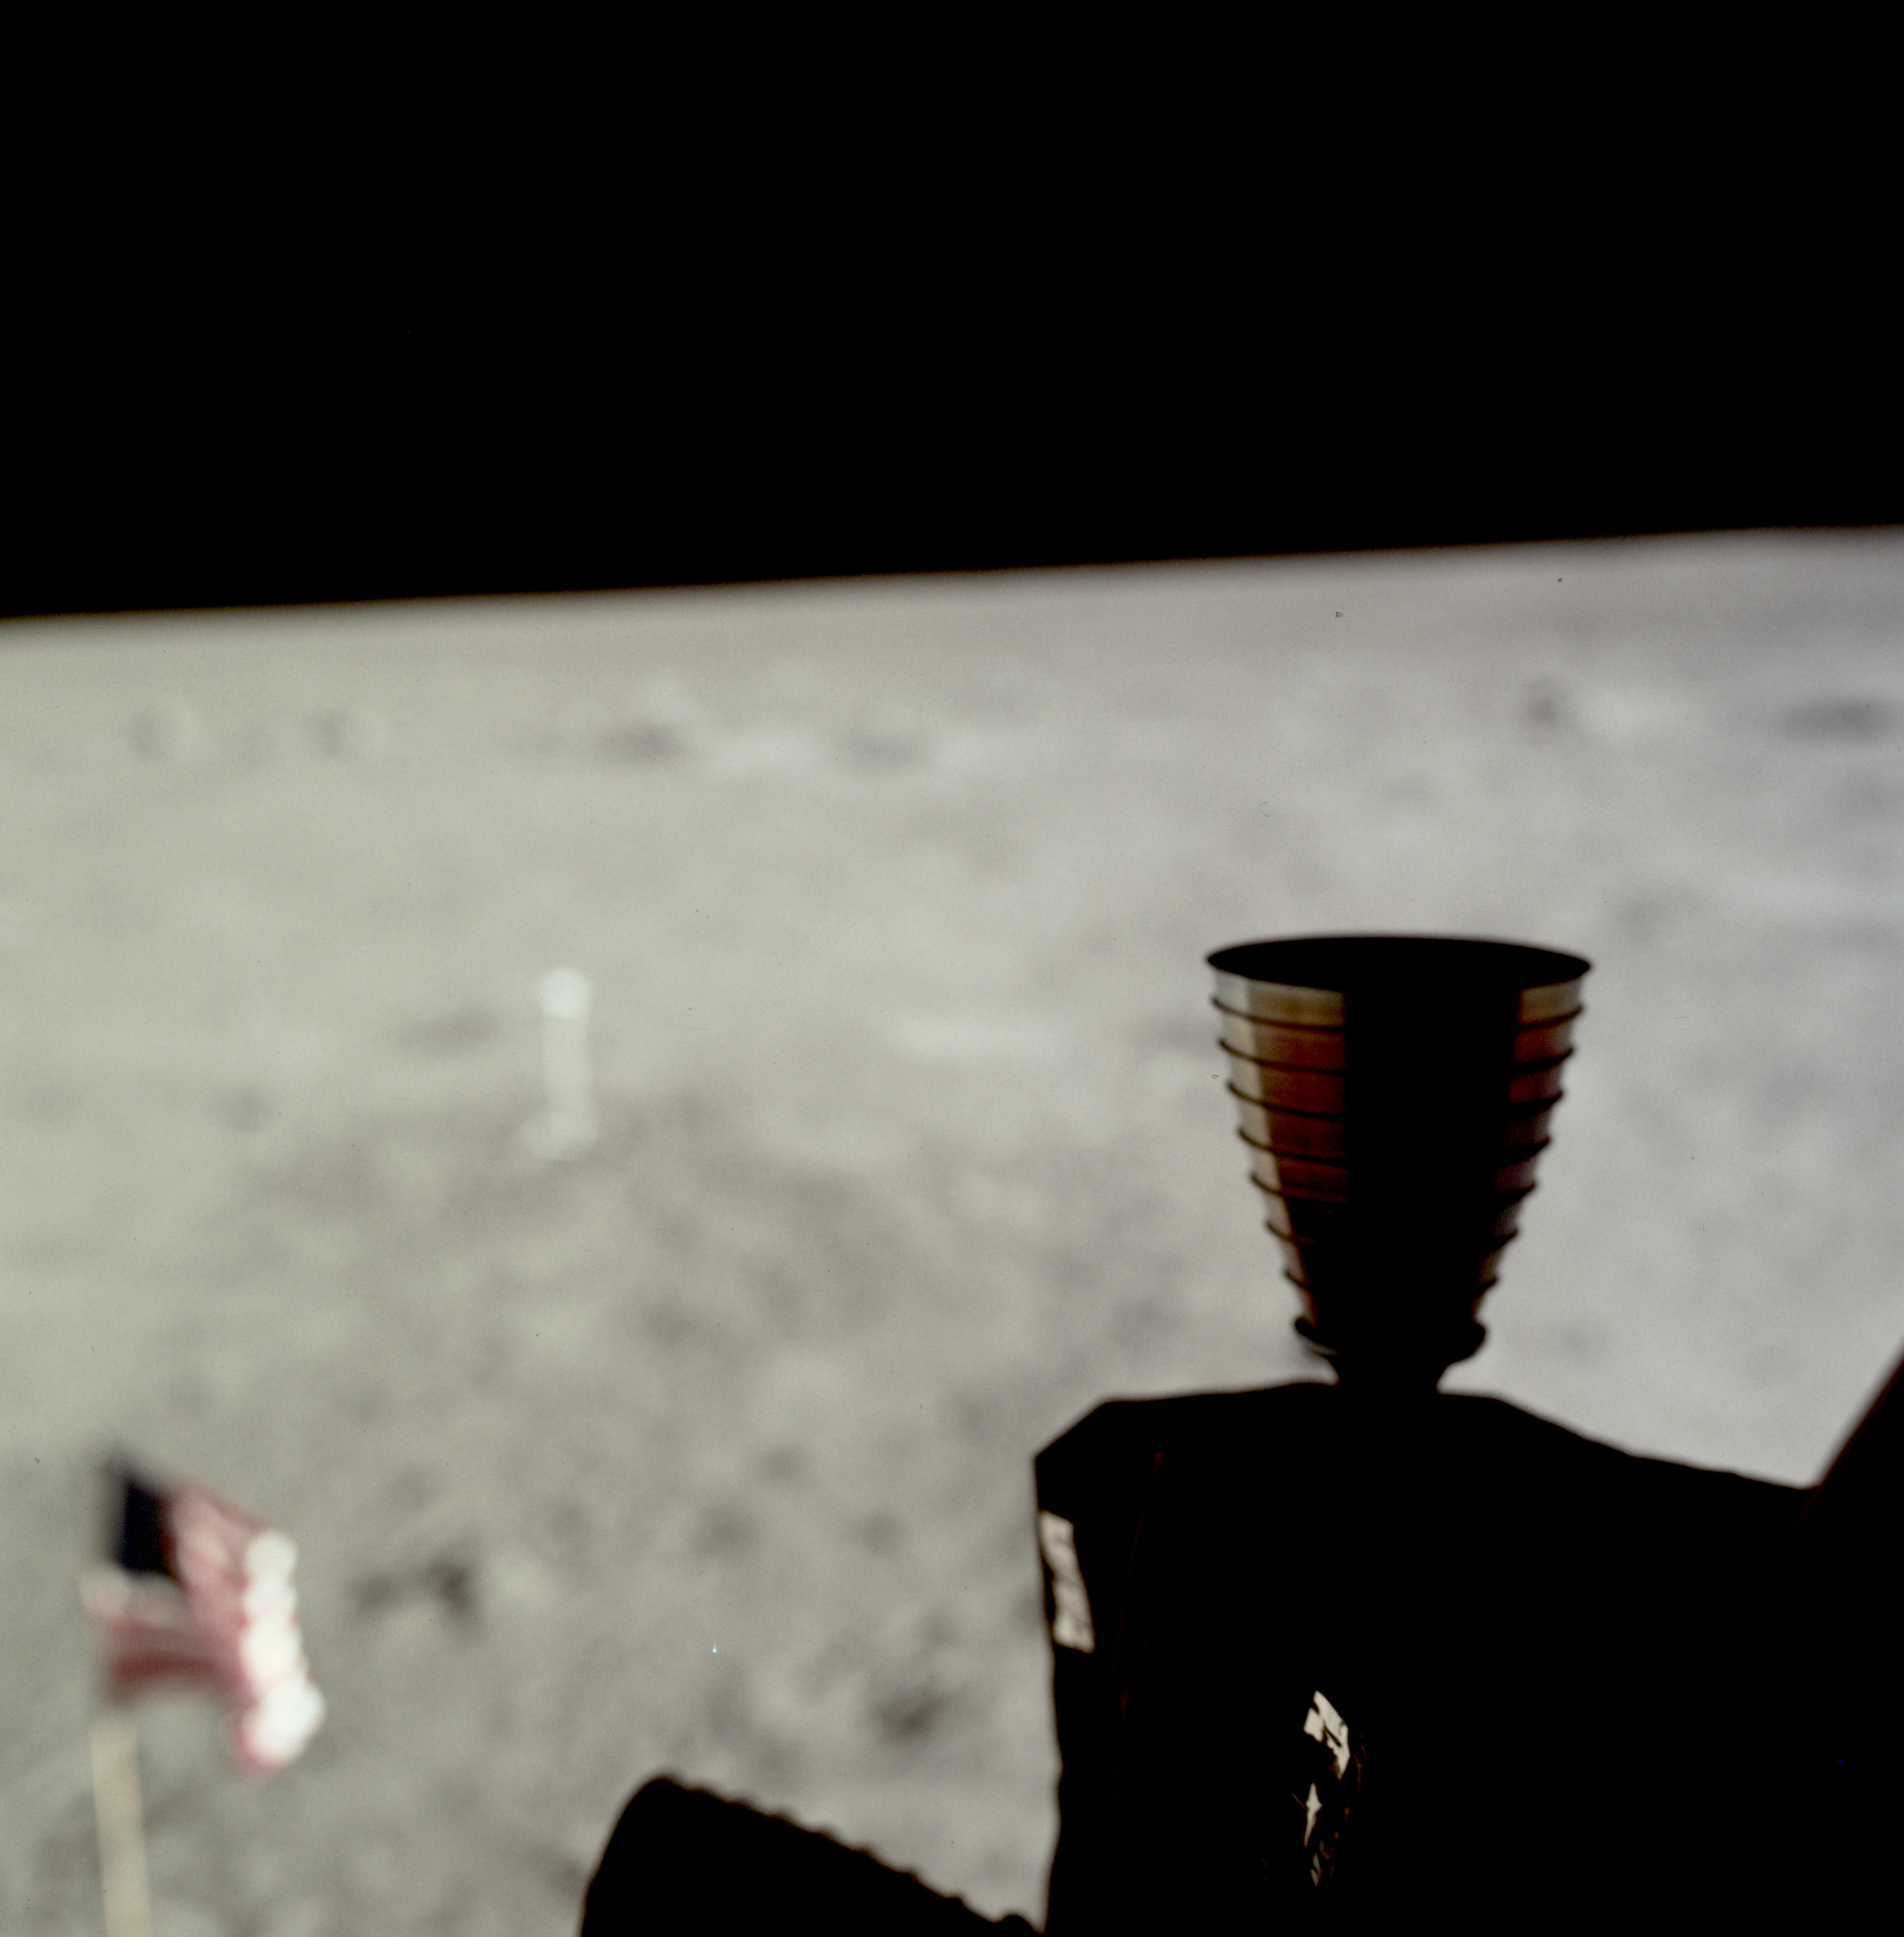 | AS11-37-5538 Tranquility Base and flag from LM window. Thruster quad in foreground. Image credit: Image Science and Analysis Laboratory, NASA-Johnson Space Center. |
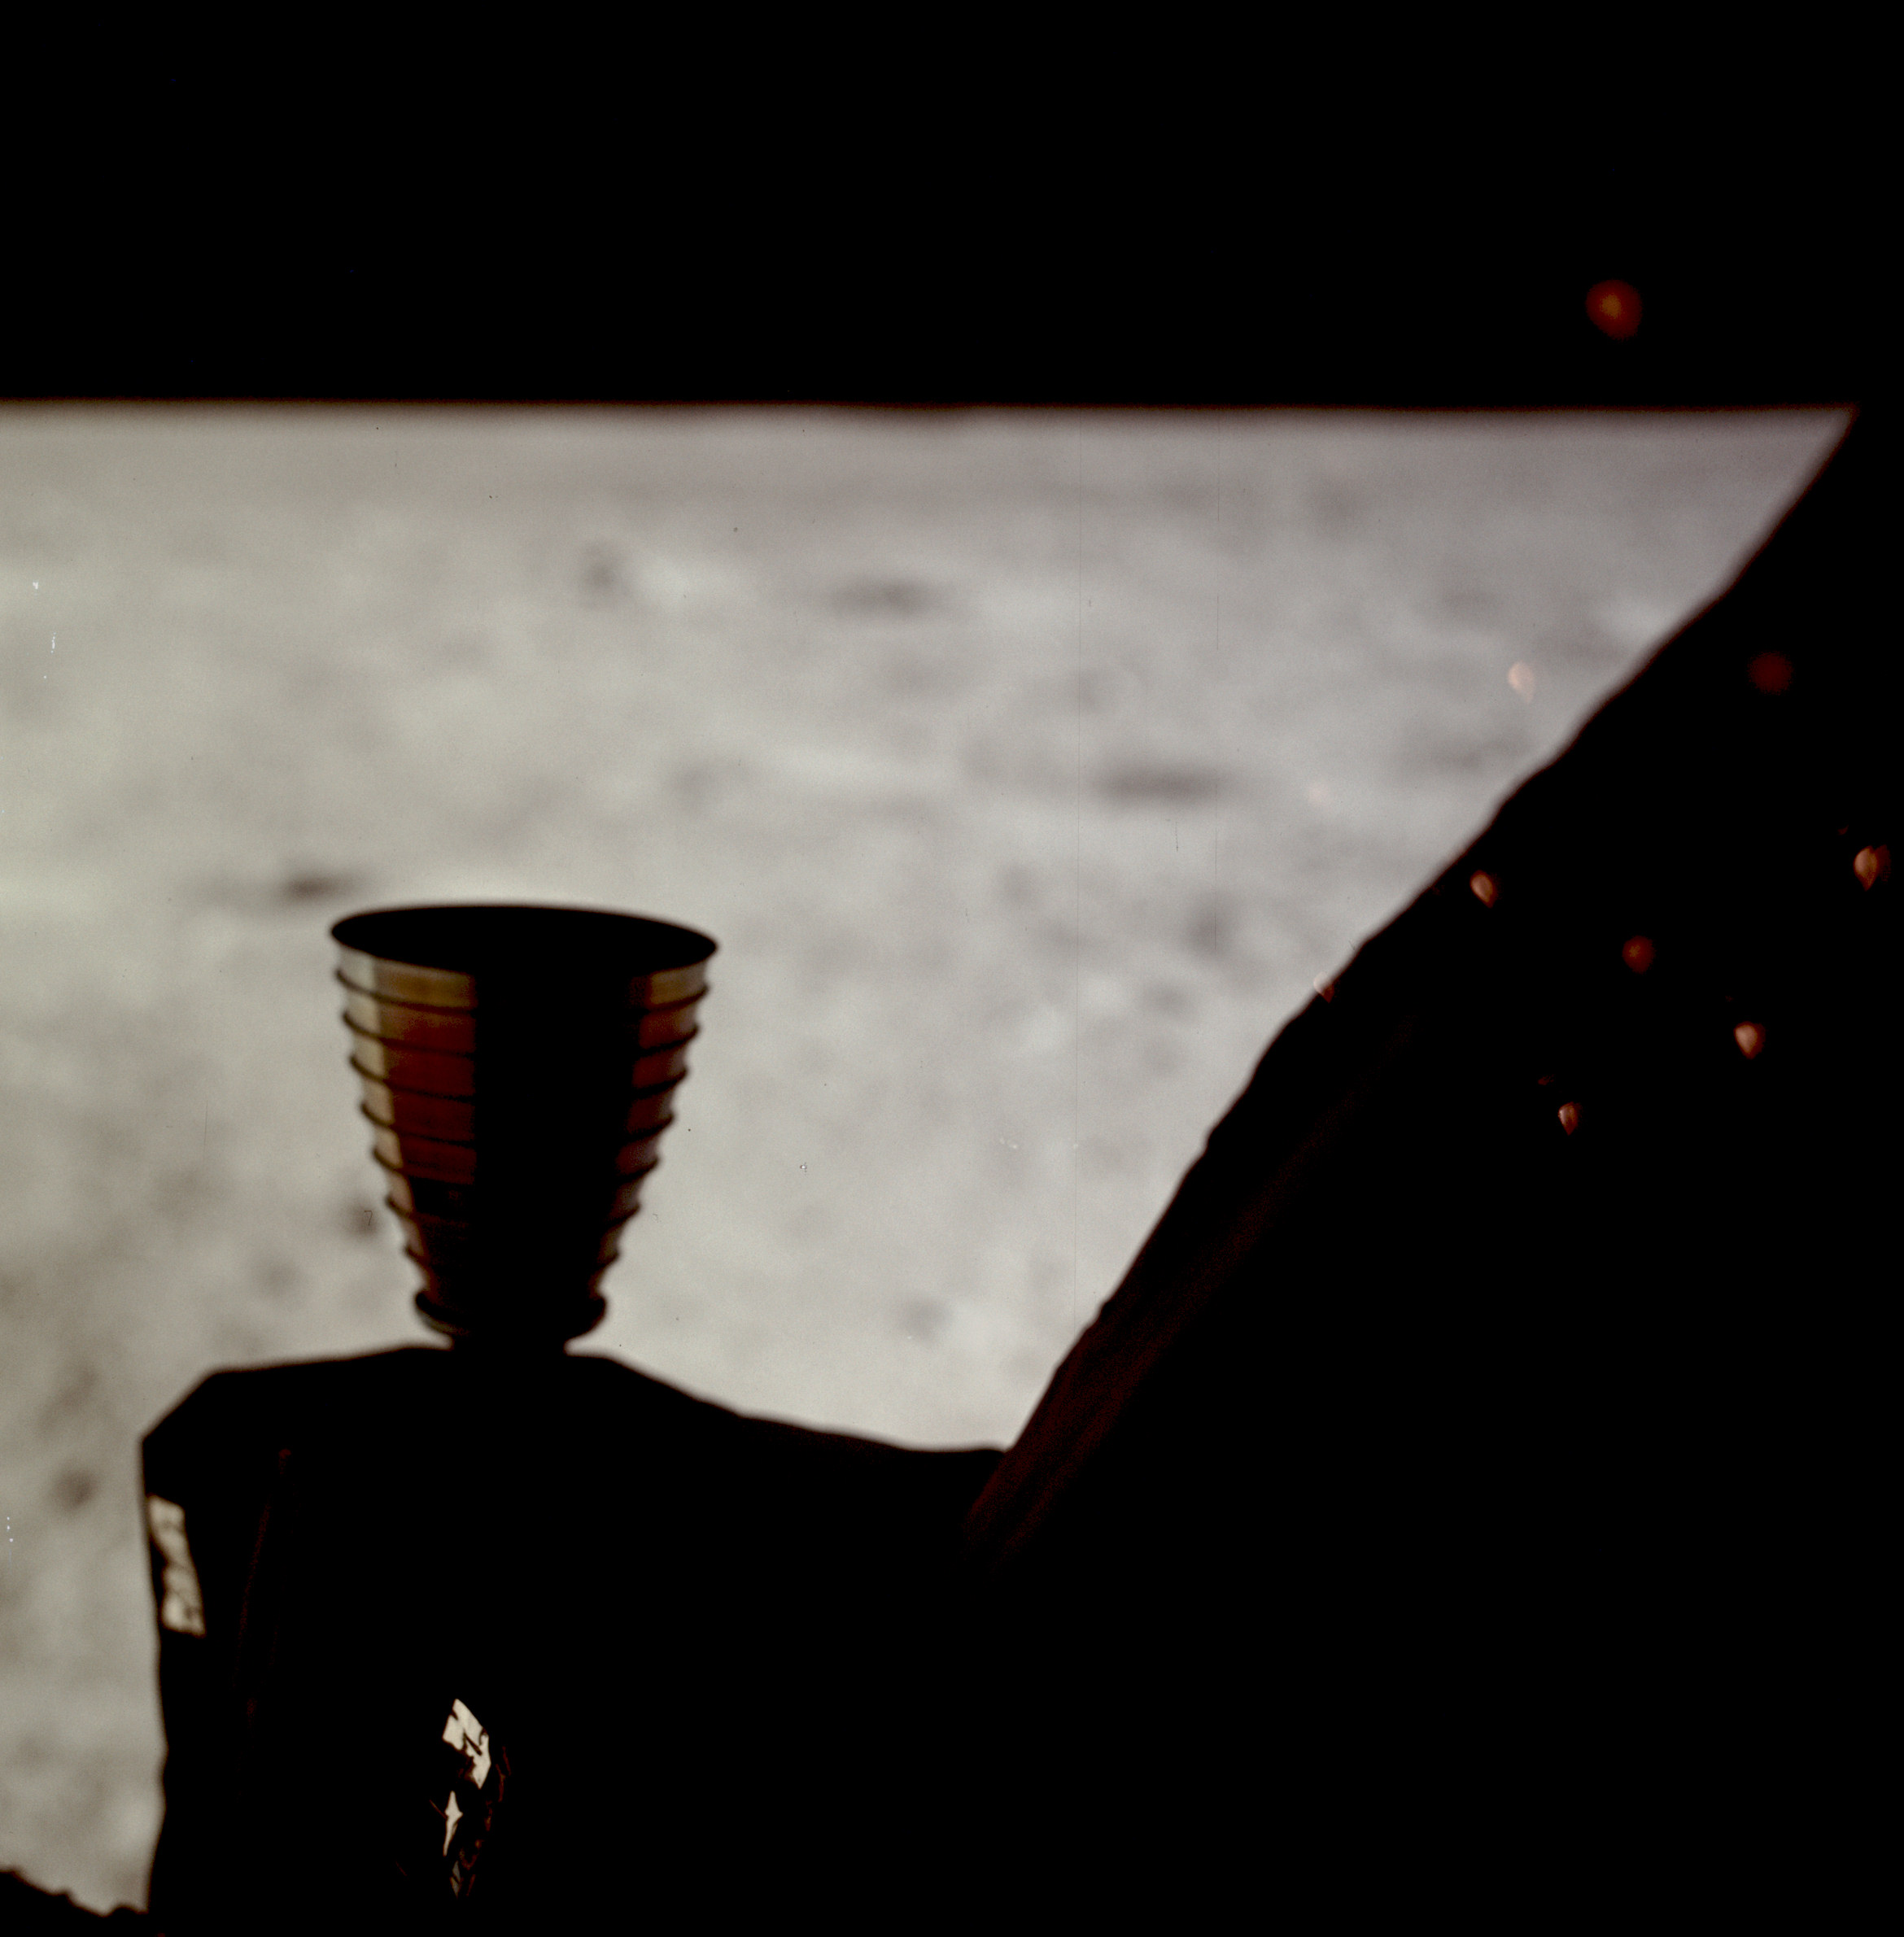 | AS11-37-5539 Tranquility Base from LM window. Thruster quad in foreground. Image credit: Image Science and Analysis Laboratory, NASA-Johnson Space Center. |
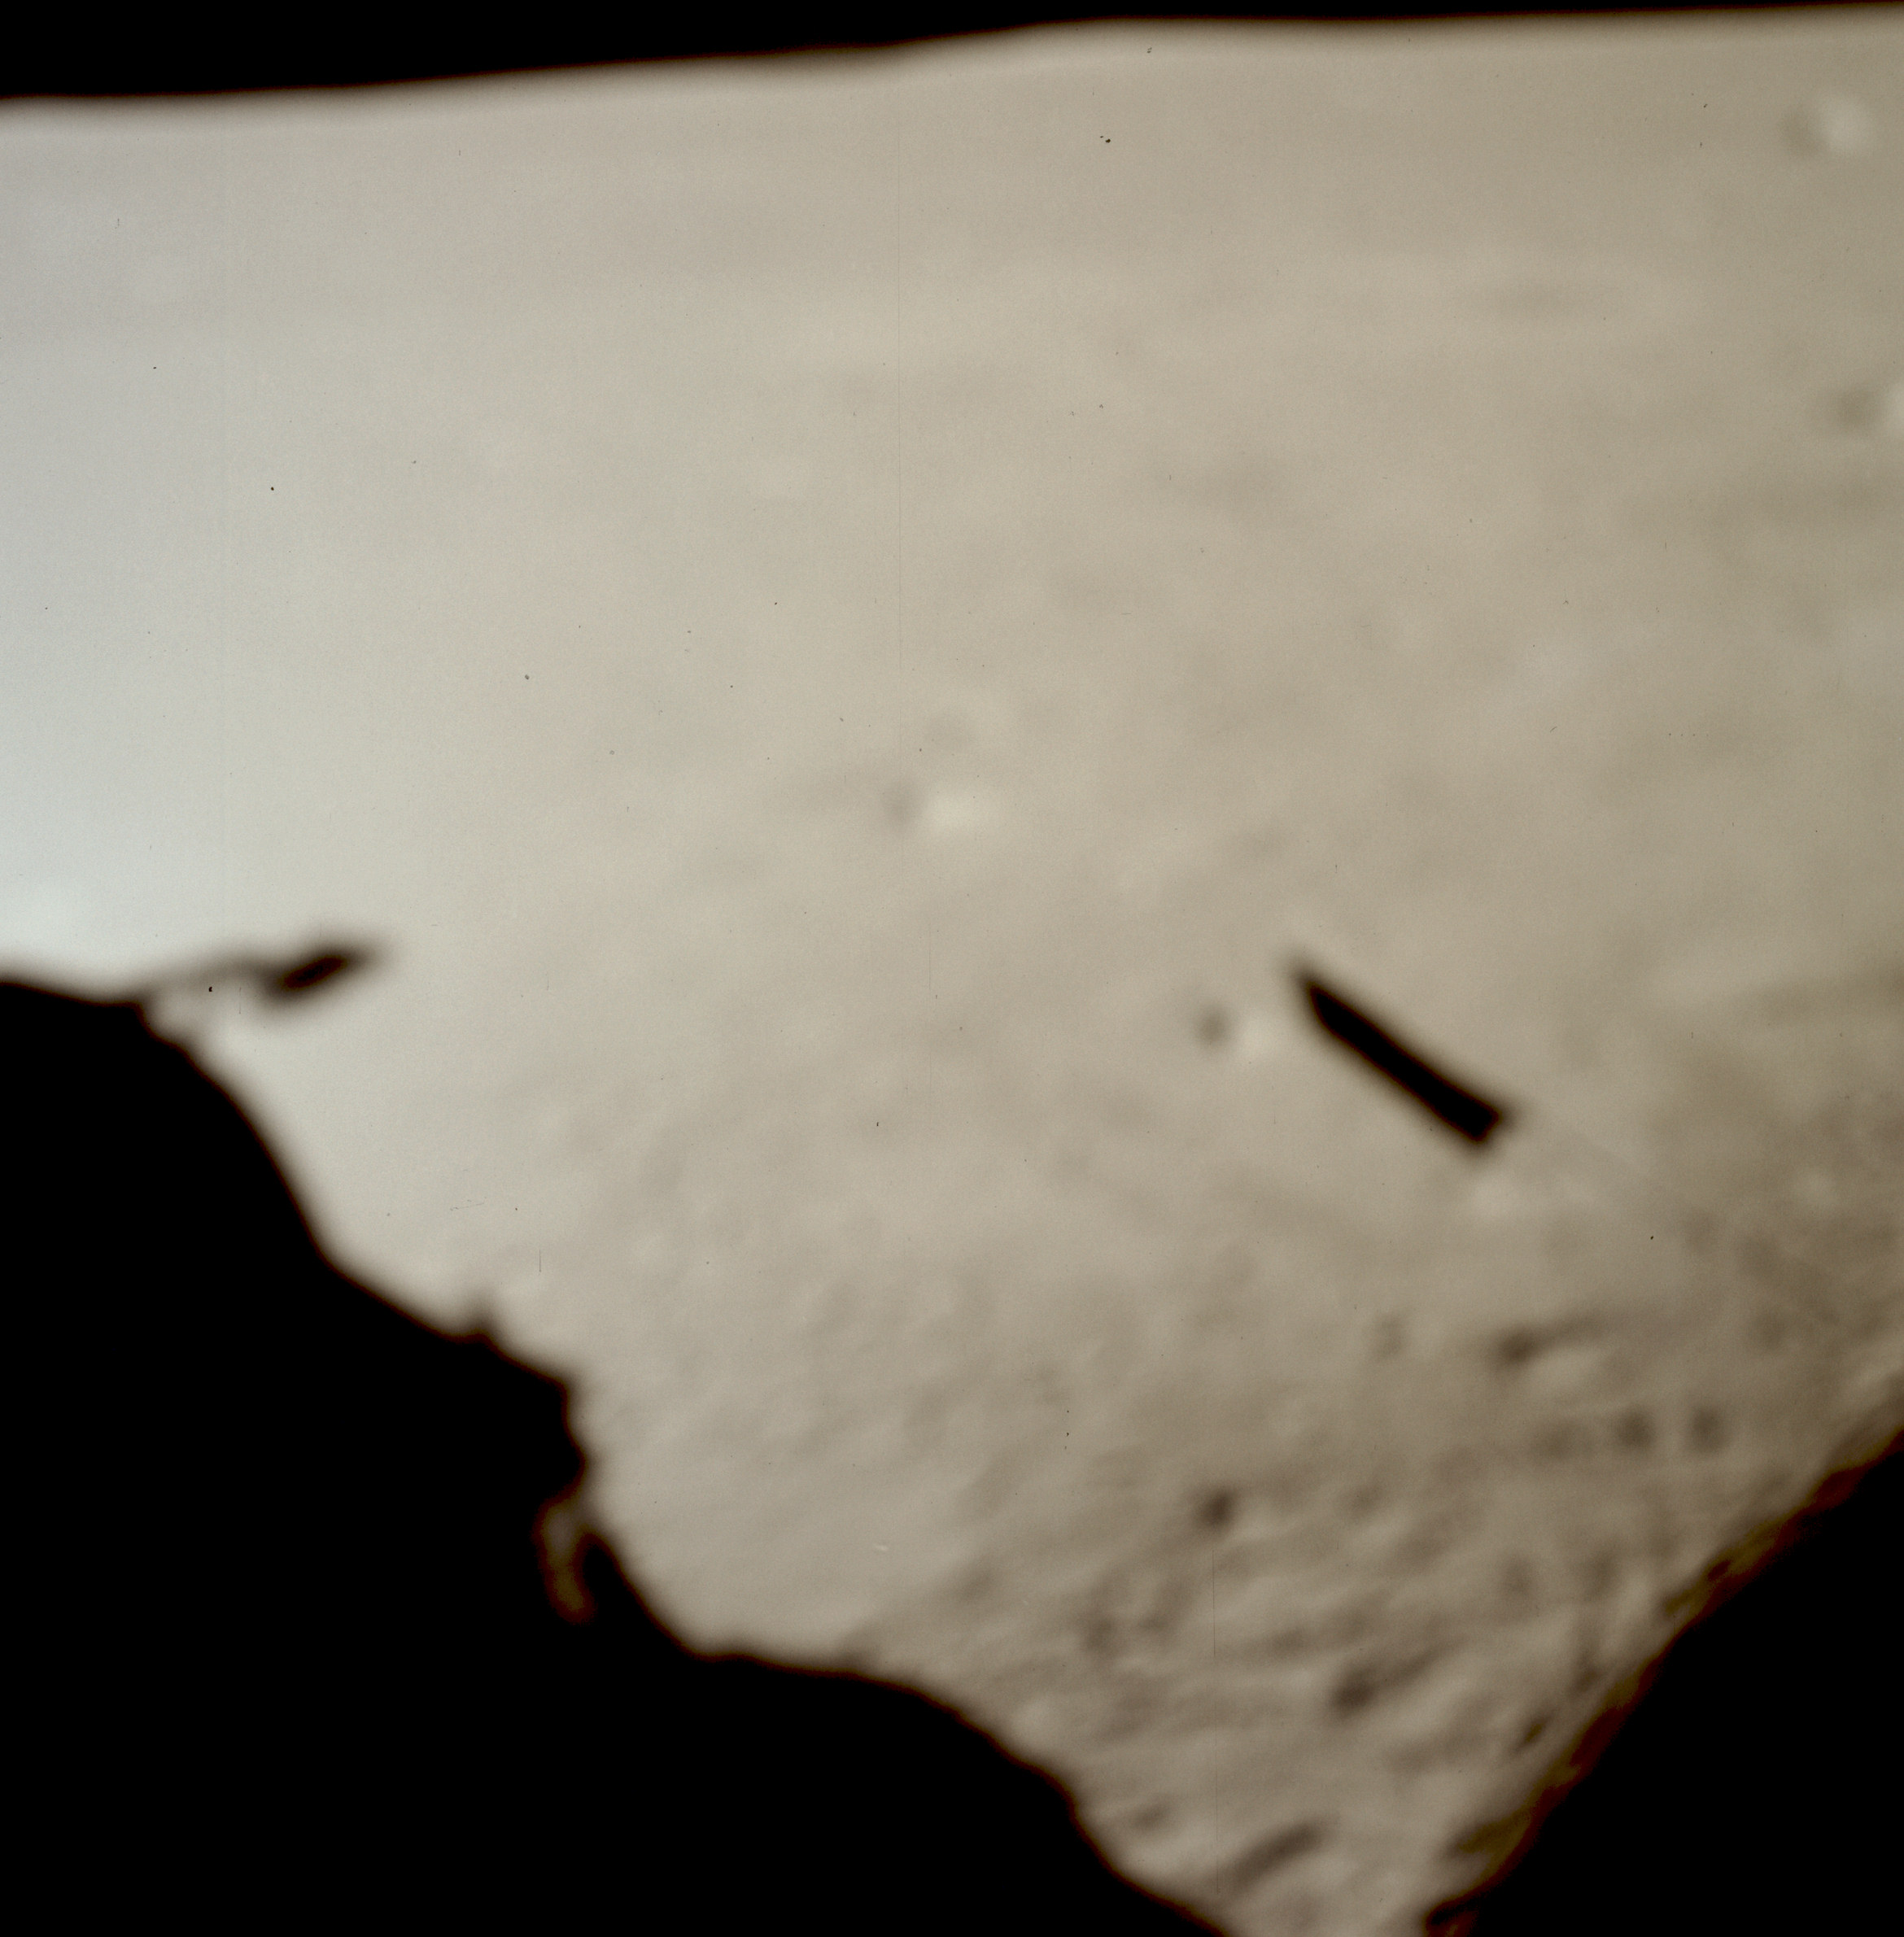 | AS11-37-5540 Tranquility Base from LM window. Image credit: Image Science and Analysis Laboratory, NASA-Johnson Space Center. |
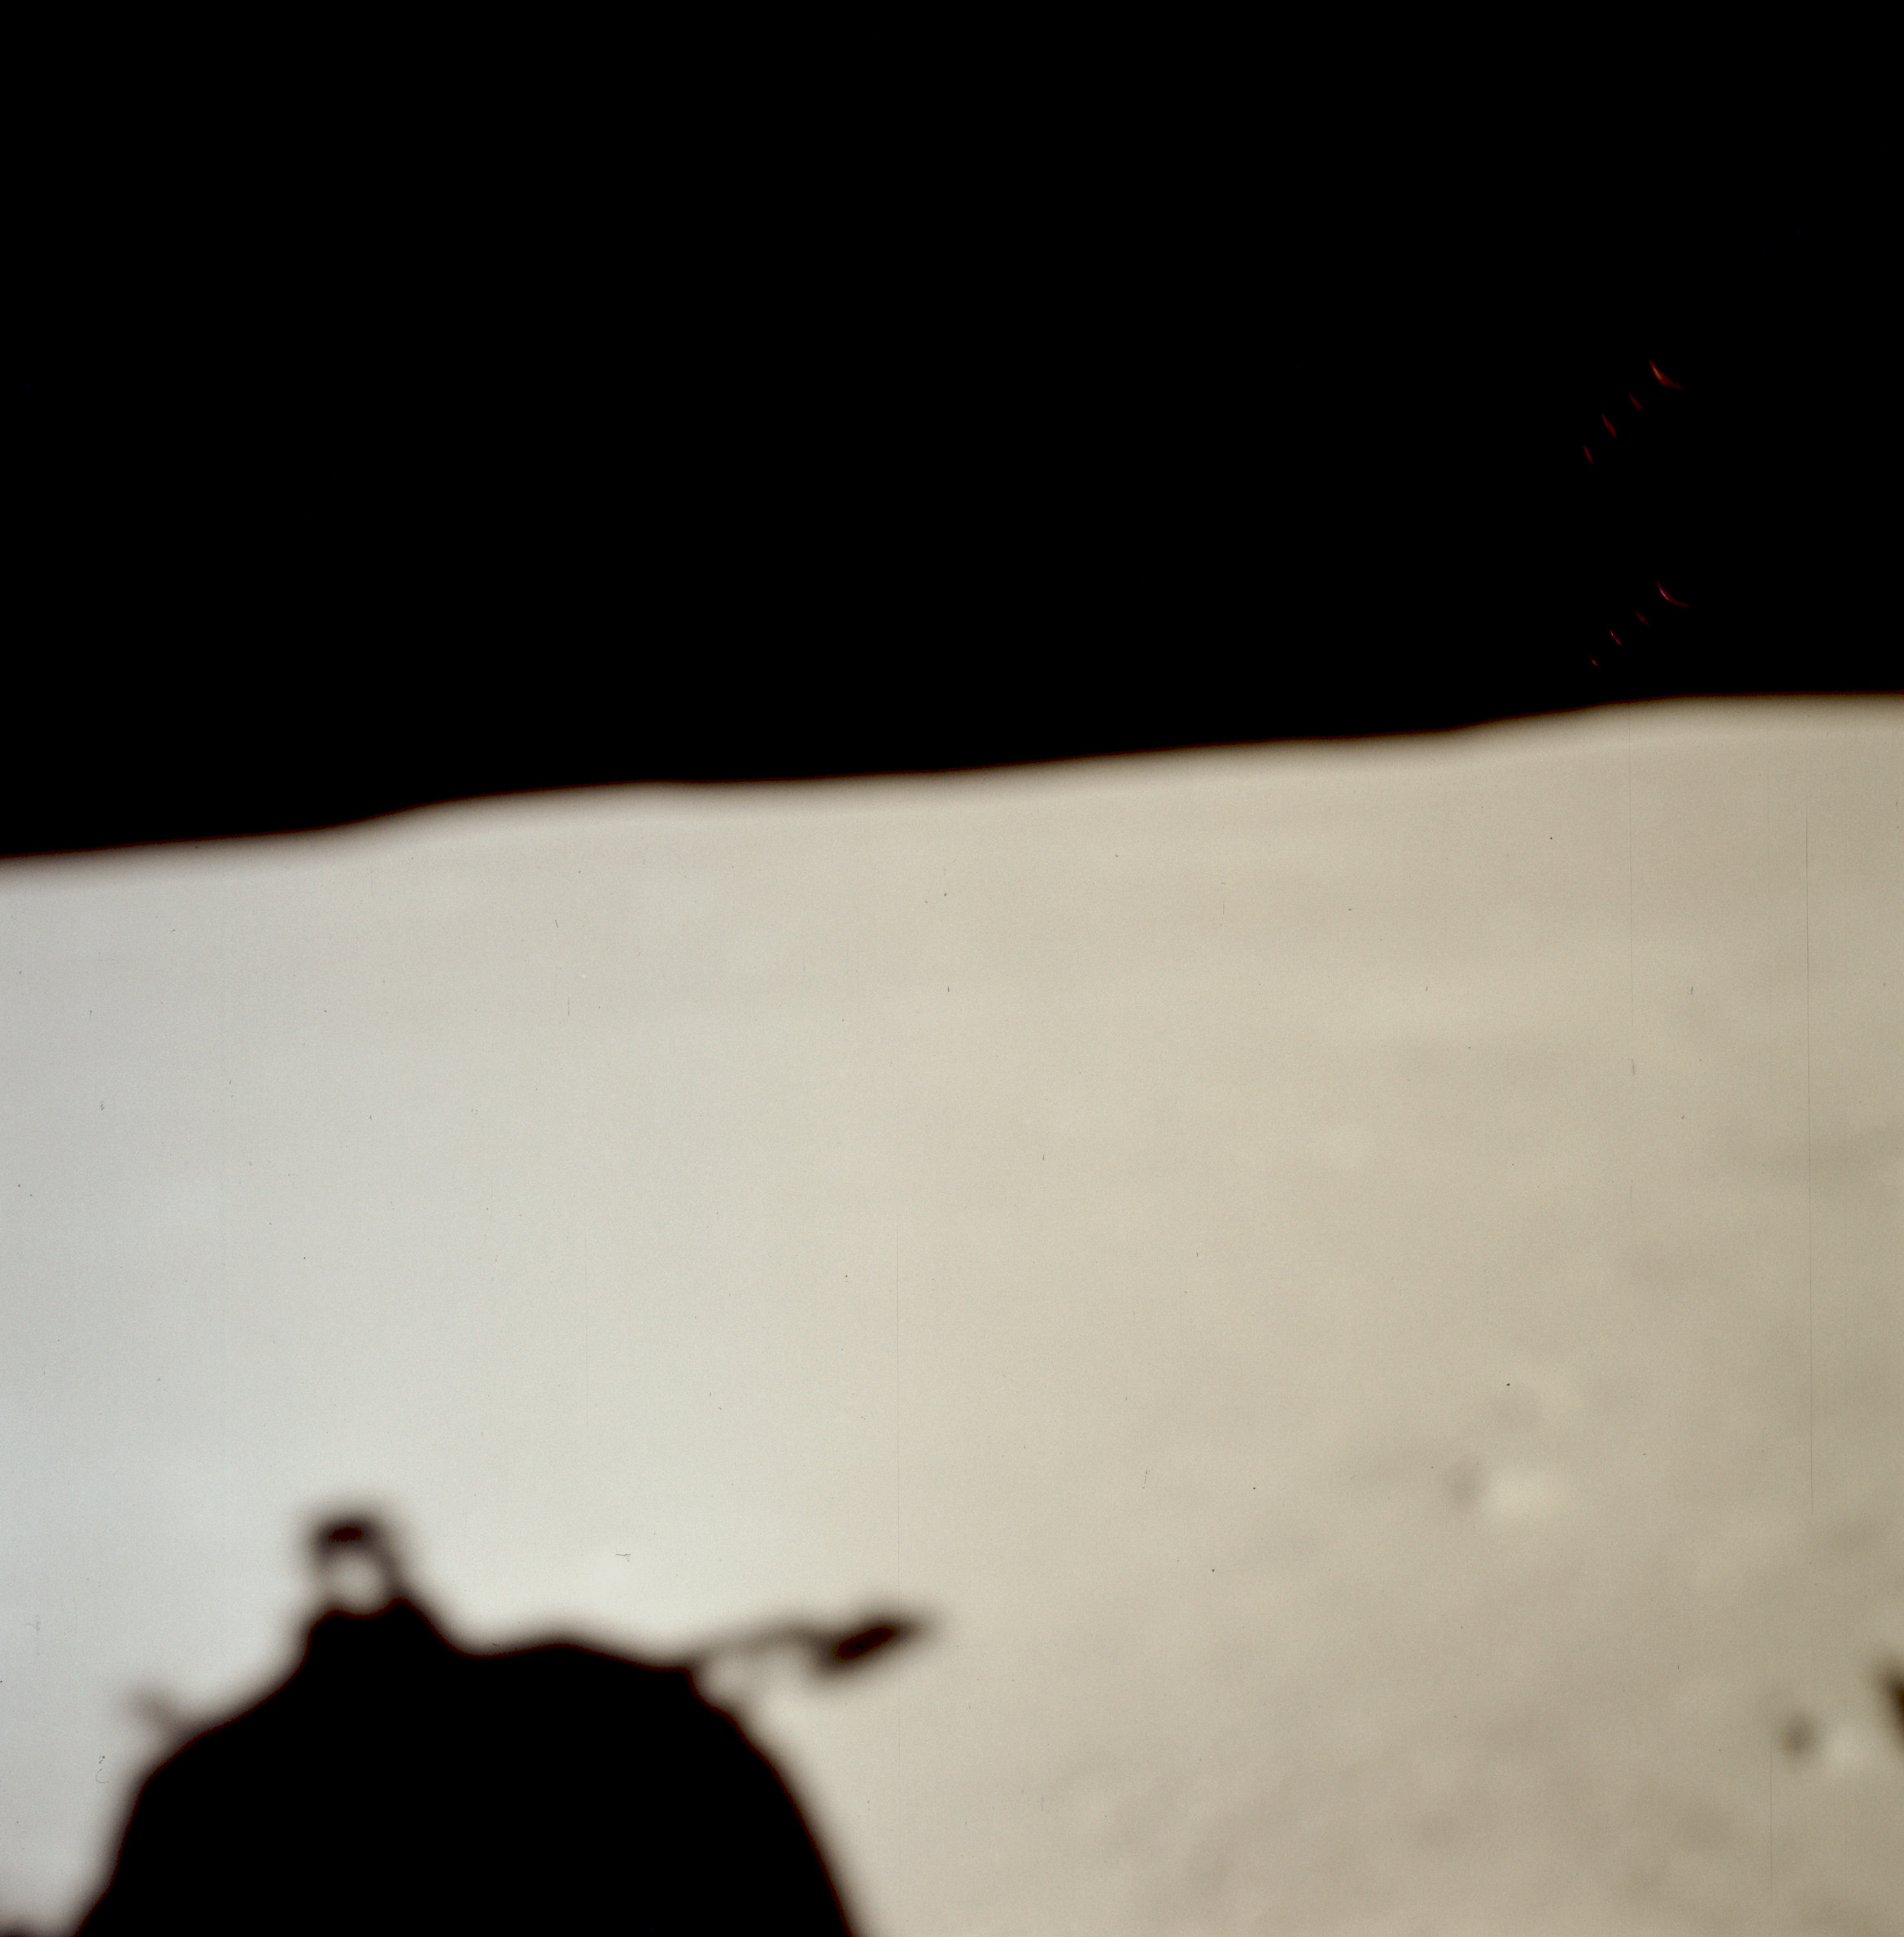 | AS11-37-5541 Tranquility Base from LM window. Image credit: Image Science and Analysis Laboratory, NASA-Johnson Space Center. |
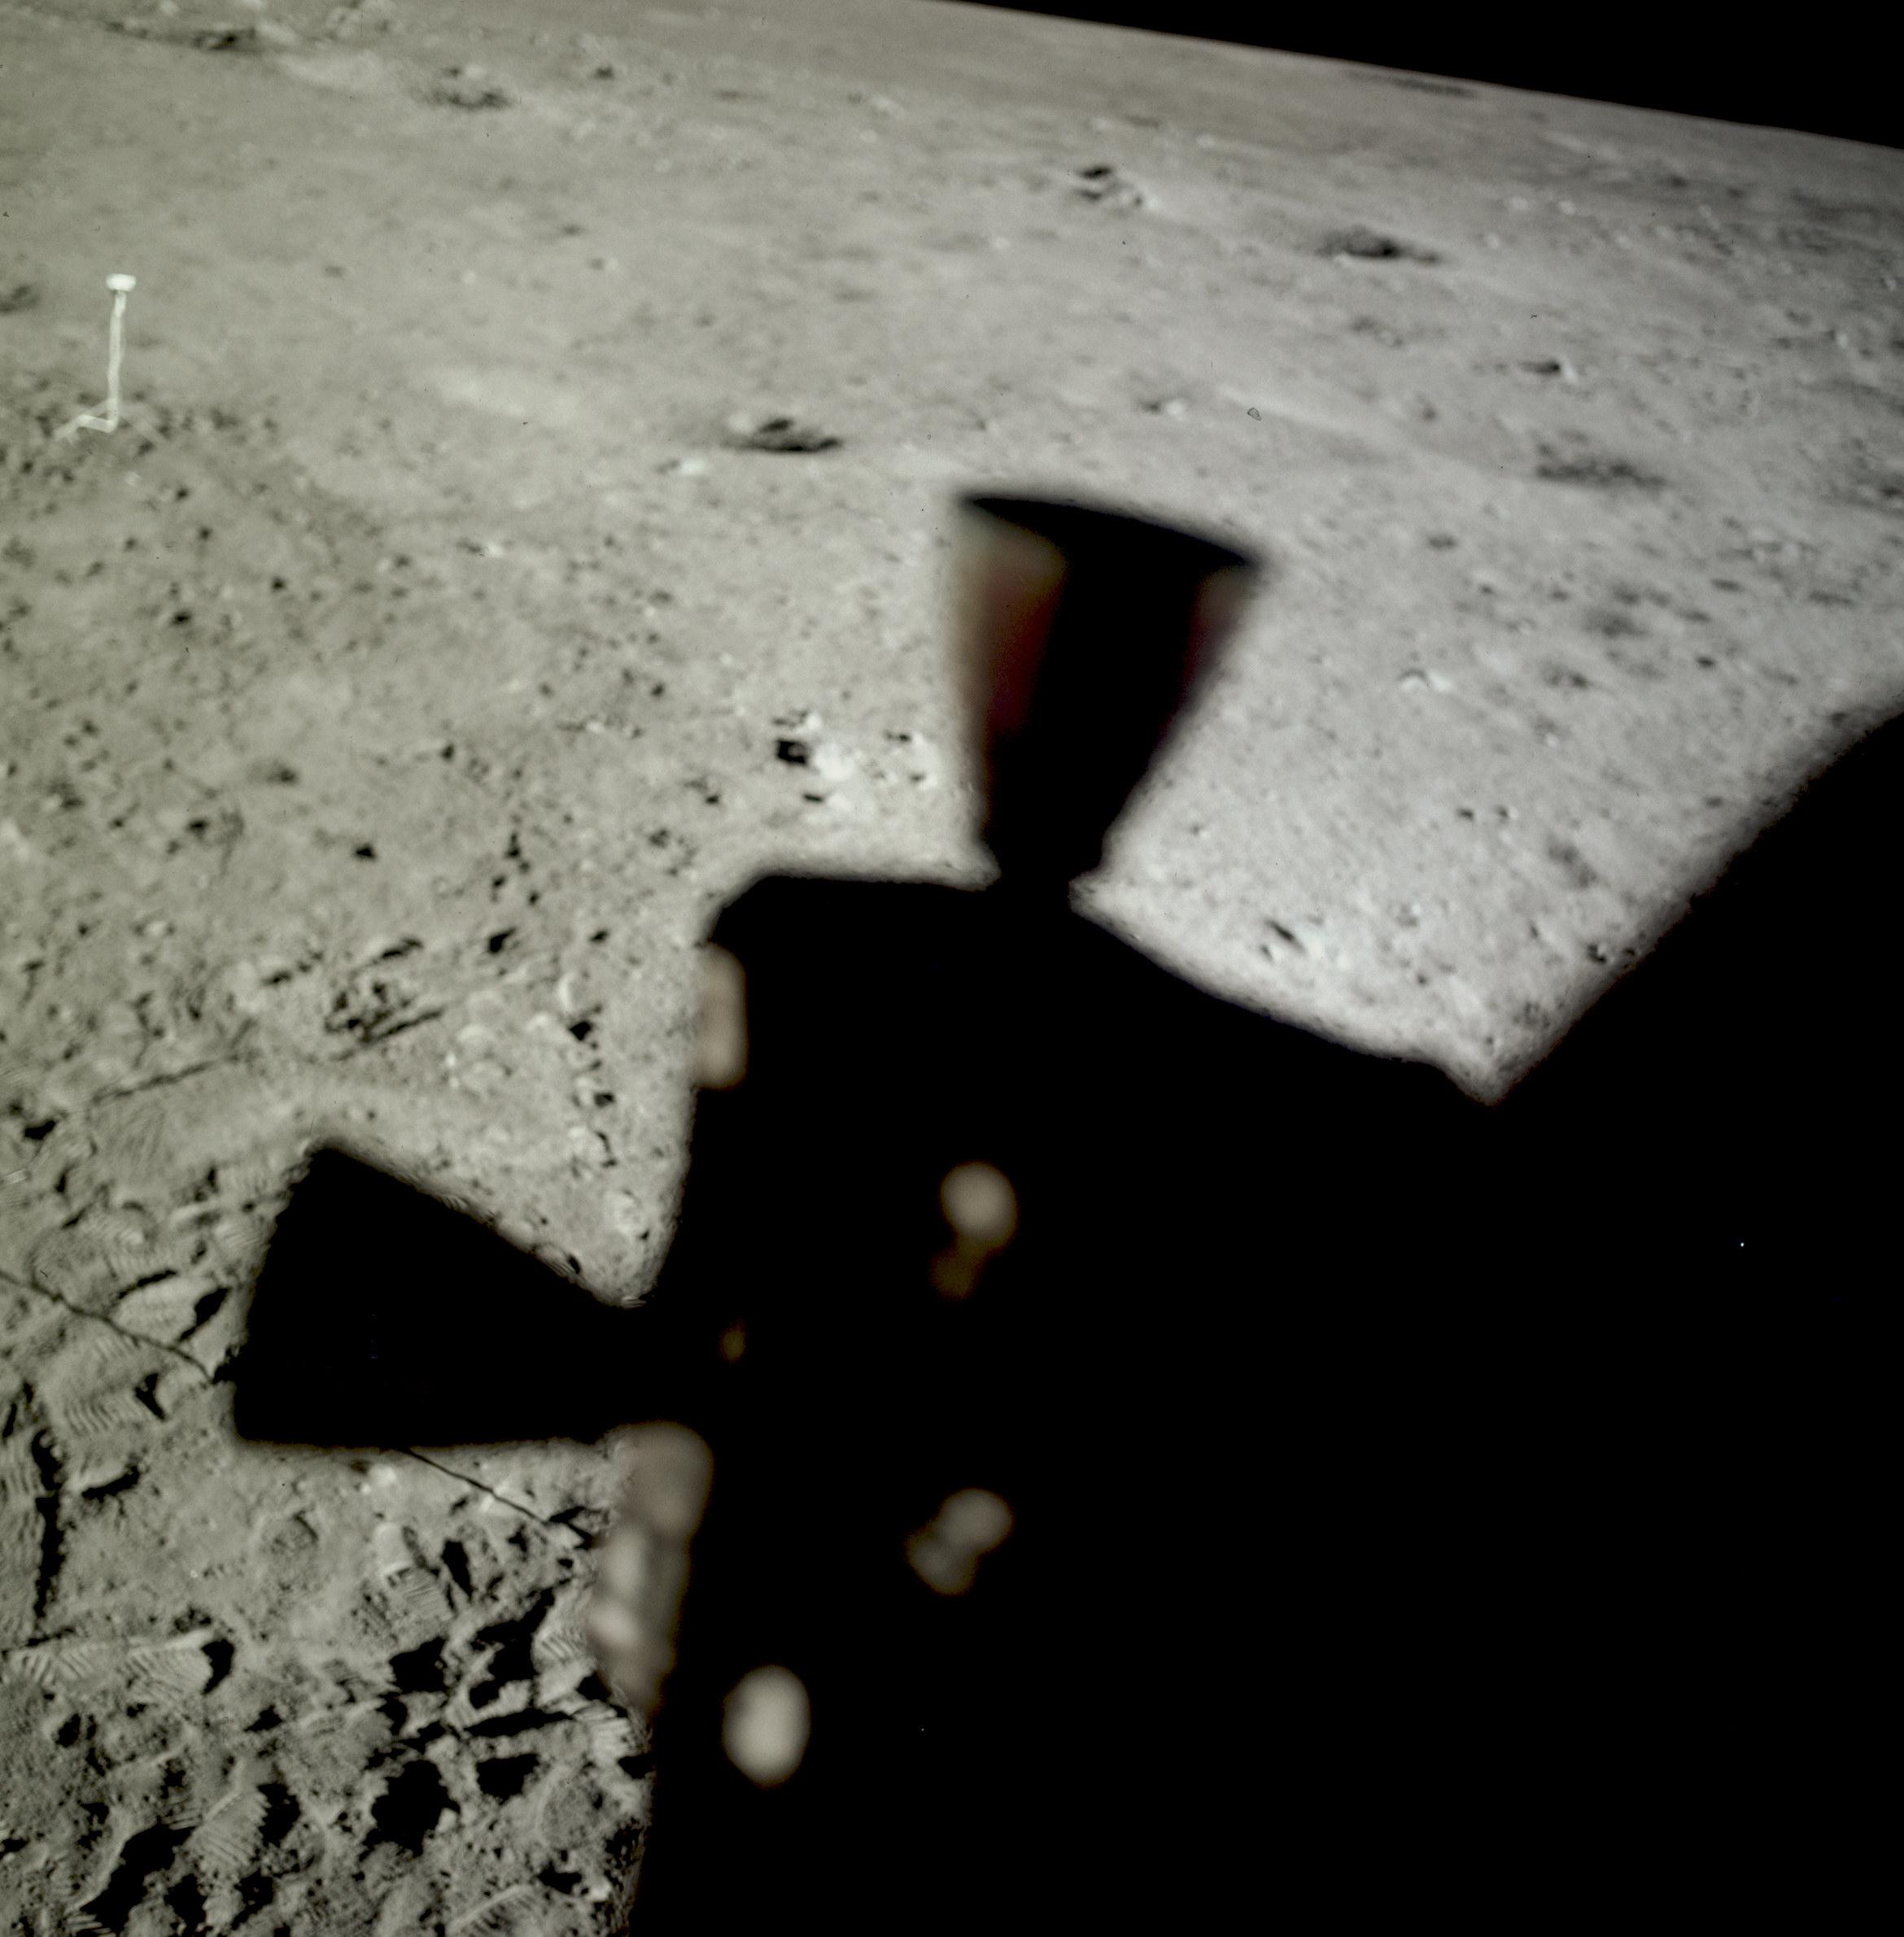 | AS11-37-5542 Tranquility Base from LM window. Thruster quad in foreground. Image credit: Image Science and Analysis Laboratory, NASA-Johnson Space Center. |
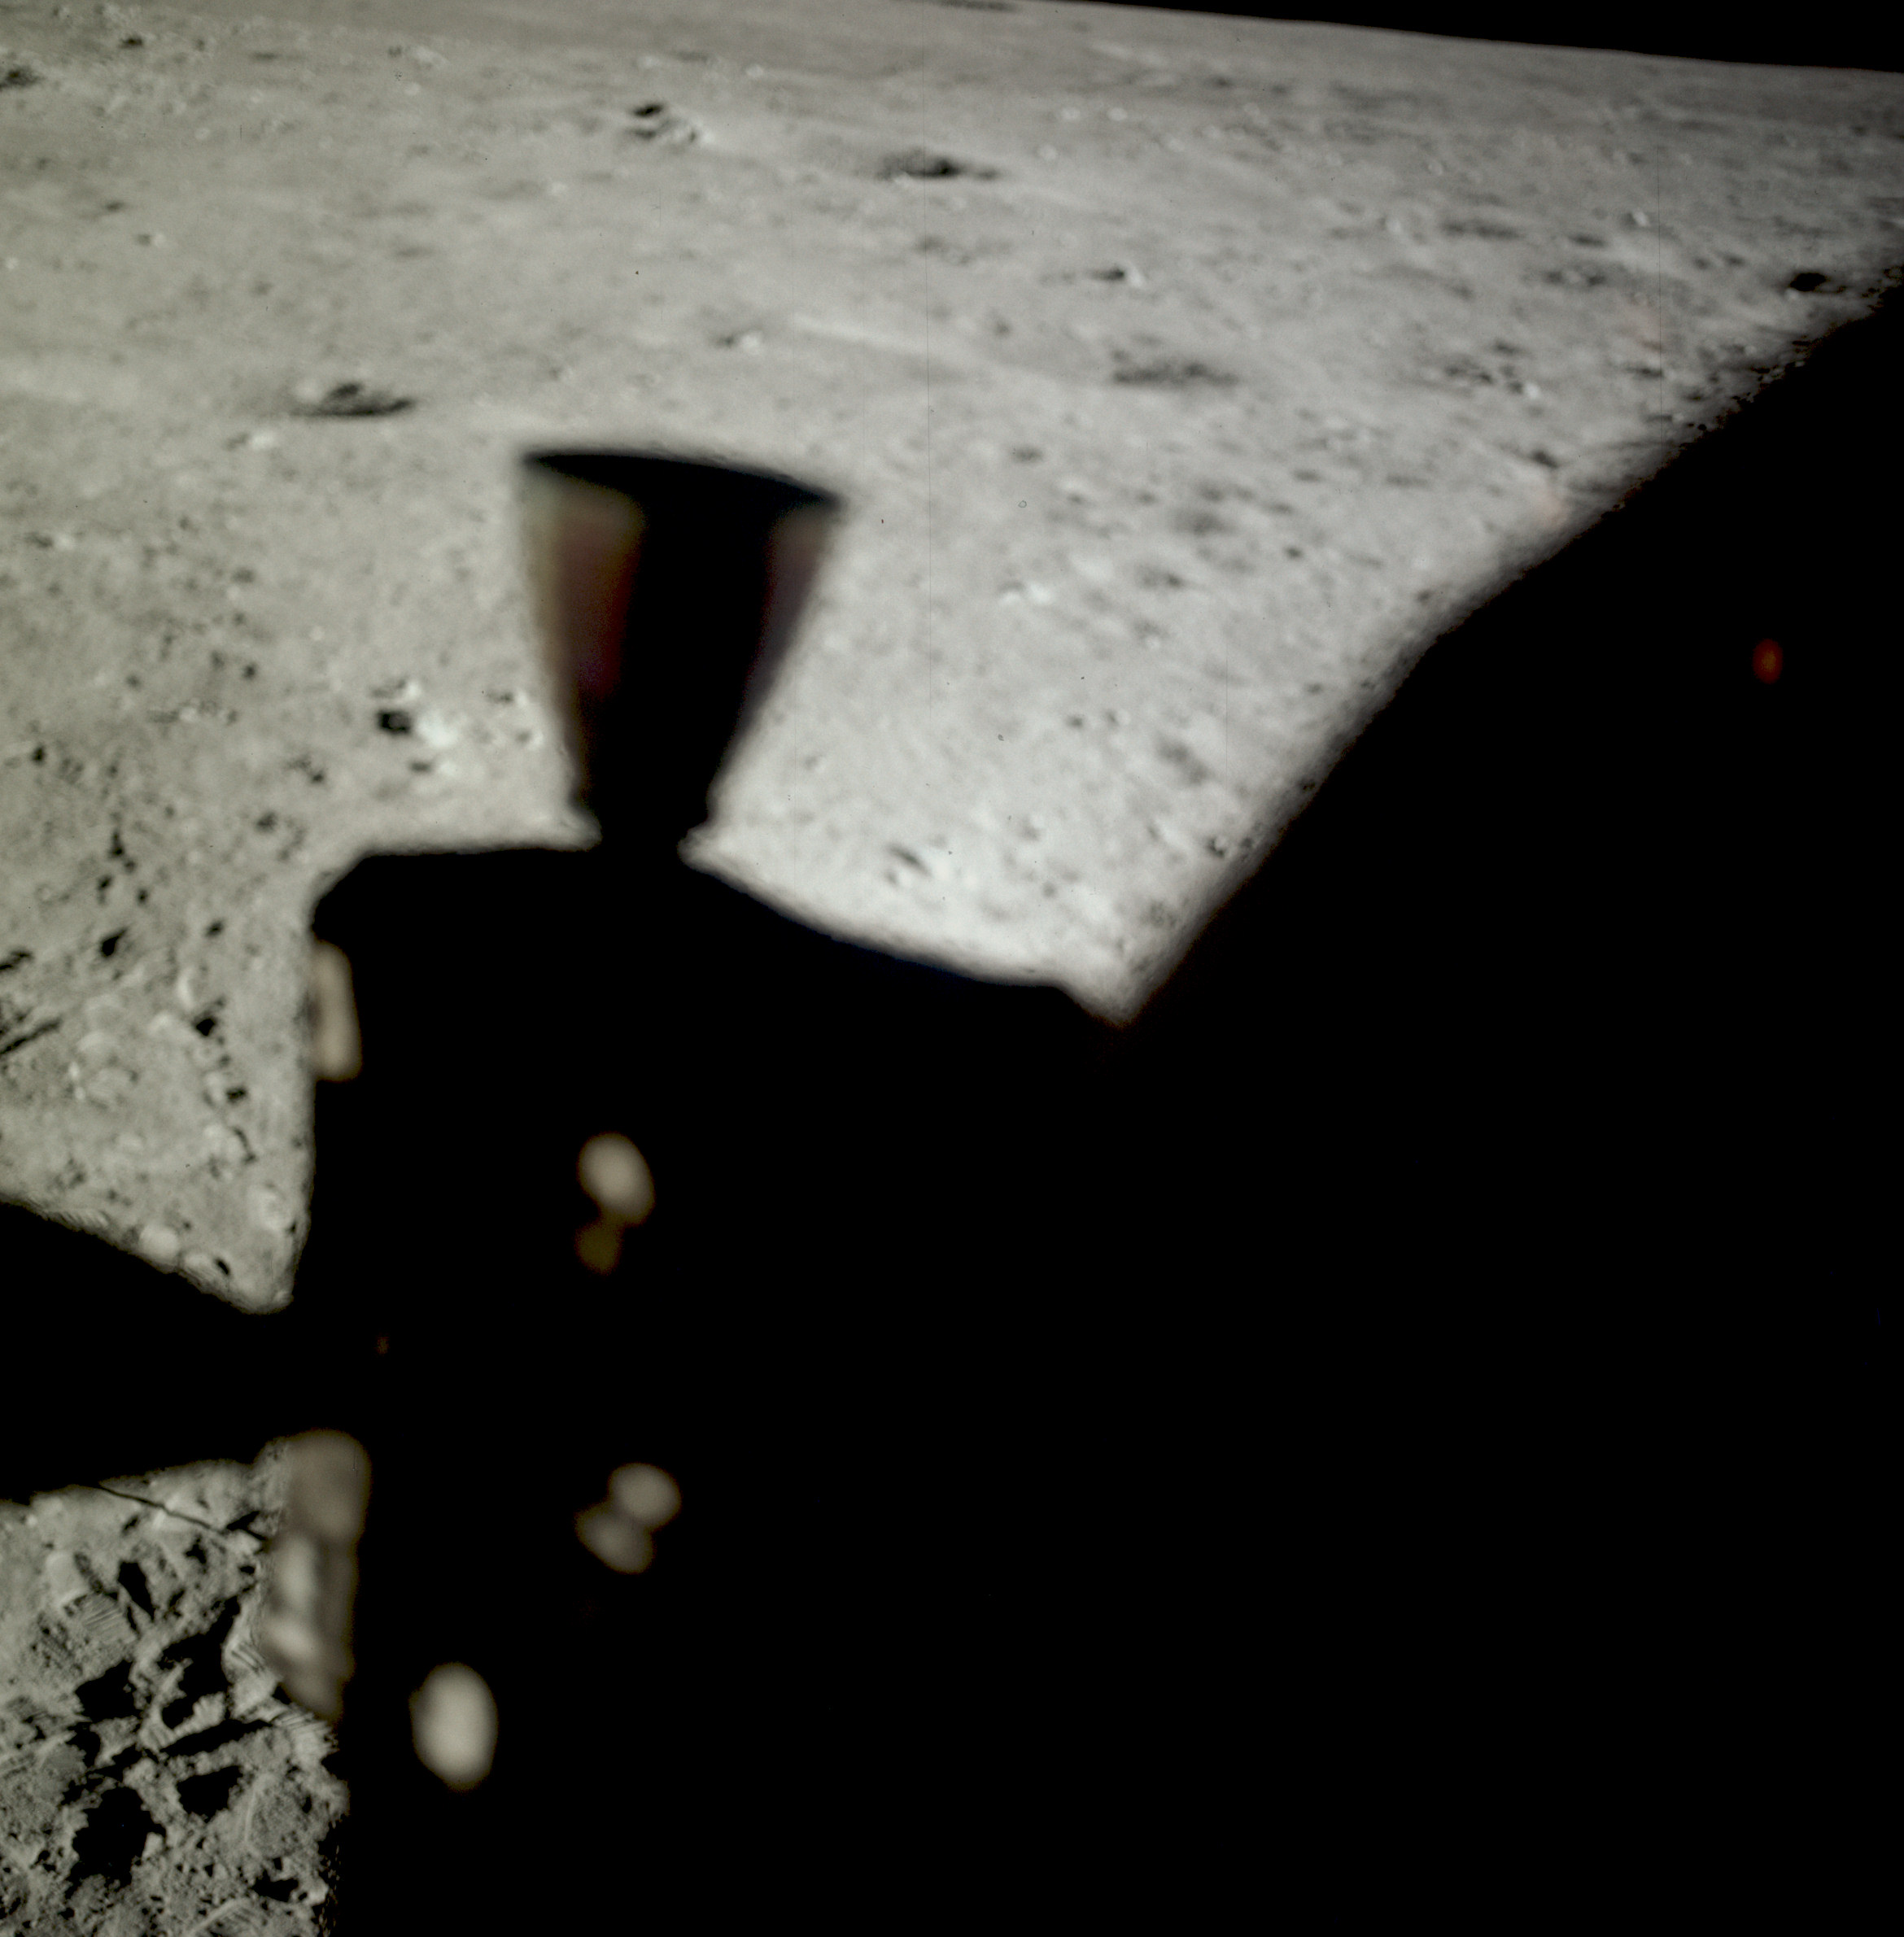 | AS11-37-5543 Tranquility Base from LM window. Thruster quad in foreground. Image credit: Image Science and Analysis Laboratory, NASA-Johnson Space Center. |
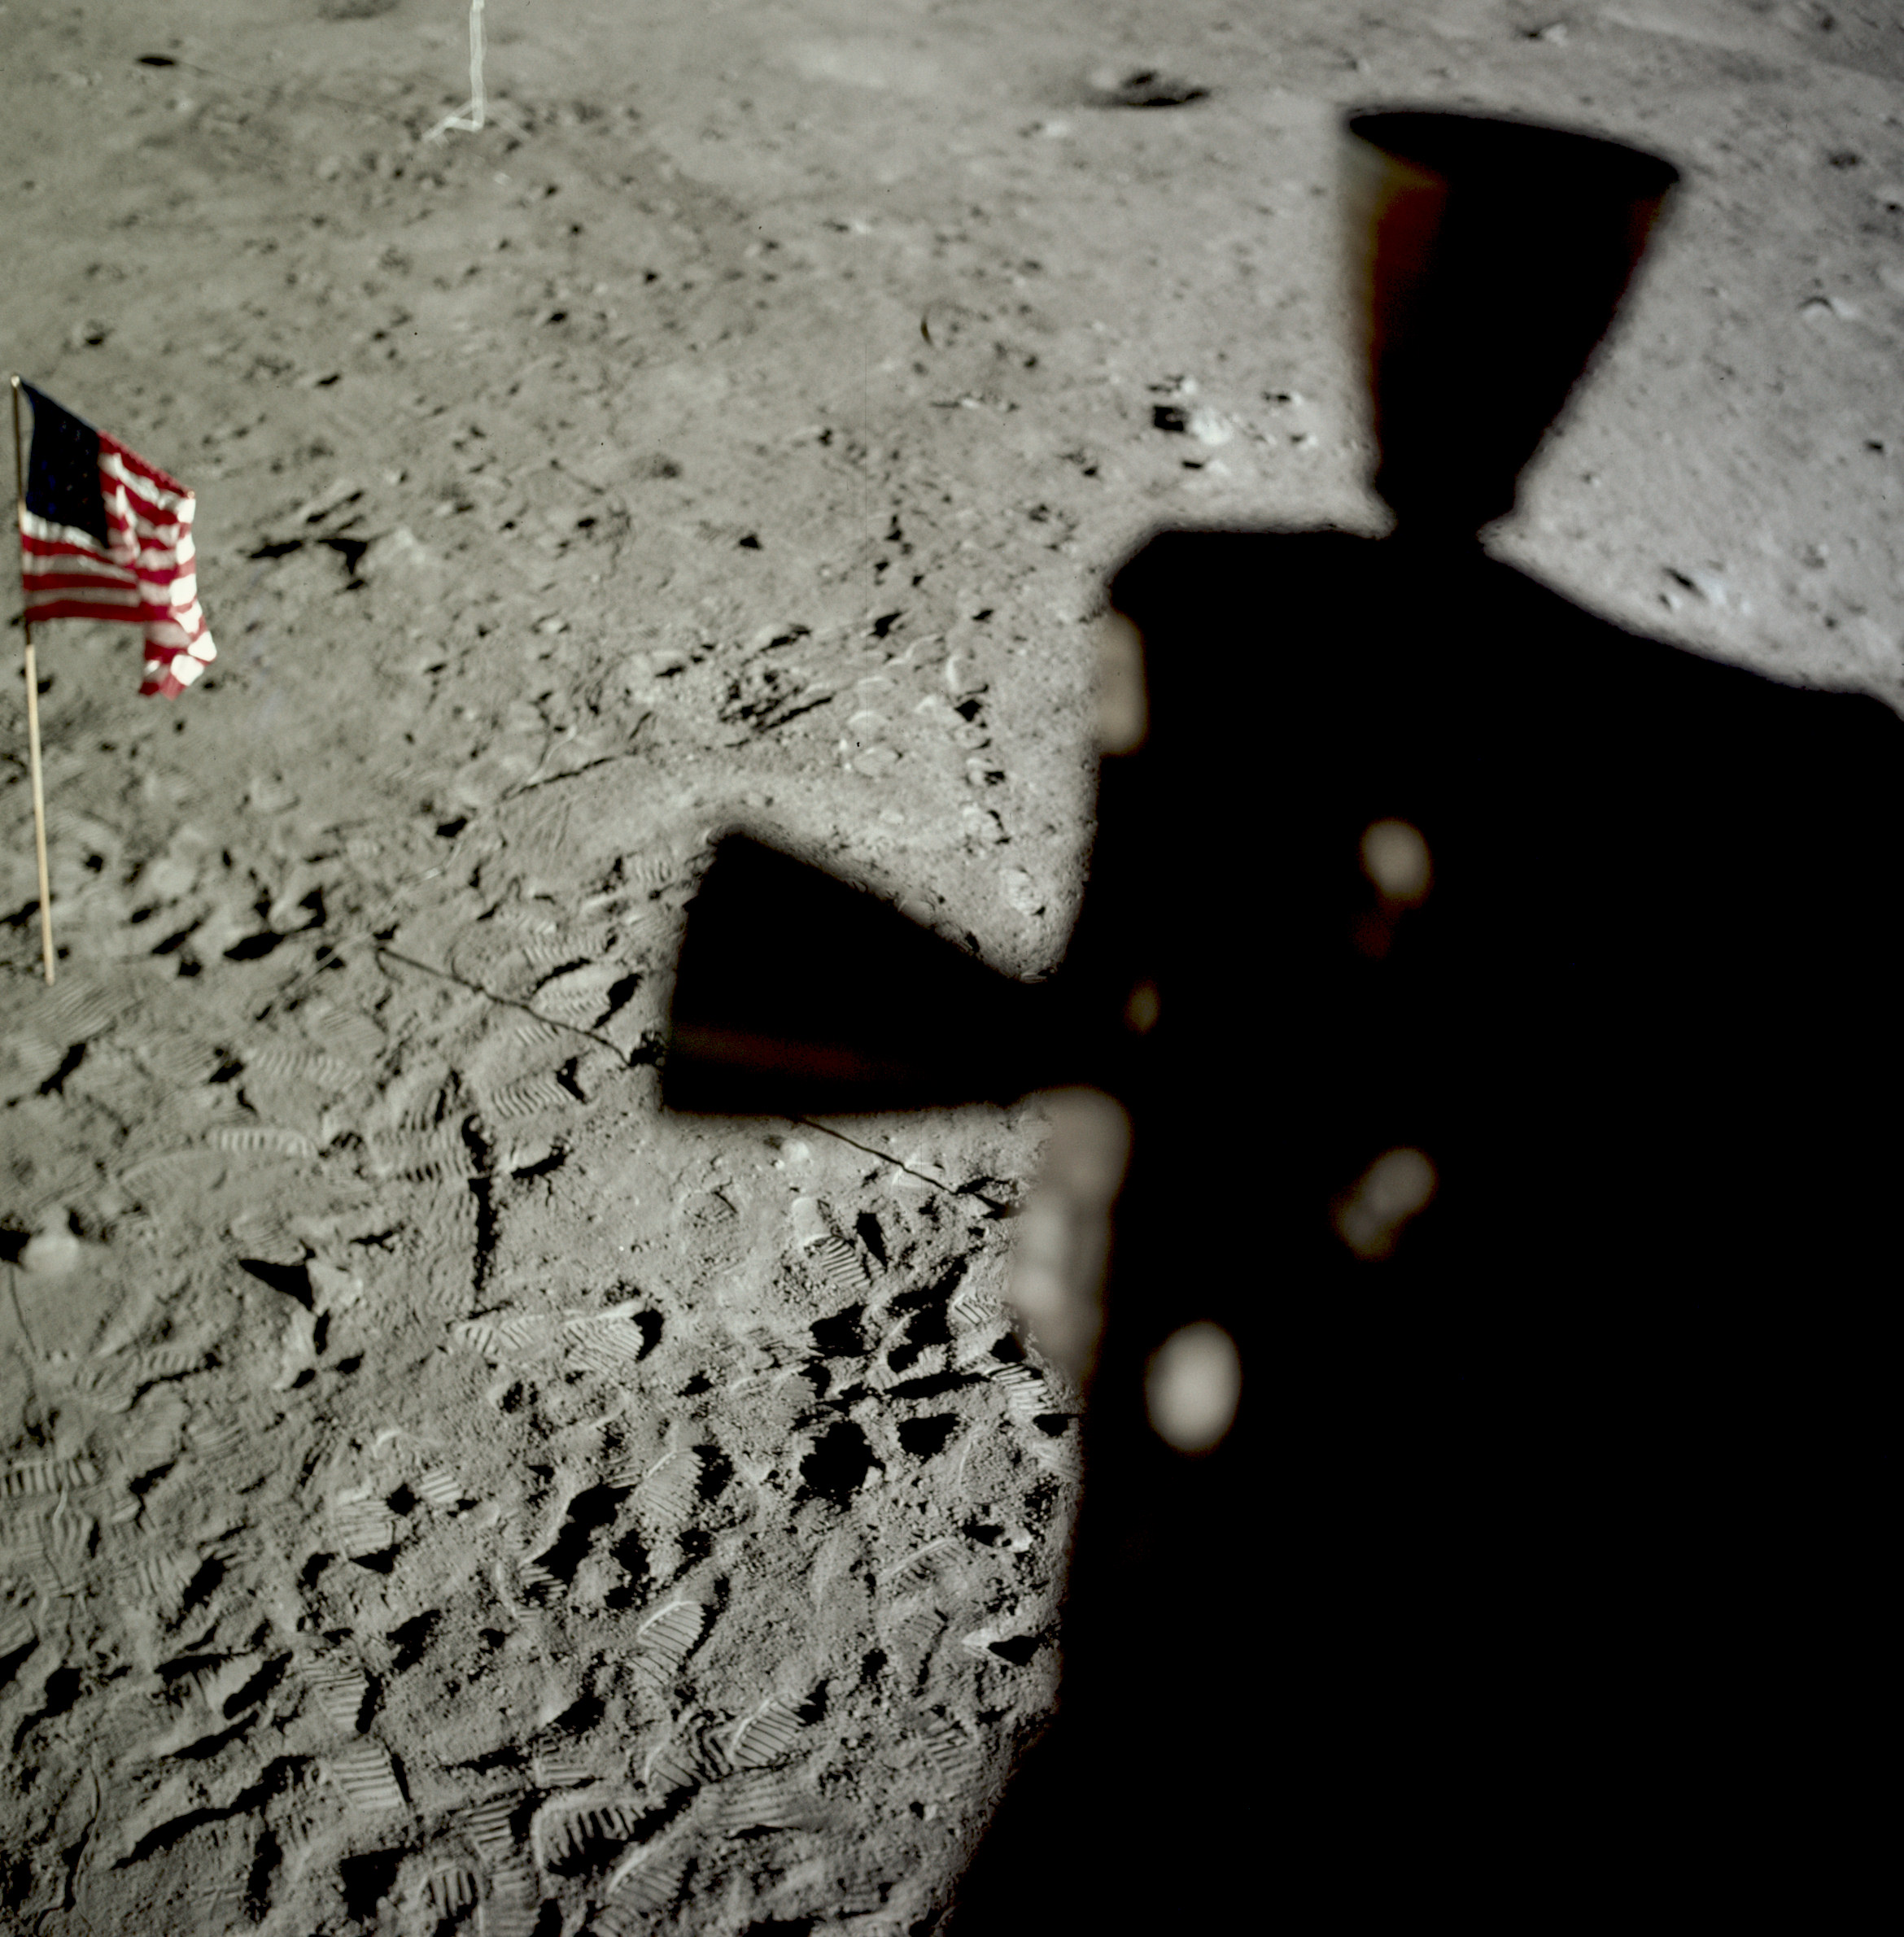 | AS11-37-5544 Tranquility Base and flag from LM window. Thruster quad in foreground. Image credit: Image Science and Analysis Laboratory, NASA-Johnson Space Center. |
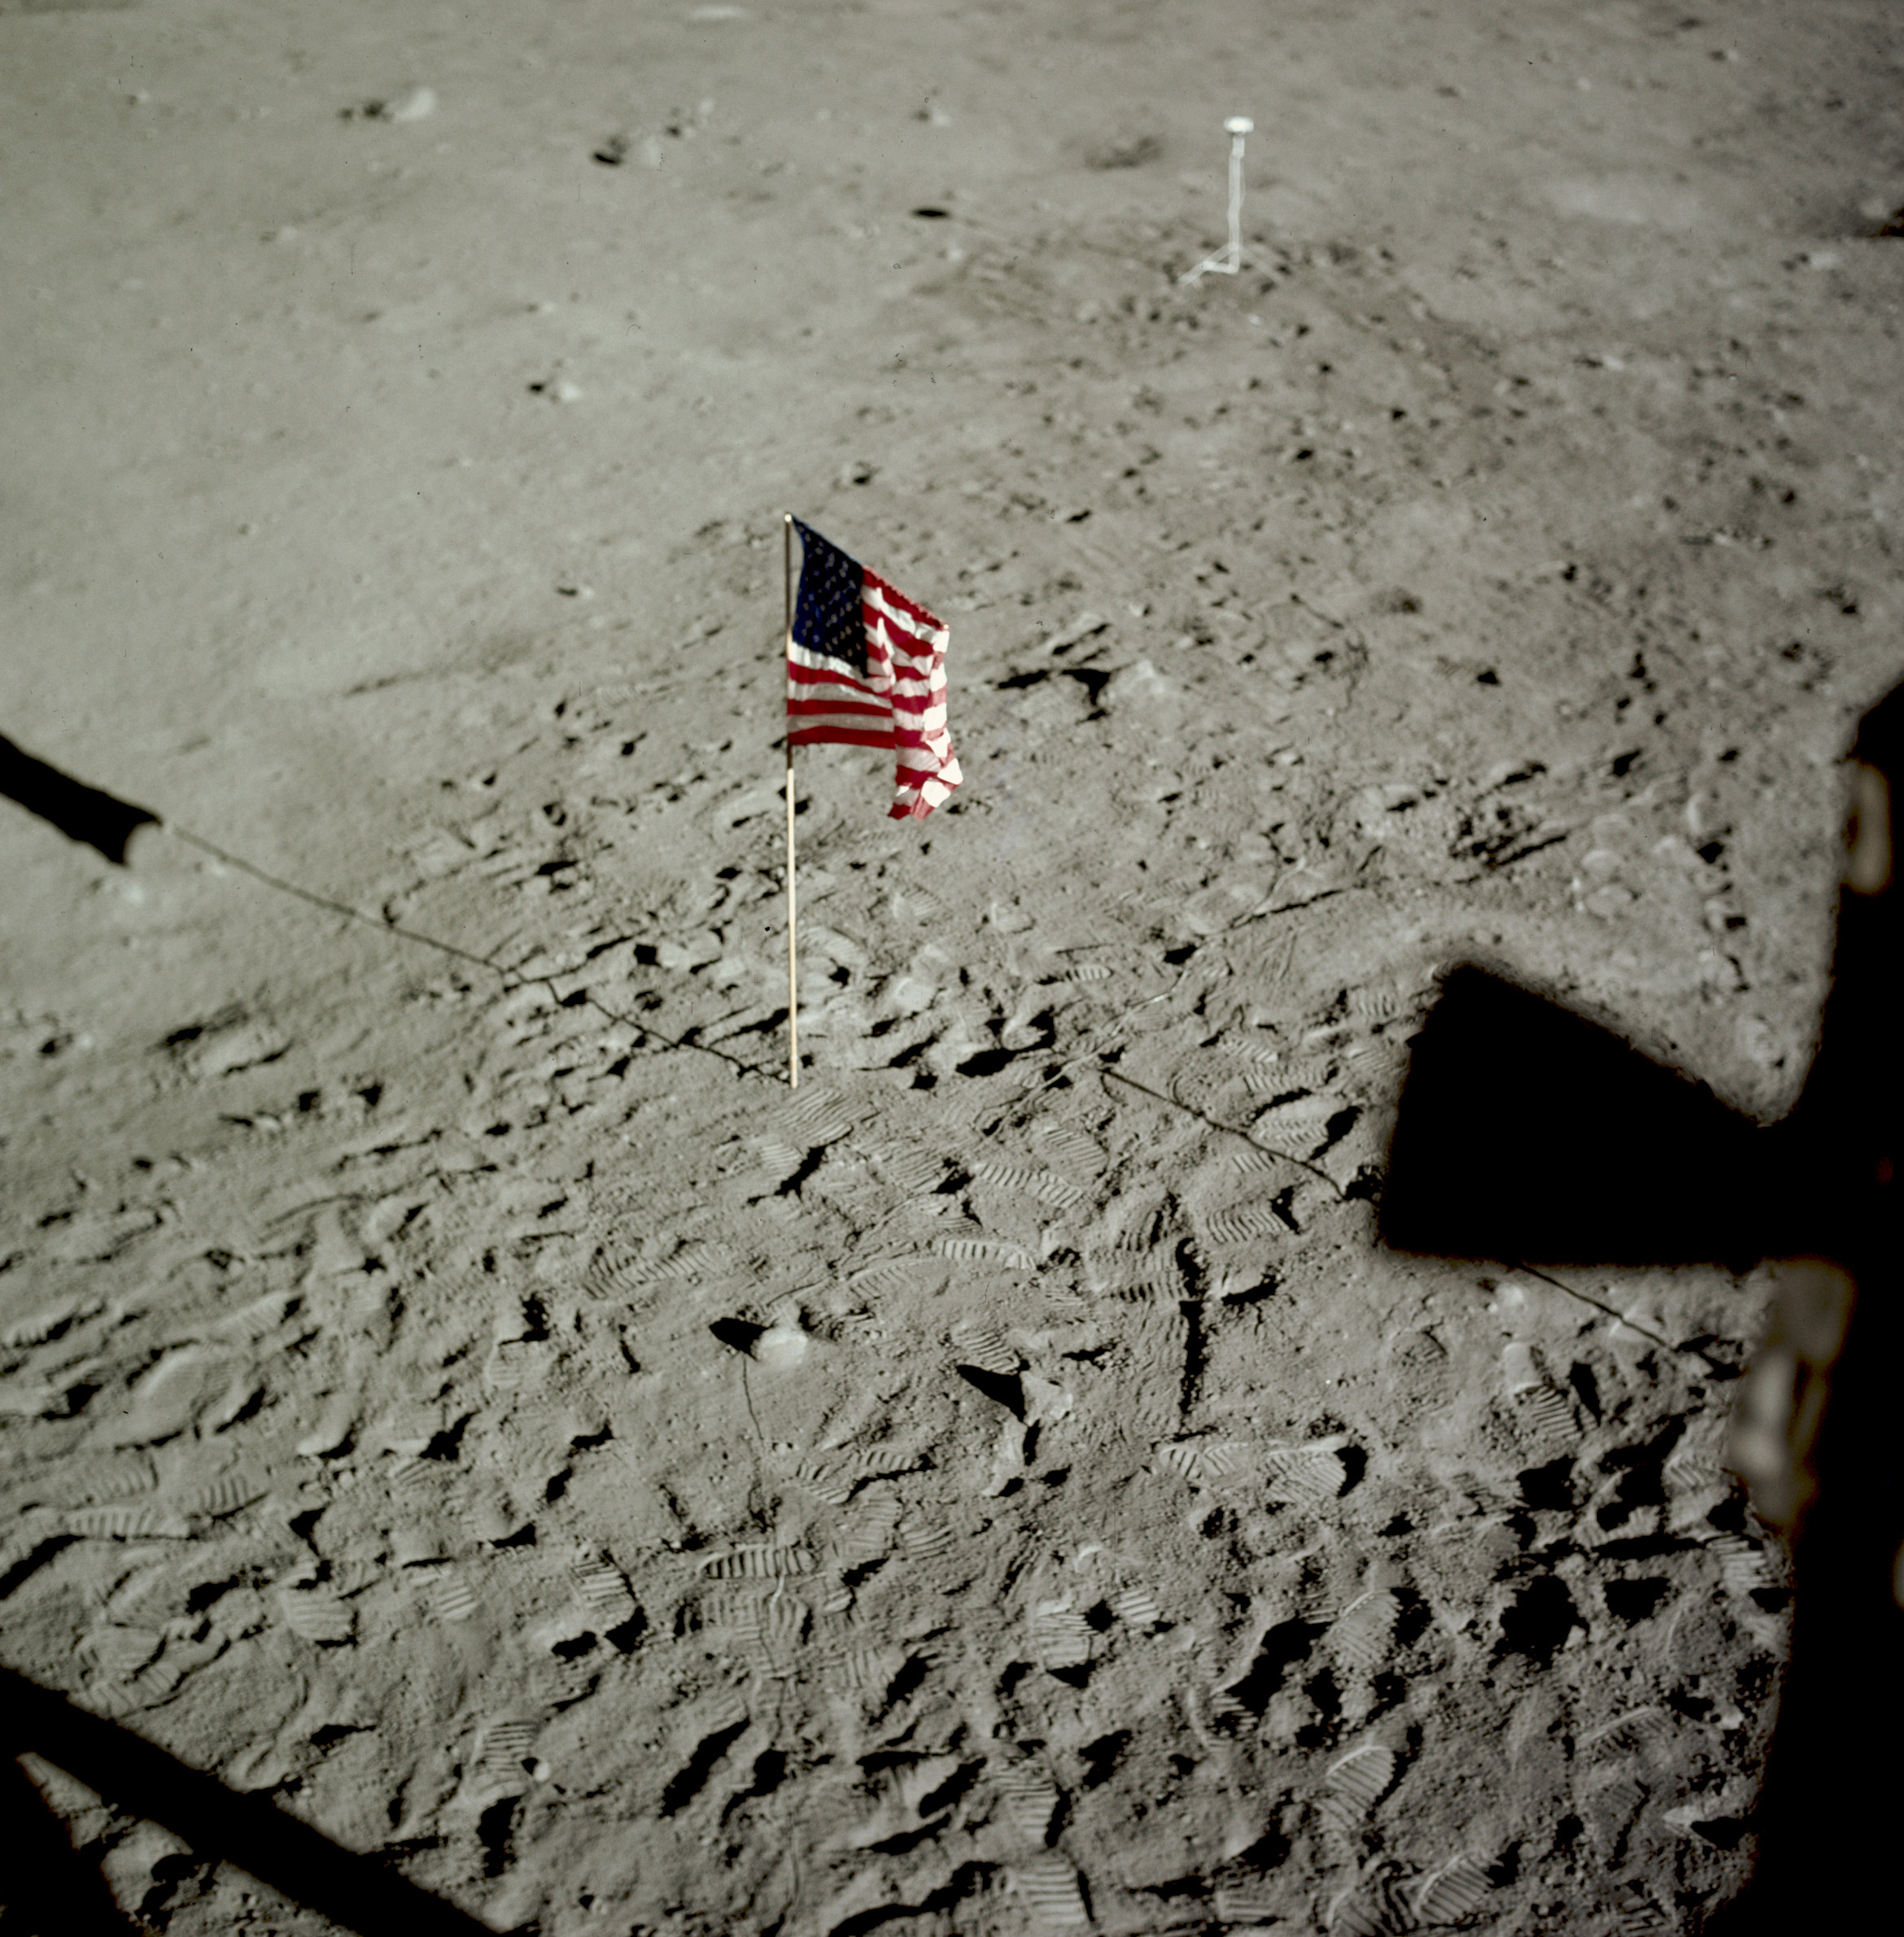 | AS11-37-5545 Tranquility Base and flag from LM window. Thruster quad in foreground. Image credit: Image Science and Analysis Laboratory, NASA-Johnson Space Center. |
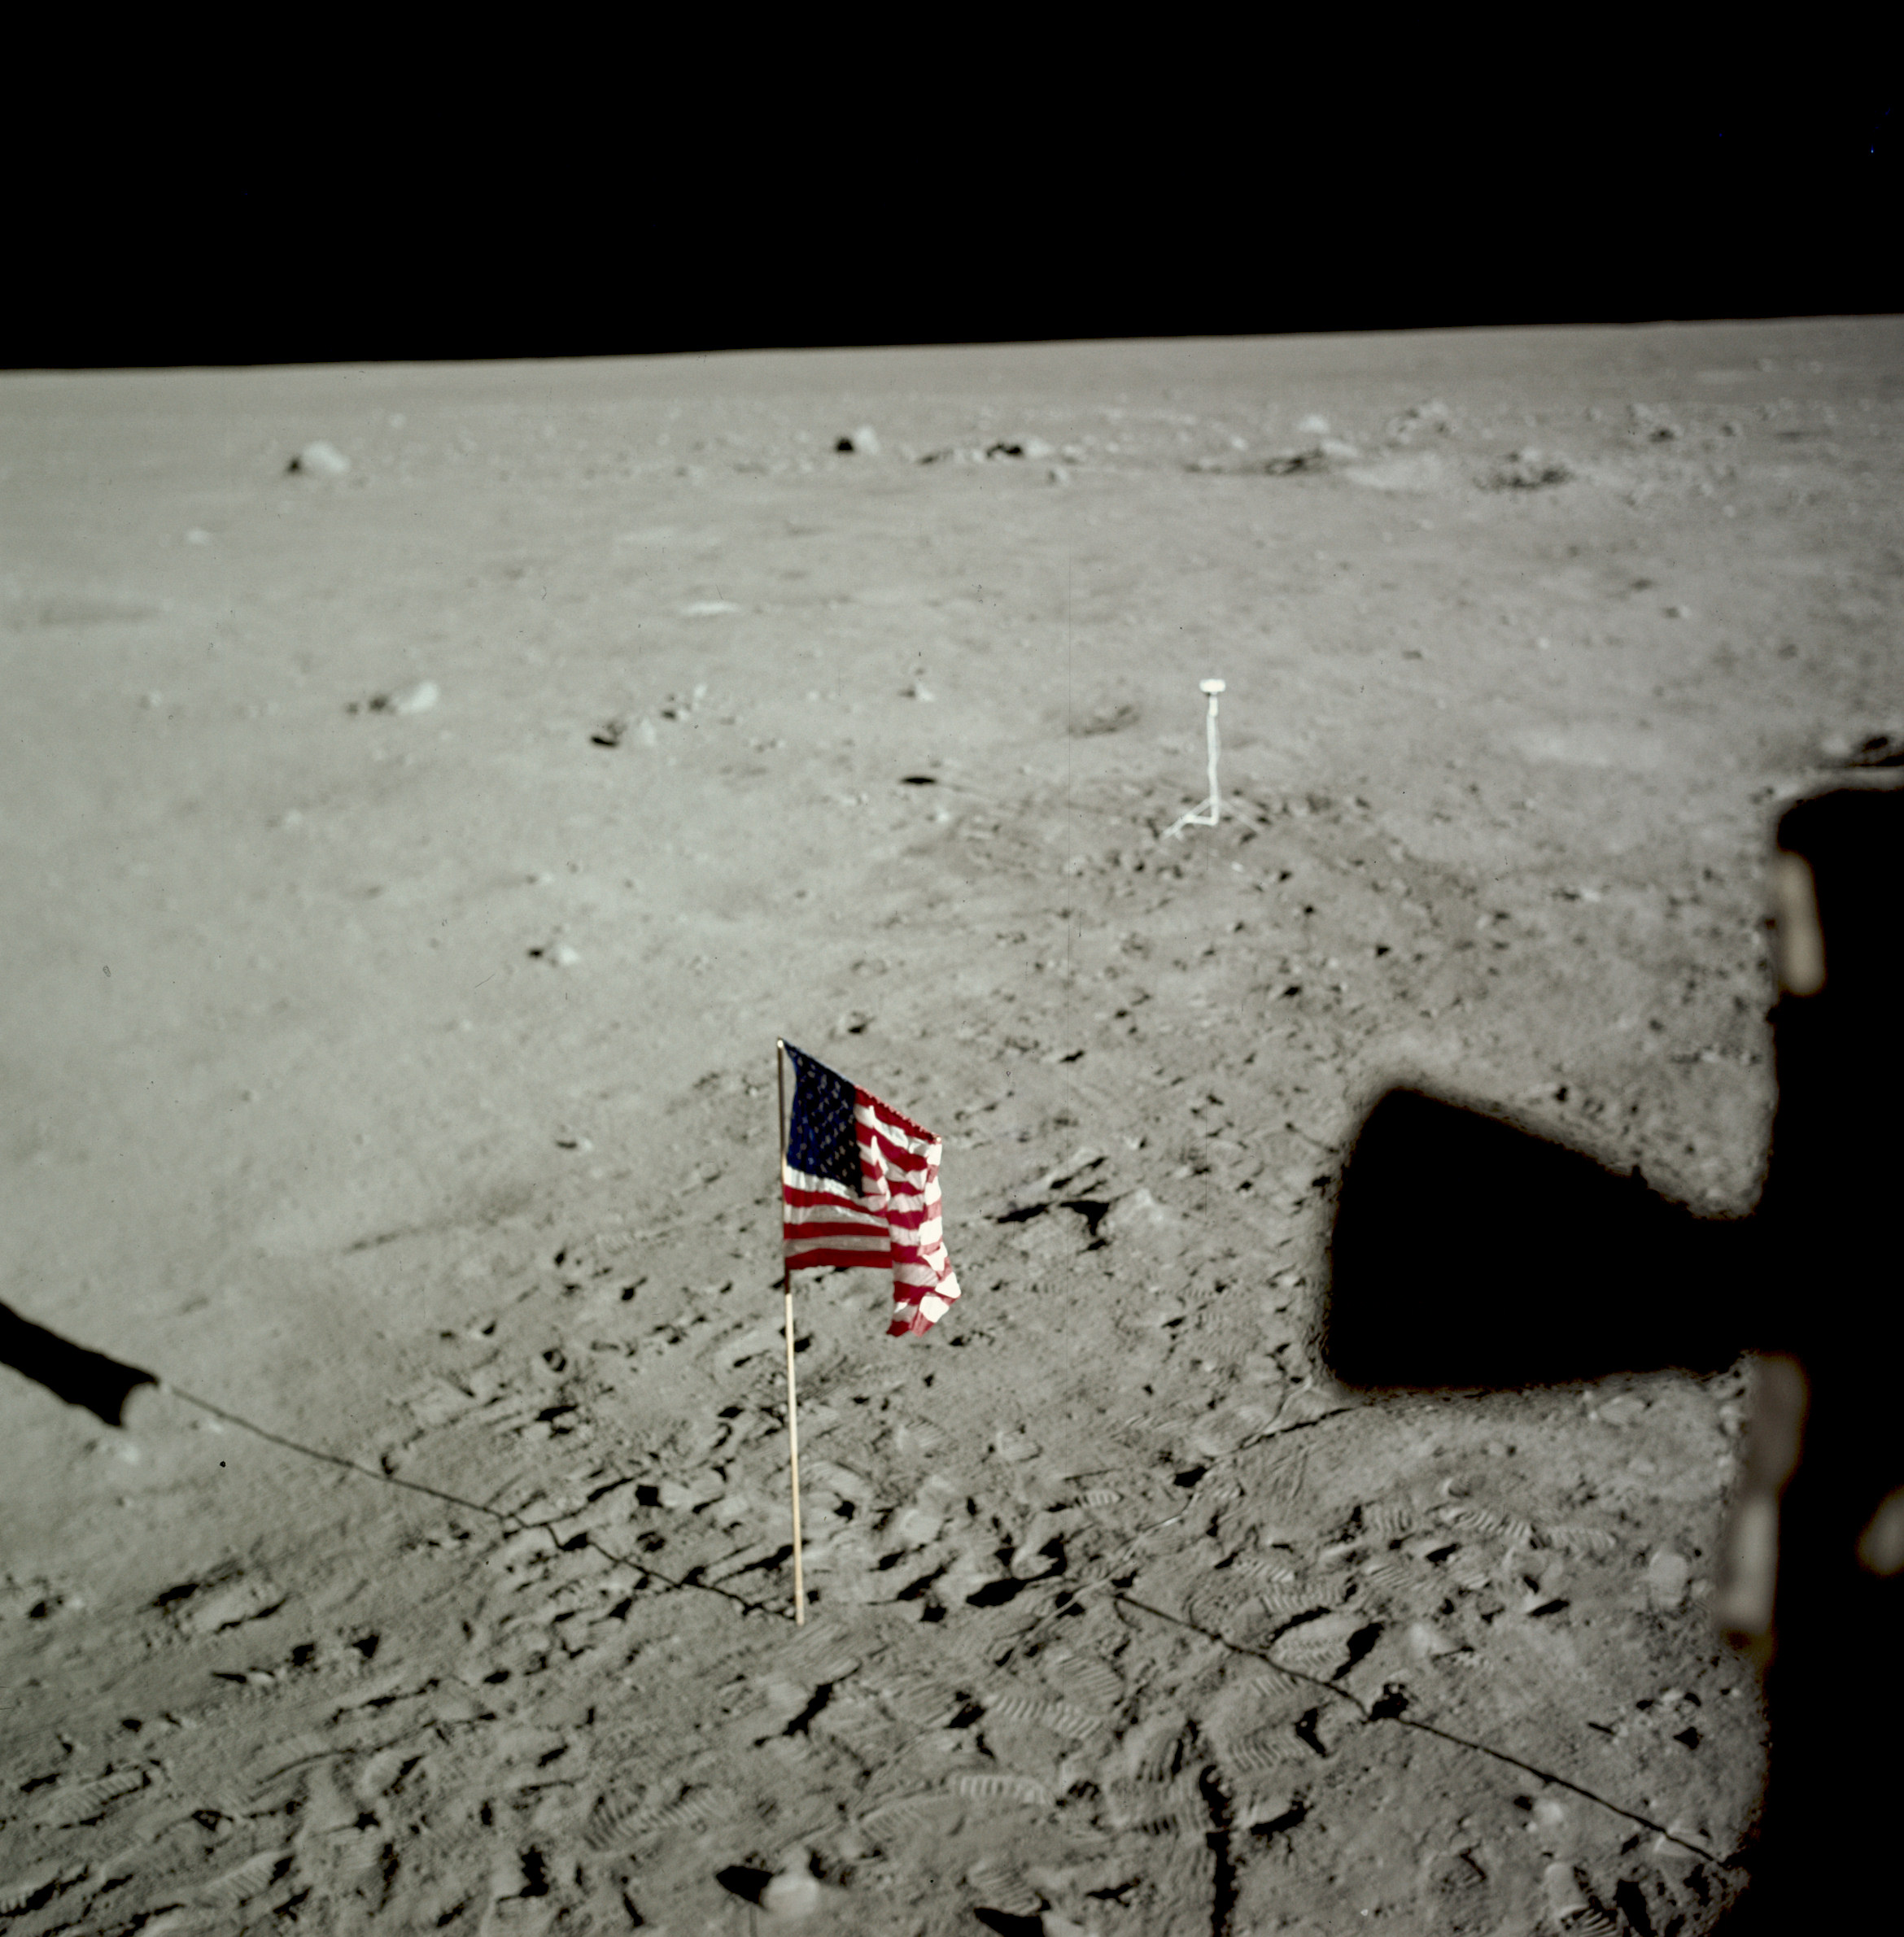 | AS11-37-5546 Tranquility Base and flag from LM window. Thruster quad in foreground. Image credit: Image Science and Analysis Laboratory, NASA-Johnson Space Center. |
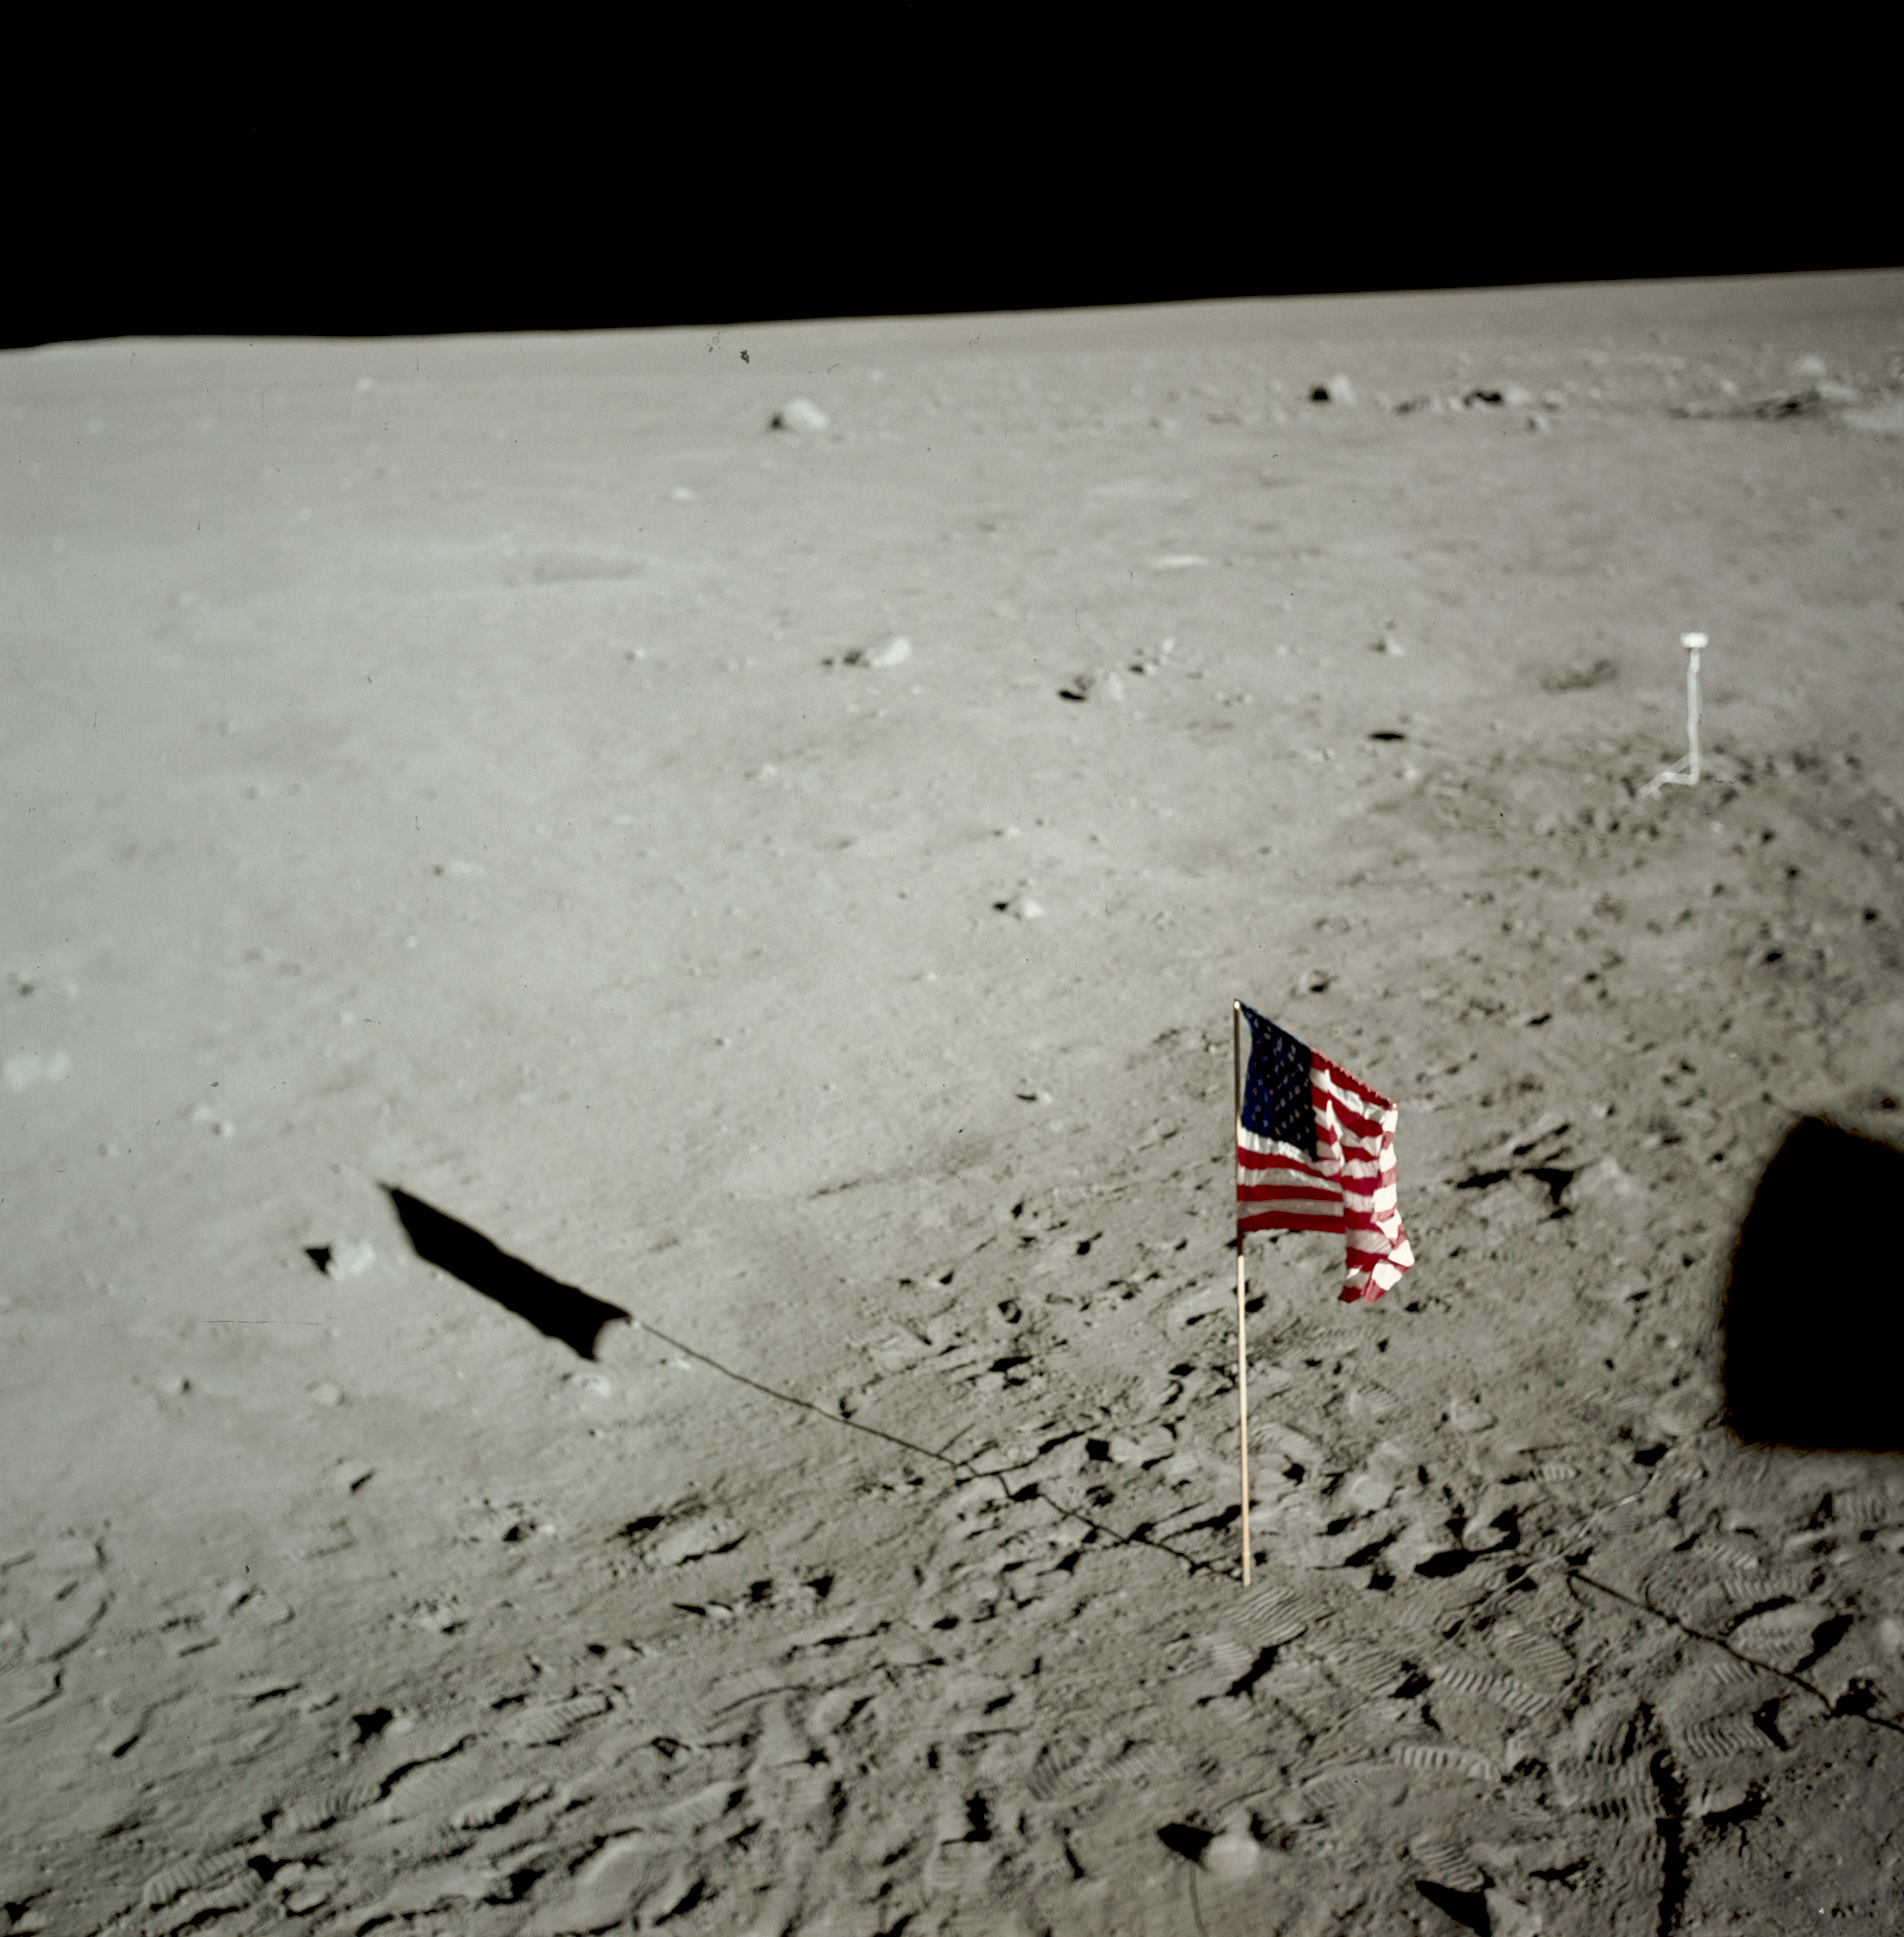 | AS11-37-5547 Tranquility Base and flag from LM window. Image credit: Image Science and Analysis Laboratory, NASA-Johnson Space Center. |
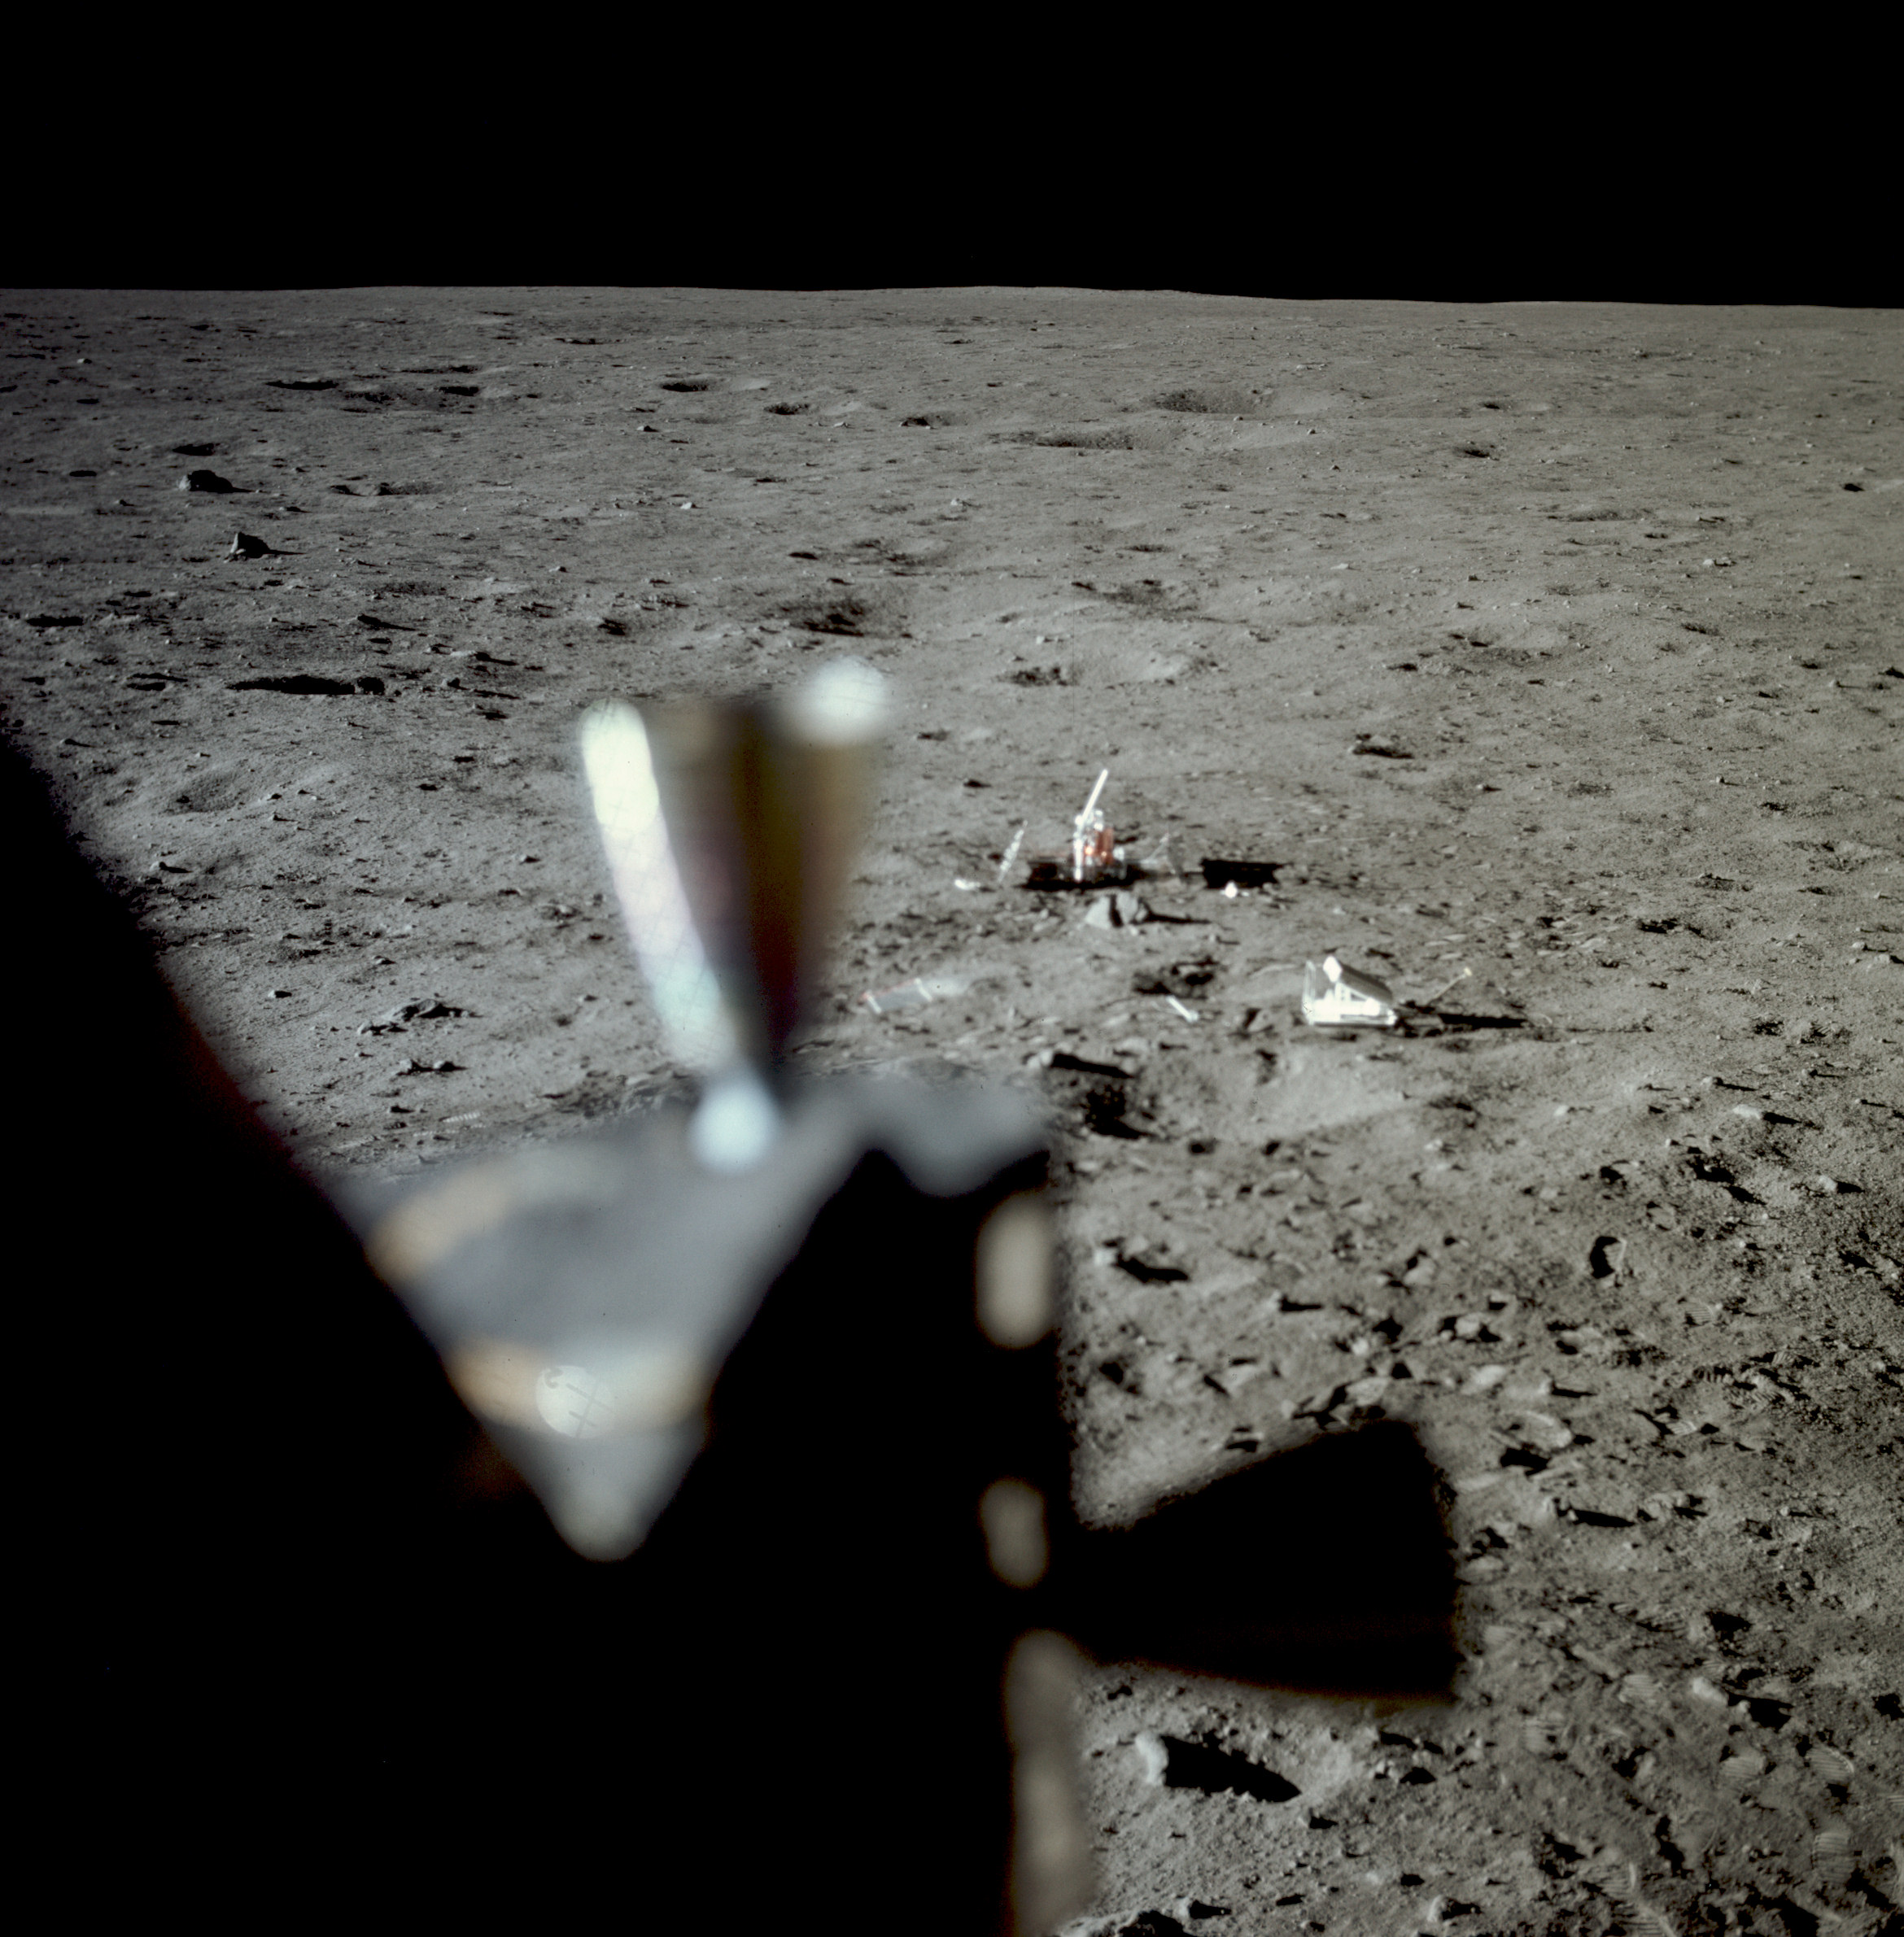 | AS11-37-5548 Tranquility Base from LM window. Image credit: Image Science and Analysis Laboratory, NASA-Johnson Space Center. |
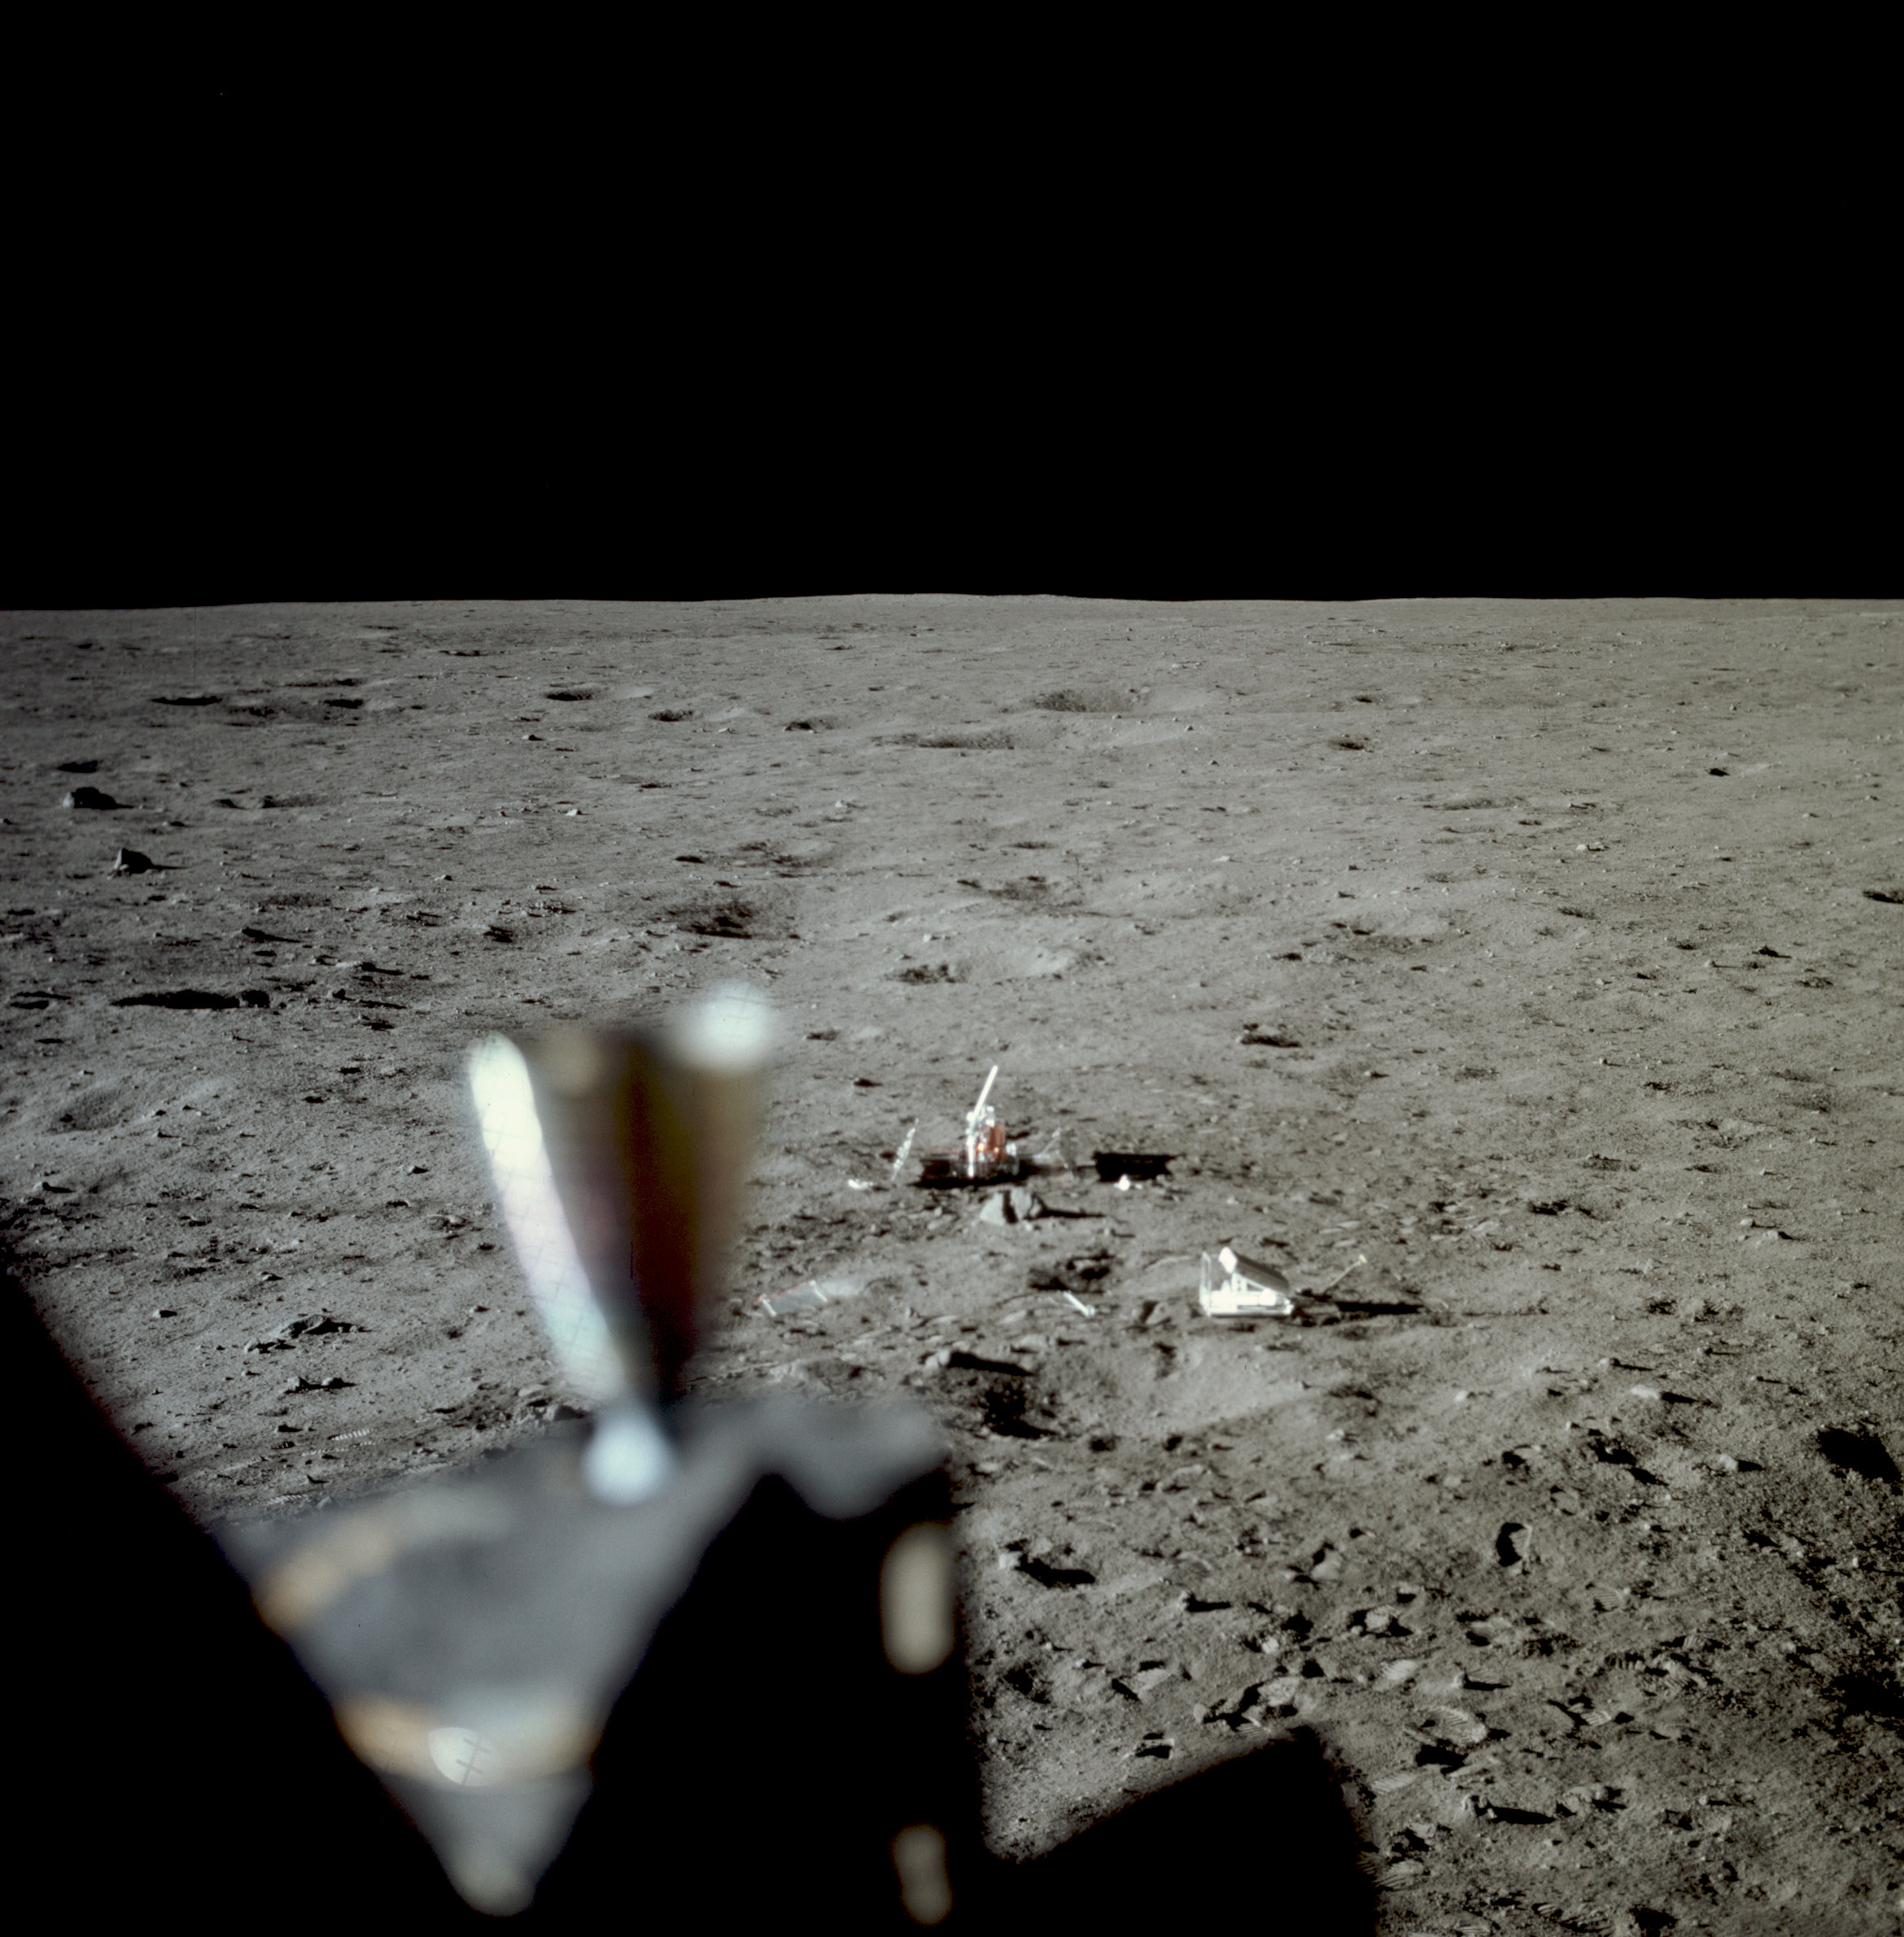 | AS11-37-5549 Tranquility Base from LM window. Image credit: Image Science and Analysis Laboratory, NASA-Johnson Space Center. |
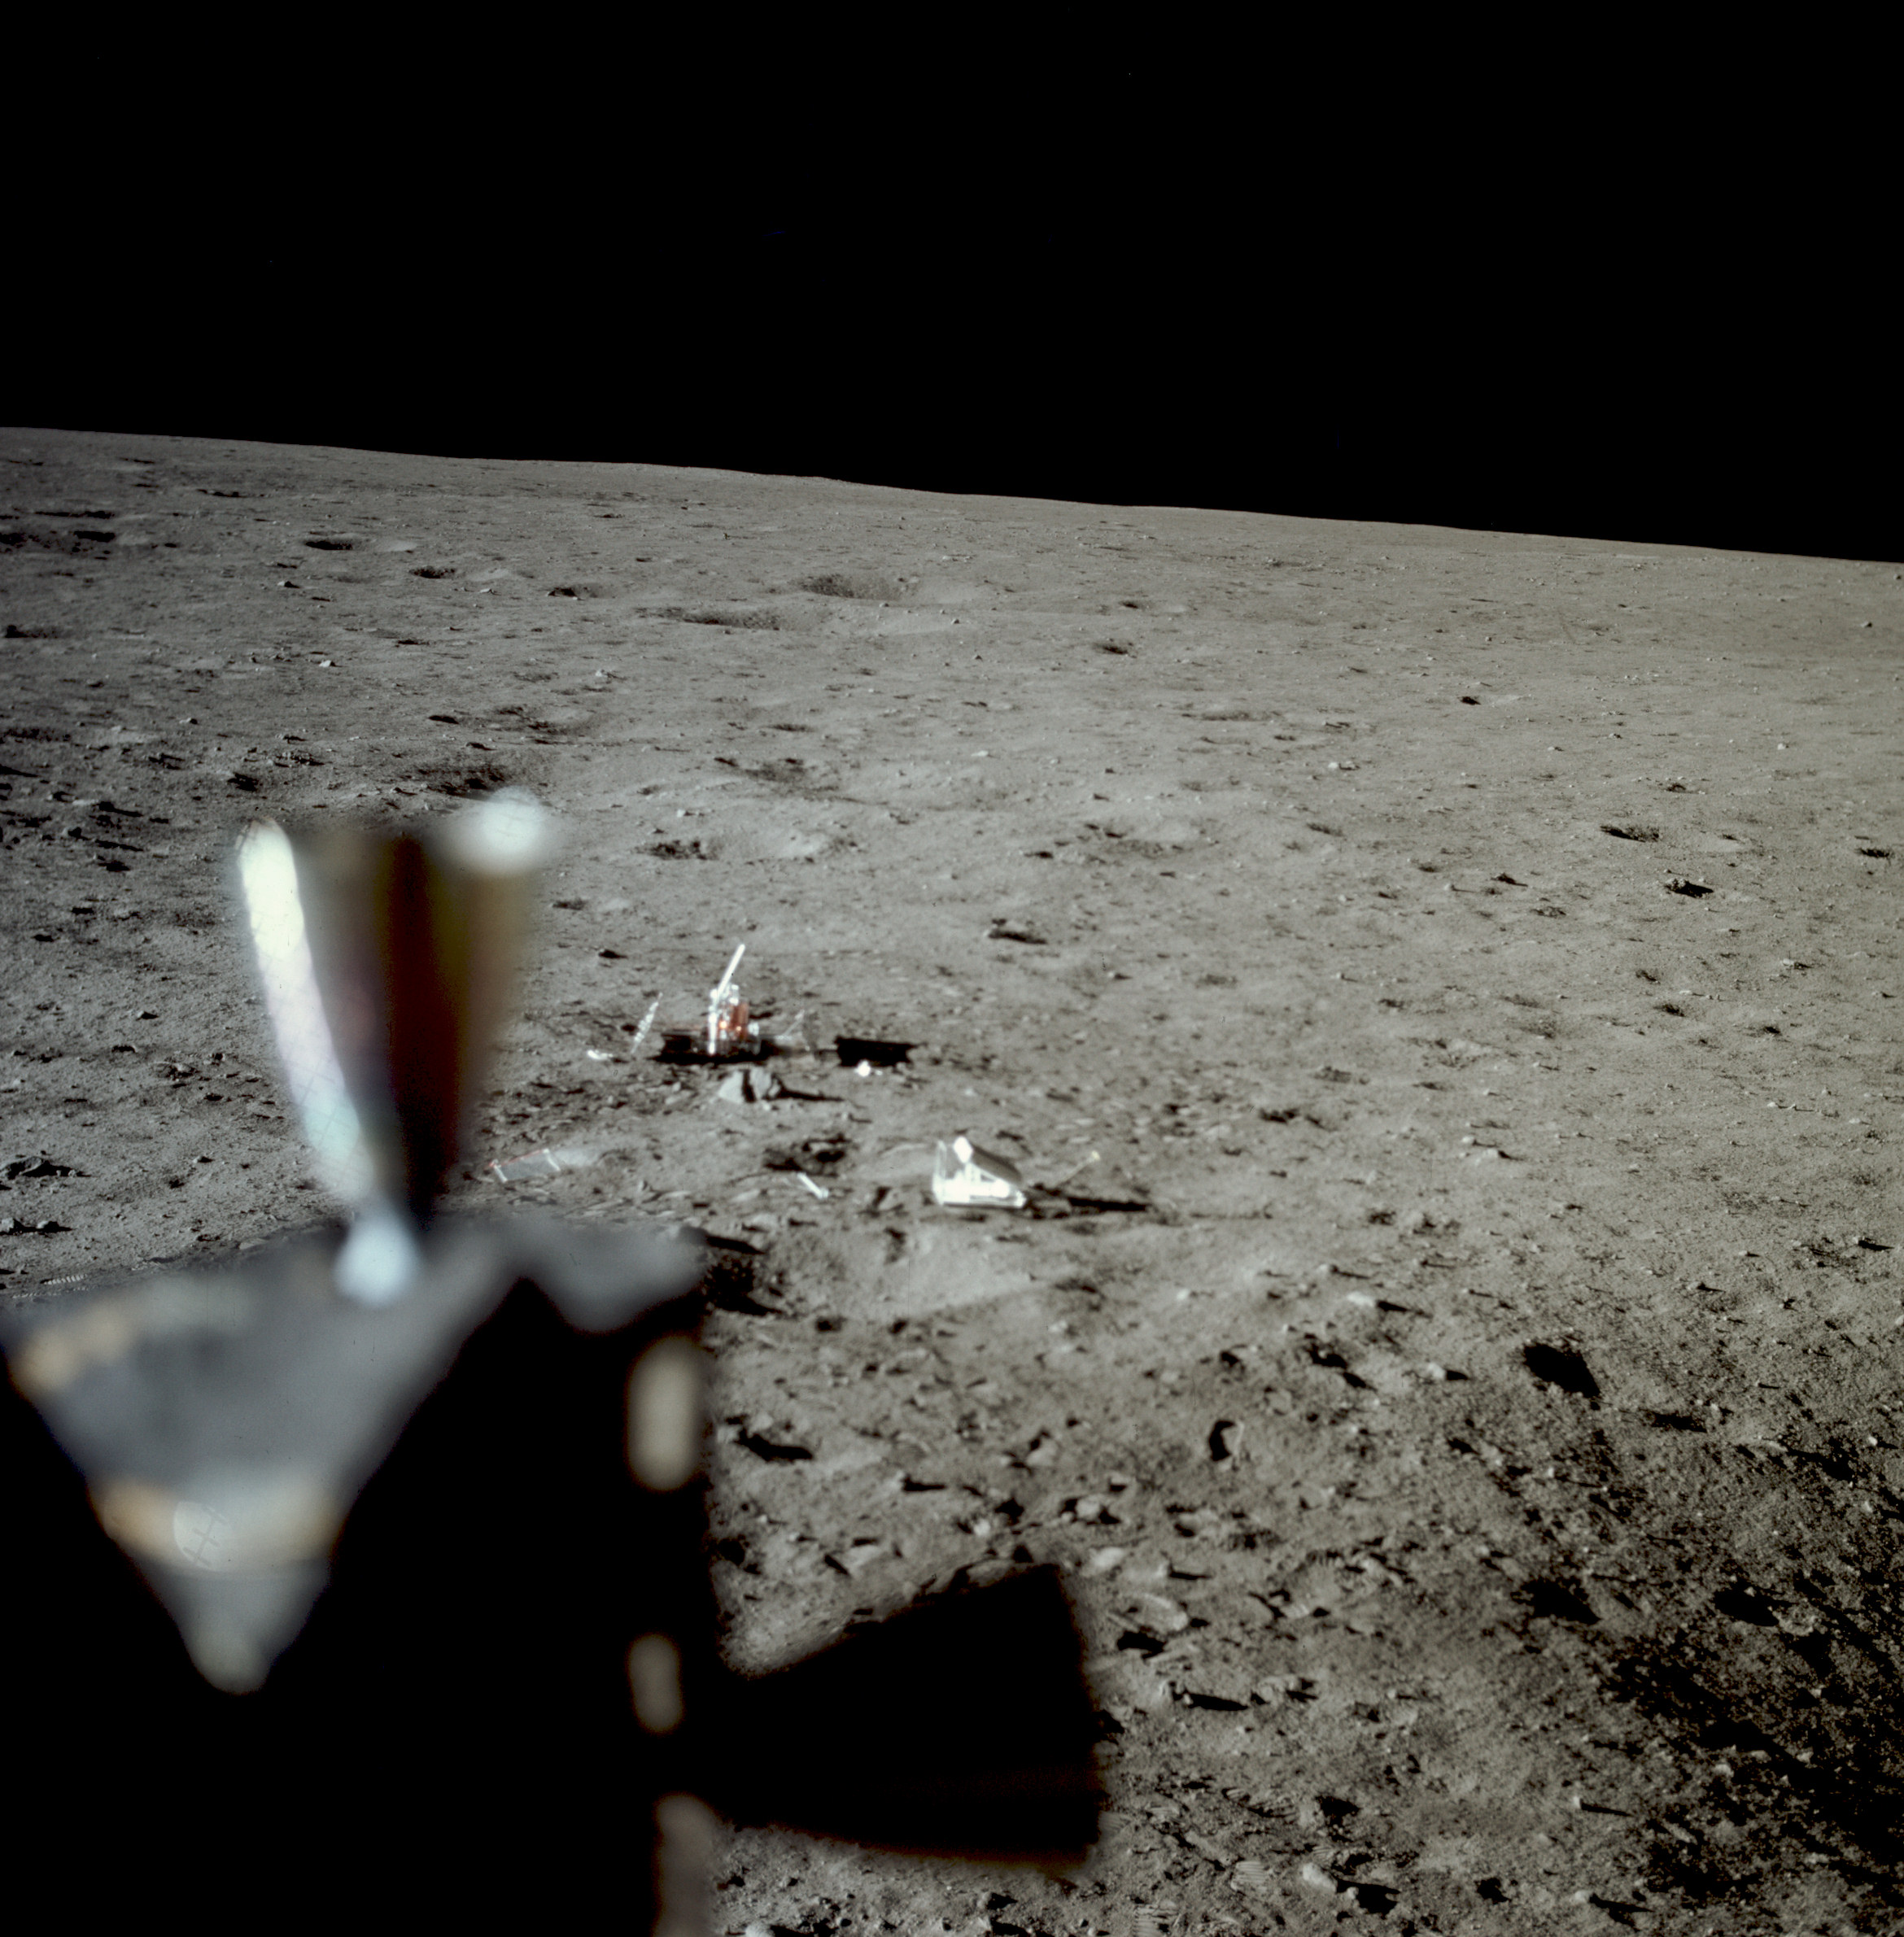 | AS11-37-5550 Tranquility Base from LM window. Image credit: Image Science and Analysis Laboratory, NASA-Johnson Space Center. |
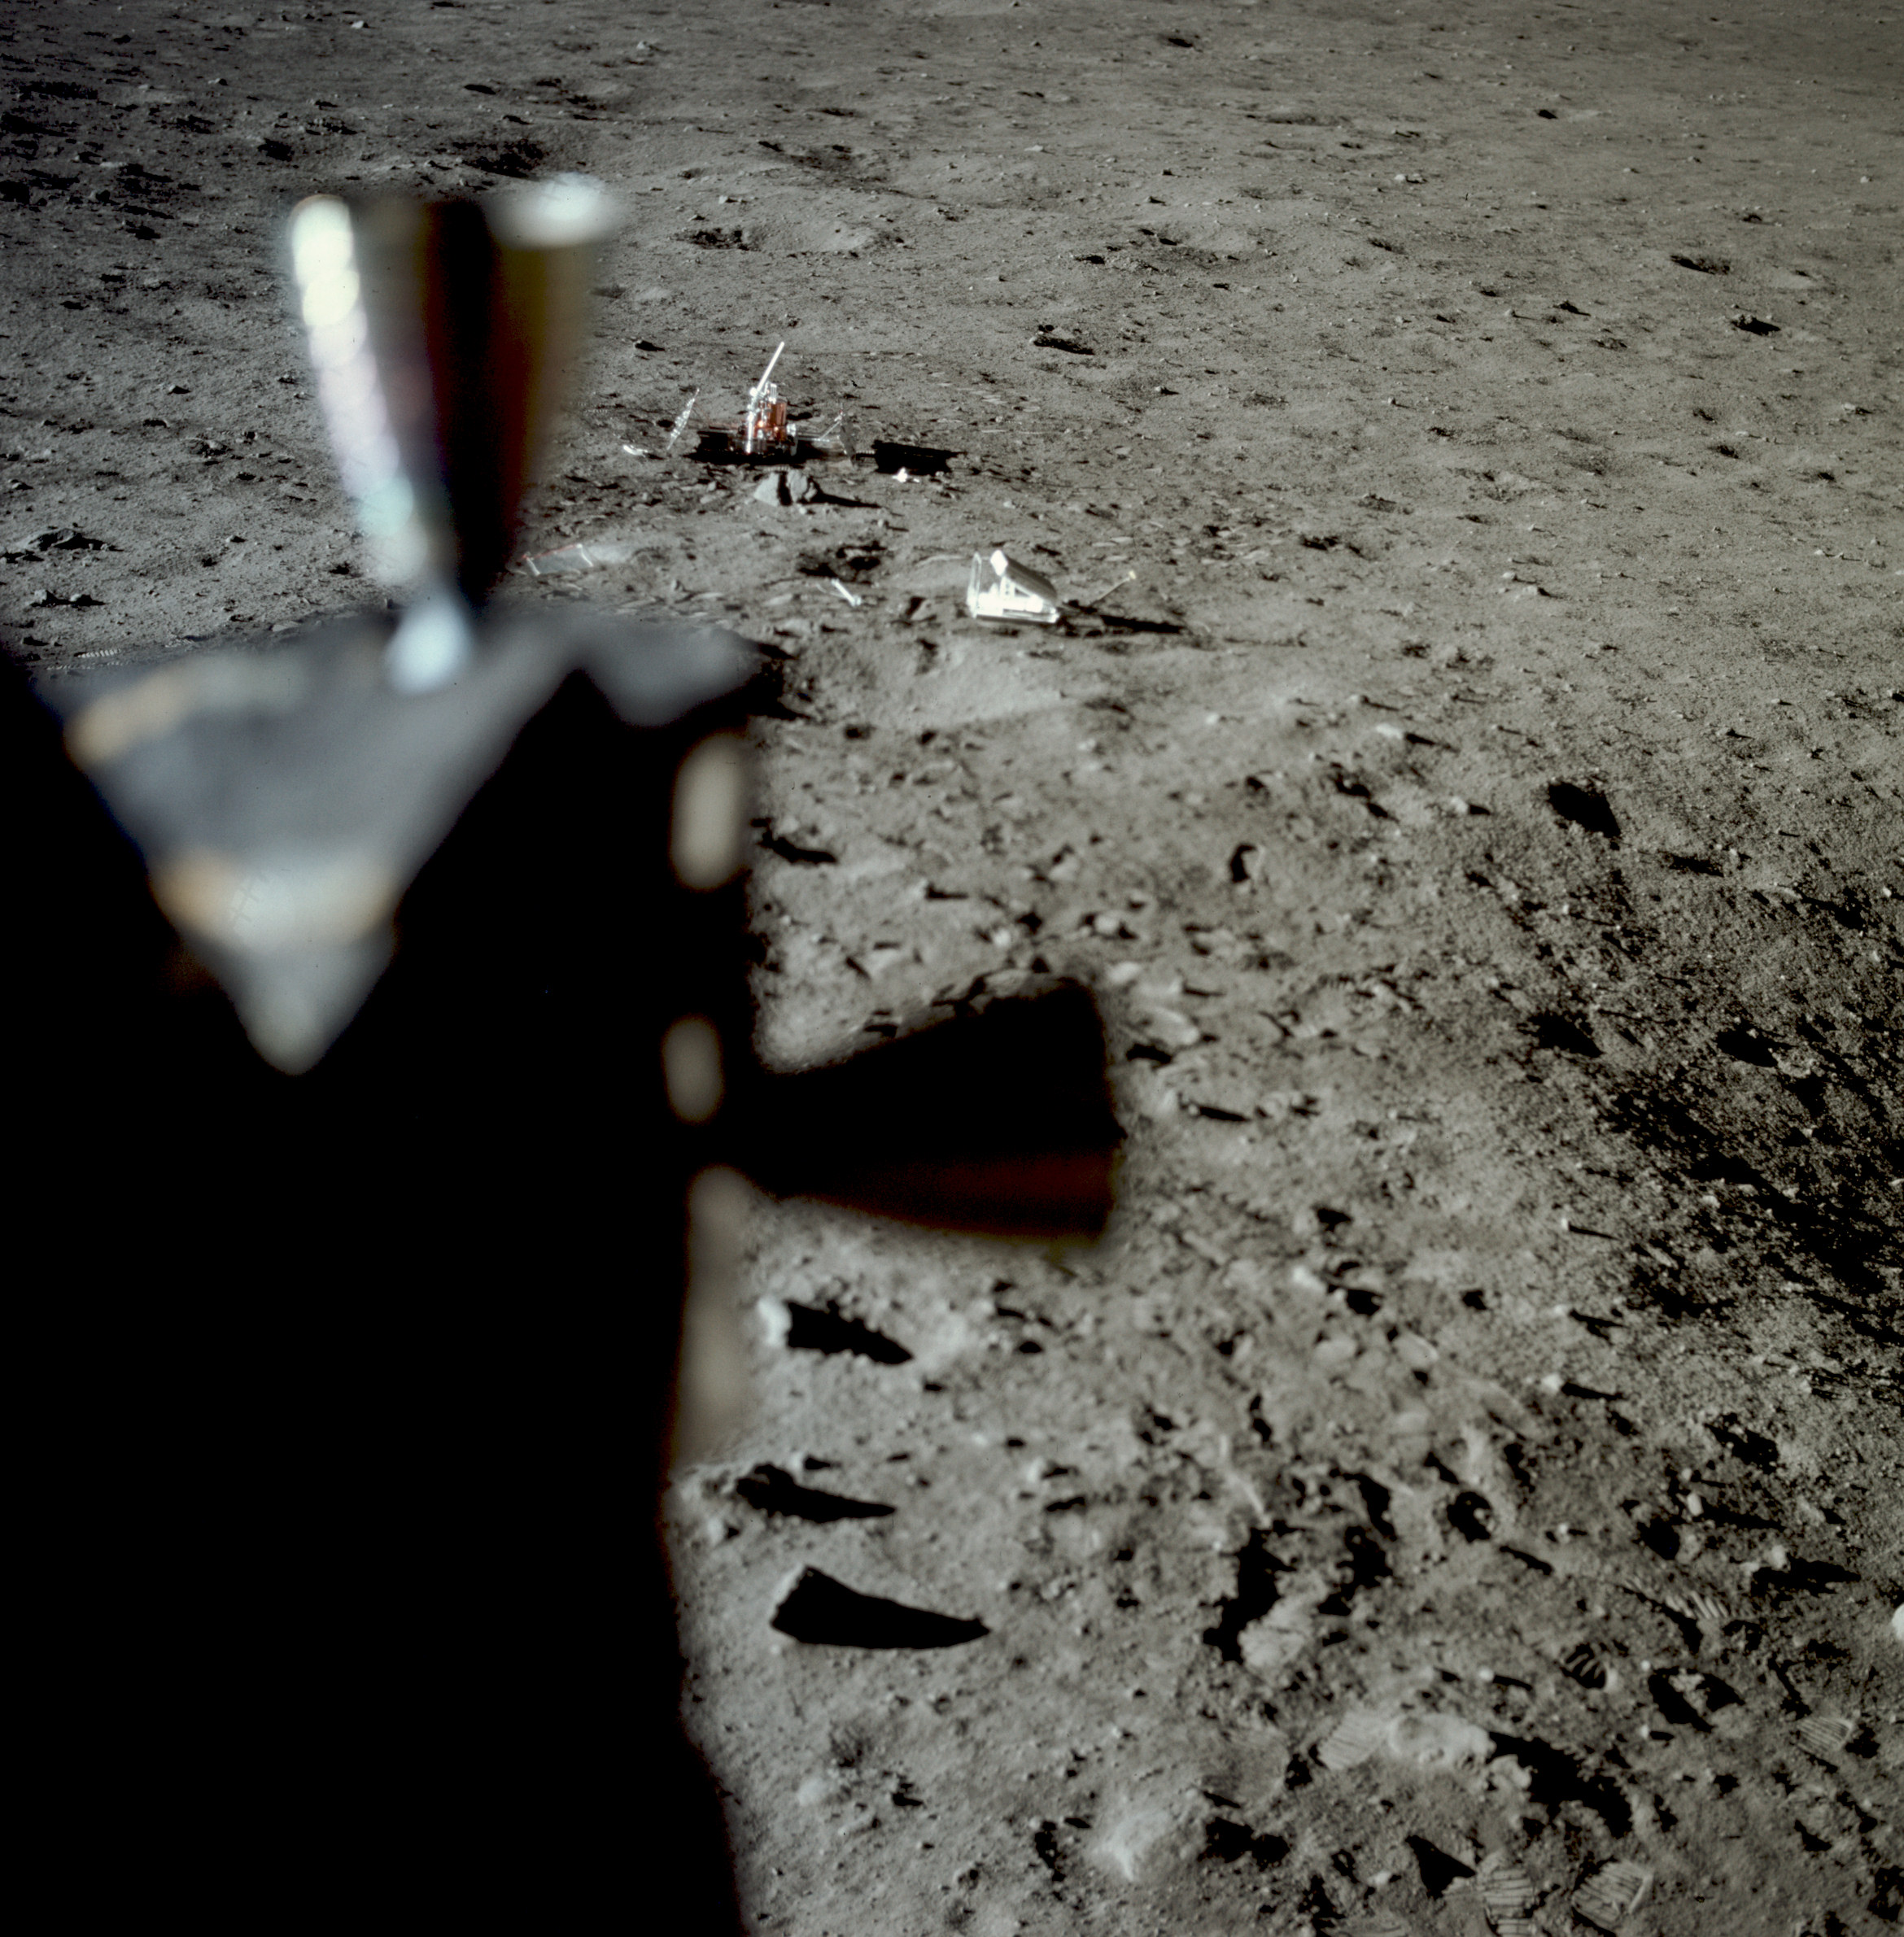 | AS11-37-5551 Tranquility Base from LM window. Image credit: Image Science and Analysis Laboratory, NASA-Johnson Space Center. |
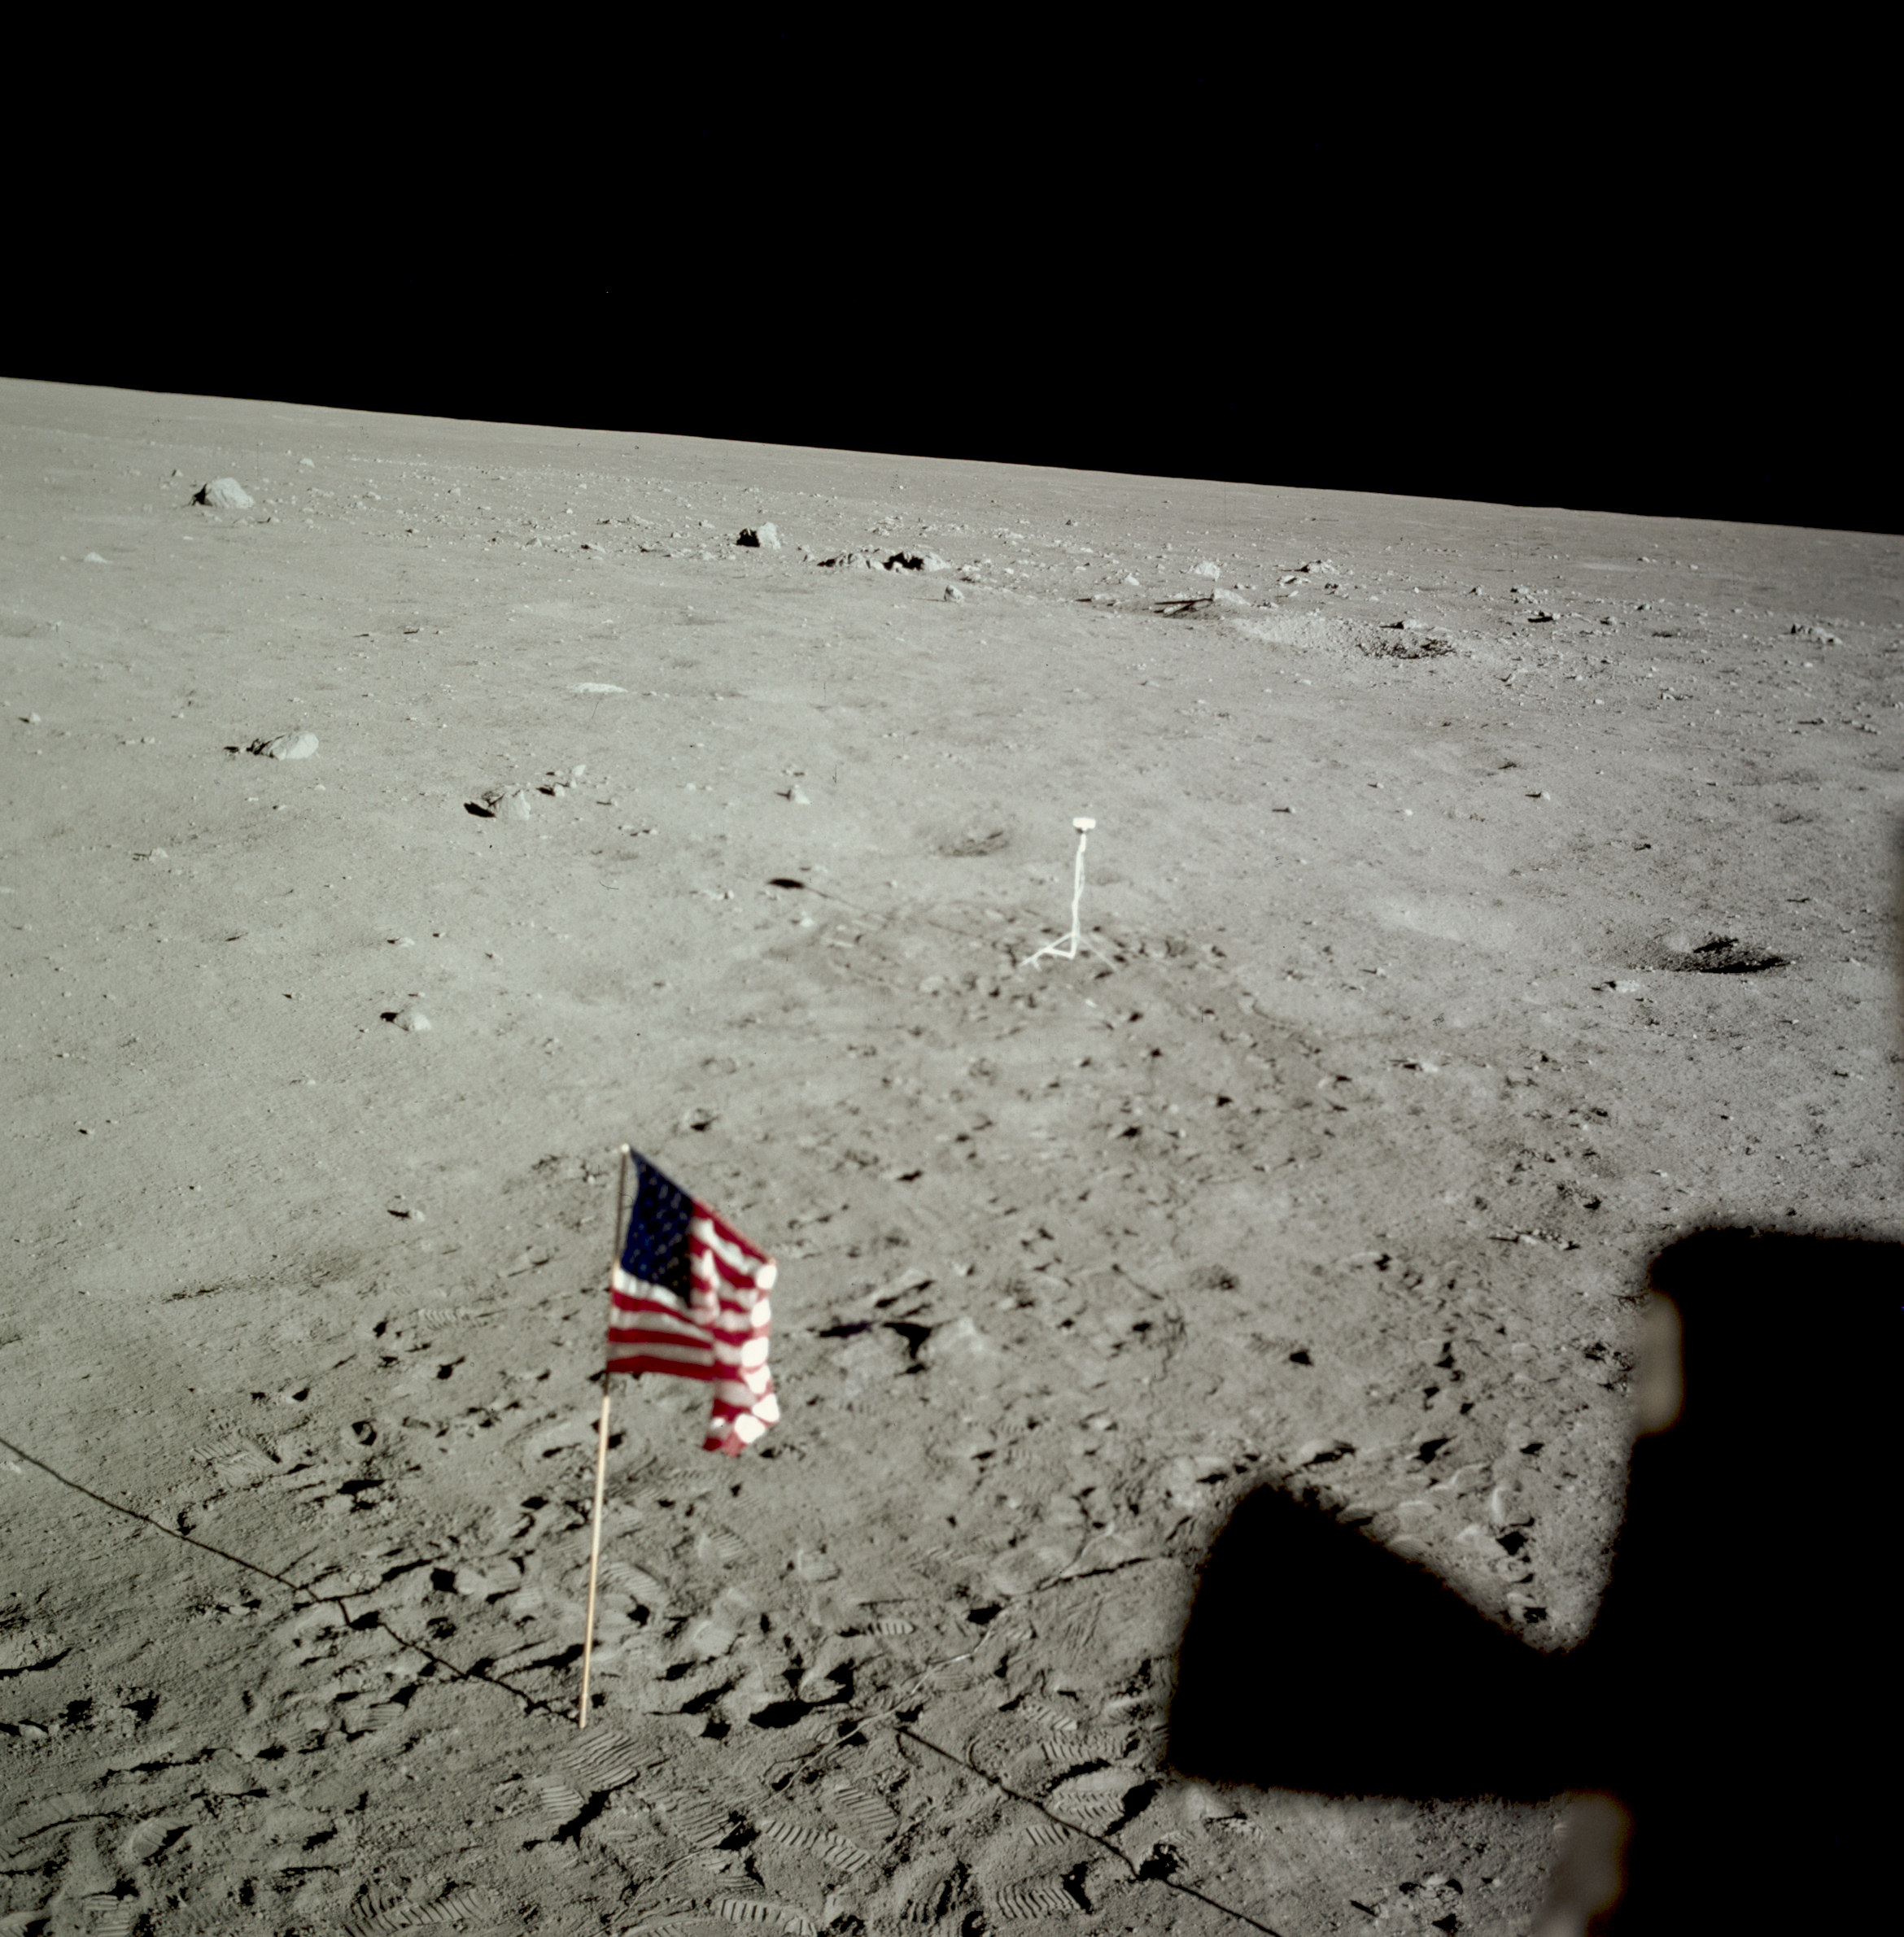 | AS11-37-5552 Tranquility Base and flag from LM window. Image credit: Image Science and Analysis Laboratory, NASA-Johnson Space Center. |
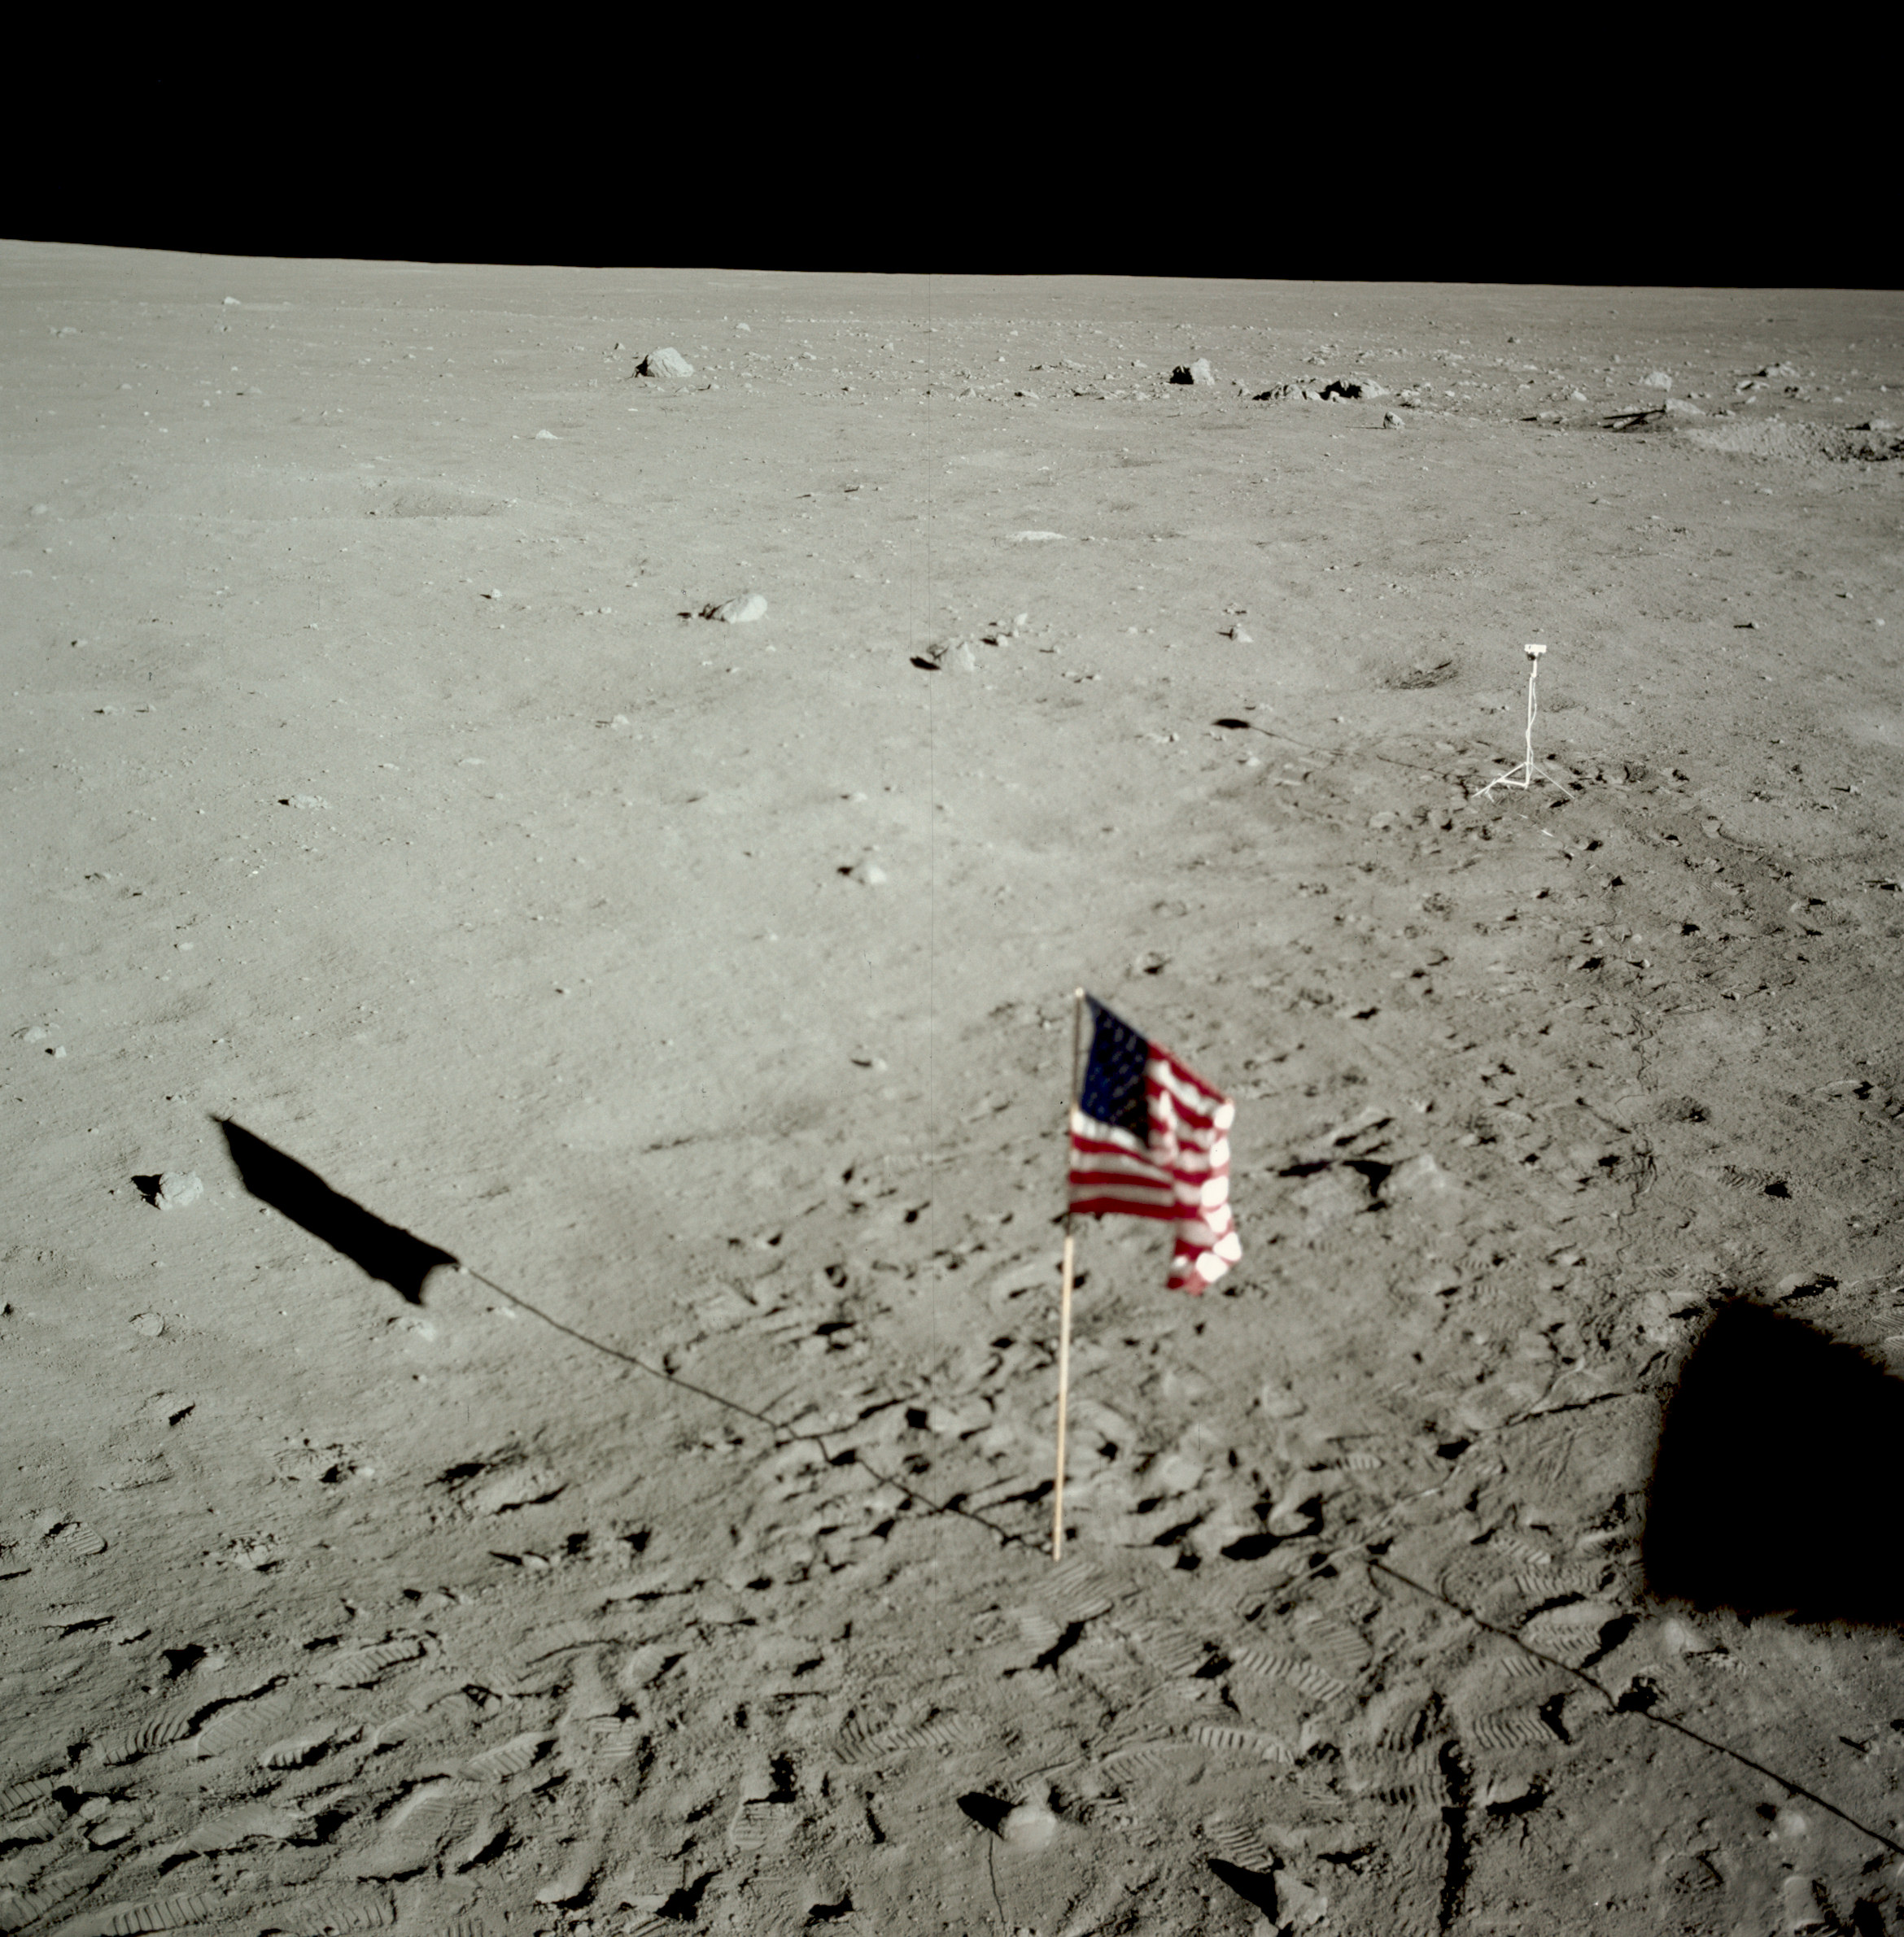 | AS11-37-5553 Tranquility Base and flag from LM window. Image credit: Image Science and Analysis Laboratory, NASA-Johnson Space Center. |
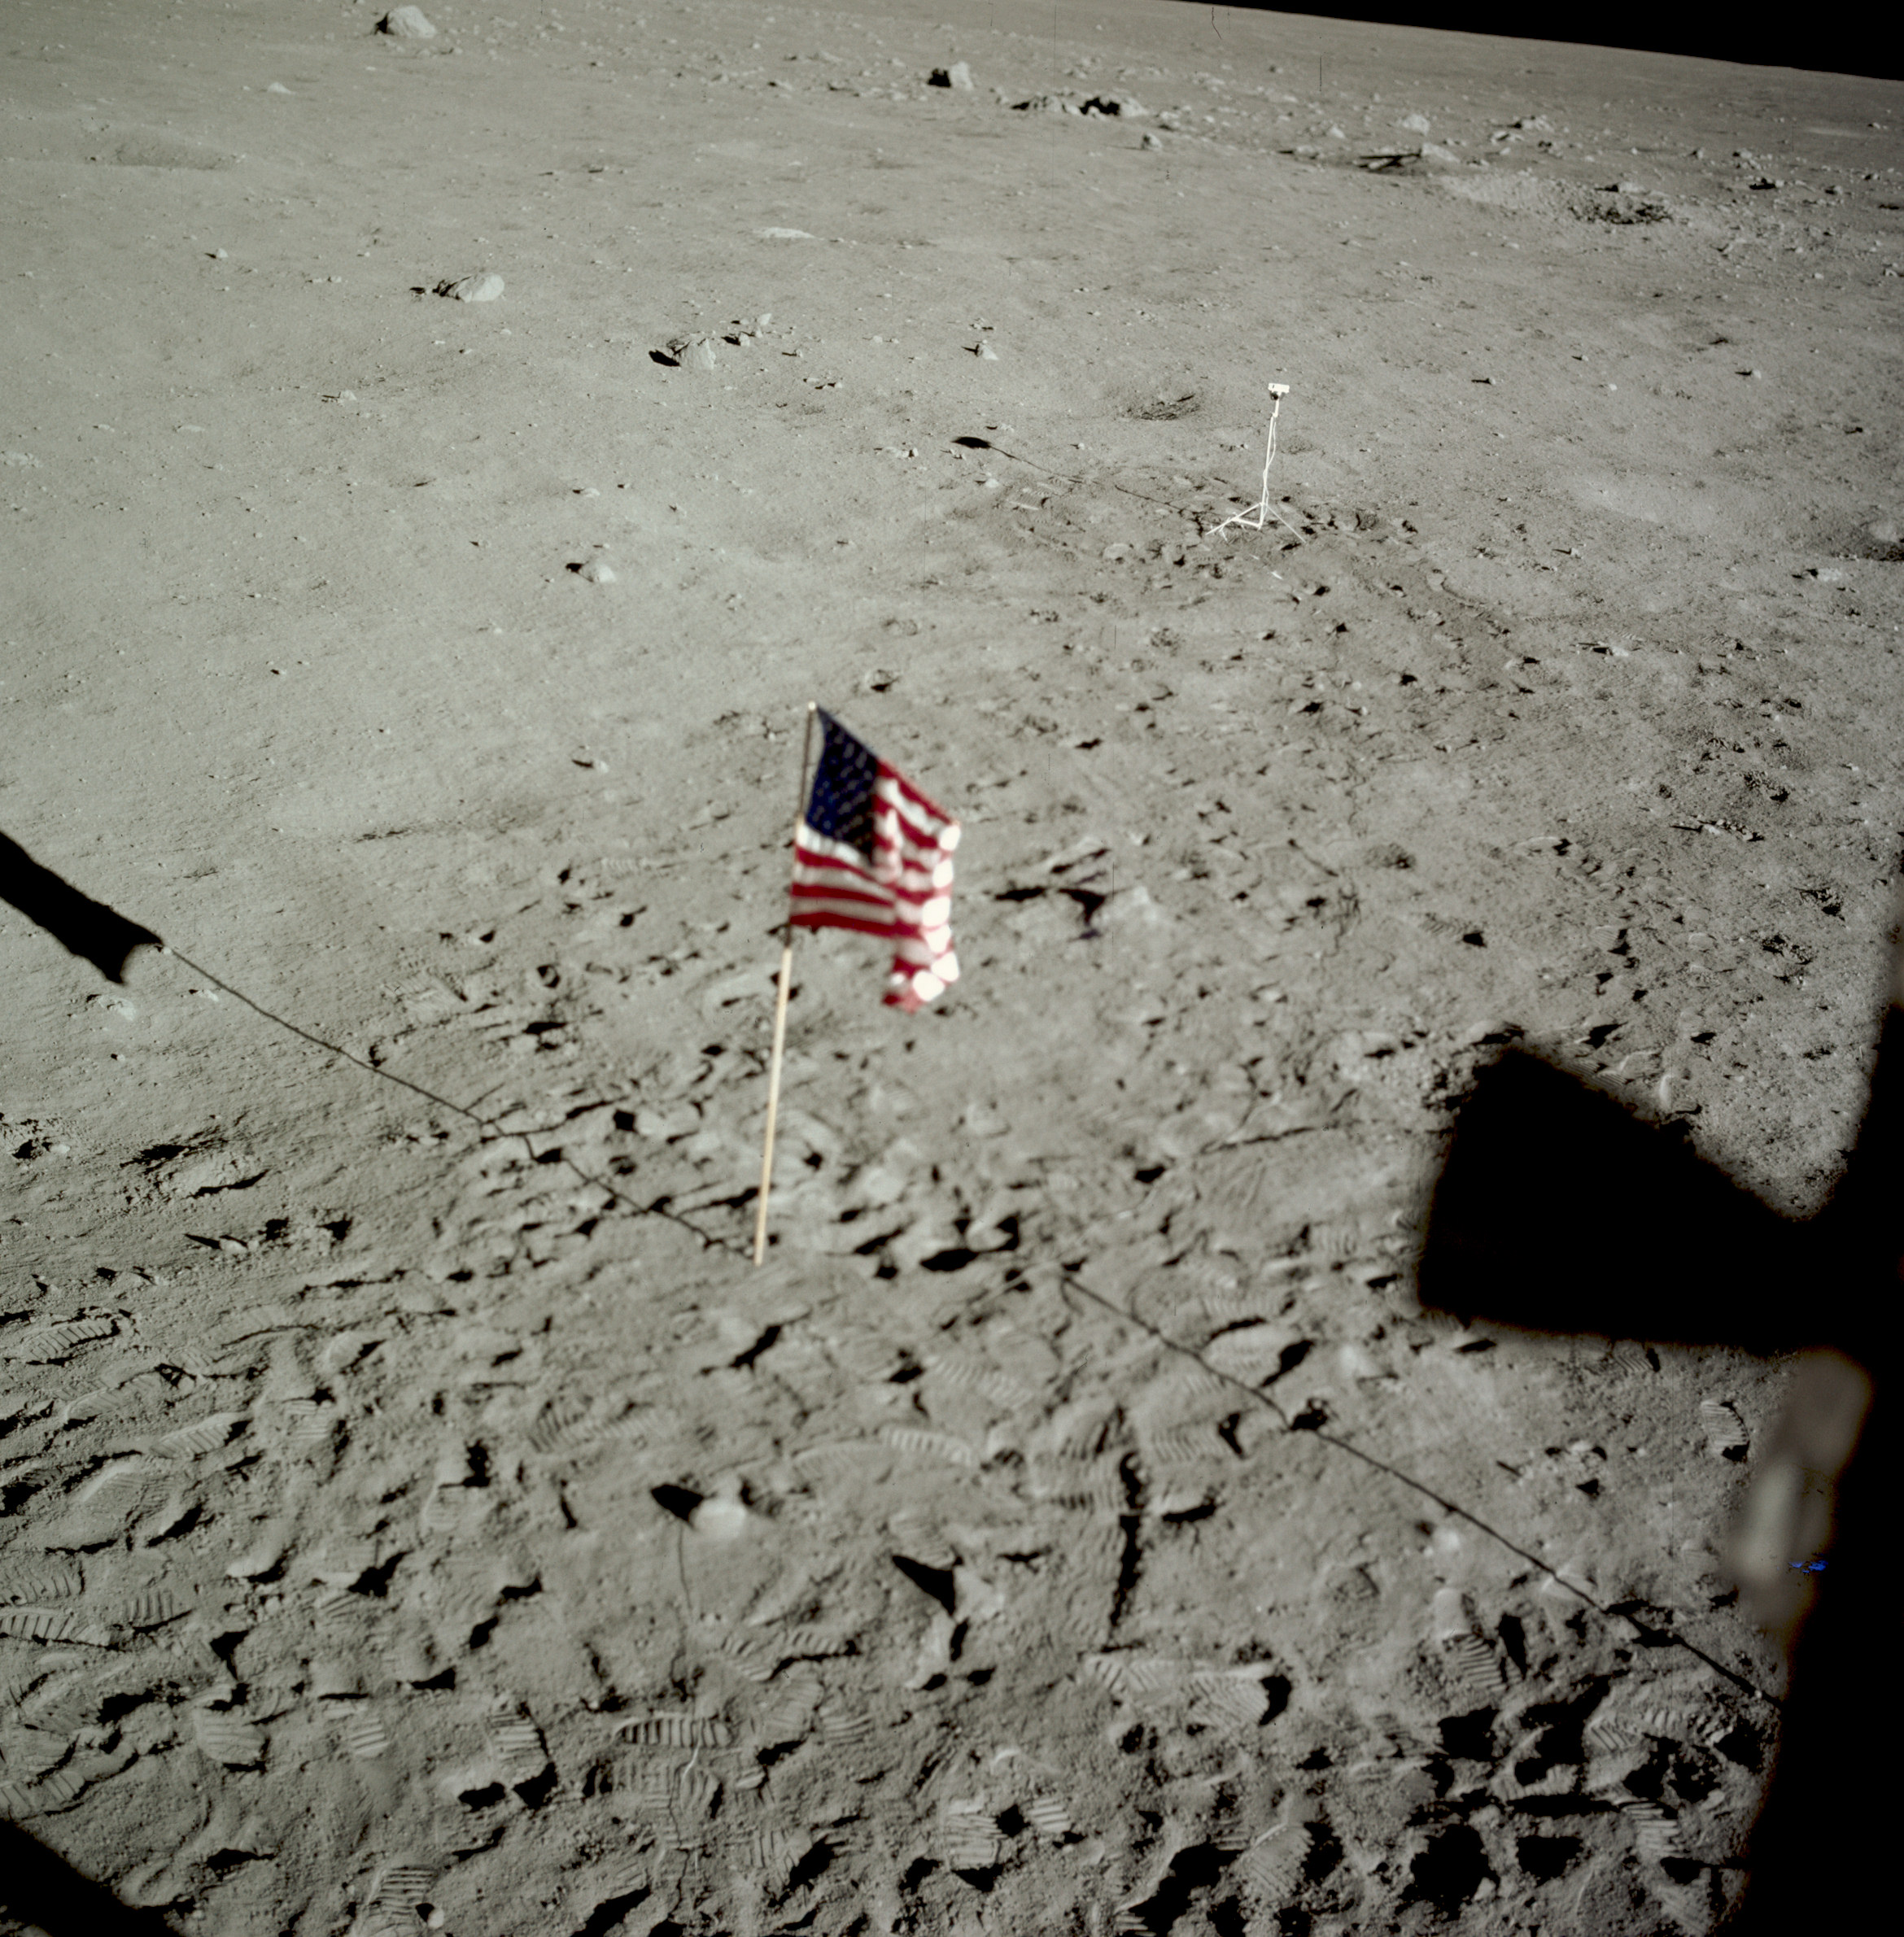 | AS11-37-5554 Tranquility Base and flag from LM window. Image credit: Image Science and Analysis Laboratory, NASA-Johnson Space Center. |
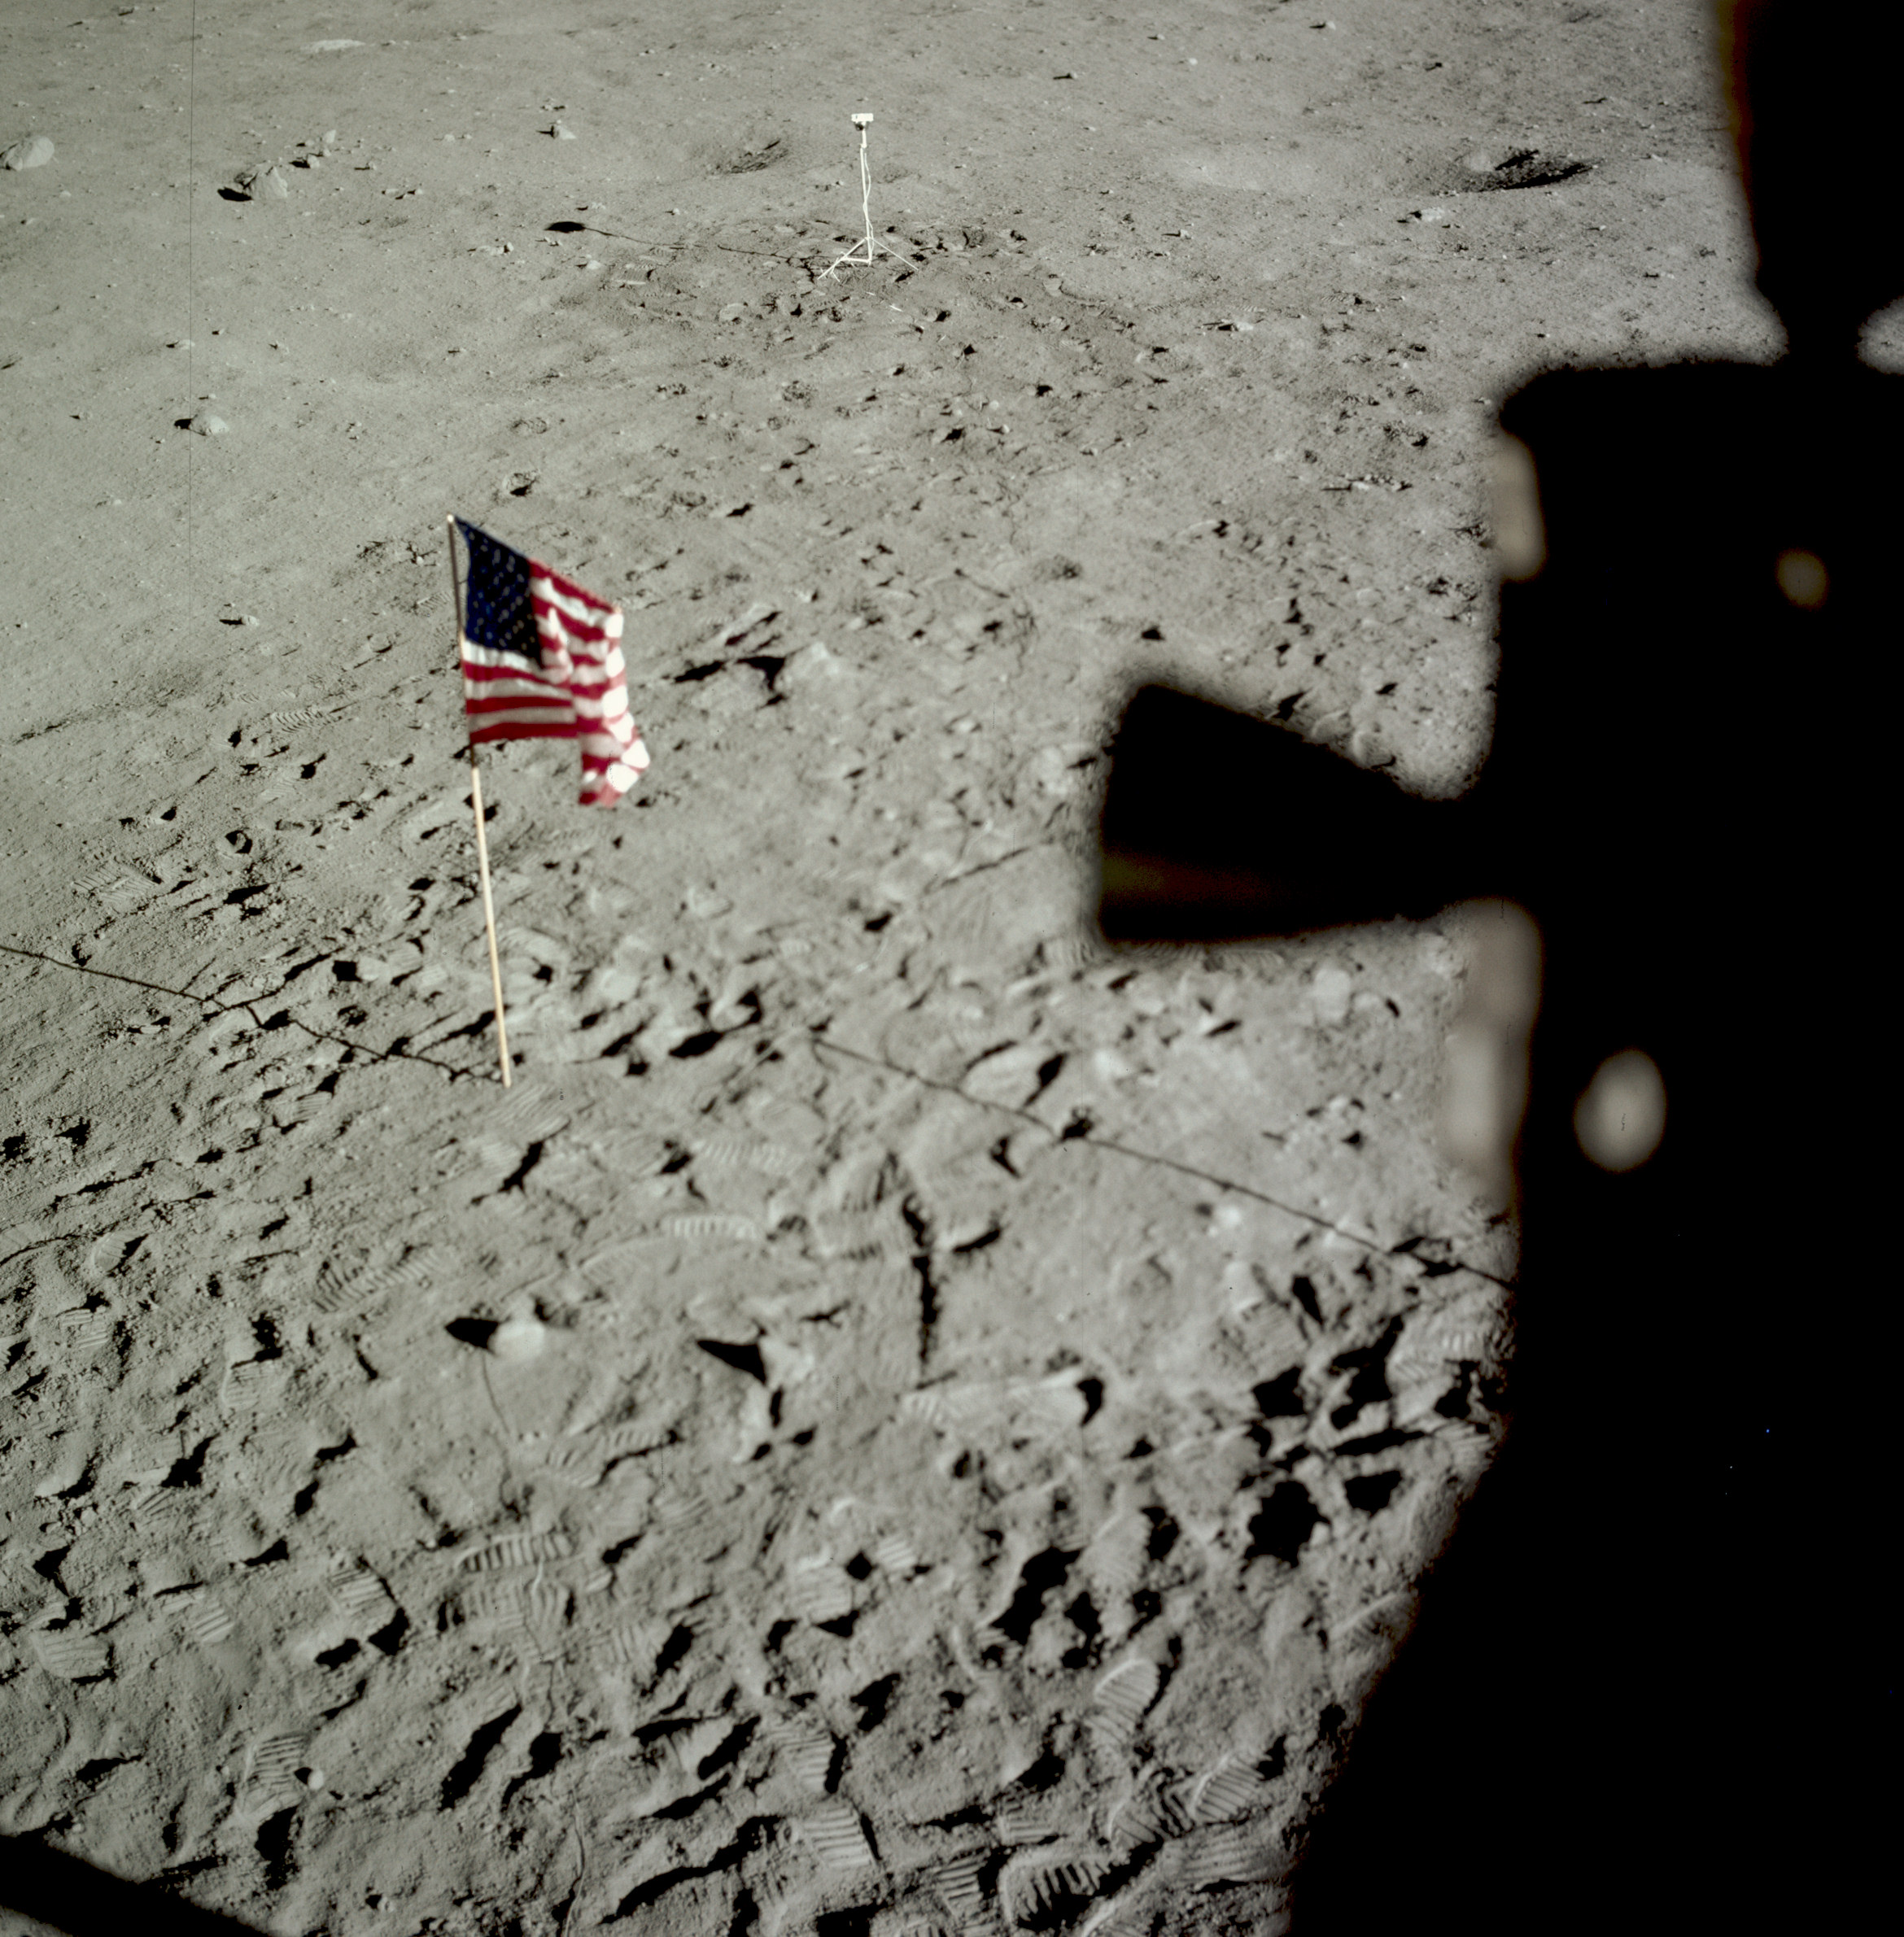 | AS11-37-5555 Tranquility Base and flag from LM window. Image credit: Image Science and Analysis Laboratory, NASA-Johnson Space Center. |
|
|
|
| 70-mm magazine N - AS11-36-5291 to 5432 |
Photography Index | 70-mm magazine O - AS11-38-5556 to 5736 |