 |
 |
| Photography Index | 70-mm magazine E - AS08-13-2215 to 2382 |
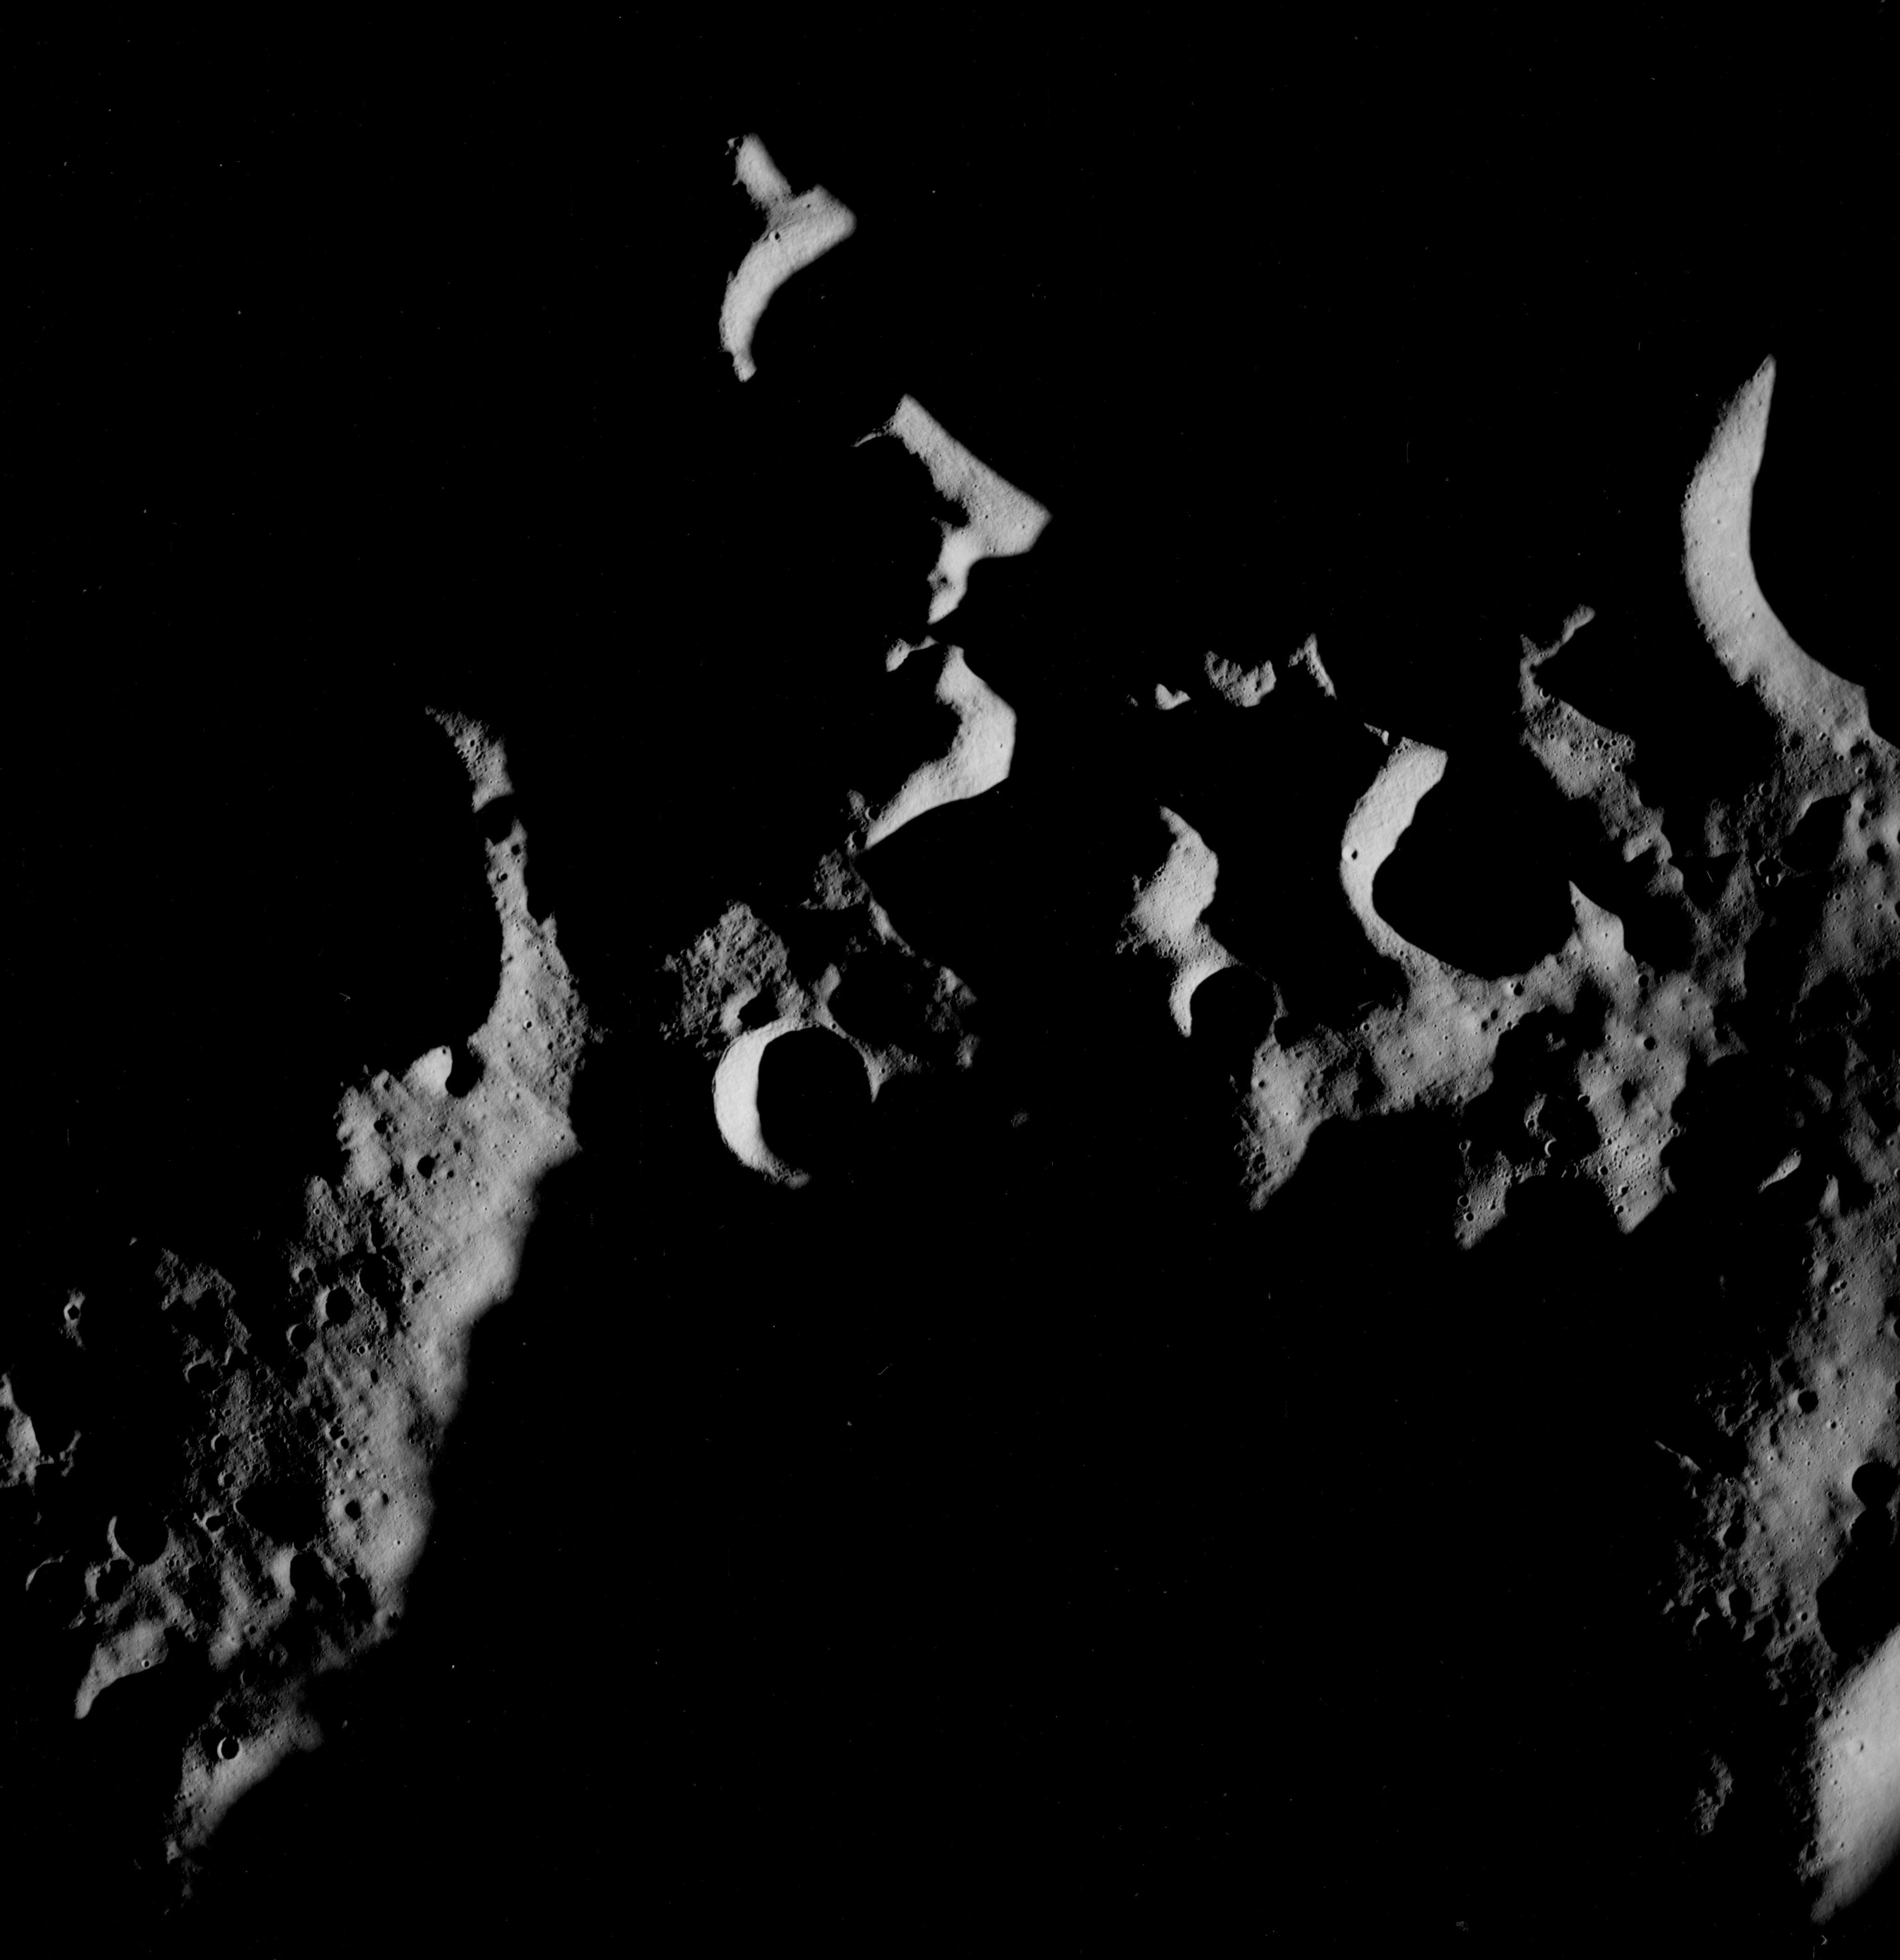 |
AS08-12-2044 Eastern interior of Korolev Basin. Image credit: Image Science and Analysis Laboratory, NASA-Johnson Space Center. |
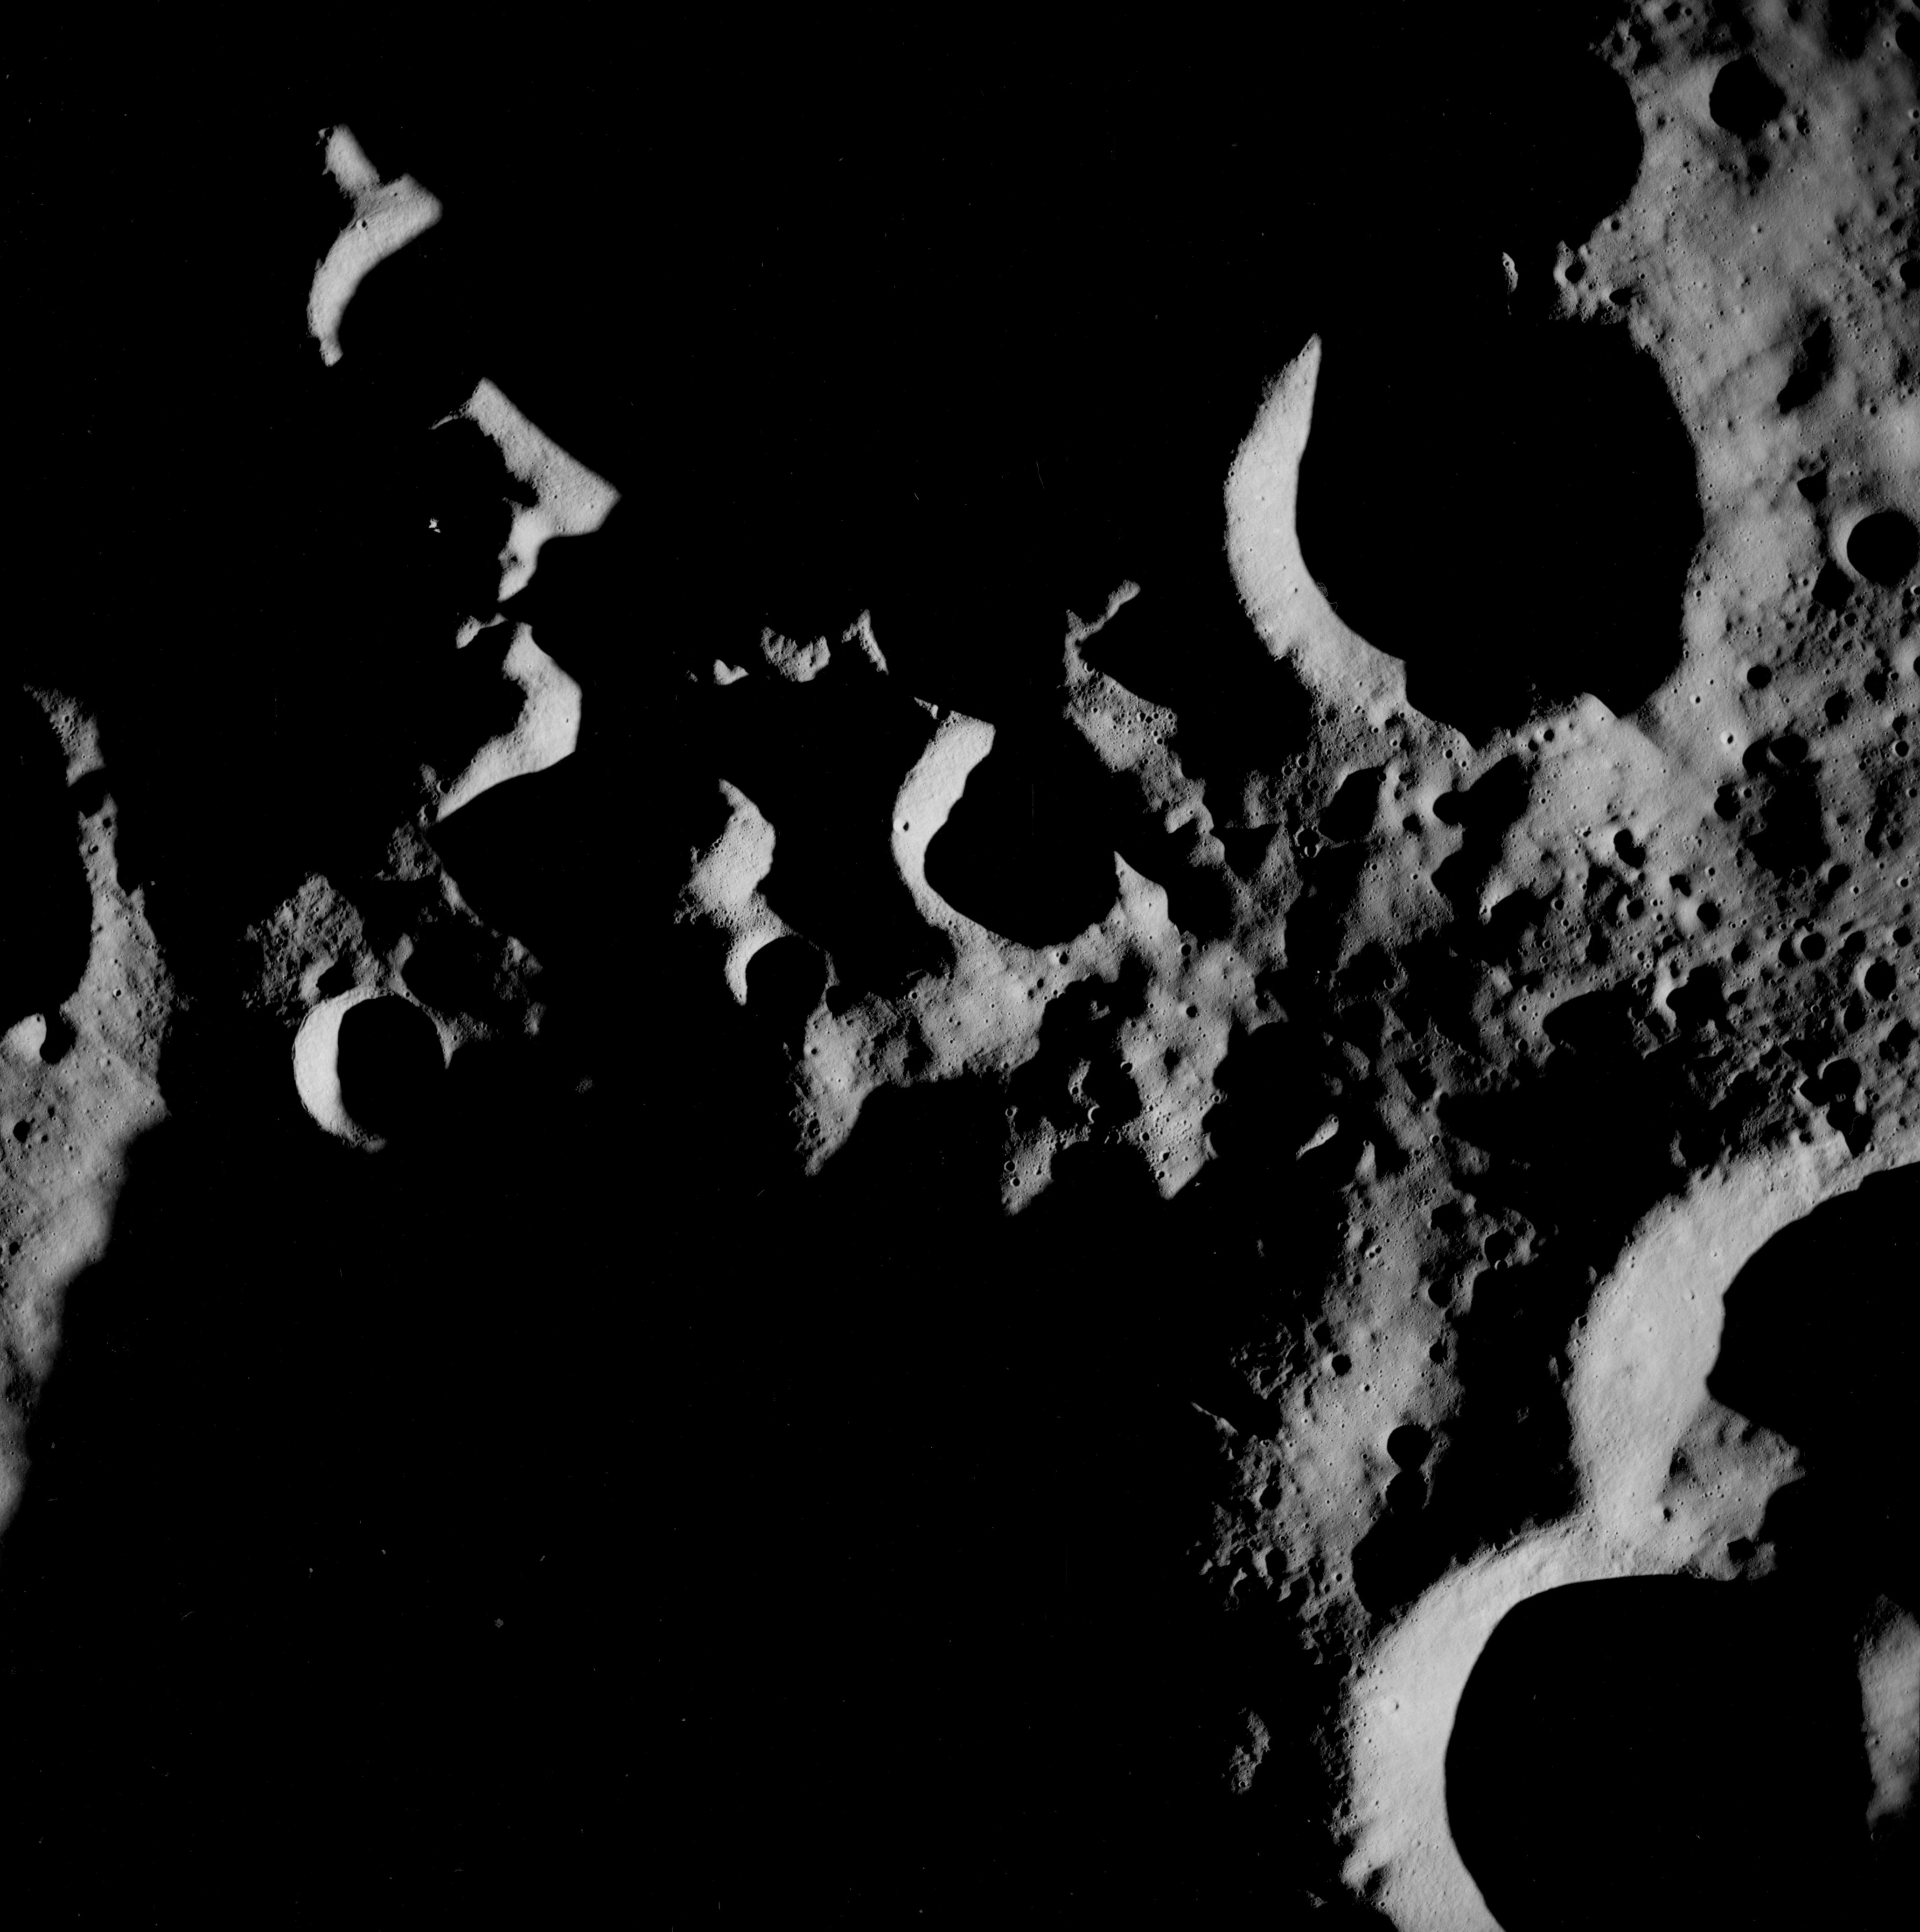 |
AS08-12-2045 Eastern interior of Korolev Basin. Image credit: Image Science and Analysis Laboratory, NASA-Johnson Space Center. |
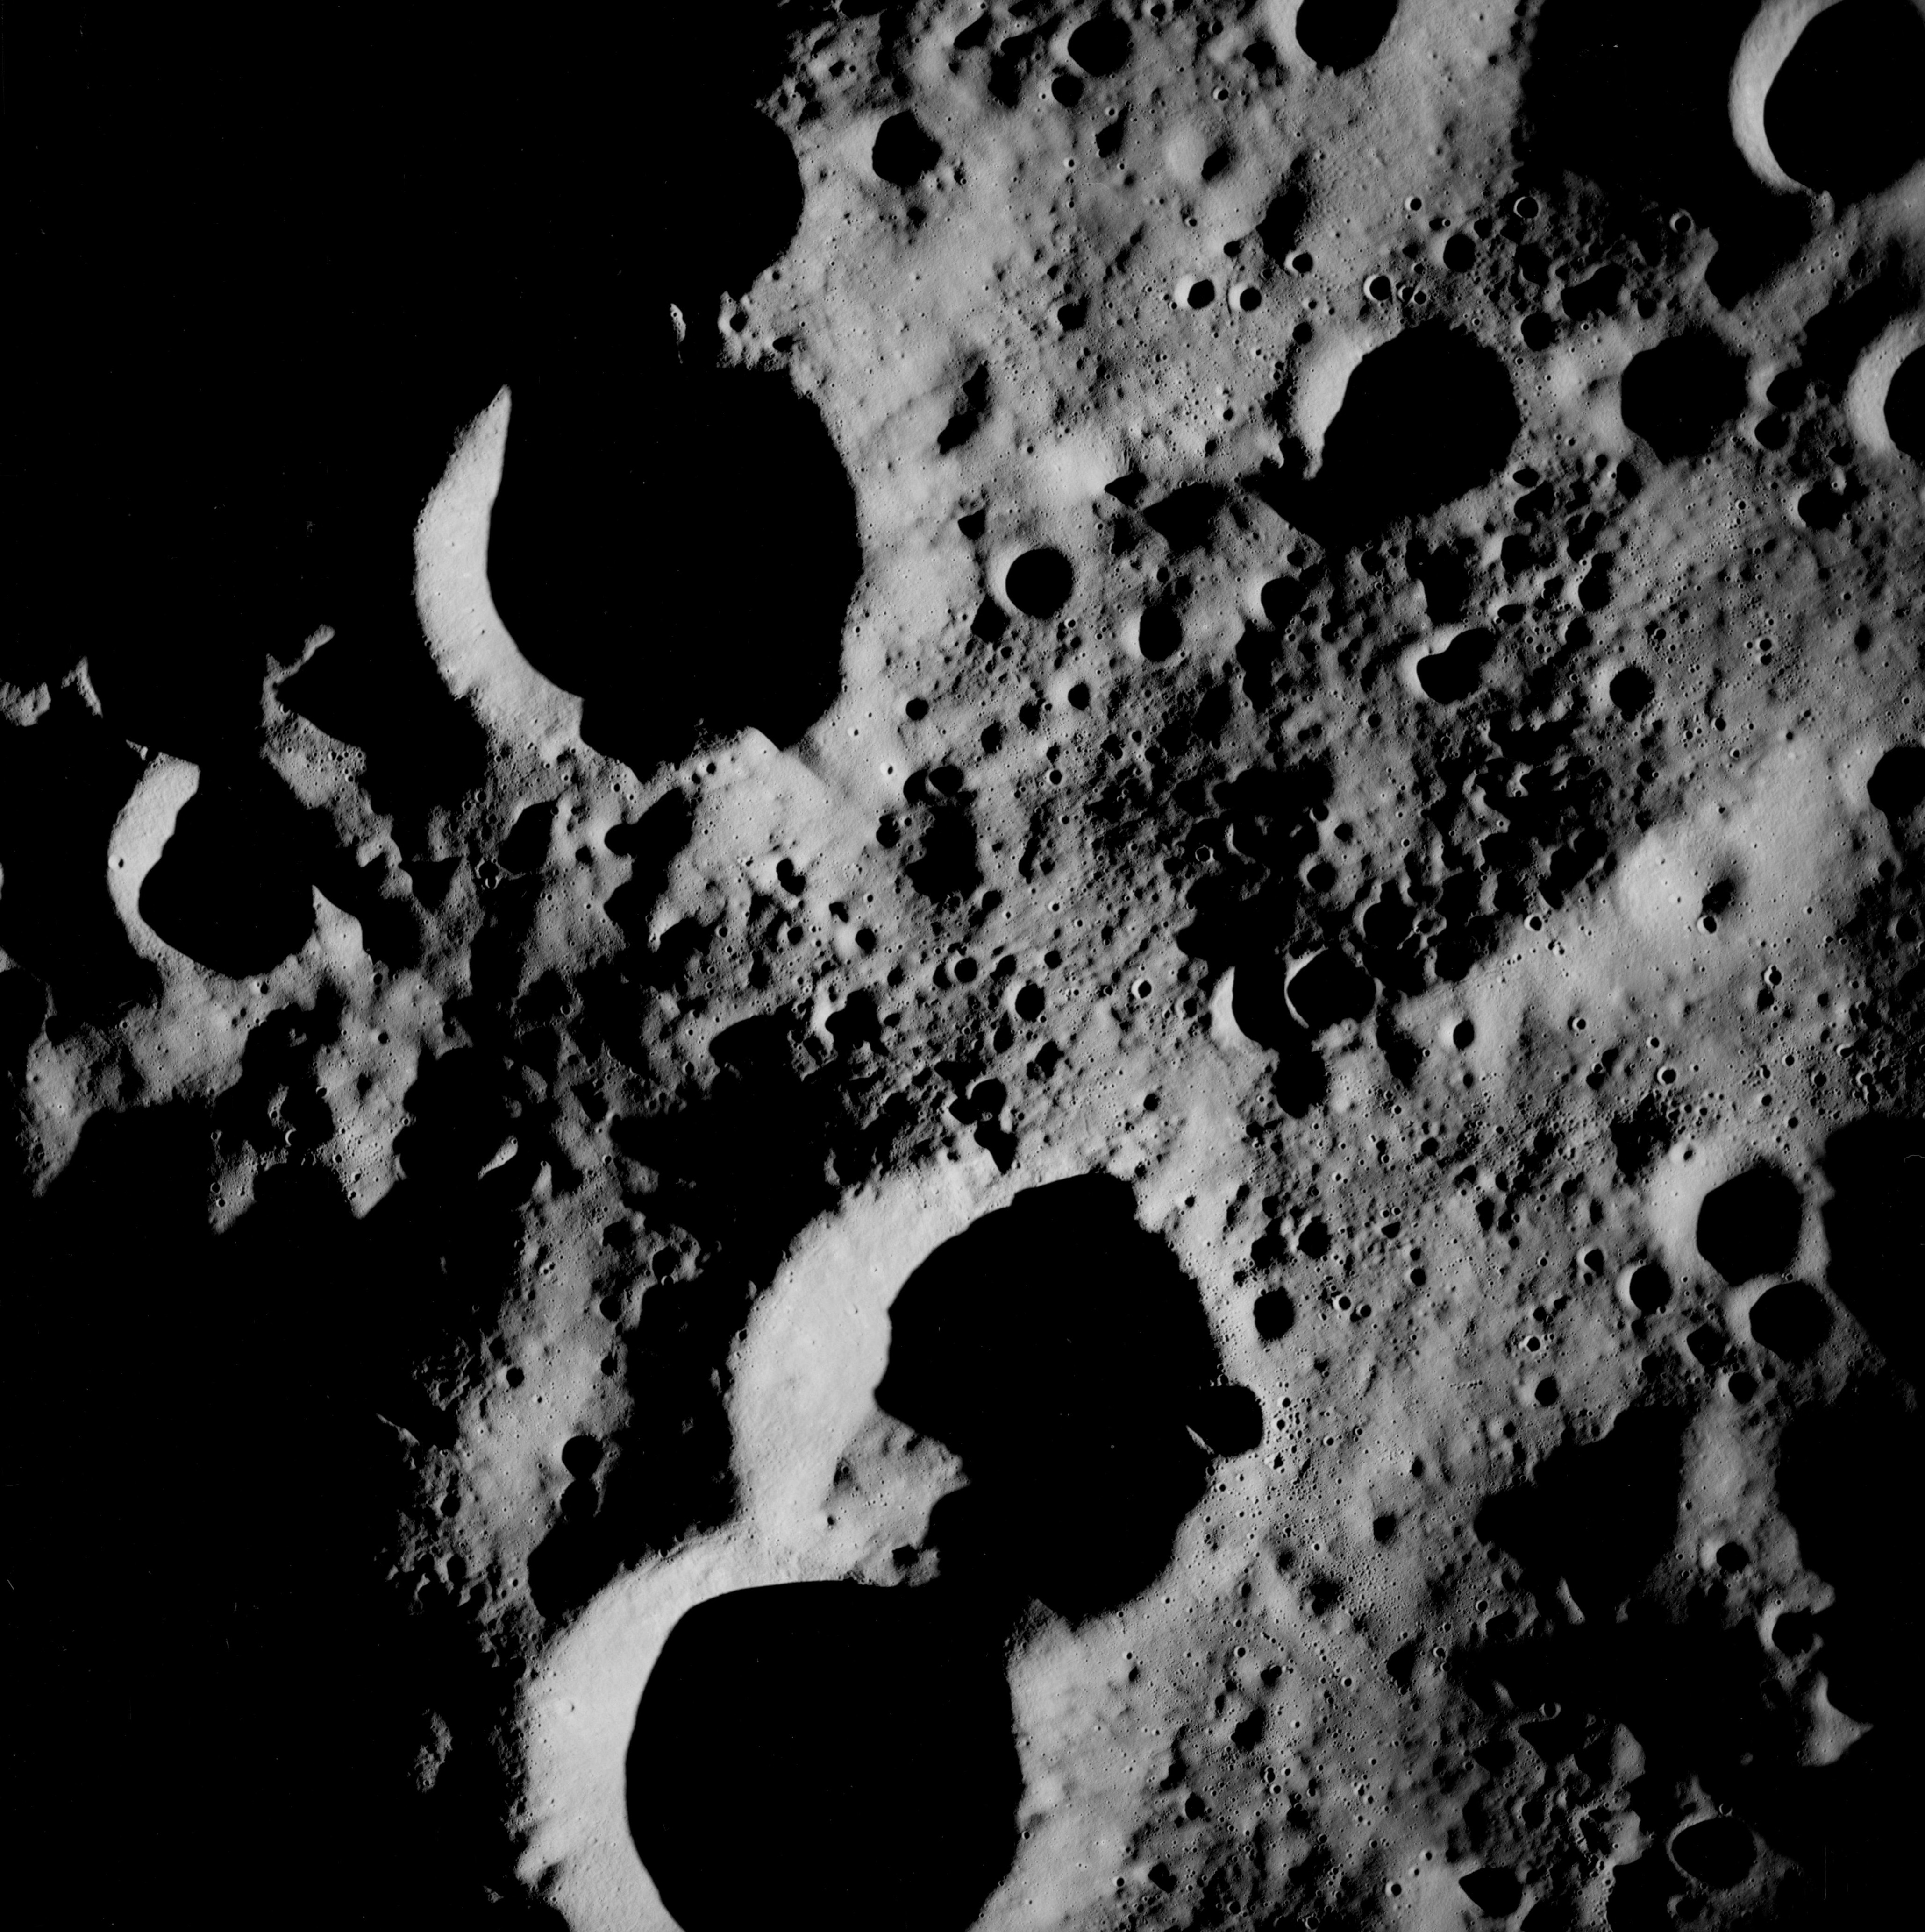 |
AS08-12-2046 Eastern interior of Korolev Basin. Image credit: Image Science and Analysis Laboratory, NASA-Johnson Space Center. |
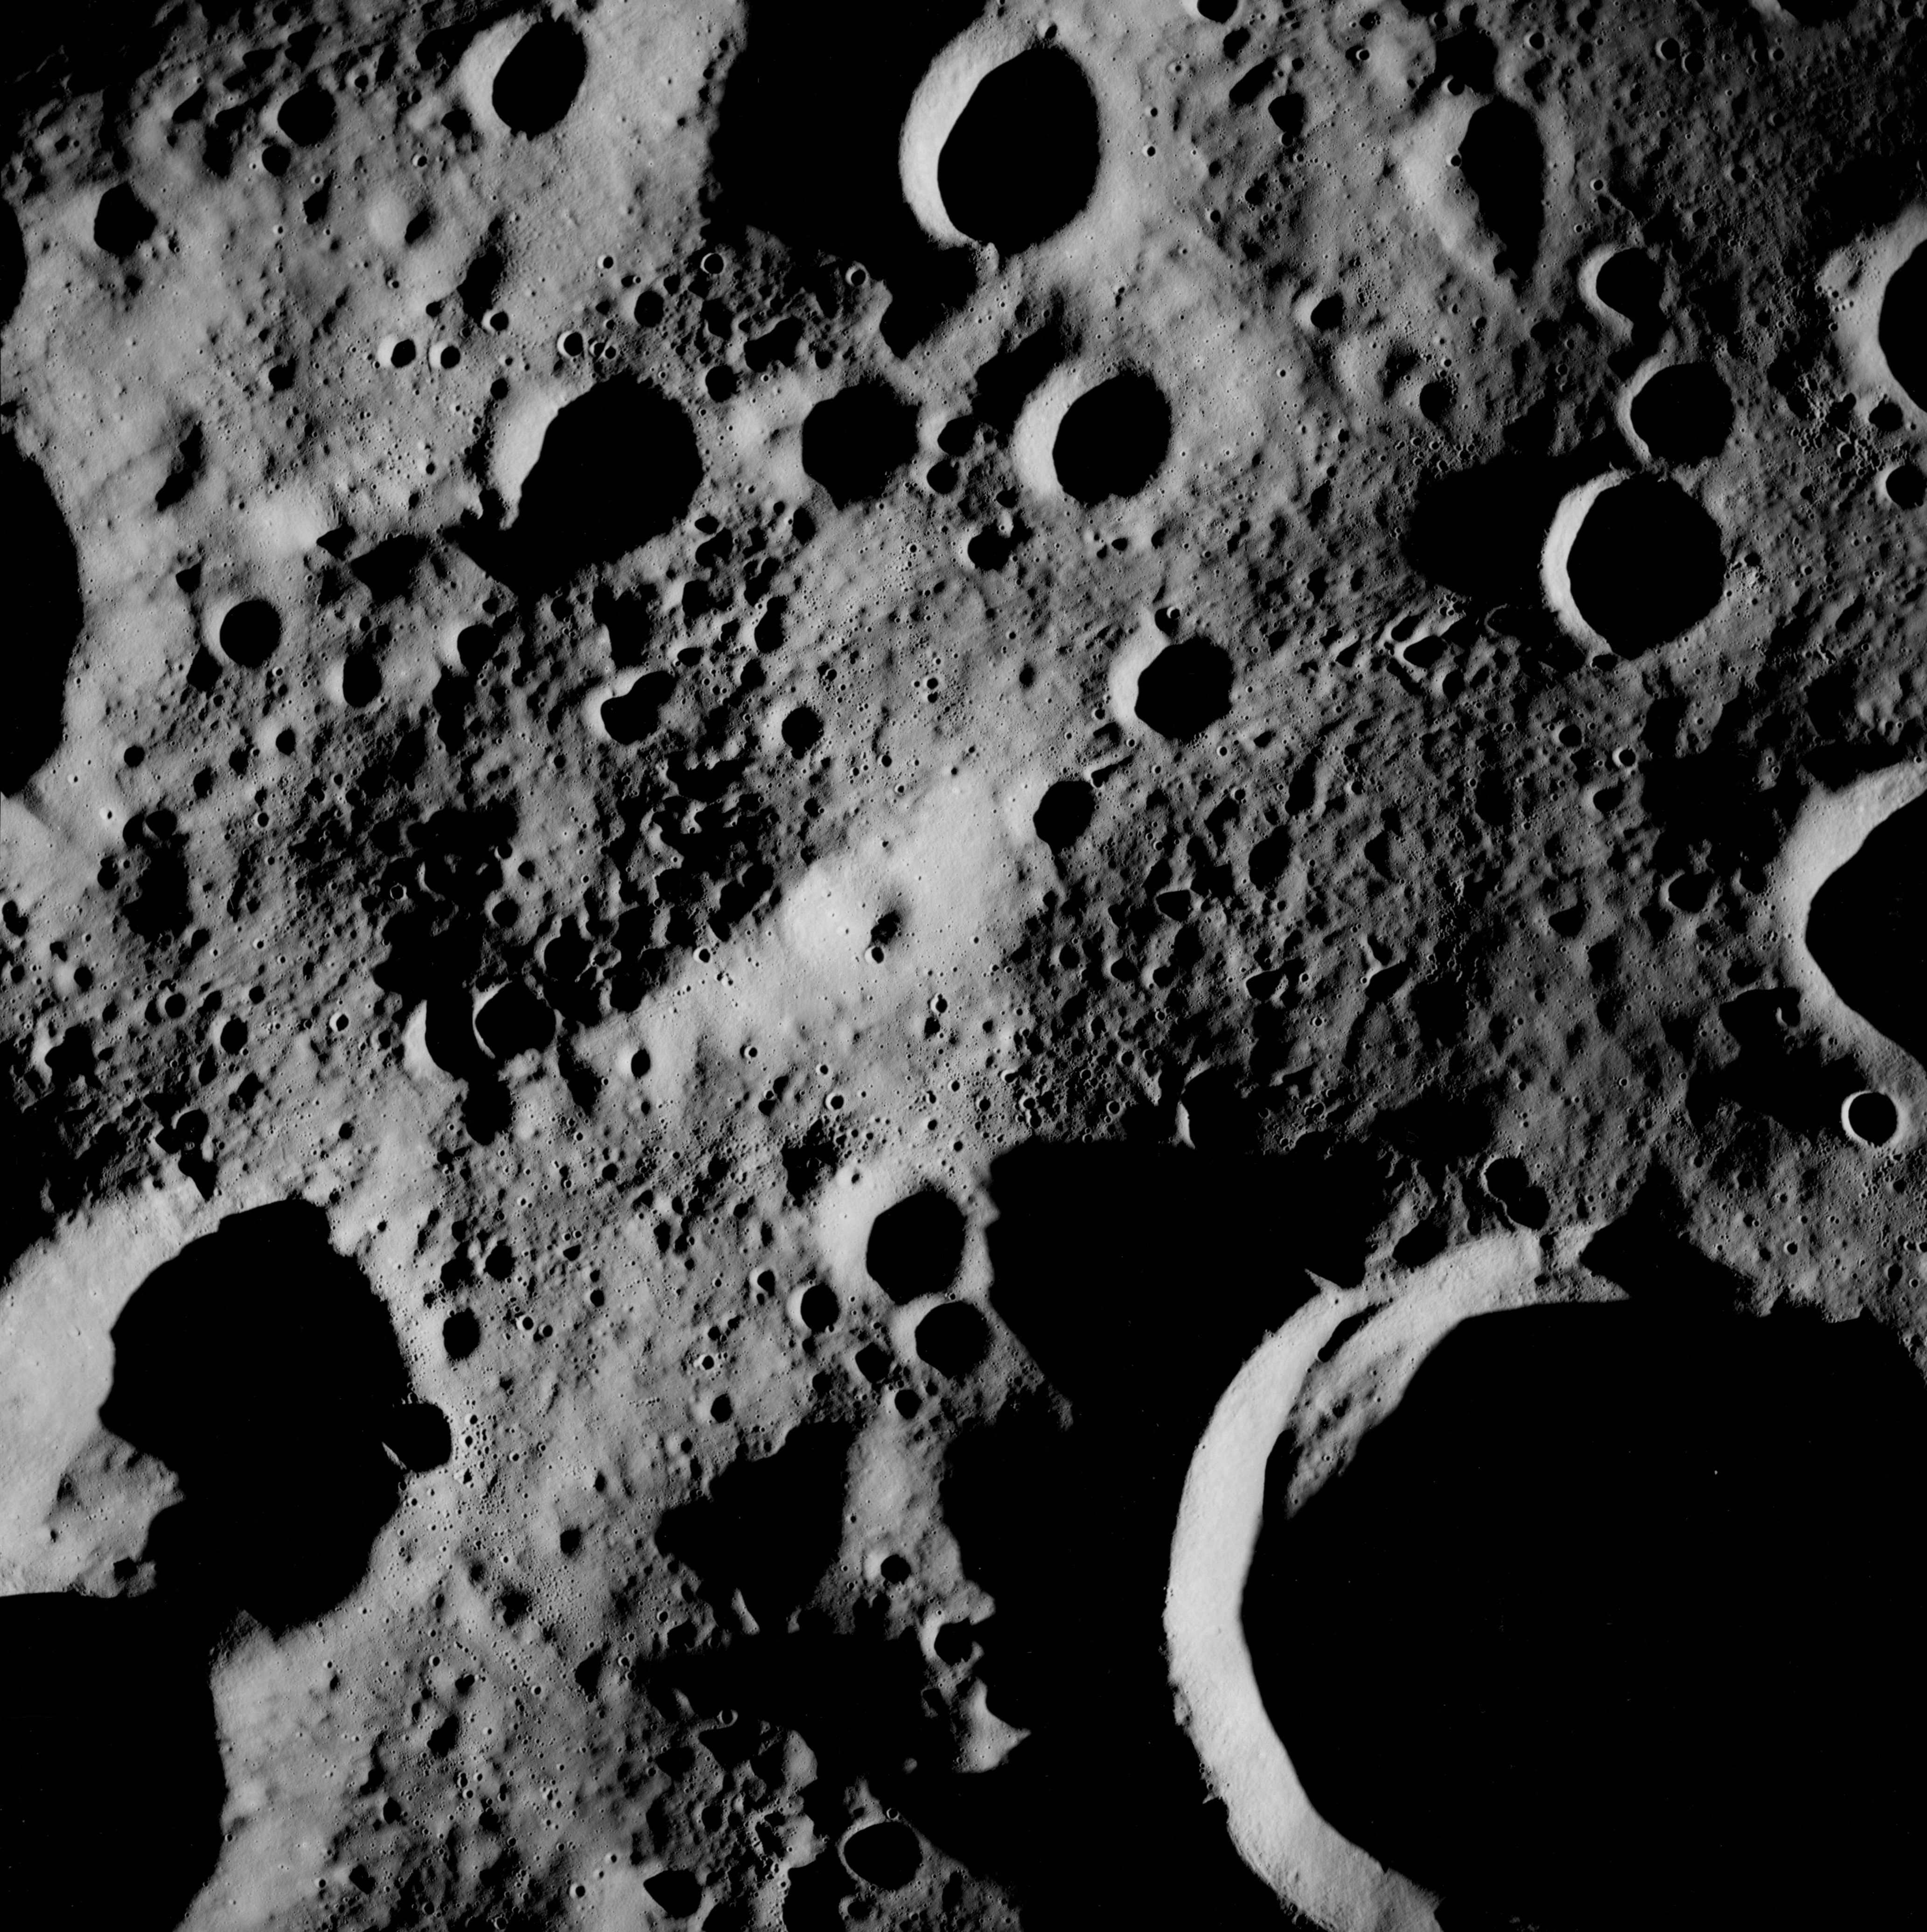 |
AS08-12-2047 Eastern interior of Korolev Basin. Korolev F on lower right. Image credit: Image Science and Analysis Laboratory, NASA-Johnson Space Center. |
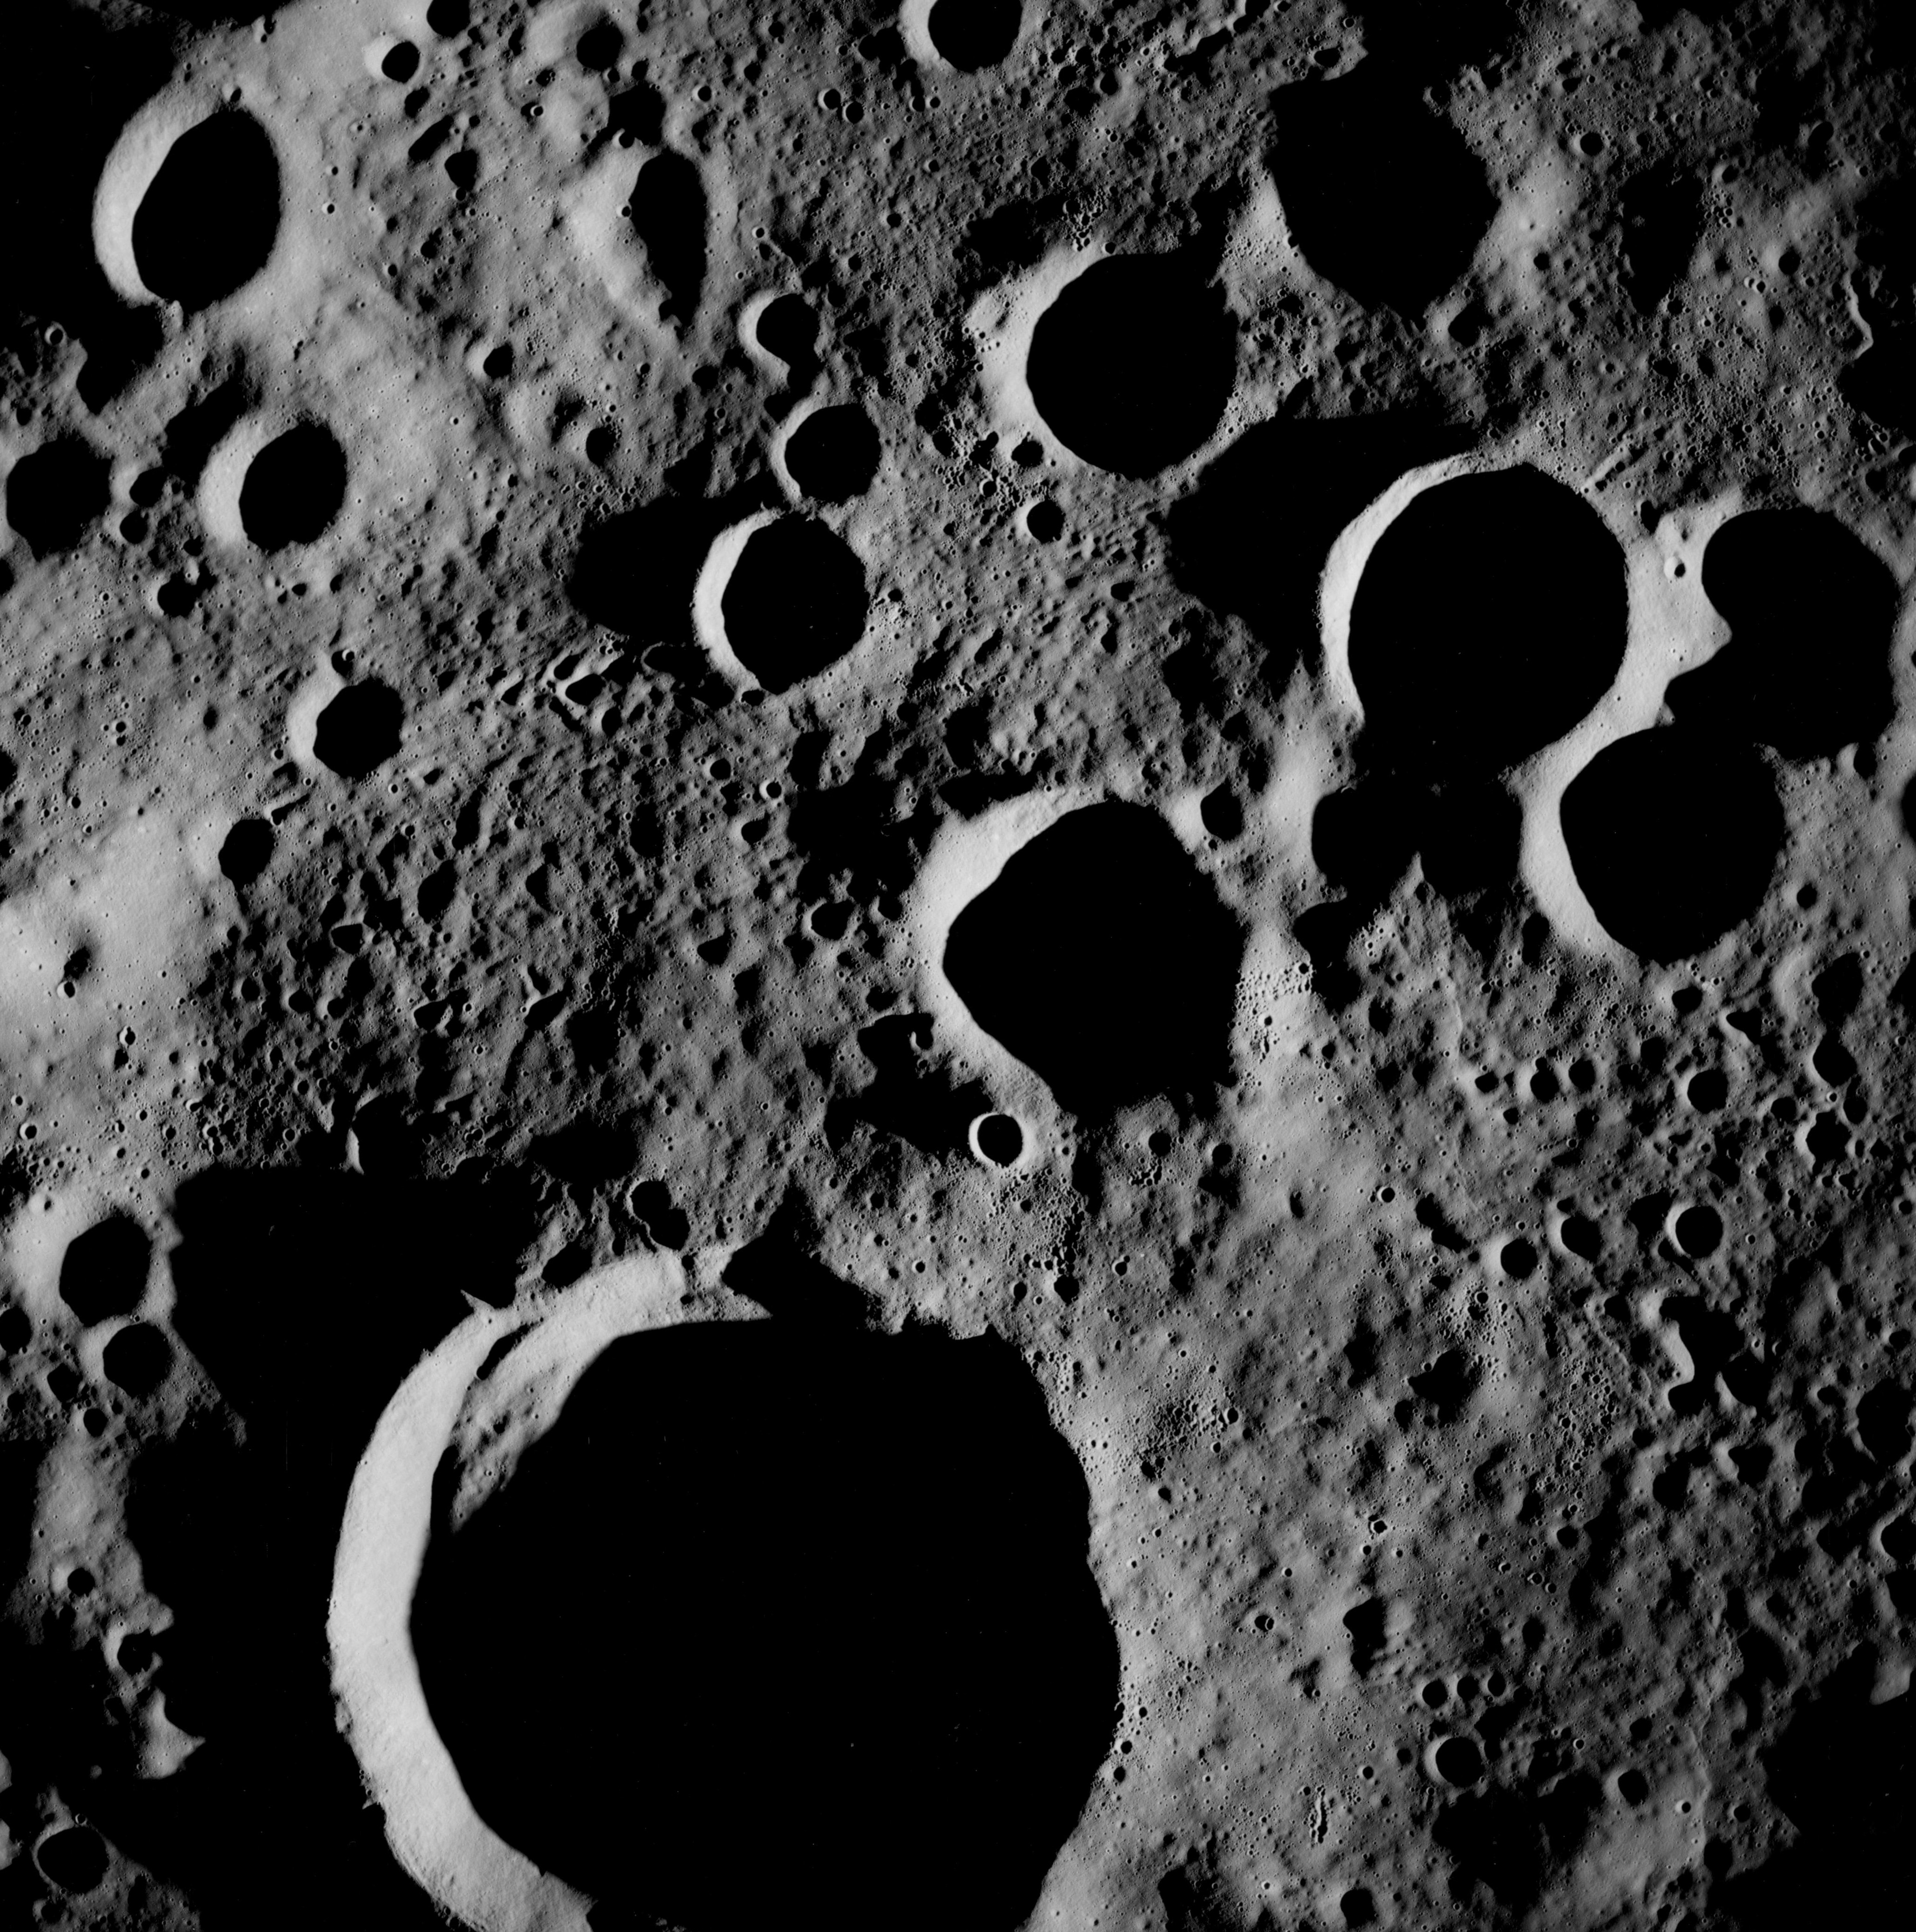 |
AS08-12-2048 Eastern interior of Korolev Basin. Korolev F on lower left. Korolev G. Image credit: Image Science and Analysis Laboratory, NASA-Johnson Space Center. |
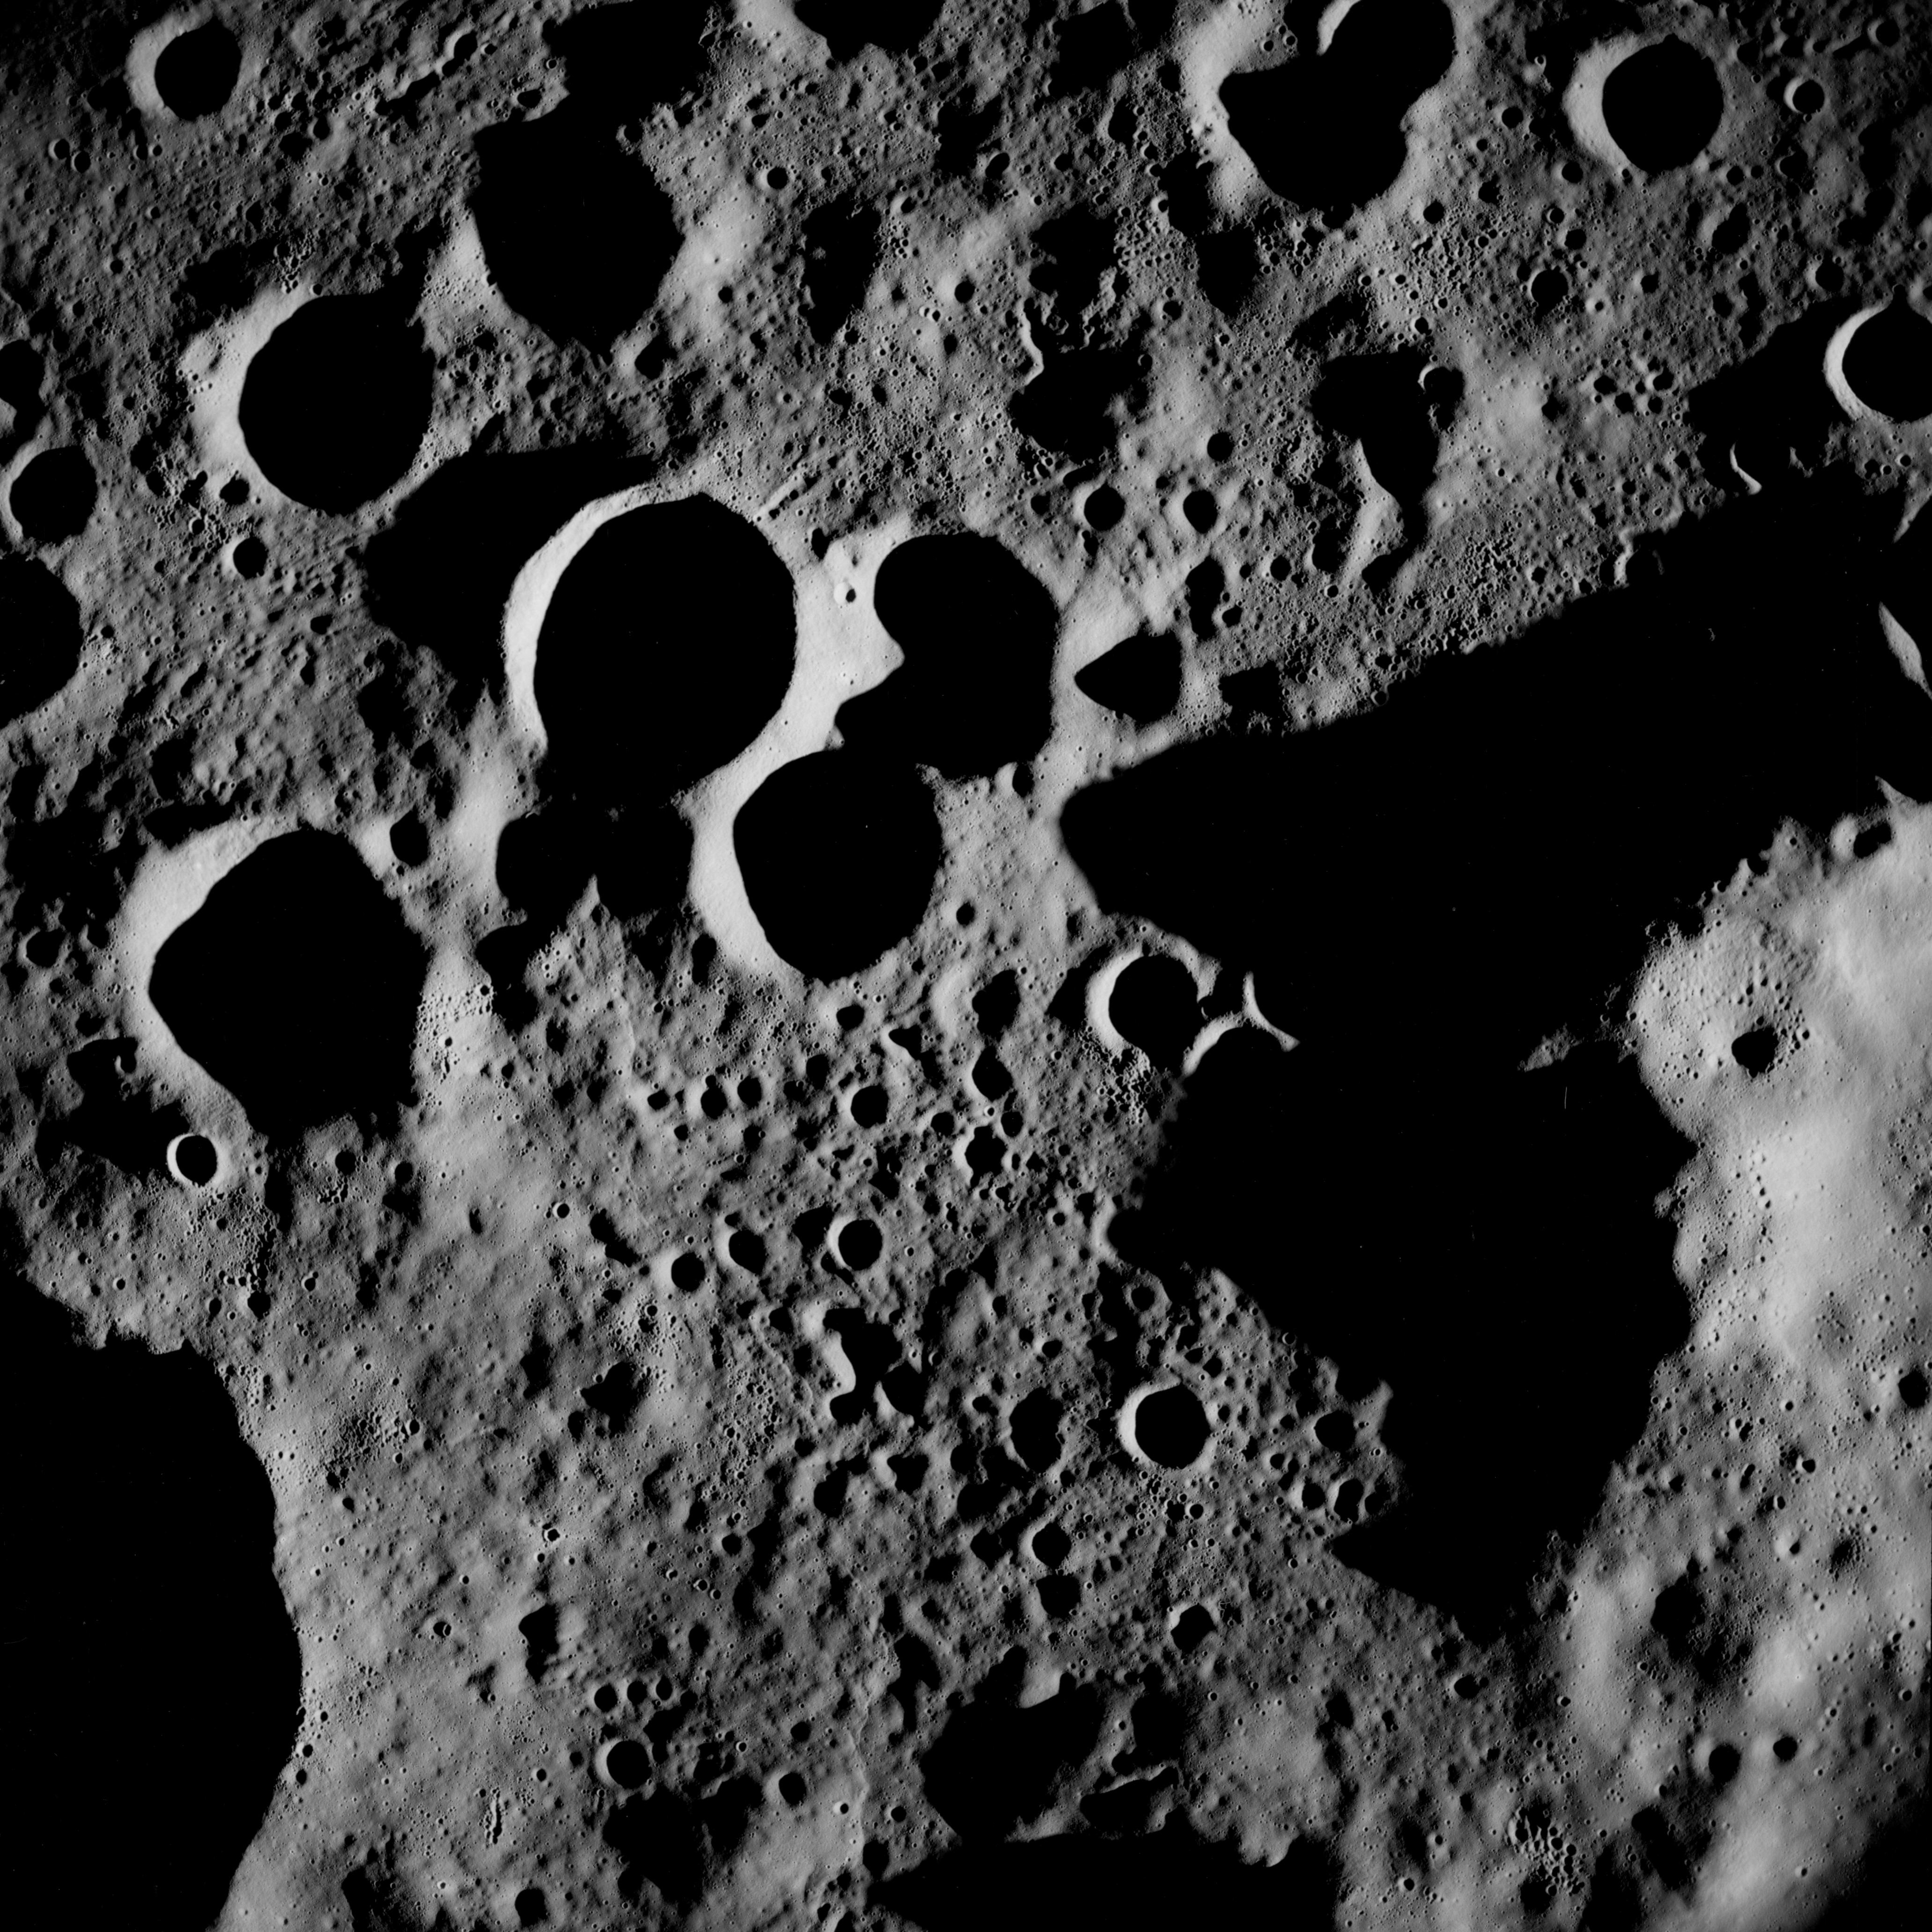 |
AS08-12-2049 Eastern interior of Korolev Basin. Korolev G. Part of inner ring on left. Image credit: Image Science and Analysis Laboratory, NASA-Johnson Space Center. |
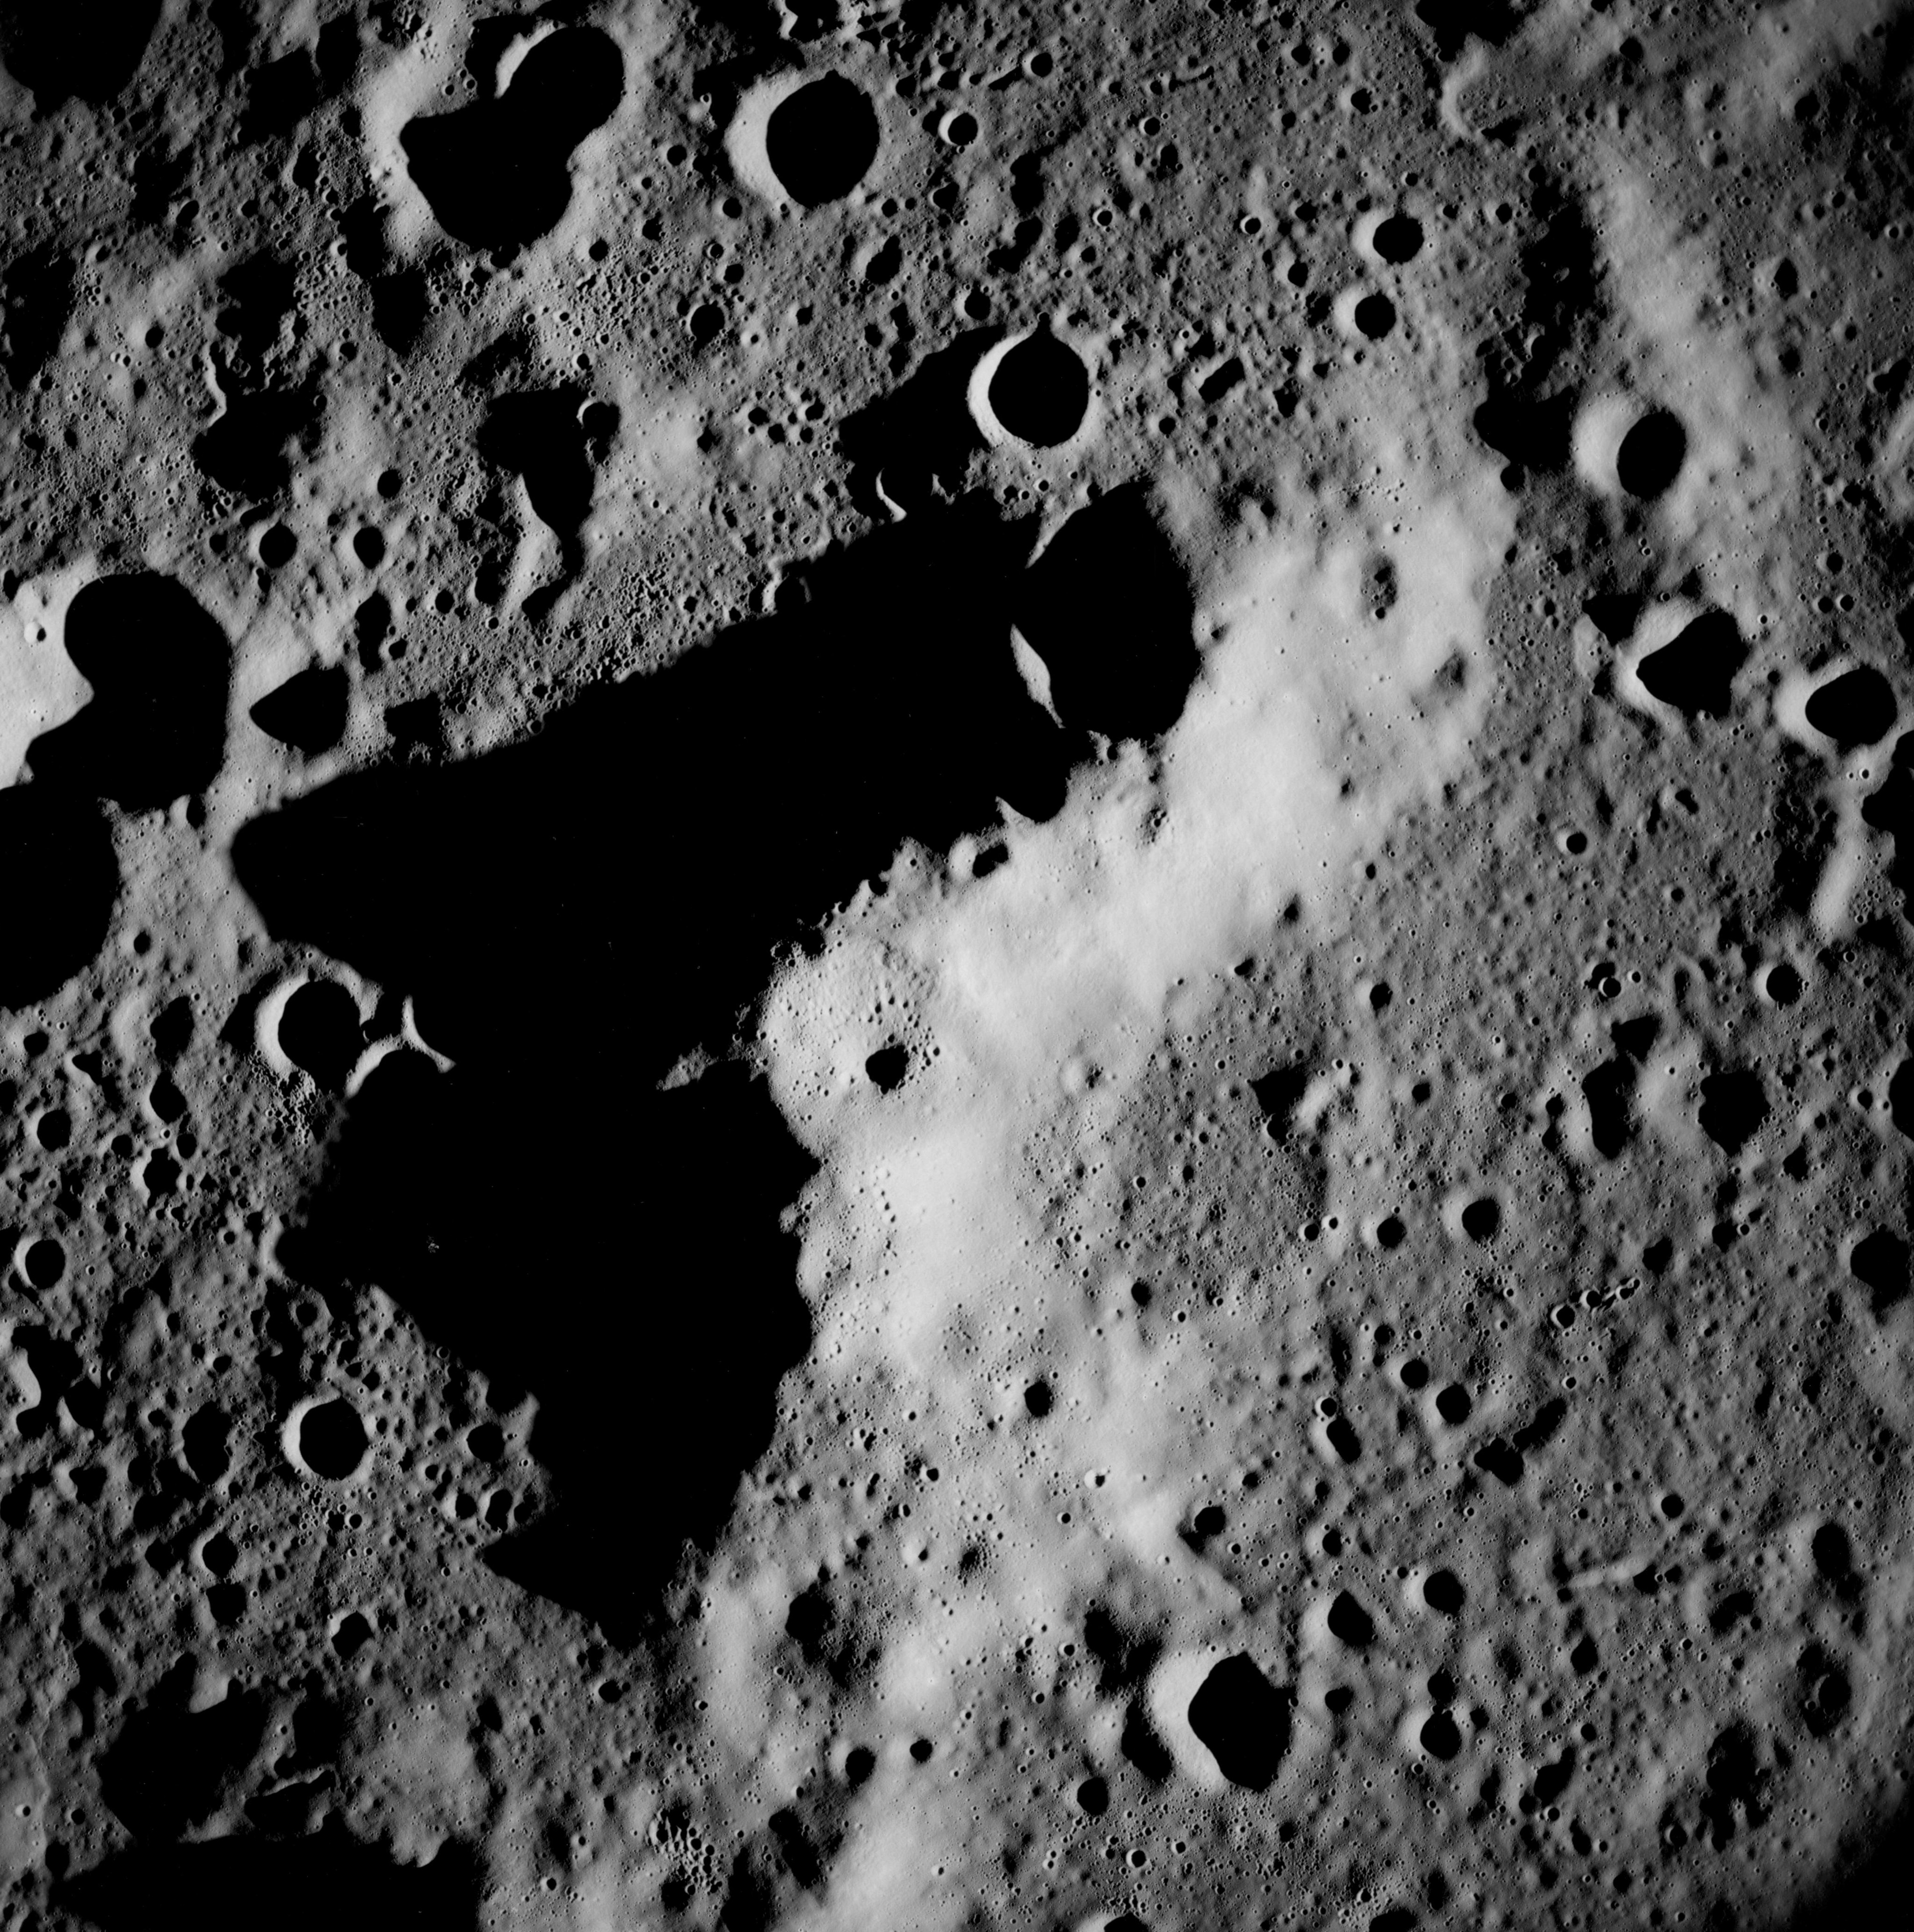 |
AS08-12-2050 Interior of Korolev Basin. Part of basin's inner ring. Image credit: Image Science and Analysis Laboratory, NASA-Johnson Space Center. |
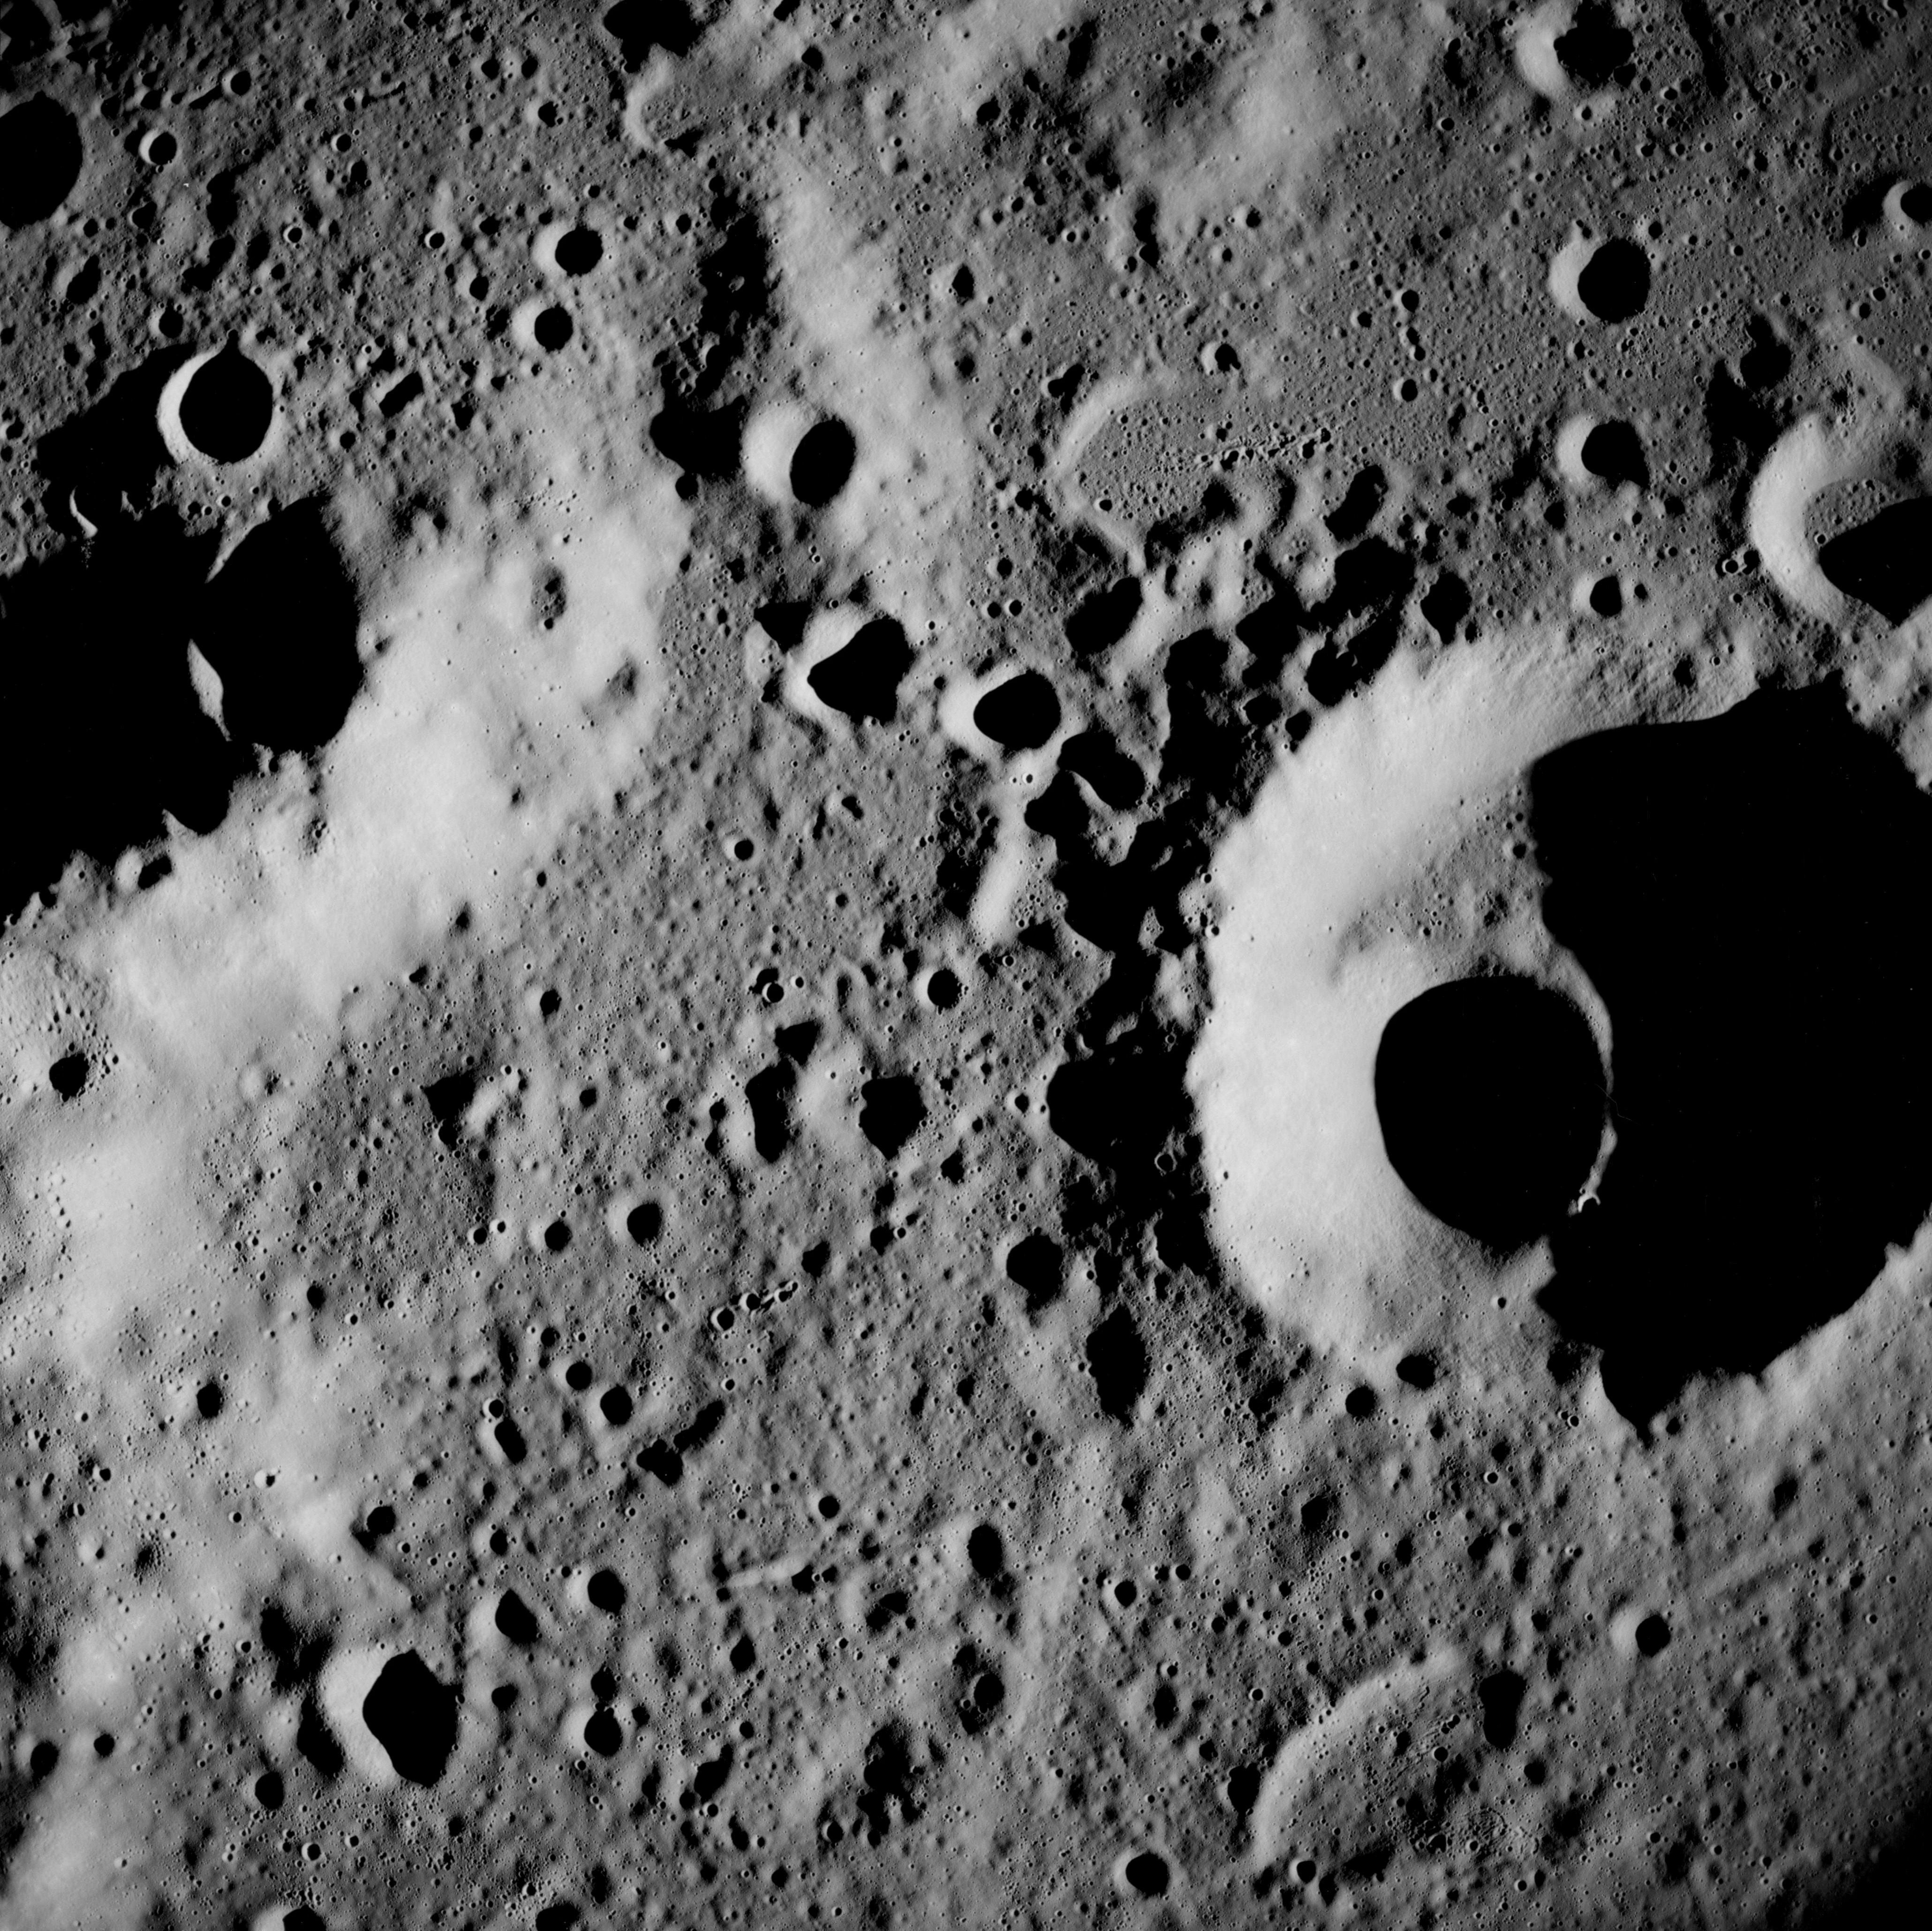 |
AS08-12-2051 Interior of Korolev Basin. Korolev L. Image credit: Image Science and Analysis Laboratory, NASA-Johnson Space Center. |
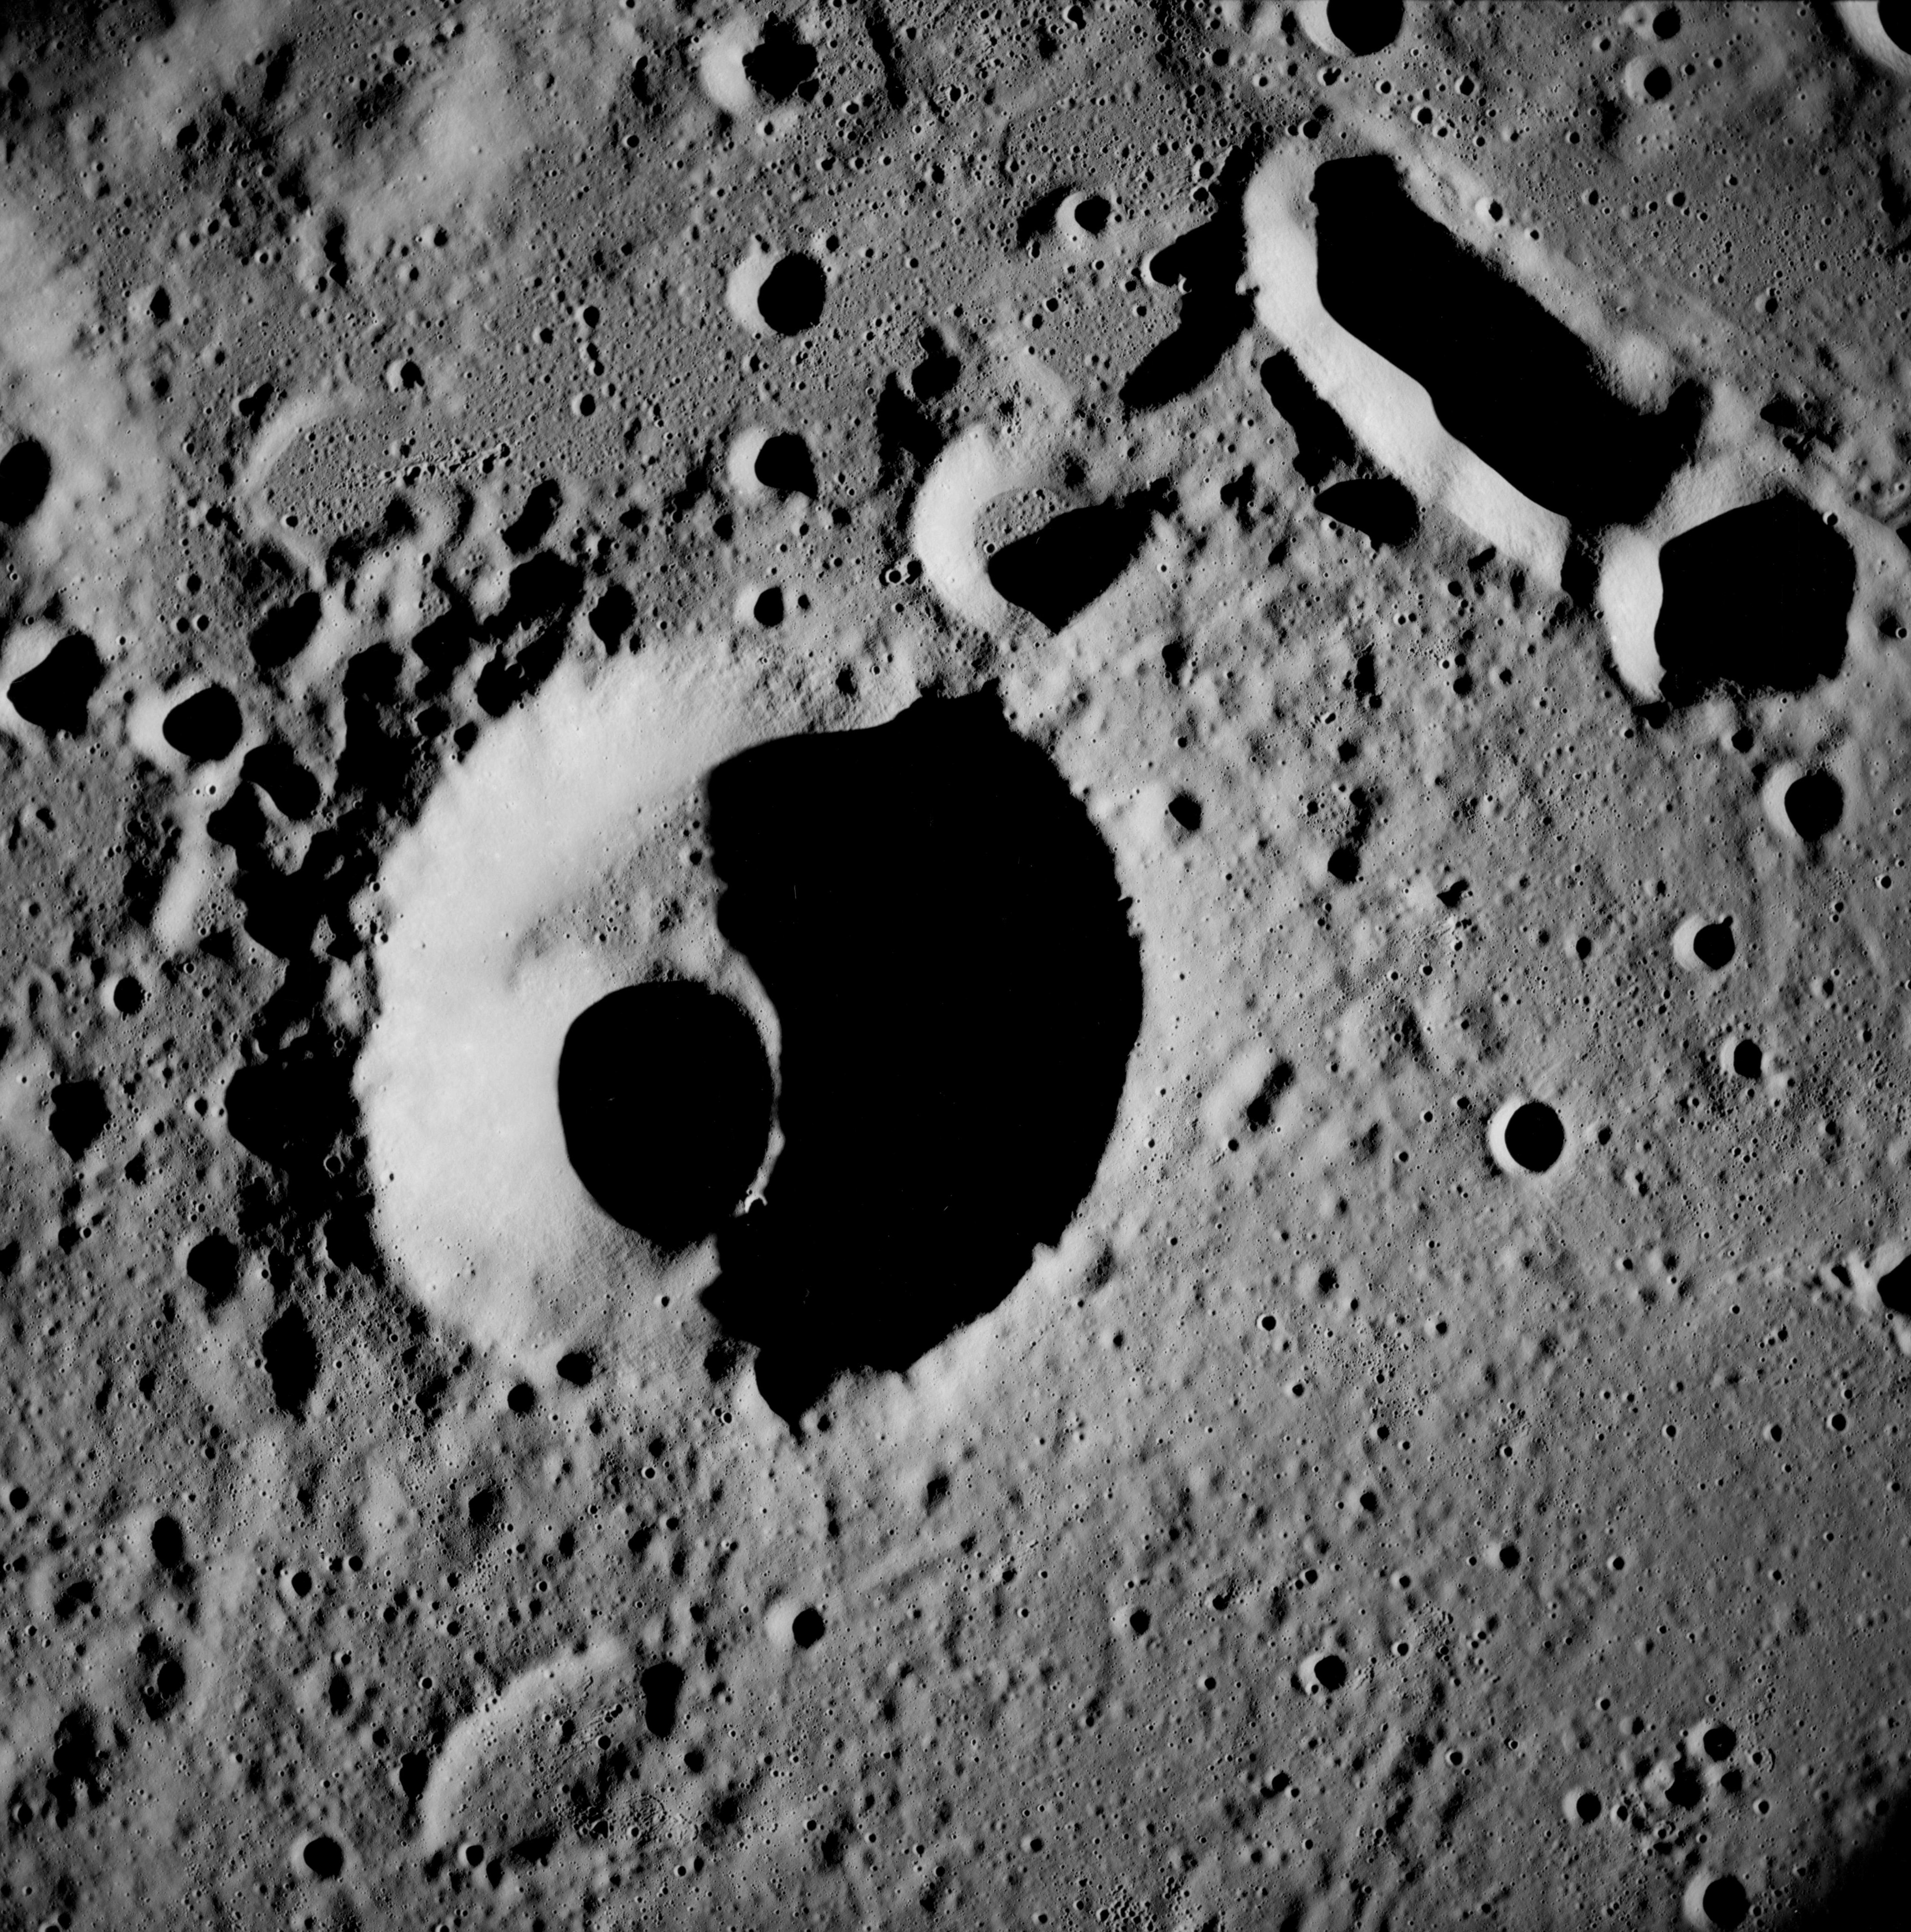 |
AS08-12-2052 Interior of Korolev Basin. Korolev L. Keyhole. Image credit: Image Science and Analysis Laboratory, NASA-Johnson Space Center. |
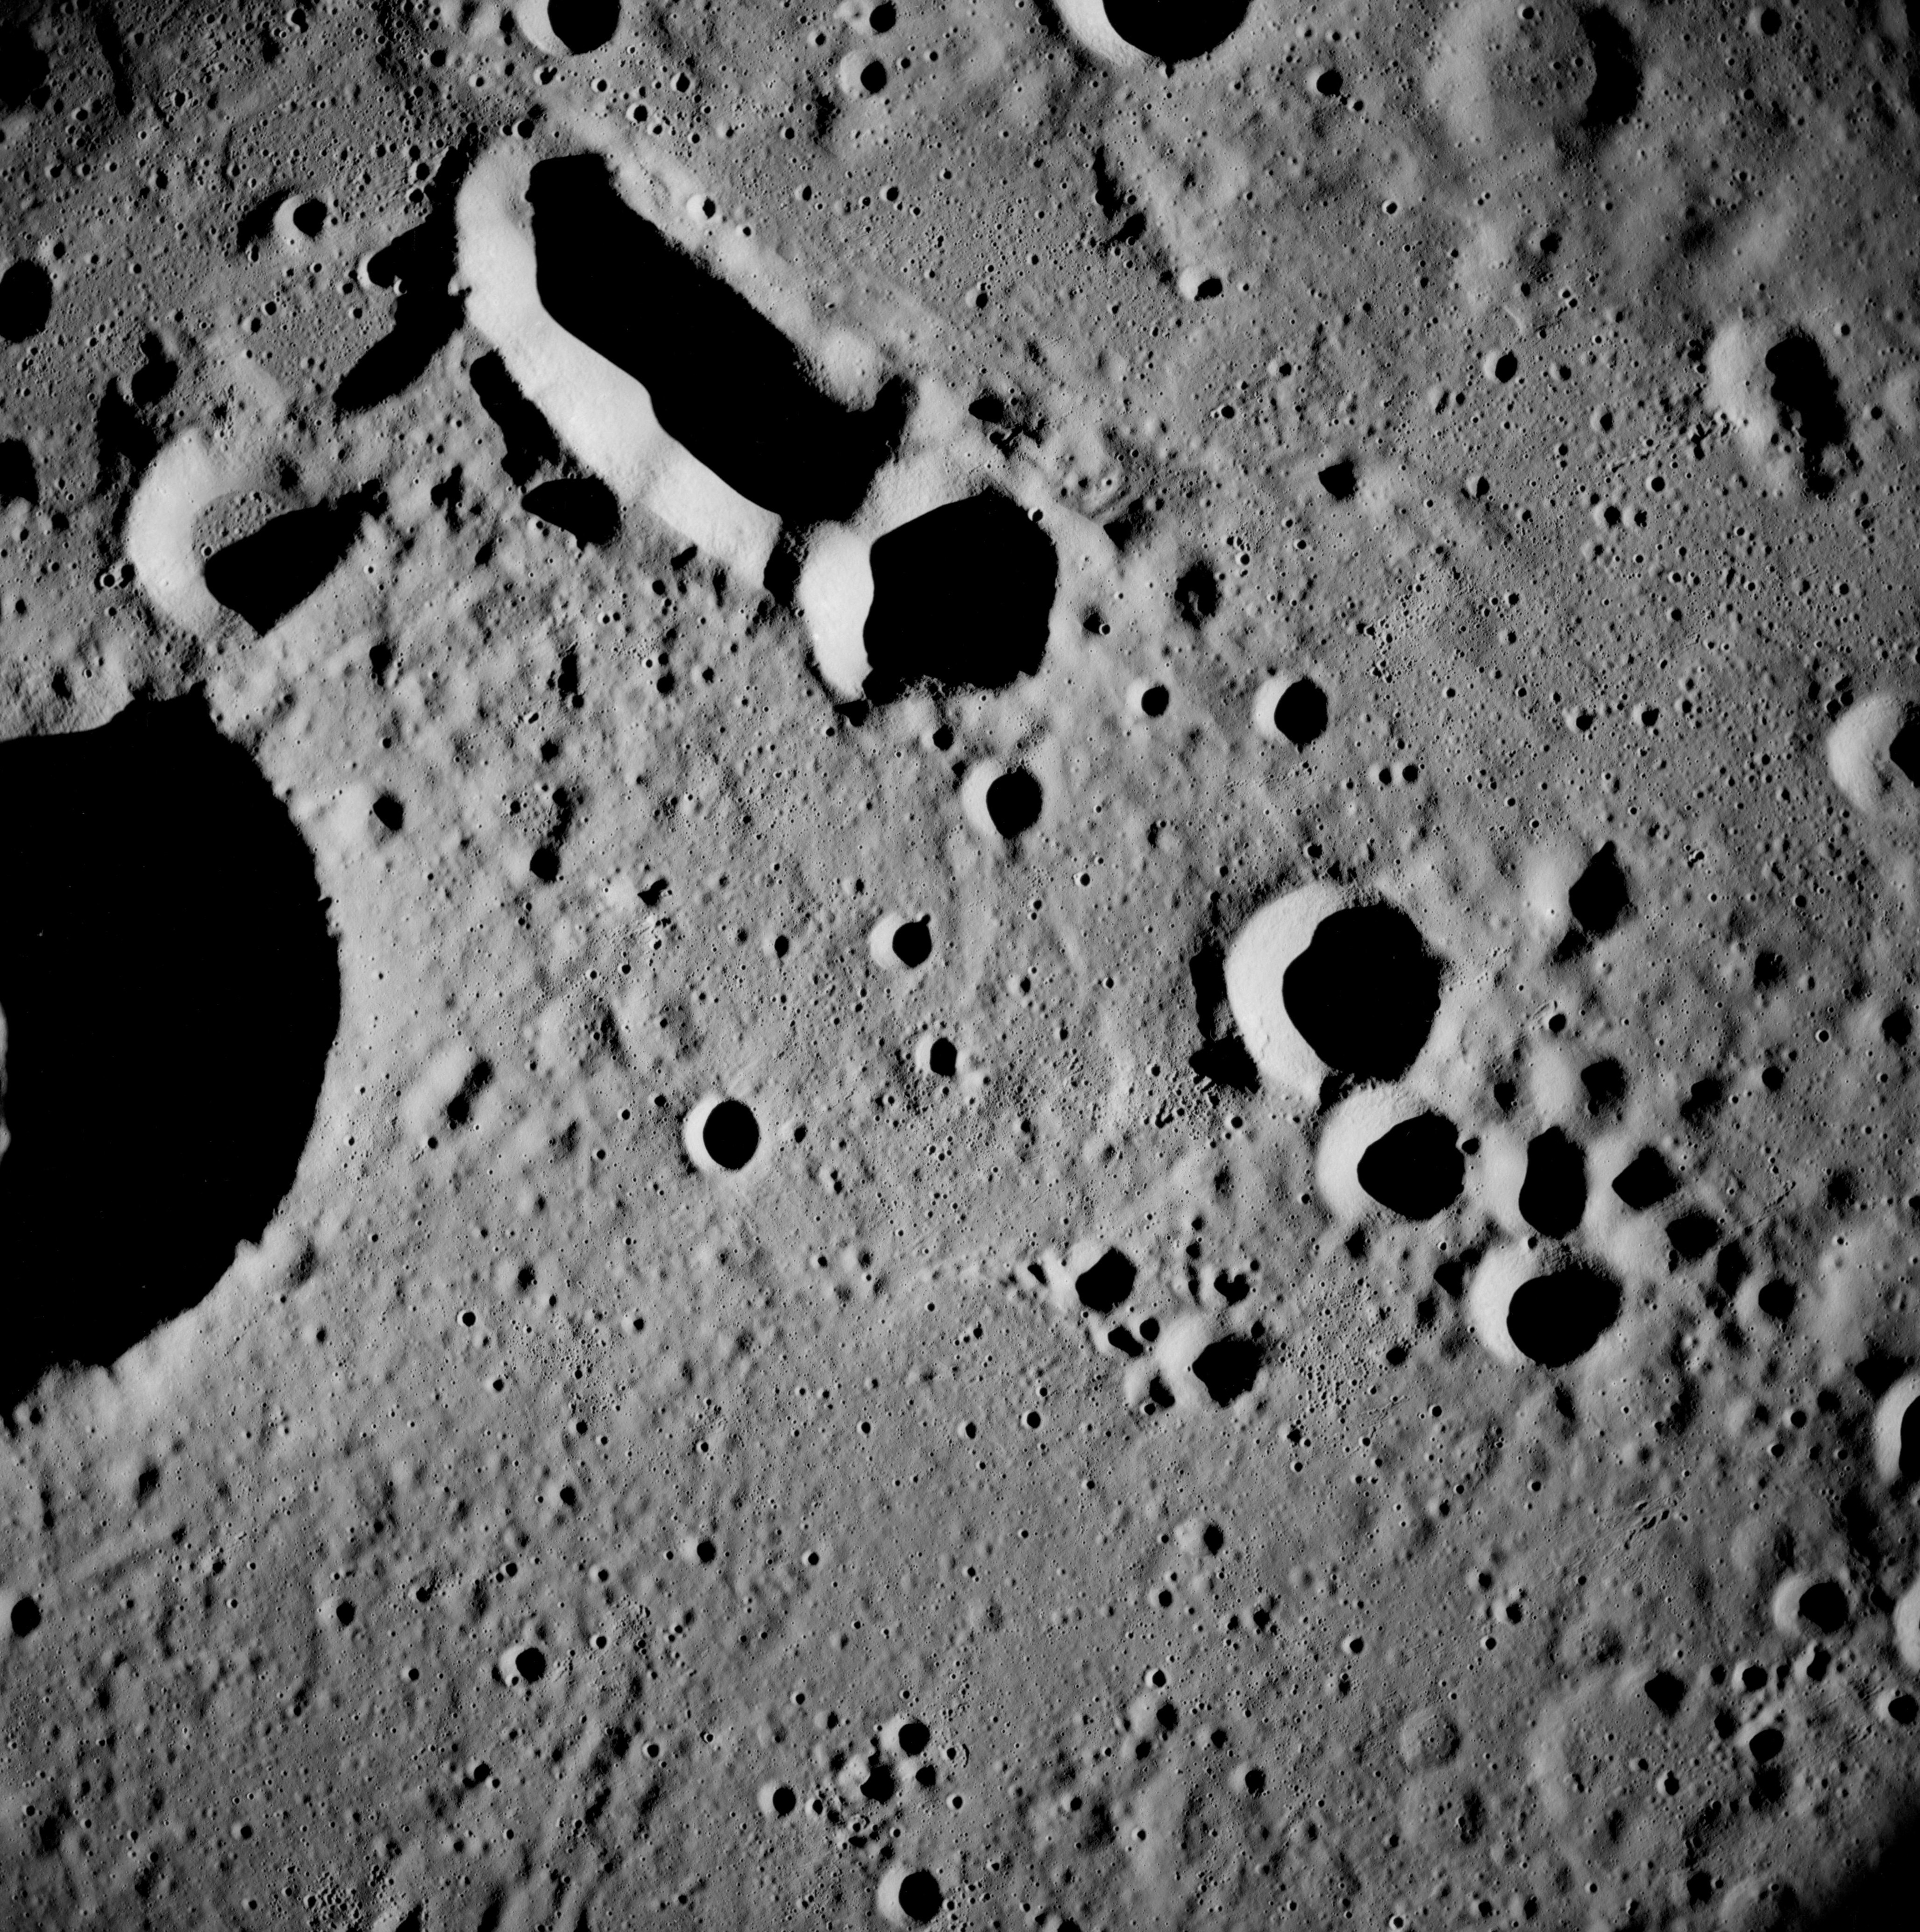 |
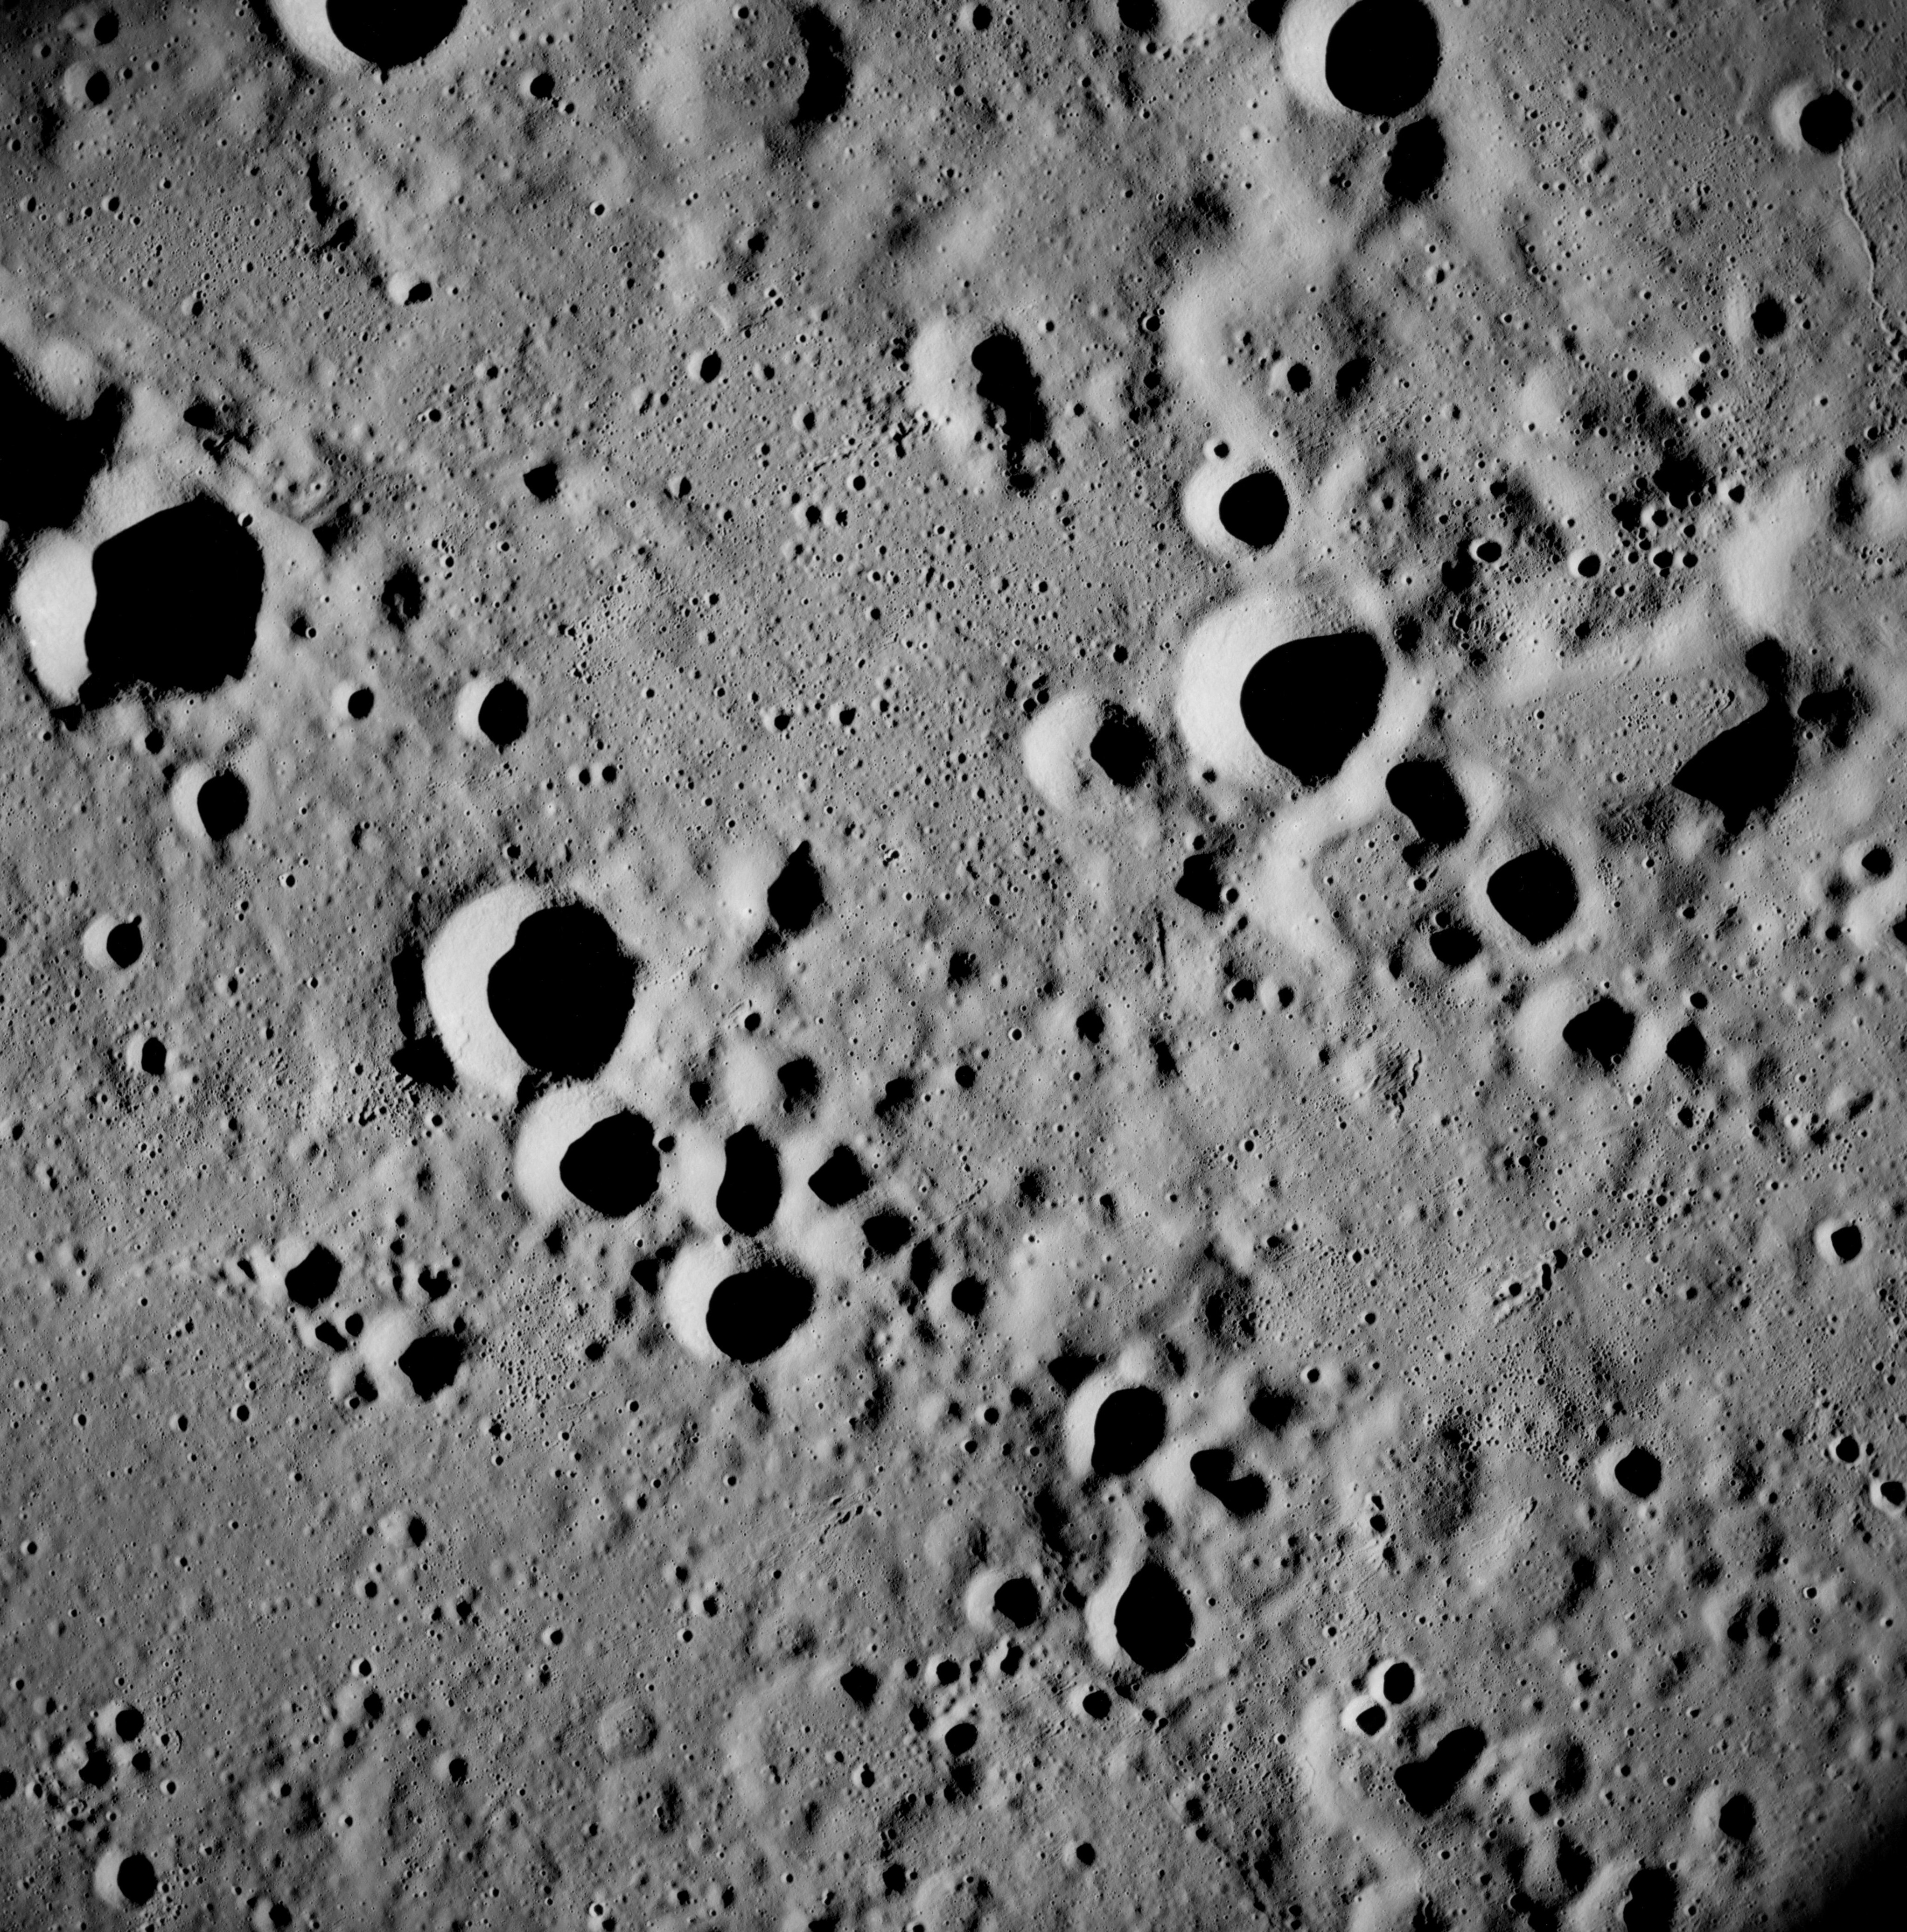
AS08-12-2053 Interior of Korolev Basin. Keyhole. Image credit: Image Science and Analysis Laboratory, NASA-Johnson Space Center. |
 |
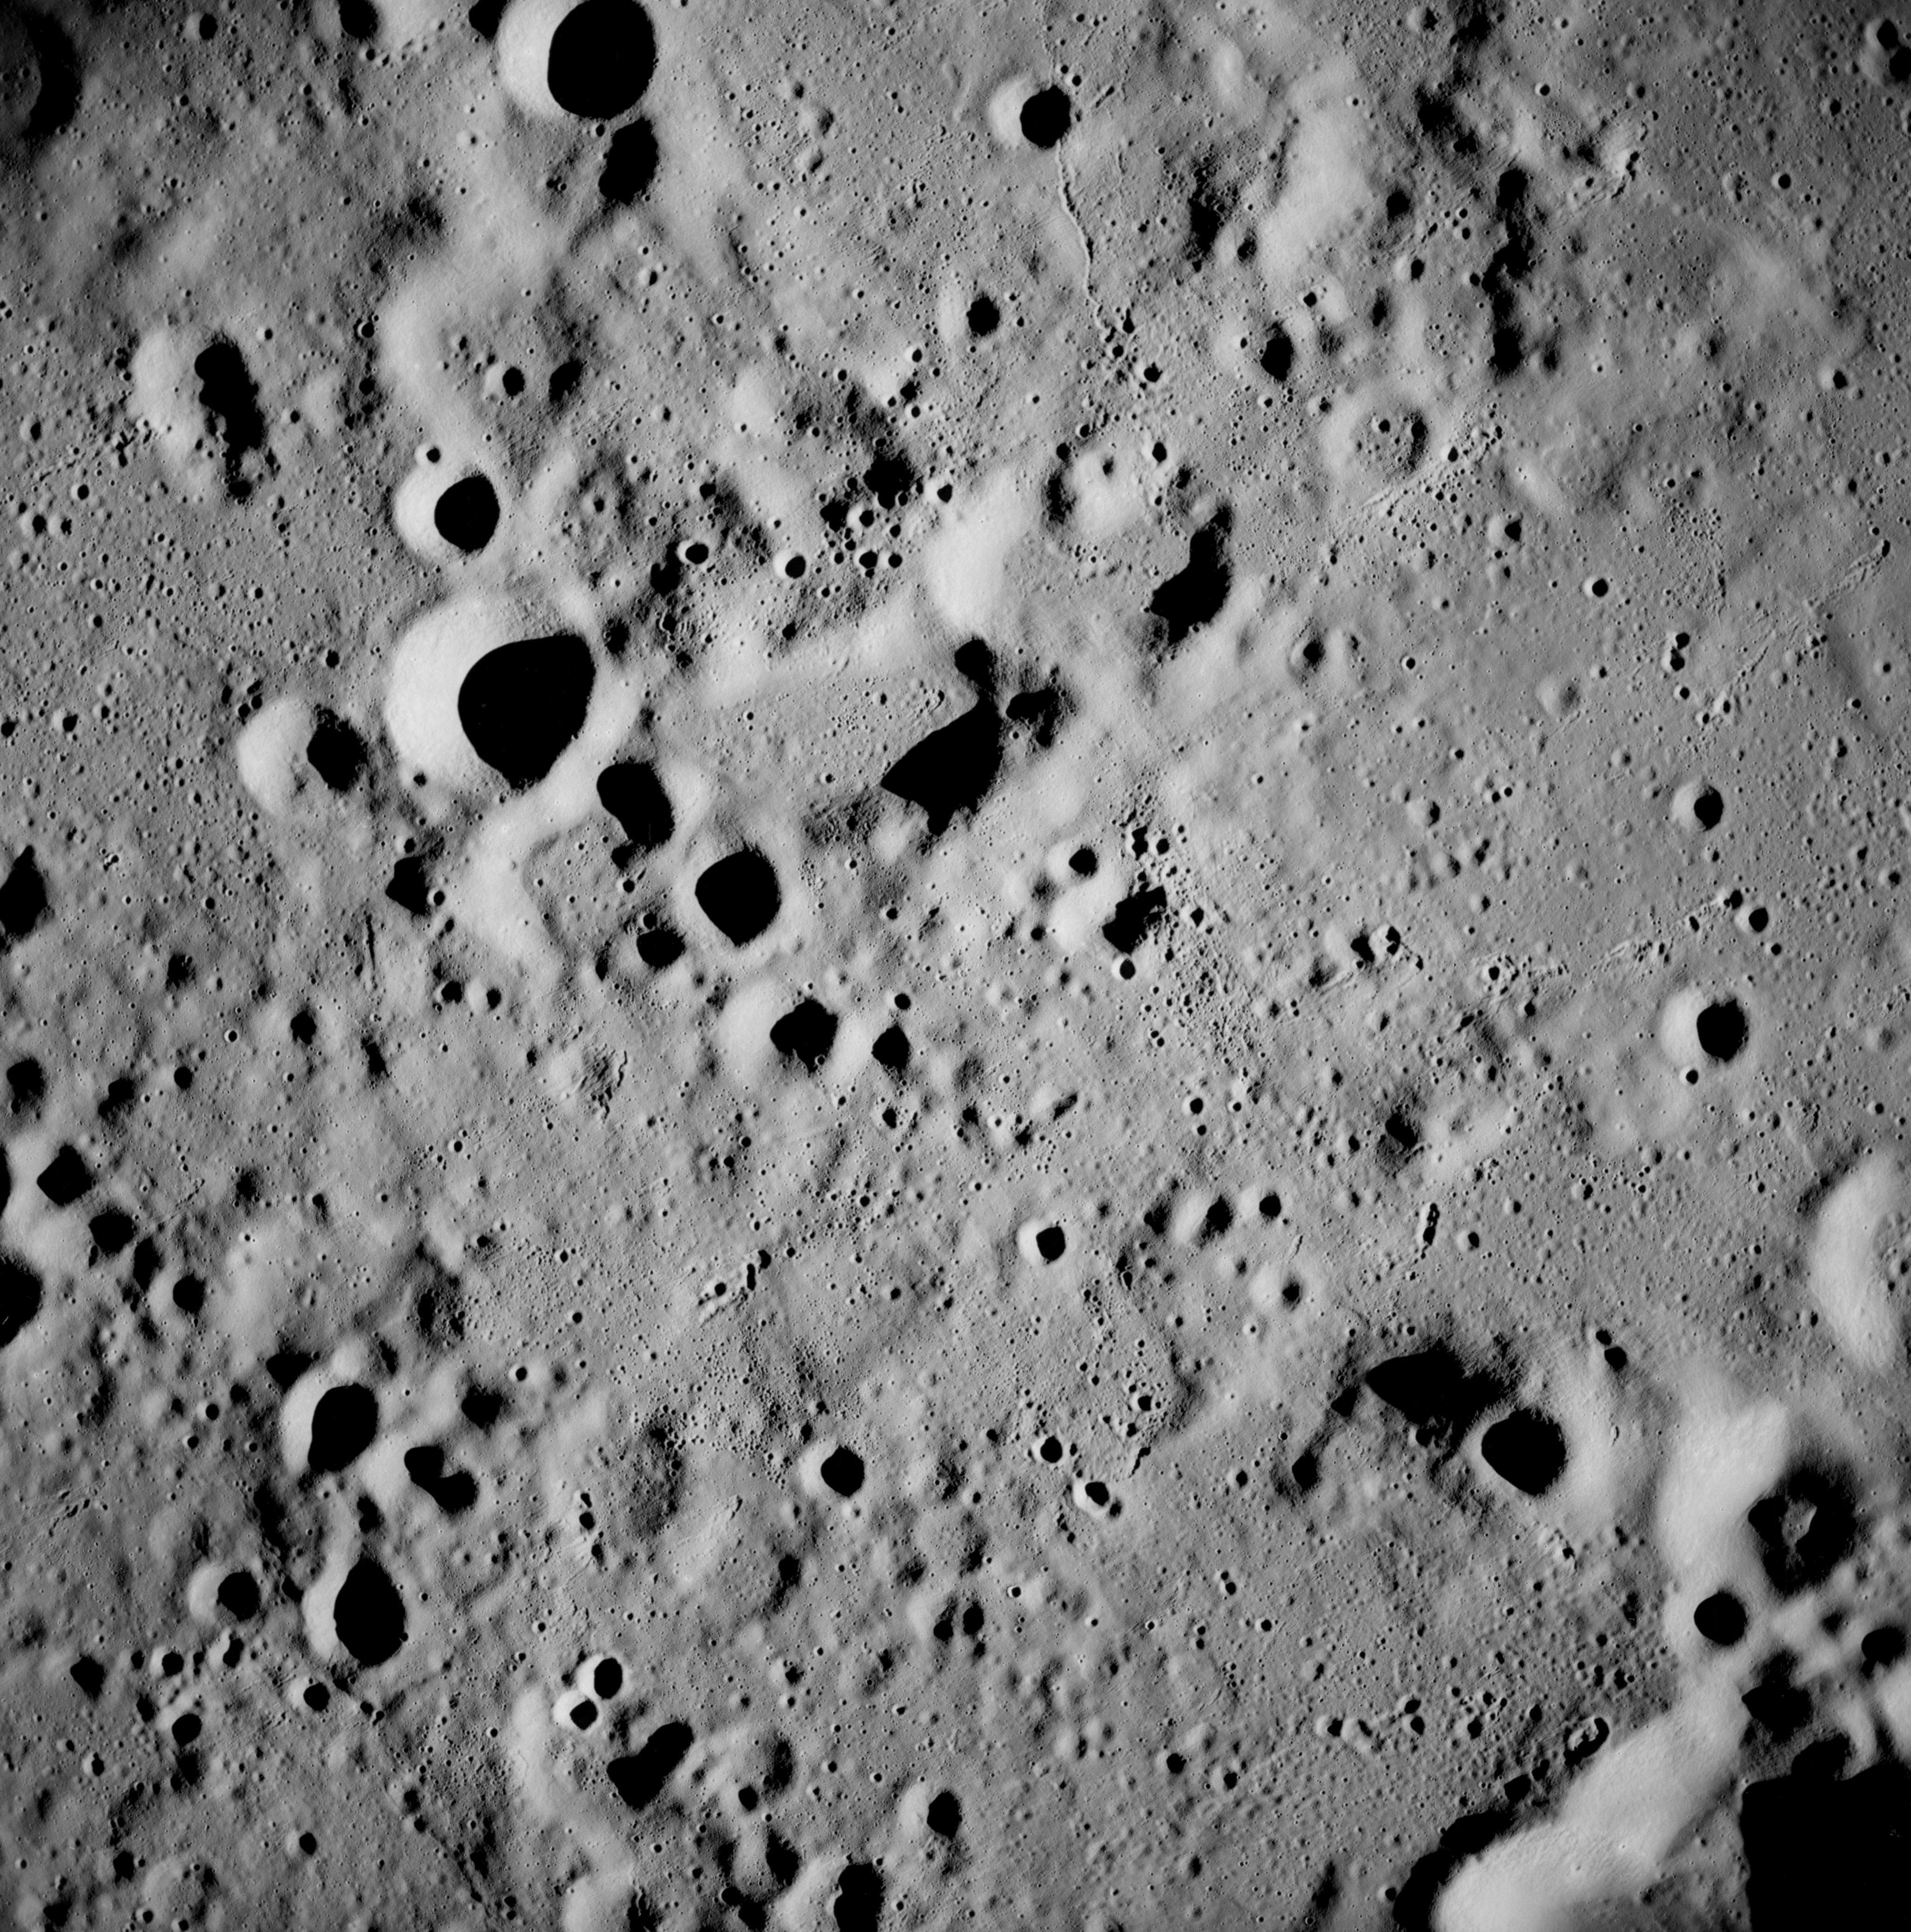
AS08-12-2054 Western interior of Korolev Basin. Image credit: Image Science and Analysis Laboratory, NASA-Johnson Space Center. |
 |
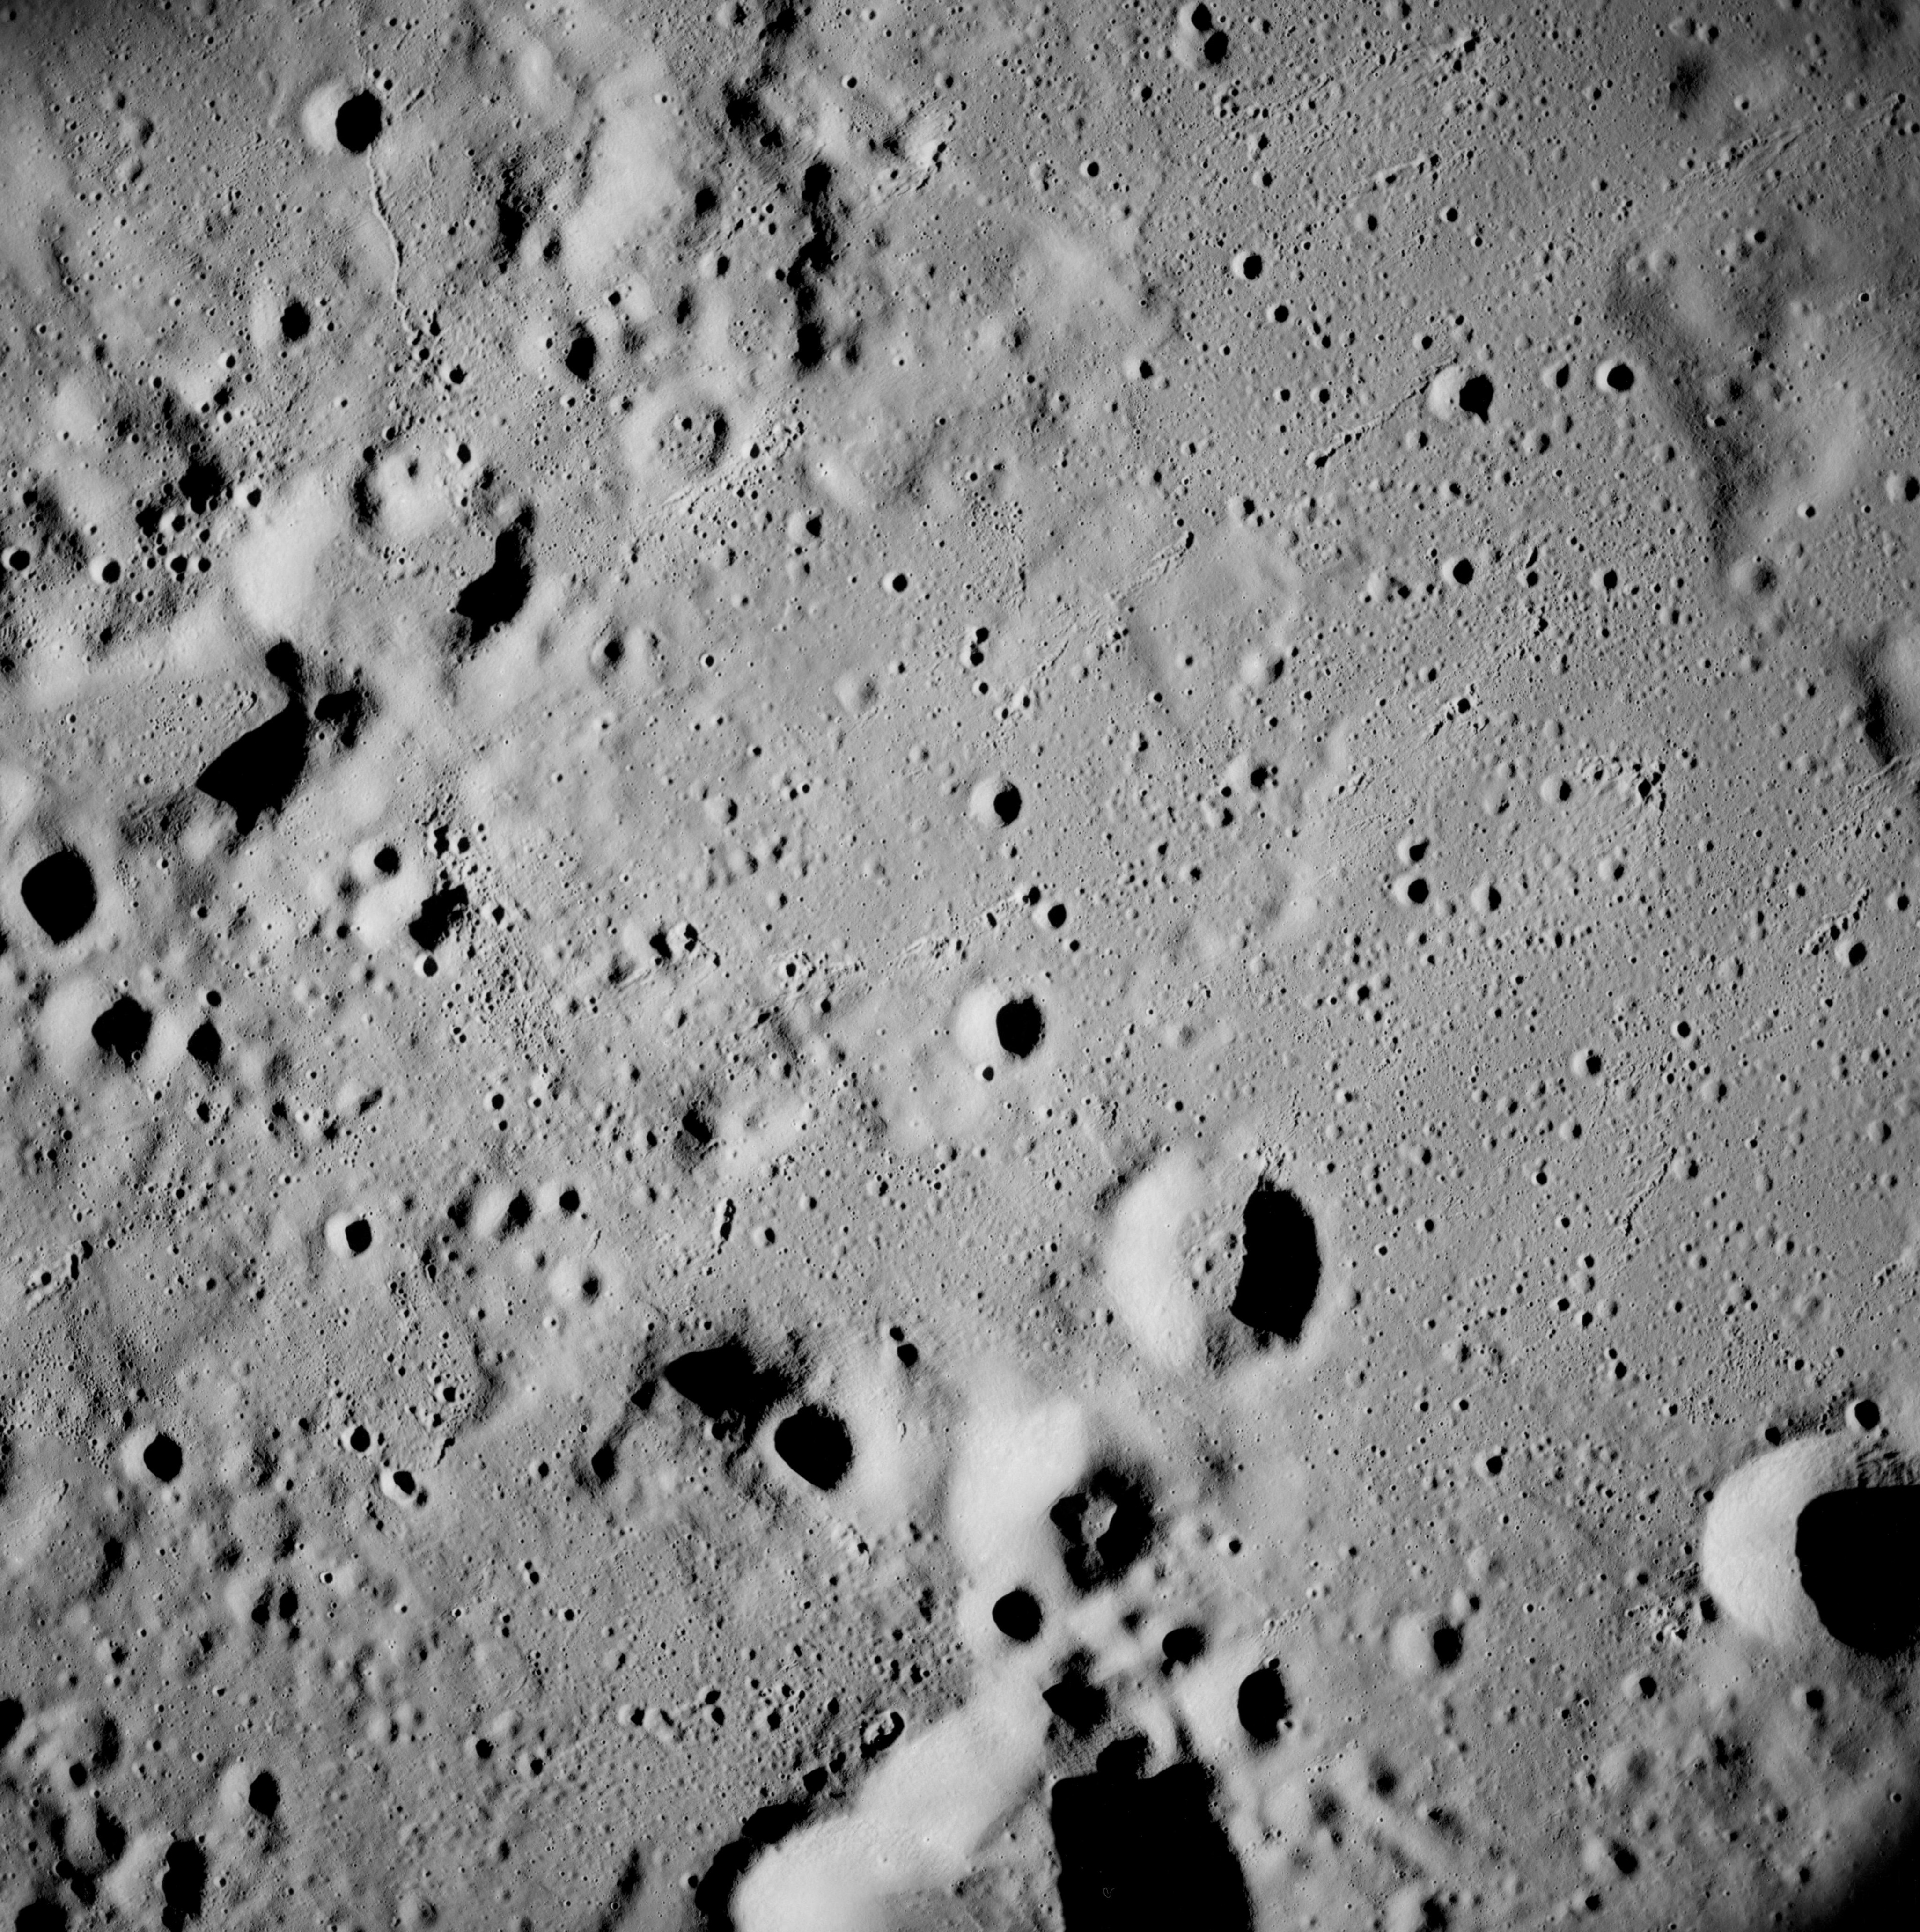
AS08-12-2055 Western interior of Korolev Basin. Image credit: Image Science and Analysis Laboratory, NASA-Johnson Space Center. |
 |
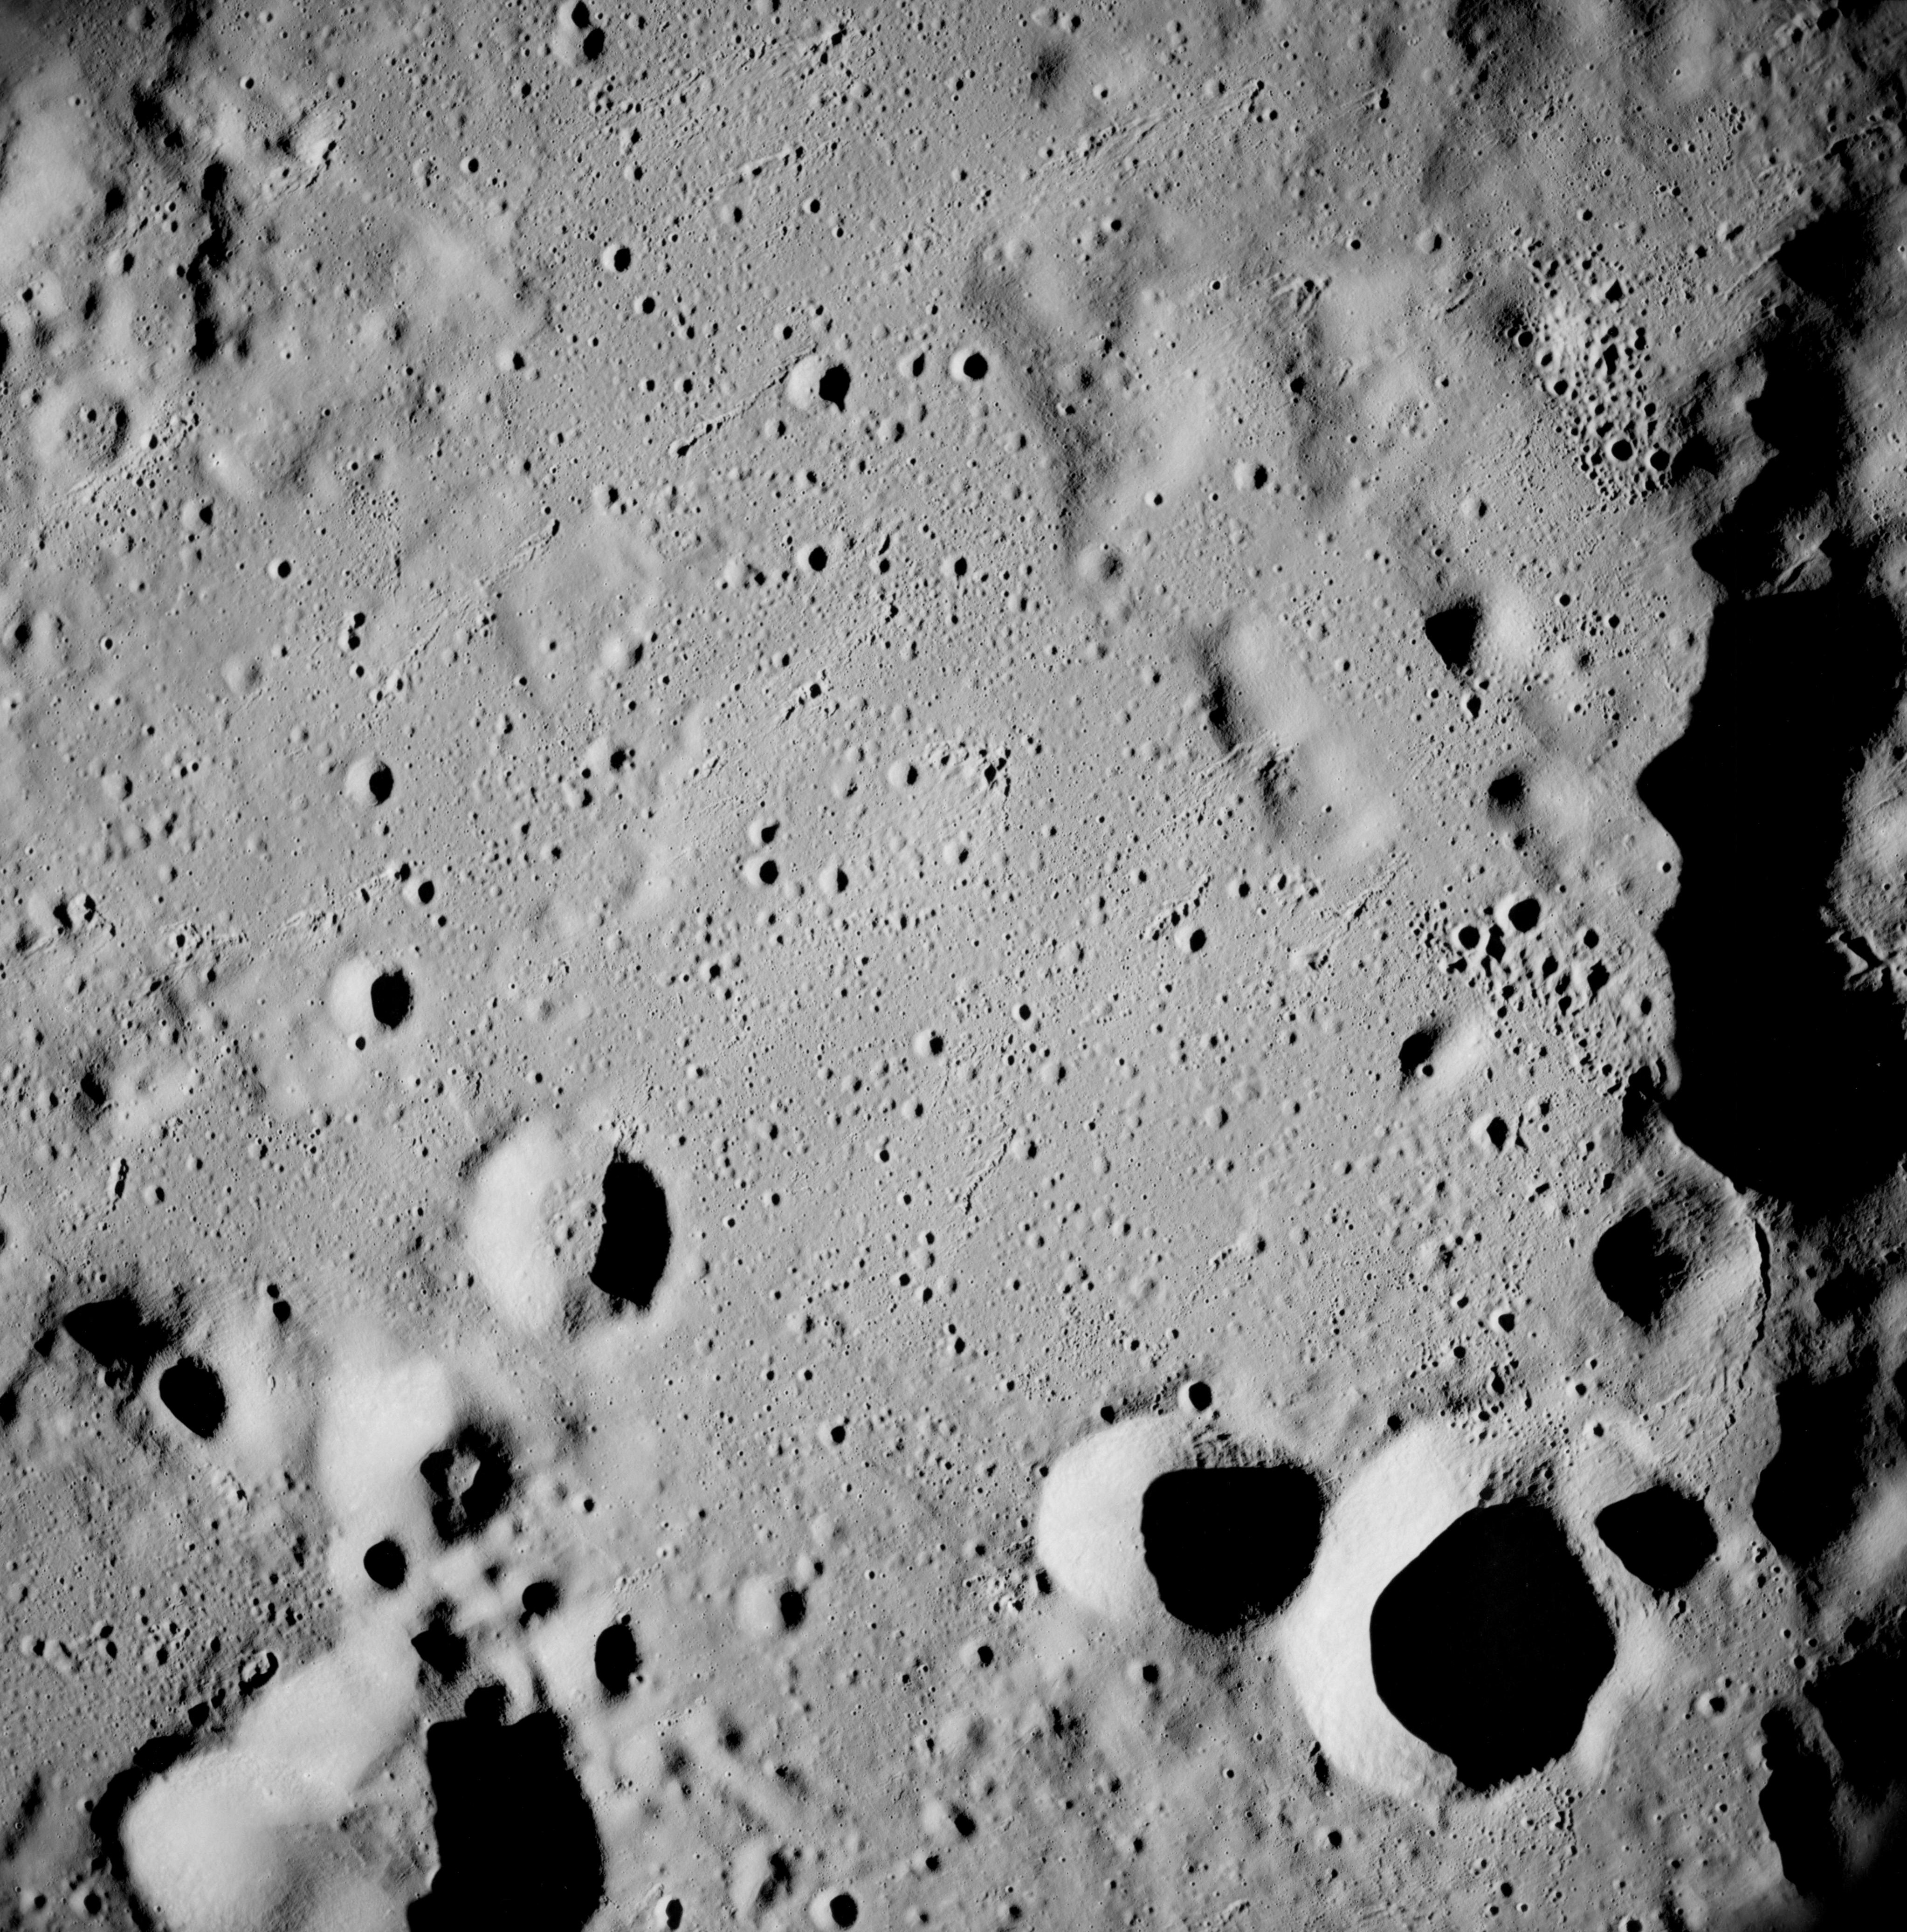
AS08-12-2056 Western interior of Korolev Basin. Image credit: Image Science and Analysis Laboratory, NASA-Johnson Space Center. |
 |
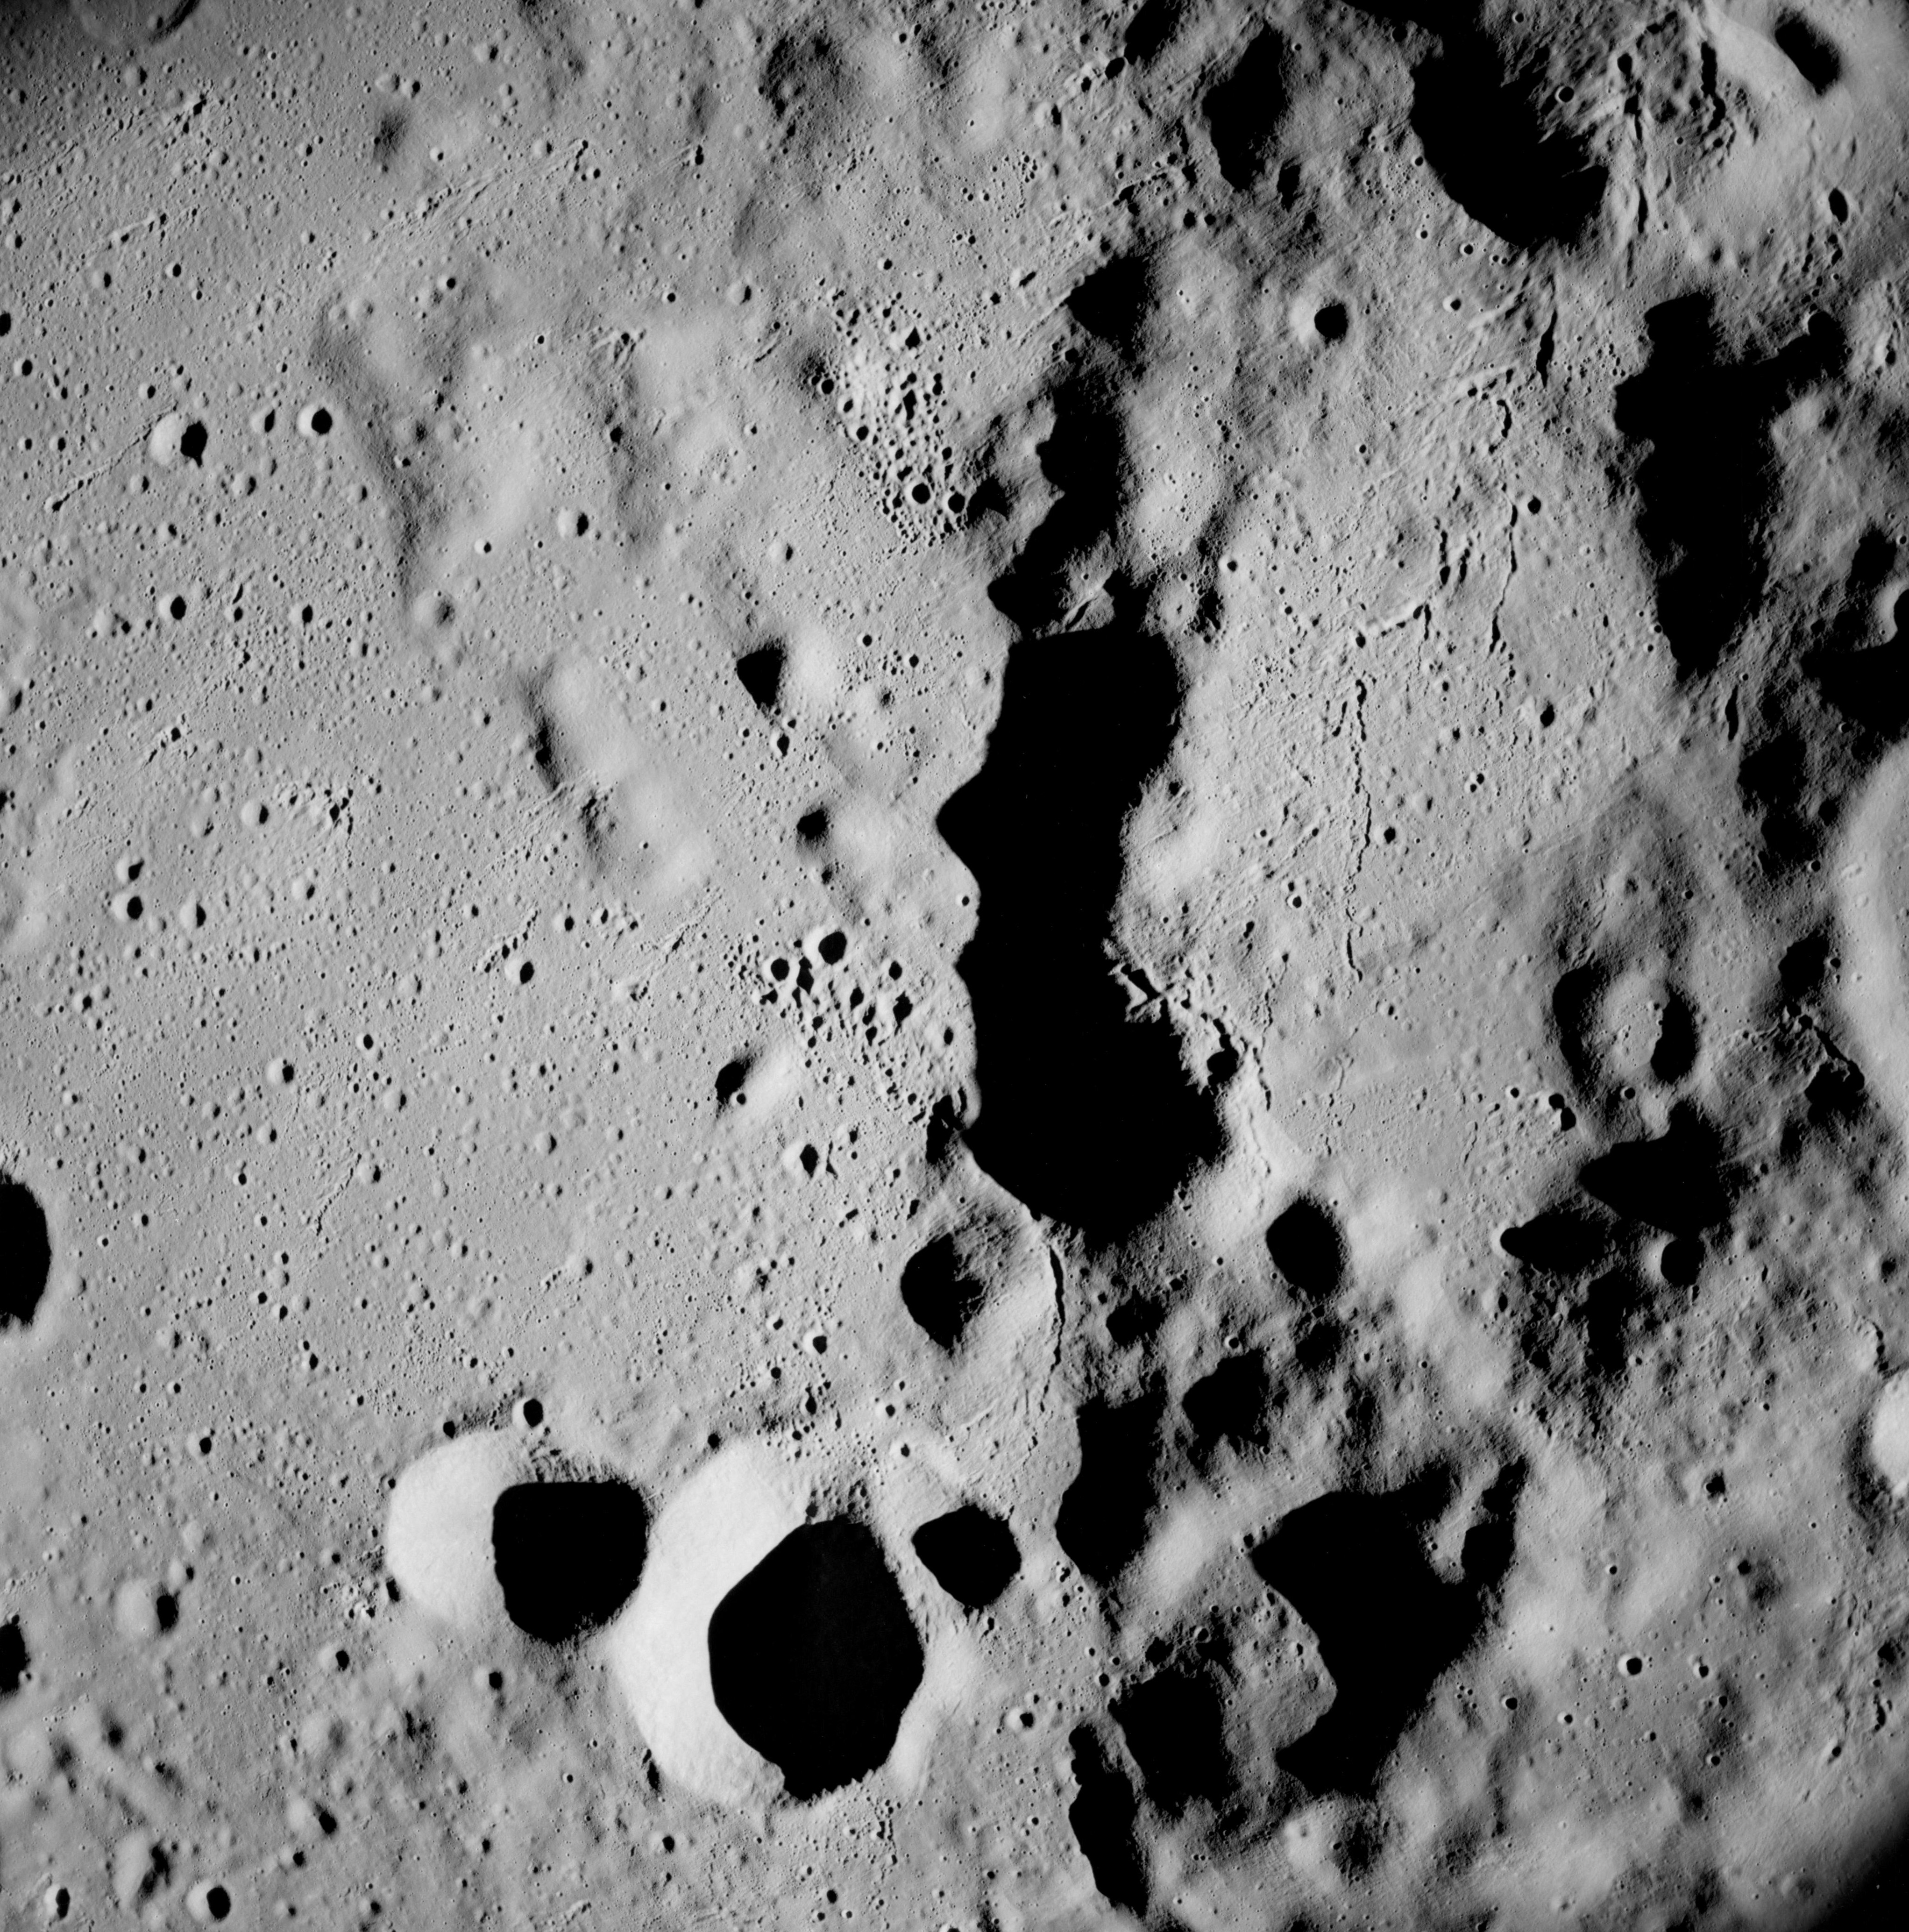
AS08-12-2057 Western interior of Korolev Basin. Image credit: Image Science and Analysis Laboratory, NASA-Johnson Space Center. |
 |
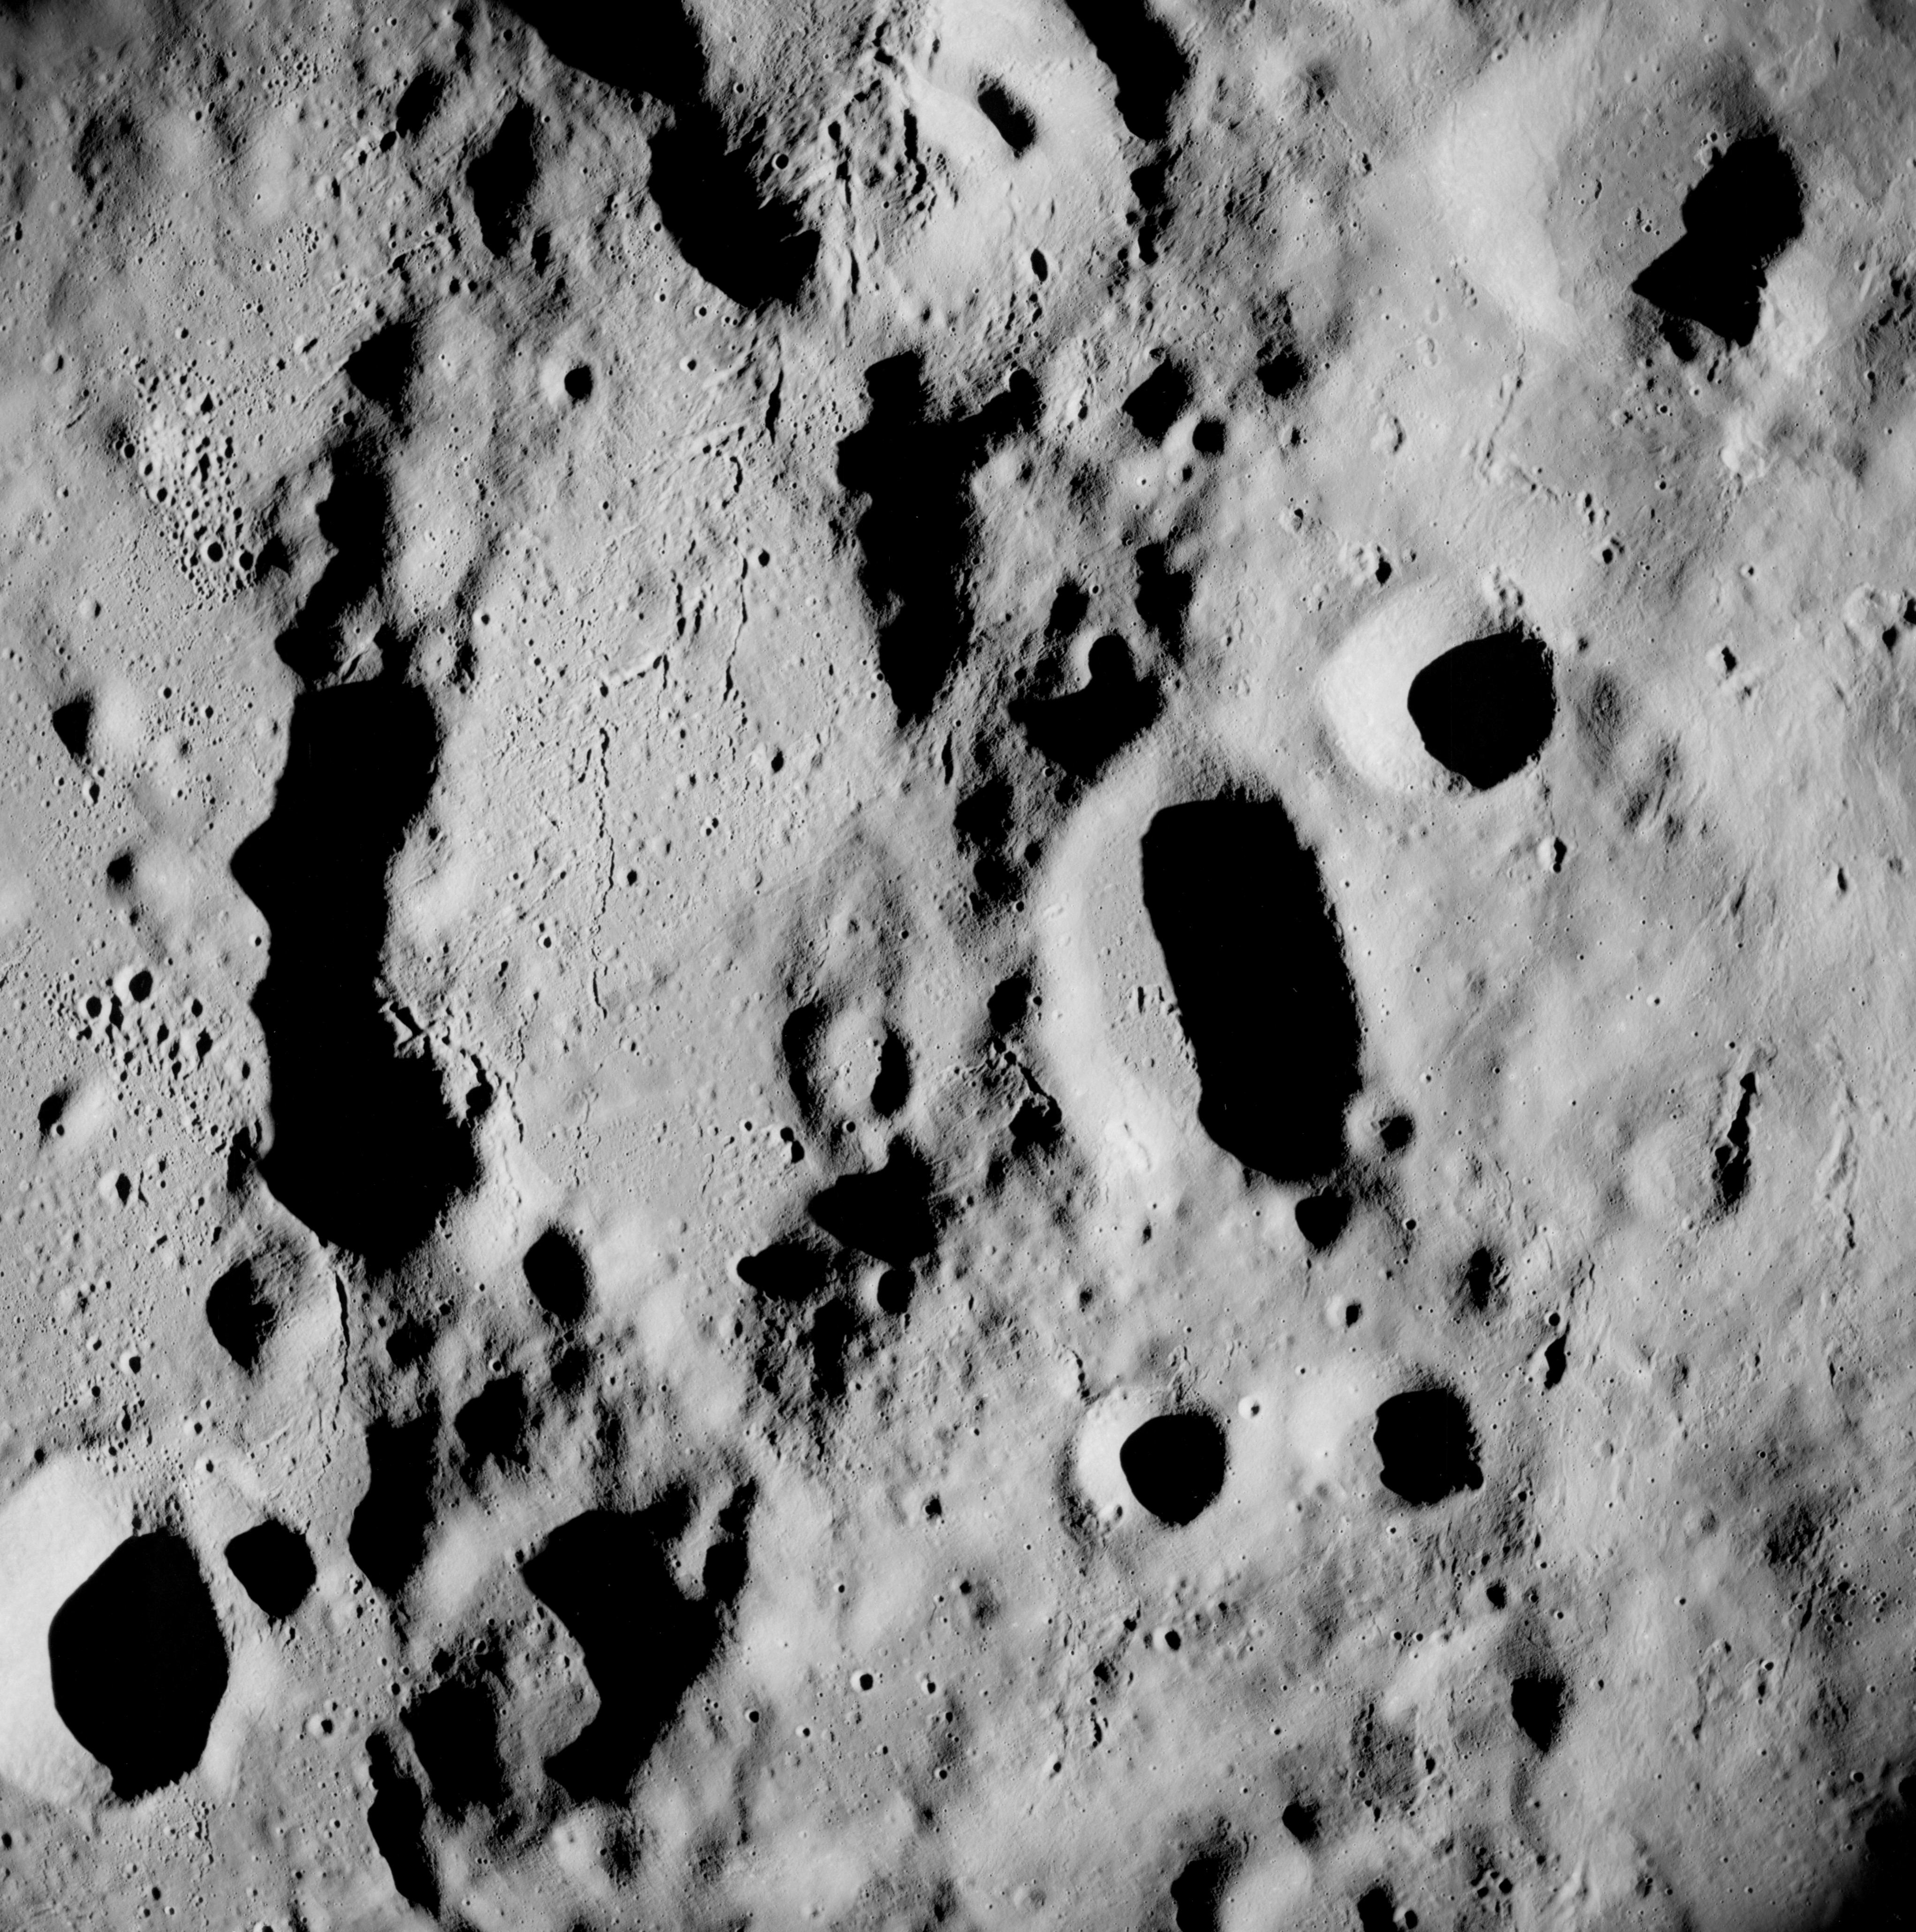
AS08-12-2058 West rim of Korolev Basin. Image credit: Image Science and Analysis Laboratory, NASA-Johnson Space Center. |
 |
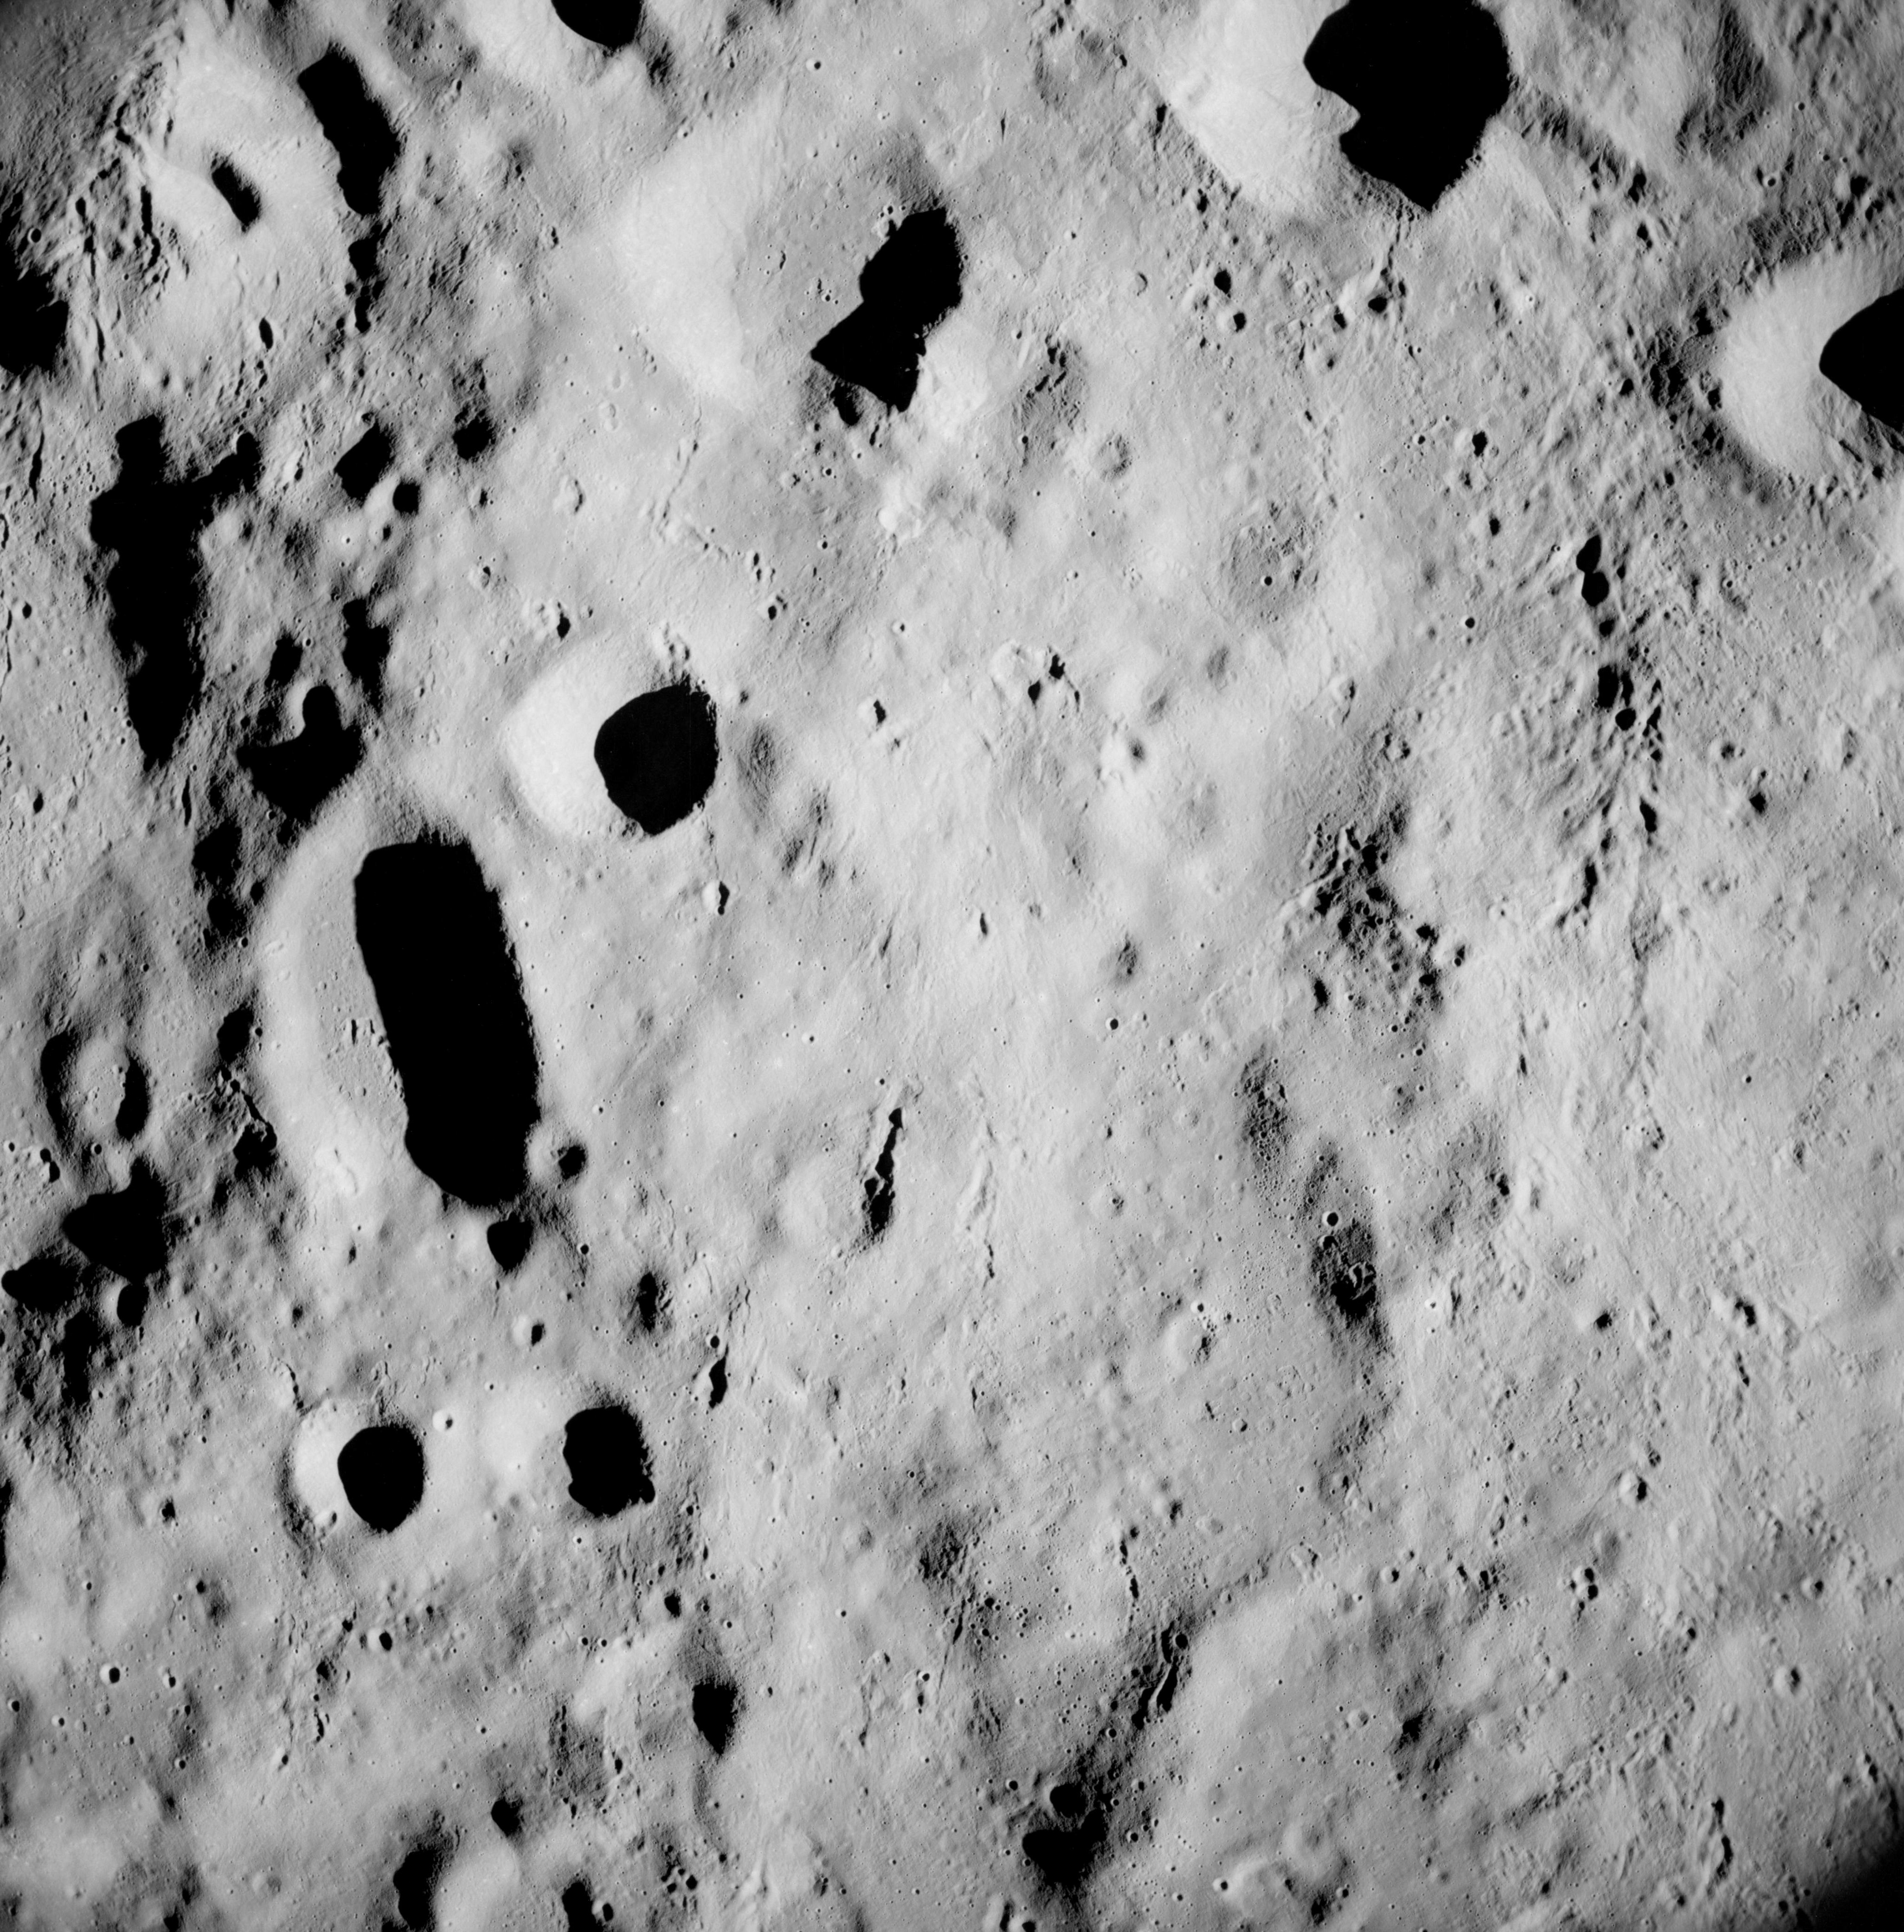
AS08-12-2059 West rim of Korolev Basin. Image credit: Image Science and Analysis Laboratory, NASA-Johnson Space Center. |
 |
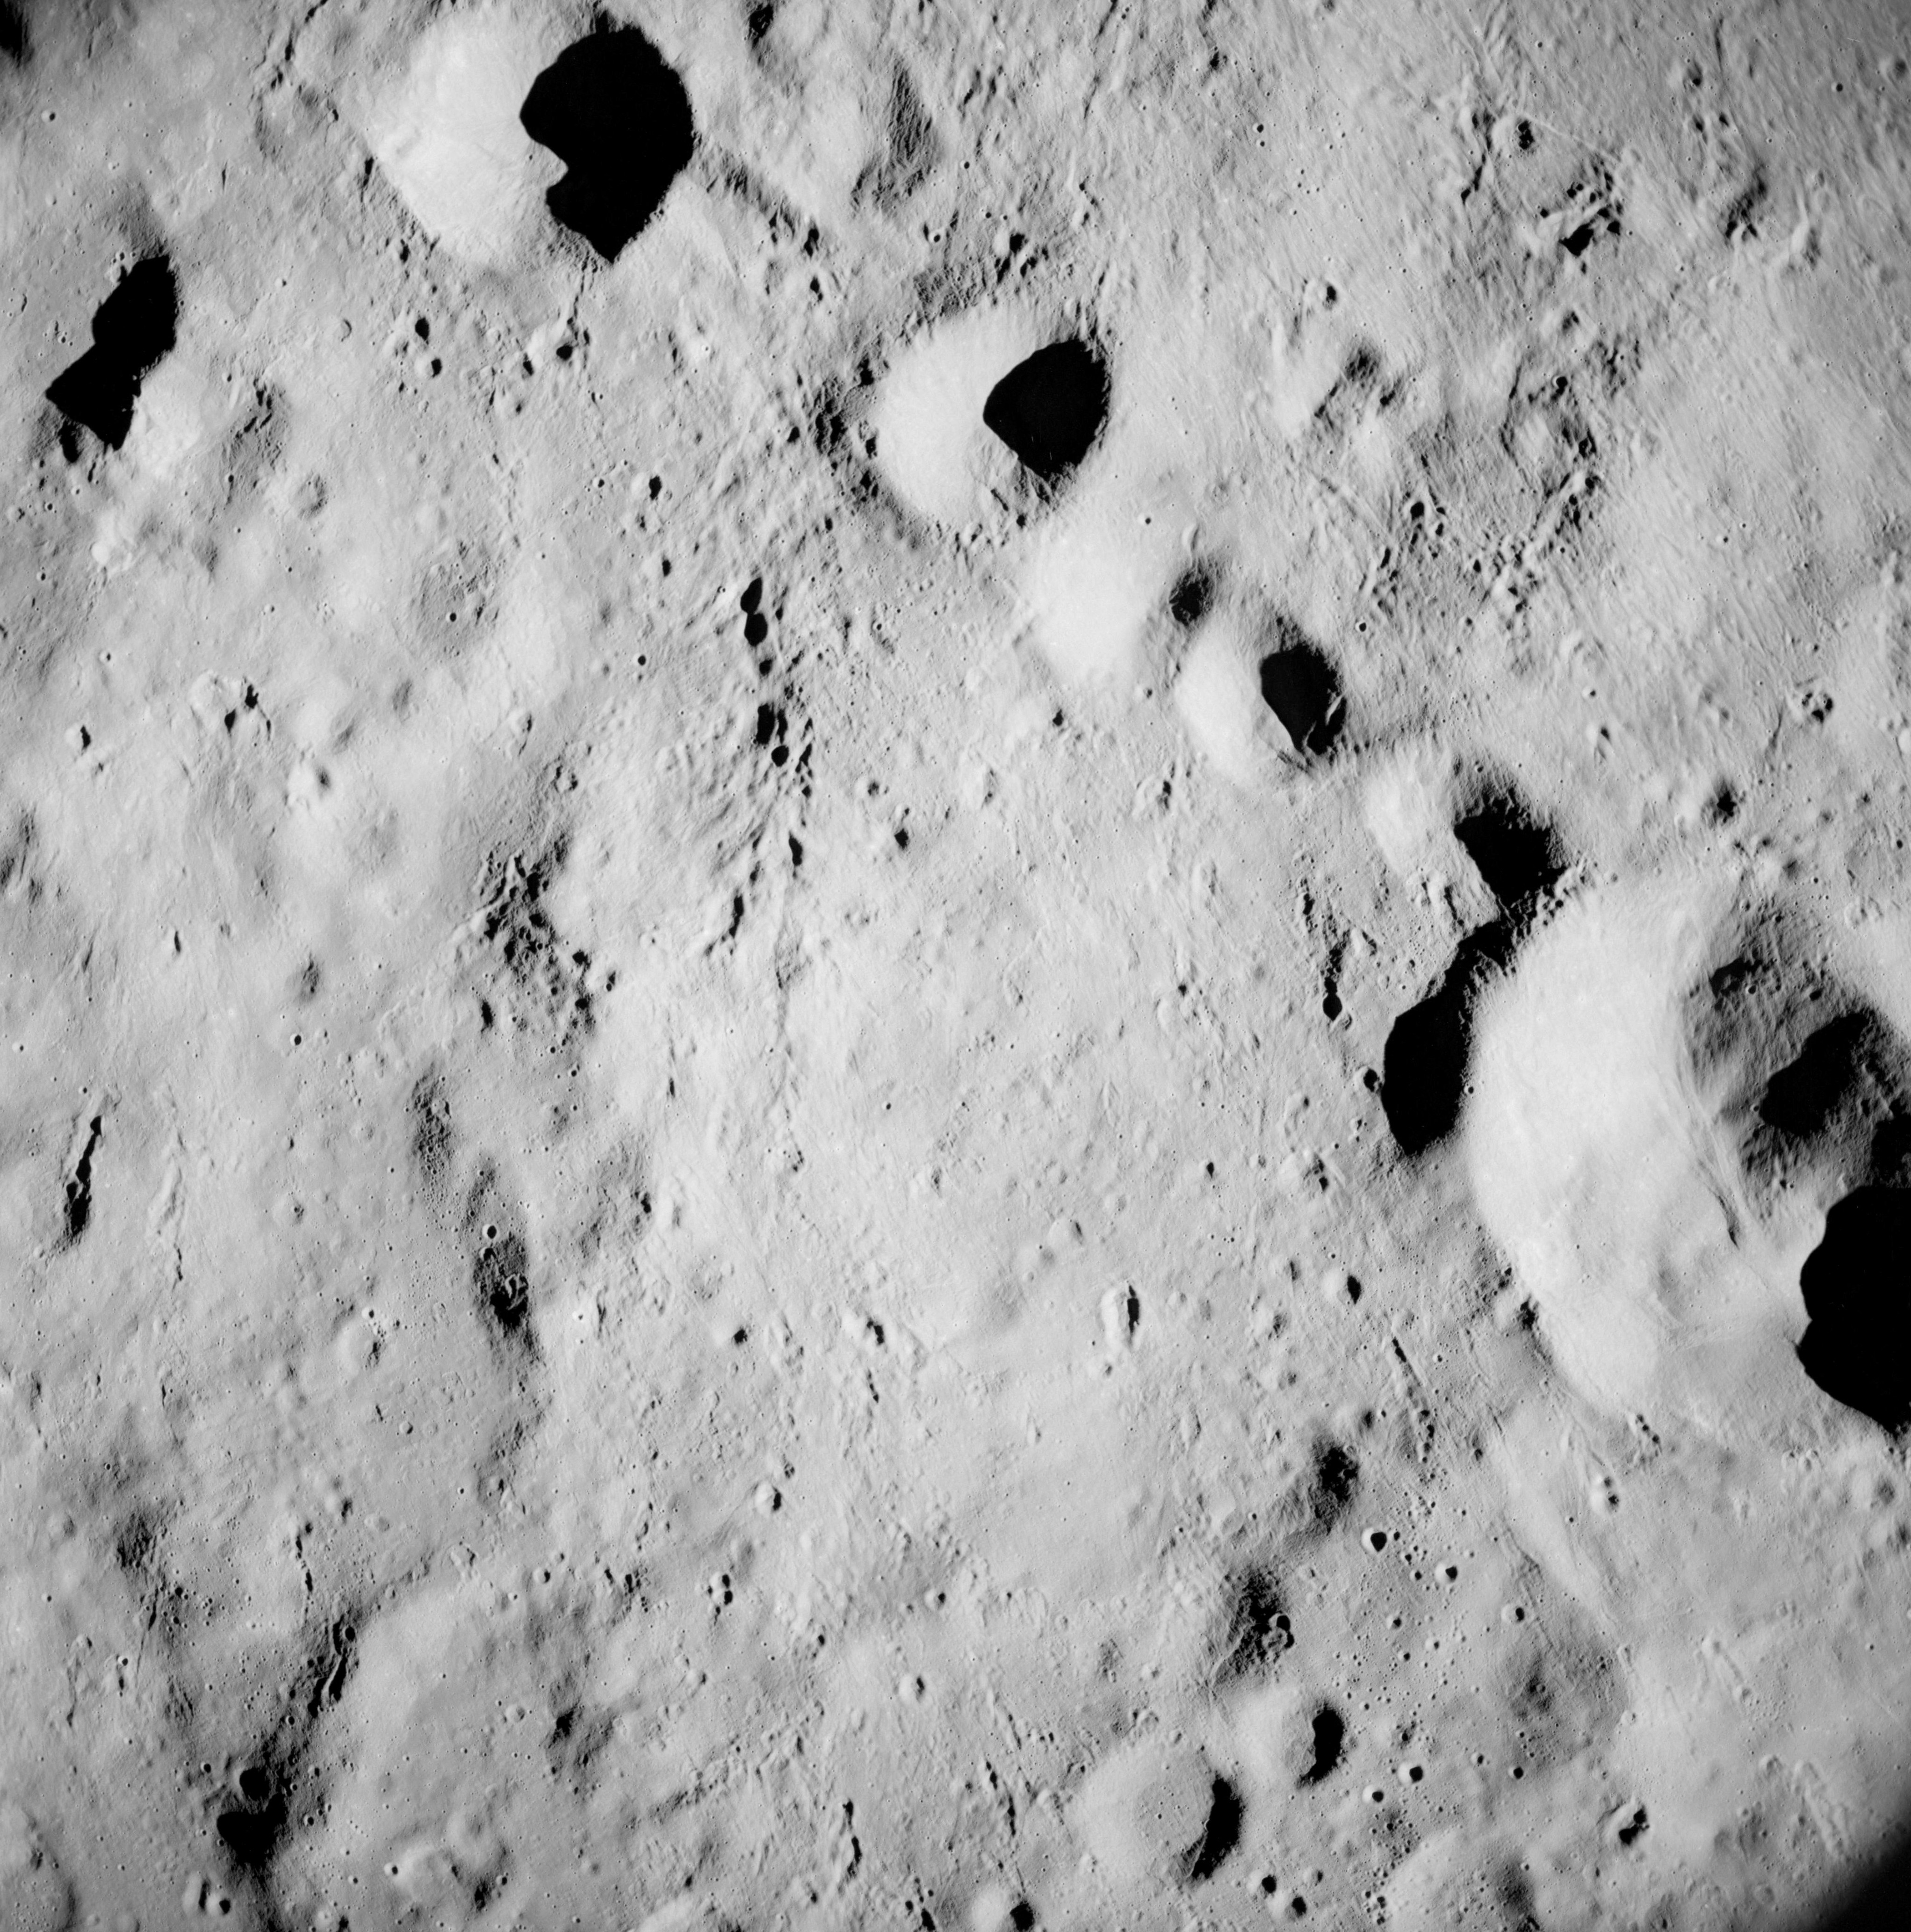
AS08-12-2060 West of Korolev Basin. Image credit: Image Science and Analysis Laboratory, NASA-Johnson Space Center. |
 |
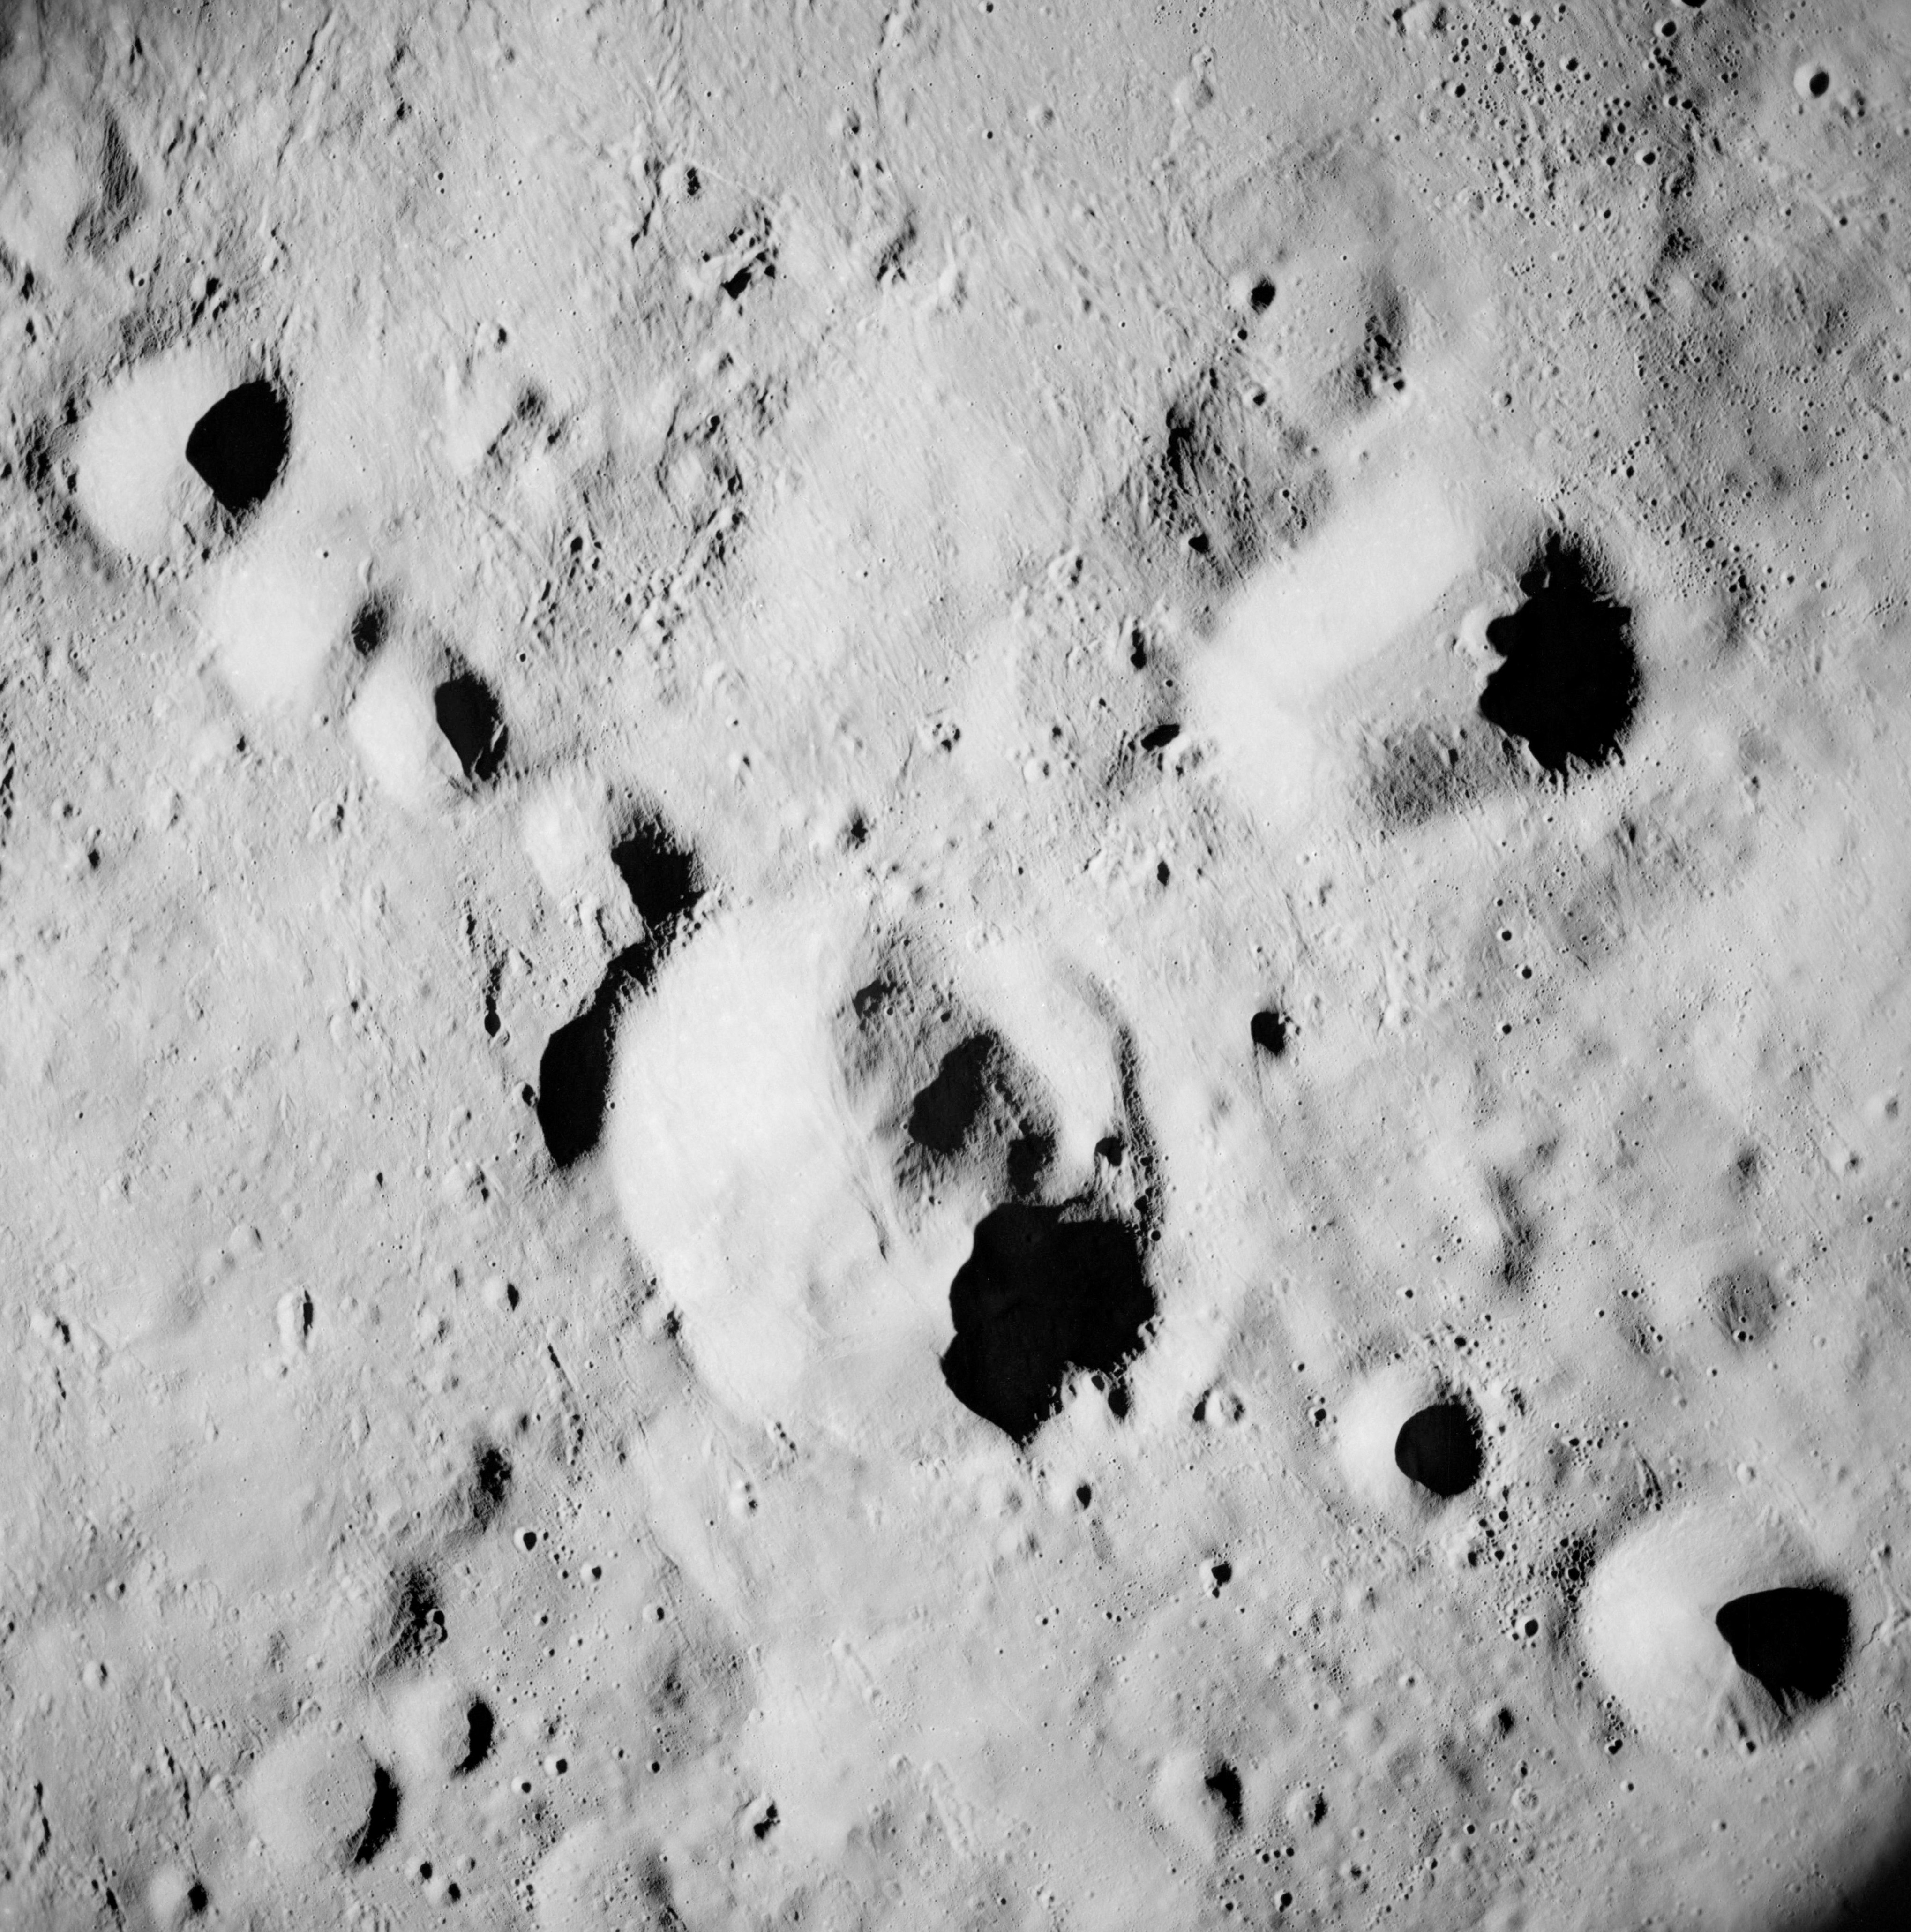
AS08-12-2061 West of Korolev Basin. Crookes X on right. Image credit: Image Science and Analysis Laboratory, NASA-Johnson Space Center. |
 |
AS08-12-2062 West of Korolev Basin. Crookes X. Image credit: Image Science and Analysis Laboratory, NASA-Johnson Space Center. |
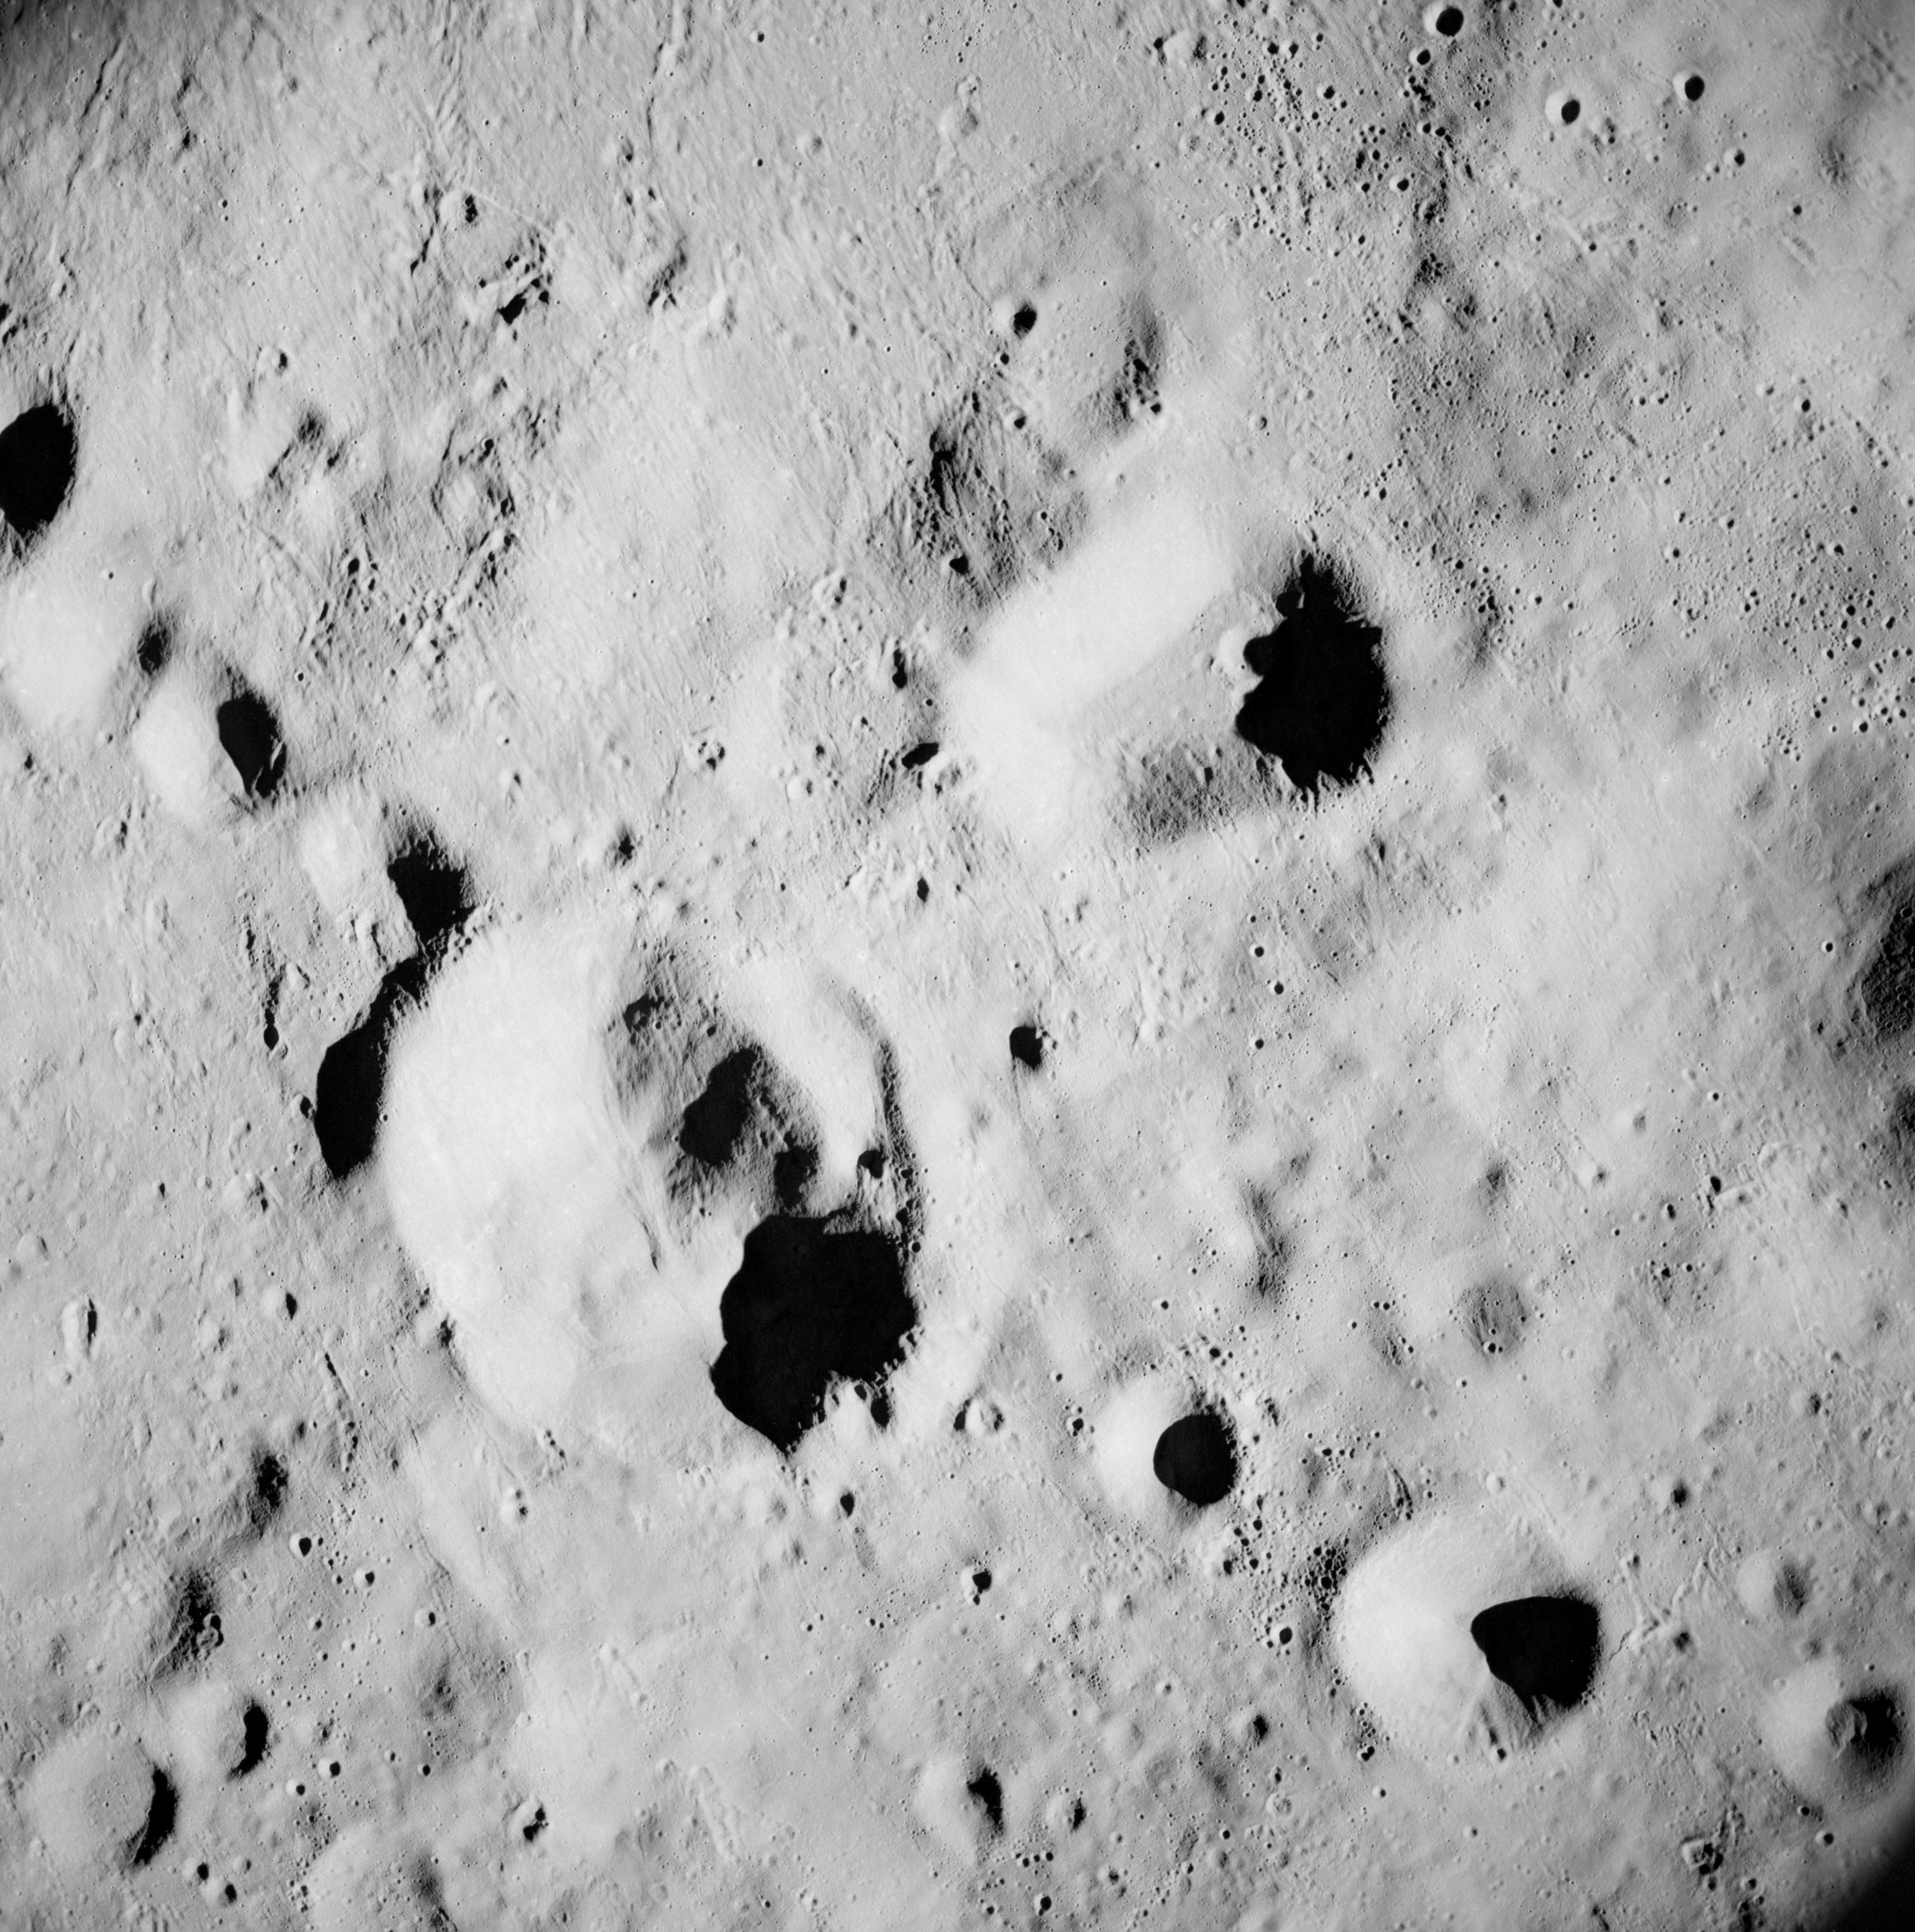 |
AS08-12-2063 West of Korolev Basin. Crookes X left of centre. Image credit: Image Science and Analysis Laboratory, NASA-Johnson Space Center. |
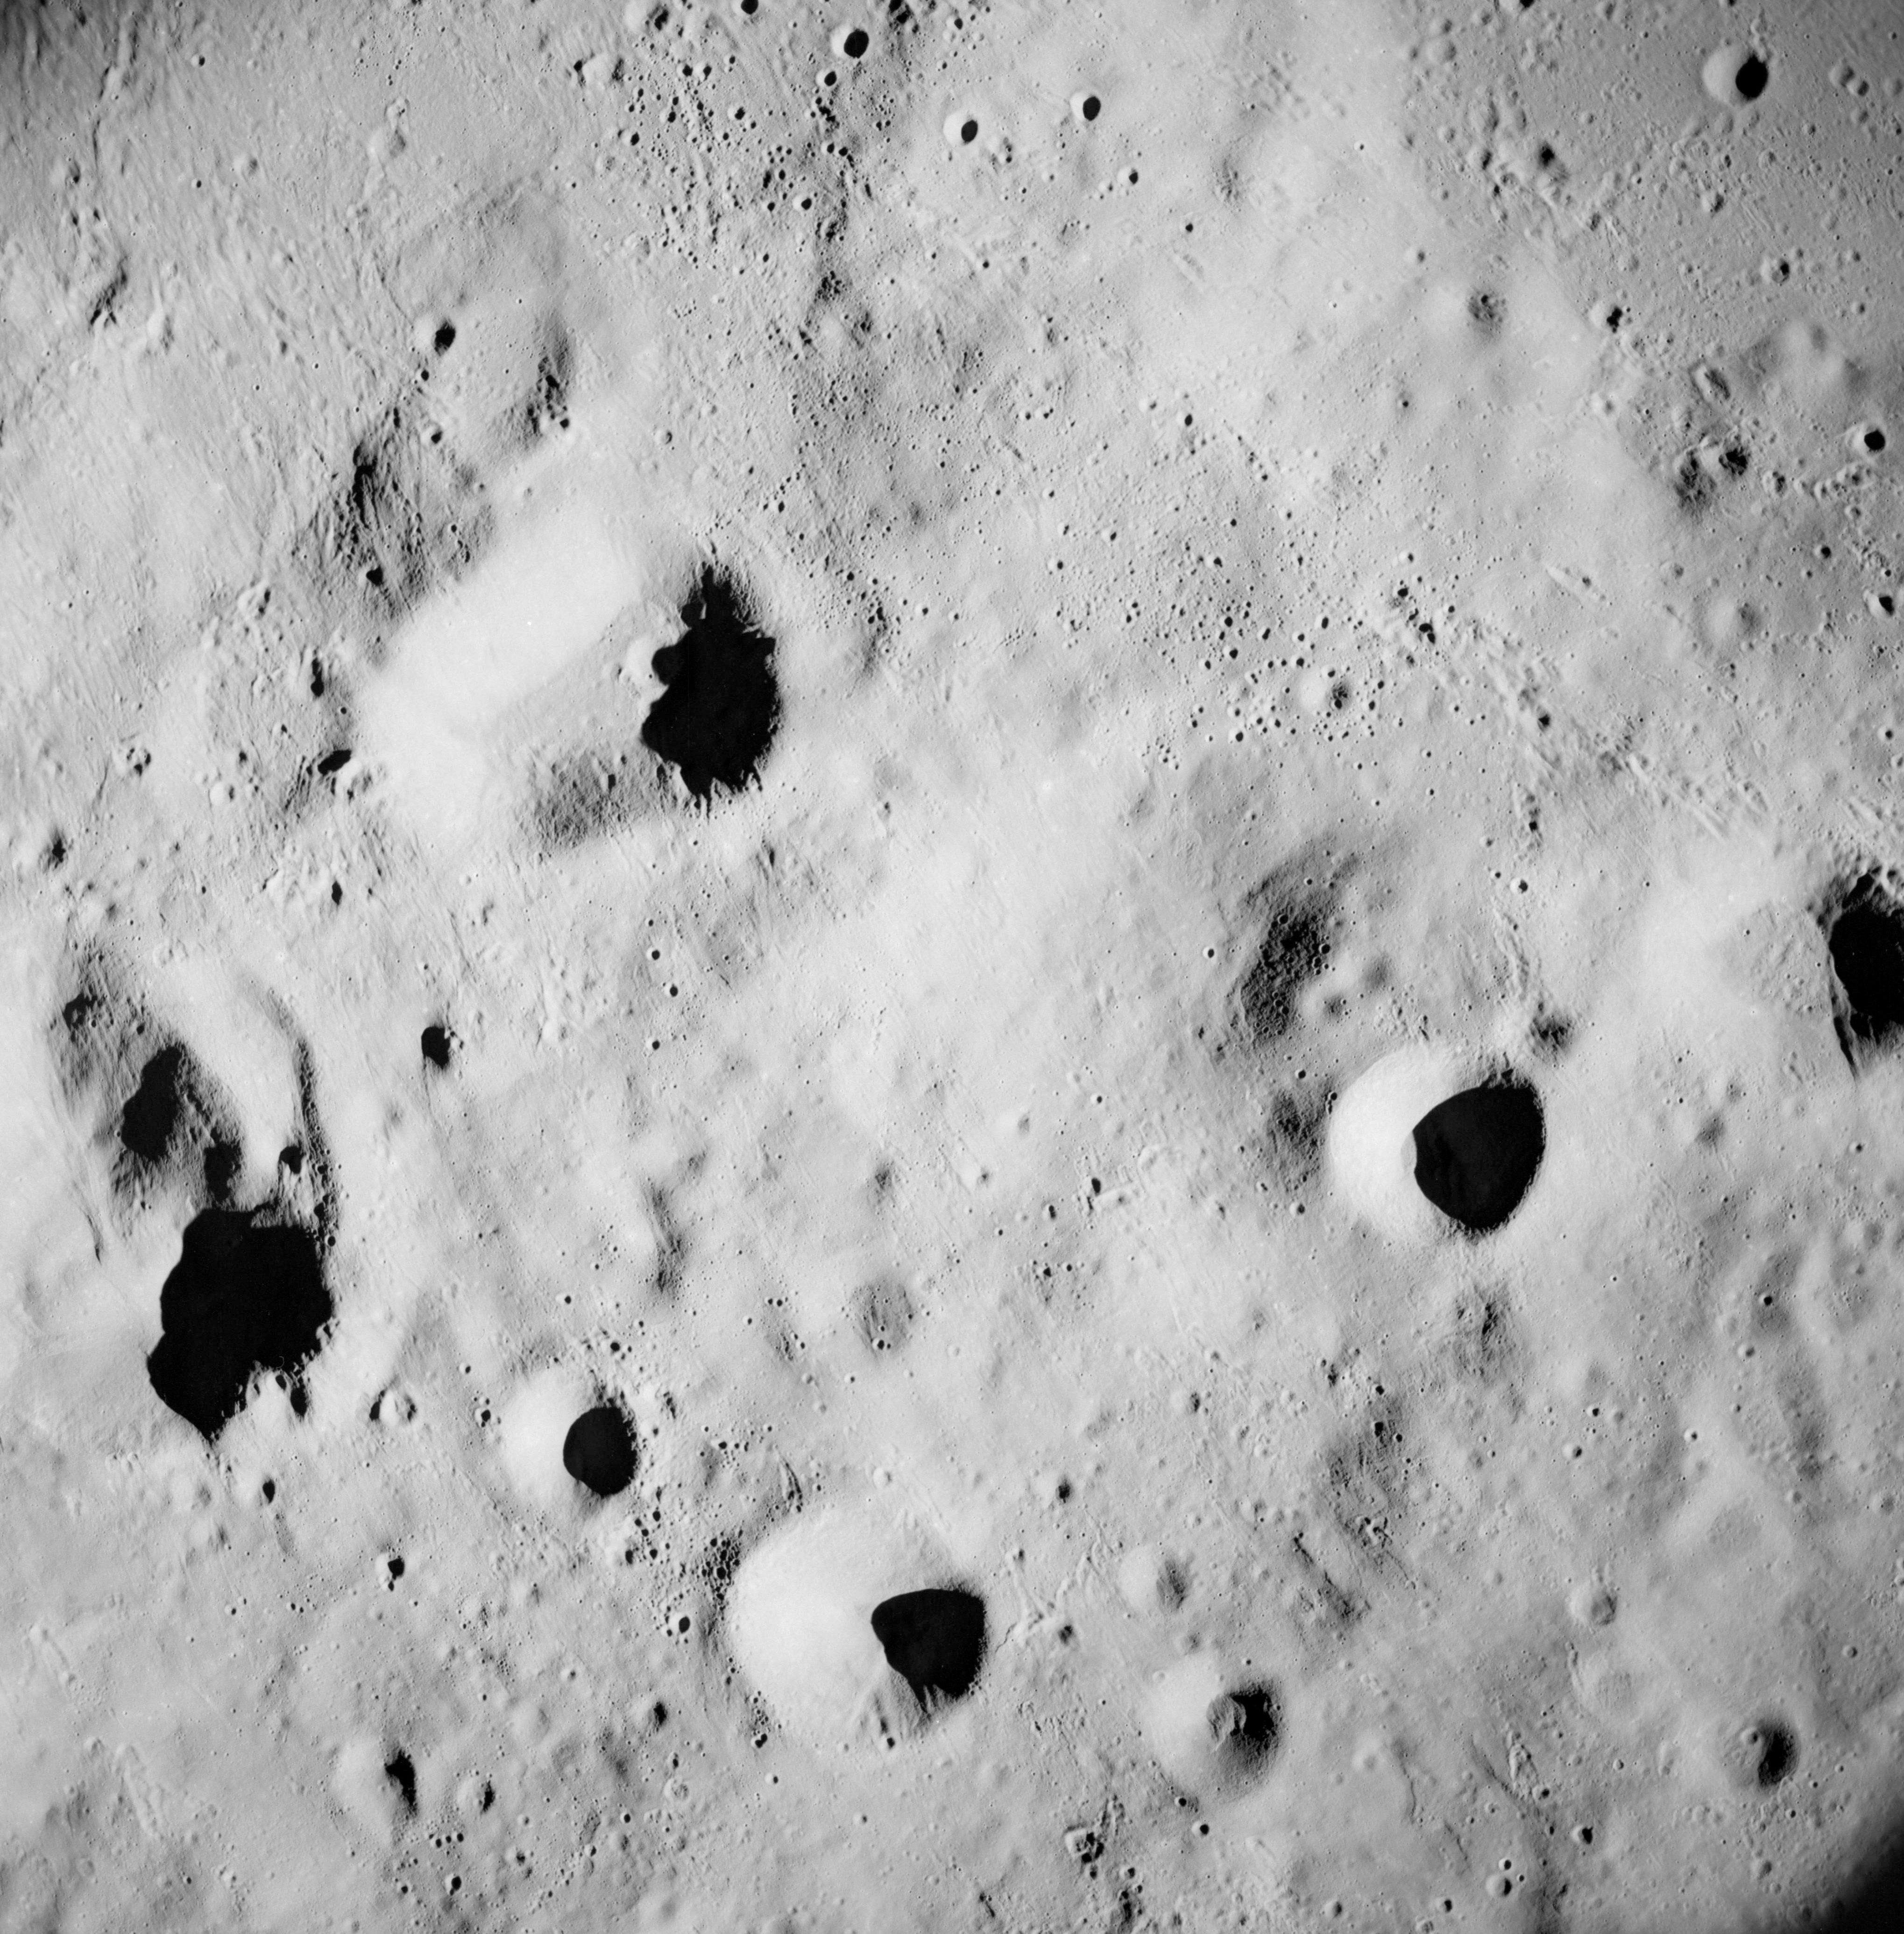 |
AS08-12-2064 West of Korolev Basin. Crookes X far left. Image credit: Image Science and Analysis Laboratory, NASA-Johnson Space Center. |
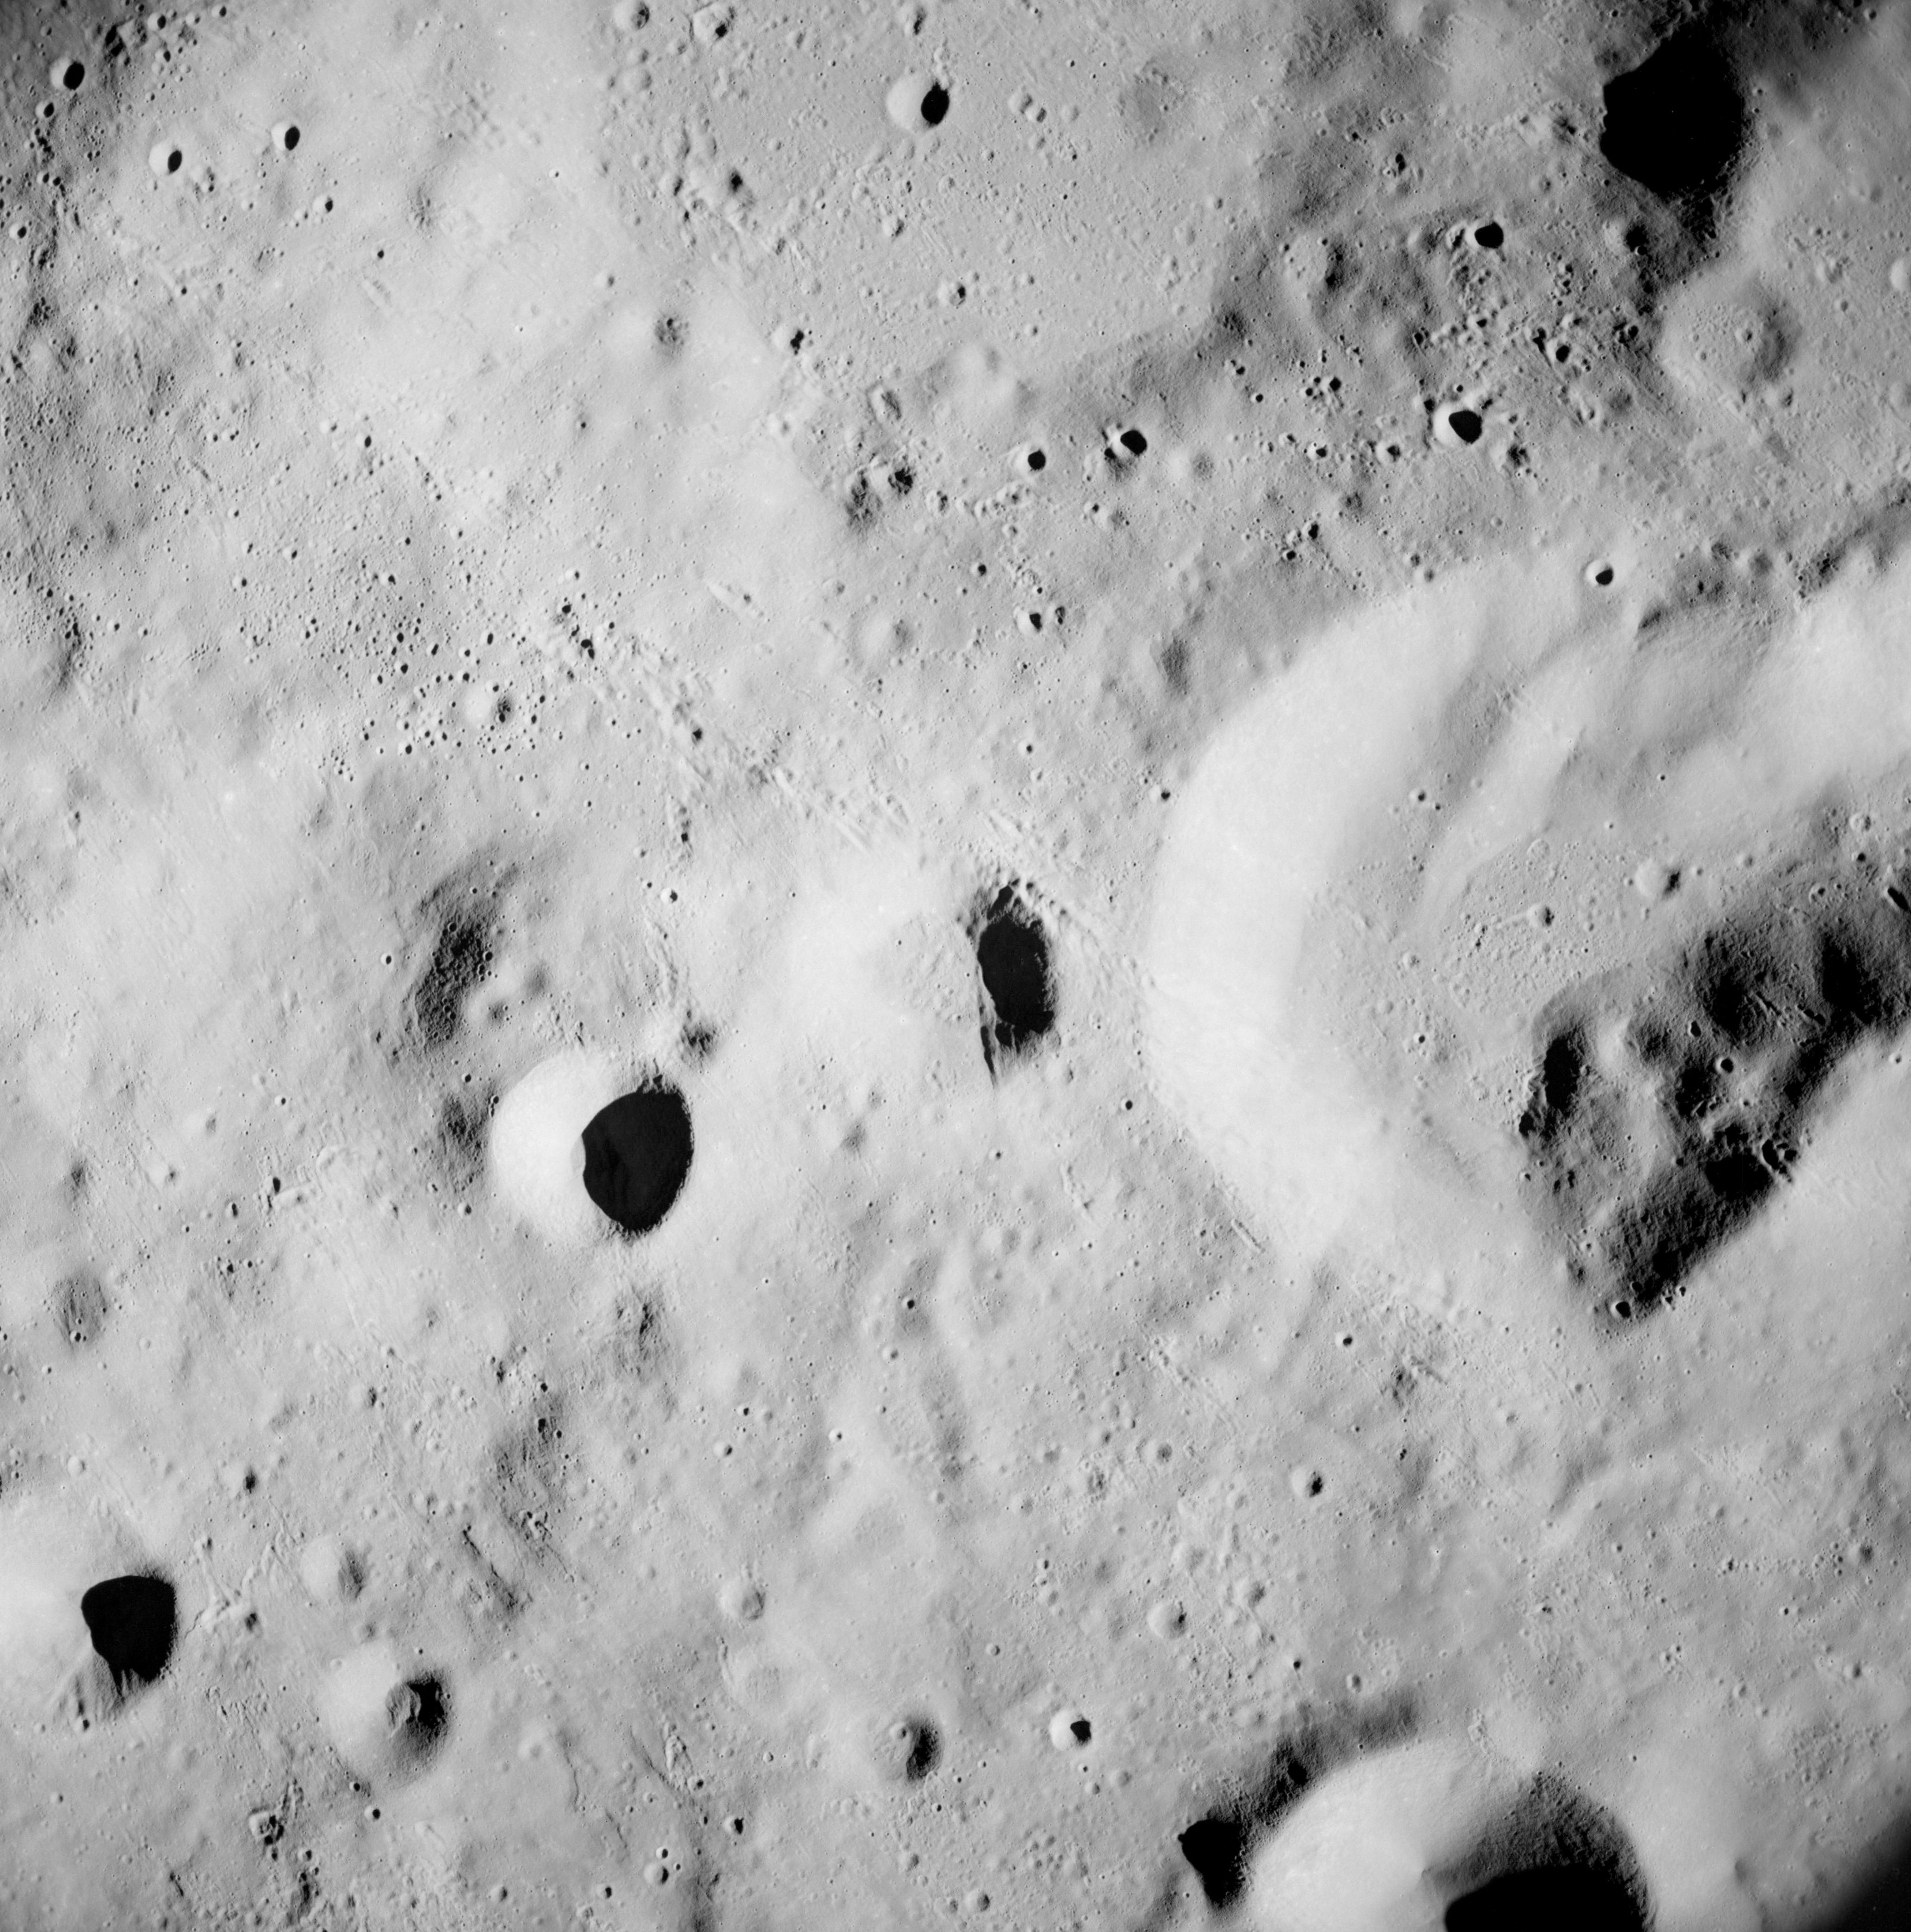 |
AS08-12-2065 Between Icarus and Amici. Image credit: Image Science and Analysis Laboratory, NASA-Johnson Space Center. |
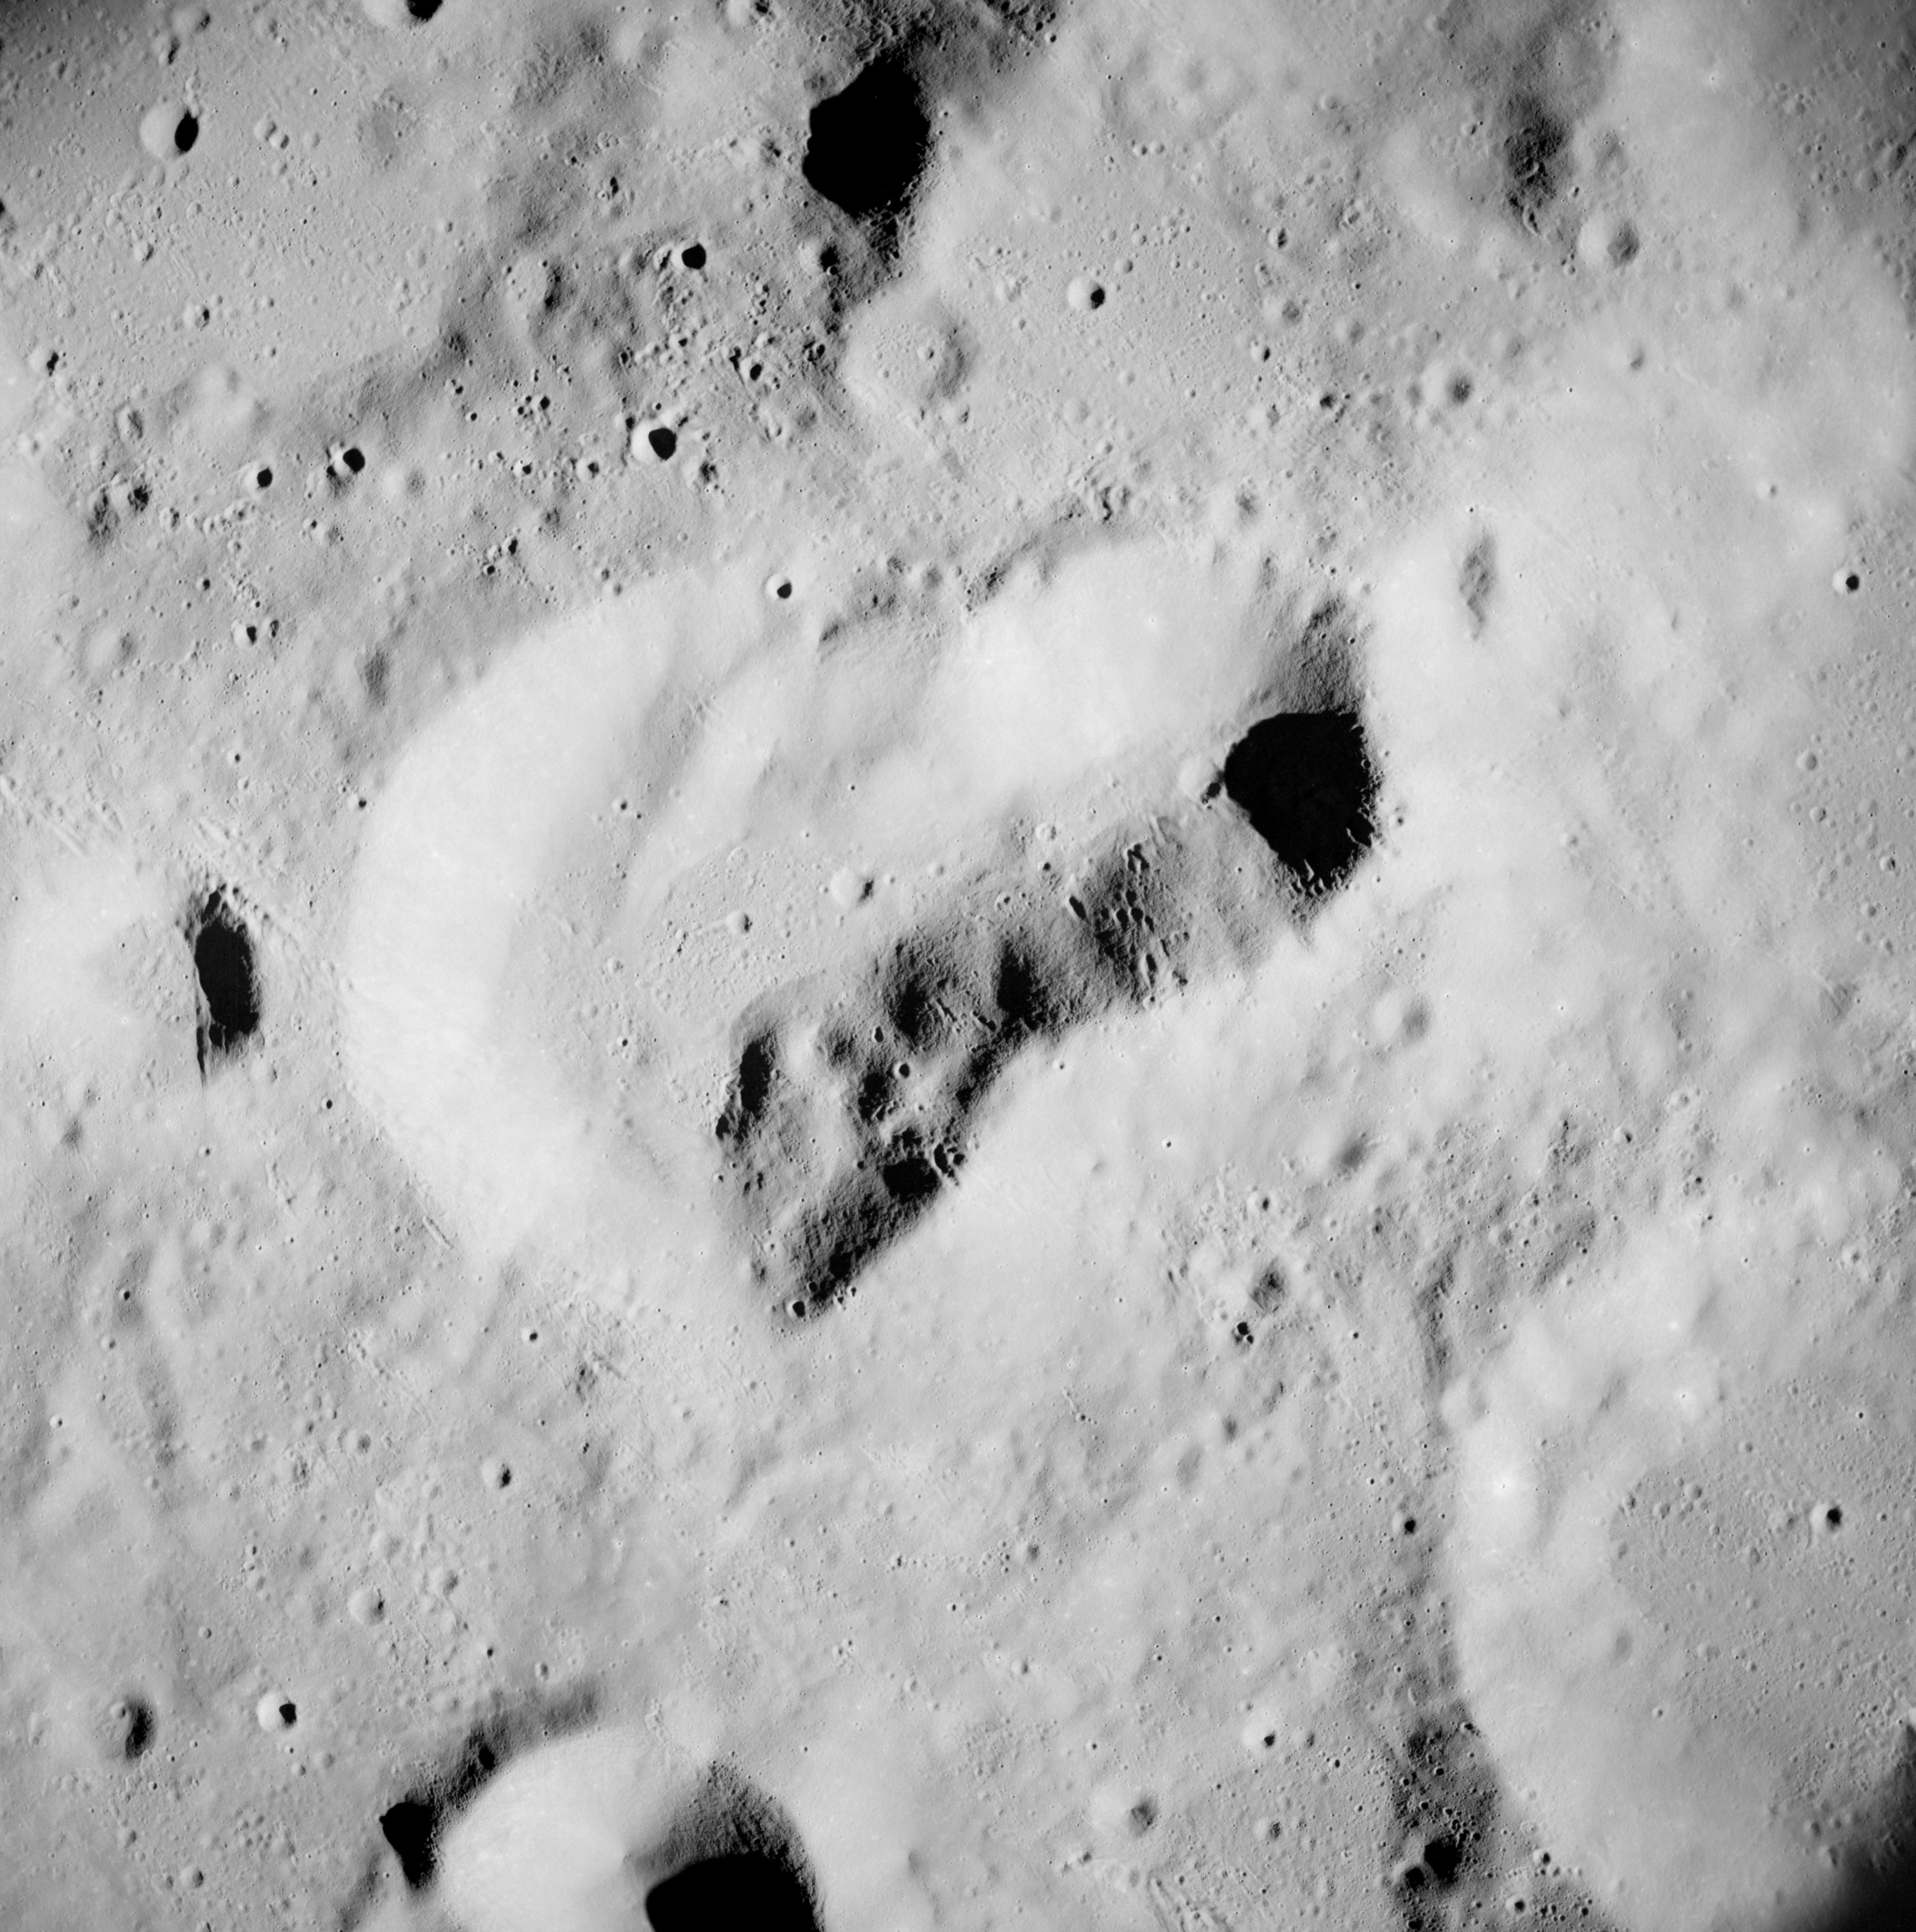 |
AS08-12-2066 Between Icarus and Amici. Image credit: Image Science and Analysis Laboratory, NASA-Johnson Space Center. |
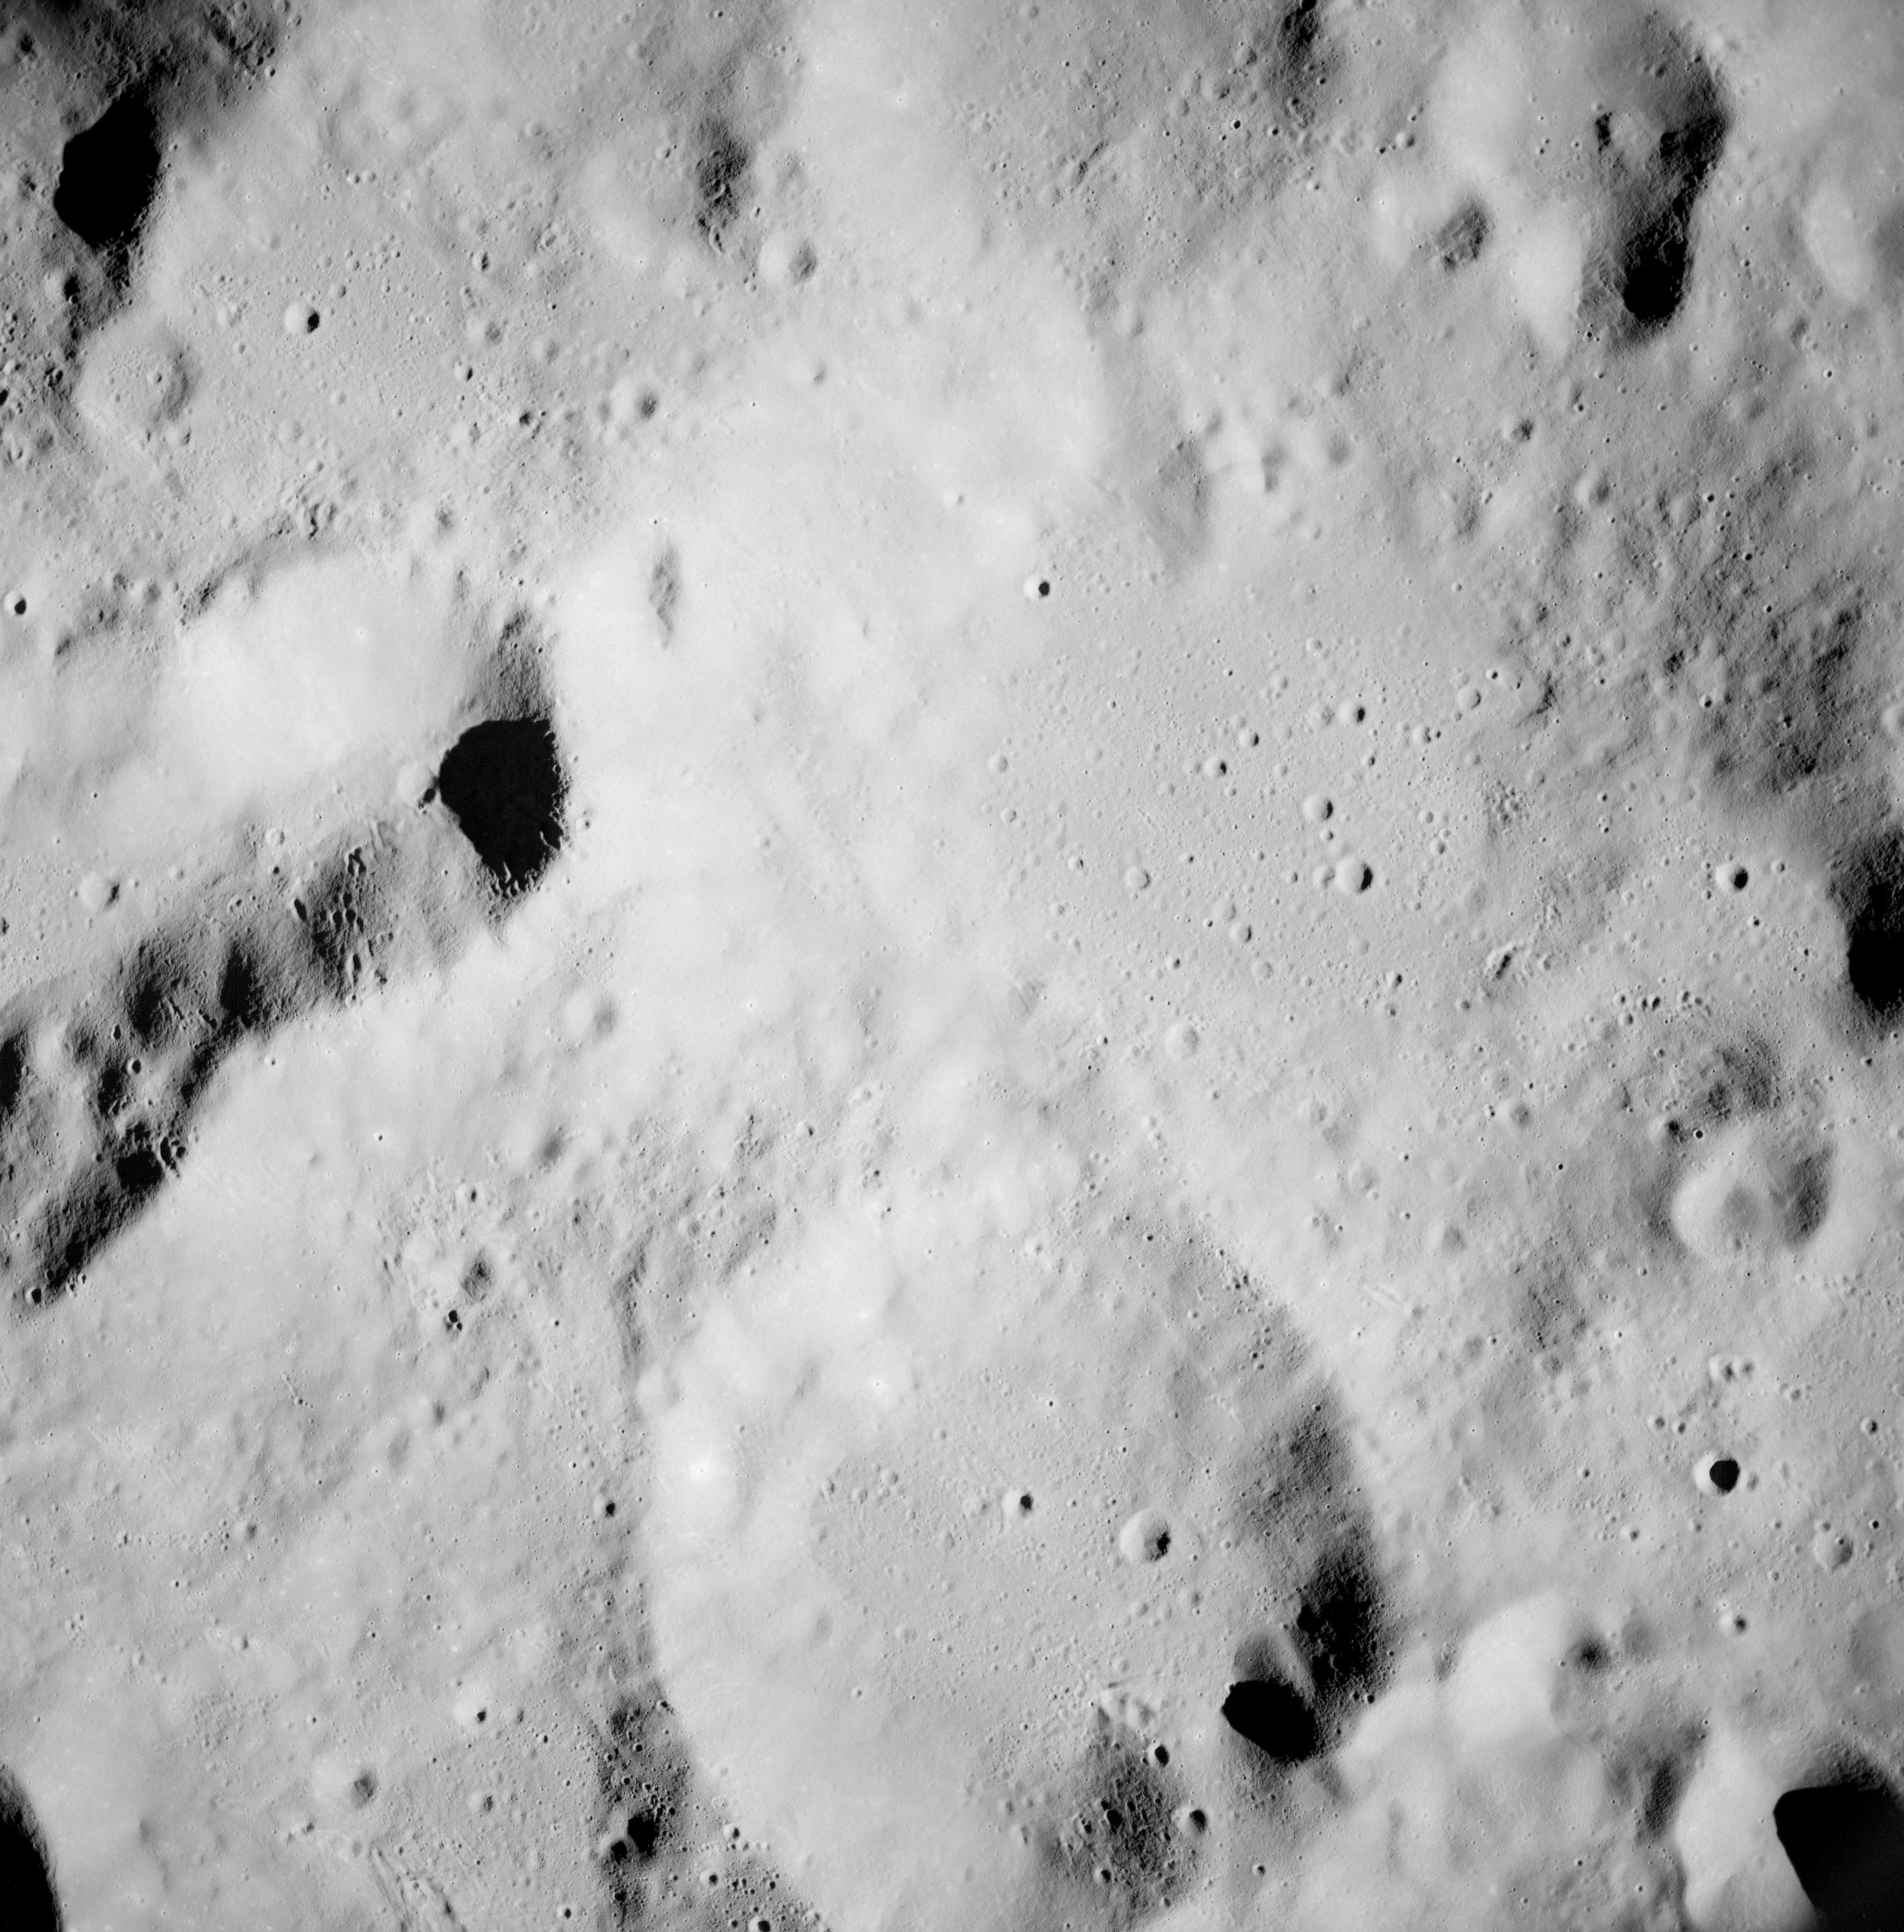 |
AS08-12-2067 Between Icarus and Amici. Image credit: Image Science and Analysis Laboratory, NASA-Johnson Space Center. |
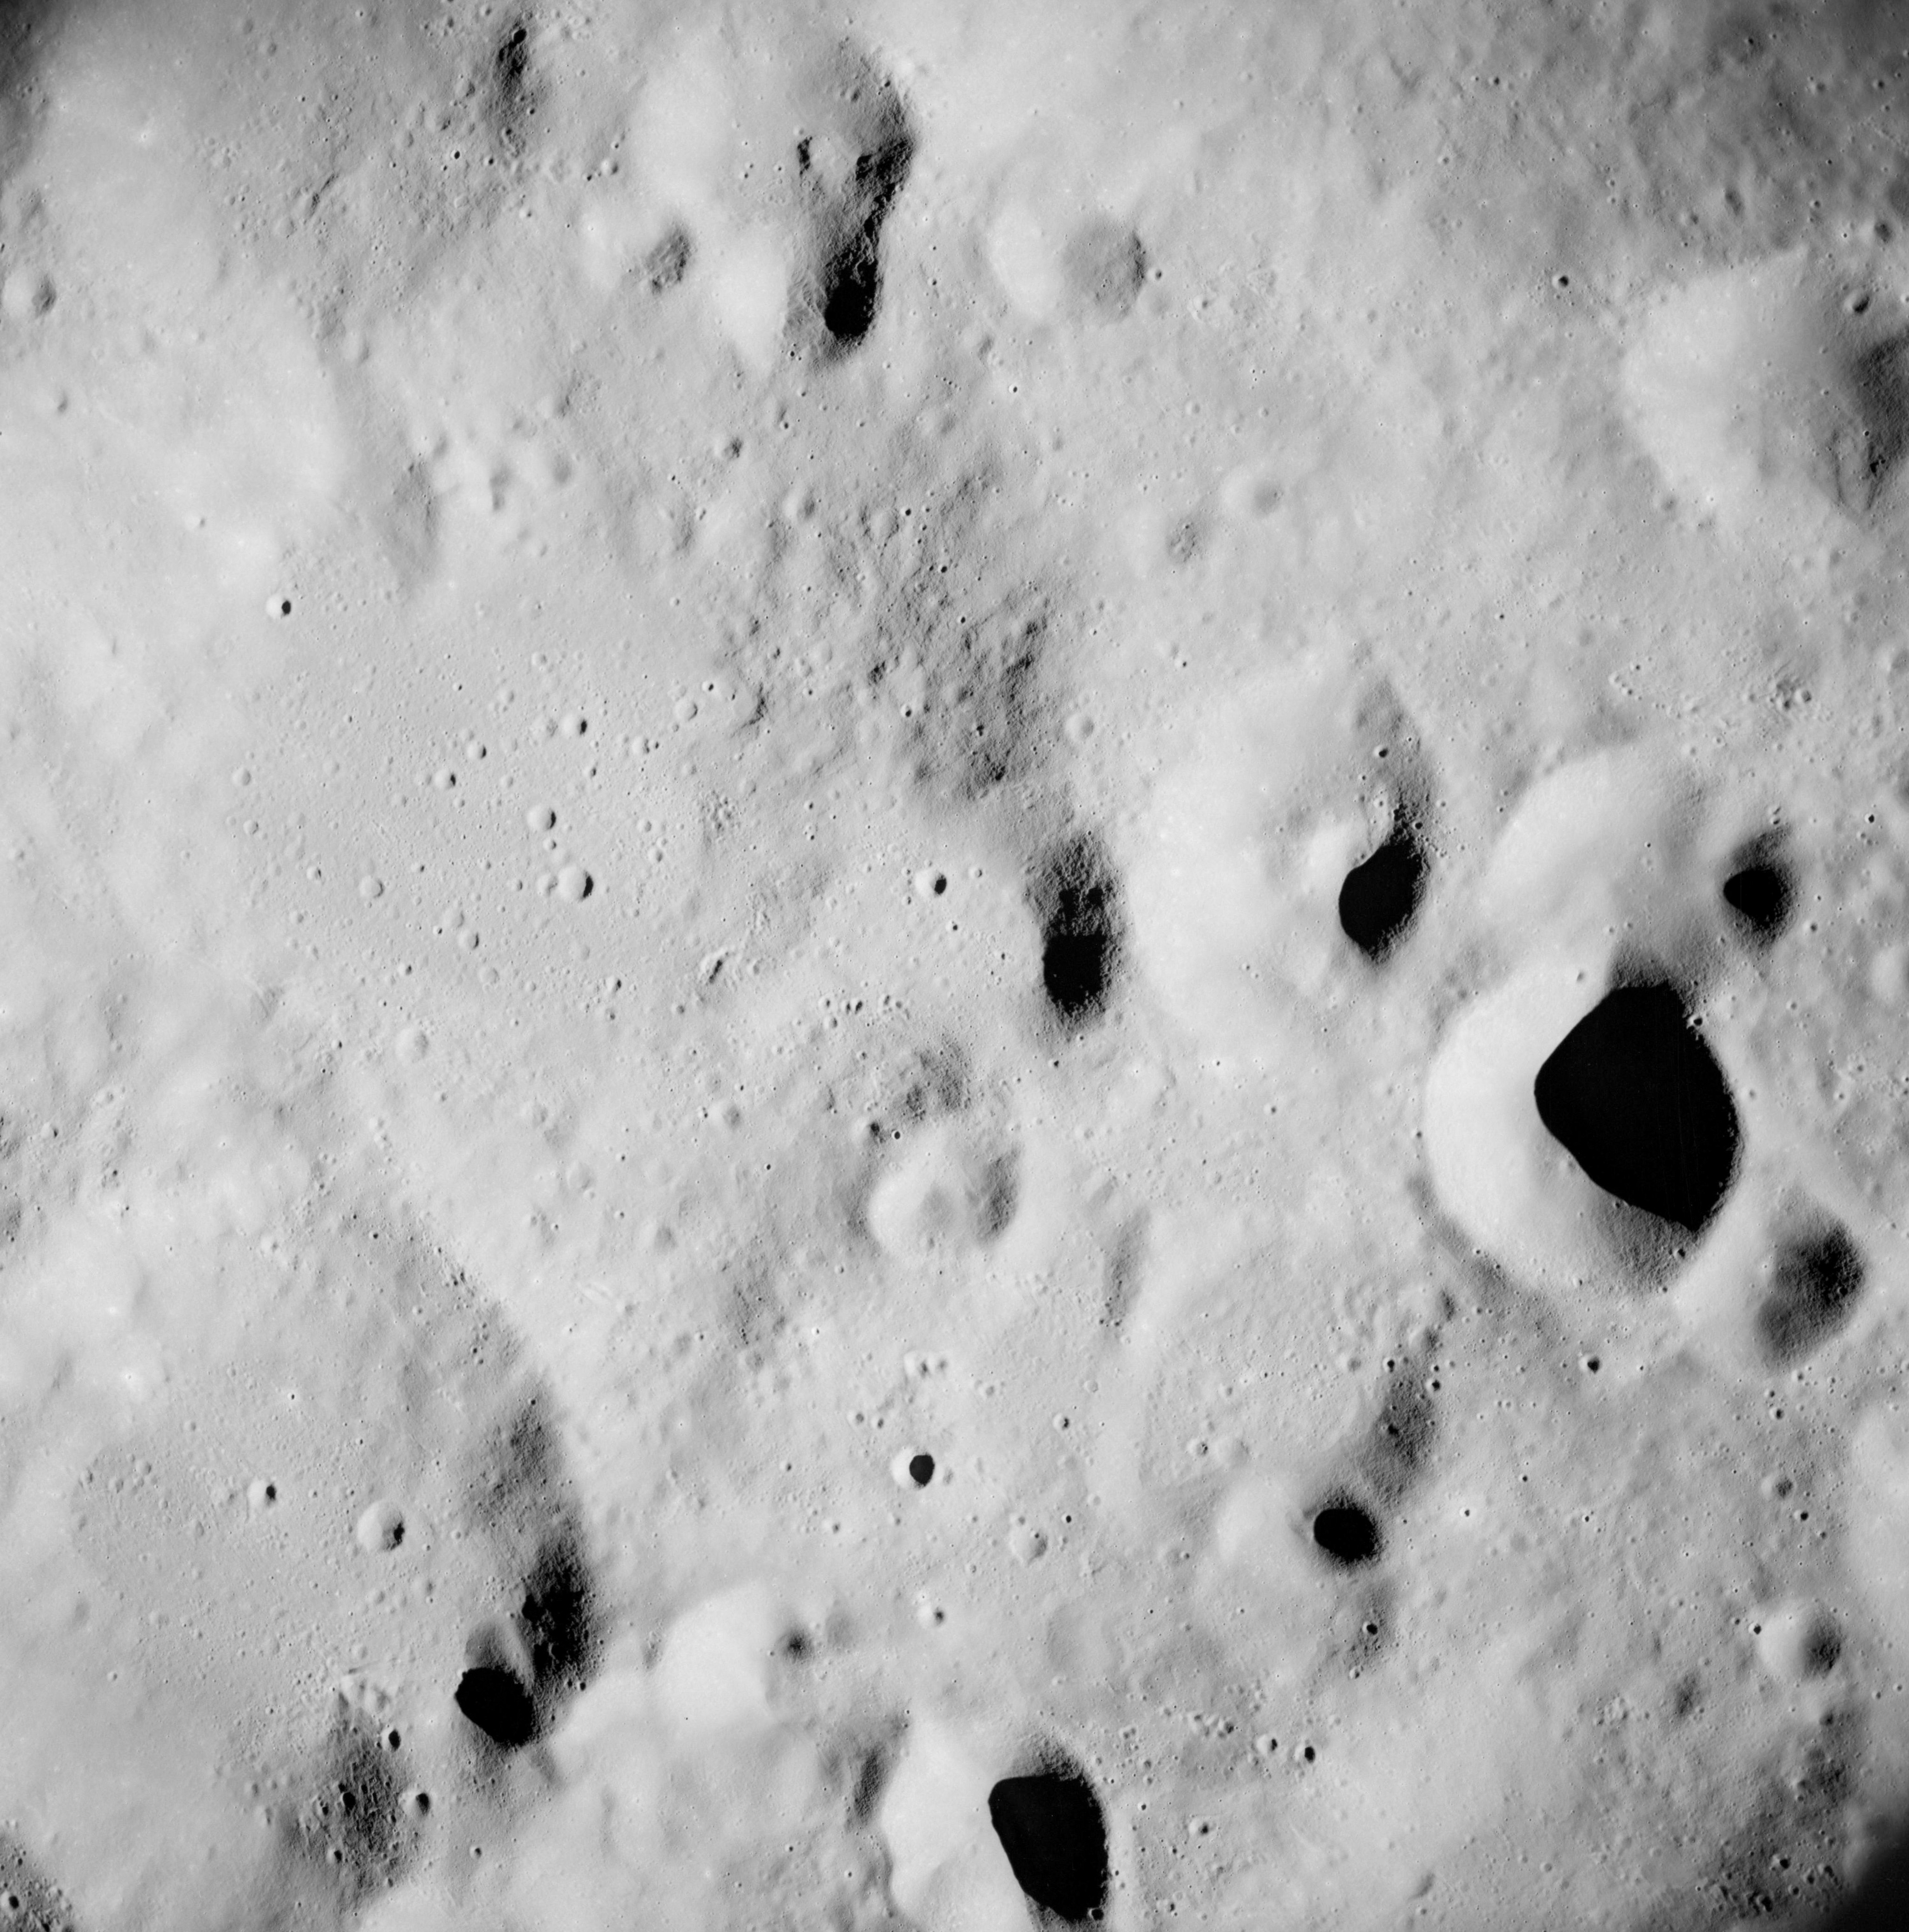 |
AS08-12-2068 Between Icarus and Amici. Image credit: Image Science and Analysis Laboratory, NASA-Johnson Space Center. |
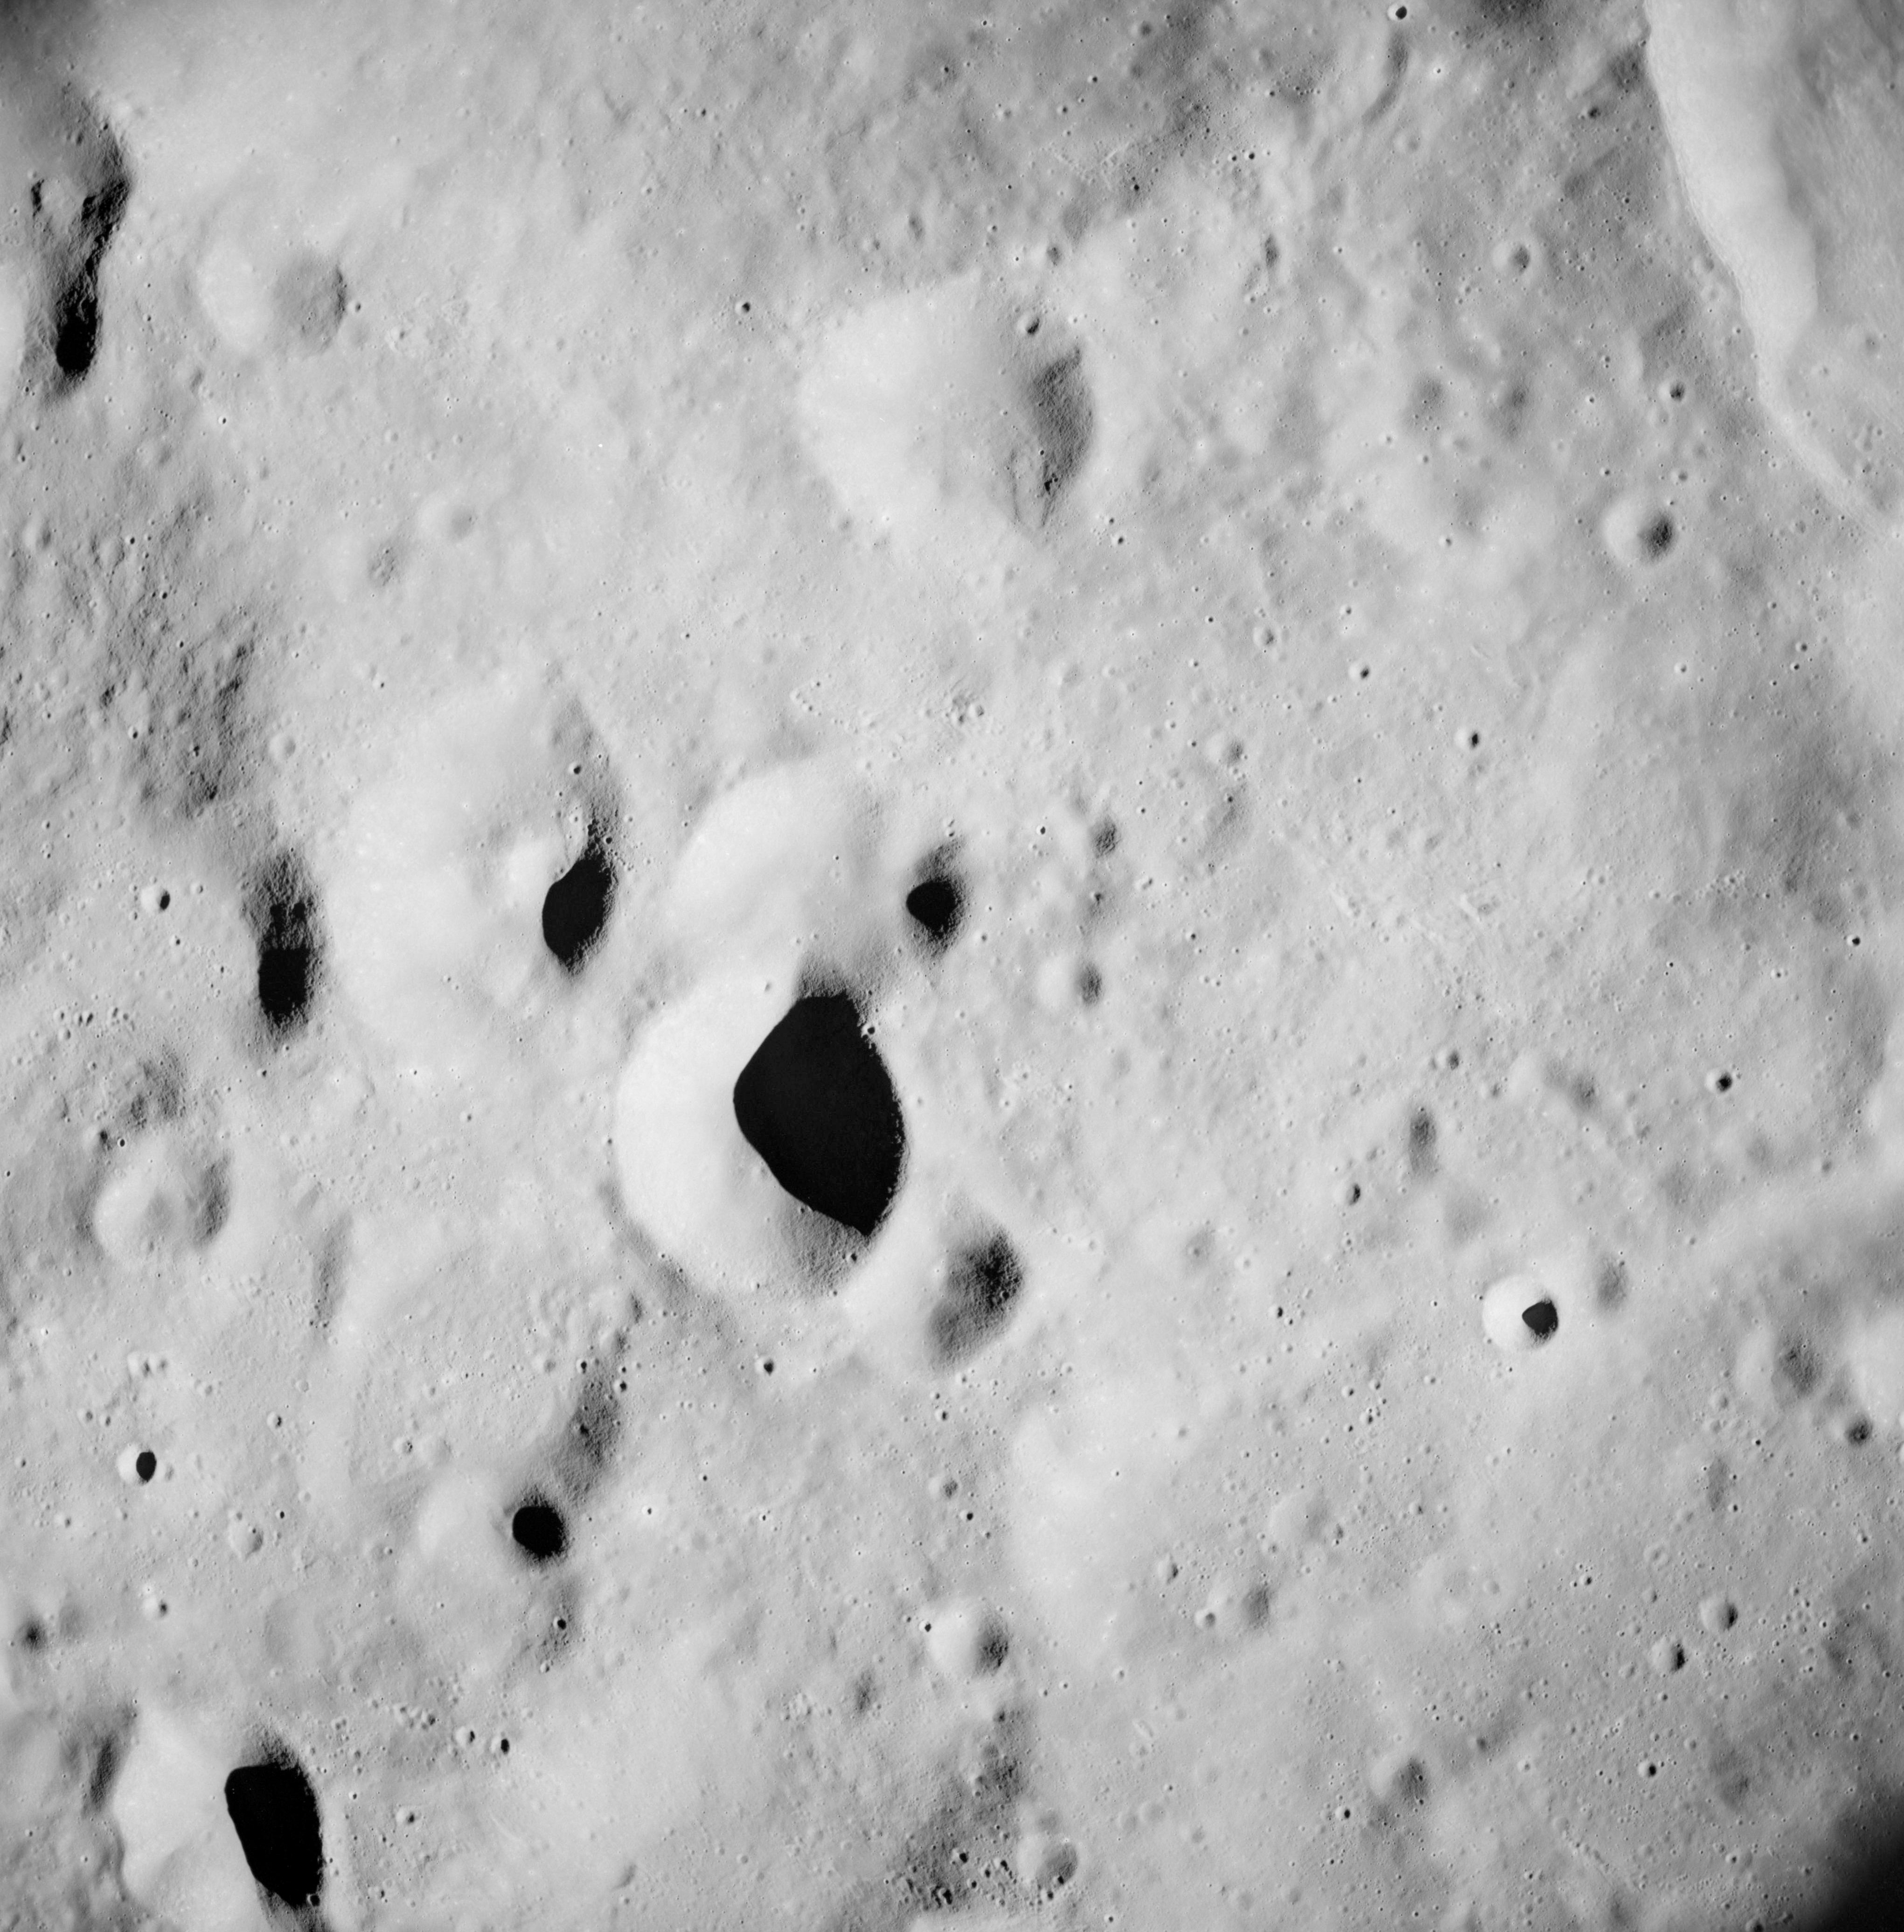 |
AS08-12-2069 Between Icarus and Amici. Image credit: Image Science and Analysis Laboratory, NASA-Johnson Space Center. |
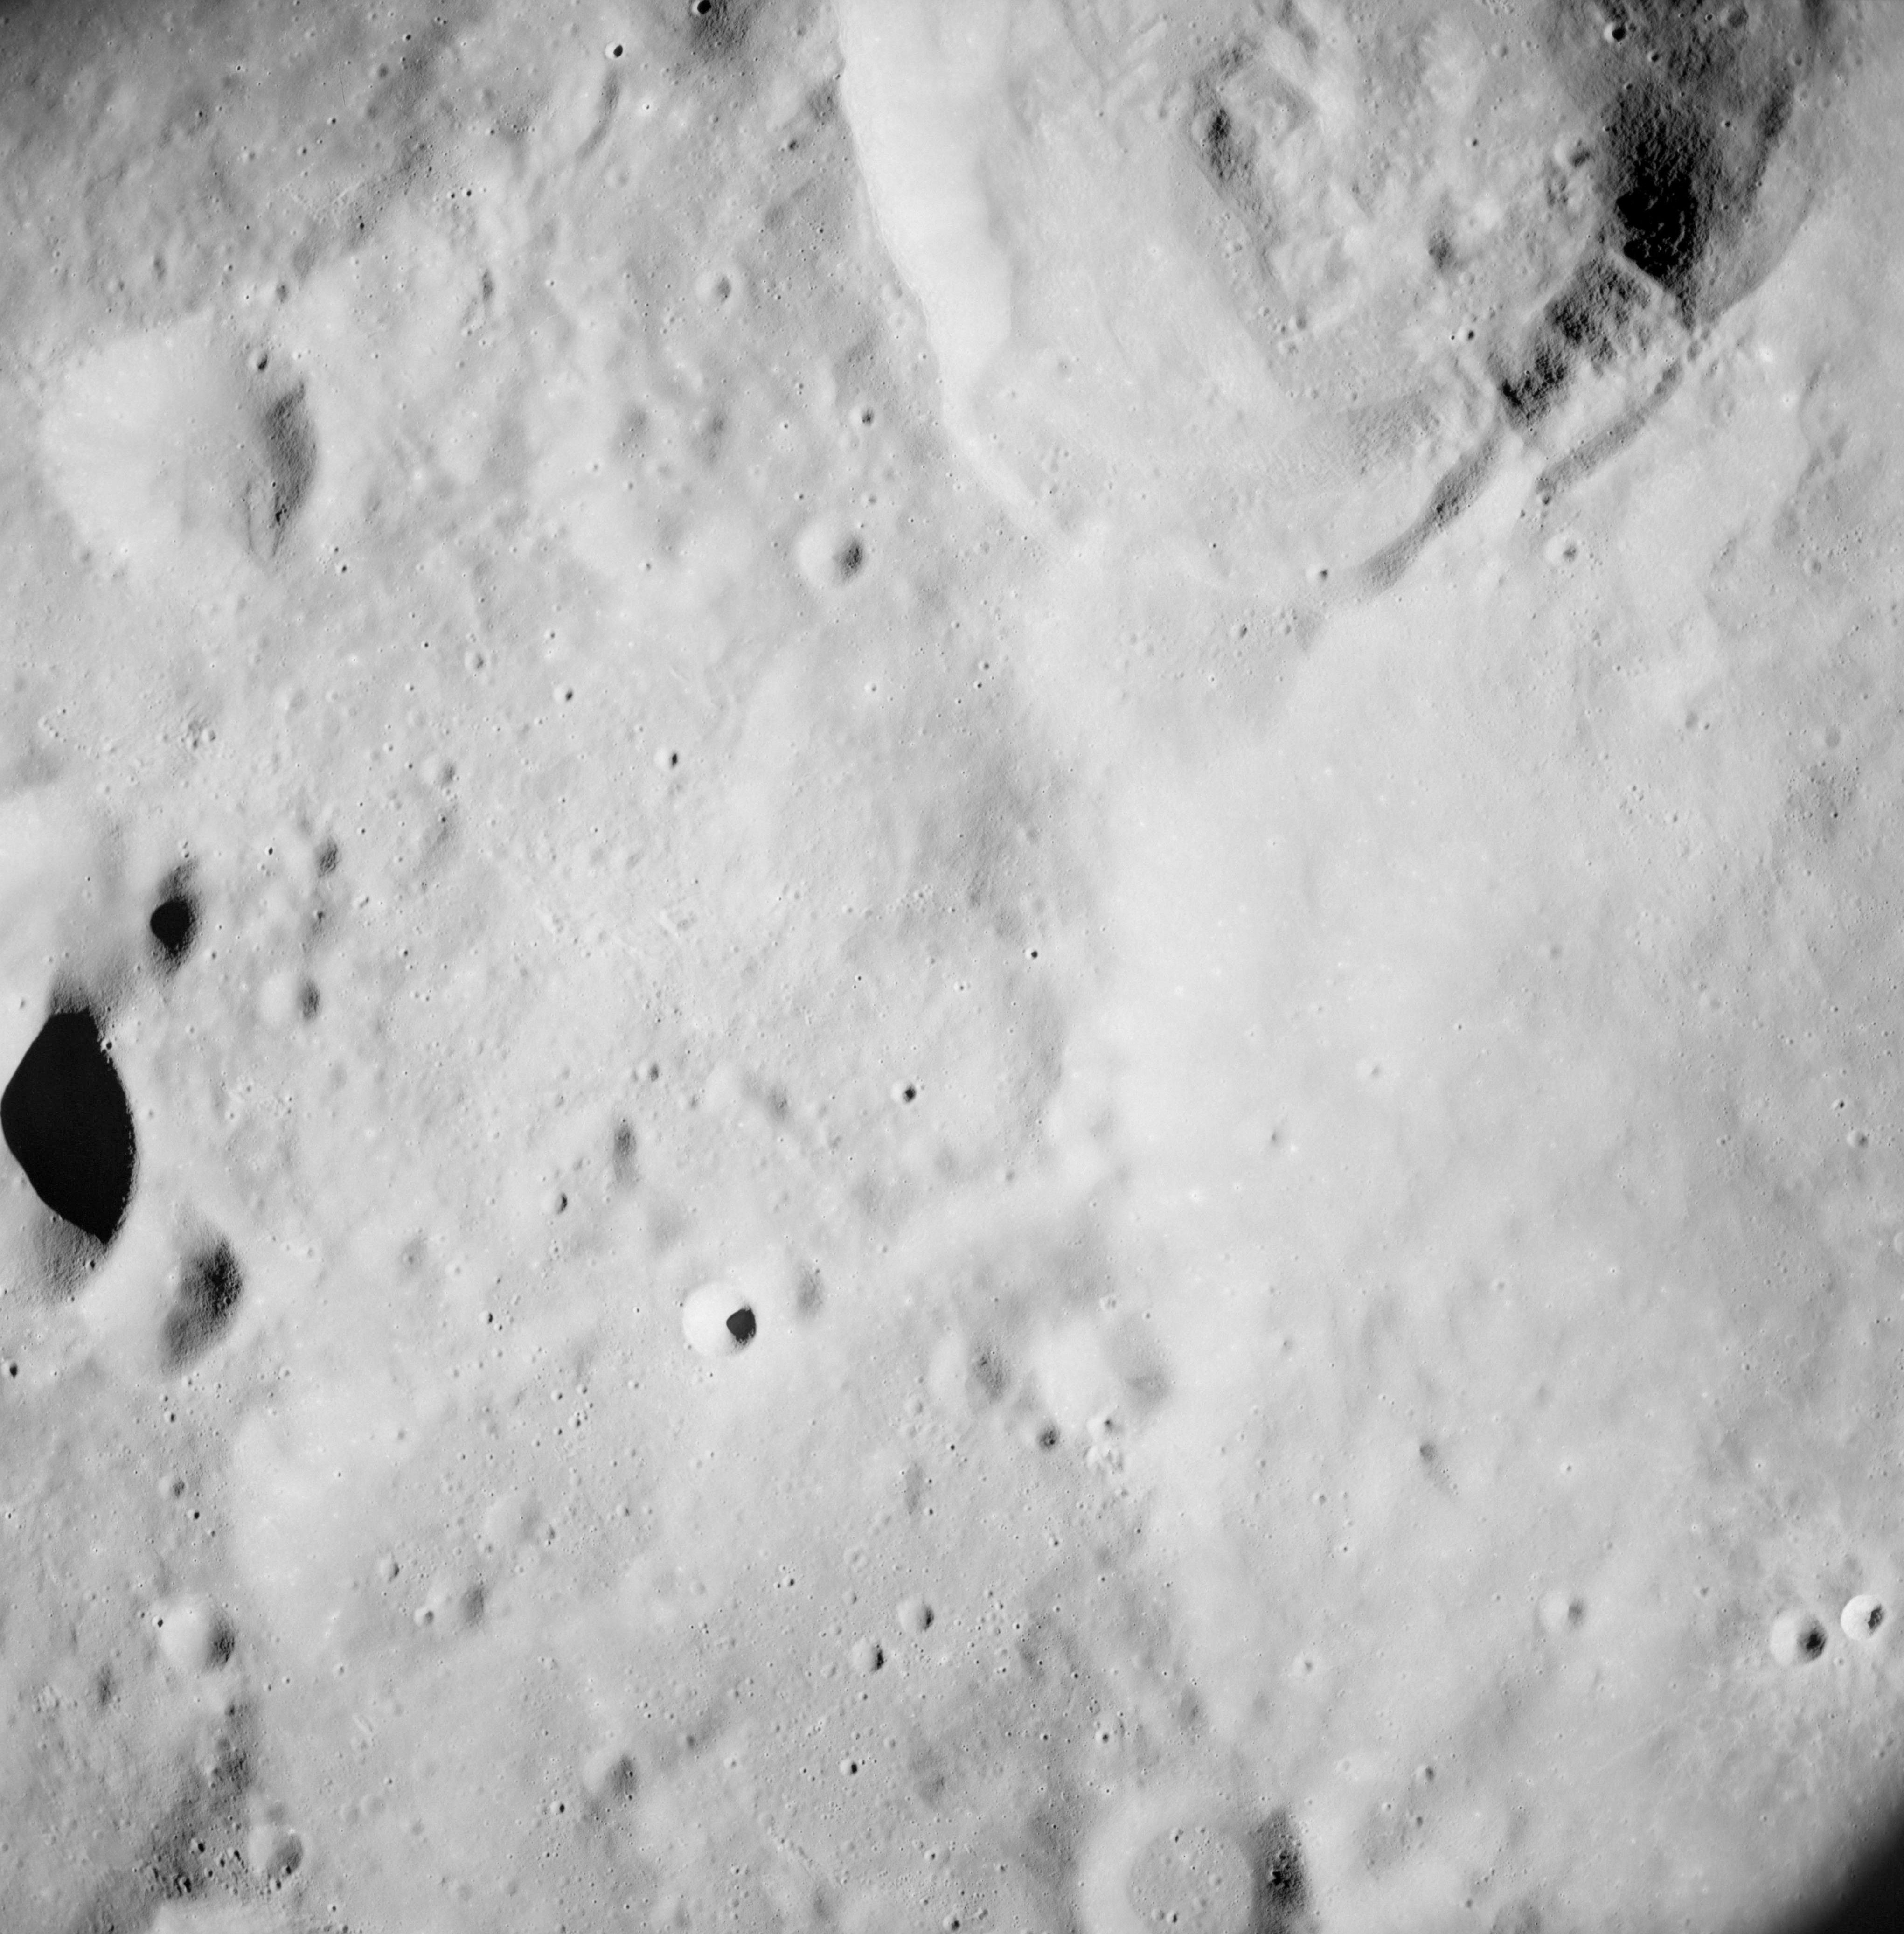 |
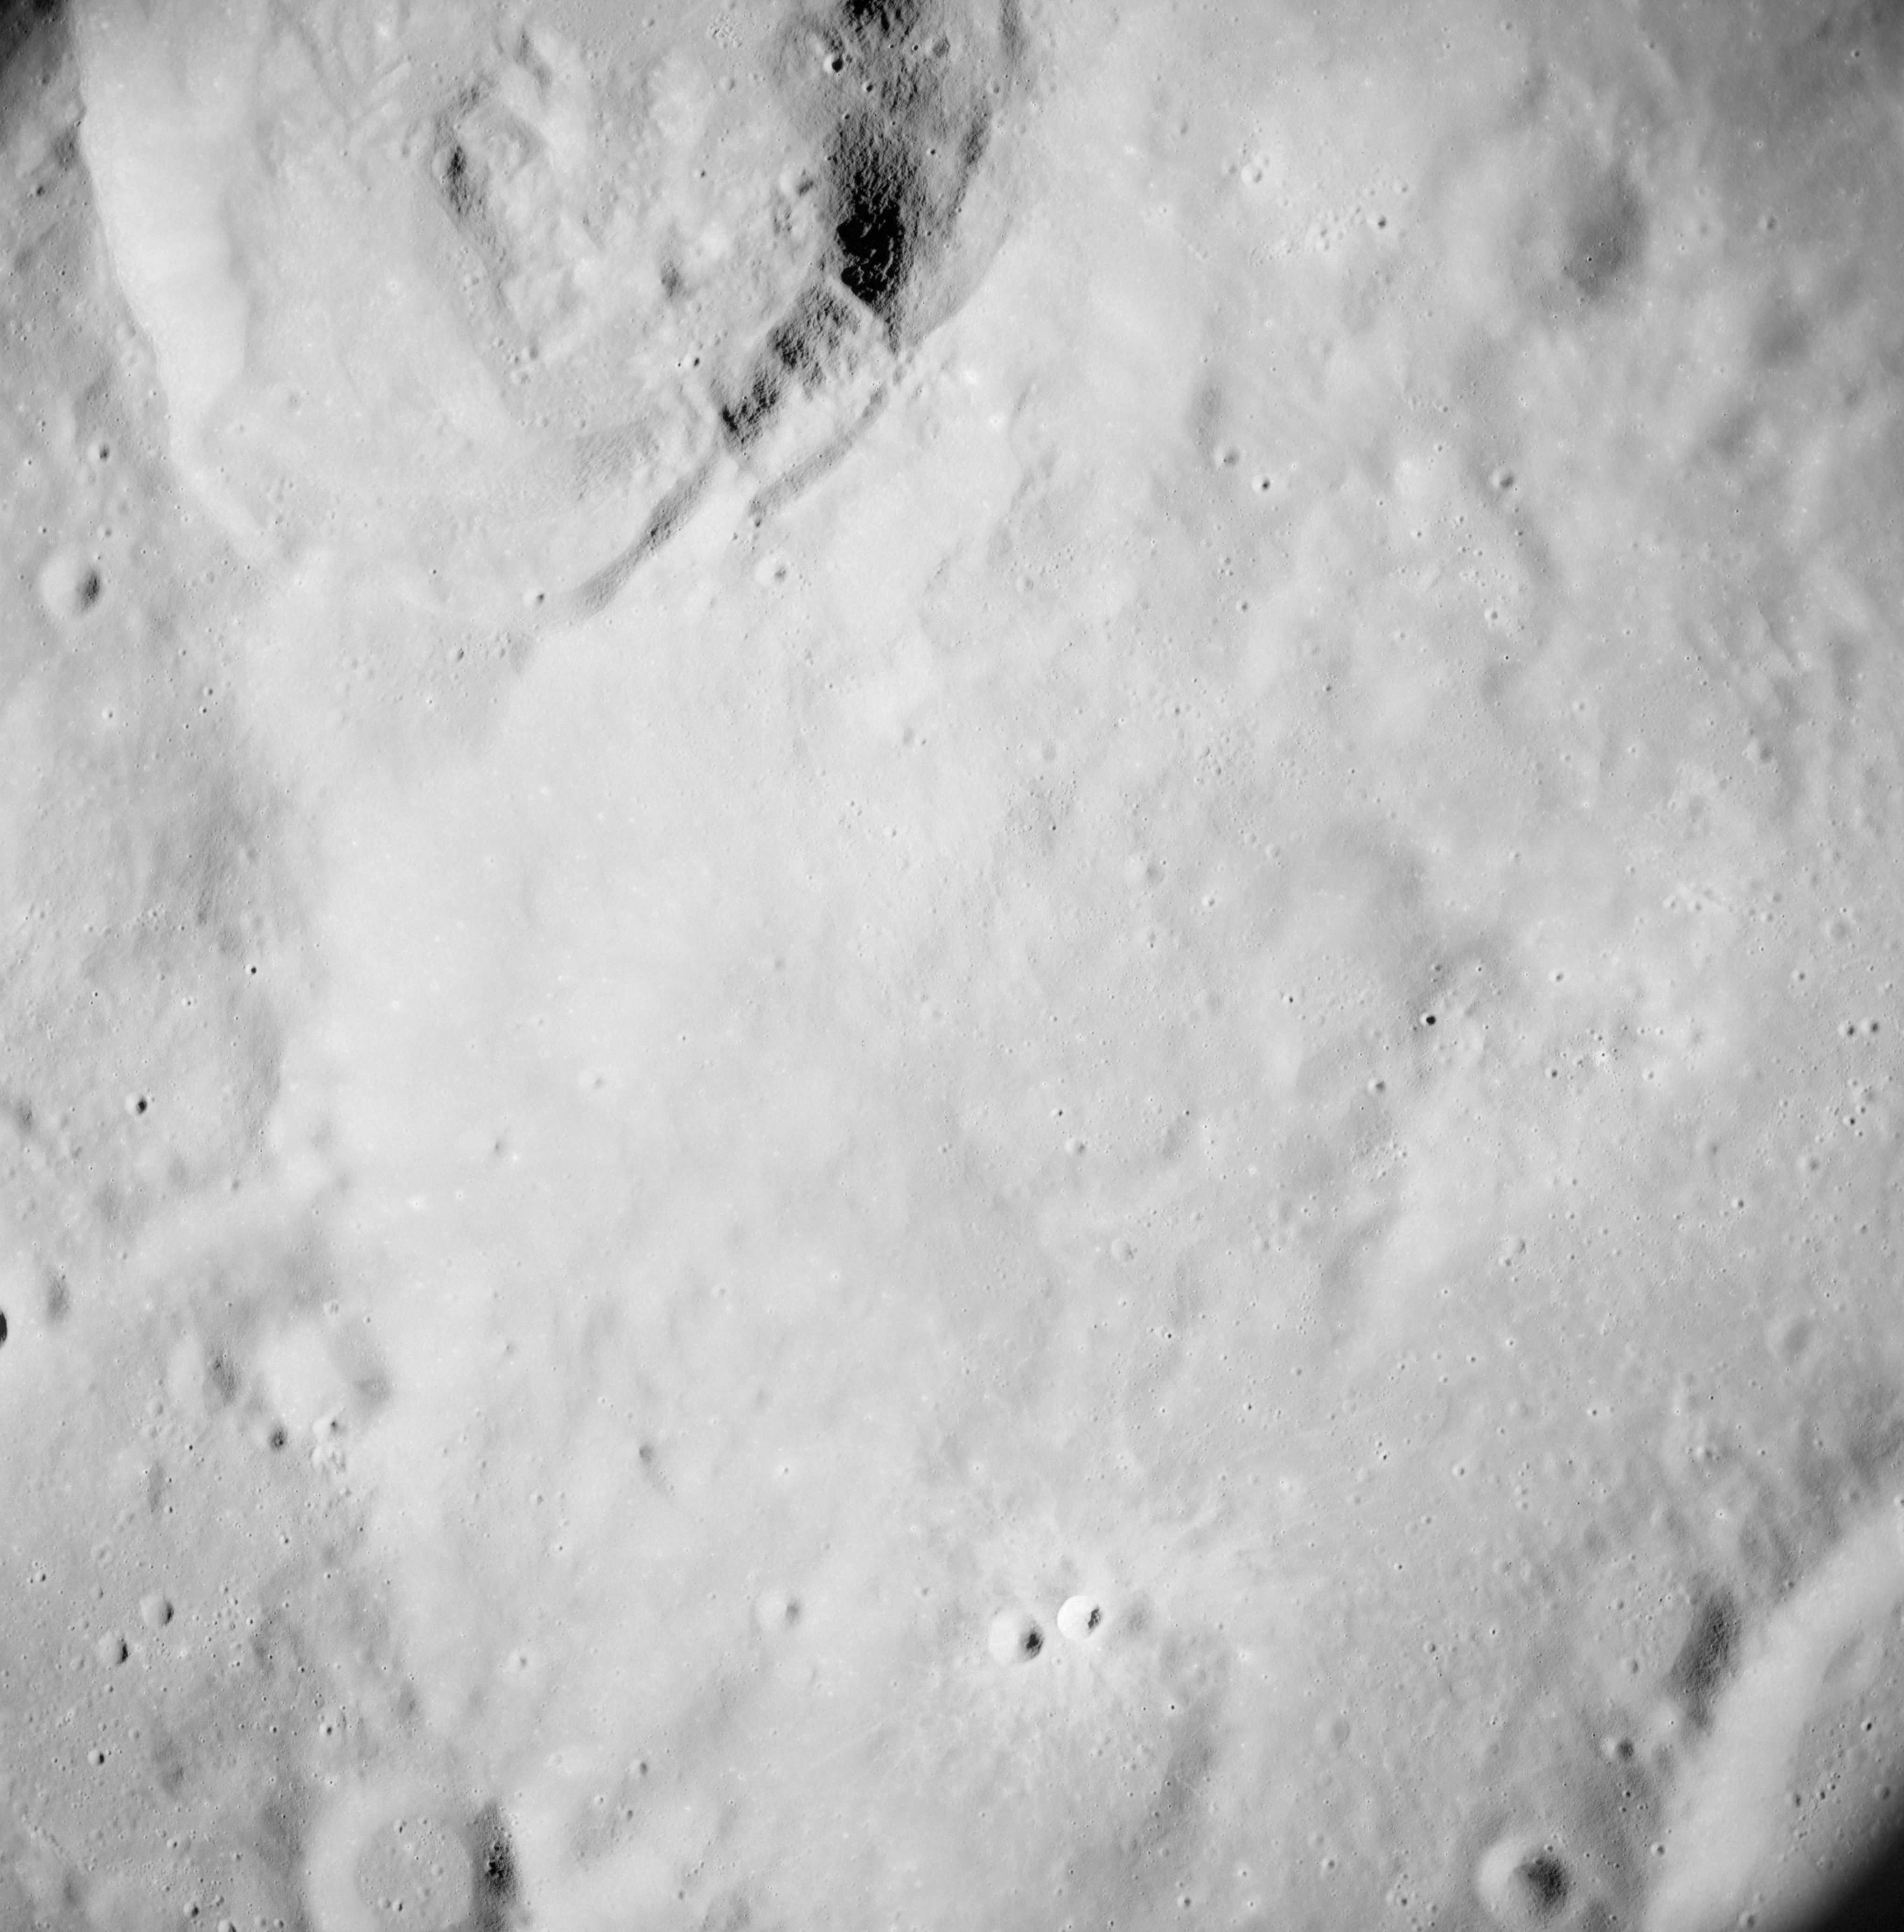
AS08-12-2070 Amici T at top right. Image credit: Image Science and Analysis Laboratory, NASA-Johnson Space Center. |
 |
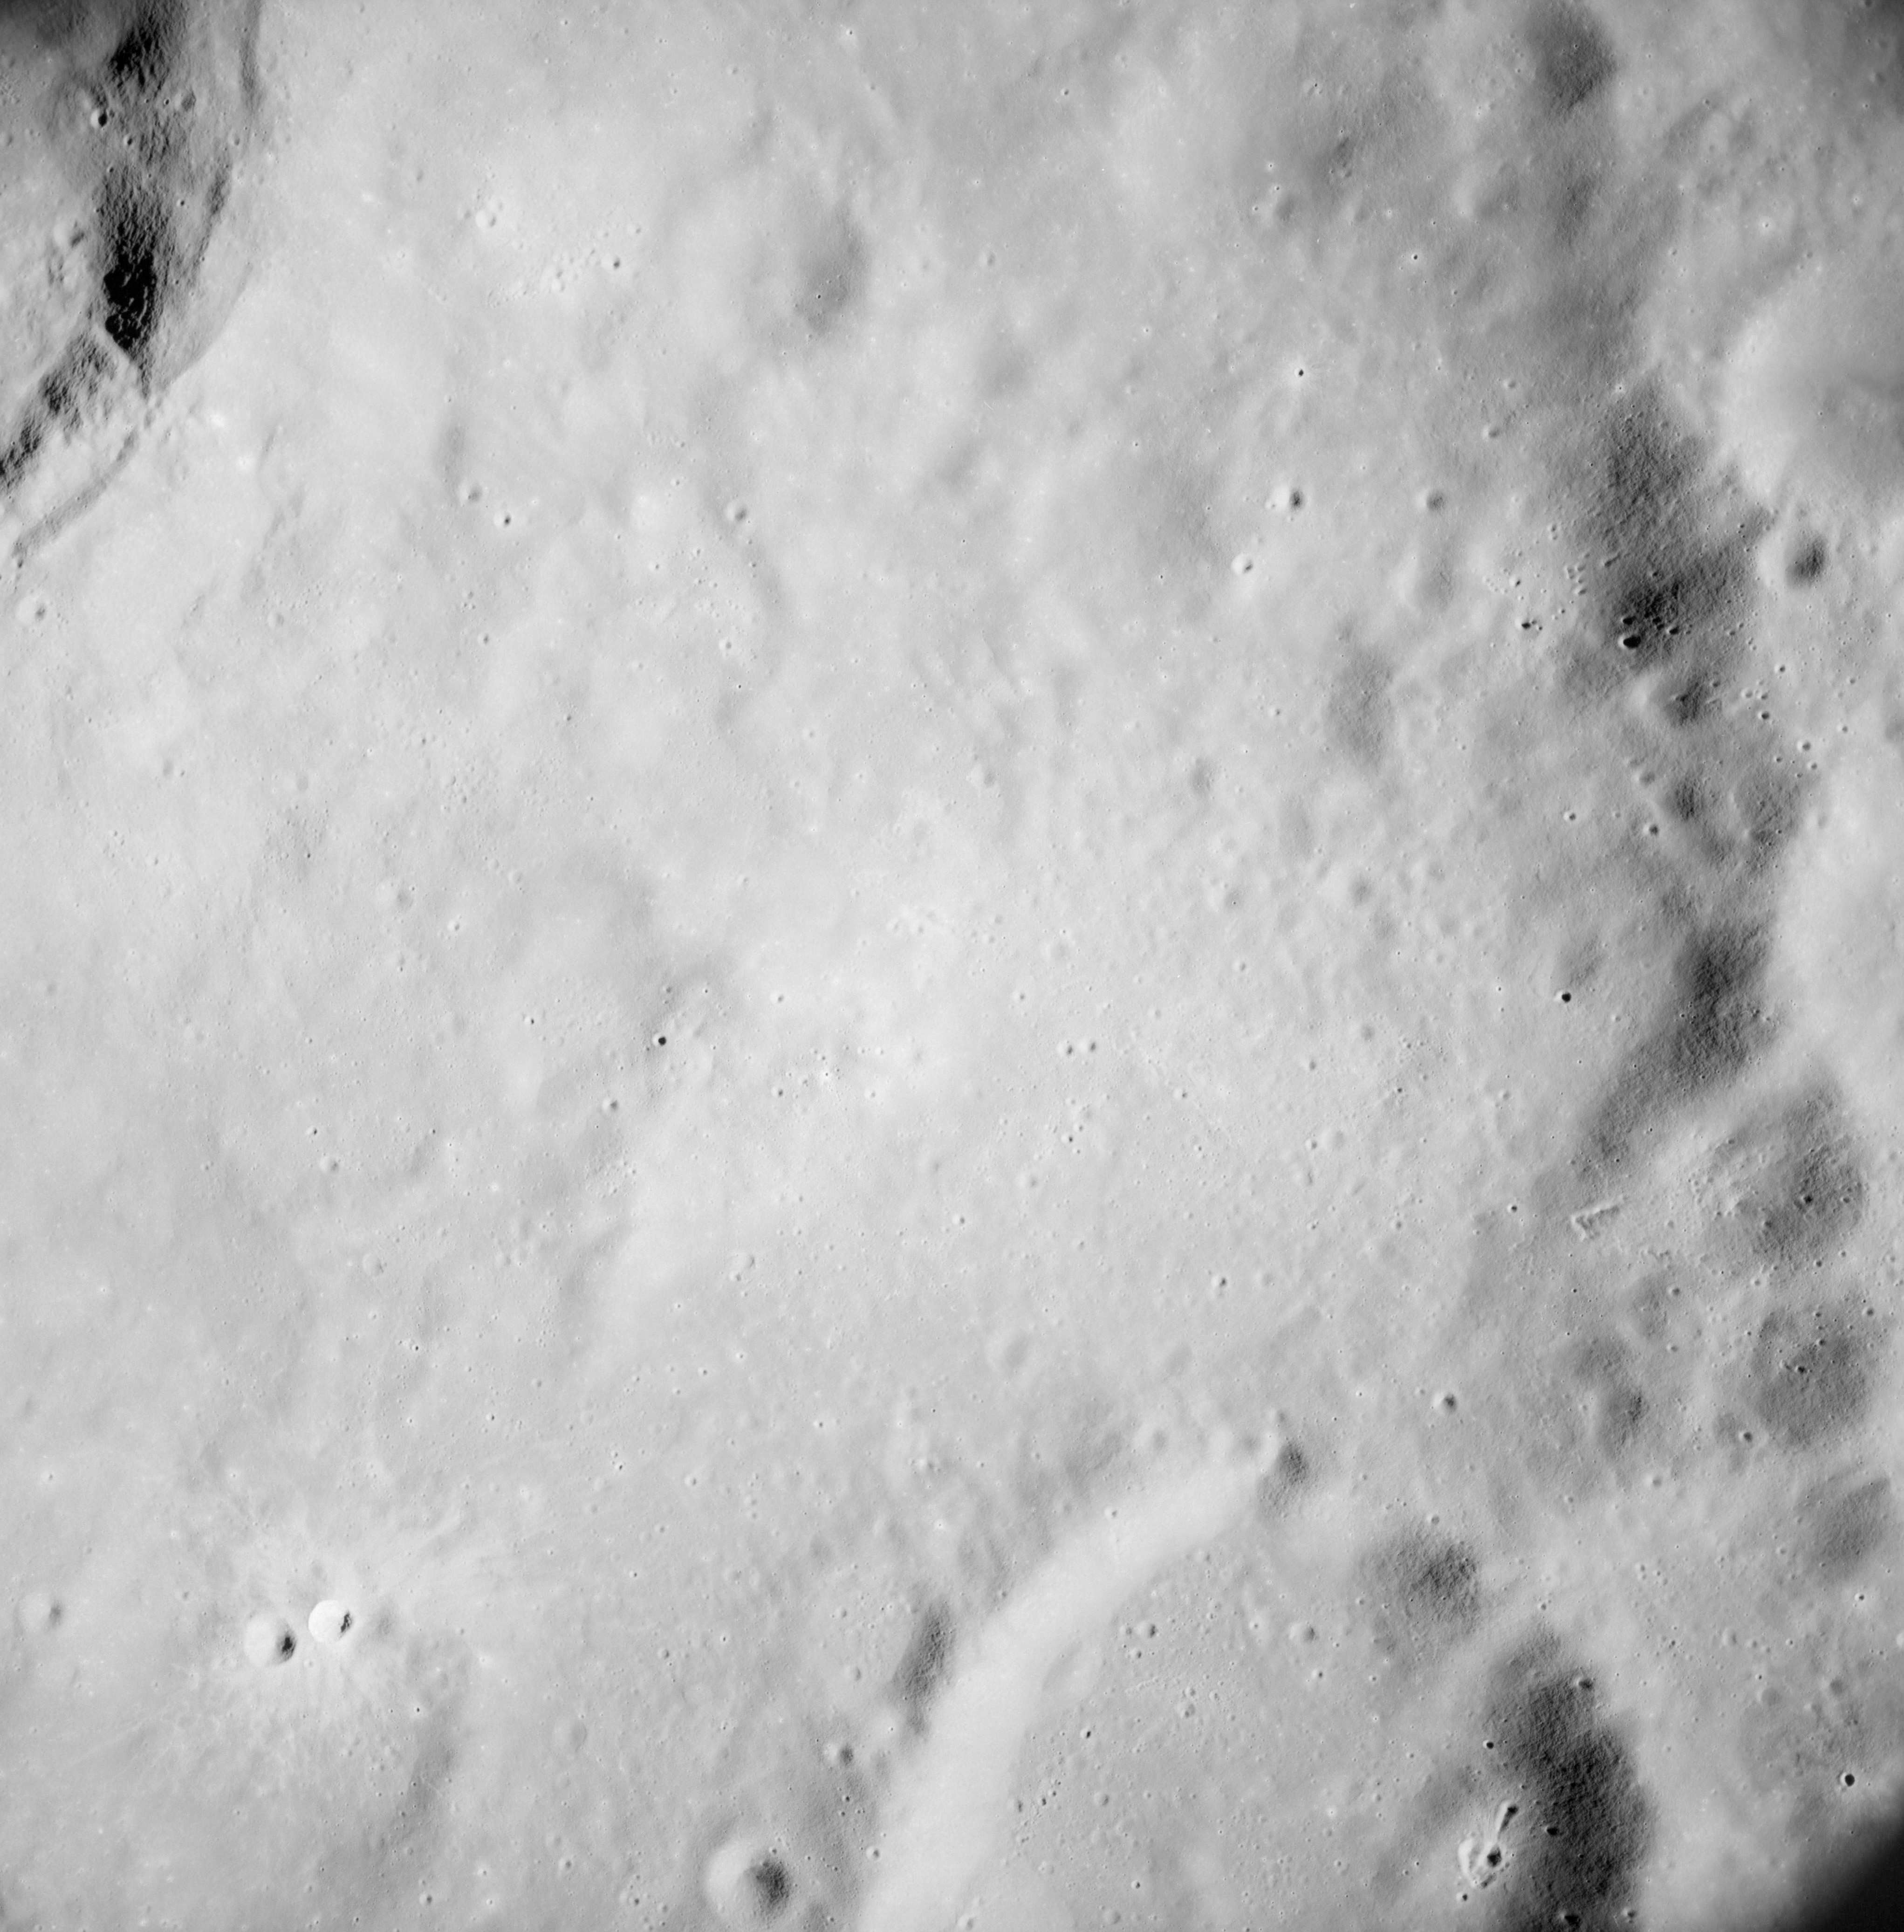
AS08-12-2071 Amici T at top left. Image credit: Image Science and Analysis Laboratory, NASA-Johnson Space Center. |
 |
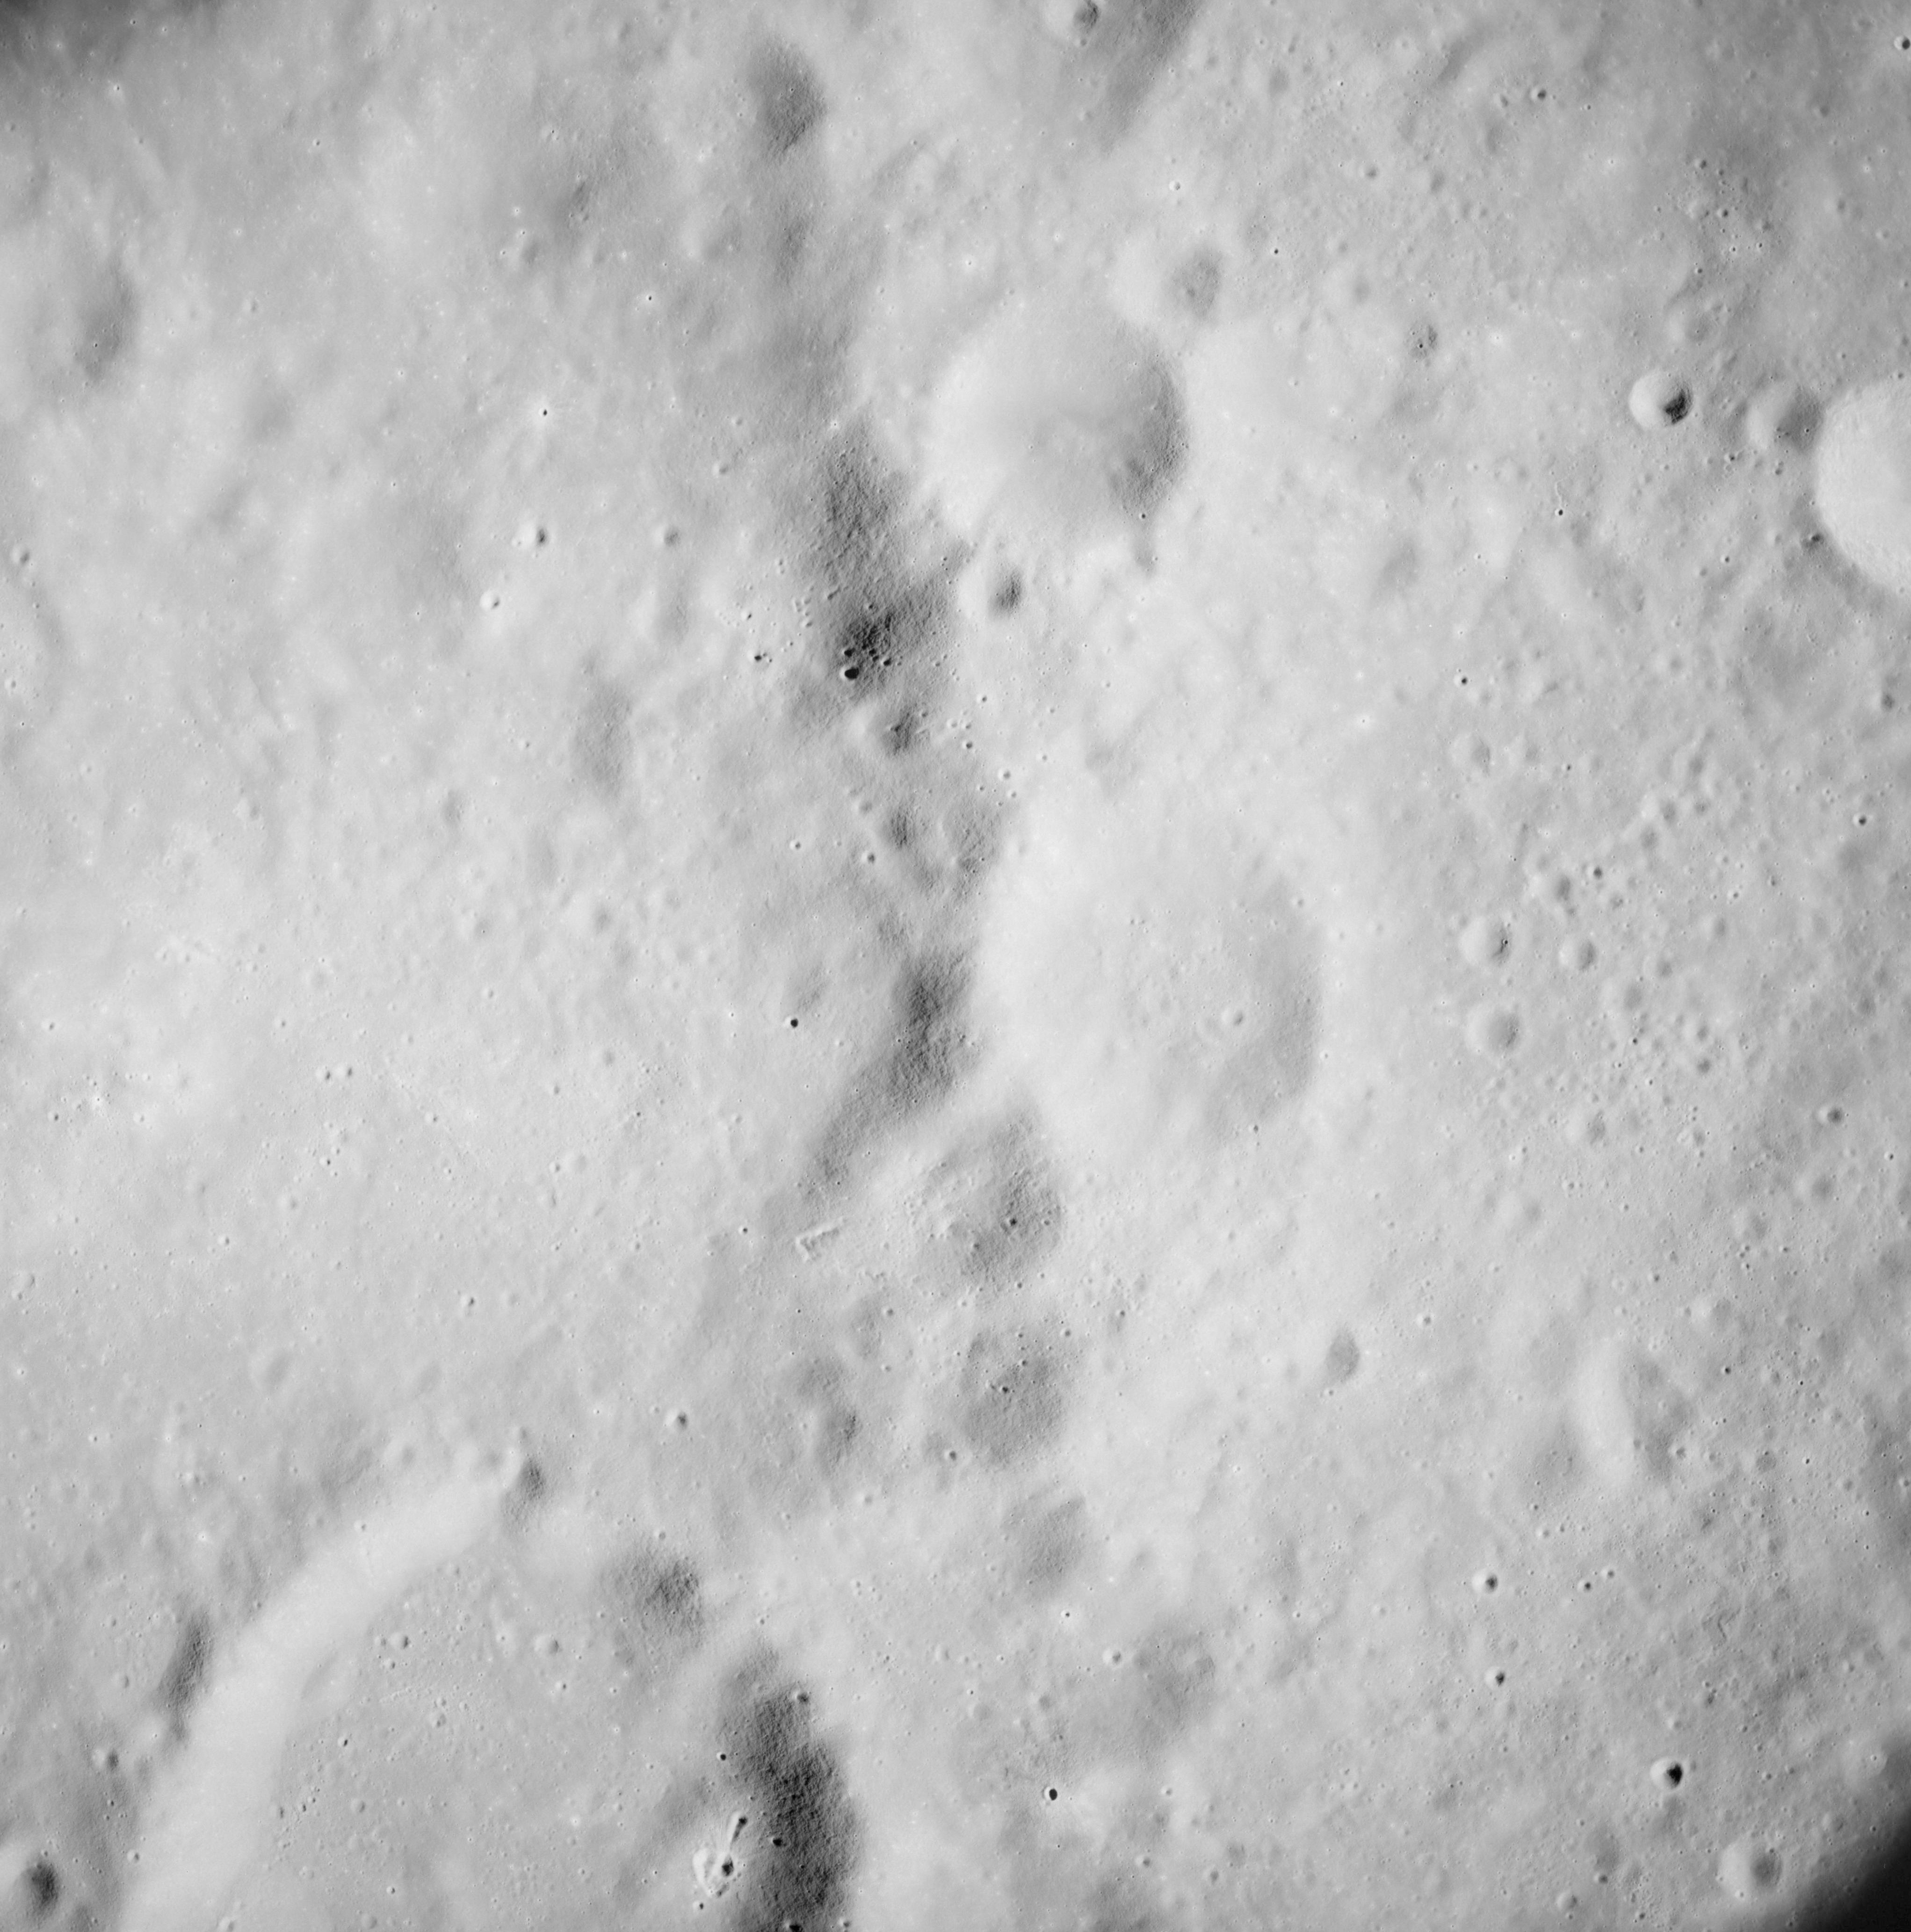
AS08-12-2072 Between Daedalus and Racah. Image credit: Image Science and Analysis Laboratory, NASA-Johnson Space Center. |
 |
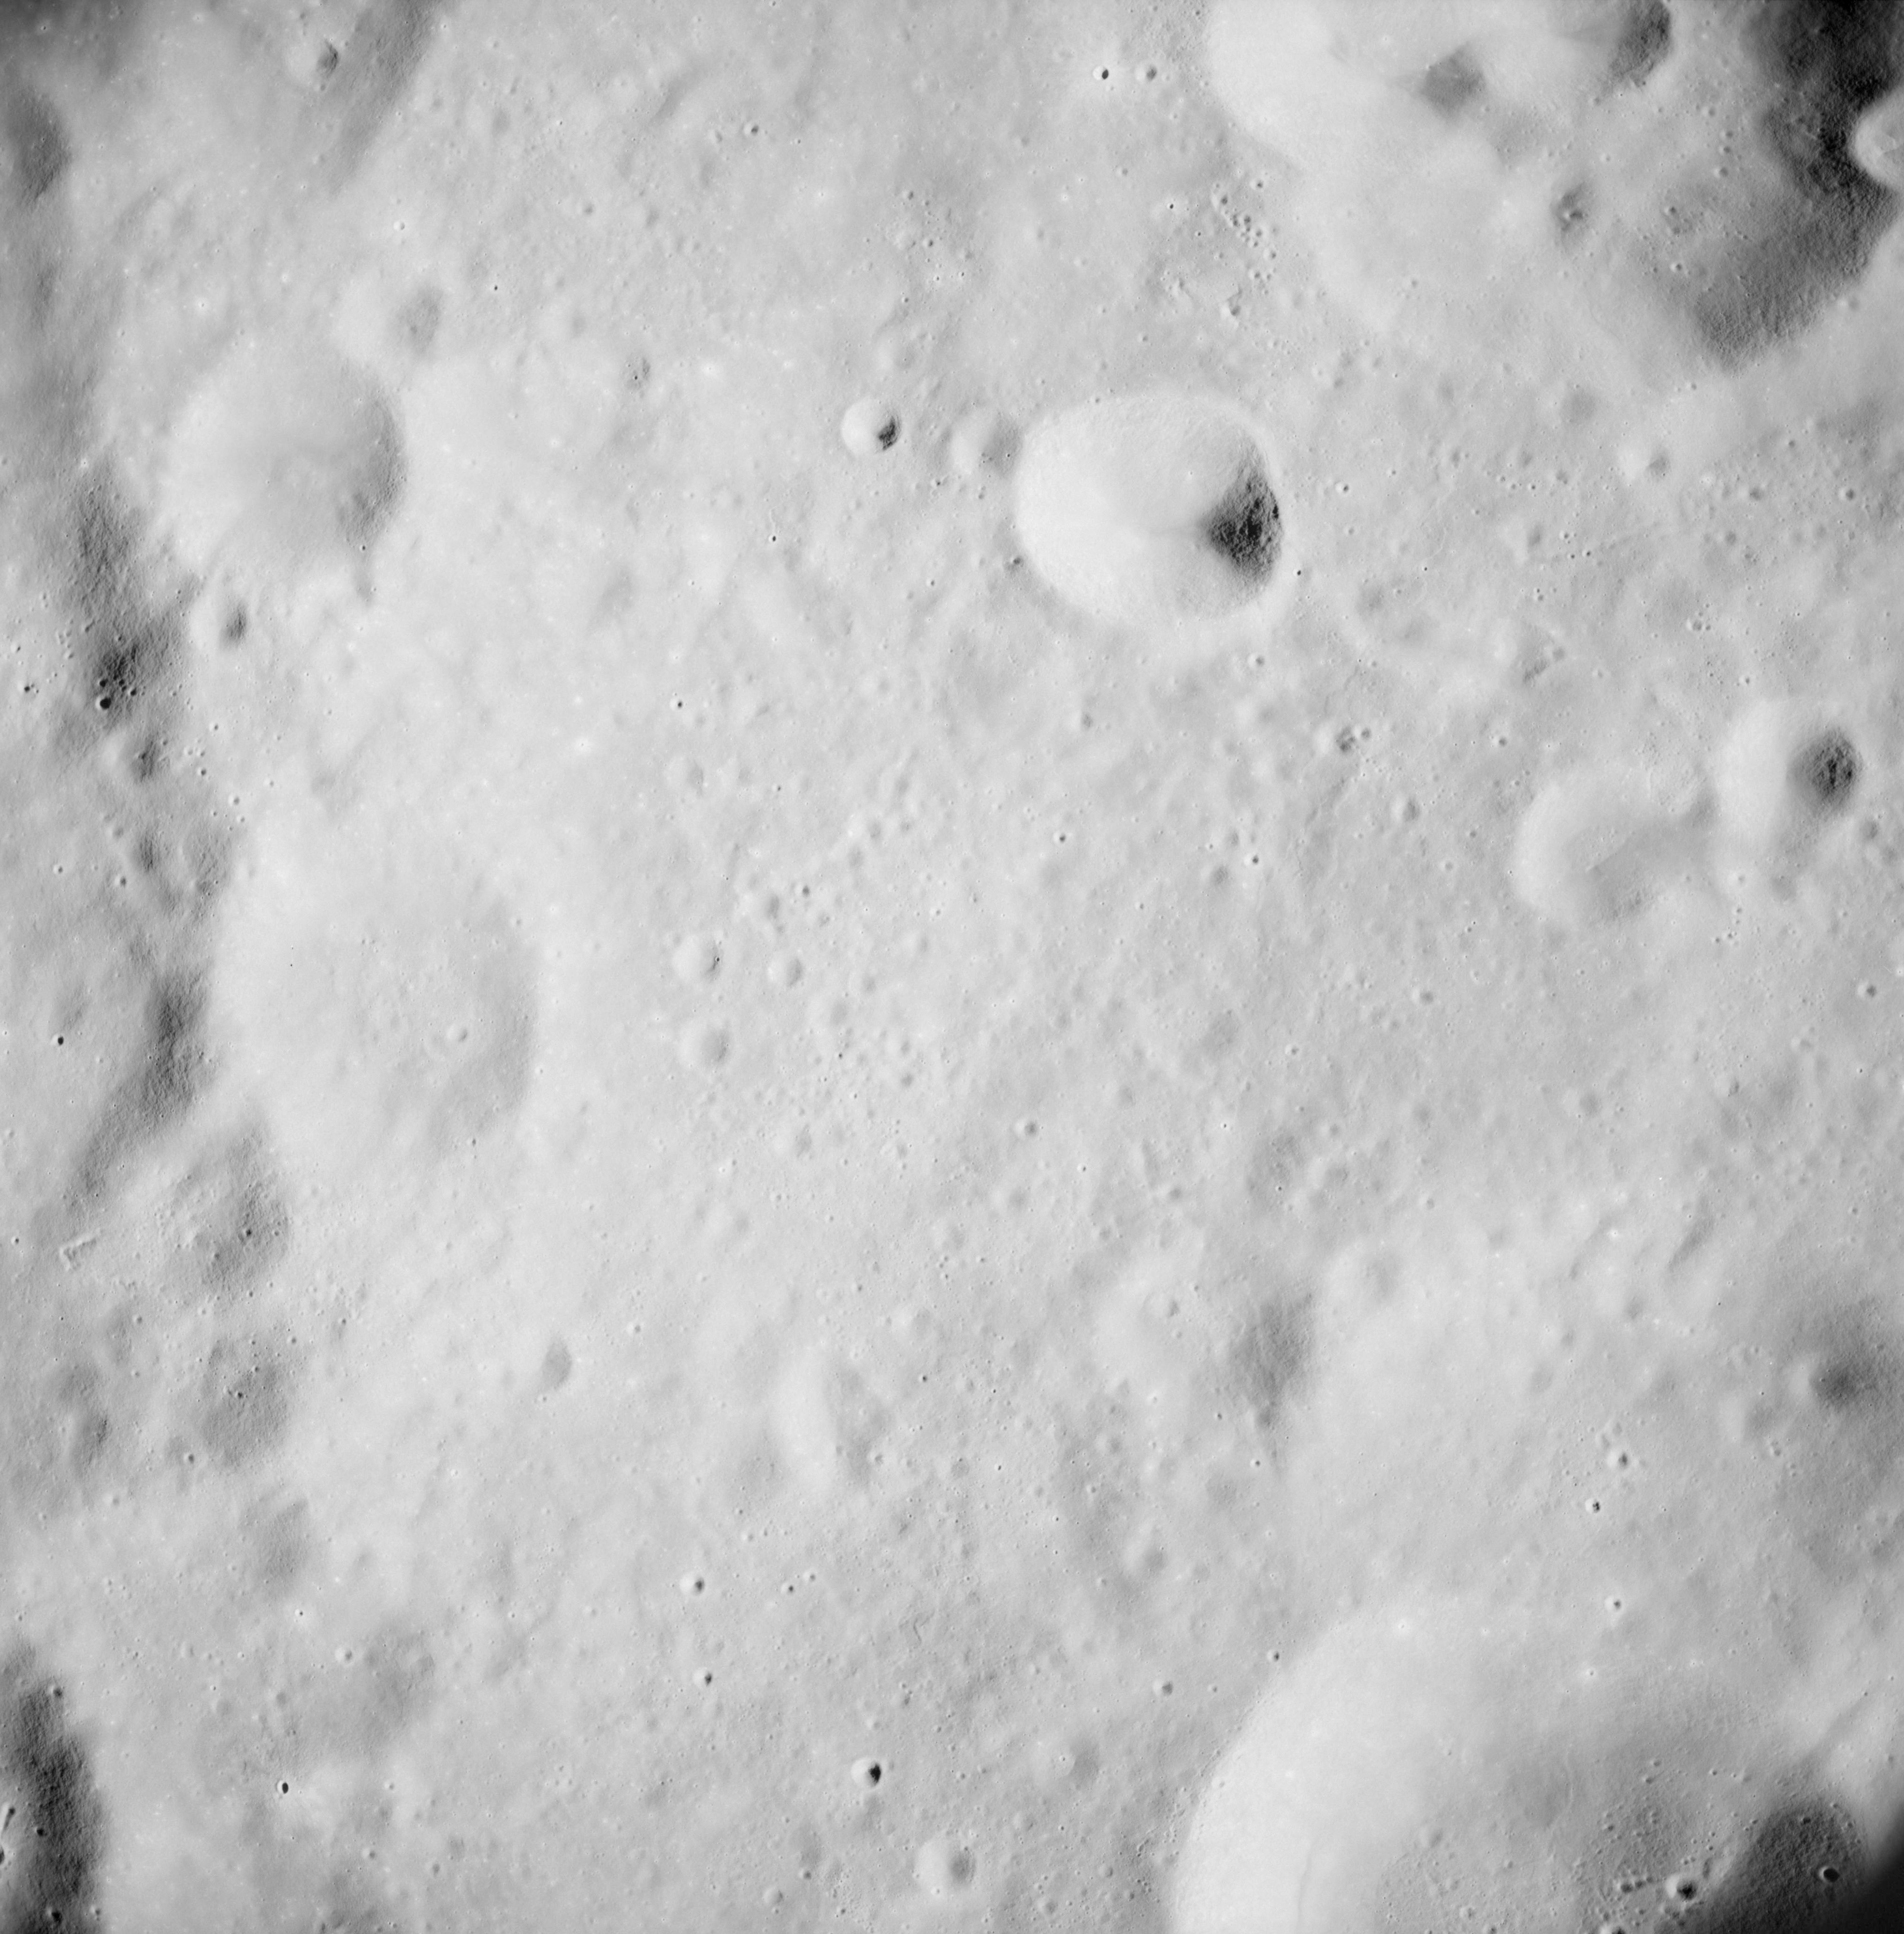
AS08-12-2073 No description. Image credit: Image Science and Analysis Laboratory, NASA-Johnson Space Center. |
 |
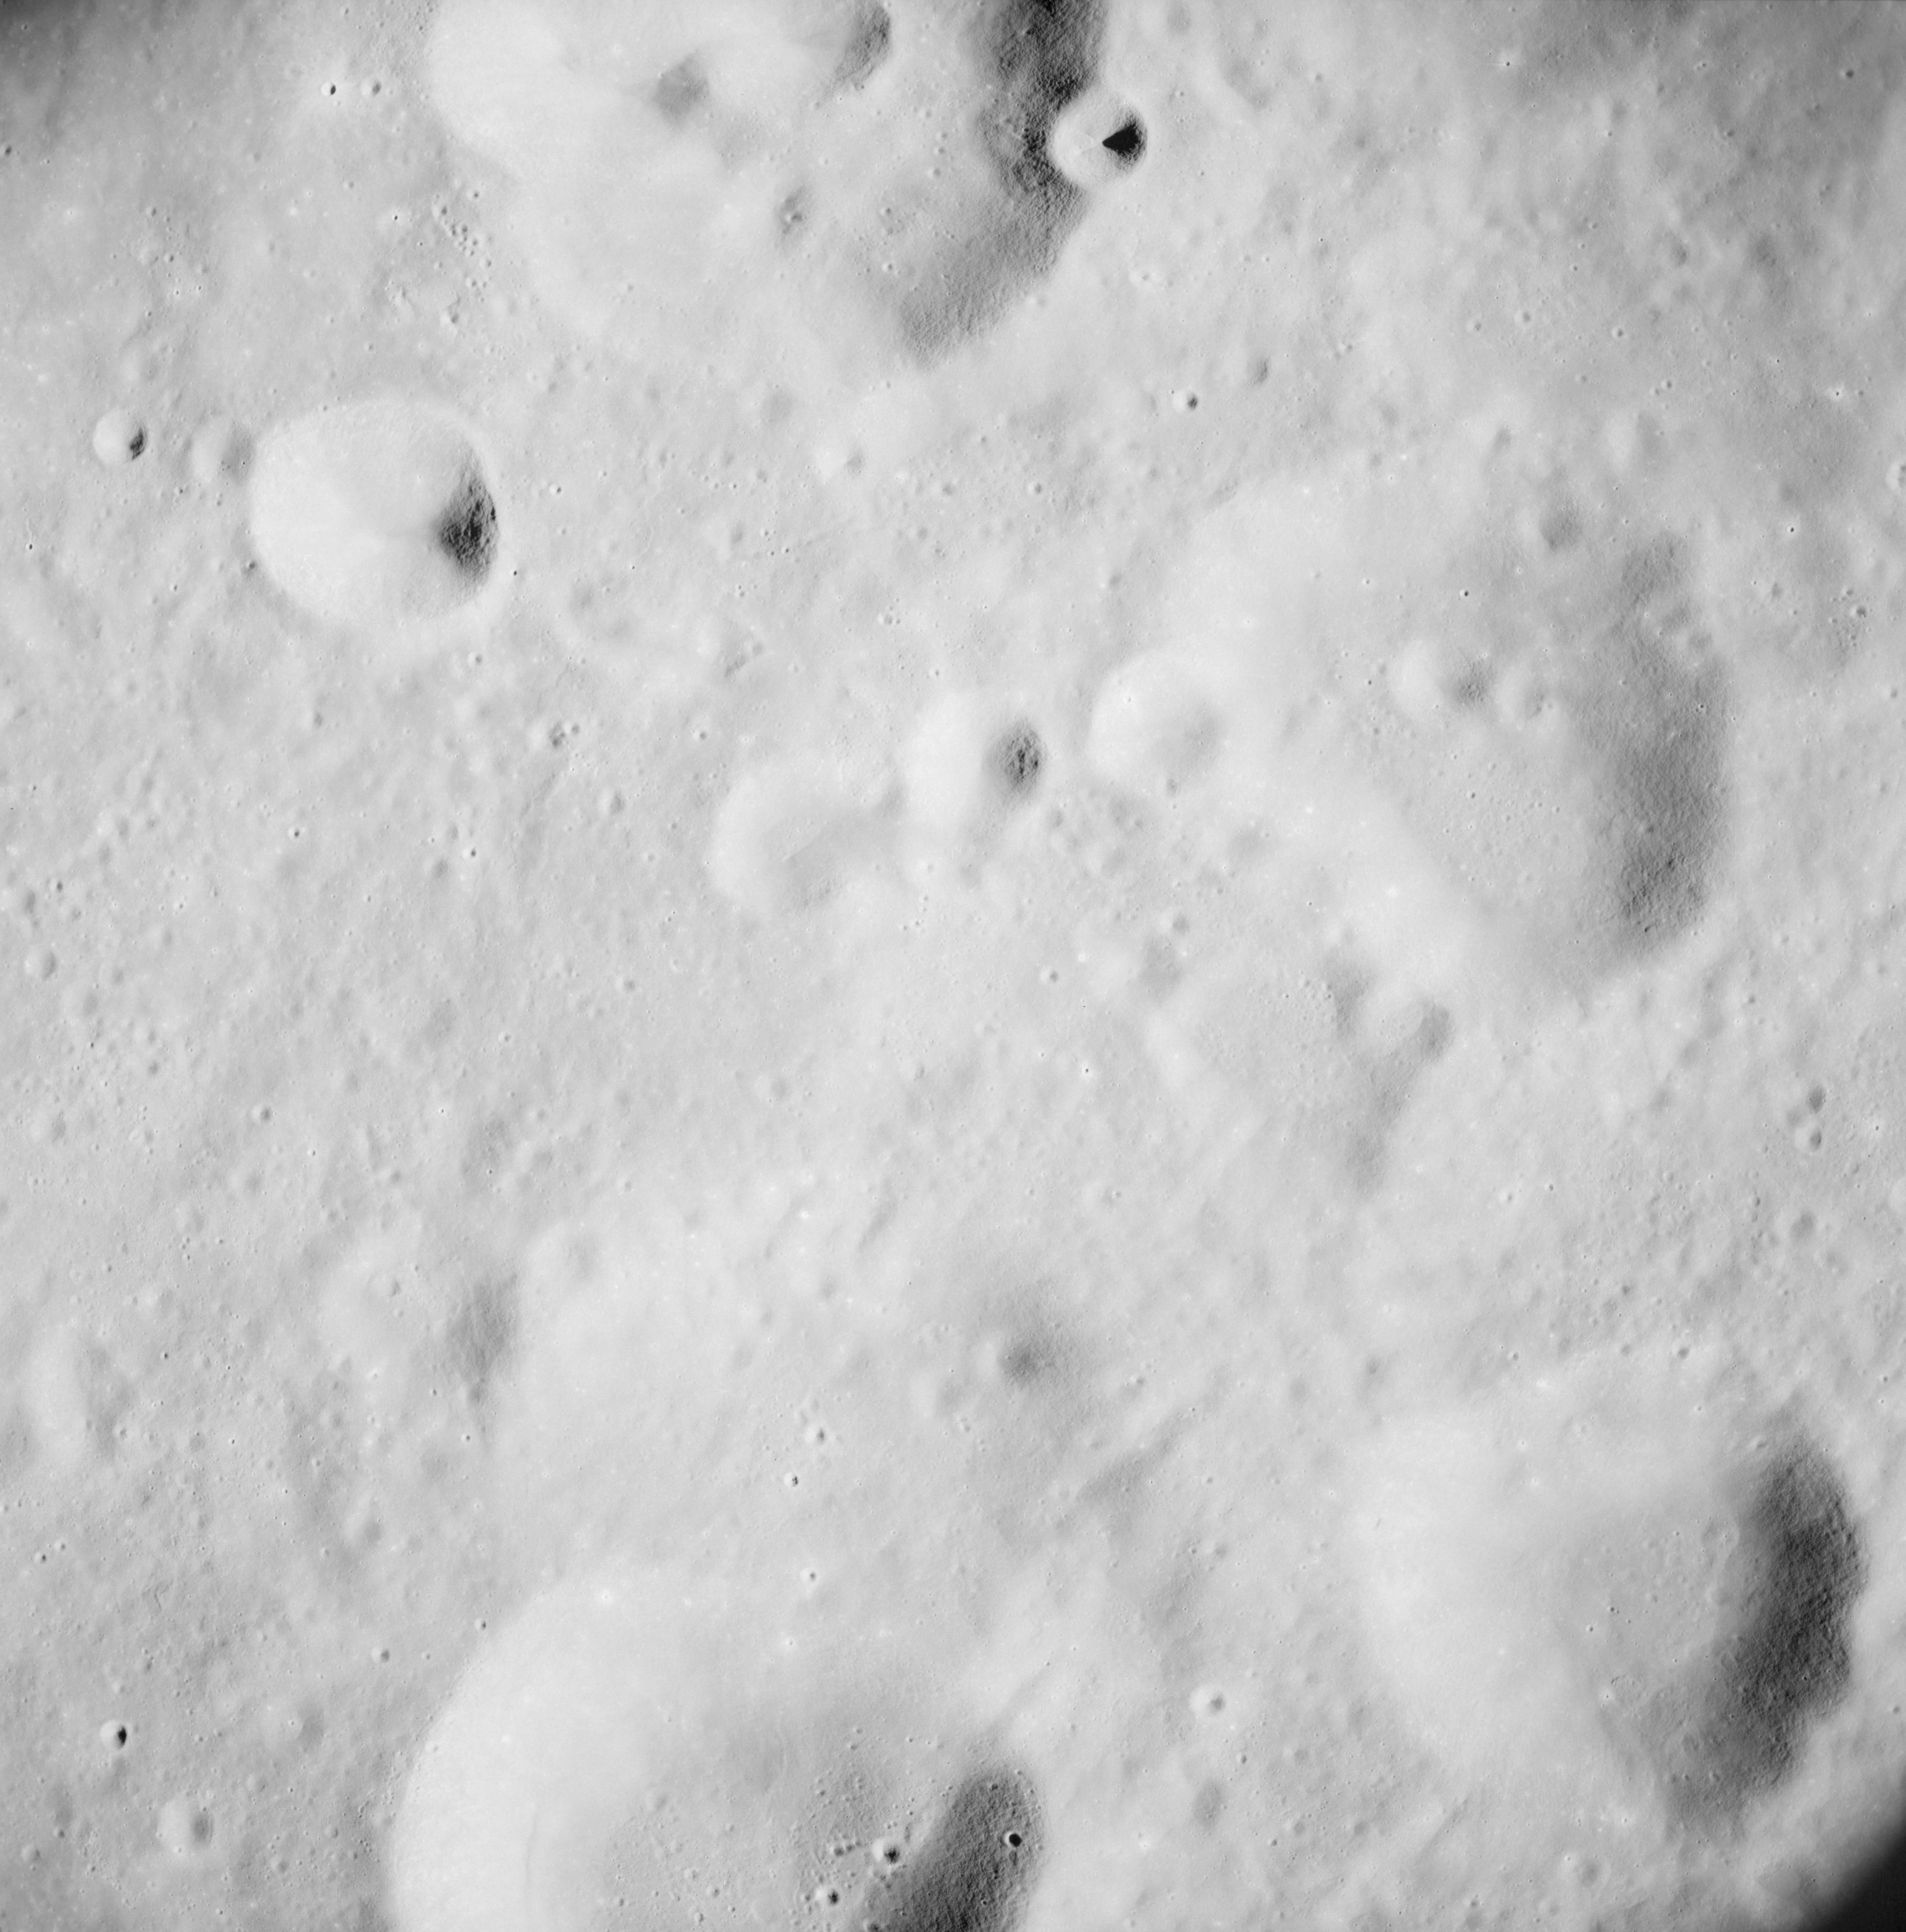
AS08-12-2074 No description. Image credit: Image Science and Analysis Laboratory, NASA-Johnson Space Center. |
 |
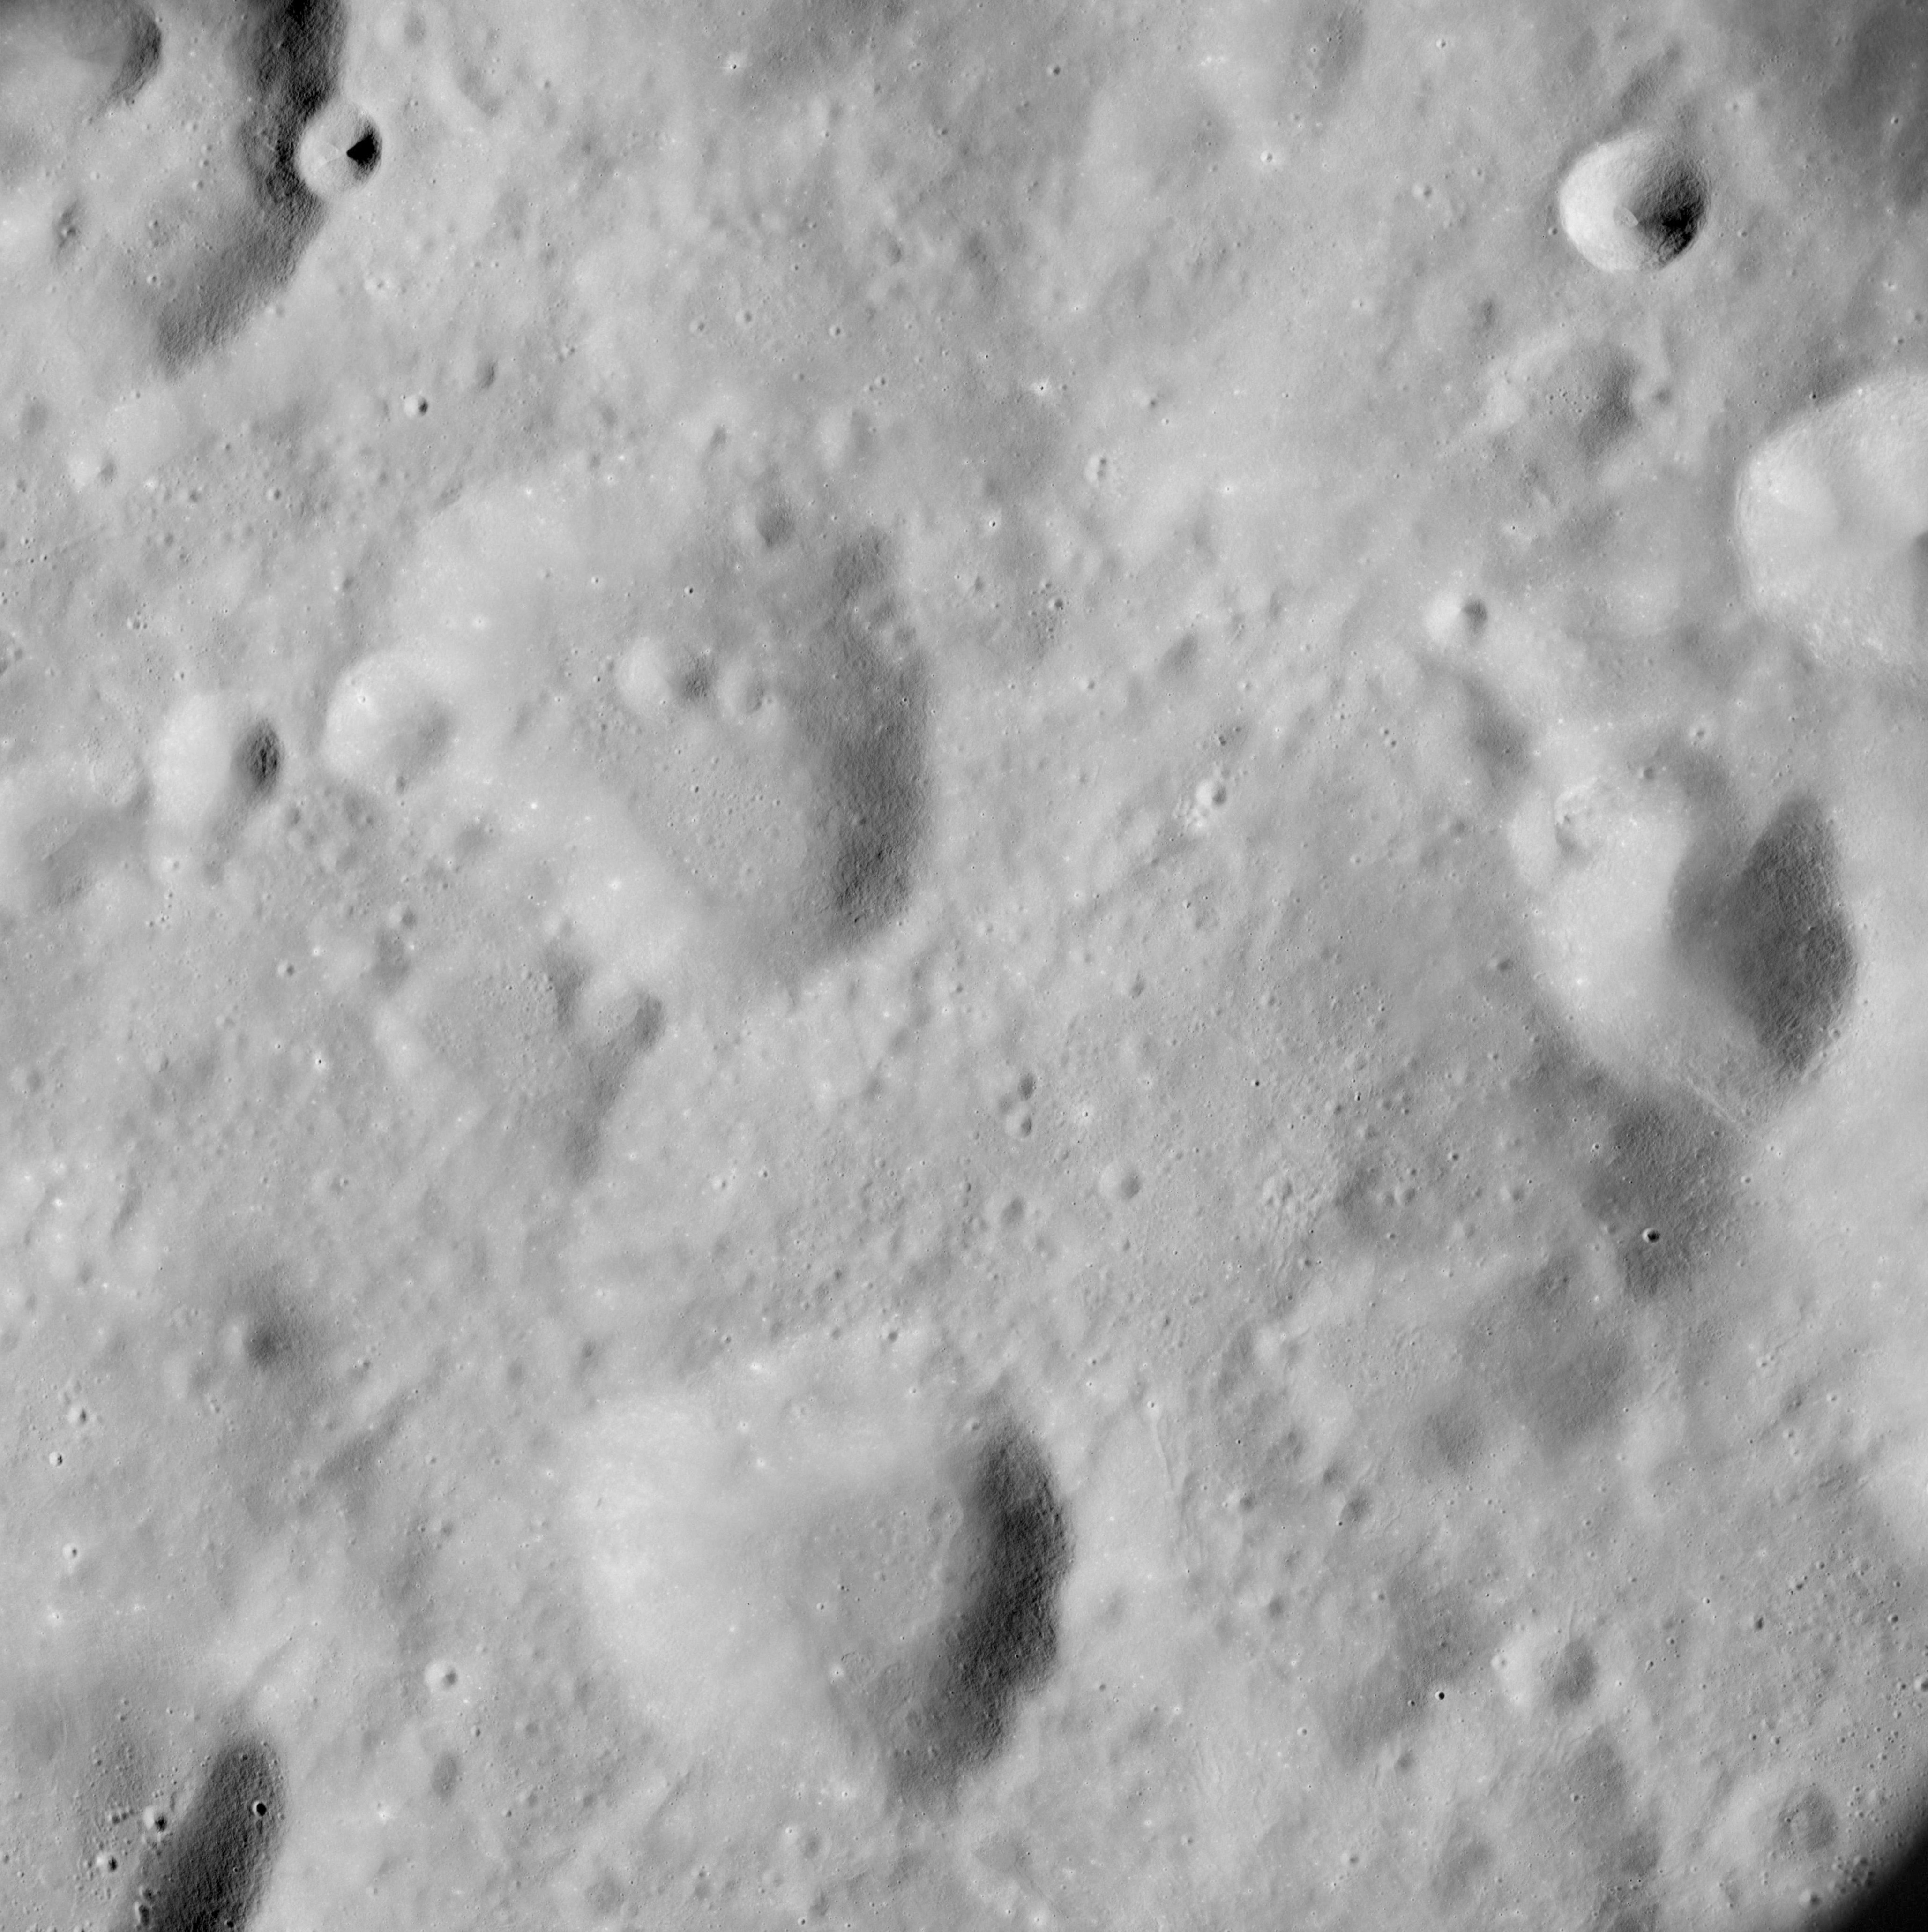
AS08-12-2075 No description. Image credit: Image Science and Analysis Laboratory, NASA-Johnson Space Center. |
 |
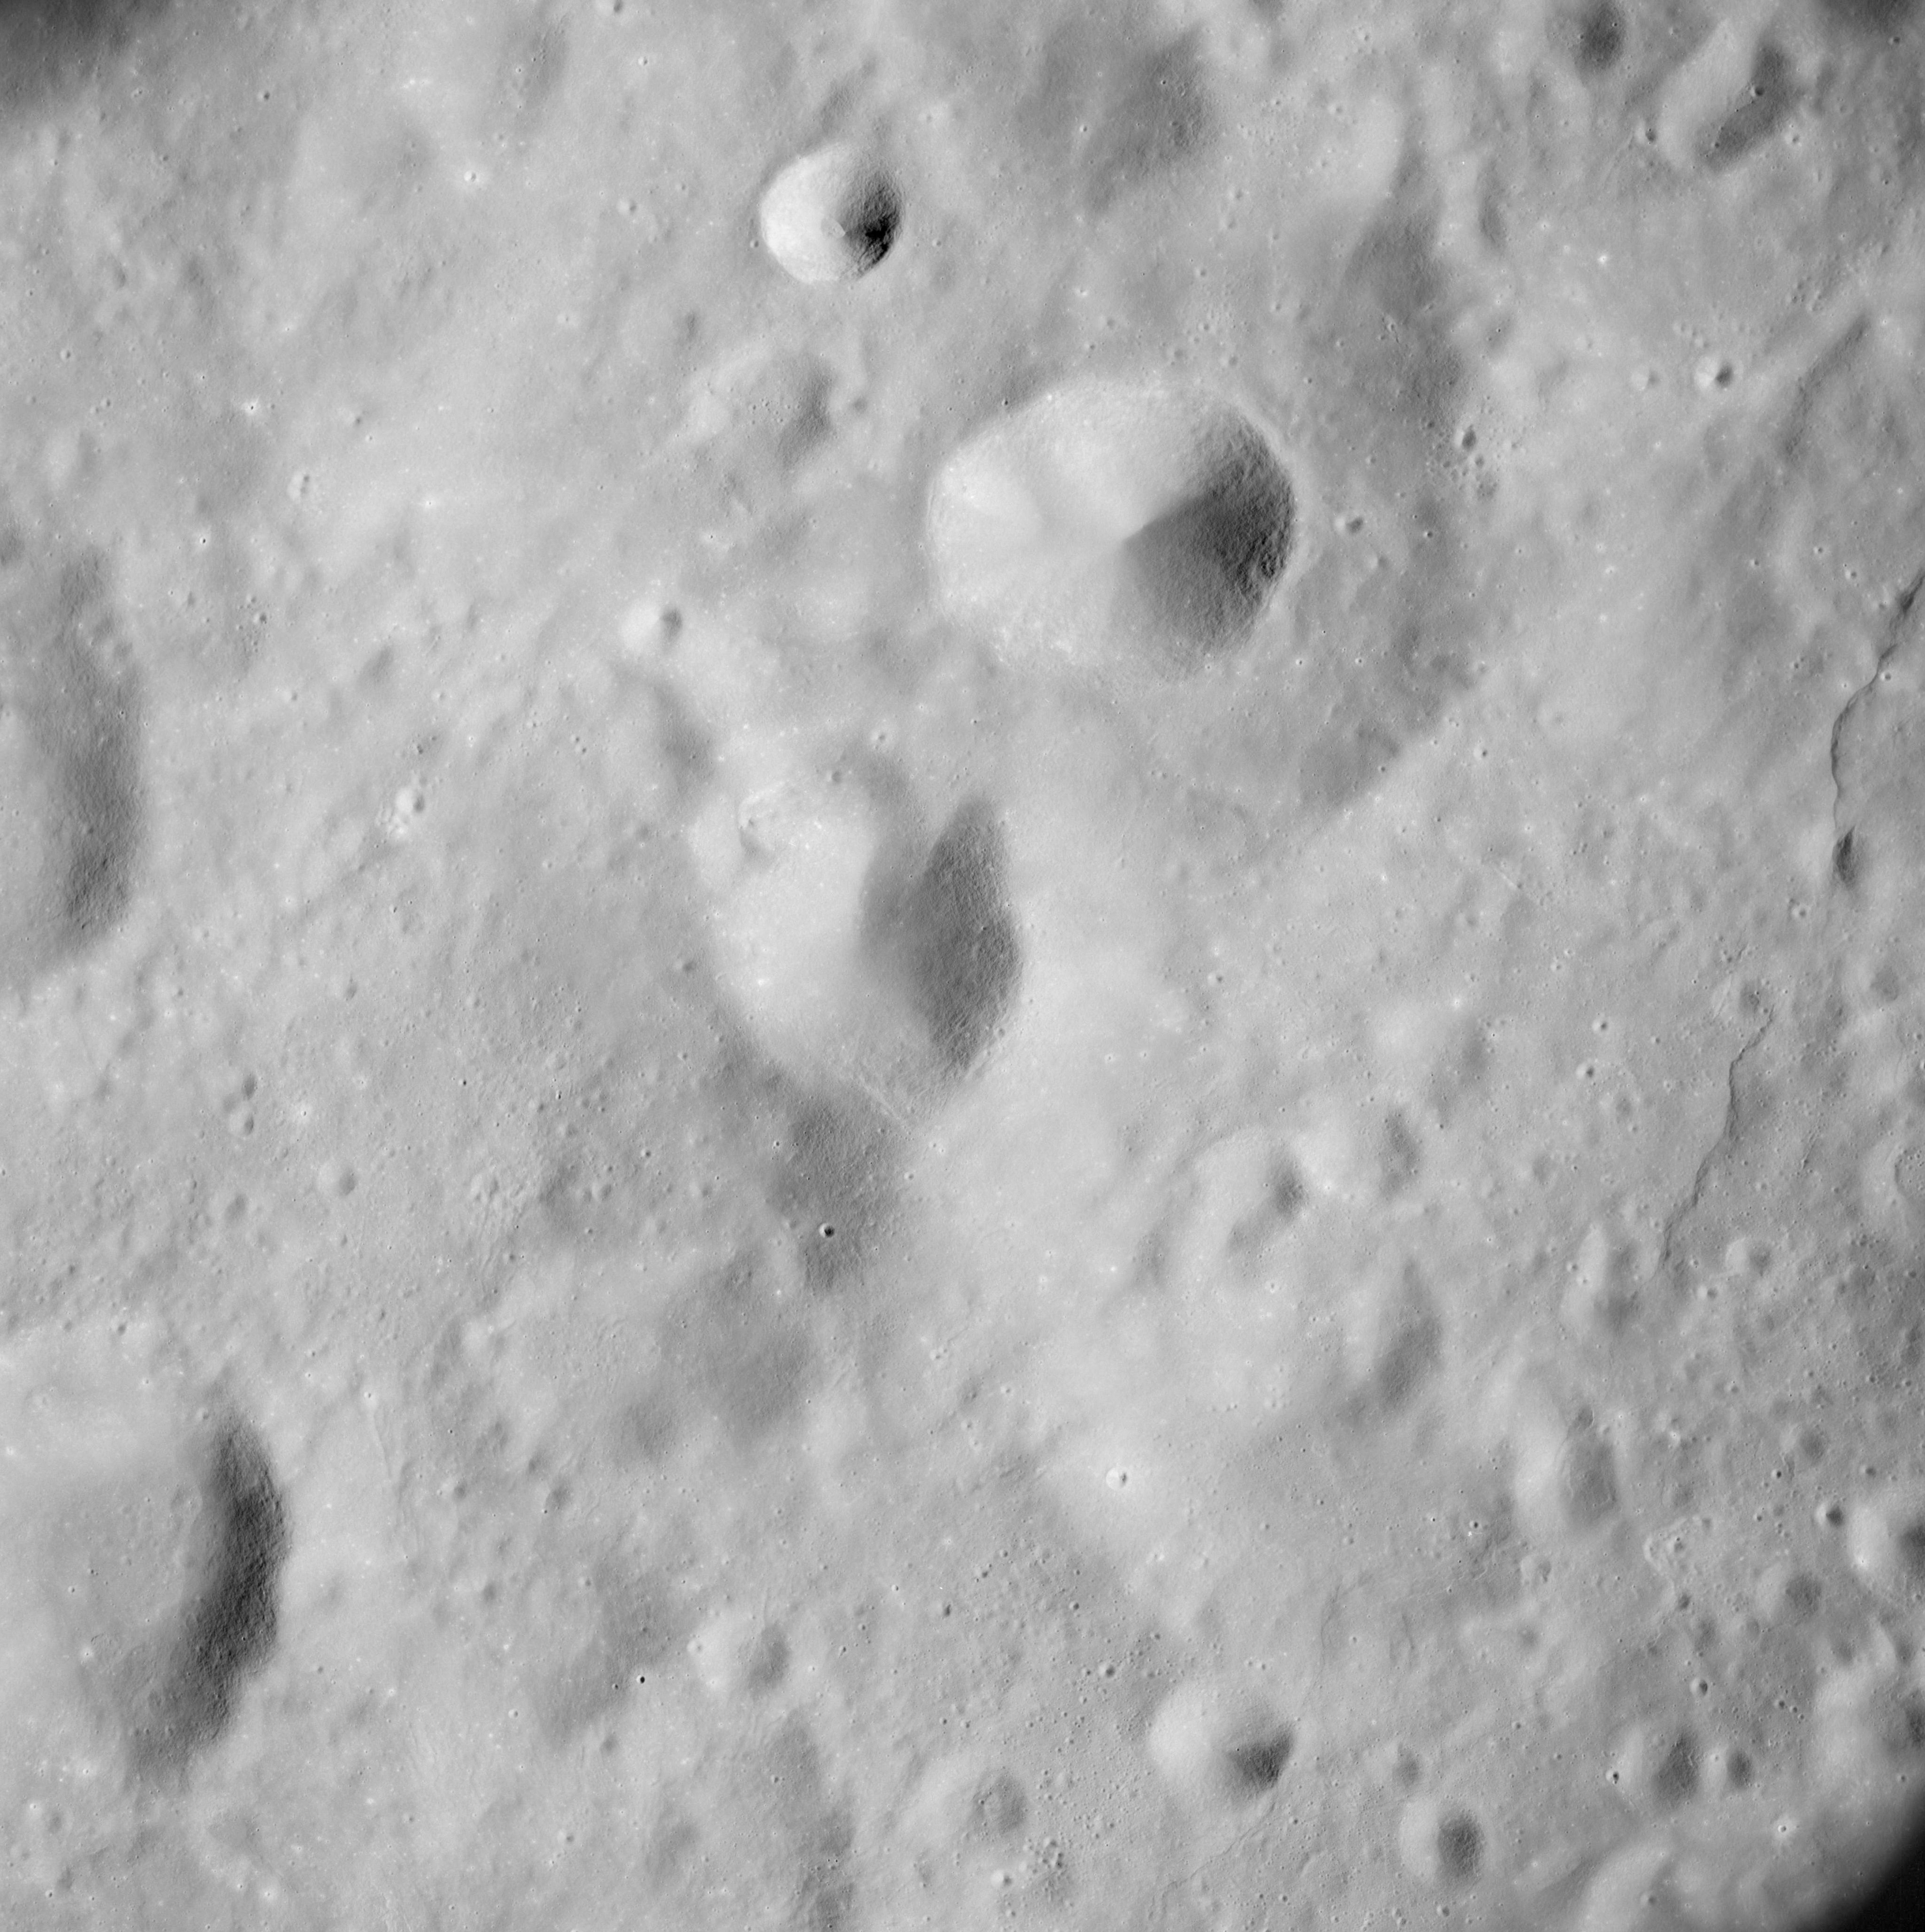
AS08-12-2076 Between Daedalus and Racah. Image credit: Image Science and Analysis Laboratory, NASA-Johnson Space Center. |
 |
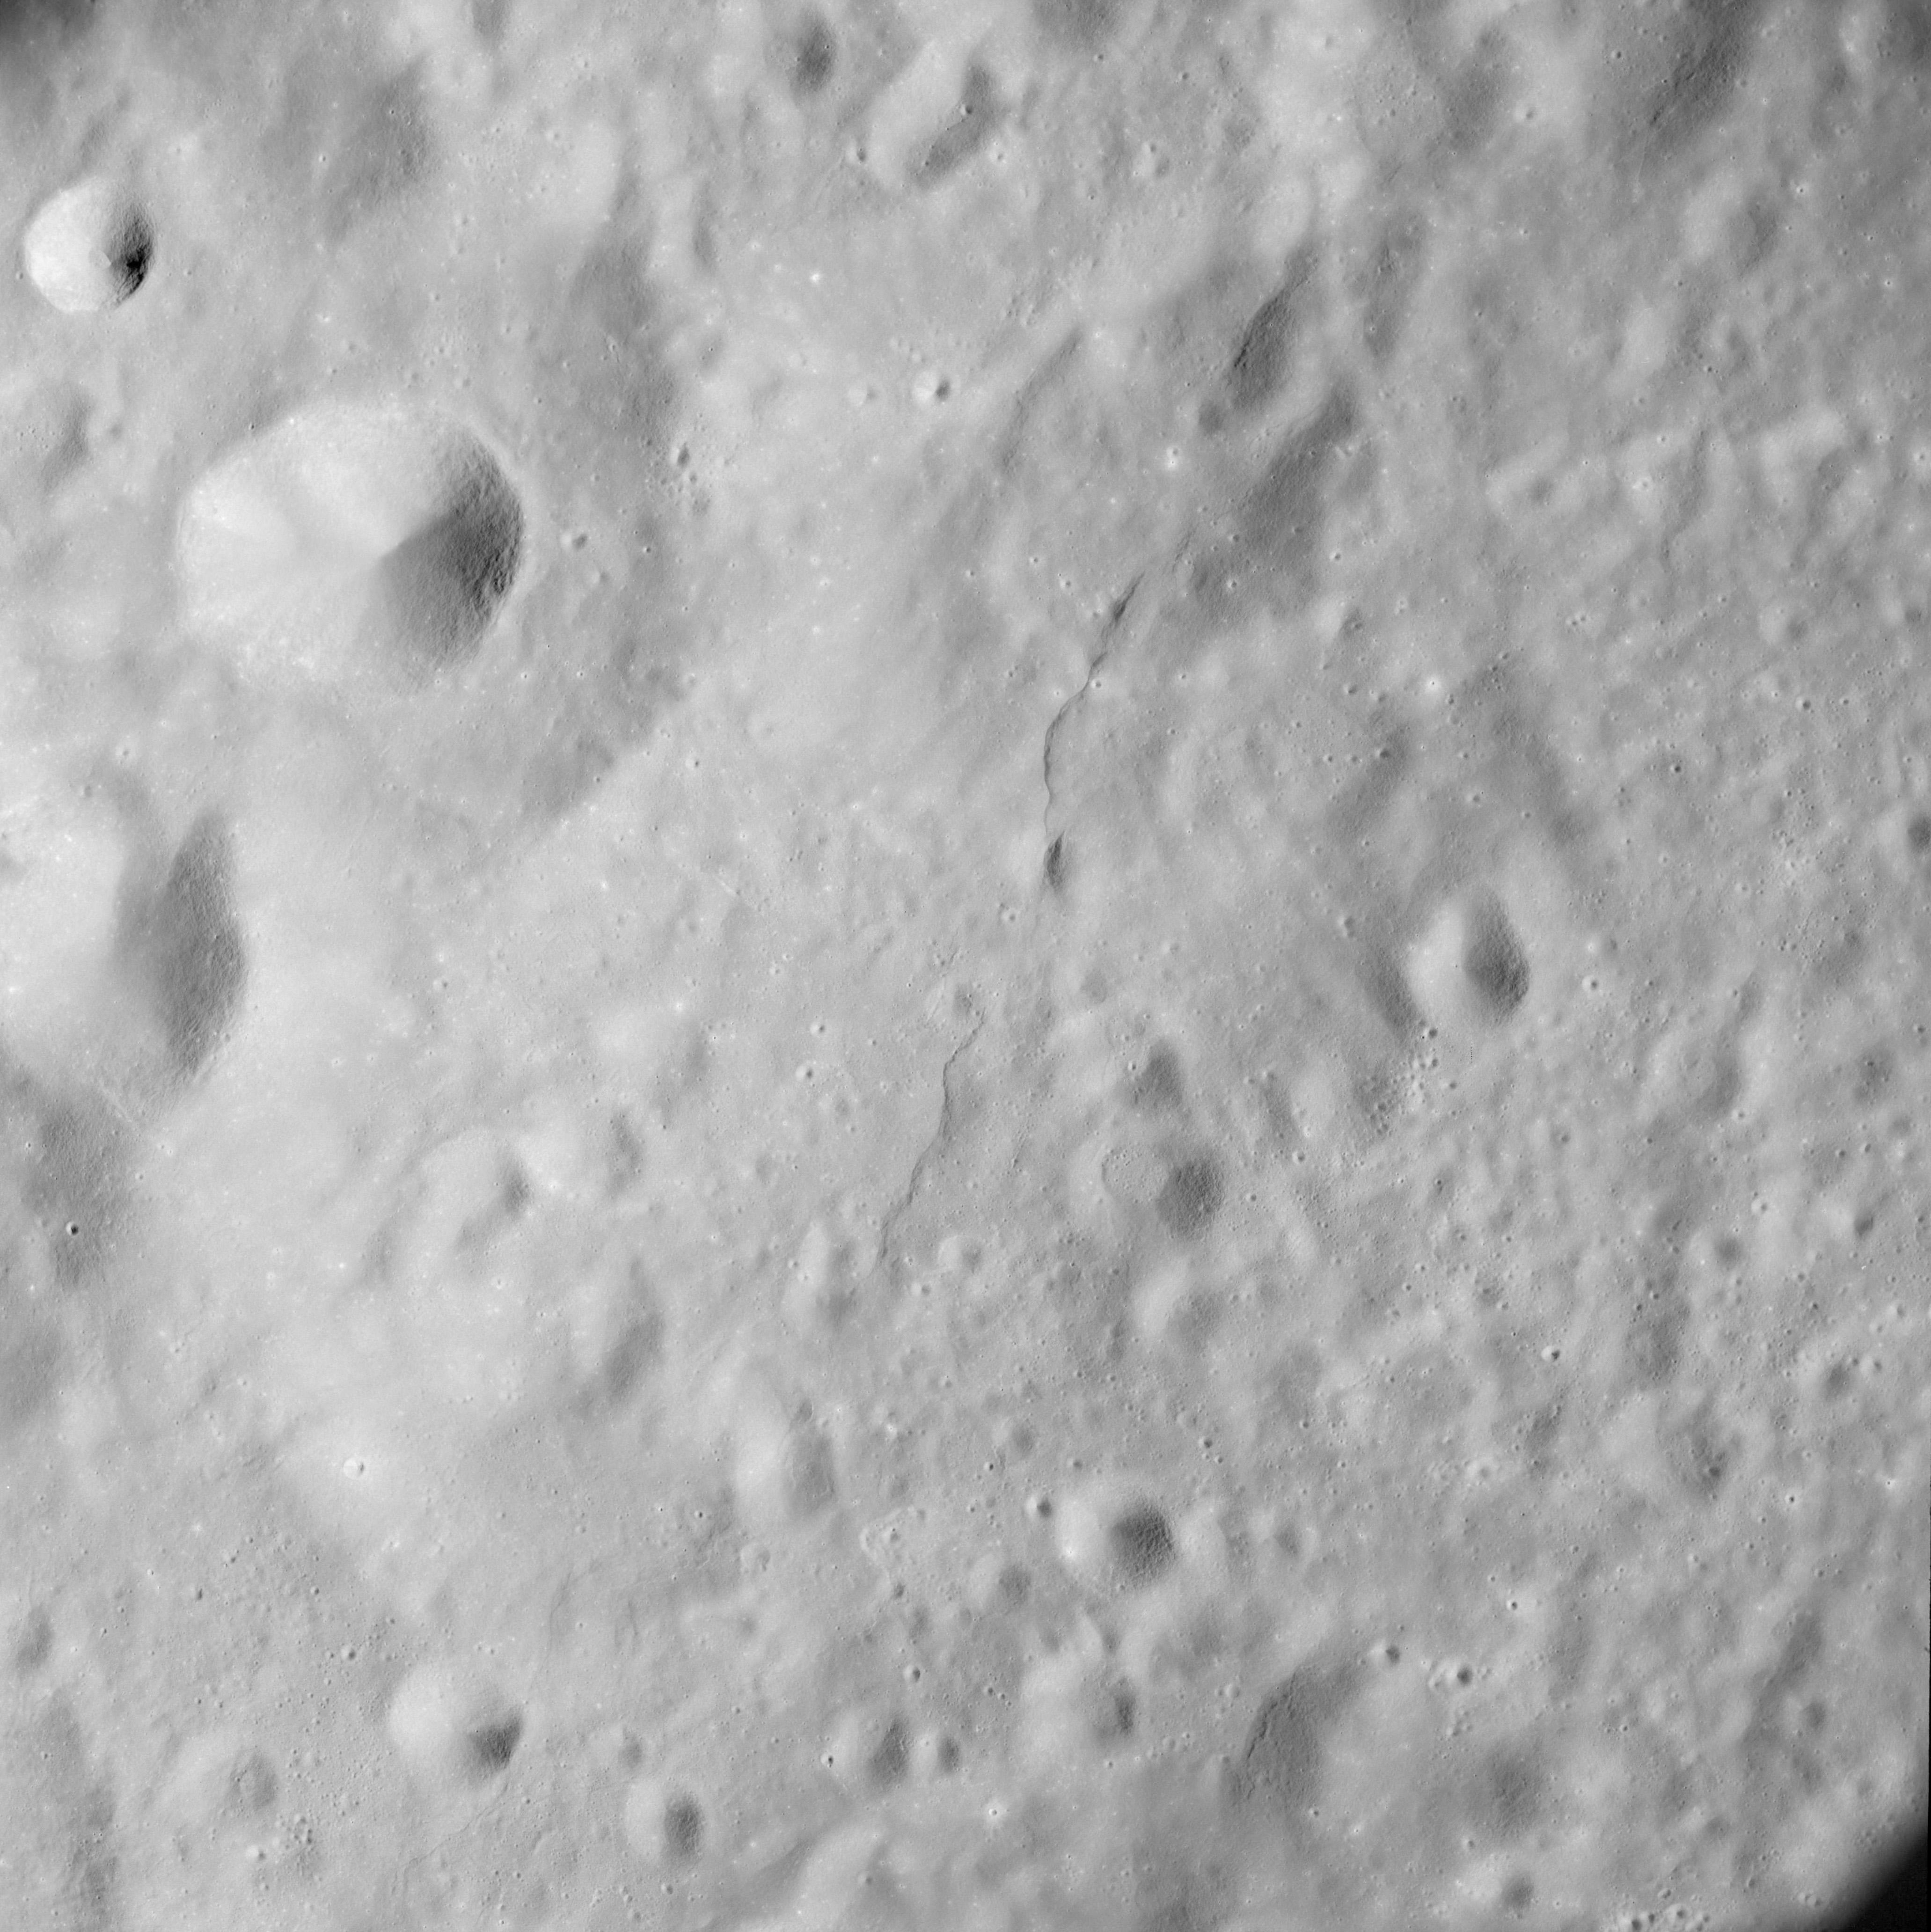
AS08-12-2077 Between Daedalus and Racah. Racah X. Image credit: Image Science and Analysis Laboratory, NASA-Johnson Space Center. |
 |
AS08-12-2078 Between Daedalus and Racah. Racah X on left Image credit: Image Science and Analysis Laboratory, NASA-Johnson Space Center. |
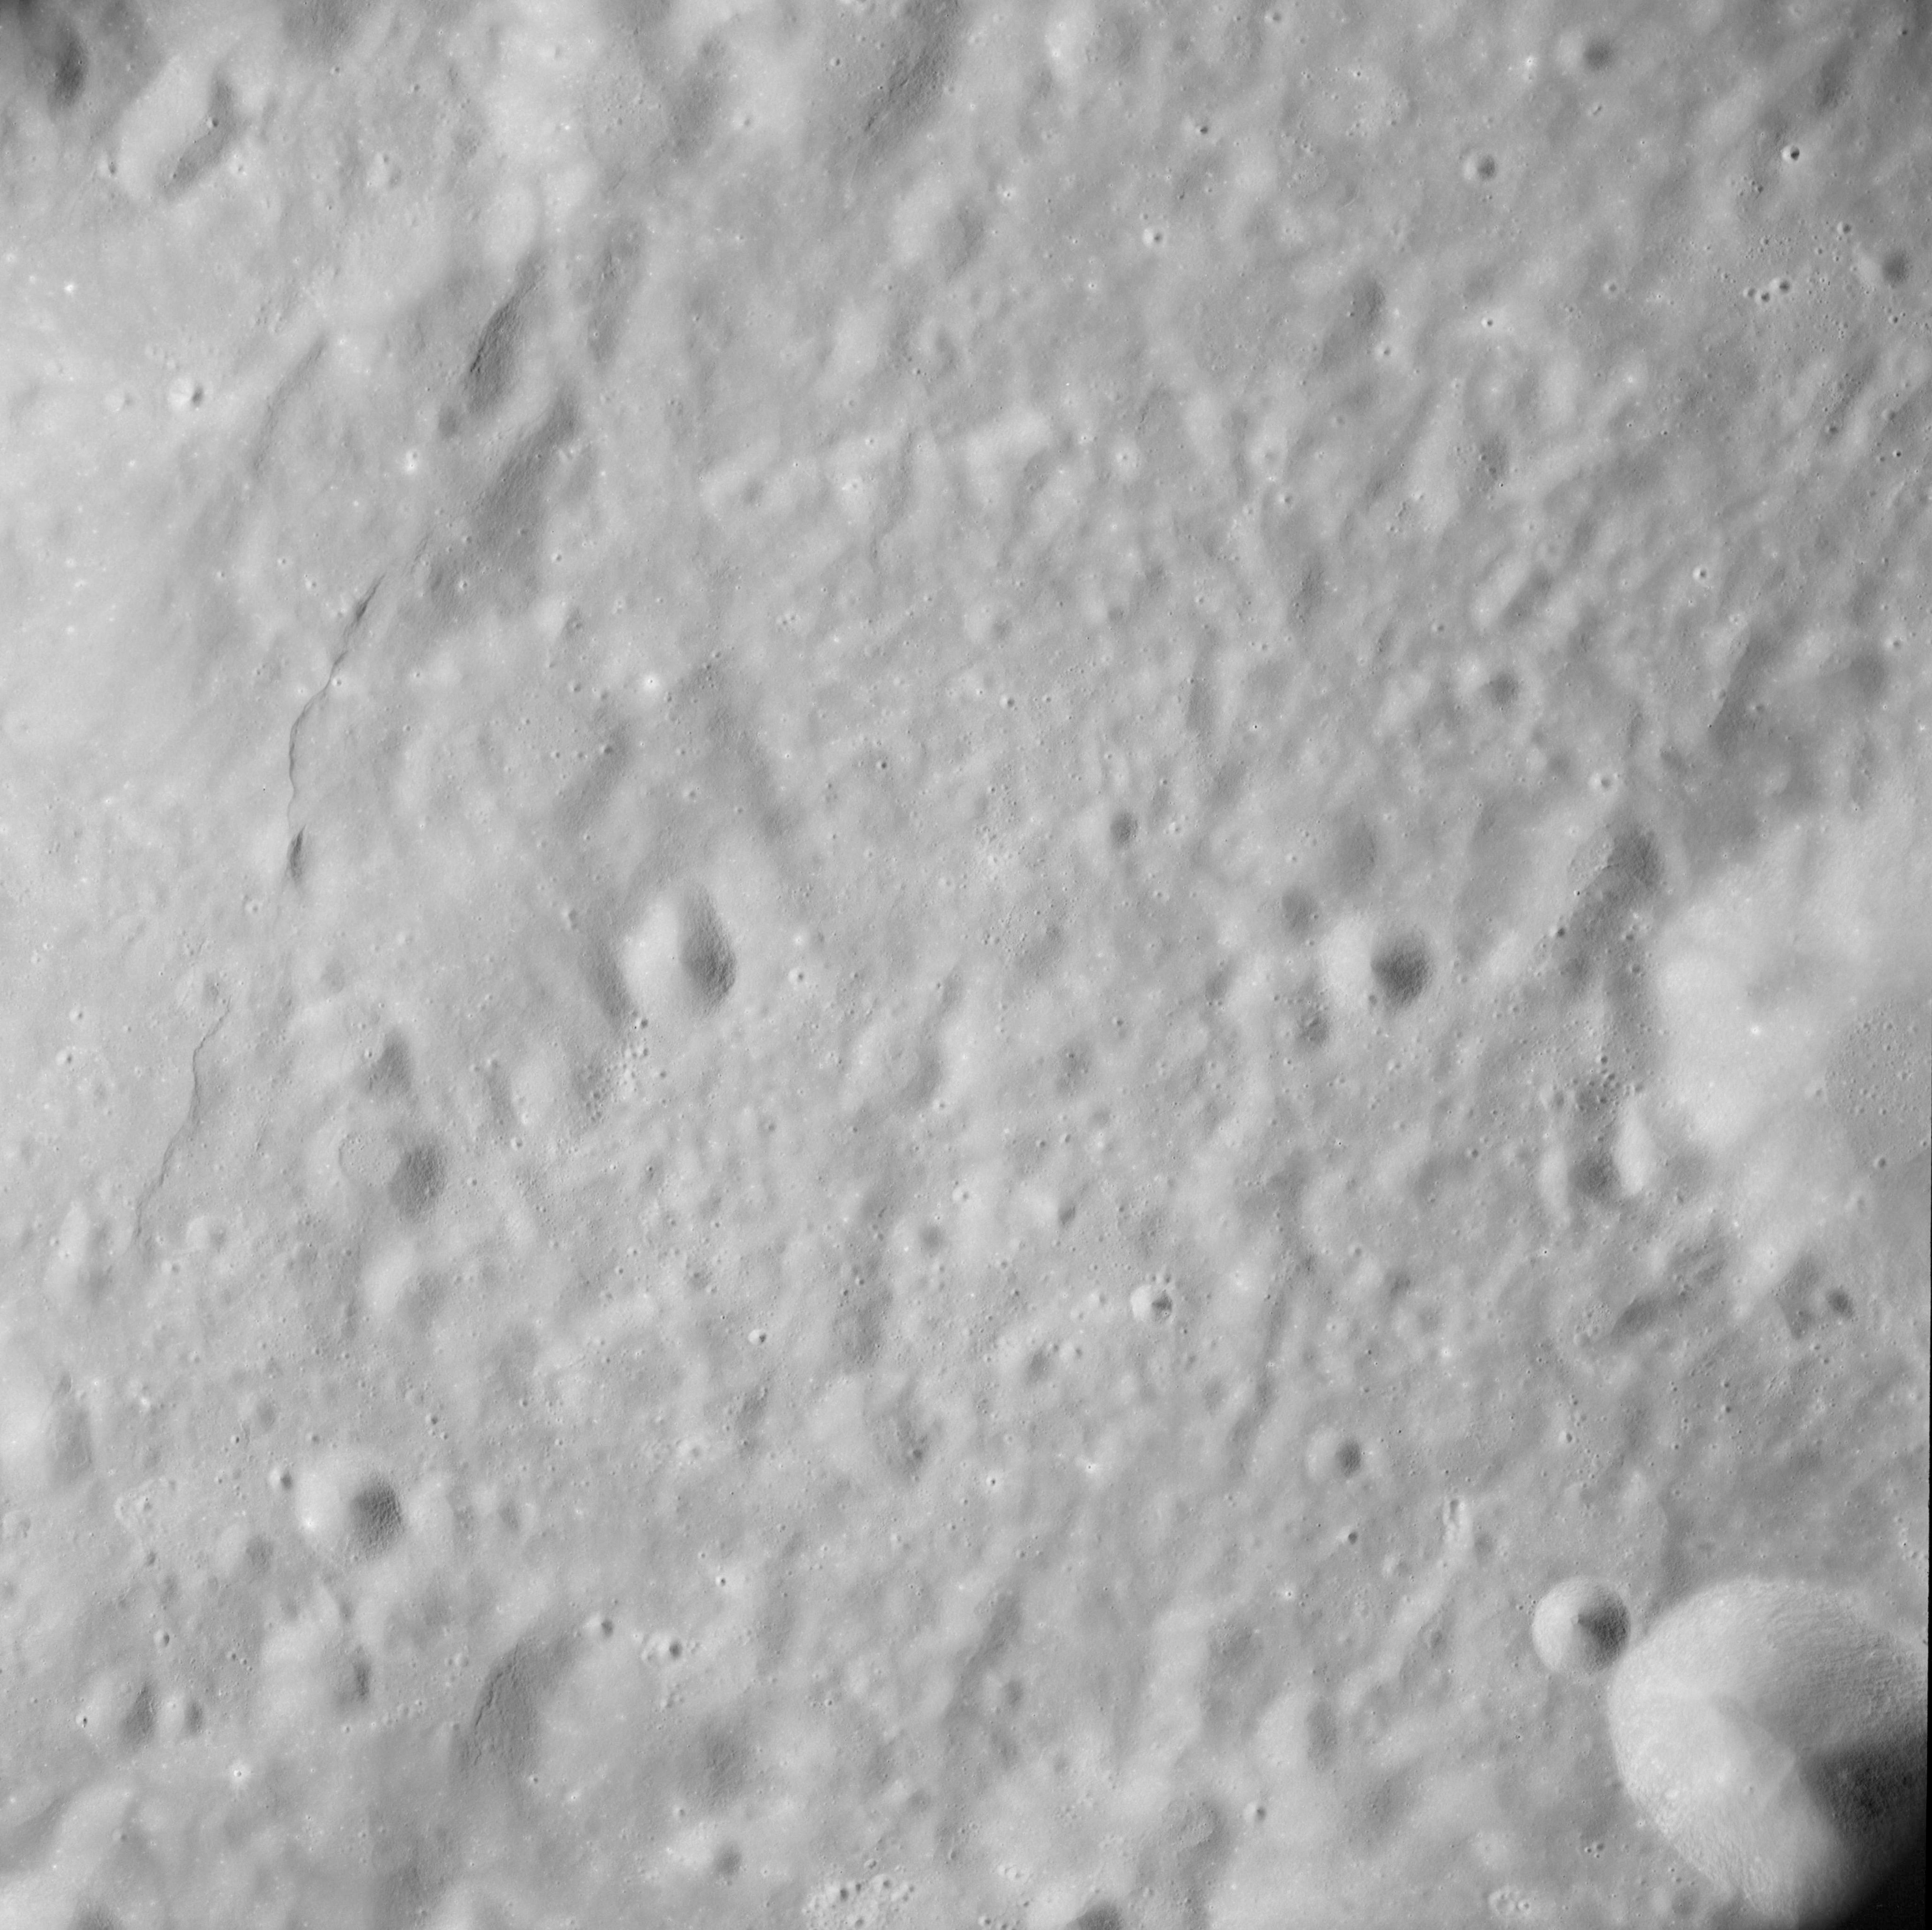 |
AS08-12-2079 Between Daedalus and Racah. Image credit: Image Science and Analysis Laboratory, NASA-Johnson Space Center. |
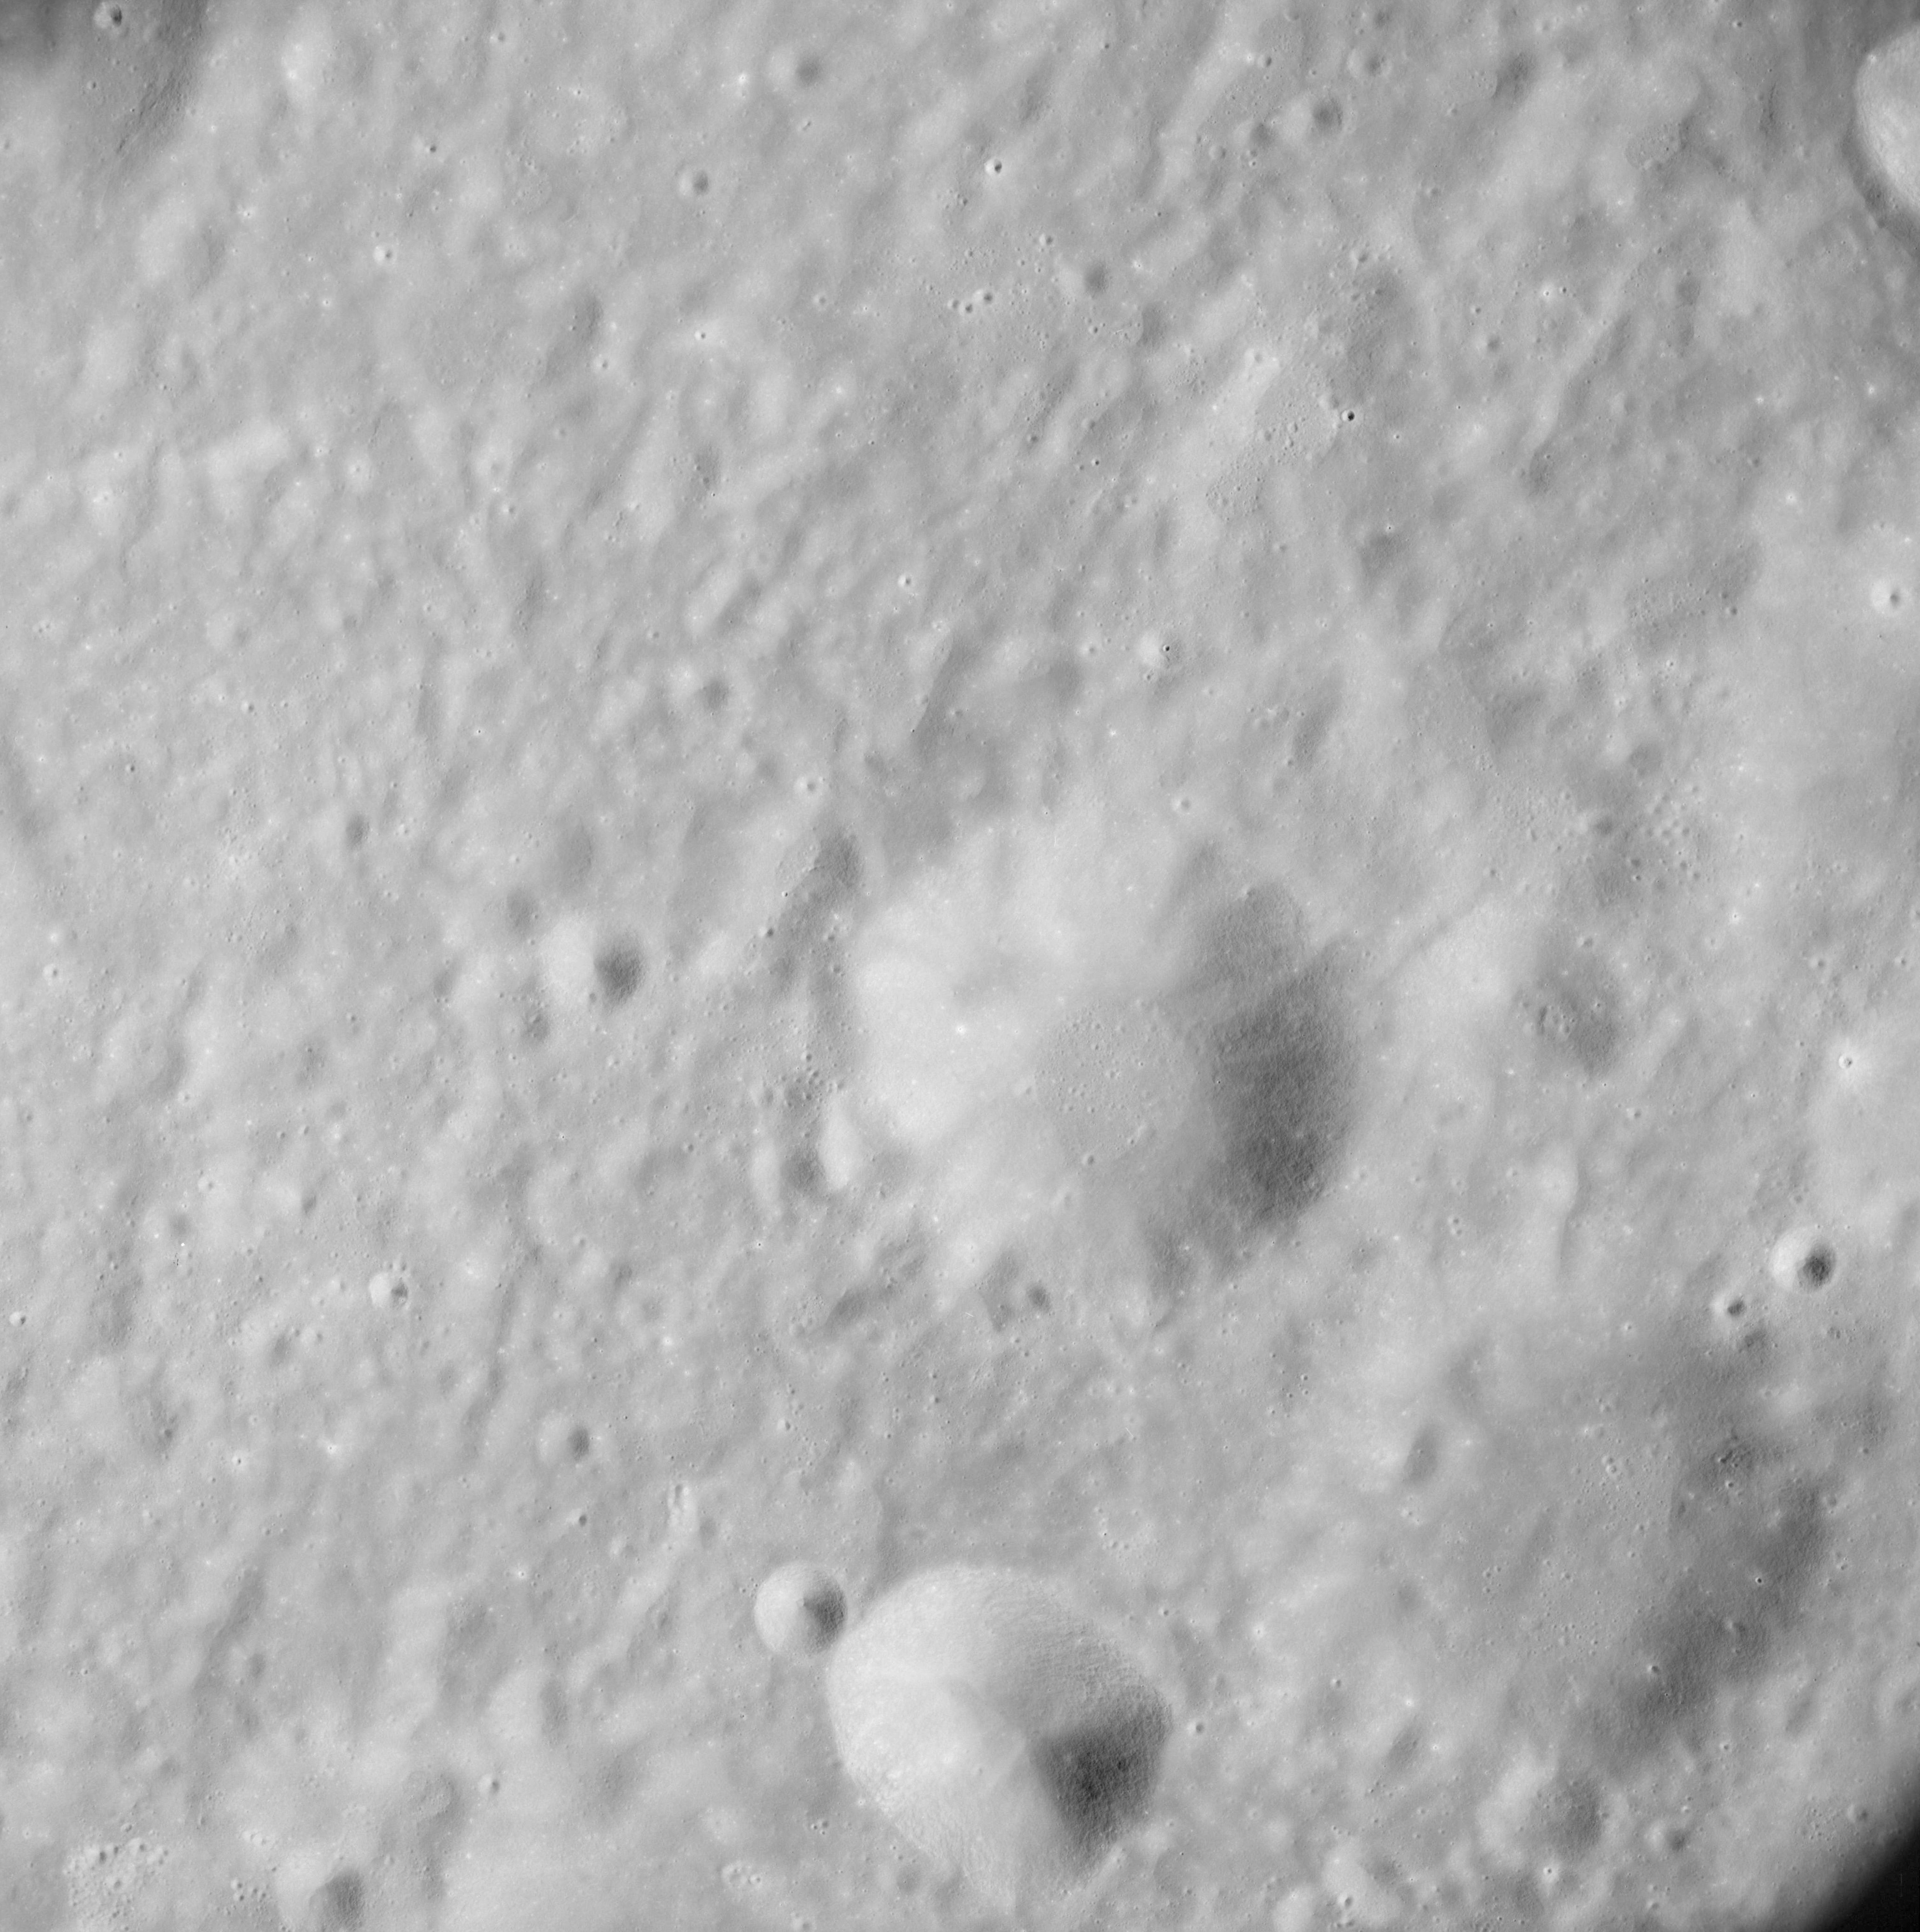 |
AS08-12-2080 Between Daedalus and Racah. Image credit: Image Science and Analysis Laboratory, NASA-Johnson Space Center. |
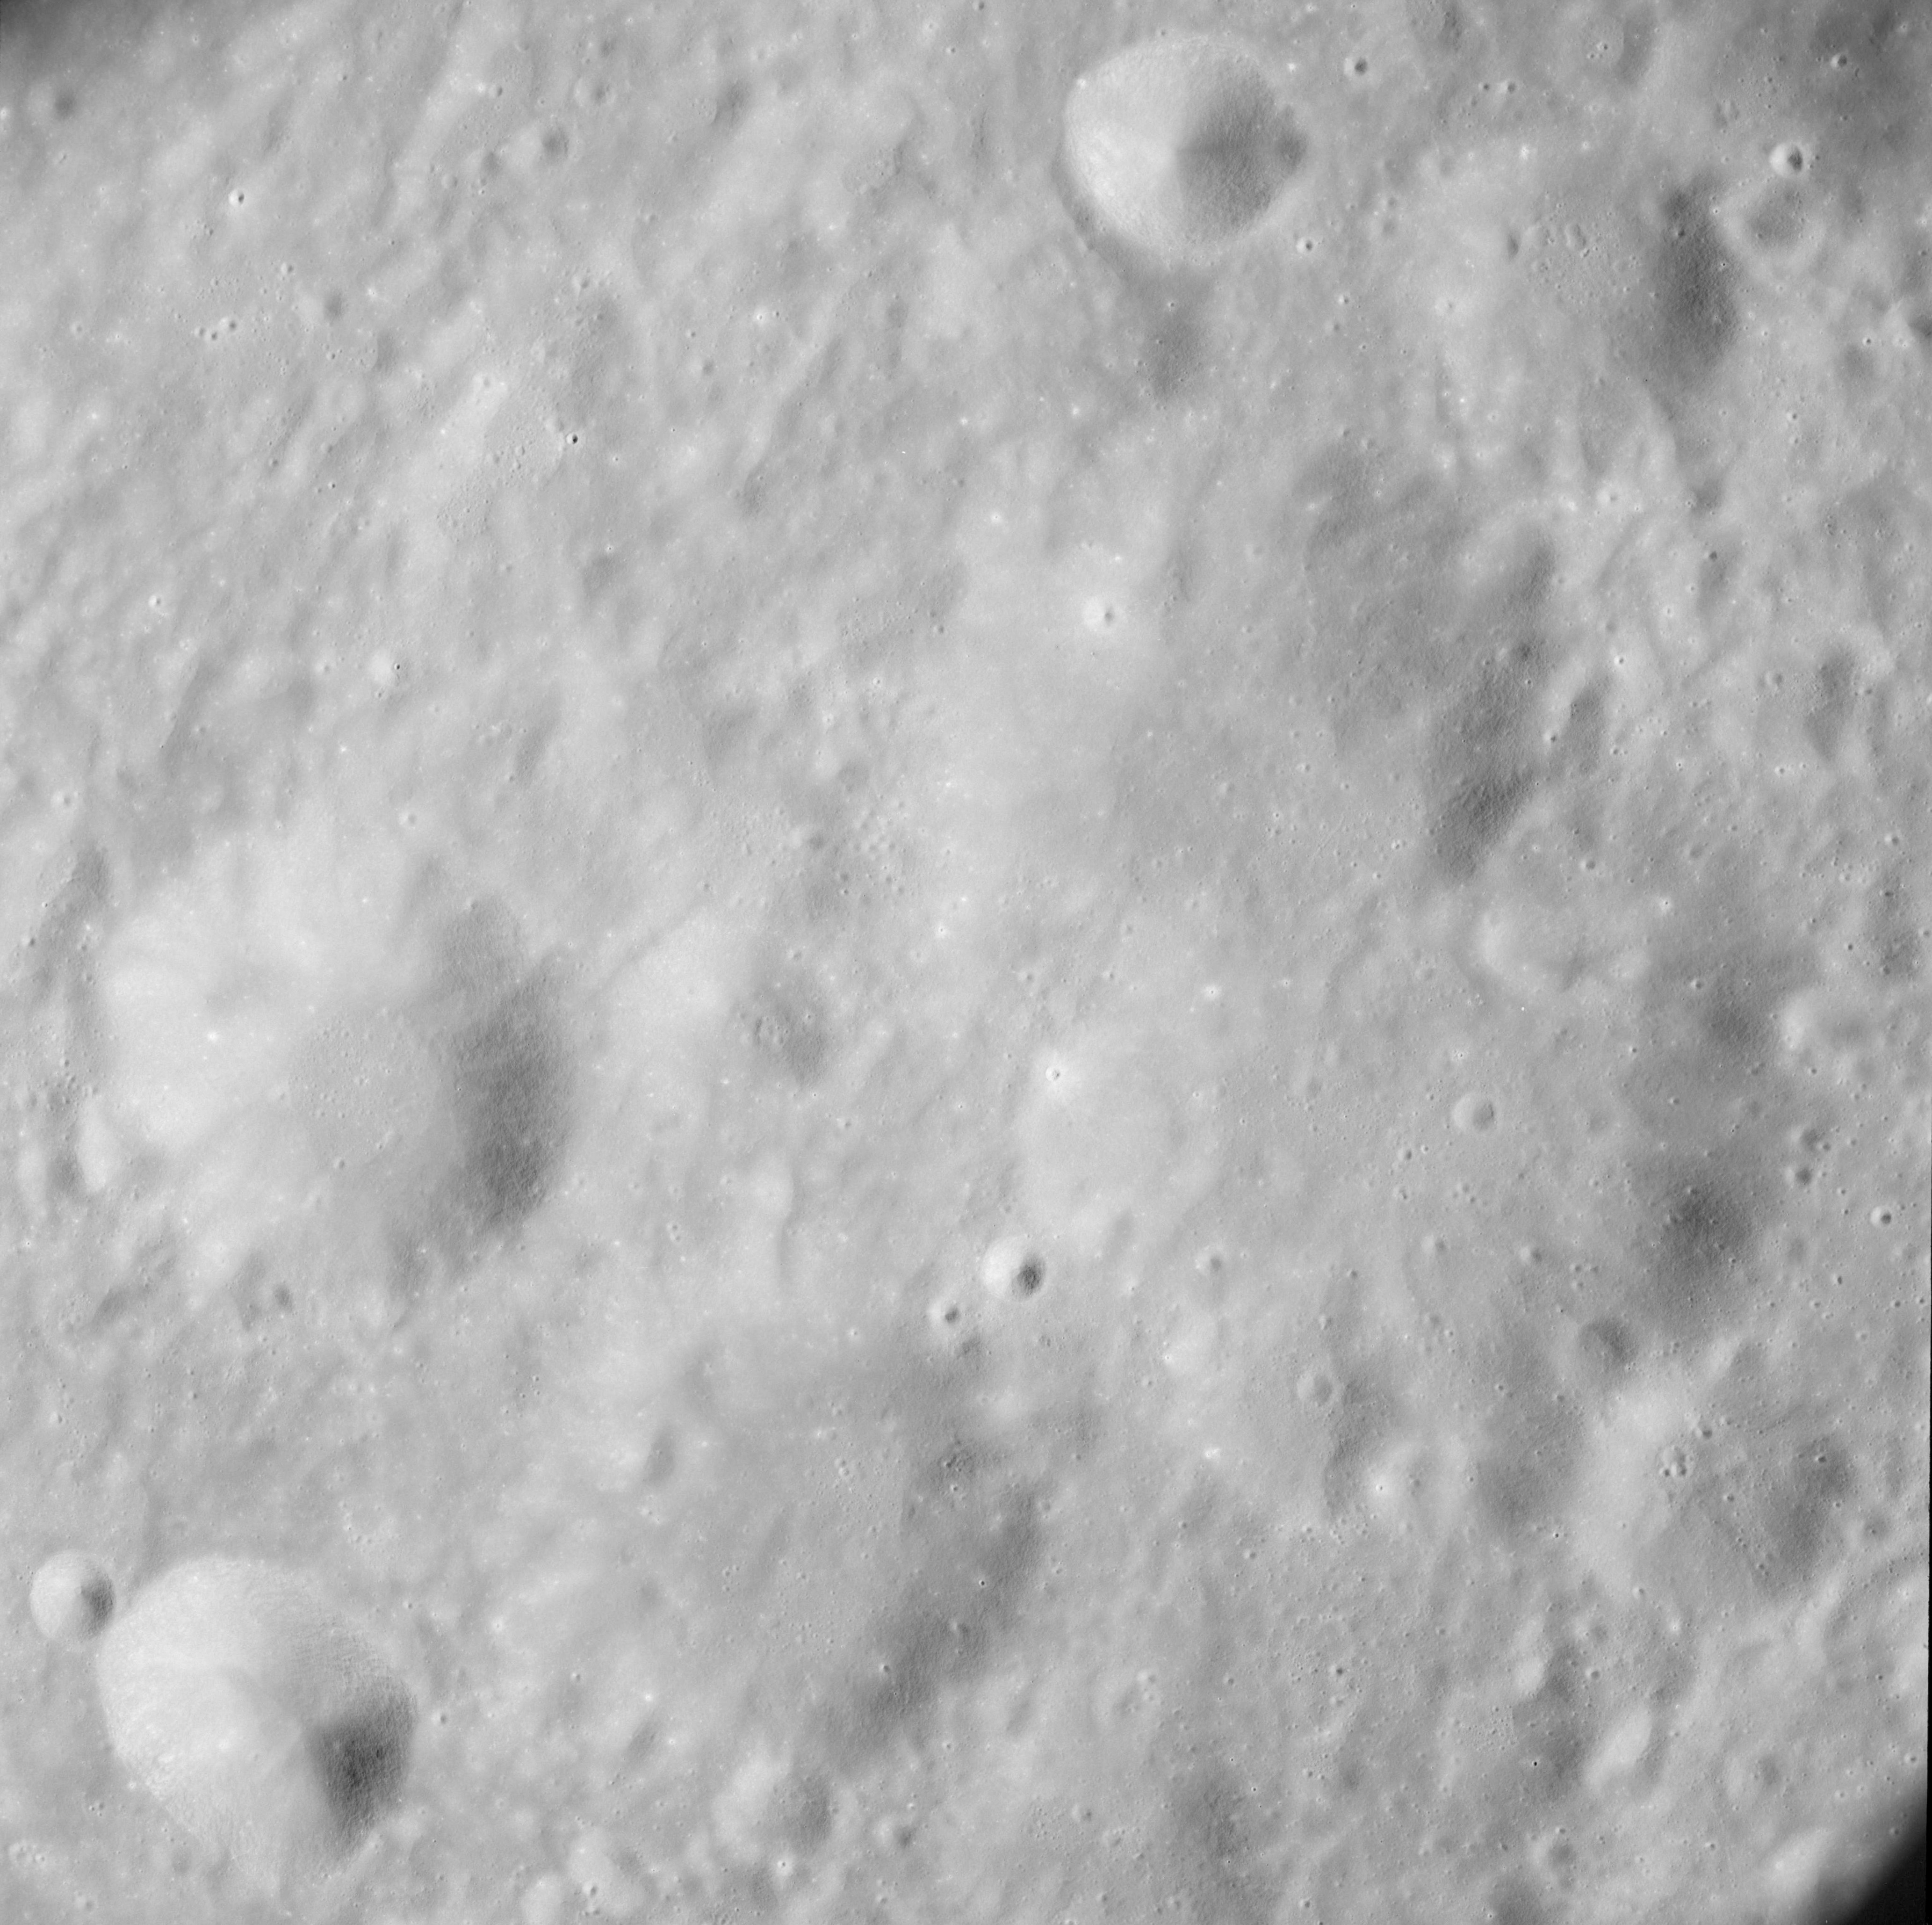 |
AS08-12-2081 Between Daedalus and Racah. Image credit: Image Science and Analysis Laboratory, NASA-Johnson Space Center. |
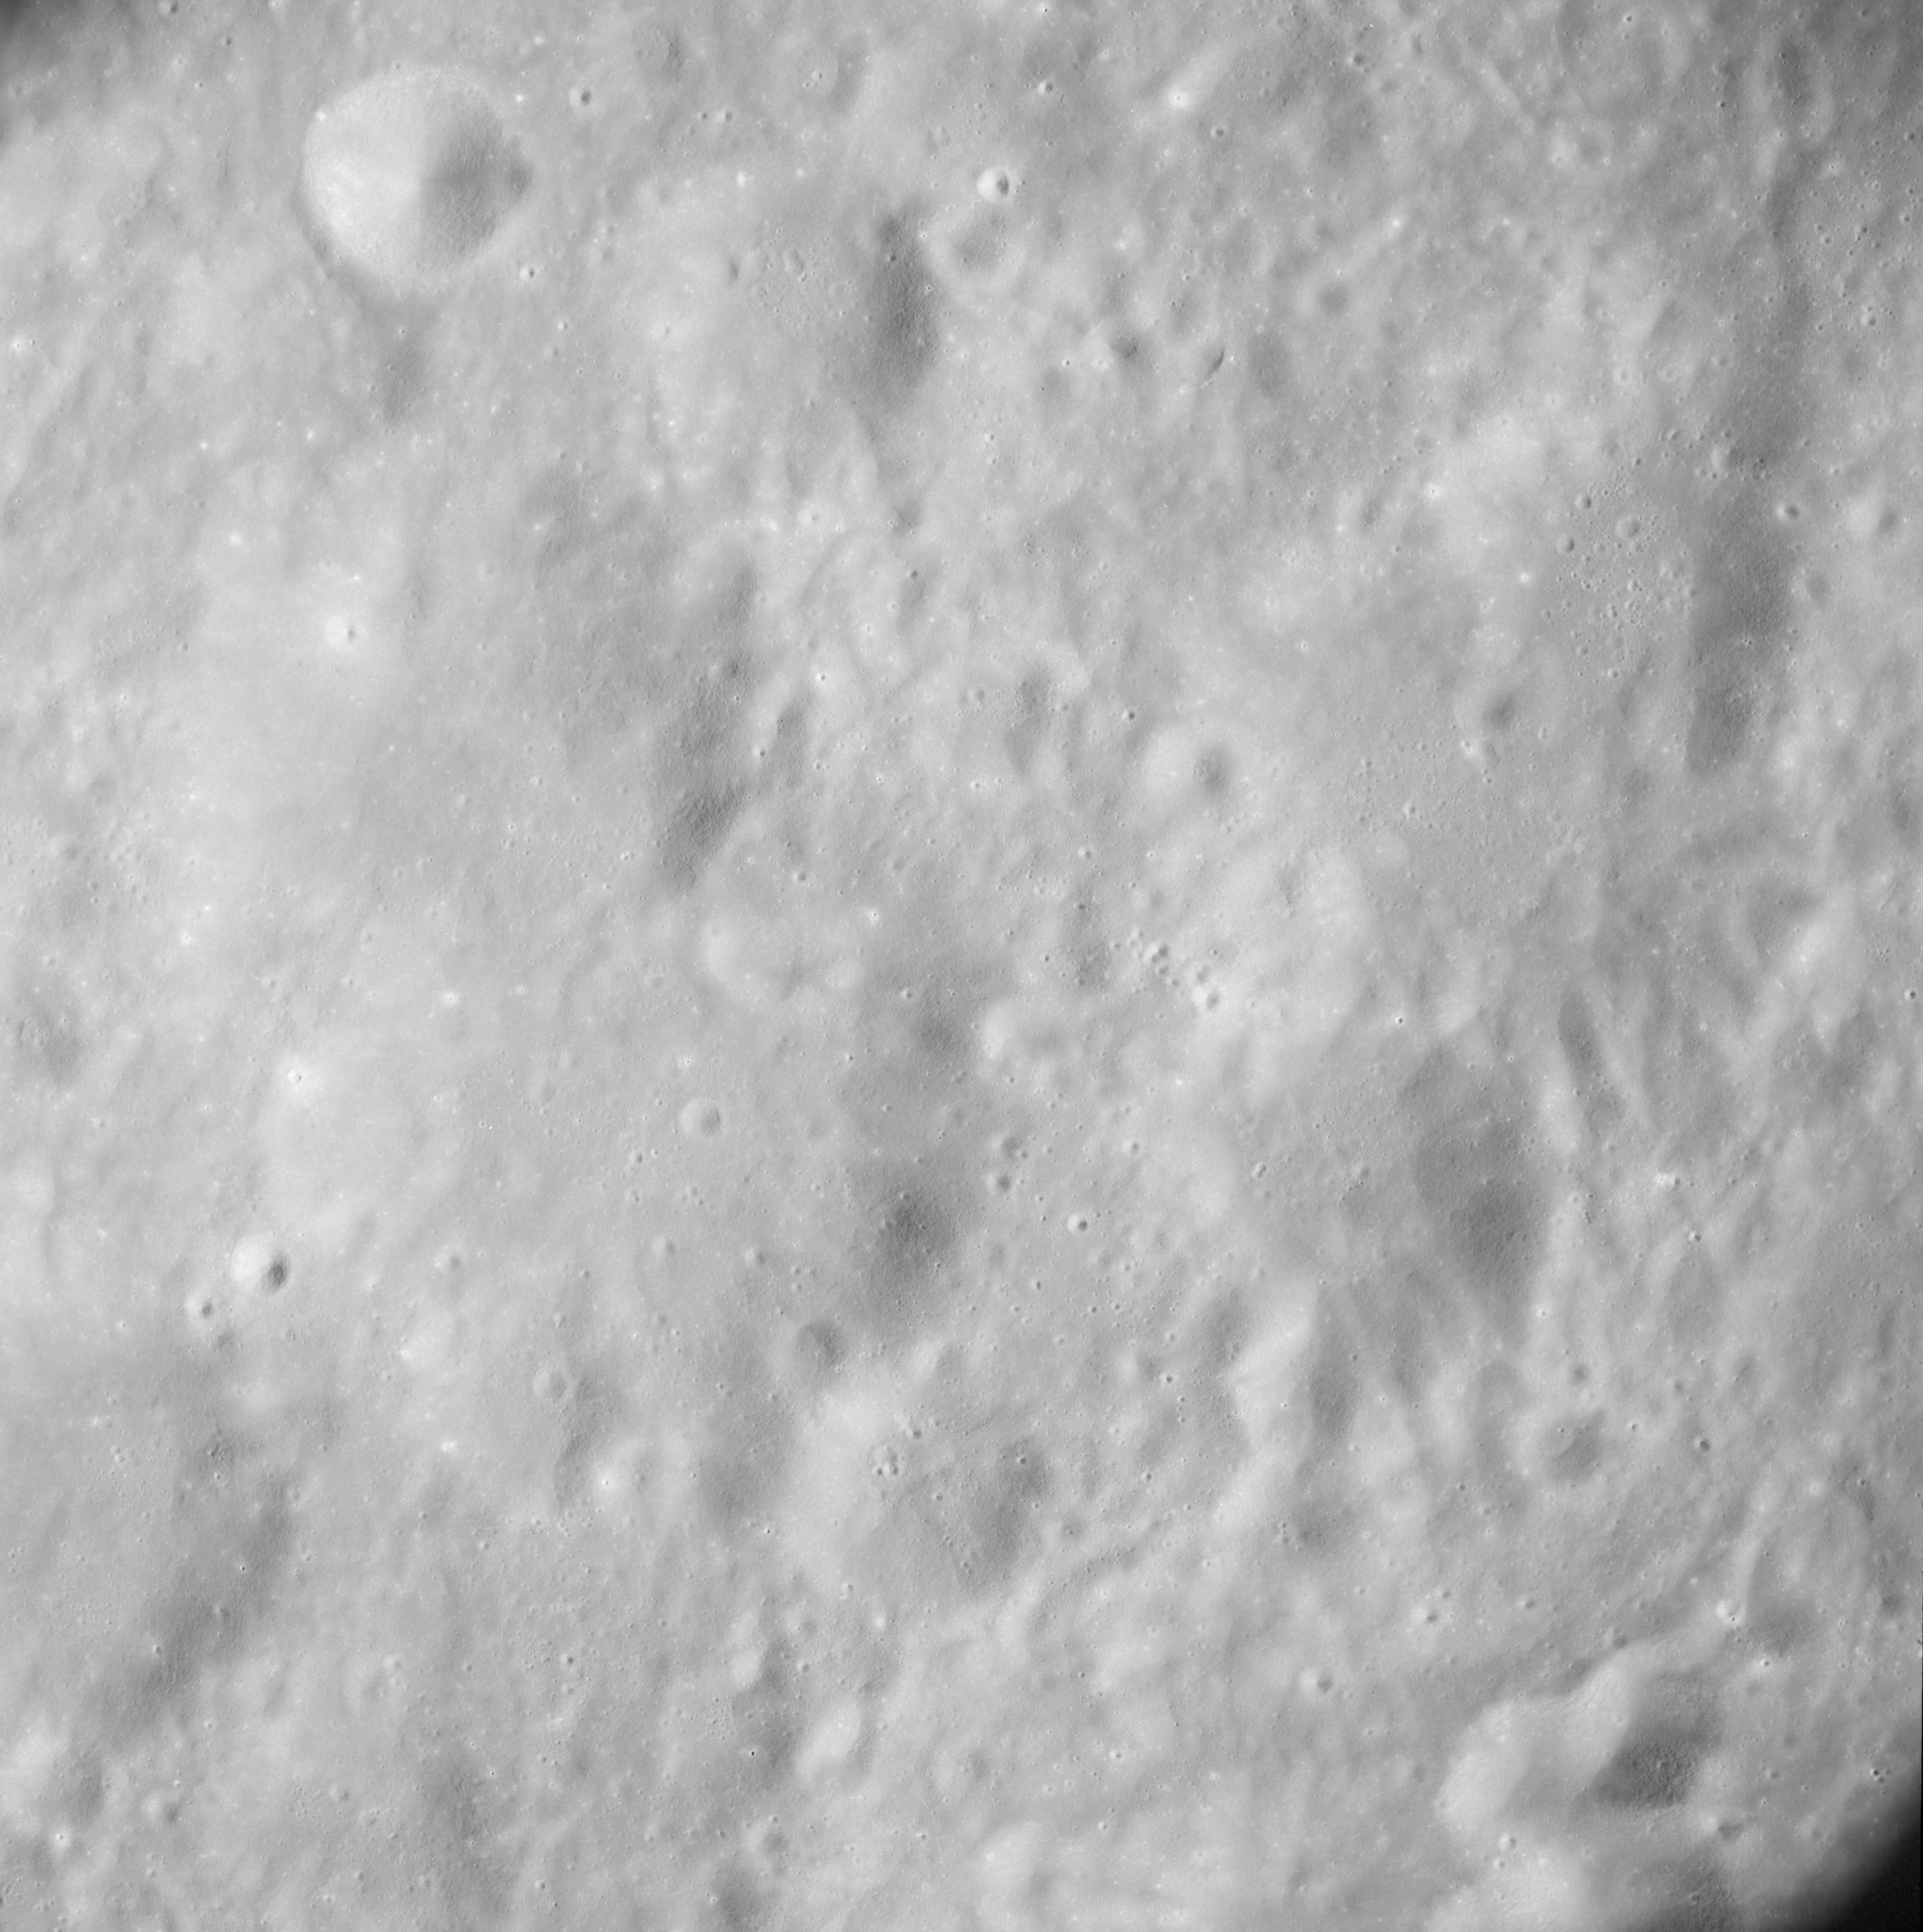 |
AS08-12-2082 Between Daedalus and Racah. Image credit: Image Science and Analysis Laboratory, NASA-Johnson Space Center. |
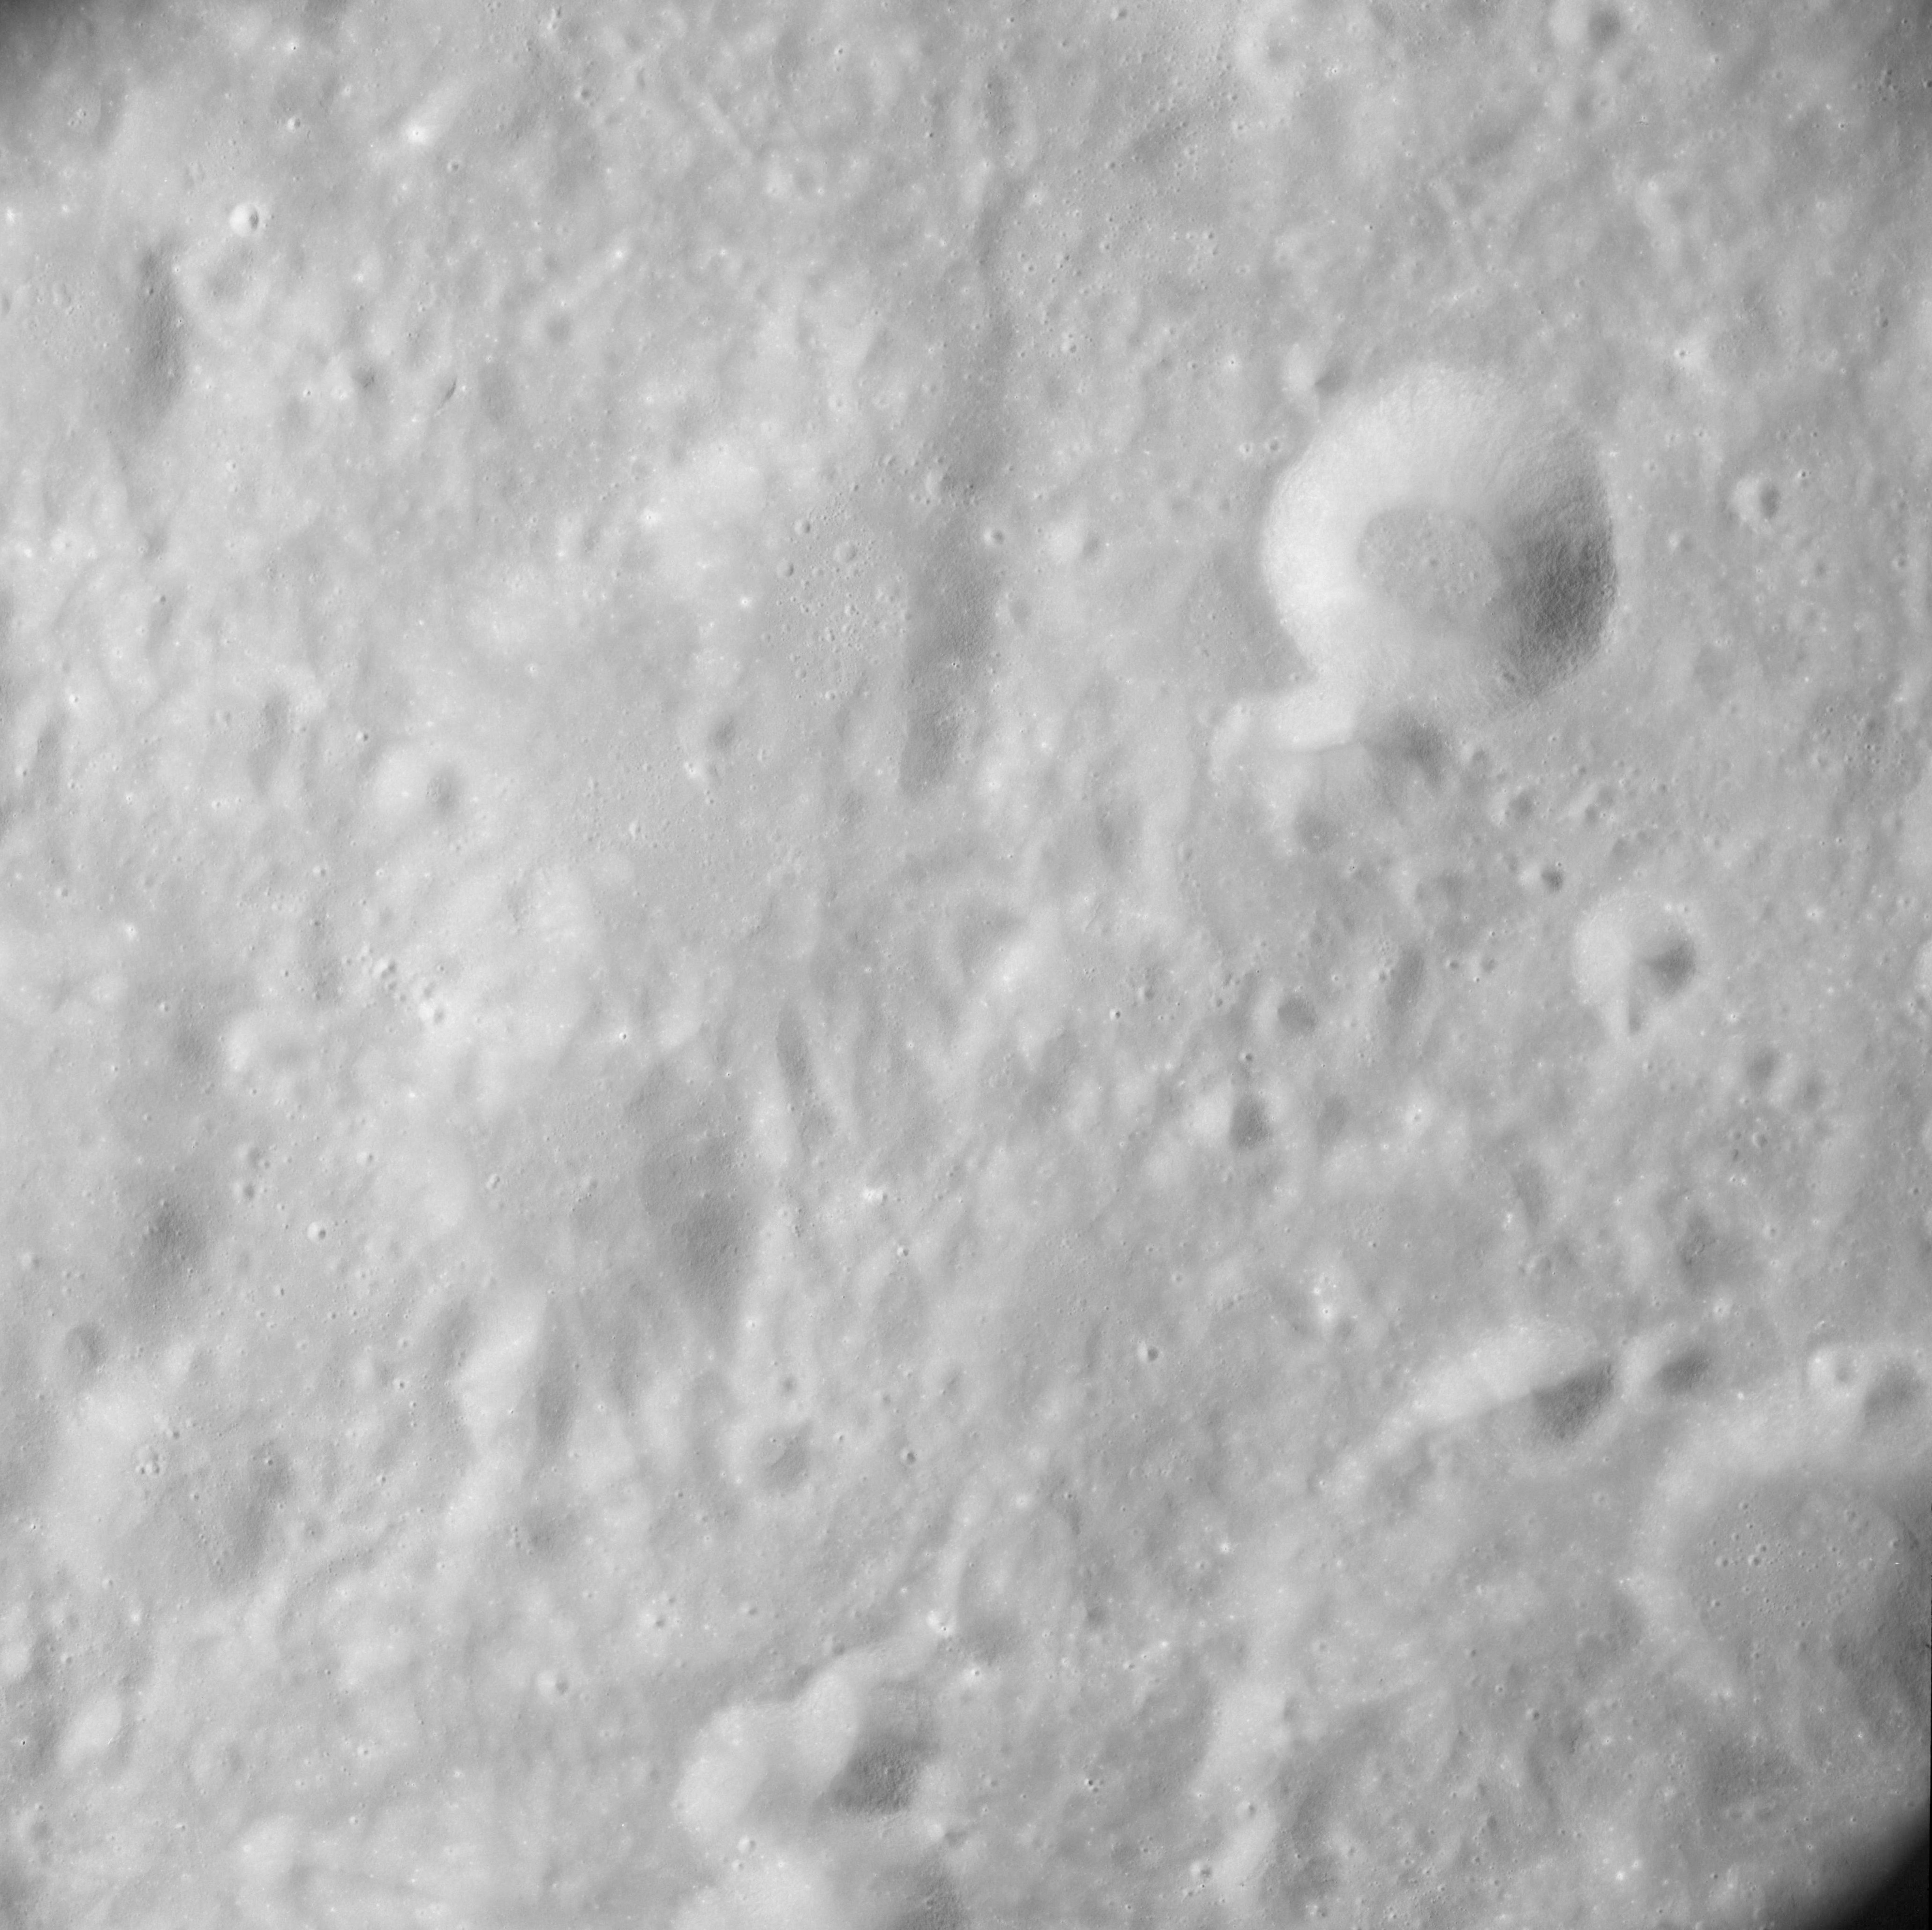 |
AS08-12-2083 East of Heaviside. Image credit: Image Science and Analysis Laboratory, NASA-Johnson Space Center. |
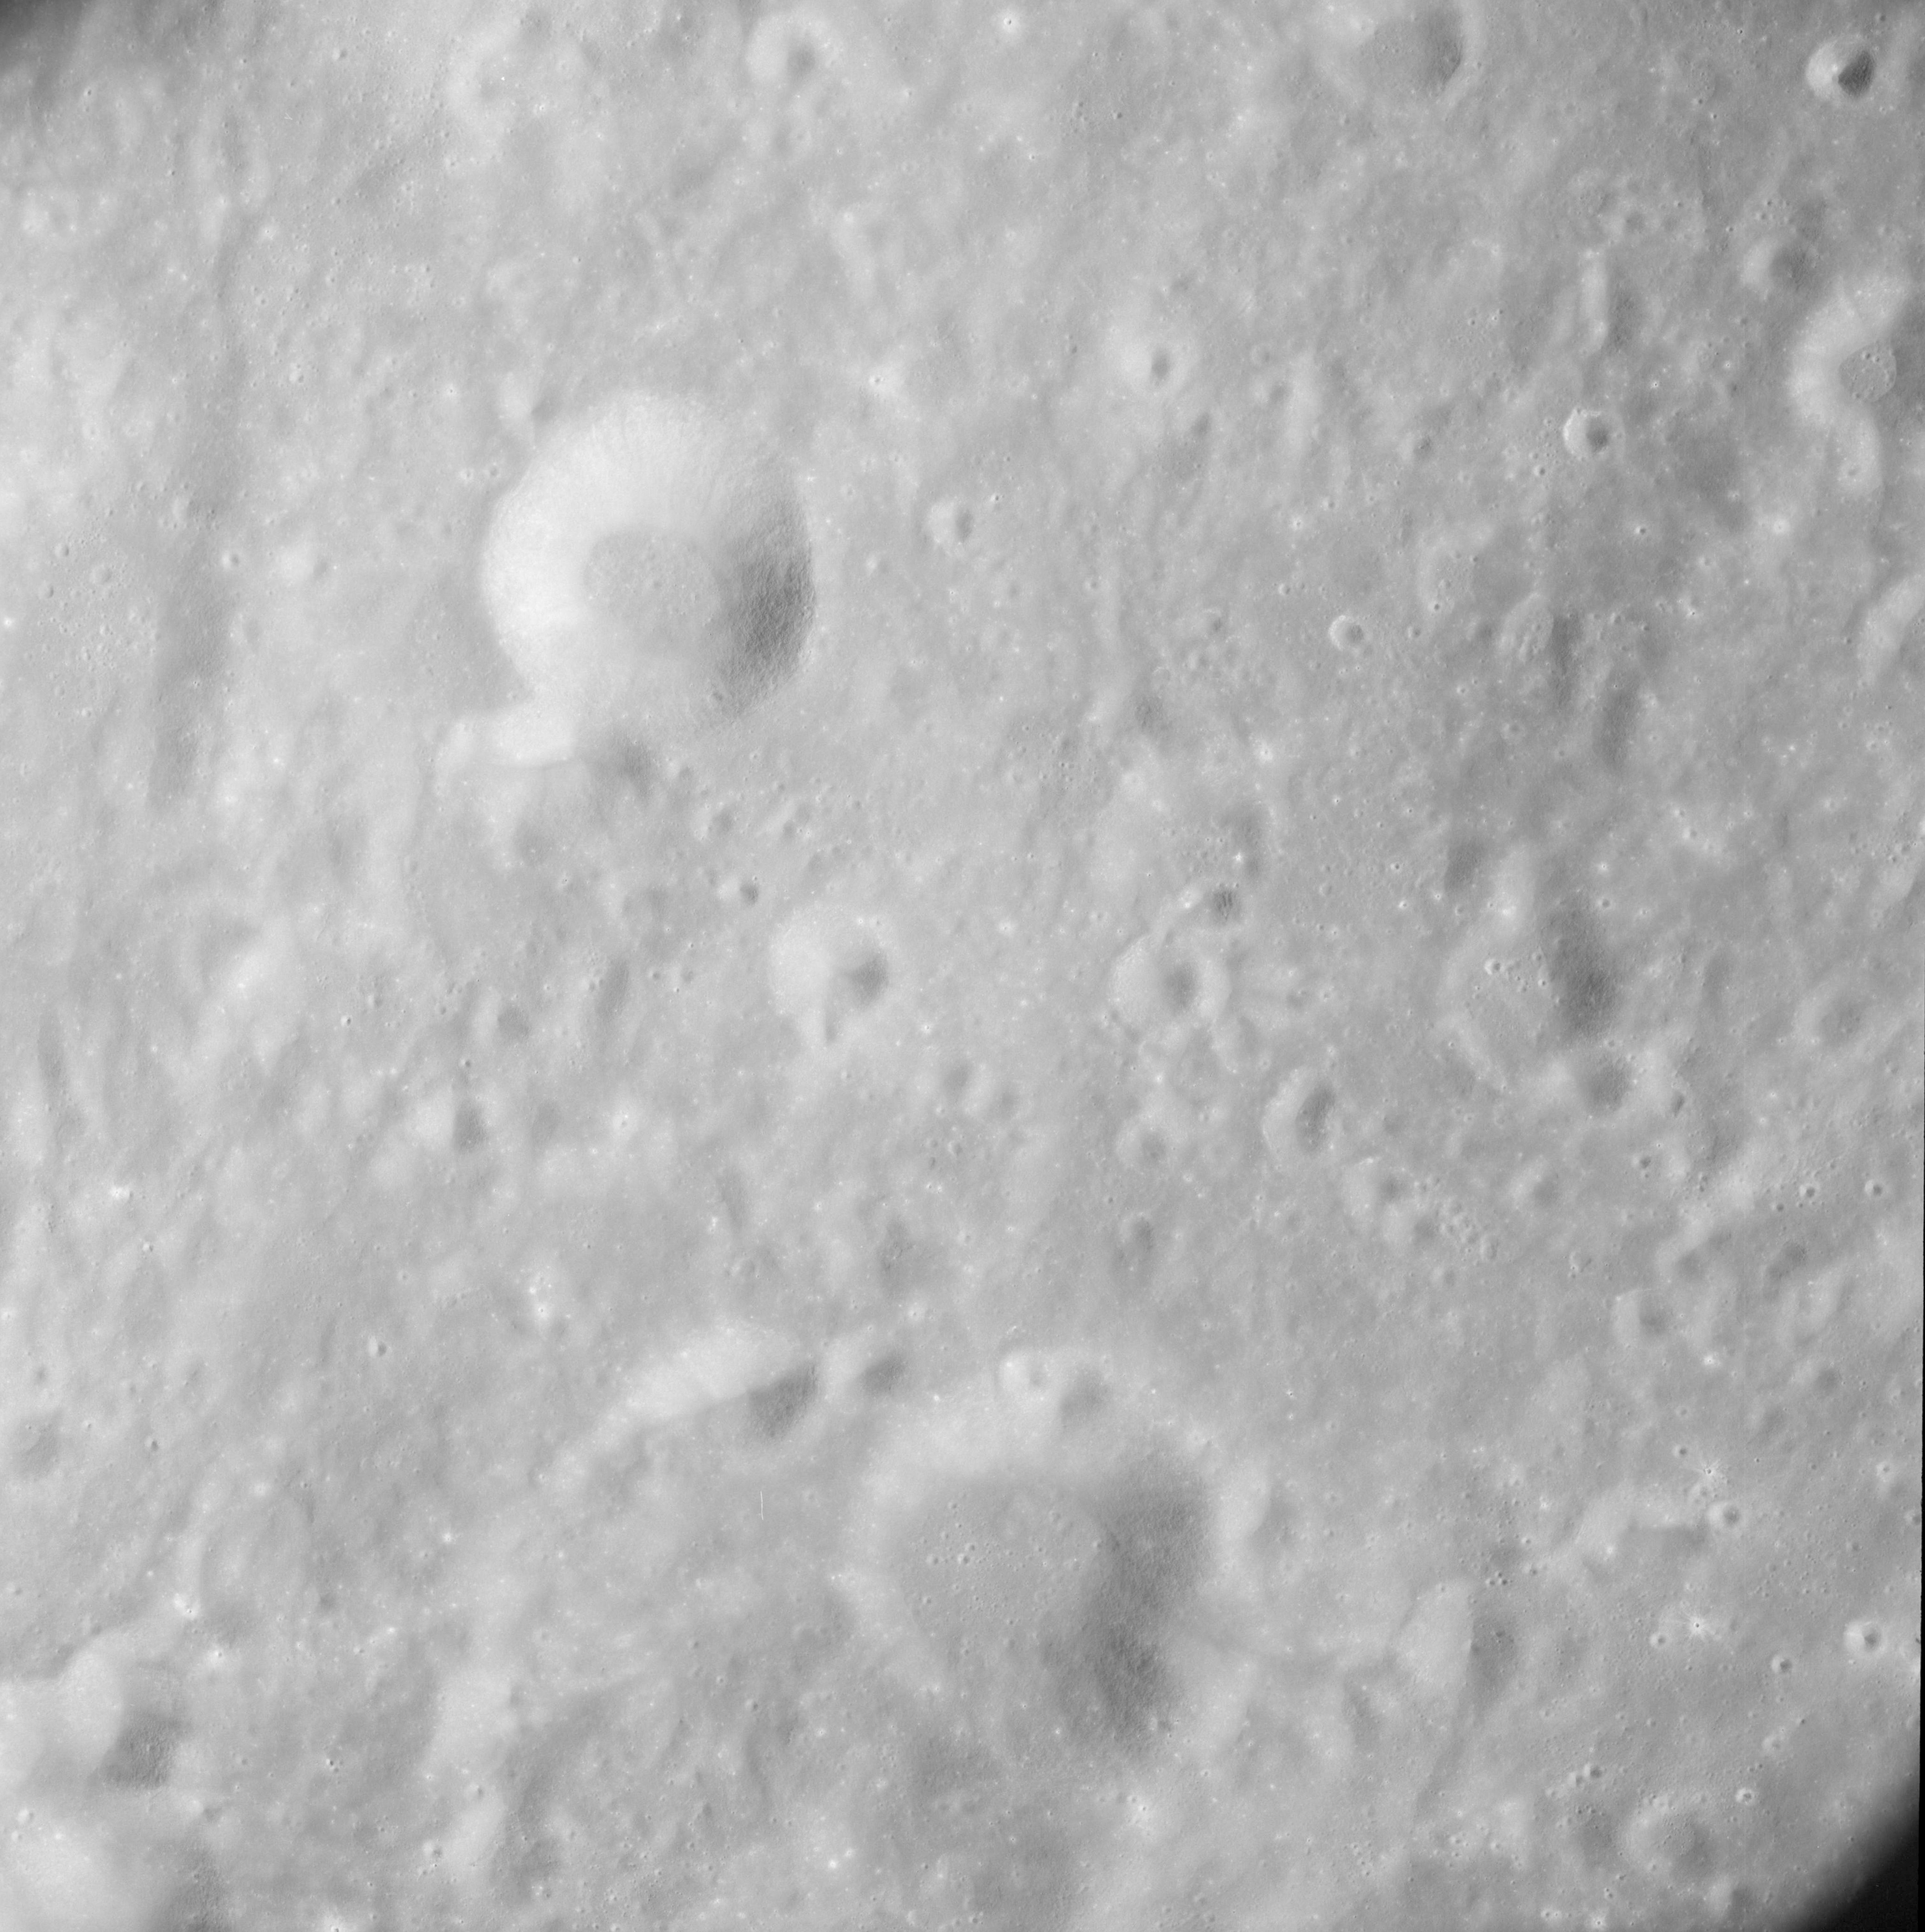 |
AS08-12-2084 East of Heaviside. Image credit: Image Science and Analysis Laboratory, NASA-Johnson Space Center. |
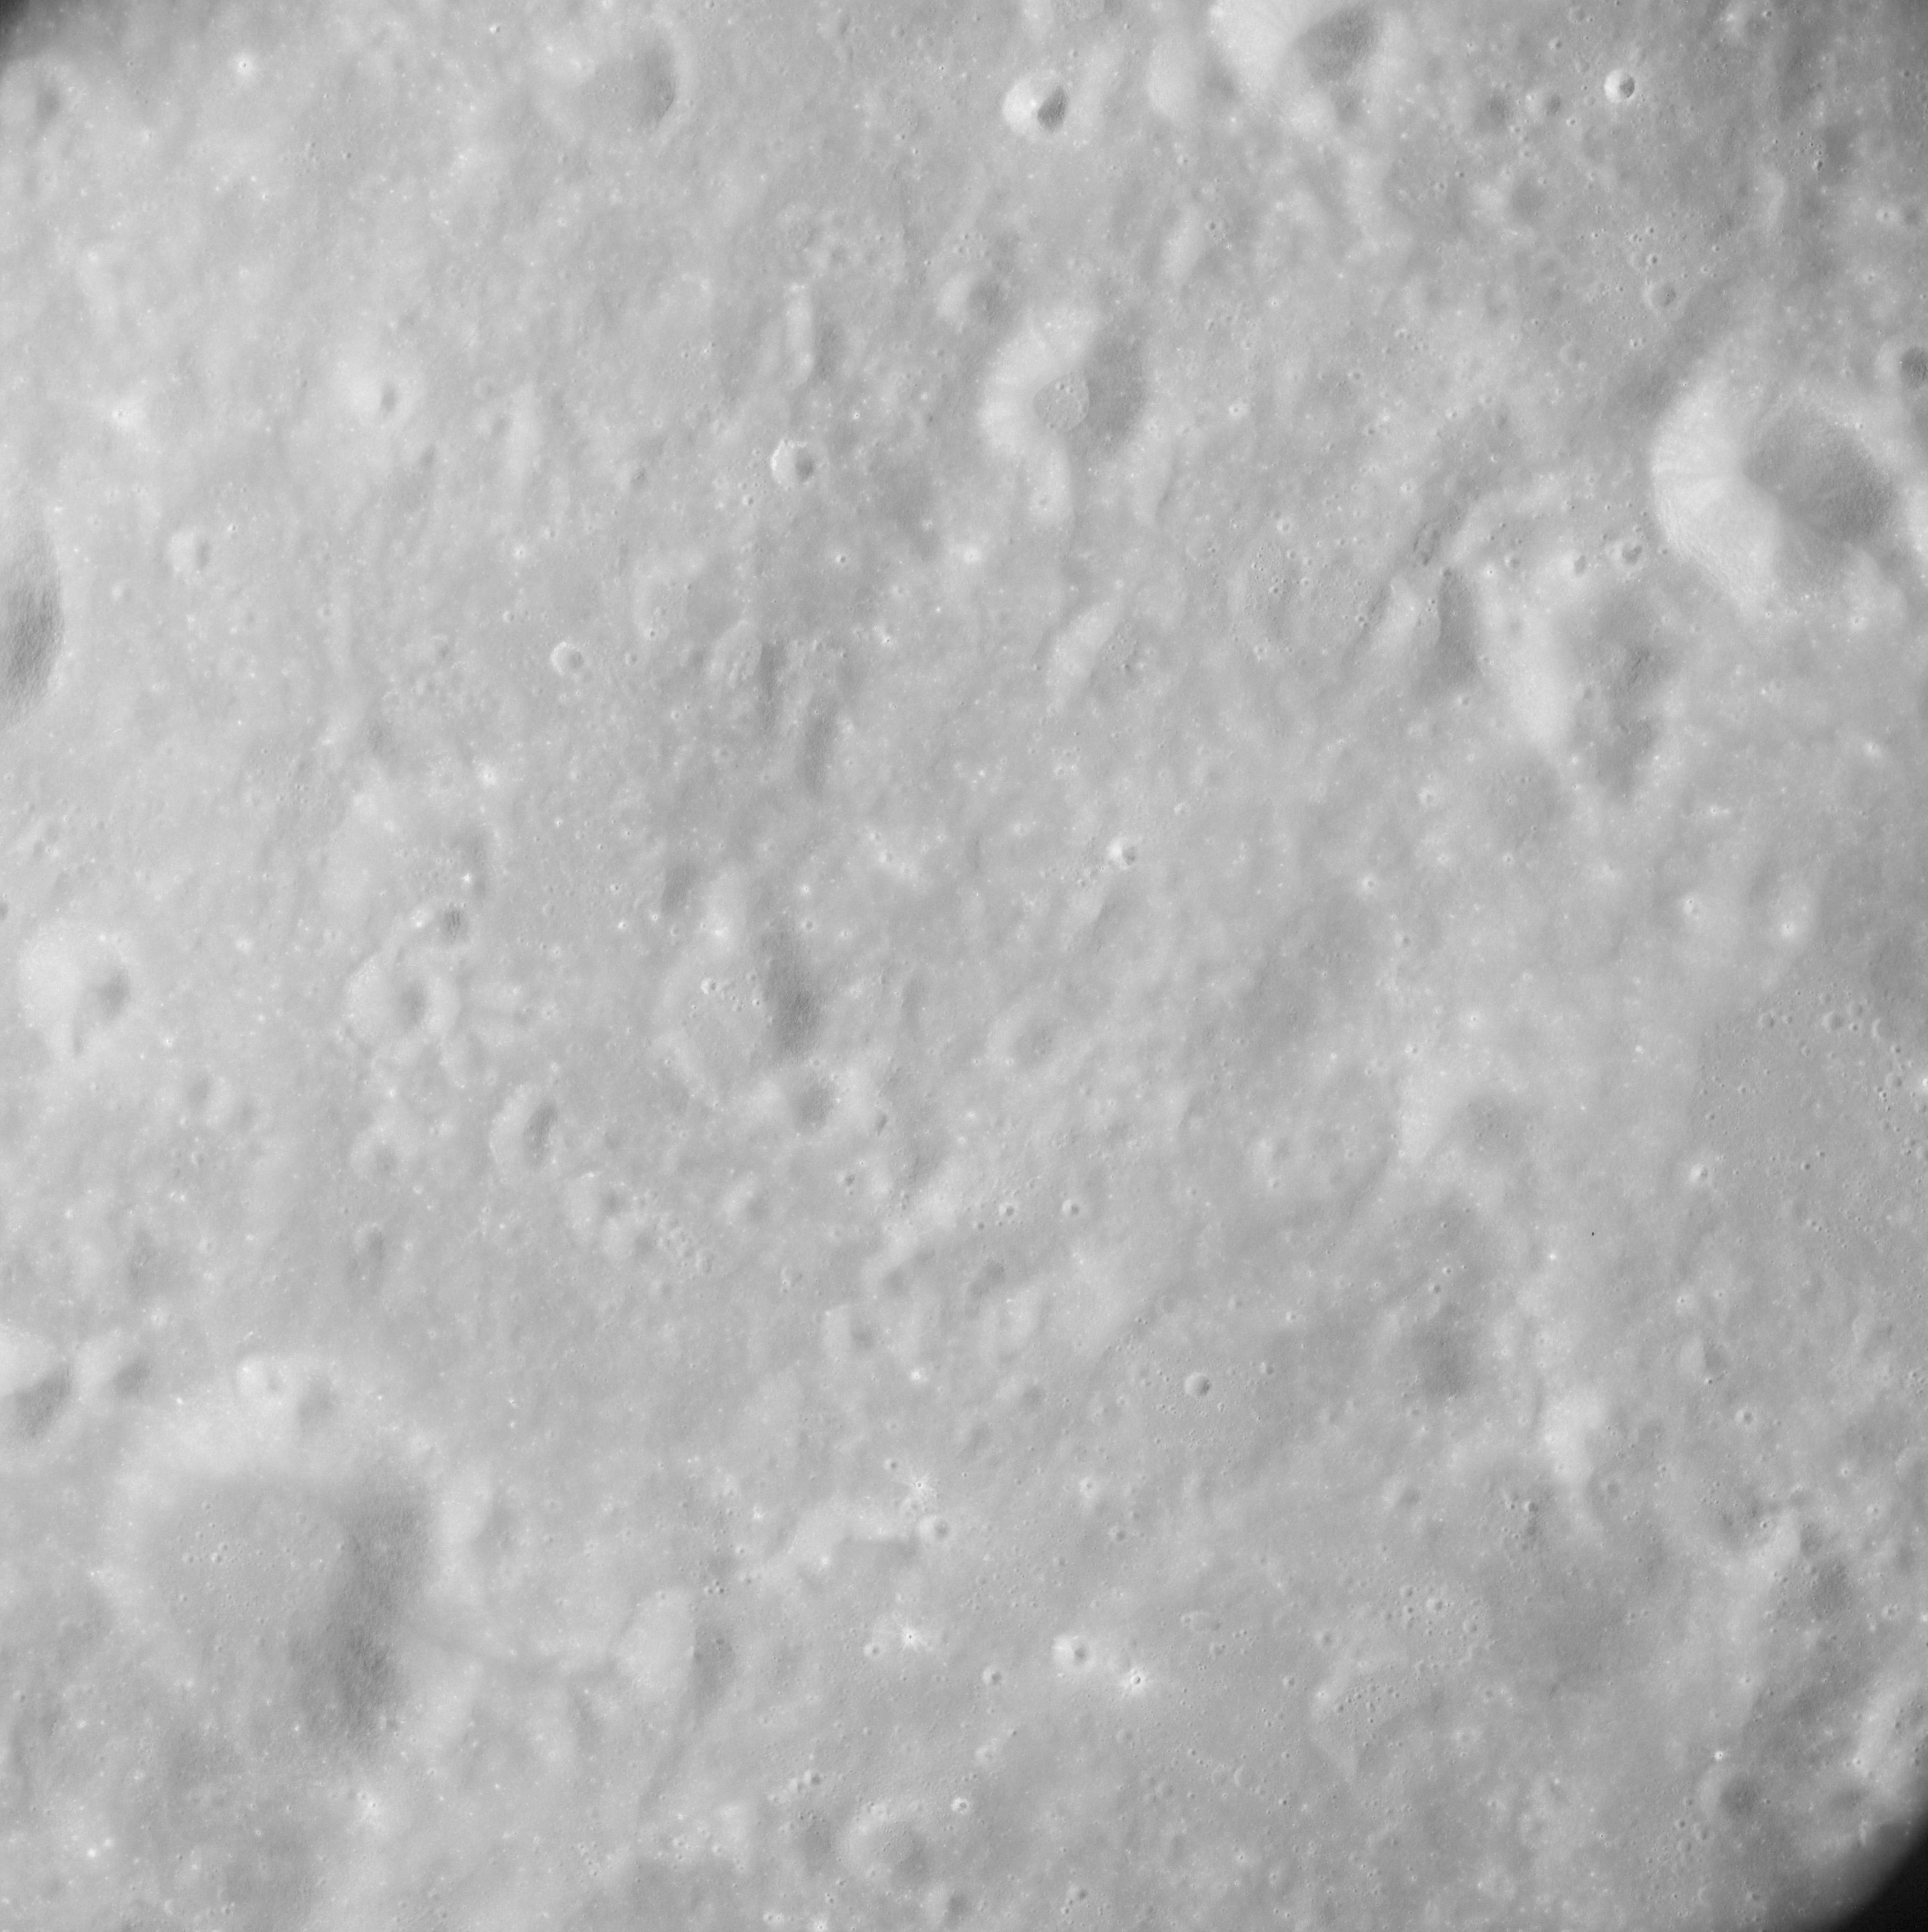 |
AS08-12-2085 East of Heaviside. Image credit: Image Science and Analysis Laboratory, NASA-Johnson Space Center. |
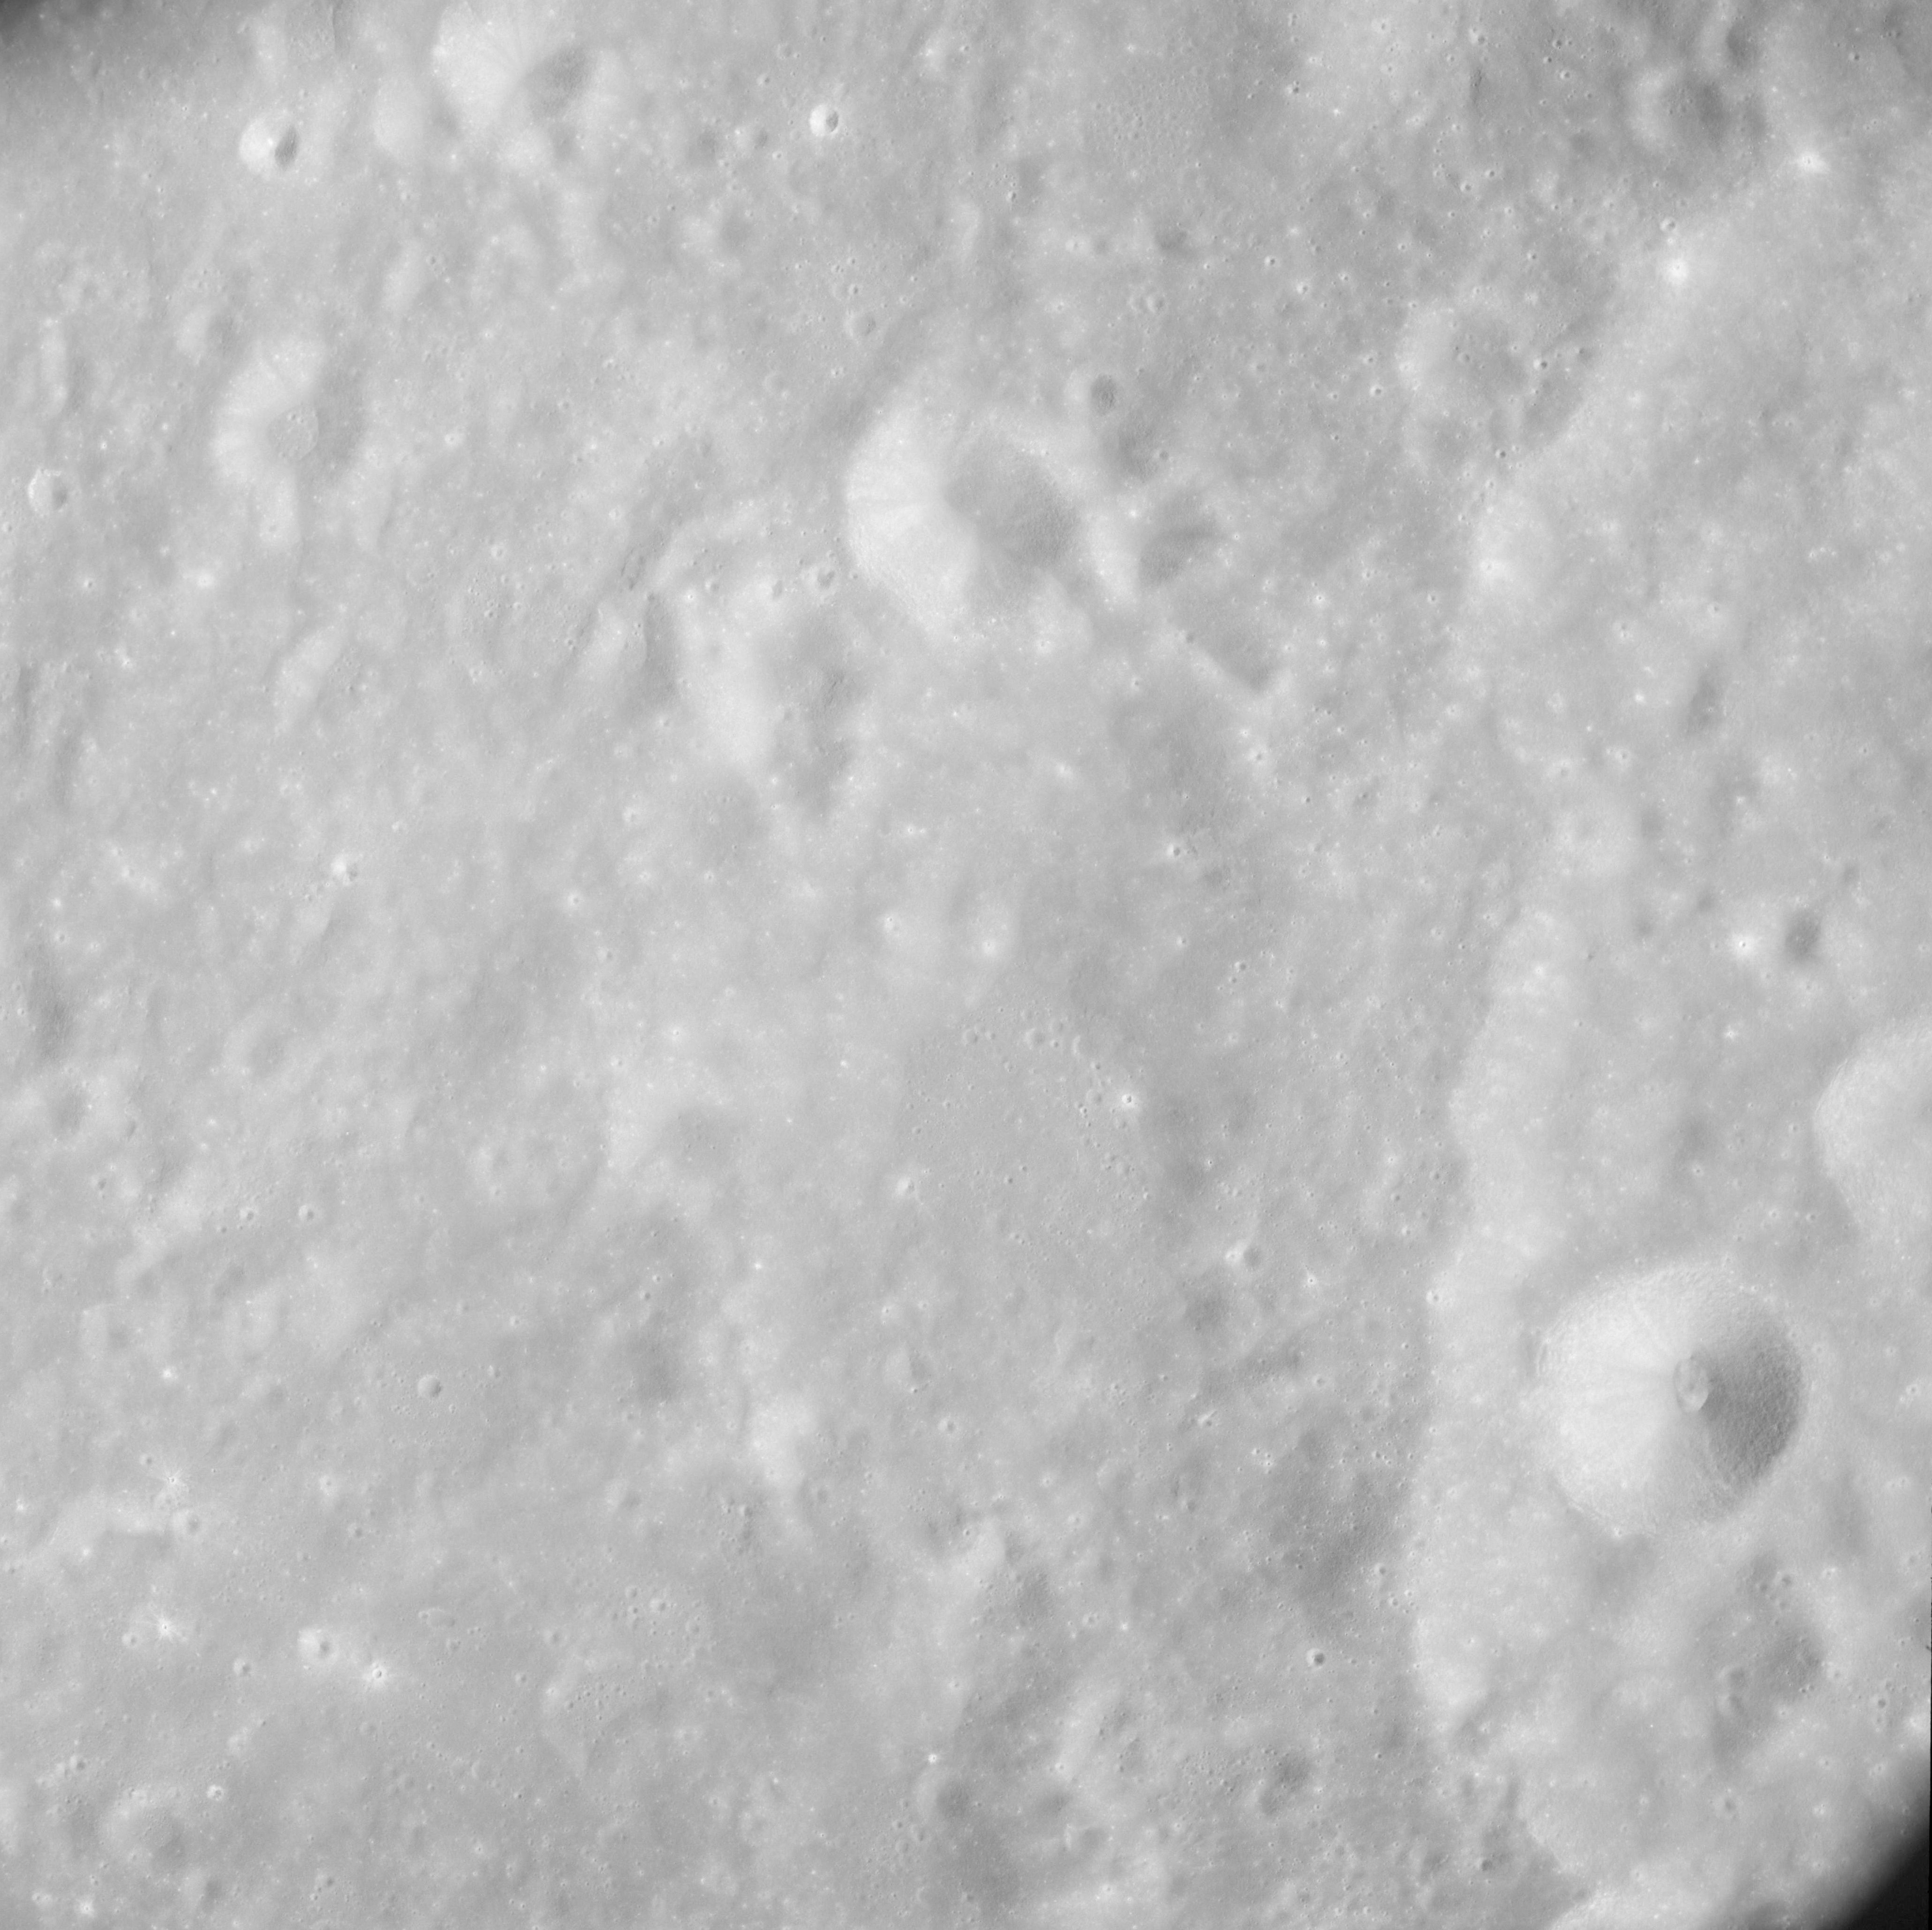 |
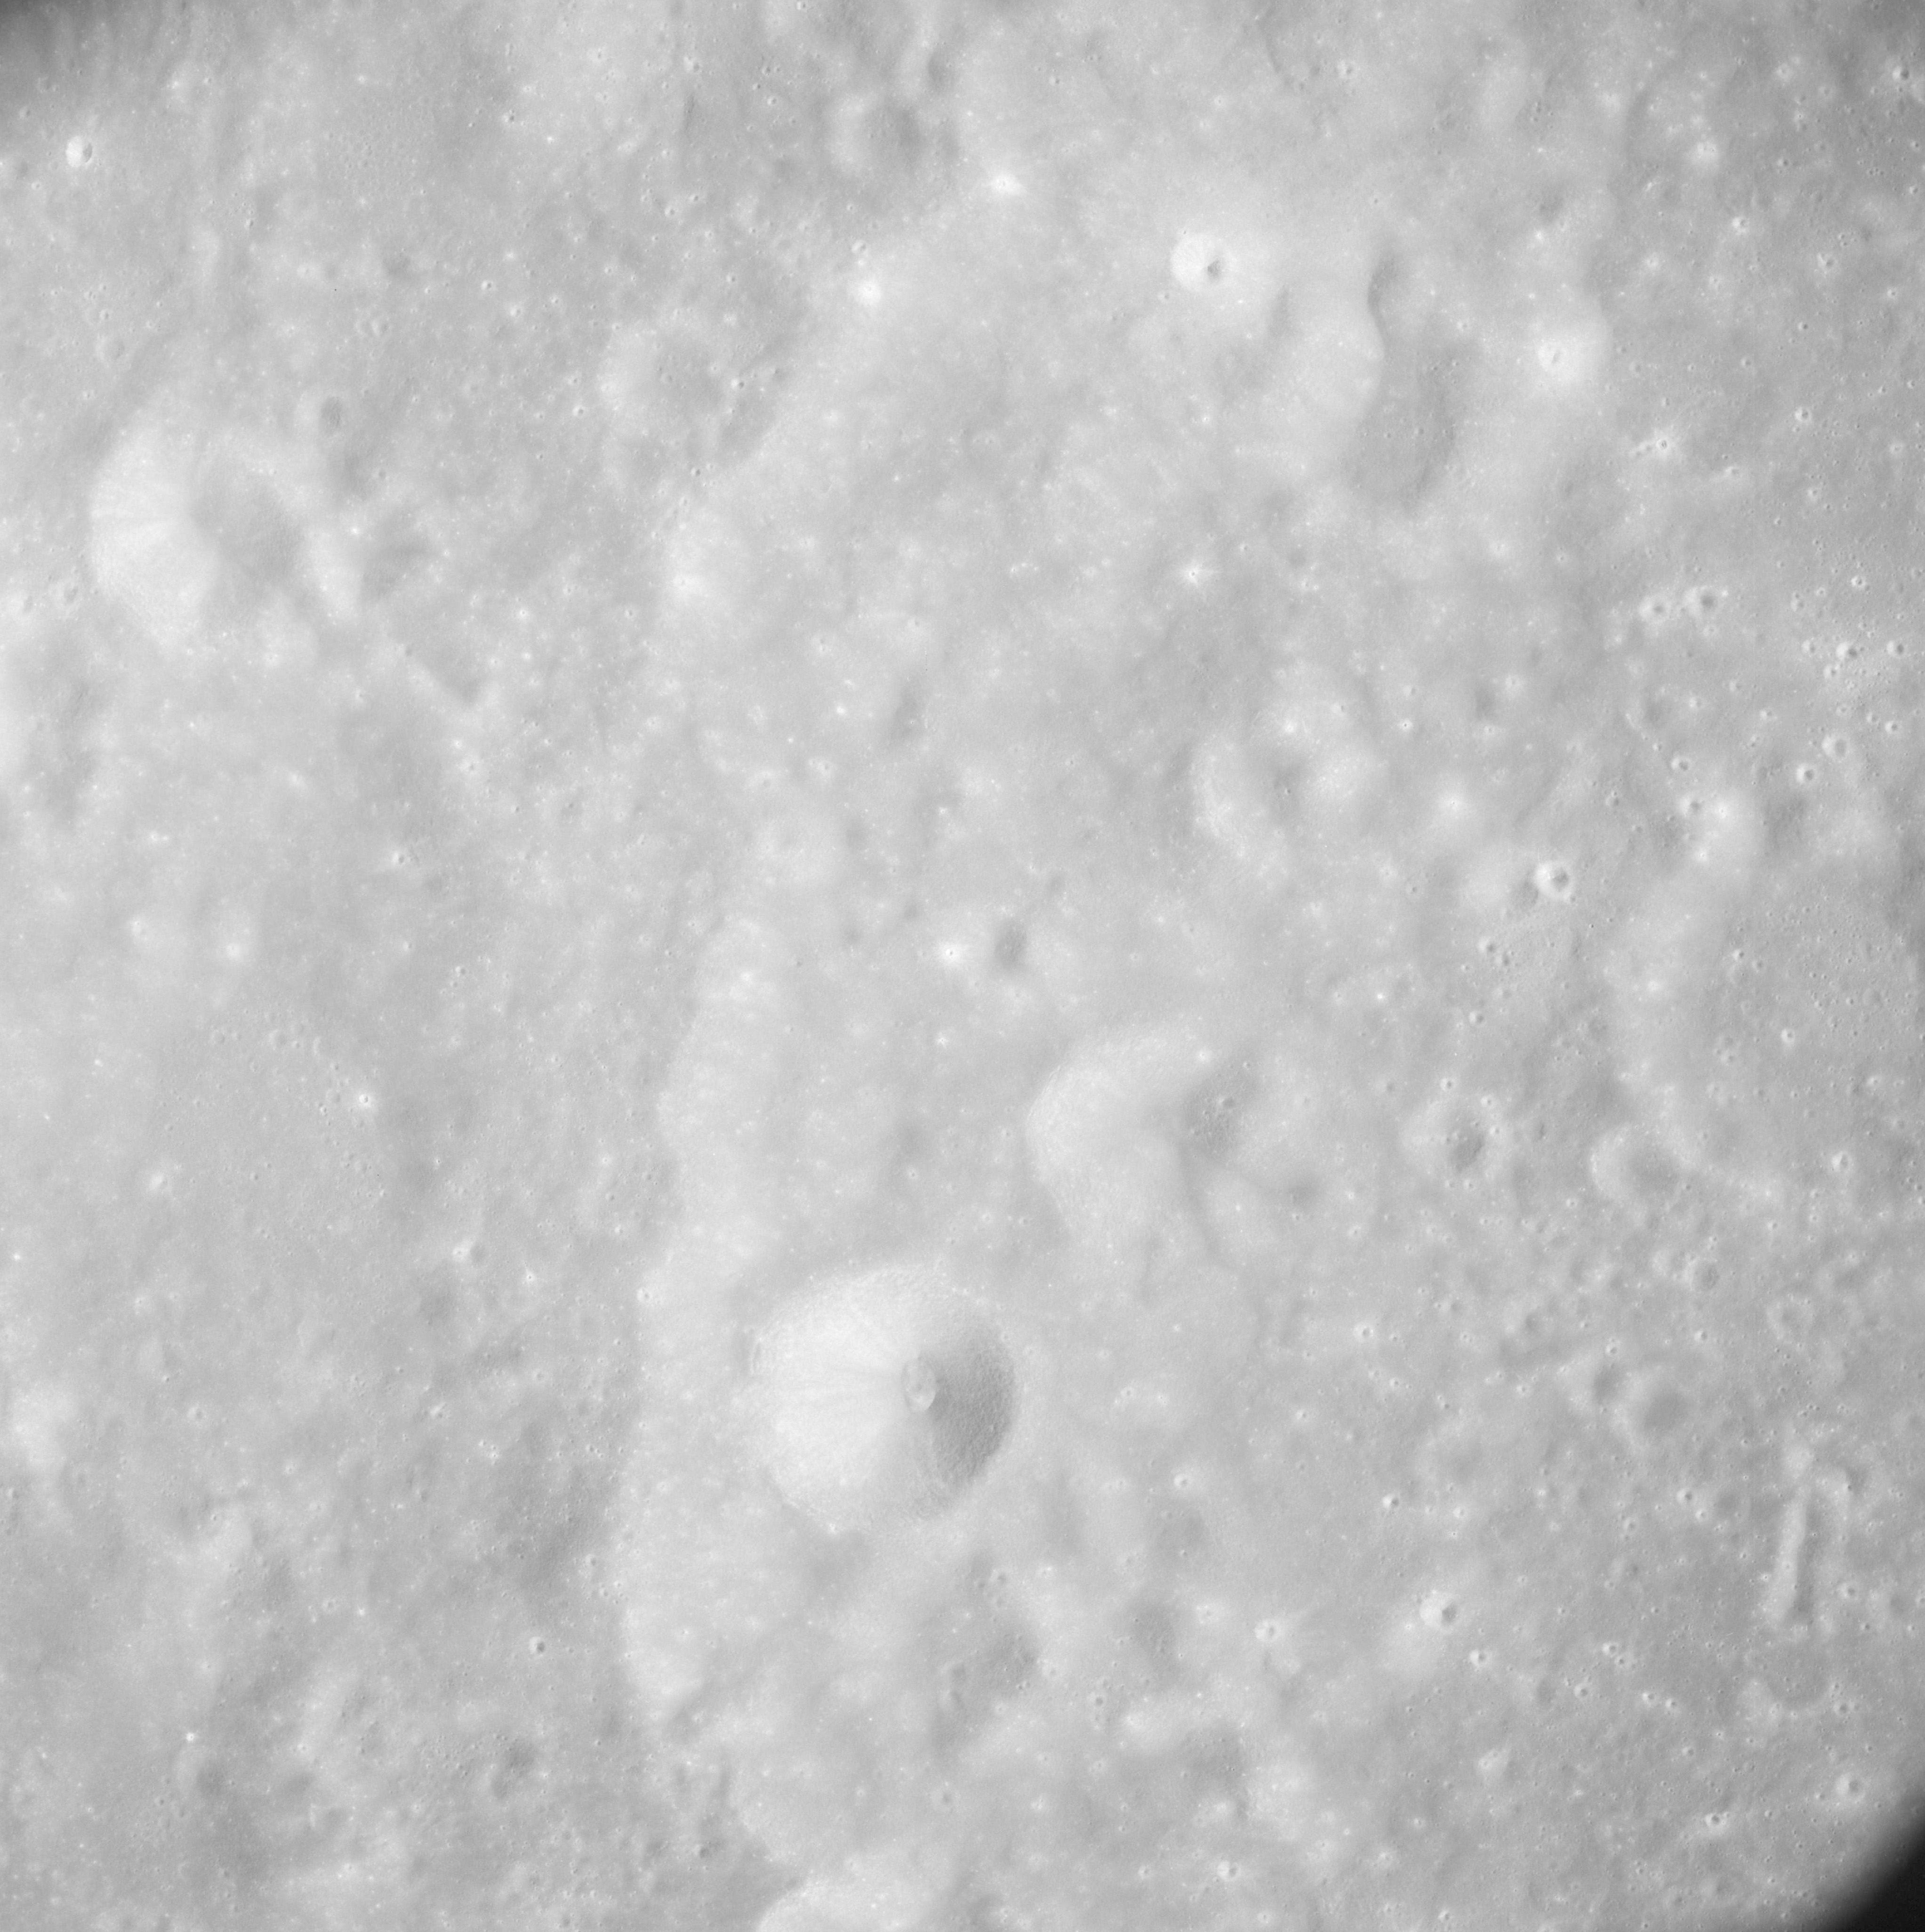
AS08-12-2086 East rim of Heaviside on right. Heaviside E on lower right. Image credit: Image Science and Analysis Laboratory, NASA-Johnson Space Center. |
 |
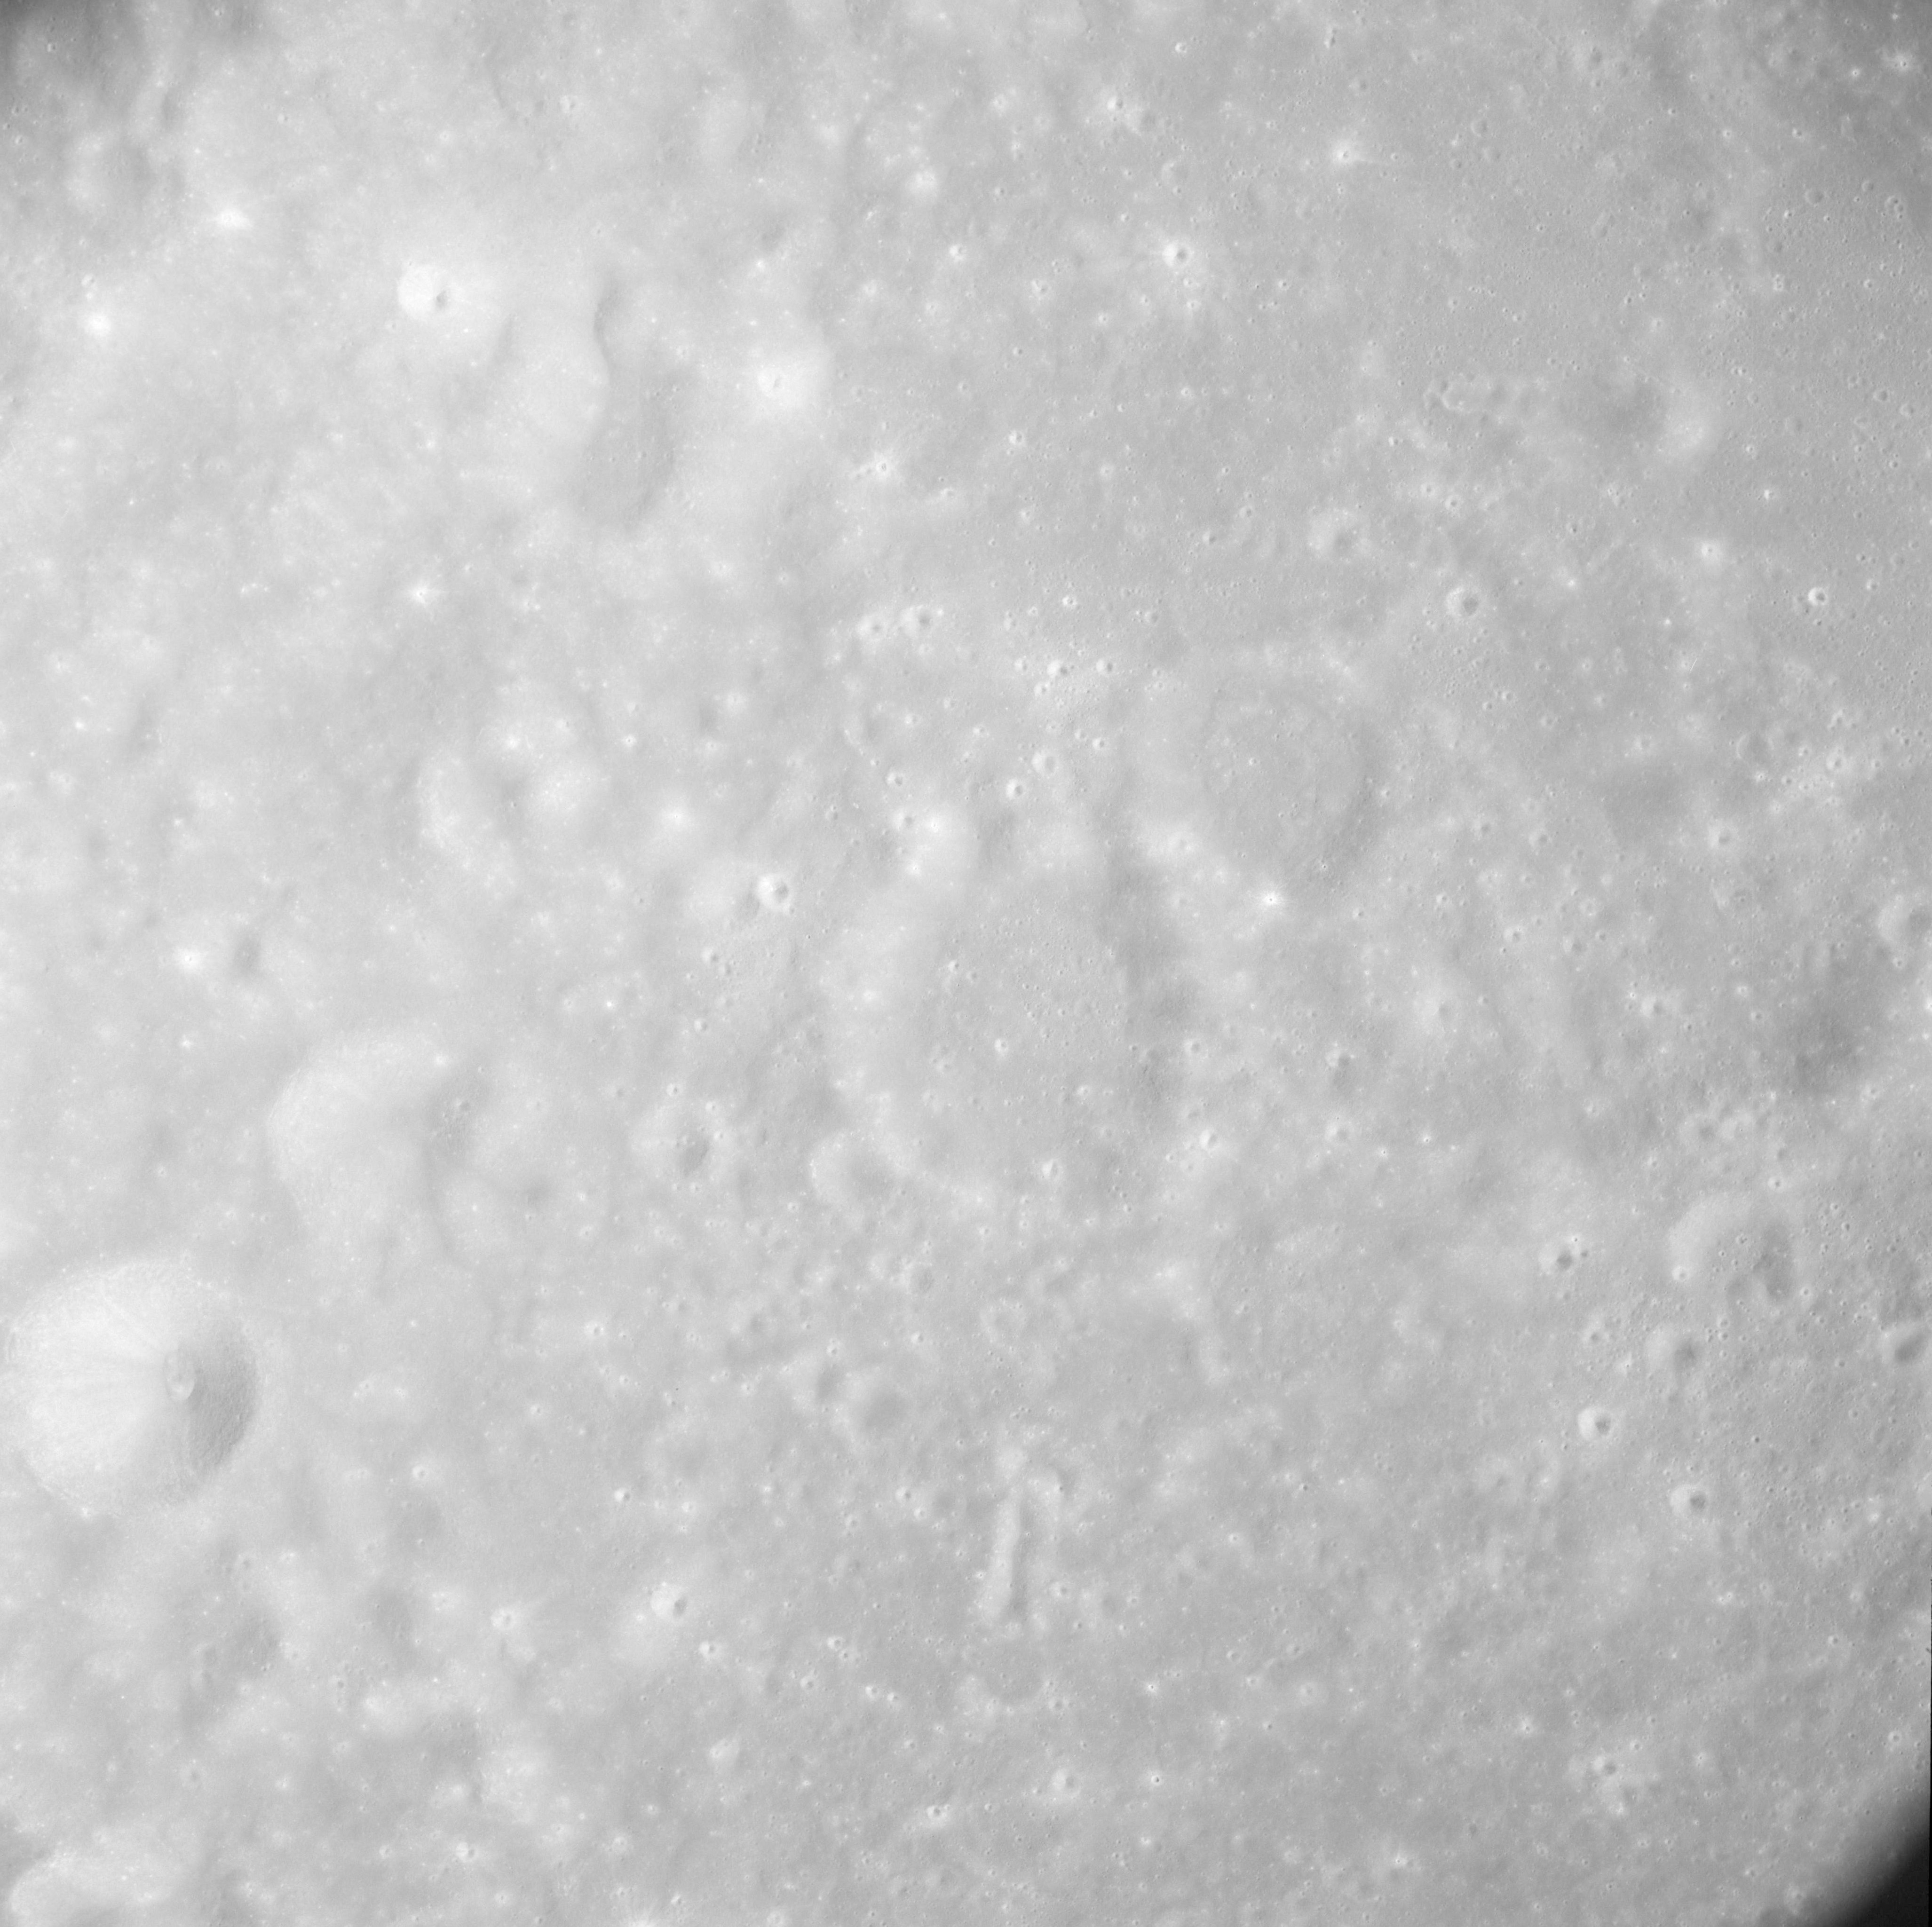
AS08-12-2087 East rim of Heaviside. Heaviside E on lower centre. Image credit: Image Science and Analysis Laboratory, NASA-Johnson Space Center. |
 |
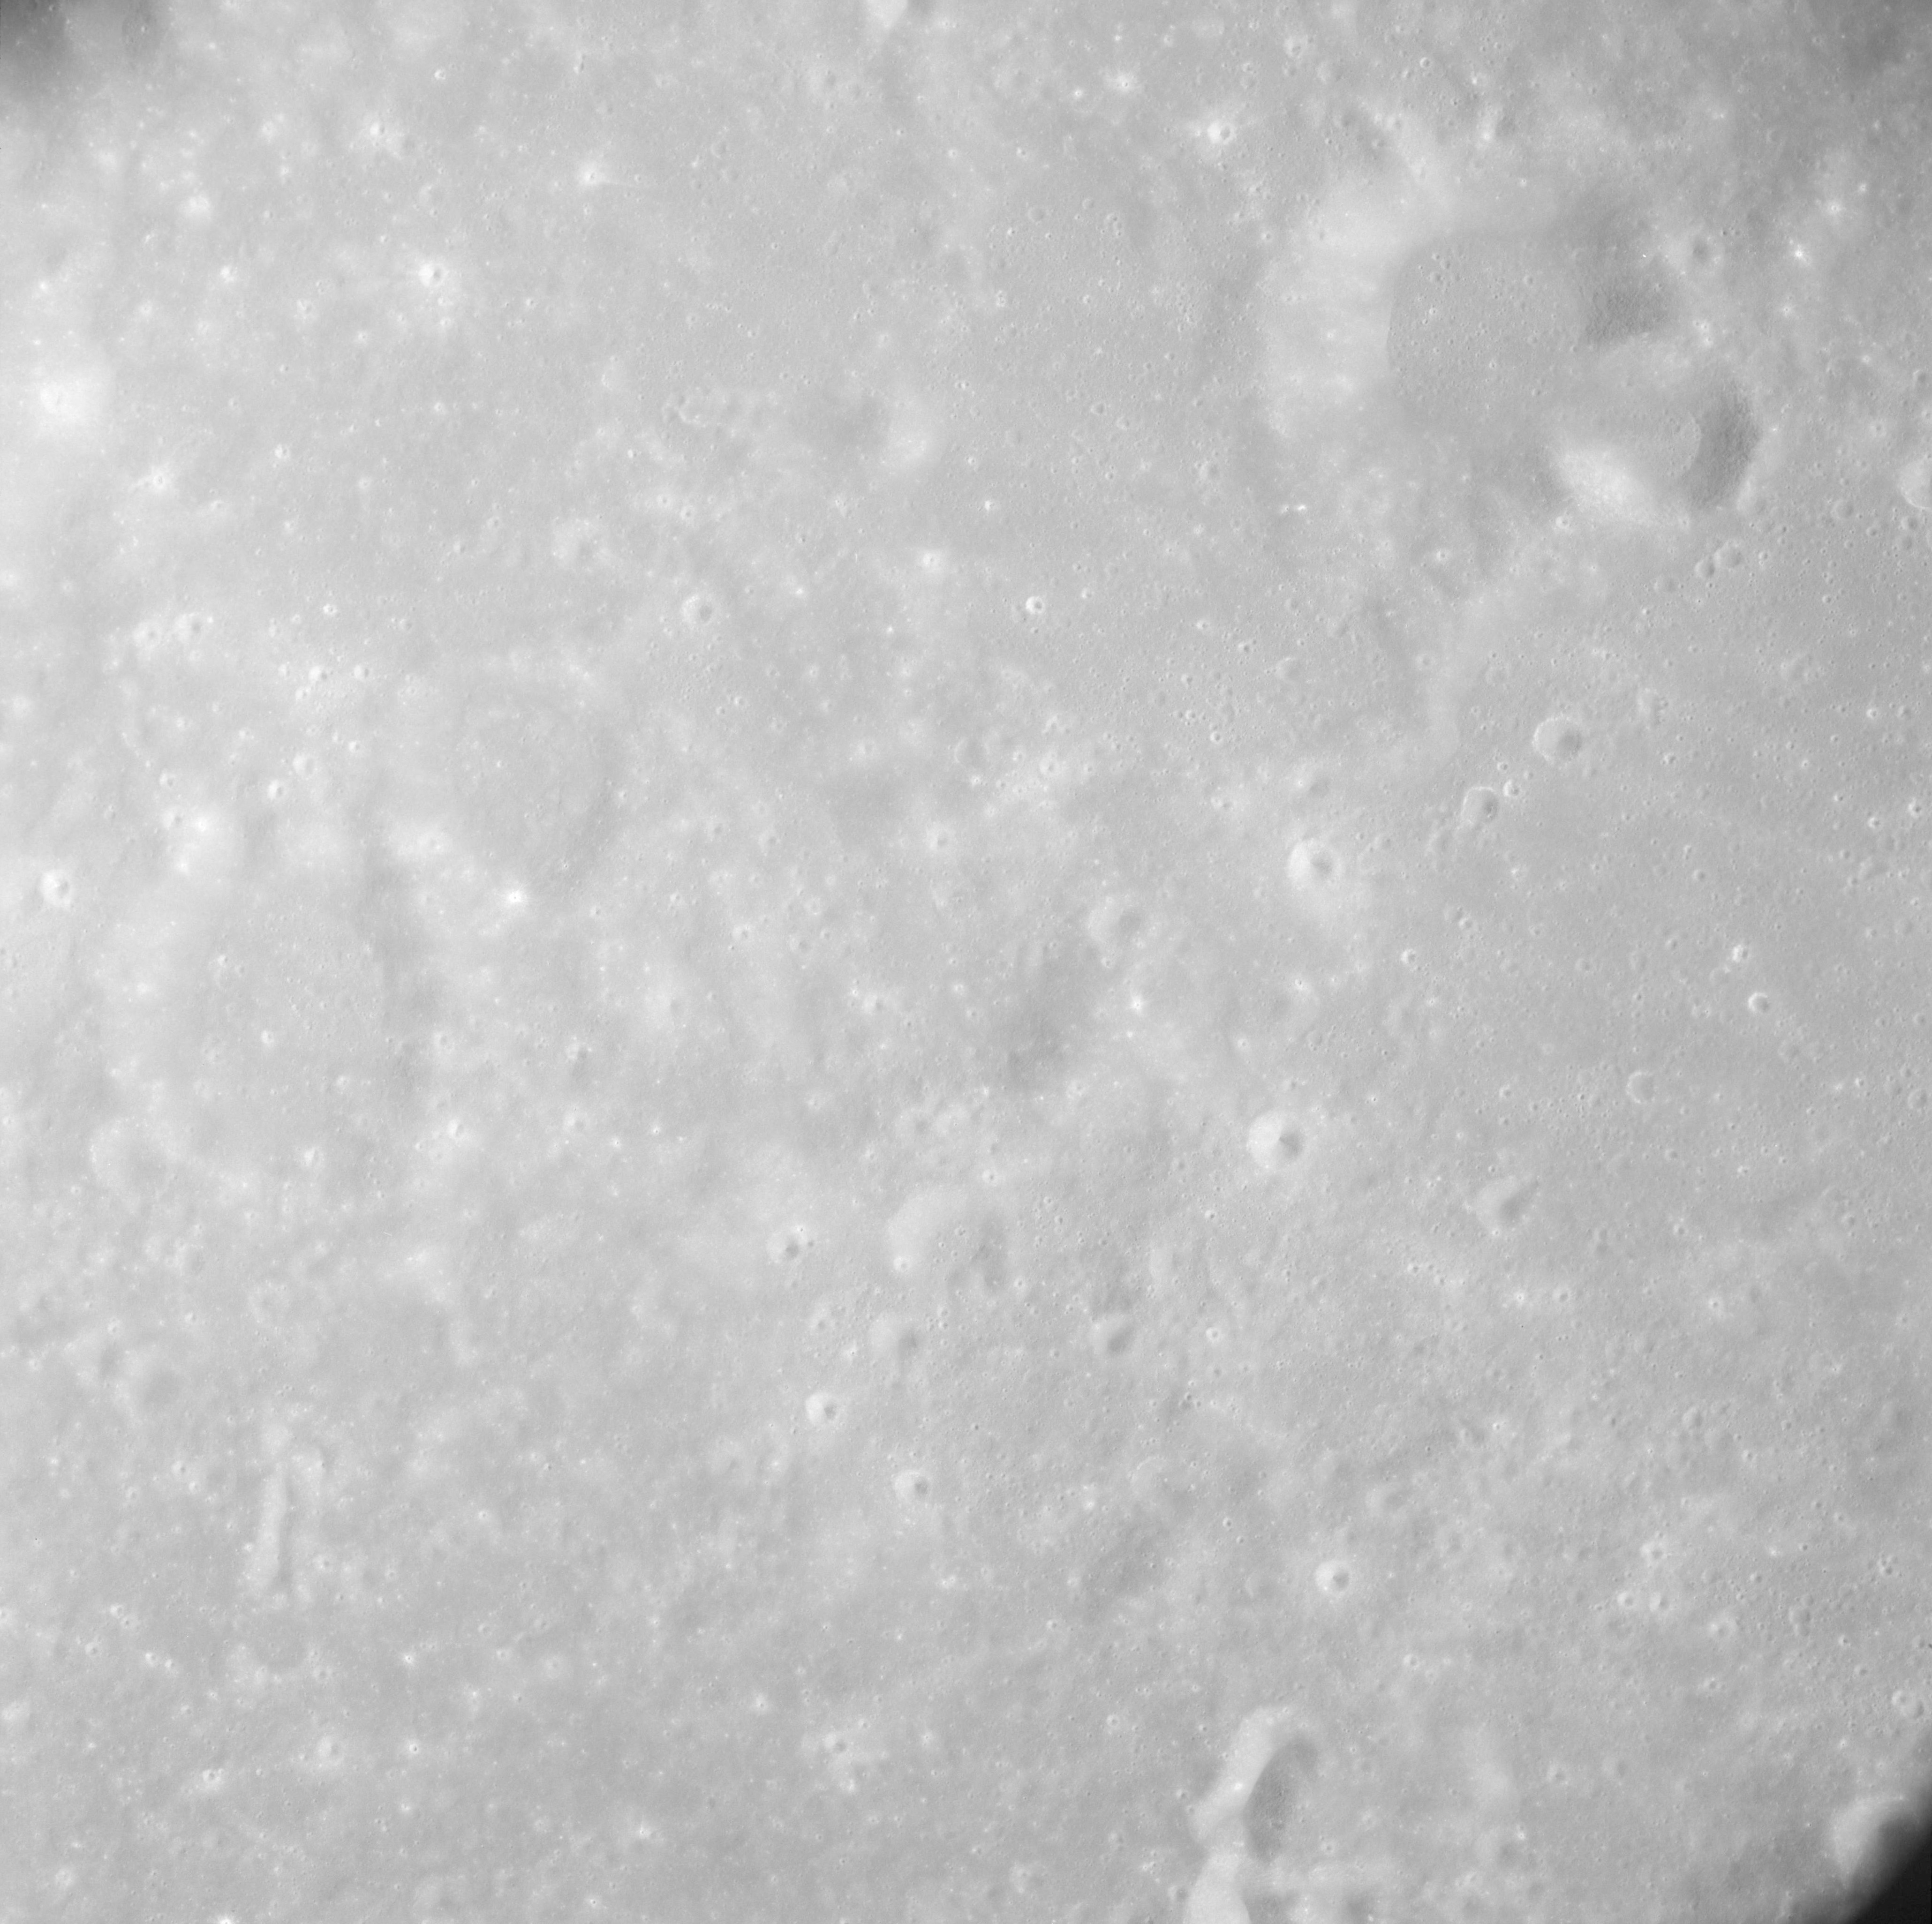
AS08-12-2088 Eastern interior of Heaviside. Heaviside E on lower left. Image credit: Image Science and Analysis Laboratory, NASA-Johnson Space Center. |
 |
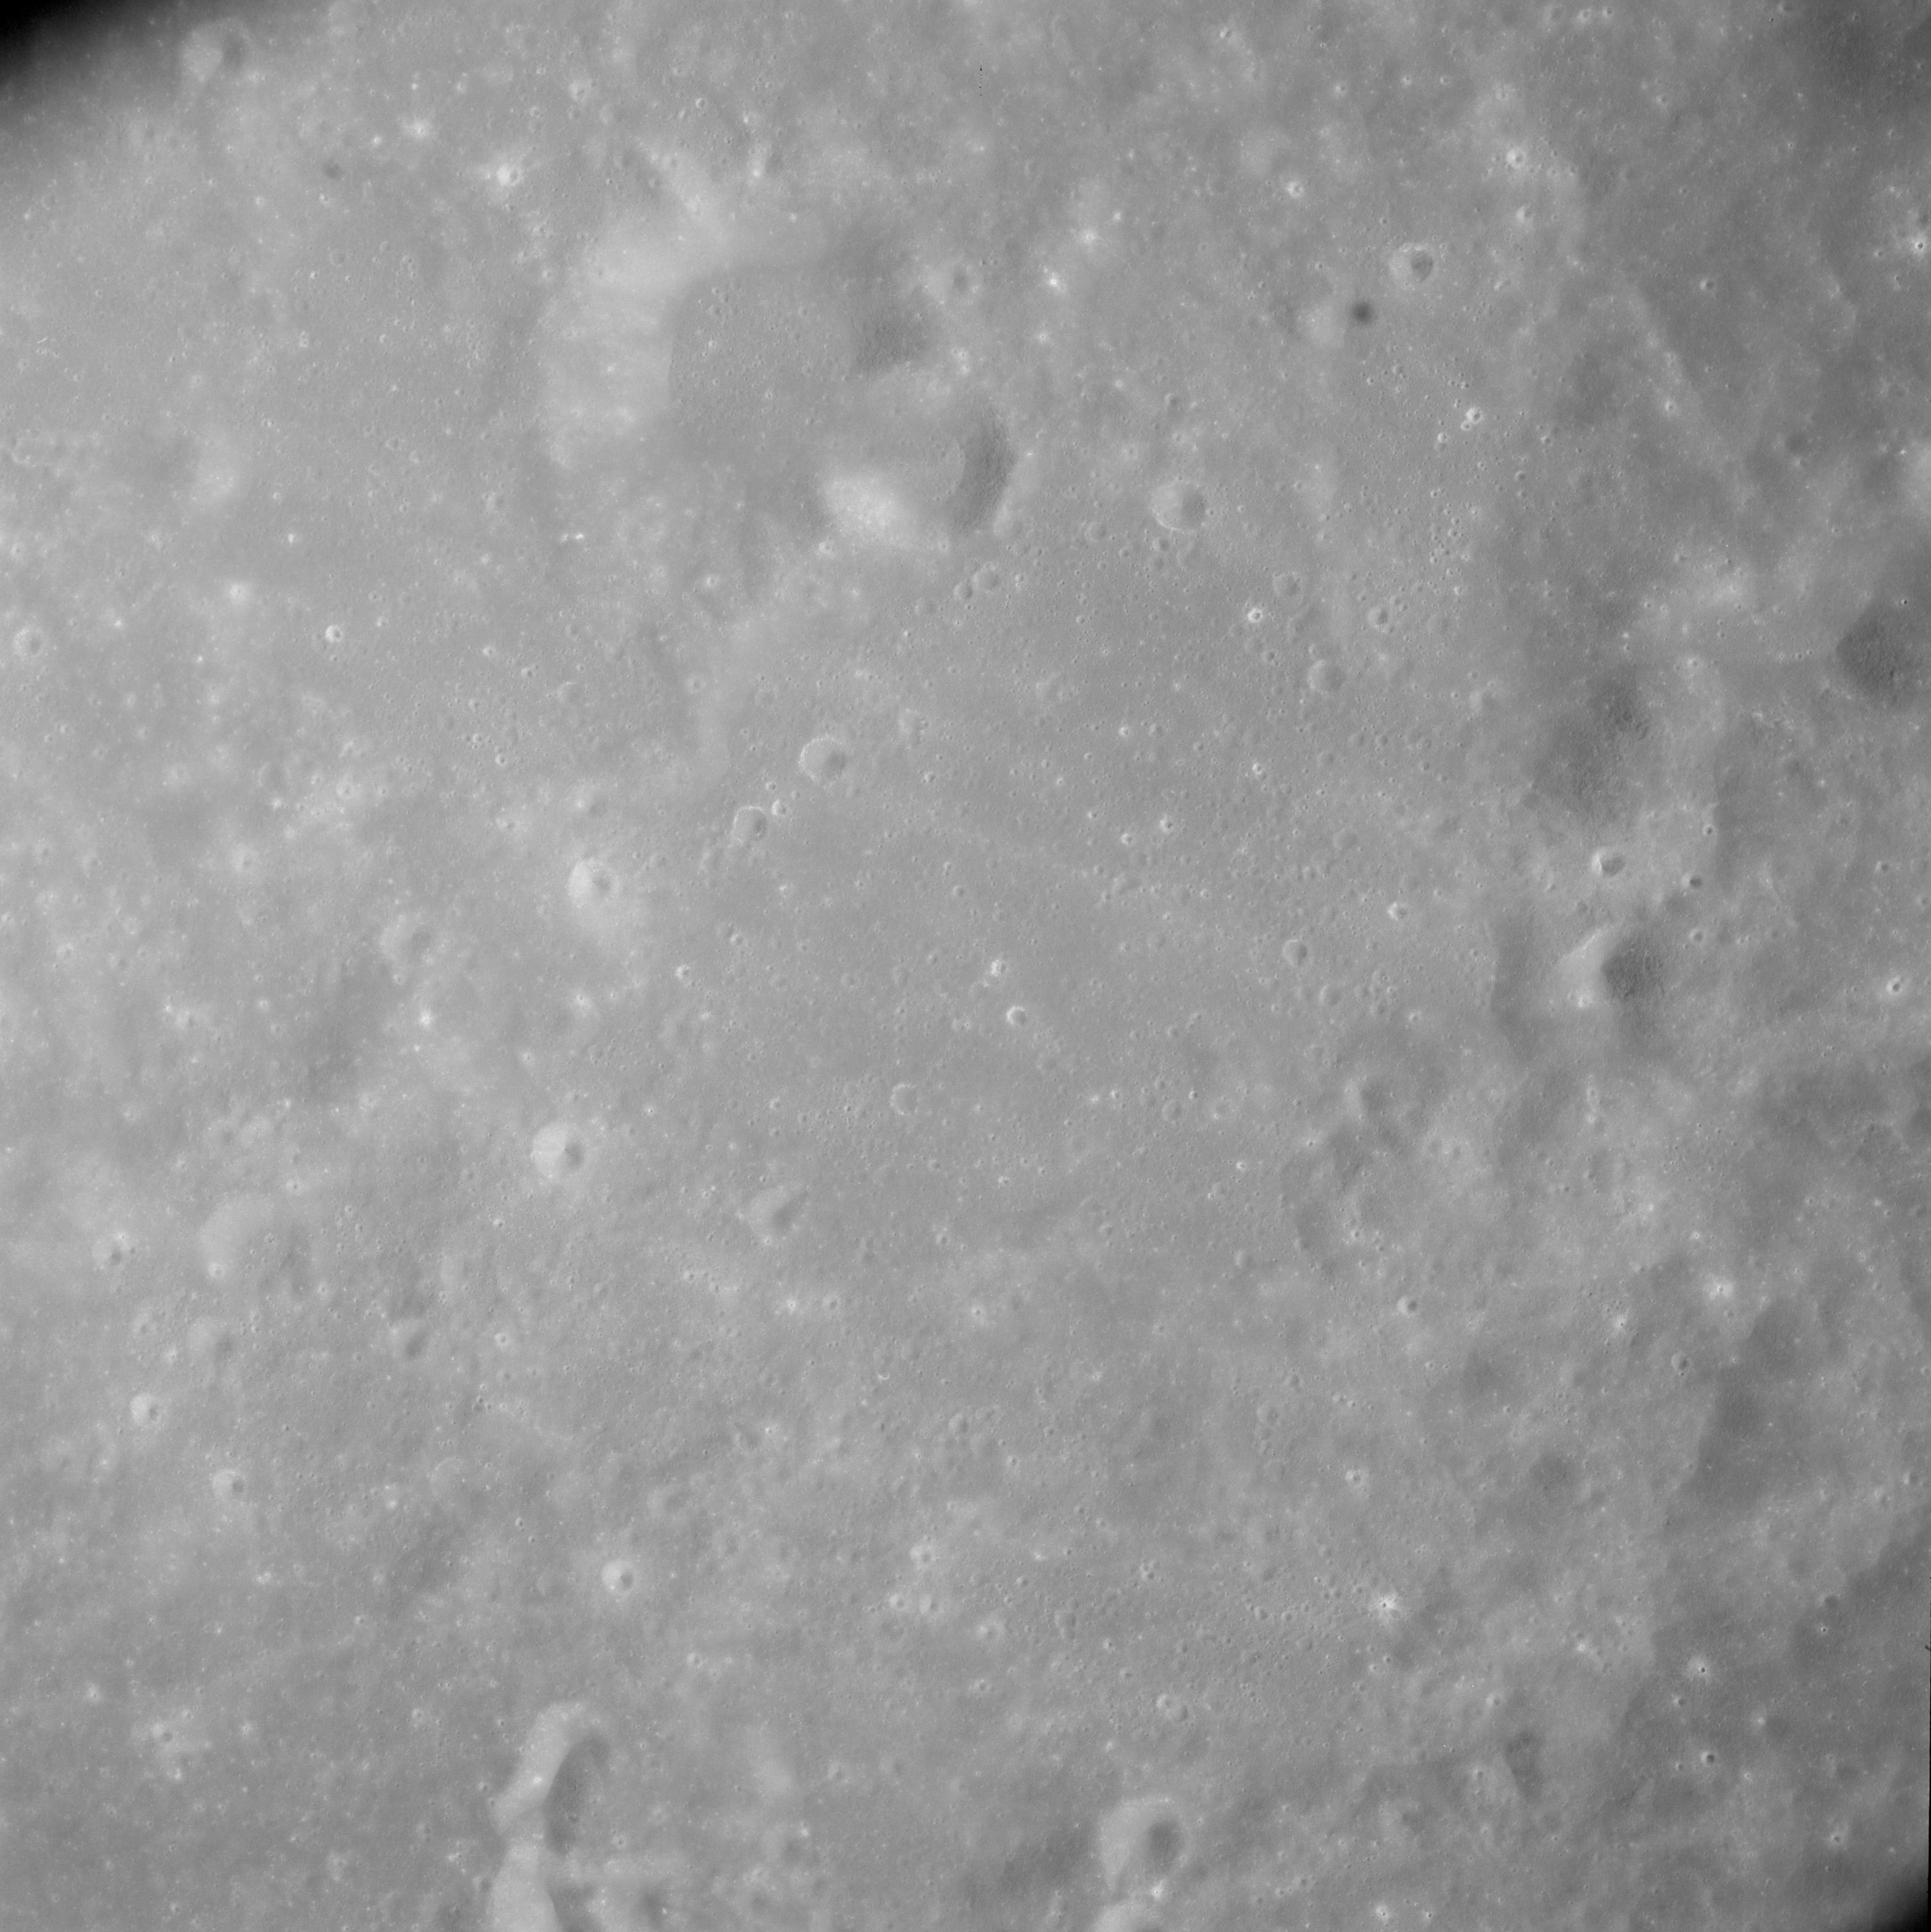
AS08-12-2089 Interior of Heaviside. Image credit: Image Science and Analysis Laboratory, NASA-Johnson Space Center. |
 |
AS08-12-2090 Western interior of Heaviside. Image credit: Image Science and Analysis Laboratory, NASA-Johnson Space Center. |
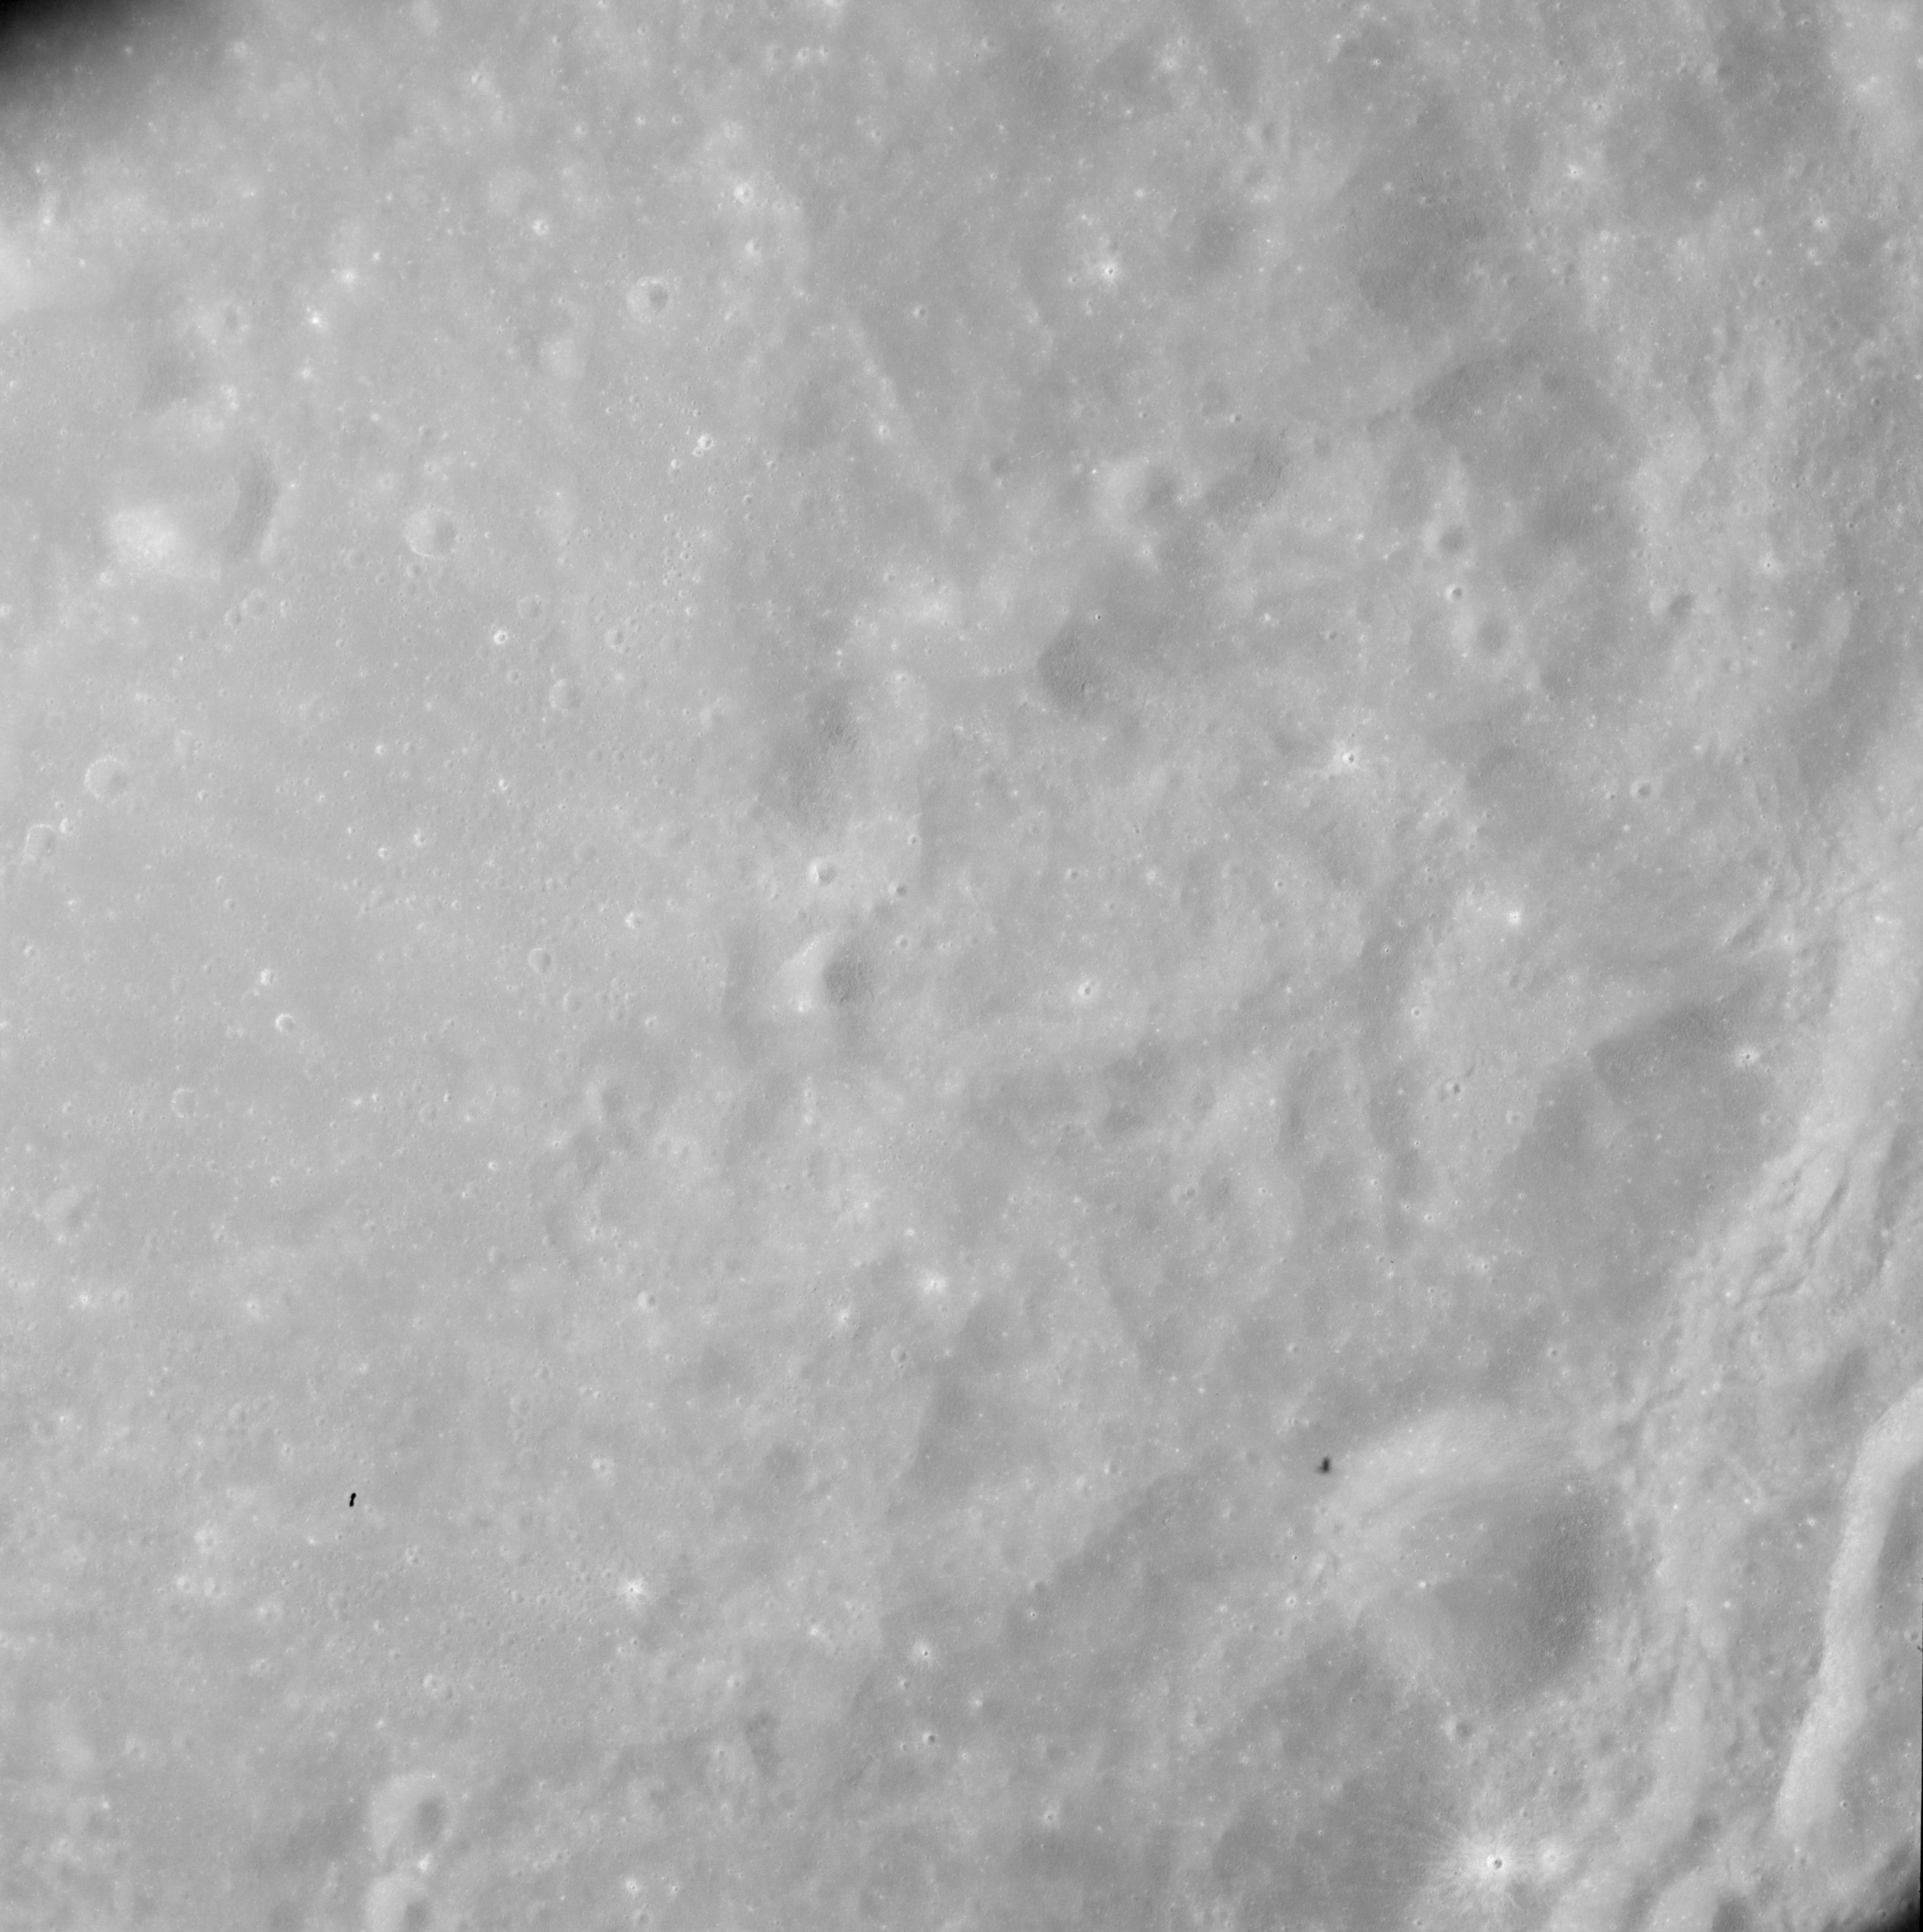 |
AS08-12-2091 Western rim of Heaviside. Image credit: Image Science and Analysis Laboratory, NASA-Johnson Space Center. |
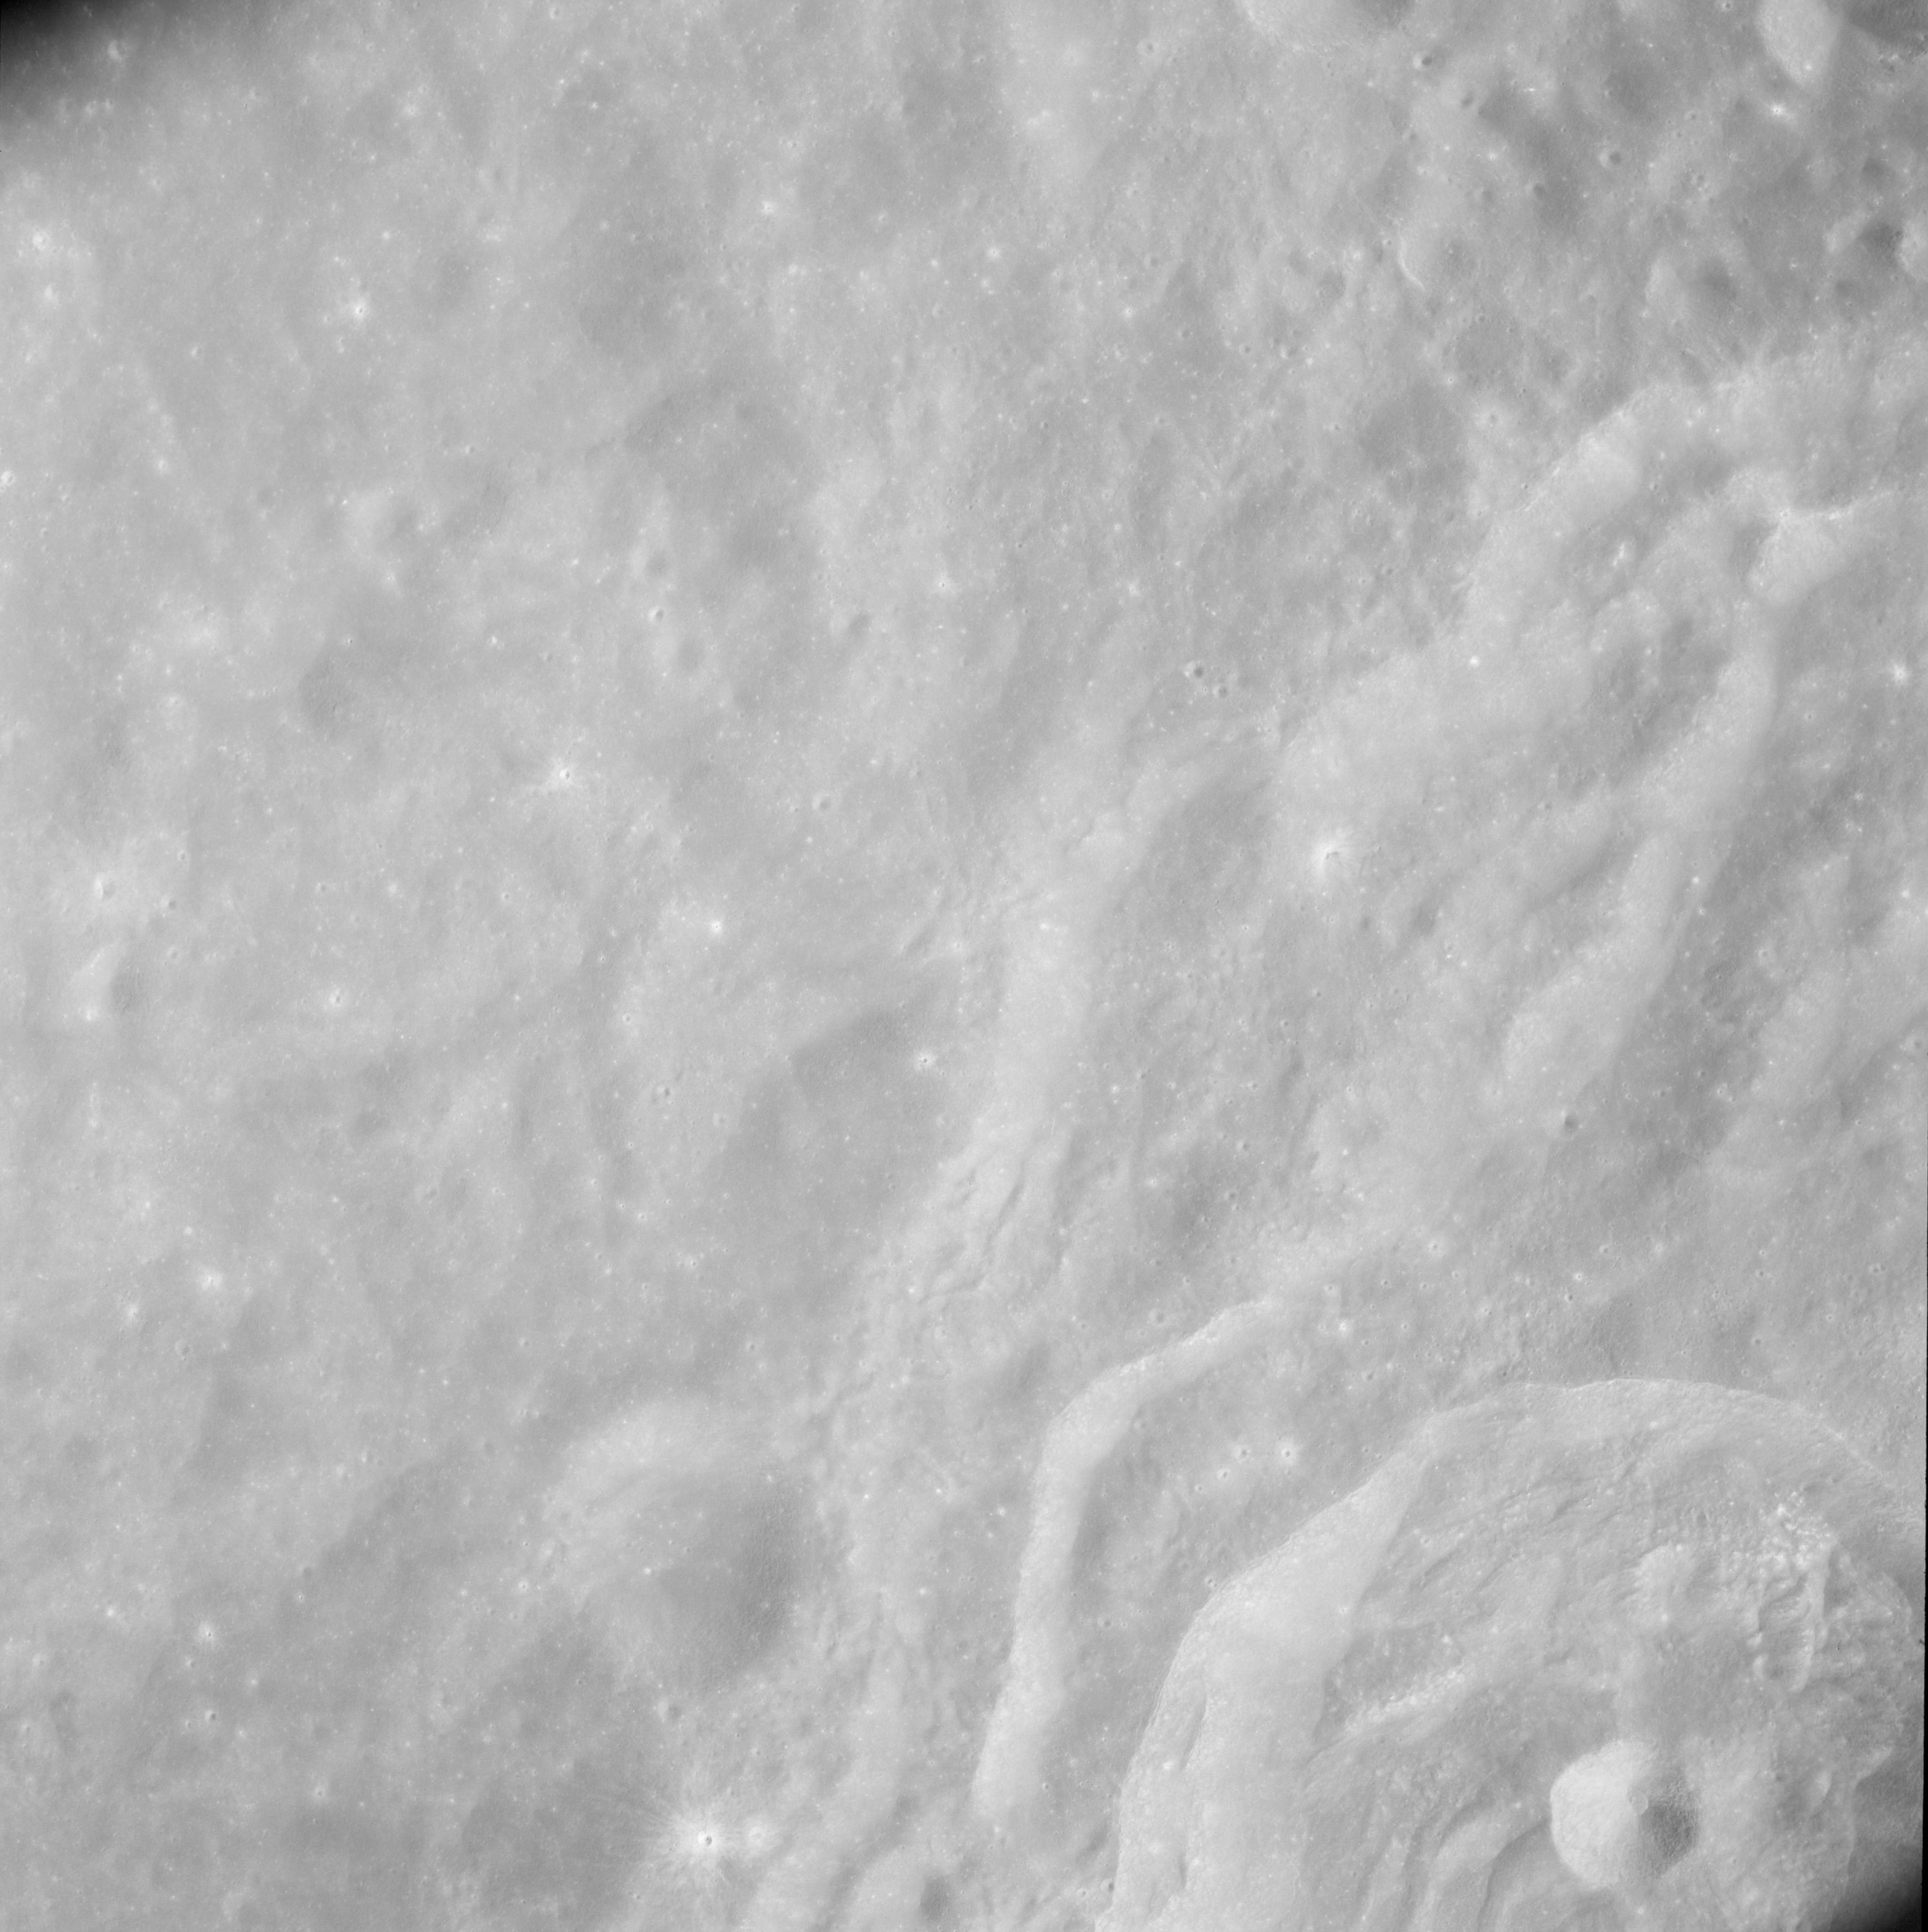 |
AS08-12-2092 Western rim of Heaviside. Southeastern rim of Keeler. Plante on lower right. Image credit: Image Science and Analysis Laboratory, NASA-Johnson Space Center. |
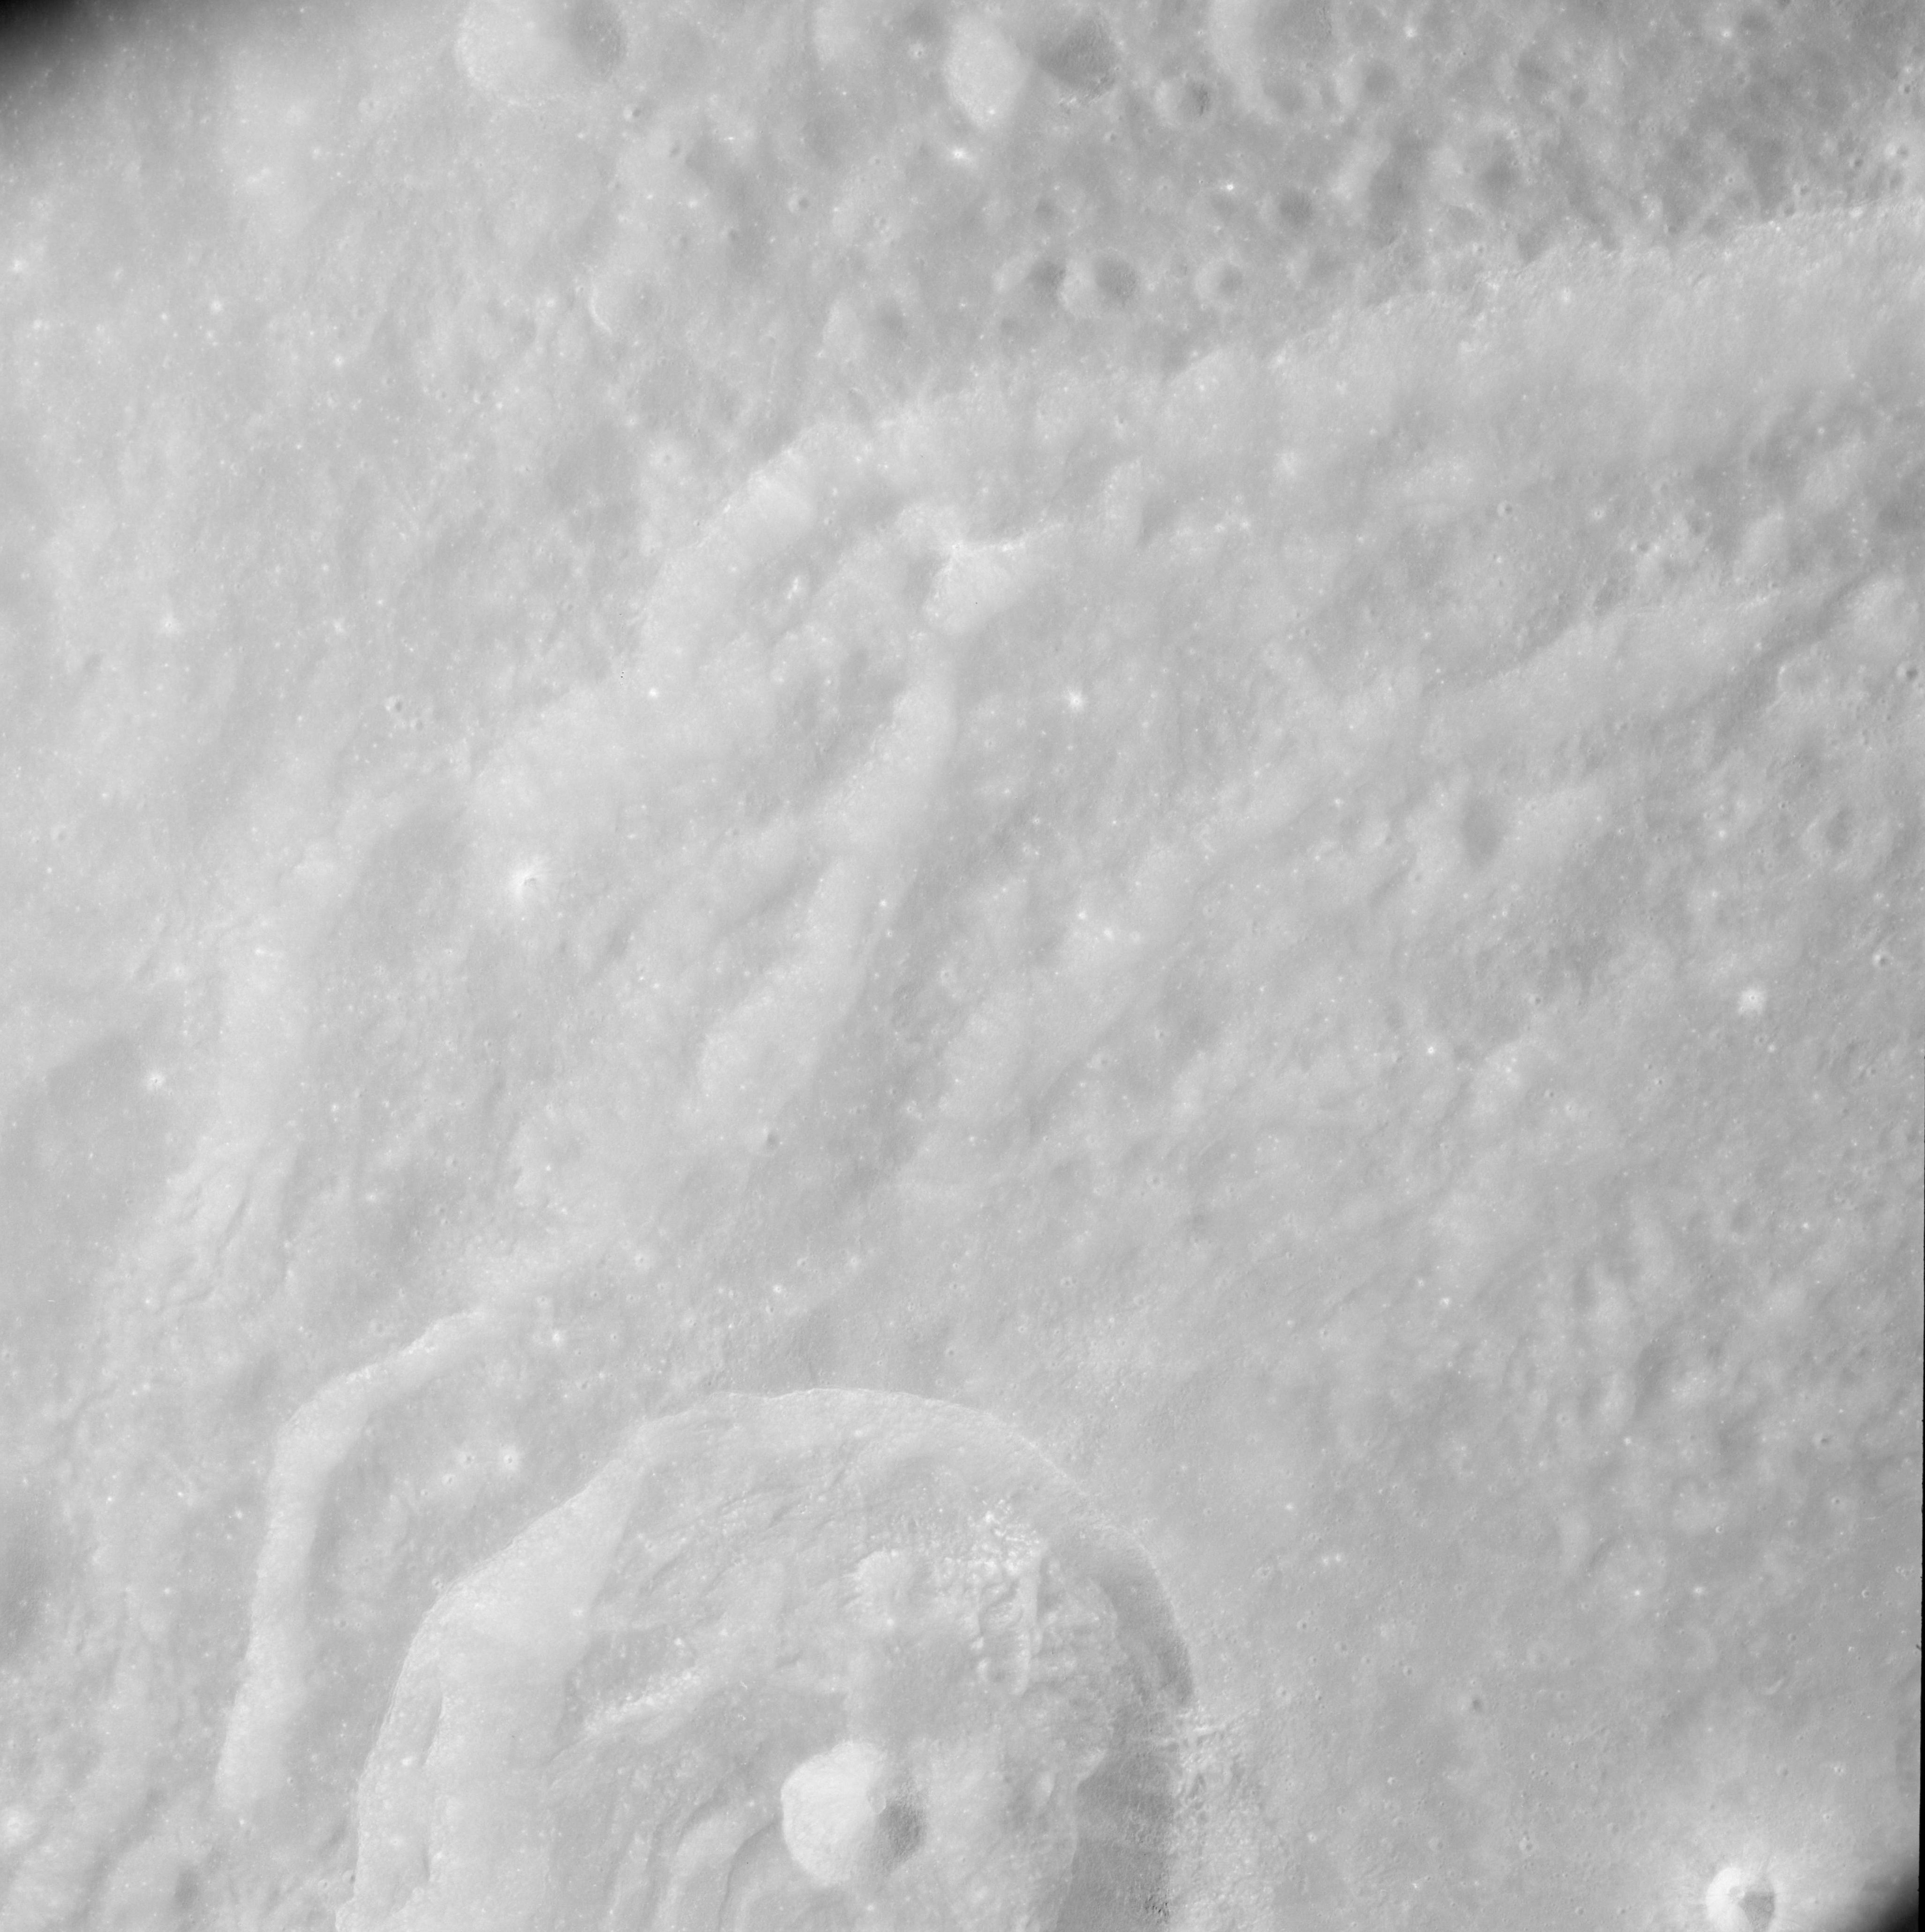 |
AS08-12-2093 Southeastern rim of Keeler. Plante on lower left. Image credit: Image Science and Analysis Laboratory, NASA-Johnson Space Center. |
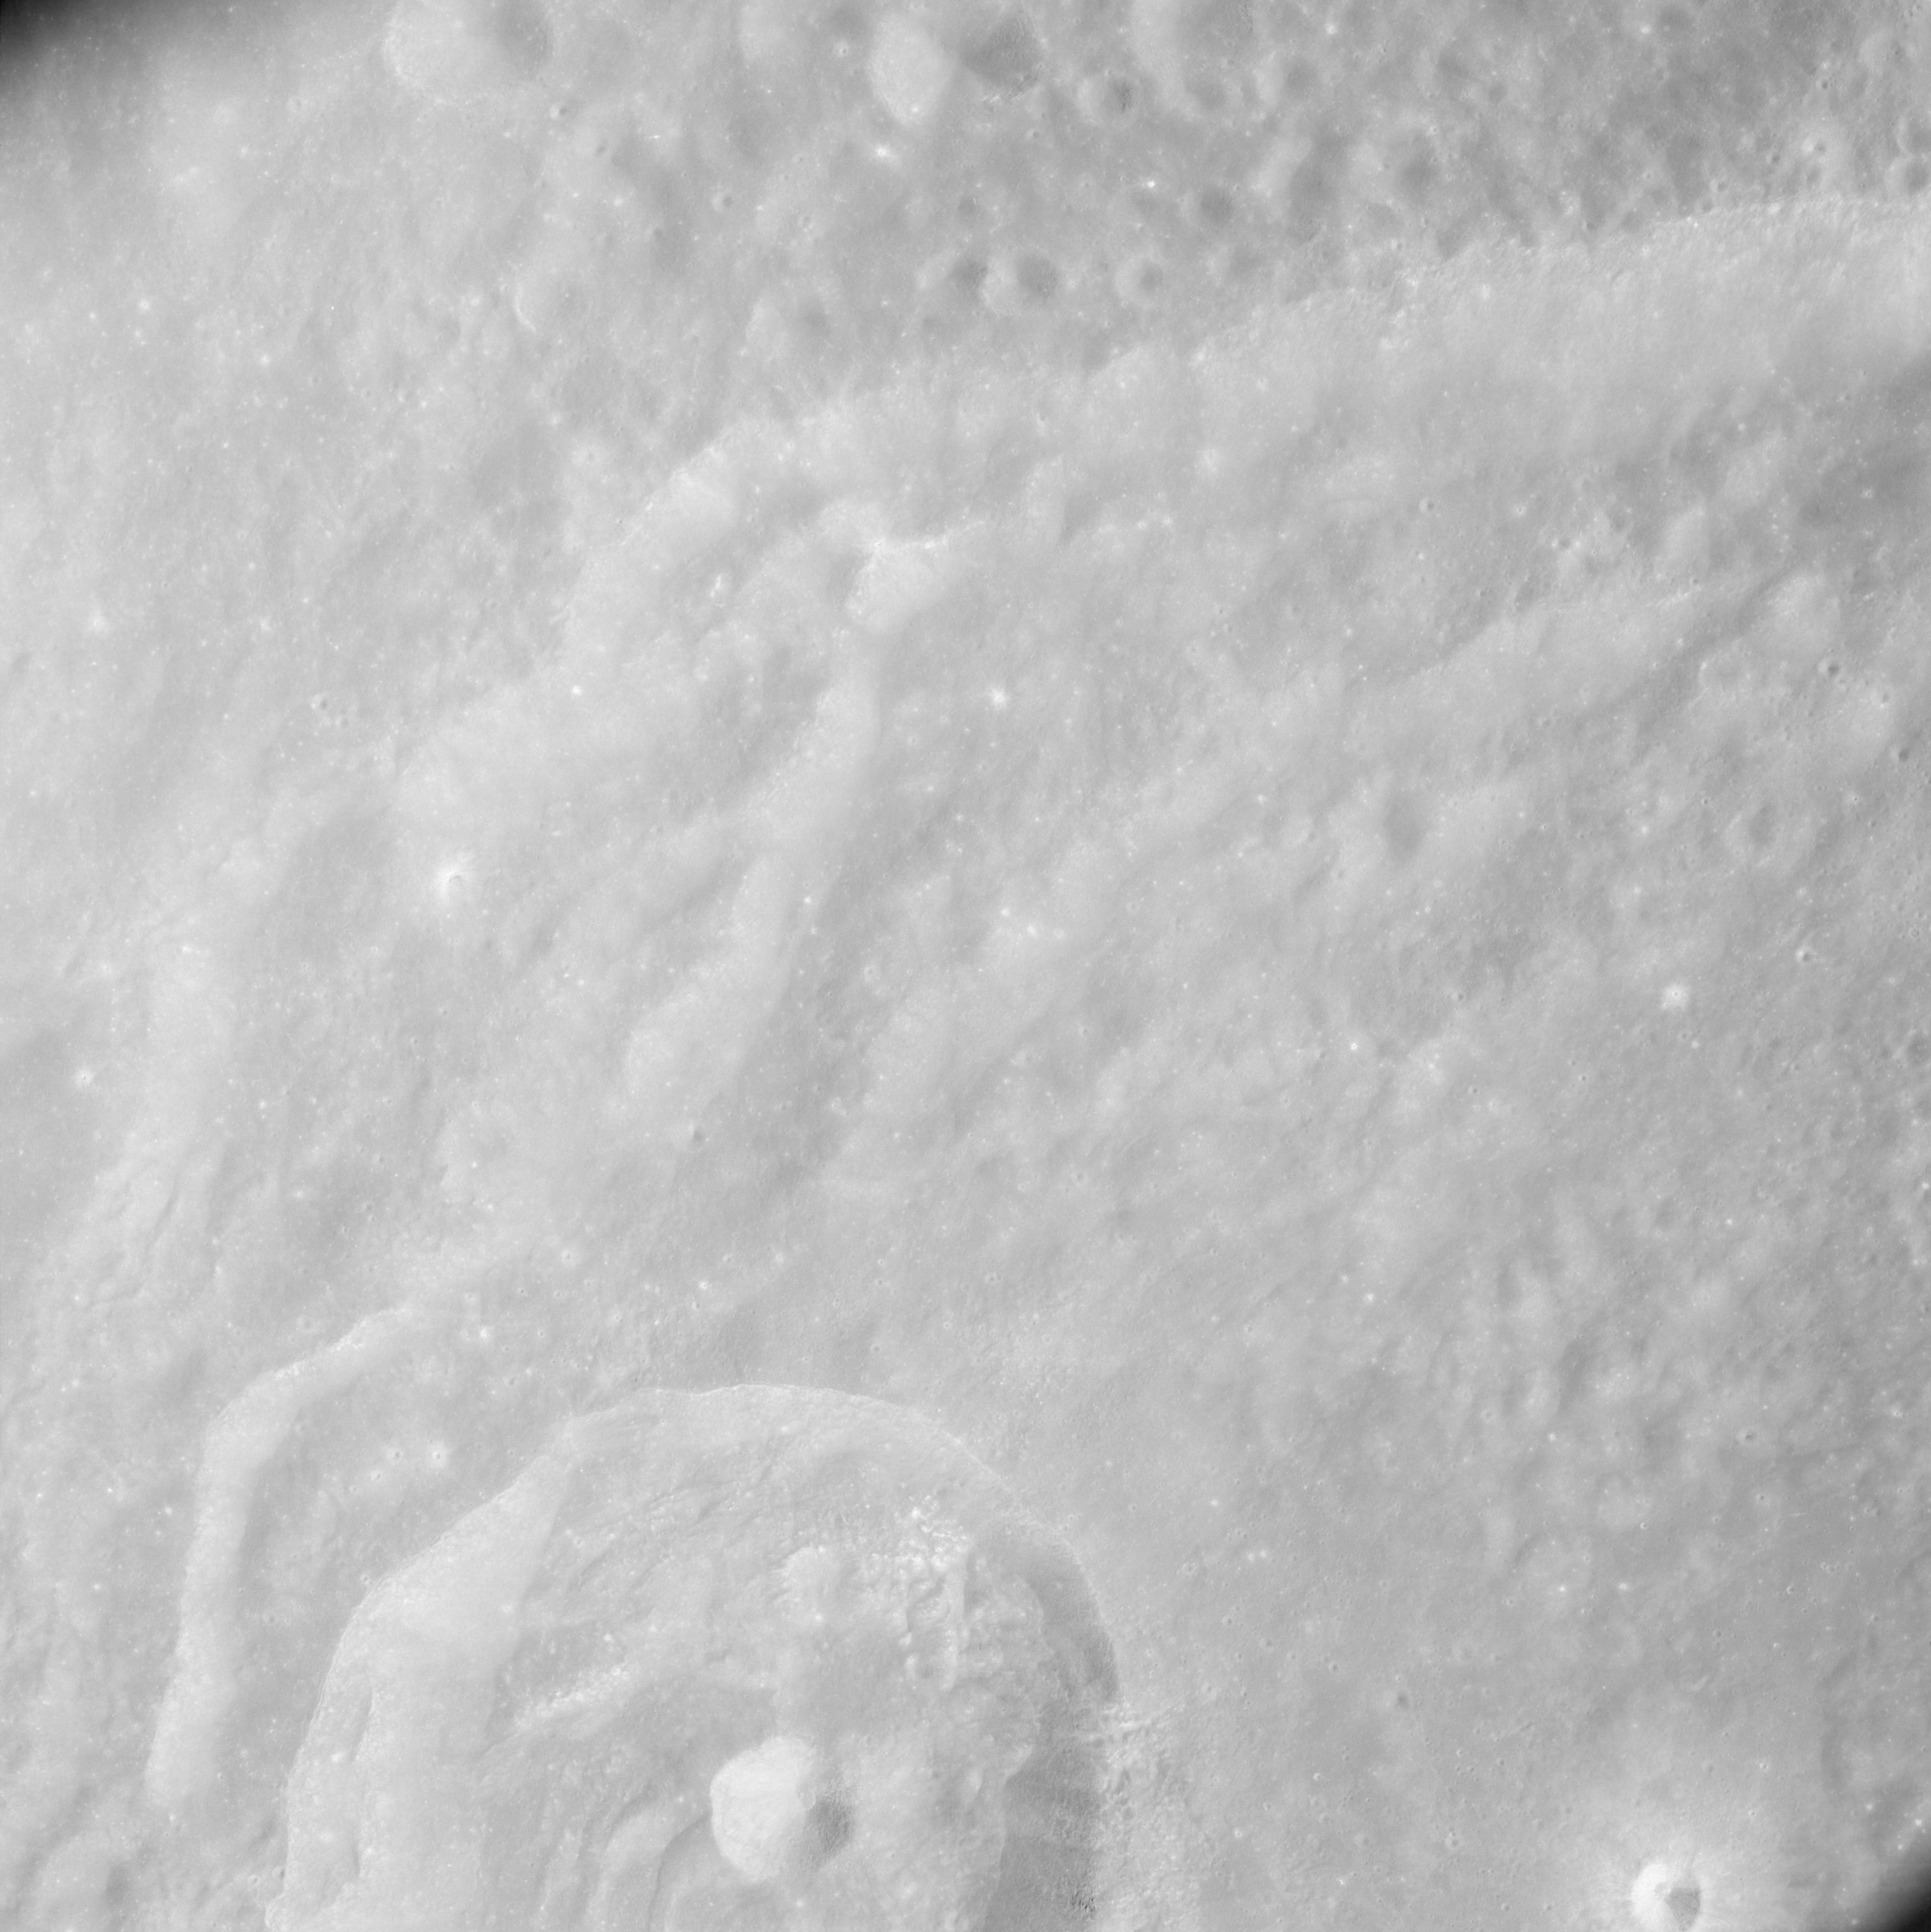 |
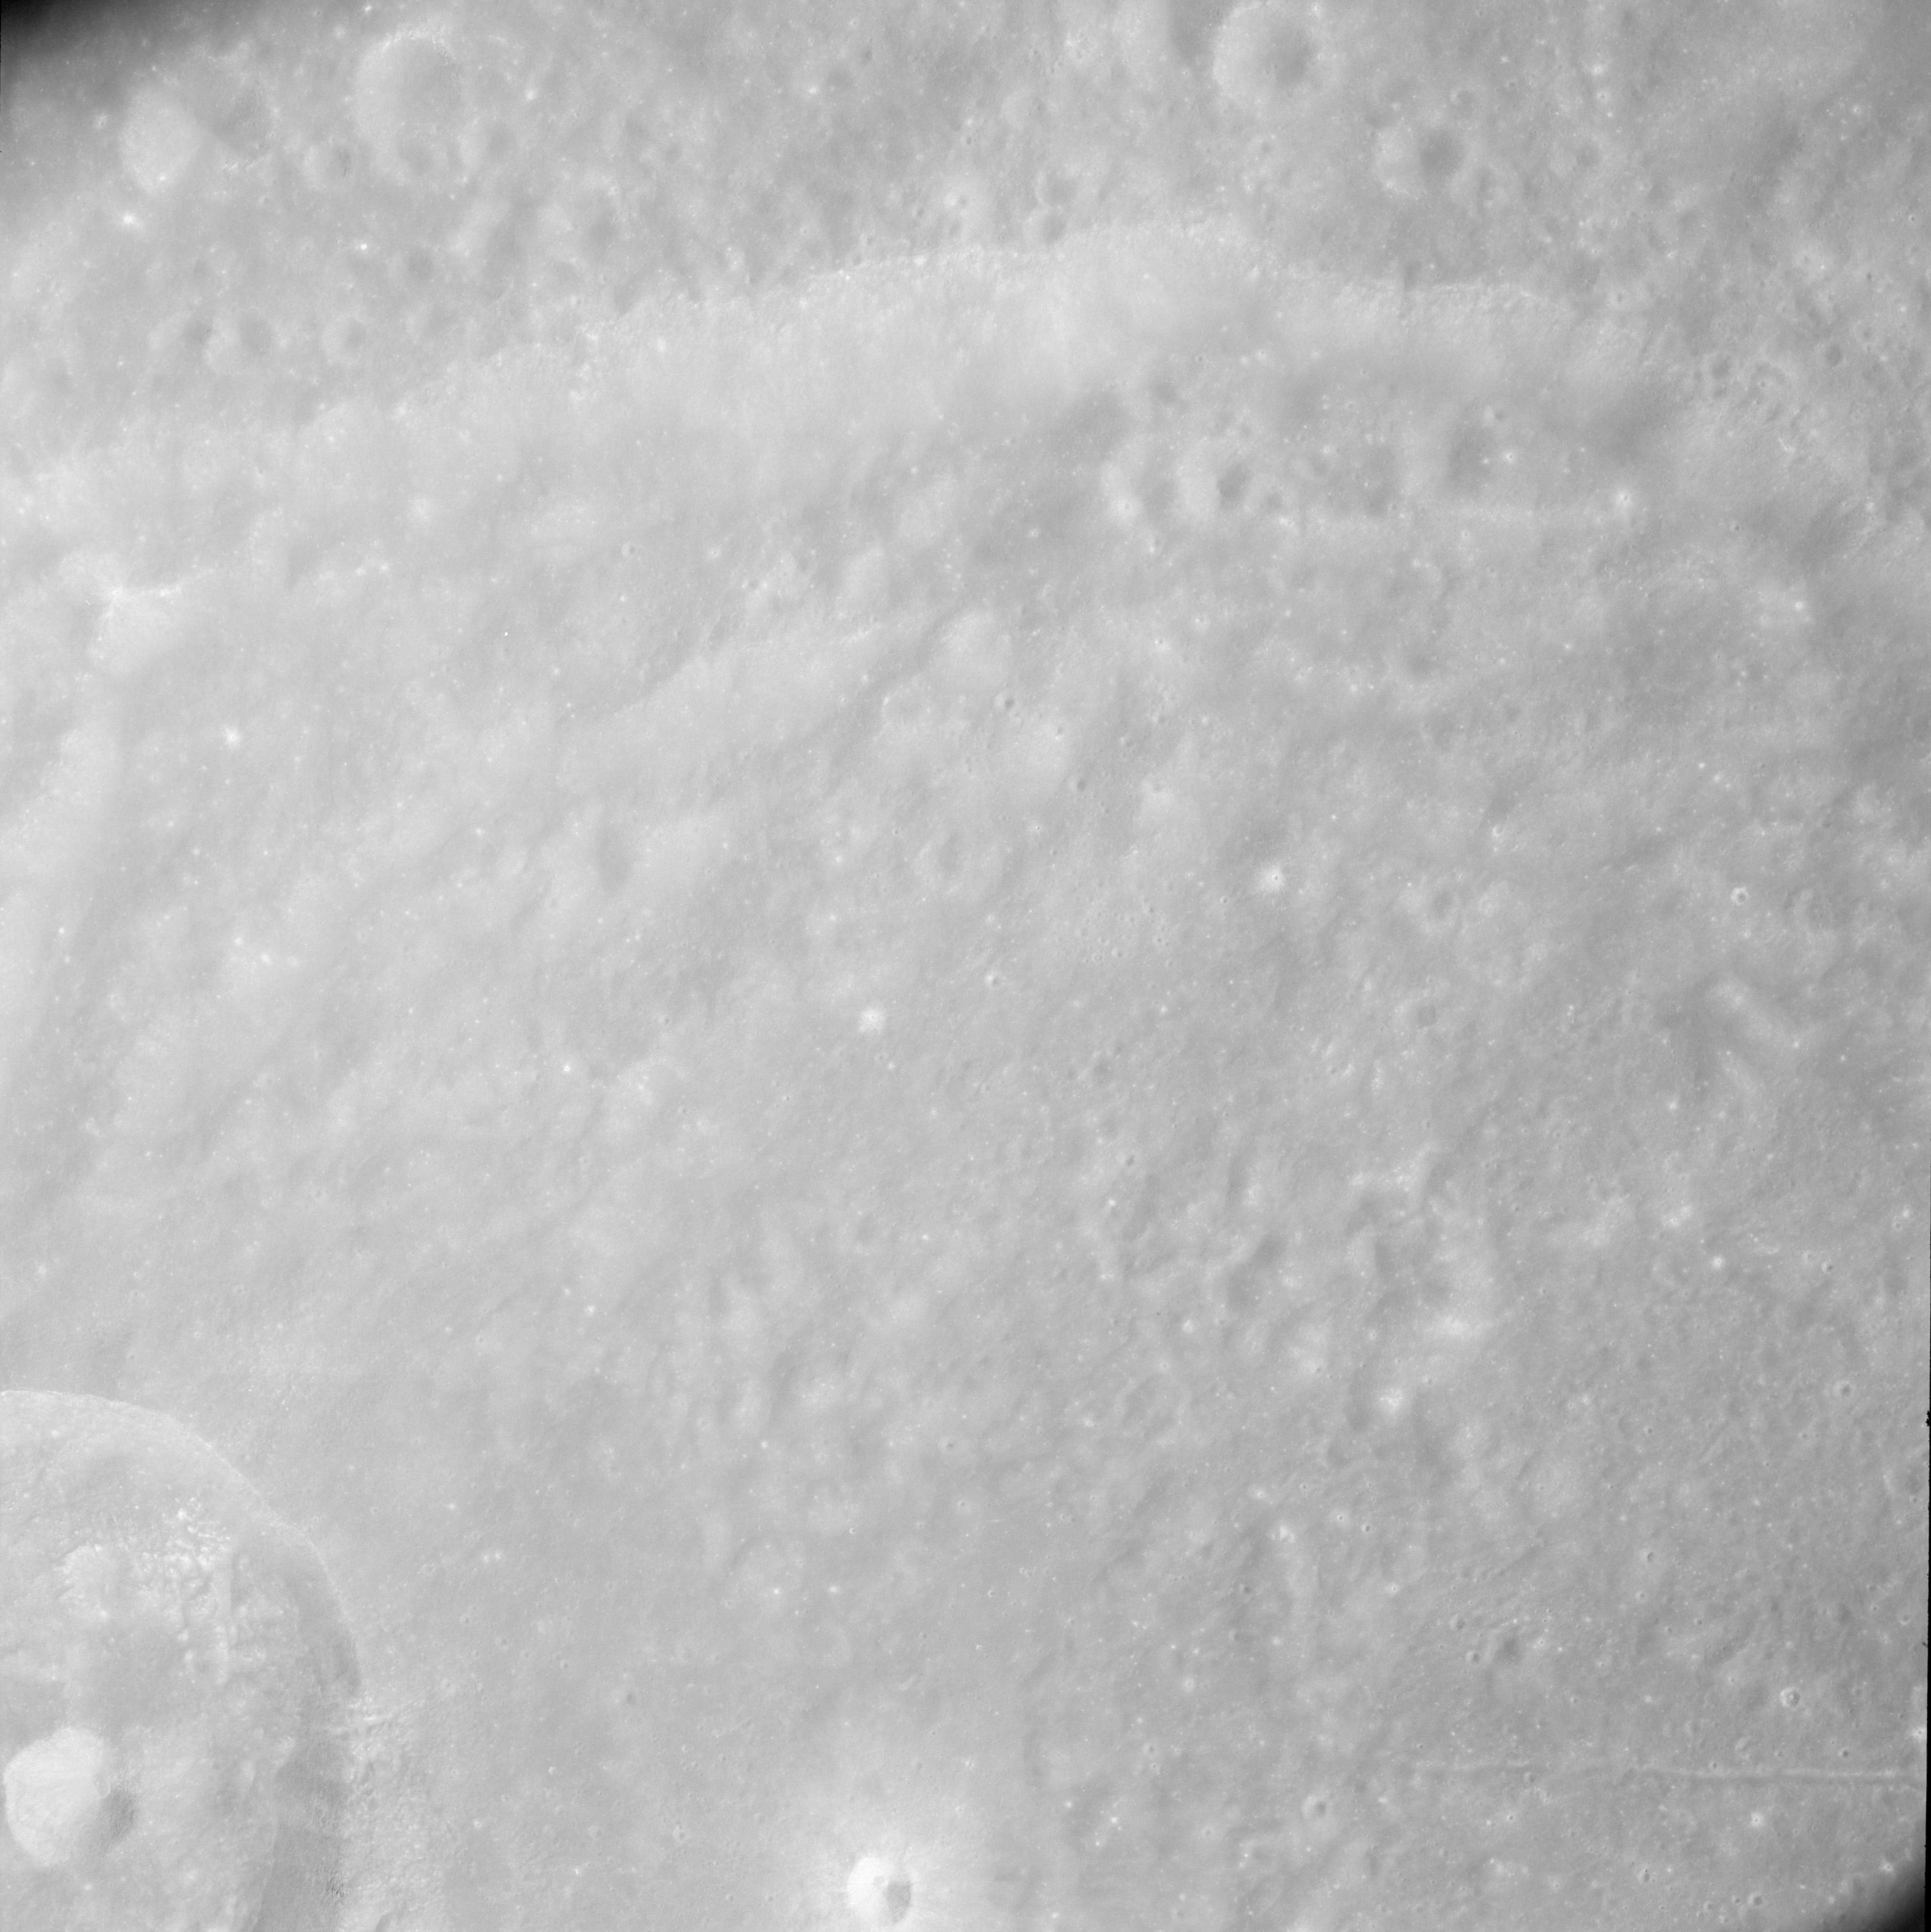
AS08-12-2094 Southeastern rim of Keeler. Plante on lower left. Image credit: Image Science and Analysis Laboratory, NASA-Johnson Space Center. |
 |
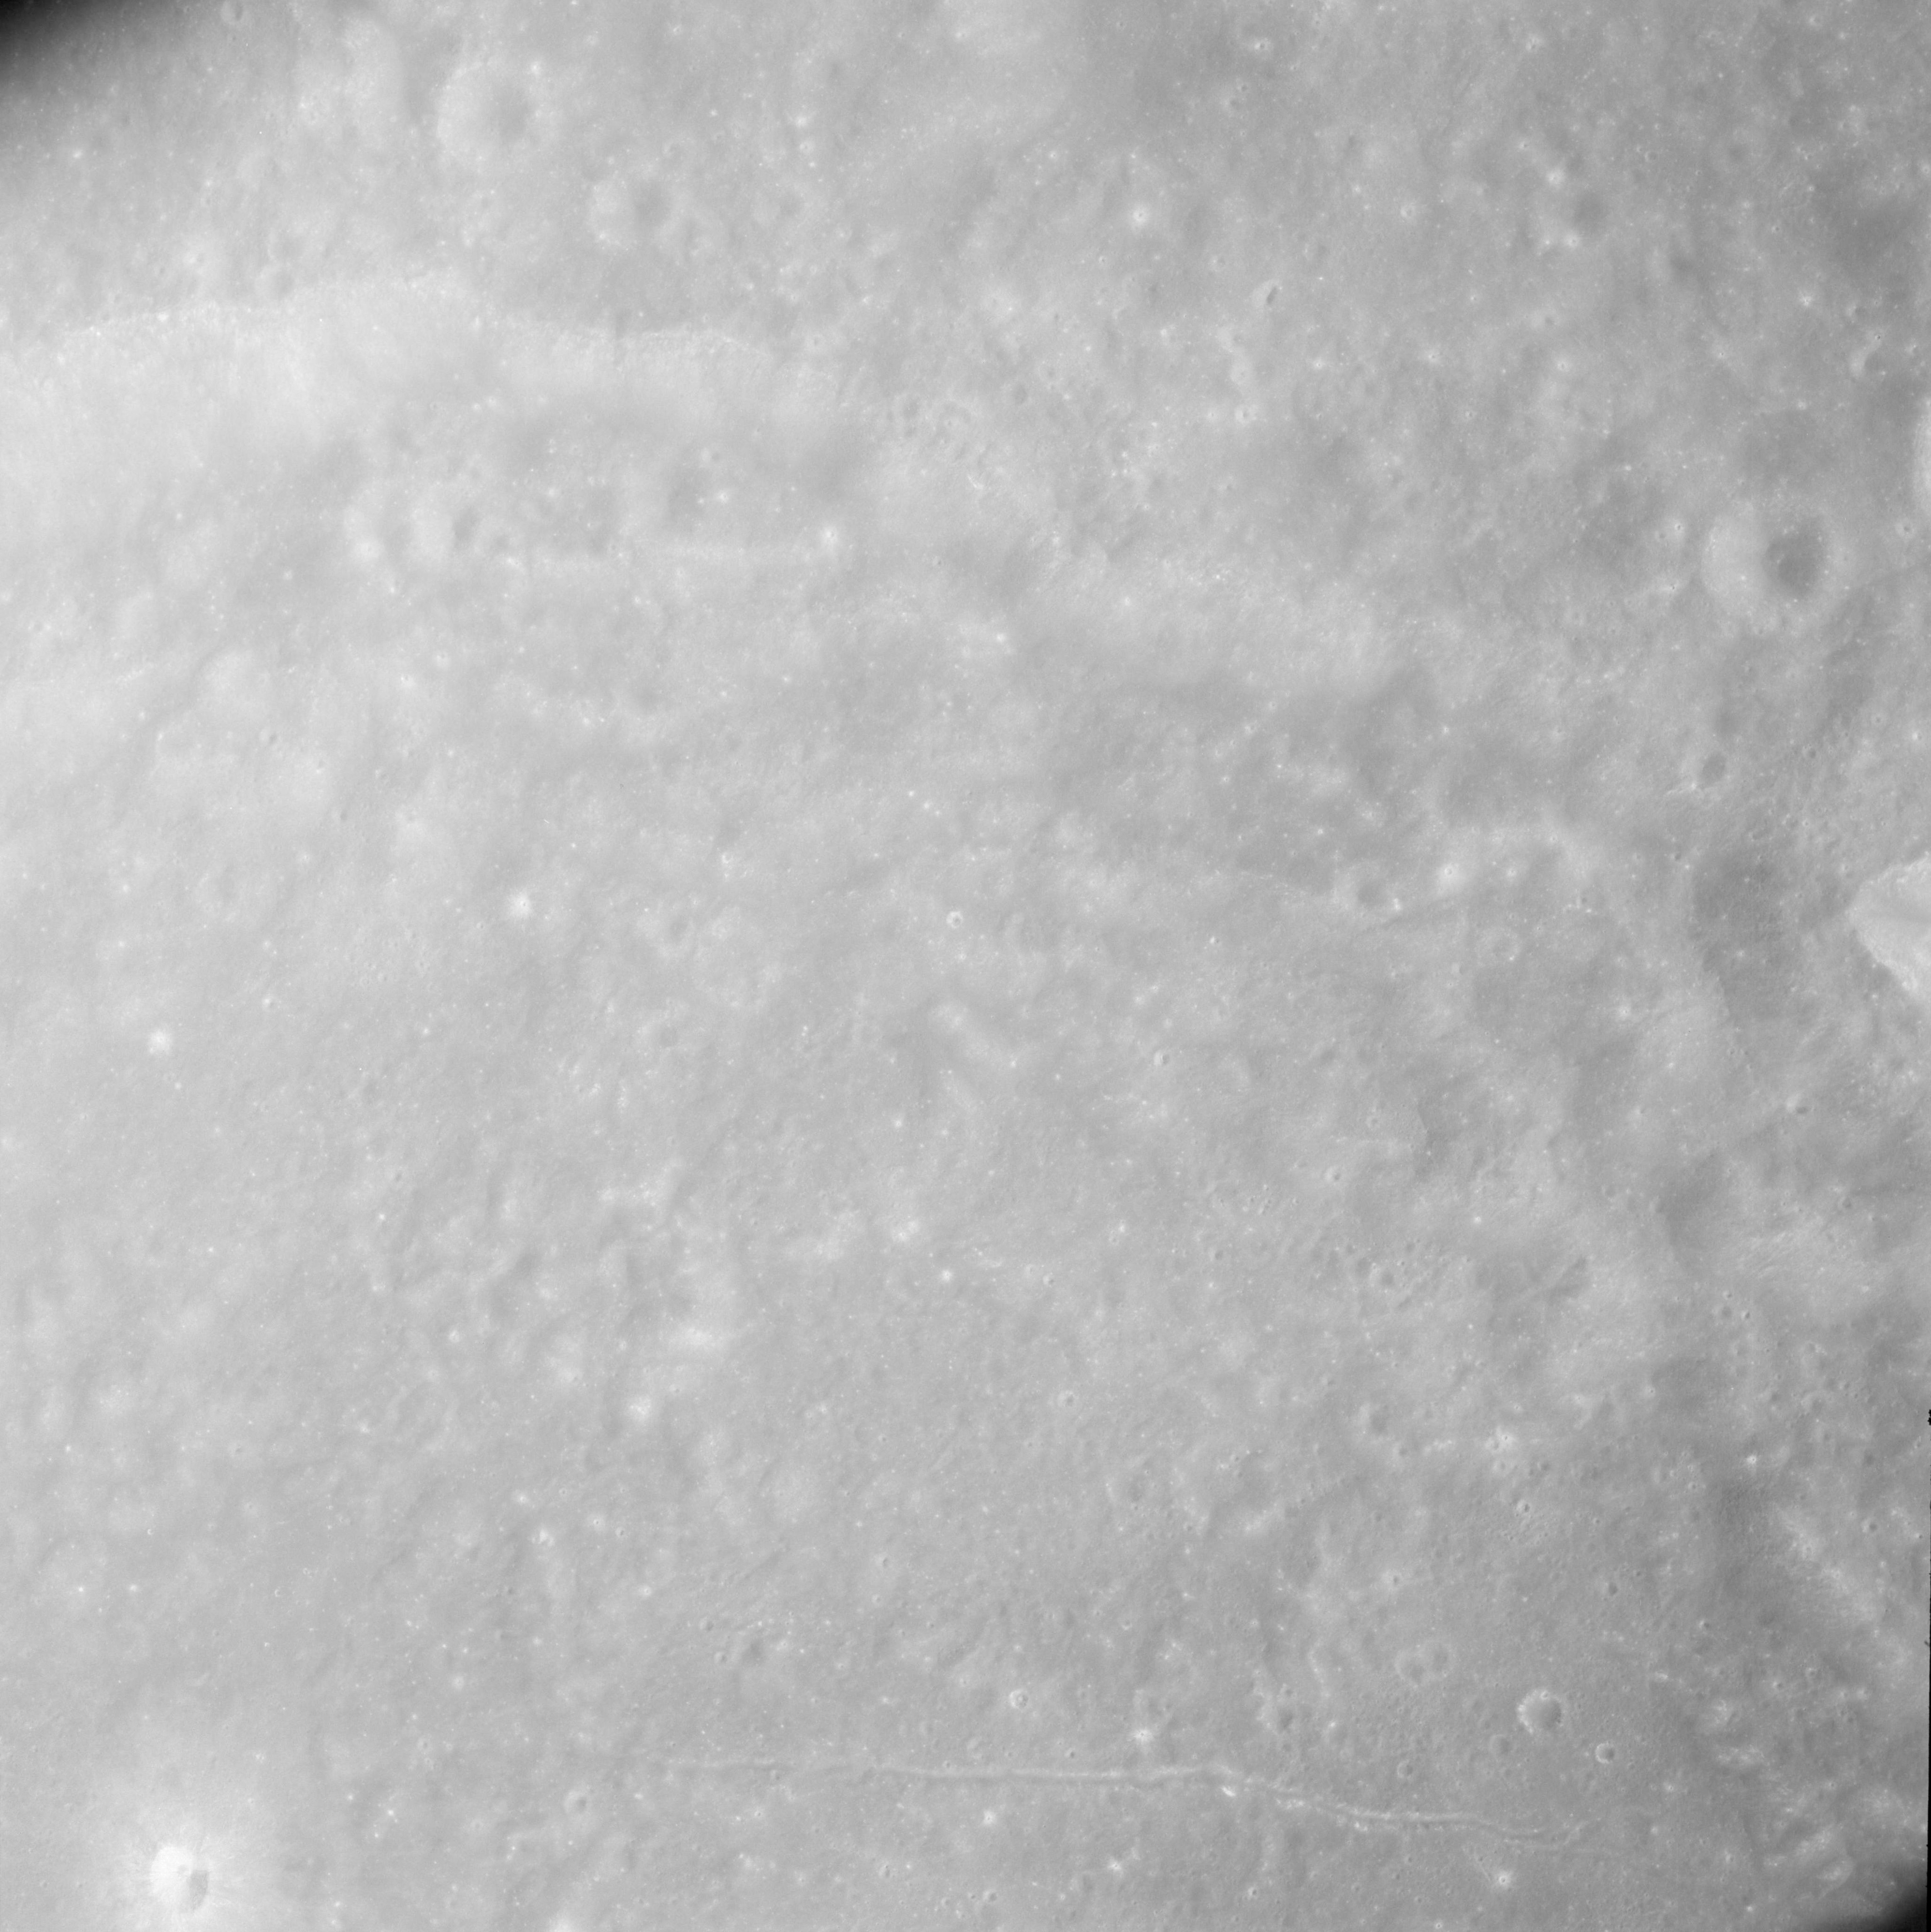
AS08-12-2095 Southern rim of Keeler. Plante on far lower left. Image credit: Image Science and Analysis Laboratory, NASA-Johnson Space Center. |
 |
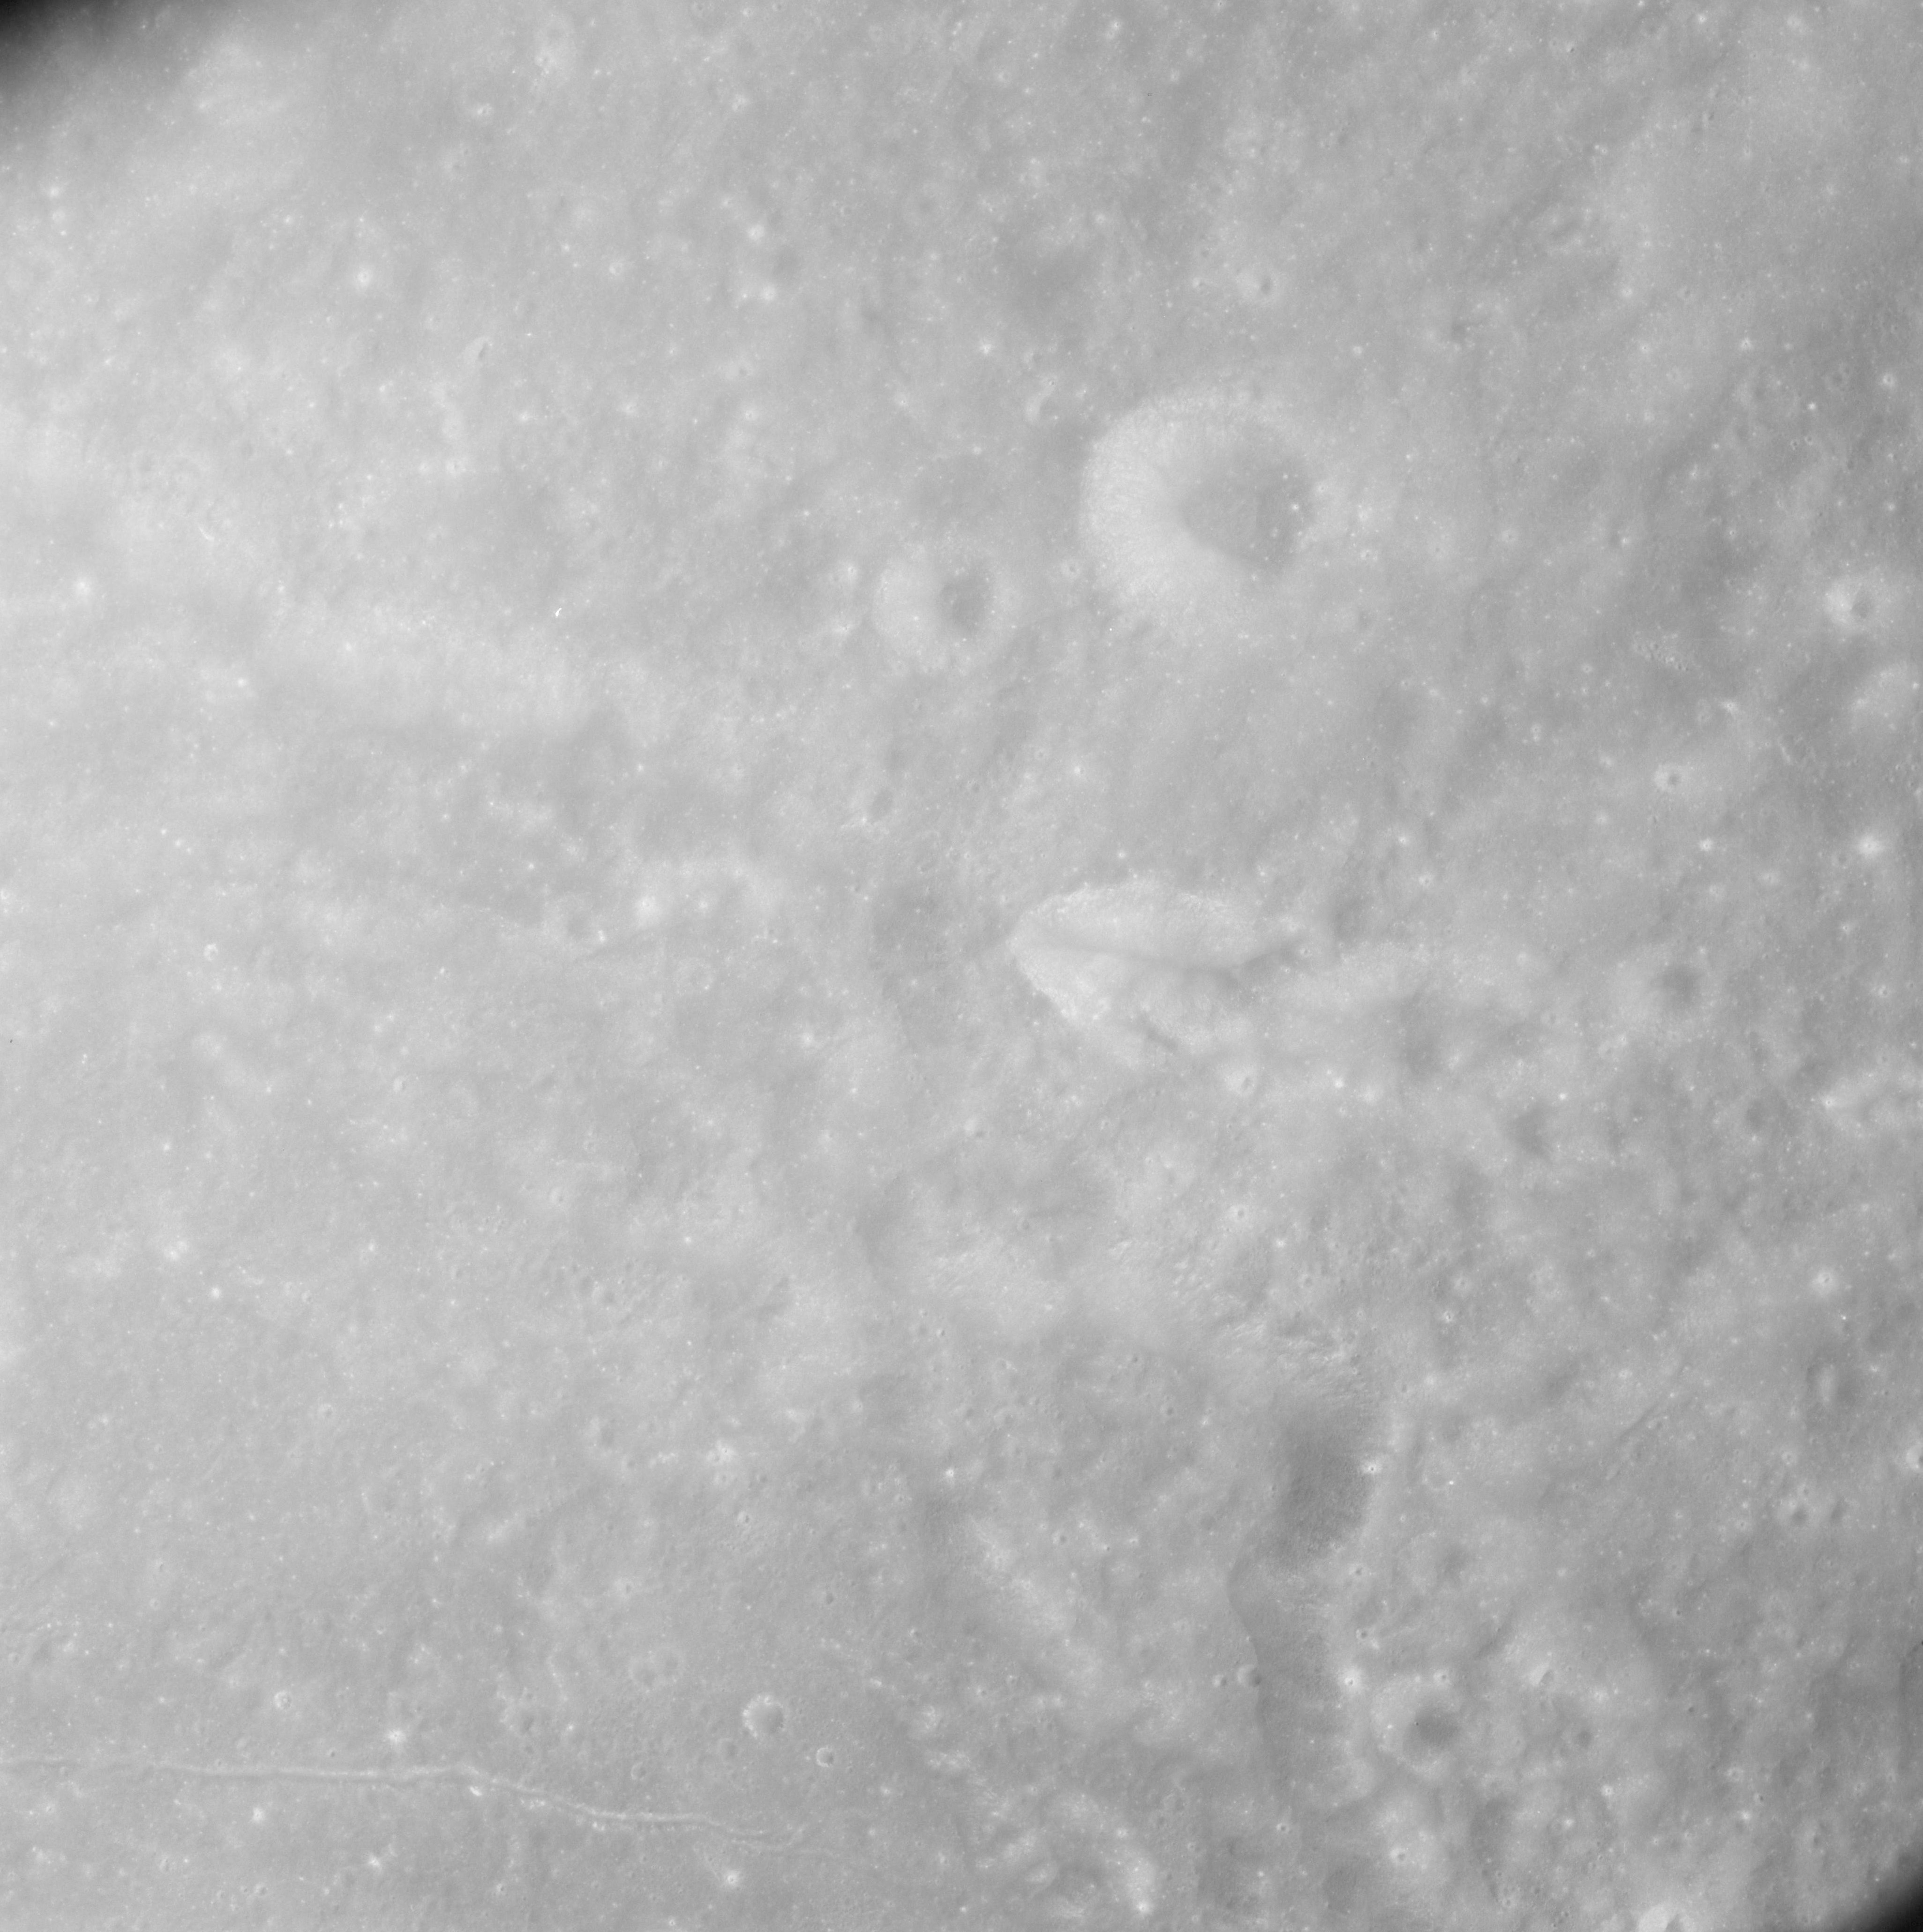
AS08-12-2096 Southwestern rim of Keeler. Image credit: Image Science and Analysis Laboratory, NASA-Johnson Space Center. |
 |
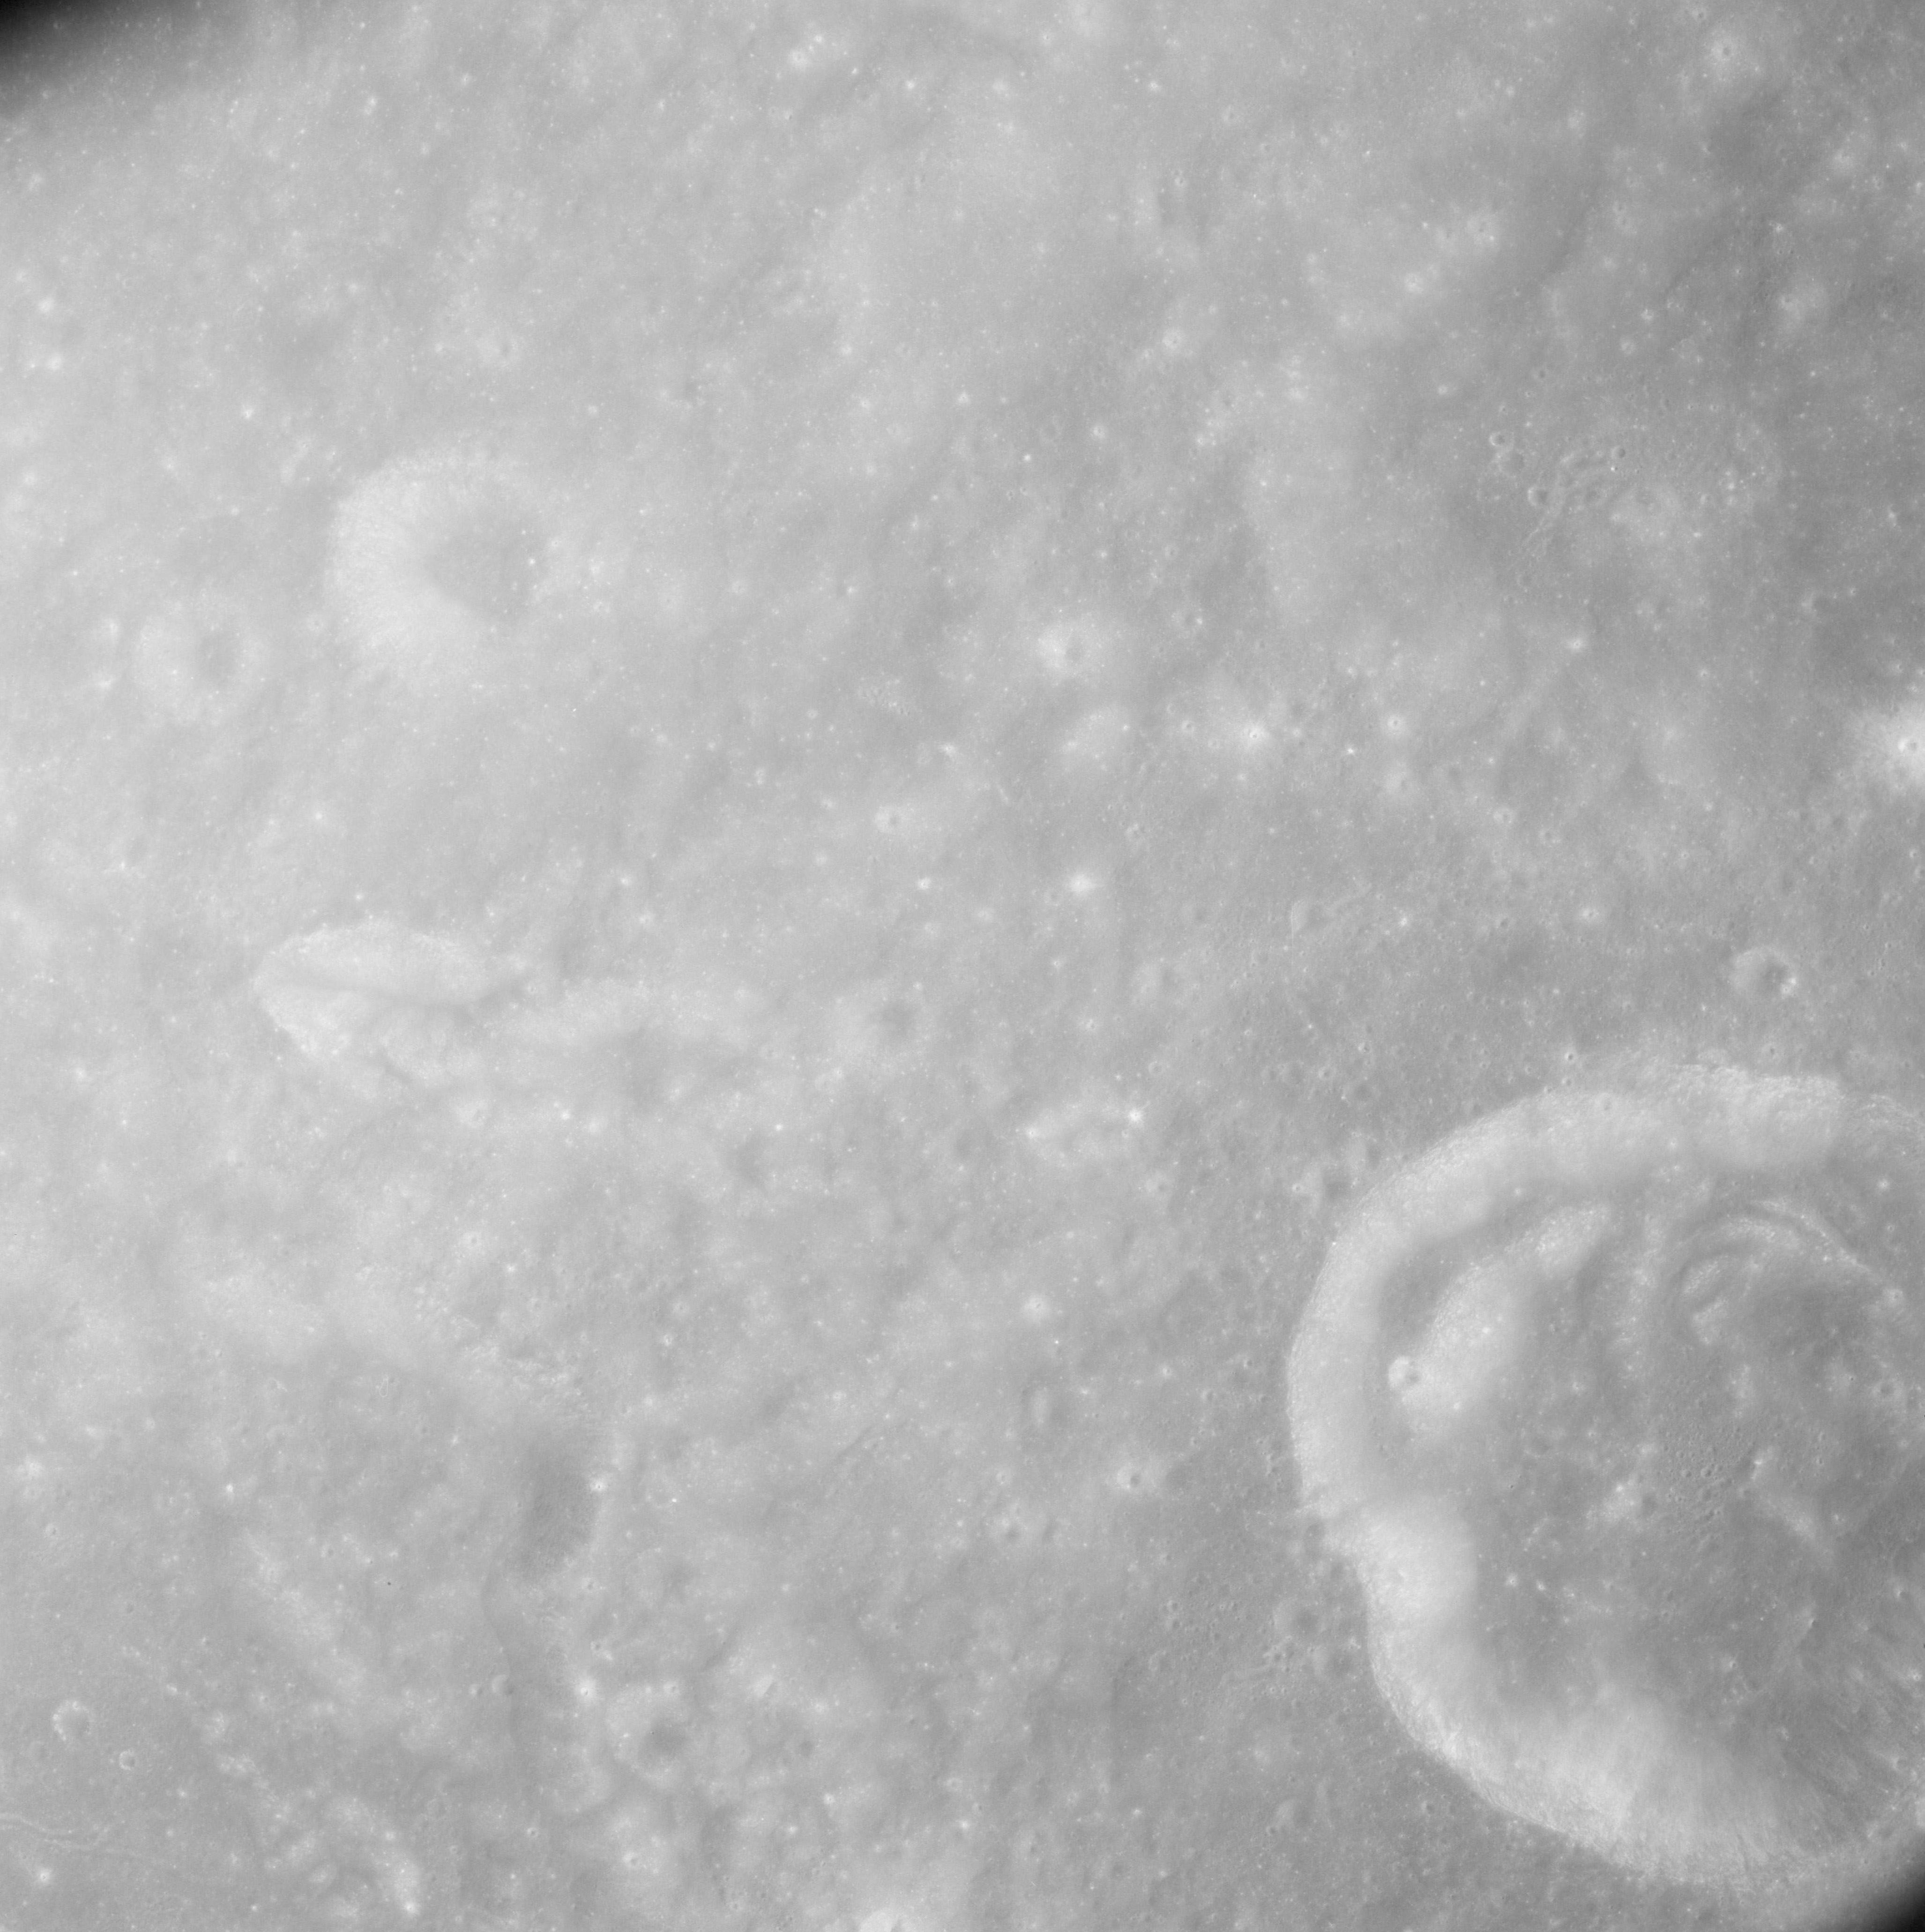
AS08-12-2097 Southwest of Keeler. Image credit: Image Science and Analysis Laboratory, NASA-Johnson Space Center. |
 |
AS08-12-2098 Southwest of Keeler. Keeler S on lower right. Image credit: Image Science and Analysis Laboratory, NASA-Johnson Space Center. |
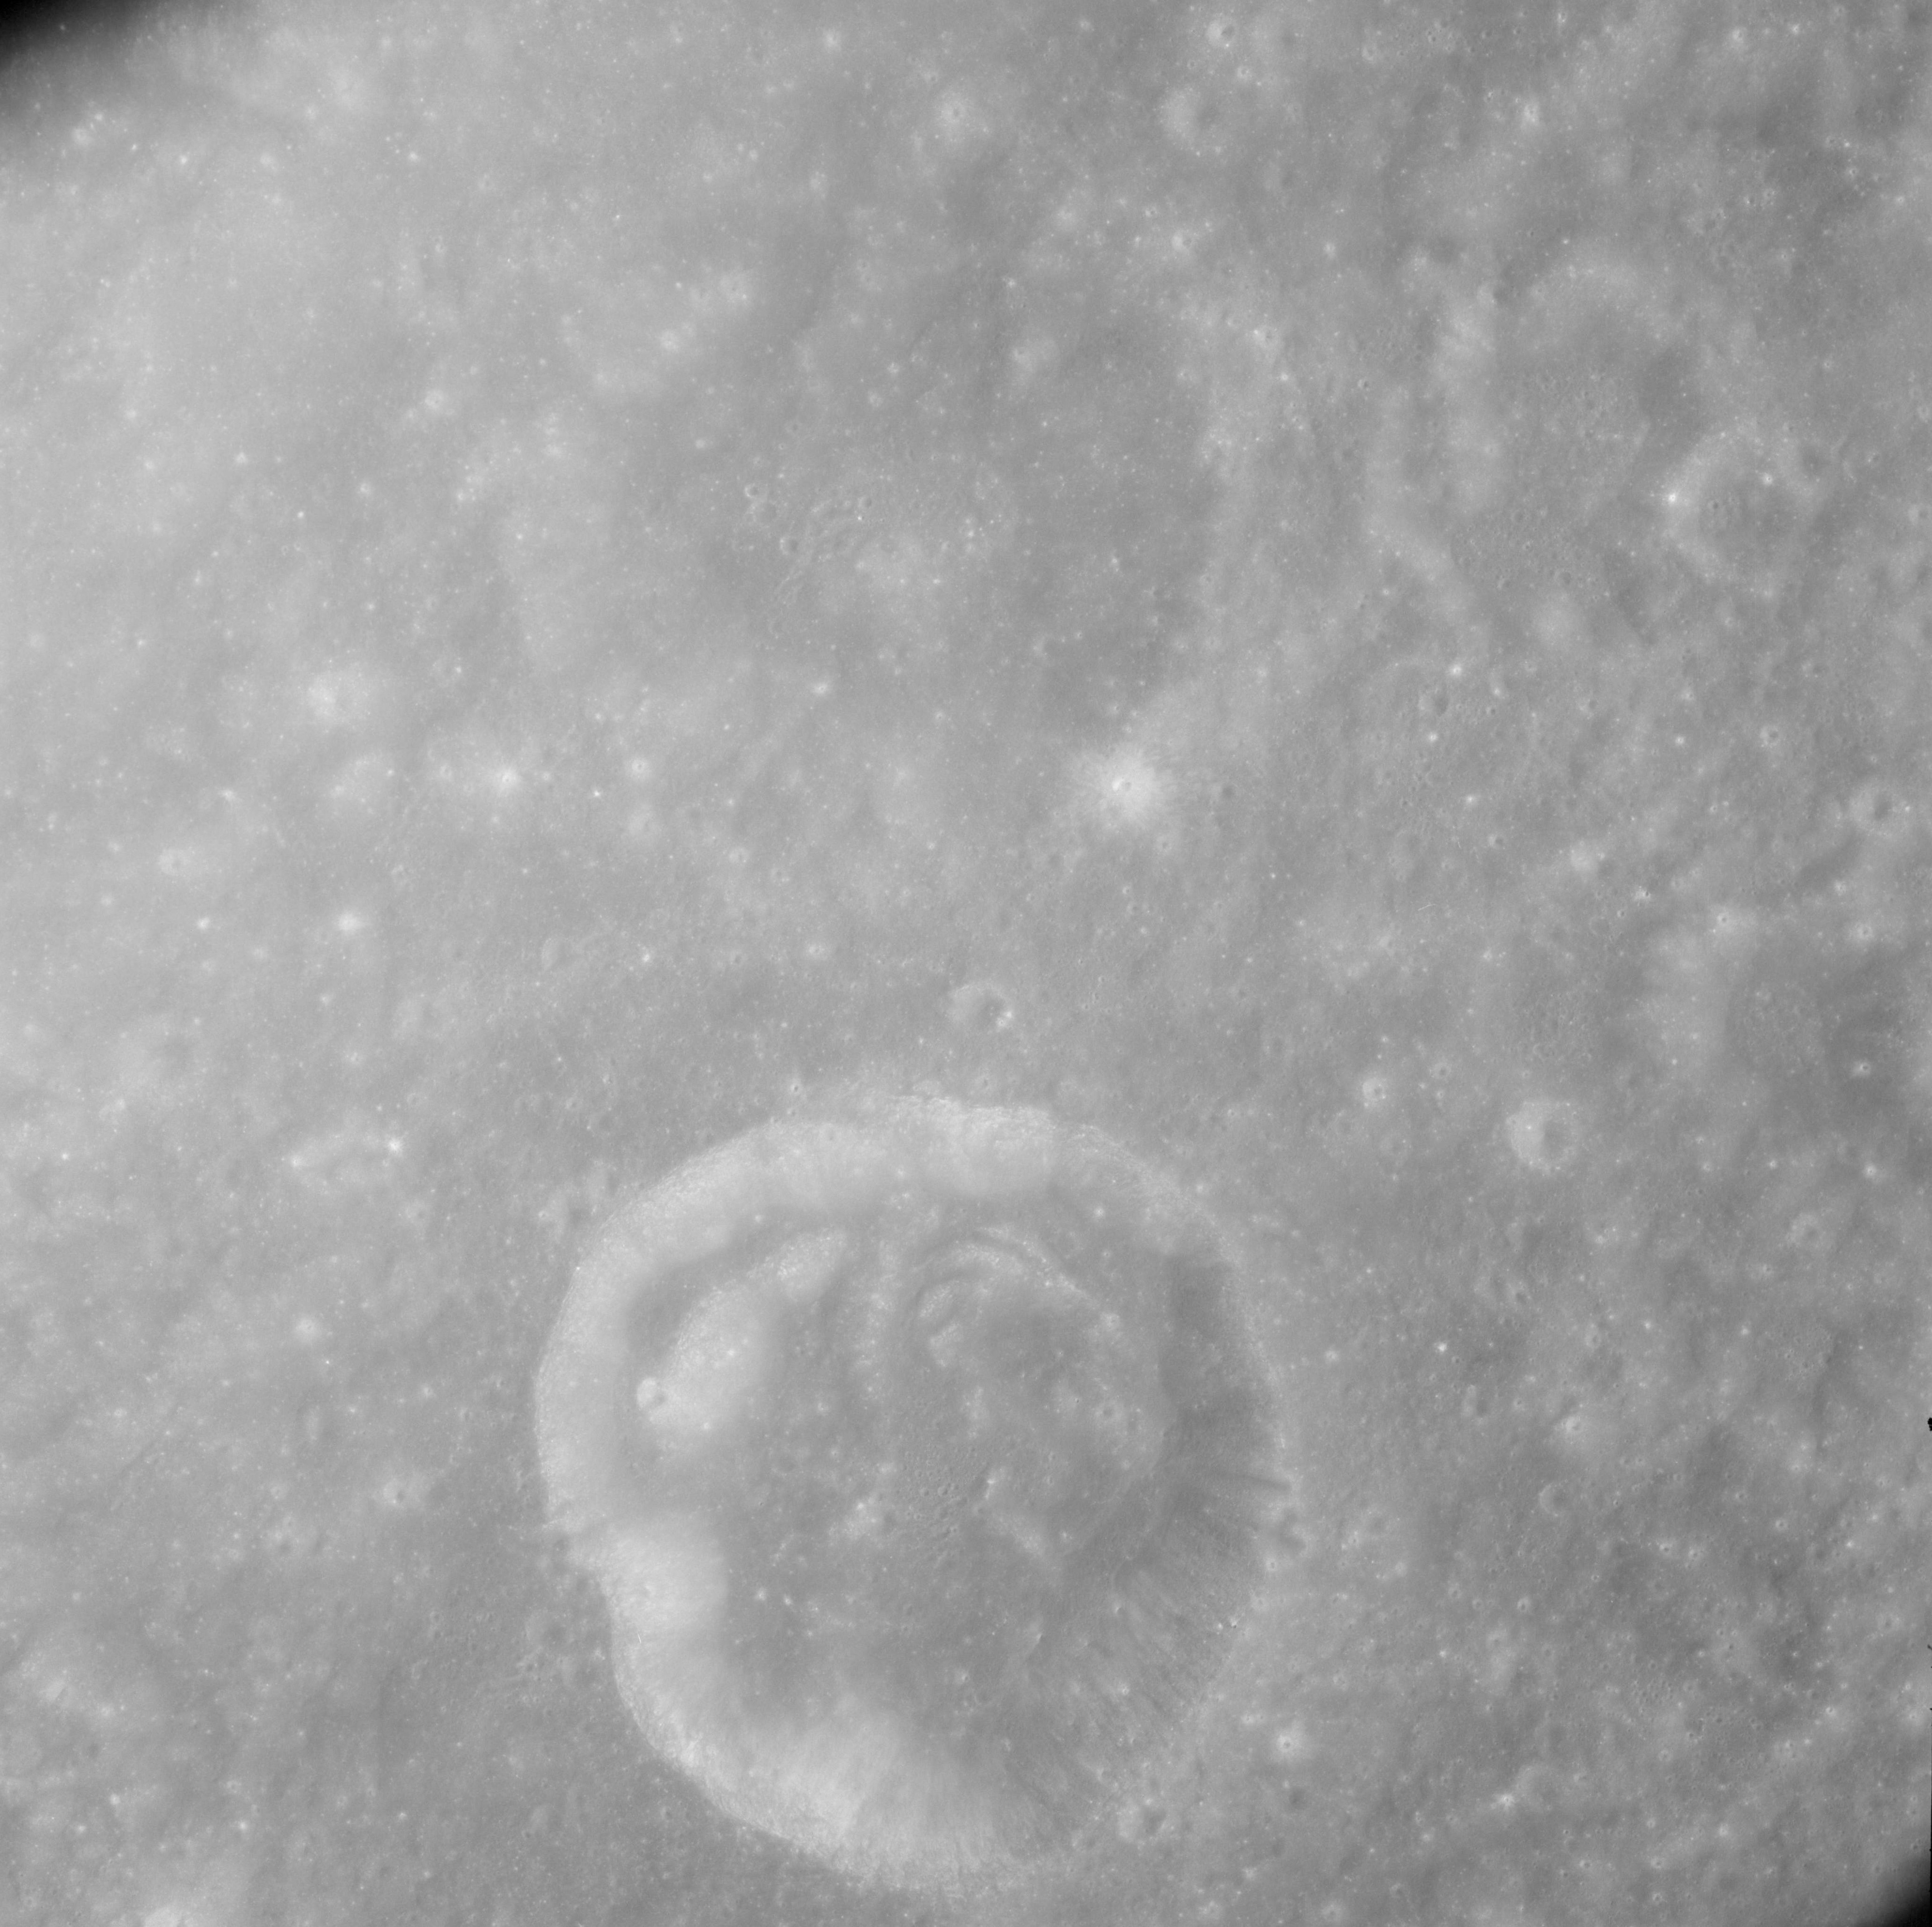 |
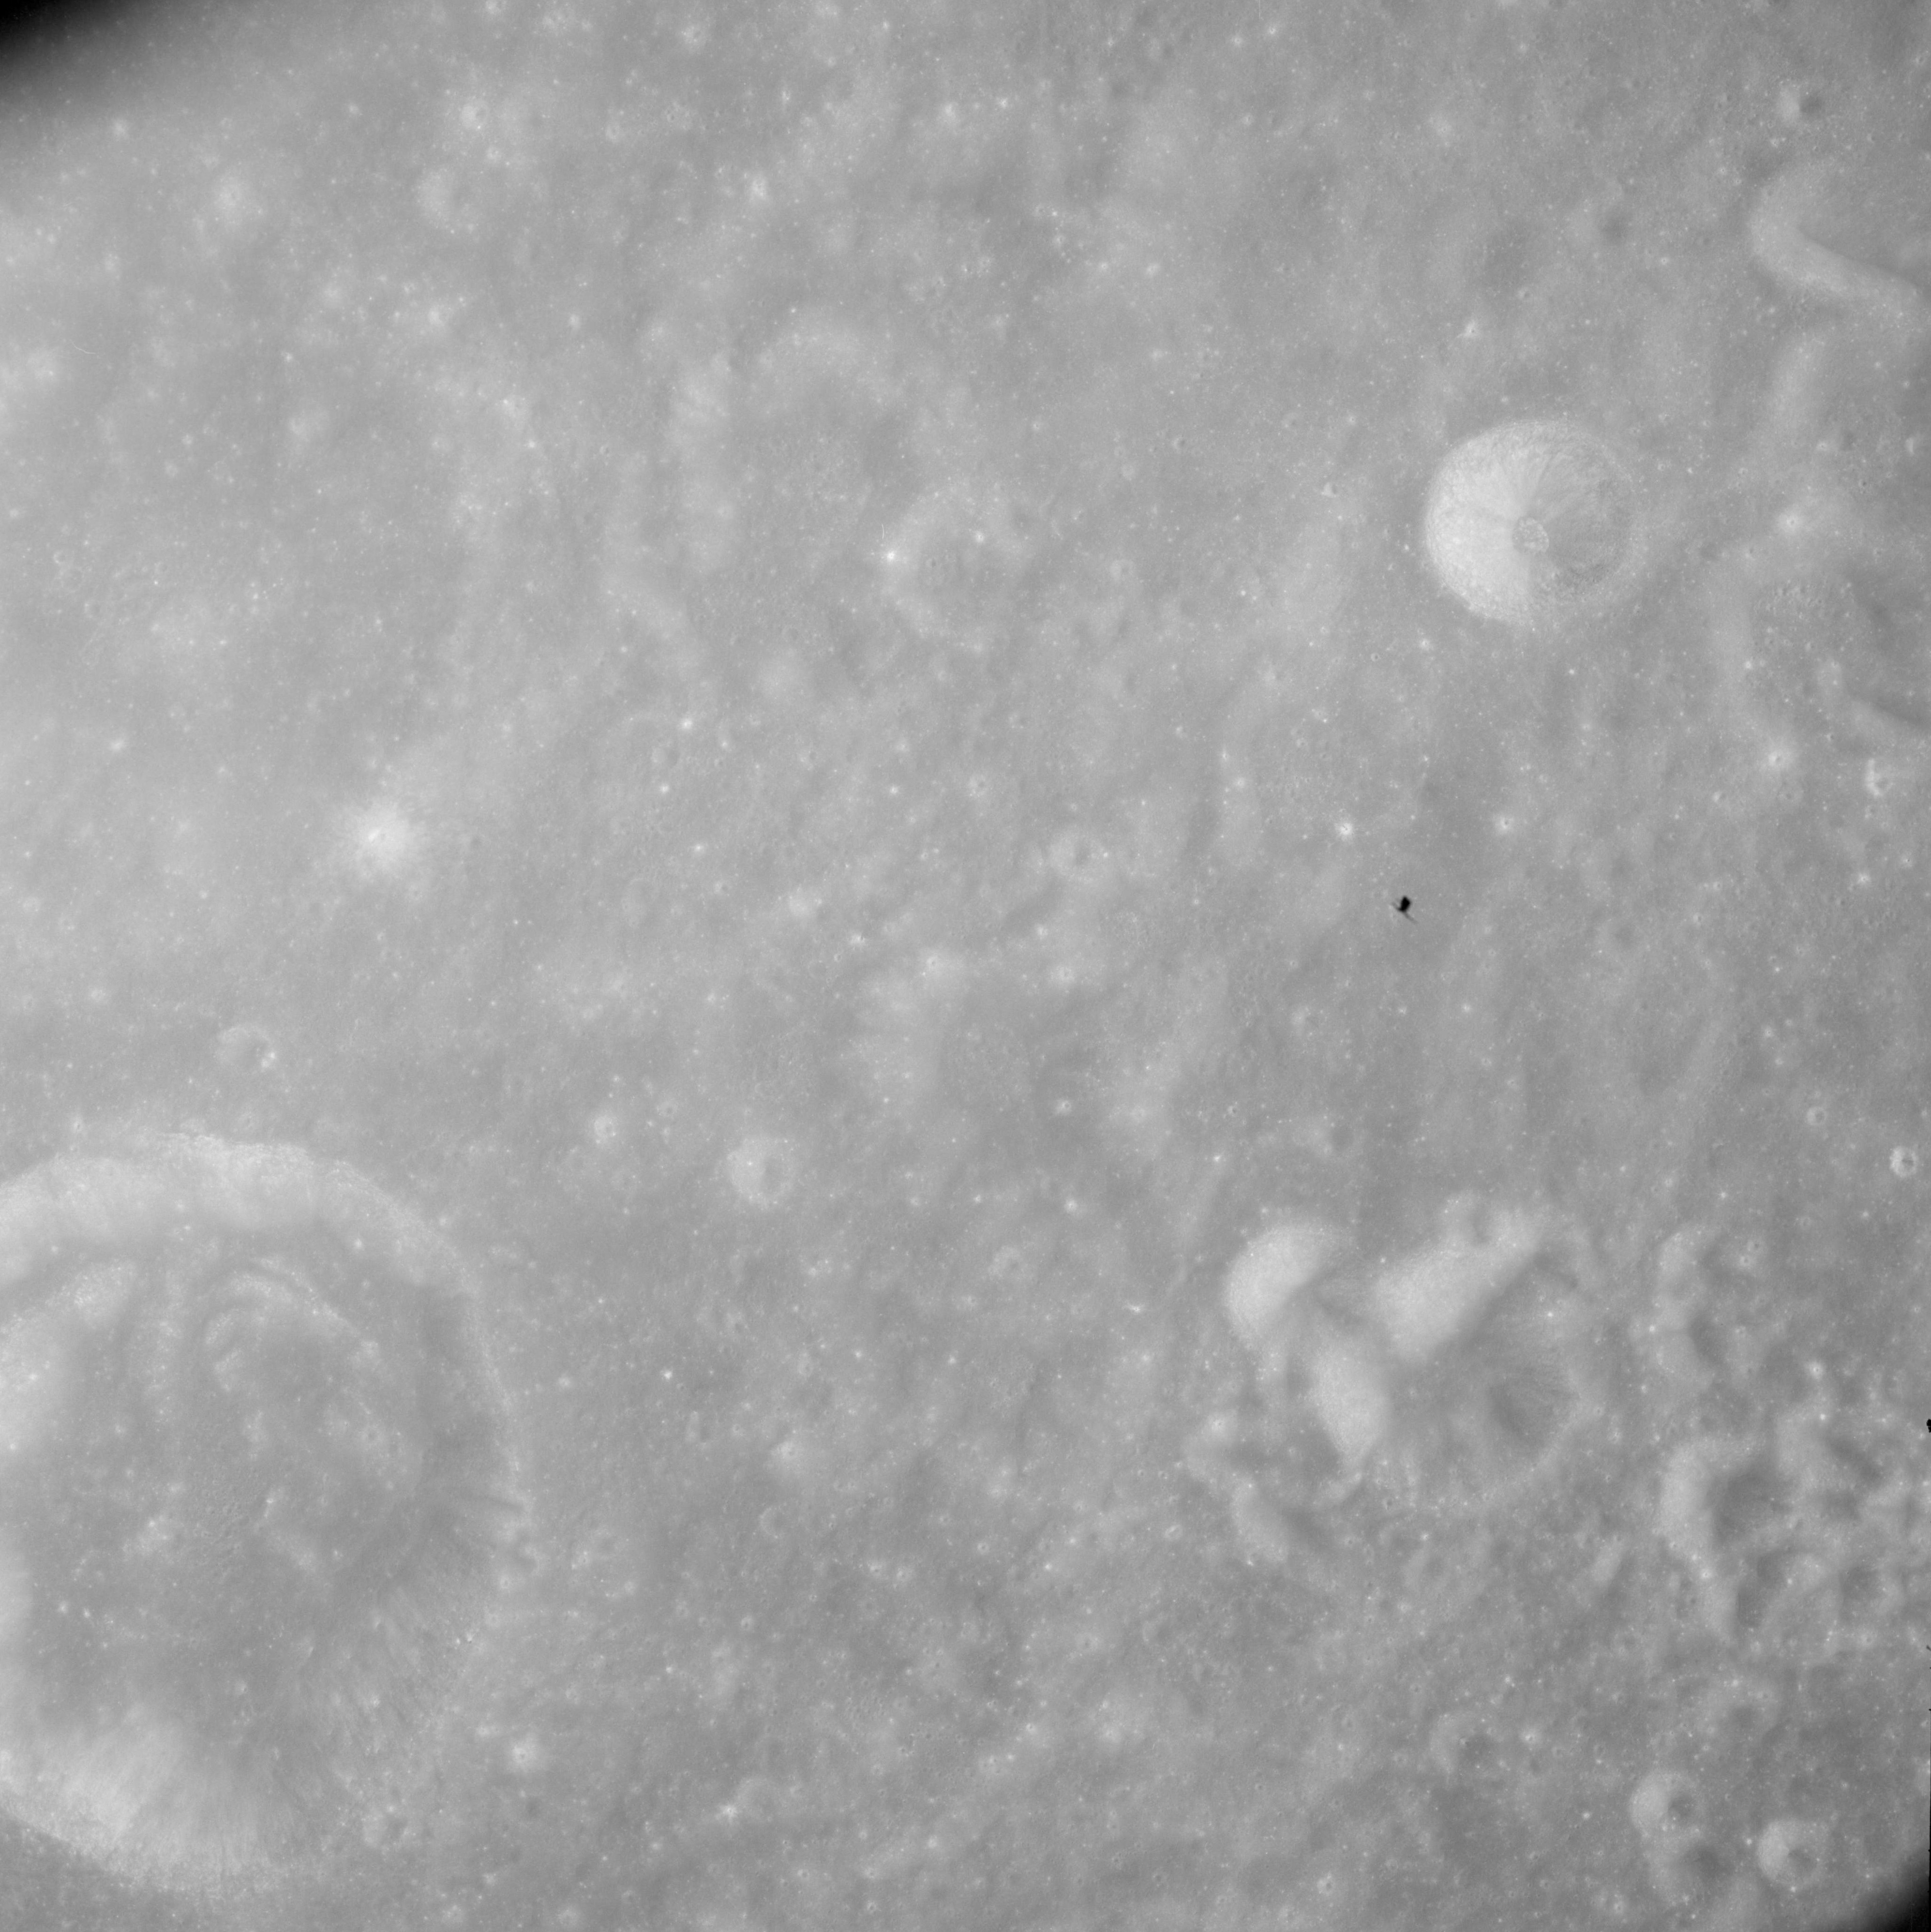
AS08-12-2099 Southwest of Keeler. Keeler S on lower centre. Image credit: Image Science and Analysis Laboratory, NASA-Johnson Space Center. |
 |
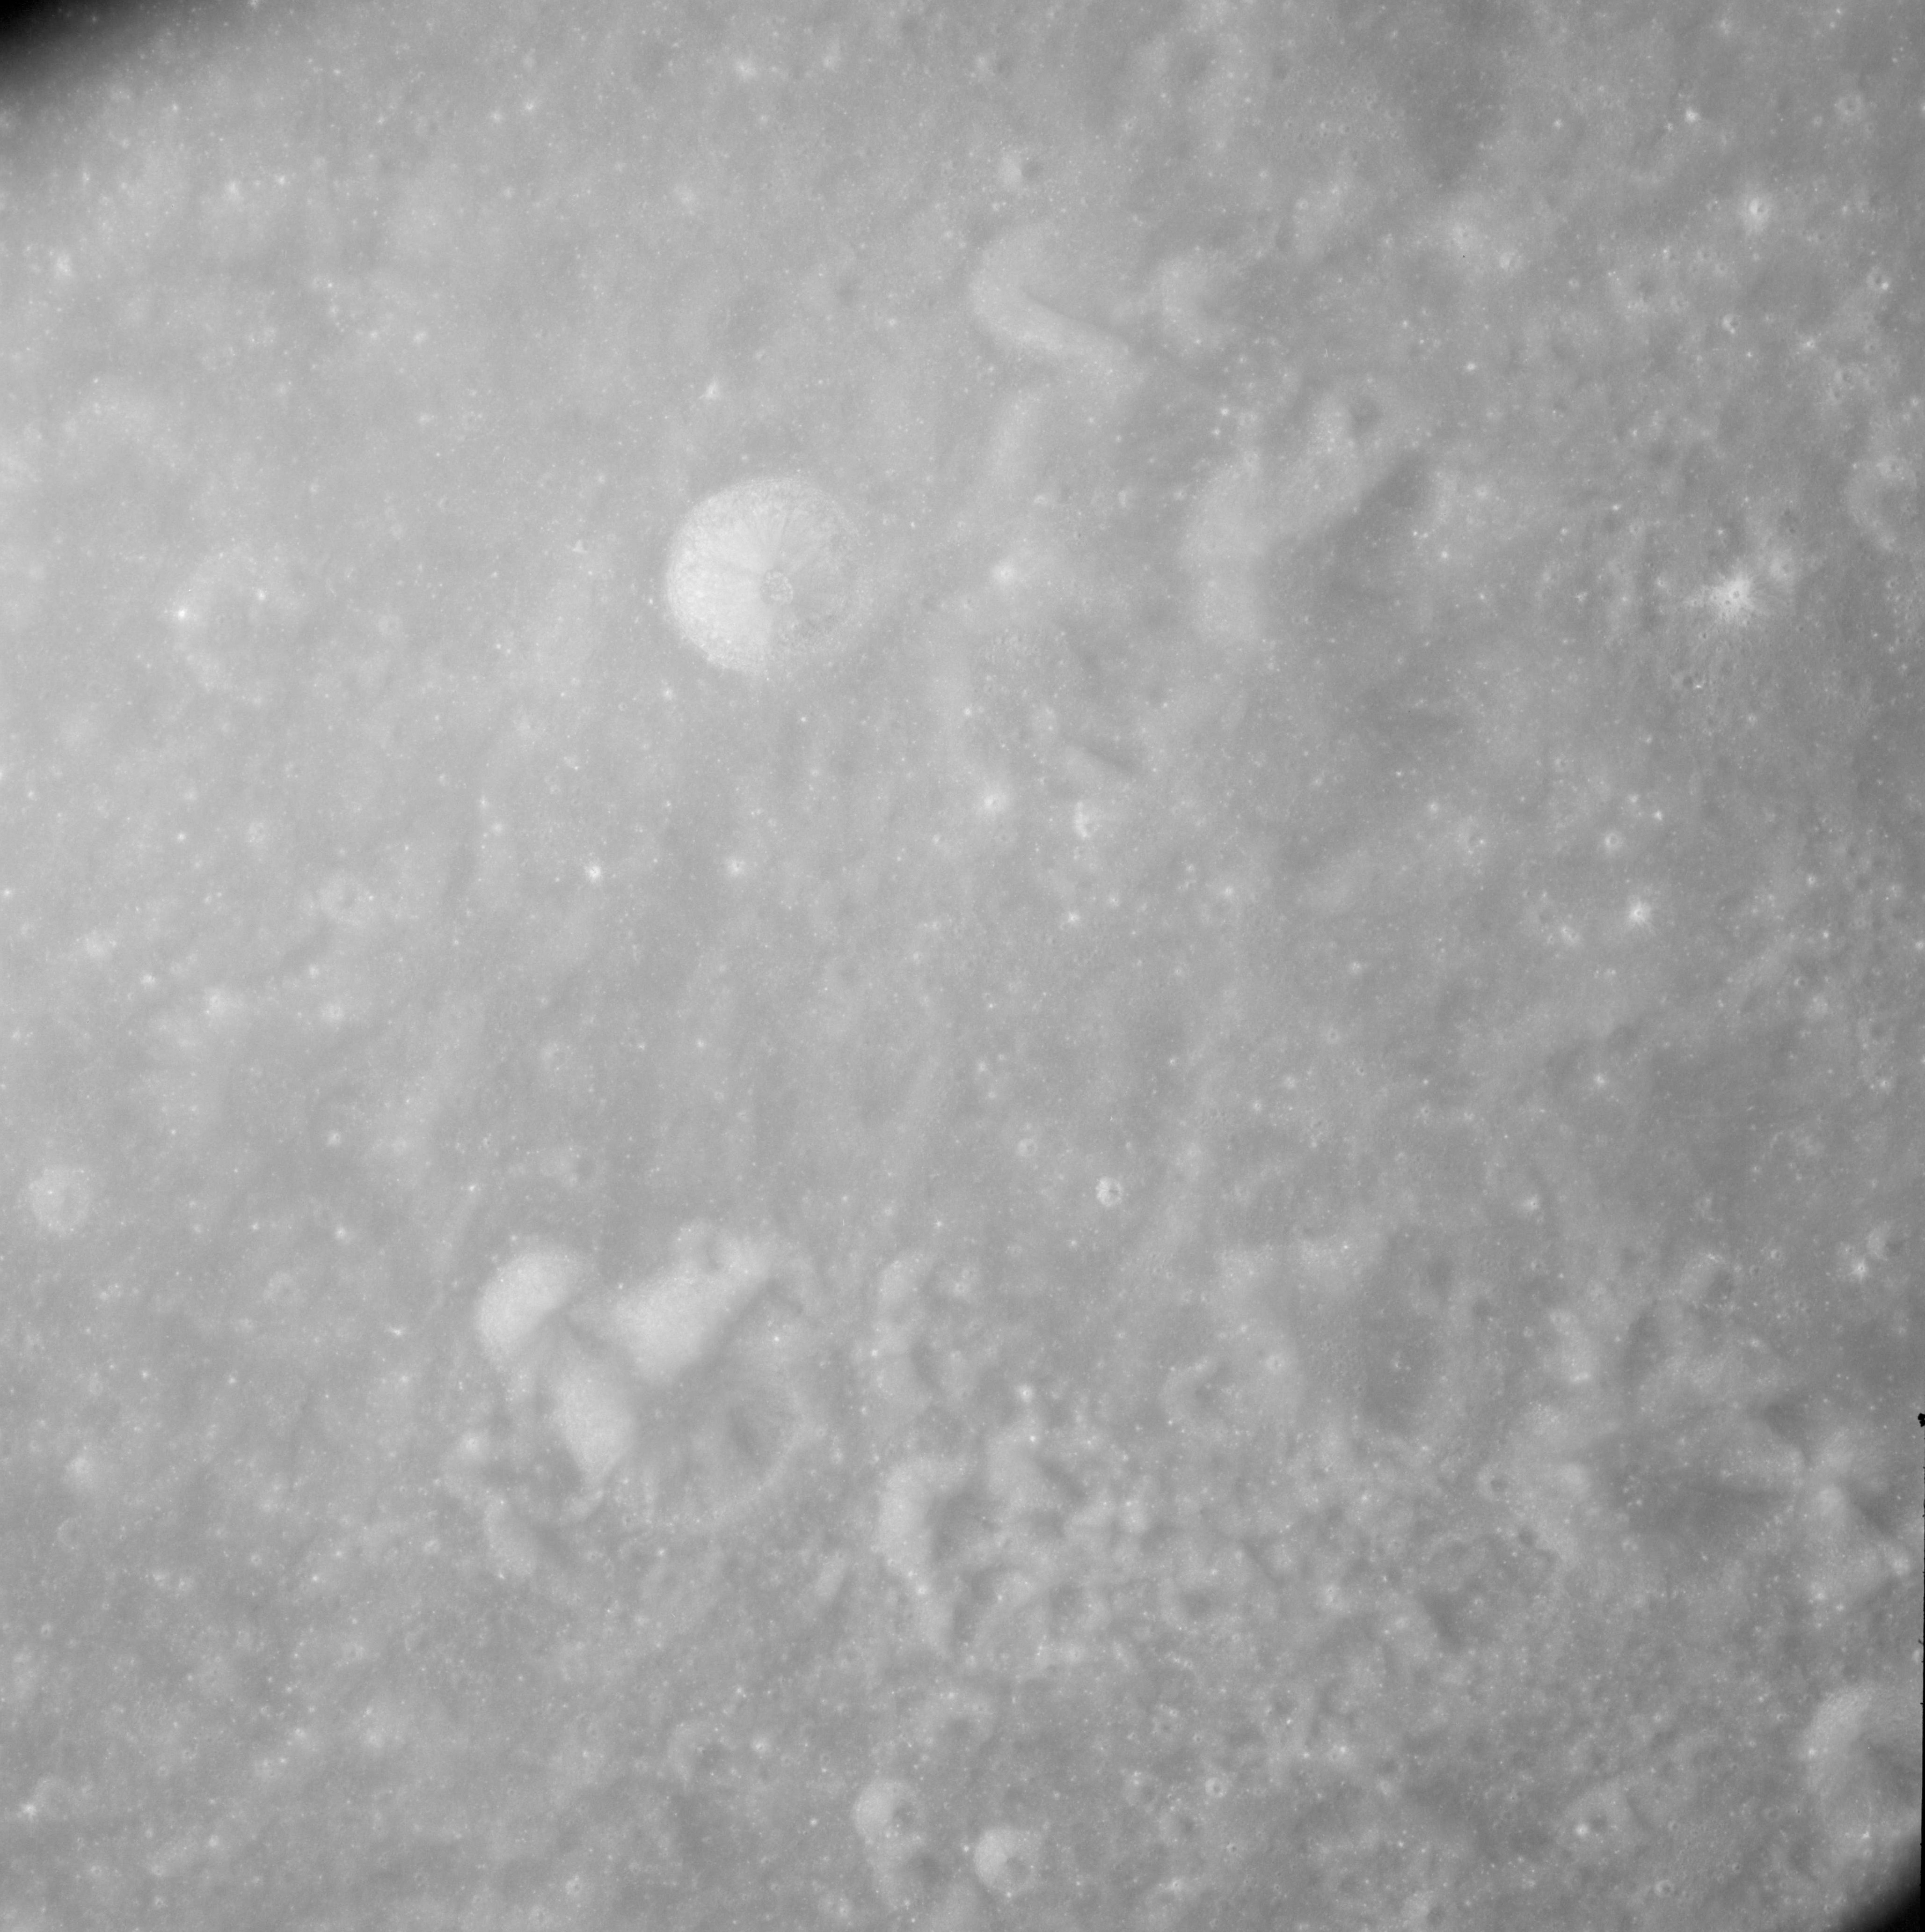
AS08-12-2100 Western interior of Keeler-Heaviside Basin. Keeler S on lower left. Image credit: Image Science and Analysis Laboratory, NASA-Johnson Space Center. |
 |
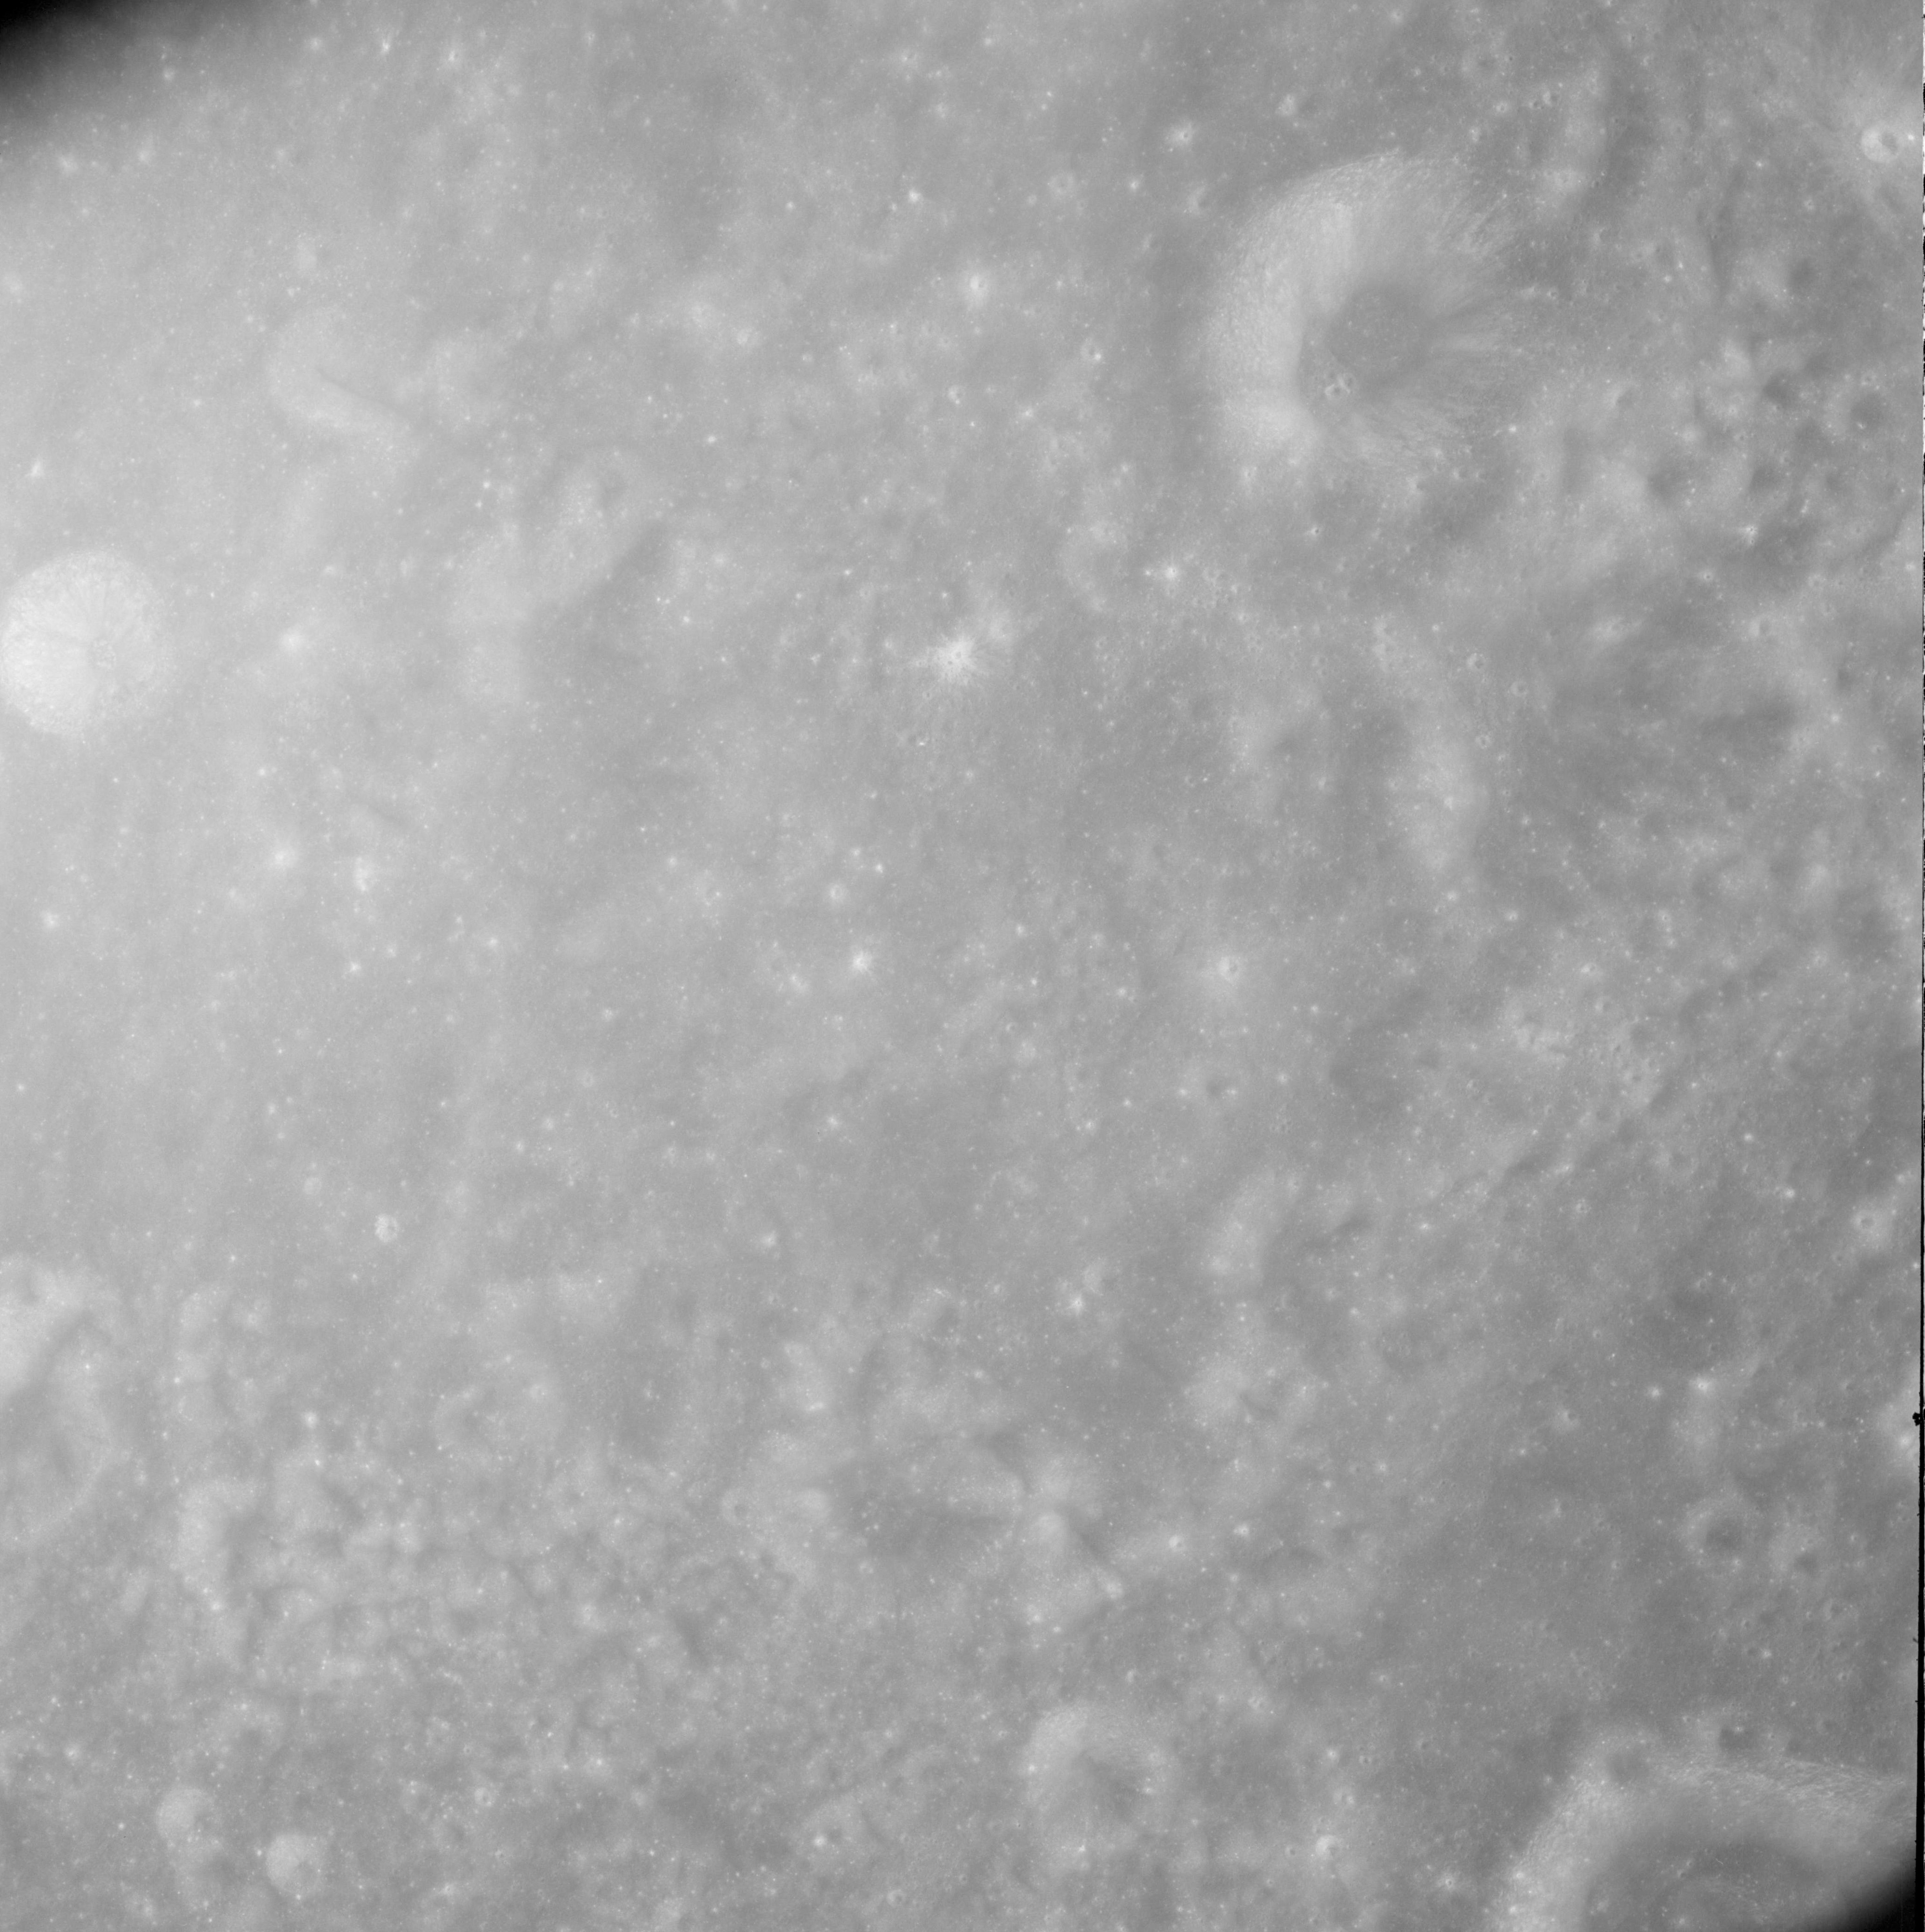
AS08-12-2101 Western interior of Keeler-Heaviside Basin. Image credit: Image Science and Analysis Laboratory, NASA-Johnson Space Center. |
 |
AS08-12-2102 Western interior of Keeler-Heaviside Basin. Image credit: Image Science and Analysis Laboratory, NASA-Johnson Space Center. |
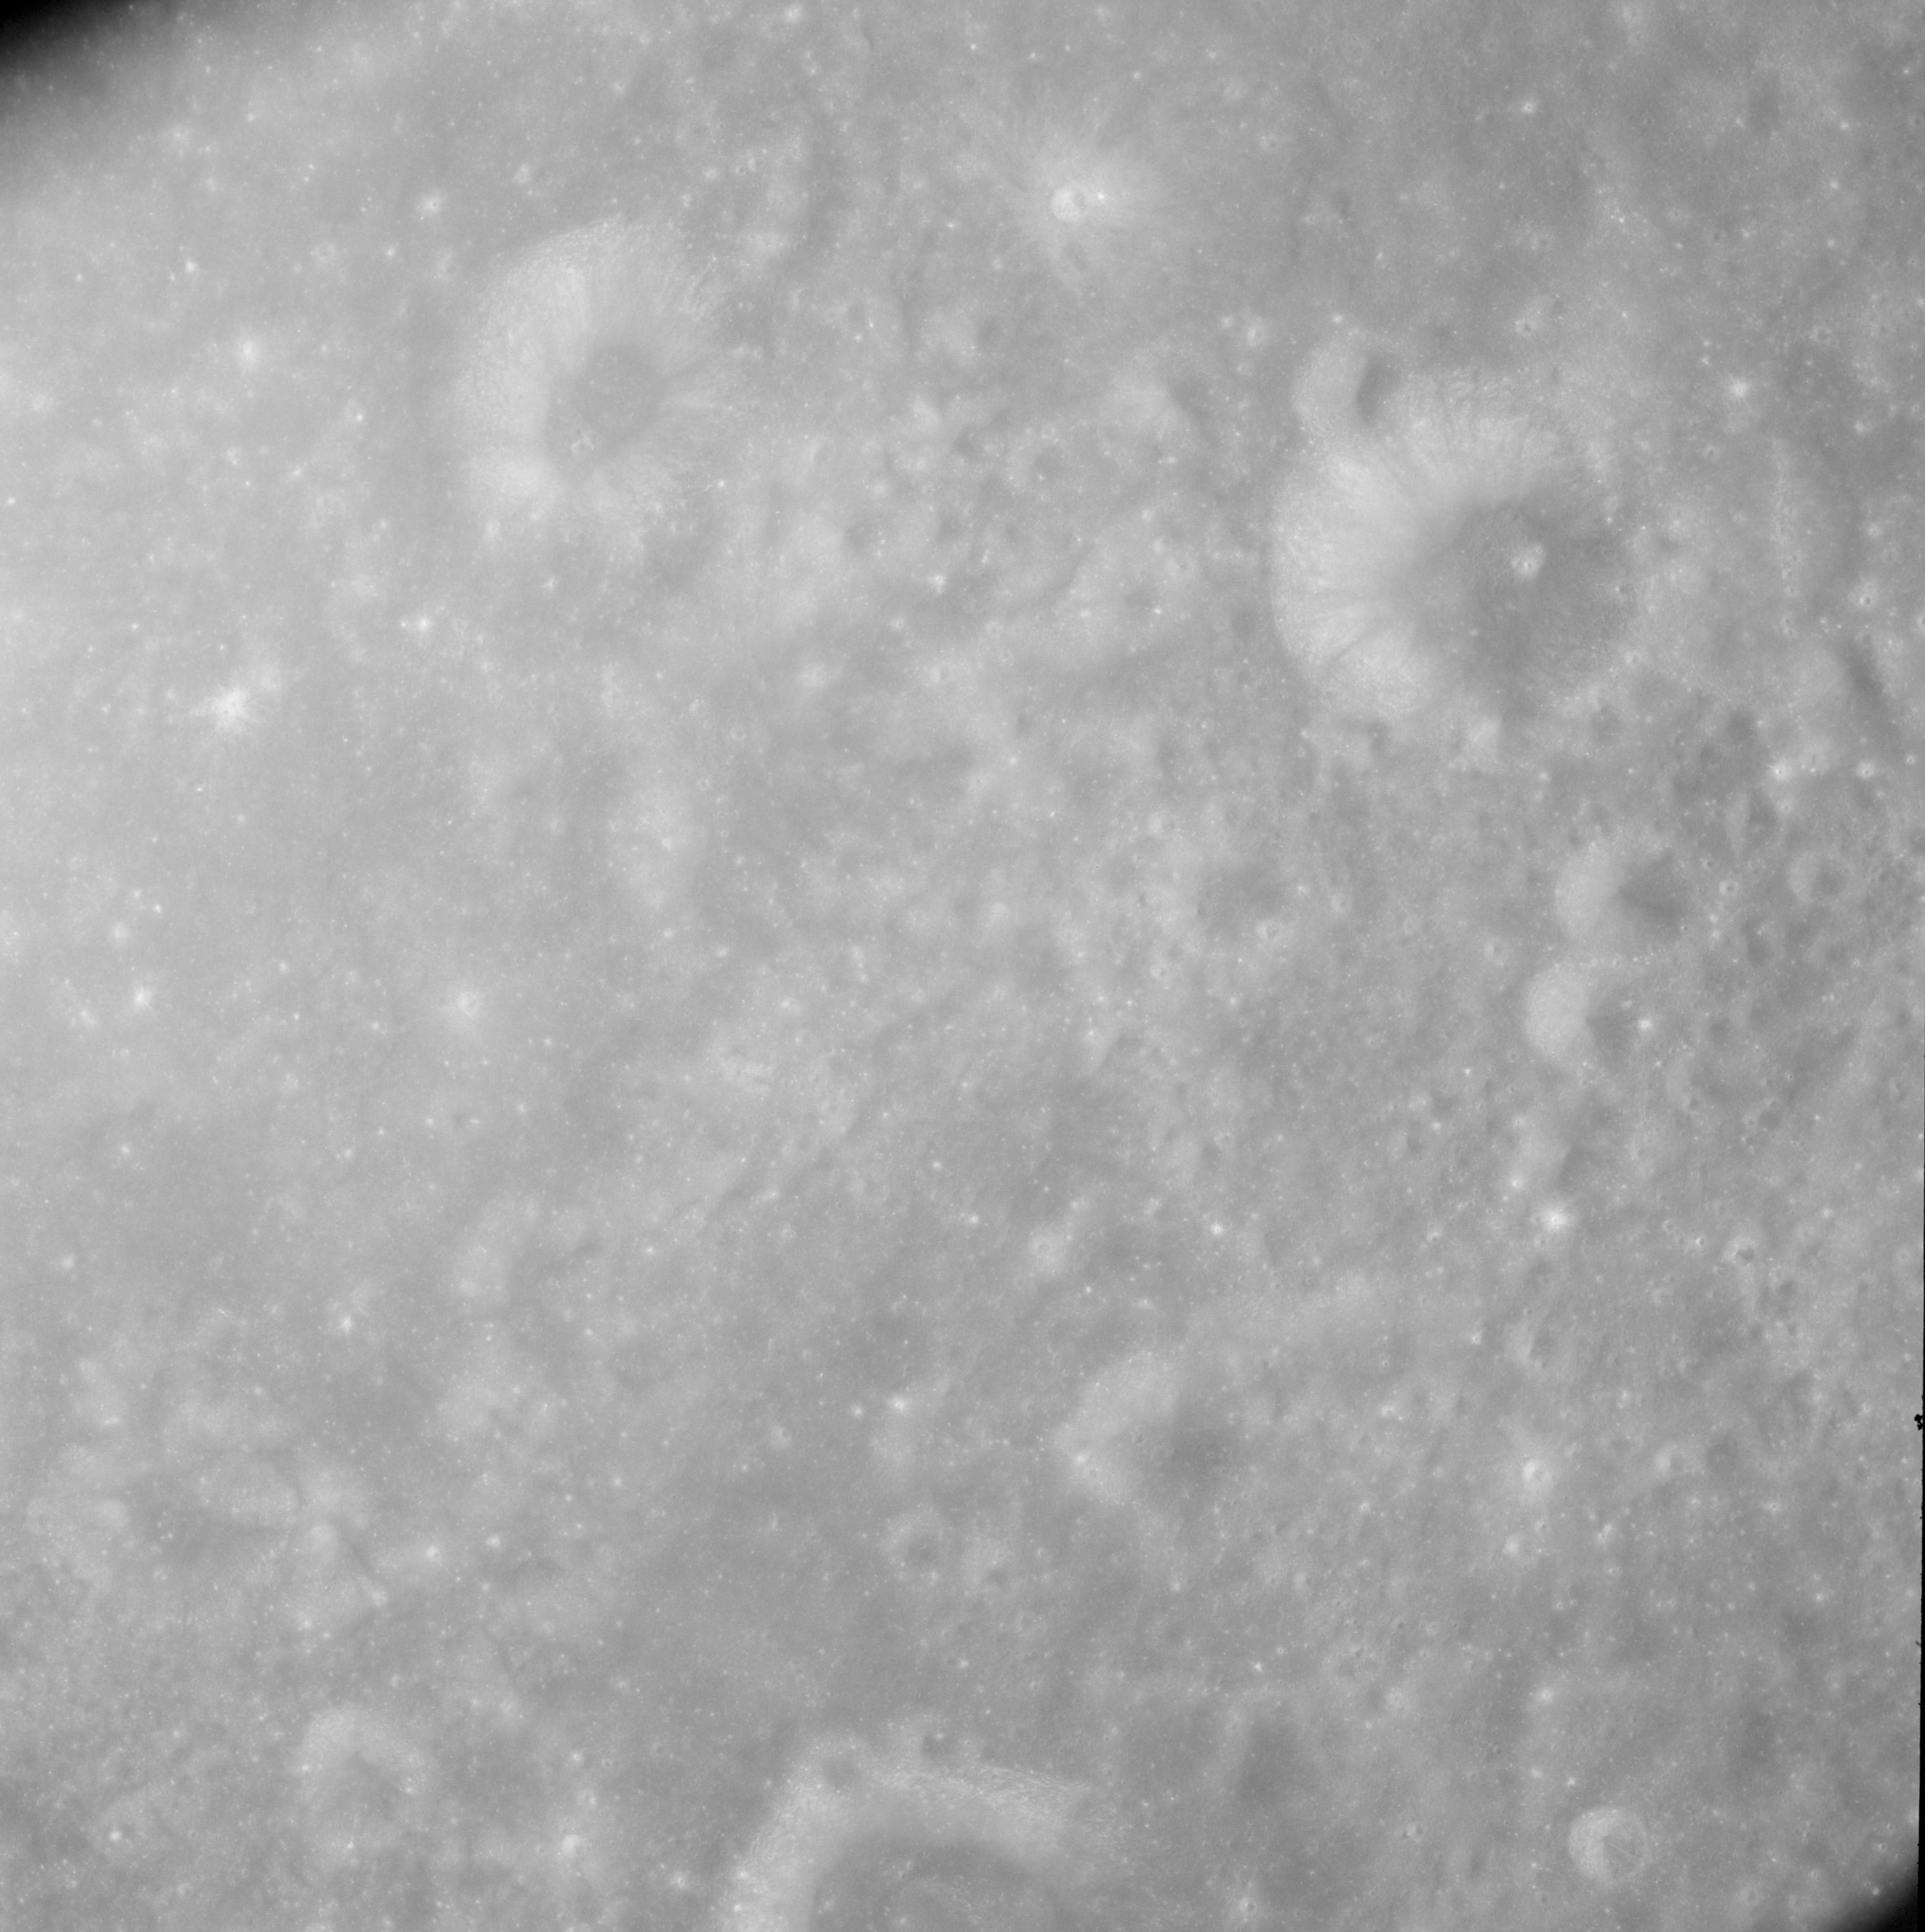 |
AS08-12-2103 Western interior of Keeler-Heaviside Basin. Beijerinck D on upper right. Image credit: Image Science and Analysis Laboratory, NASA-Johnson Space Center. |
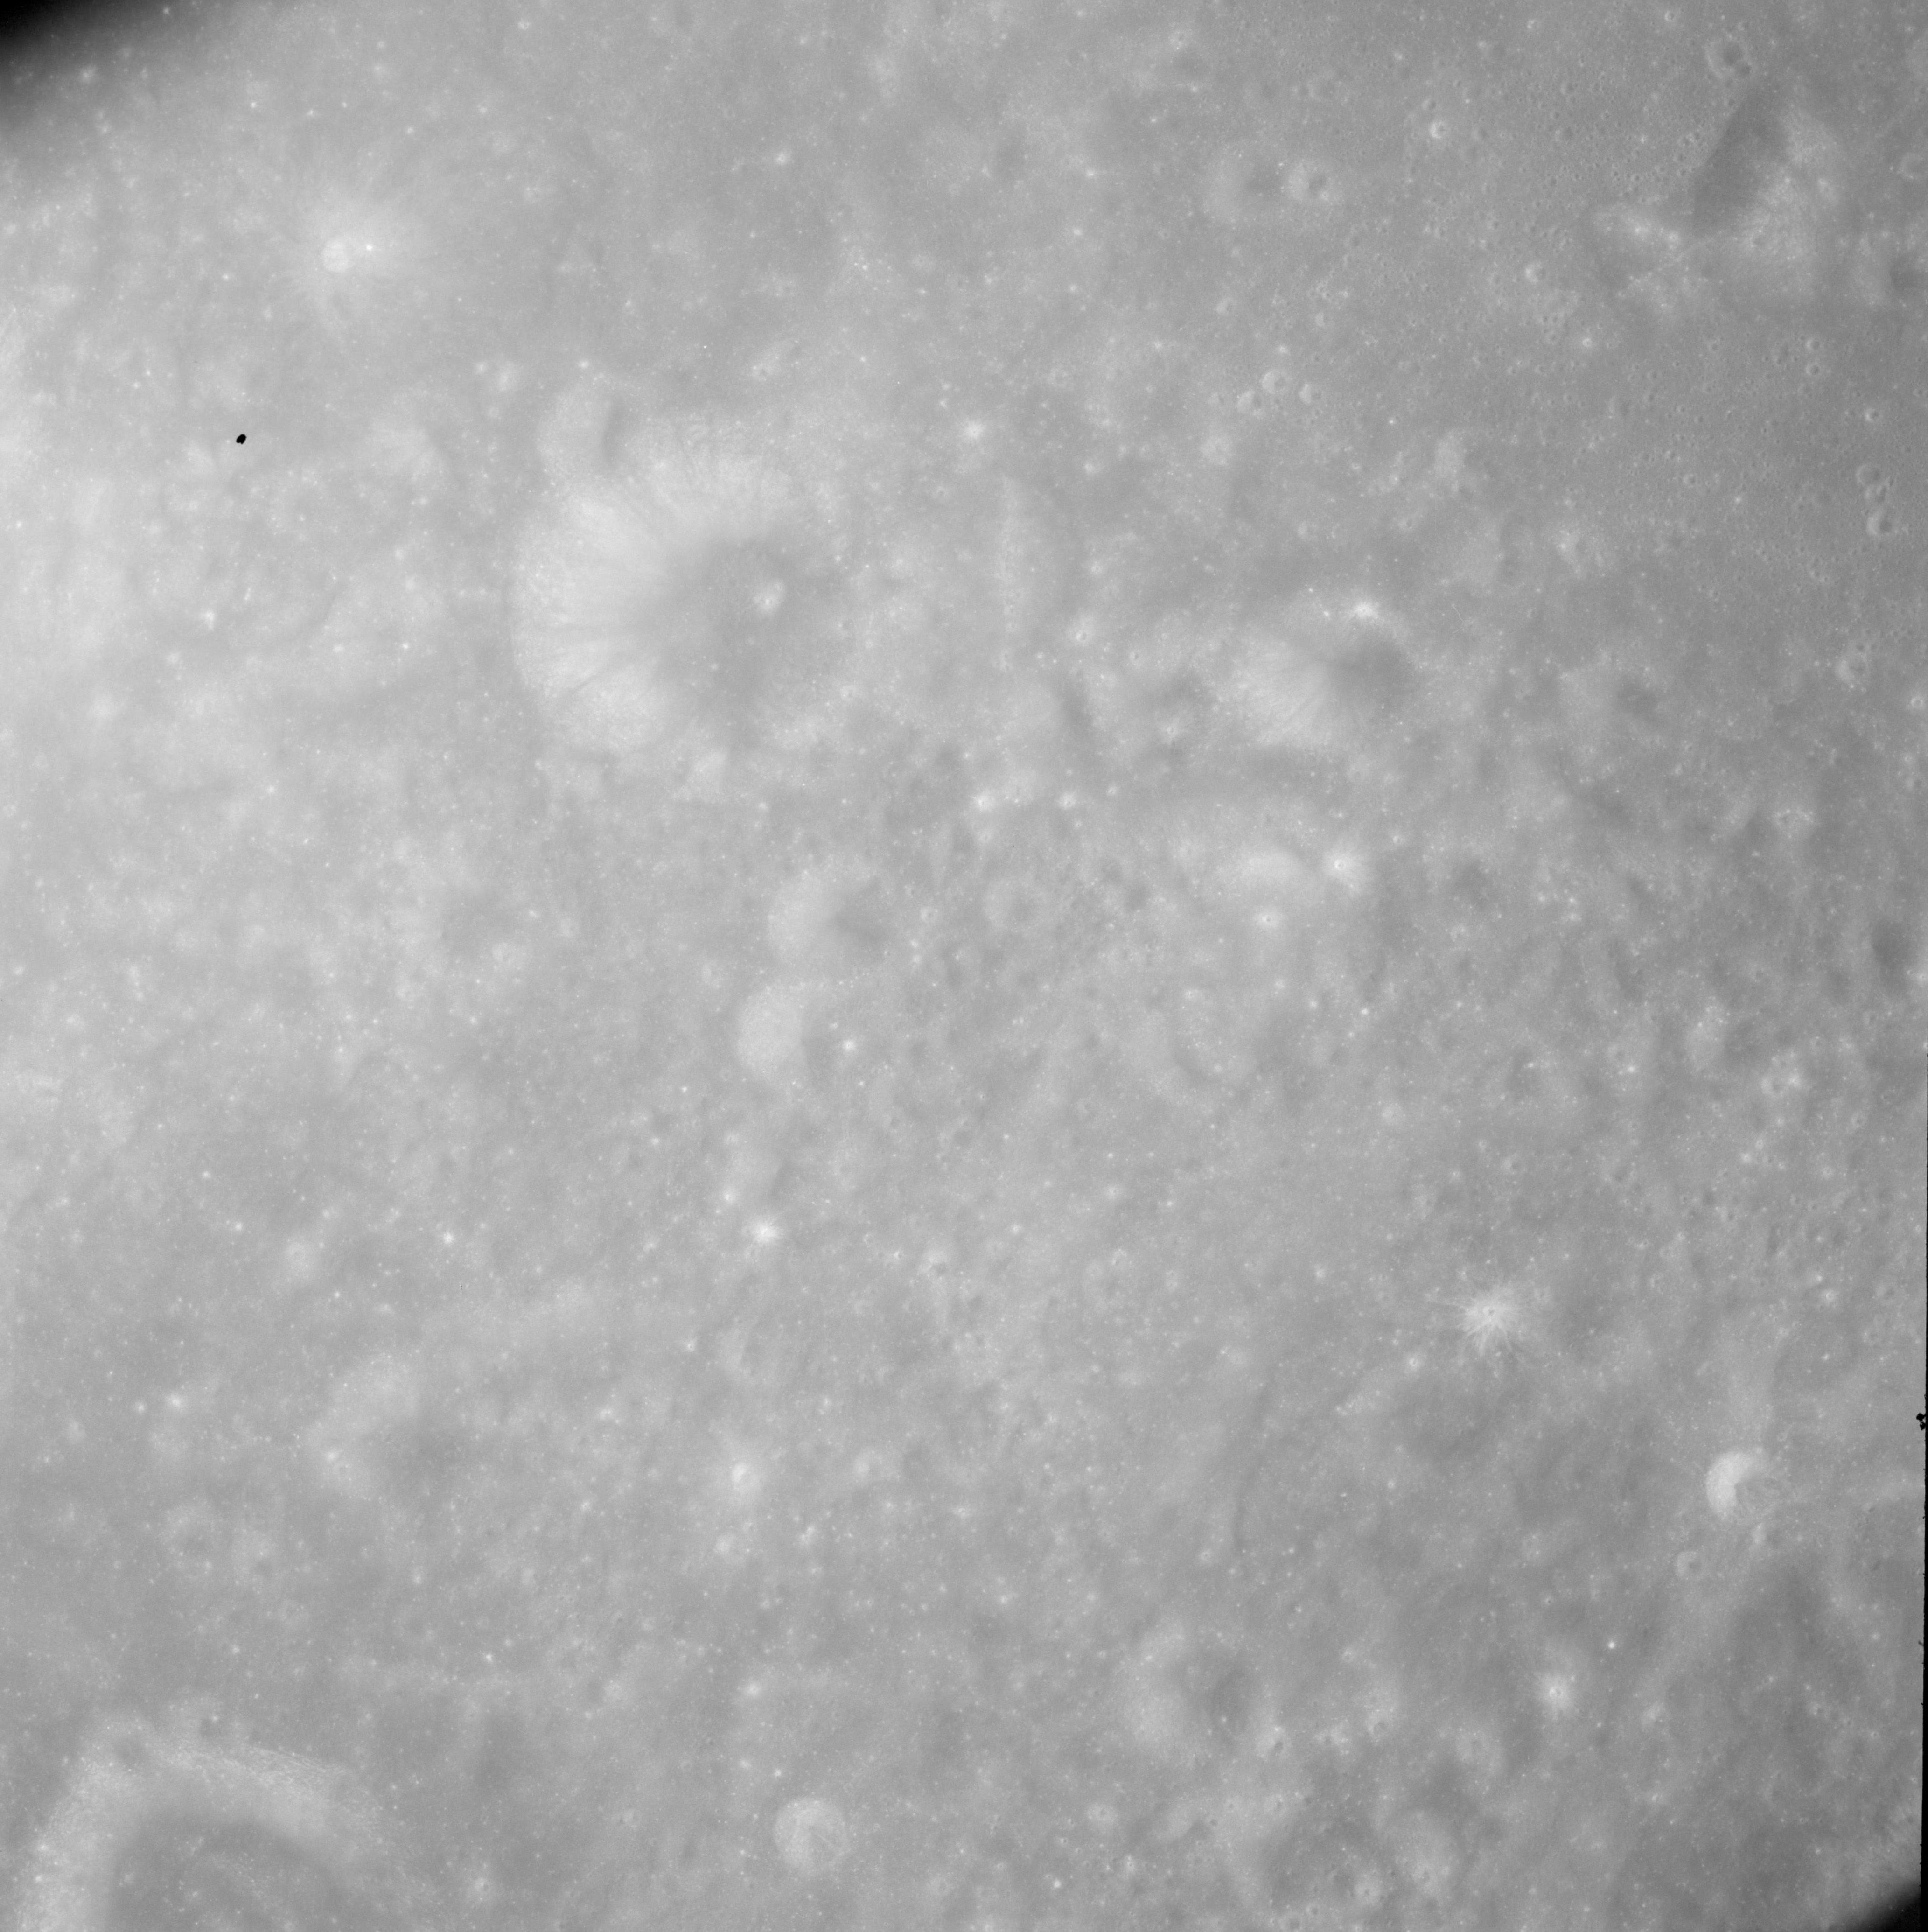 |
AS08-12-2104 Western rim of Keeler-Heaviside Basin. Beijerinck D on upper left. Image credit: Image Science and Analysis Laboratory, NASA-Johnson Space Center. |
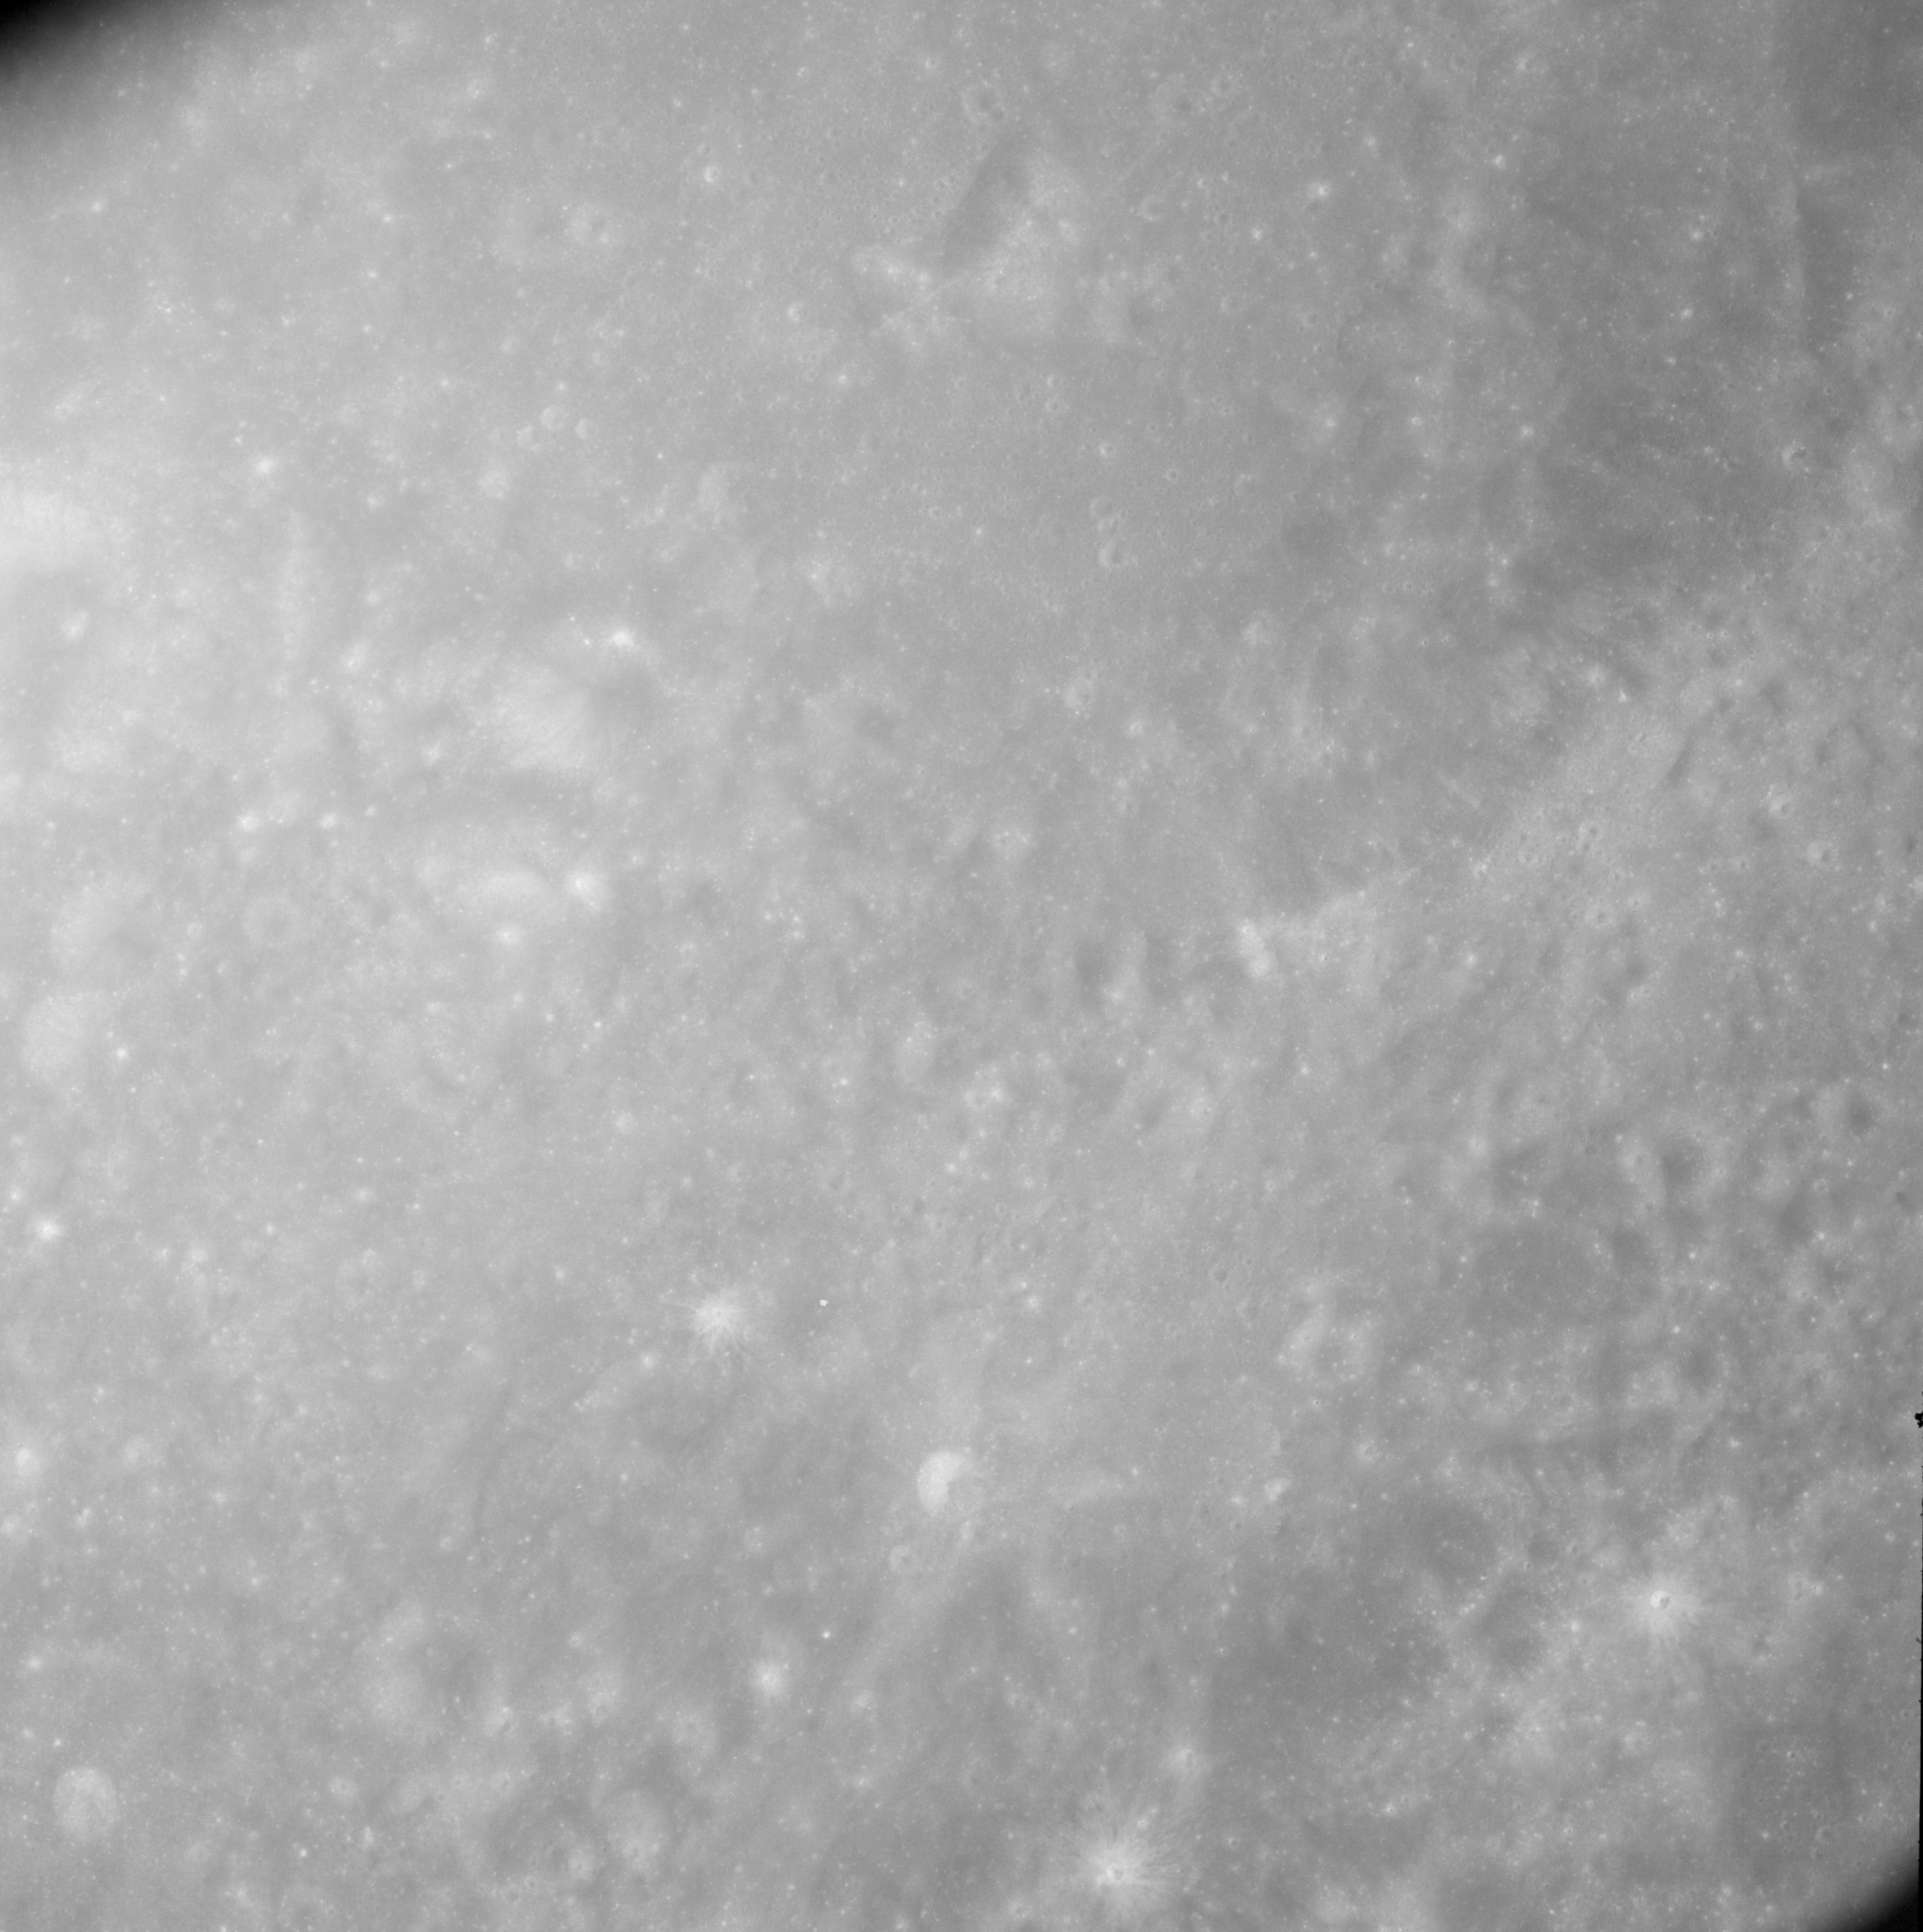 |
AS08-12-2105 North of Beijerinck. Image credit: Image Science and Analysis Laboratory, NASA-Johnson Space Center. |
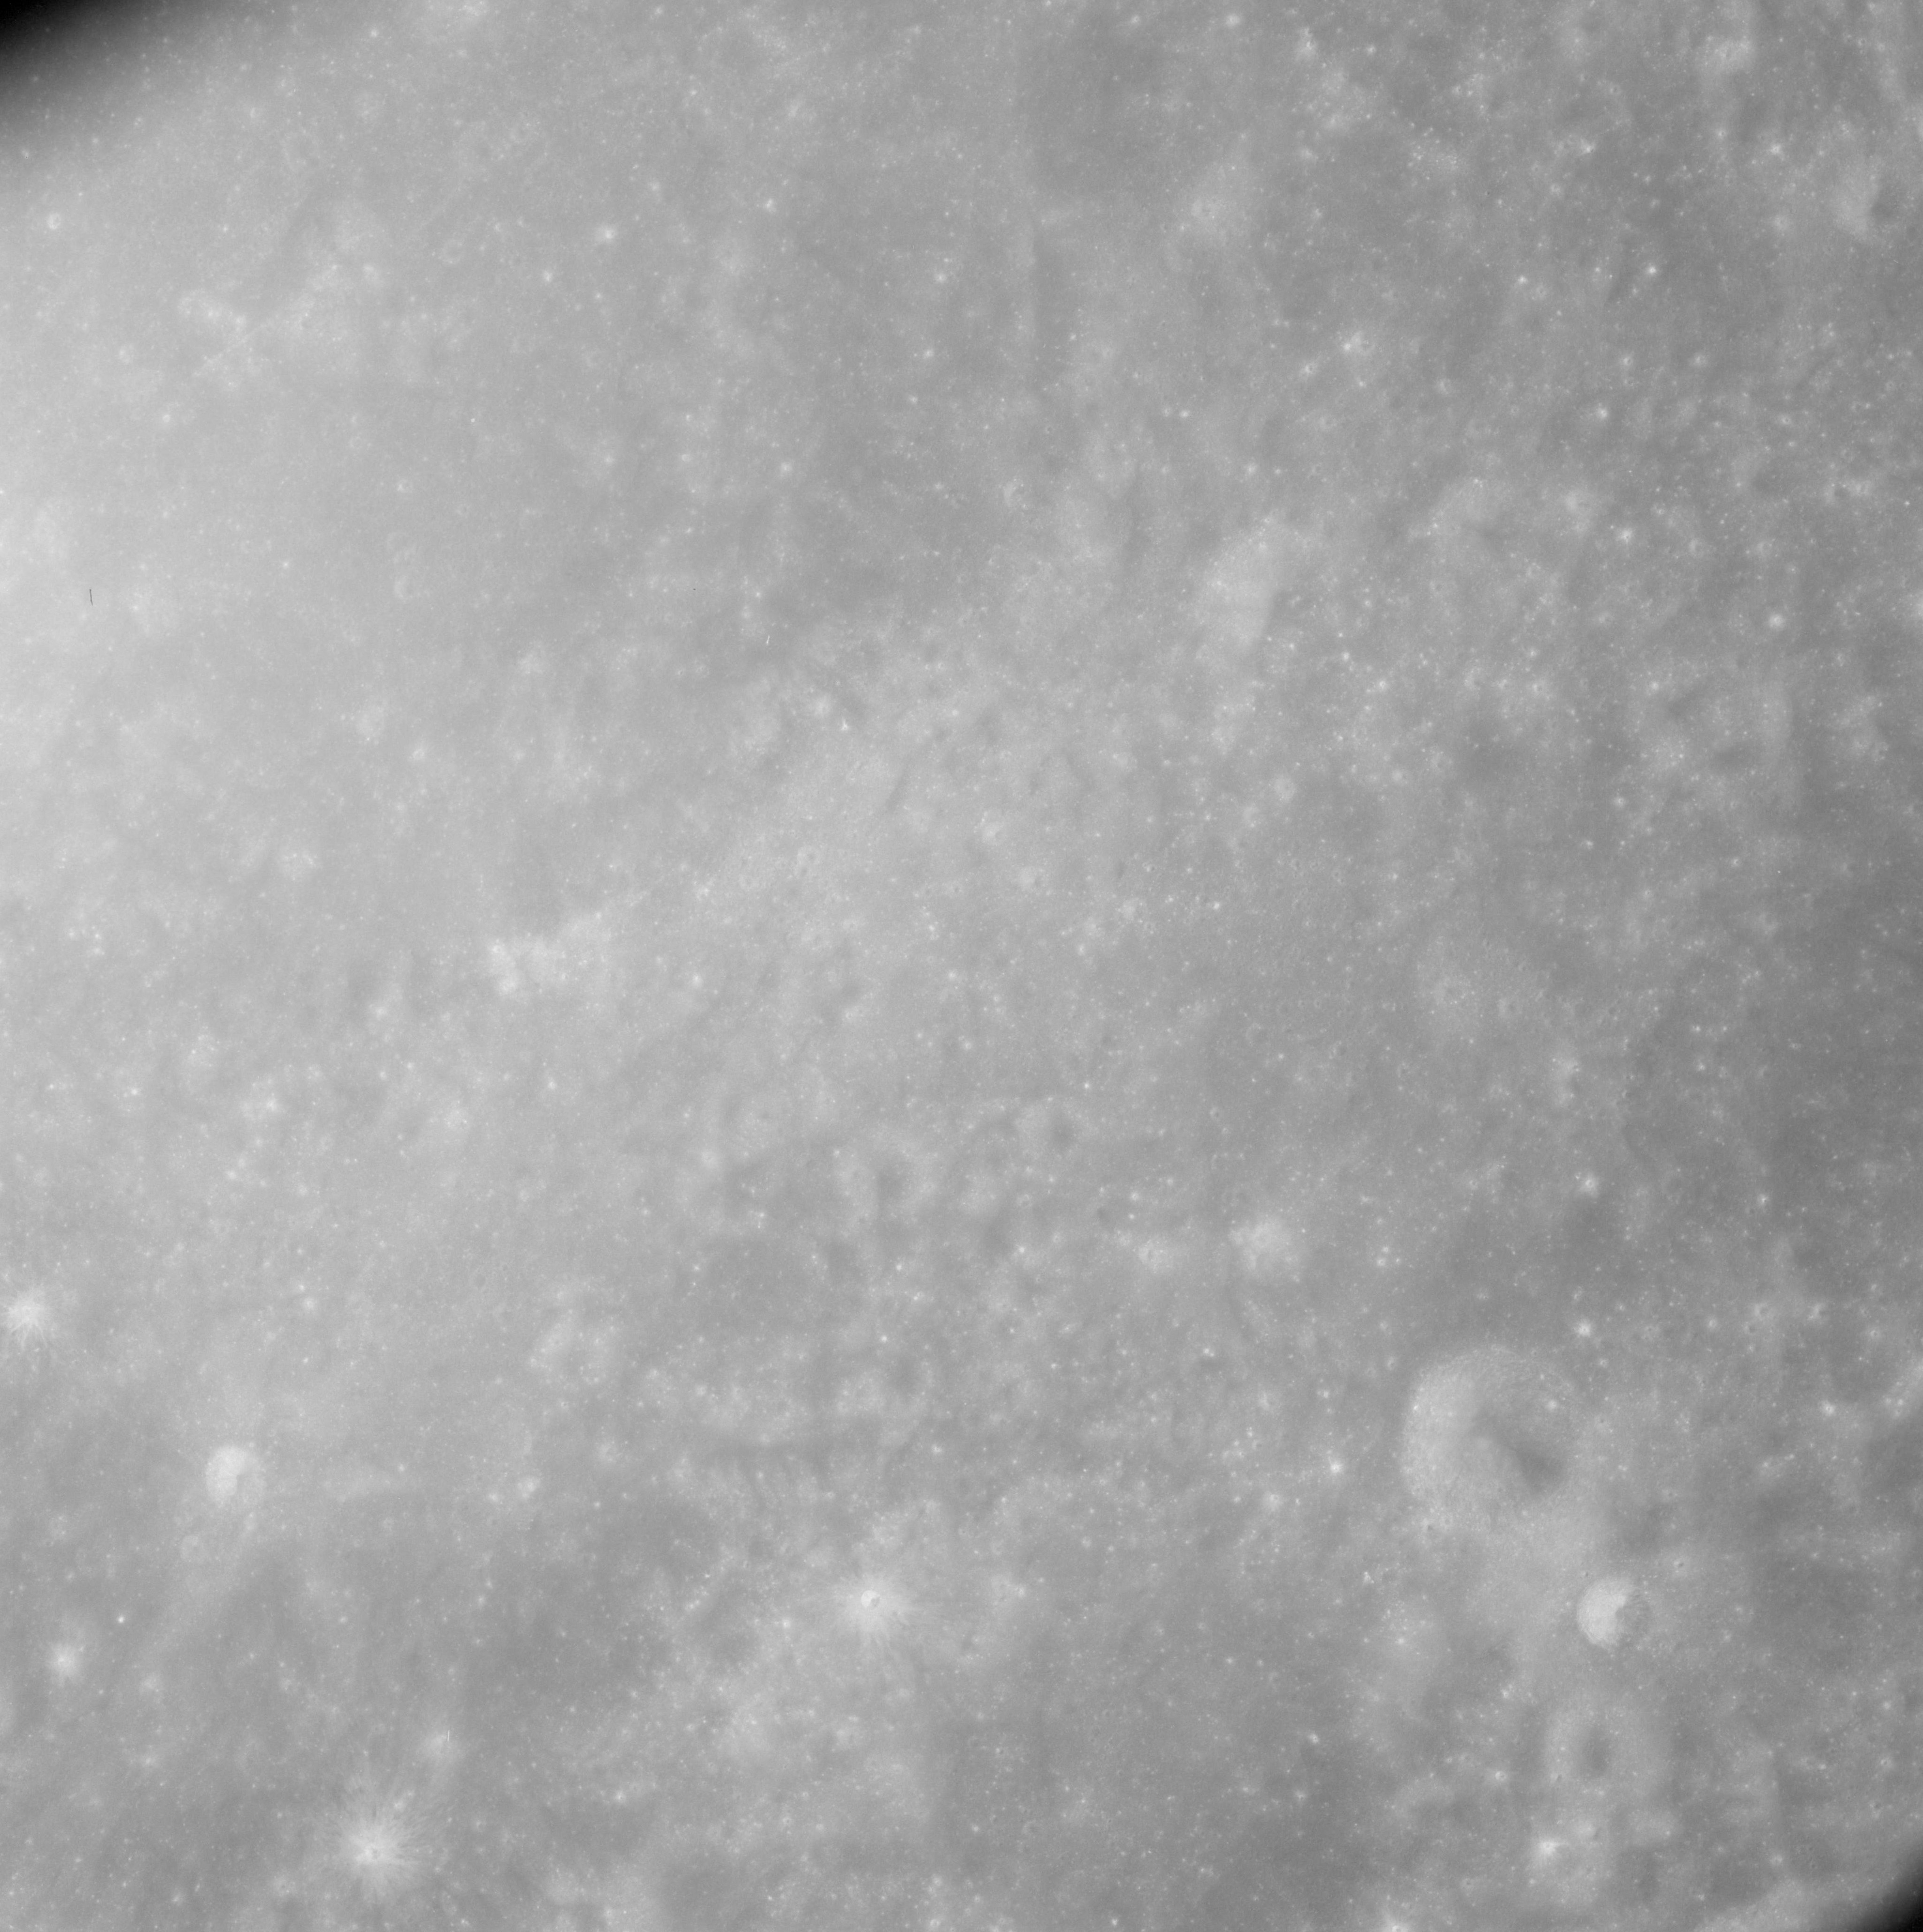 |
AS08-12-2106 No description. Image credit: Image Science and Analysis Laboratory, NASA-Johnson Space Center. |
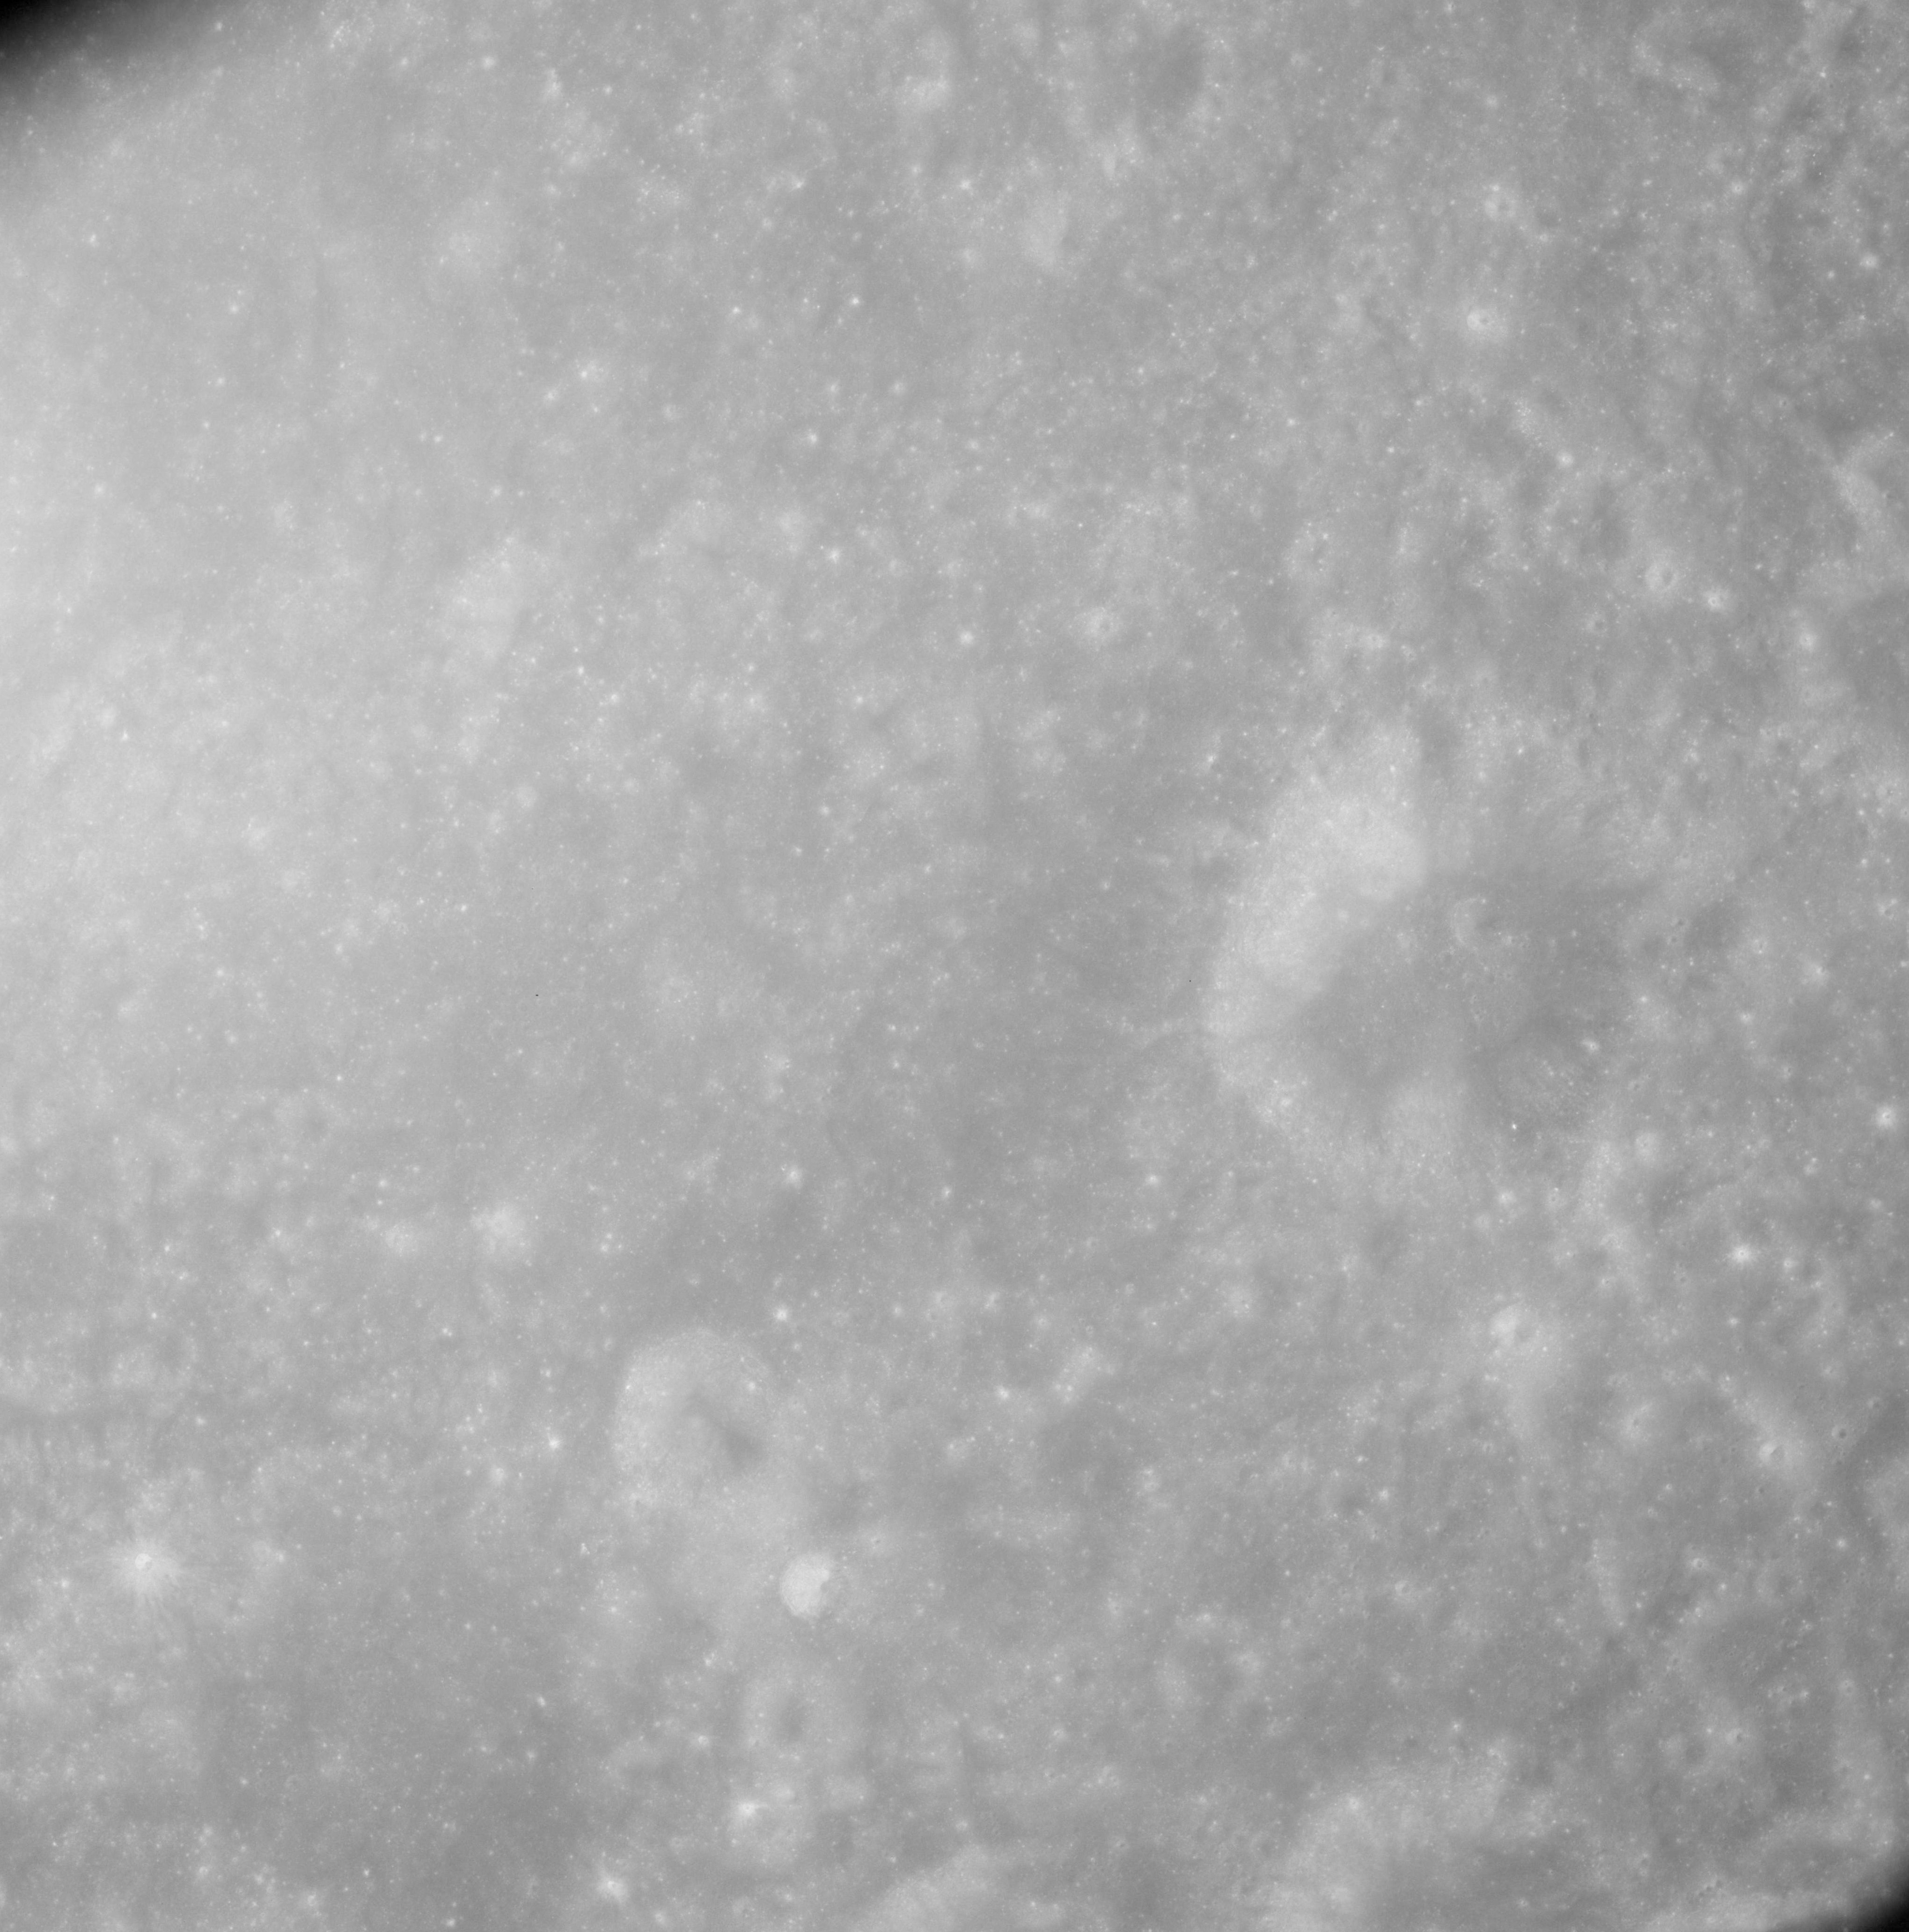 |
AS08-12-2107 Beijerinck U on right. Image credit: Image Science and Analysis Laboratory, NASA-Johnson Space Center. |
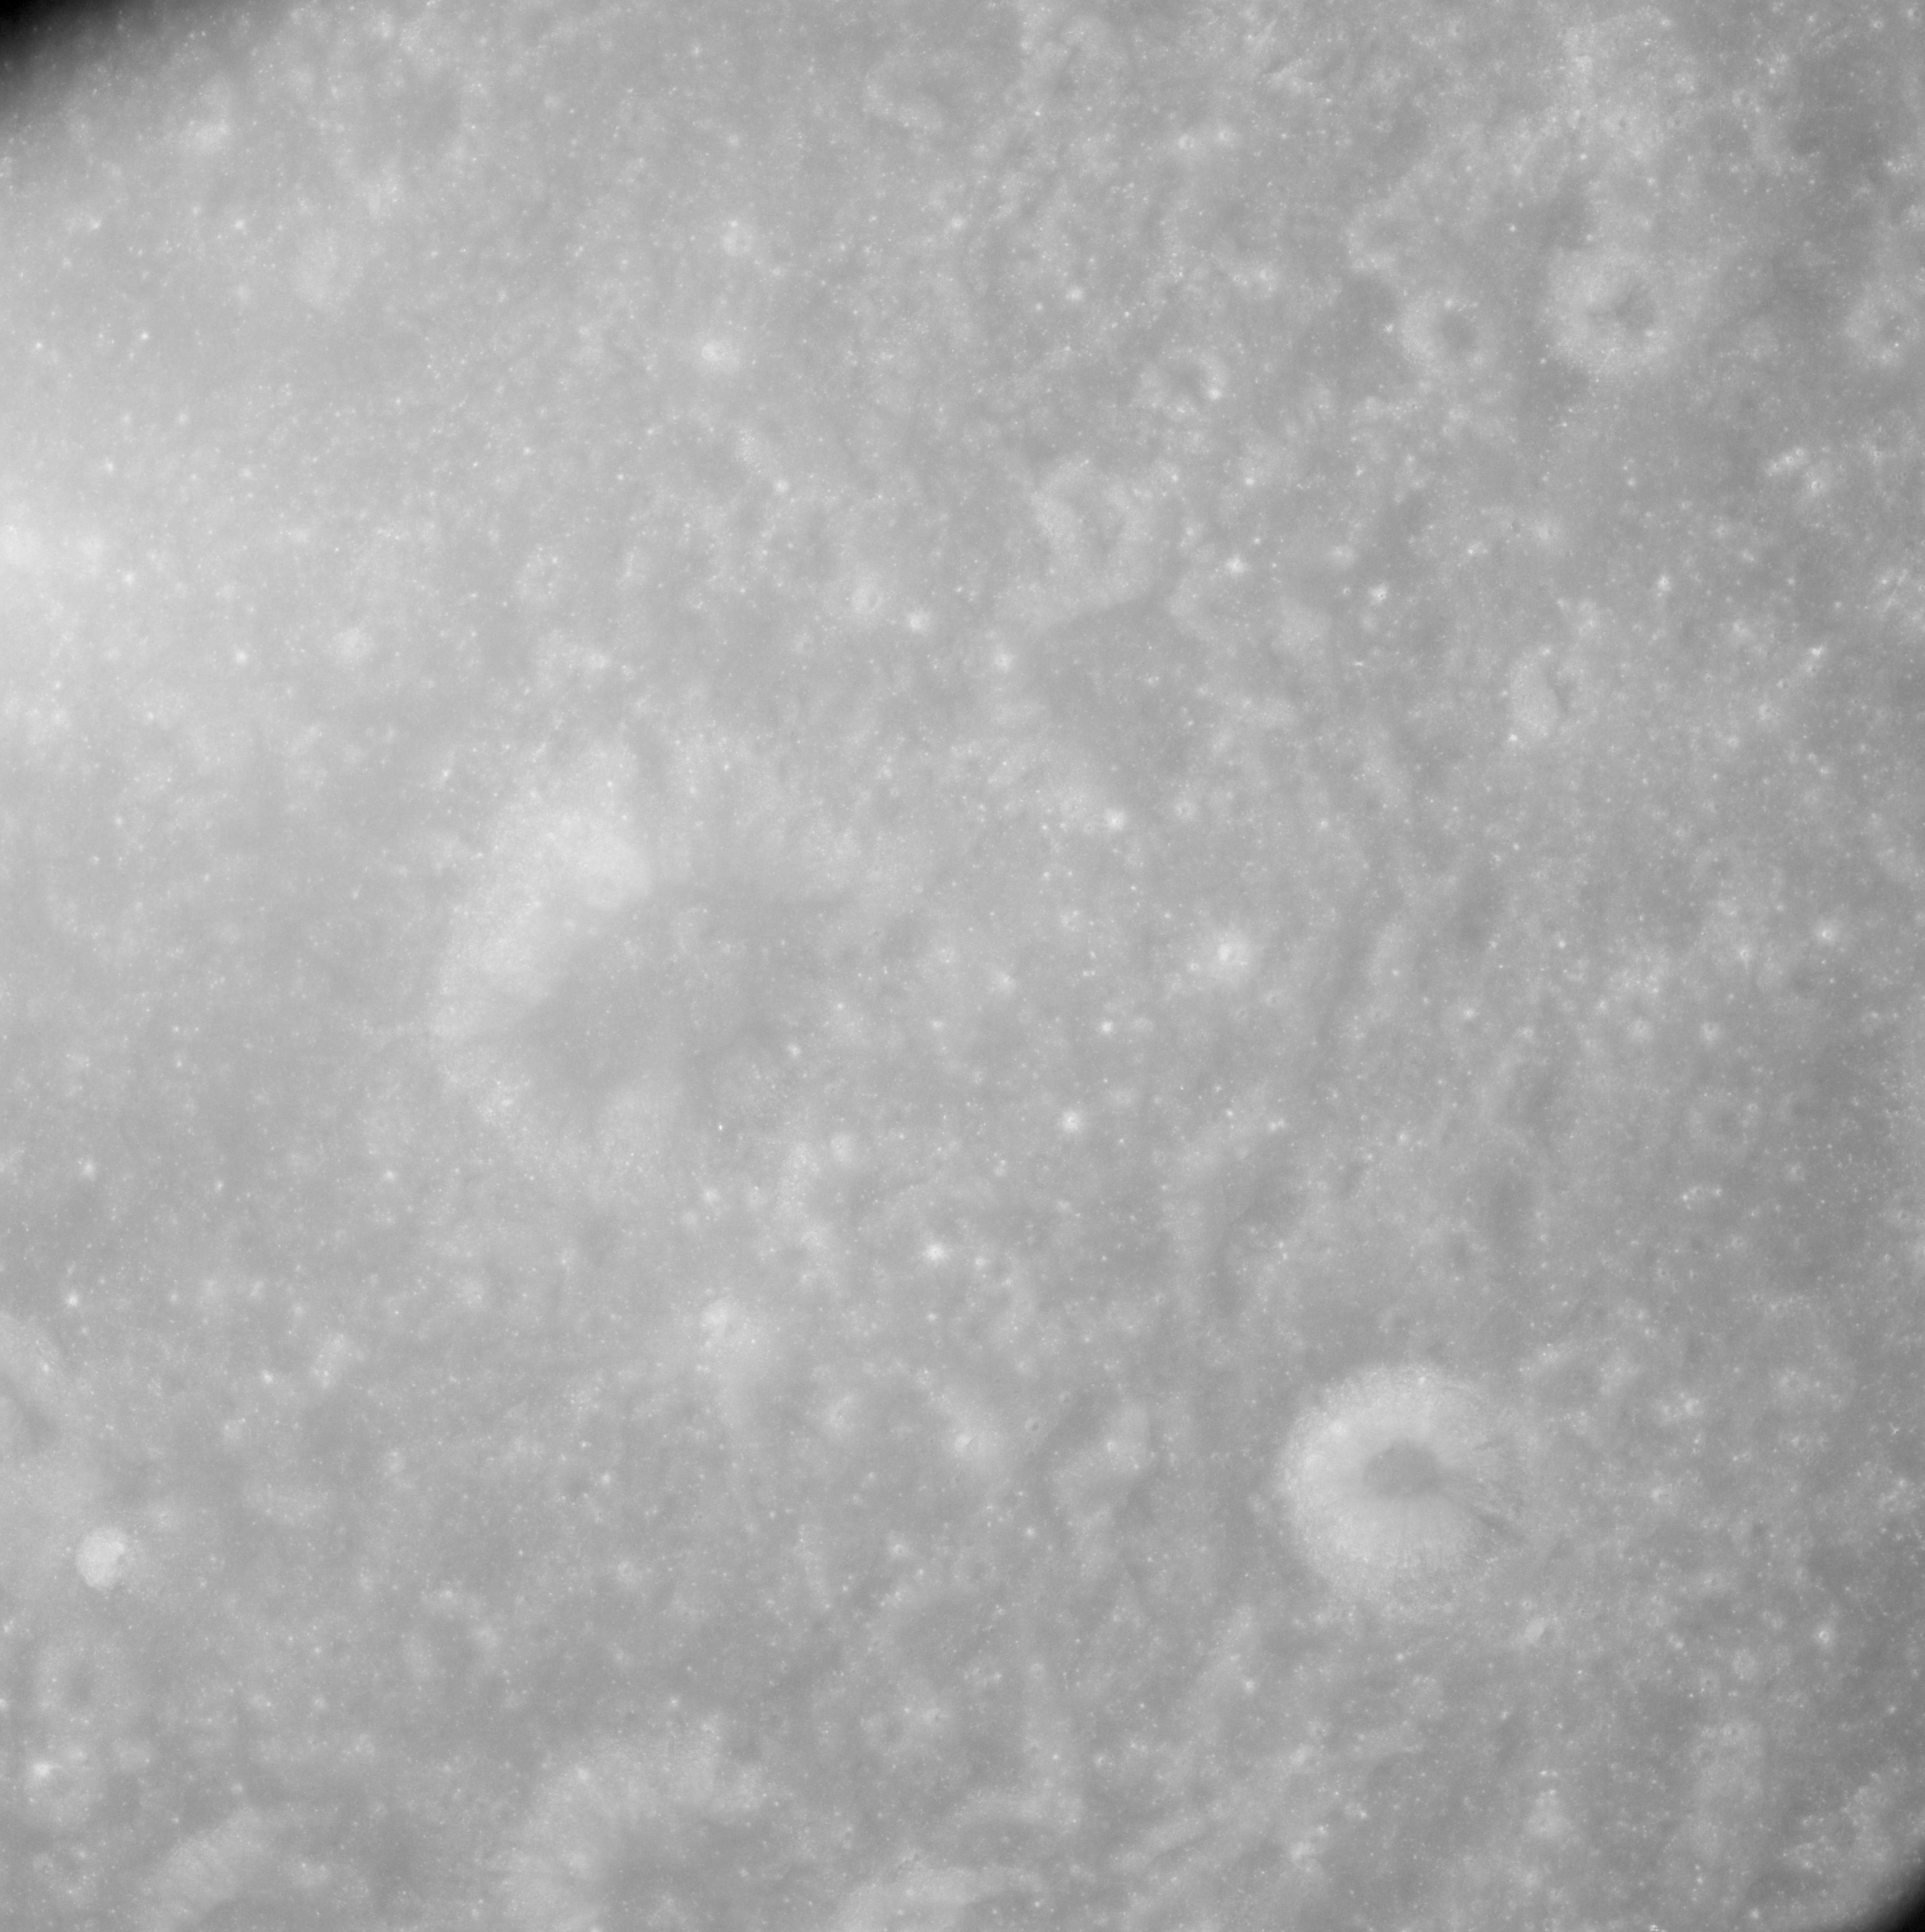 |
AS08-12-2108 Beijerinck U on left. Image credit: Image Science and Analysis Laboratory, NASA-Johnson Space Center. |
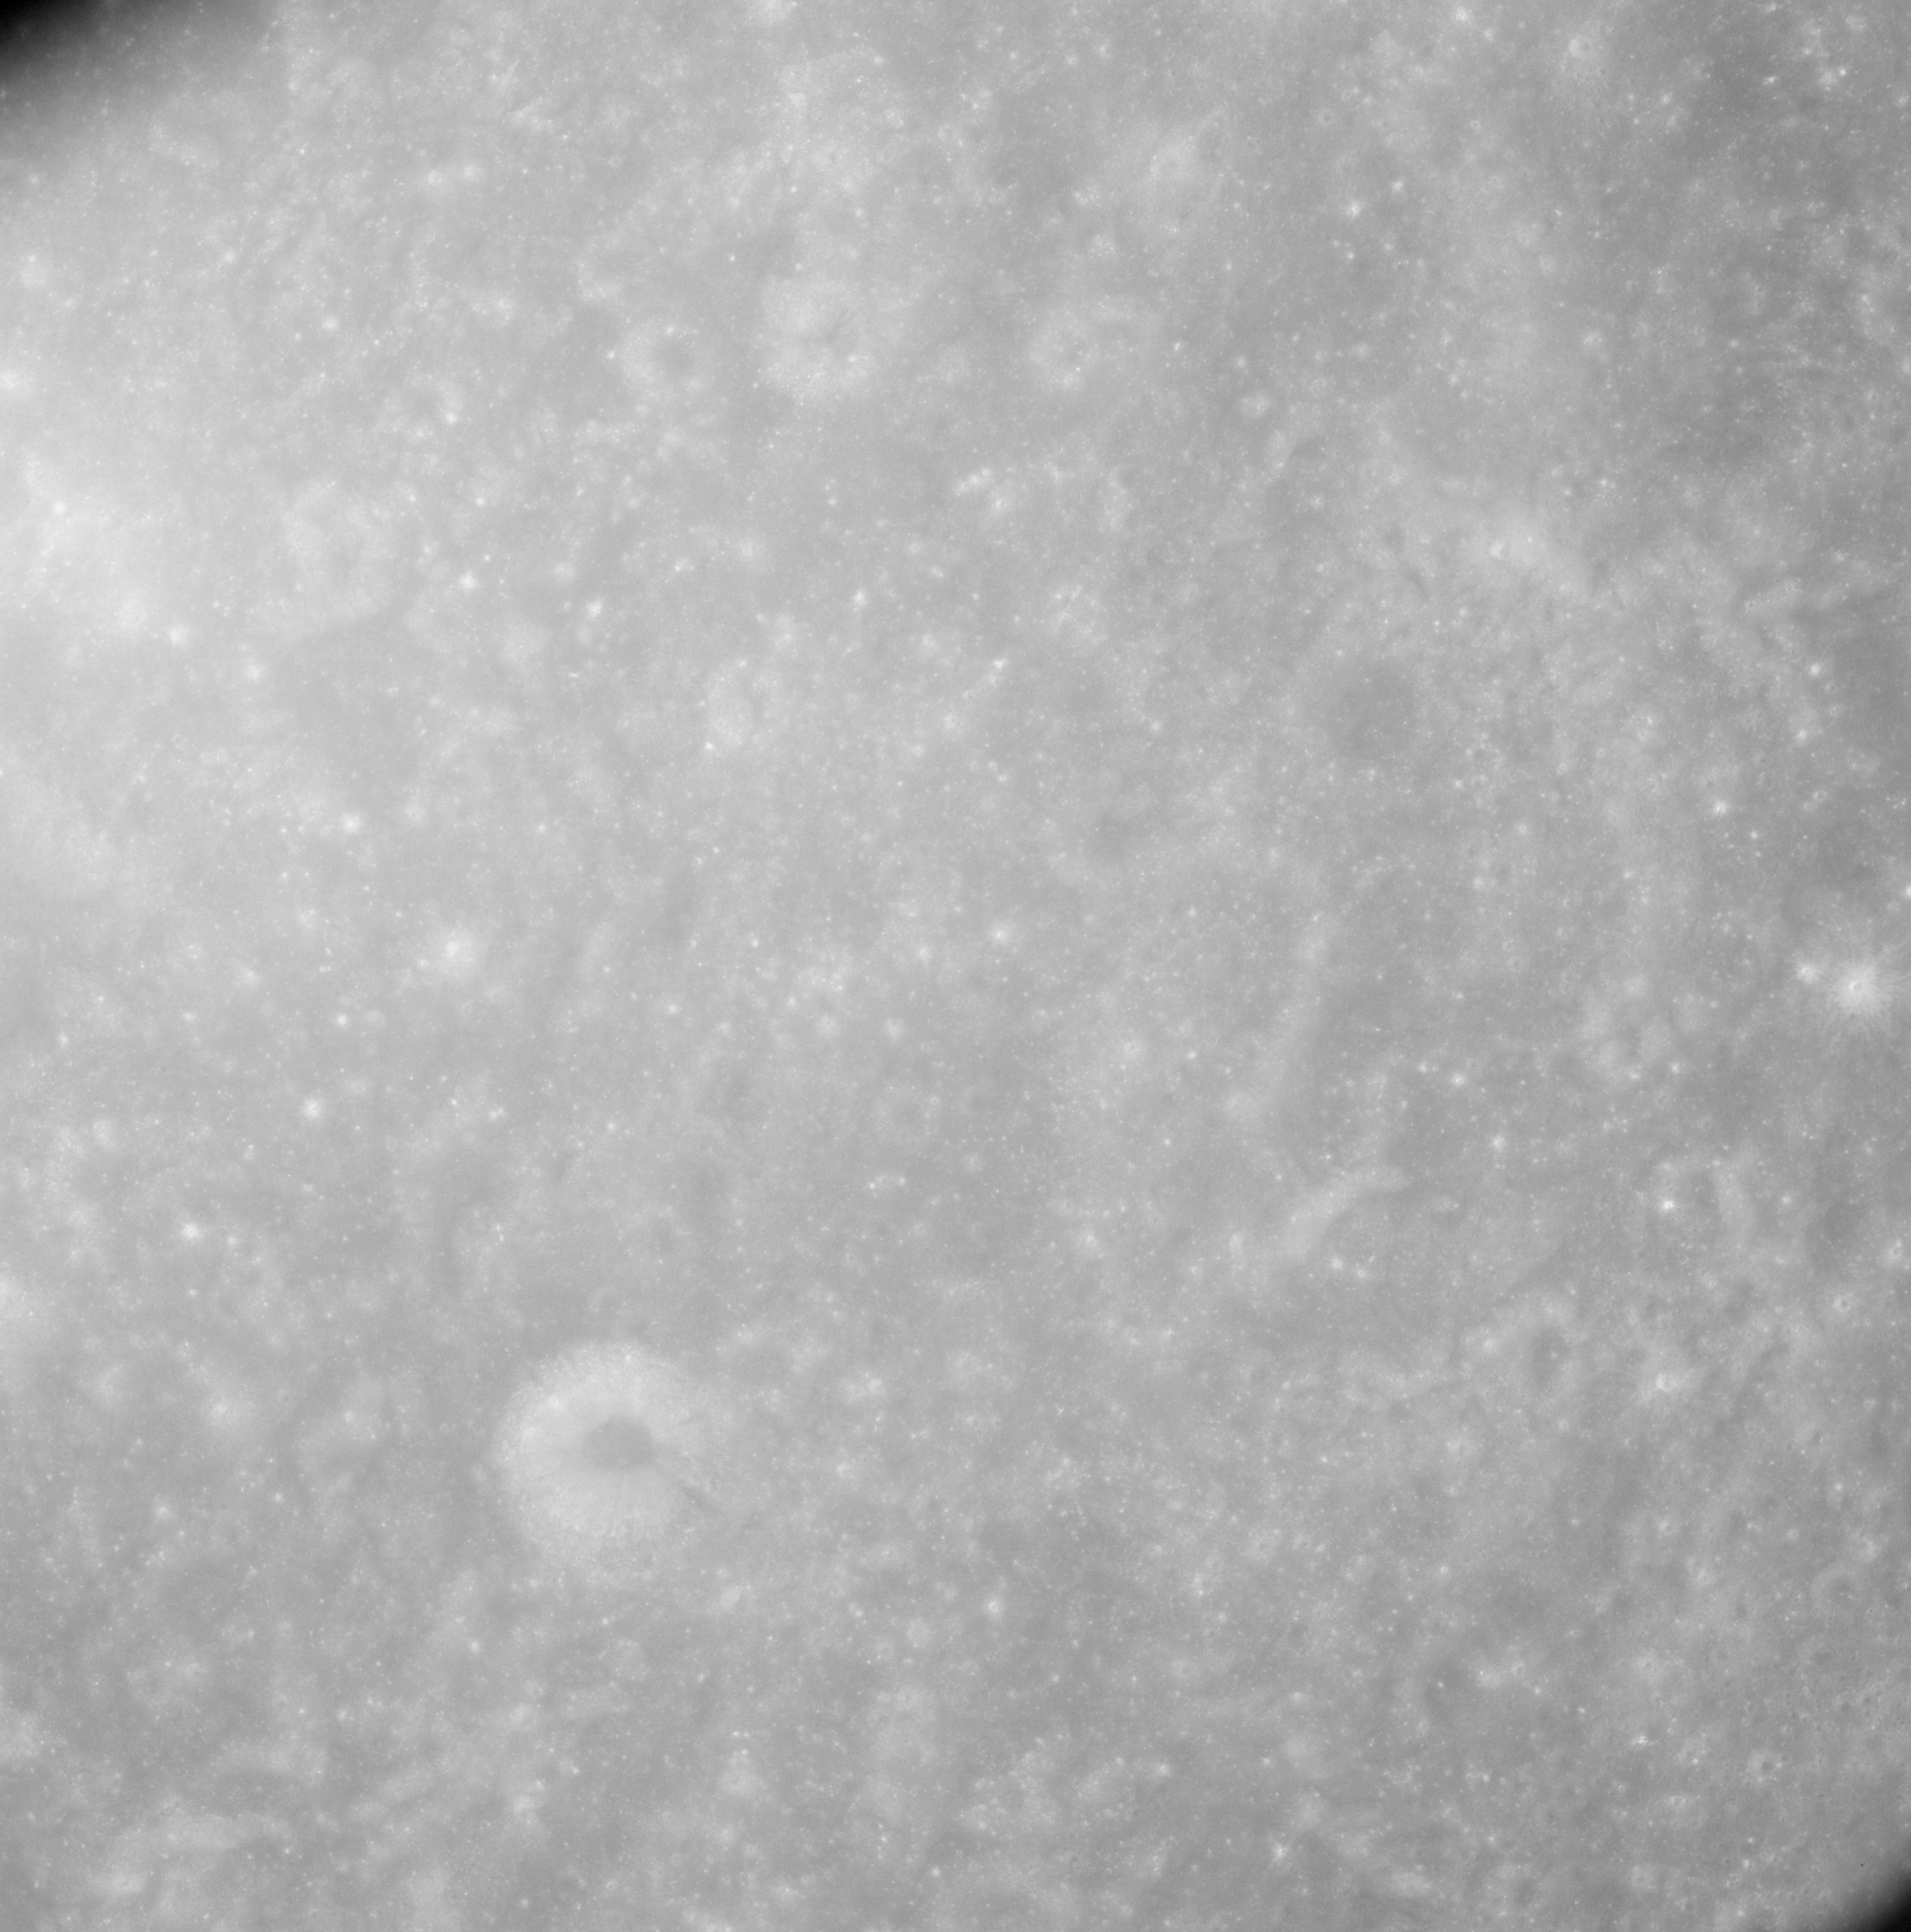 |
AS08-12-2109 No description. Image credit: Image Science and Analysis Laboratory, NASA-Johnson Space Center. |
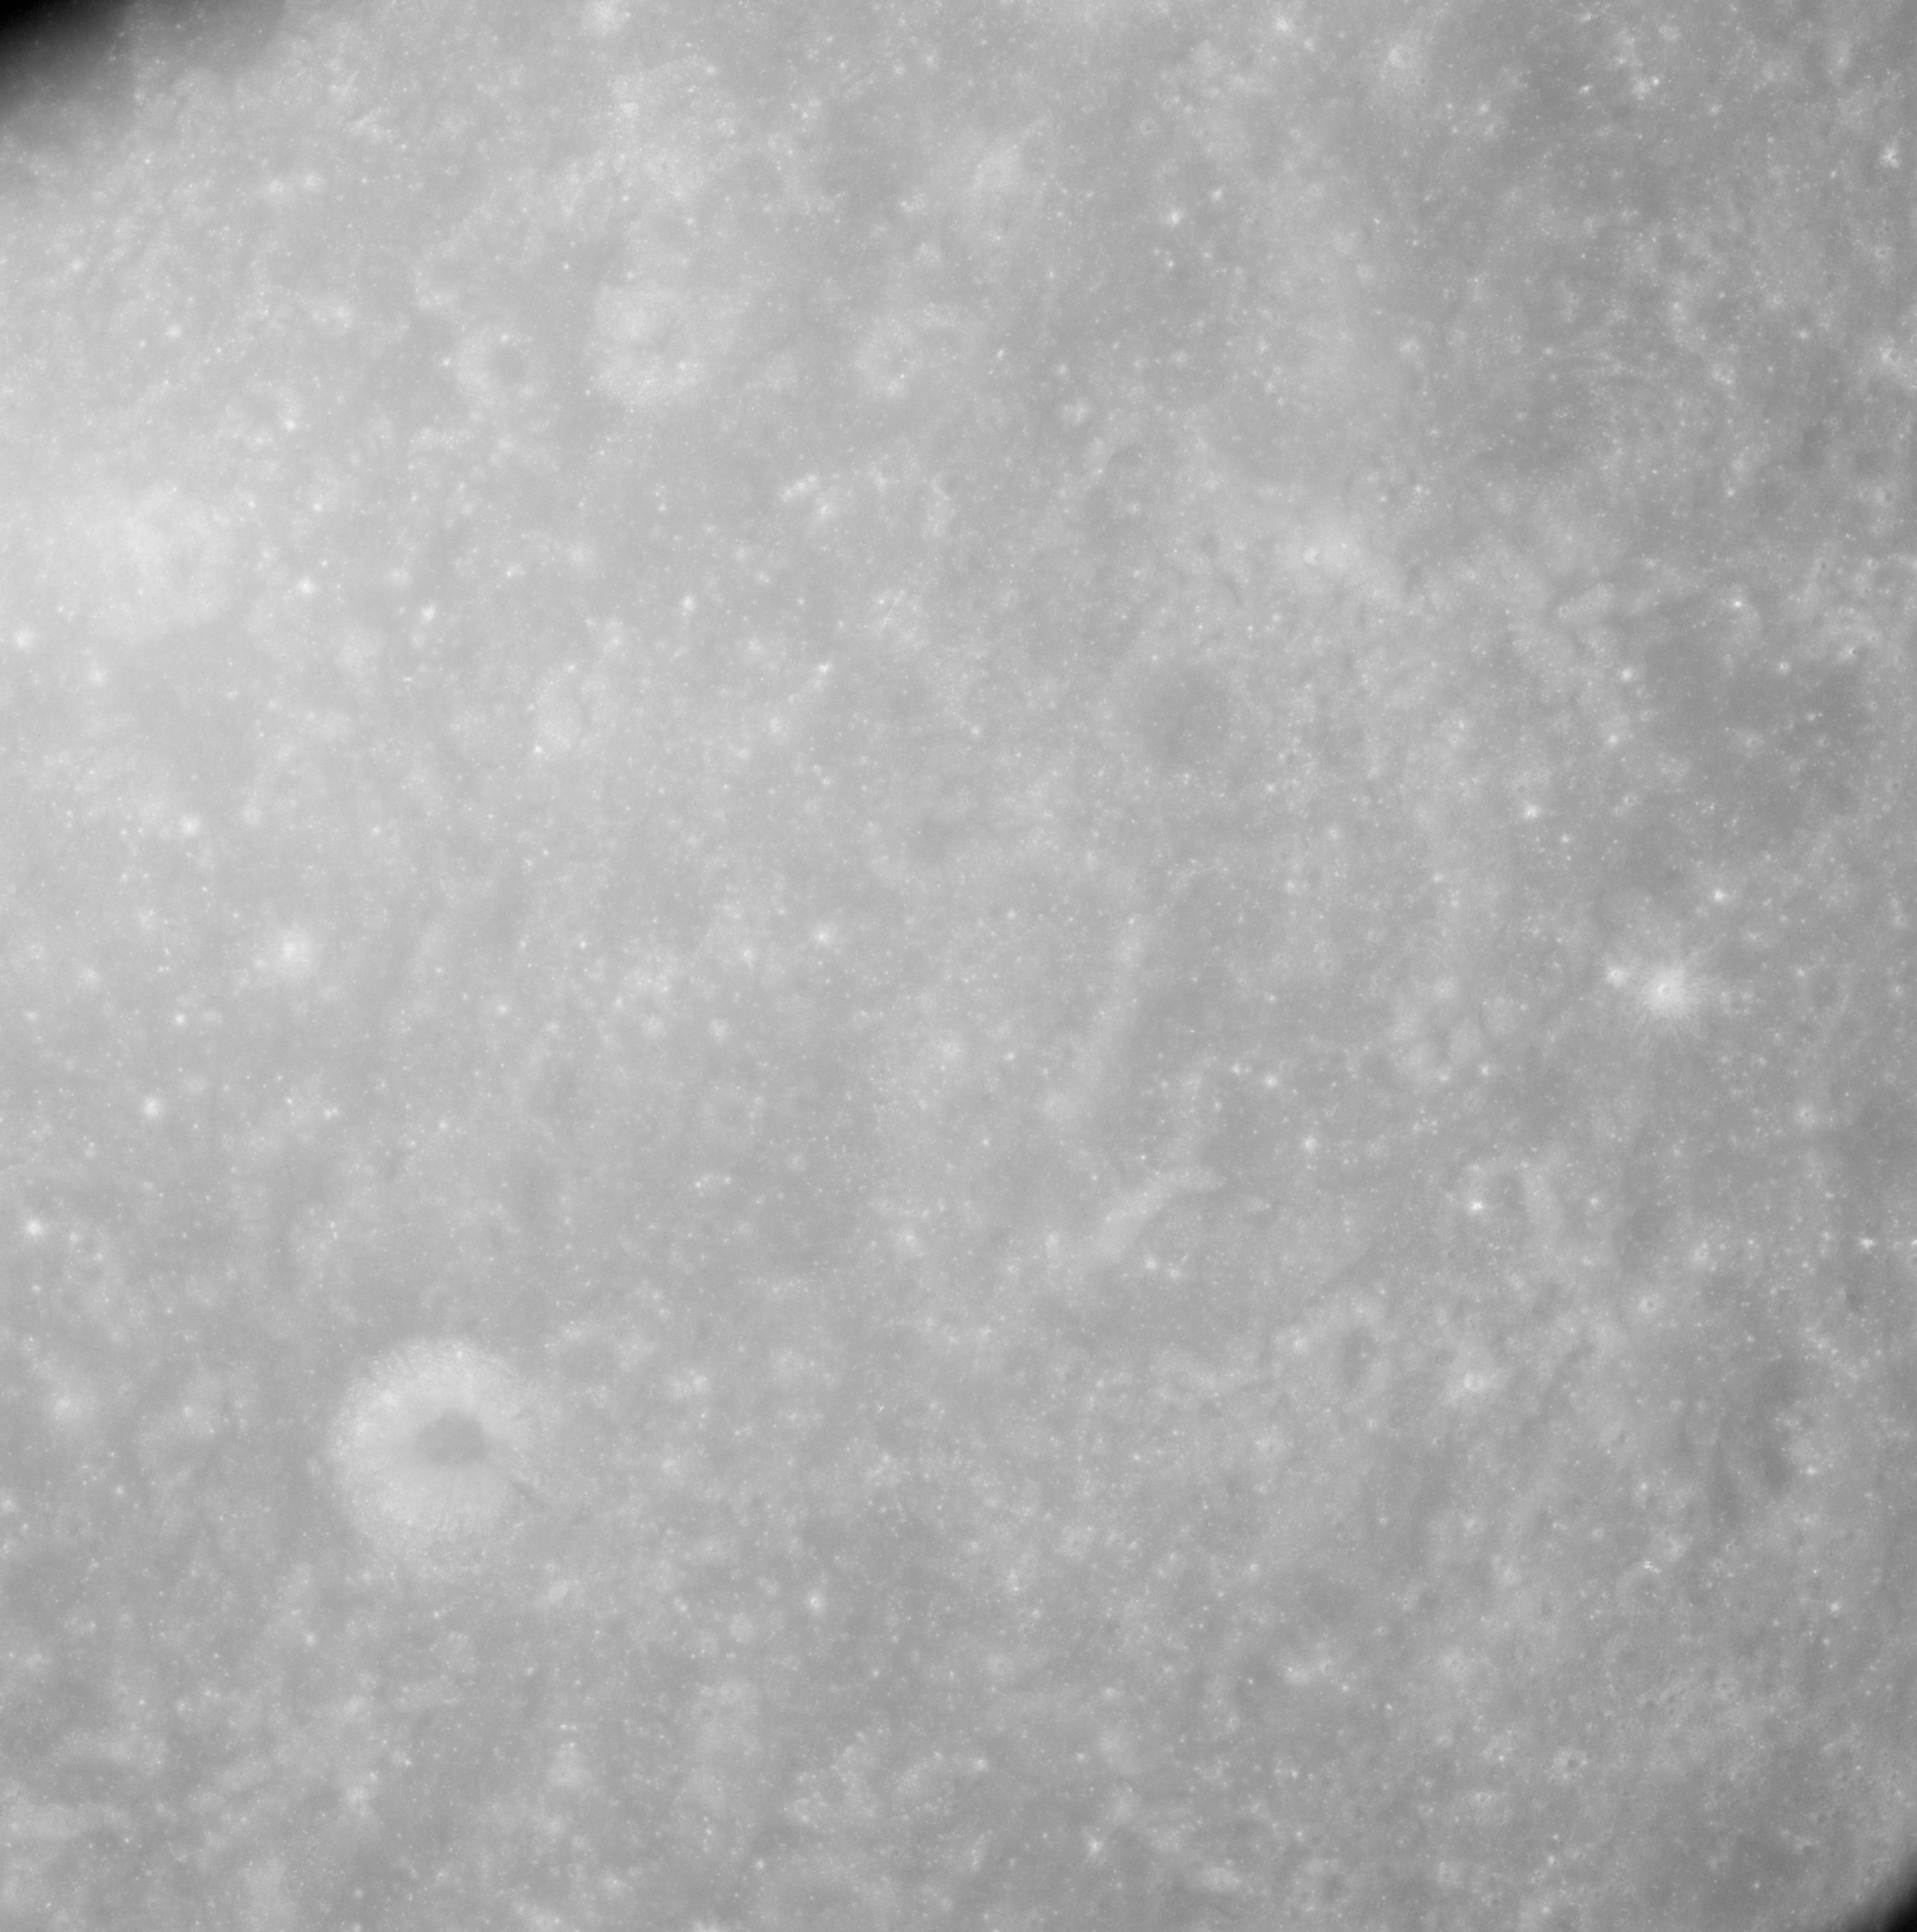 |
AS08-12-2110 No description. Image credit: Image Science and Analysis Laboratory, NASA-Johnson Space Center. |
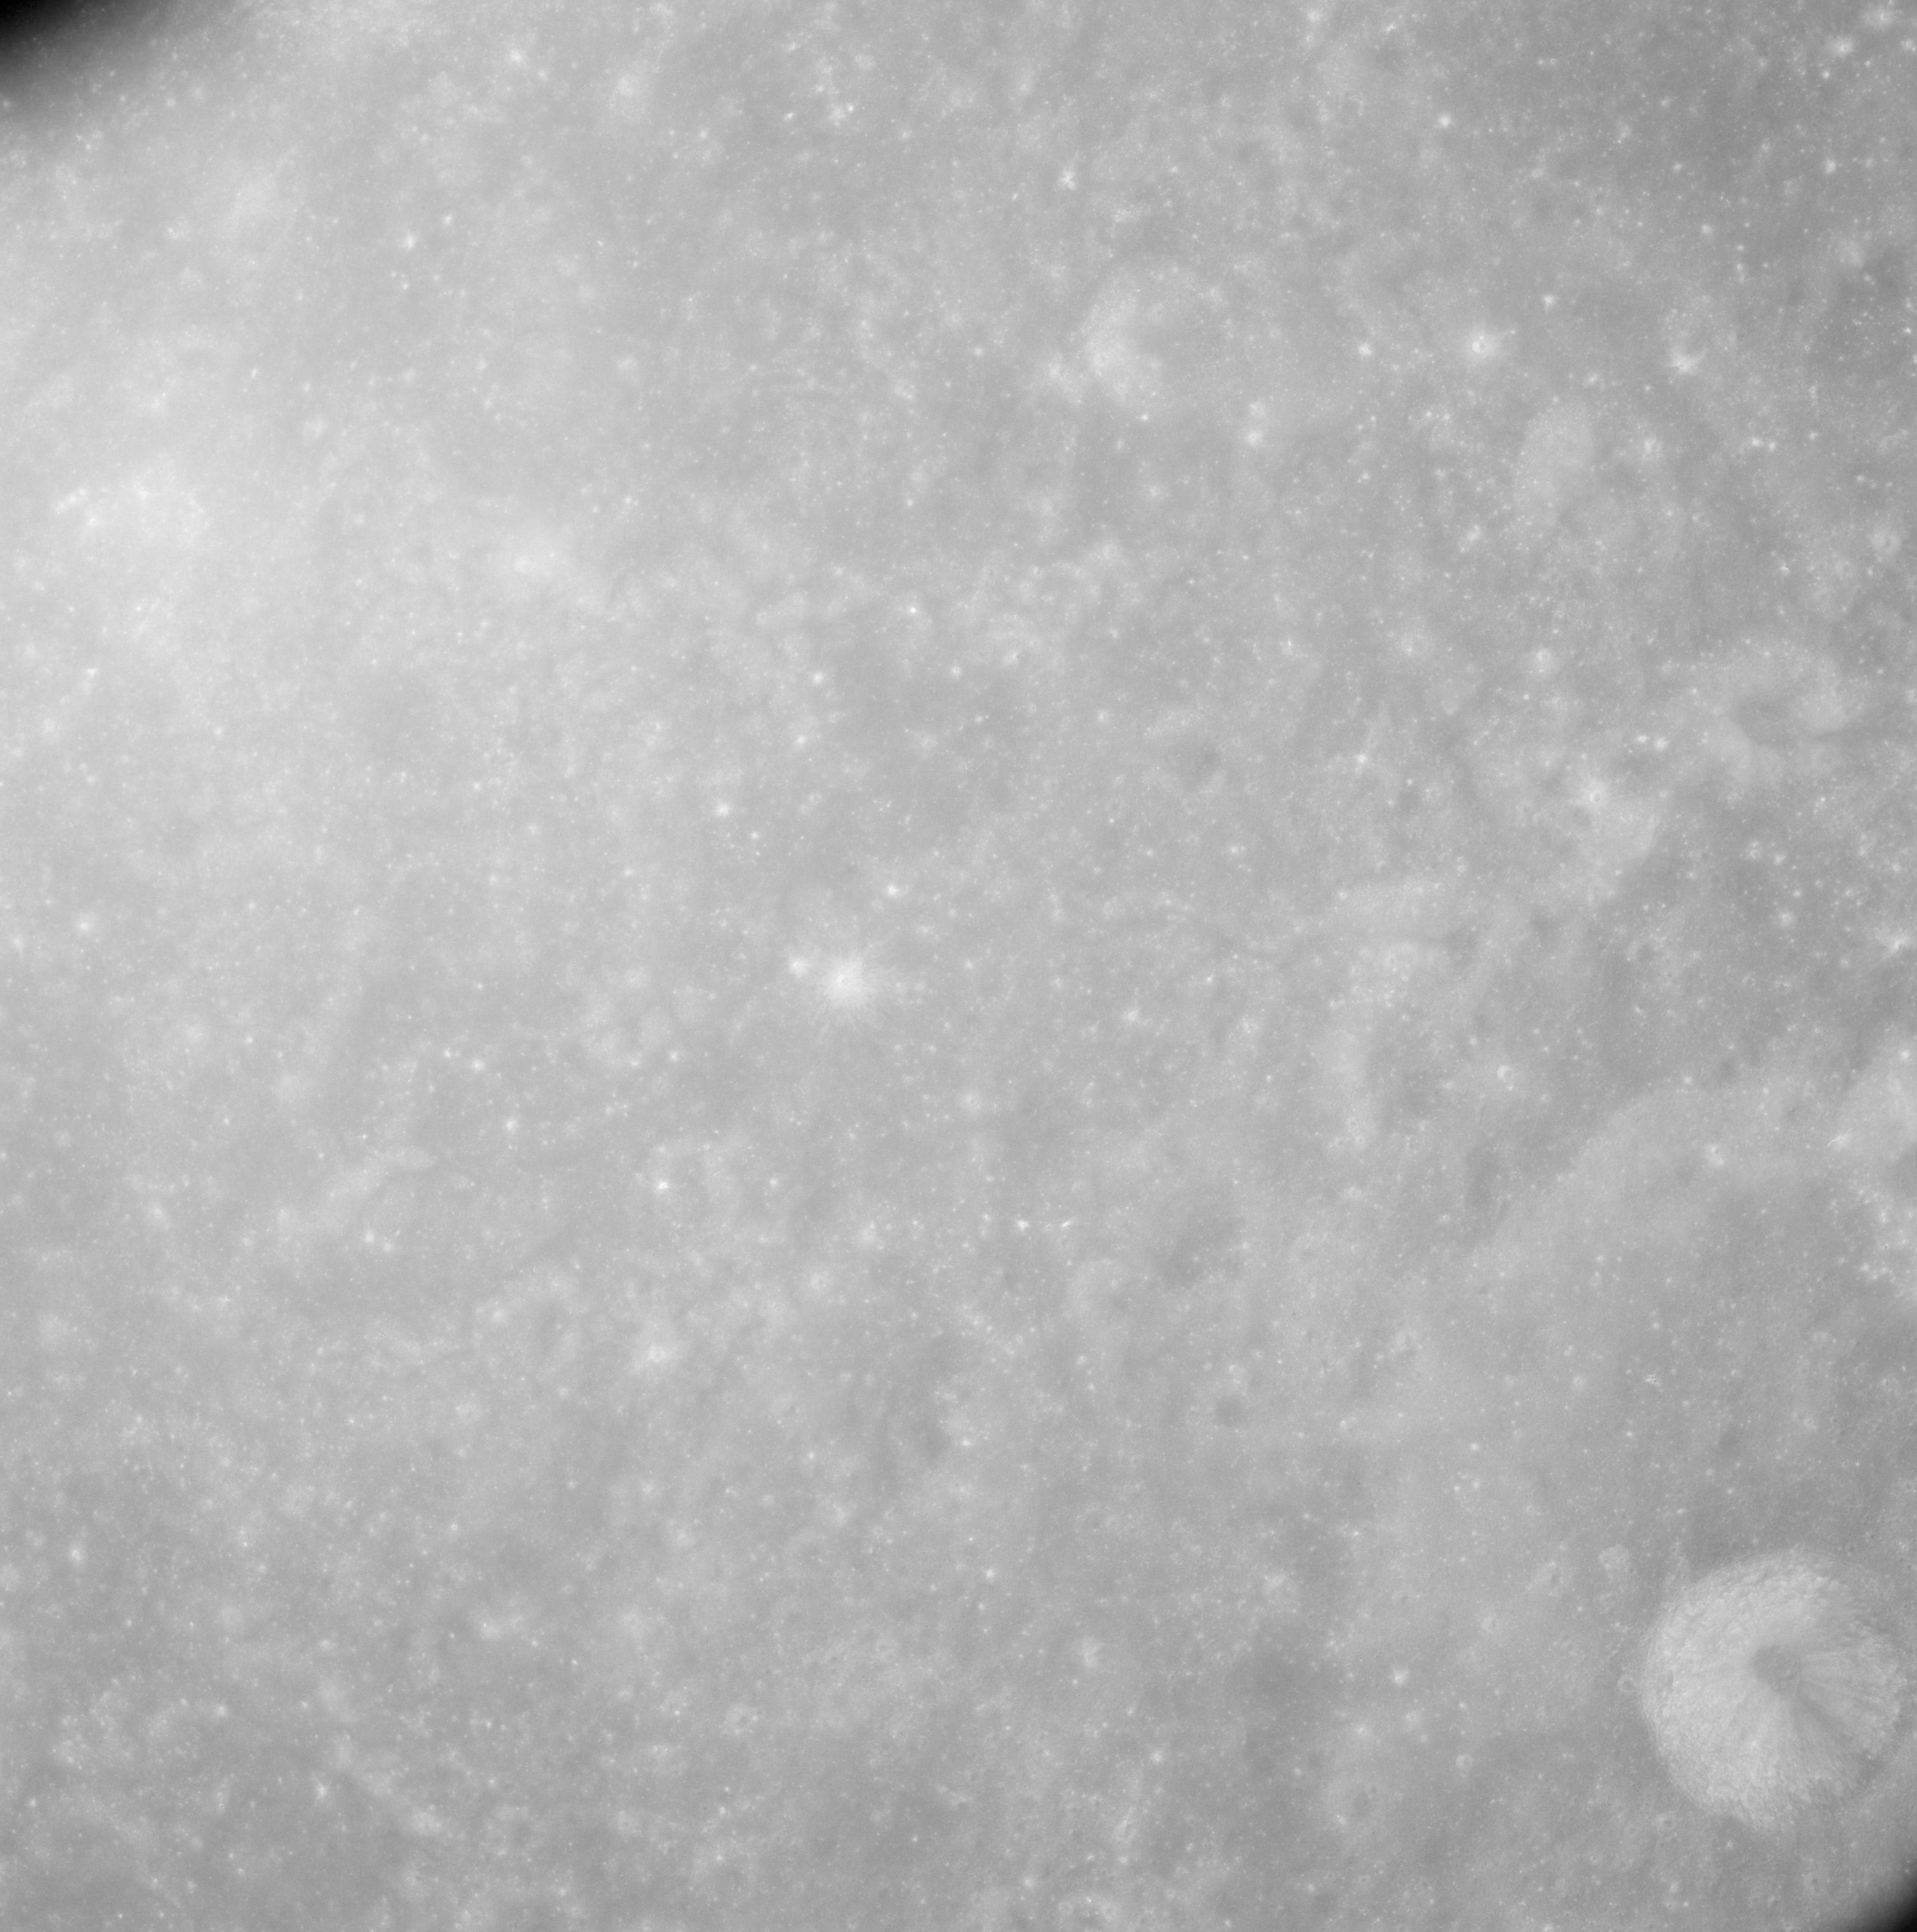 |
AS08-12-2111 Marconi L on bottom right. Image credit: Image Science and Analysis Laboratory, NASA-Johnson Space Center. |
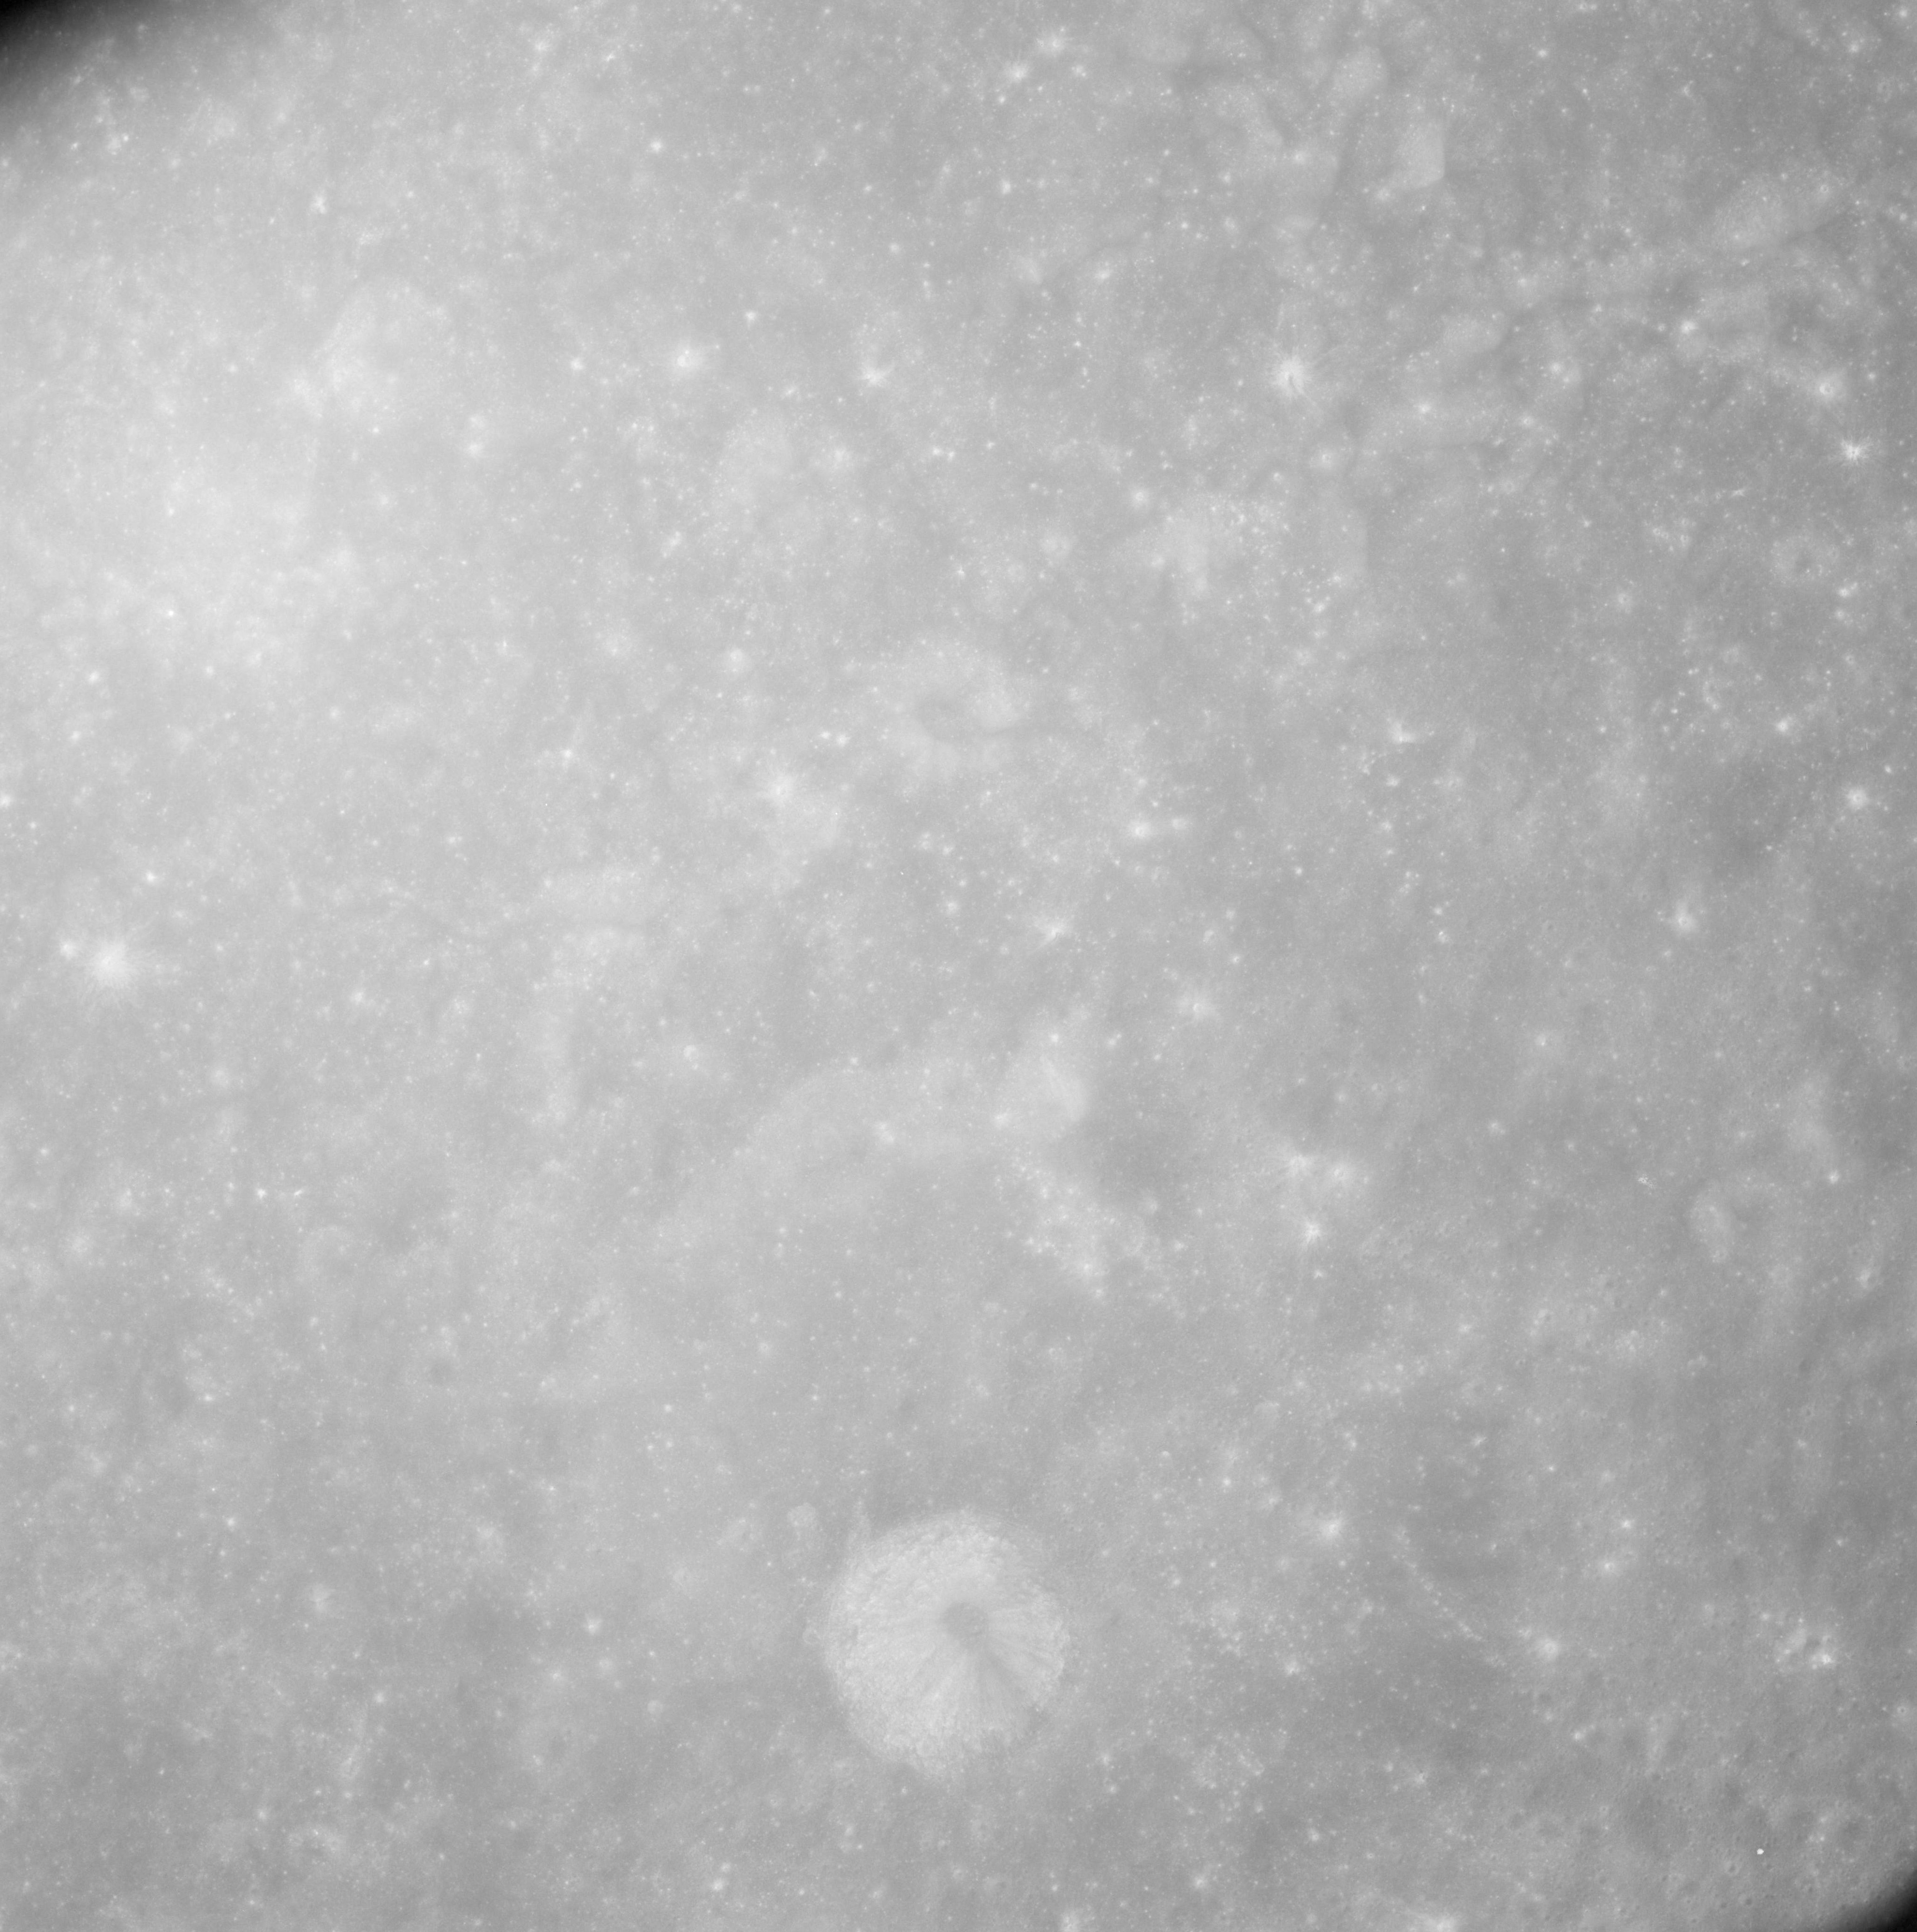 |
AS08-12-2112 Marconi L on bottom centre. Image credit: Image Science and Analysis Laboratory, NASA-Johnson Space Center. |
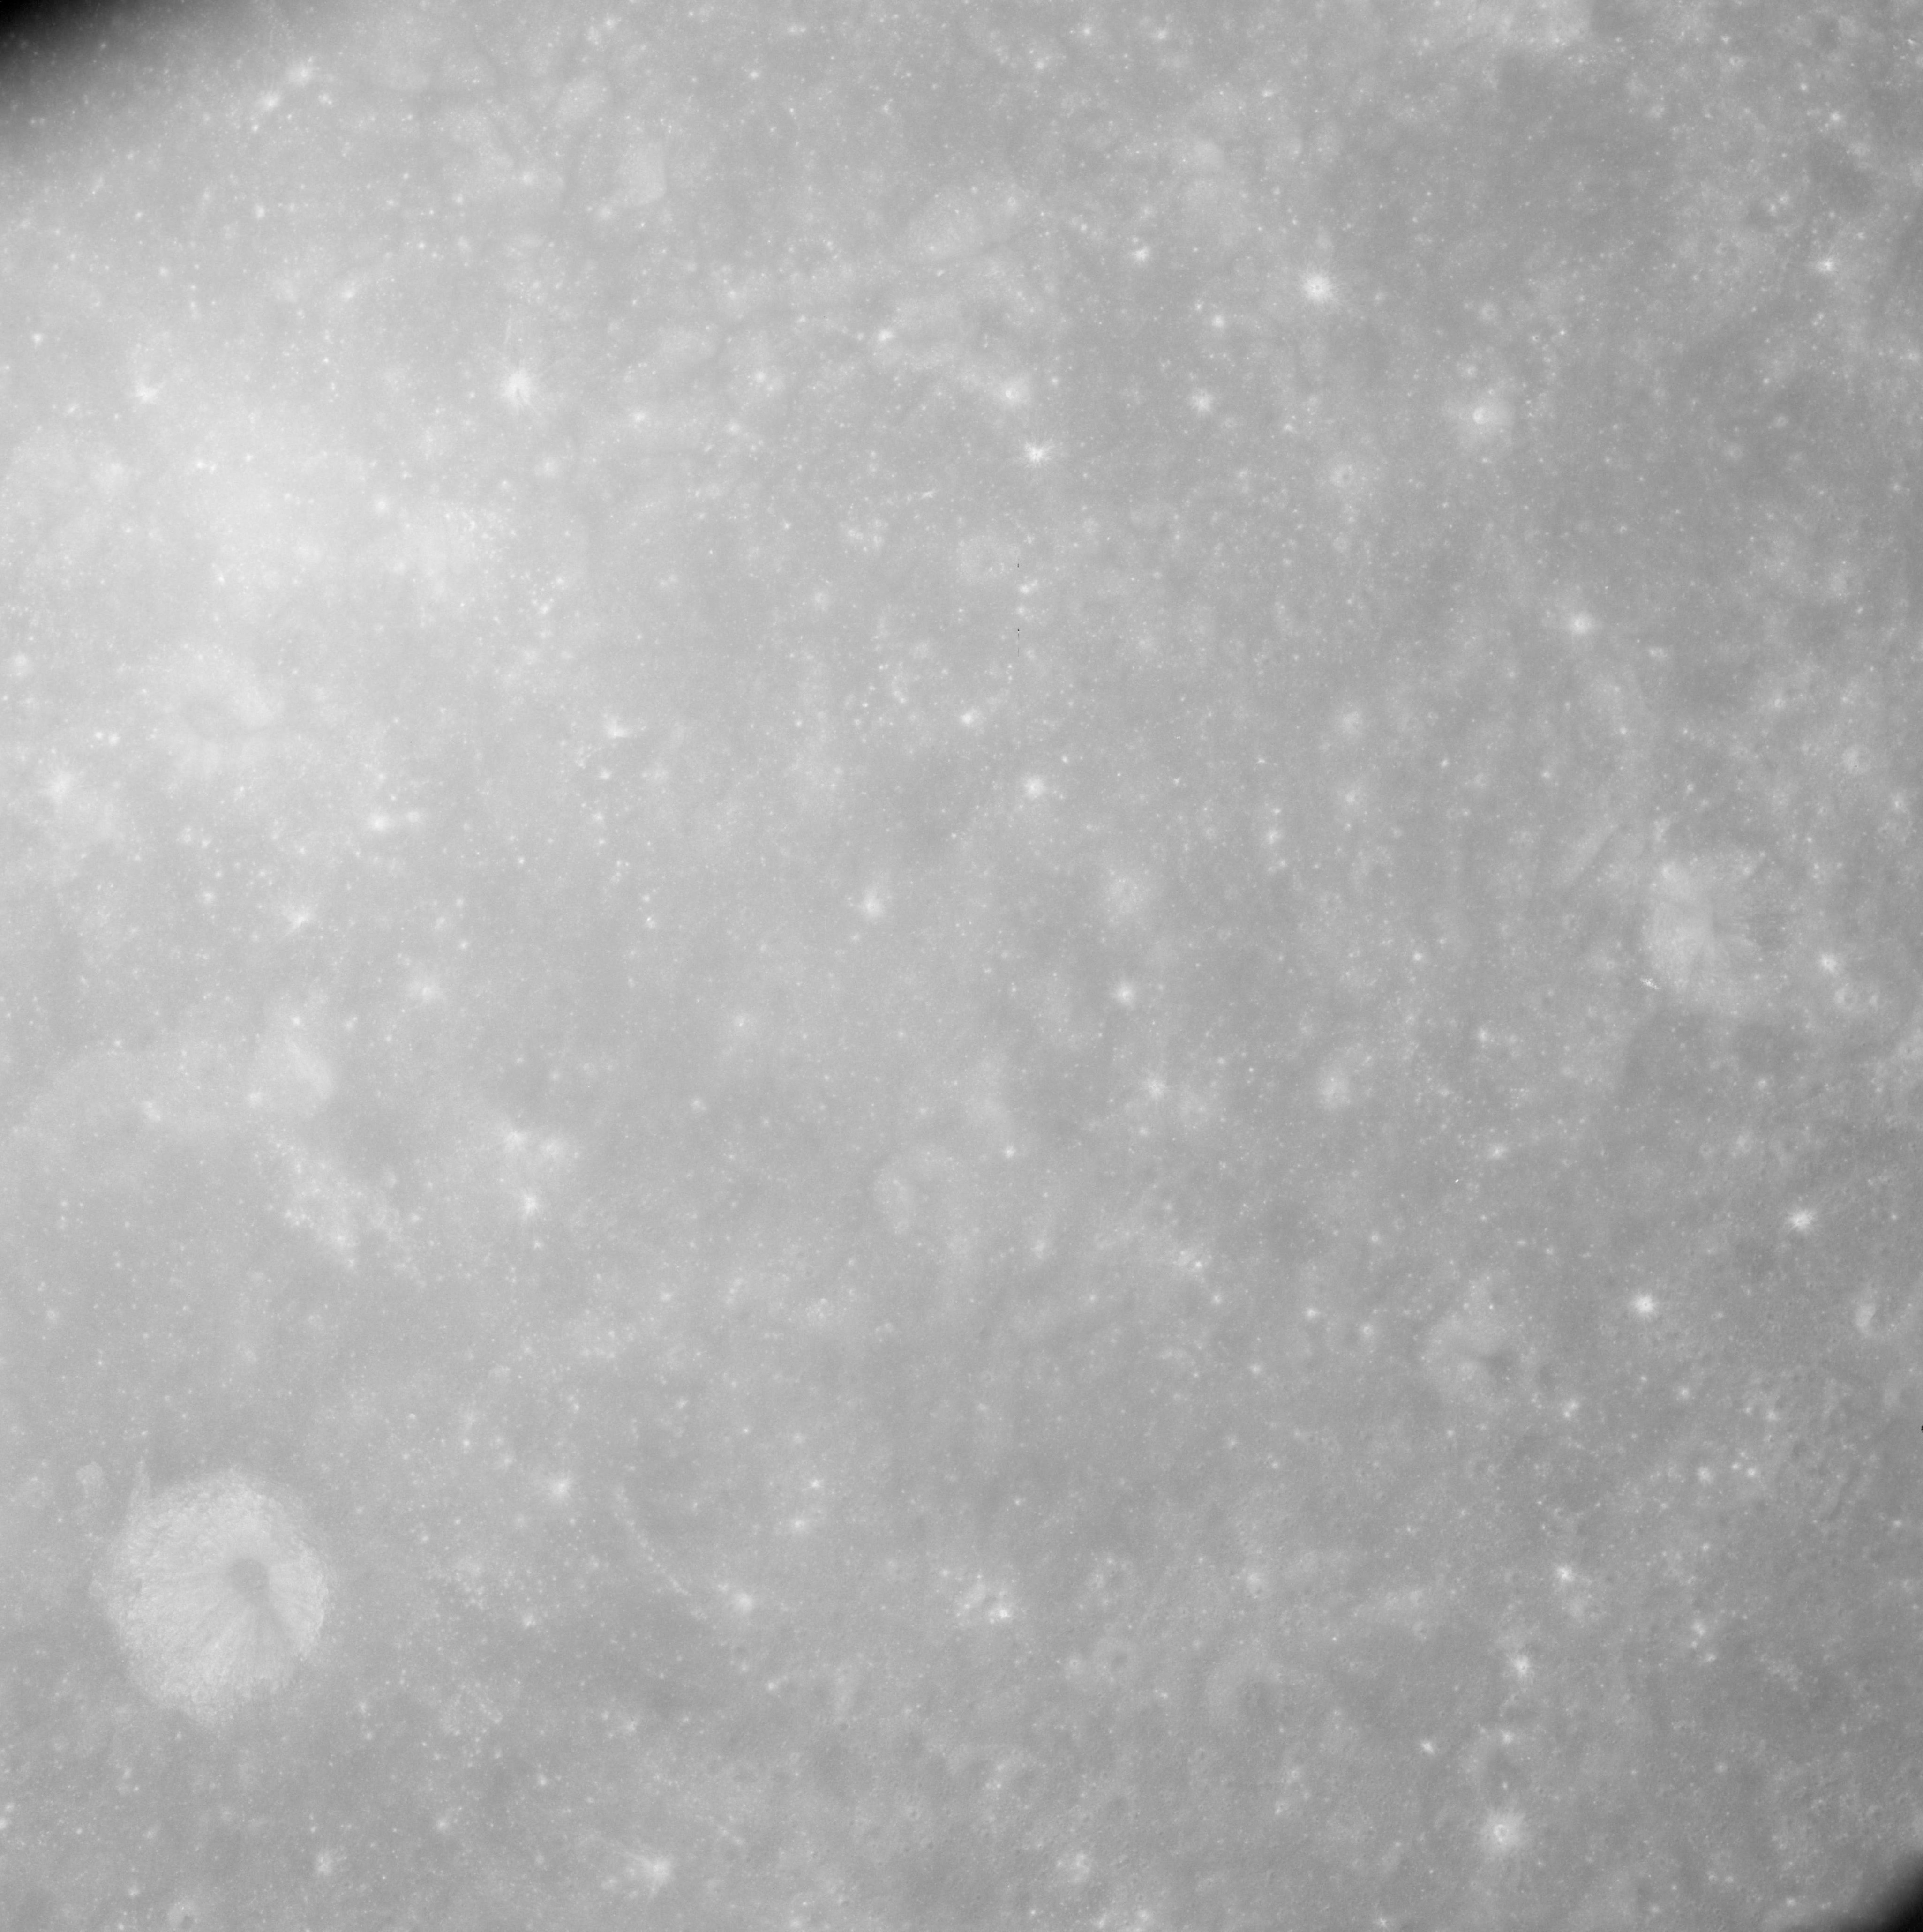 |
AS08-12-2113 Marconi L on bottom left. Image credit: Image Science and Analysis Laboratory, NASA-Johnson Space Center. |
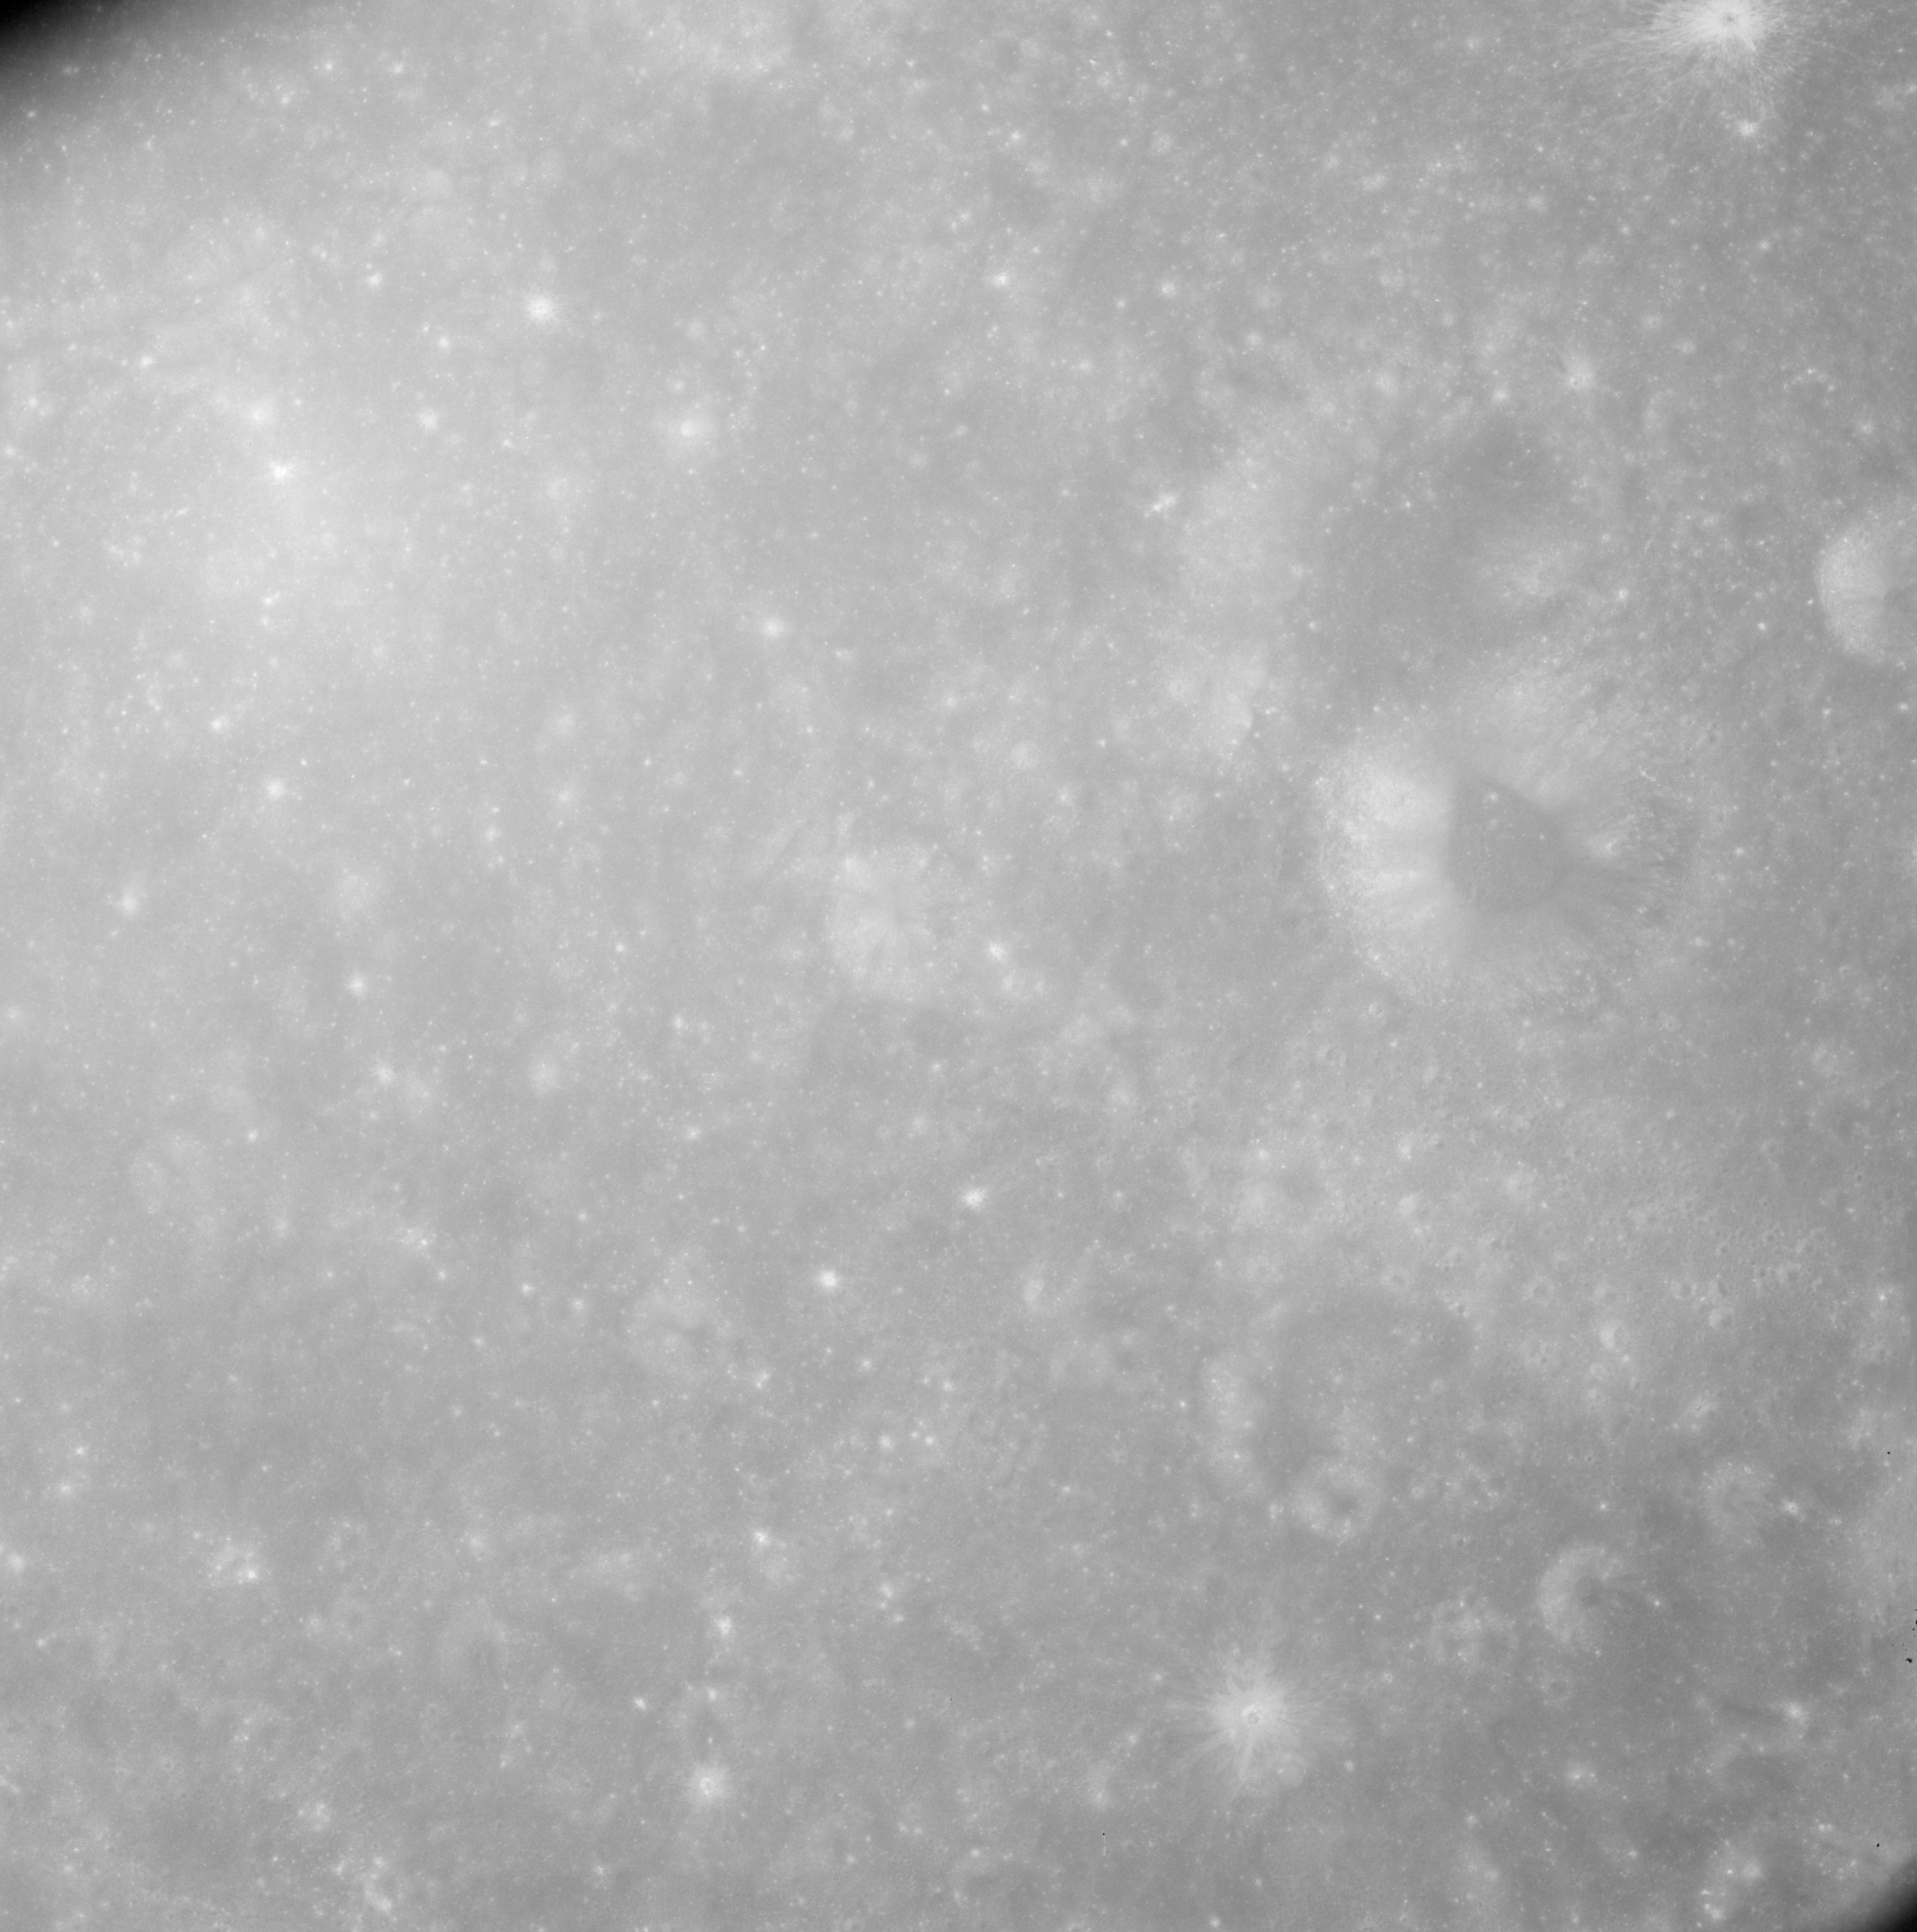 |
AS08-12-2114 Denning Z on right. Image credit: Image Science and Analysis Laboratory, NASA-Johnson Space Center. |
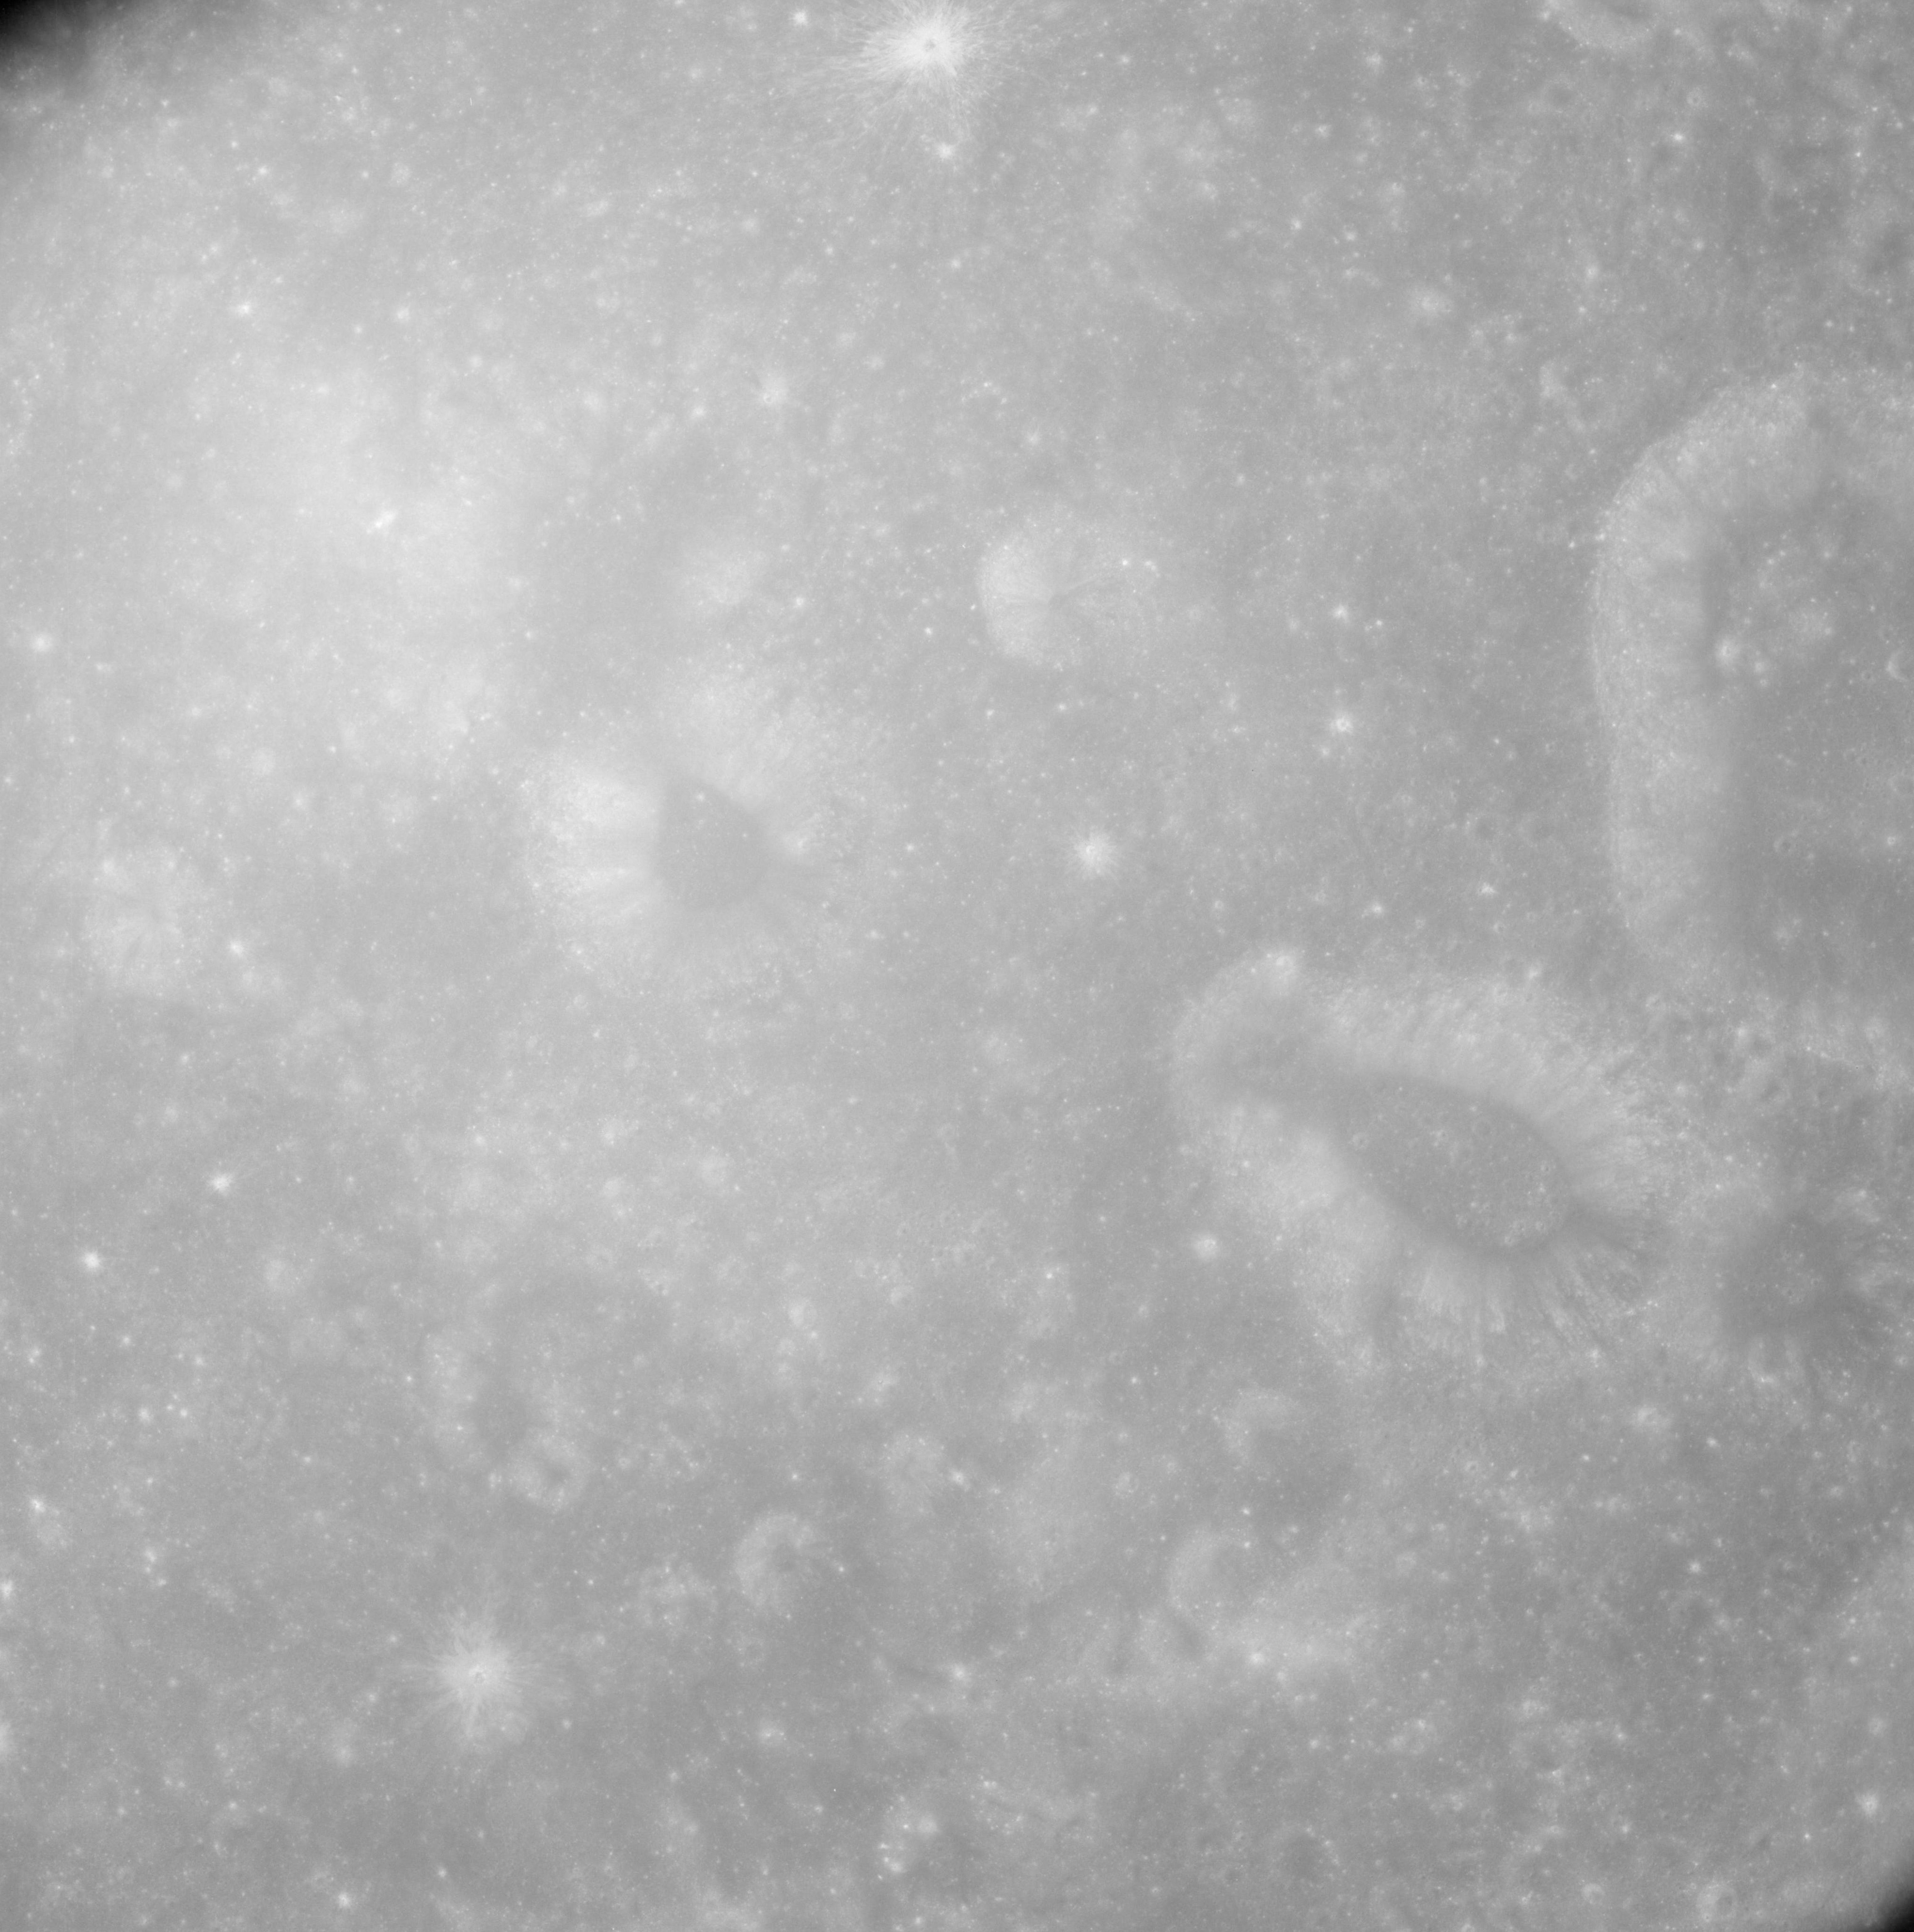 |
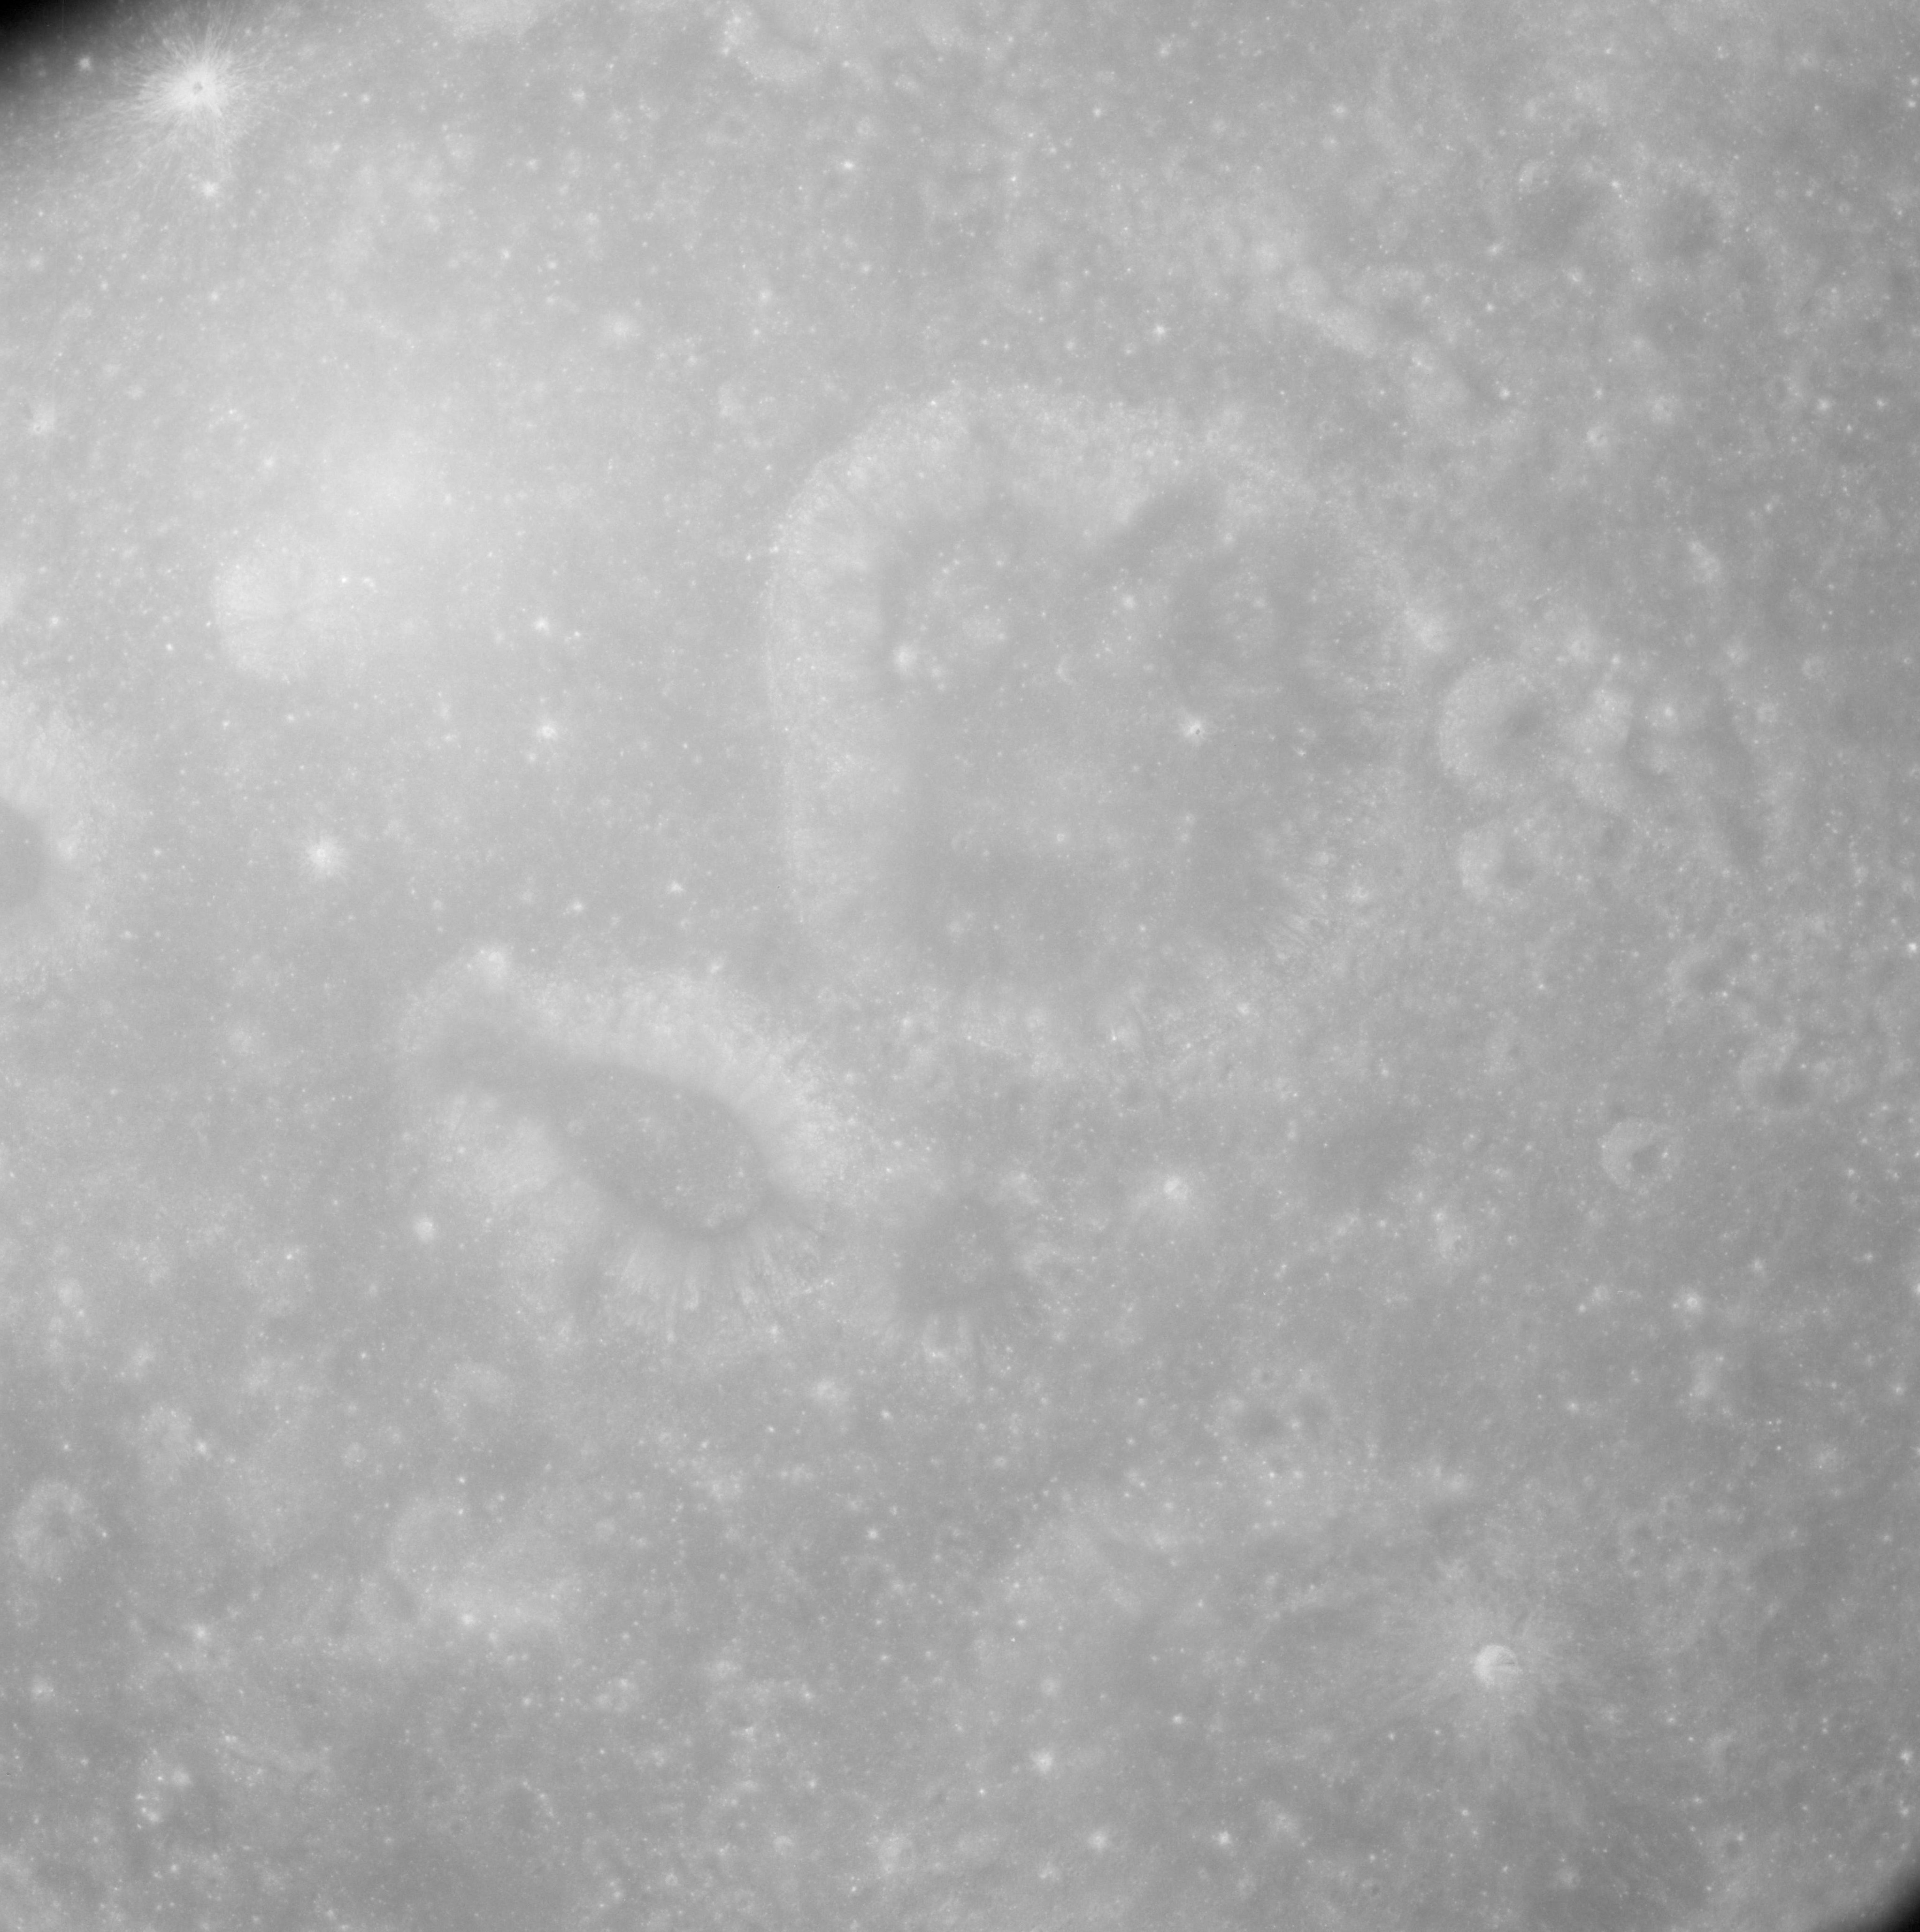
AS08-12-2115 Denning Z on left. Chauvenet G far right. Image credit: Image Science and Analysis Laboratory, NASA-Johnson Space Center. |
 |
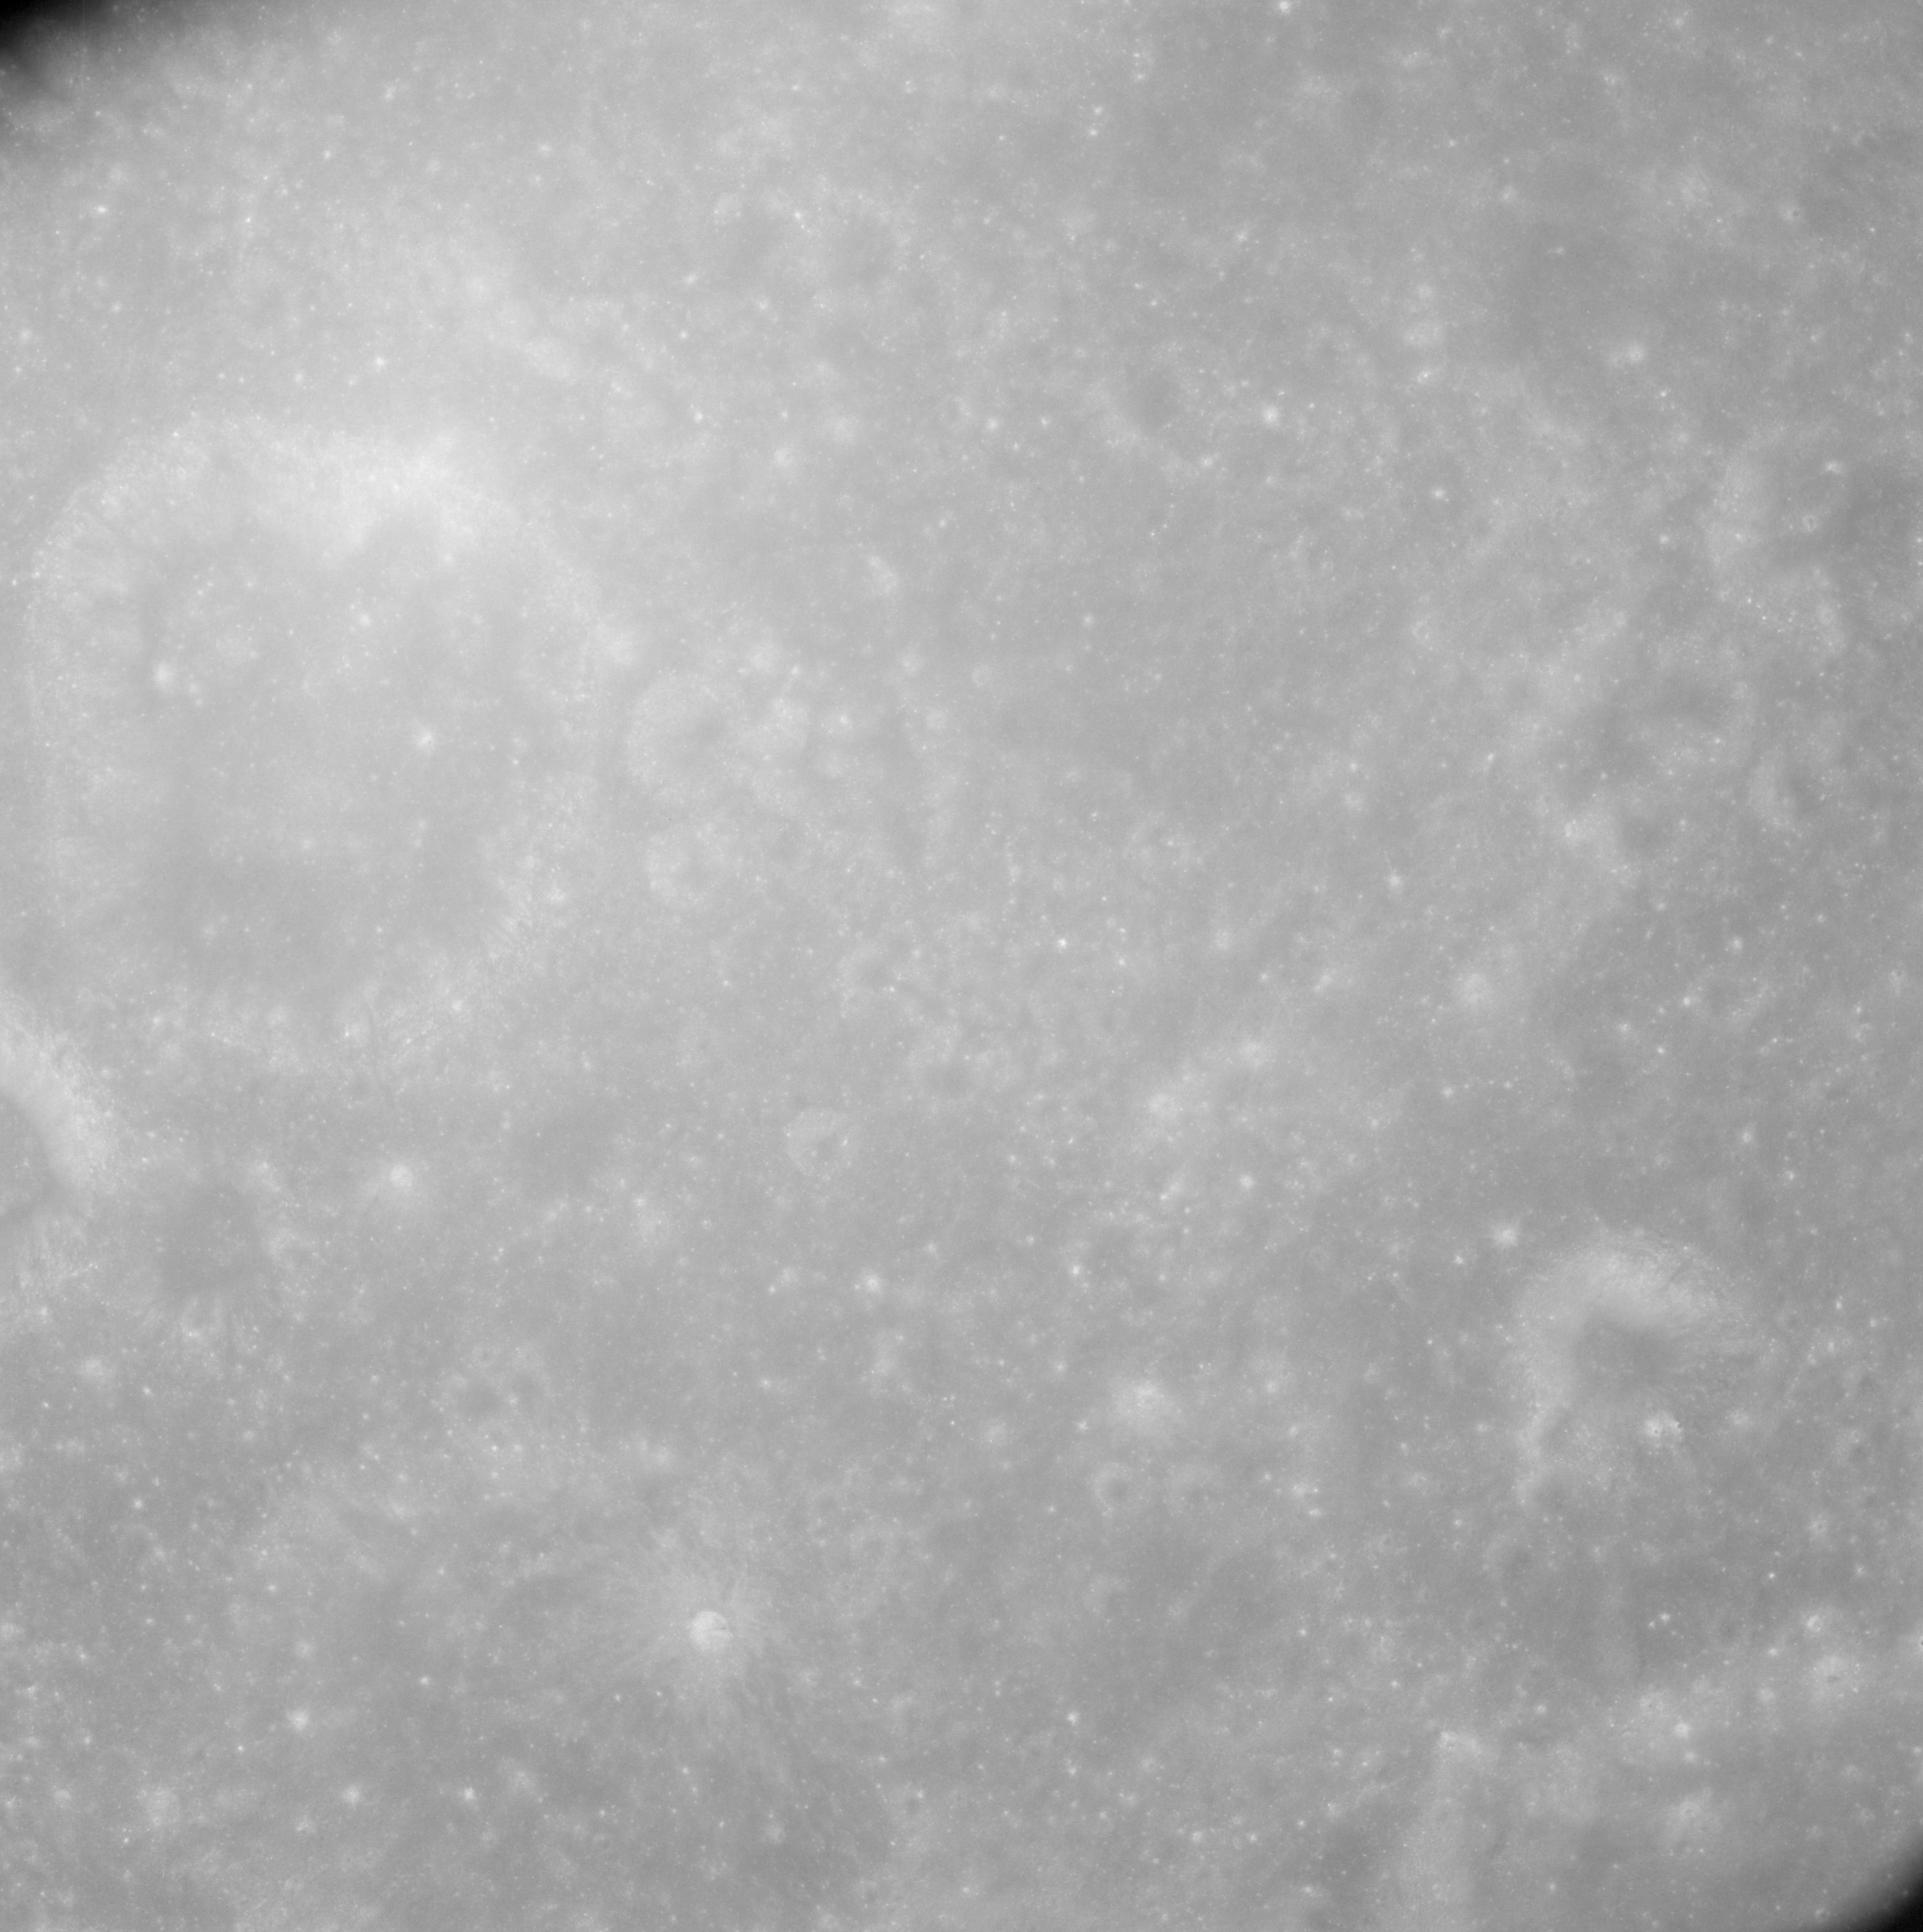
AS08-12-2116 Chauvenet G upper right of centre. Image credit: Image Science and Analysis Laboratory, NASA-Johnson Space Center. |
 |
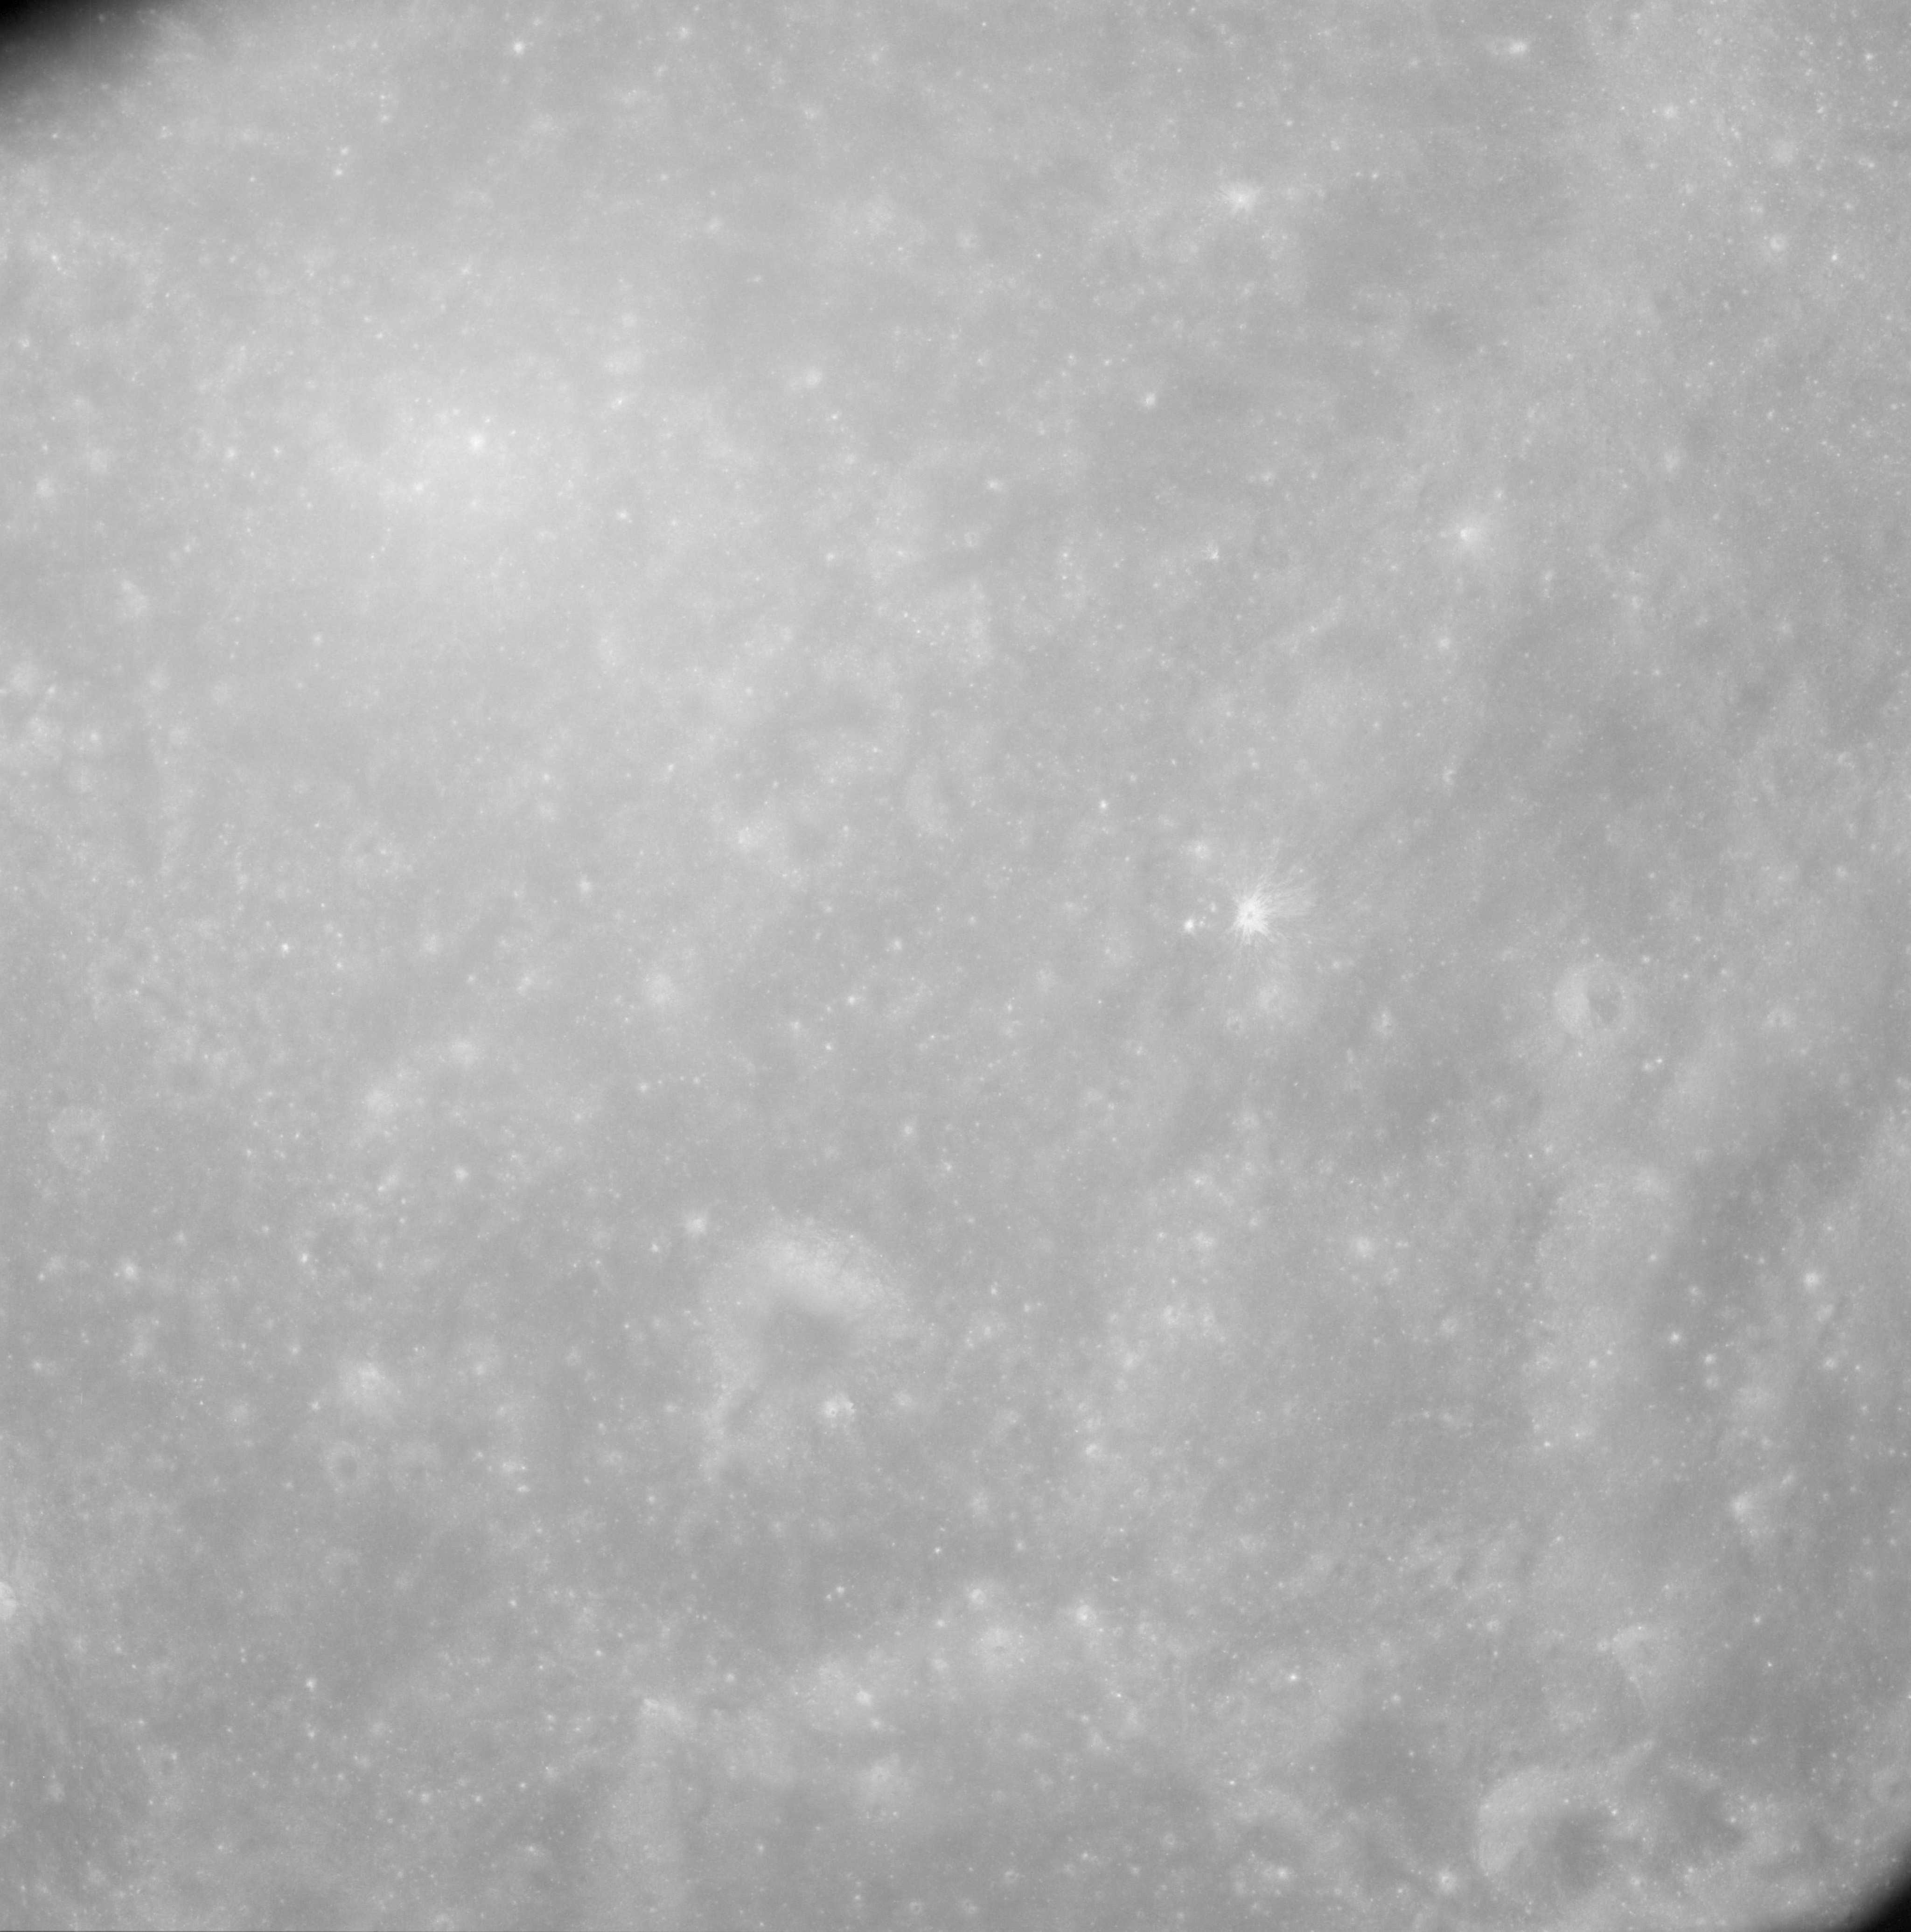
AS08-12-2117 Chauvenet G on far left. Image credit: Image Science and Analysis Laboratory, NASA-Johnson Space Center. |
 |
AS08-12-2118 No description. Image credit: Image Science and Analysis Laboratory, NASA-Johnson Space Center. |
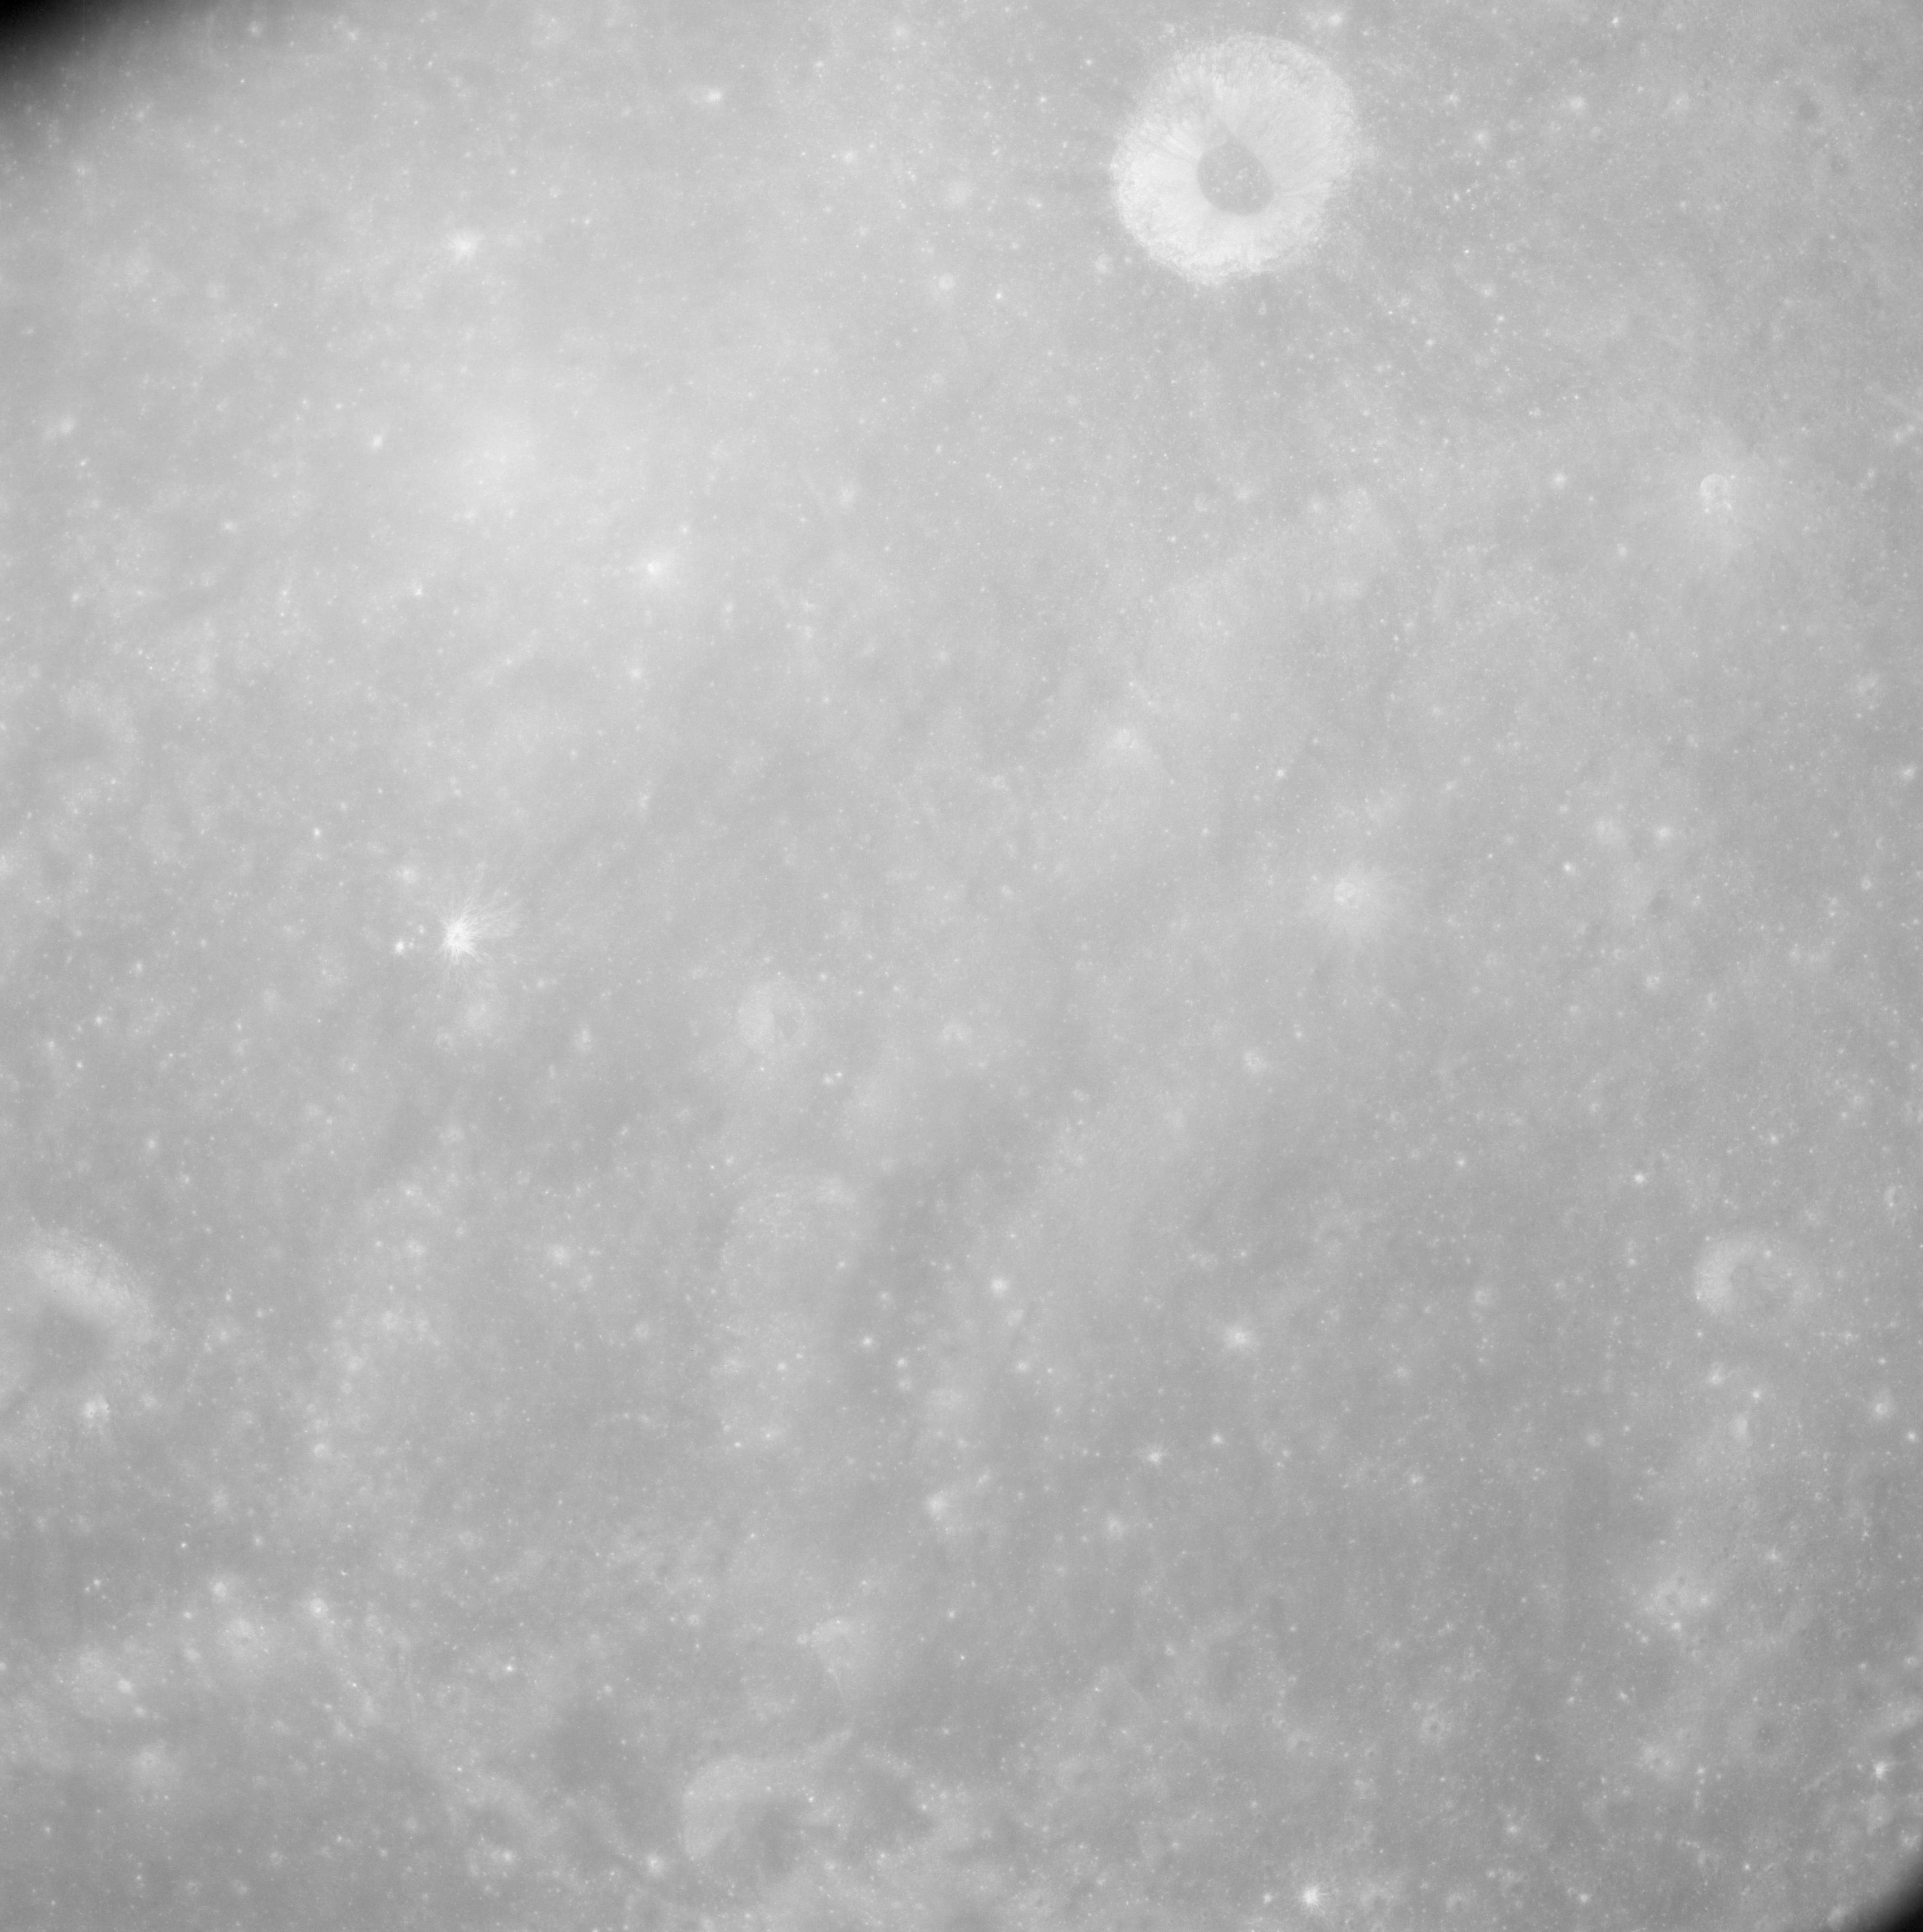 |
AS08-12-2119 Chauvenet L at top right. Southeast rim of Chauvenet. Image credit: Image Science and Analysis Laboratory, NASA-Johnson Space Center. |
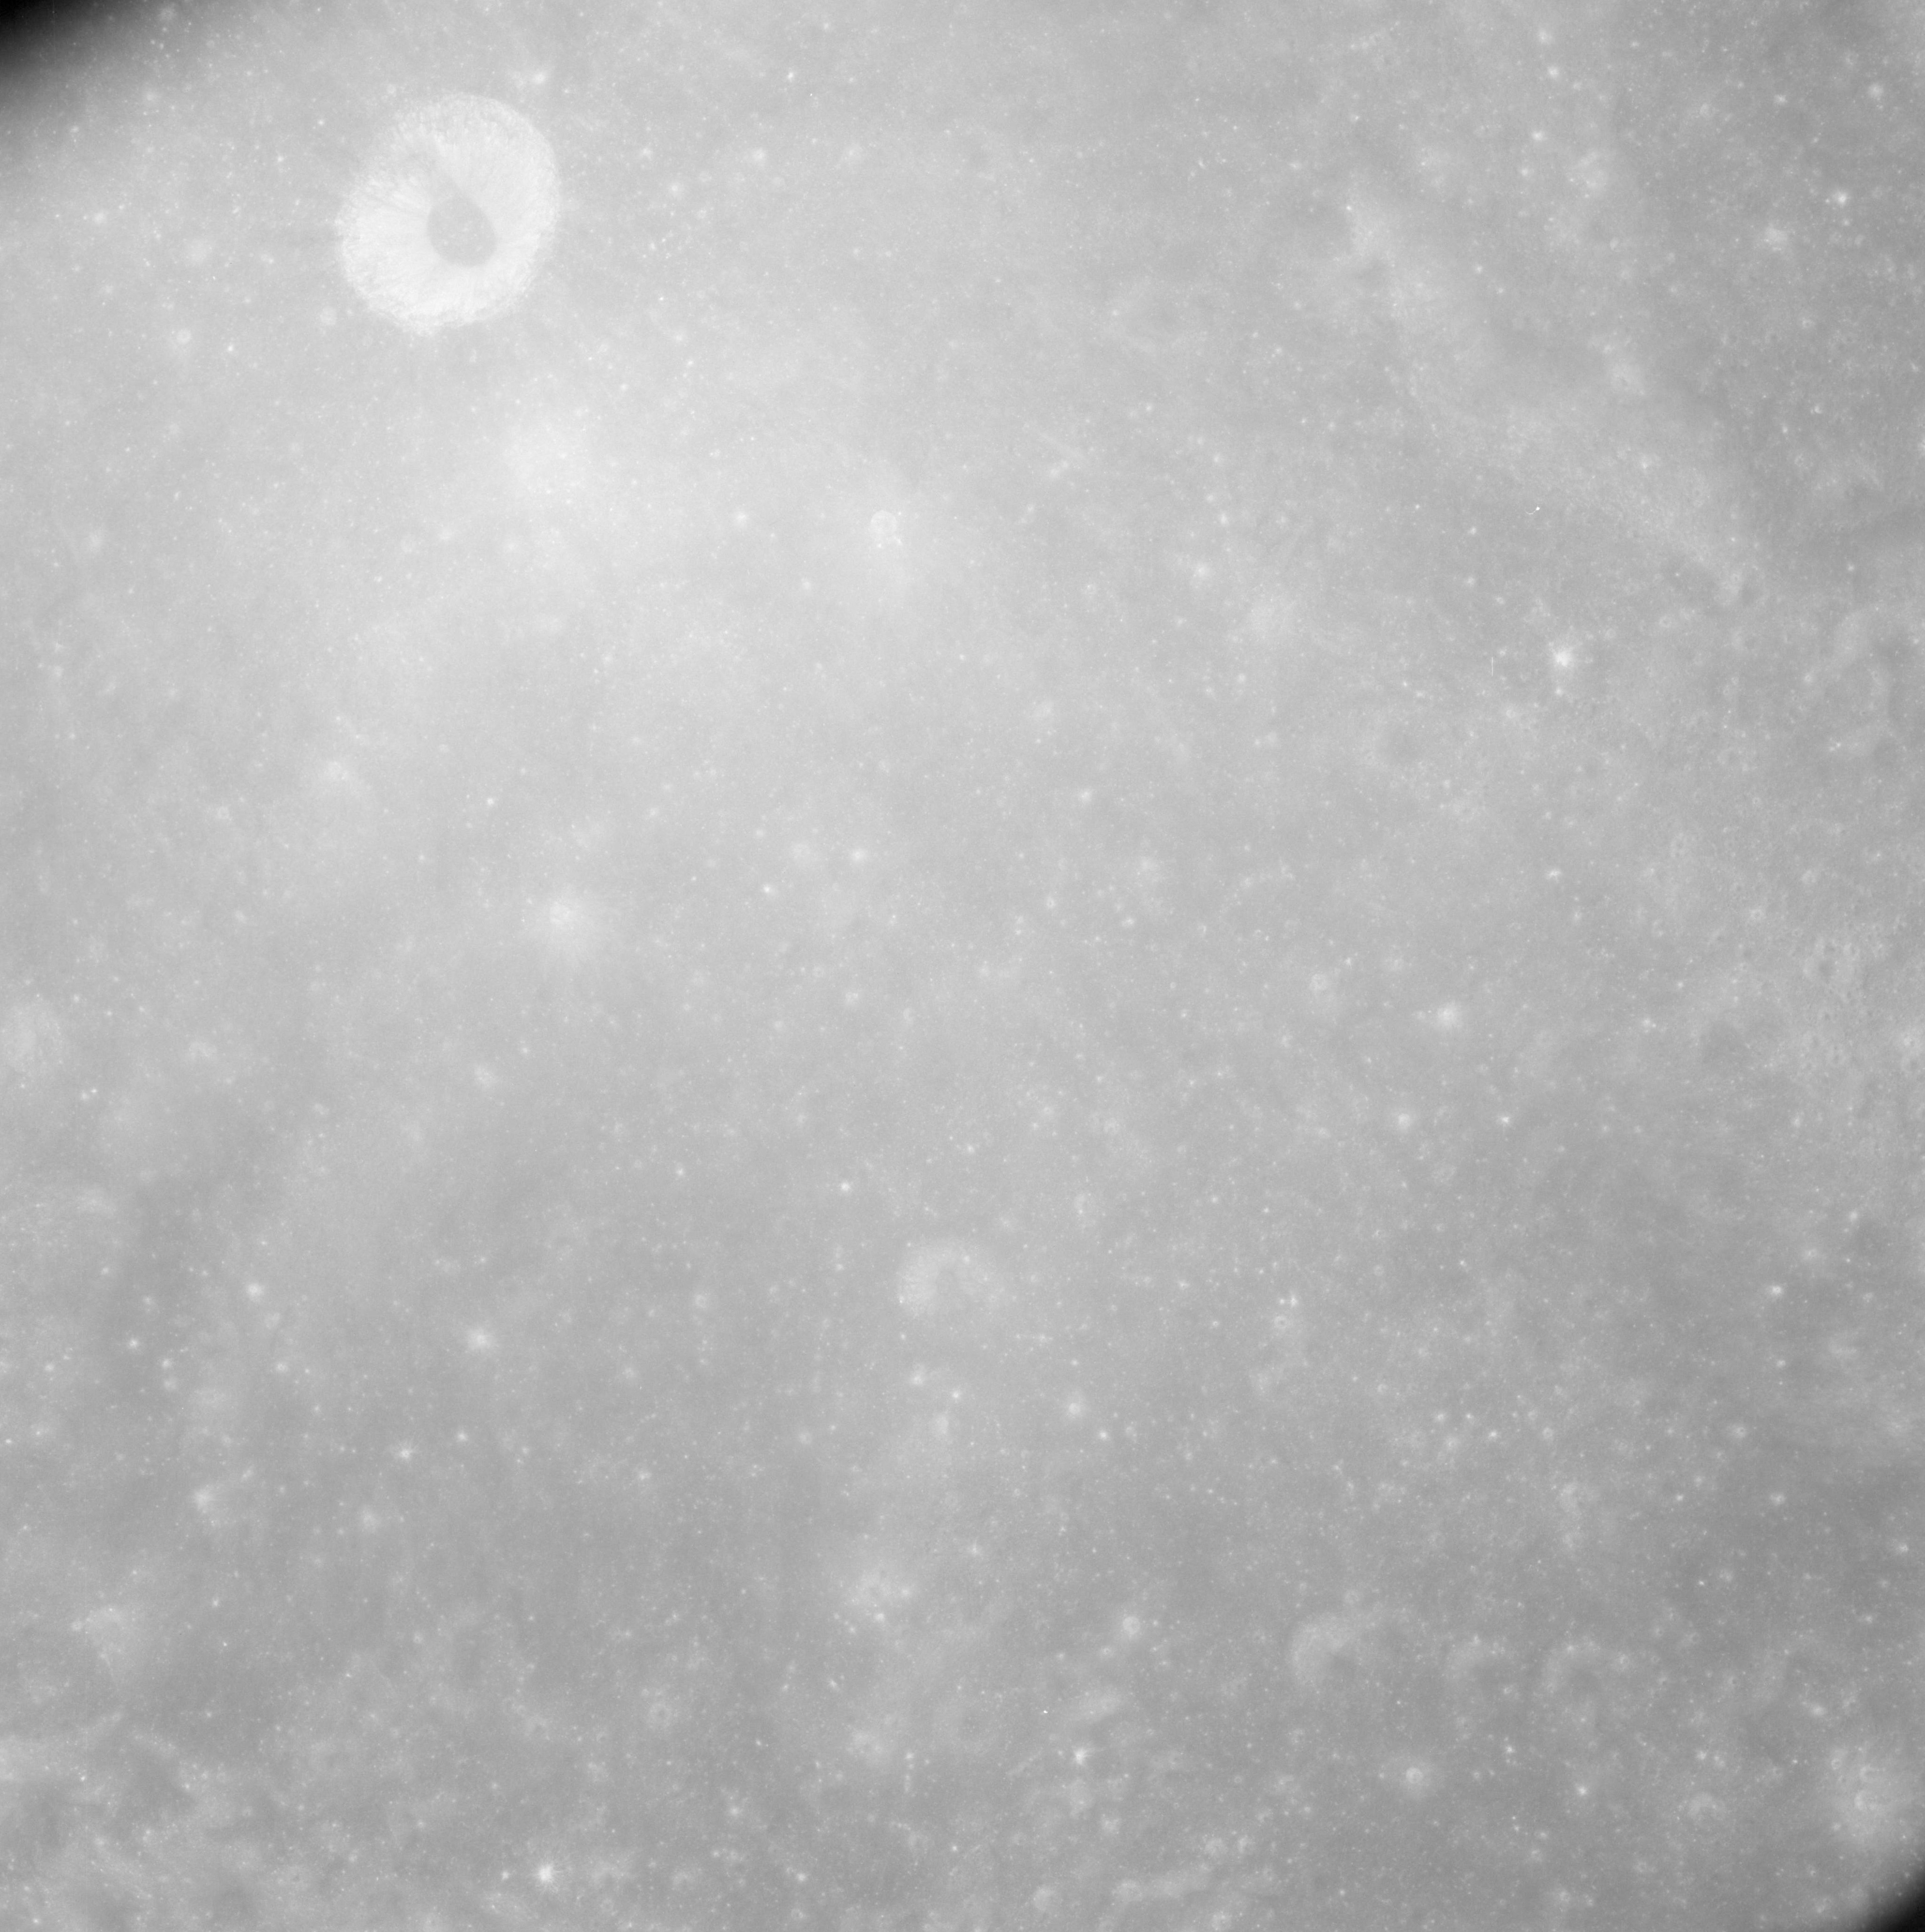 |
AS08-12-2120 Chauvenet L at top left. Southern half of Chauvenet bottom of frame. Chauvenet rim indistict. Image credit: Image Science and Analysis Laboratory, NASA-Johnson Space Center. |
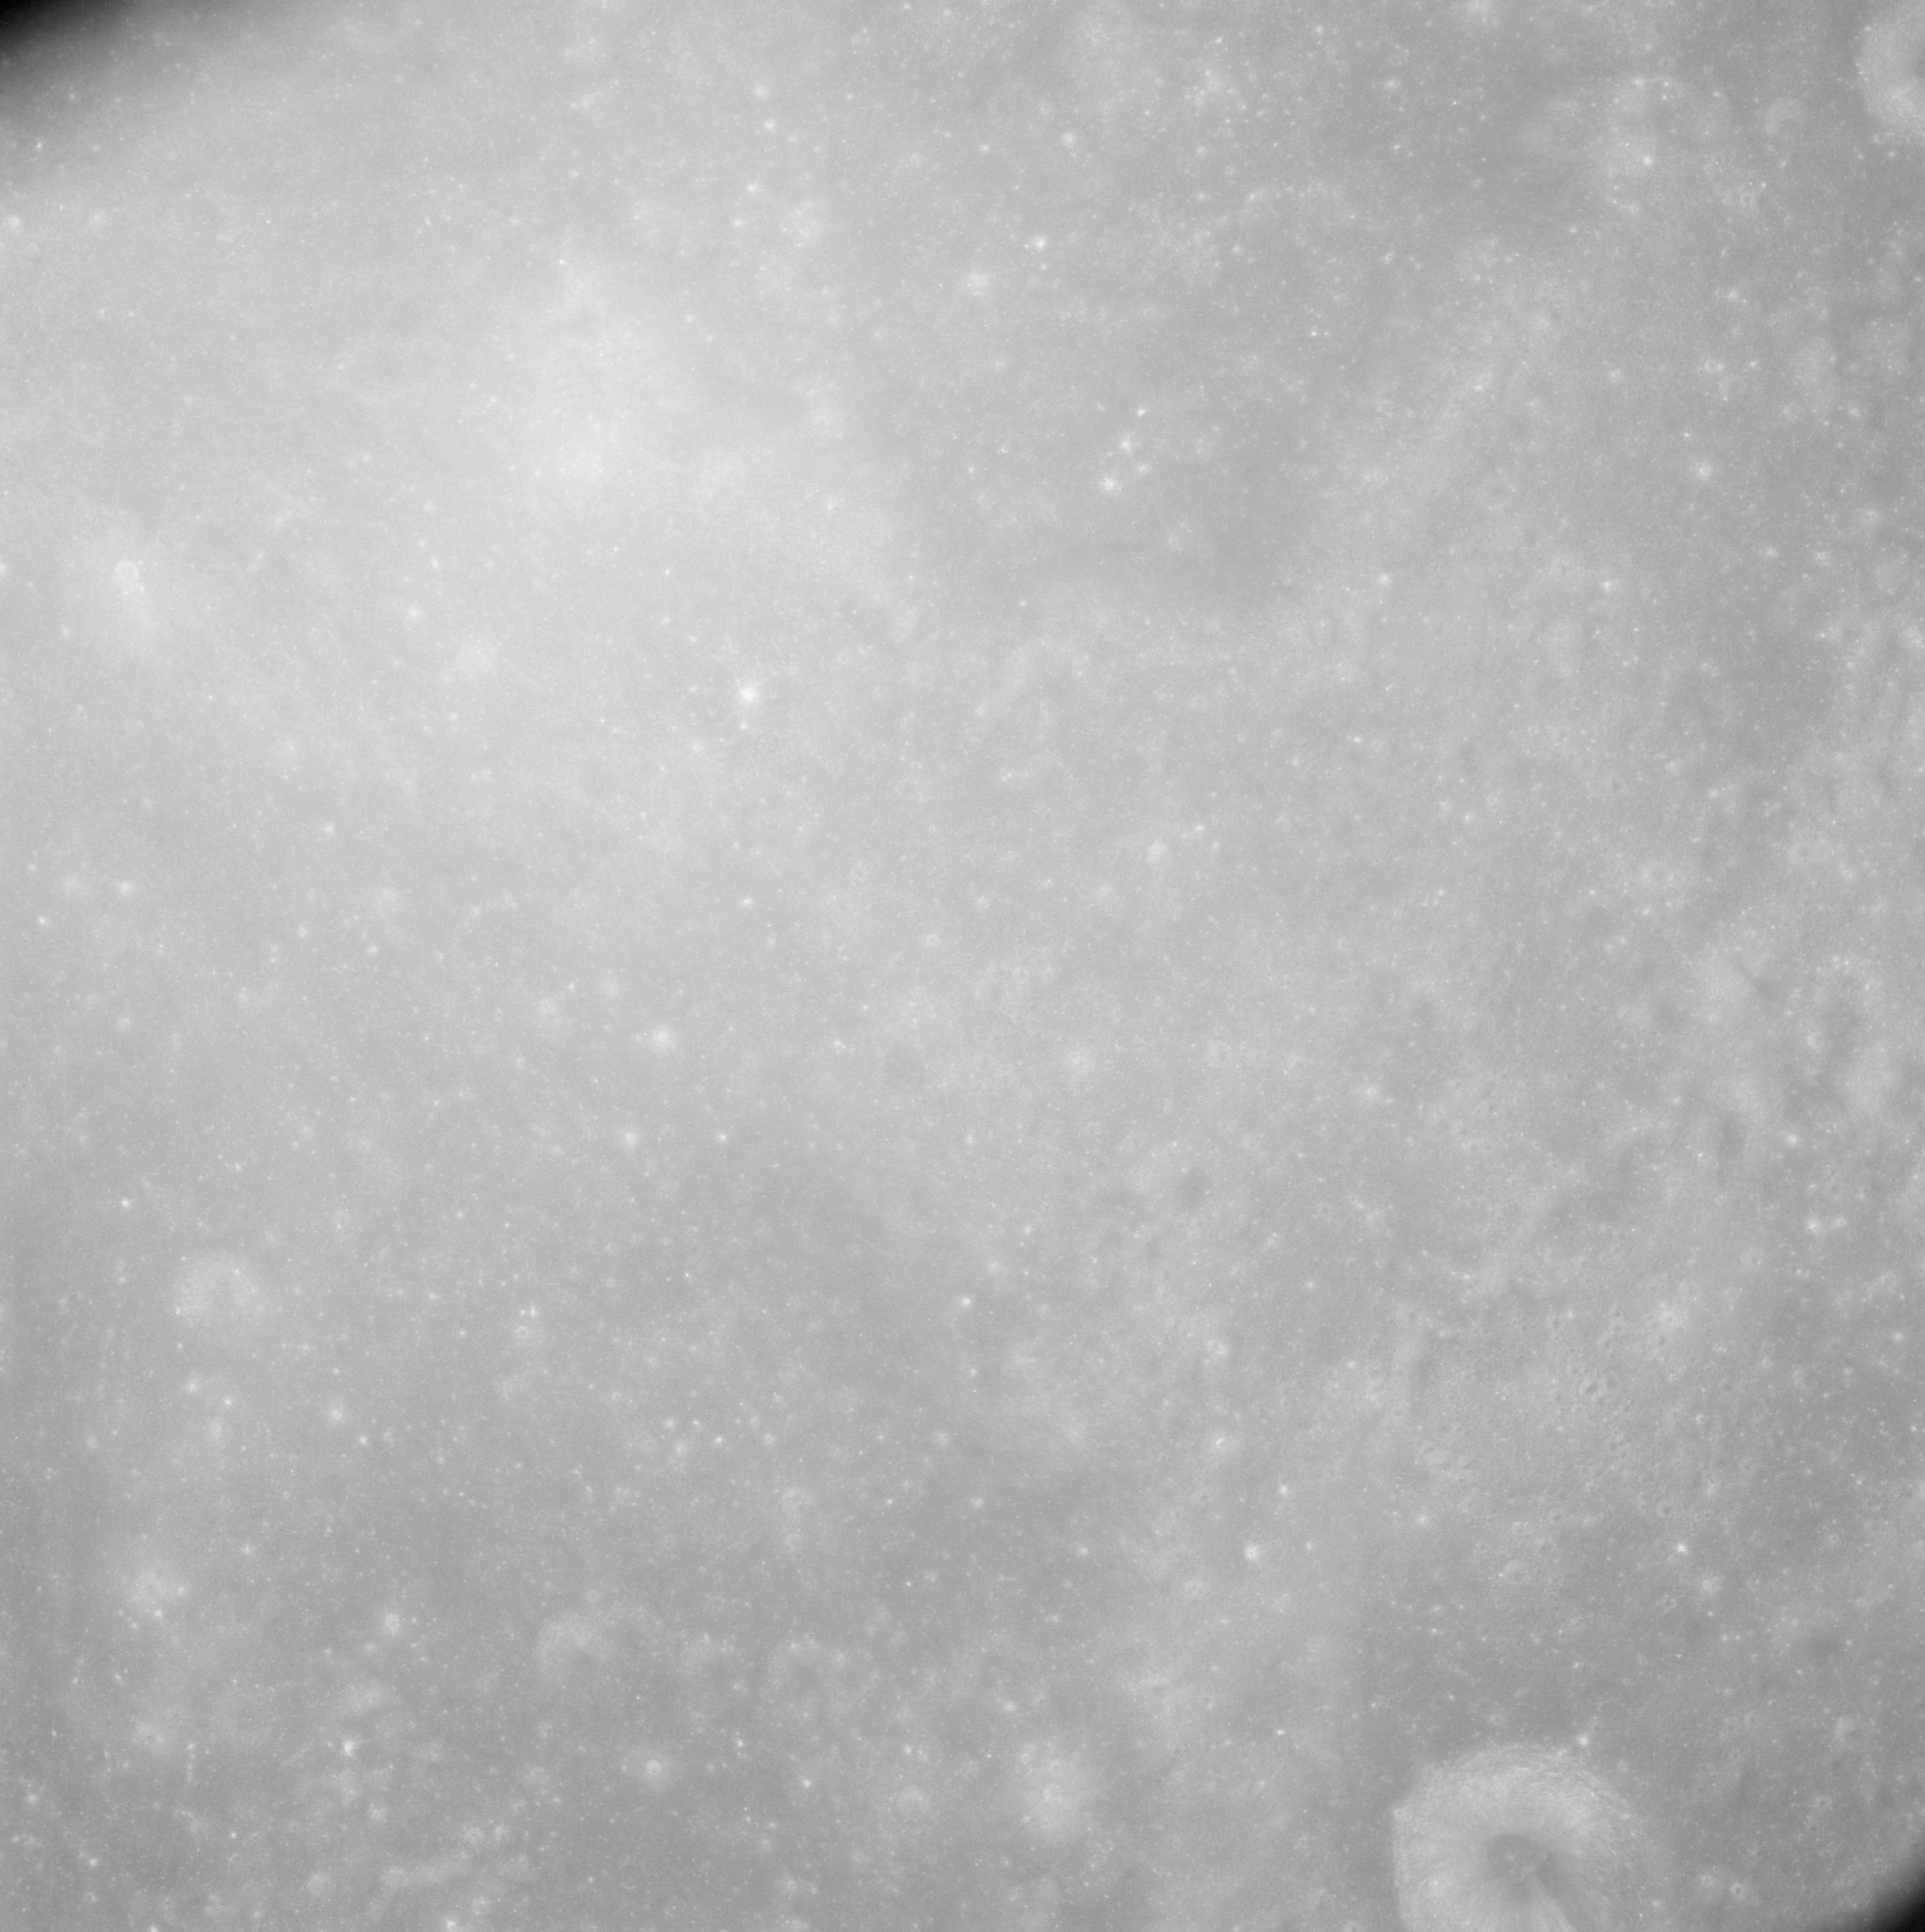 |
AS08-12-2121 Southwest rim of Chauvenet. Chauvenet rim indistict. Image credit: Image Science and Analysis Laboratory, NASA-Johnson Space Center. |
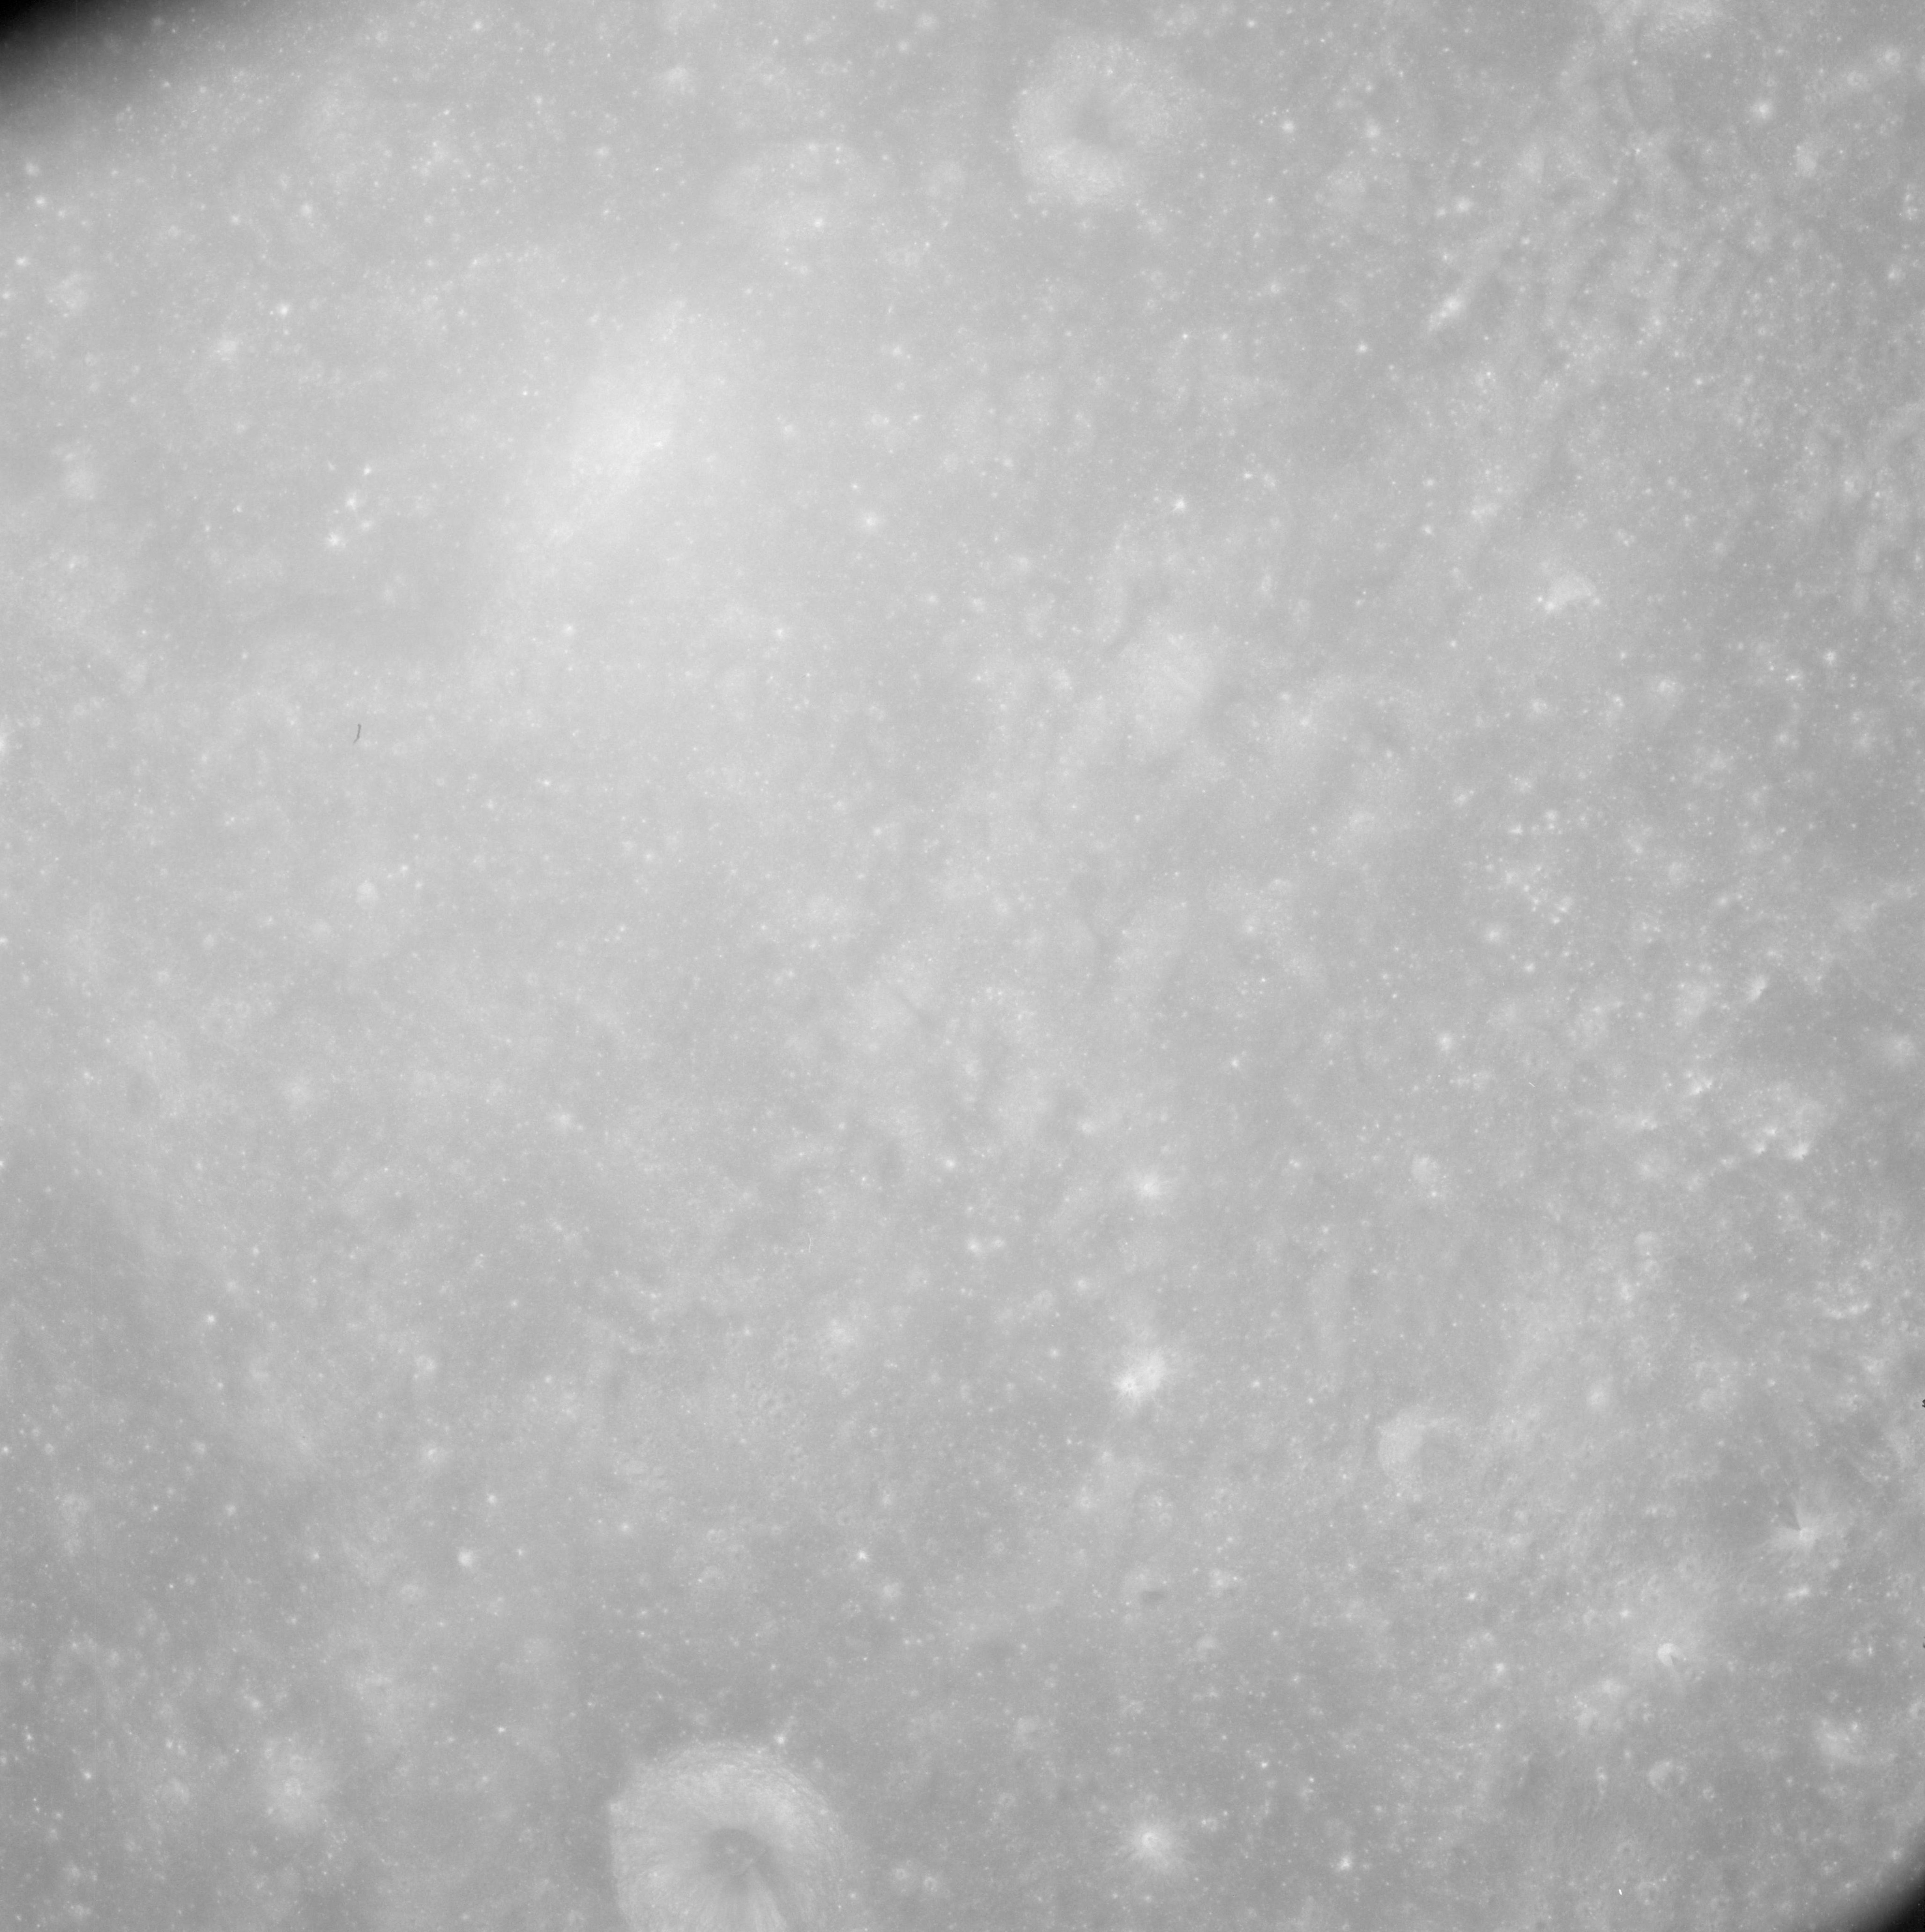 |
AS08-12-2122 No description. Image credit: Image Science and Analysis Laboratory, NASA-Johnson Space Center. |
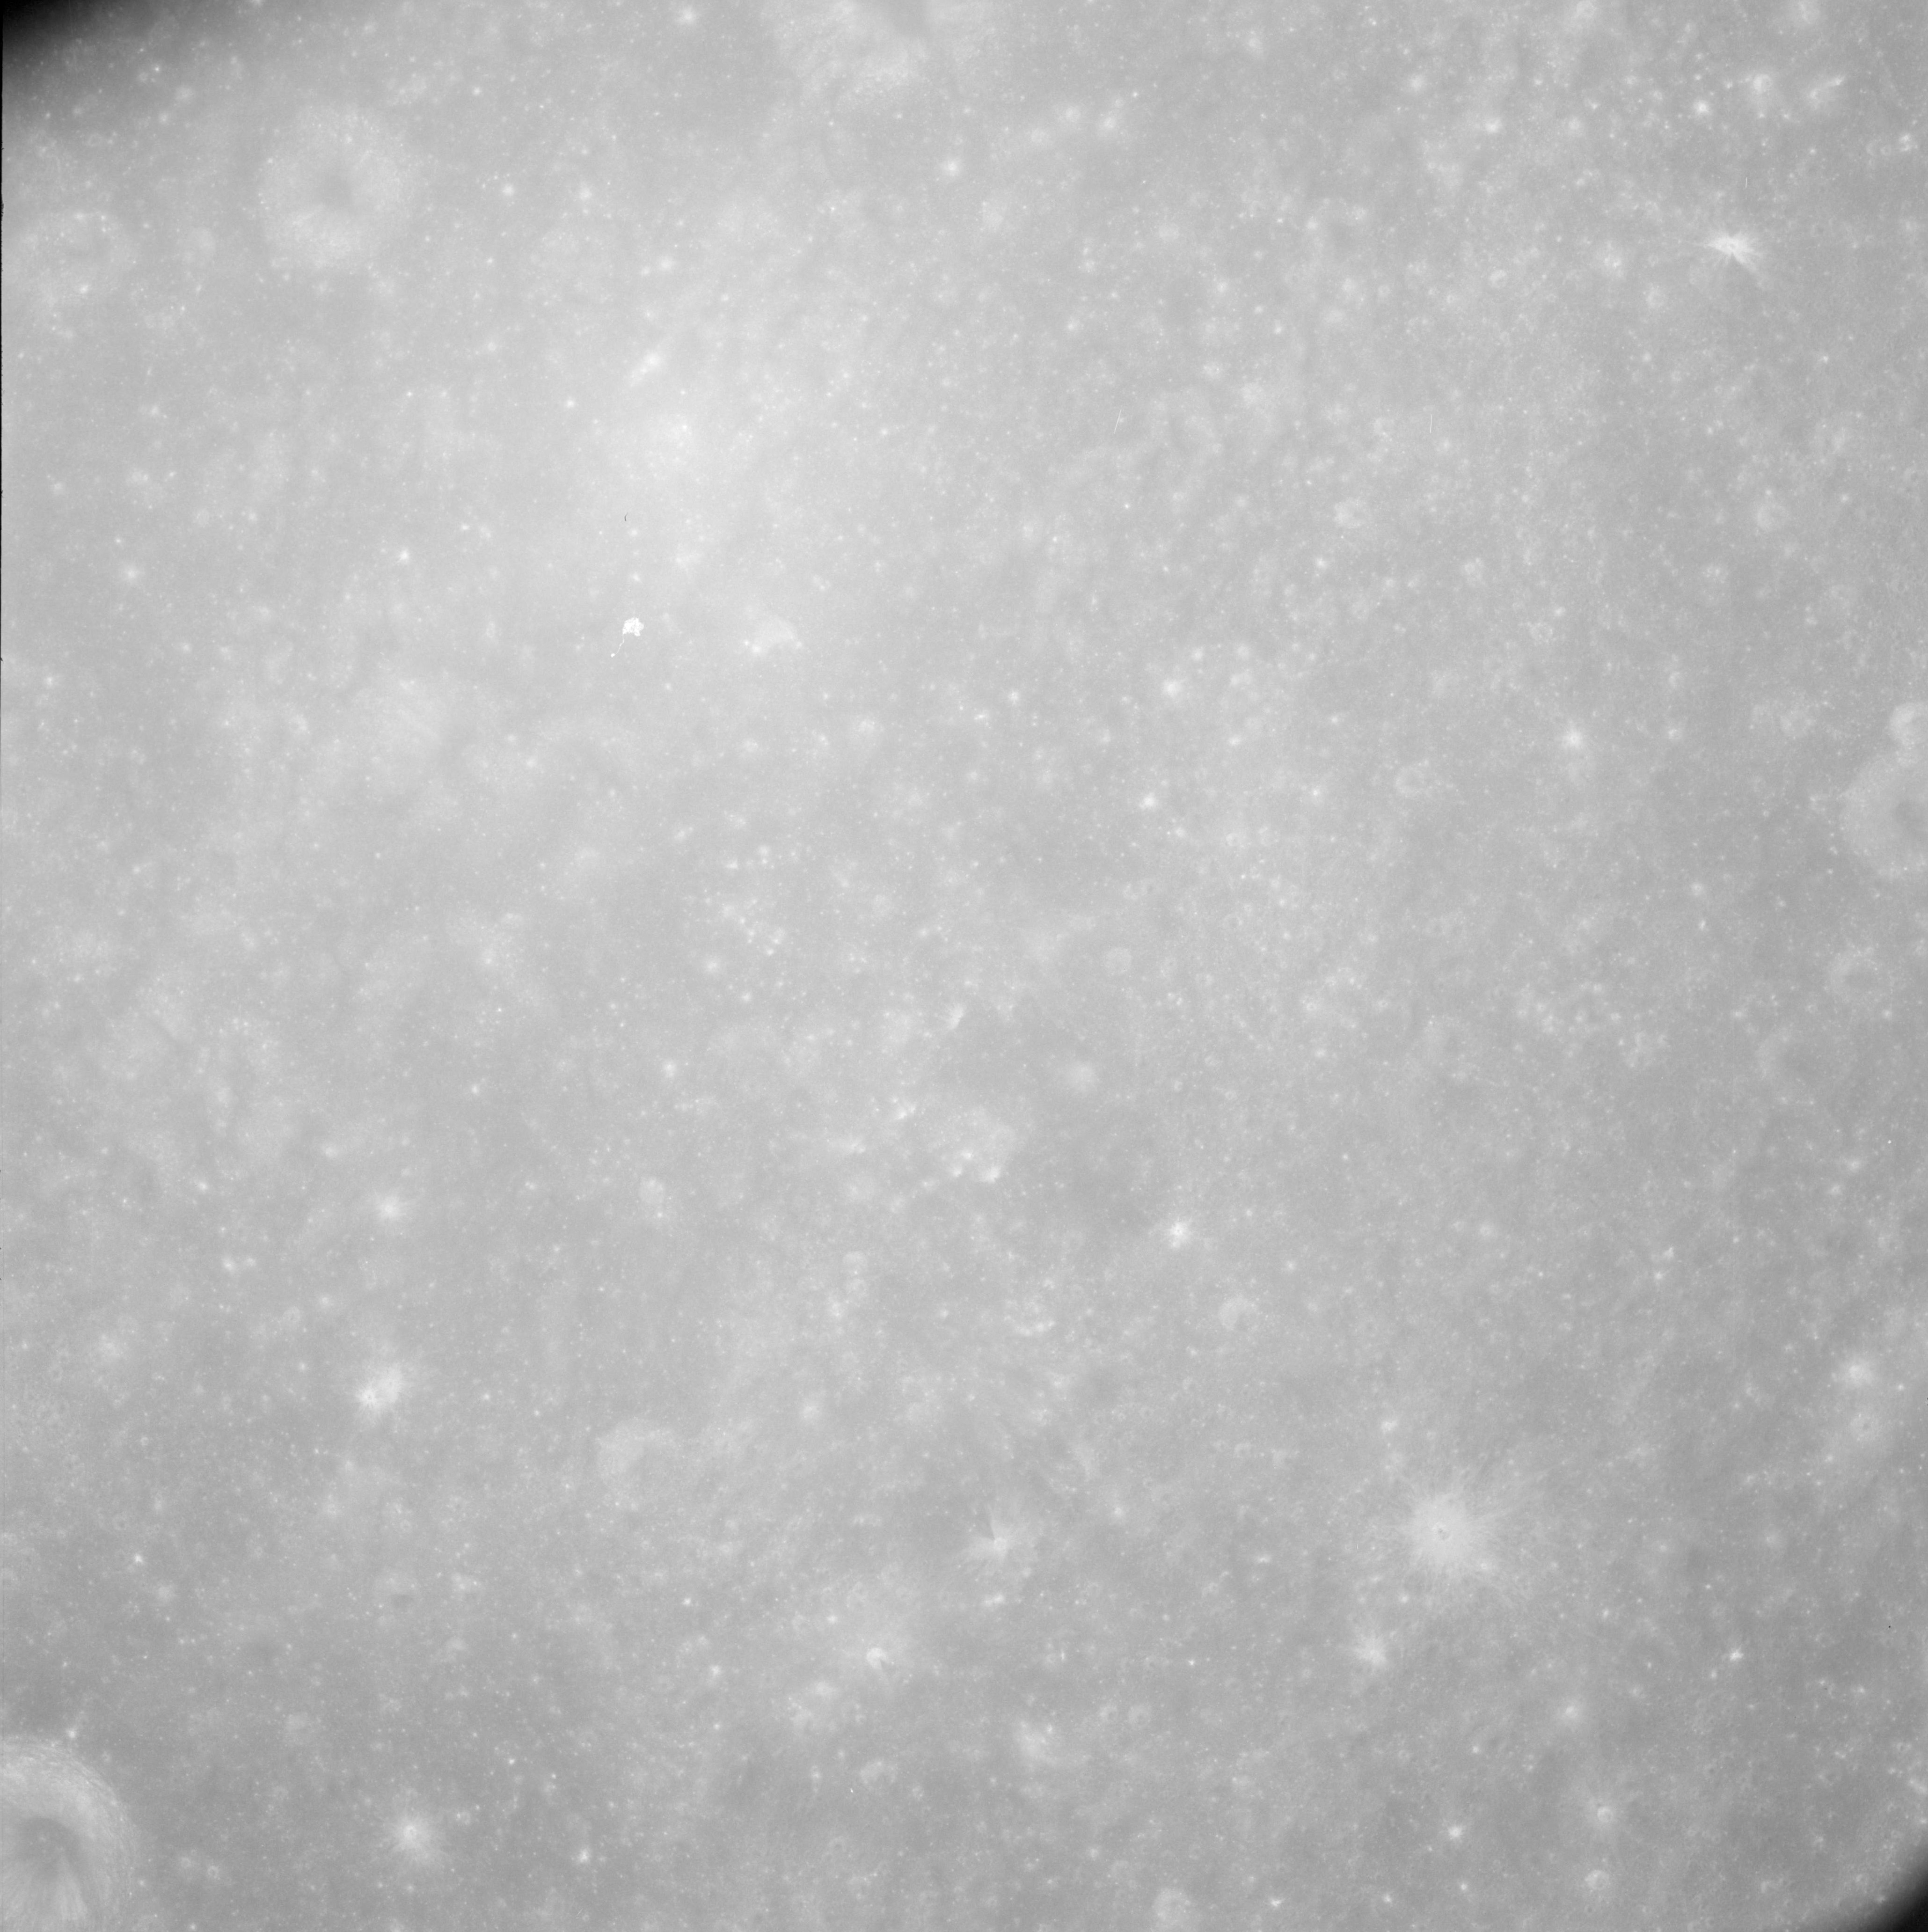 |
AS08-12-2123 No description. Image credit: Image Science and Analysis Laboratory, NASA-Johnson Space Center. |
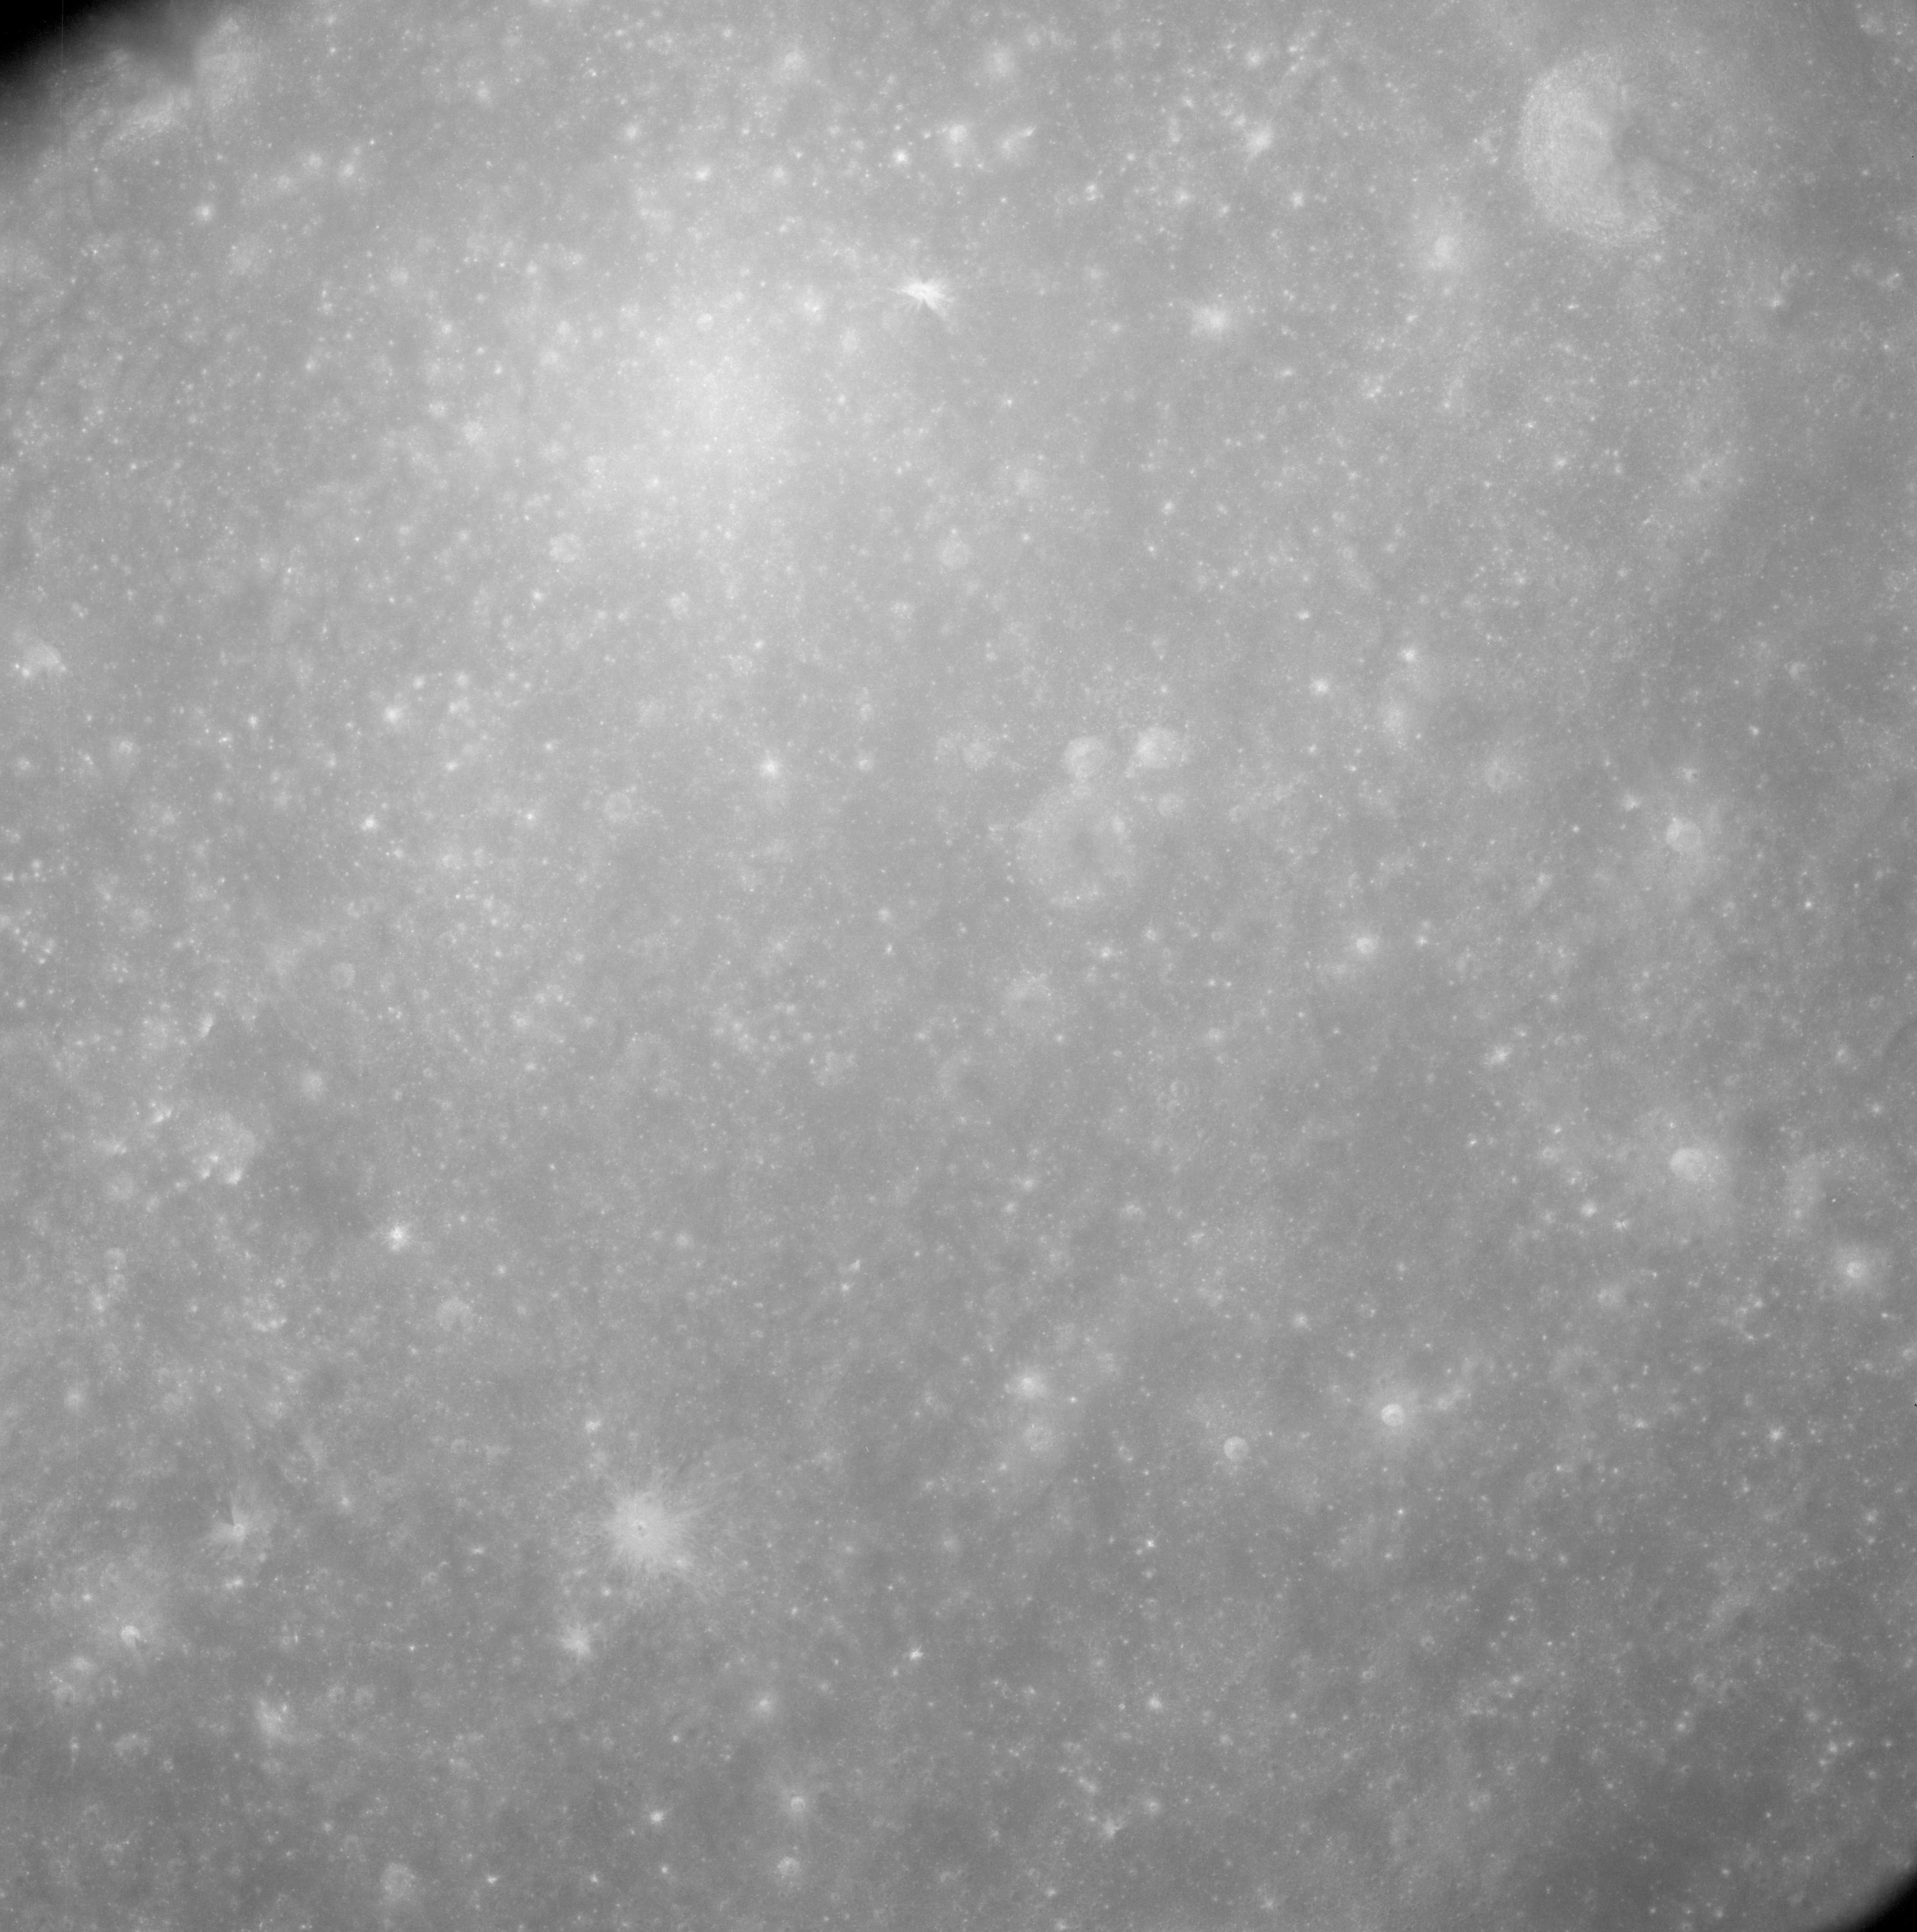 |
AS08-12-2124 No description. Image credit: Image Science and Analysis Laboratory, NASA-Johnson Space Center. |
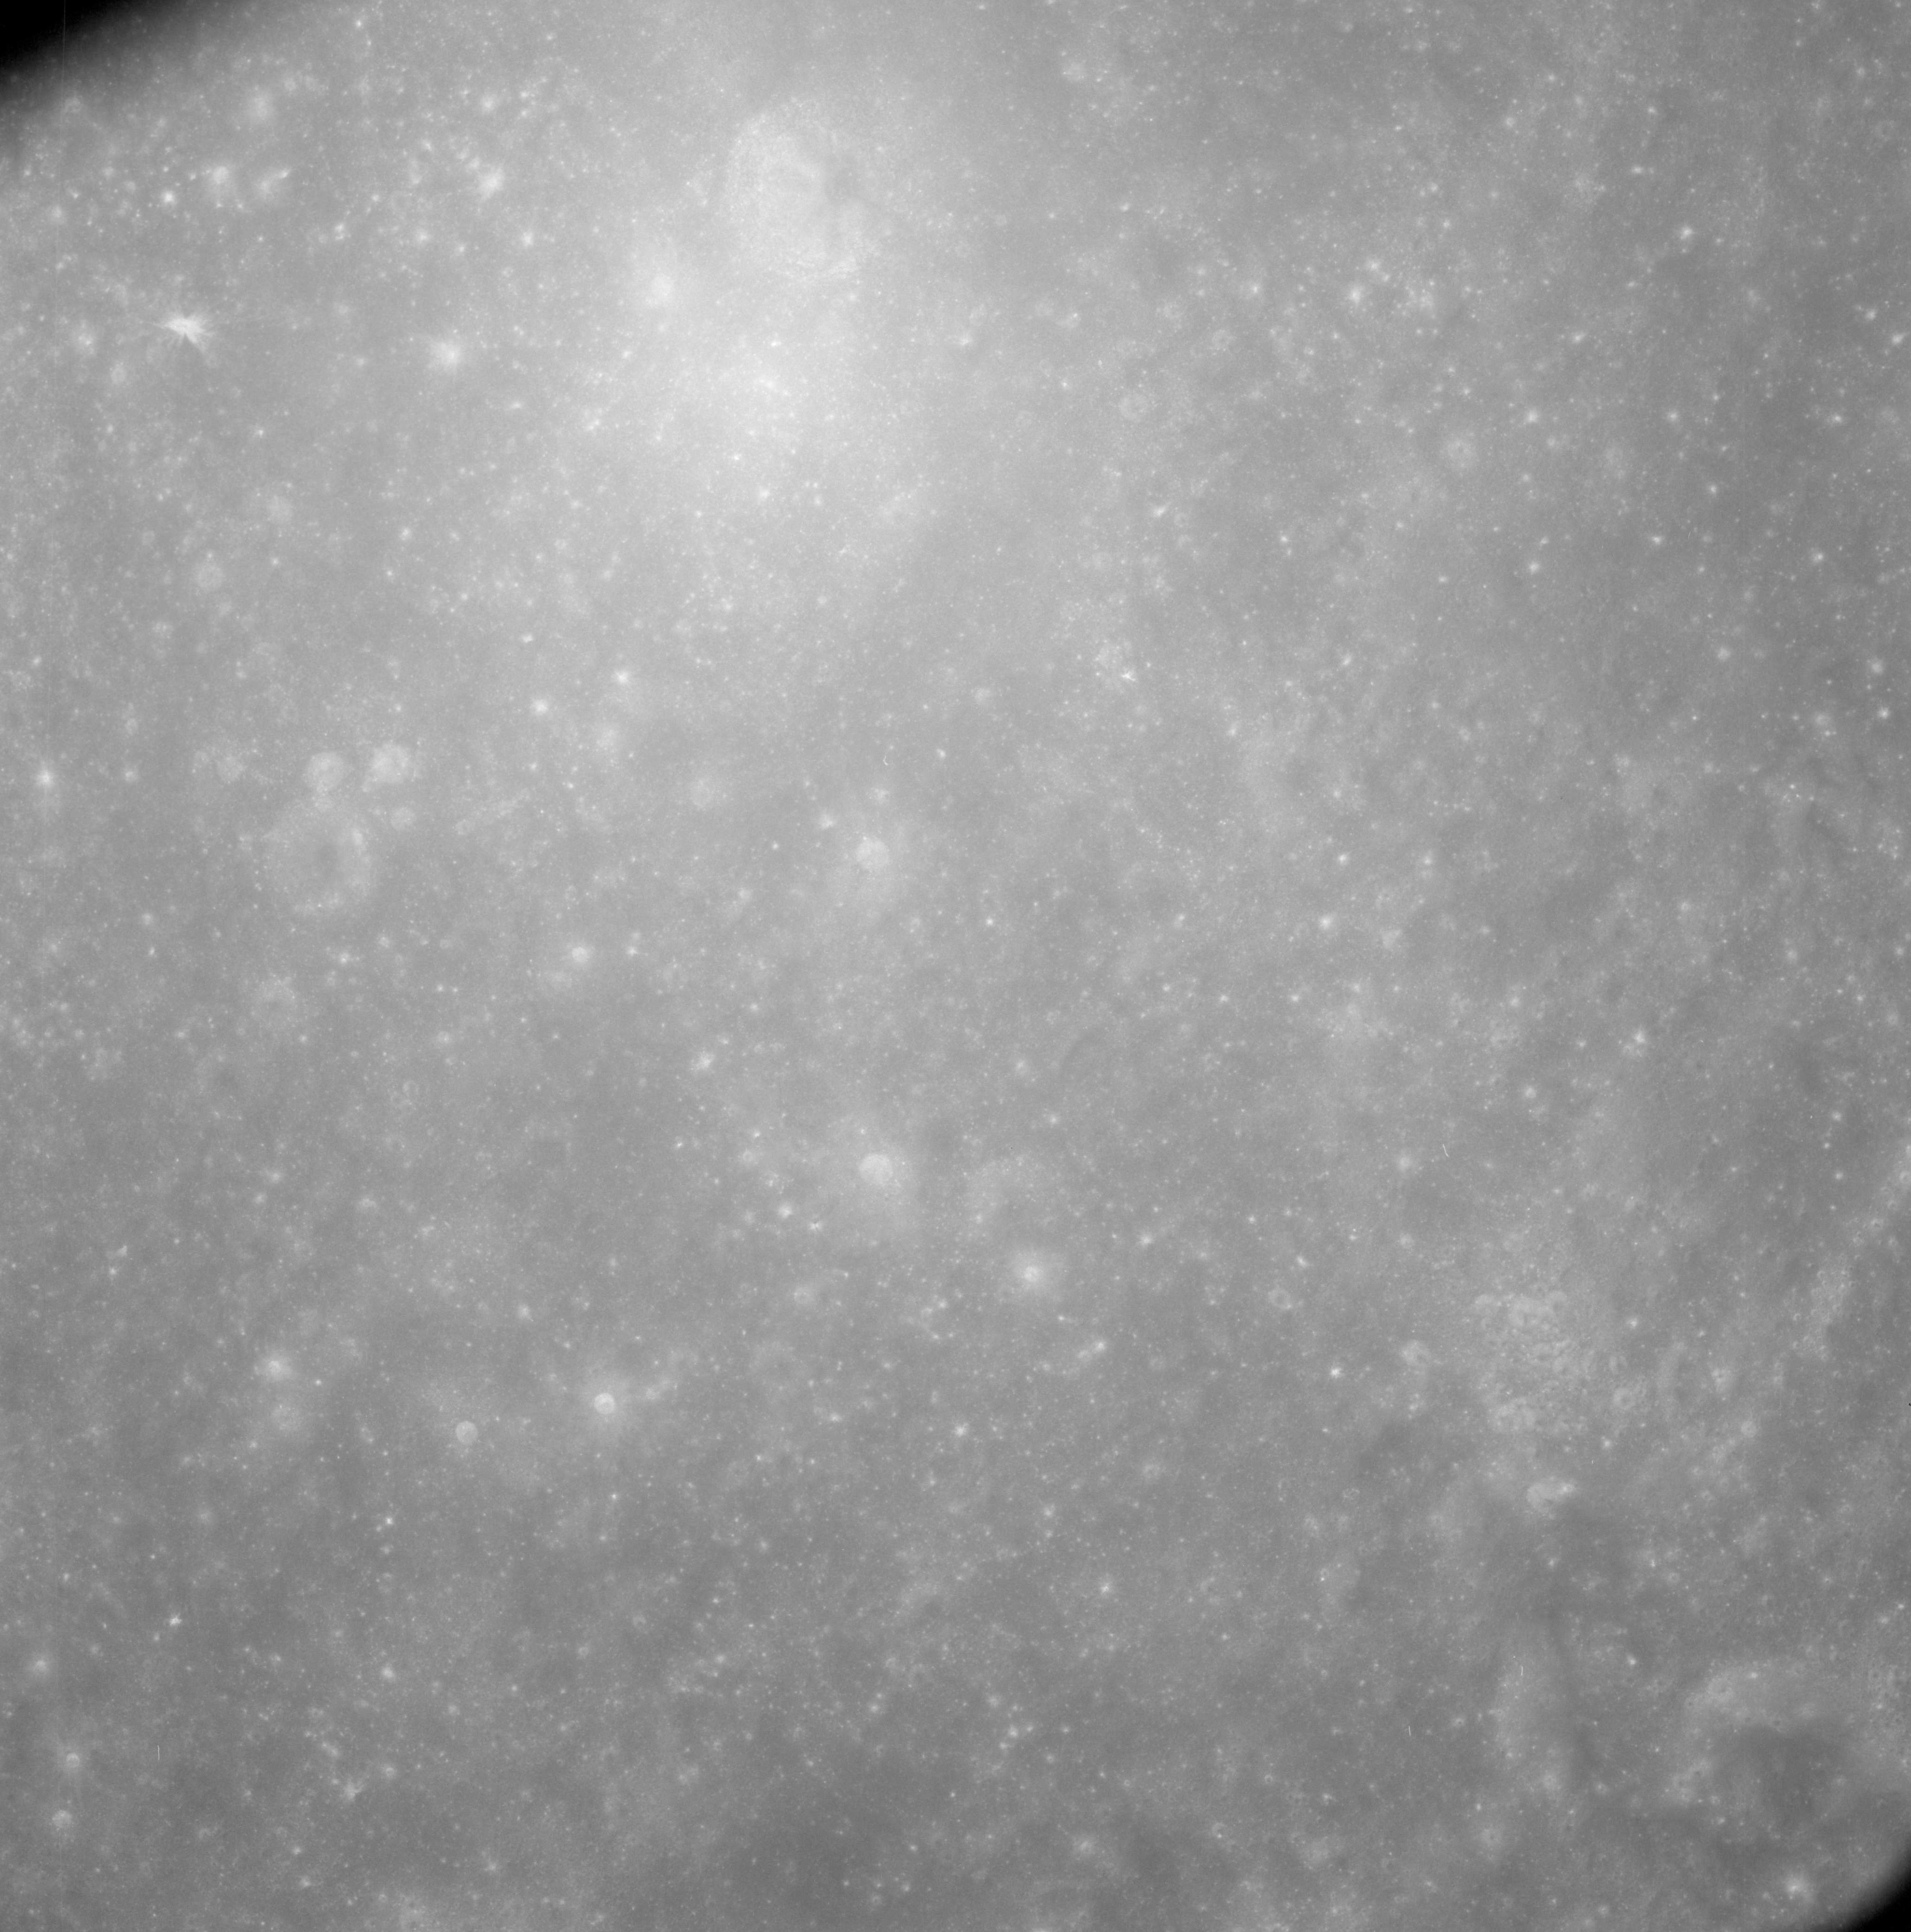 |
AS08-12-2125 No description. Image credit: Image Science and Analysis Laboratory, NASA-Johnson Space Center. |
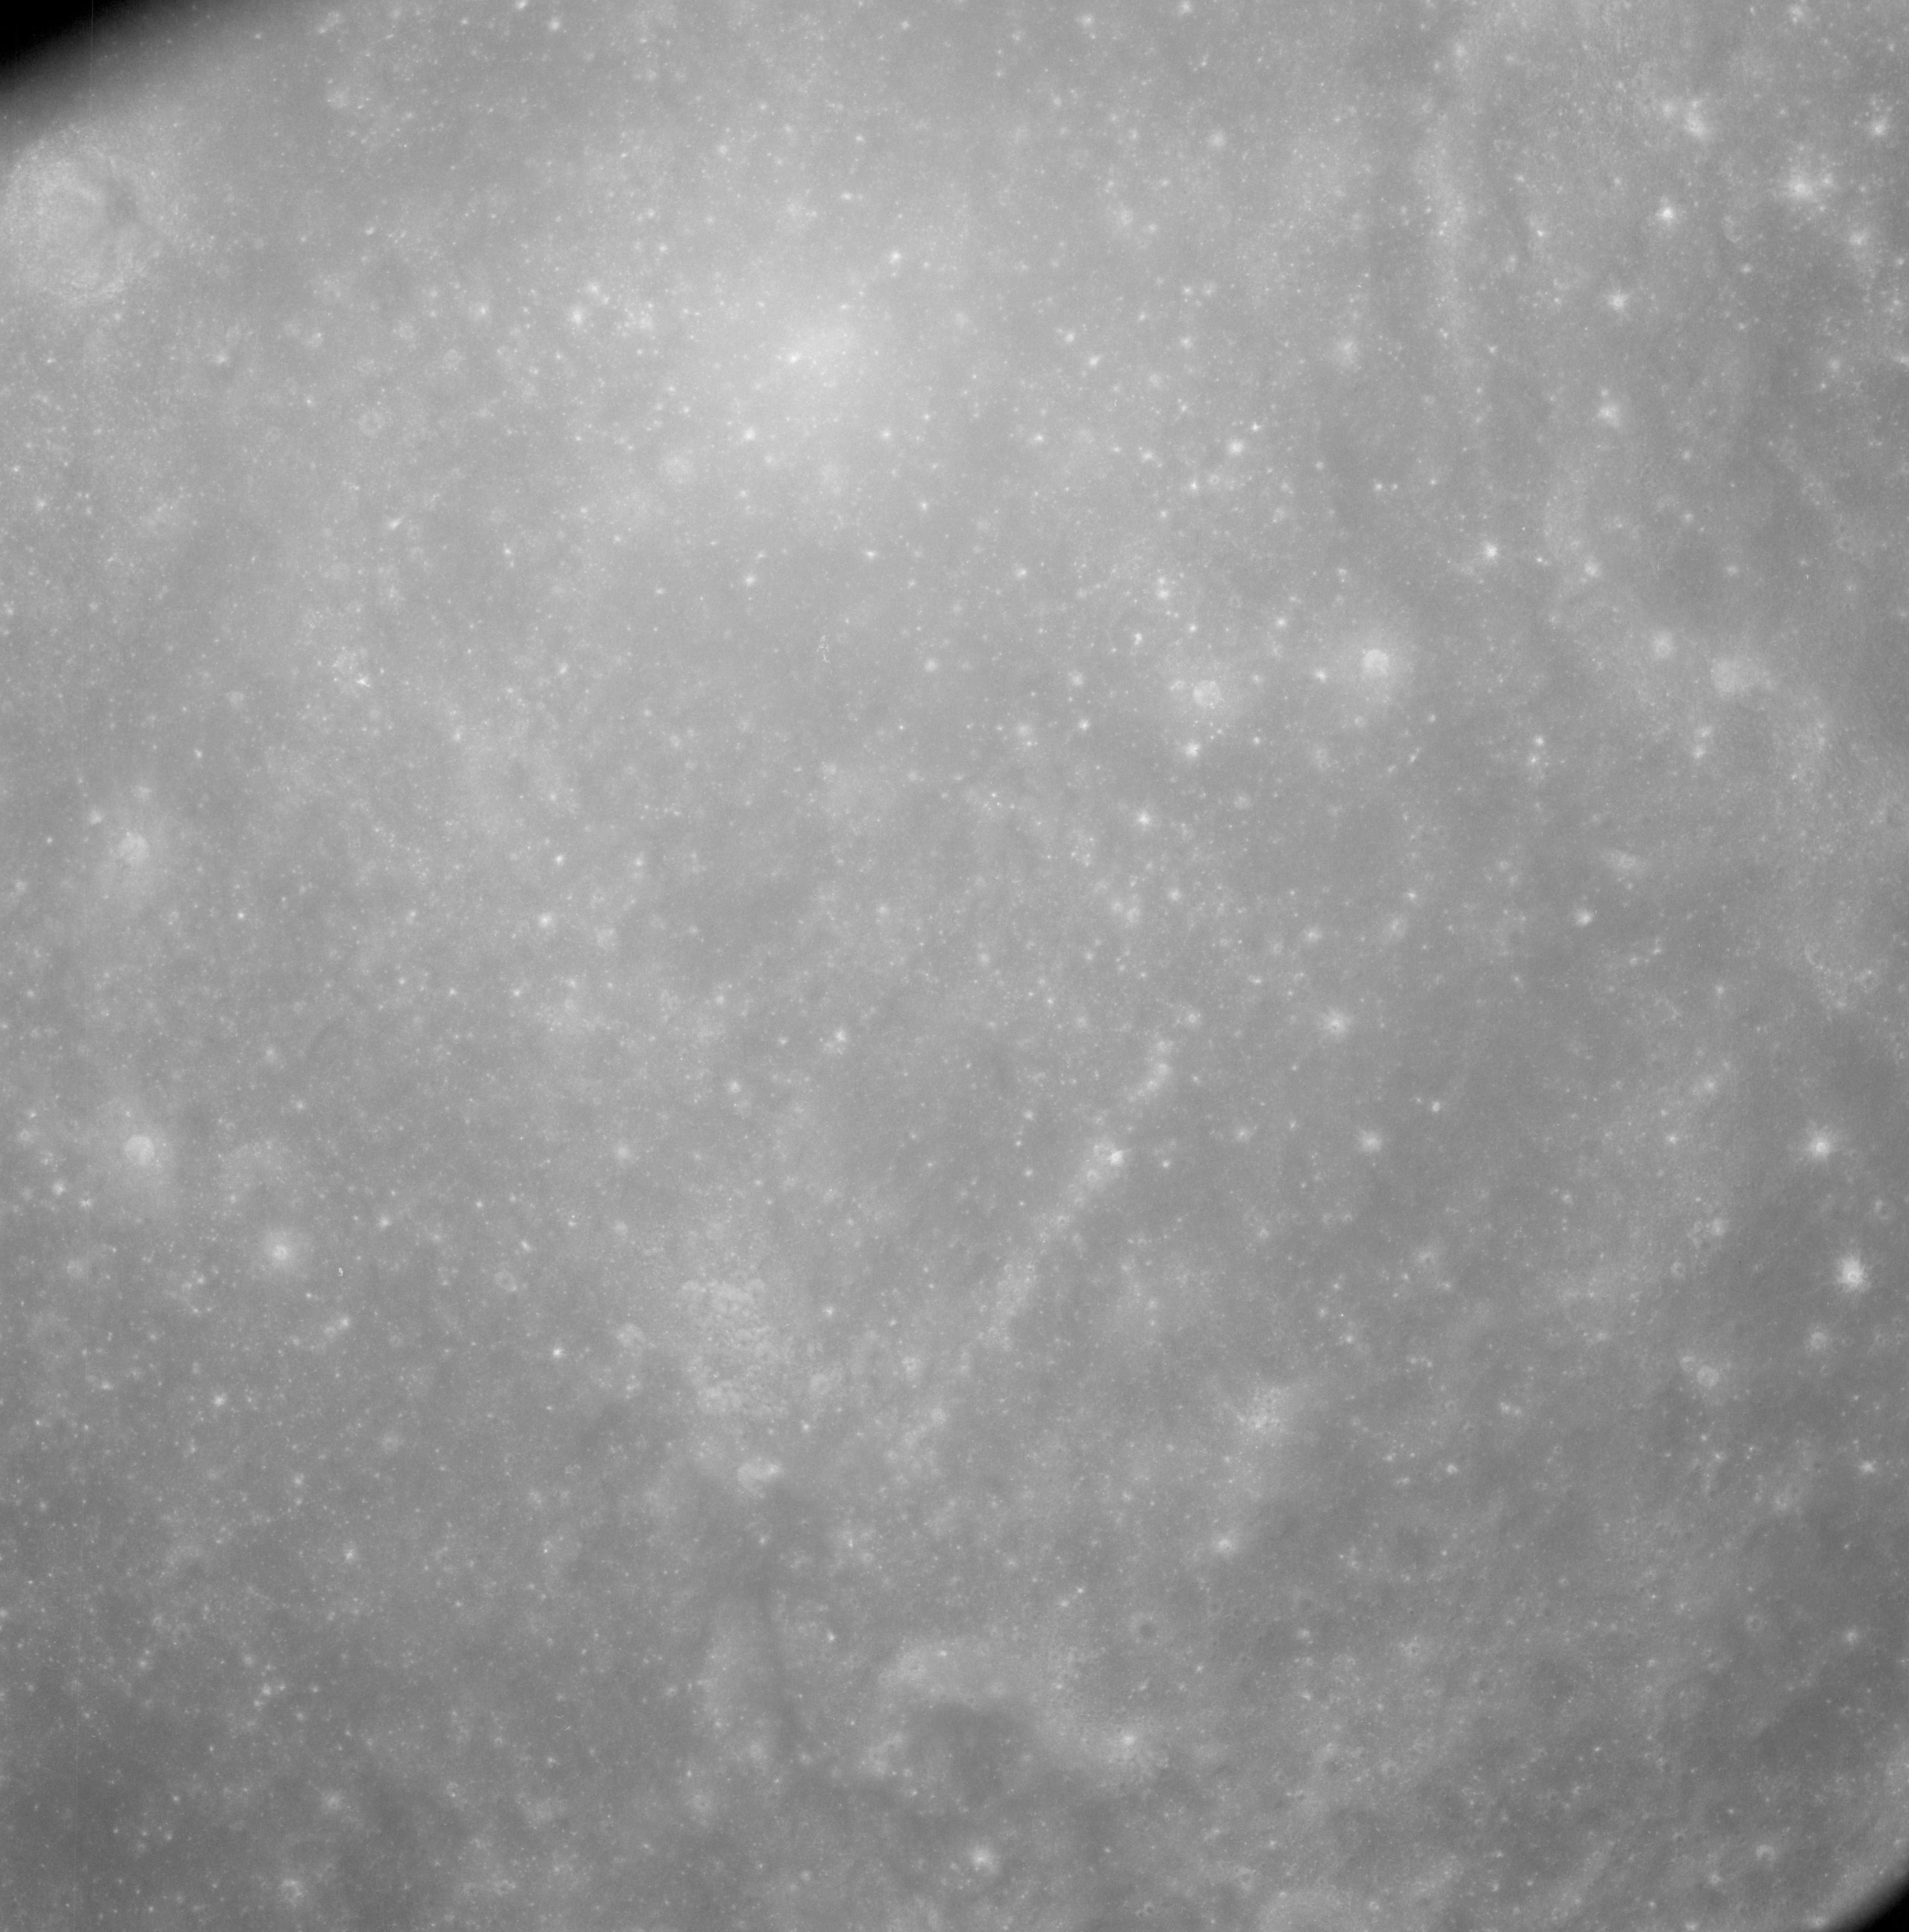 |
AS08-12-2126 No description. Image credit: Image Science and Analysis Laboratory, NASA-Johnson Space Center. |
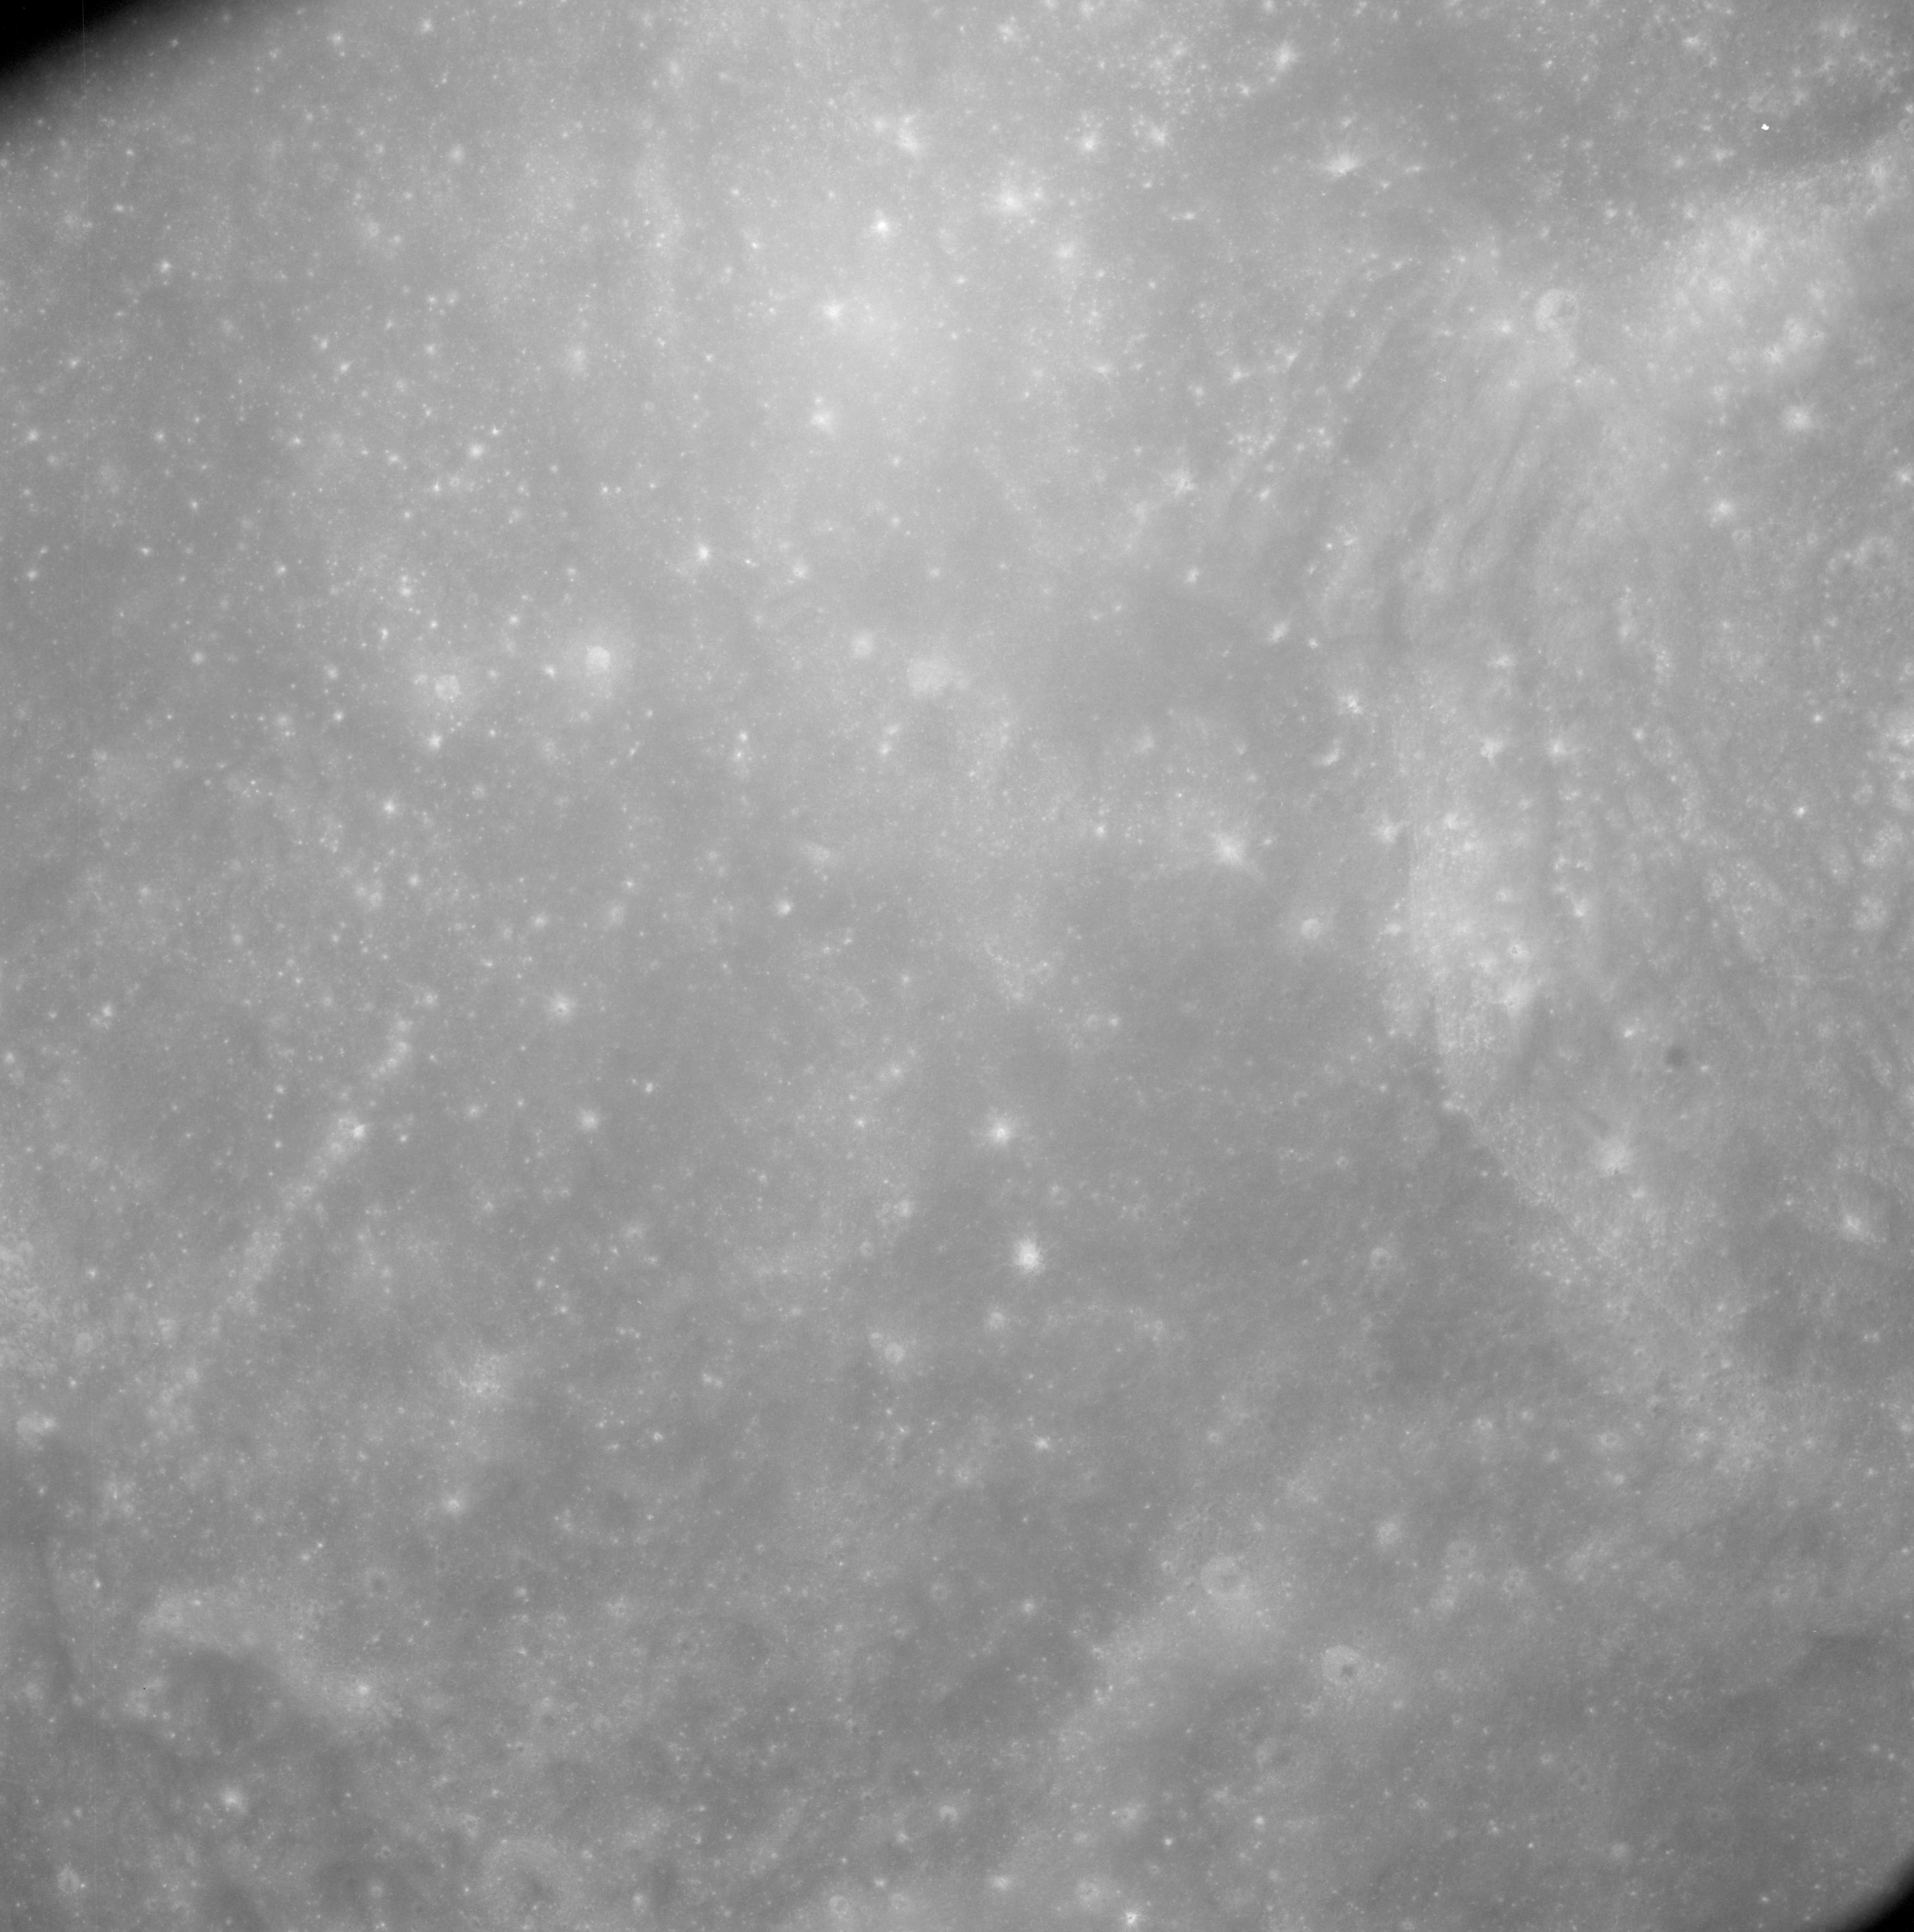 |
AS08-12-2127 Eastern rim of Shirakatsi. Image credit: Image Science and Analysis Laboratory, NASA-Johnson Space Center. |
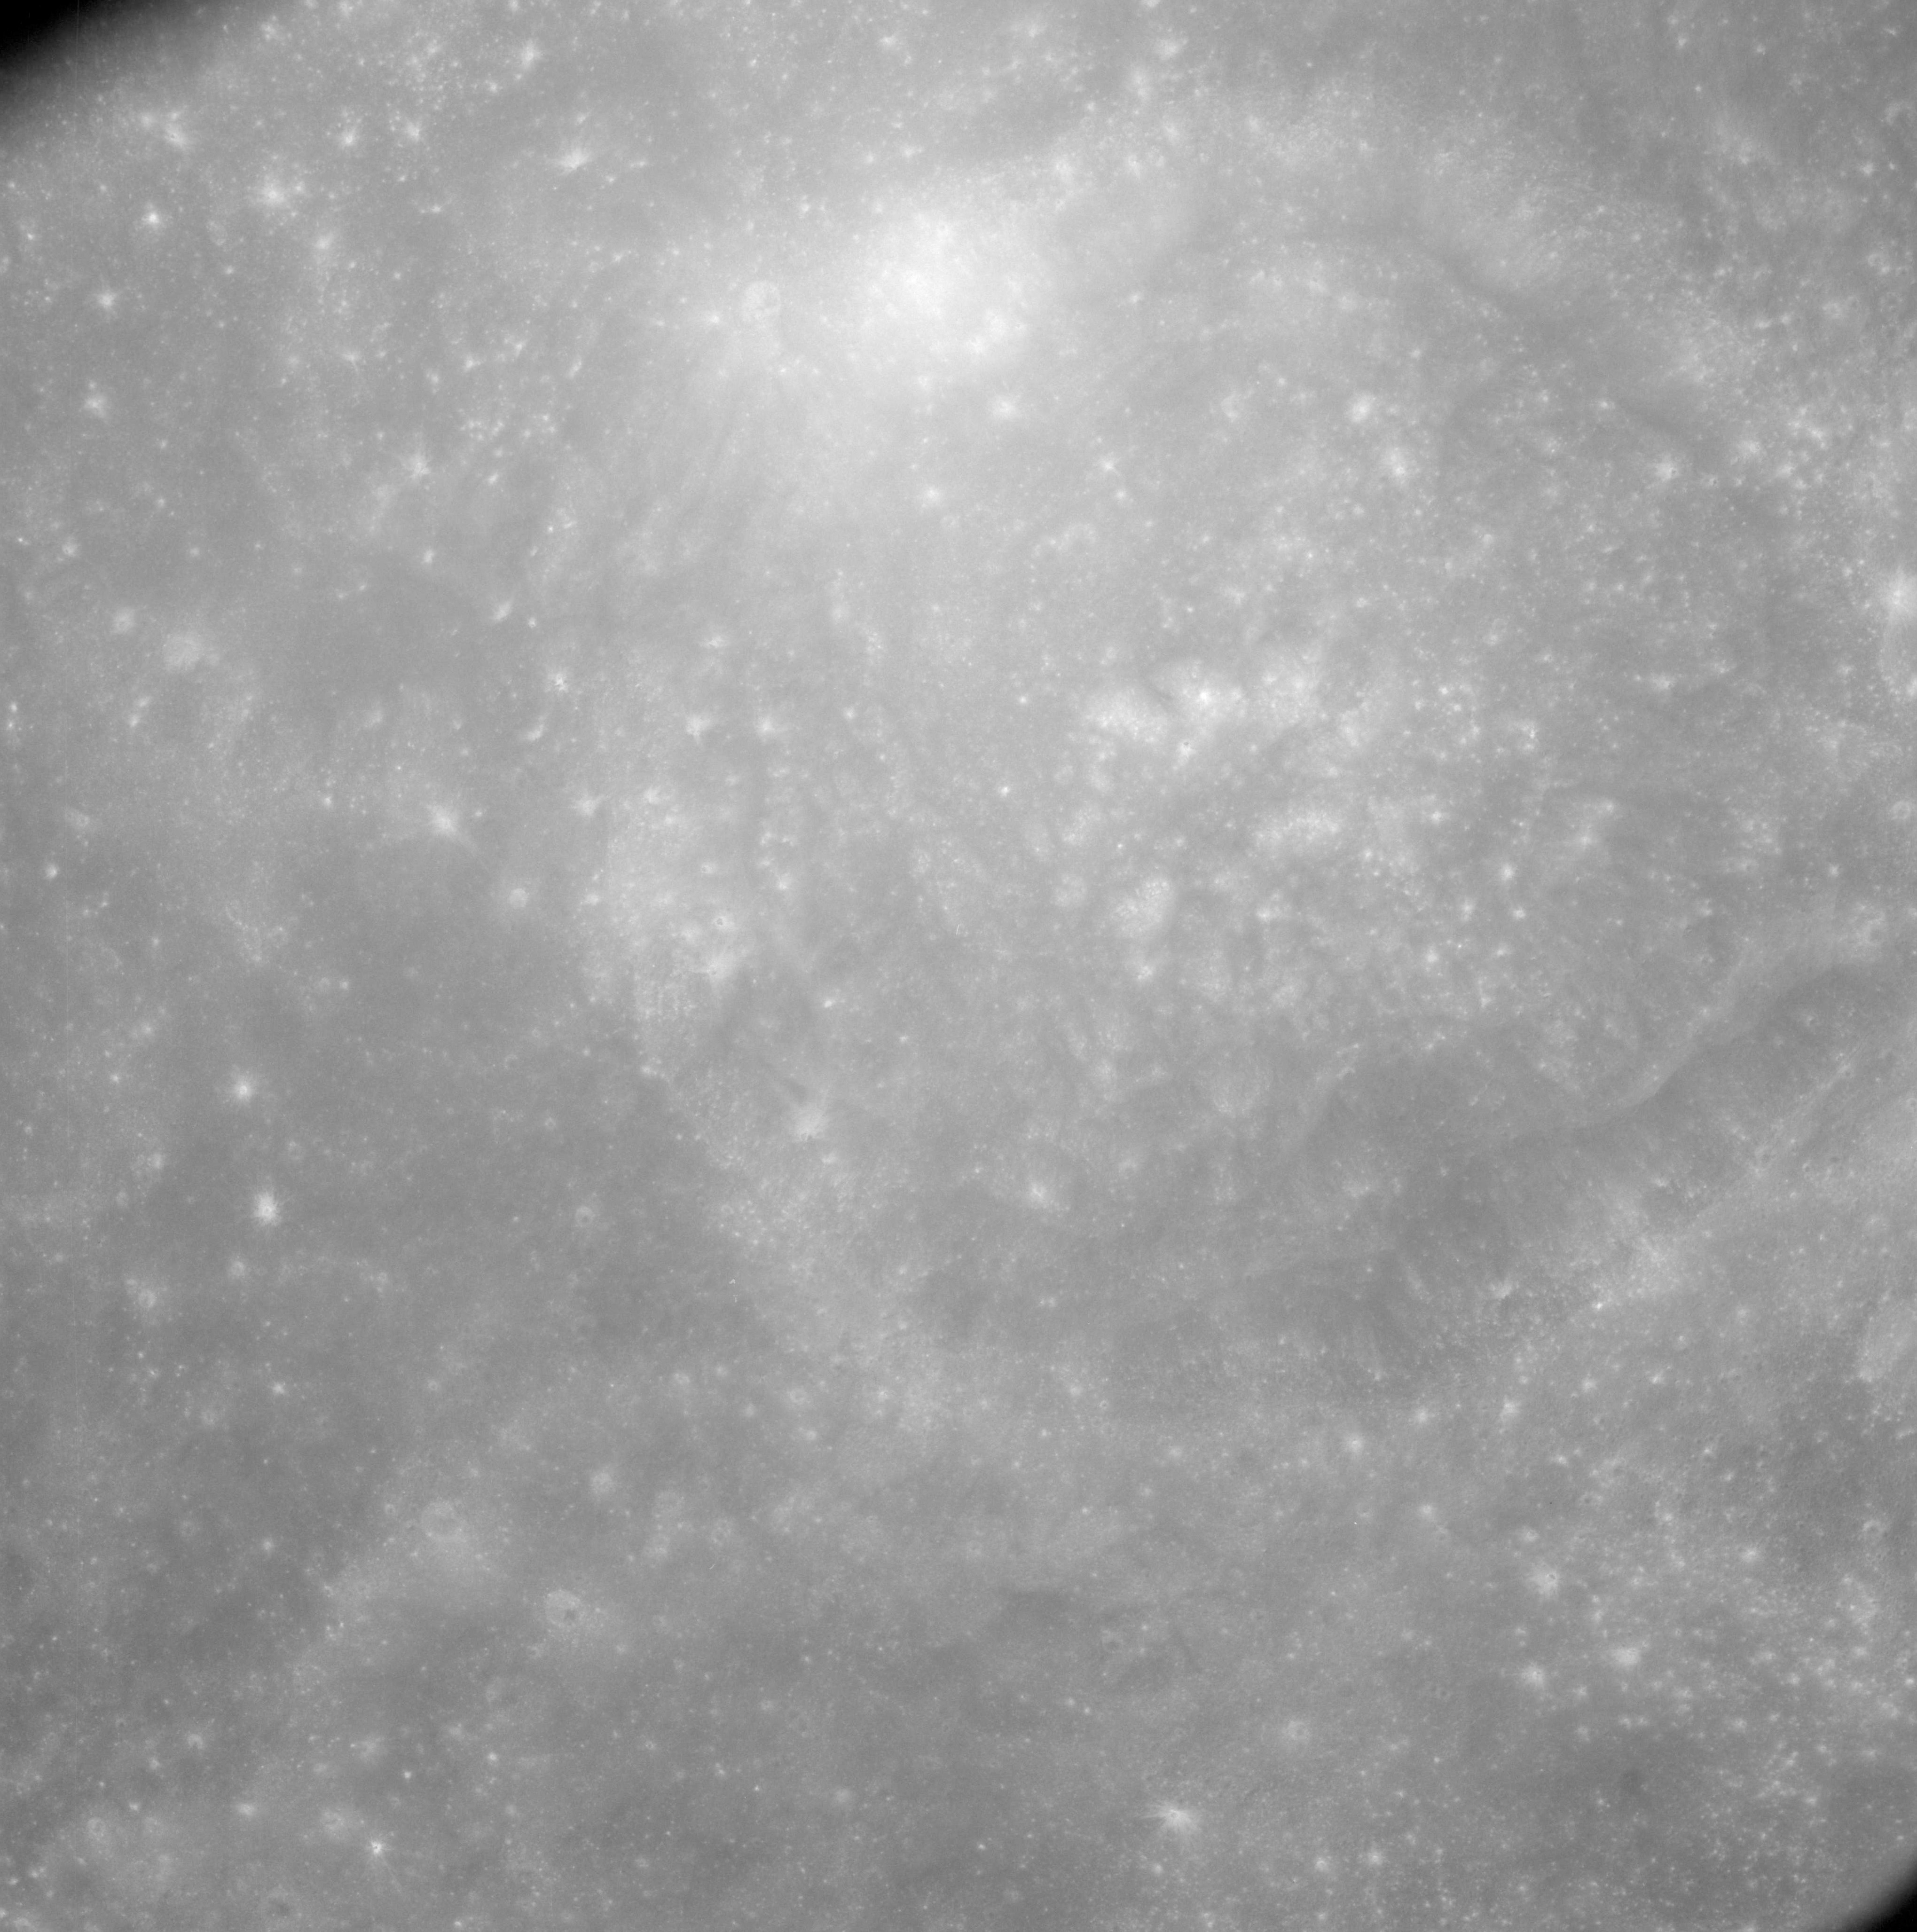 |
AS08-12-2128 Shirakatsi to right. Image credit: Image Science and Analysis Laboratory, NASA-Johnson Space Center. |
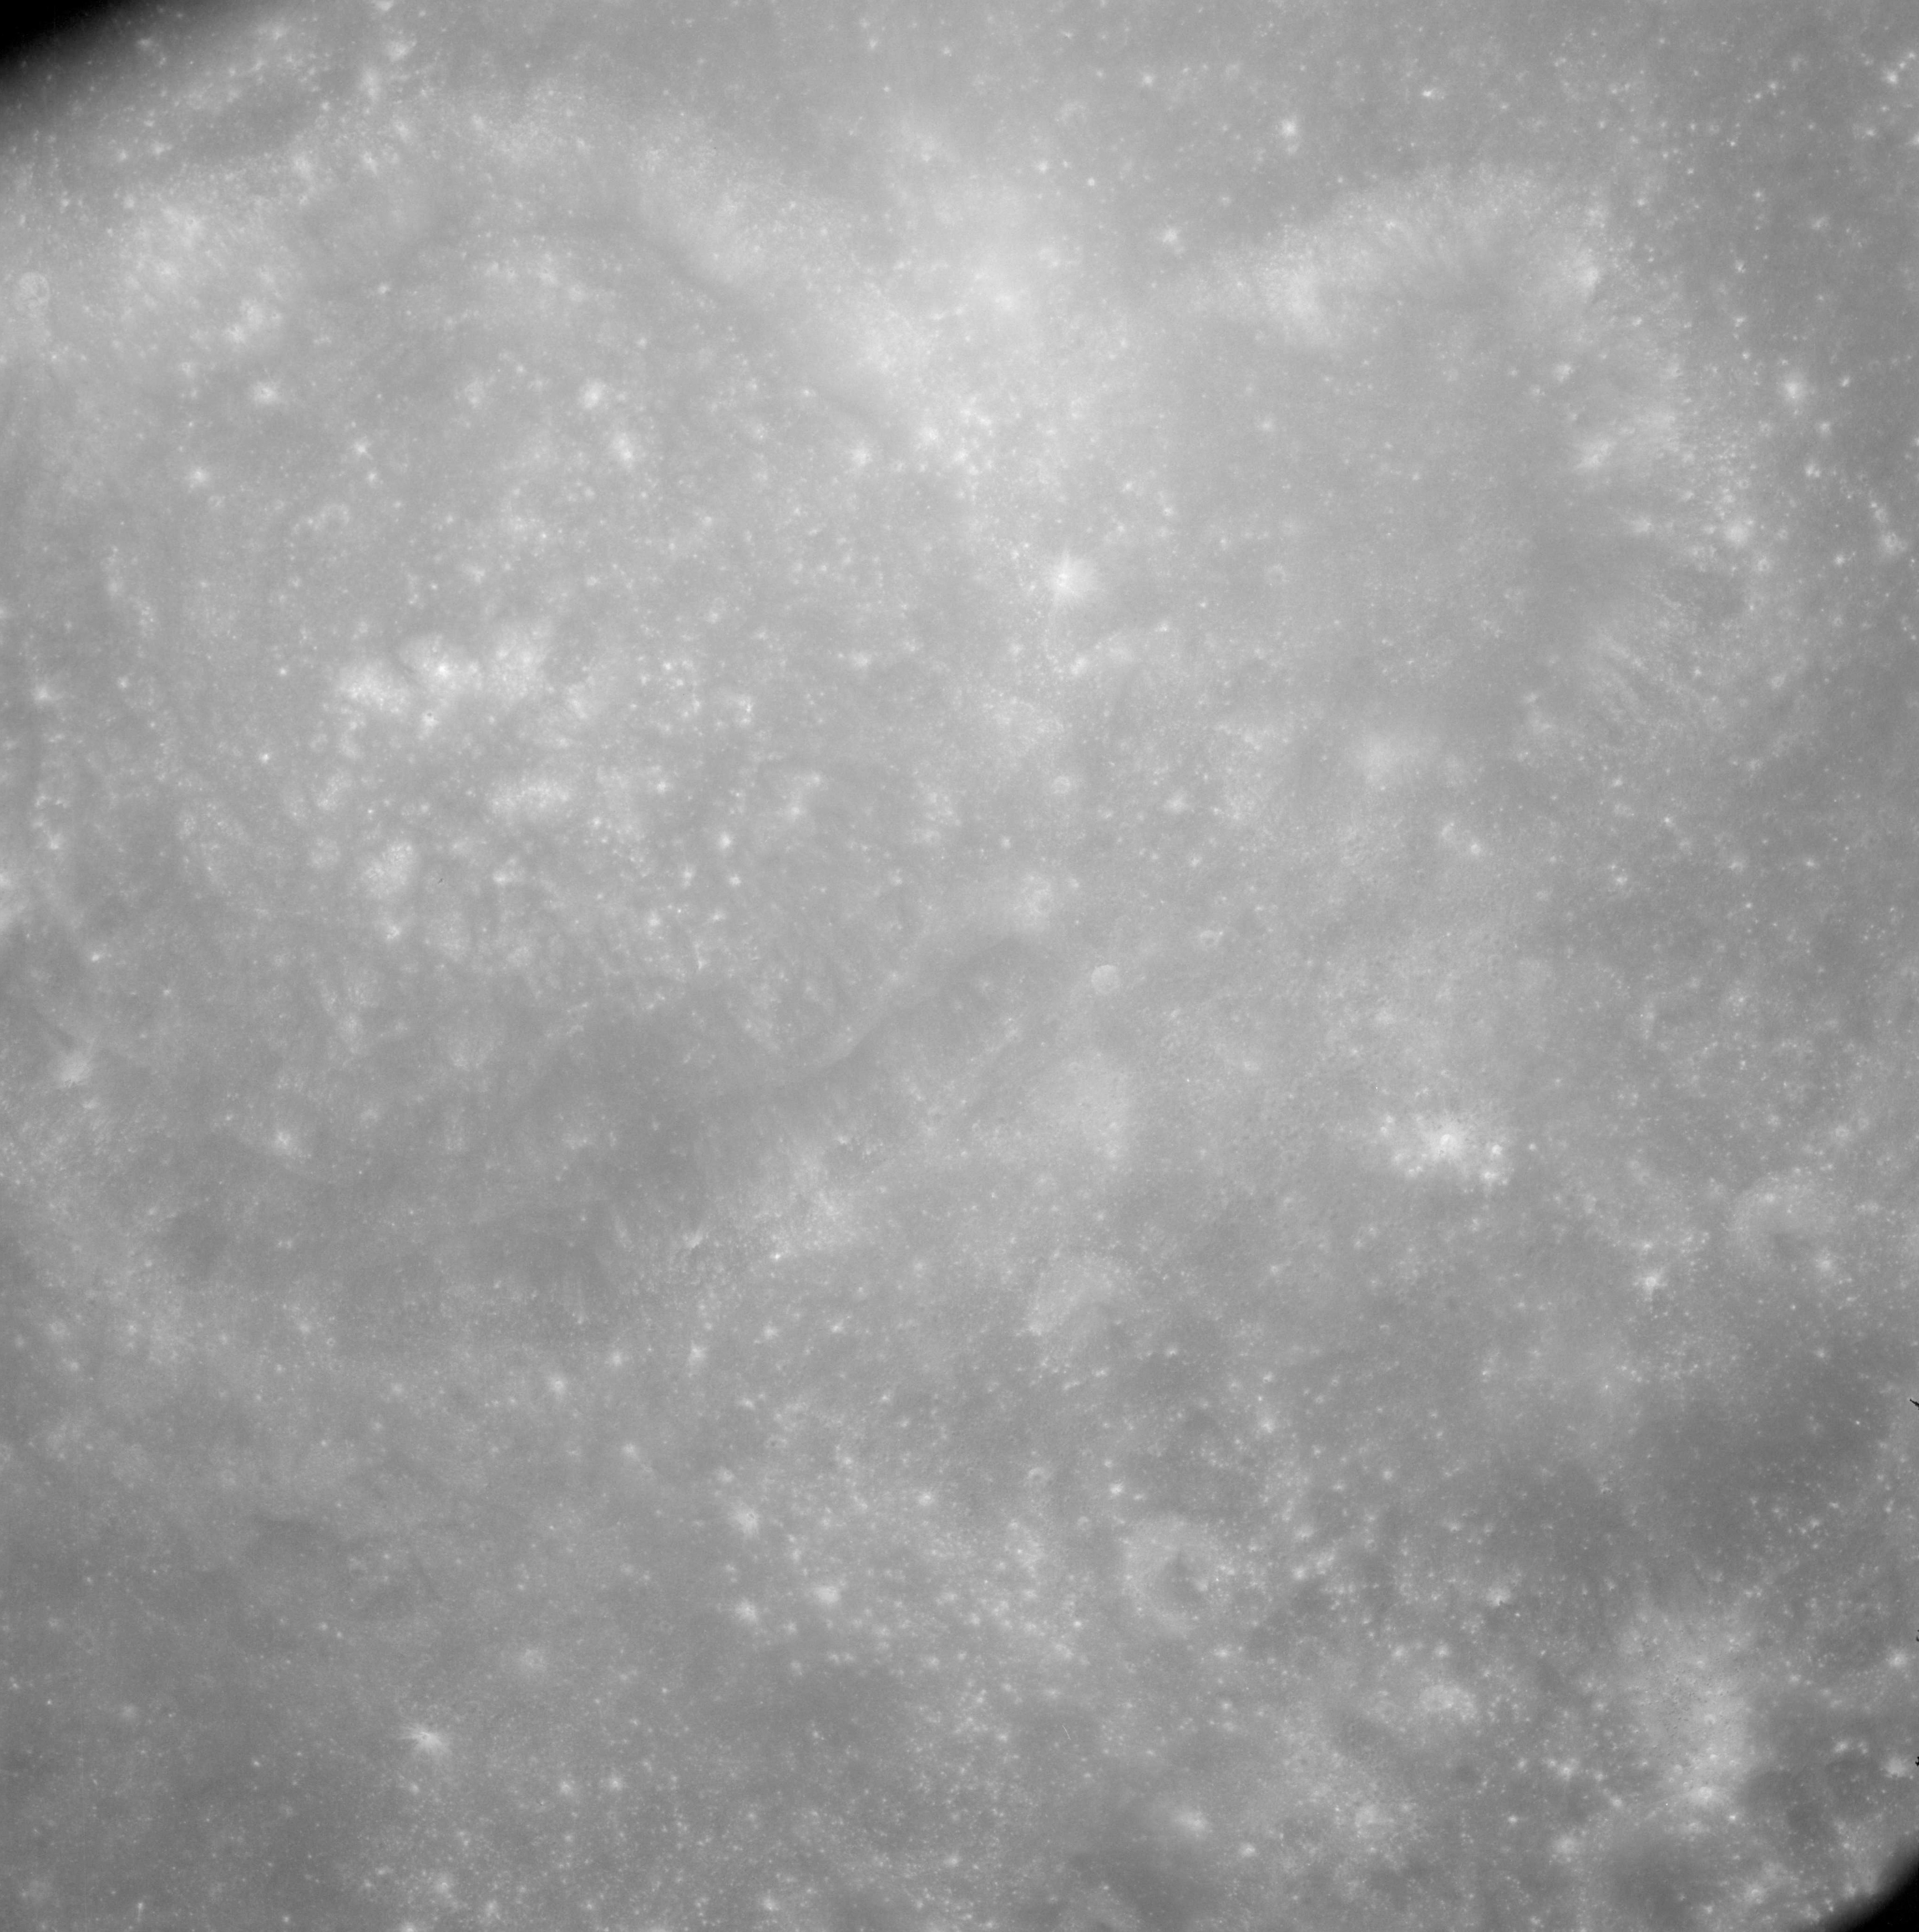 |
AS08-12-2129 Shirakatsi to left. Image credit: Image Science and Analysis Laboratory, NASA-Johnson Space Center. |
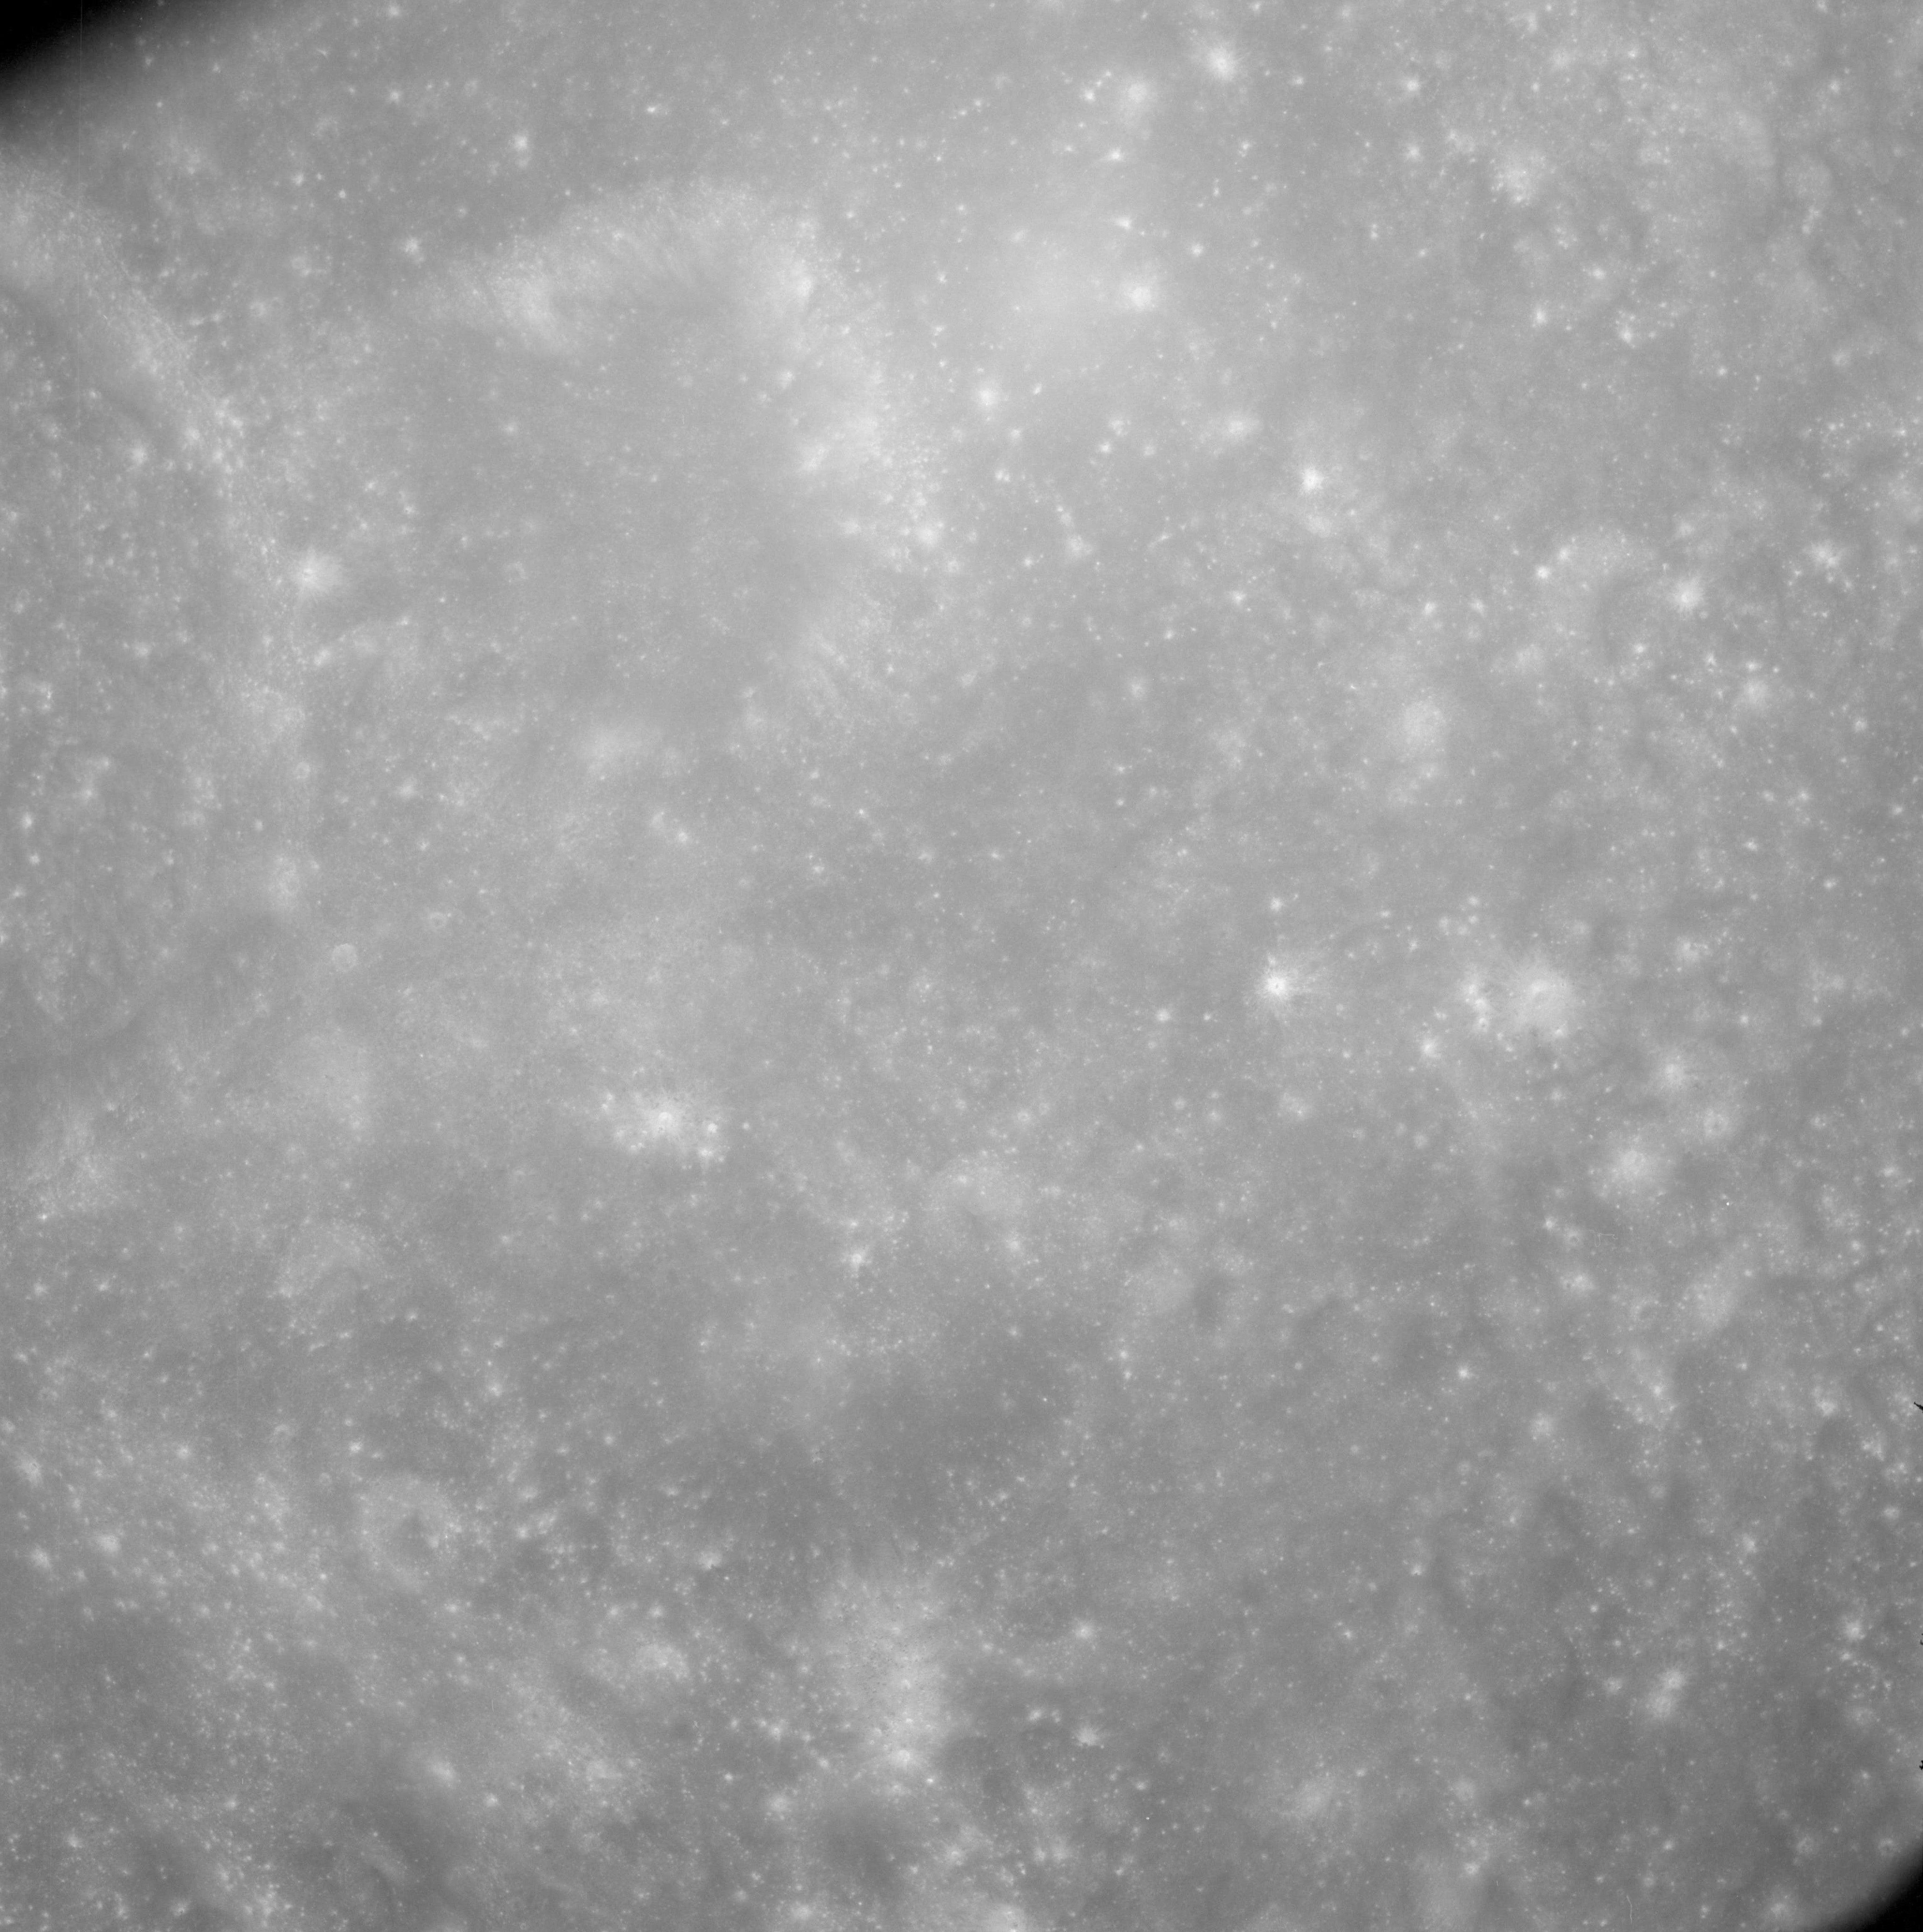 |
AS08-12-2130 Western rim of Shirakatsi far left. Image credit: Image Science and Analysis Laboratory, NASA-Johnson Space Center. |
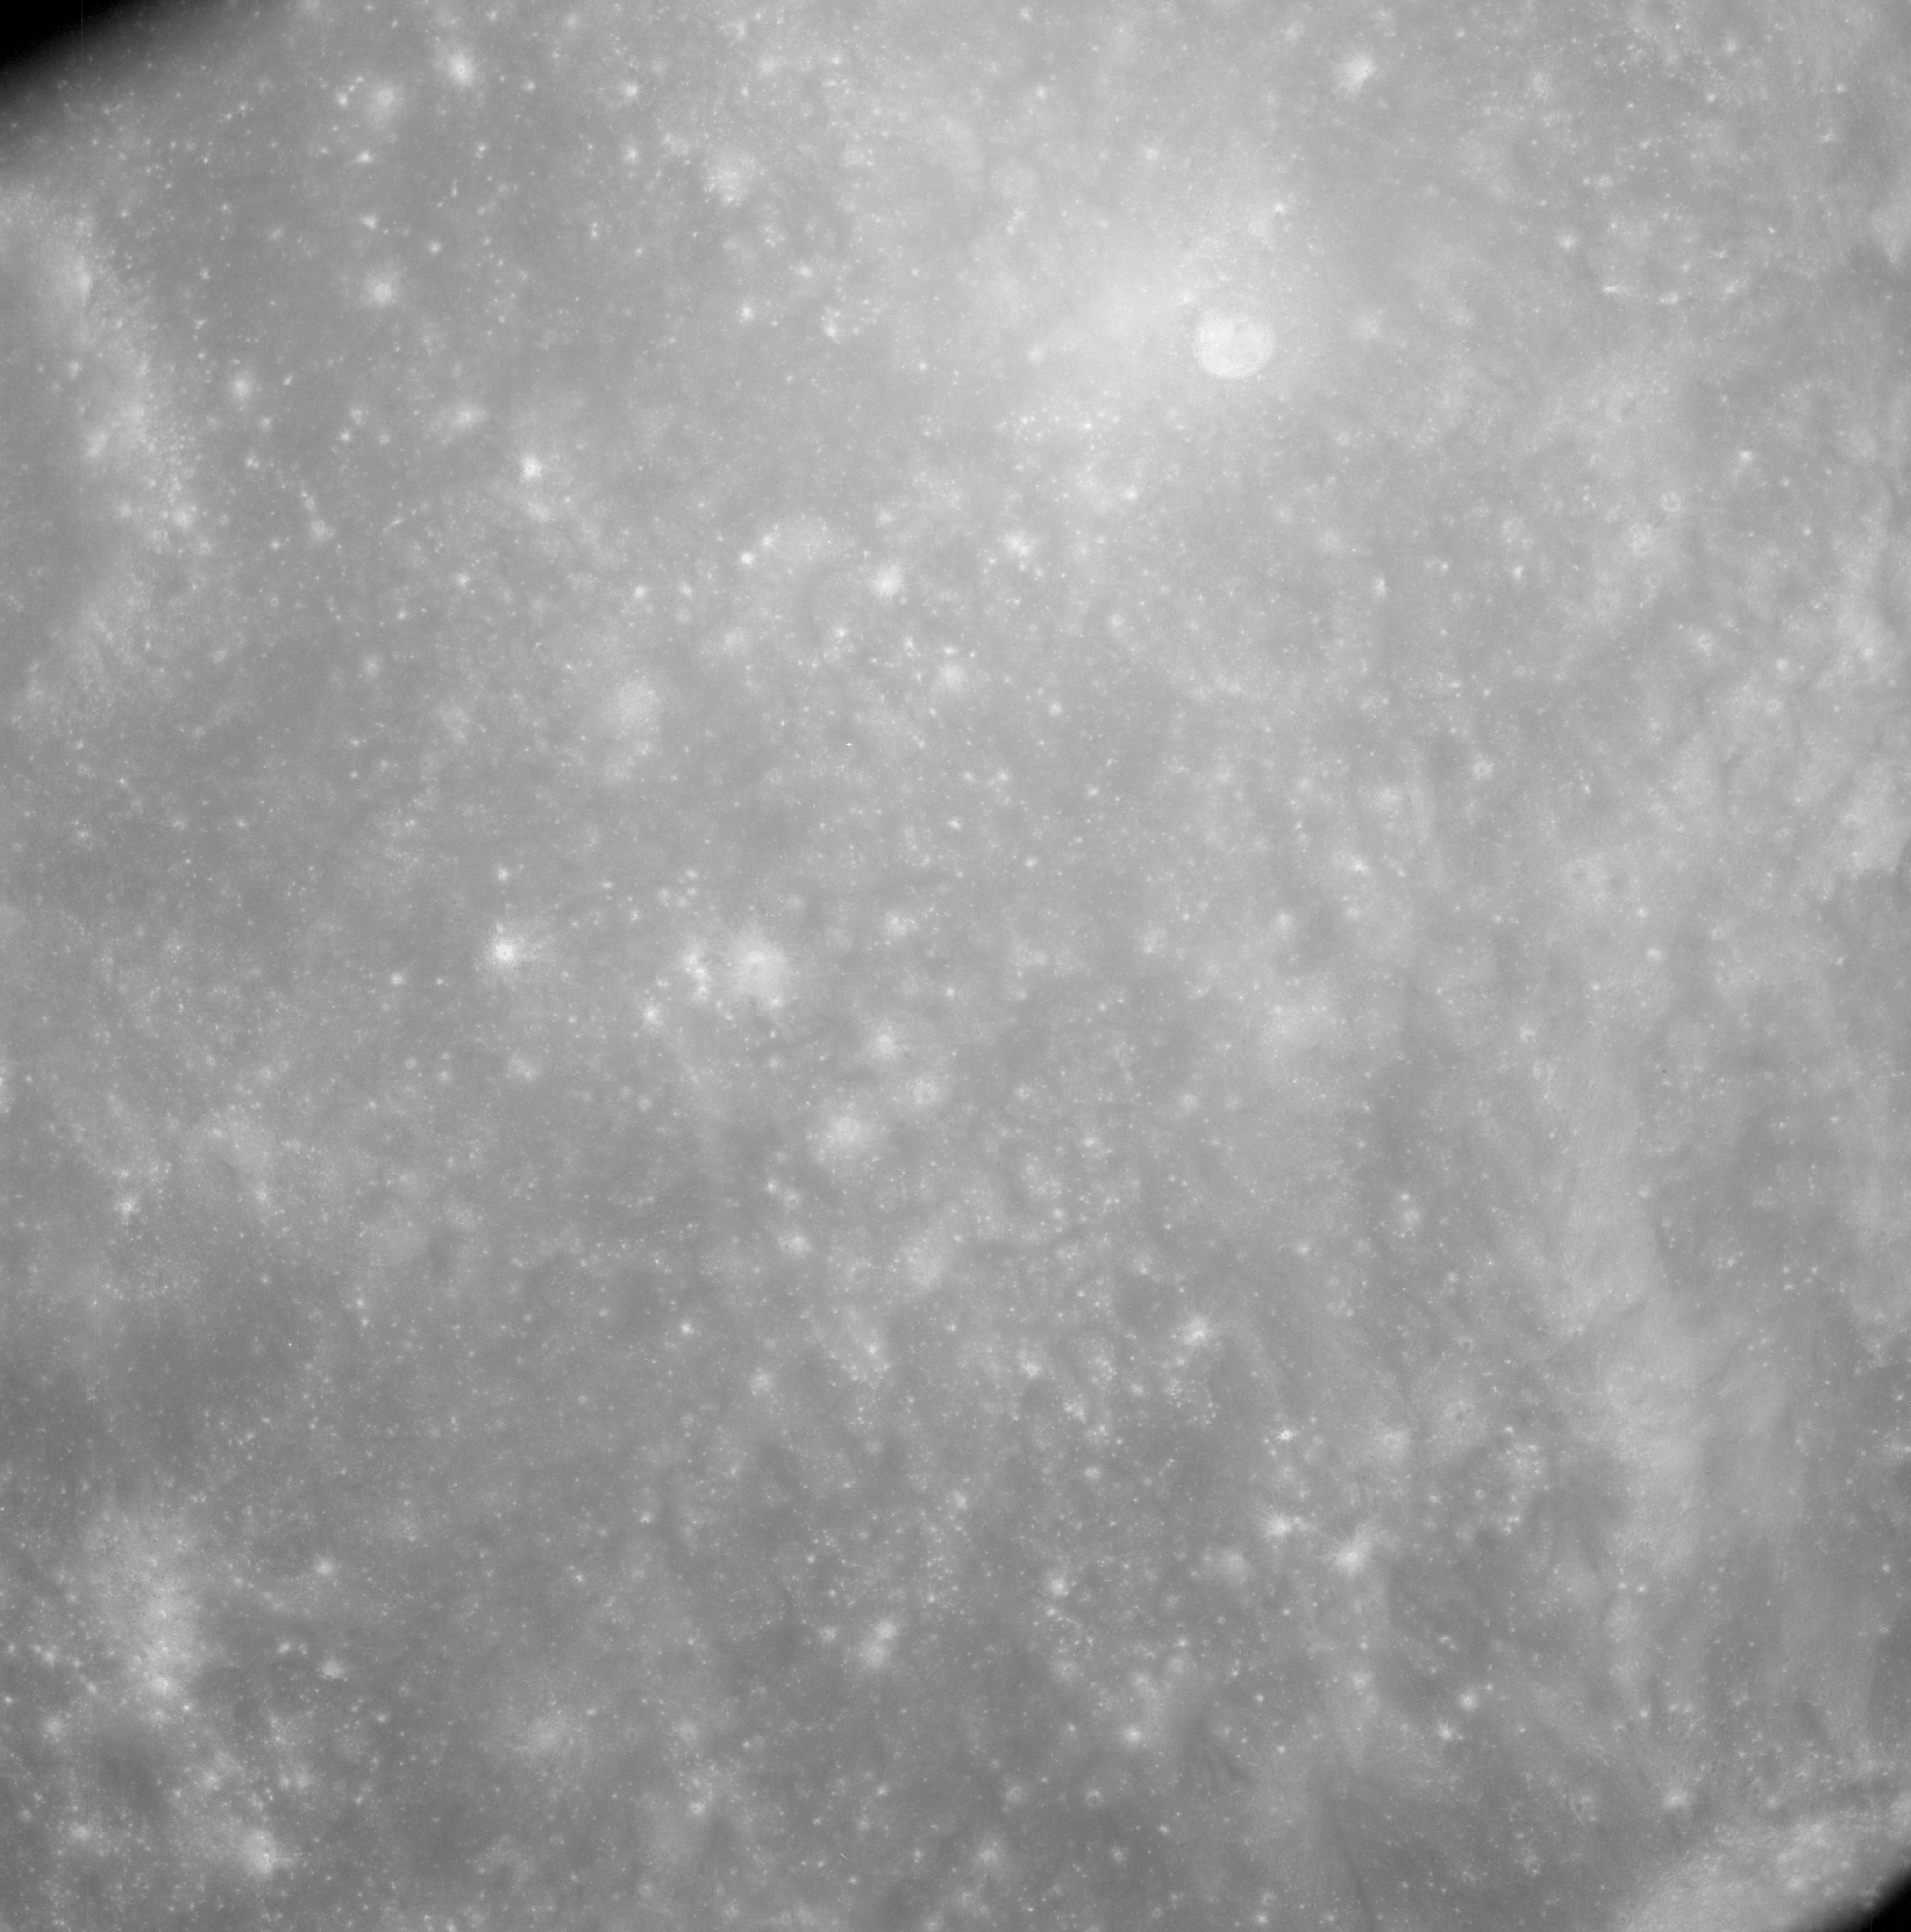 |
AS08-12-2131 Eastern rim of Danjon. Image credit: Image Science and Analysis Laboratory, NASA-Johnson Space Center. |
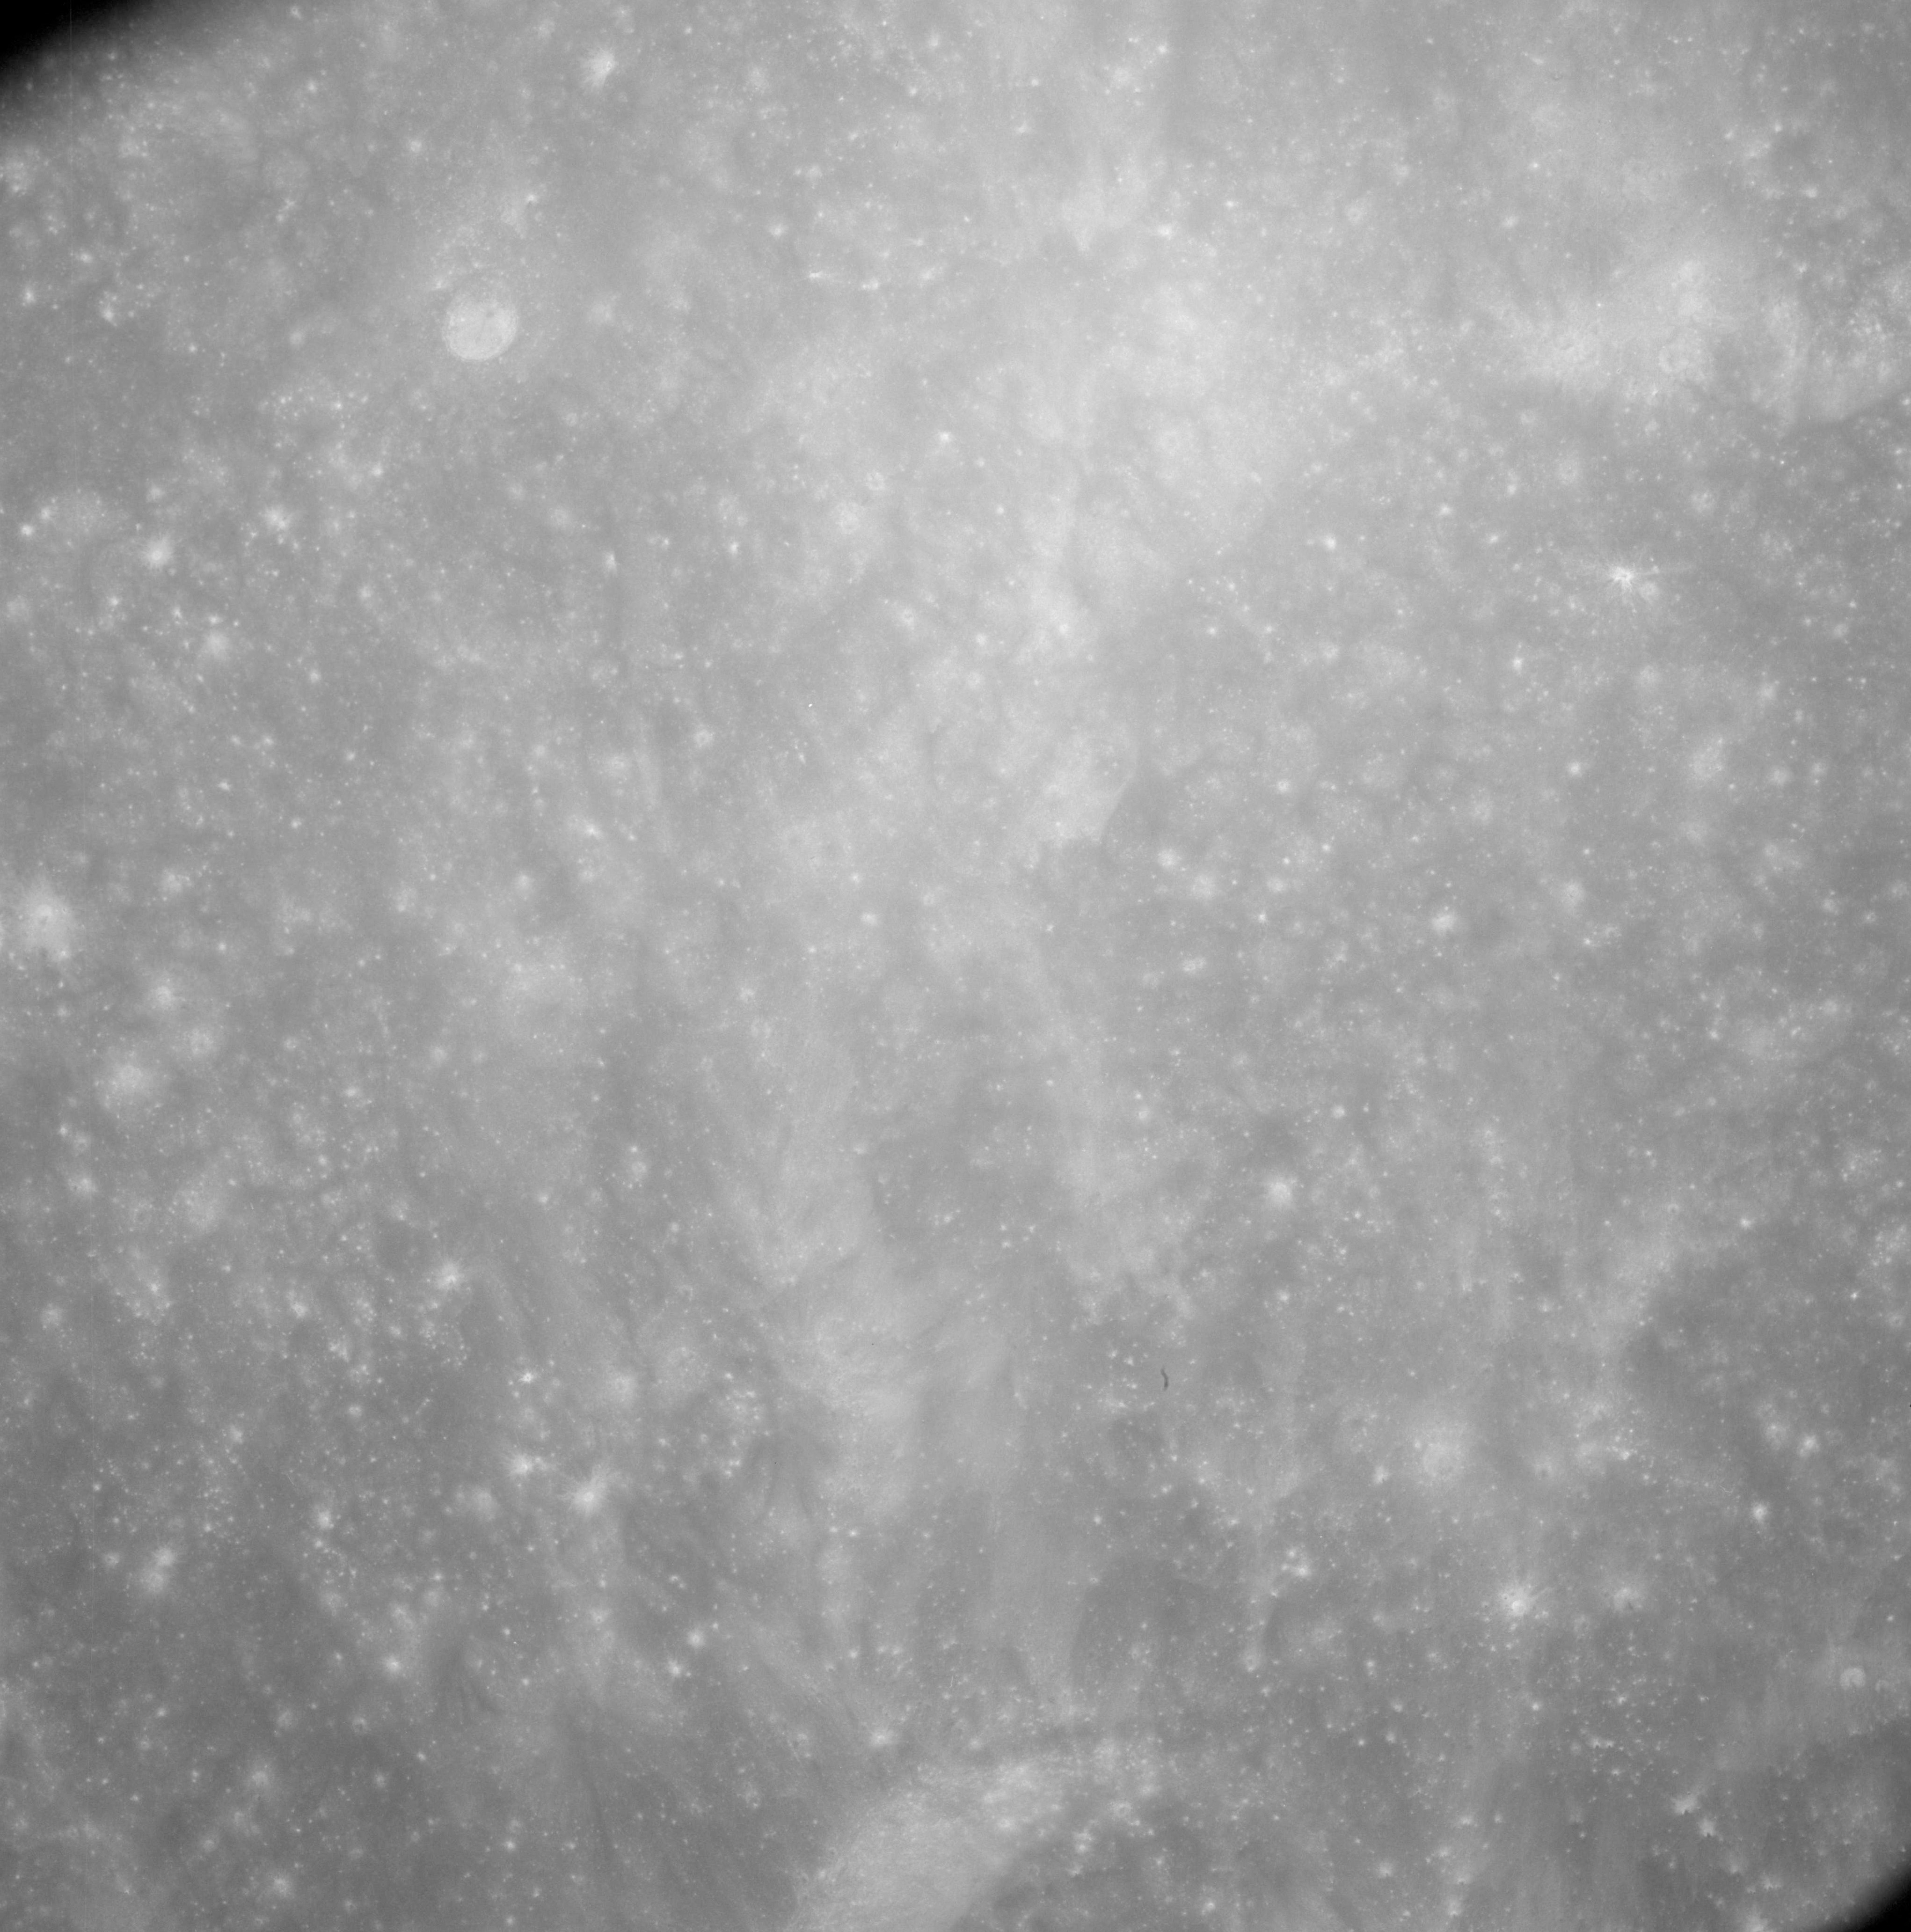 |
AS08-12-2132 Danjon to right. Image credit: Image Science and Analysis Laboratory, NASA-Johnson Space Center. |
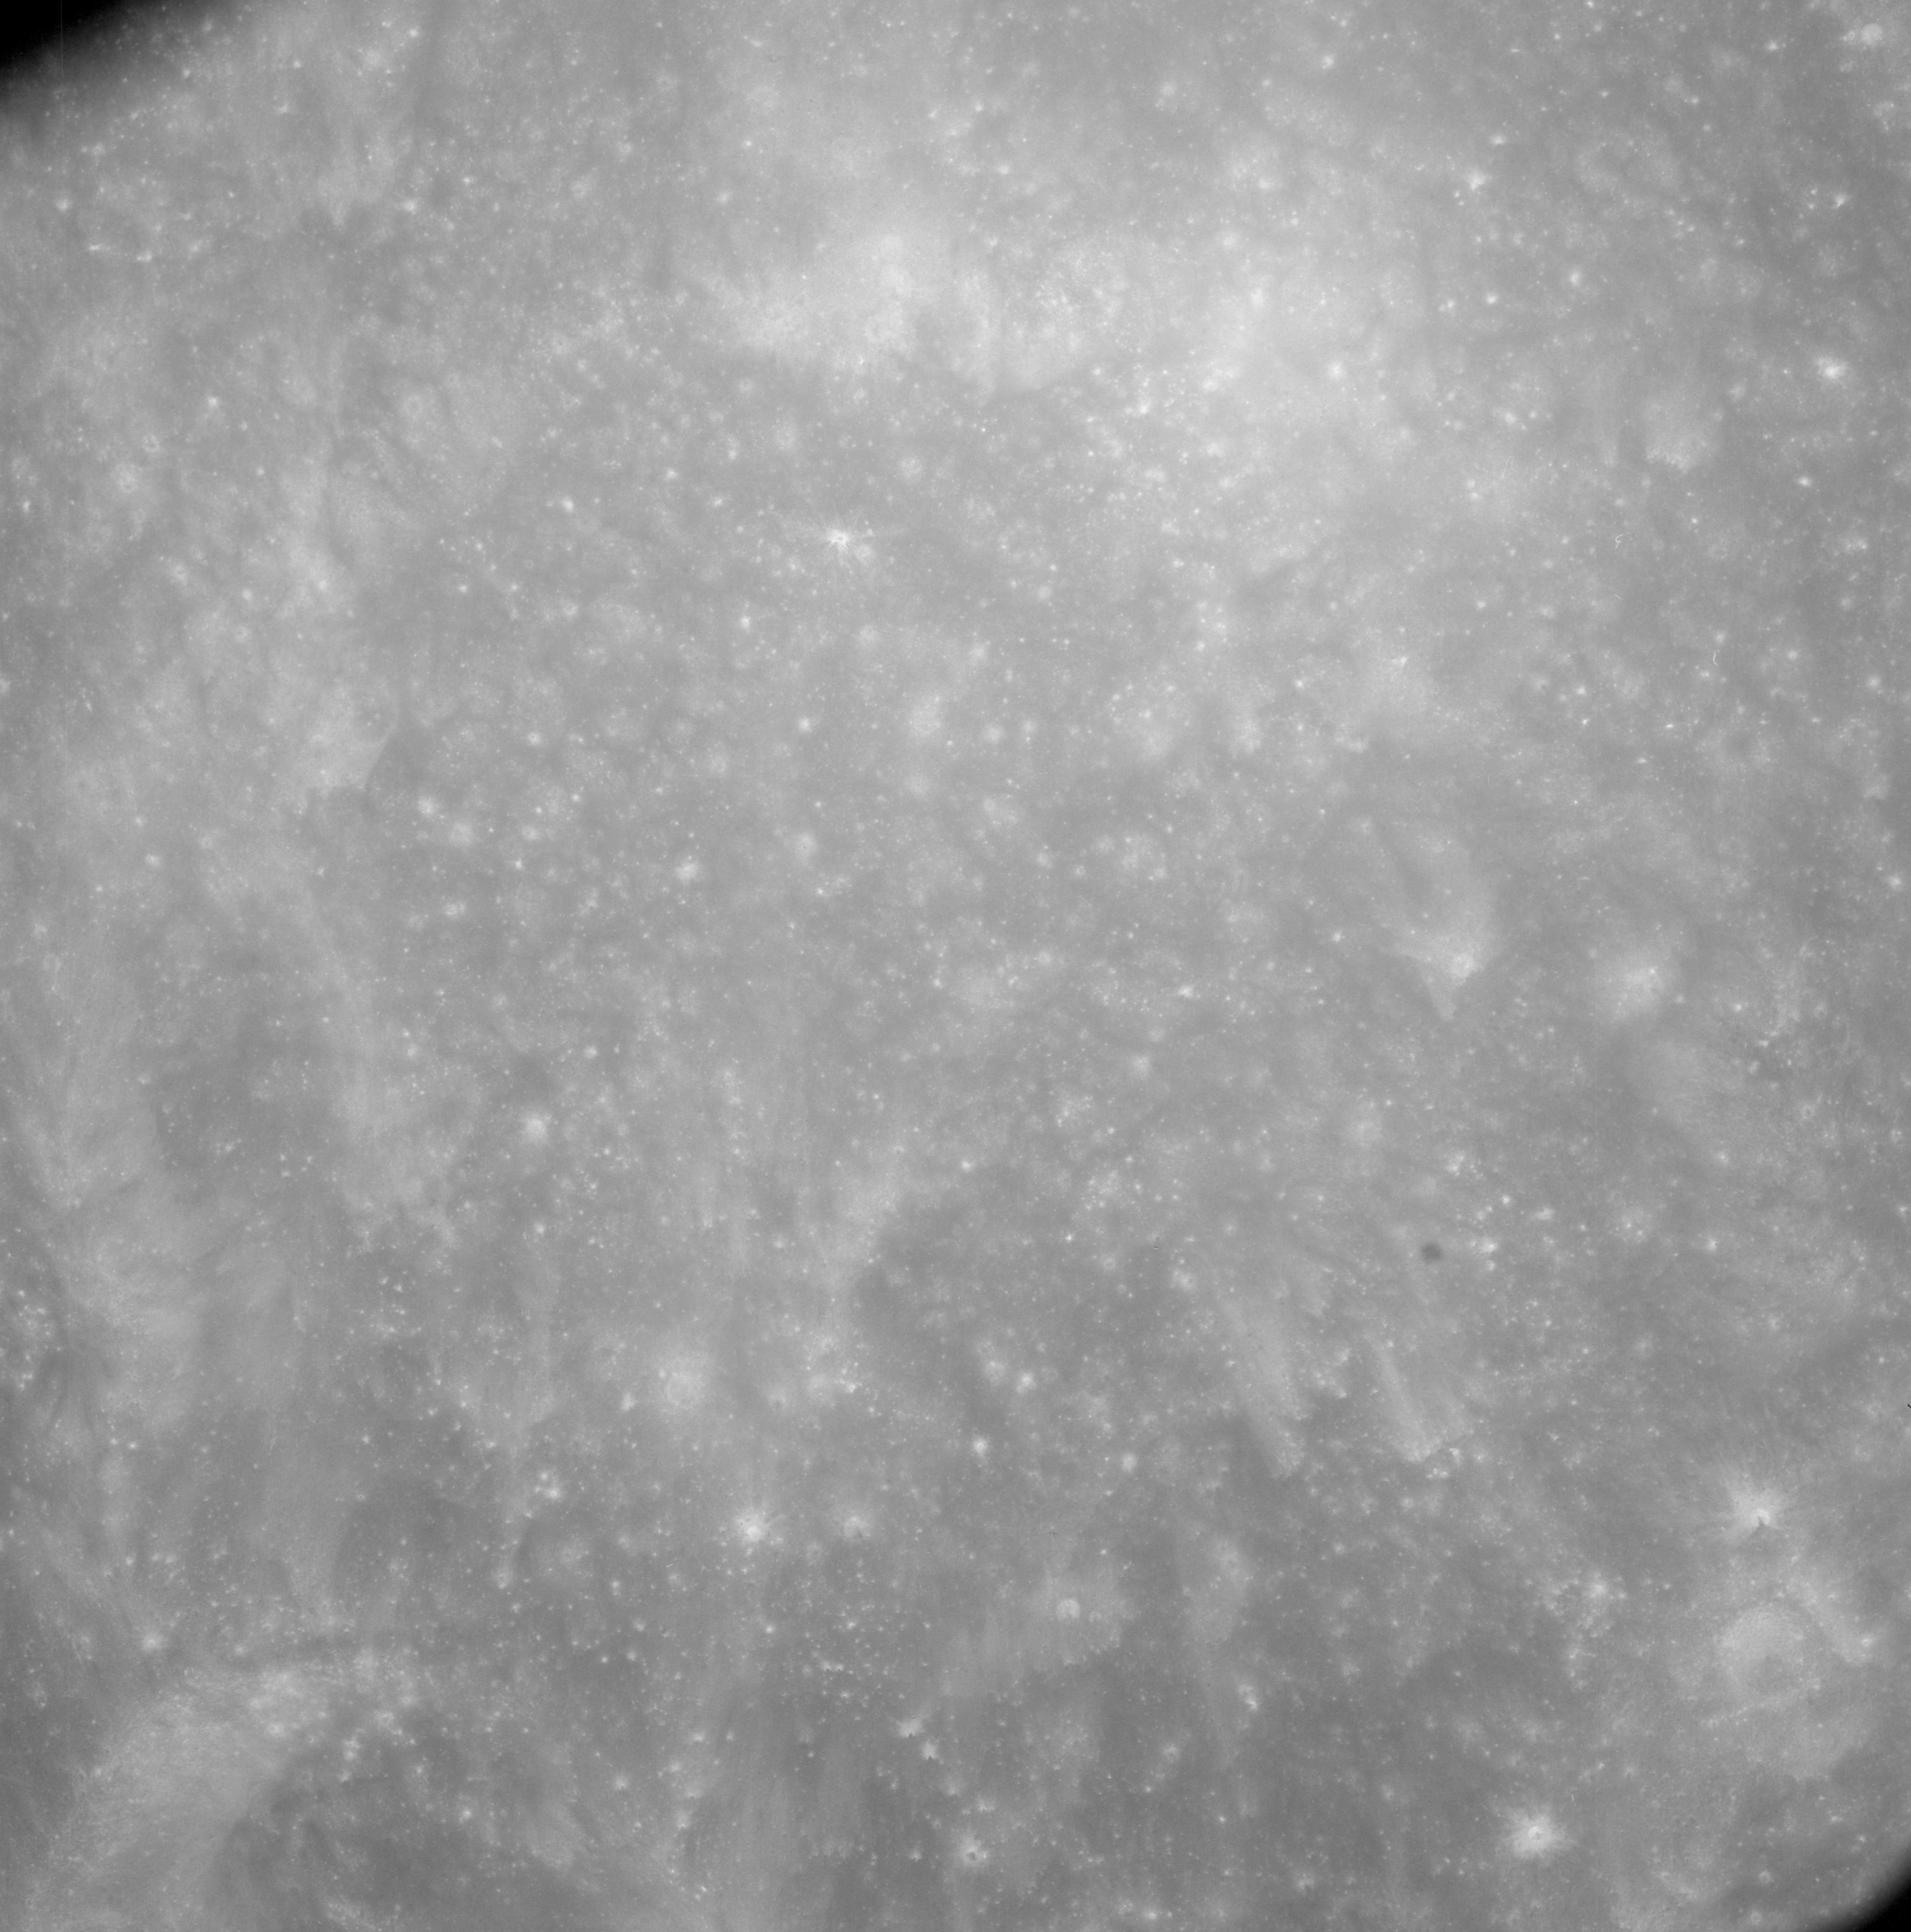 |
AS08-12-2133 Danjon. Image credit: Image Science and Analysis Laboratory, NASA-Johnson Space Center. |
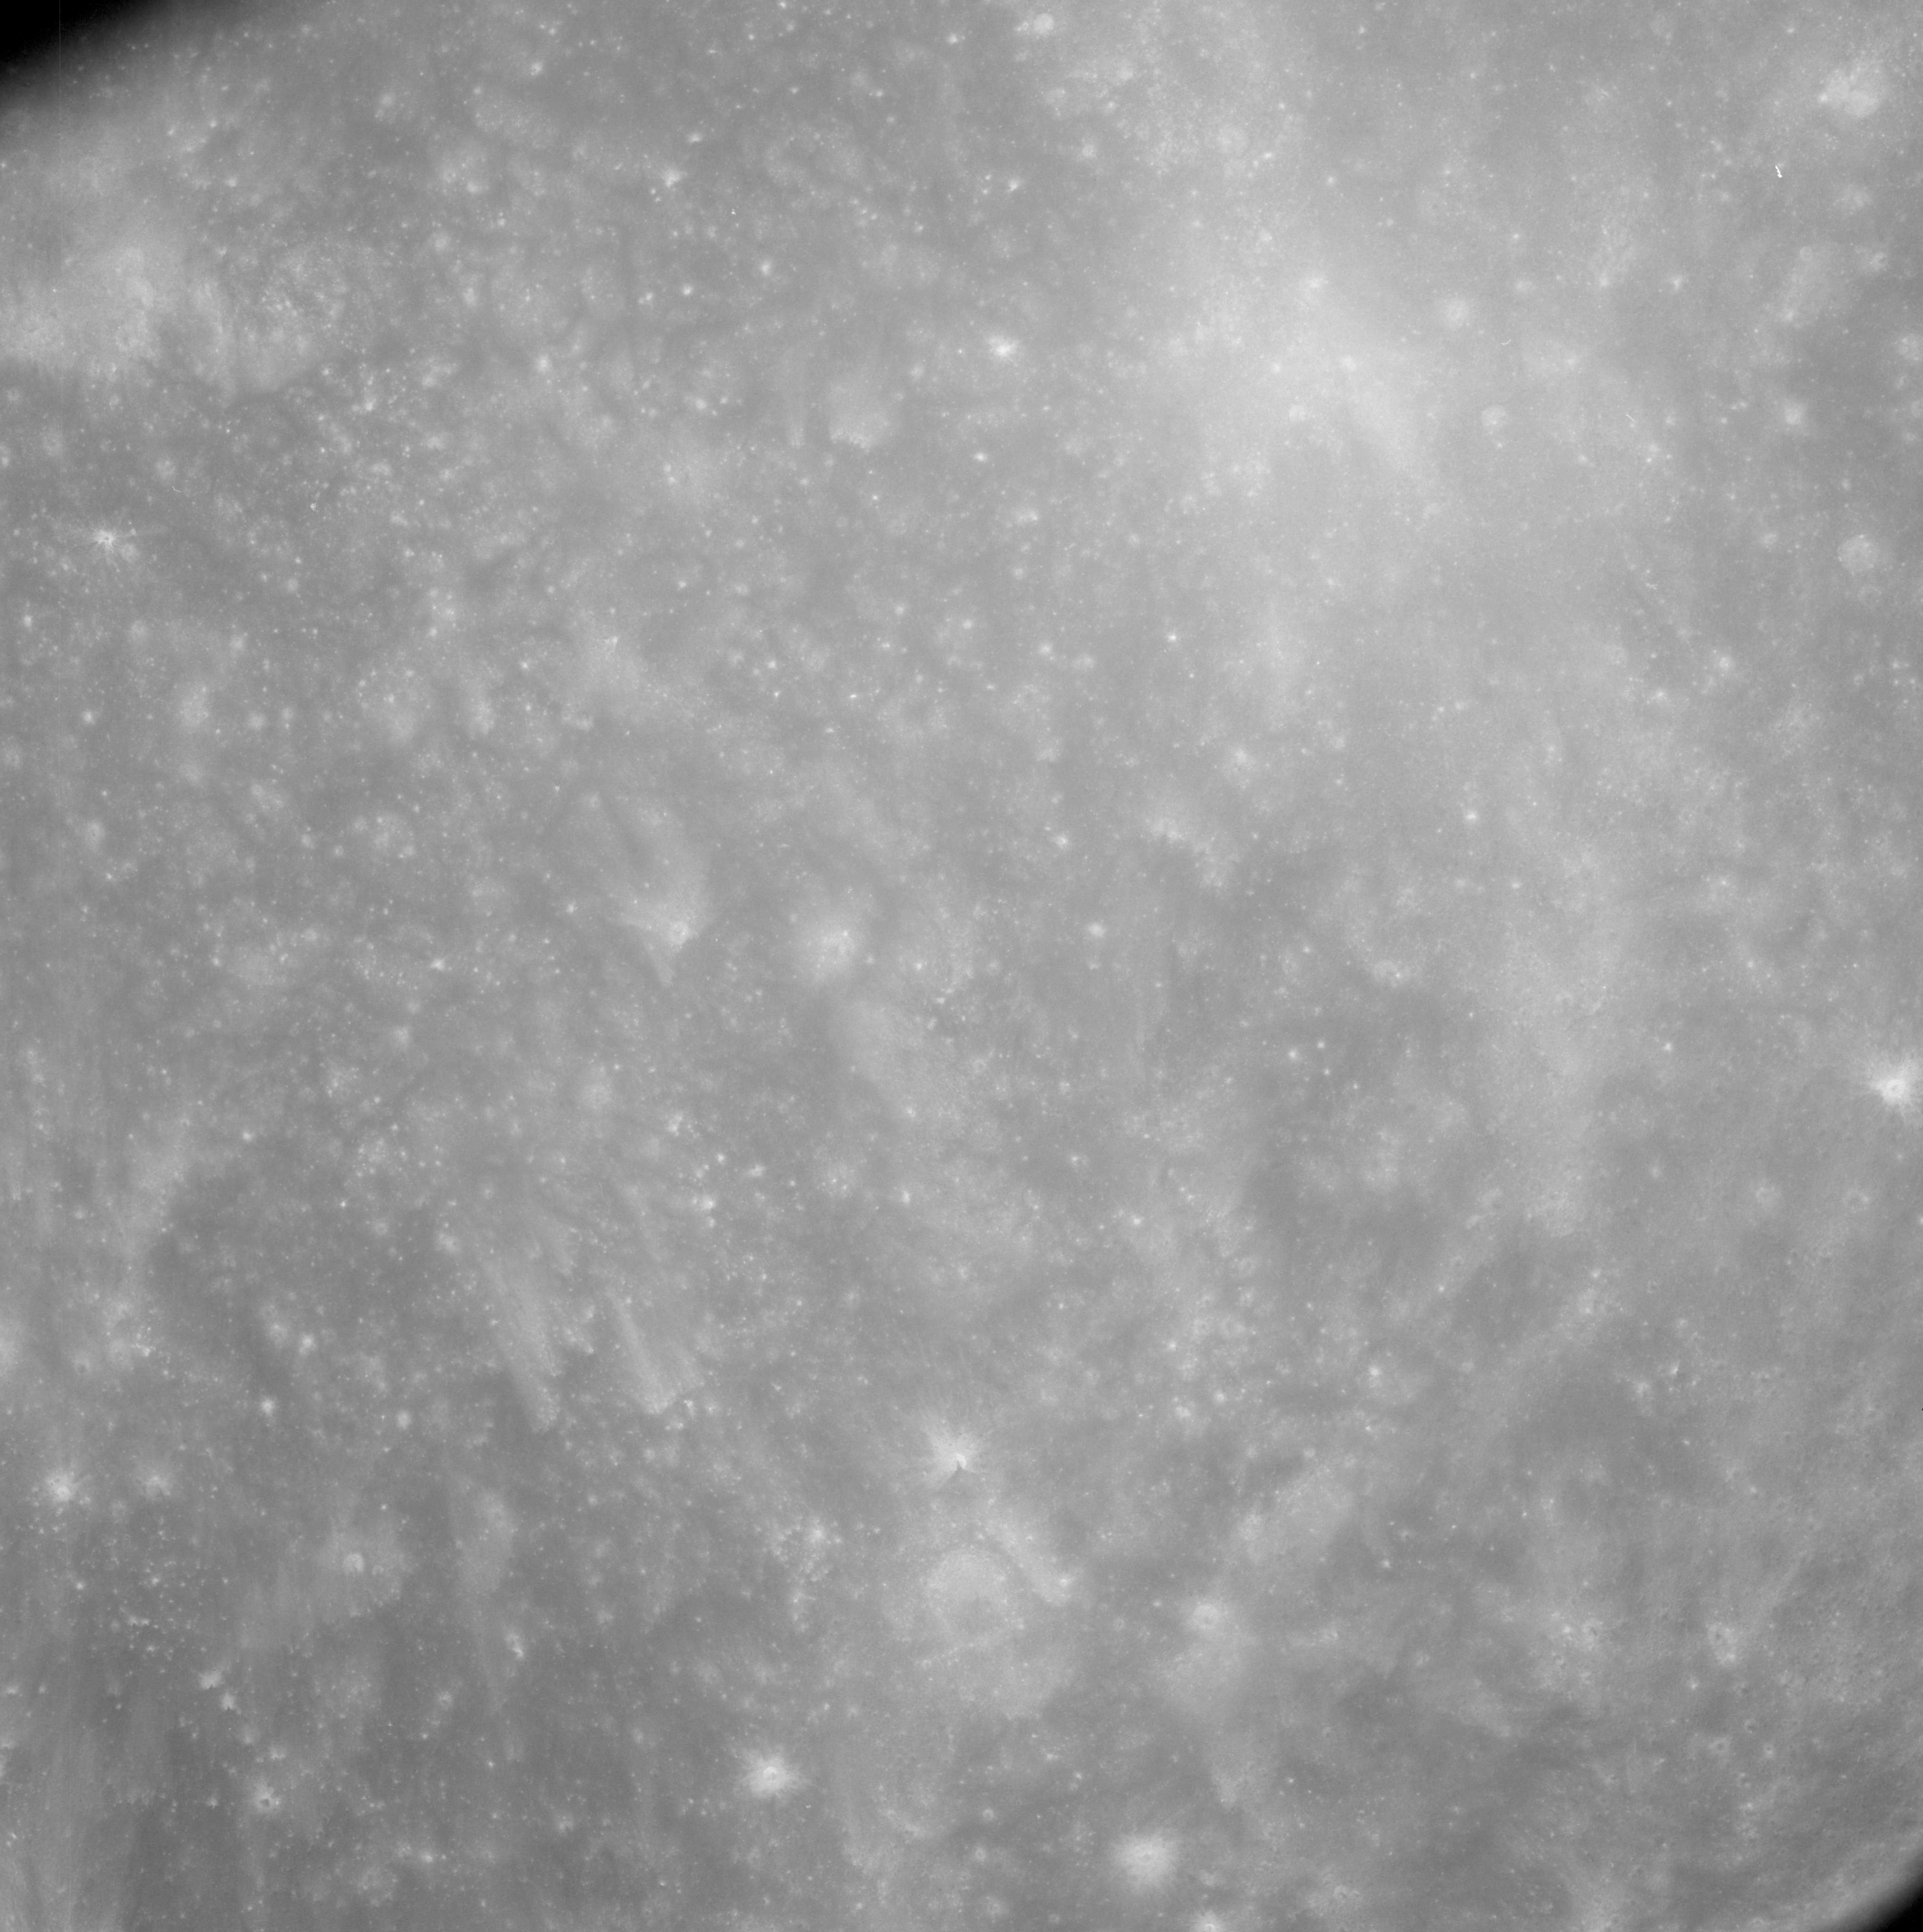 |
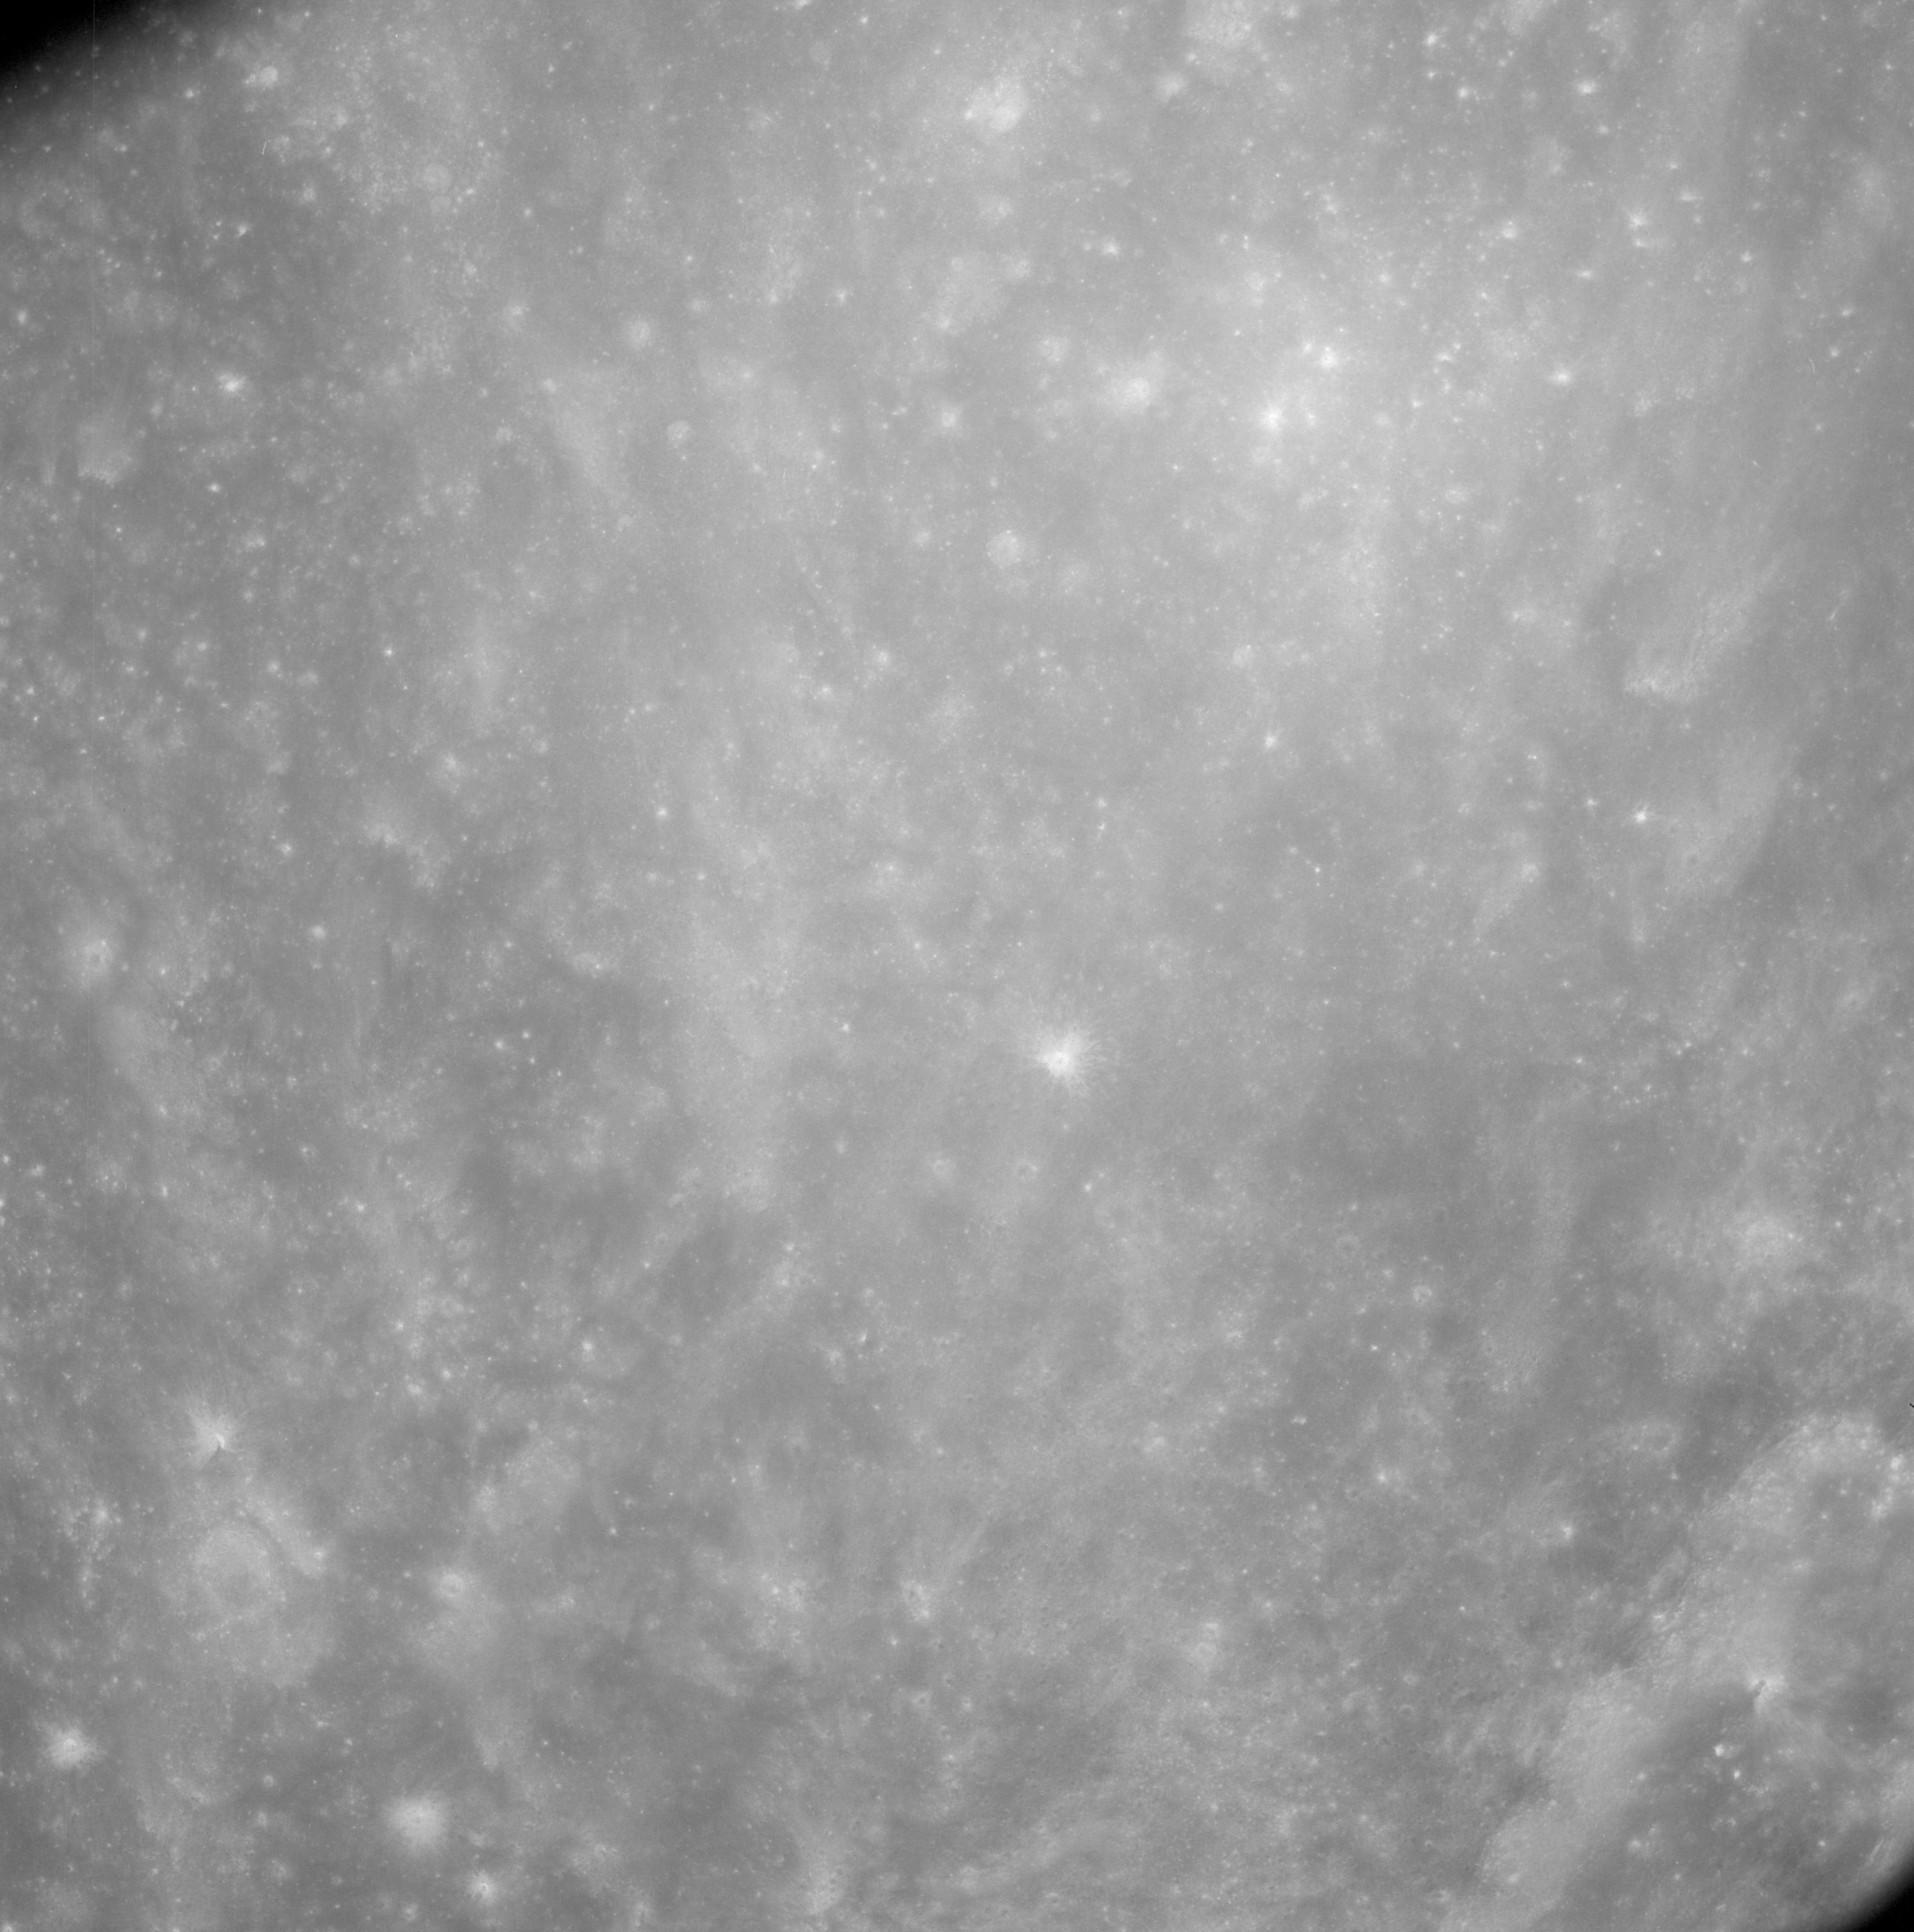
AS08-12-2134 No description. Image credit: Image Science and Analysis Laboratory, NASA-Johnson Space Center. |
 |
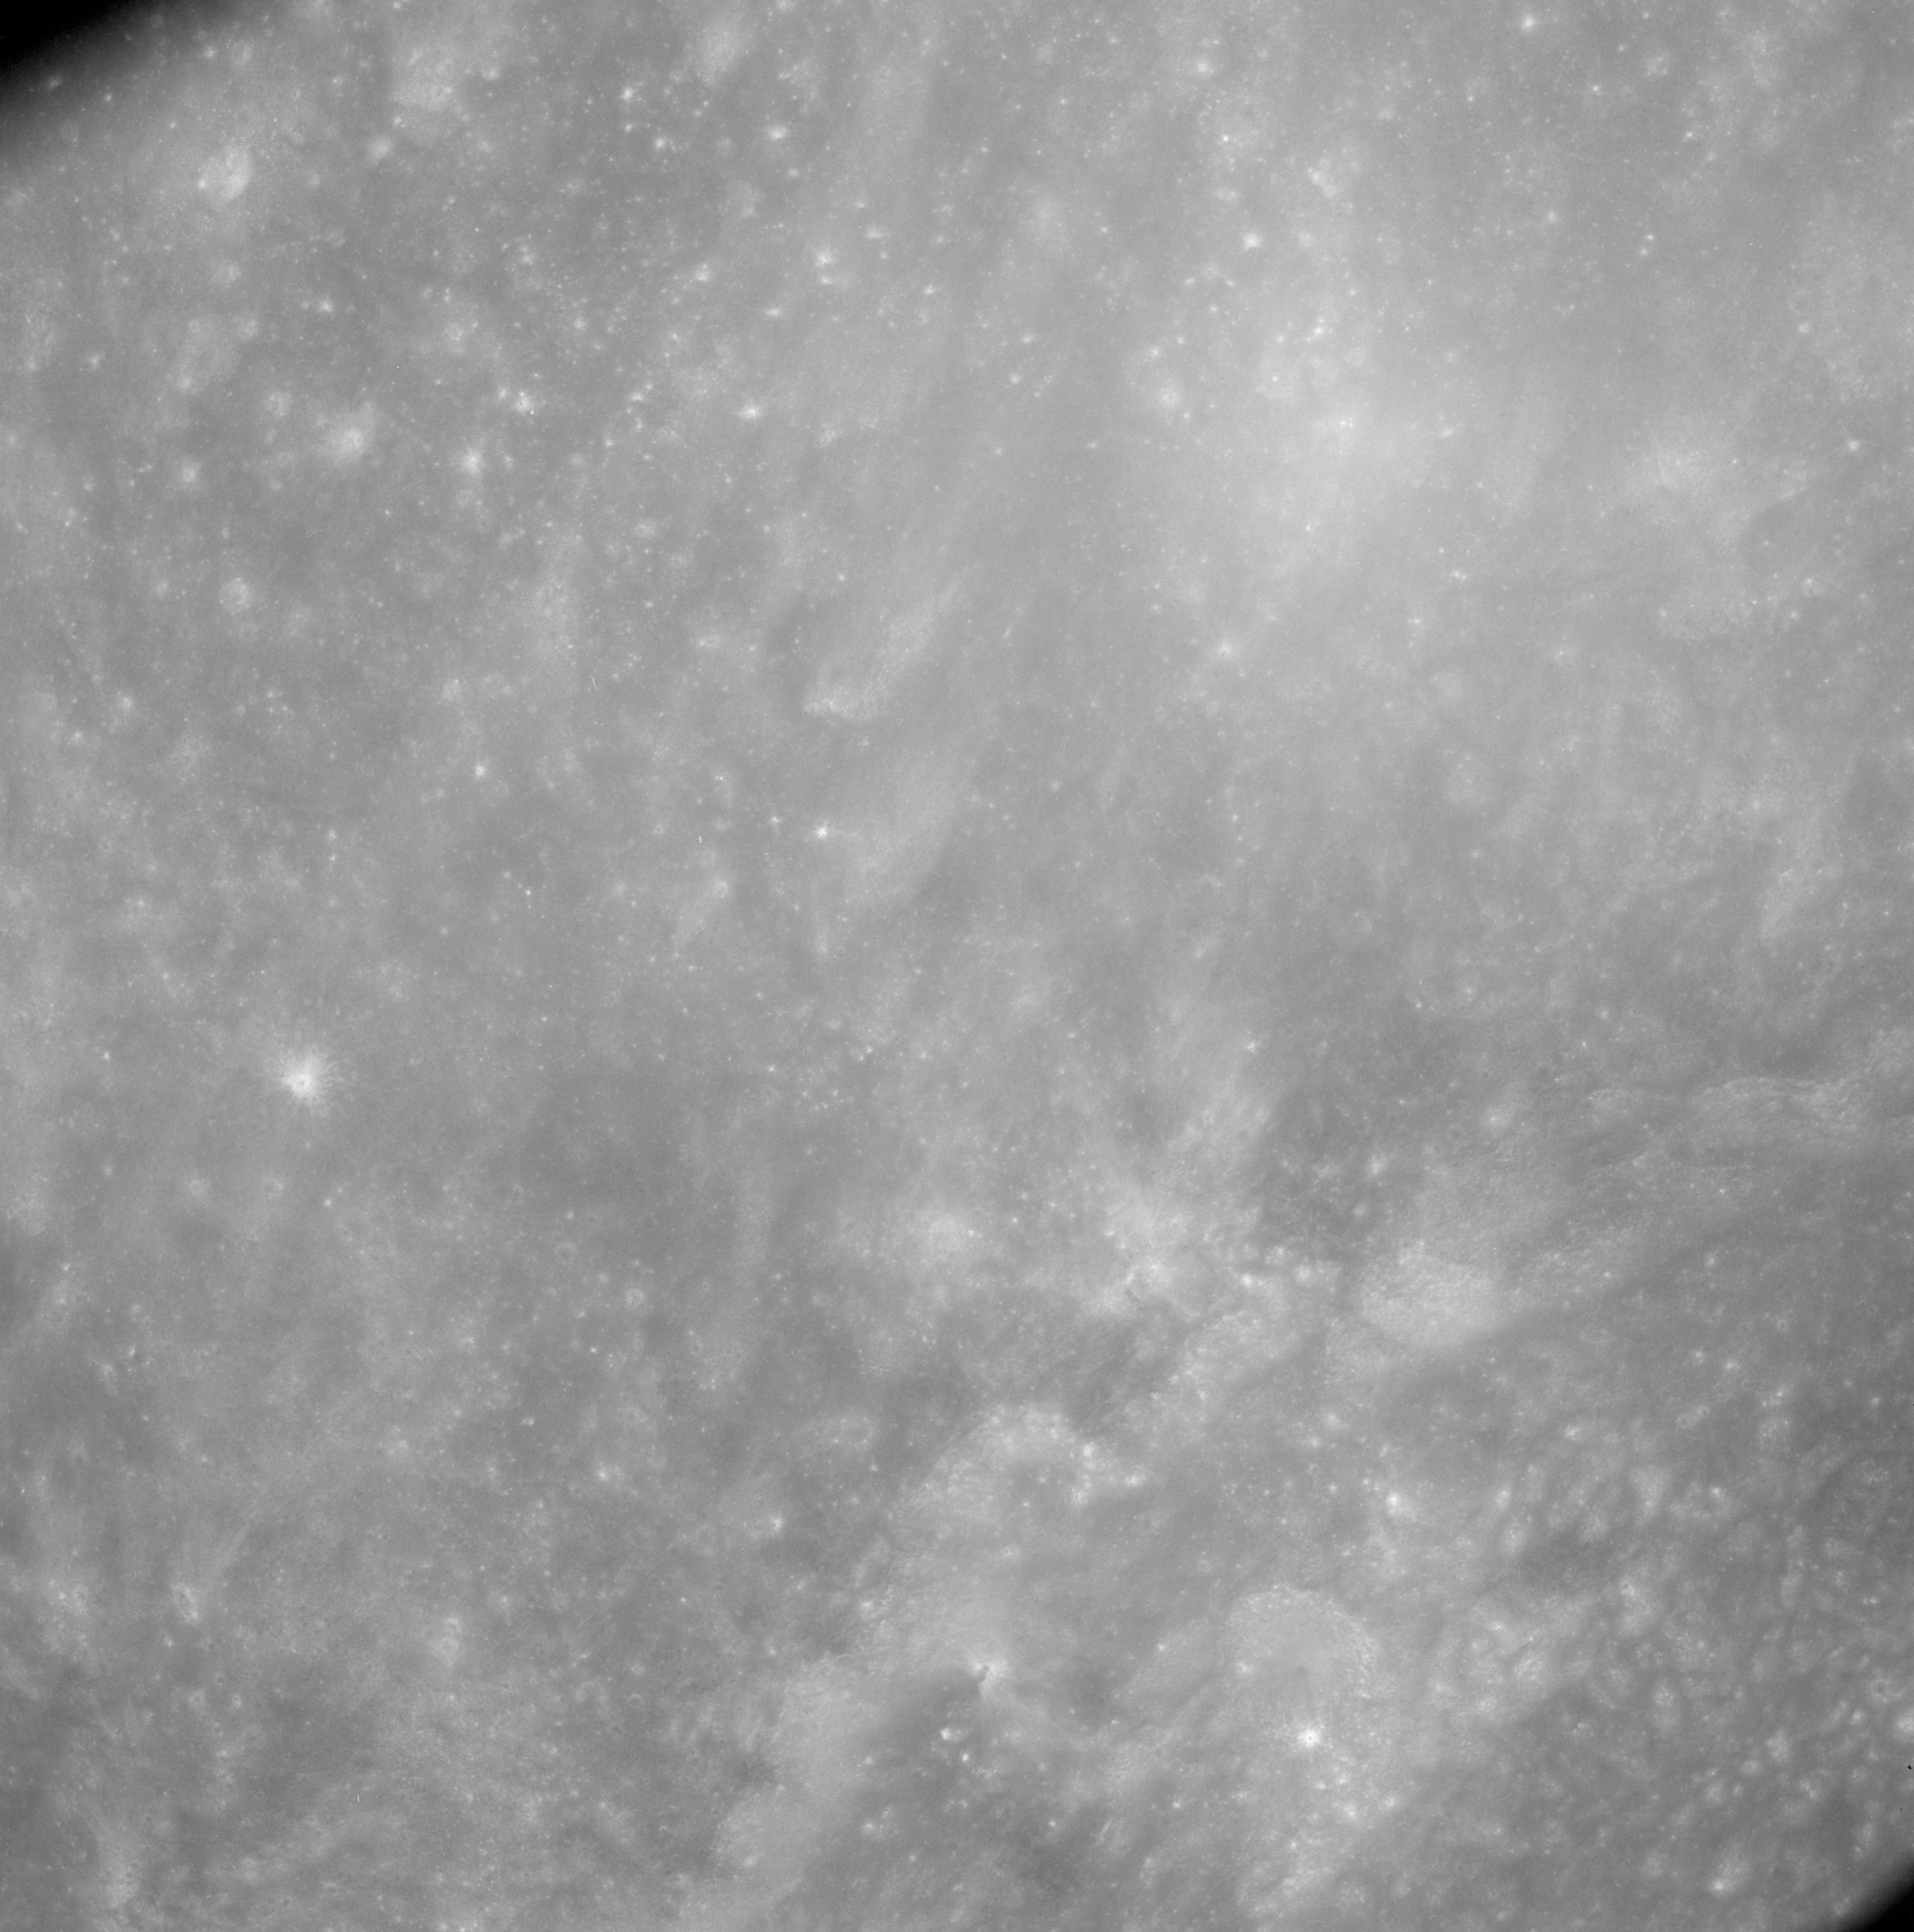
AS08-12-2135 No description. Image credit: Image Science and Analysis Laboratory, NASA-Johnson Space Center. |
 |
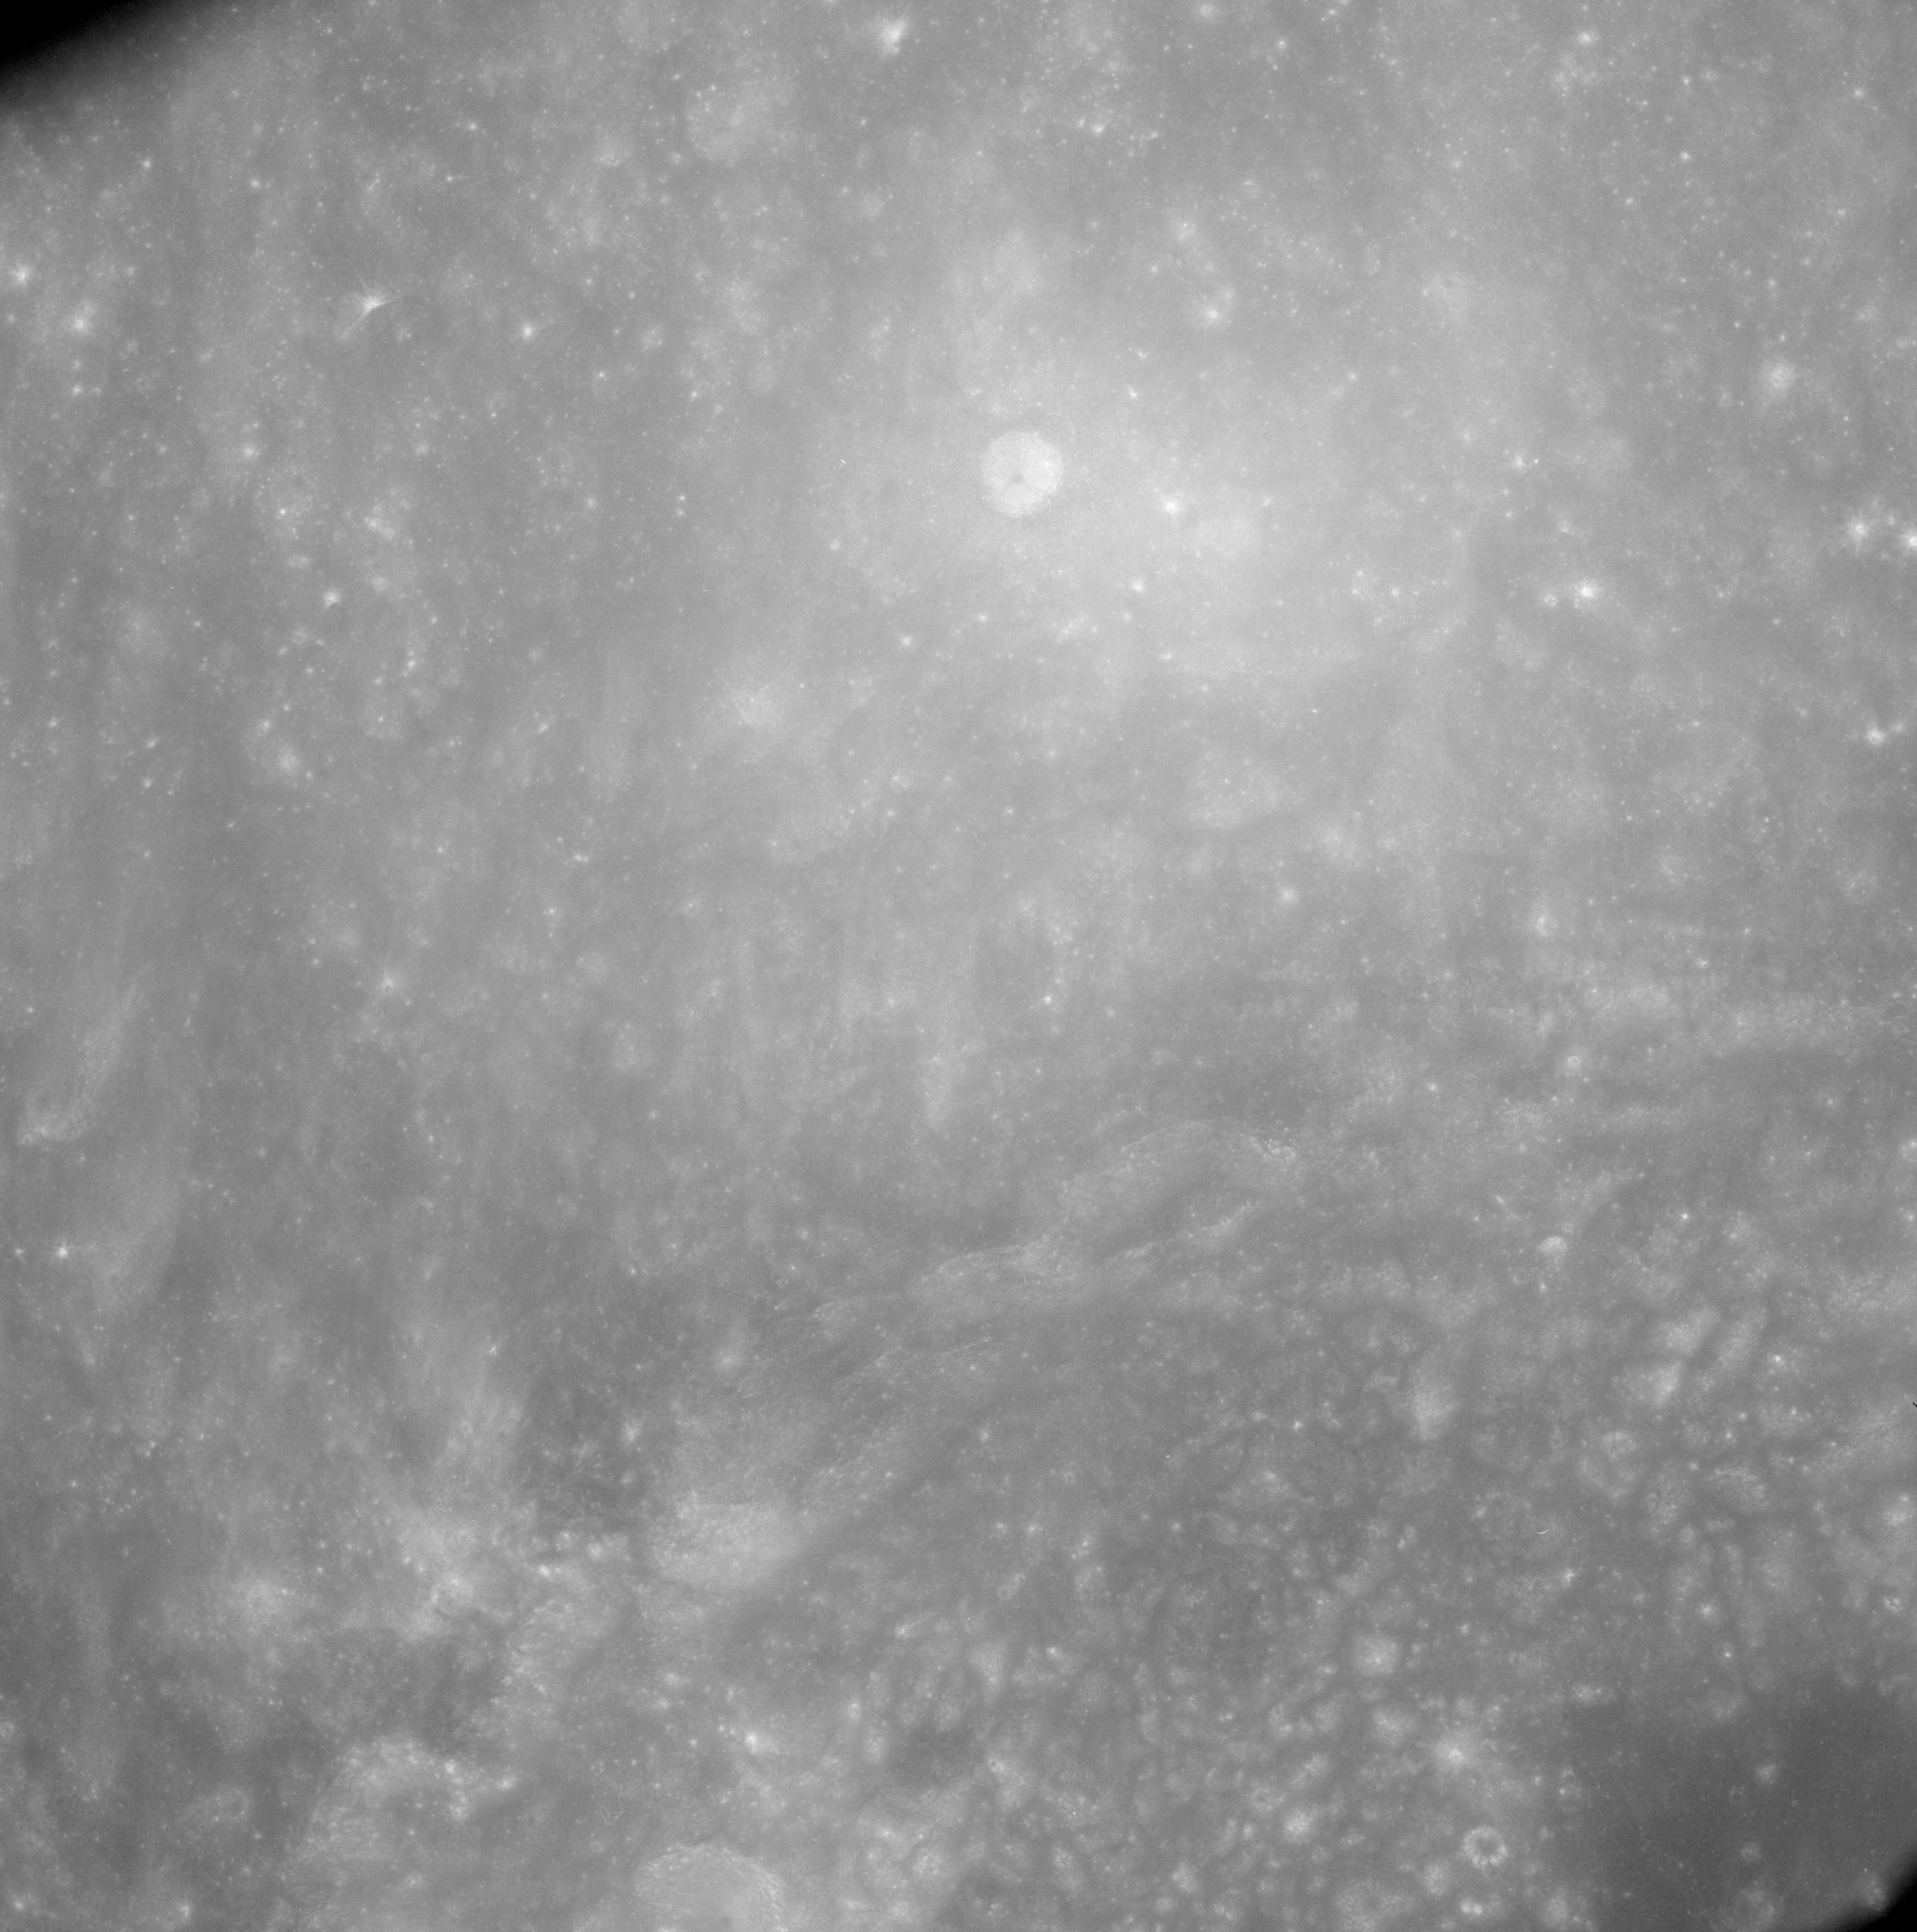
AS08-12-2136 Southeastern rim of Langemak. This is around the start of Borman's 180° roll maneuver. Image credit: Image Science and Analysis Laboratory, NASA-Johnson Space Center. |
 |
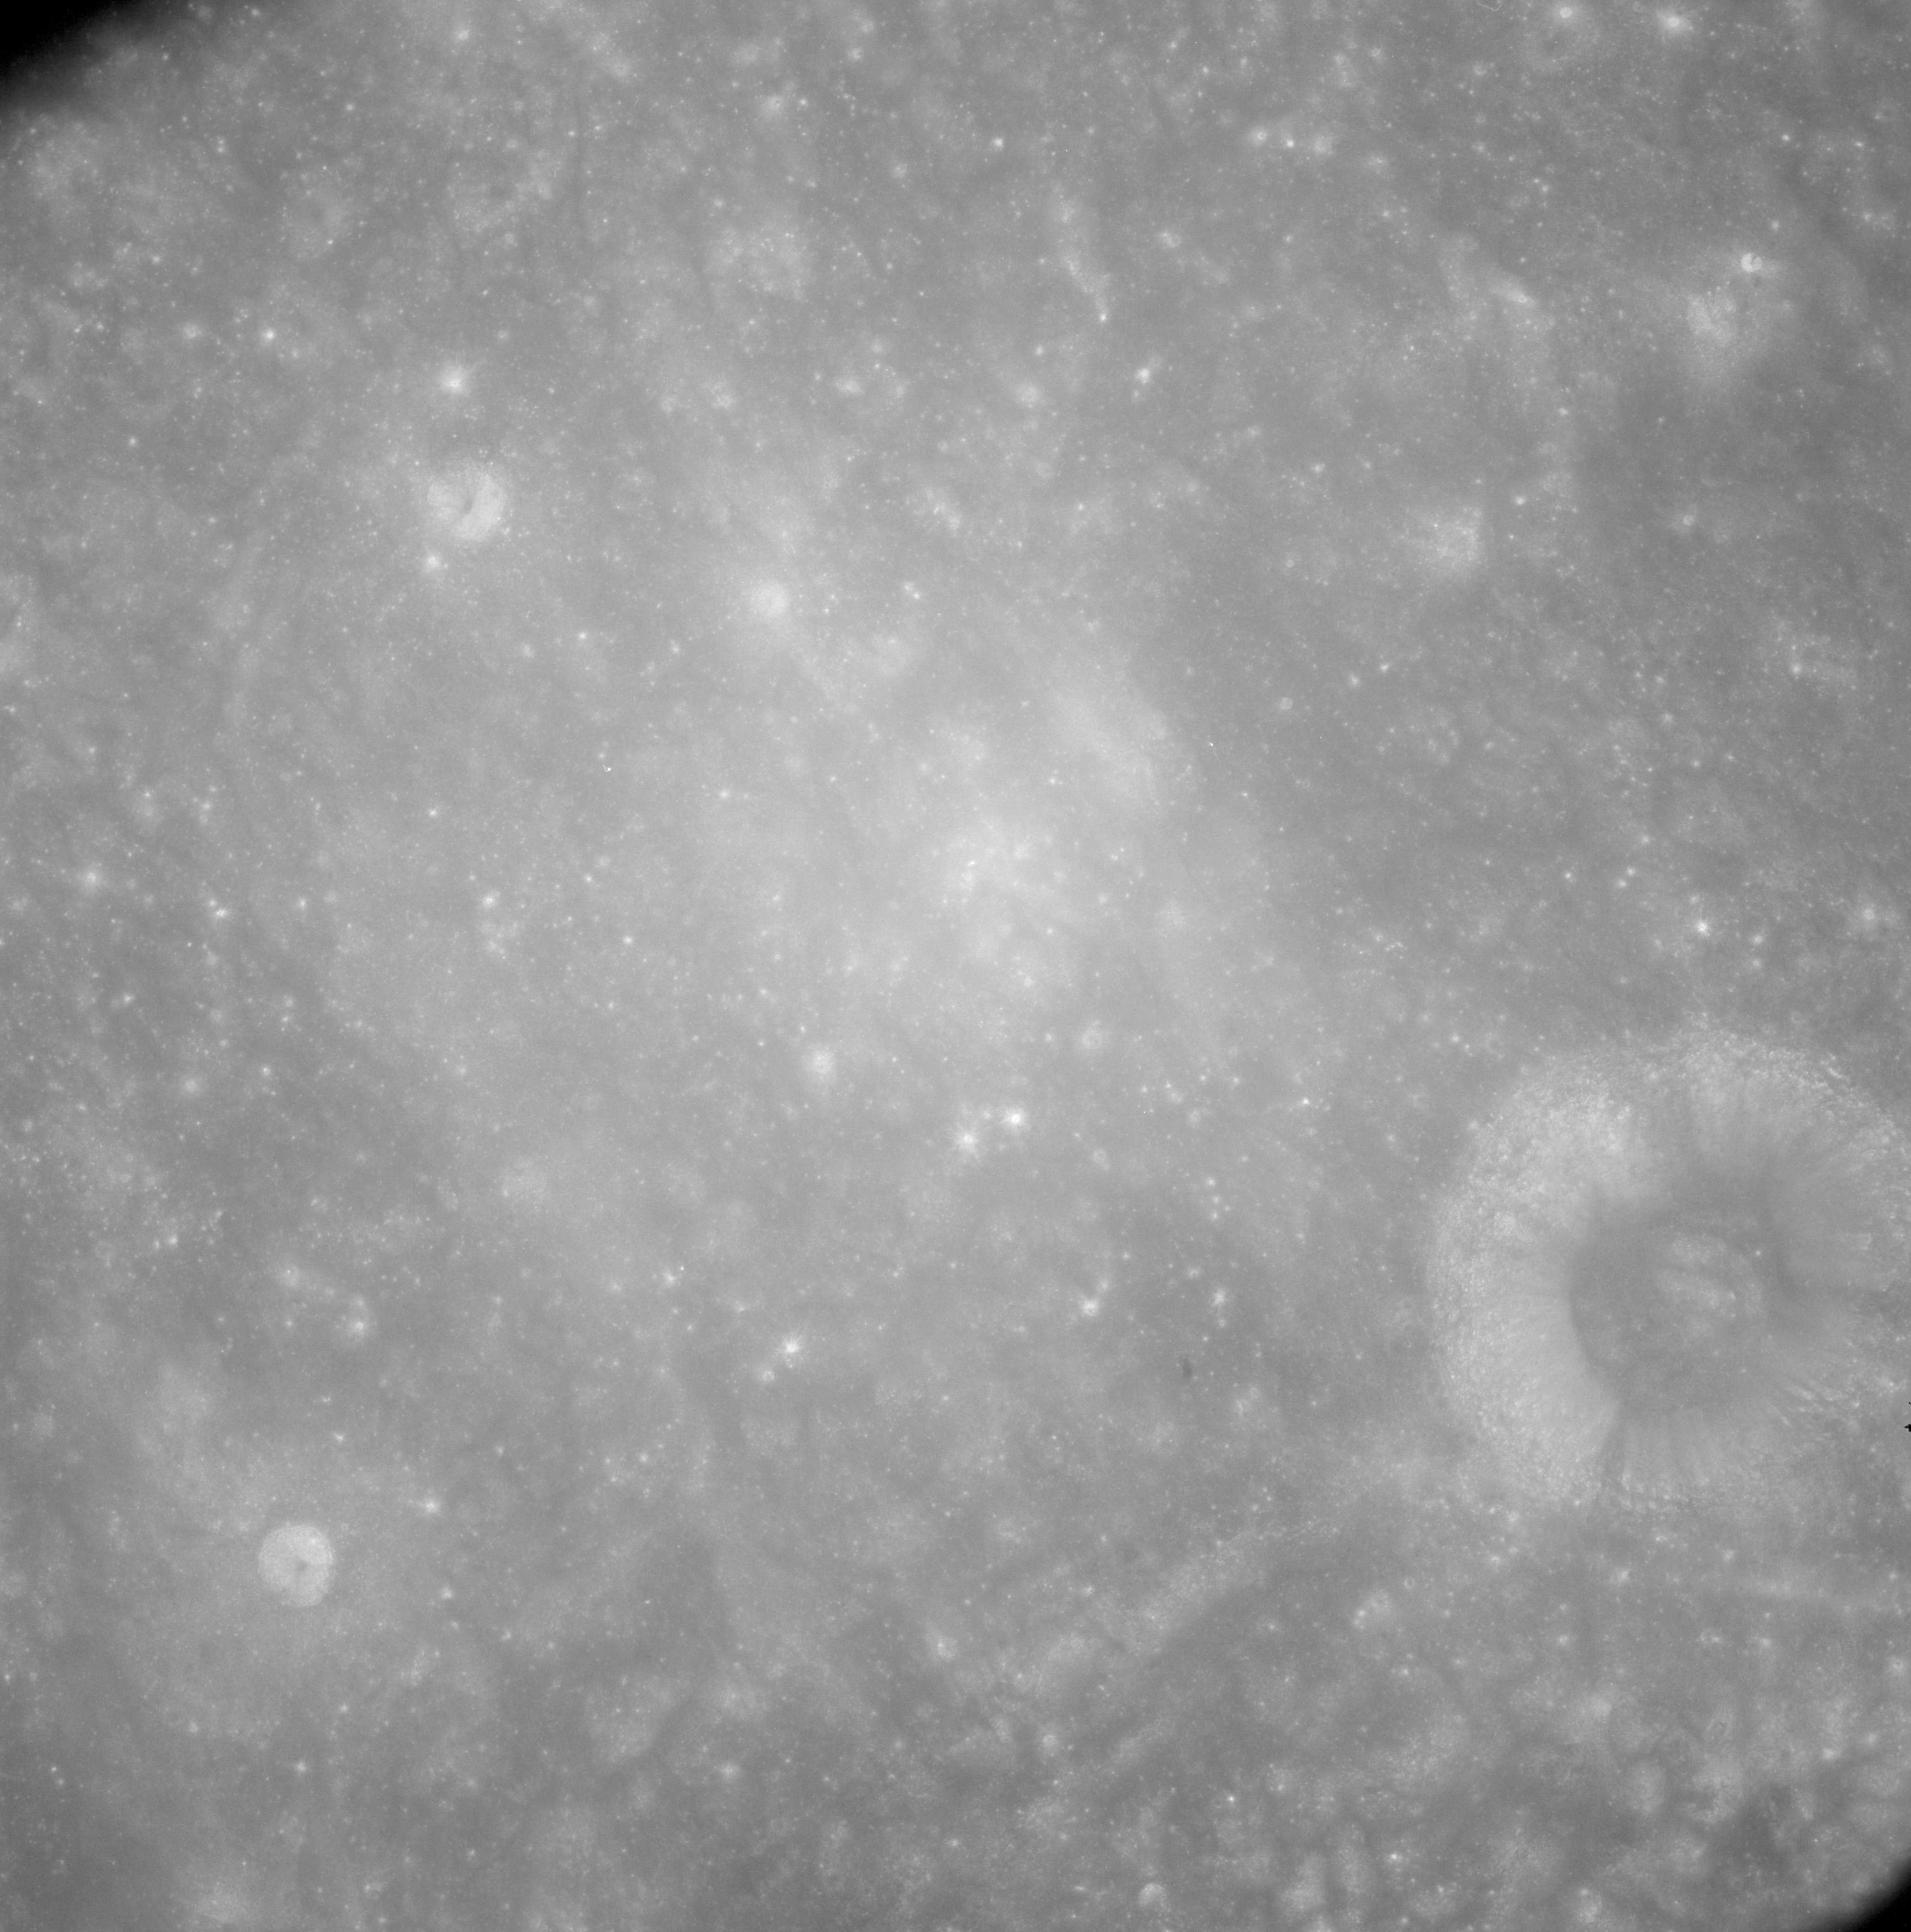
AS08-12-2137 Southern rim of Langemak. Image credit: Image Science and Analysis Laboratory, NASA-Johnson Space Center. |
 |
AS08-12-2138 Southwestern rim of Langemak. Sherrington on lower right. Image credit: Image Science and Analysis Laboratory, NASA-Johnson Space Center. |
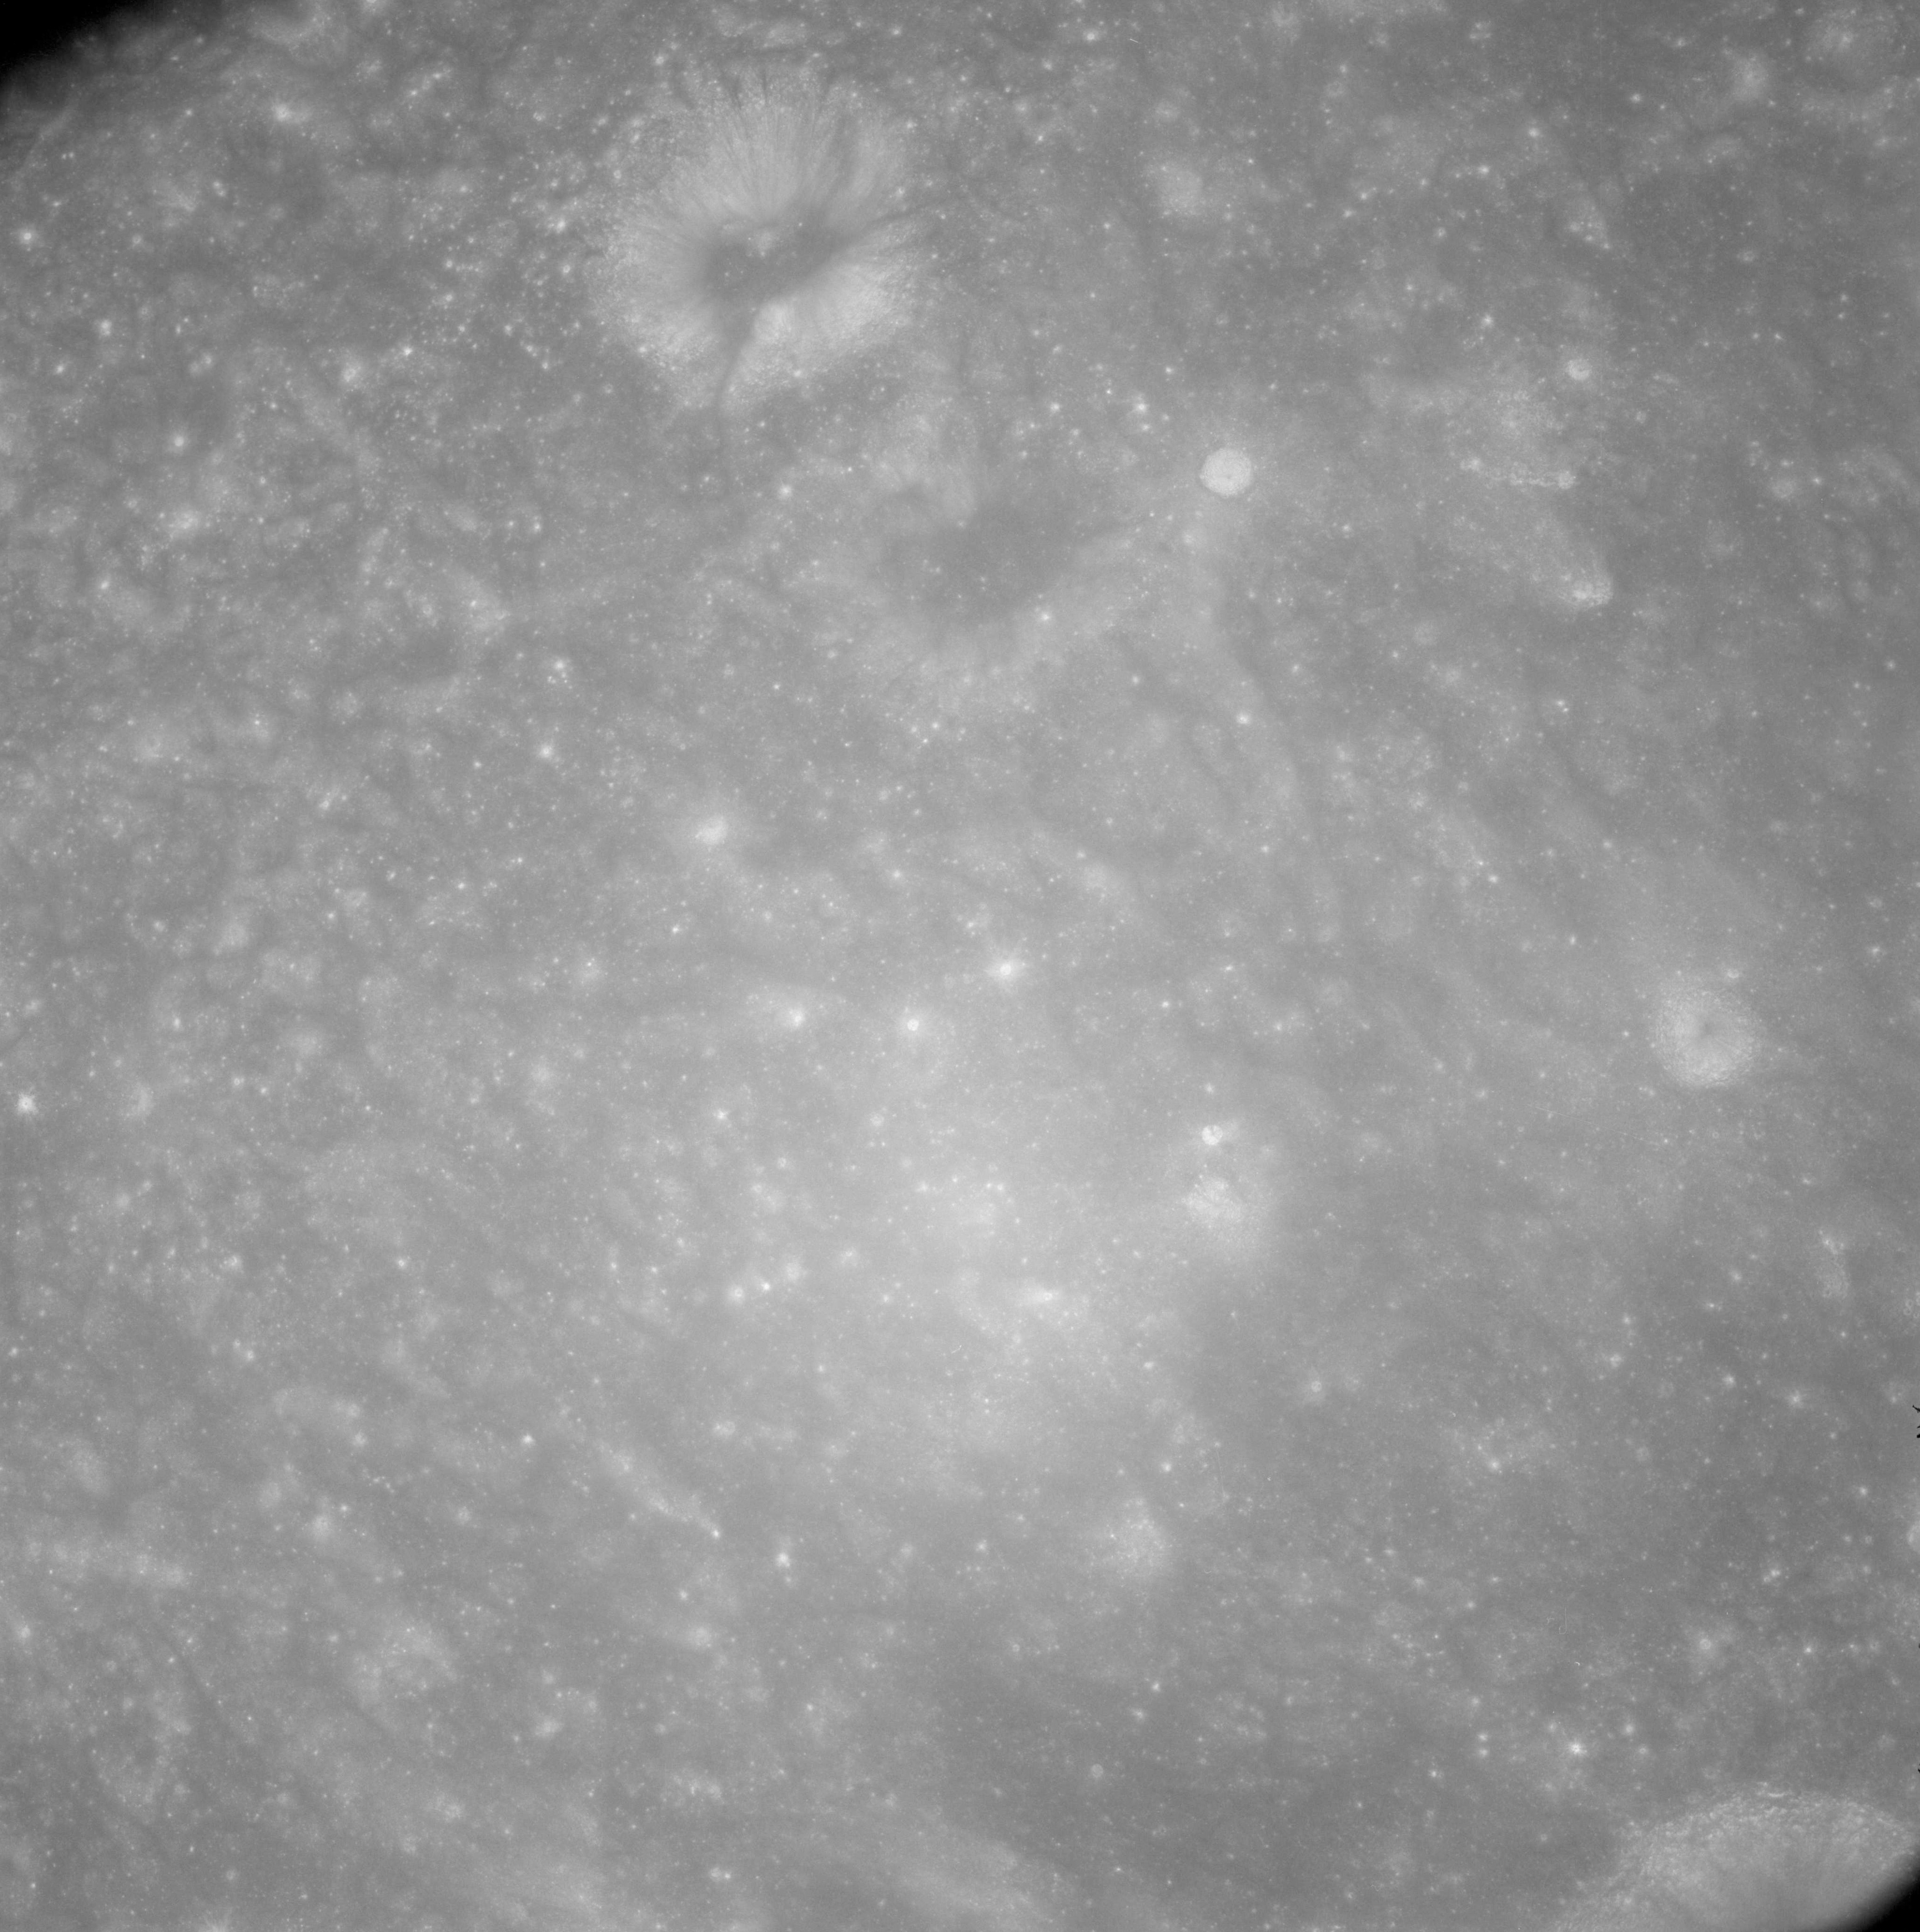 |
AS08-12-2139 Meitner J and H top of frame. This frame is halfway through Borman's 180° roll maneuver. Image credit: Image Science and Analysis Laboratory, NASA-Johnson Space Center. |
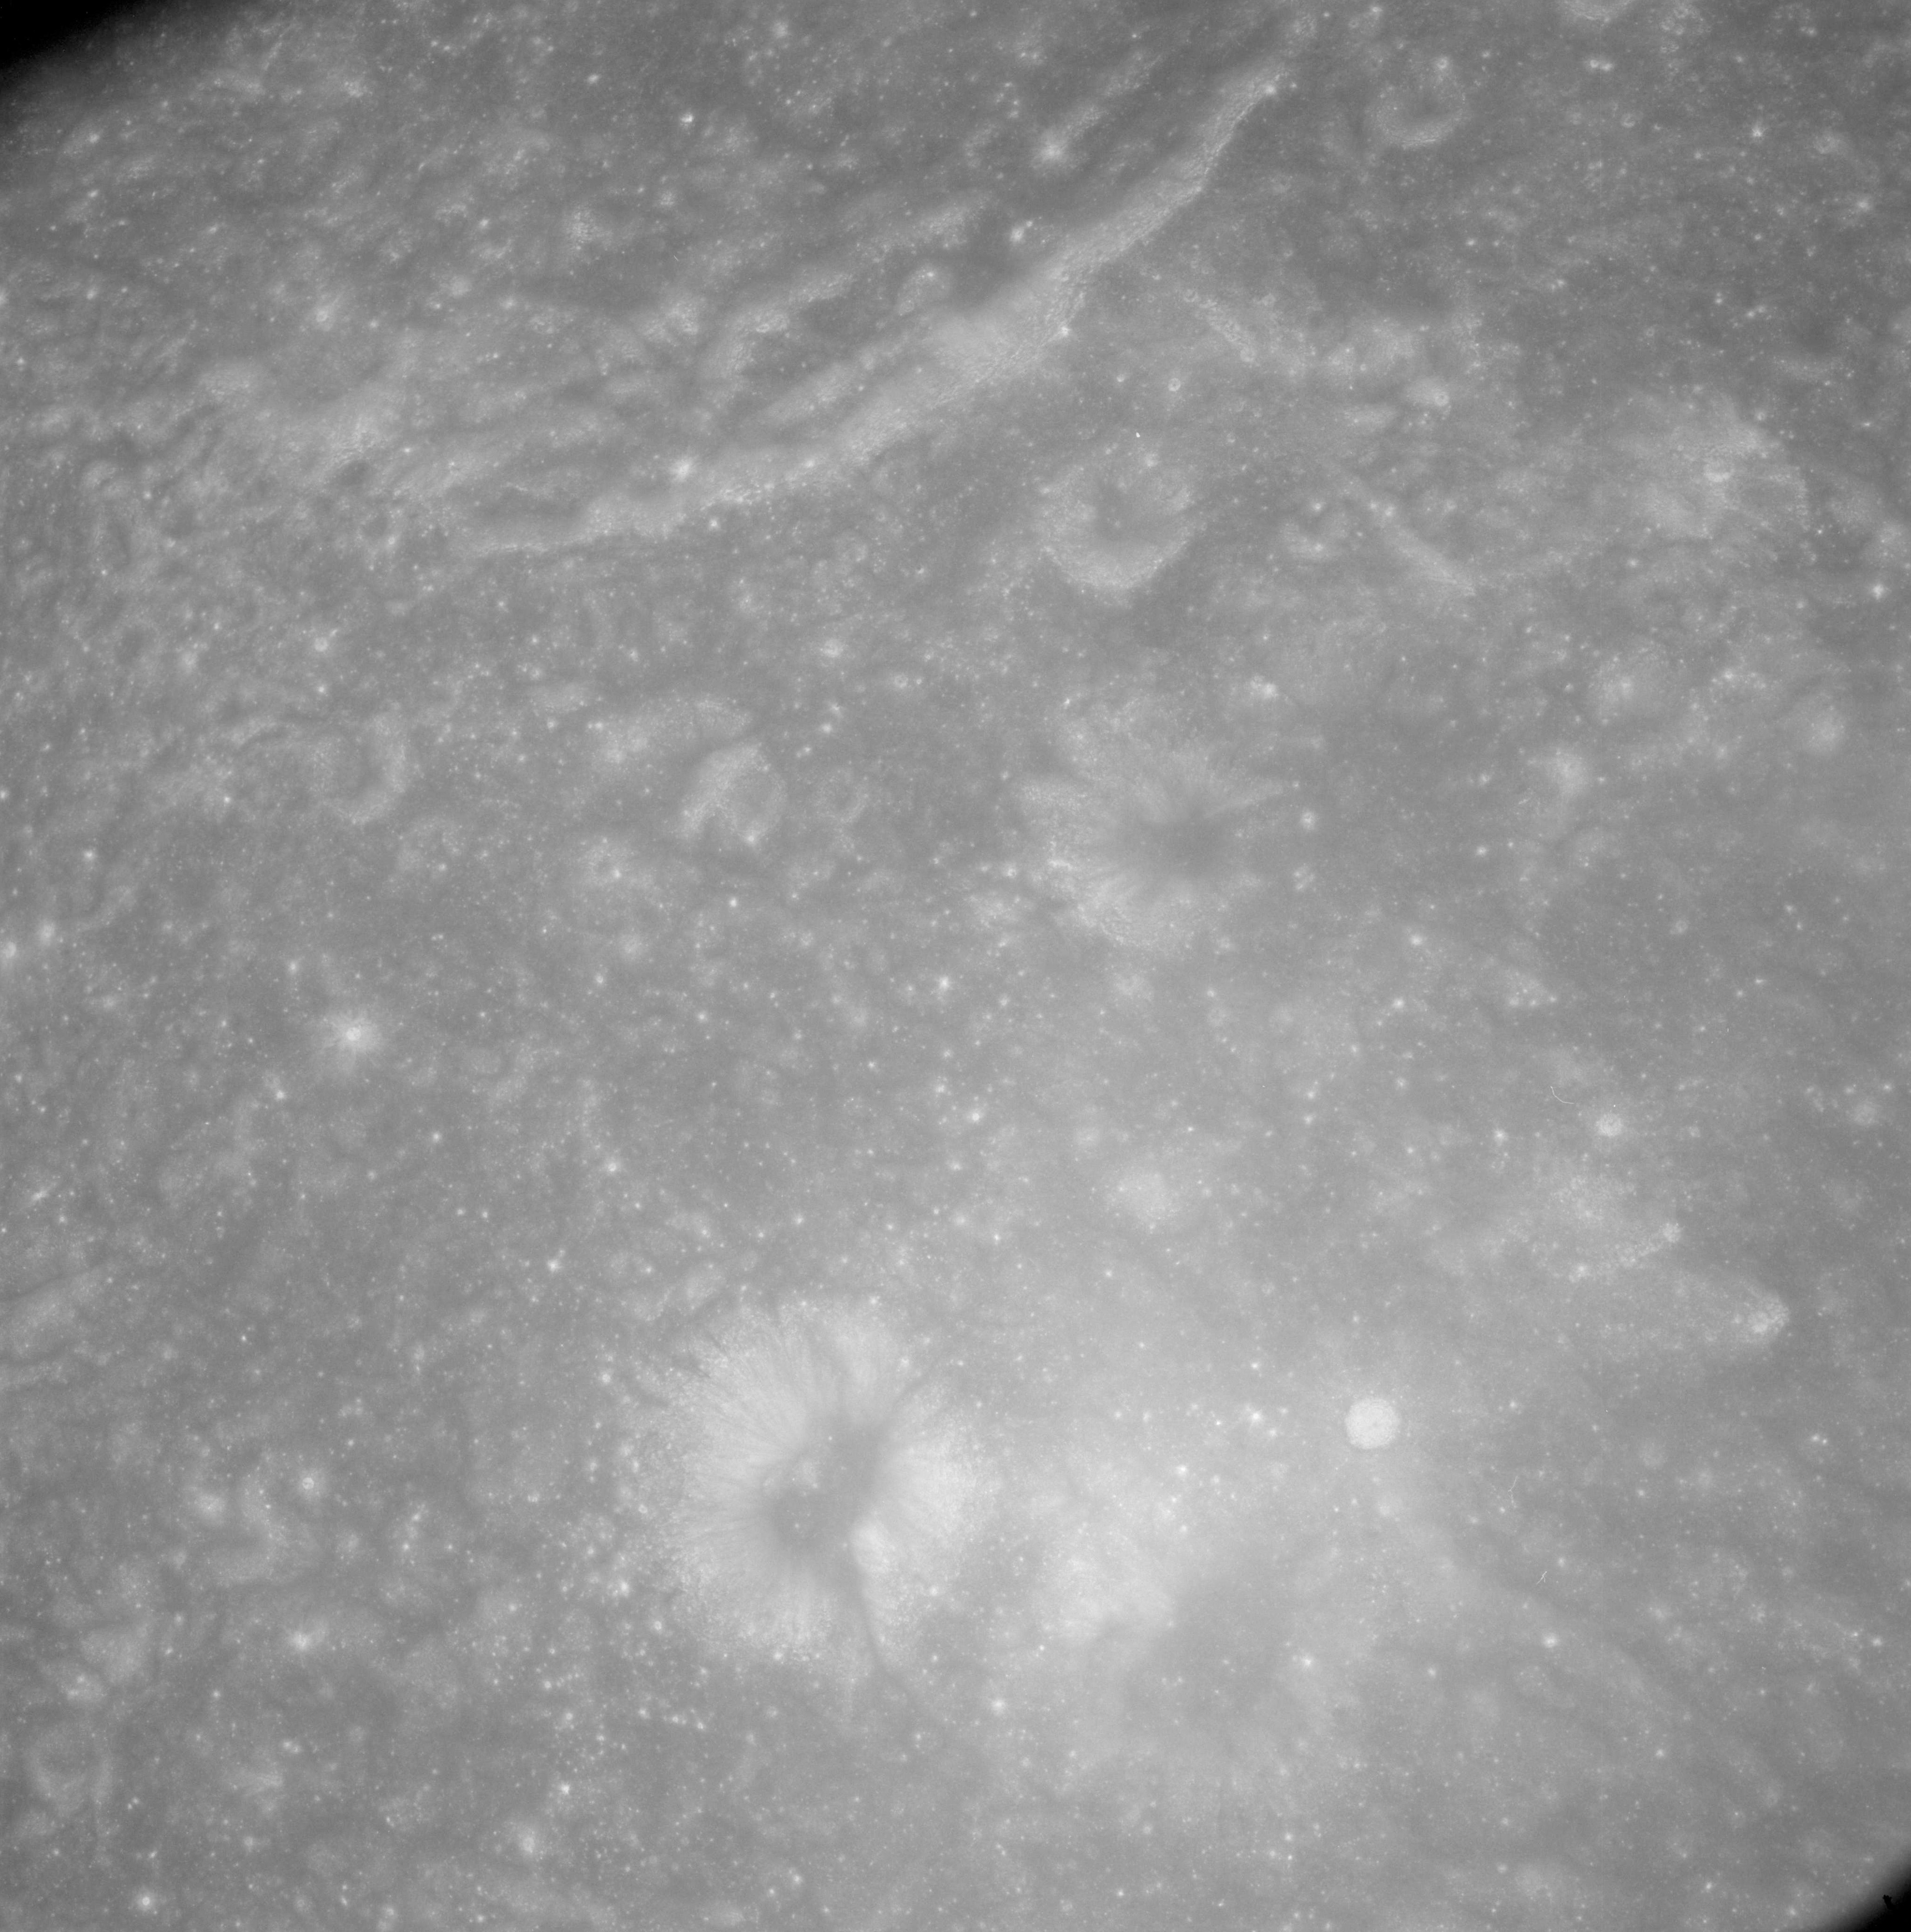 |
AS08-12-2140 Meitner J and H bottom of frame. Eastern rim of Meitner at top left. Image credit: Image Science and Analysis Laboratory, NASA-Johnson Space Center. |
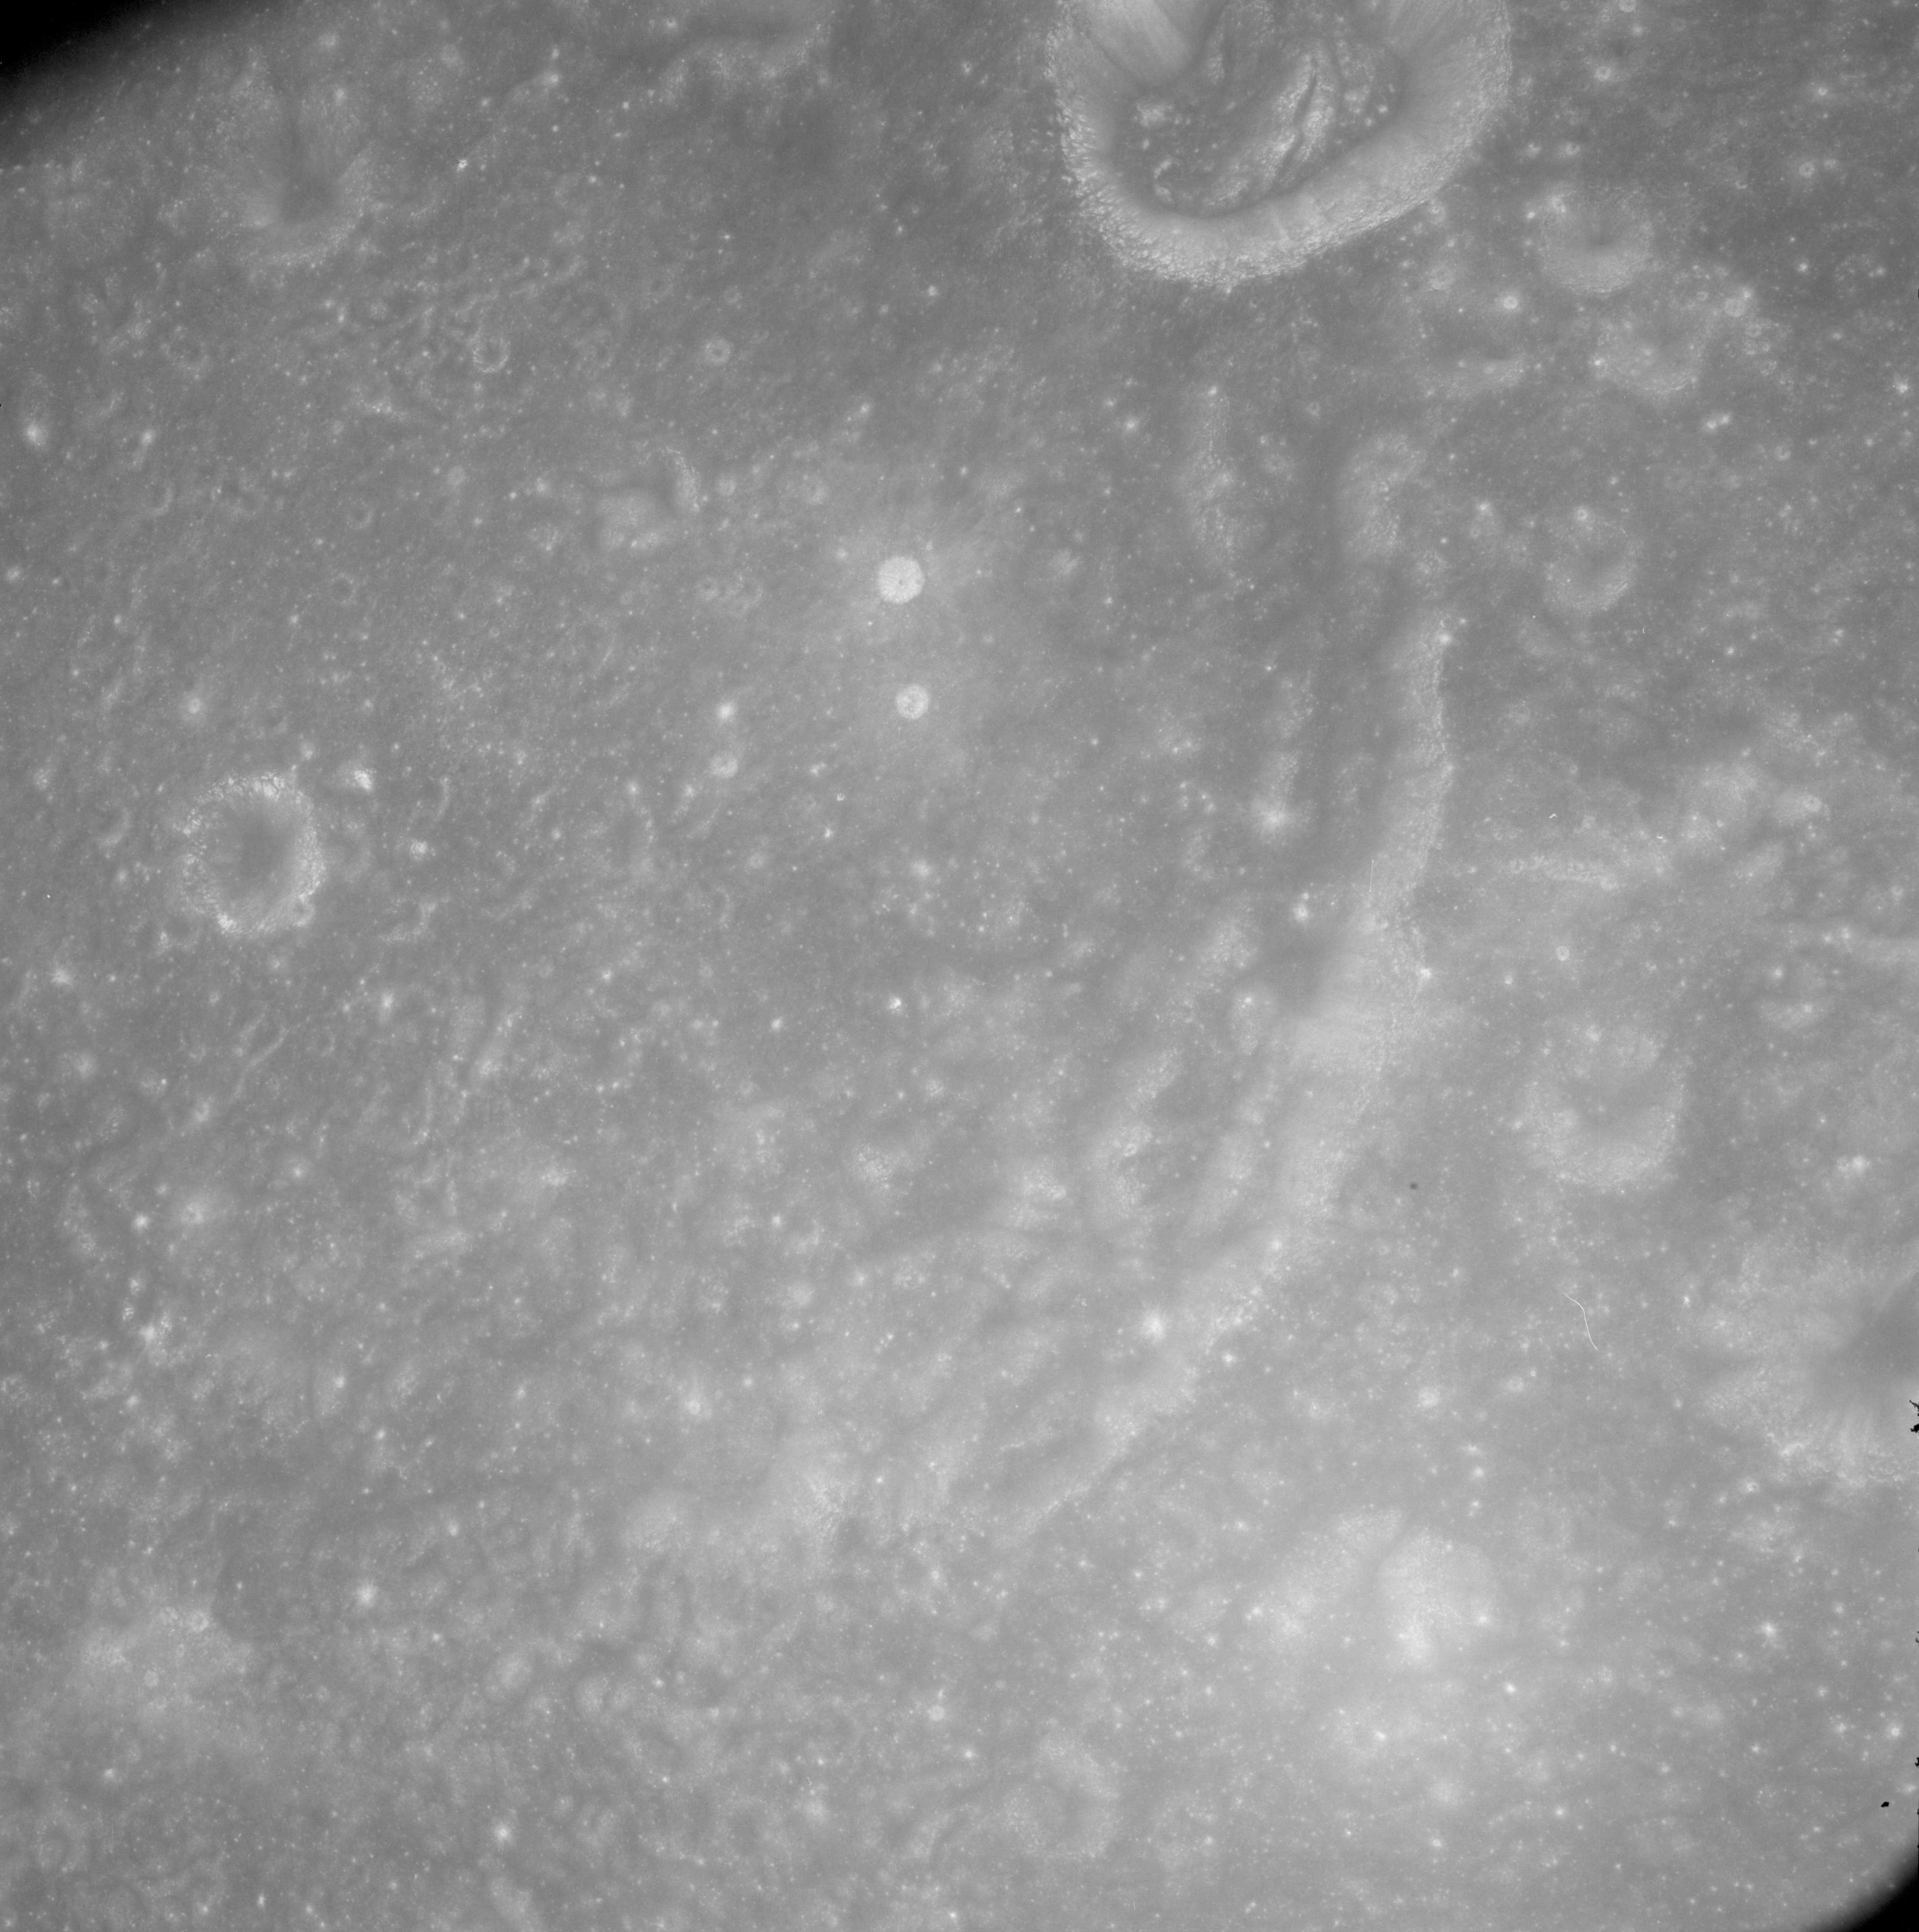 |
AS08-12-2141 Eastern interior of Meitner. Meitner C at top of frame. Image credit: Image Science and Analysis Laboratory, NASA-Johnson Space Center. |
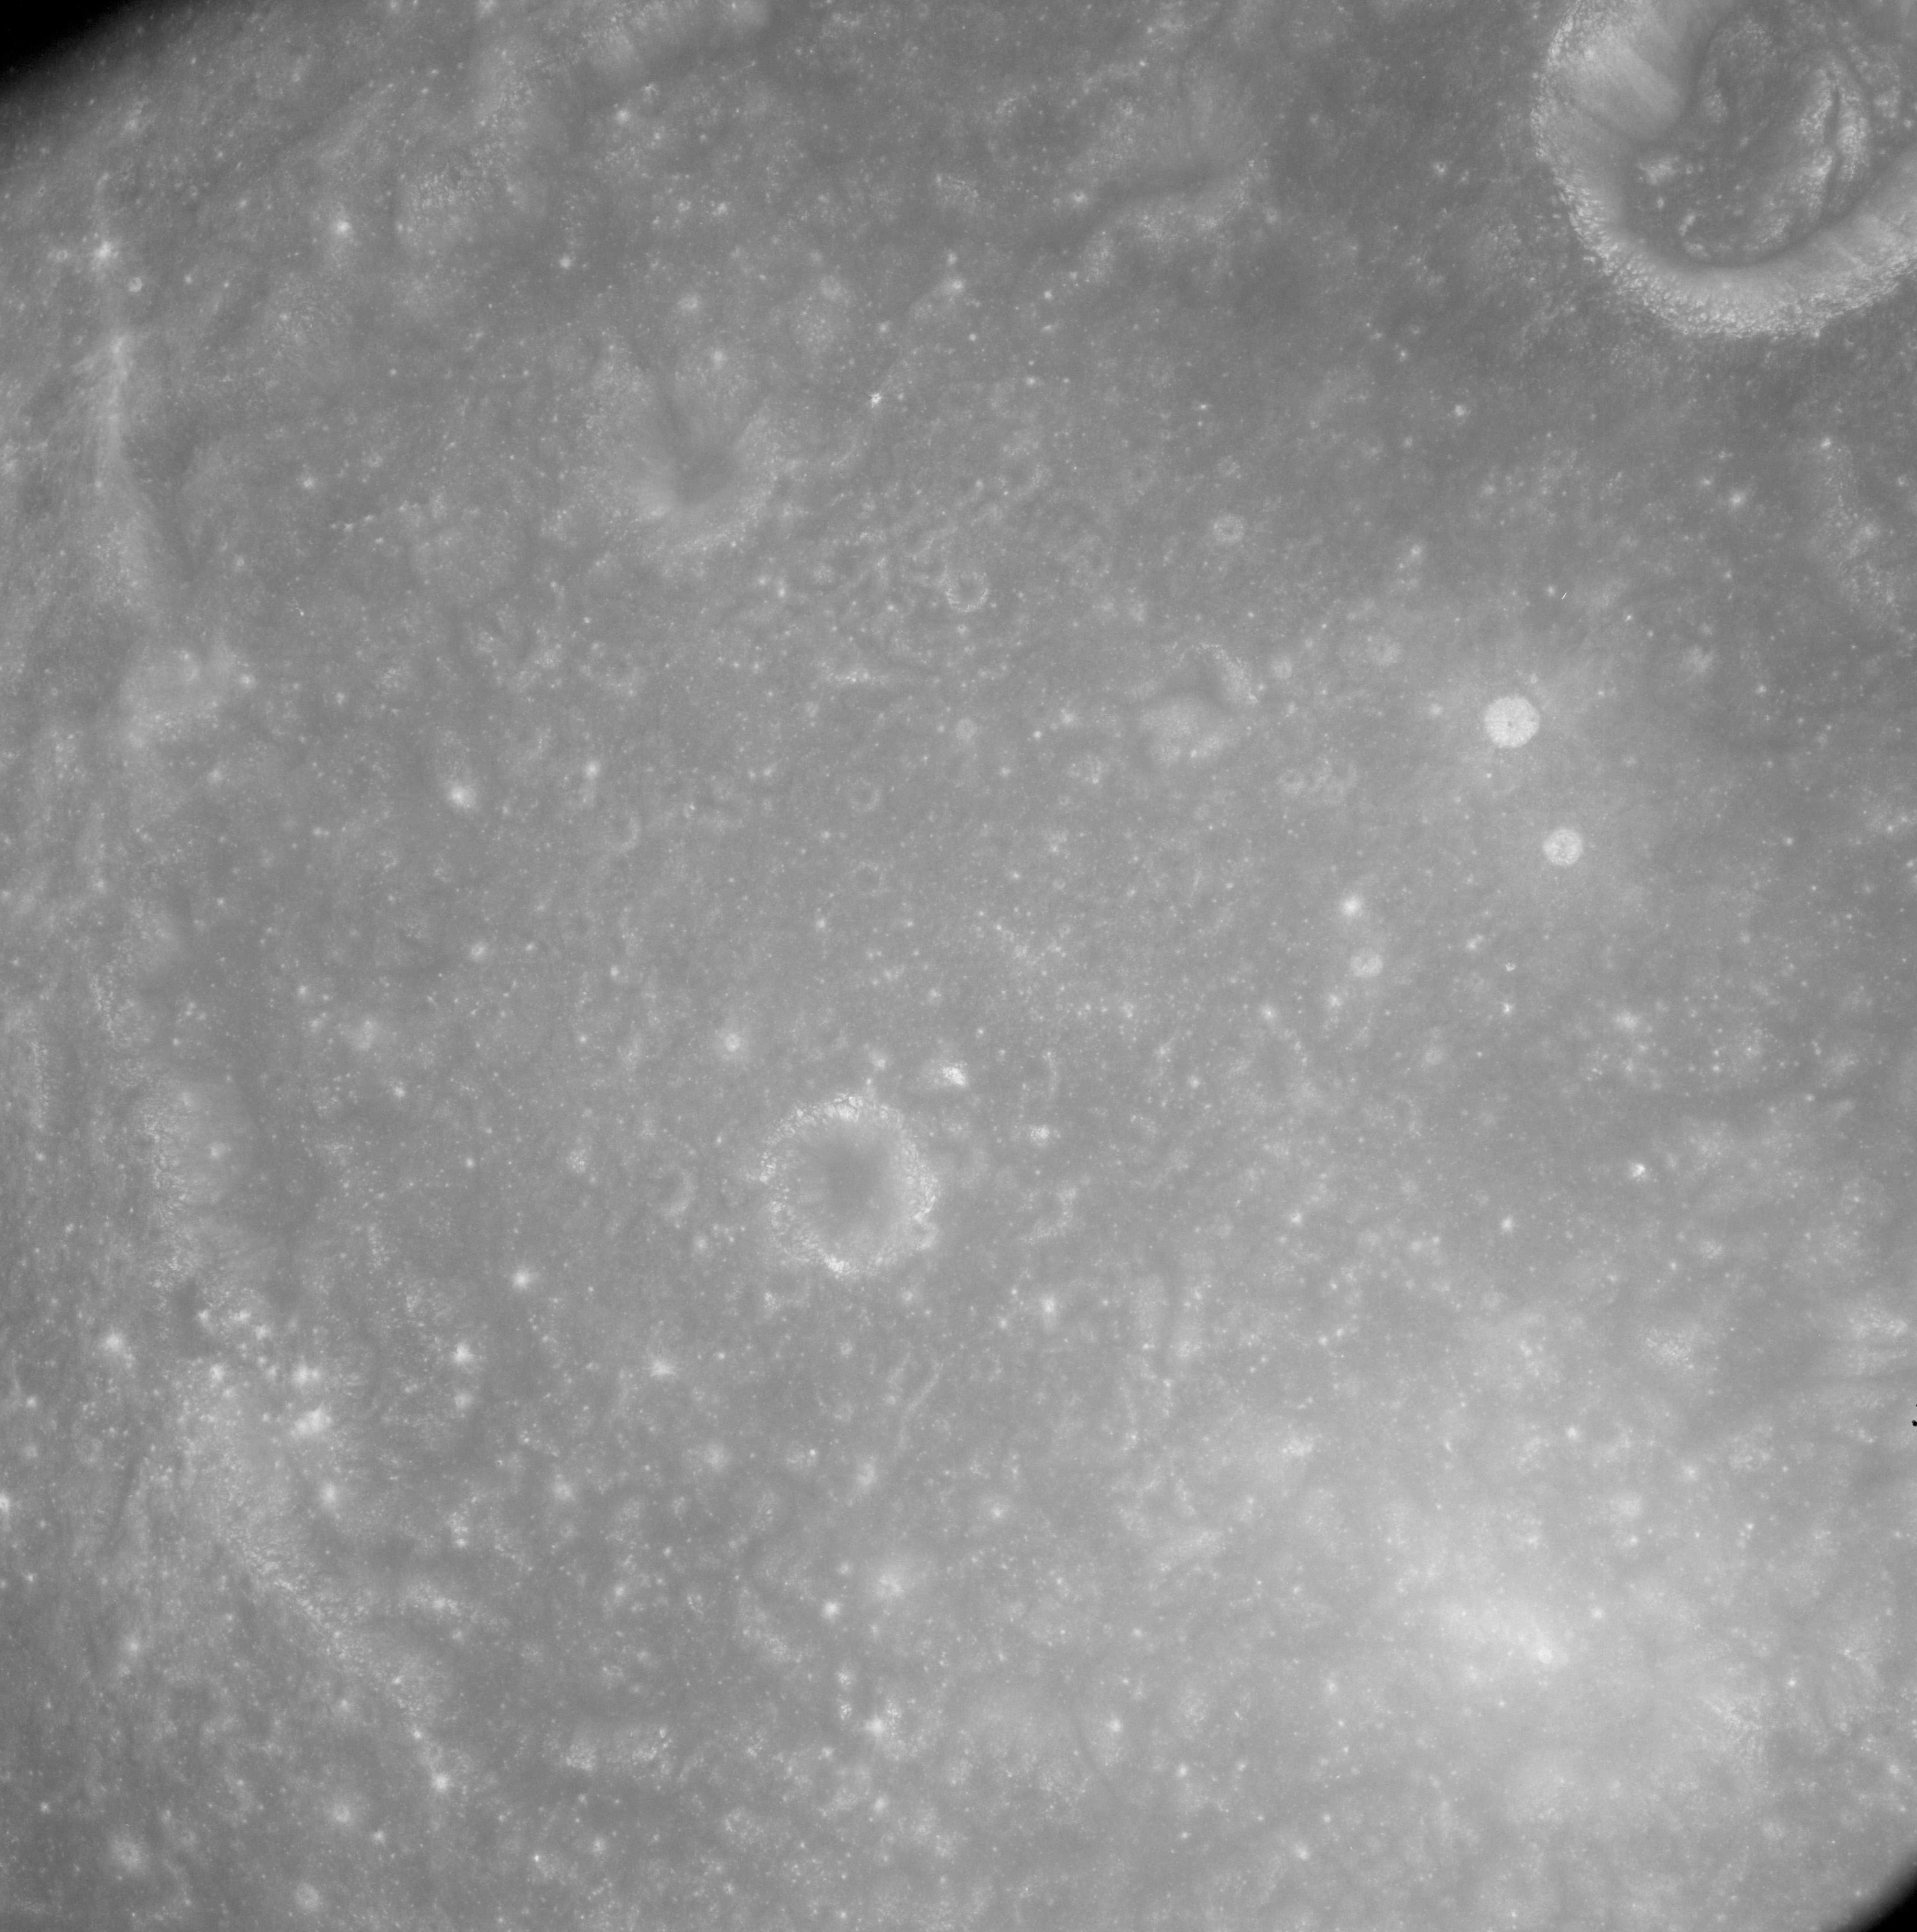 |
AS08-12-2142 Interior of Meitner. Meitner C at top of frame. Borman's 180° roll is complete. Image credit: Image Science and Analysis Laboratory, NASA-Johnson Space Center. |
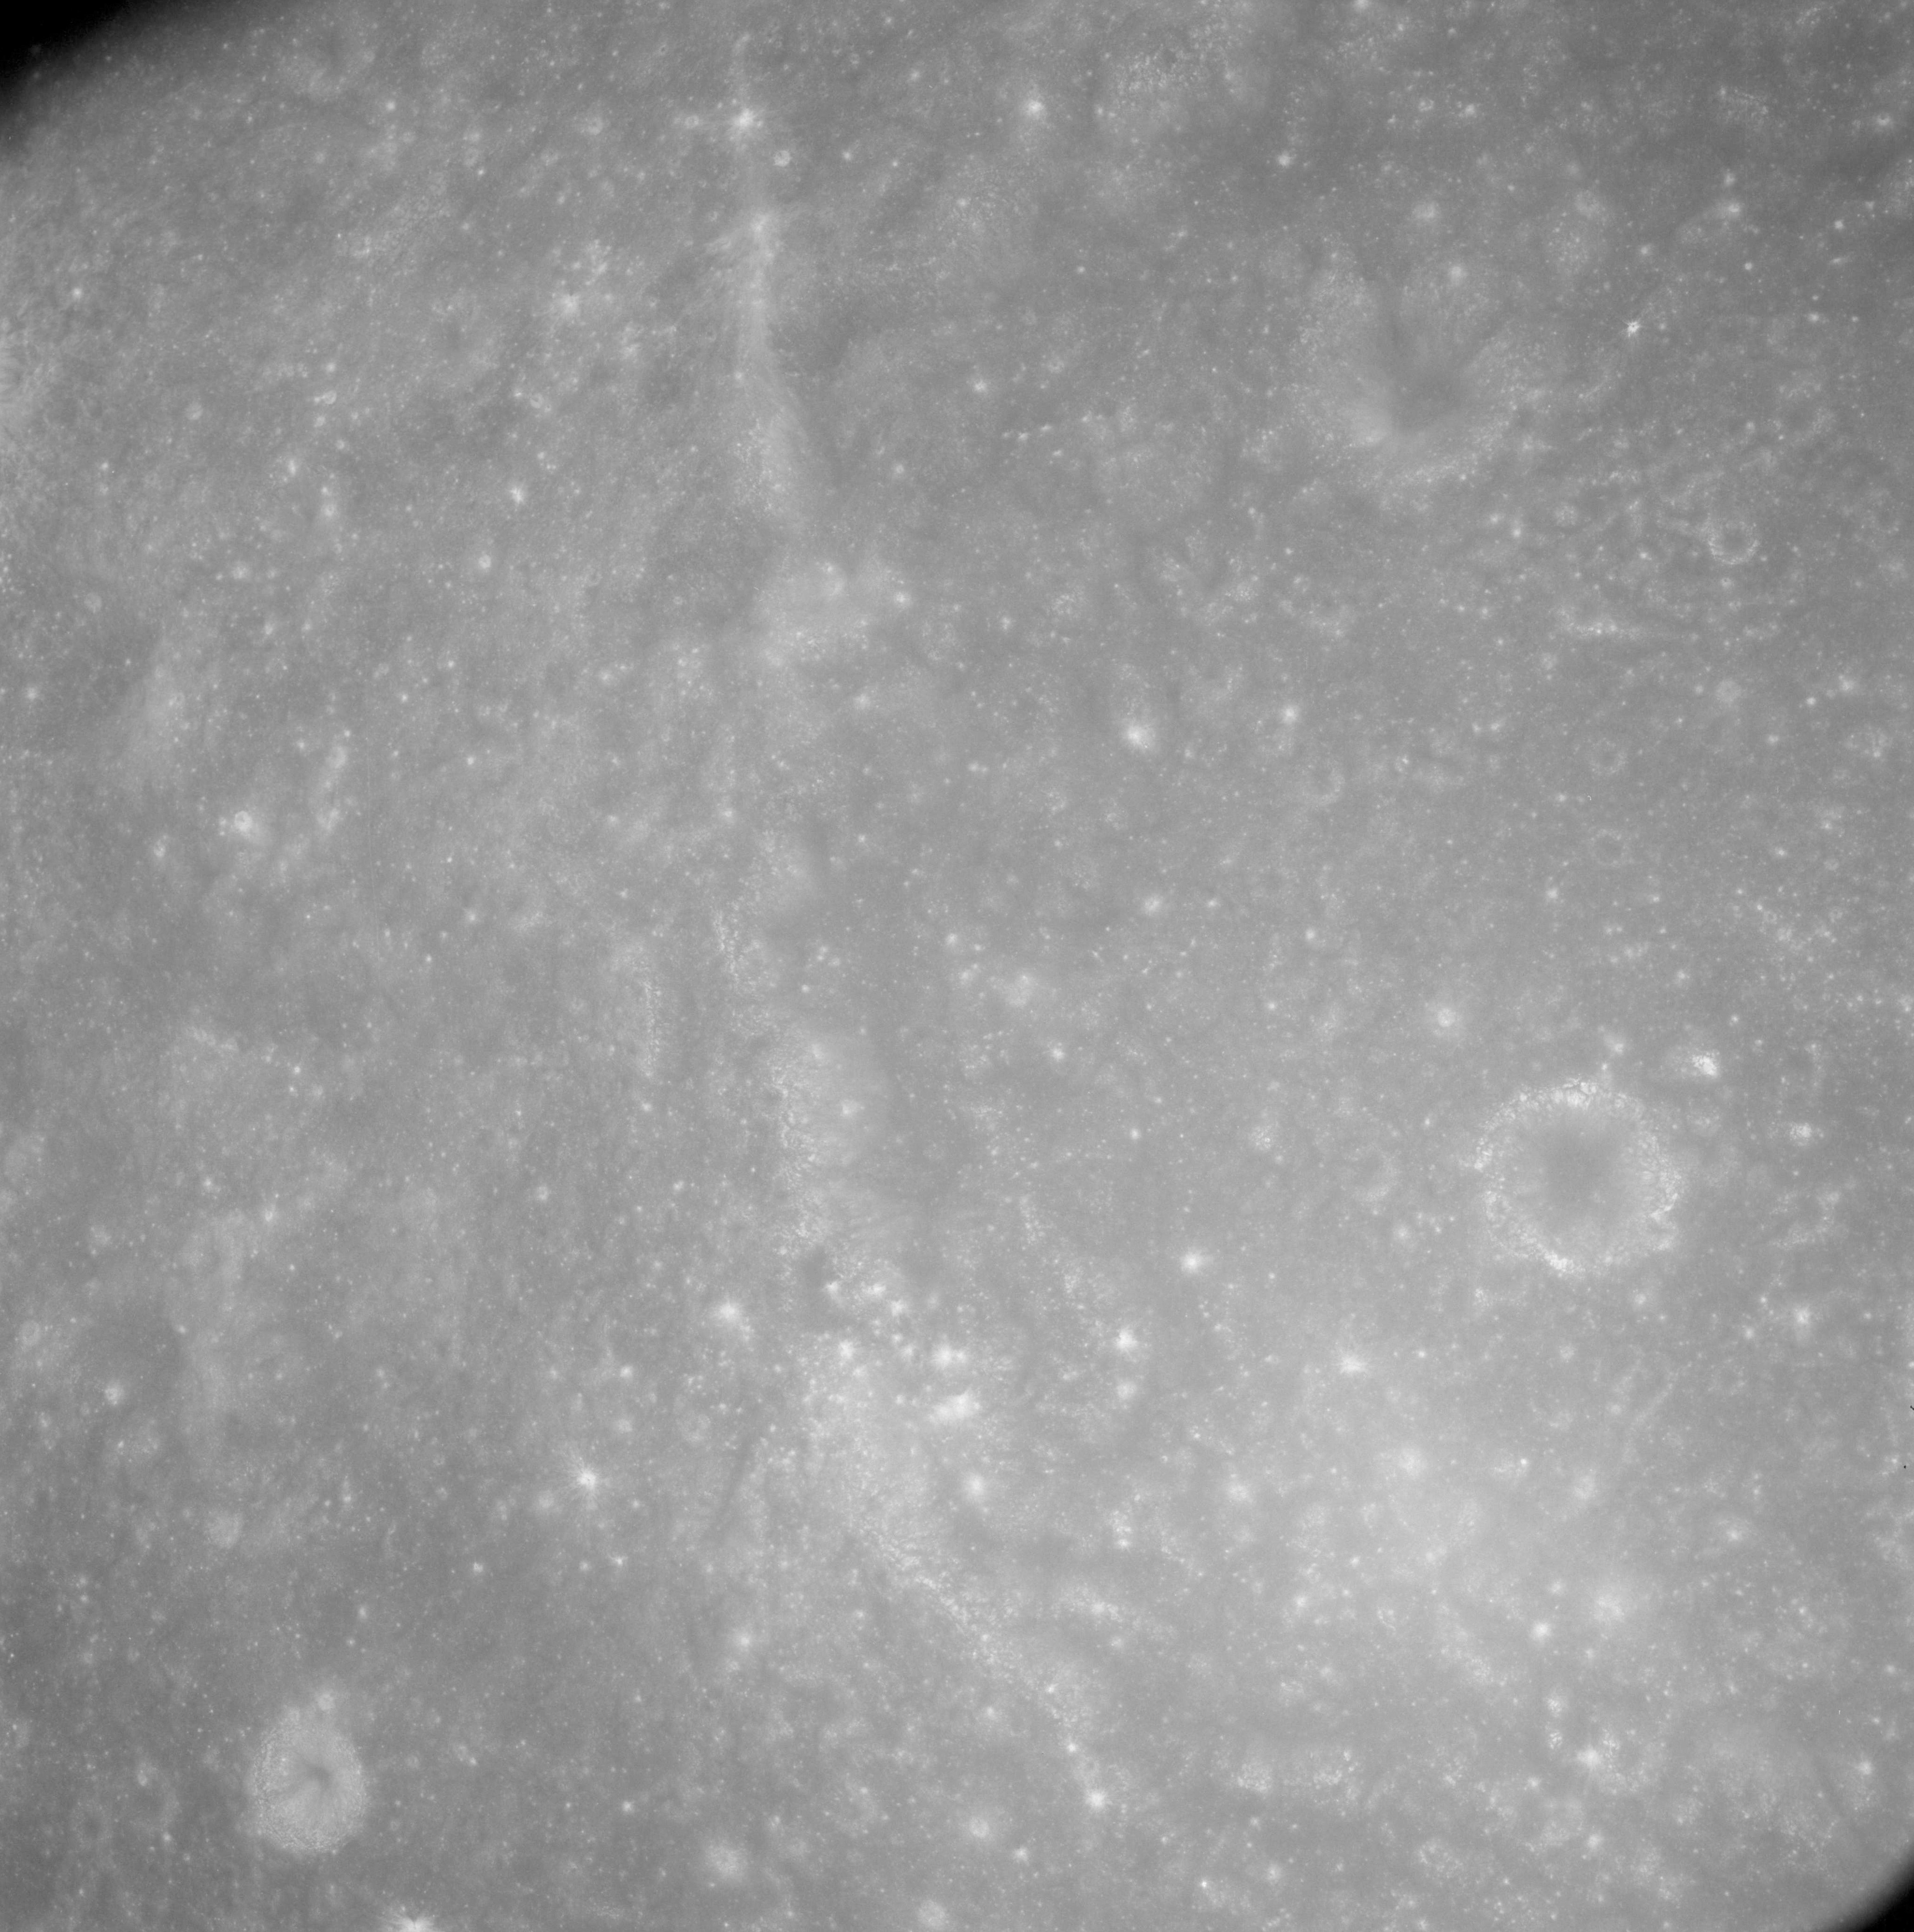 |
AS08-12-2143 Western rim of Meitner. Image credit: Image Science and Analysis Laboratory, NASA-Johnson Space Center. |
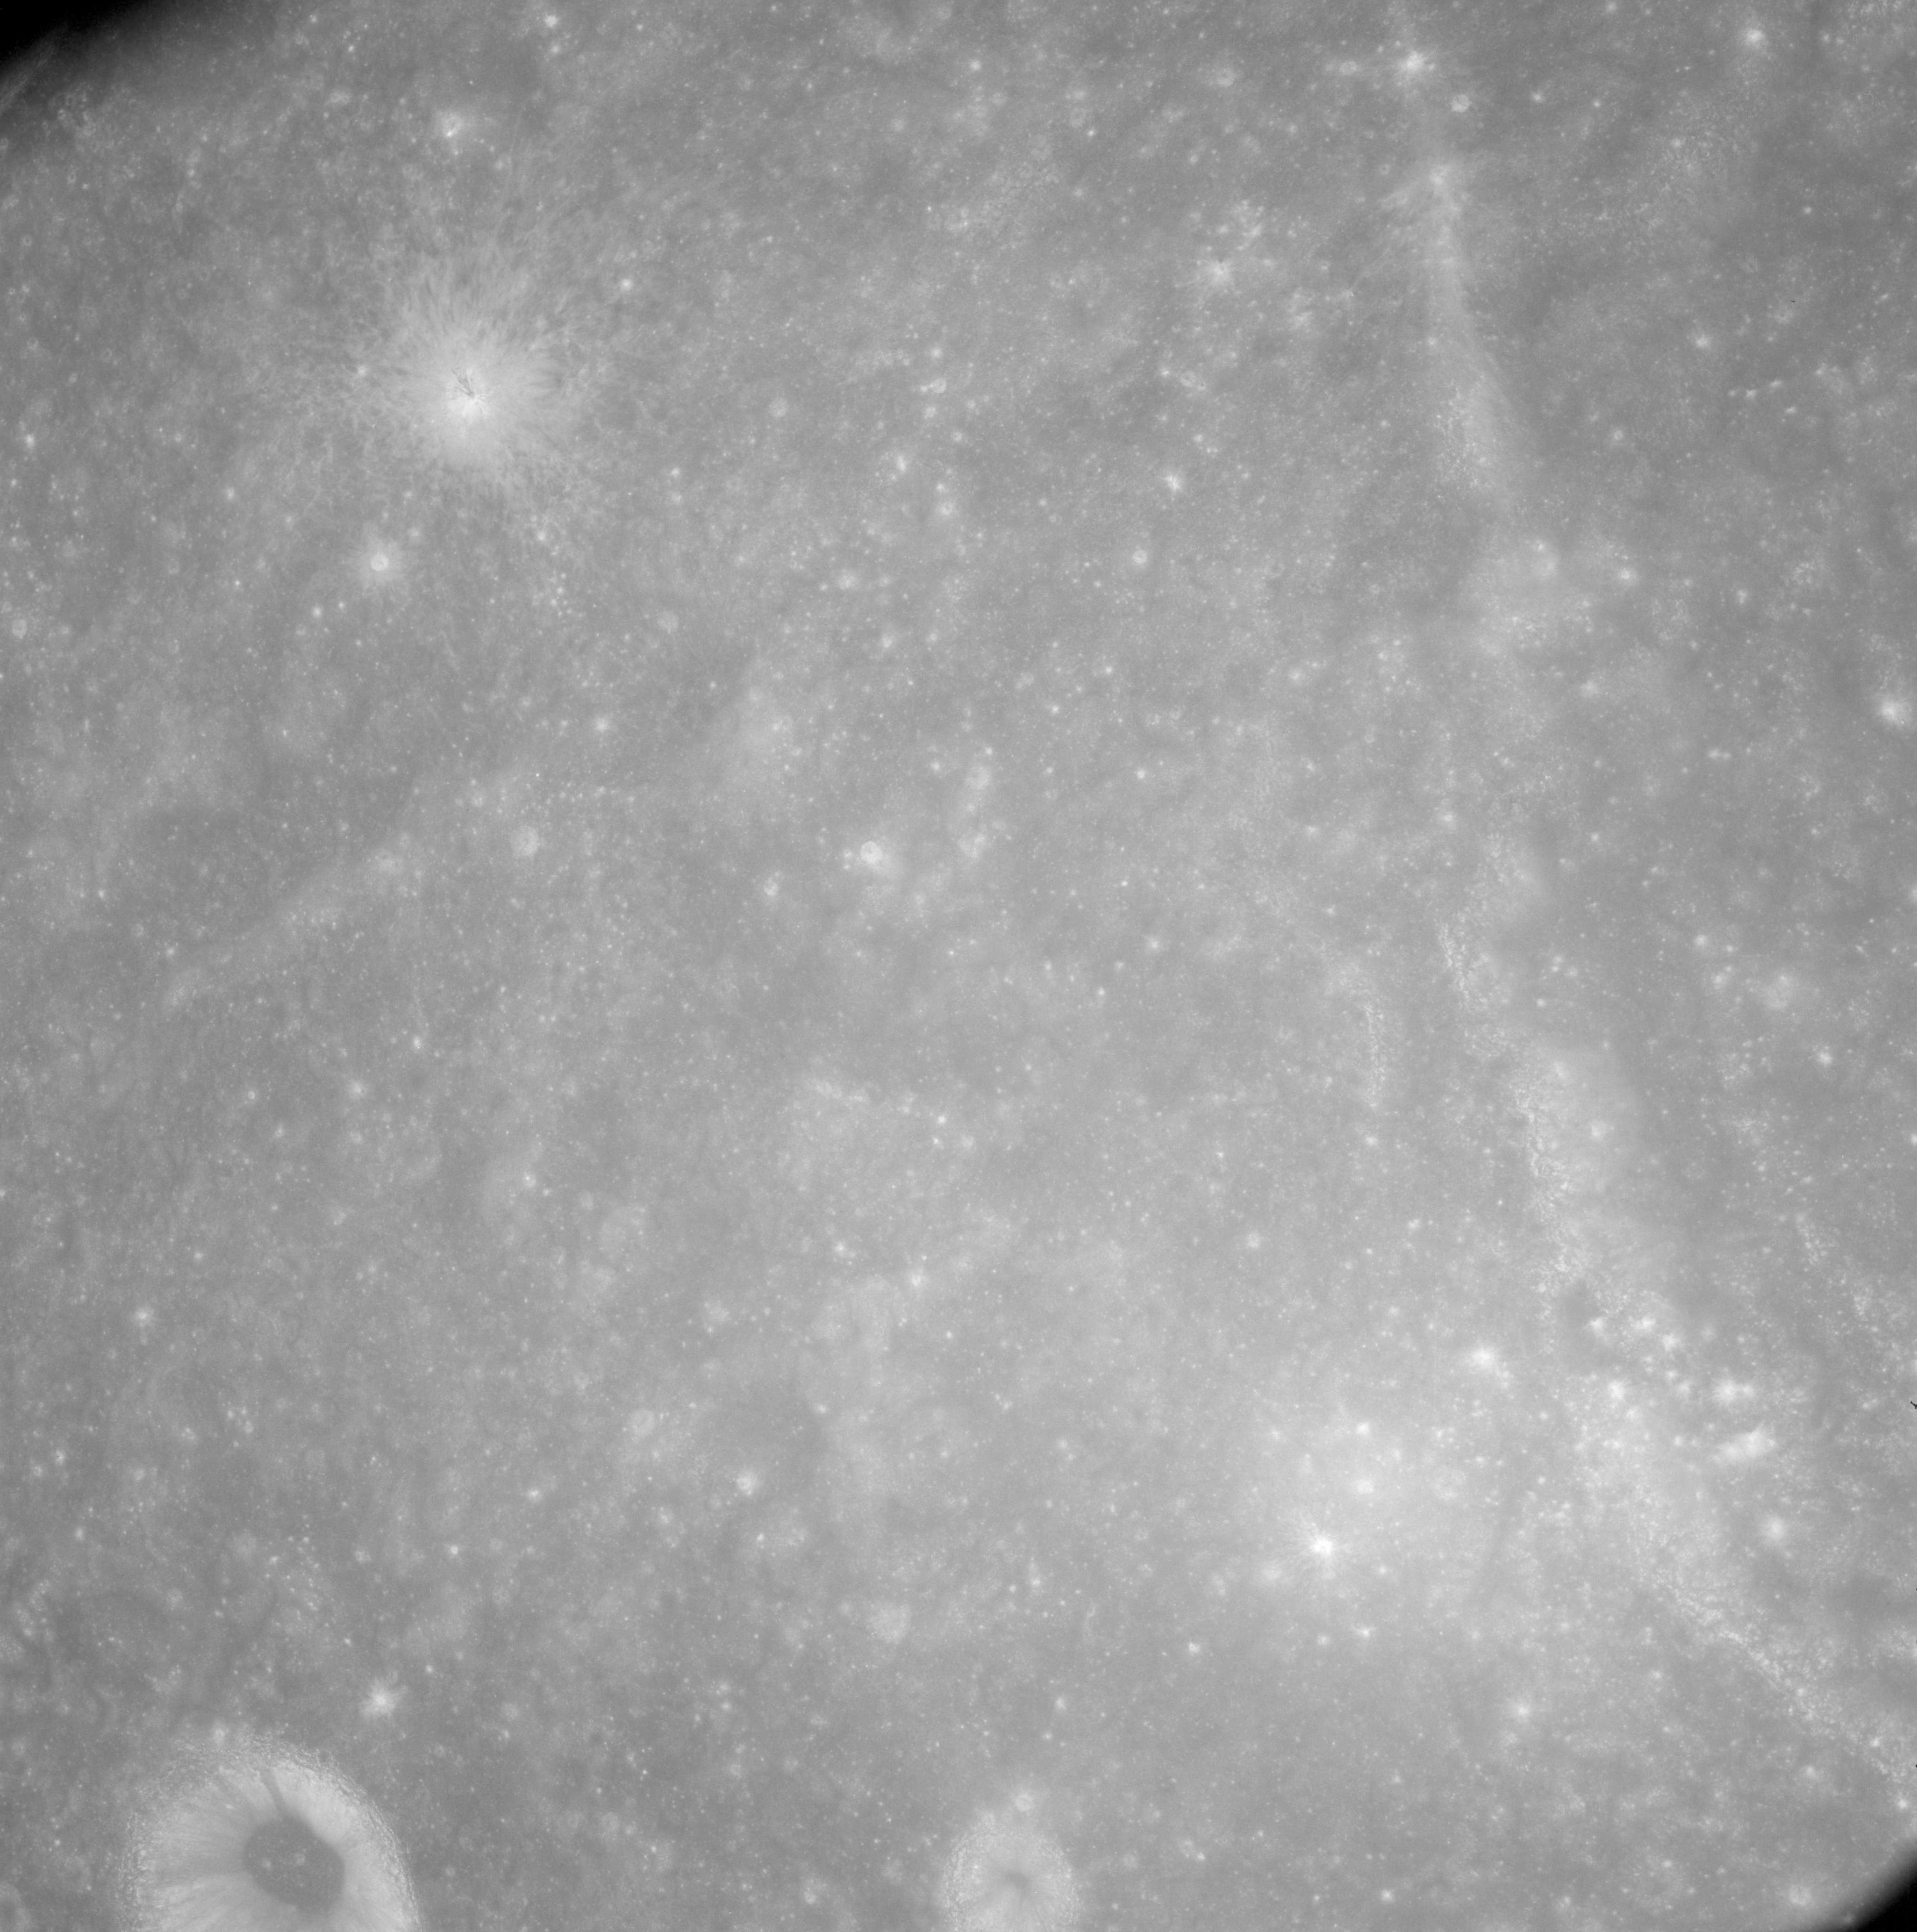 |
AS08-12-2144 Beyond the western rim of Meitner. Meitner R bottom left. Image credit: Image Science and Analysis Laboratory, NASA-Johnson Space Center. |
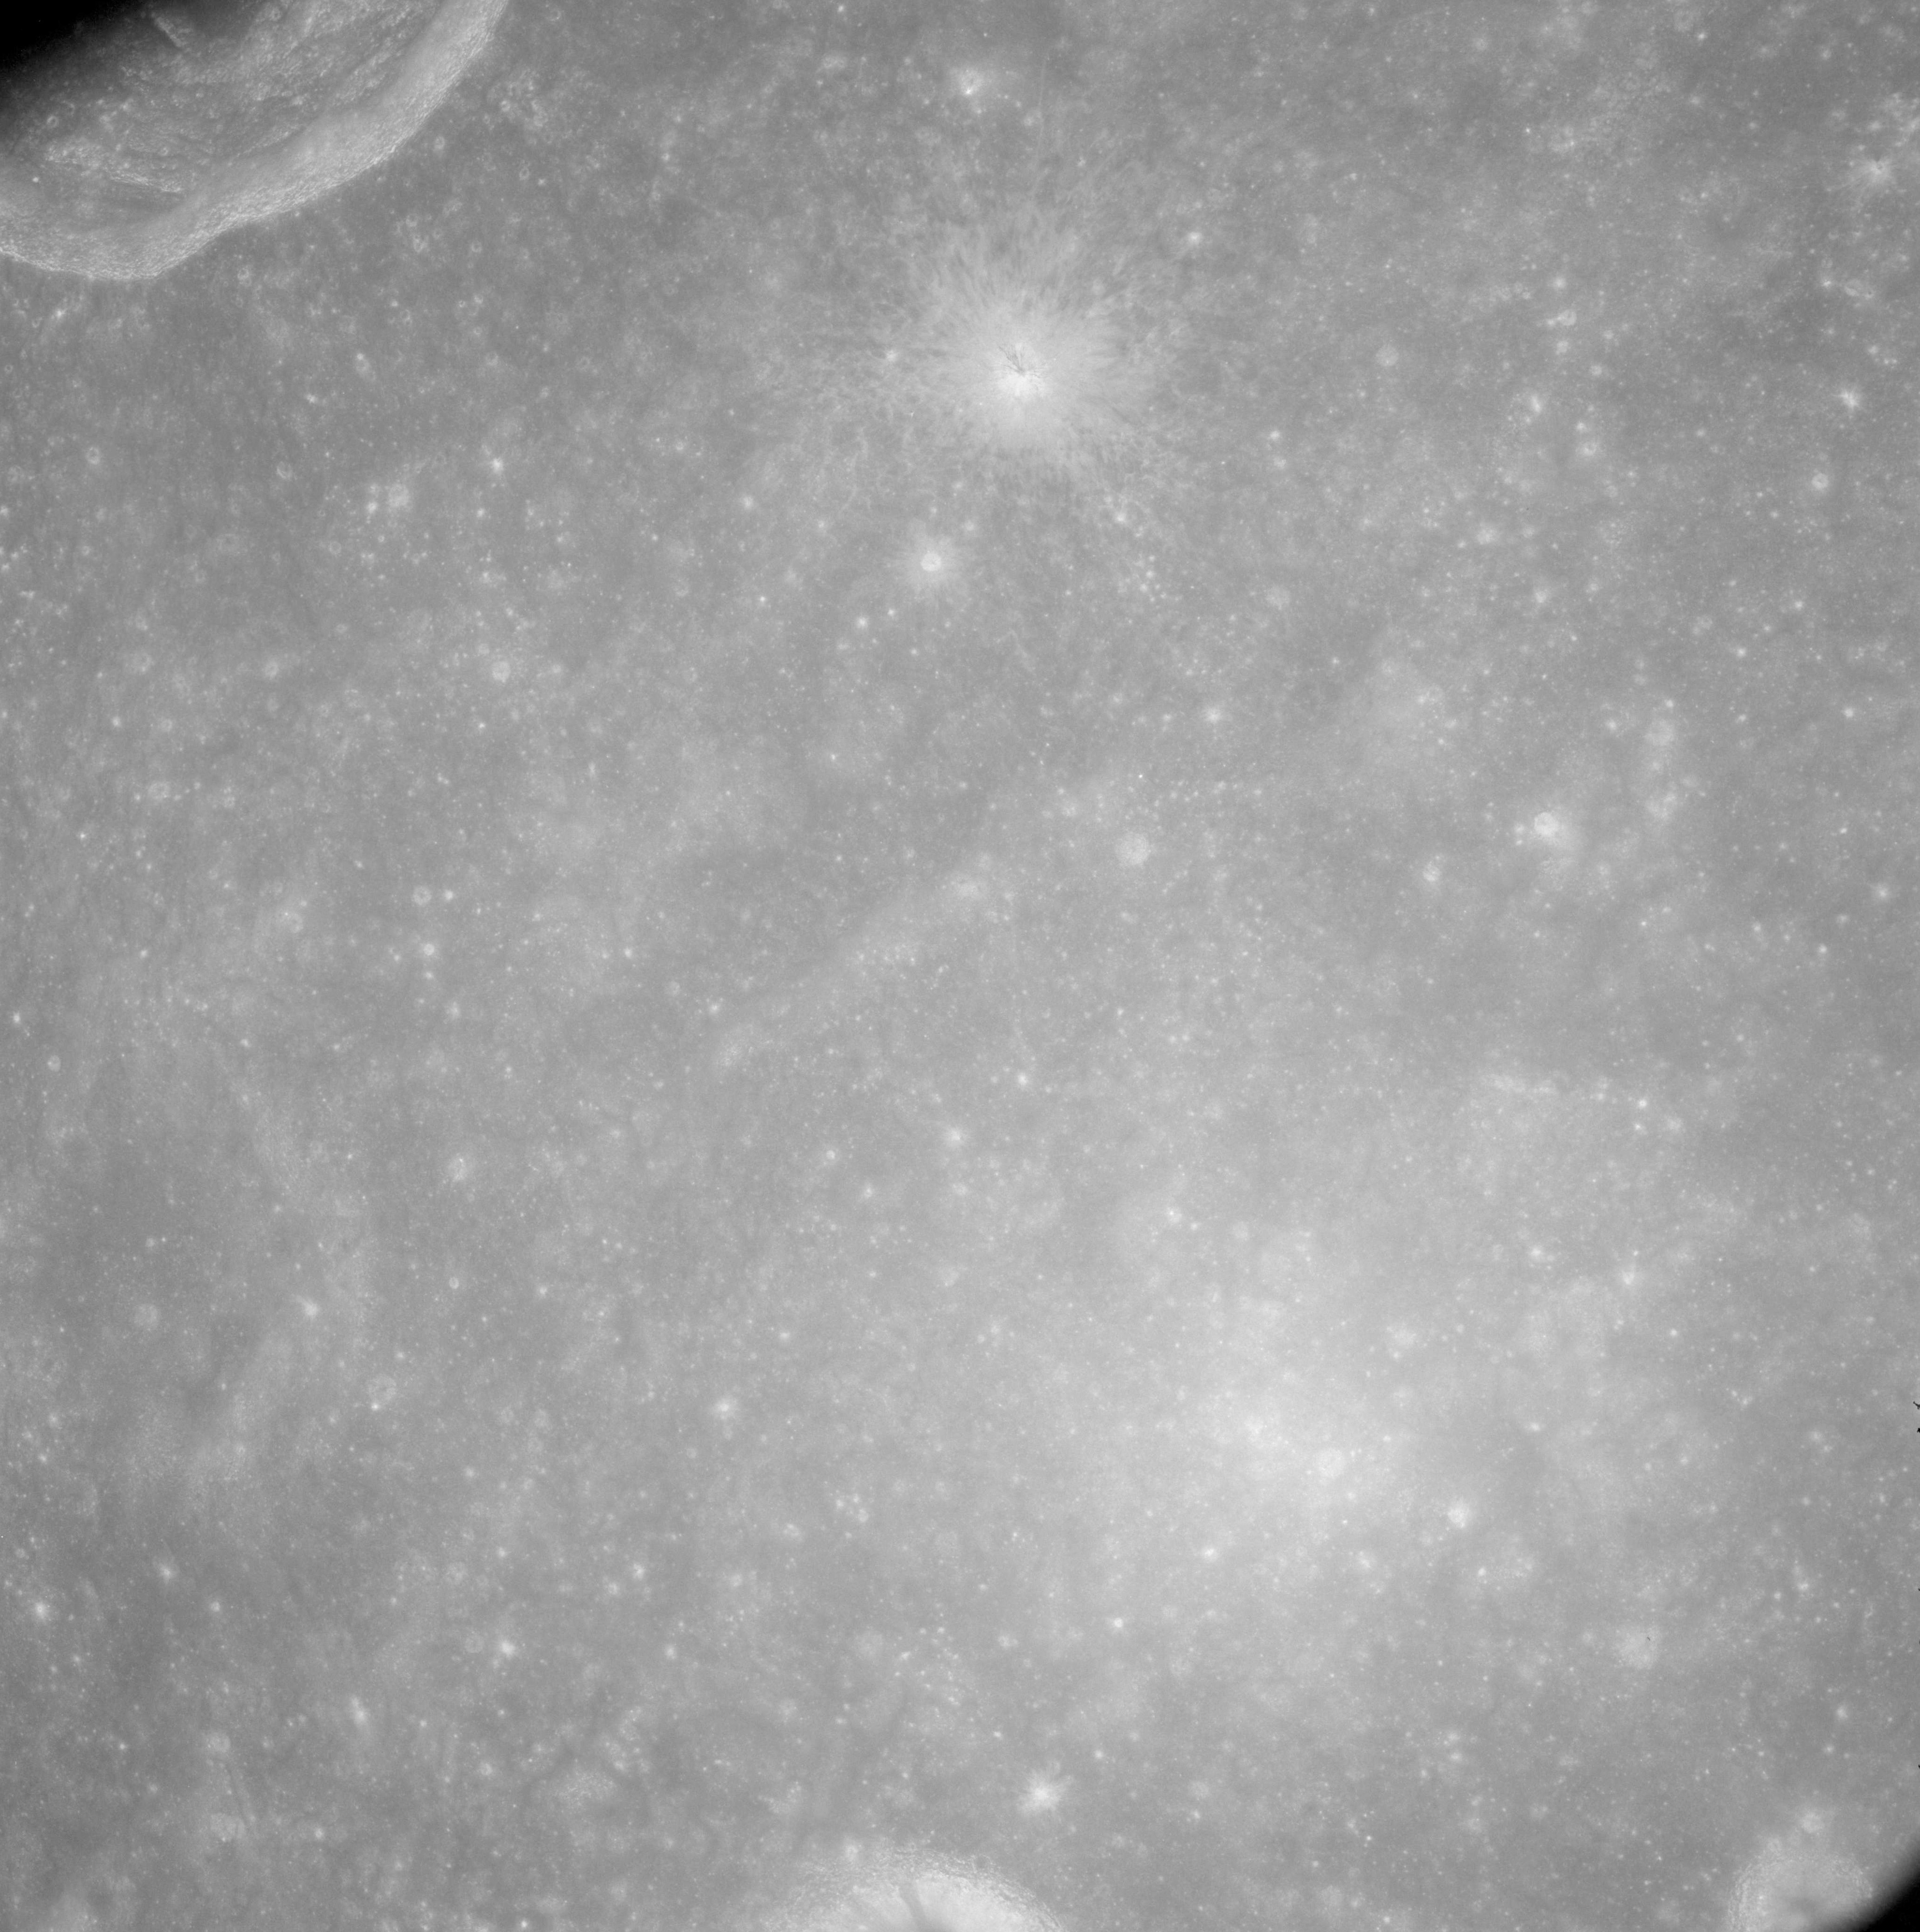 |
AS08-12-2145 West rim of Meitner. Rim of Pasteur D top left. Image credit: Image Science and Analysis Laboratory, NASA-Johnson Space Center. |
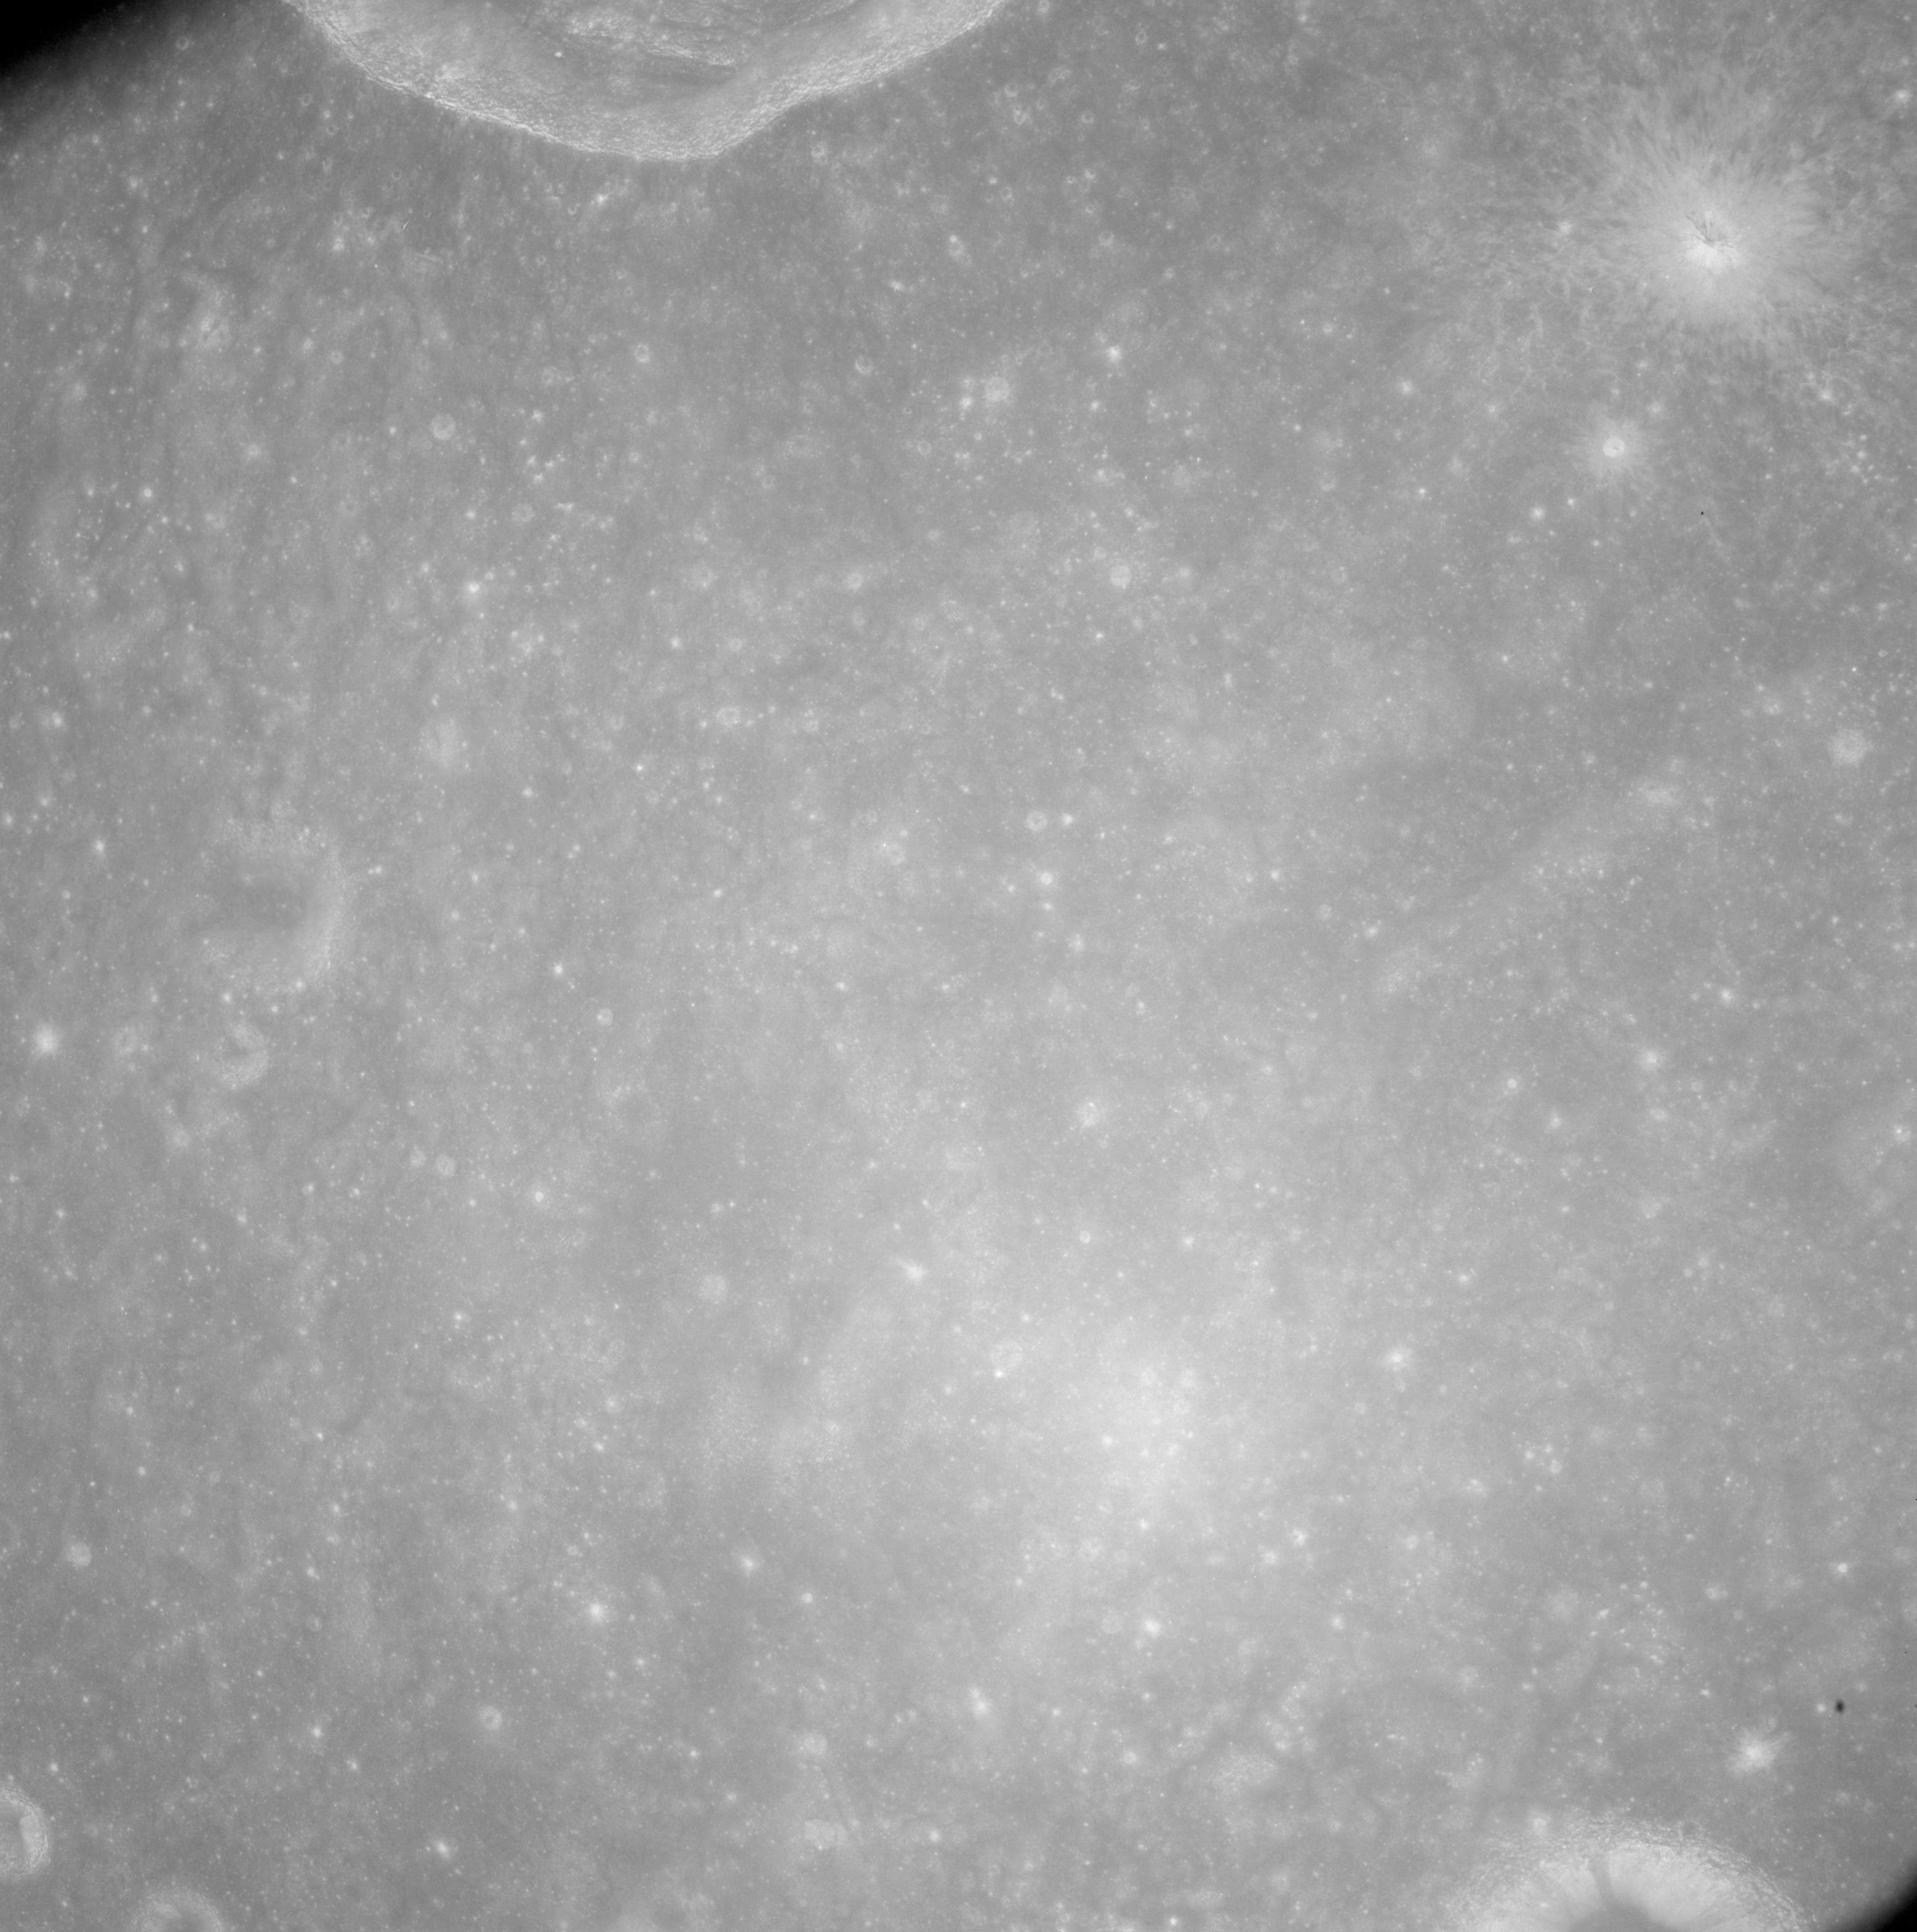 |
AS08-12-2146 West of Meitner. Rim of Pasteur D top of frame. Image credit: Image Science and Analysis Laboratory, NASA-Johnson Space Center. |
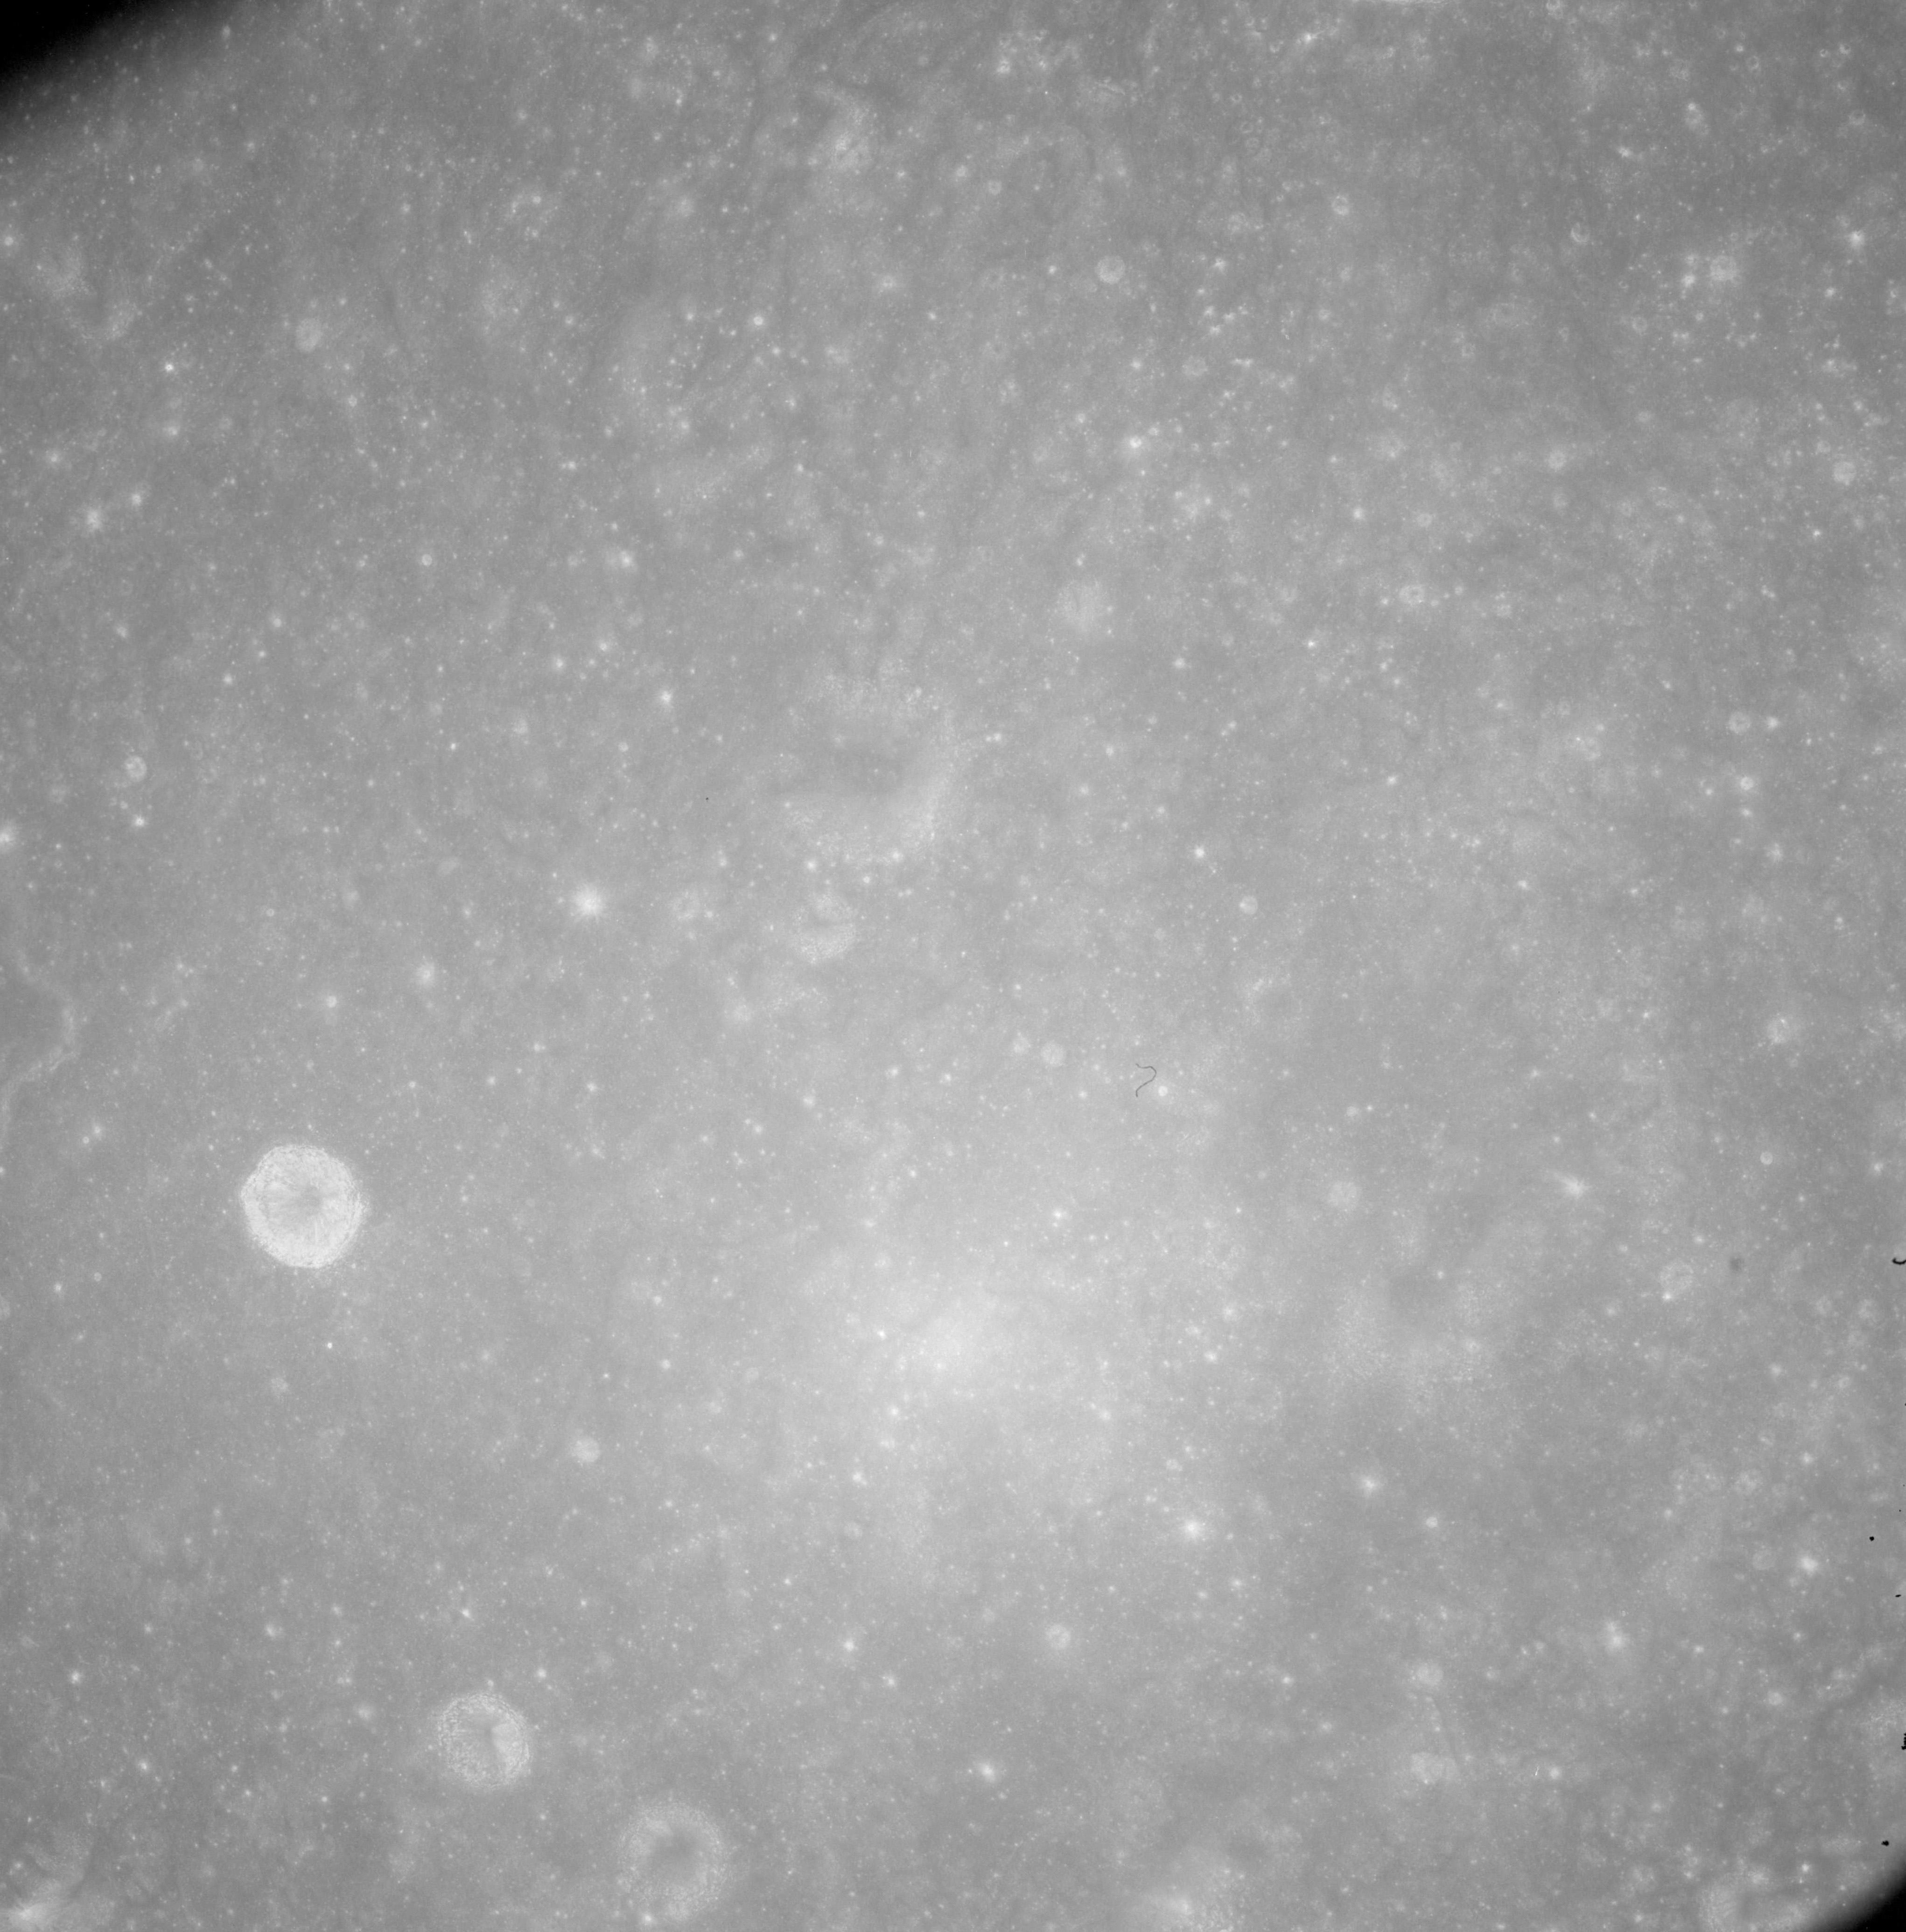 |
AS08-12-2147 West of Meitner. Image credit: Image Science and Analysis Laboratory, NASA-Johnson Space Center. |
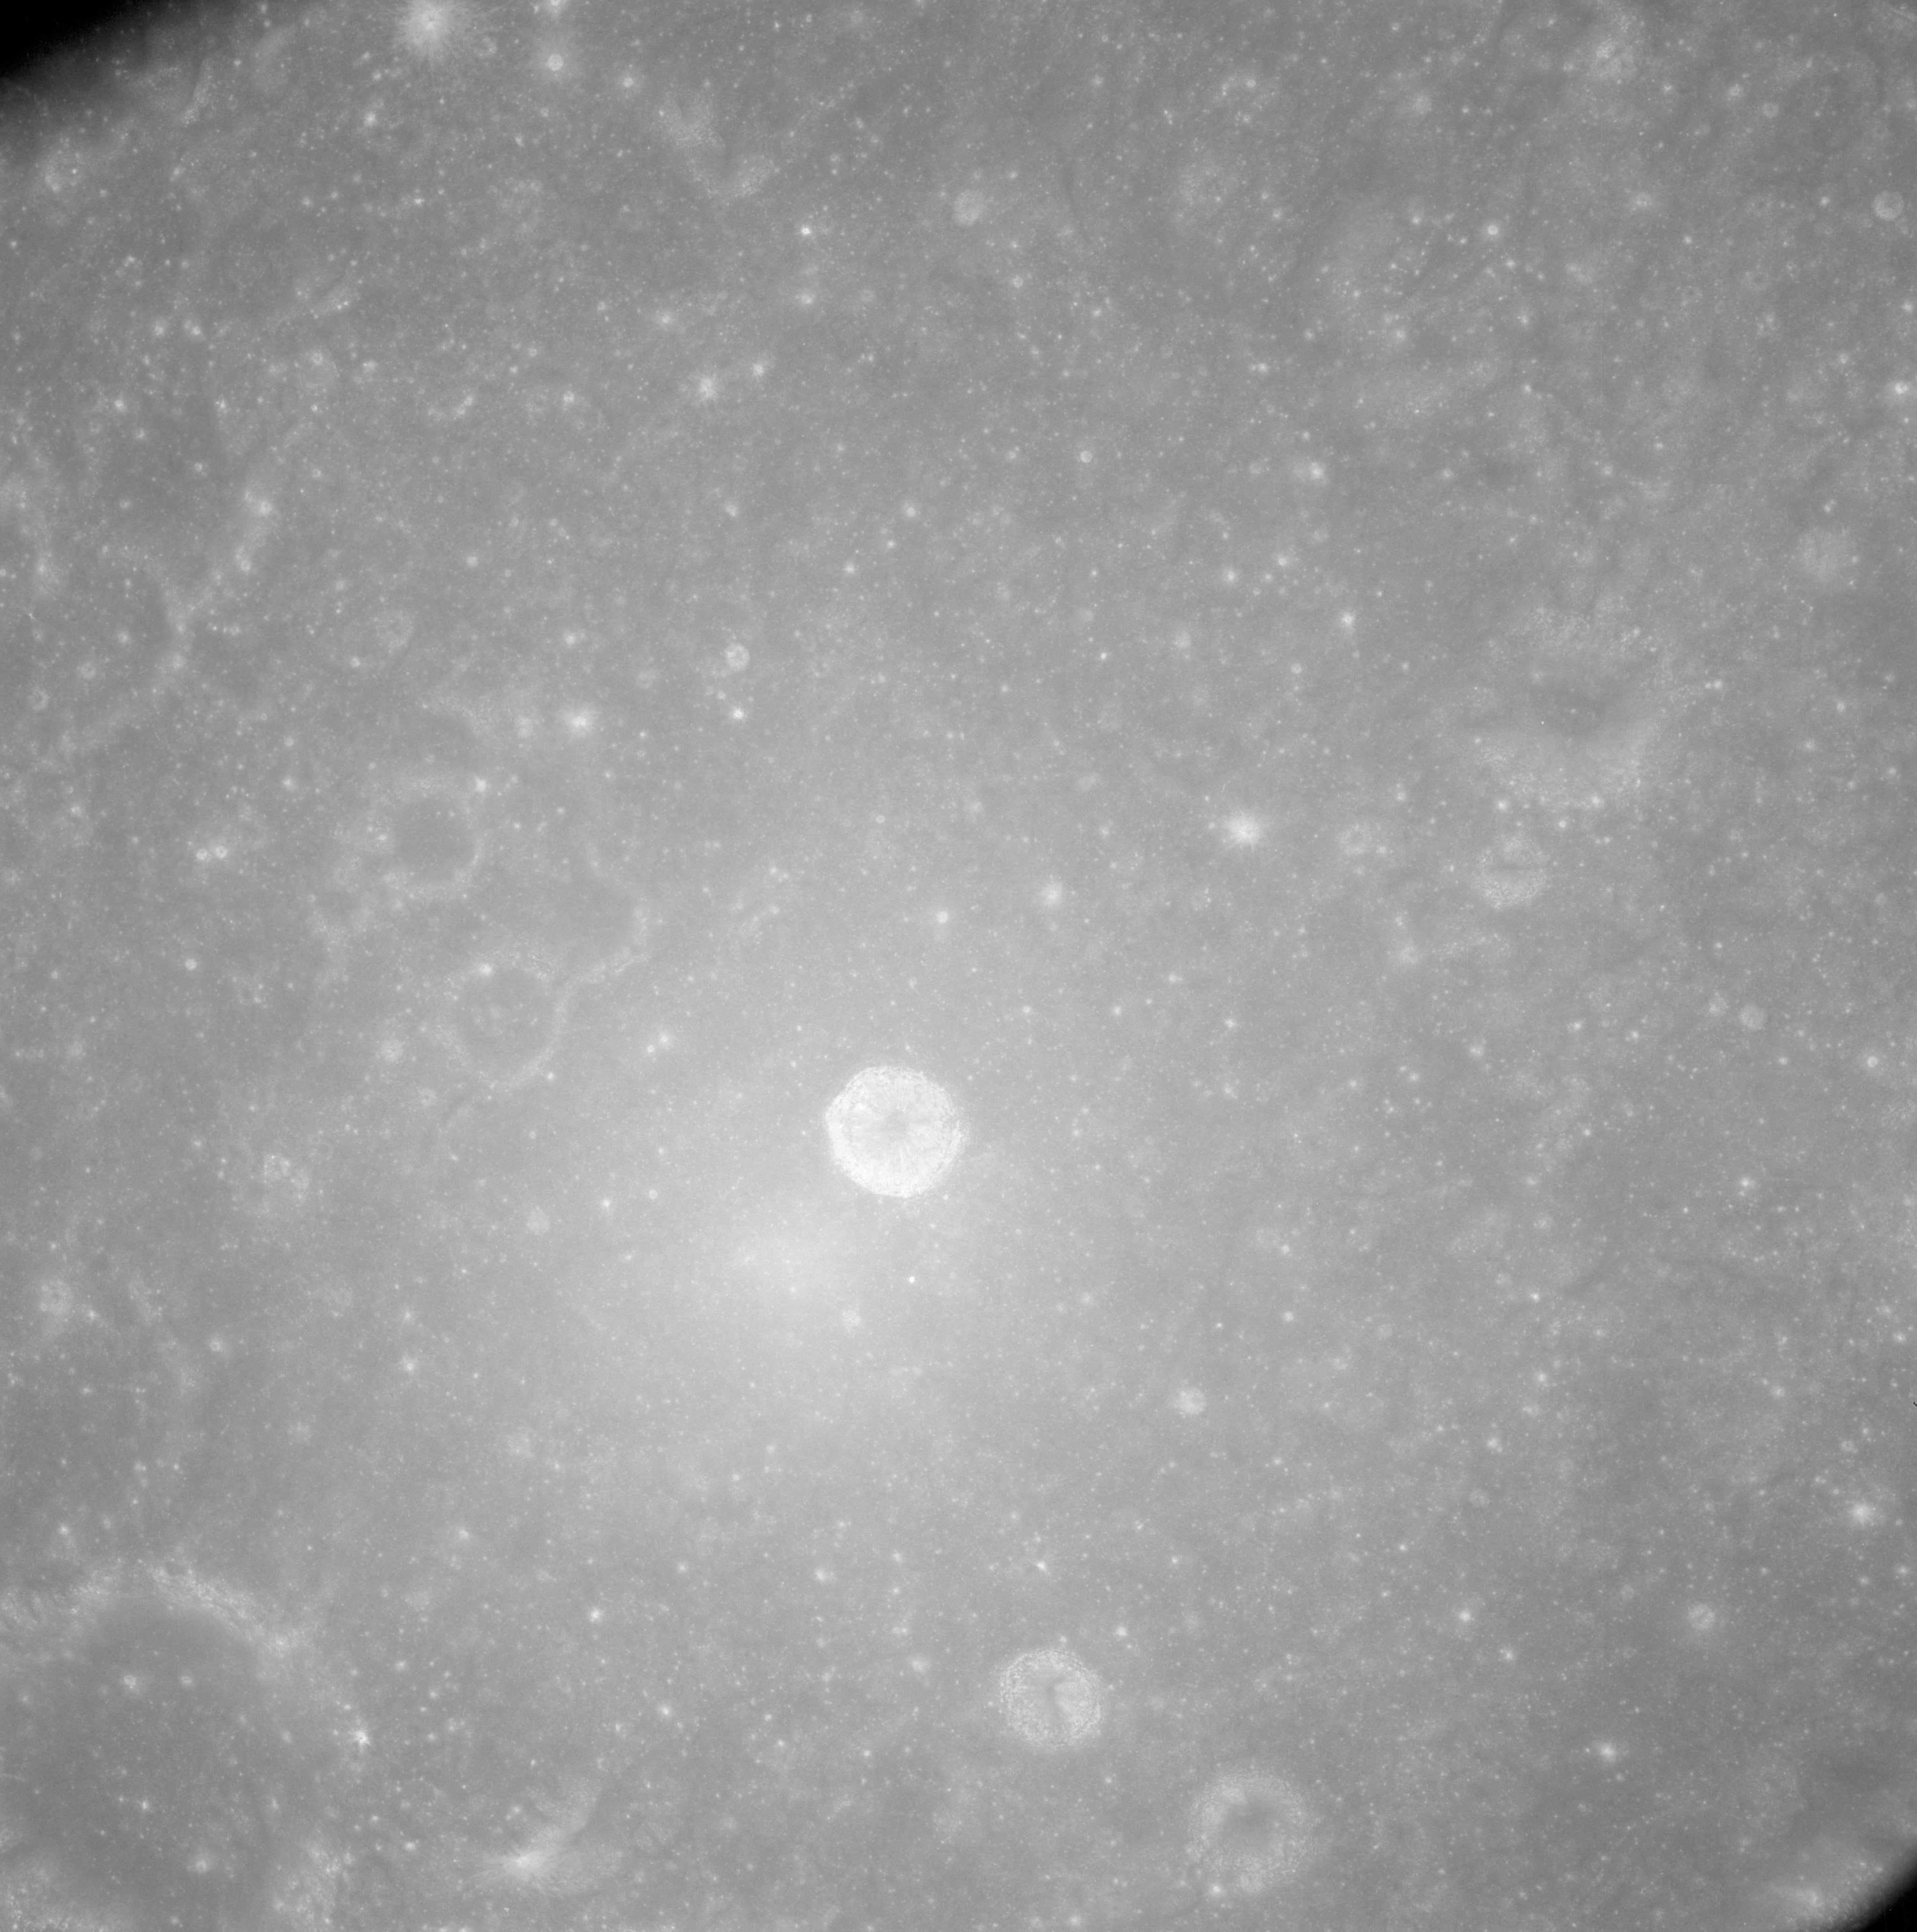 |
AS08-12-2148 Pasteur G bottom left. Image credit: Image Science and Analysis Laboratory, NASA-Johnson Space Center. |
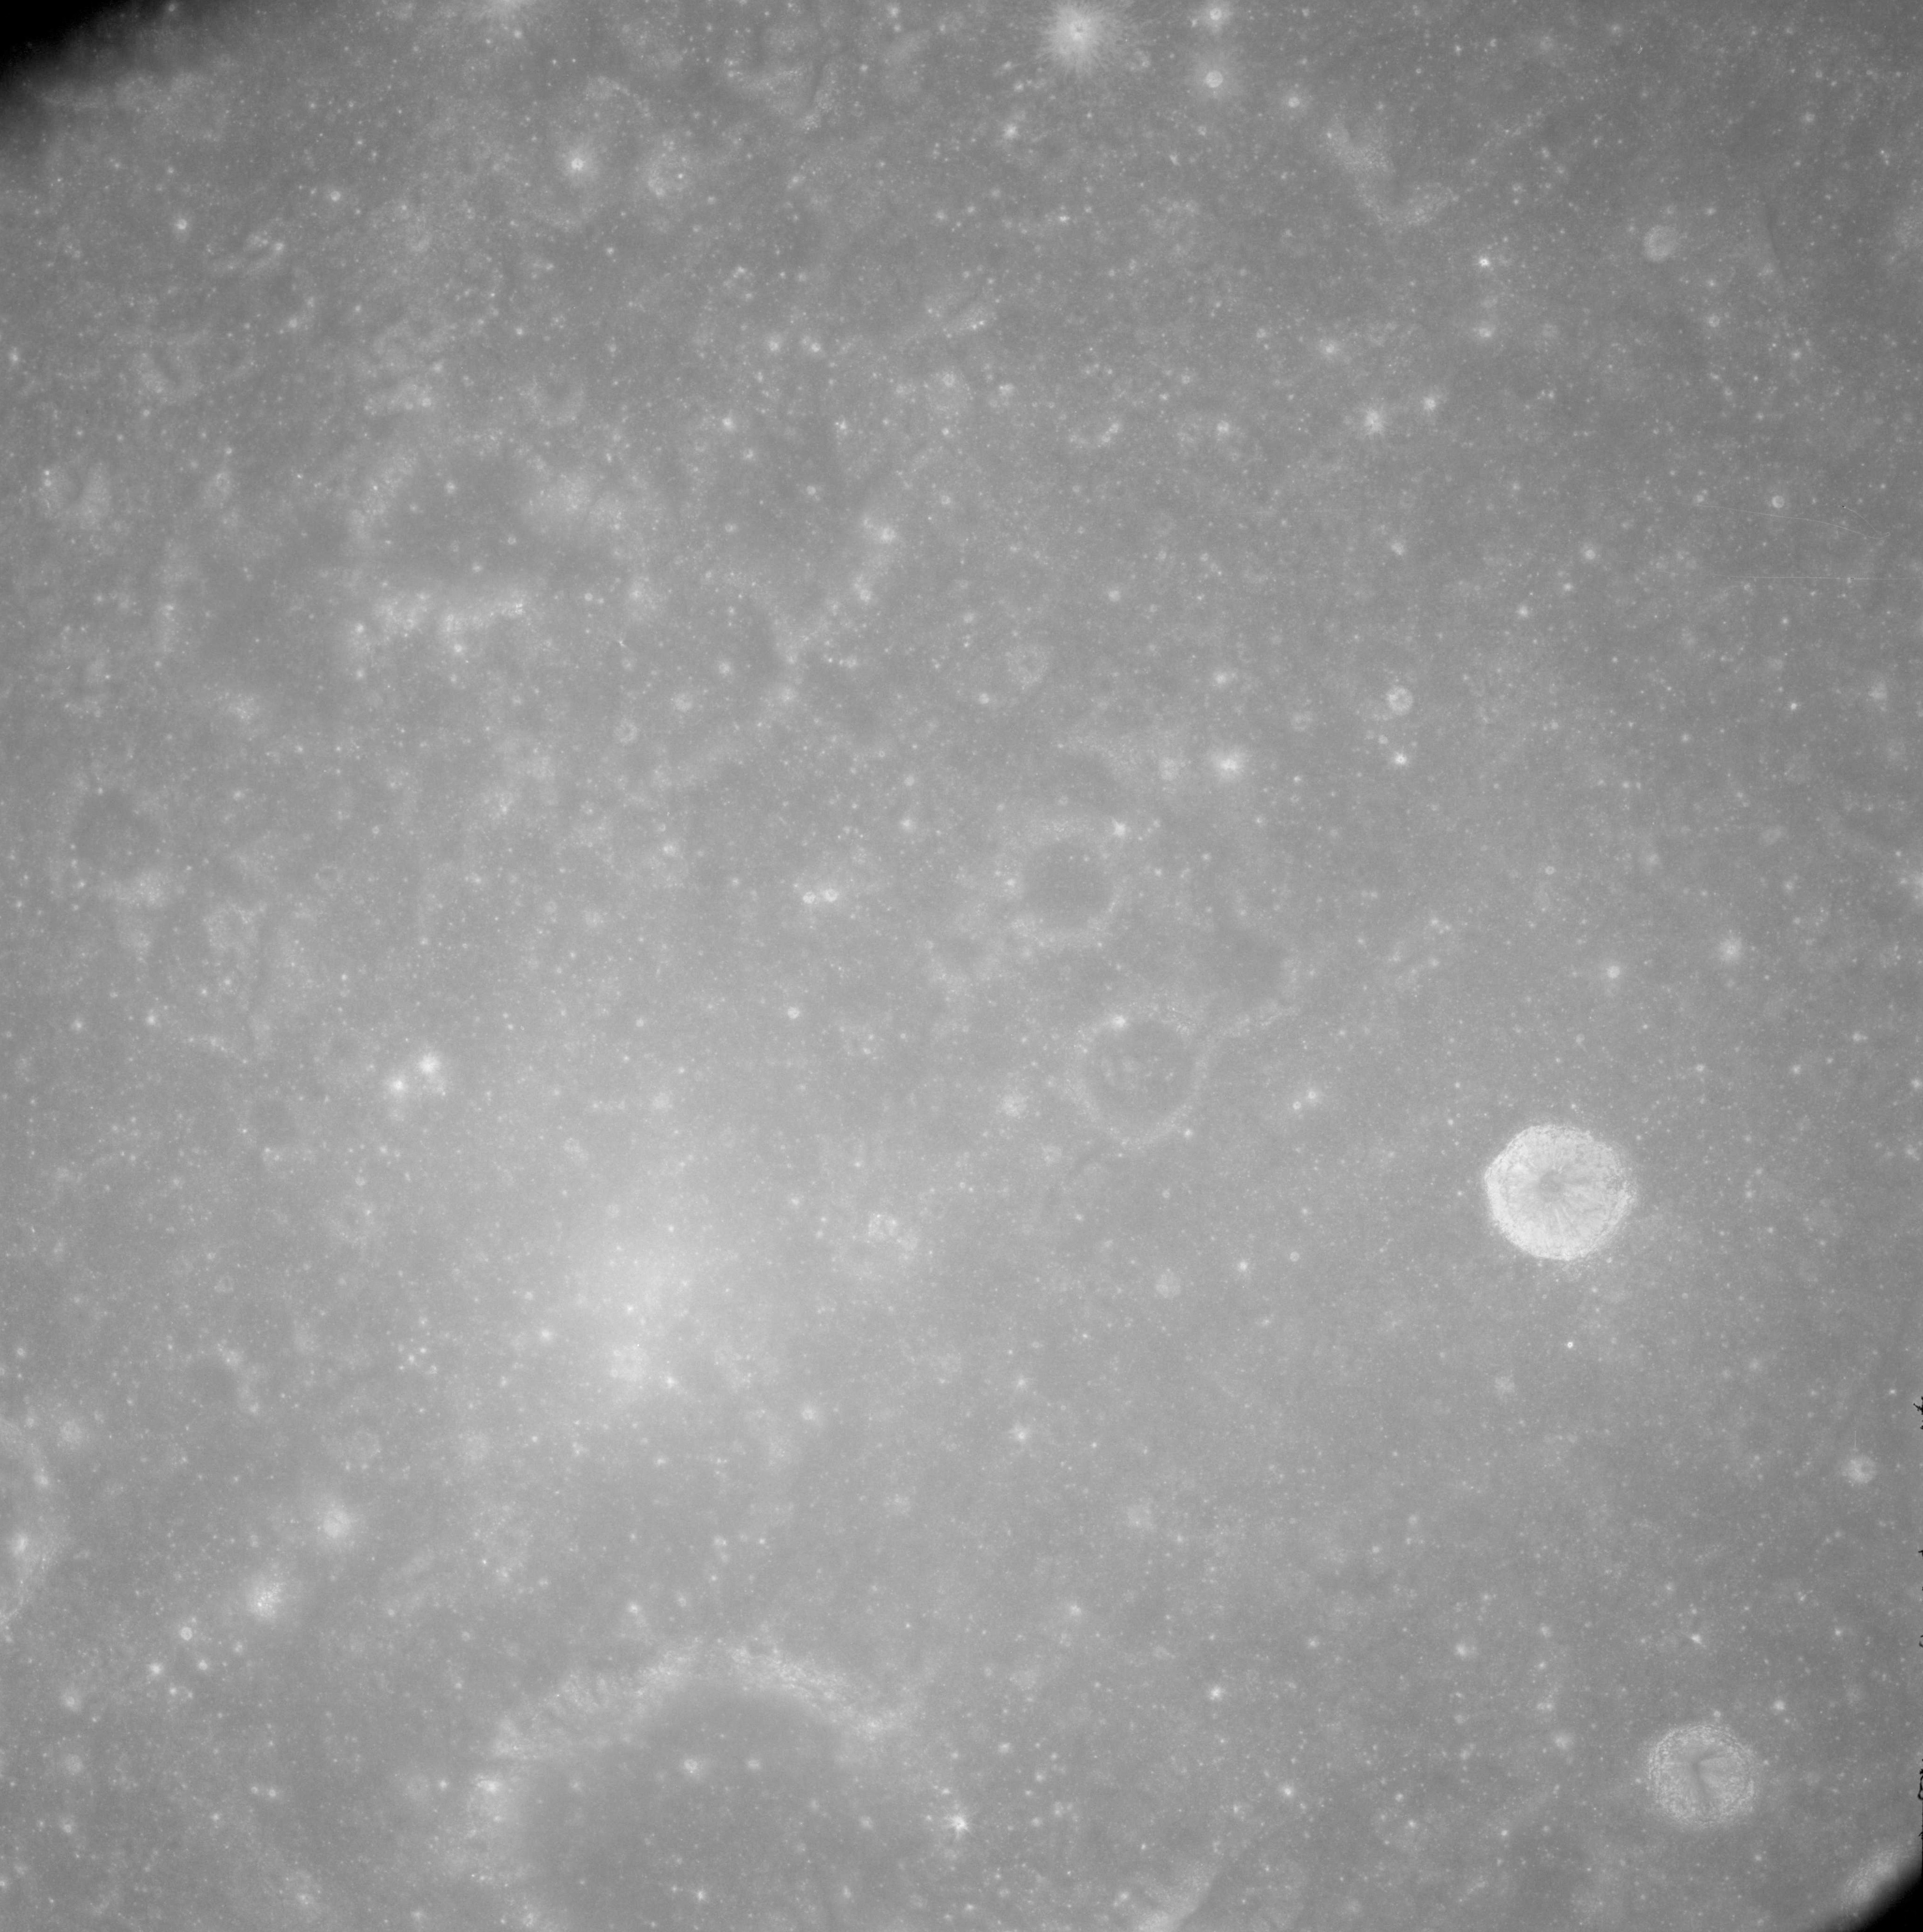 |
AS08-12-2149 Pasteur G bottom of frame. Image credit: Image Science and Analysis Laboratory, NASA-Johnson Space Center. |
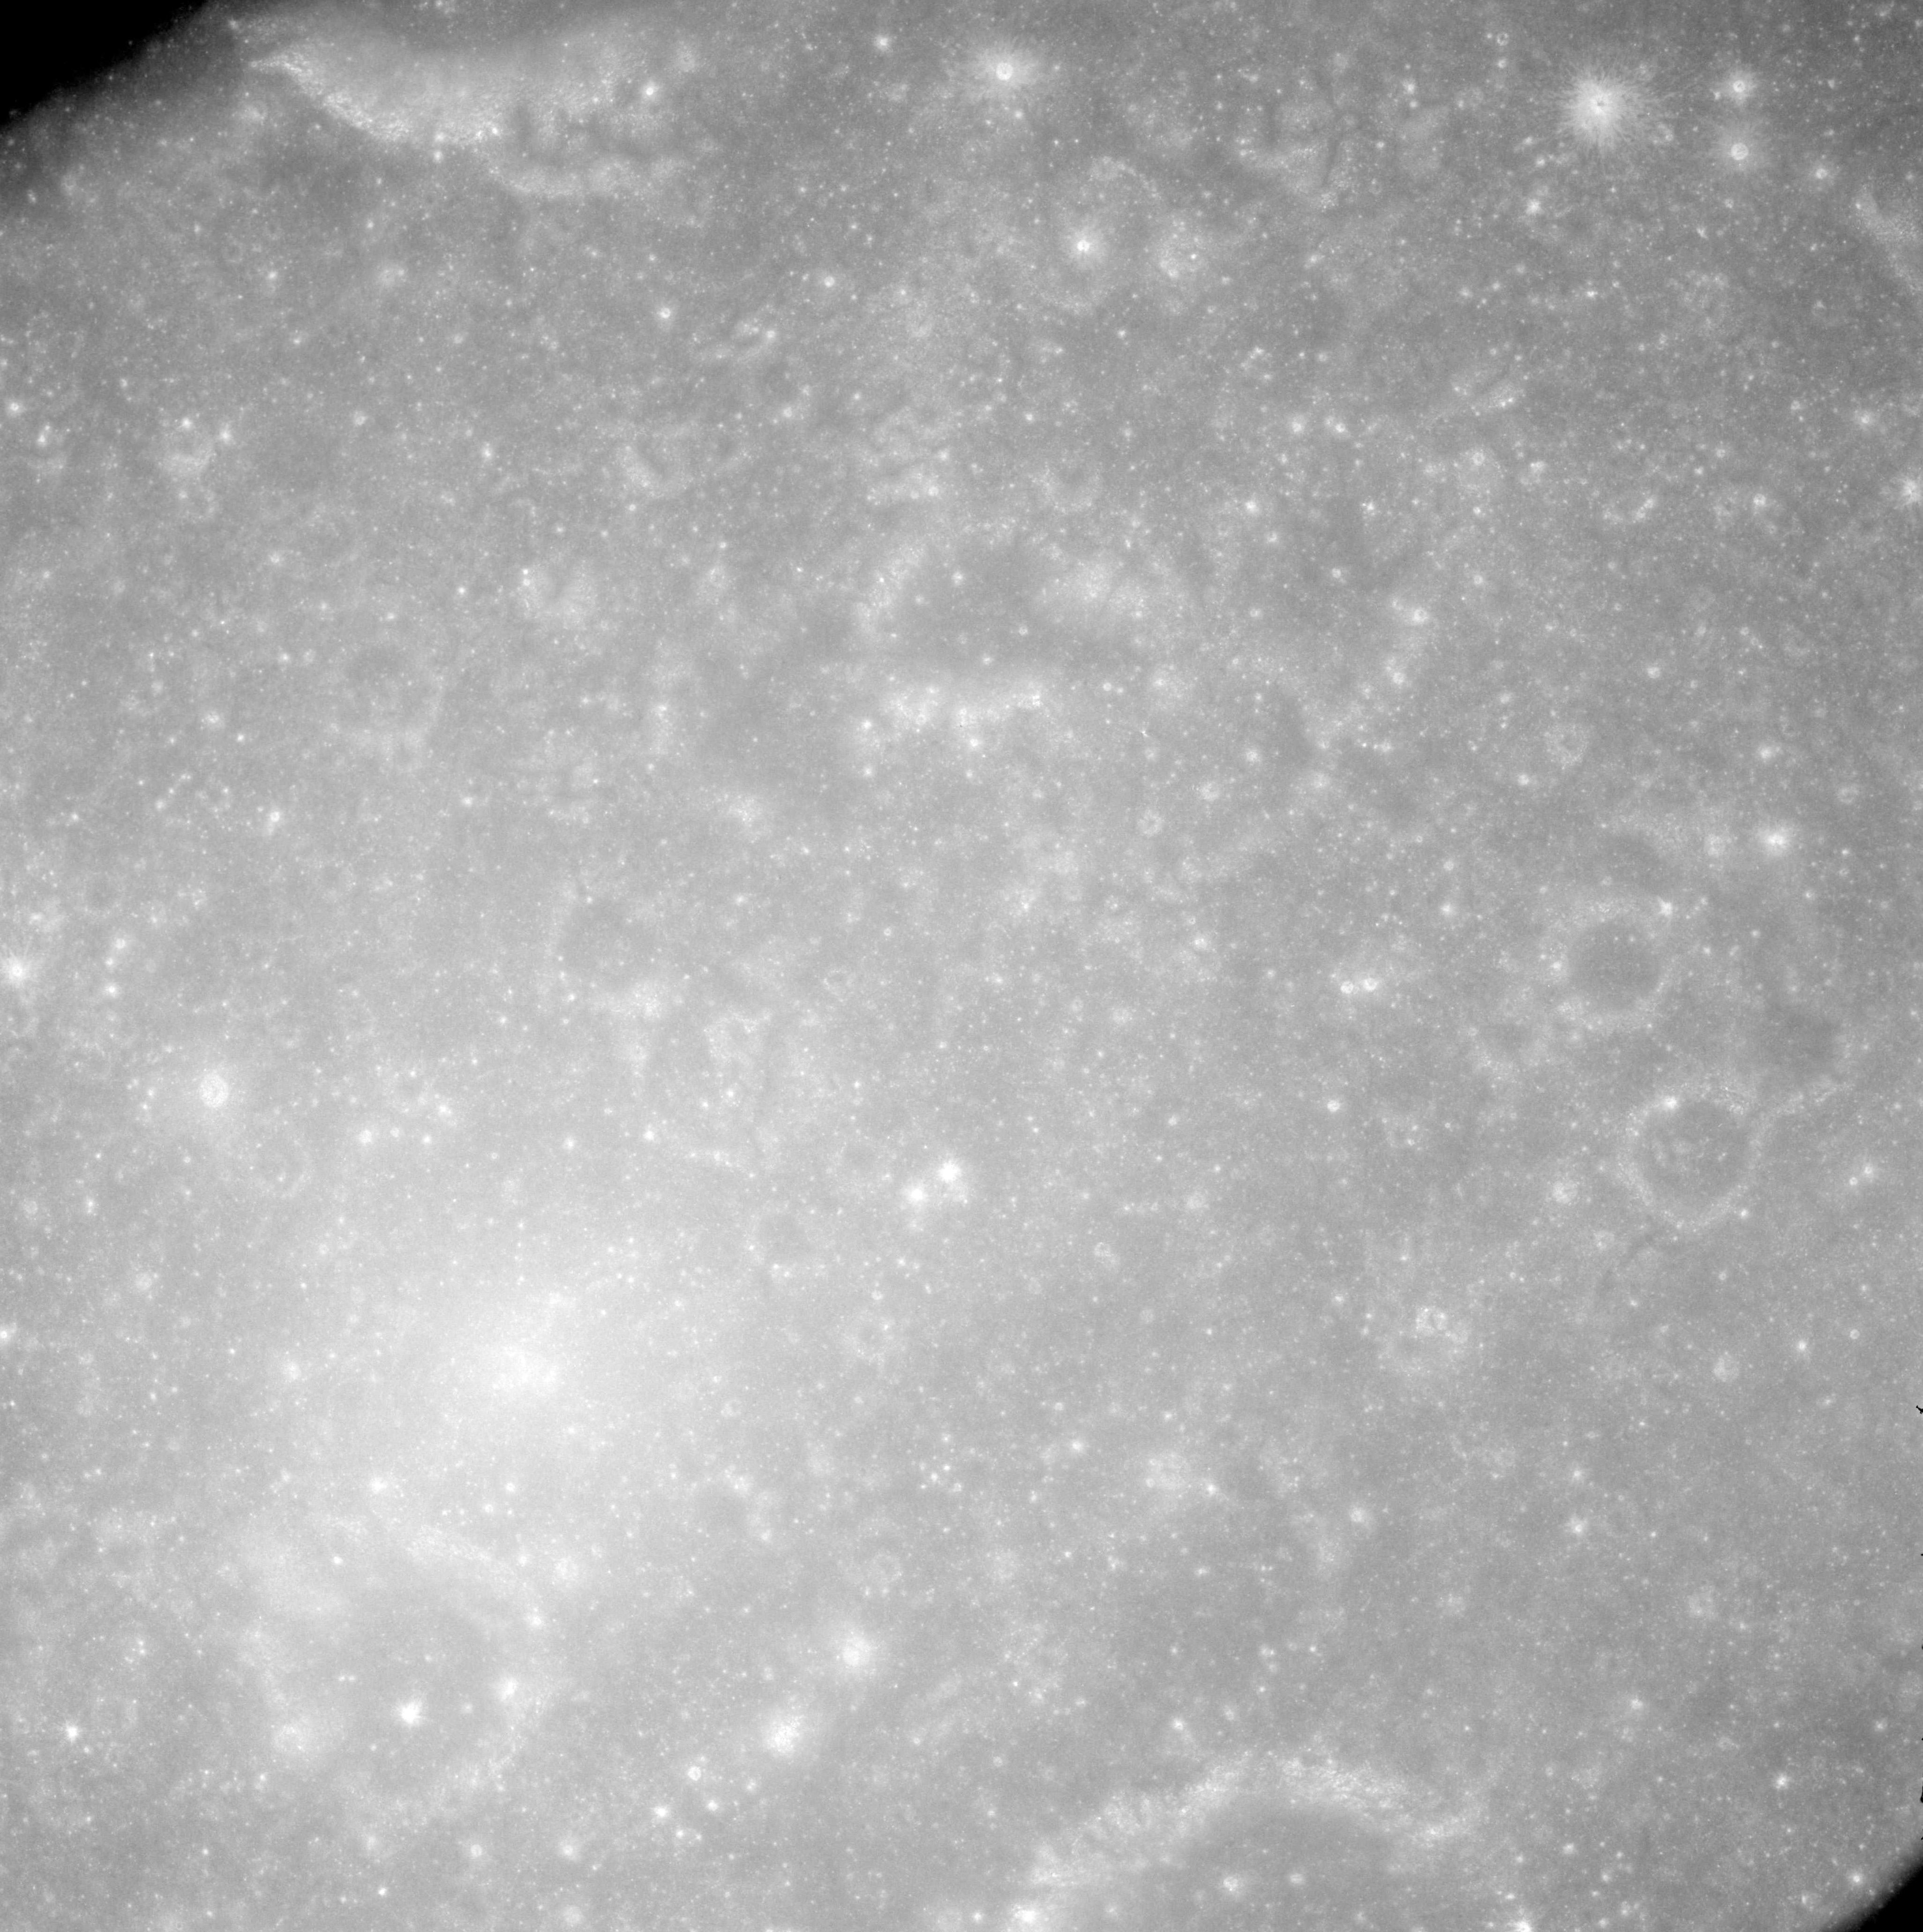 |
AS08-12-2150 Pasteur G bottom right. Image credit: Image Science and Analysis Laboratory, NASA-Johnson Space Center. |
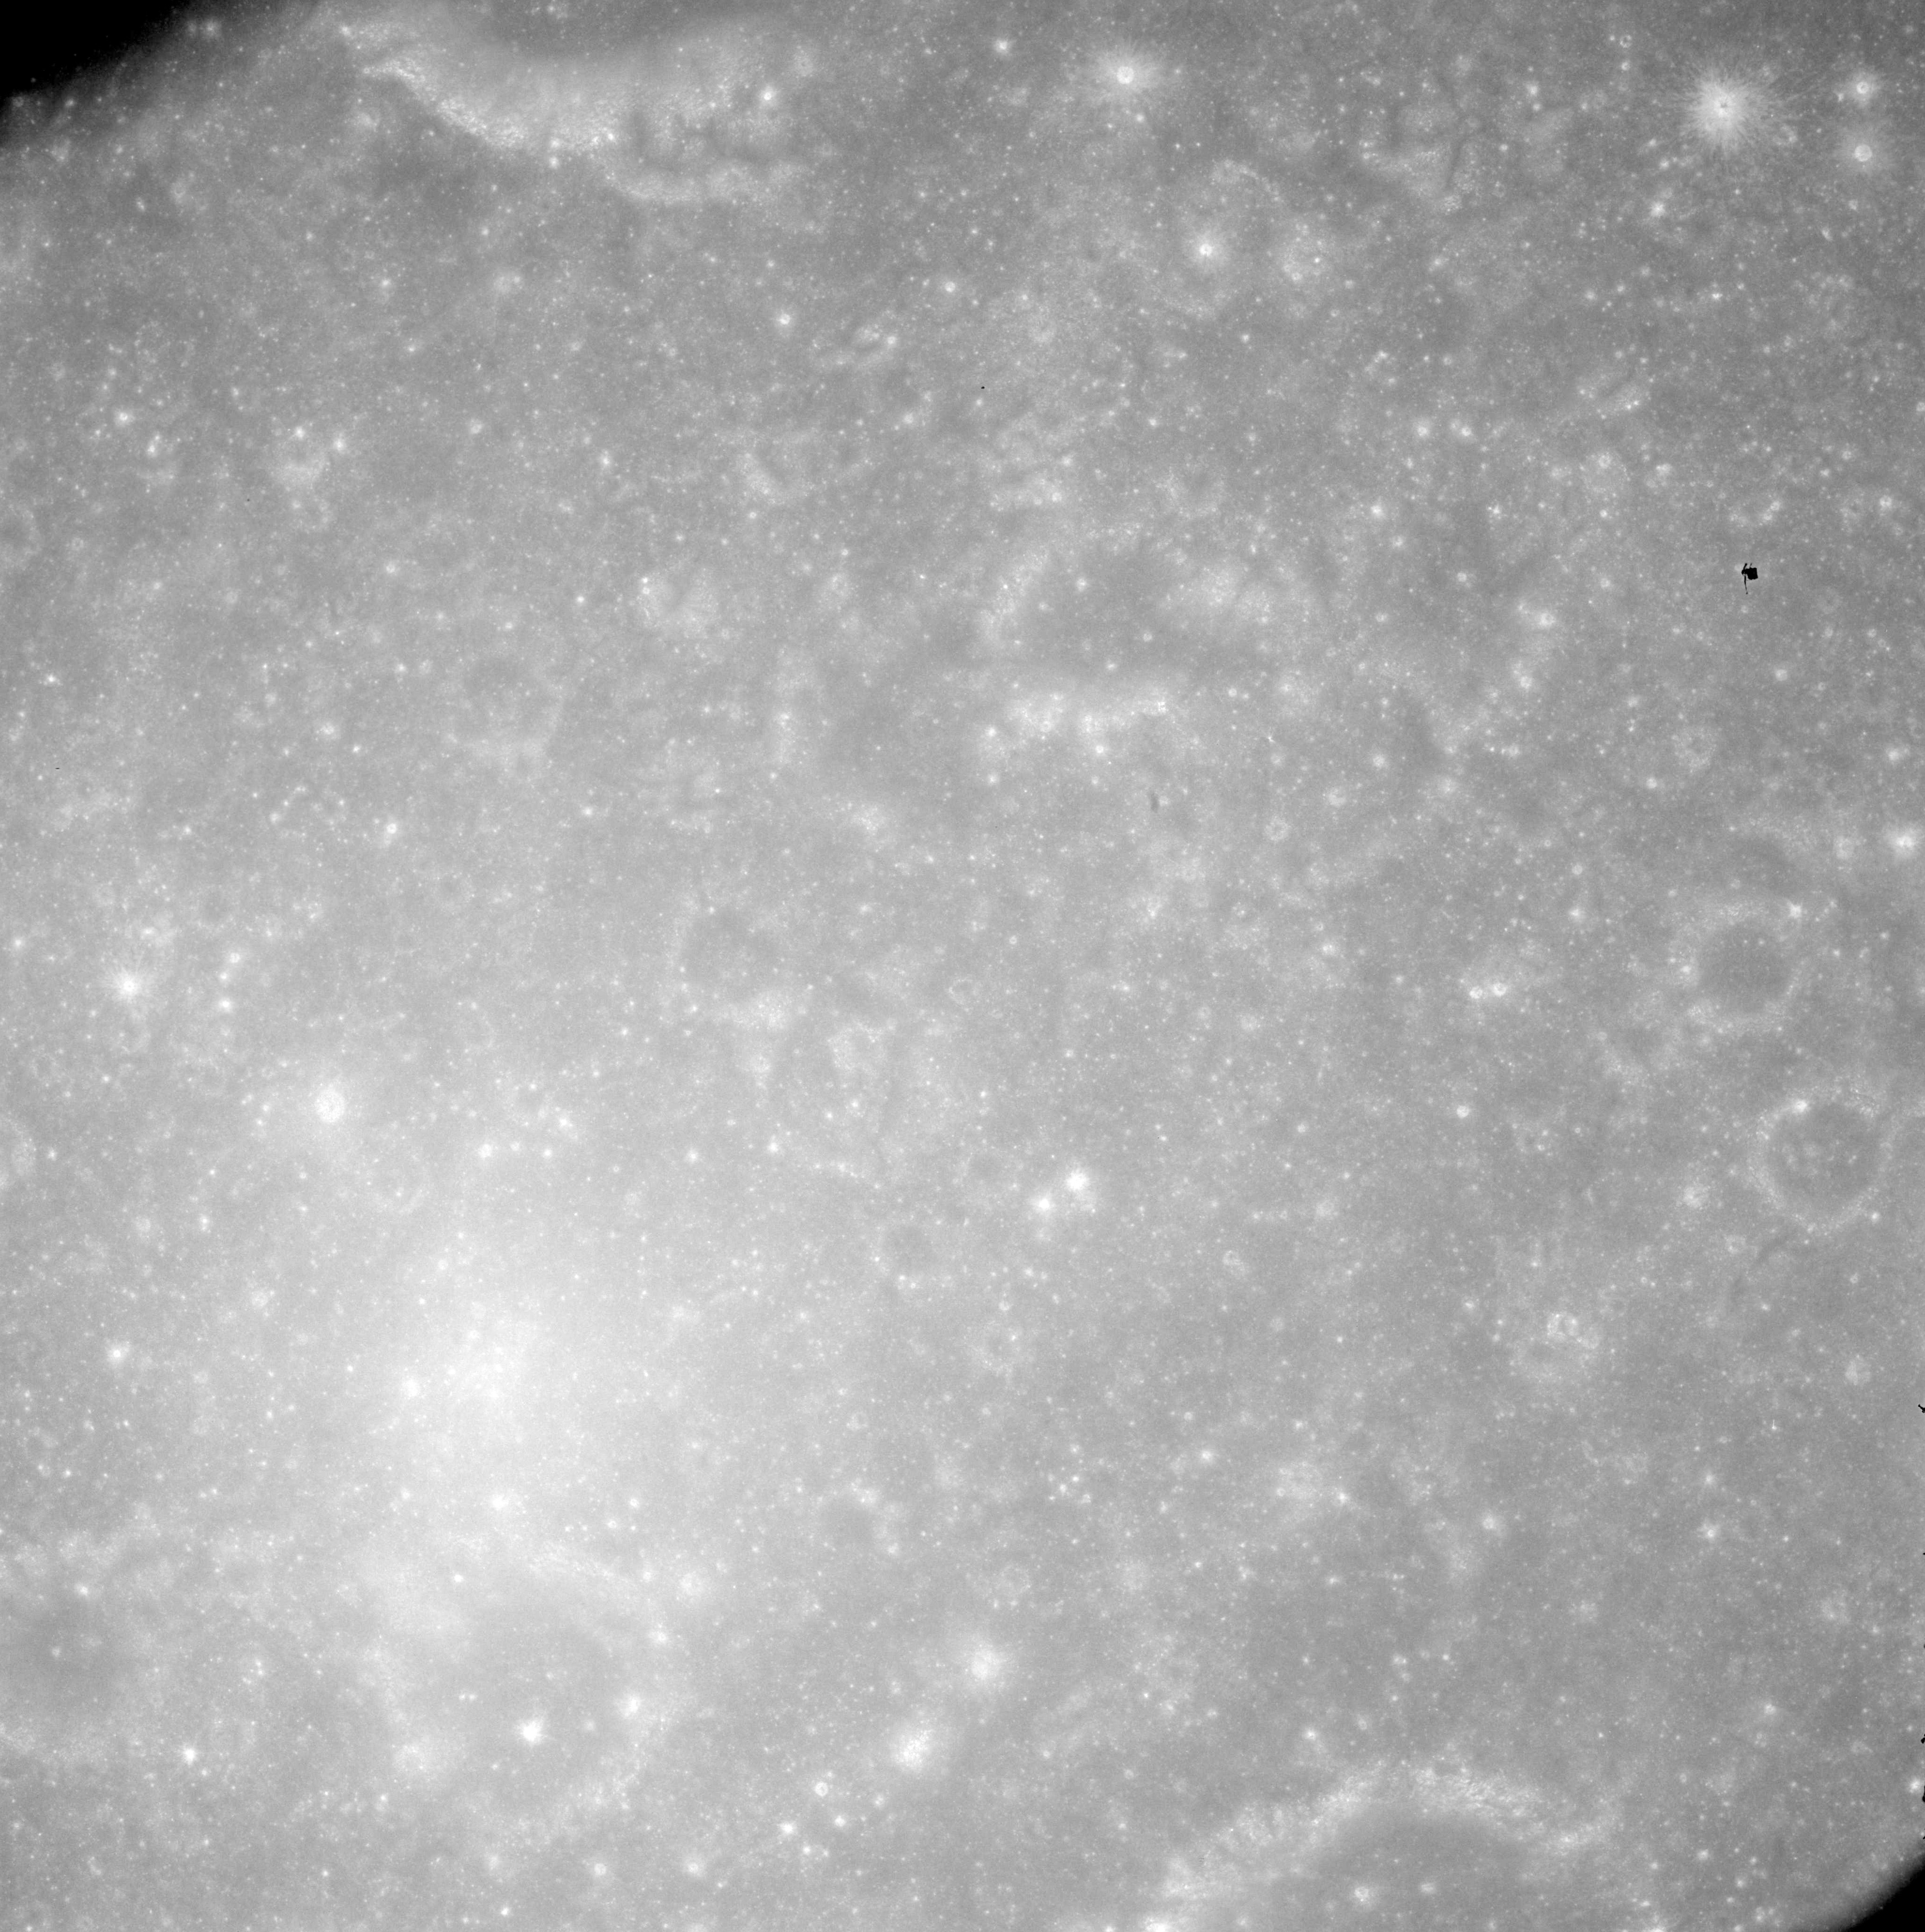 |
AS08-12-2151 No description. Image credit: Image Science and Analysis Laboratory, NASA-Johnson Space Center. |
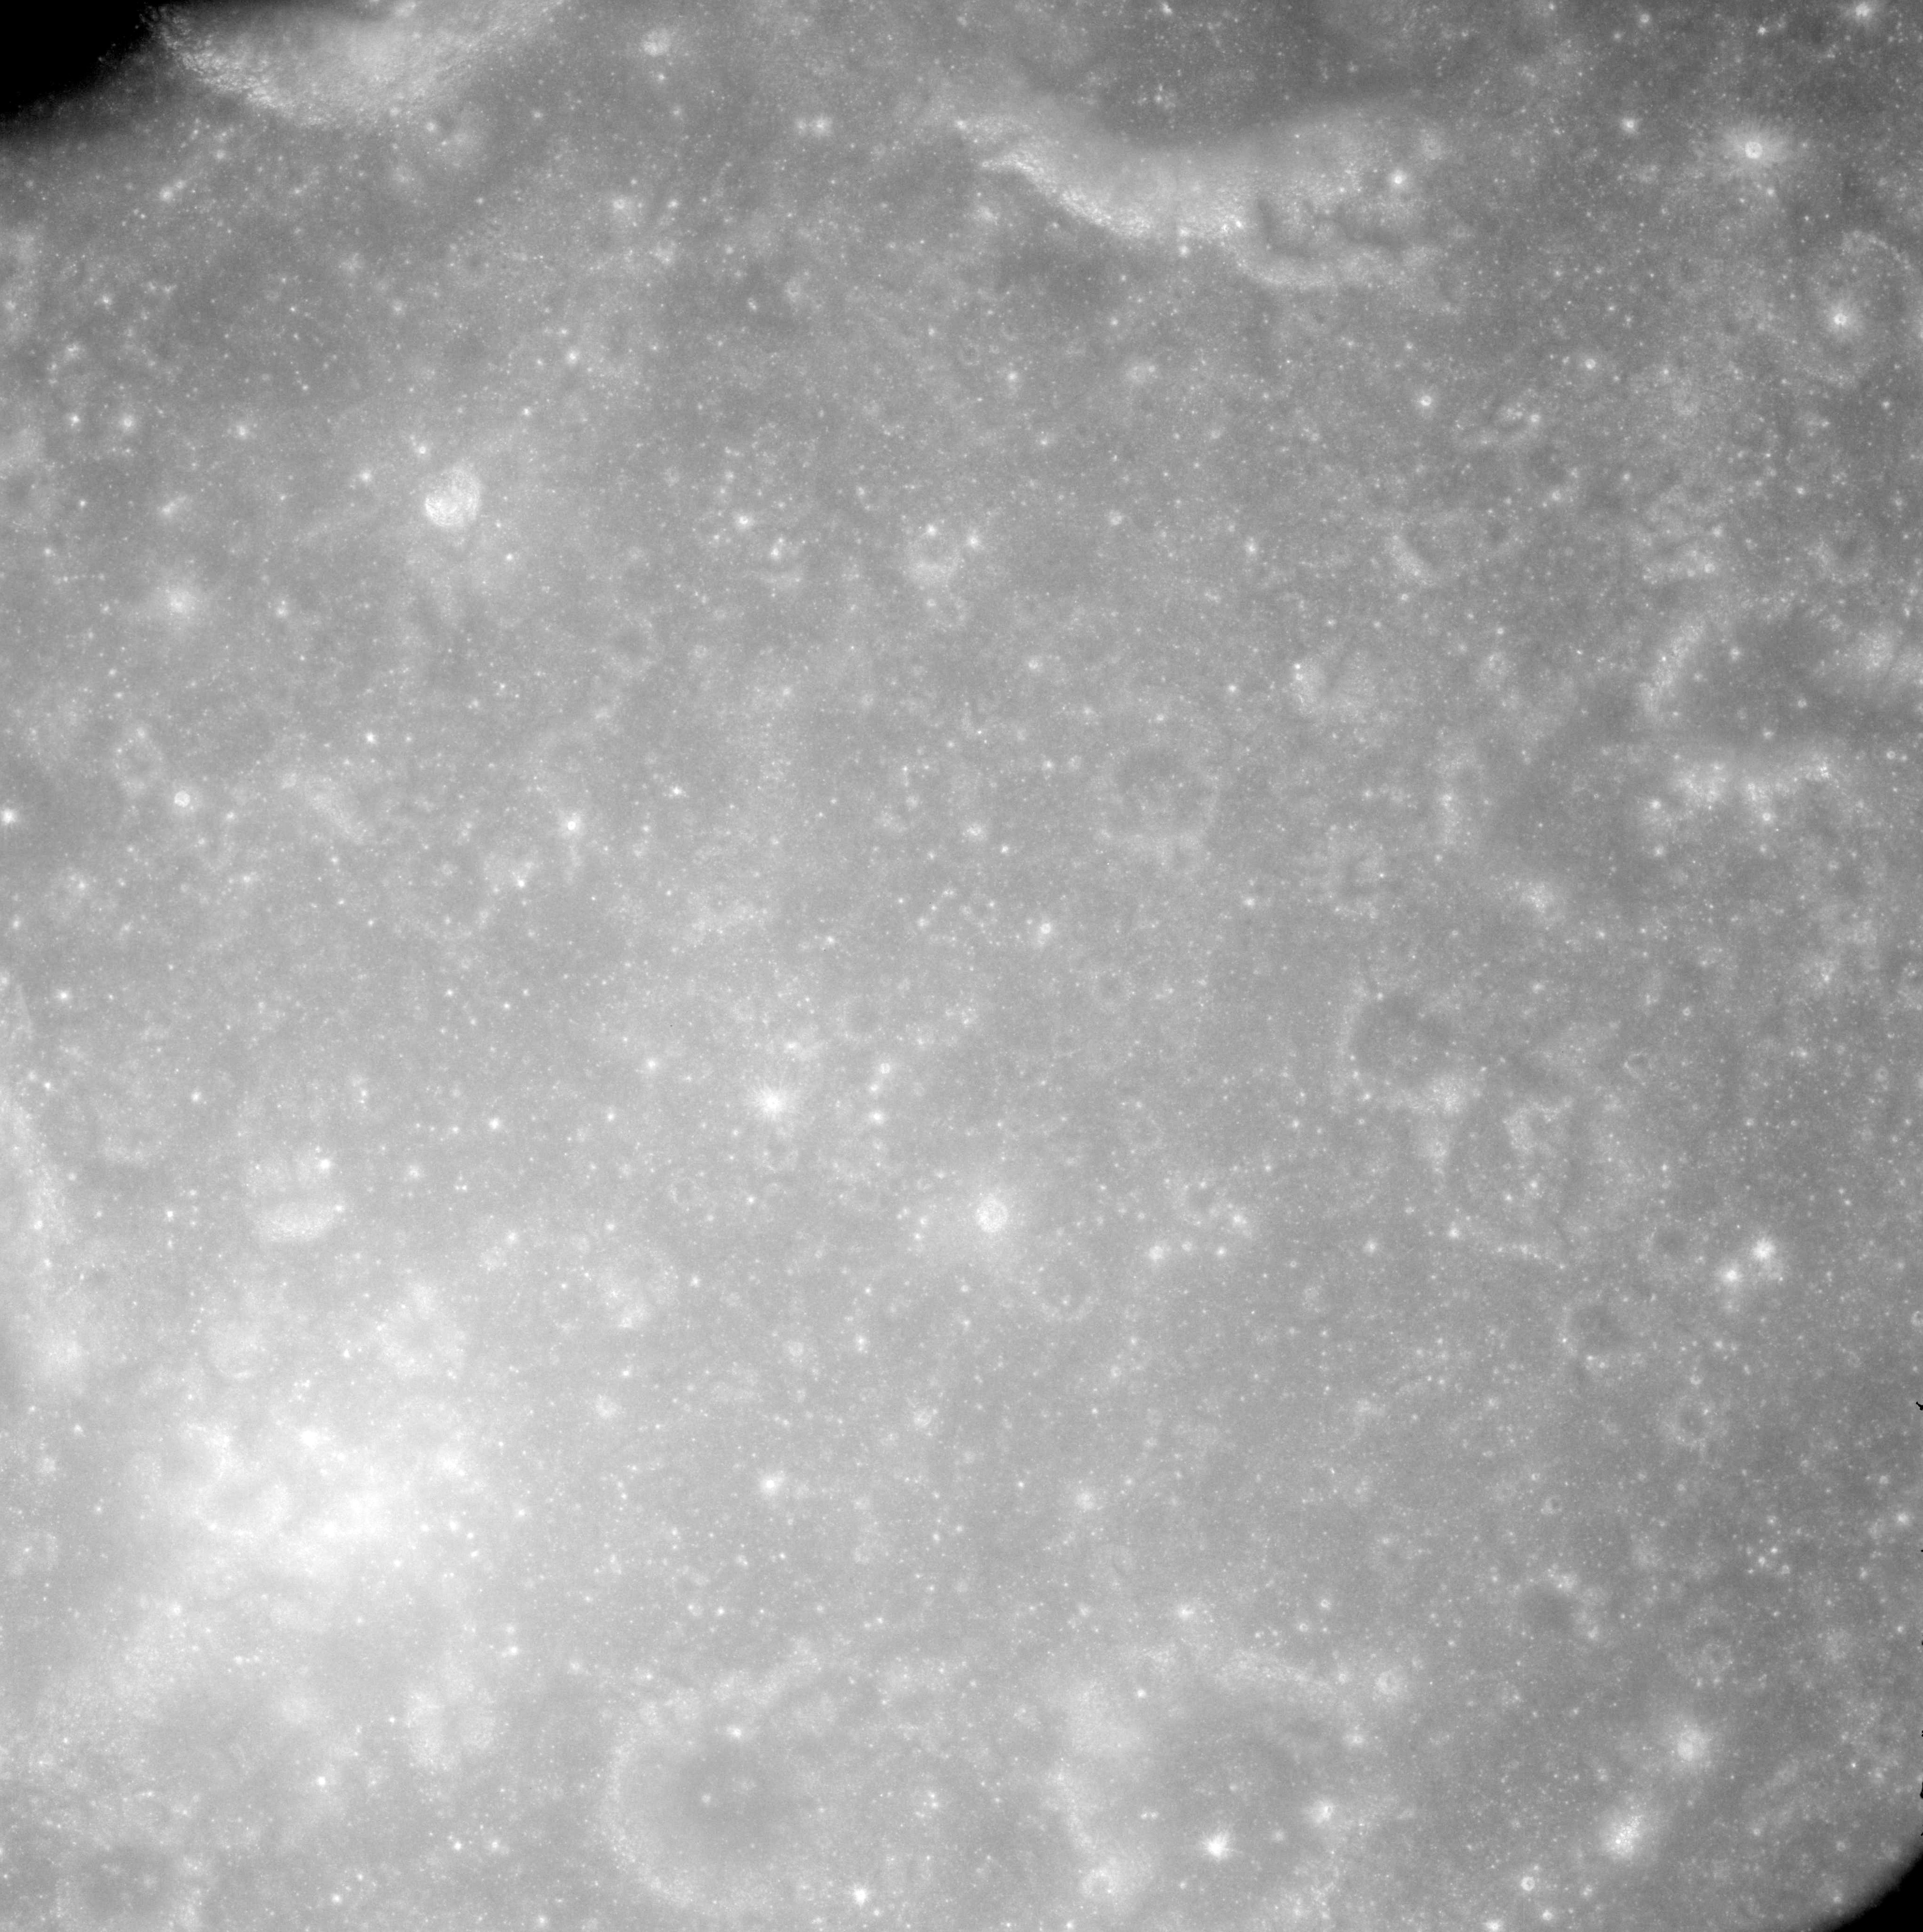 |
AS08-12-2152 Pasteur Y top left. Image credit: Image Science and Analysis Laboratory, NASA-Johnson Space Center. |
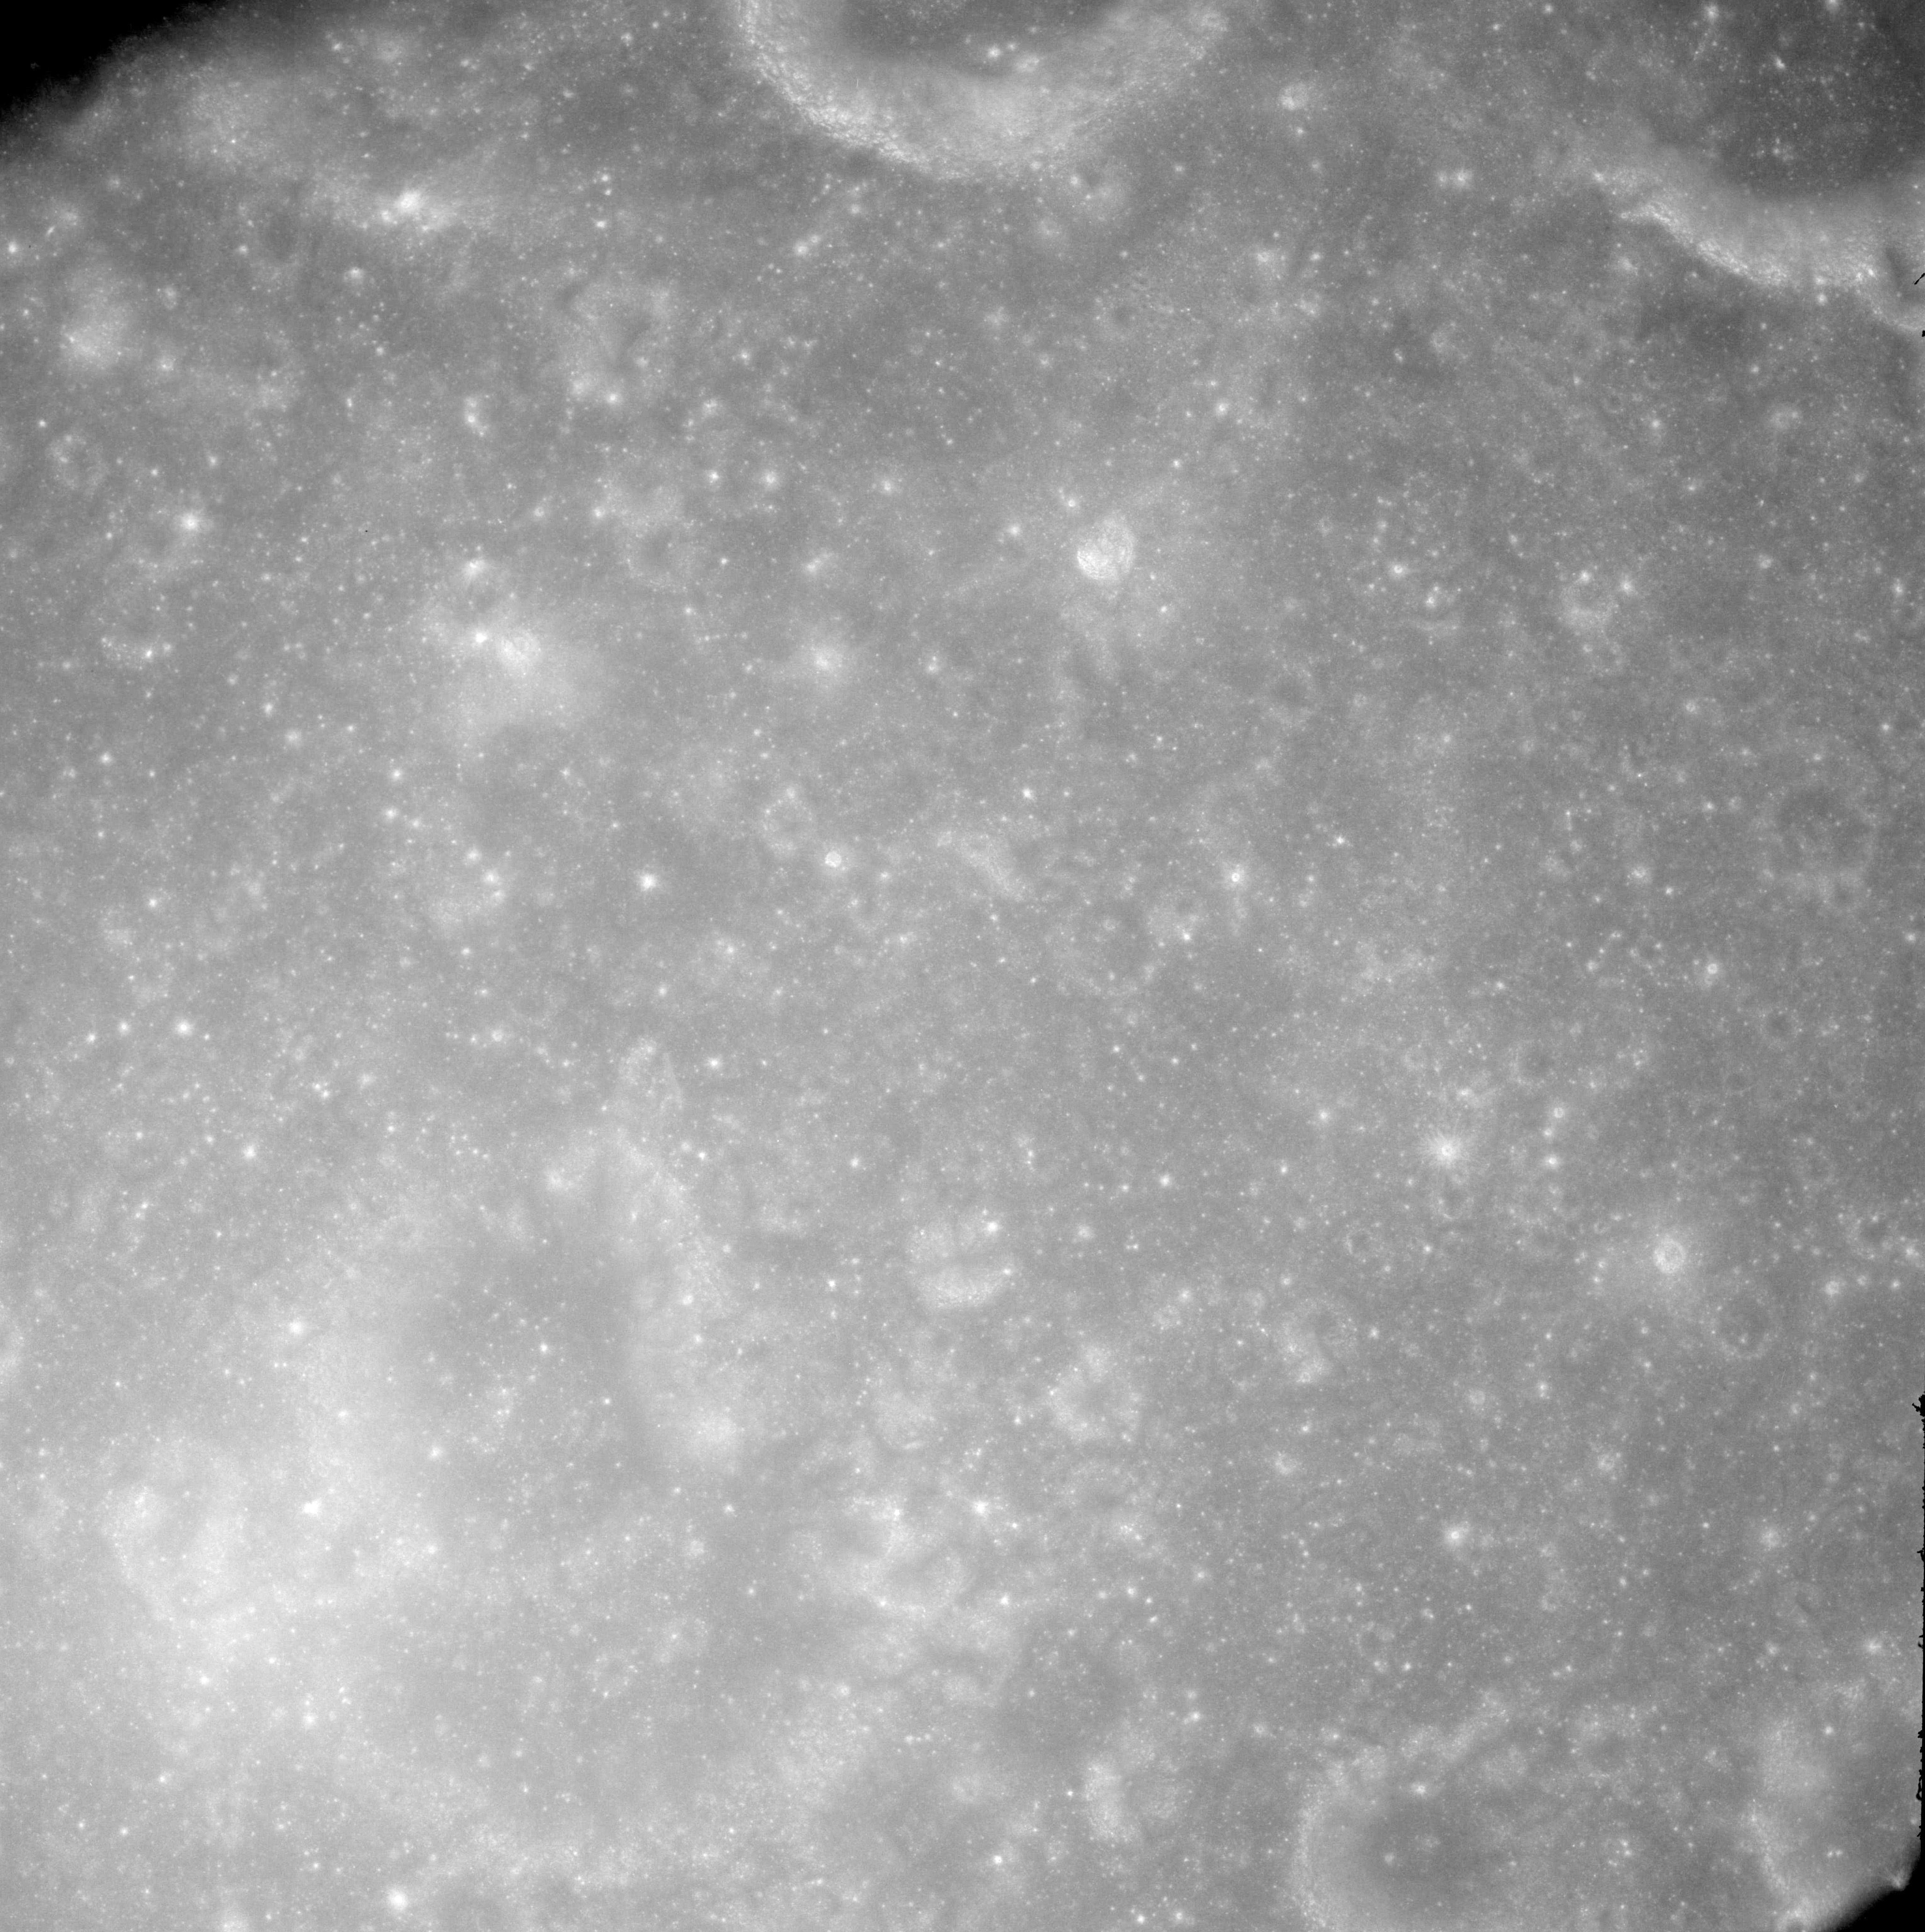 |
AS08-12-2153 Pasteur Y top centre. Image credit: Image Science and Analysis Laboratory, NASA-Johnson Space Center. |
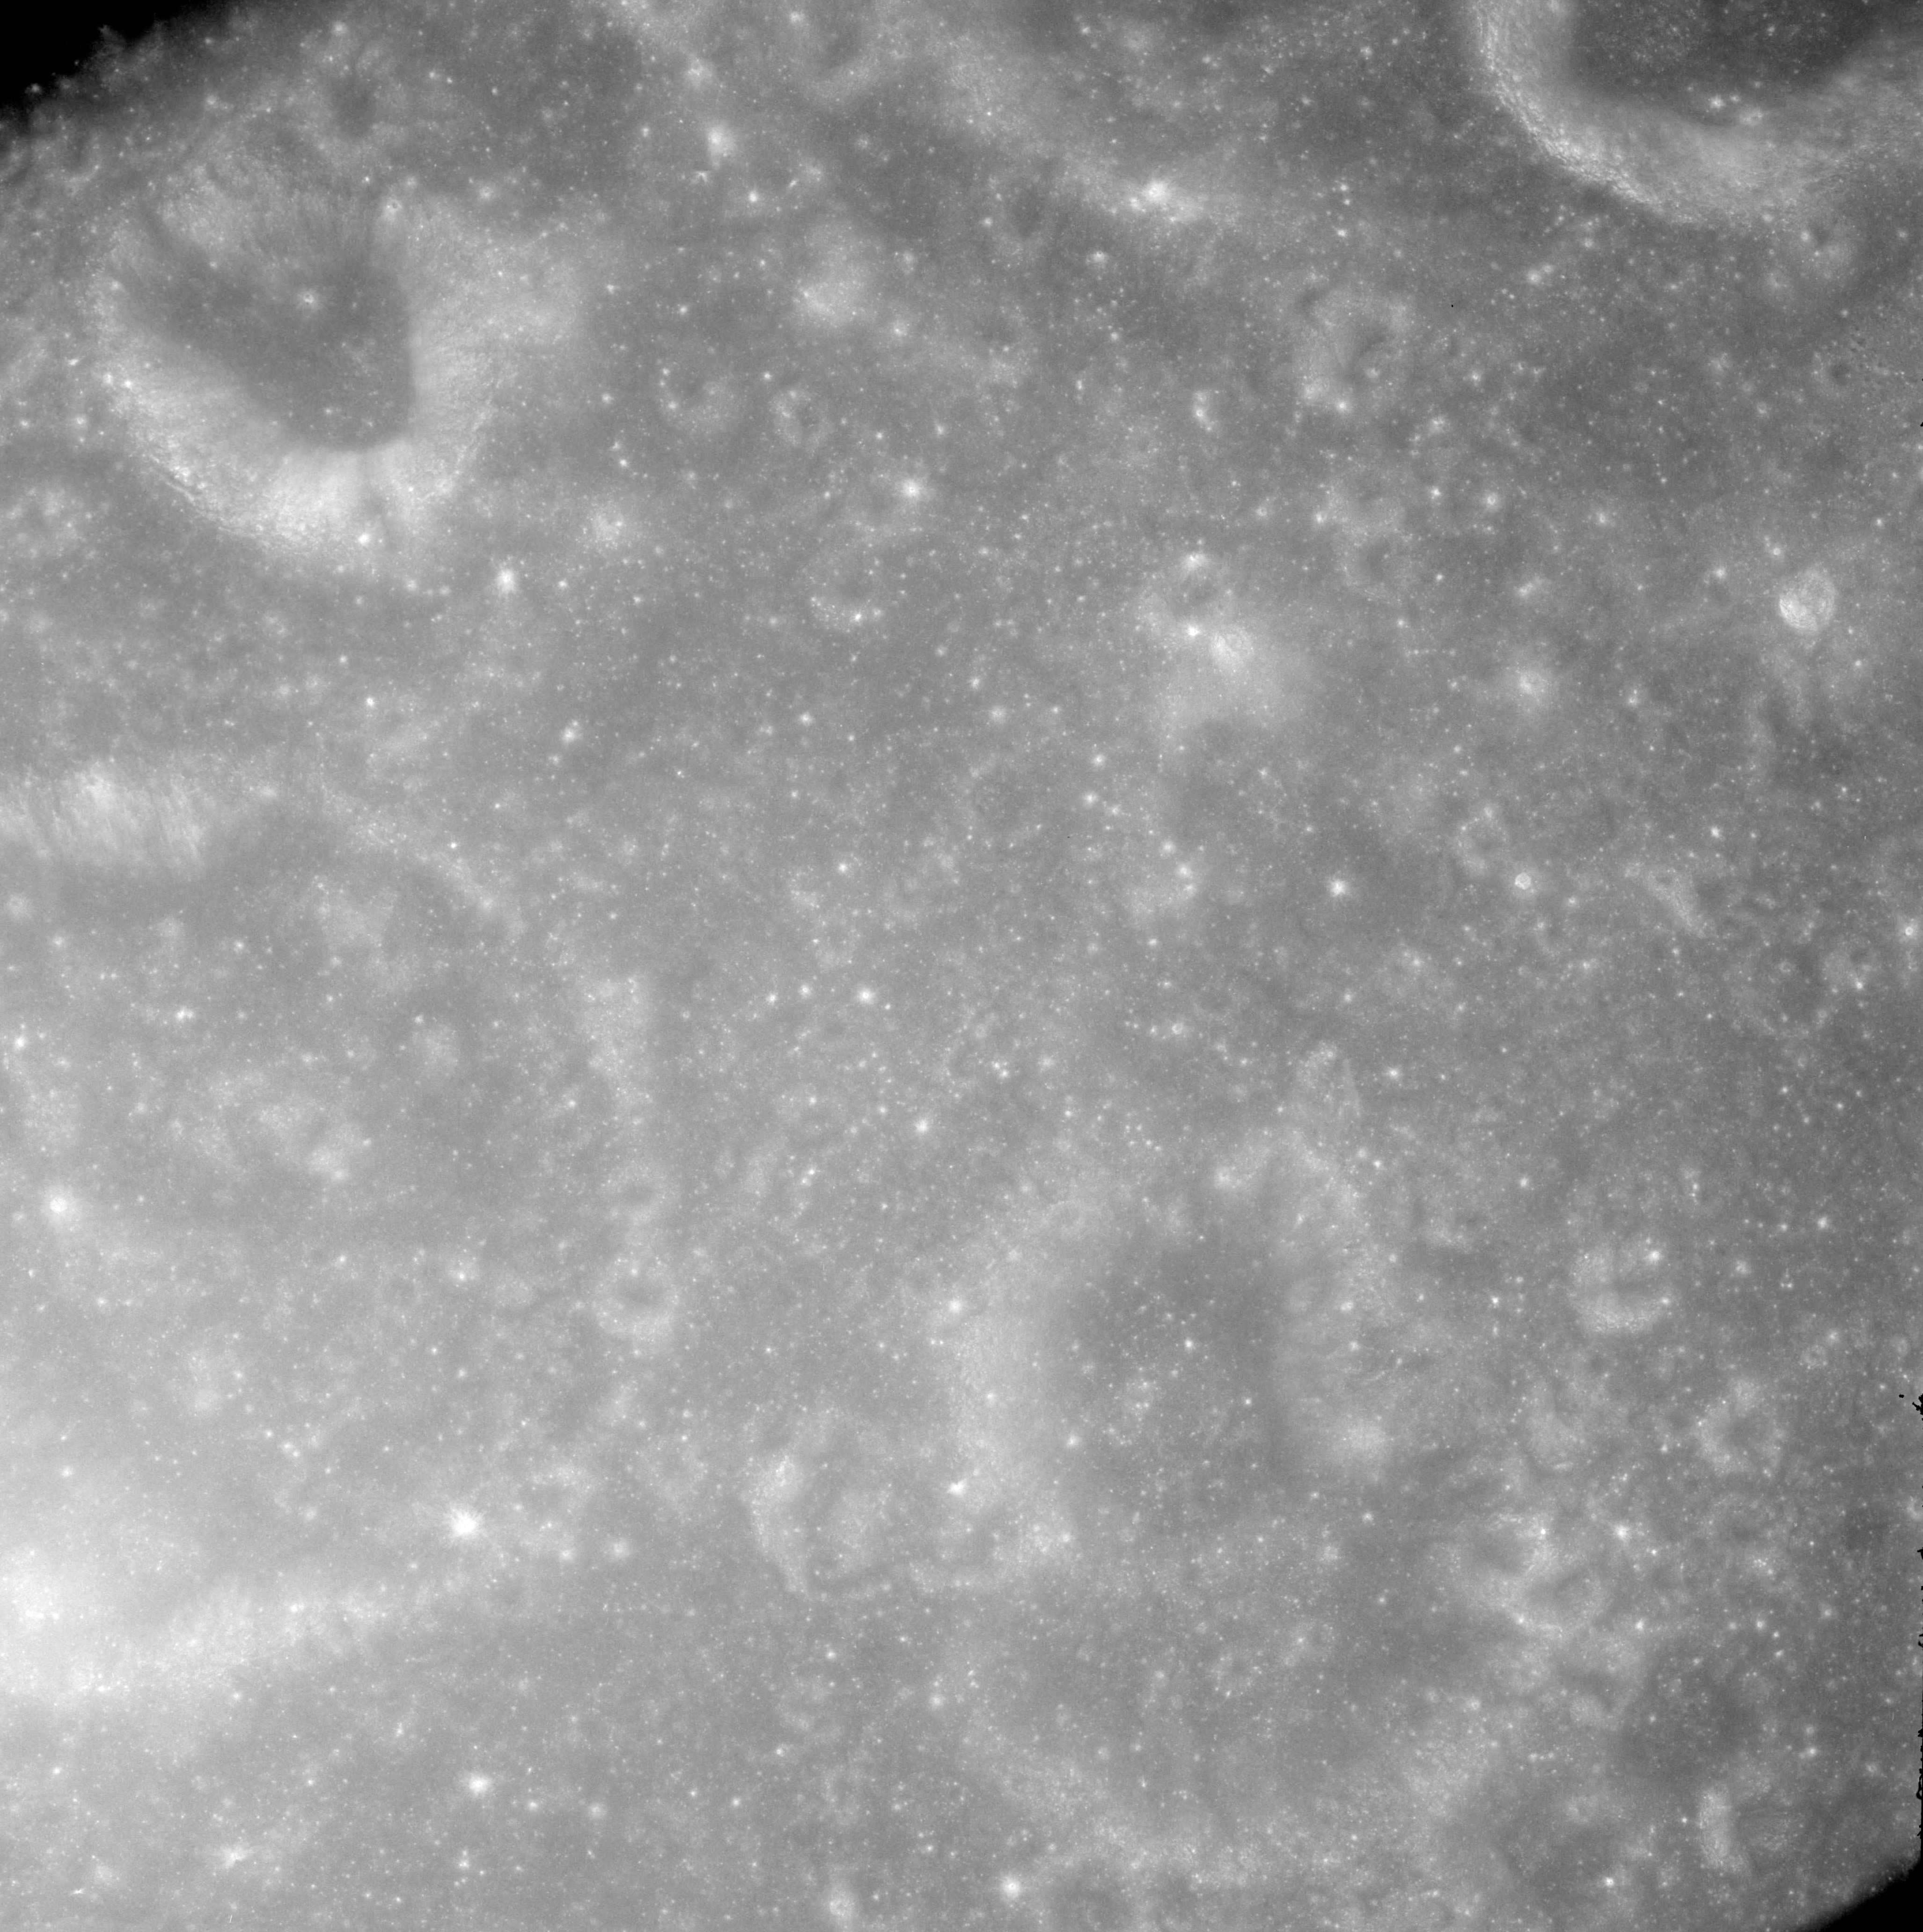 |
AS08-12-2154 Pasteur Y top right. Pasteur U on left. Image credit: Image Science and Analysis Laboratory, NASA-Johnson Space Center. |
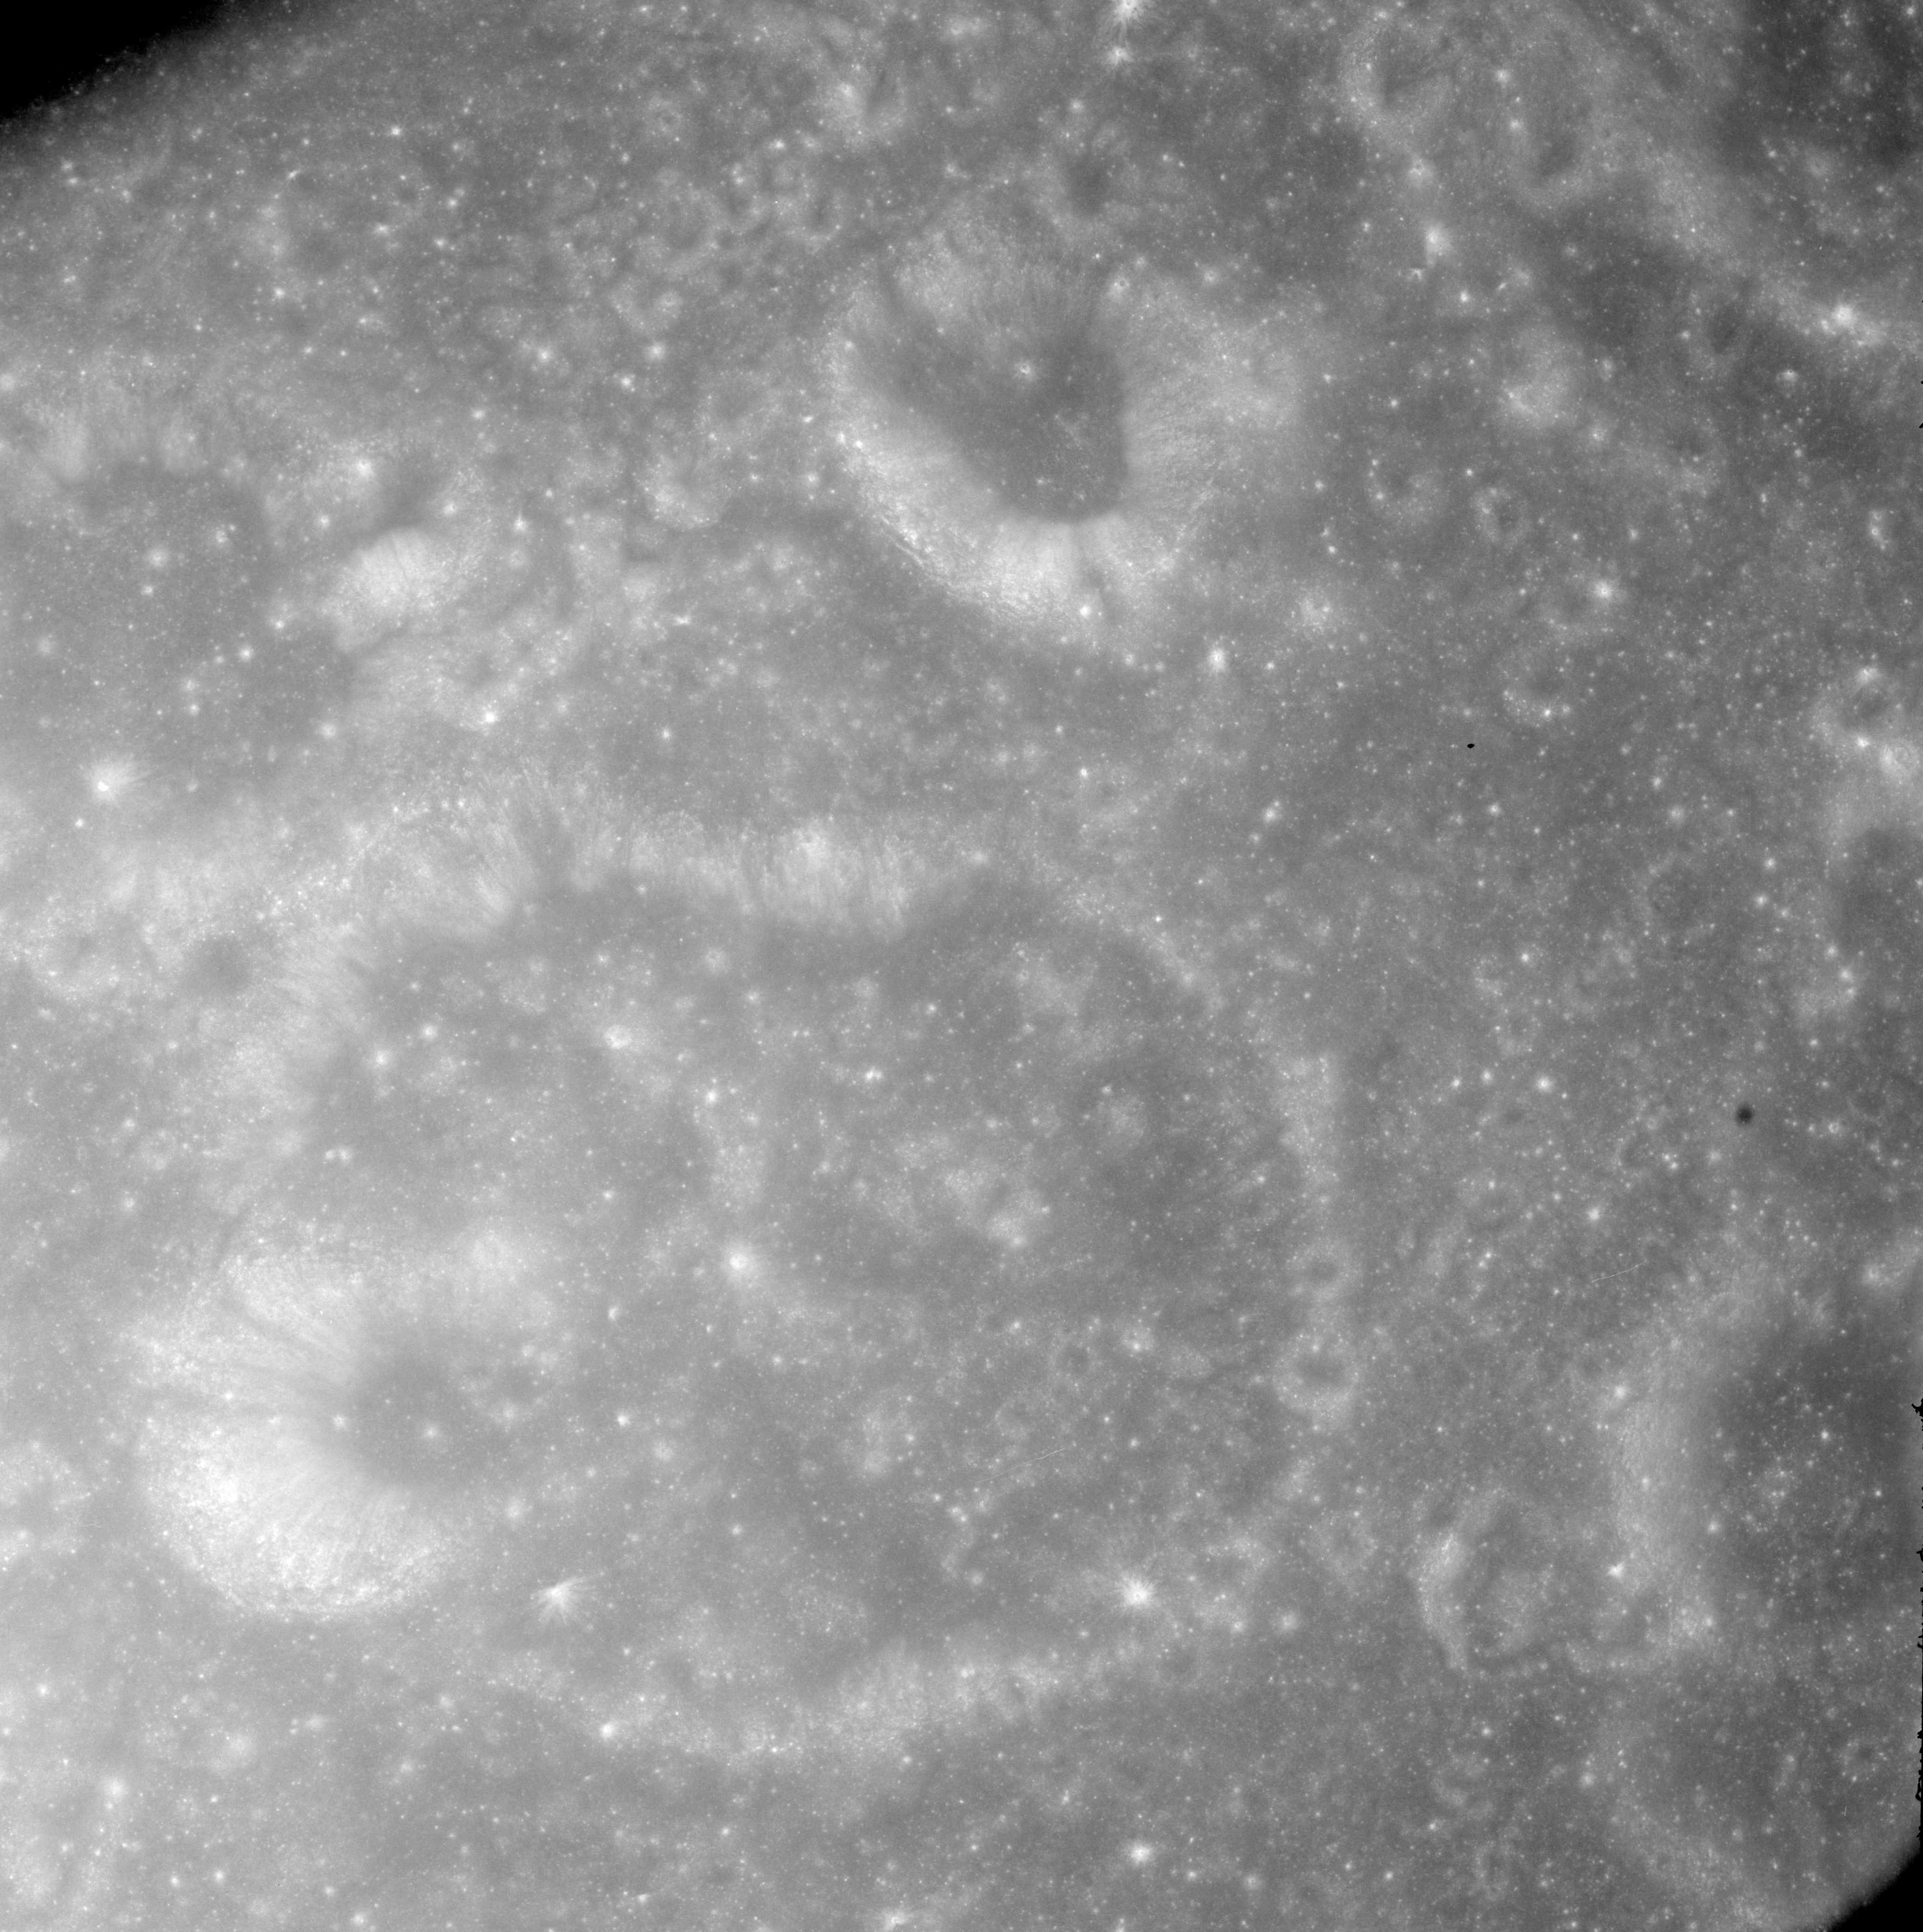 |
AS08-12-2155 Pasteur U. Image credit: Image Science and Analysis Laboratory, NASA-Johnson Space Center. |
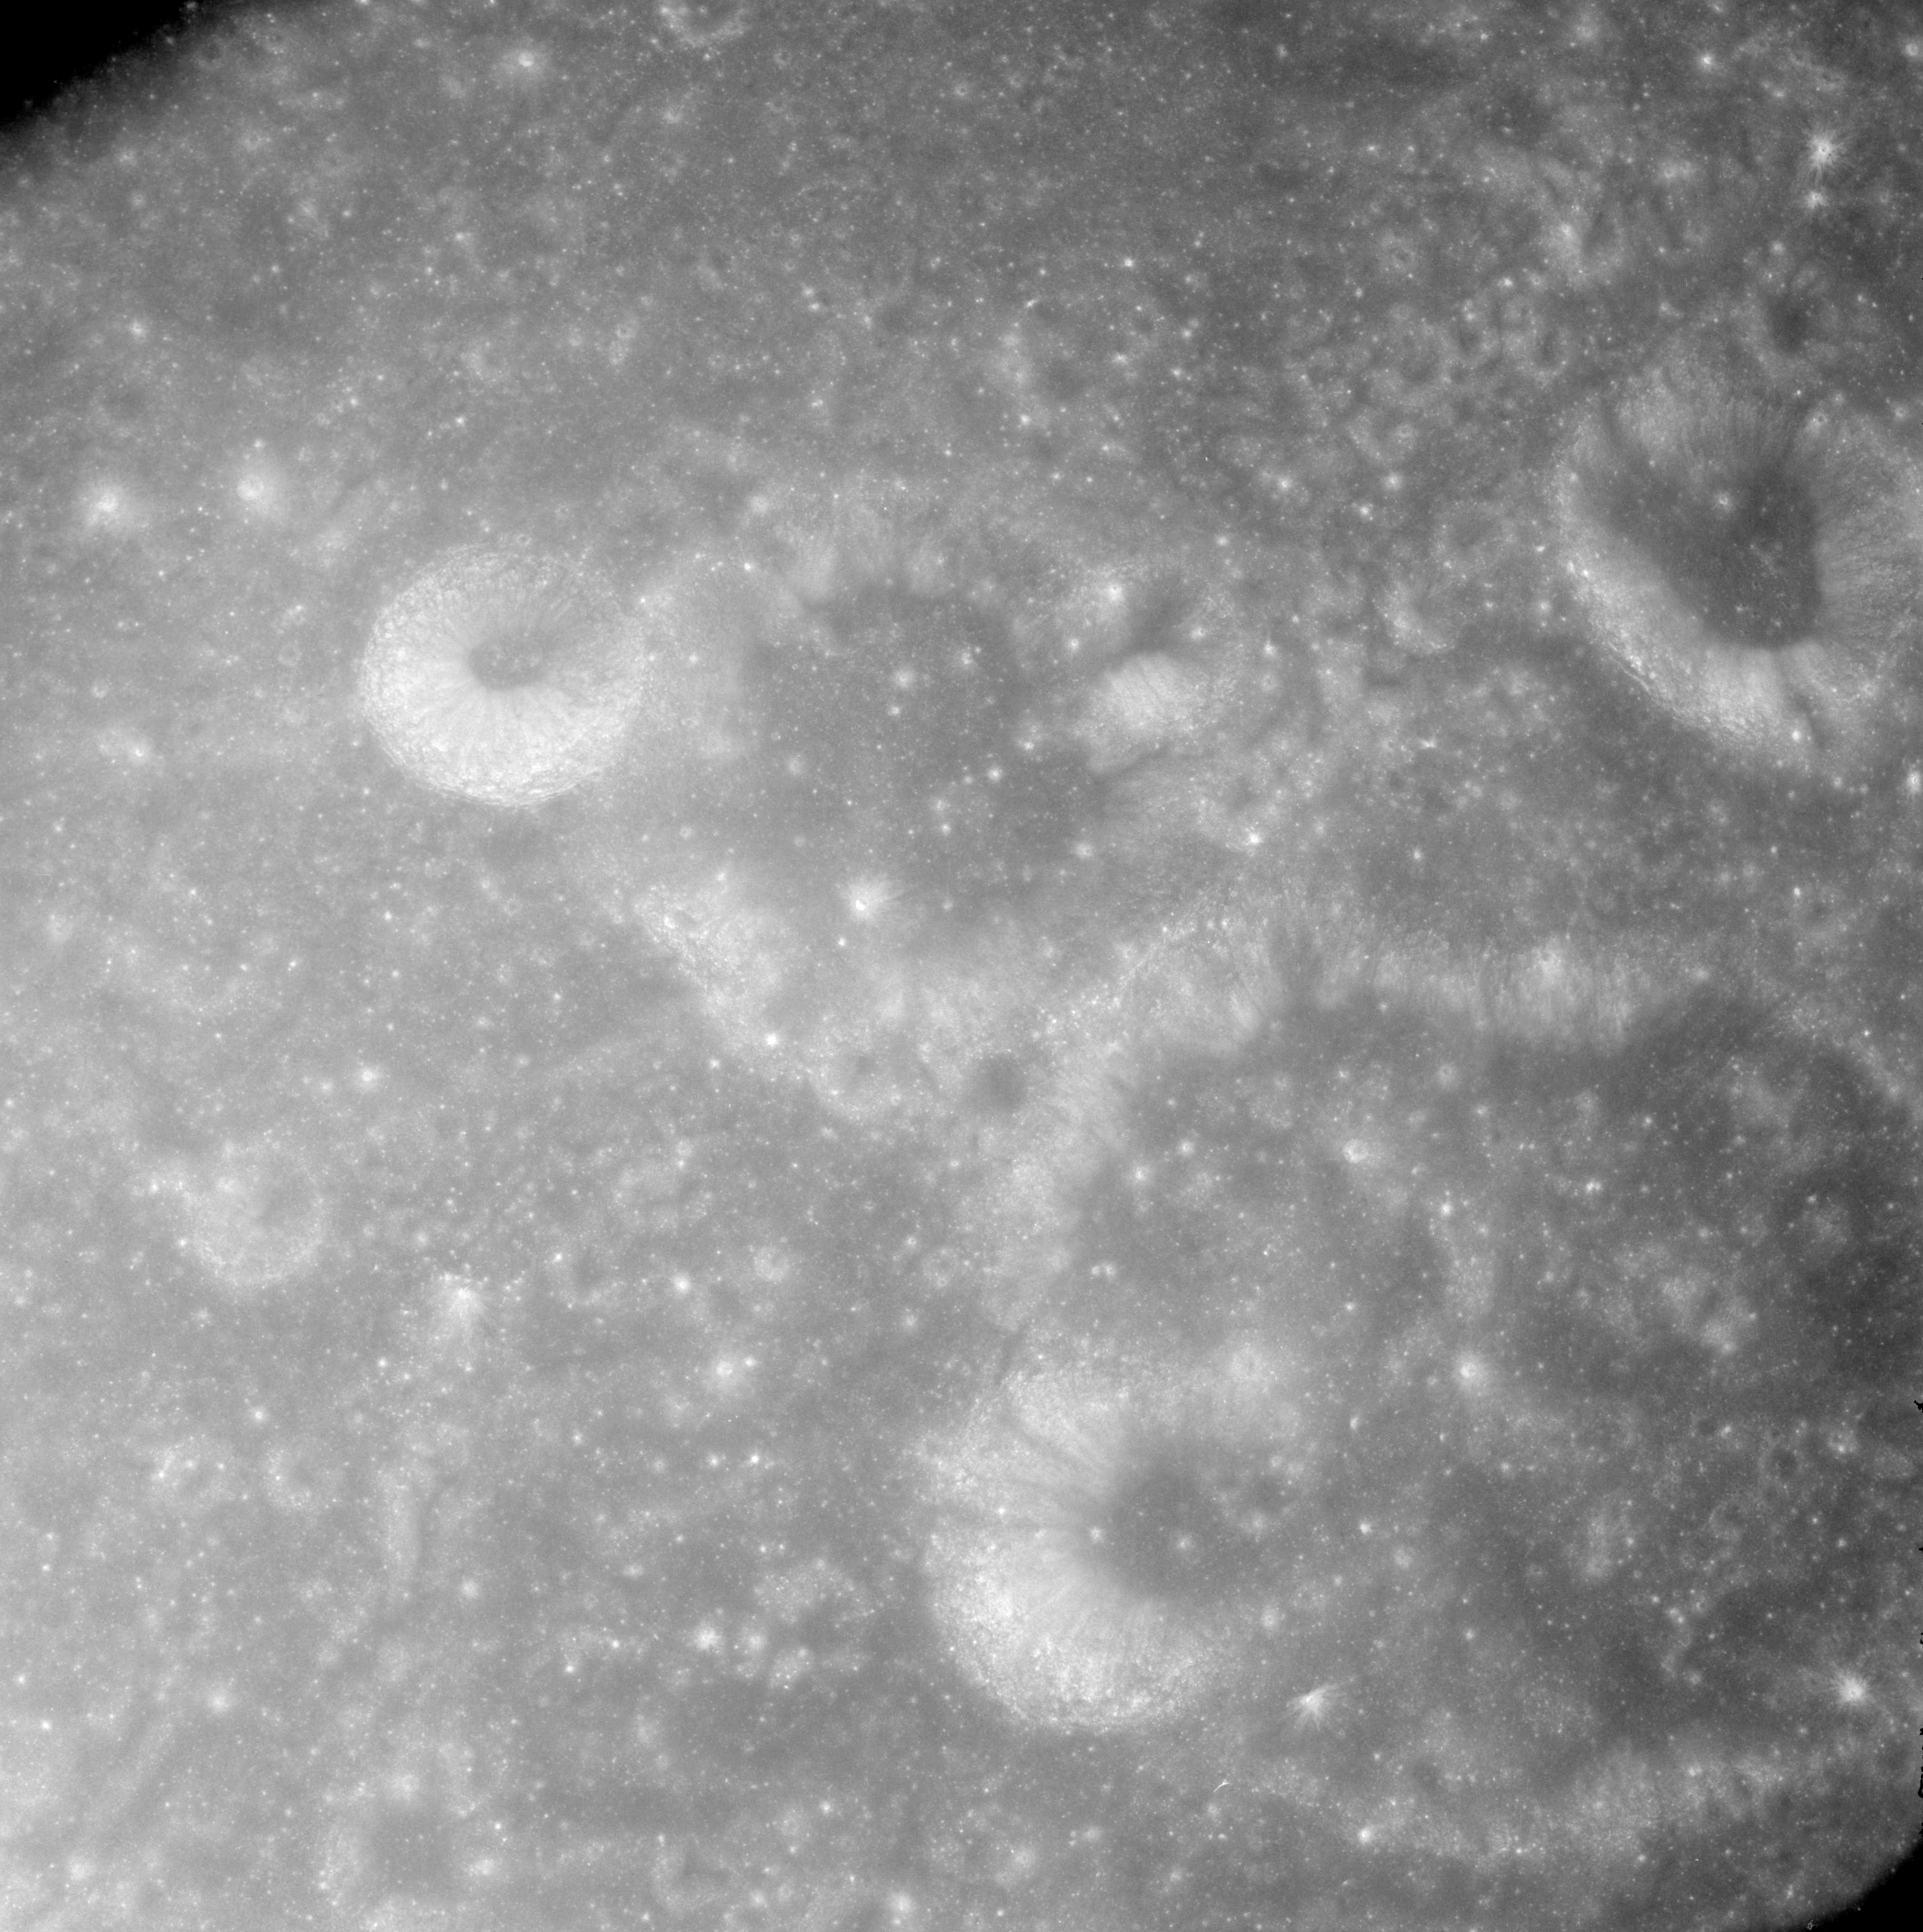 |
AS08-12-2156 Pasteur V centre. Pasteur U lower right. Image credit: Image Science and Analysis Laboratory, NASA-Johnson Space Center. |
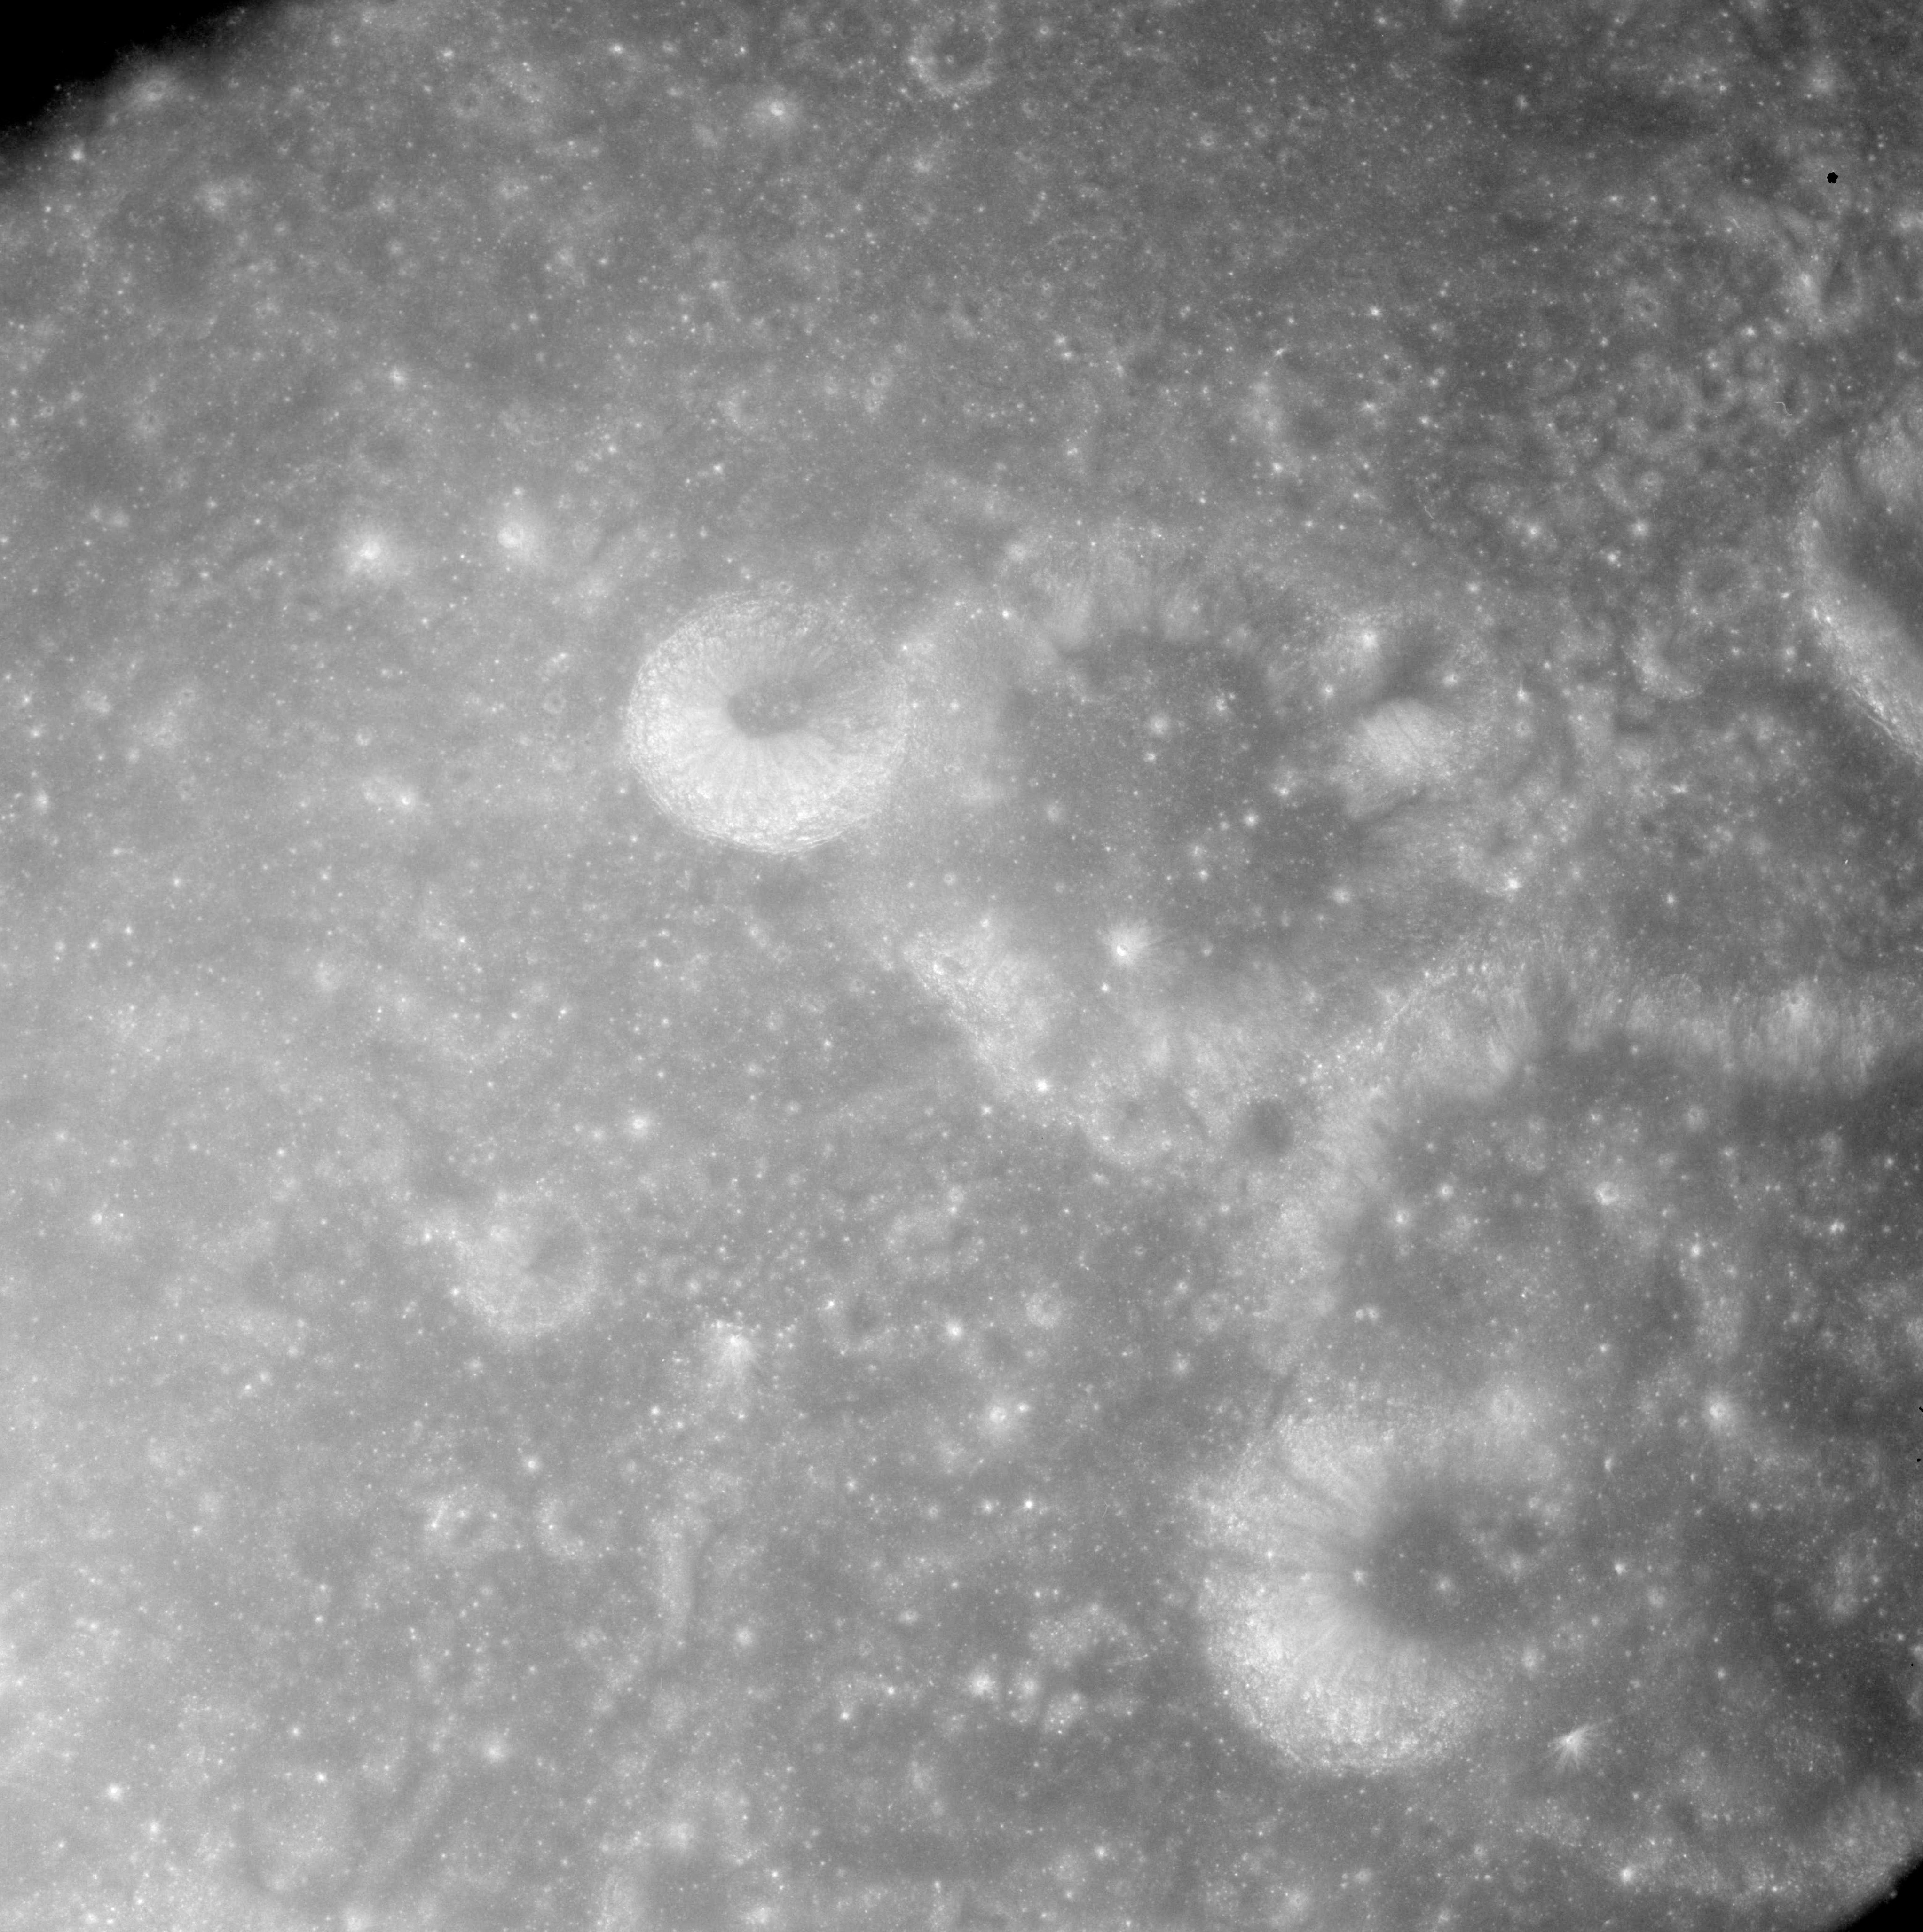 |
AS08-12-2157 Pasteur V right of centre. Image credit: Image Science and Analysis Laboratory, NASA-Johnson Space Center. |
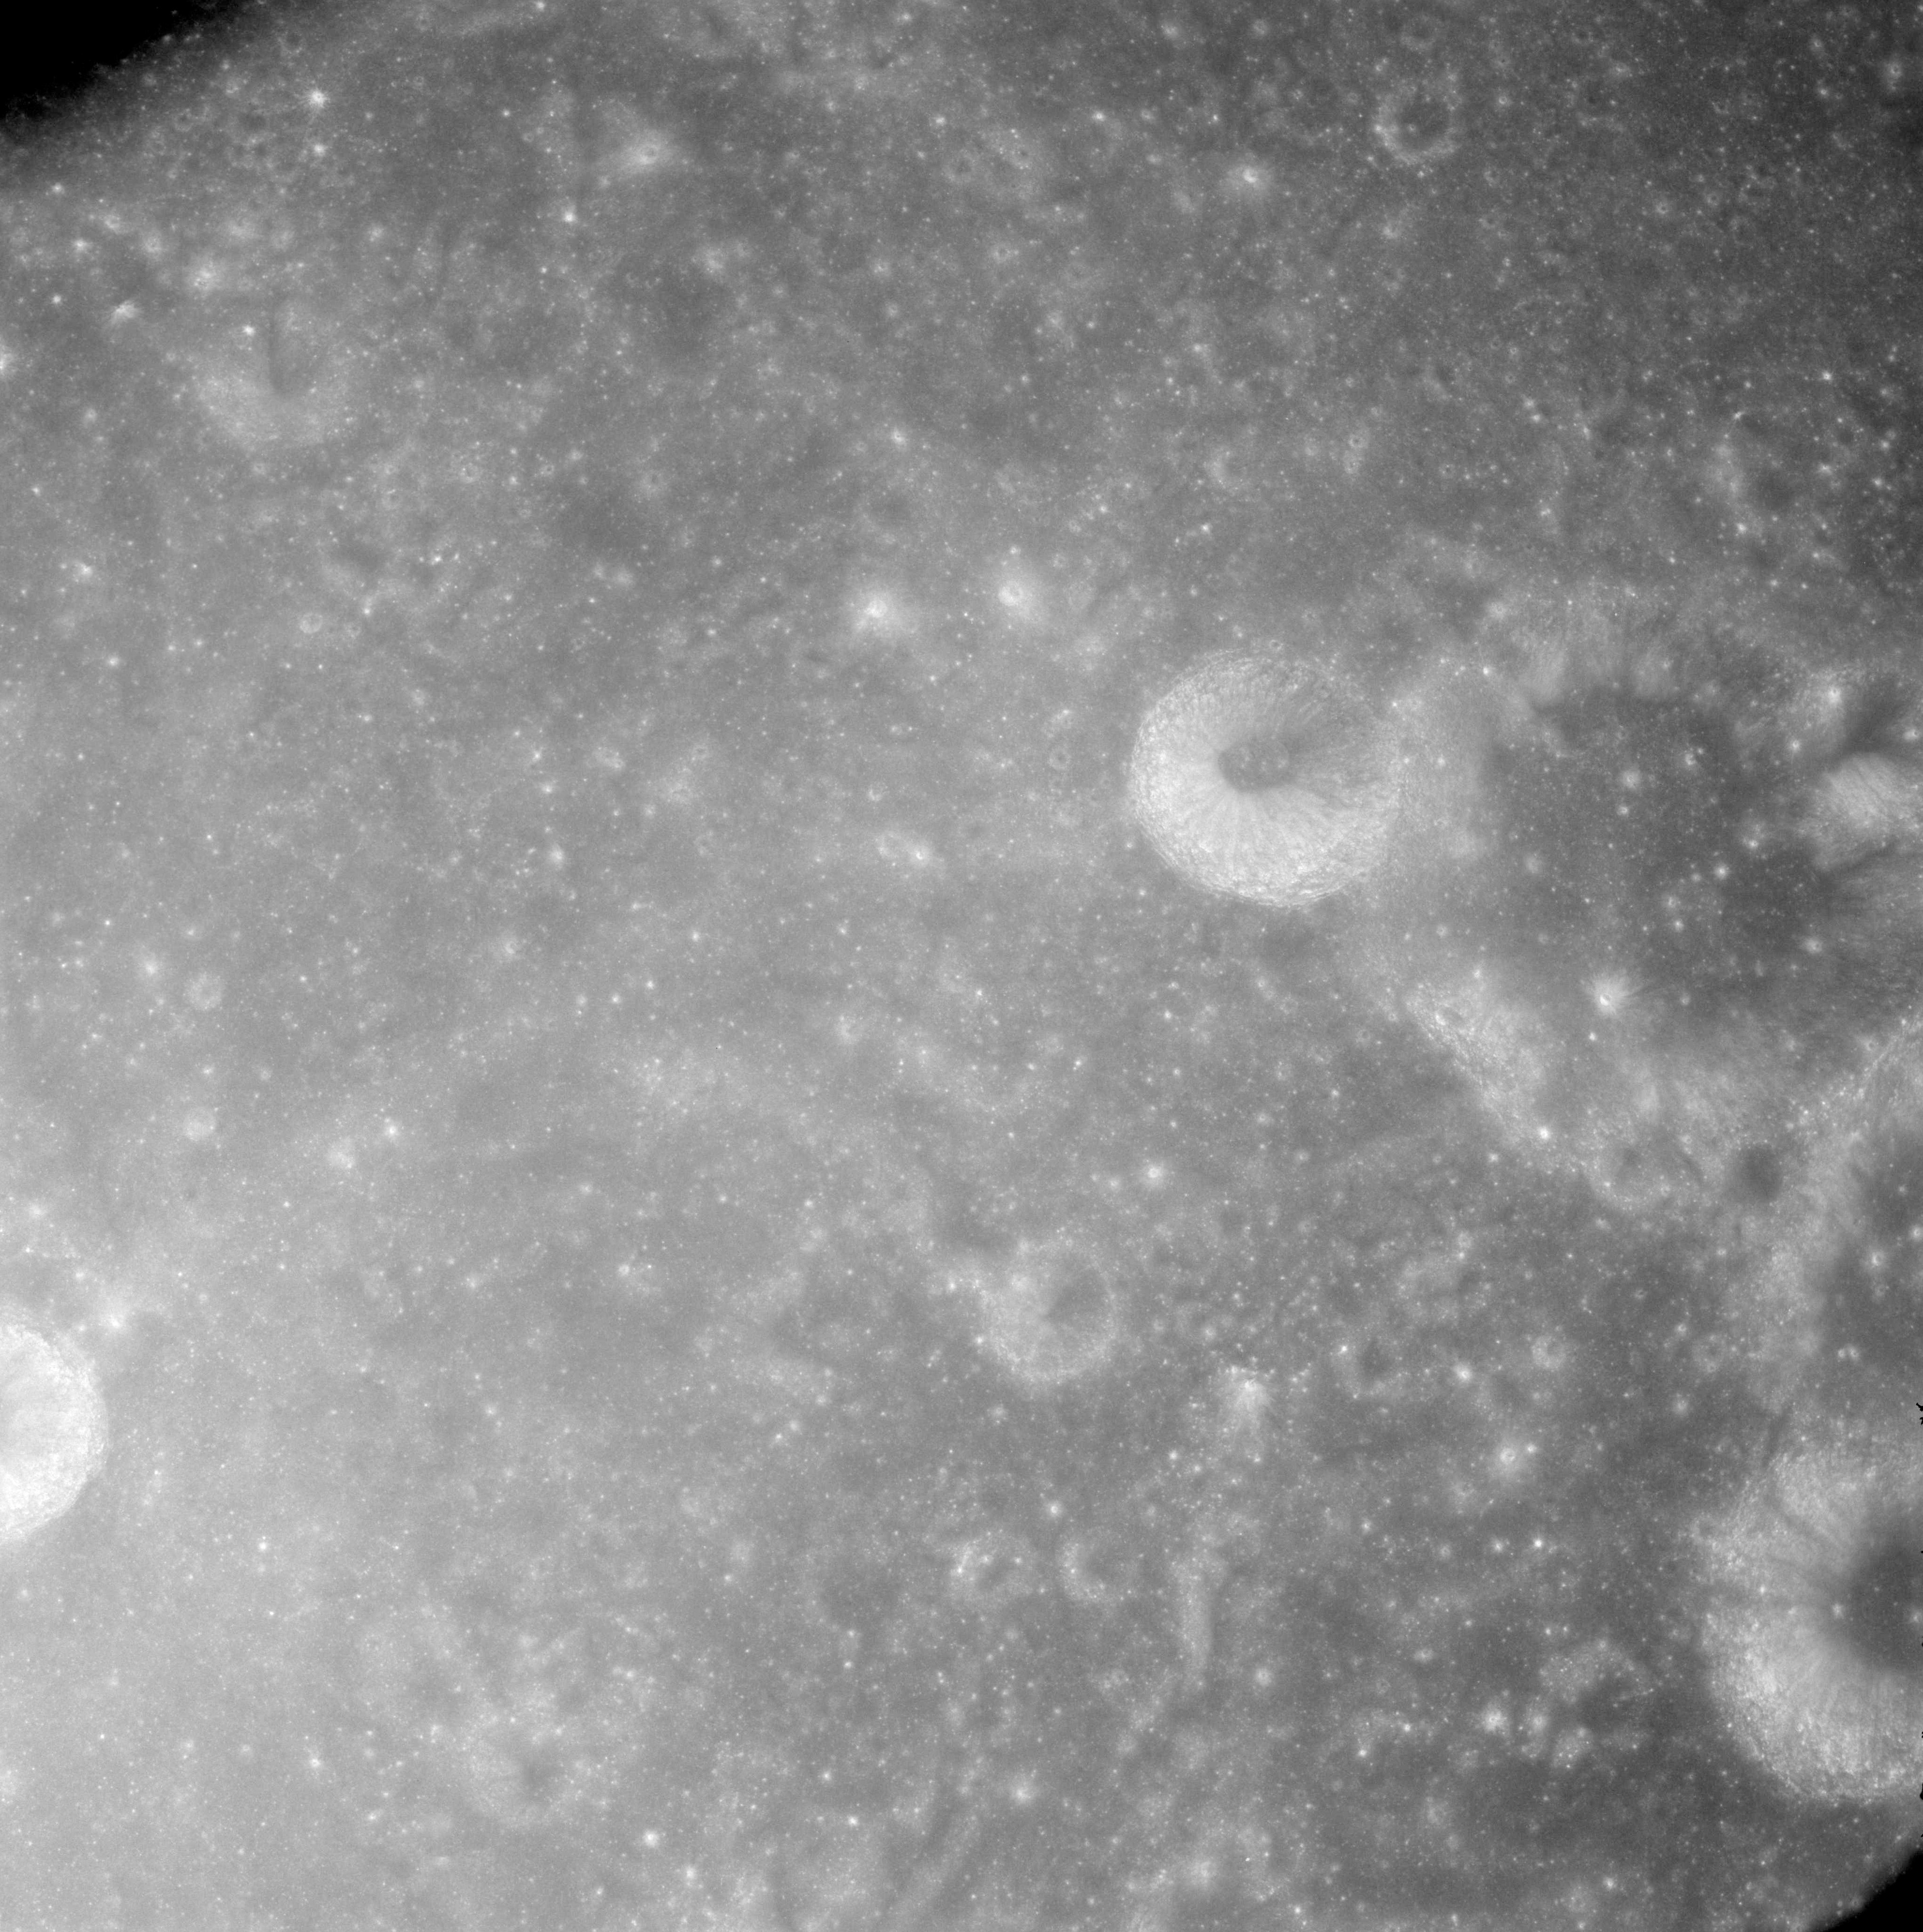 |
AS08-12-2158 Pasteur V far right. Image credit: Image Science and Analysis Laboratory, NASA-Johnson Space Center. |
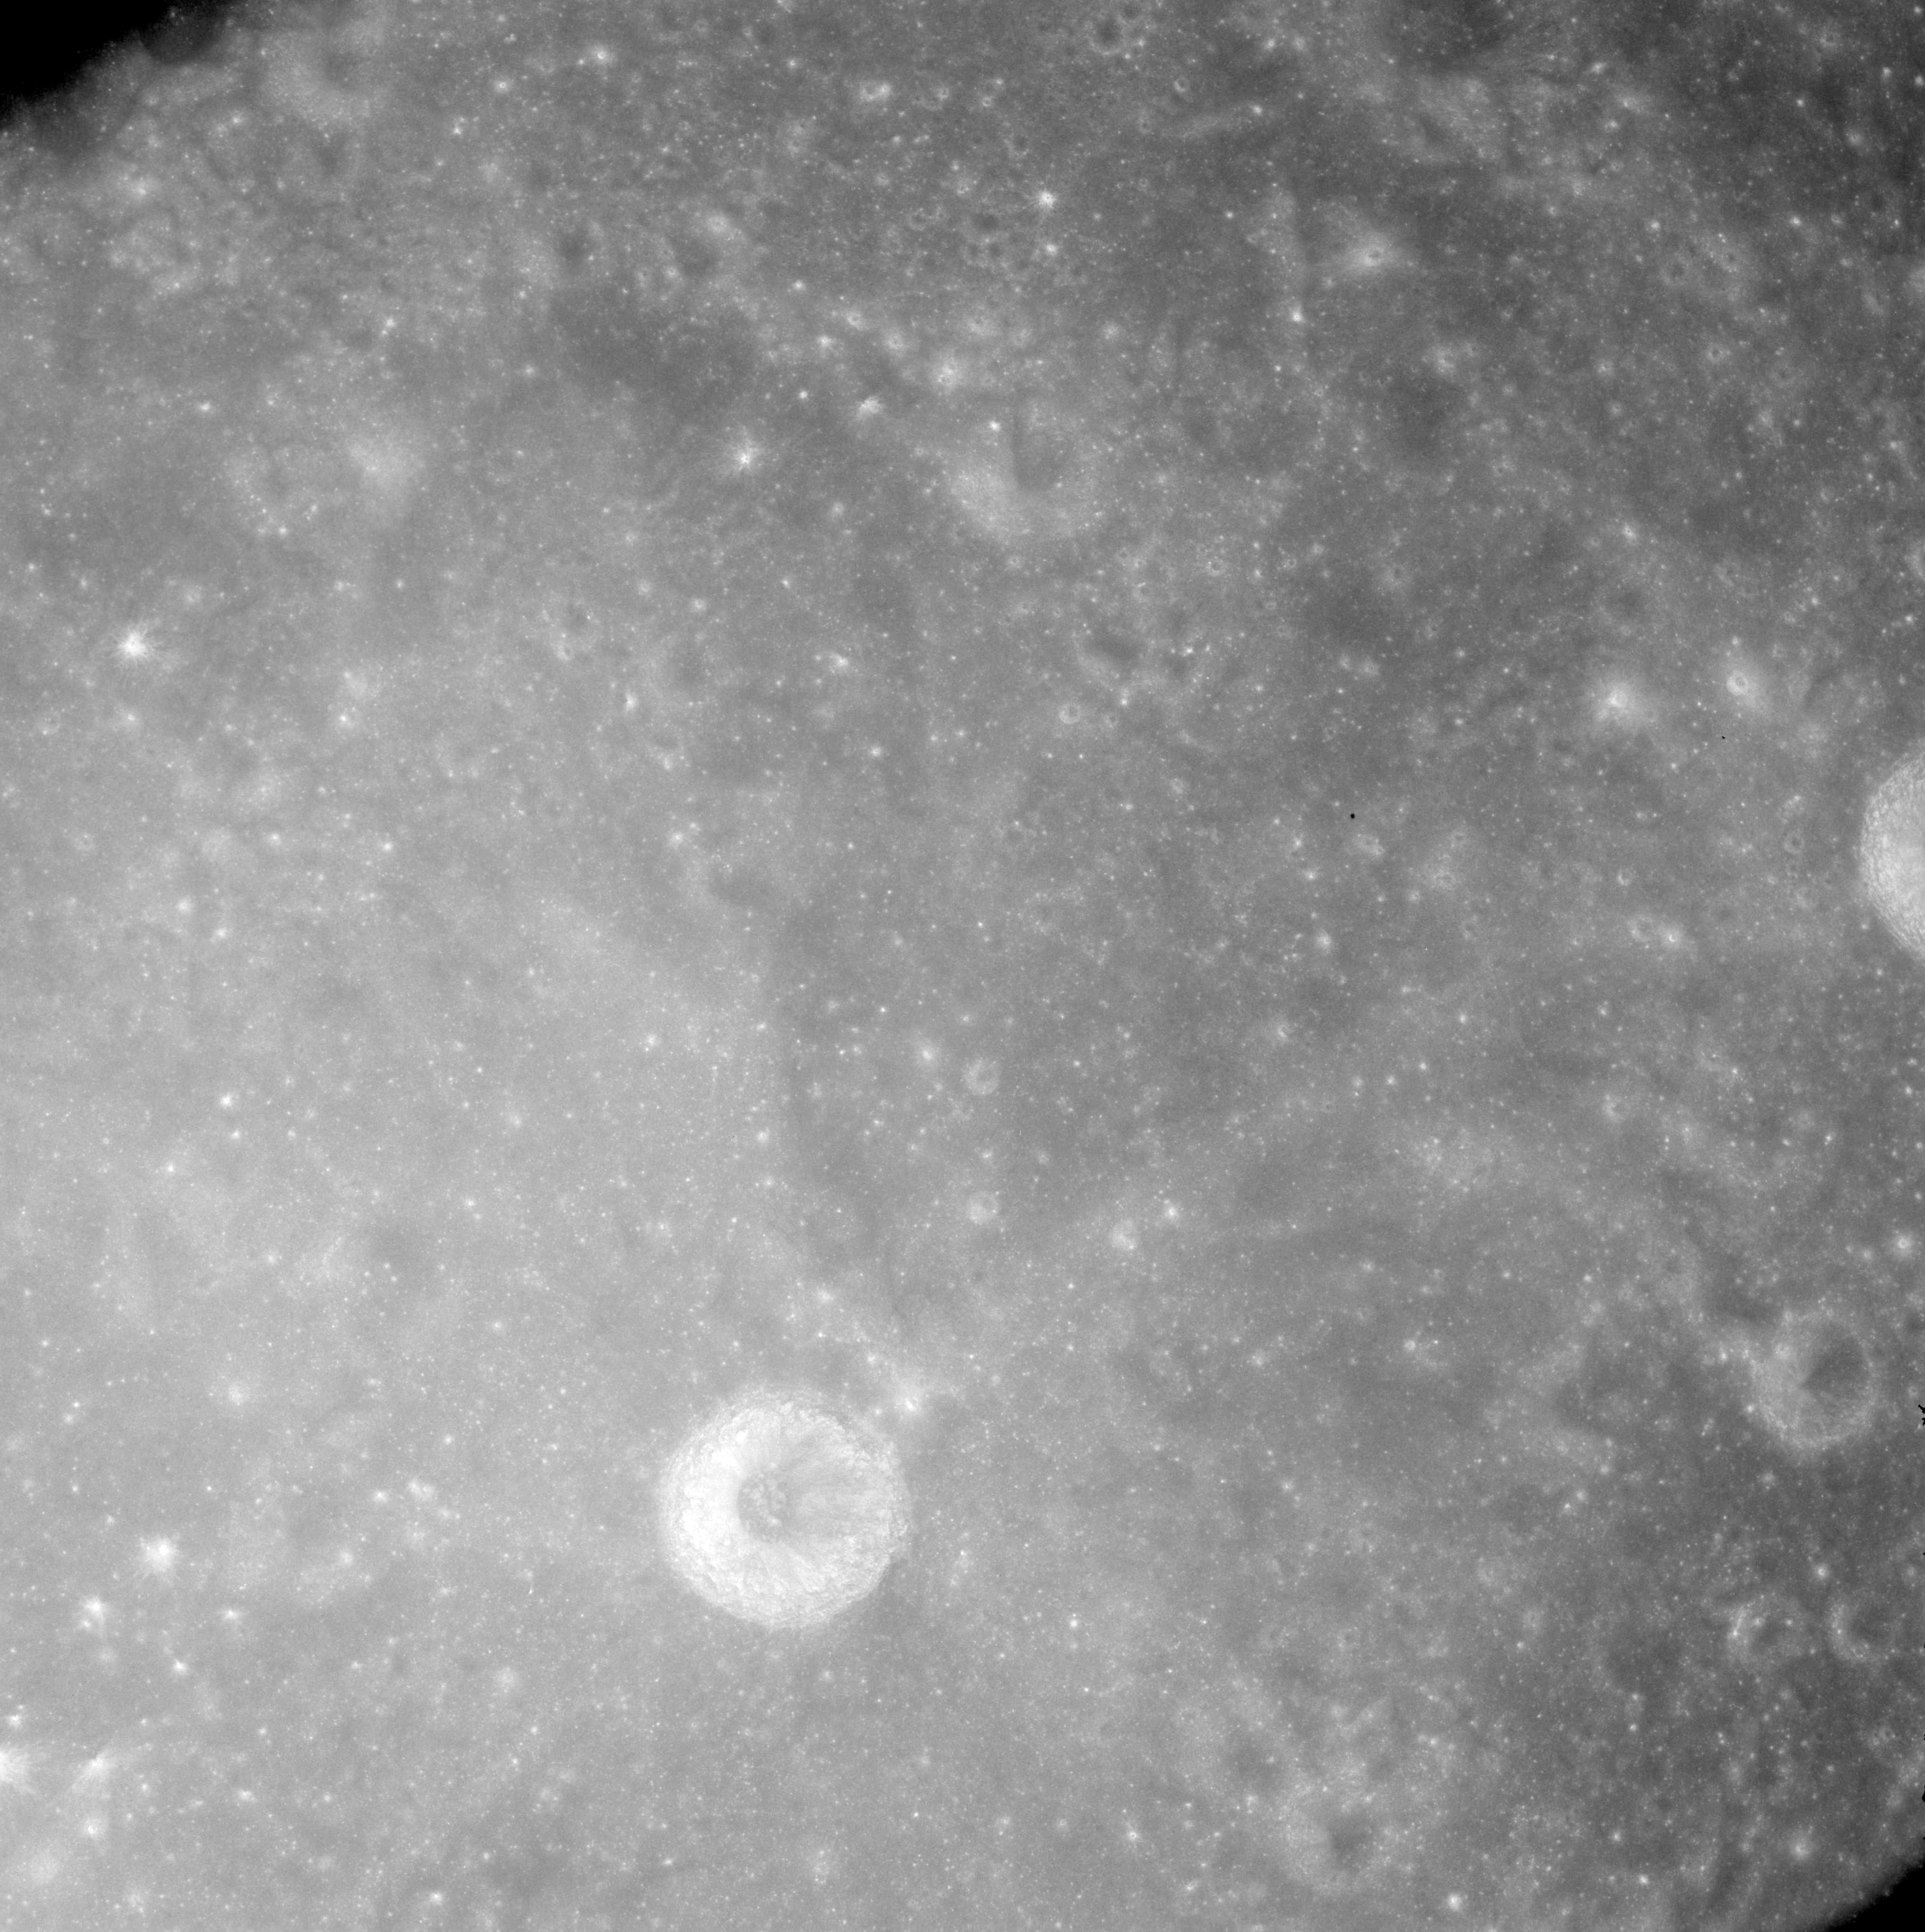 |
AS08-12-2159 Bright crater is Hansky F. Image credit: Image Science and Analysis Laboratory, NASA-Johnson Space Center. |
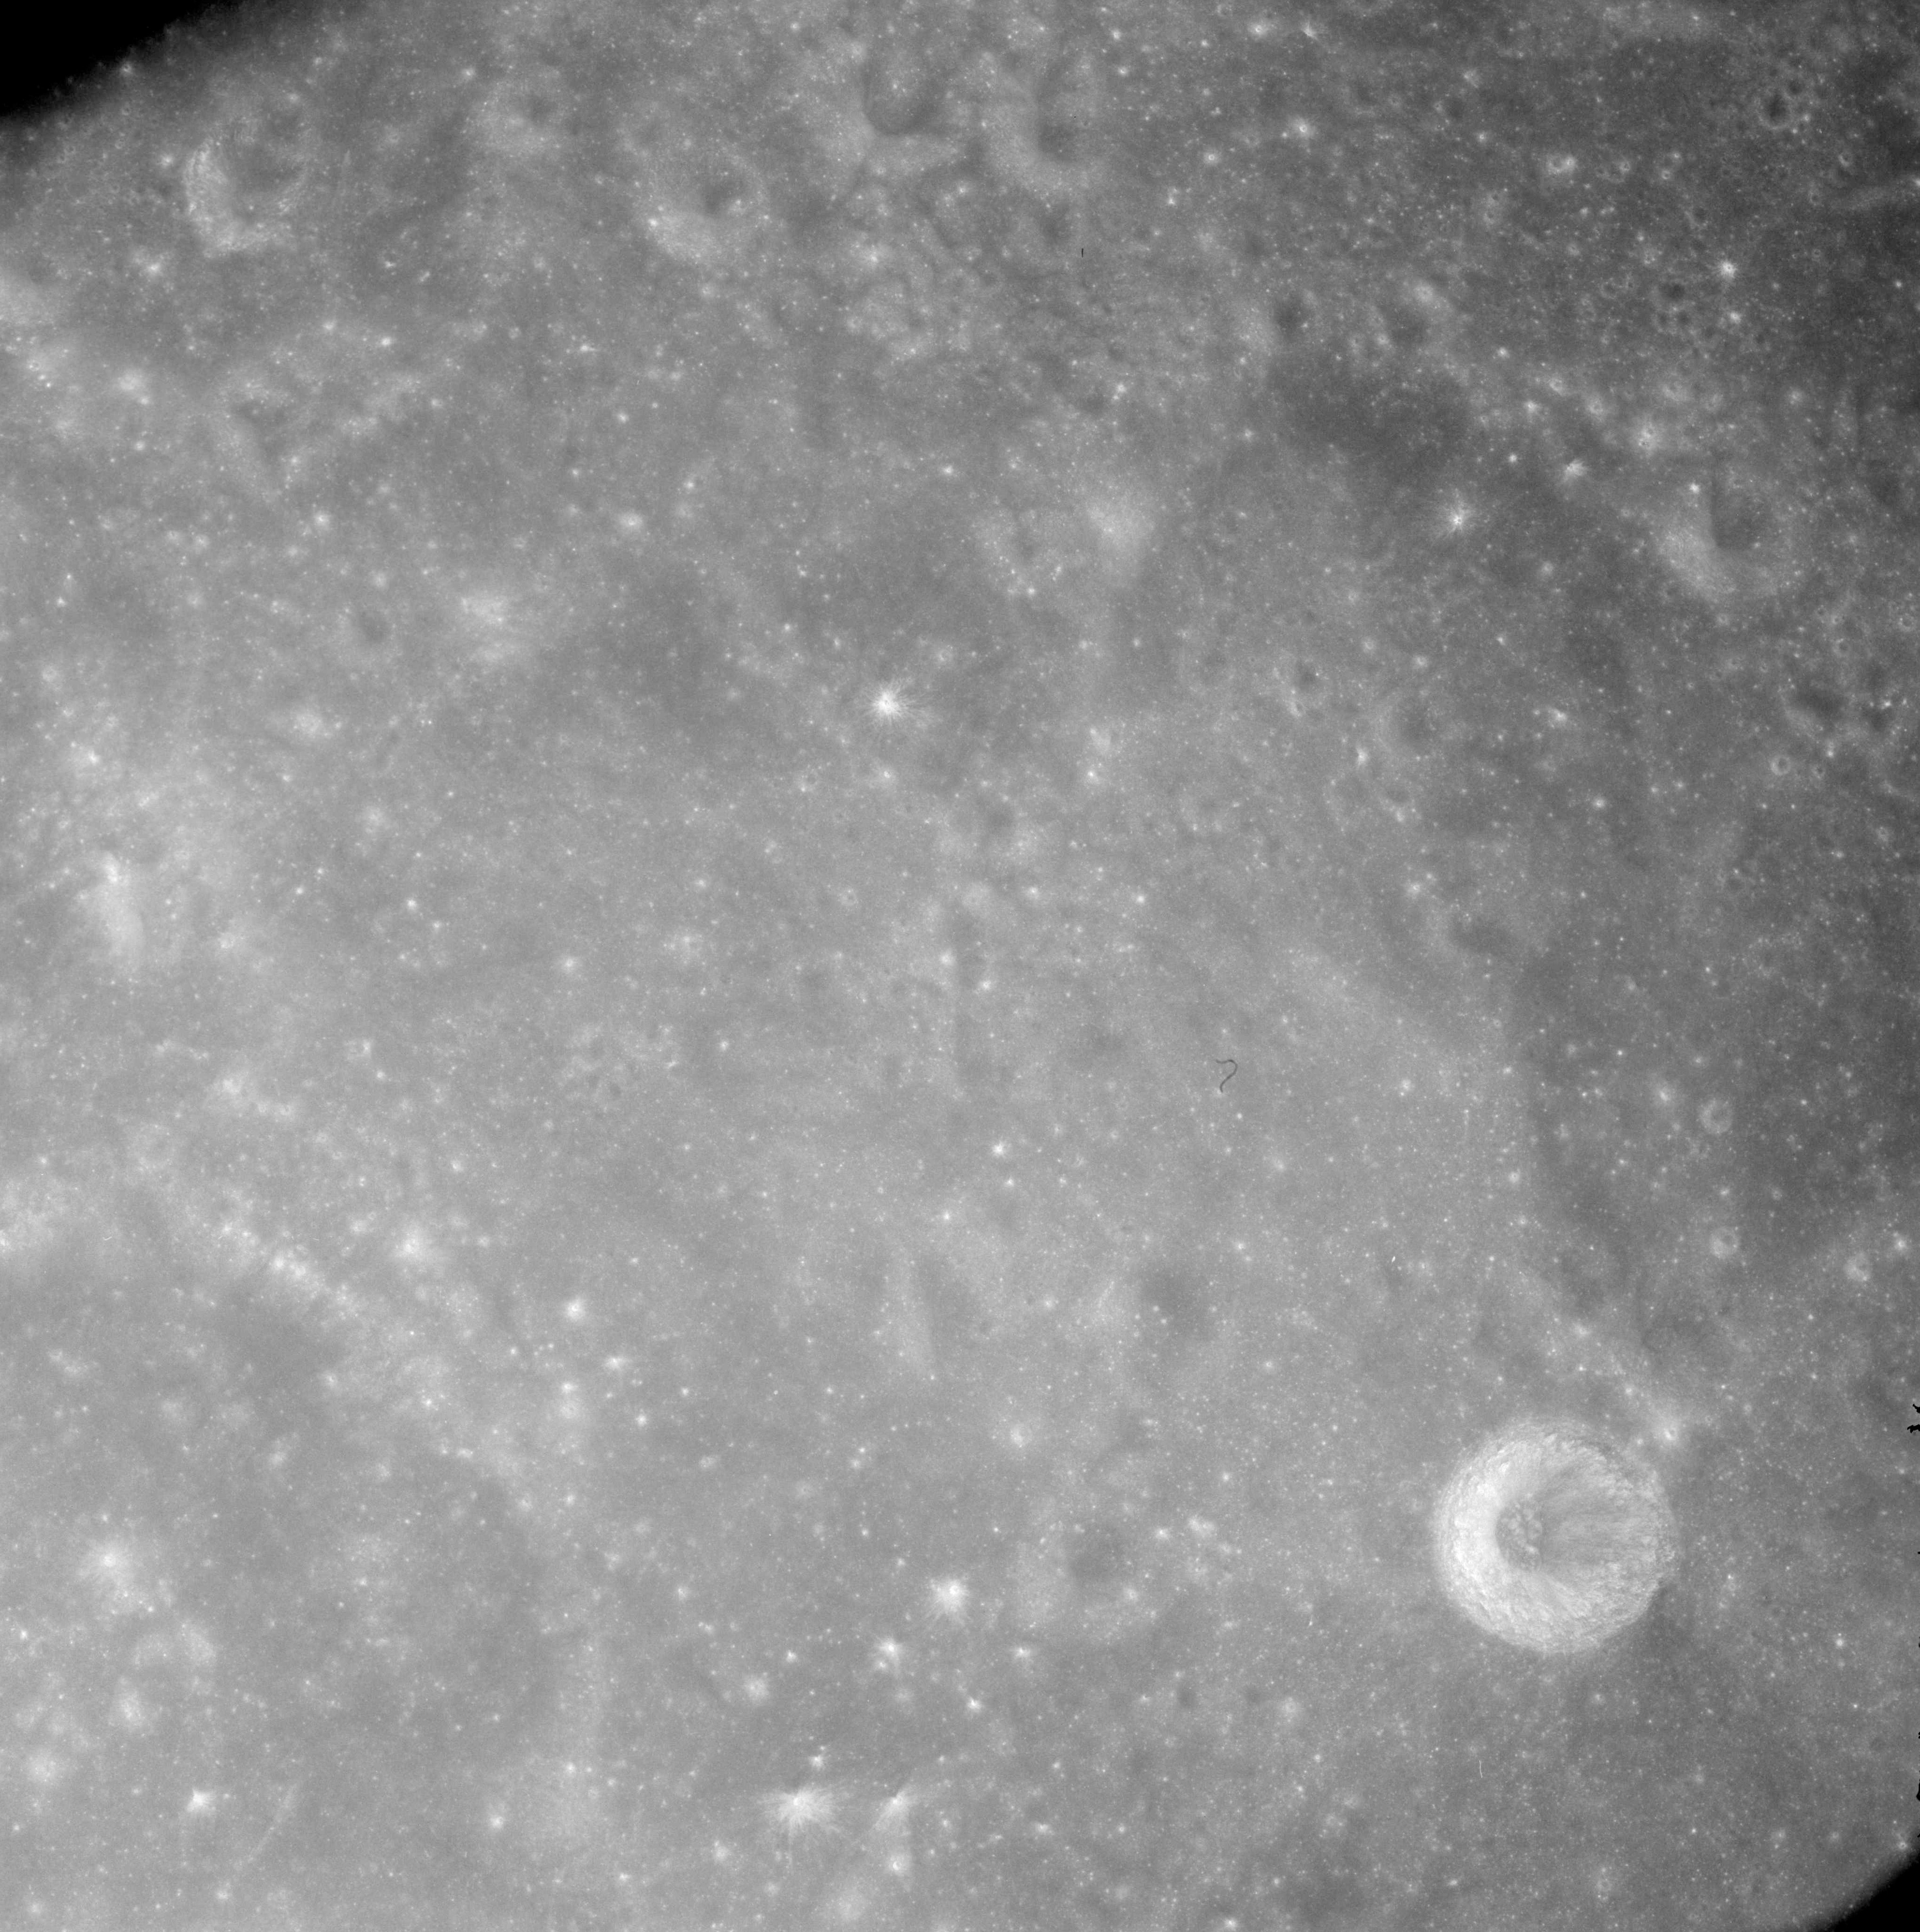 |
AS08-12-2160 Hansky F lower right. Northwest rim of Hansky on lower left. Image credit: Image Science and Analysis Laboratory, NASA-Johnson Space Center. |
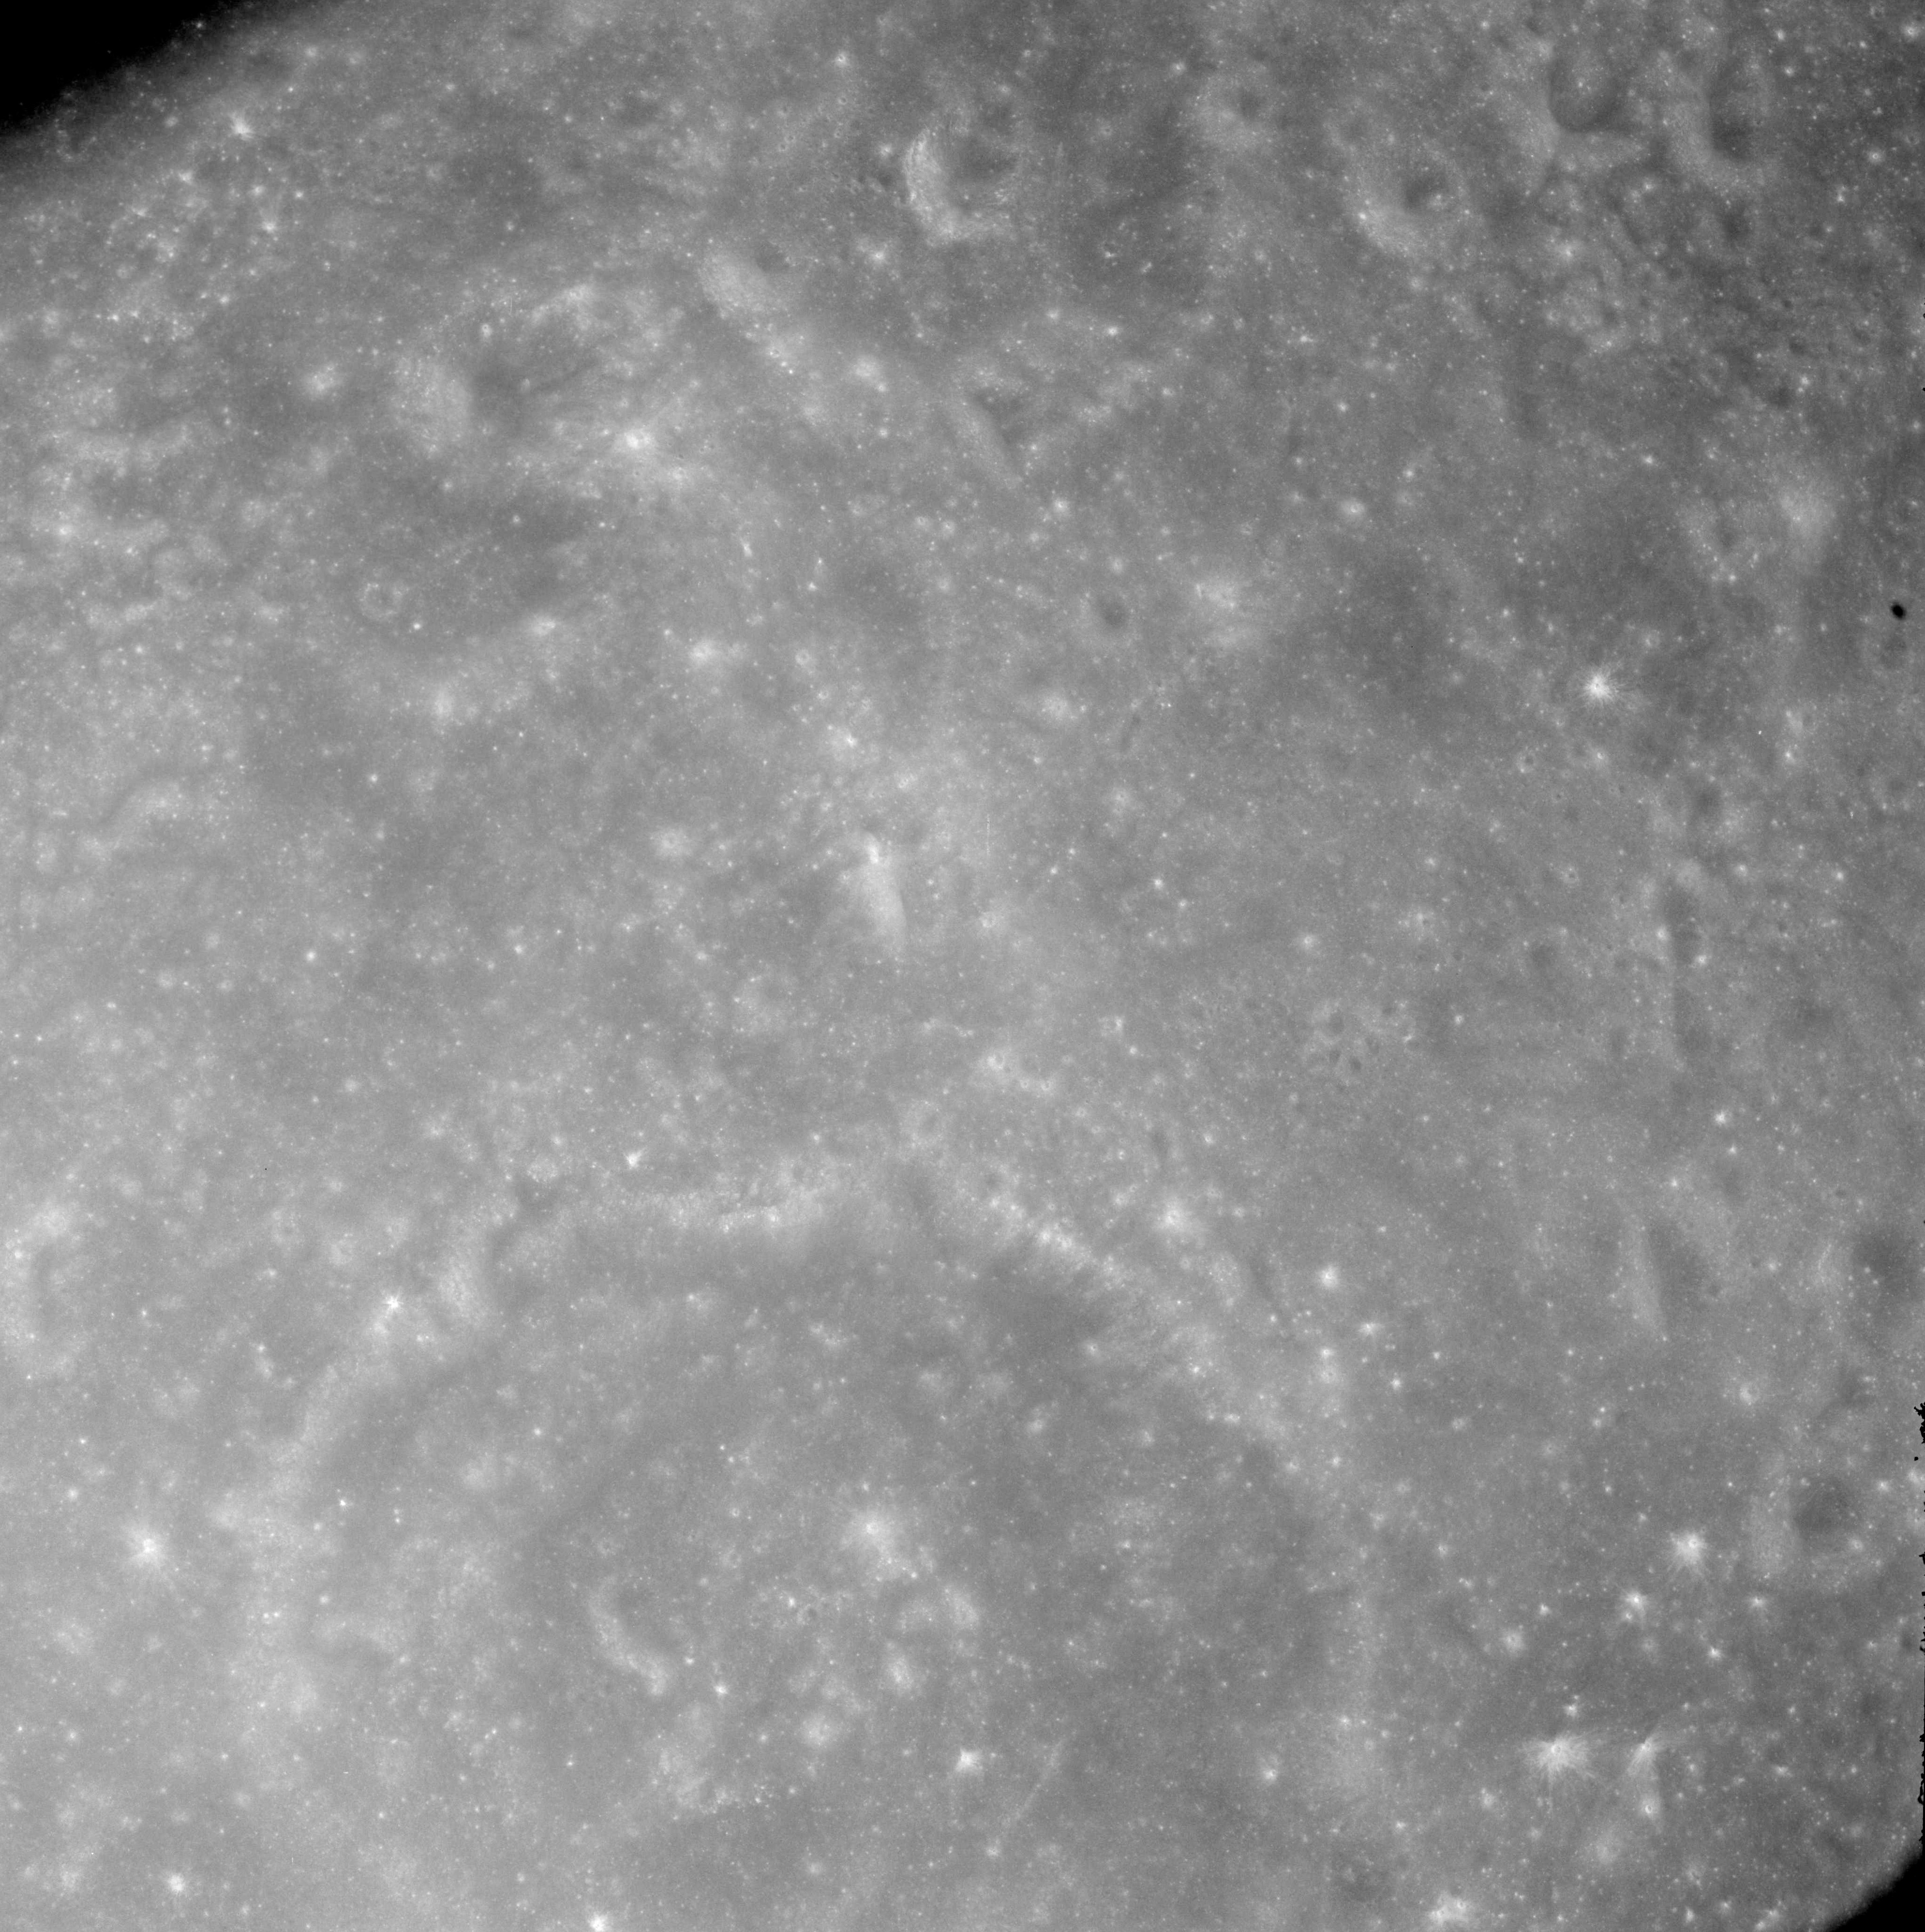 |
AS08-12-2161 Hansky lower centre. Image credit: Image Science and Analysis Laboratory, NASA-Johnson Space Center. |
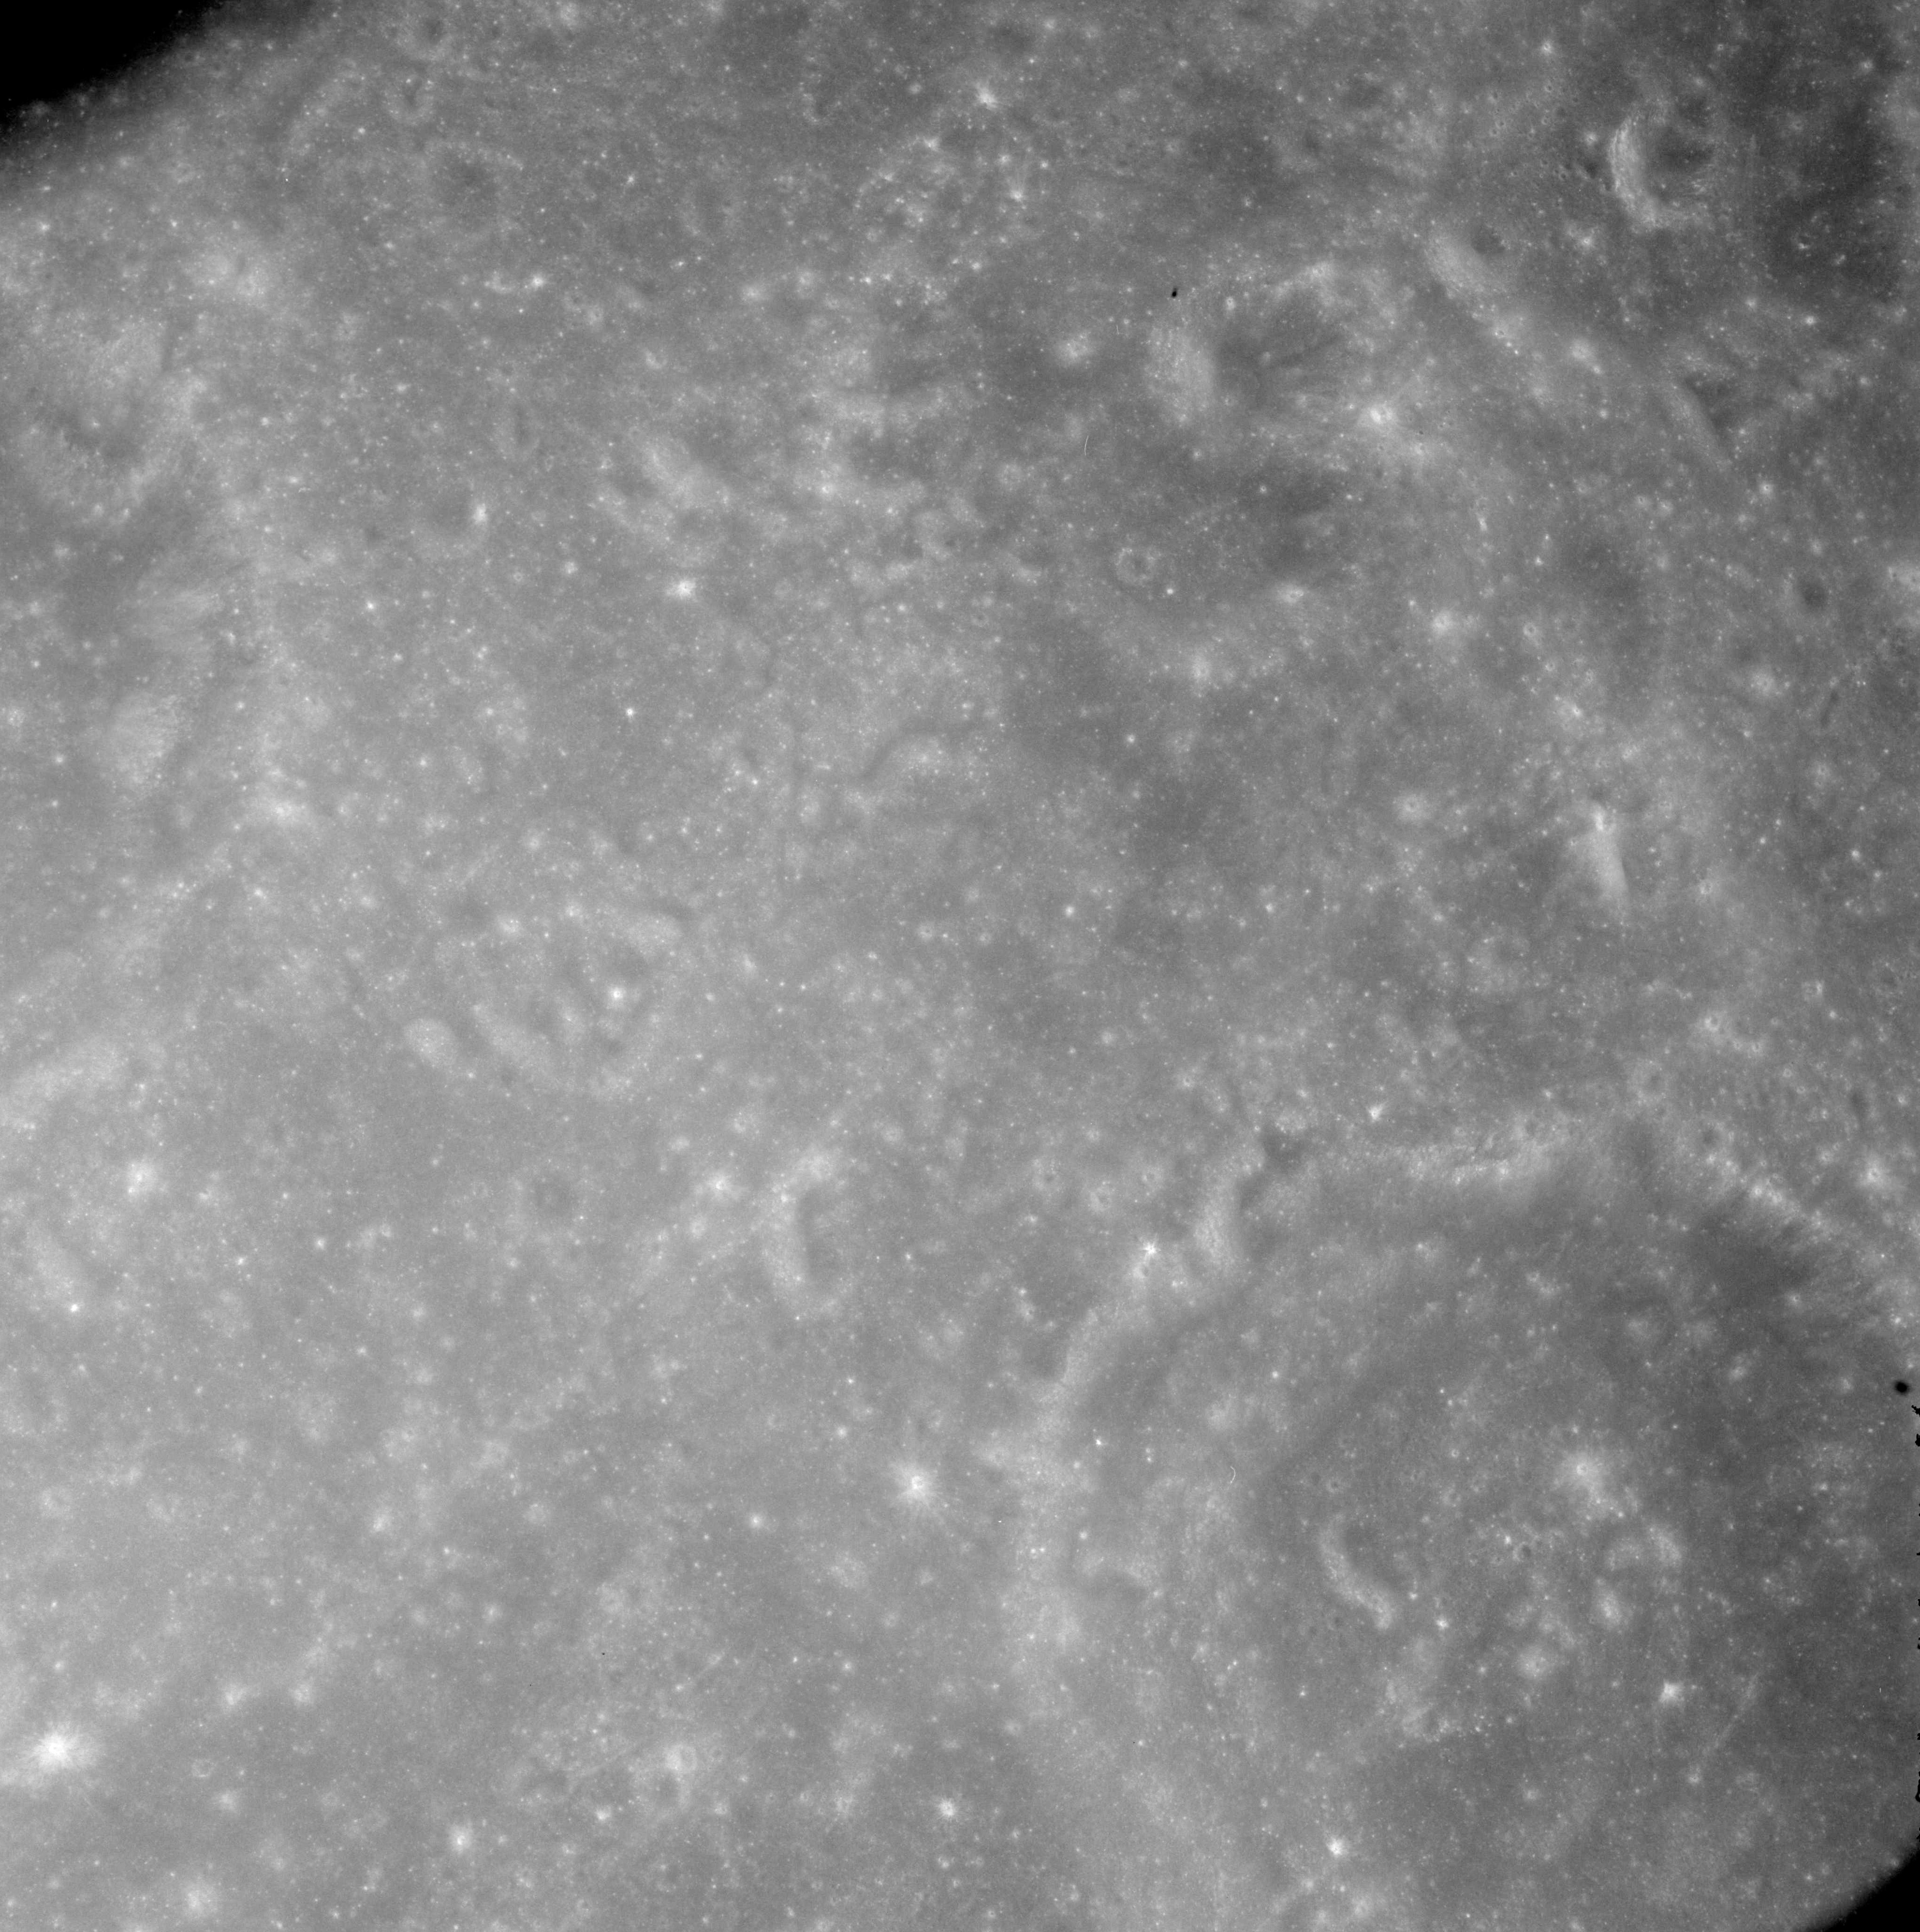 |
AS08-12-2162 Hansky lower right. Eastern rim of Hirayama K on far left. Image credit: Image Science and Analysis Laboratory, NASA-Johnson Space Center. |
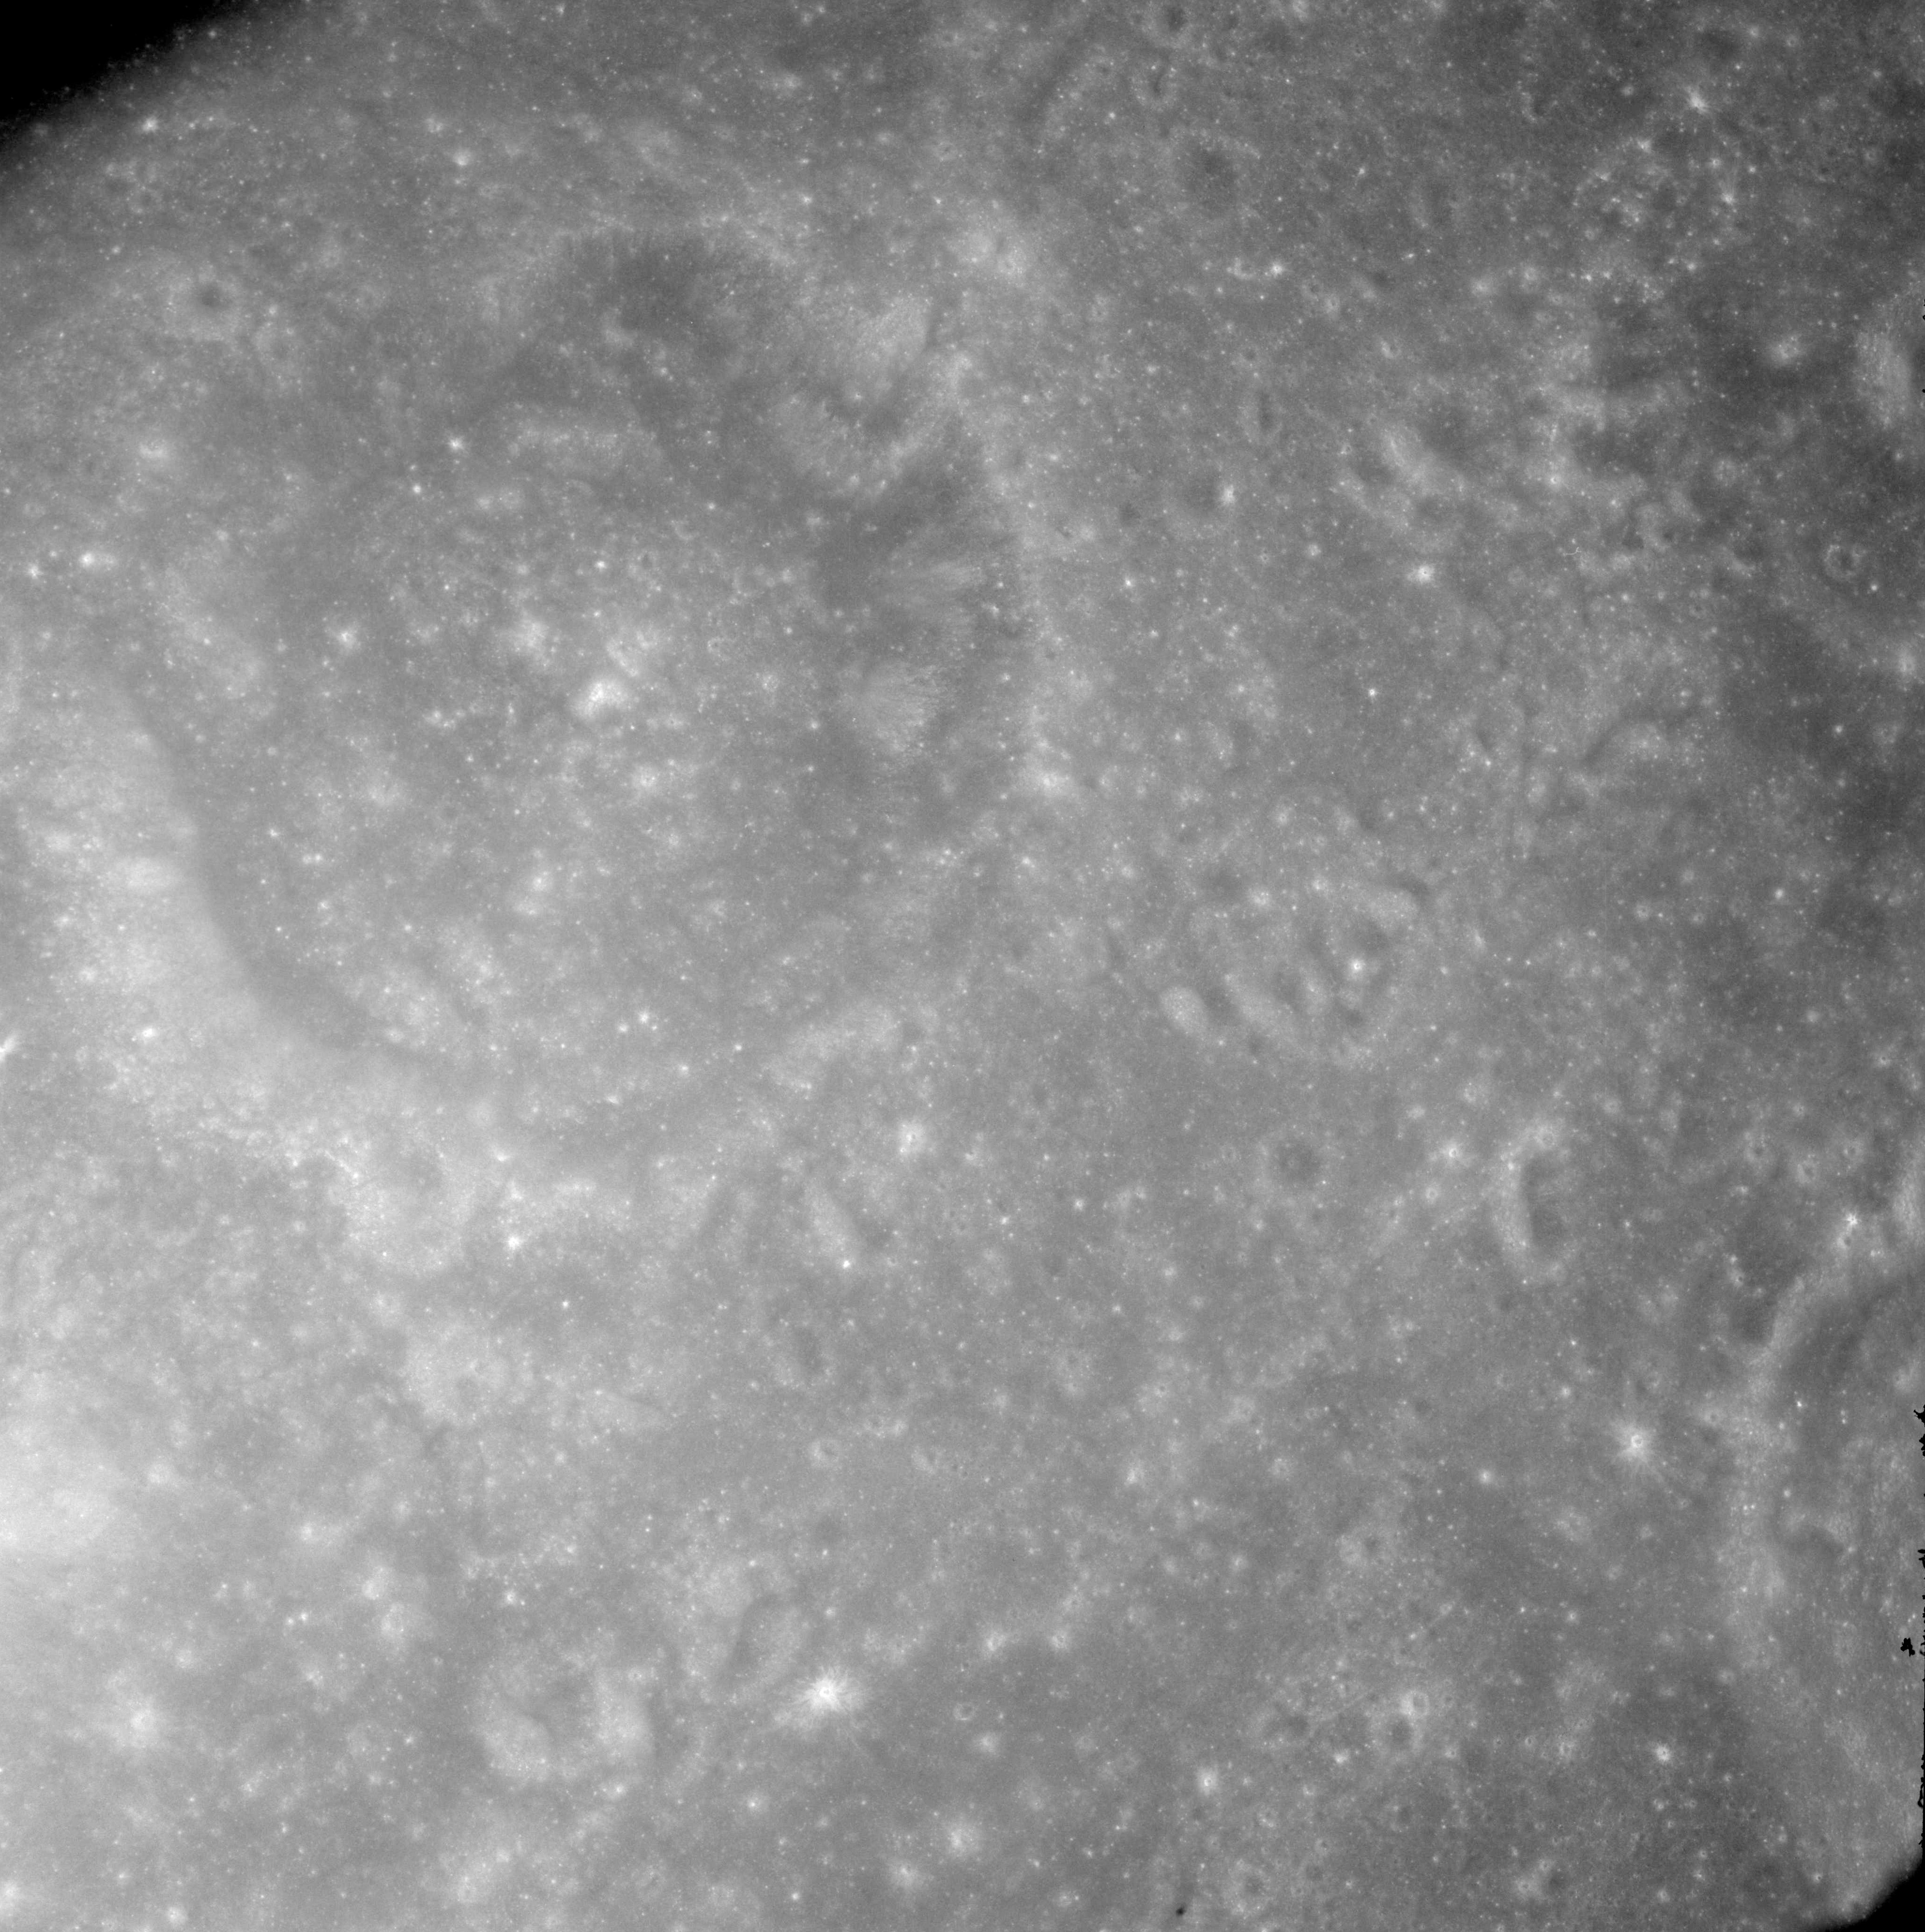 |
AS08-12-2163 Hirayama K on left. Image credit: Image Science and Analysis Laboratory, NASA-Johnson Space Center. |
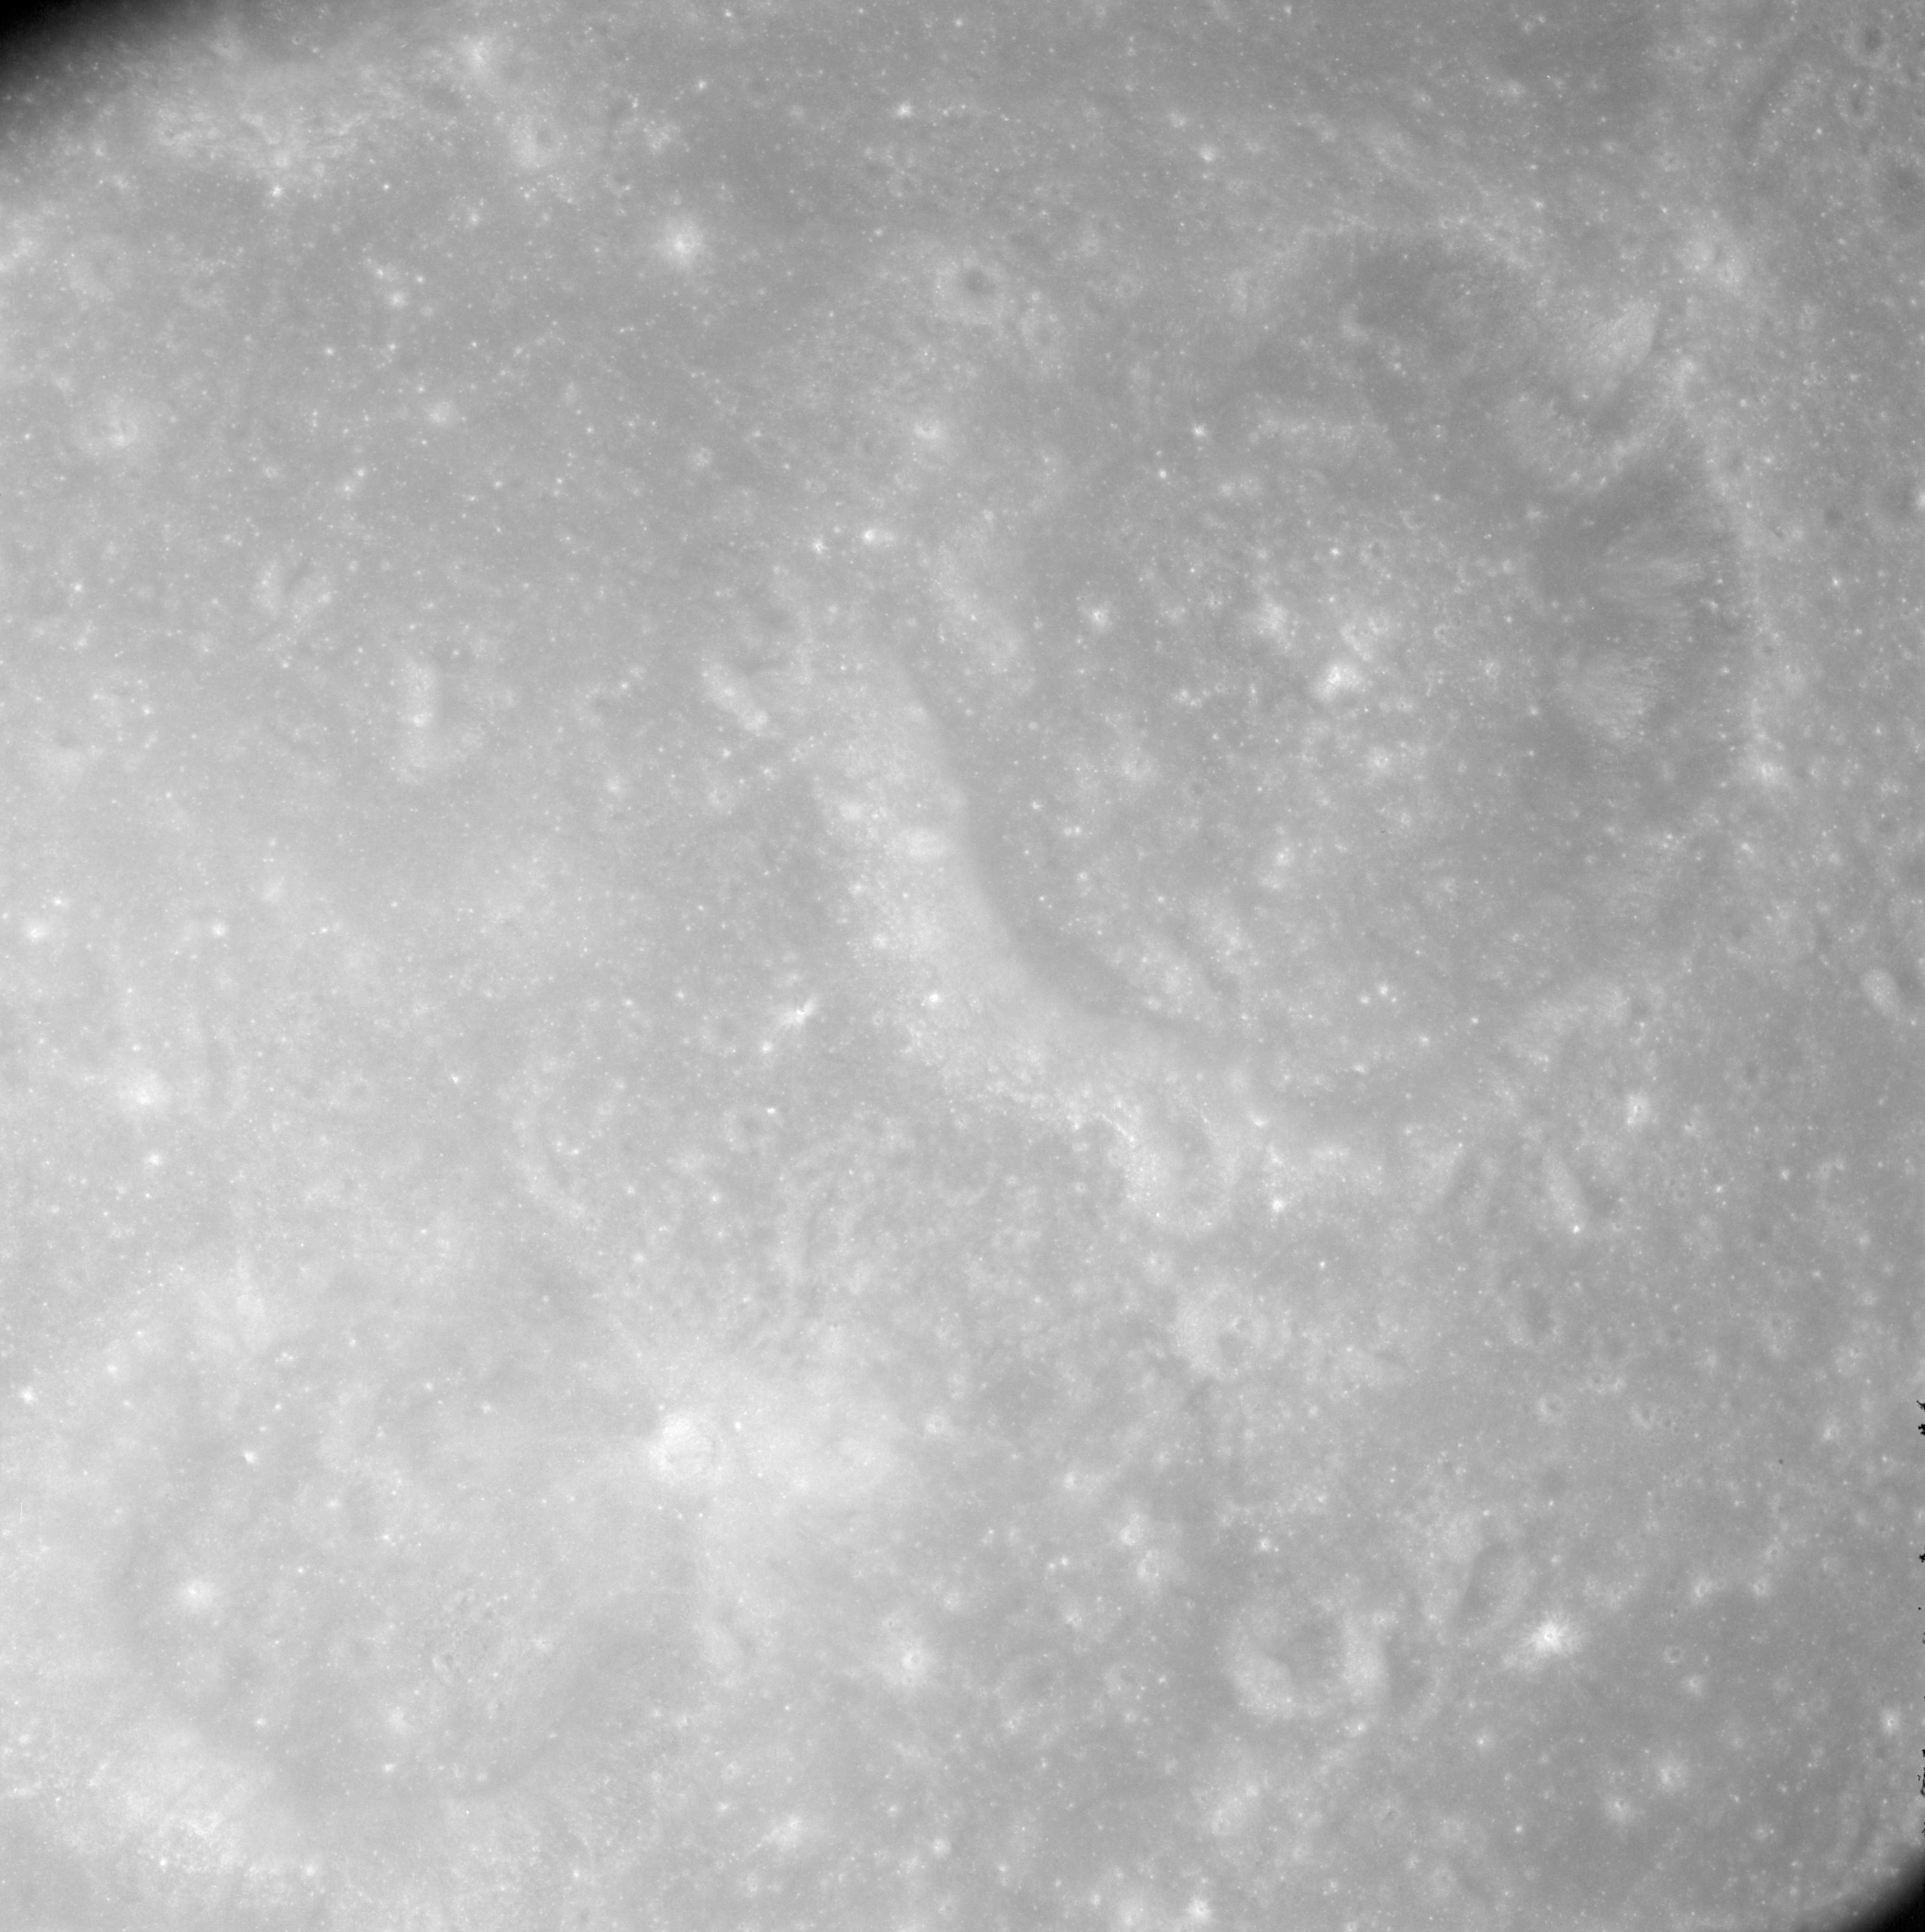 |
AS08-12-2164 Hirayama K on right. Hirayama M lower left. Image credit: Image Science and Analysis Laboratory, NASA-Johnson Space Center. |
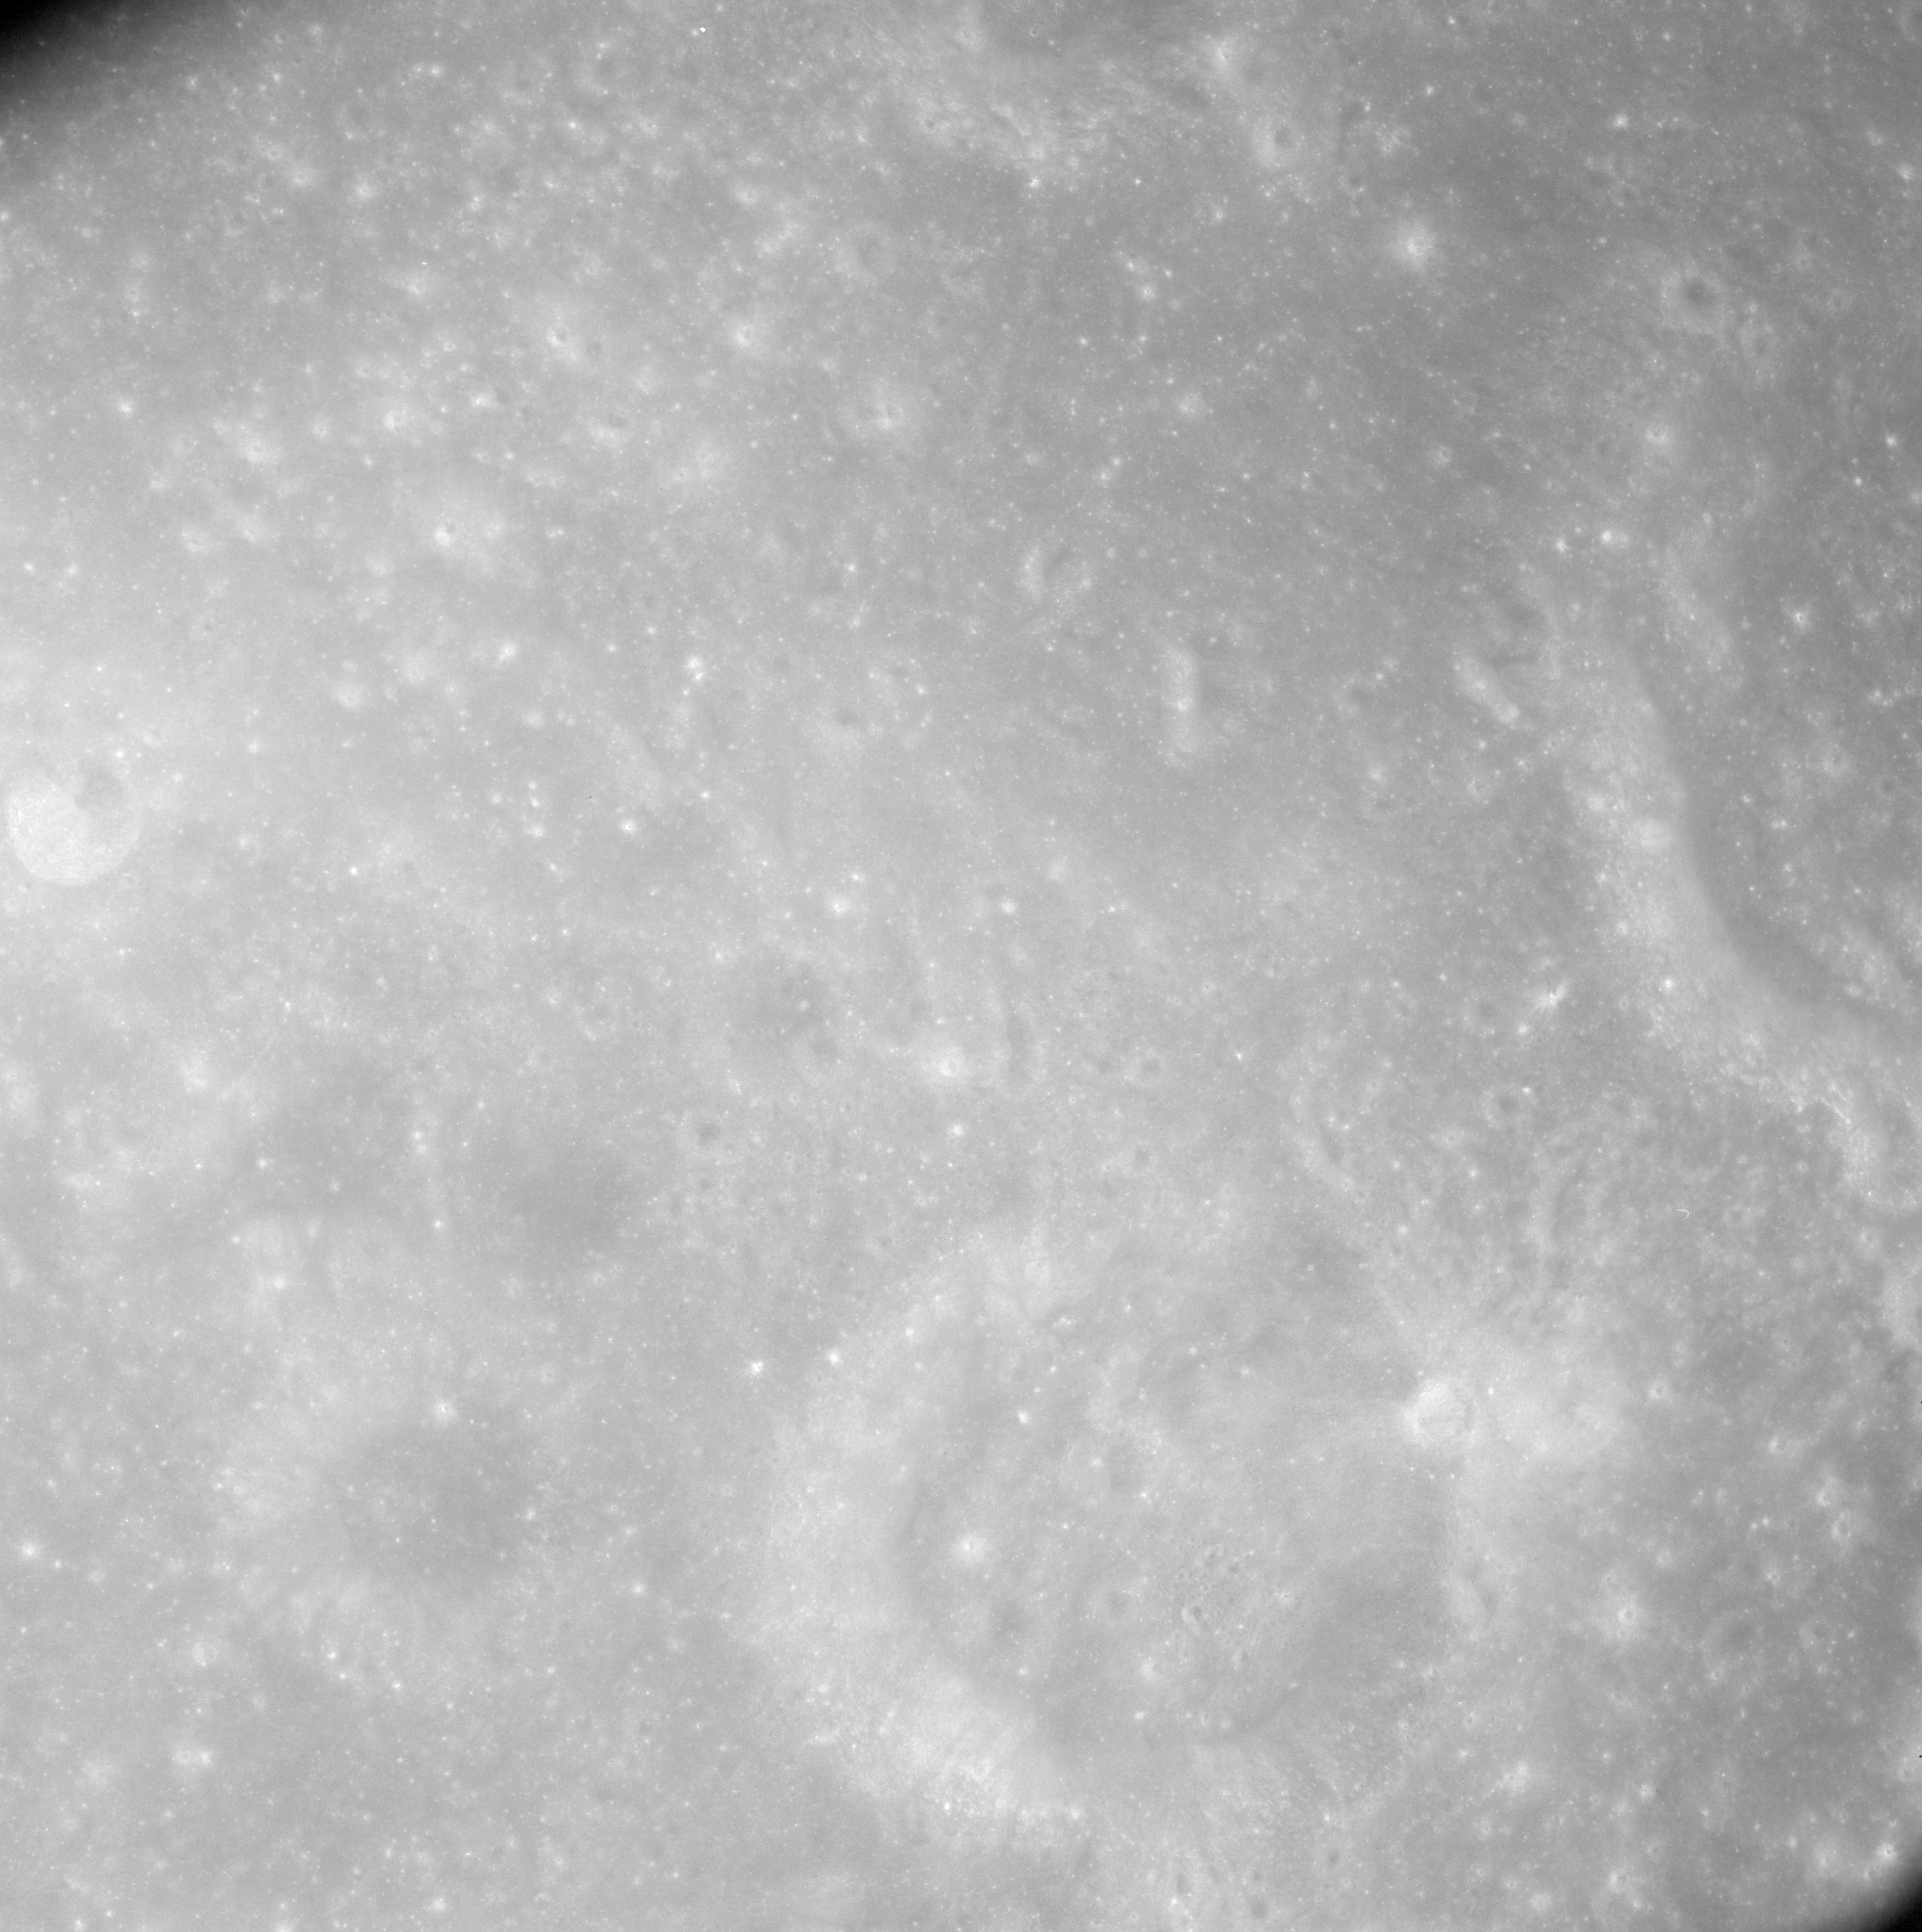 |
AS08-12-2165 Hirayama M lower centre. Image credit: Image Science and Analysis Laboratory, NASA-Johnson Space Center. |
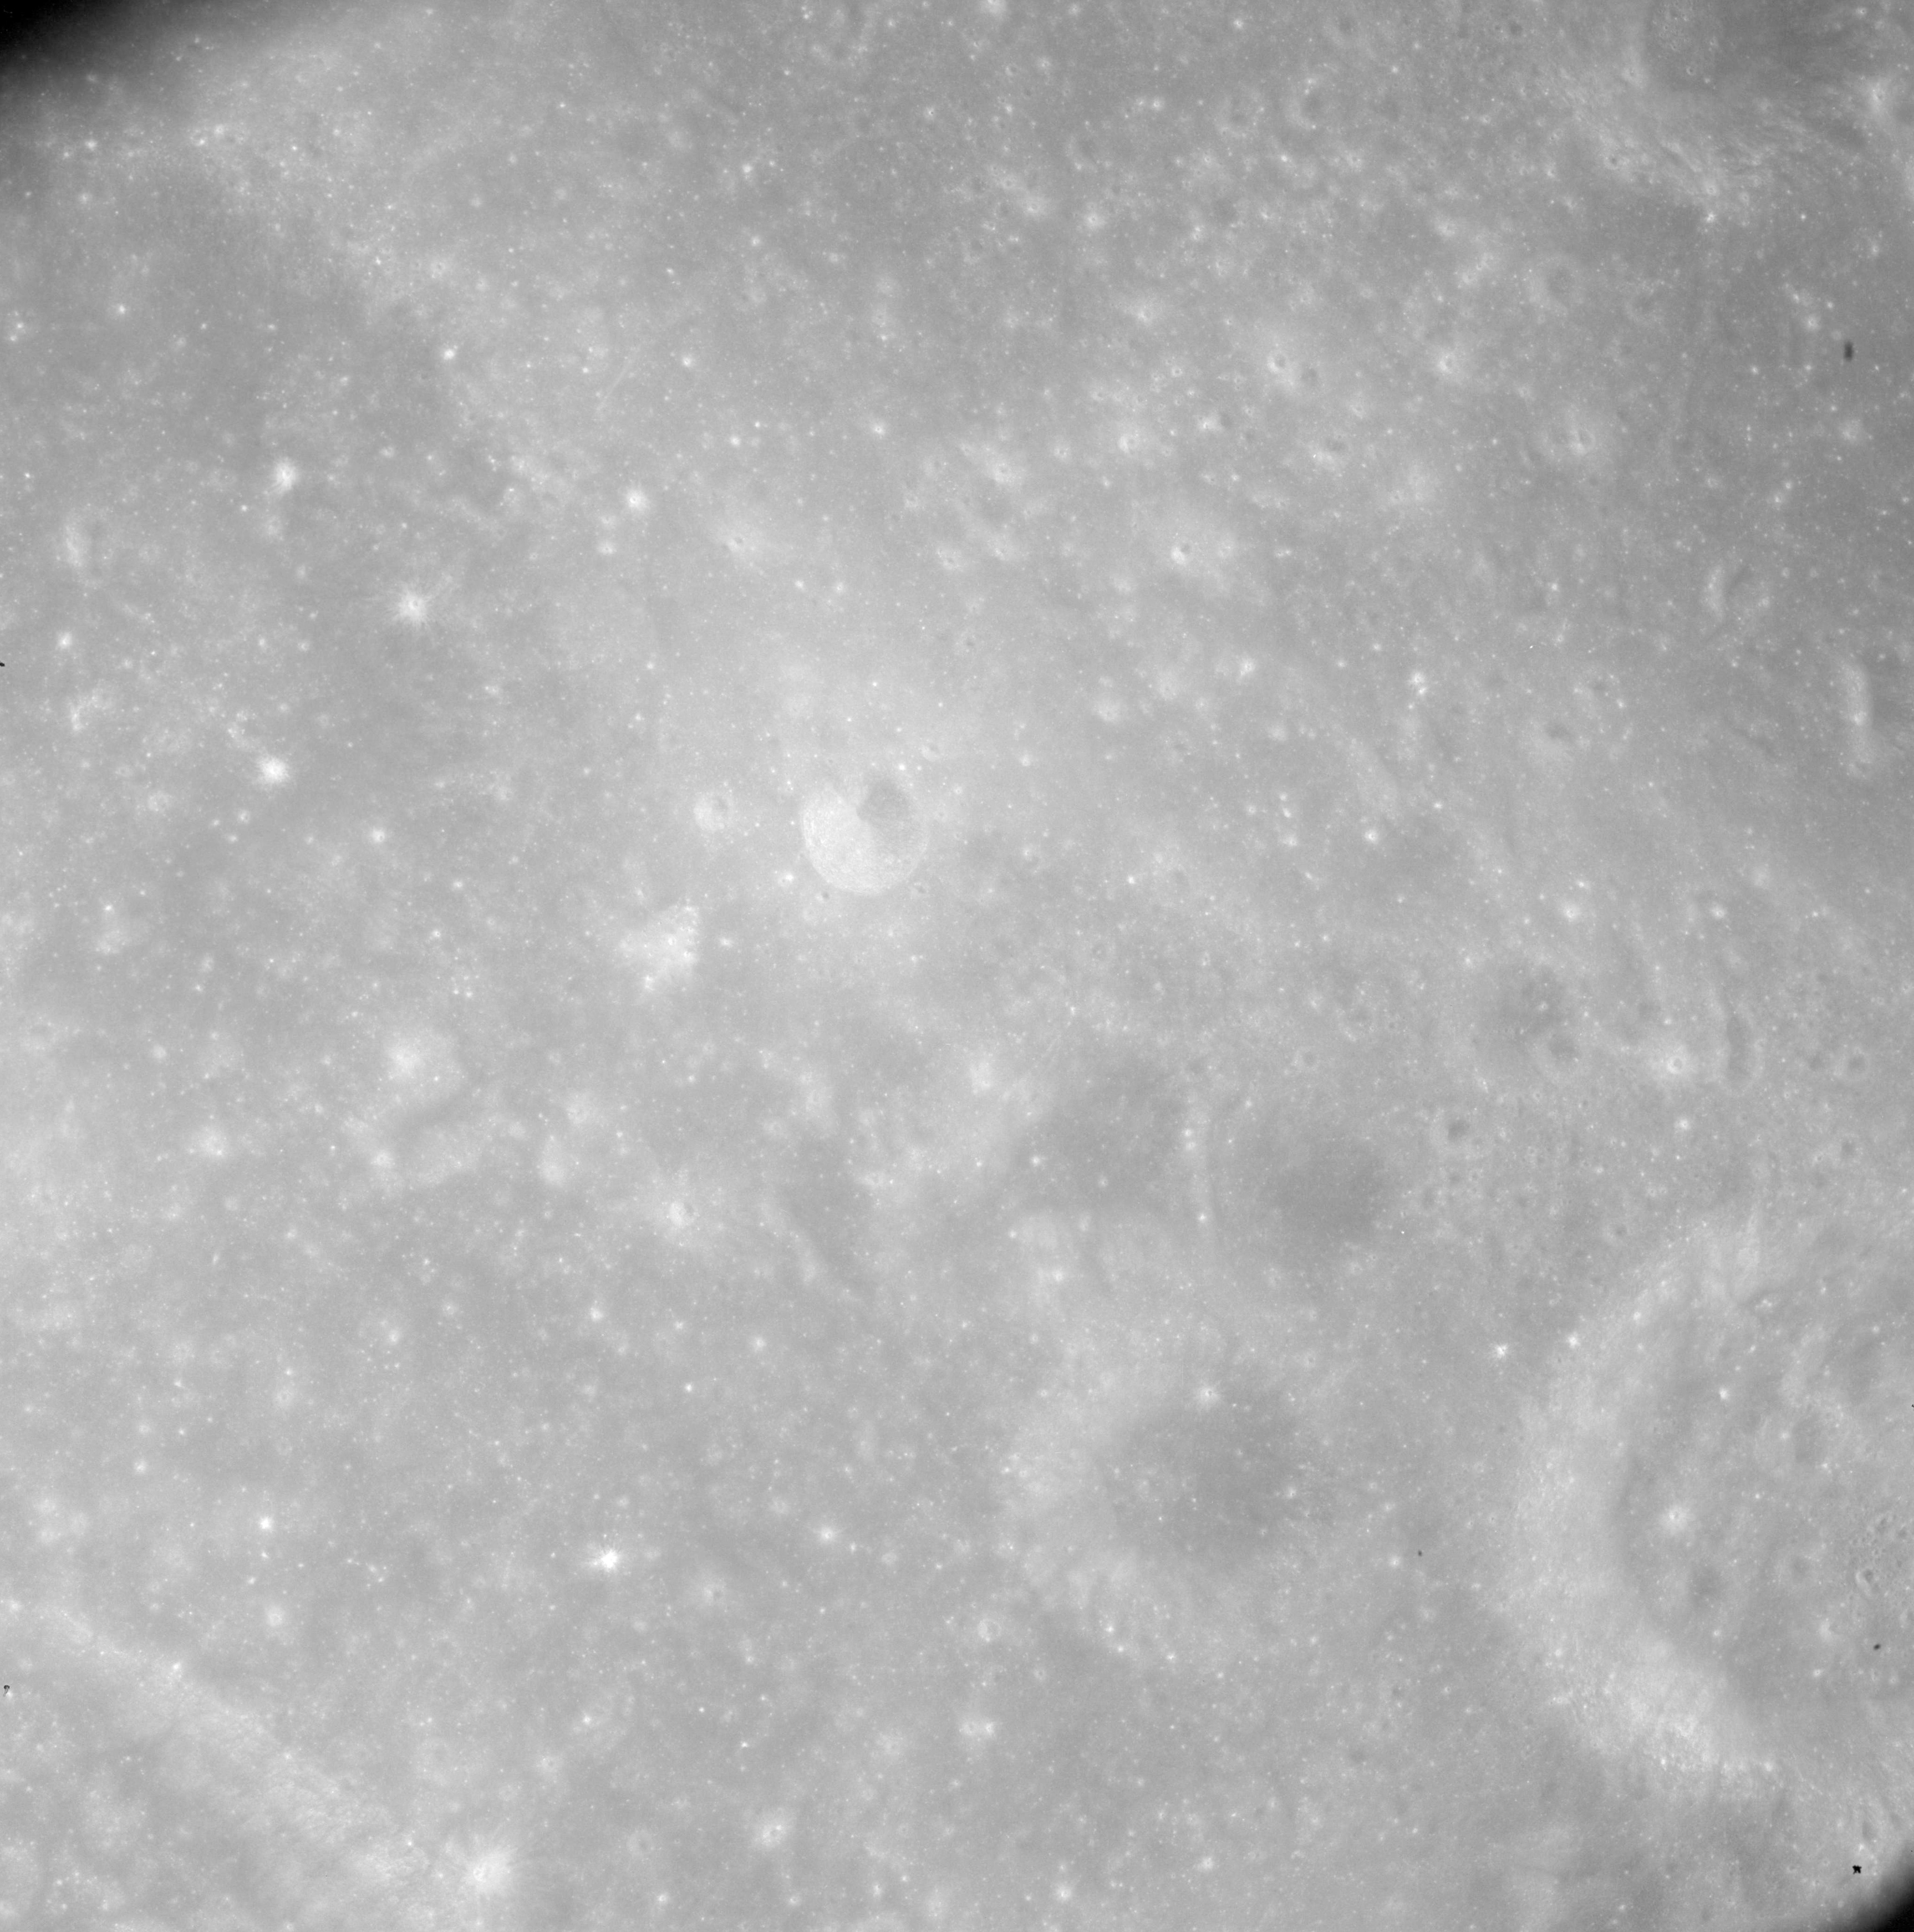 |
AS08-12-2166 Hirayama M lower right. Eastern rim of Hirayama Q on upper left. Image credit: Image Science and Analysis Laboratory, NASA-Johnson Space Center. |
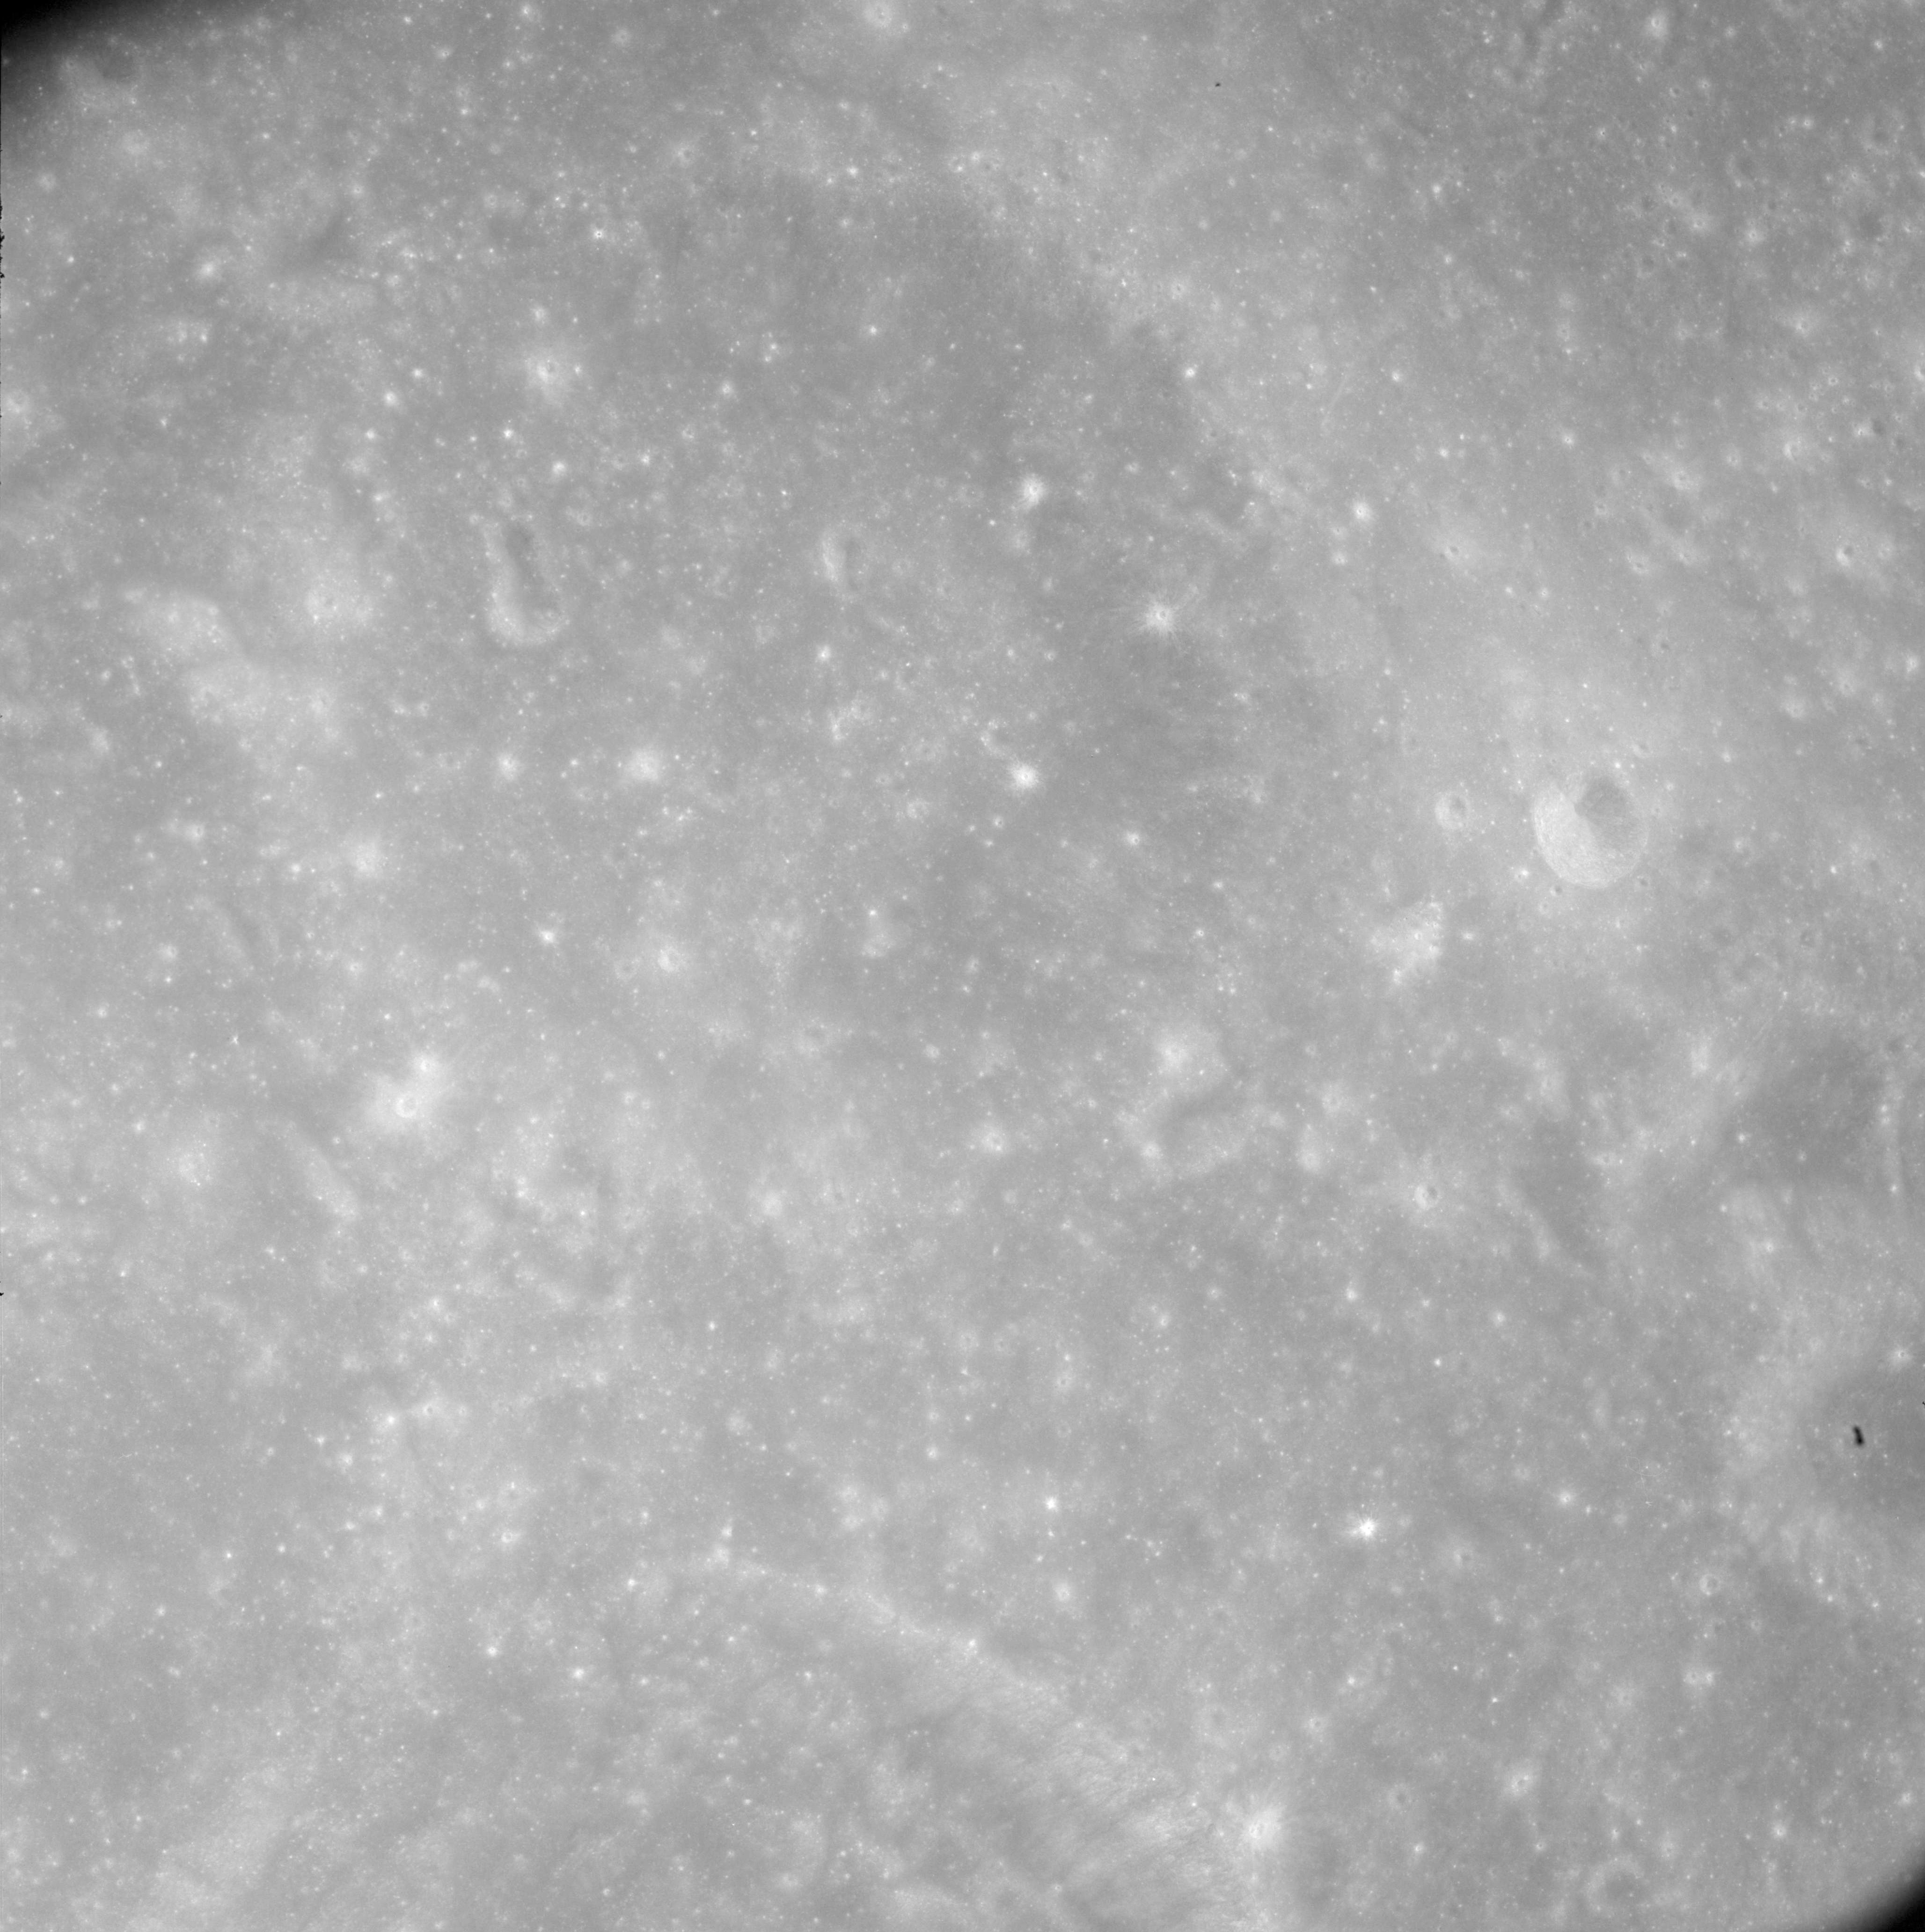 |
AS08-12-2167 Hirayama Q on upper left. Image credit: Image Science and Analysis Laboratory, NASA-Johnson Space Center. |
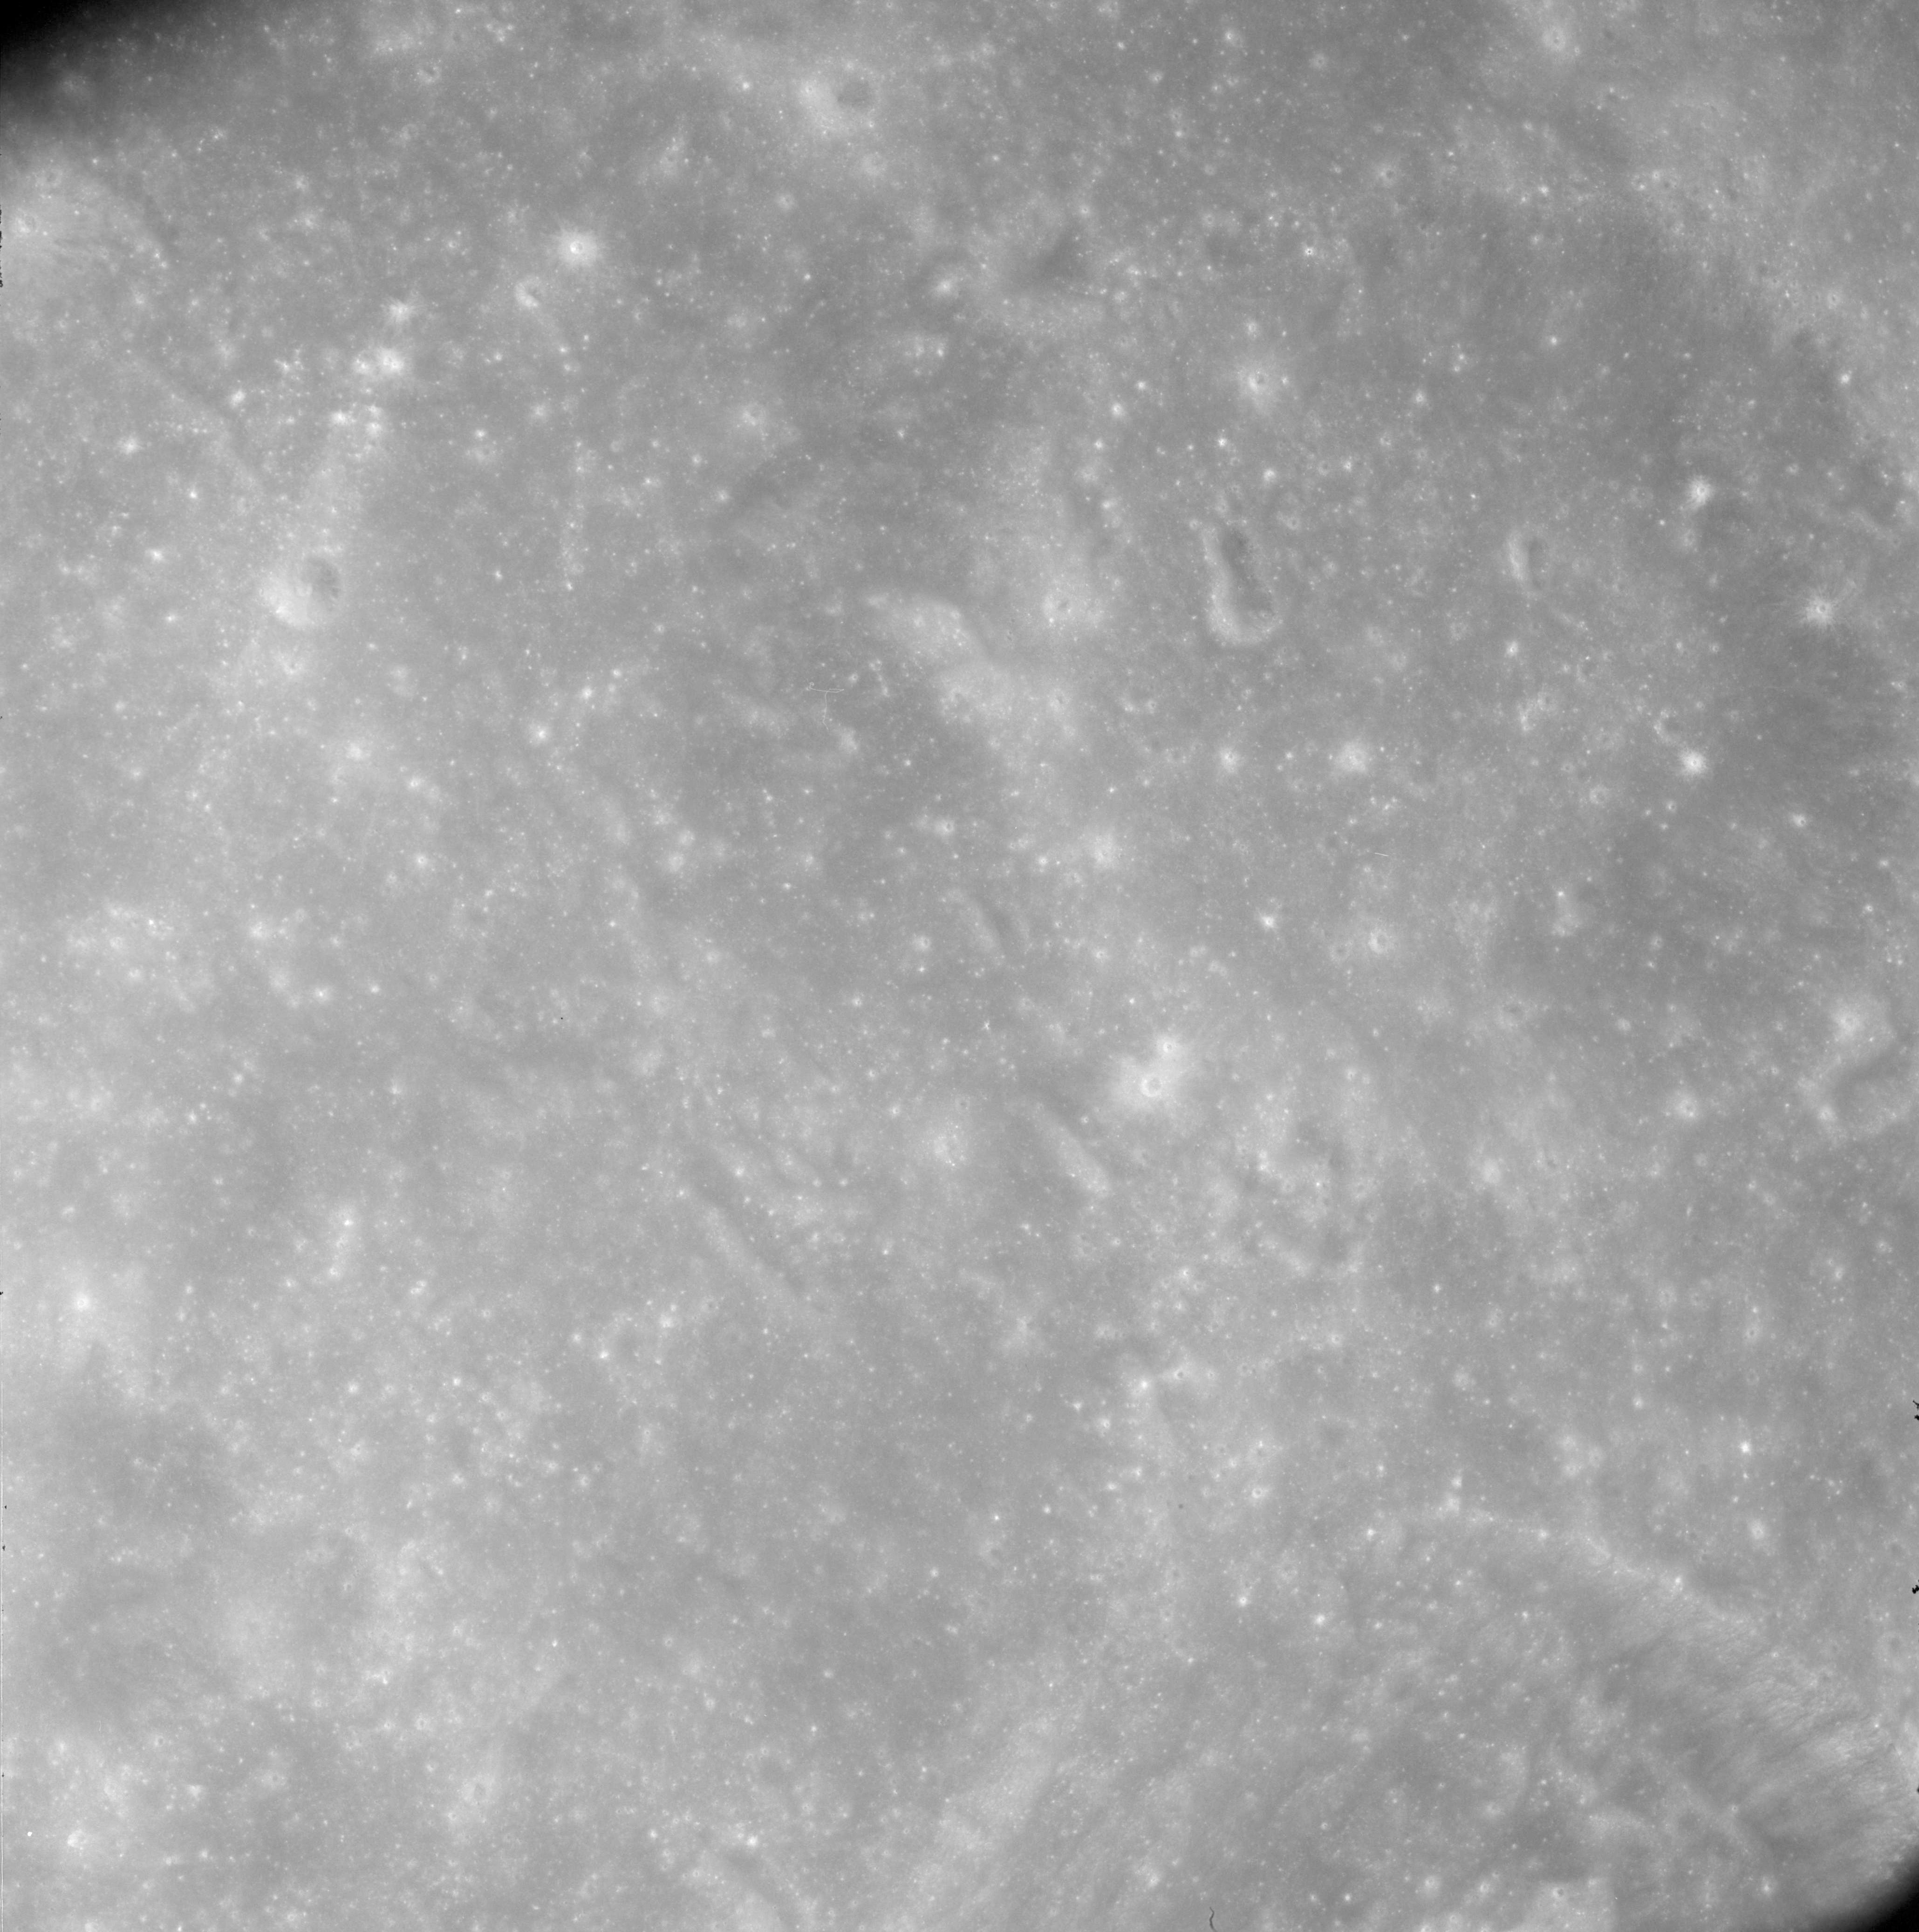 |
AS08-12-2168 Hirayama Q on upper right. Image credit: Image Science and Analysis Laboratory, NASA-Johnson Space Center. |
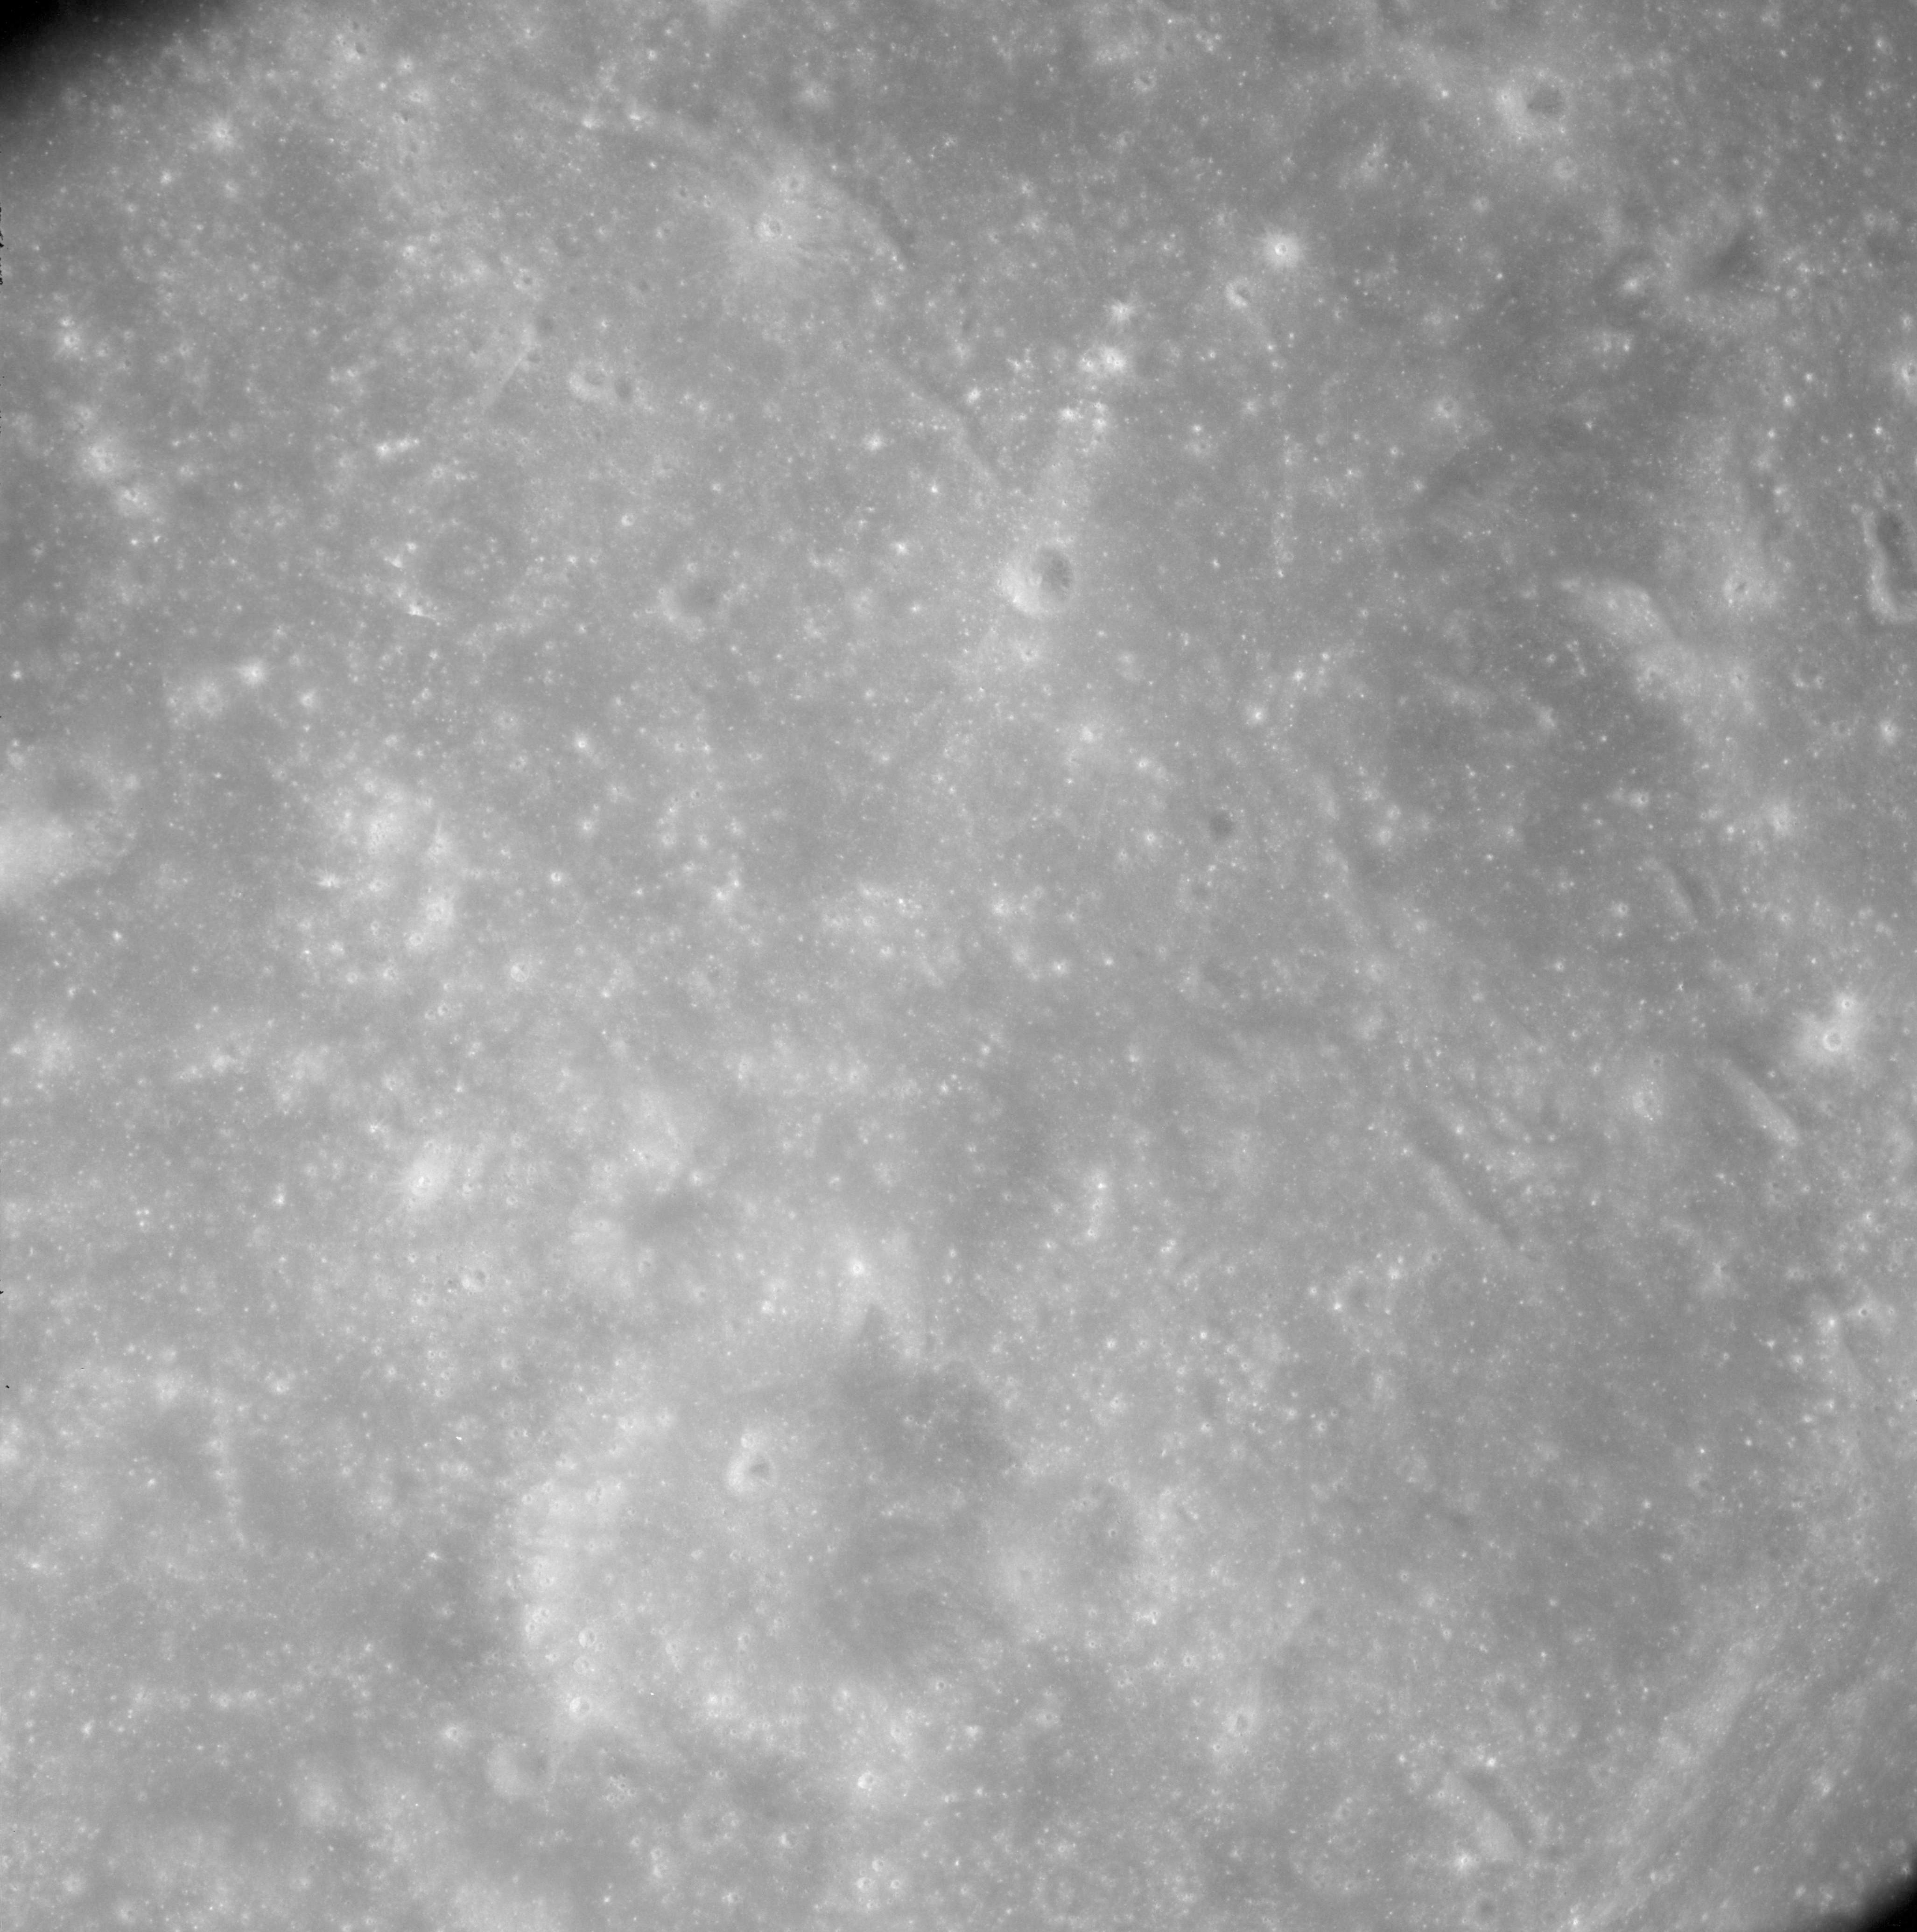 |
AS08-12-2169 Between Hirayama Q and Helmert. Image credit: Image Science and Analysis Laboratory, NASA-Johnson Space Center. |
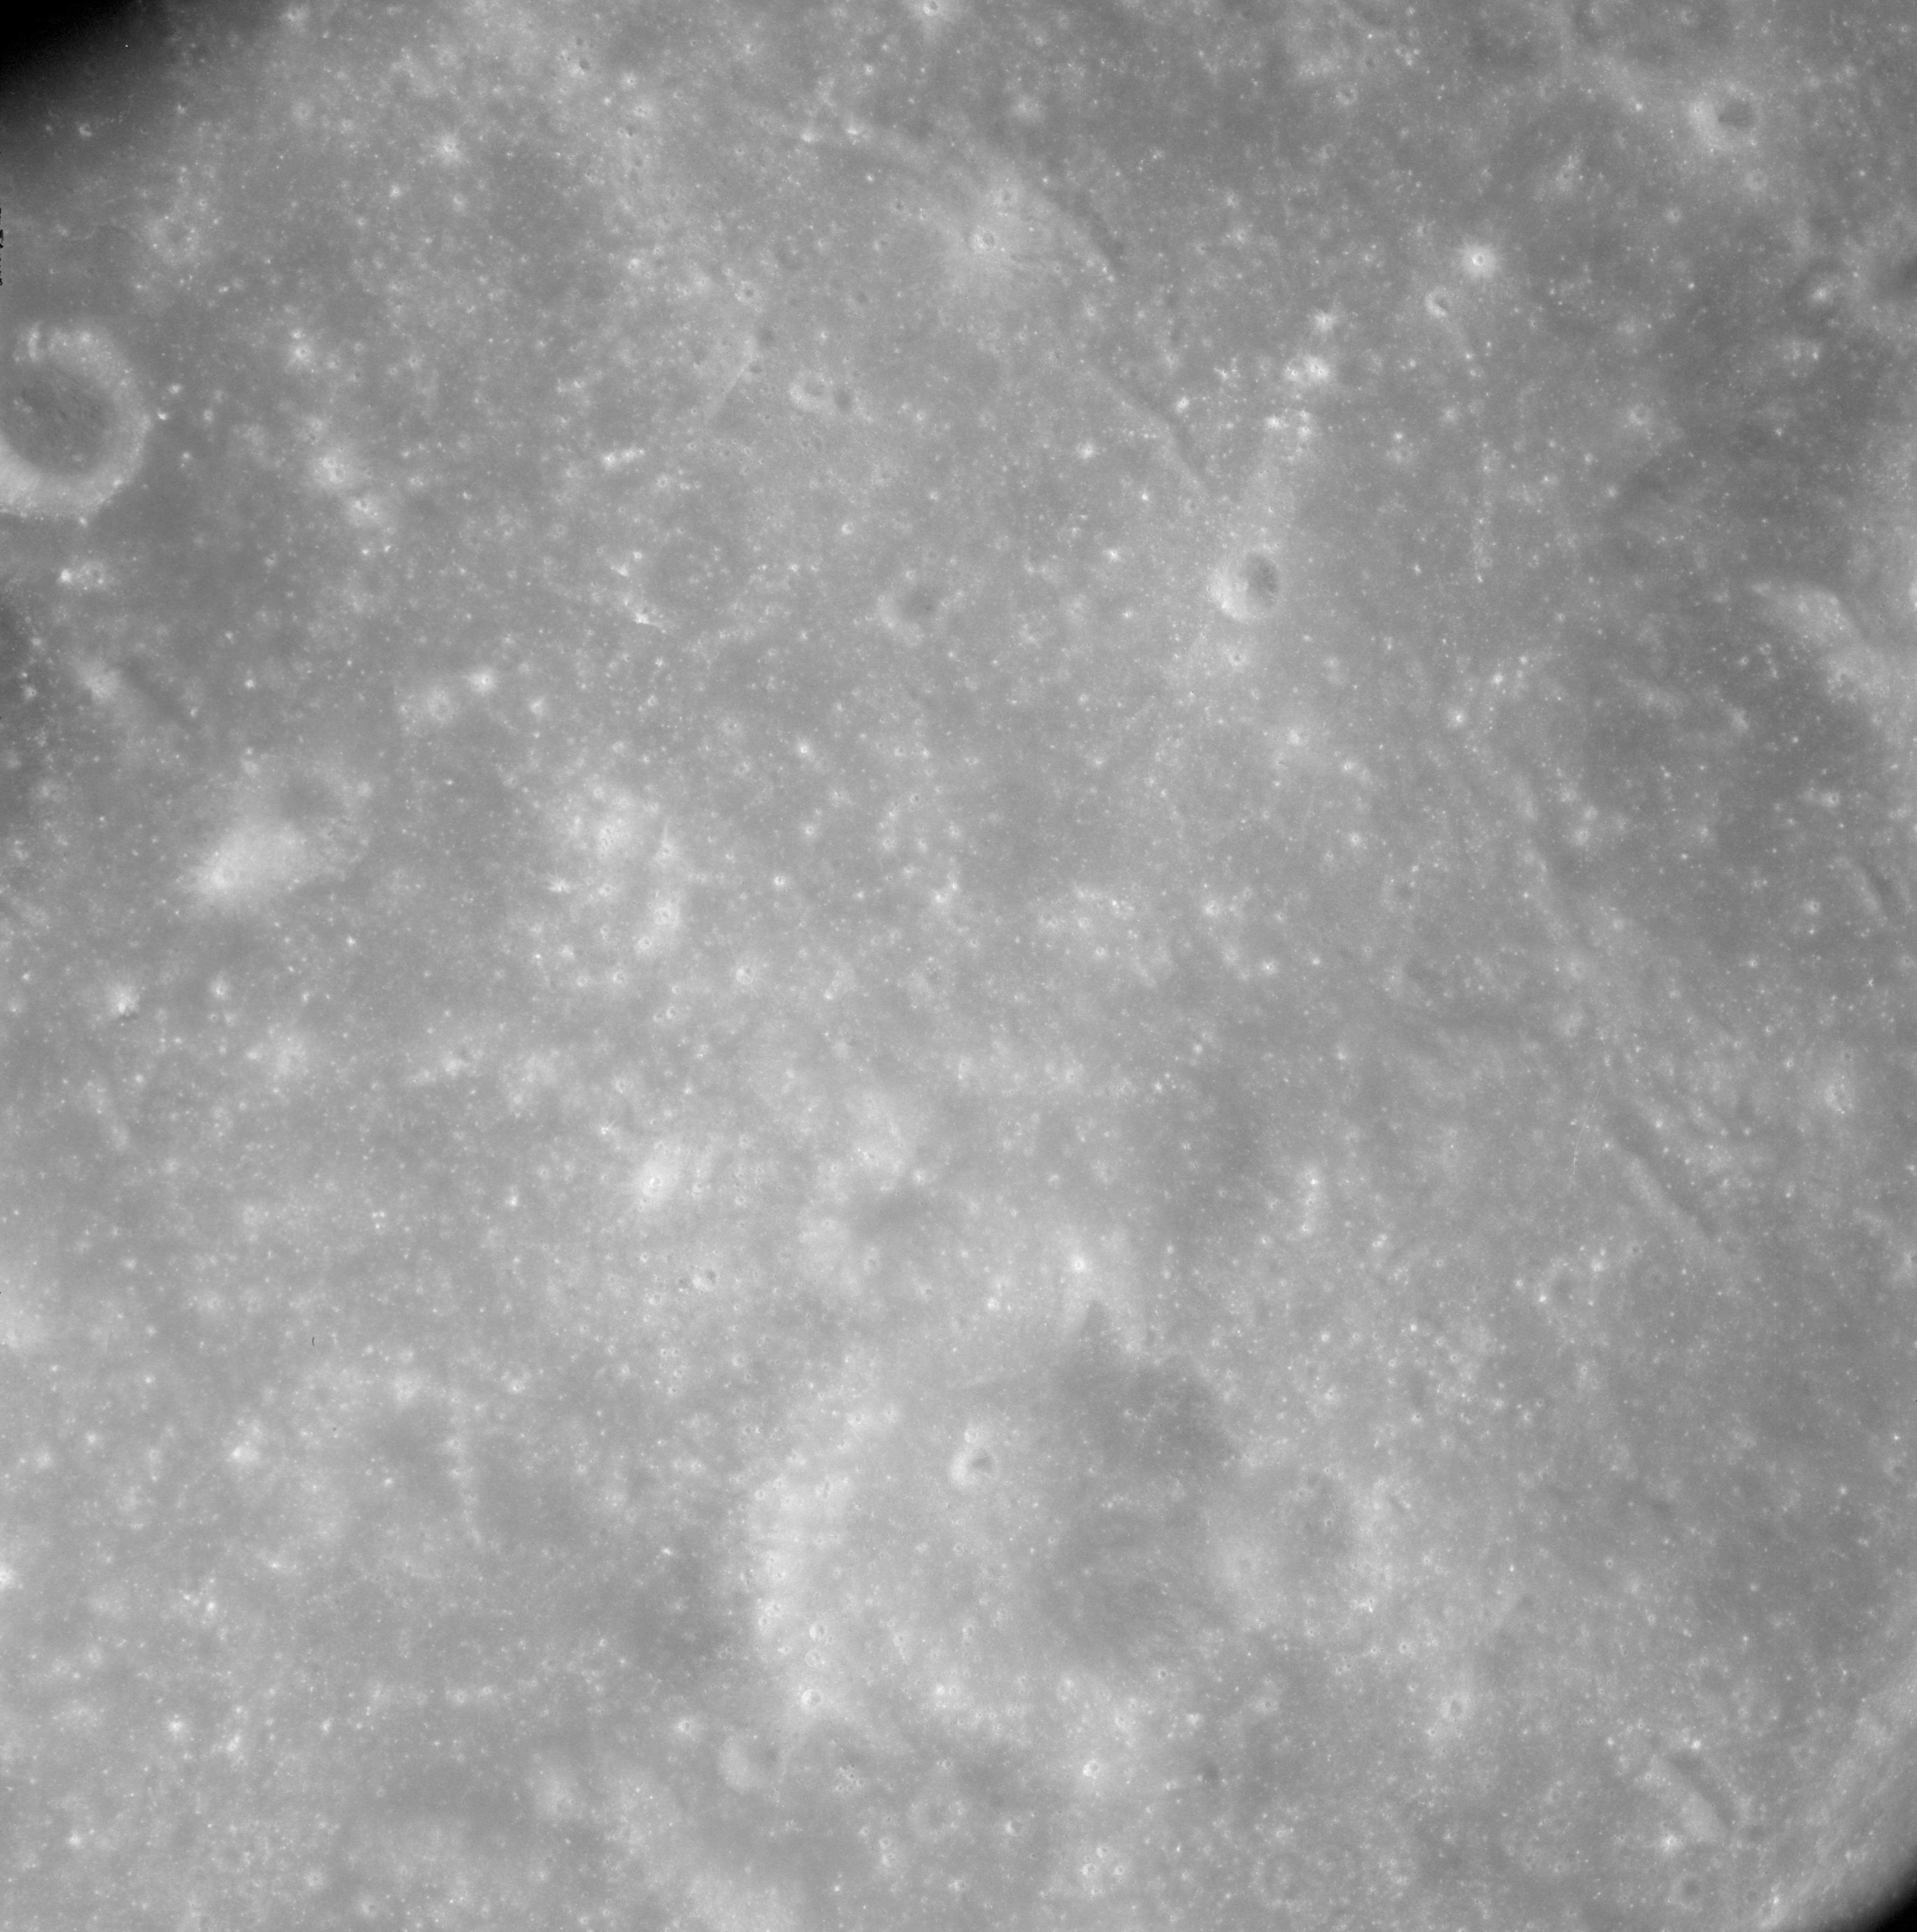 |
AS08-12-2170 Between Hirayama Q and Helmert. Image credit: Image Science and Analysis Laboratory, NASA-Johnson Space Center. |
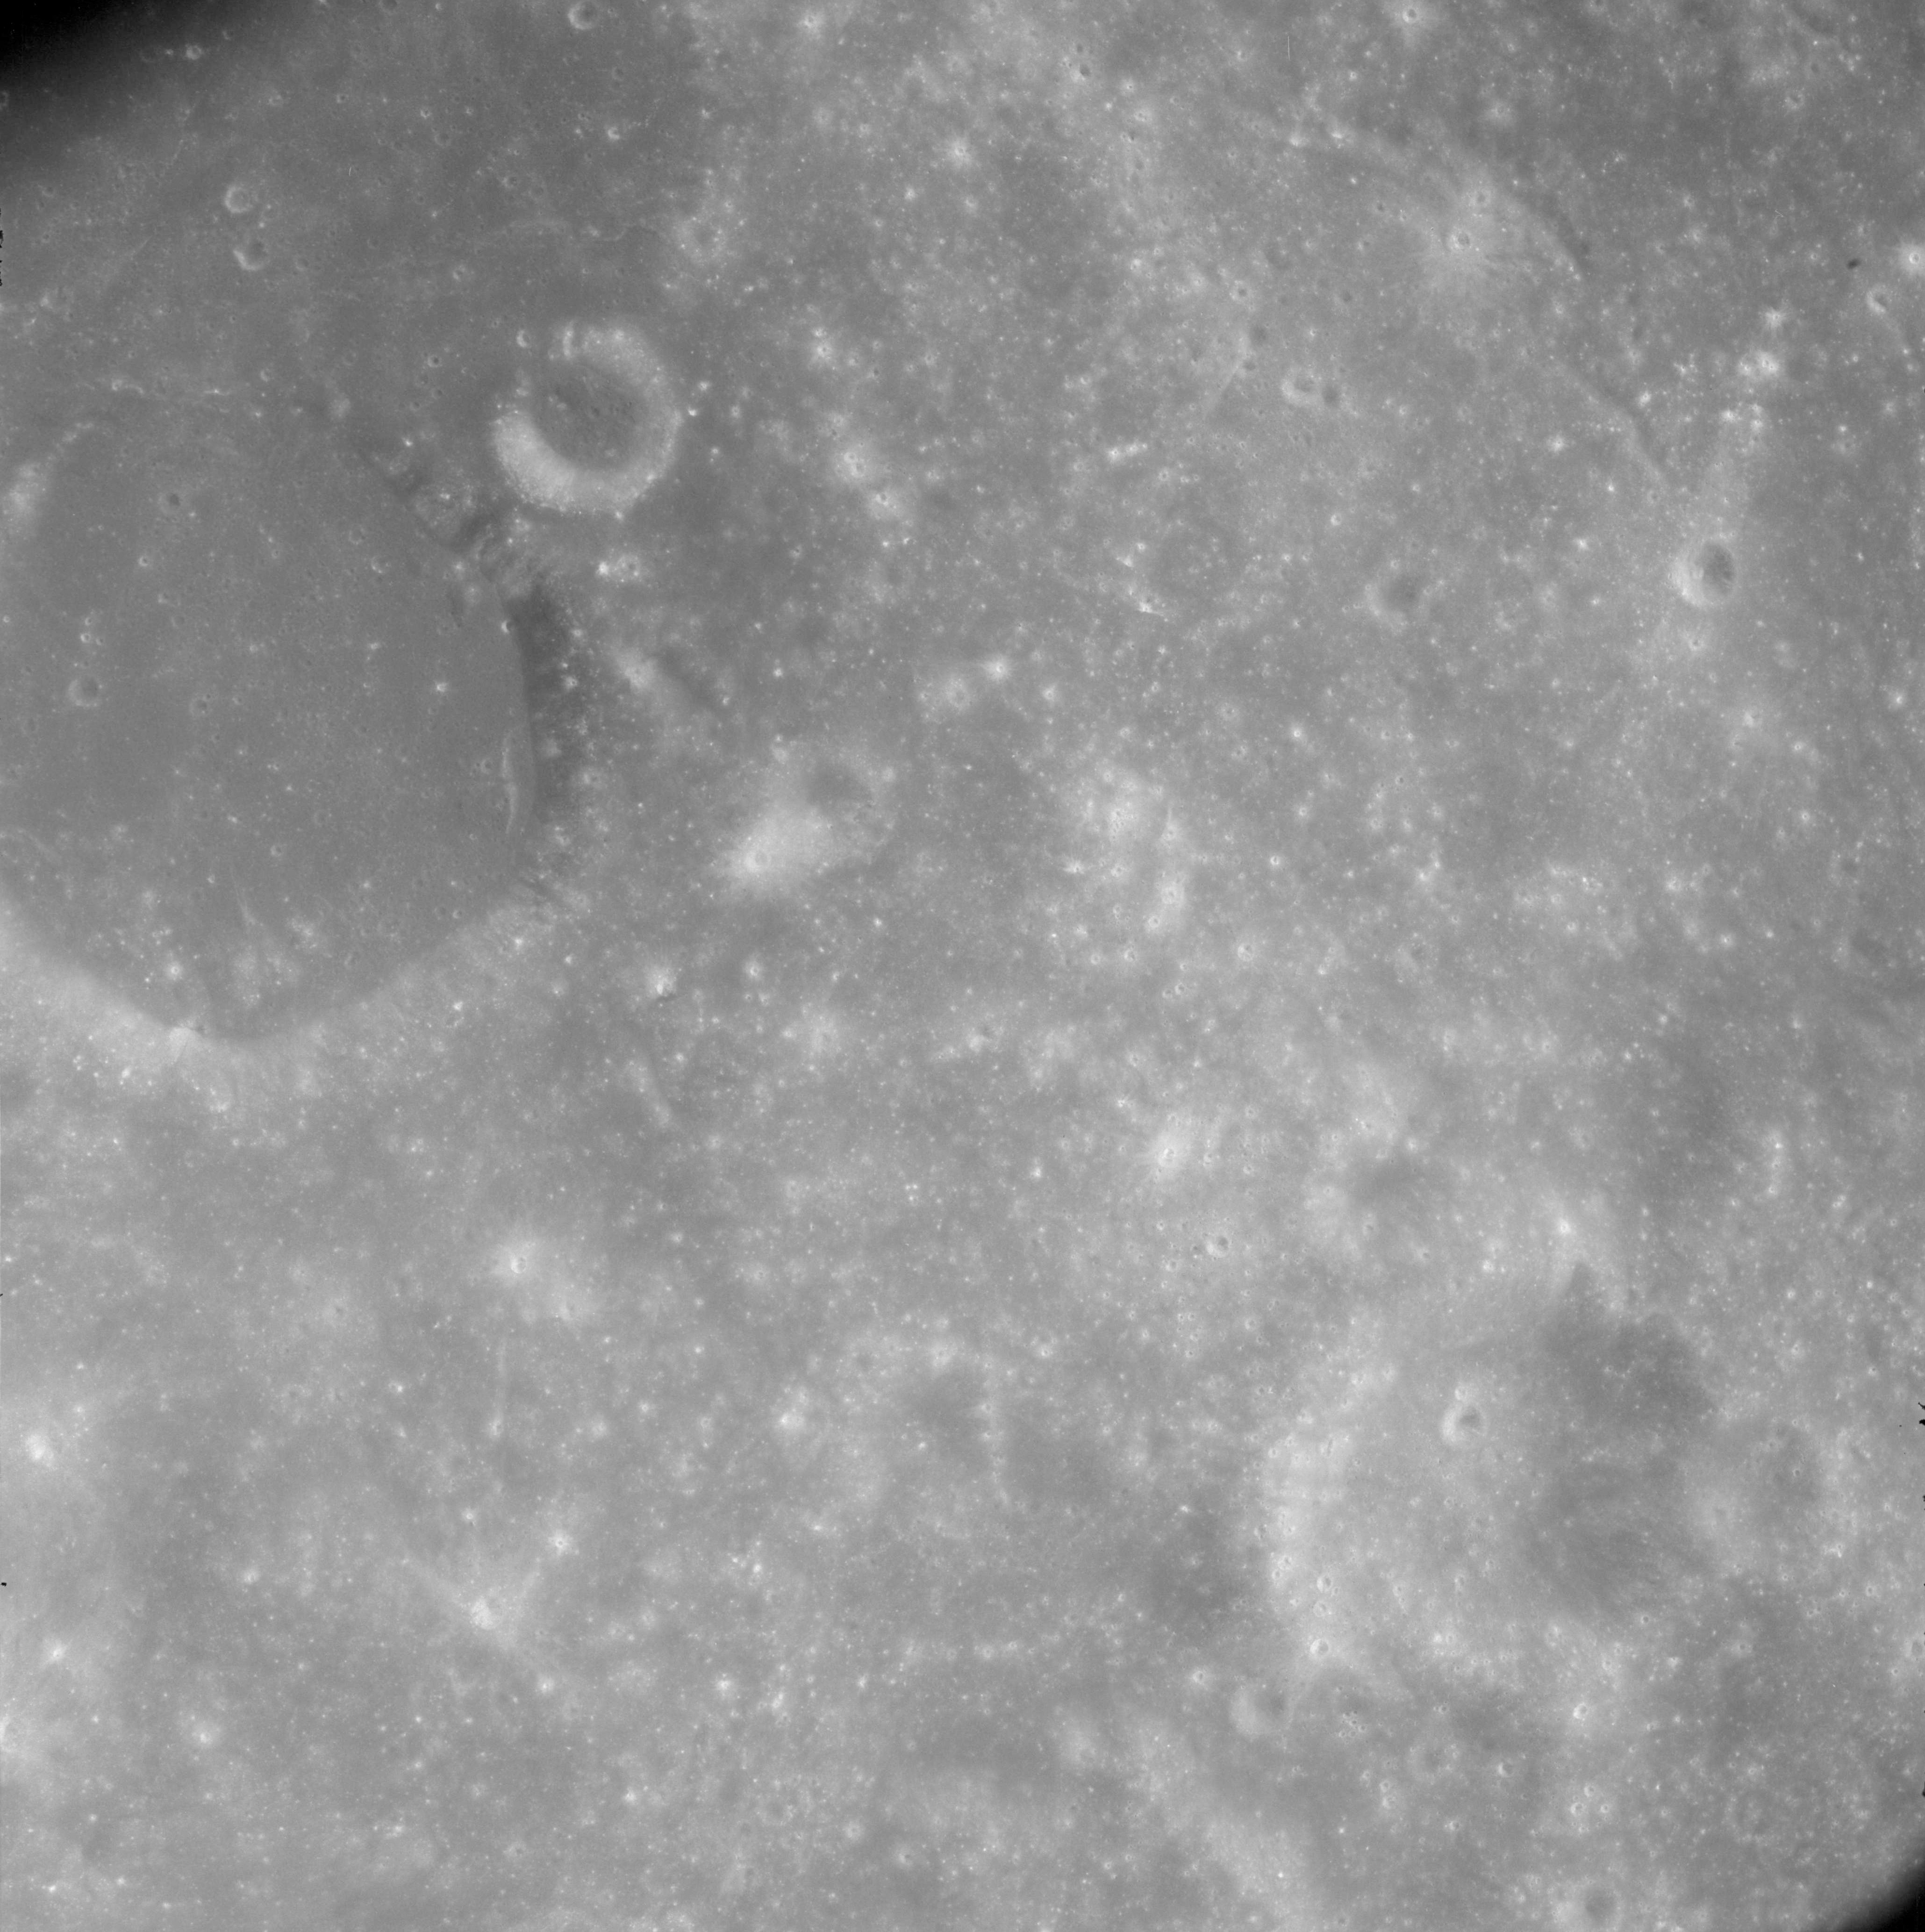 |
AS08-12-2171 Helmert on upper left. Image credit: Image Science and Analysis Laboratory, NASA-Johnson Space Center. |
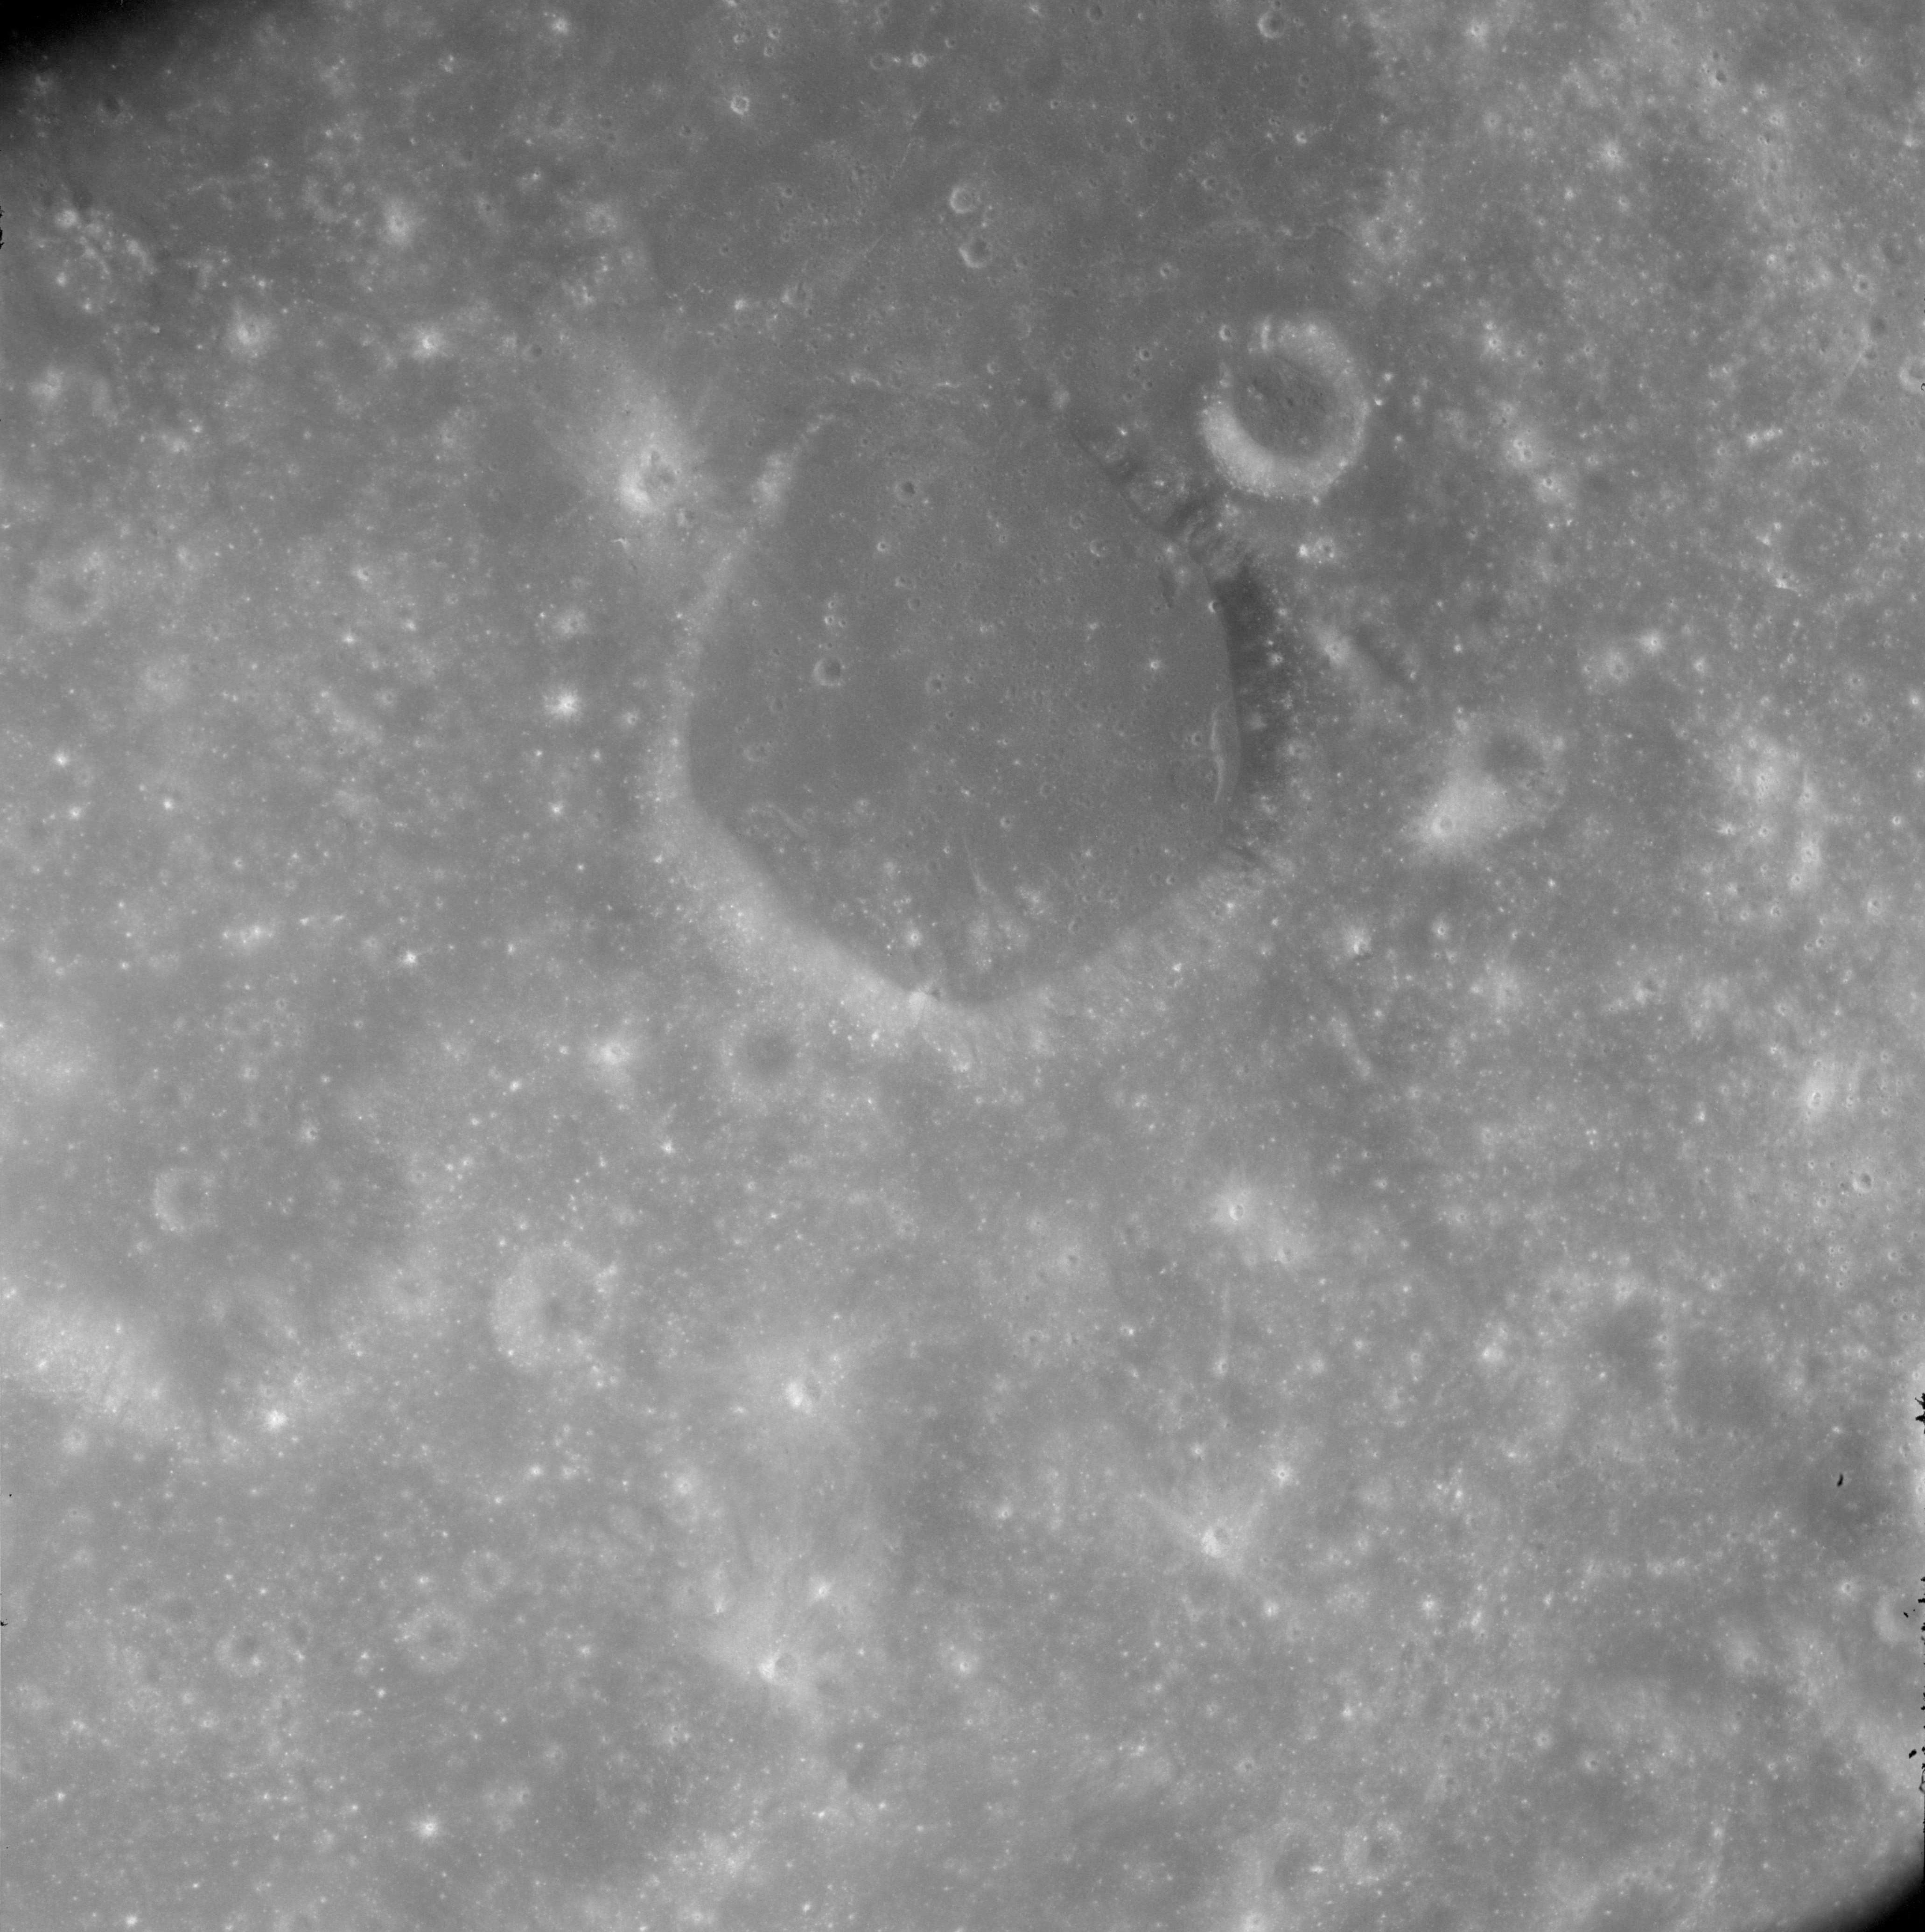 |
AS08-12-2172 Helmert upper centre. Image credit: Image Science and Analysis Laboratory, NASA-Johnson Space Center. |
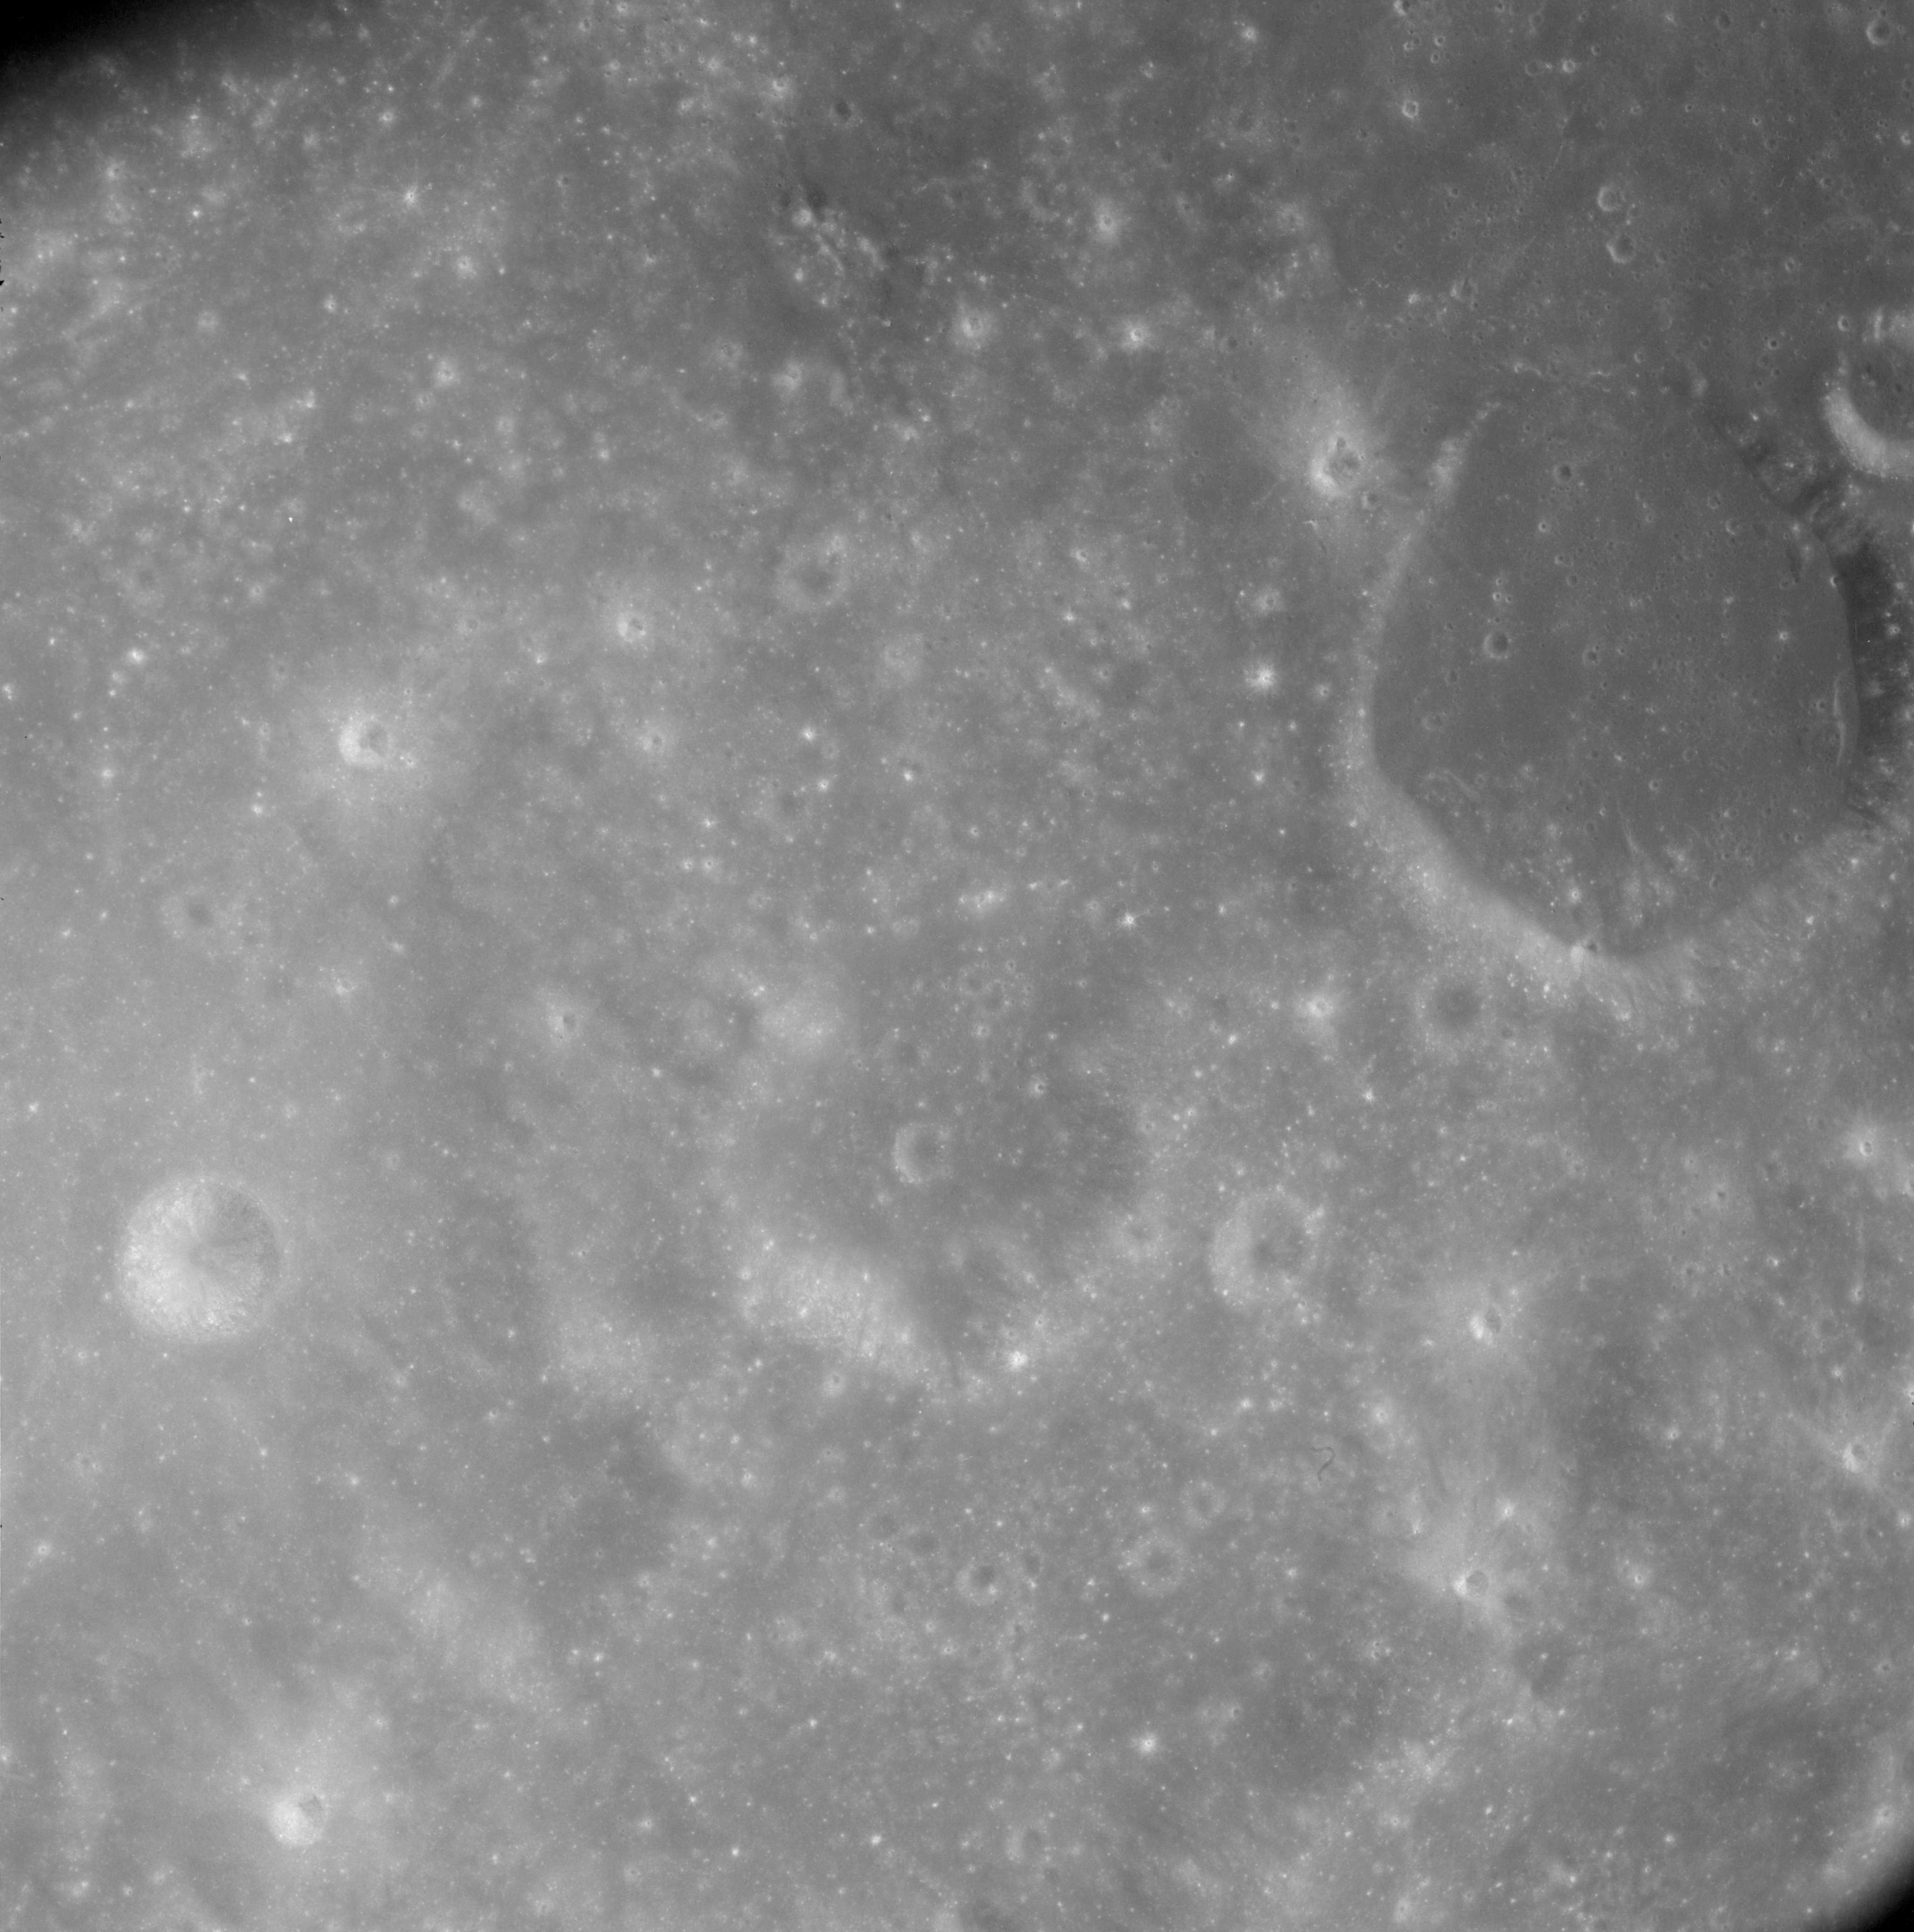 |
AS08-12-2173 Helmert on upper right. Image credit: Image Science and Analysis Laboratory, NASA-Johnson Space Center. |
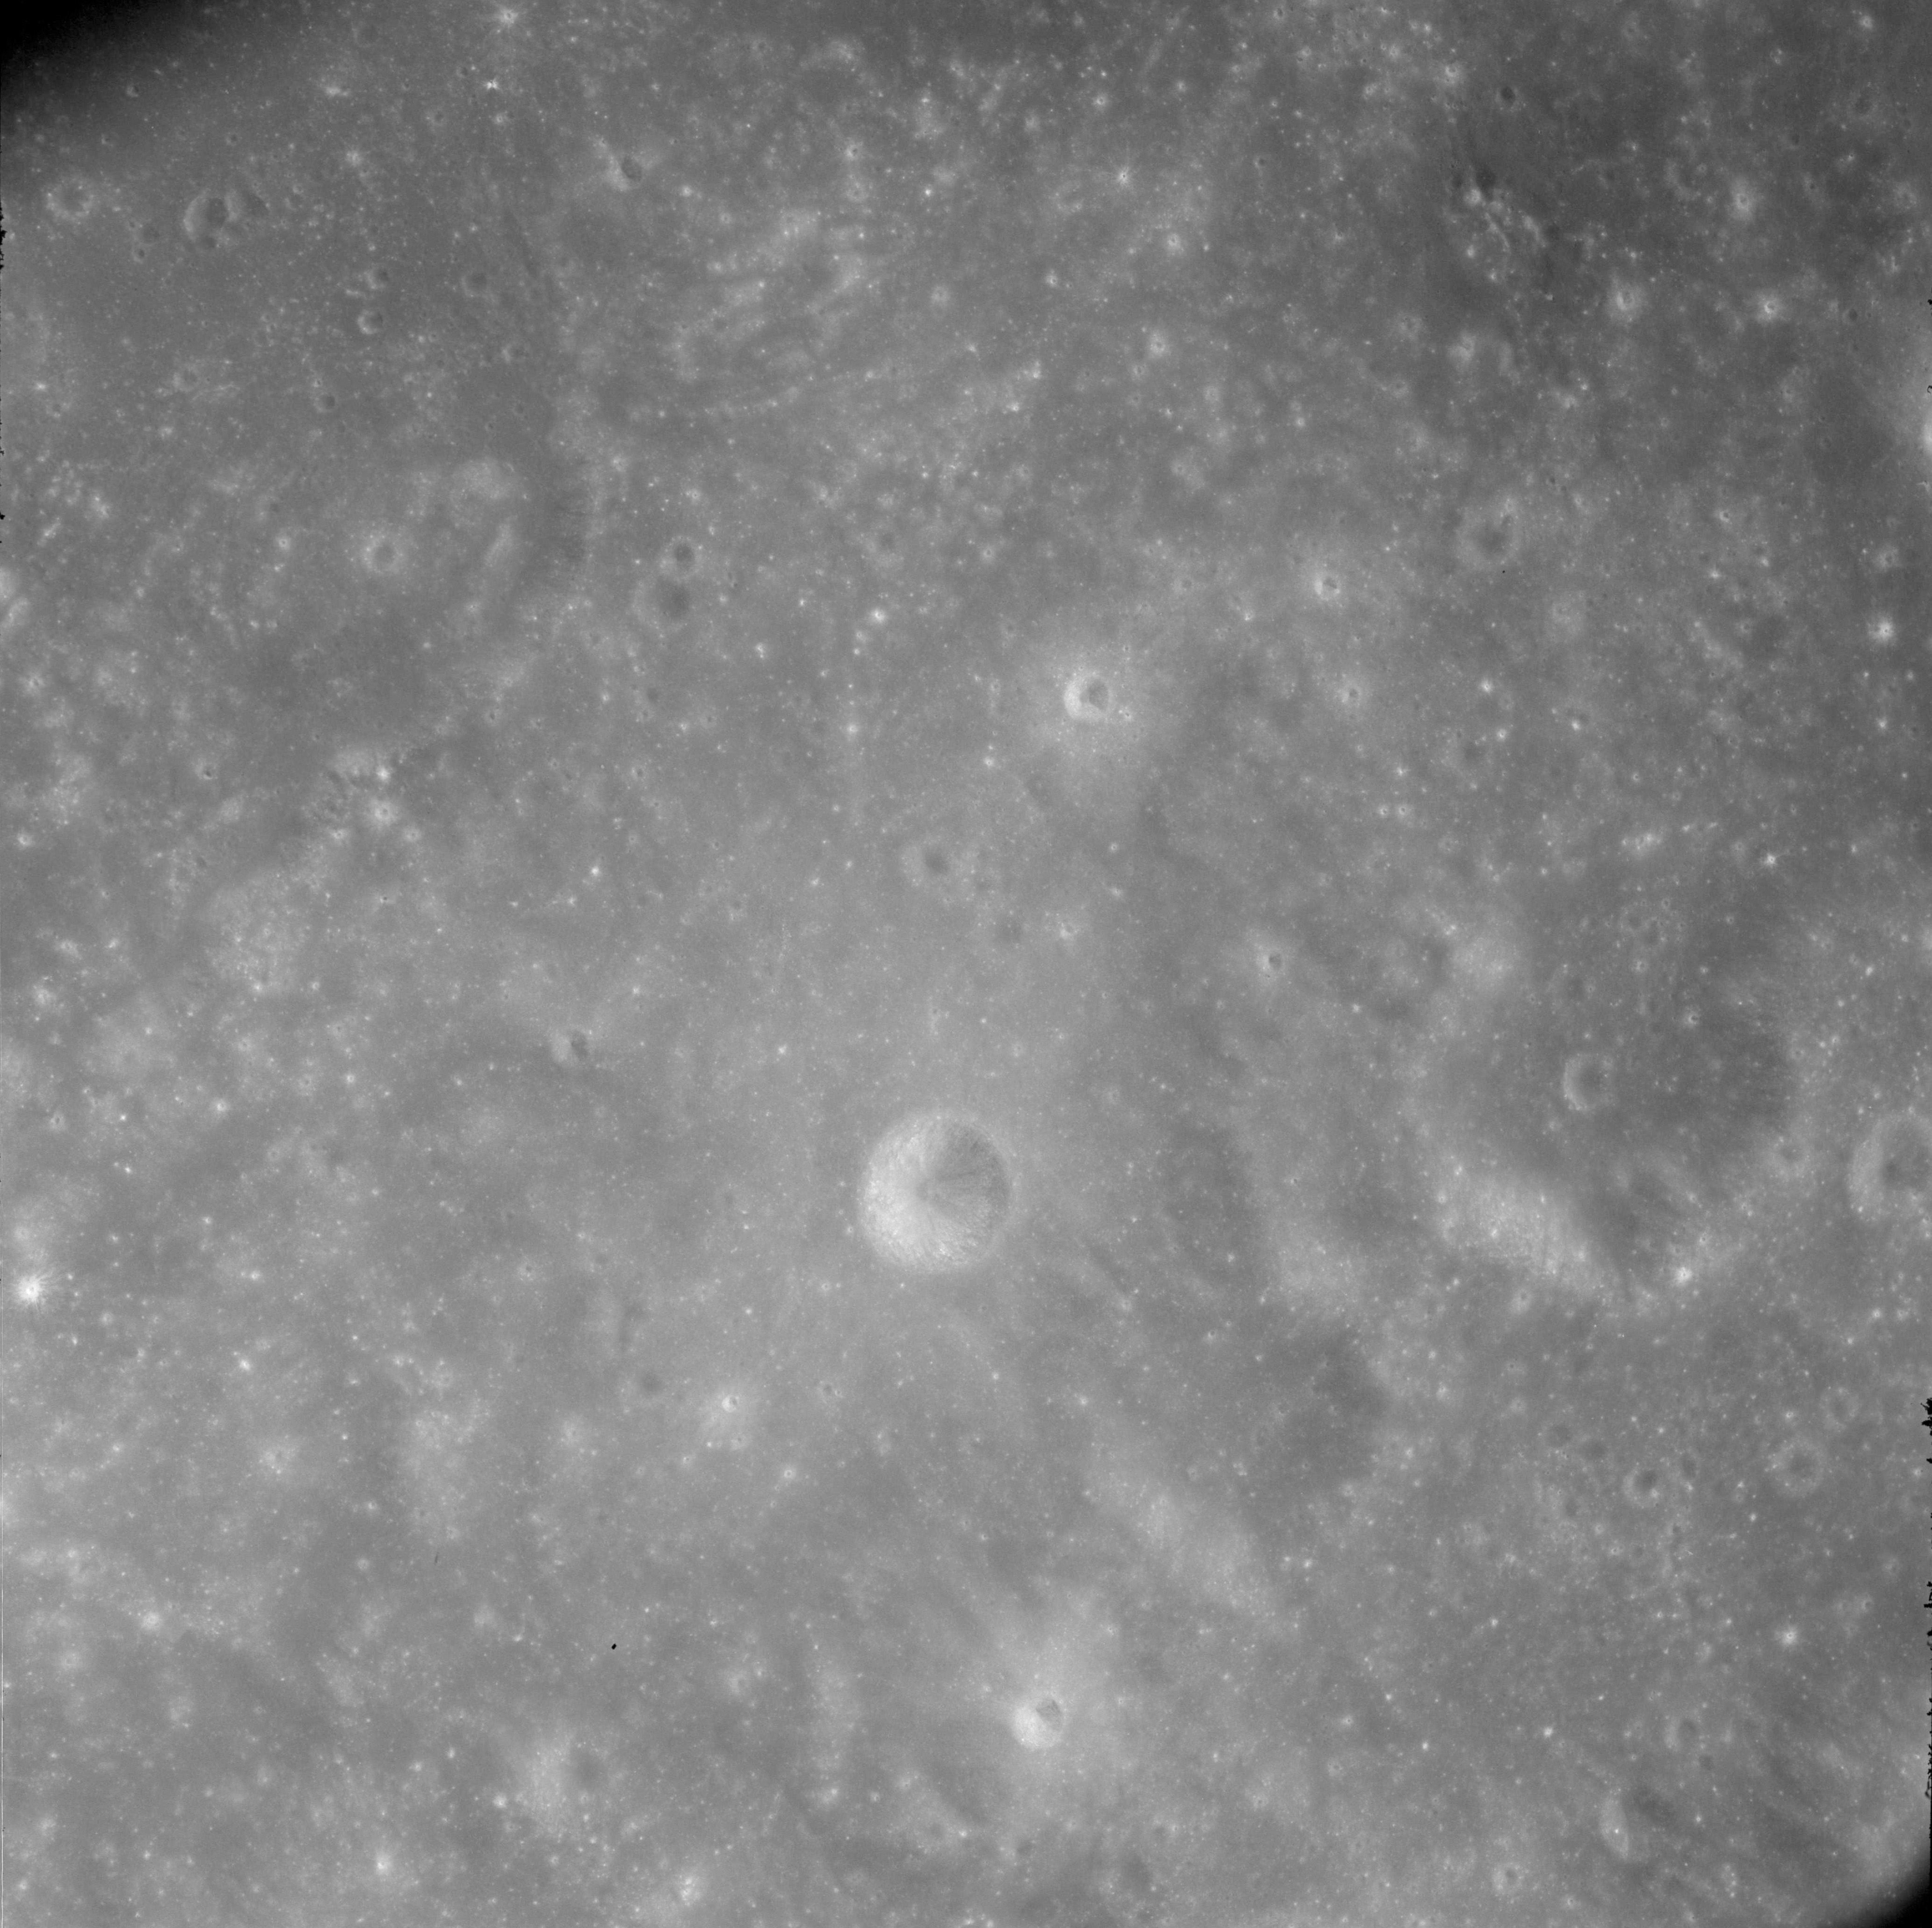 |
AS08-12-2174 Southeastern rim of Kiess on upper left. Image credit: Image Science and Analysis Laboratory, NASA-Johnson Space Center. |
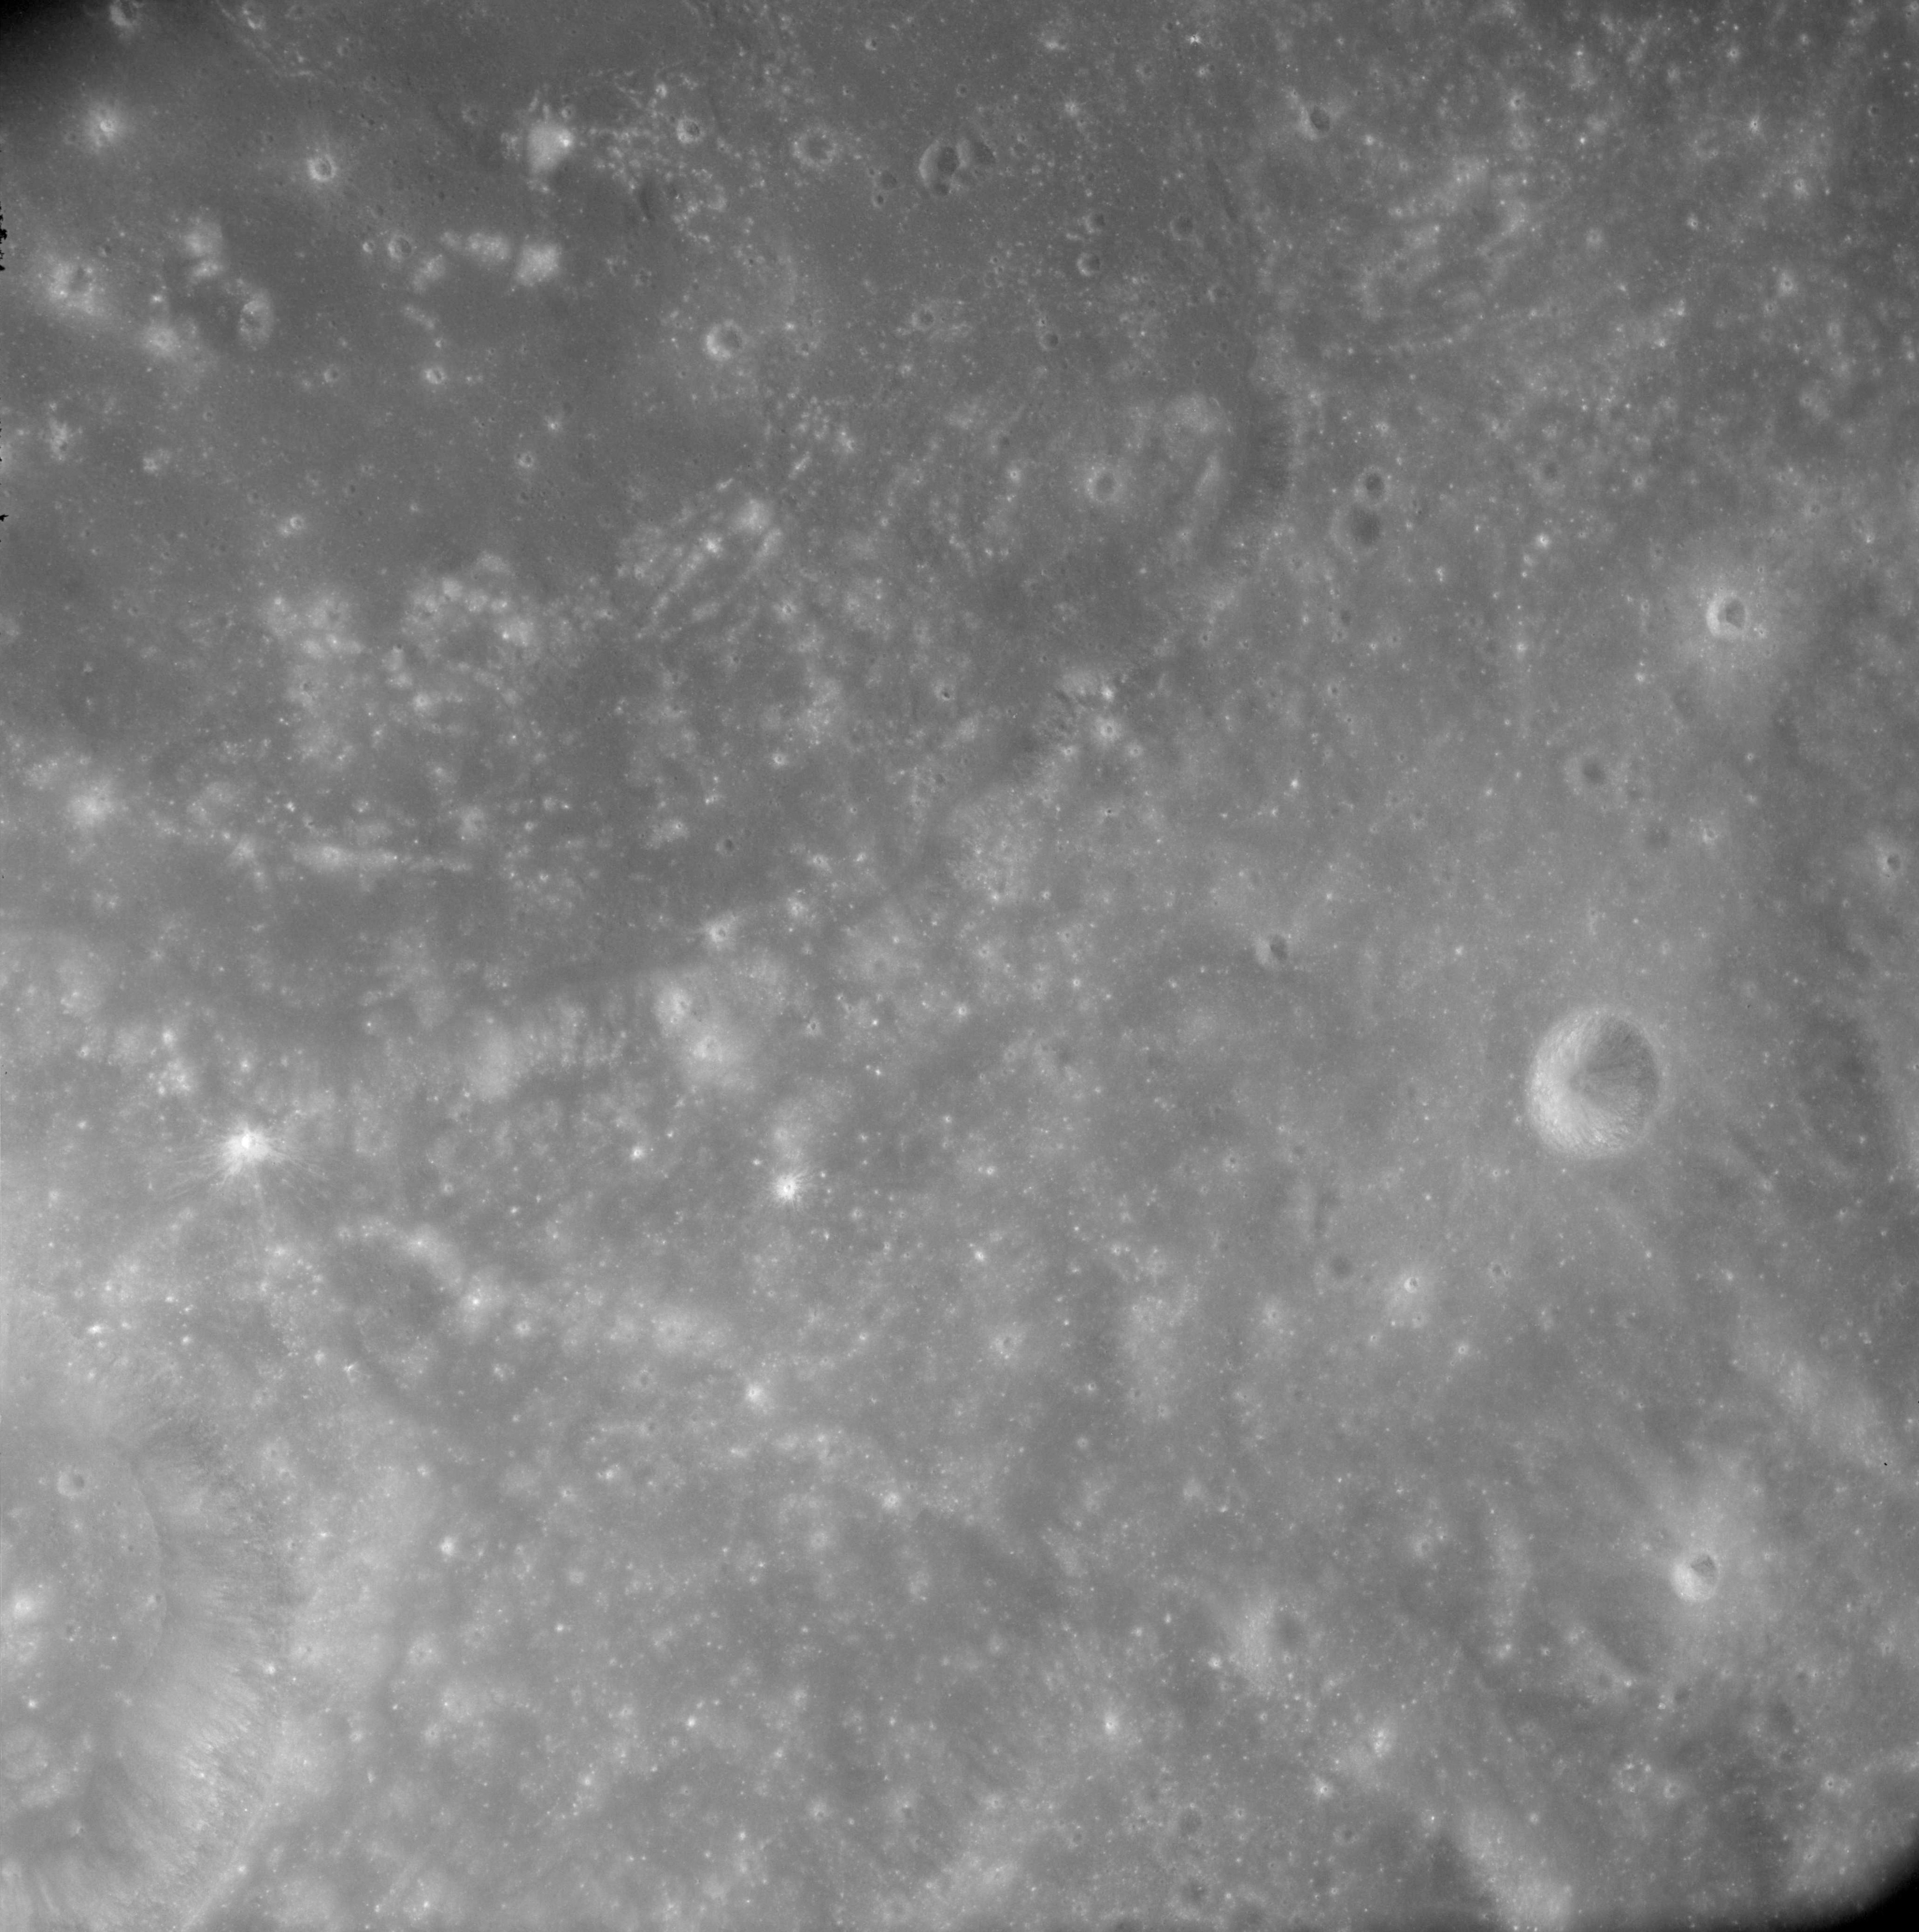 |
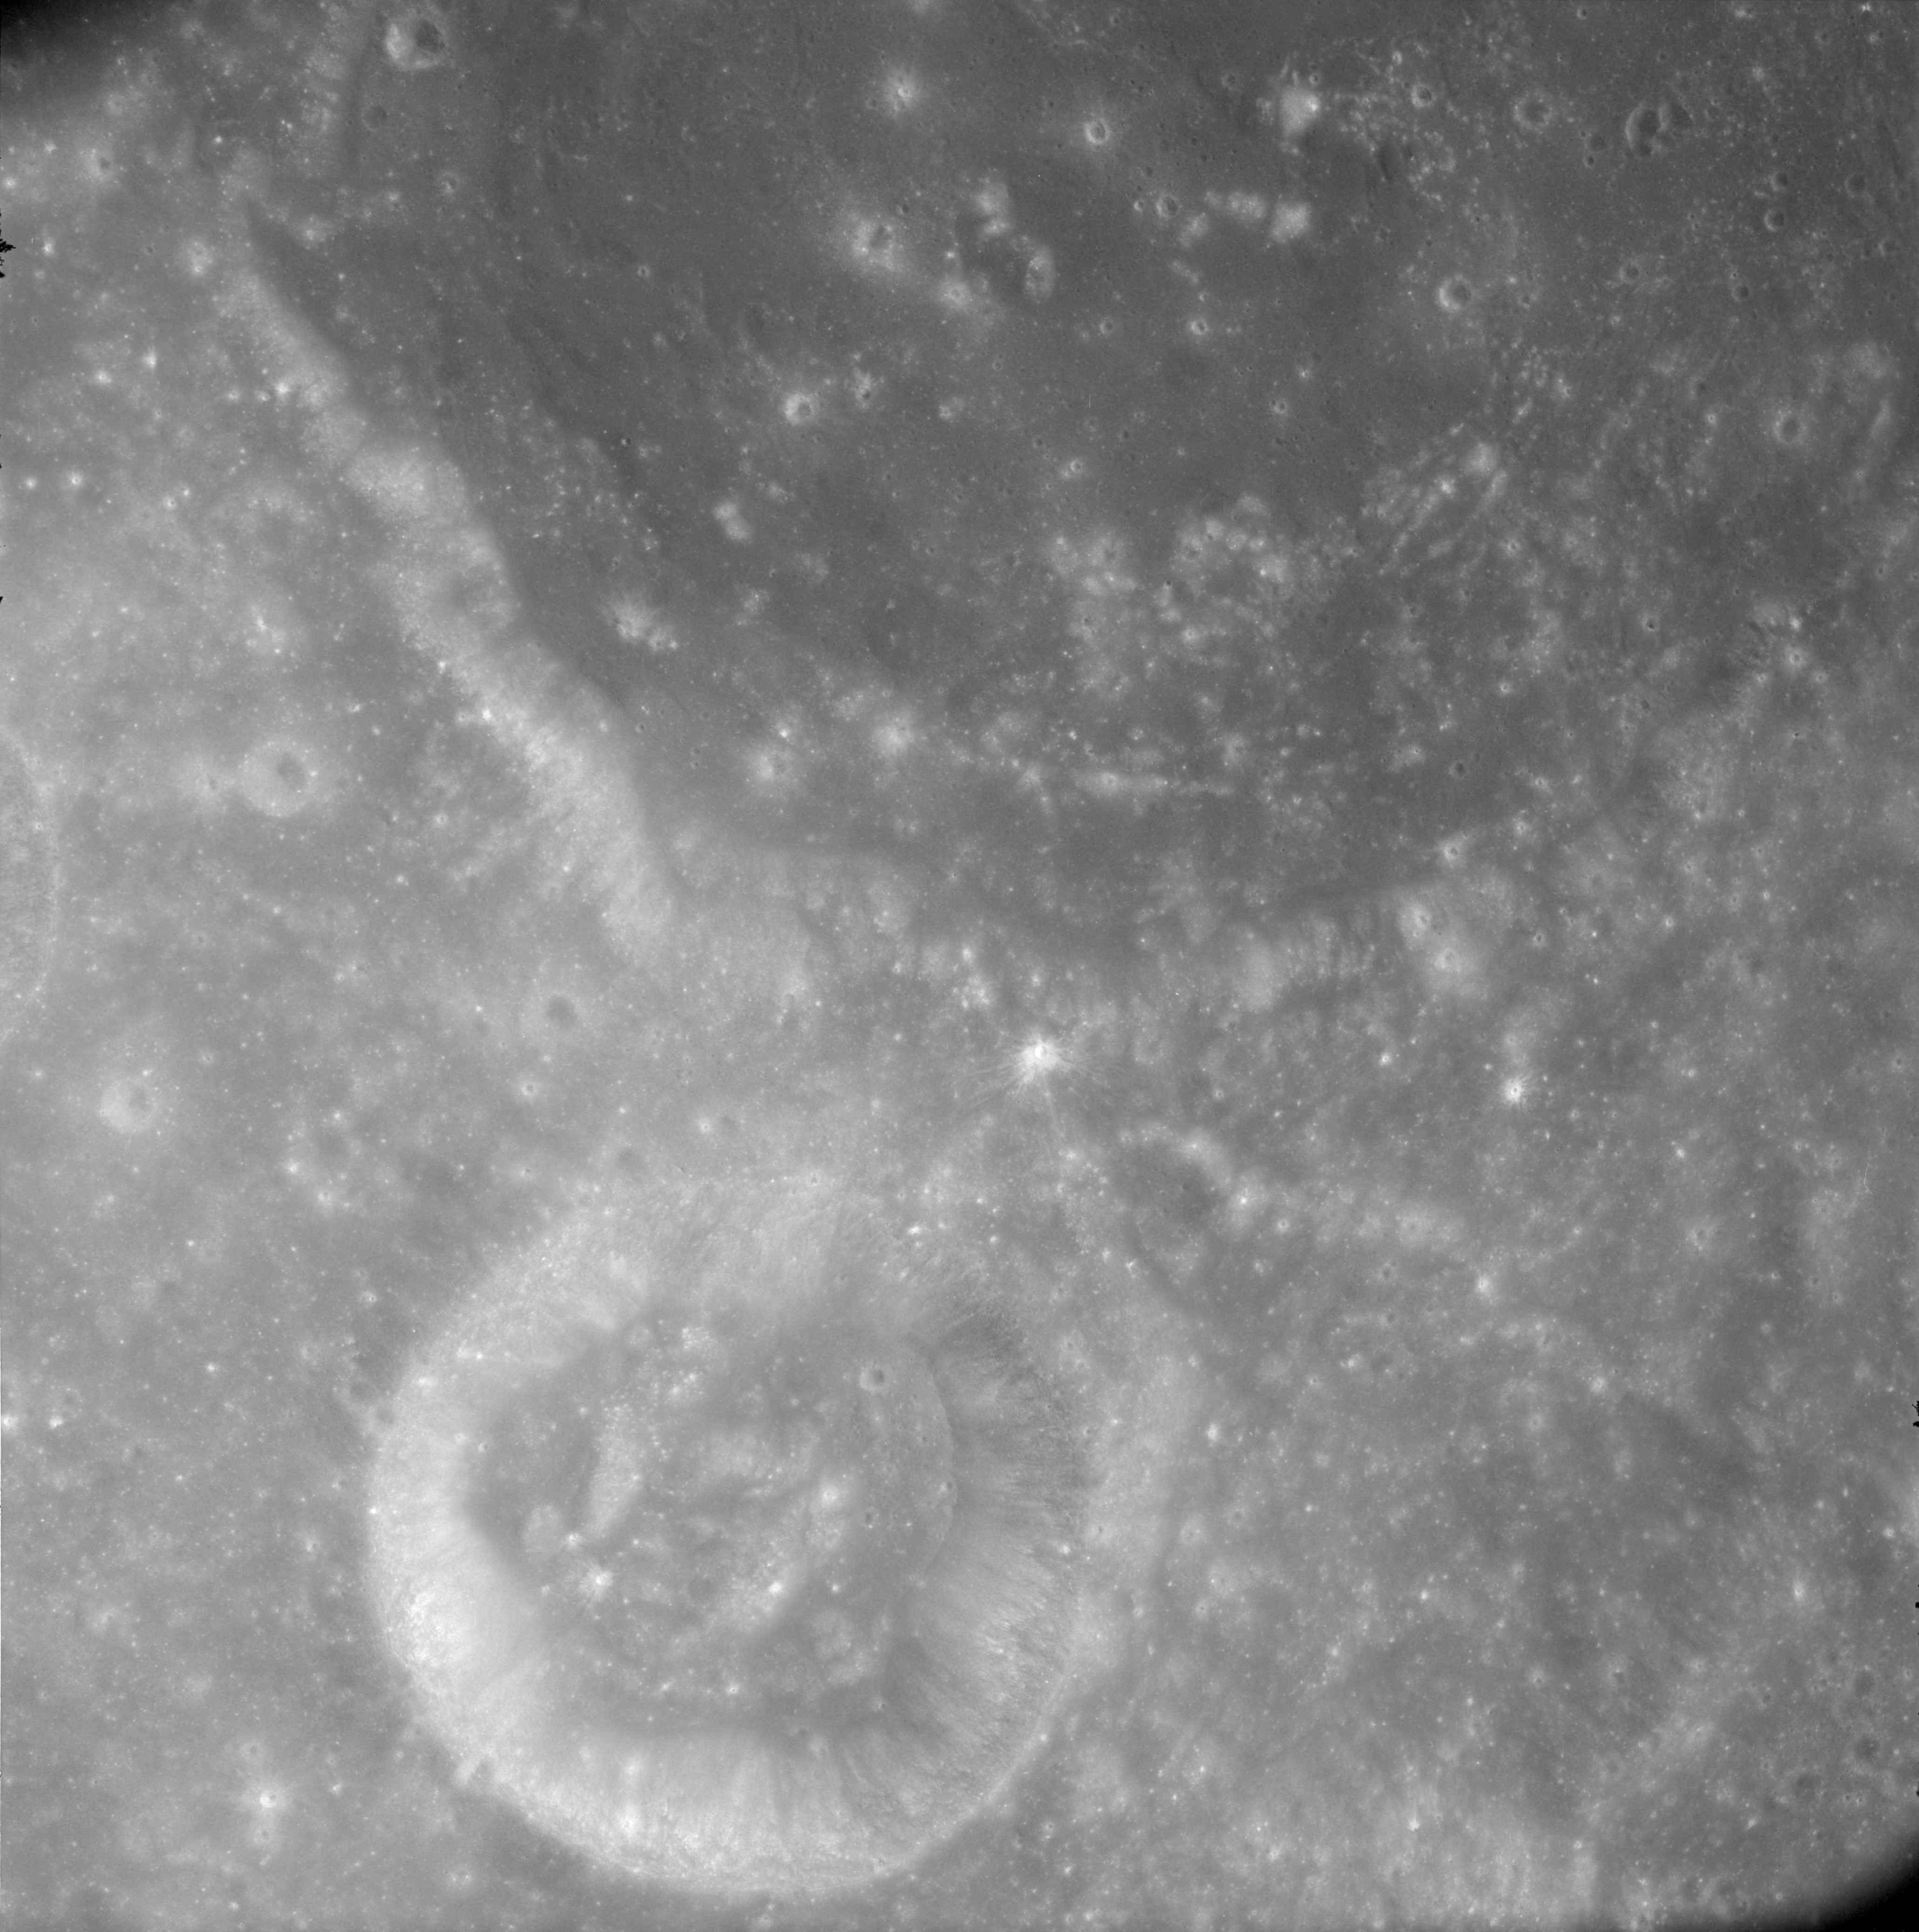
AS08-12-2175 Southeastern rim of Kiess on upper left. Image credit: Image Science and Analysis Laboratory, NASA-Johnson Space Center. |
 |
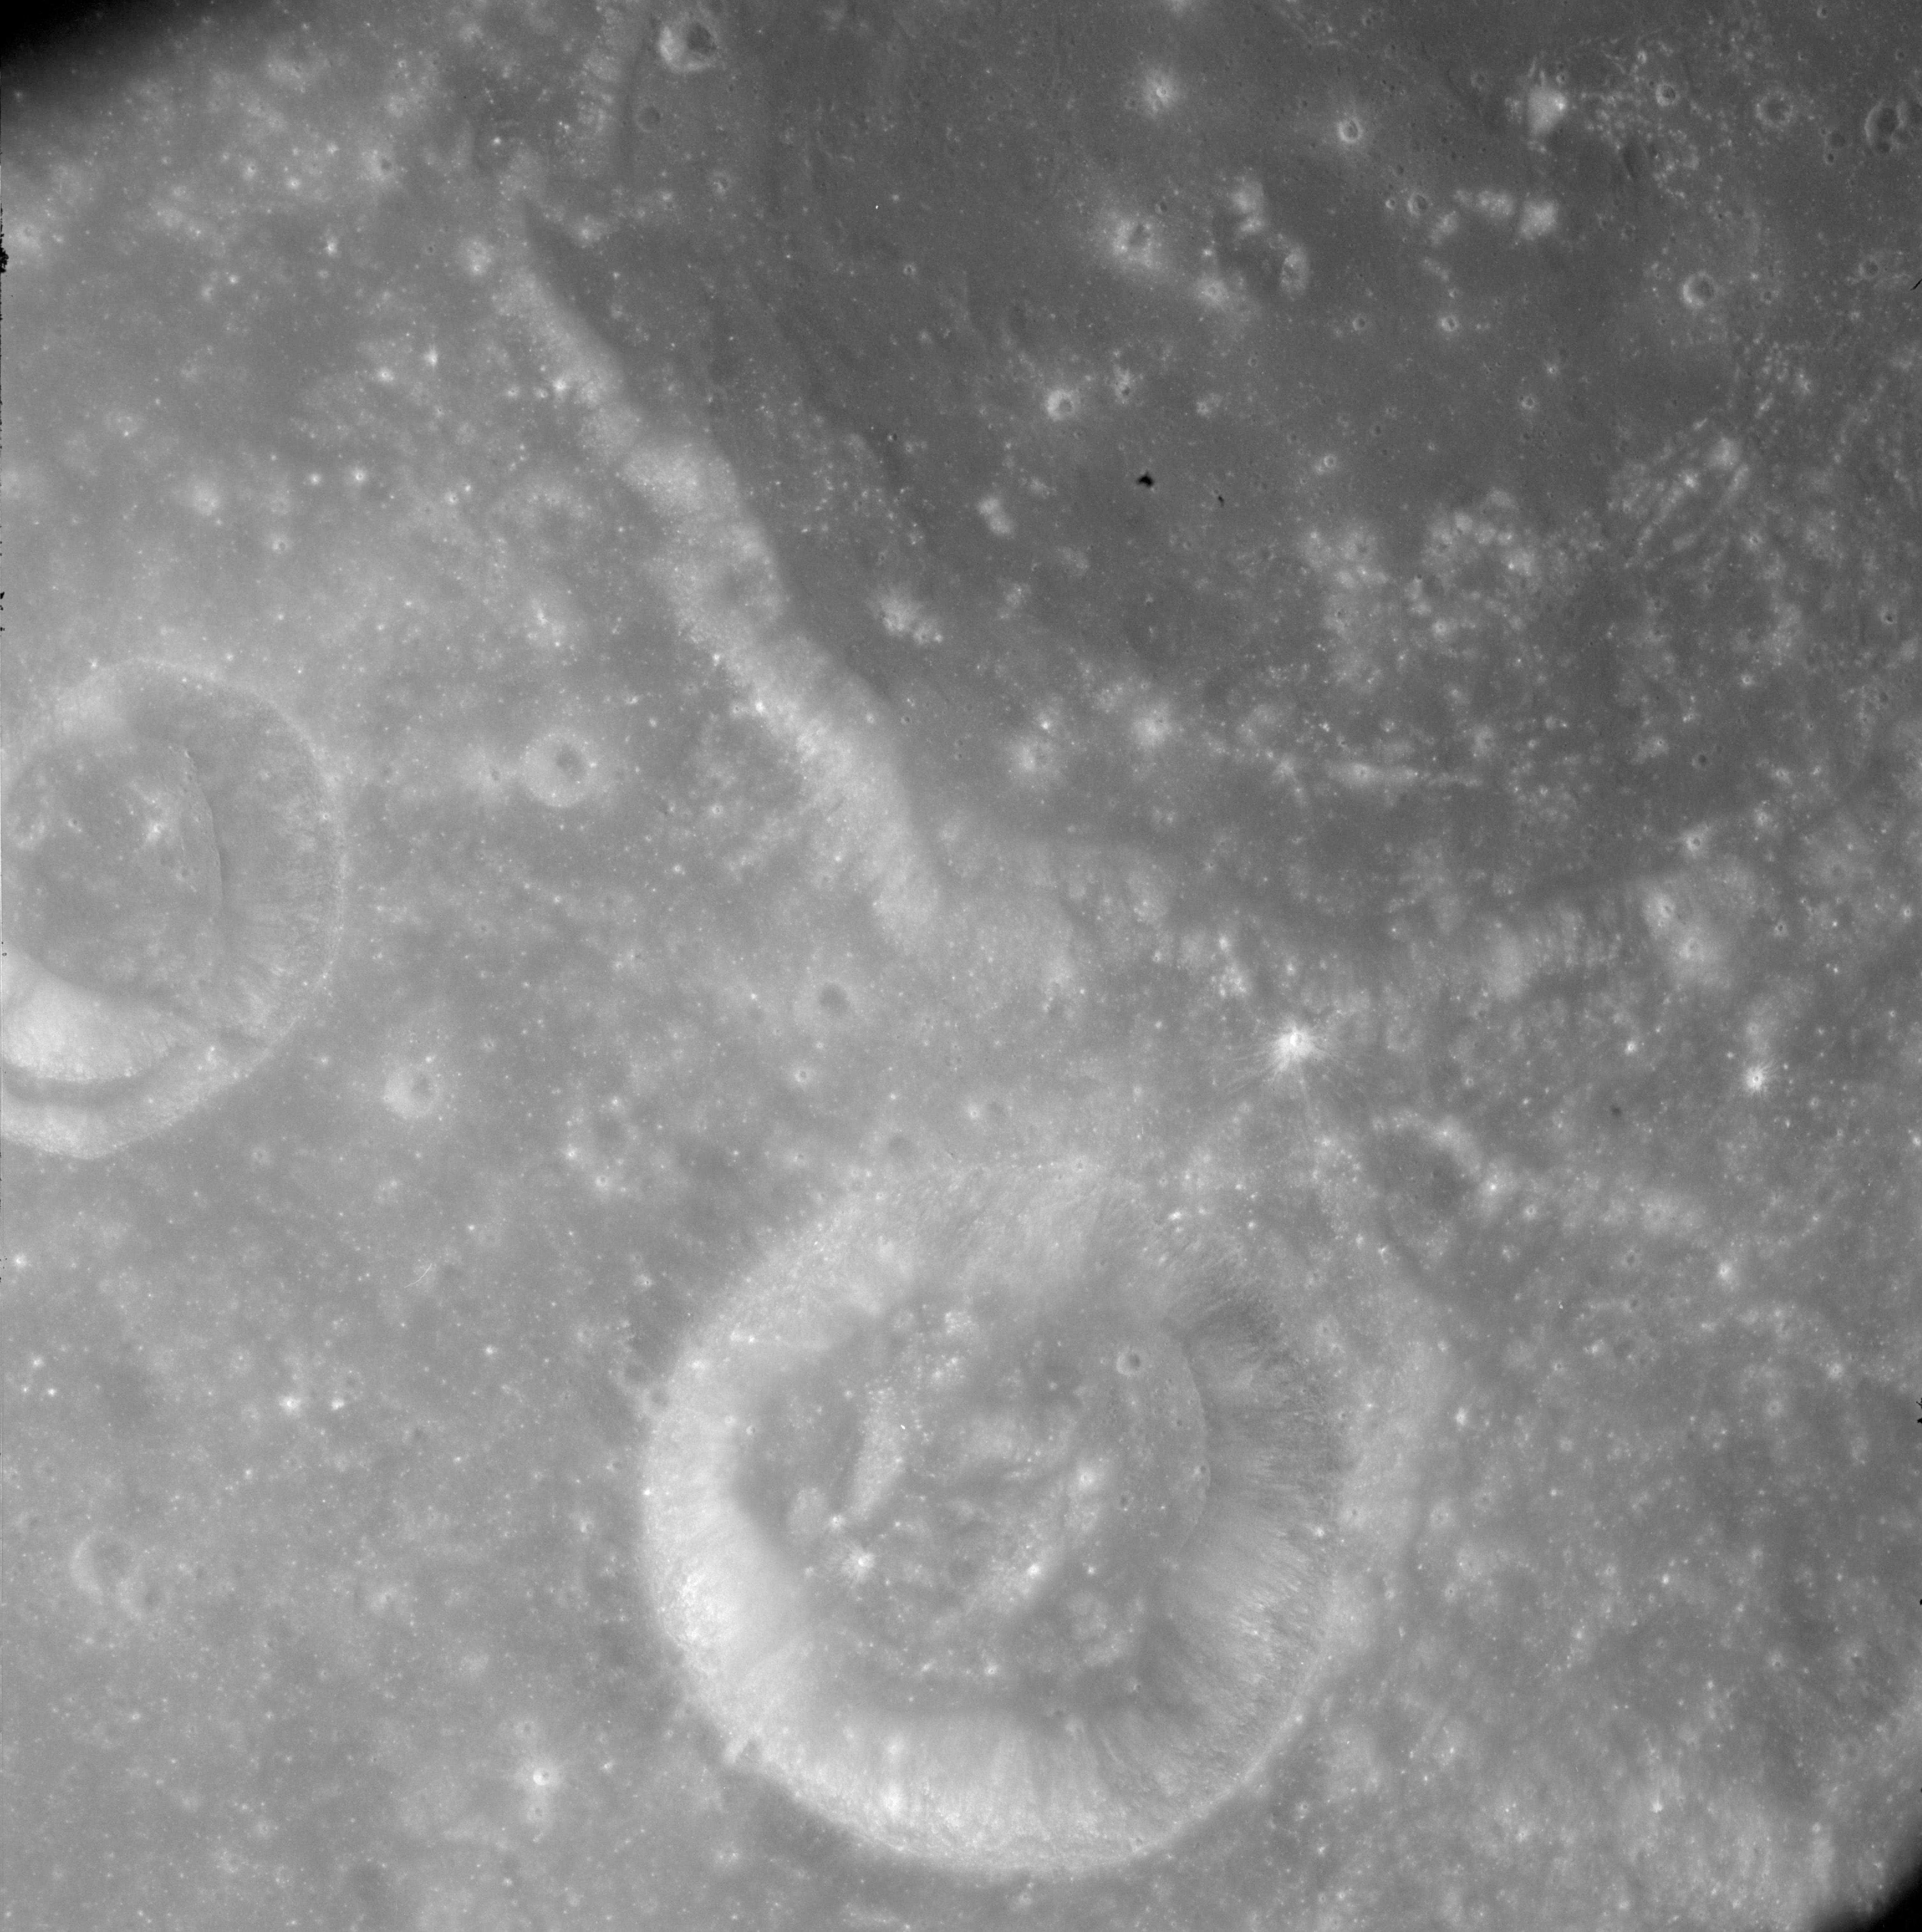
AS08-12-2176 Southern half of Kiess top of frame. Image credit: Image Science and Analysis Laboratory, NASA-Johnson Space Center. |
 |
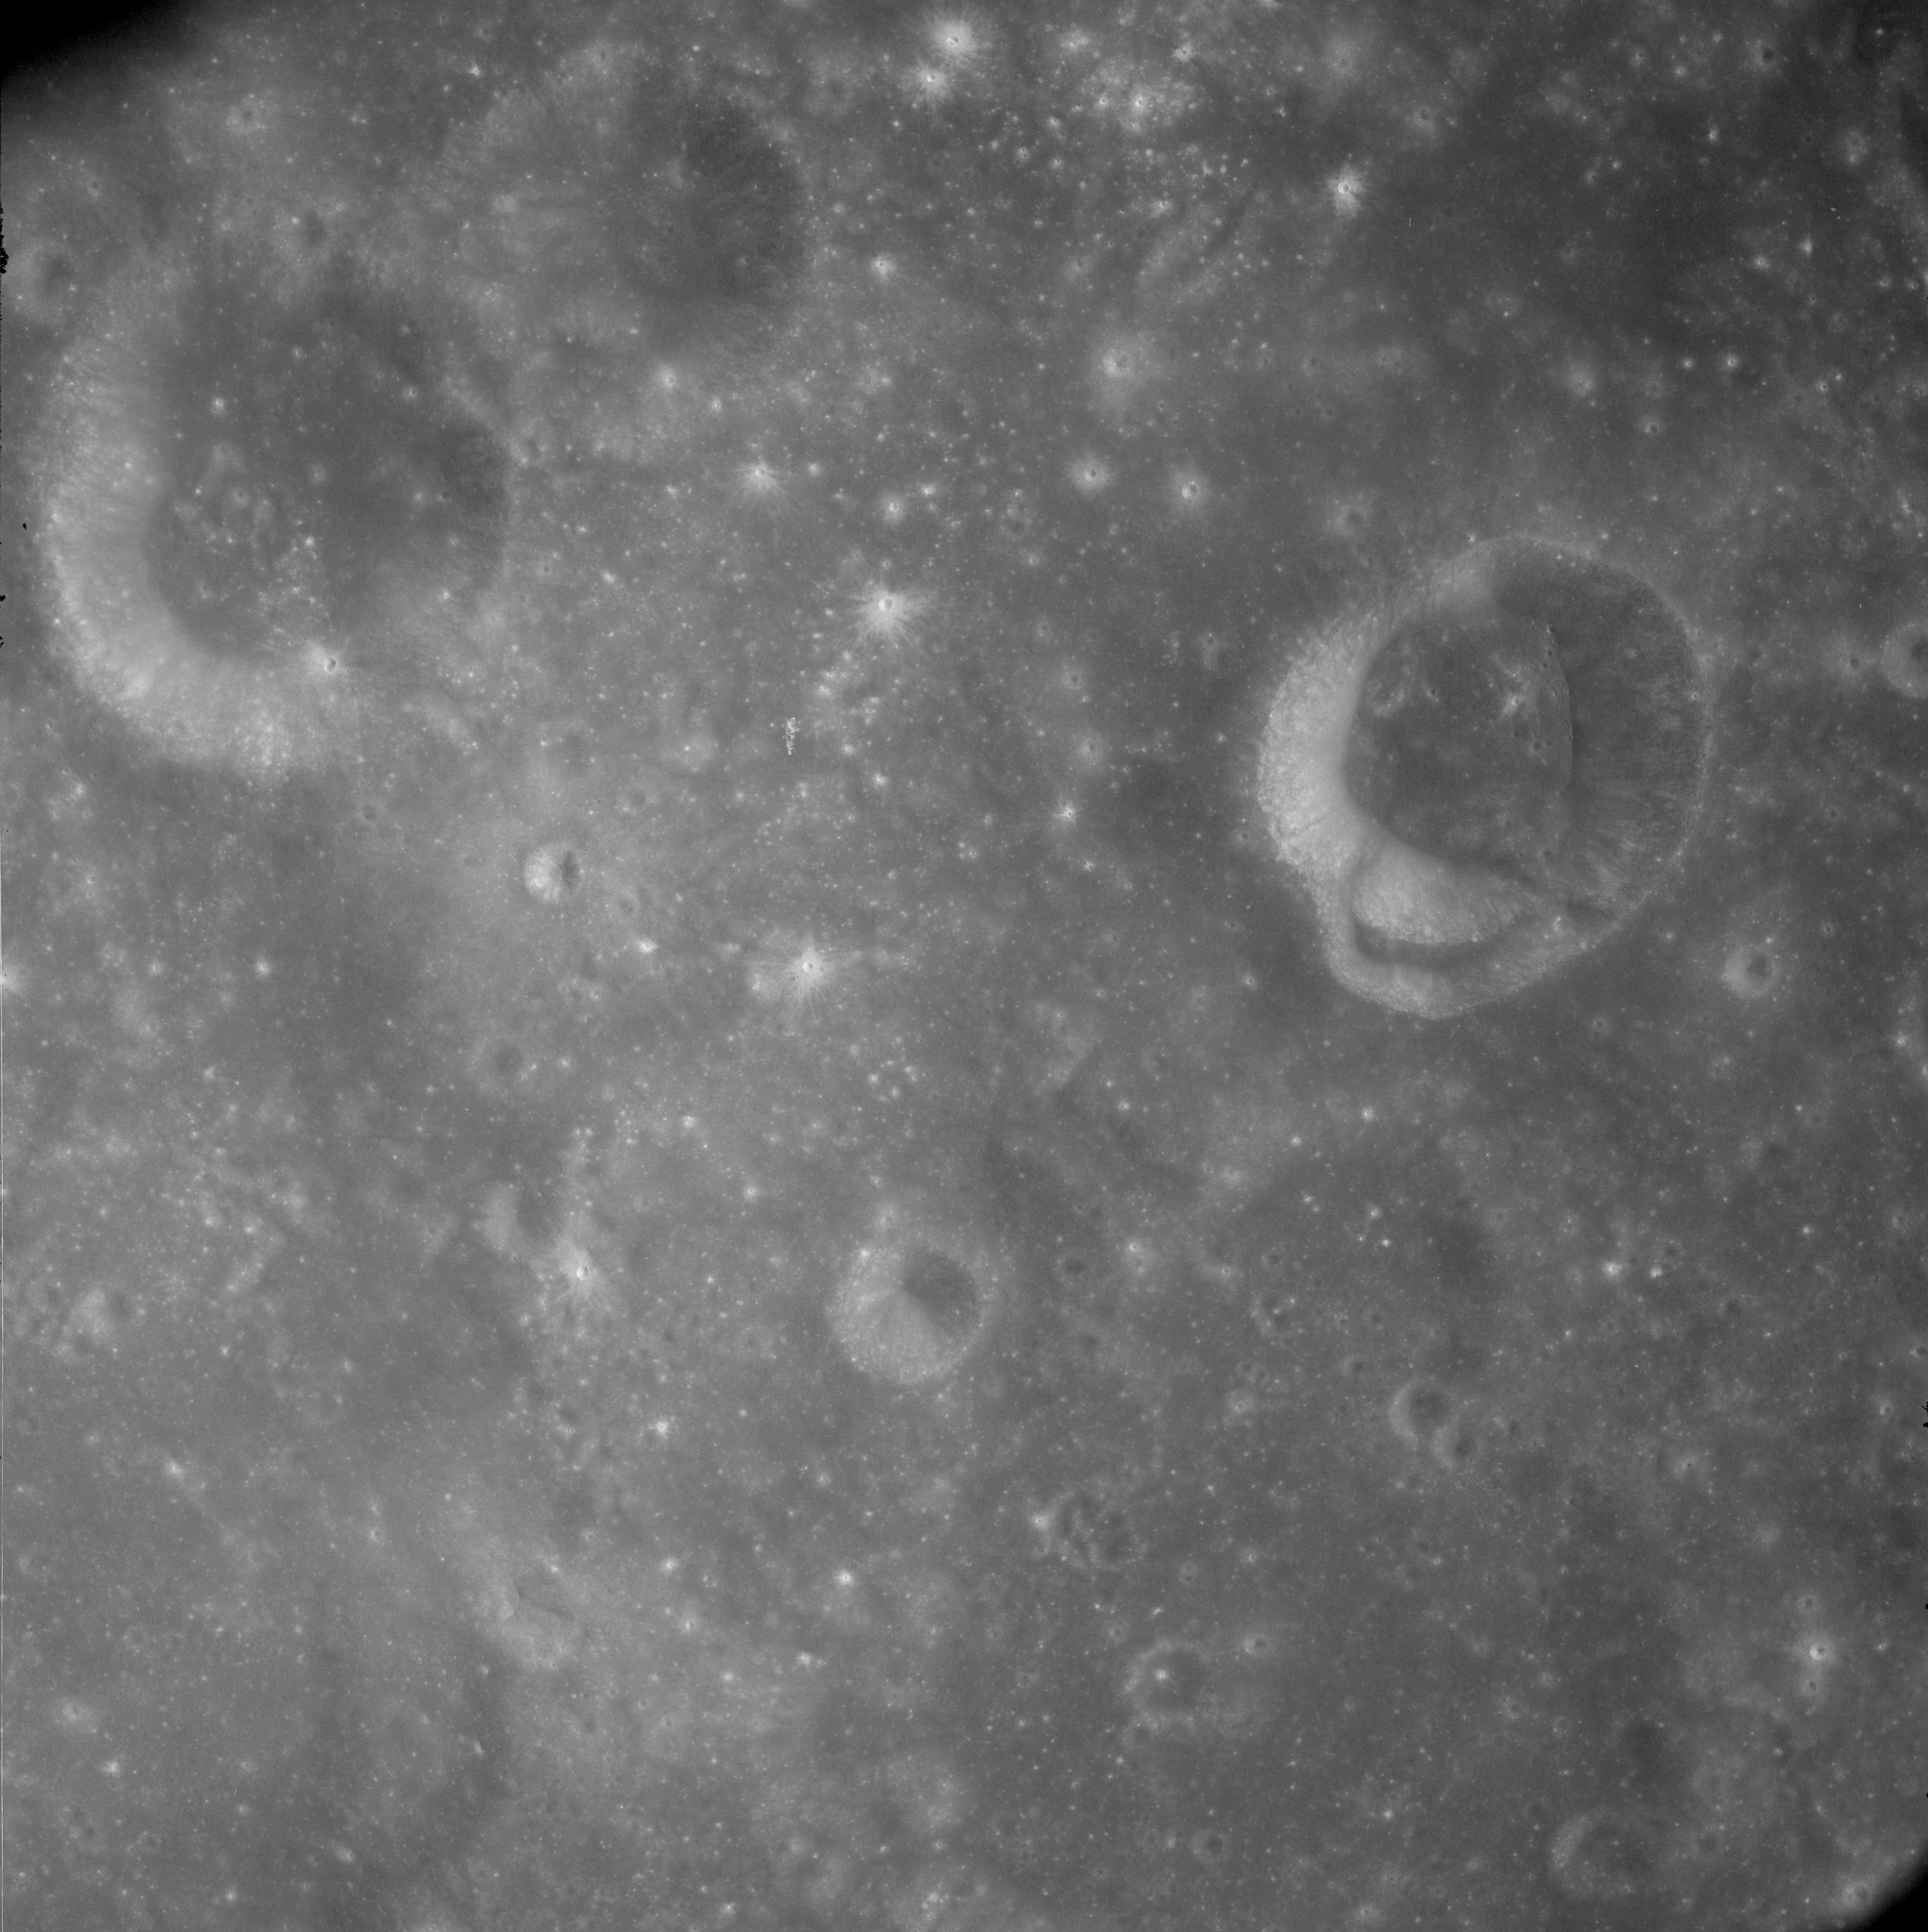
AS08-12-2177 Southern half of Kiess top of frame. Image credit: Image Science and Analysis Laboratory, NASA-Johnson Space Center. |
 |
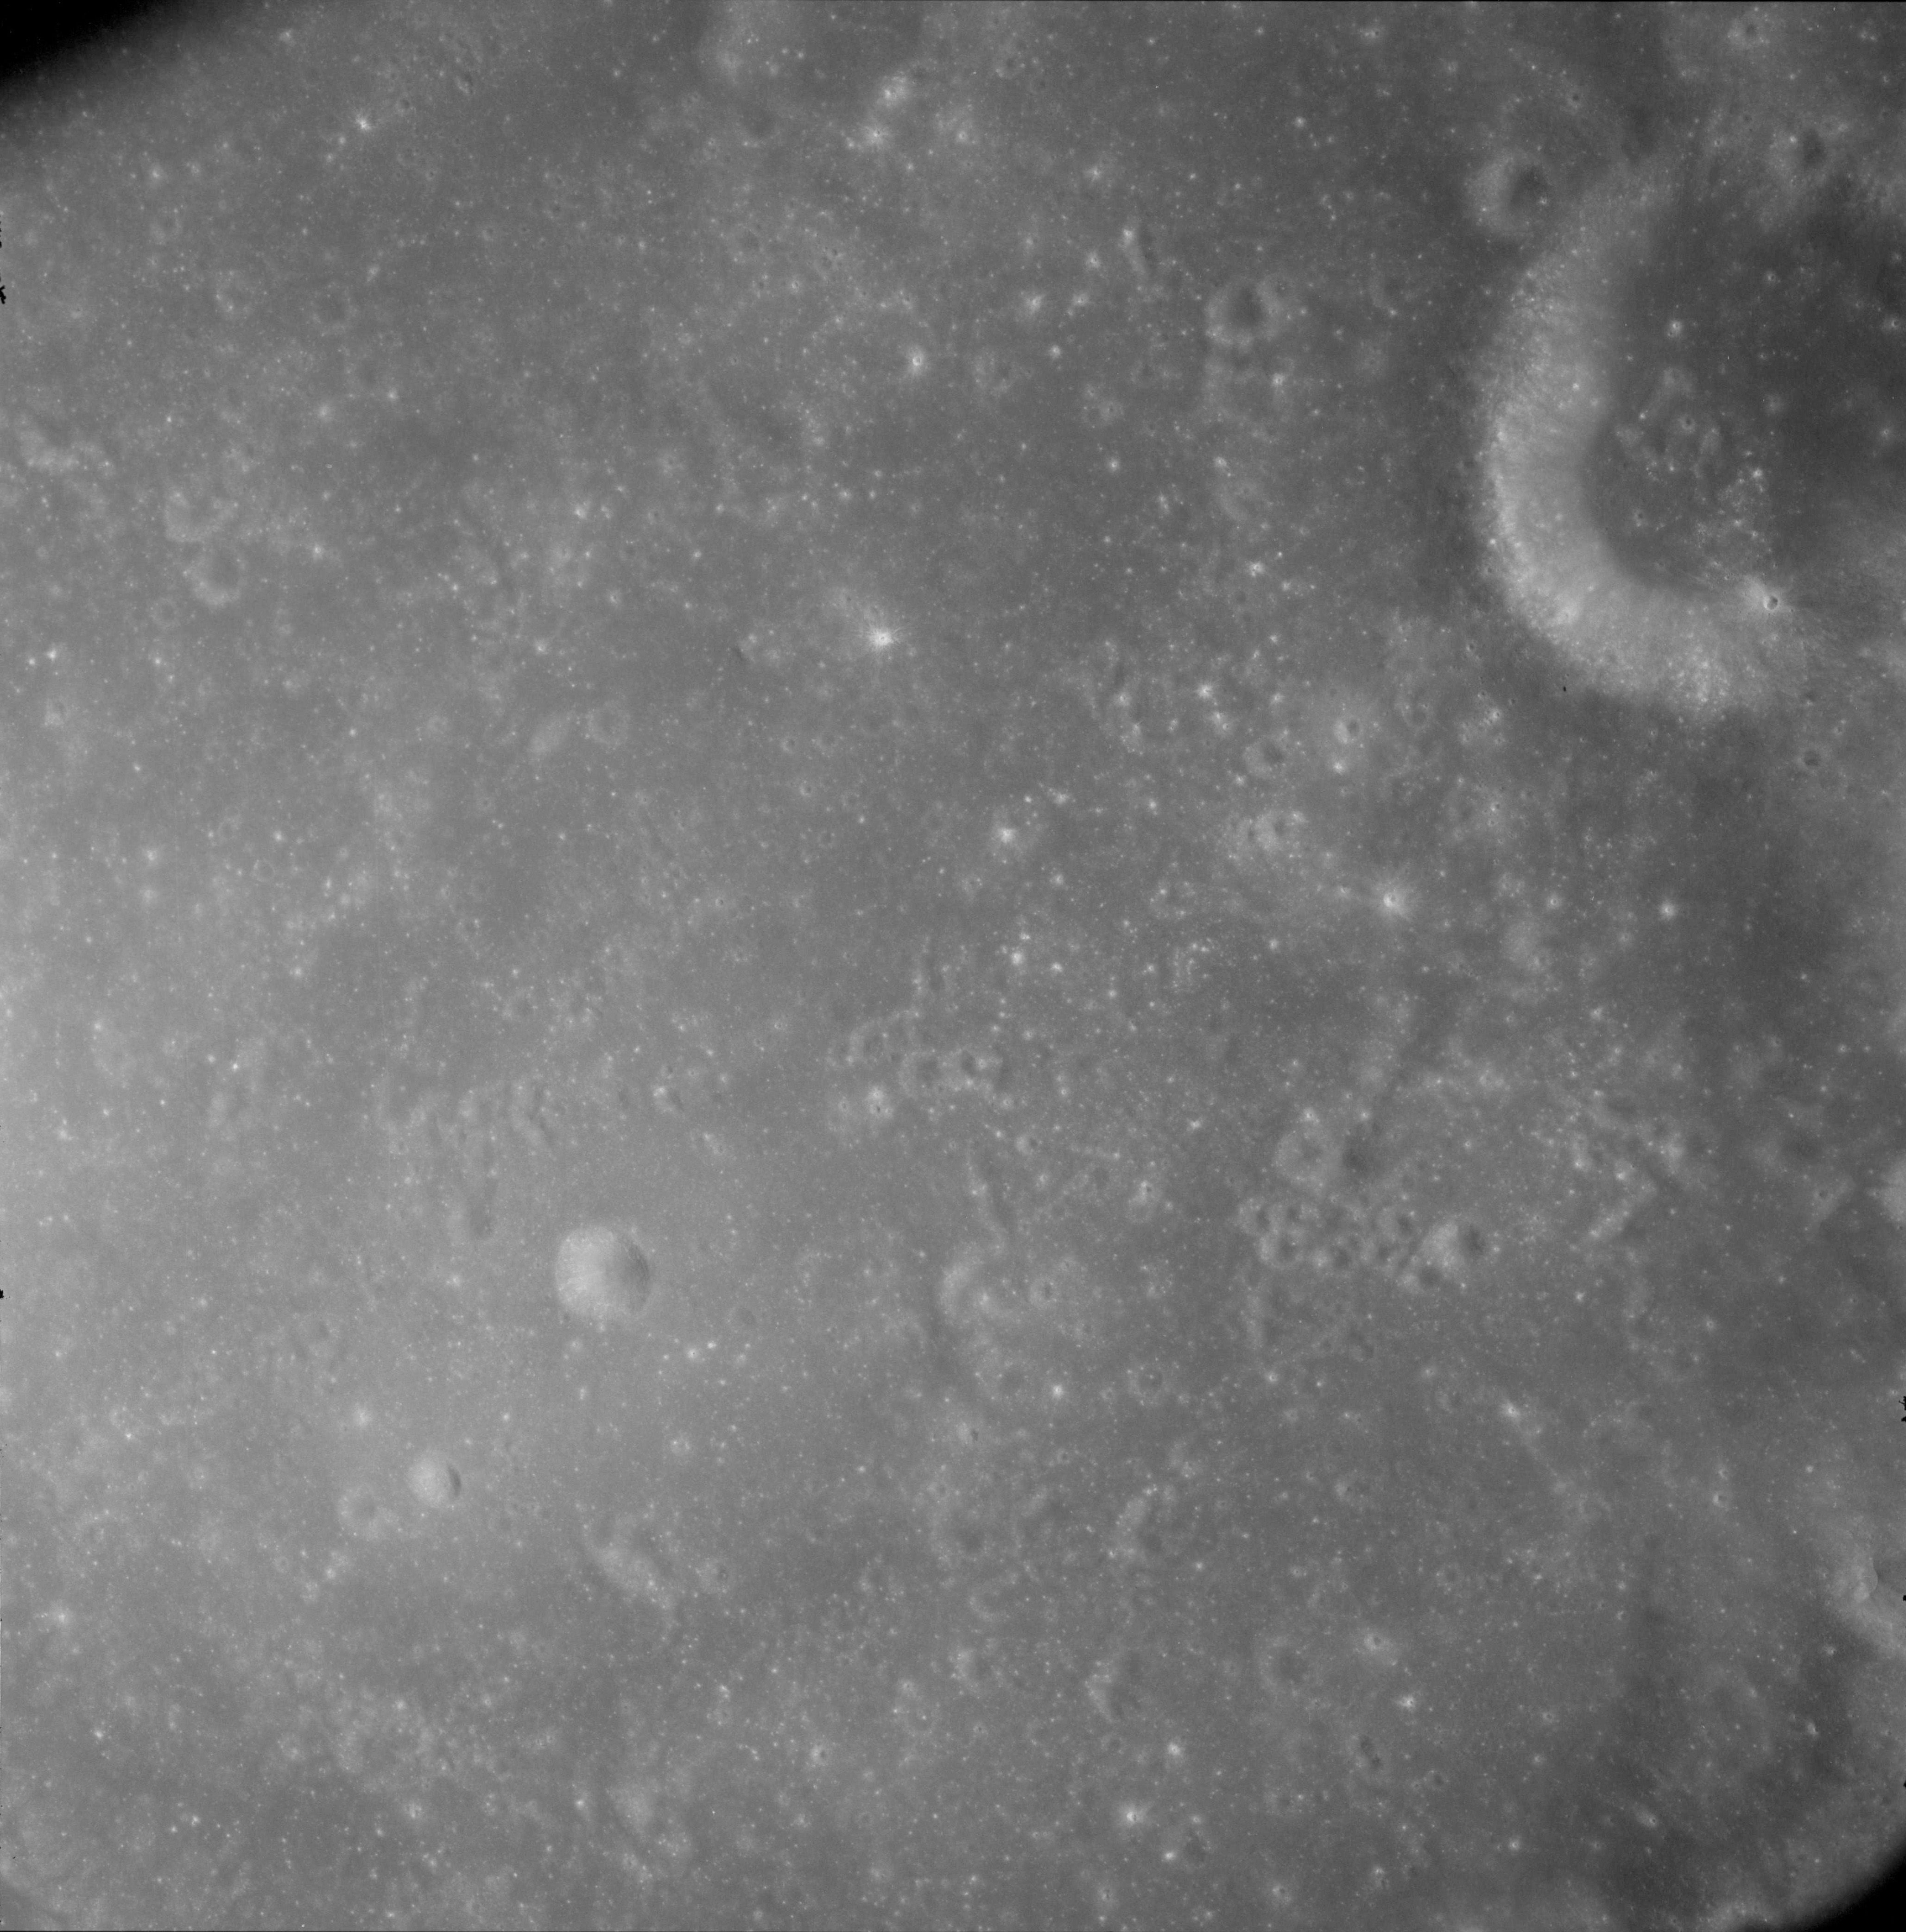
AS08-12-2178 Kastner. Image credit: Image Science and Analysis Laboratory, NASA-Johnson Space Center. |
 |
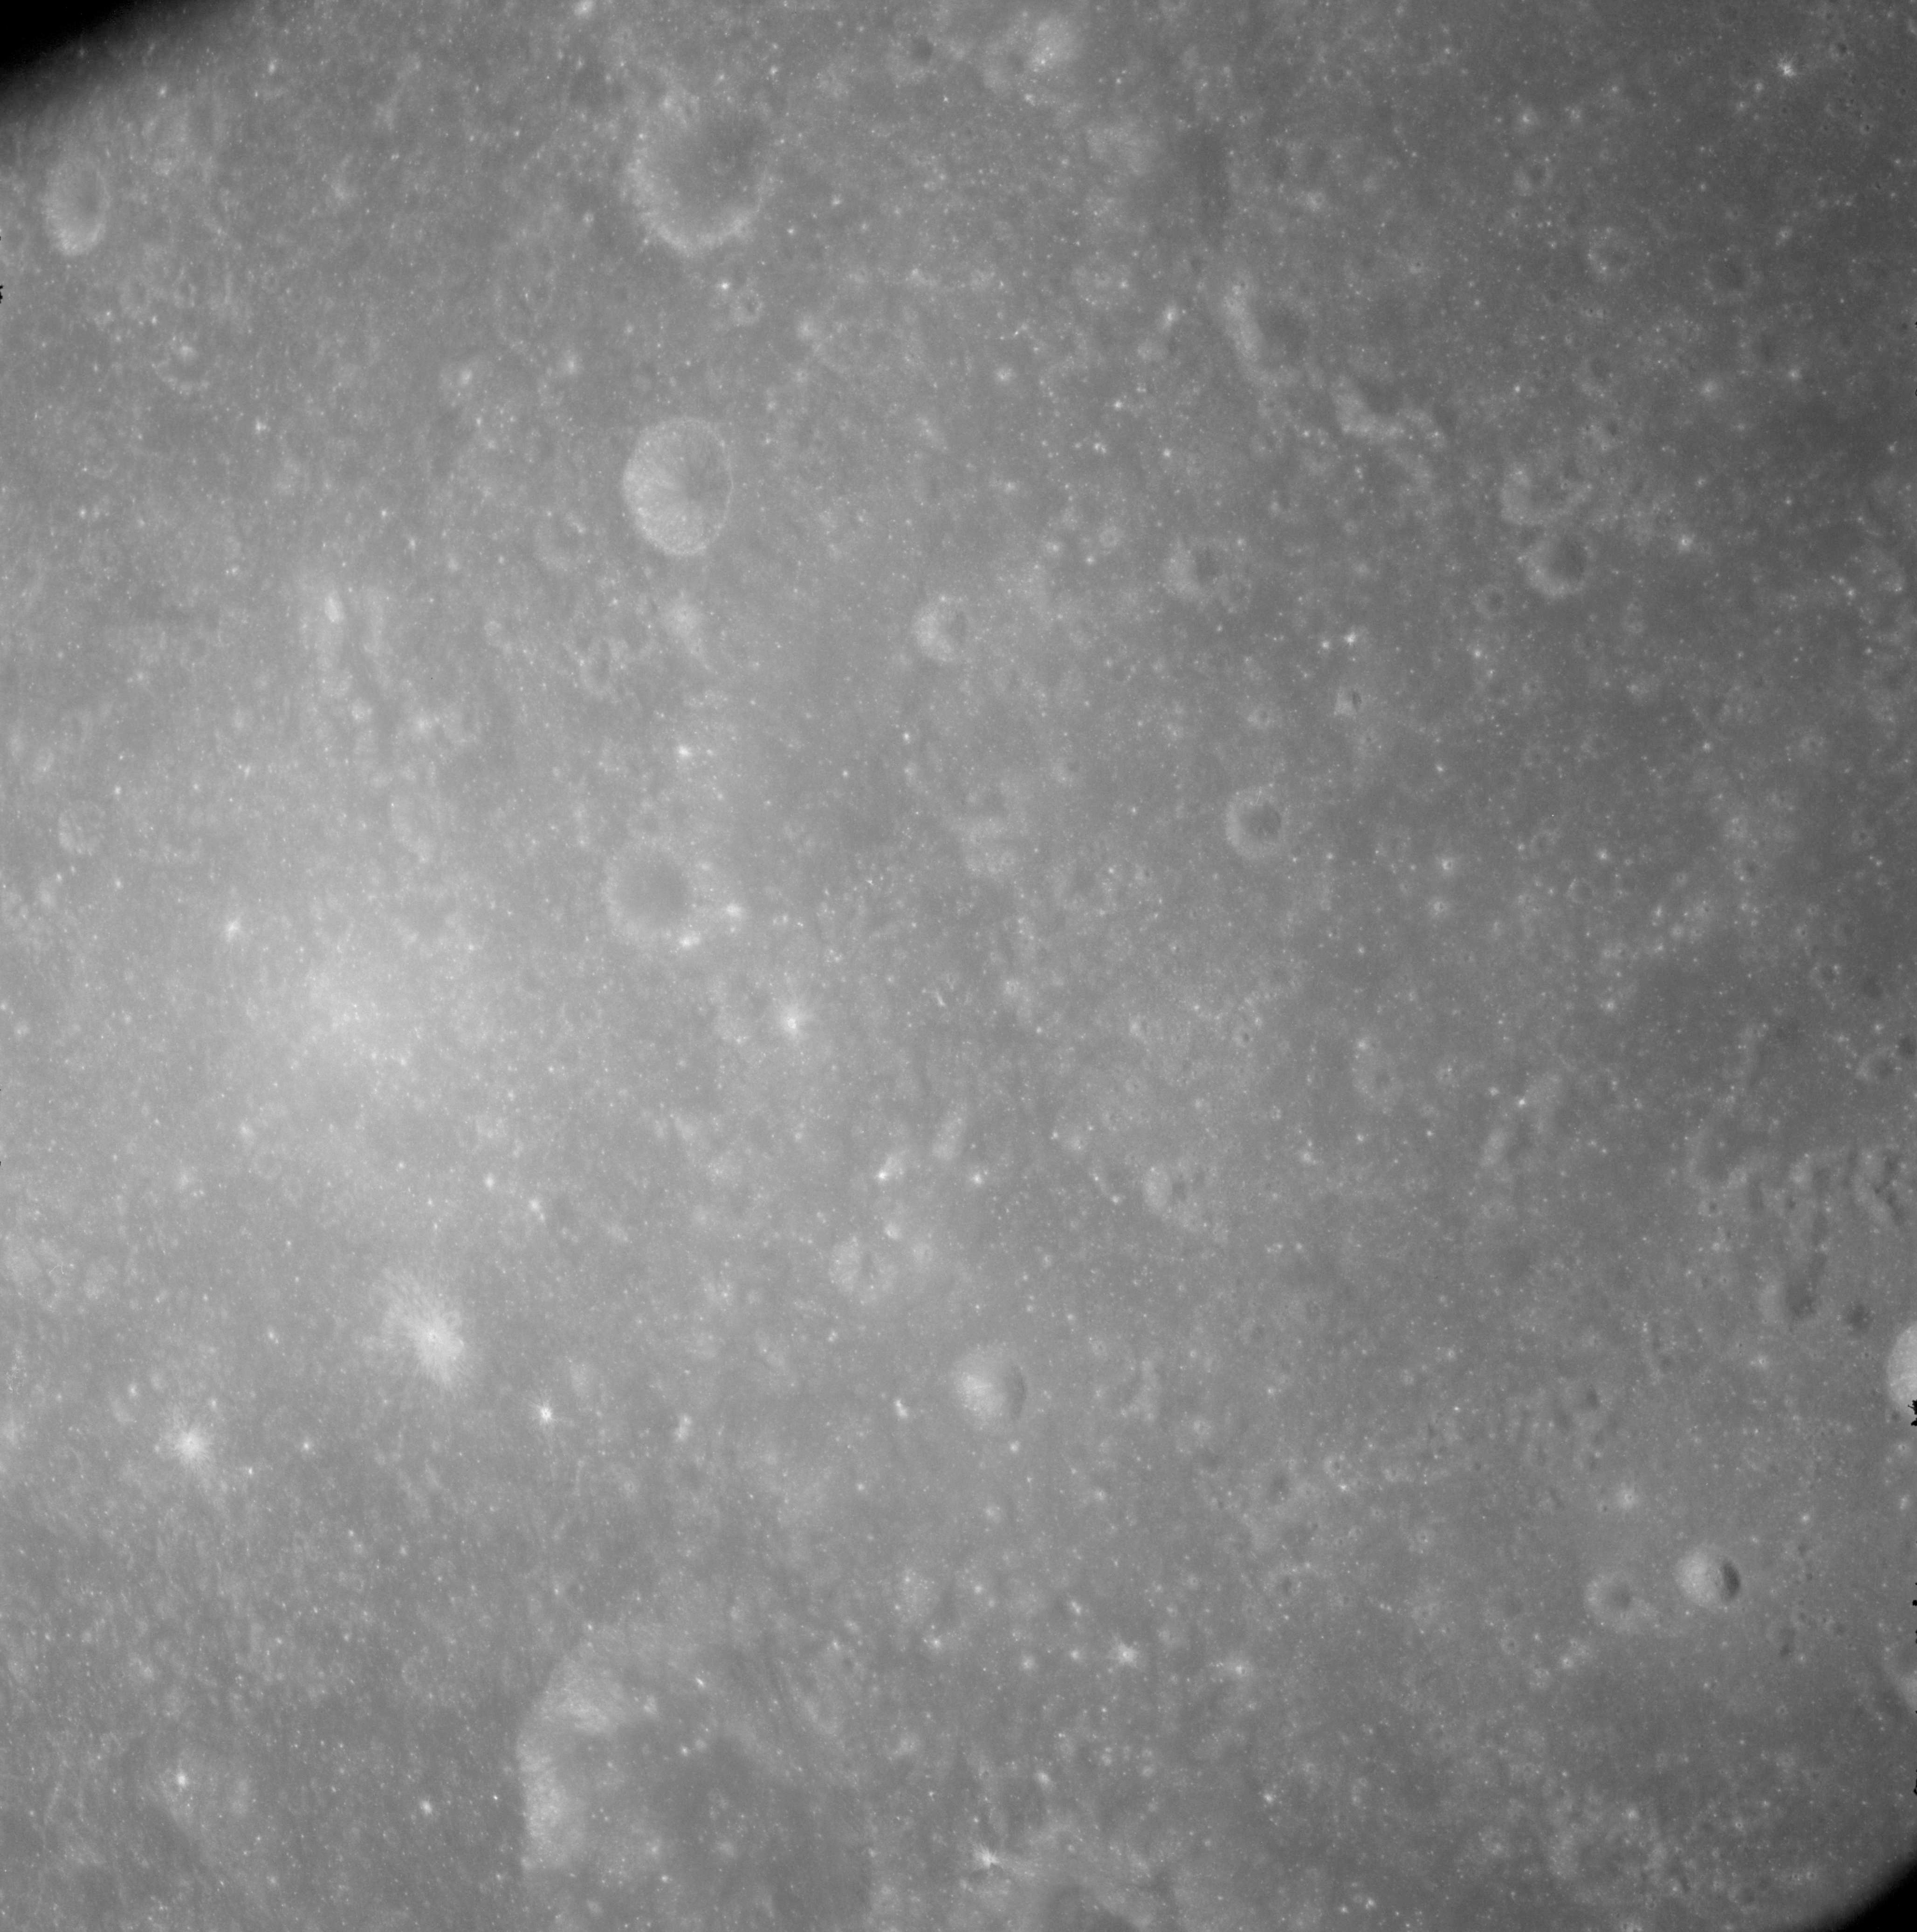
AS08-12-2179 Kastner. Image credit: Image Science and Analysis Laboratory, NASA-Johnson Space Center. |
 |
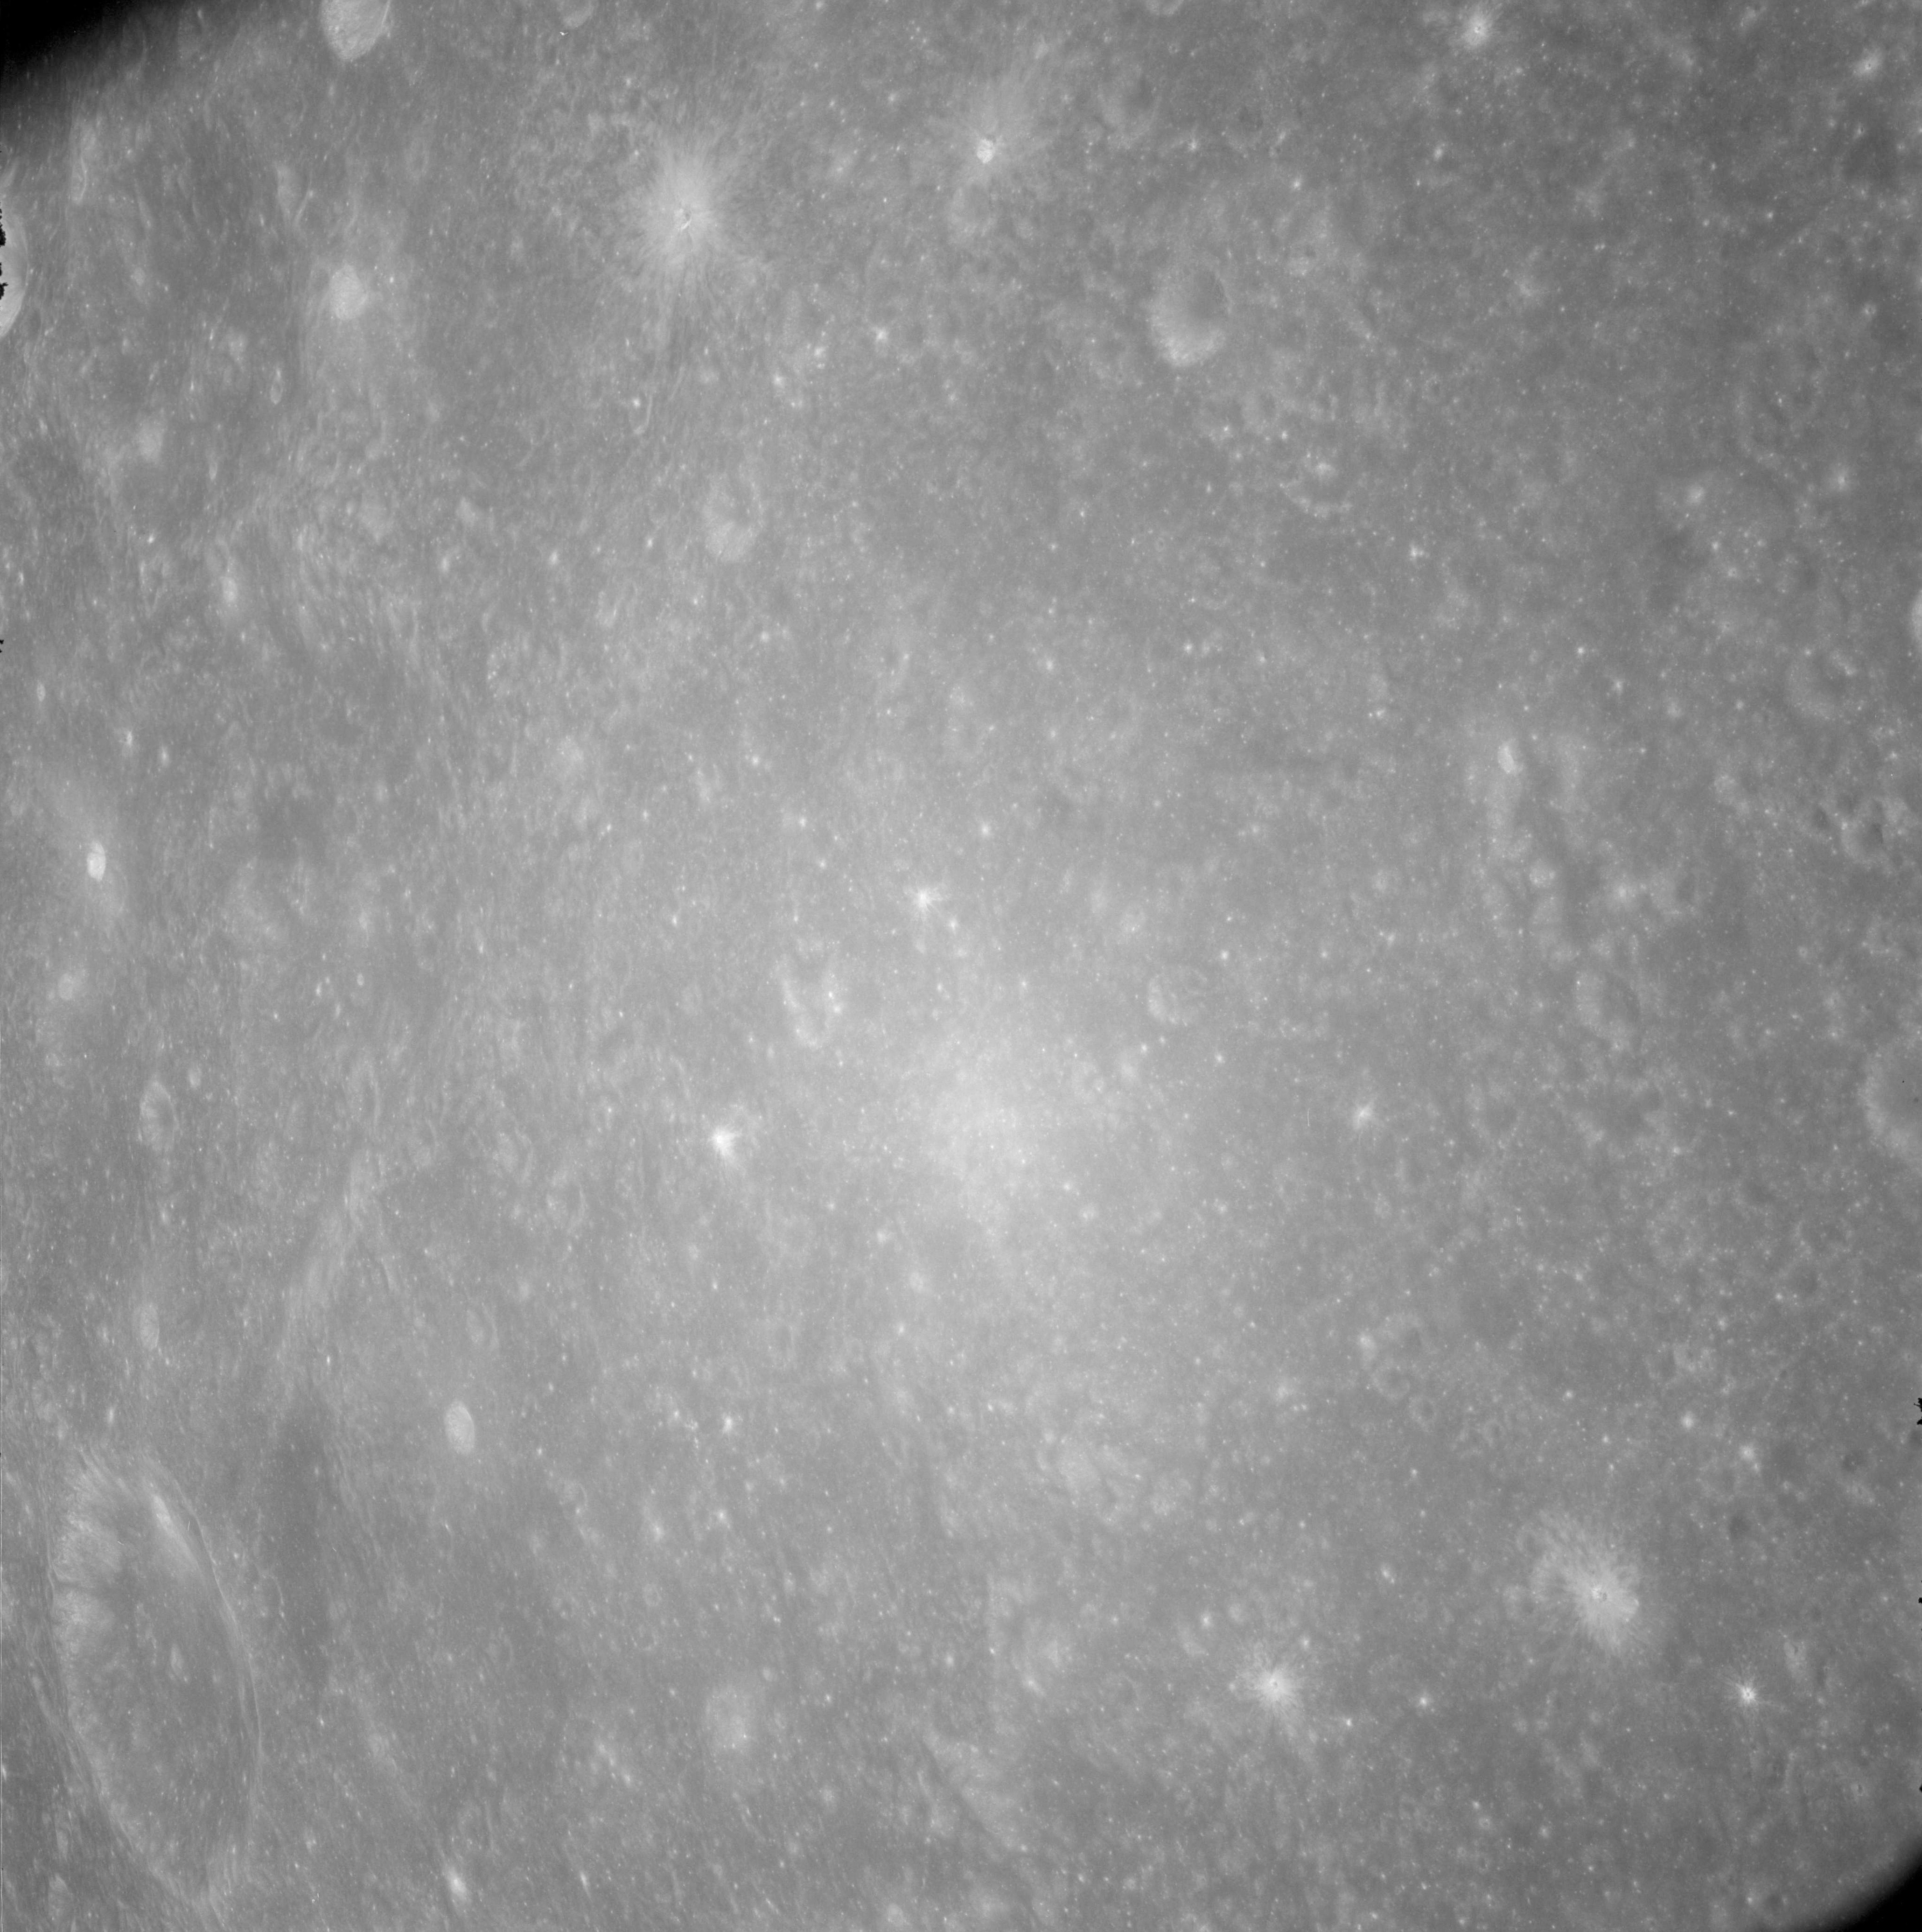
AS08-12-2180 Kastner. Image credit: Image Science and Analysis Laboratory, NASA-Johnson Space Center. |
 |
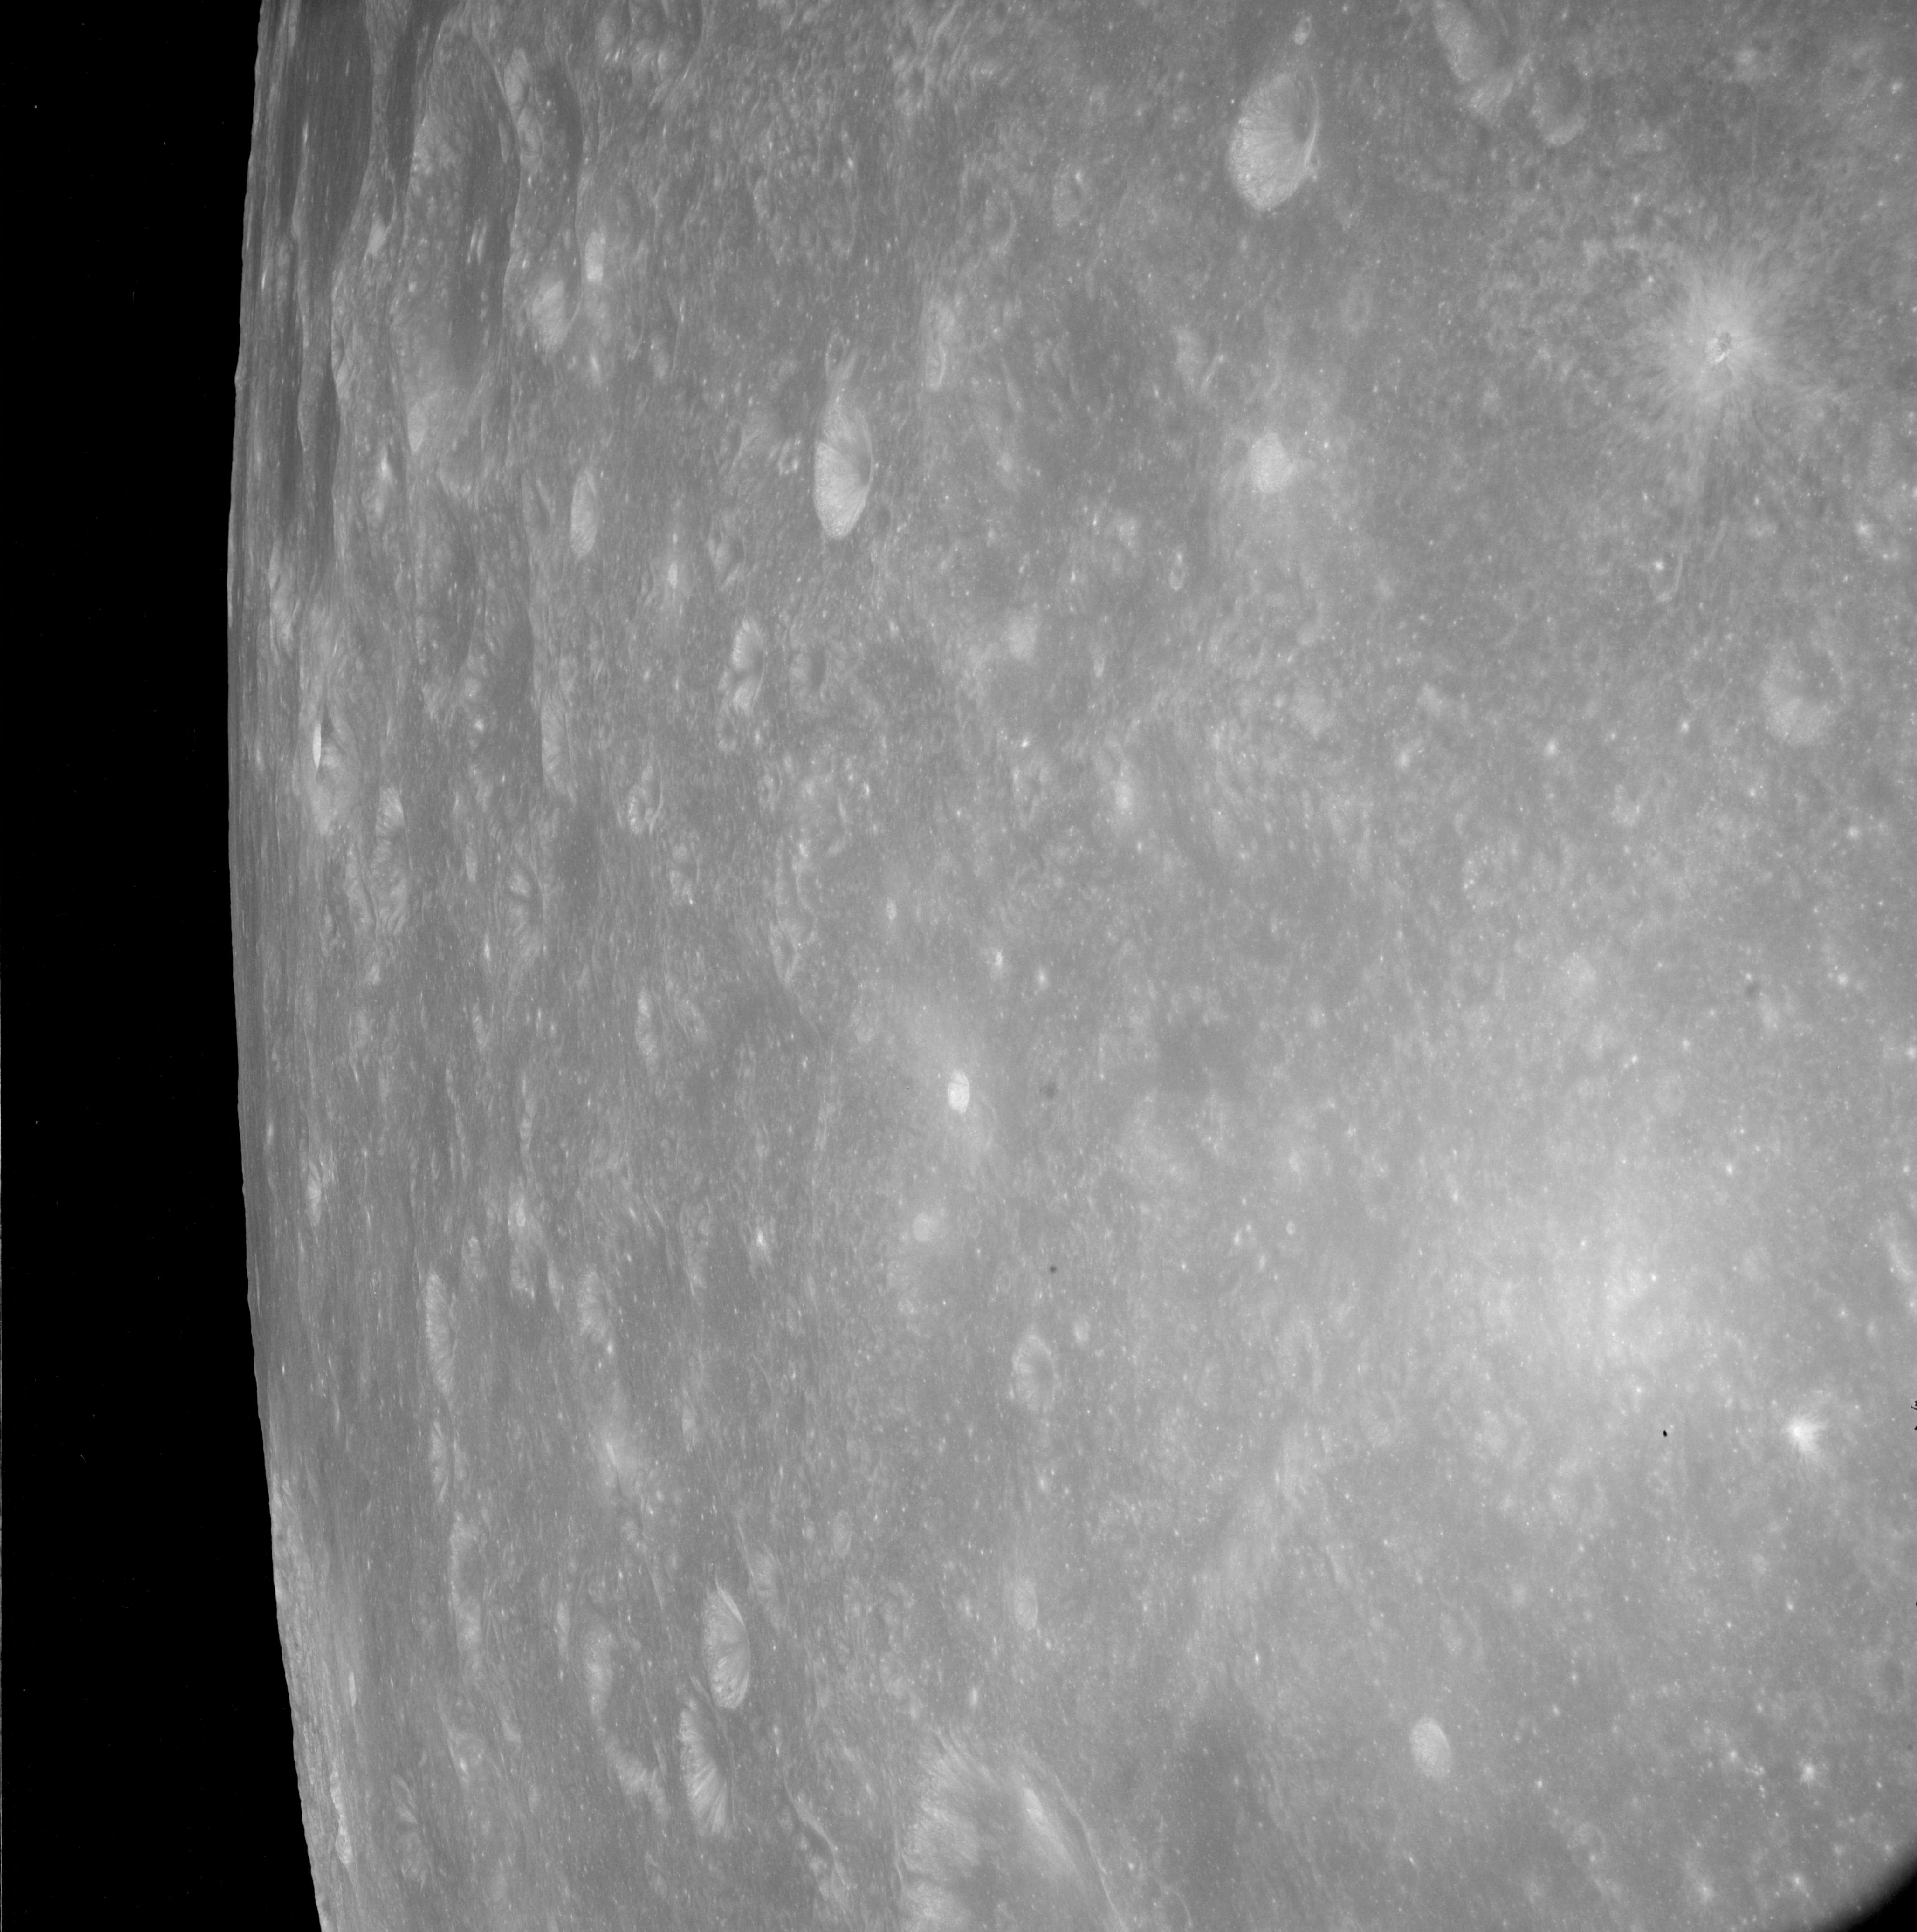
AS08-12-2181 Kastner. Image credit: Image Science and Analysis Laboratory, NASA-Johnson Space Center. |
 |
AS08-12-2182 Looking westwards towards Mare Fecunditatis. Image credit: Image Science and Analysis Laboratory, NASA-Johnson Space Center. |
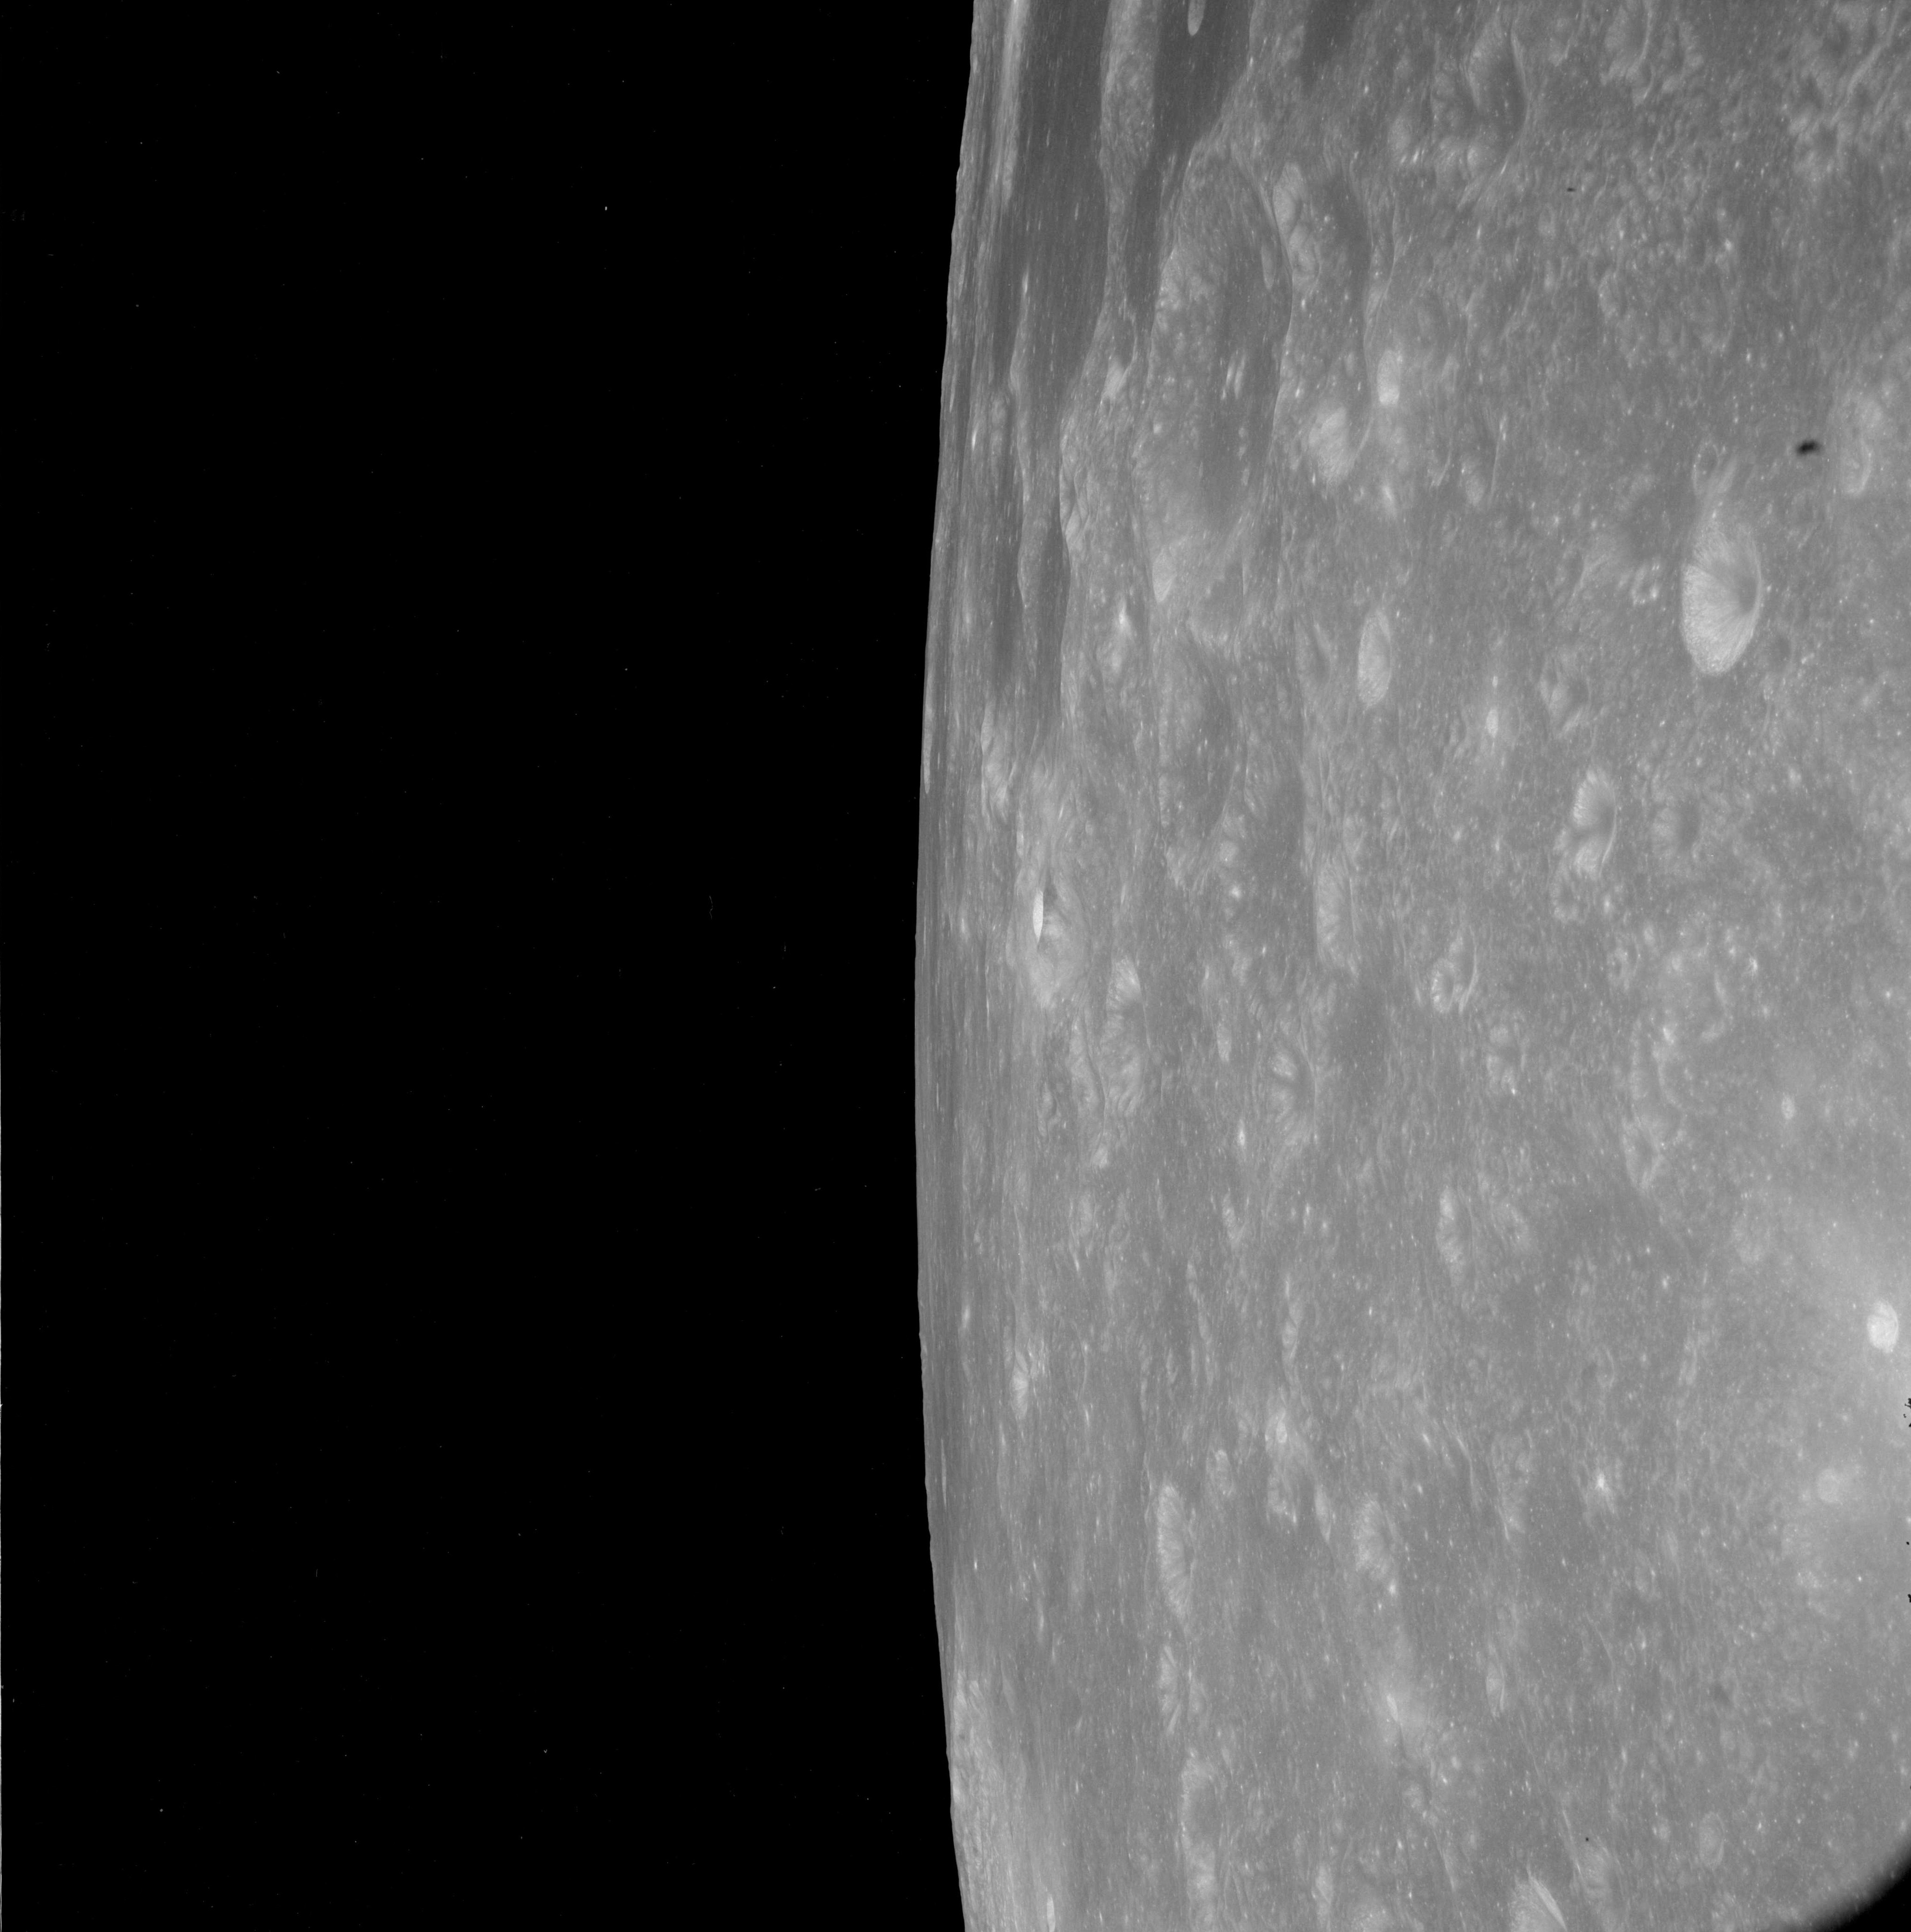 |
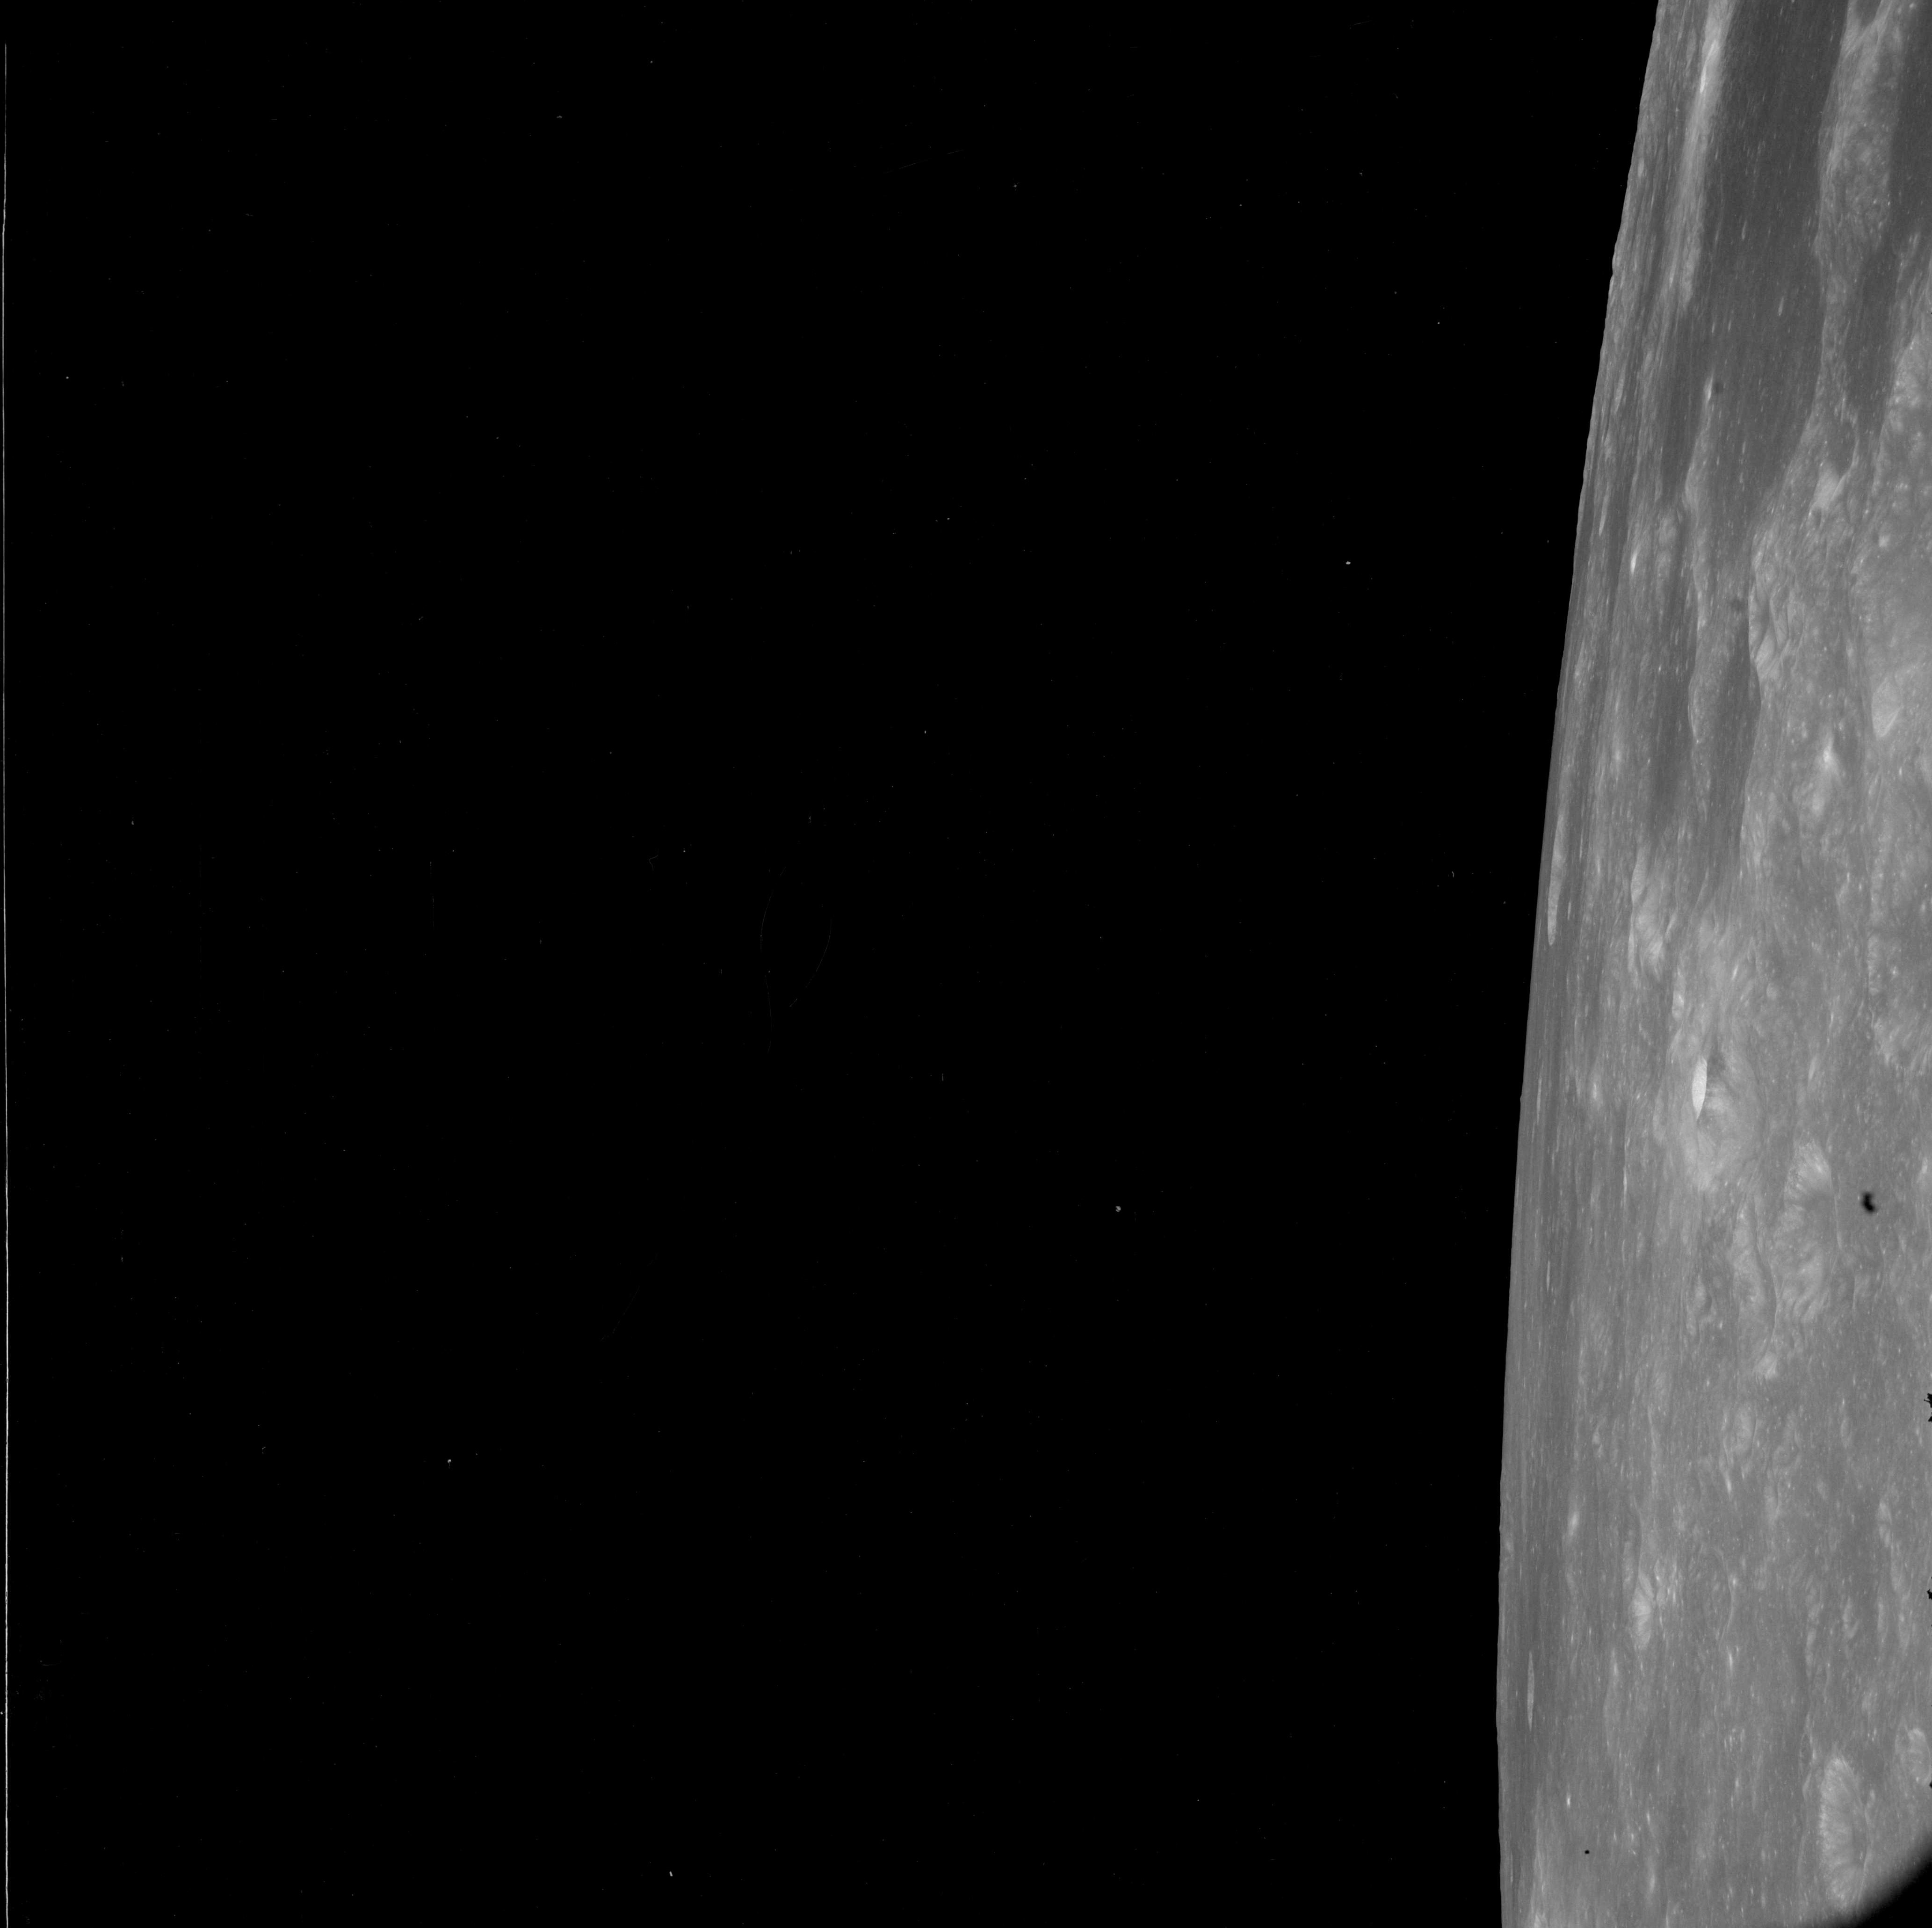
AS08-12-2183 Looking westwards towards Mare Fecunditatis. Image credit: Image Science and Analysis Laboratory, NASA-Johnson Space Center. |
 |
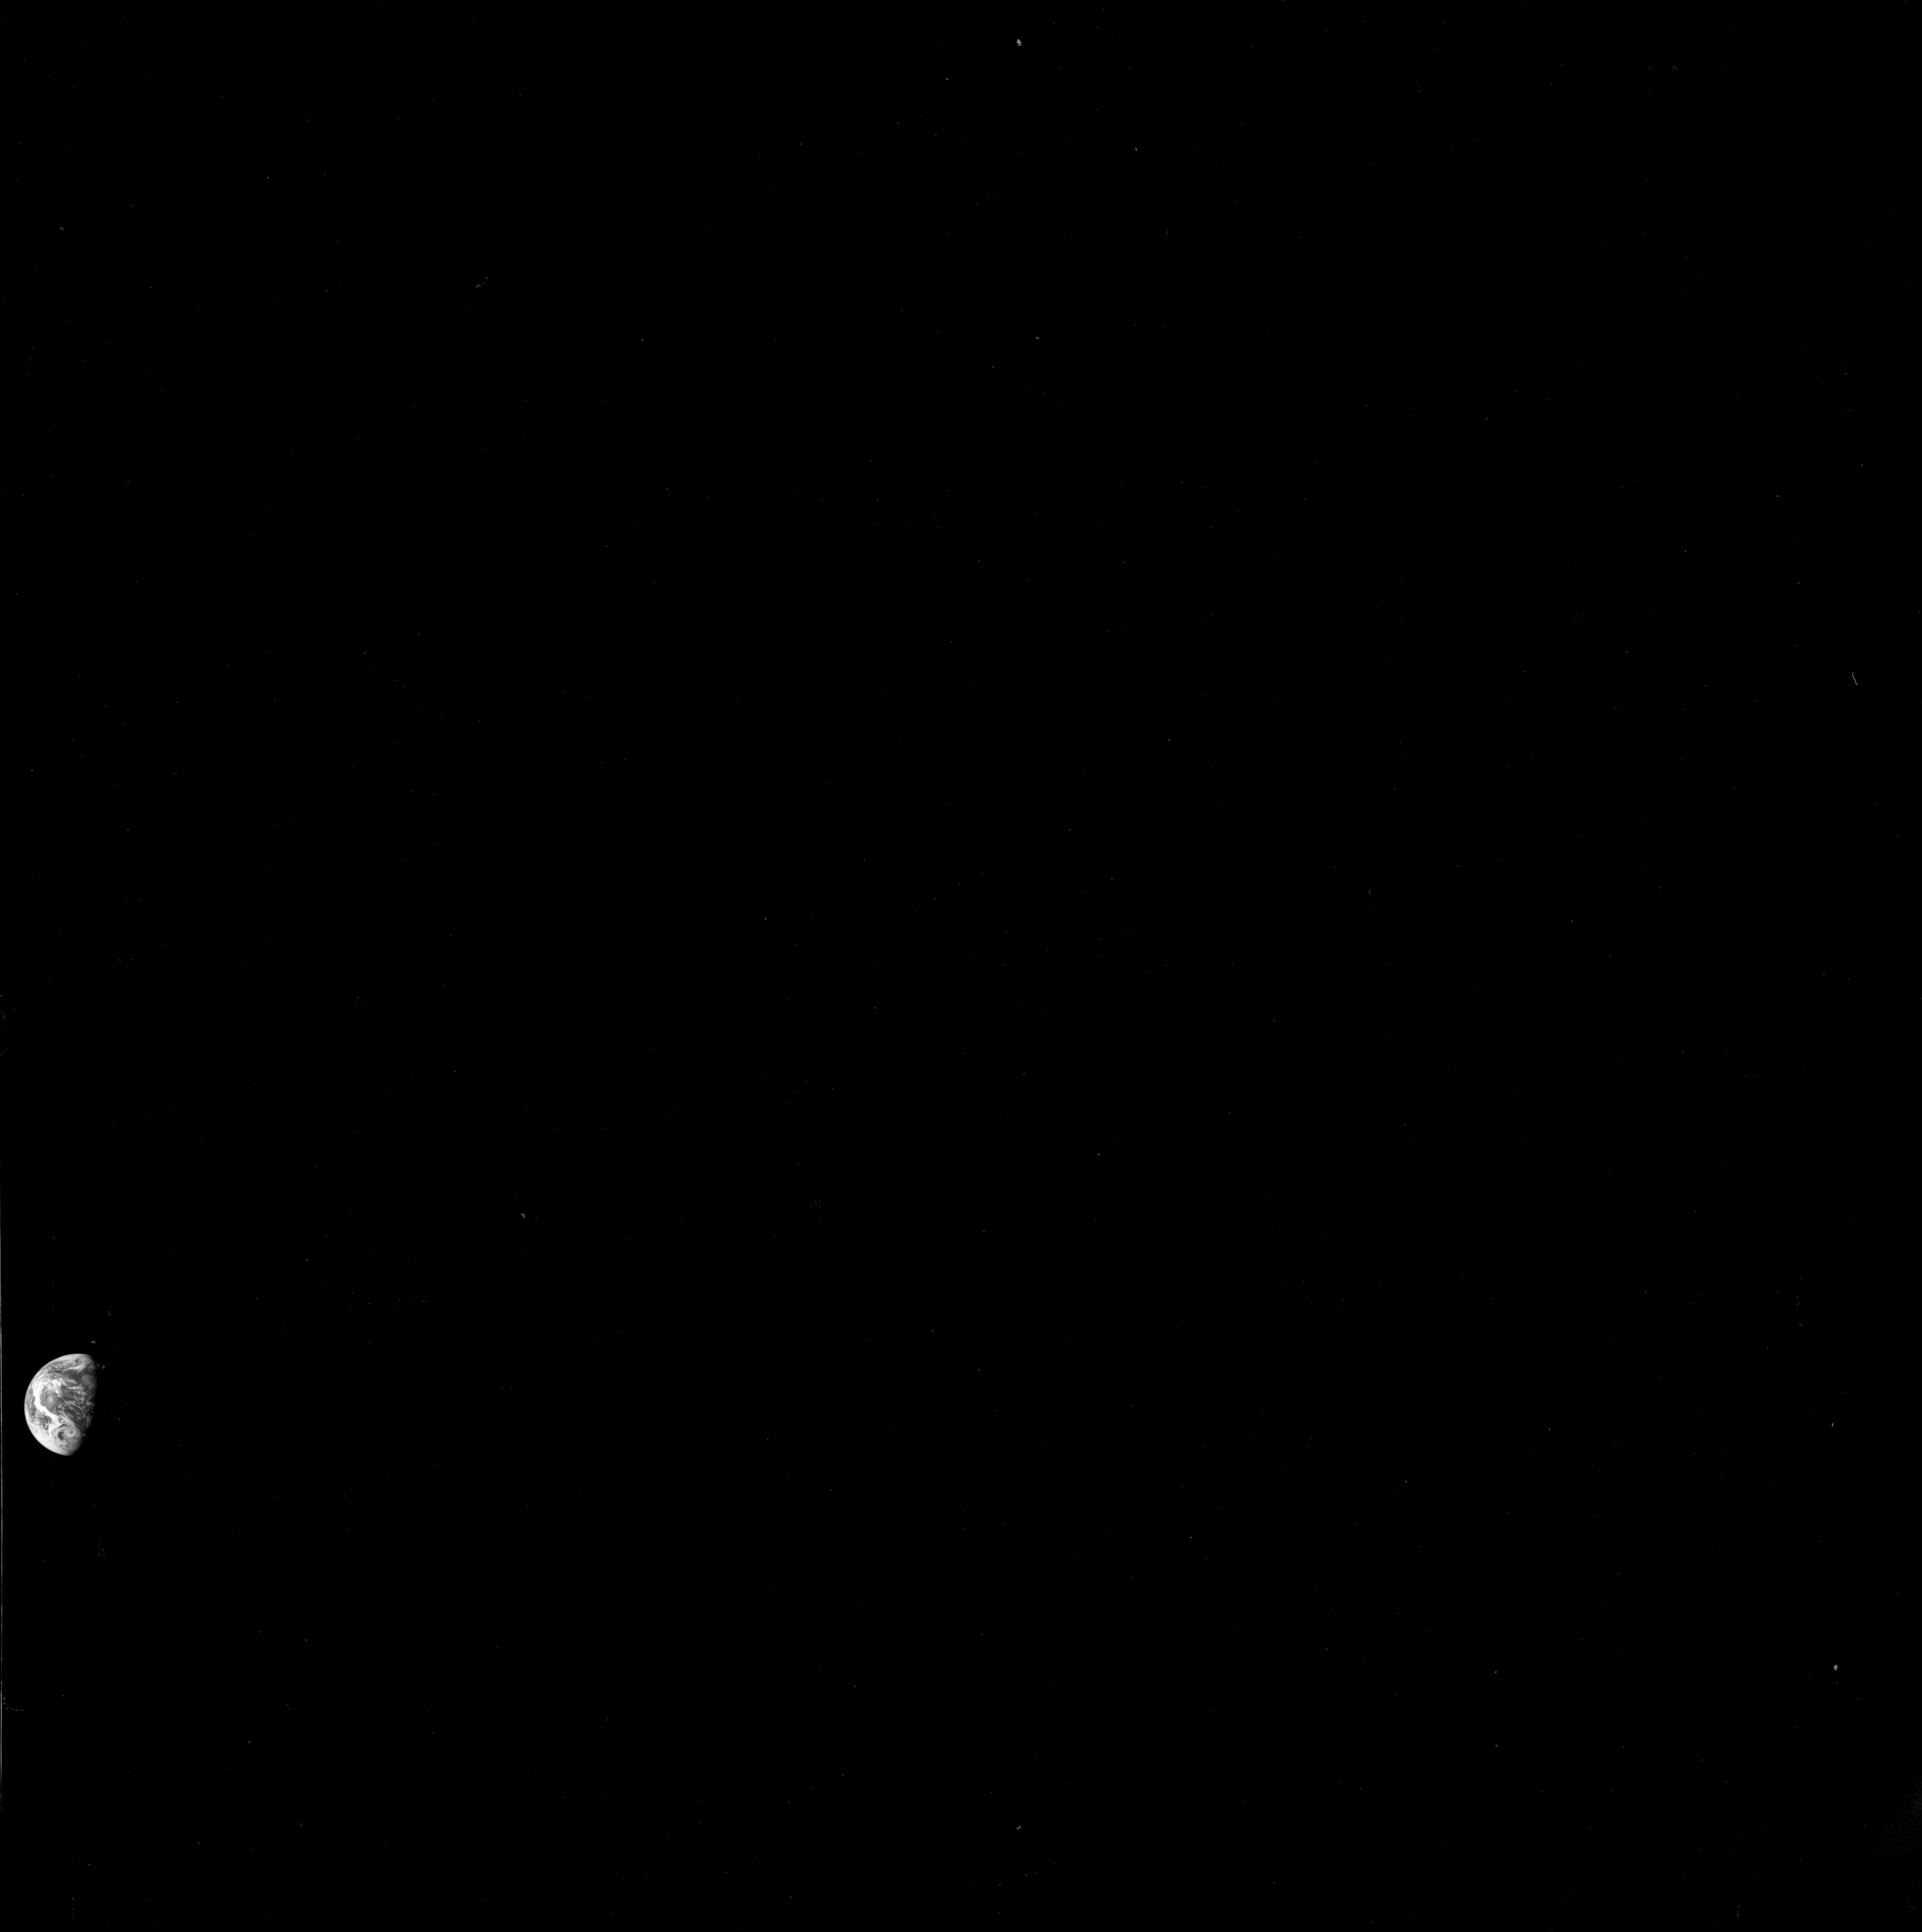
AS08-12-2184 Looking westwards towards Mare Fecunditatis. Image credit: Image Science and Analysis Laboratory, NASA-Johnson Space Center. |
 |
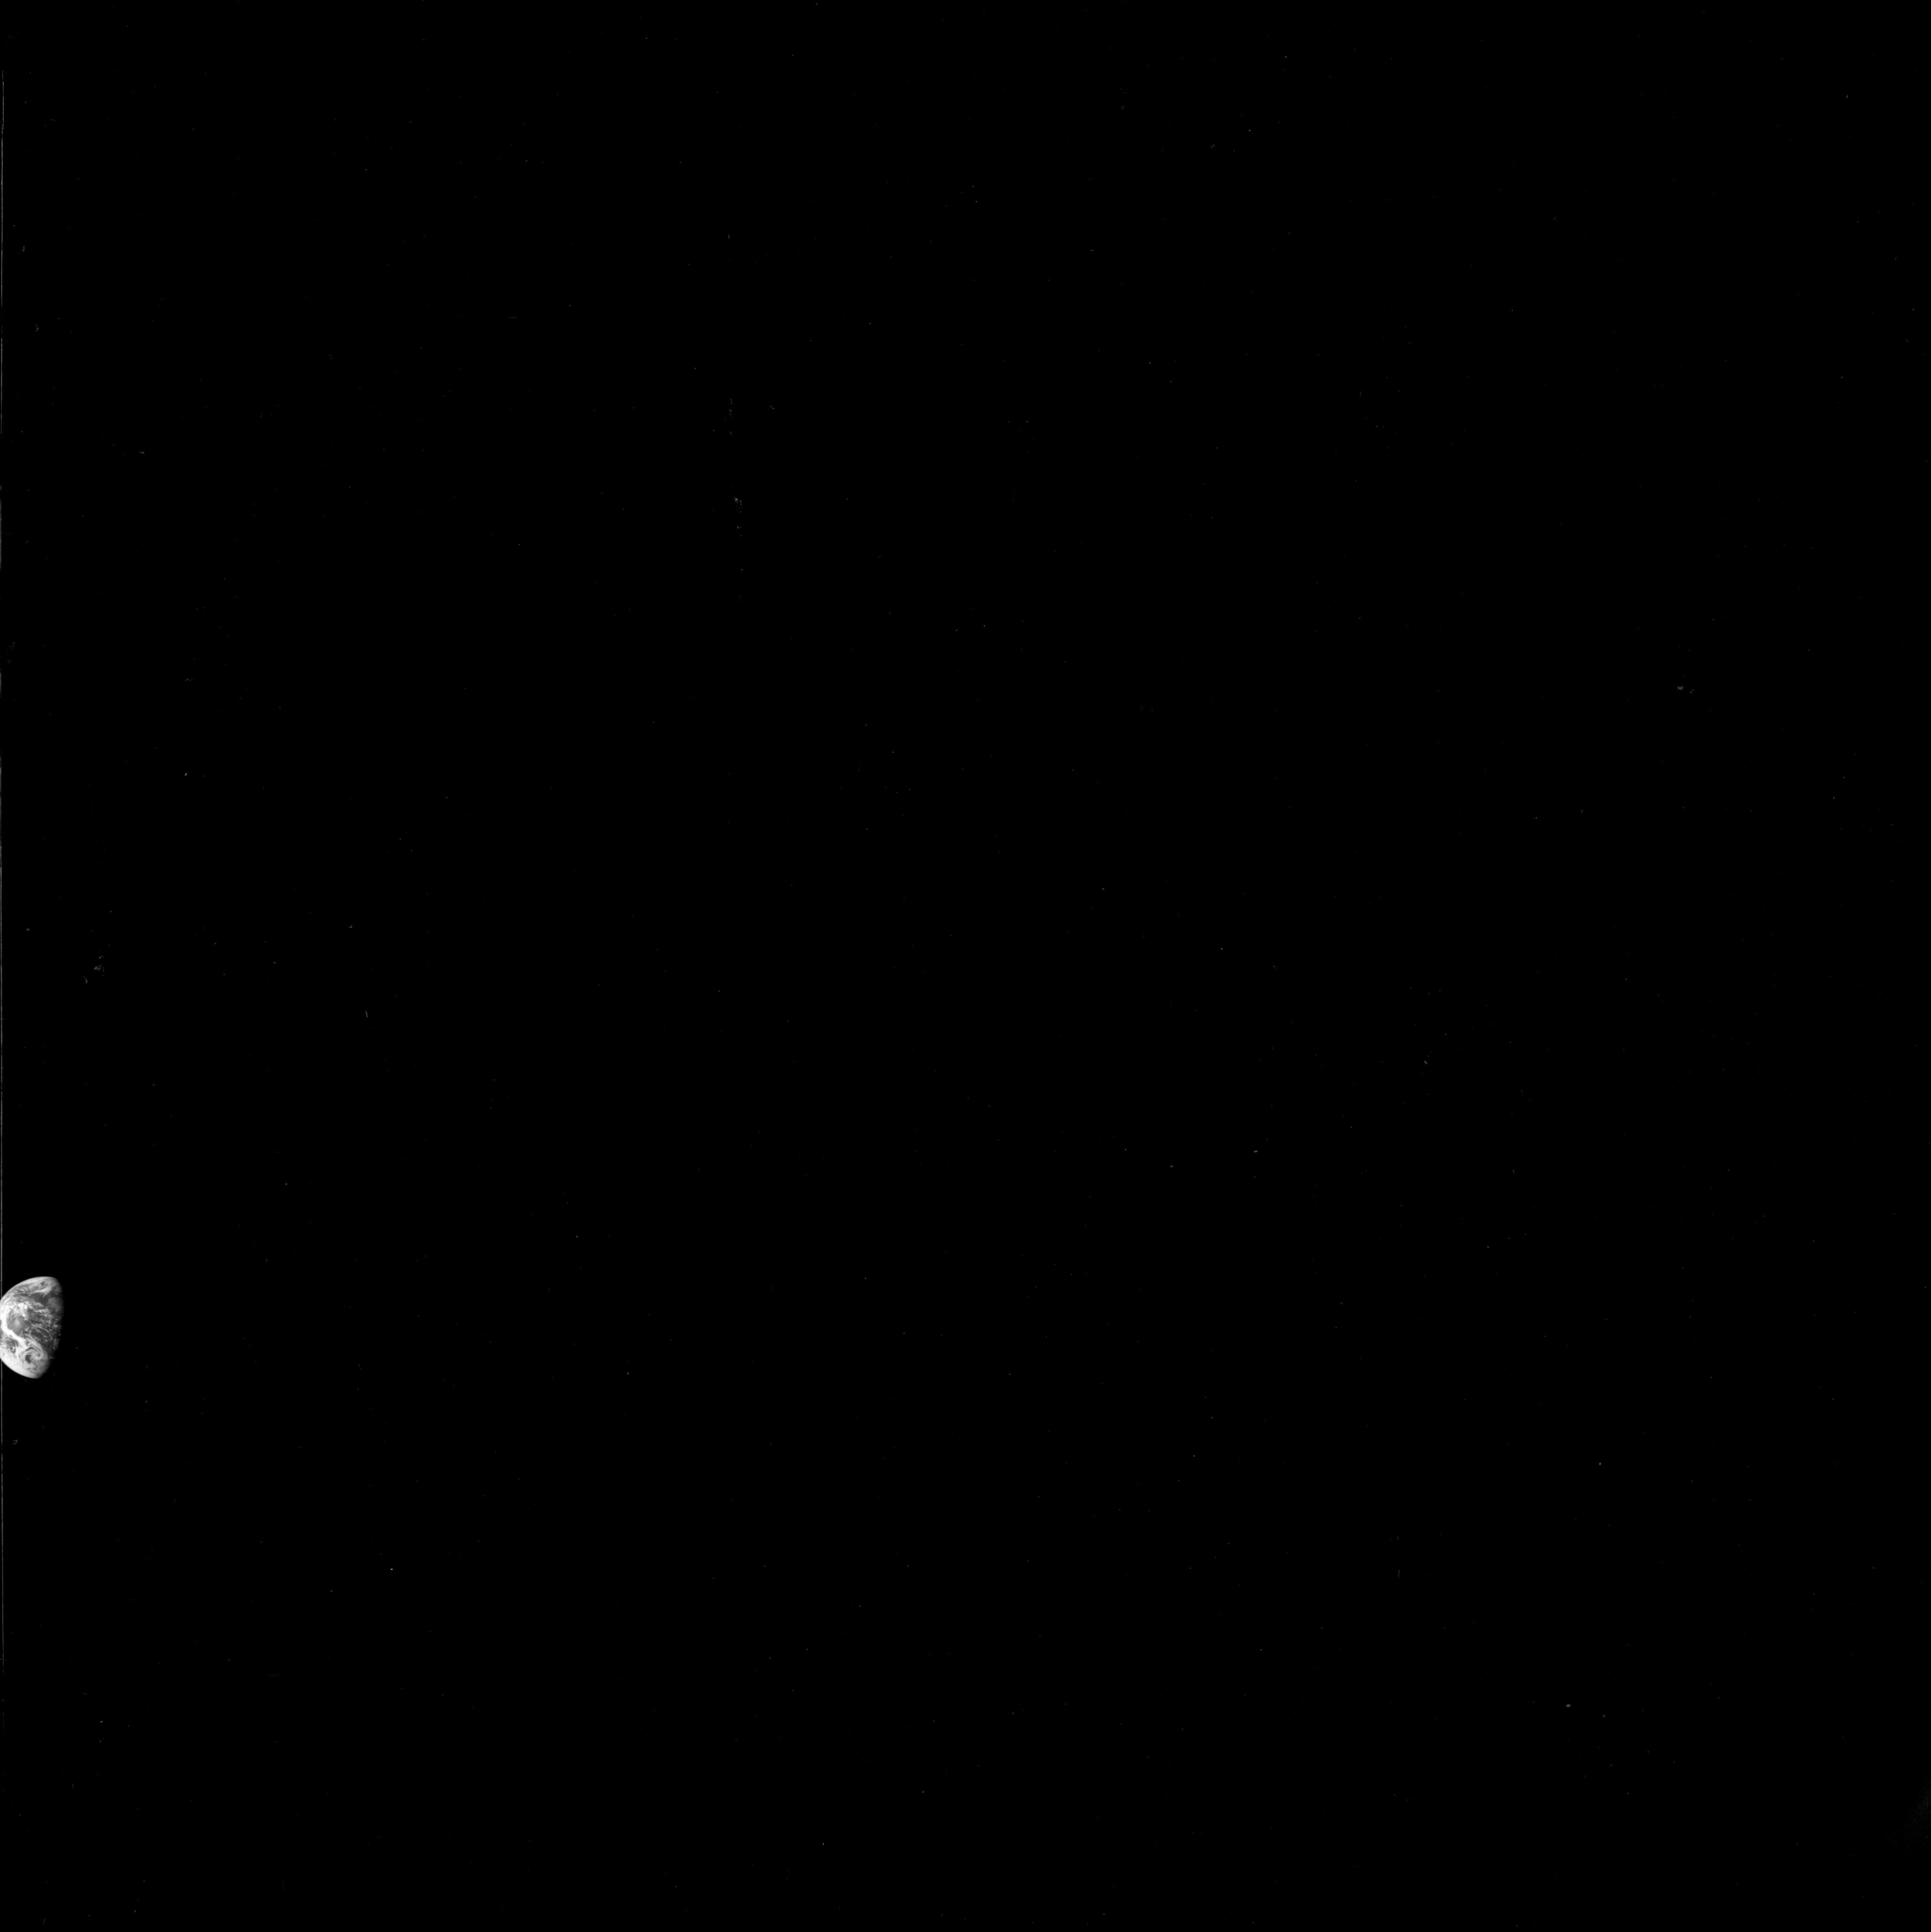
AS08-12-2185 View to space. Earth on extreme left. Image credit: Image Science and Analysis Laboratory, NASA-Johnson Space Center. |
 |
AS08-12-2186 View to space. Earth on extreme left. Image credit: Image Science and Analysis Laboratory, NASA-Johnson Space Center. |
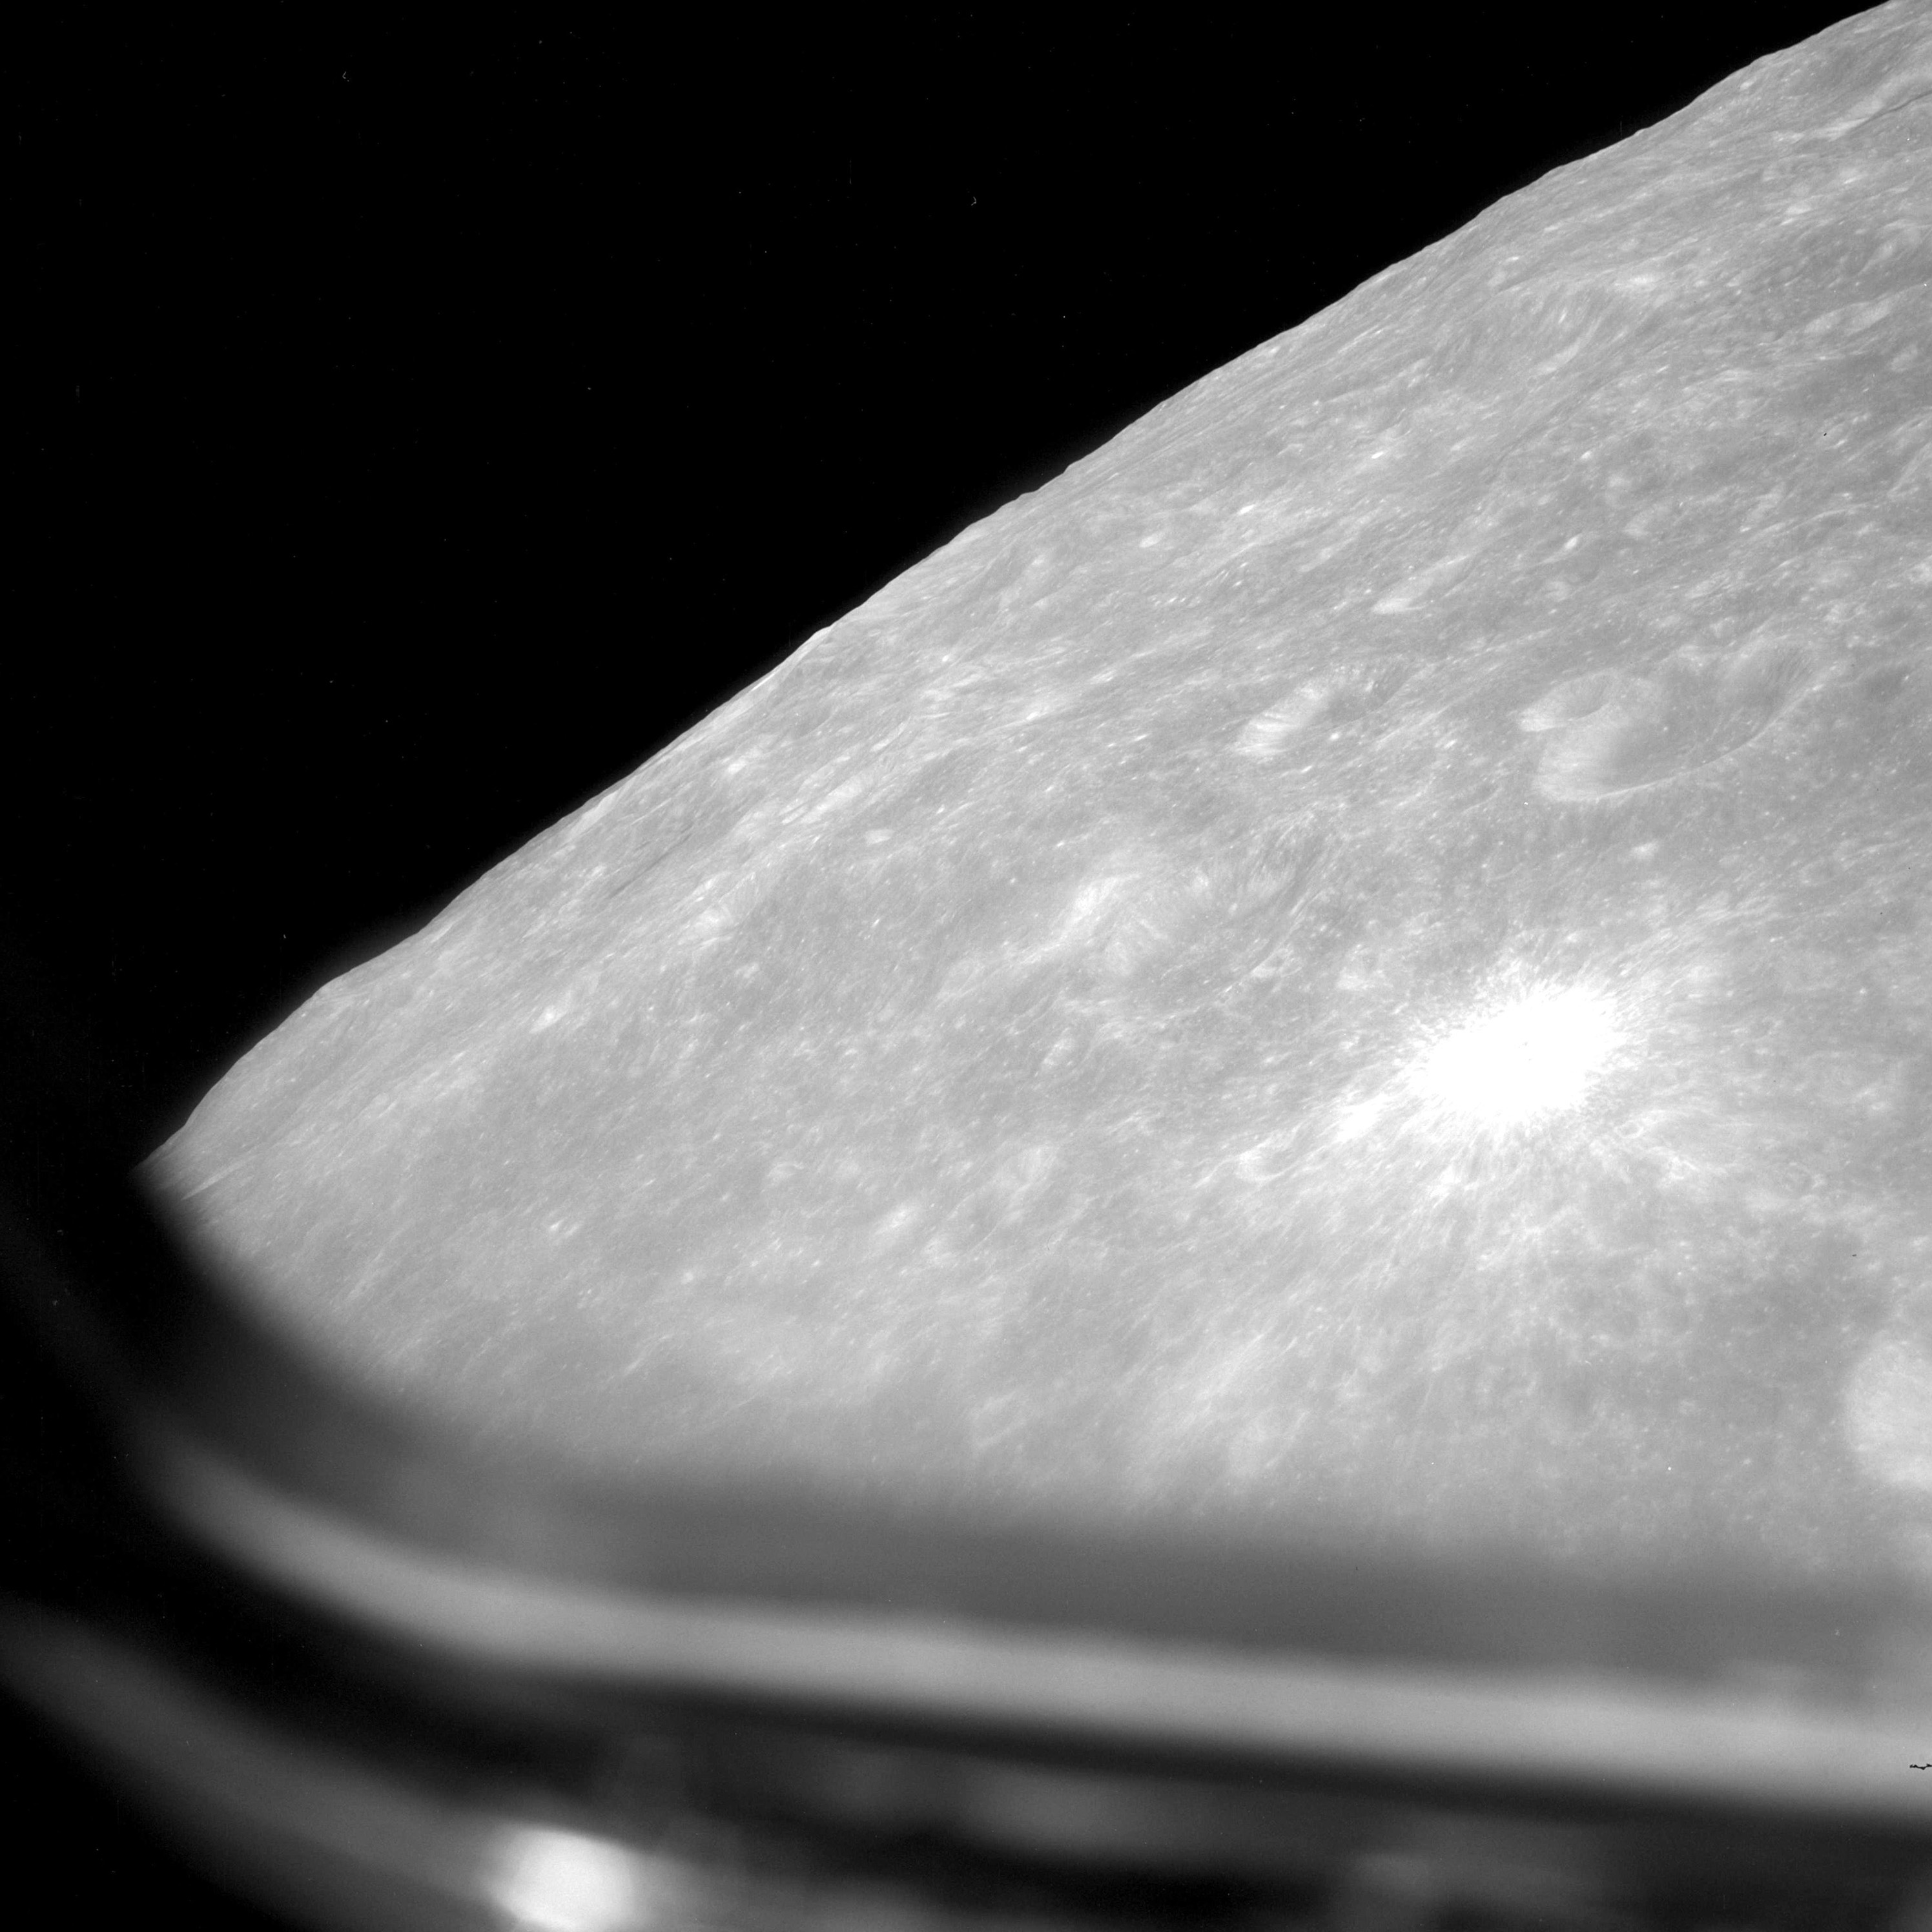 |
AS08-12-2187 South of Tsiolkovsky. Image credit: Image Science and Analysis Laboratory, NASA-Johnson Space Center. |
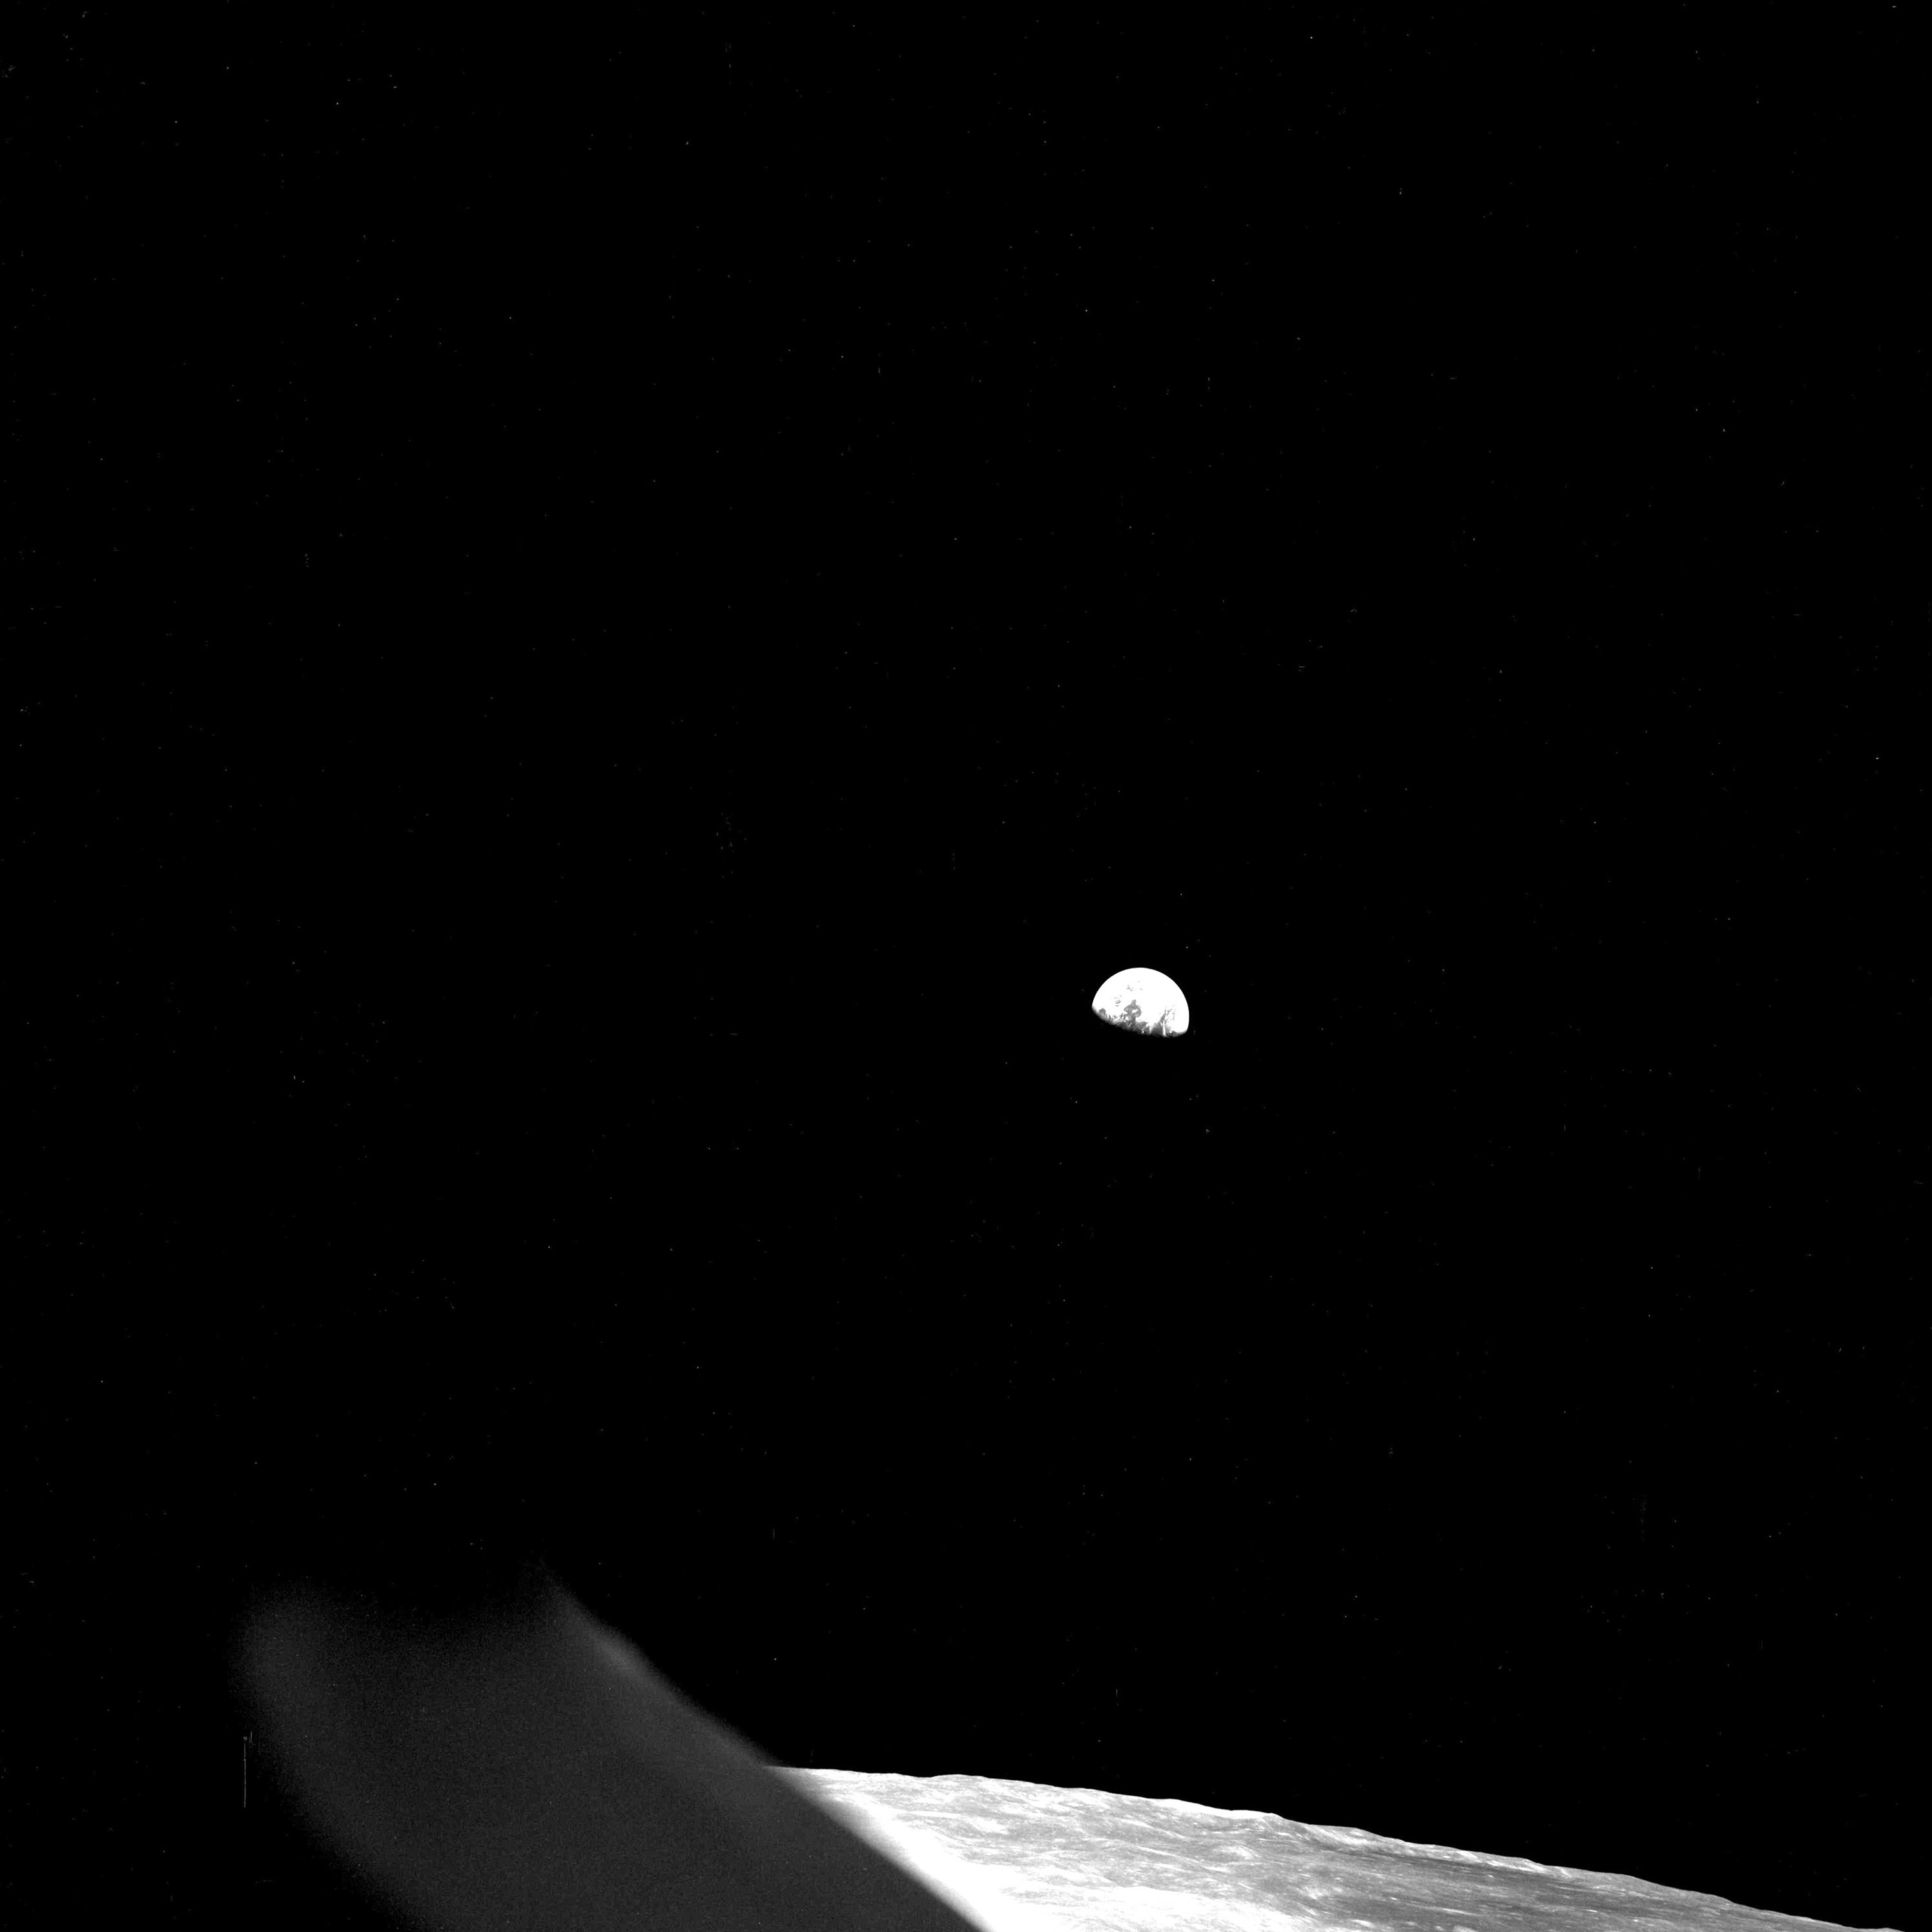 |
AS08-12-2188 View of Earth during orbit 6. Image research by Paul White by comparison with contemporary weather photographs. Image credit: Image Science and Analysis Laboratory, NASA-Johnson Space Center. |
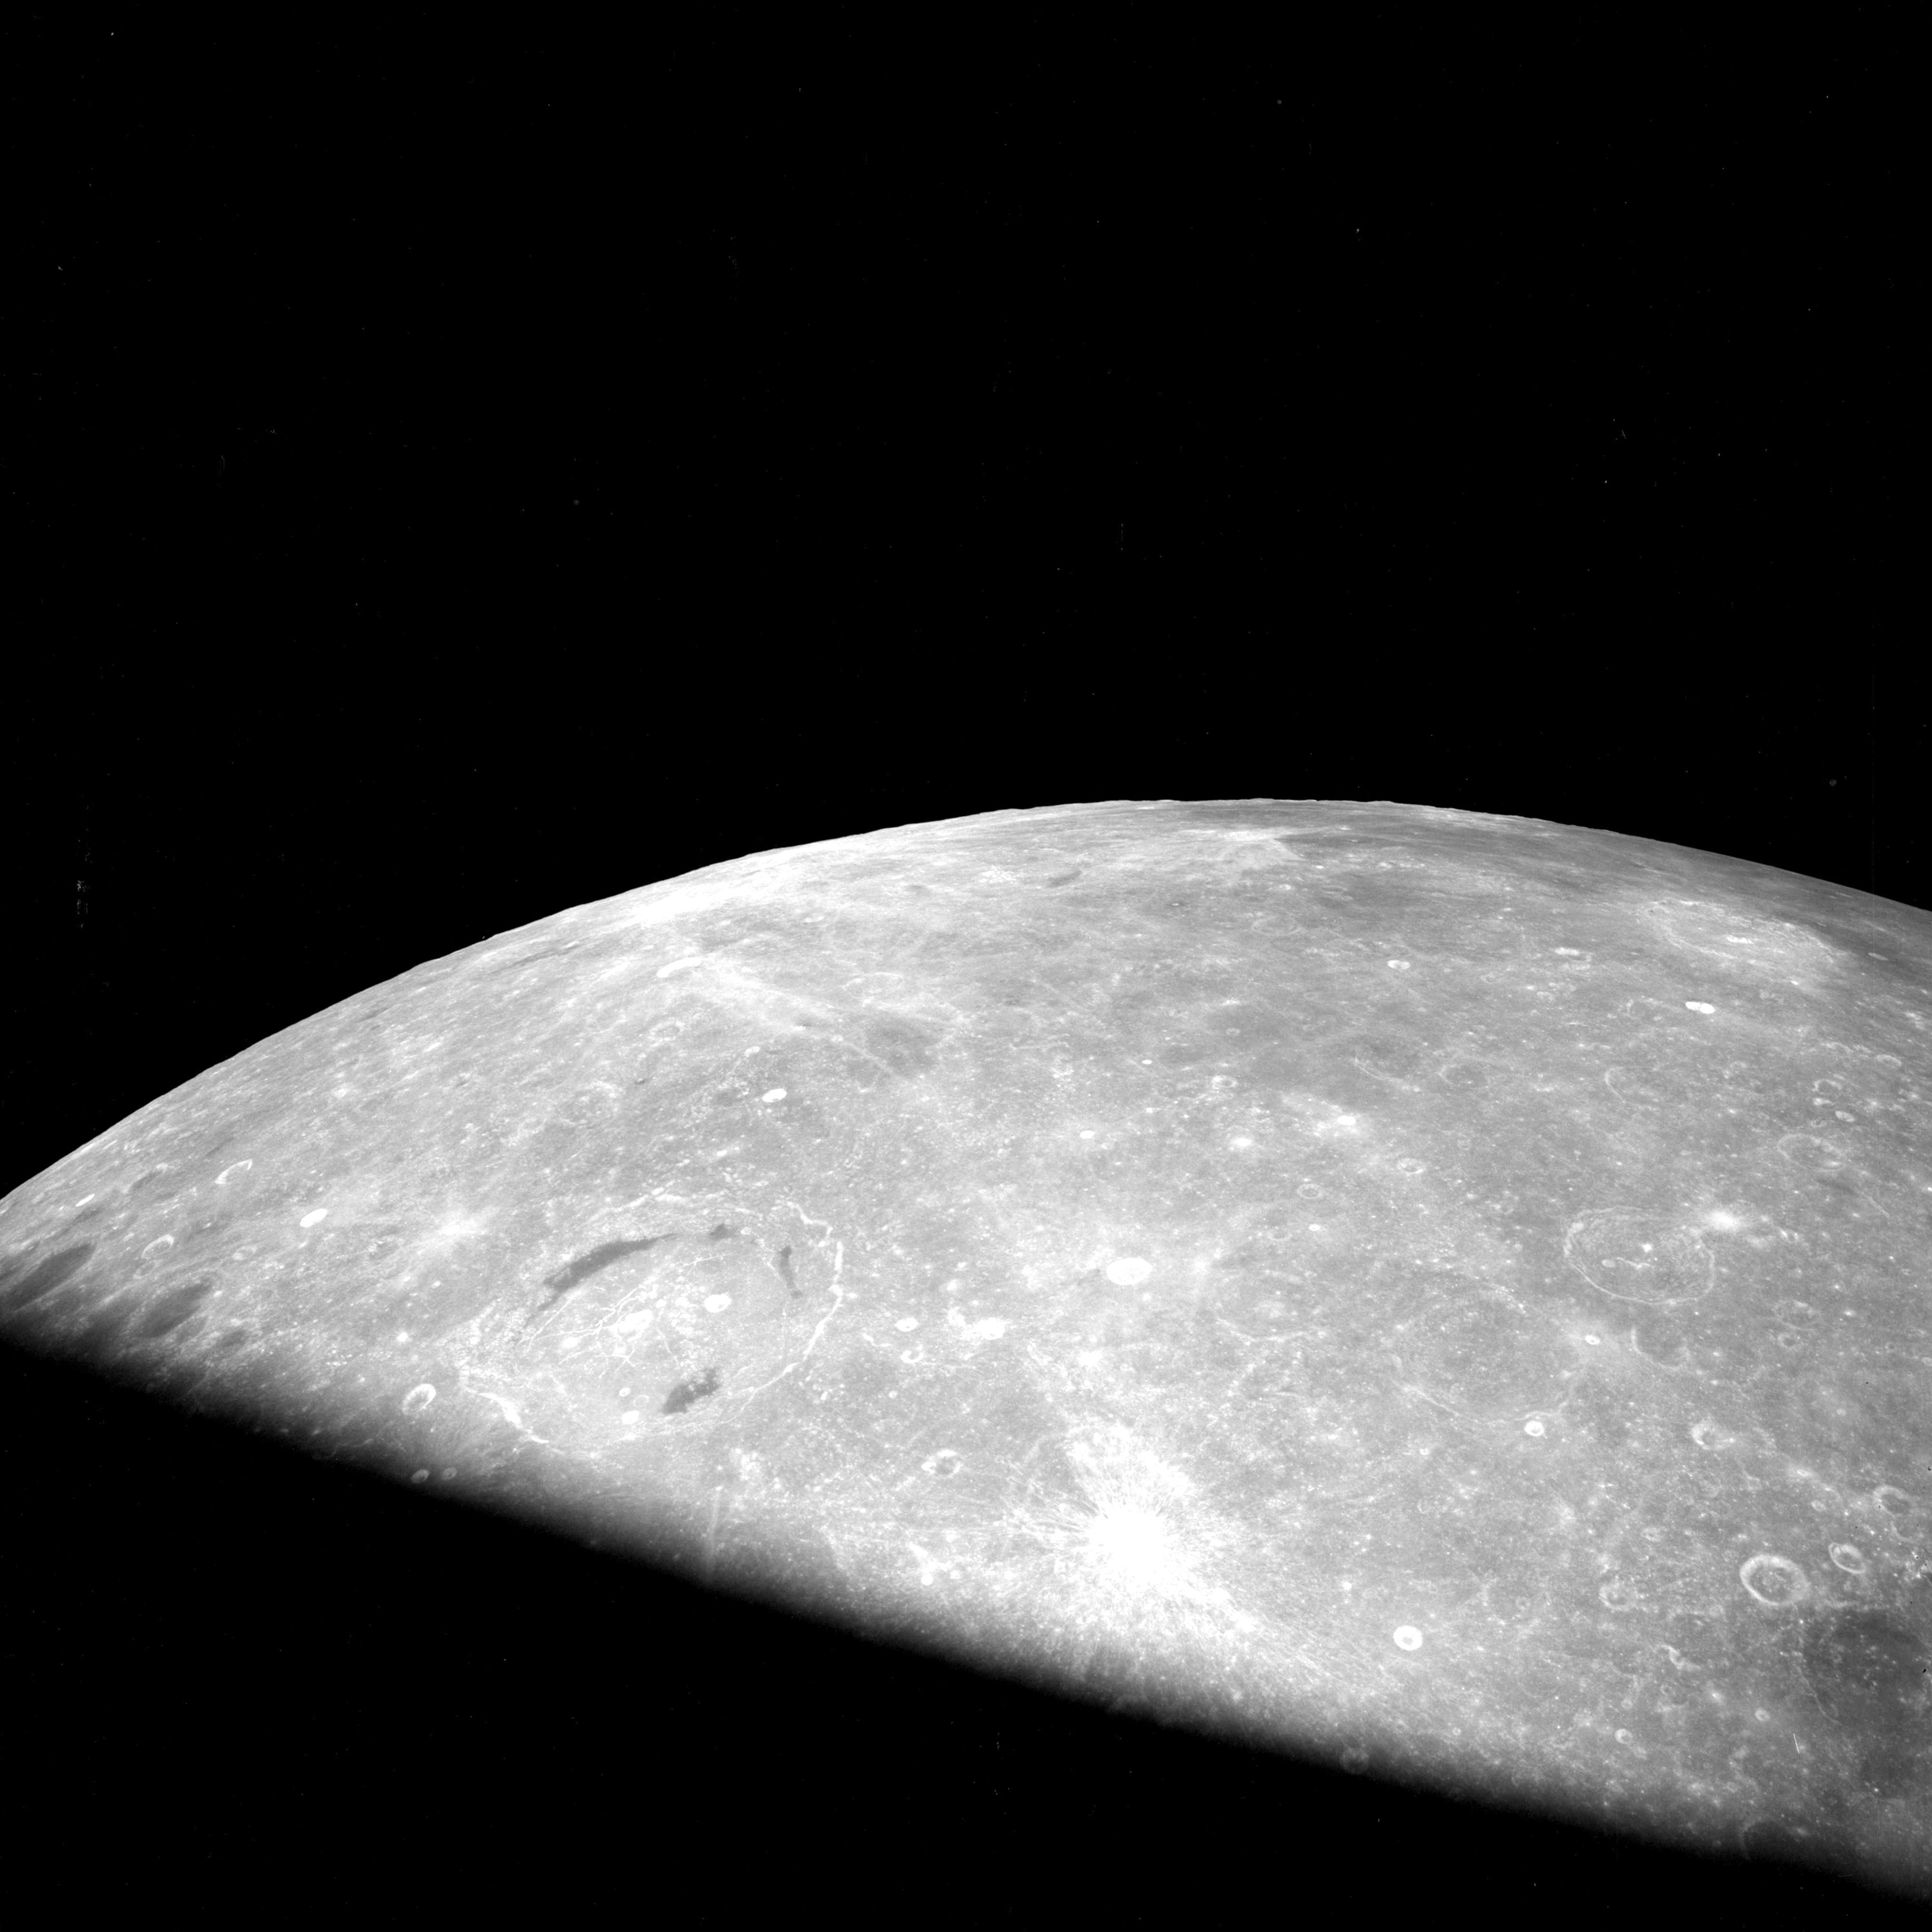 |
AS08-12-2189 Receding Moon after TEI. Humboldt on left. Langrenus and Mare Fecunditatis on right. Image credit: Image Science and Analysis Laboratory, NASA-Johnson Space Center. |
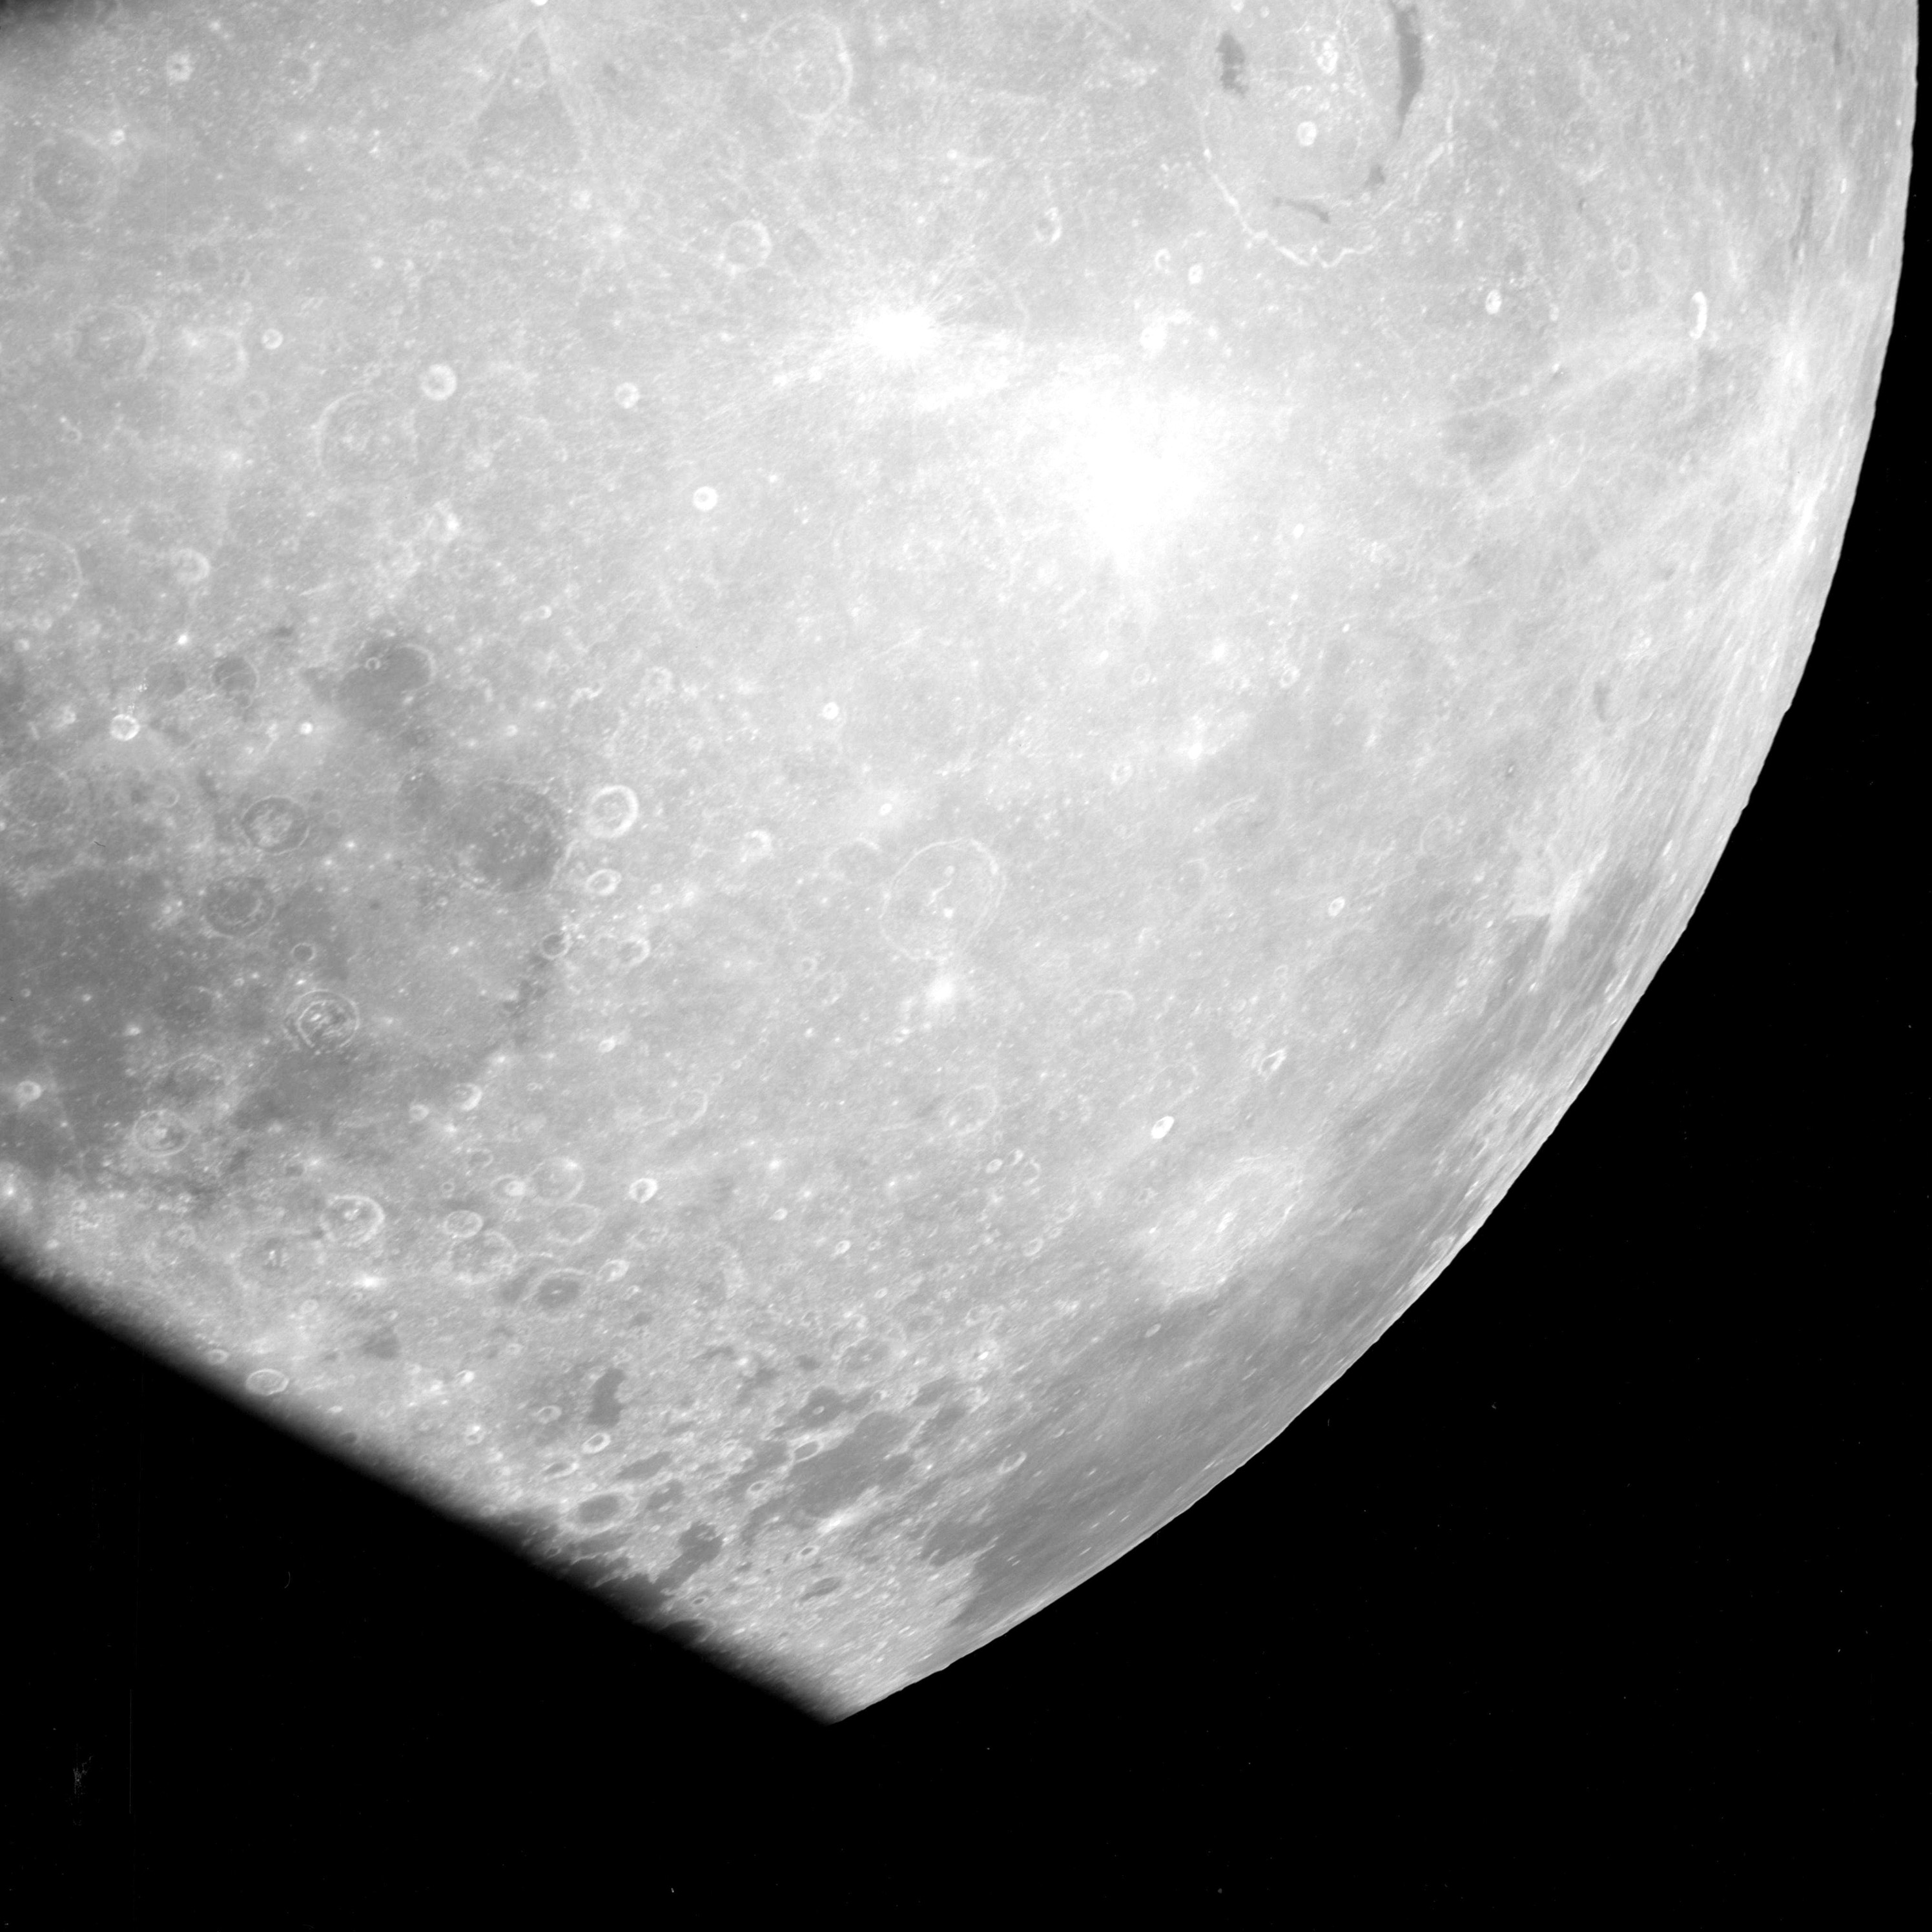 |
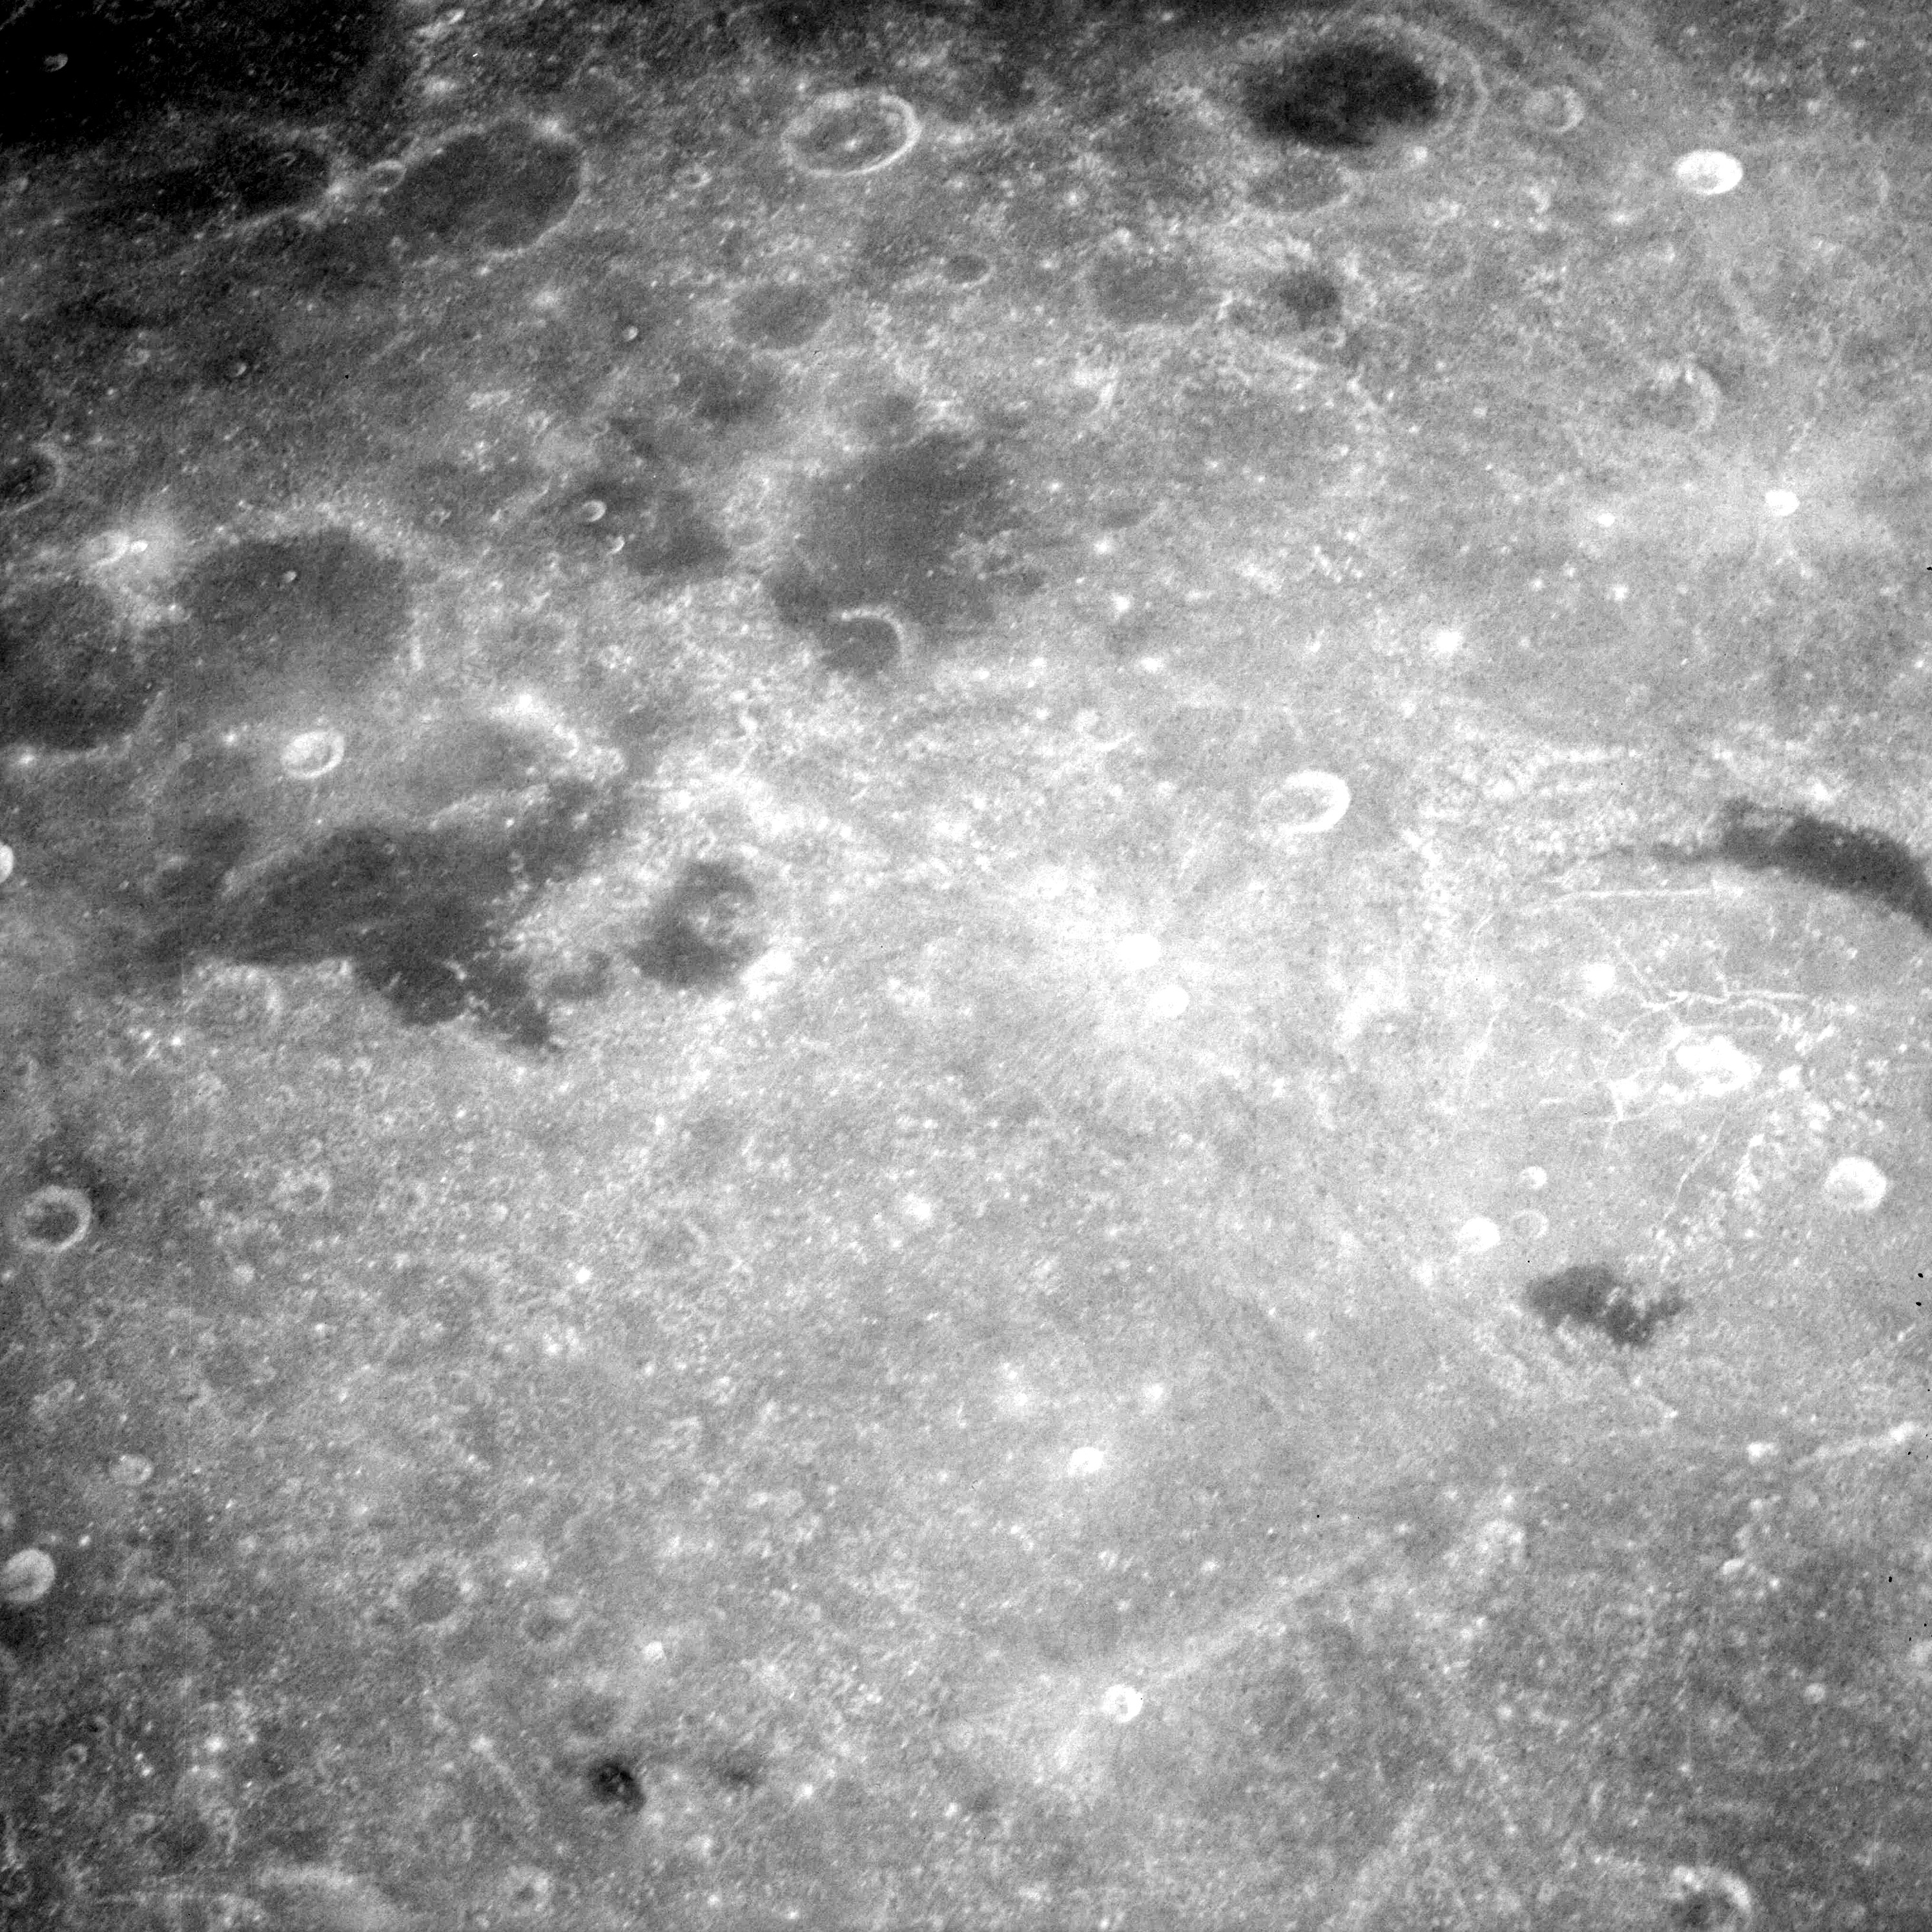
AS08-12-2190 Receding Moon after TEI. Humboldt at top right. Langrenus and Mare Fecunditatis on bottom right towards horizon. Image credit: Image Science and Analysis Laboratory, NASA-Johnson Space Center. |
 |
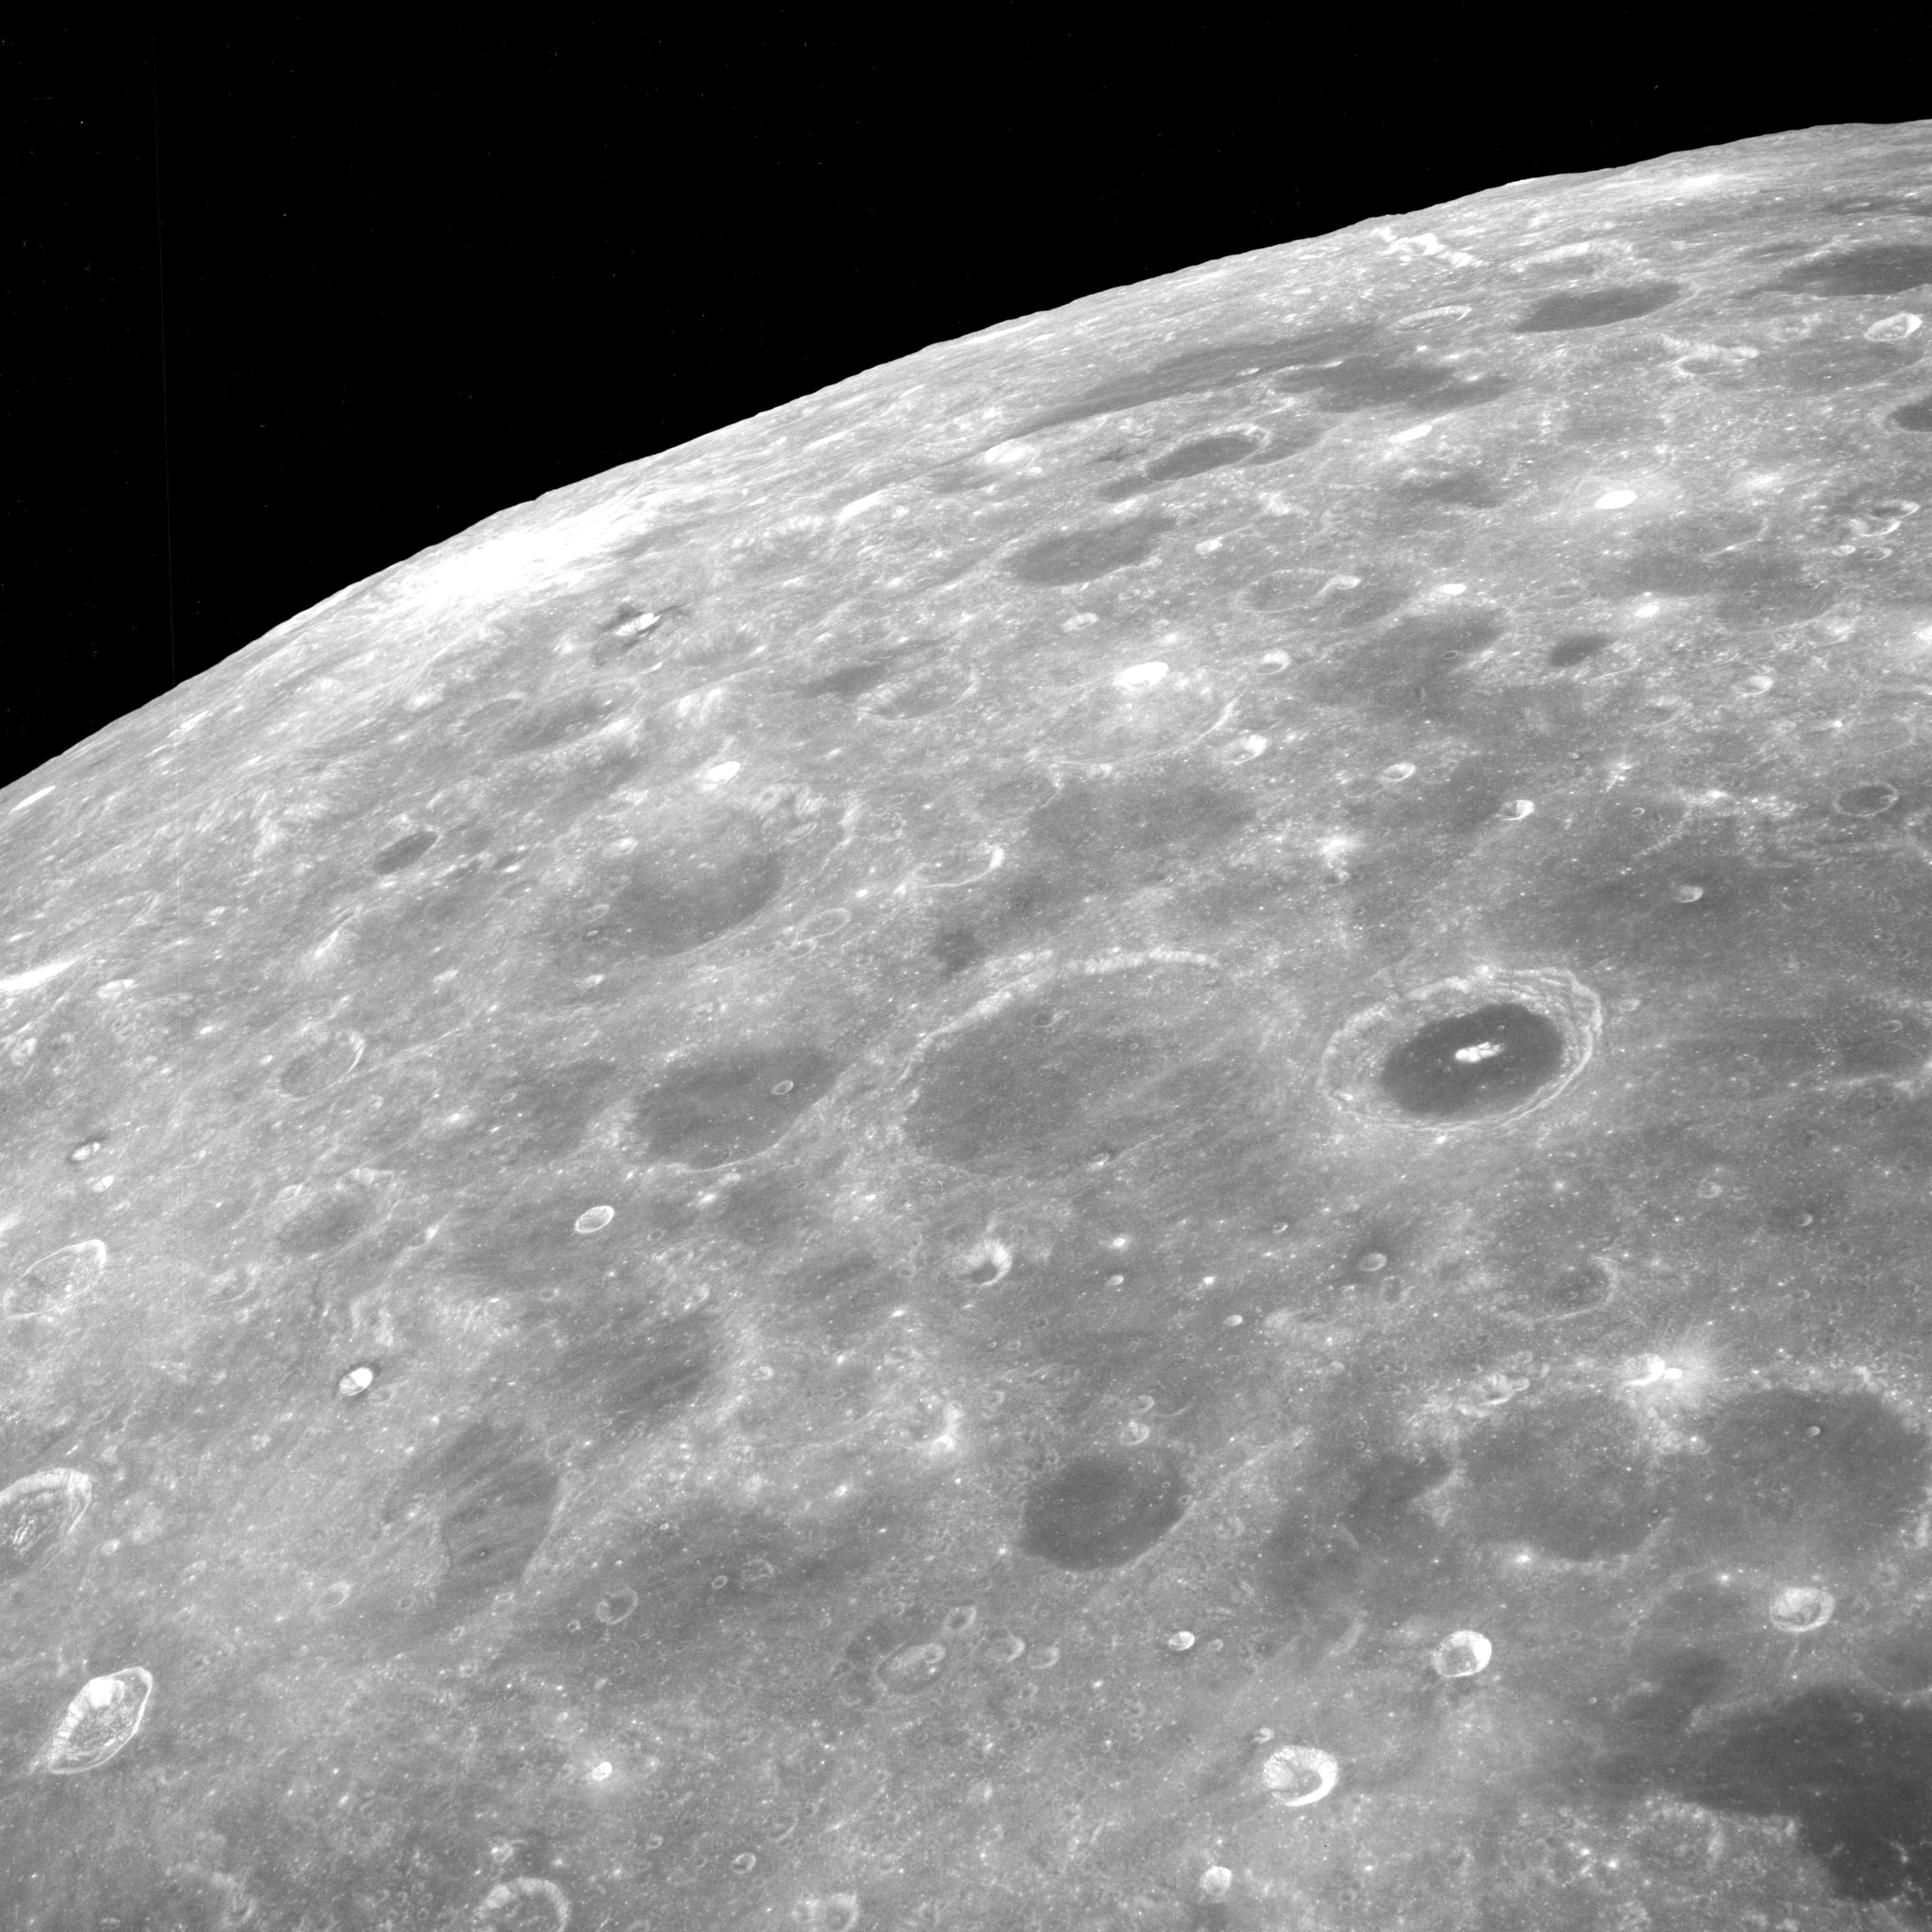
AS08-12-2191 Receding Moon after TEI. Mare Australe on left. Humboldt with dark patches on right. Image credit: Image Science and Analysis Laboratory, NASA-Johnson Space Center. |
 |
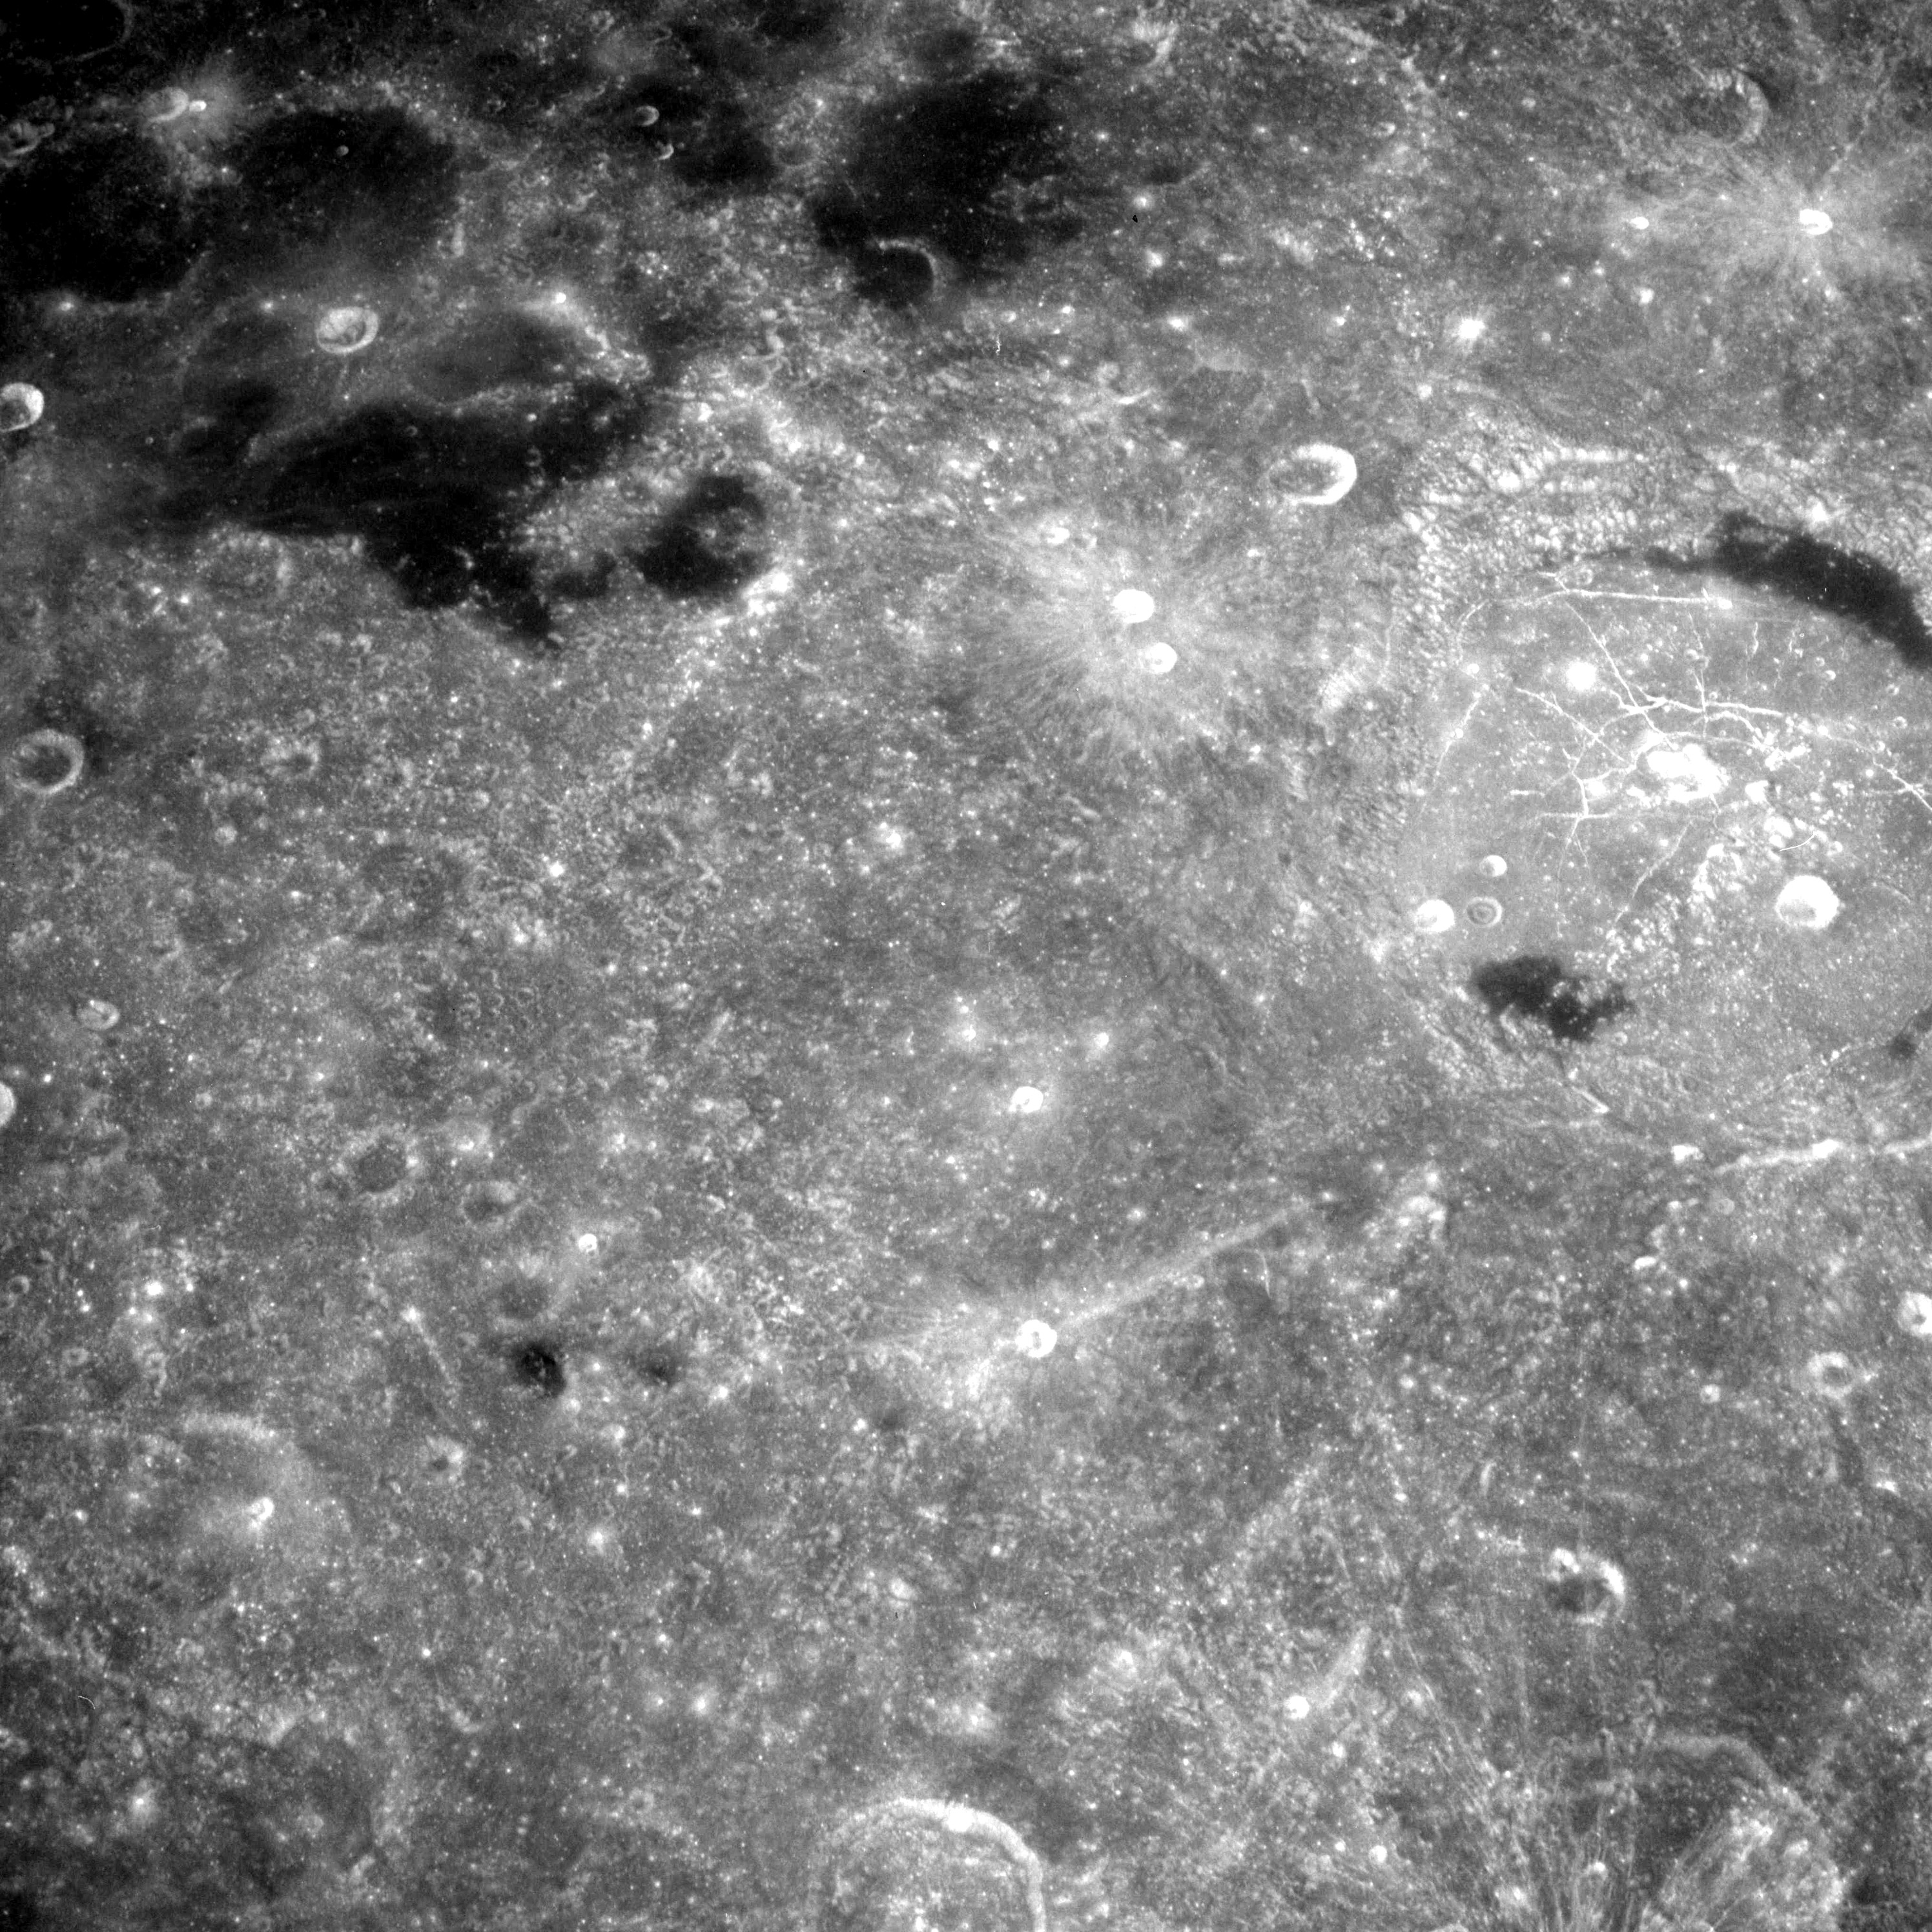
AS08-12-2192 Receding Moon after TEI. Mare Australe. Jenner is distinctive crater right of centre. Image credit: Image Science and Analysis Laboratory, NASA-Johnson Space Center. |
 |
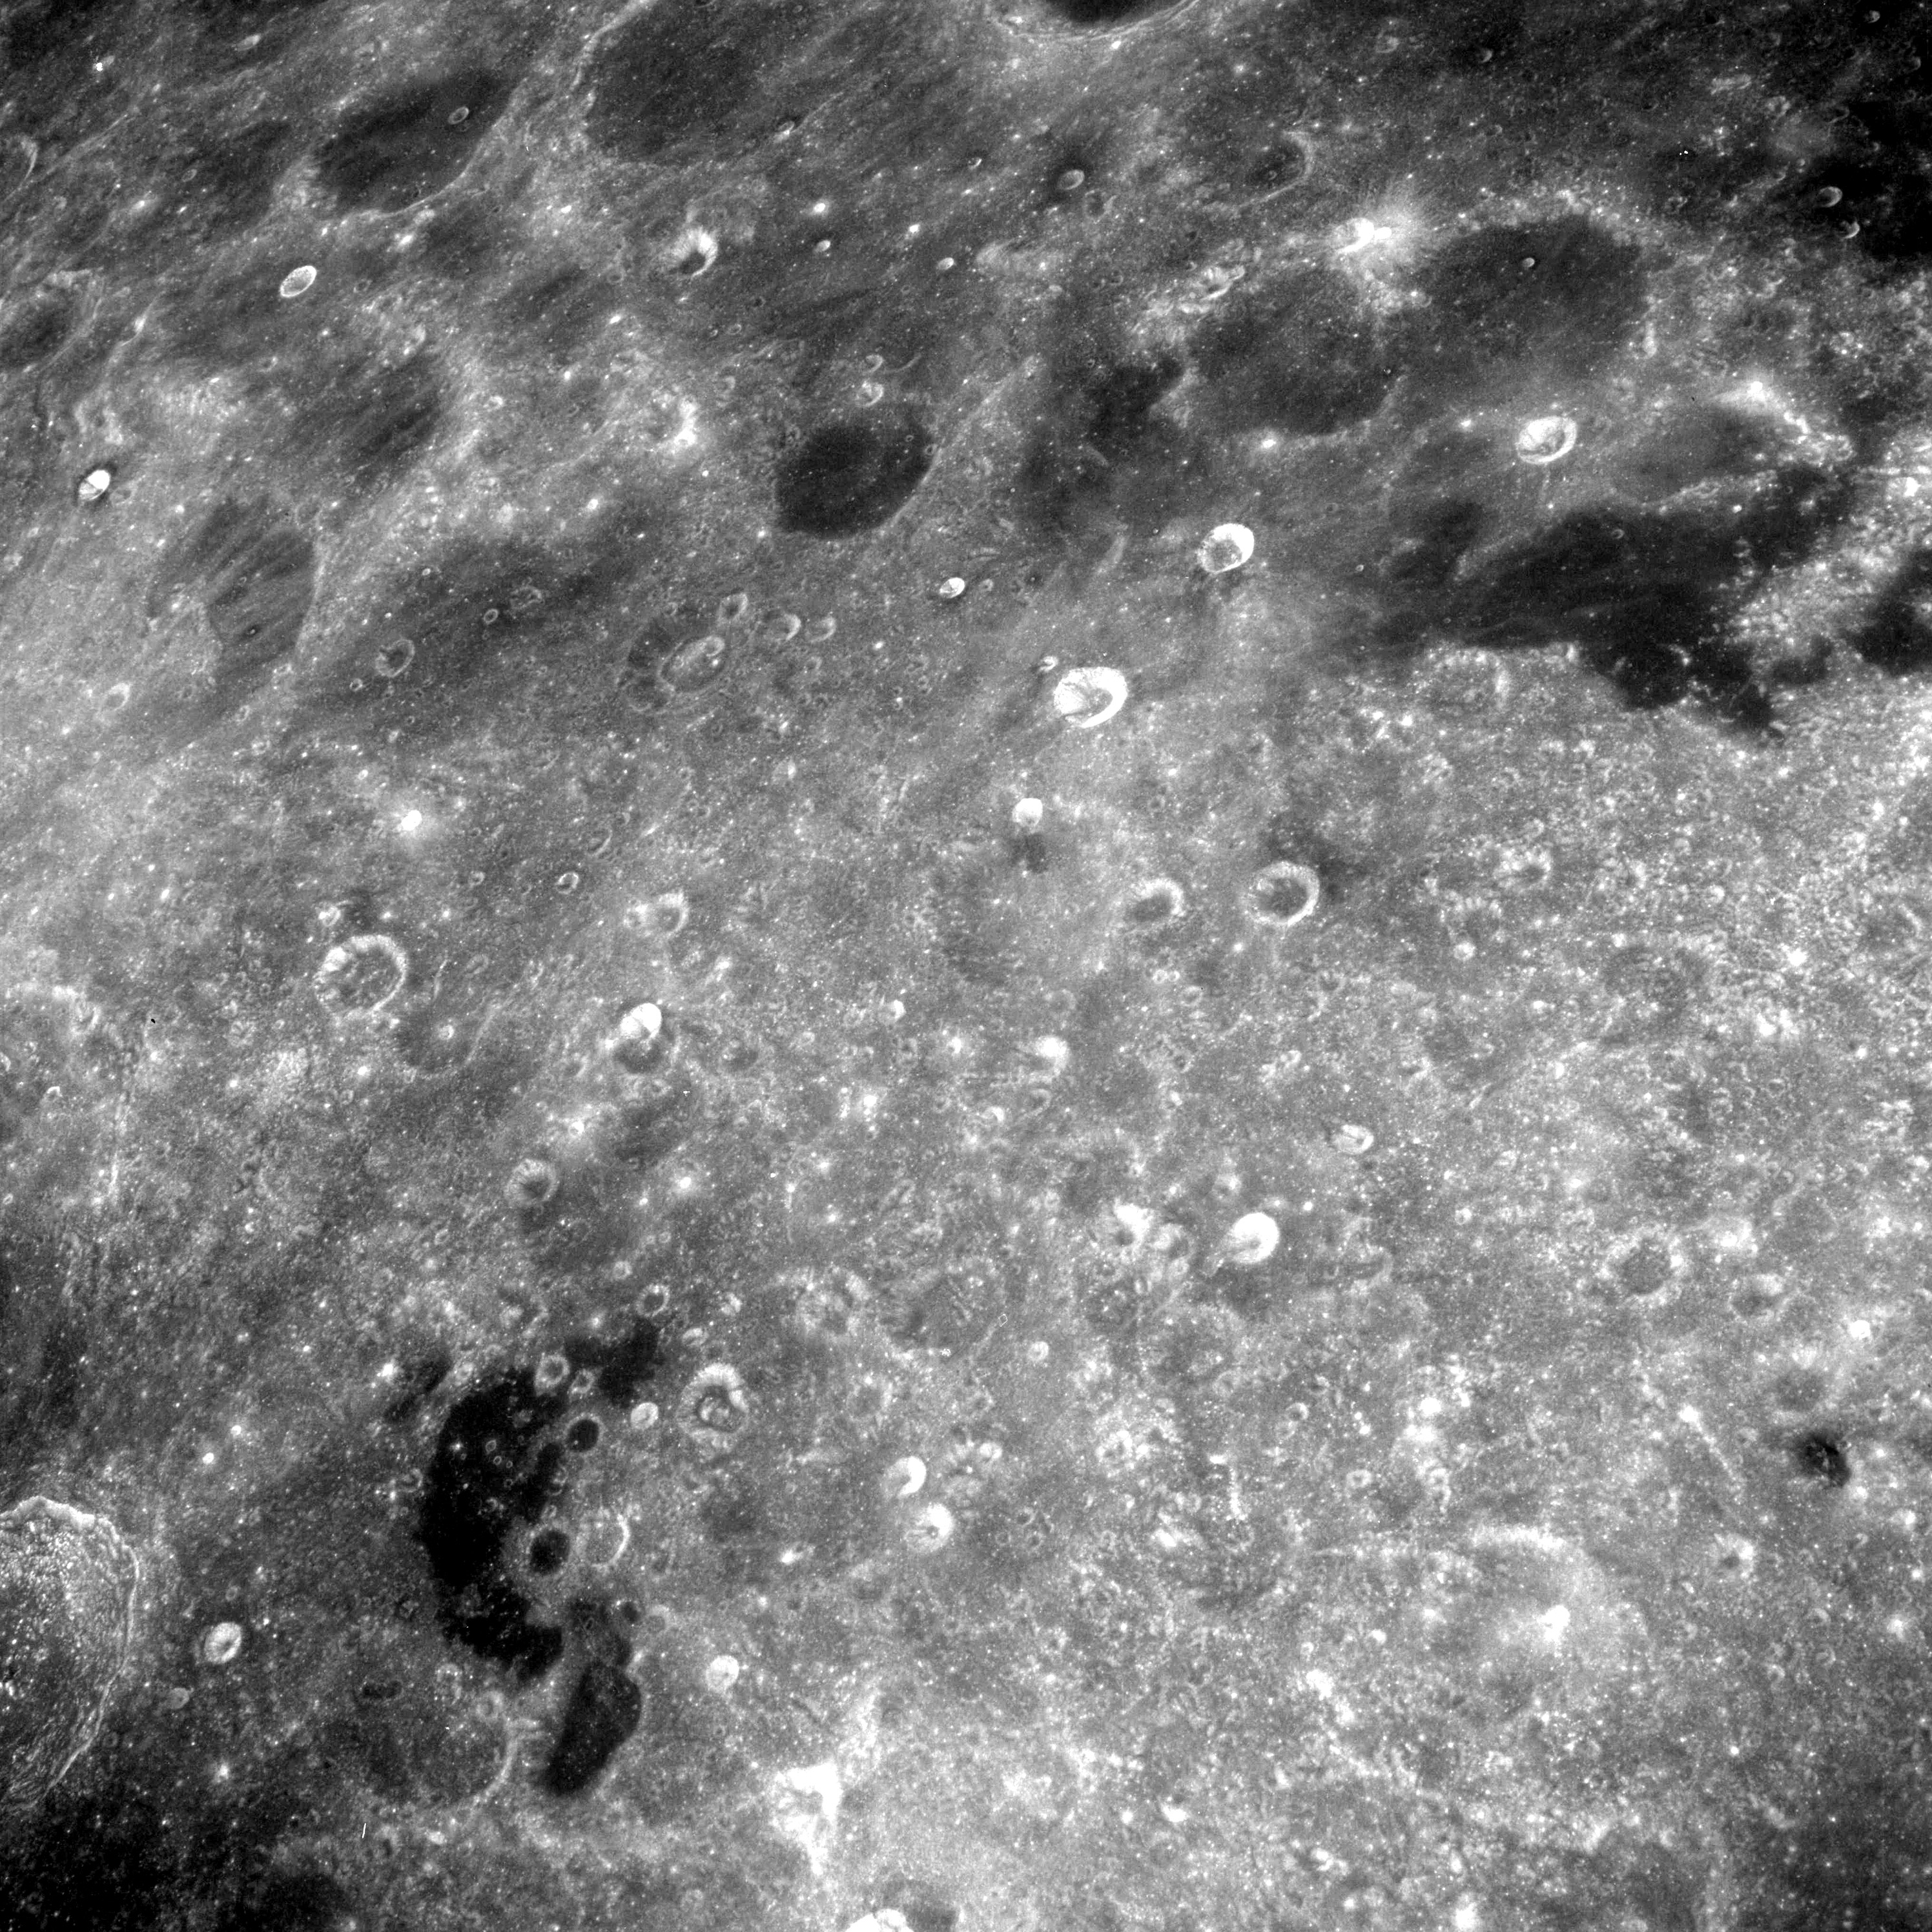
AS08-12-2193 Receding Moon after TEI. Mare Australe on left. Humboldt with dark patches on right. Image credit: Image Science and Analysis Laboratory, NASA-Johnson Space Center. |
 |
AS08-12-2194 Receding Moon after TEI. Mare Australe top right. Lacus Solitudinus botton left. Image credit: Image Science and Analysis Laboratory, NASA-Johnson Space Center. |
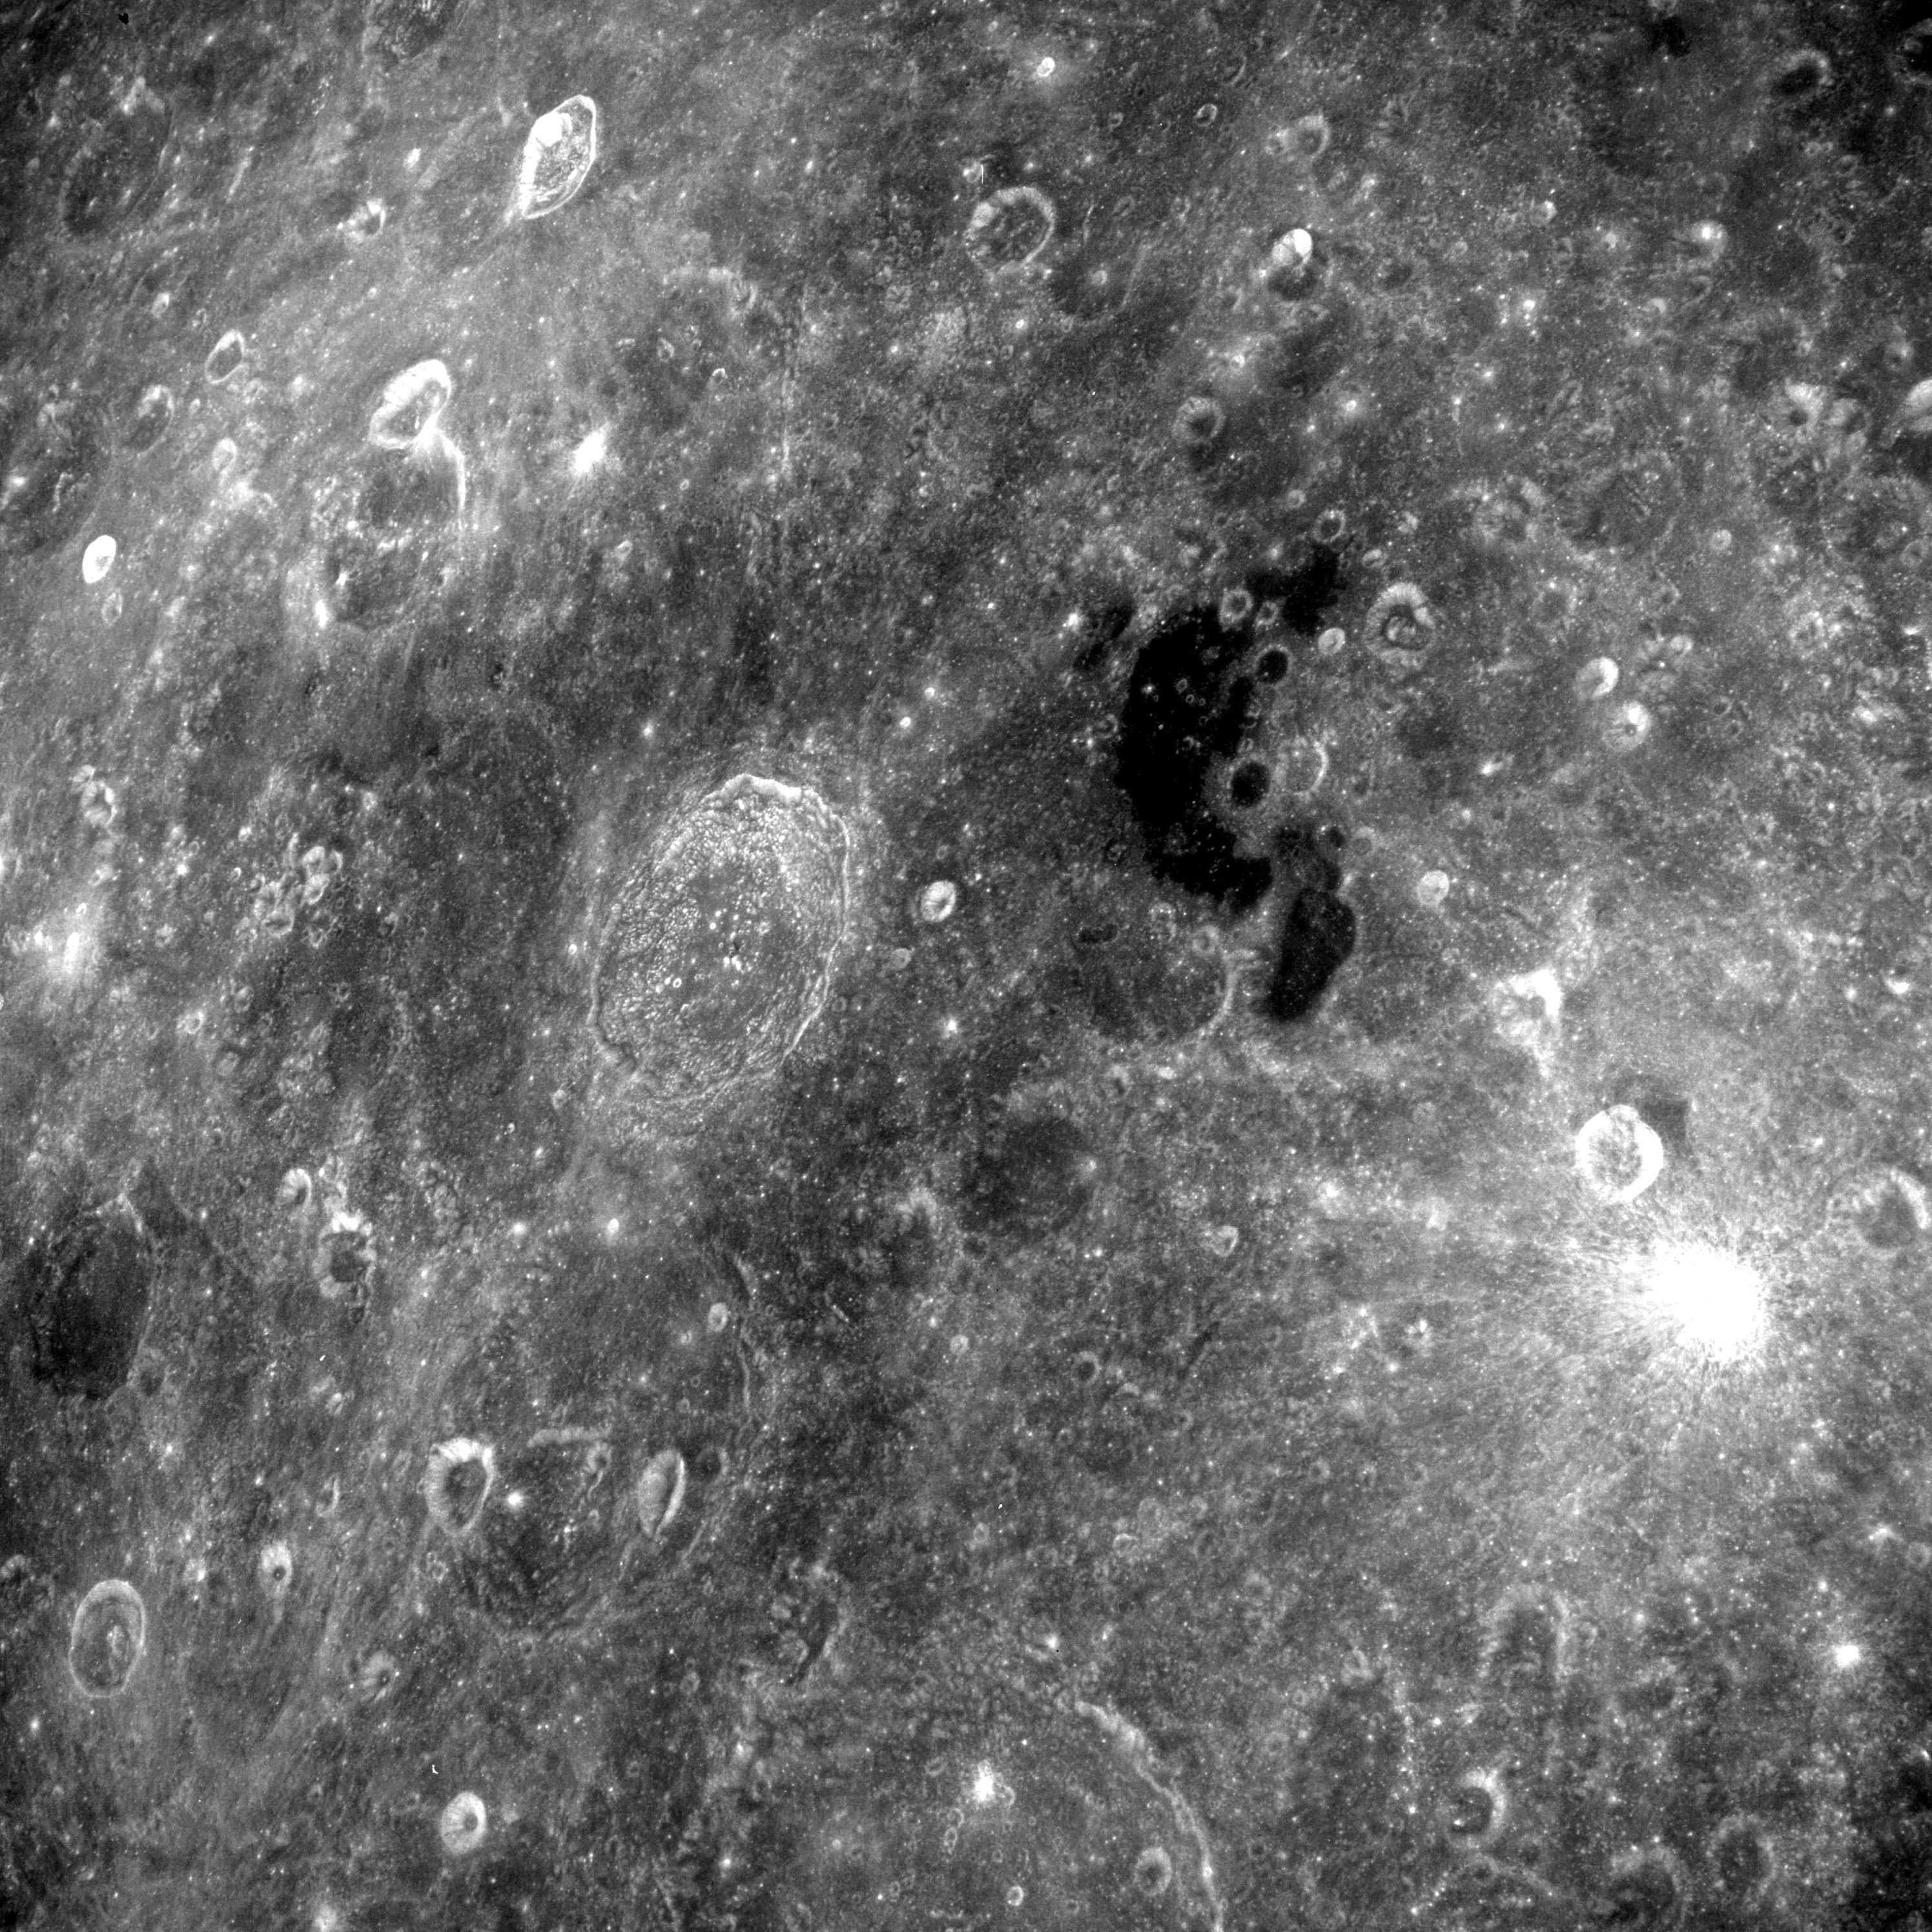 |
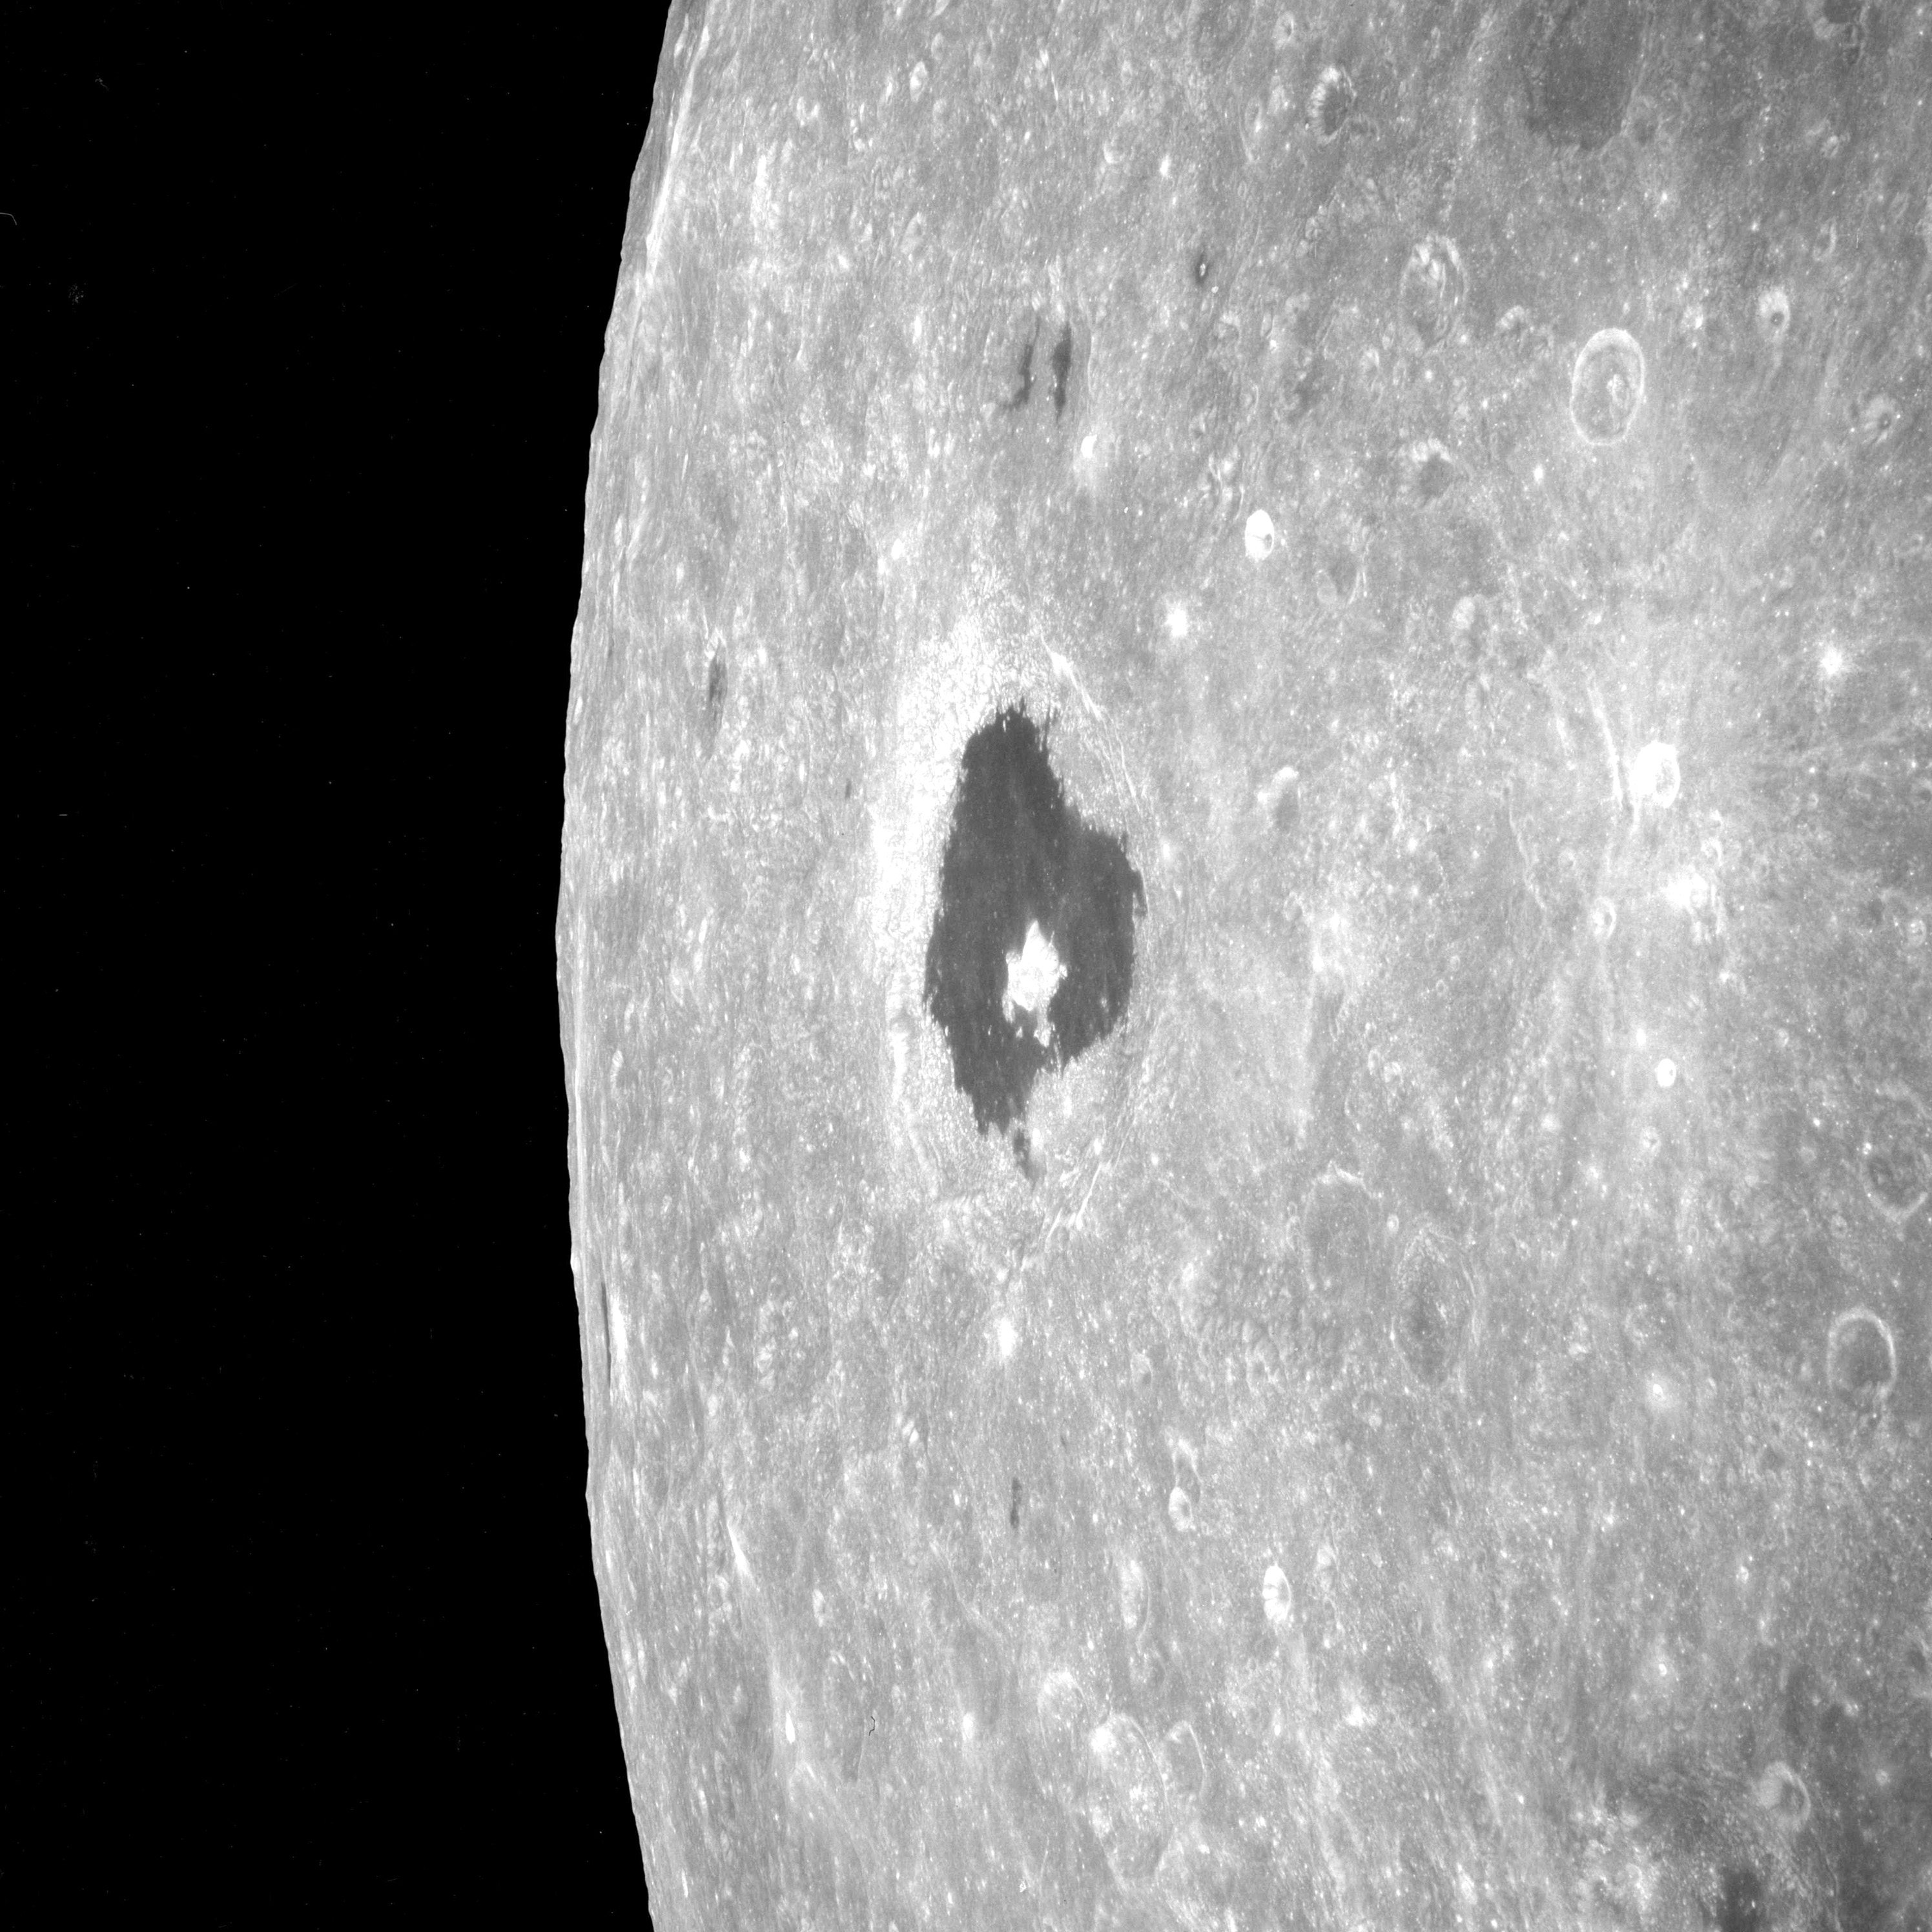
AS08-12-2195 Receding Moon after TEI. Lacus Solitudinus centre. Image credit: Image Science and Analysis Laboratory, NASA-Johnson Space Center. |
 |
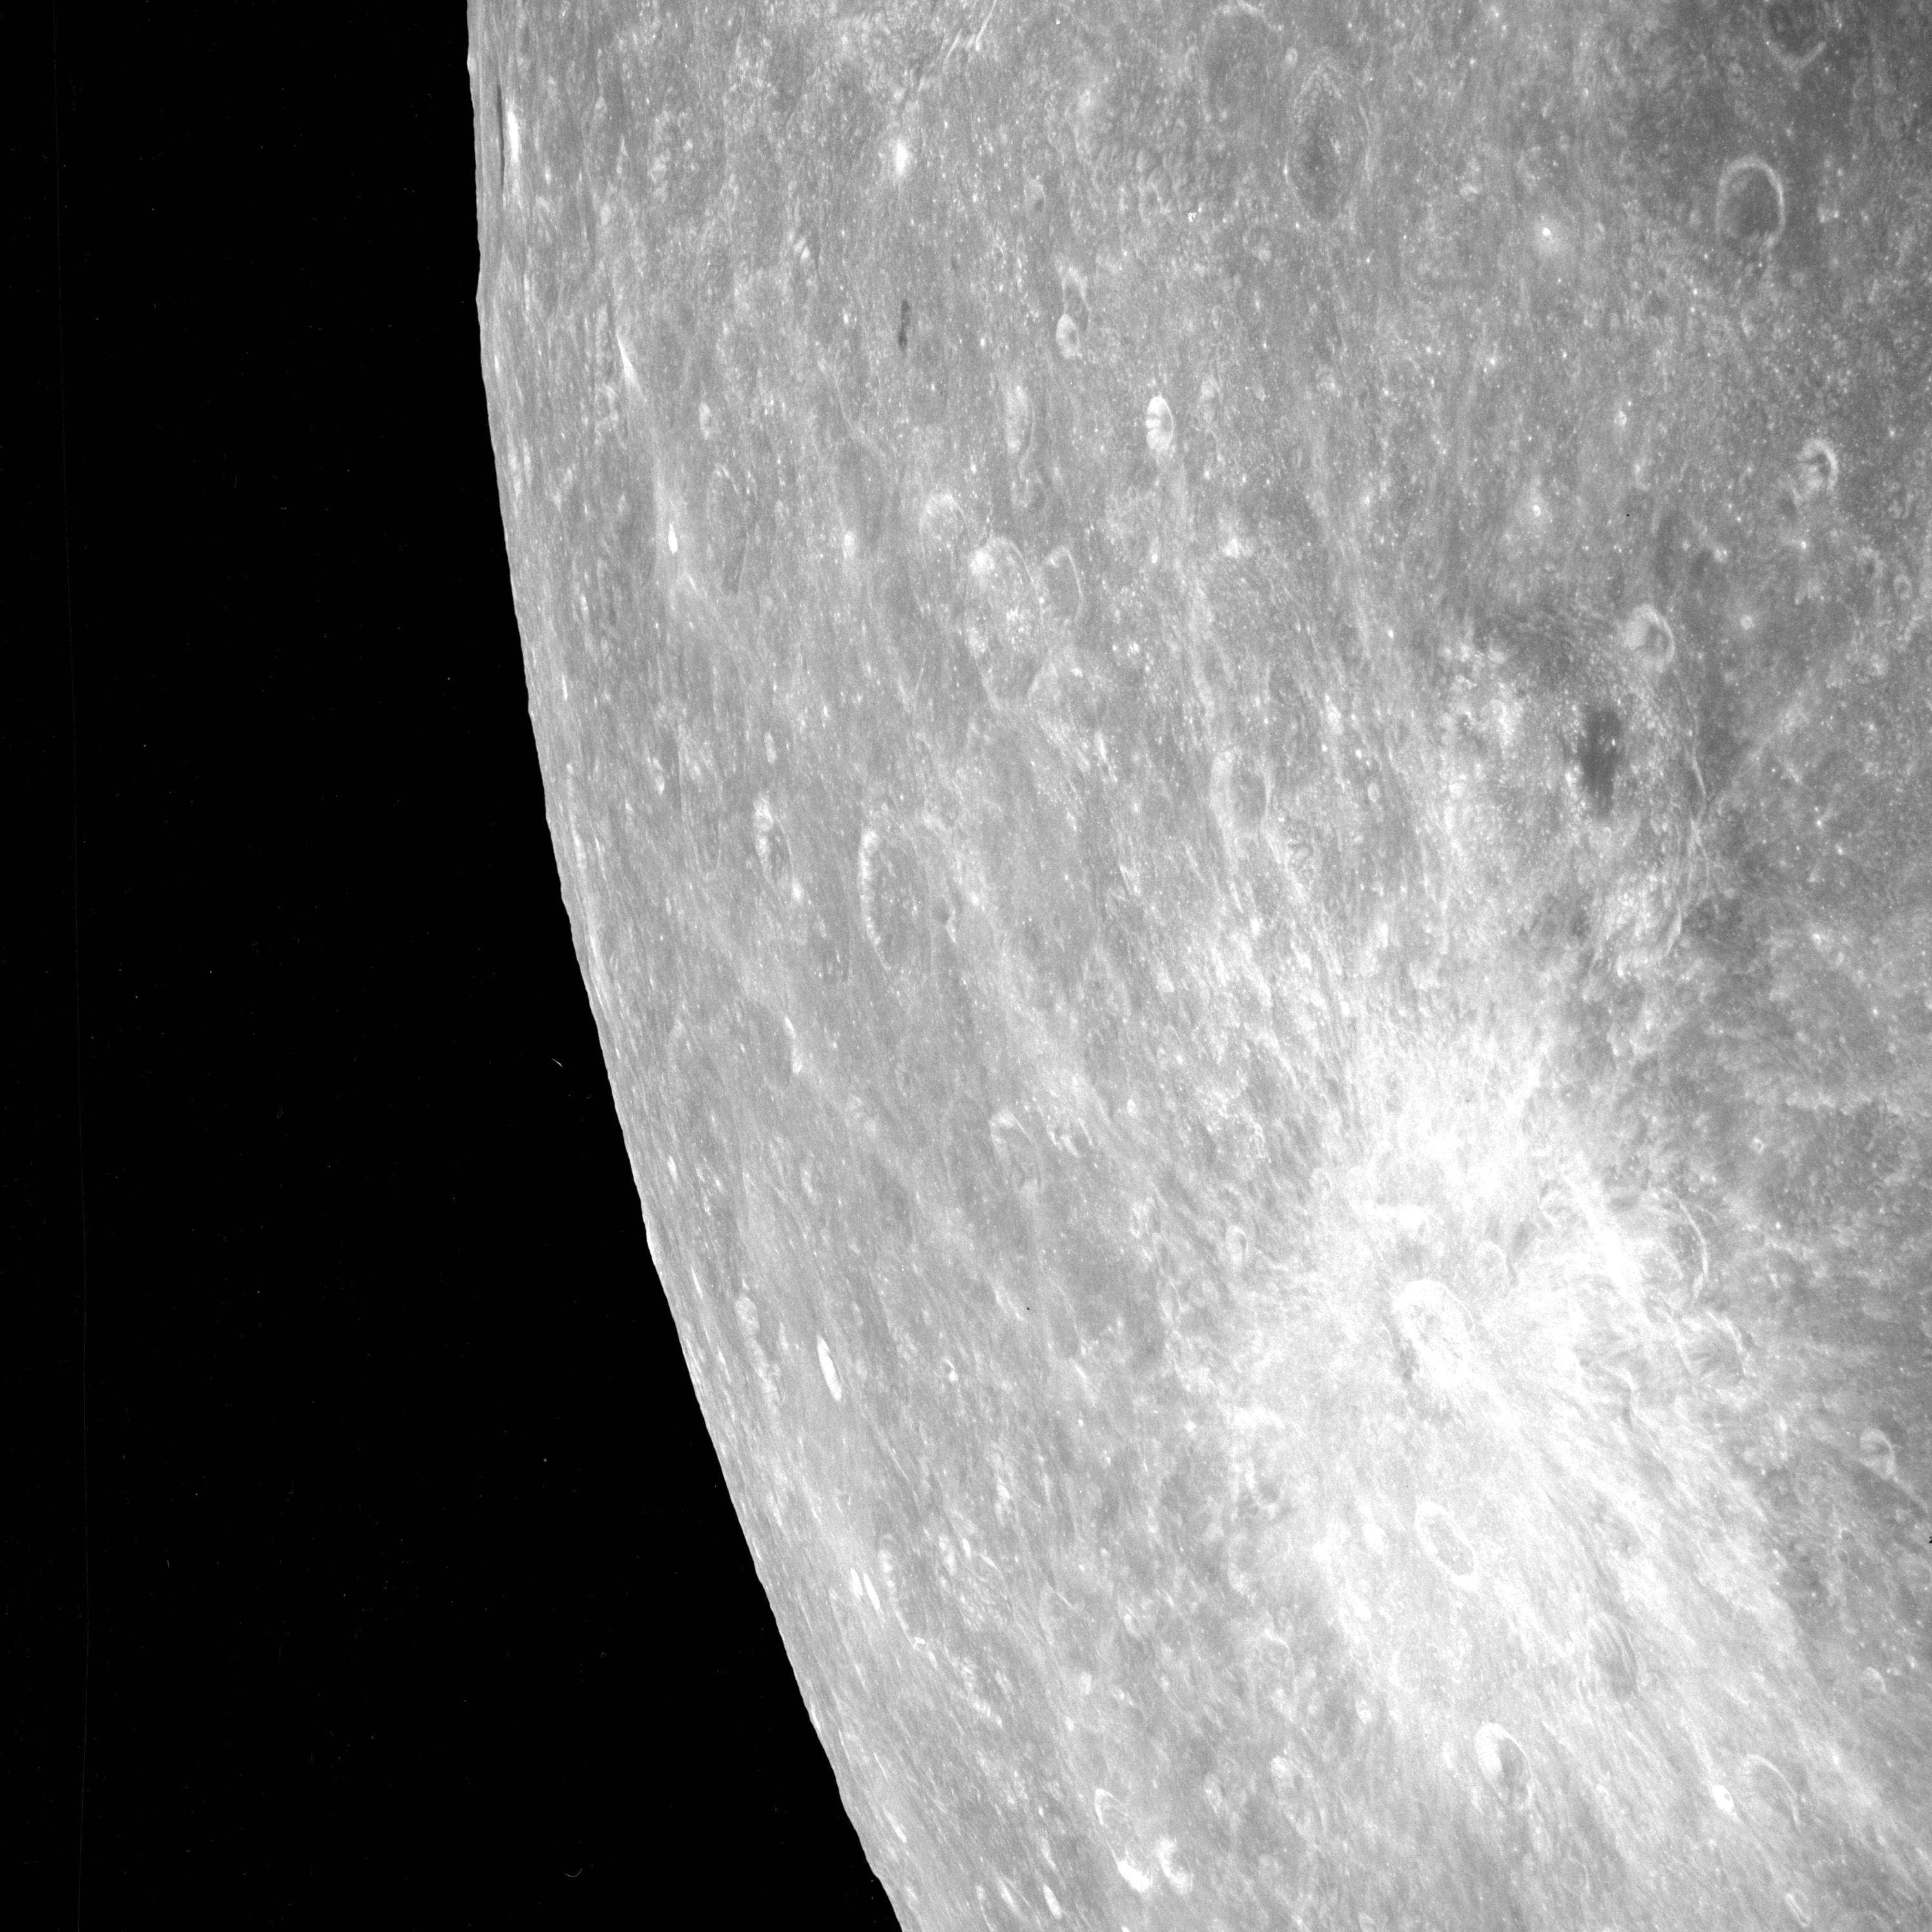
AS08-12-2196 Receding Moon after TEI. Eastwards towards Tsiolkovsky. Image credit: Image Science and Analysis Laboratory, NASA-Johnson Space Center. |
 |
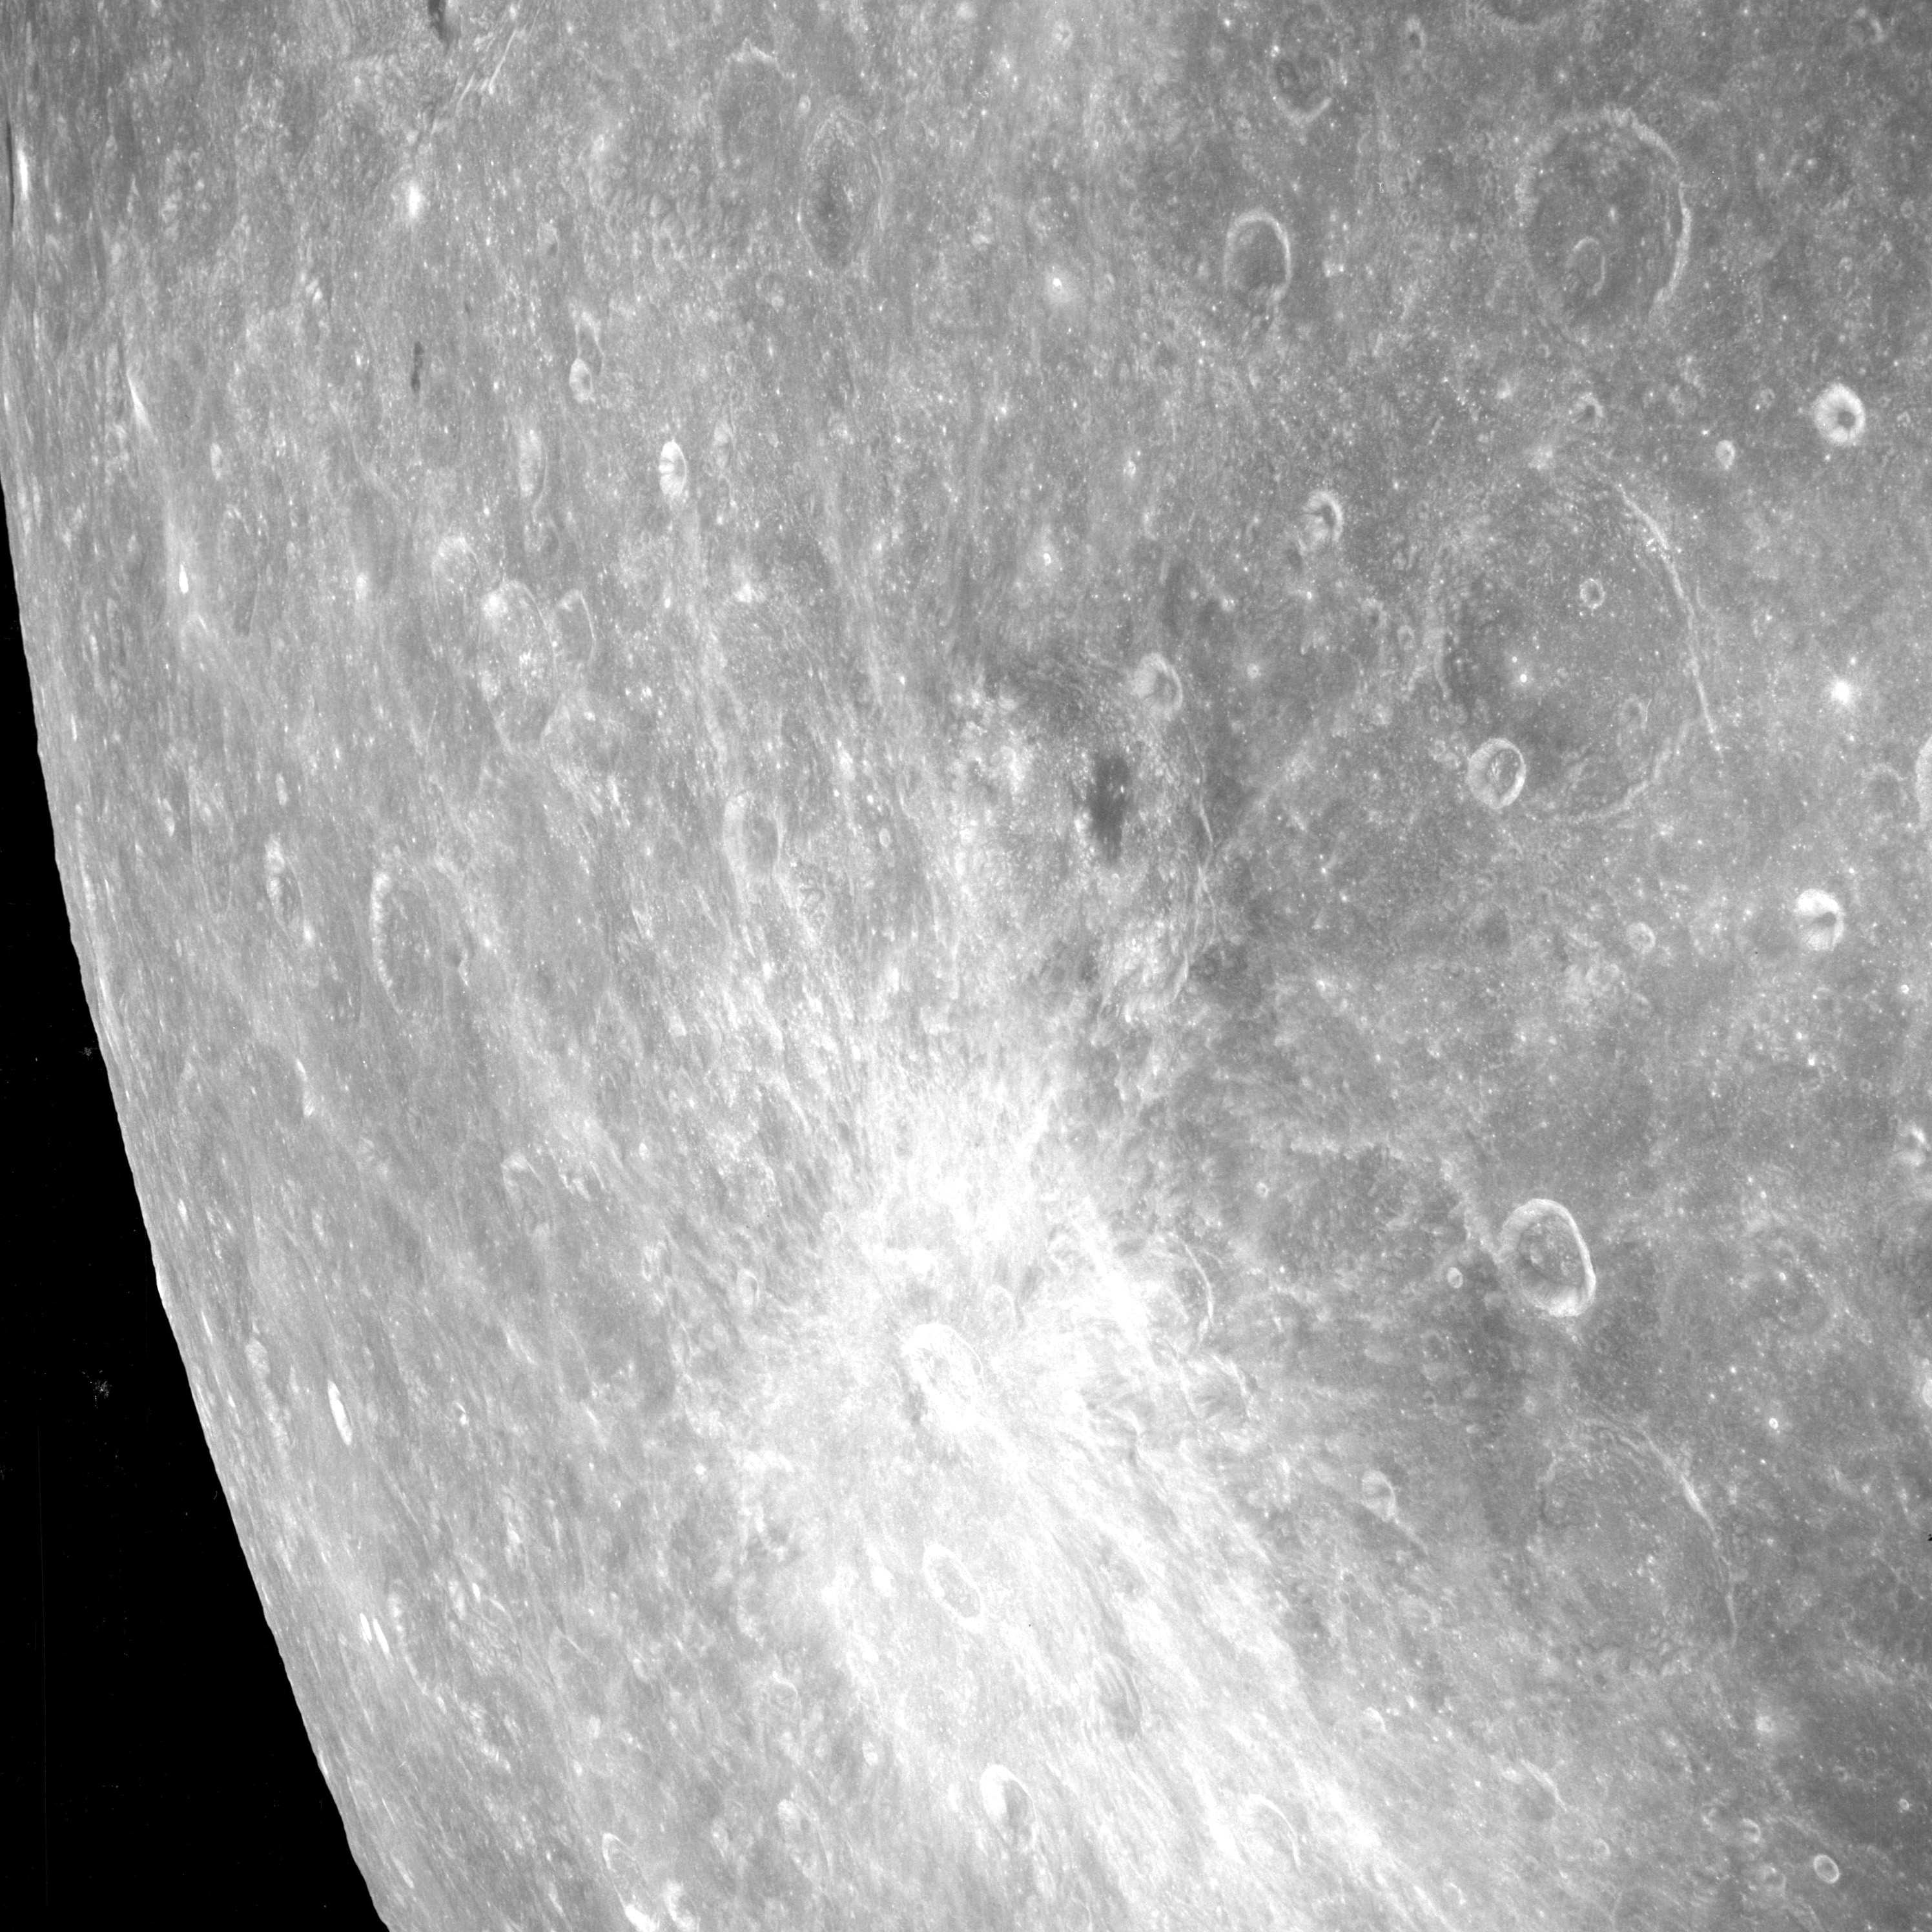
AS08-12-2197 Receding Moon after TEI. Eastwards towards far-side equator north of Tsiolkovsky. Image credit: Image Science and Analysis Laboratory, NASA-Johnson Space Center. |
 |
AS08-12-2198 Receding Moon after TEI. Eastwards towards far-side equator north of Tsiolkovsky. Image credit: Image Science and Analysis Laboratory, NASA-Johnson Space Center. |
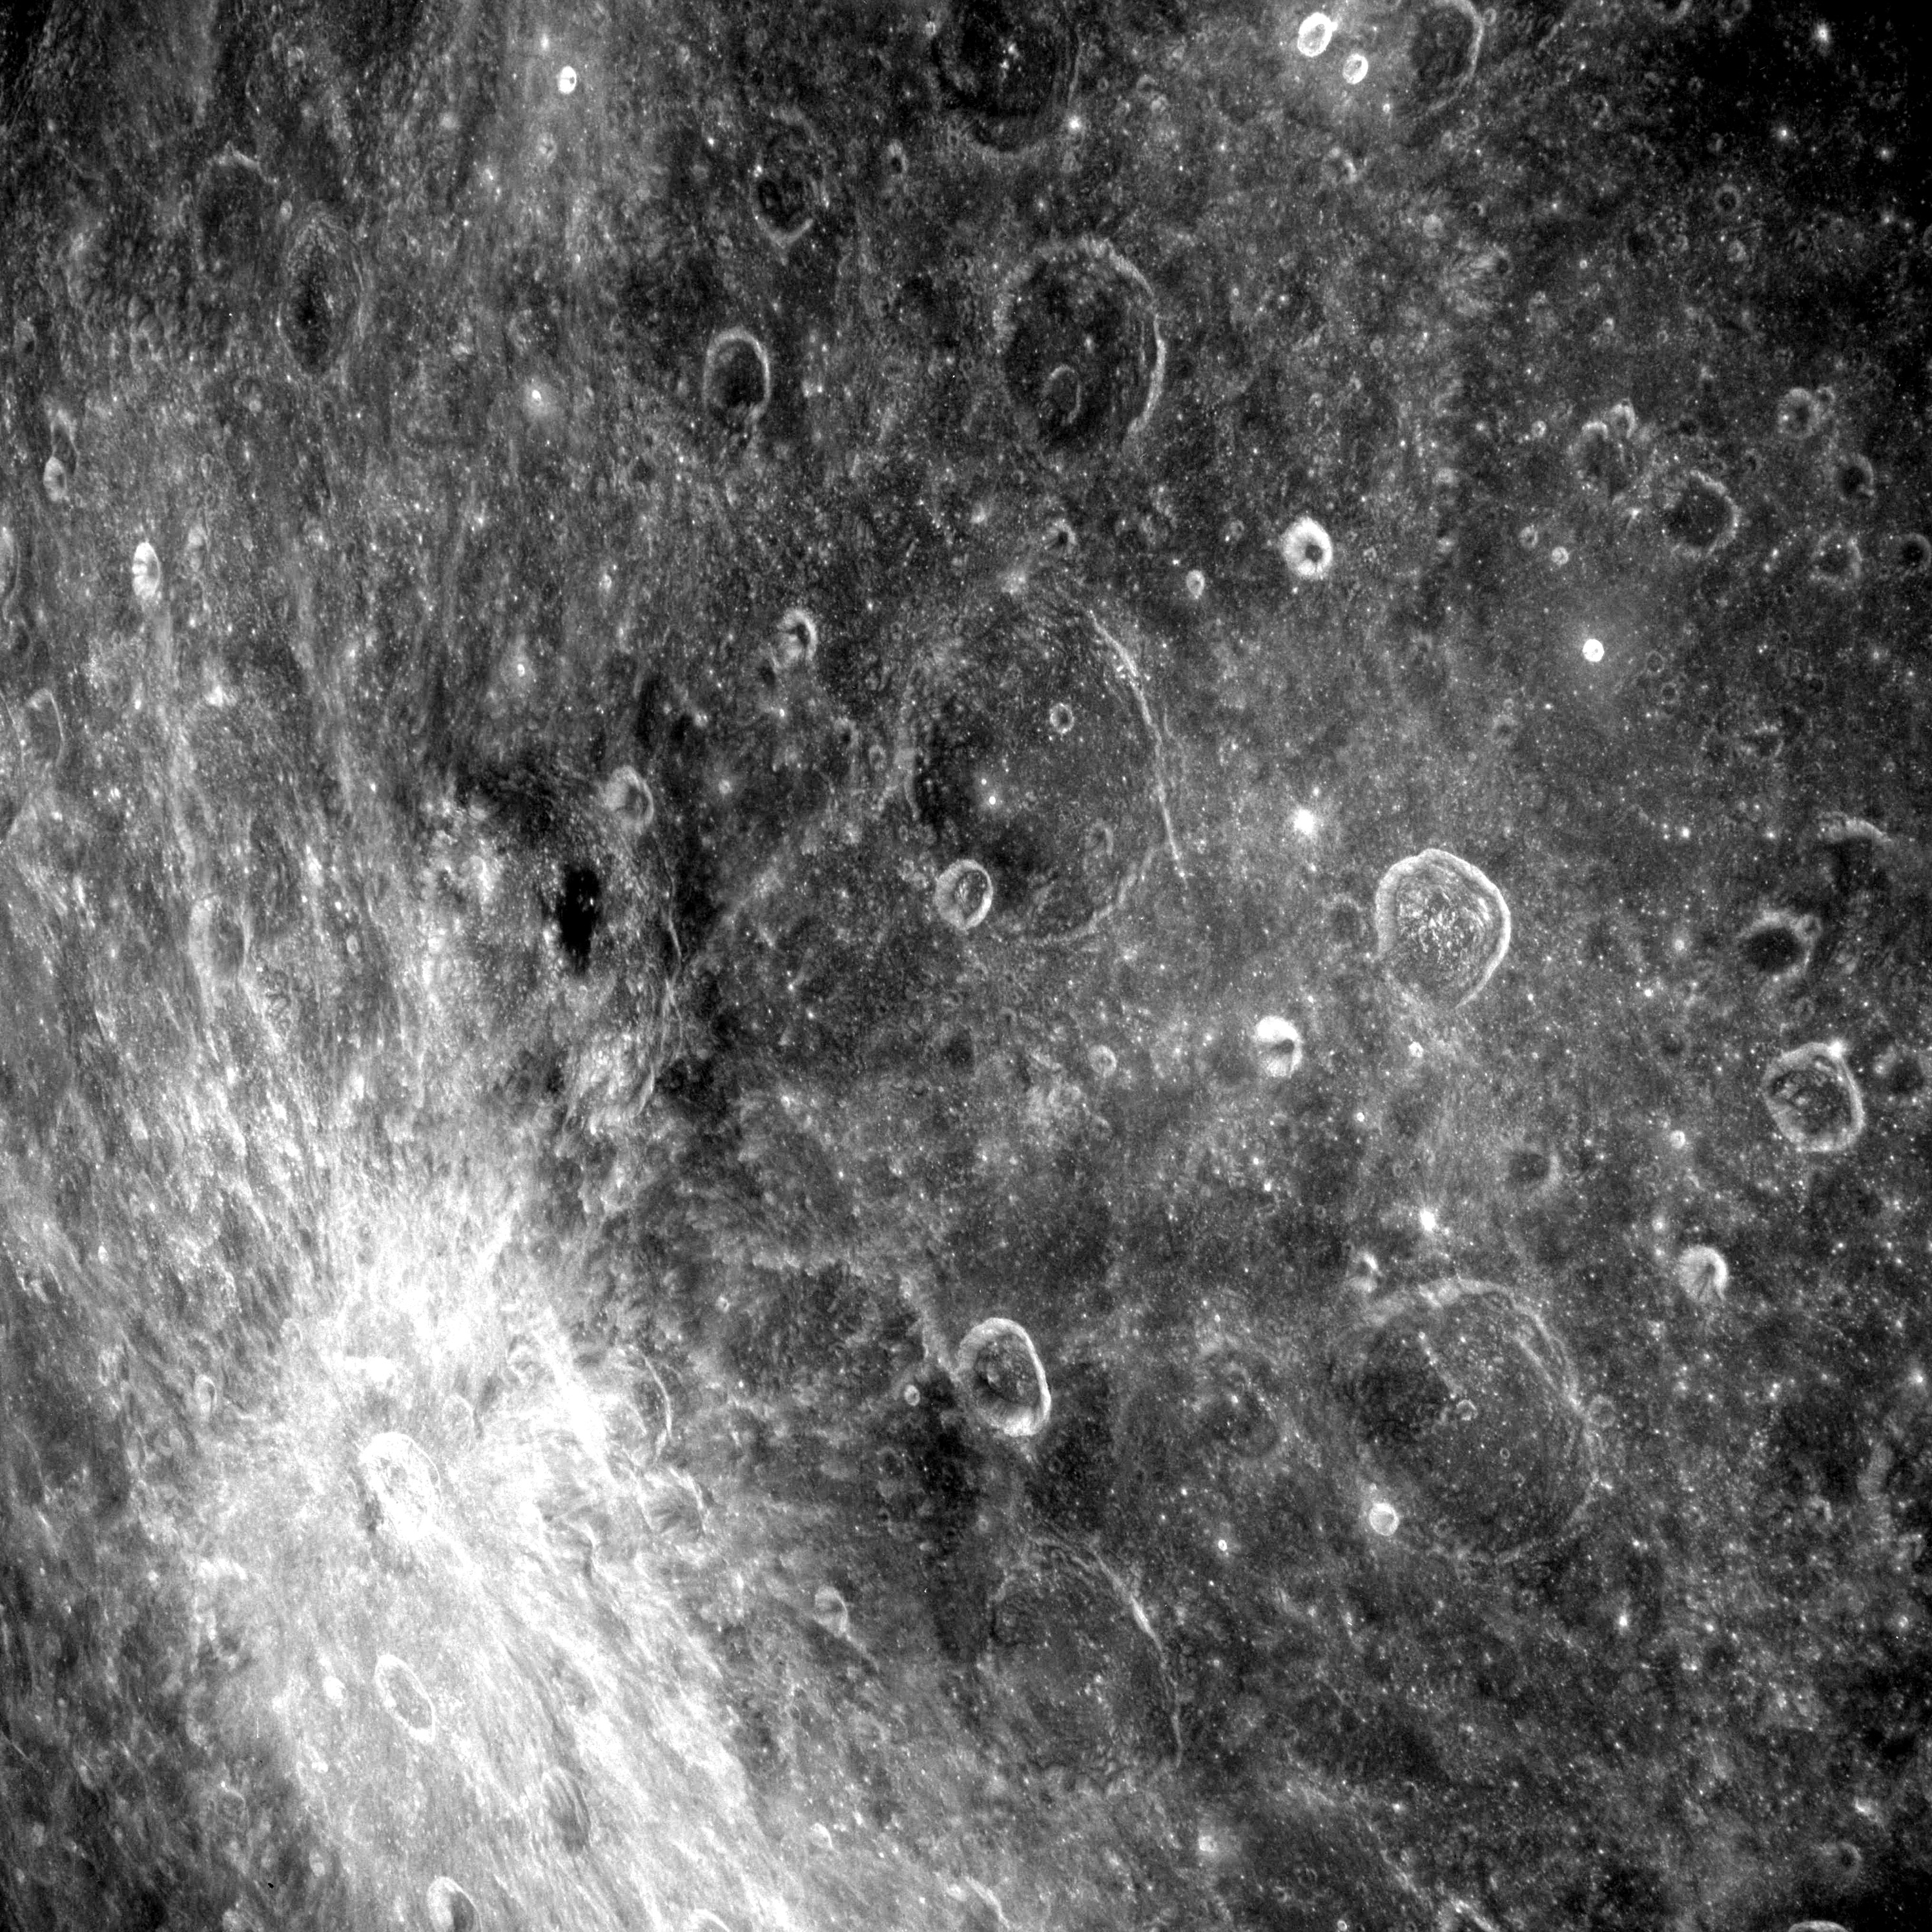 |
AS08-12-2199 No description. Image credit: Image Science and Analysis Laboratory, NASA-Johnson Space Center. |
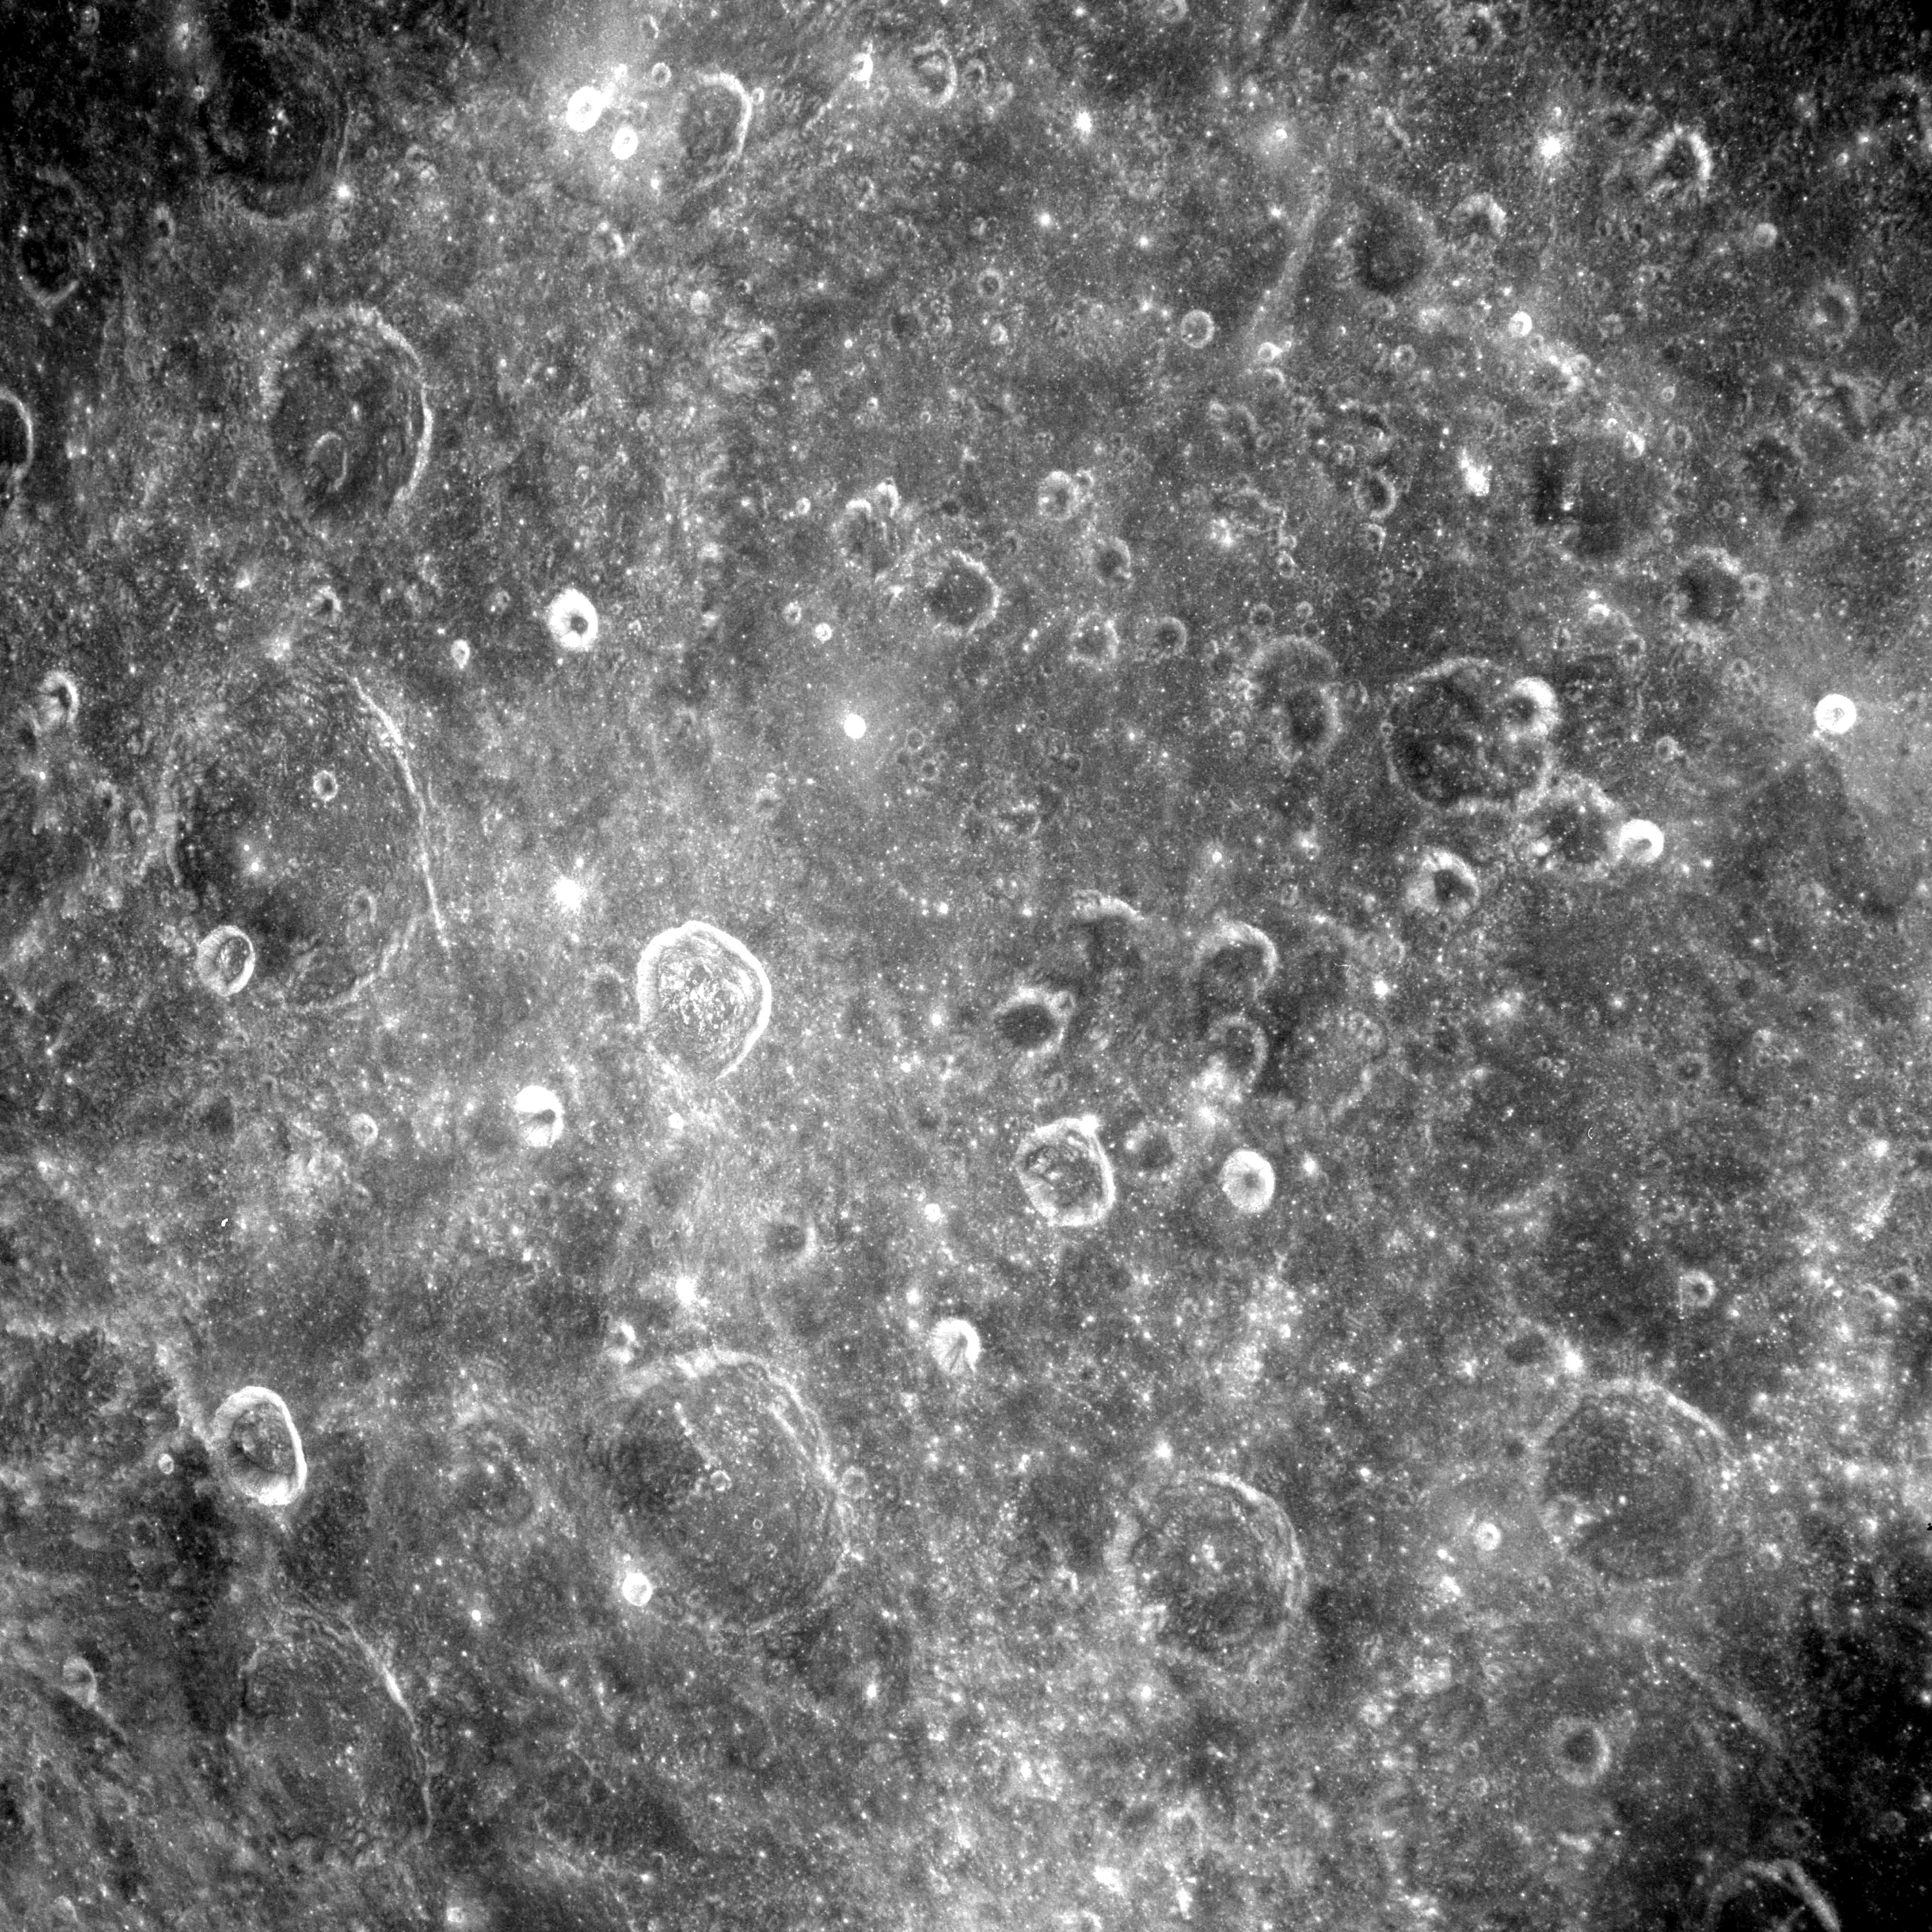 |
AS08-12-2200 No description. Image credit: Image Science and Analysis Laboratory, NASA-Johnson Space Center. |
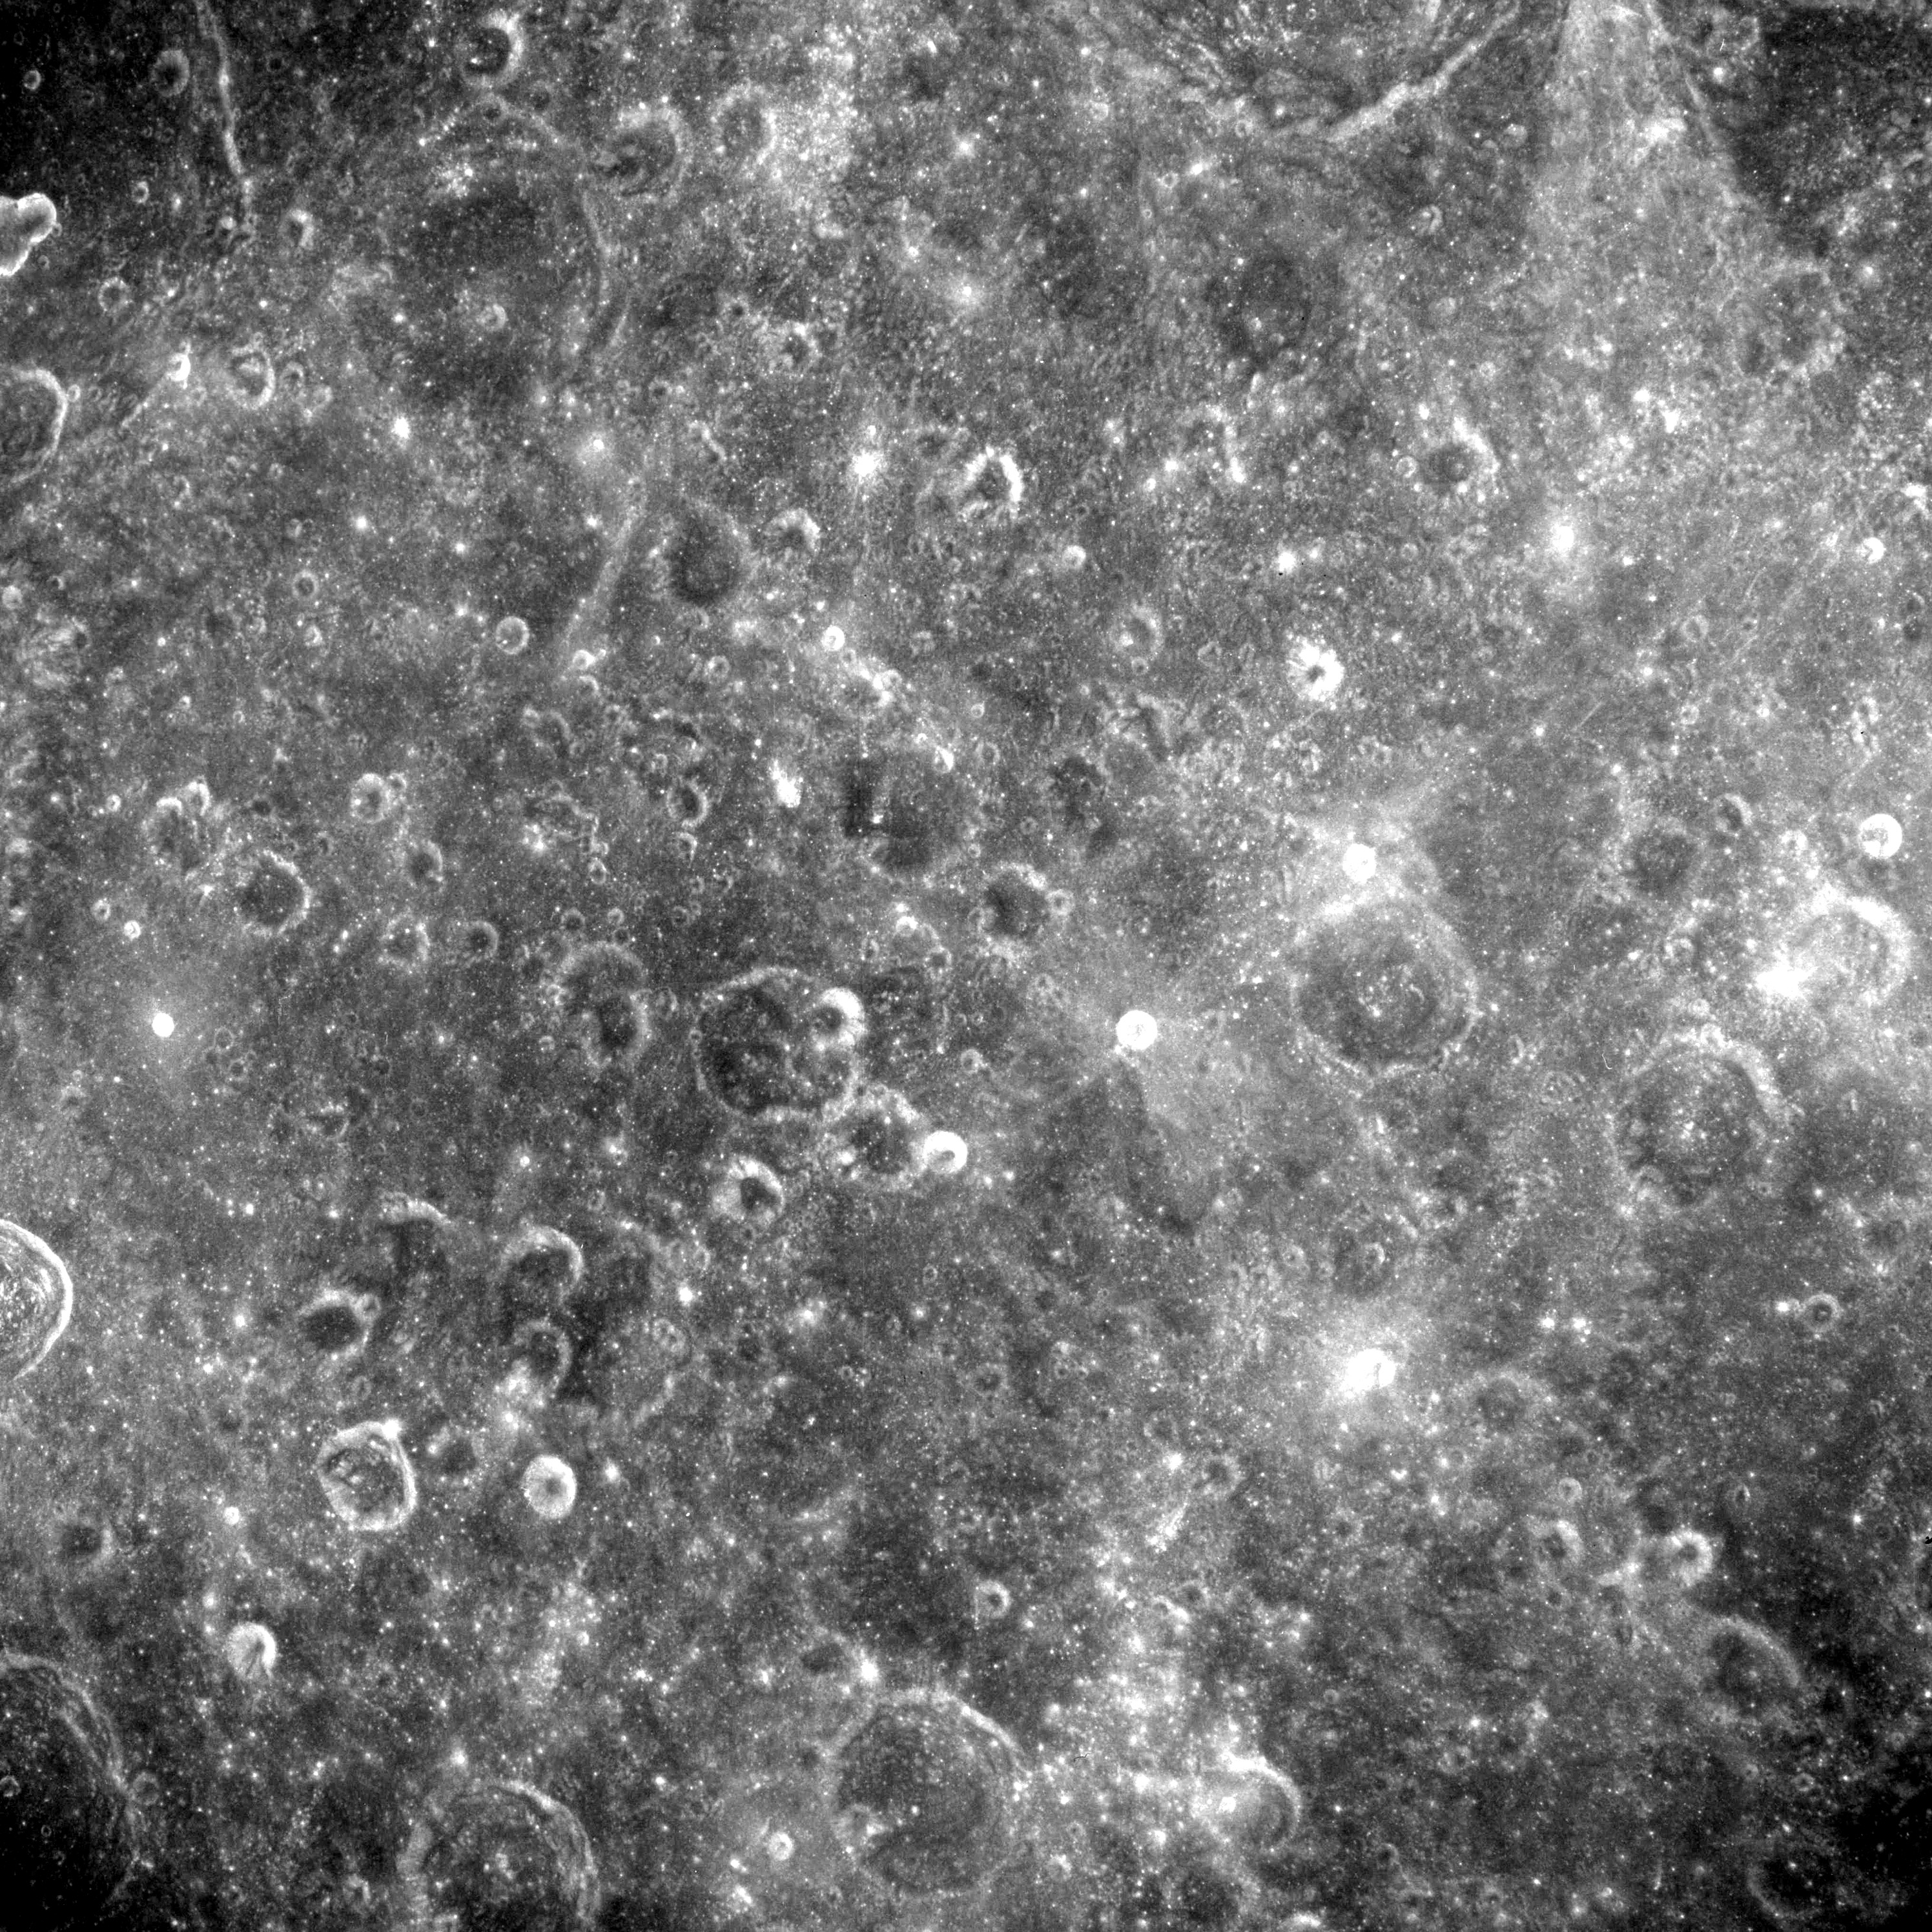 |
AS08-12-2201 No description. Image credit: Image Science and Analysis Laboratory, NASA-Johnson Space Center. |
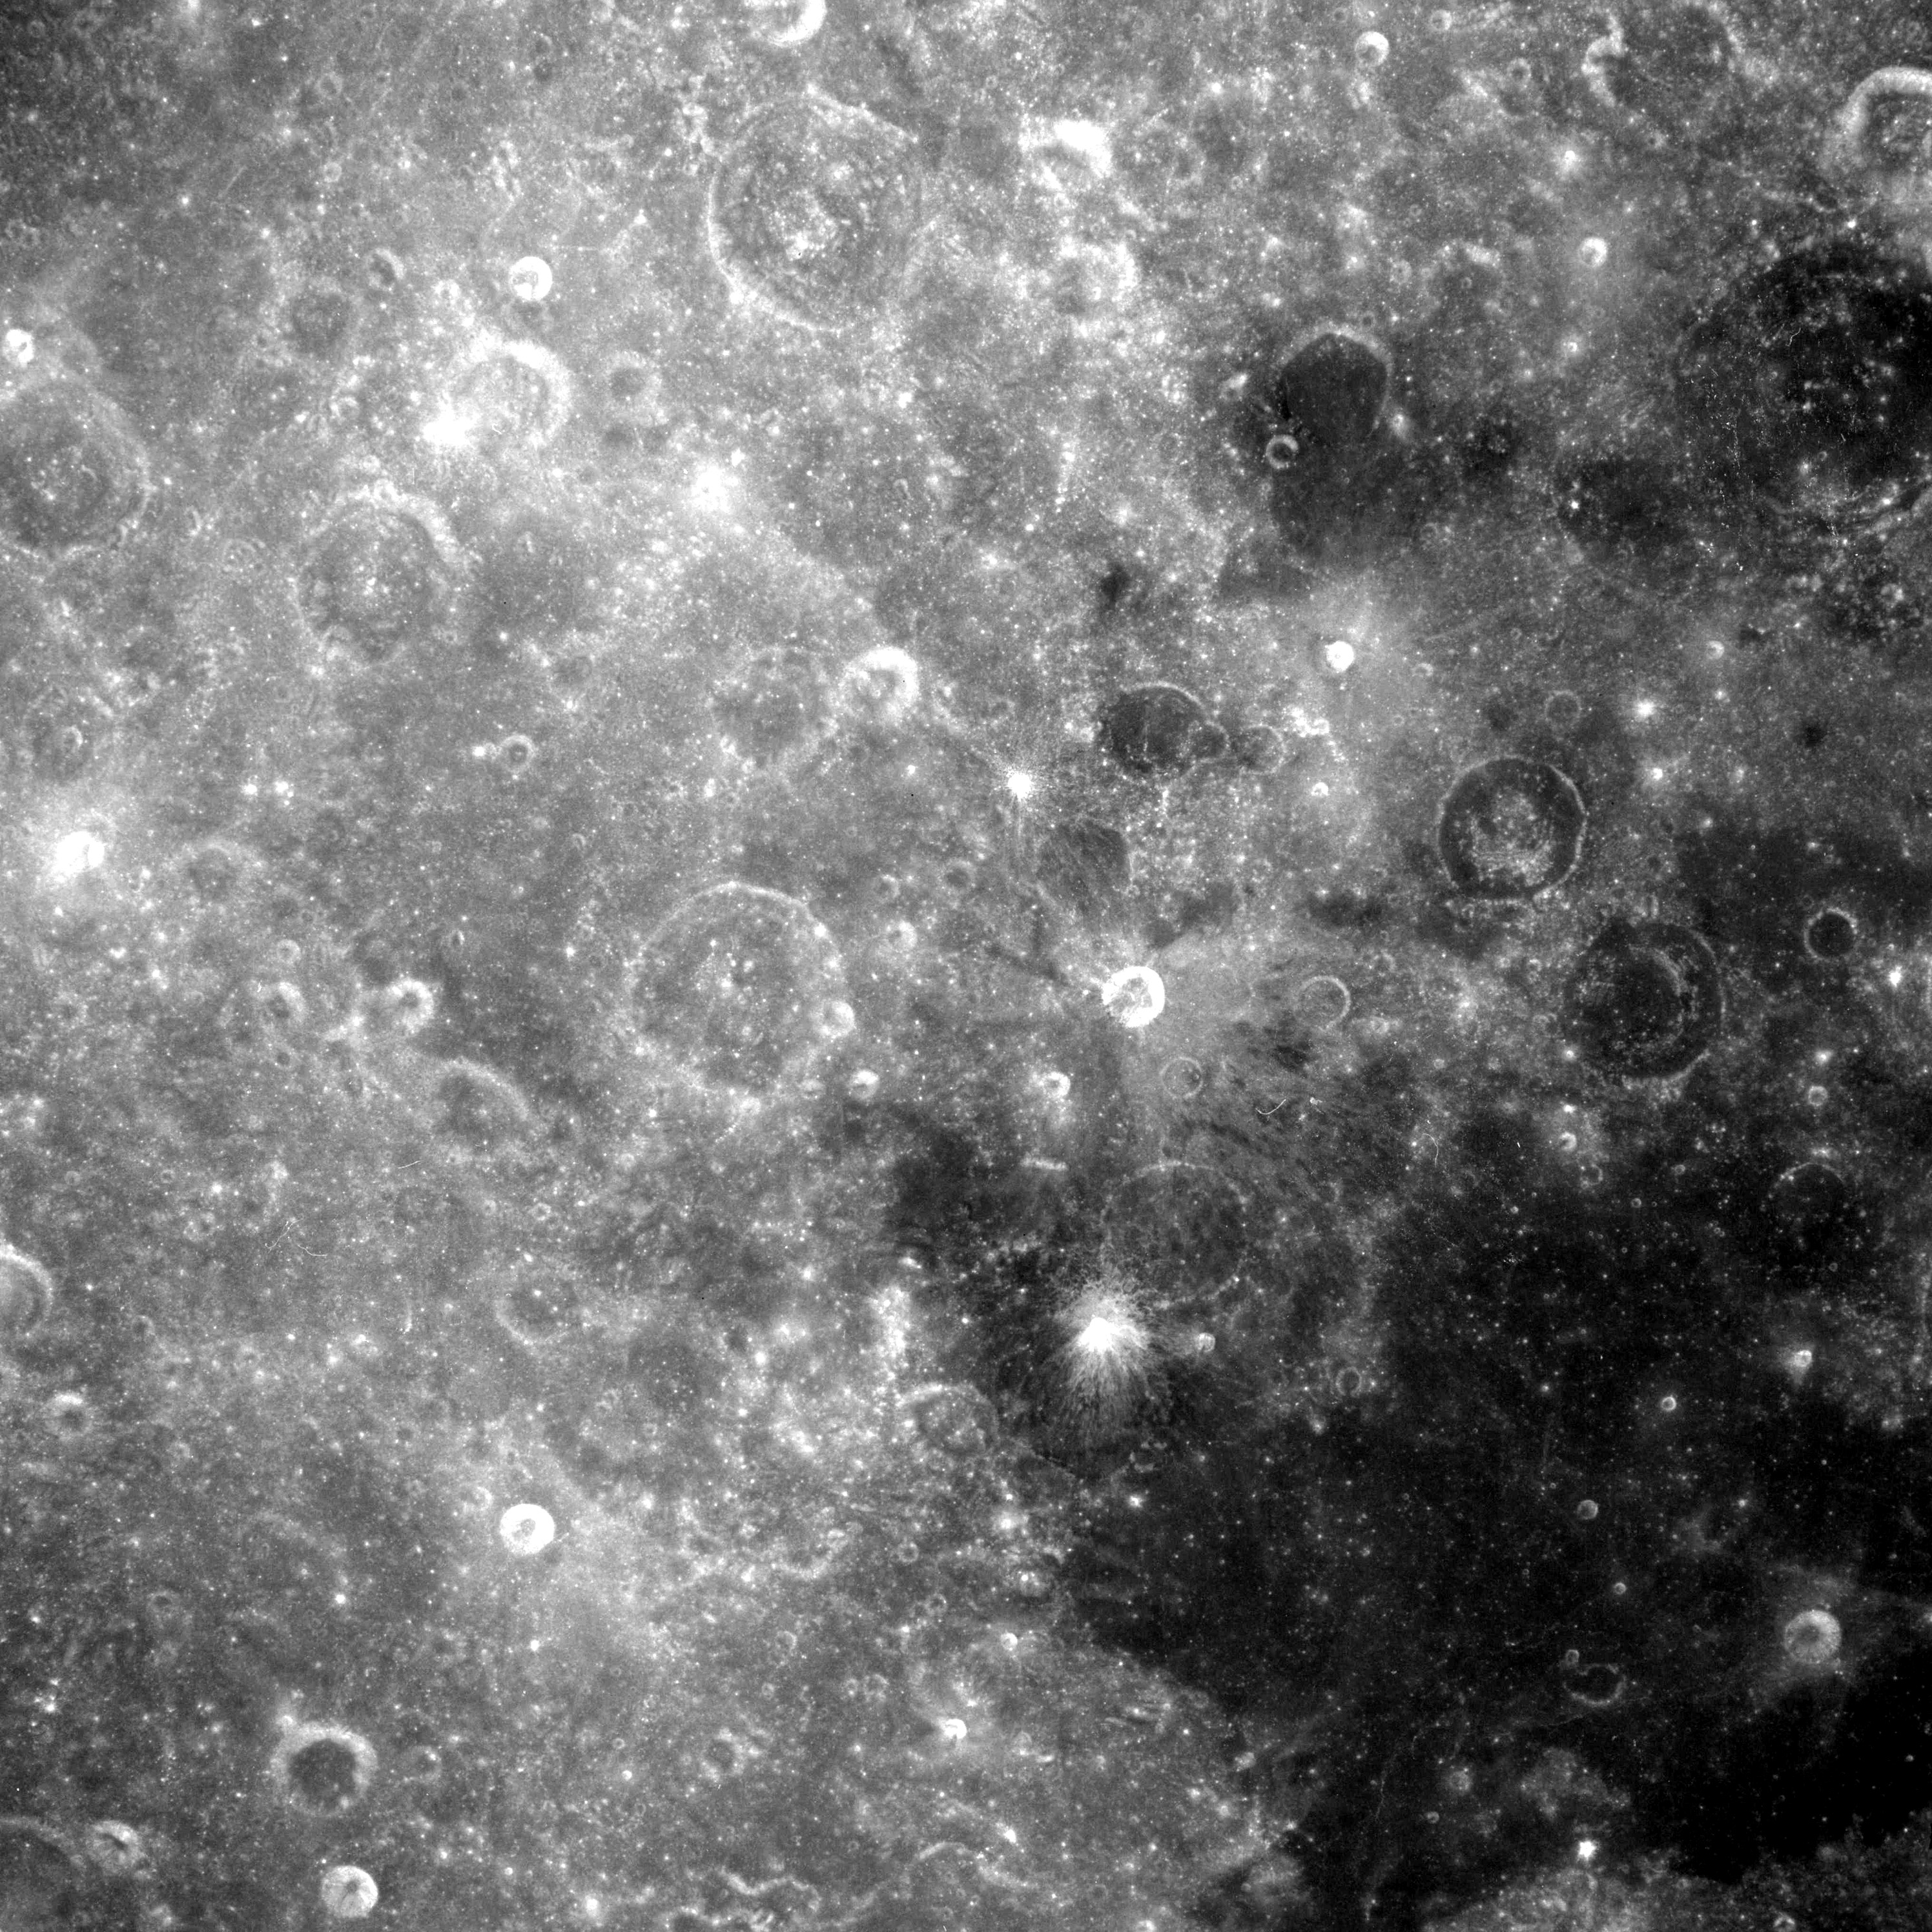 |
AS08-12-2202 No description. Image credit: Image Science and Analysis Laboratory, NASA-Johnson Space Center. |
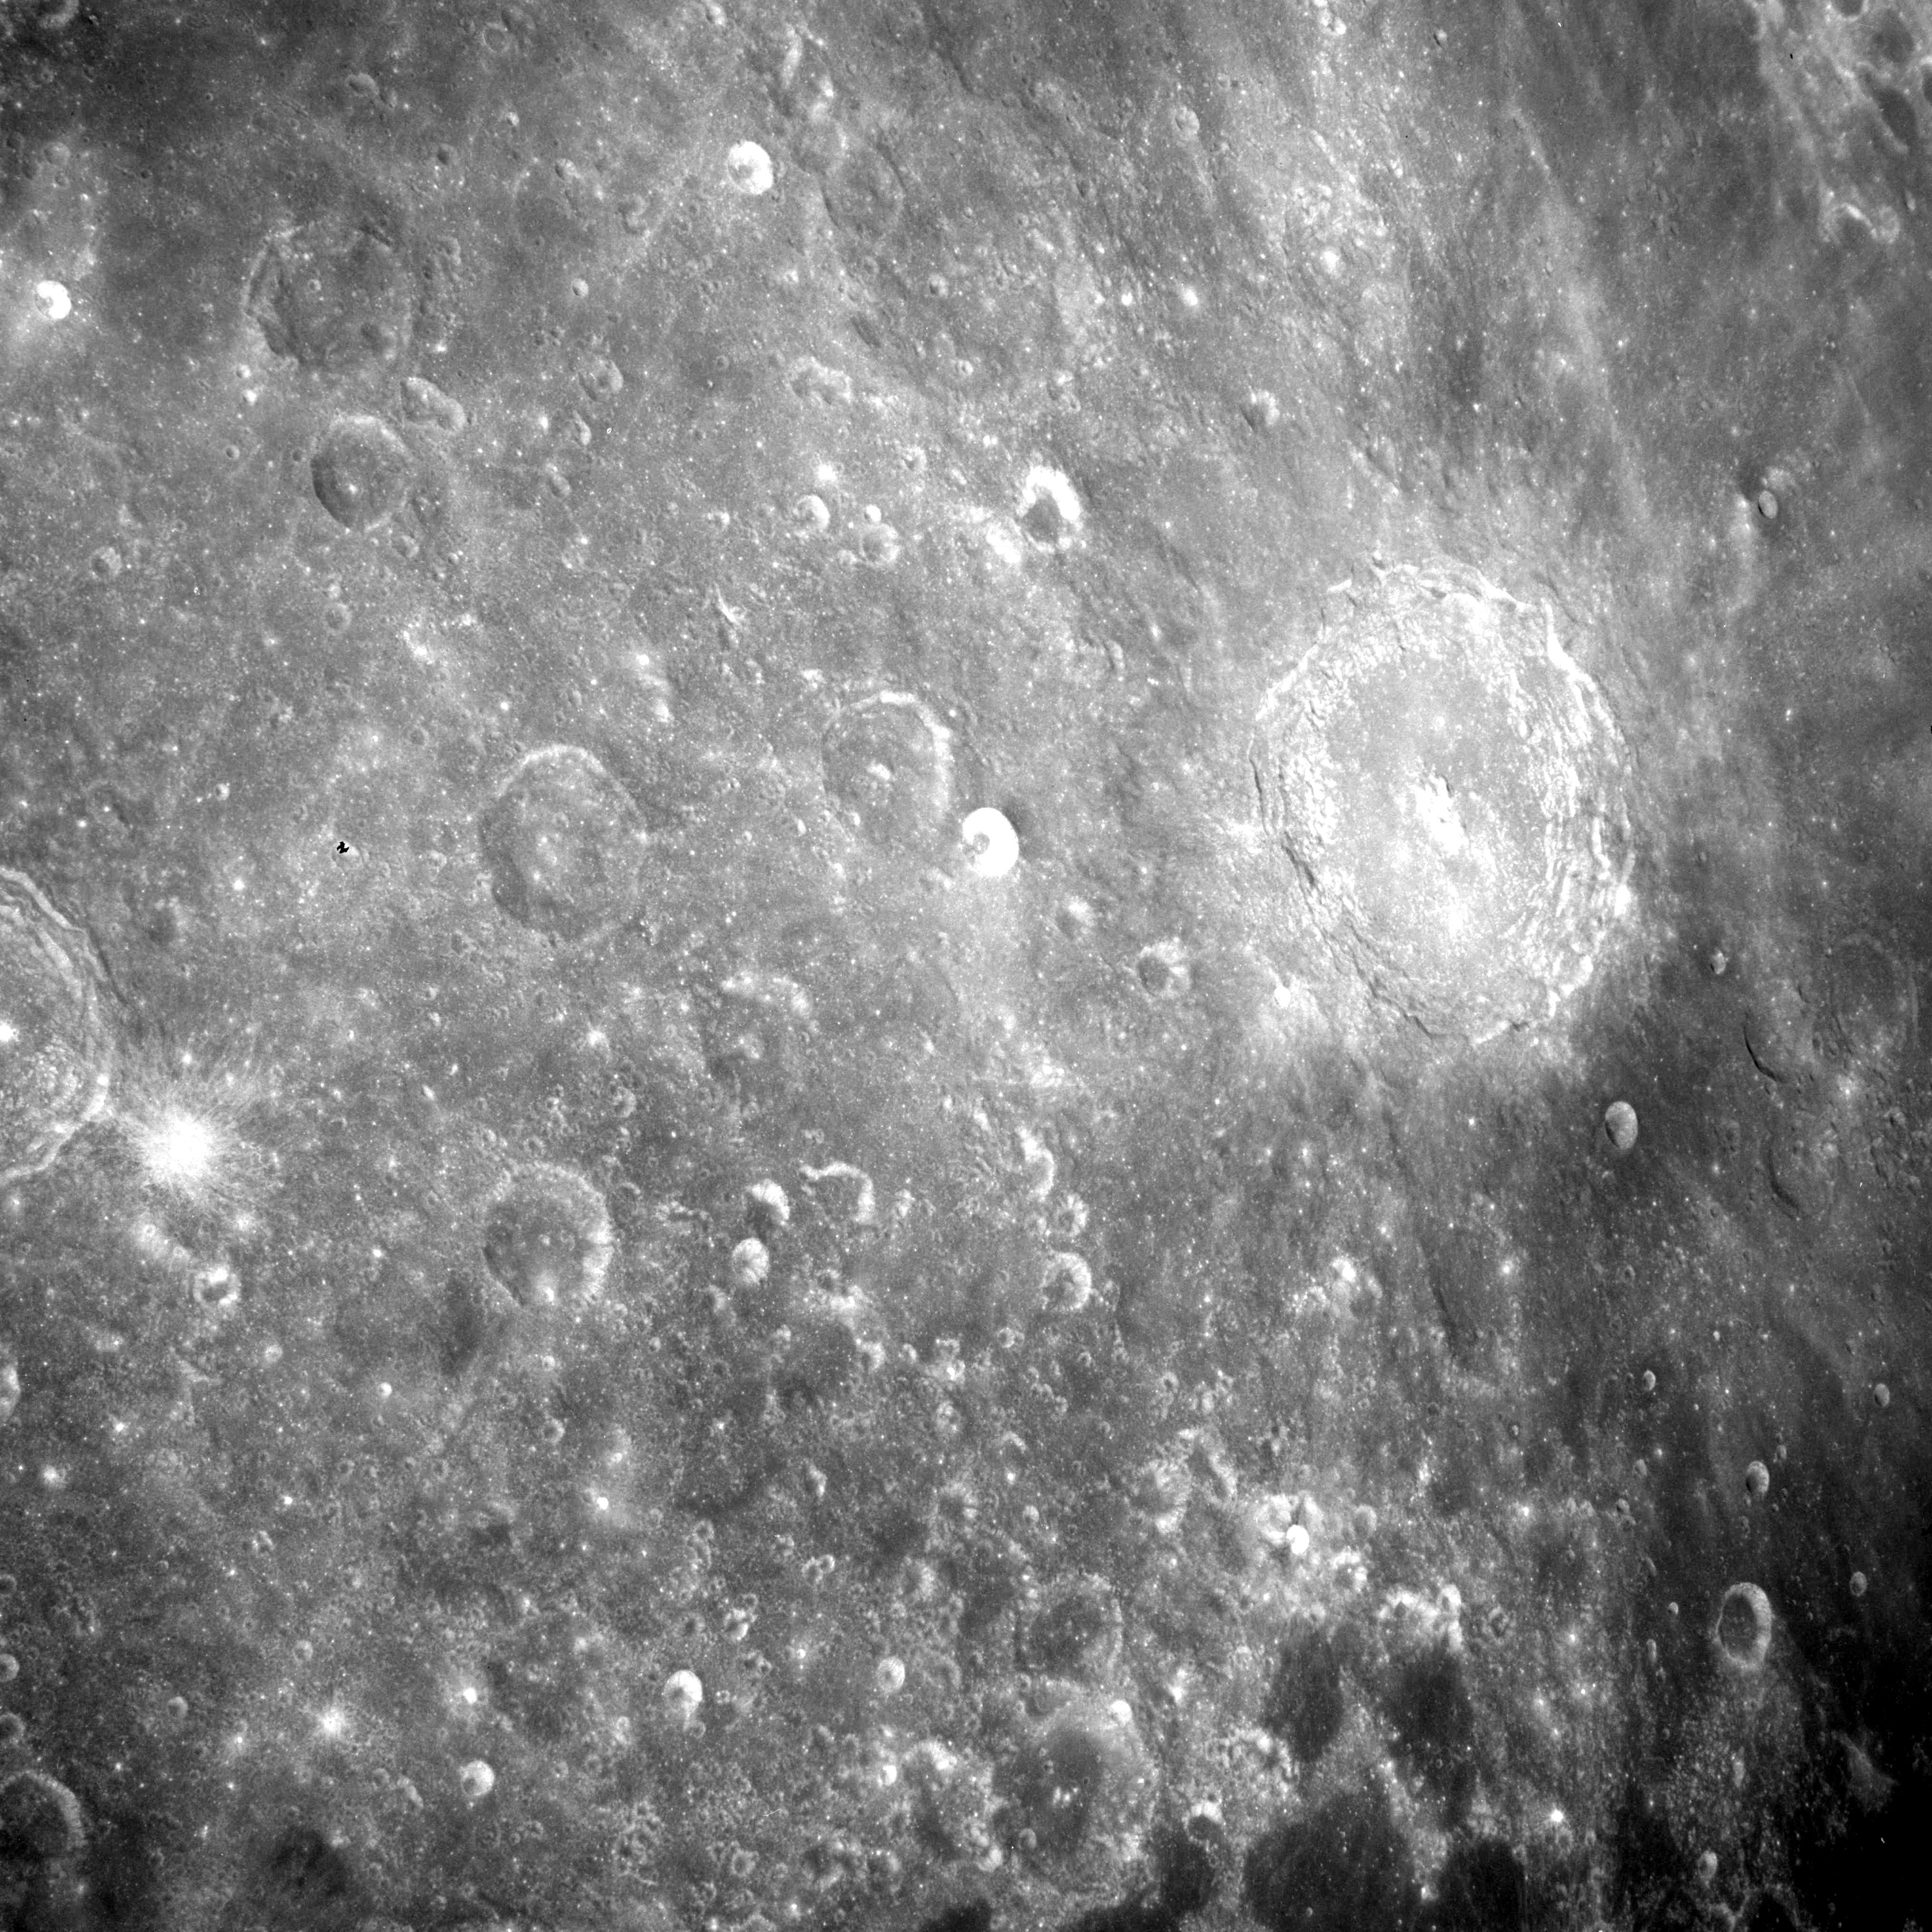 |
AS08-12-2203 No description. Image credit: Image Science and Analysis Laboratory, NASA-Johnson Space Center. |
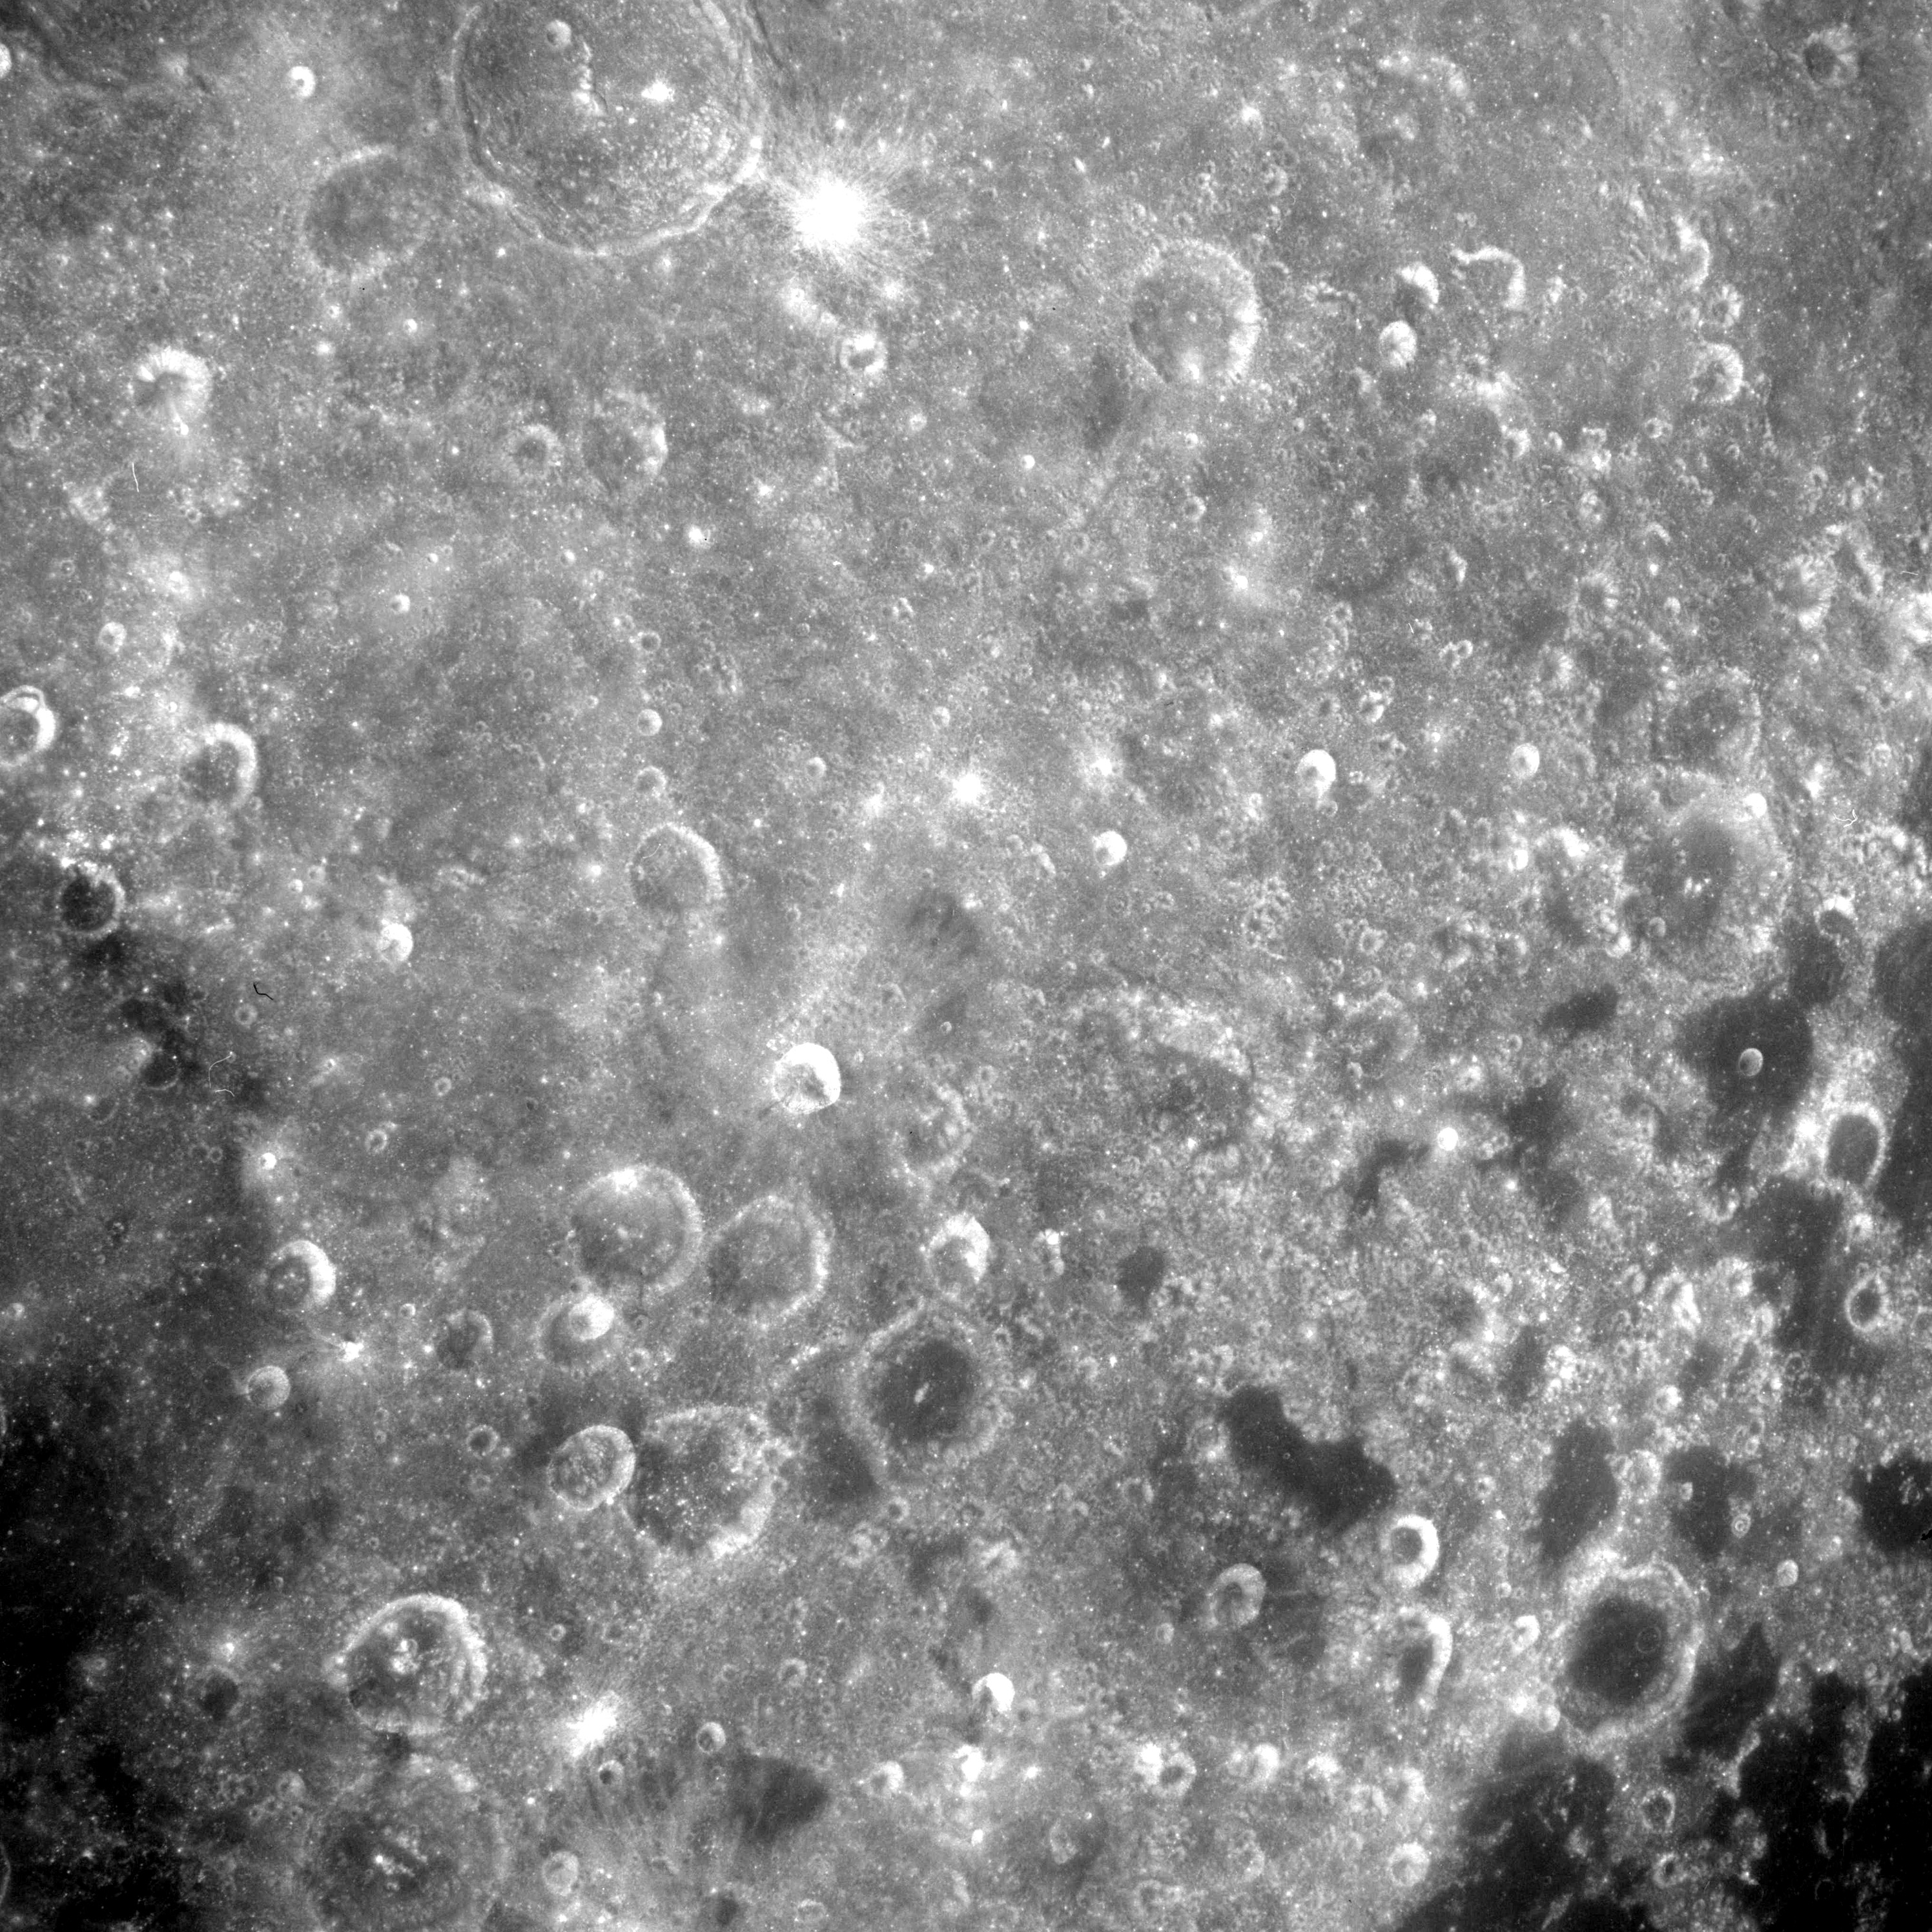 |
AS08-12-2204 No description. Image credit: Image Science and Analysis Laboratory, NASA-Johnson Space Center. |
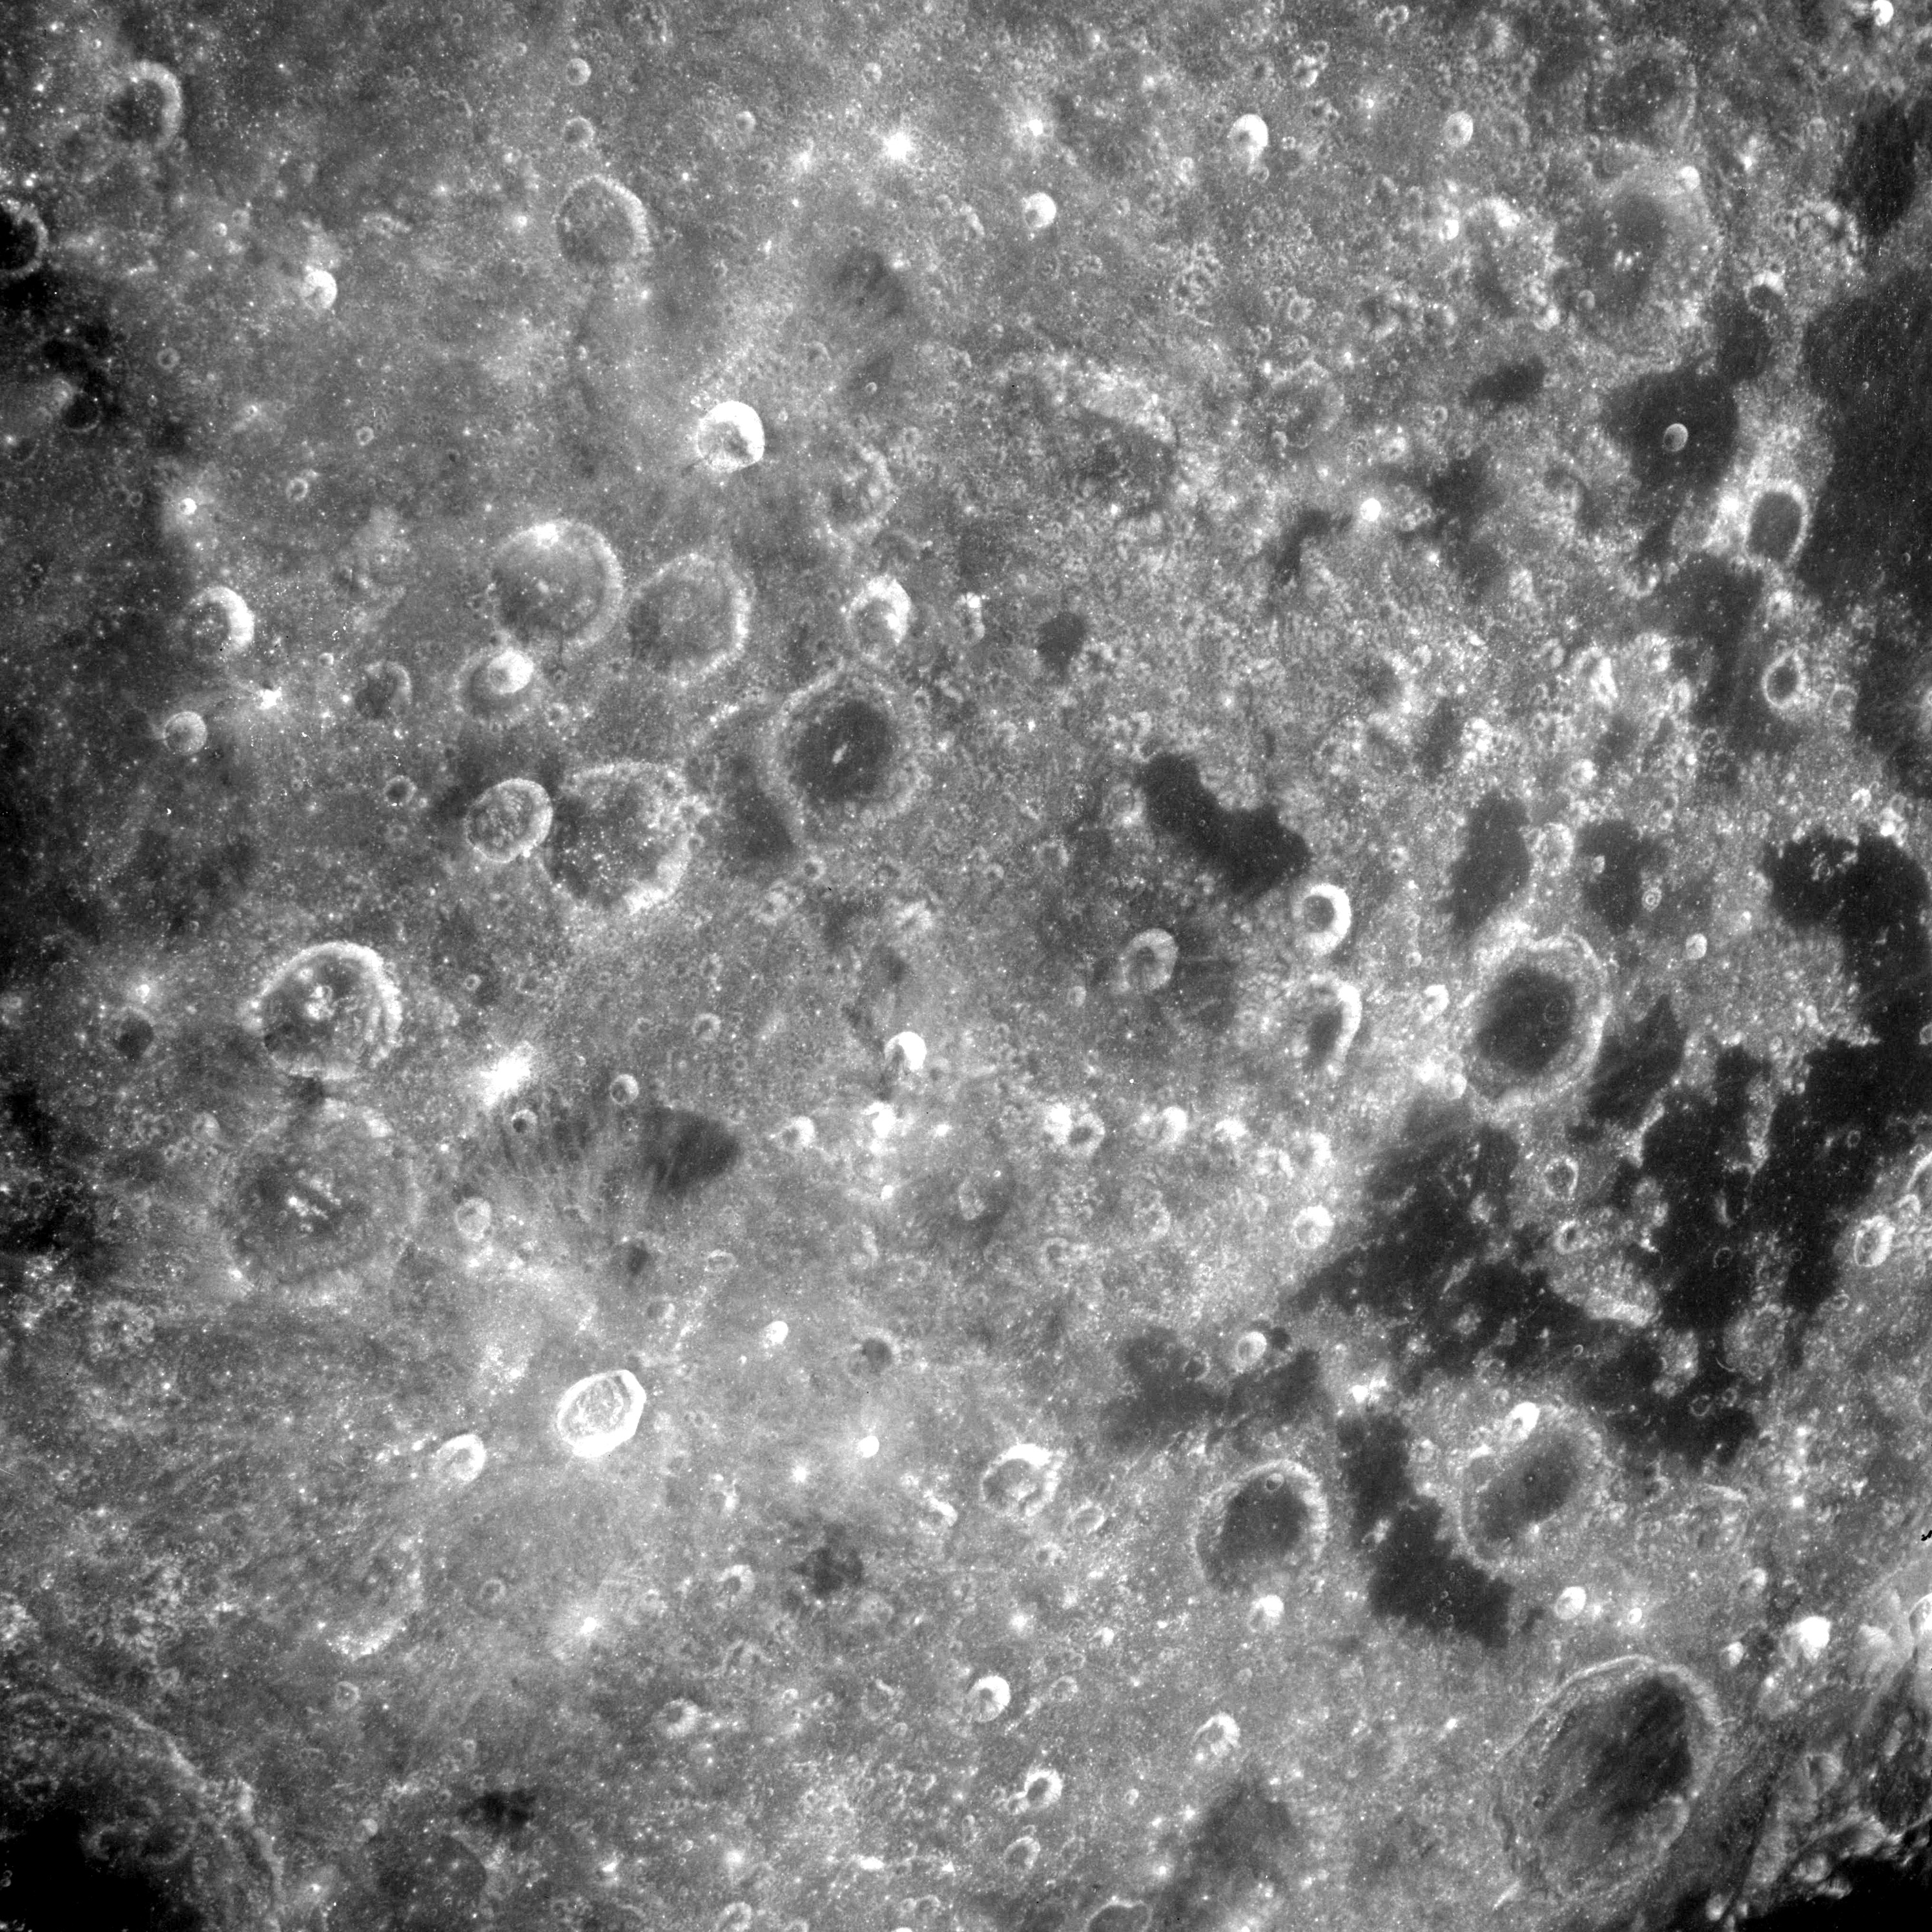 |
AS08-12-2205 No description. Image credit: Image Science and Analysis Laboratory, NASA-Johnson Space Center. |
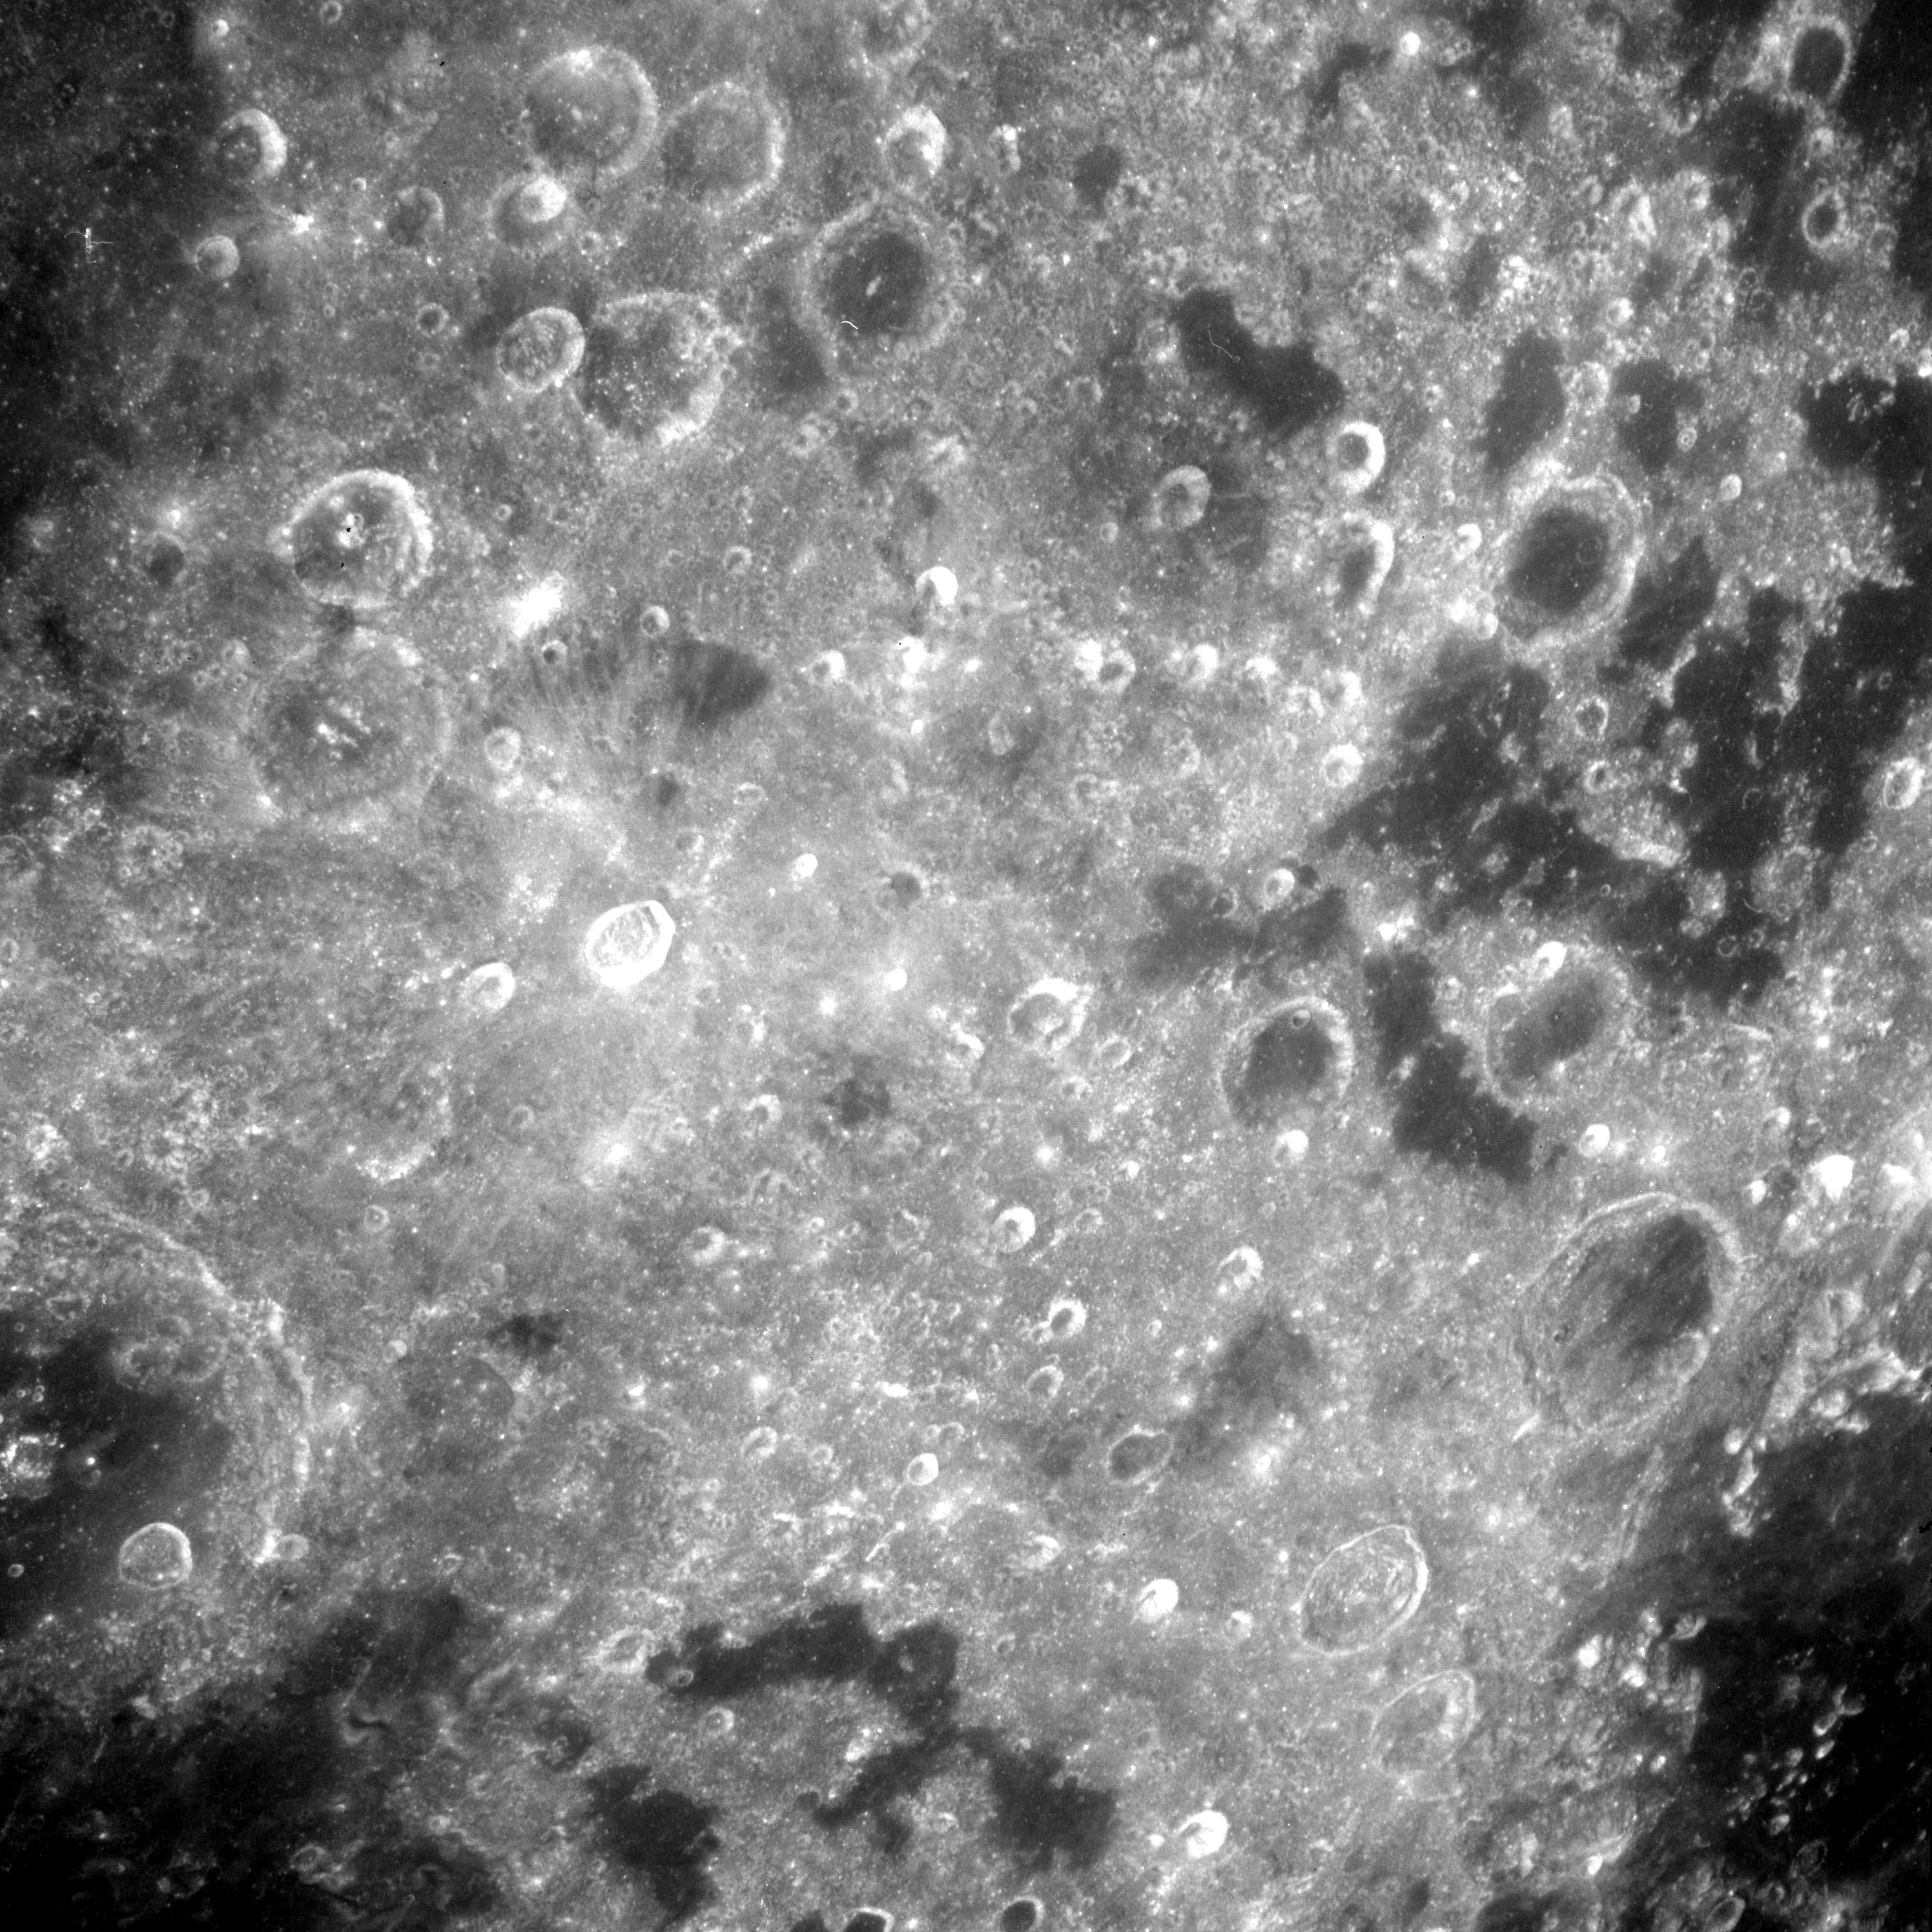 |
AS08-12-2206 No description. Image credit: Image Science and Analysis Laboratory, NASA-Johnson Space Center. |
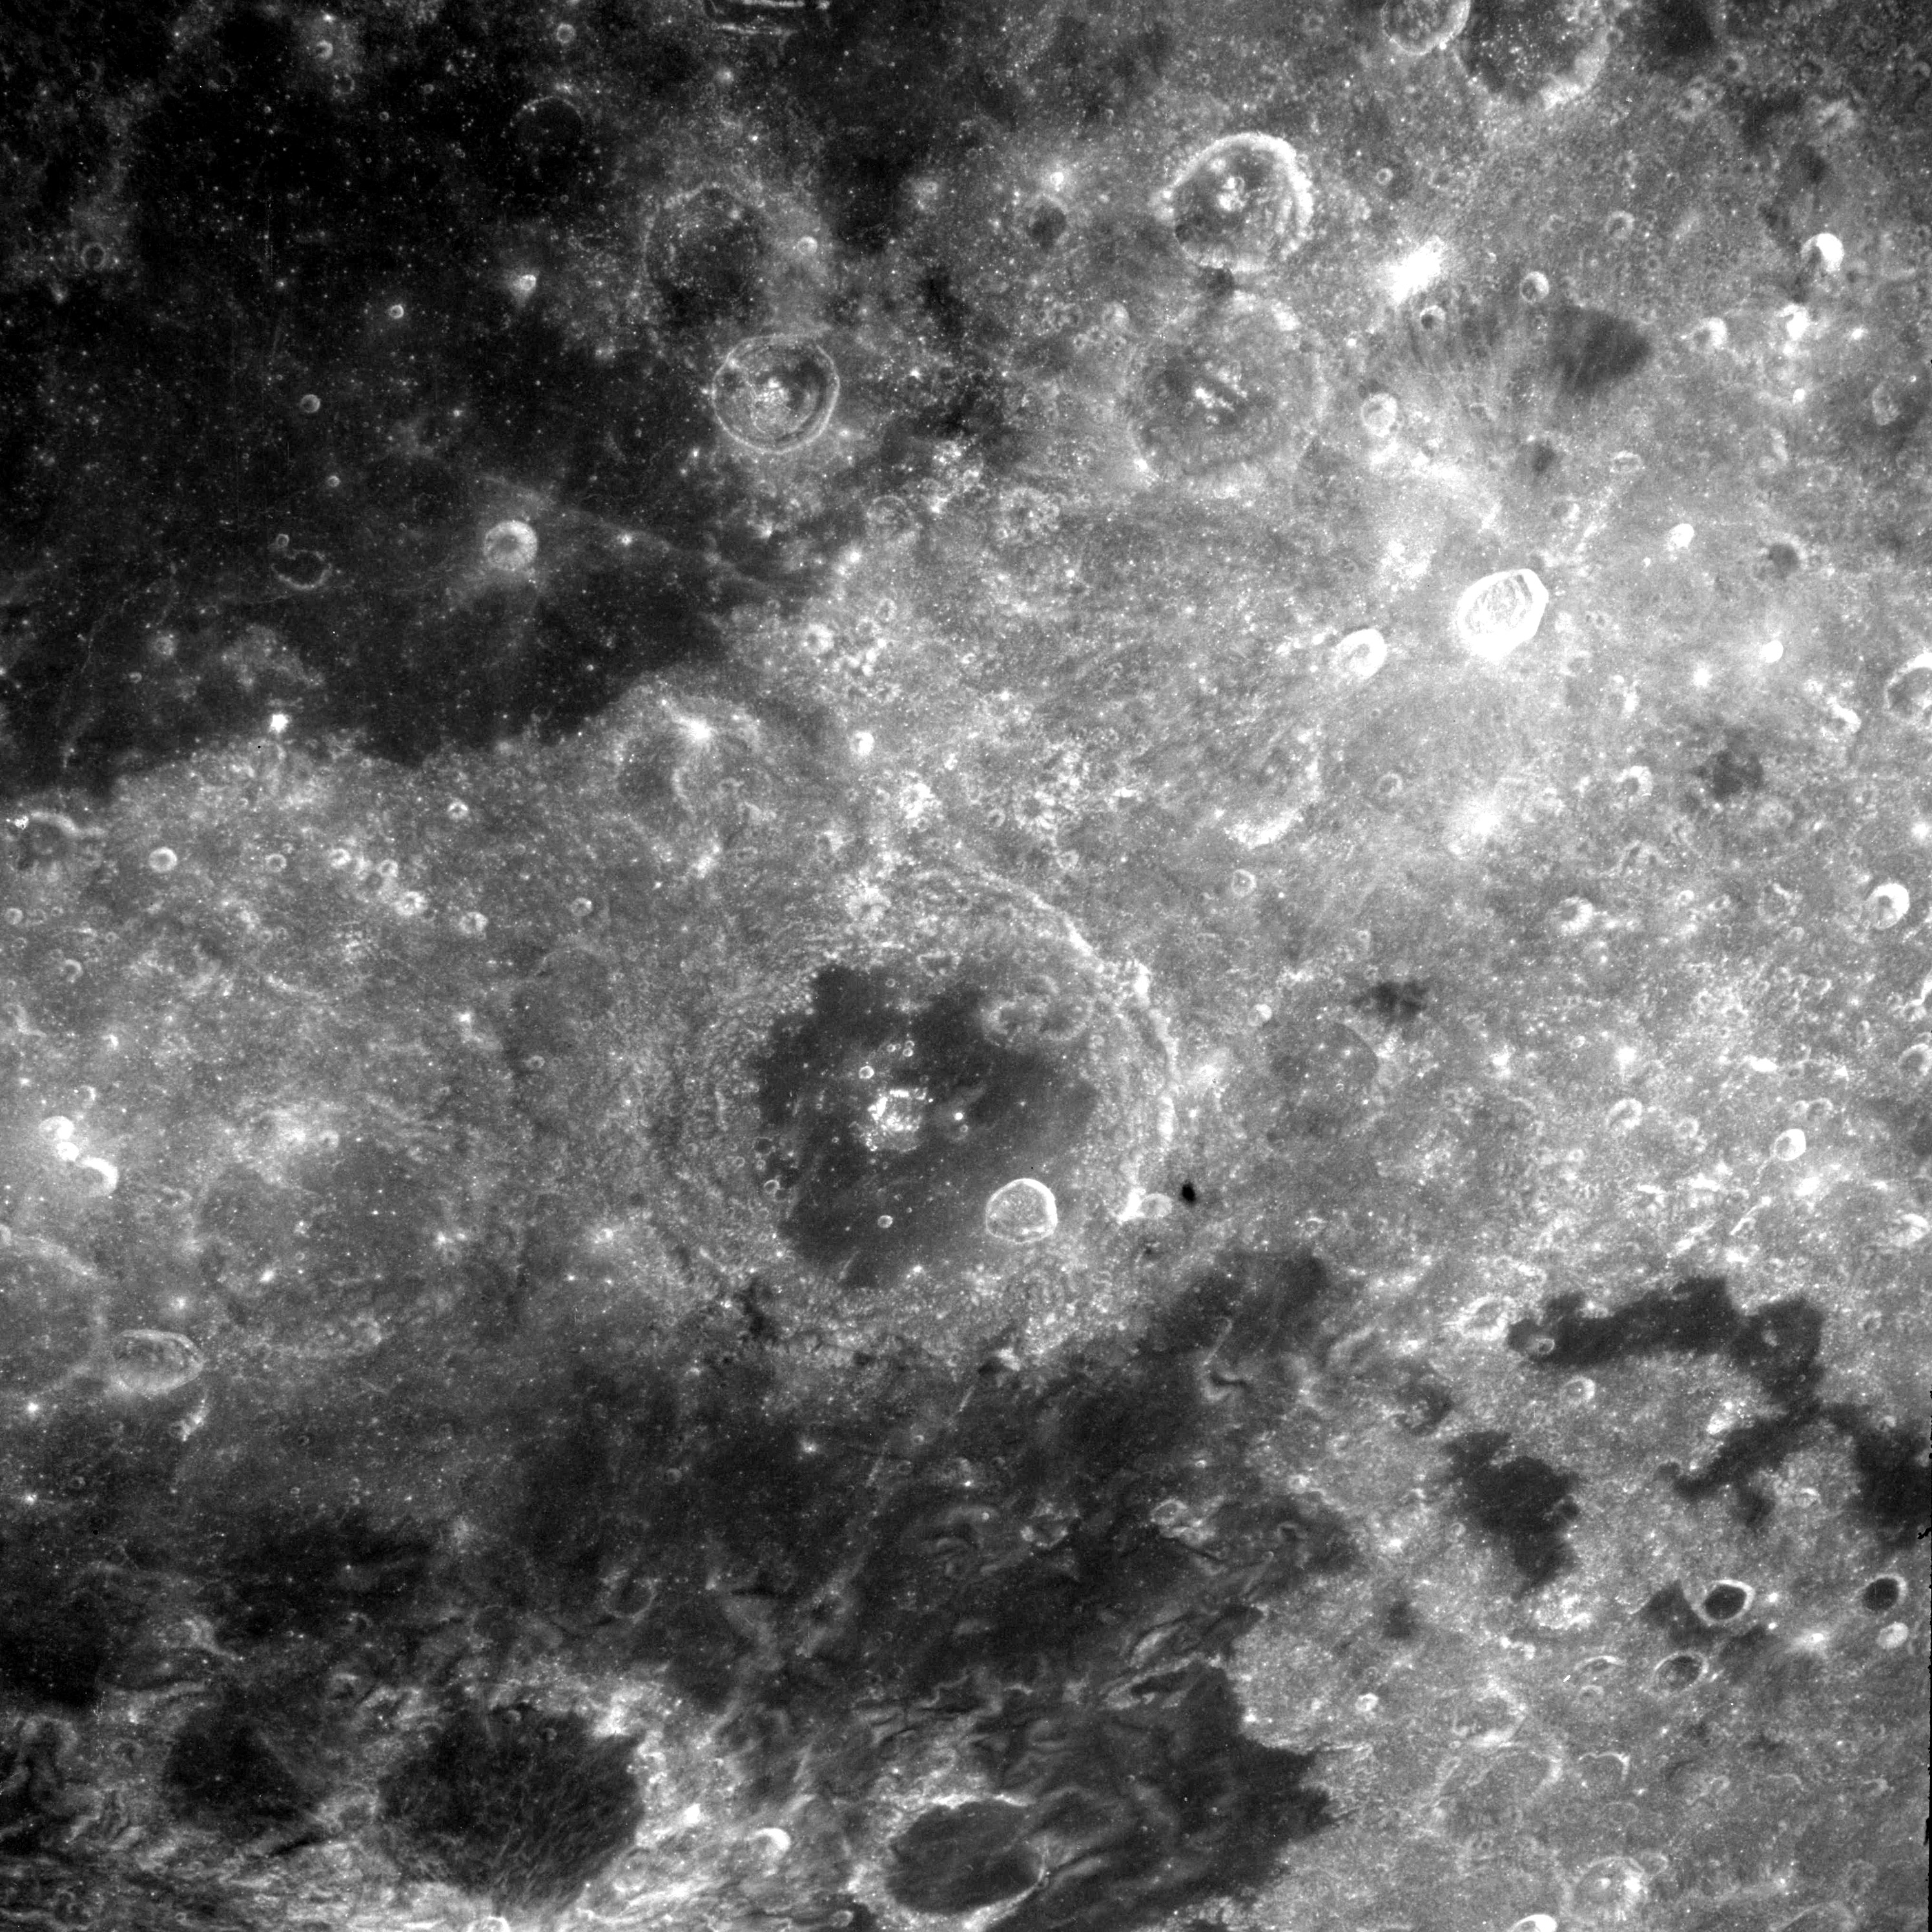 |
AS08-12-2207 No description. Image credit: Image Science and Analysis Laboratory, NASA-Johnson Space Center. |
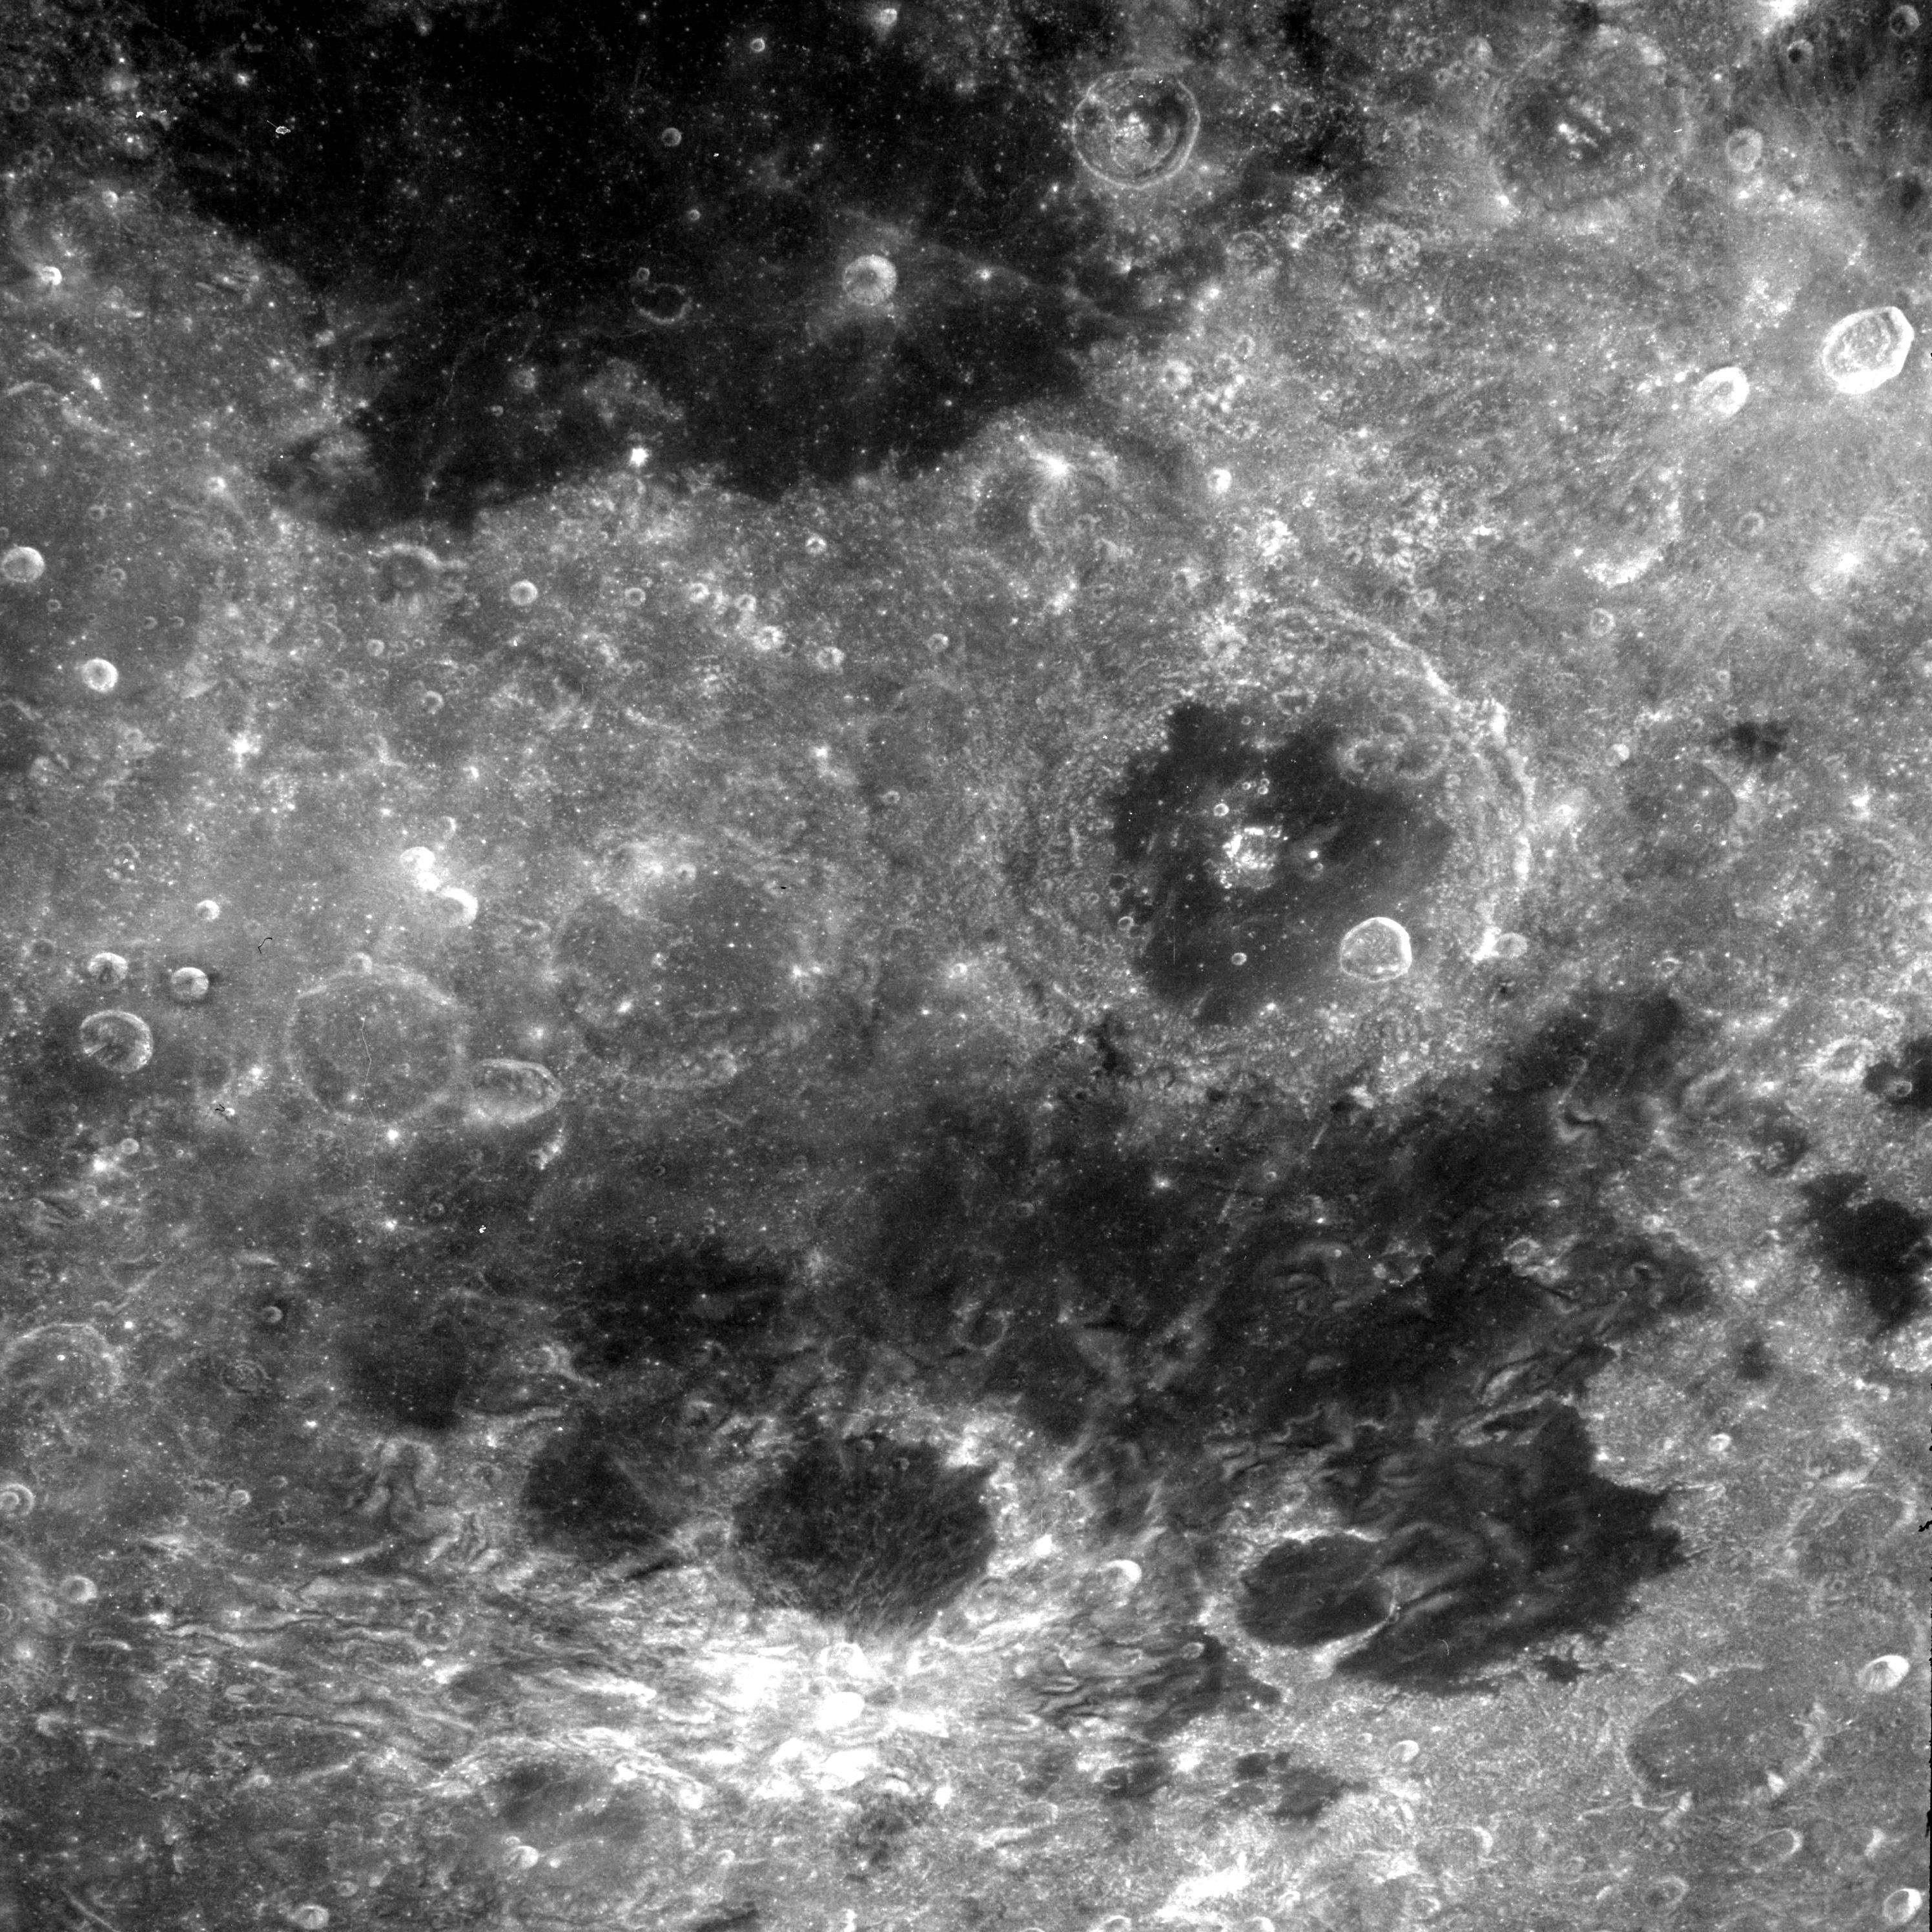 |
AS08-12-2208 No description. Image credit: Image Science and Analysis Laboratory, NASA-Johnson Space Center. |
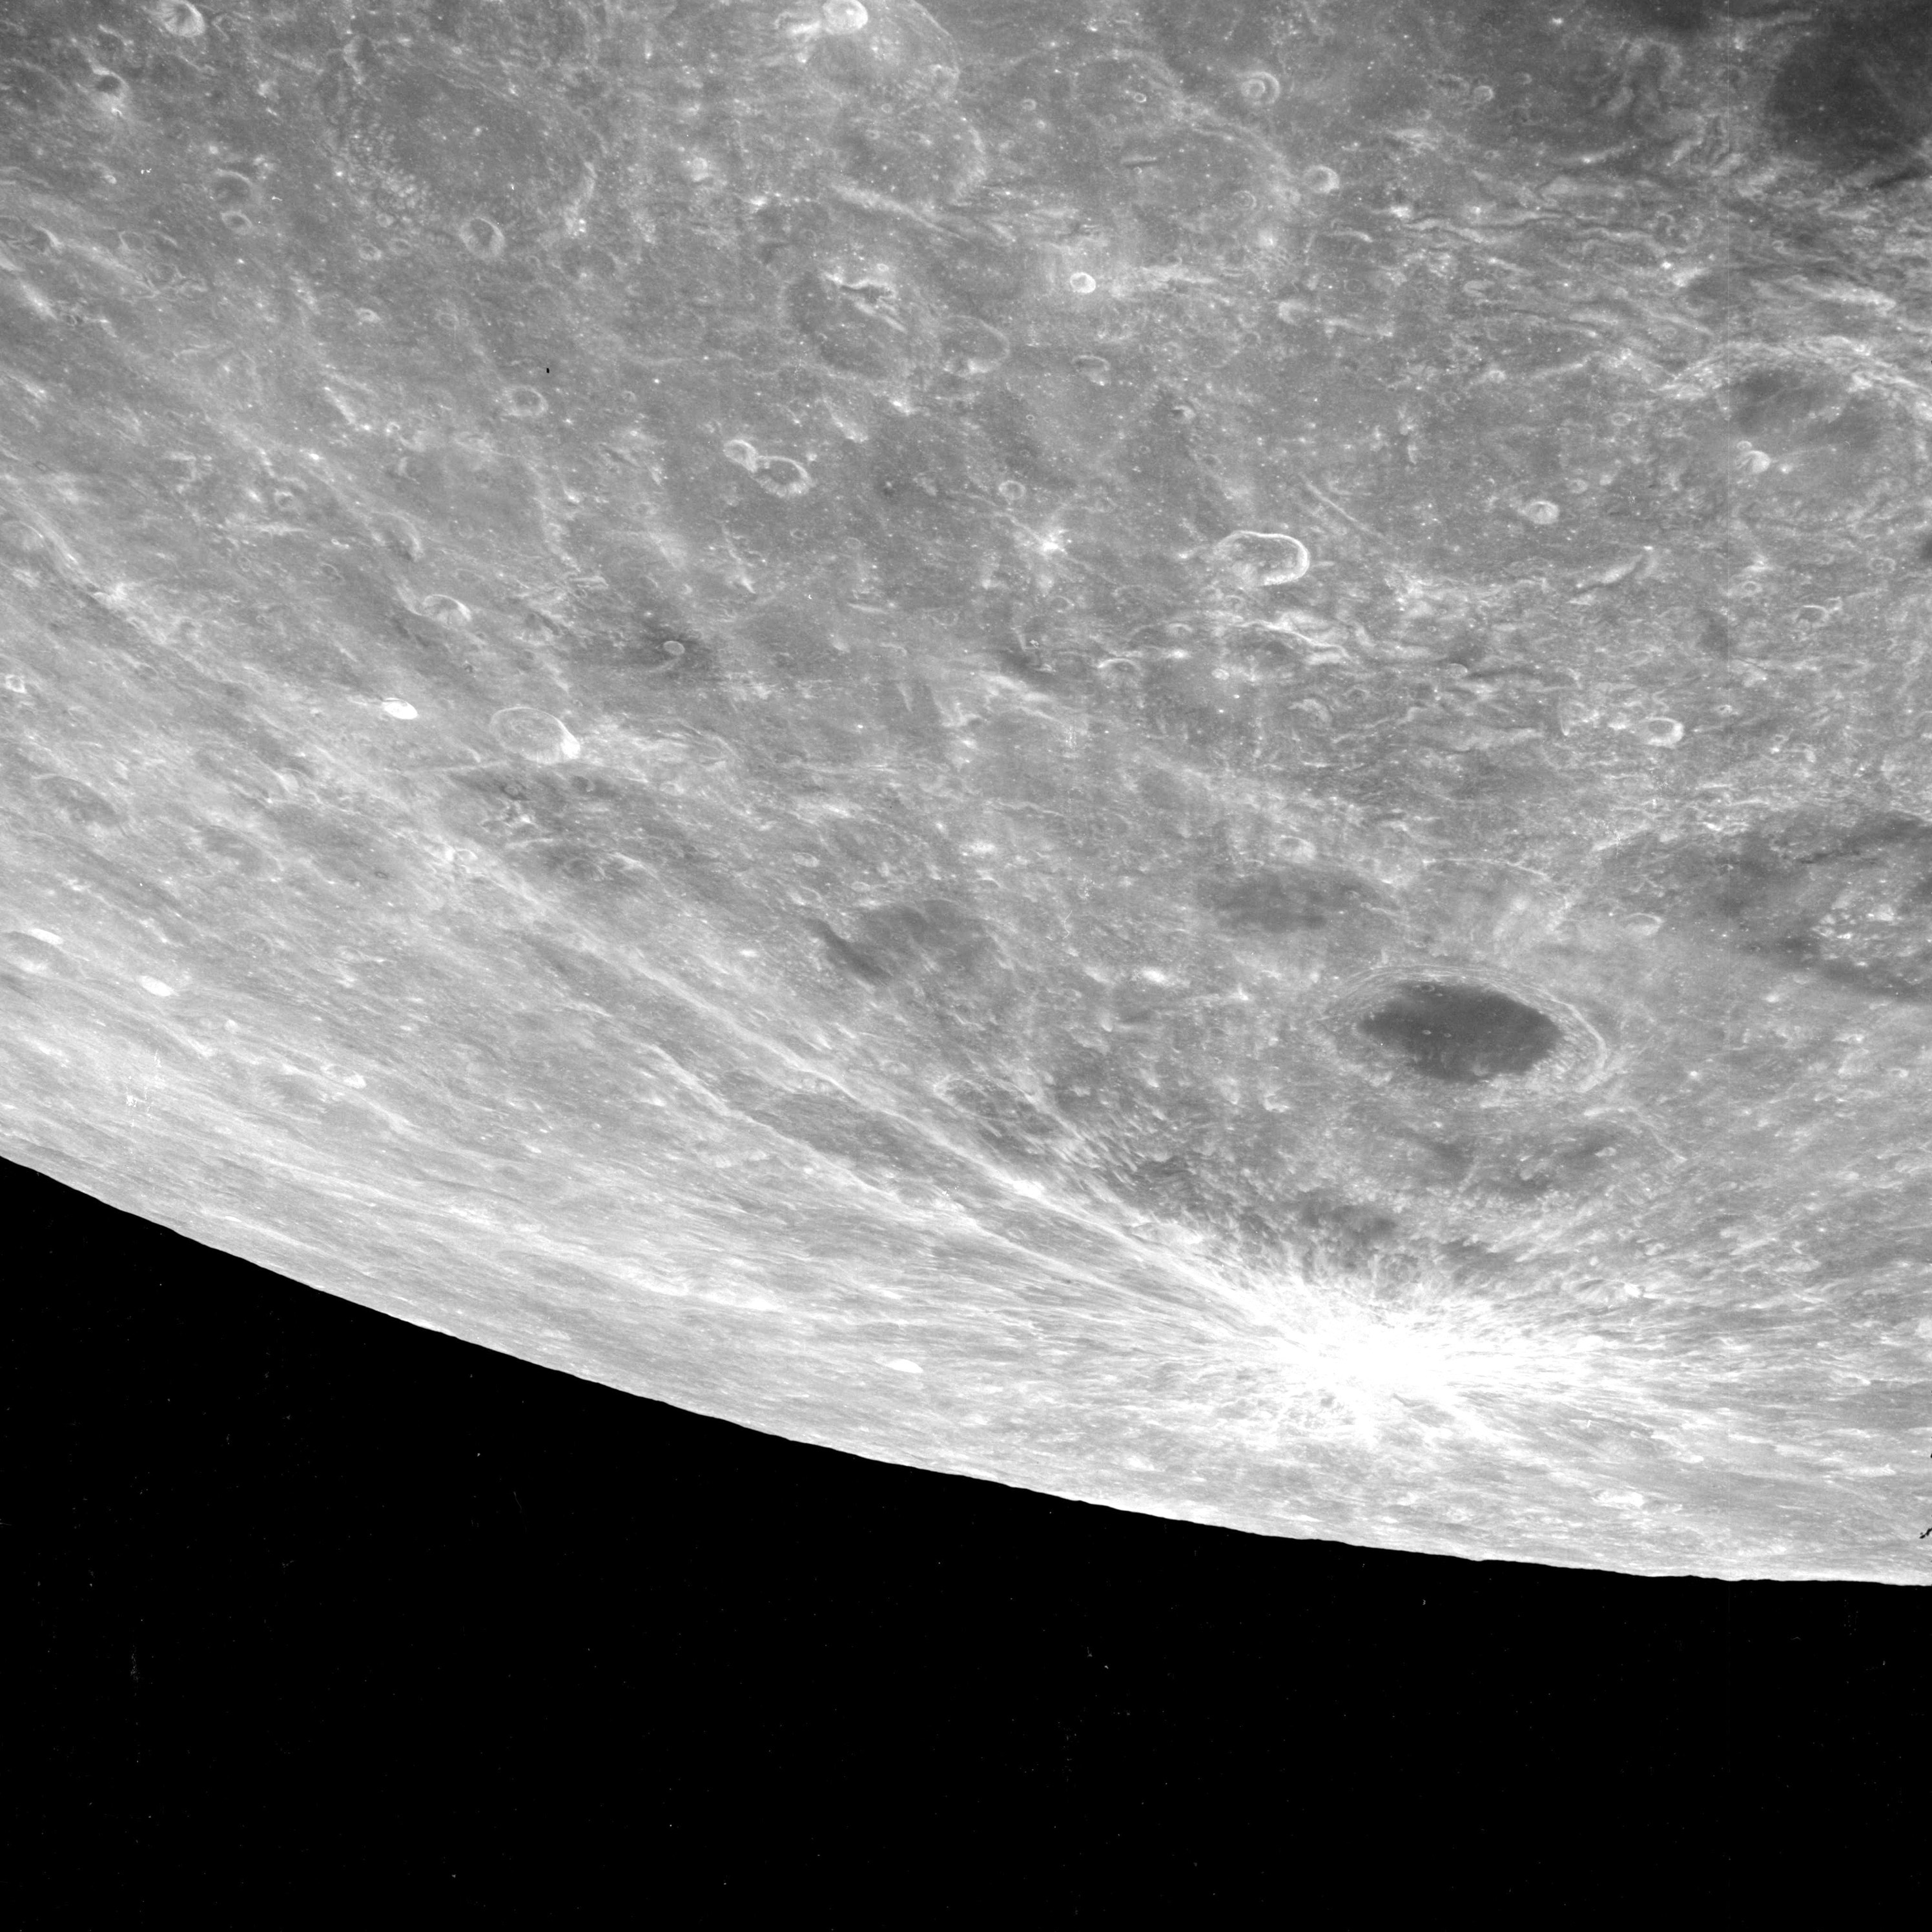 |
AS08-12-2209 No description. Image credit: Image Science and Analysis Laboratory, NASA-Johnson Space Center. |
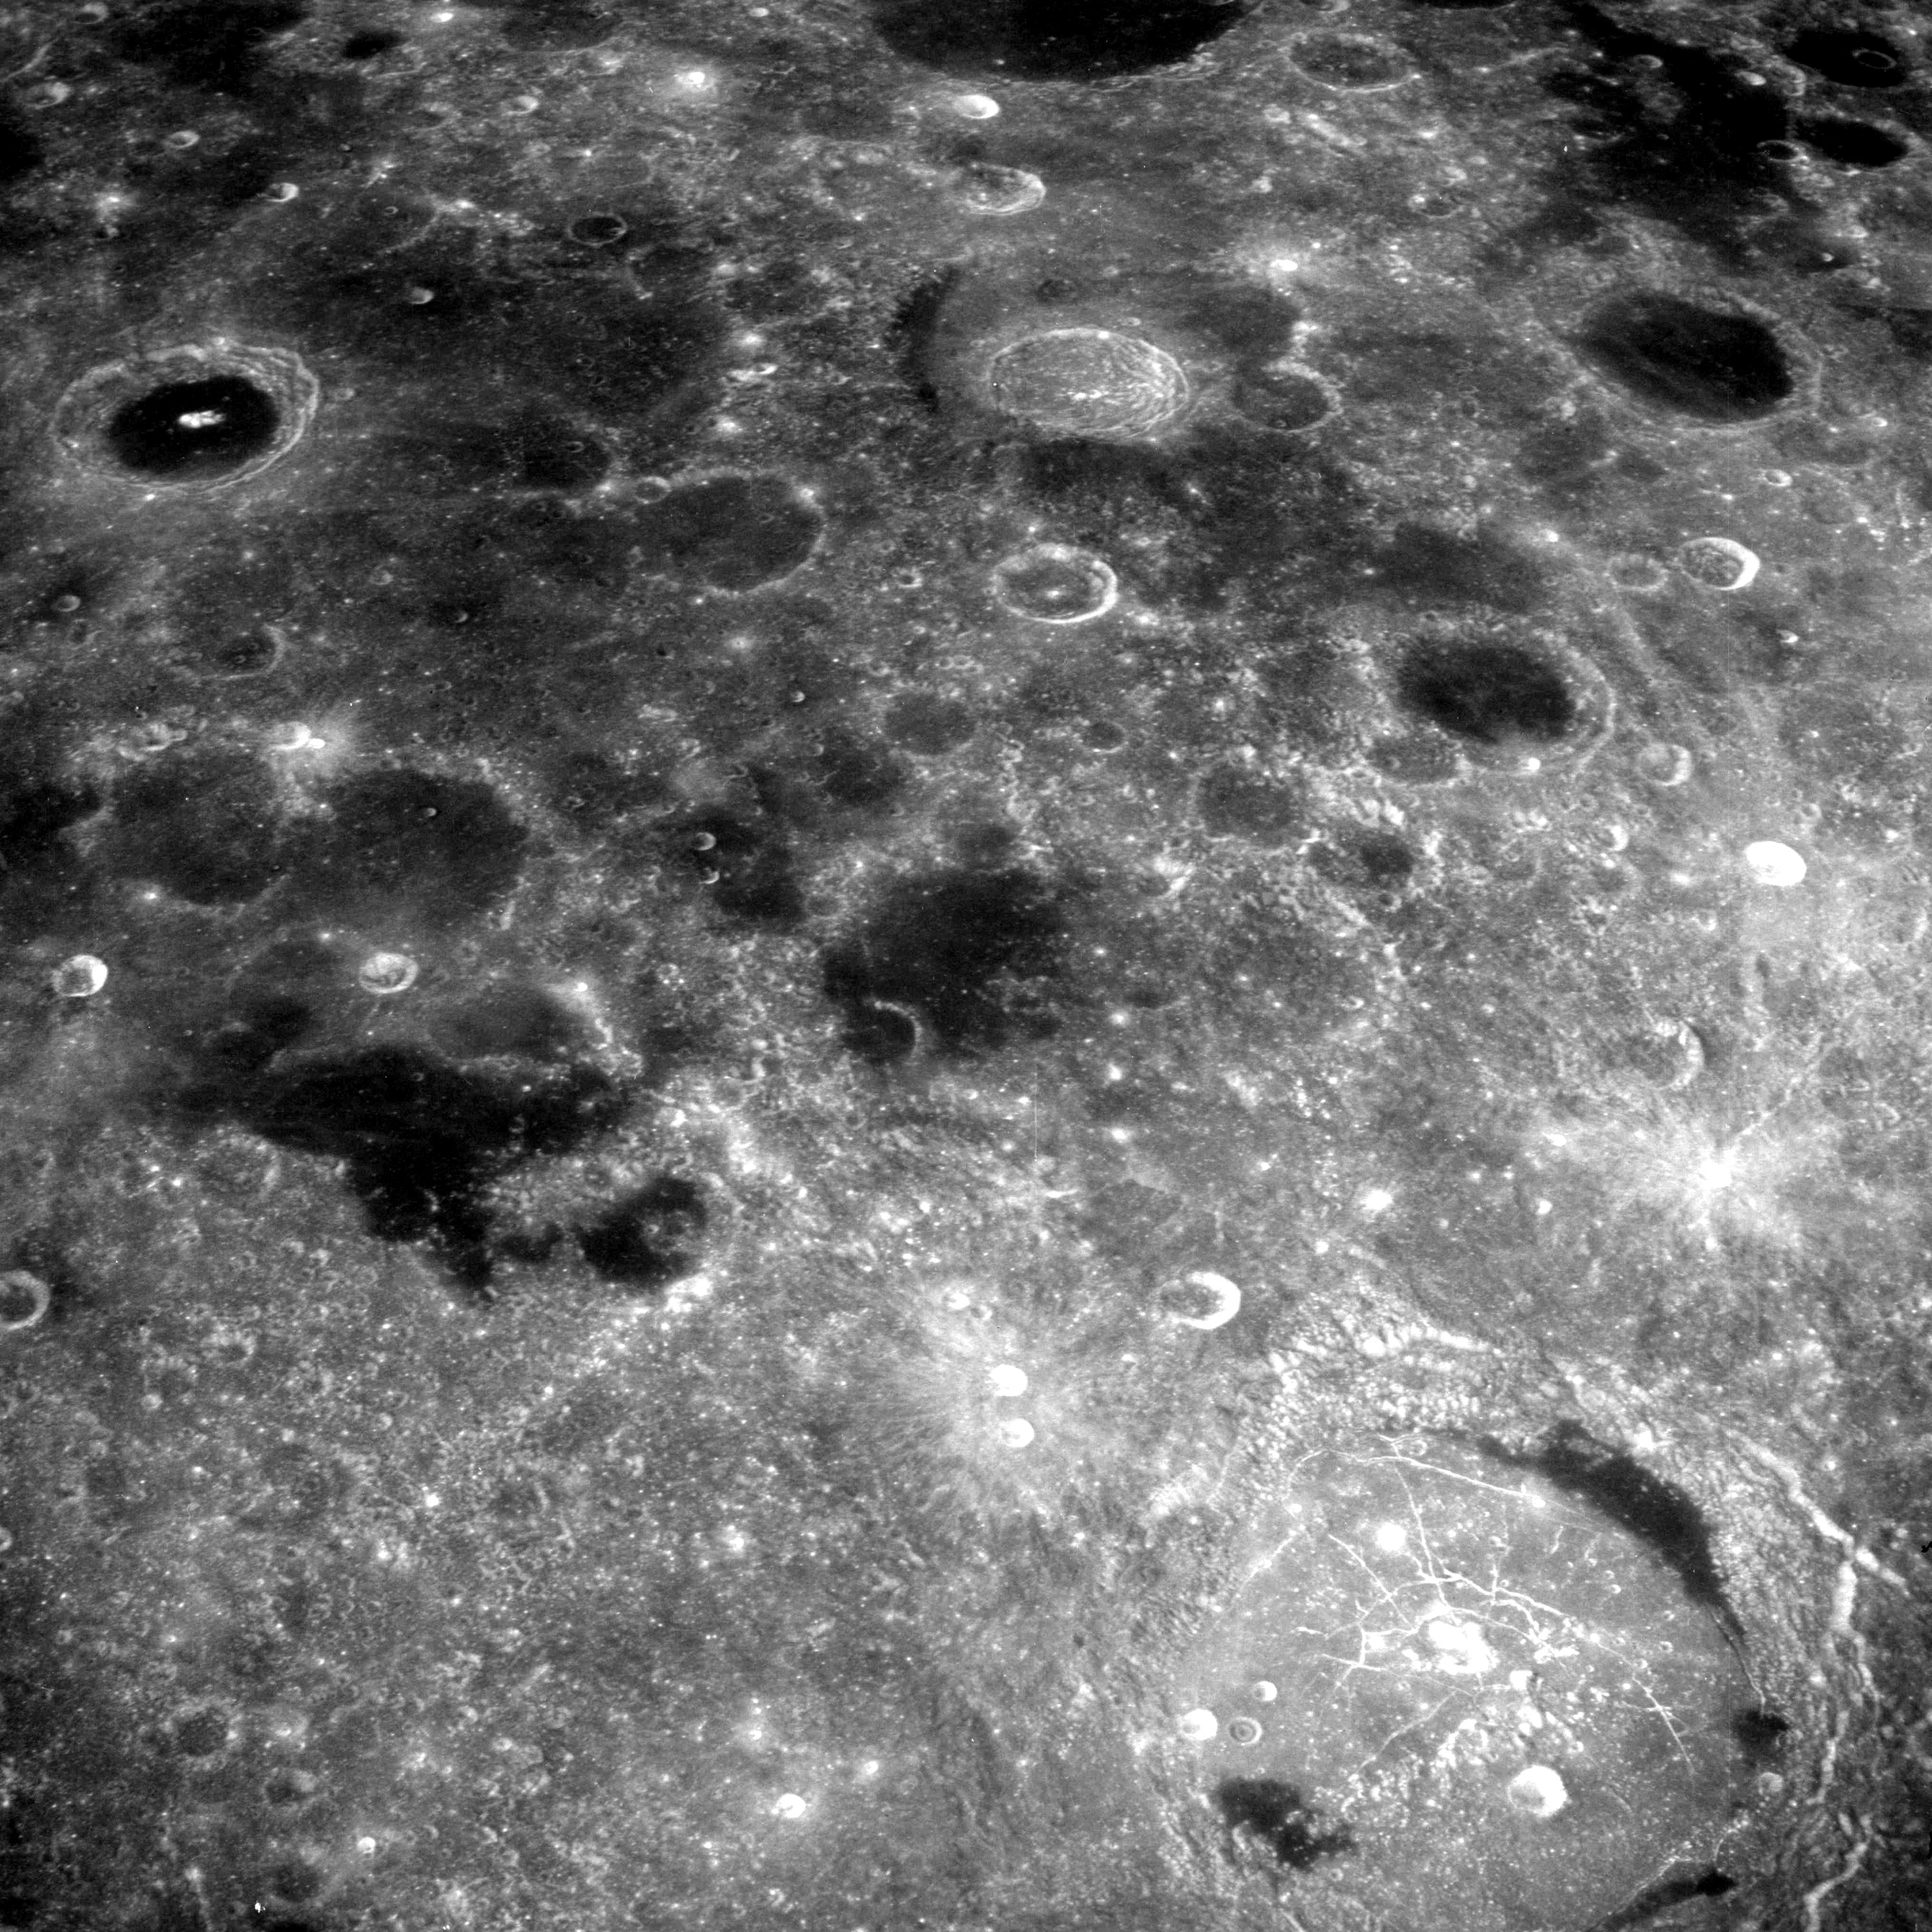 |
AS08-12-2210 No description. Image credit: Image Science and Analysis Laboratory, NASA-Johnson Space Center. |
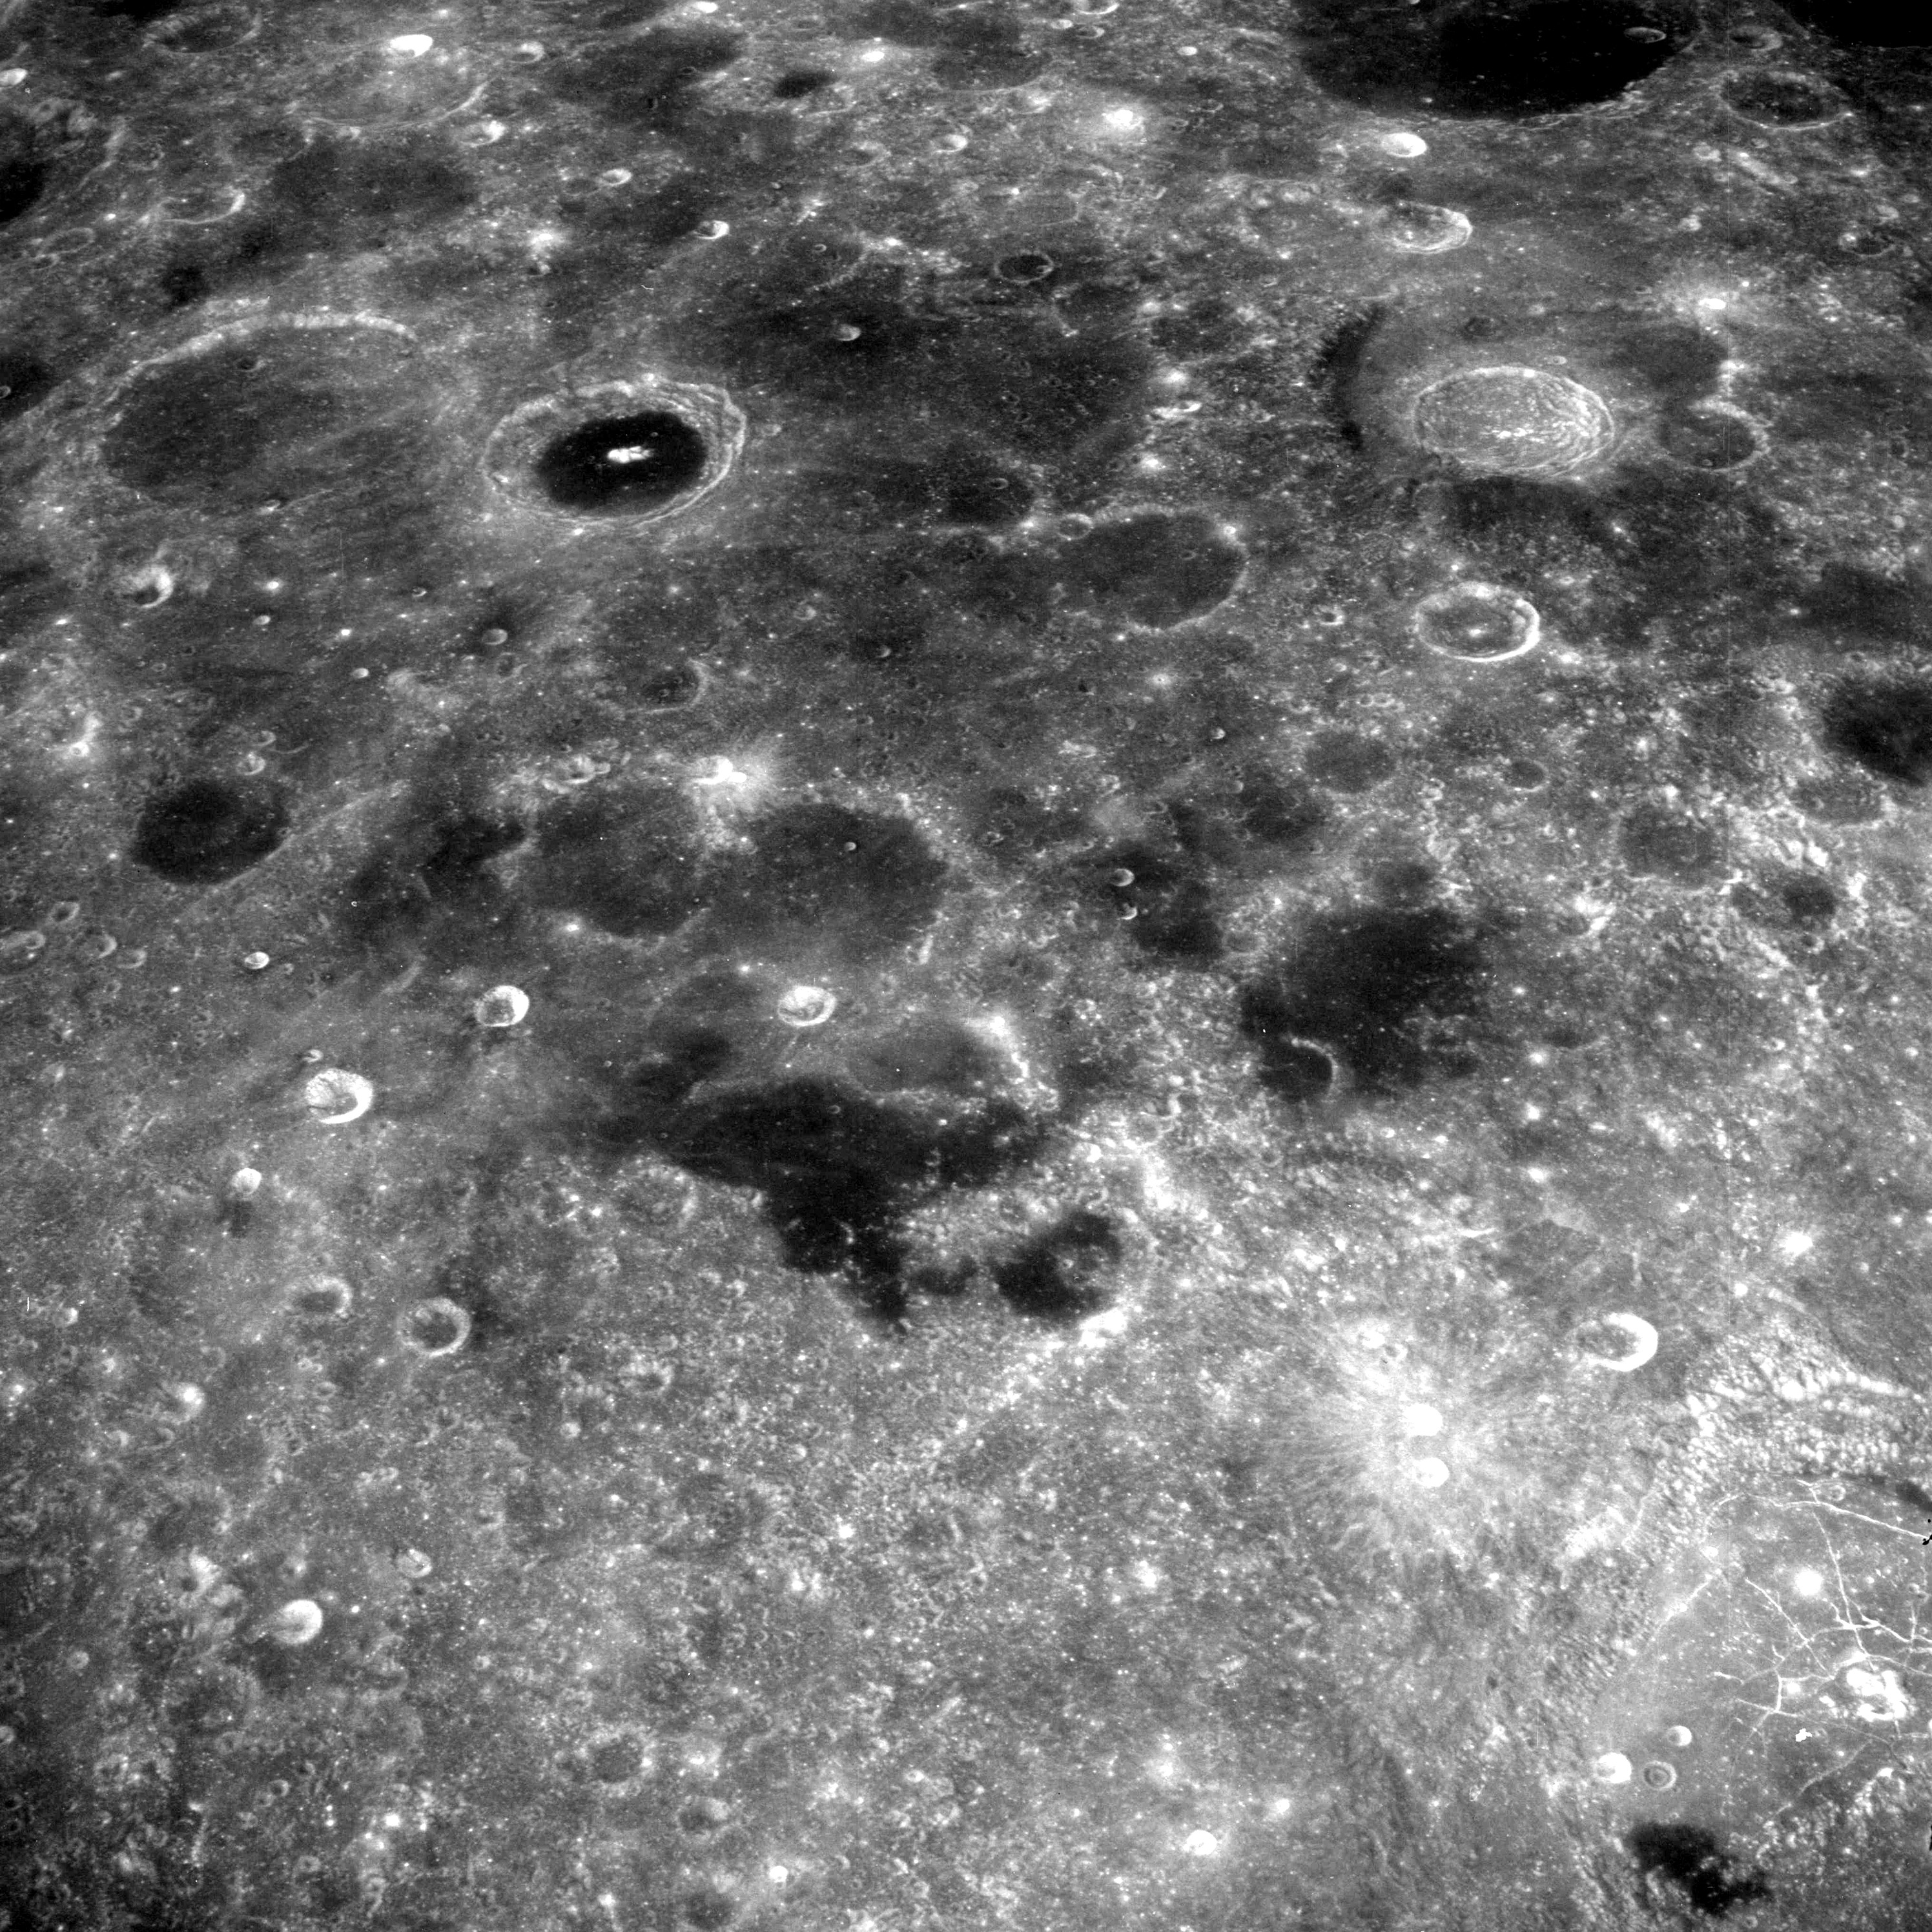 |
AS08-12-2211 No description. Image credit: Image Science and Analysis Laboratory, NASA-Johnson Space Center. |
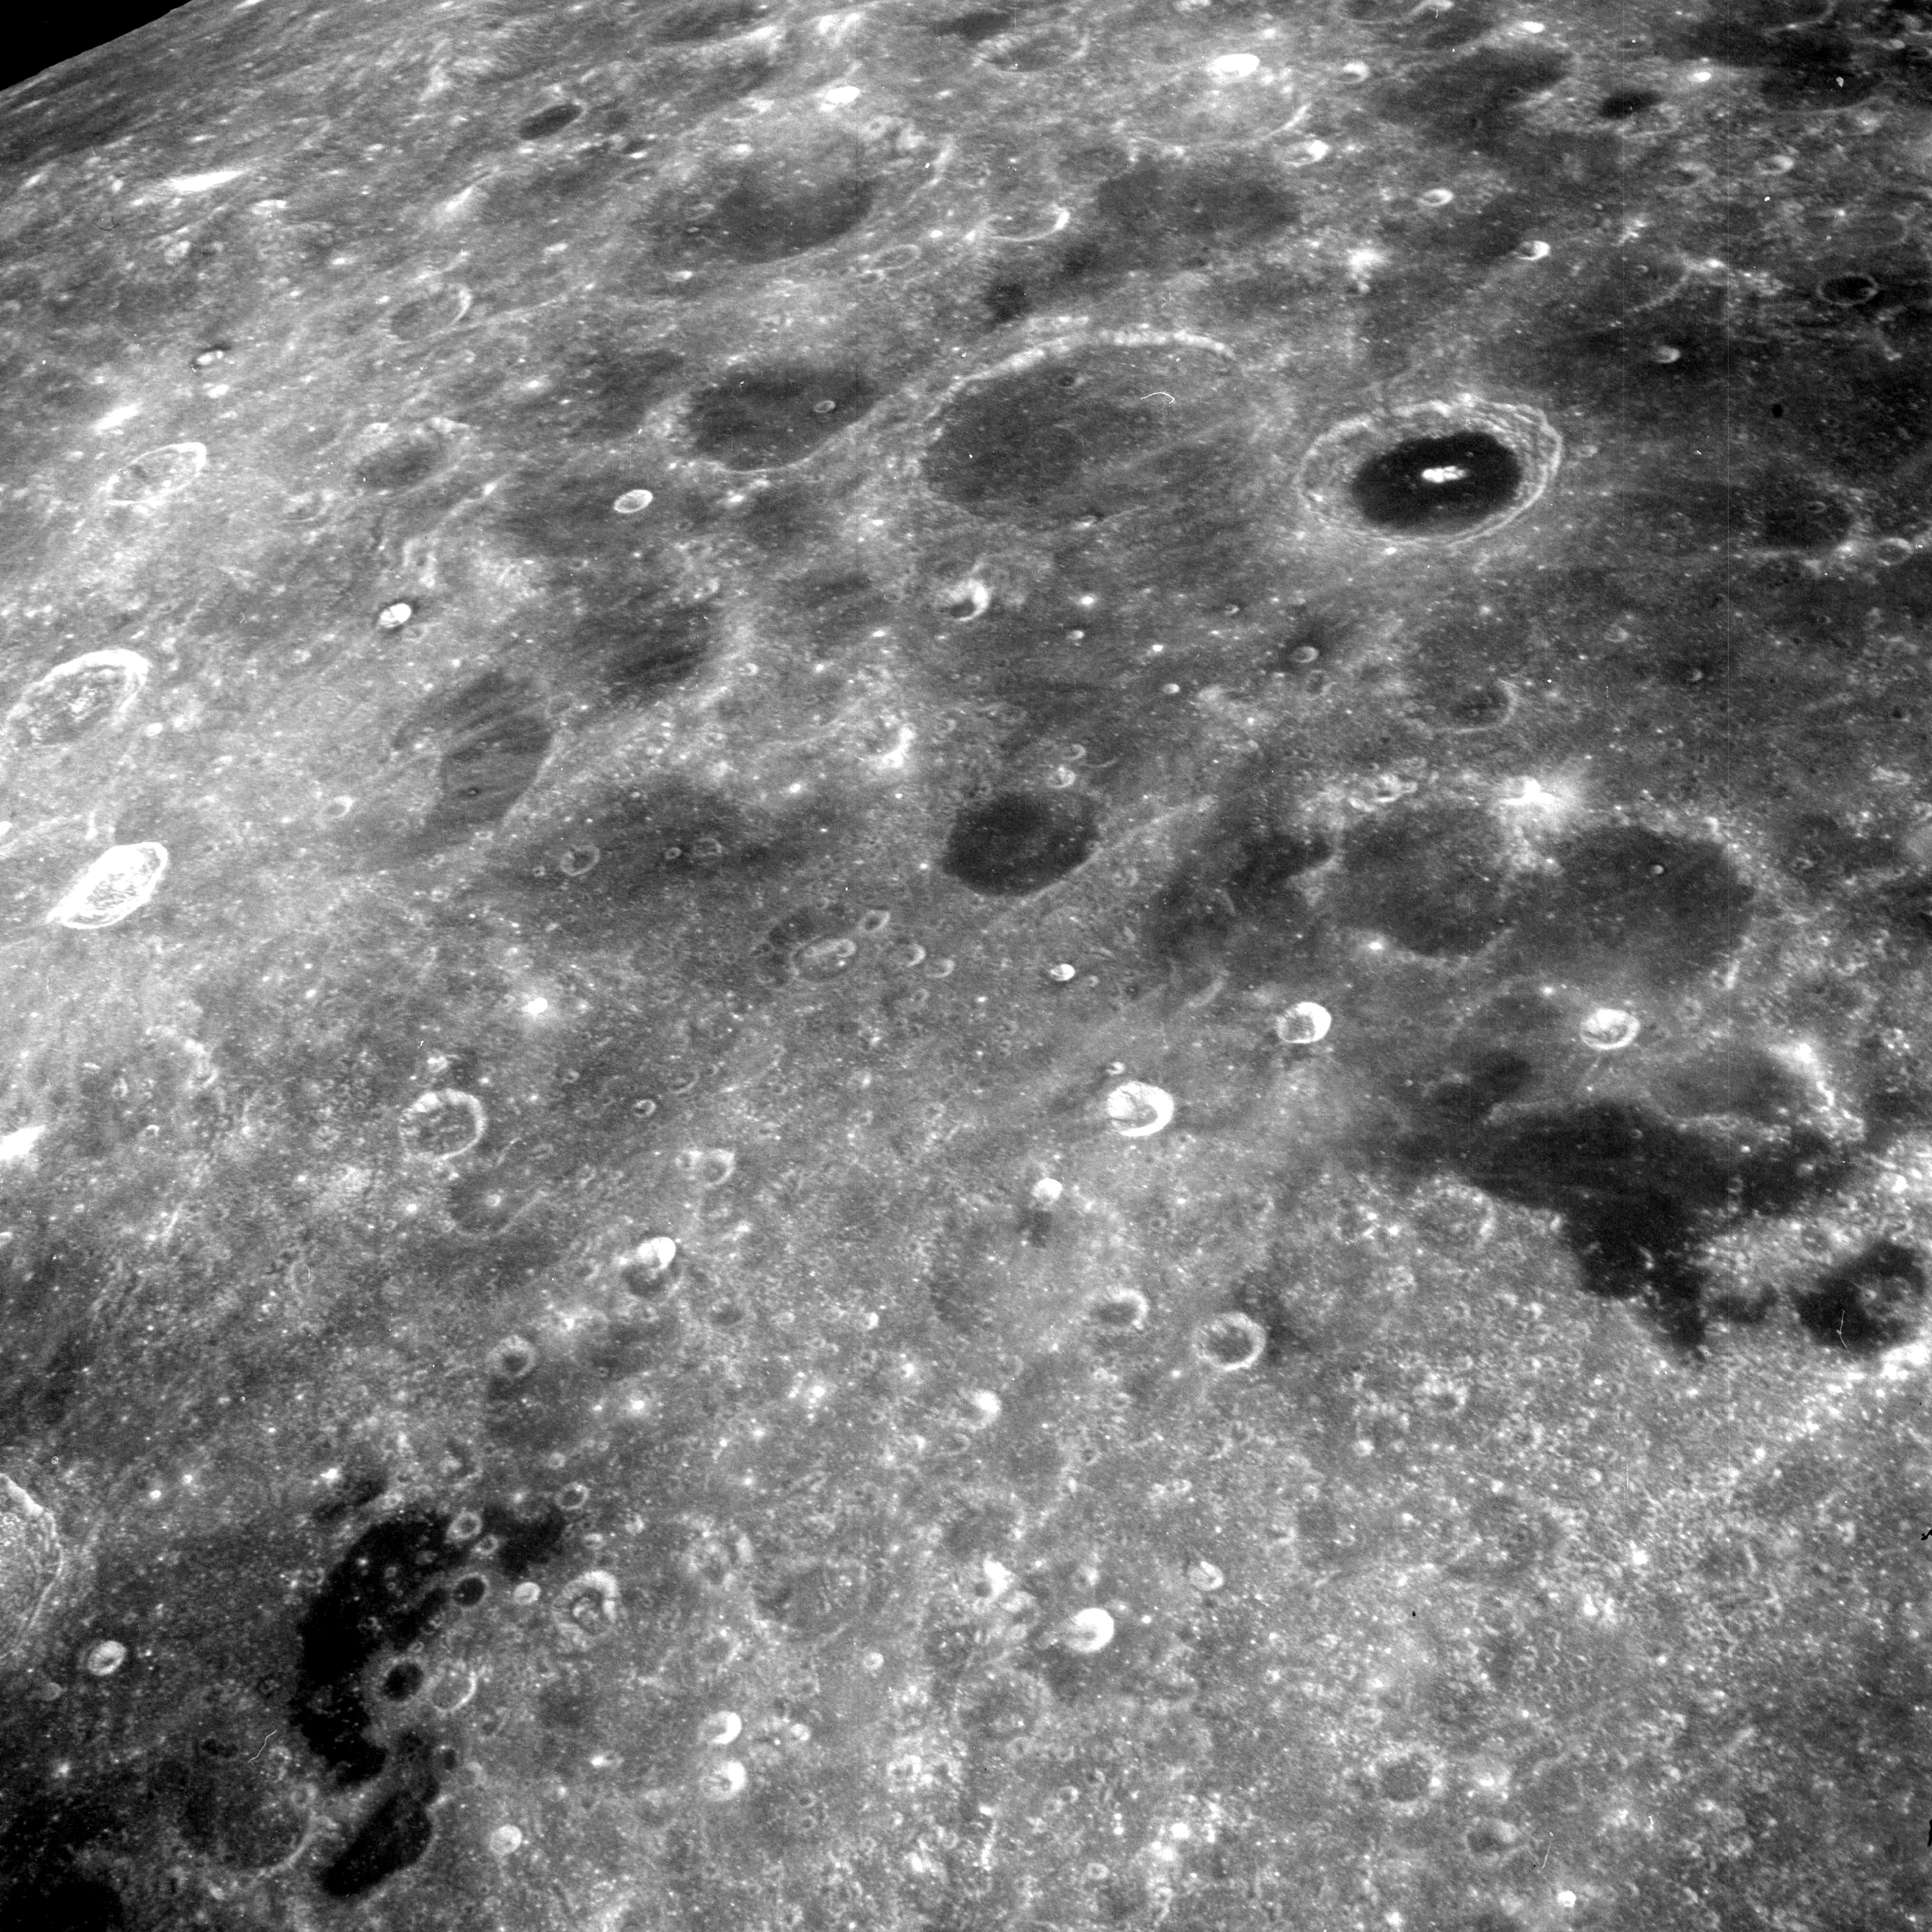 |
AS08-12-2212 No description. Image credit: Image Science and Analysis Laboratory, NASA-Johnson Space Center. |
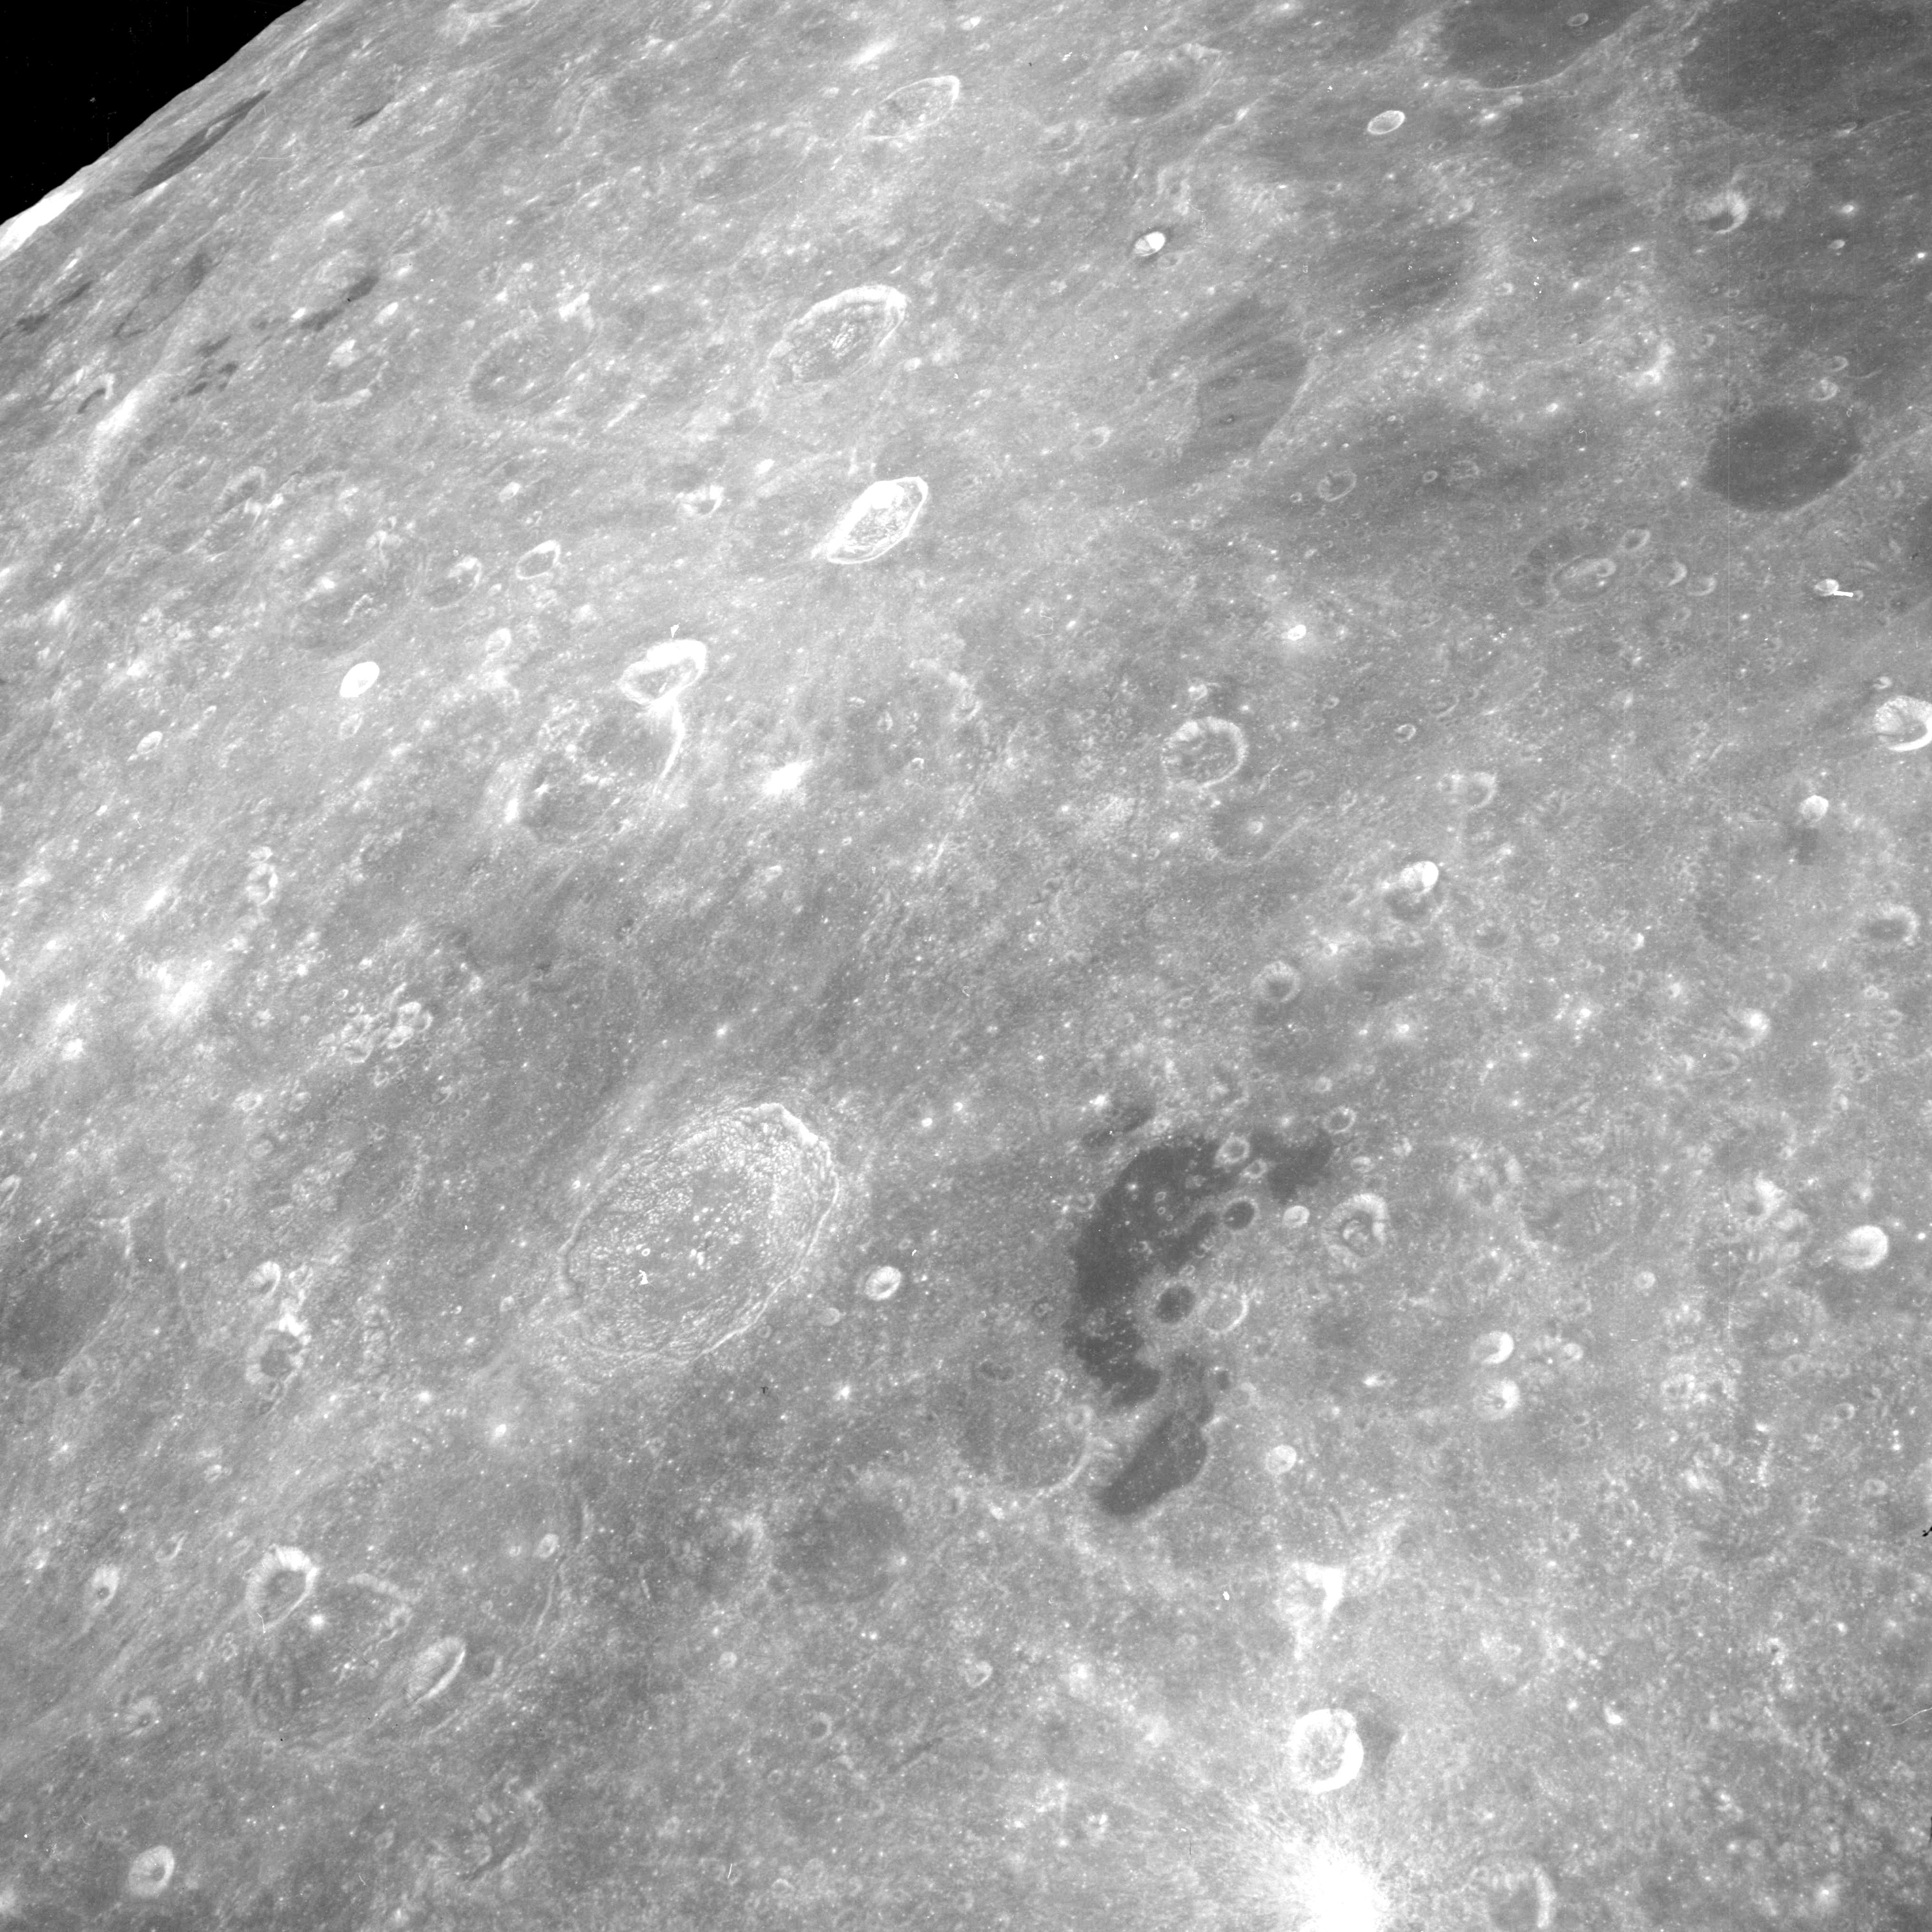 |
AS08-12-2213 No description. Image credit: Image Science and Analysis Laboratory, NASA-Johnson Space Center. |
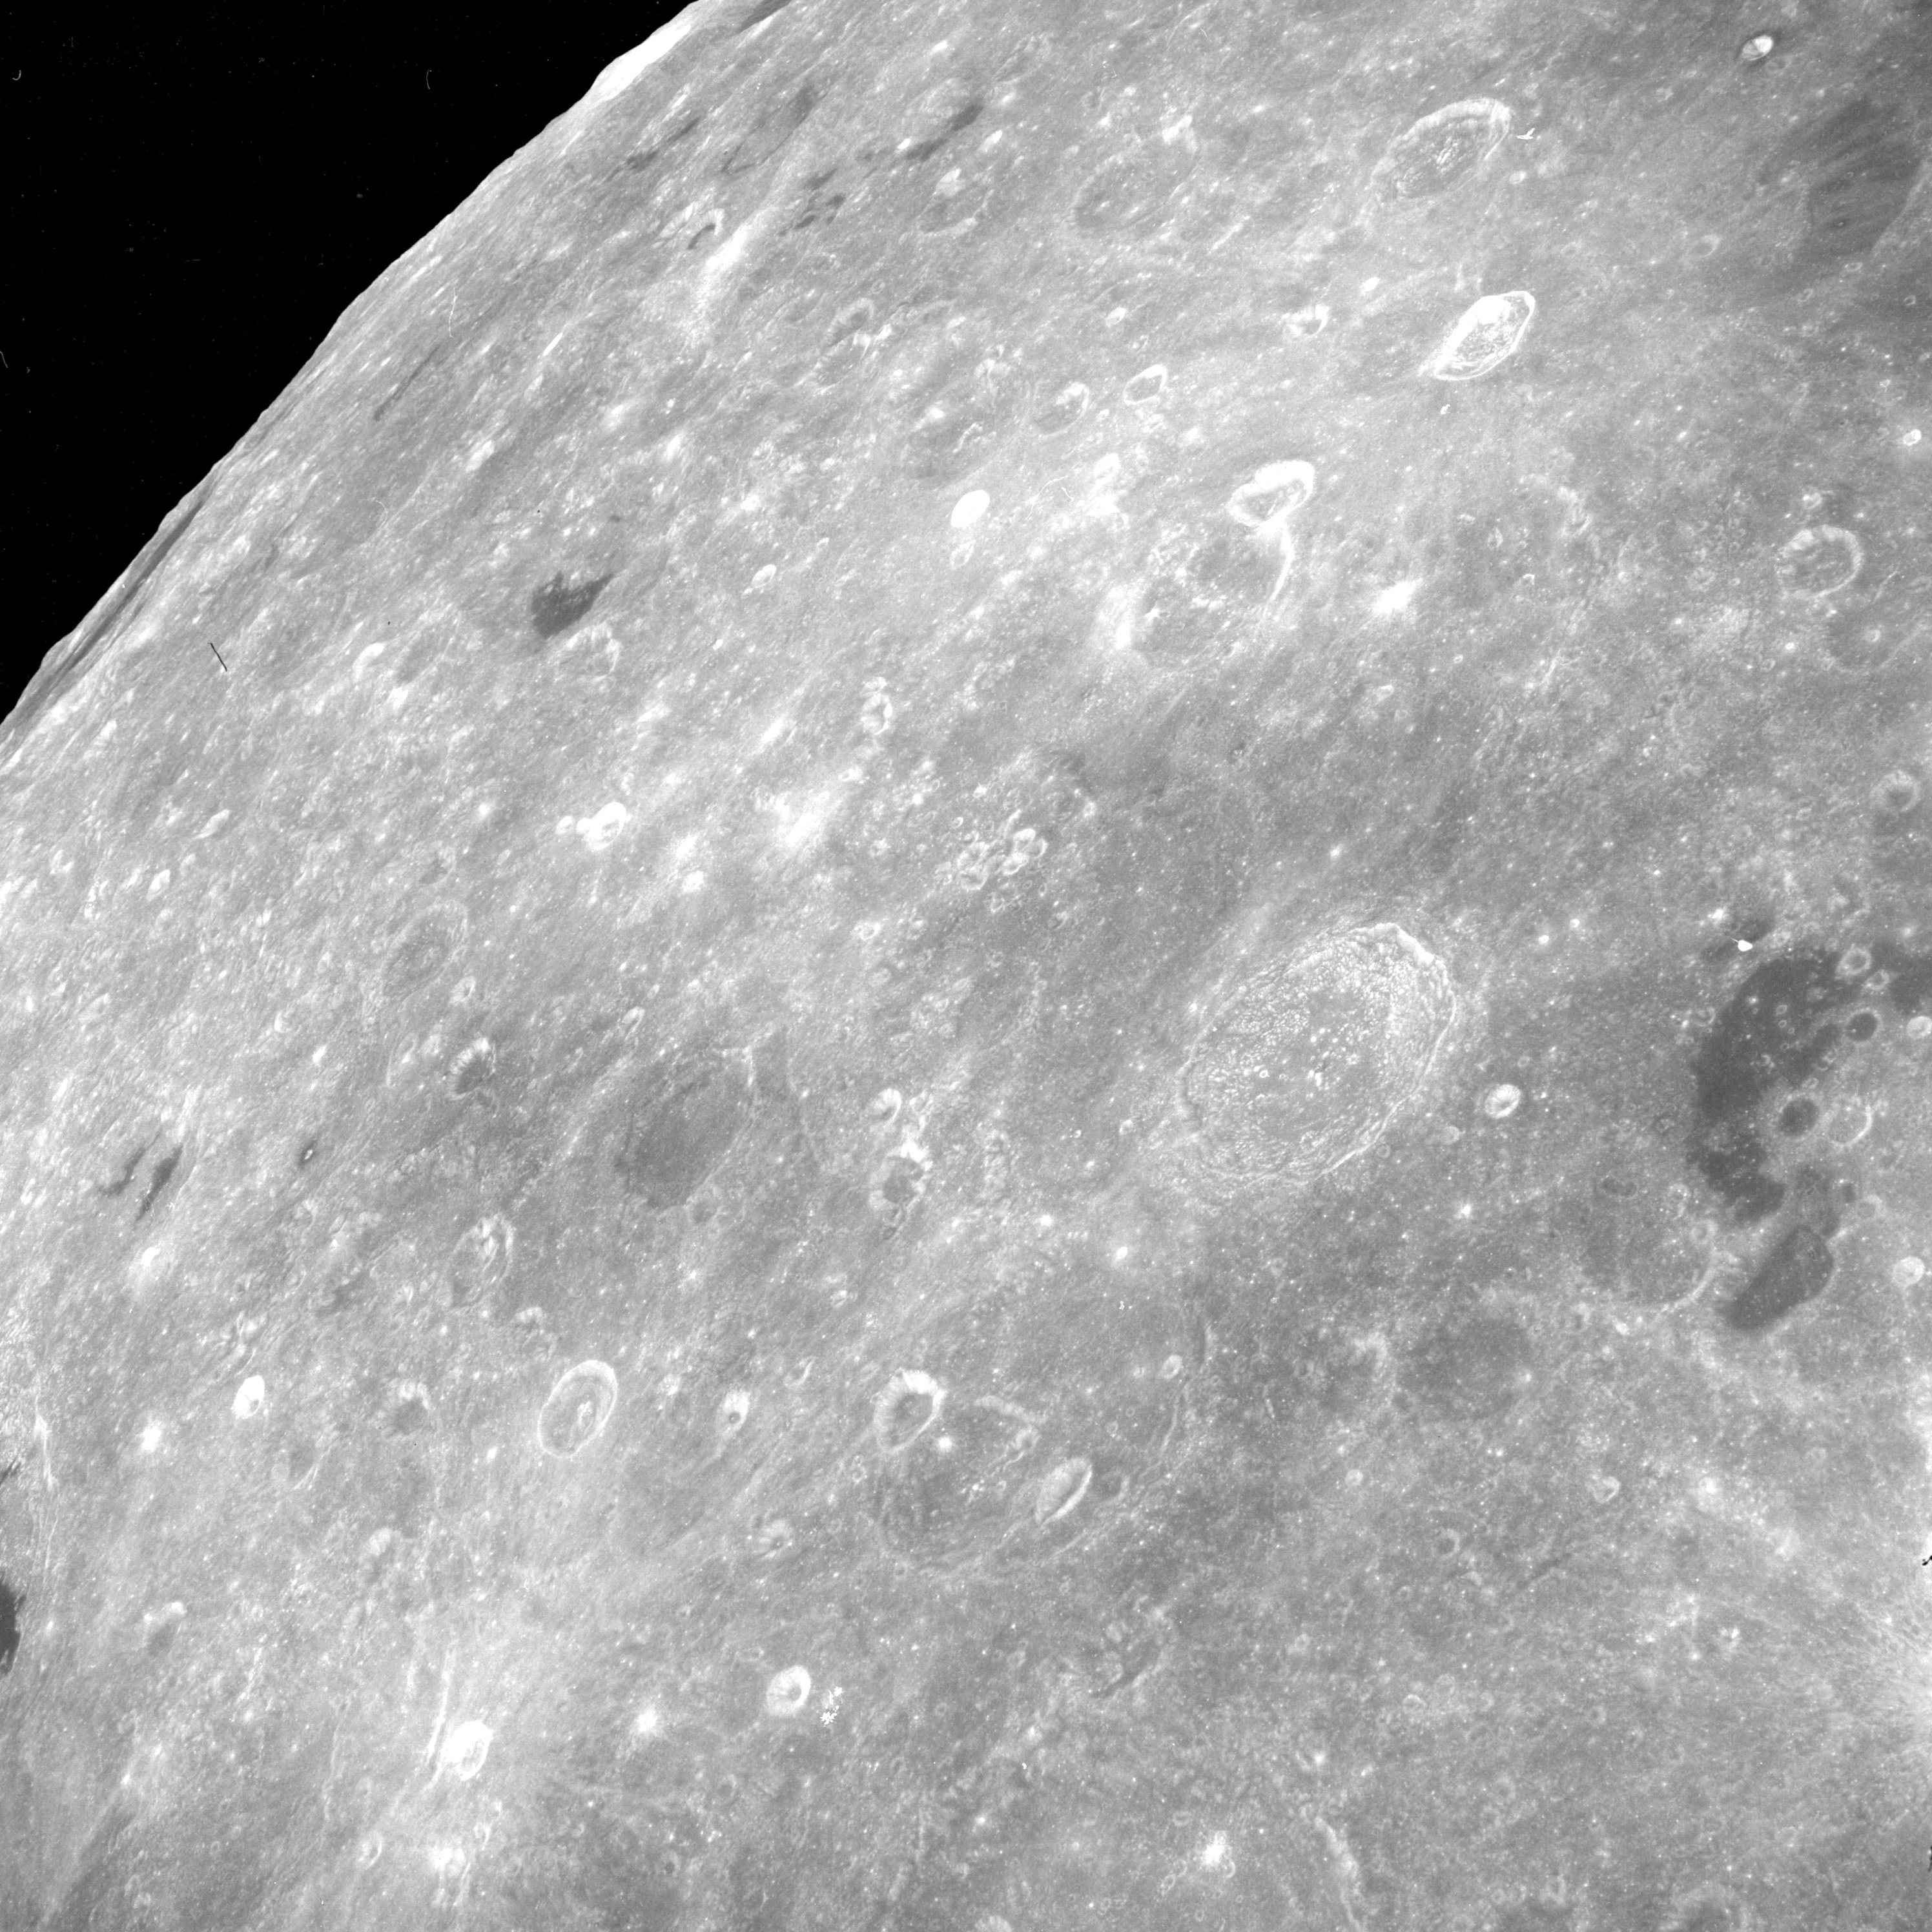 |
AS08-12-2214 No description. Image credit: Image Science and Analysis Laboratory, NASA-Johnson Space Center. |
|
|
| Photography Index | 70-mm magazine E - AS08-13-2215 to 2382 |